Draconis does….. The Silver Bayonet


Recommendations: 1200
About the Project
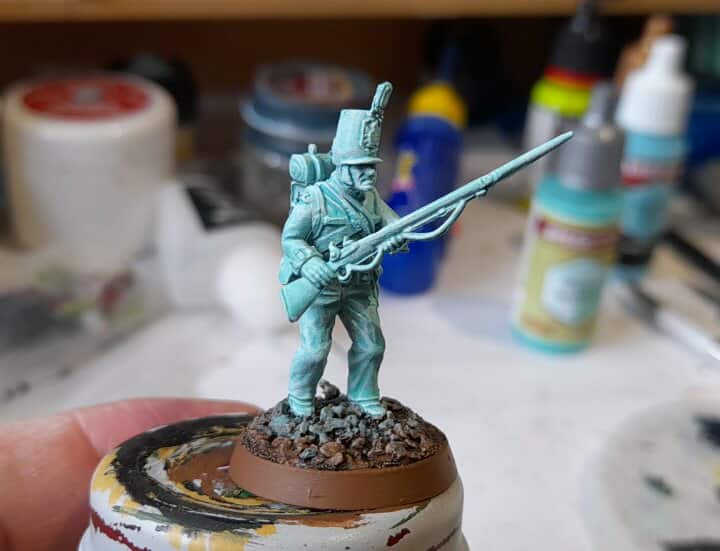
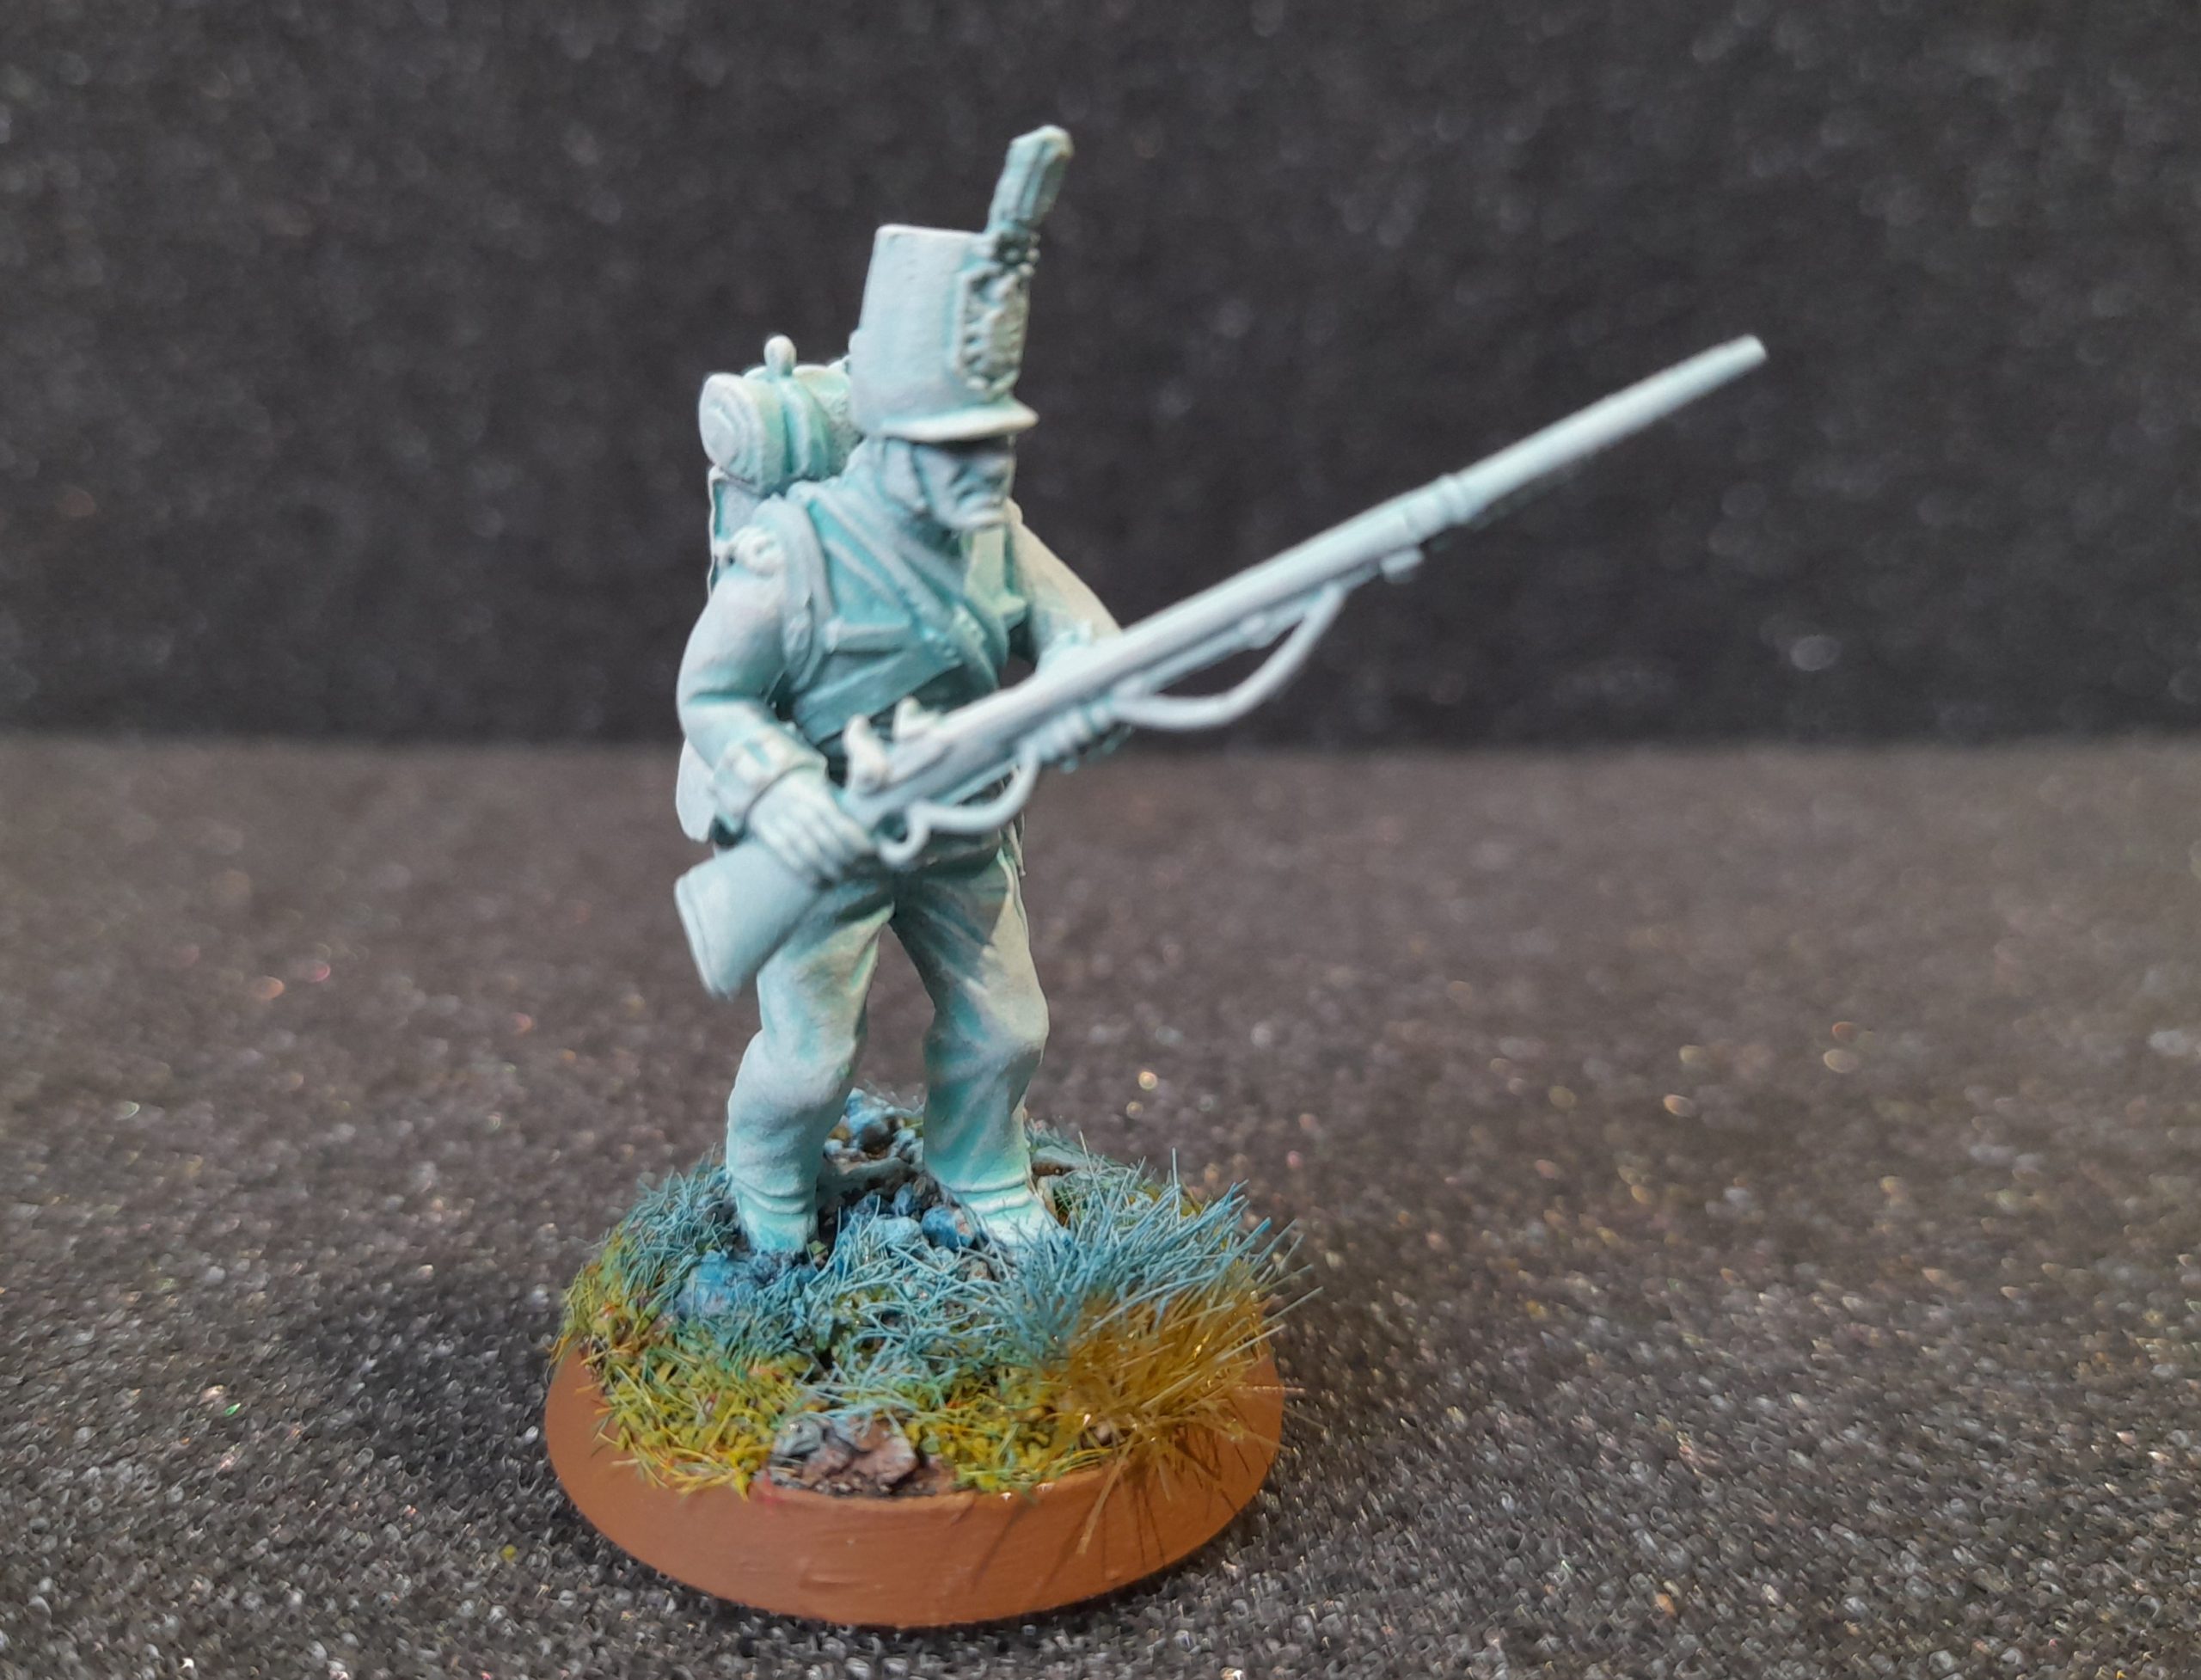
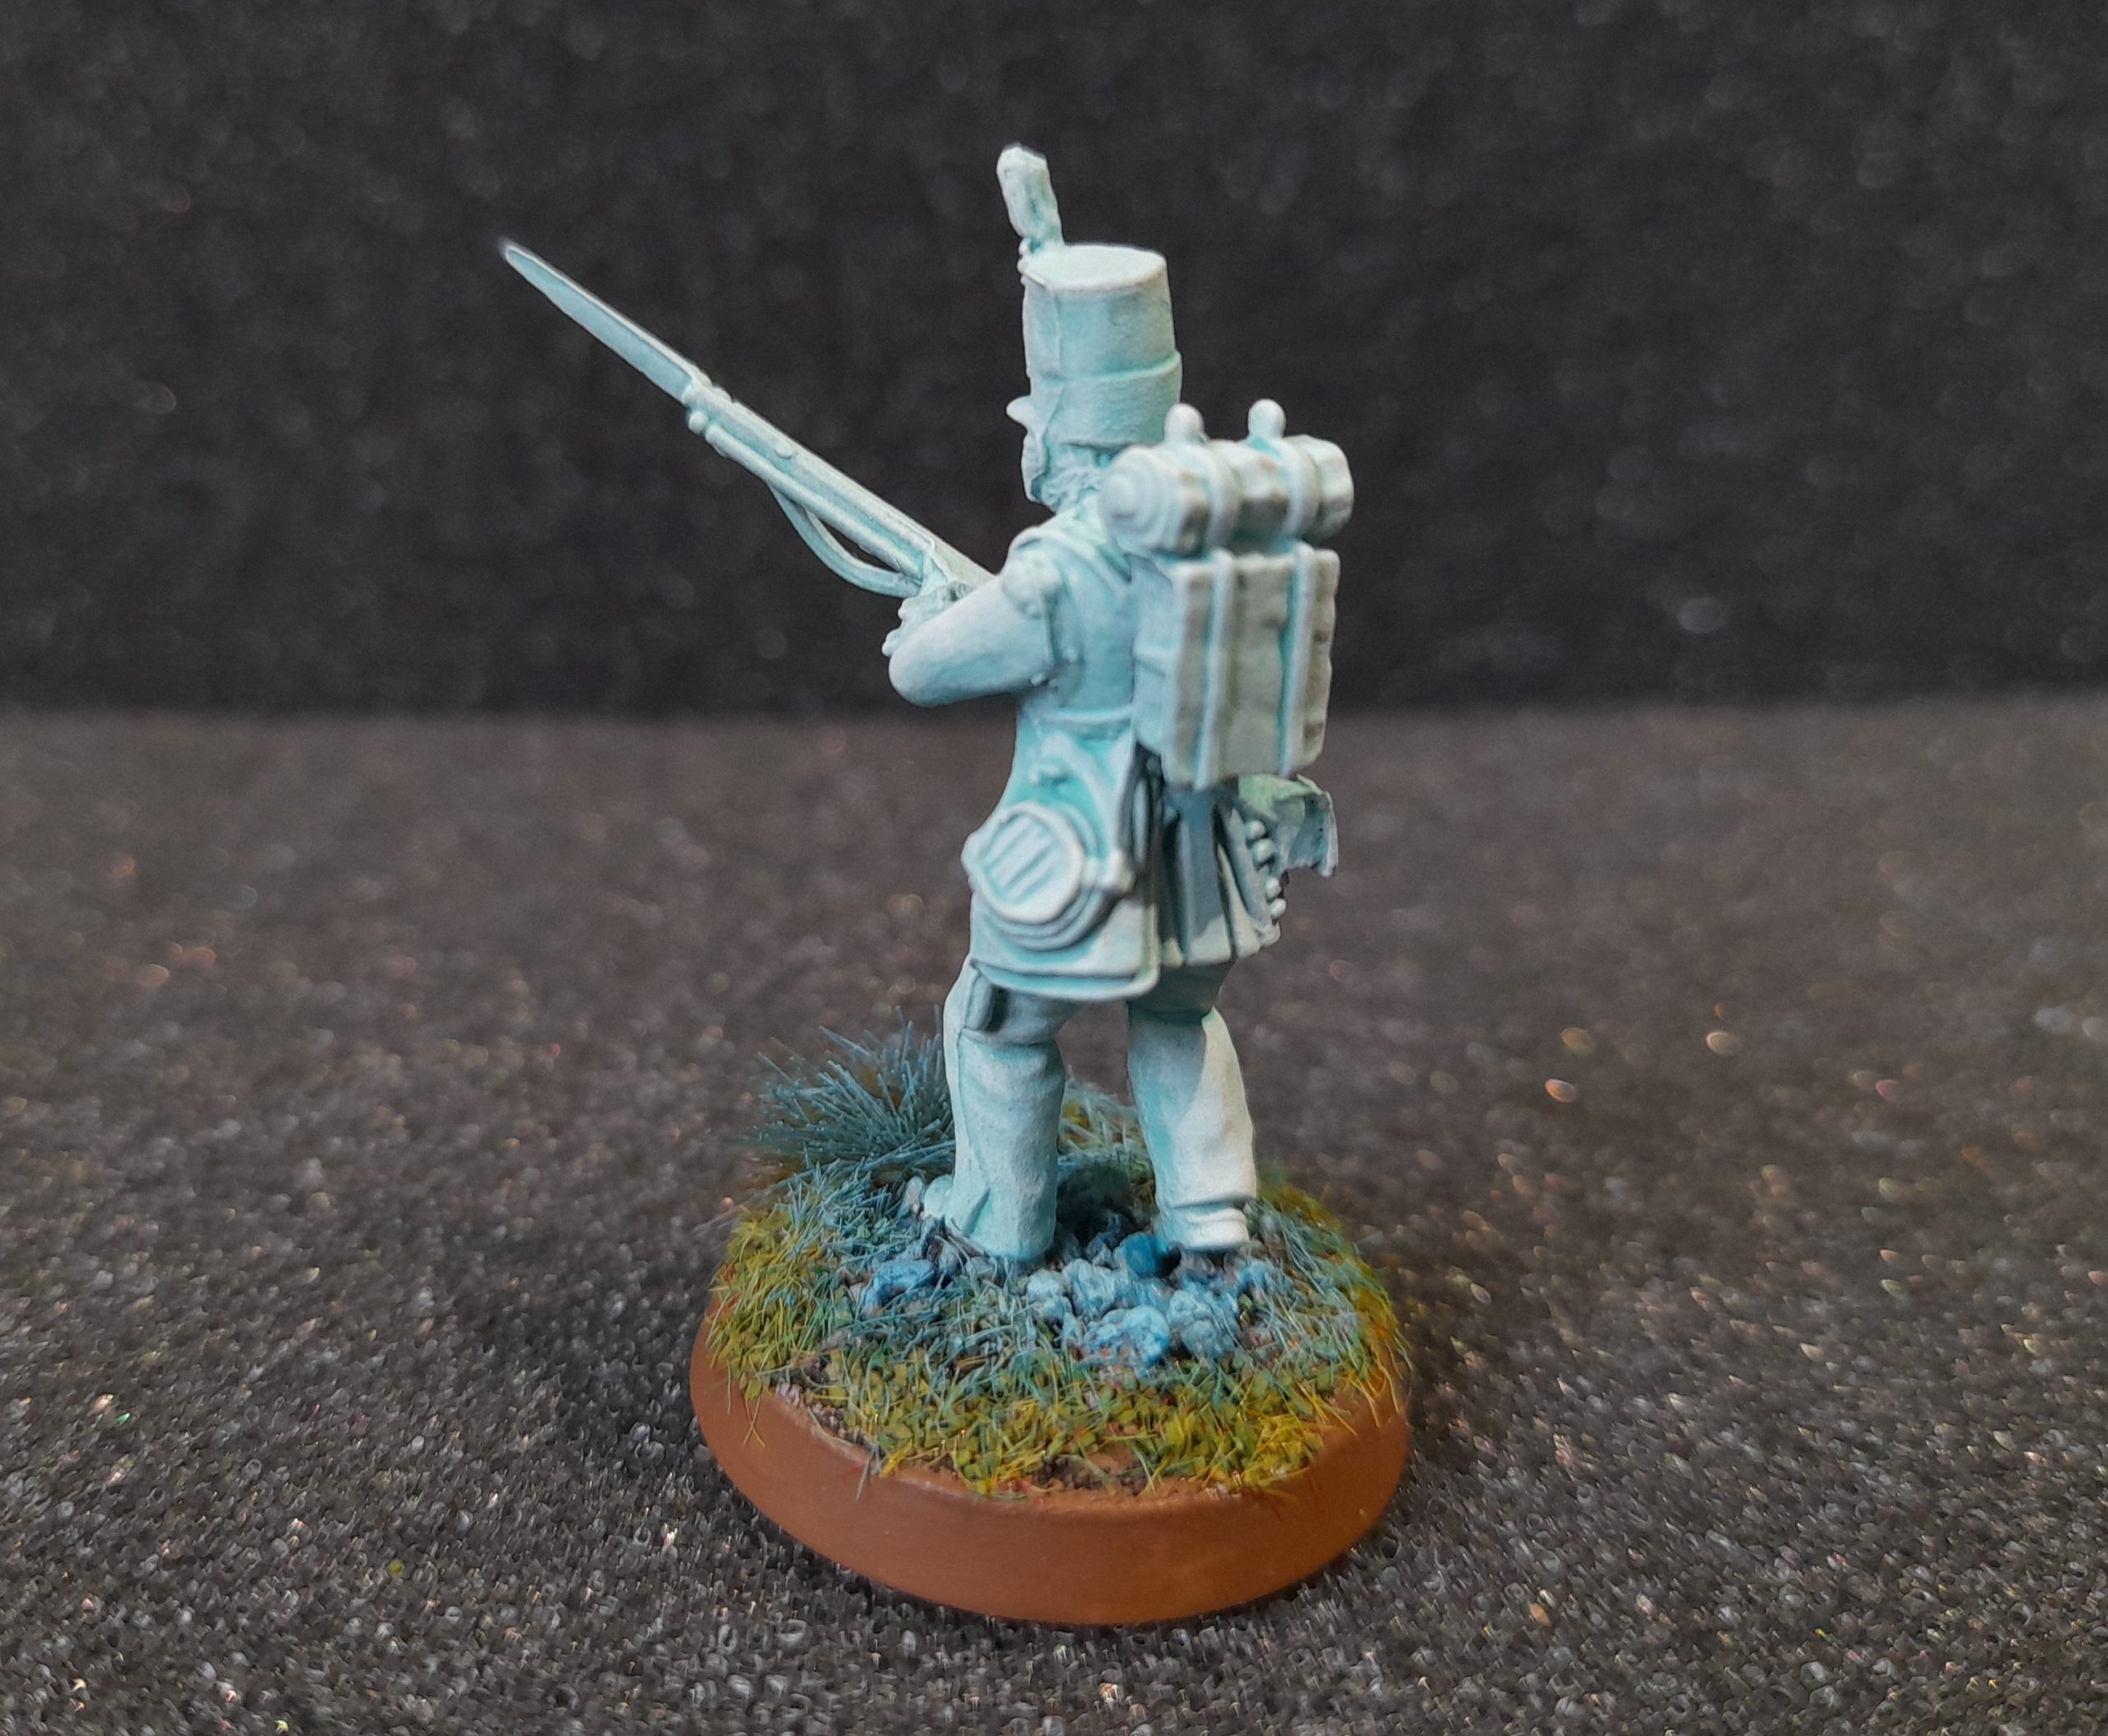
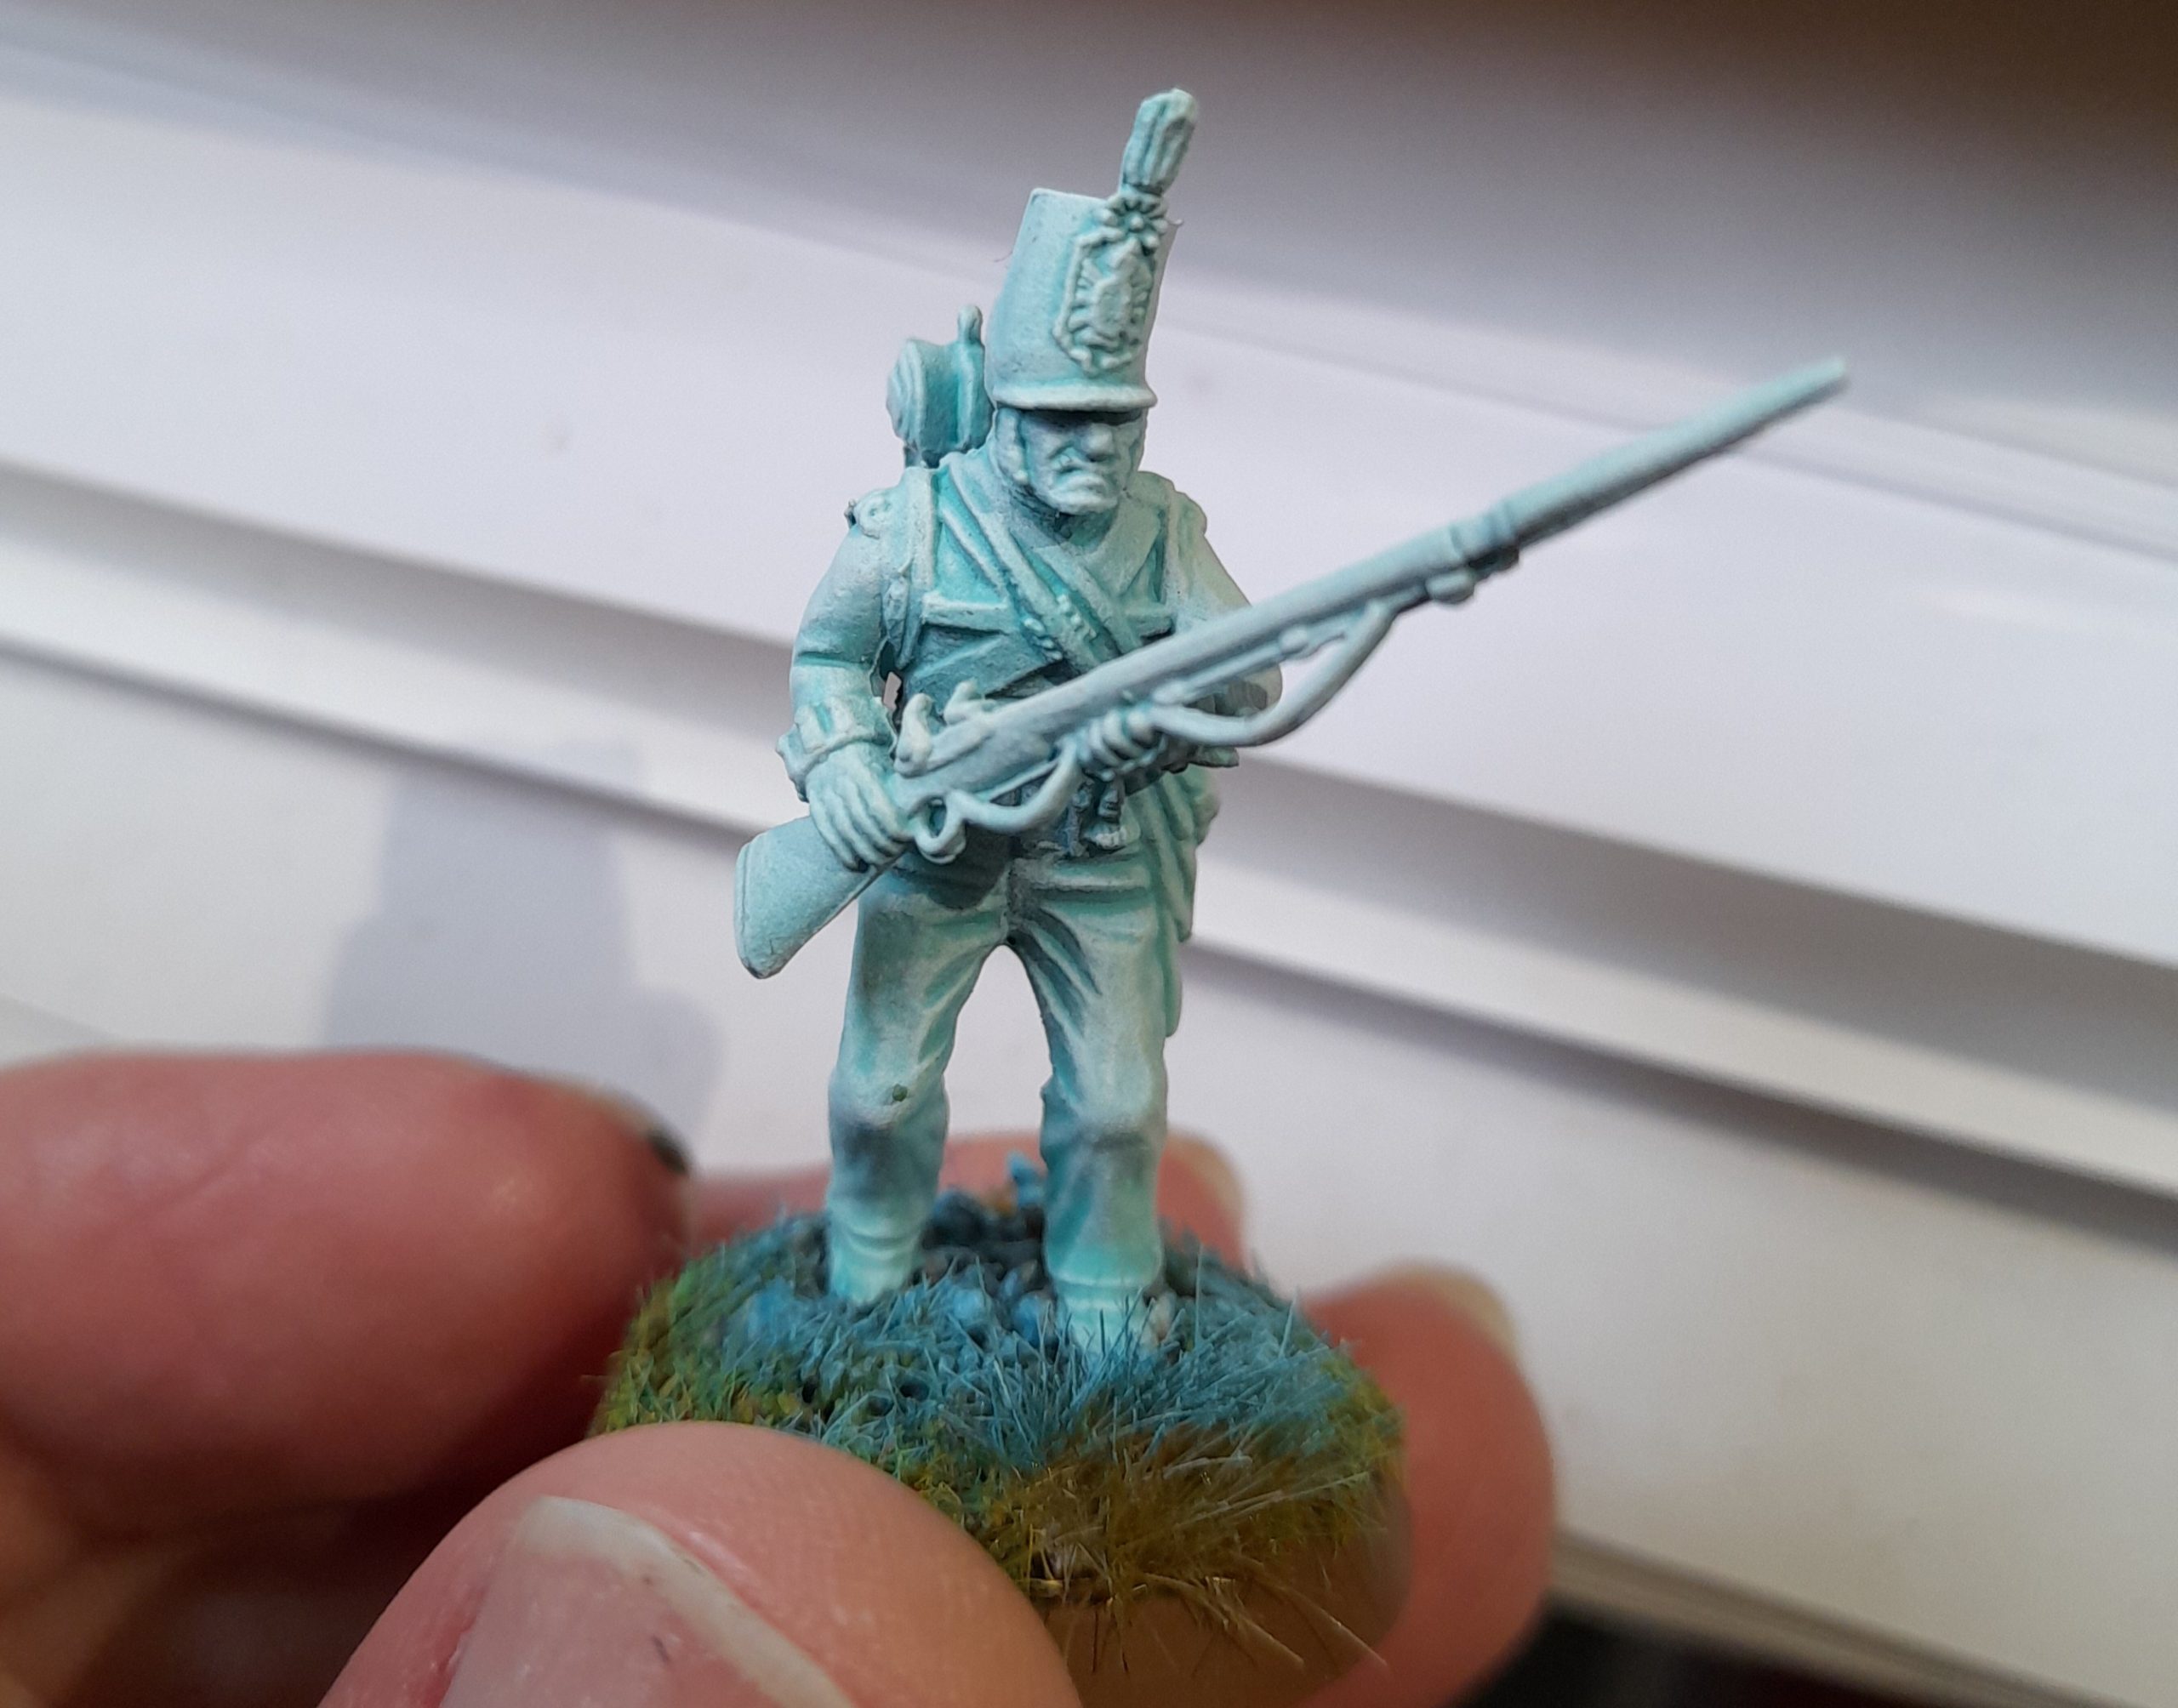
Ever the hobby butterfly..... Putting together some British Napoleonic Riflemen for my wife lead me down this road 😀 Like many gamers I own a number of rulebooks for systems that I don’t yet play. The Silver Bayonet is one of them. So this project will be me starting out on the journey into ‘A Wargame of Napoleonic Gothic Horror’.
Related Game: The Silver Bayonet
Related Genre: Horror
This Project is On Hold
Skeletal Soldiers
20th August 2025
The Italy supplement introduces skeletal soldiers to the mix. Having built revenants previously I decided that I would try to build a handful of skeletal soldiers from my existing bits. I did however have to get a few skulls from a friend. I also got a half skeleton, which I decided I would chop into three parts.
The basic build for four of the soldiers was straightforward, mostly just the addition of a skull rather than the normal head.


For two of them though I wanted to go a bit further. Using the half skeleton parts I used my rotary tool to ream out part of the torso. I then cut down the half skeleton, and through an iterative series of trimming sanding and filing I managed to get the partial skeleton torso to ‘fit’ inside the cavity of the soldier.

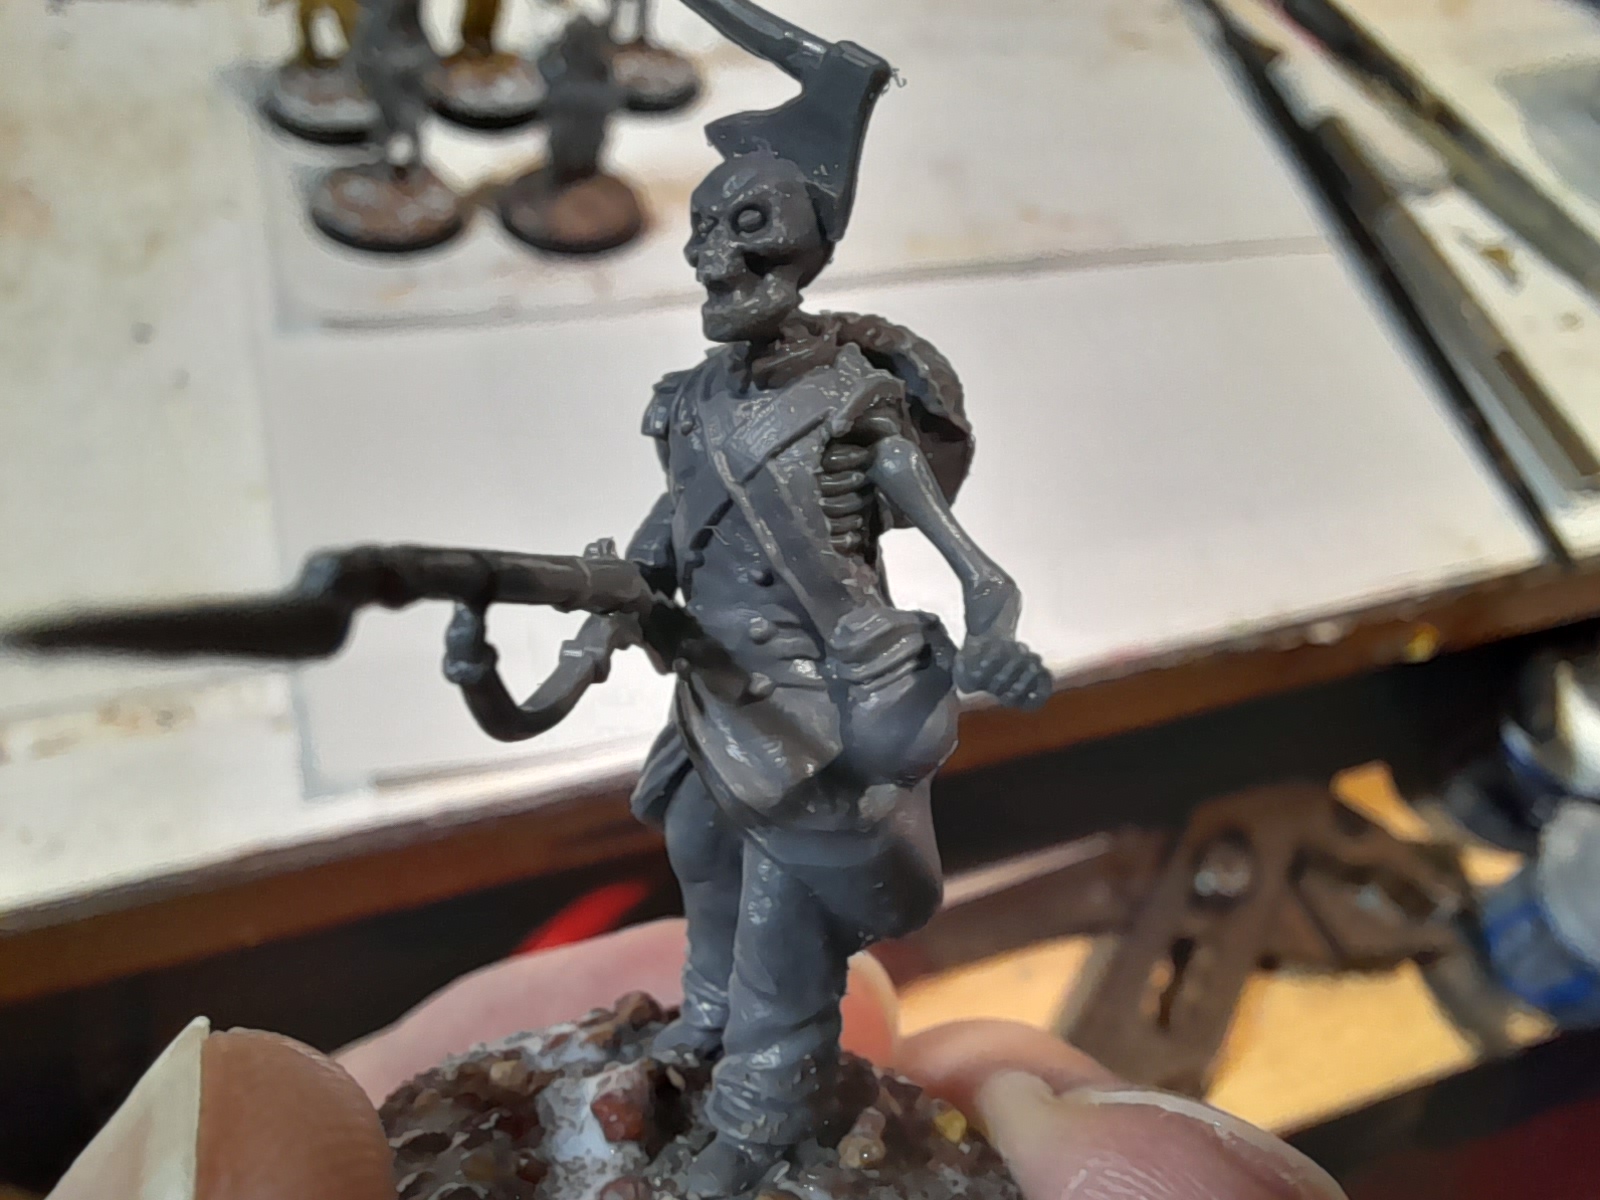
I added rips and tears to a few places on the soldiers clothing for a bit of variety, but with that the build stage was complete.


More Black Dogs...
15th August 2025
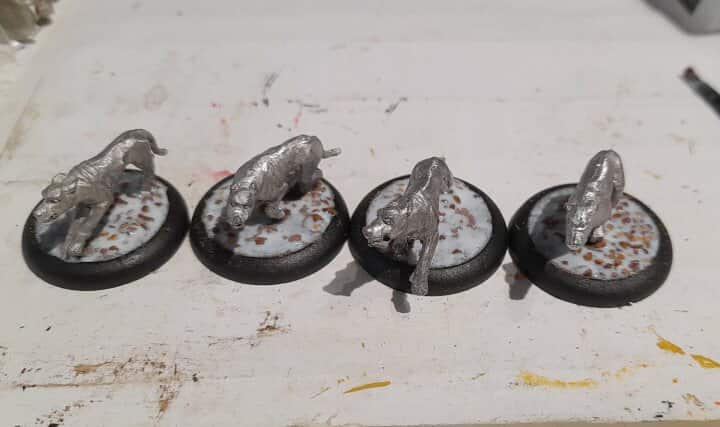
A couple of scenarios in the Italy supplement call for more Black Dogs…..
The first one I did was quite large, but at the time I thought I would need a maximum of one. Now I need four more.
I rooted around my old minis and found four ‘Blink Dogs’ from 1985. They are small compared to my first Black dog, but I thought that if I put them on 30mm round lipped bases they would work. They were stripped, cleaned, based and primed.

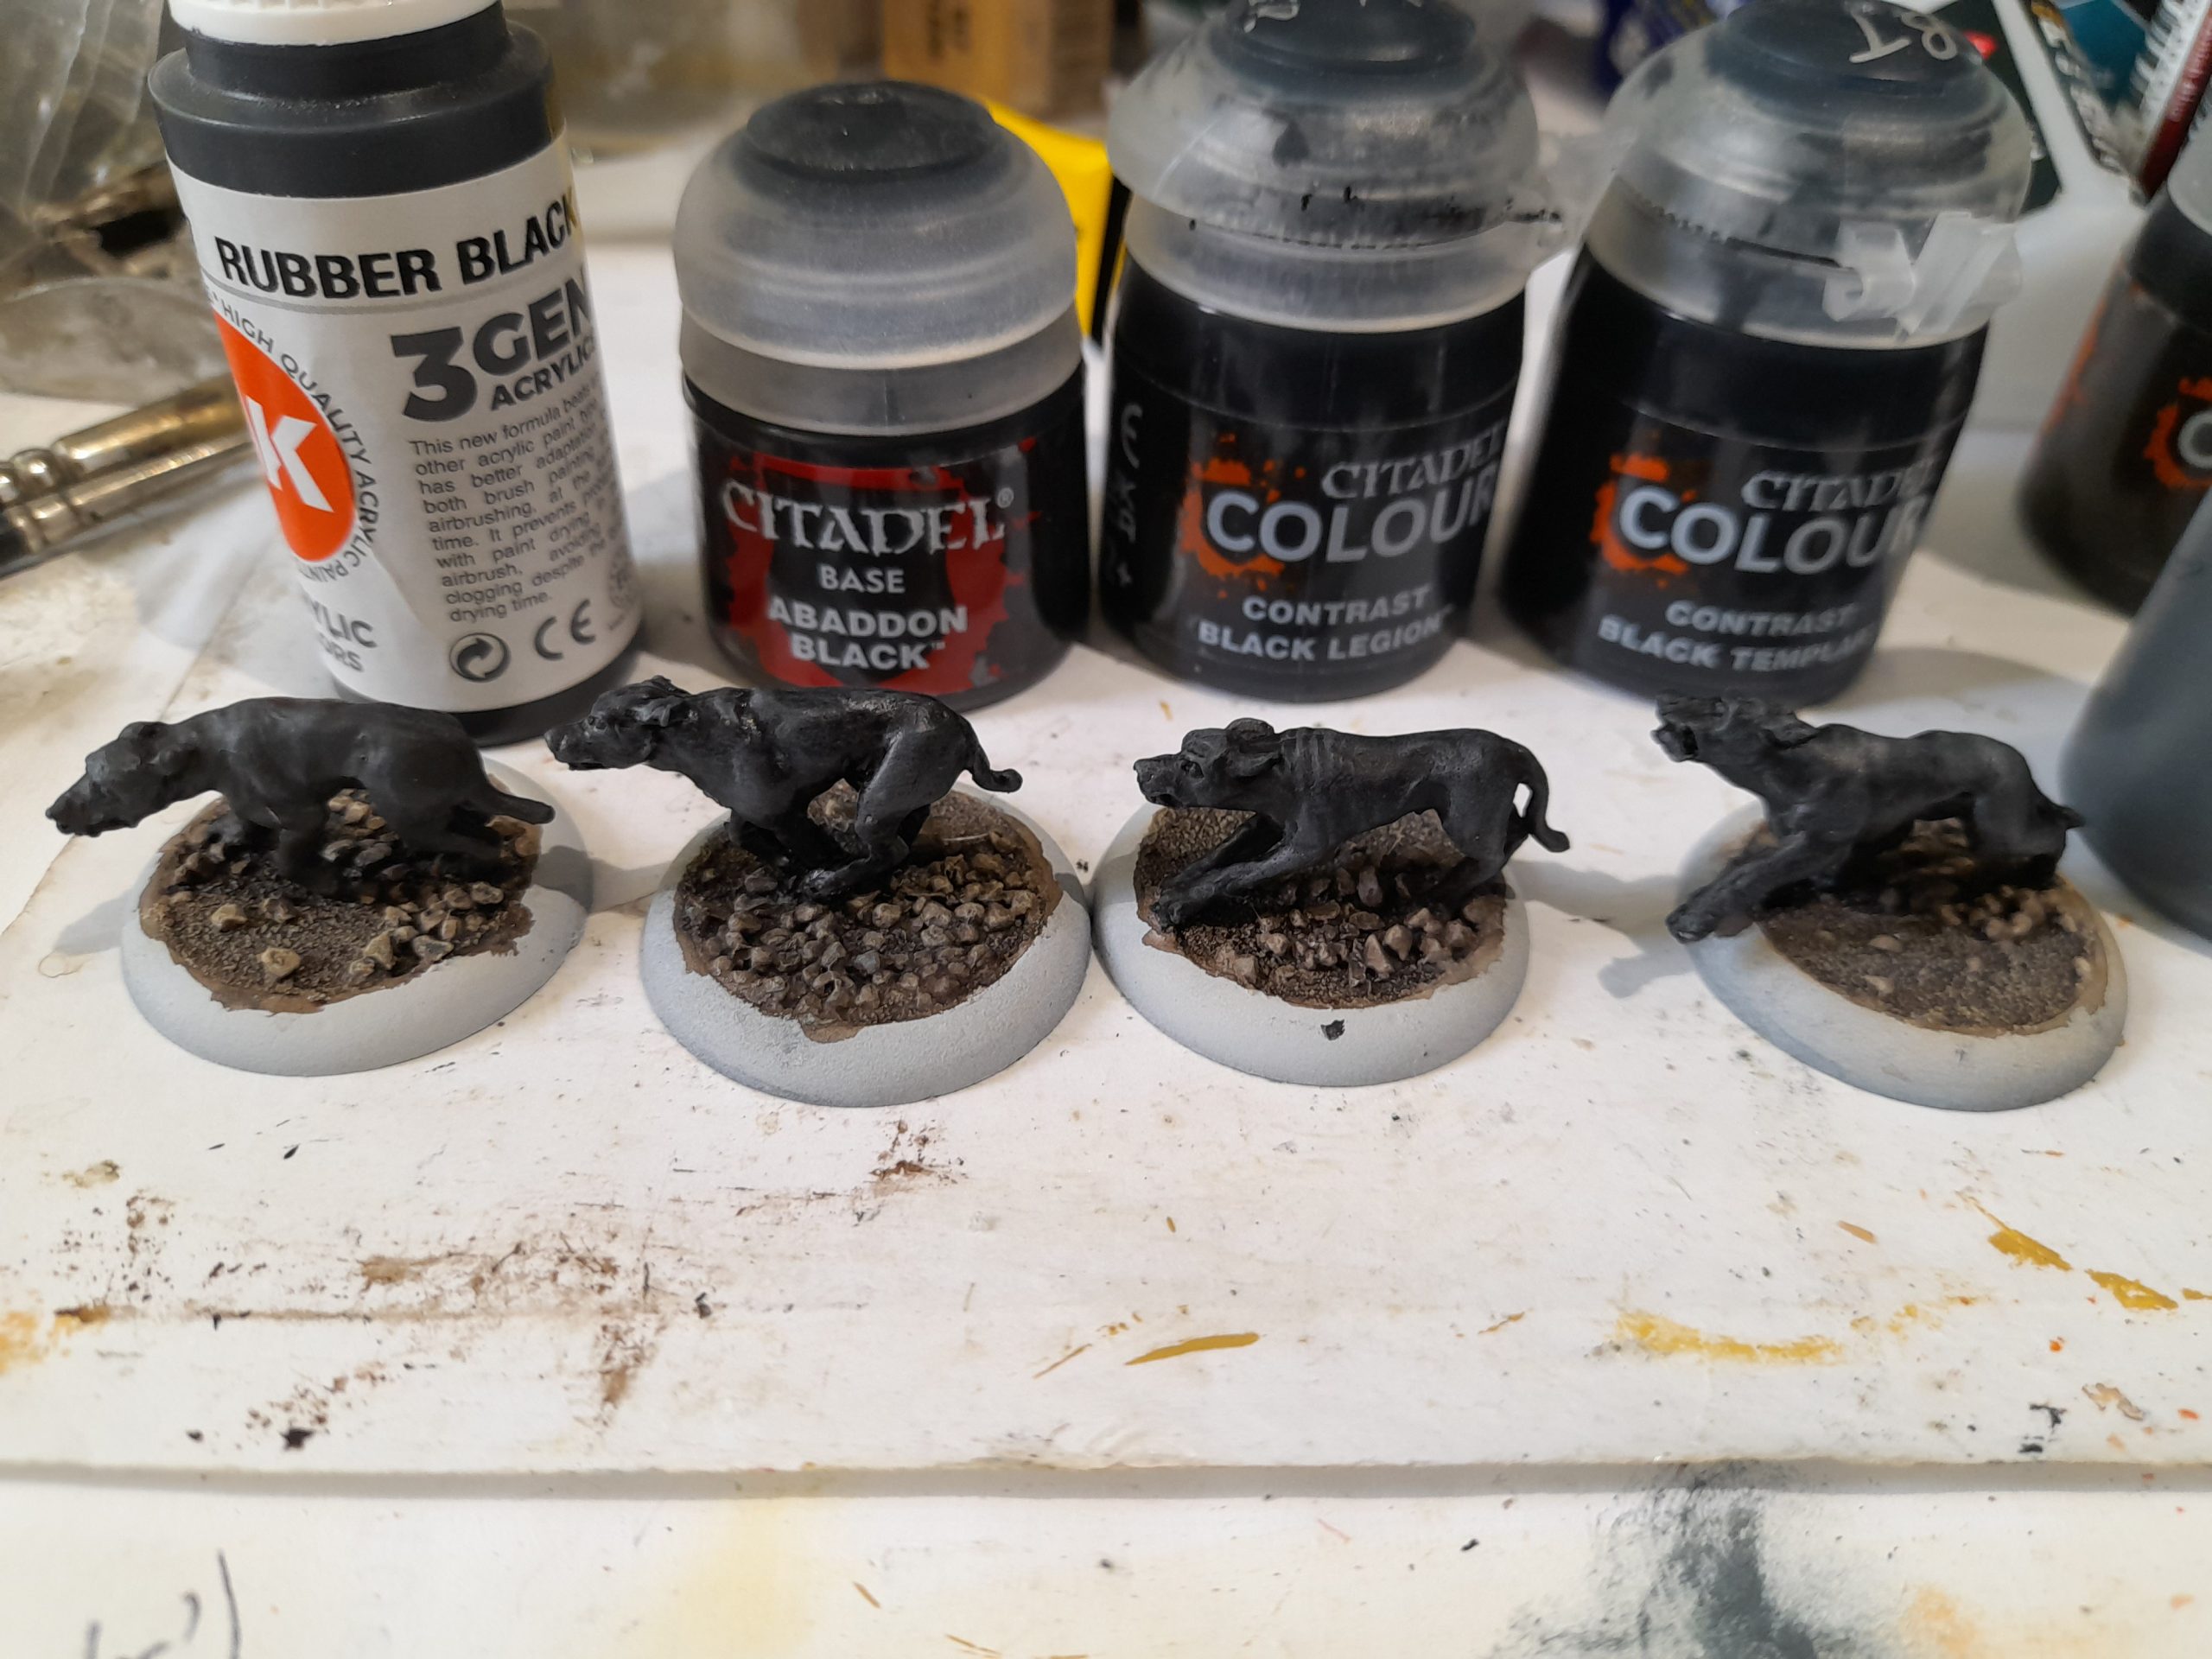
I then painted them up using four different blacks…. To be honest I don’t think the zenithal prime was worth doing here 😊
To give them a bit more depth I gave them a drybrush of dark grey, and gave some of them a wash of nuln or agrax. (2nd pic below)

Then to finish off I picked out their teeth, the tongue on one and painted the eyes. These were mephiston red, followed by a dot of orange.
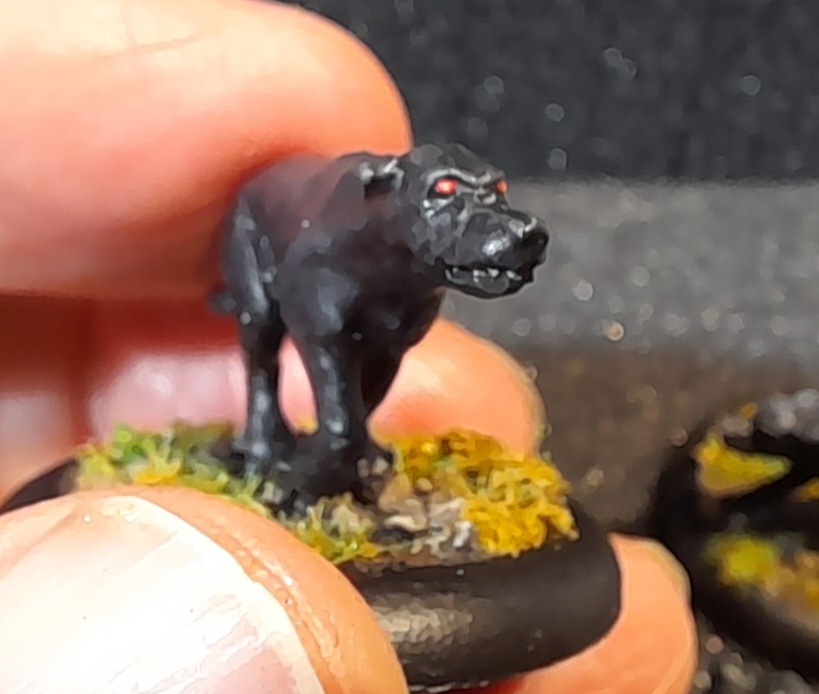
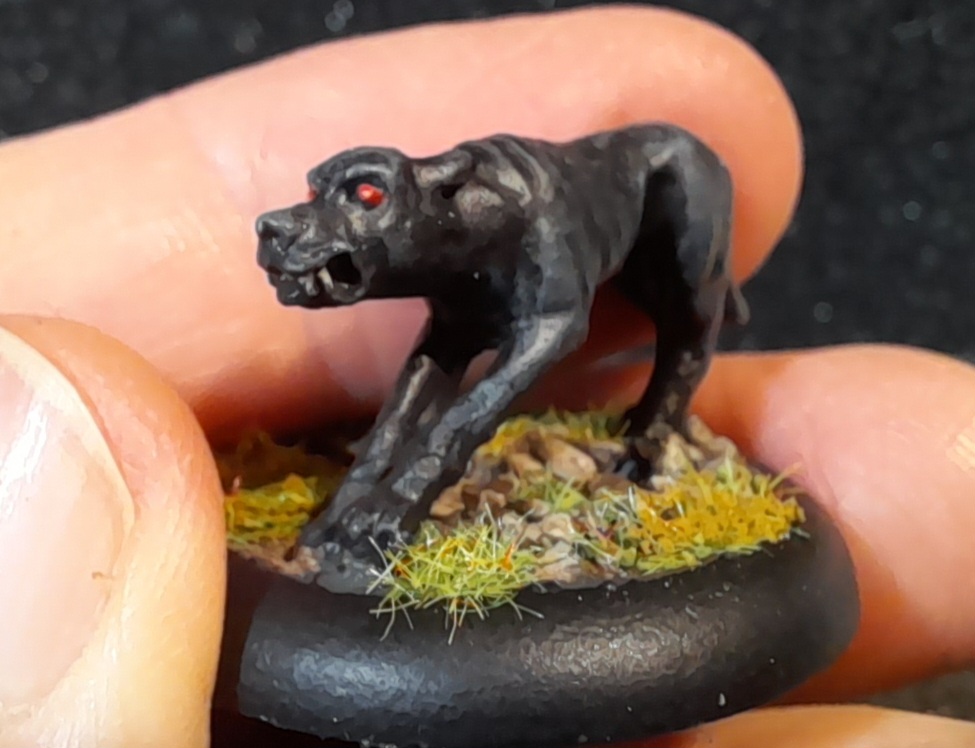
A few different types of grass for the base, and they were done.


System duplicate, ignore
Project system errored and duplicate post created
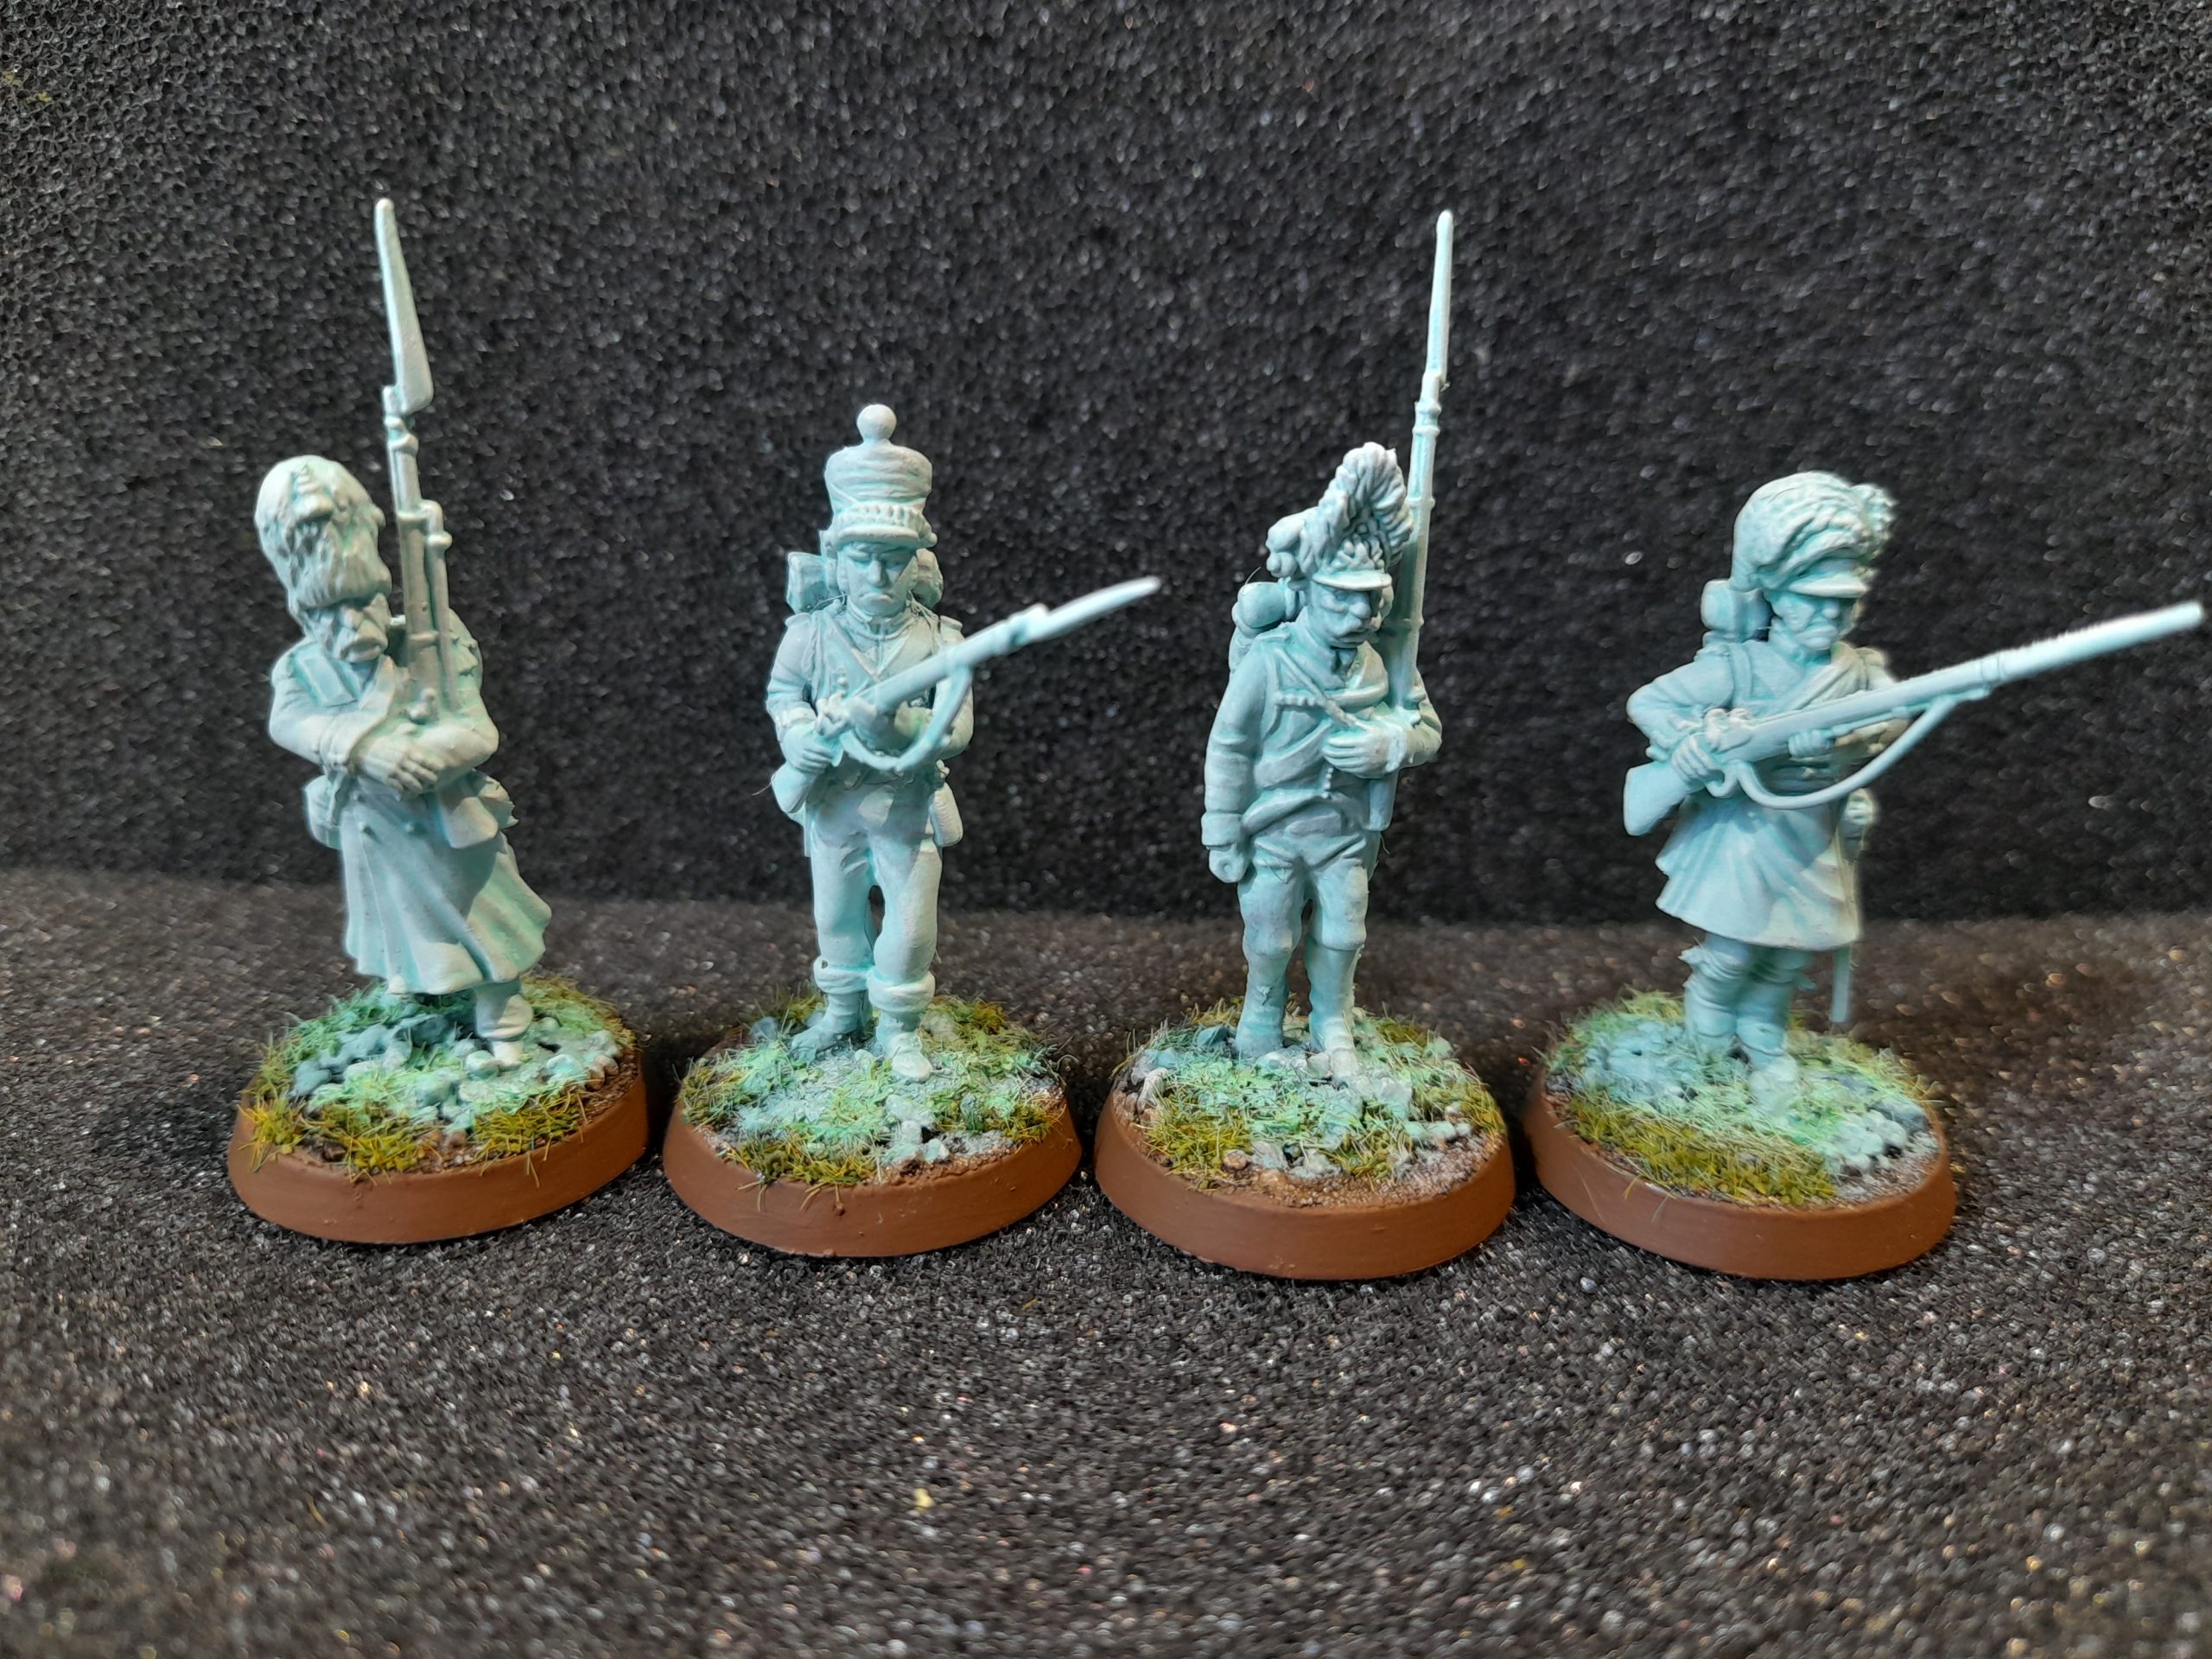
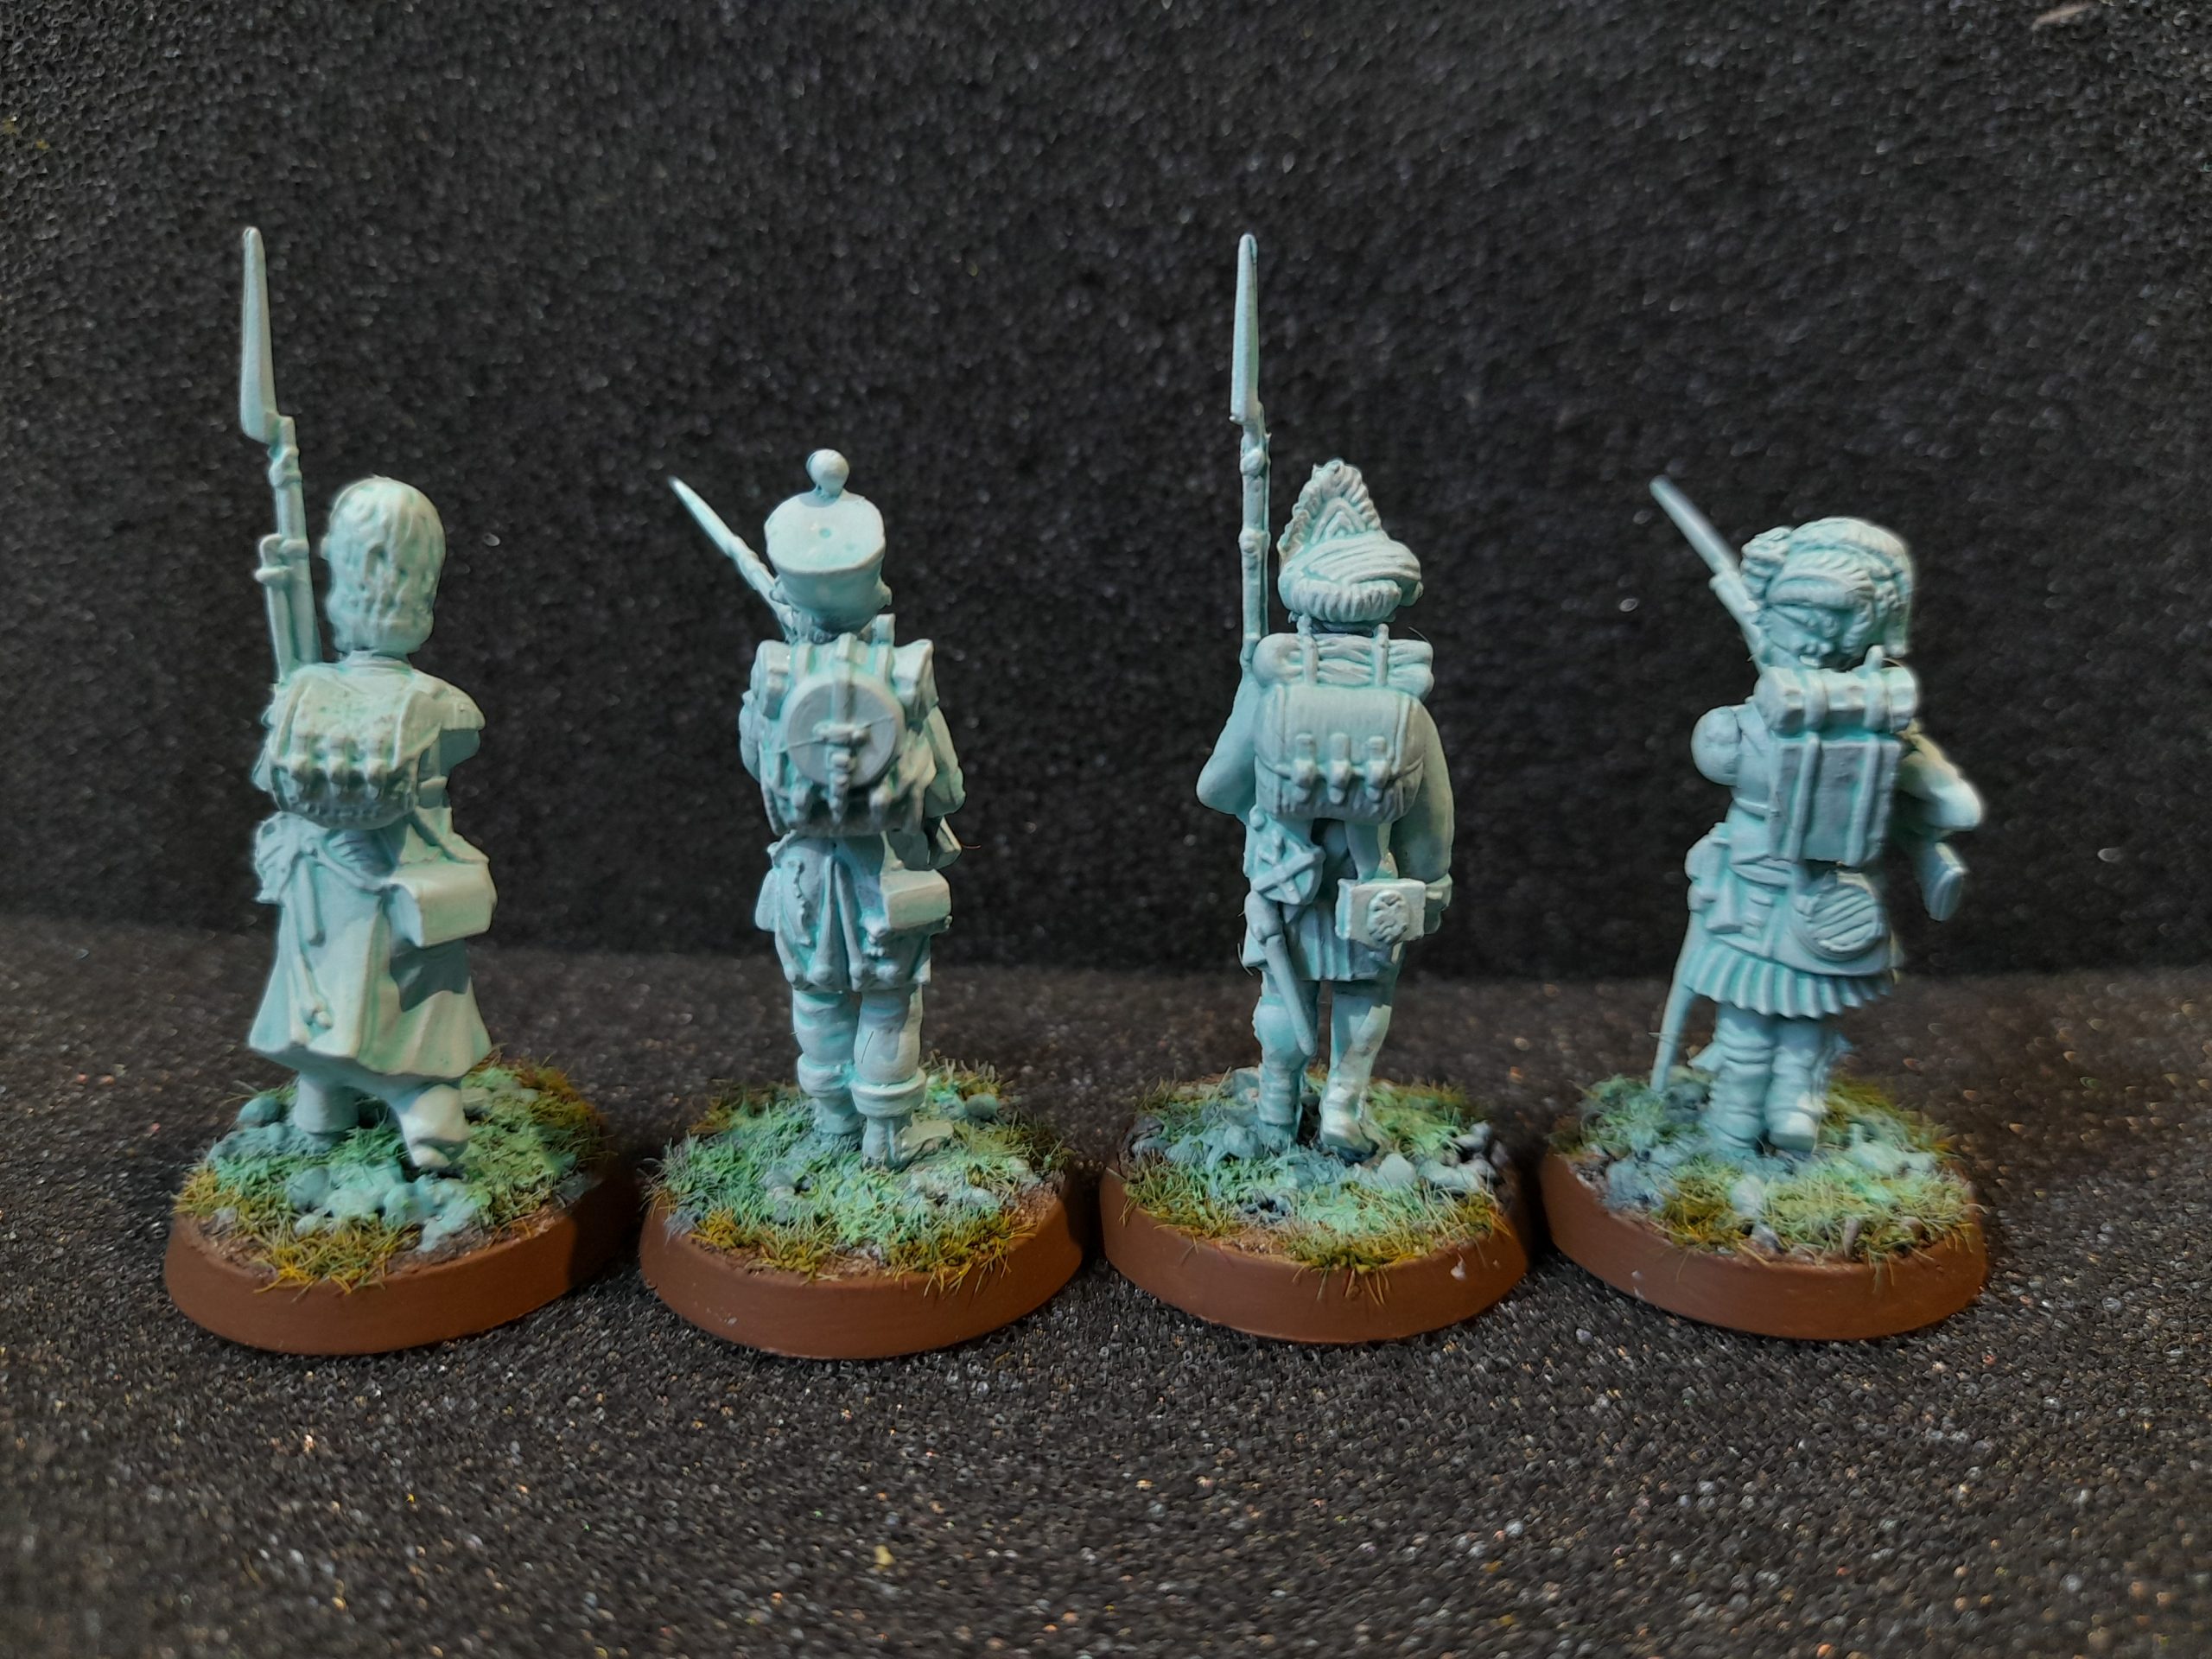
More Spectral Soldiers
10th August 2025
Happy enough with the test model I built up four more soldiers to become ‘spectral’.
I made a French Guard, French Line Infantry, Austrian Infantry and British Highlander, just for a bit of a mix.

These were based and primed white. I then painted the bases in a dark brown, followed by giving them a white drybrush around the models. Then I applied the Pastel Sea Foam speedpaint to the models and the base area that had been drybrushed.
Then I added flock/grass to the bases and drybrushed the minis and the grass near the models in matt white. I followed this up by applying the seafoam to the grass that had been drybrushed. With that, and a tidy up of the base rim, they were done.
I prefer this lighter glow effect on the base compared to the more blue effect of the test model.
Also, as before they look a bit more green in real life than in the pictures.
Spectral Soldier test model
6th August 2025
Just a quick test model for the Spectral Soldiers needed in the Italy supplement. I put together a British line infantry model, added some gravel for the base and hand primed it rubber black. Then I sprayed it over with white, leaving a little of the dark in the deepest shadow sections.
Then it was just a case of painting the base brown and rolling out the Speedpaint Pastel Seafoam, bought expressly for this purpose 😊
I followed this up with a drybrush white over the model. Then I added some flock and a tuft. To approximate a glow effect from the ghost I overbrushed part of the base area and part of the tuft in Hydra Turquoise, then highlighted that with Neptune glow. For the others I may not go so dark for the first stage.
 The shade is a little more green irl
Pretty quick paintjob, but serves the purpose. I will build a few more brits and some frenchies, then apply the same to all of them.
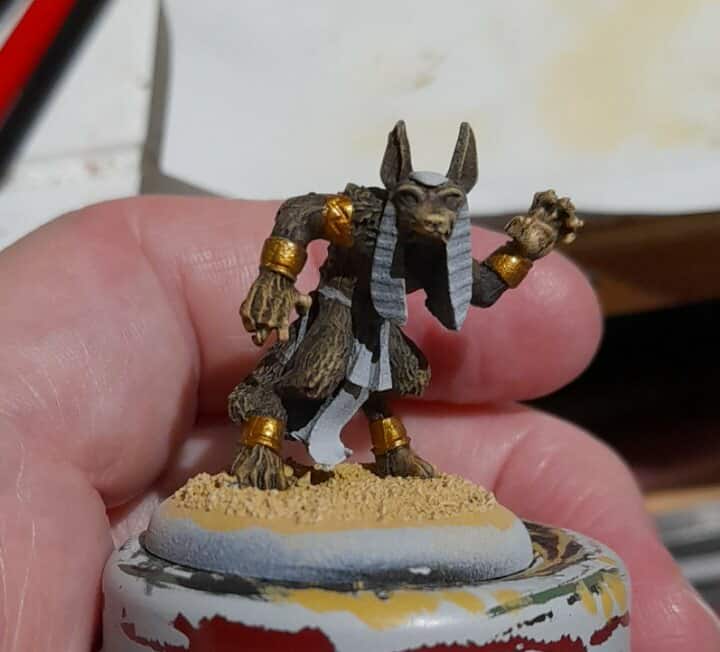
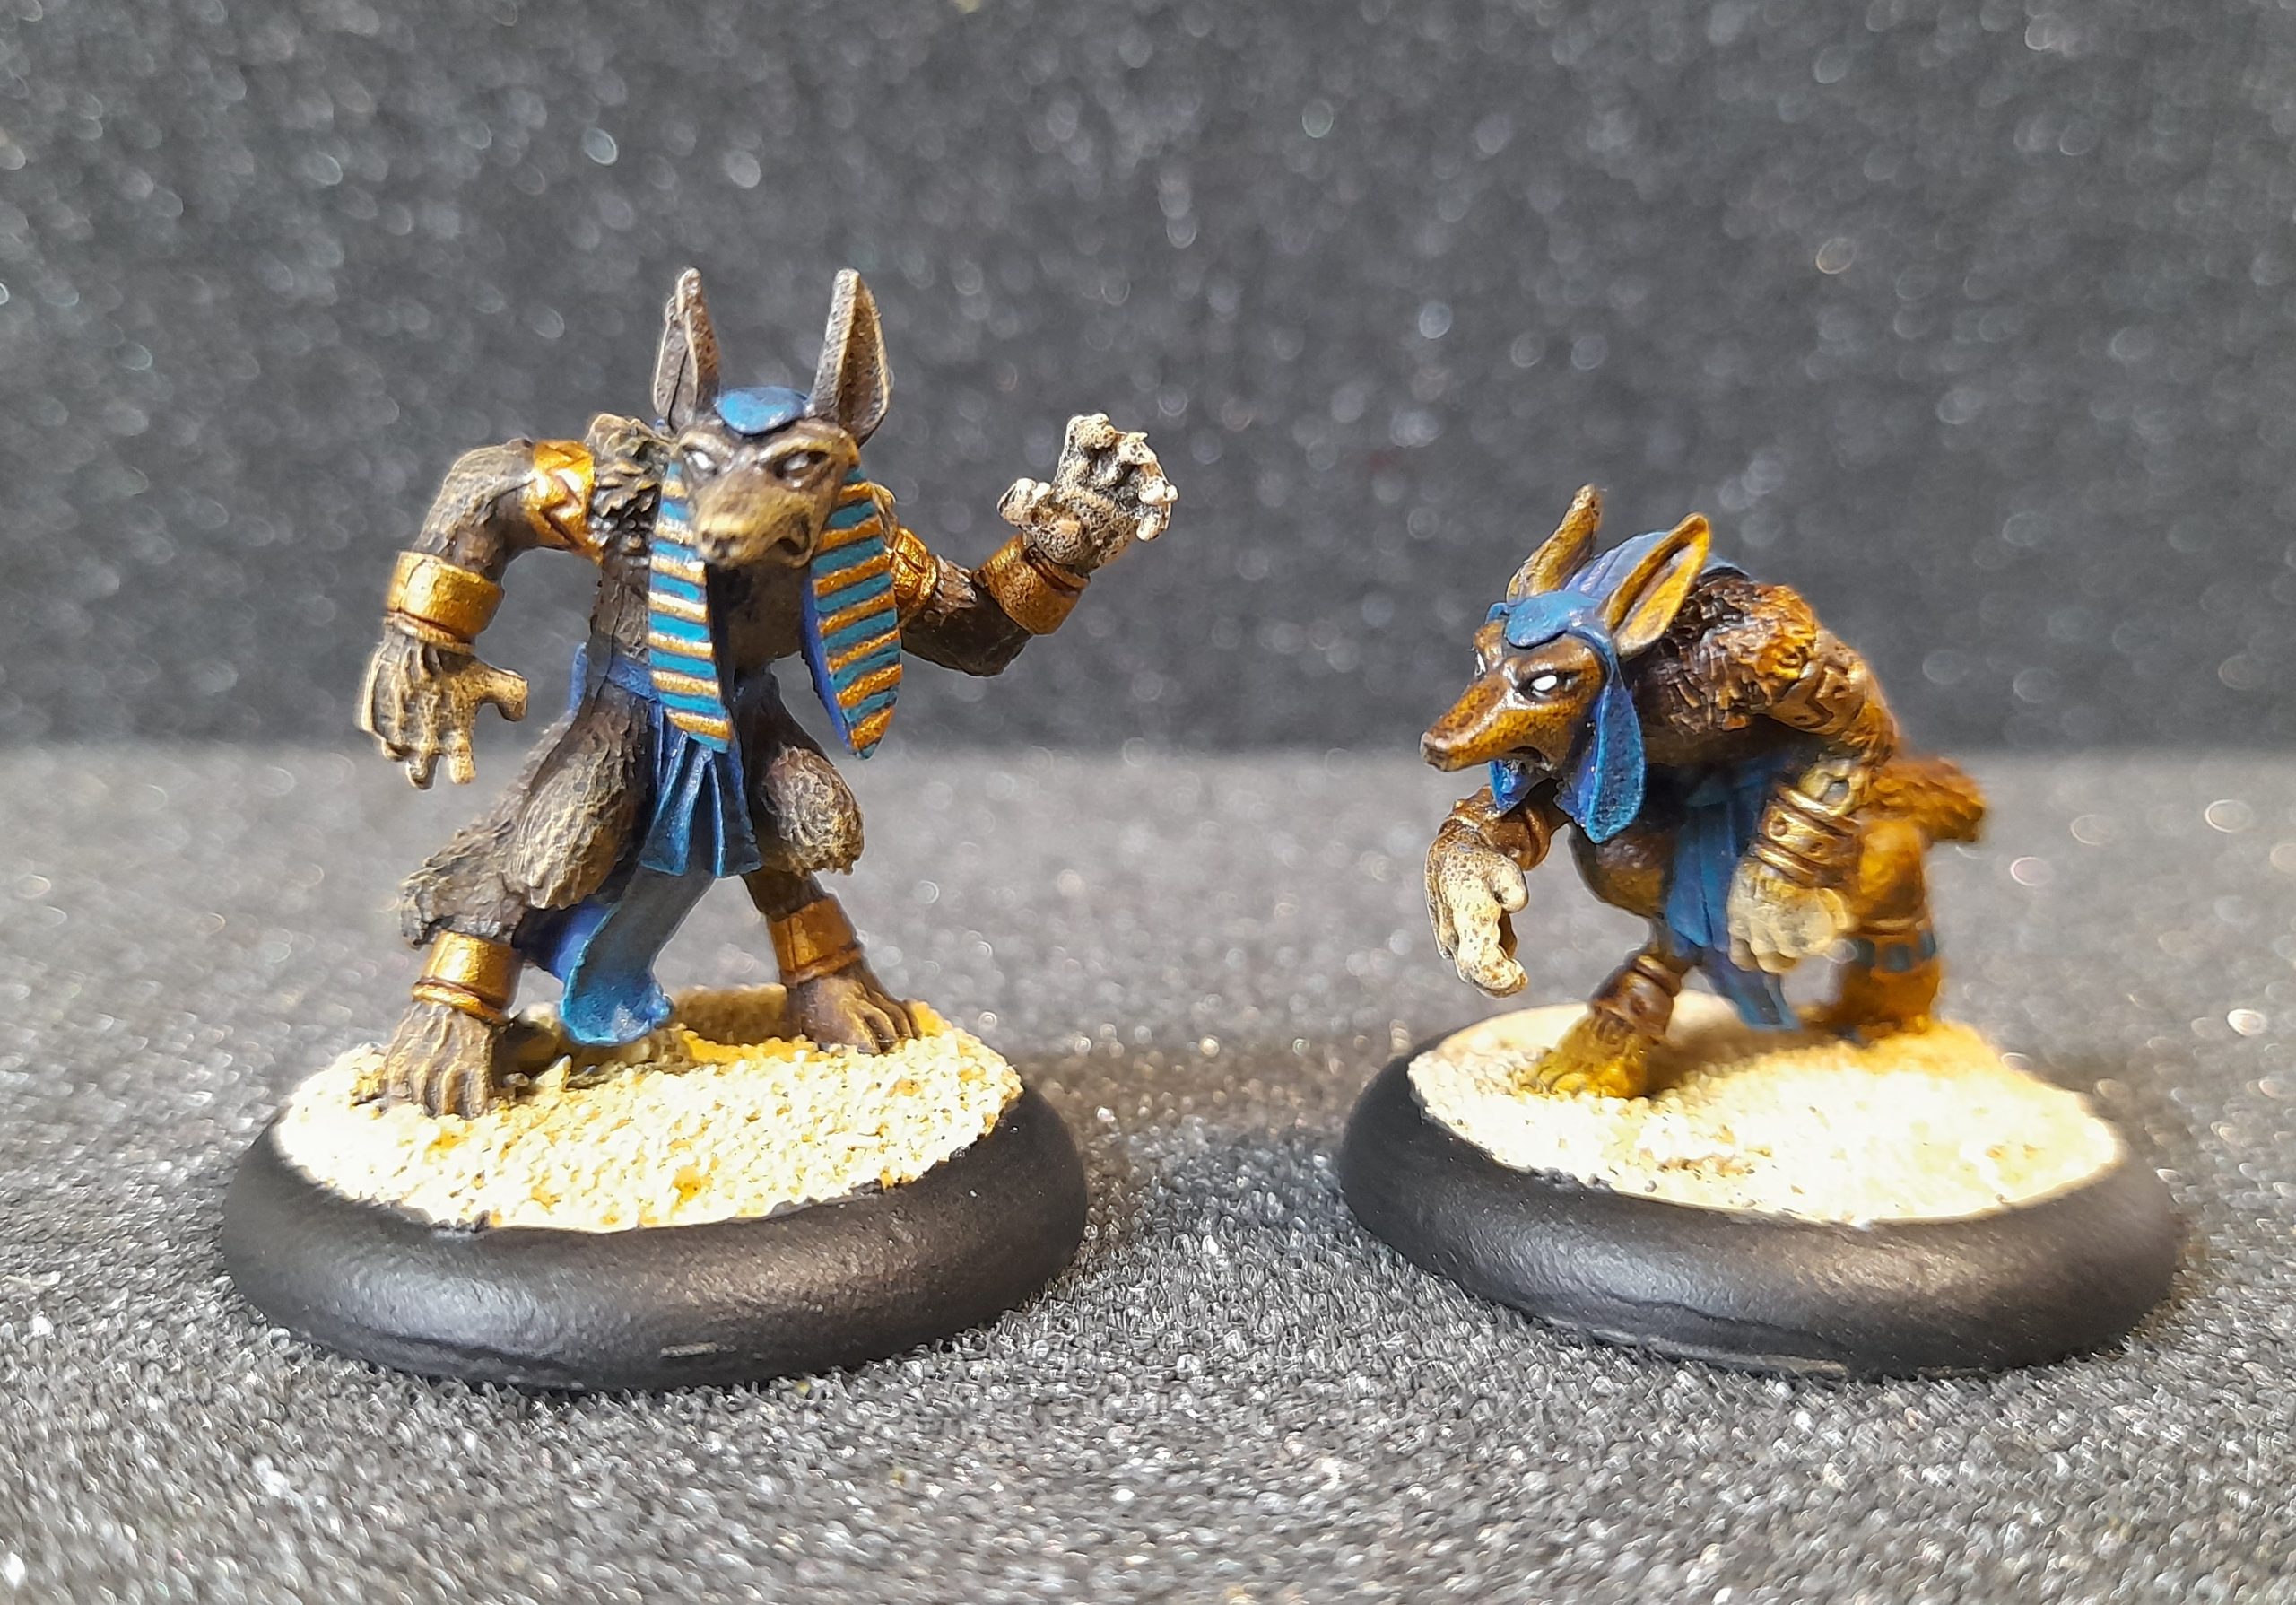
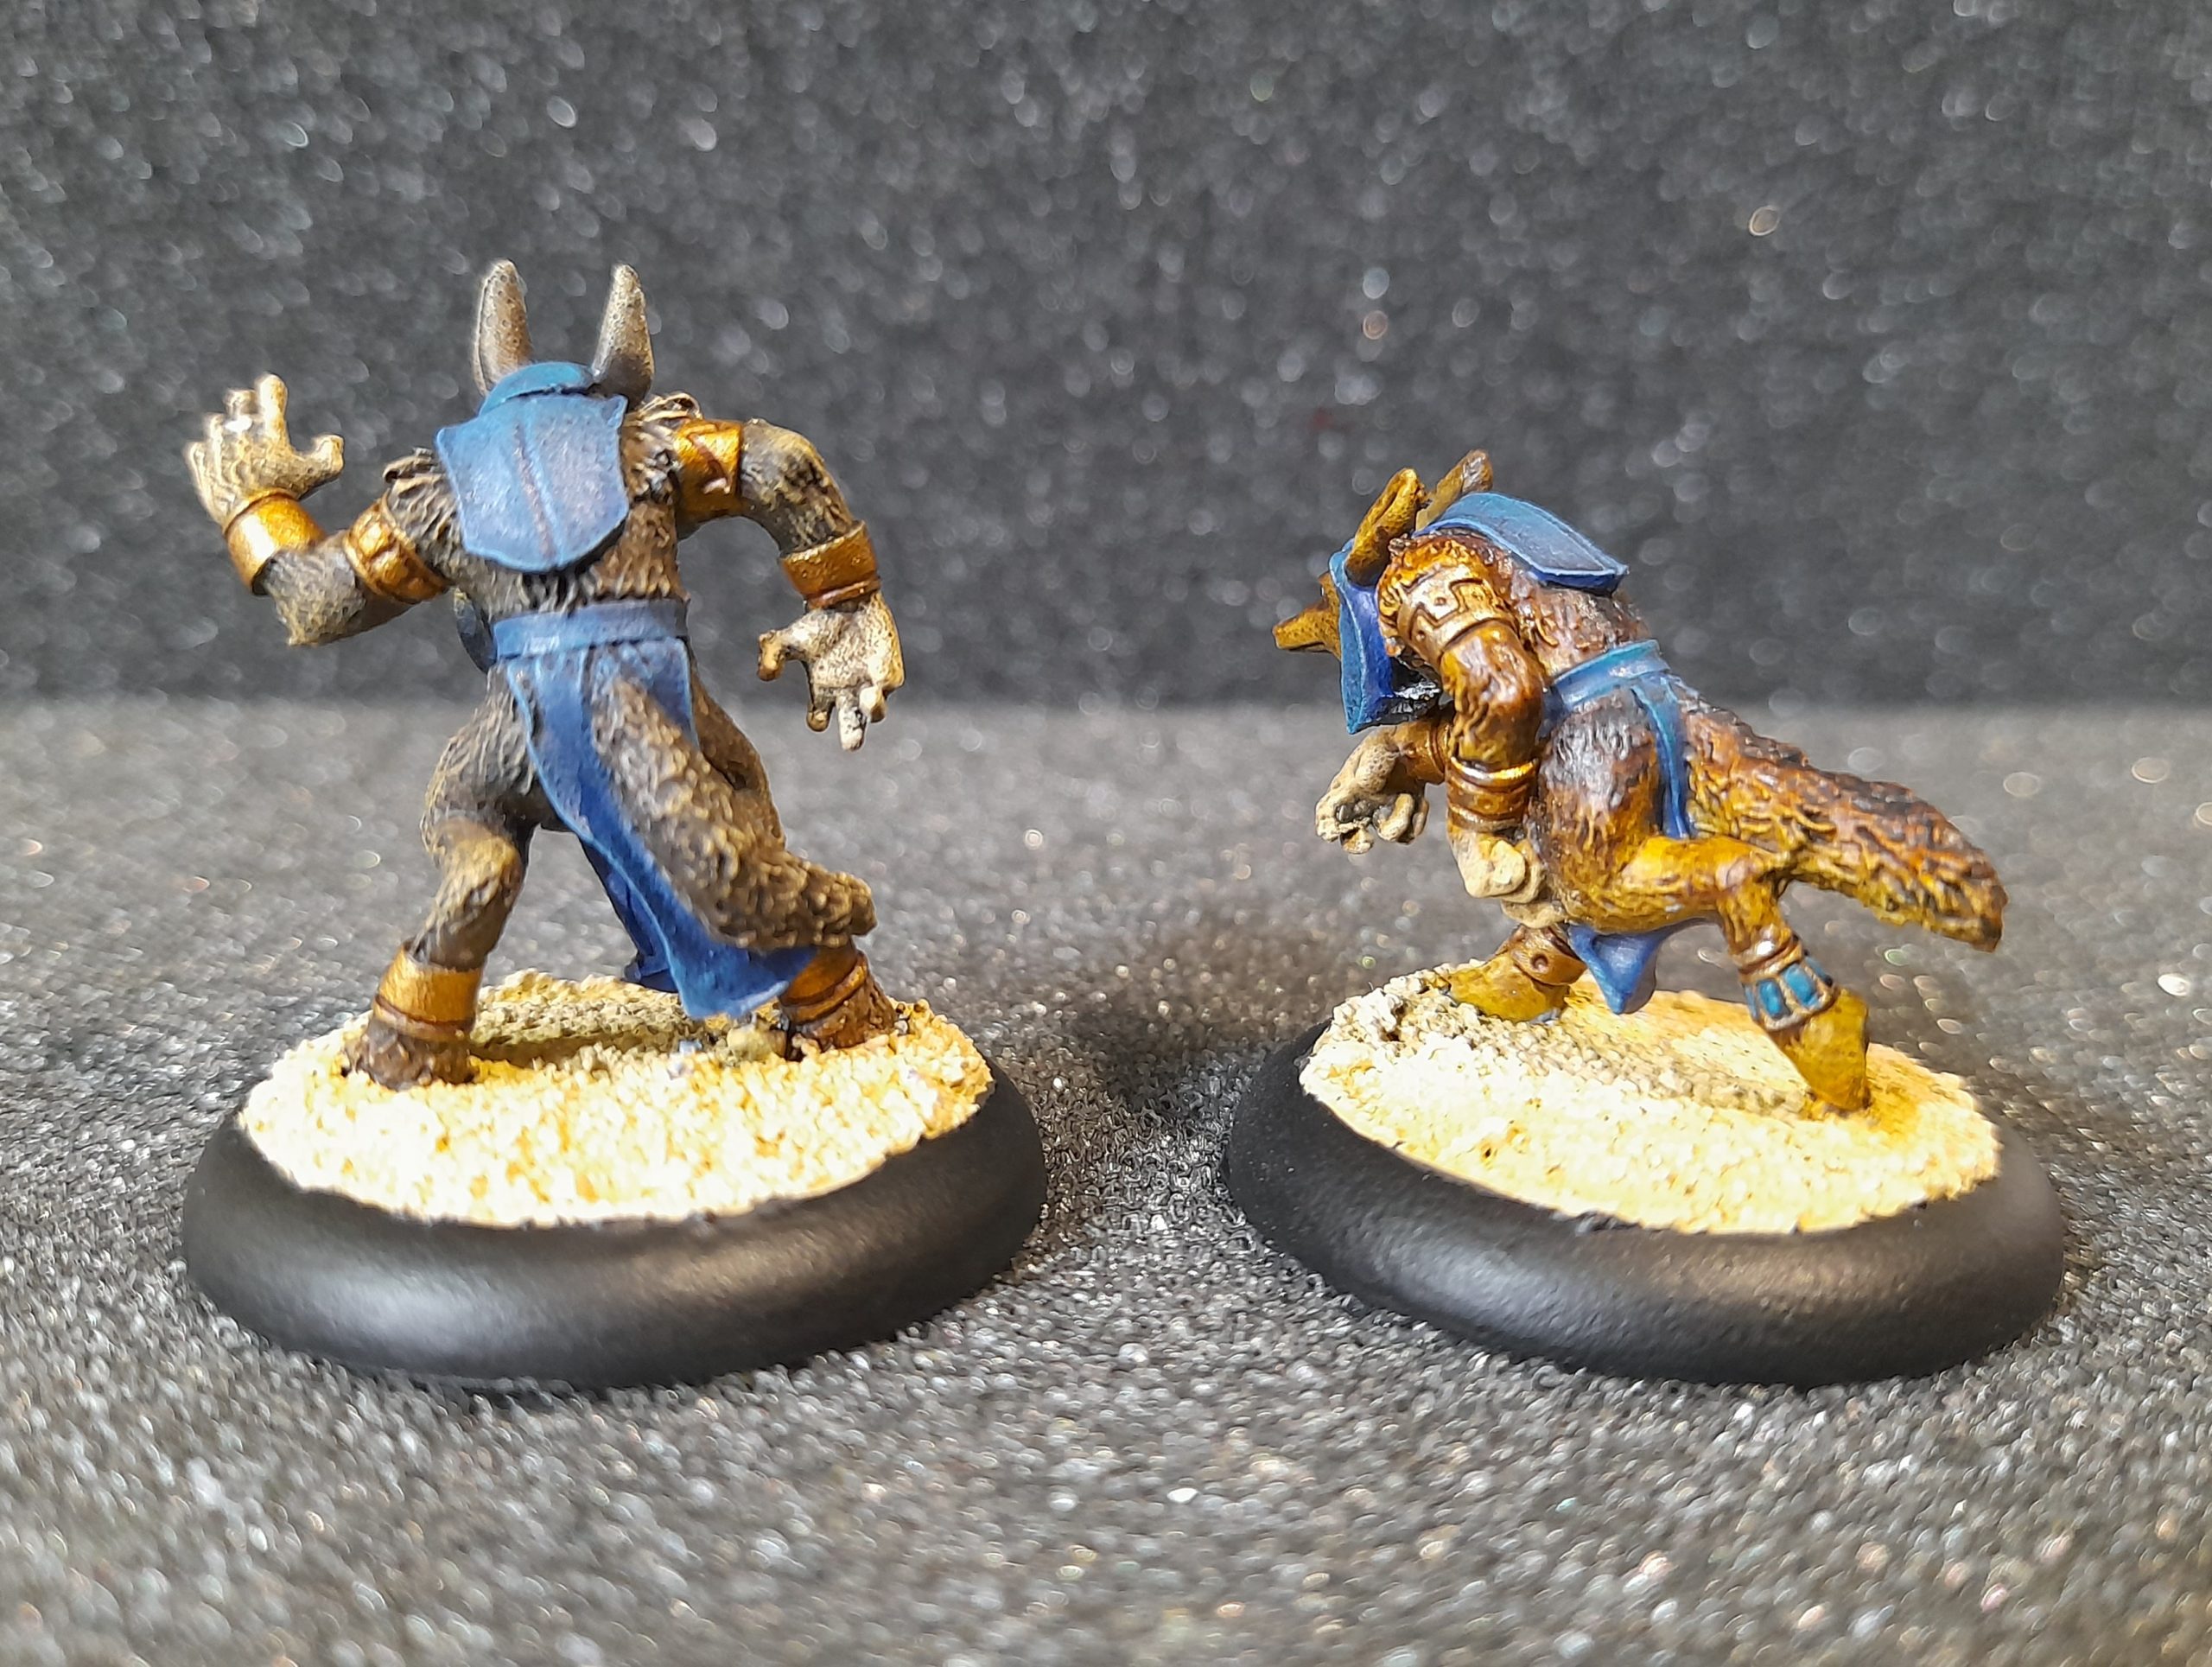
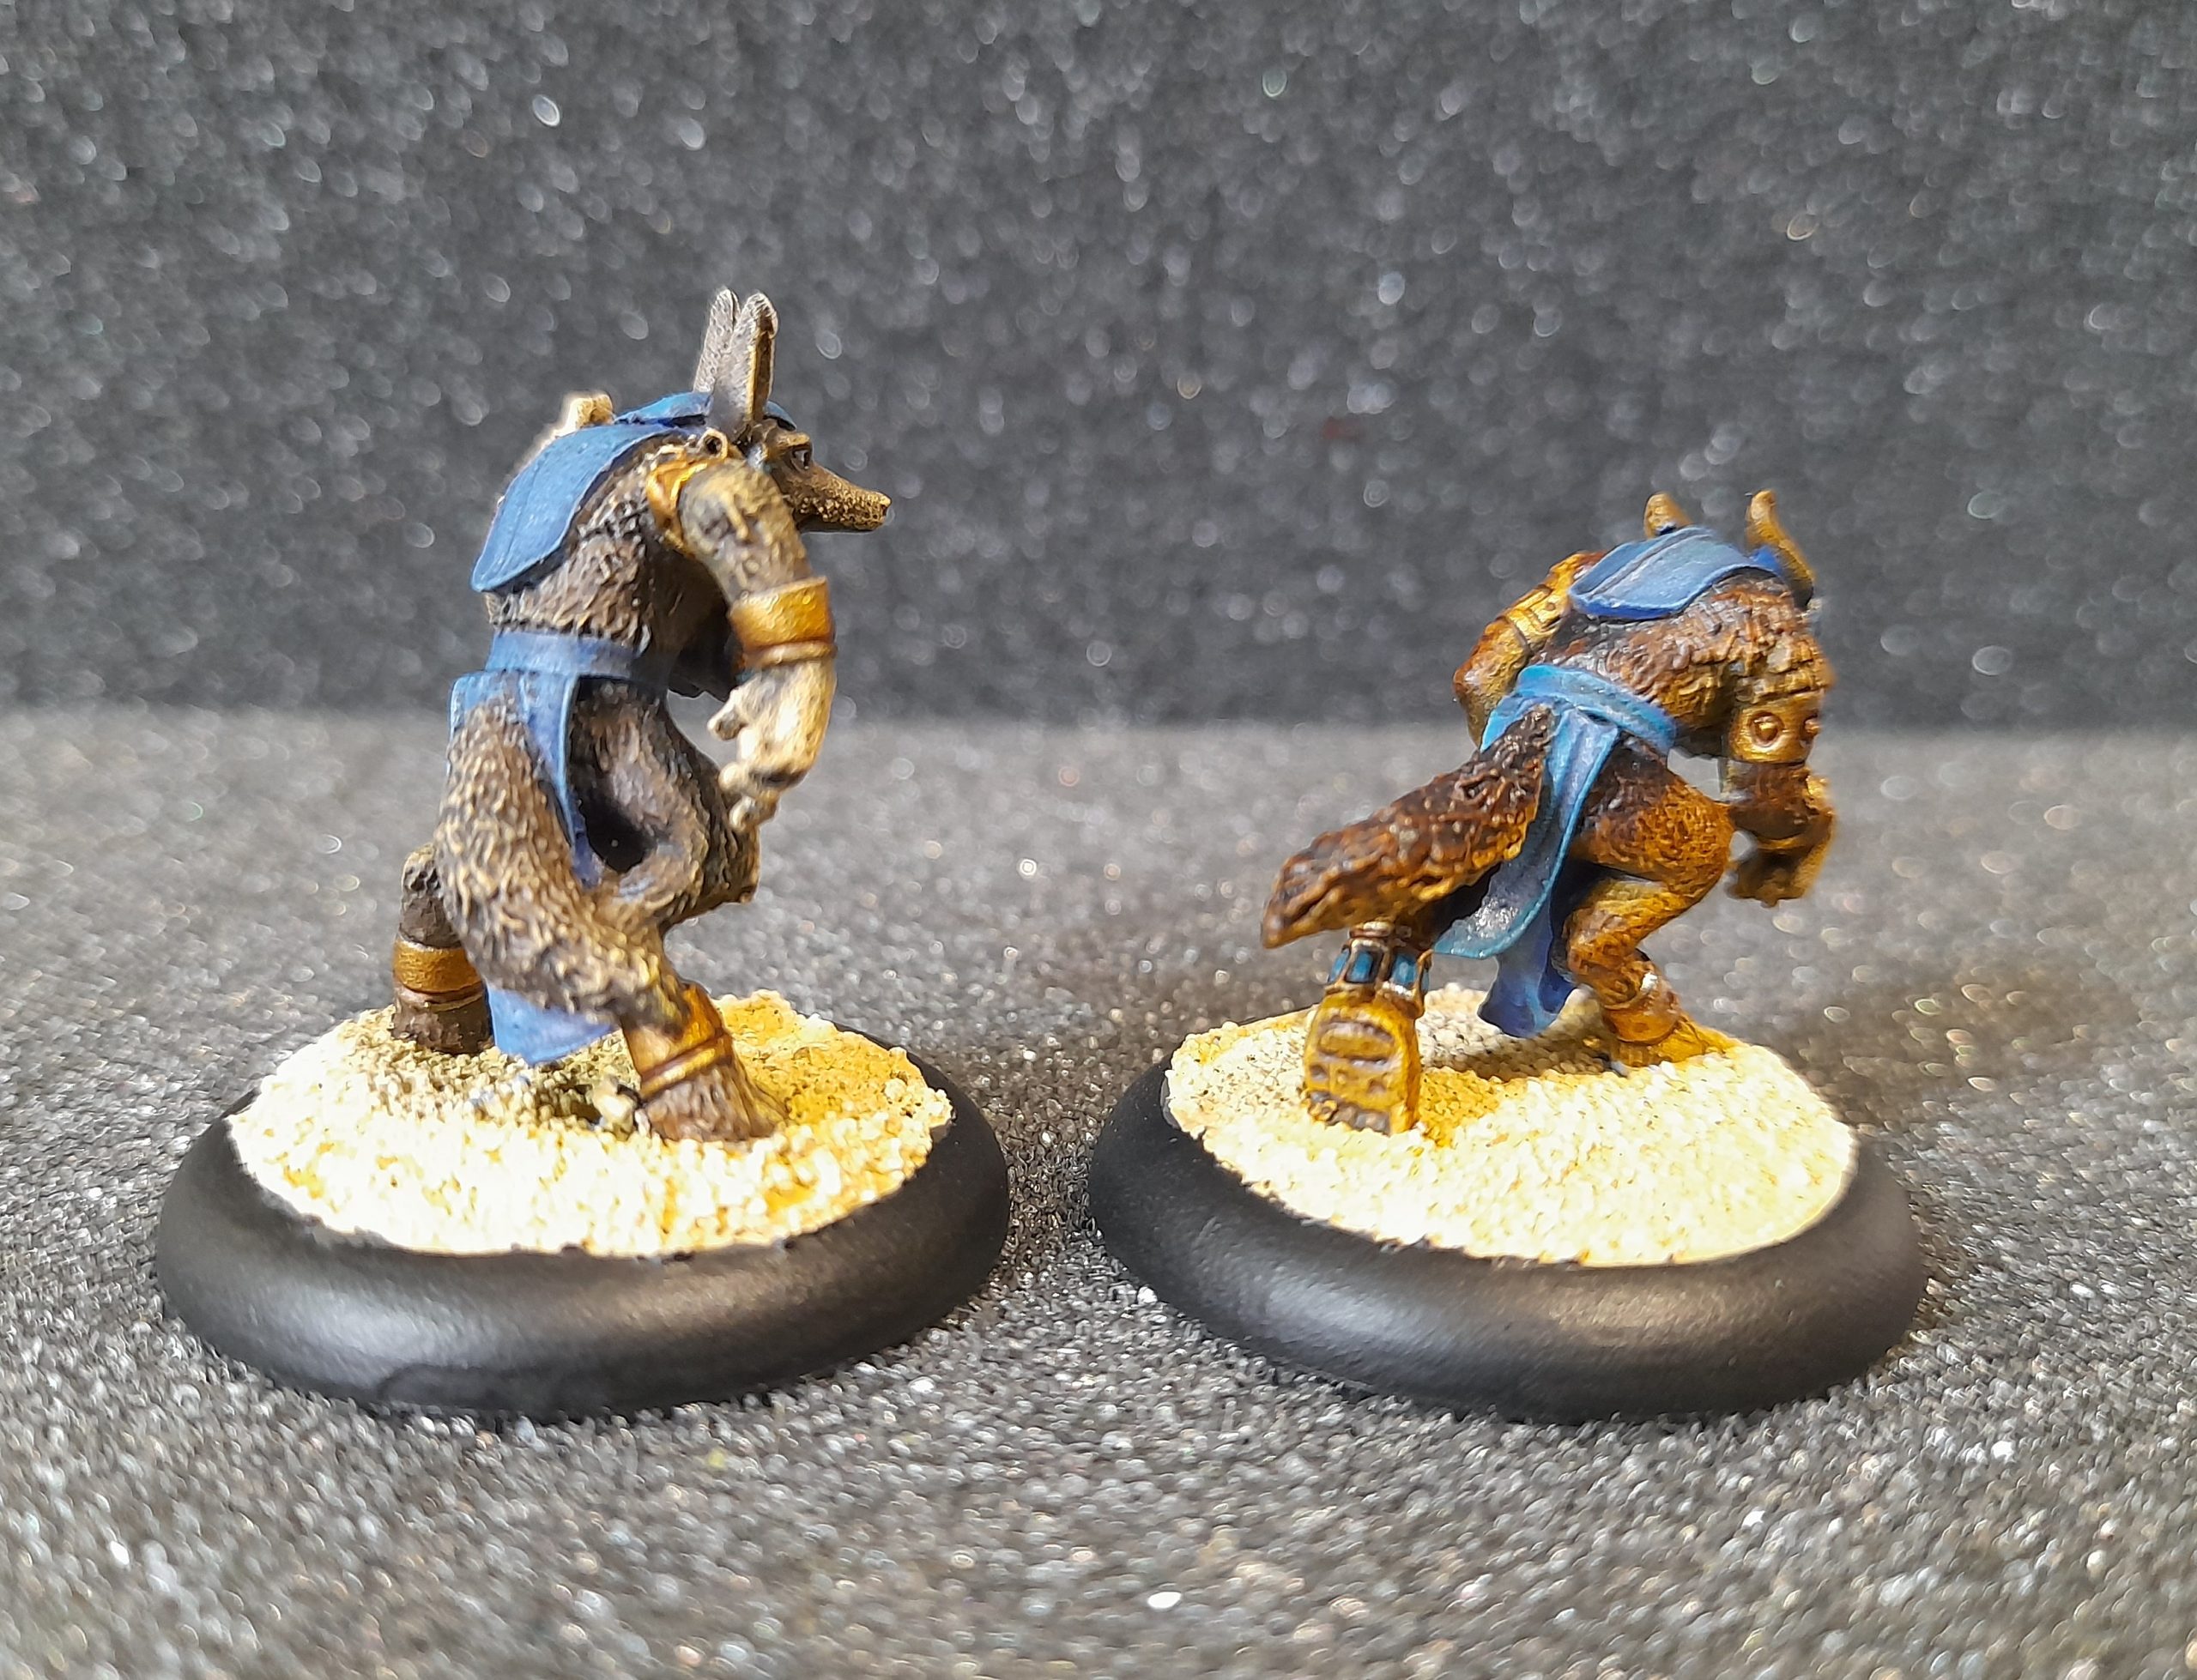
Werejackals
4th August 2025
Next up it was a couple of werejackals. Prepped and primed in my usual way.
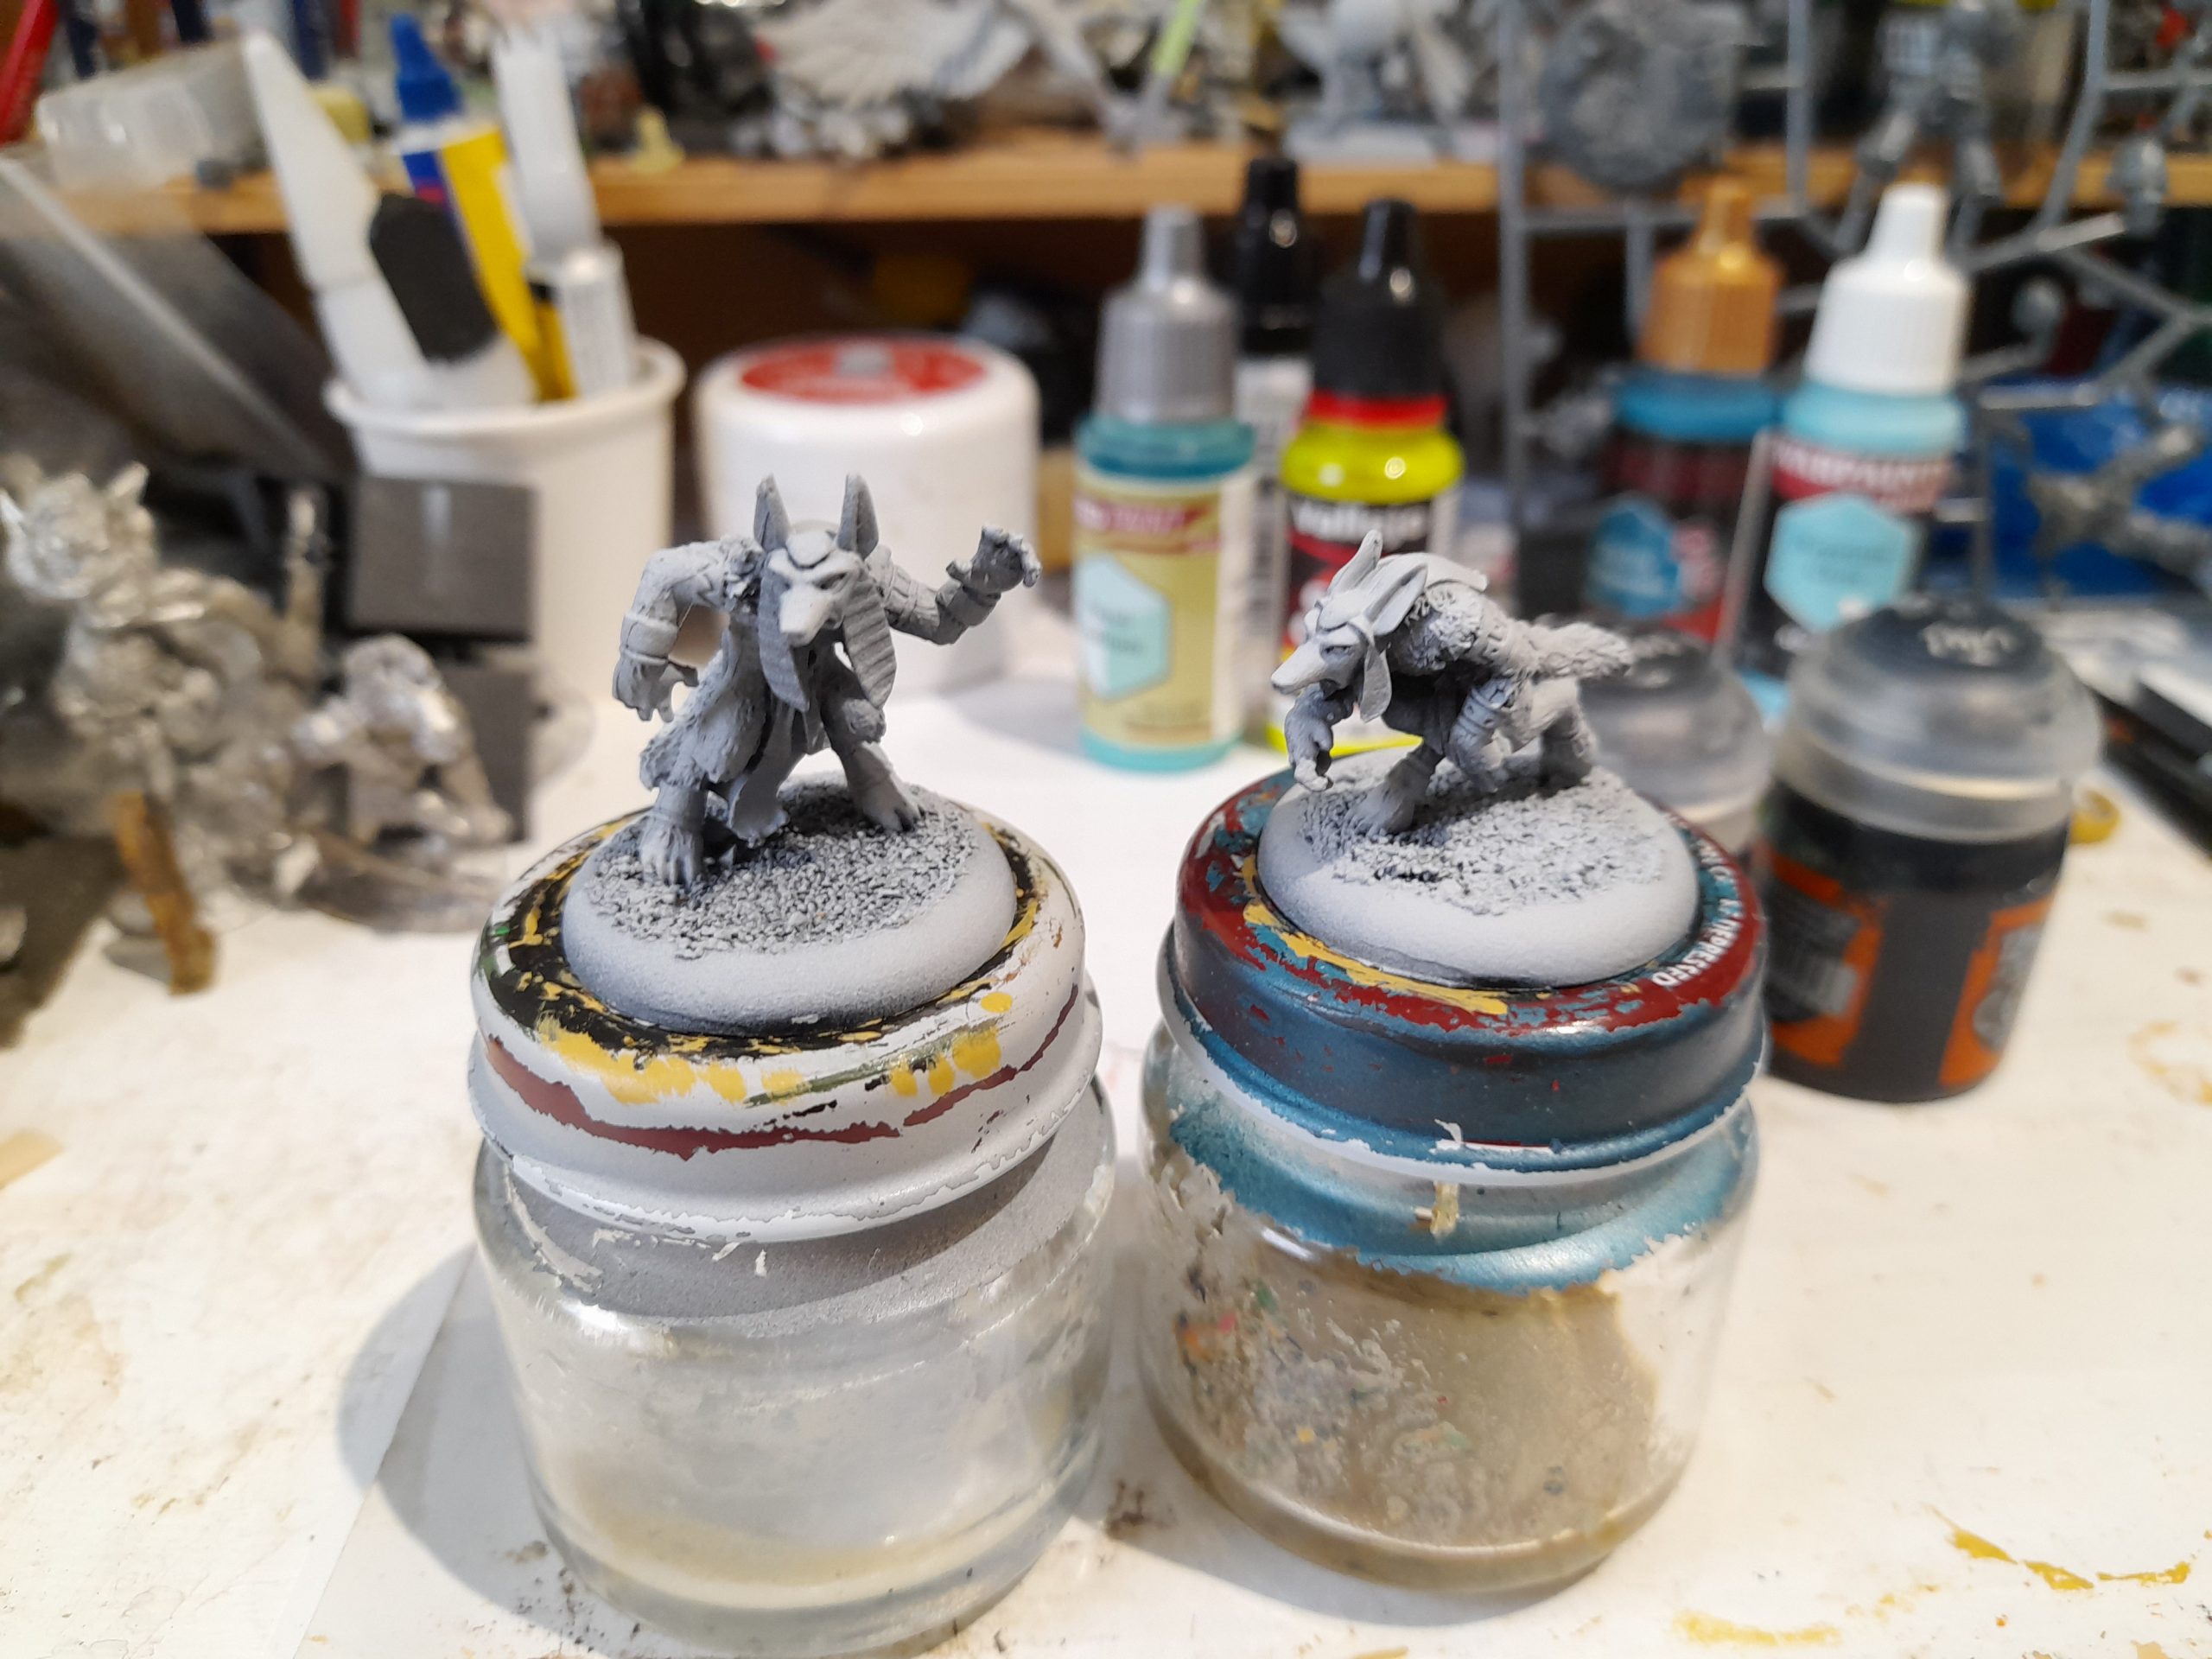
I neglected to get pics for most of this, so I will summarise what I can.
For the more upright jackal I started out with a Wyldwood contrast, which I then drybrushed shoulders, elbows knees and tail with three shades of progressively lighter browns, making the drybrush area smaller for each lighter shade. I drybrushed the hands and snout with a couple of shades of flesh. Then I picked out the jewellery in gold.
I then worked on the second jackal. Started out with snakebite leather contrast all over. Then for the back, shoulders, top of tail, thighs and painted on thinned Gore grunta fur, then in a smaller area thinned Wyldwood, then finally thinned black in a smaller area again. Picked out the gold here as well.
For both I then washed and highlighted the gold. Used a brighter highlight on the crouching one, as the regular gold was blurring a bit against the lighter fur colour.
For the clothing I went with a dark blue, highlighting up, then finishing with a touch of turquoise. This was then given a thinned wash of nuln oil.
Picked the eyes out in ivory. I may add a red or yellow wash at some point perhaps, but not sure. And will probably give them a matt varnish spray.
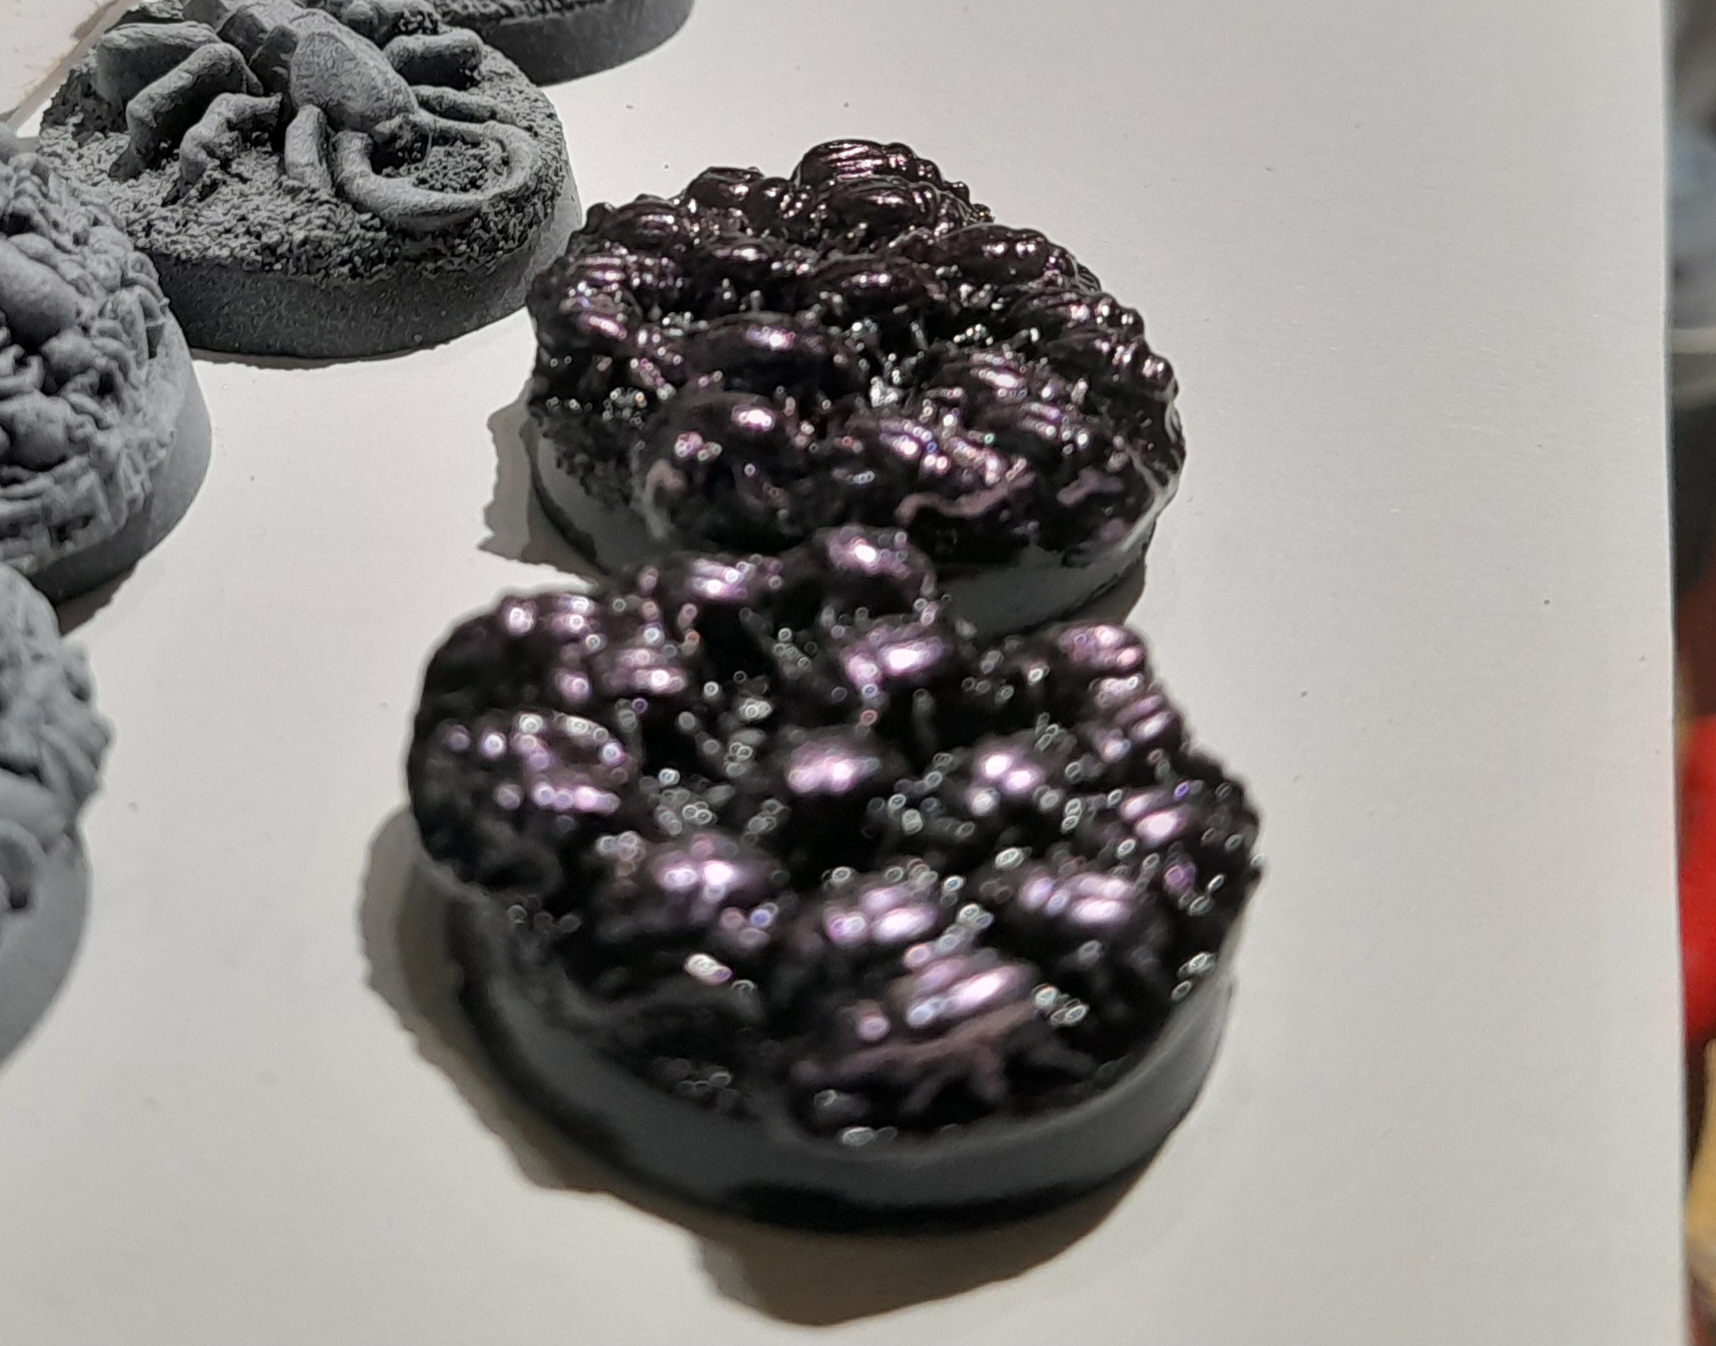
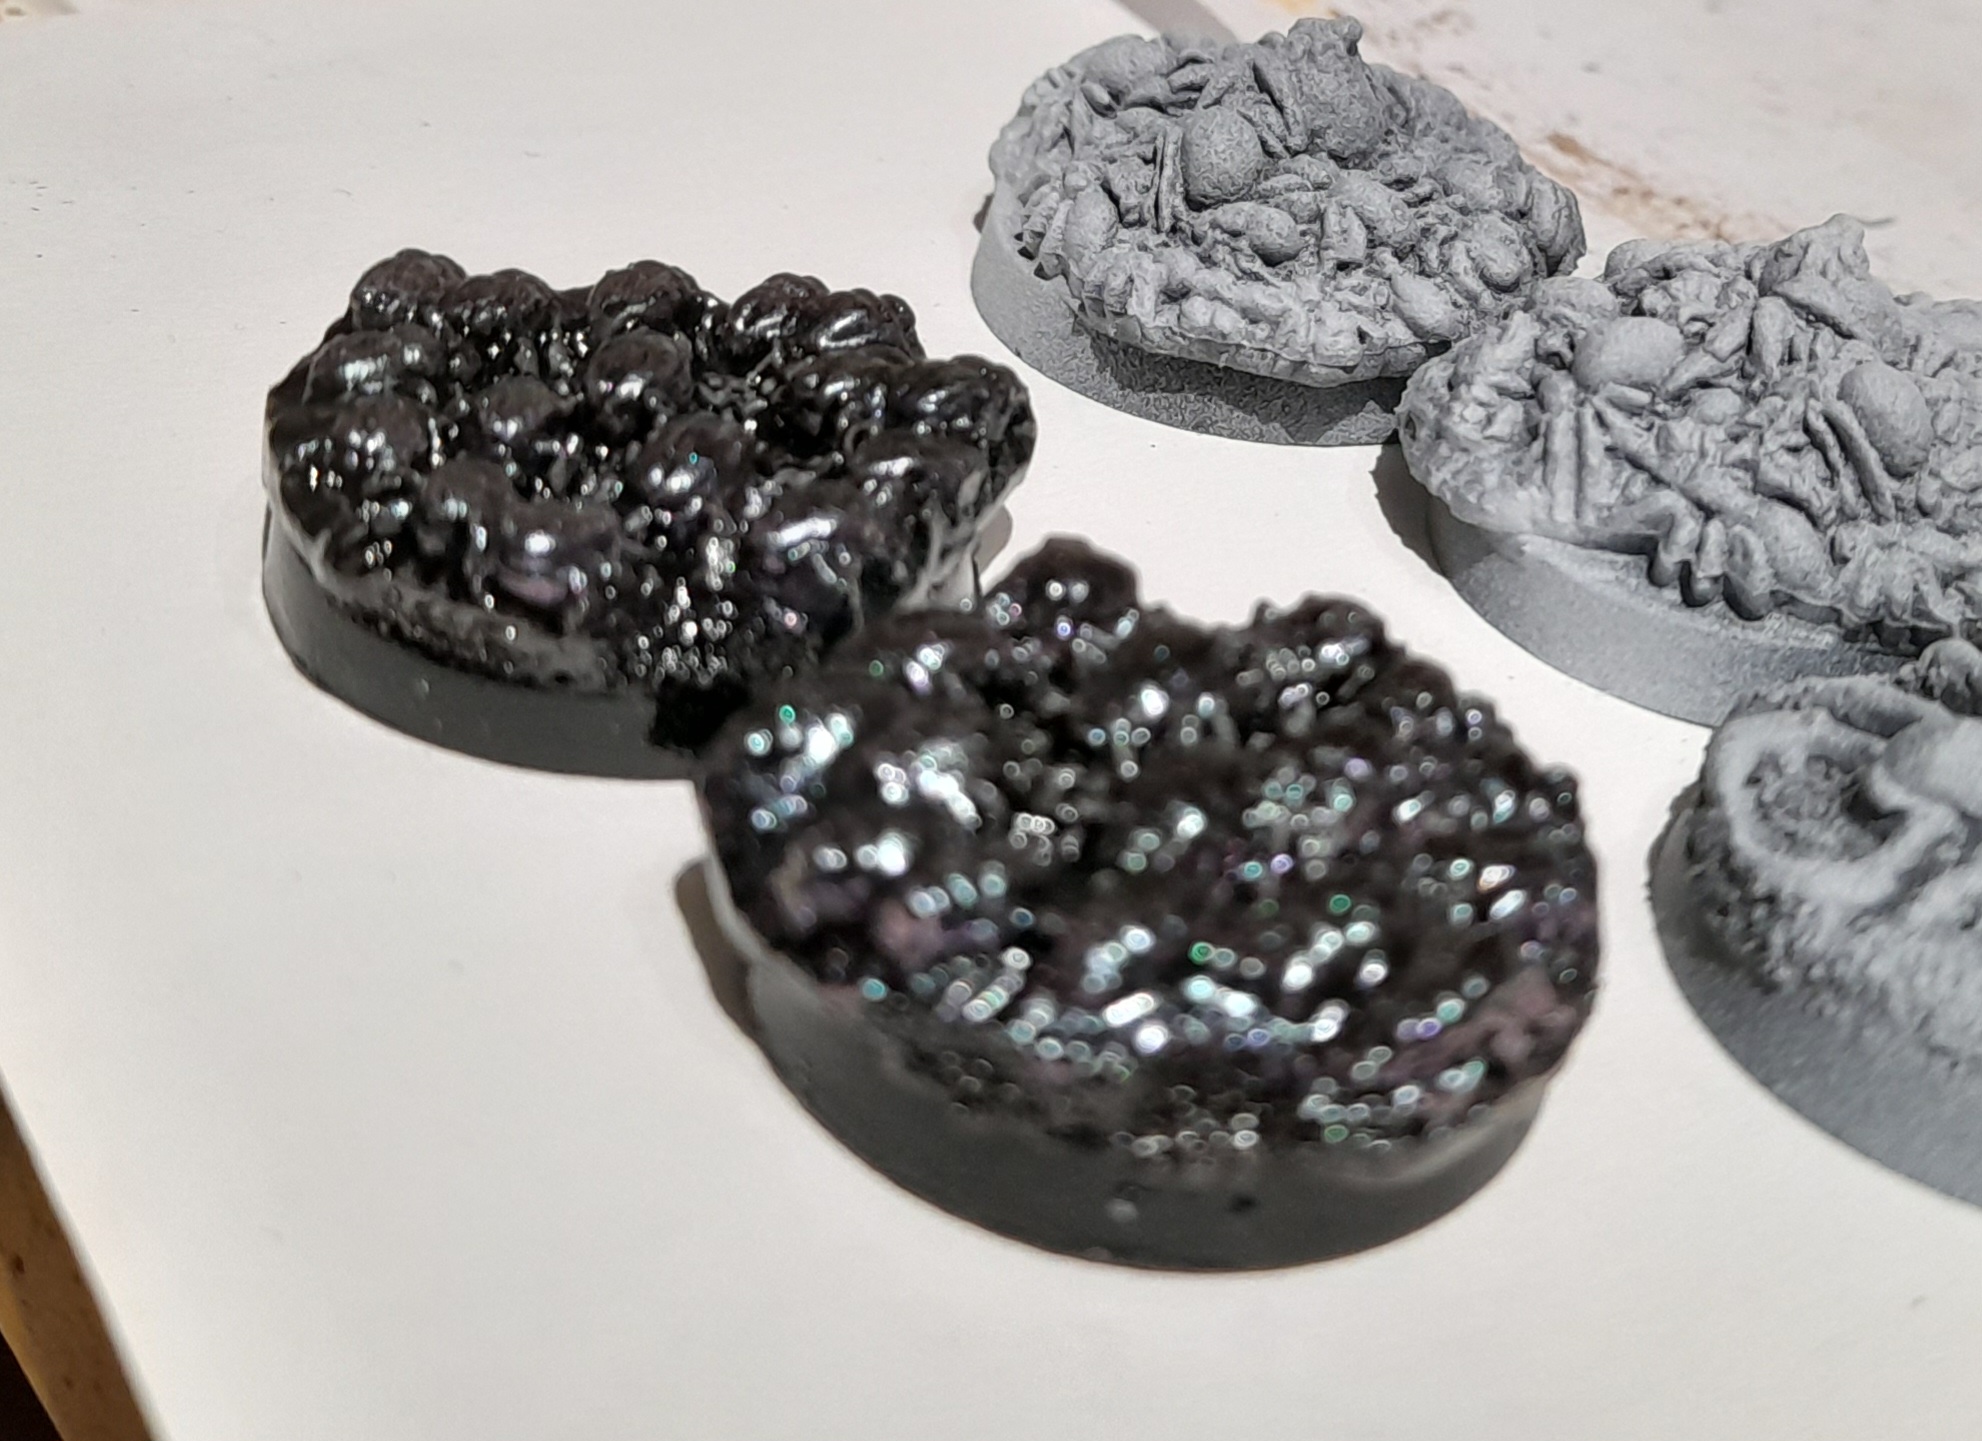
Some more swarms....
28th July 2025
Another Egypt scenario calls for a handful or Scorpion swarms. I don’t have any specific scorpion swarms, but I did have a few things that could represent, again from my Reaper Bones kickstarter.
I had two each of large scorpion, scarab swarm and spider swarm. They were stuck onto 25mm round bases and primed. The scarabs were primed gloss black, the rest were primed black then over sprayed corax white.
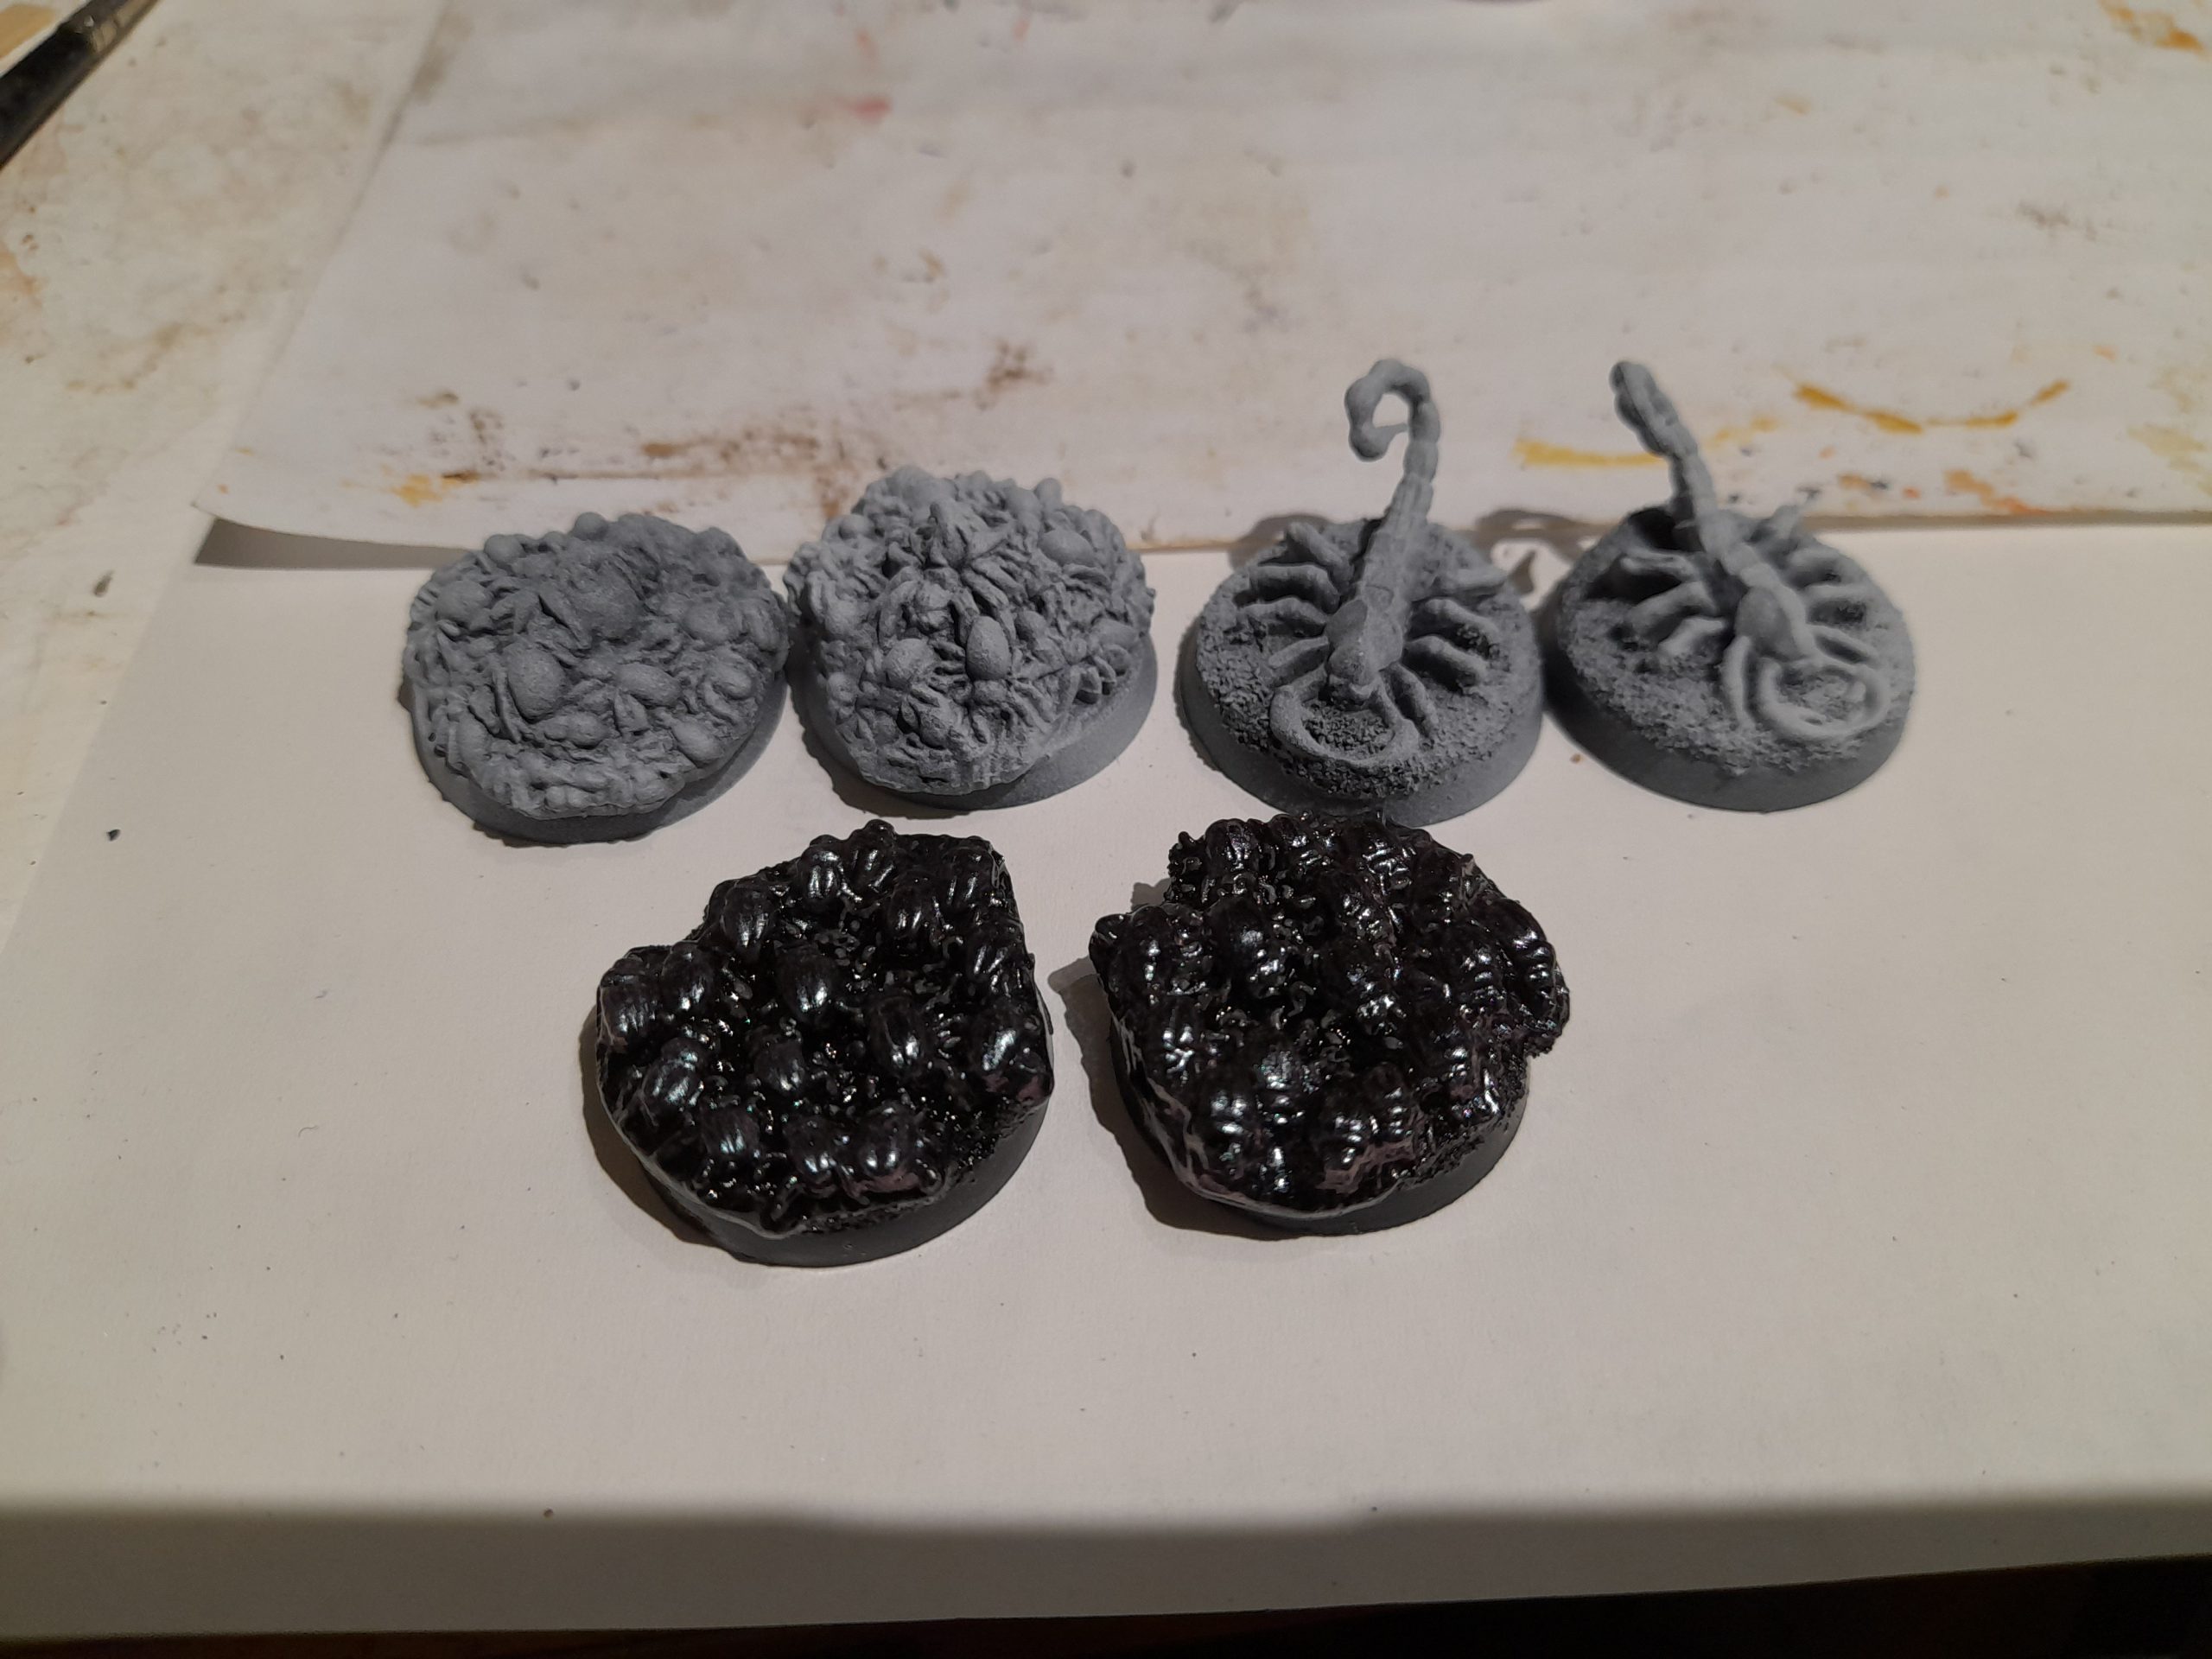
The scarabs were then painted with colour shift paint, that changes from purple through to green (but doesn’t show too well in pics).
The scorpions were painted in two different contrast browns, then I picked out some detail on their stingers, claws and added a red patch to their backs.
For the spiders I painted one base in contrast black and one in brown. Then I picked out individual spiders in other shades of blacks and browns, and for the more prominent ones I added some patterning to their backs. Some were given a gloss varnish to make them pop out a bit.
All bases were then painted in the base sand triad.
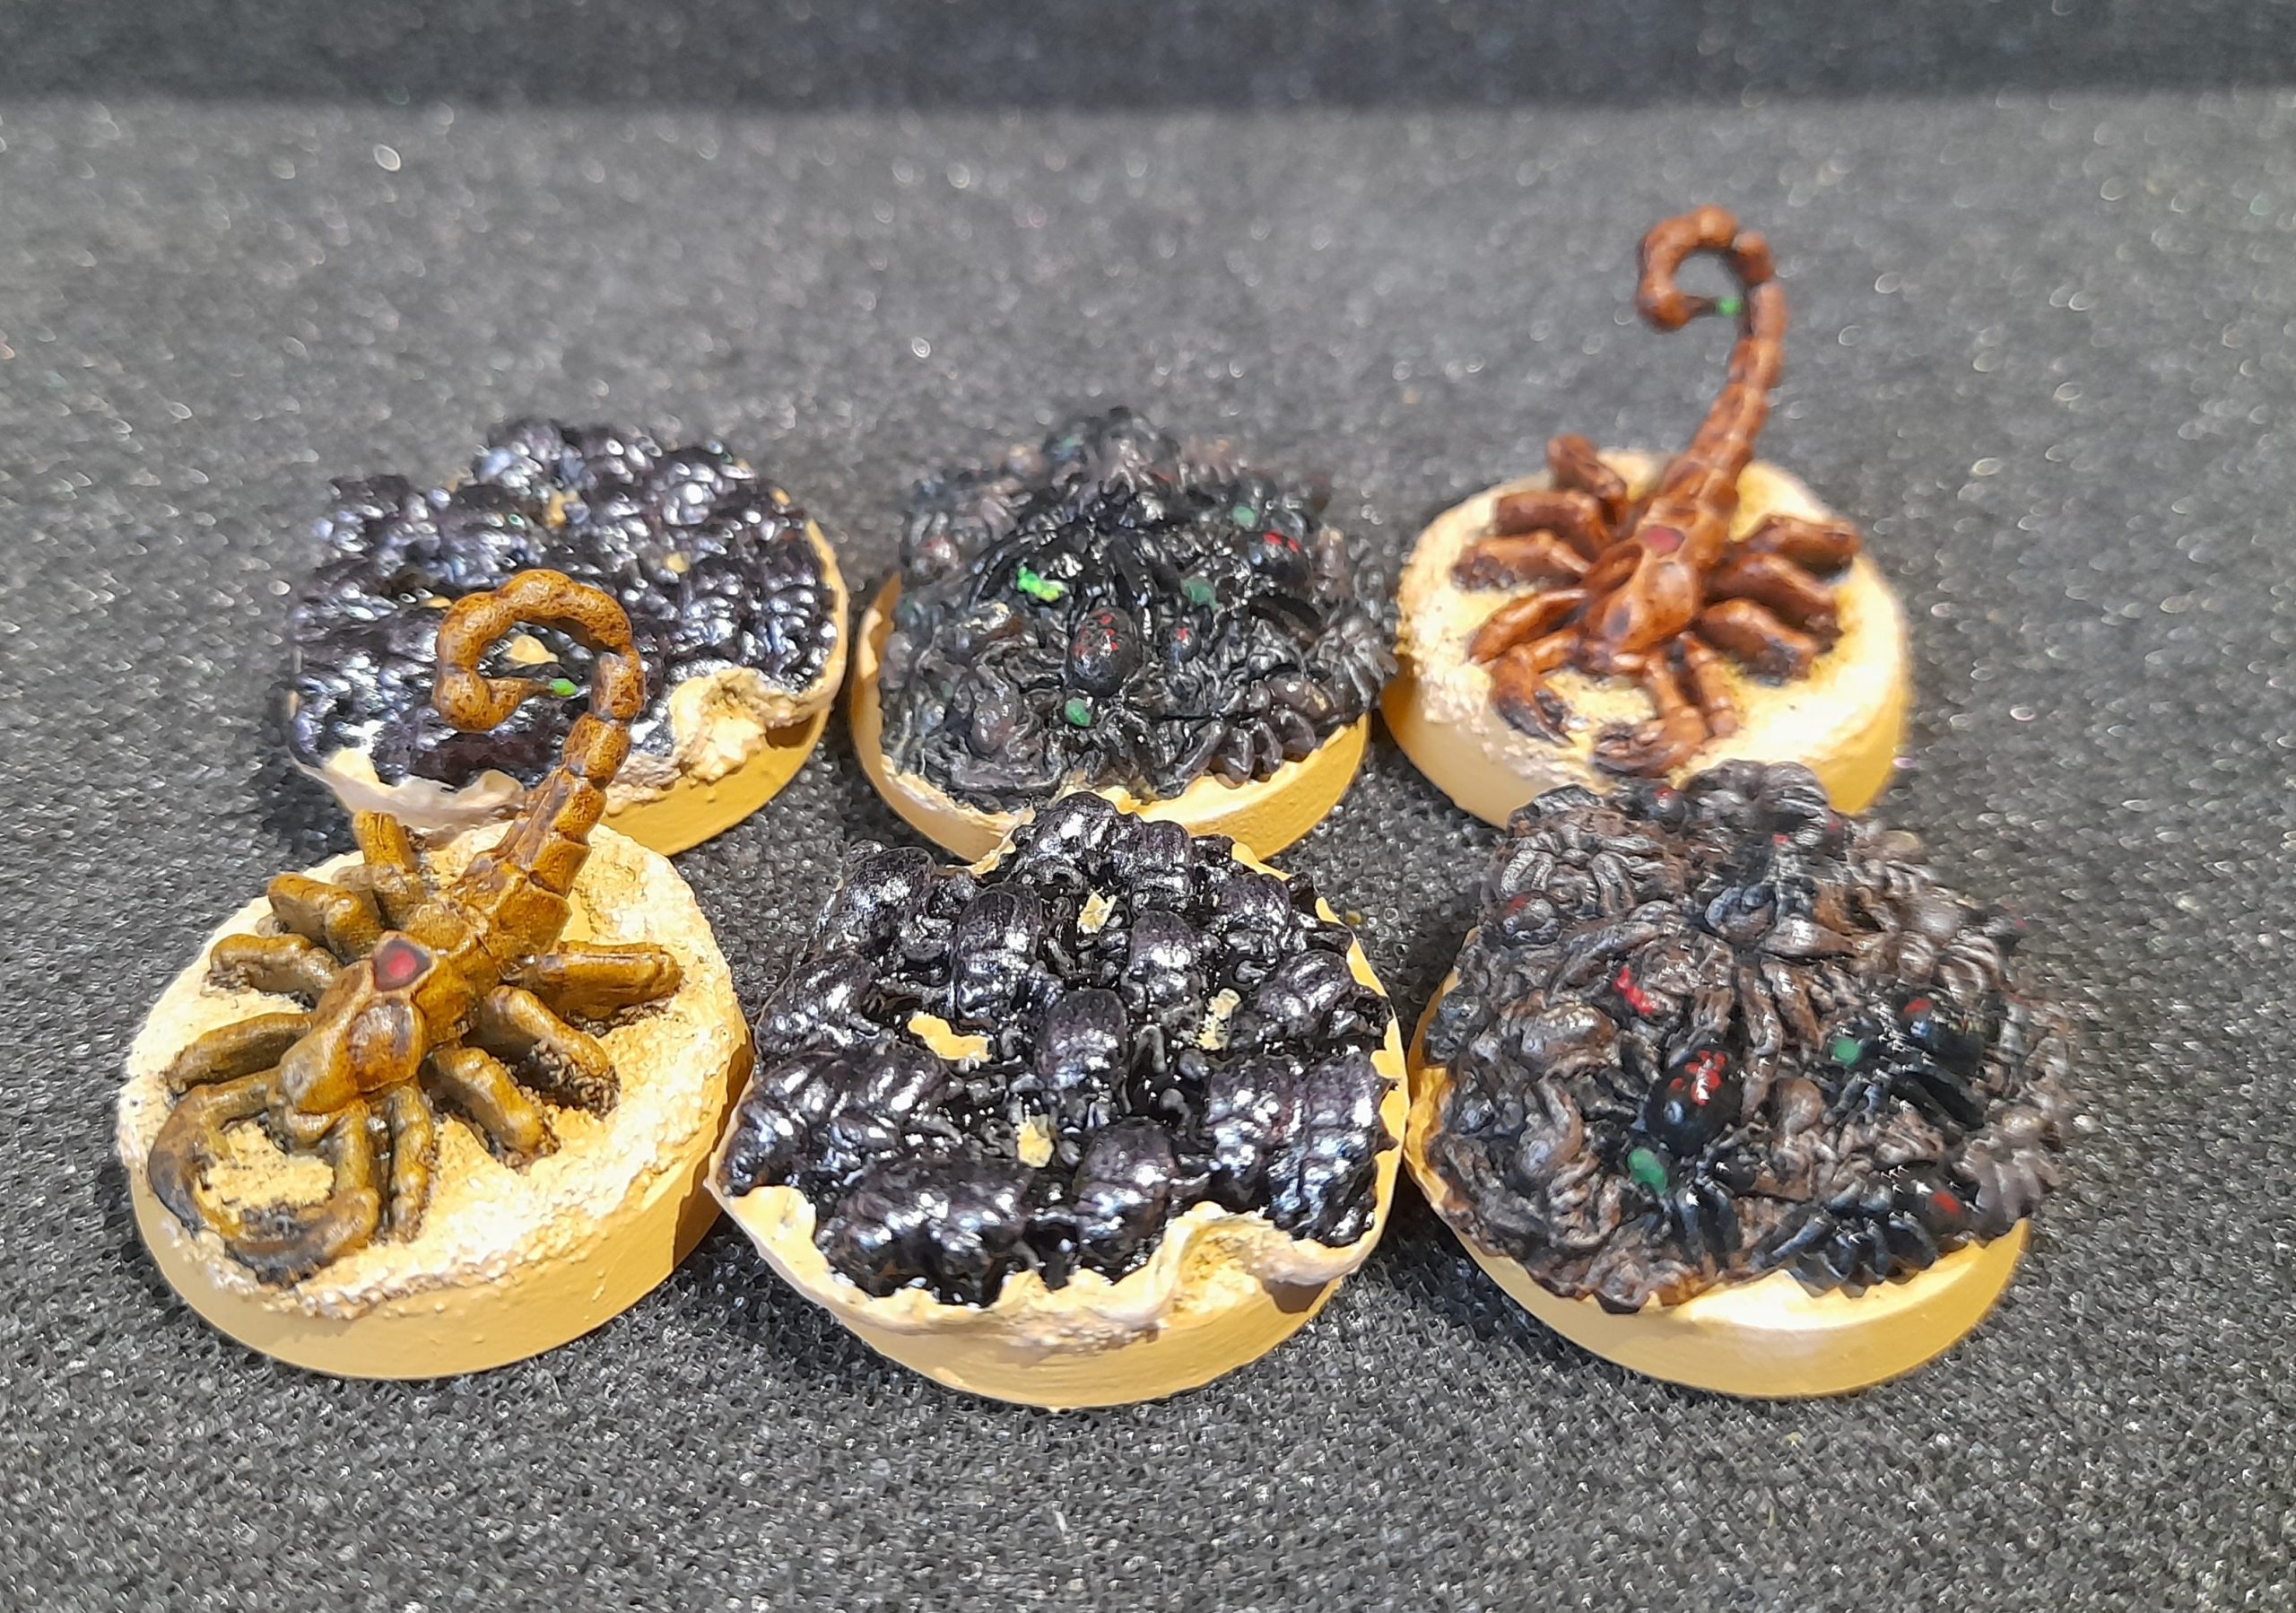
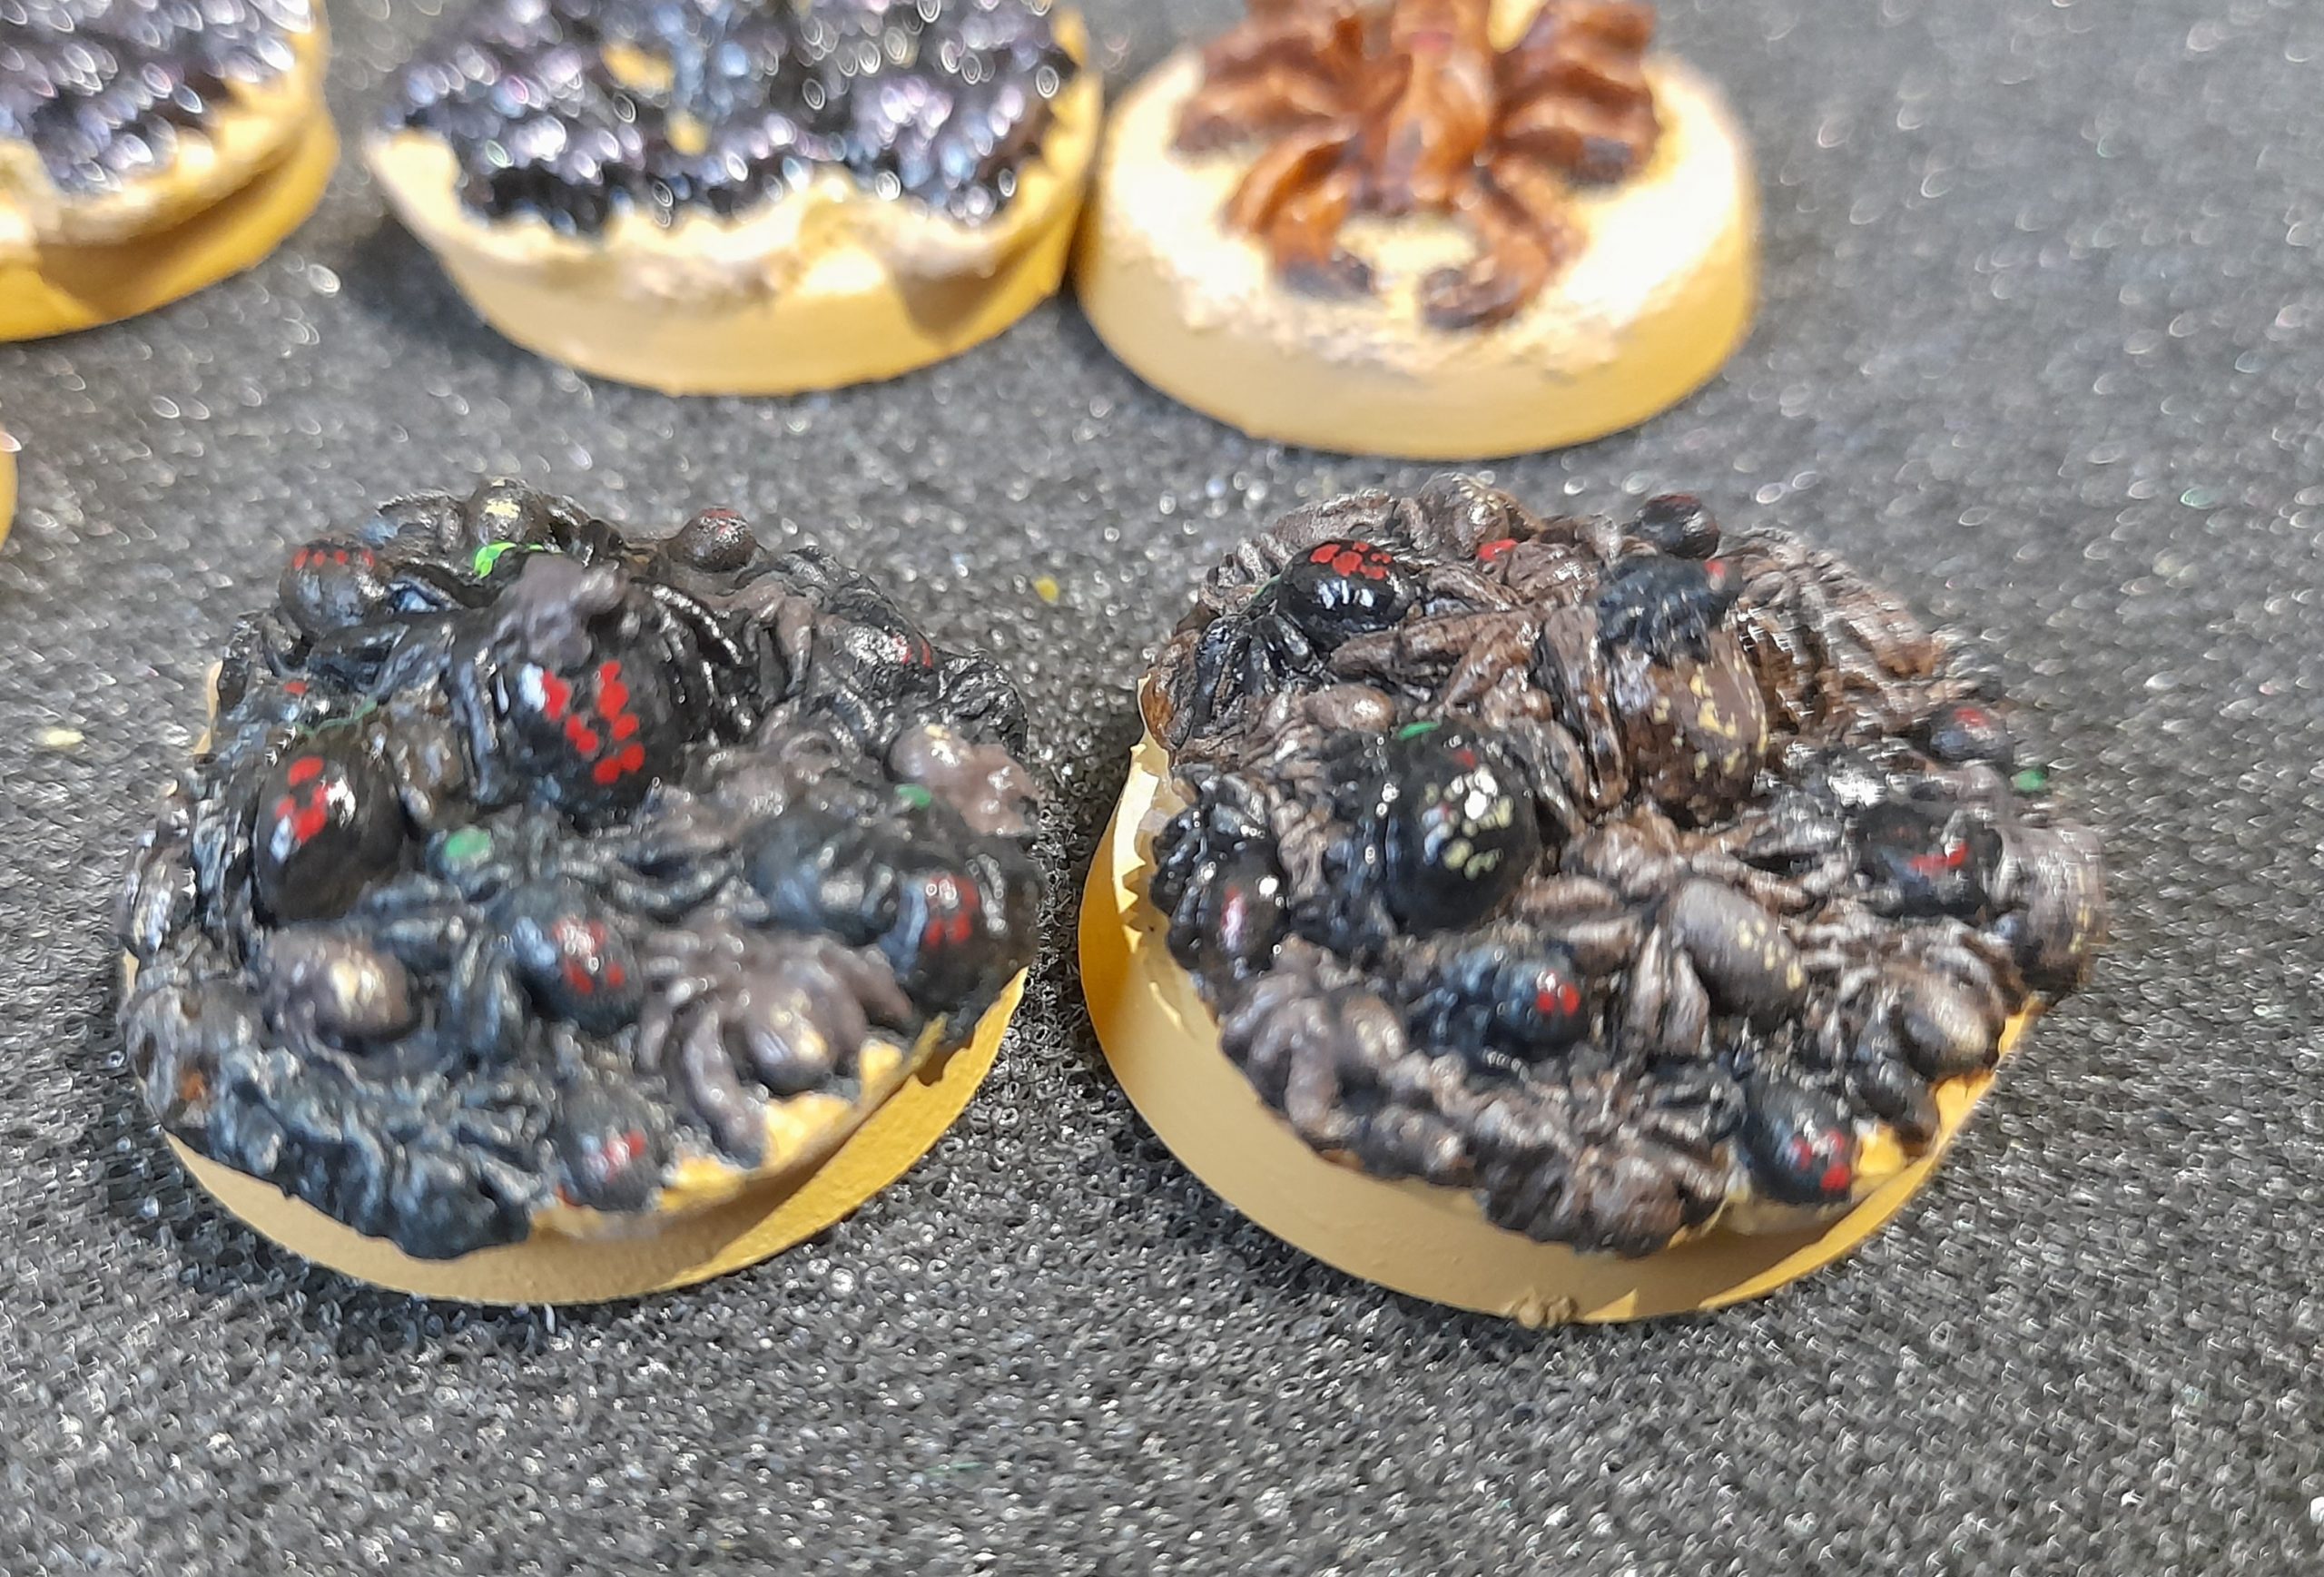
Again, they don’t stand up to close scrutiny, but they will suffice for the one scenario.
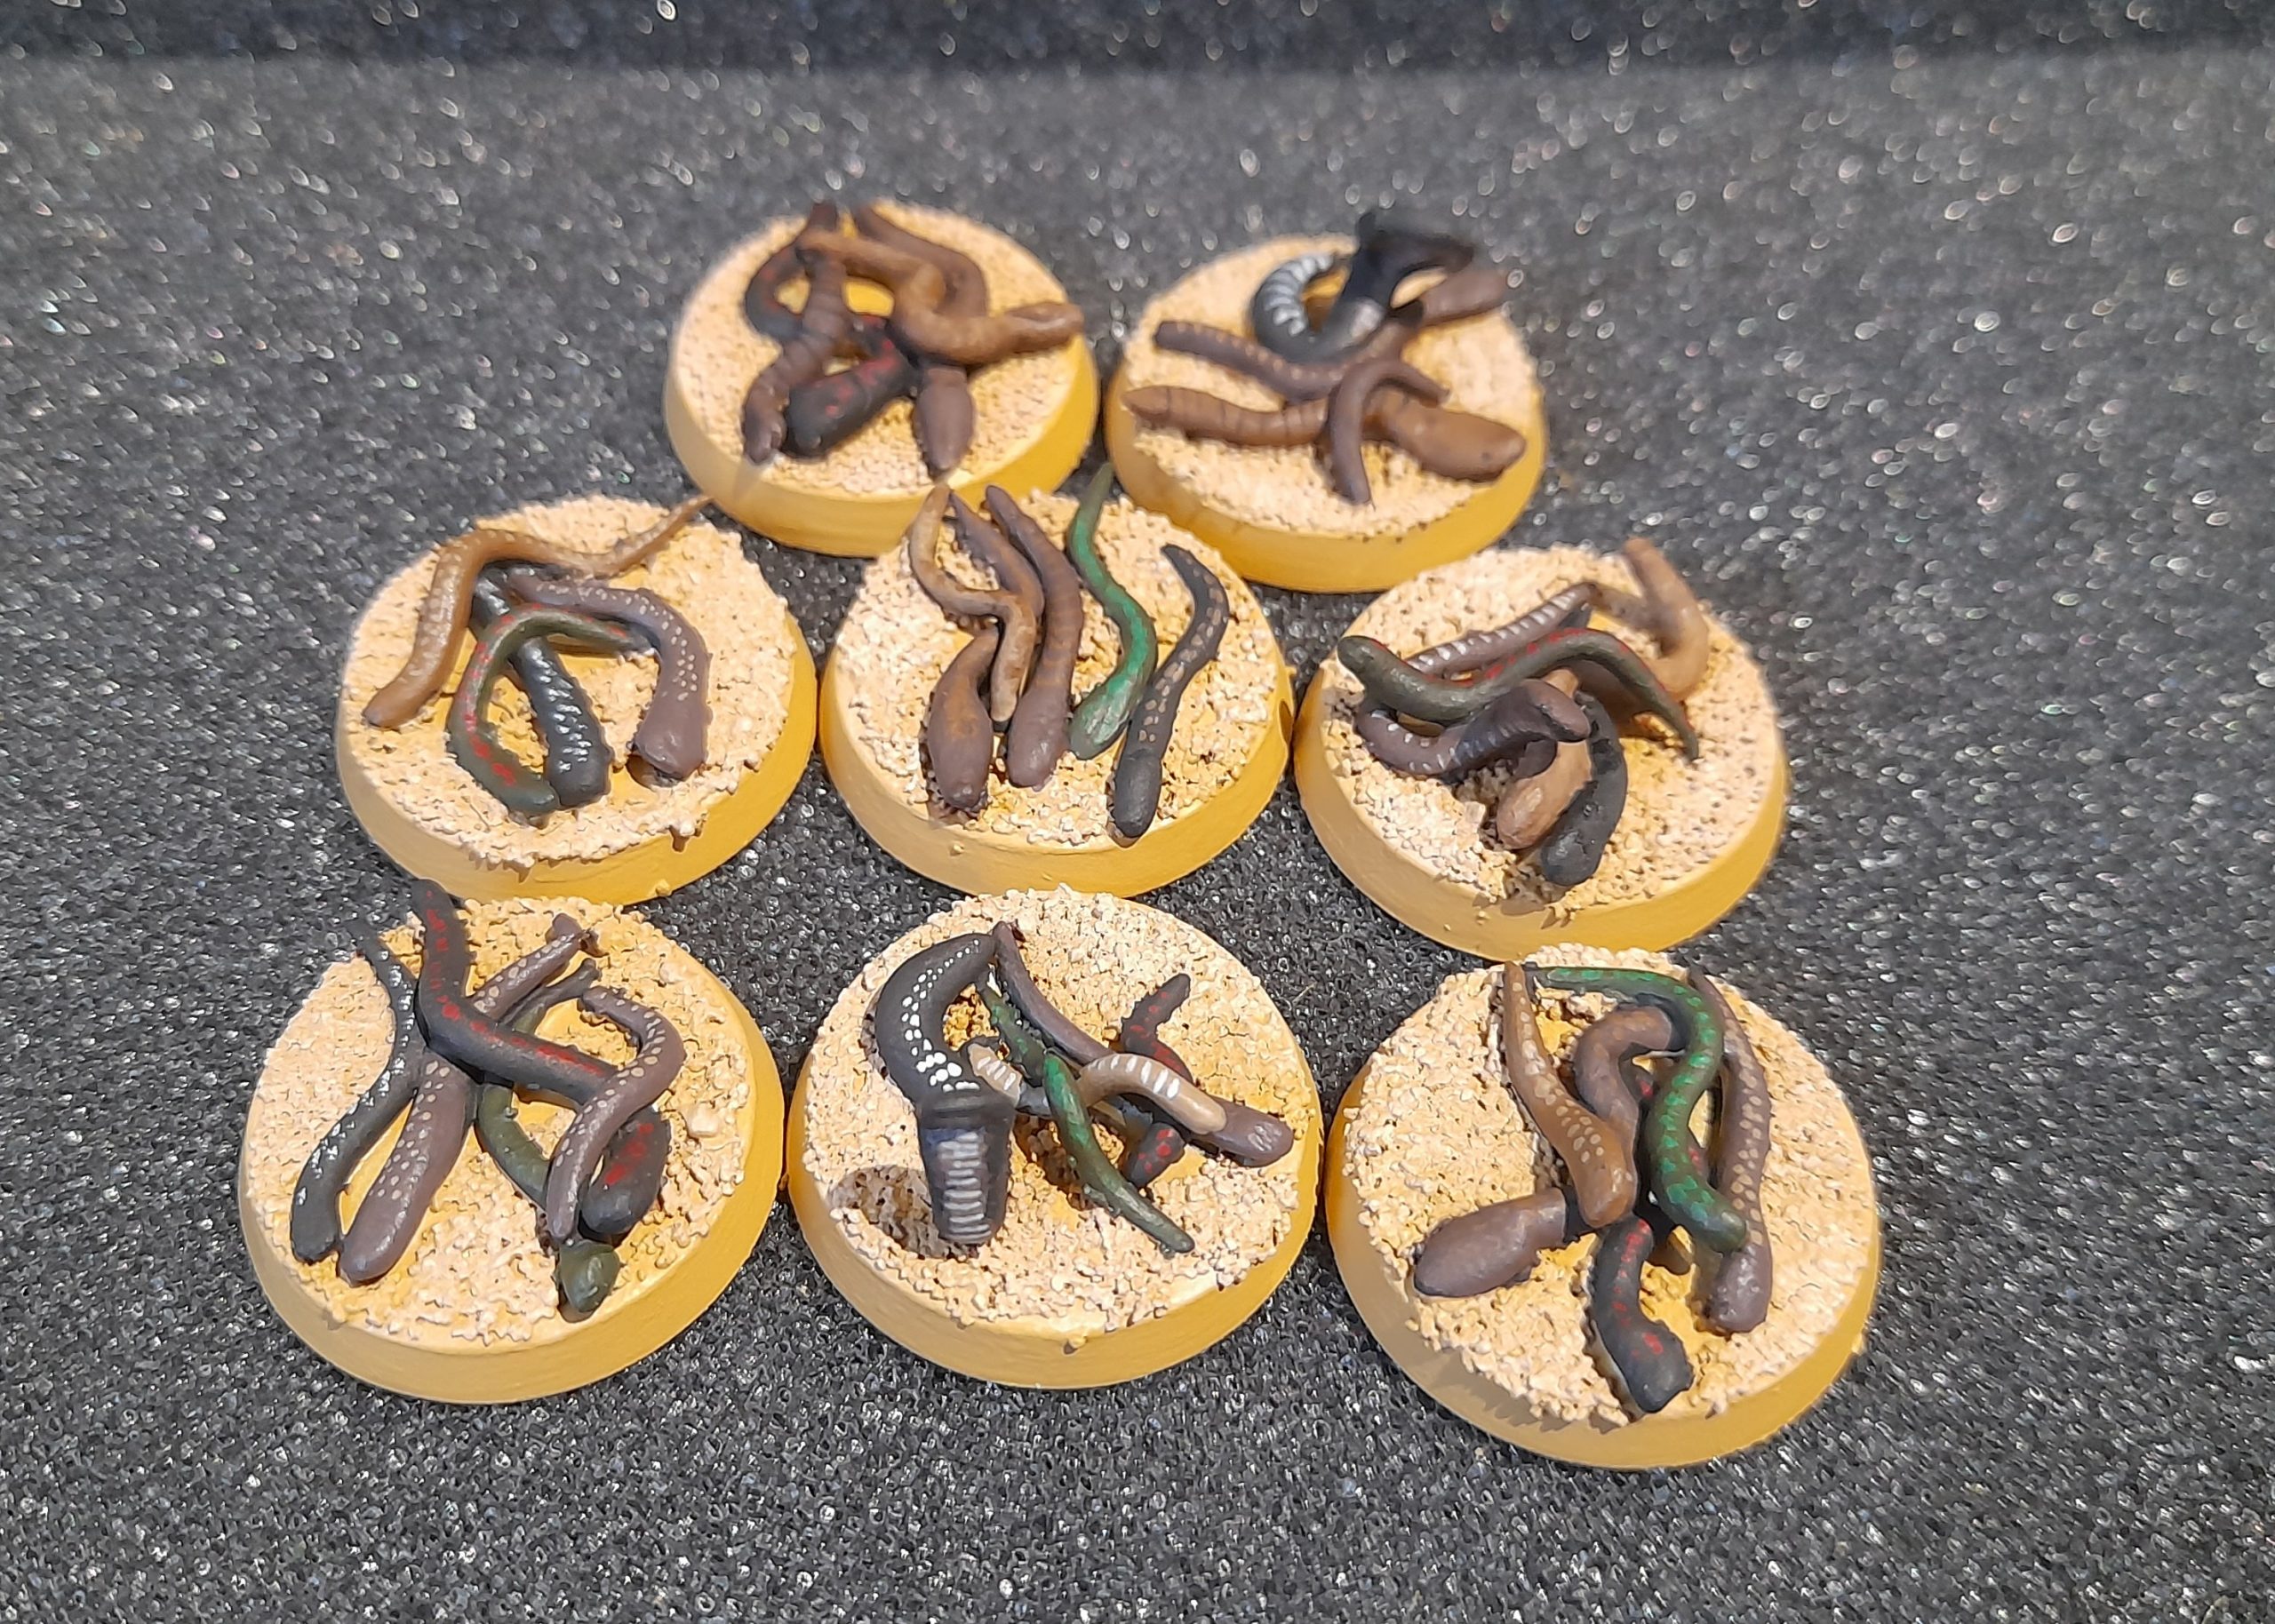
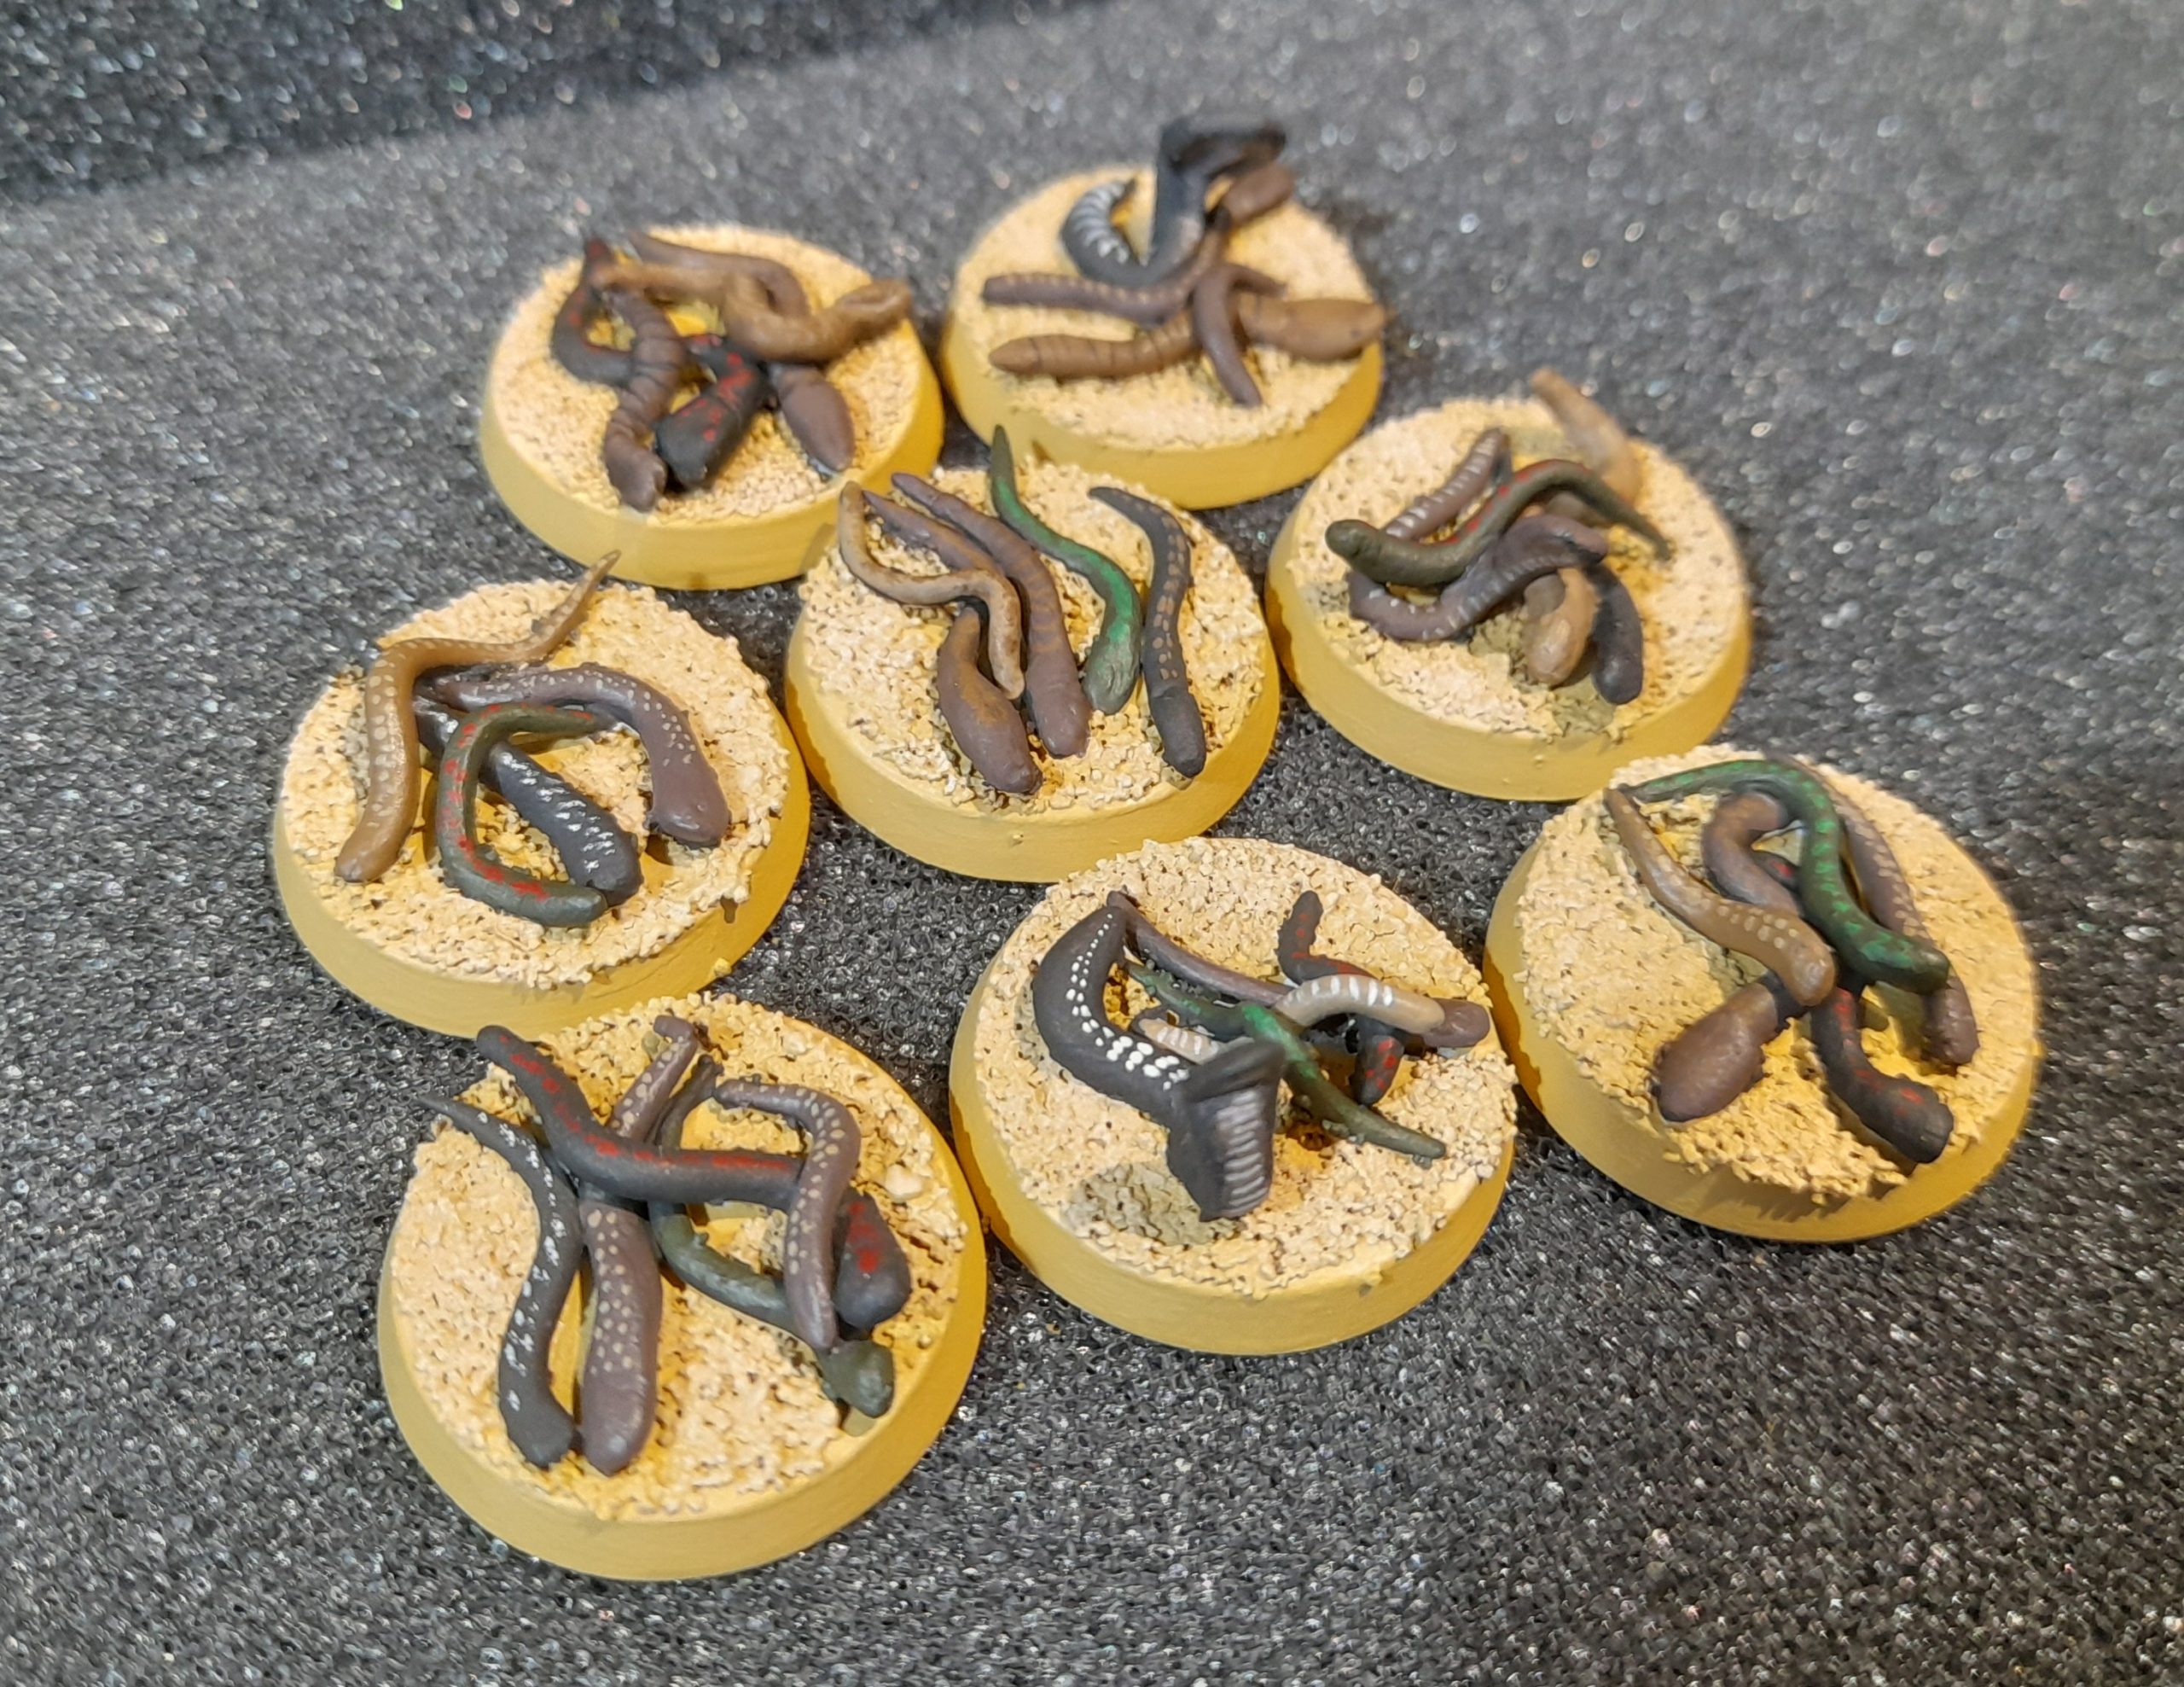
Snake swarms
24th July 2025
More of the same really.
These were made from the smaller rolled left overs of milliput / putty. Magnetised as per the rest.
Initially I did not put any sand on the bases, and just painted them sand colour. But I didn’t like that, so I went back in, glued some fine gravel/sand to the bases and repainted them with my base sand triad.
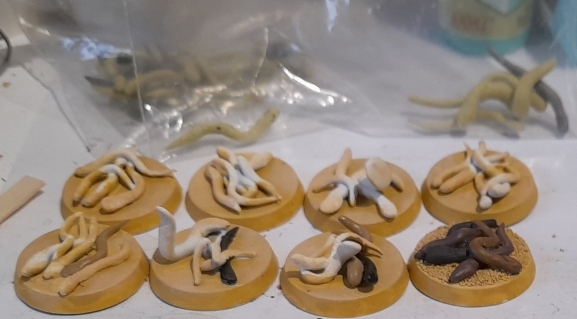
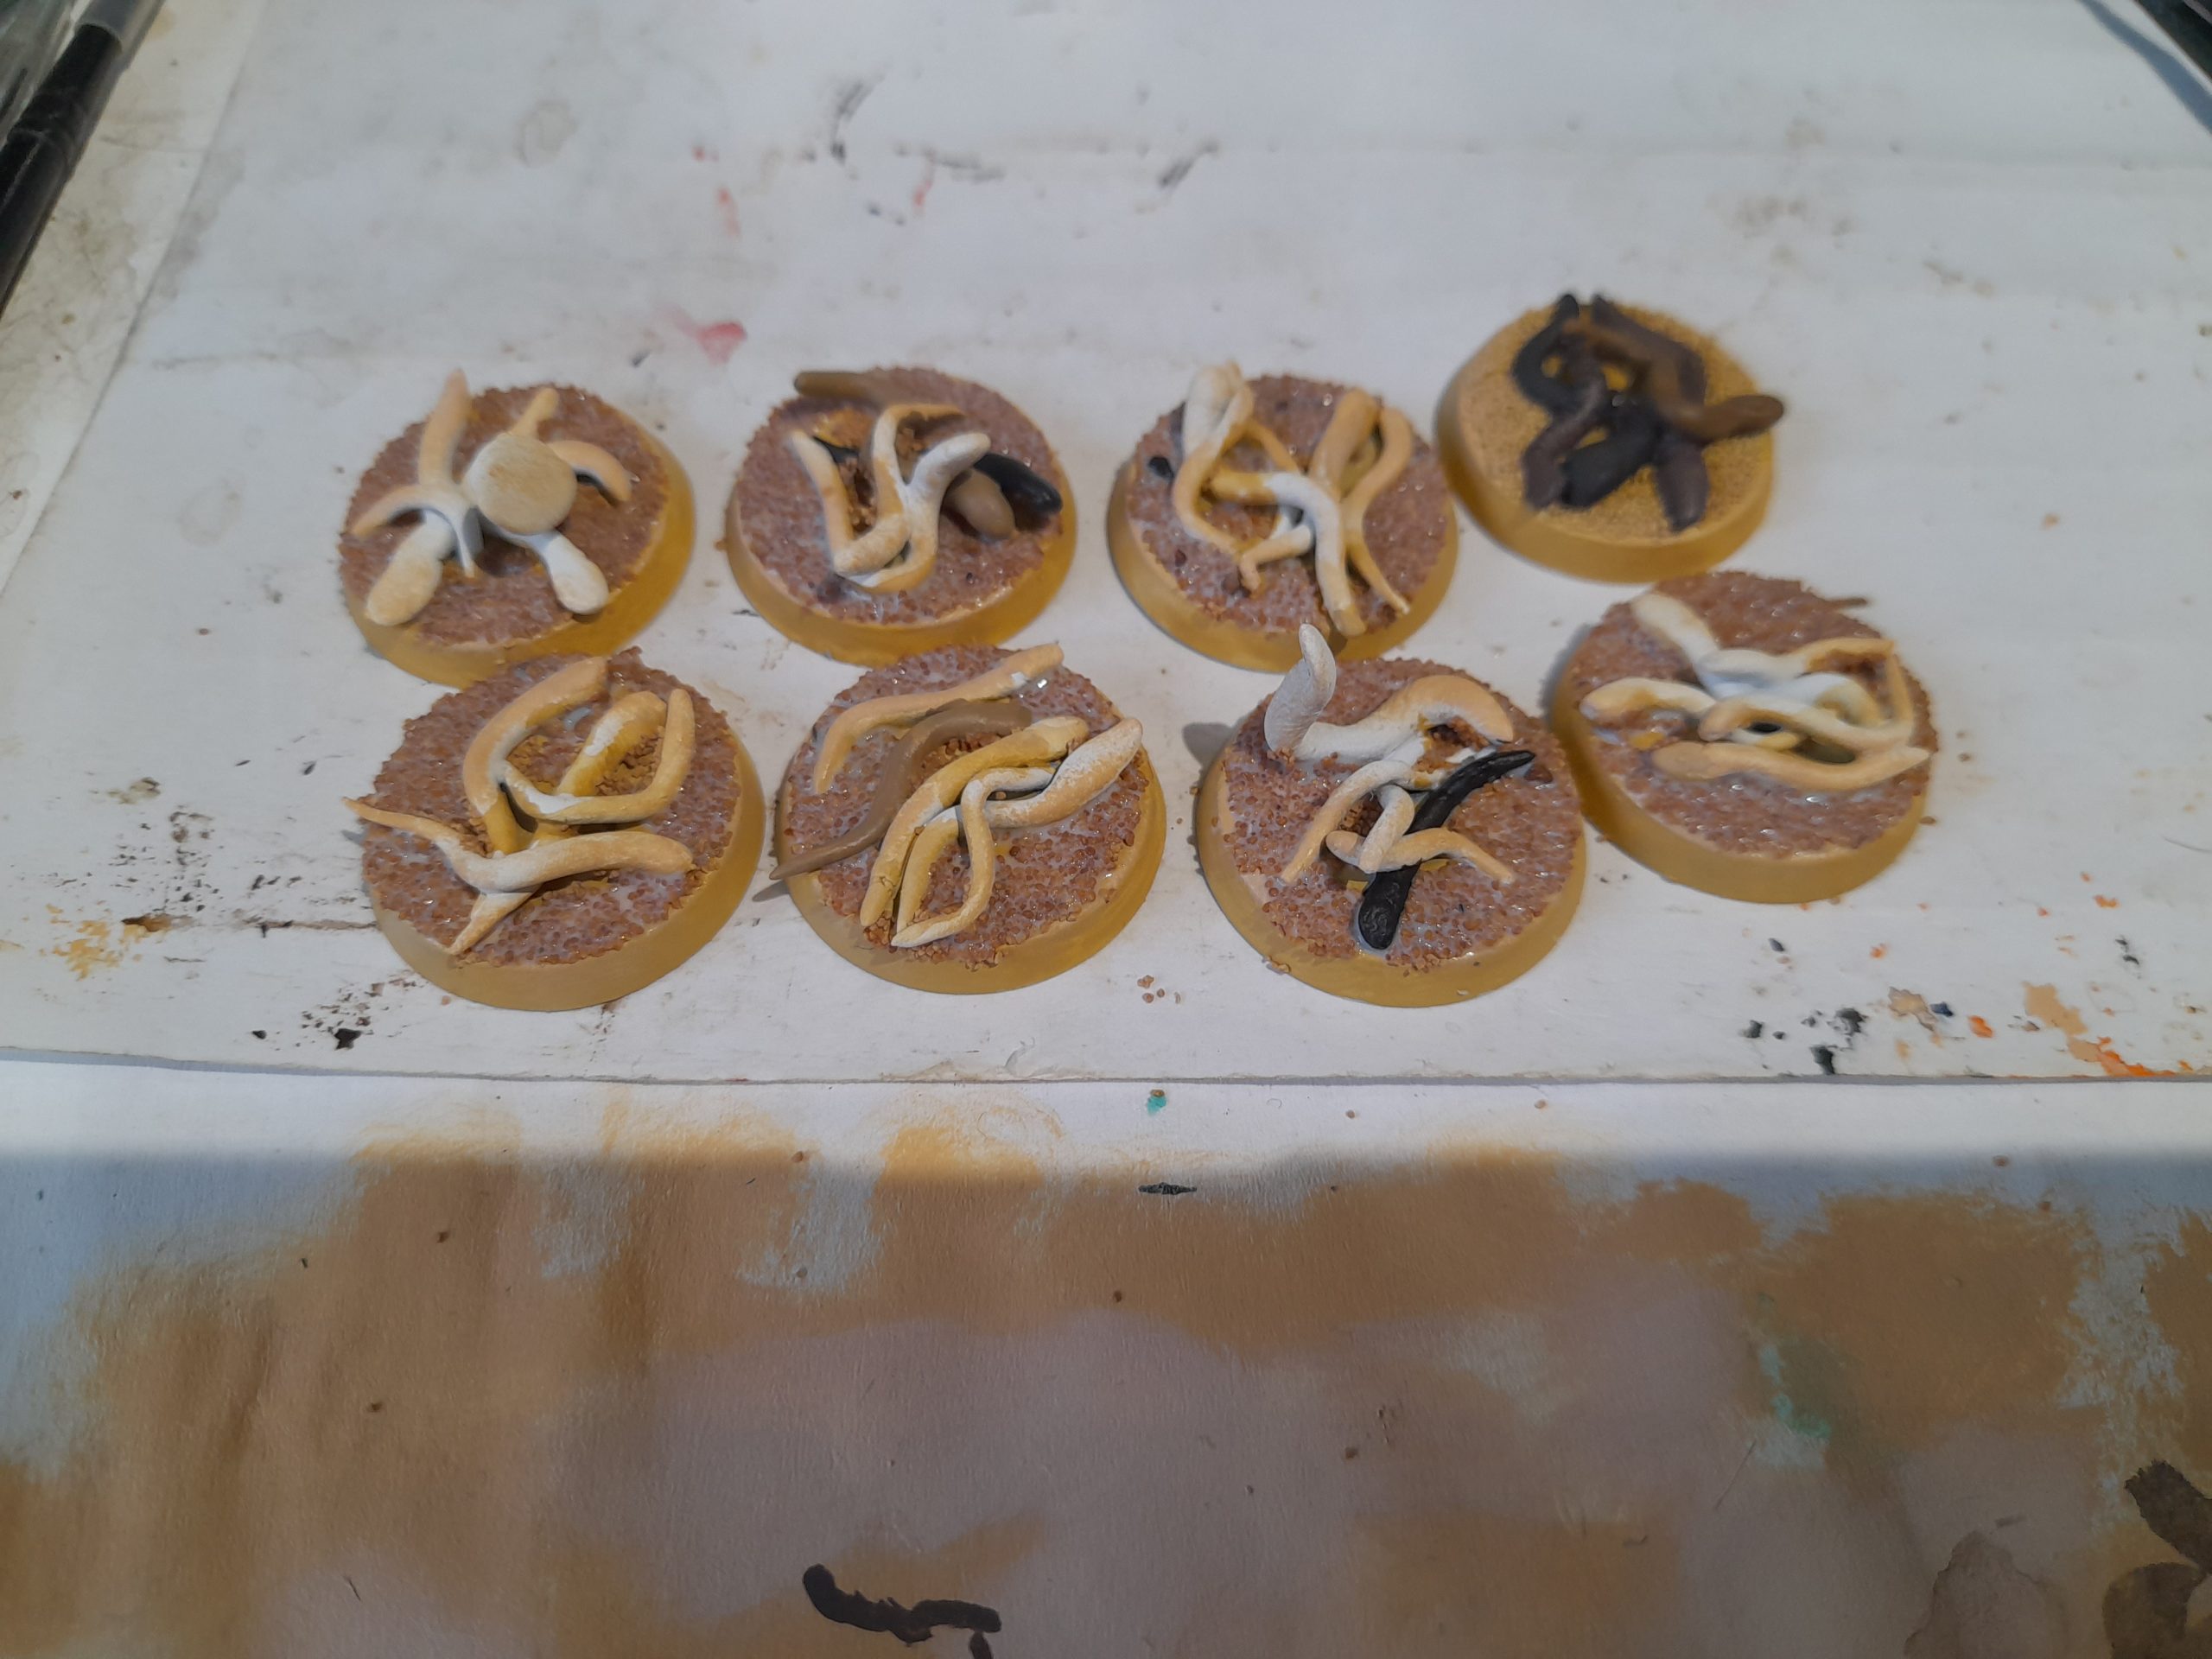
They were then painted in much the same way as the vipers. Where possible I used a mix of shades on each base, and applied smaller dot and line patterns compared to those used on the Vipers.
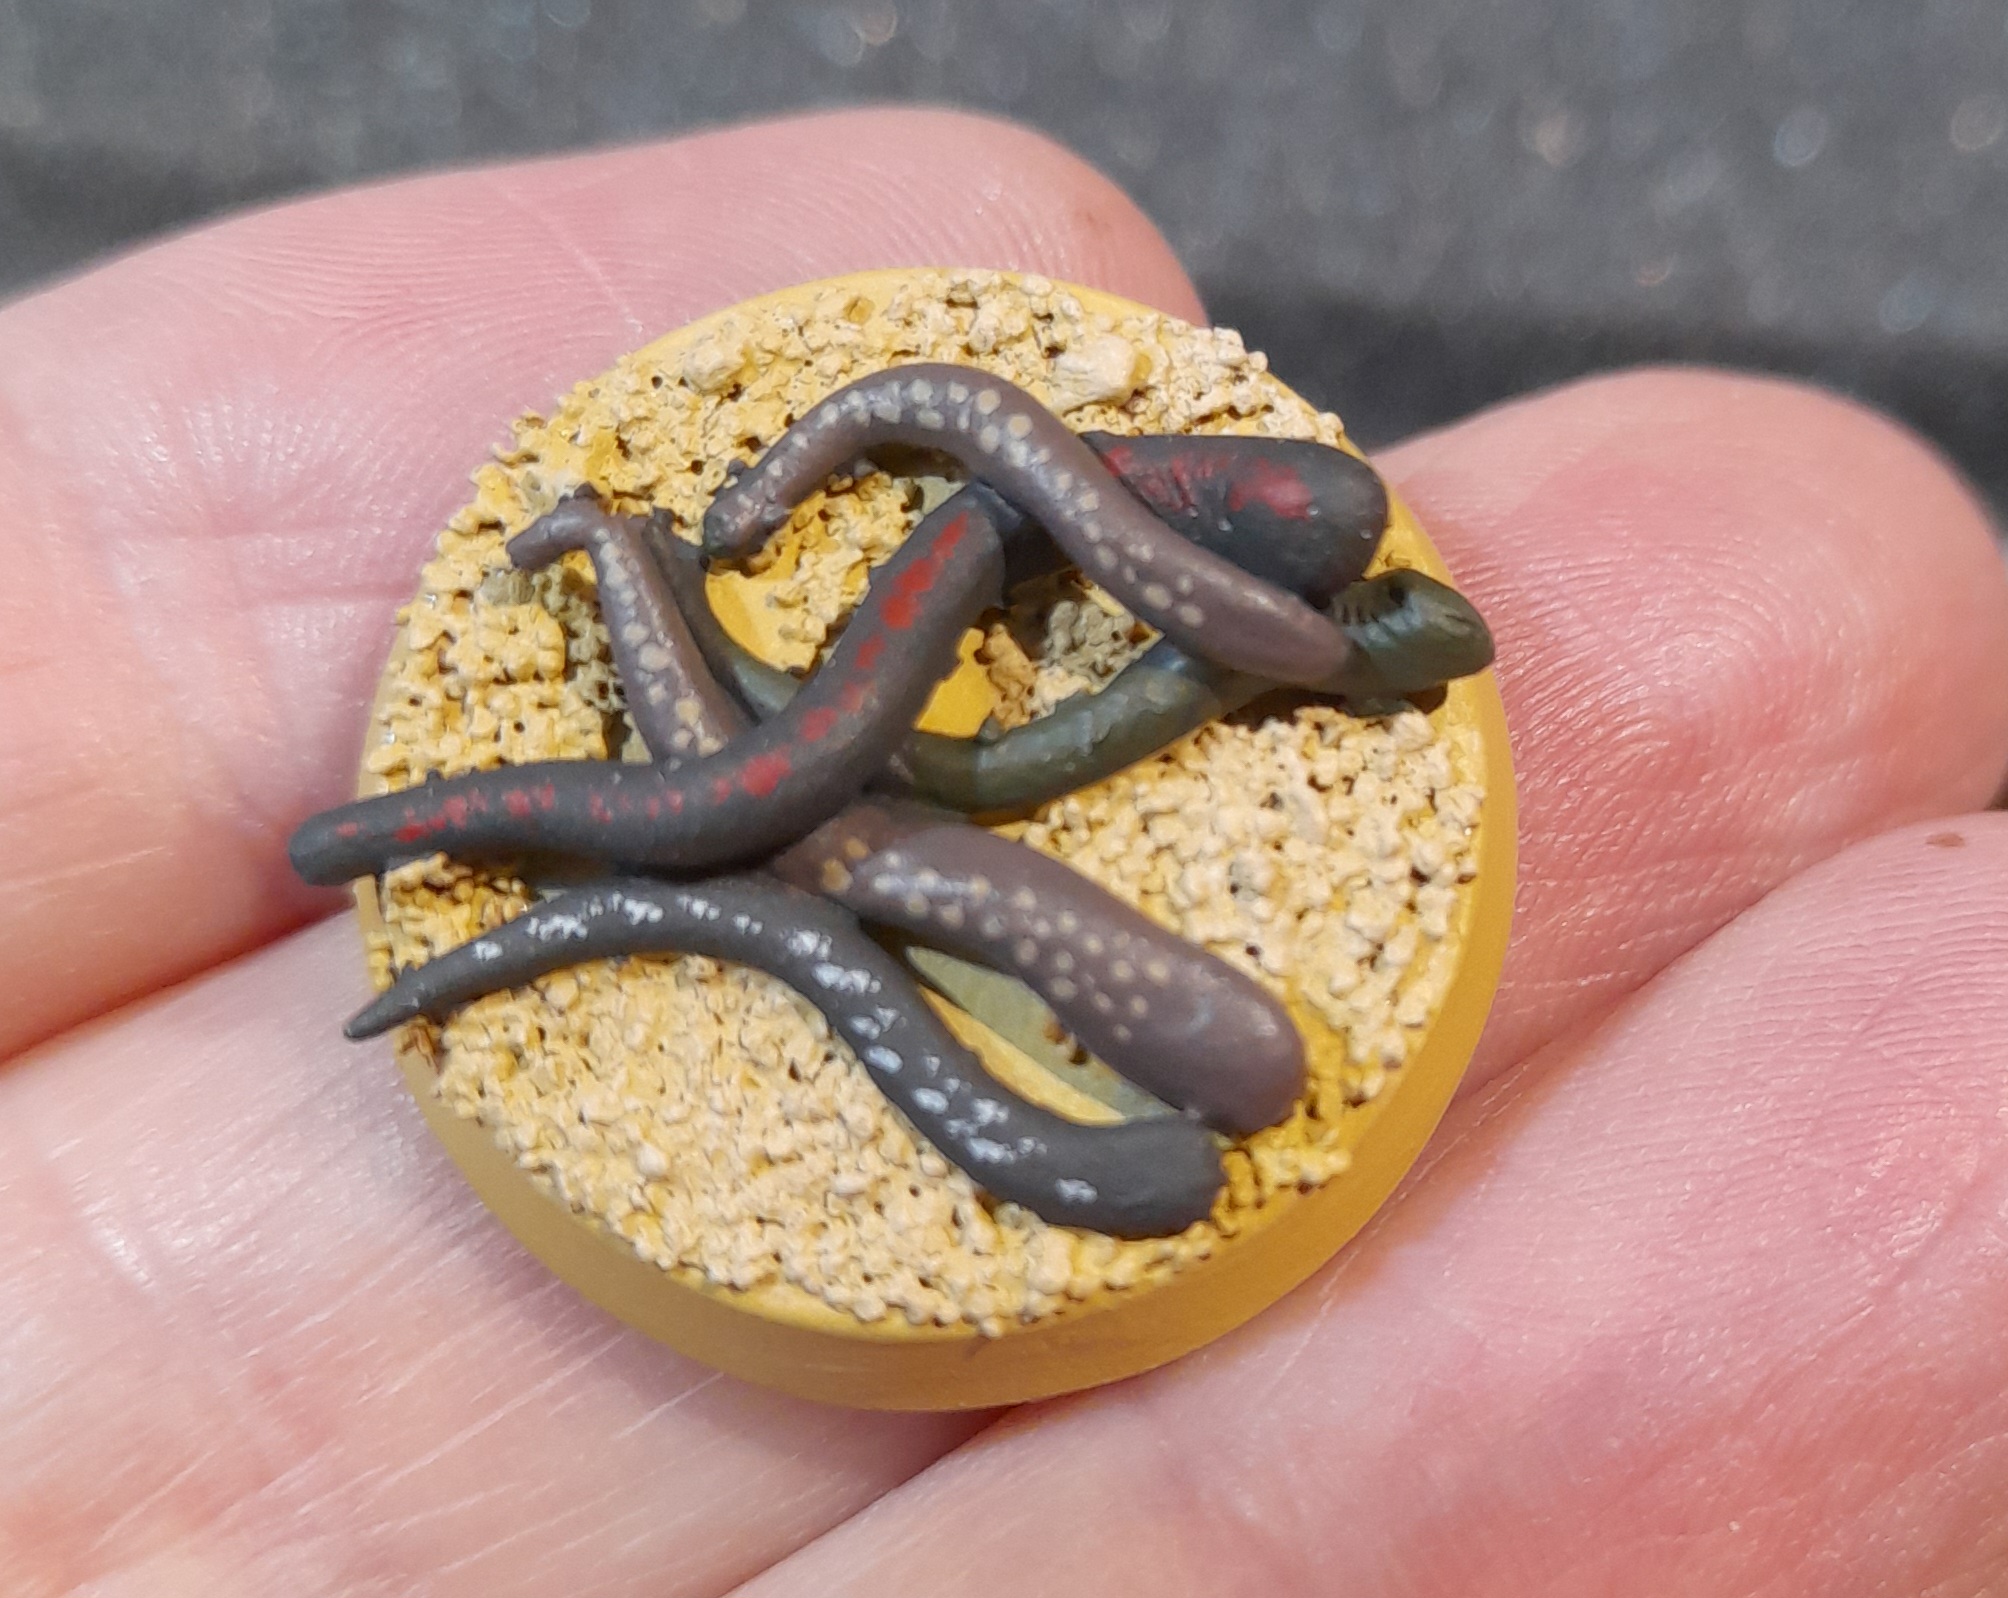
Again, they are not super realistic, but they do fulfil the role and function as Snake Swarms.