


Draconis Does….. TerrainFest 2024


Recommendations: 301
About the Project
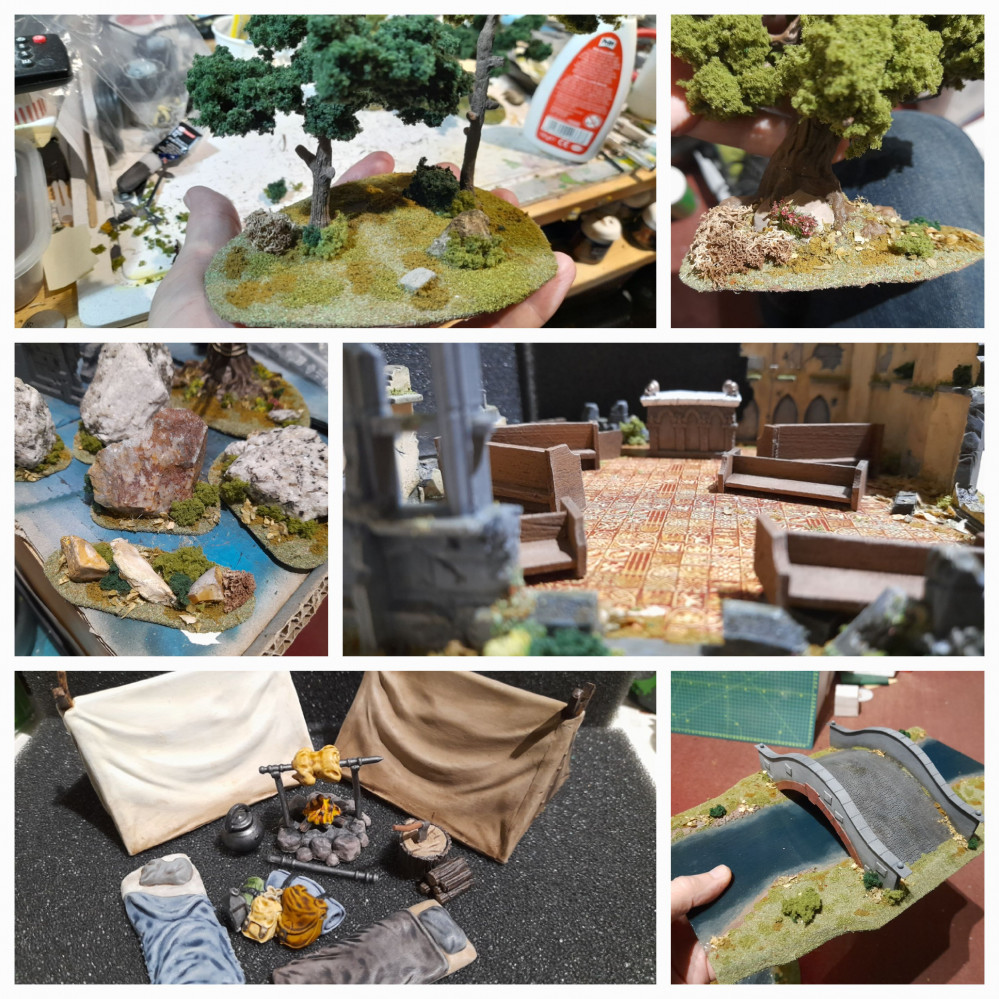
I hadn’t planned to do a project for Terrainfest this year, as I didn’t really have any good ideas for a terrain project. However, as my Silver Bayonet project has progressed I do need to work on some terrain for it. So, even though it is a bit late to the party, in order to show a bit of support for the terrainfest I decided that I would create a mini project for my Silver Bayonet terrain.
Related Game: The Silver Bayonet
Related Genre: Fantasy
Related Contest: TerrainFest 2024
This Project is Completed
Gravestones
2nd December 2024
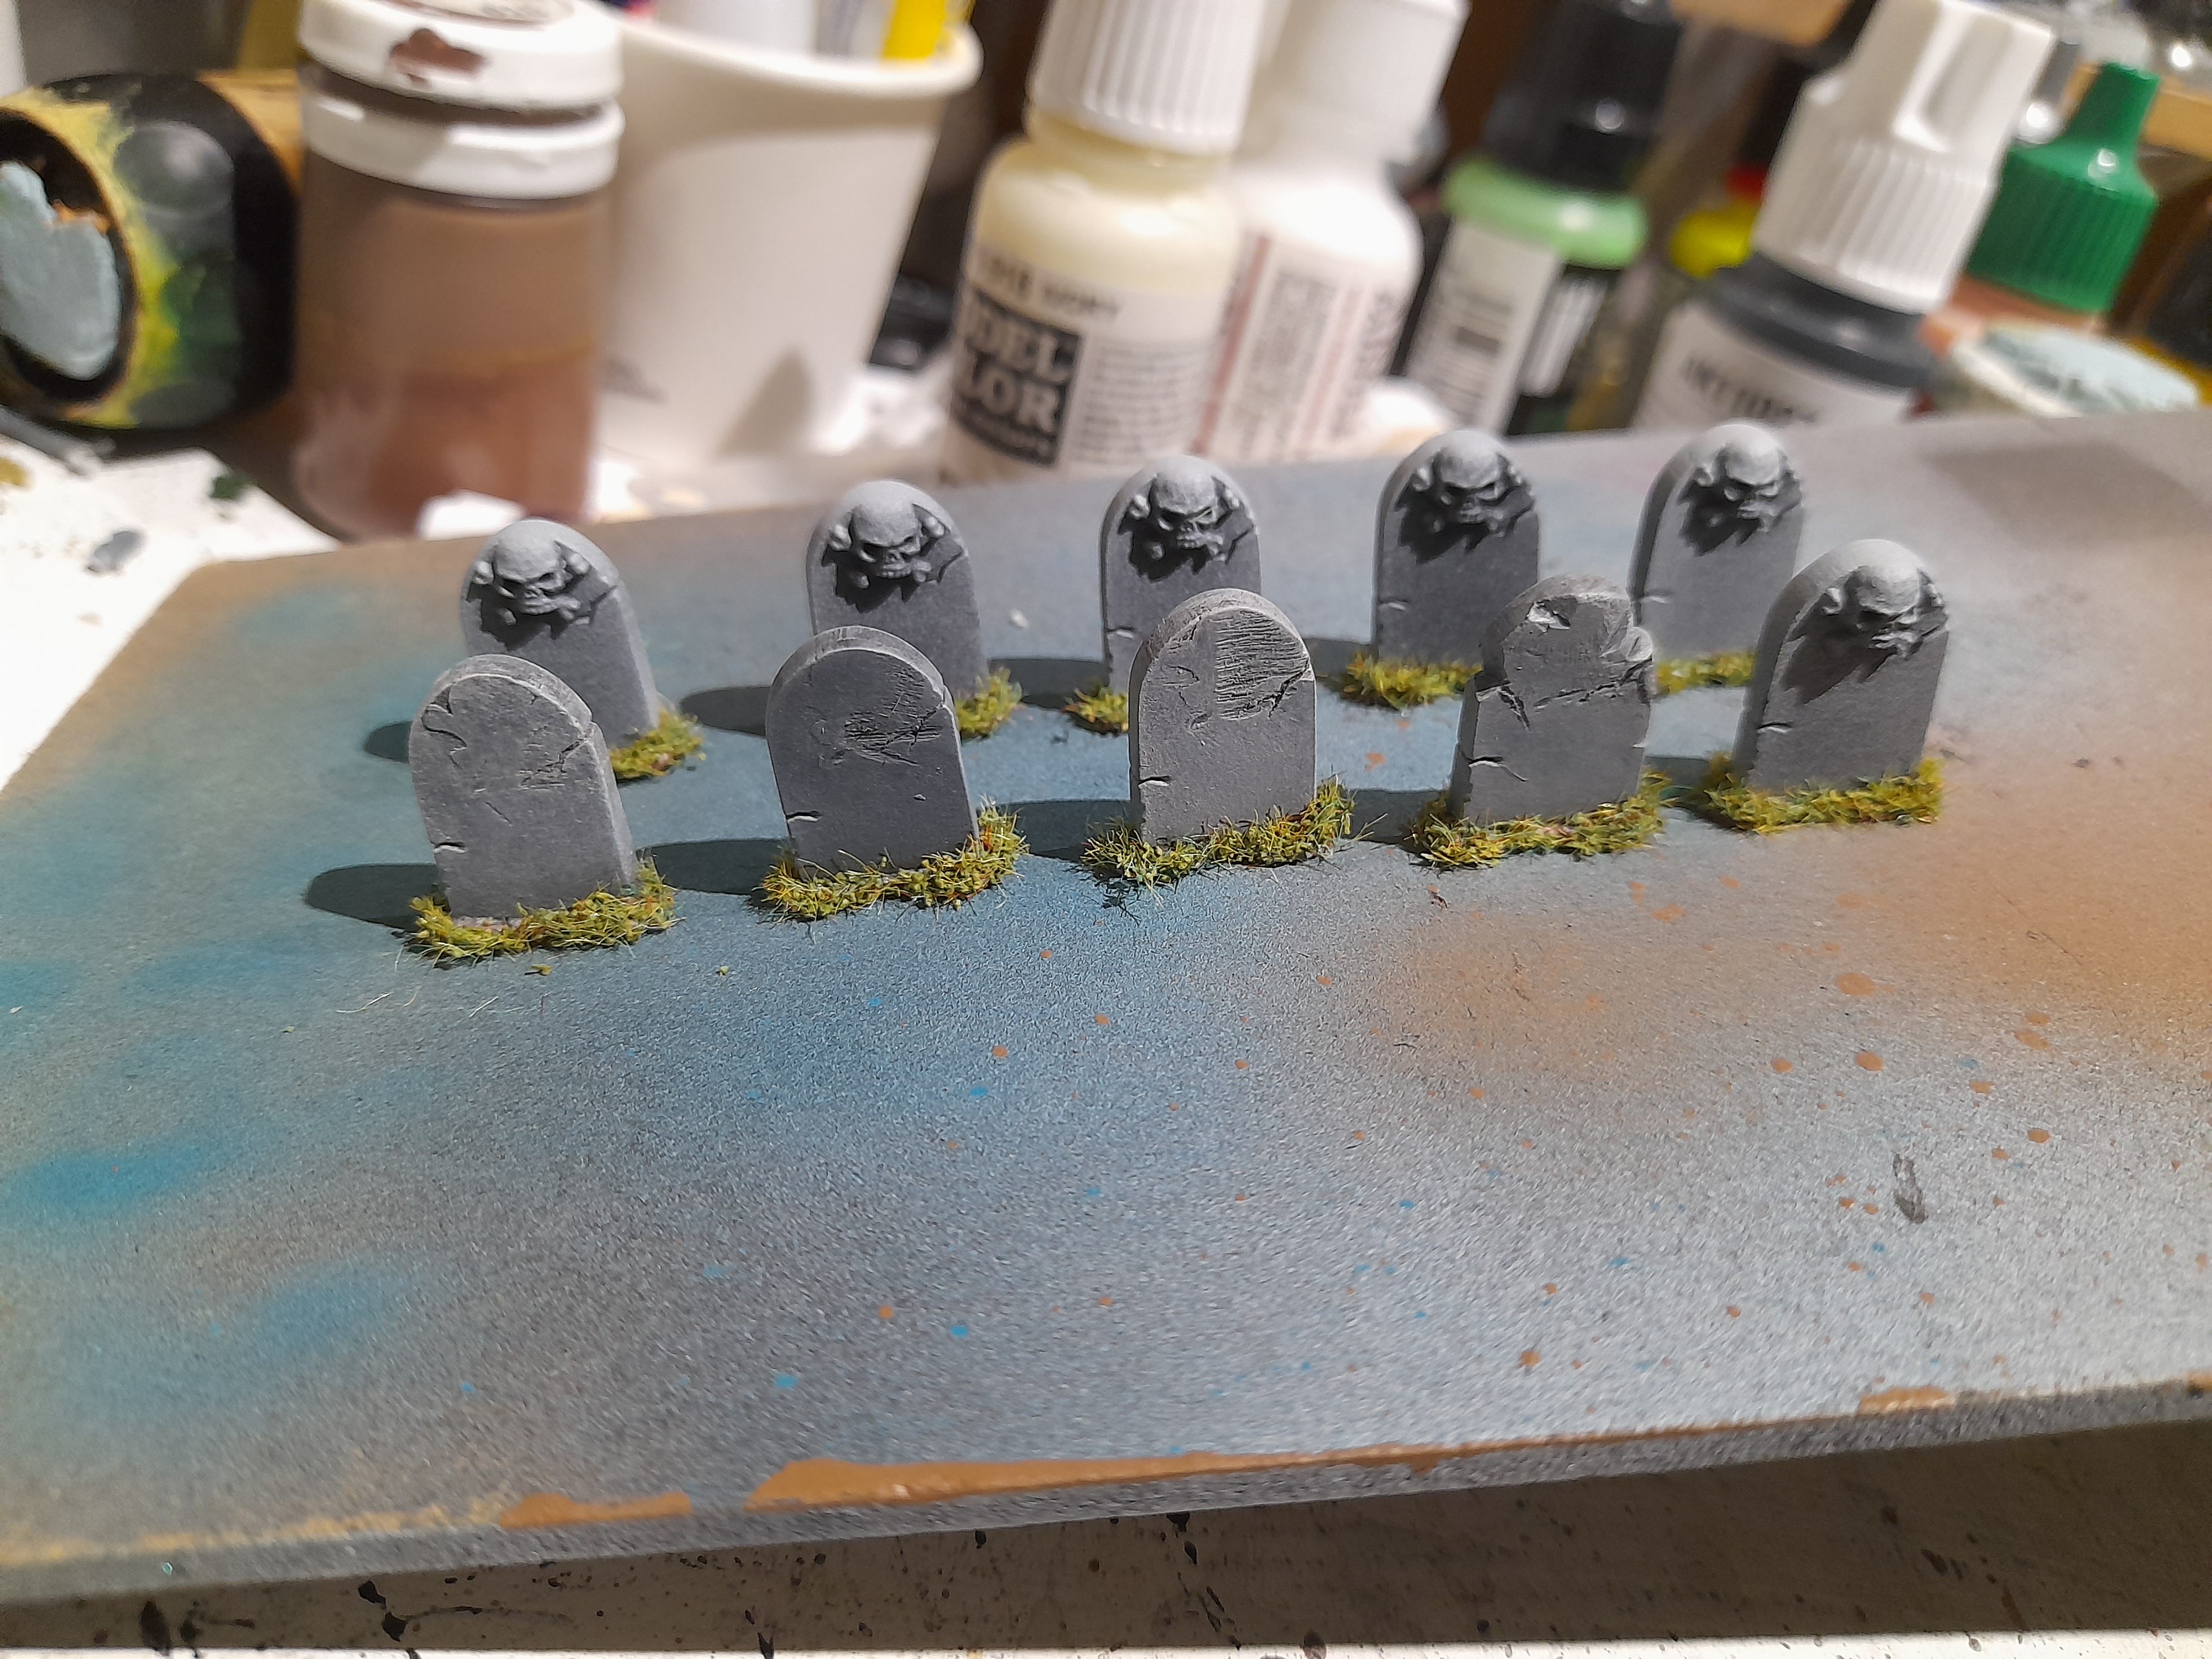
Another quick one. These gravestones are for use as the clue markers in the second scenario, and for potential scatter in others.
I couldn’t find any gravestones to hand, but a friend gave me some spares he had. They were primed black, grey, white quite some time back…..
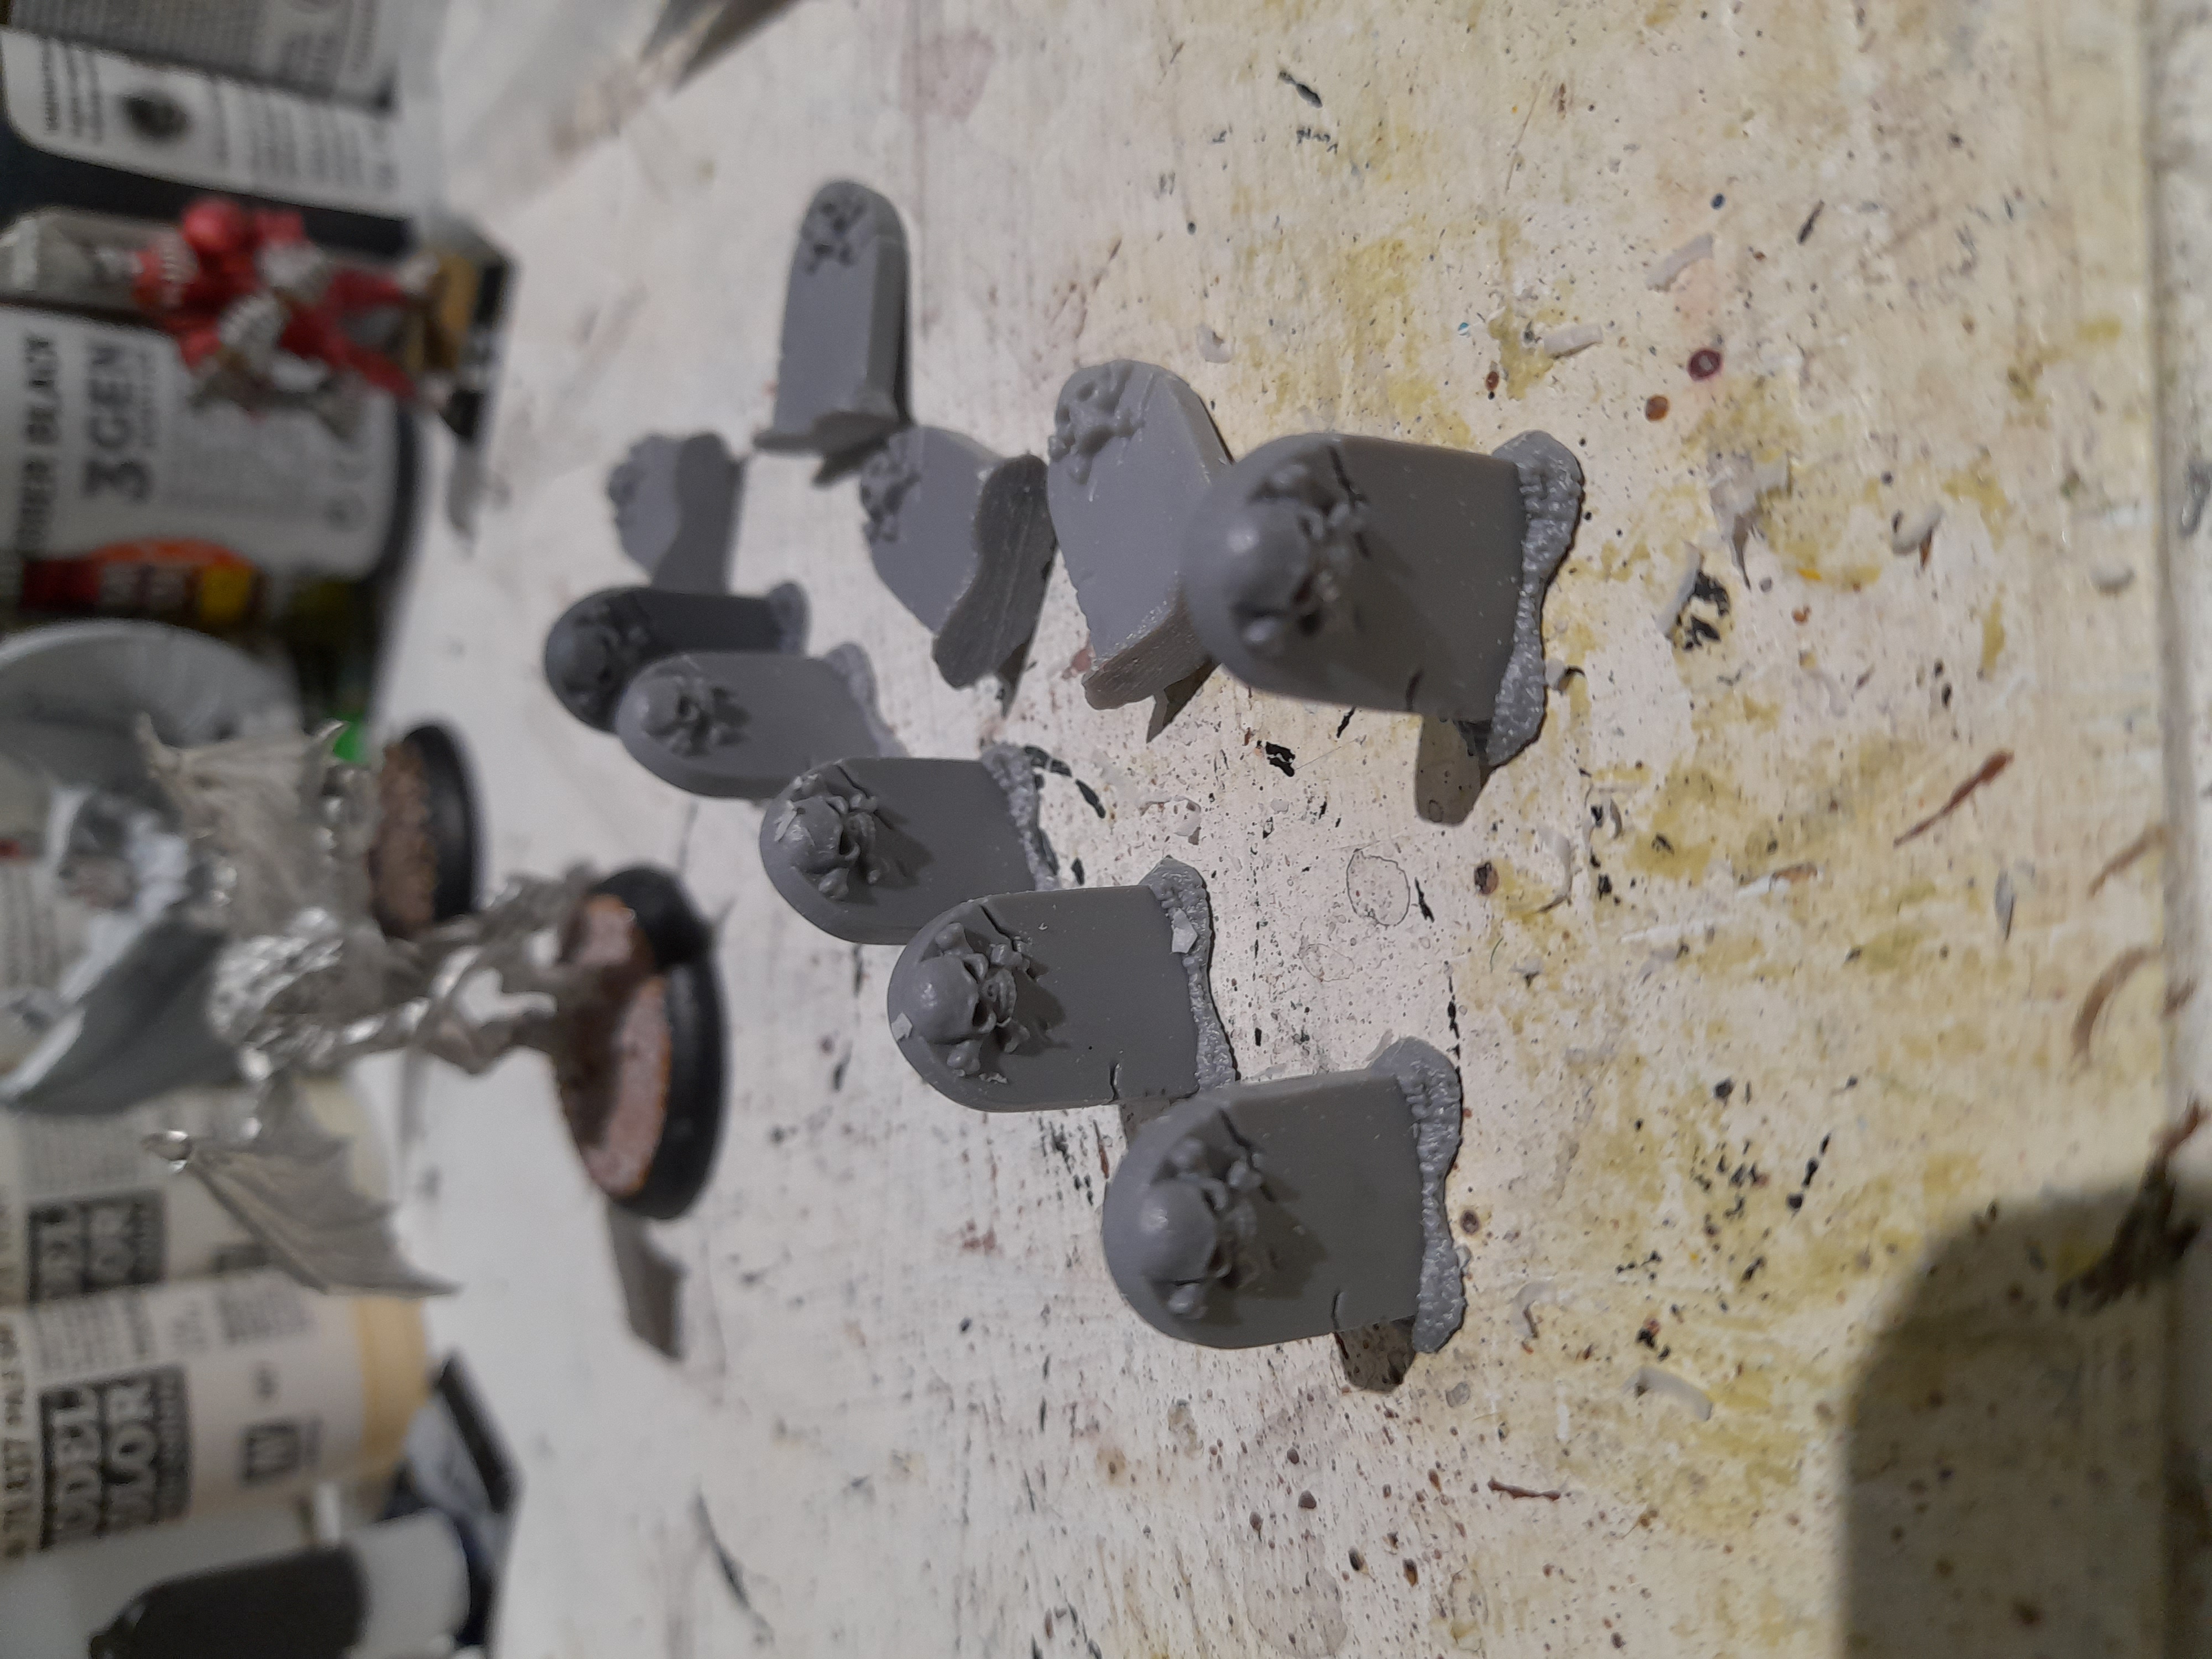
When going to paint them I realised that I need to differentiate them a bit. As such, I got out the sanding tool again and ground down the skull on four of them.
 Grinding the skulls off some
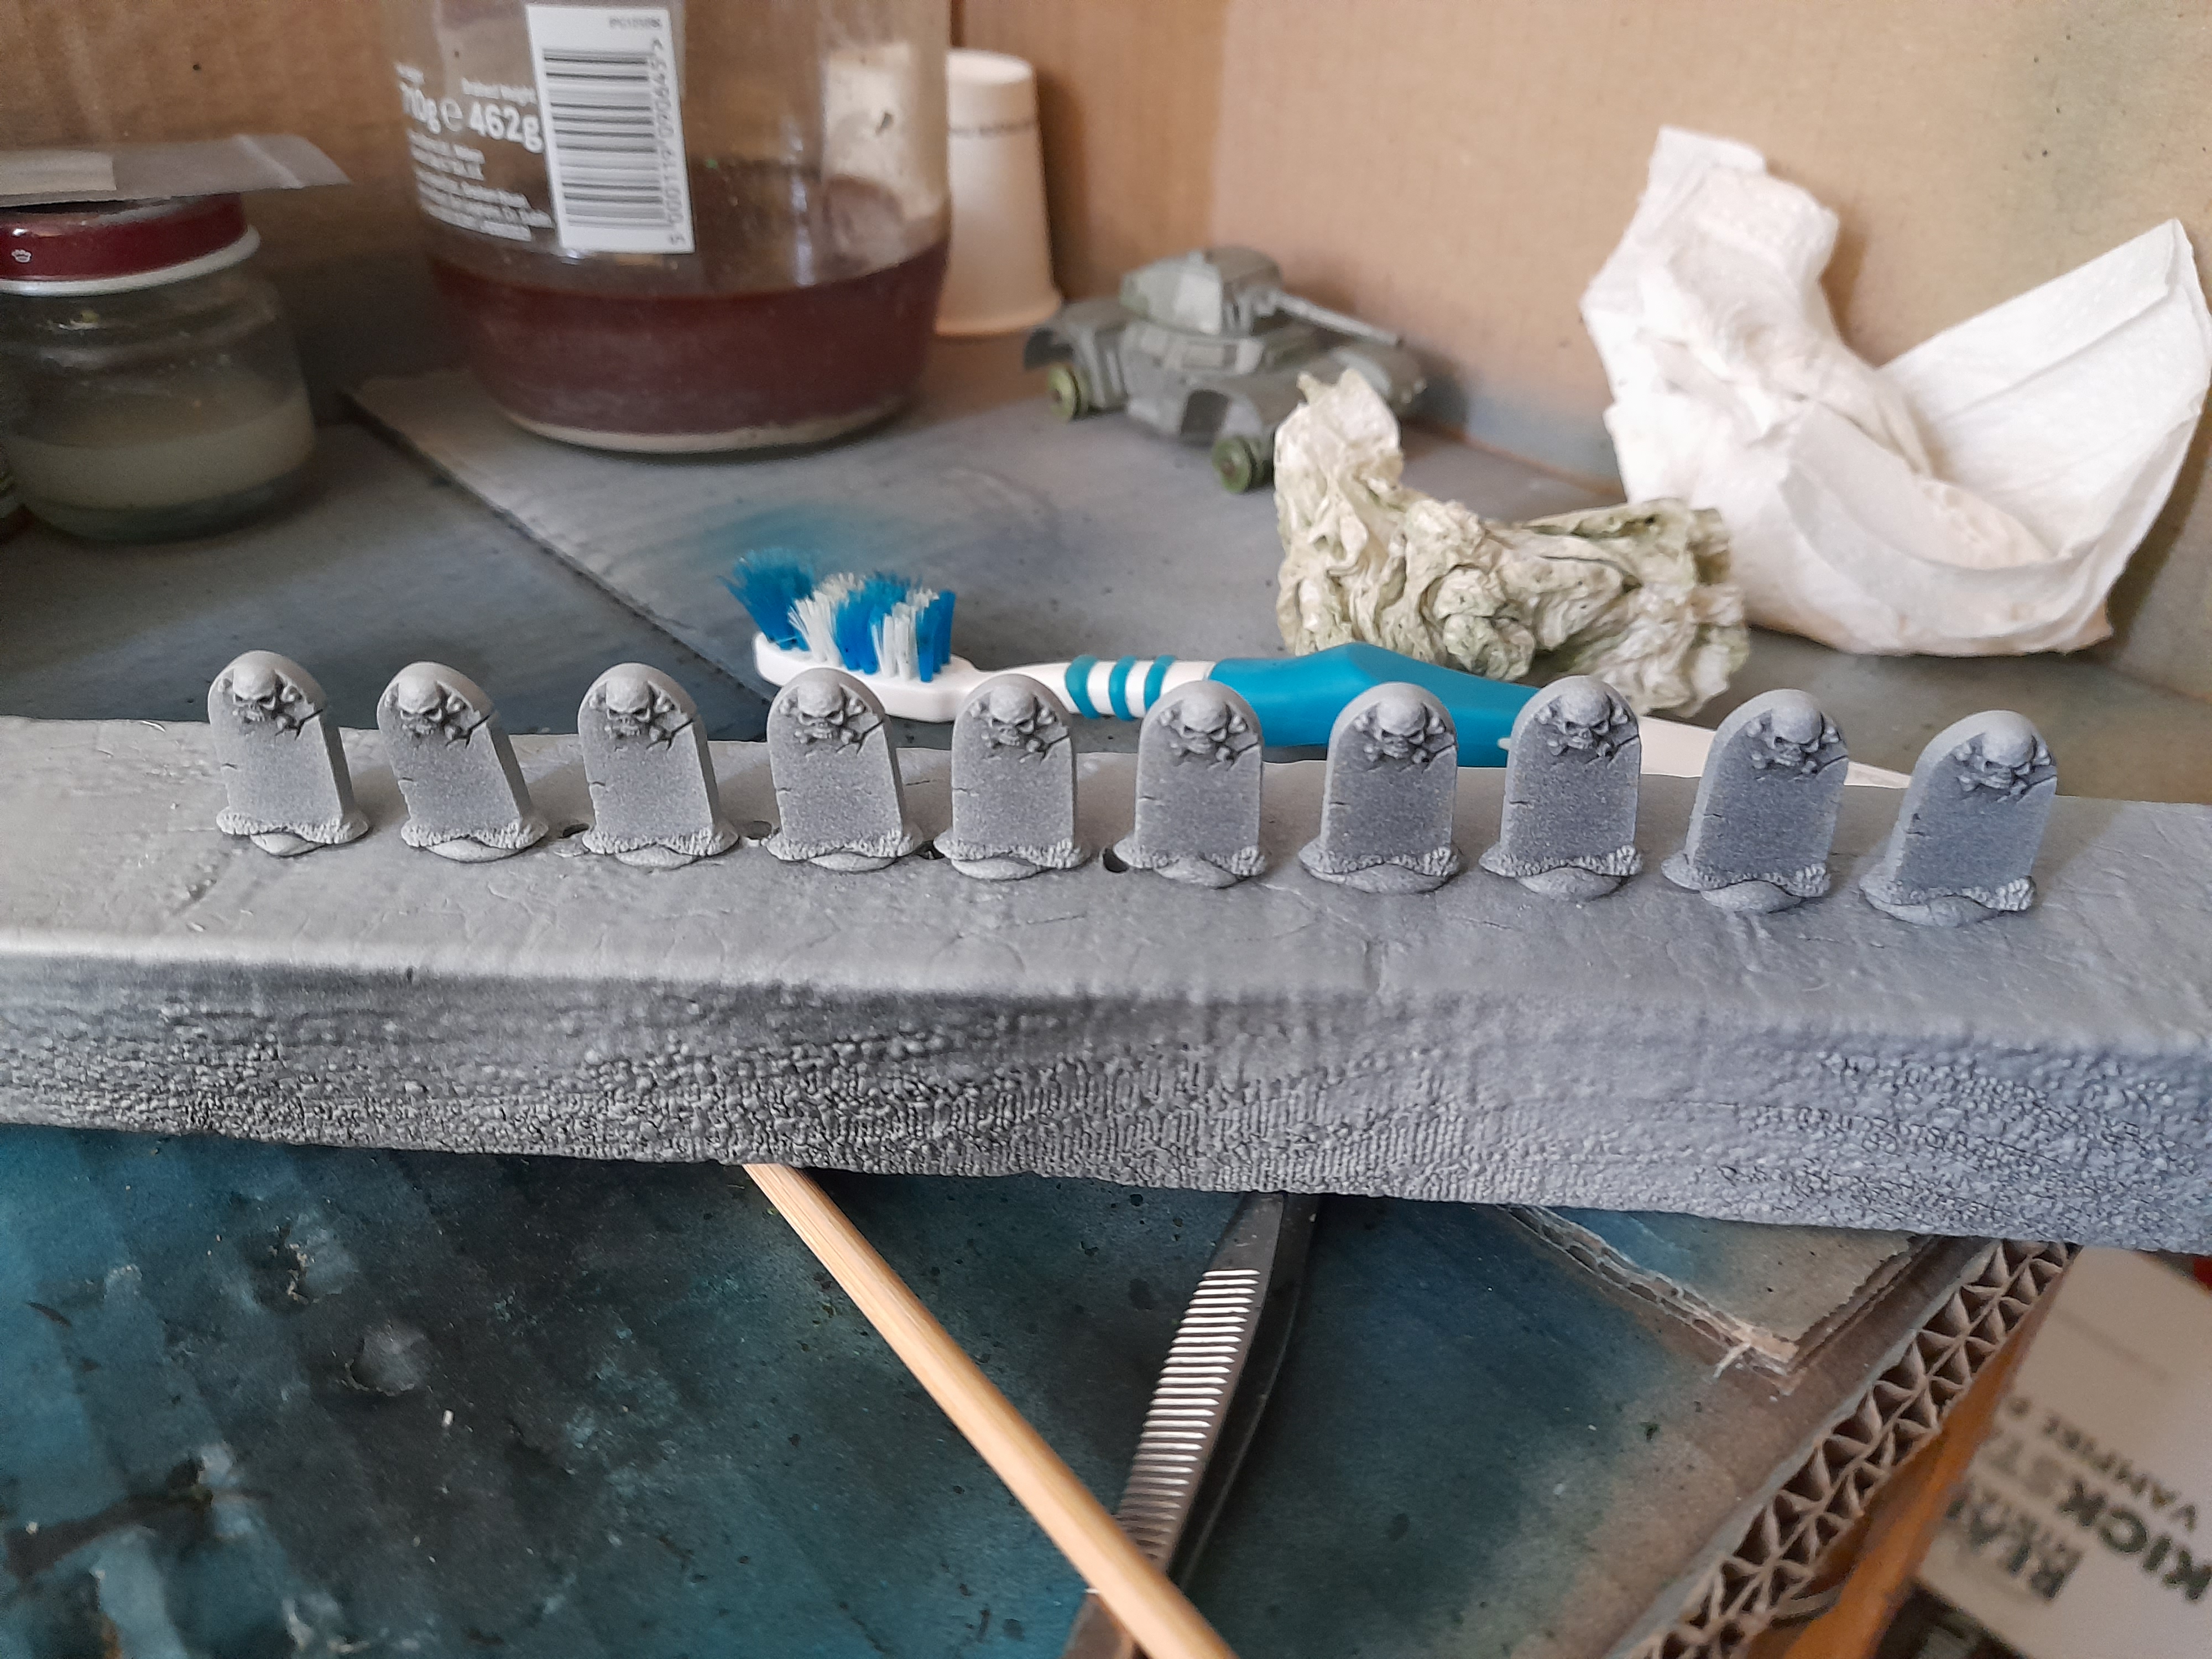
These were then repainted by hand, using rubber black followed by several stages of drybrushing with greys, whites or Deneb stone. They all finish roughly the same though 😊
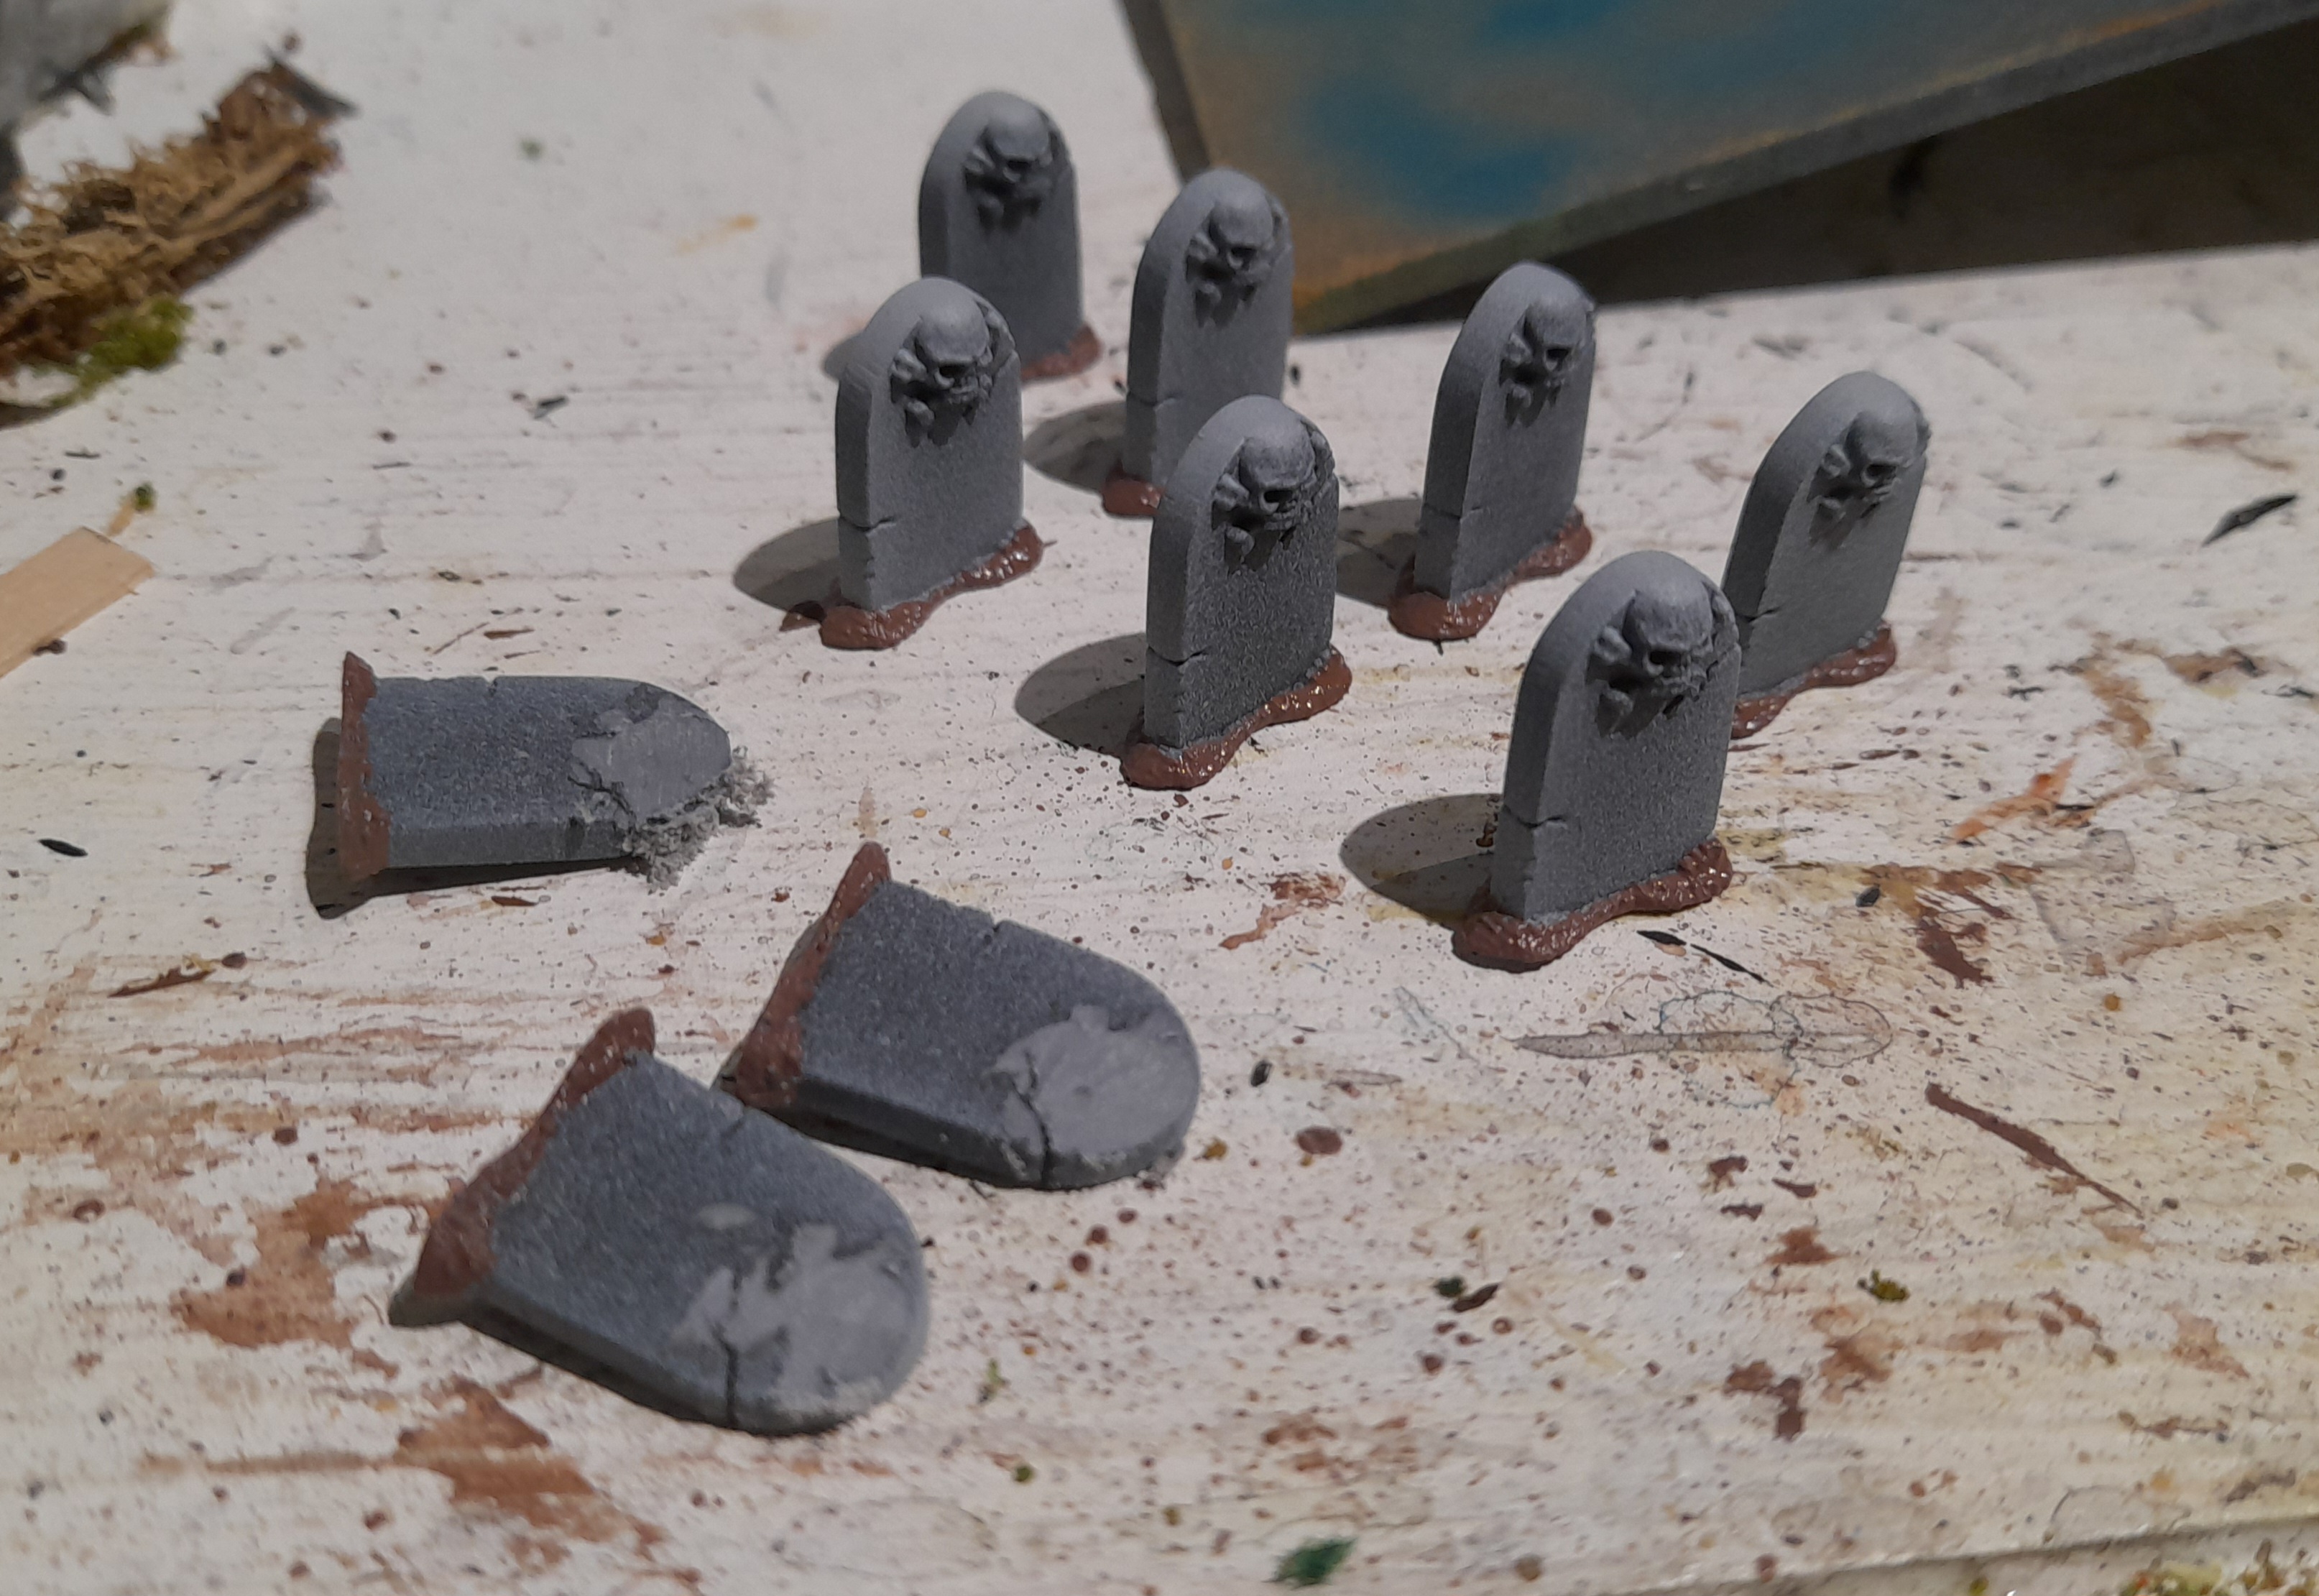
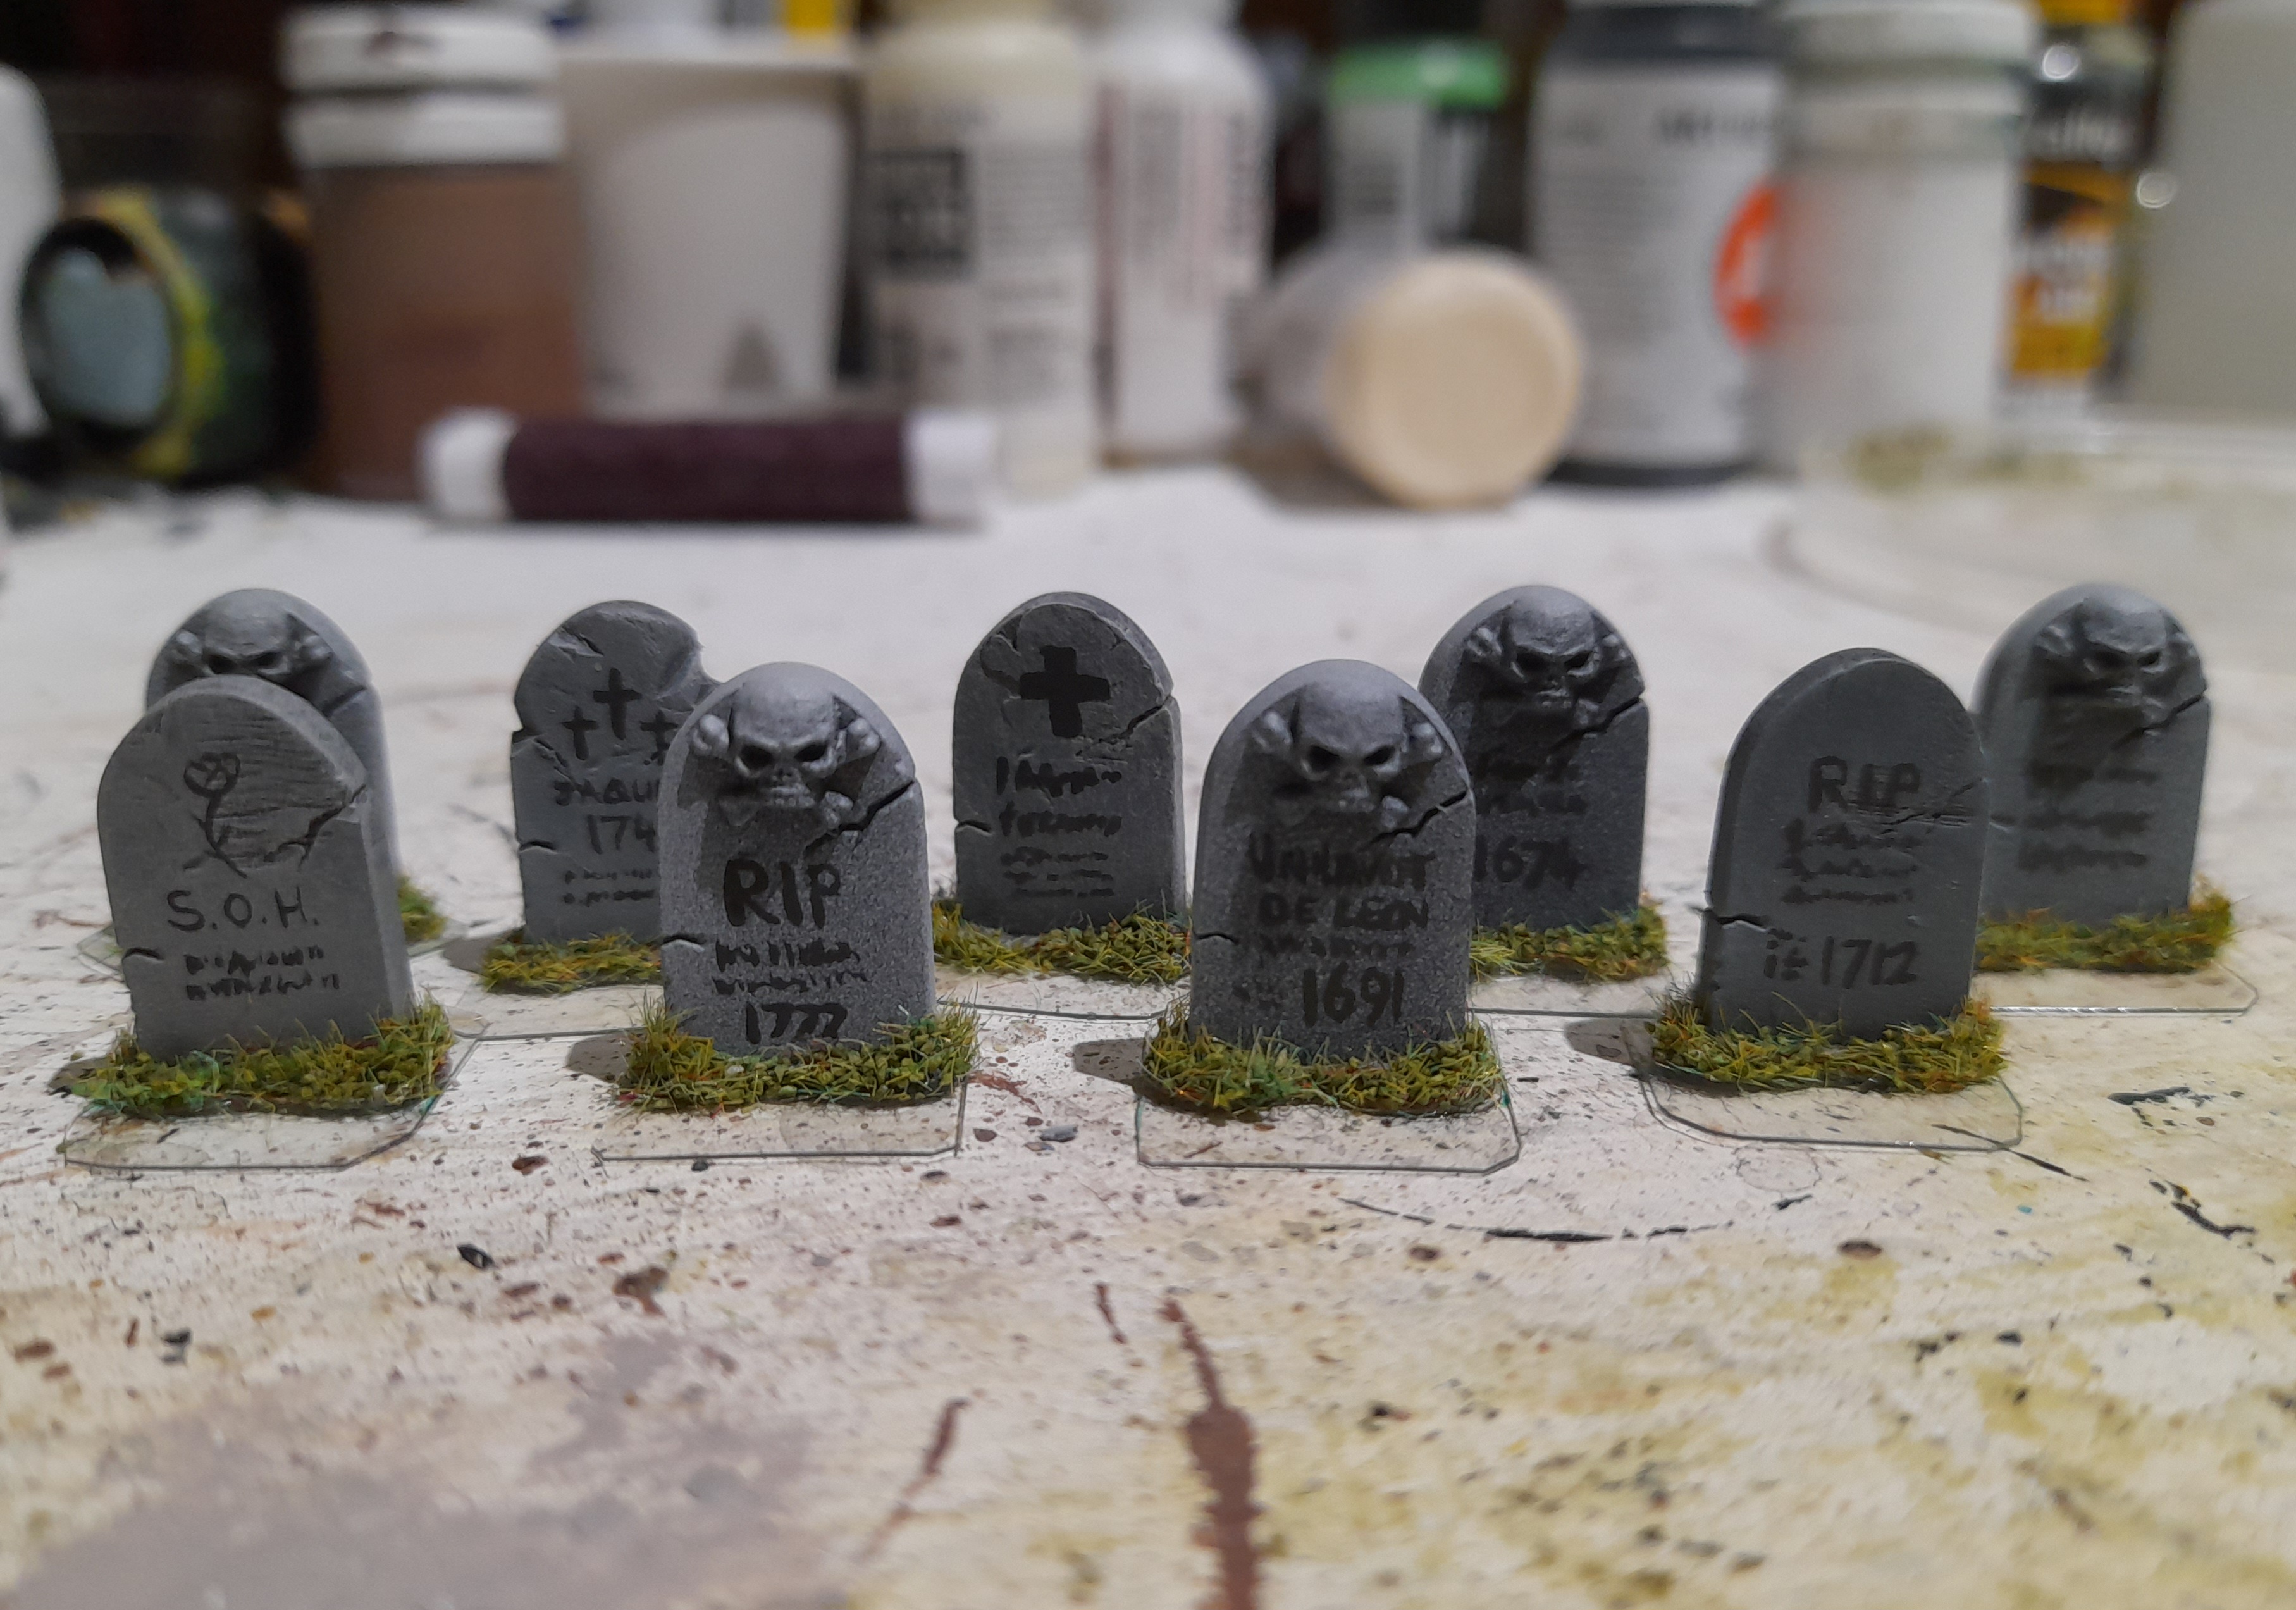
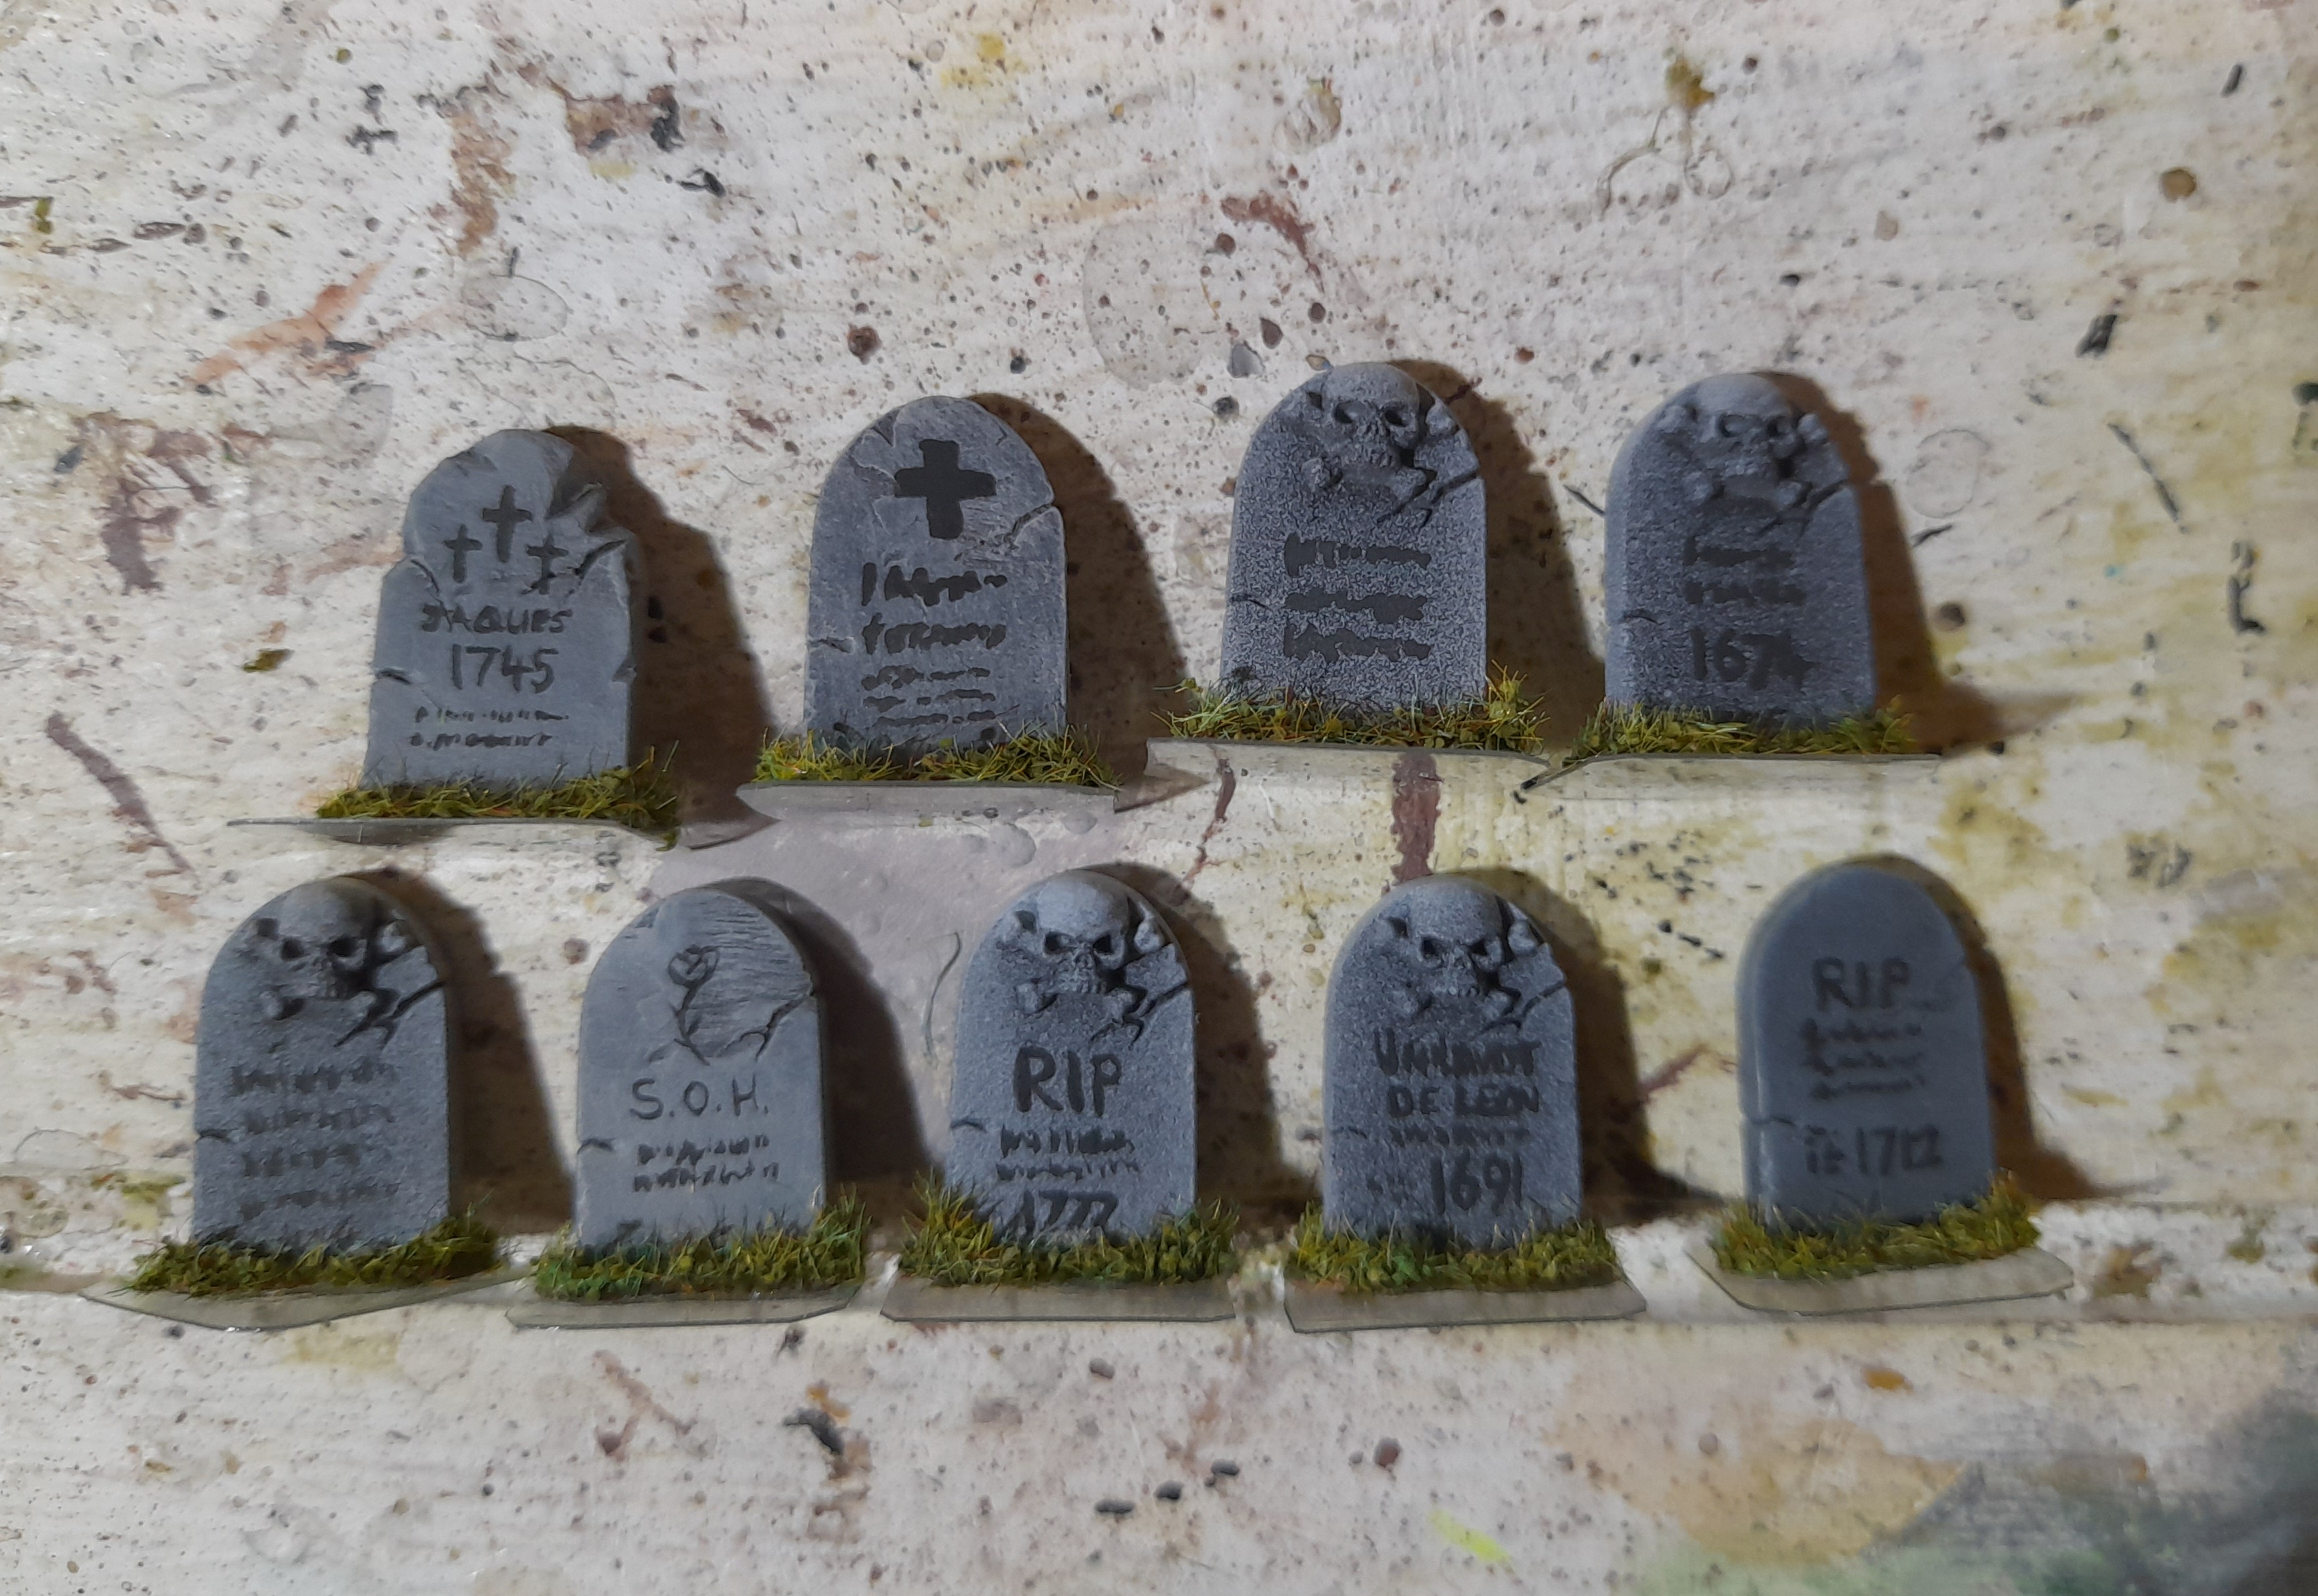
This was followed by applying some mixed flock and static grass to the edges of the bottom, and then gluing them down to some small squares of clear plastic cut from old blister packs.
Finally I painted some marking on to each of them, some with legible words and dates, others with just scribbles. I think they will do the job.
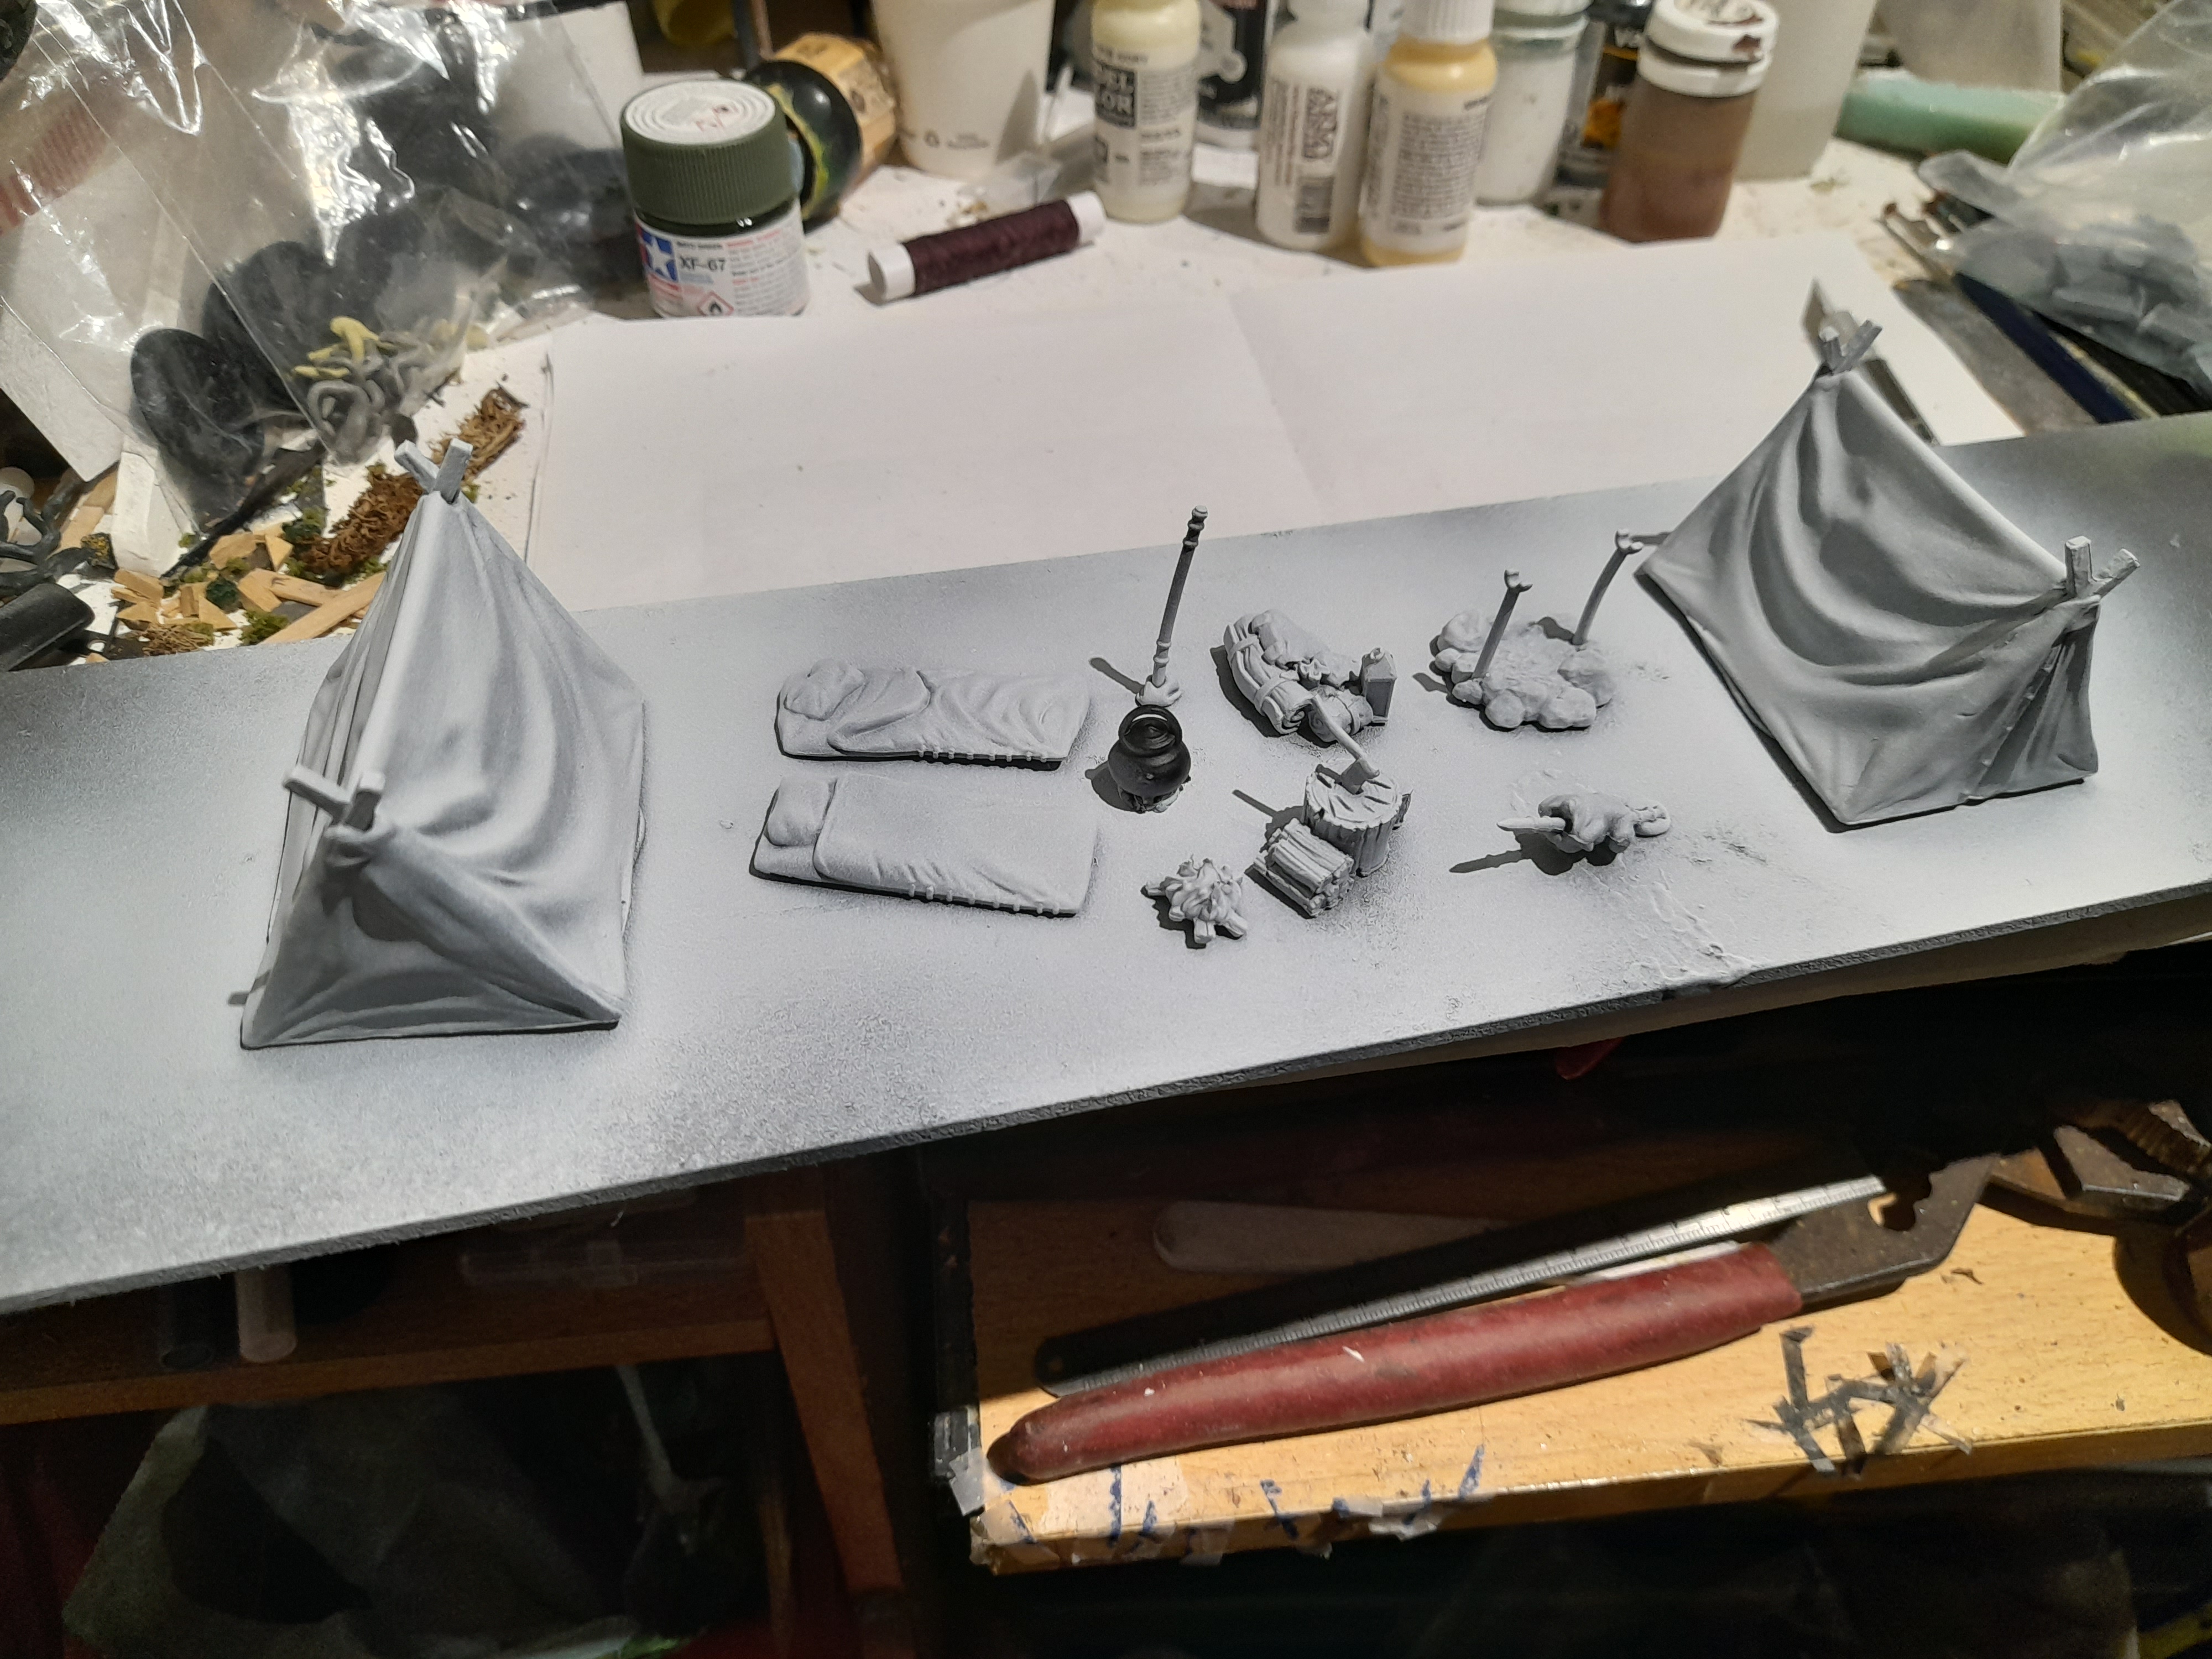
Camp site
5th December 2024
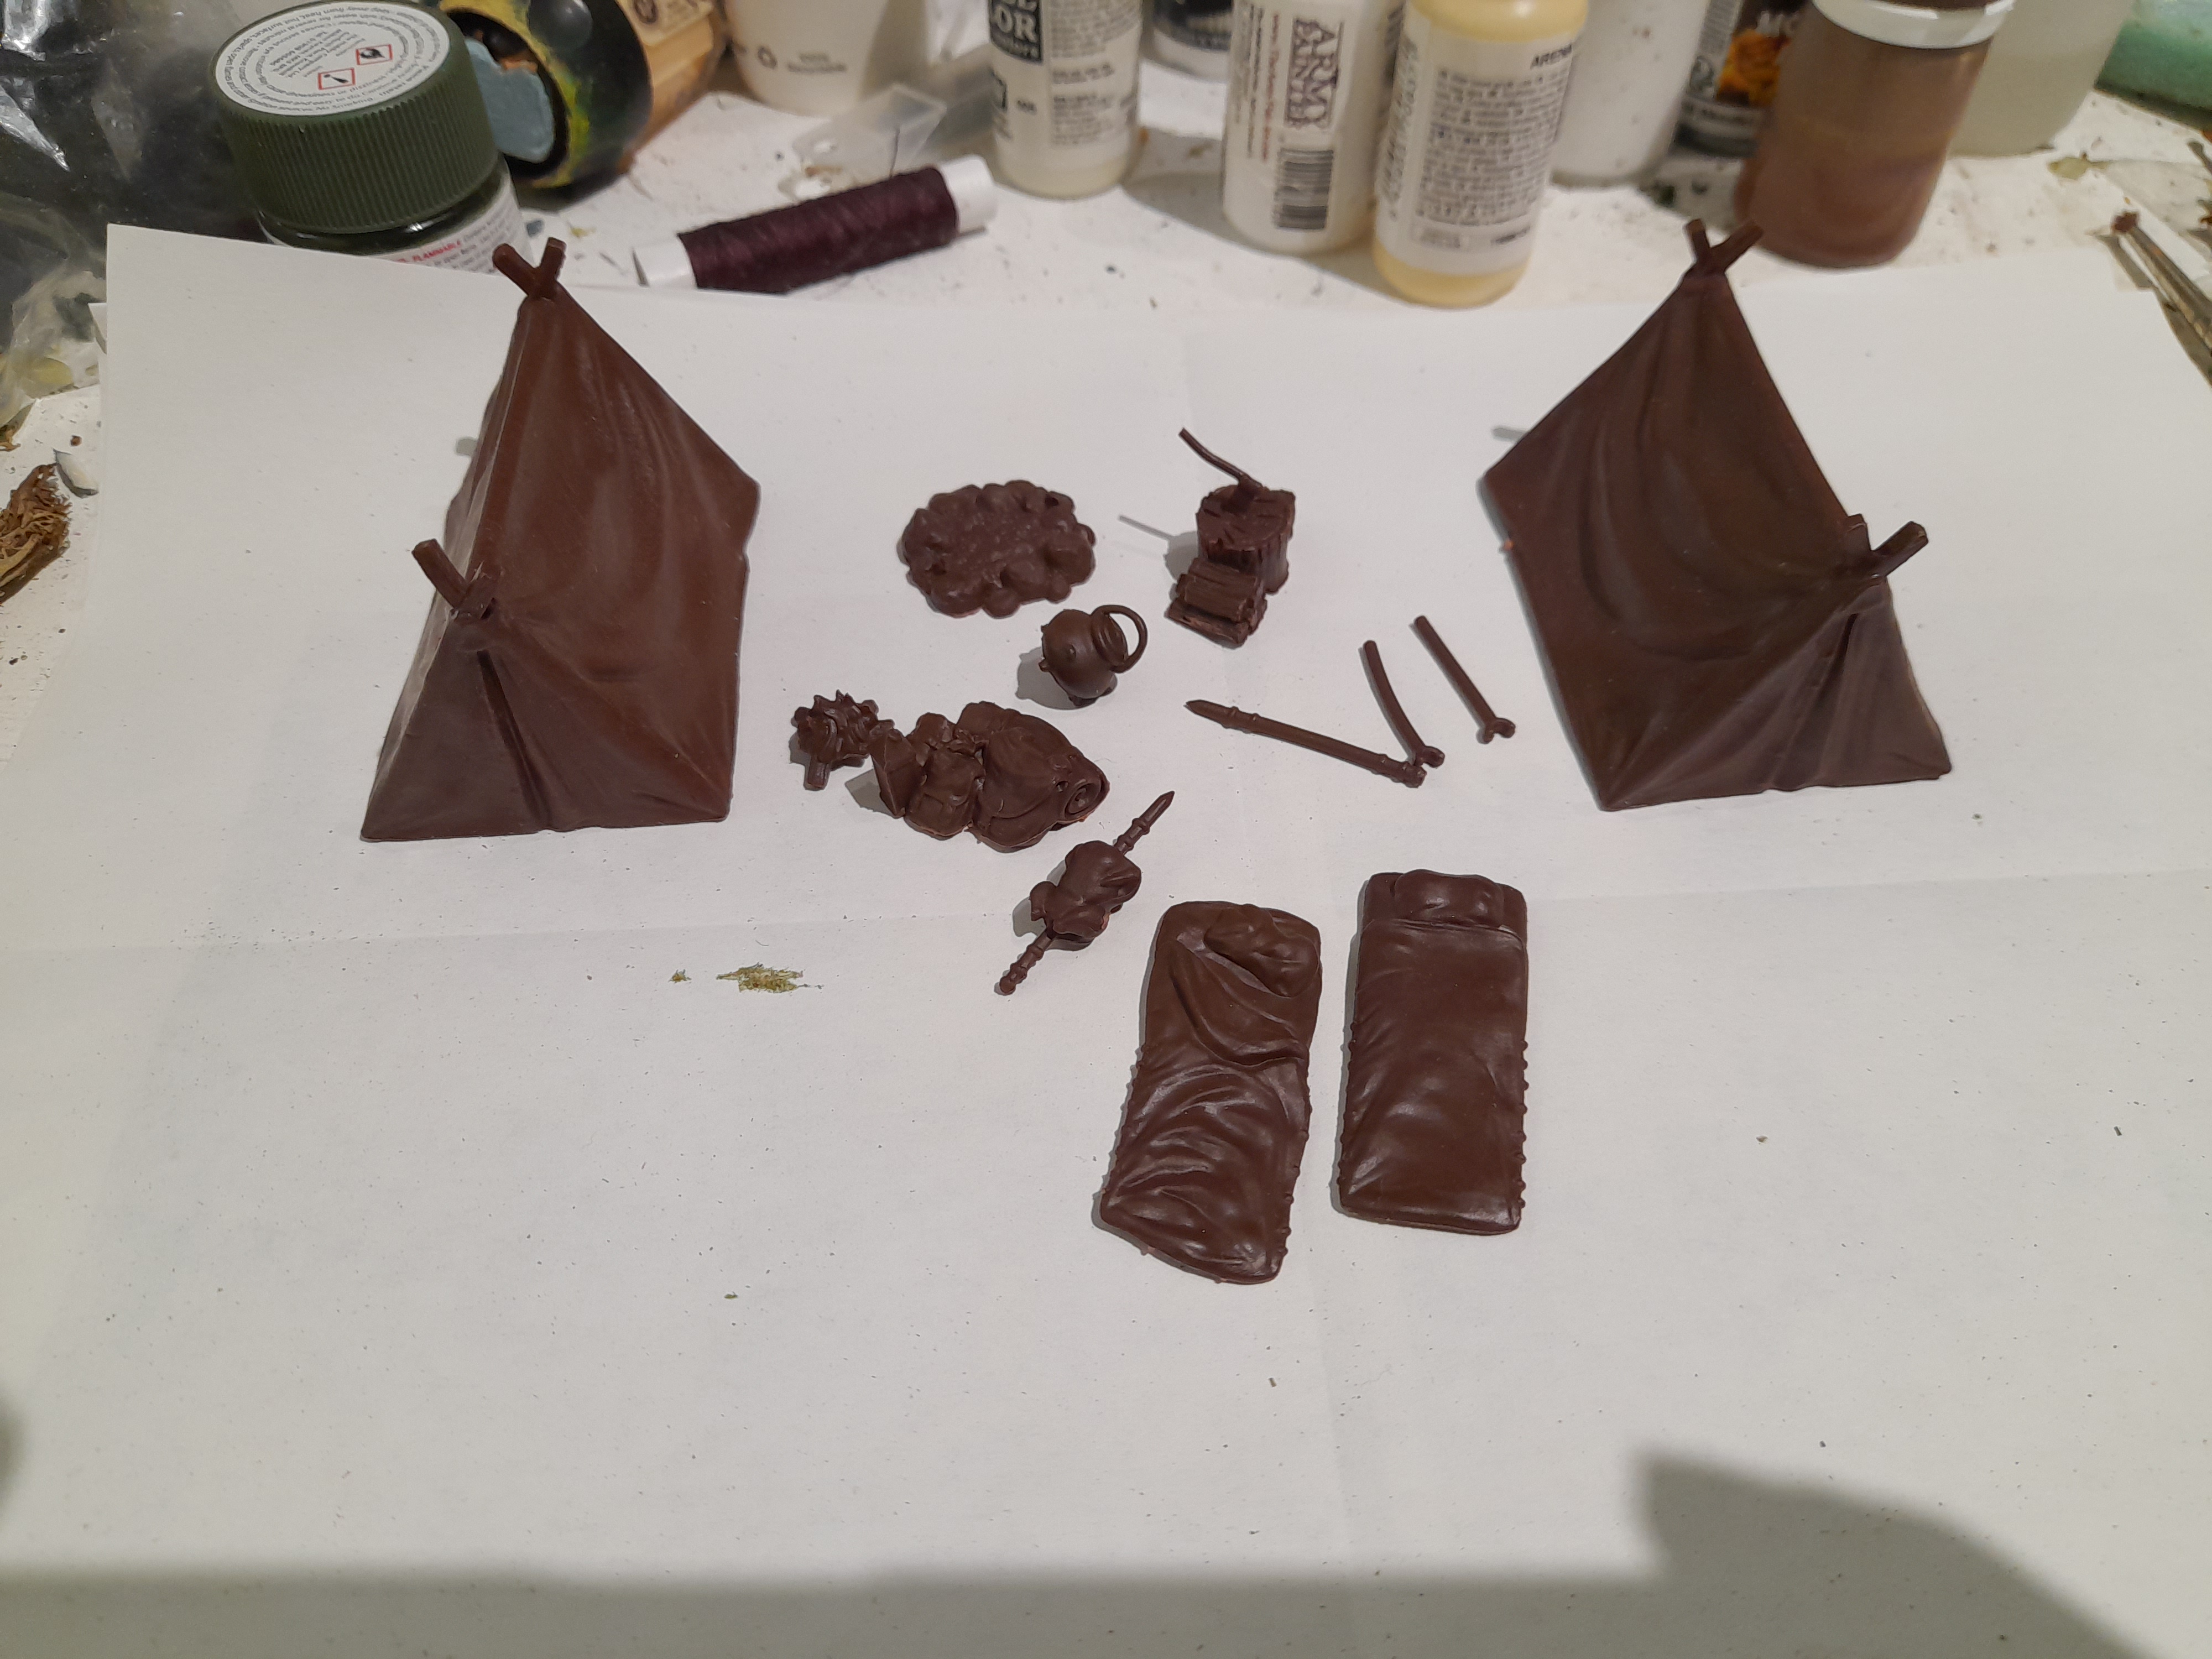
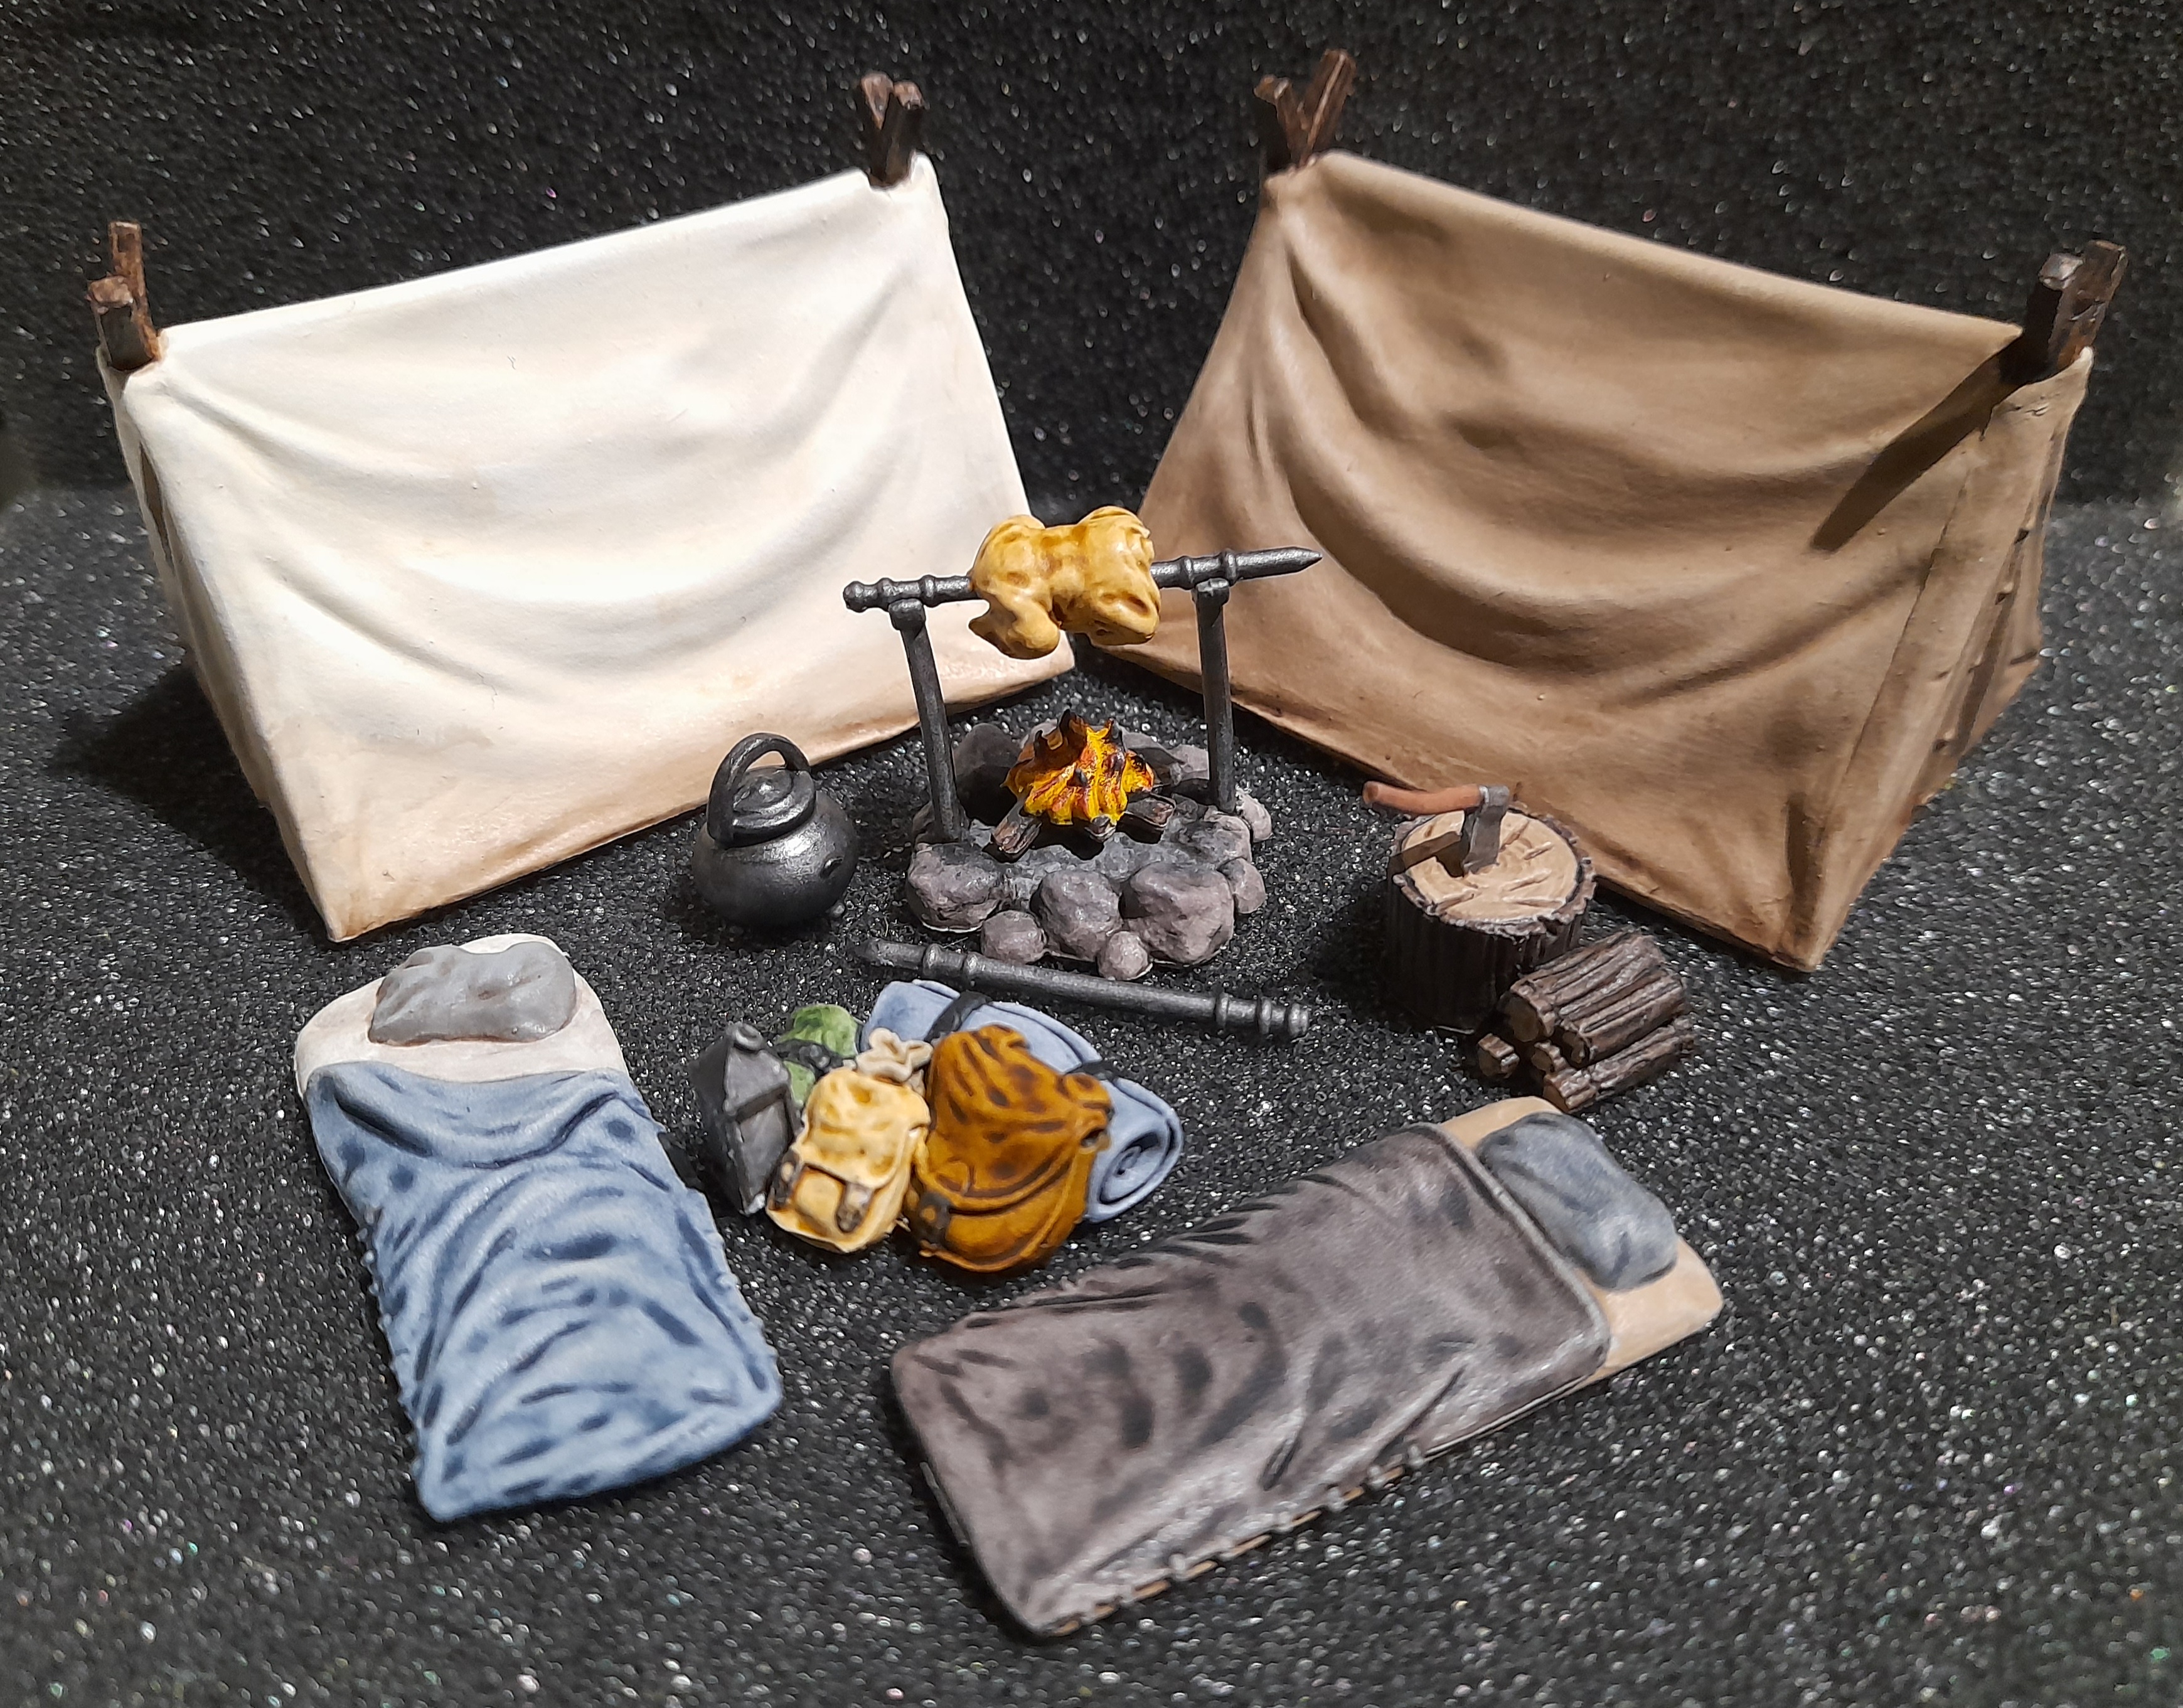
Next up it was the campfire area. I found these bits from Mantic Terrain Crate among my collection, so they got a clean up, then a spray.
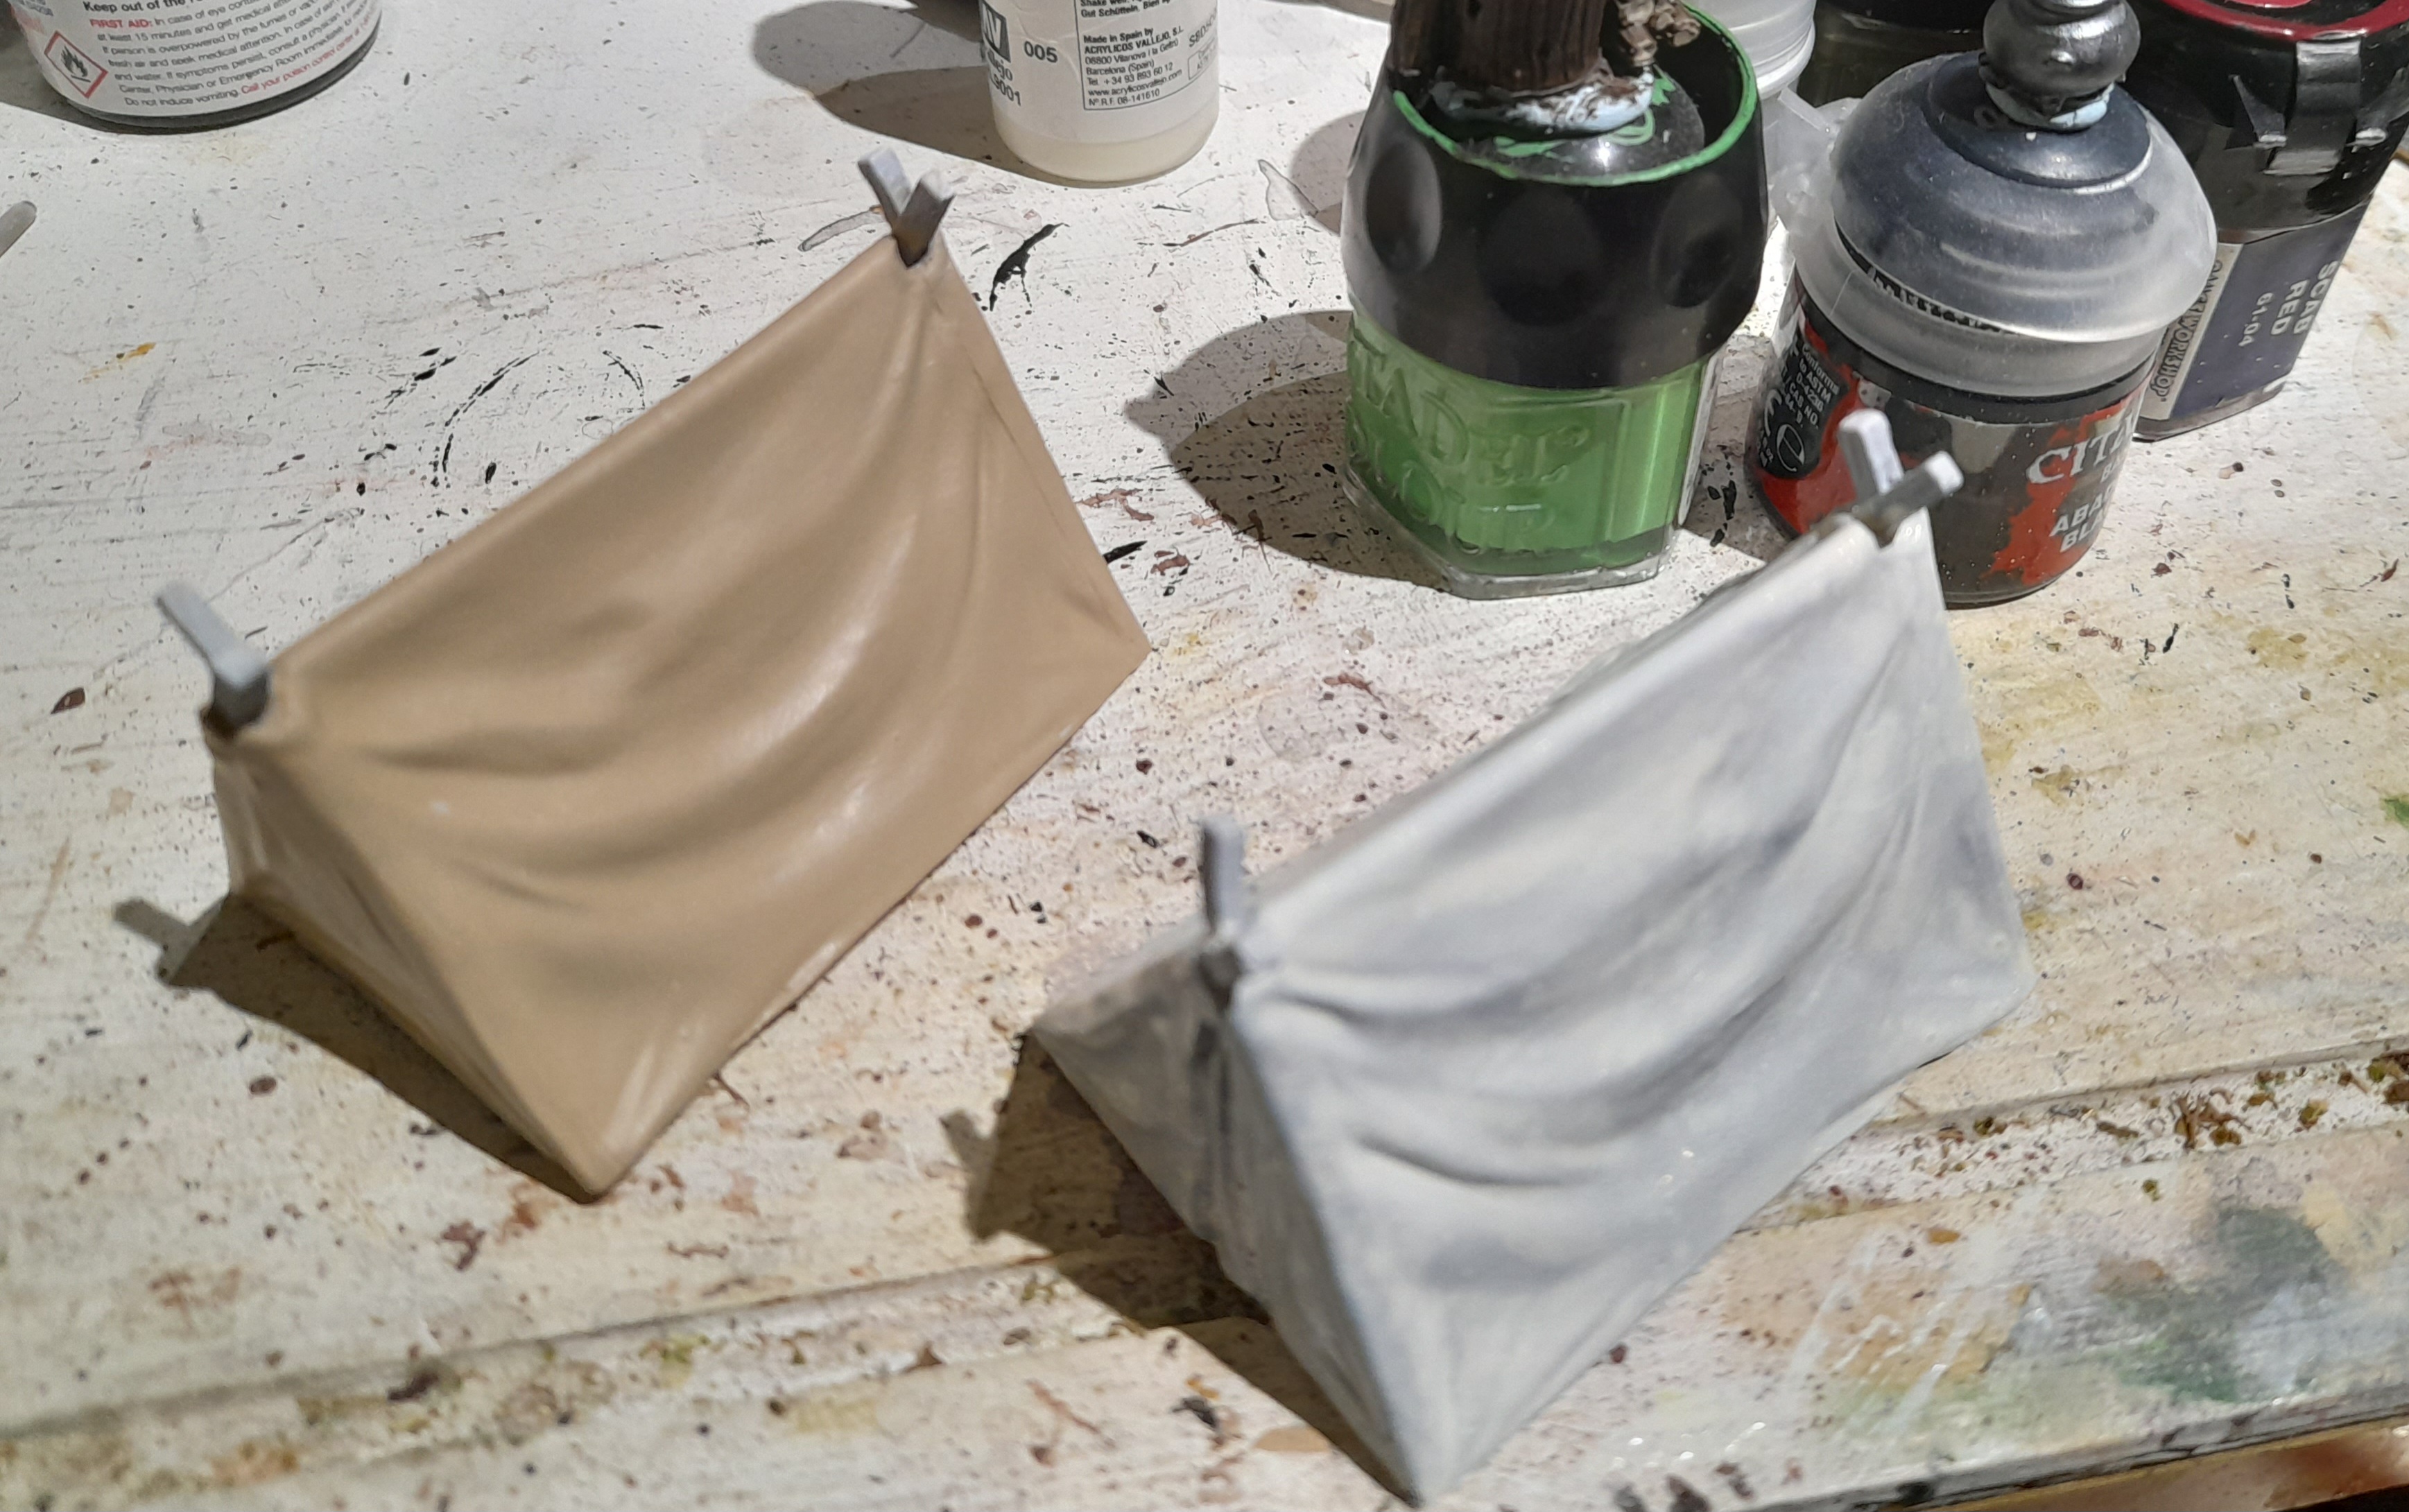
Didn’t get many pictures here as I was working on these between other things. One tent was painted with rawhide, the other ivory. Both were given a thinned agrax wash followed by drybrushing (up to pale sand for the rawhide and white for the ivory.
They both looked too clean at this stage (the pale one in particular) so I gave them both a neat wash of Agrax over the bottom edges, feathering in part way up. This seems to have helped out the look.

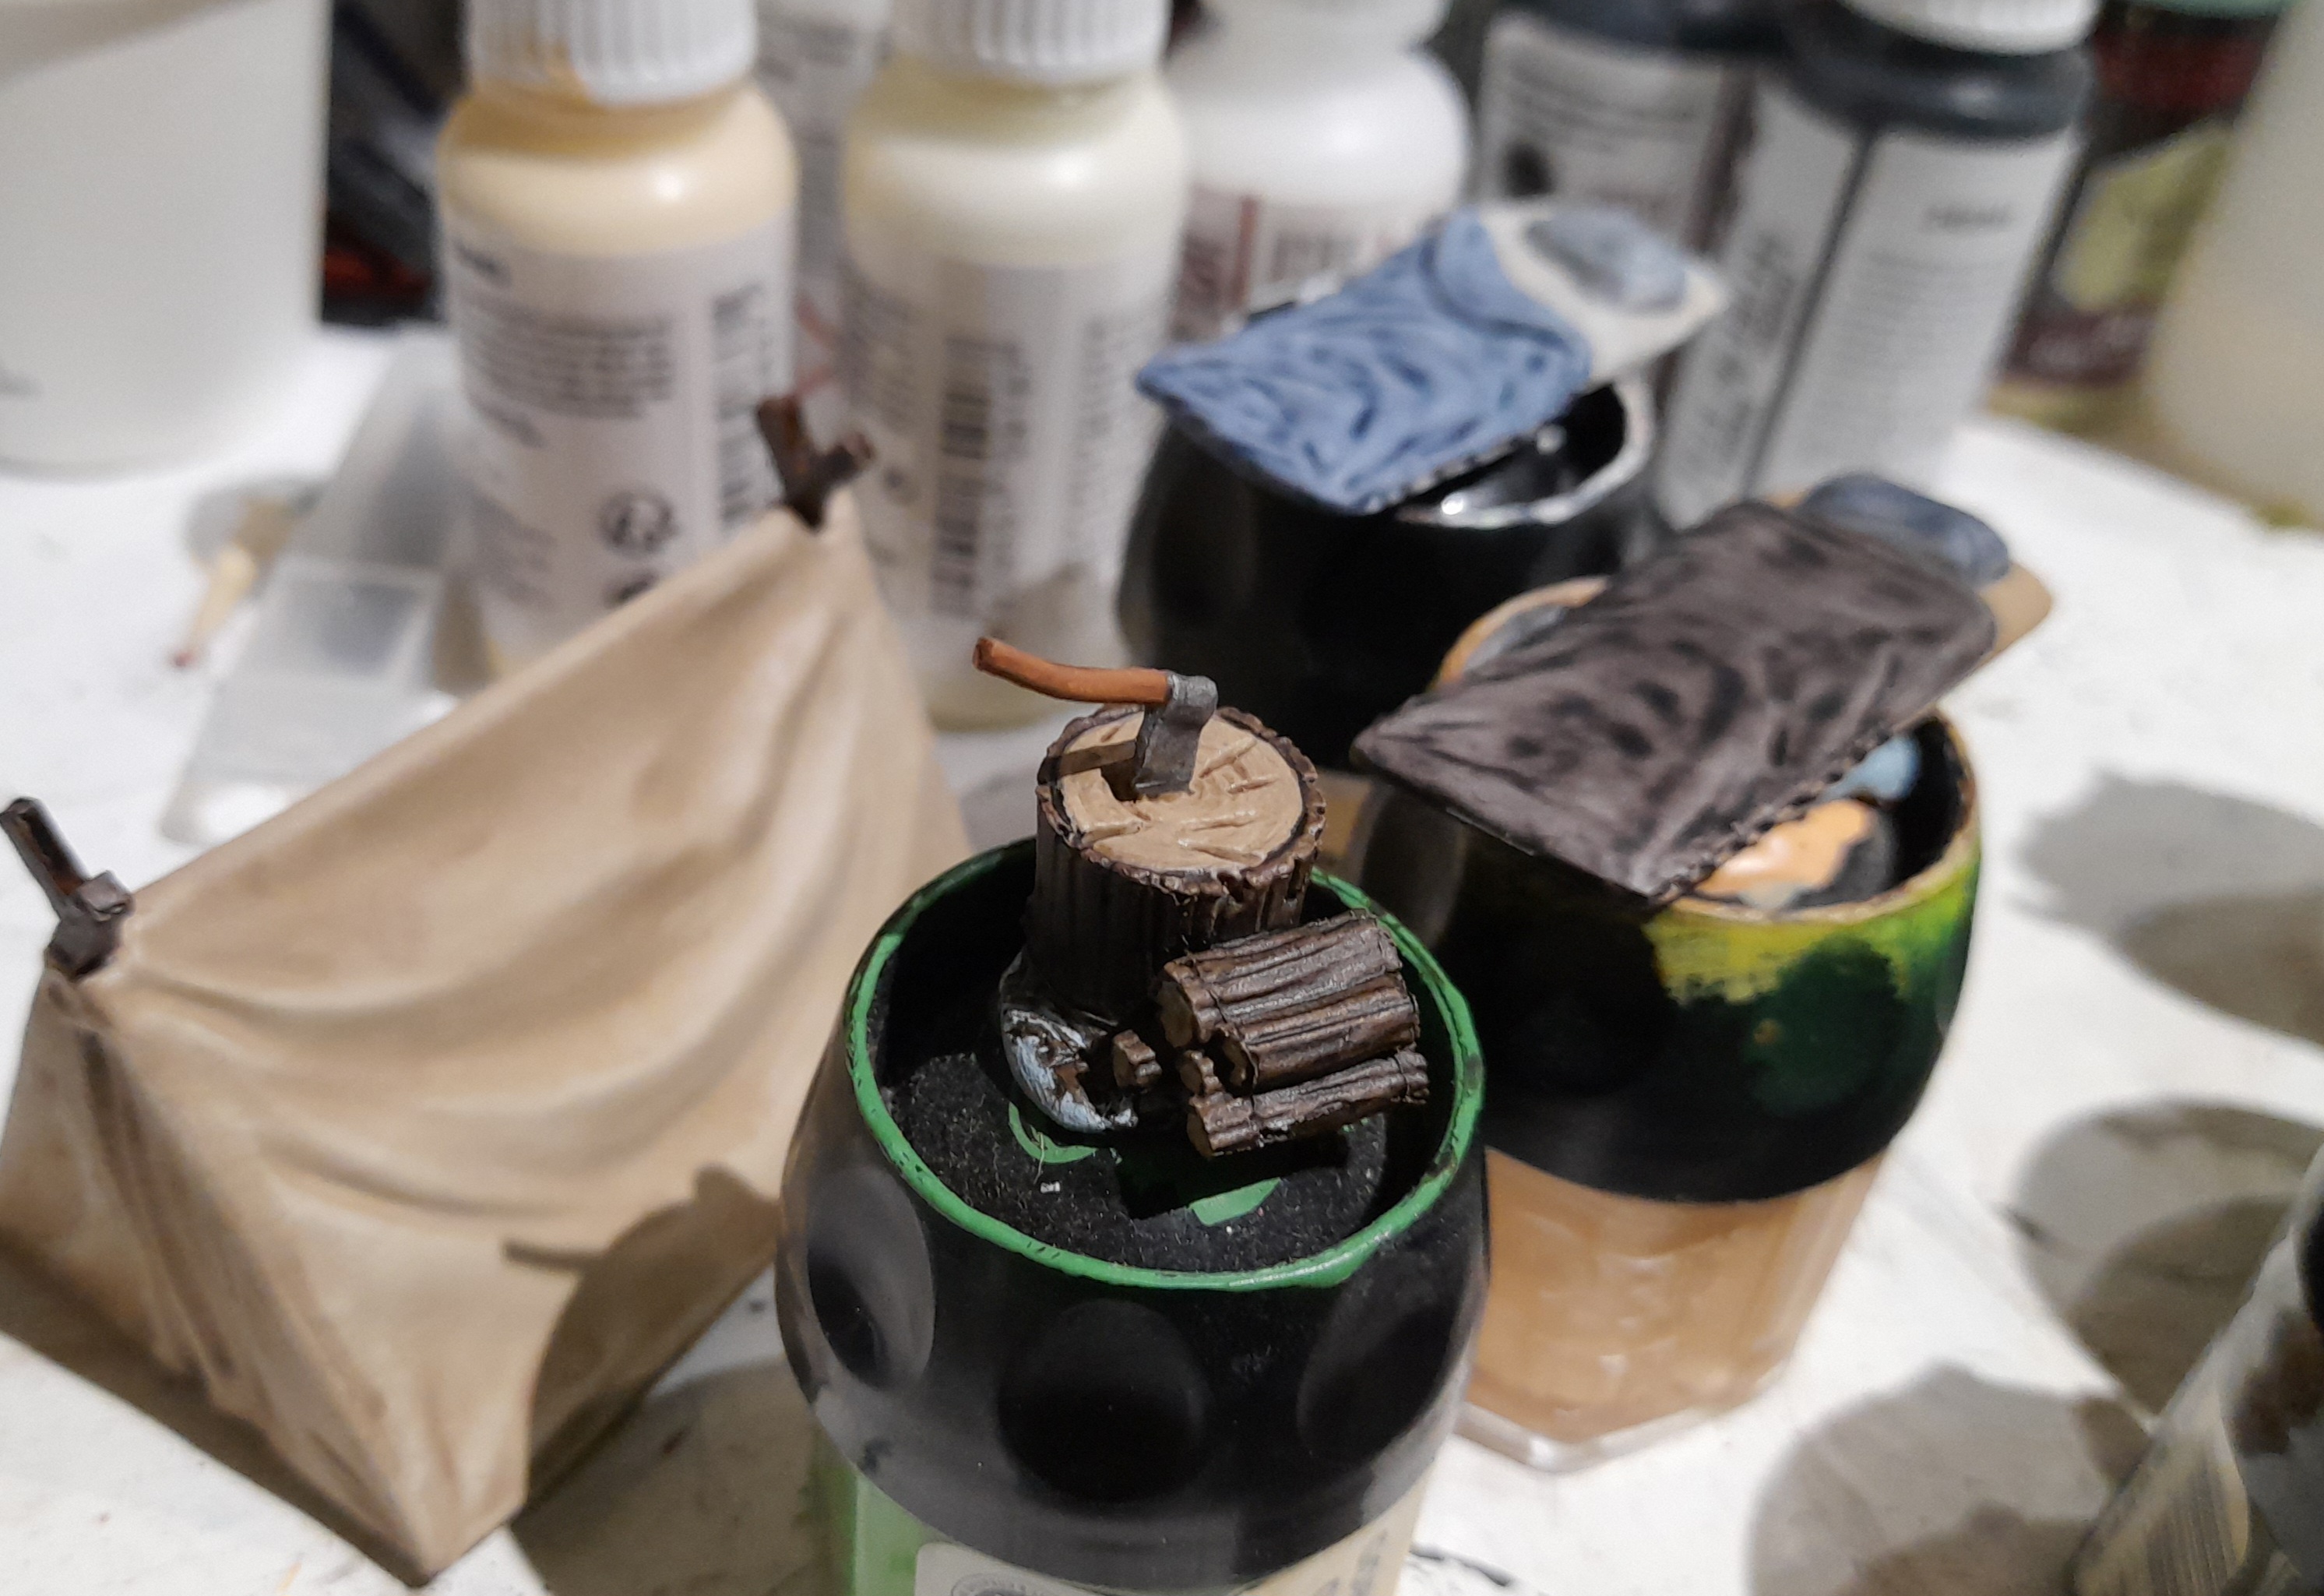
The sleeping bags were painted with contrast paints, with rawhide and ivory used for the mattress part. Thinned agrax wash again, followed by a pale sand drybrush. The woodpile was Wyldwood contrast, with ivory for the cut areas, and again agrax wash.
I spent a bit more time on the fire and fire base. Using washes and drybrushes of blacks and greys, followed by Deneb stone lightly I tried to give the stone surround a look of soot covering.

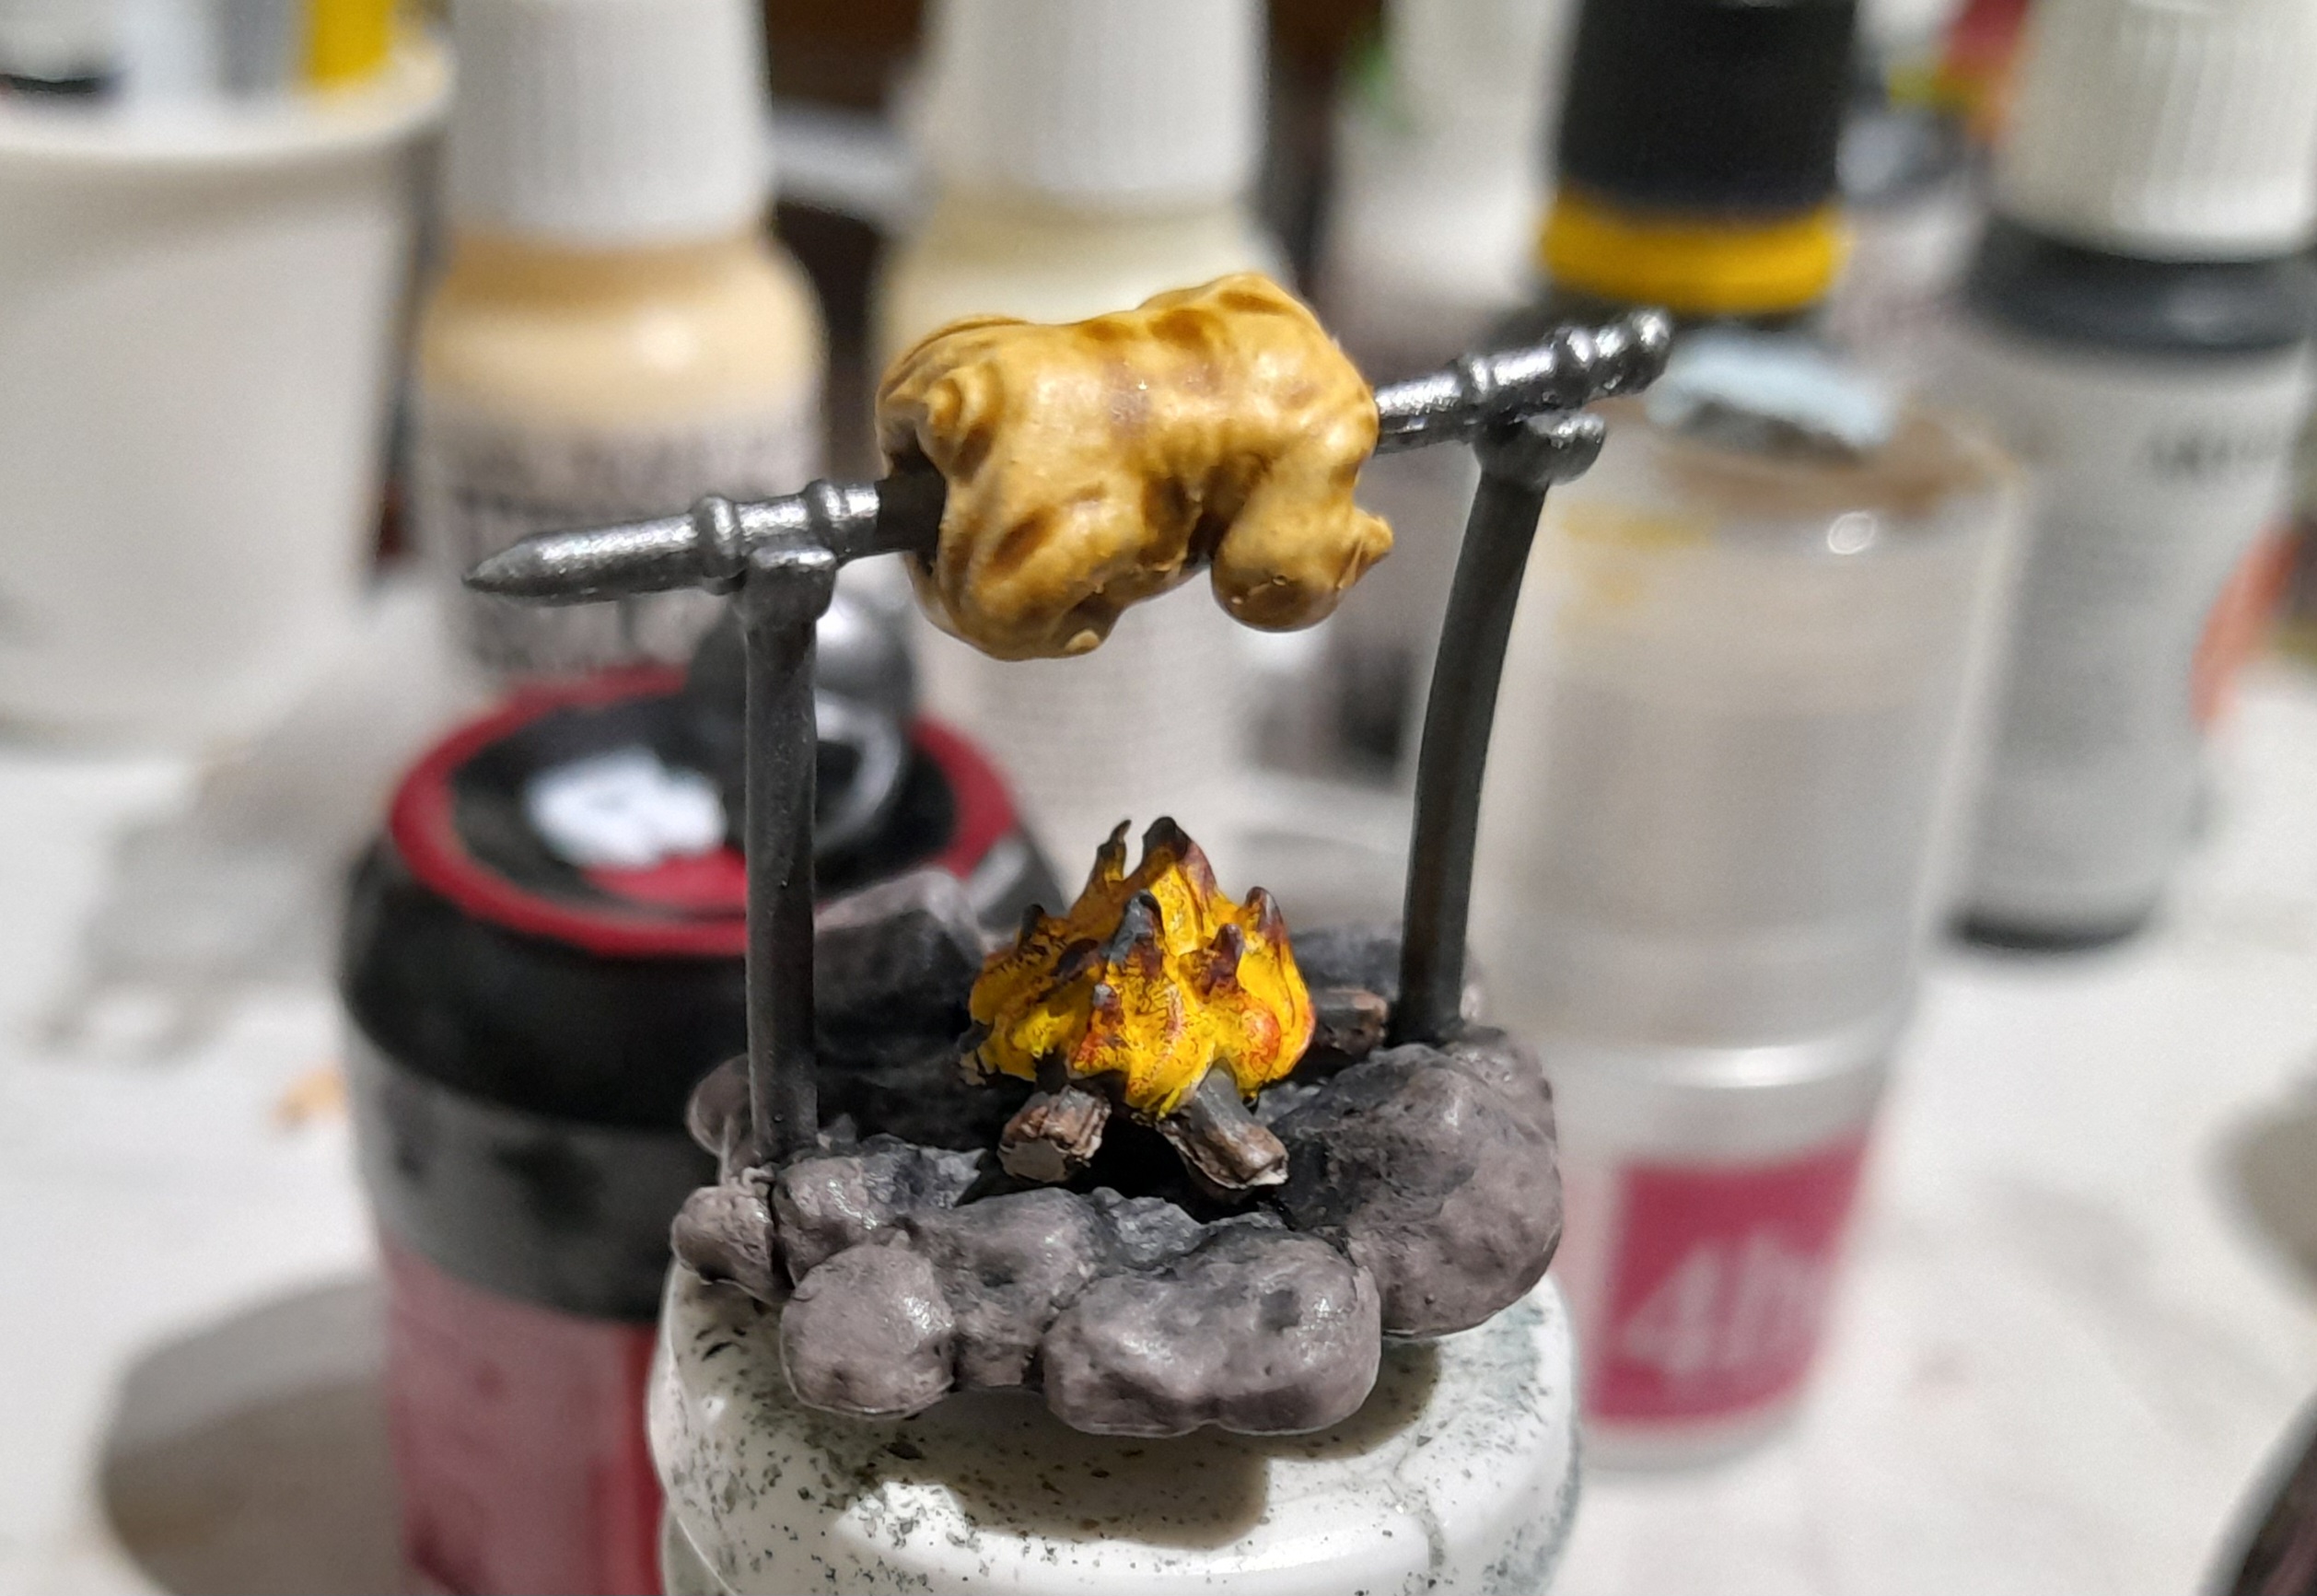
The bags and bedrolls were painted in the same way, a mix of contrast and regular. The lantern glass was given a gloss varnish.
And here they all are:
Brief river update
13th December 2024
Well, its been a bit of time, so I thought that I should post an update. I haven’t had much time for hobby of late unfortunately though, so there isn’t much.
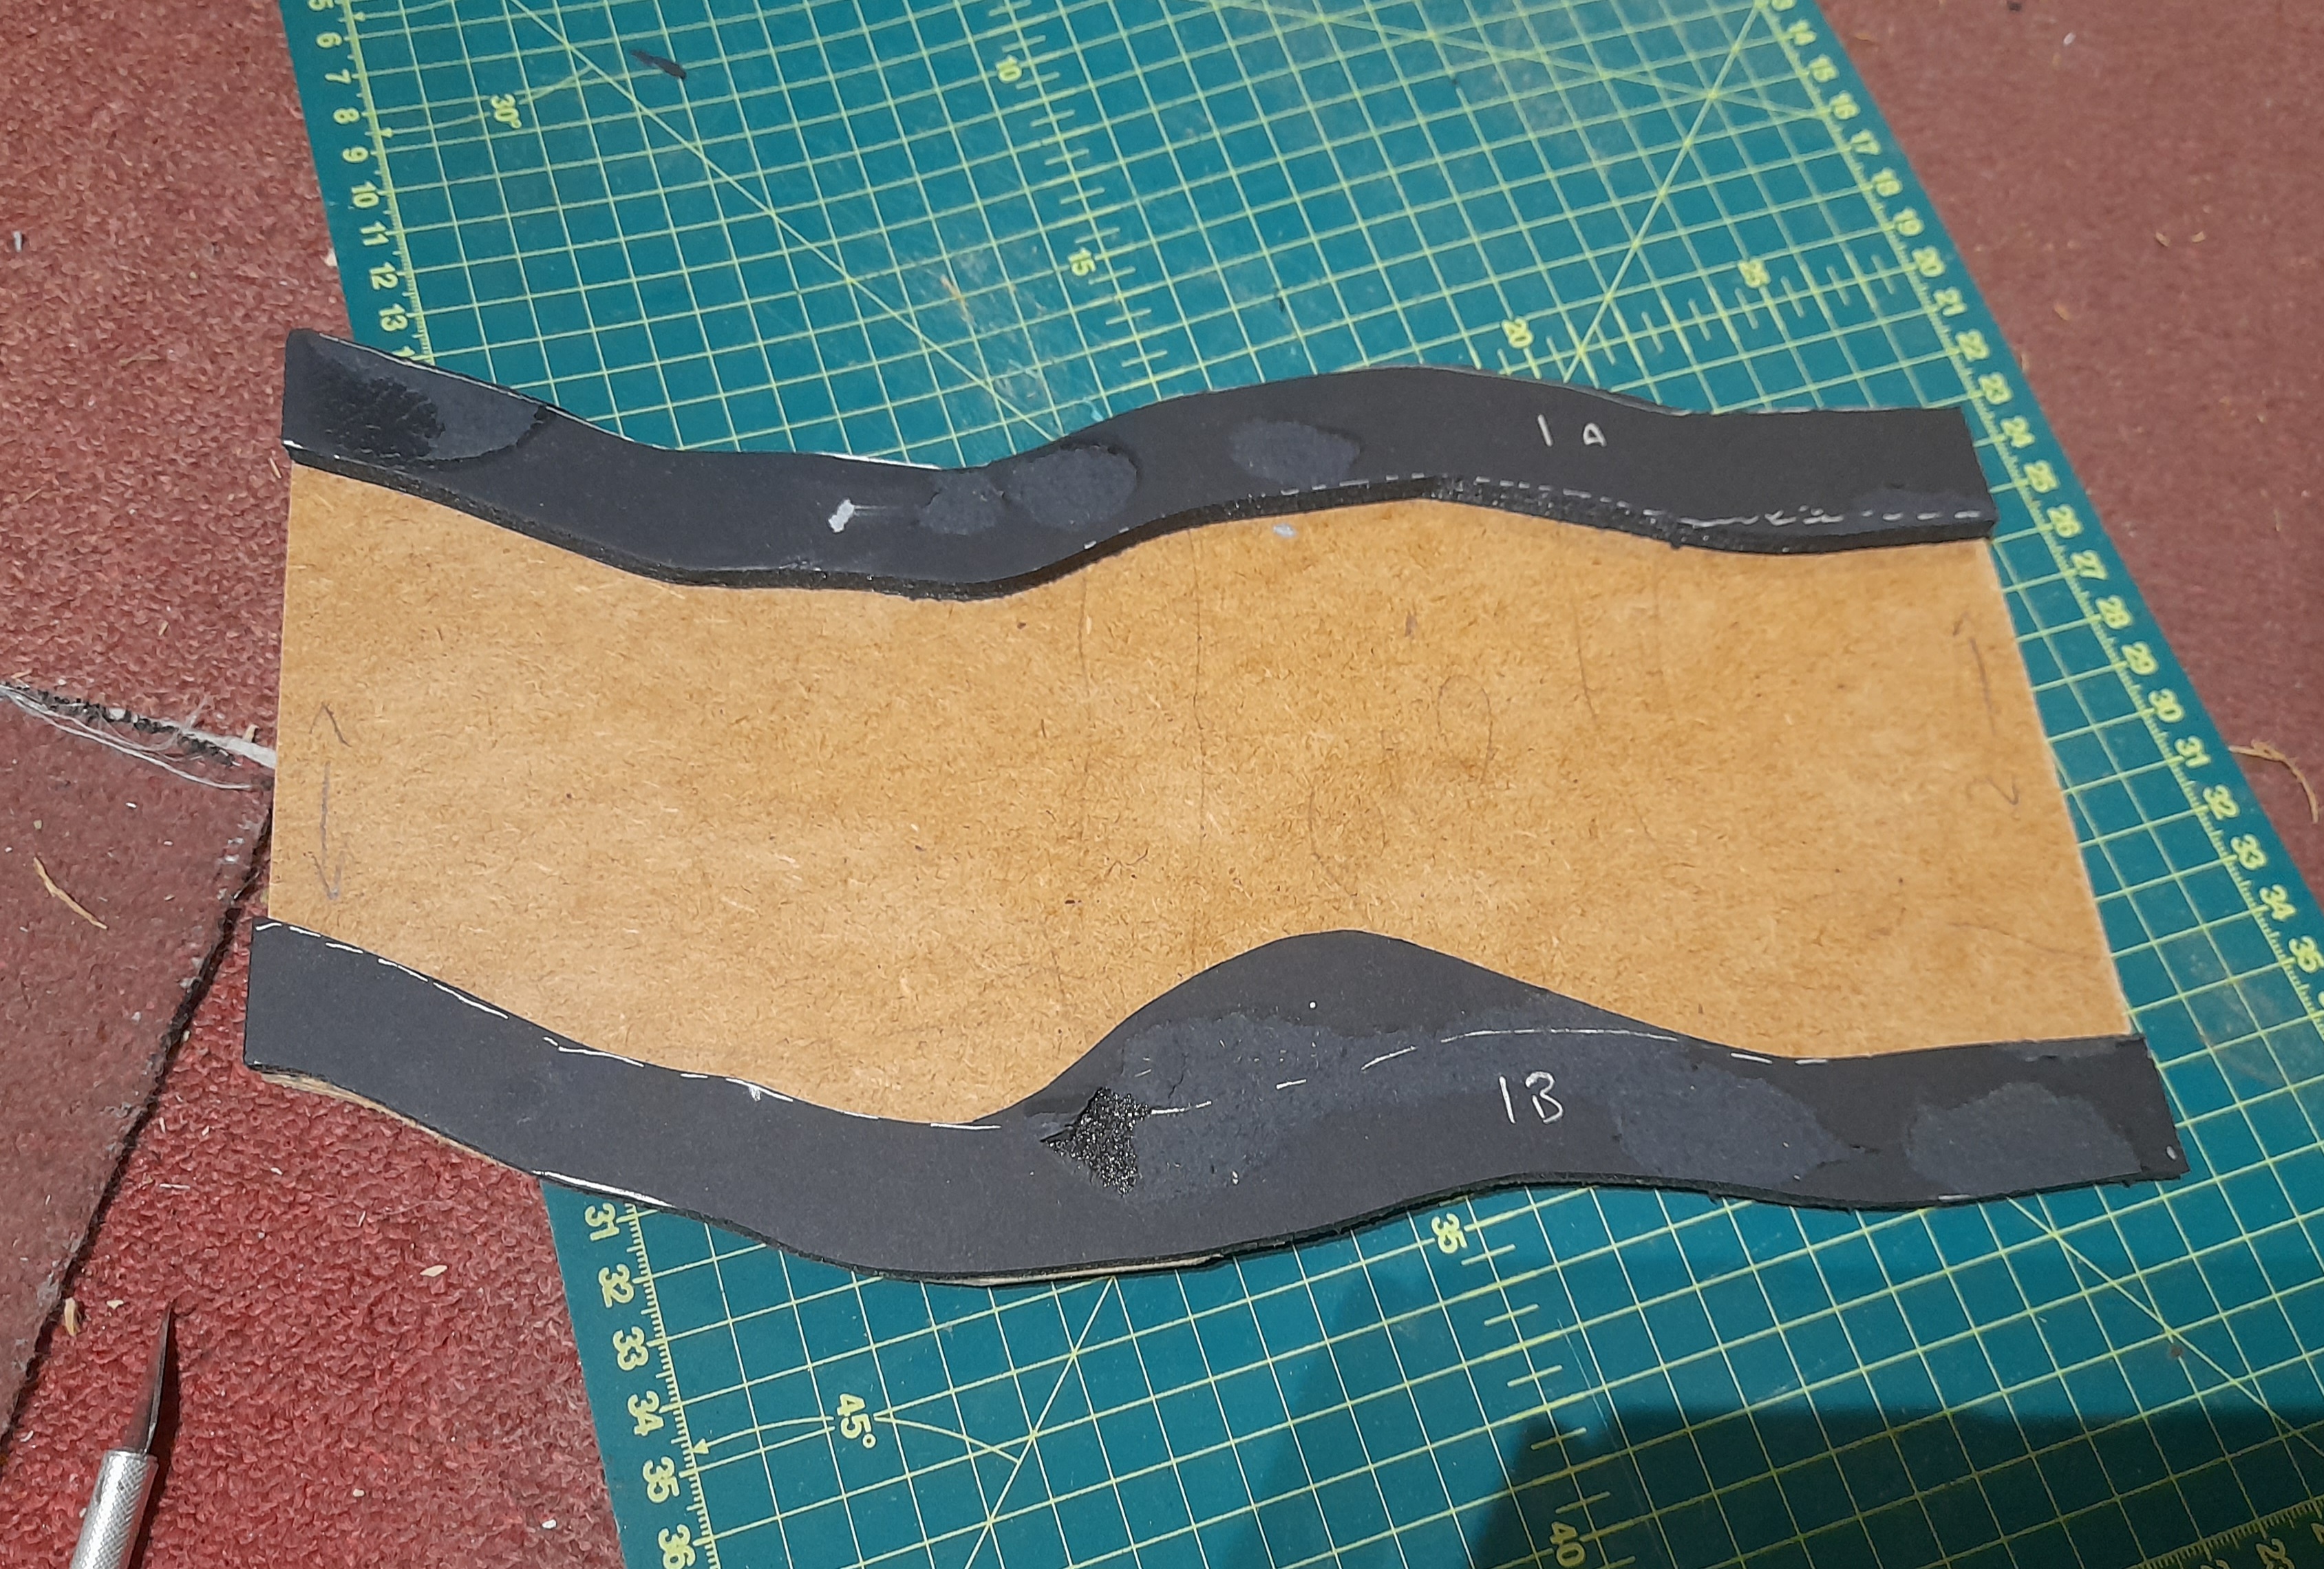
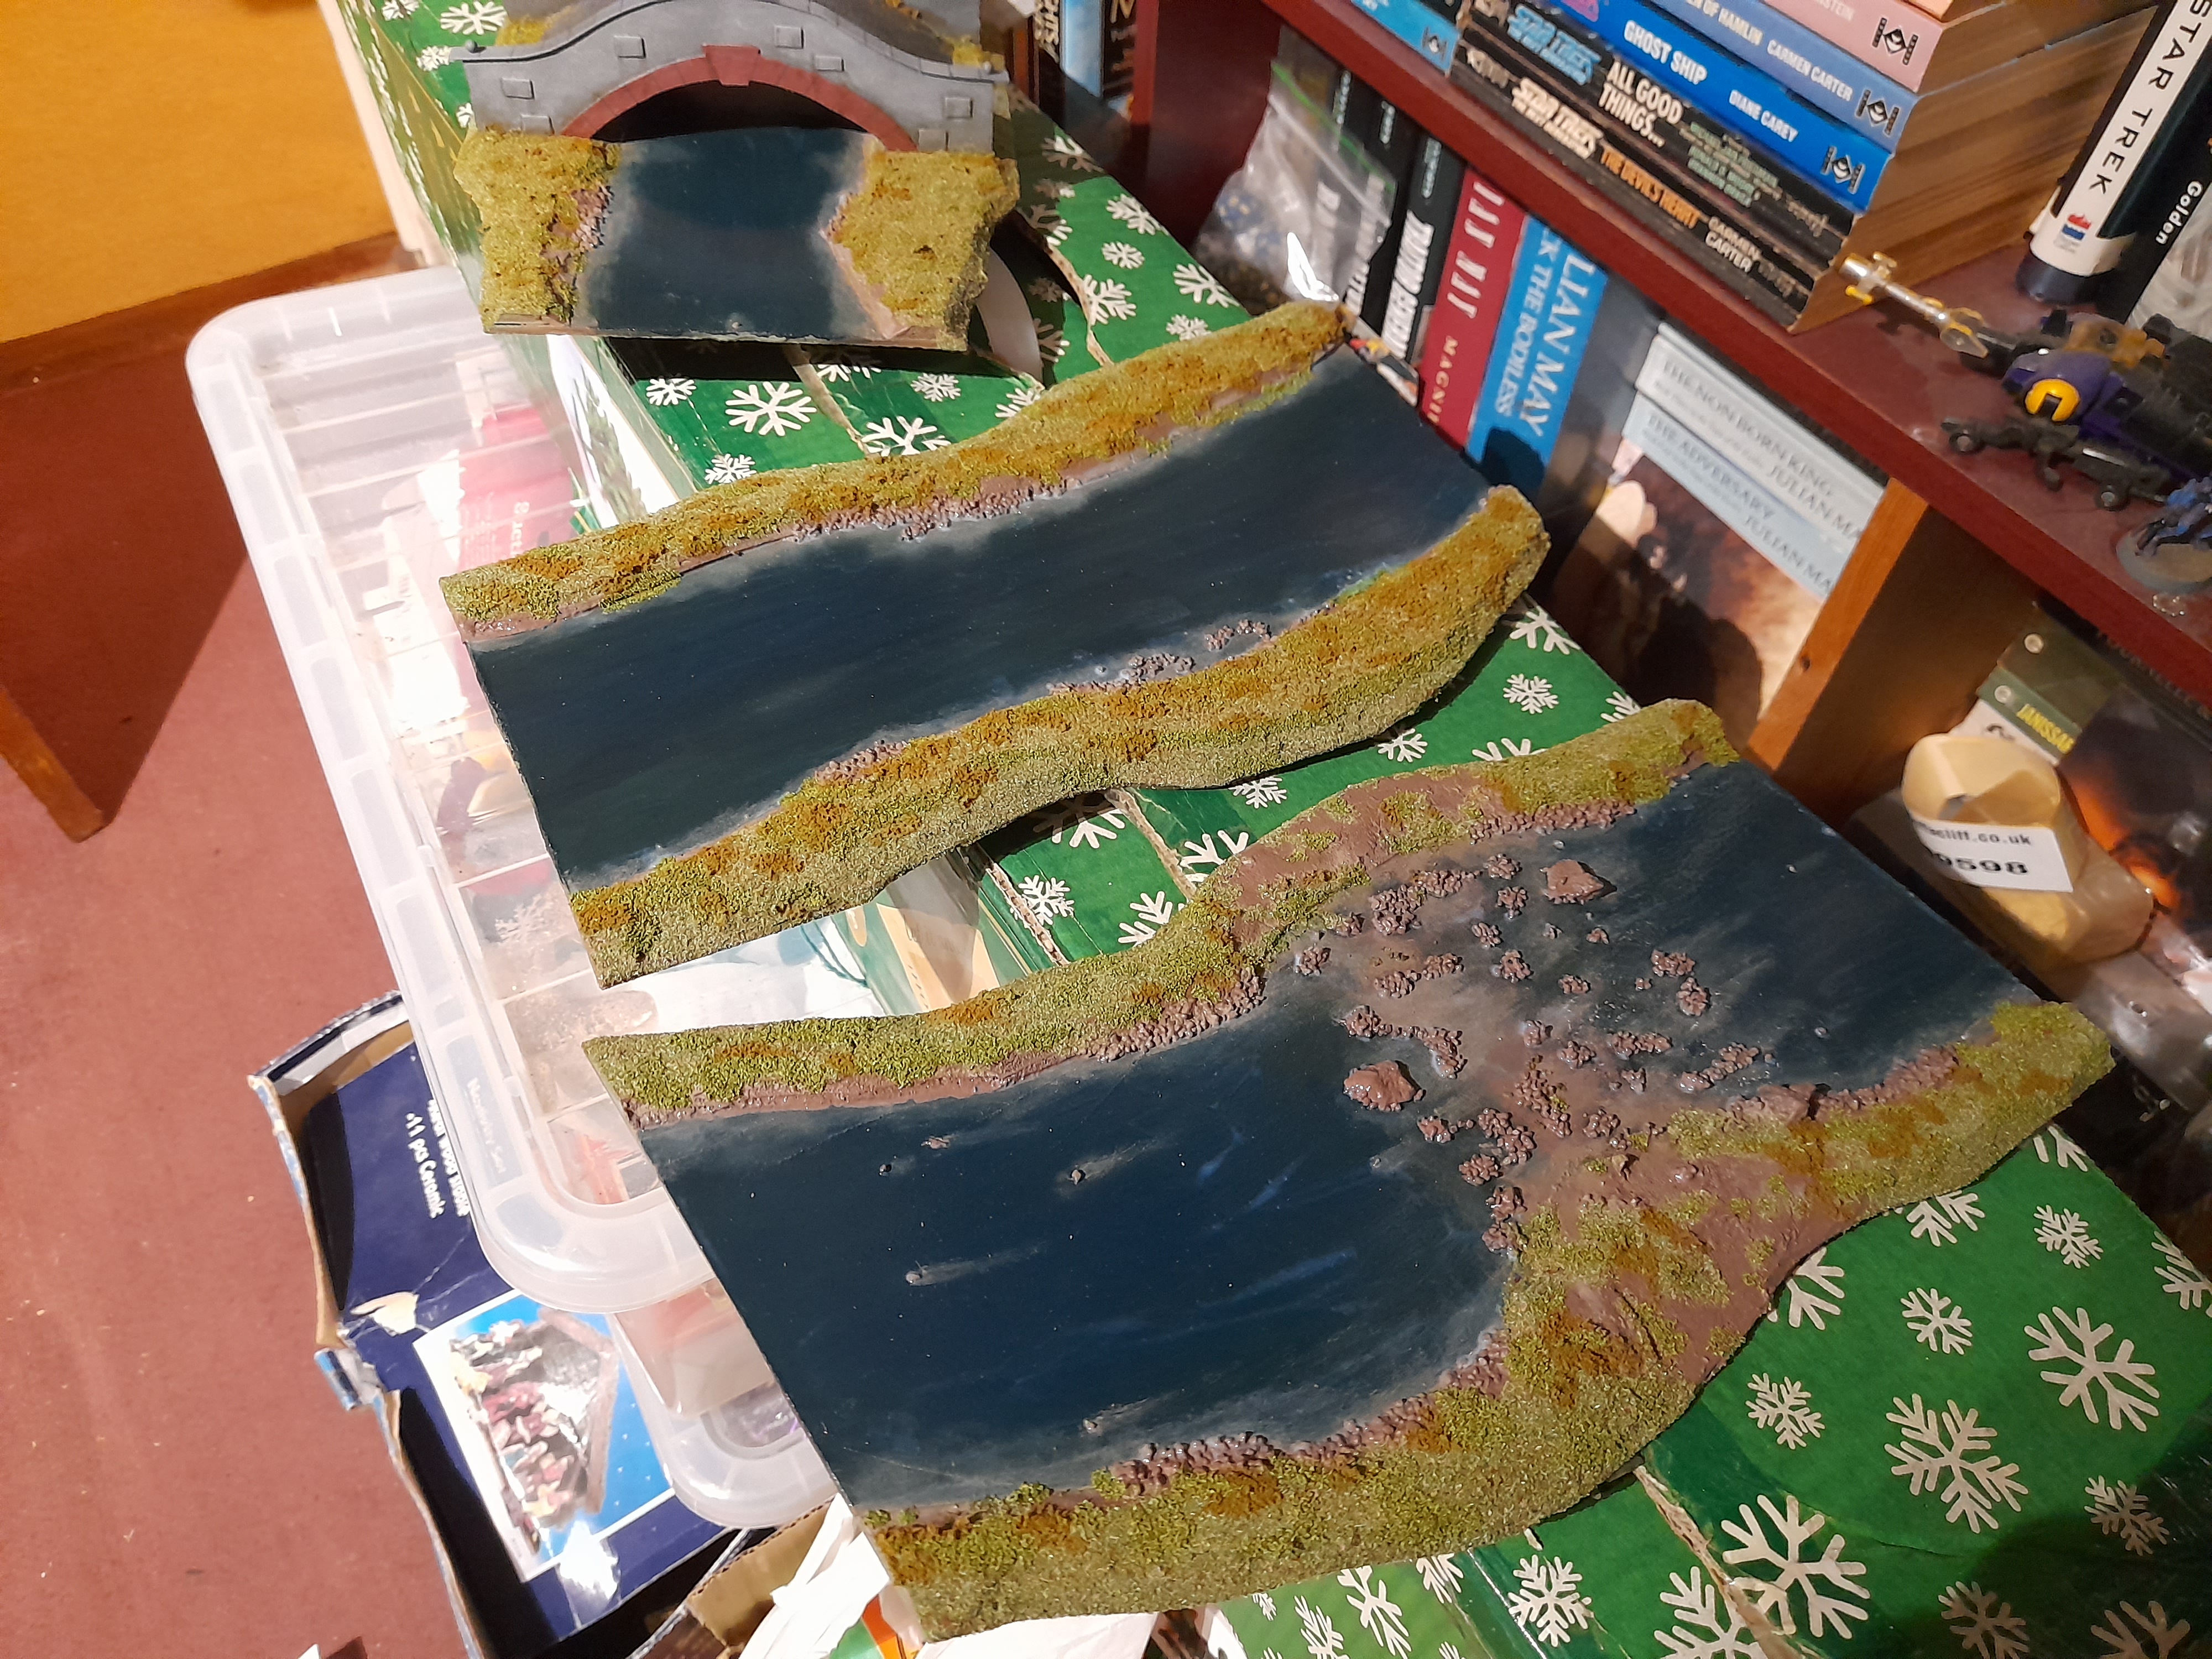
For the section of river, bridge and ford I had 3’ of the thin fibre/mdf board left, so sketched out three river sections onto that. One had the ford, one space for the bridge and one just plain.
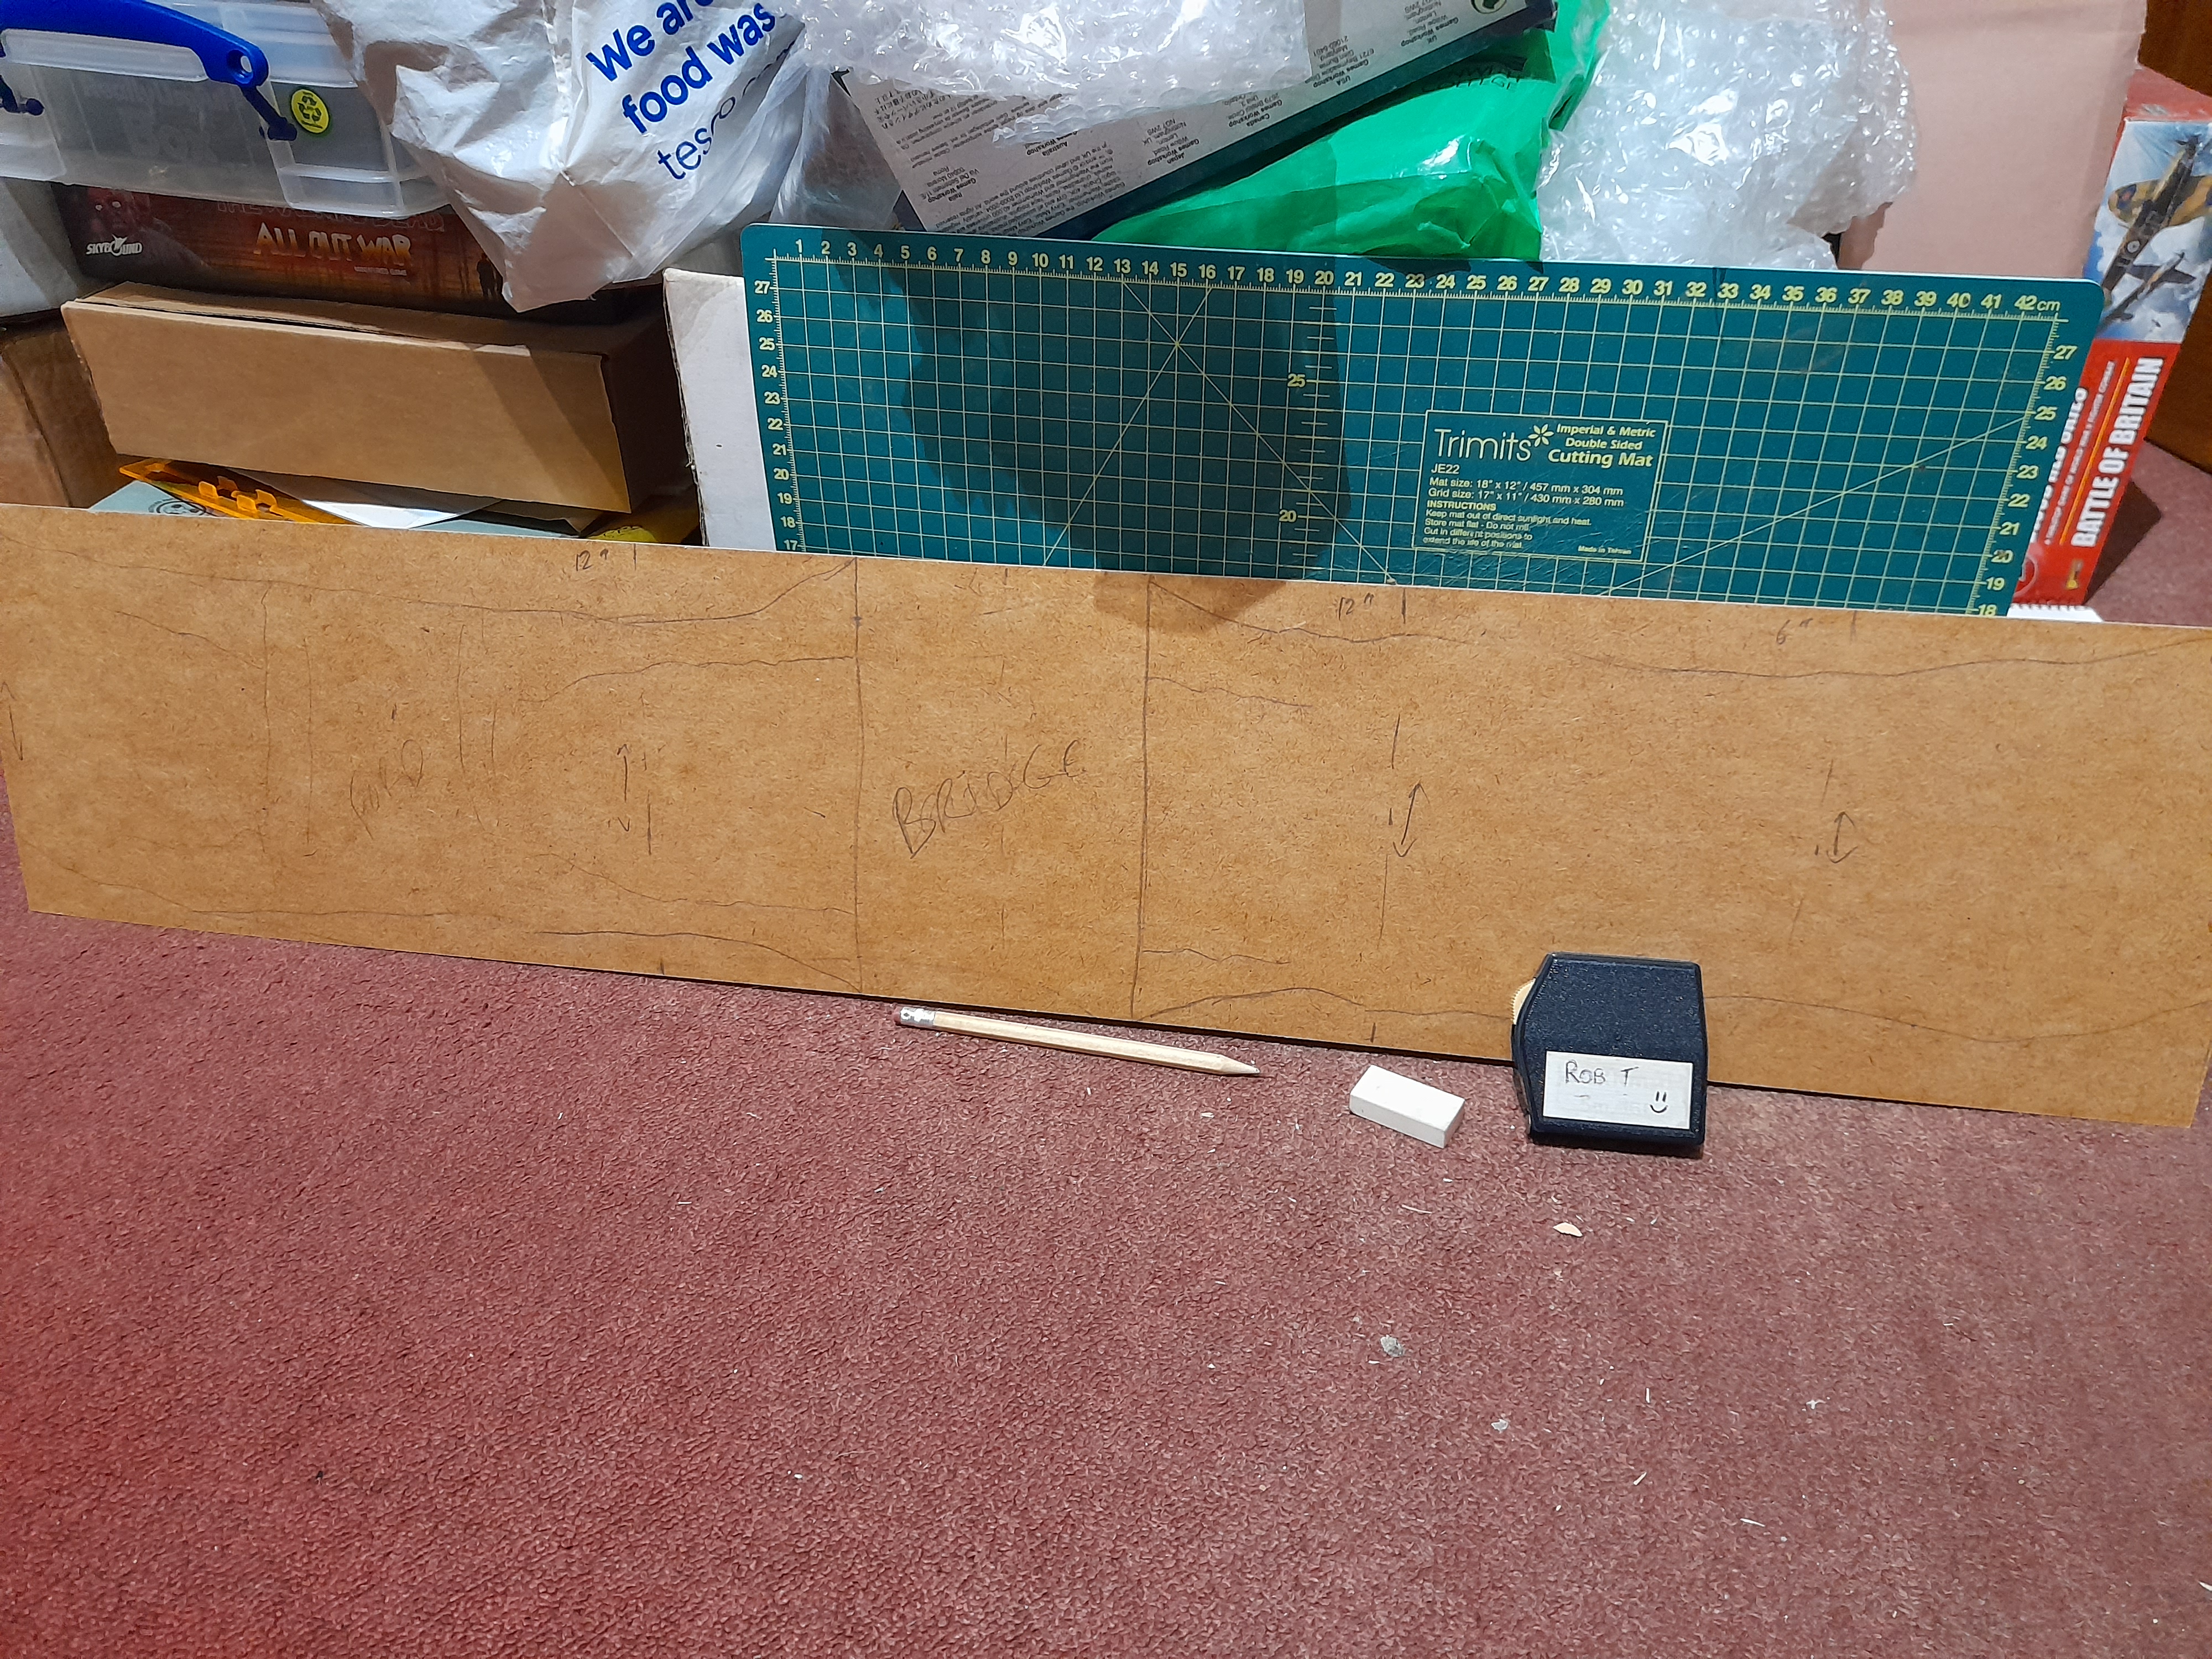 Sketching out the river
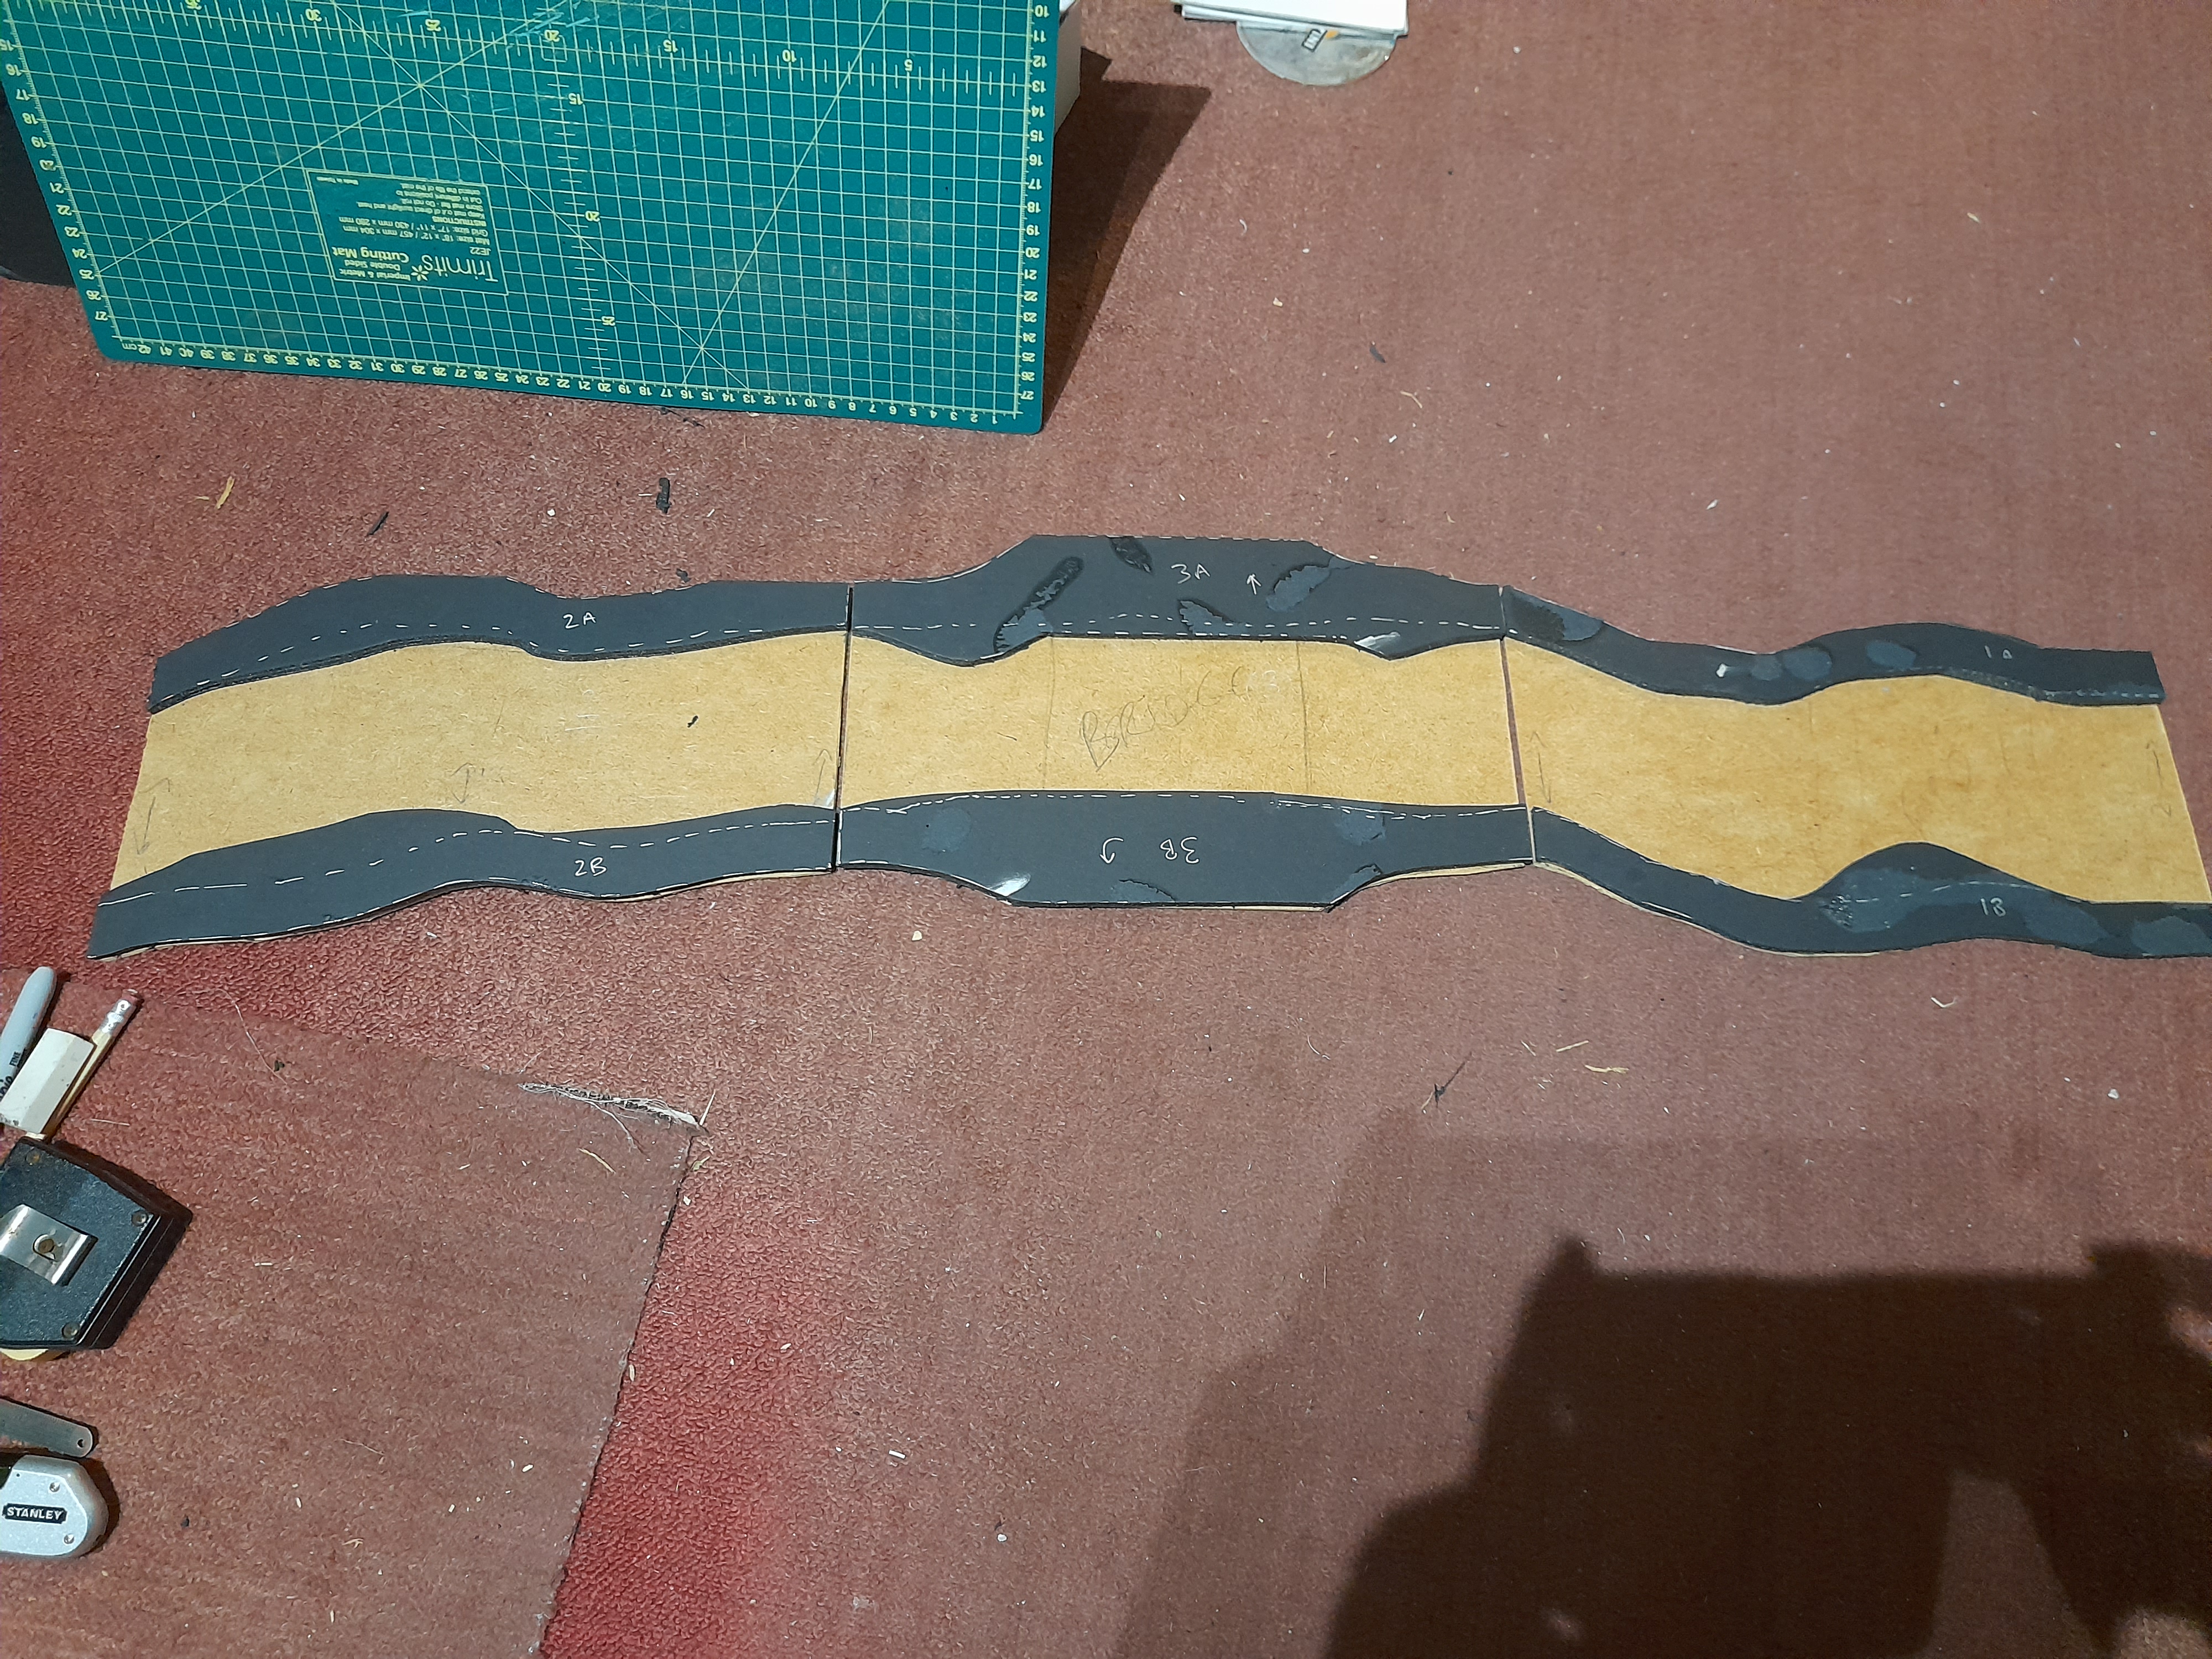
I cut these out, and used the curvy edges as a template to mark out the banks onto some old foamcard I was reusing.
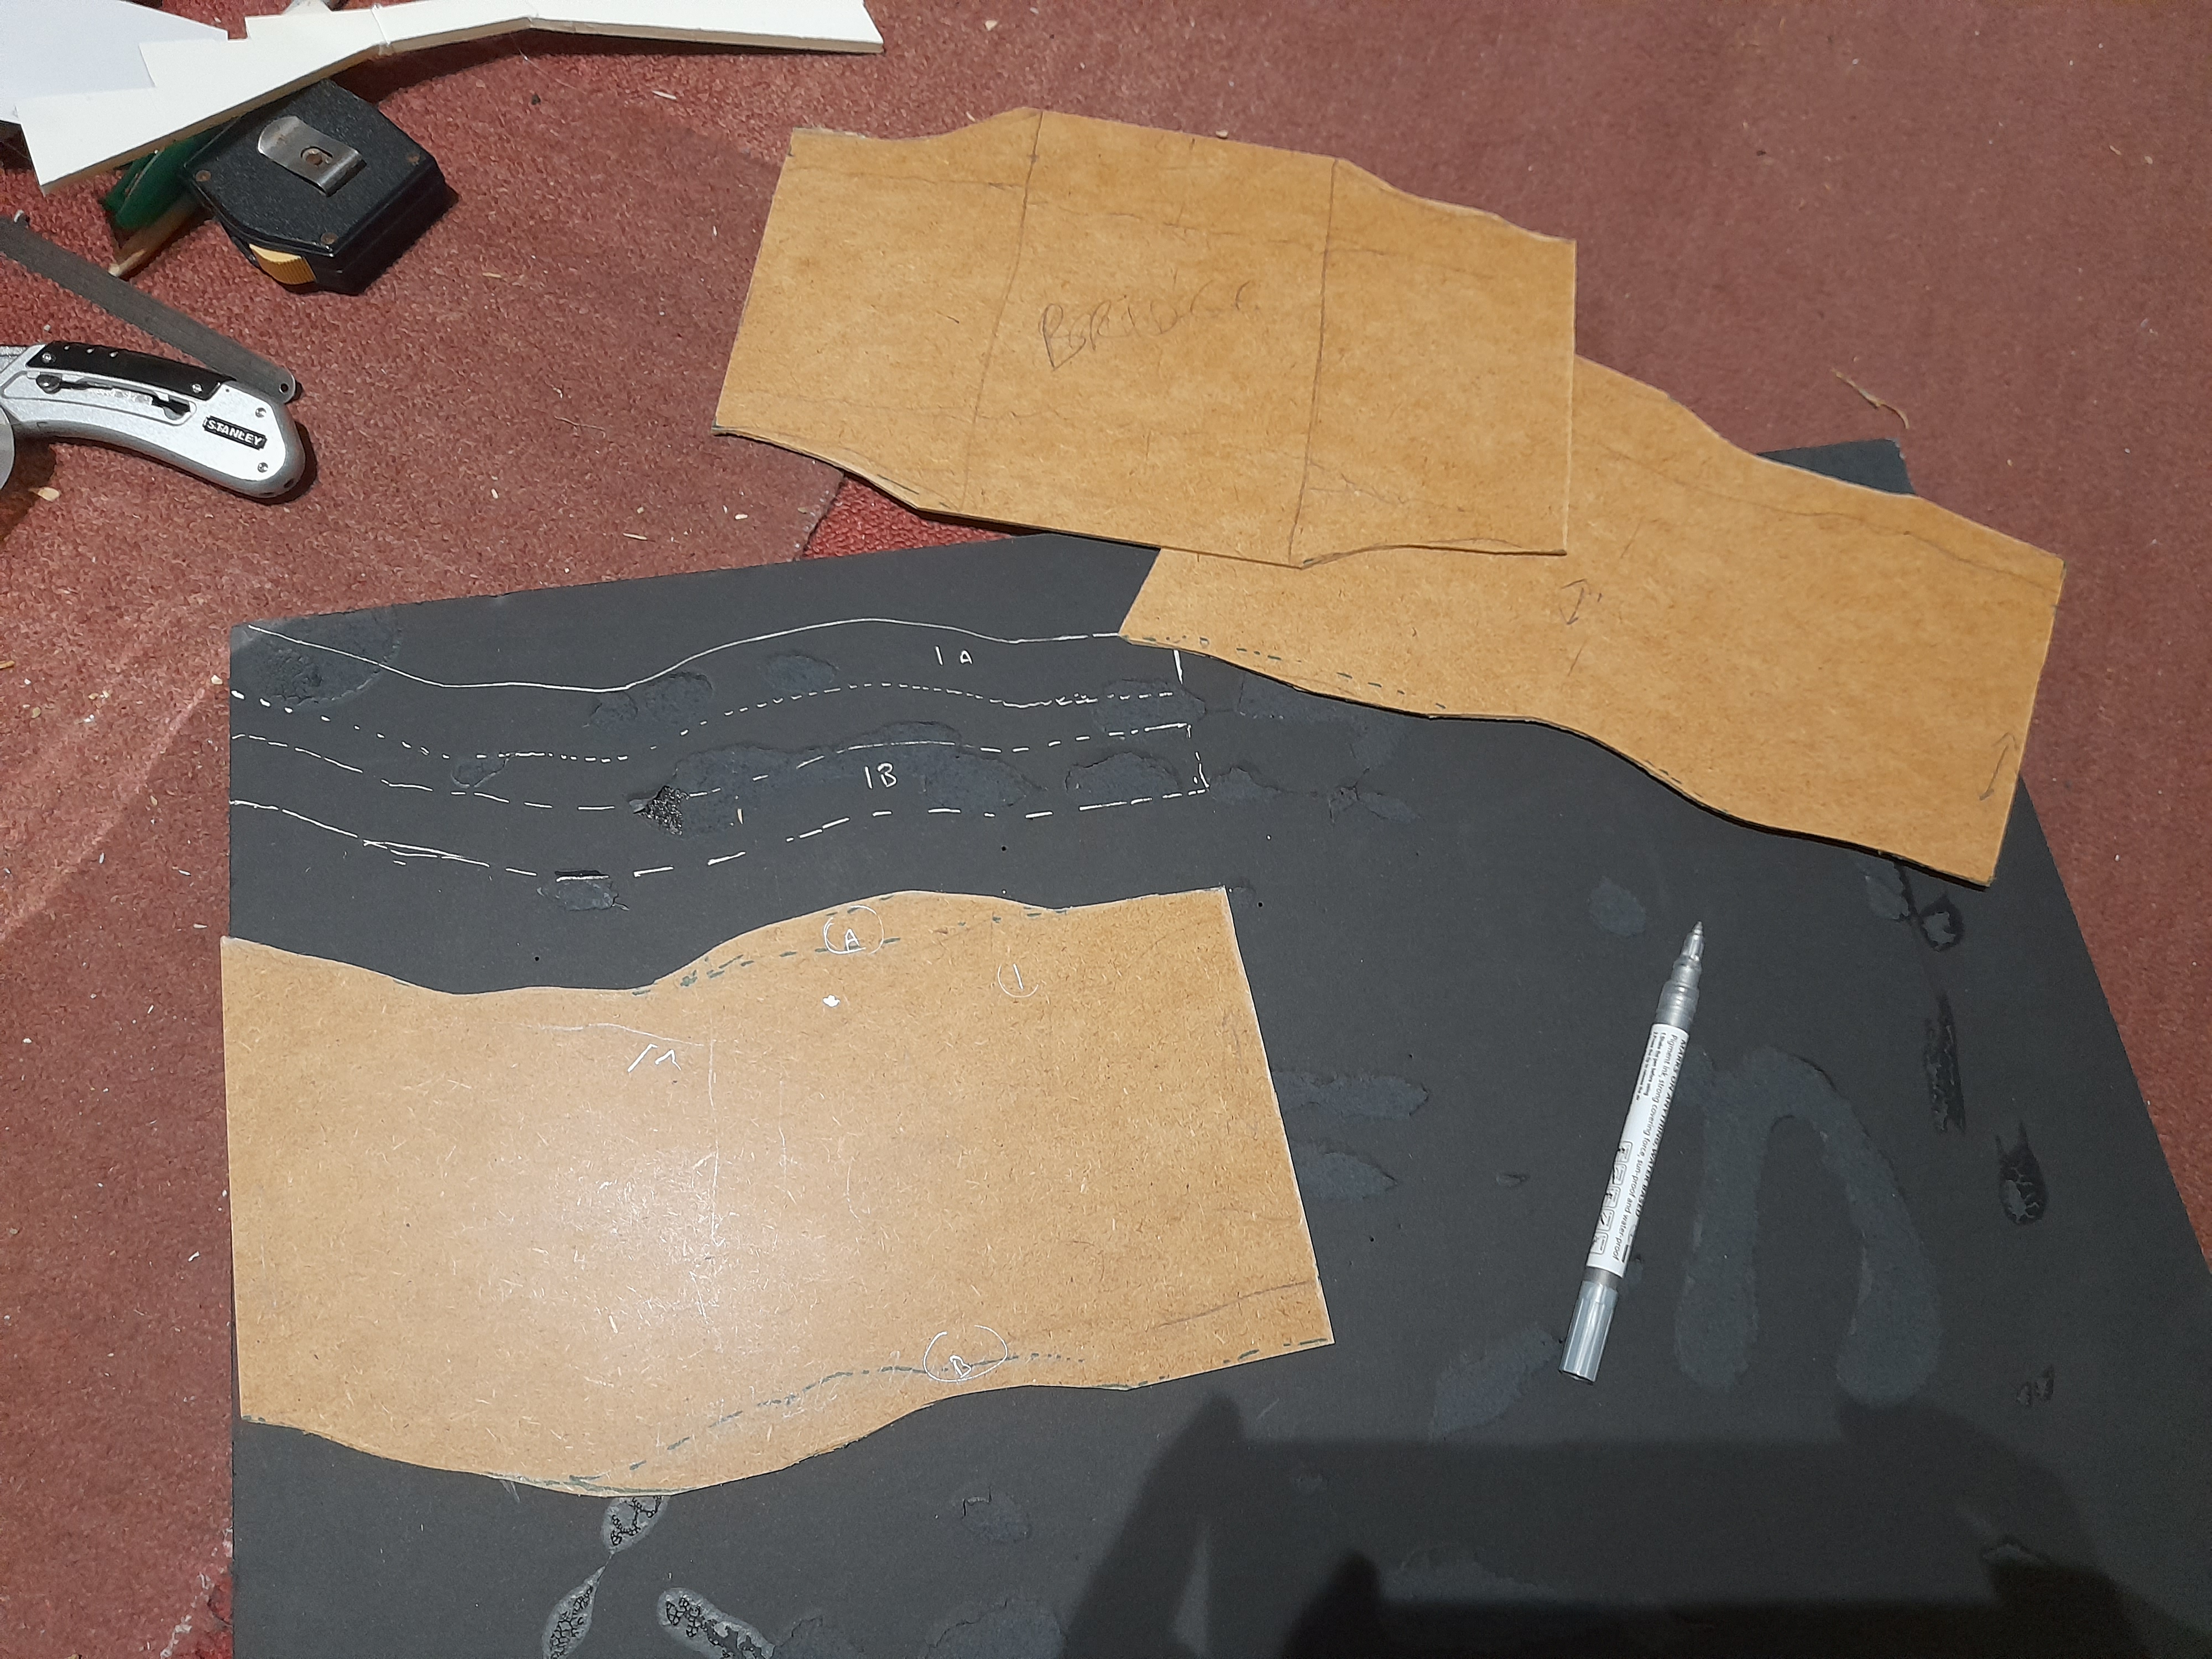
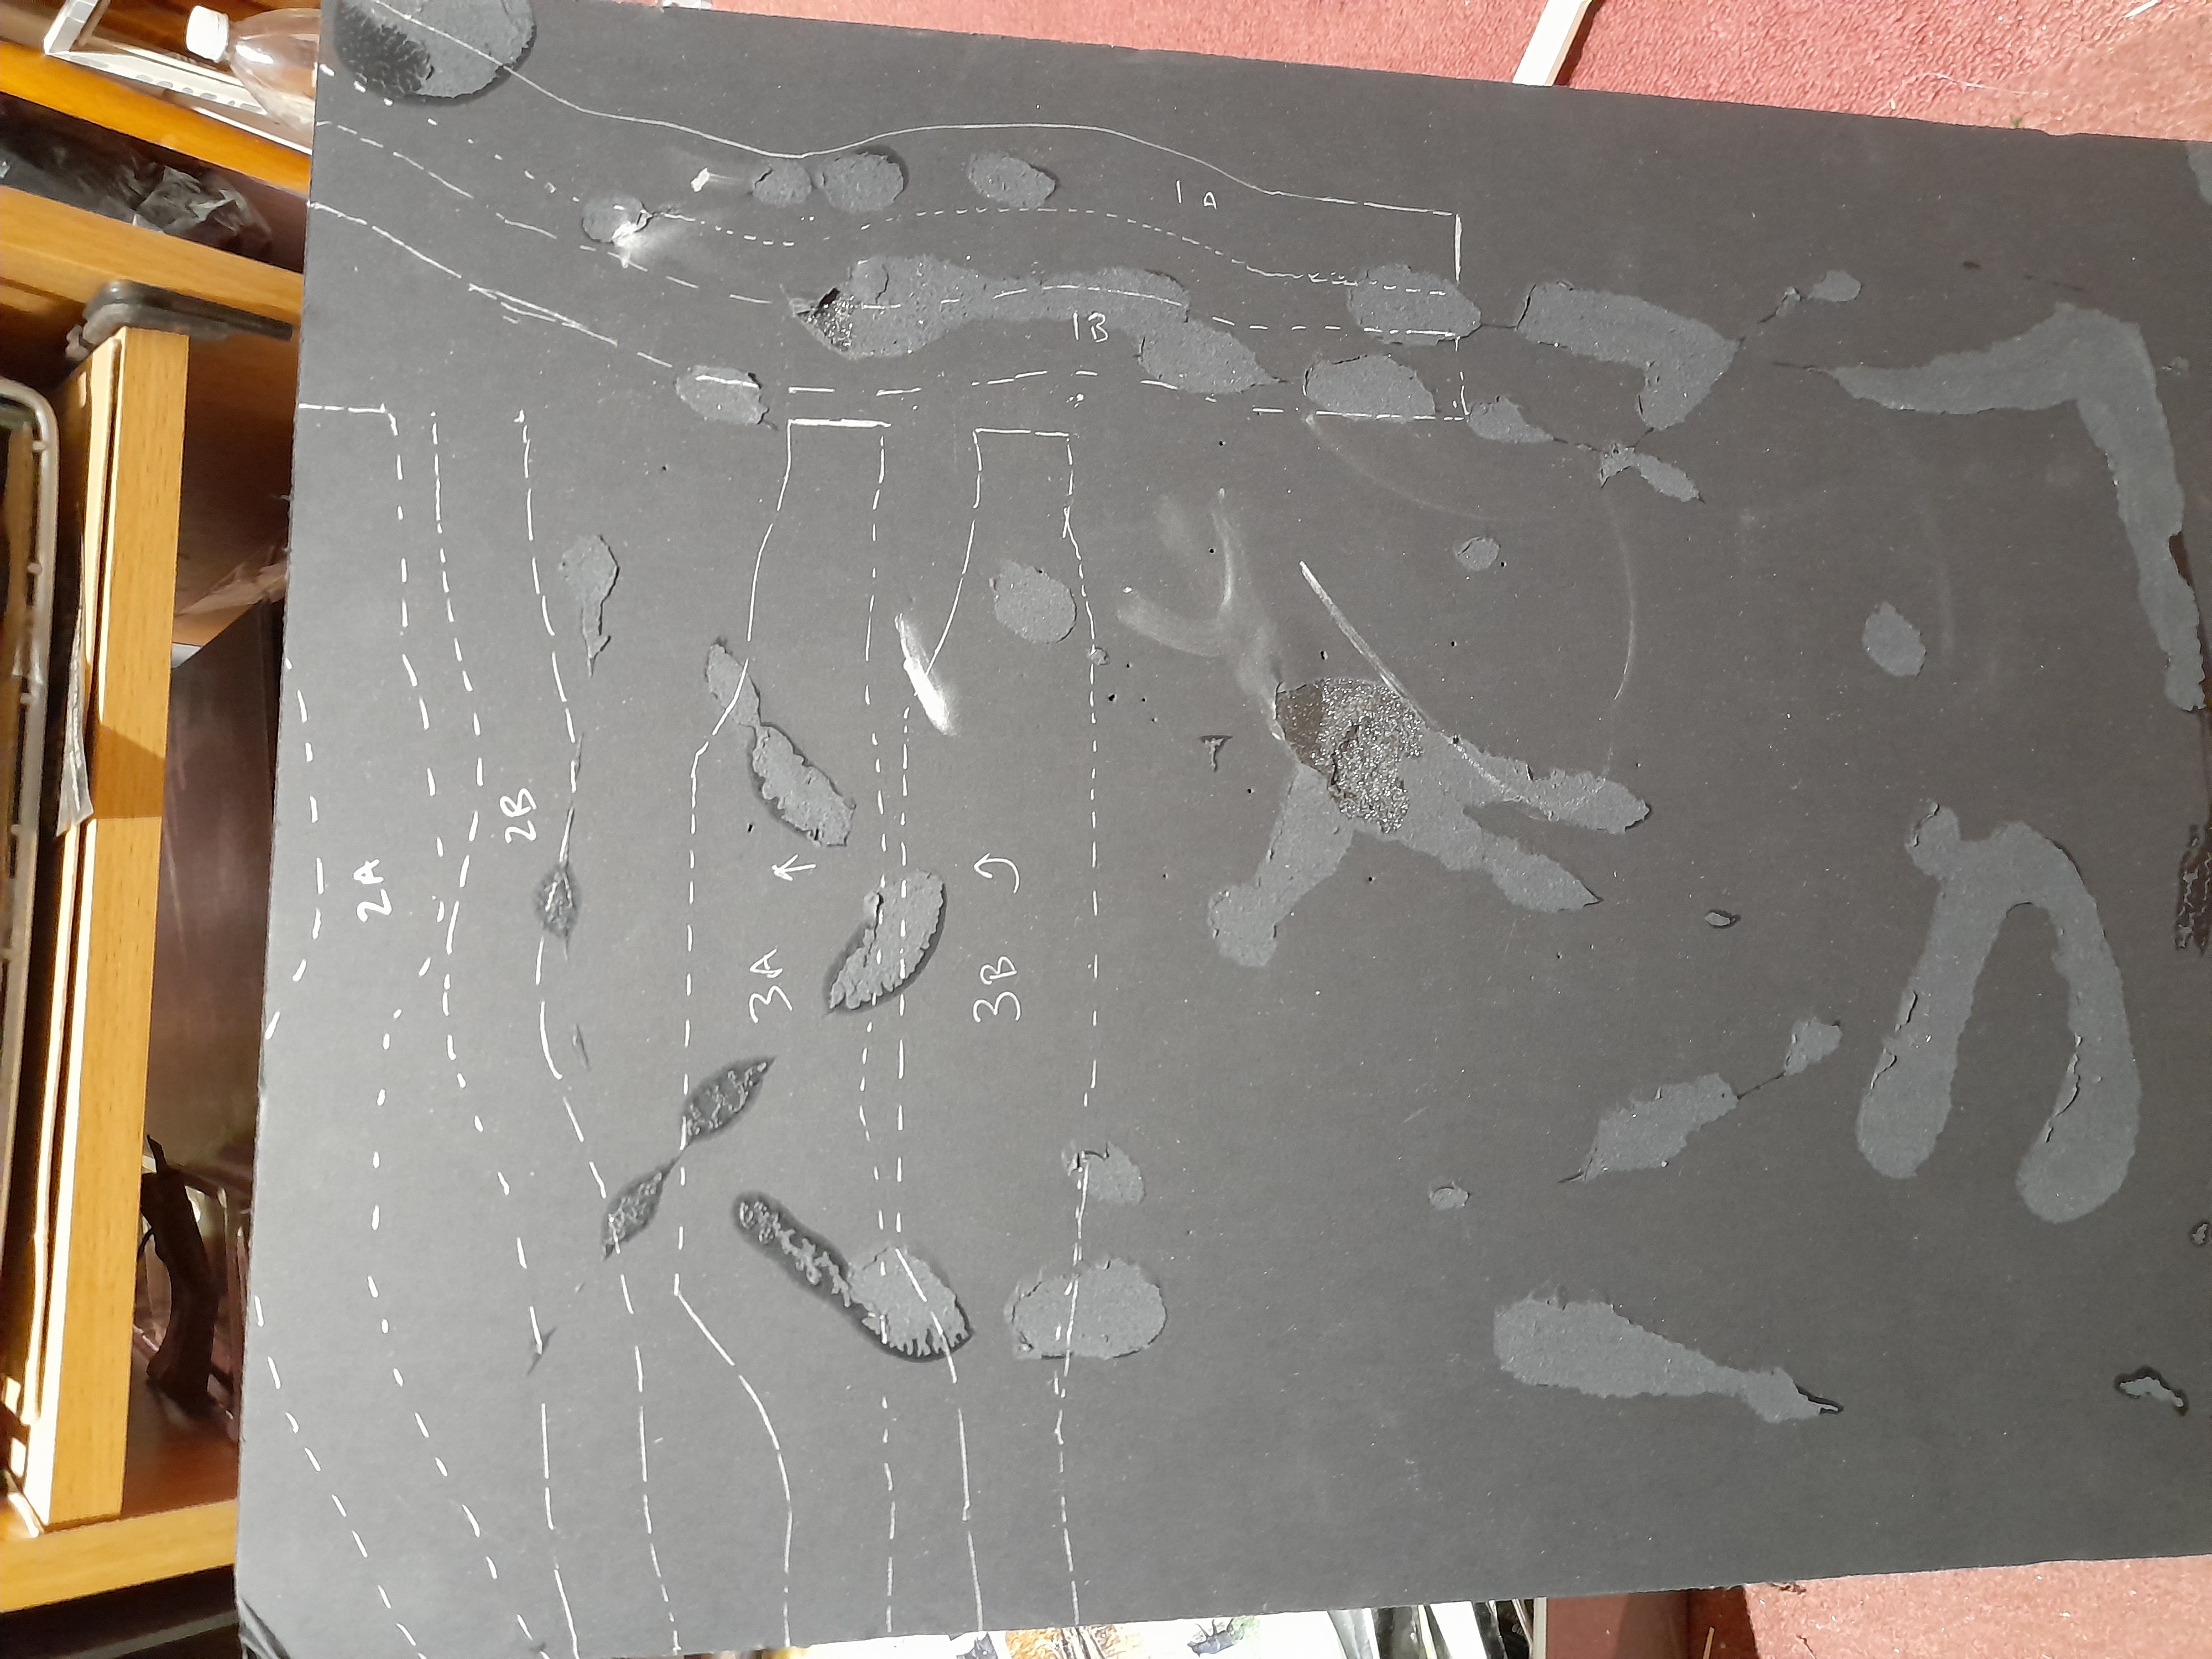
This was then glued down onto the base board, and trimmed down roughly.
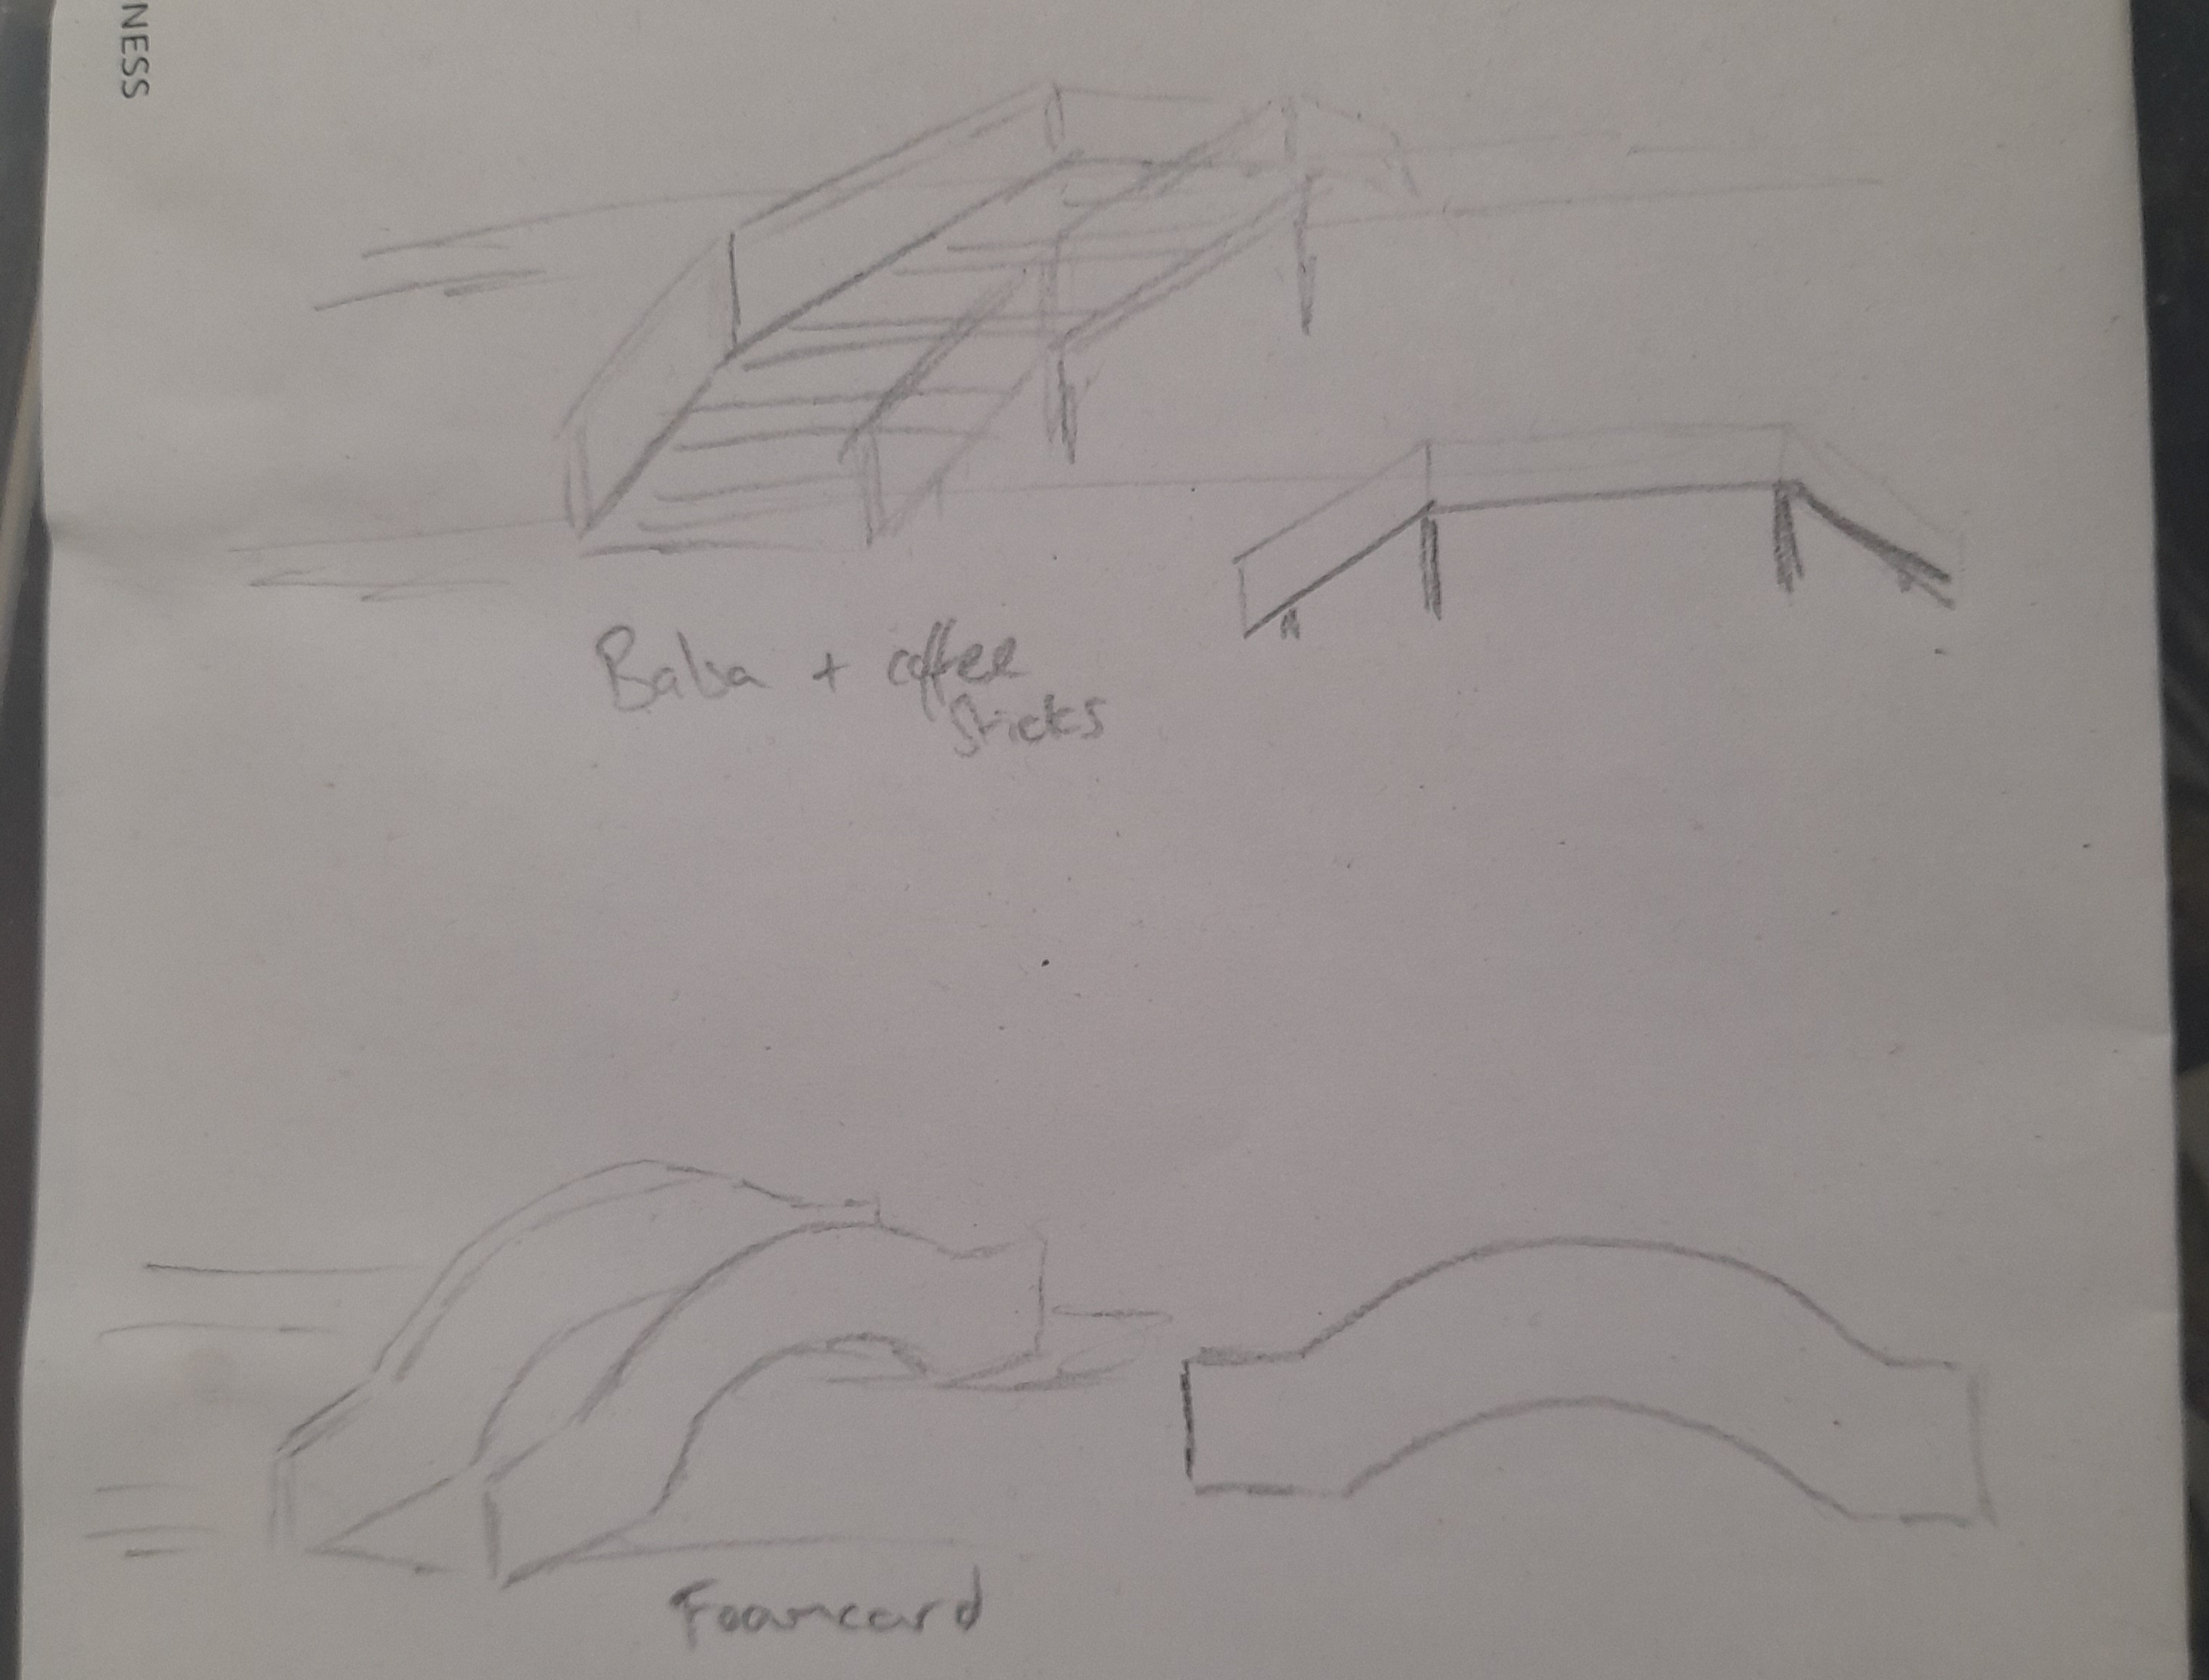
Not sure what style of bridge to make, so I sketched out a couple of choices. One would be a wooden bridge, using balsa and coffee stirrer sticks. The other would be using foamcard. Also, a lot of tidying up to do…..

Bridge and river progress
19th December 2024
Slow again, but I have got some positive progress over the week.
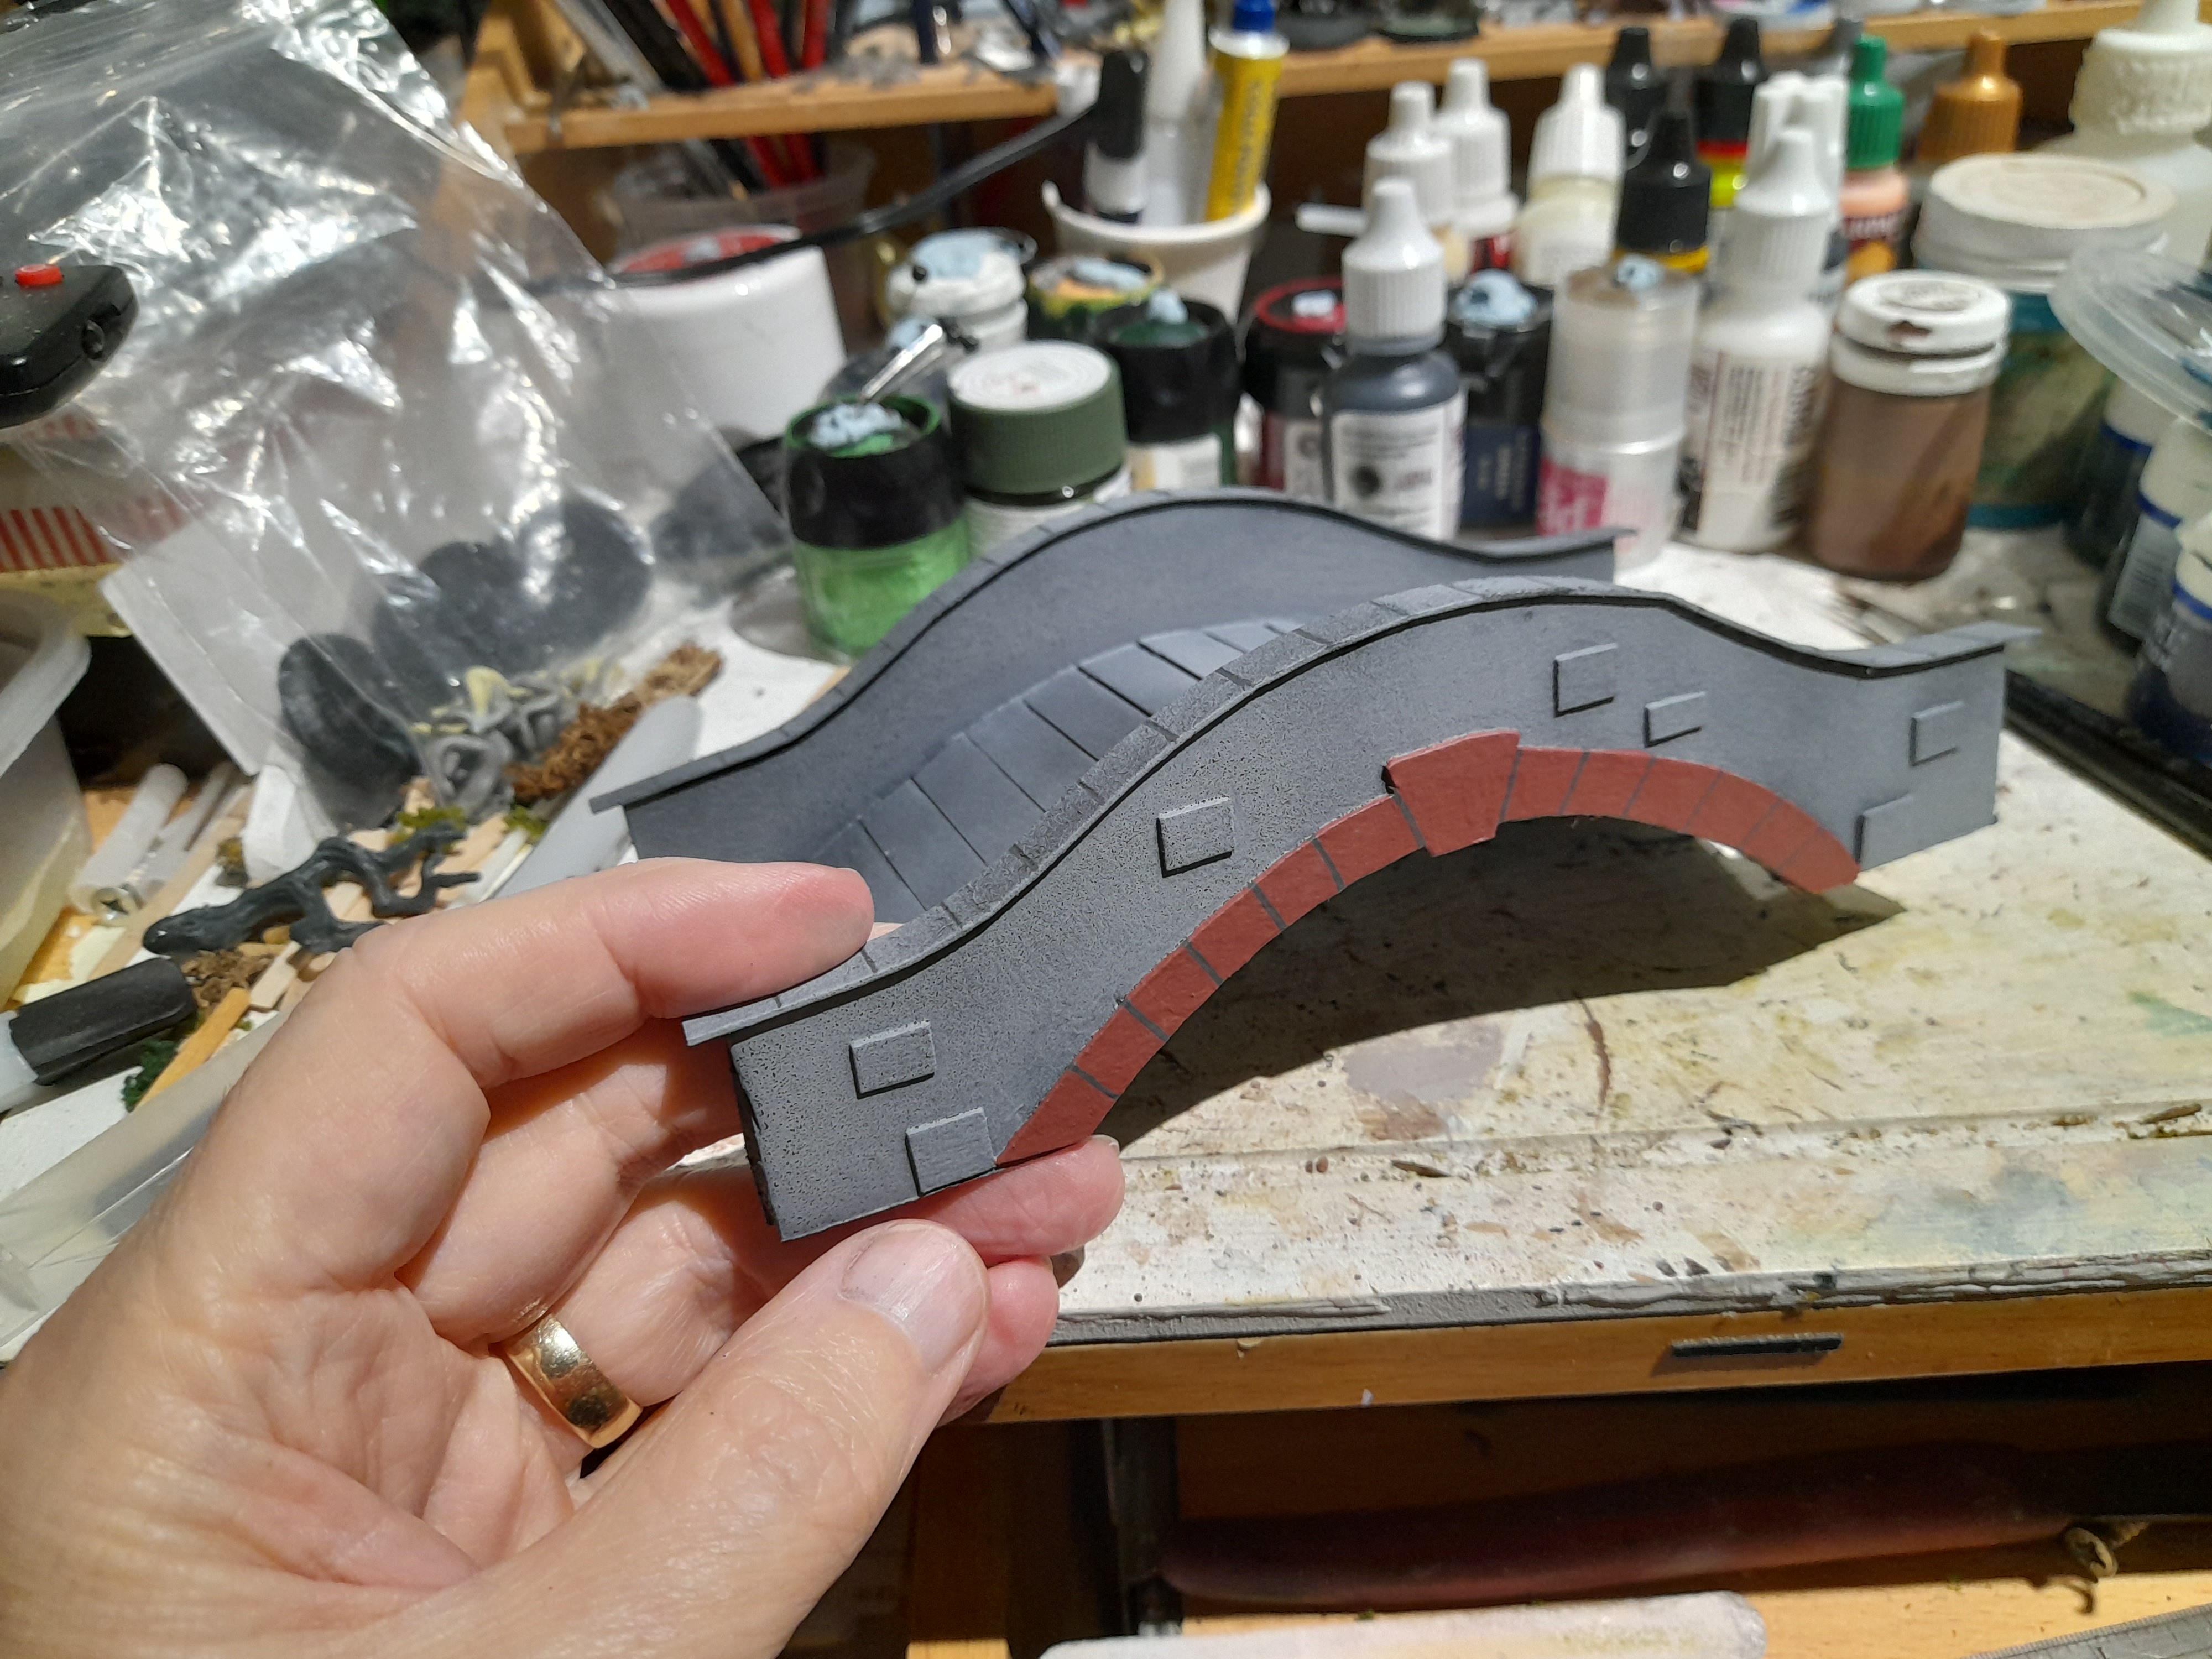
When I left off I was debating what type of bridge to make. In the end I chose to go with a curved bridge, made from foamcard.
I sketched out the shape on some scrap paper, then used a pin to transfer the shape to the foamcard. This was then cut out using a fresh blade in my craft knife. The roadway was made from a flat piece of foamcard that I cut a series of score marks into, to allow it to be bent to the required curve (I plan to cover this with textured plasticard).


I then used panel pins and glue to secure the roadway to the two sides, following the curve I had decided upon.


It was looking a bit plain, so I used some old card from the back of a notepad to make tiles/stones for the hand rail areas and for the bottom of the arch. Plus a few random larger stones on the sides. Not great, but helps.


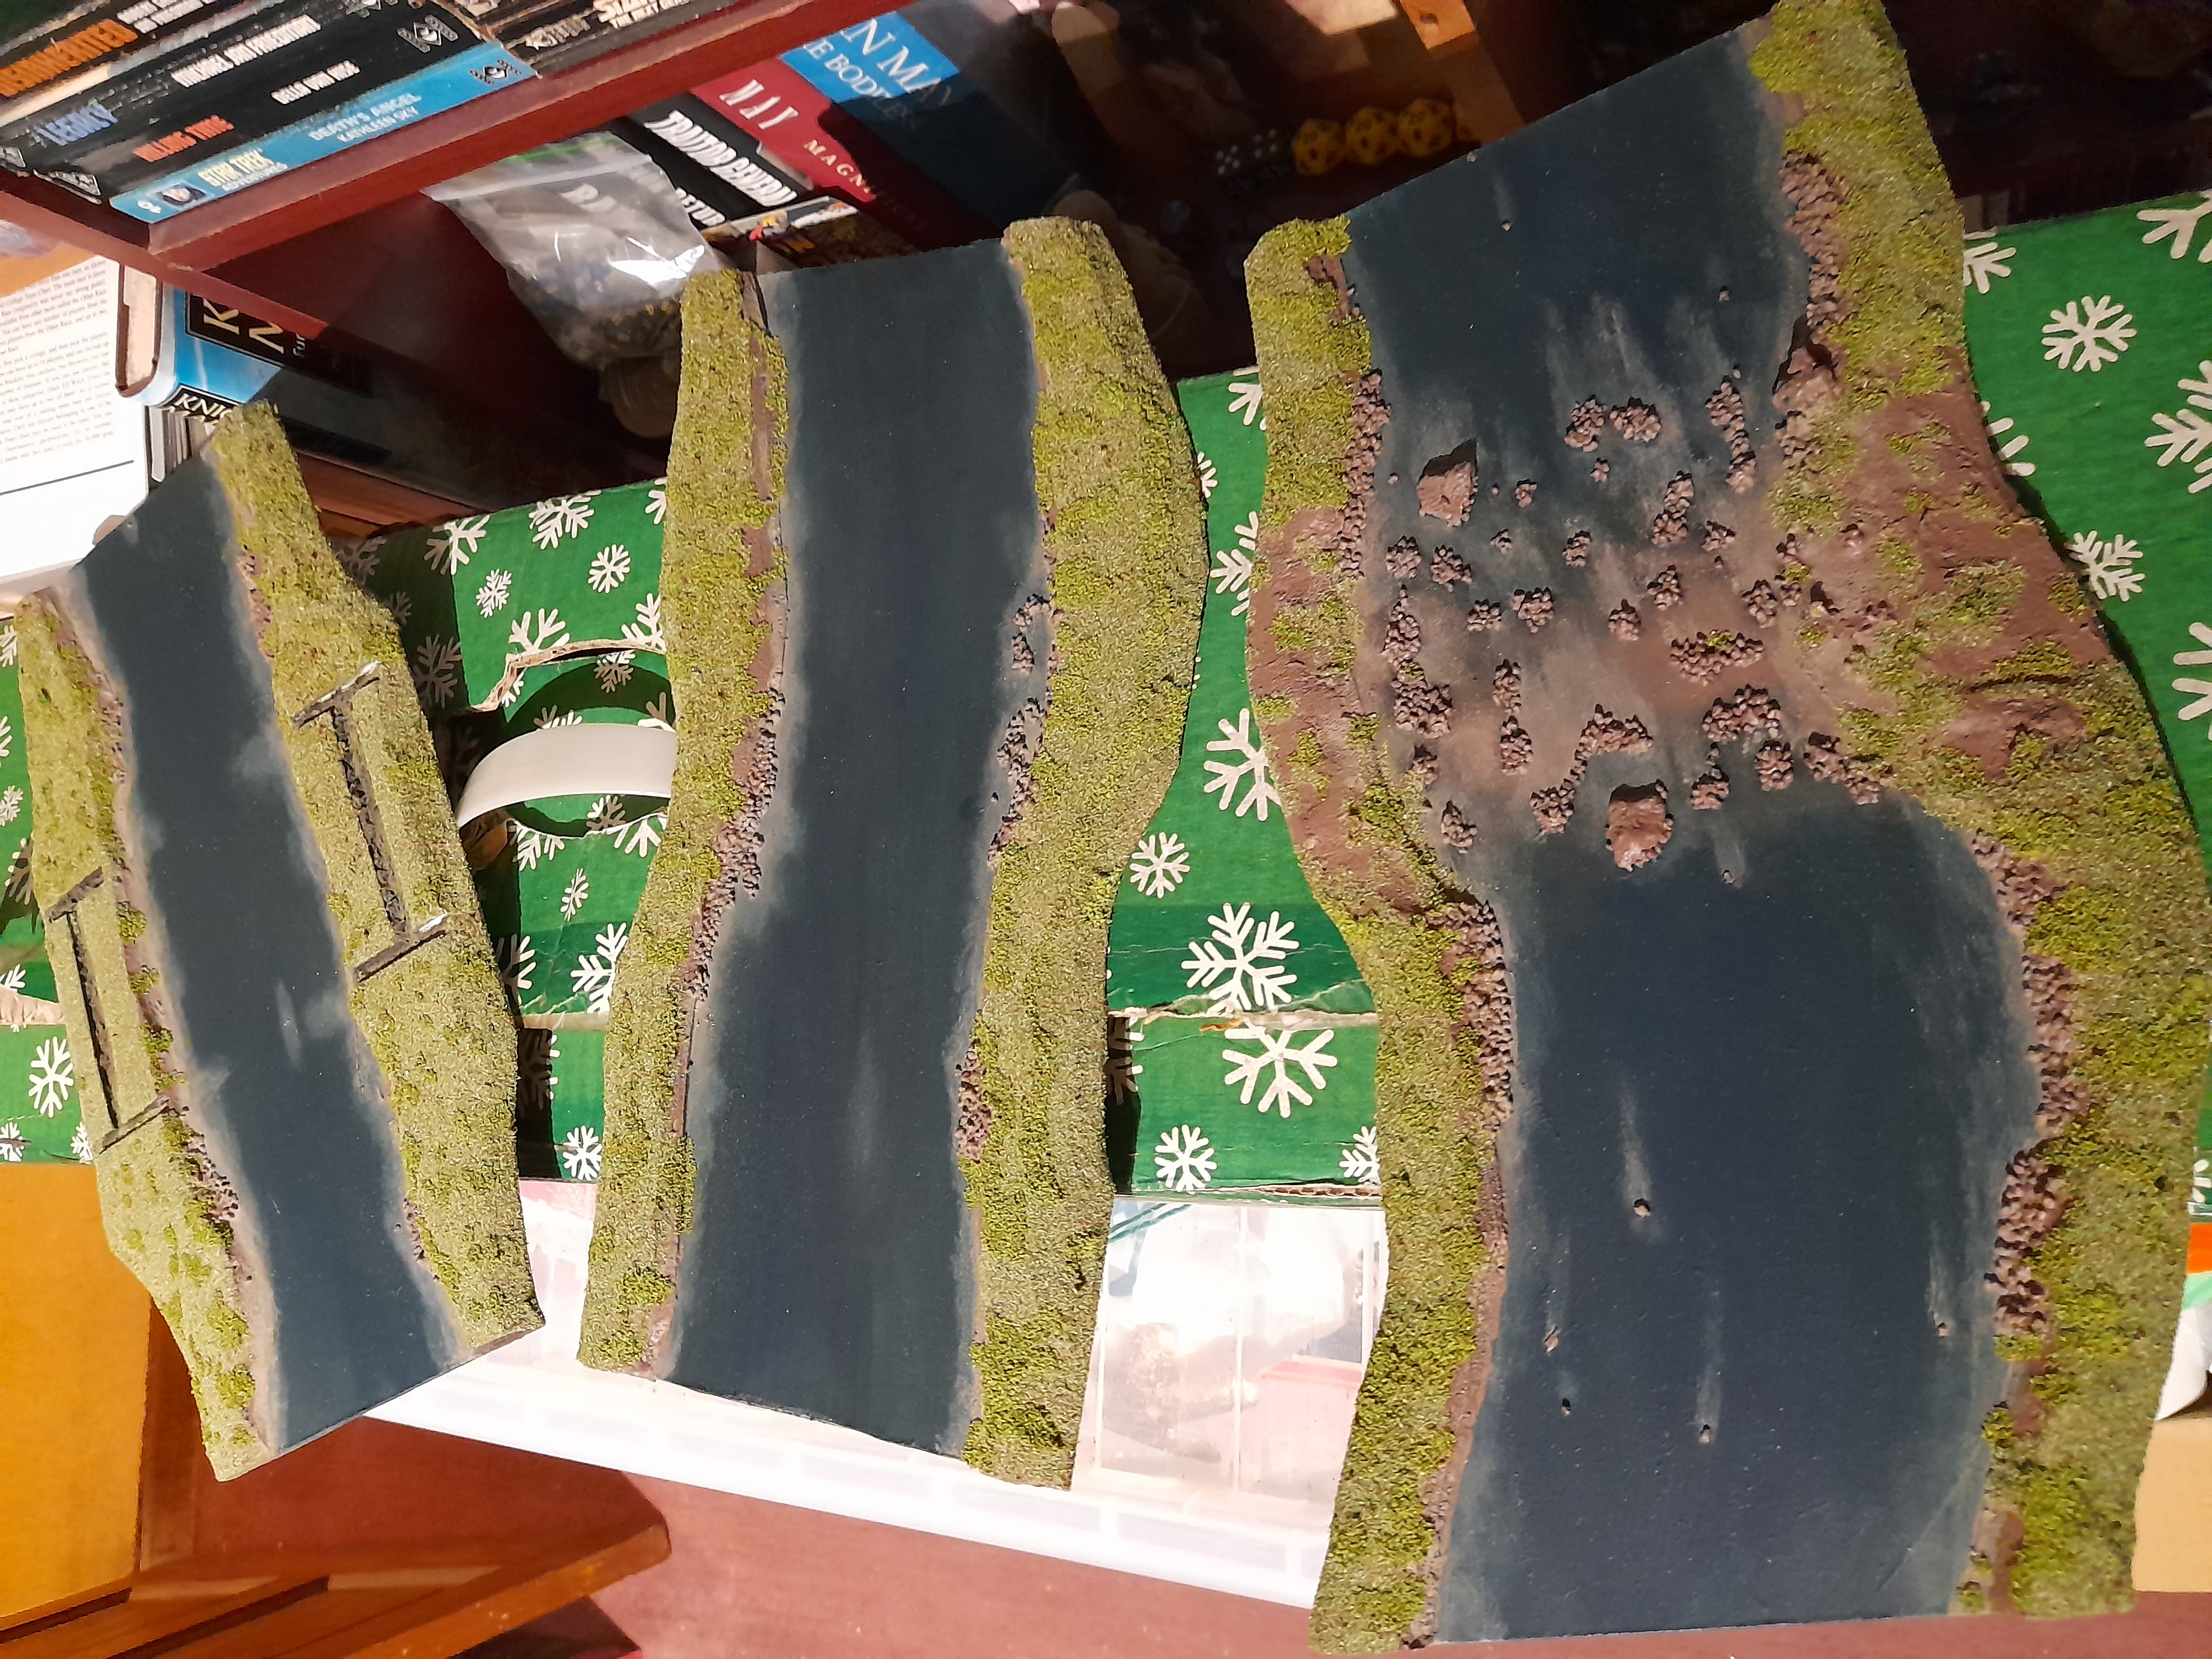
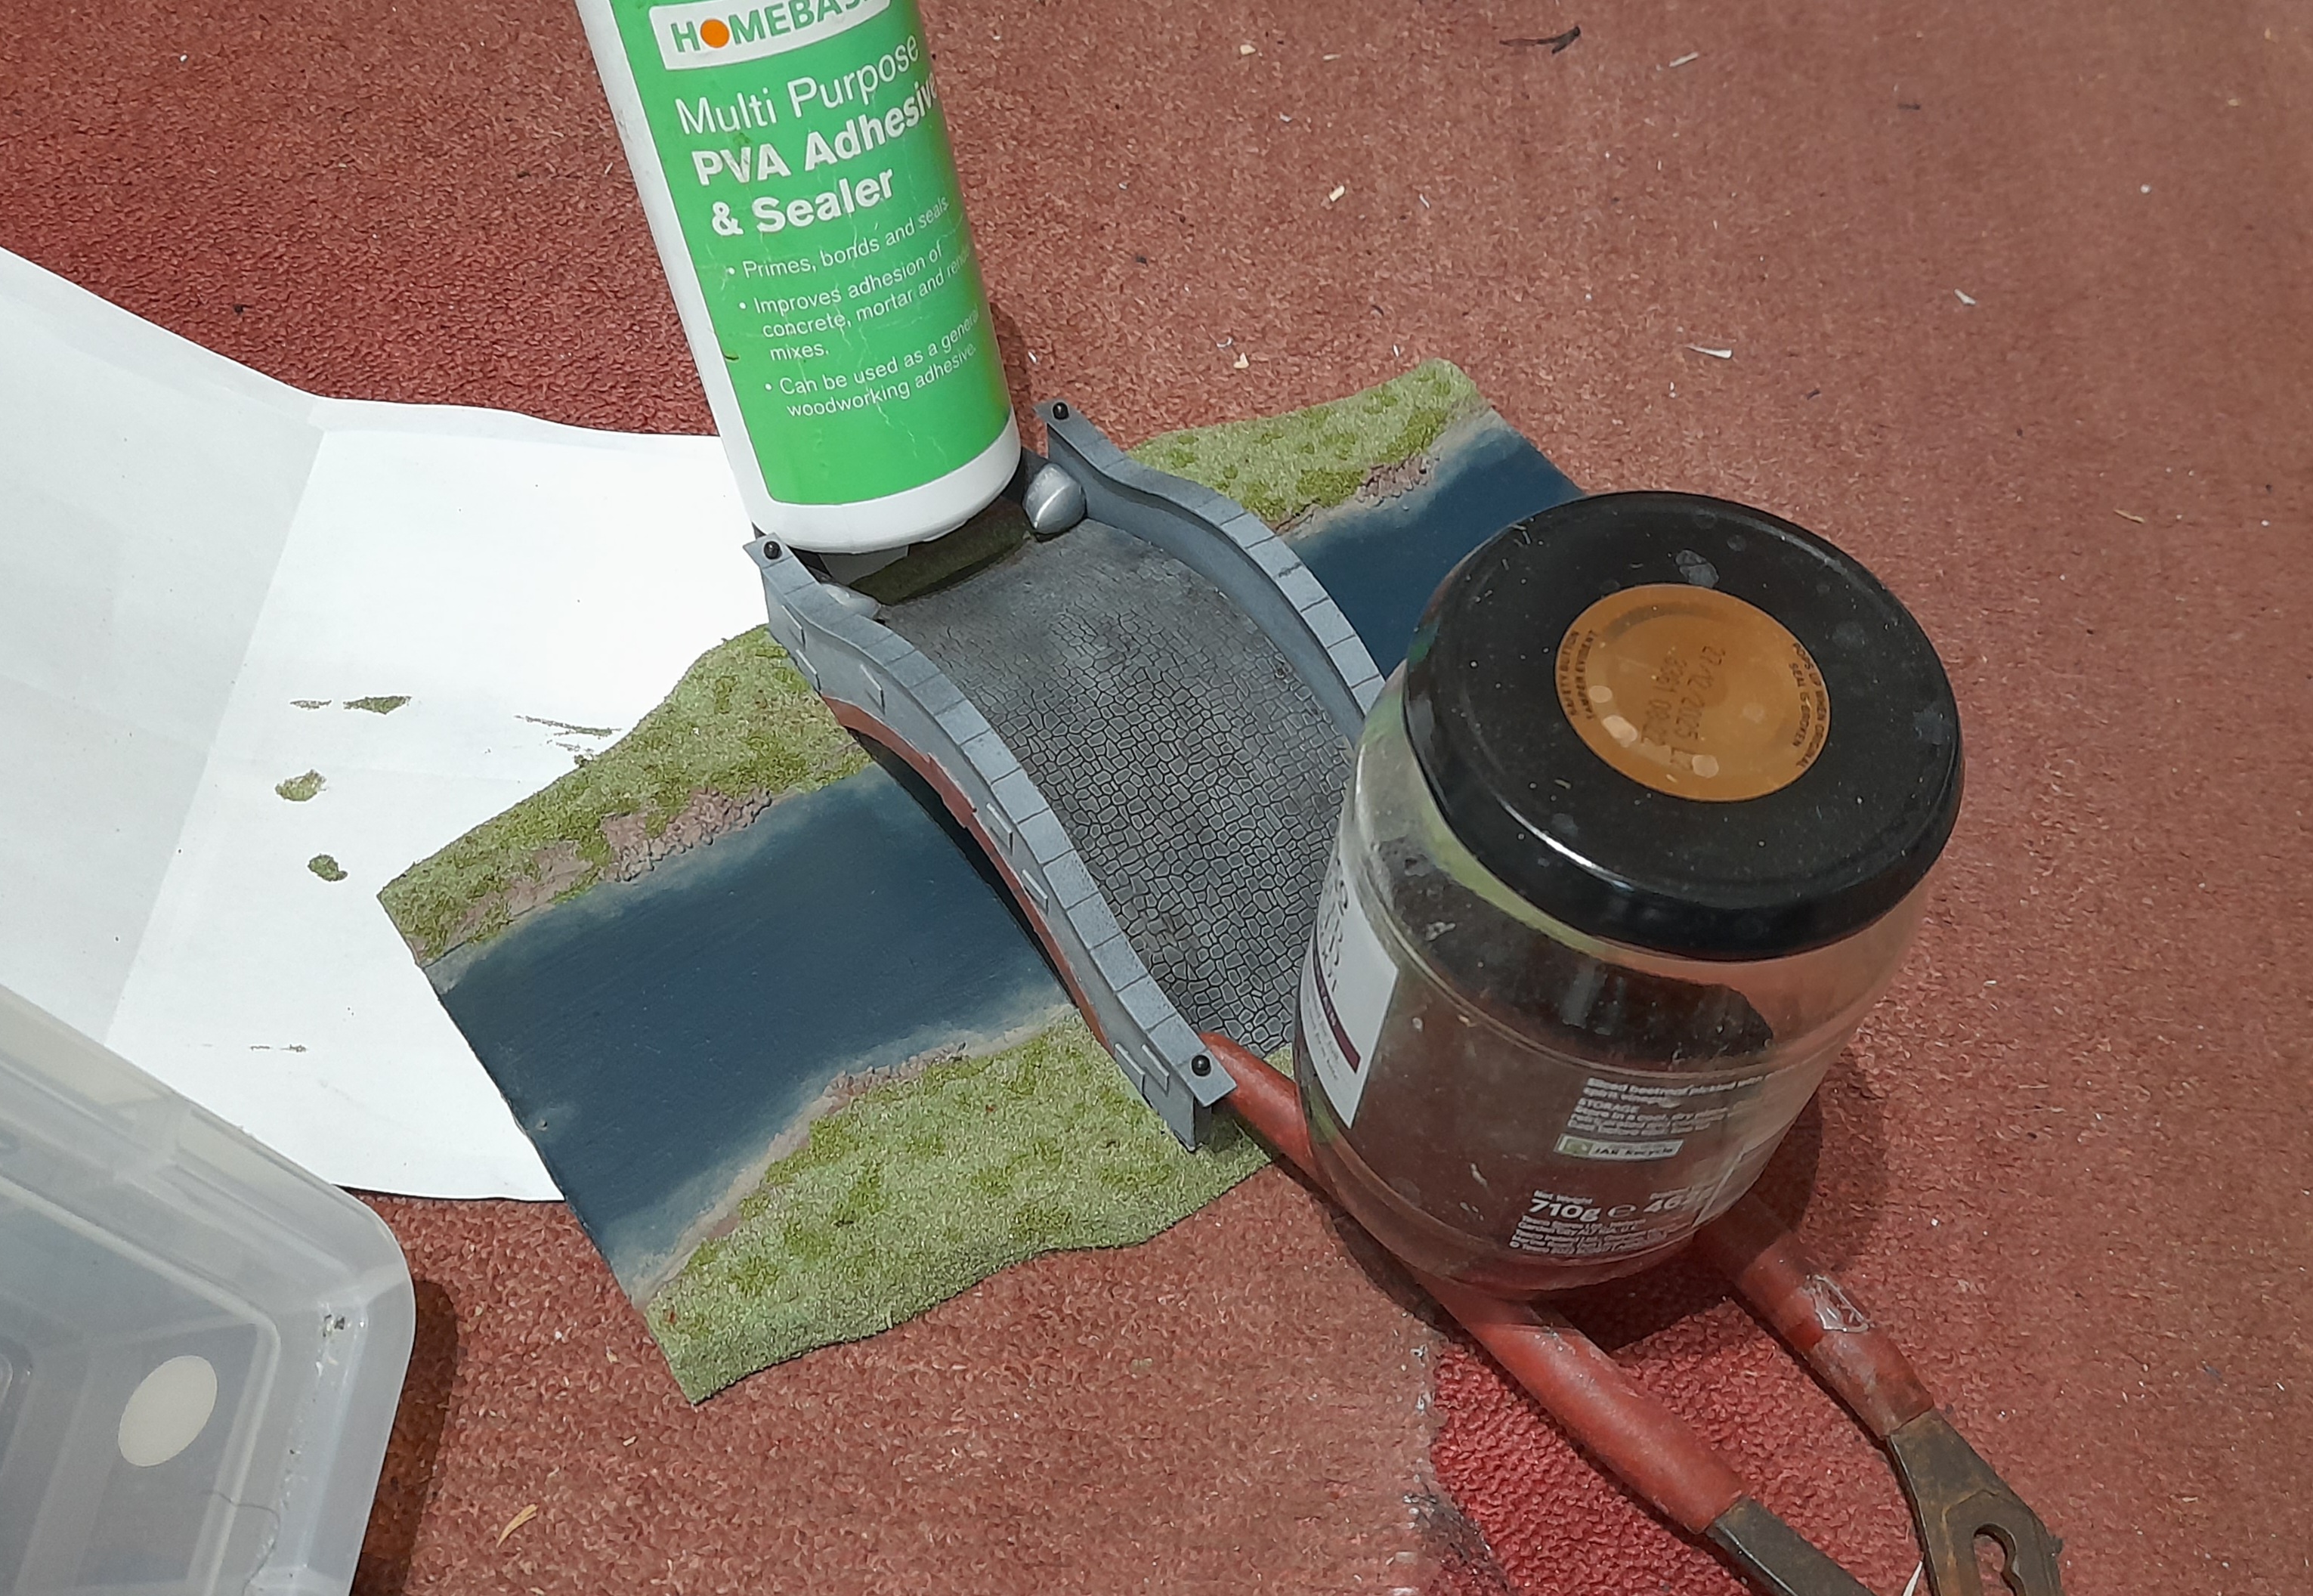
Then it was onto the painting…. Forgot some pics here though. So, for the river sections I tried using some masonry paint to add some texture, and fill some of the more porous areas. This didn’t go super well tbh, but I recovered from it. They were then sprayed black, followed by a mix of brown and green. The bridge was sprayed black followed by a misting of grey.

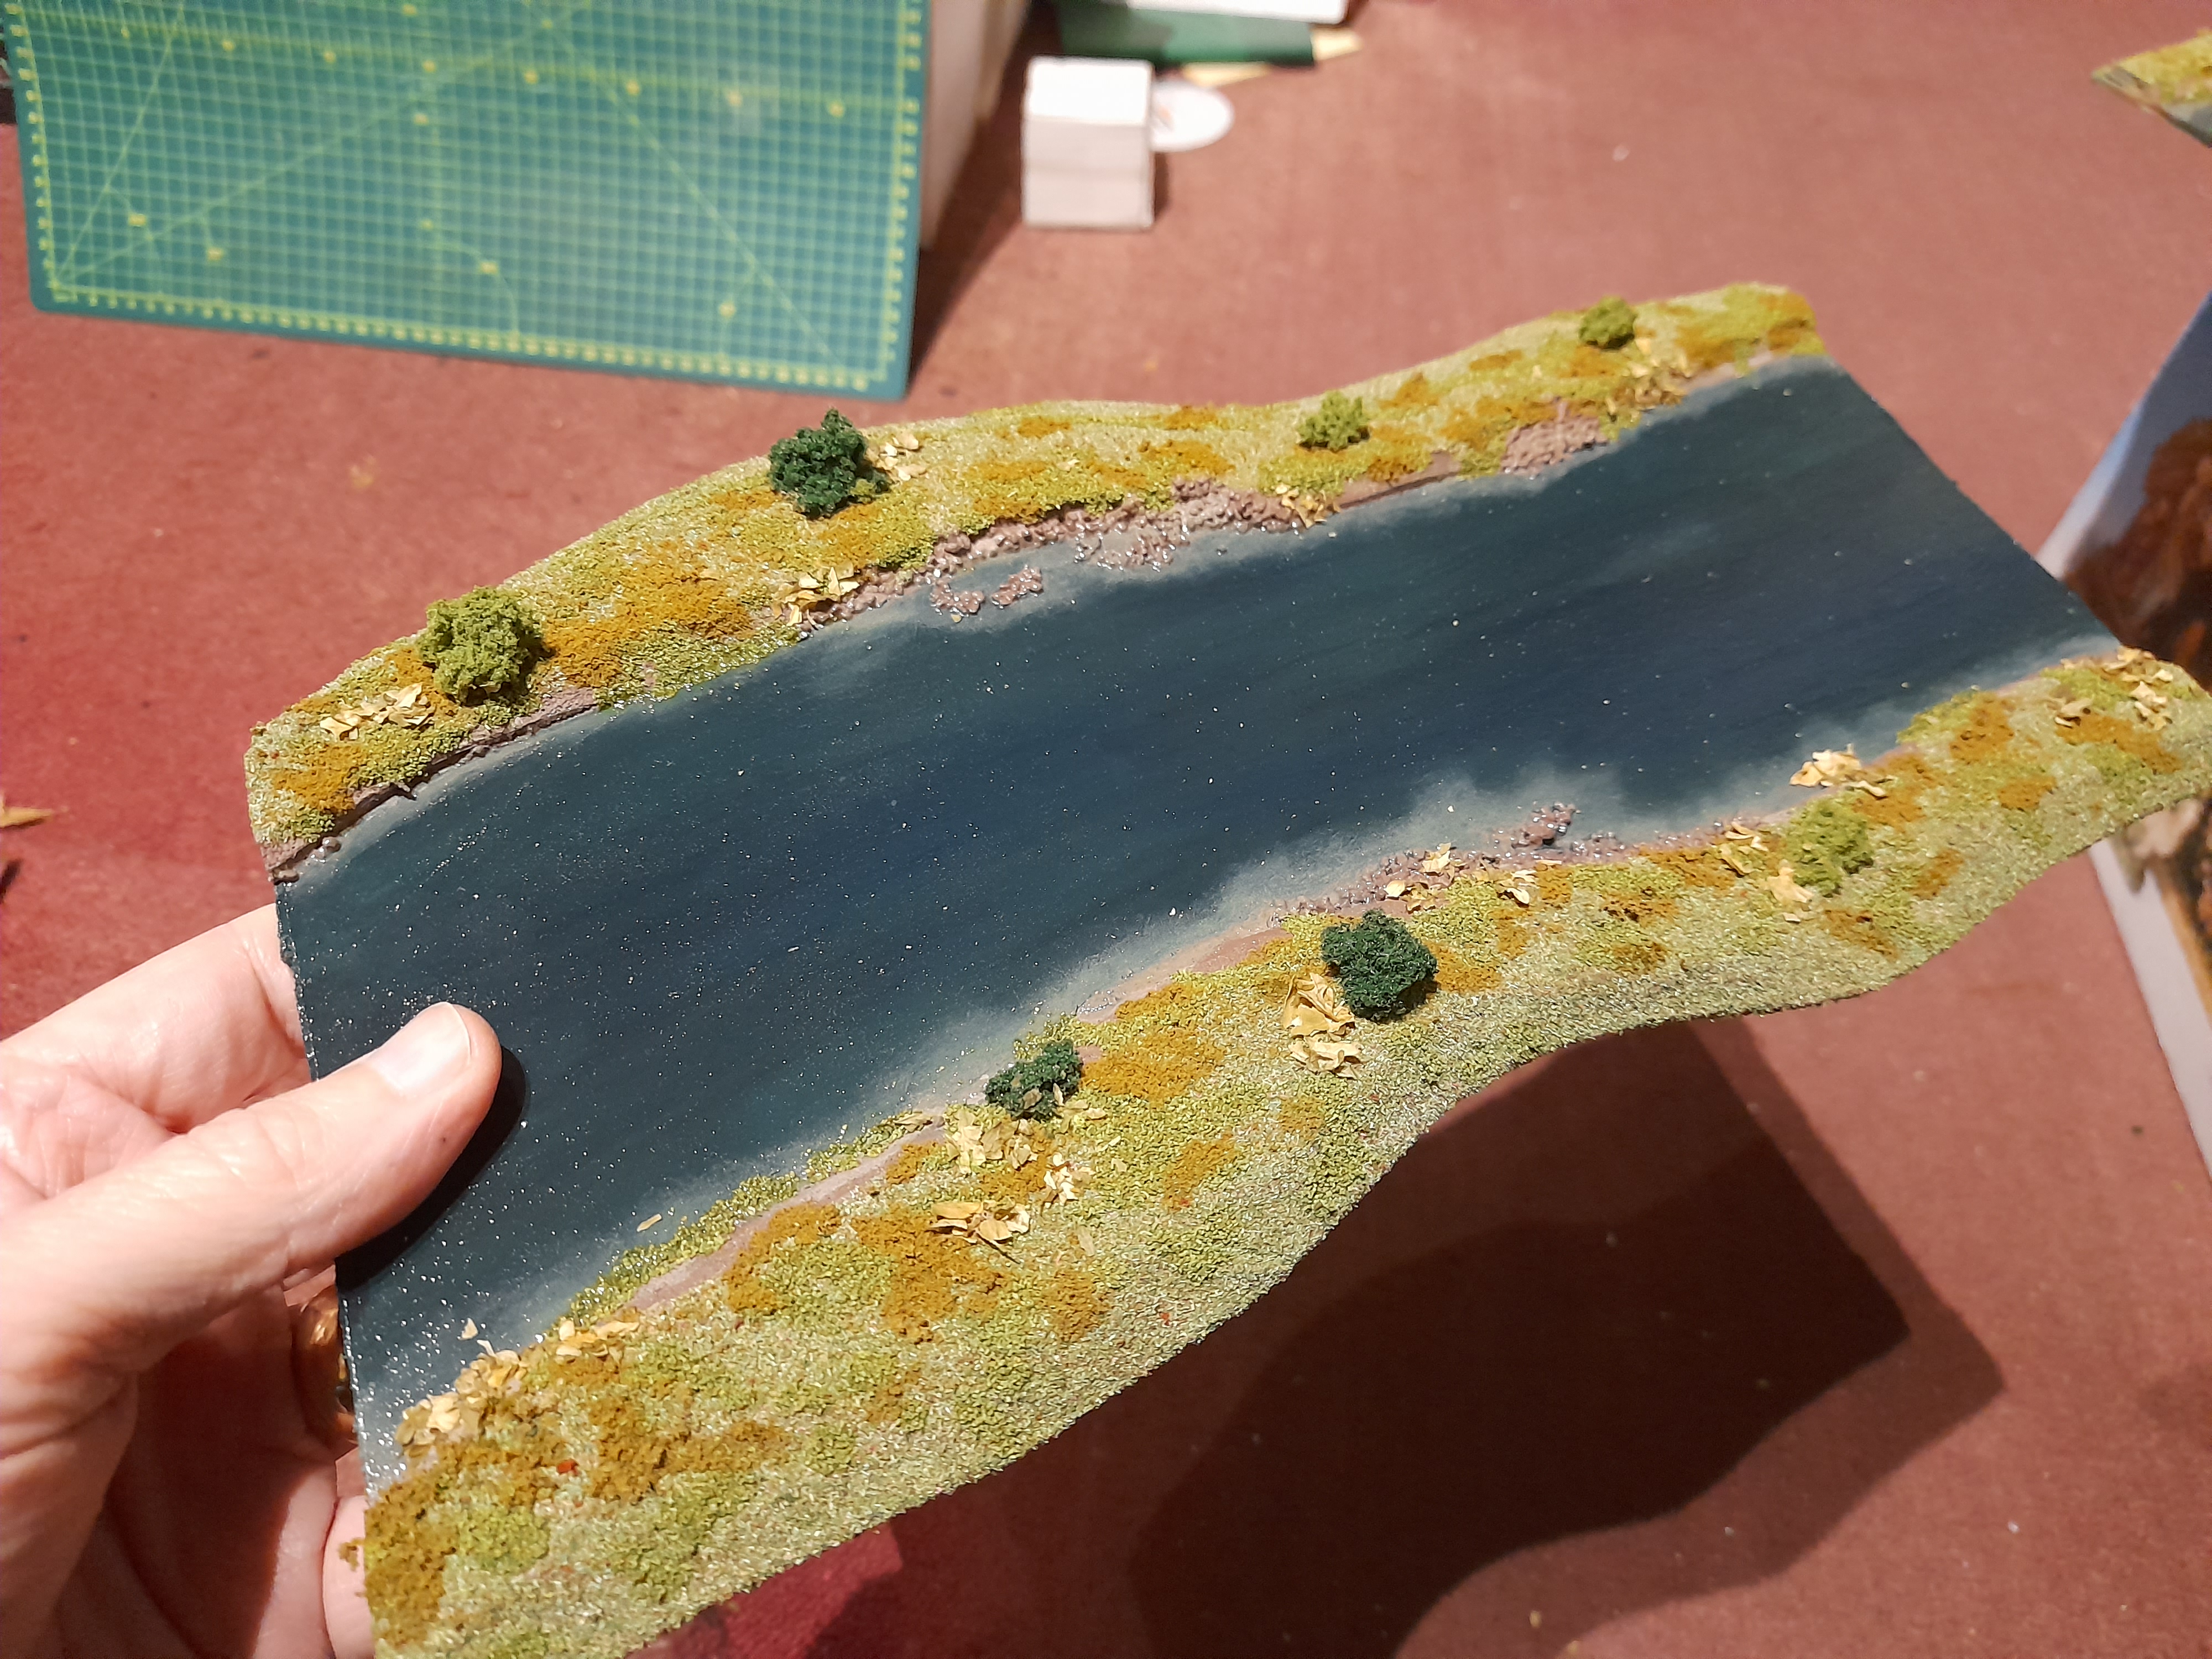
For the water area I wanted to avoid any strong bright blue, as water is not blue in rivers. I mixed up some old foundation paints, Orkhide shade with a touch of Necron Abyss. This was painted onto the water areas, with different mixes and brushed along the flow direction.
IRL it does look more green then the pictures seem to indicate. Then I painted the banks in an earthy brown, and brushed this along the edges and for the ford area. Followed up with Agrellan earth as well to feather the edges out. Finally they have had the first stage of flock laid down. Lots to go, but it has started to move long again now.


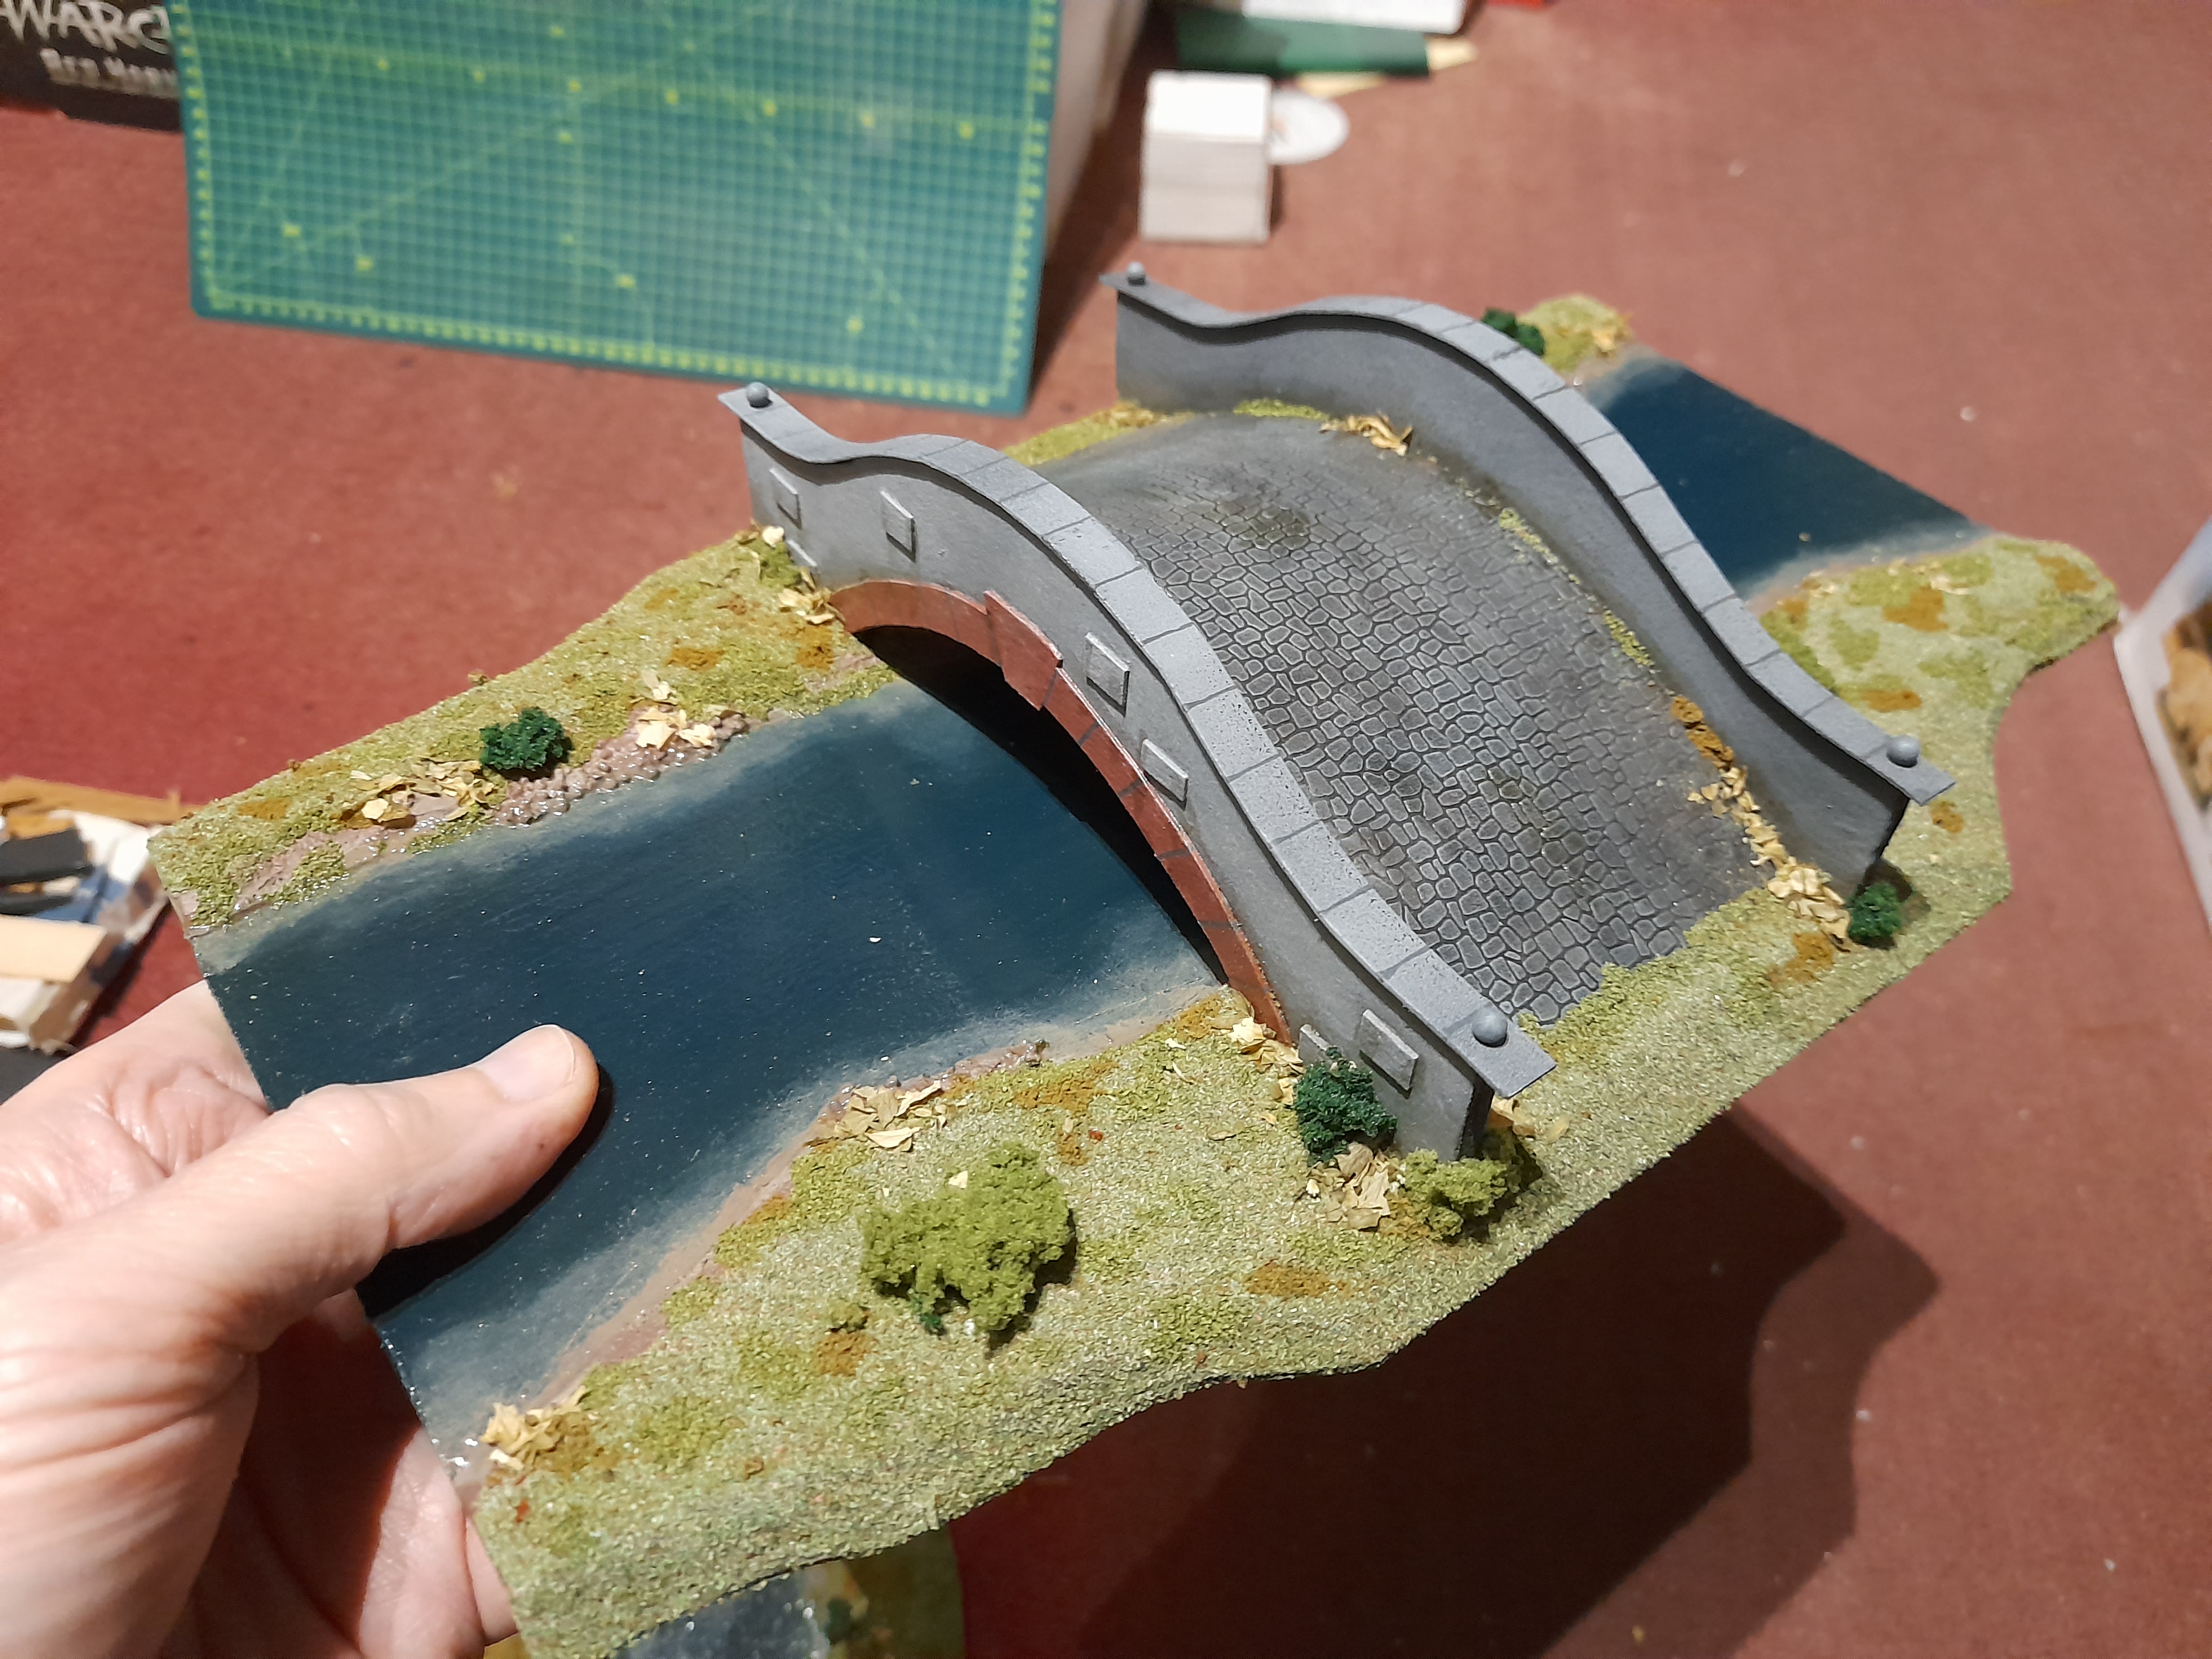
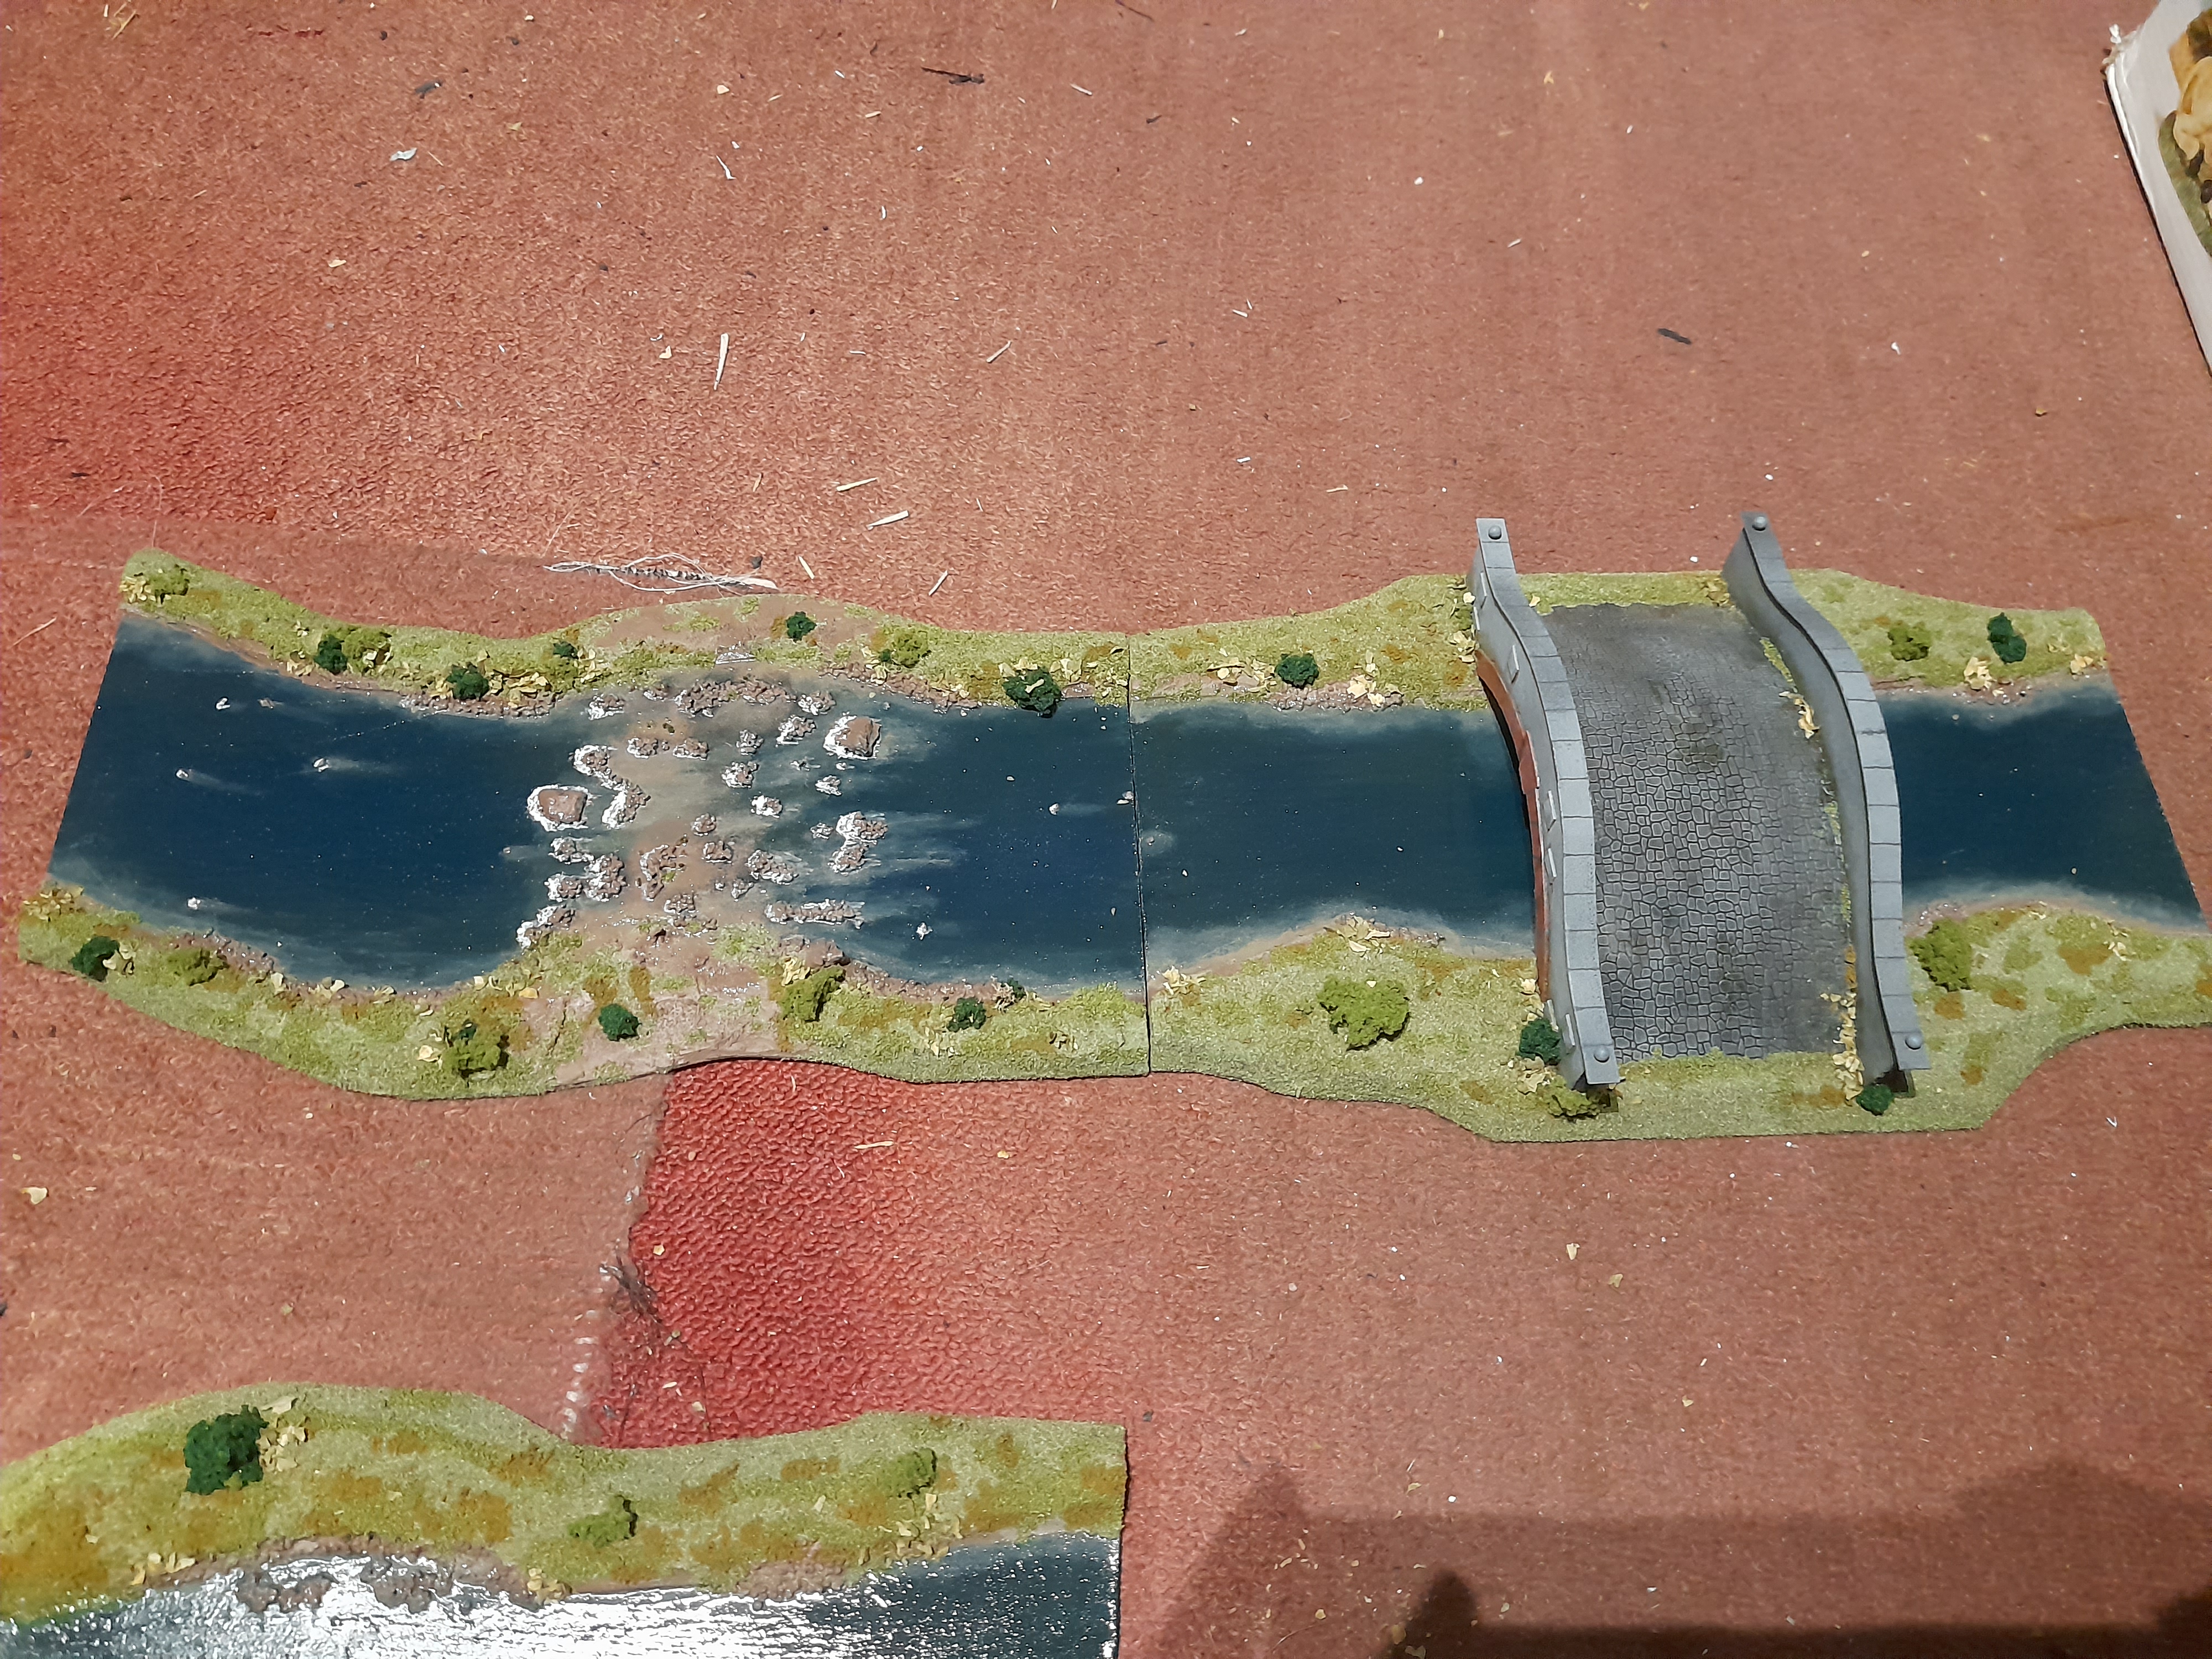
River, Bridge and Ford
22nd December 2024
The end of the year approaches, but I have plenty still to go on this. The terrain so far is just for the core book scenarios. A lot will be usable for other books, to some extent though.
Anyway, I continued this by adding a second colour of flock to the terrain.
Then I needed to work on the bridge. I drybrushed the bridge, painted the arch blocks in a different colour (added some washes to weather the bottom edges later).
Then I cut some cobblestone plasticard to size for the roadway, leaving it a touch longer so that I could trim it down. I drybrushed this with a variety of shades, and added a few patches of different washes. This was glued down onto the curved foamcard, and held in place while it set.

Once it was set, I glued it onto the river section, and added some pins with plastic heads to act as ‘stone’ balls on the ends of the bridge walls (painted grey later). Then it was a third flock colour laid down.
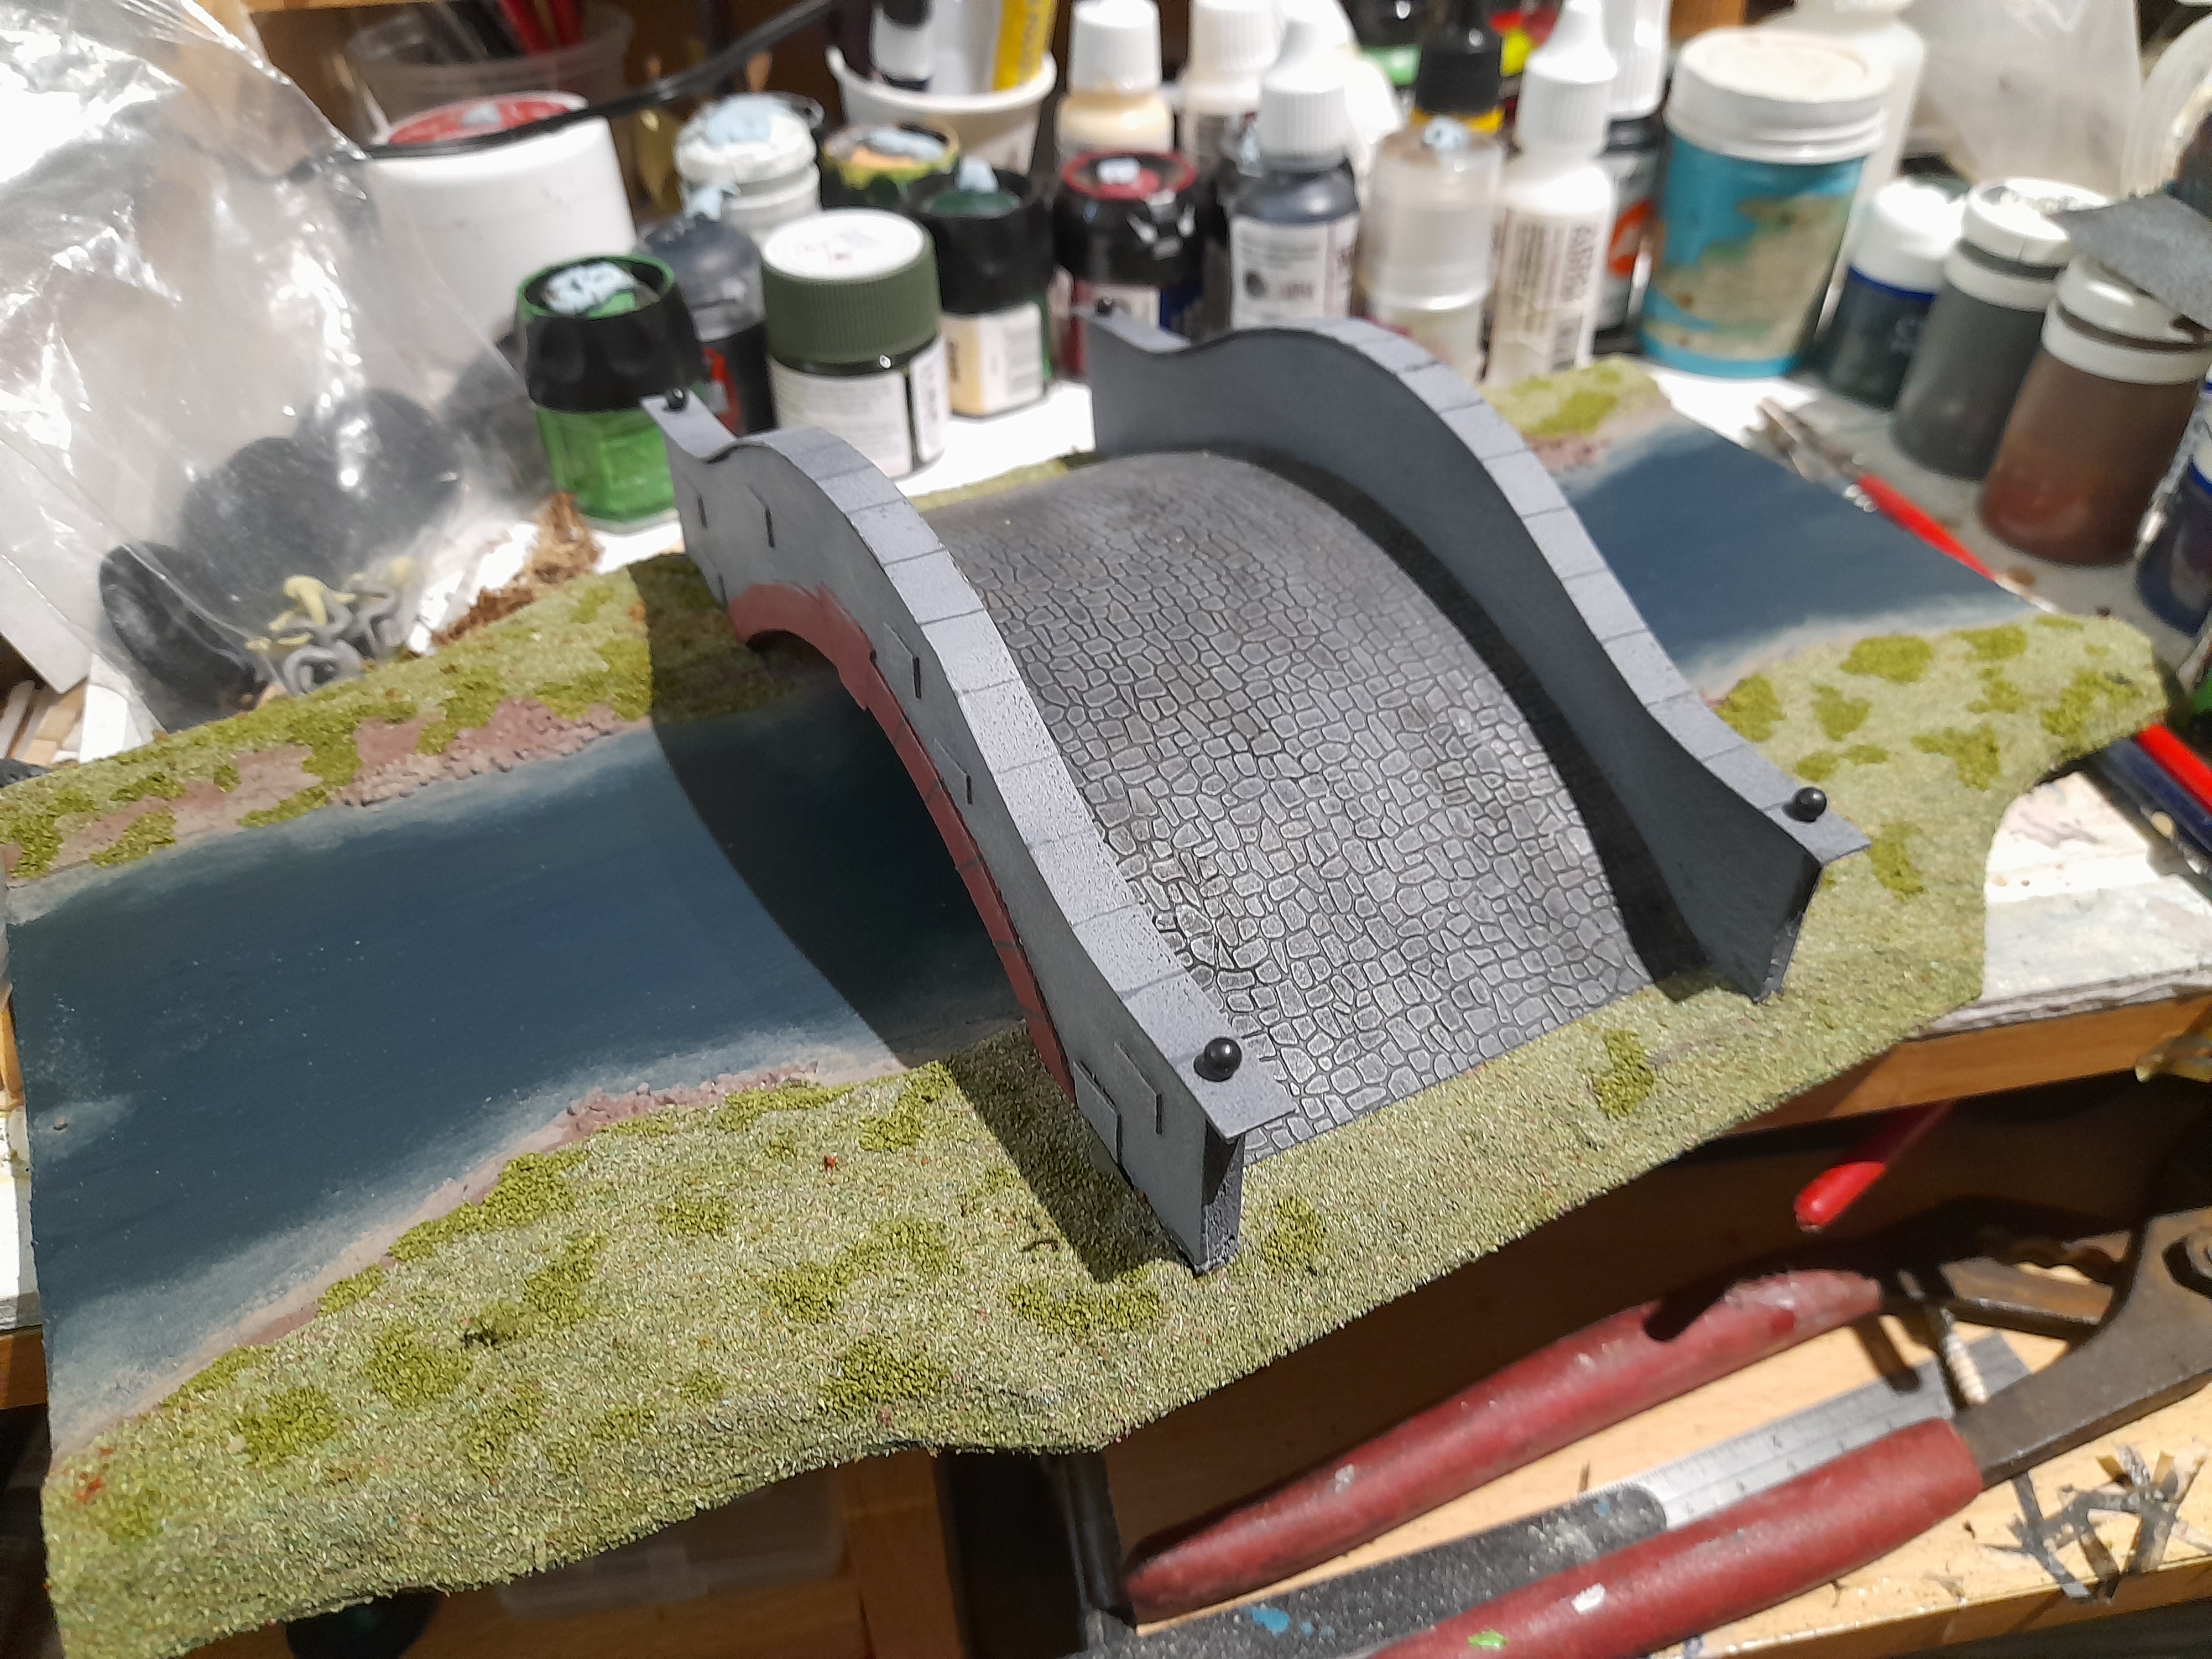
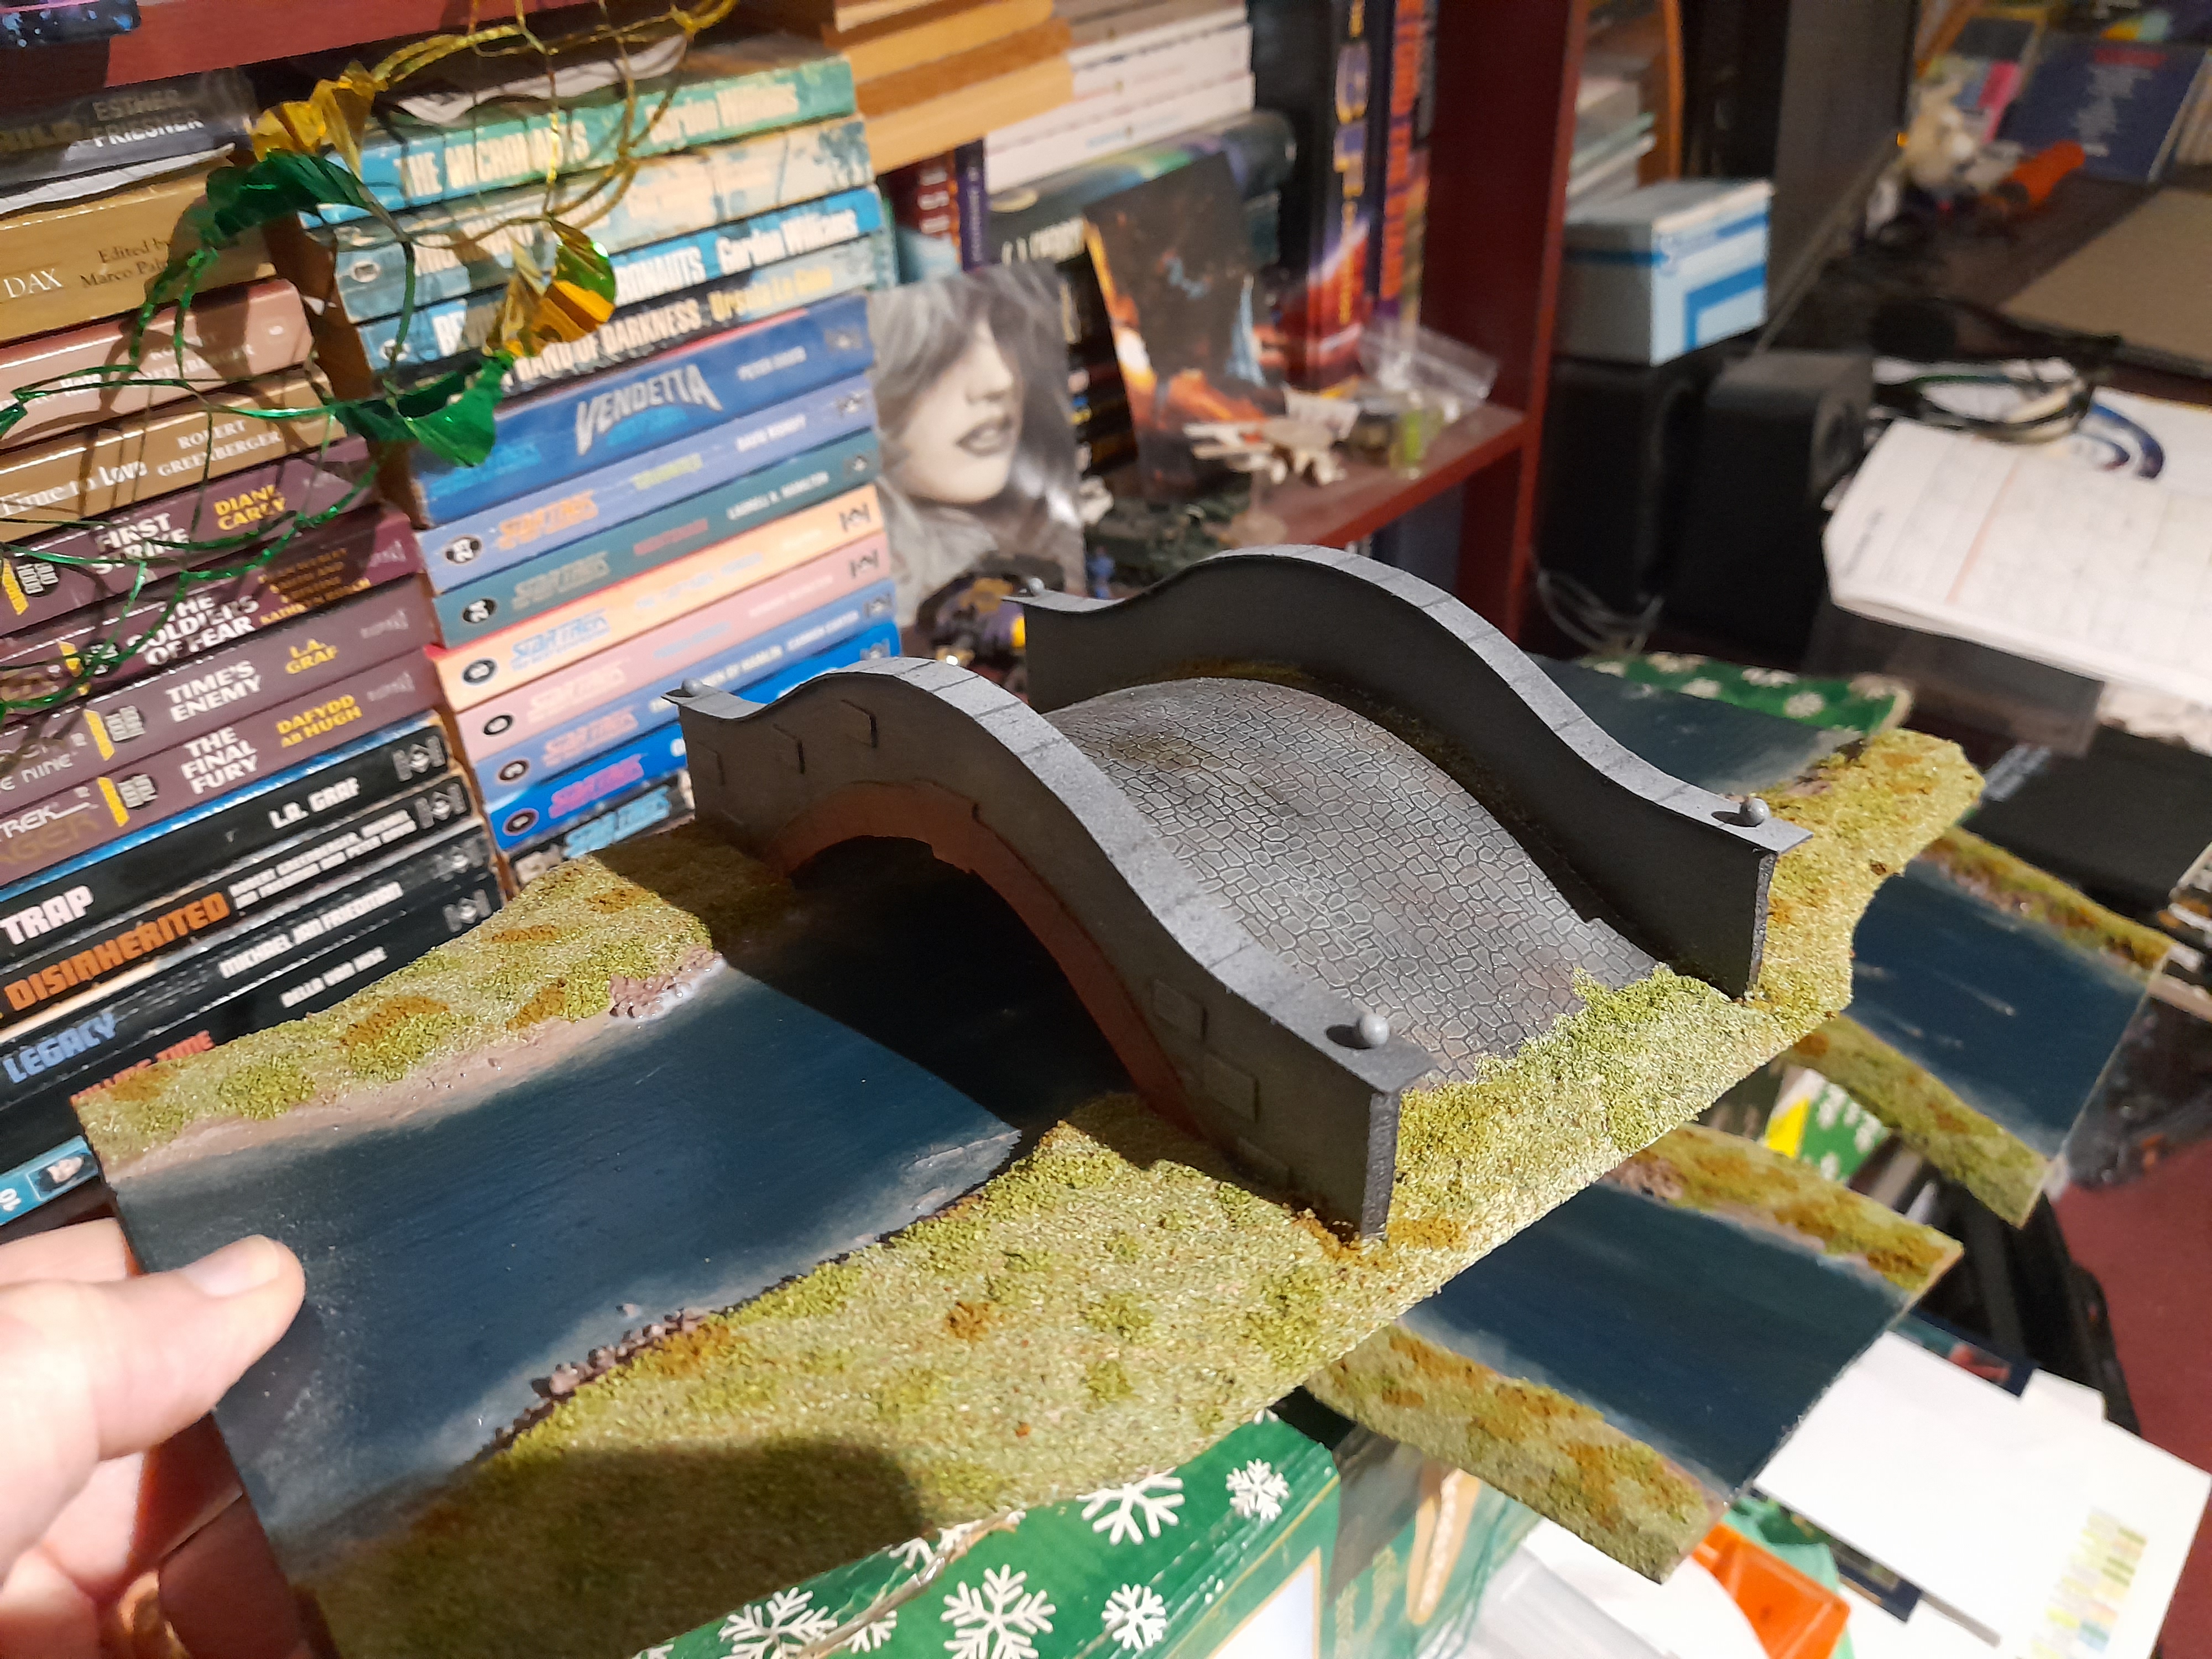
Finally I put down several coats of gloss varnish onto the river itself, added various pieces of clump foliage, and the finishing touch of a few flakes of the dried parsley scattered around.
For the ford section I wanted to give the appearance of foamy water hitting the rocks. So I mixed up some contact adhesive with some white paint, and applied that to the upstream edges.

Boggy Pool test piece
27th December 2024
Prior to Christmas I began work on a test piece for creating ‘boggy pools’. I started out with the thin mdf base, and cut out a section of foamcard to match the shape. I then cut out two holes to represent some pools.
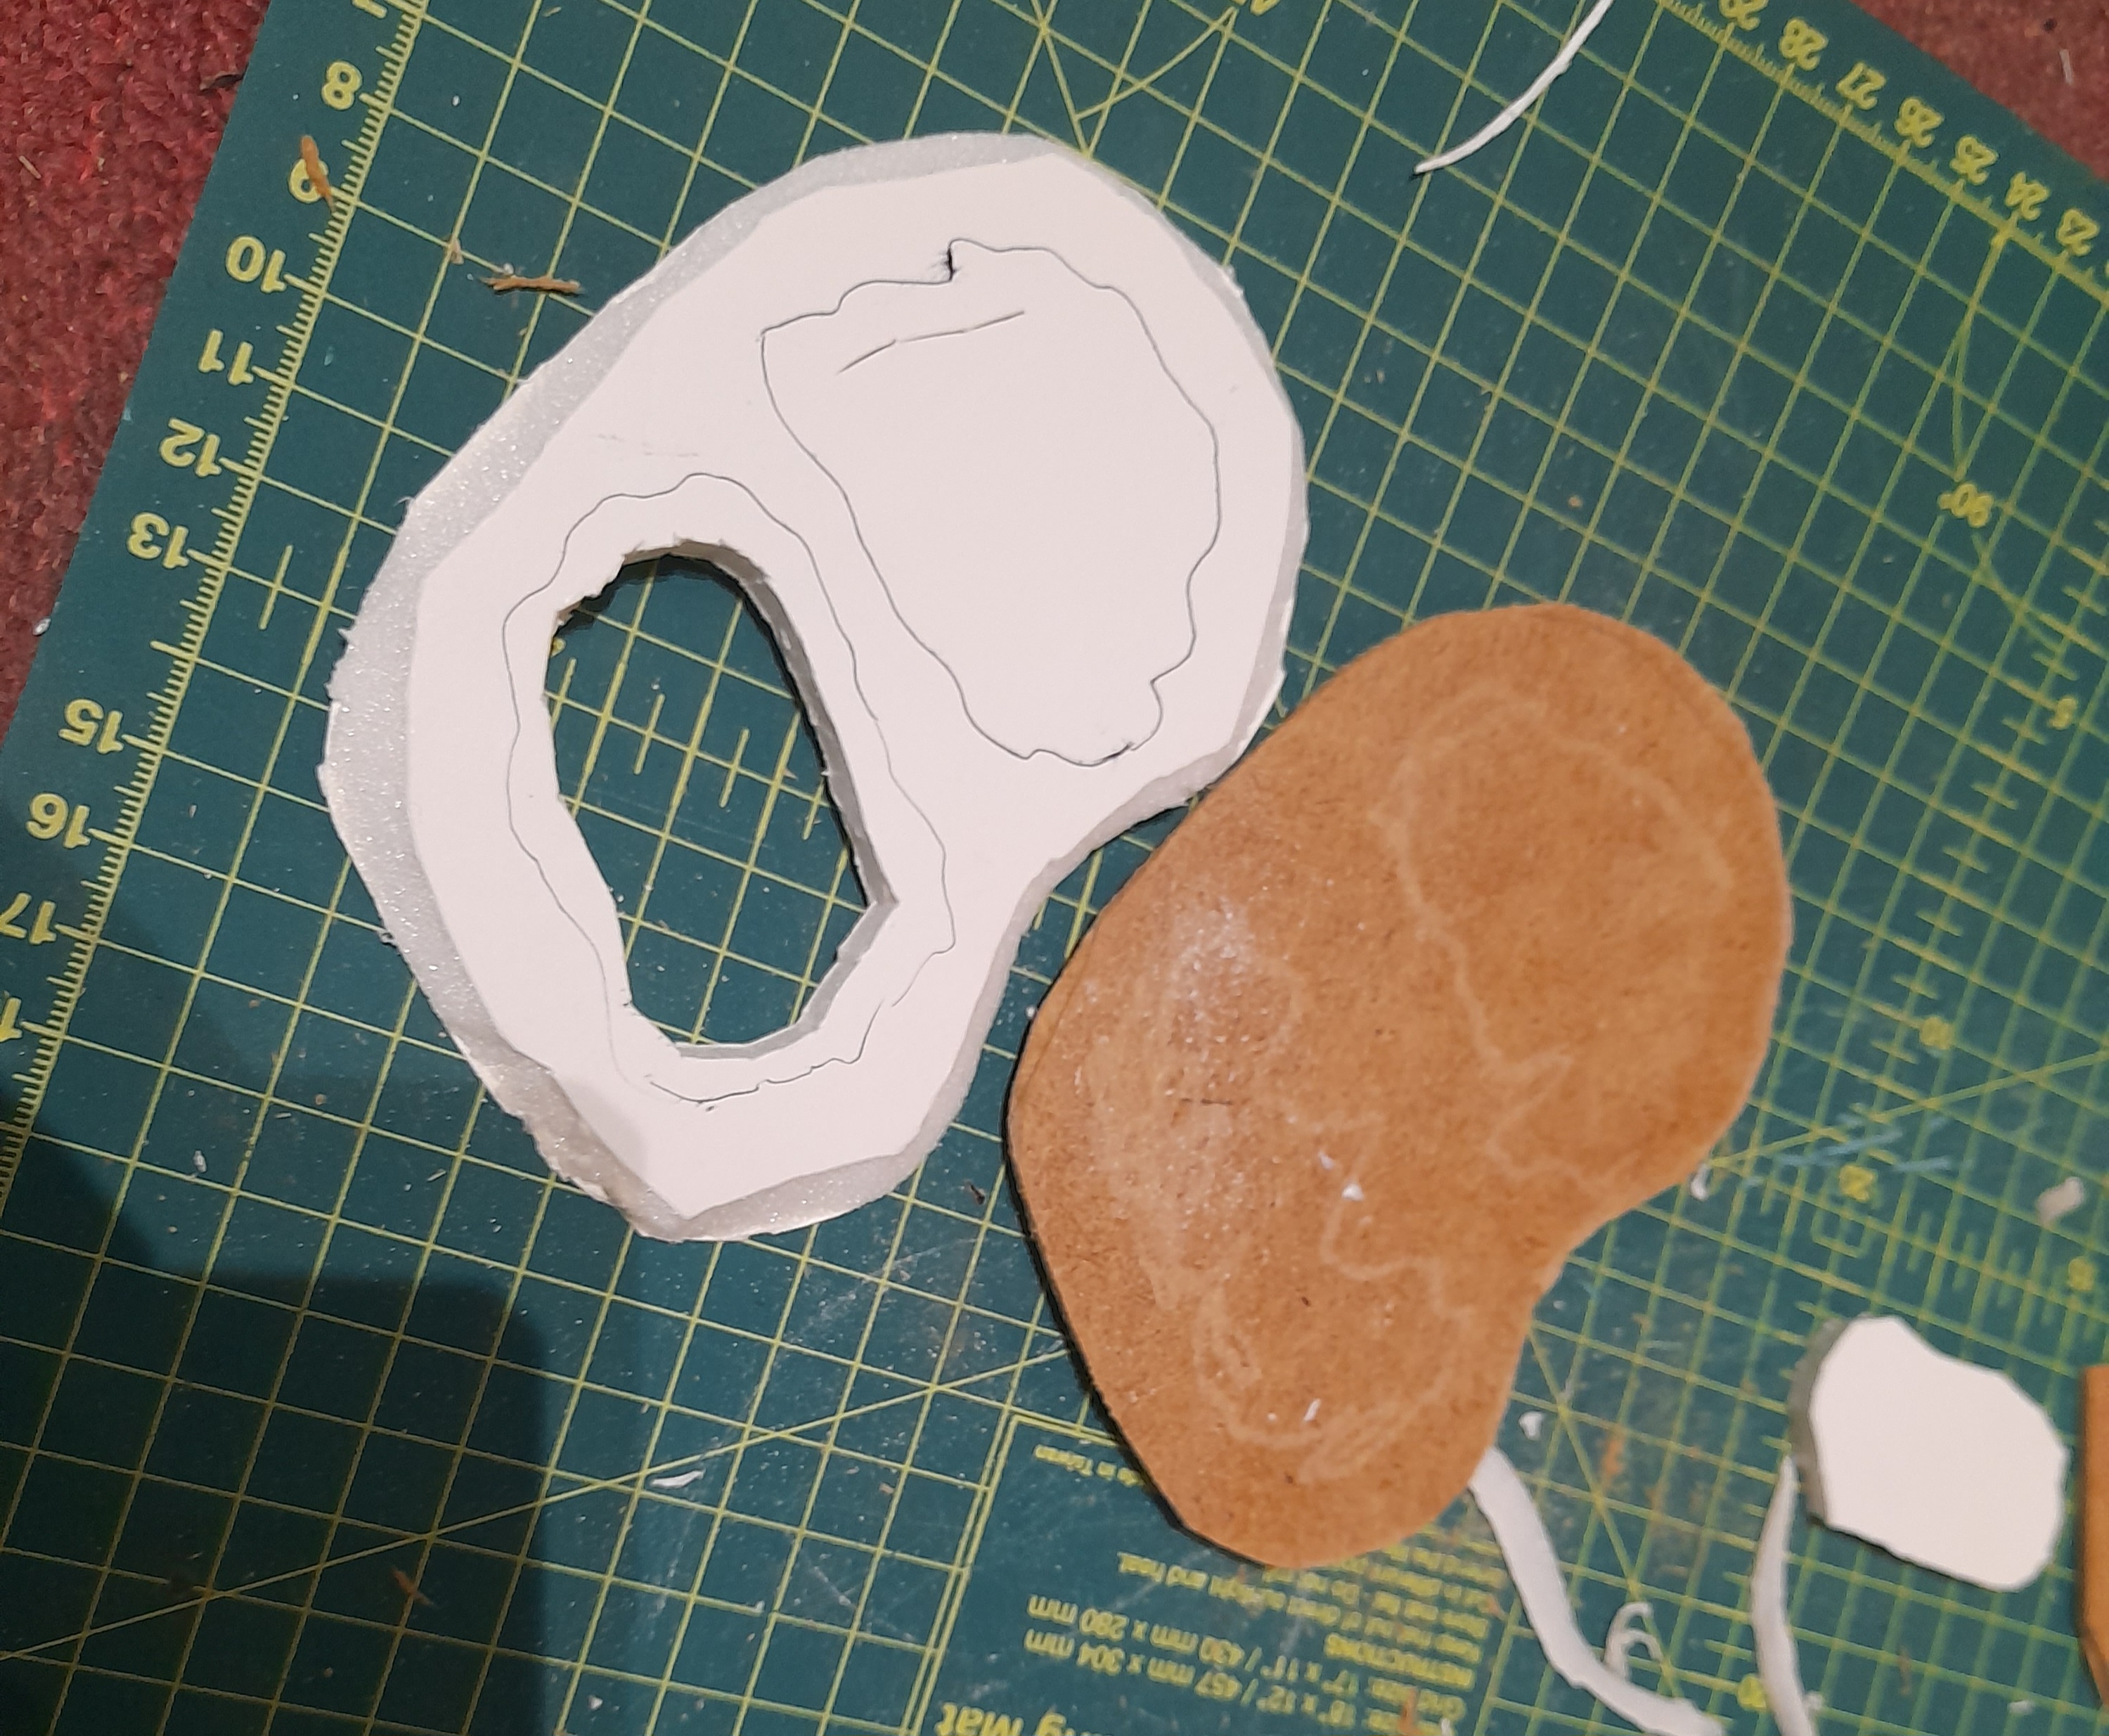
The foarmcard was trimmed down to give sloping edges. I then sealed it with PVA, sprinkling on some sand while it was drying. I also sanded down a spare rifleman head, with the intent of sticking it in one of the pools.
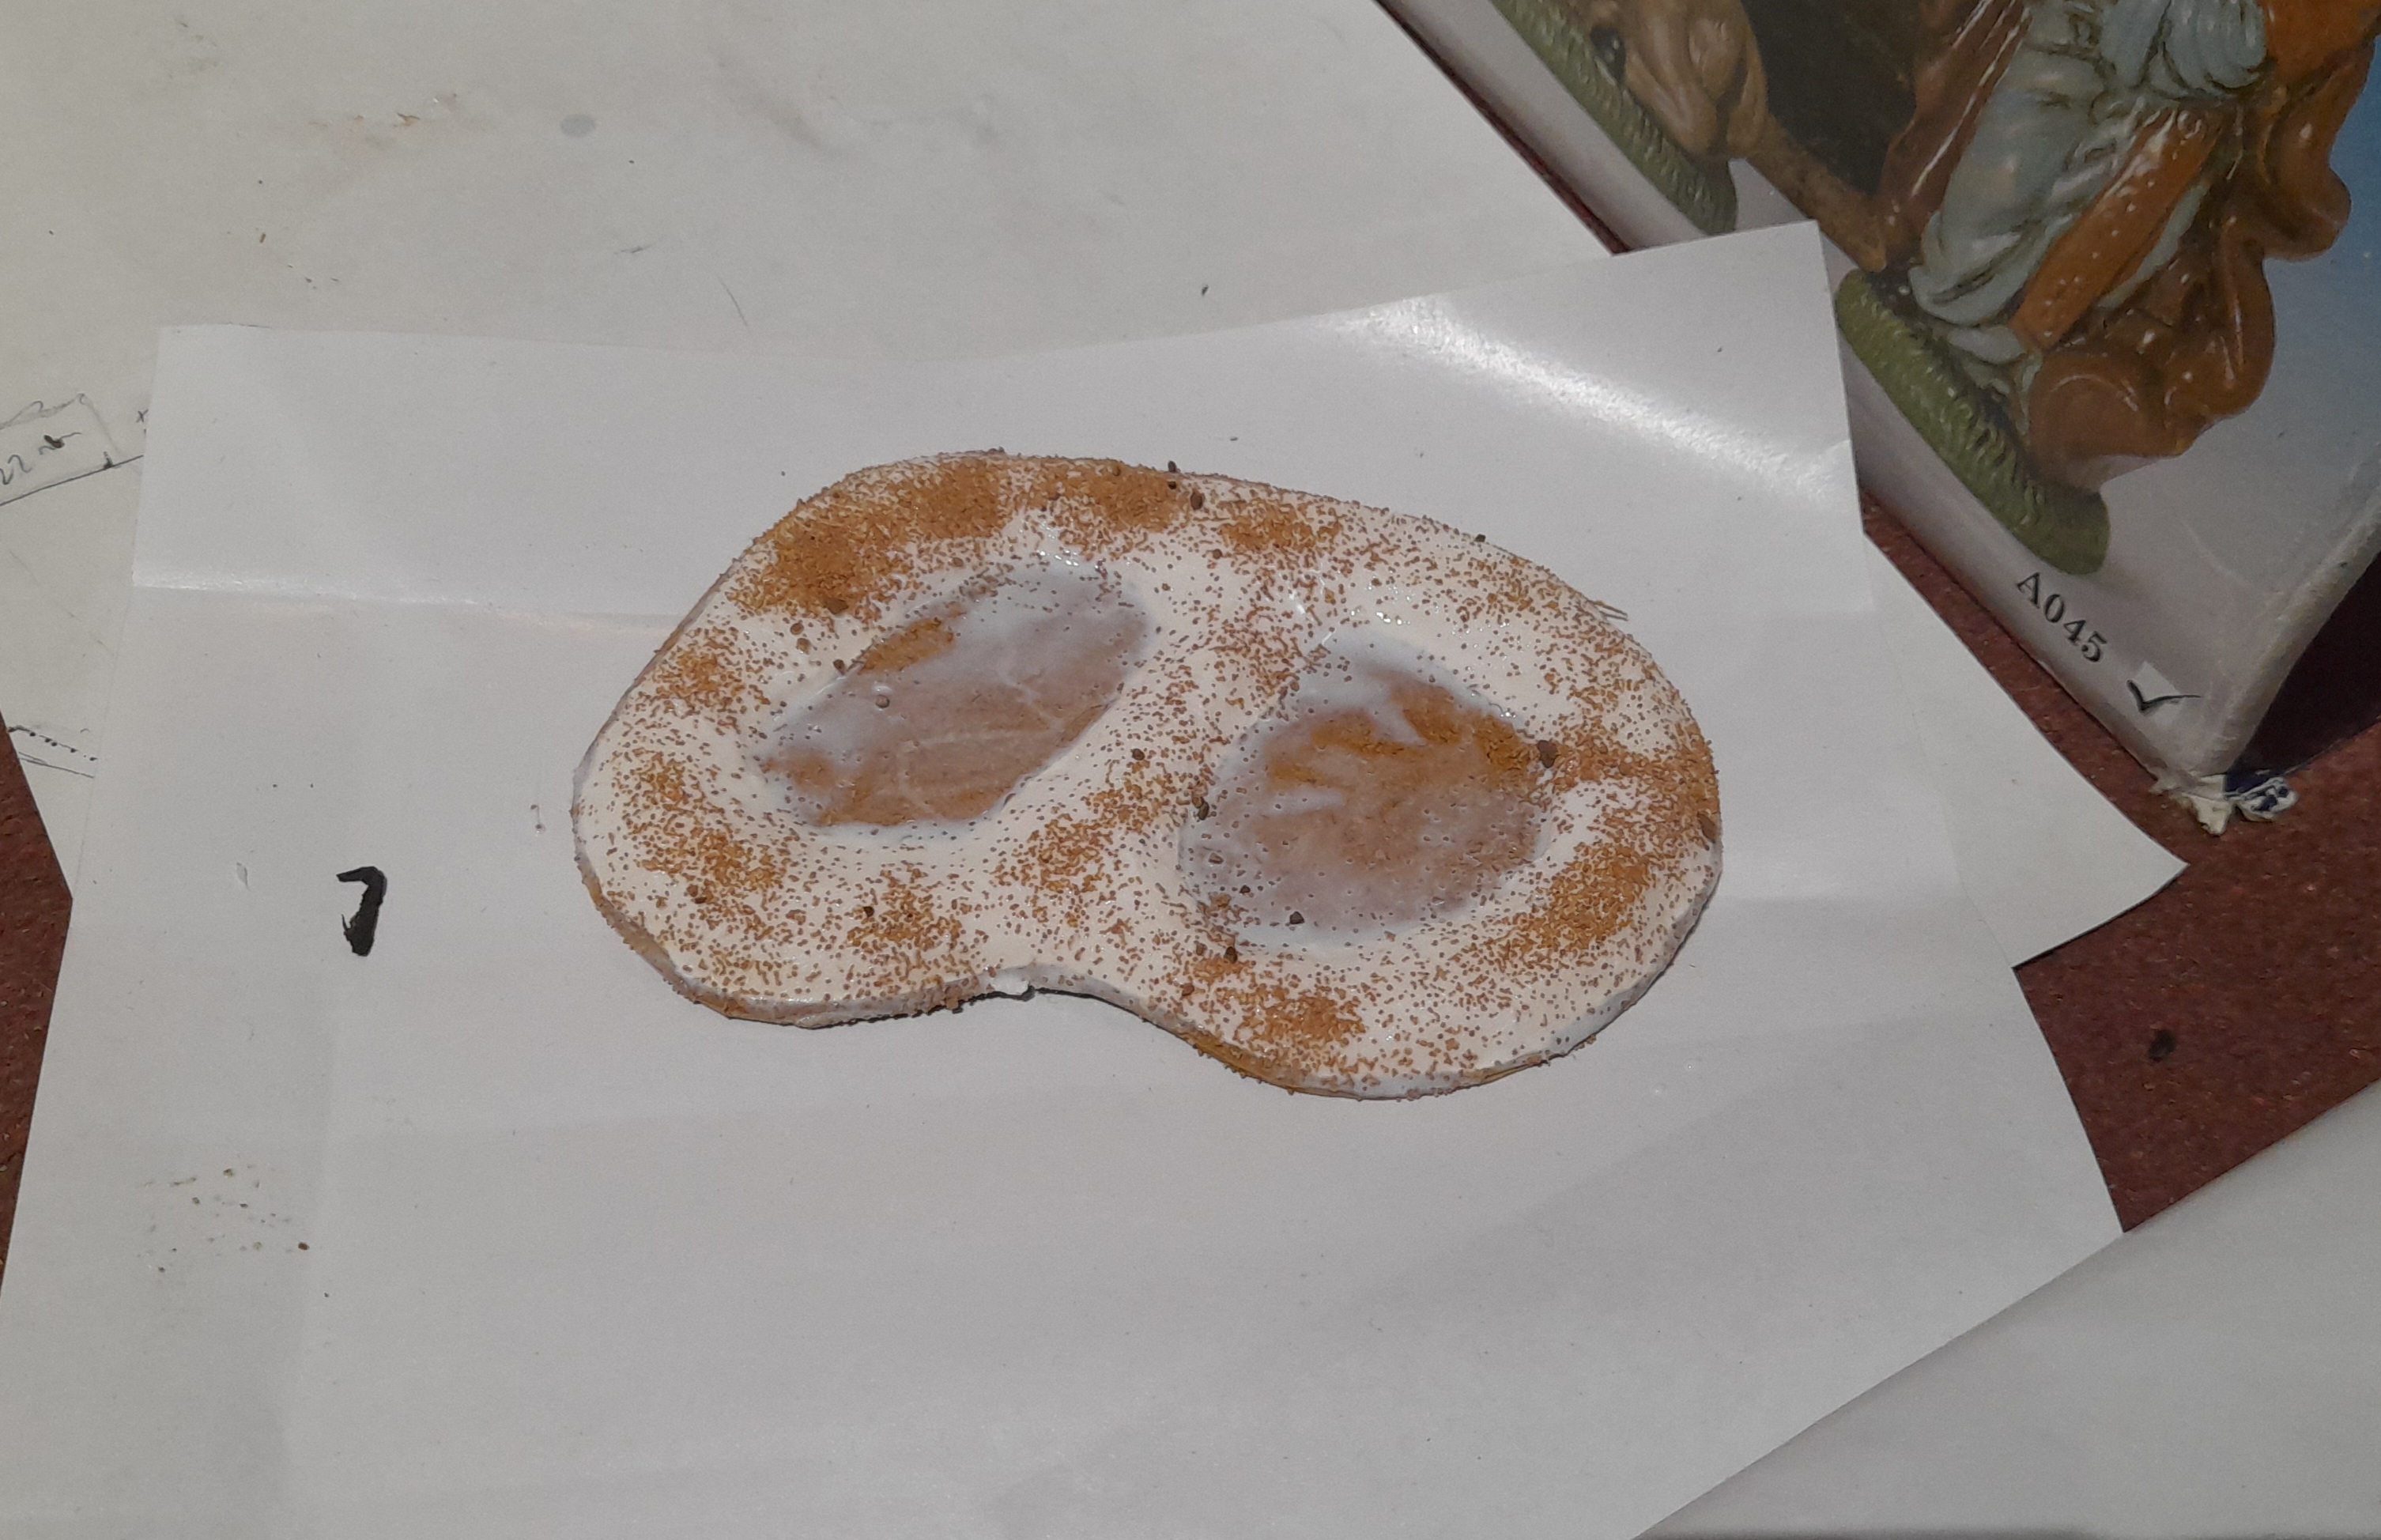
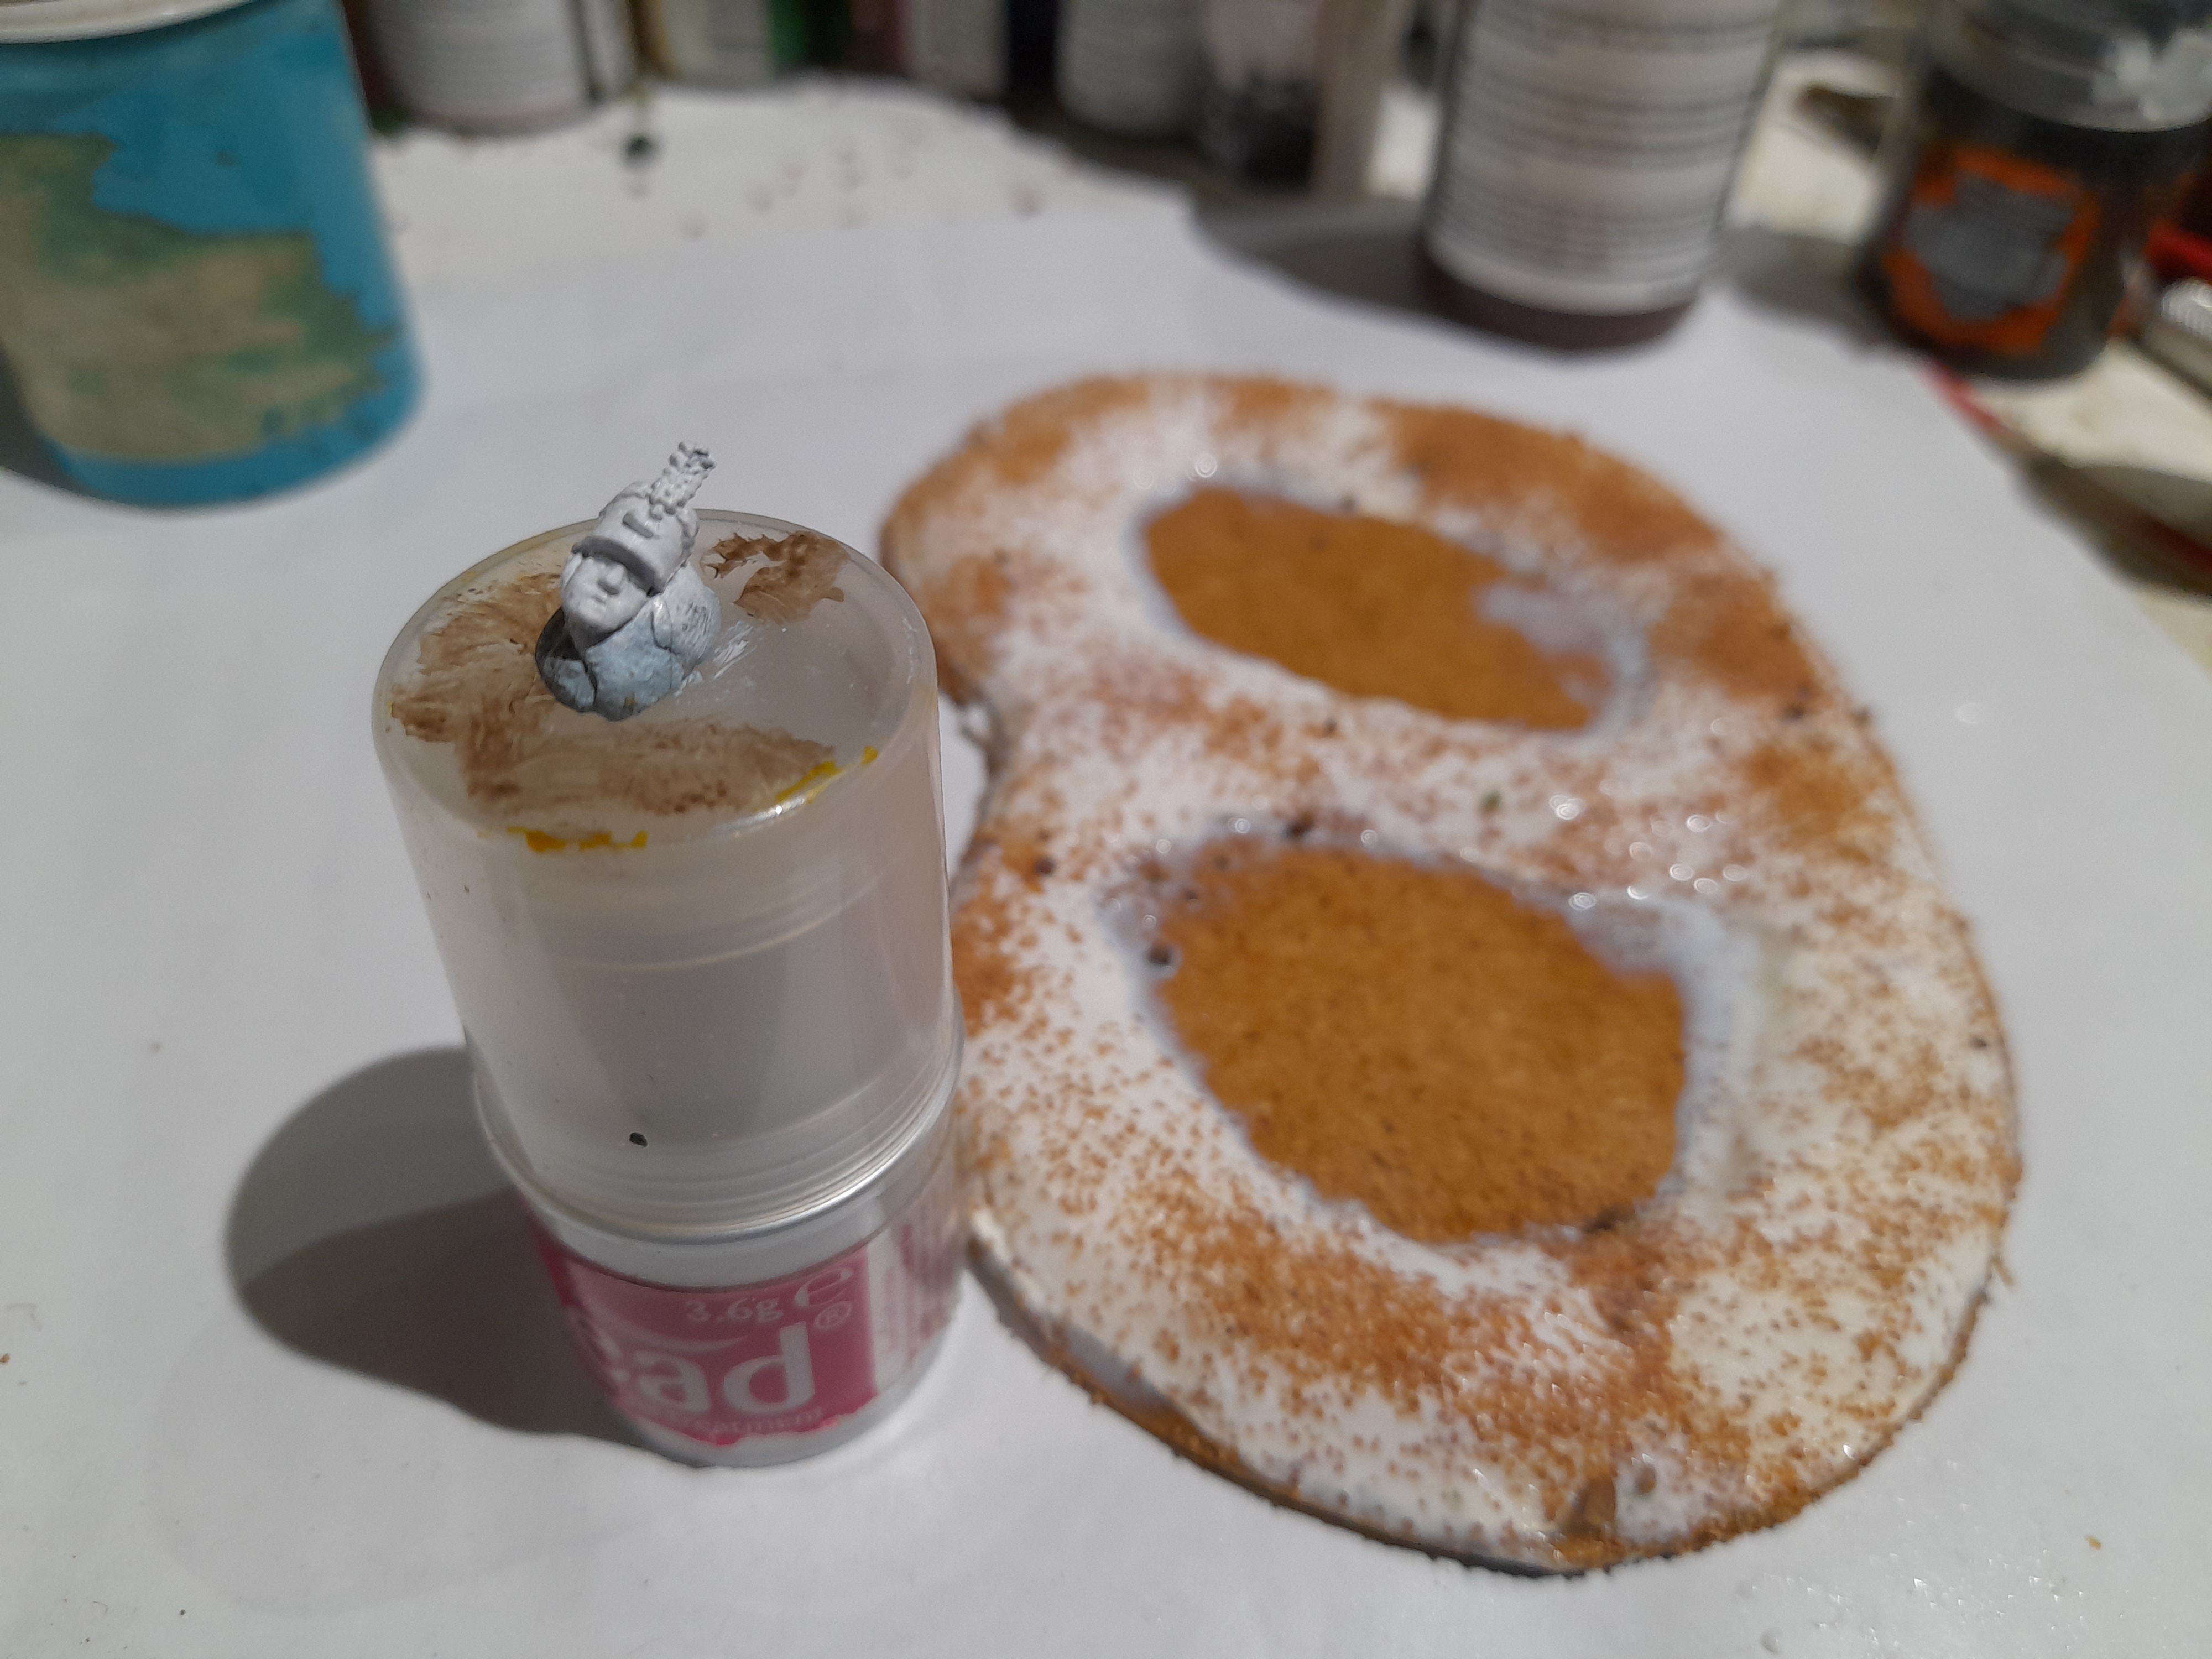
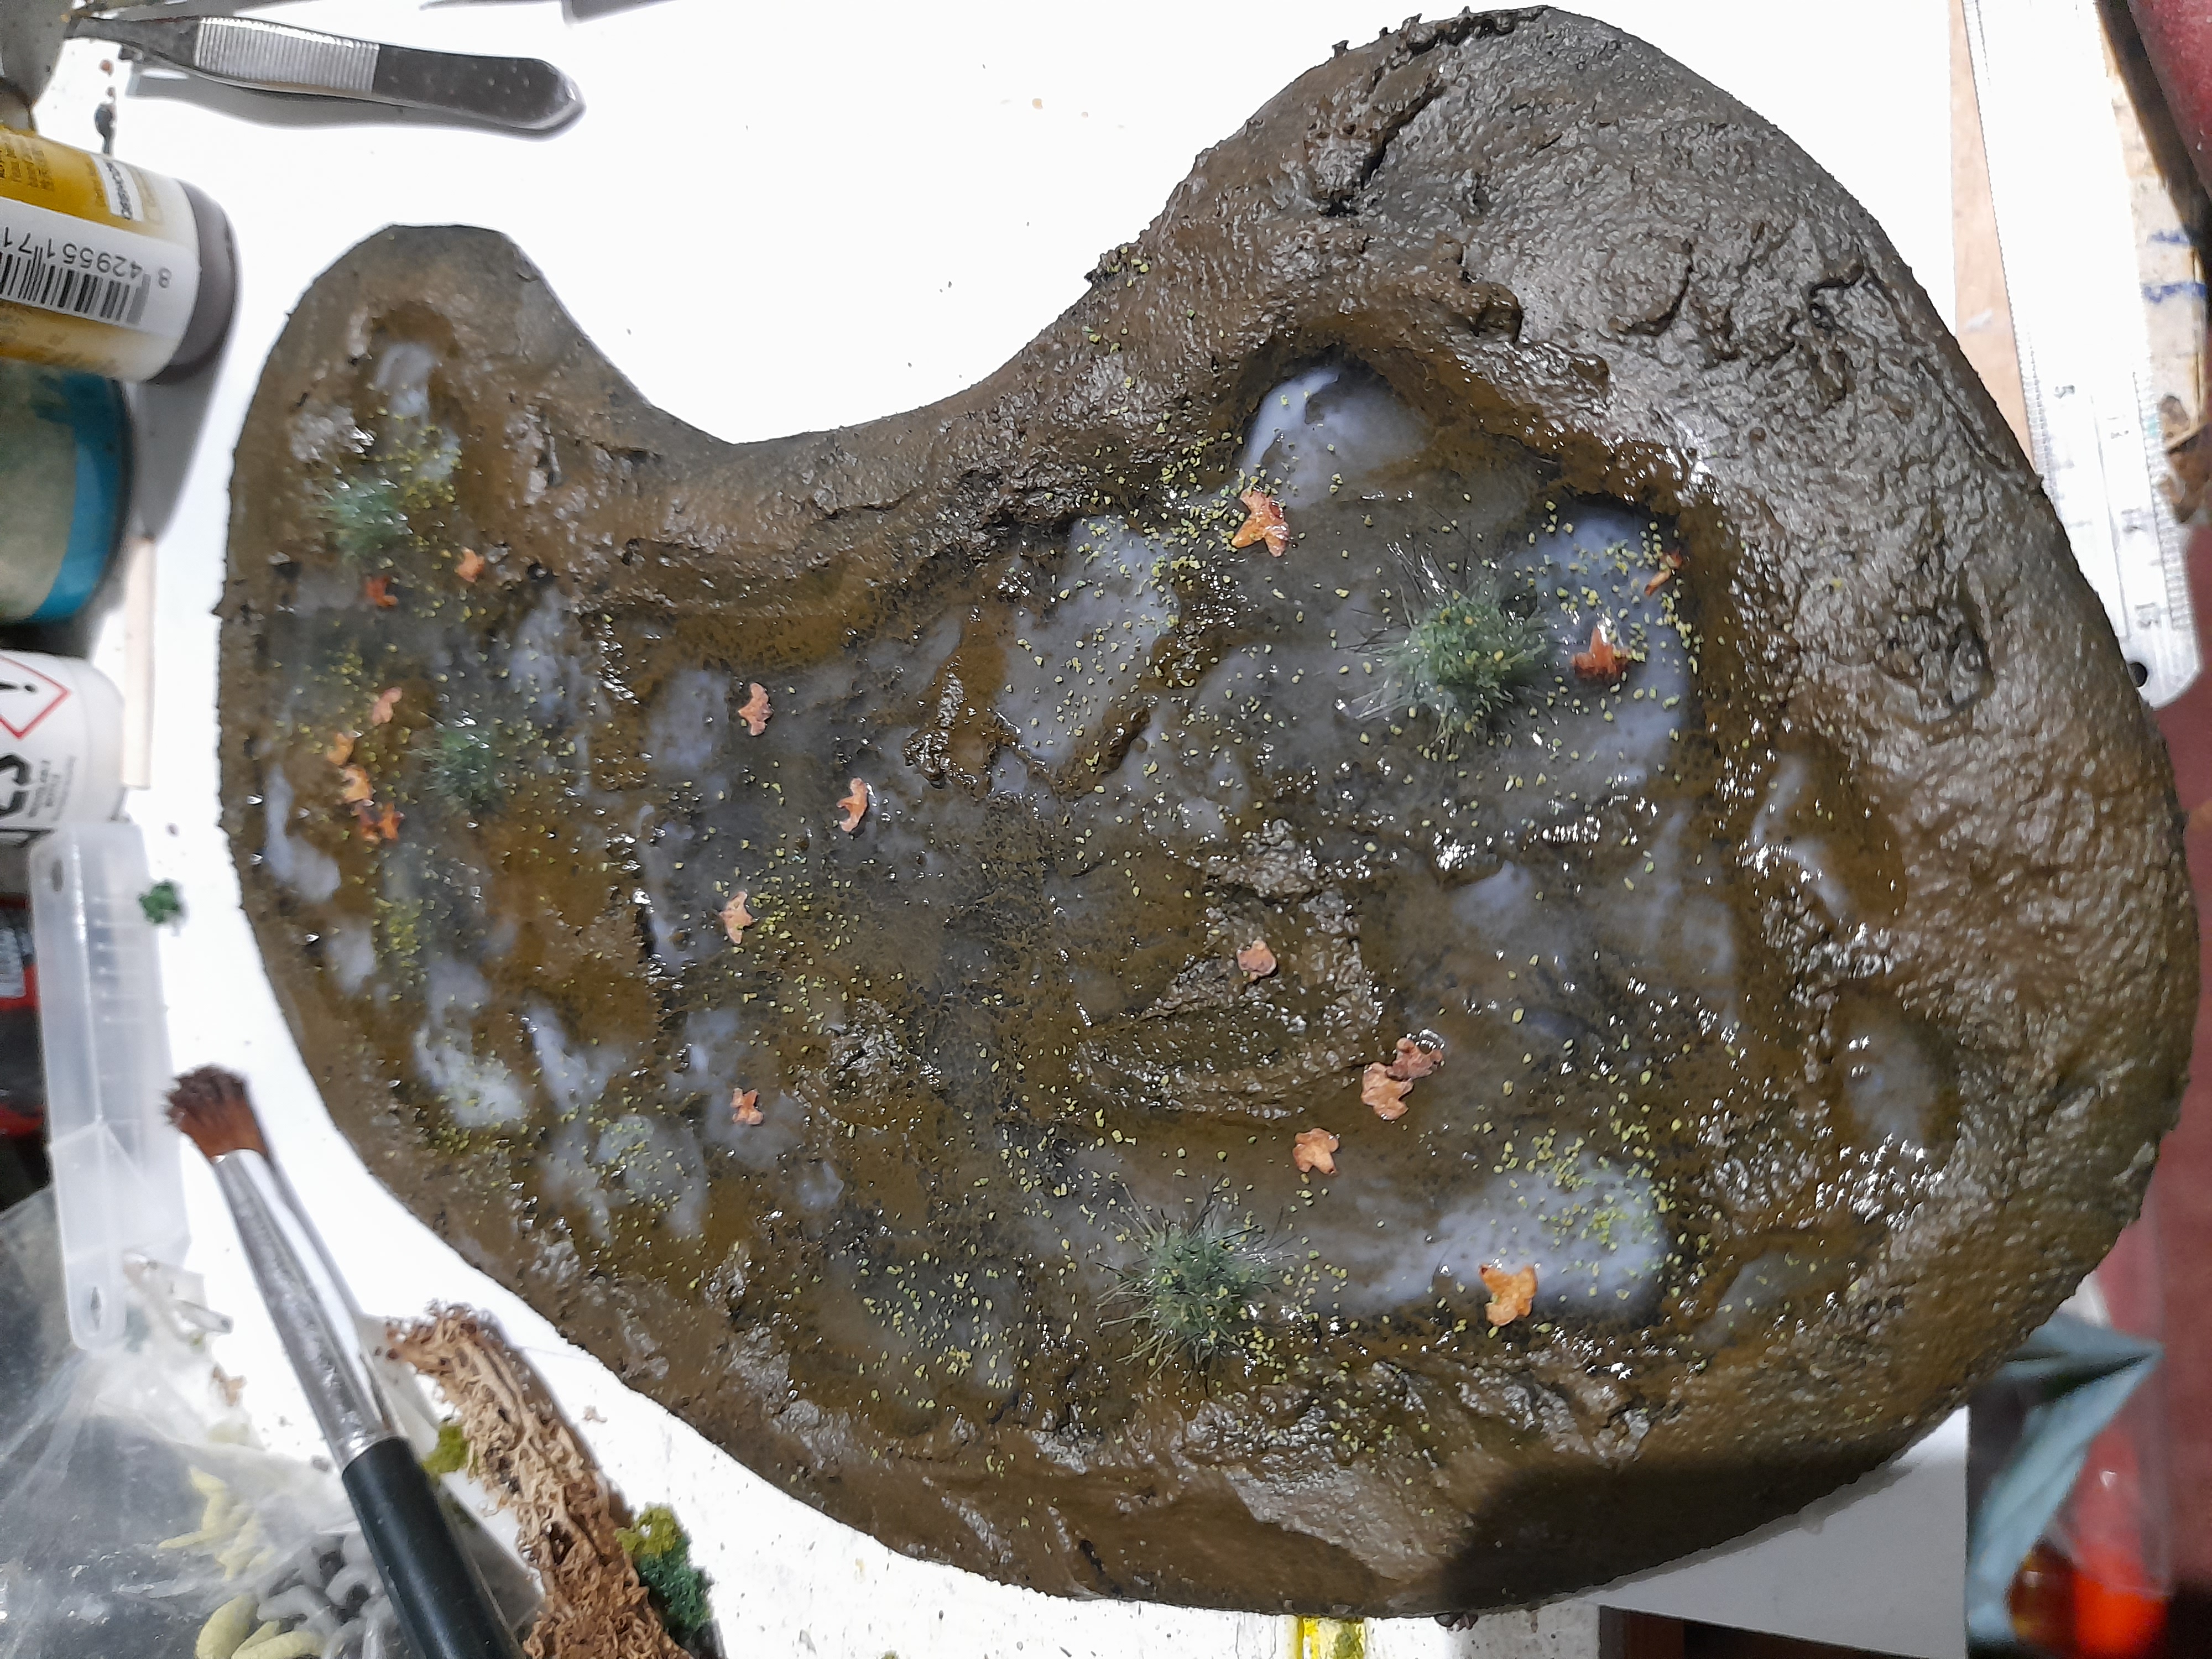
I then sprayed the piece black, and overbrushed some brown around the pool edge. For the centre in wet blended browns and black to try to give the appearance of a deep pool. Then I stuck the head, some leaves and some tufts down prior to the first pour of Water Effects ‘Still water’ – my first time using this.
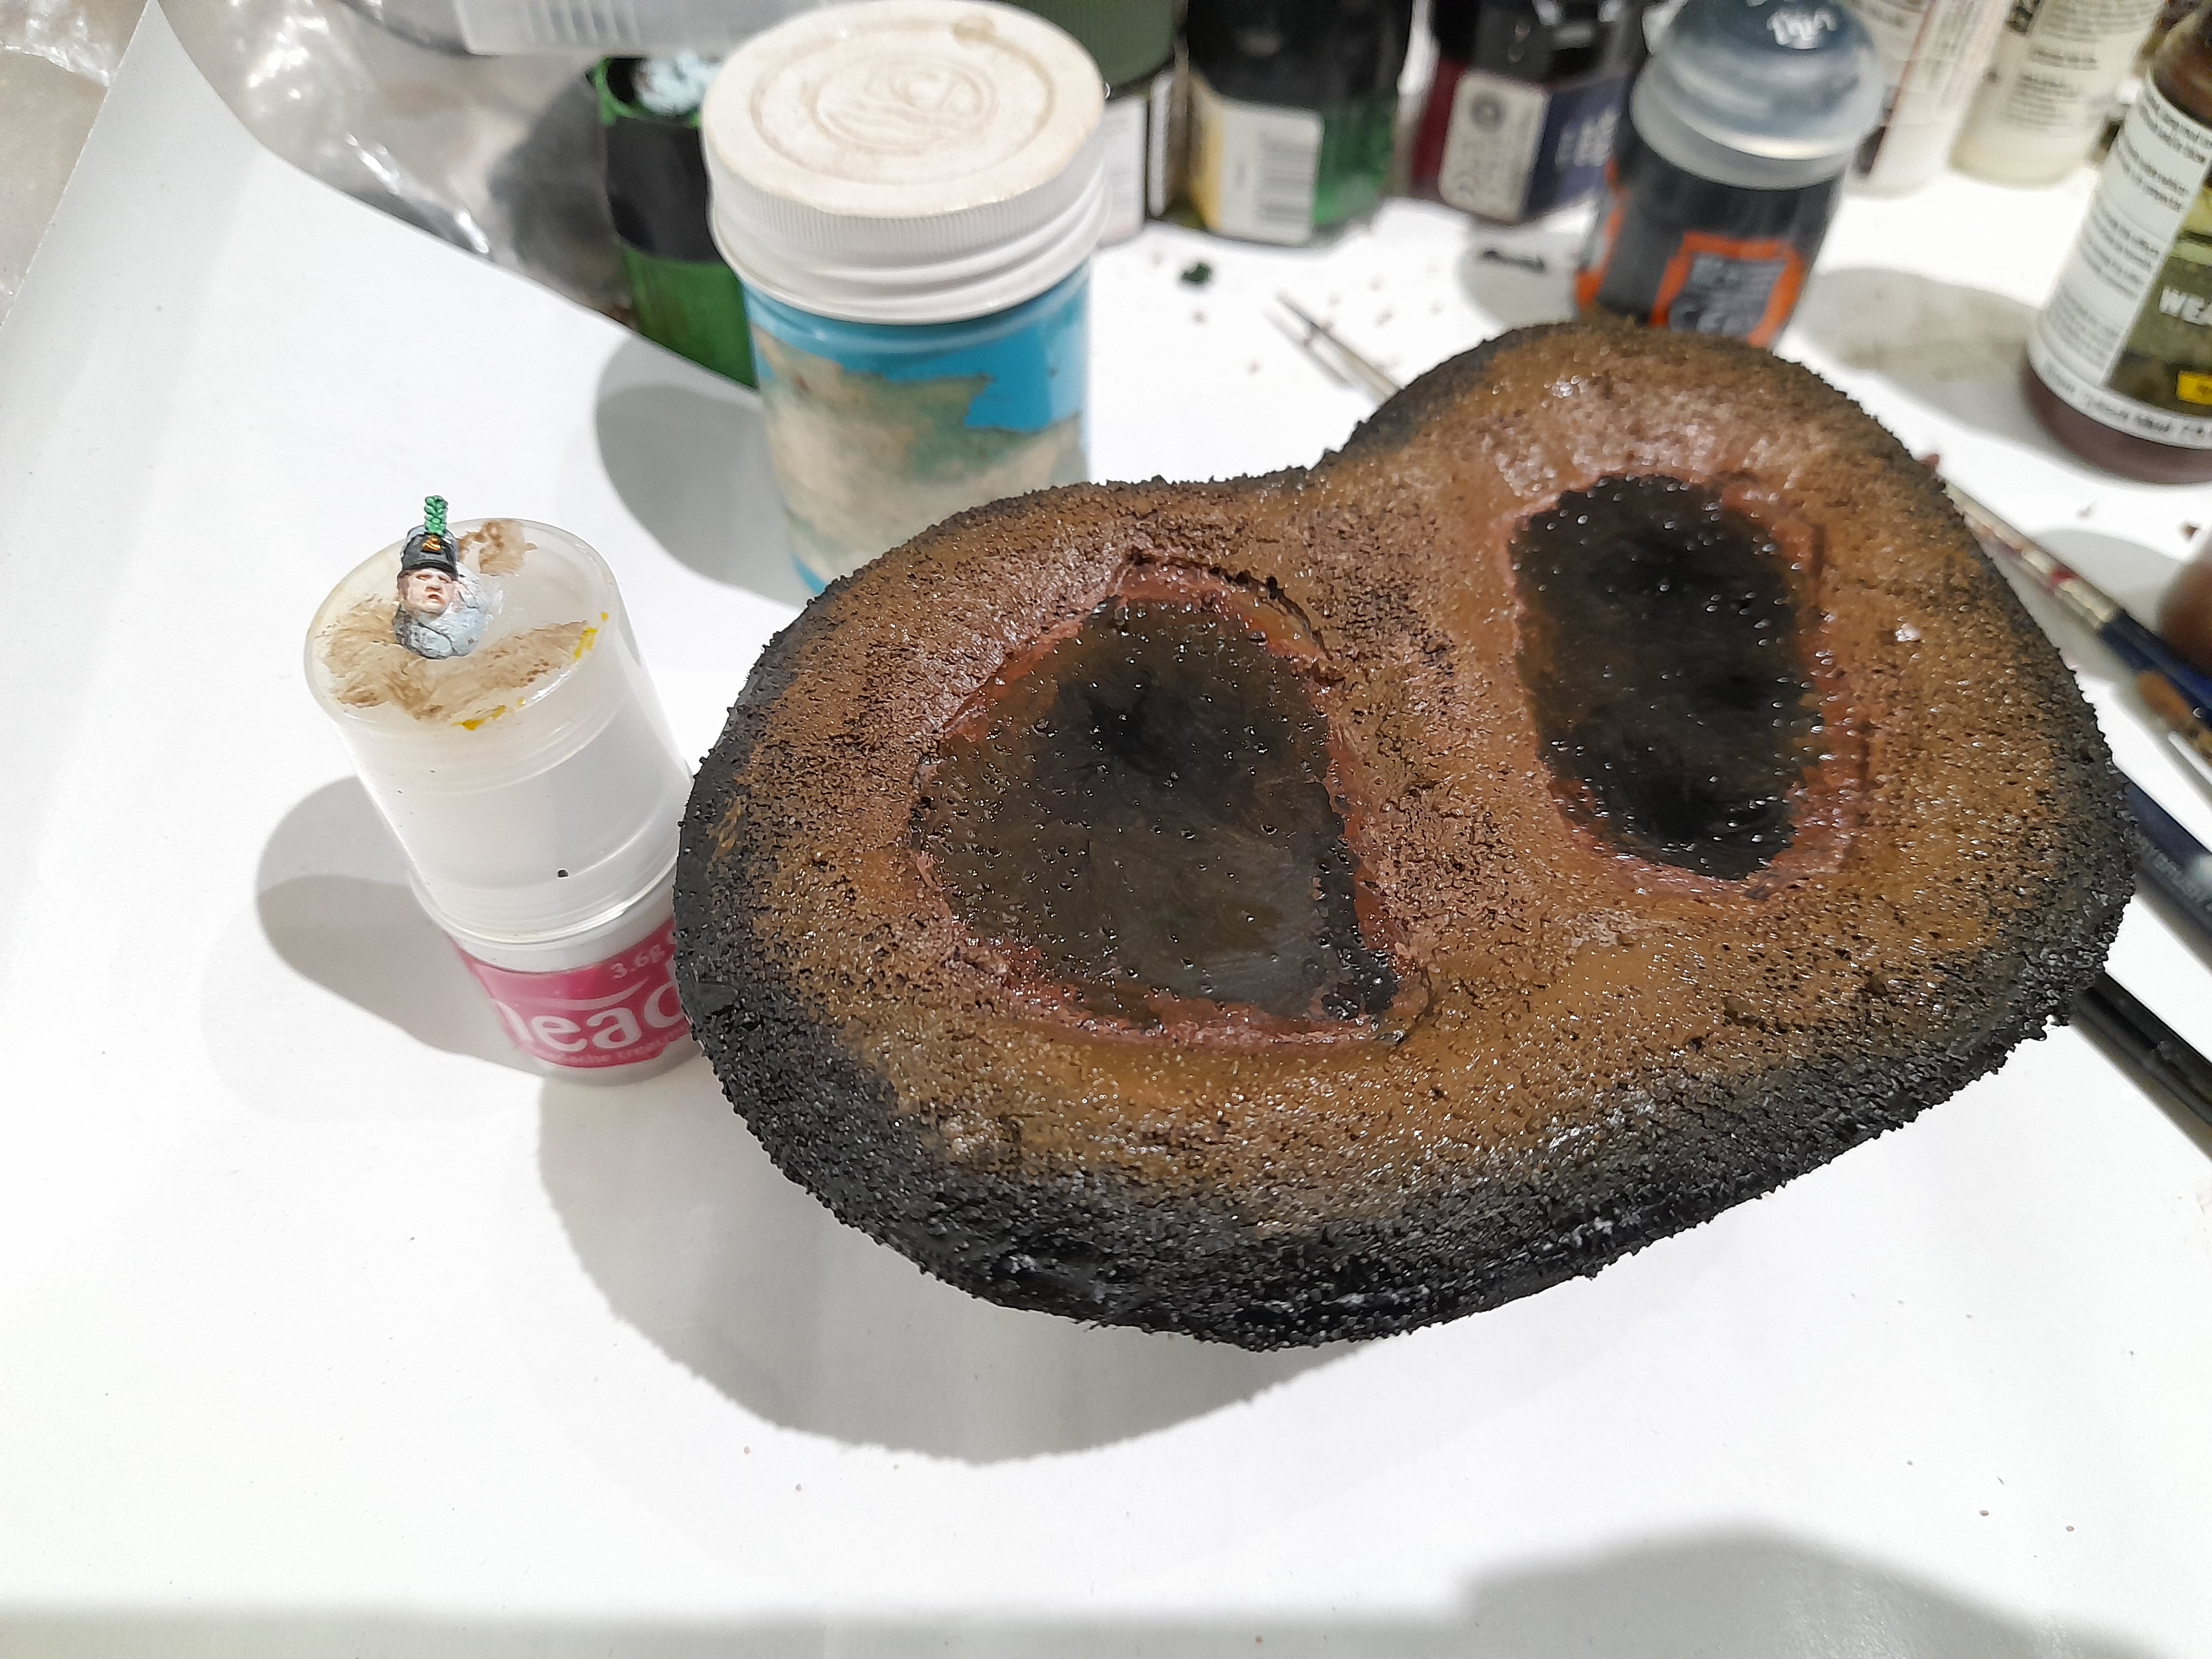
Subsequently I added an arm to the head in the pool, and several more pours, some of which were tinted brown. Painted up the edges, then added flock, and some clumps.
Learning points – I needed to make the next ones larger.
The foamcard makes the layer look too thick (in part due to small diameter).
The layers of water effect take a while.
Adding detritus between layers seems to work well.
Boggy Pools Mk2
28th December 2024
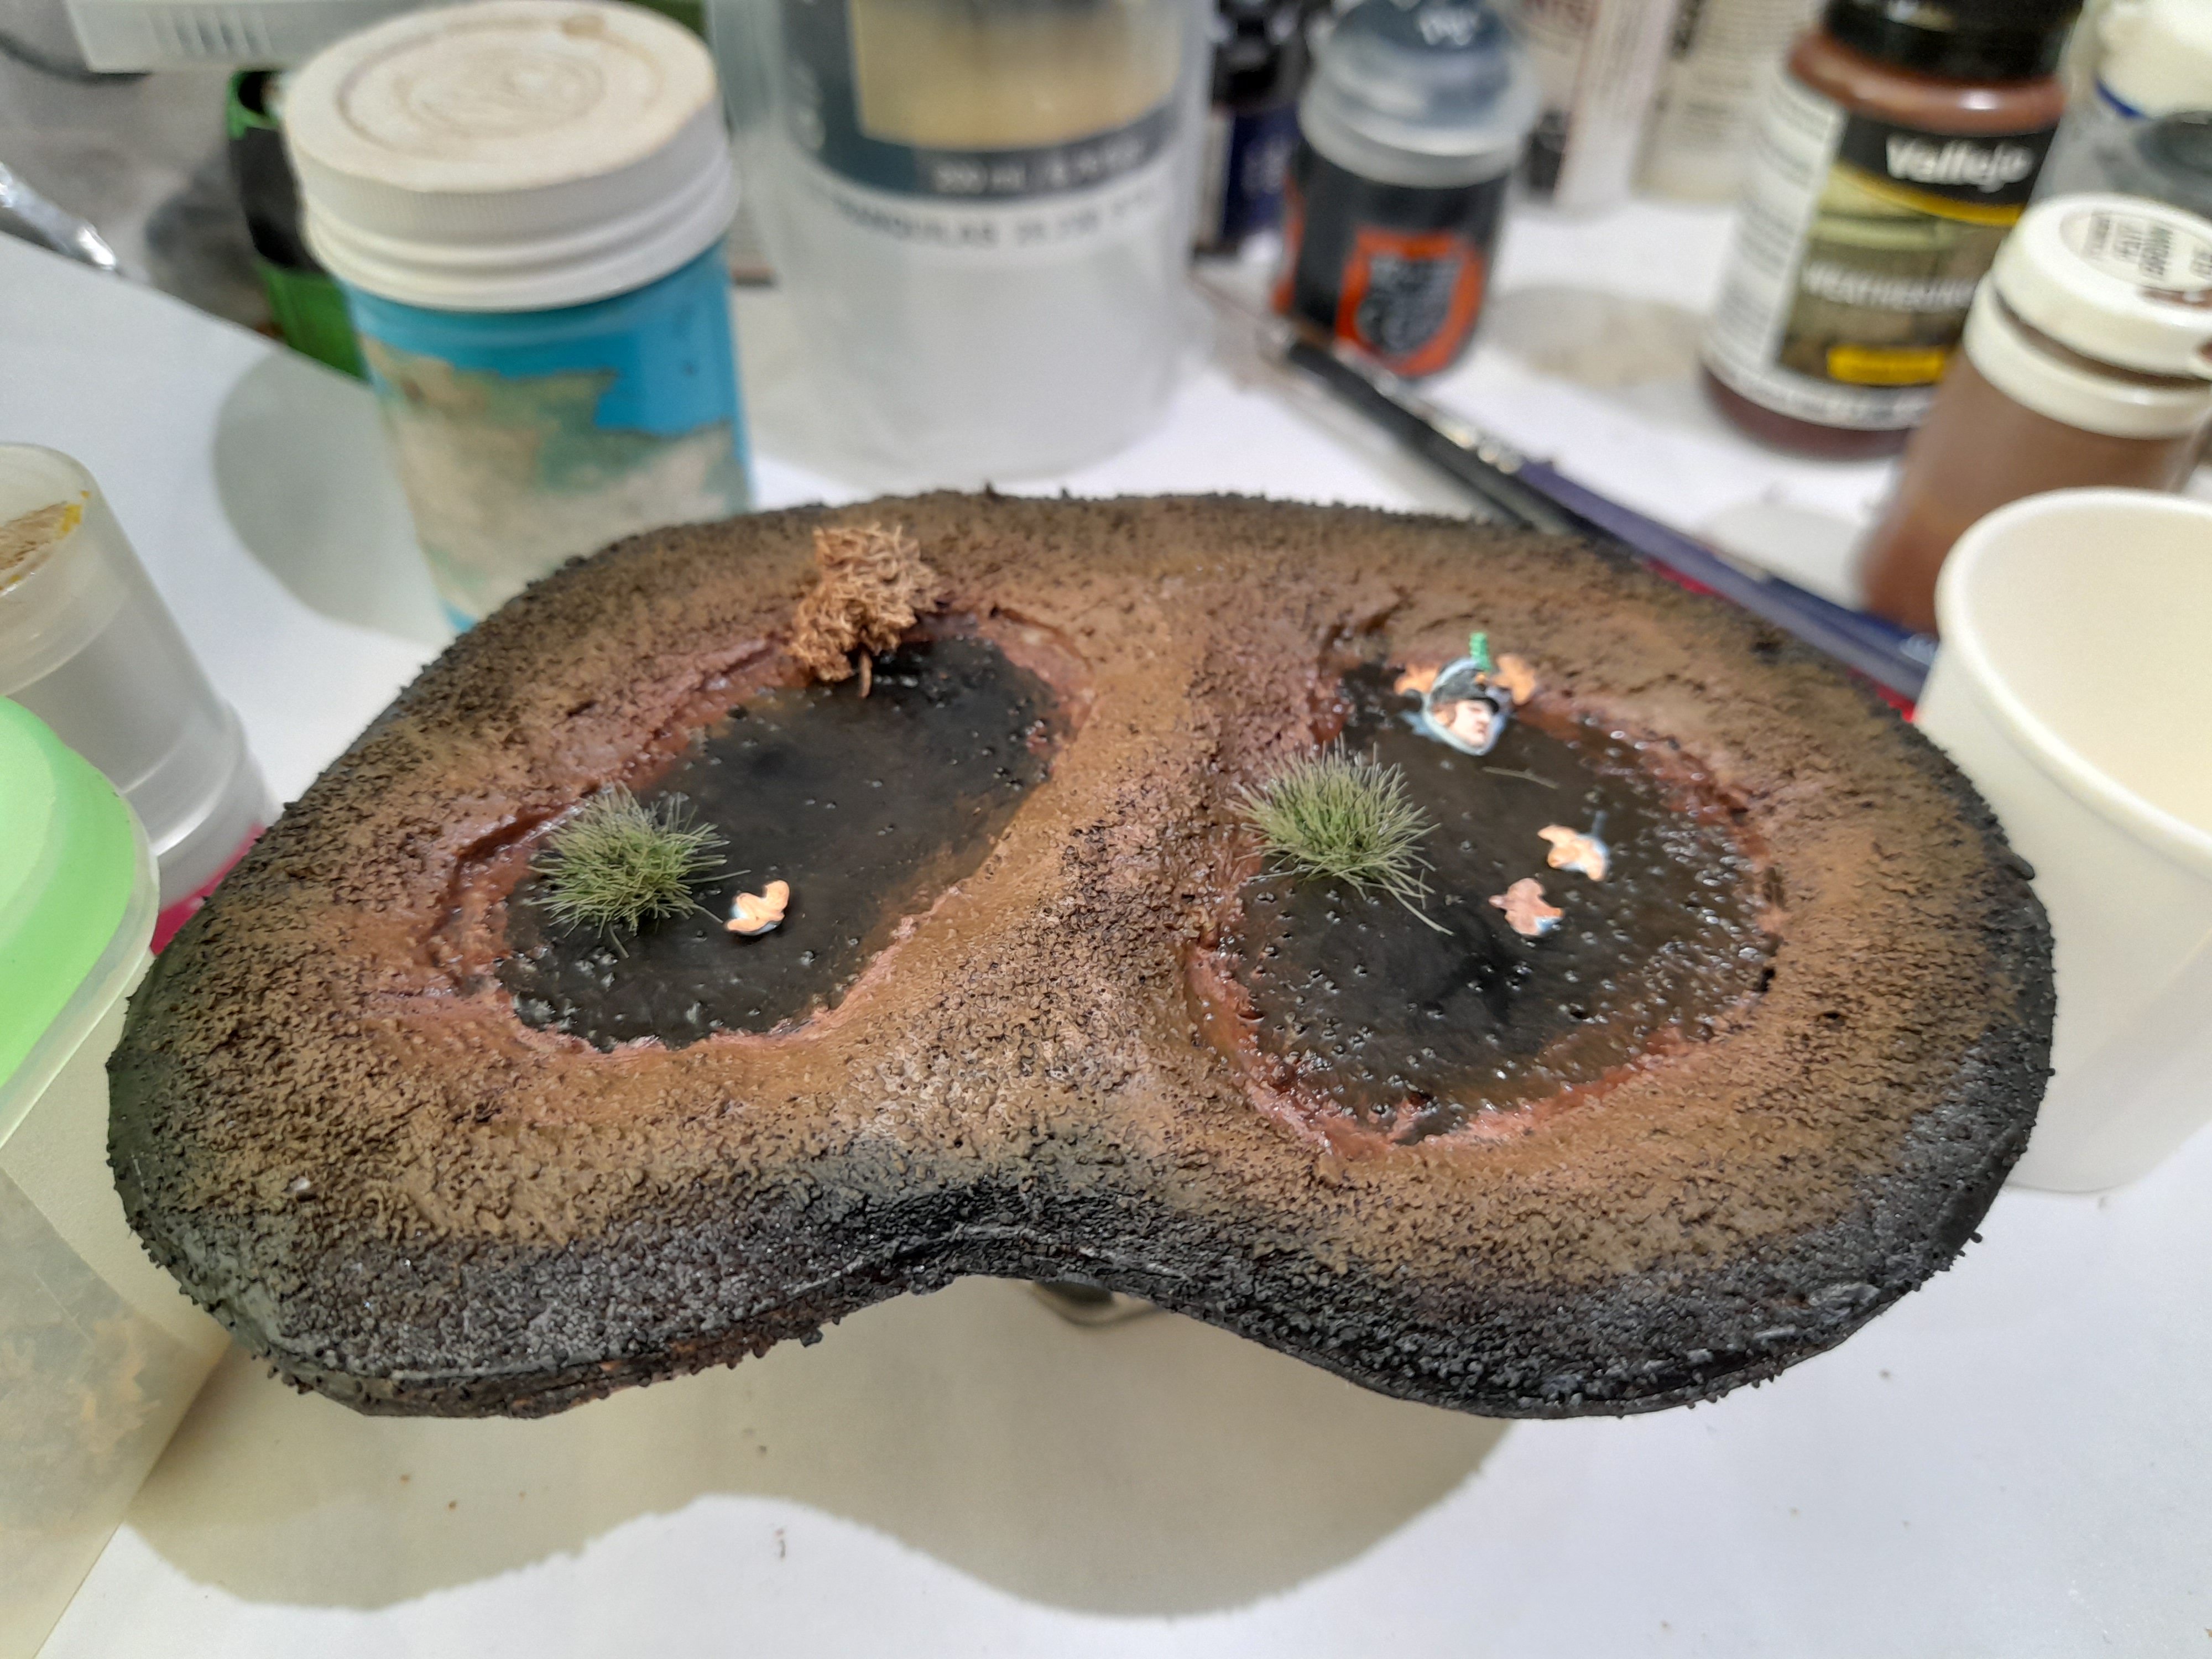
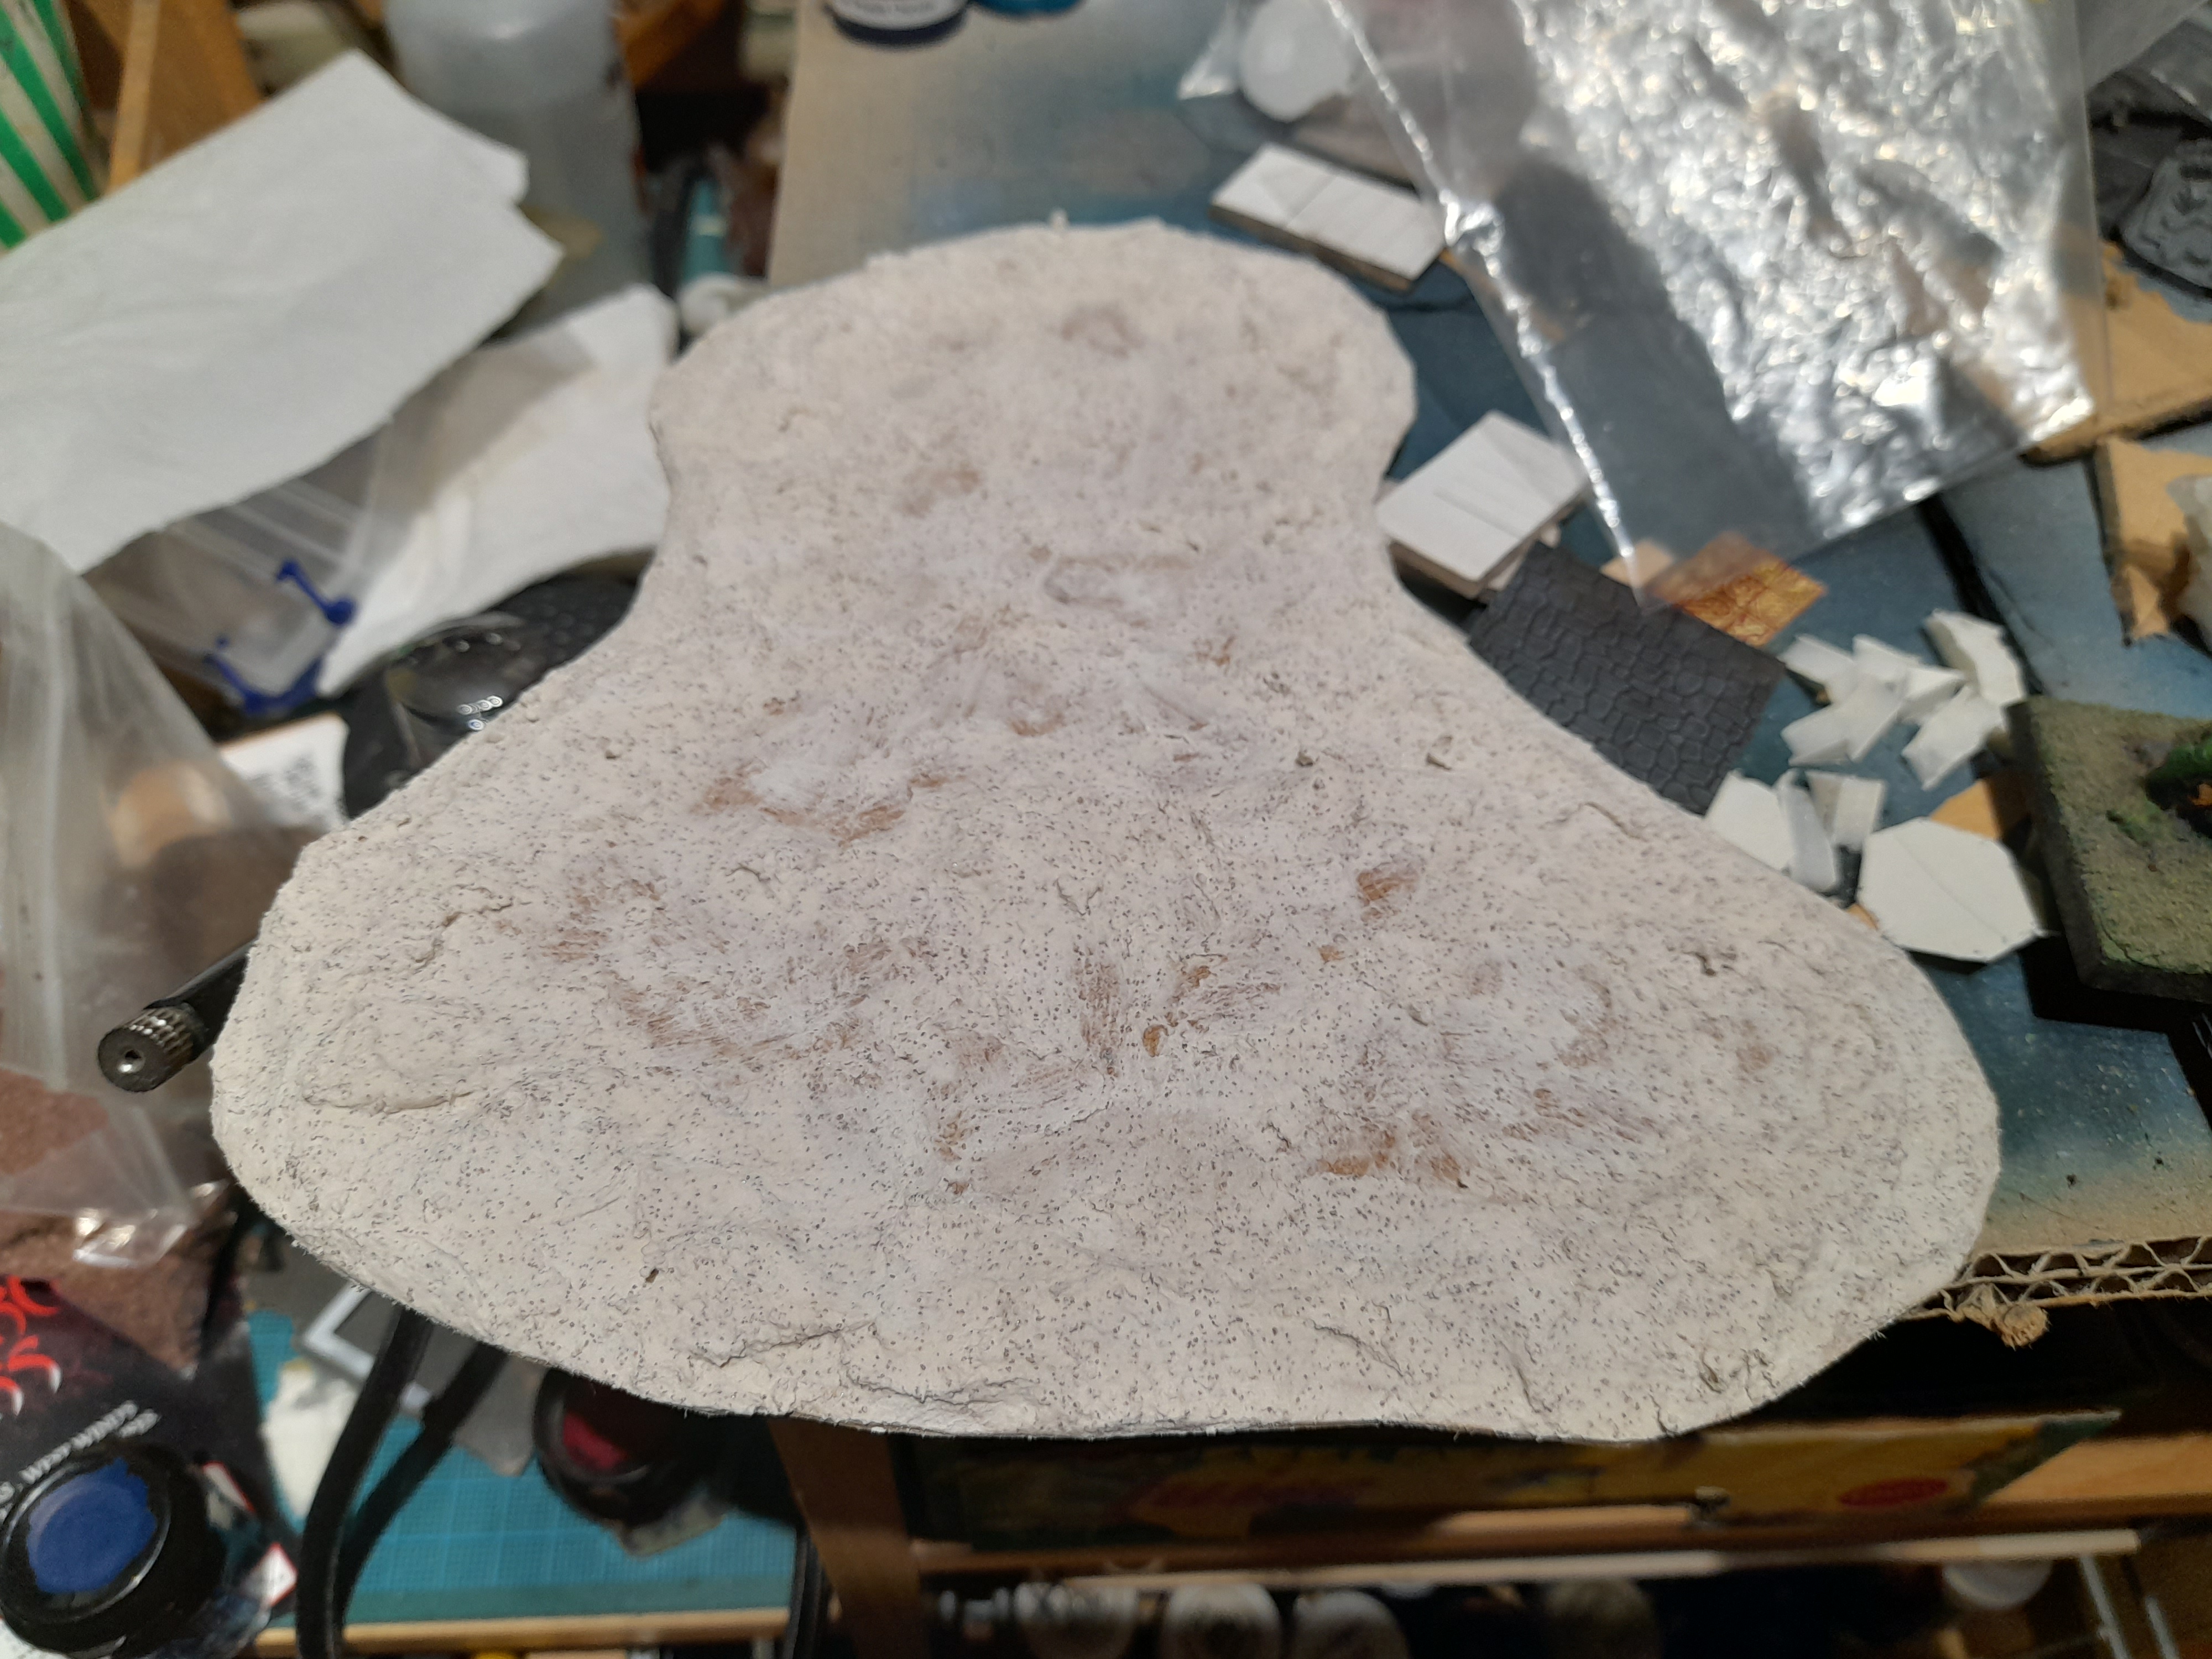
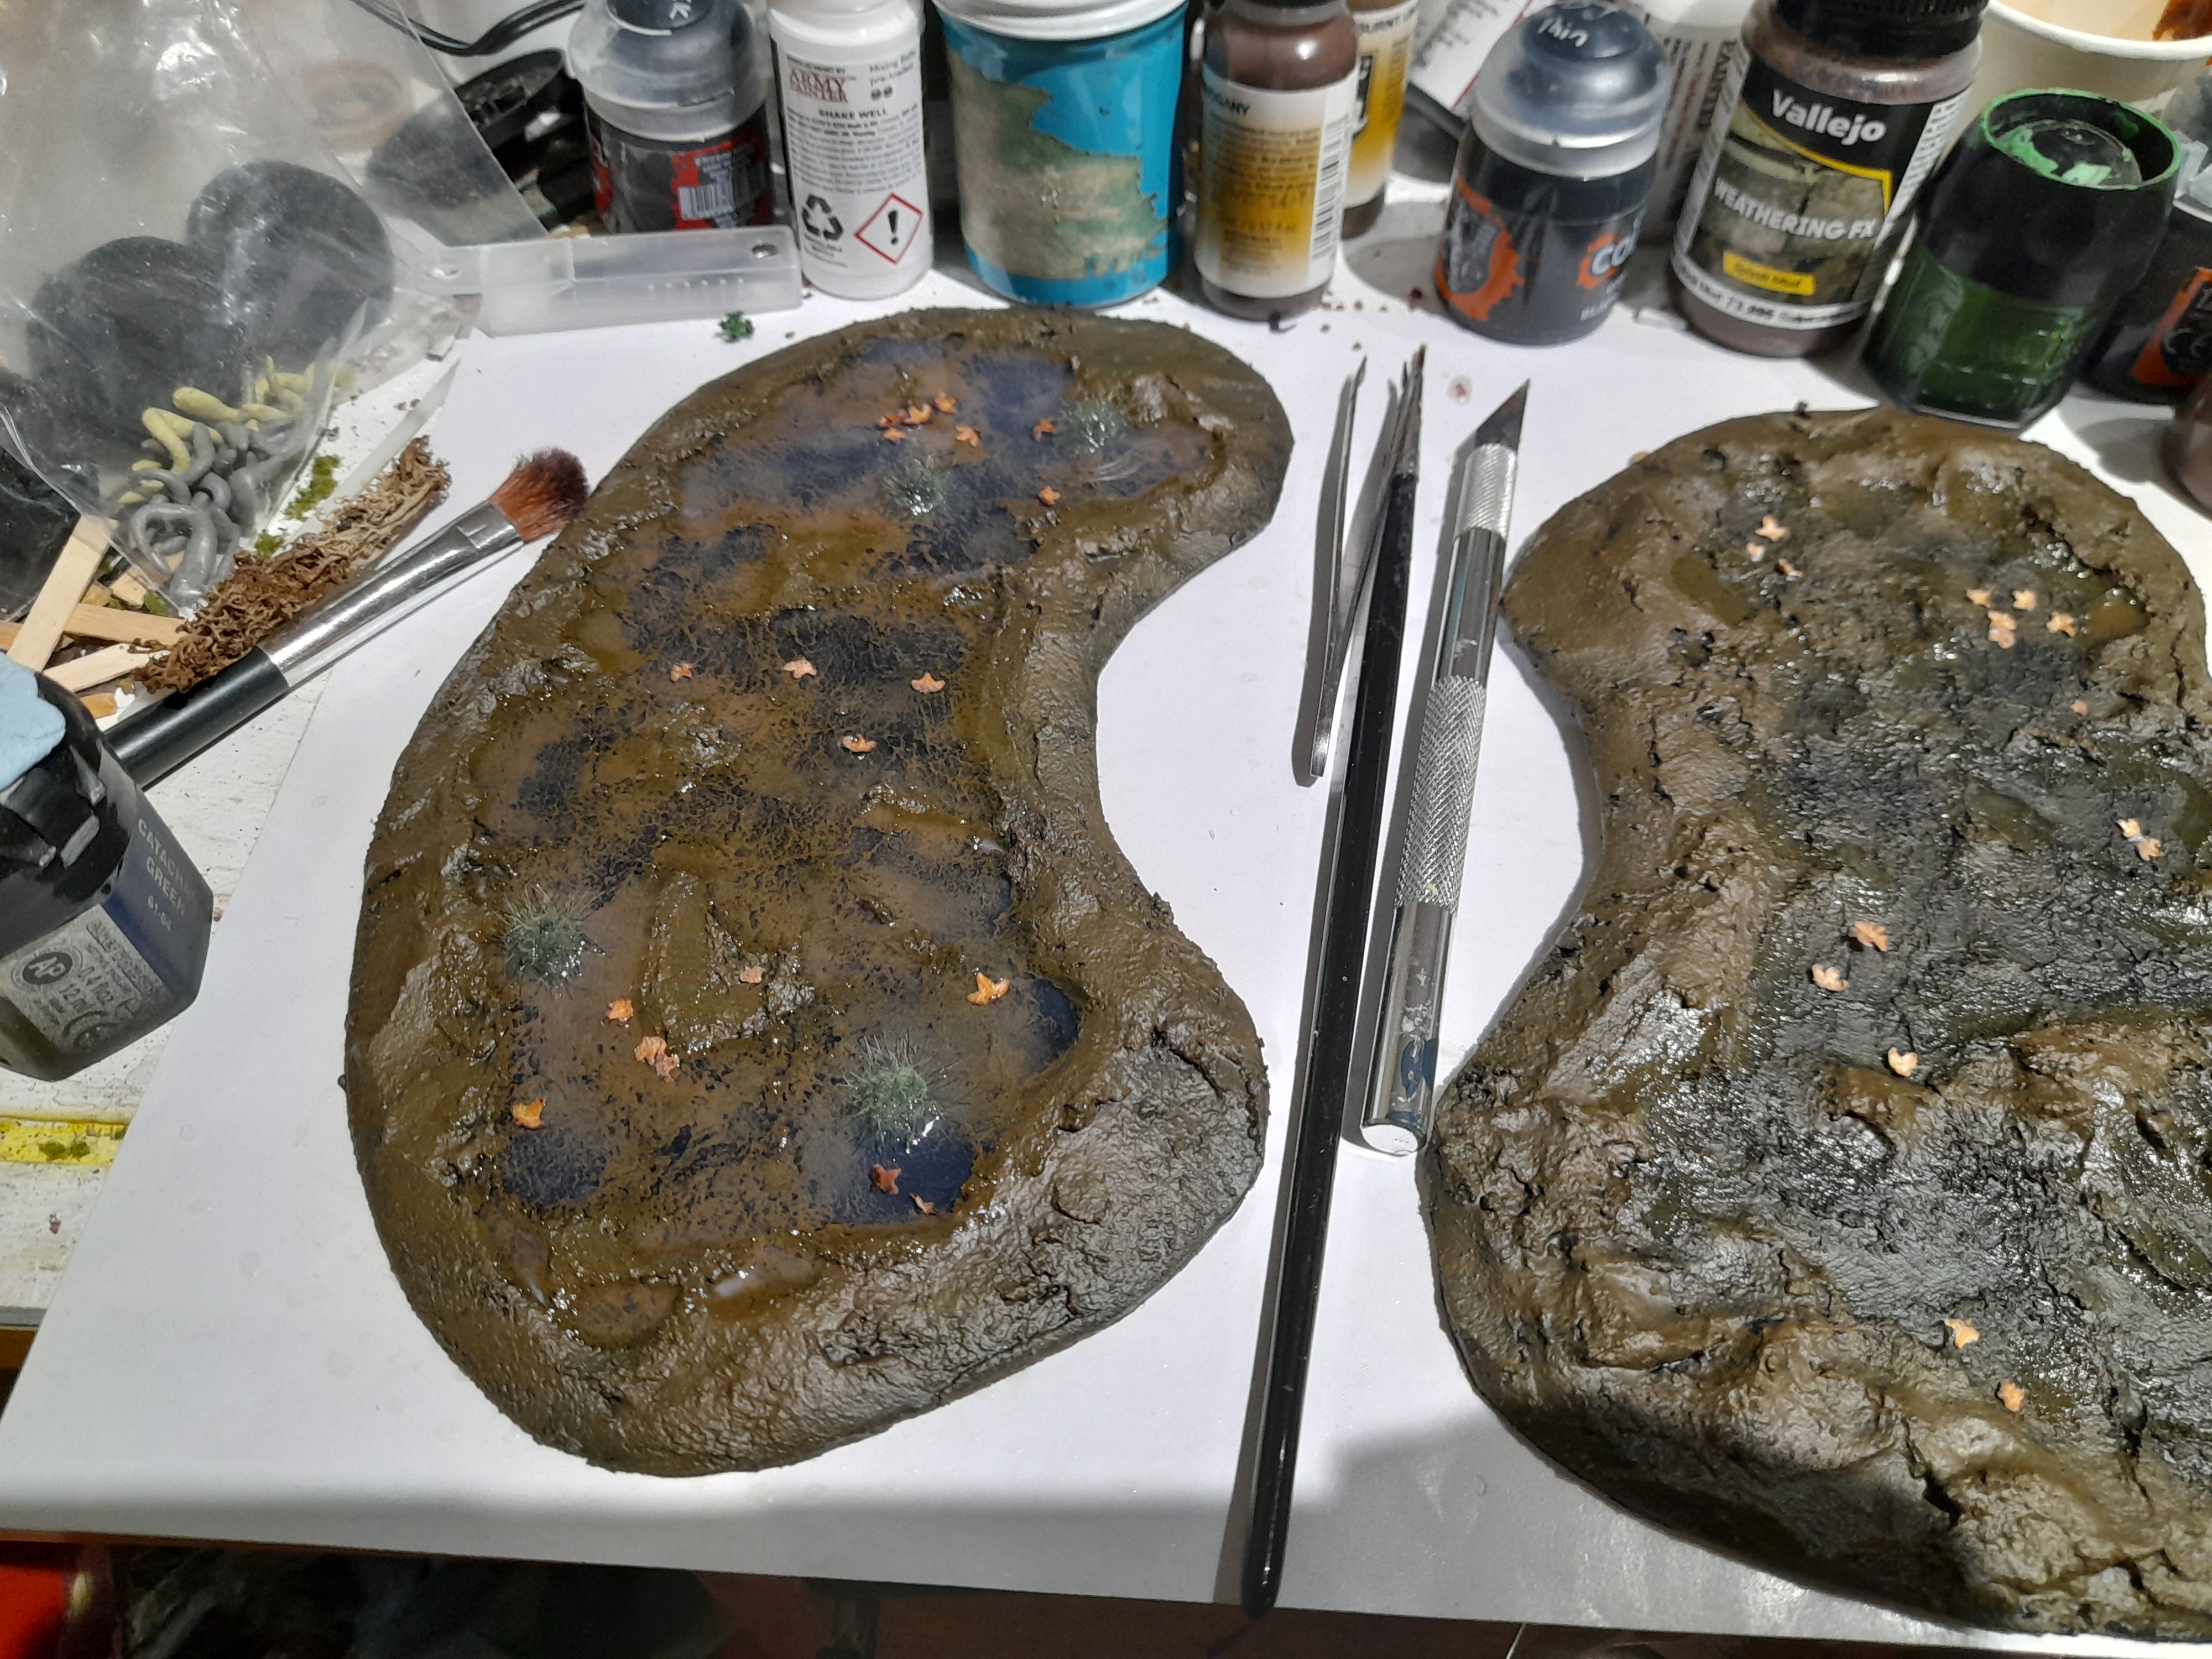
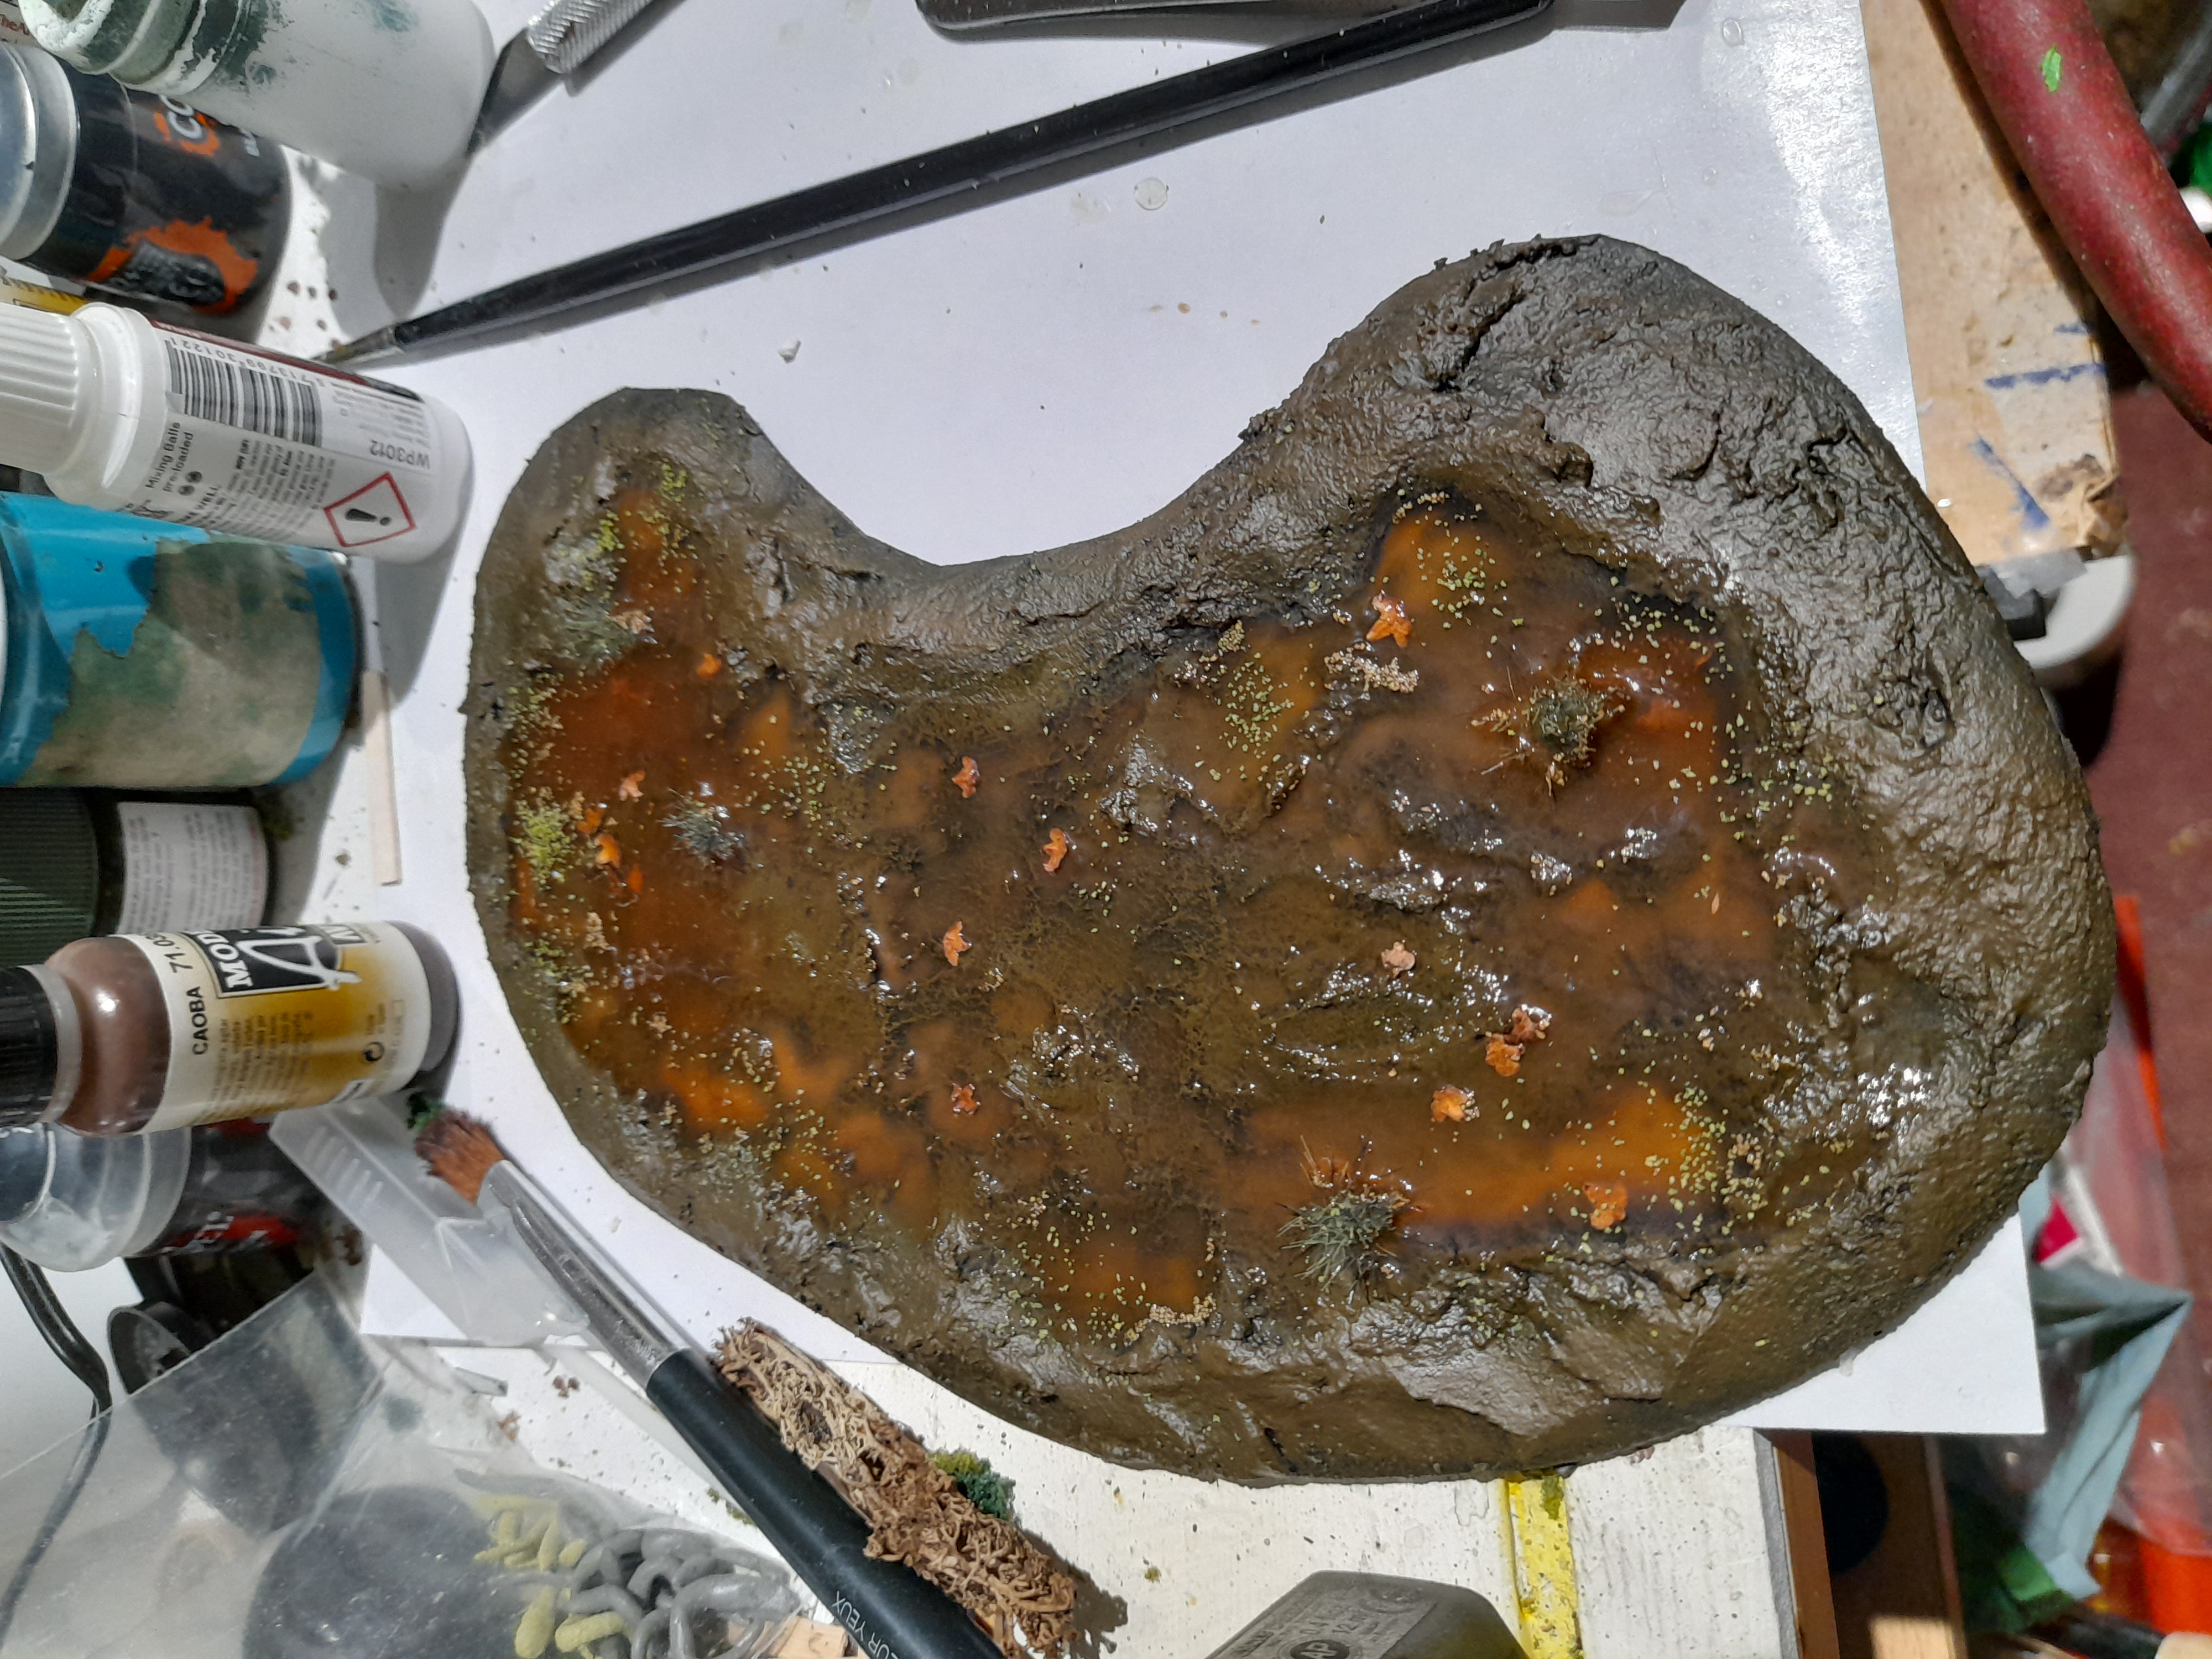
Part way through the test piece it was clear I would need to try something different for the next pools. So I cut some larger base pieces, and decided to build up the boggy ground and edges using powder filler (the sort for doing wall crack repairs)
To start with I scored the mdf to act as a key for the filler for extra grab (more on that later…). I mixed up some sand and added that to the filler, then using my fingers I built up the ground for the boggy pools.

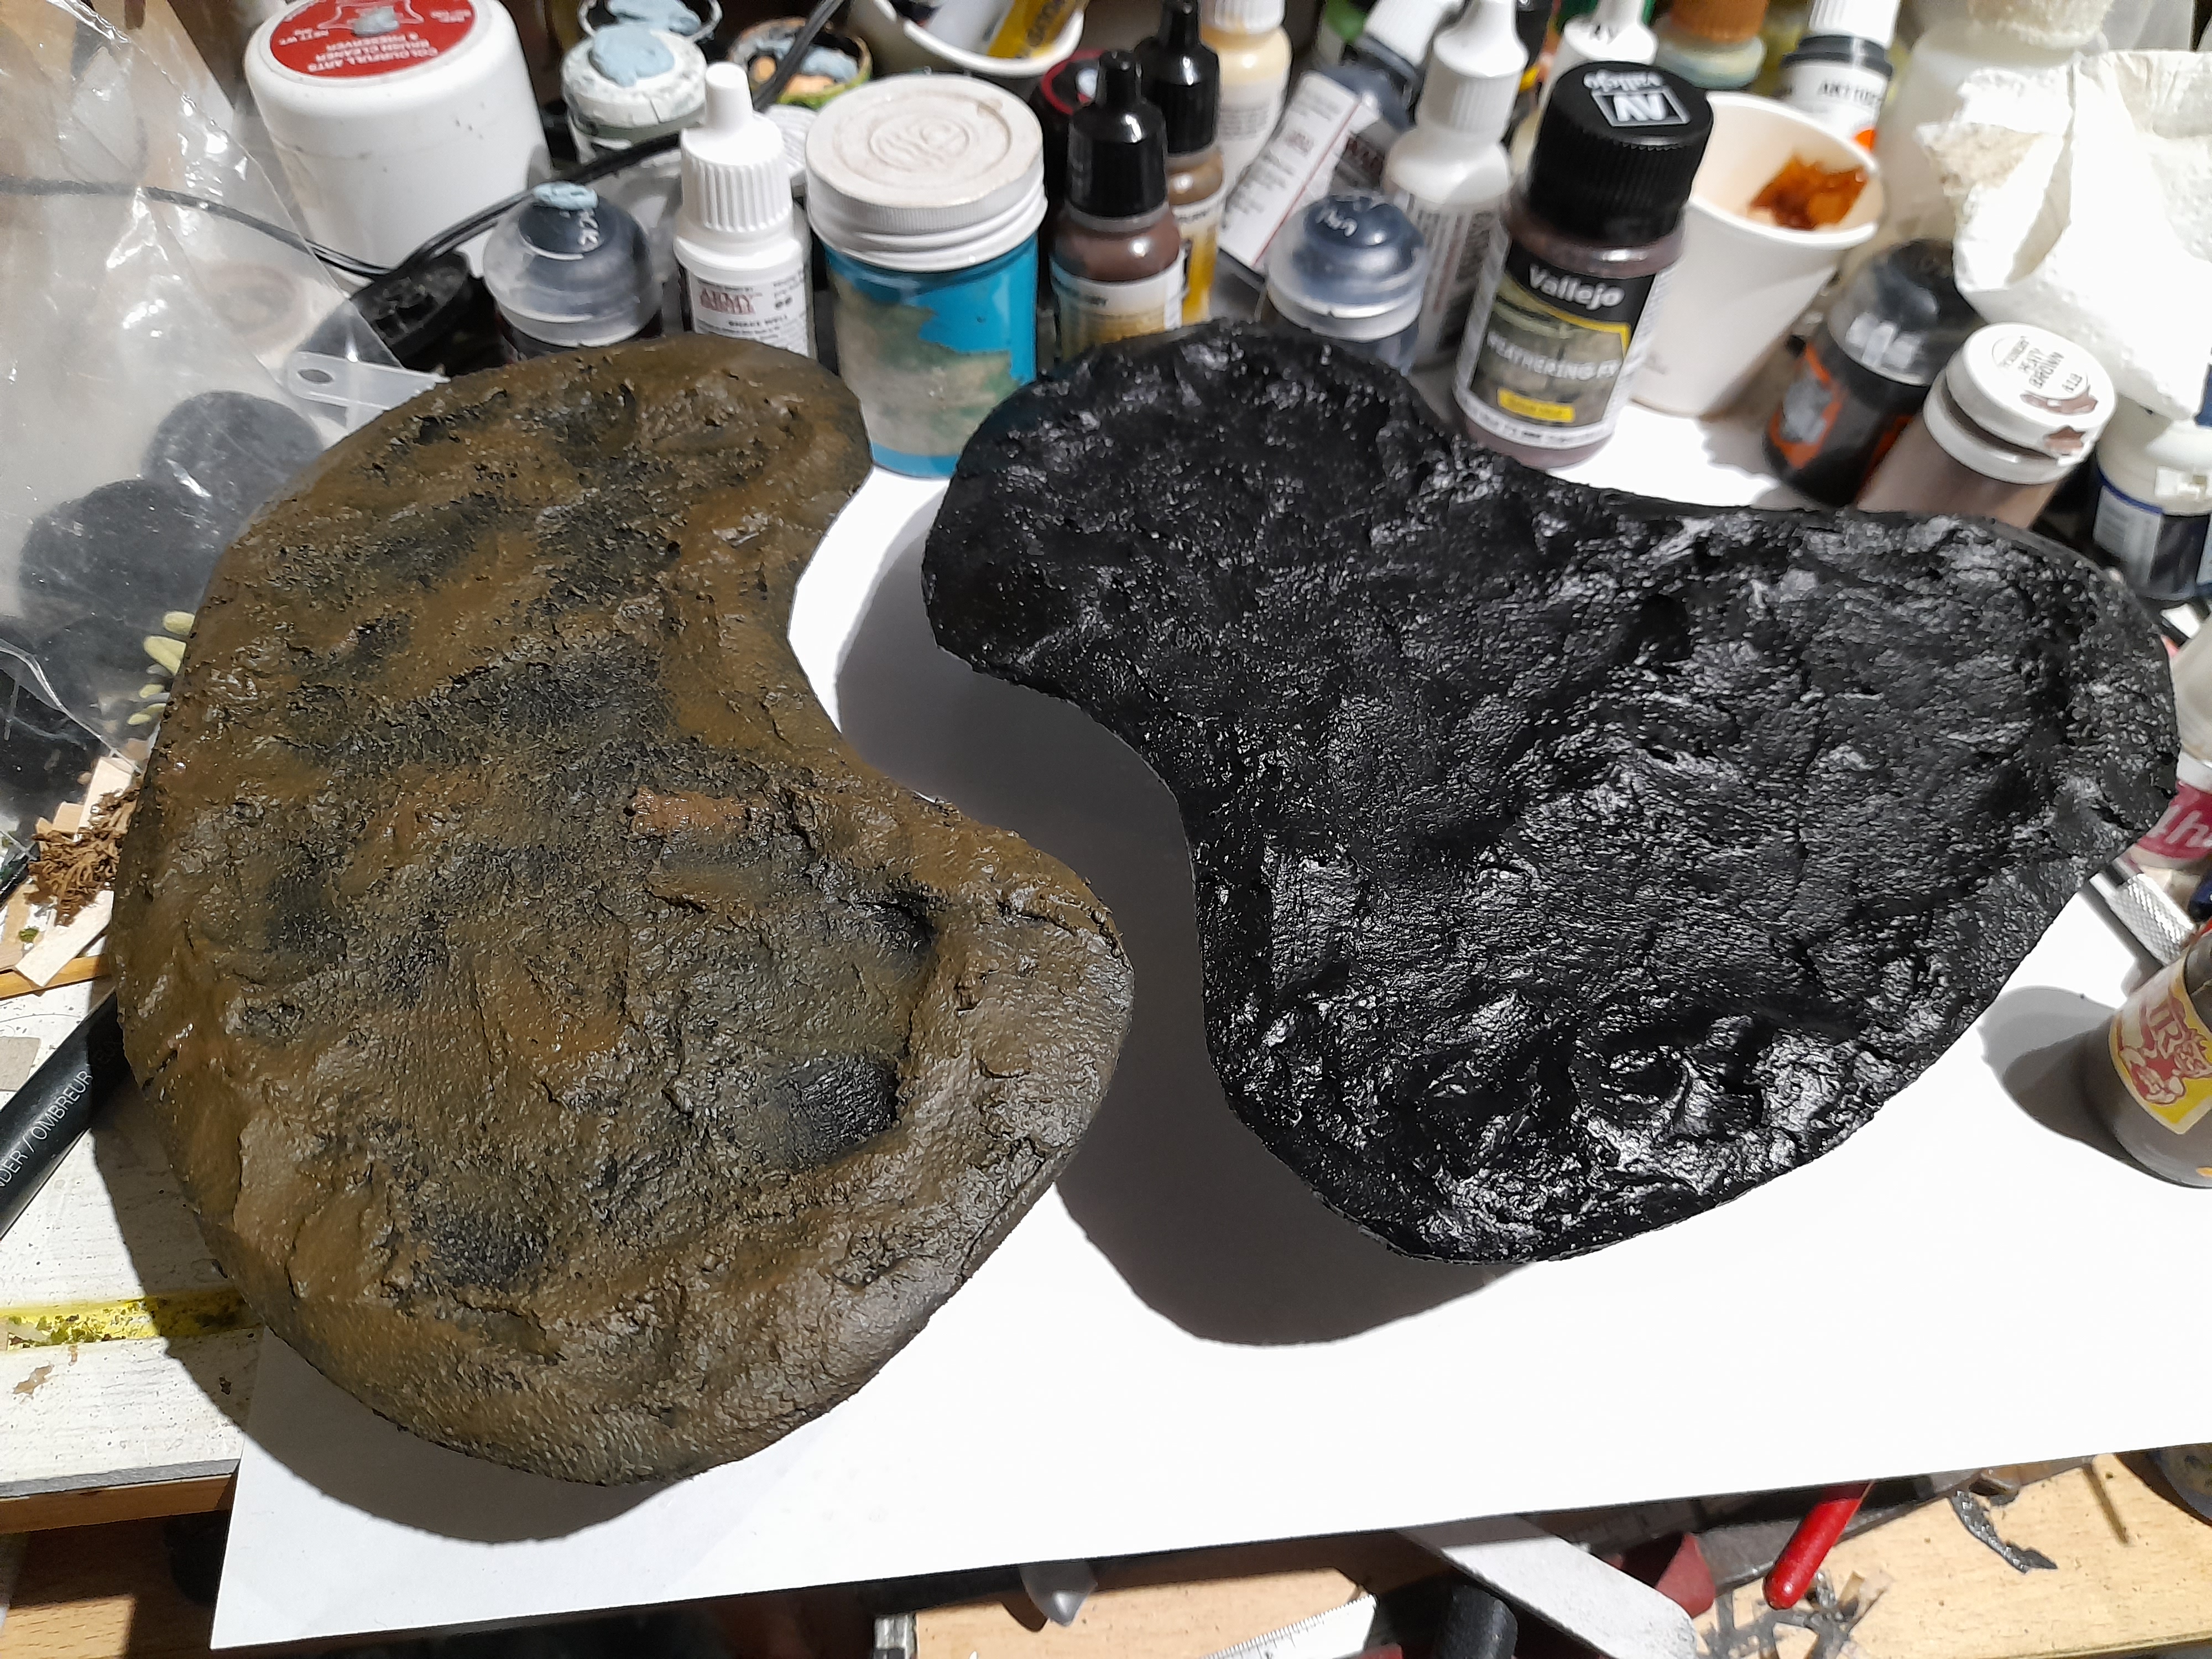
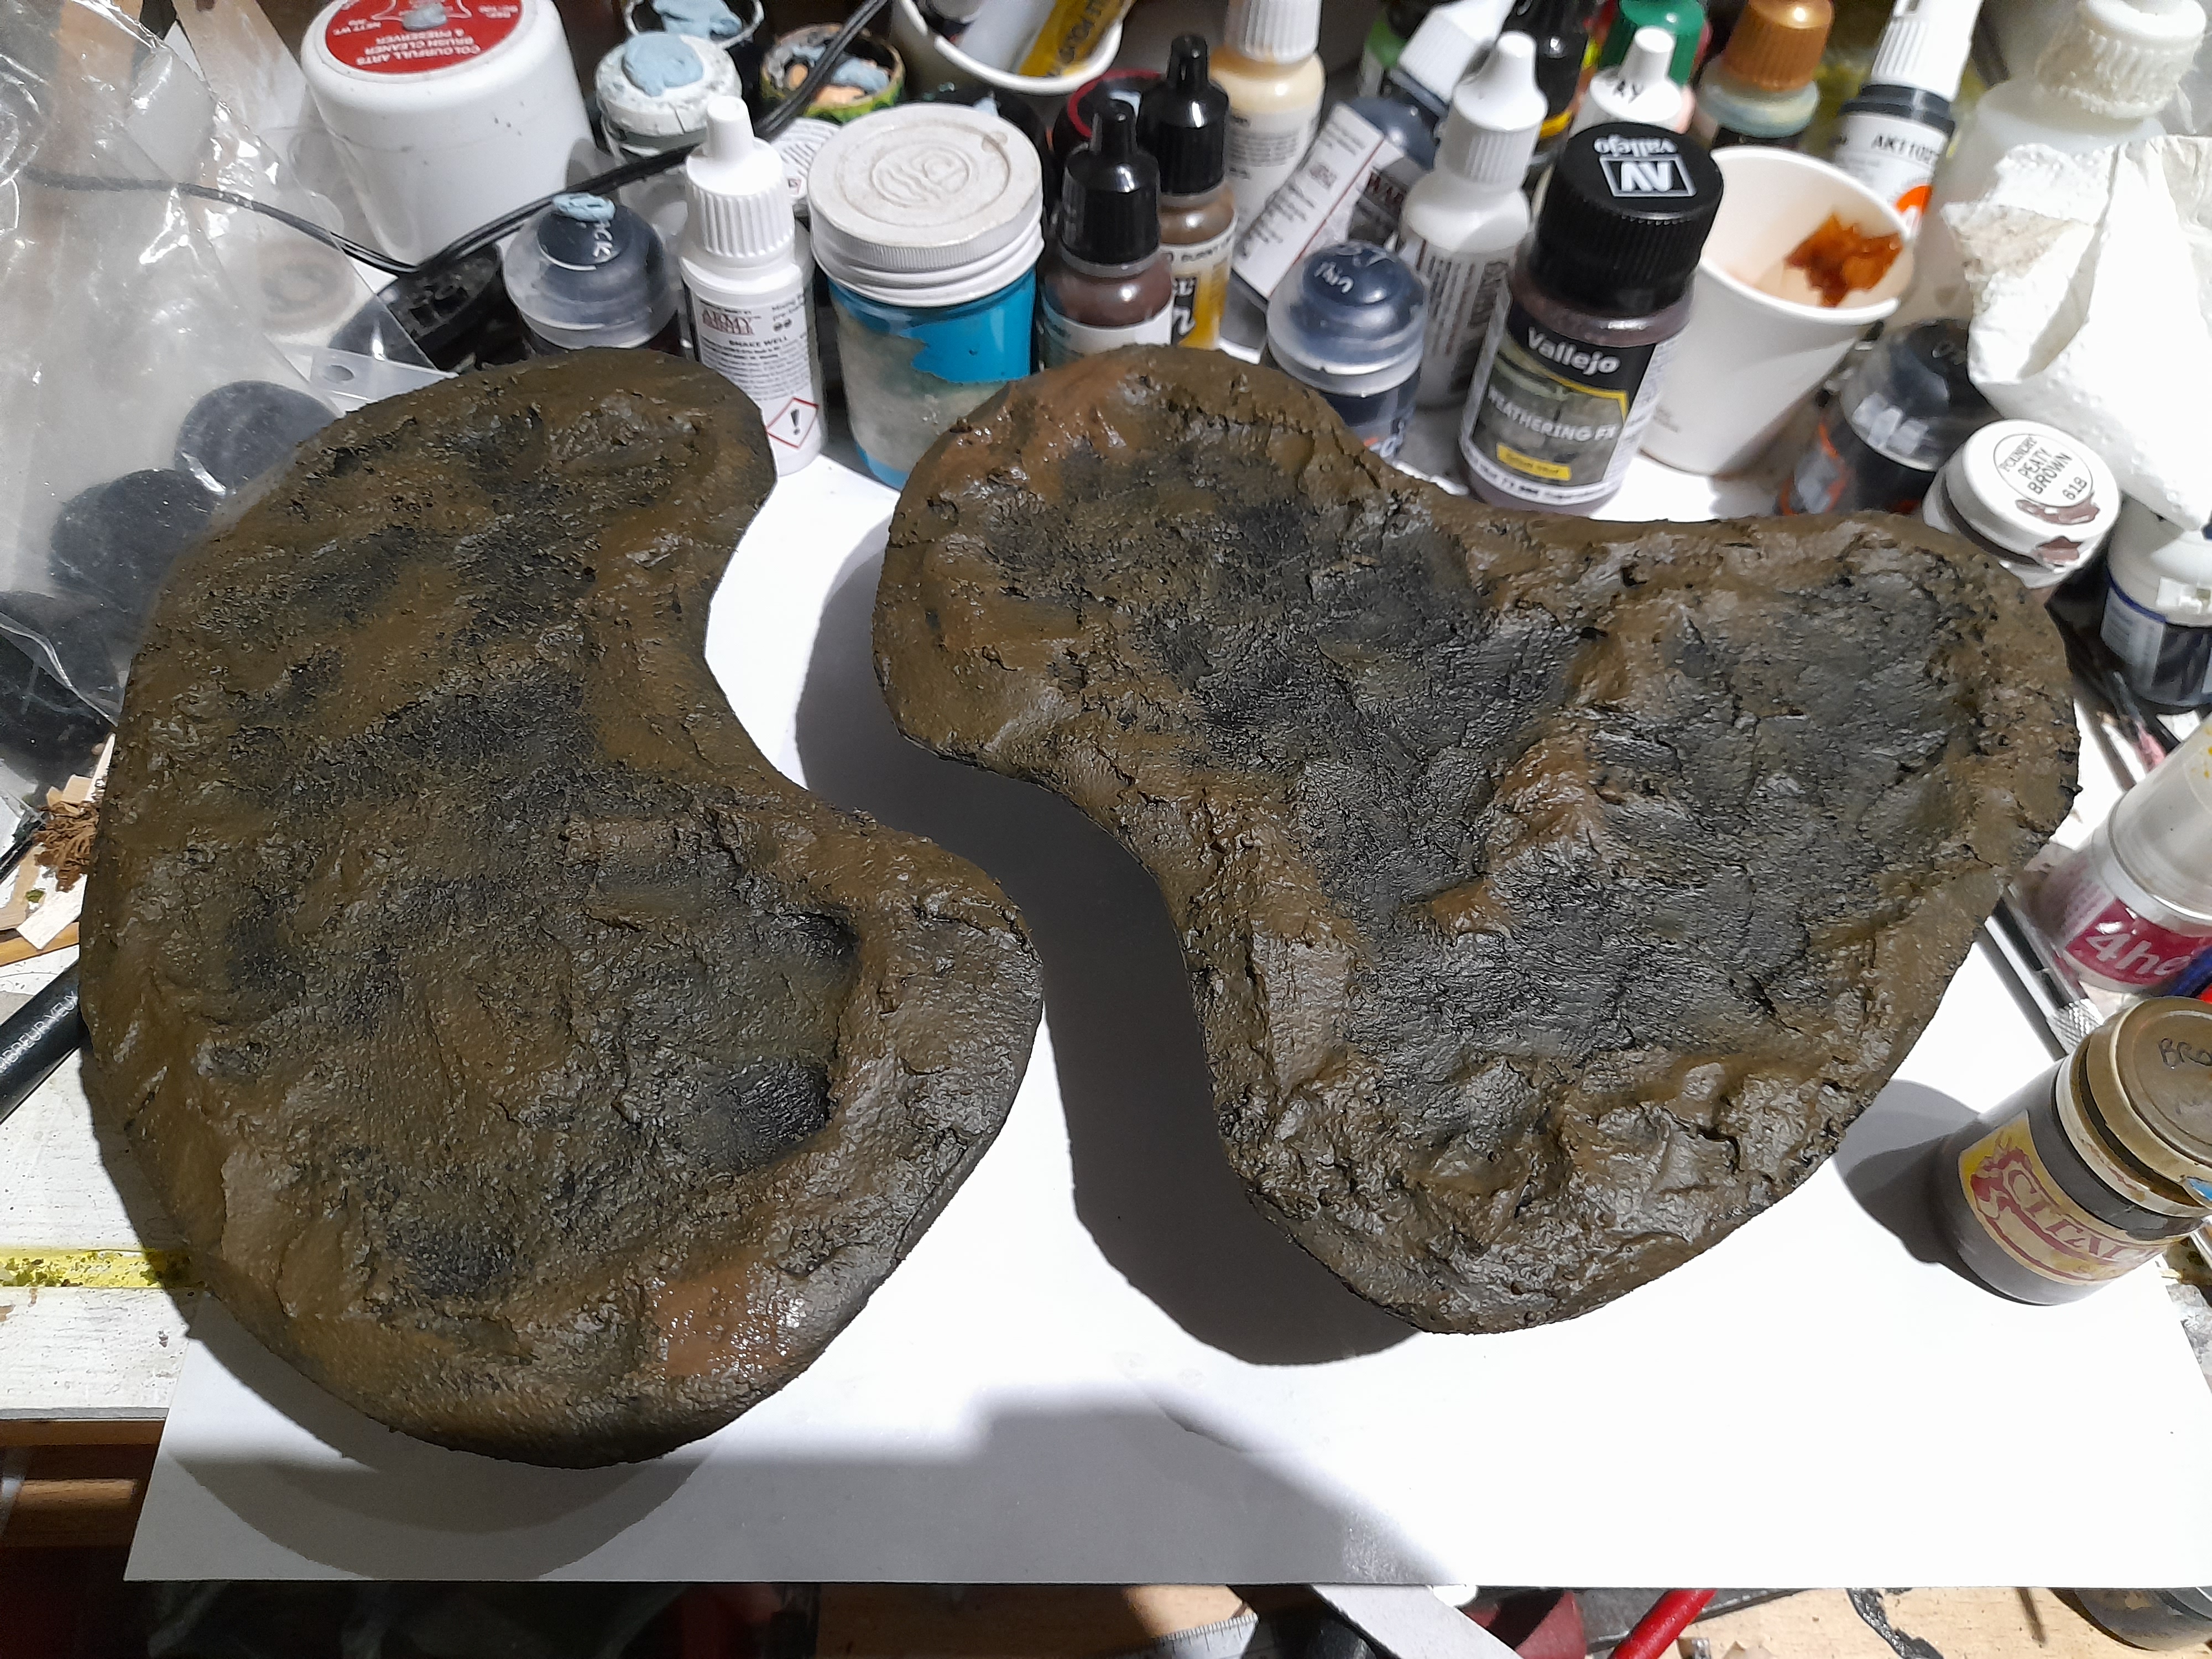
Once it had set I covered it with a layer of PVA, in the hope of strengthening the filler. They were then sprayed black, and overbrushed with a ‘brown mix’ paint that I made many years ago, and is still good (unlike modern GW paint it seems).
Then it was the first pour on one. I perhaps went a little thick here, but it did indicate to me that the base had warped a bit (as the fluid pooled to each side). I think the warp may have been caused by the moist filler expanding the score marks I had made in the surface, causing it to bow. But I decided to push on through.
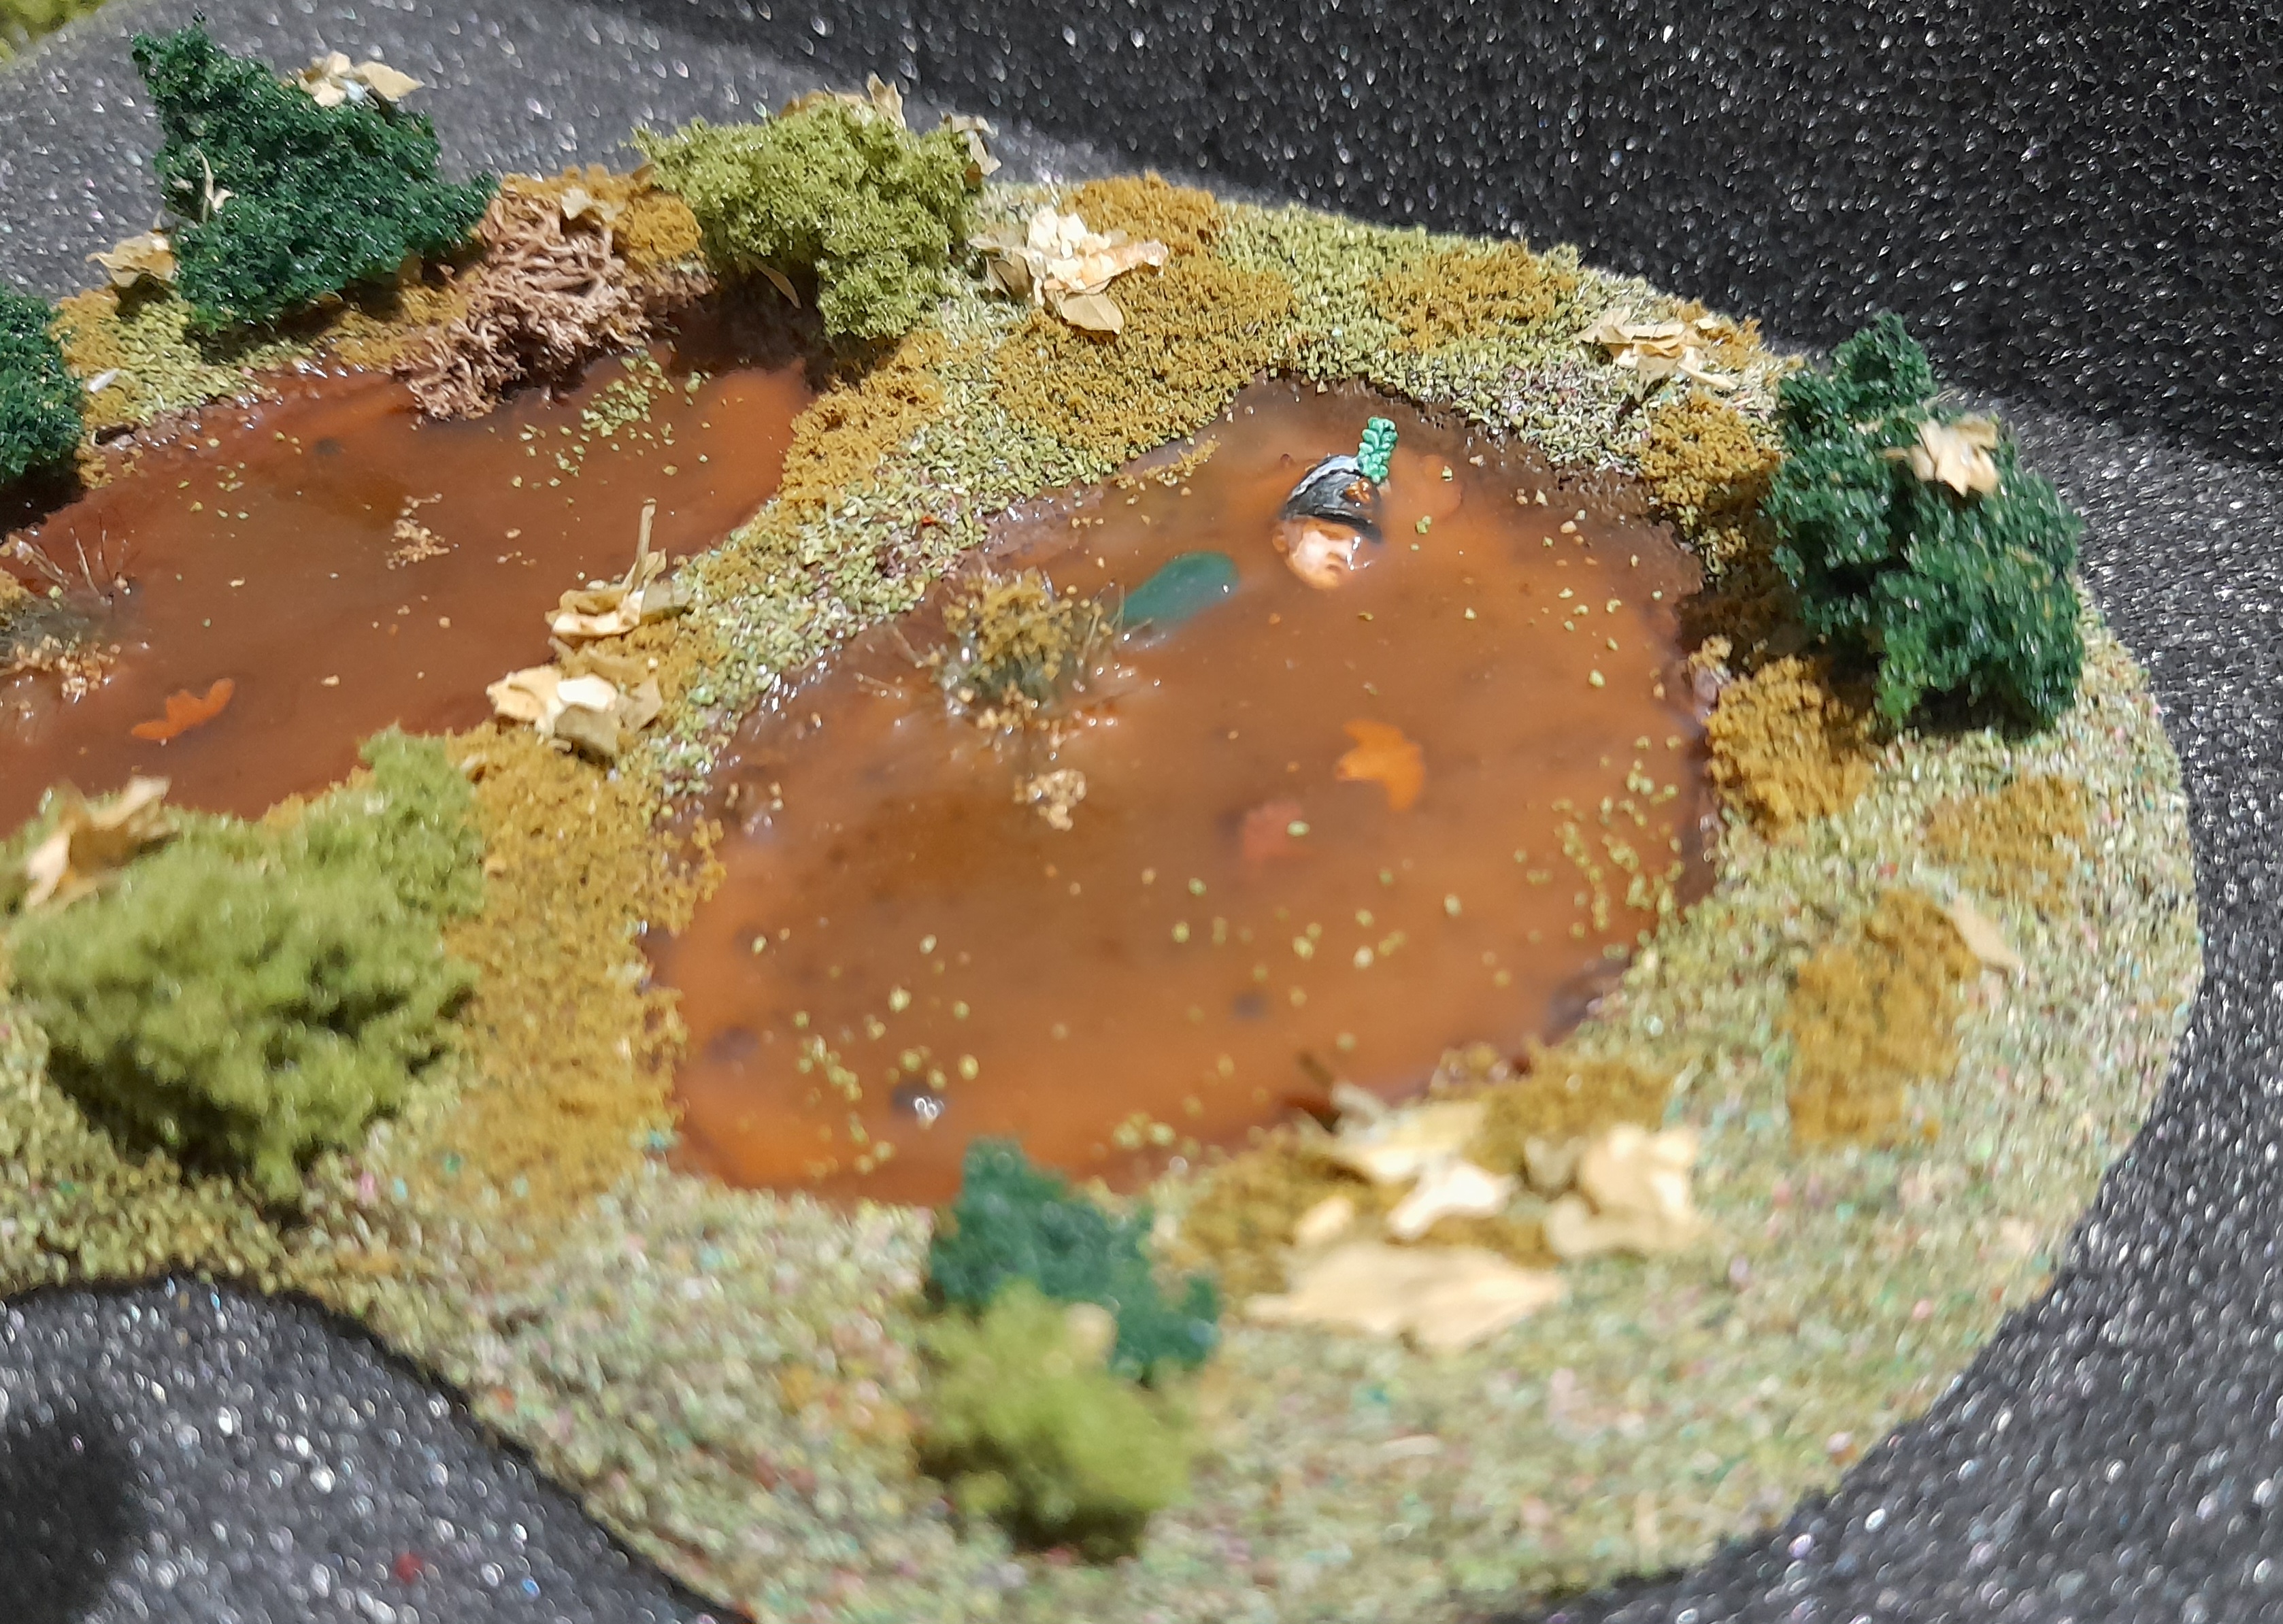
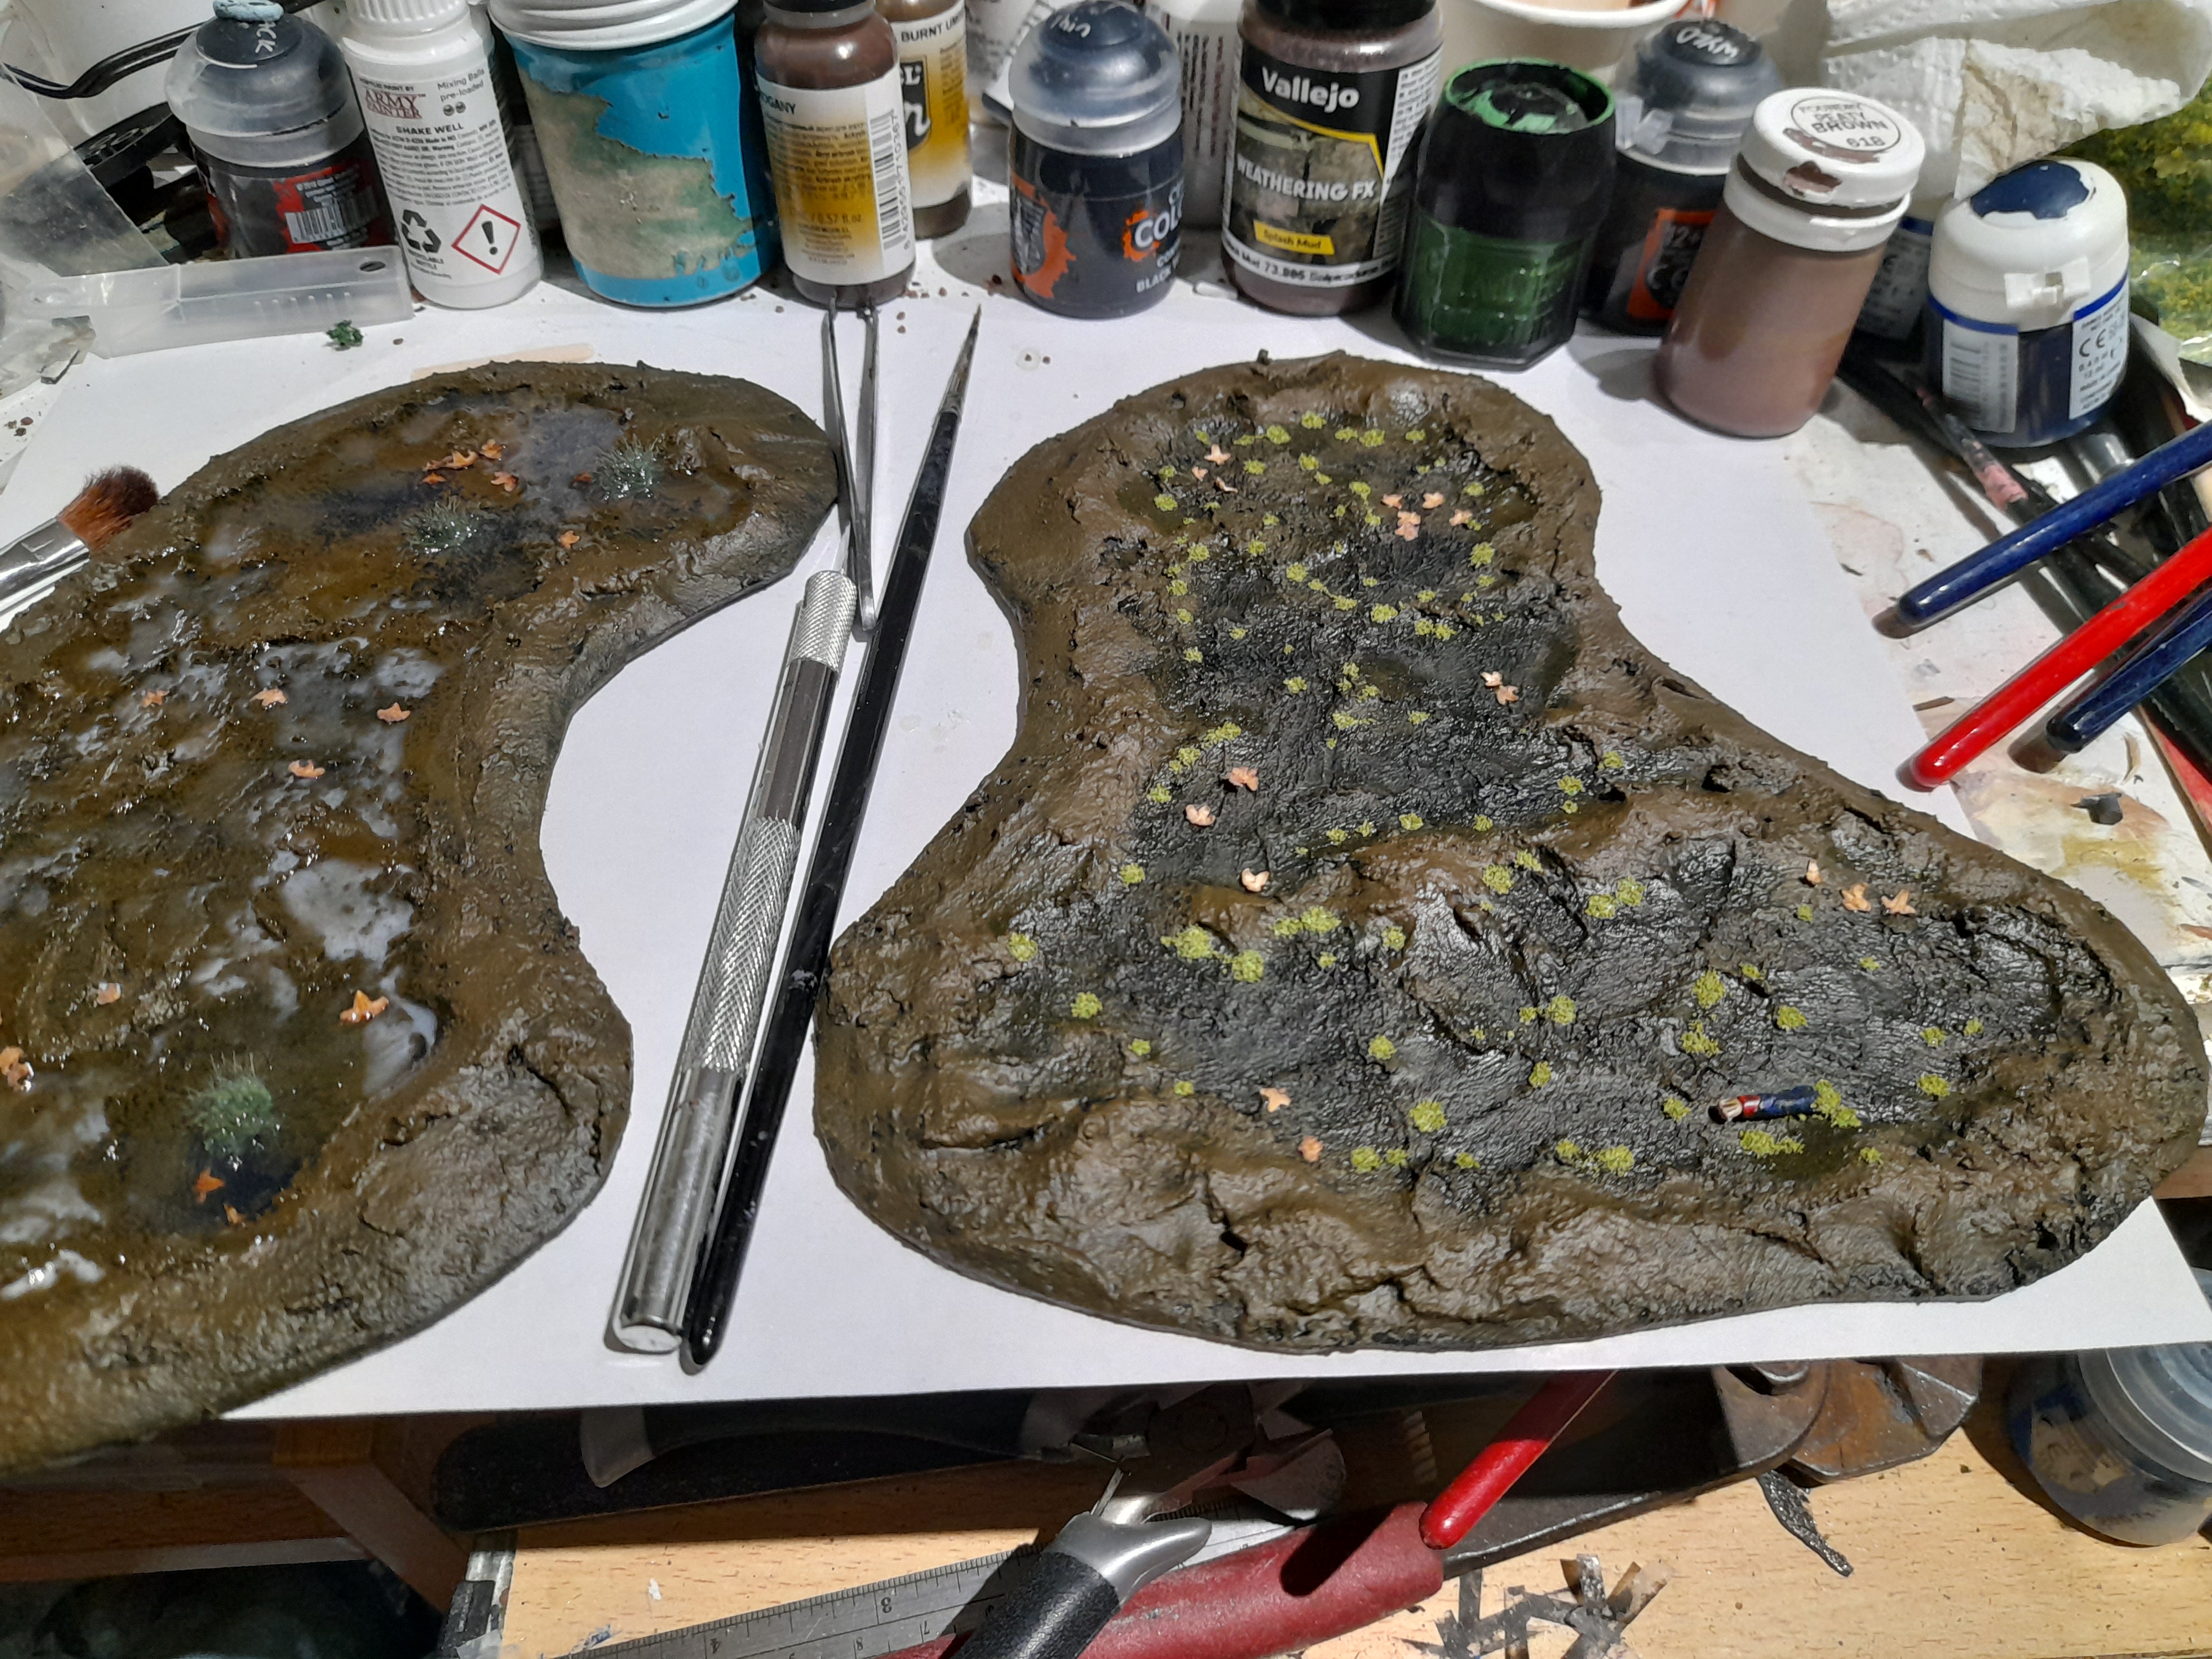
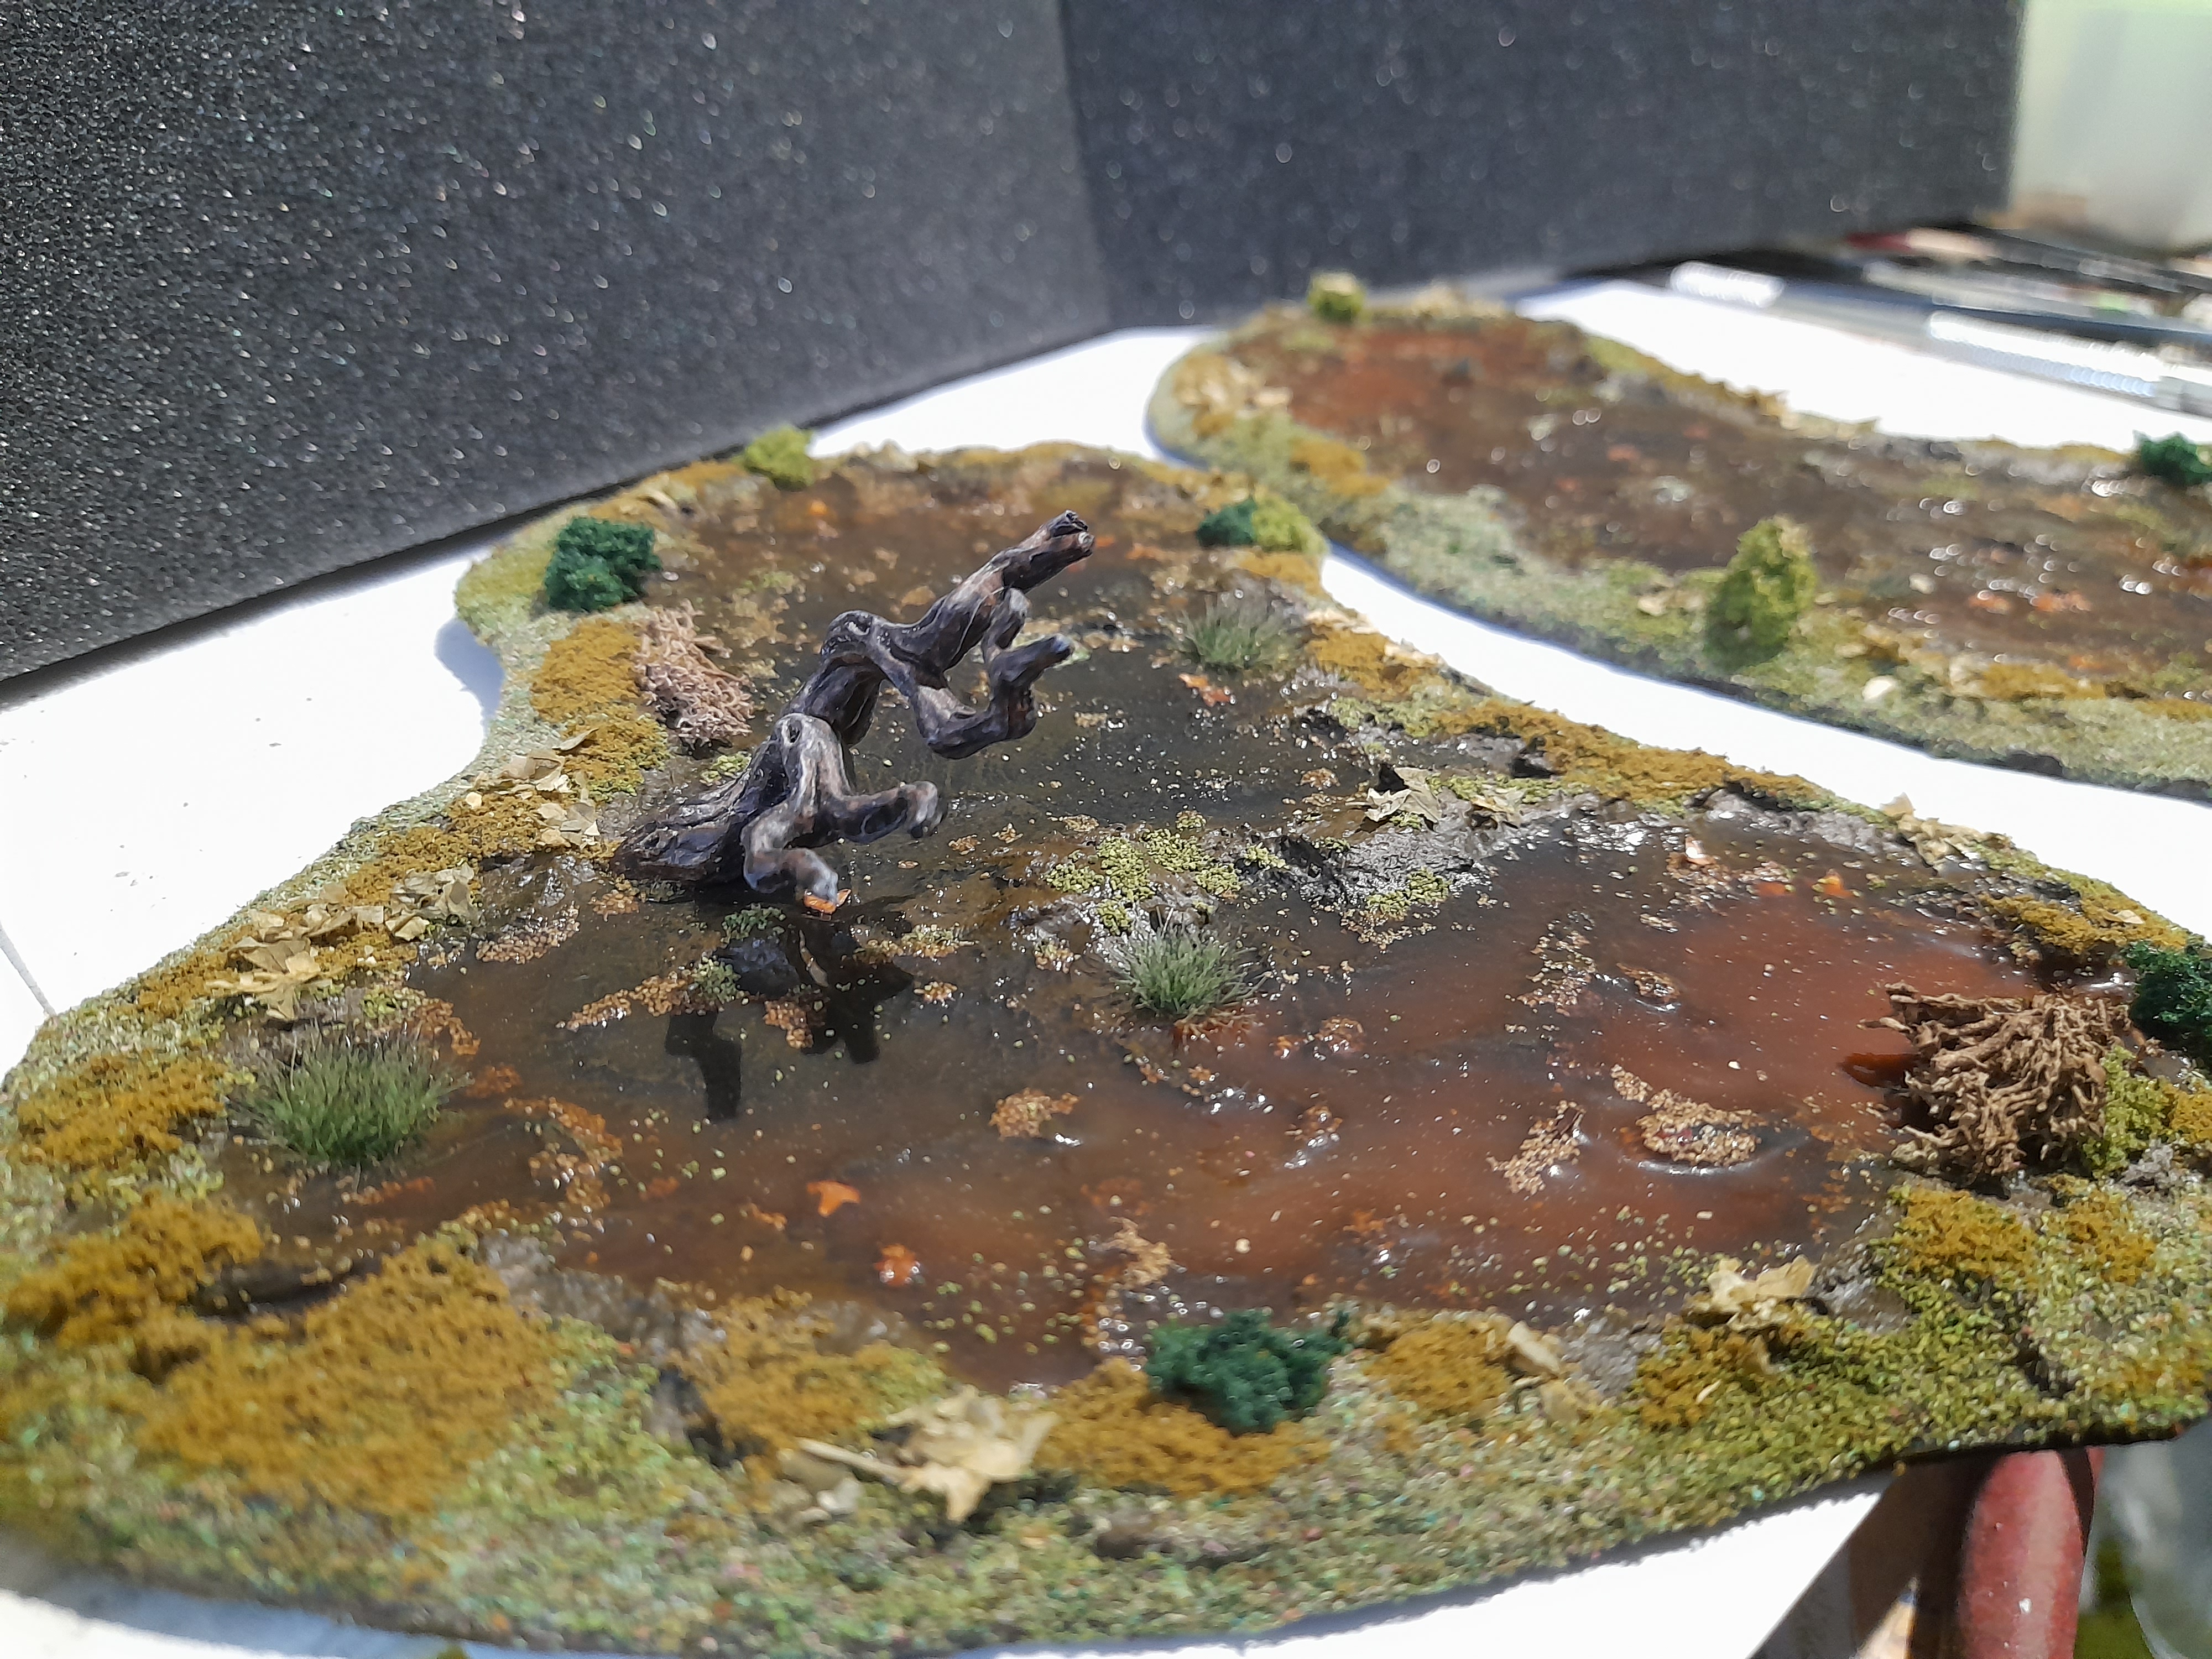
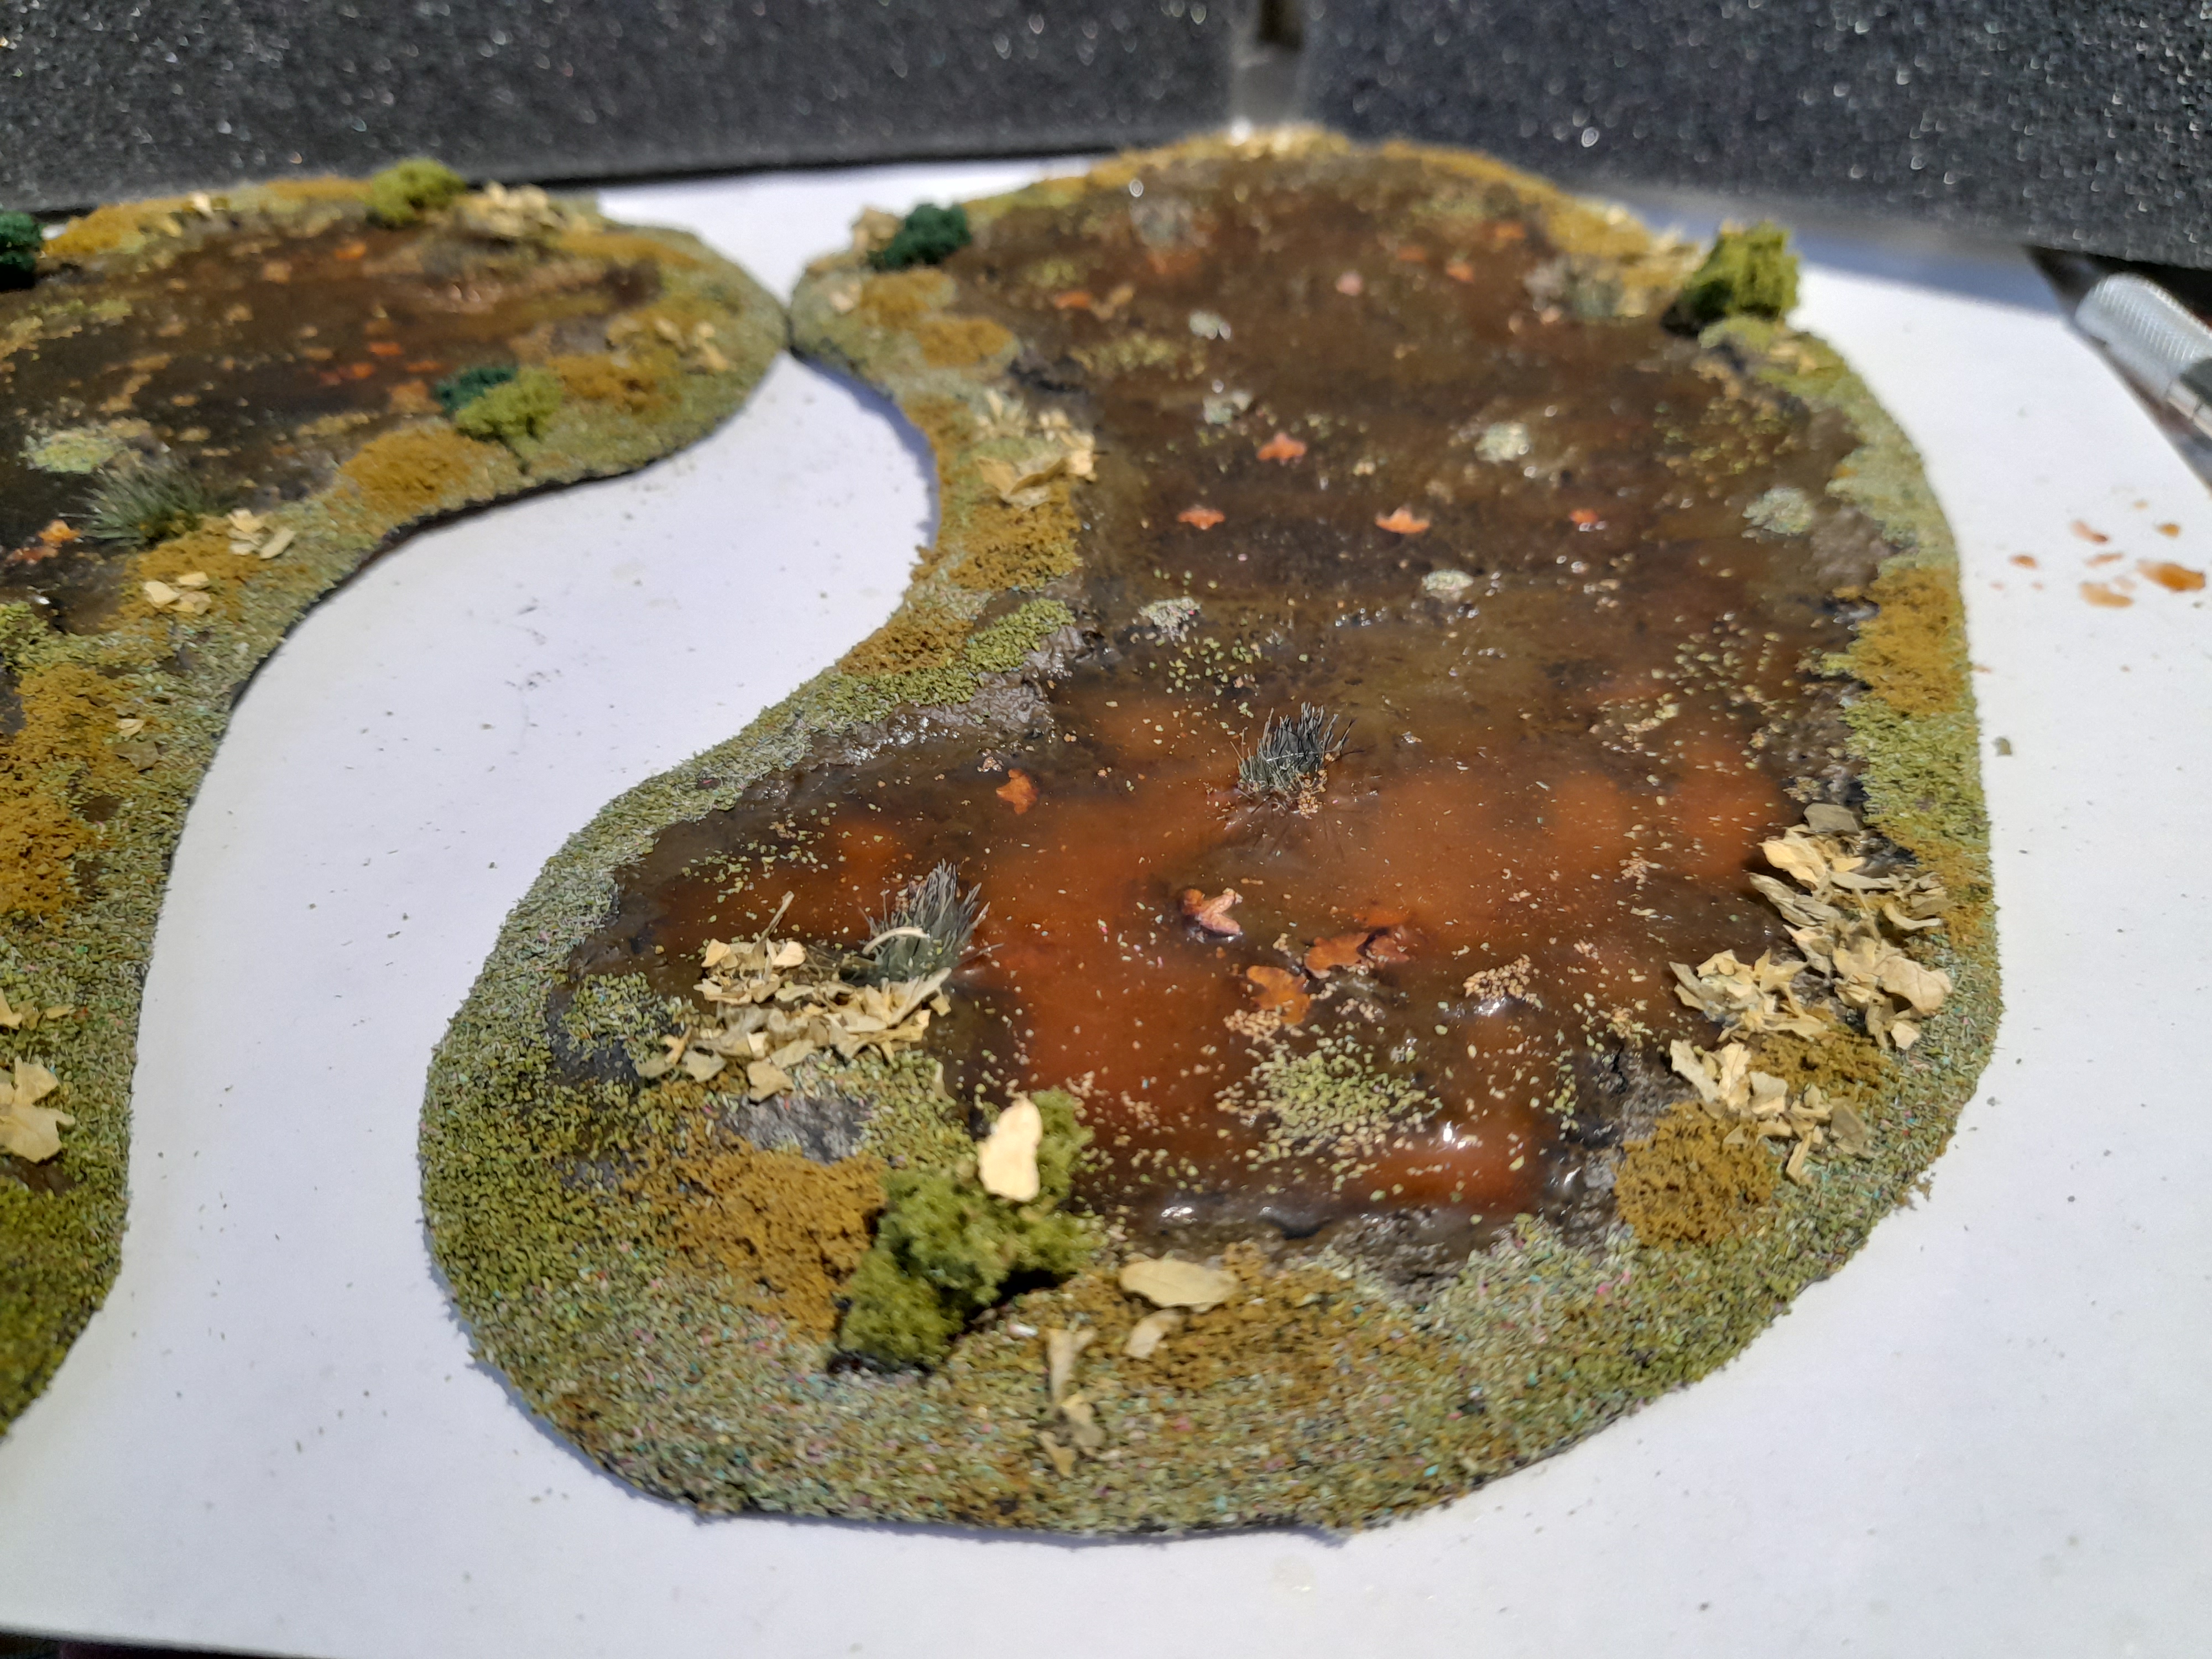
For the second piece I started out by adding some patches of flock, and a frenchie’s arm to the base. Then some tufts and leaves as well. Then I built up several pour layers, tinting several of them with an earthy brown.
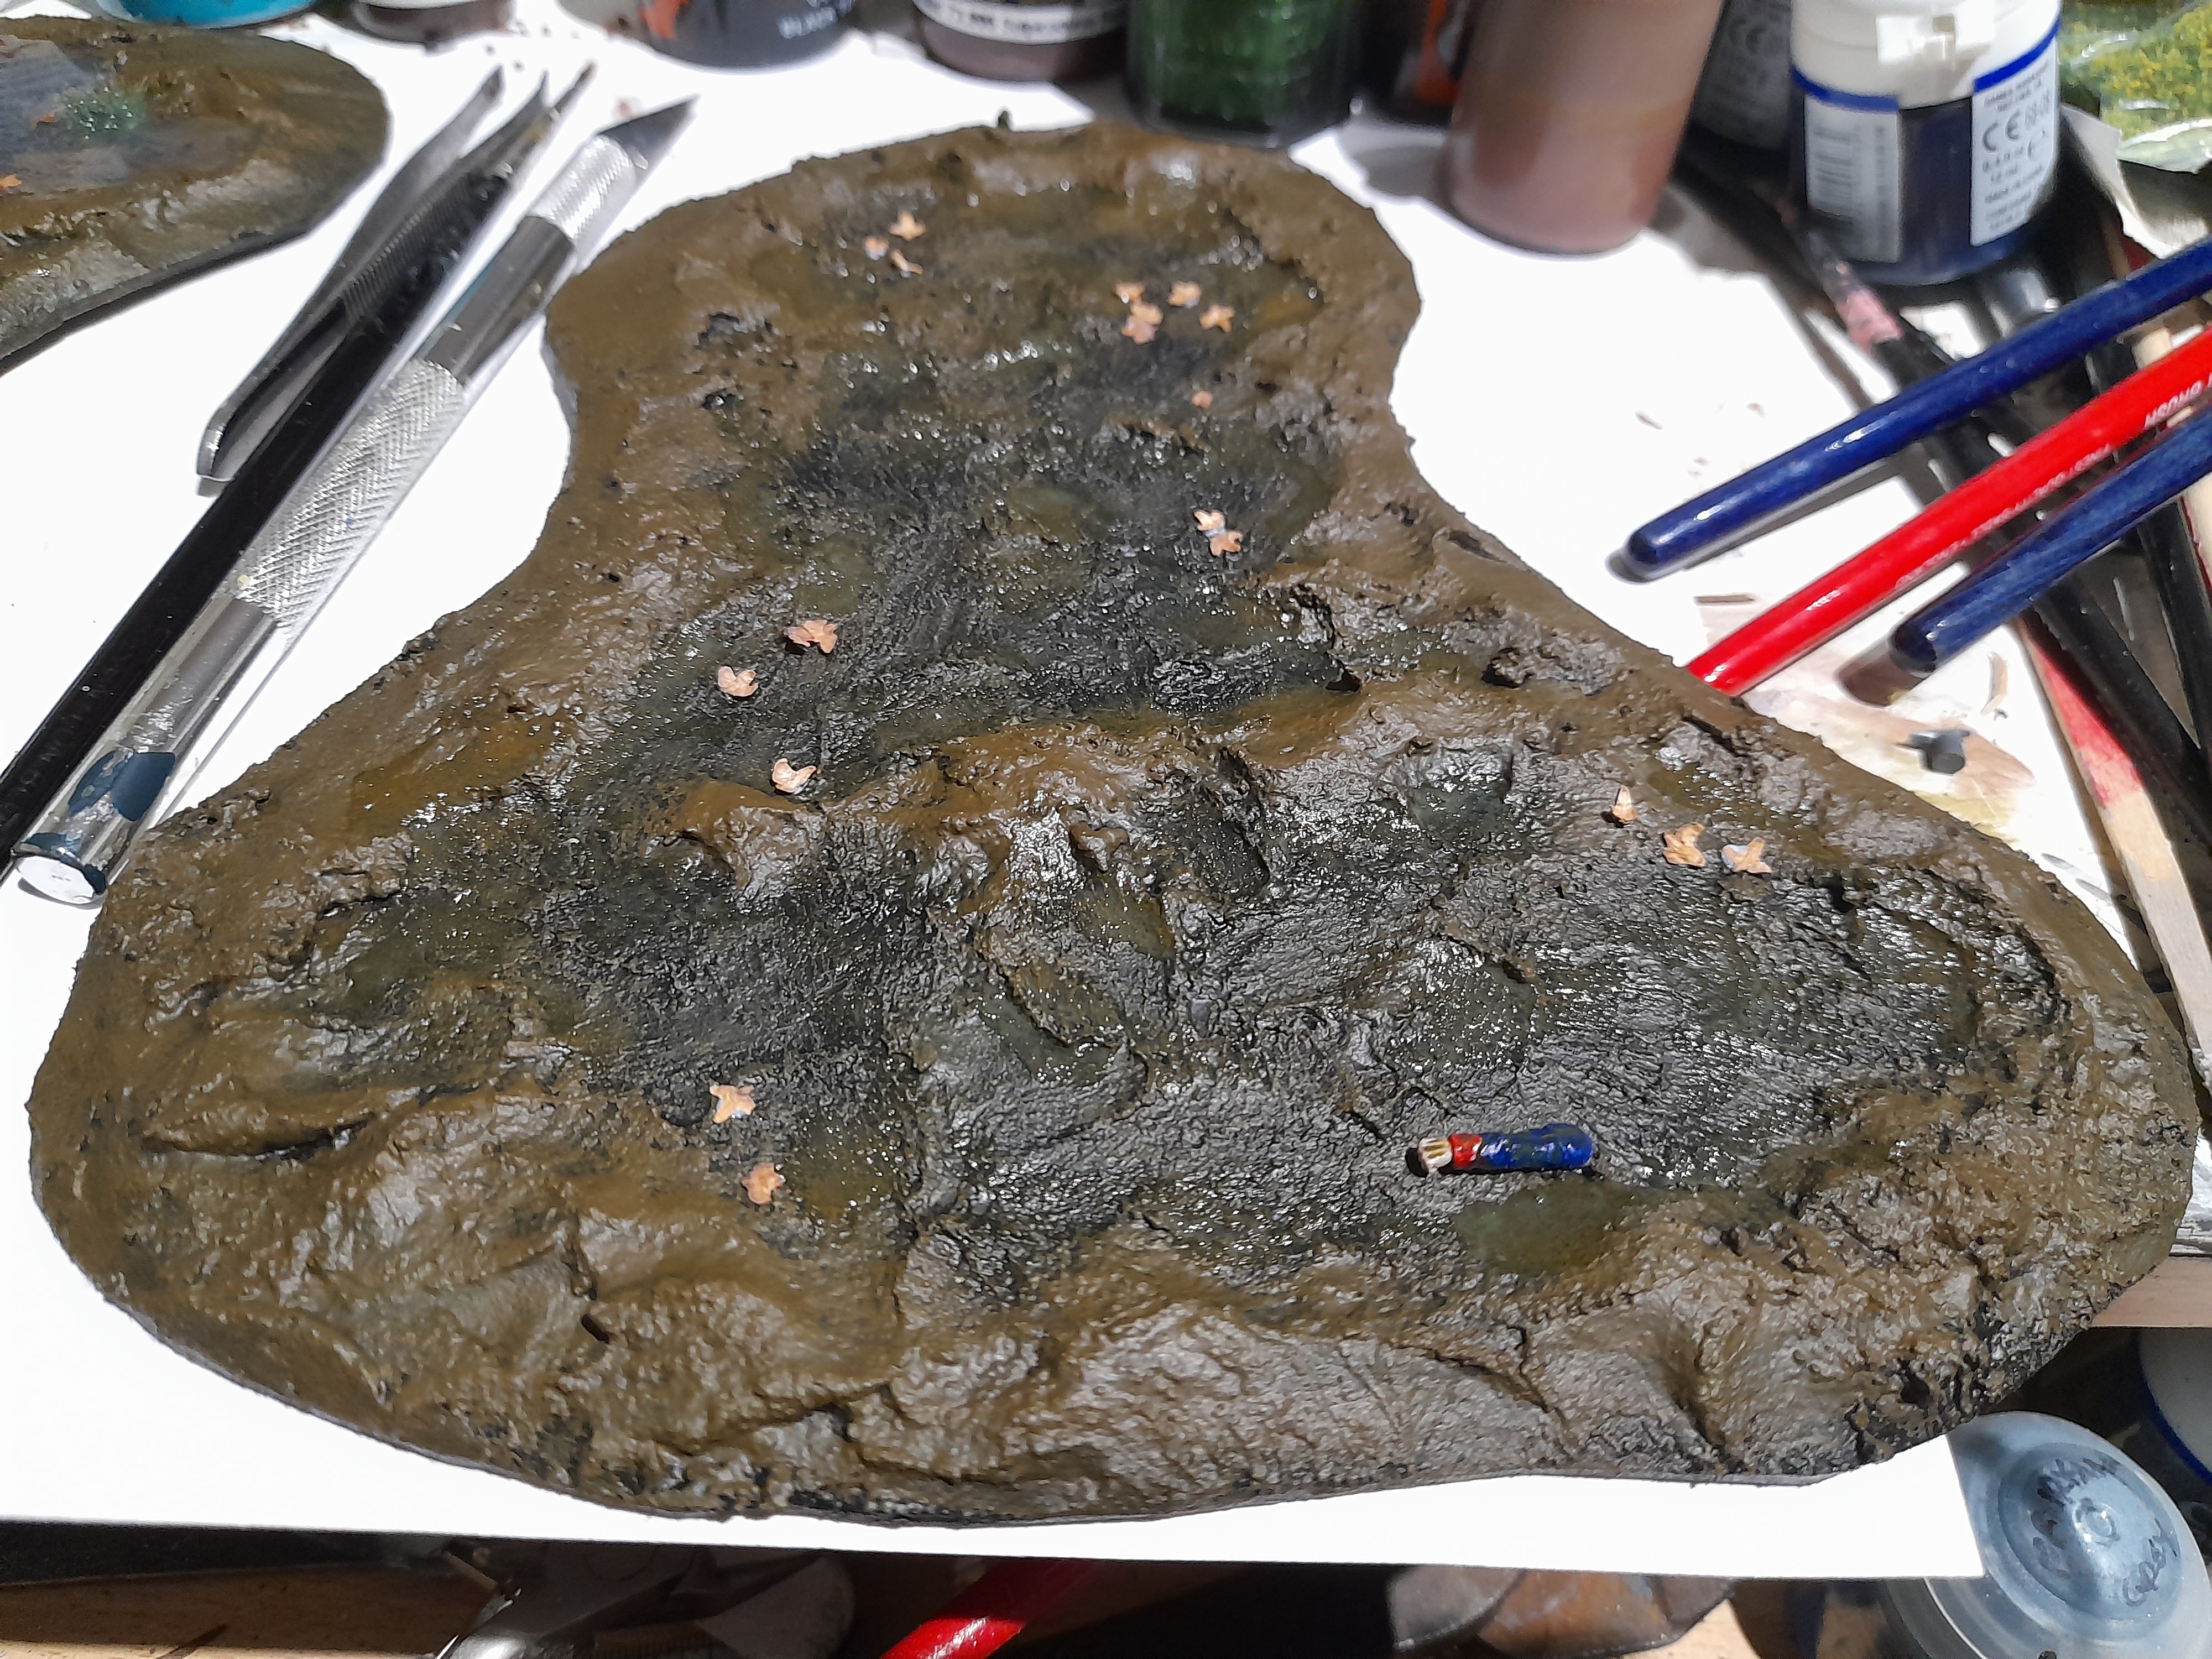
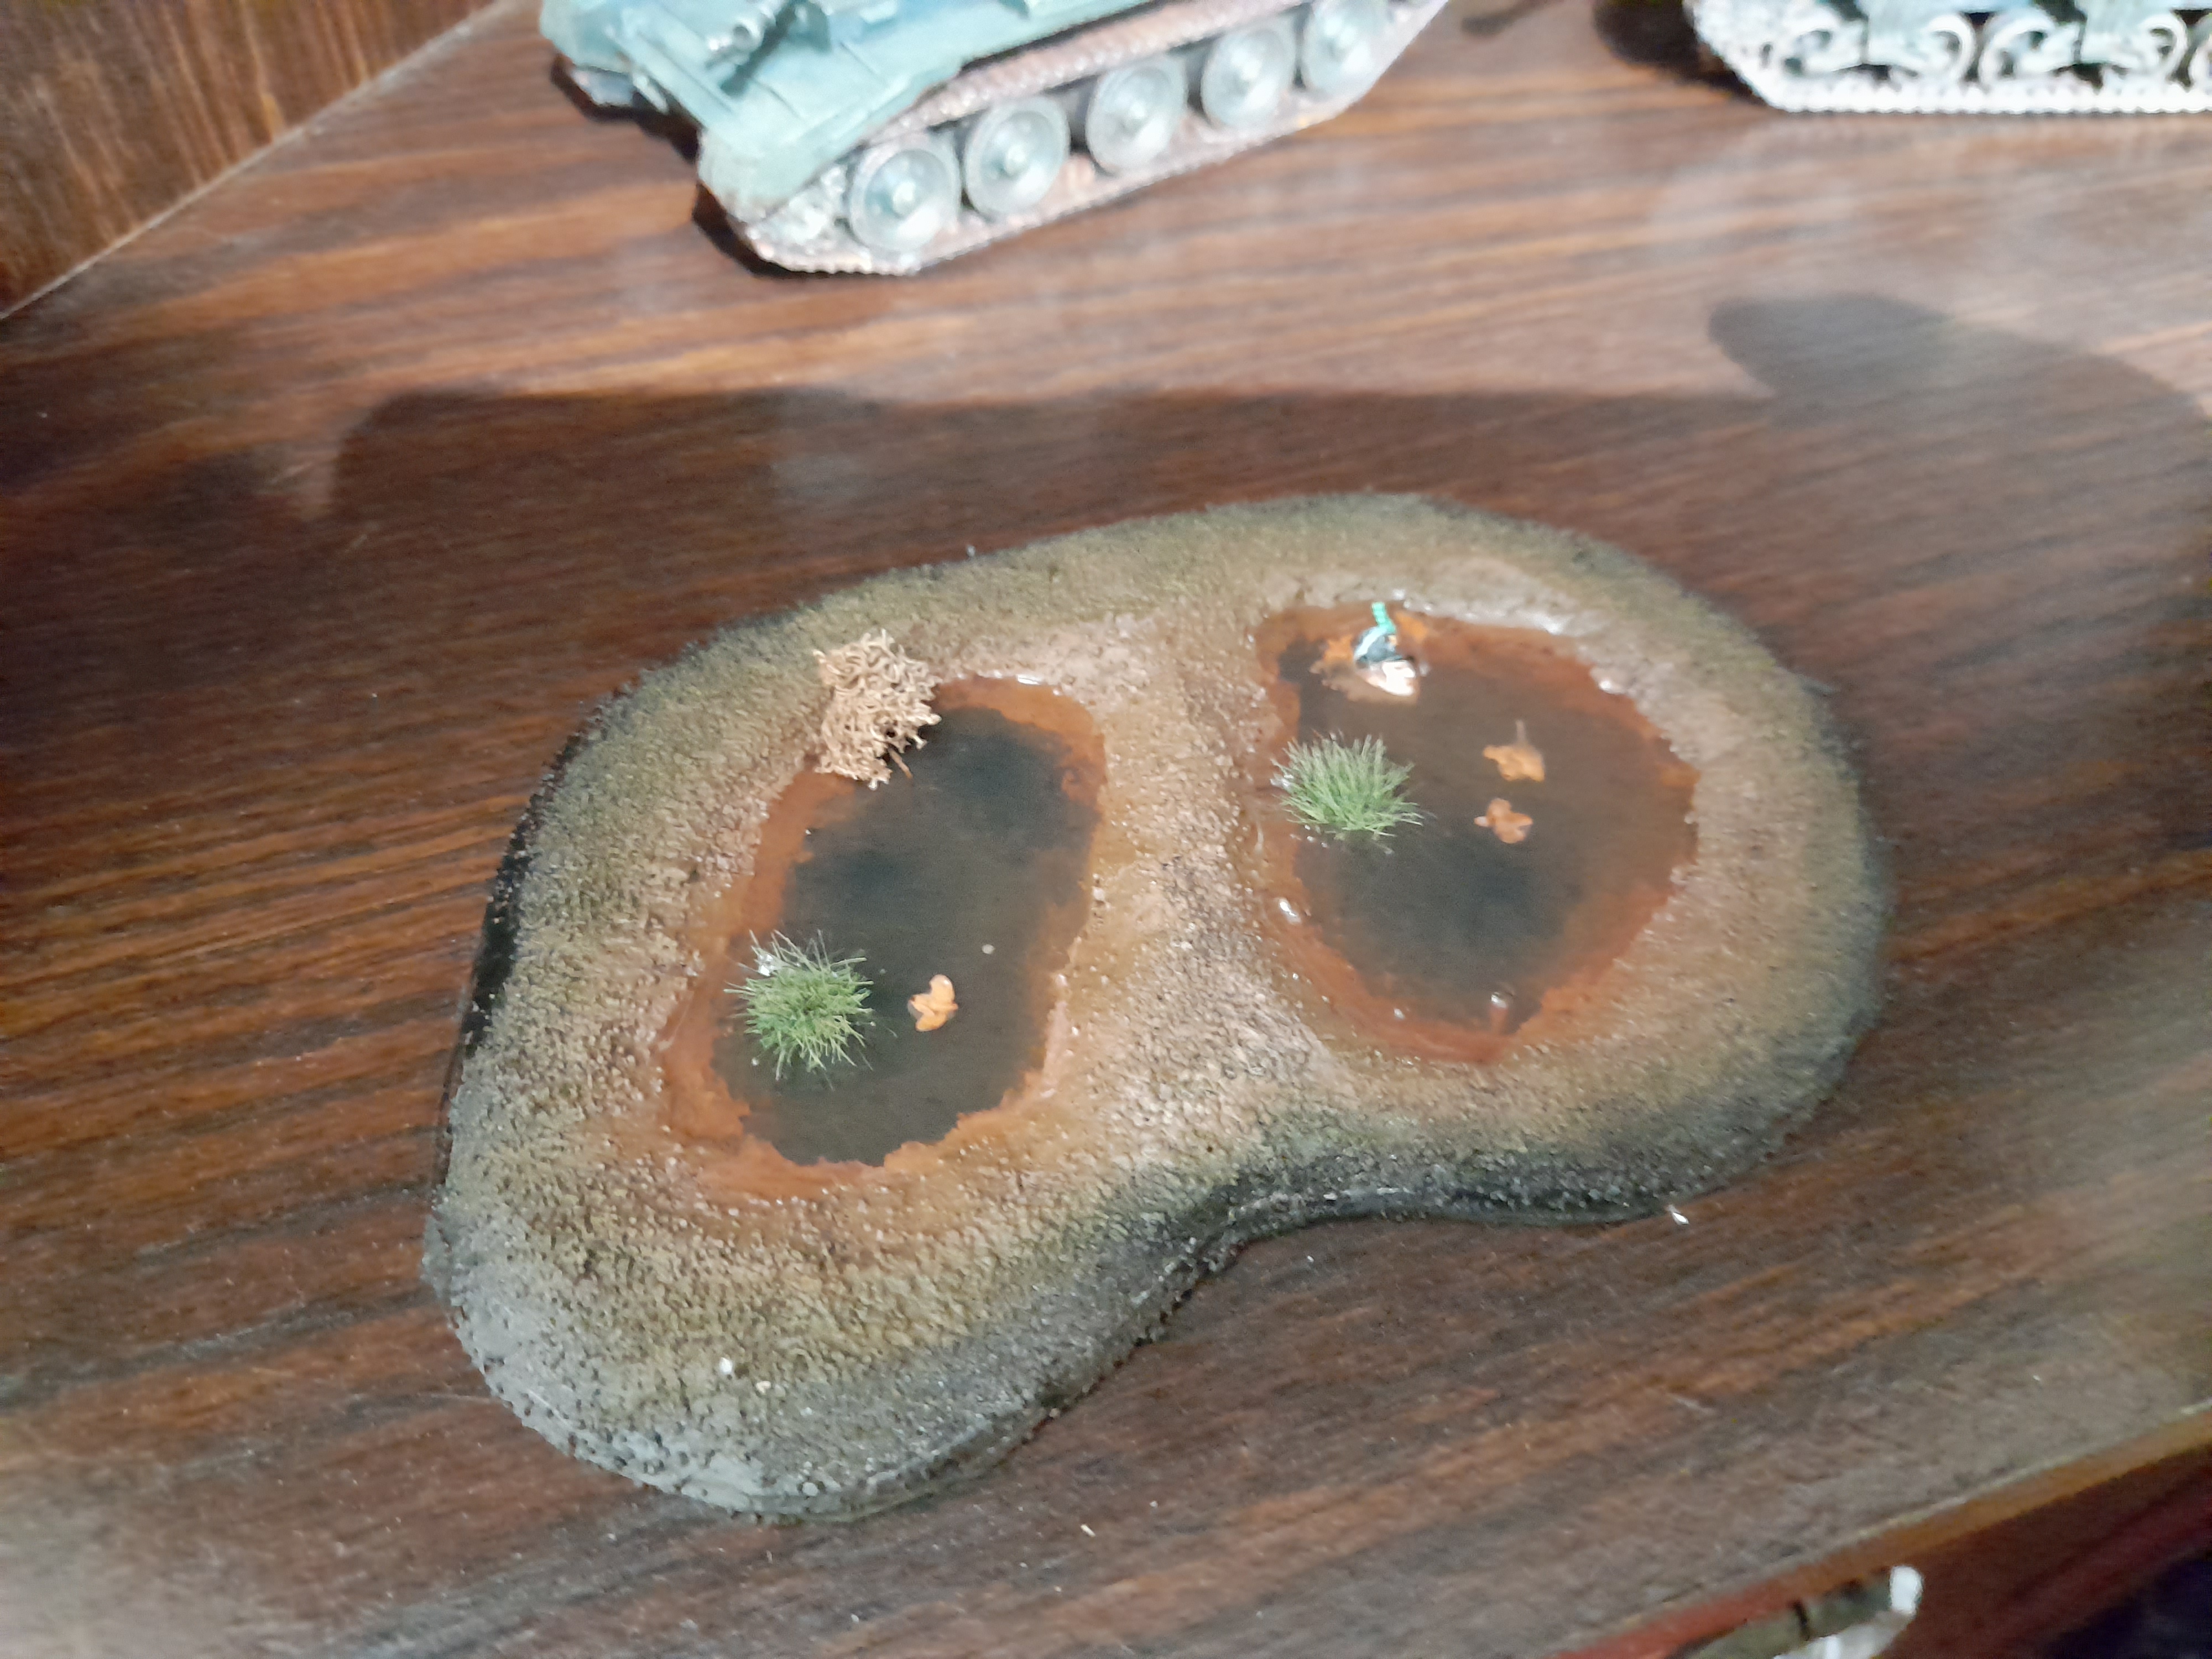
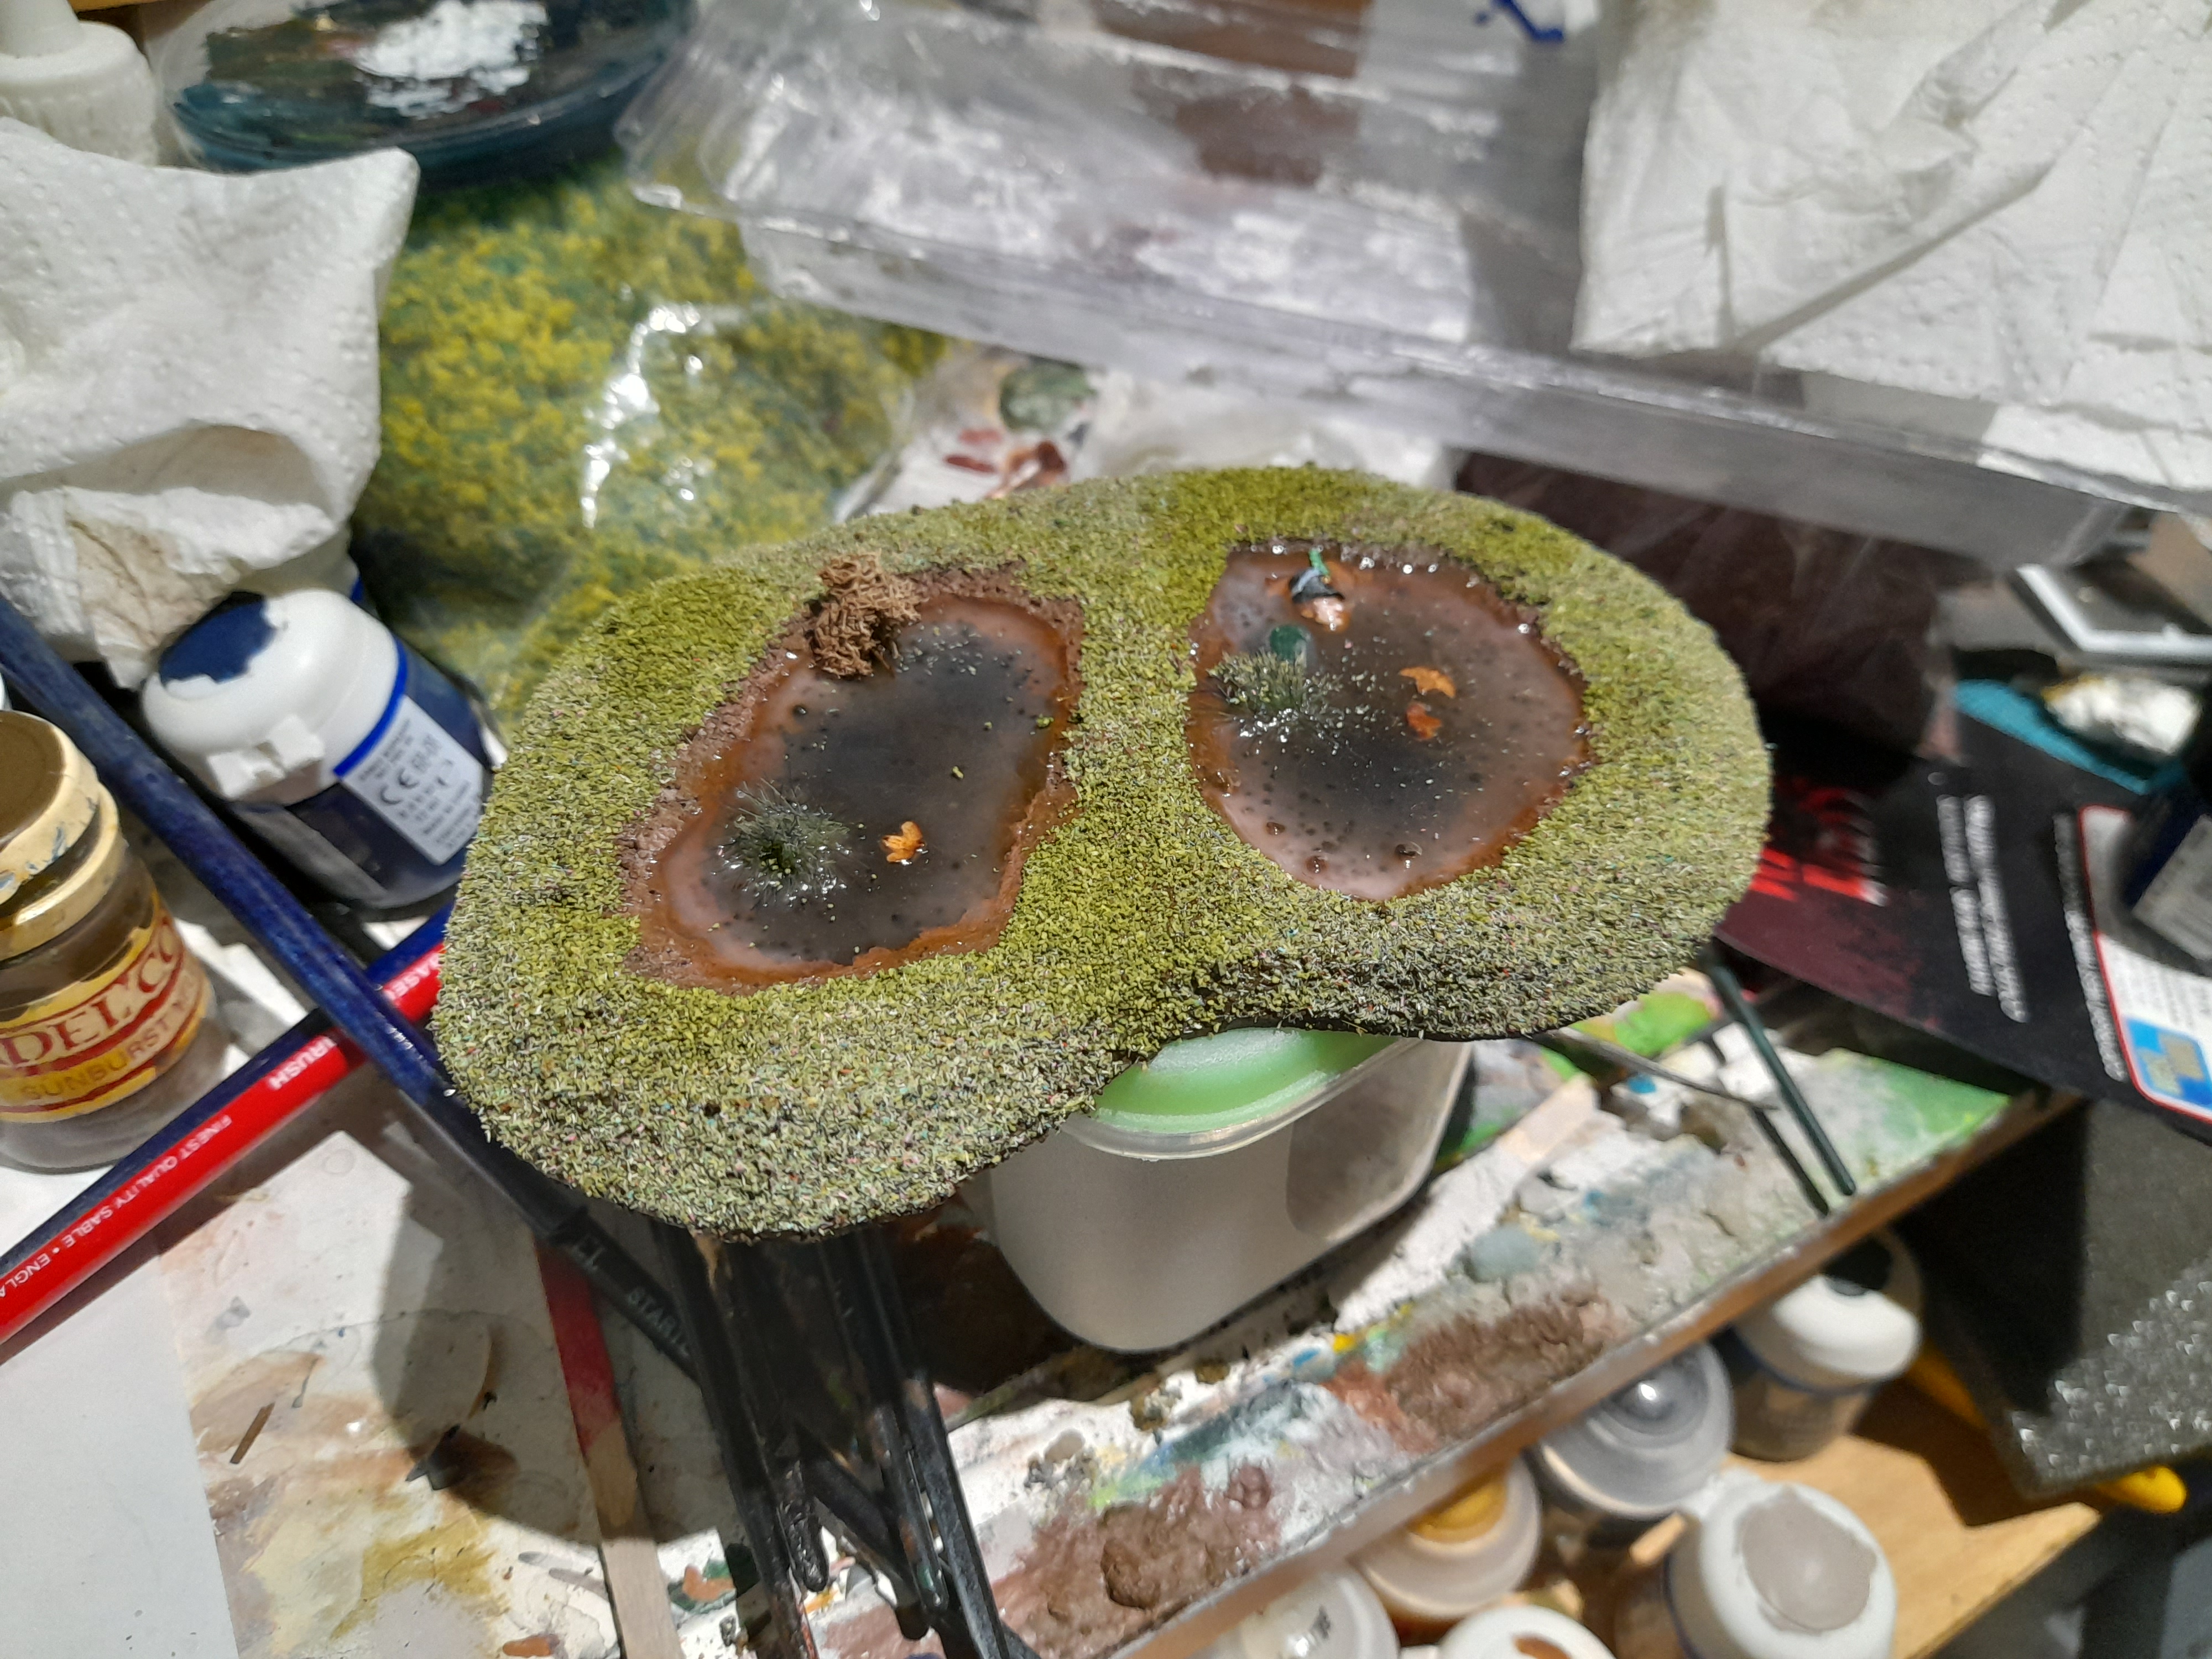
On the first piece the water effects had gone a touch cloudy. As an interim measure (since I expect it will clear over time) I got around the cloudiness by tinting the next layer with brown – it turned the cloudiness into a positive I feel.
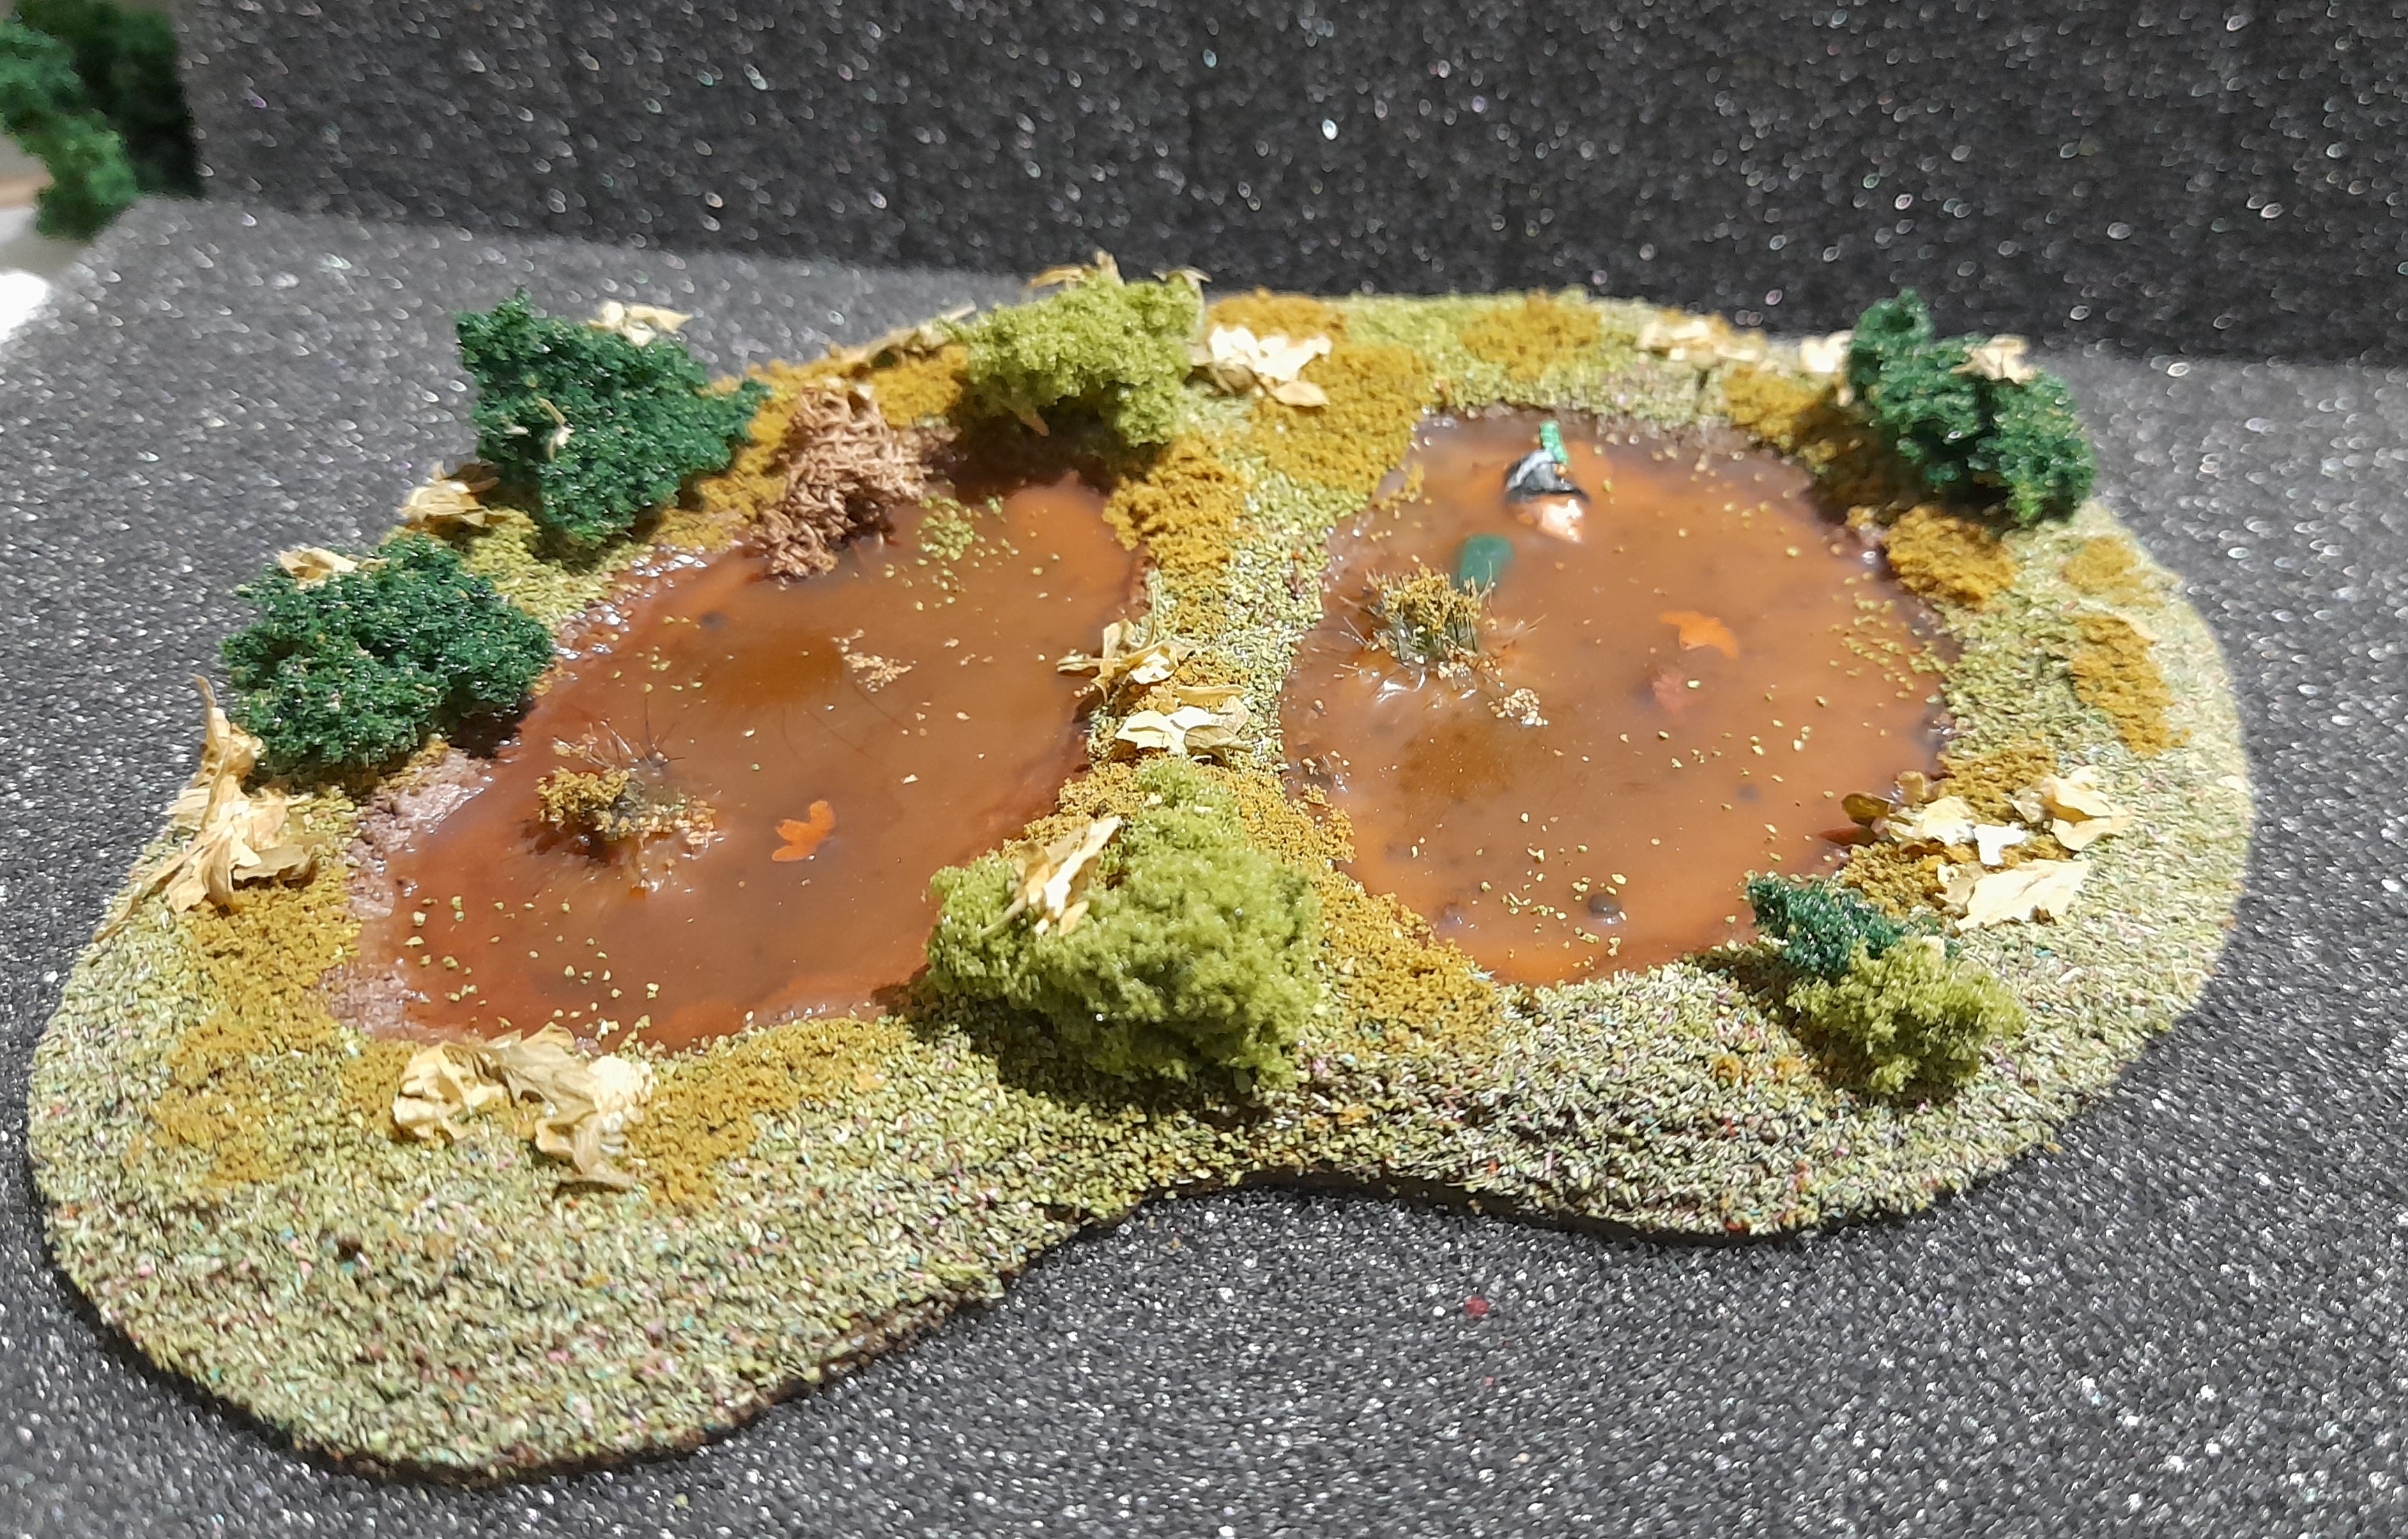
Then I just rolled out the finishing stages. Adding some minor flock and leaves between pours. The frenchie’s arm has sort of got lost somewhat though. Then it was three types of flock, some clump foliage and some dried parsley (really liking the result that gives at the moment. I also added part of an old tree (one of the branch pieces from the gnarled GW trees that I built previously) that I had planned to use at the start but forgot 😊.

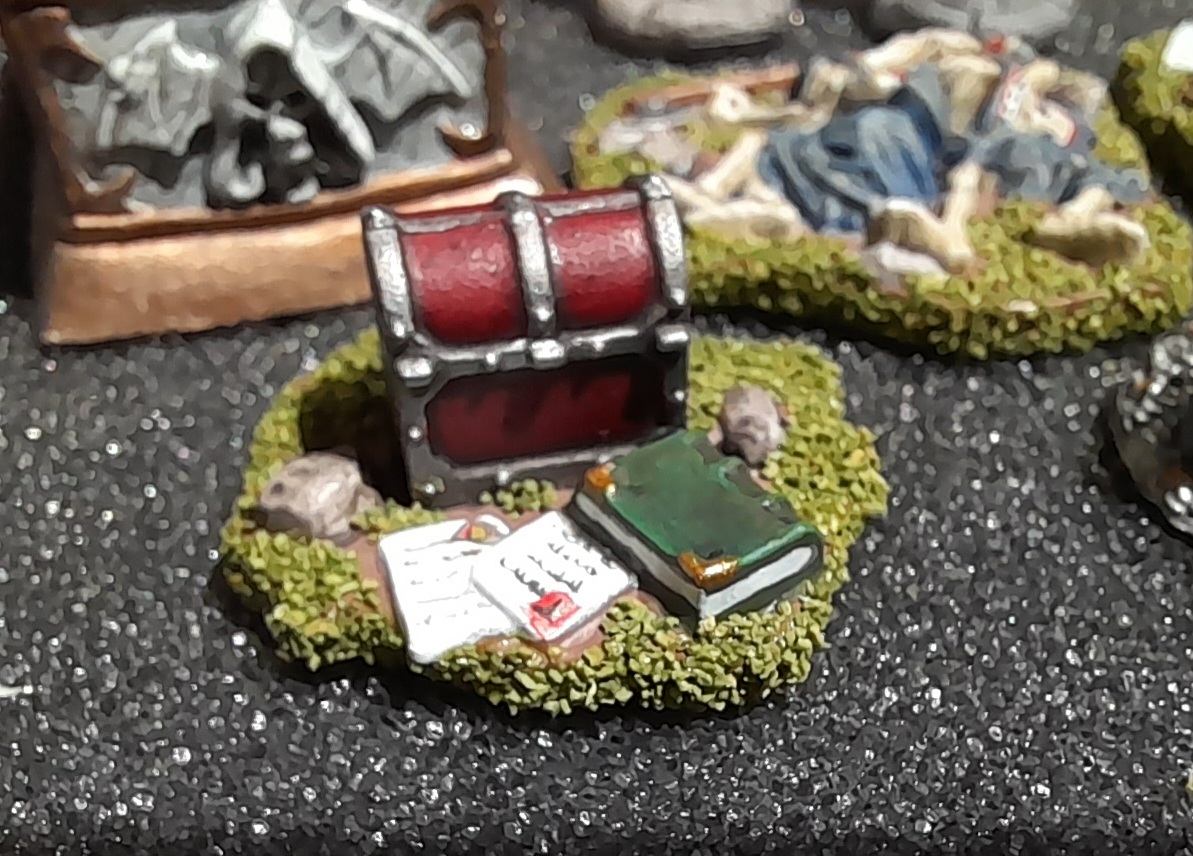
Clue markers
31st December 2024
Just squeezing in one more update before the end of the year…
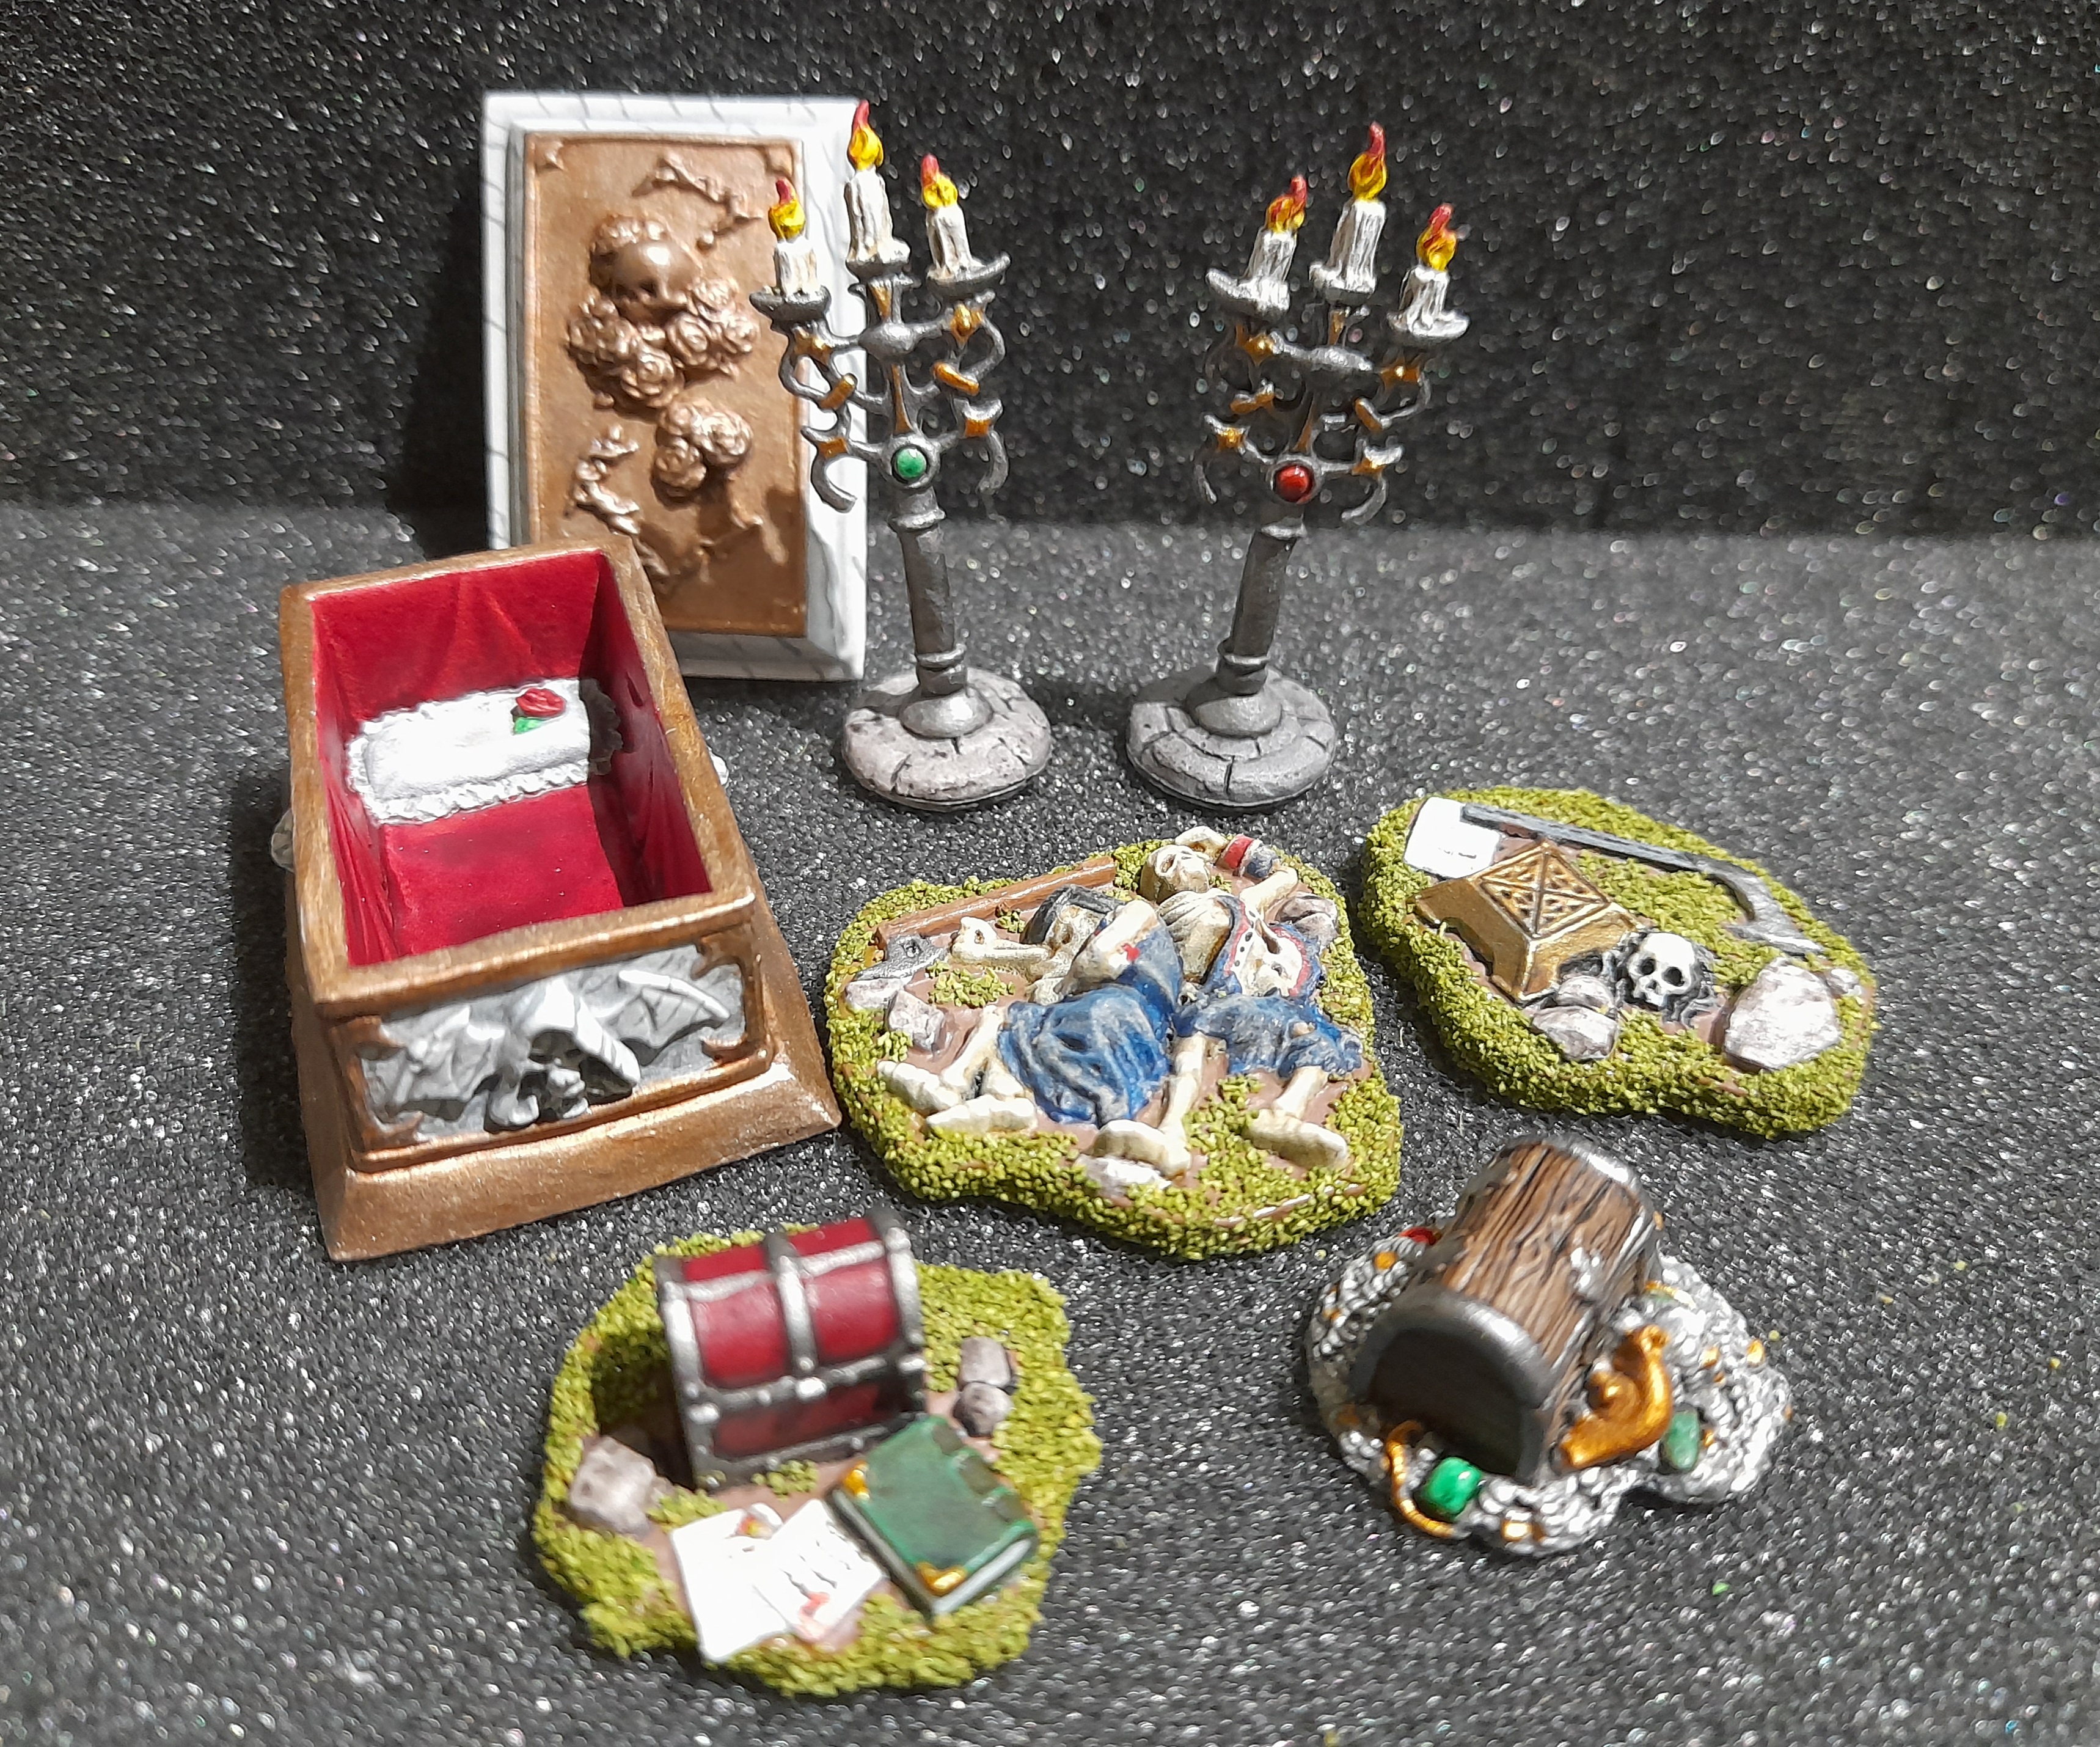
I thought I should sort out some small items to represent clue markers for some of the scenarios. Digging through my ‘stuff’ I found some reaper bones random bits, and some pieces from (I think) the mines of Moria.
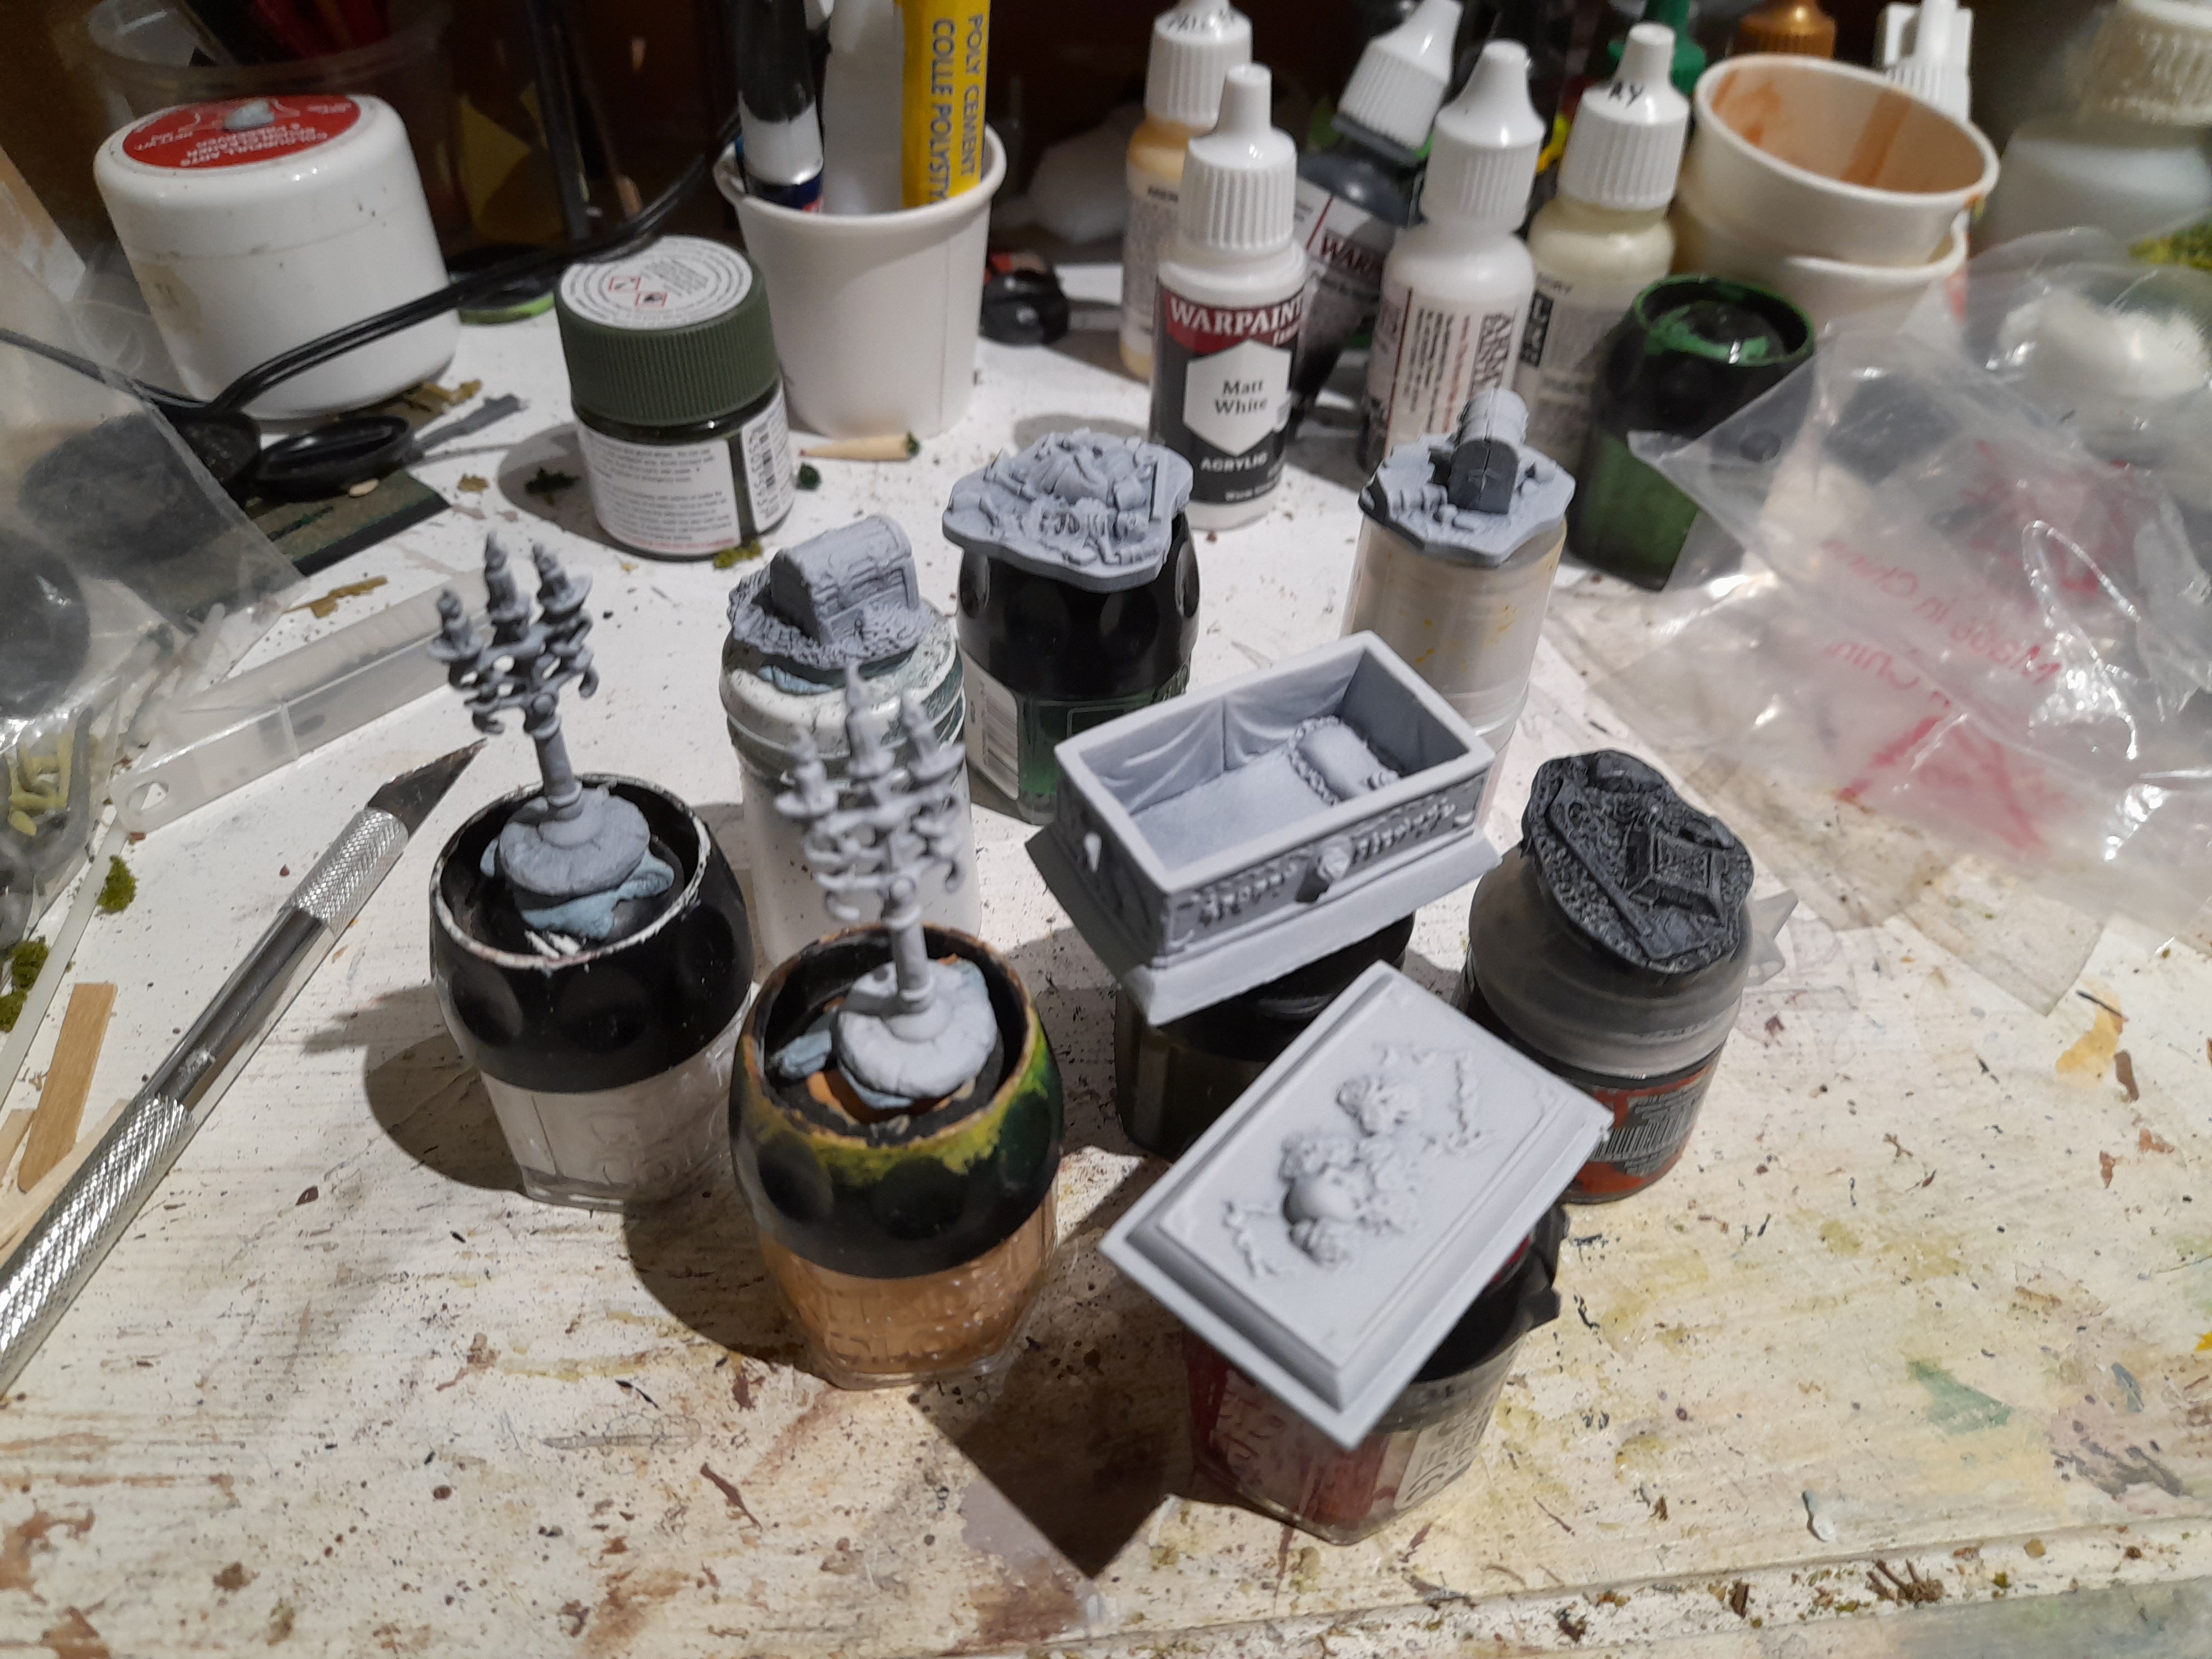 Primed
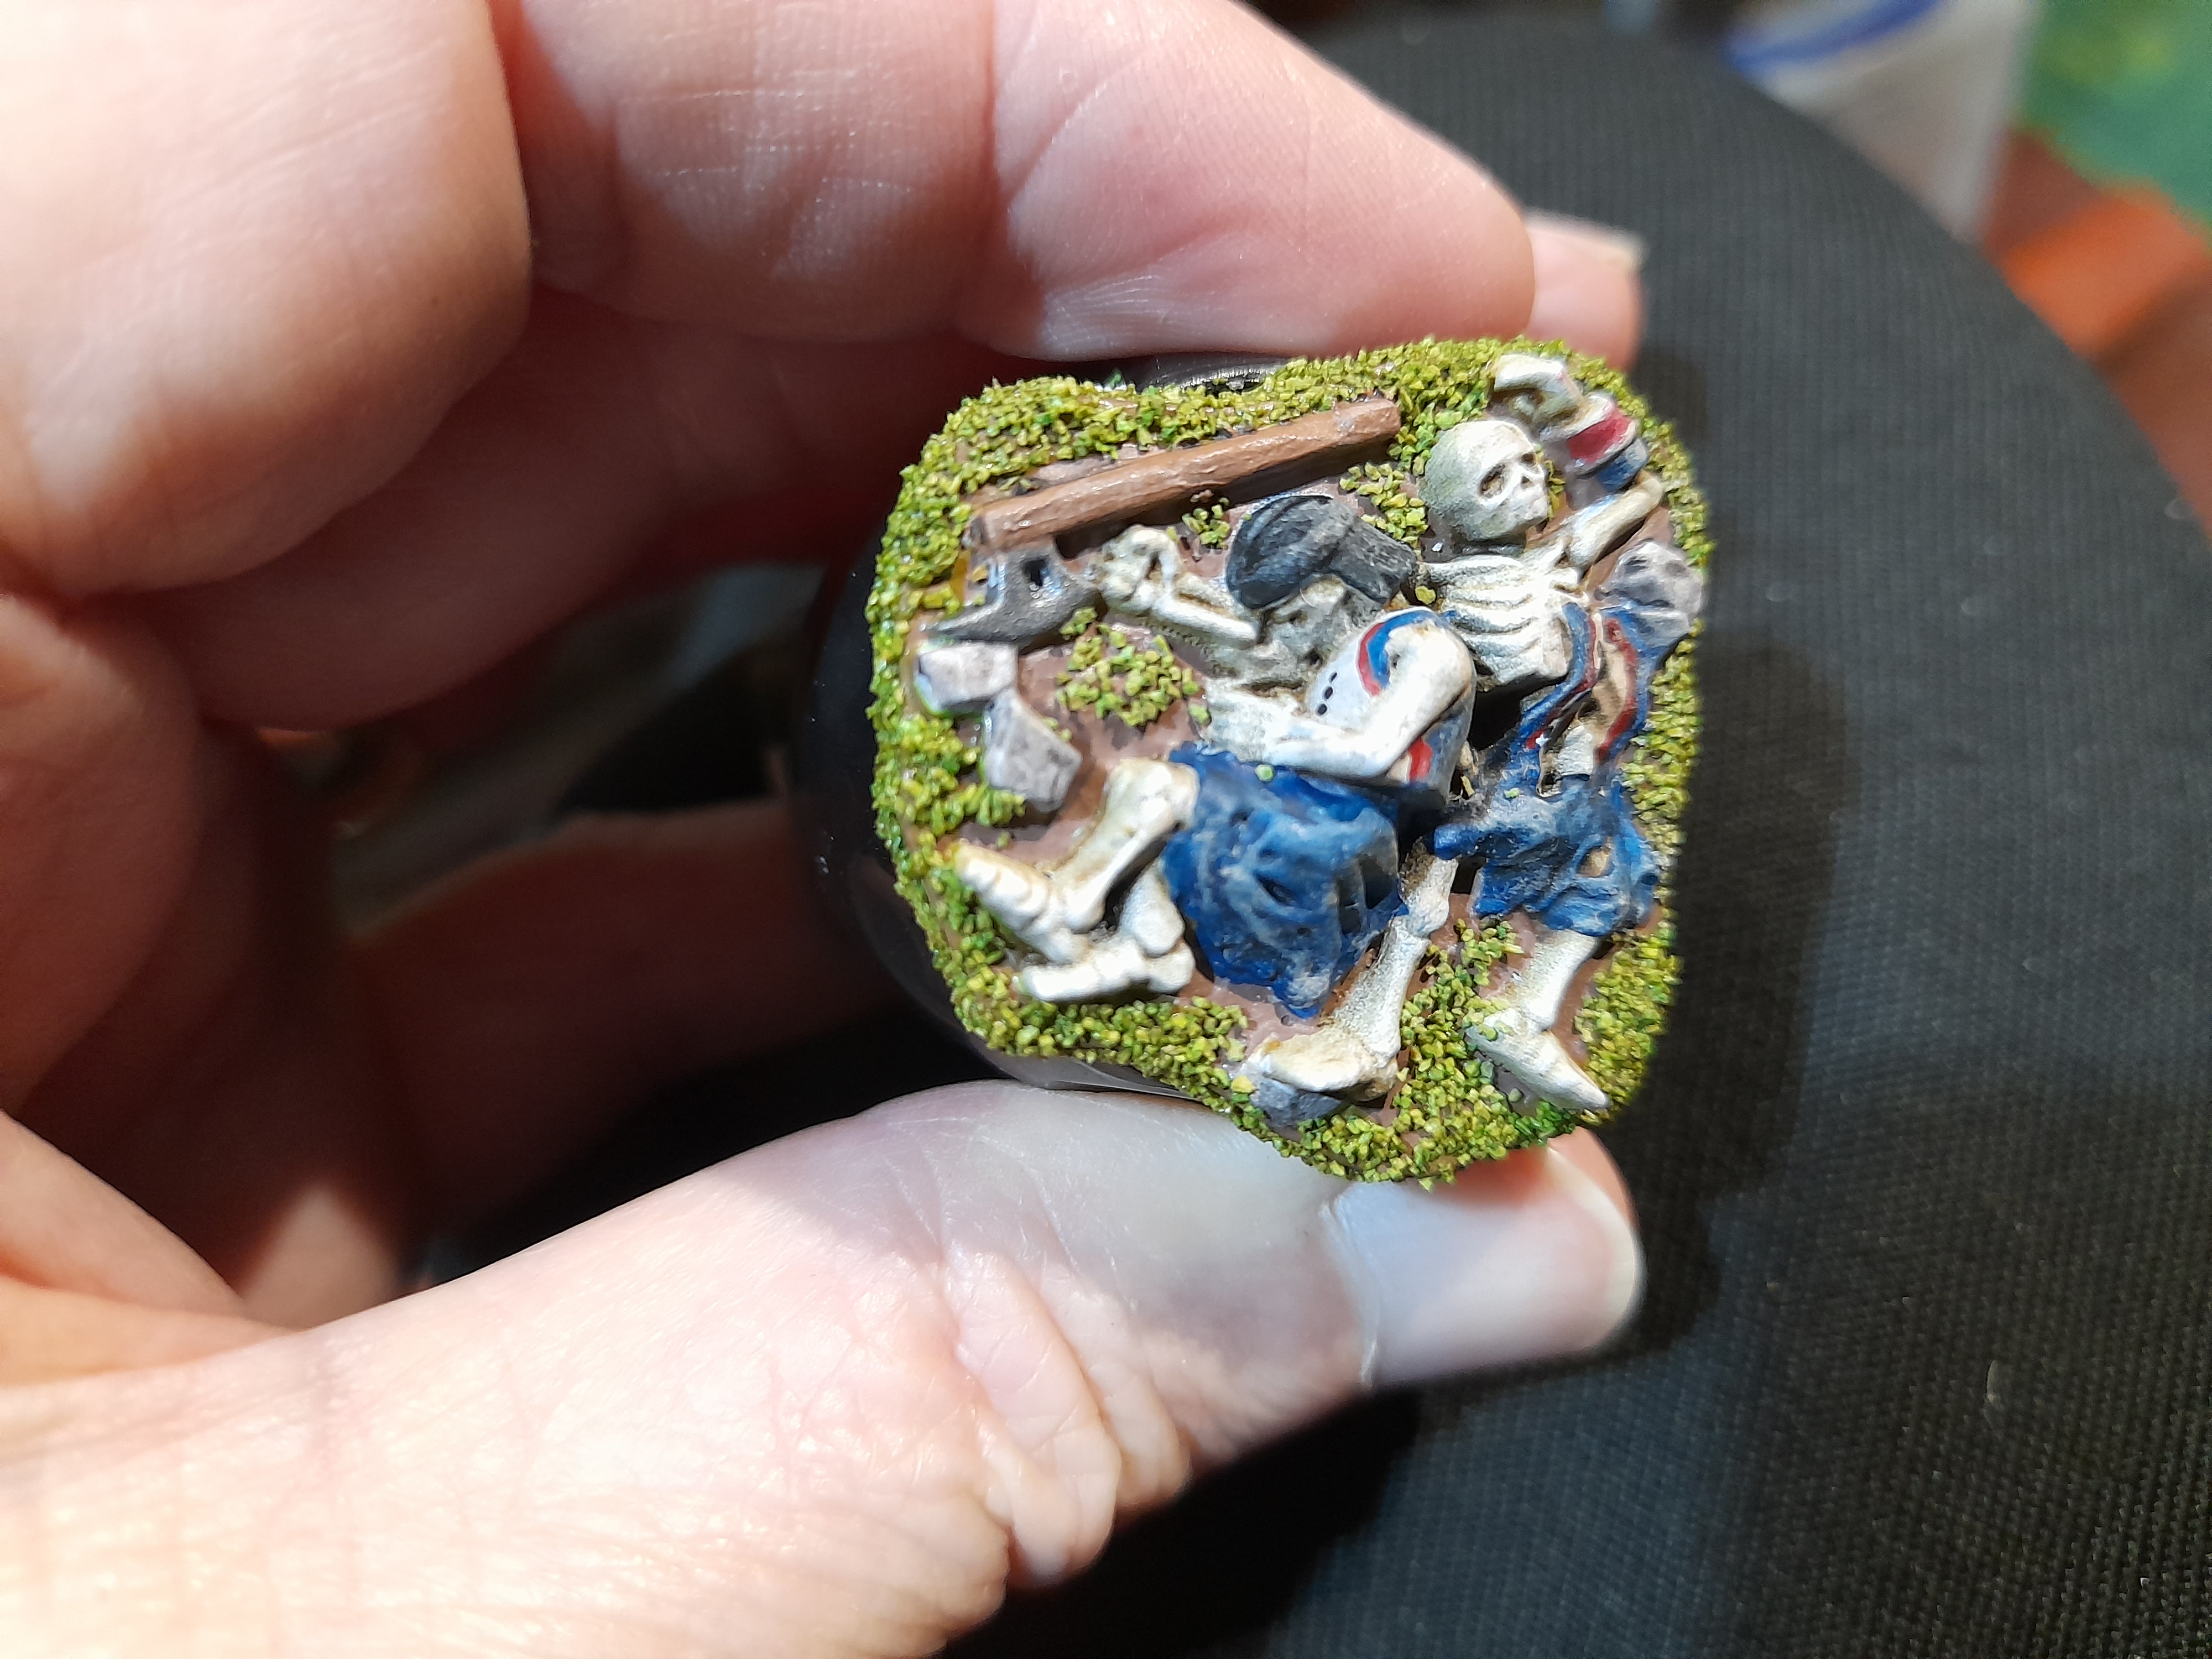
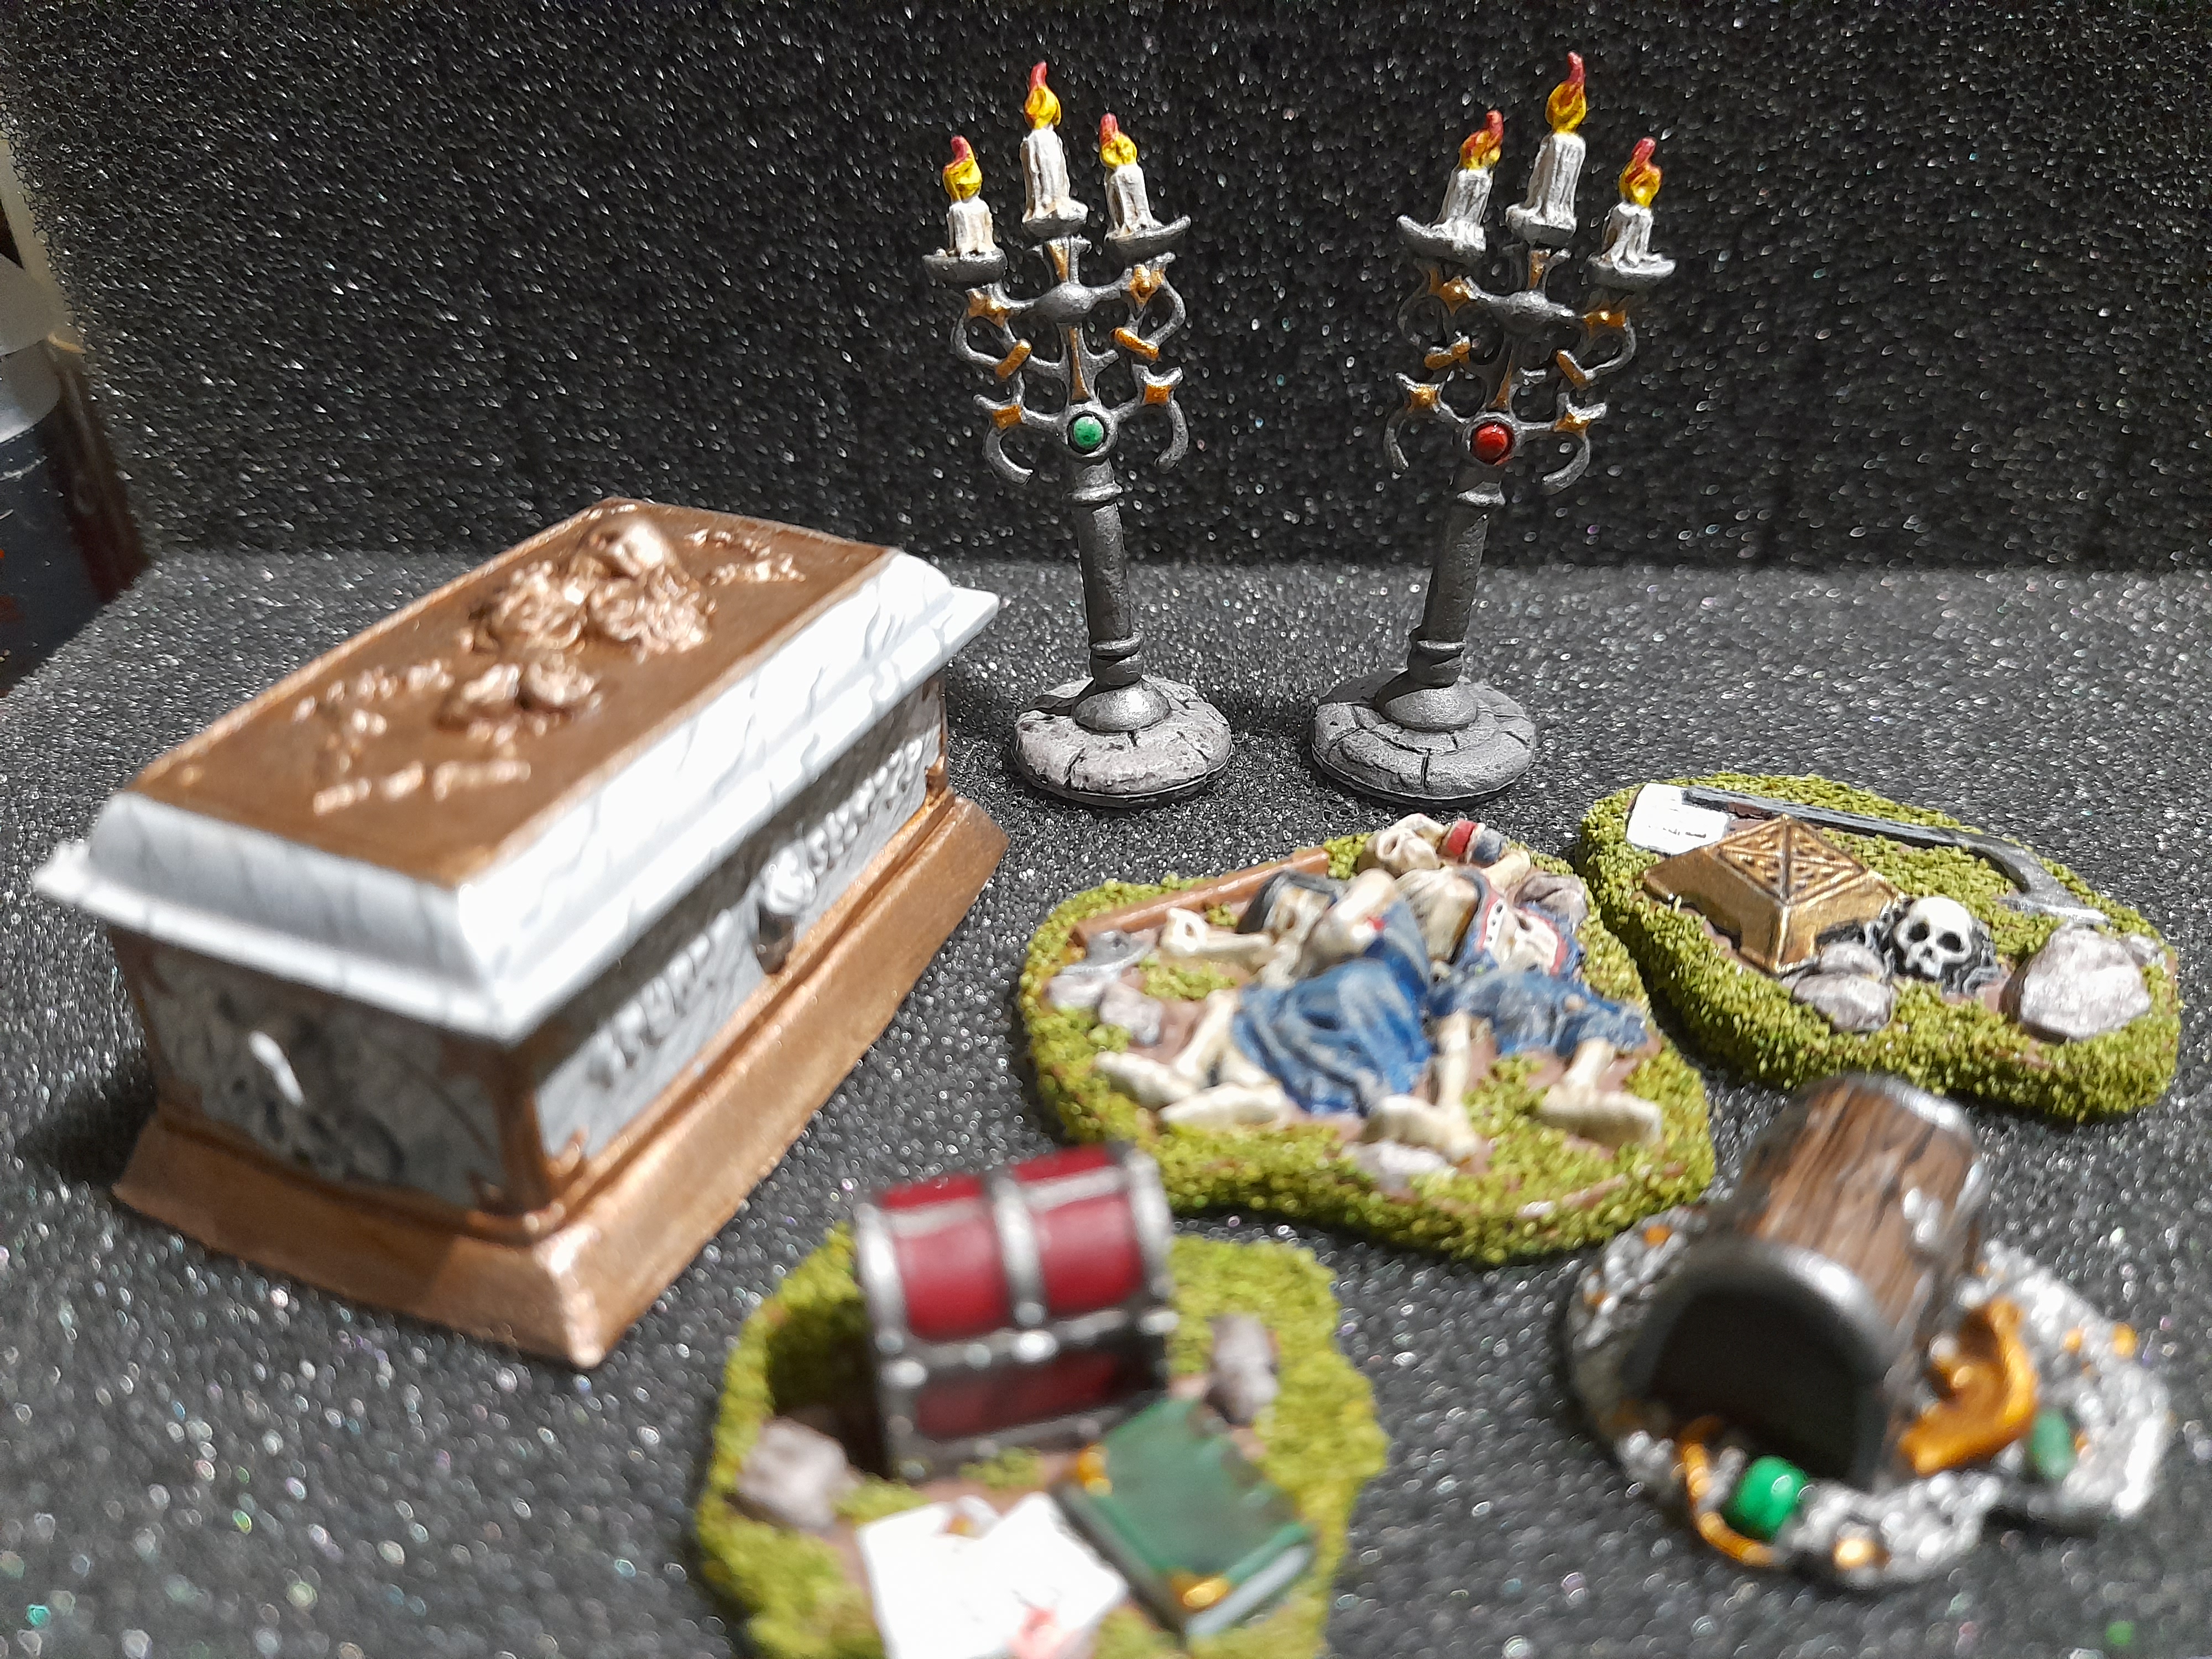
Then it was onto some quick painting on them. I laid down some earthy brown on those pieces that had ground showing, and began picking out the various items on the pieces. For the two skeletons, I tried to make them look a bit like French soldiers by painting their fantasy style rags in Napoleonic blue, and adding a vague impression of the white shirt and red piping. Quite happy with the red leather chest though 😊
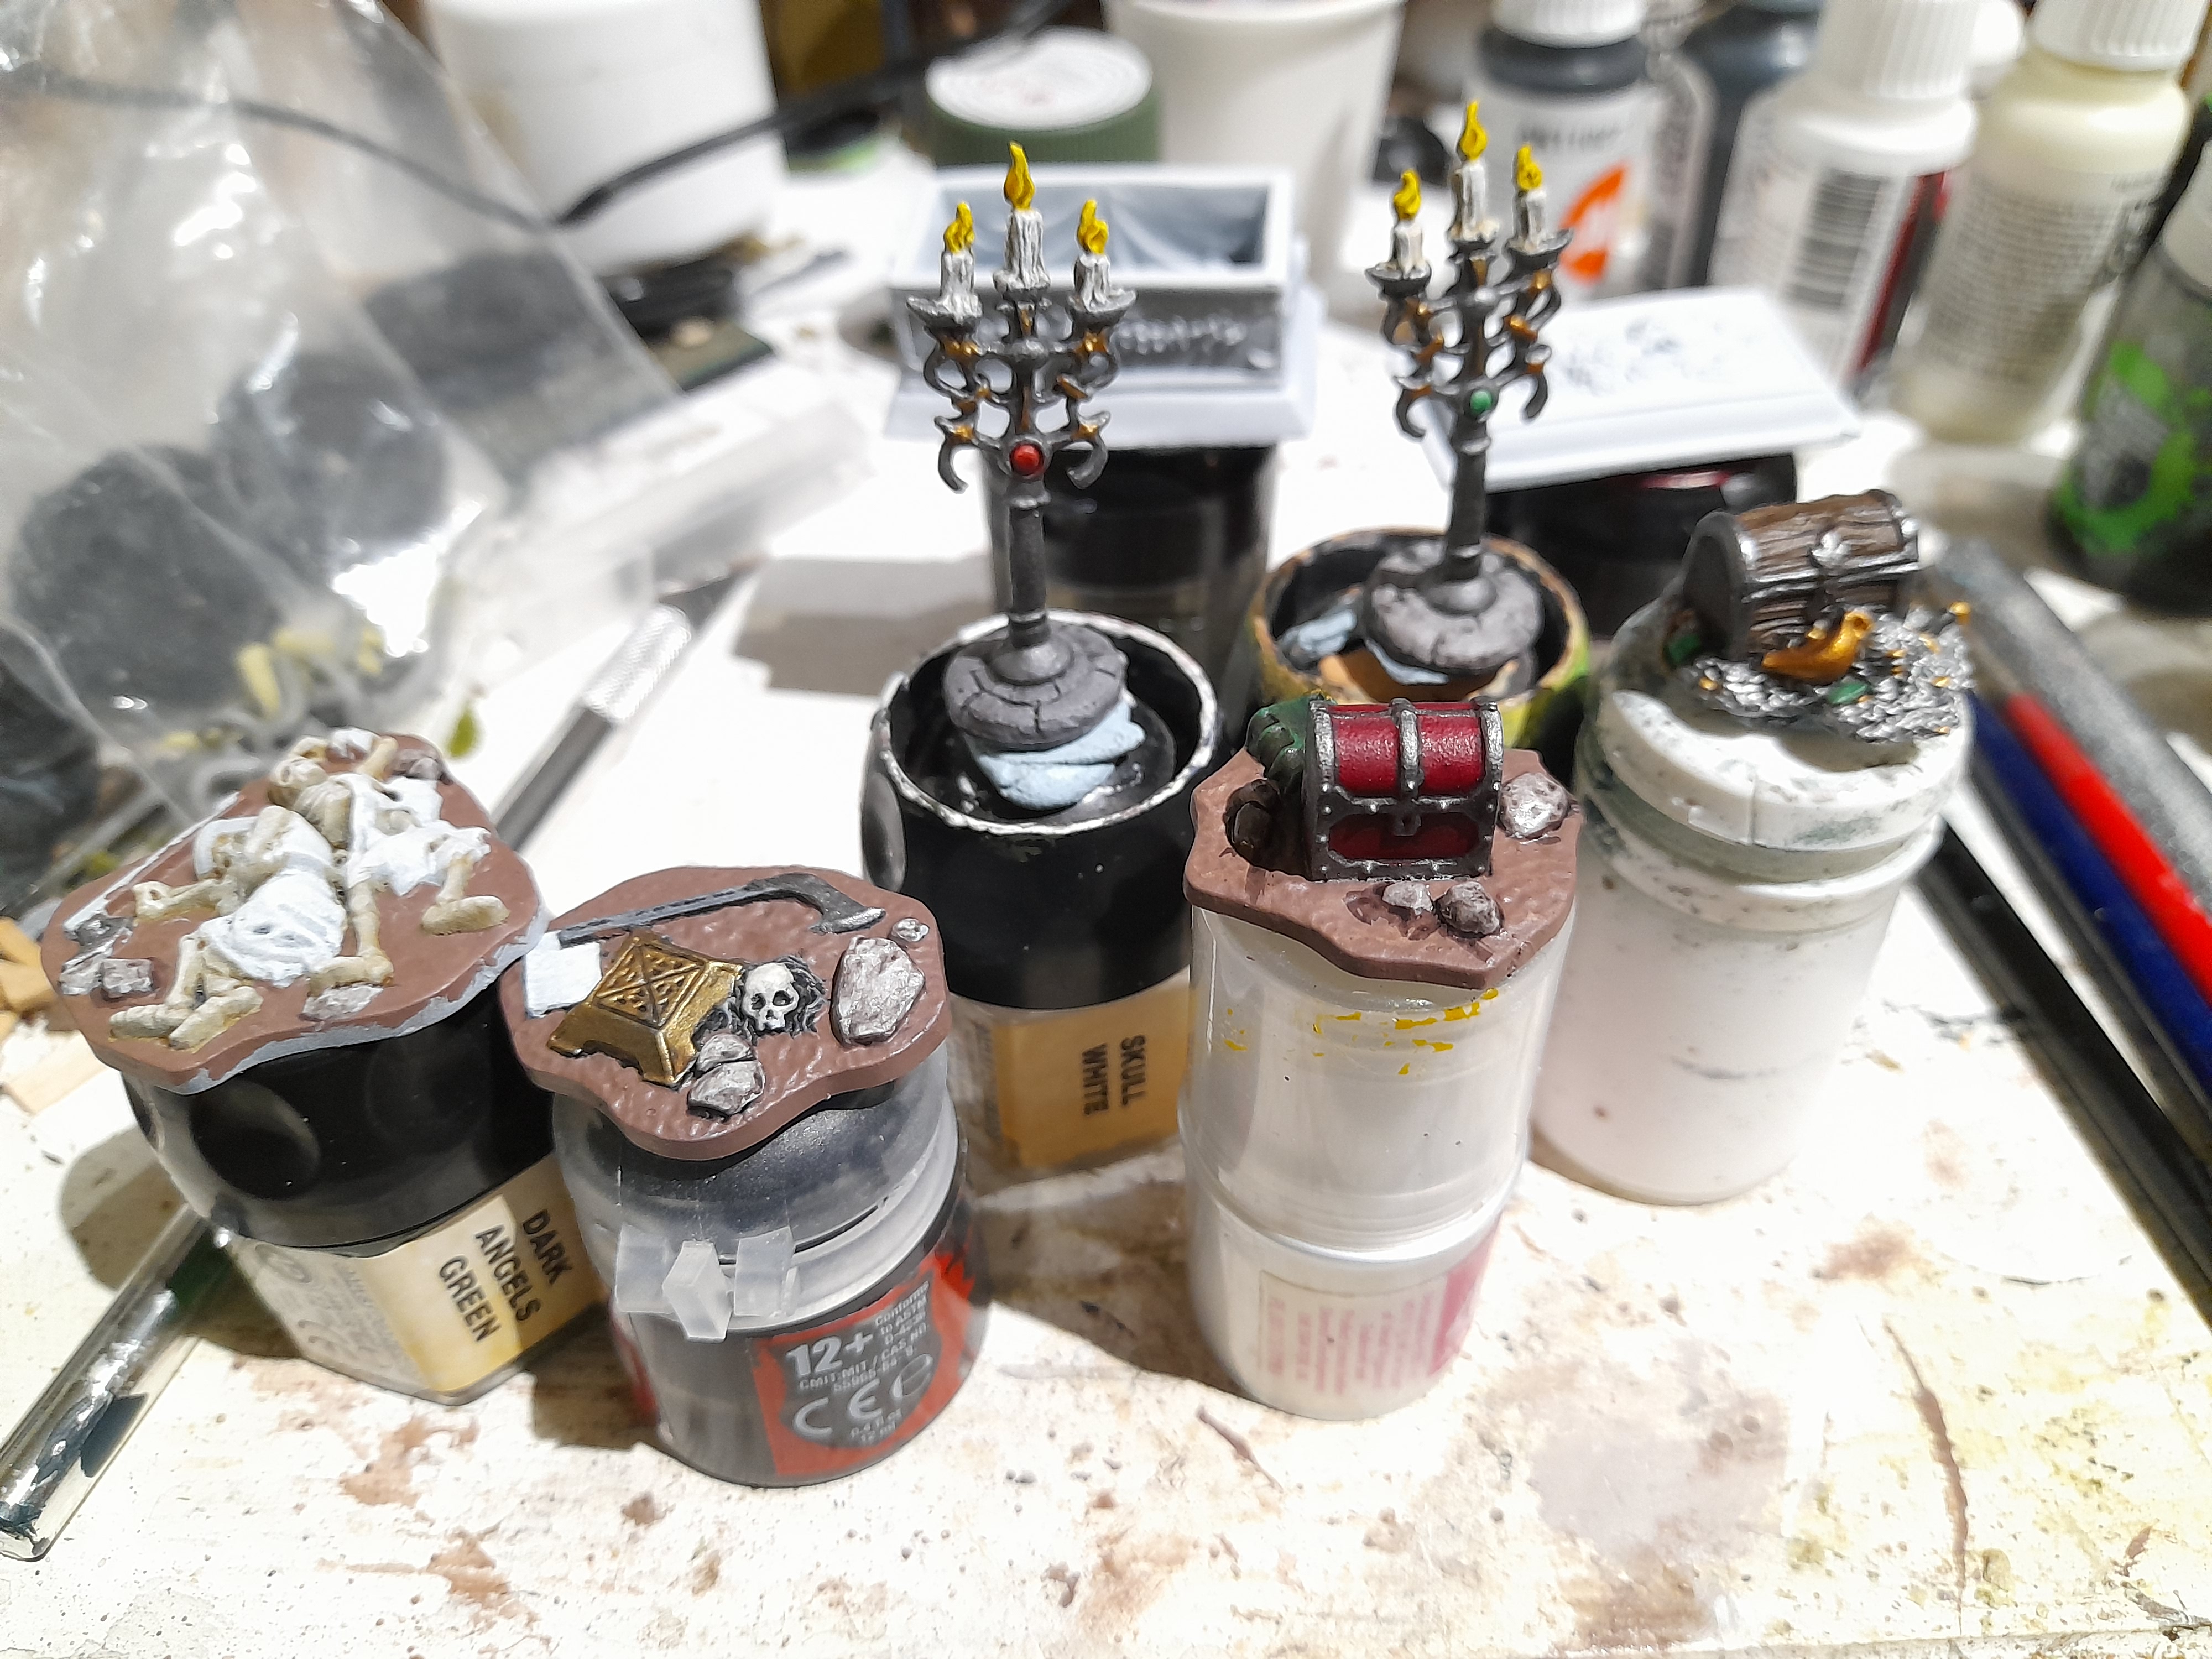
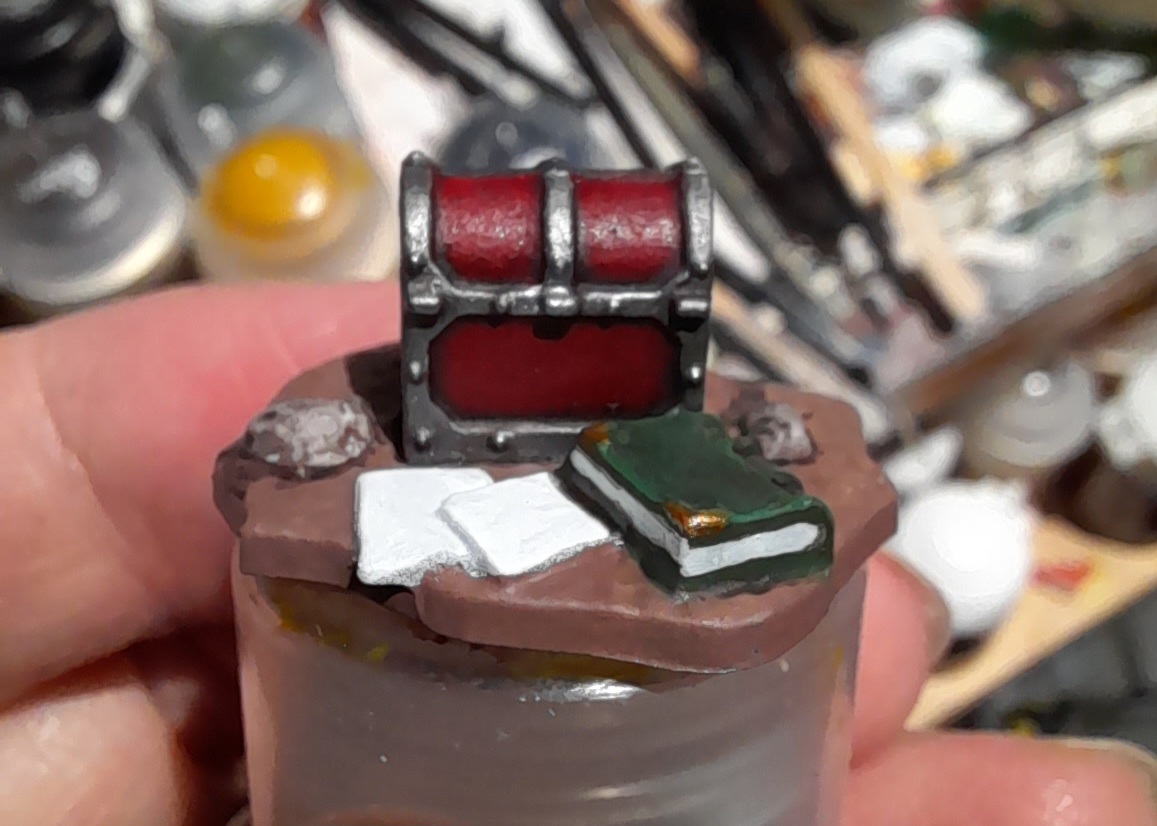
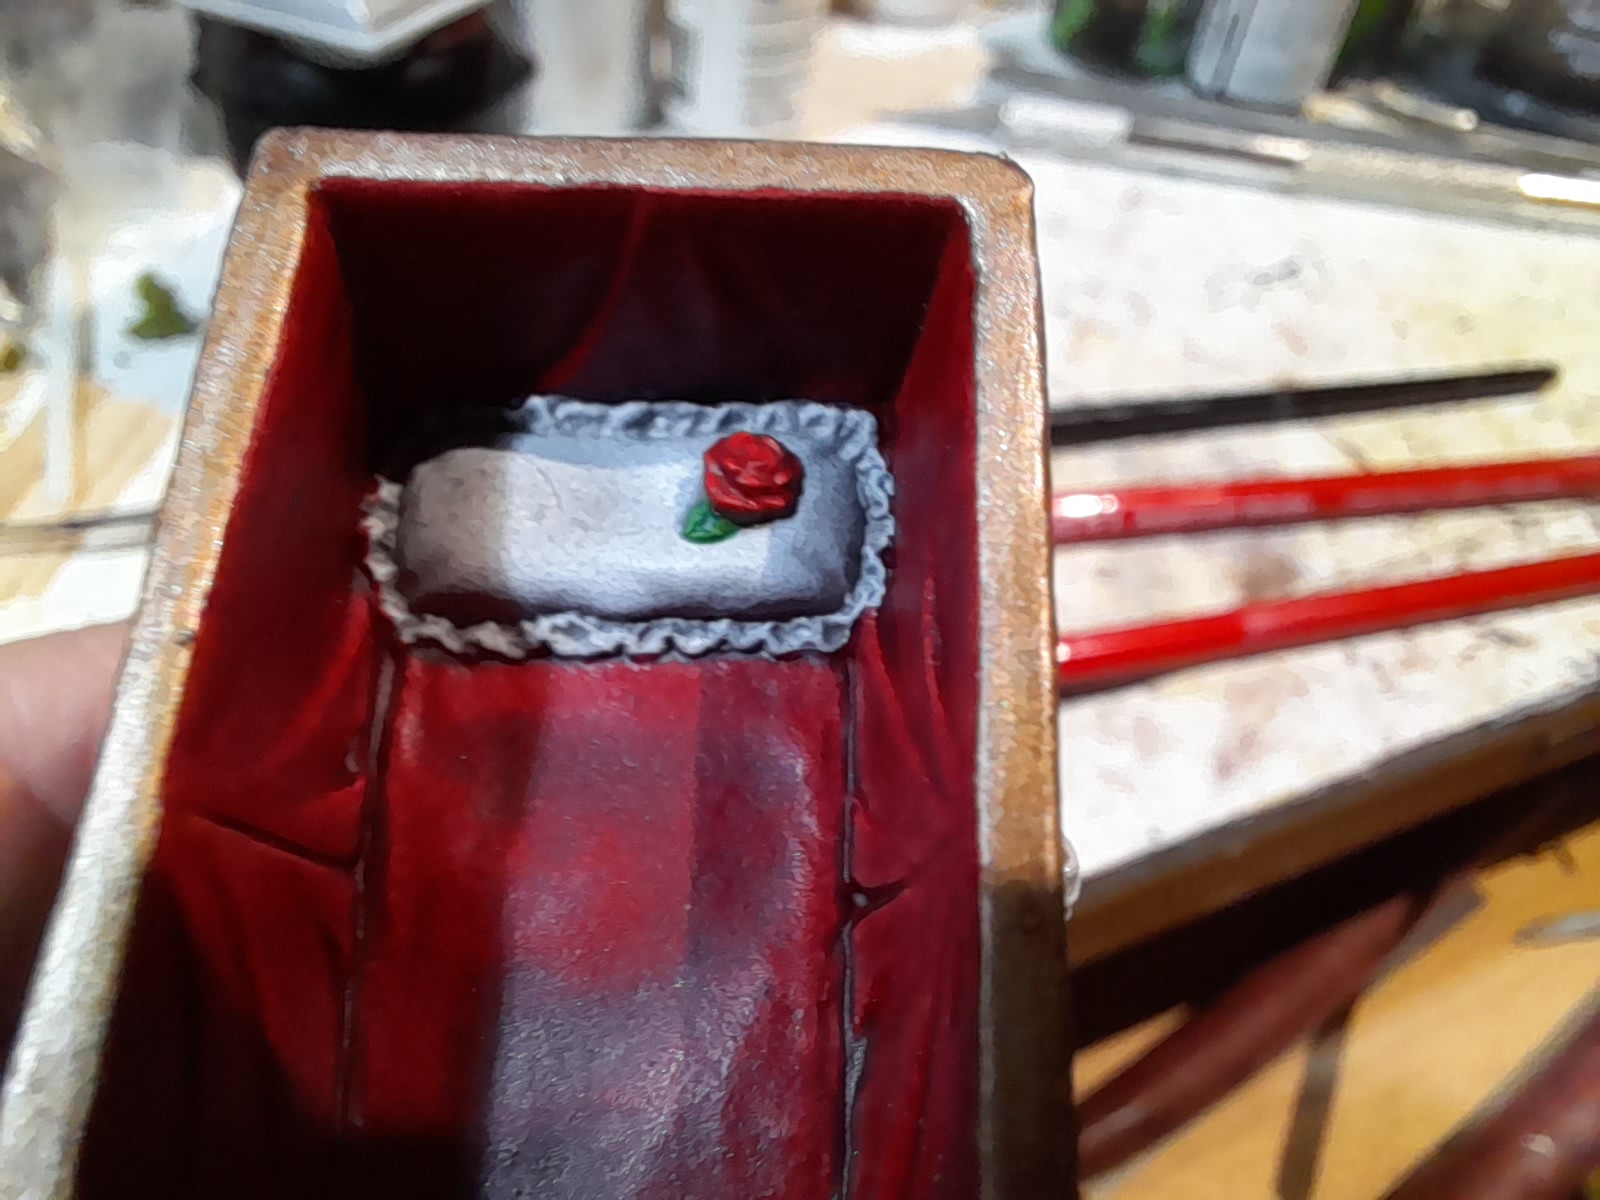
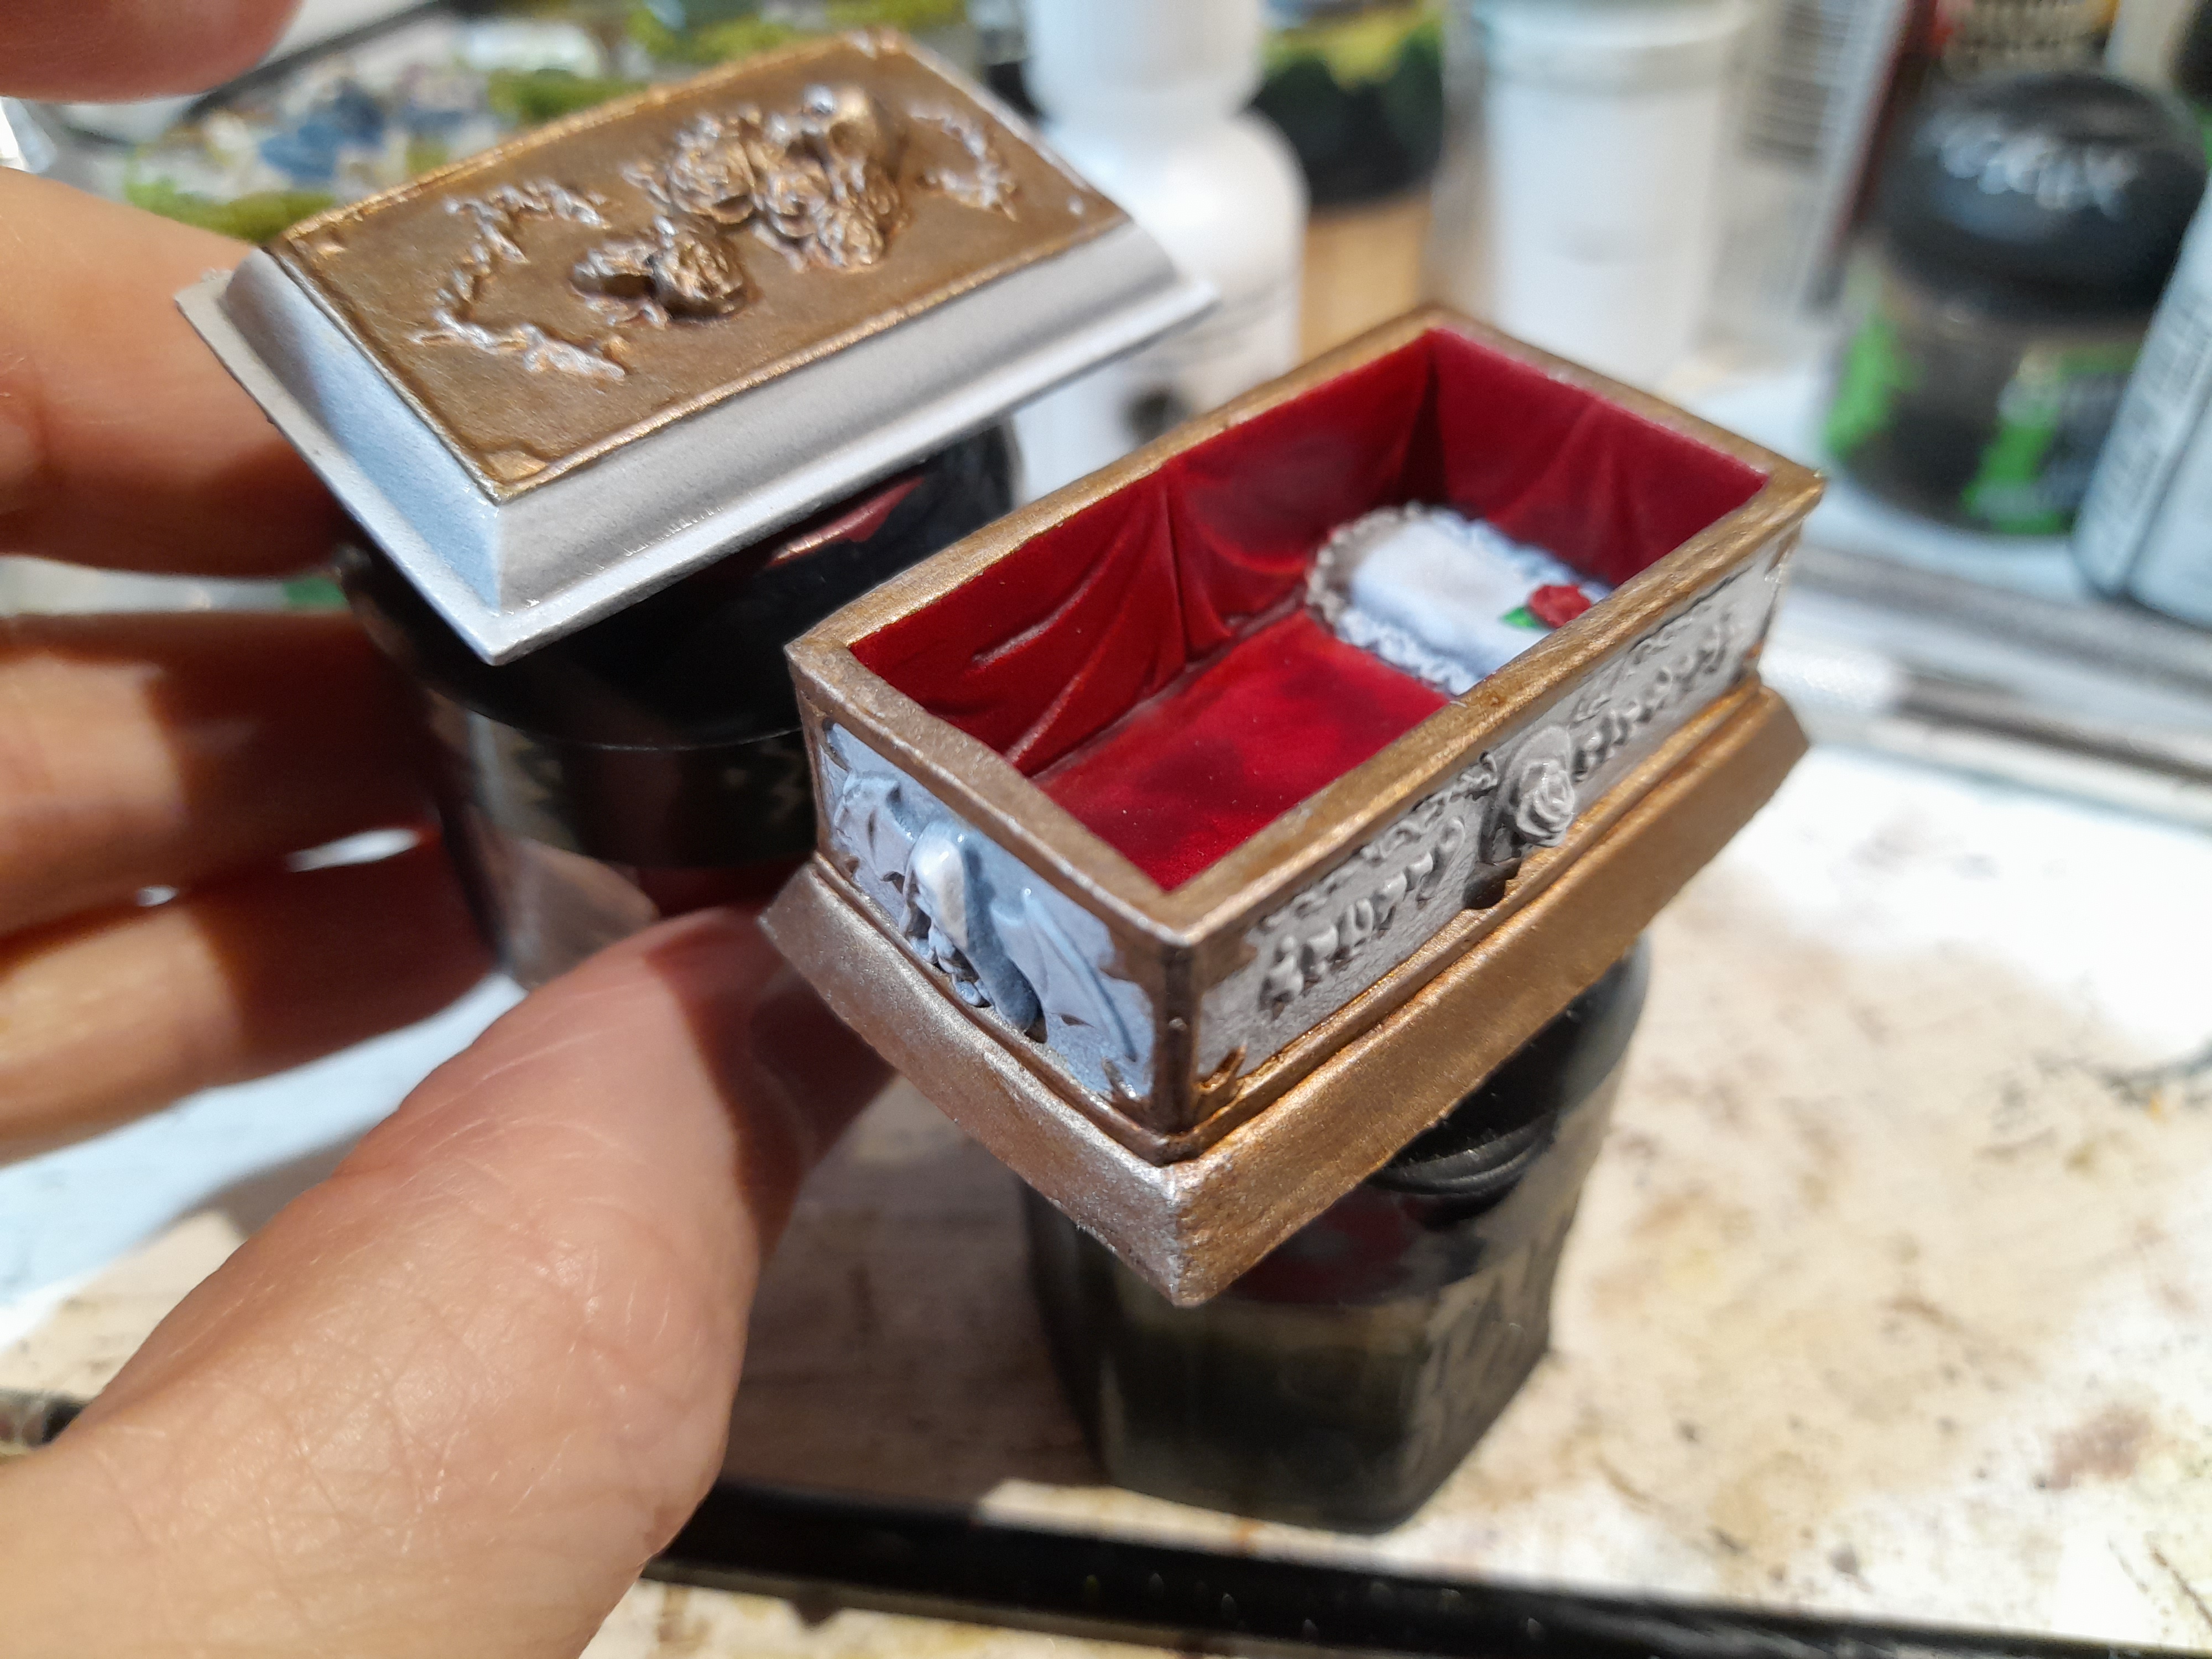
I had almost finished most pieces before I started on the sarcophagus – mainly because I couldn’t decide on a colour scheme. I plumped for white stone (later changed to marble), and an off gold for the top piece and the edging. With a strong red for the inner lining.
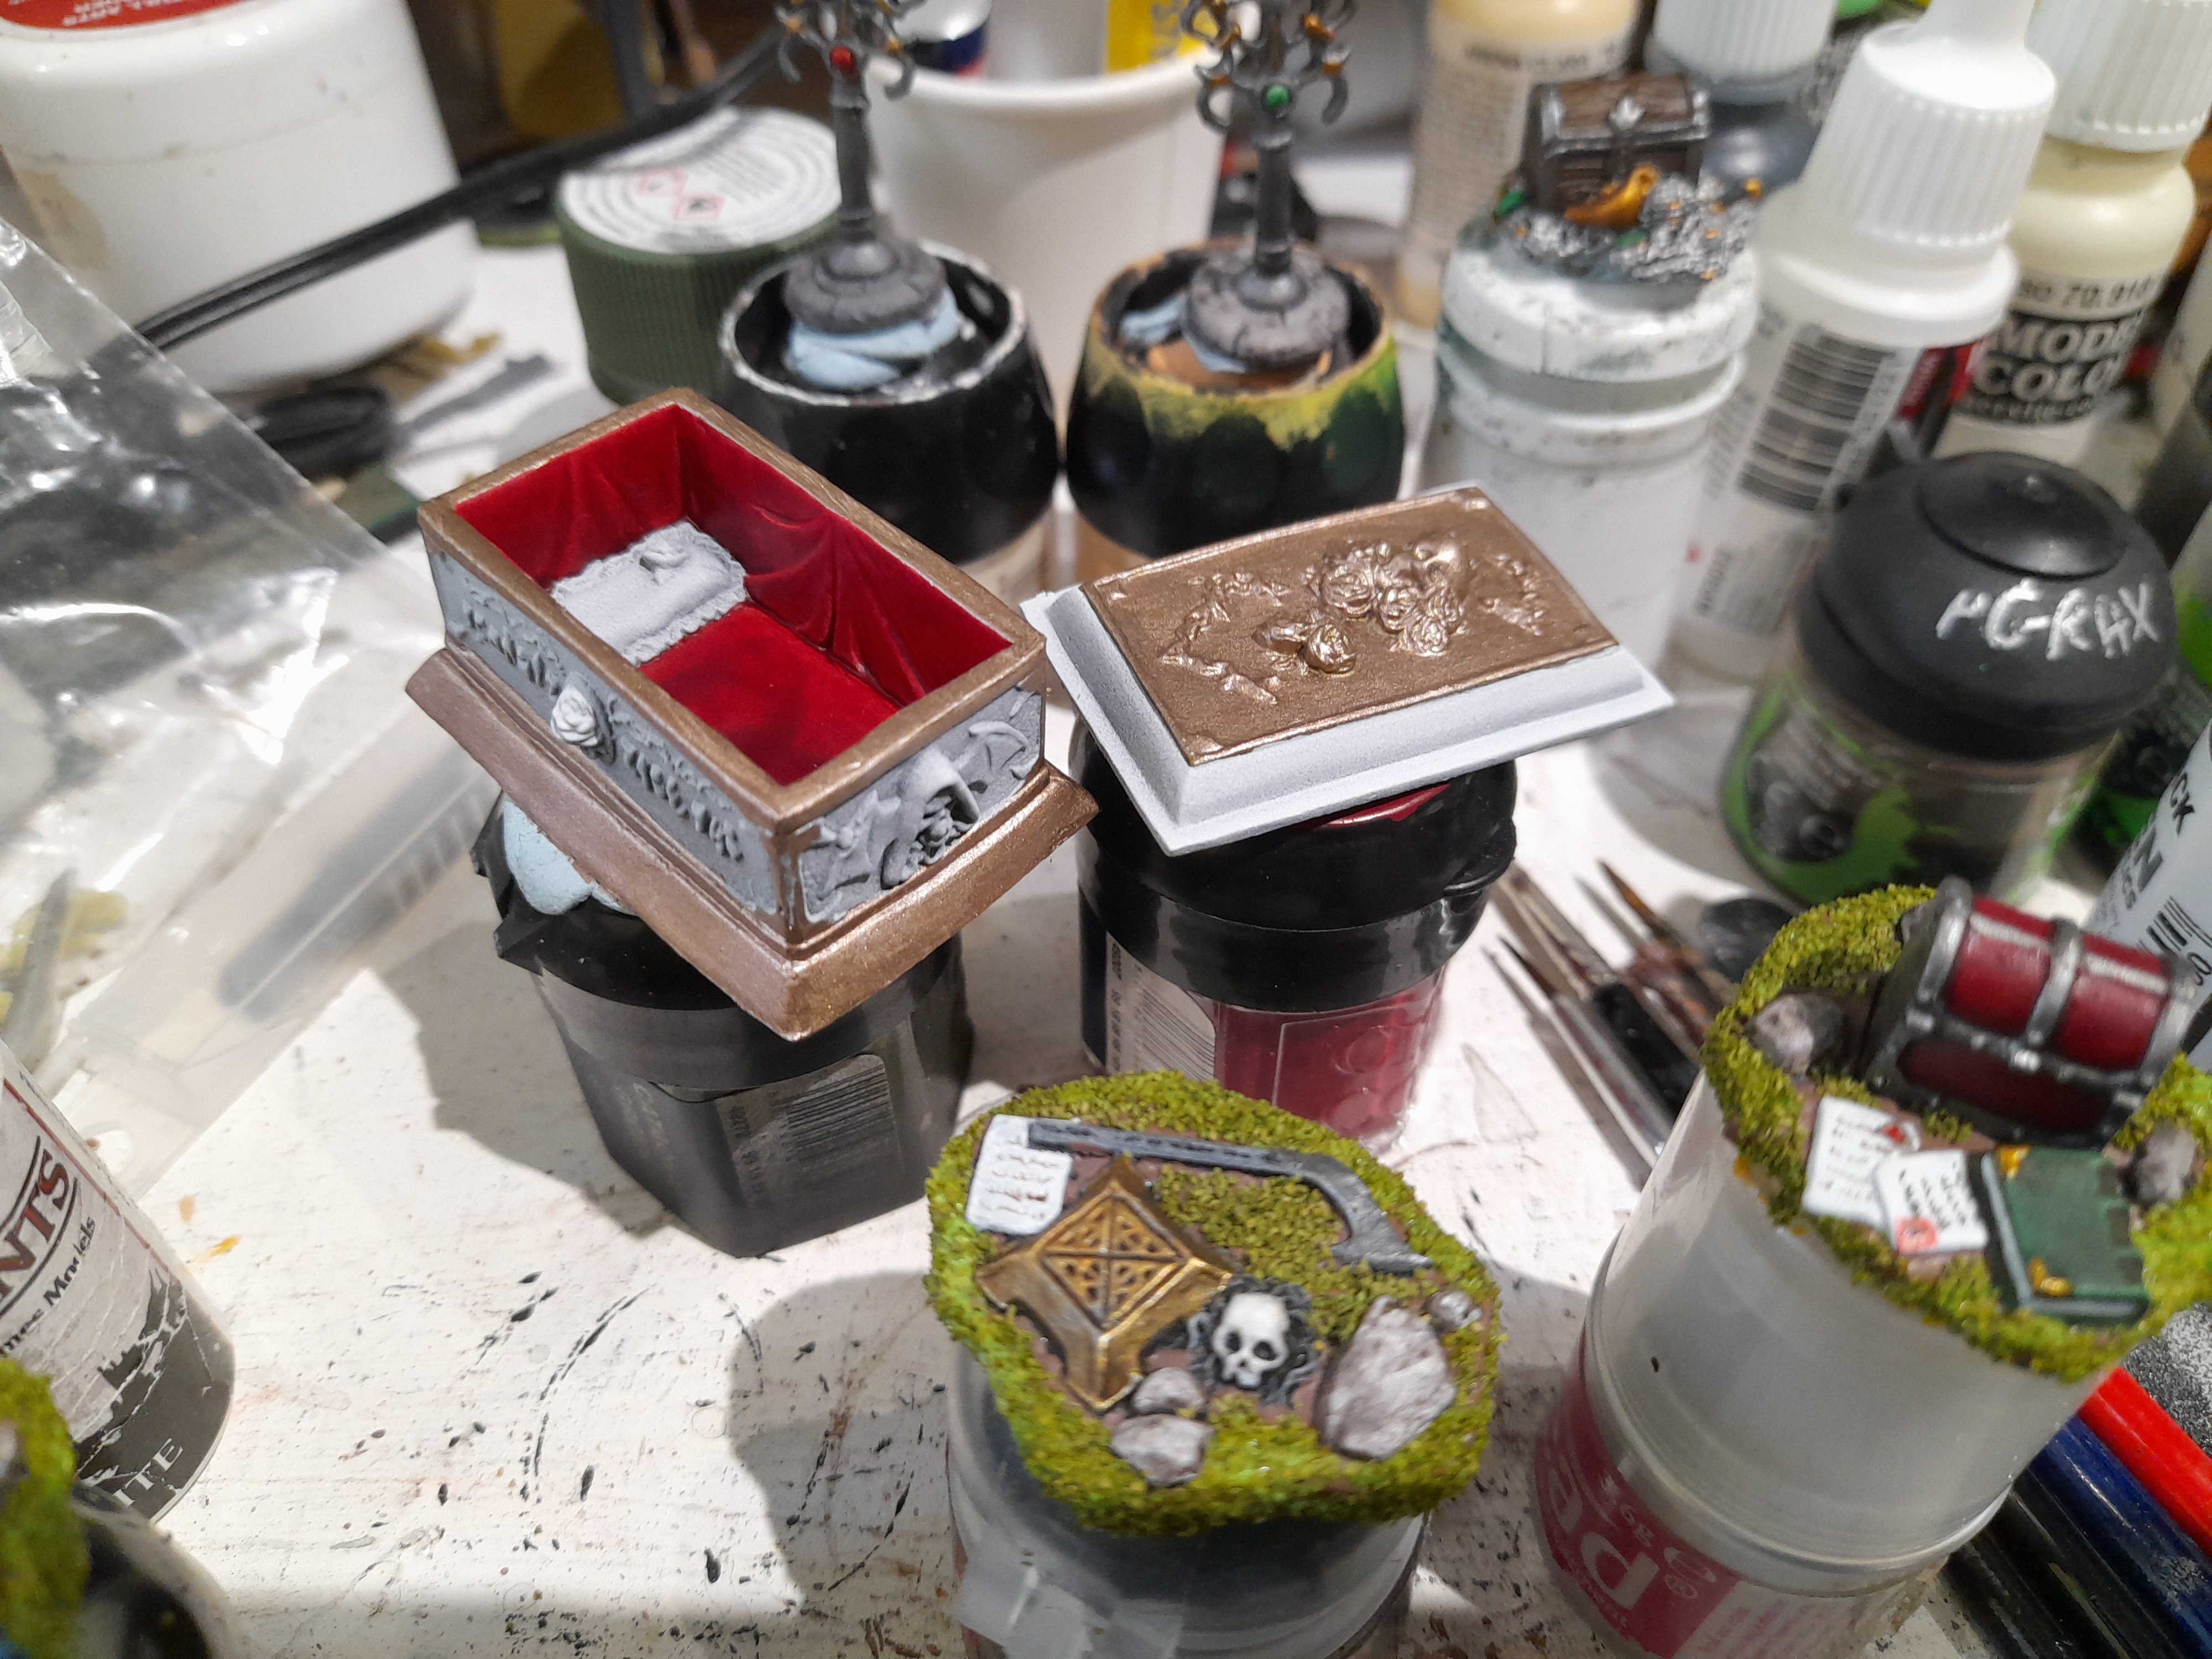
More touching up, prodding and poking, and the clue markers were pretty much done….

I may make some others in the future using spare backpacks and rifles etc – but for now these fulfill the role.


