![NO Weekender Or Cult Of Games XLBS This Weekend [Updated]](https://images.beastsofwar.com/2026/03/No_Weekender_and_XLBS_this_Weekend-225-127.jpg)


Project Warhorse – Spring Clean 2025


Recommendations: 209
About the Project
A little discrete project for this year's Spring Clean Challenge - five Desert Scorpion rough riders from Victoria Miniatures need painting.
Related Game: Warhammer 40,000
Related Company: Victoria Miniatures
Related Genre: Science Fiction
Related Contest: Spring Clean Hobby Challenge 2025
This Project is Completed
The Plan
The Spring Clean Challenge is a great excuse to bring something that has been sidelined or forgotten from the pile of shame, and to get motivated to paint or finish the project.
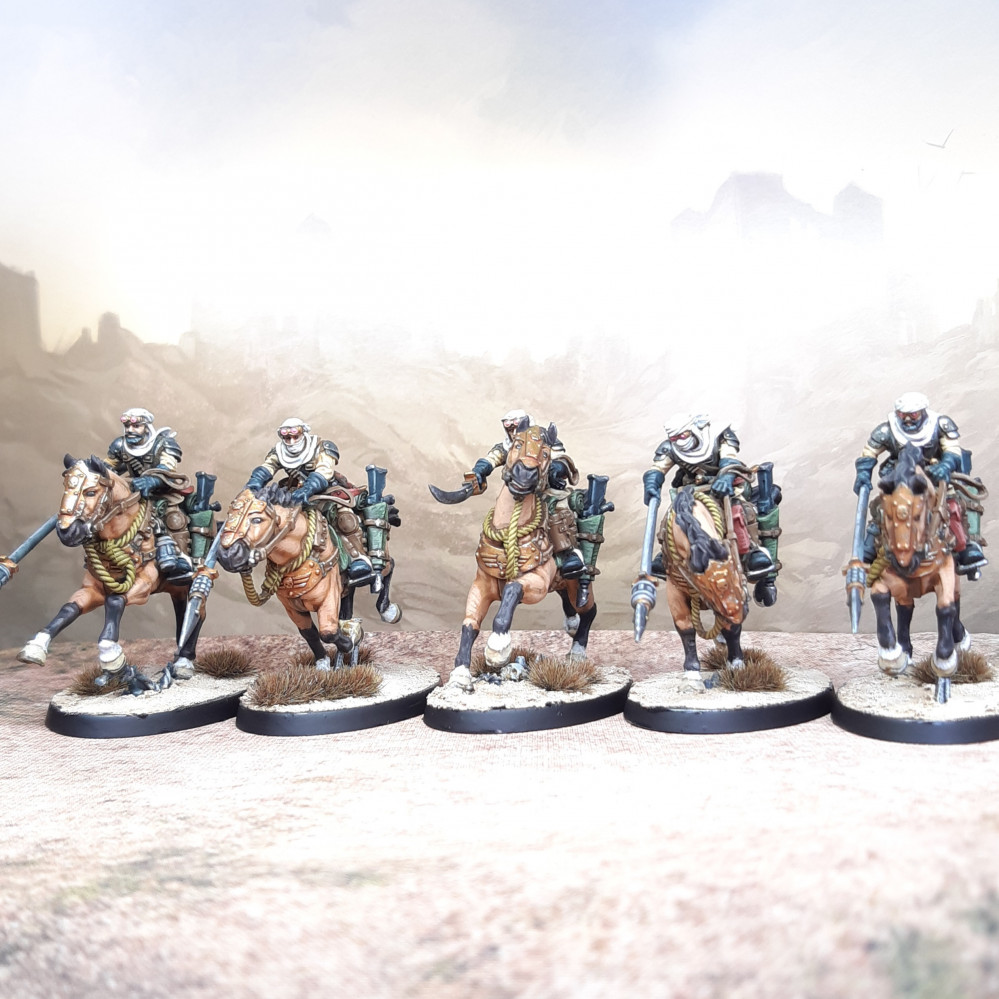
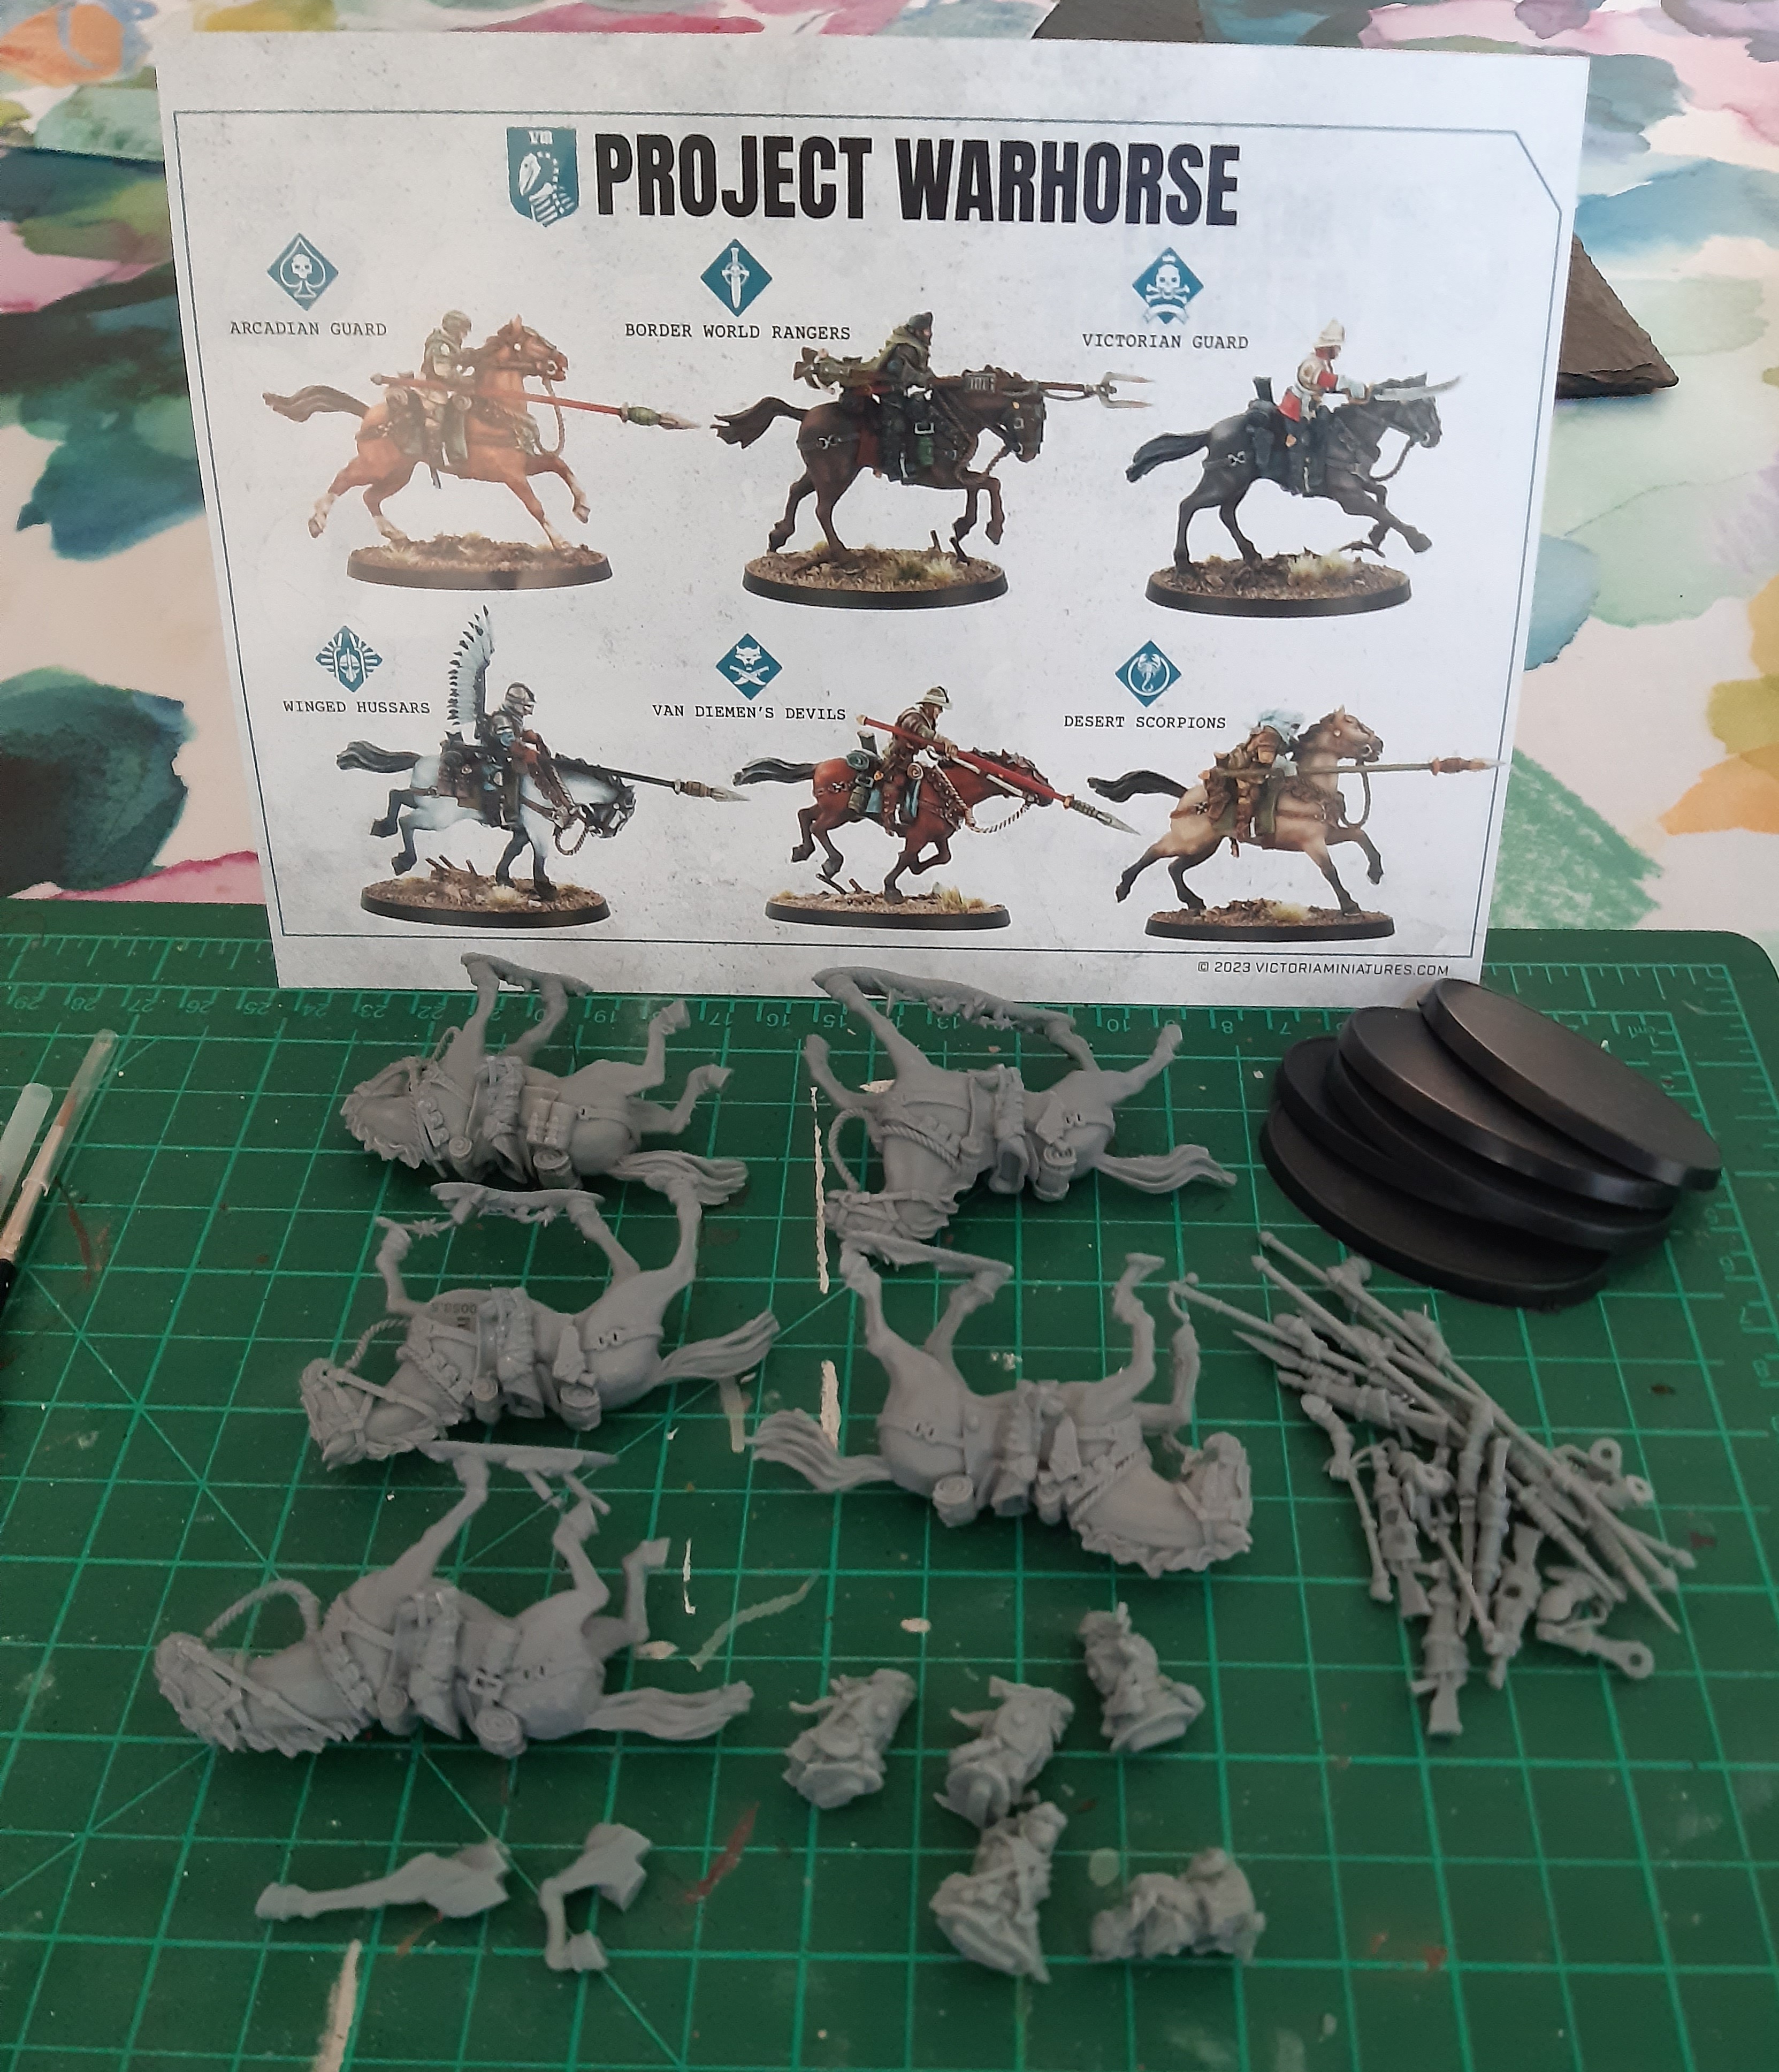
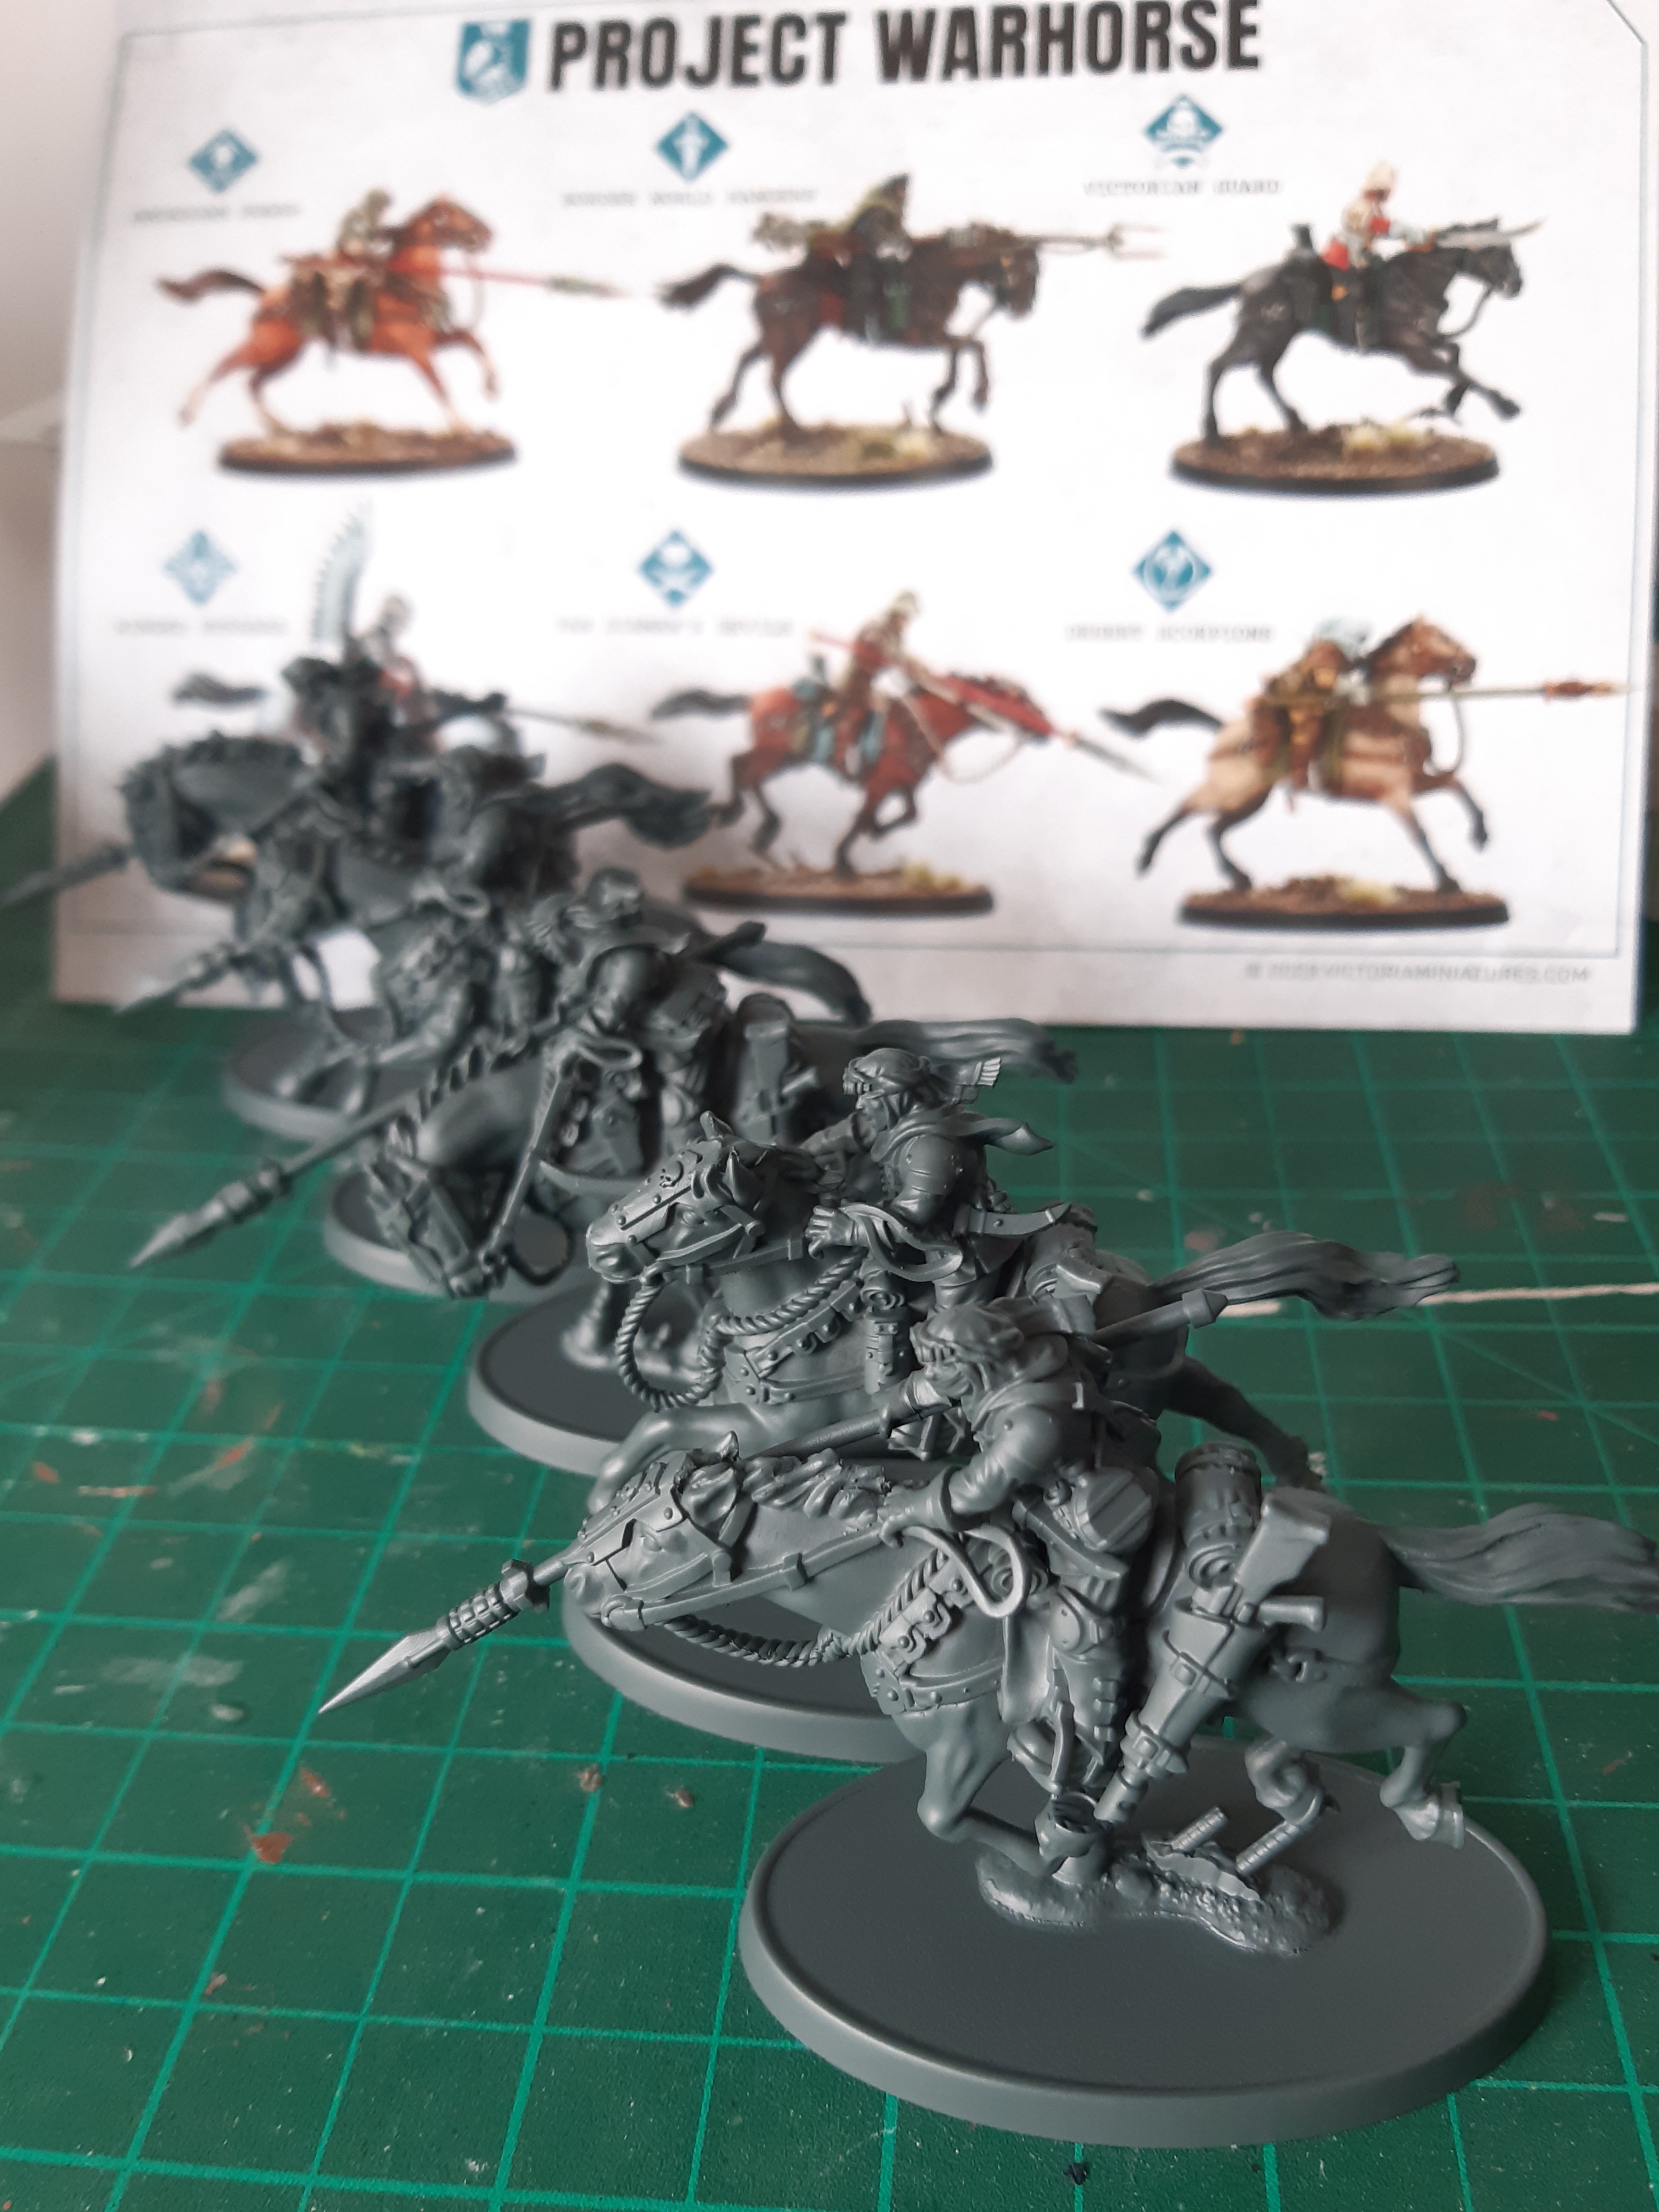
This year I’m going to paint up a unit of rough riders by Victoria Miniatures. Victoria Miniatures produce an excellent range of alternative Imperial Guard figures, and back in 2023 they ran a Kickstarter called Project Warhorse for a some rough riders. Notwithstanding any thoughts on whether cavalry are a bit daft in 40k, I absolutely loved the dynamic horses figures being produced with this set. I grabbed a single unit of 5 from the Desert Scorpion regiment, which arrived at the start of 2024, and have just sat in a box since then.
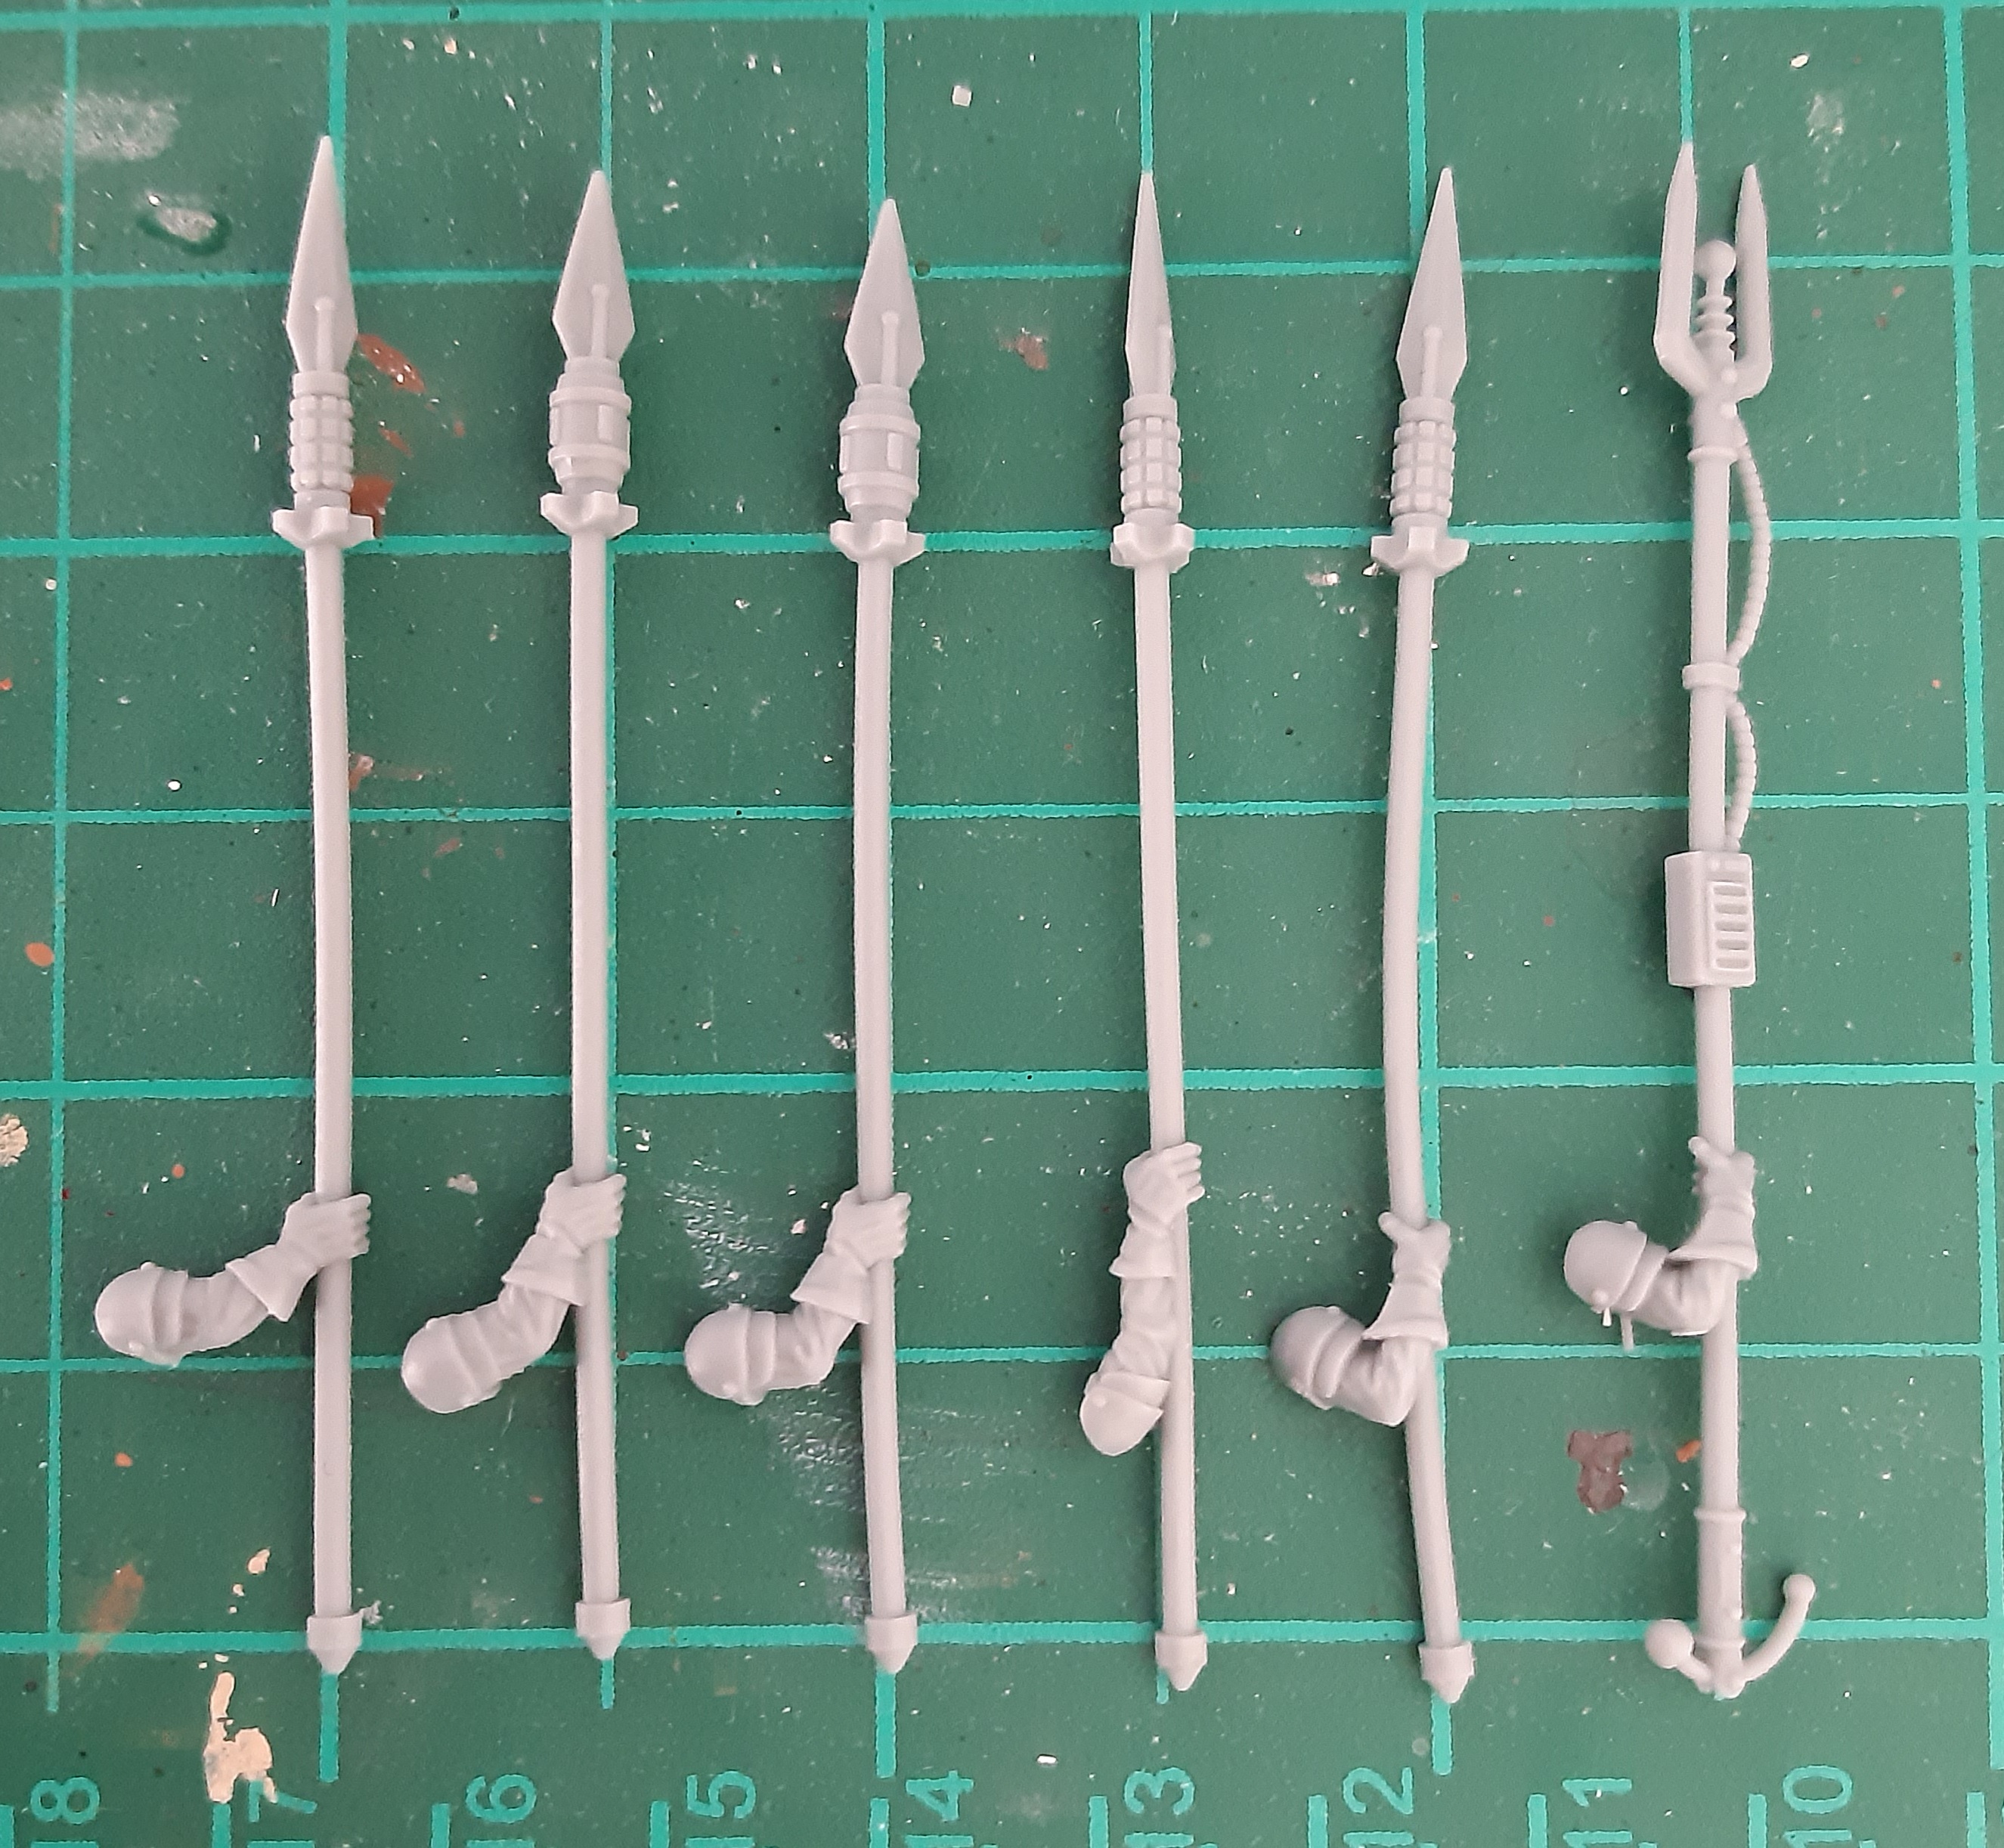
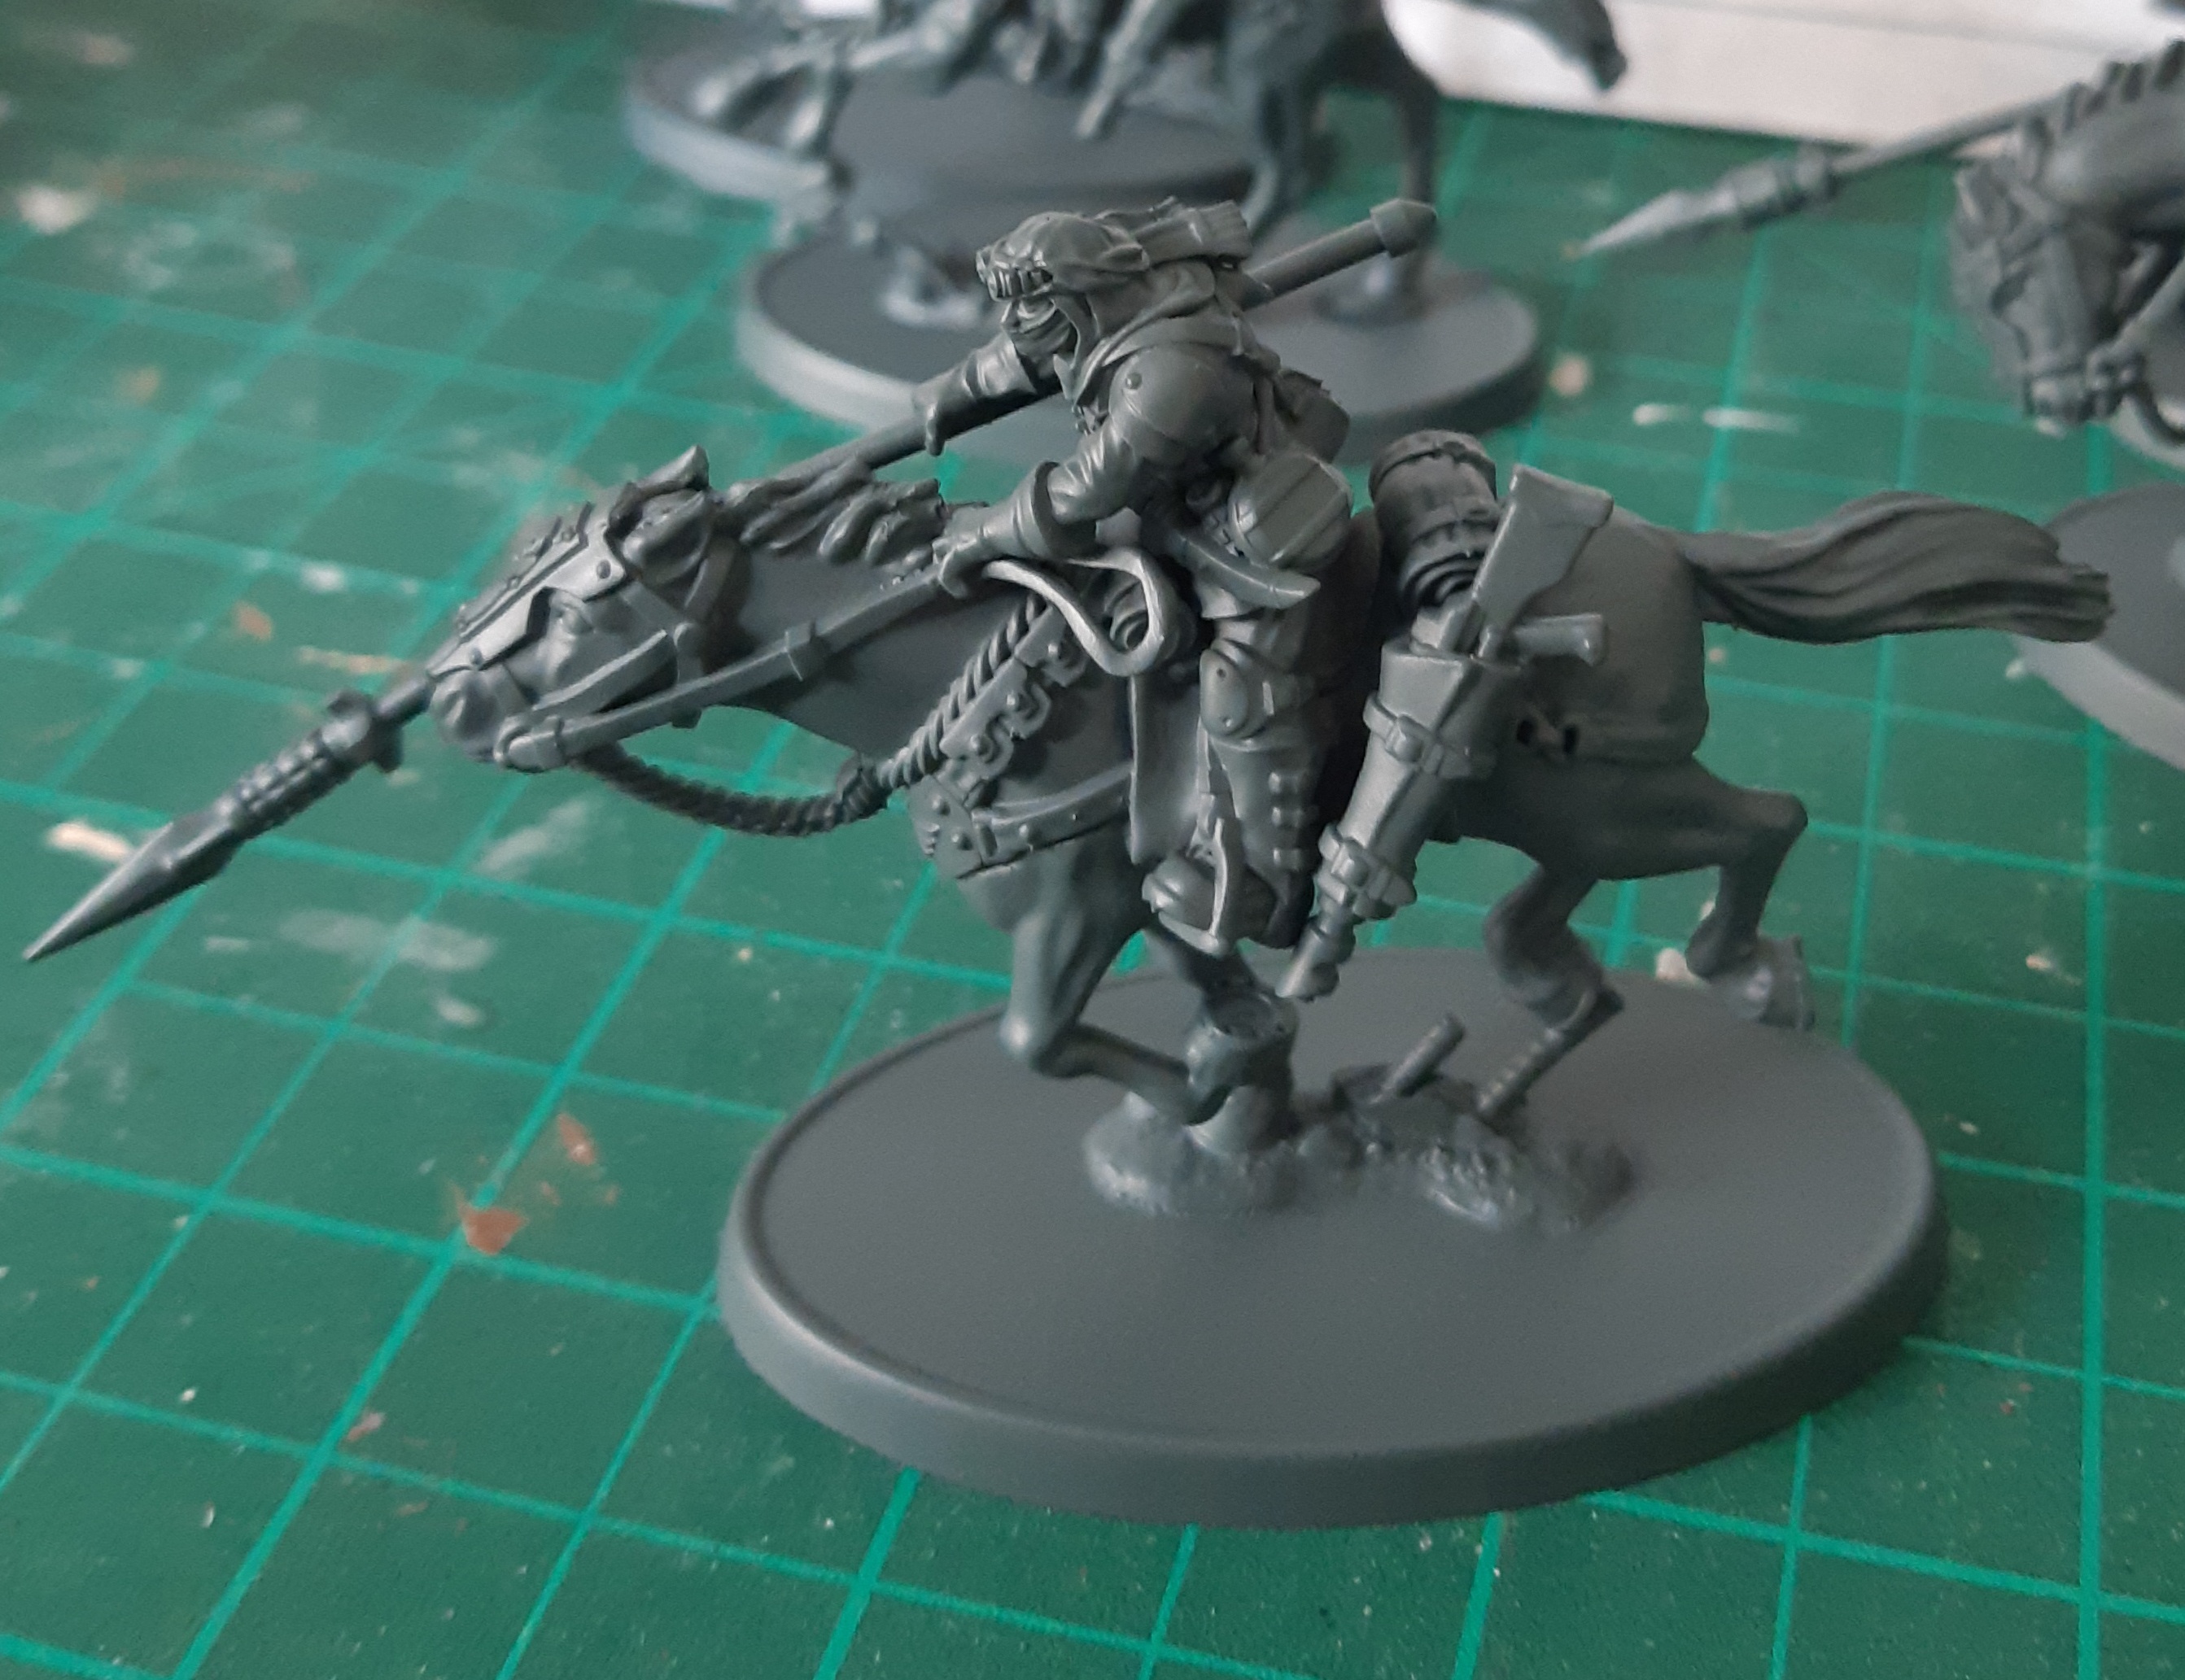
The project starts with 5 multipart riders and horses, needing cleaning and assembly before painting starts in earnest.
Bendy Lances
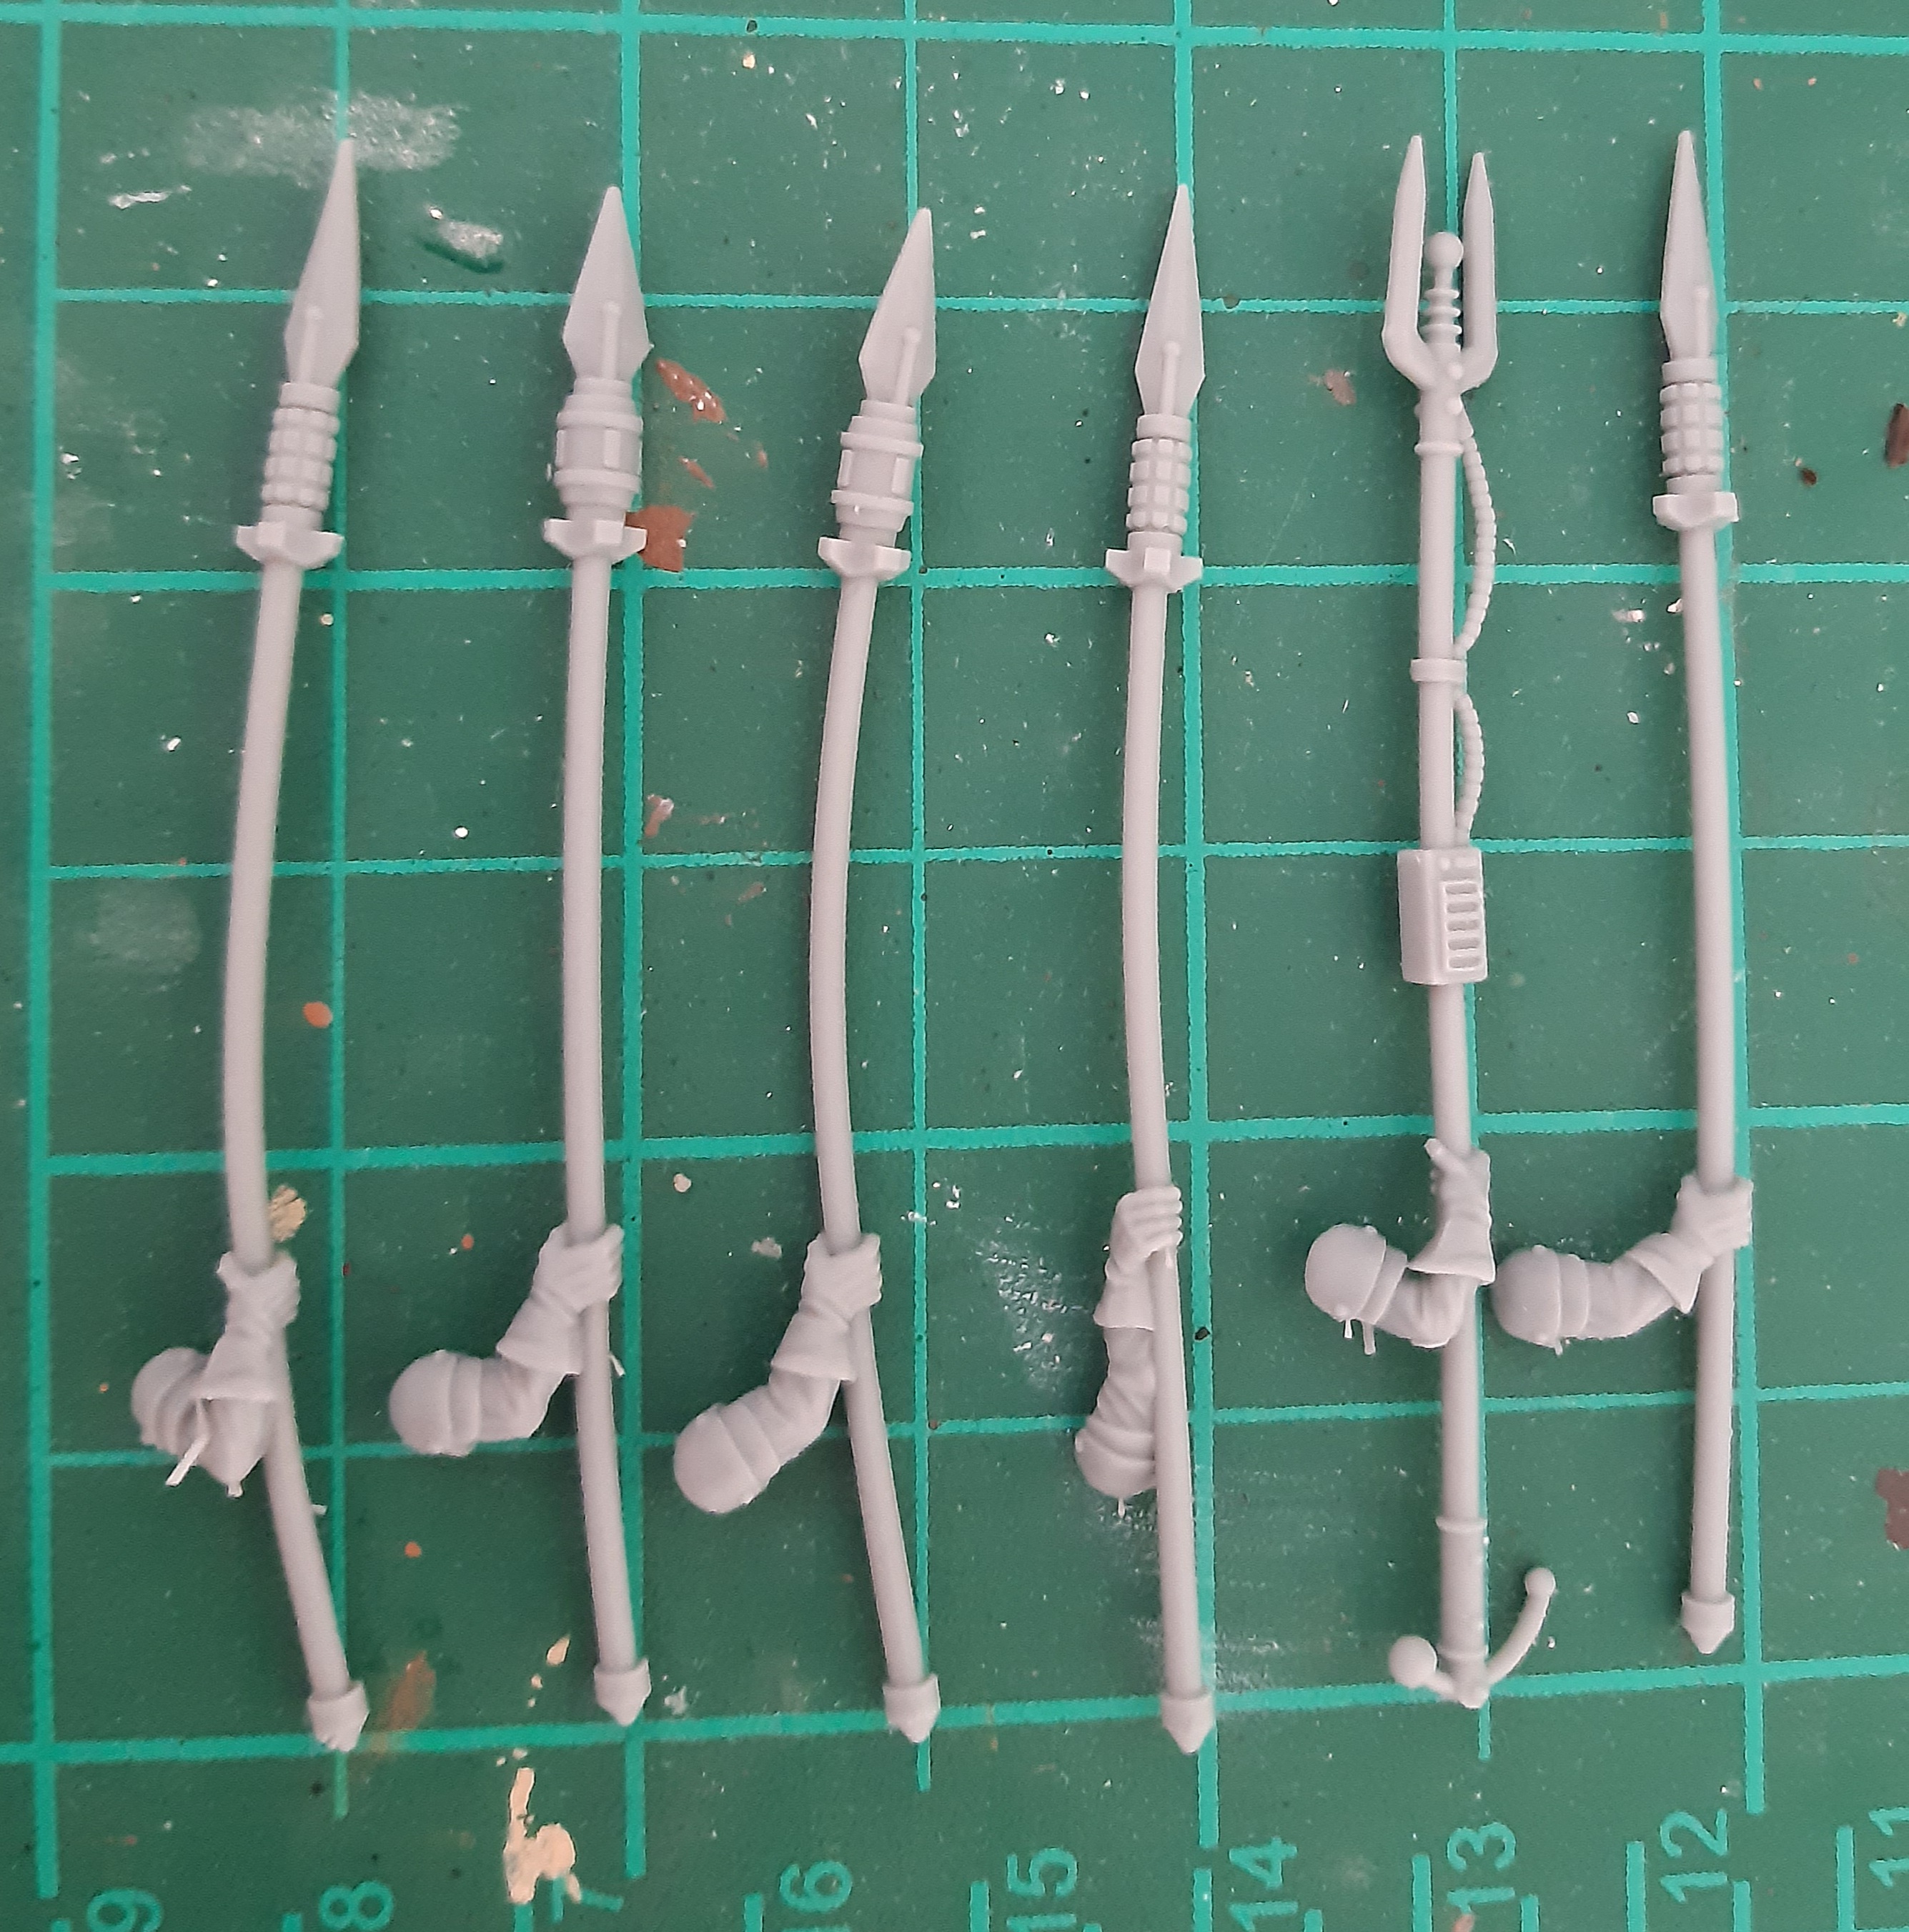
First thing to sort out were these slightly bent lance arms. The models are siocast plastic, so heating up the parts and bending them back into shape should be possible.
I stuck a kettle on, poured out a small bowl of water just as it started to boil, and stuck each of the offending arms in for around 30 seconds, before removing with forceps and trying to straighten them.
Not a perfect job, but a noticeable improvement.
Assembly and Undercoating
There are five rider torsos that are interchangeable between horse bodies, and right arms are also interchangeable. Left arms go with particular horses, as do the separate rifles, each marked with a corresponding number.
Assembly was pretty simple, cleaning off the worst of the mould lines with a sharp blade (although not a huge fan of the material, as it didn’t really scrape away cleanly), and glueing the parts together, paying attention to the numbers to make sure all the parts aligned correctly. No major issues, everything fitted well, although I did dry fit to check joins before glueing.
I grabbed a can of Colour Forge Standard Grey and sprayed on to prime the models, and was then ready to consider colour schemes.
Reference Images
I wasn’t certain about what colour schemes I was going to use, so next task was to look around at a bunch of pictures for inspiration and grab a few for reference/build a mood board.
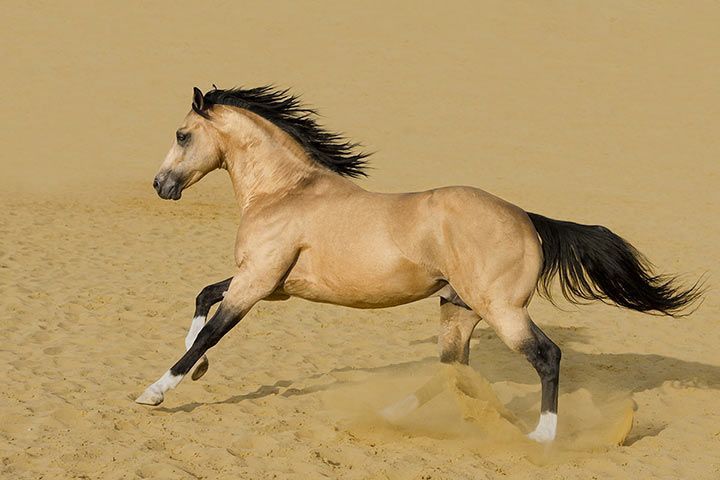
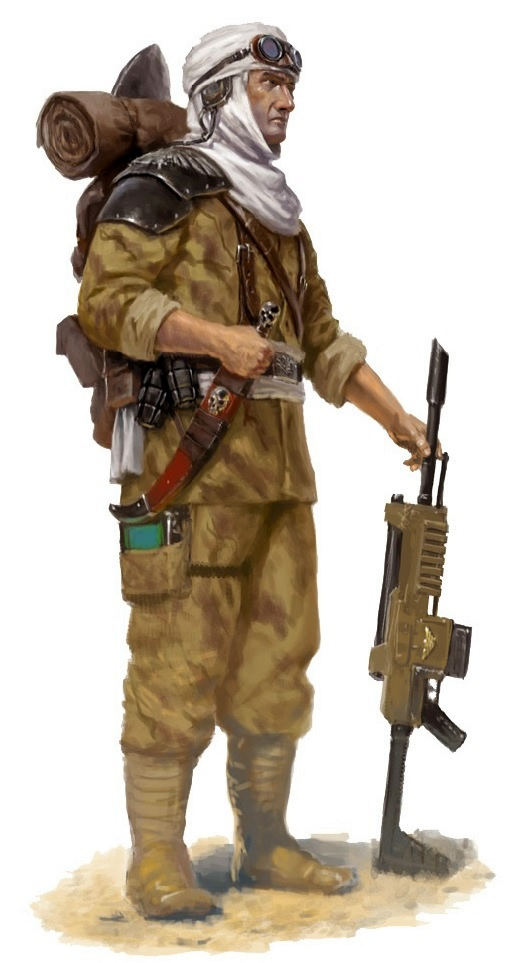
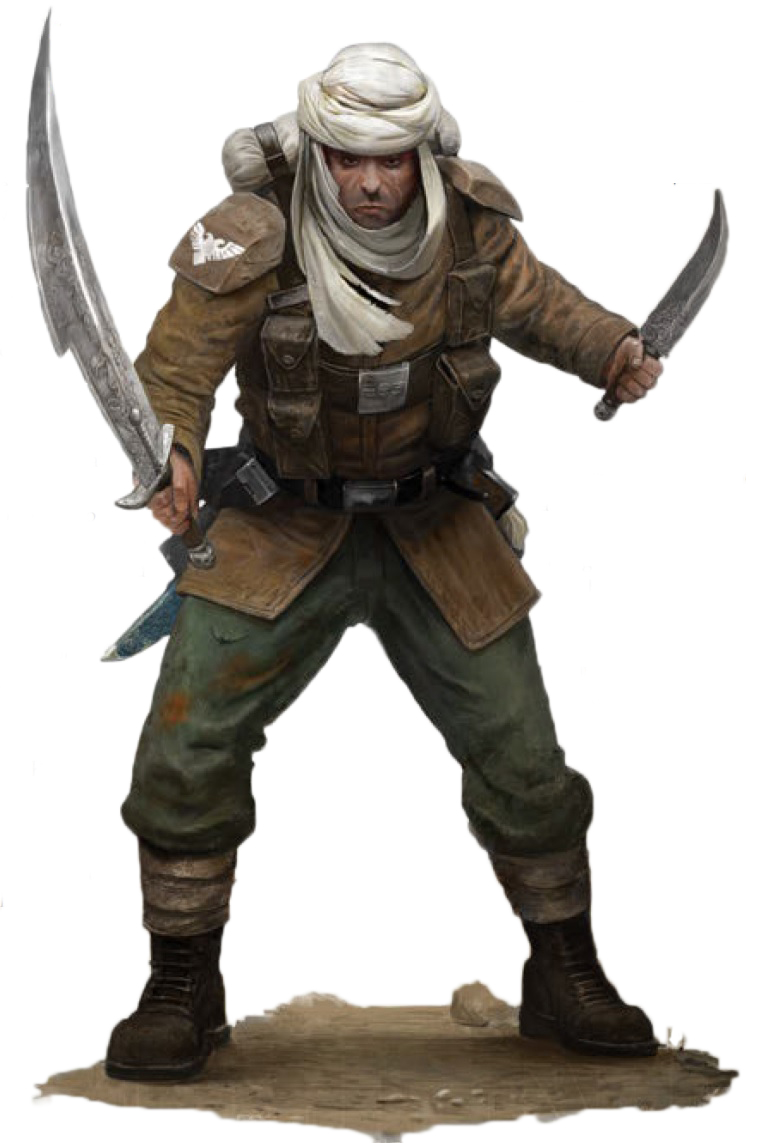
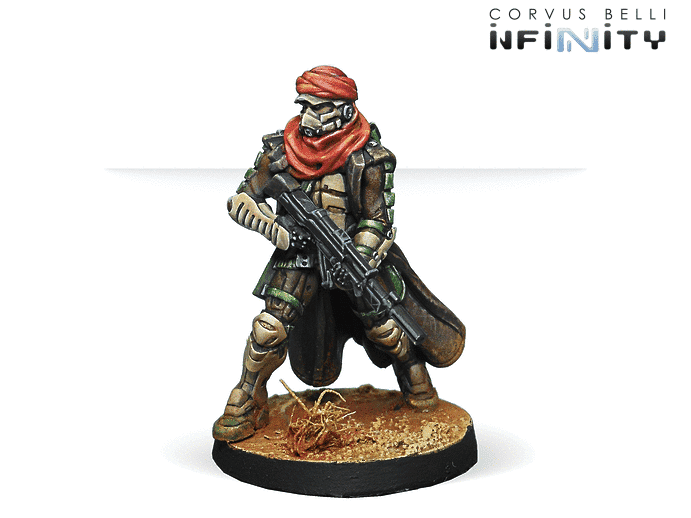 Quite like the red as an alternative to the white headgear.
Horse Base Colours
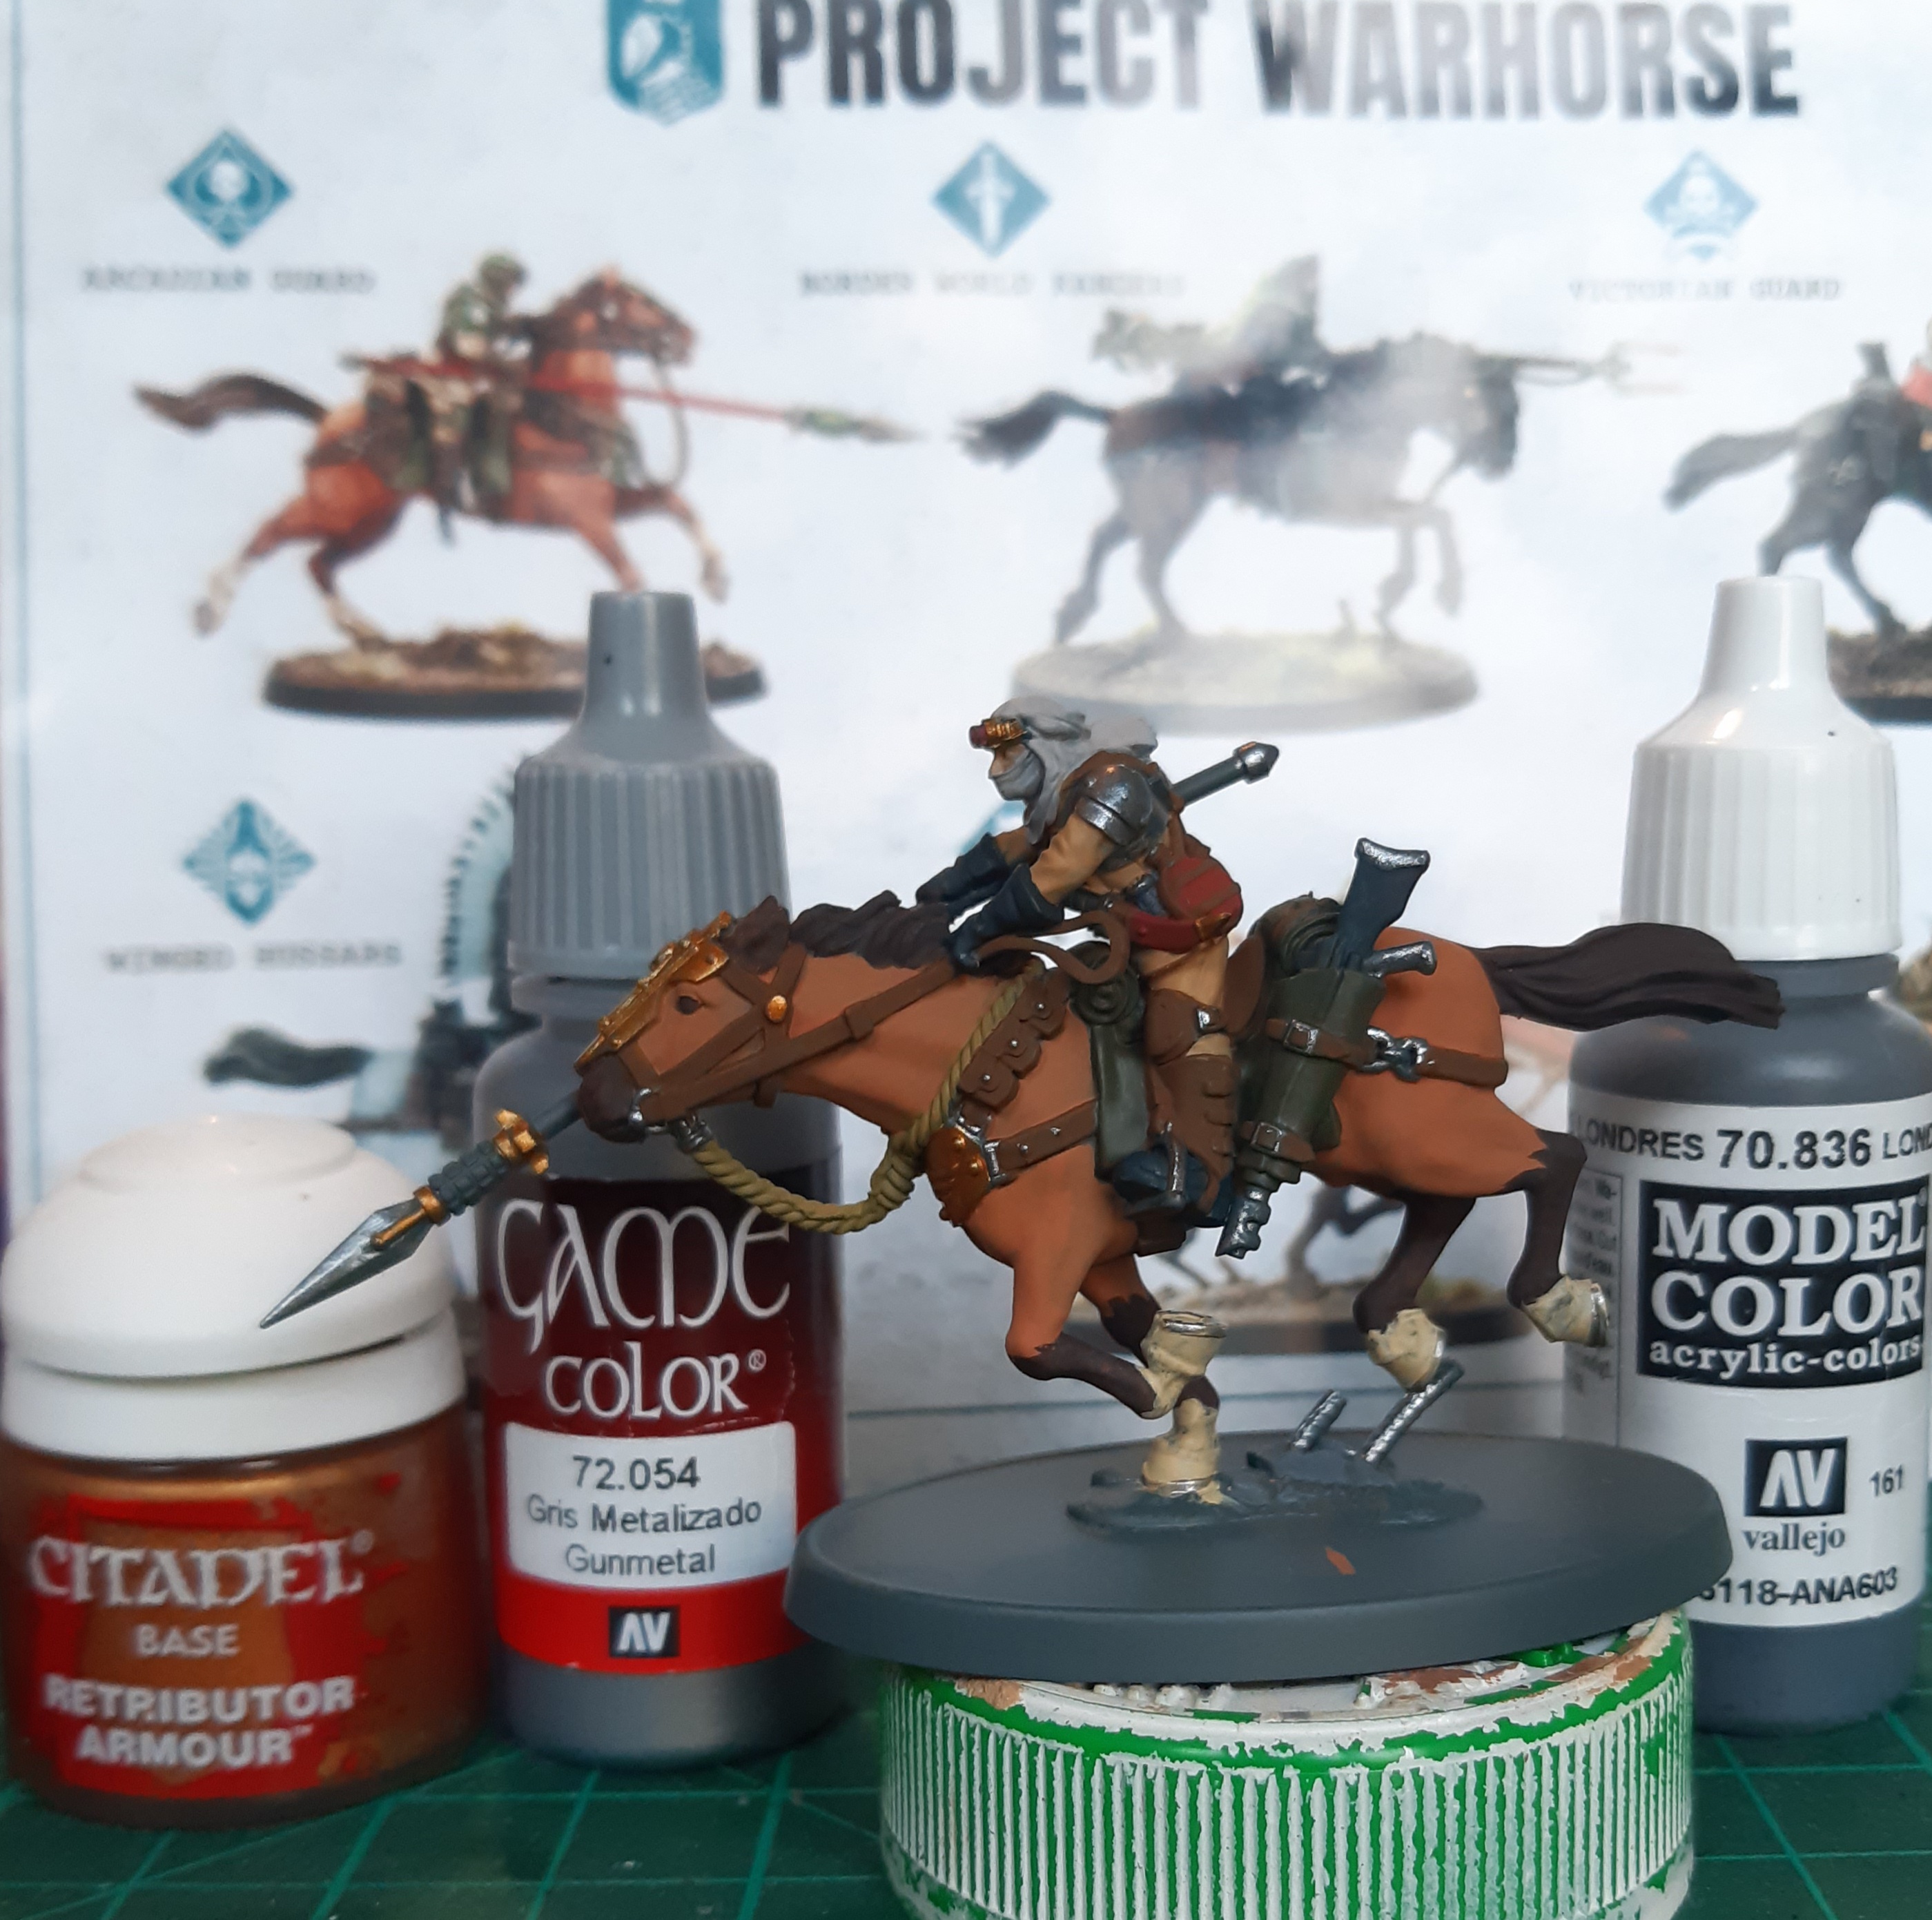
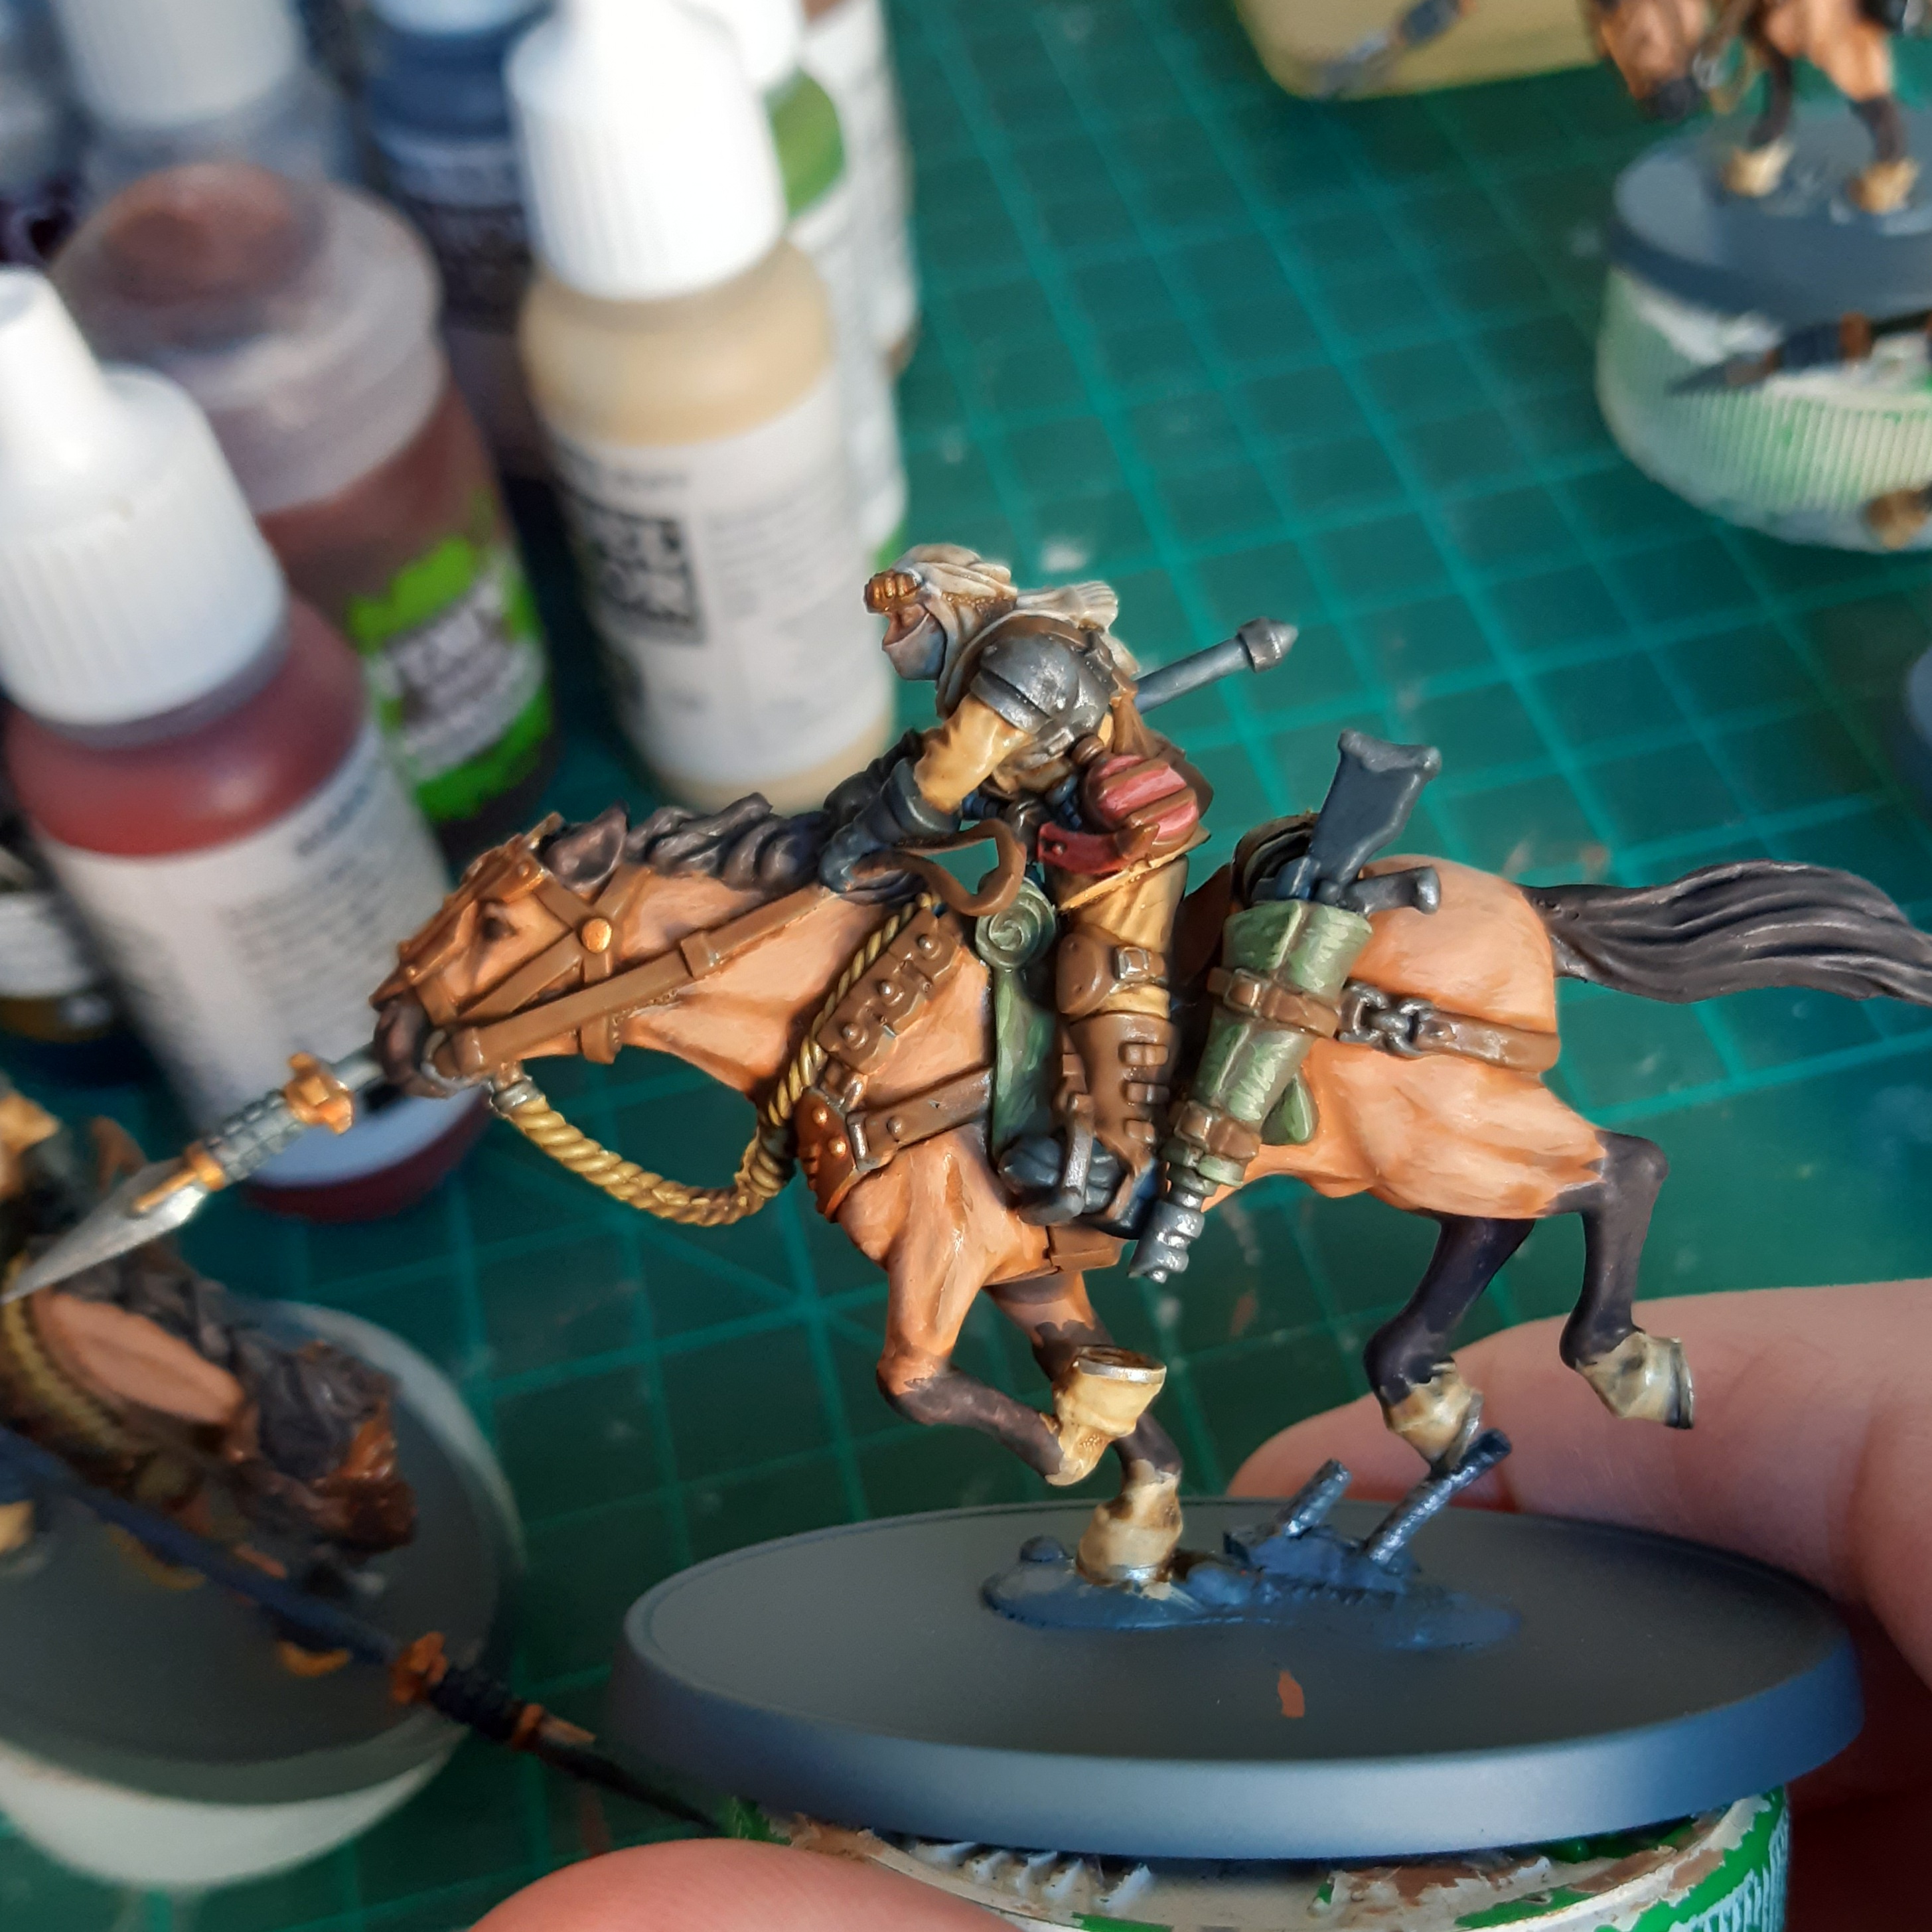
Time to get started with the painting. Starting with the horses, as they represent the largest single areas of any given colour, and I can trick myself that more progress has been made once they are colourised.
I started with Vallejo Model Colour Light Brown, needing a couple of coats to get good solid coverage. I then picked out the mane, tail, ears, muzzle, eyes and stockings with Vallejo Model Colour German Camo Black Brown. Finally, the hoofs and bottom of the legs were painted with Vallejo Model Colour Buff.
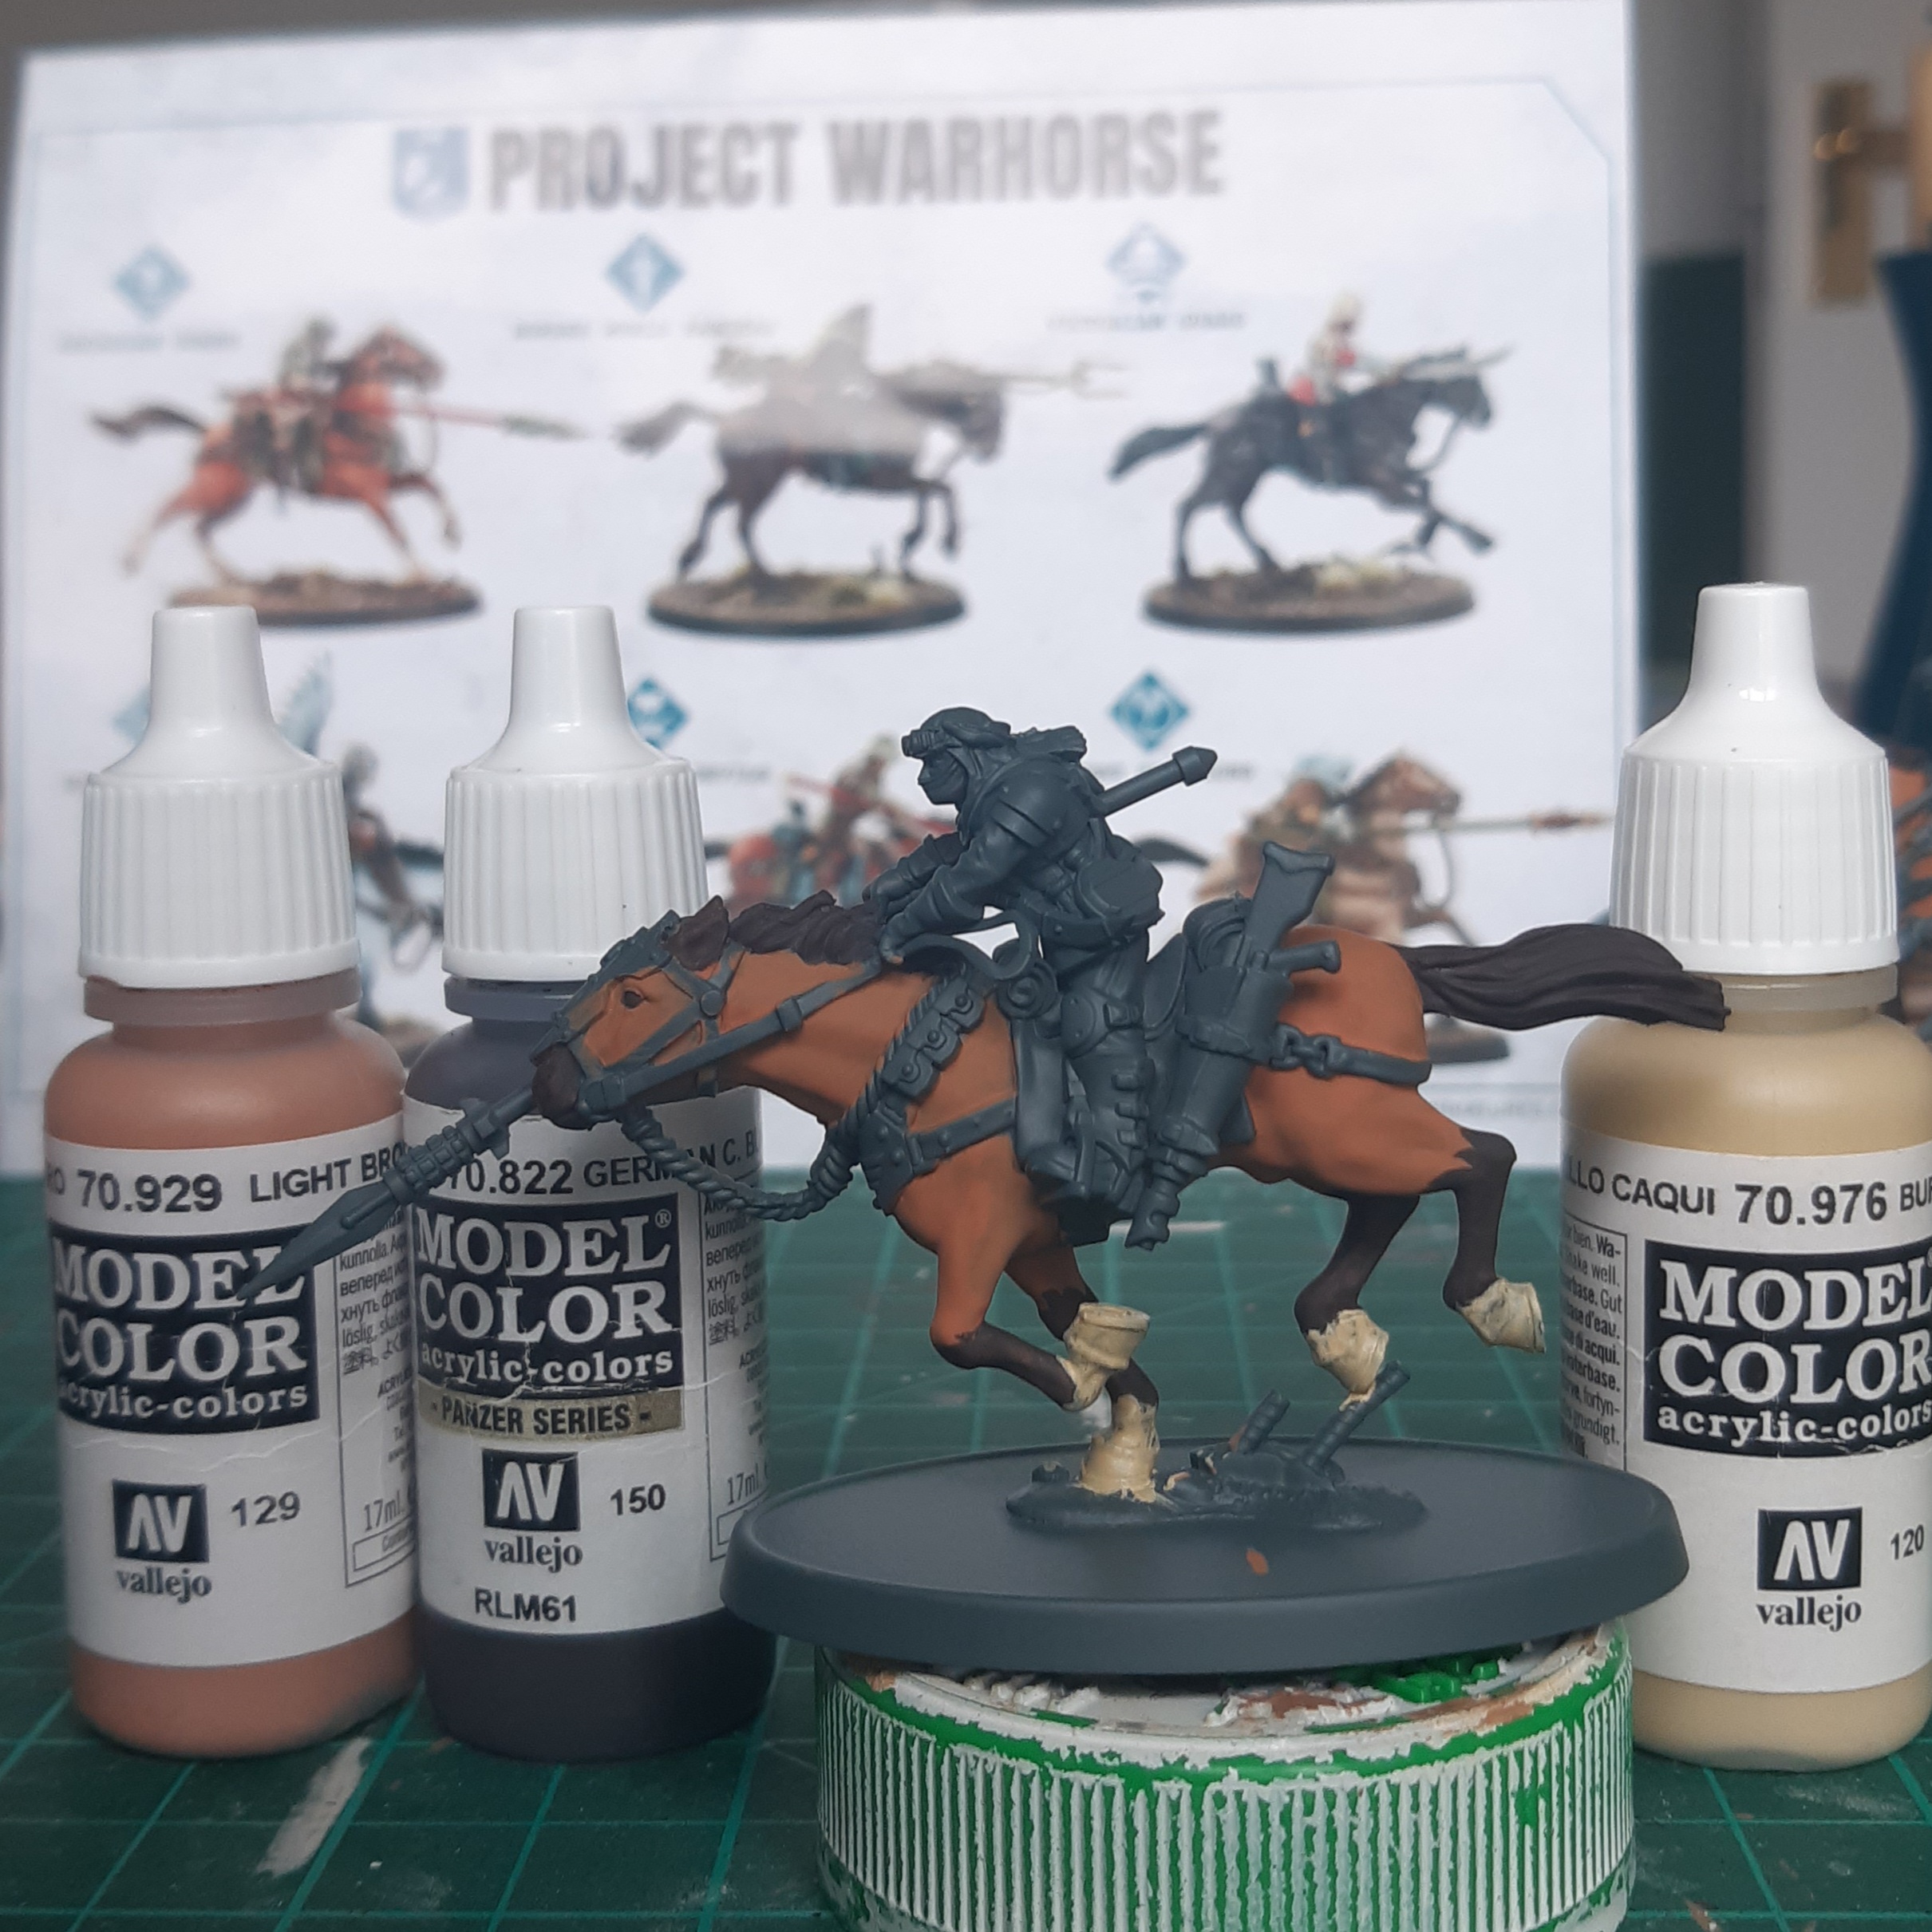 Must remember to pick out the horse shoes later!
Other Base Colours
With the horse base colours done, I then moved onto the rest of the figures. This was done over a number of sessions, pretty much adding three colours at a time.
First I used Citadel Castellan Green for the horse blanket, roll on the back and rifle cover. Vallejo Model Colour Middlestone was used for the rope bridle, and Vallejo Model Colour Desert Yellow was used for the riders’ uniform.
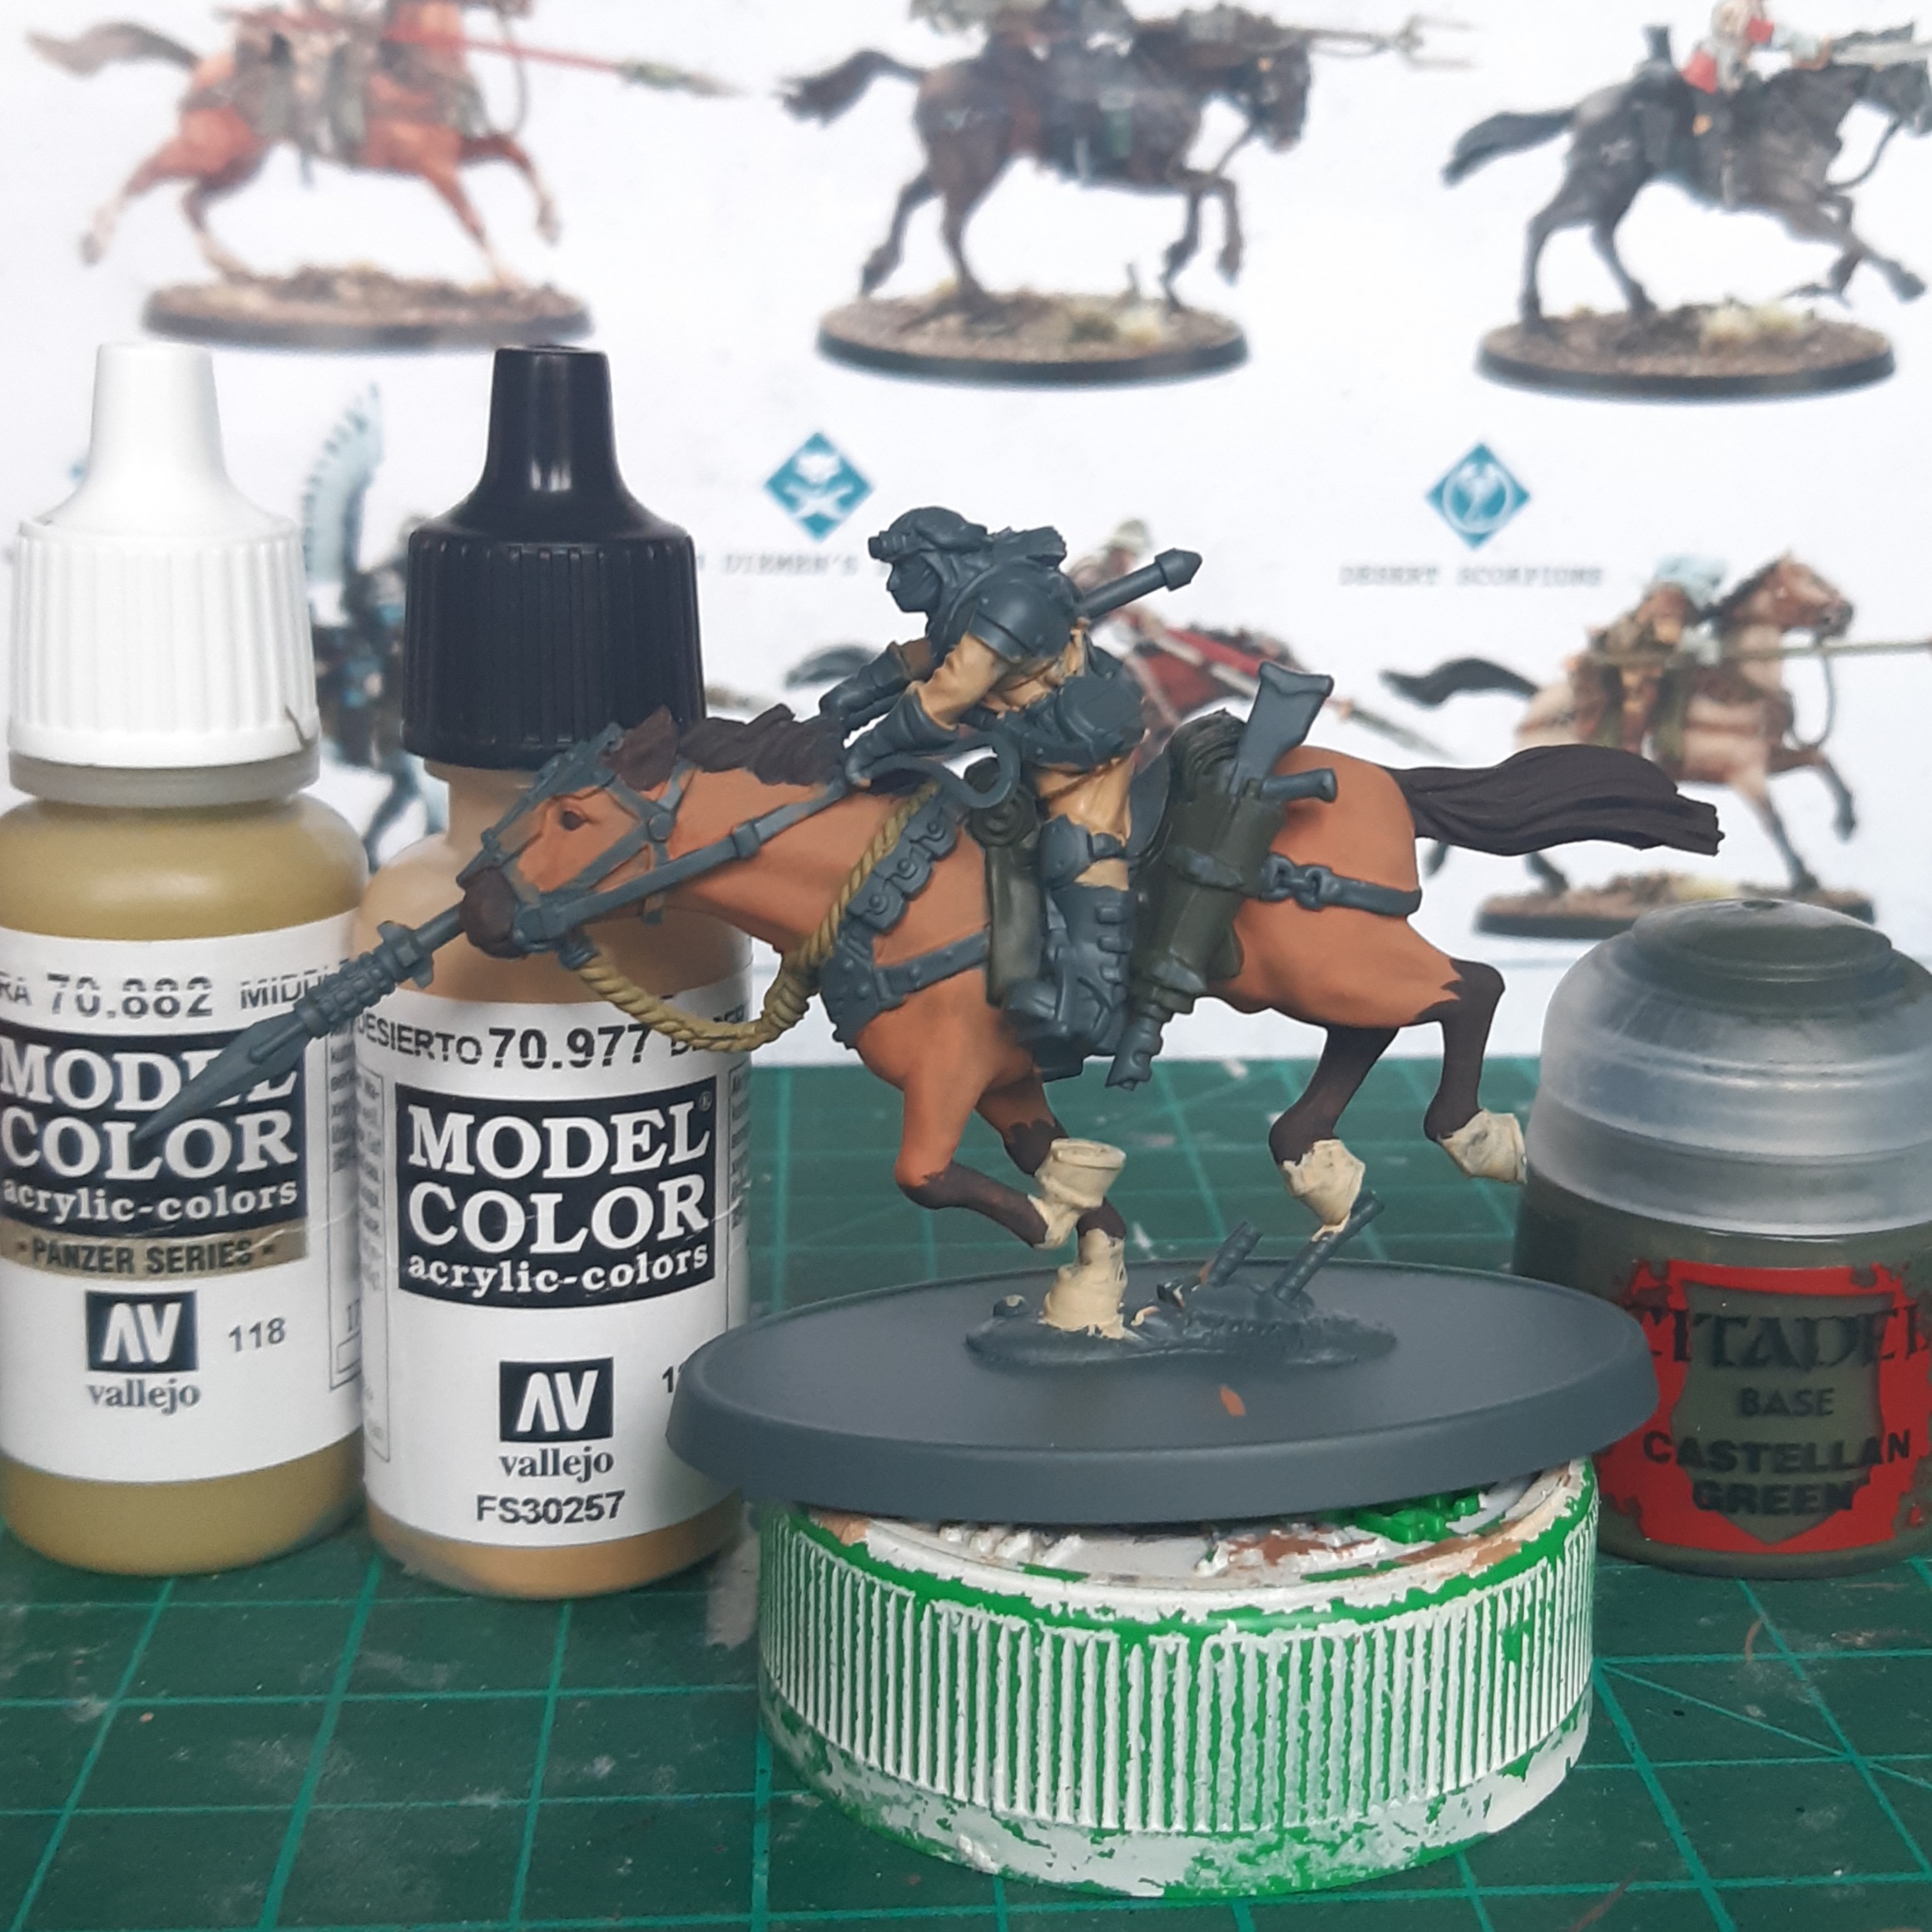
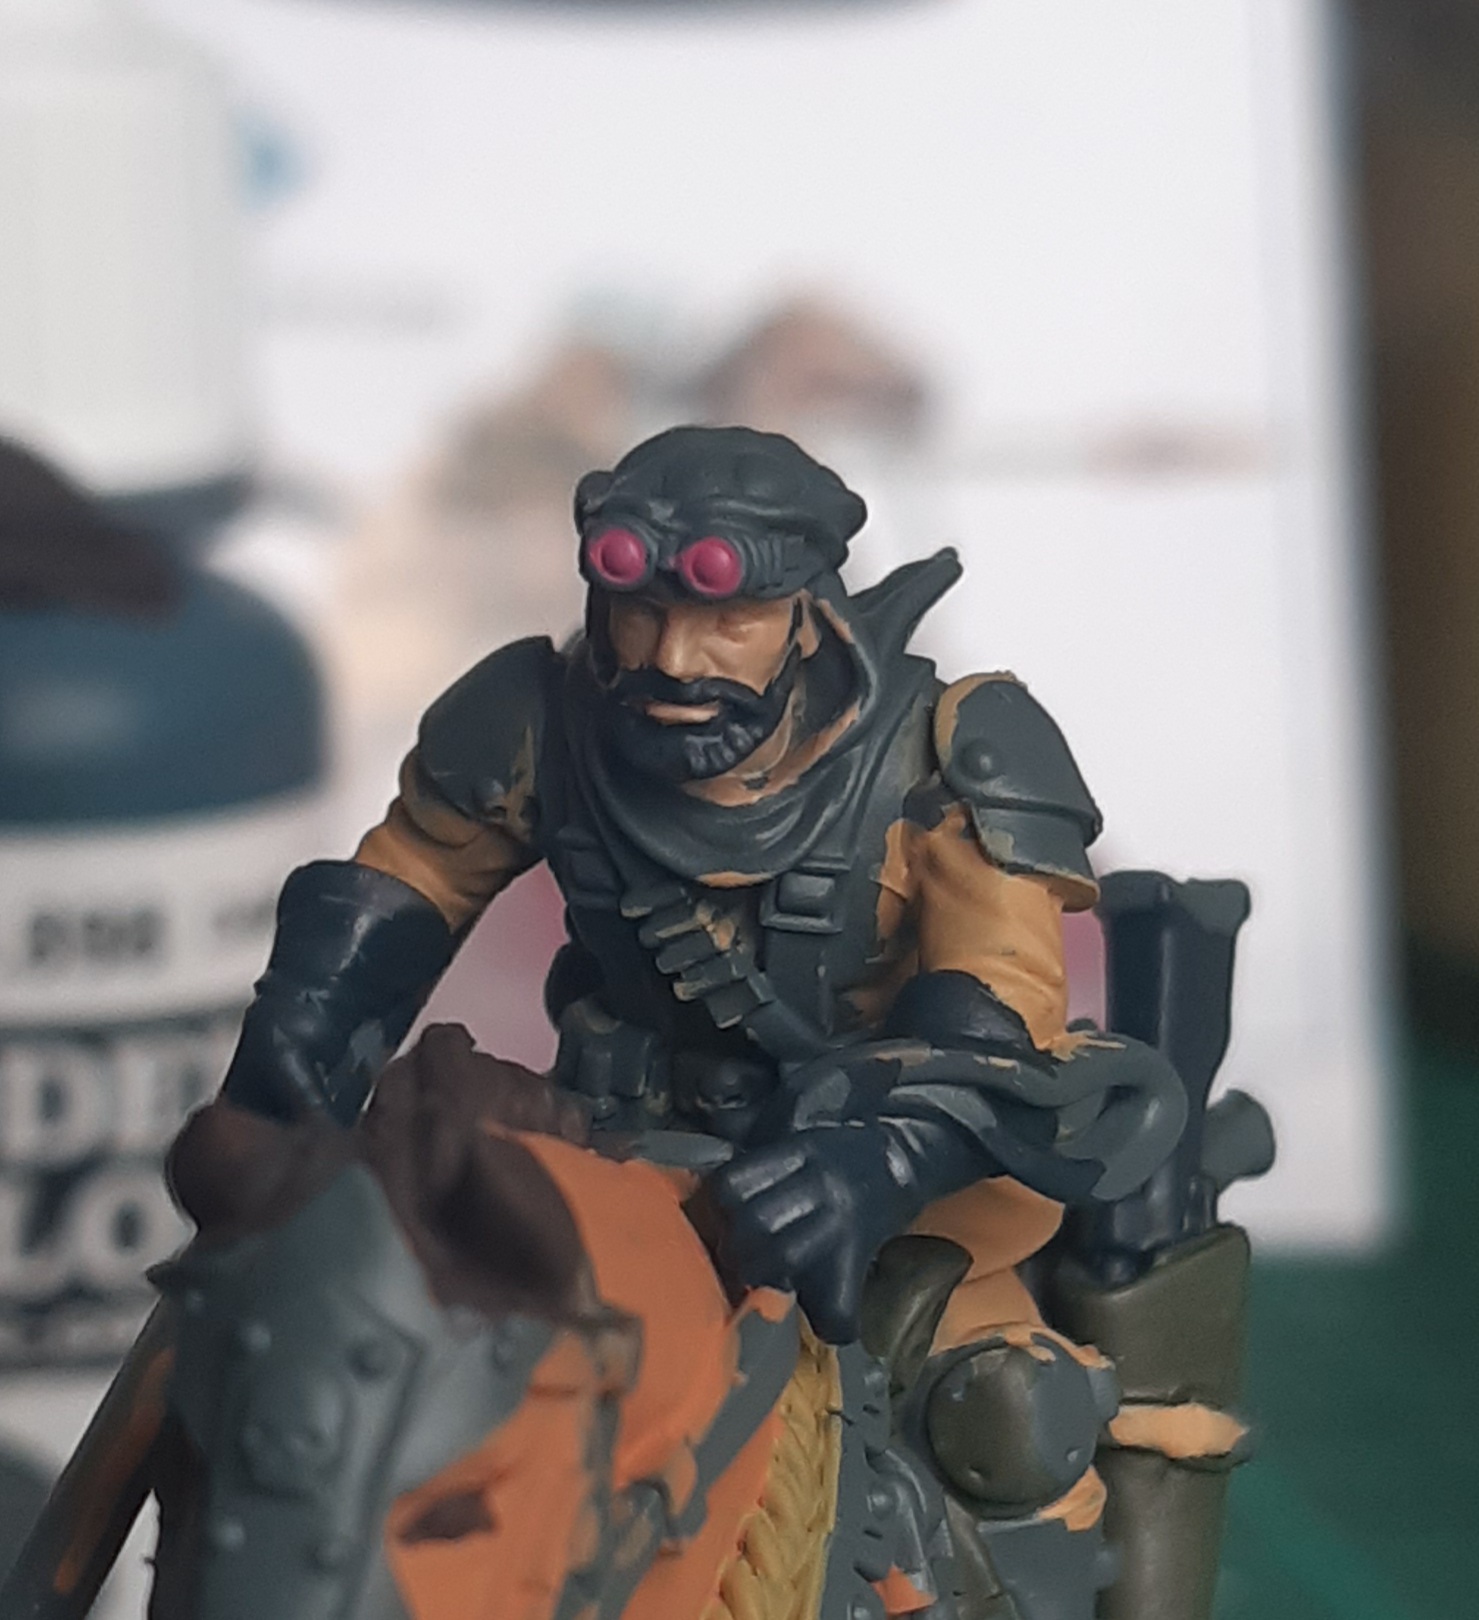
Next I painted the riders’ faces with Citadel Kislev Flesh, and picked out the lenses of their googles with Citadel Emperors Children. Boots, gloves, gun casing, and facial hair were painted with Vallejo Model Colour Dark Sea Blue (the idea being that after a black wash these end up looking like a reasonable black colour).
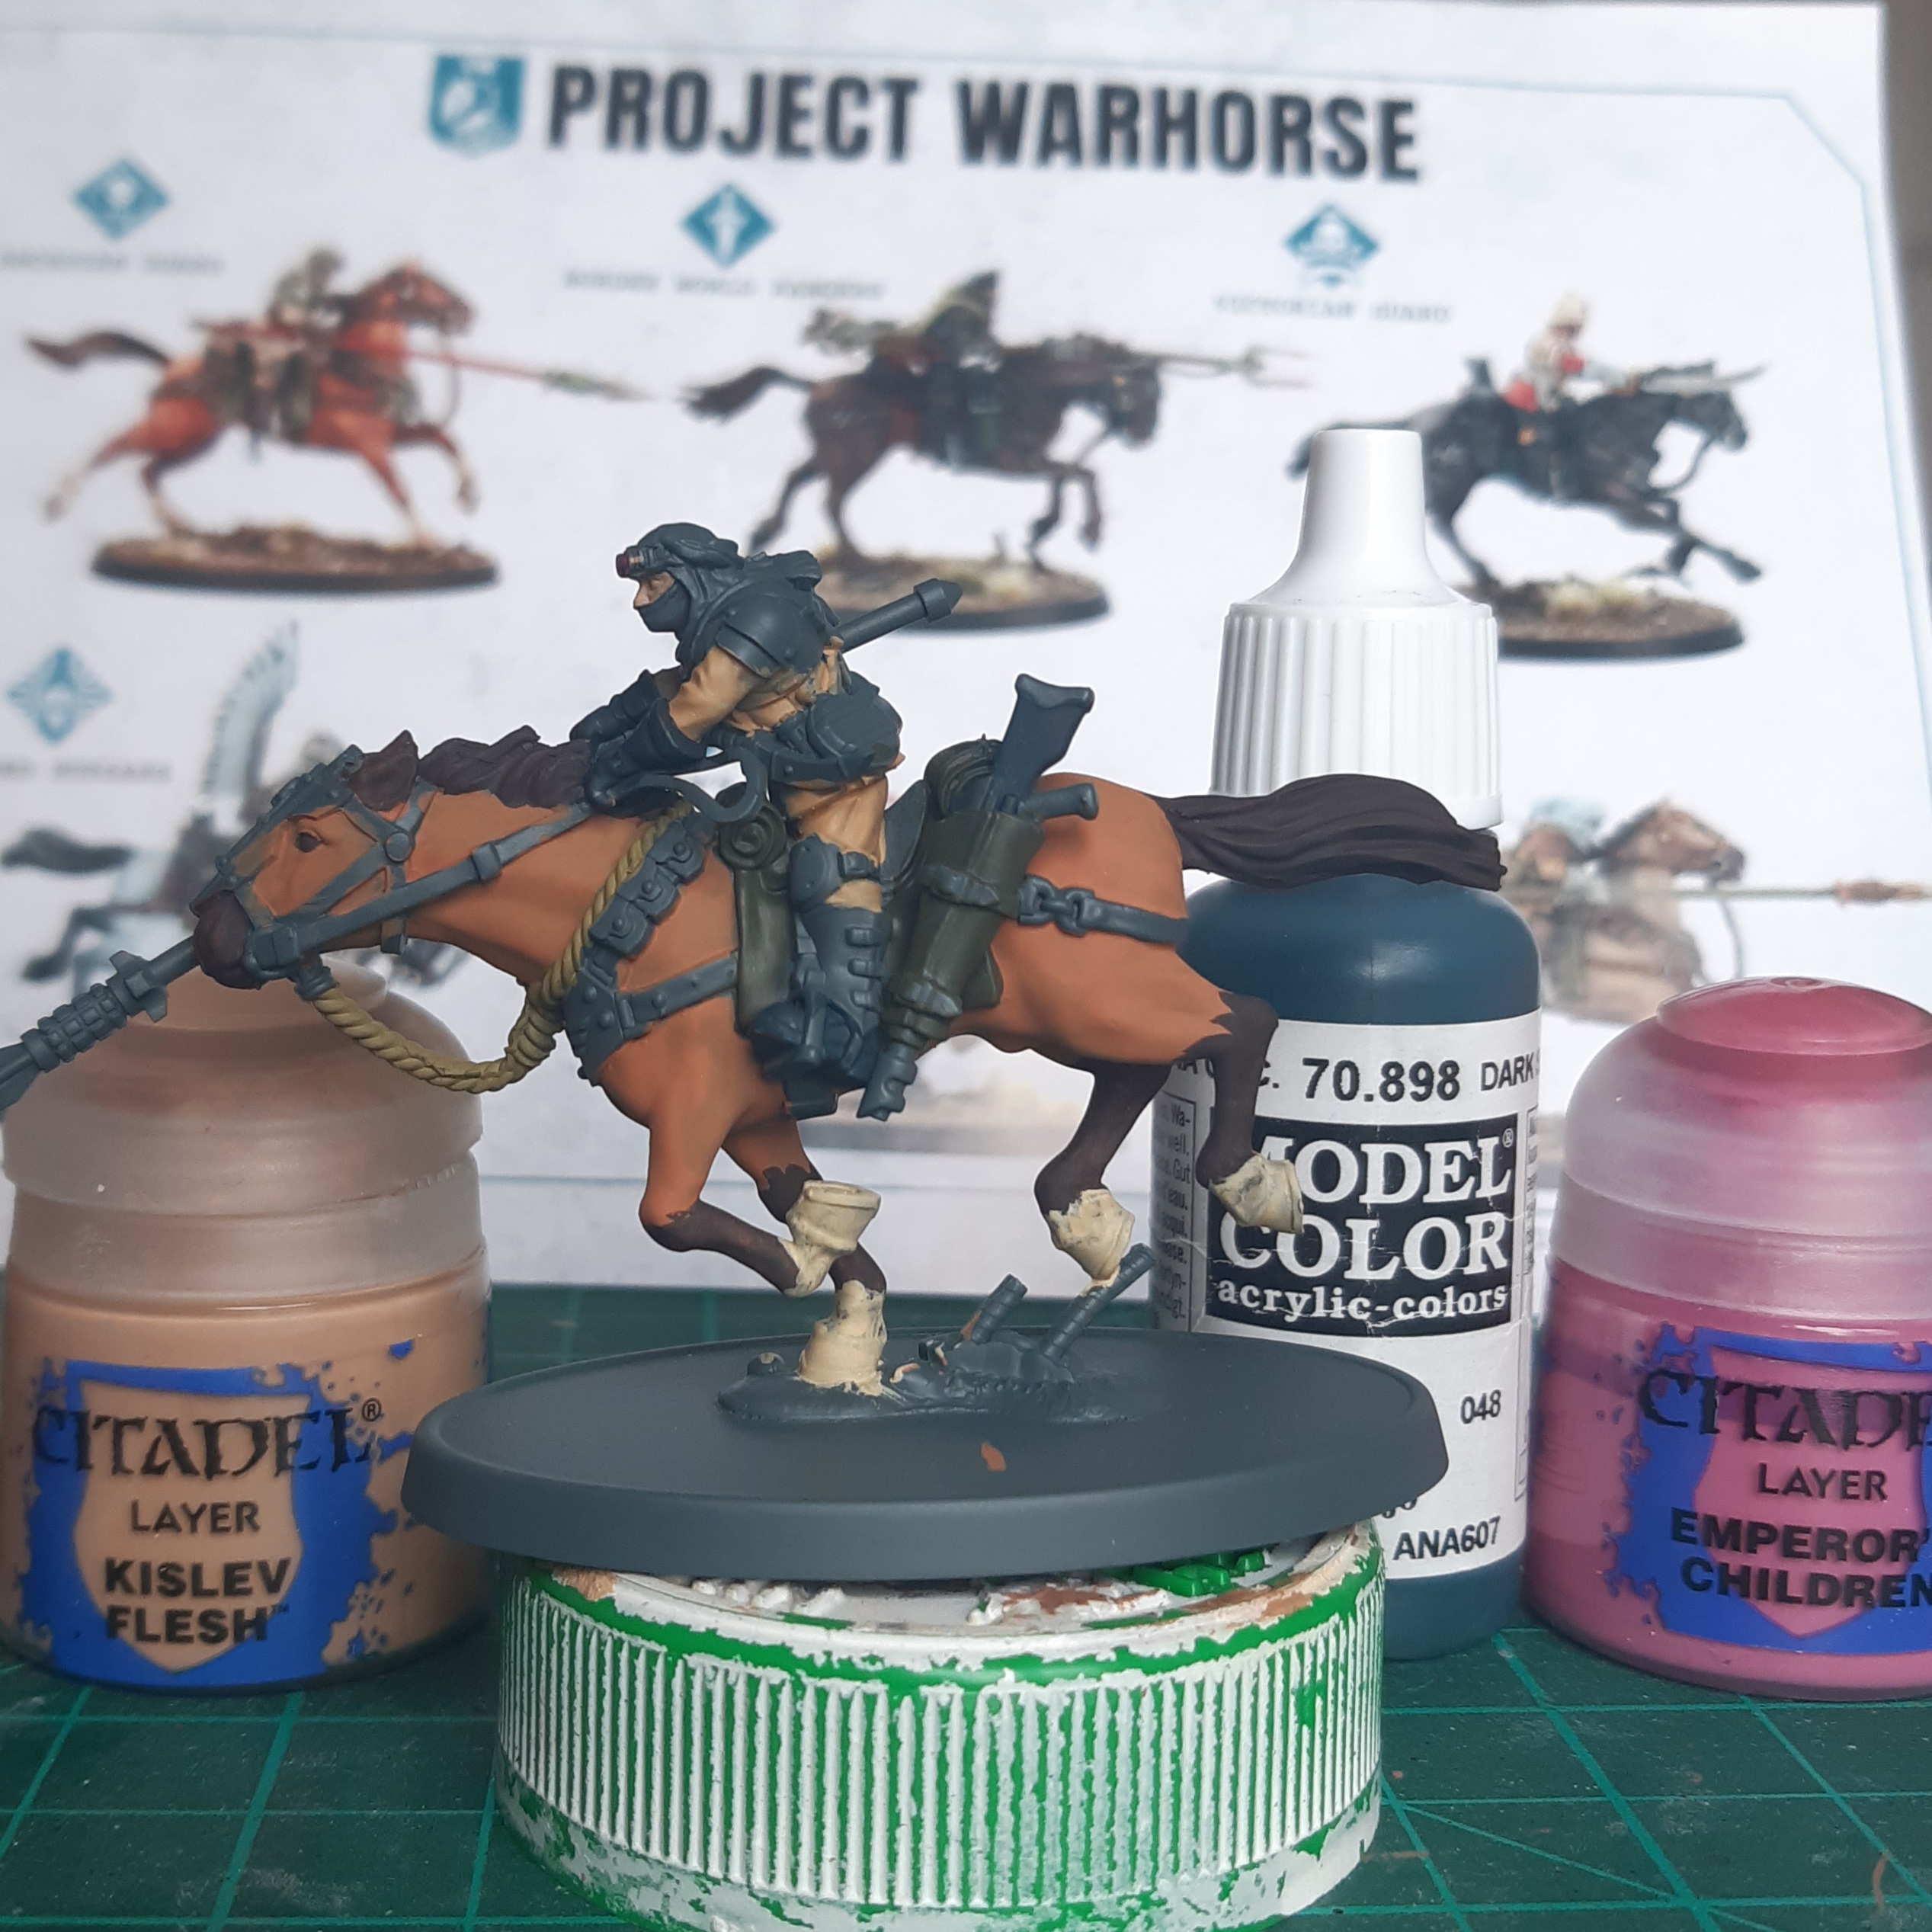
To add a bit more colour variety, I used Vallejo Model Colour Cavalry Brown to paint water bottles, pistol holsters and knife scabbards. Next was probably the most time consuming part of the base colours – painting all the belts, pouches, horse tack, gaiters Vallejo Model Colour Flat Earth. The head scarves were painted with Vallejo Game Colour Stonewall Grey, with the intention to bring up to a dirty white later.
Last base colours were using Vallejo Game Colour Gunmetal on the armour, buckles, gun parts, lance points, stirrups and horse shoes. Citadel Retributor Armour was used on the horse armour, googles, detail on the knife scabbards and some parts of the lances. Finally, Vallejo Model Colour London Grey was used to tidy up any accidental overpainting on the lance and grenades. Although a little lighter than the primer, there’s not really a noticeable difference.
Washes
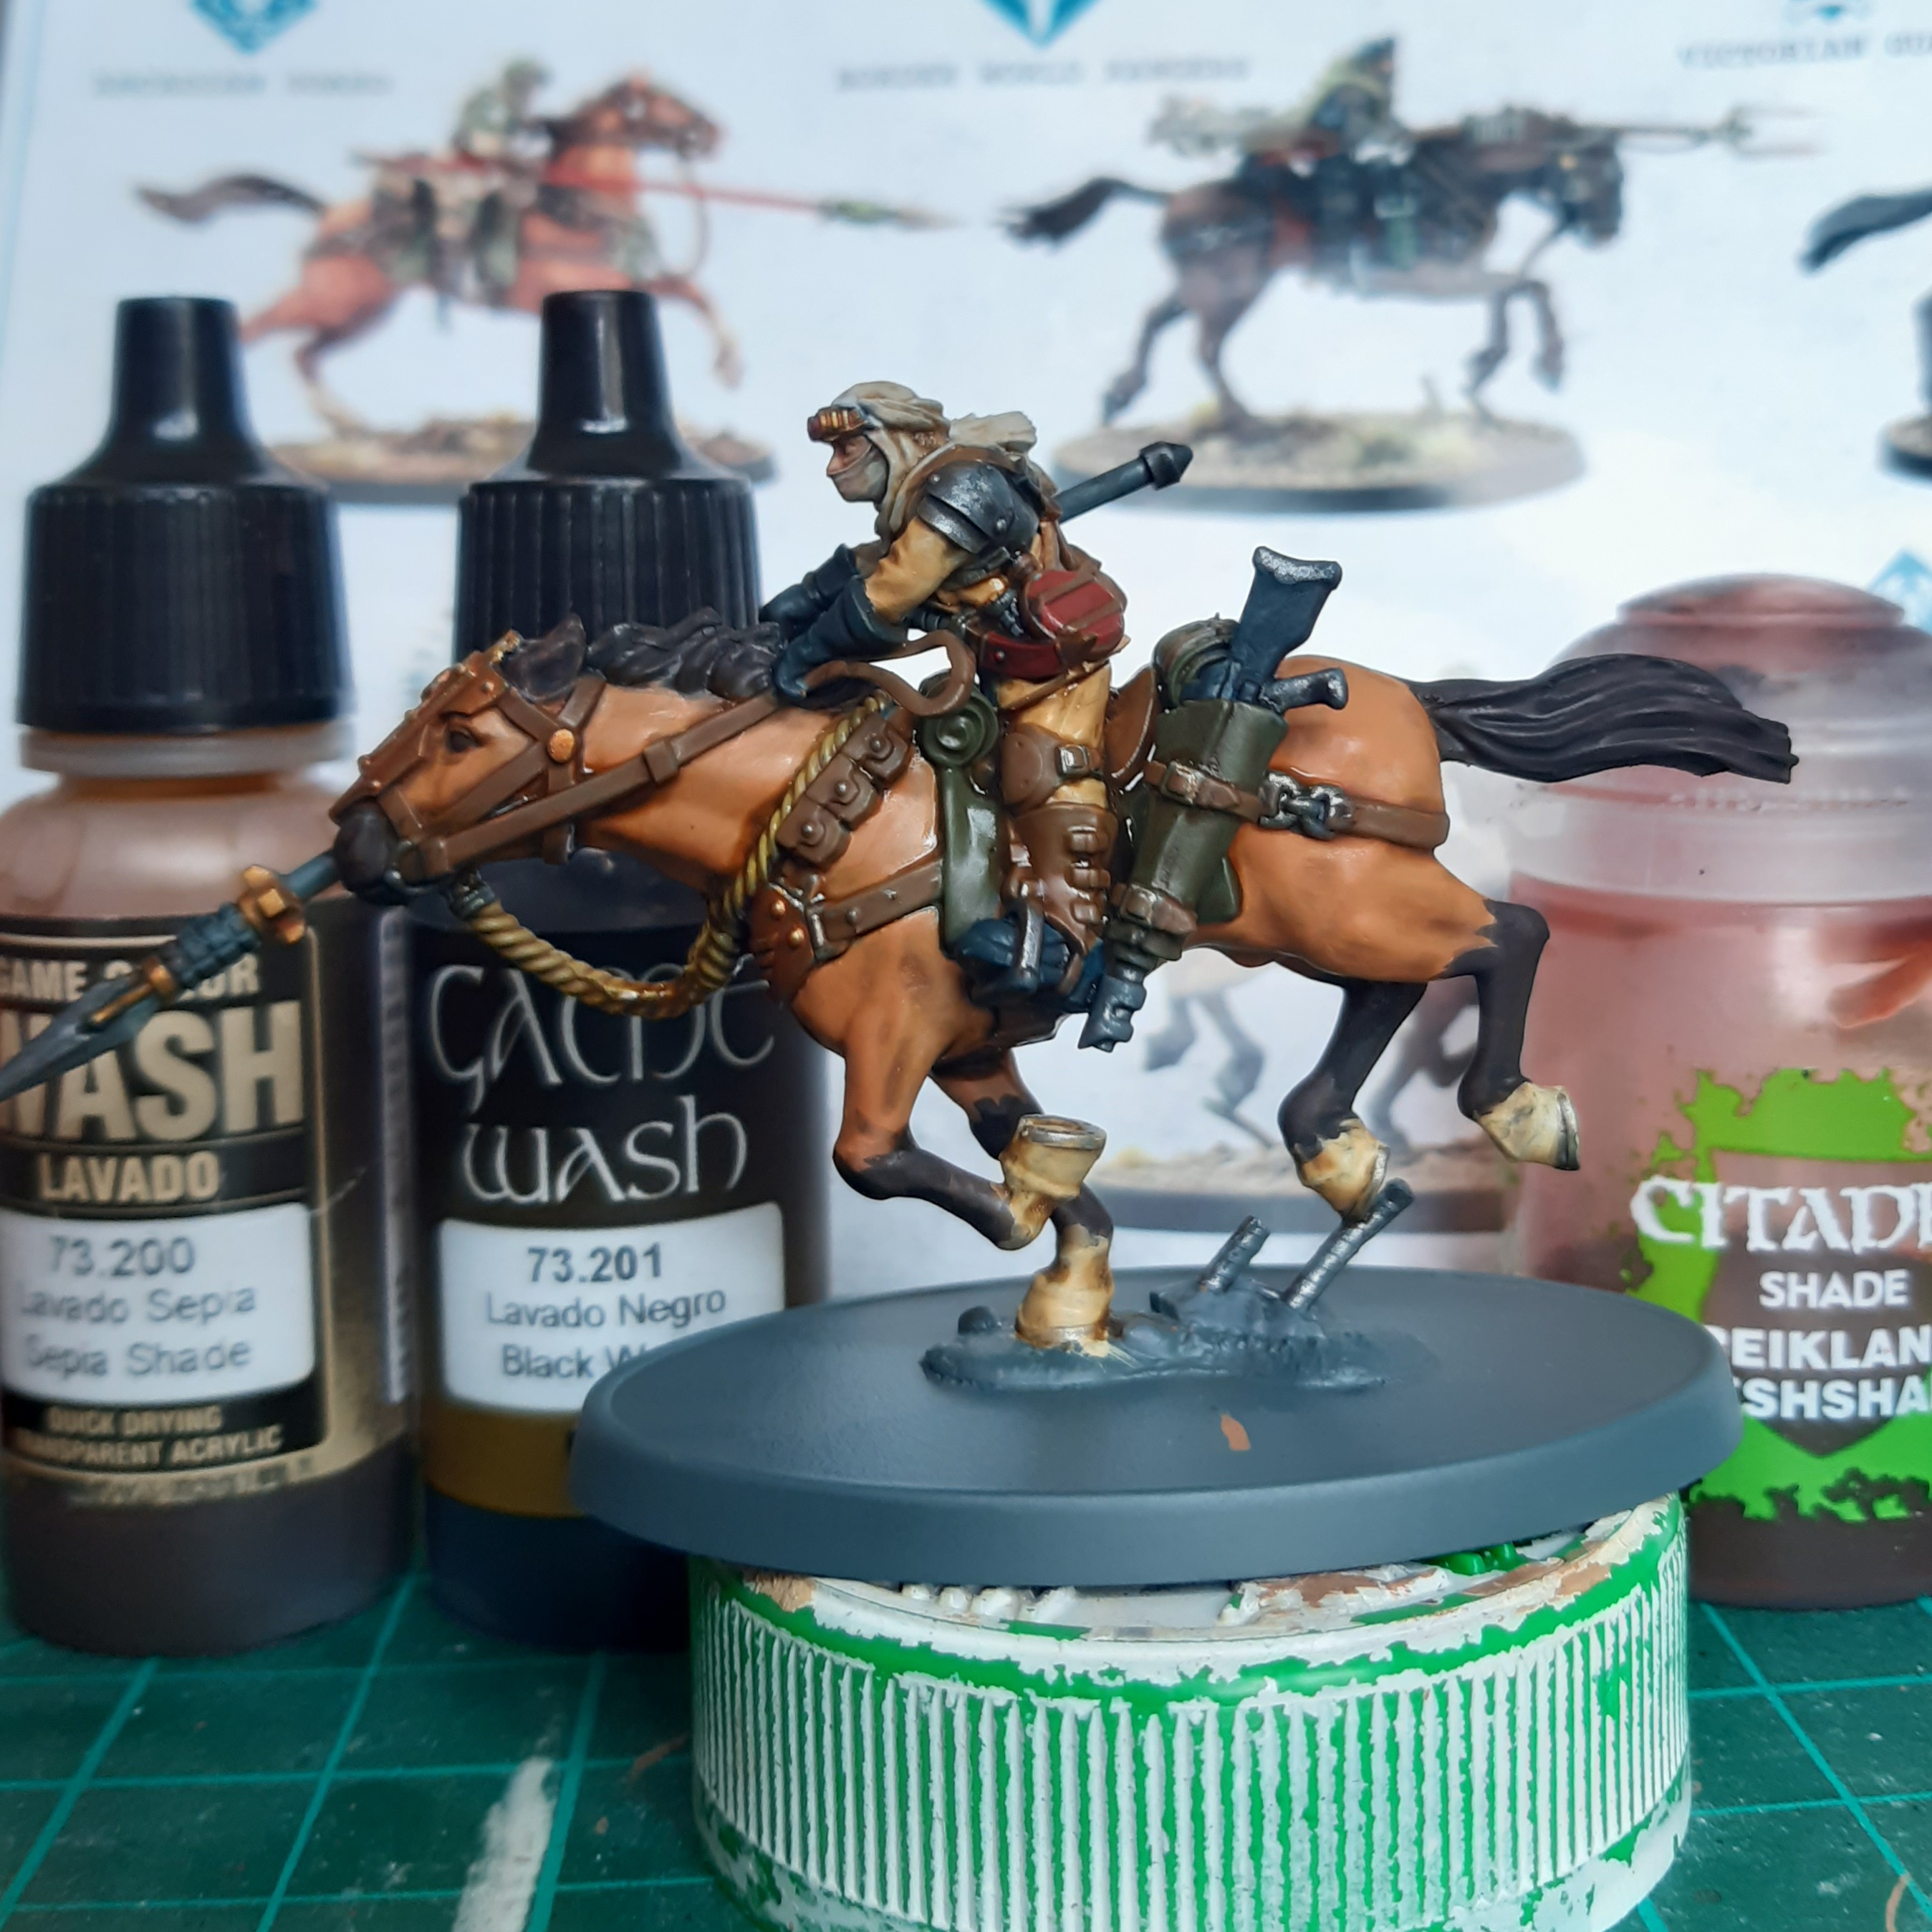
Base colours down, time to throw on some washes.
First, Vallejo Black wash on all the dark brown, gunmetal, dark sea blue and dark grey areas – so lances, horse hair, boots, gloves, guns, lower horse legs etc.
Once that was dry, Citadel Reikland Fleshshade was used on the riders’ faces, any gold/brass parts, and anything coloured in cavalry brown.
Finally, Vallejo Sepia Wash was used over everything else – most of the horse flesh, uniforms, head scarves, horse furniture etc.
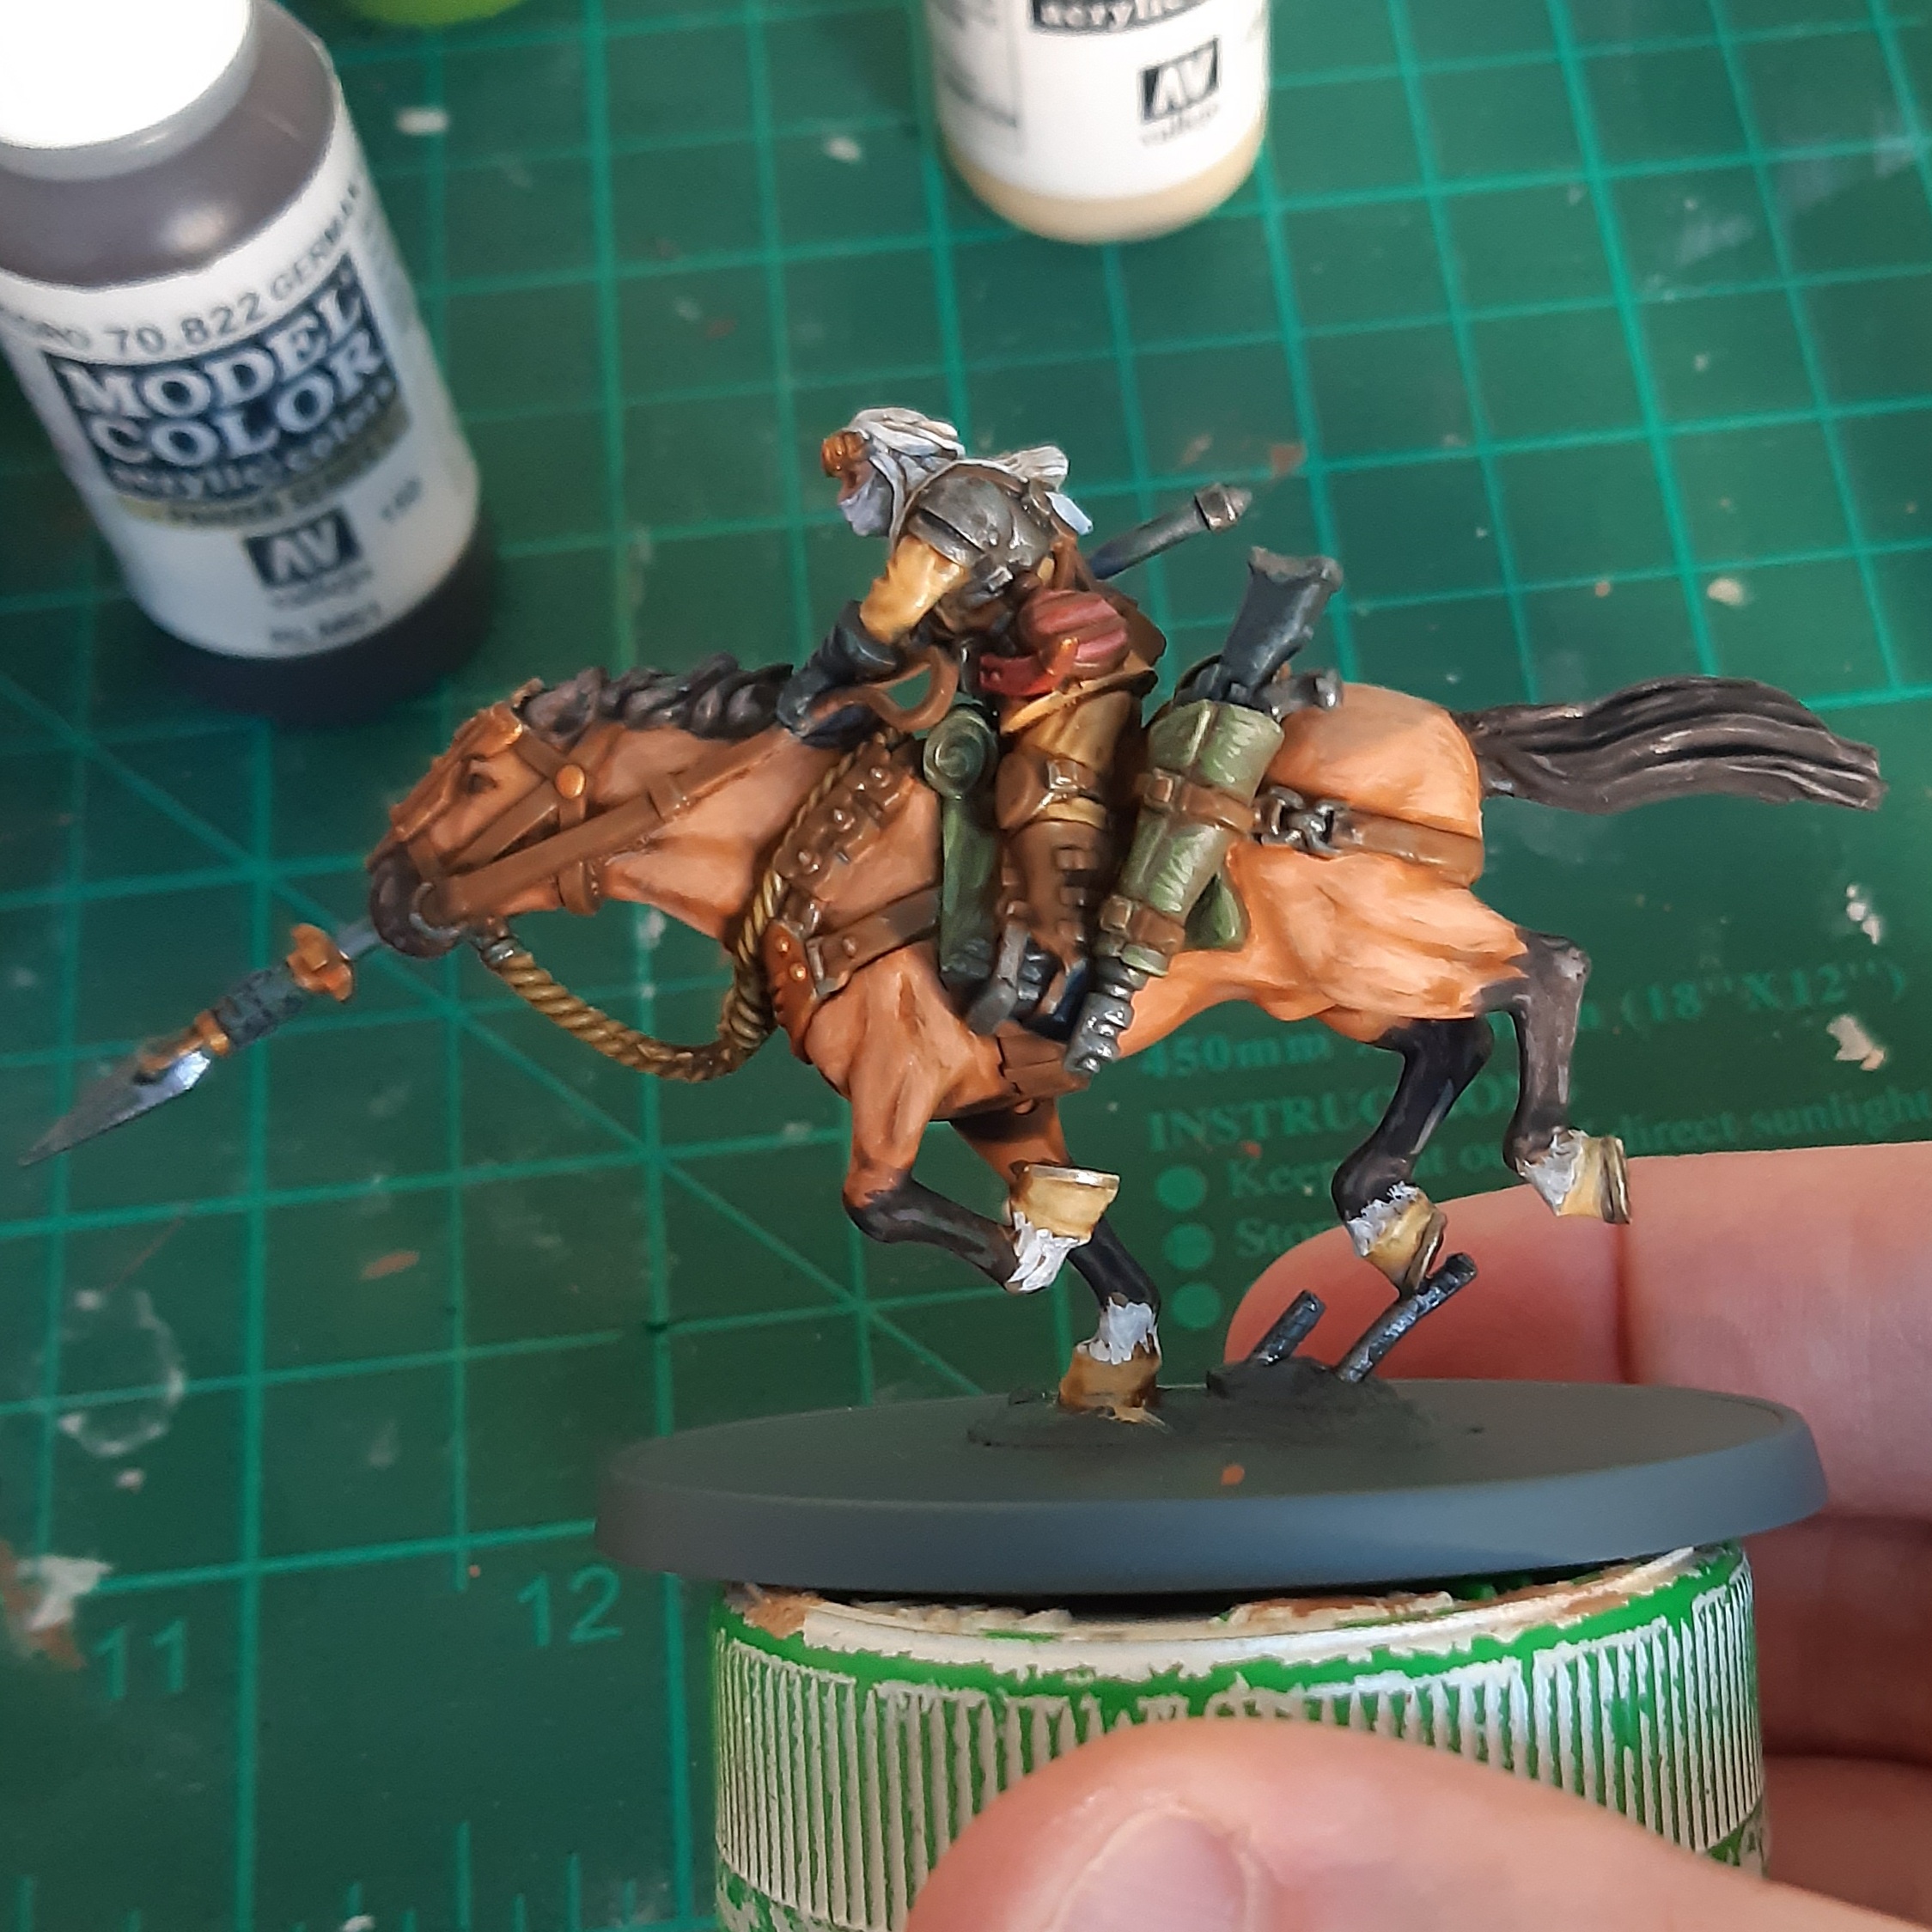
Starting the Highlights
Thanks to being a bit under the weather, painting progress has been a bit slow and intermittent. This entry is a few painting sessions merged together. I was a bit negligent with taking a picture of each stage, so there’s a bit less step-by-step images here.
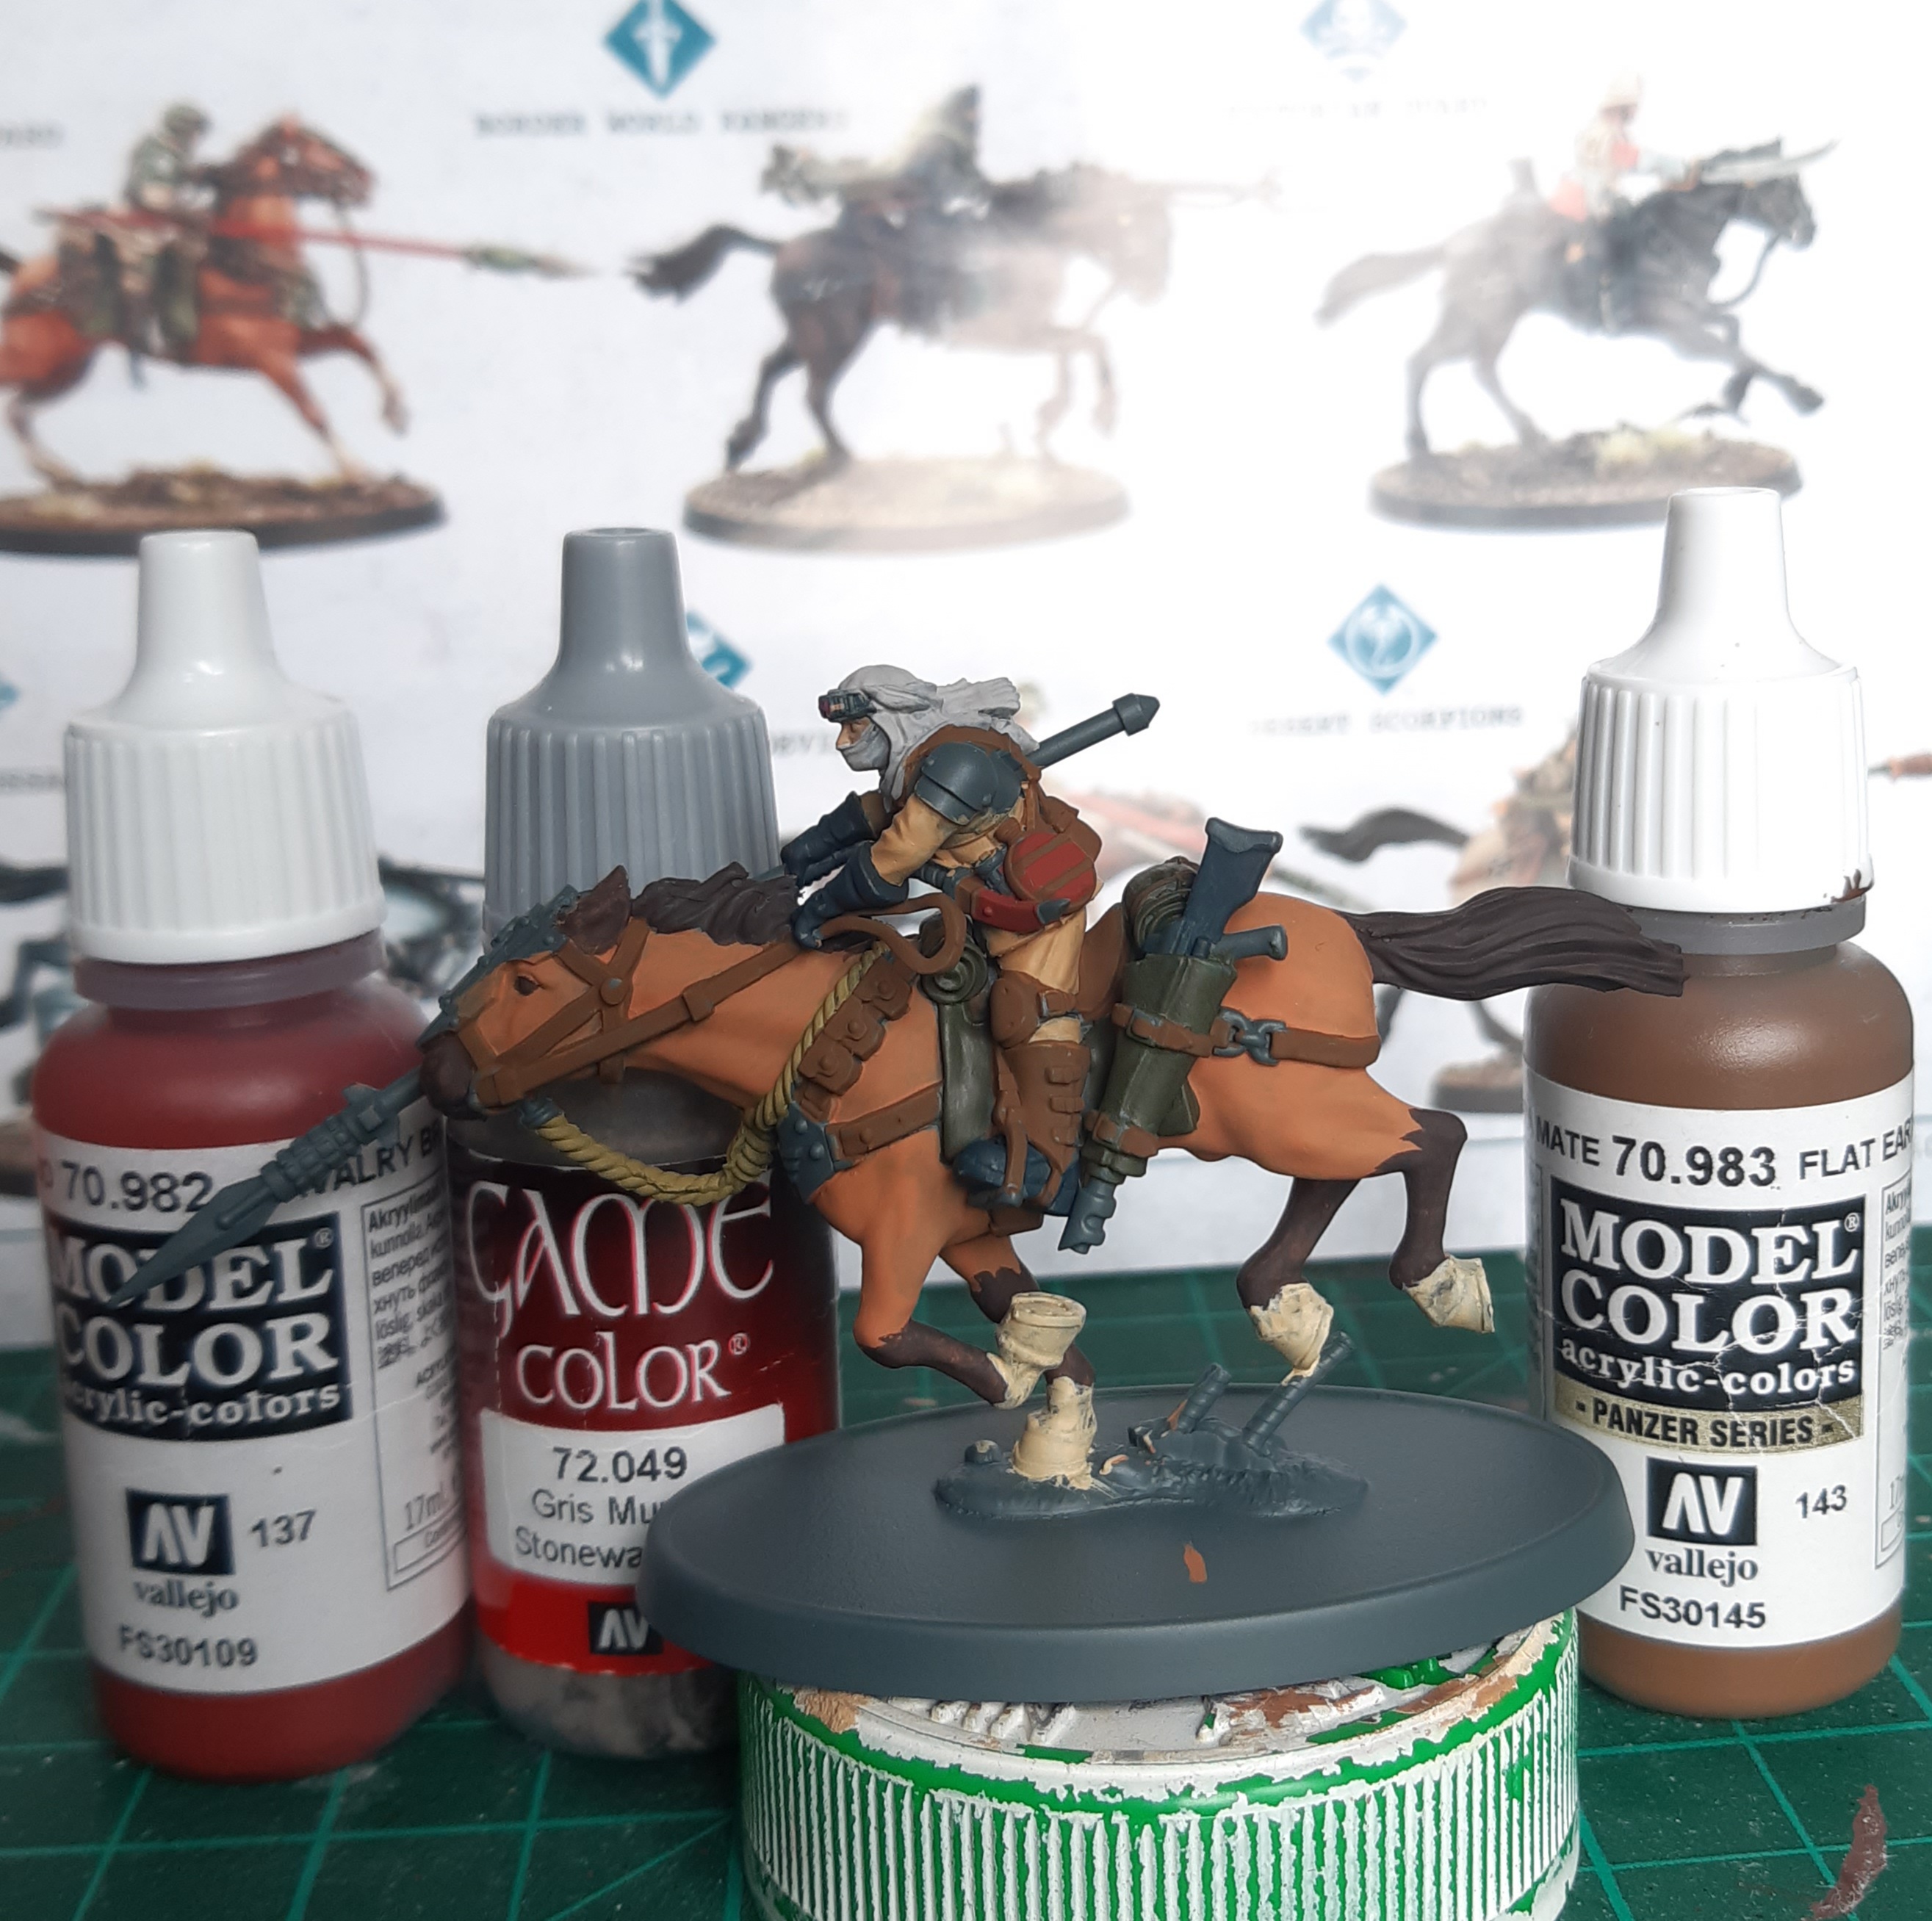
With the washes done, it was time to get started on the highlights. My normal process is to start with the base colour paint, going over any raised parts, and avoiding the shaded recesses. I then add in a second or third successively smaller highlight with lighter colours each time.
Highlights started with the horse flesh again, with Vallejo Model Colour Light Brown used first, and then layered with a 1:1 mix of Light Brown and Vallejo Model Colour Buff.
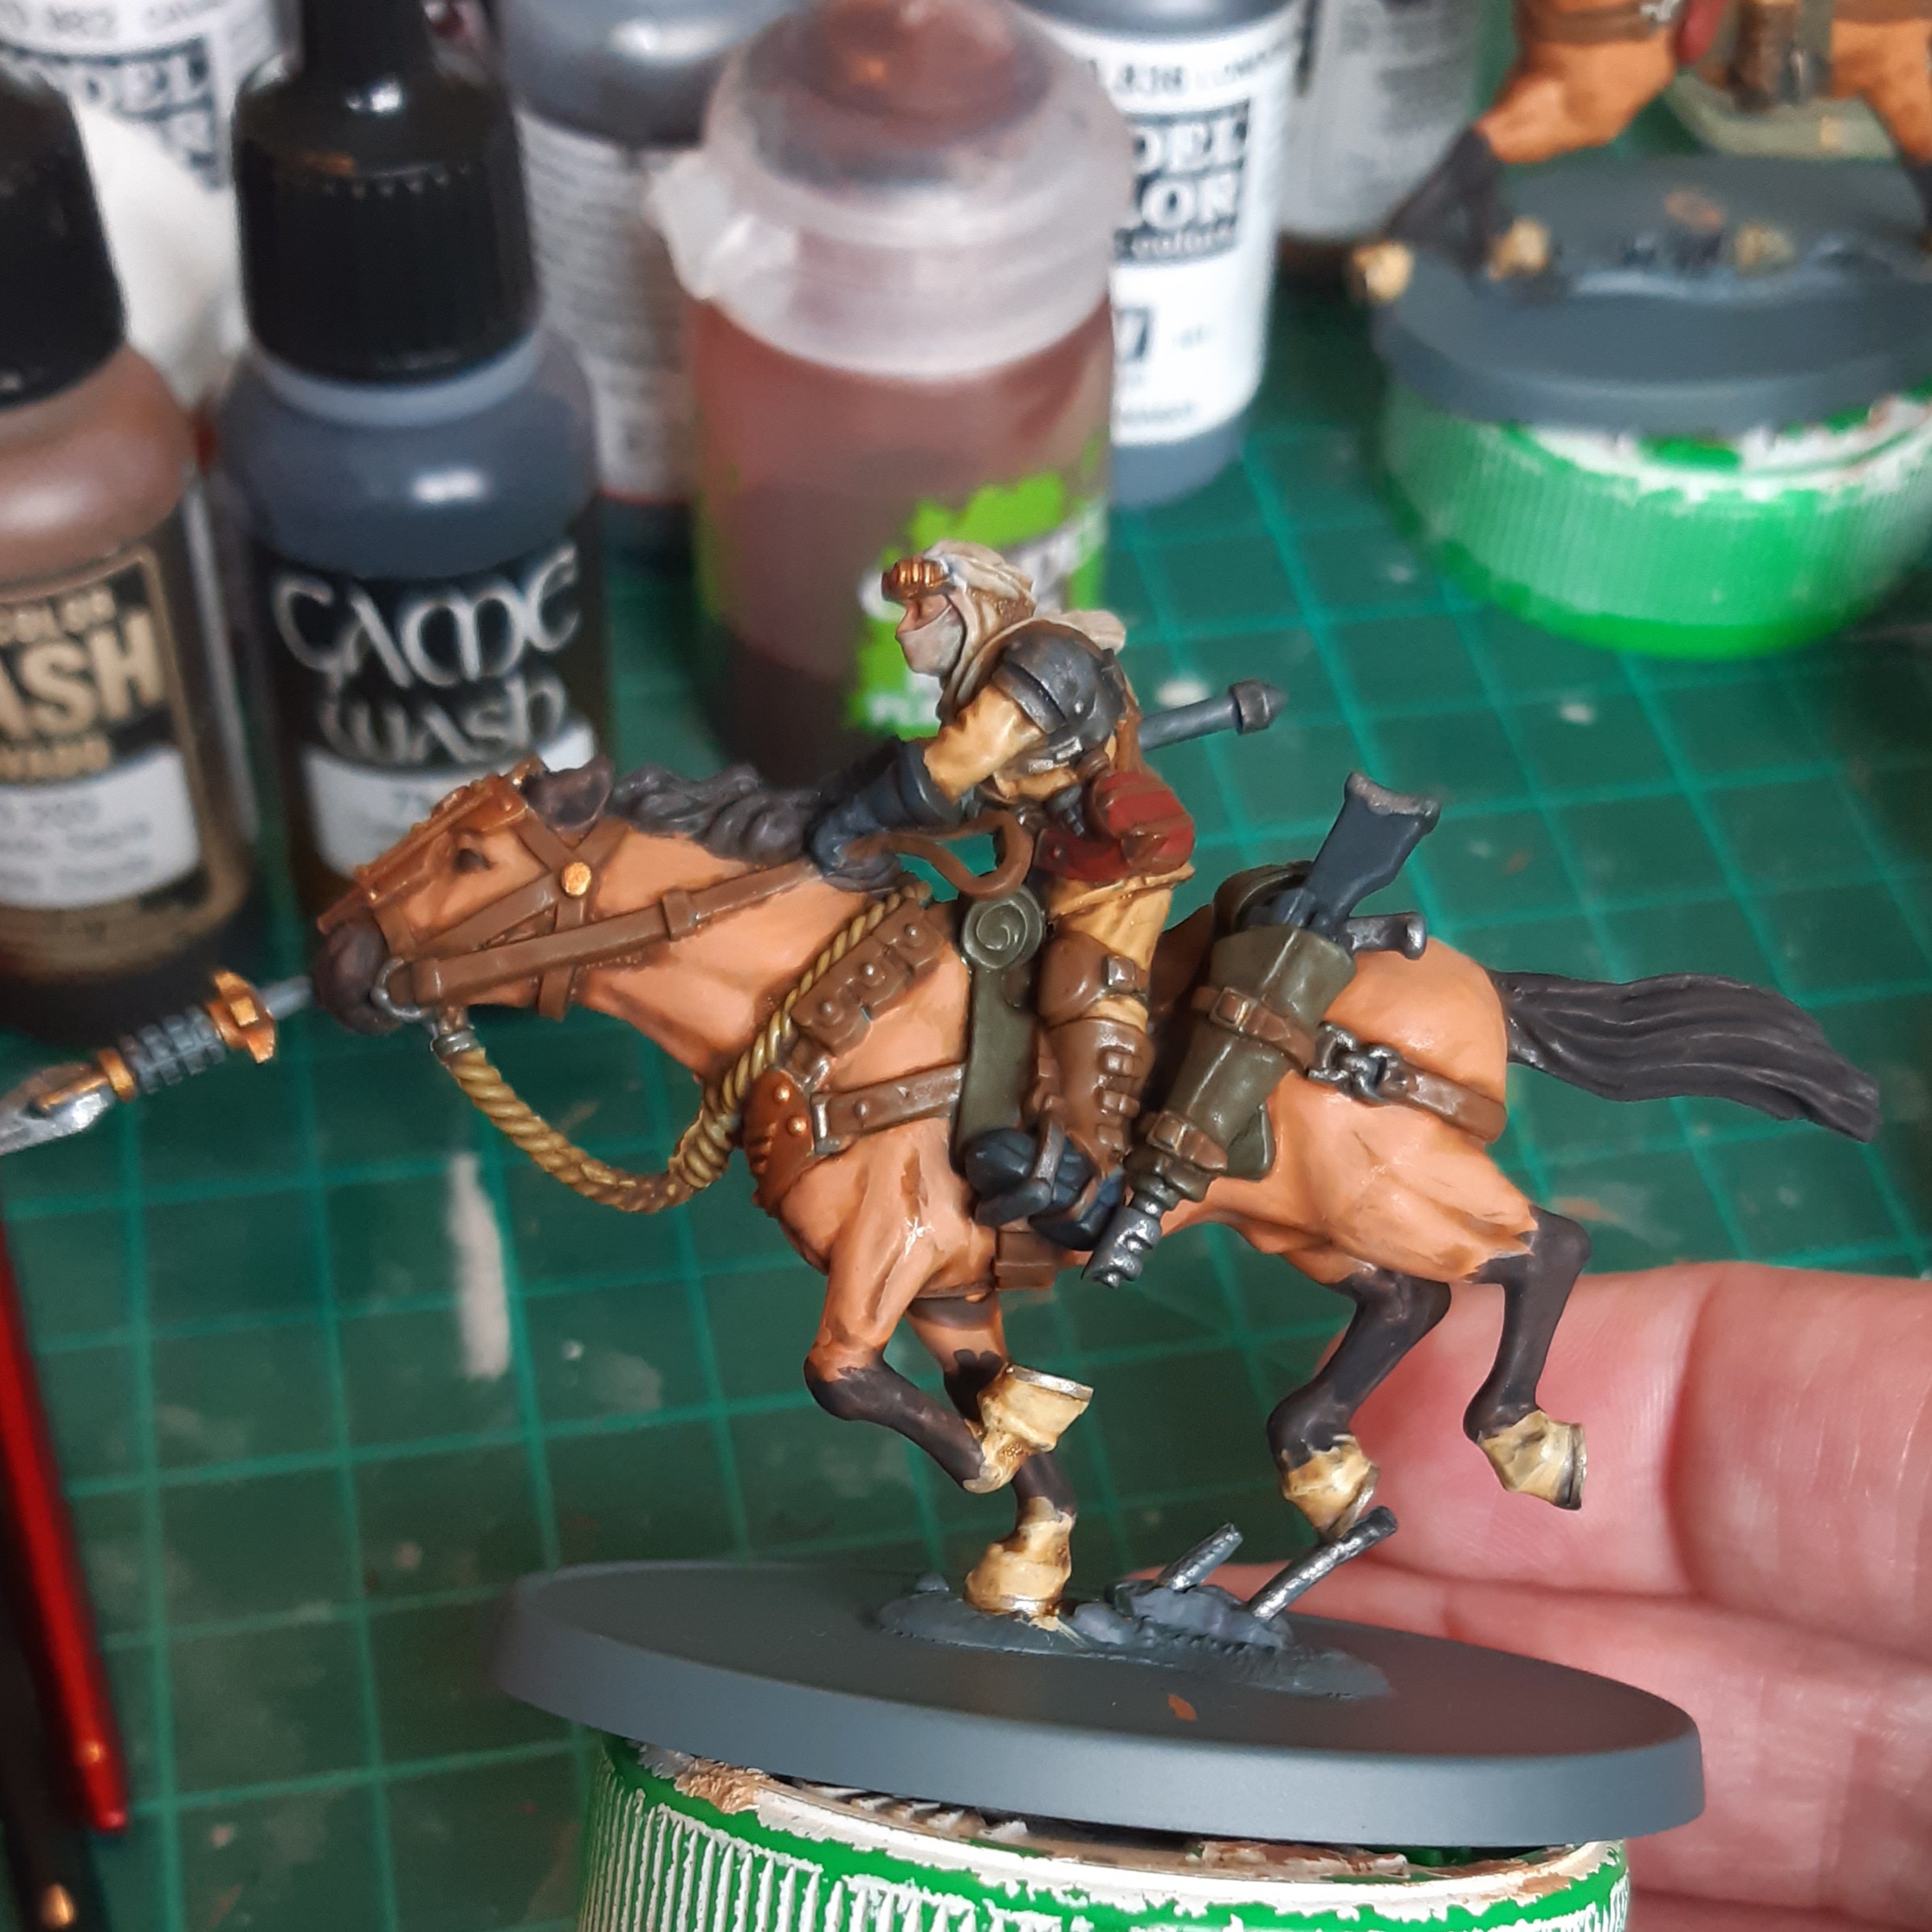
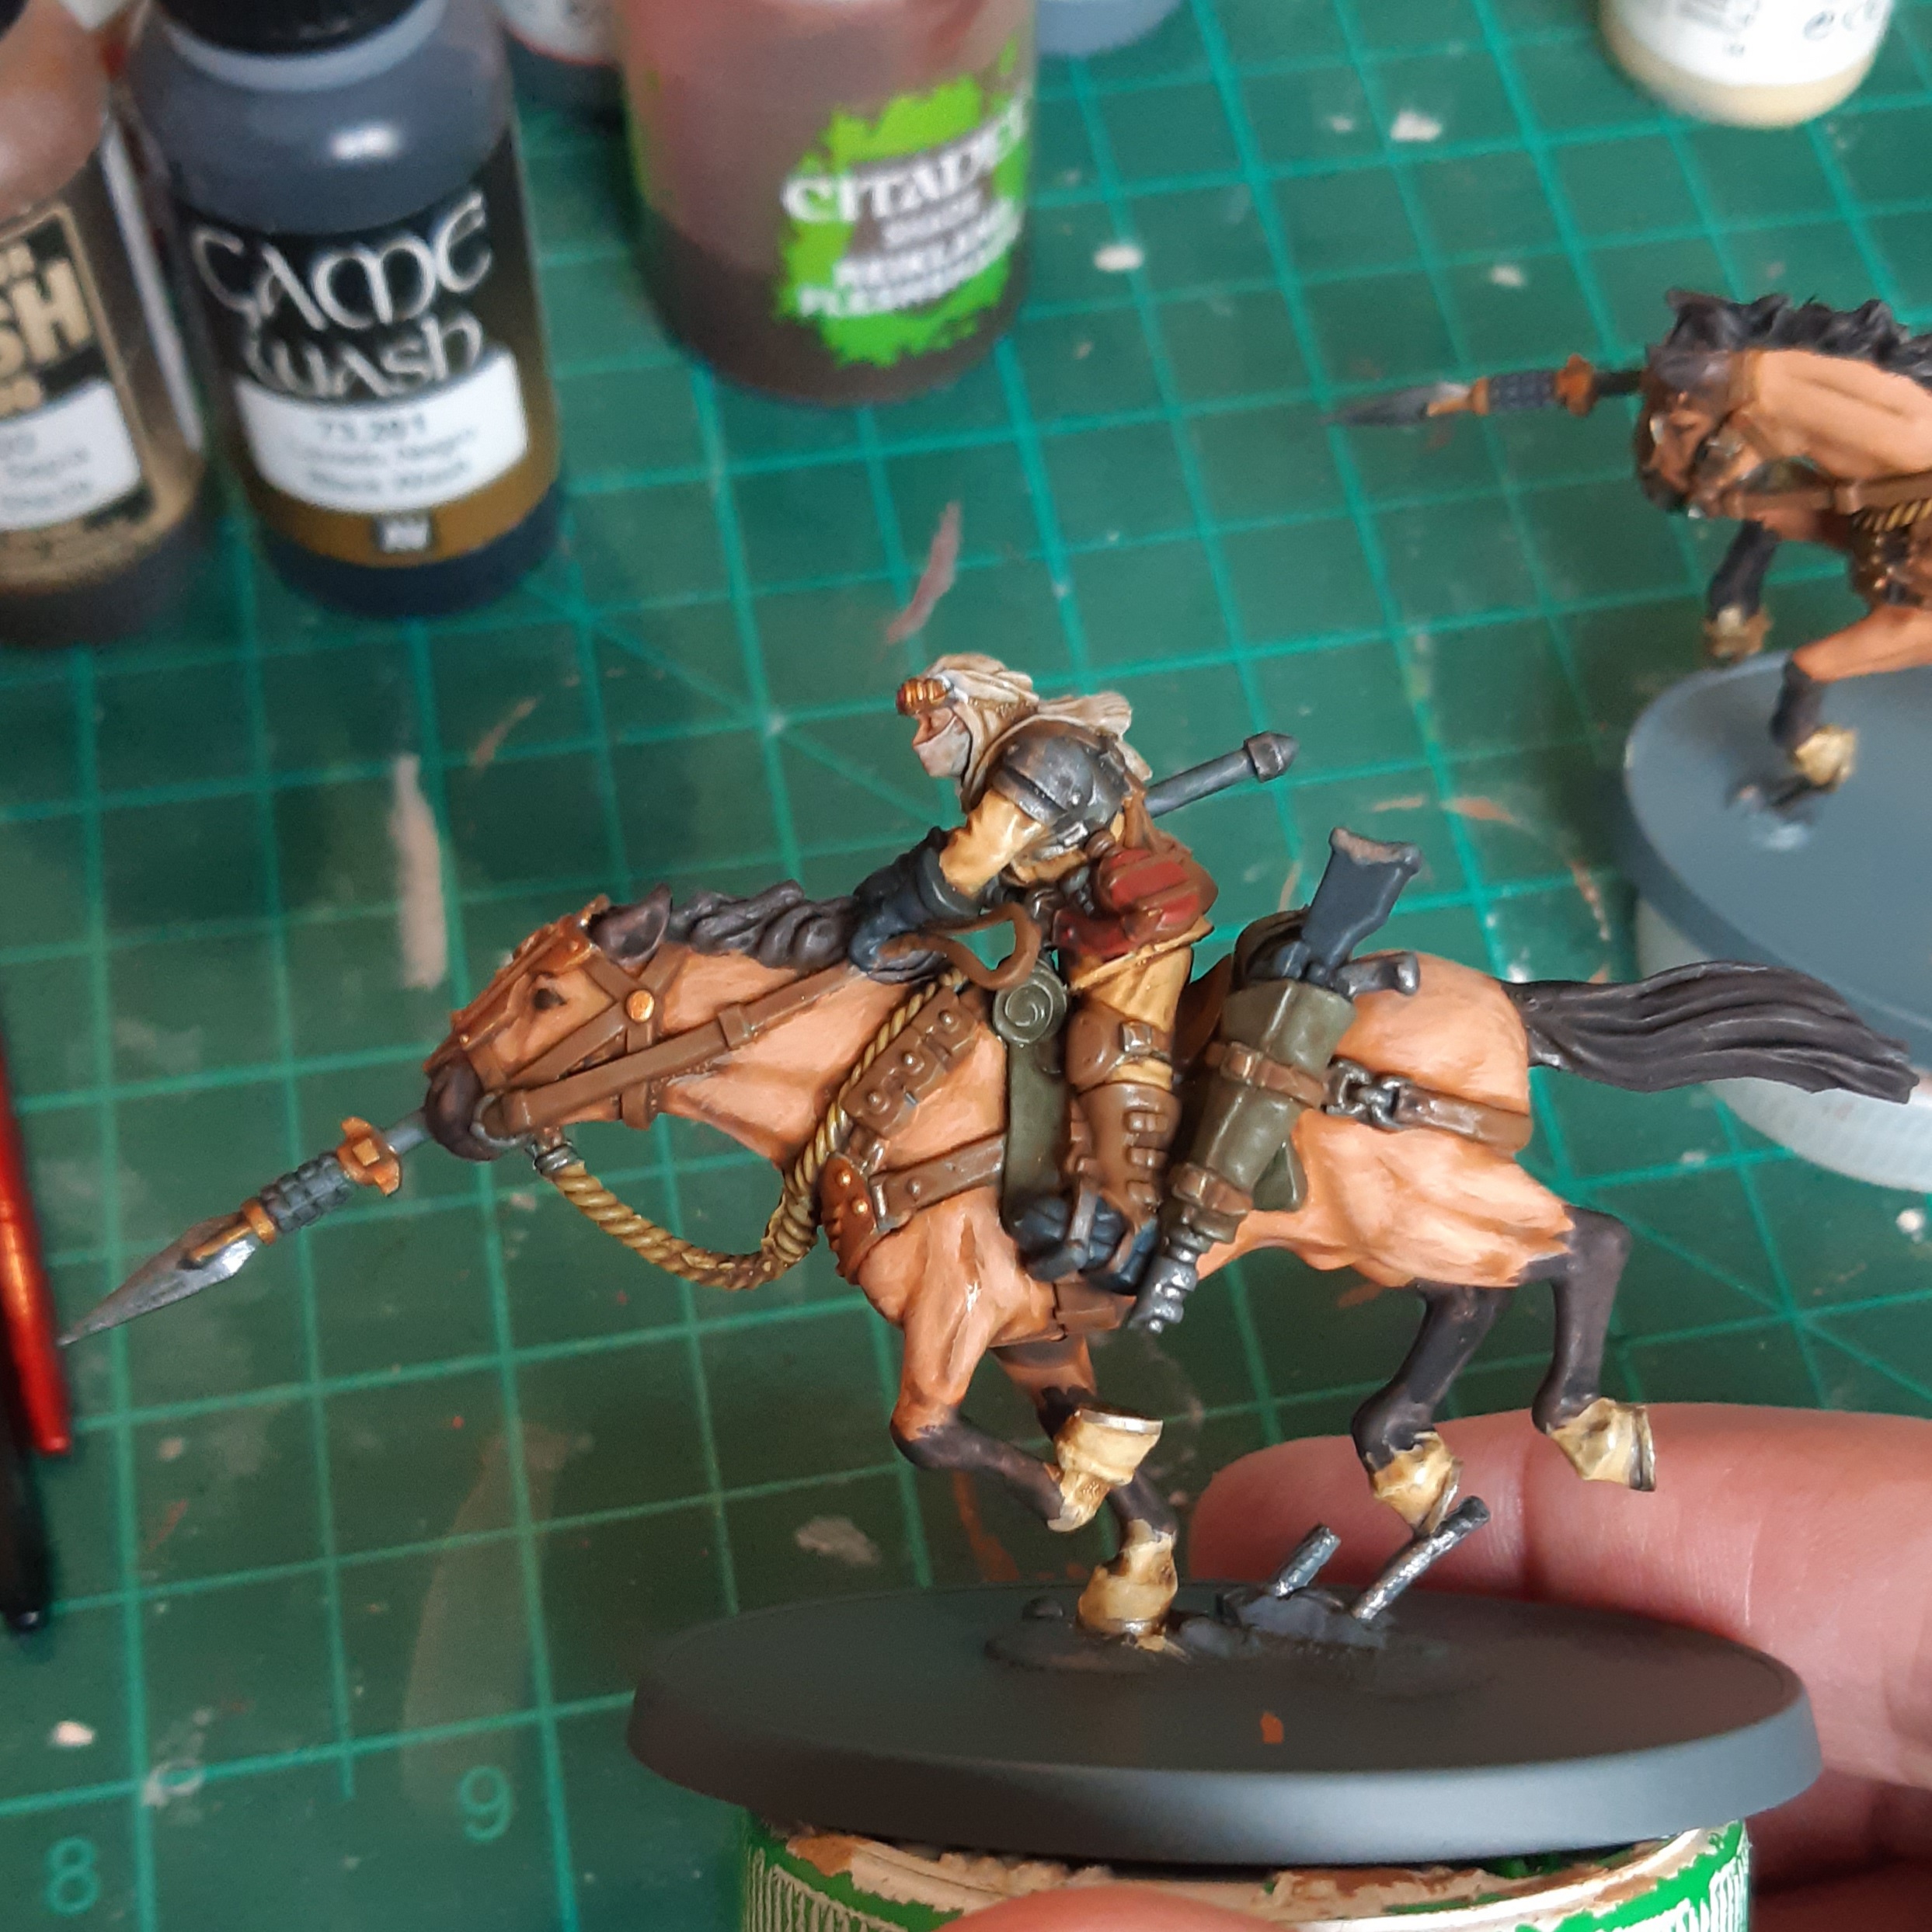
Next I tackled the green areas (horse cloth, blanket etc.). Three layers here, starting with Citadel Castellan Green, then adding in some Vallejo Model Colour Olive Green (around 1:1) for a second layer. A final third layer was added with a bit of Vallejo Model Colour Buff to the previous mix.
I also did the red/brown water bottles, pistol holsters and knife scabbards. Again, base colour first, Vallejo Model Colour Cavalry Brown, then a second layer using a bit of Vallejo Model Colour Buff mixed with the Cavalry Brown.
First part of this entry shows a full two-step for one colour, the next is the end results of two colours finished. It gets worse here, with three colours finished up.
Areas I want to read as black (so gun casings, boots etc.) had their edges highlighted with Vallejo Model Colour Dark Sea Blue, and a really thin second edge added of Dark Sea Blue mixed with a bit of Vallejo Model Colour Buff.
The horses’ manes, tails, forelegs, muzzles and ears had just one highlight, Vallejo Model Colour German Camo Black Brown mixed with Buff.
The bottom of the horses’ legs had Vallejo Model Colour Off-White added, as did the head scarves of the riders. These are both likely to get some additional highlights added later.