


Something of a Maze


Recommendations: 467
About the Project
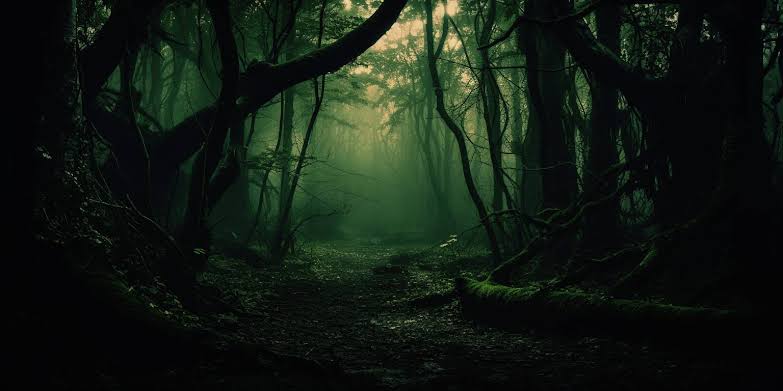
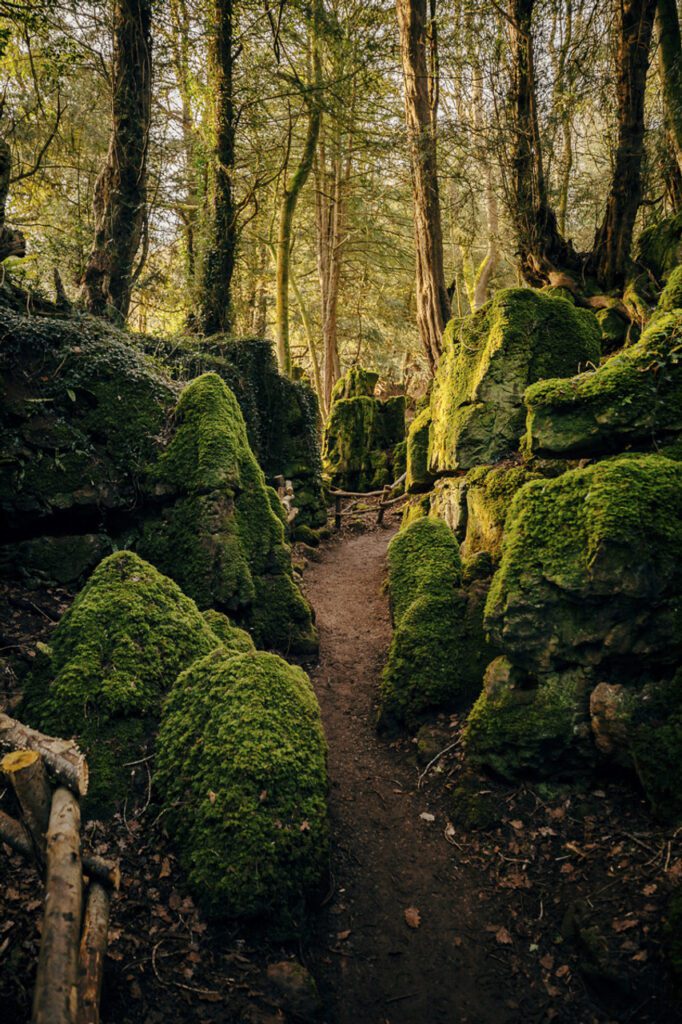
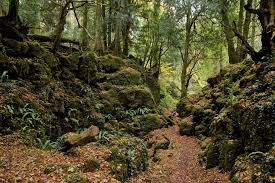
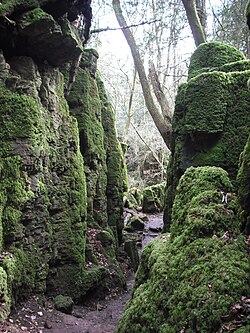
The forest looms before you, a twisted and foreboding realm where ancient trees writhe, their gnarled branches grasping for the sky. The air is heavy with the scent of damp earth and decay, and the silence is oppressive, punctuated only by the creaking of ancient limbs and the soft rustling of leaves. The trees seem to claw across the rocks, their roots like talons gripping the stone, as if trying to pull themselves free from the very earth itself. The bark is twisted and grotesque, like the skin of some ancient, leathery beast, and the branches are like arthritic fingers, reaching out to snatch at the unwary traveller. Dead trees stand like sentinels, their branches reaching towards the sky, as if in supplication or warning. Moss covers the rocks, a soft, emerald shroud that seems to muffle the sound of footsteps, making it impossible to shake the feeling that you are being watched. Old statues lie half-buried in the undergrowth, their features untouched by time or the elements. They seem to mark the graves of forgotten gods, or perhaps they are ancient guardians, tasked with watching over secrets that have long since been lost to the ages. The forest floor is a tangle of roots and rocks, with hidden dangers lurking in every shadow. The trees close in around you, their branches tangling overhead, casting deep, foreboding shadows that seem to move like living things. This is a forest of ancient, primal power, a place where the very woods seem to be alive, and where the laws of nature are twisted and distorted. It is a place that seems to draw you in, like a moth to a candle flame, promising secrets and power, but threatening only madness and despair. As you step into the forest, you feel a shiver run down your spine, a fear that is hard to shake. You know that you are not welcome here, that you are an intruder in a realm that is not your own. The forest seems to whisper secrets in your ear, tempting you to stay, to surrender to the darkness that lurks within.
Related Genre: Fantasy
Related Contest: TerrainFest 2025
This Project is Completed
The Plan.
Well, it’s that time of the year again—the time to think about some terrain build to do over the next few months.
I would like to do something that will incorporate leftover bits from my previous big terrain projects, and also, hopefully, draw on past experiences from those.
With that in mind, I will be looking back at both my Terrainfest 2024 entry and my Dungeonalia 2023 entry
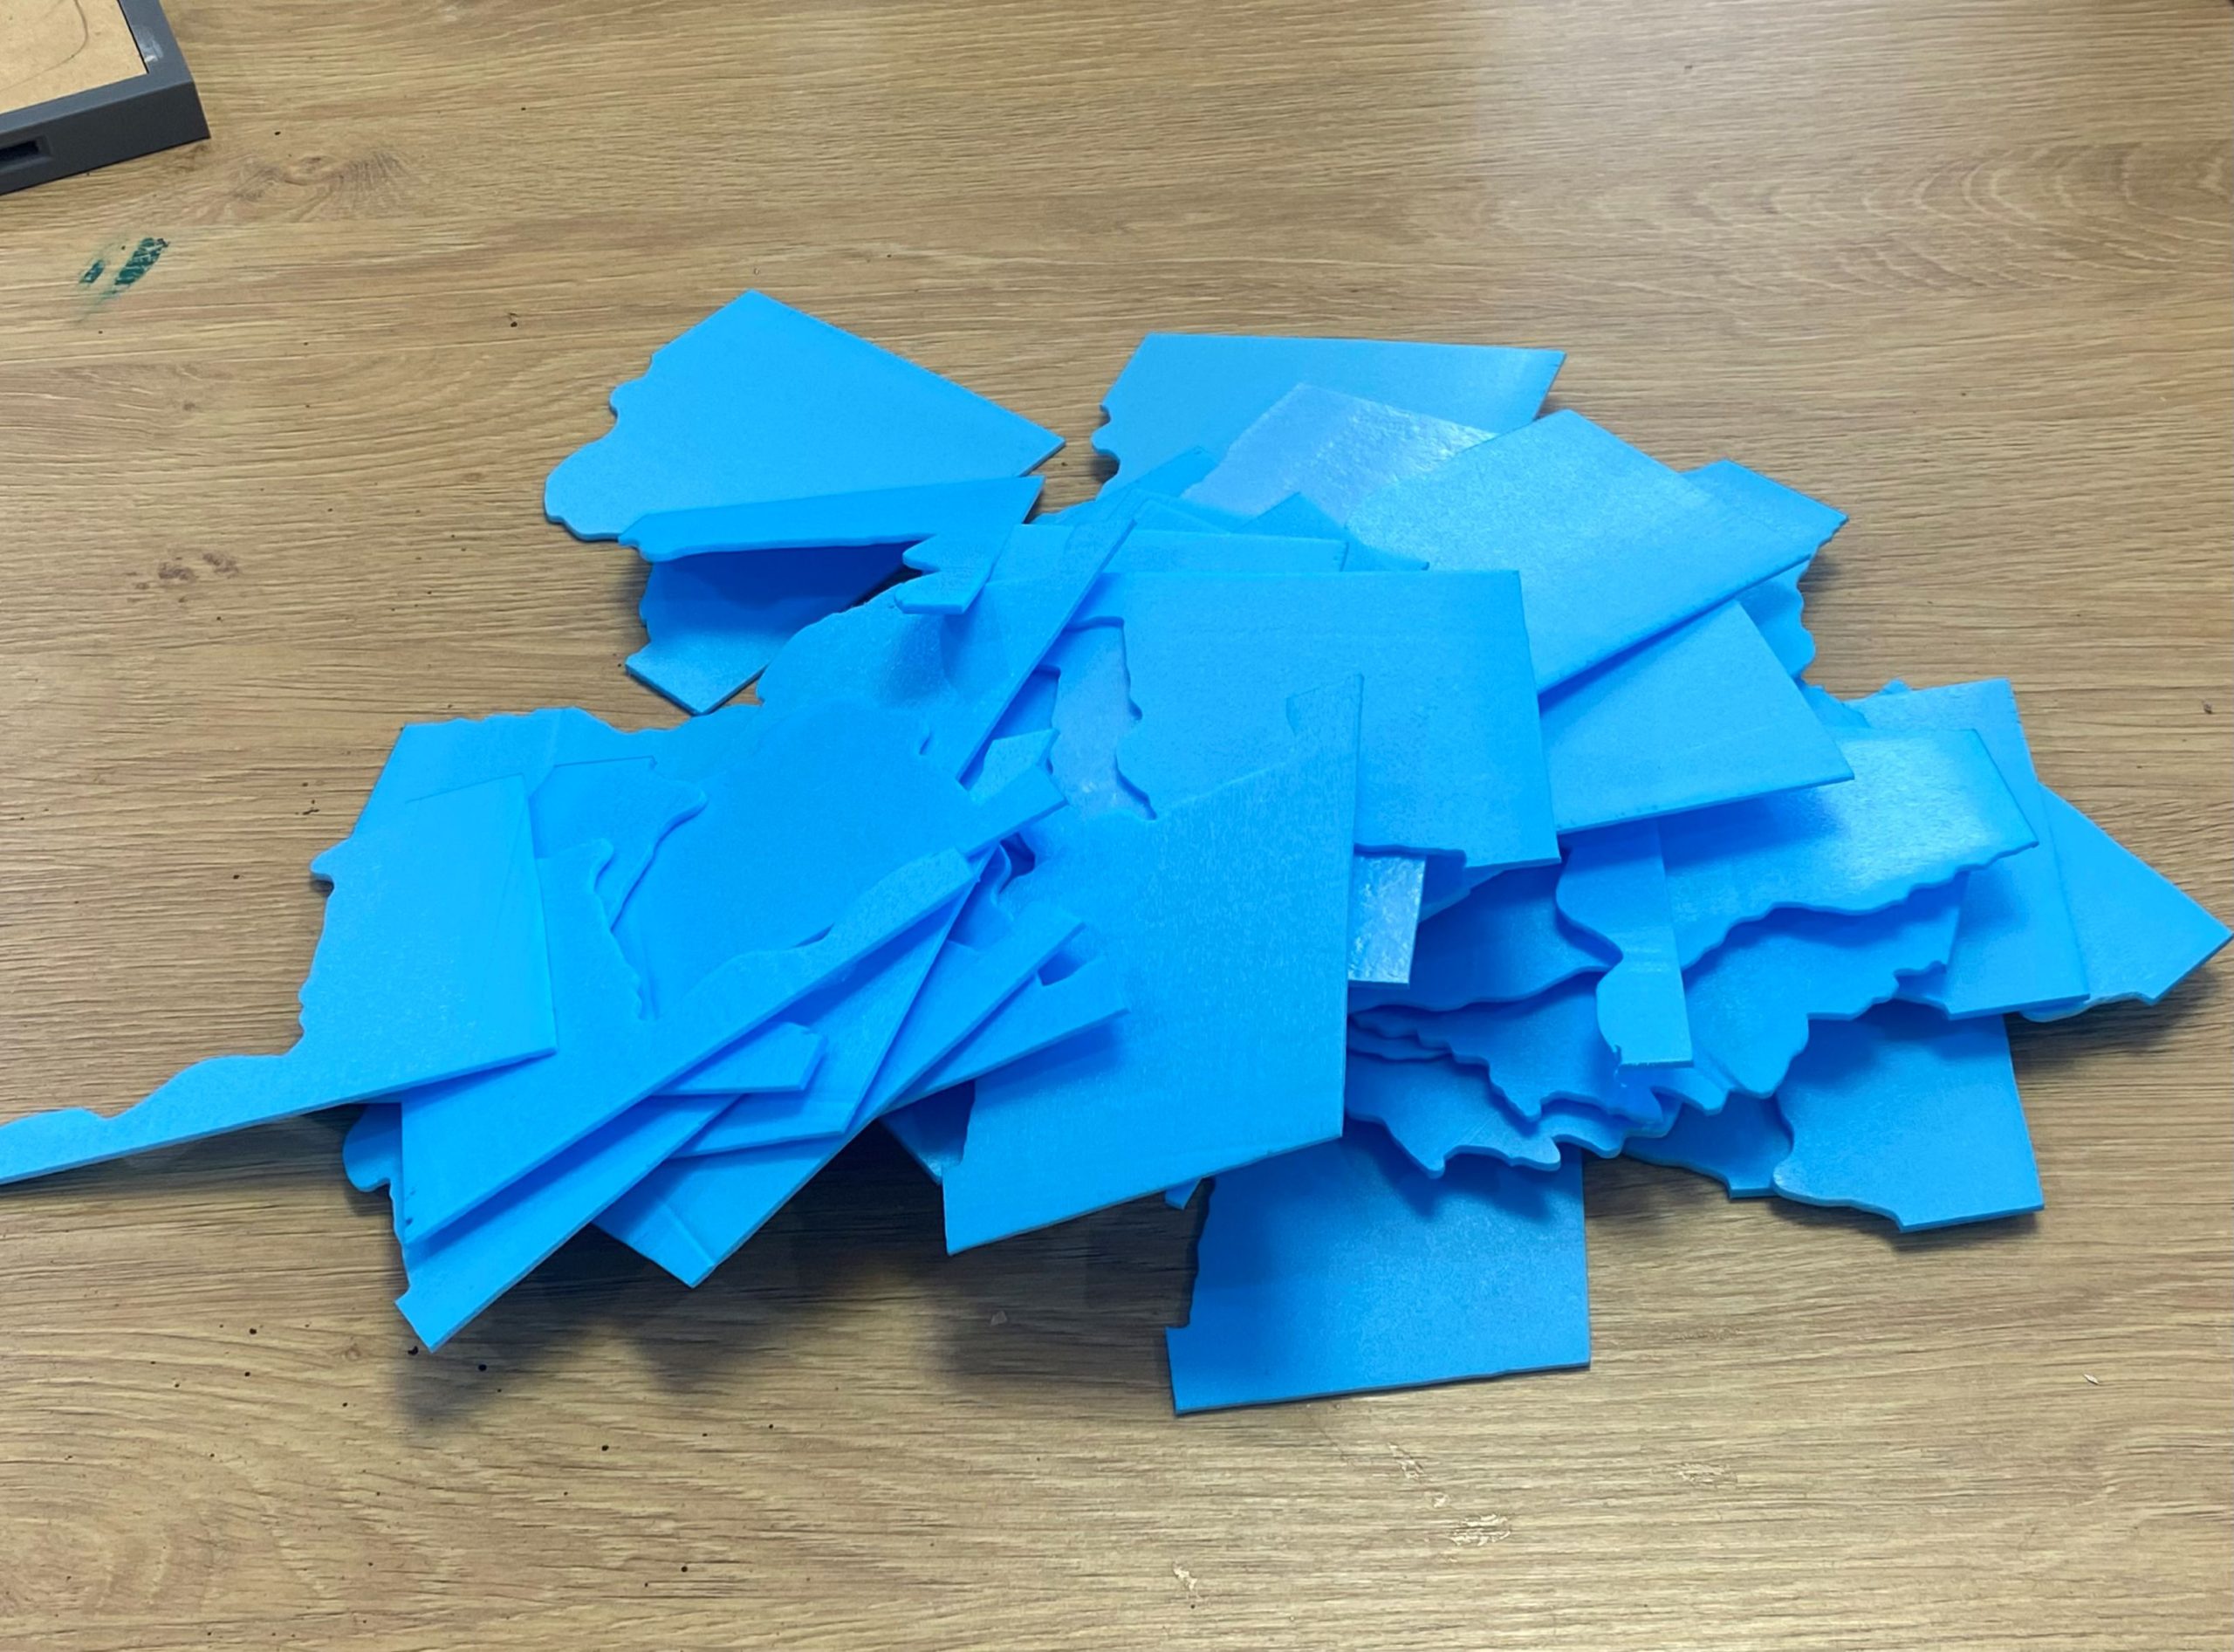
I have lots of XPS foam left over from my dungeon/tomb build, so I would like to put that to good use. I would also like whatever I do to be able to fit in with the baseboard sections of my Victorian City build.
I would like to go back to old-fashioned methods for this and have those as the main focus, with minimal 3D prints. Ideally, any 3D prints I do use will either be of my own design, conversions of existing files or bits that are ultimately used as base structures for scratch-building to cover over. A framework if you like.
I also need to consider the following.
- Storage. Believe it or not, I do not have an endless amount of storage space, and I normally forget this until after I’m invested into doing something. I need to either create something that can be easily stored or create its own storage system as part of the project. DONE
- Modularity. It has to be modular. Not only does it help with storage, but it also allows things to be moved around to create variety. As much as full-on terrain boards look fantastic, they are a nightmare to store, and the lack of modularity can lead to them becoming a bit stale over time. DONE
- Playability. It has to be creative and fun to play on. No obvious set-ups that create obvious vantage points. Layers and levels, different zones, and multiple access and egress options to allow figures to move around. DONE
- Time frame. At the moment, I am unsure of the end date for this, so I will probably be looking at maybe 3 months. If Terrainfest 2025 lasts less than that, I will have to adjust my schedule on the fly. I don’t want to have this project to not be finished by the end because I will then run the risk of shelving it and not getting back to it promptly. DONE
- Cost. I guess it’s important to address this. I would like to use, for the most part, stuff that I have left over from other things or bits from around the house. No small fortune on filament or buying custom-made laser-cut frames. No, not this time. It’s time to use up some scraps that are taking up space. DONE

So, what to do?
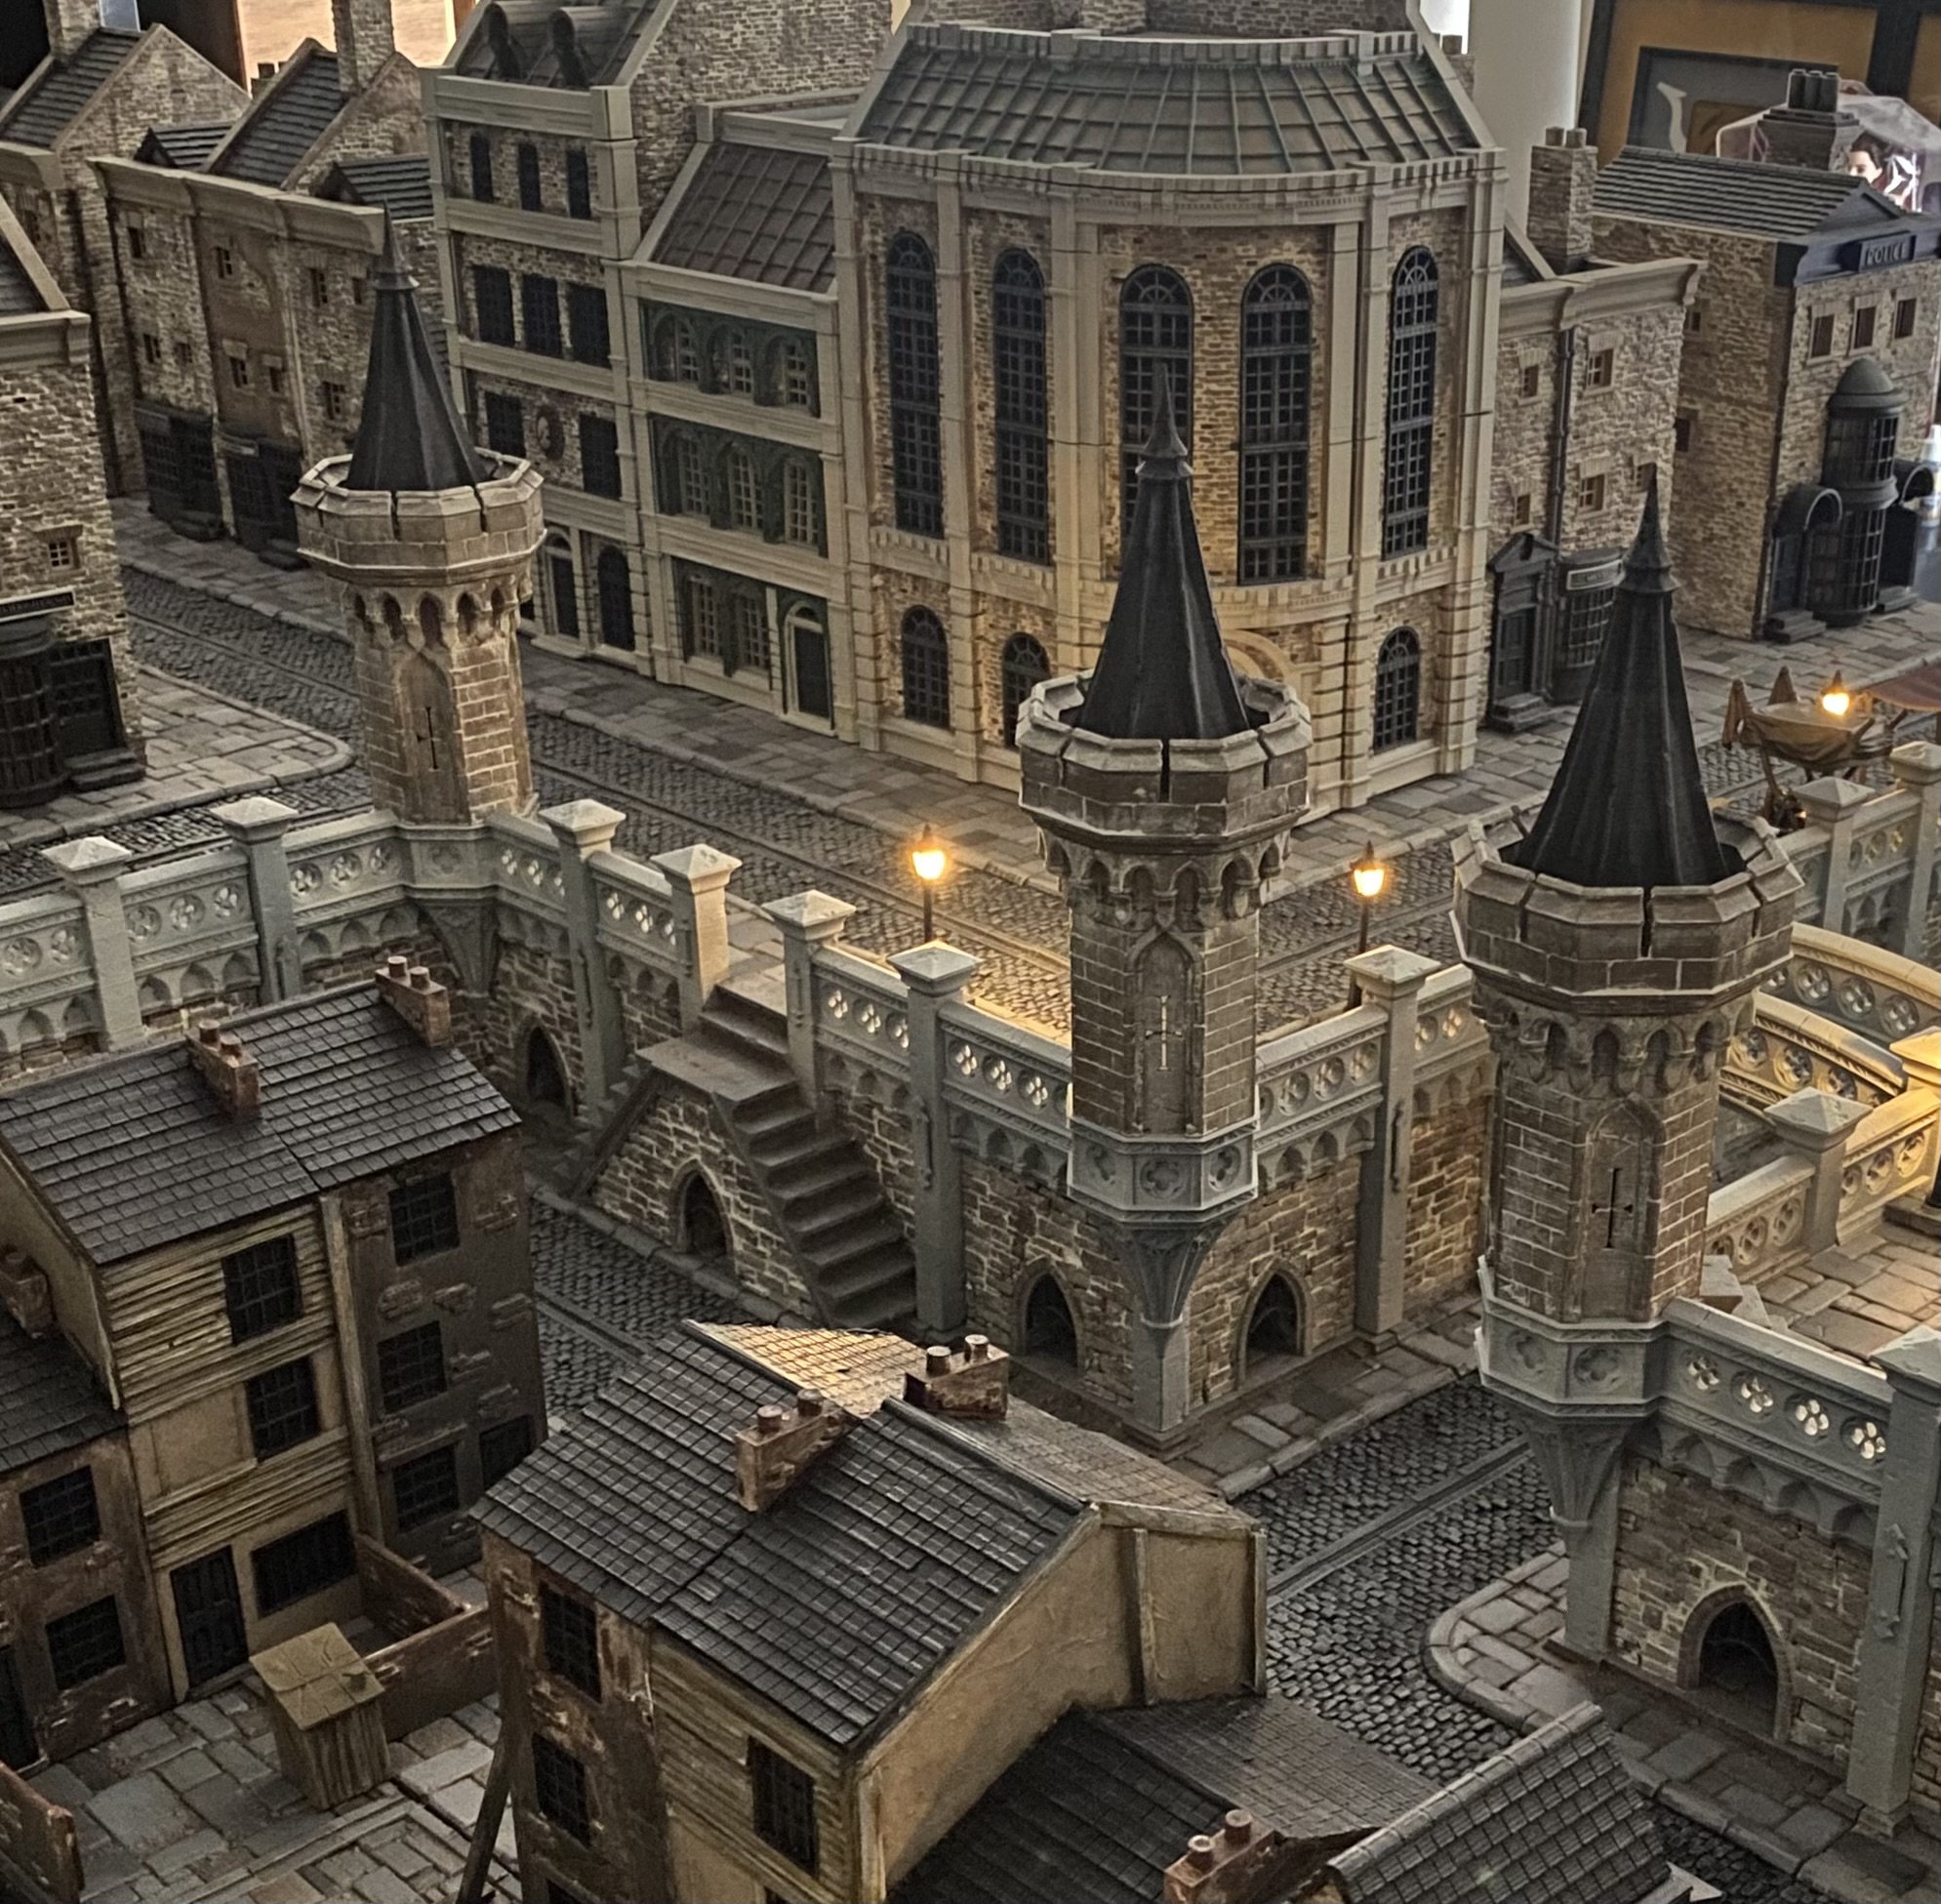
Well, I really want to continue with my Victorian City. I have a whole sewer system with working lights and opening grates and gates that I want to add, plus a docklands area with merchant vessels bringing in strange 6-foot-long wooden boxes filled with soil from Transylvania. Maybe even expanding the project across the sea and doing Dracula’s castle.
But none of those options really fit in with the points I have said I need to consider. That’s not to say I won’t get around to them, I will, but just not now. No, this time around, I am going to do something different.
I am not sure yet what it’s going to be, but knowing that others will all be bringing along their A-games, it will have to be something pretty amazing.
Maybe I could look at my figure collection and draw some inspiration from there.
Maybe I can look back at my other projects, and something will spark my imagination.
The Concept
Looking over my selection of terrain, I have plenty of buildings. Shelves upon shelves of them, with tons more stored away in boxes and even more waiting to be finished.
So, no houses for this one.
It turns out inspiration was just outside my front door.

Woods feature an awful lot in different settings, and none more so than good old Gothic Horror movies. Werewolves, Vampires, and other things that go bump in the night always seem spookier when there is a good old creepy wood for the gribbly creatures to lurk in.
My Victorian city build was built with Gothic Horror games in mind. I started and pretty much abandoned a project, Cedarwood Road, that I had always imagined would take place in a twisting ever ever-changing woods.
Looking through old movies there are plenty of examples of spooky woods.


This will be a mix of Mirkwood, Forest of Doom, and Hedge Maze, all combined into one, on tiles that will fit seamlessly into my existing Victorian City, using primarily ‘Old School Methods’ of scratch building. Plus, there will be some ‘Hollow Gates’ added should I reignite my Cedarwood Road Project in the future.
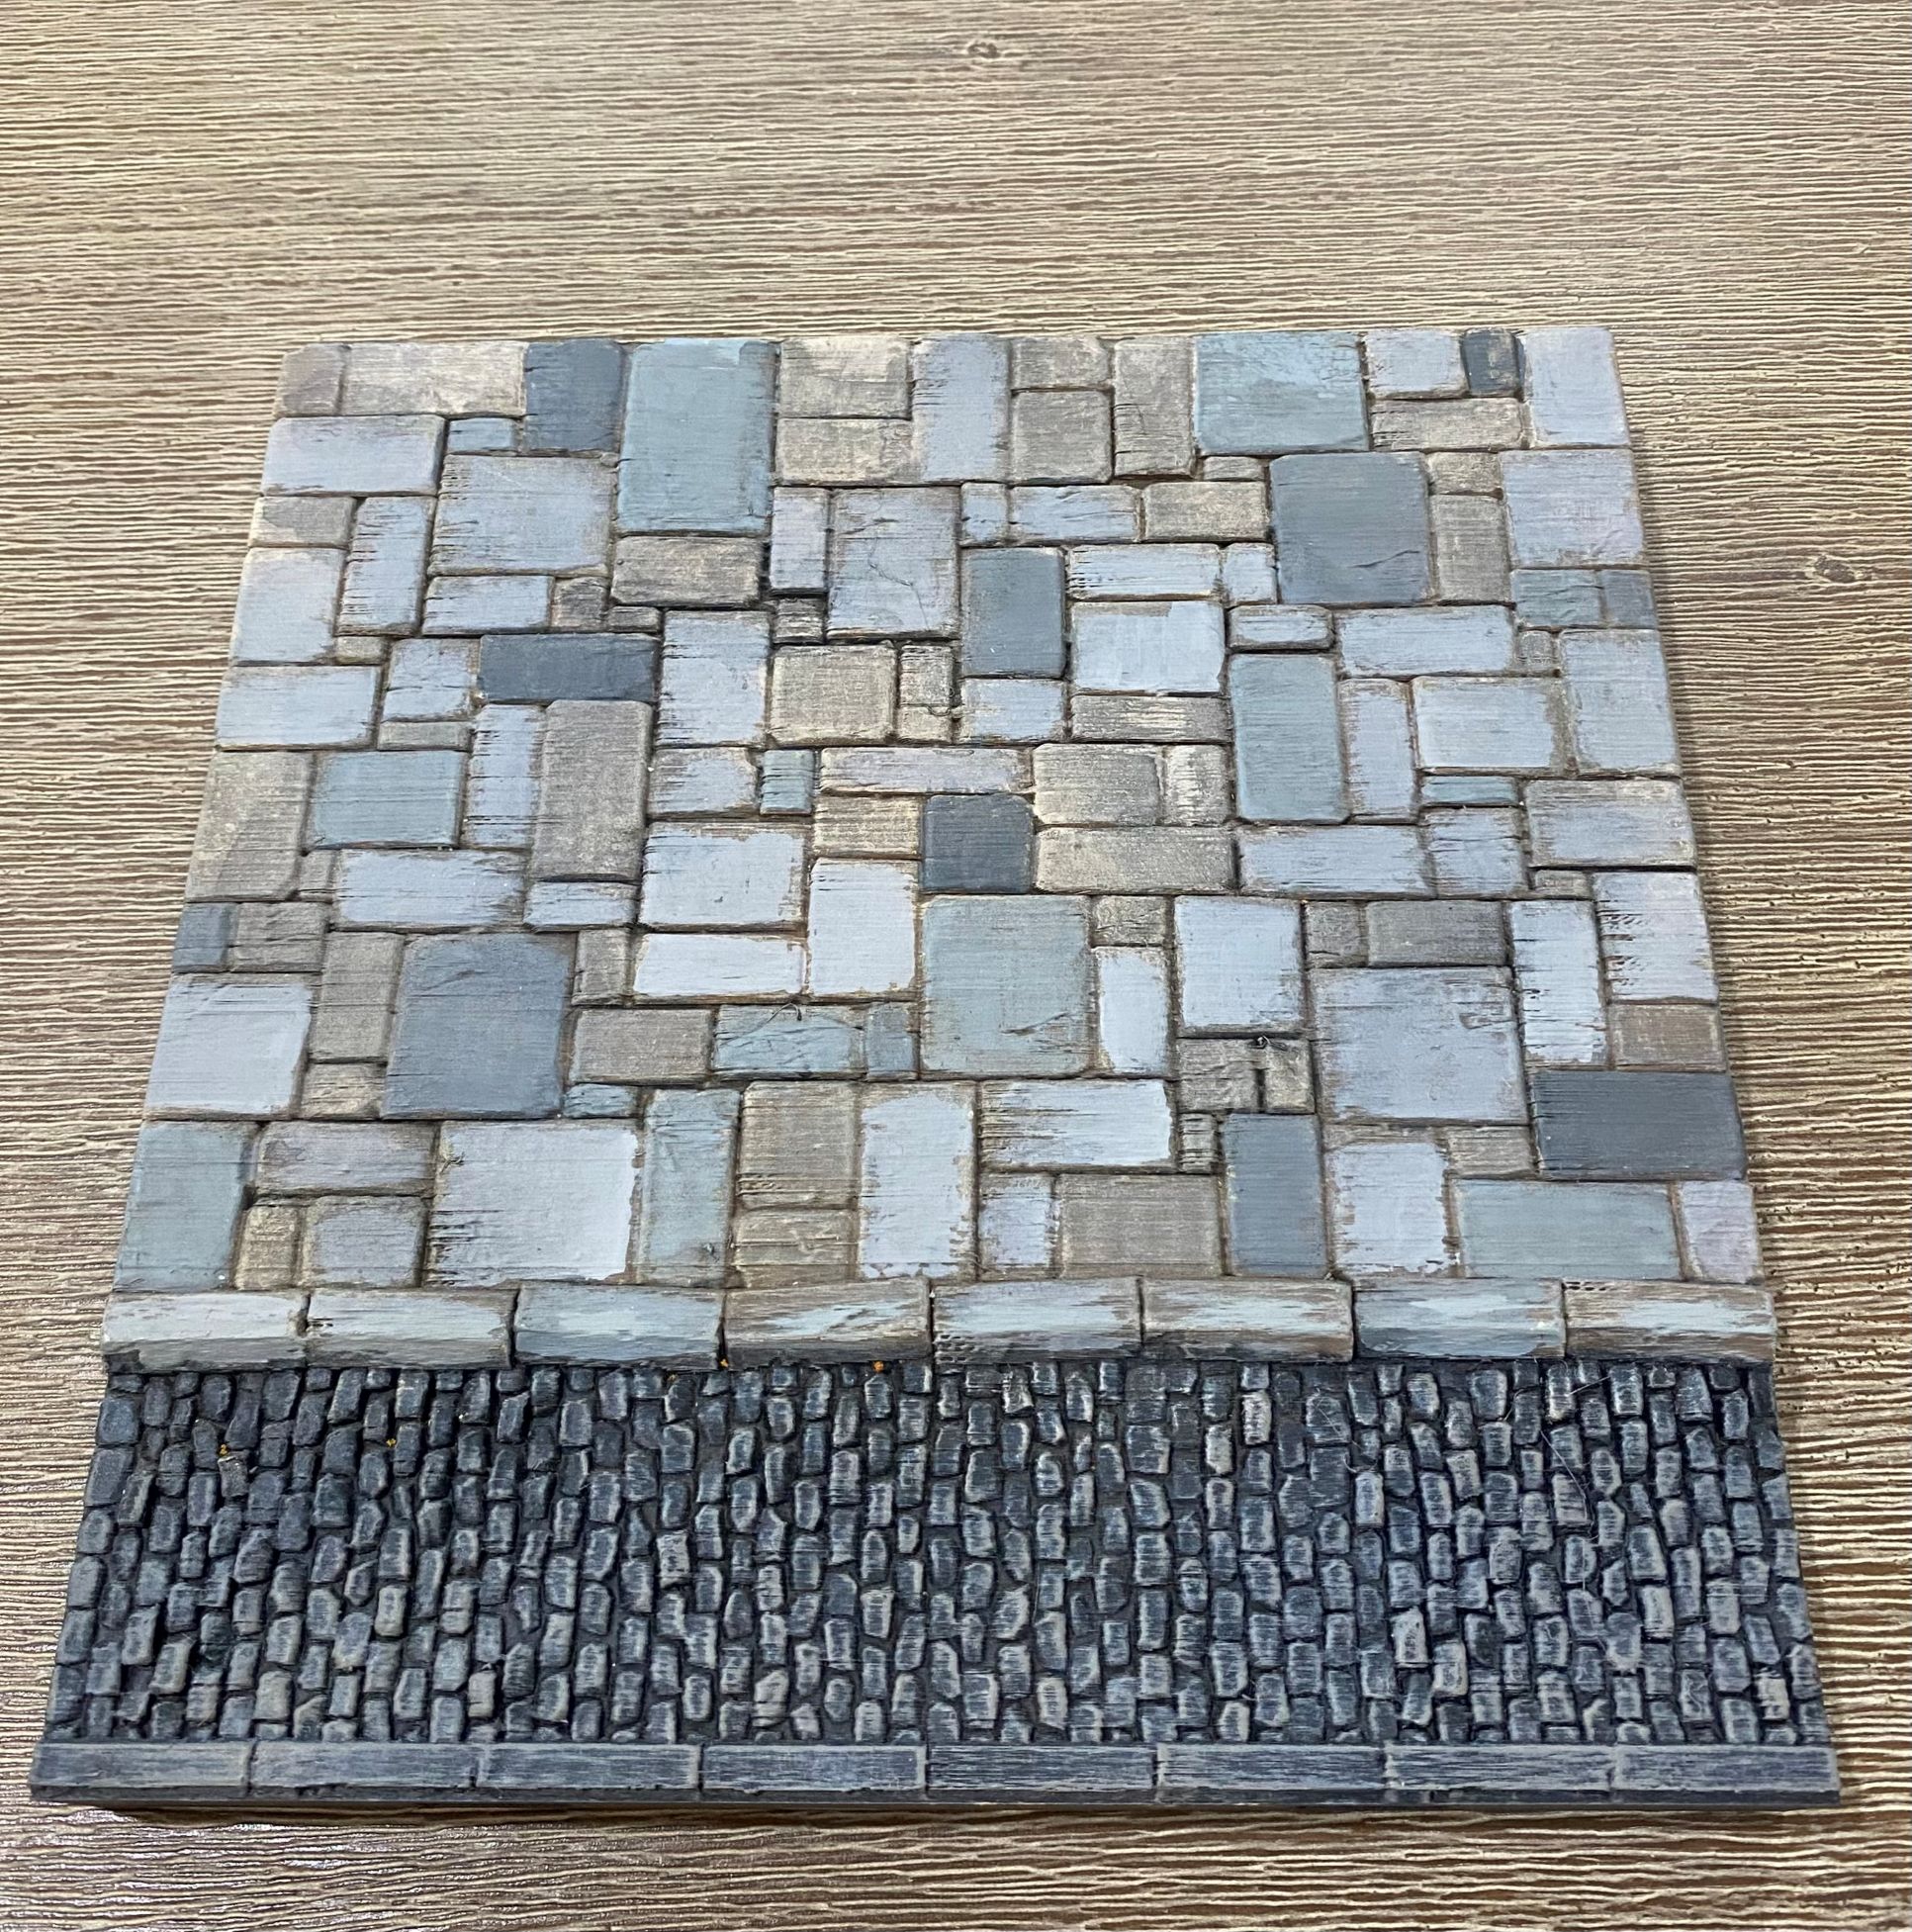
My Victorian city is built up onto 3D printed tiles that have holes for clips that lock them together all around the sides and holes underneath them so that they can be mounted securely on risers to add elevation.

I don’t want to spend ages printing out base plates that will ultimately be covered up.
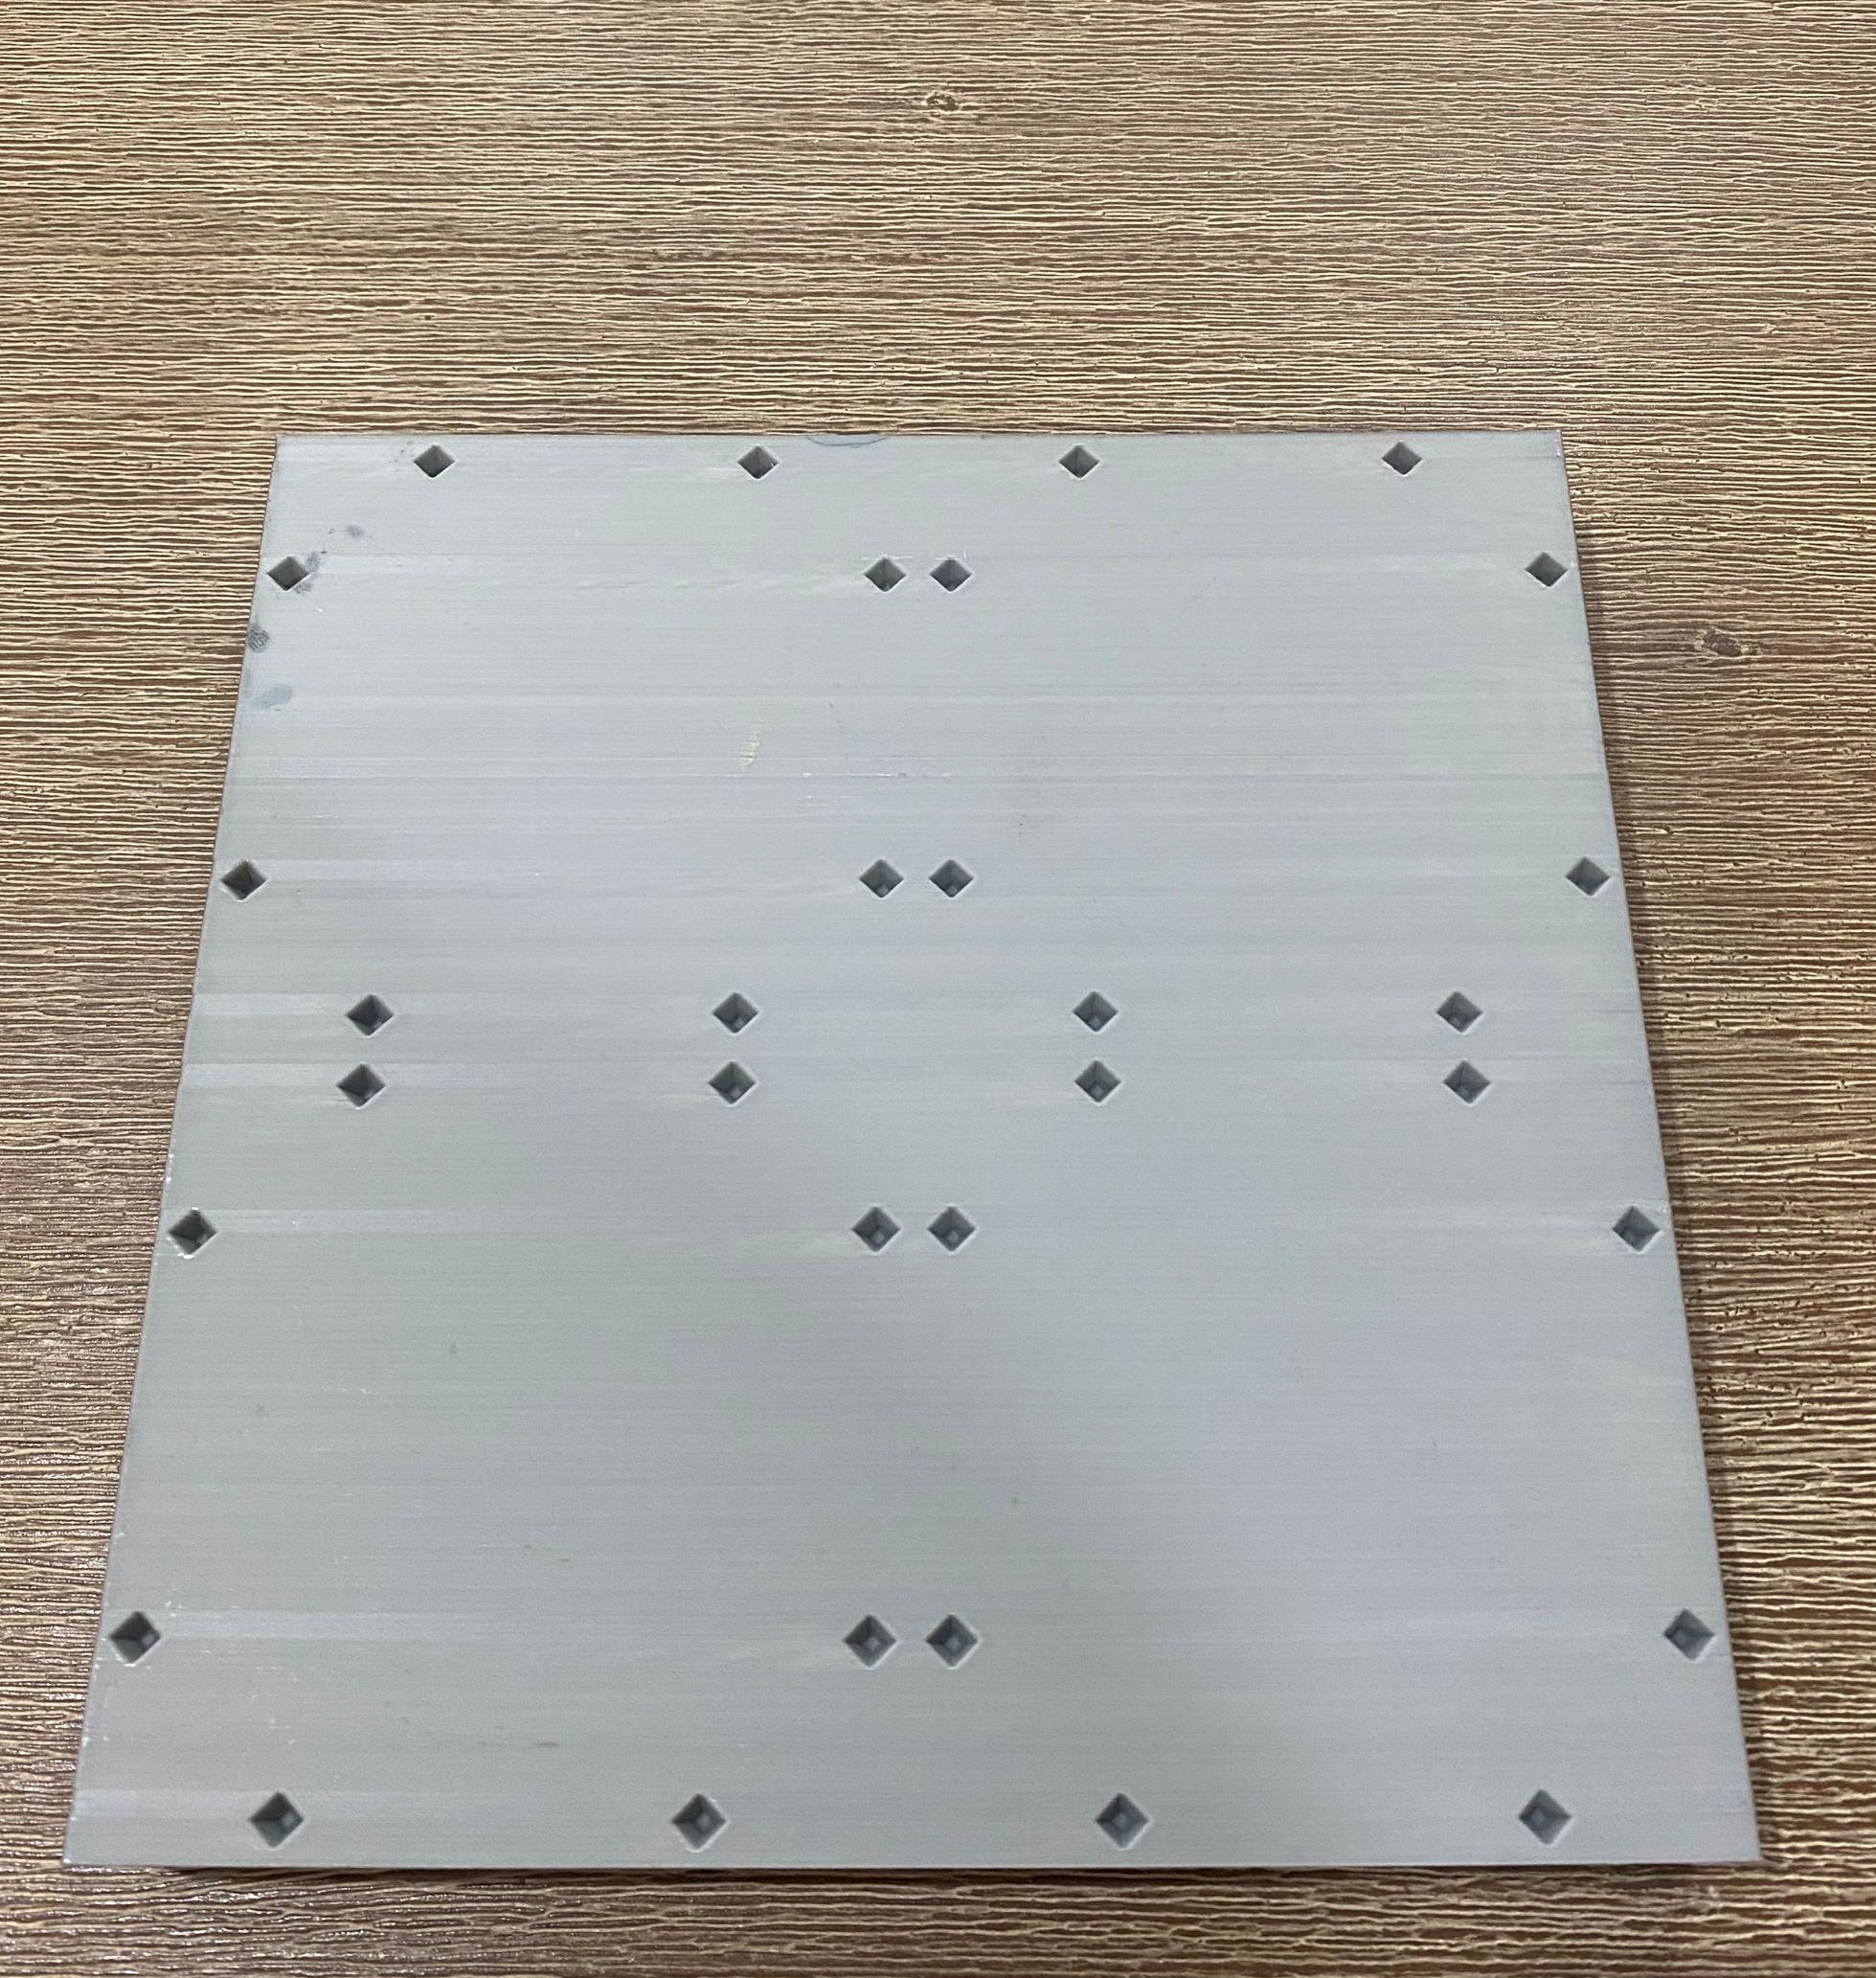
So, using 3D builder, I quickly removed a large part of the base plate, creating a lipped section that I can then install a wooden or polystyrene floor onto. In effect, creating a frame that will protect the edges of each terrain tile whilst allowing them to clip together with each other and also with my existing tiled and cobblestone base plates and also have enough holes in the bottom to allow those to go on risers just in case I decide to add tunnels and caves beneath them.

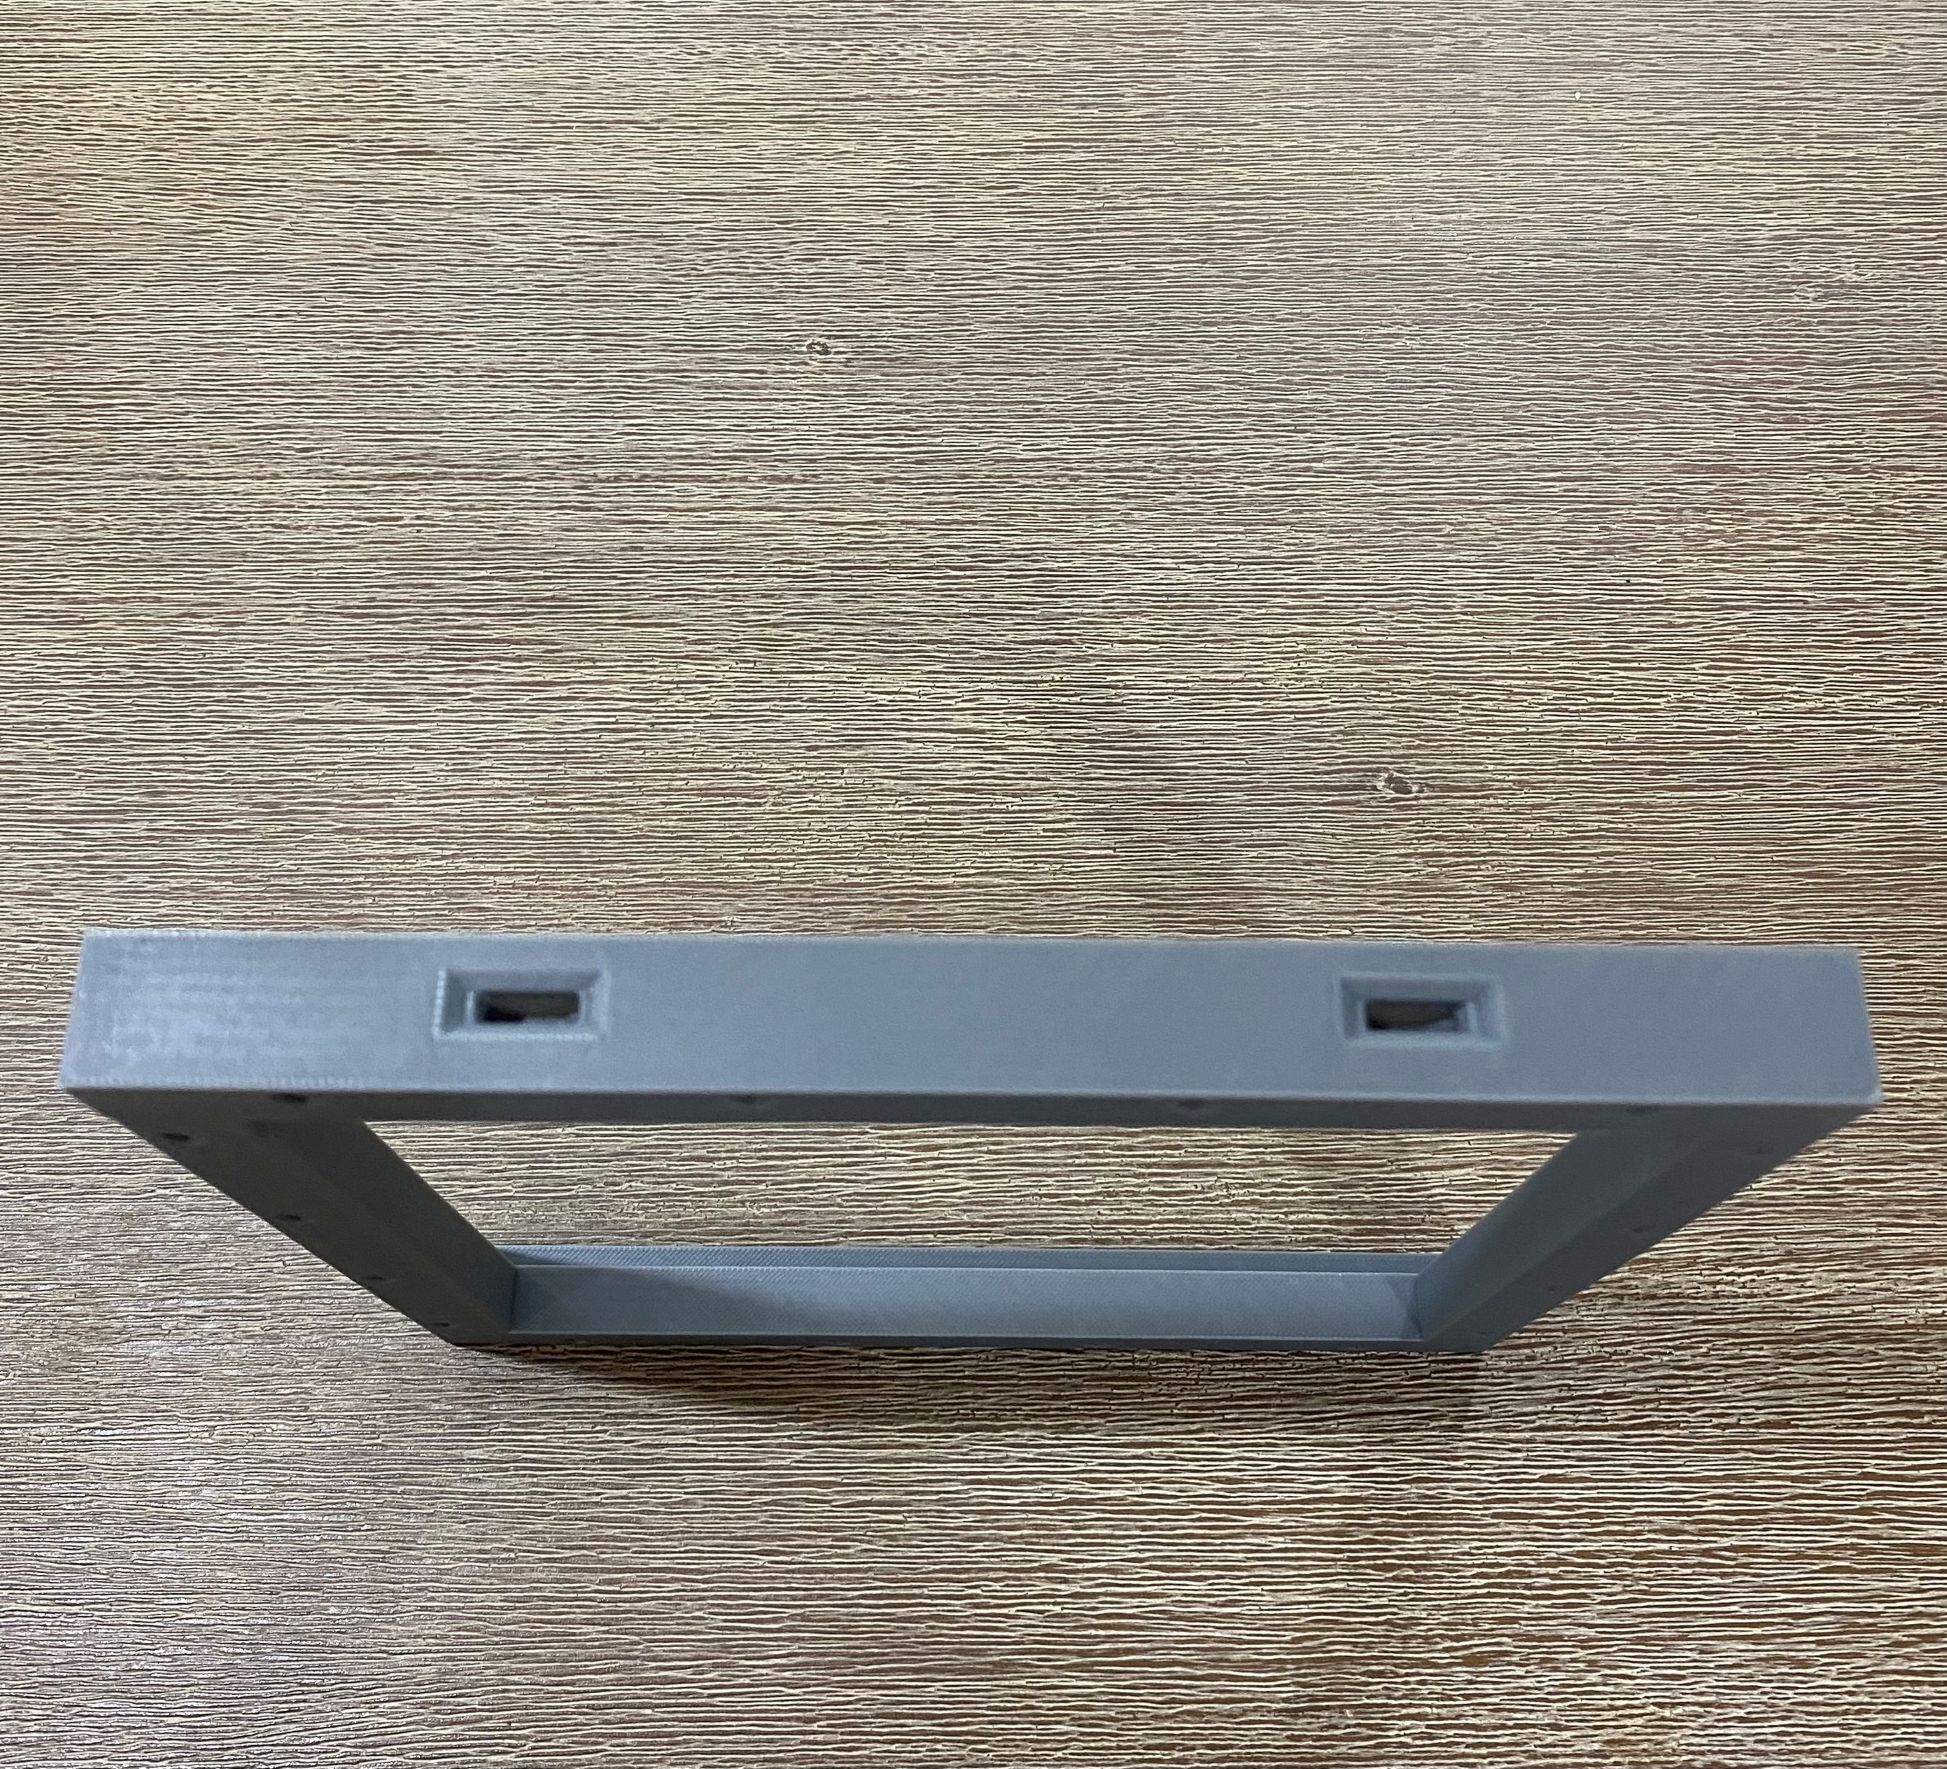
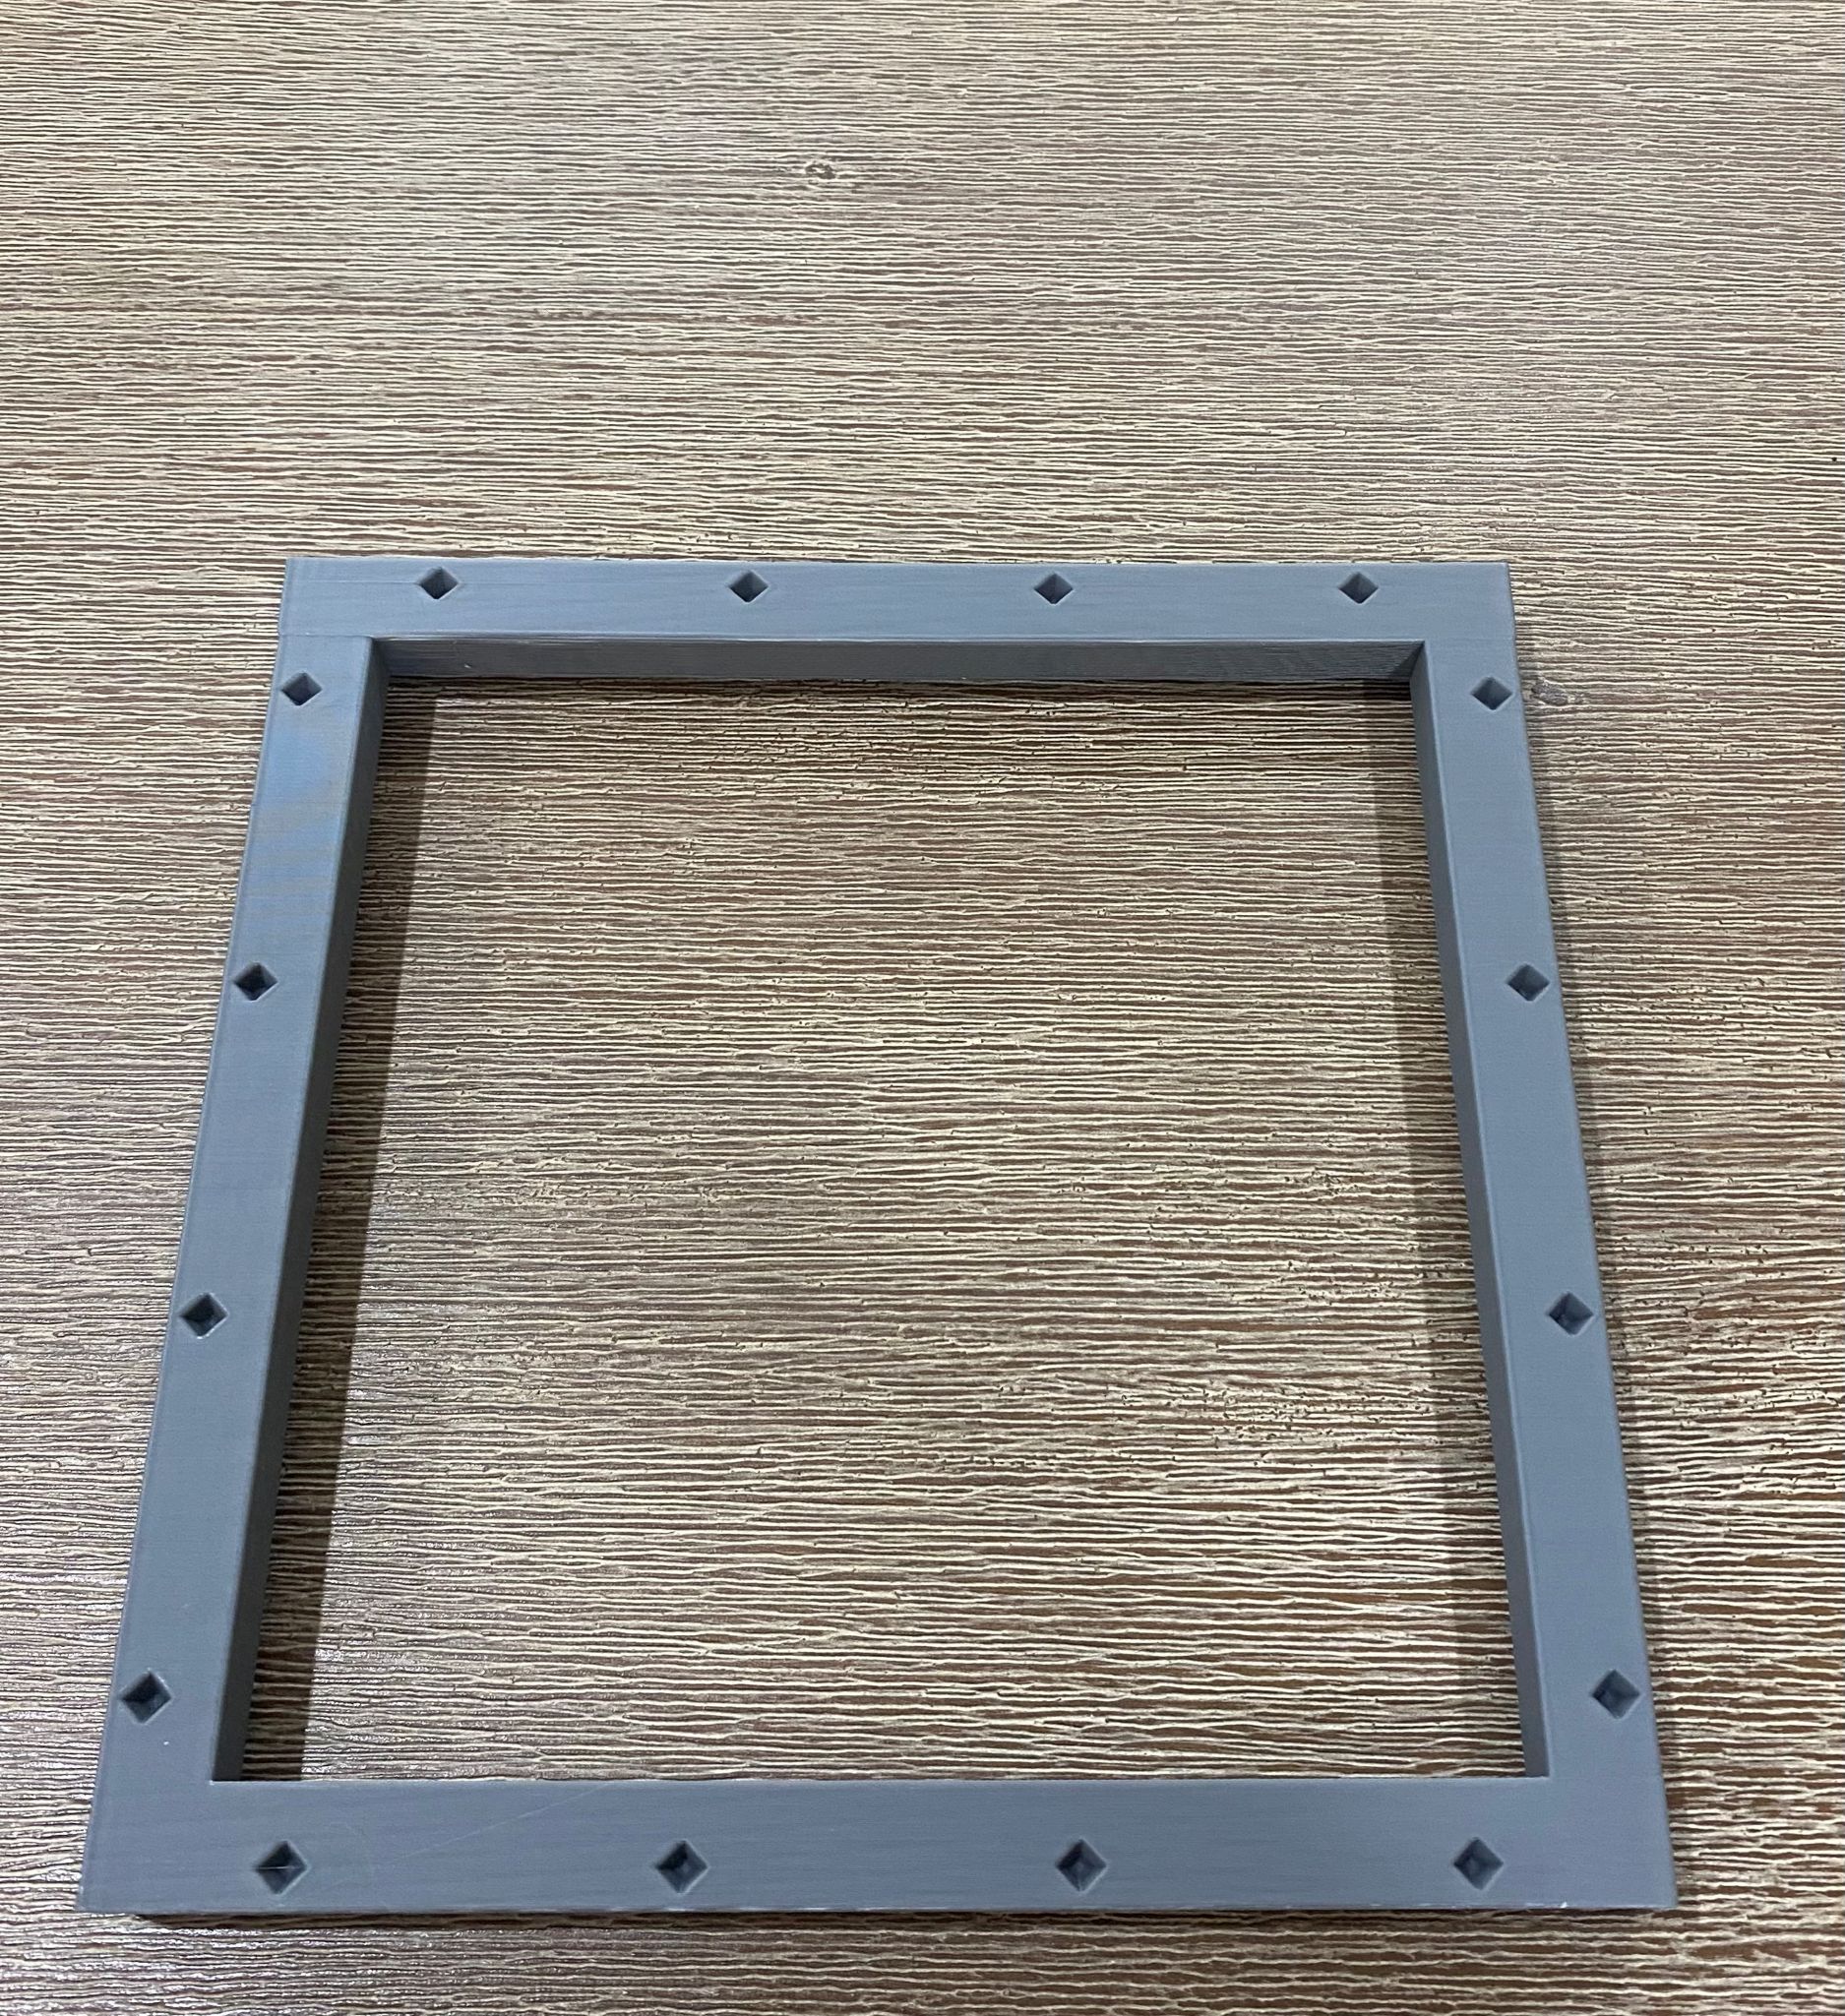
The hollow frames can link together and are just below the level of the kerb sections of the cobblestone roads. This will allow me to have a road running through the woods if I desire it

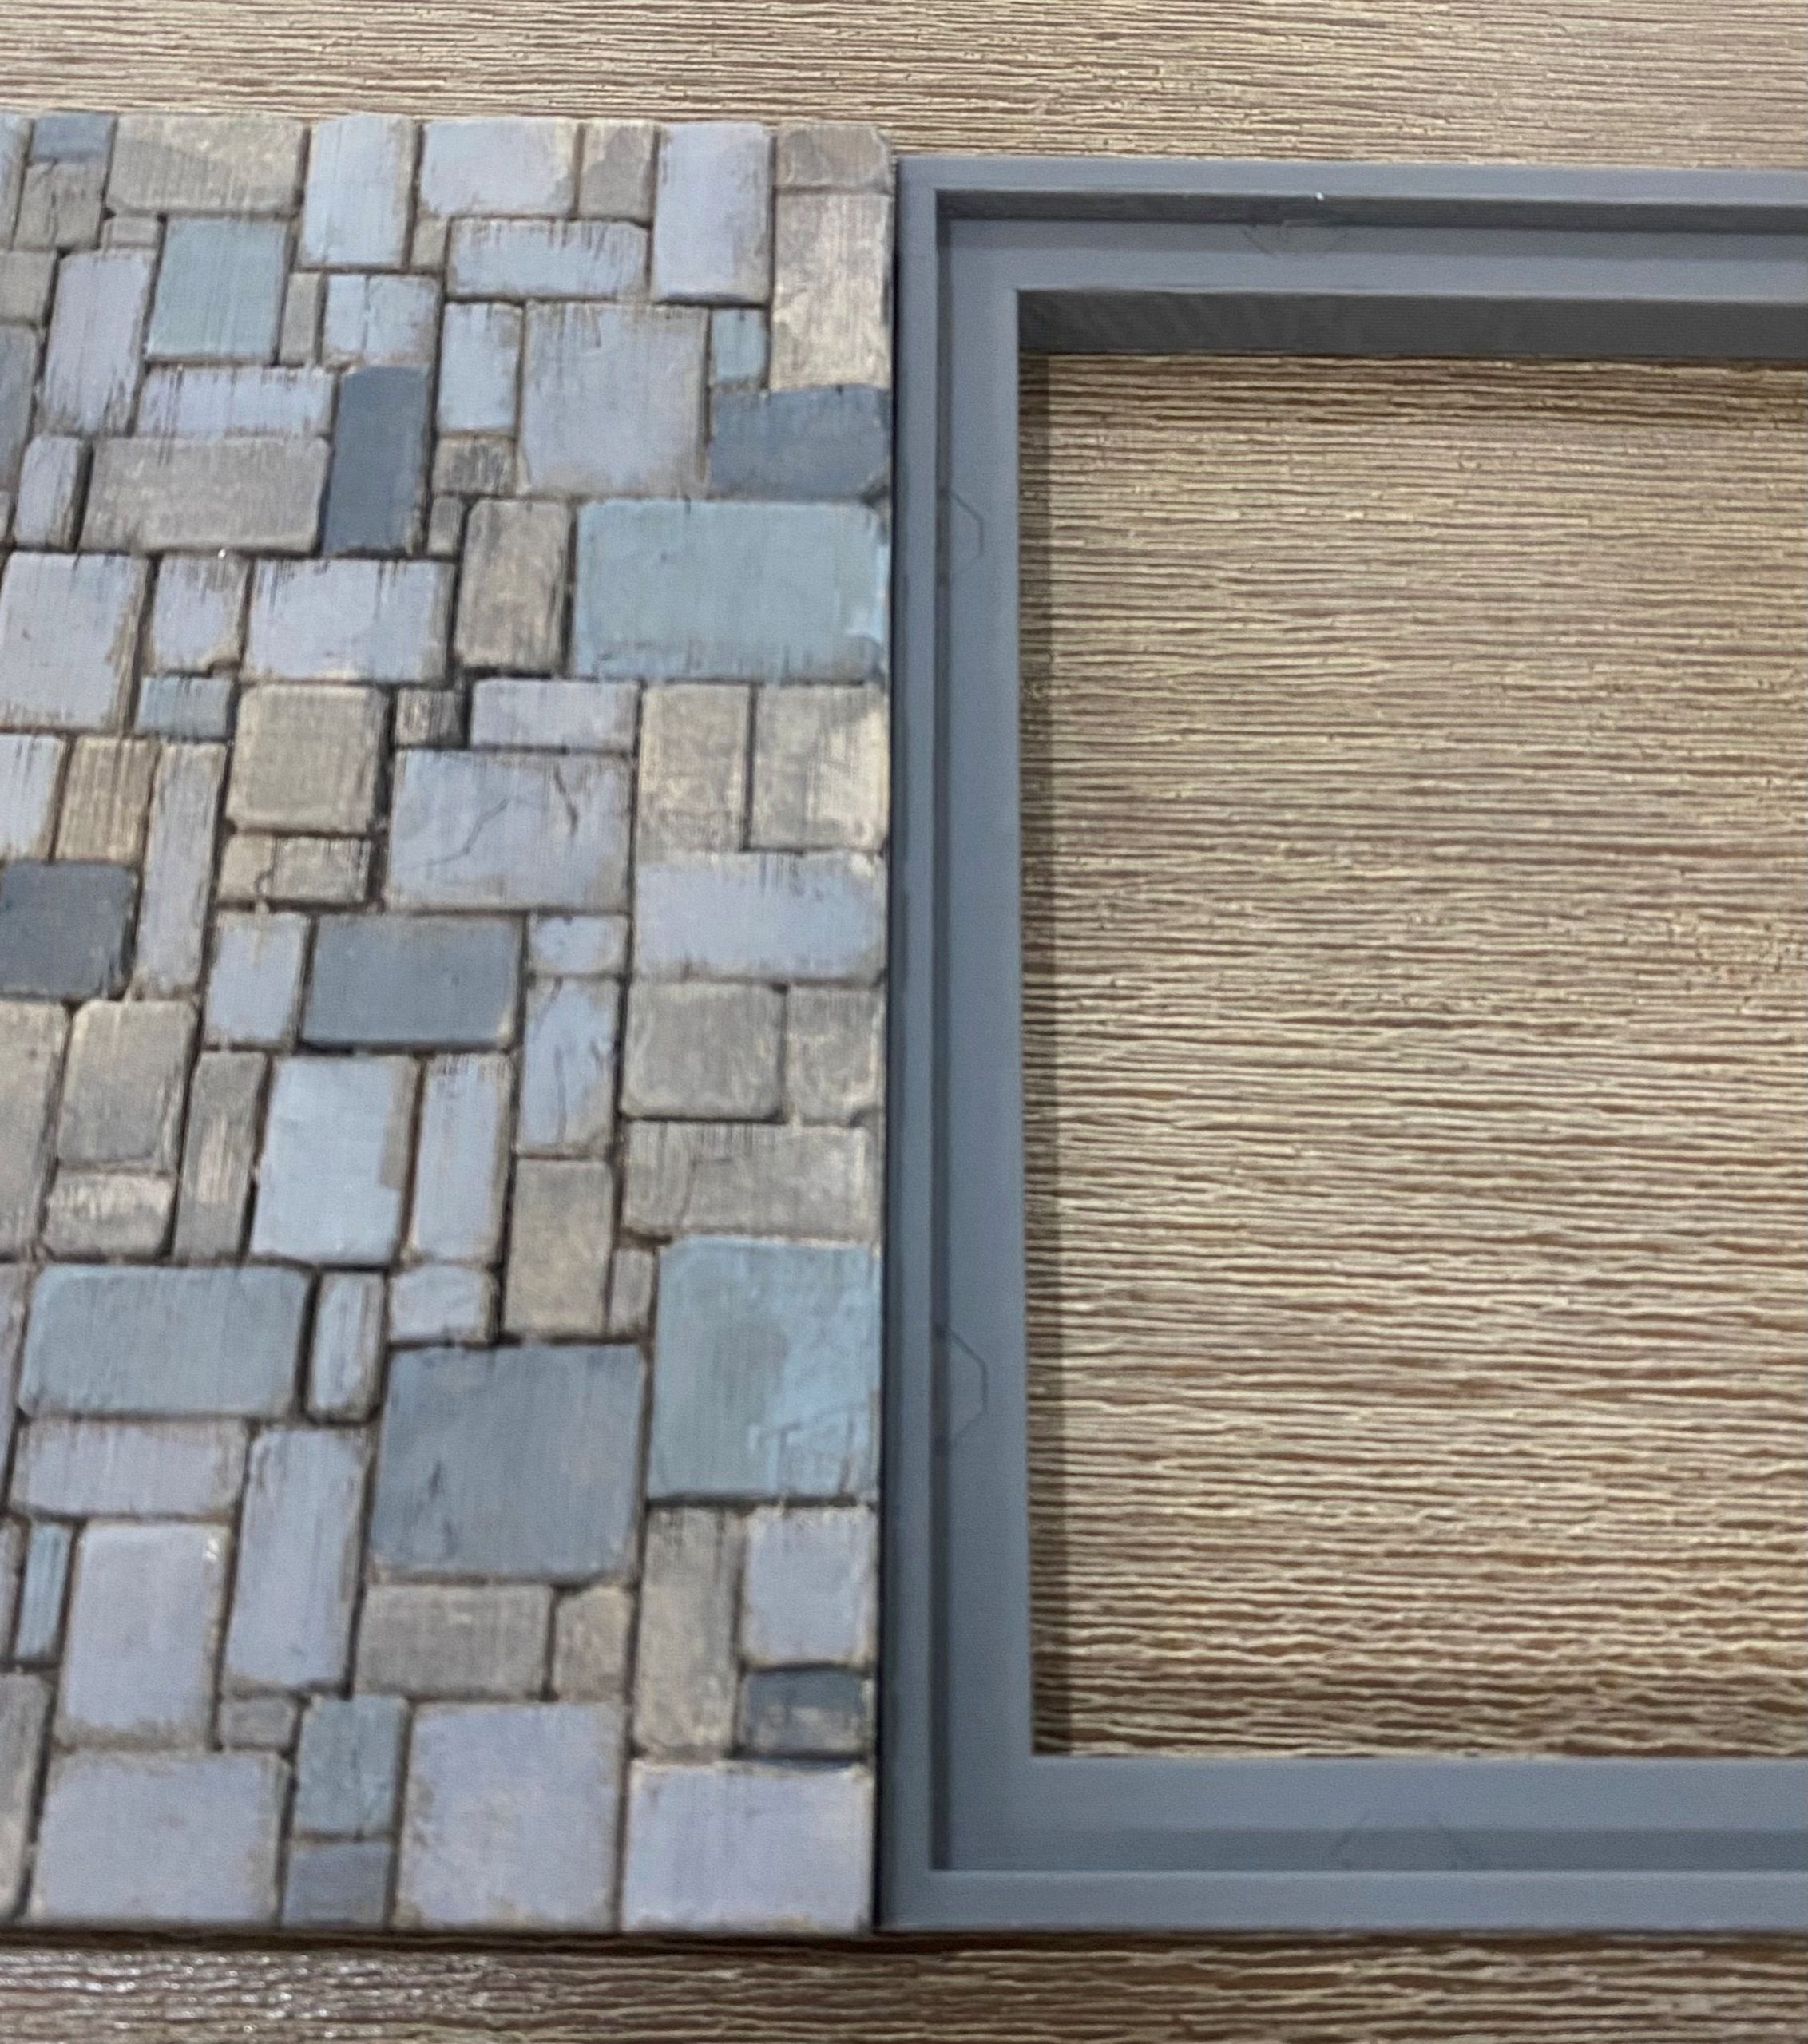
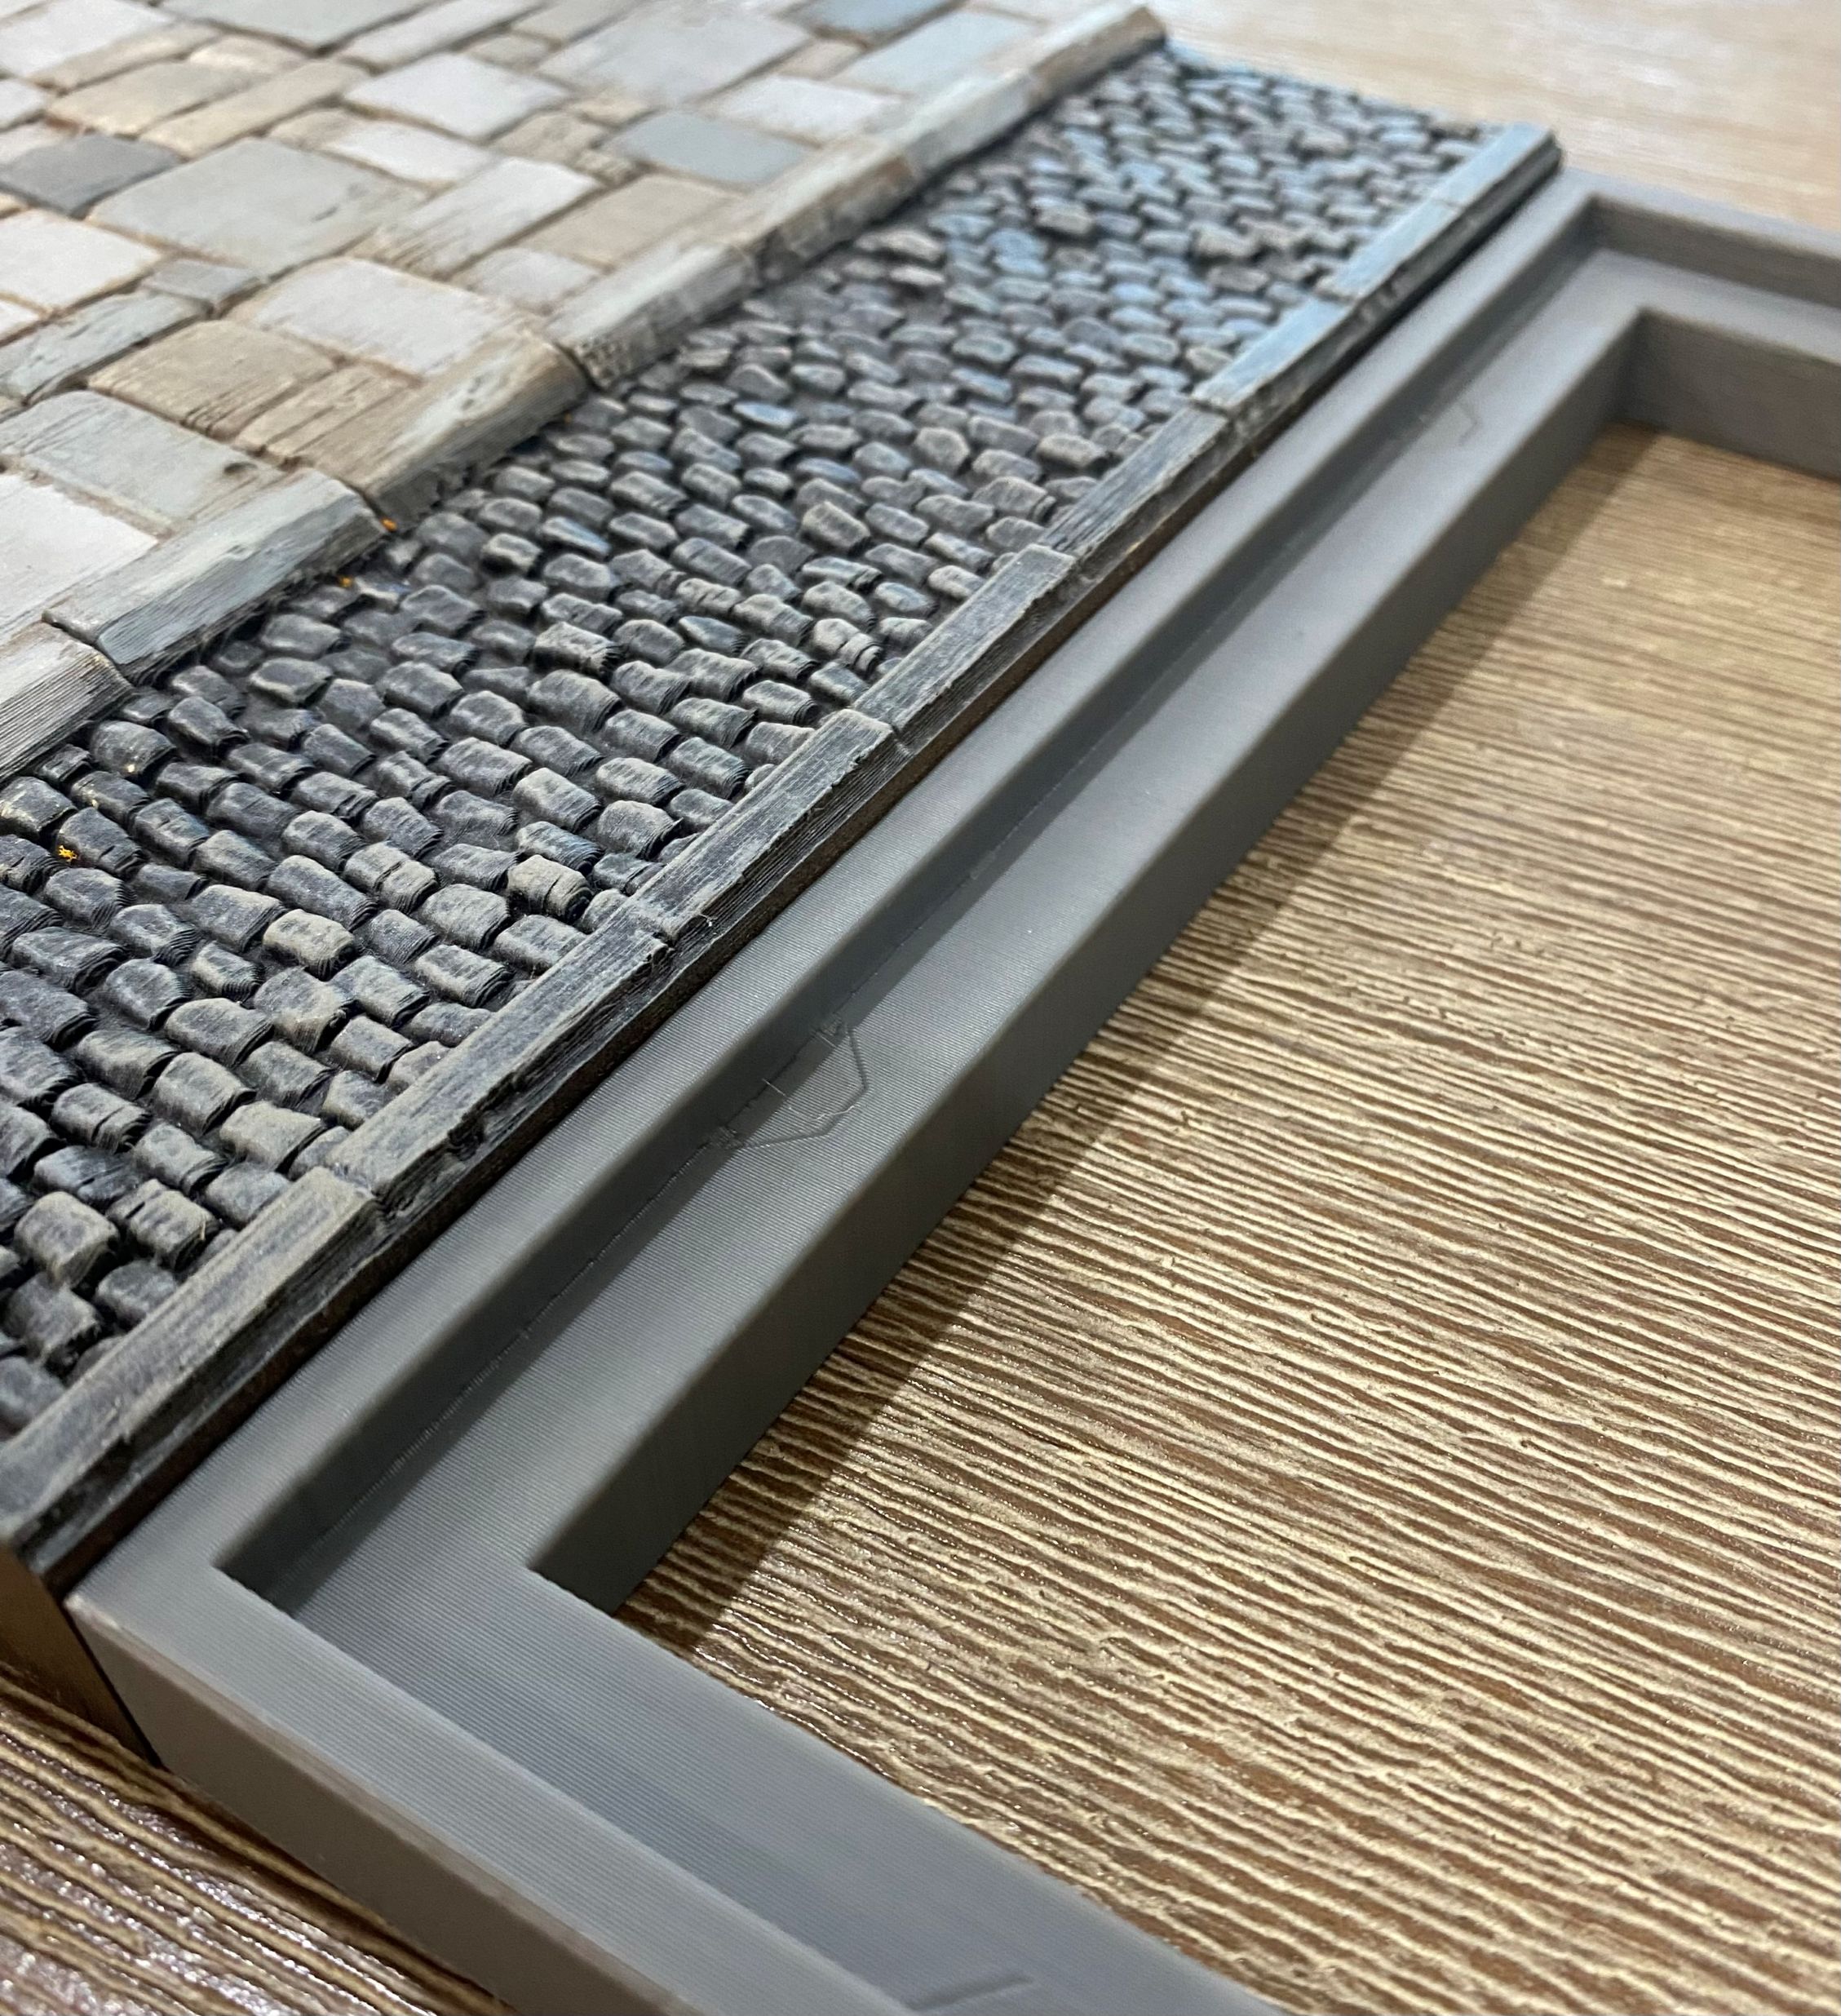
I think that by the time I add ground cover to the wood’s tiles, it will bring them up nicely to fit in with the other, more urban tiles.
Keeping all the tiles the same size will mean that I can rotate them around and swap their positions to create different layouts. Similar to how I did my Dungeon layout for Dungeonalia 2023.
Taking Stock
Whilst waiting for the frames to be printed out, which should not take too long with my small army of printers, I took the time to do a quick inventory of what I have to hand. I know that I have other modelling supplies like XPS foam, Cardboard, Glue, Brushes, Pipe Cleaners, Paper, Metal Wire, BBQ Skewers, Household Paints, etc, and those things are all pretty obvious. If need be, I can photograph them as and when I dig them out of the roof storage.
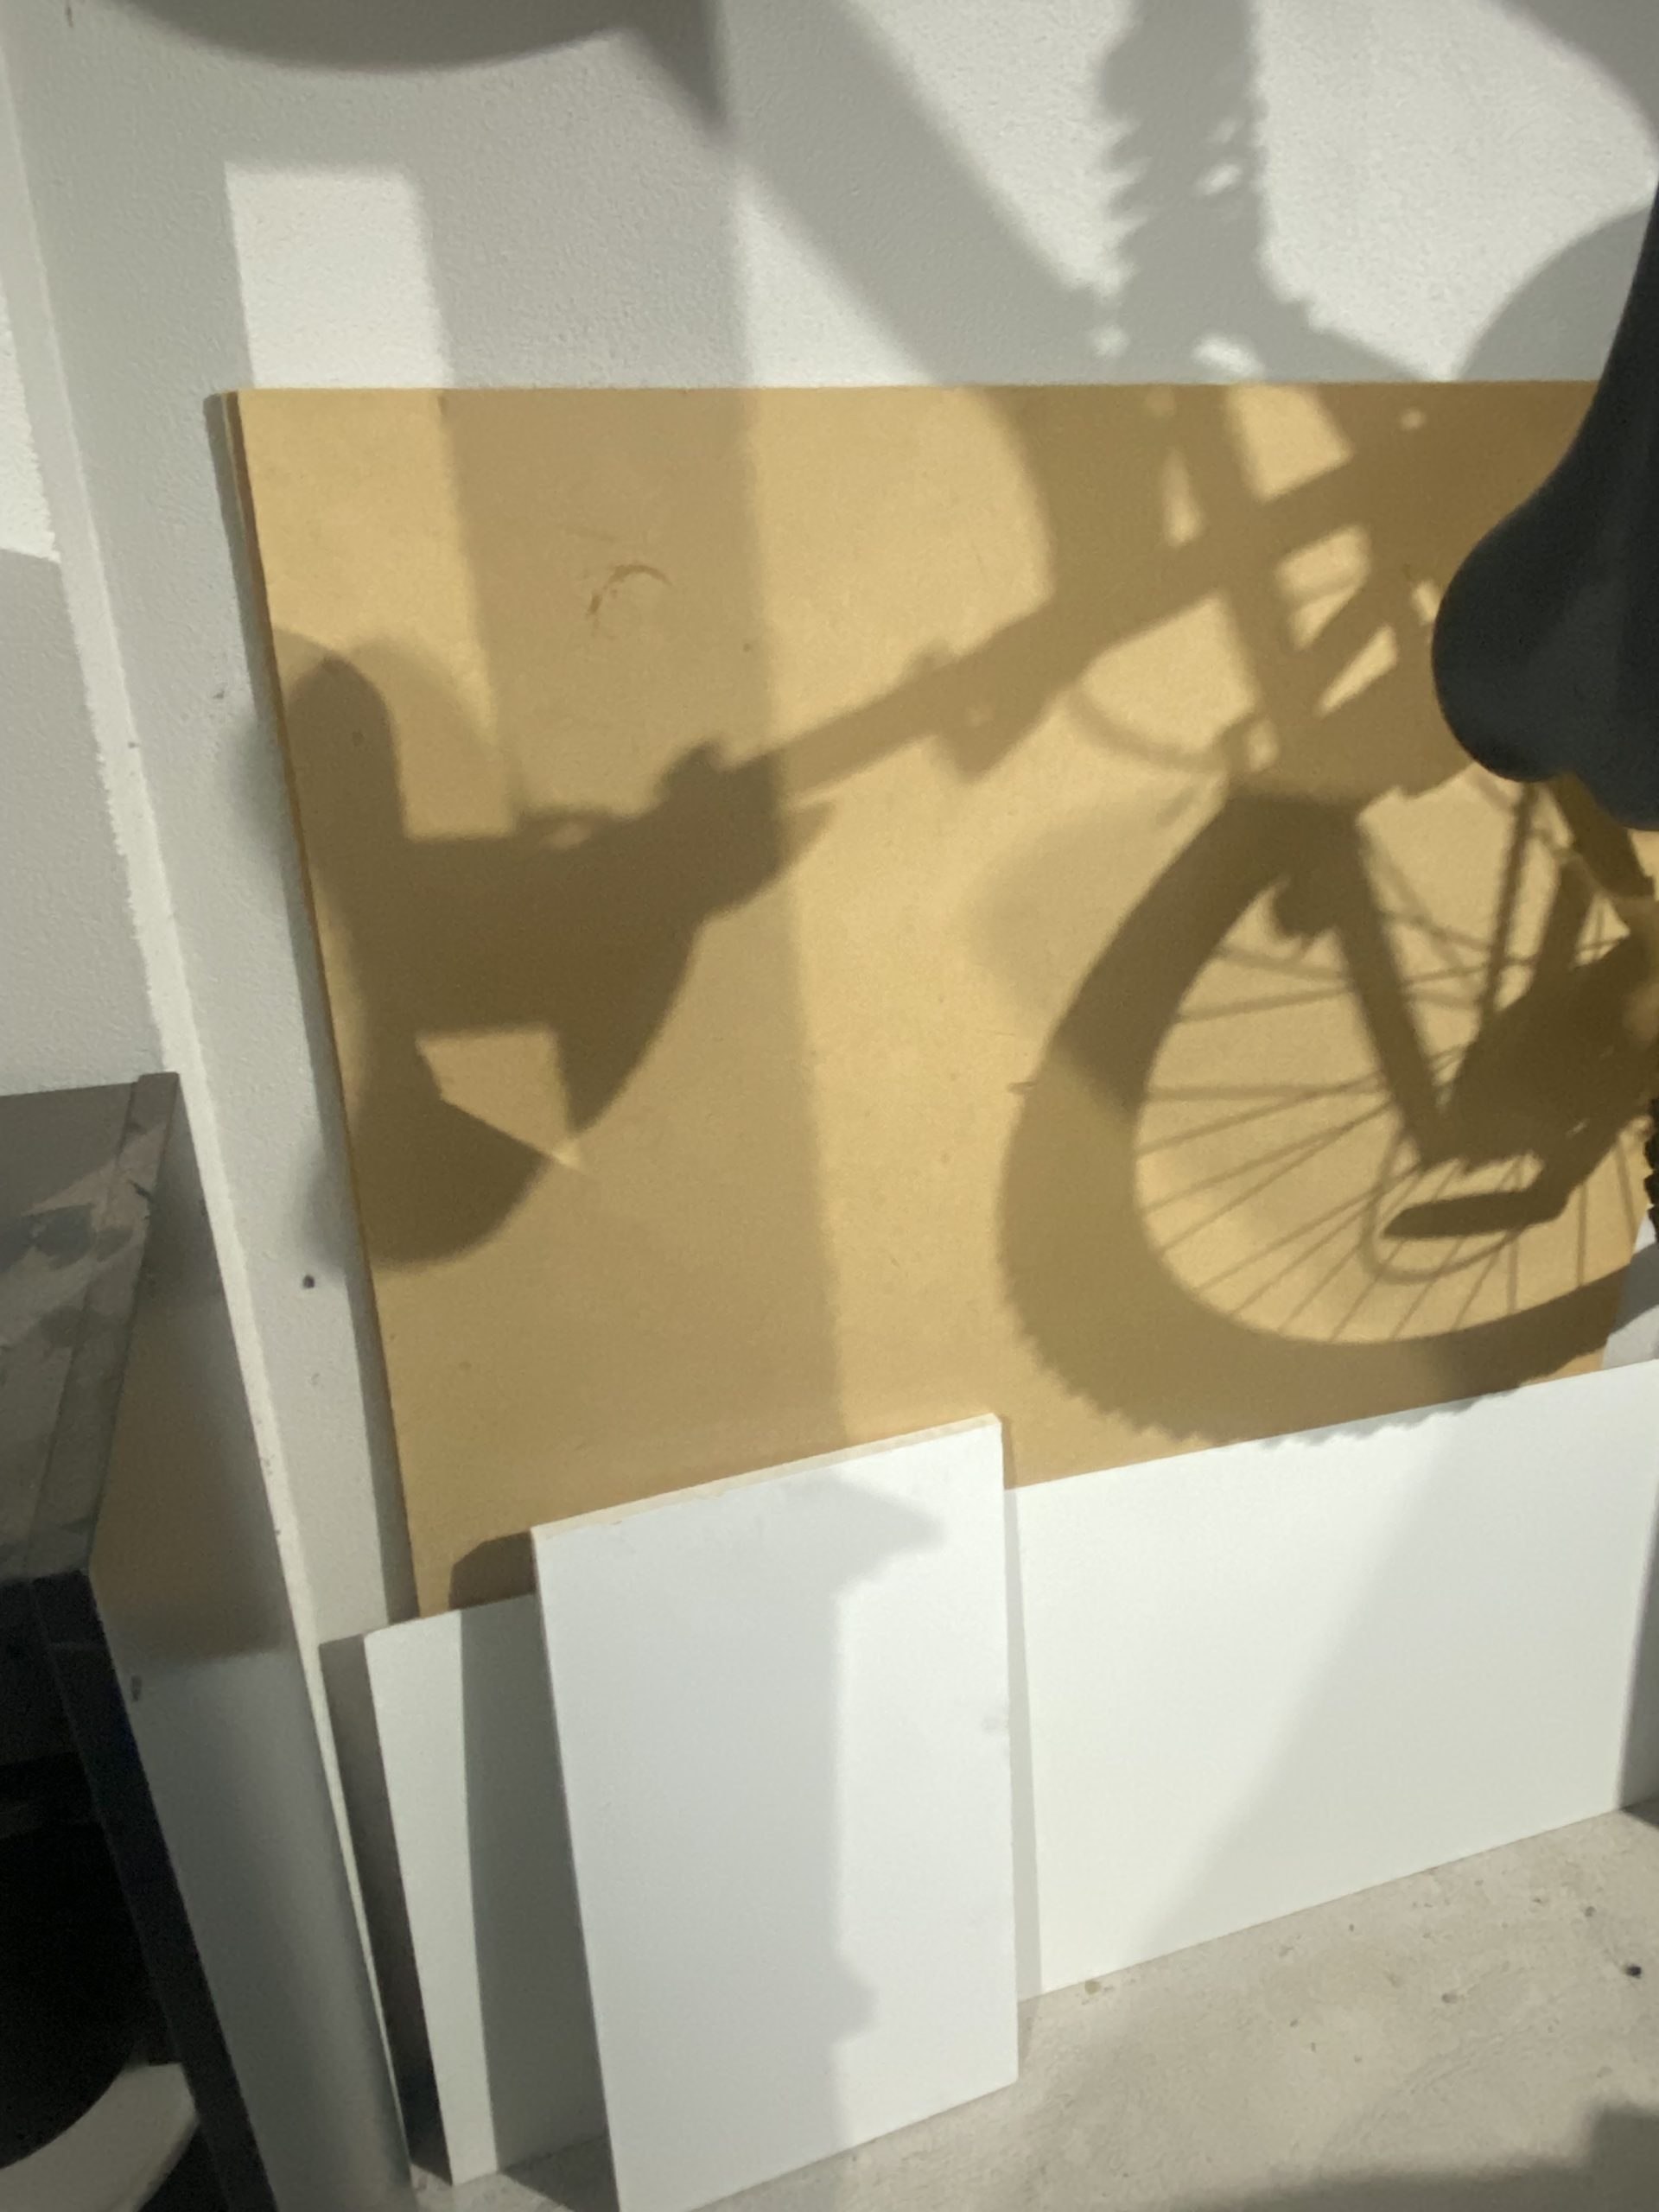 Sheets of MDF and other wood.
 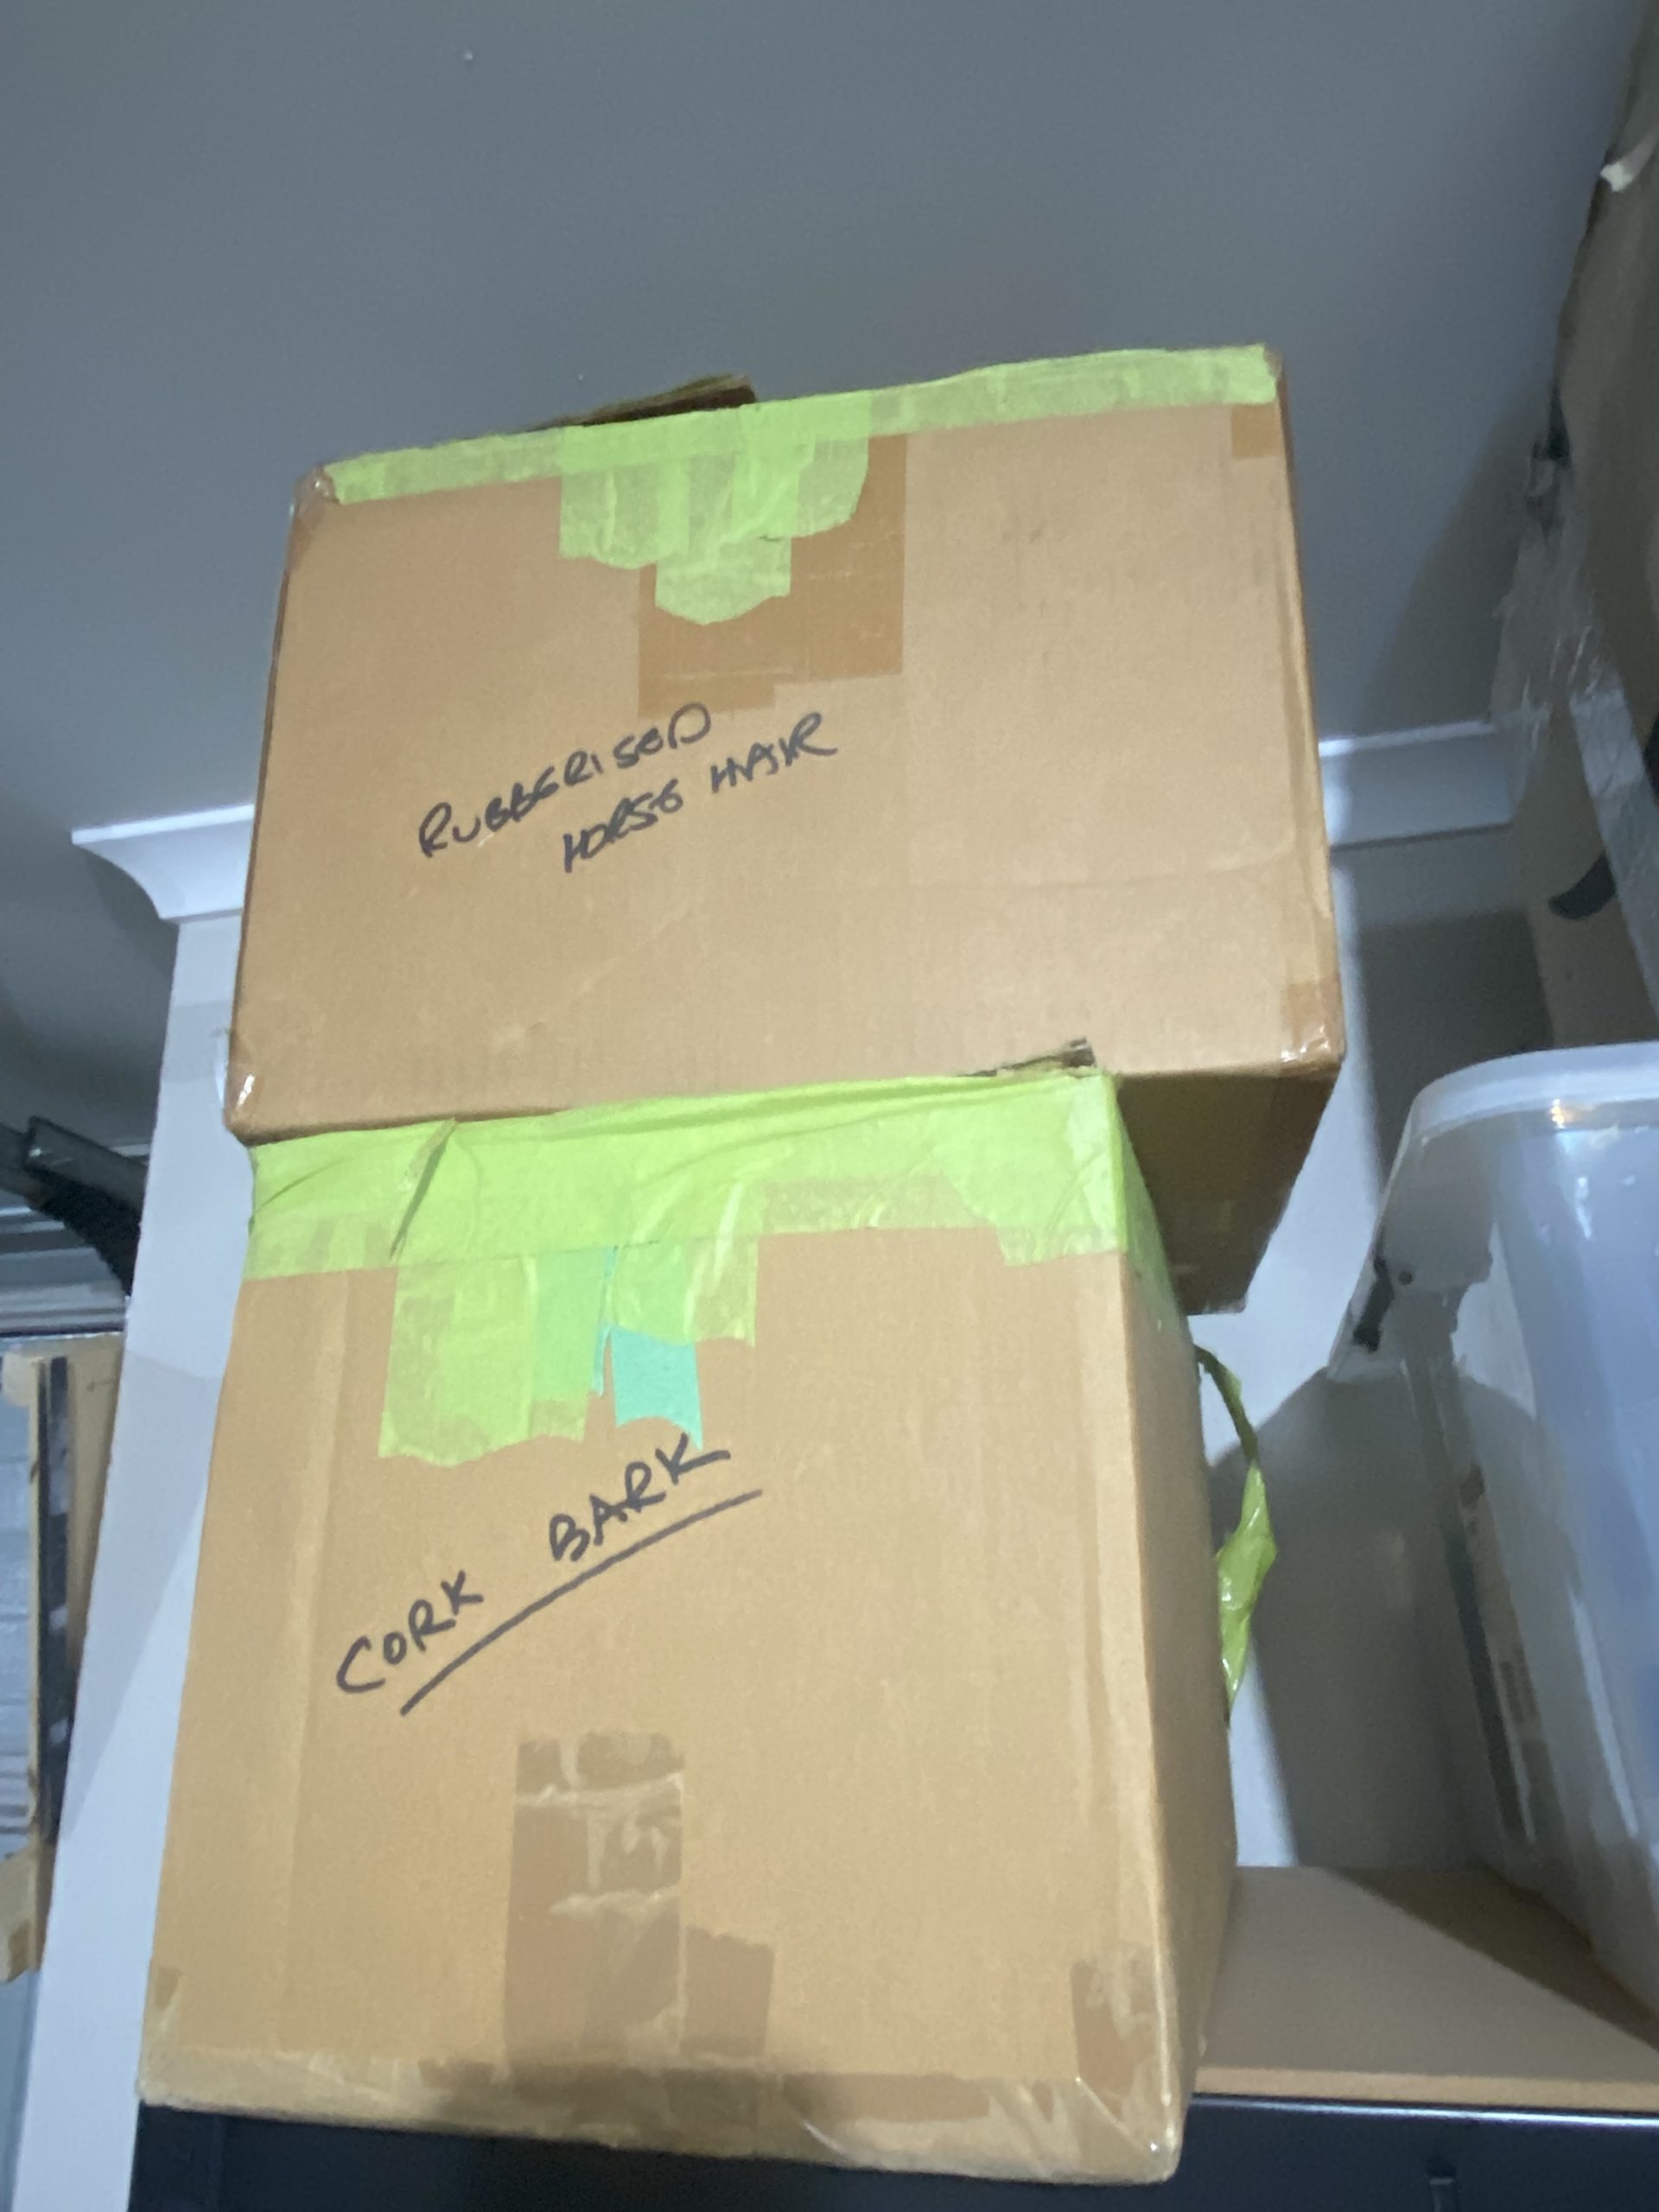 Large boxes of rubberised horsehair and cork bark.
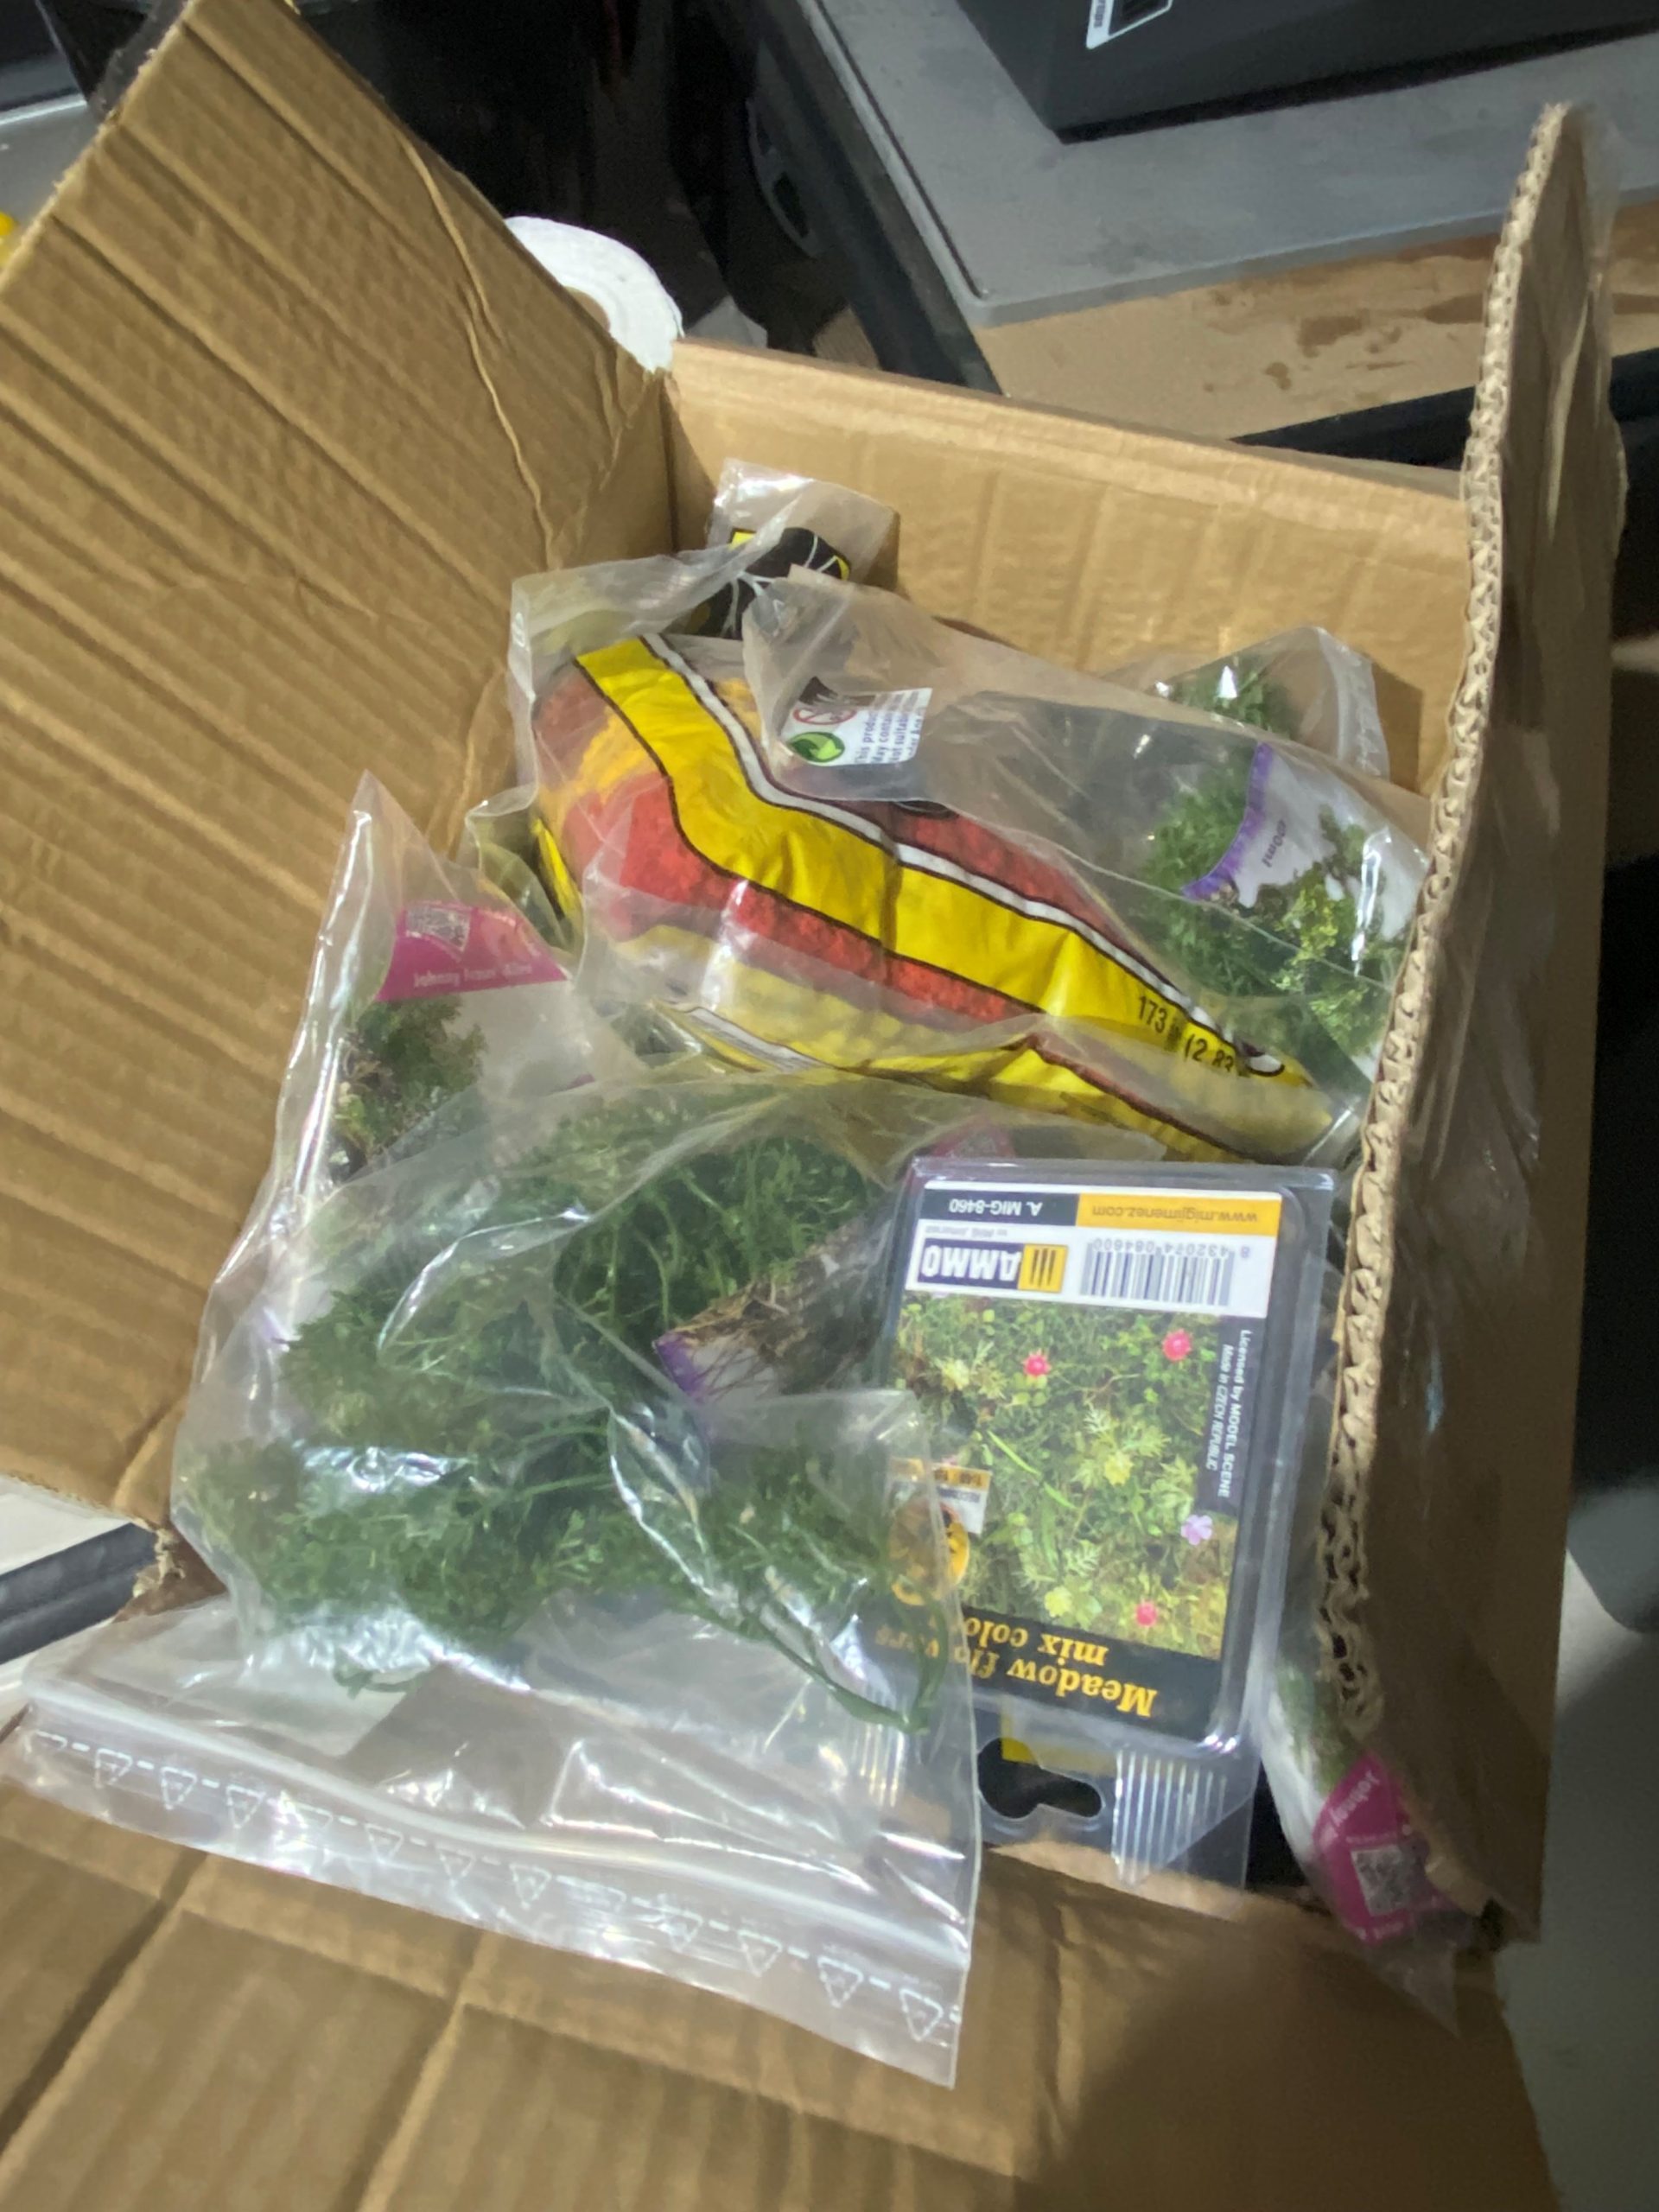 Large tub of ground covers, bushes and such like.
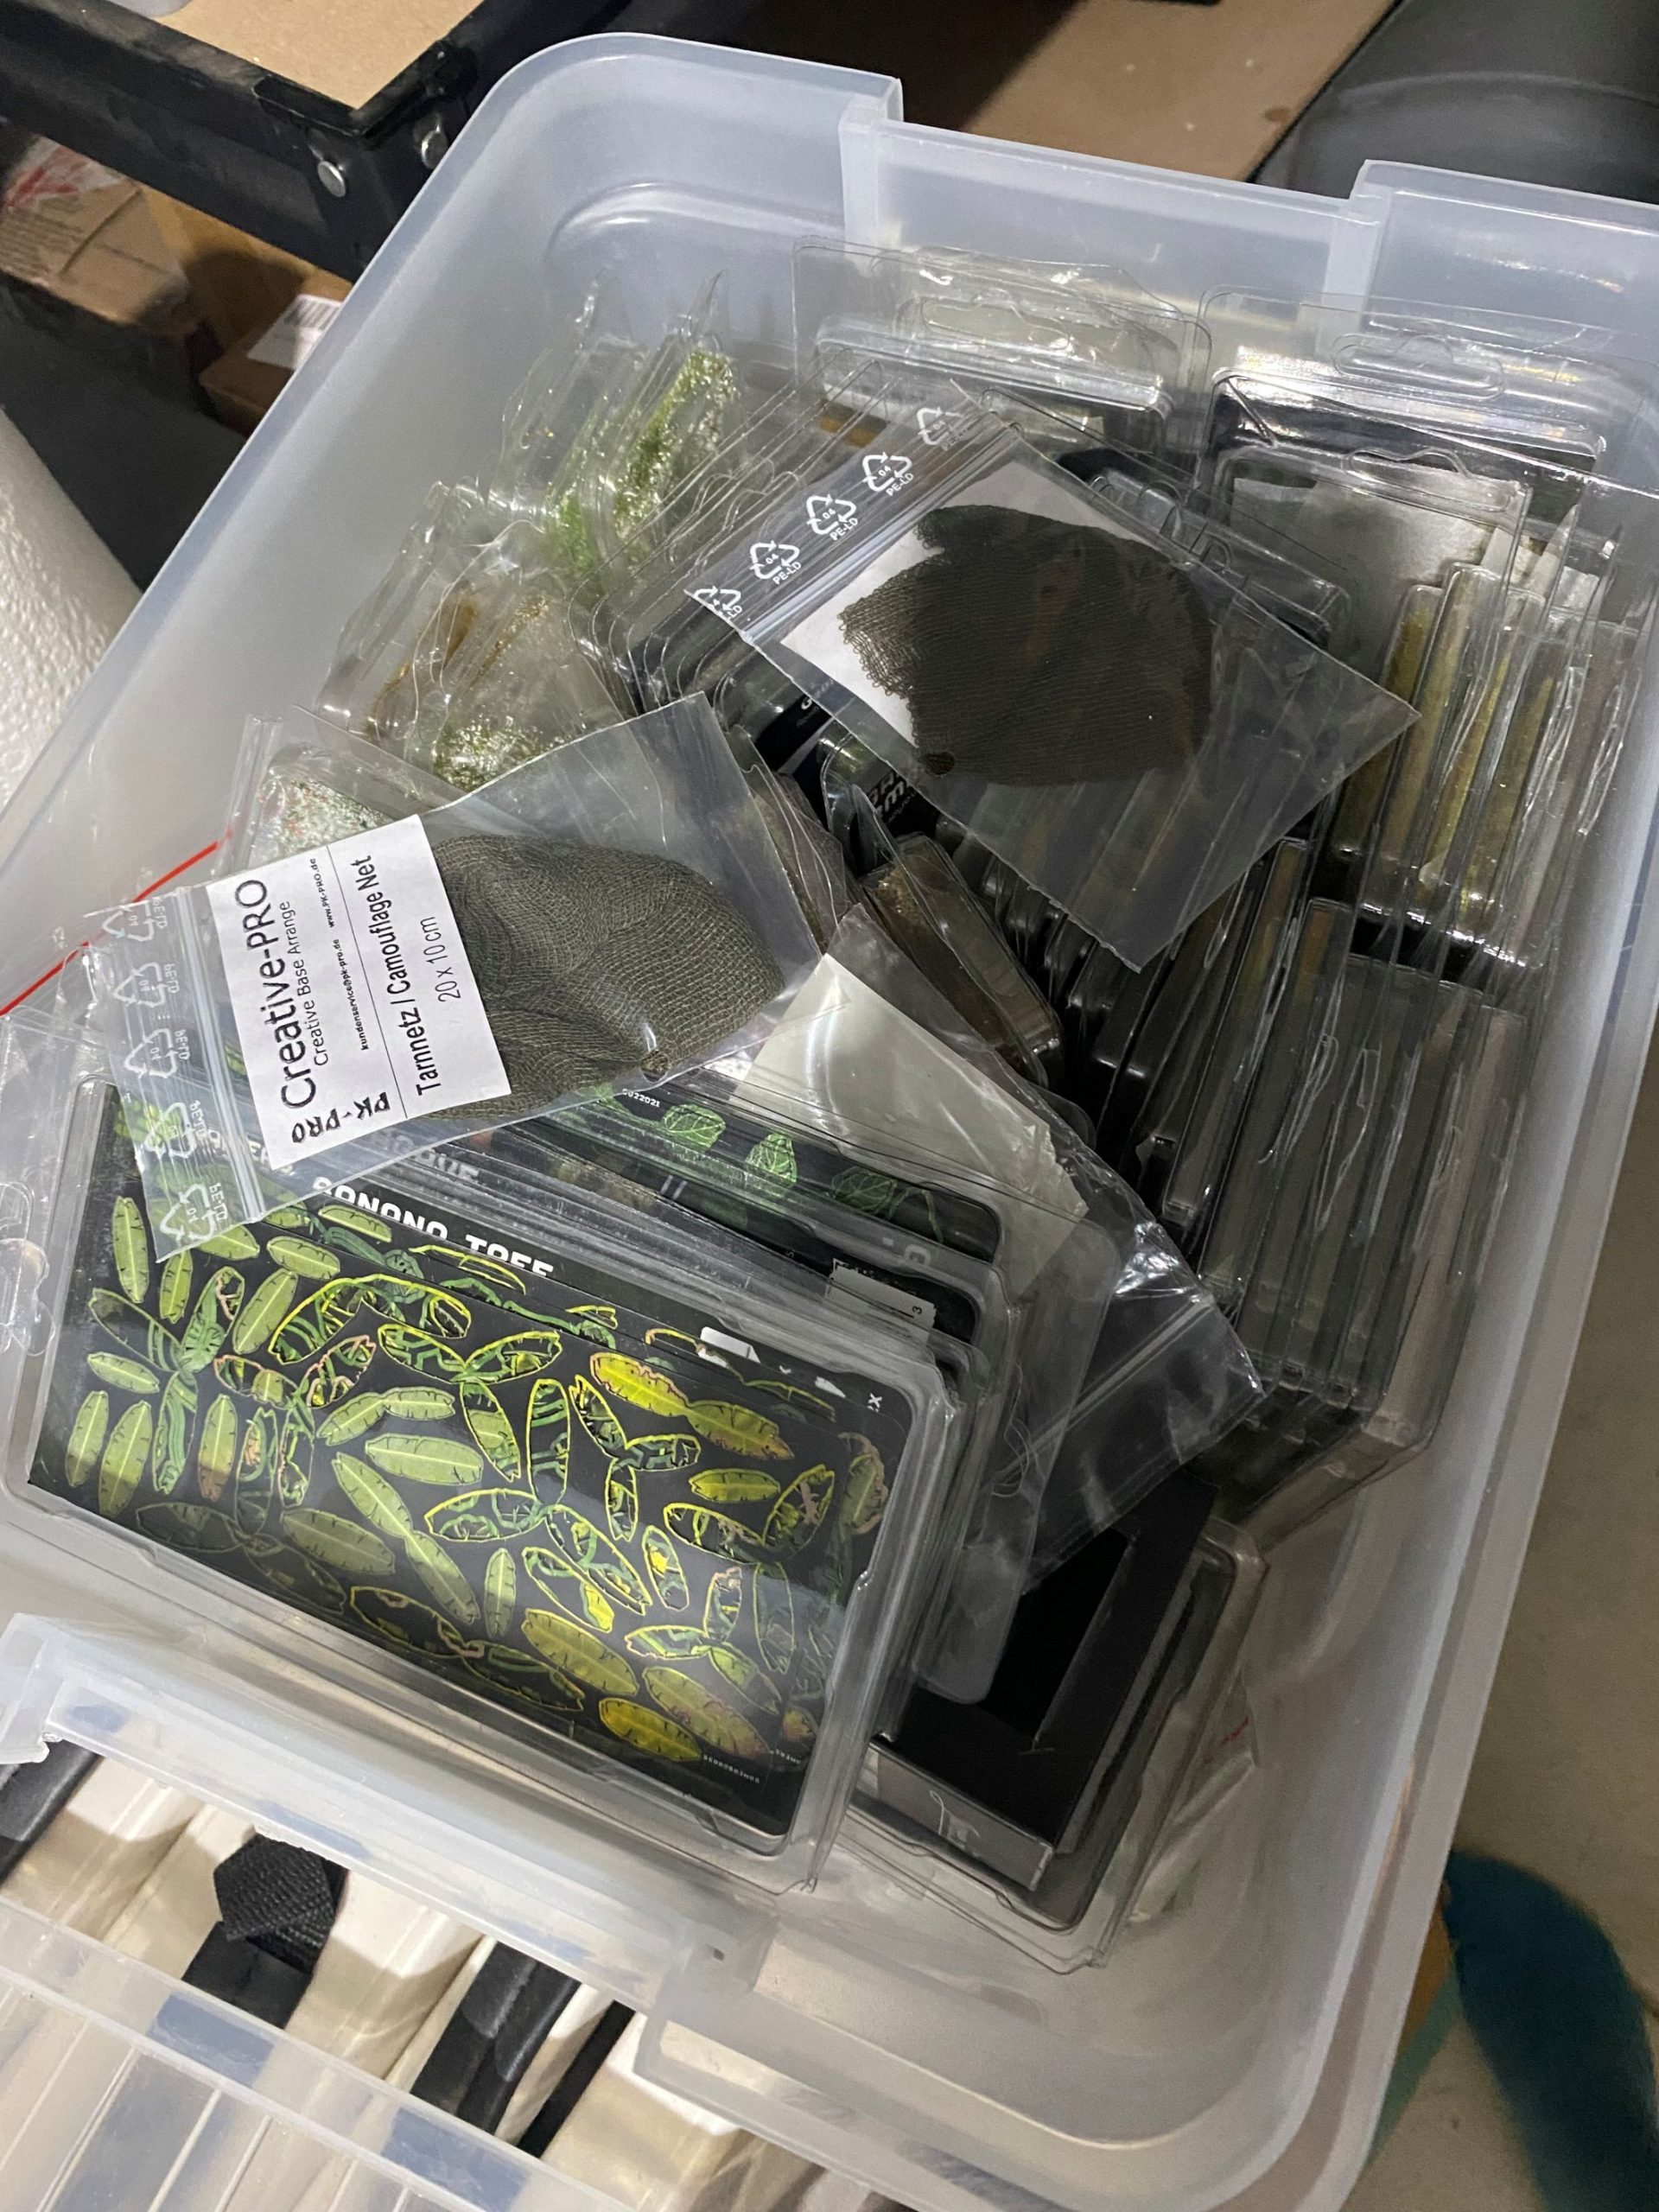 Large tub of grass tufts and similar.
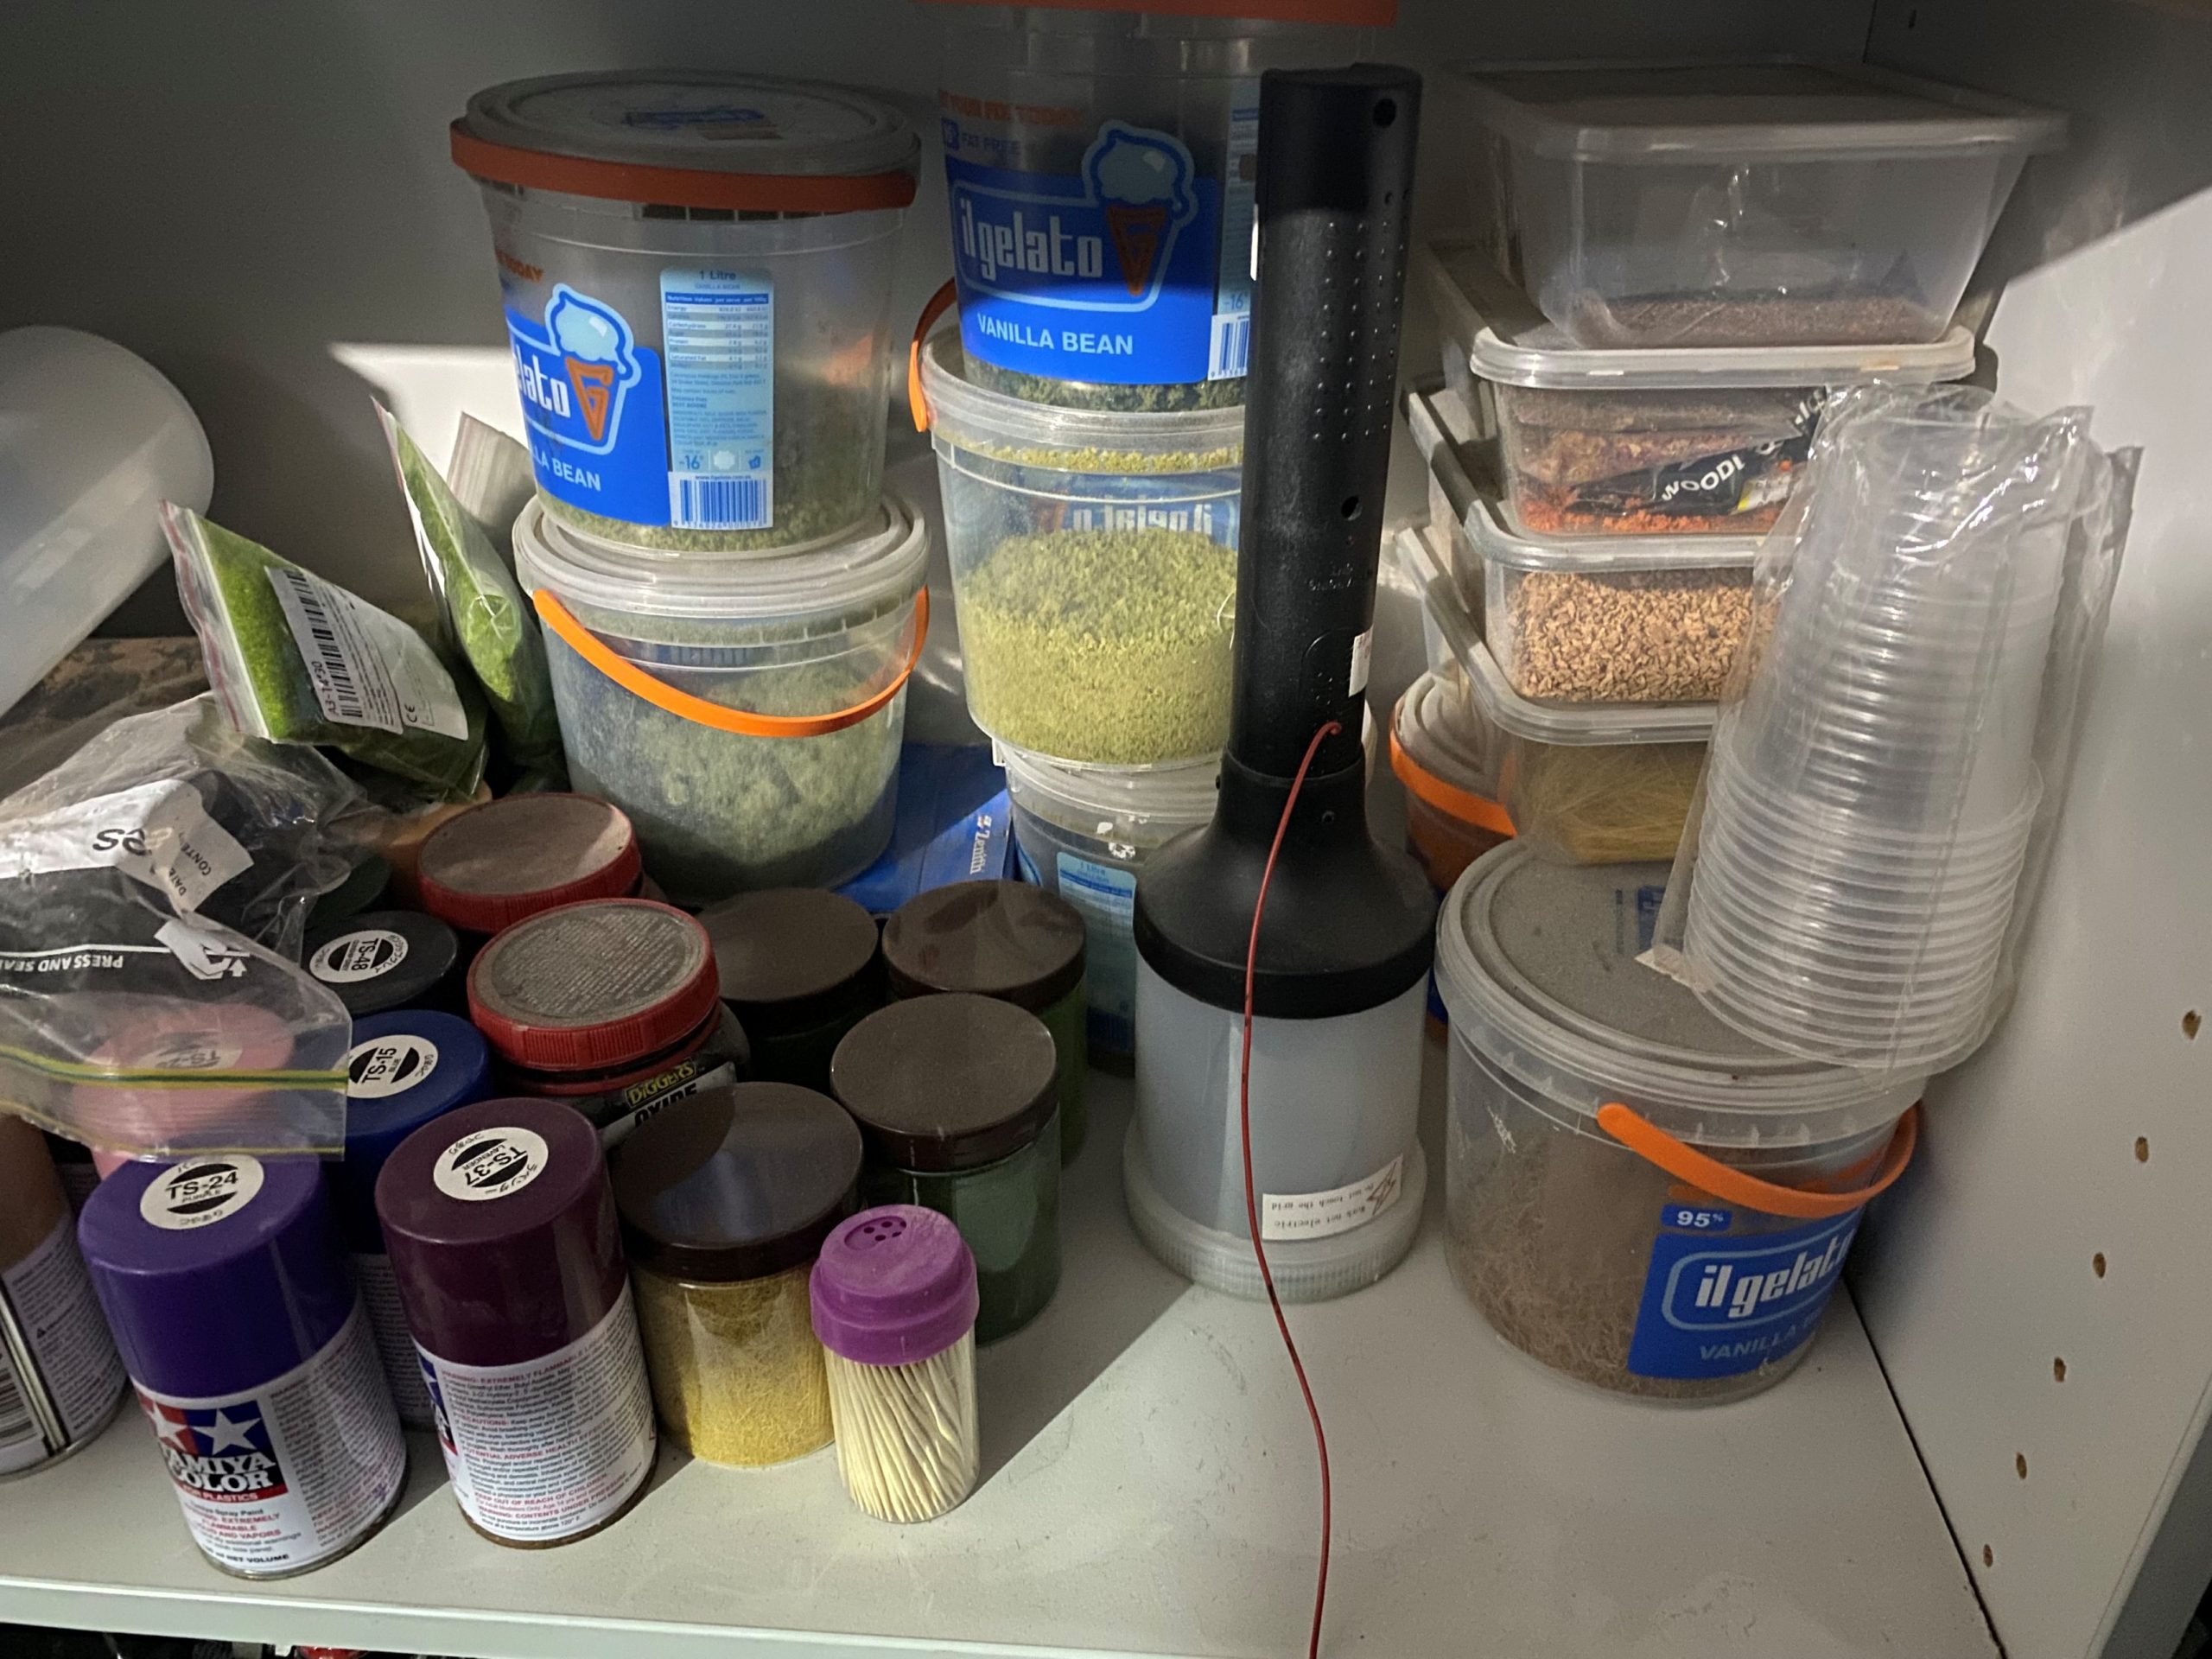 More scatter materials and rattle cans.
 Rattle cans.
I am hopeful that I have almost everything I need here, or at least the ability to create anything I need. Maybe I can do this on a relatively small budget.
At the moment, I am thinking of an area of about 3′ x 3′.
Many of the skirmish games I enjoy playing take place on relatively small playing areas. 3-foot square is a nice size as it gives room around the table for all the tokens, measuring implements and rule books used whilst playing, meaning that none of that clutter gets left on the corners of the table.
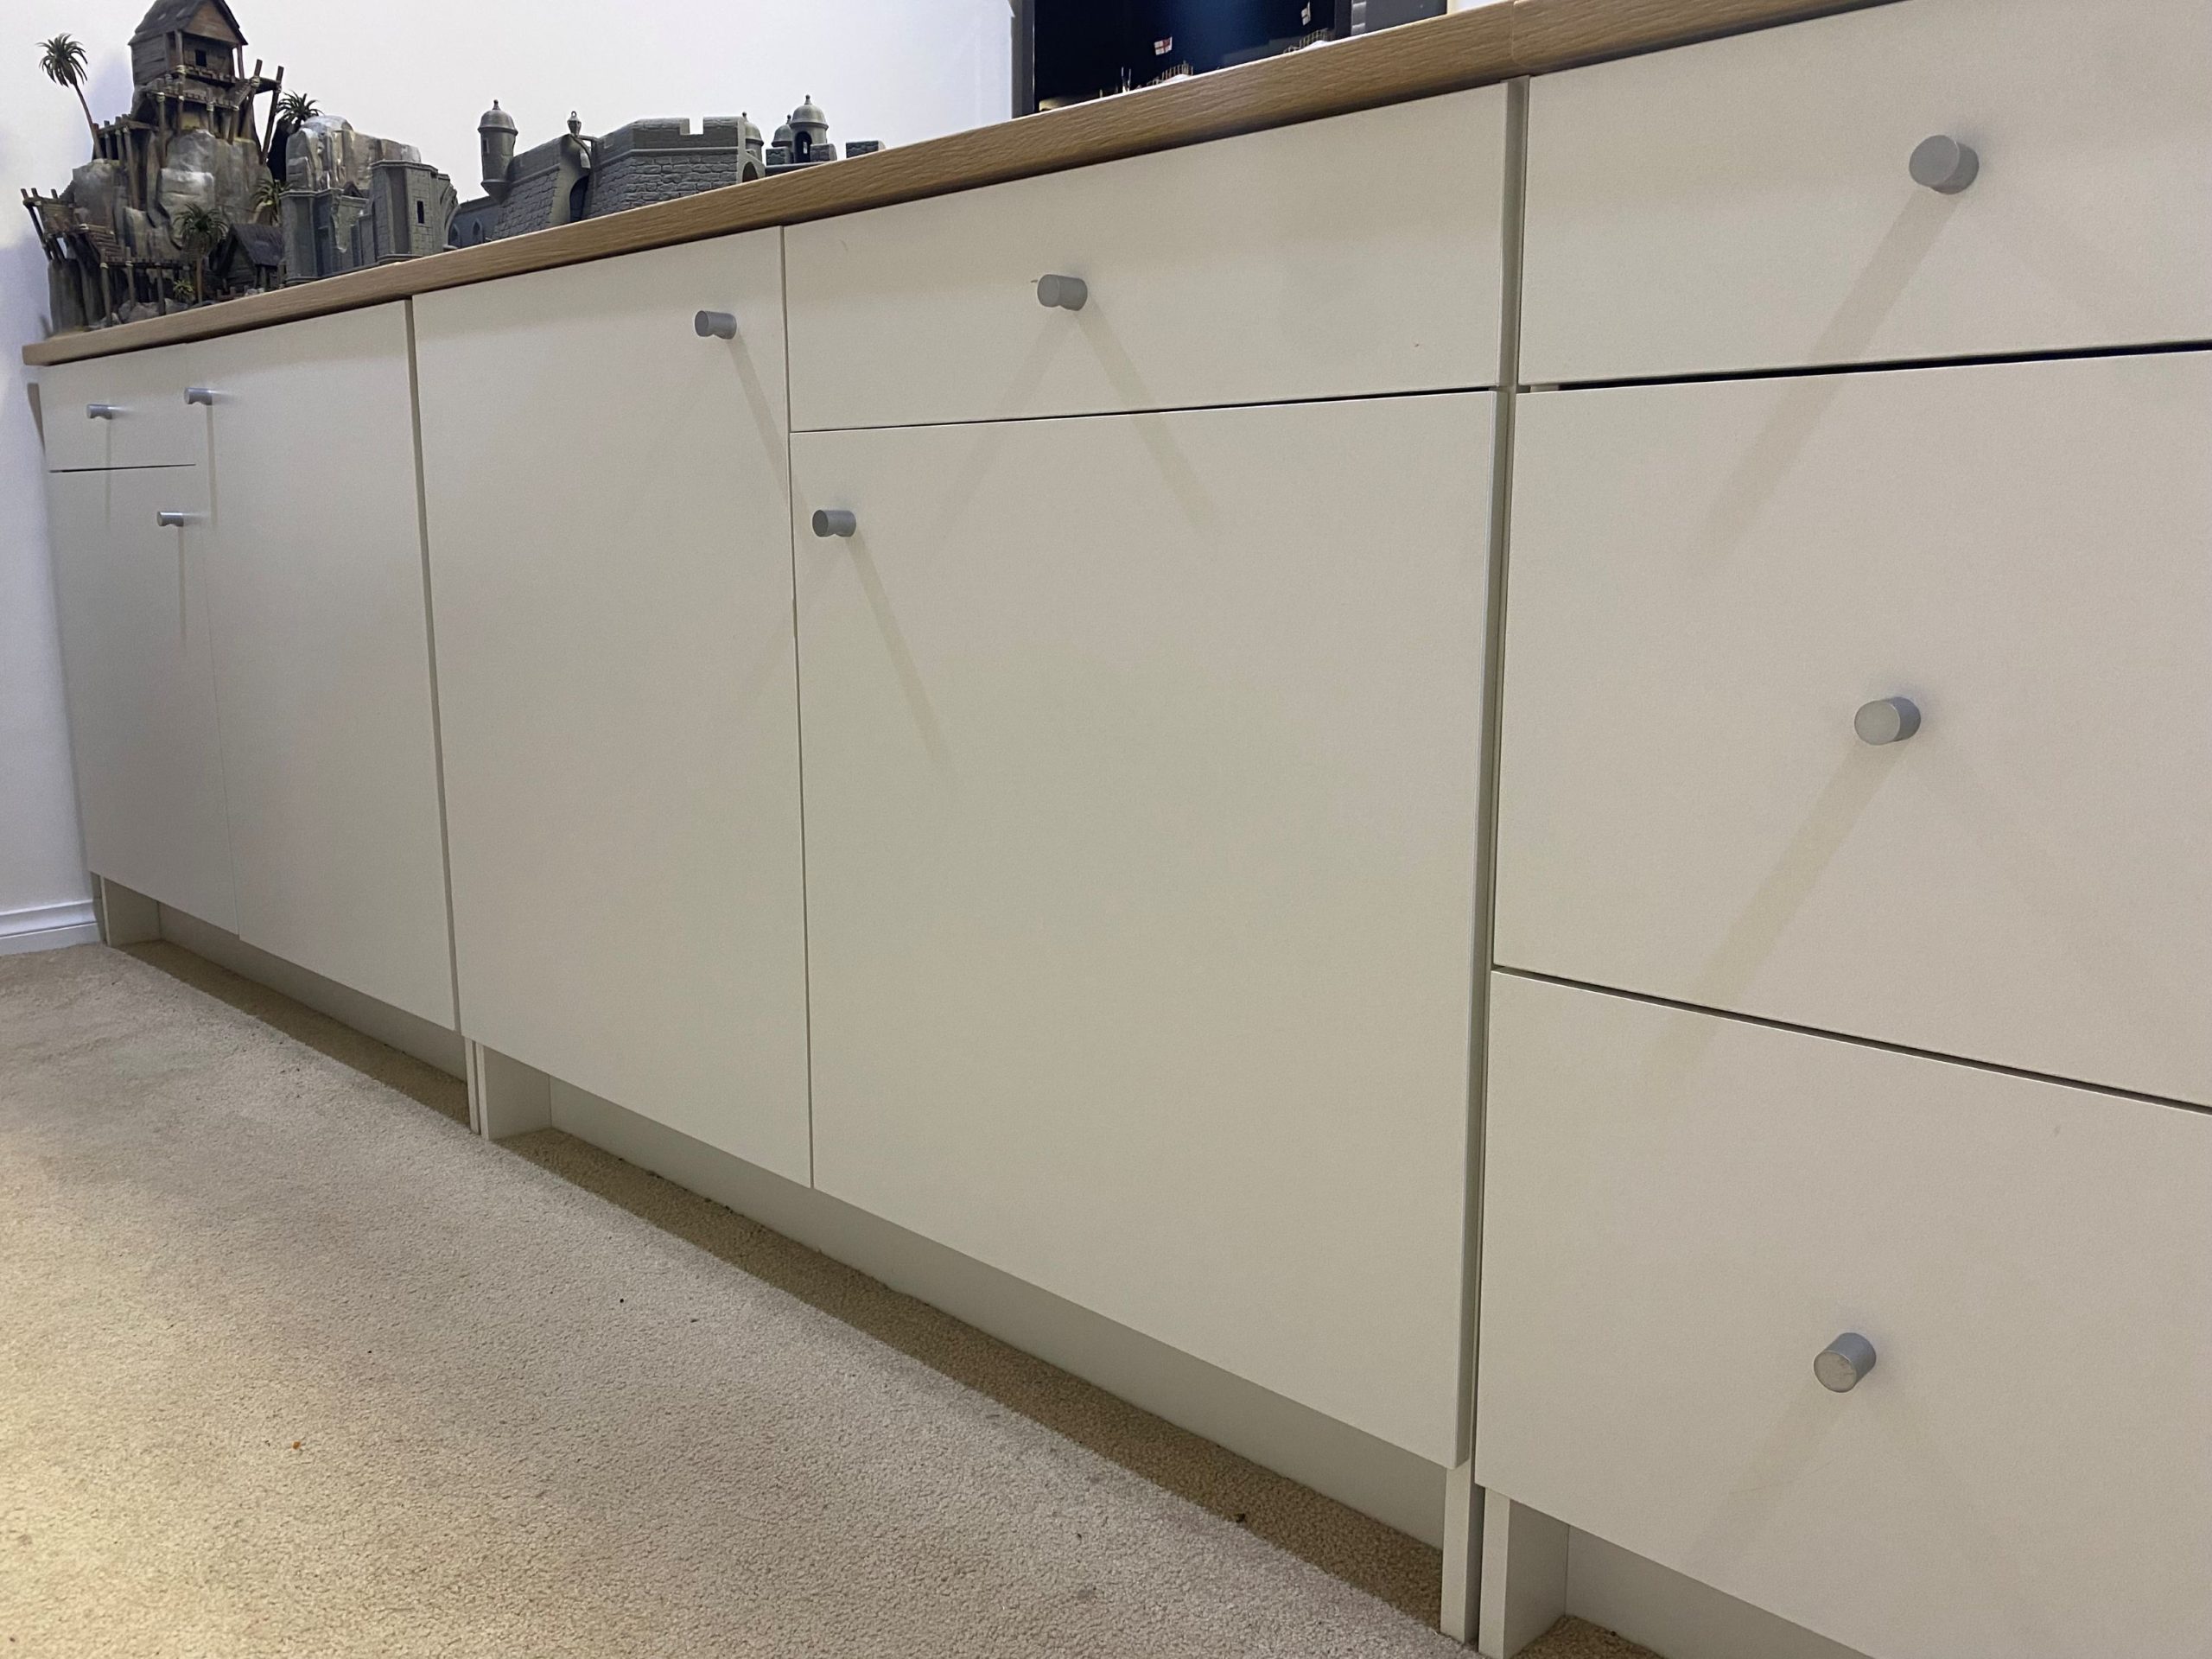
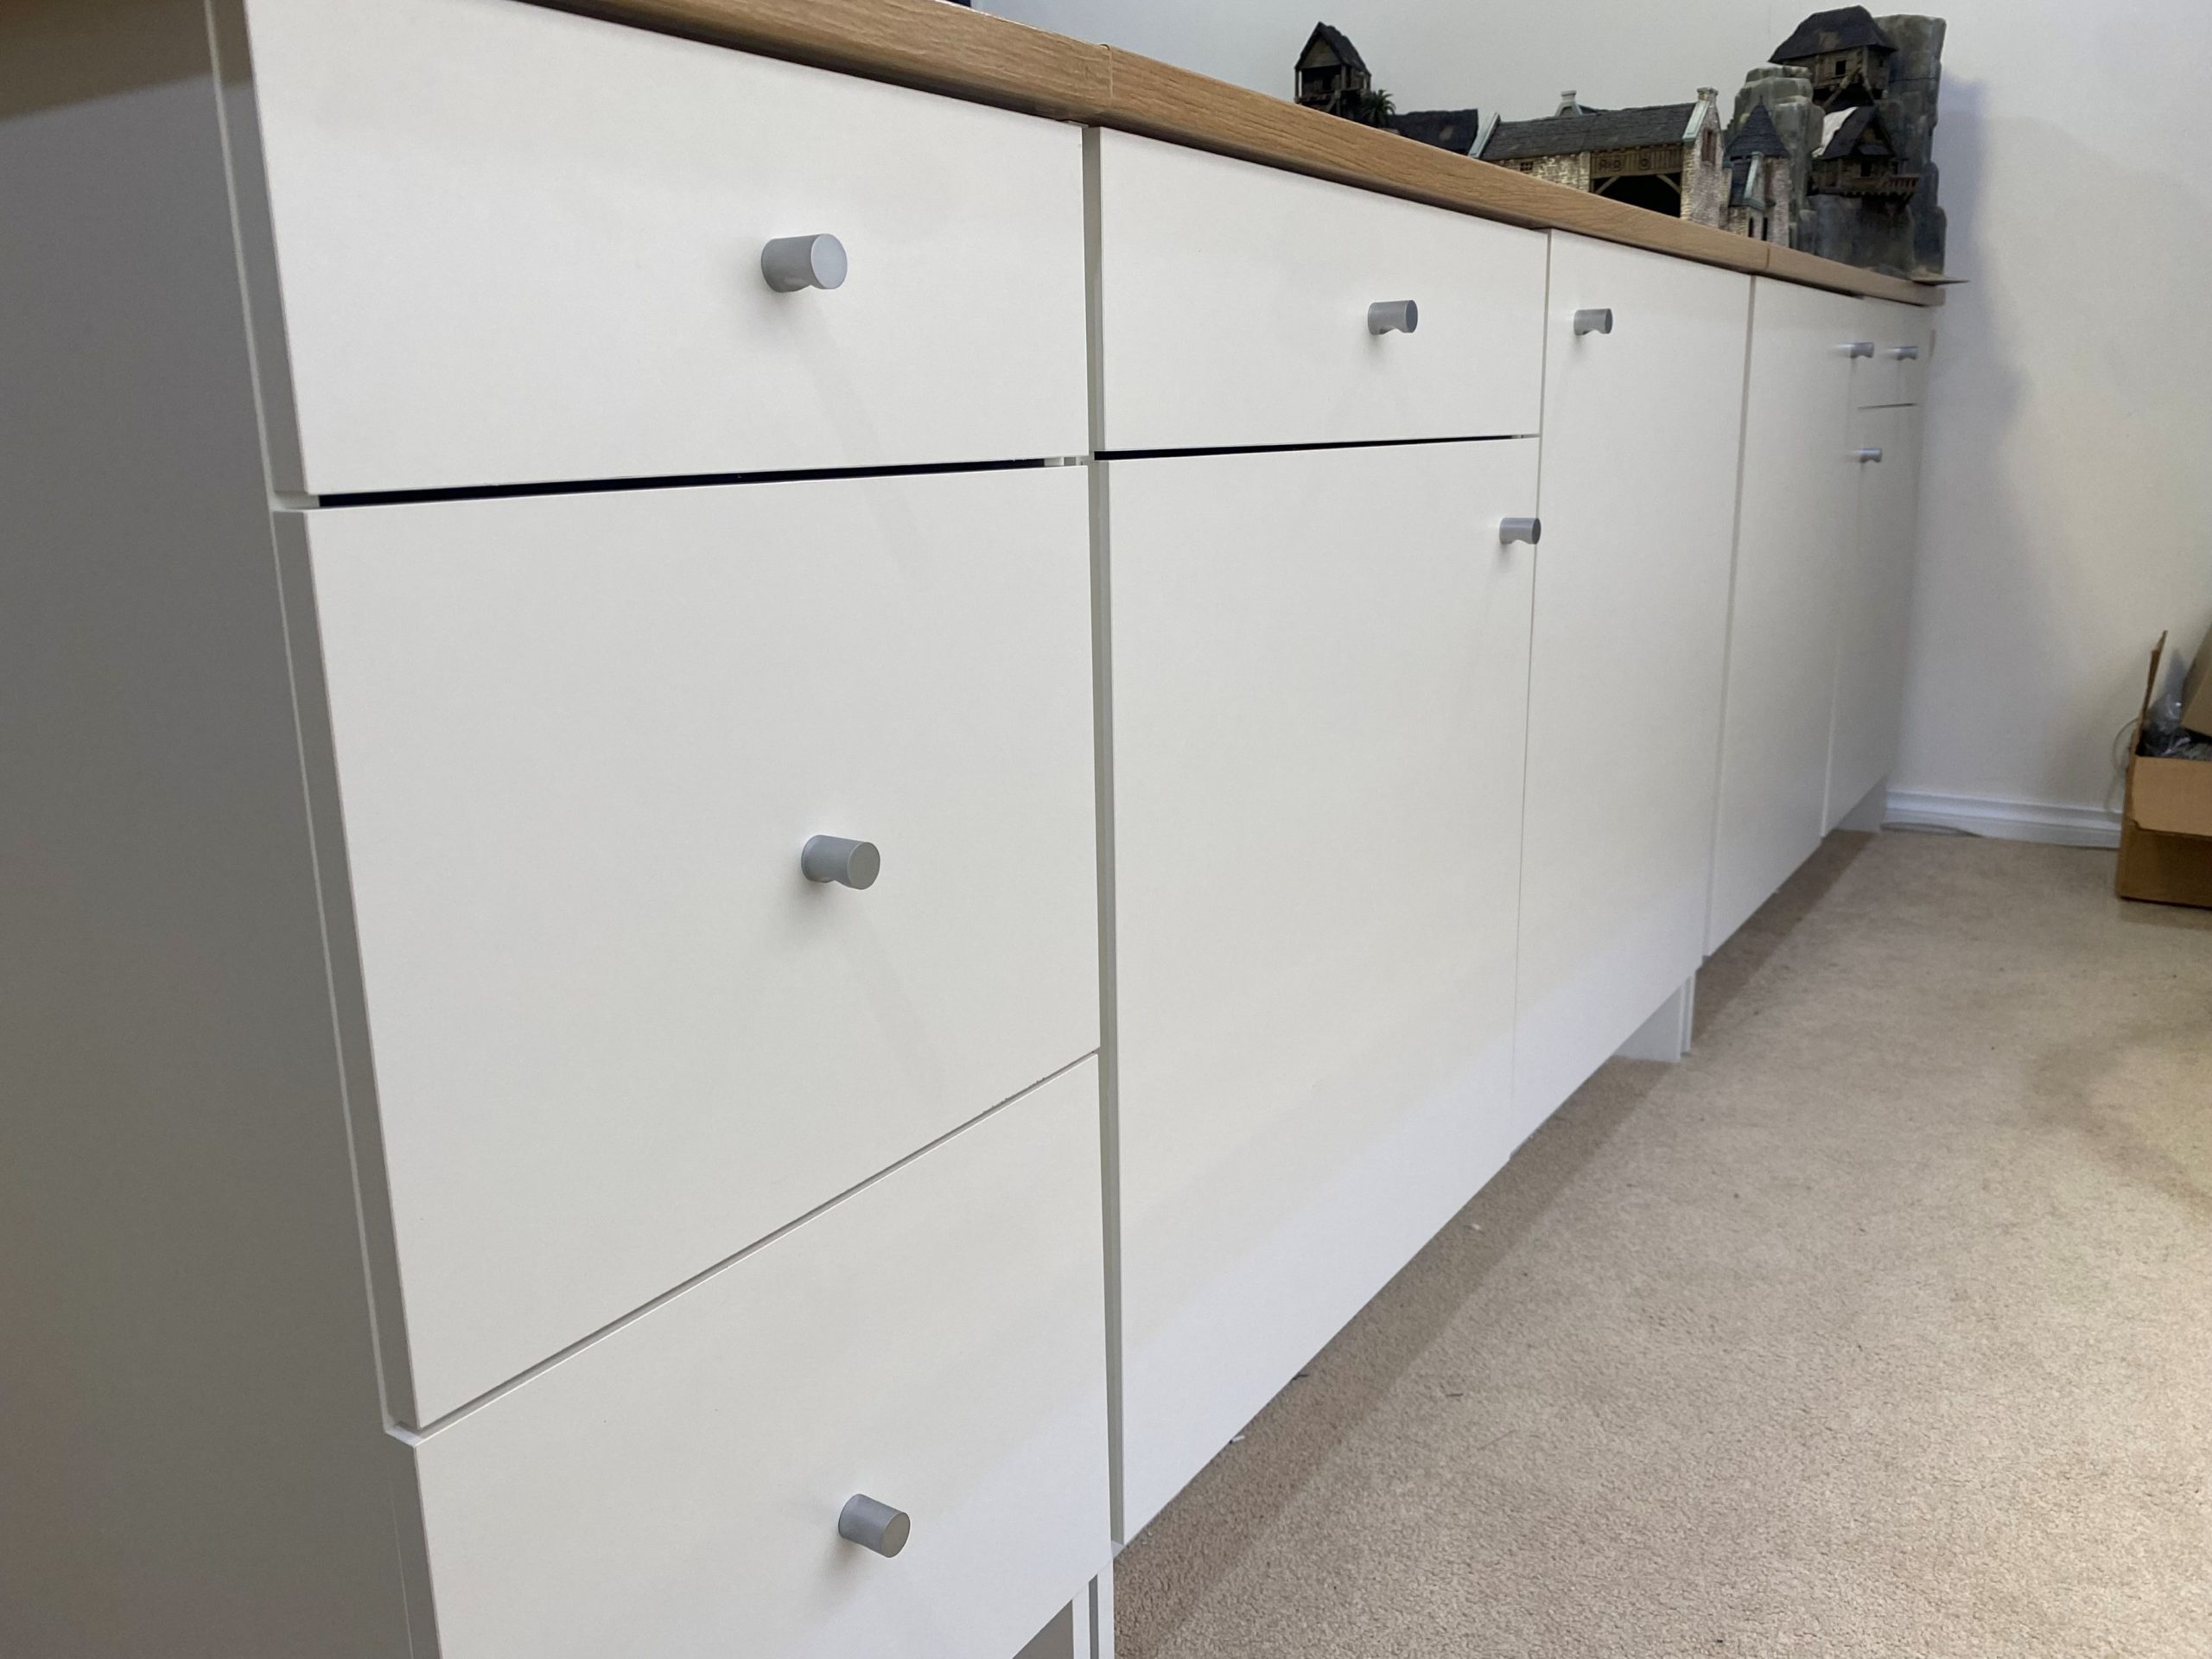
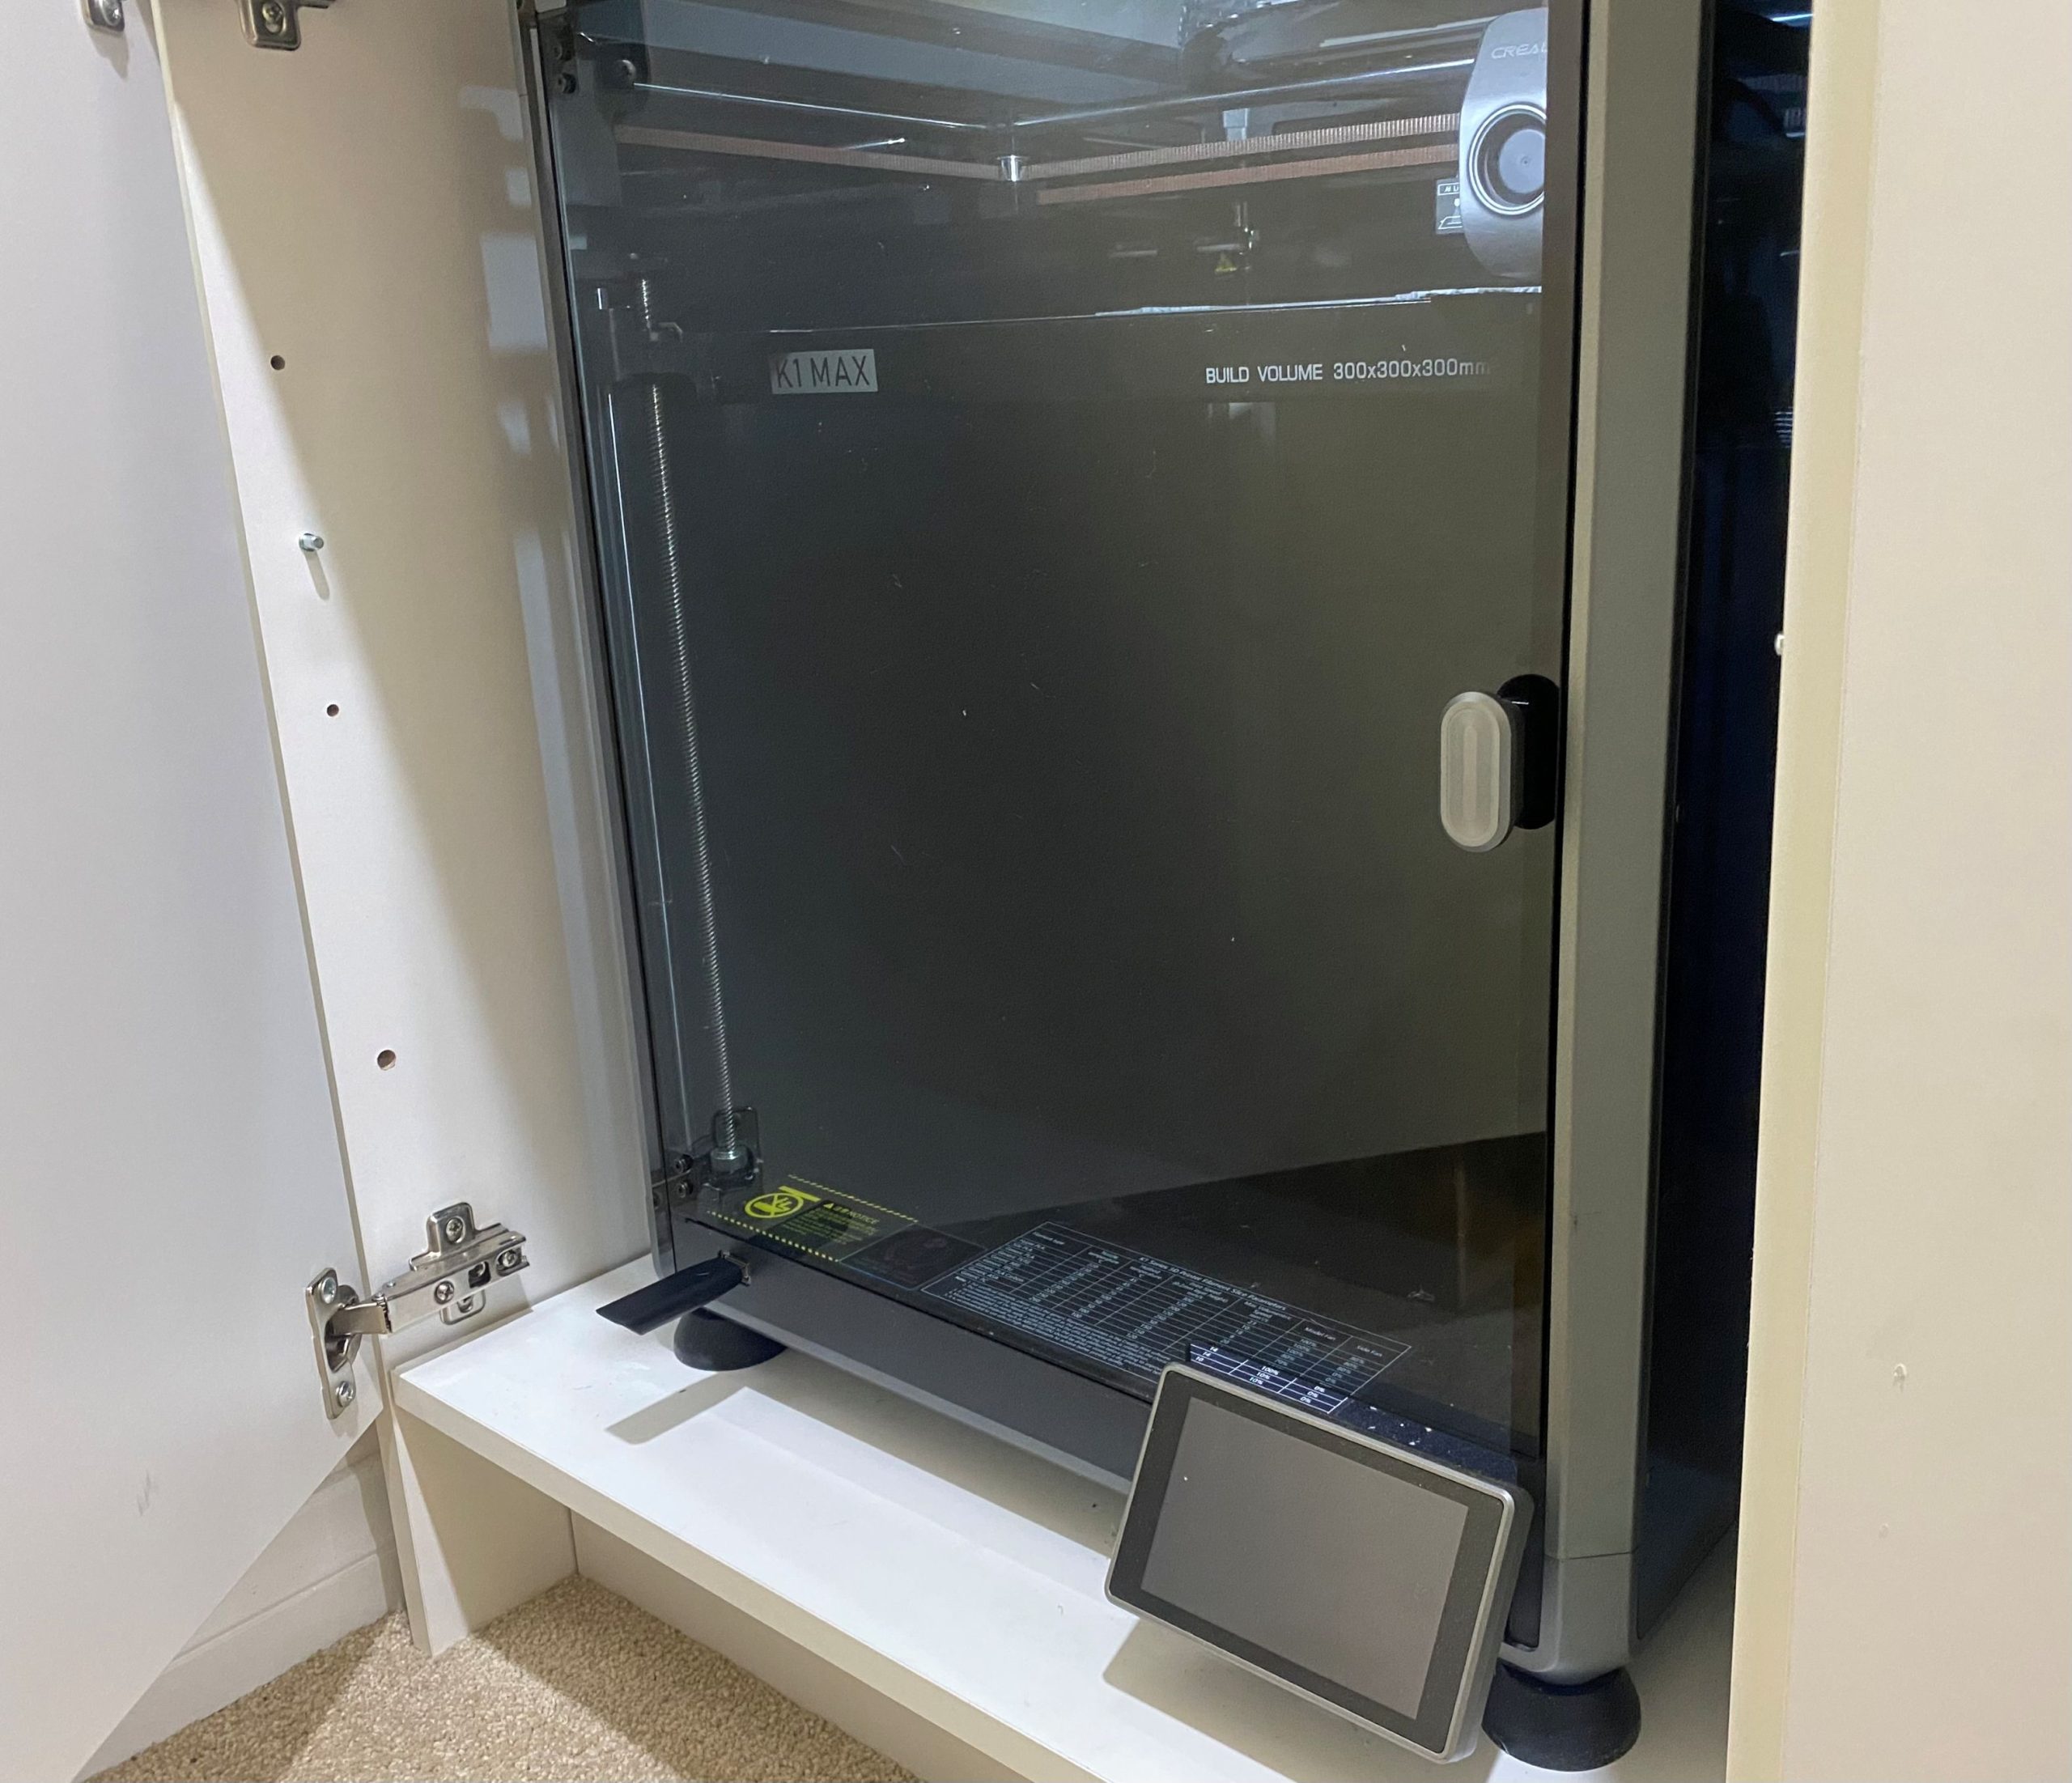
I am fortunate enough to have a 4′ x 9′ table set up in our games room. It is made simply from kitchen units. In the cupboards beneath it are my army of filament printers; the resin printers are in the garage workshop.
For anyone interested, I was using 6 printers, ranging from a simple Creality Ender 3 through to a huge Elegoo printer that had to sit on top of a table. In the end, I updated all my printers to K1 max’s. The benefit of having all the same type is that I now only need one set of surplus parts and tools.
Having them all hidden away is nice too, as it now means that I have full use of the table. I can potentially fit 4 large printers on either side beneath the table for a total of 8. Although at the moment I have one cupboard full of filament that I keep topped up.

A Purple Elephant Moment.
Time to clear some space for this project.
I normally have many things on the go that I can swap and change between to limit my downtime whilst waiting for bits to dry, etc. However, I need to clear some space so that I don’t get too distracted by other stuff whilst I work on the project.
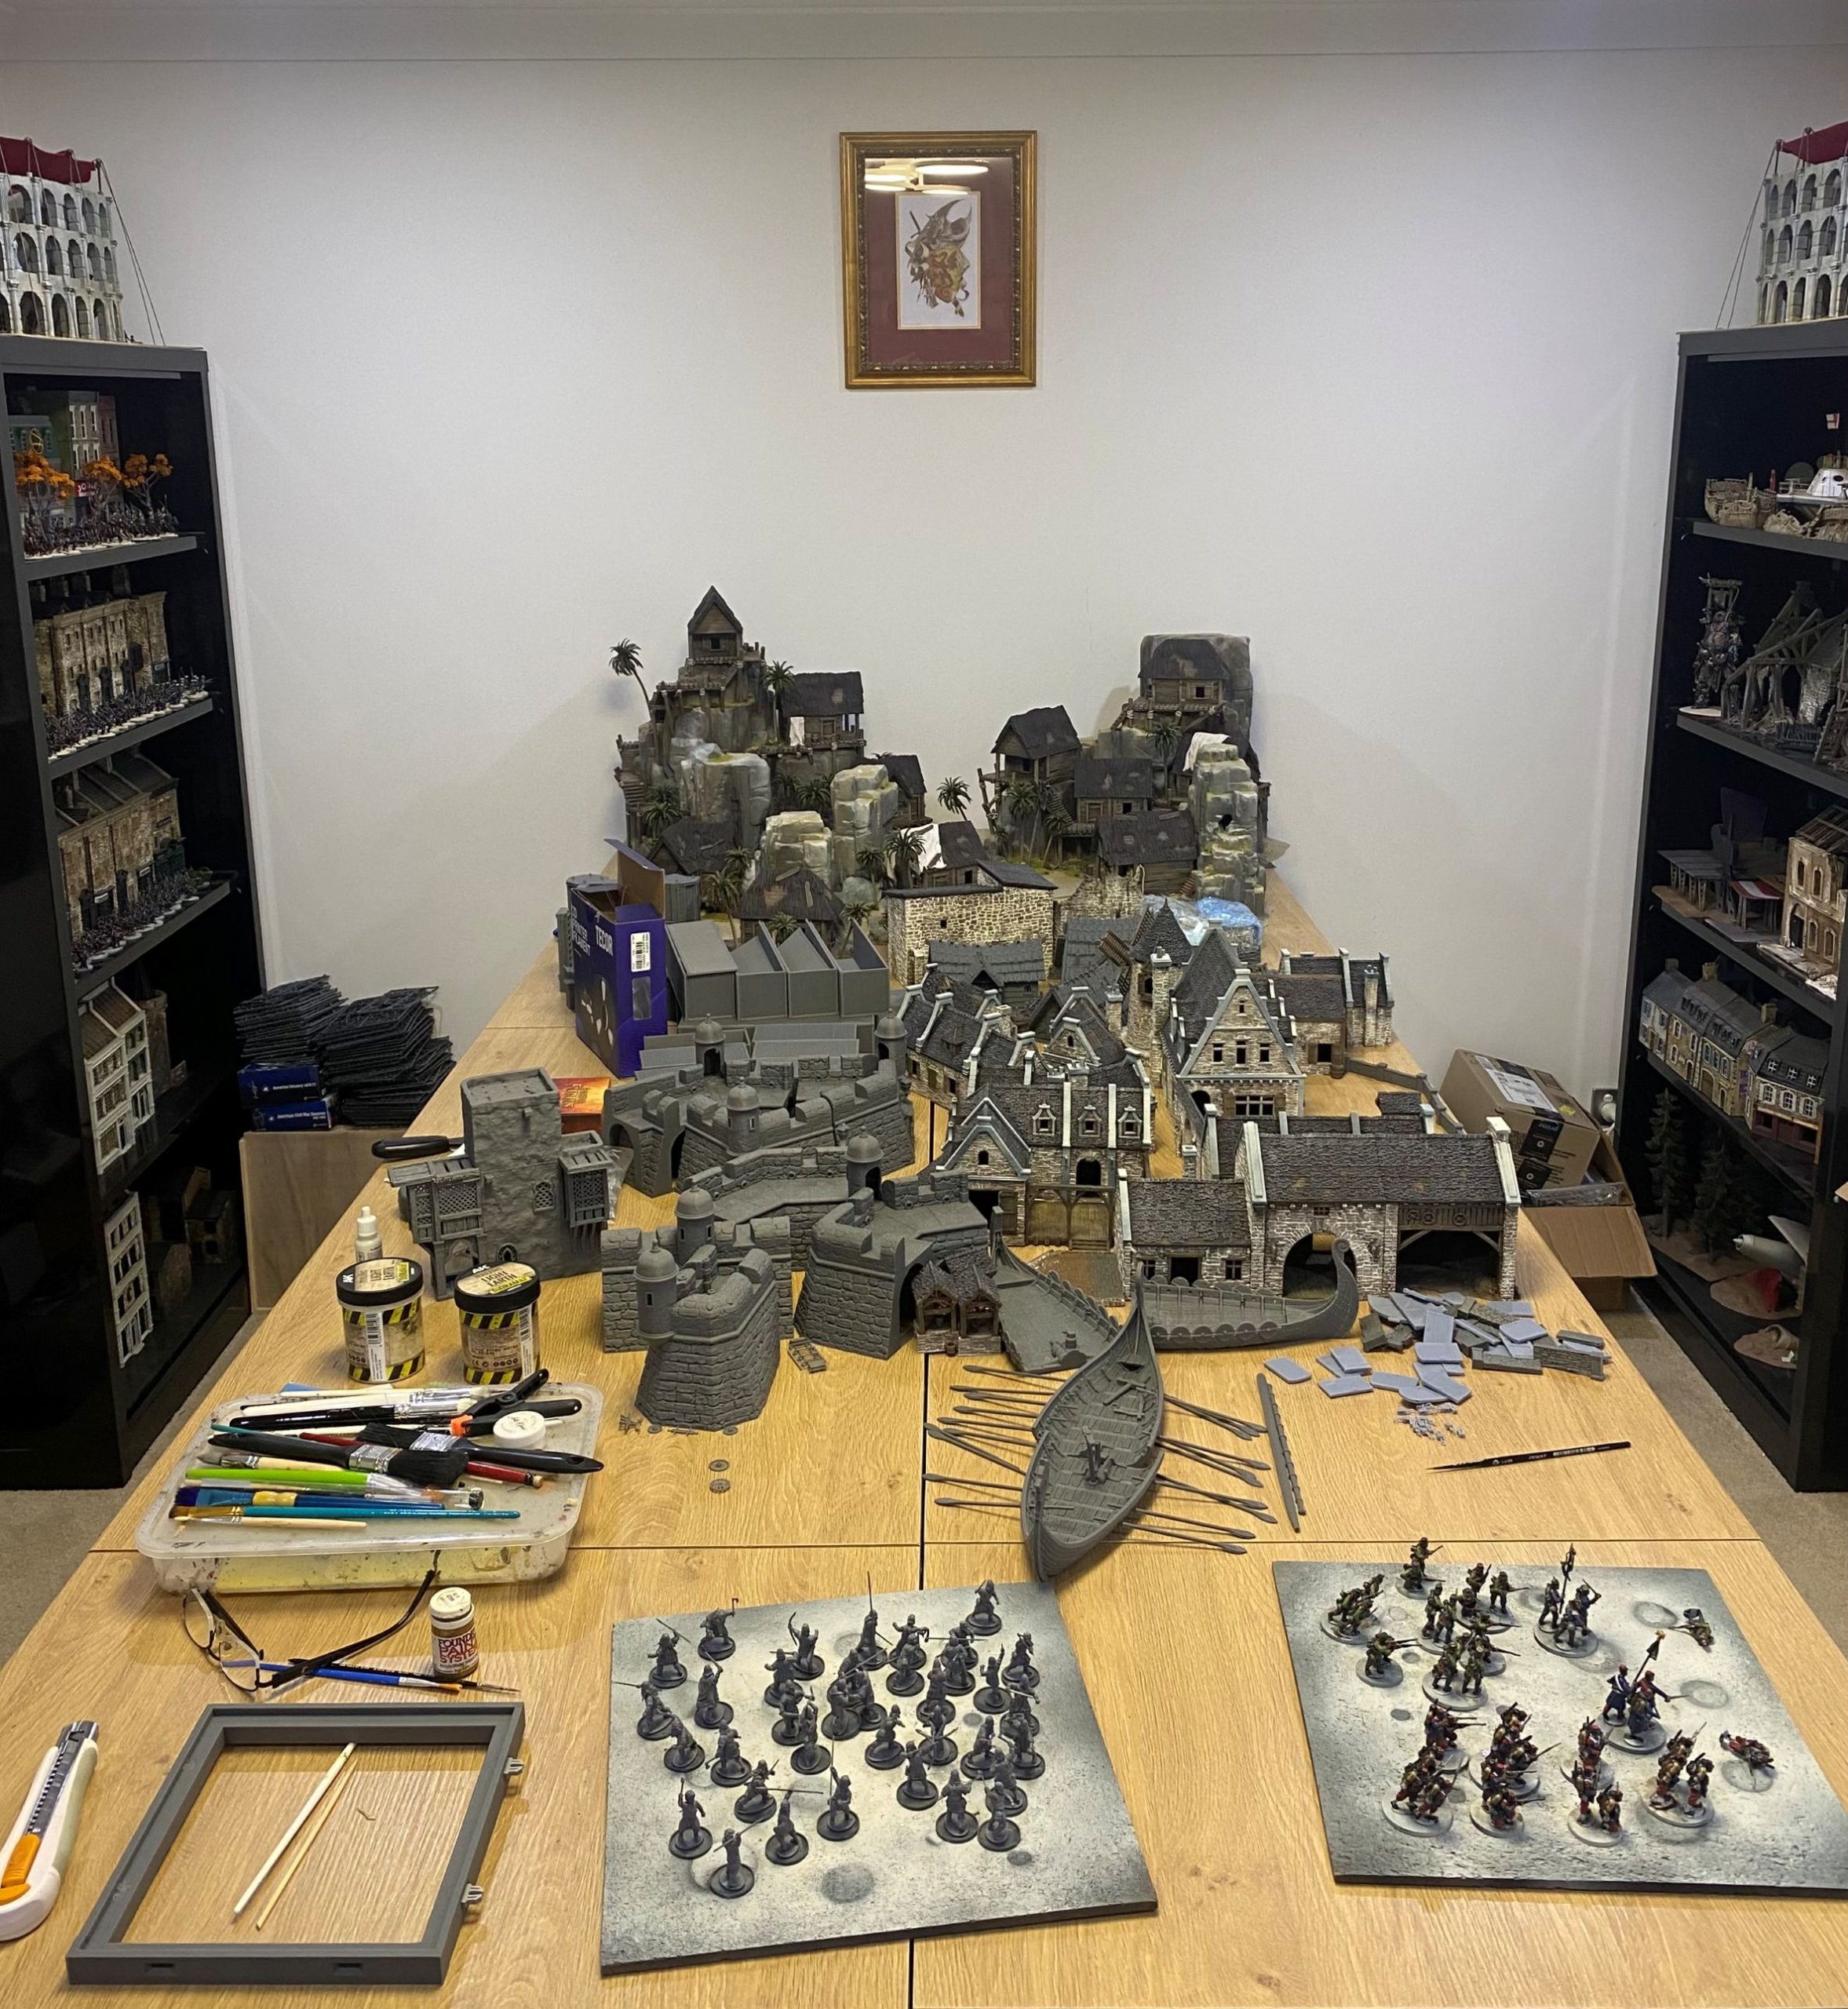
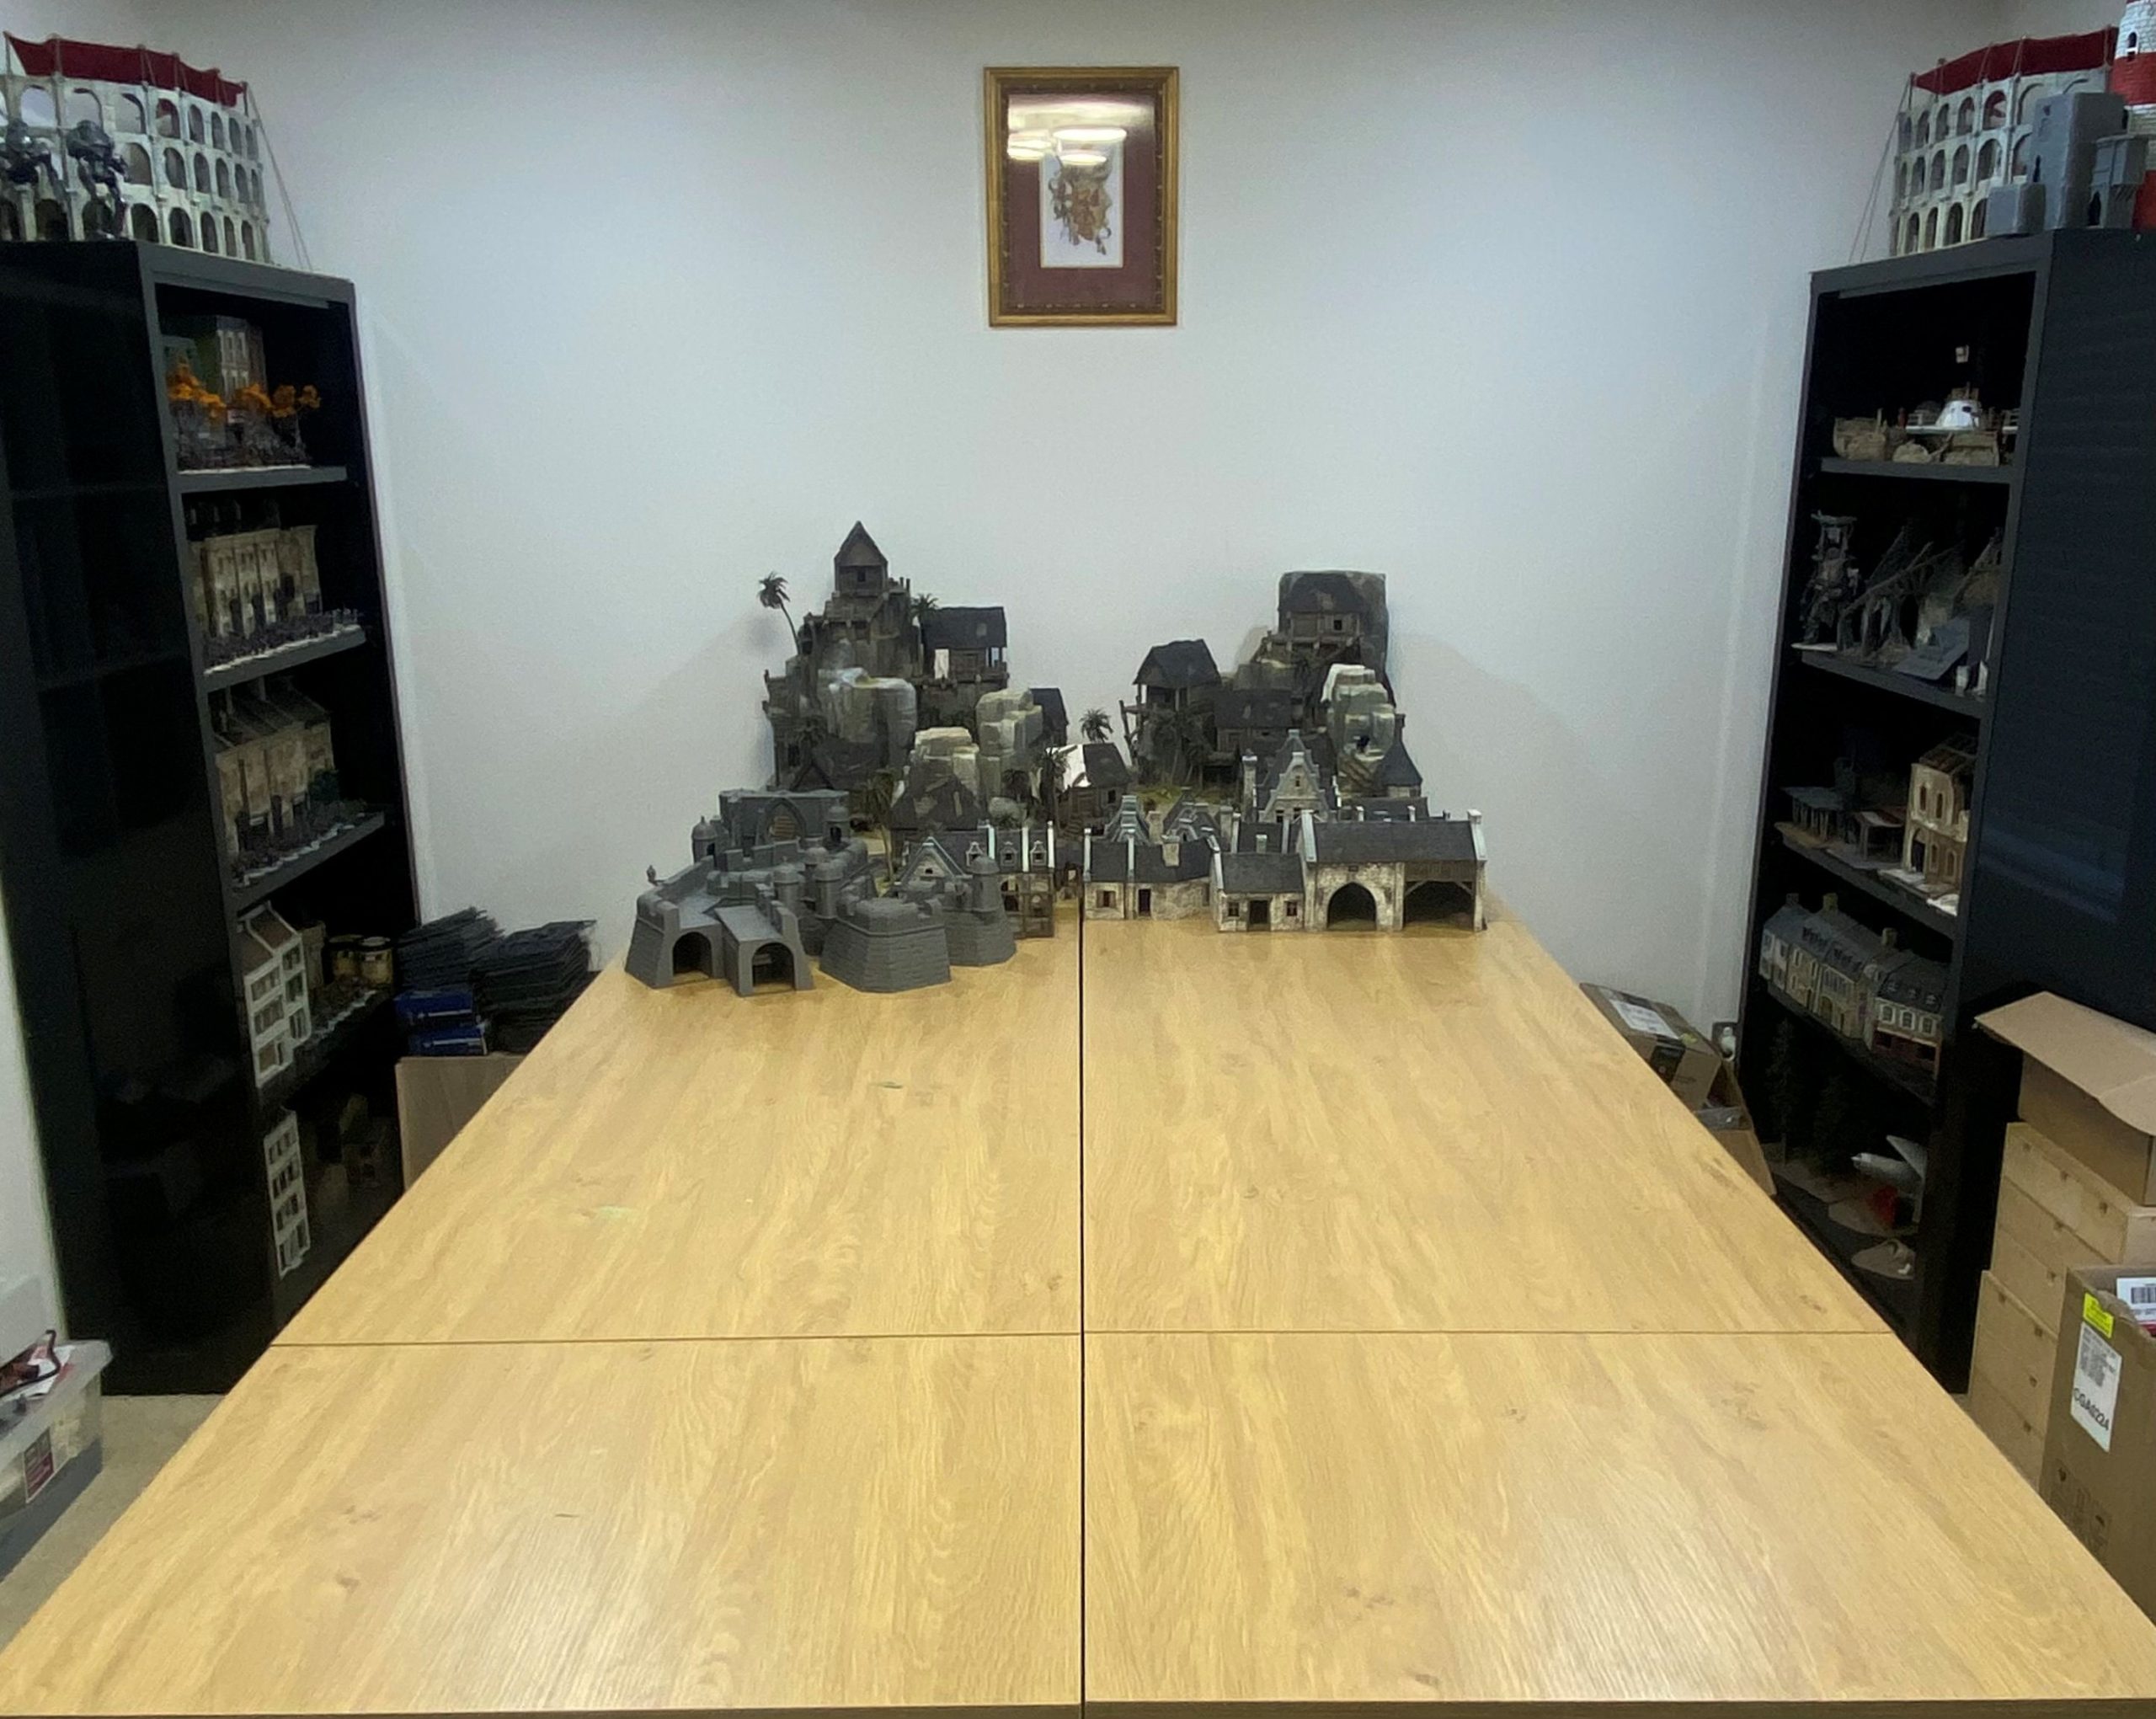
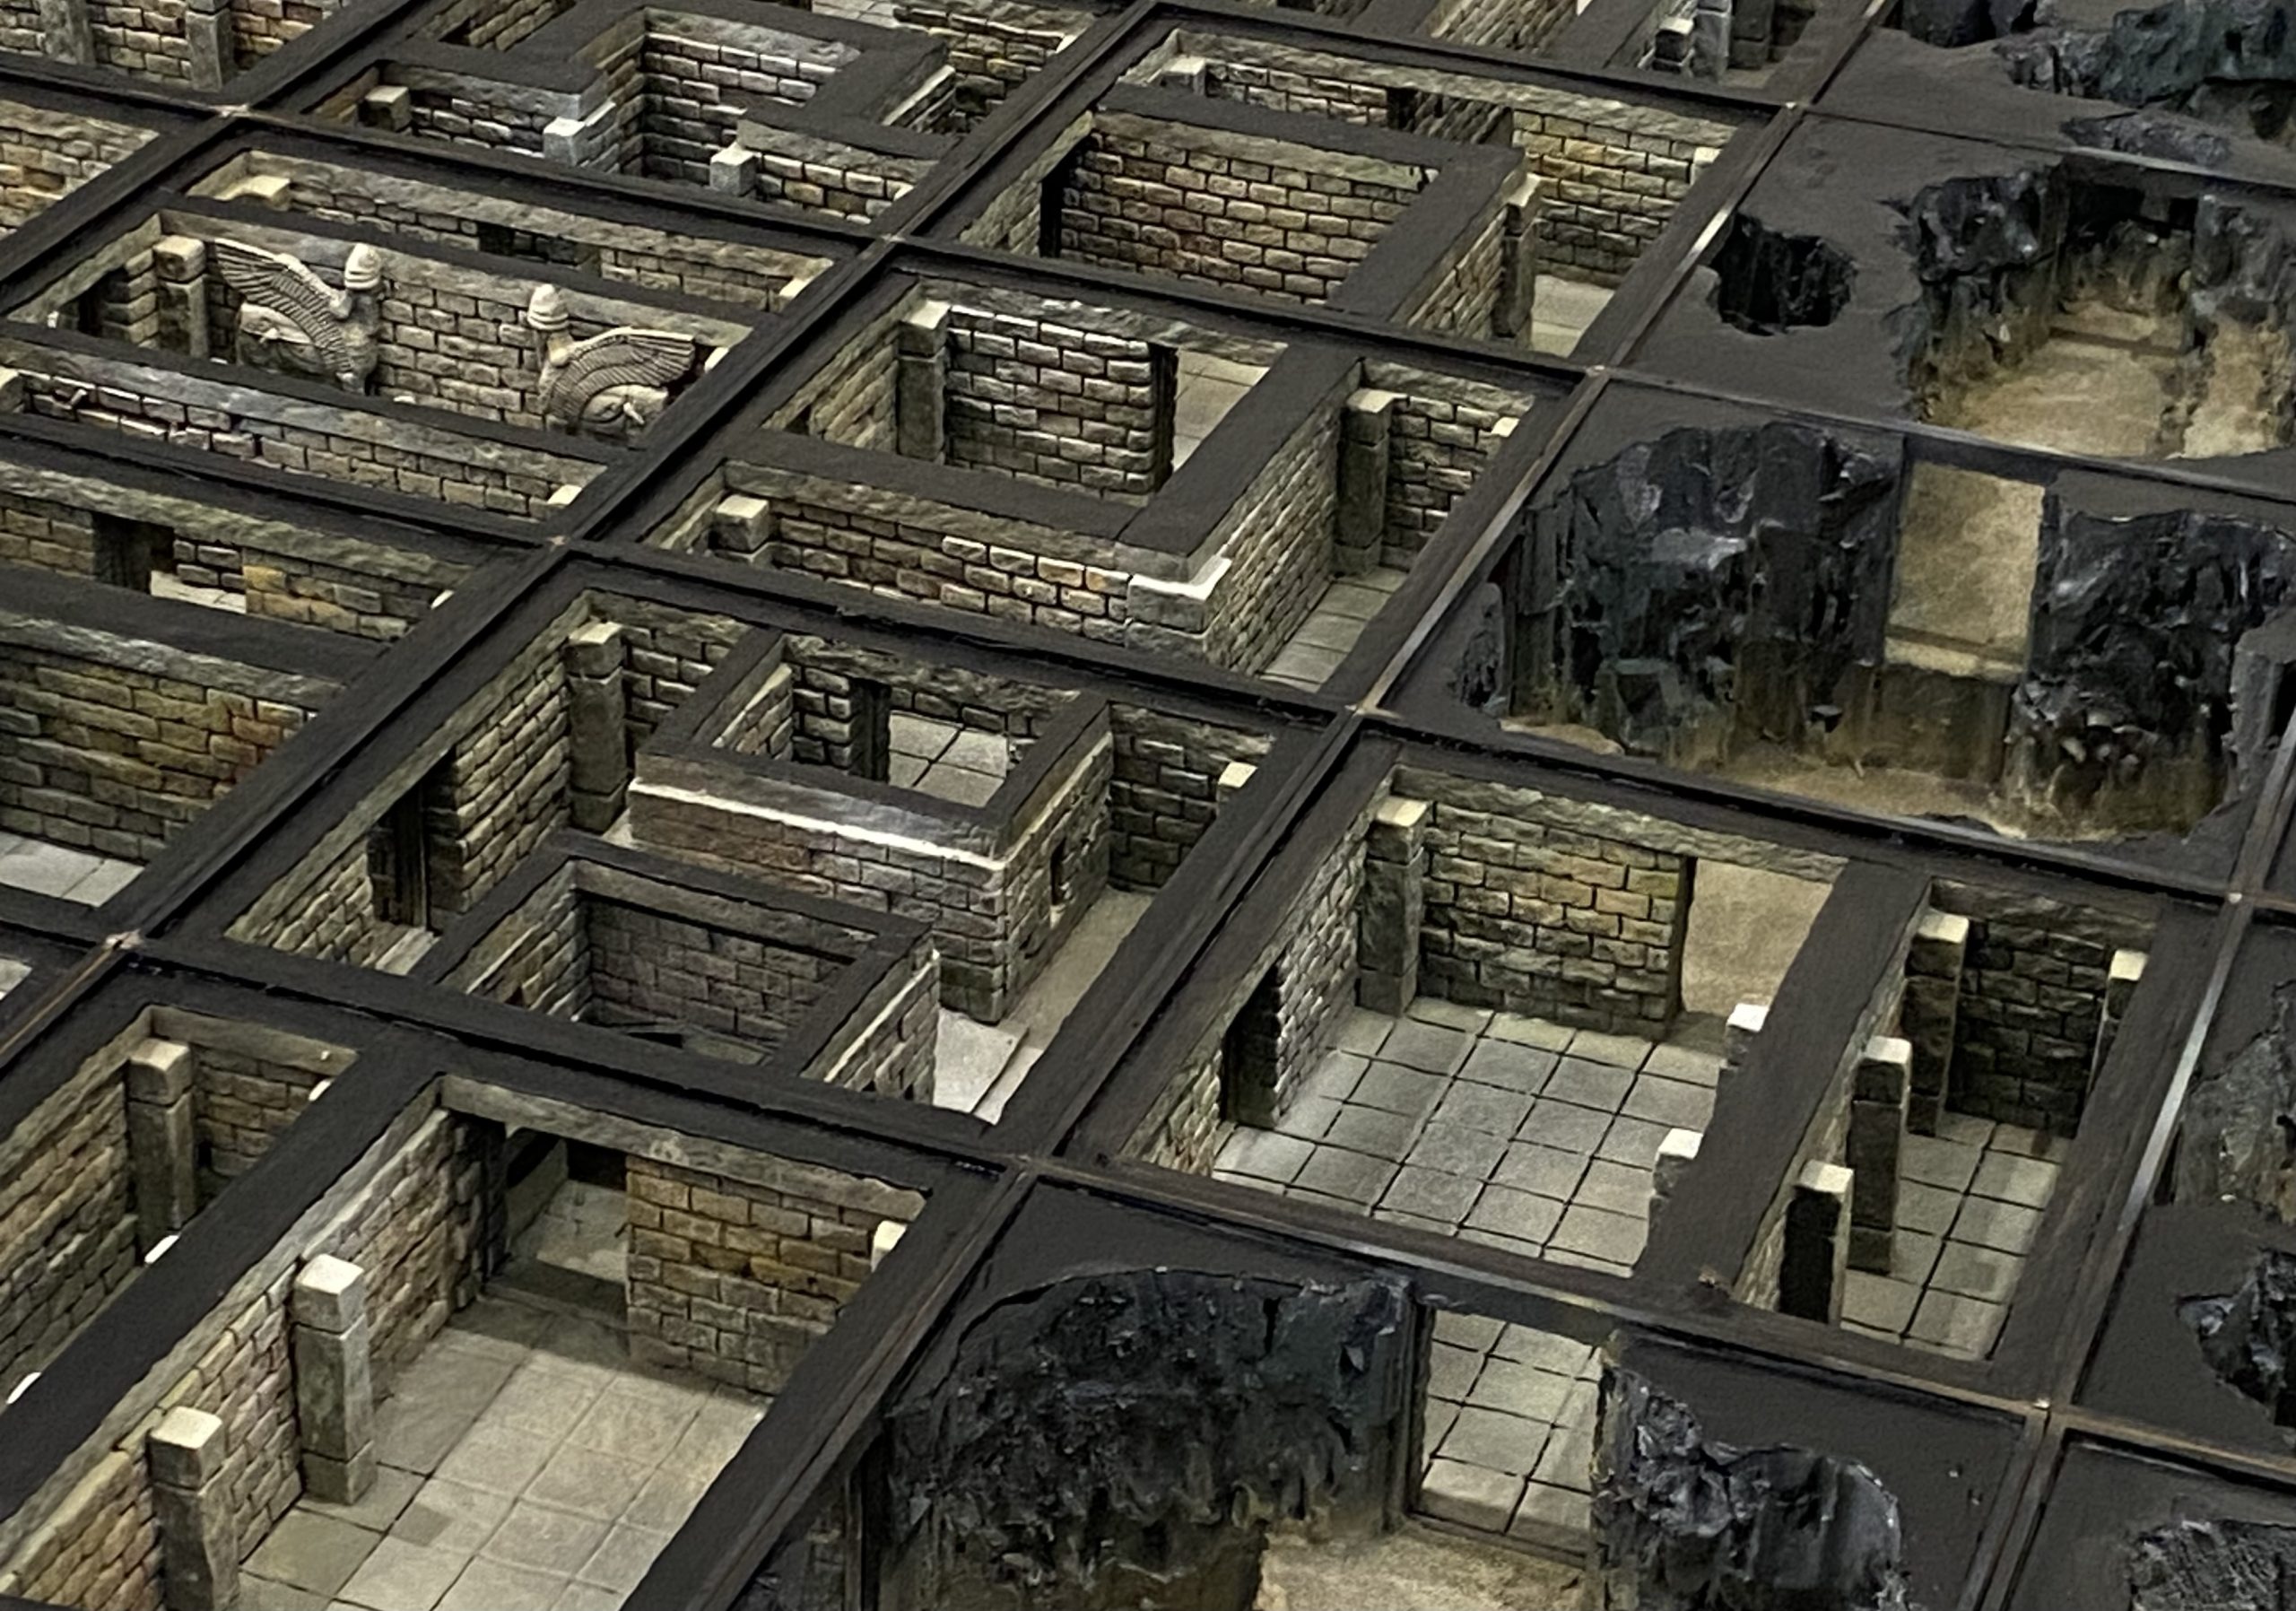
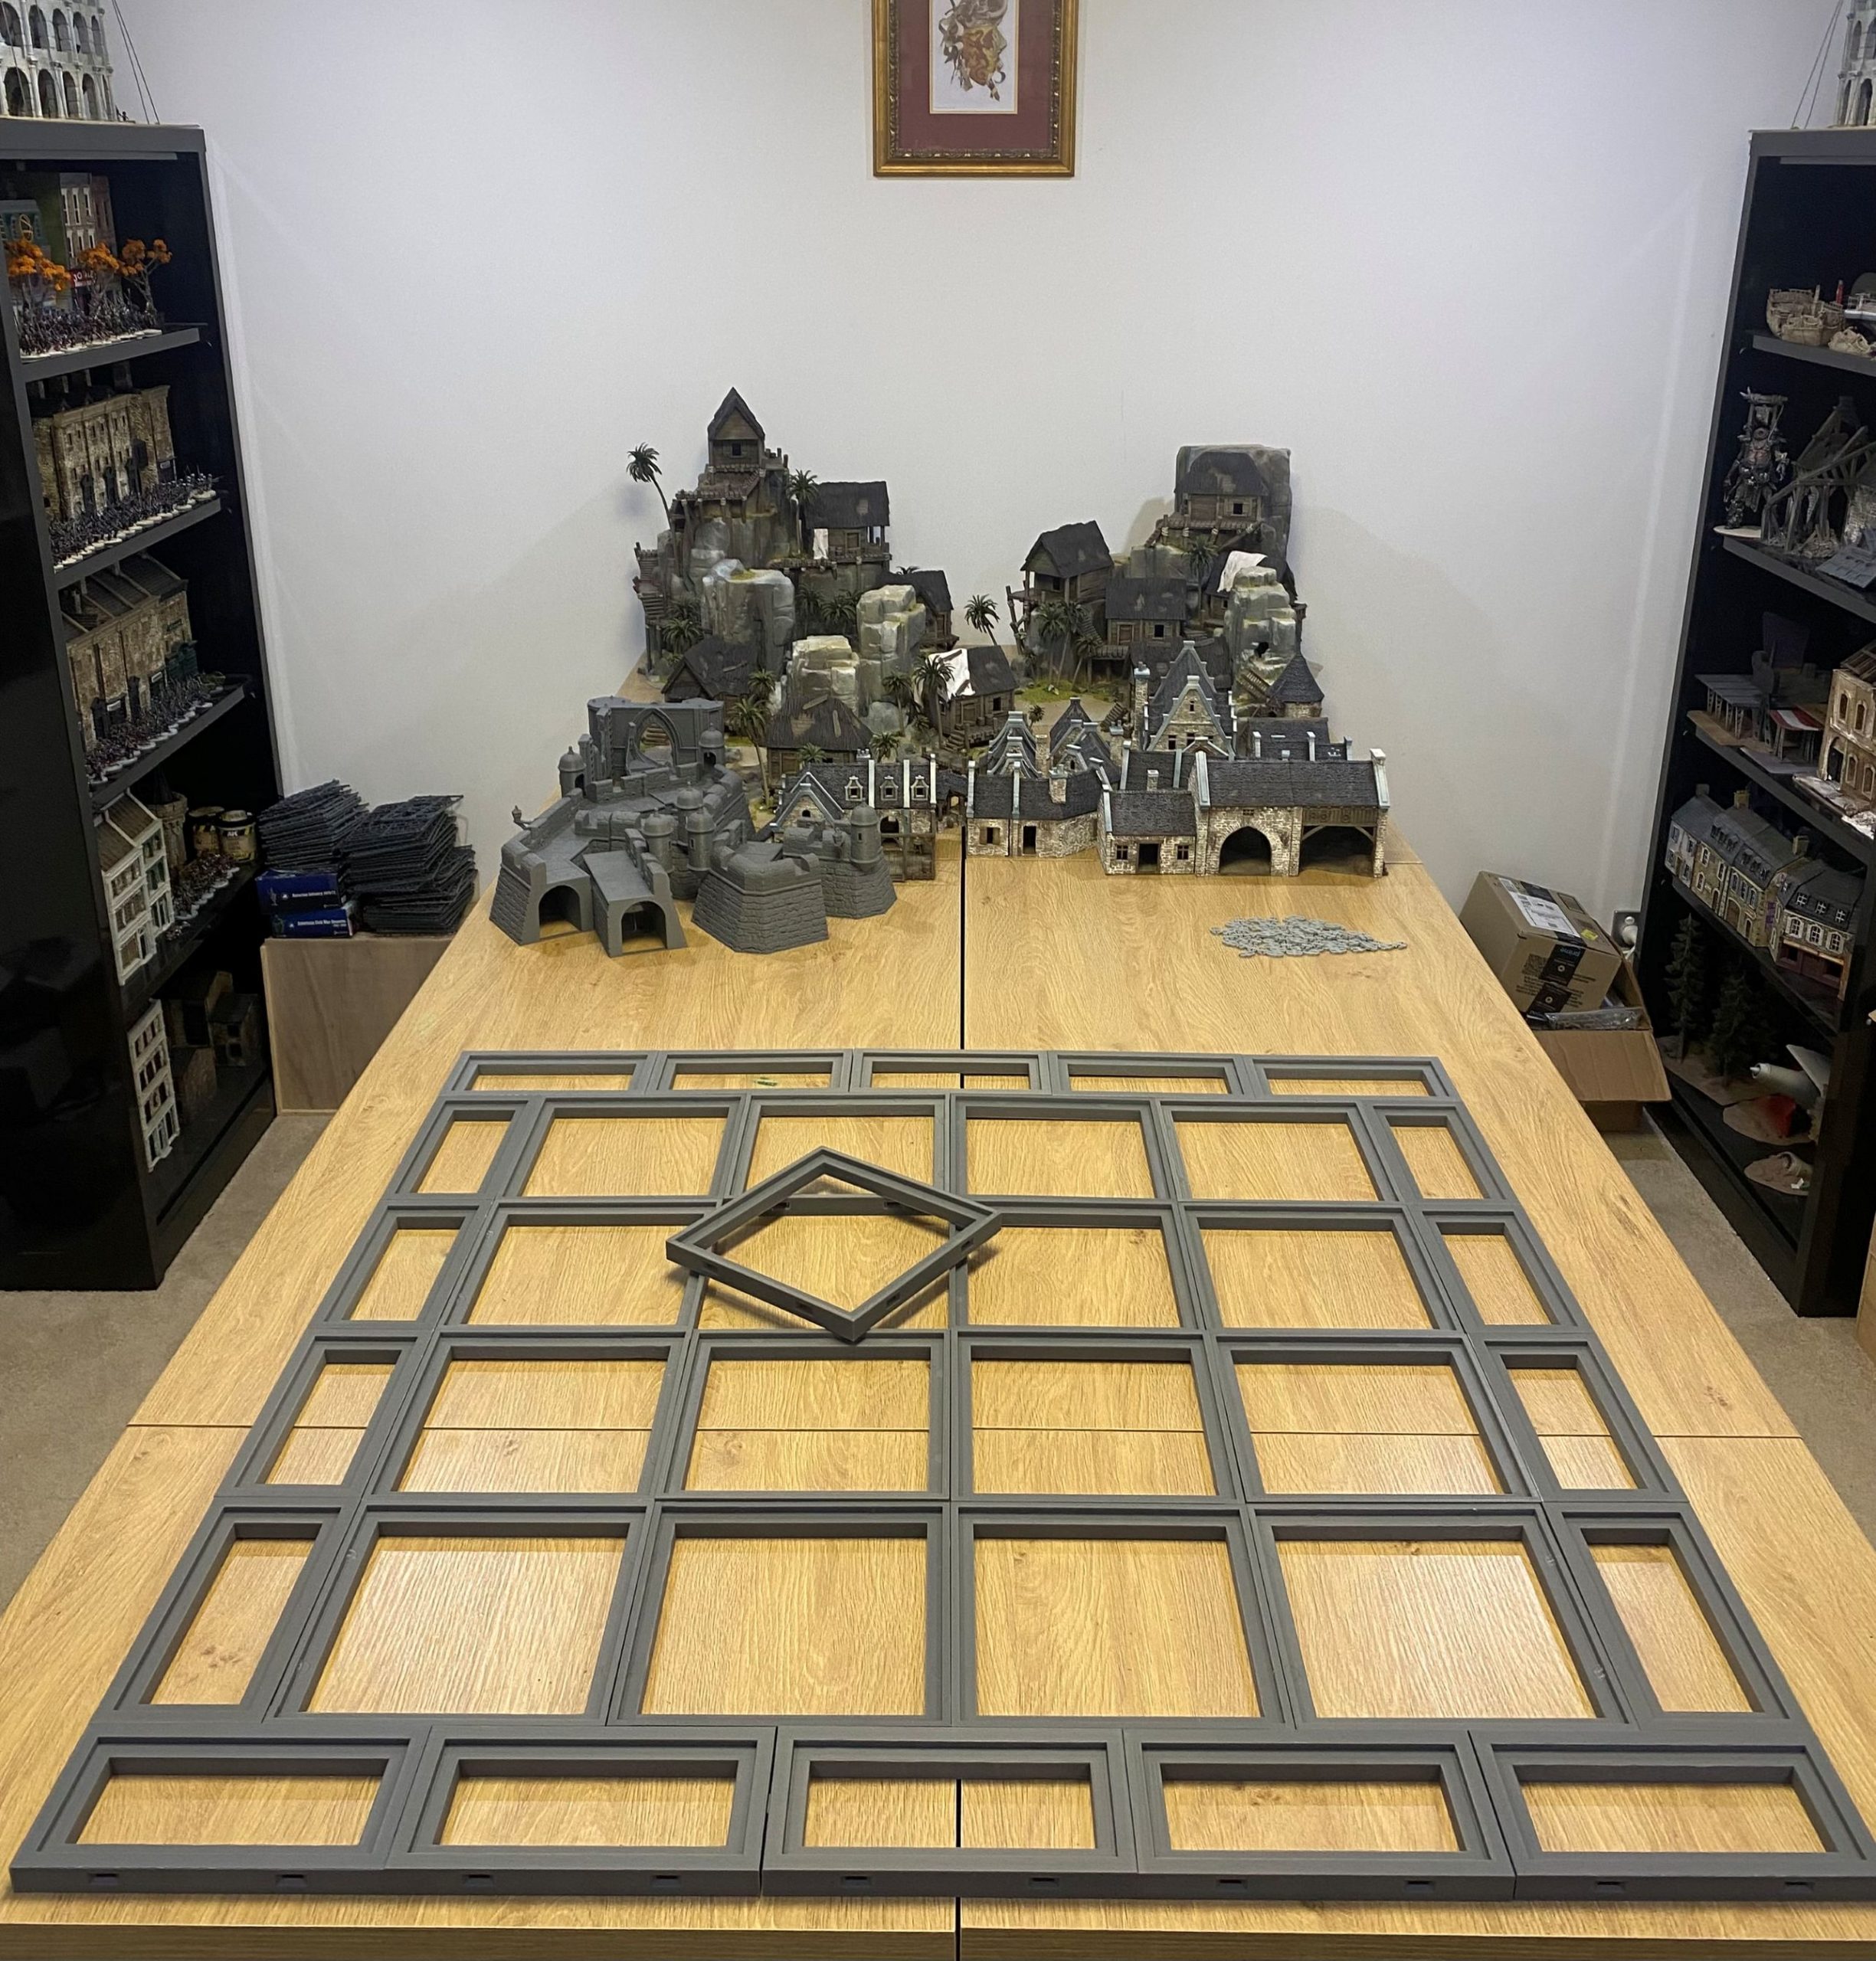
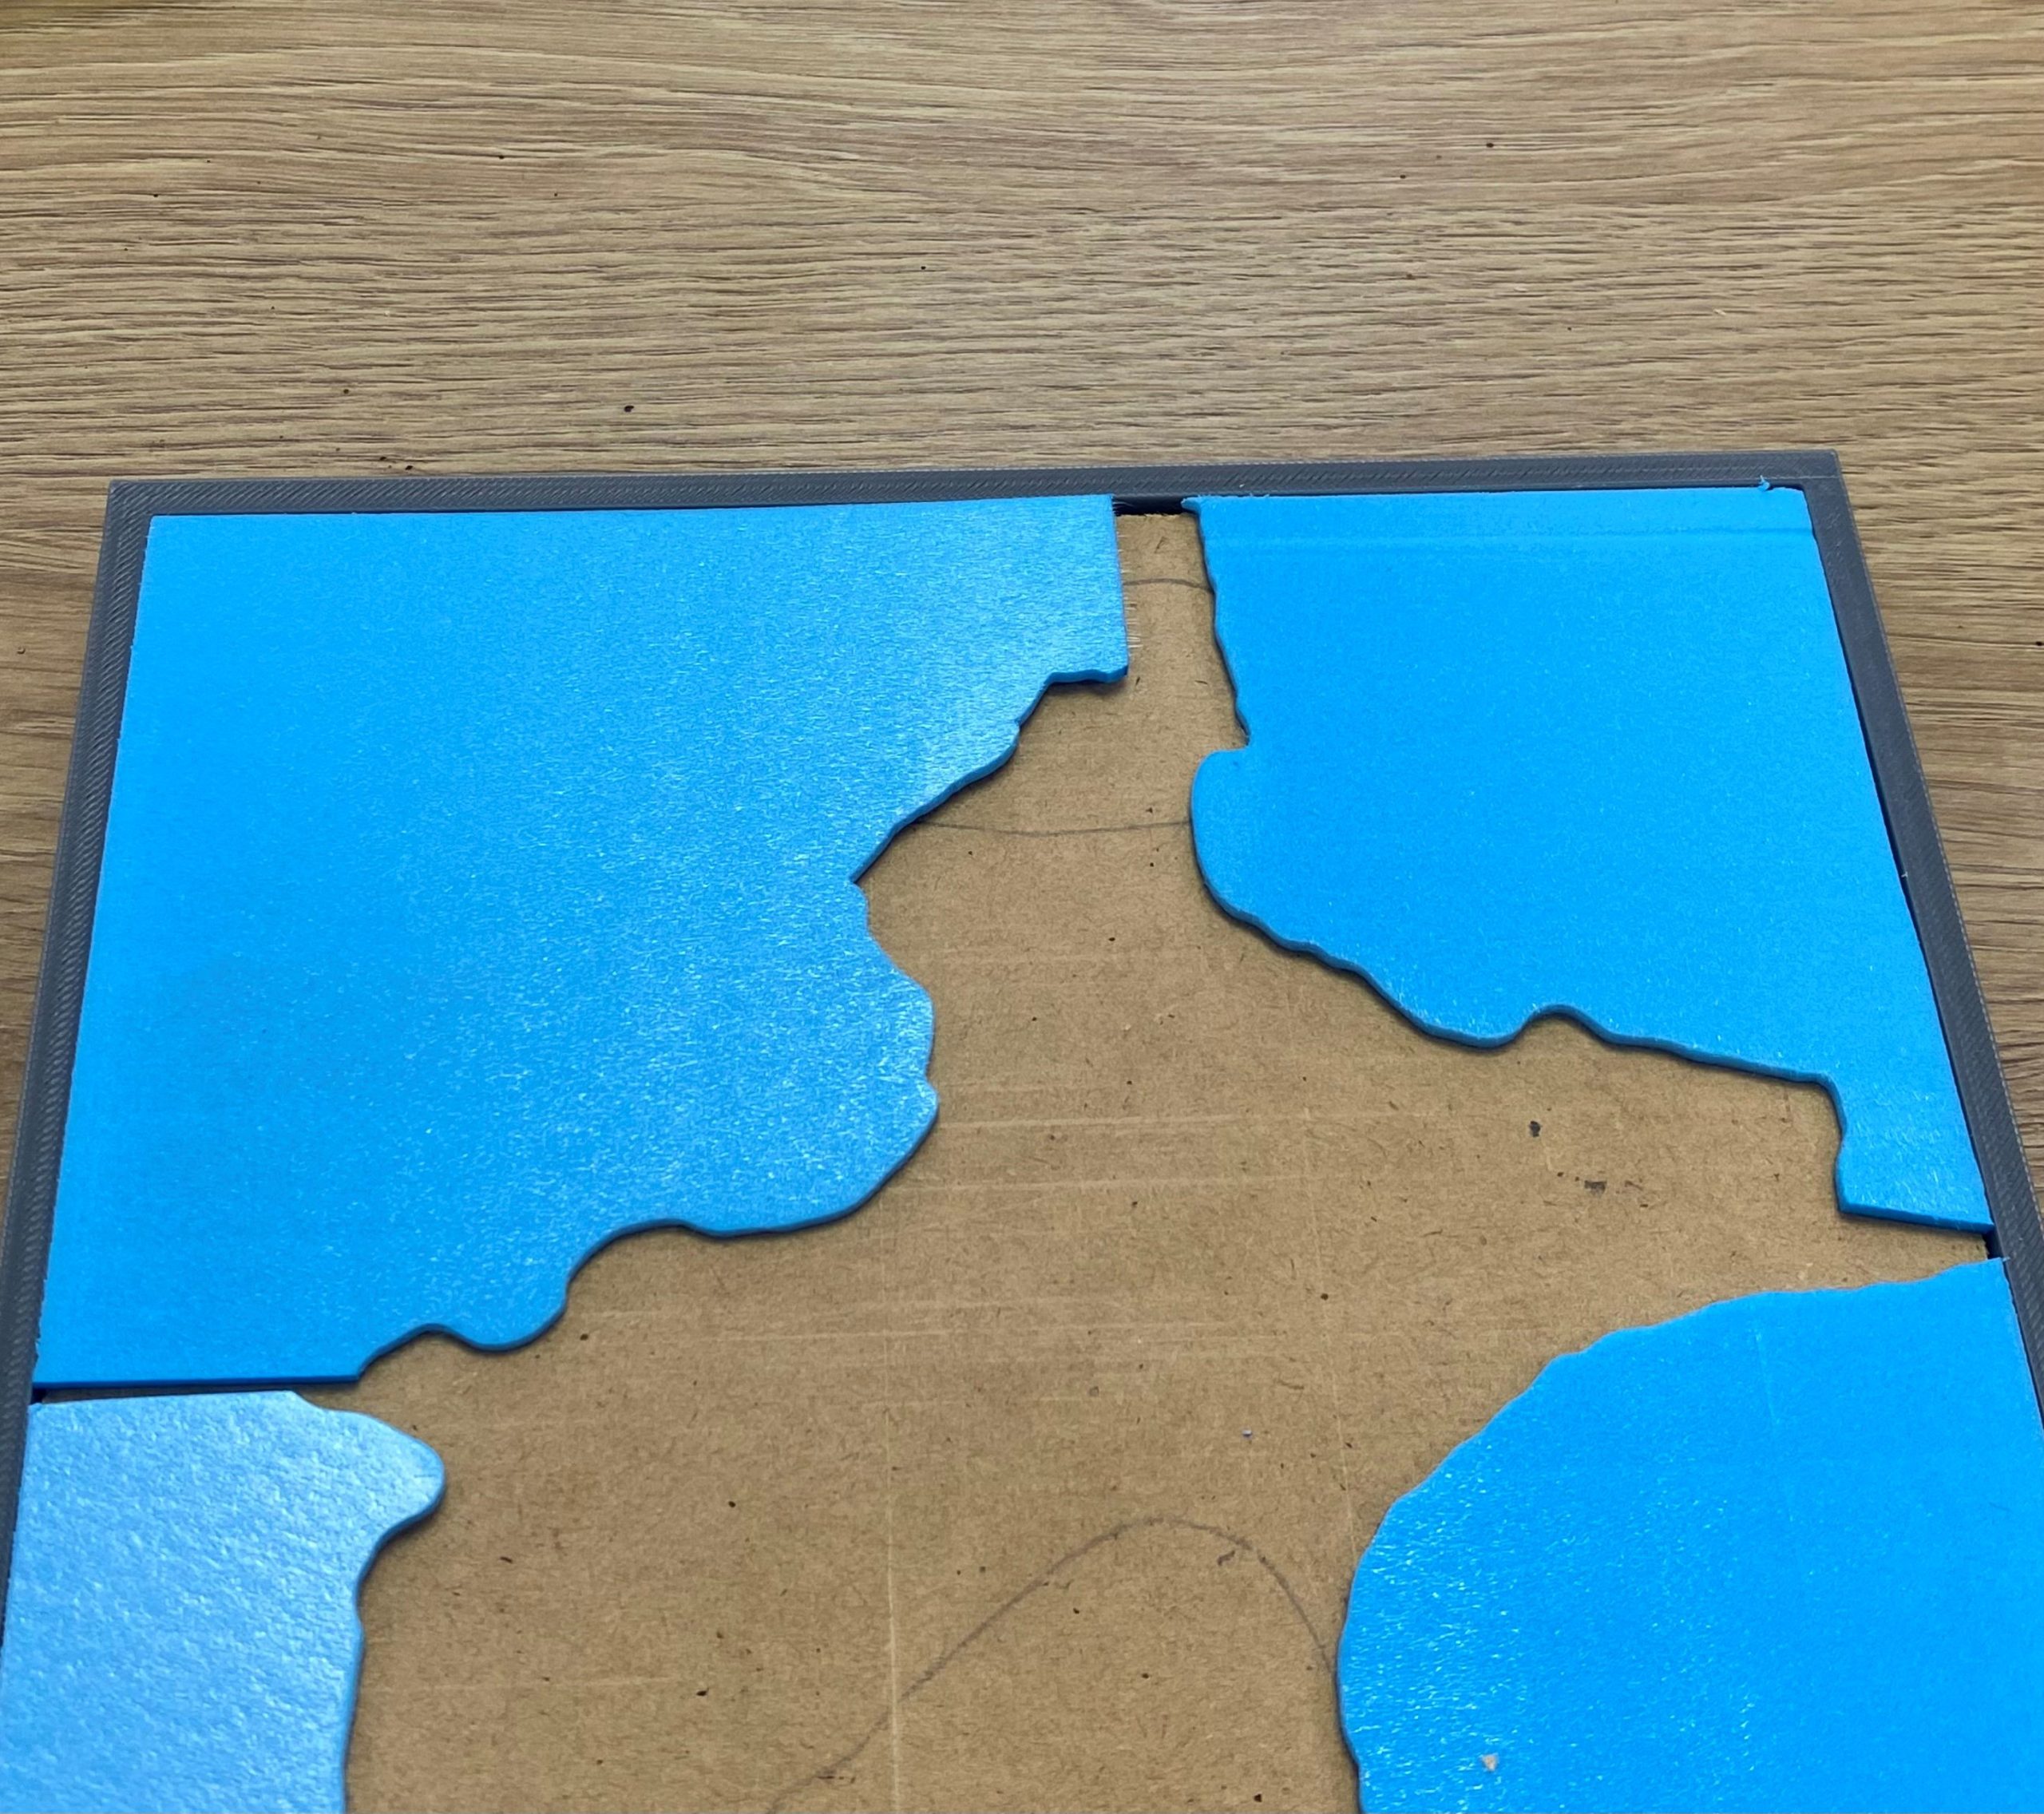
With that done, I set out the frames. I ended up making some smaller frames to go around the set, creating a border.
All the pieces are clipped together so they don’t move.
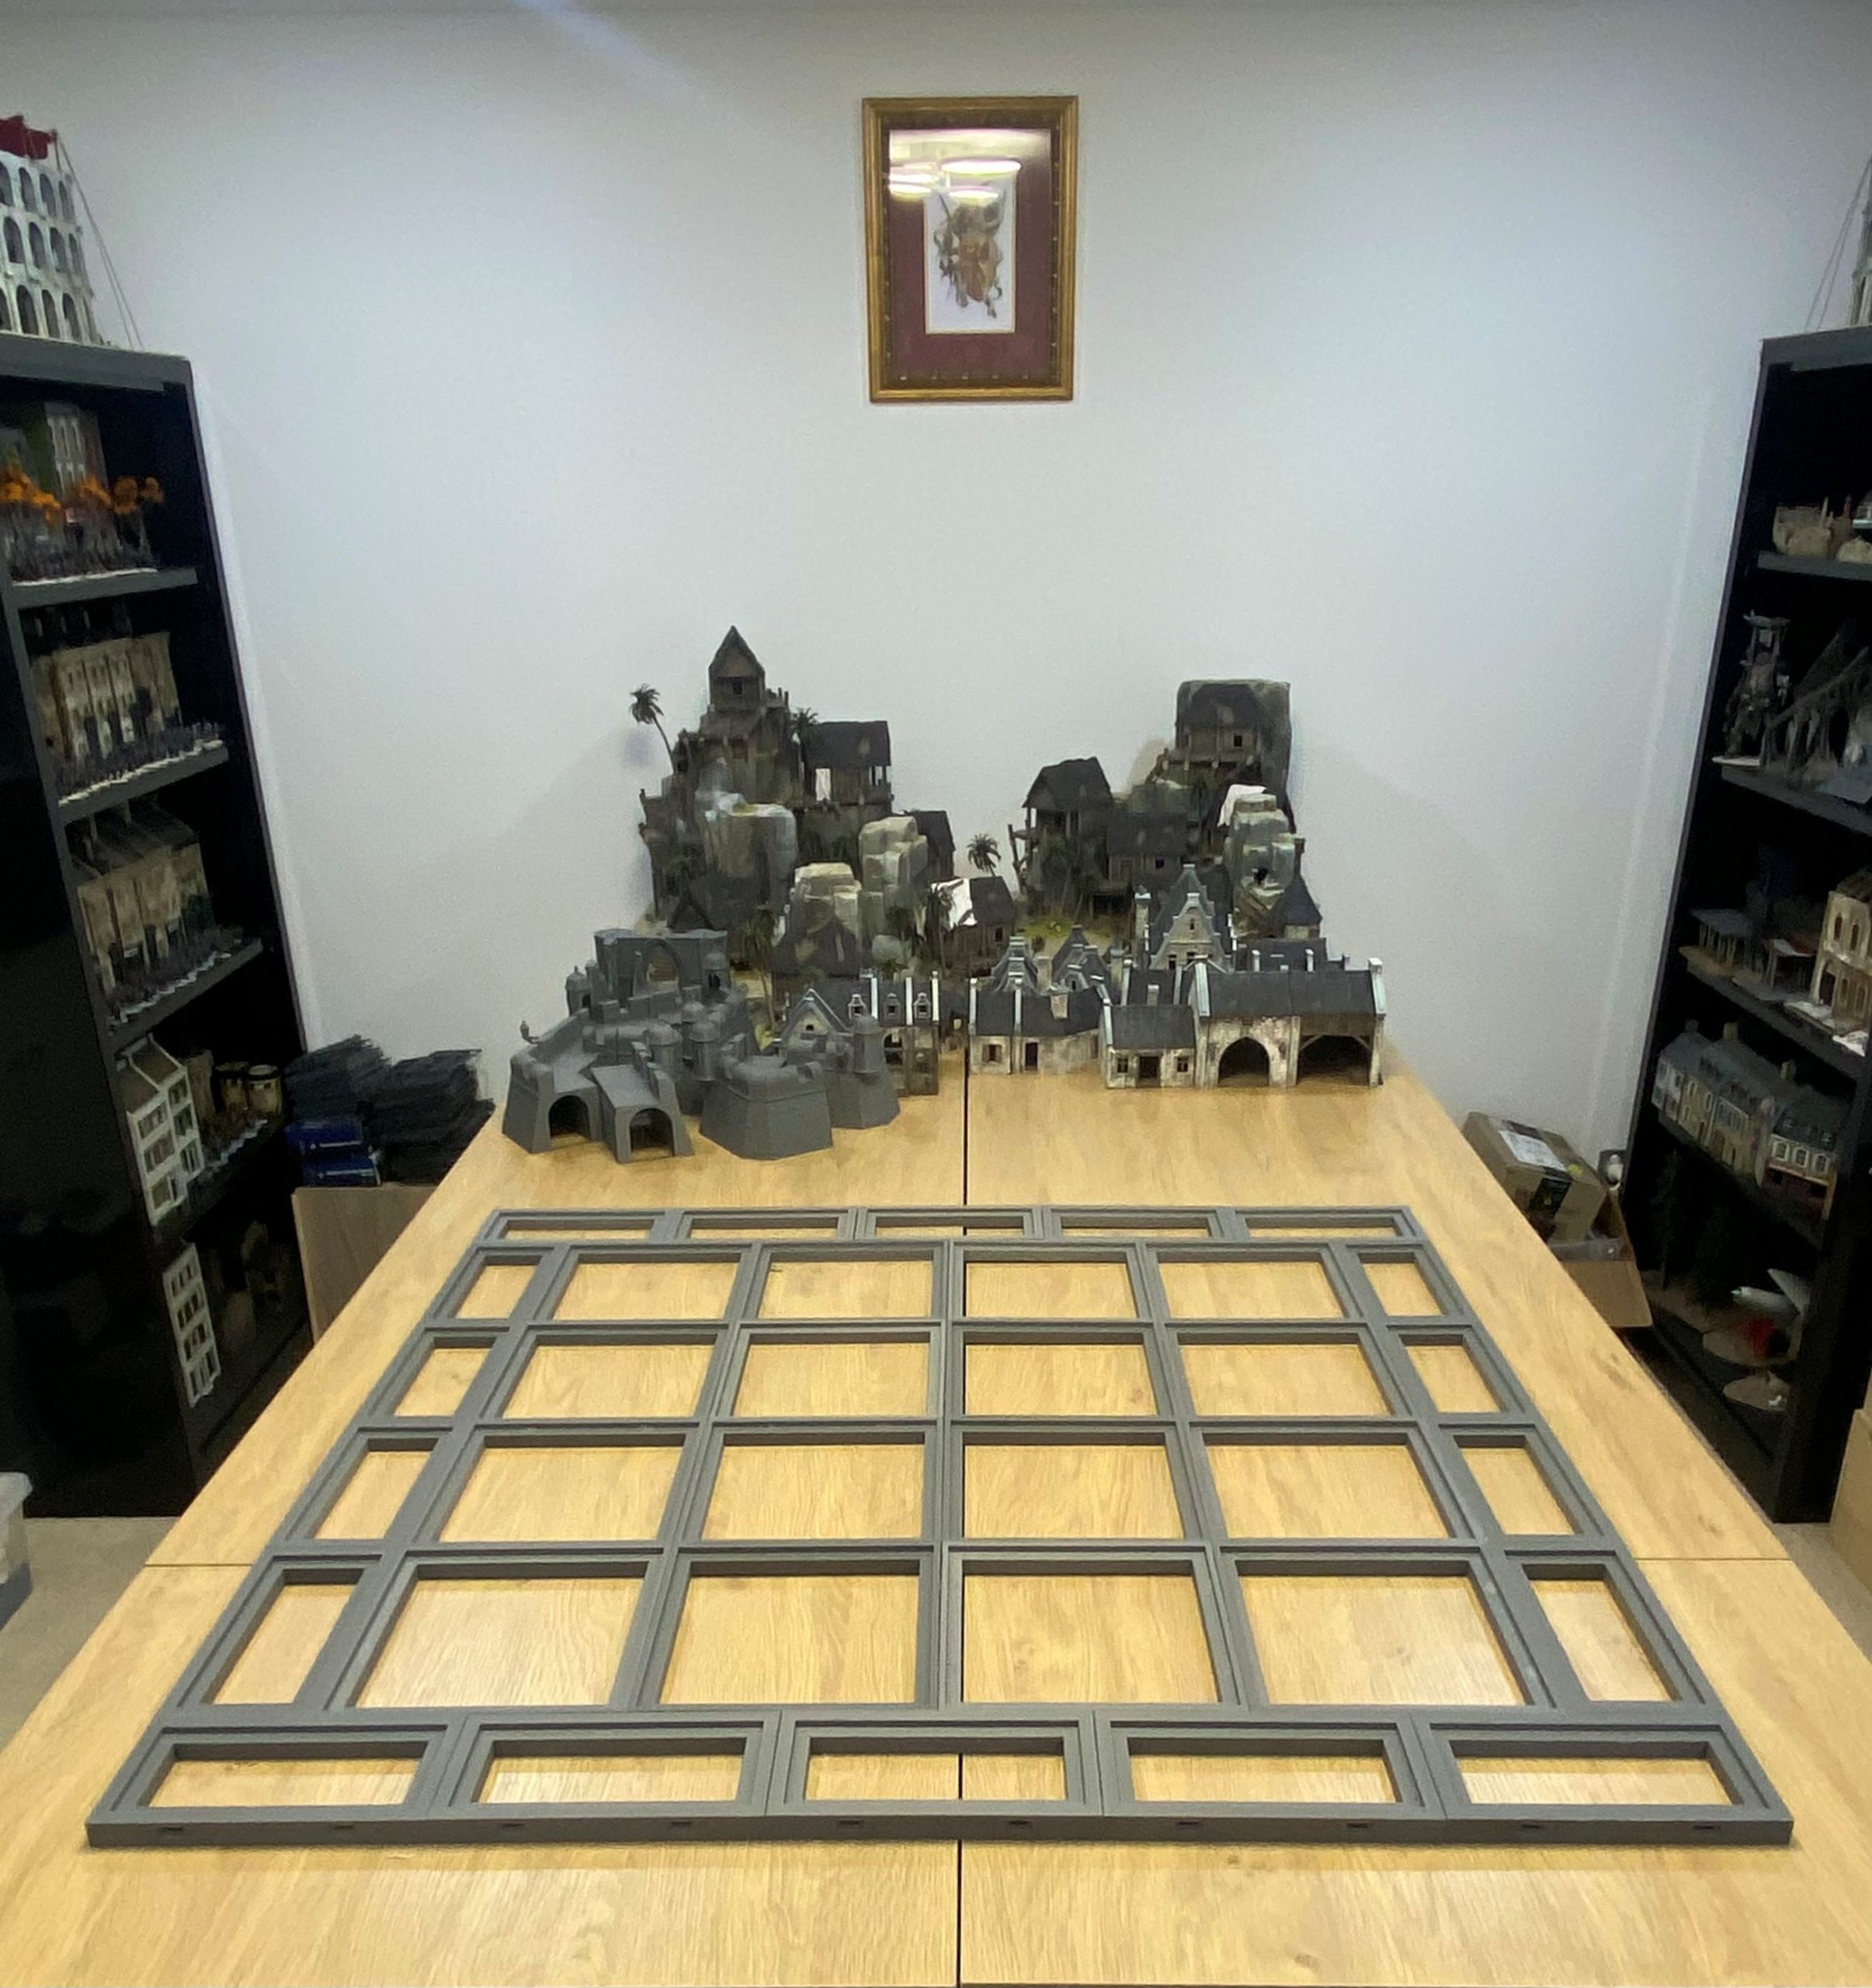
Then I had a purple elephant Eureka moment.
What if I left all the squares unclipped?
I could then recreate something like this and have a forest that can move around during play. This was something similar to what I had in mind when I first conceived my Cedarwood Road project, and also similar, yet different, to my Tomb build.

So, the plan has changed a bit. Rather than clipping all the squares together inside the framework, I will leave them loose. That way, it can be forever changing if I so wish.
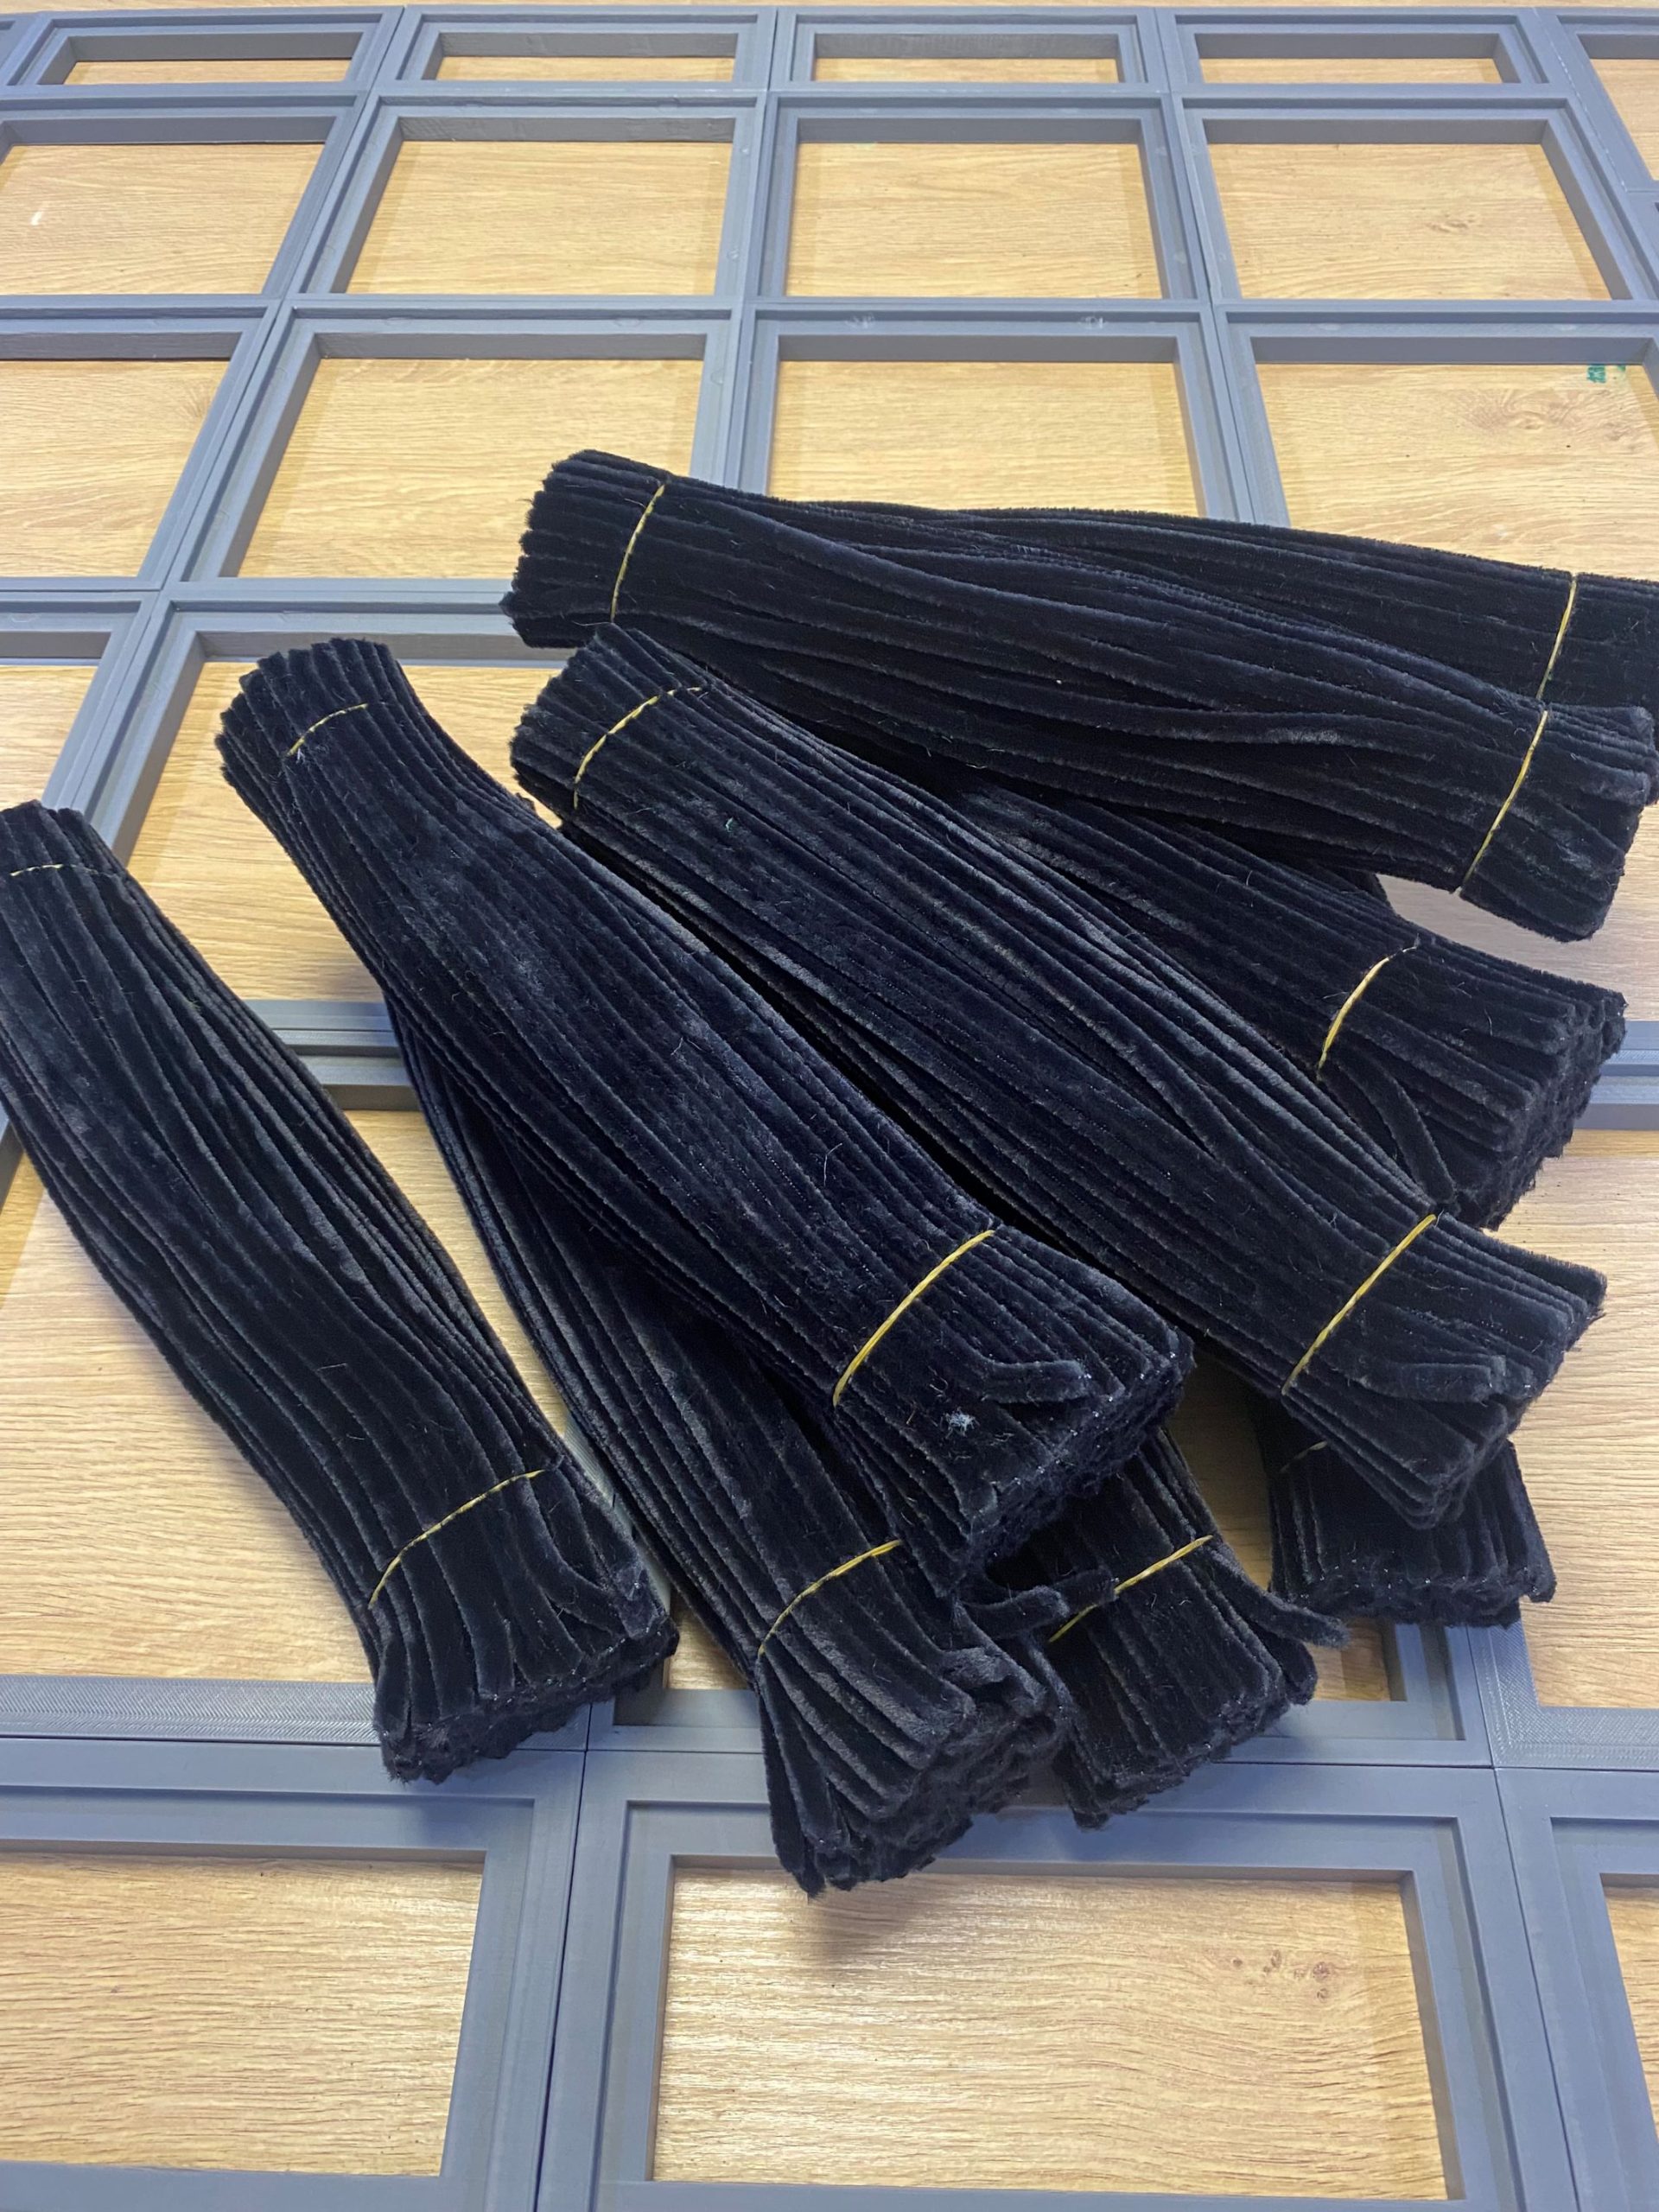
I also found in the craft cupboard a ton of black pipe cleaners. I think they were left over from making spiders for Halloween one year. Anyway, there are about 900 of them and I have something in mind for these.
Mind the Gap
I cut out some 3mm thick MDF squares and rectangles using a small table saw. The idea being that it takes a lot less time and money to do the bases this way than to print out complete base tiles.
This also has the added benefit that the middle of each base plate has a space beneath it. This could come in handy down the track.
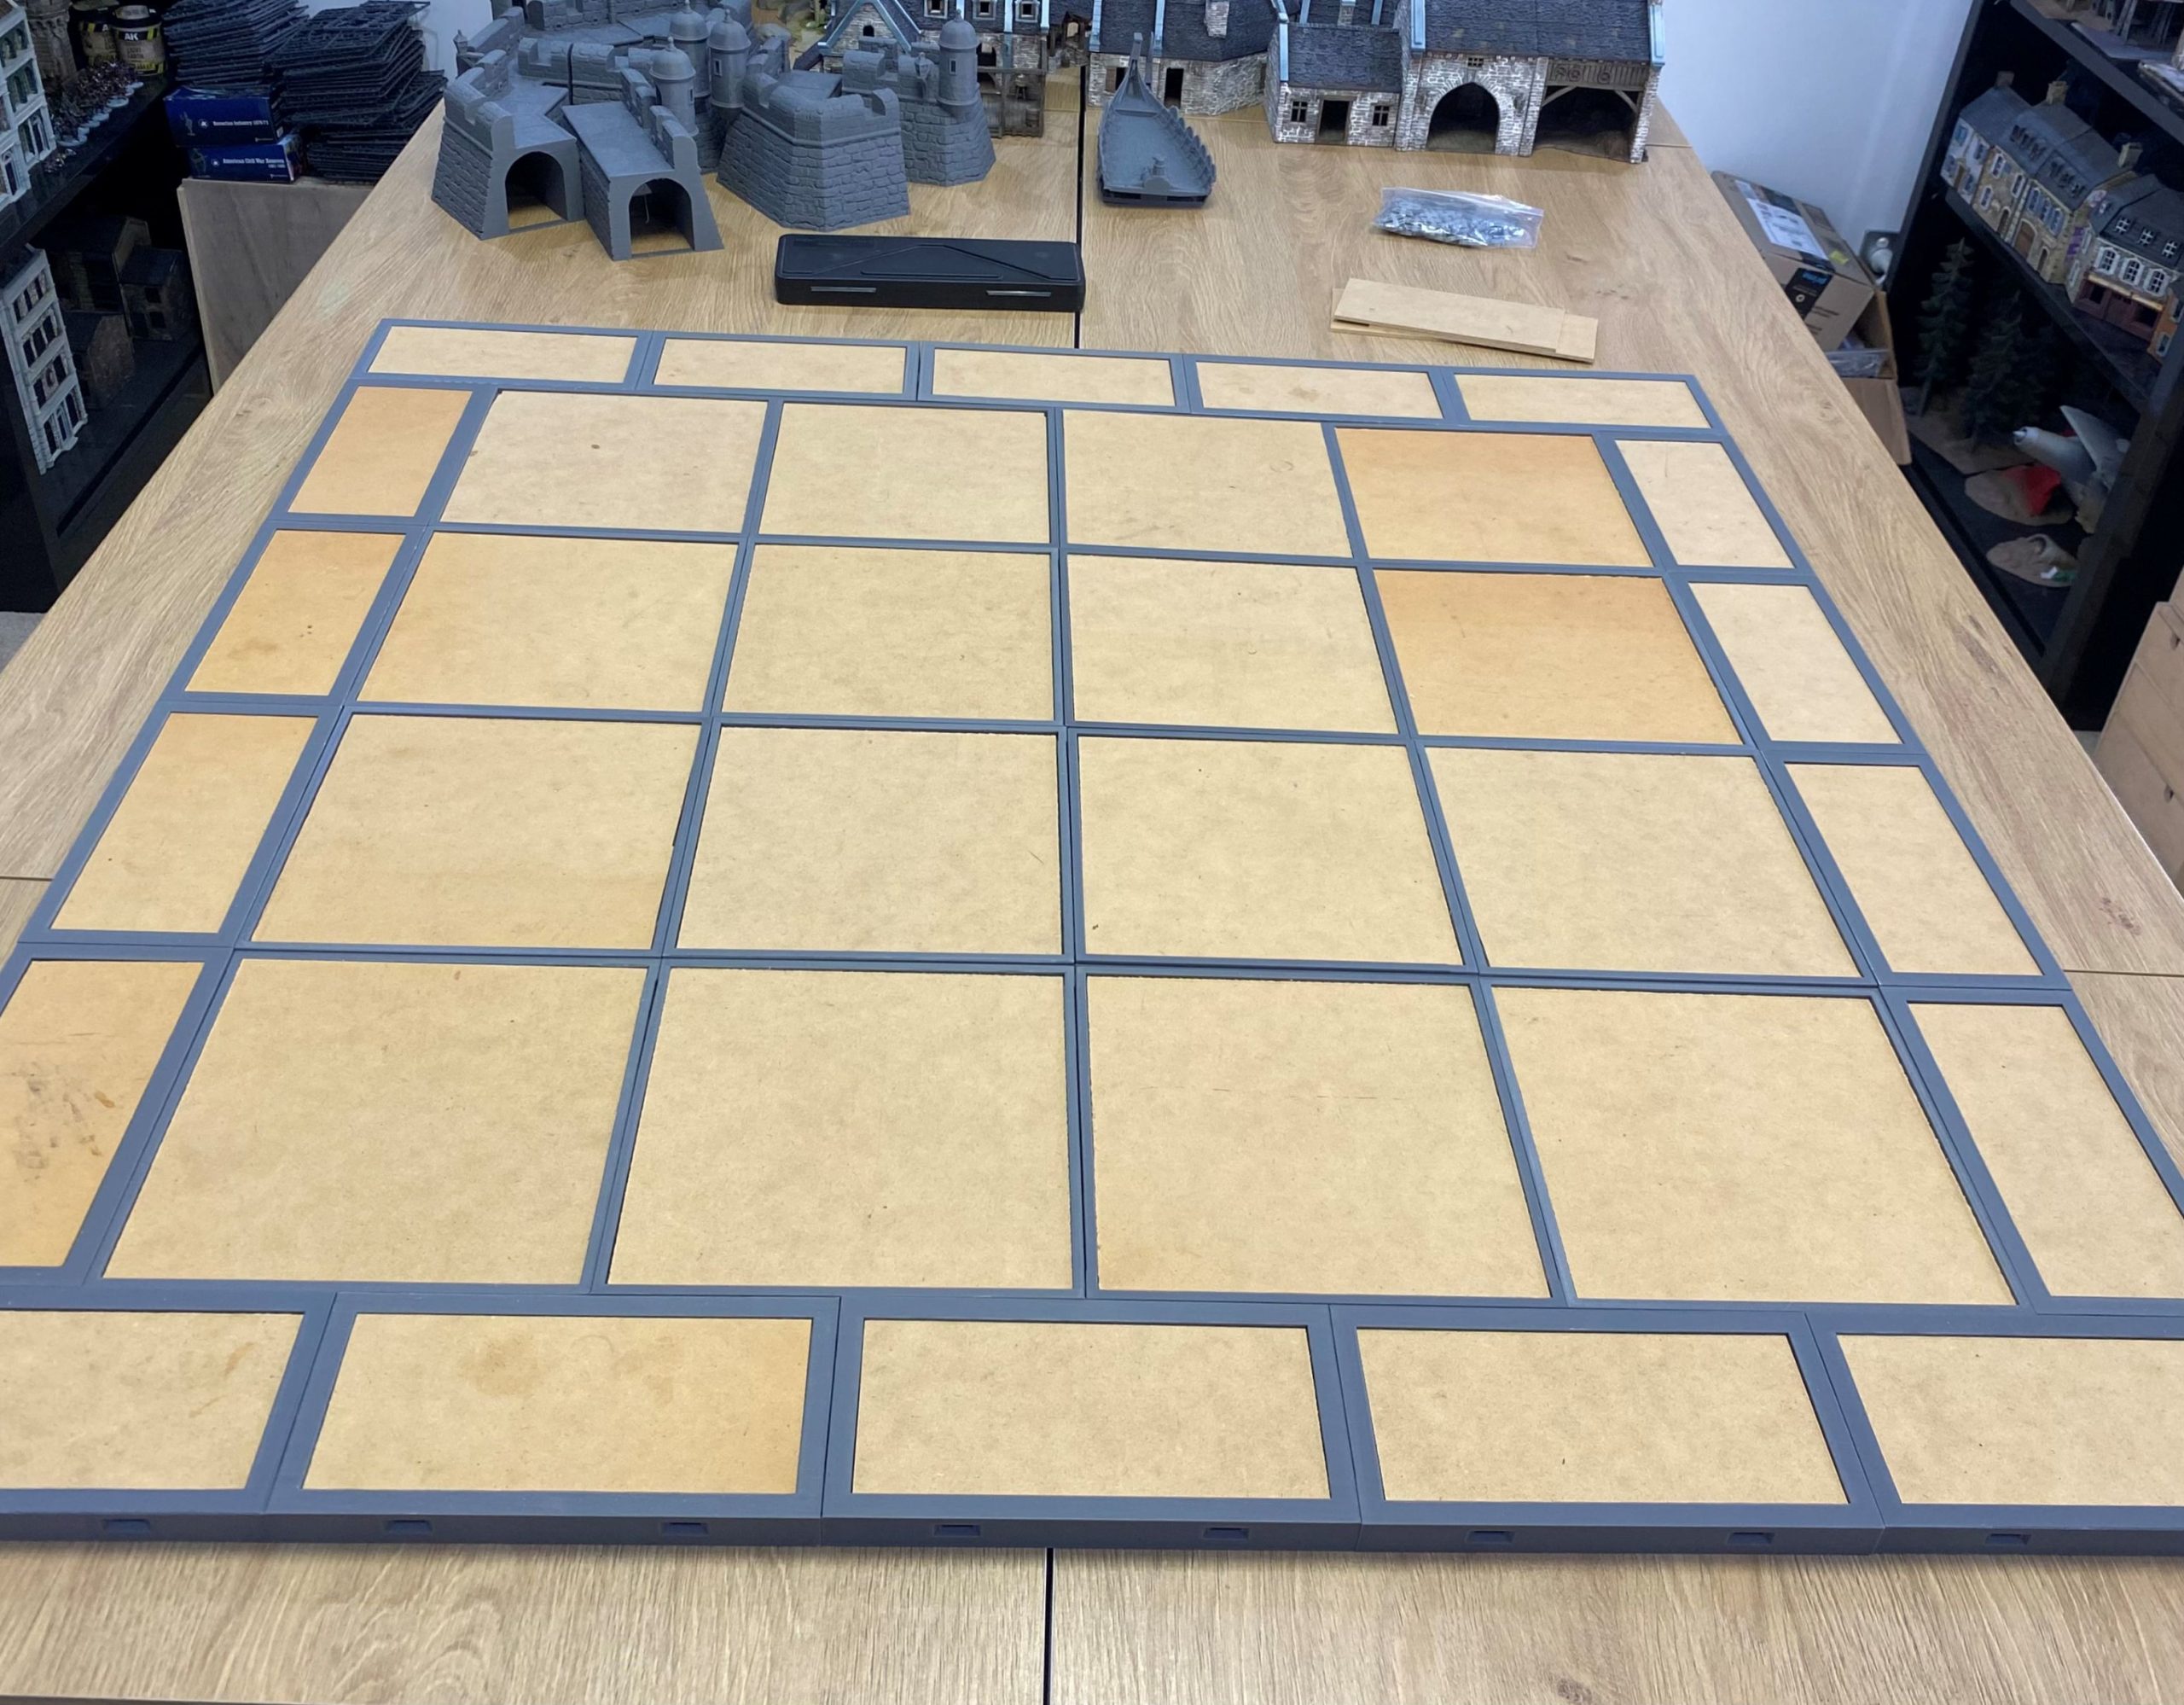
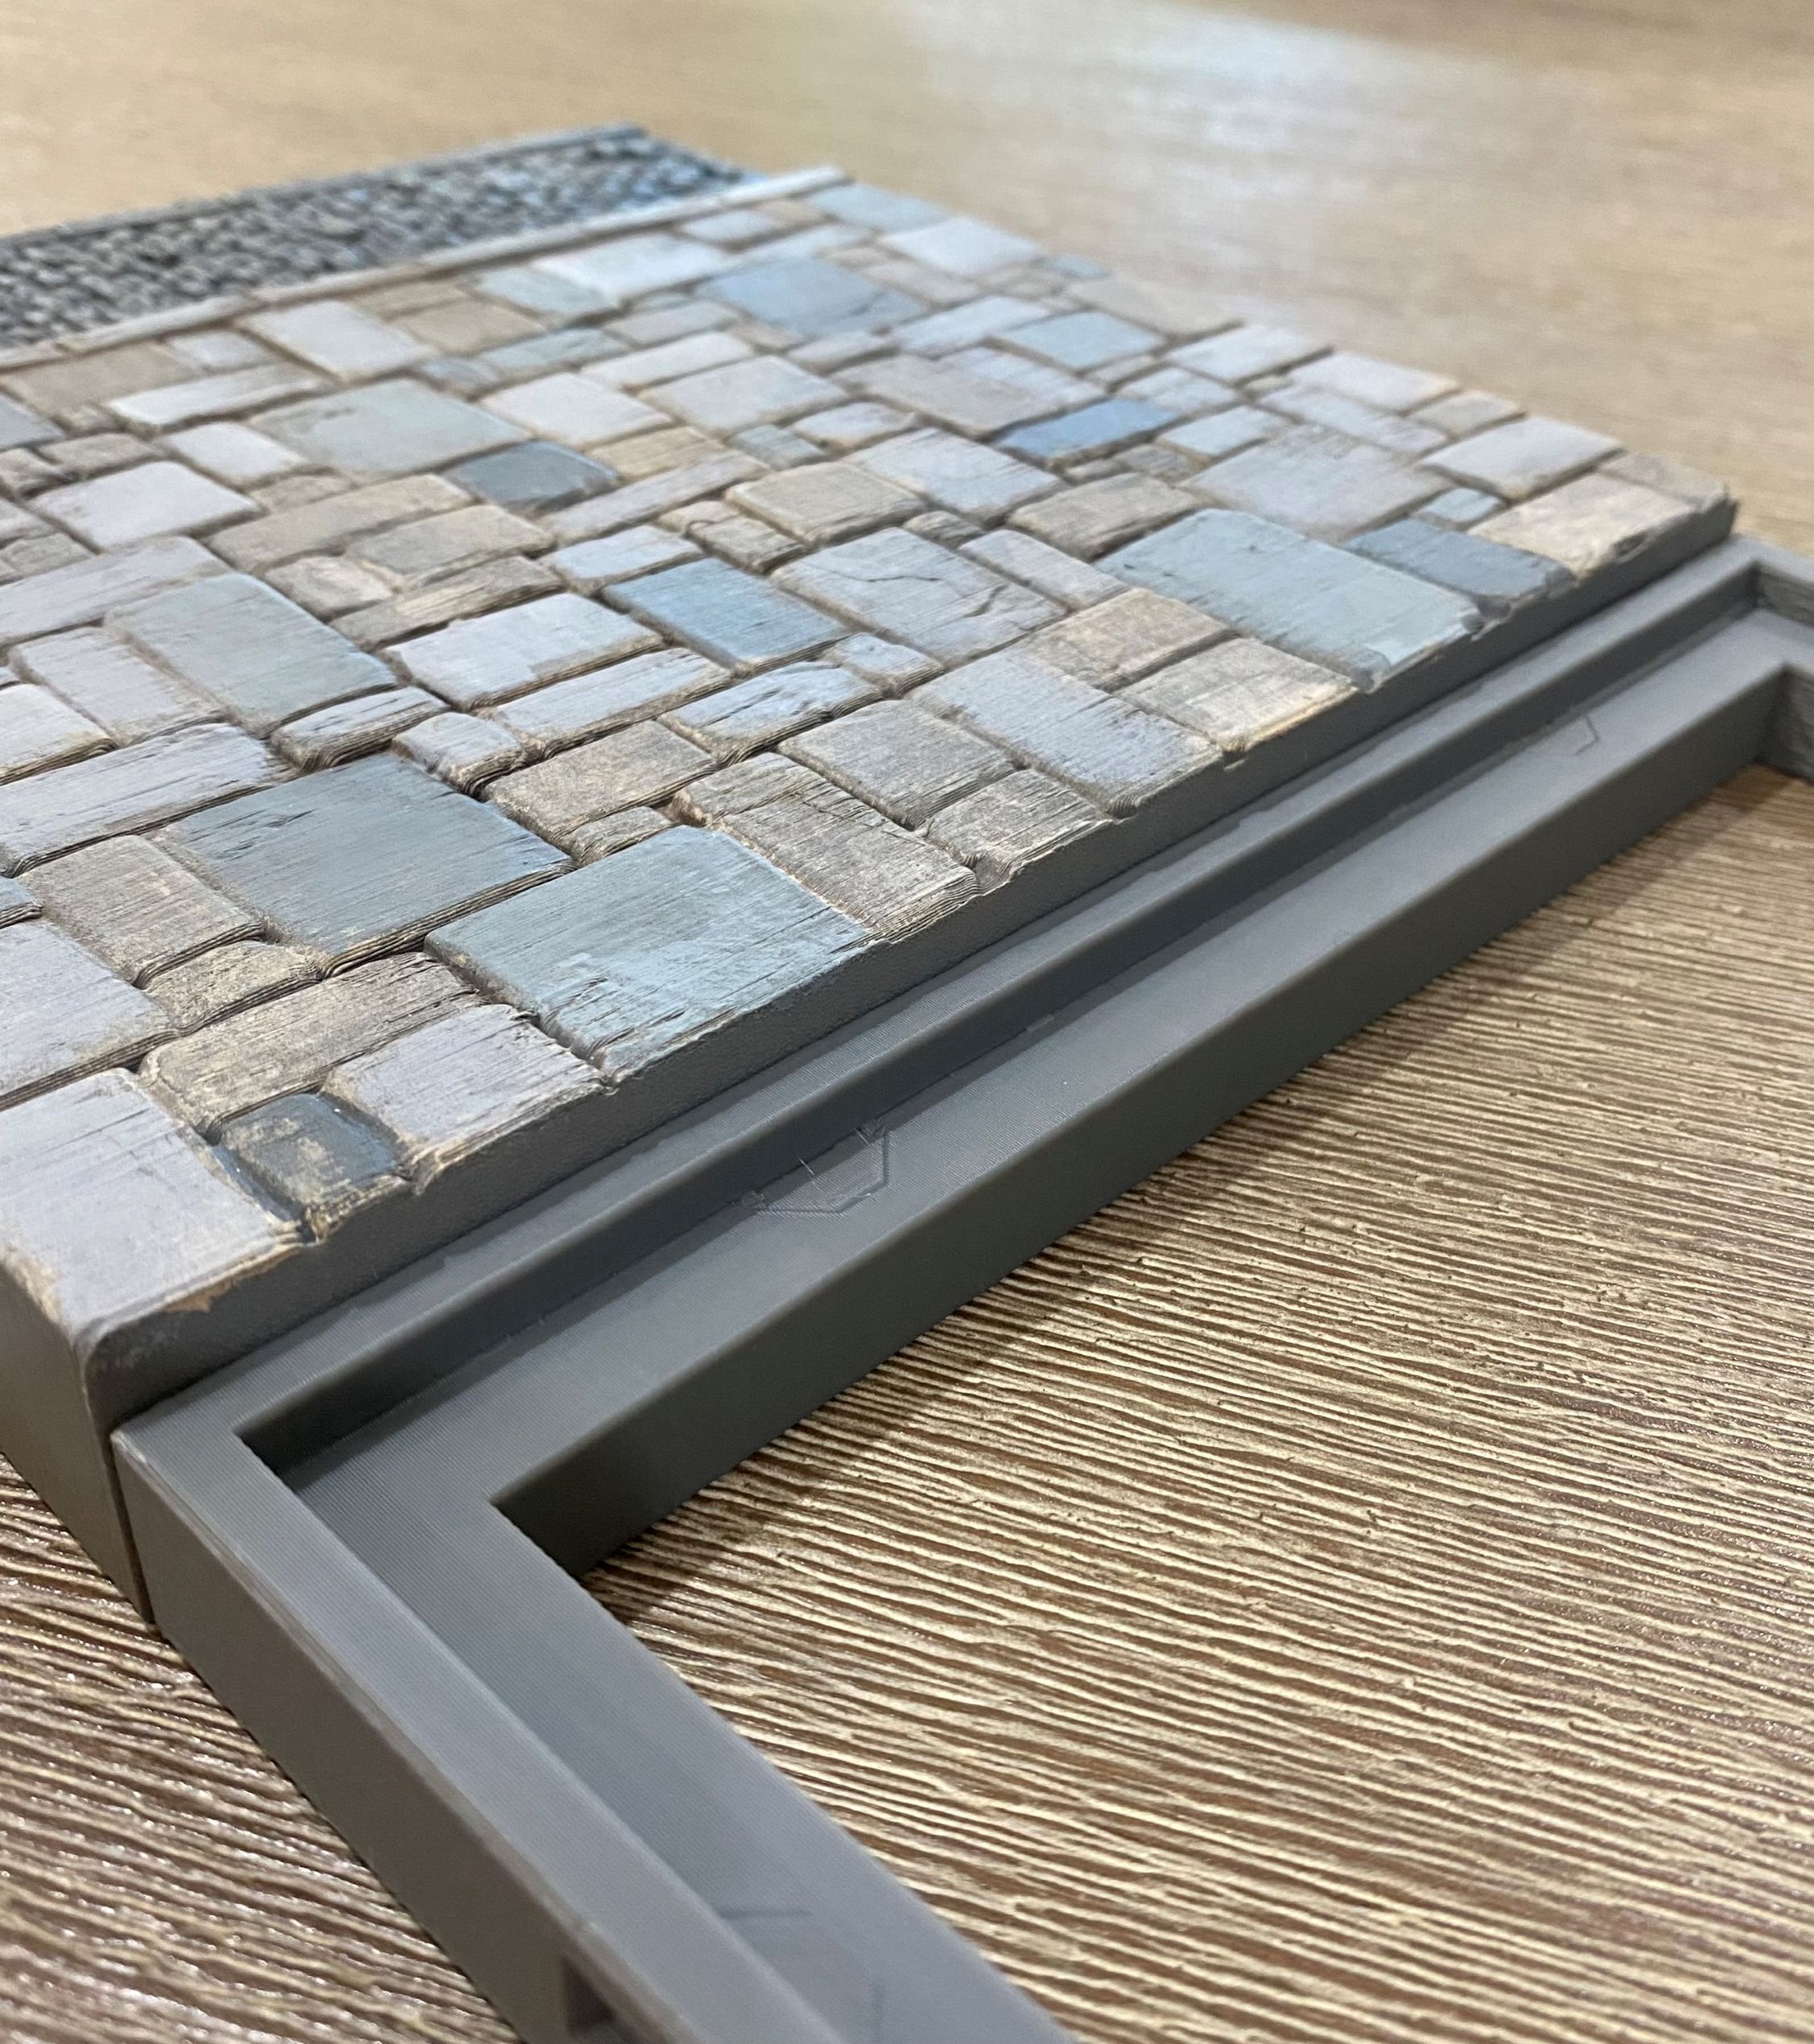
It was at this point that I realised I had done my calculations a bit off when deleting the middle of each tile and leaving a lip to support the wood floors.
The lip was a little too far down, 2.03mm on the squares and 1.8mm on the edge pieces.
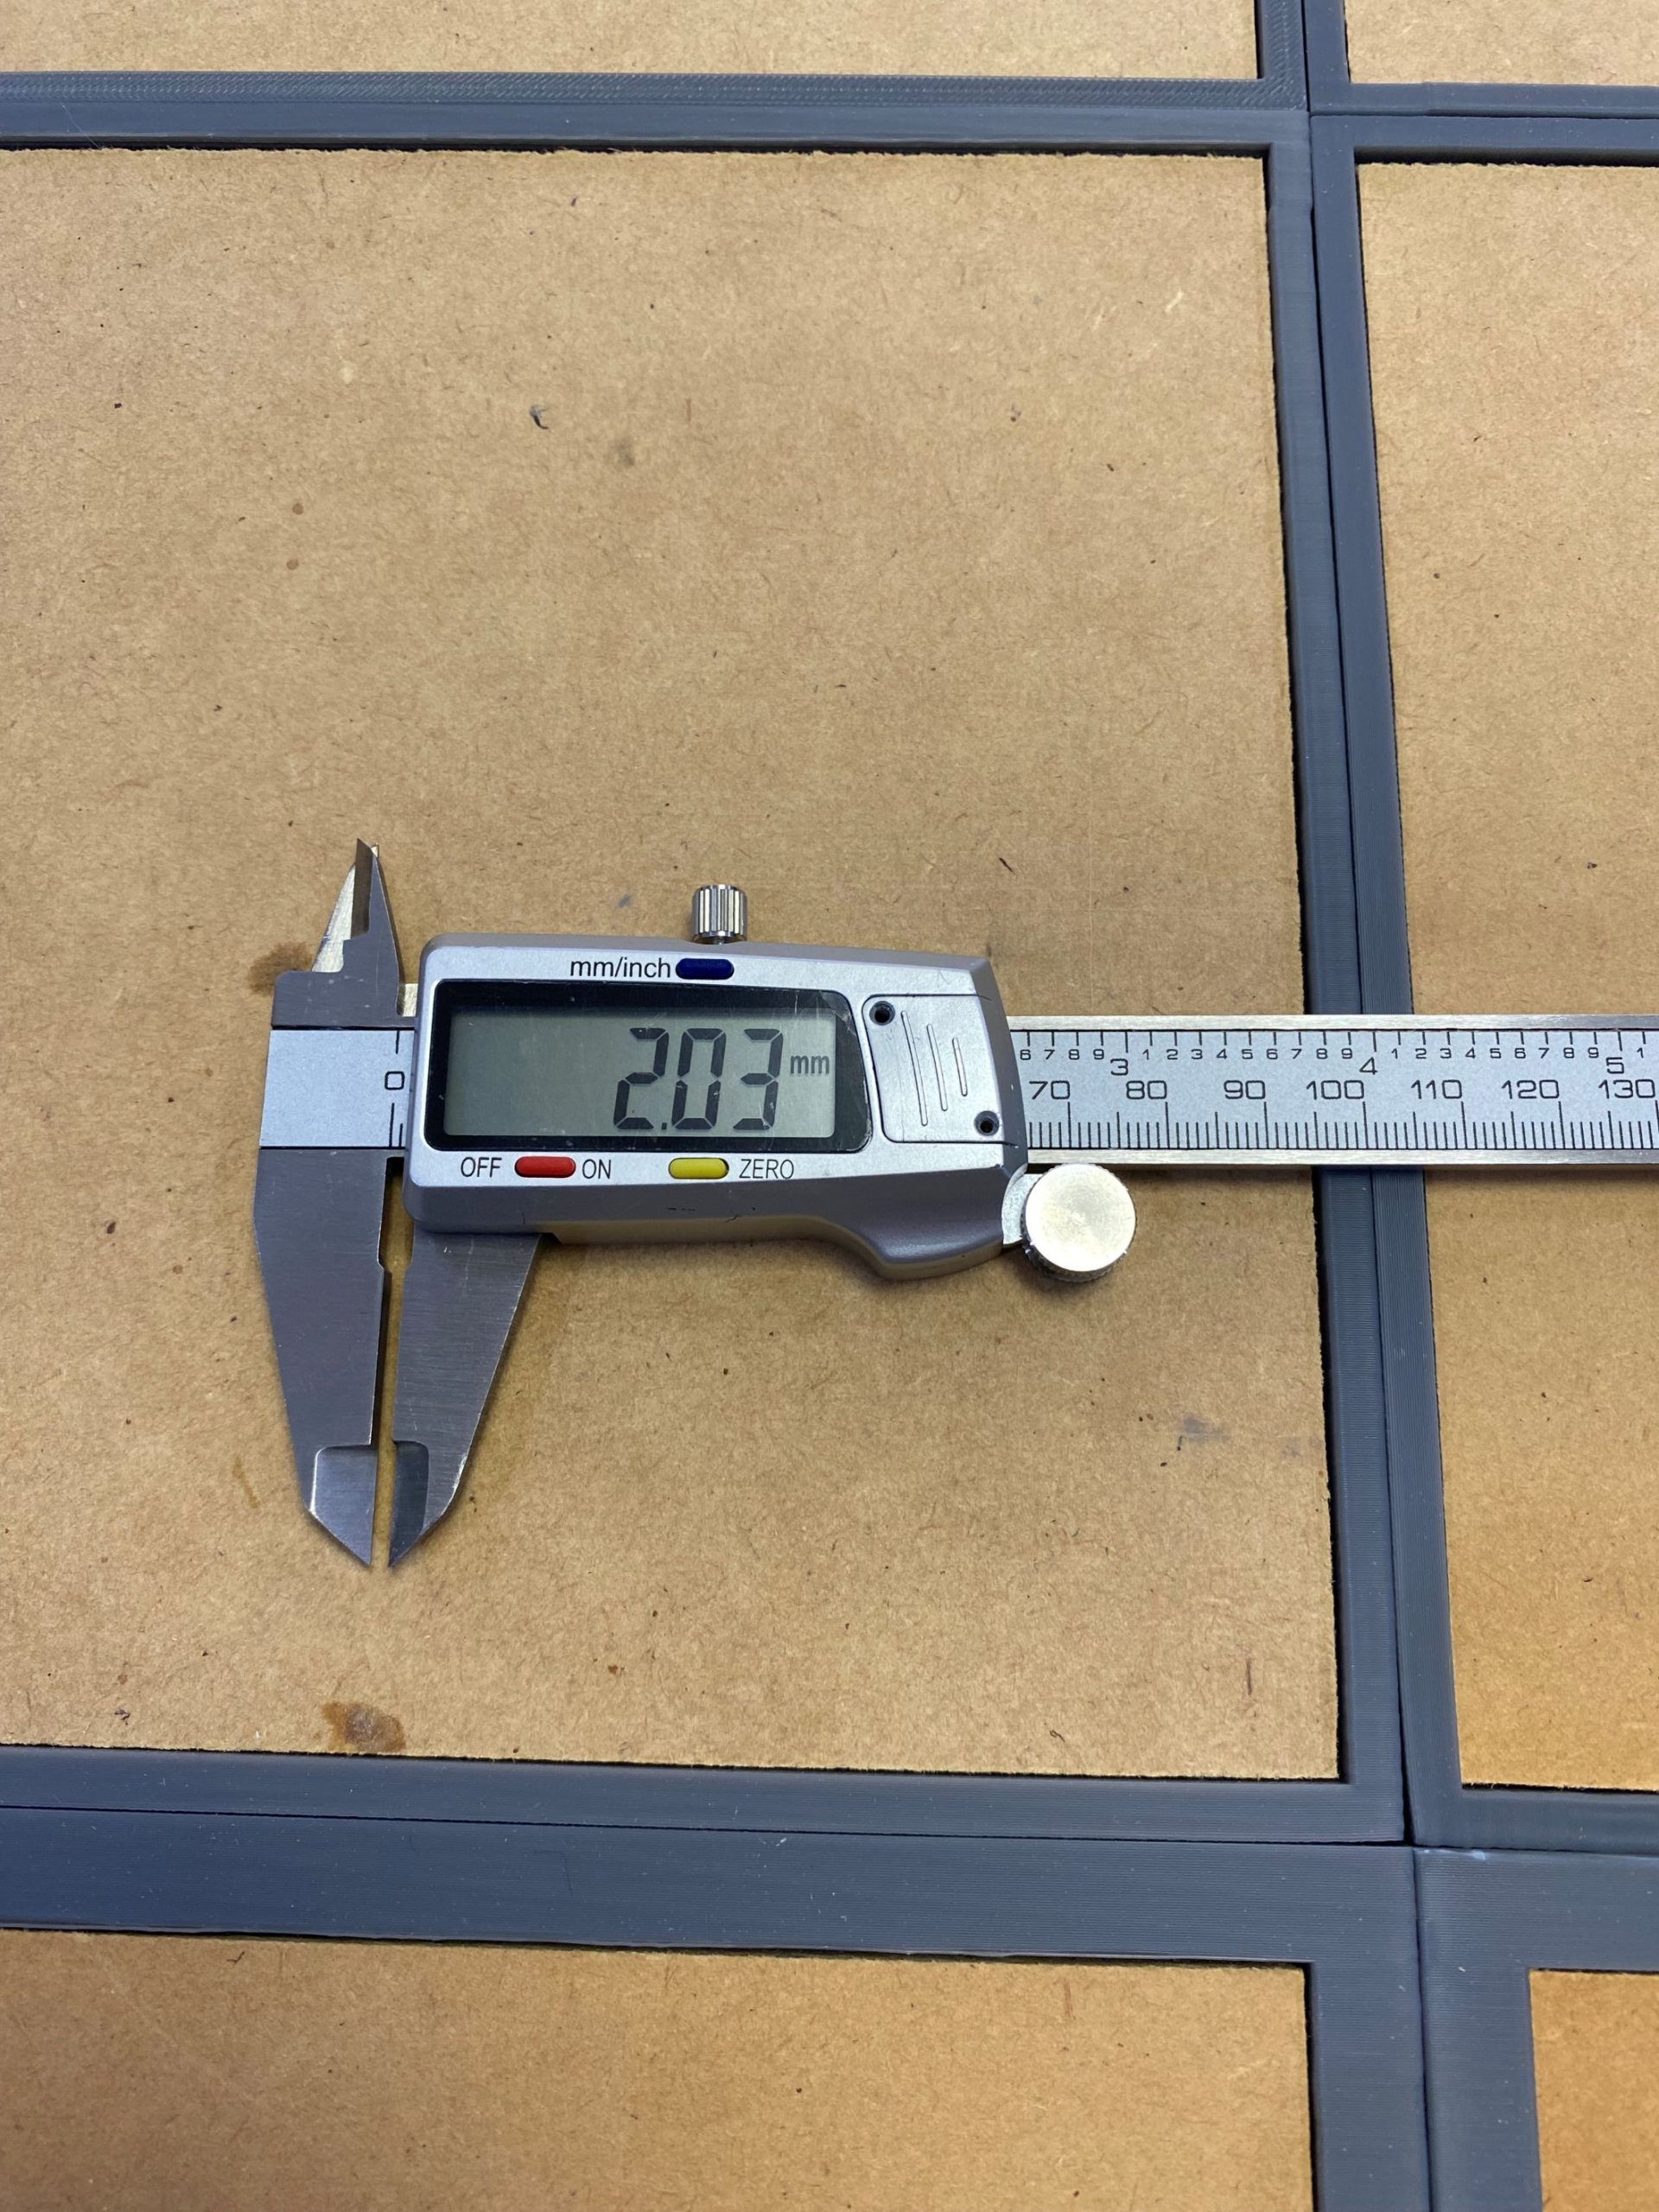
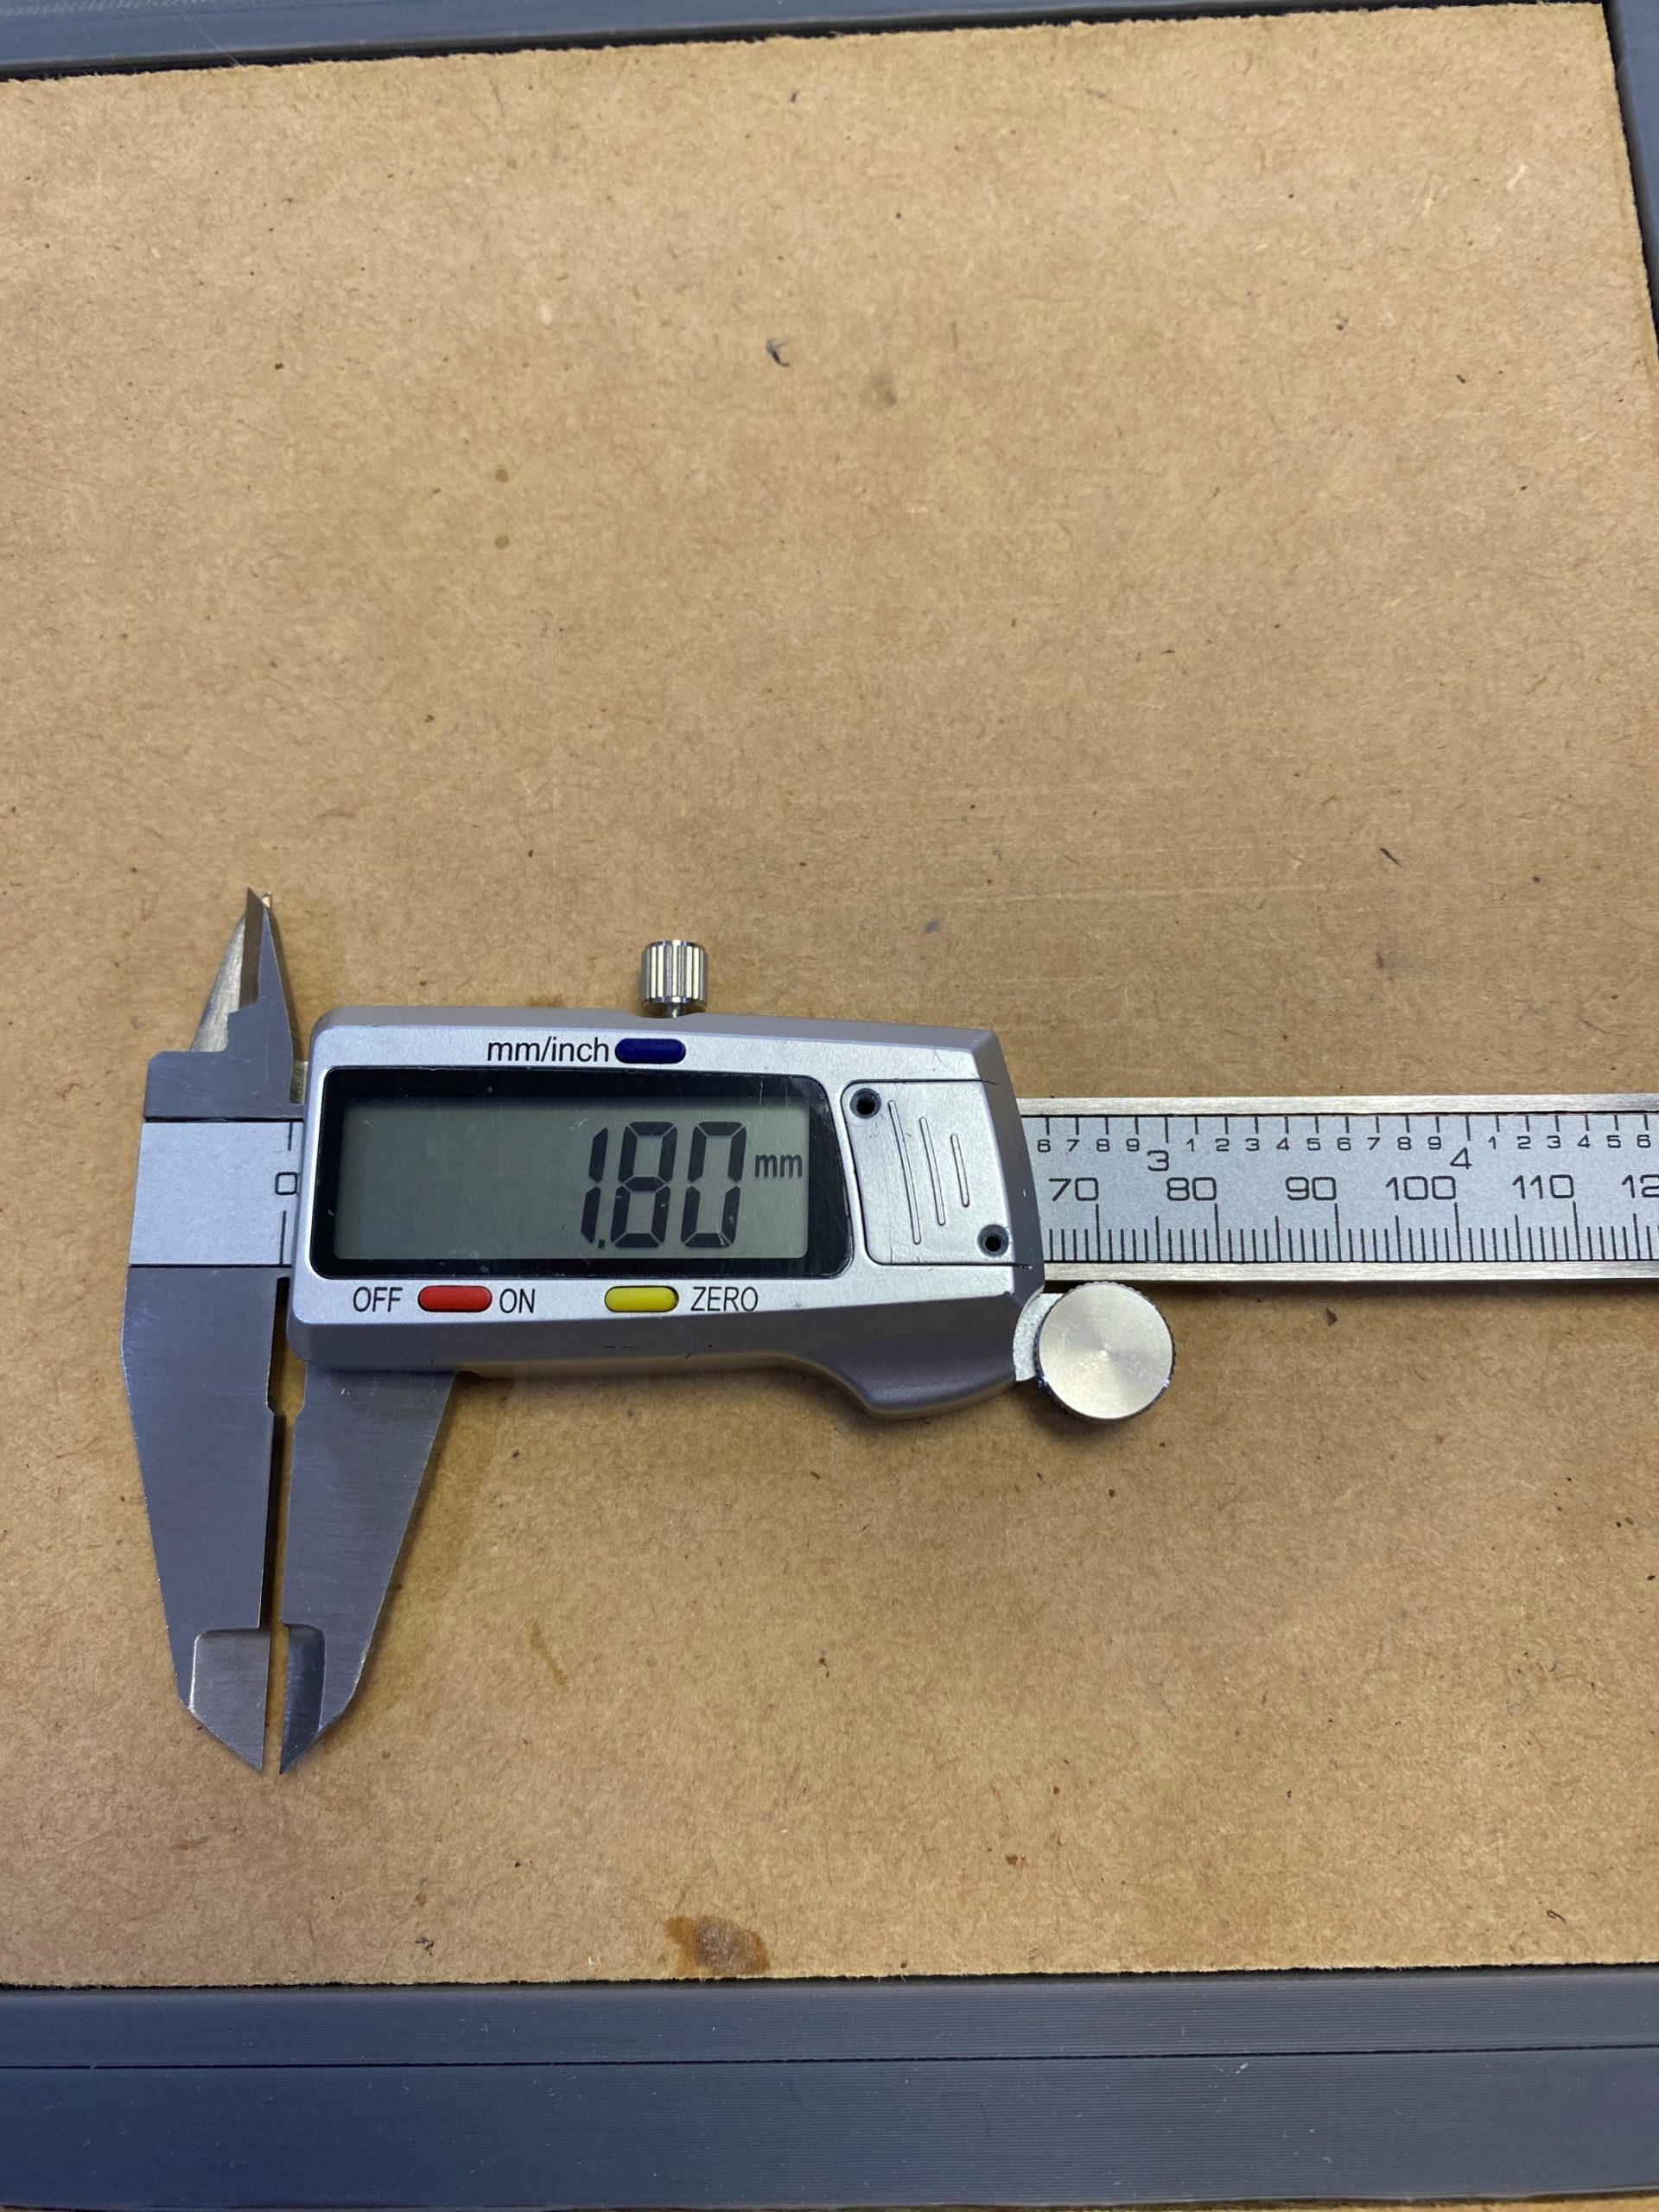
Just a minor inconvenience that creates a little more work, but nothing to get upset about. I will use XPS foam to raise the wood where it meets the frames.
This may actually turn out to be helpful as it will allow me to create small undulations in the ground surface.
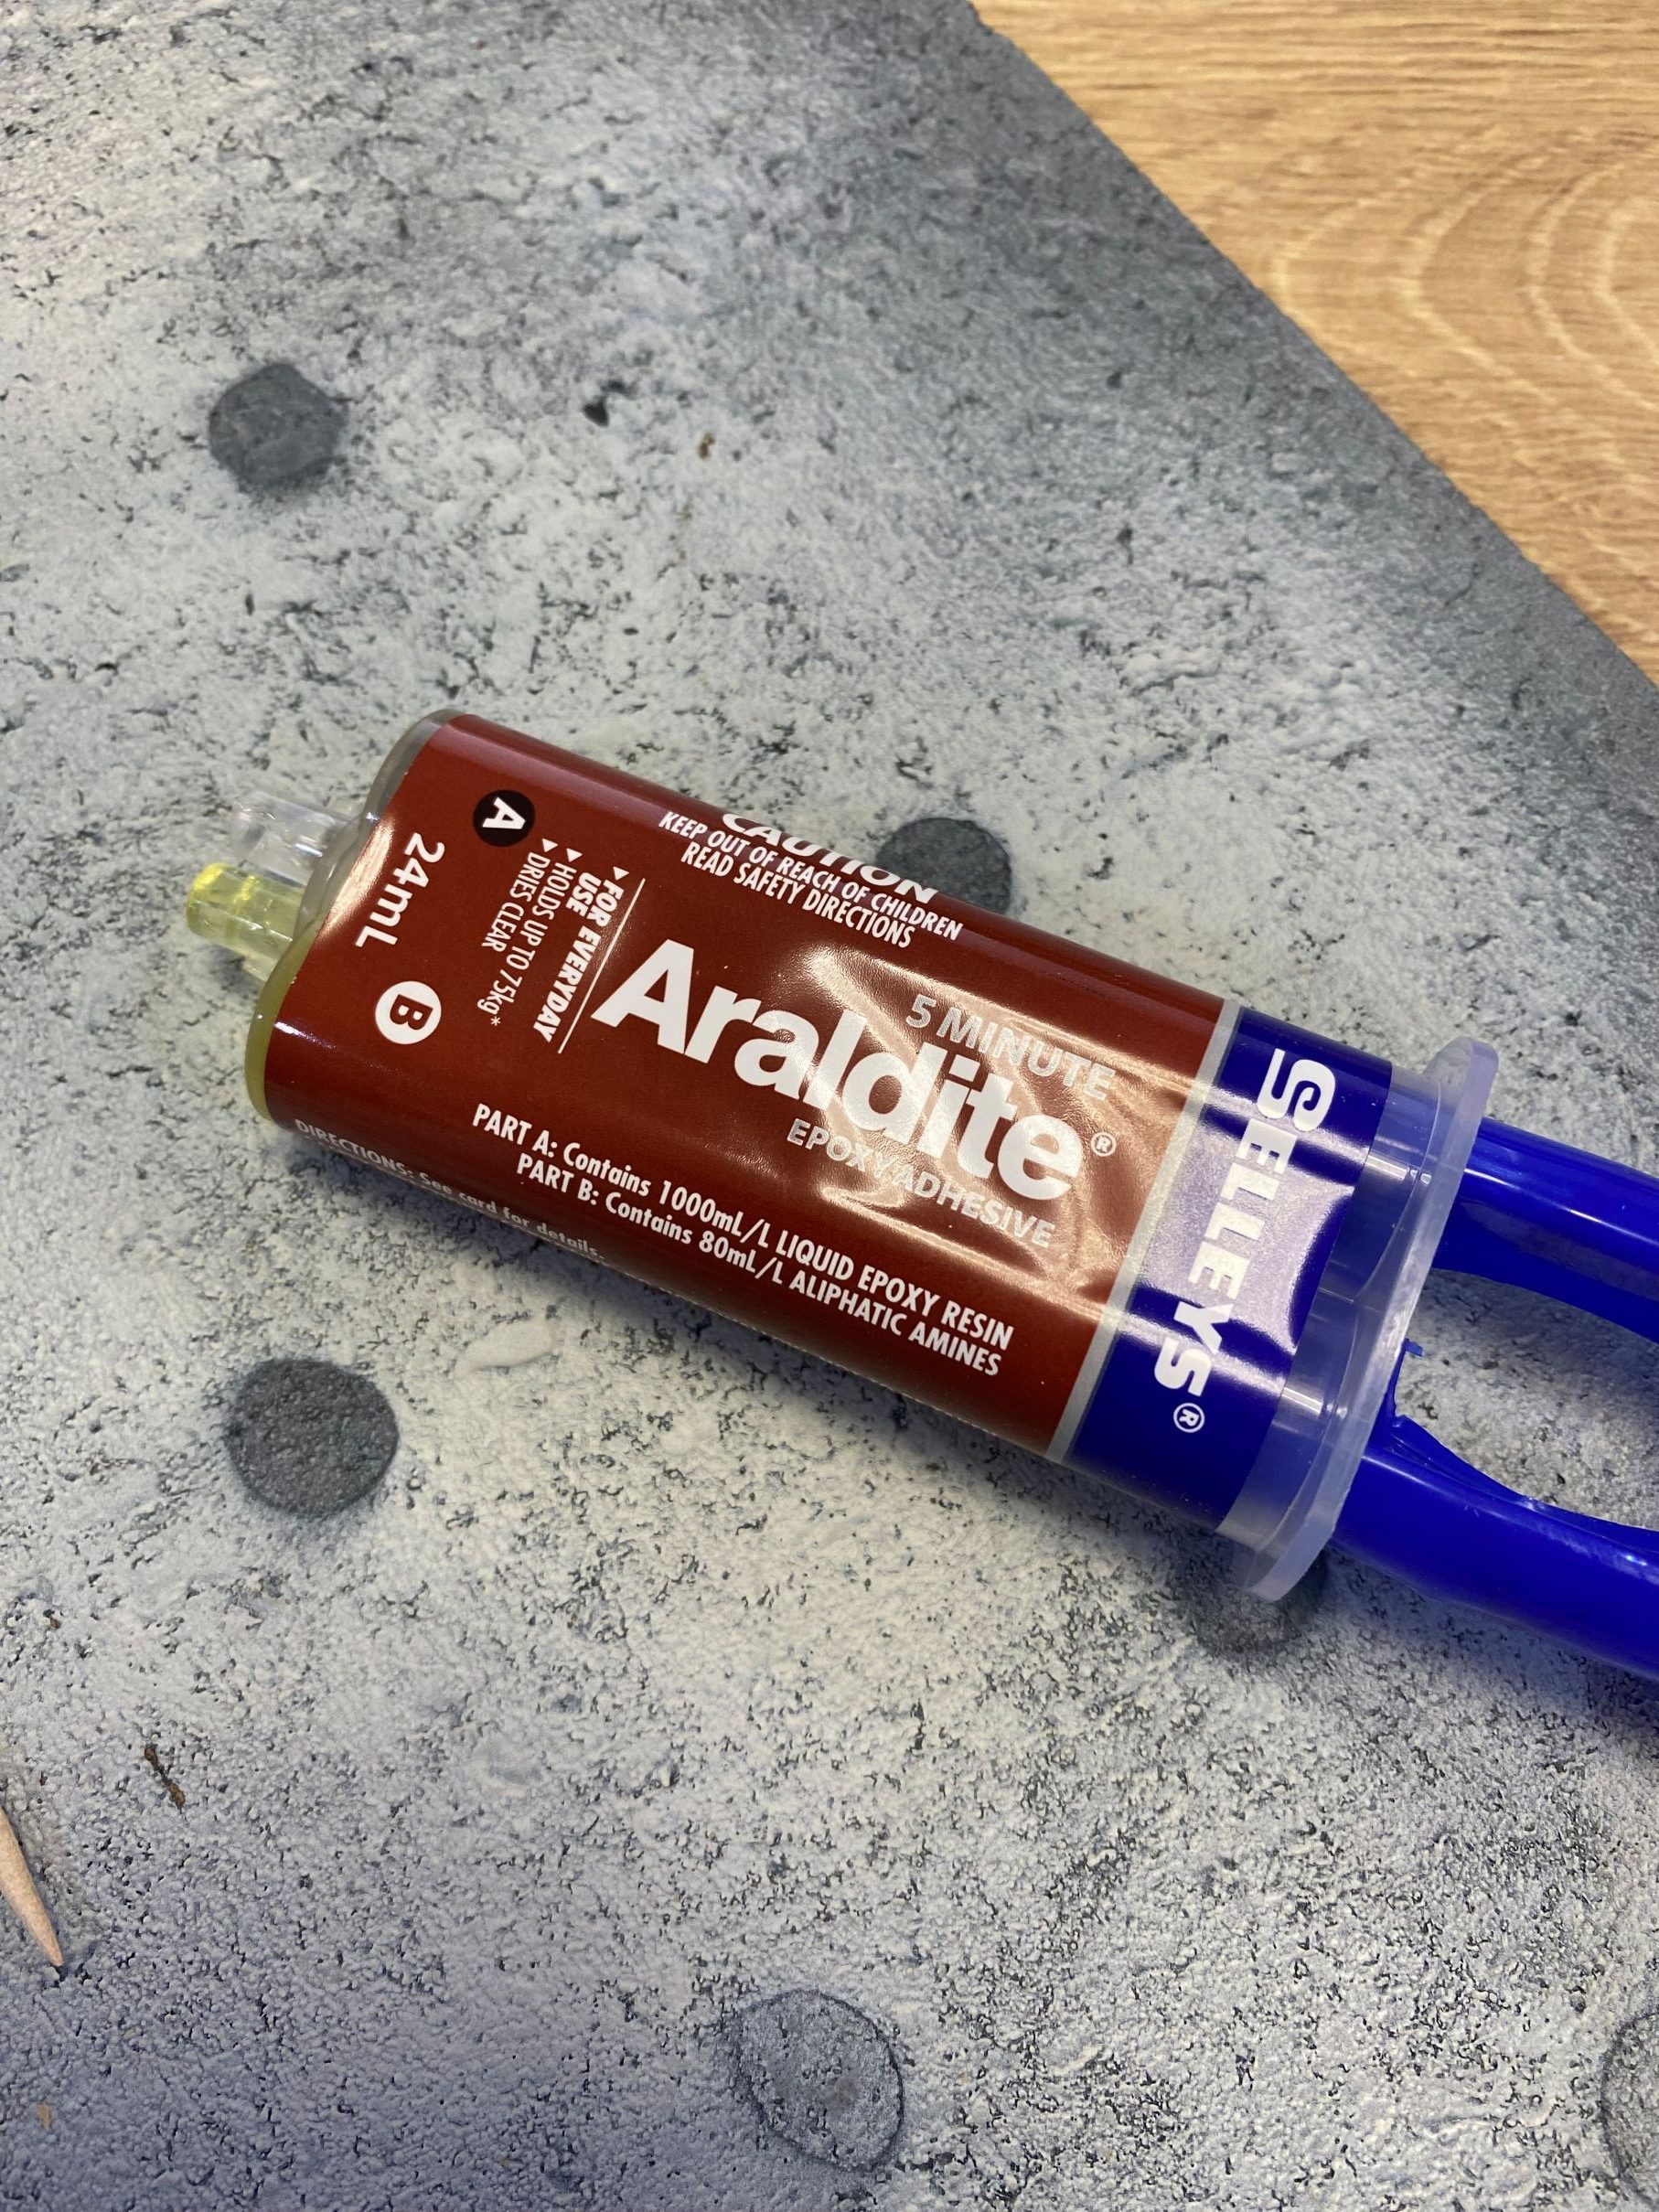
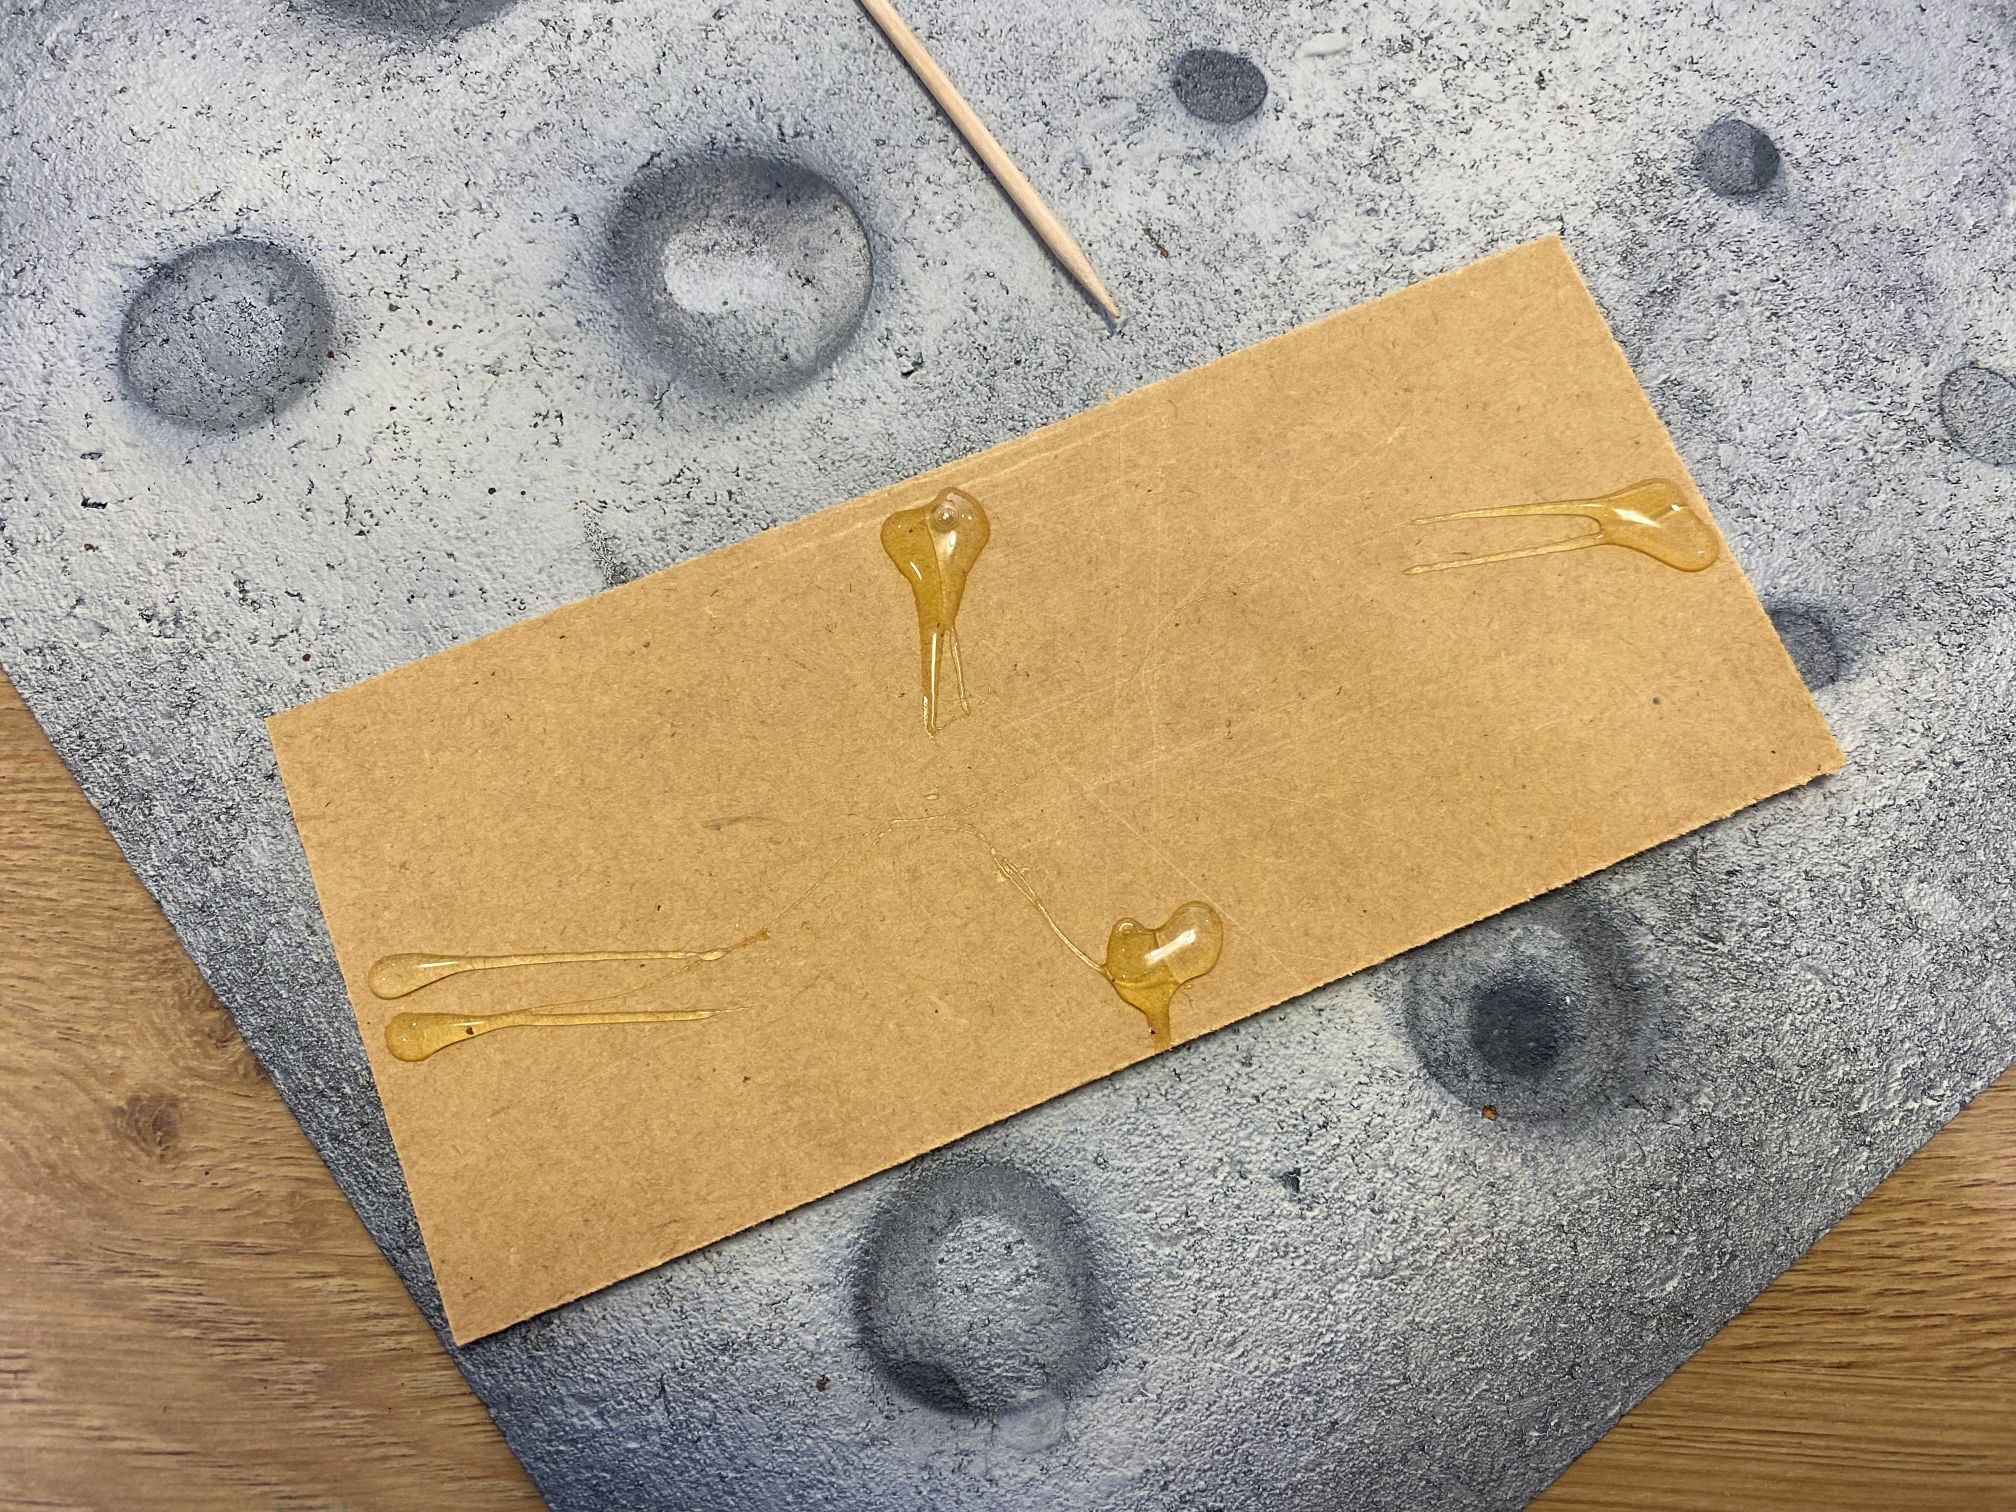
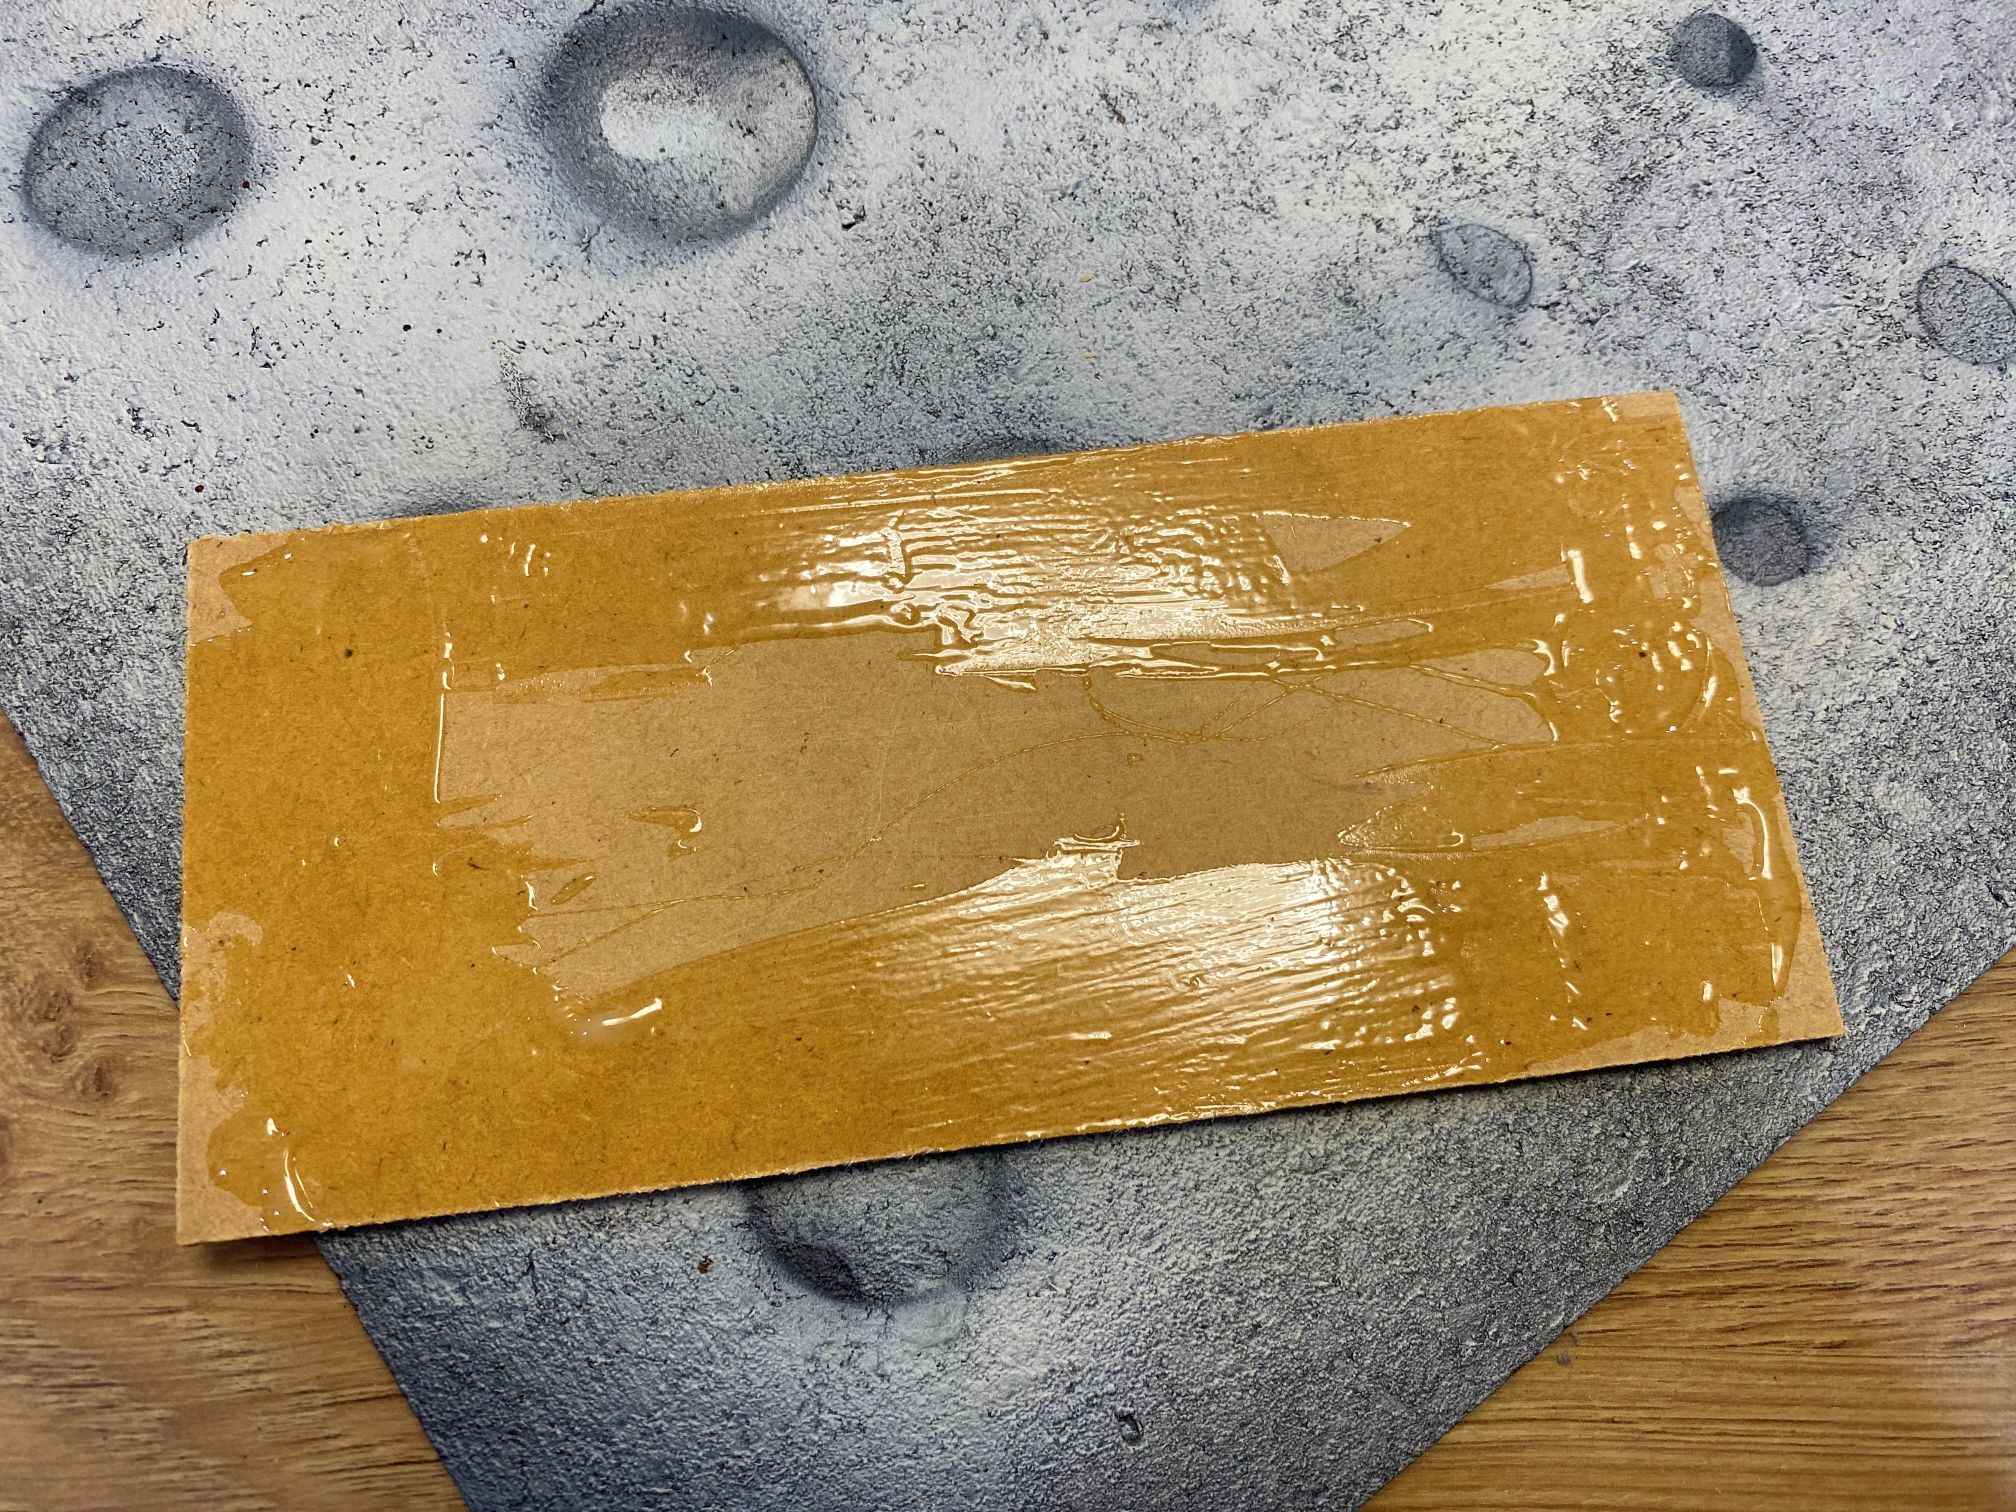
I used rapid two-part glue to stick the wood to the filament frames.
I mixed the glue directly on the wooden parts and then smeared it around the edges with a stick.
Raising the level
Because of my slight mistake with the framework, I need to raise the floor a little. To do this, it was time to bust out the trusted Proxxon hot wire cutter.
I cannot recommend the Proxxon highly enough, and it is an absolute powerhouse when it comes to cutting and modelling with XPS.

I dug out the leftovers from my Tomb build. It is a mixture of irregular cut pieces and some more squarish bits.
Using the Proxxon I cut thin slivers that I could use to raise areas on the wood.

I indented the edges to help reduce the step up from wood to foam. It is not massive, and this may not actually be necessary. It’s possible that once the ground covering is in place, the ridge will be unnoticeable anyway.
Using blocks of XPS, I started laying out pieces on the layout to simulate the placement of bushes, trees, rocks and other objects that would impede movement. I still need to add more, but this was just to help form an idea in my mind.
At its heart, I want this to be a forest, but I also want it to serve double duty as a maze.
For most games, it will simply be a dense forest; however, for my Cedarwood Road project, there are certain creatures that, with a particularly good dice roll, can alter the landscape. This is where the ‘Shifting’ element fits in. For example, the Pal-A-Dins, on a good roll, can forgo their action to perform a shift, slightly changing the layout. OF course, I could keep it so that you pick up and move a bit of terrain, but it’s more fun for kids if the whole tabletop can move like a puzzle in itself.

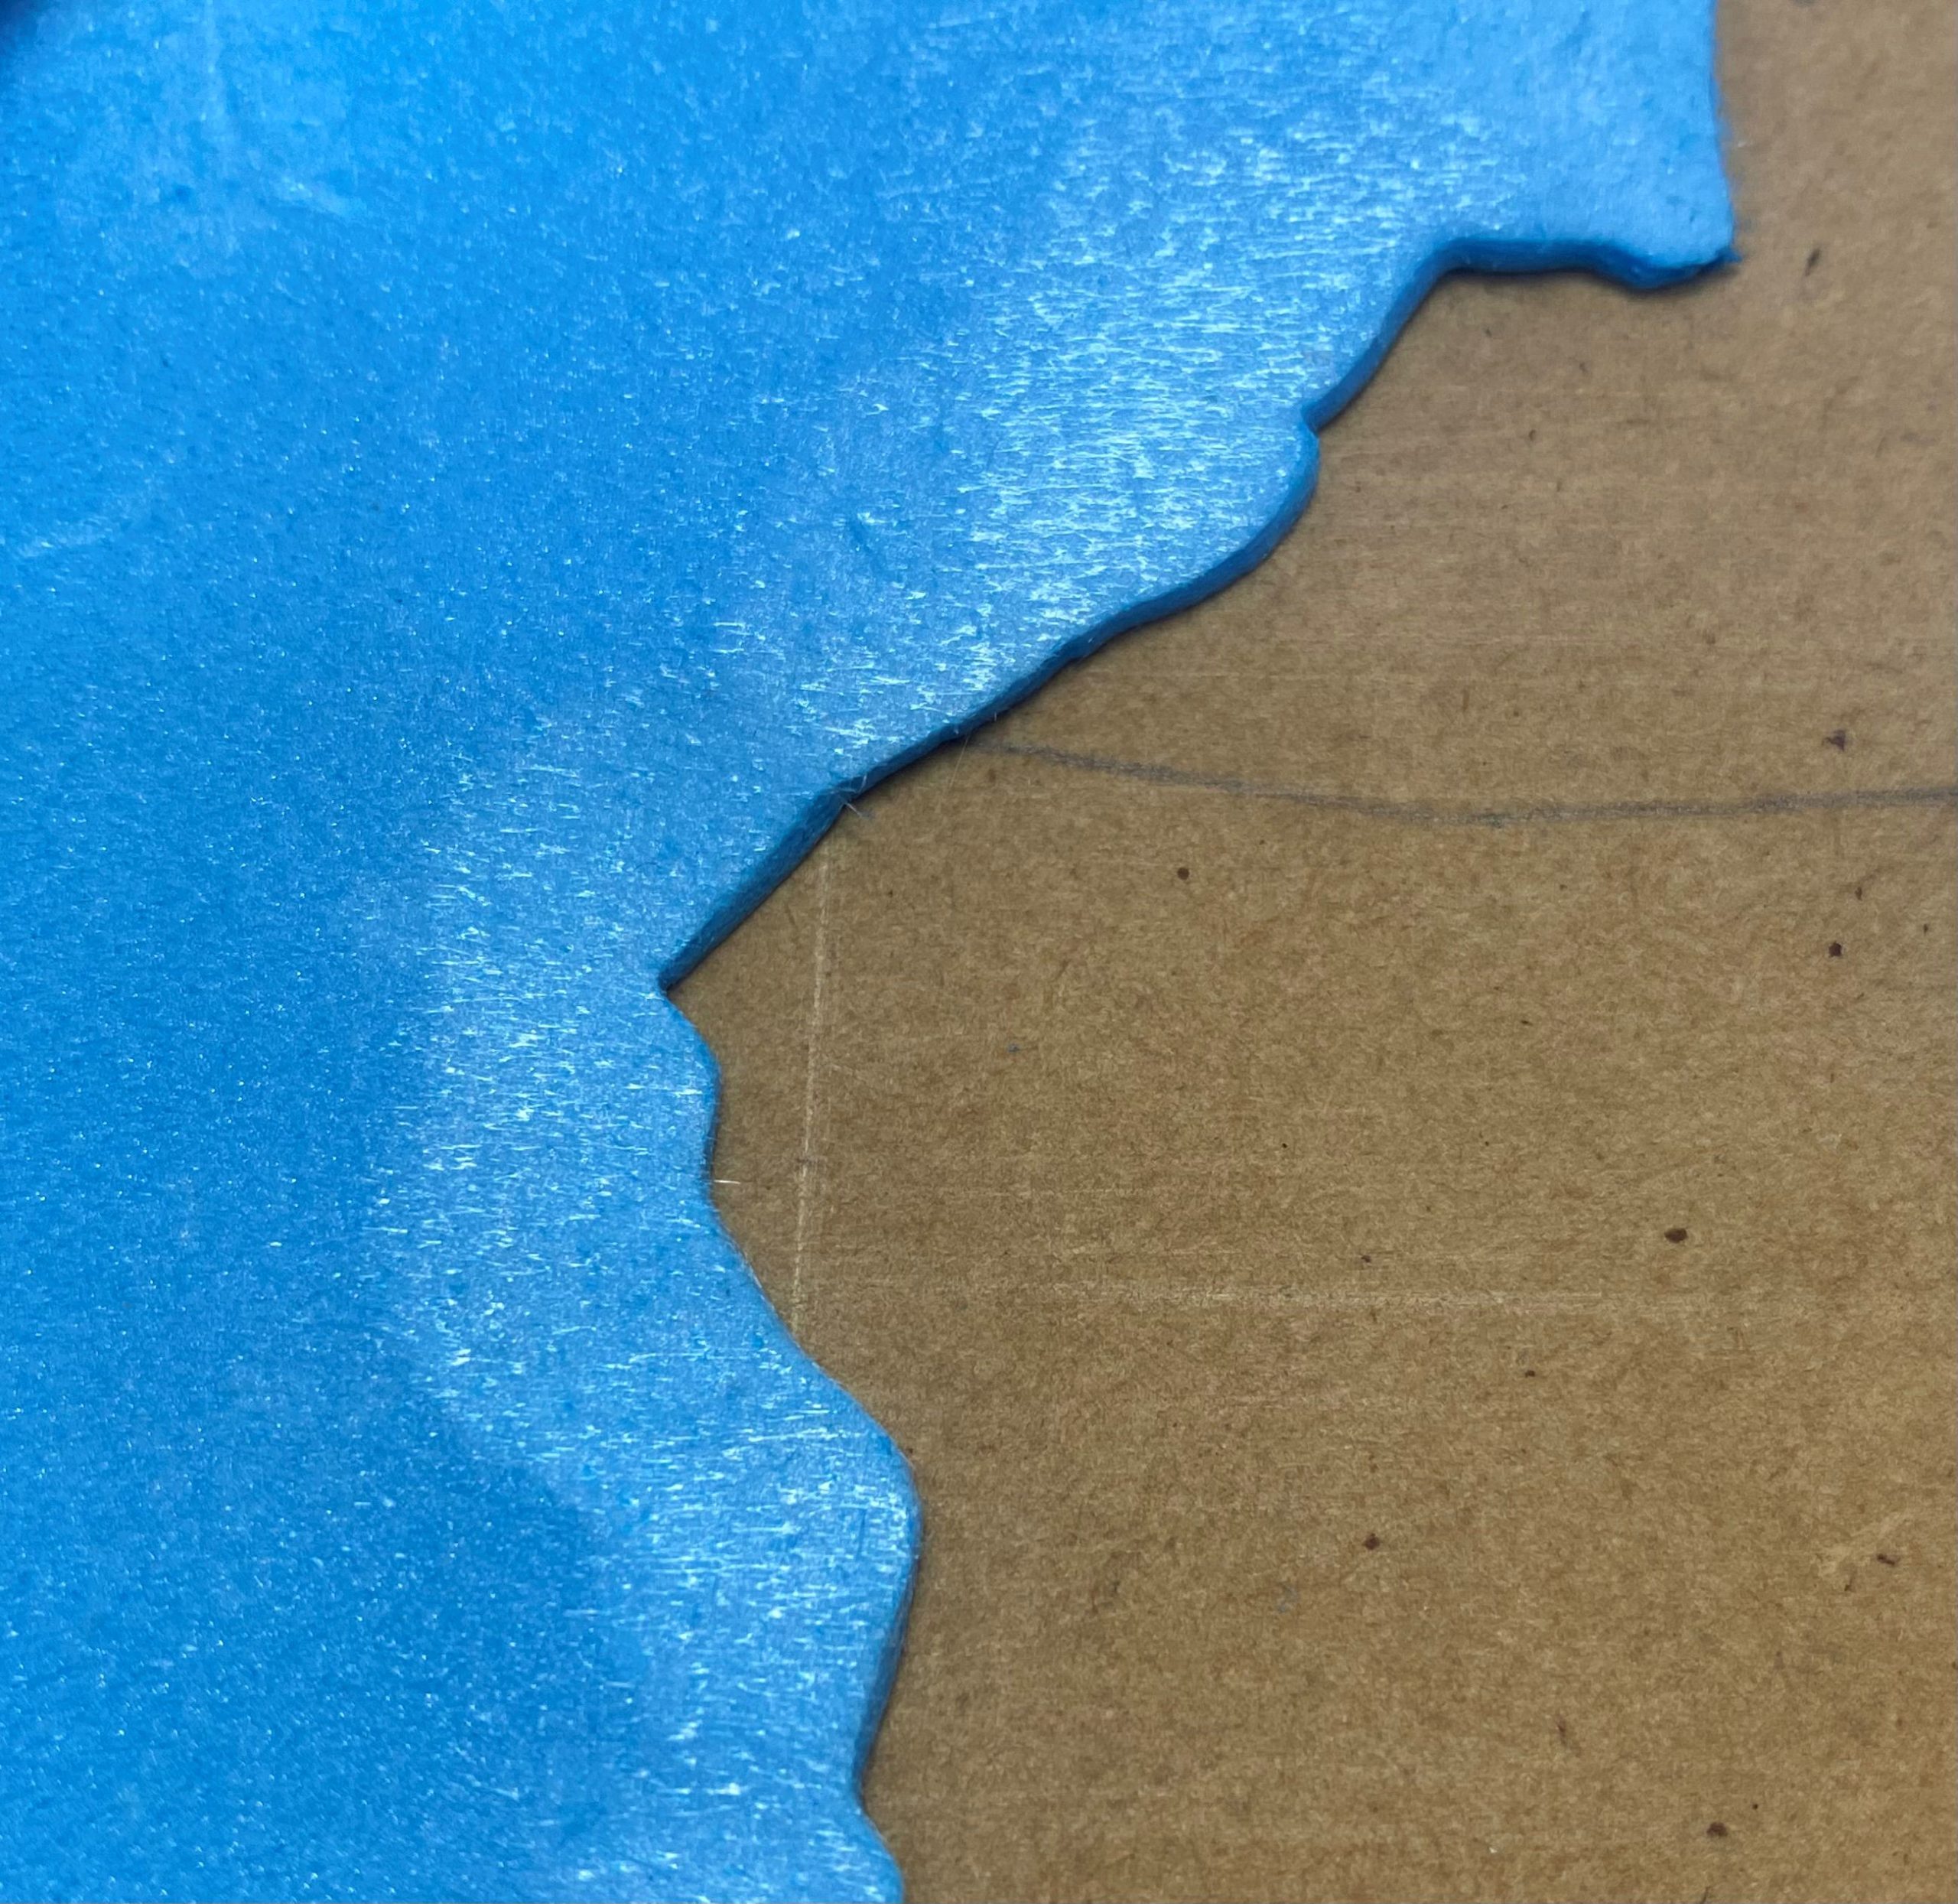
The tricky part is to make it not too obviously like a maze, and also so that each tile appears to flow into the next without any overly obvious seams and to also have a defining border that does not look like a wall.
At the moment, I am leaning towards an autumn setting. I think the colours will fit in nicely with my Victorian City, and I like the contrast that the orange leaves give.
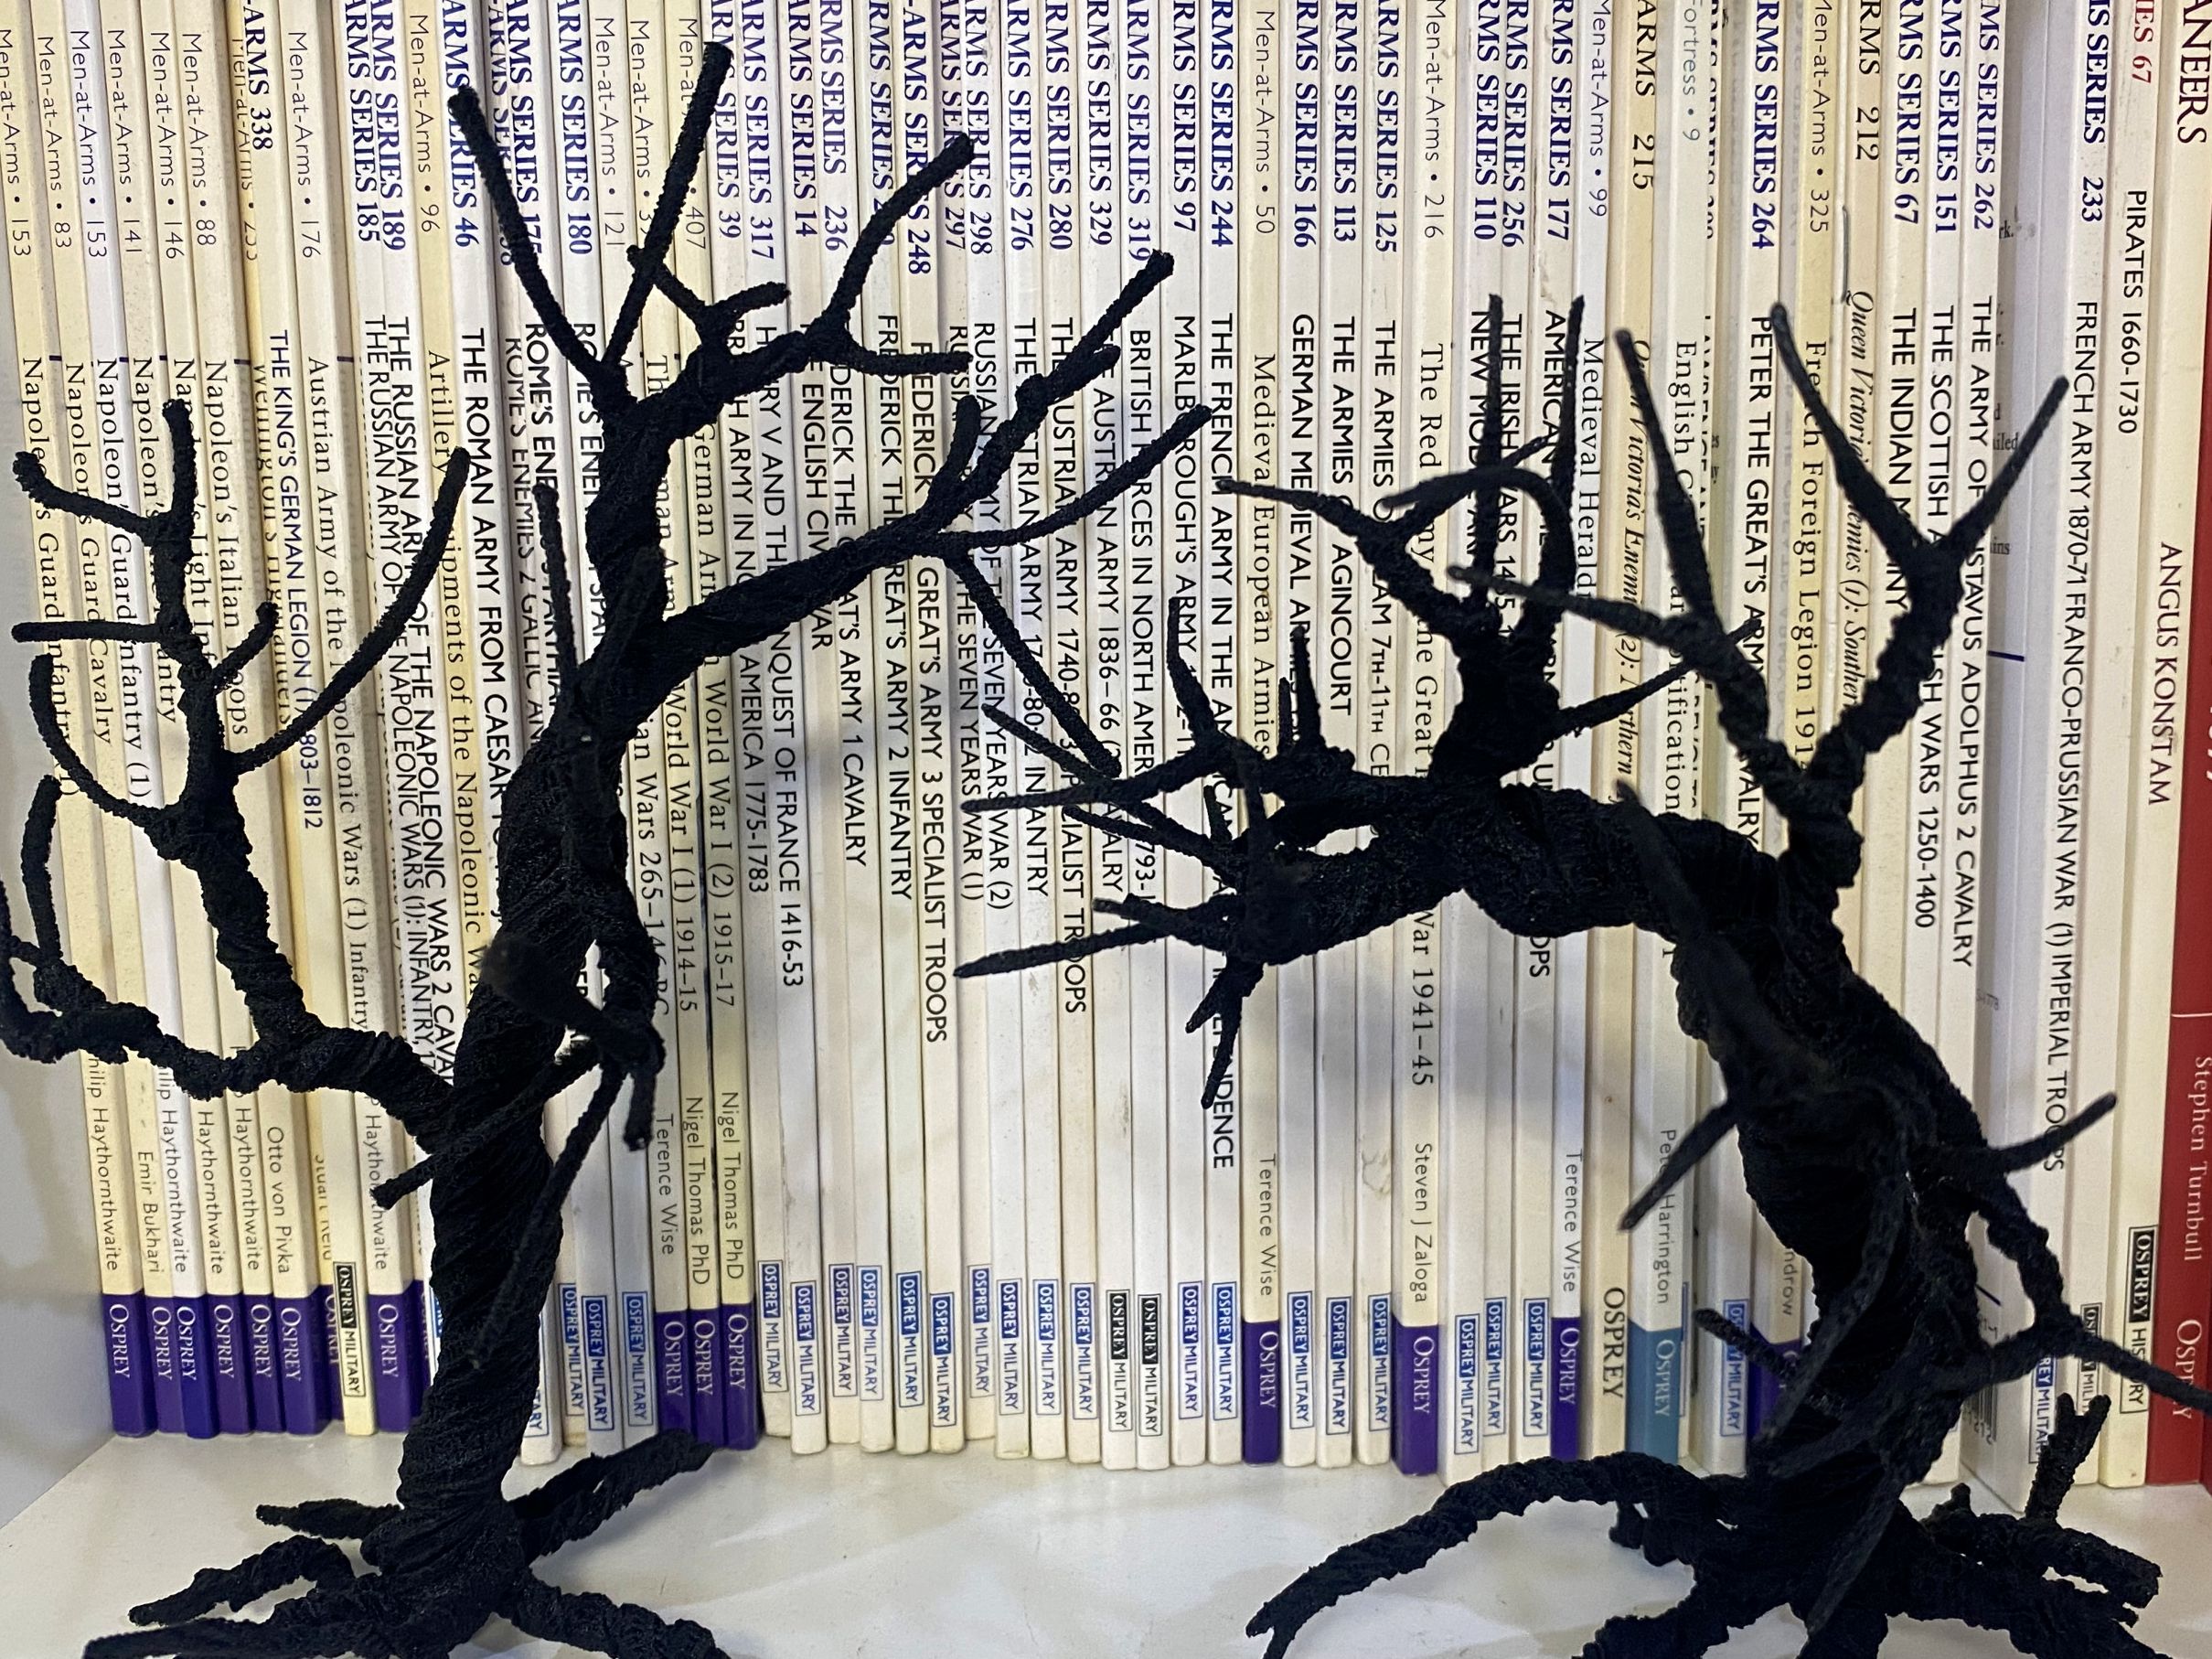
Gnarly Trees
I won’t go into too much detail about the trees. Still, I would highly recommend taking a look at Ddevos’ excellent Creepy Forest project, where they cover this and also link to a video tutorial that they found on YouTube.
Pipe cleaners are a good resource for making really gnarly-looking trees, which is what I am after.
For those of you who don’t want to follow the link to their awesome project, I will quickly gloss over it here.
Basically, get yourself a bunch of pipe cleaners. I prefer black ones, as if any paint comes off, it will just look like shadows. Twist them all together, gradually making smaller groups as you progress up the main trunk.
It is the same principle as wire armature trees. The main difference is that the fluff around the pipe cleaners can be heated up to create some nice twisted-looking bark, and it adds some girth to the trees.
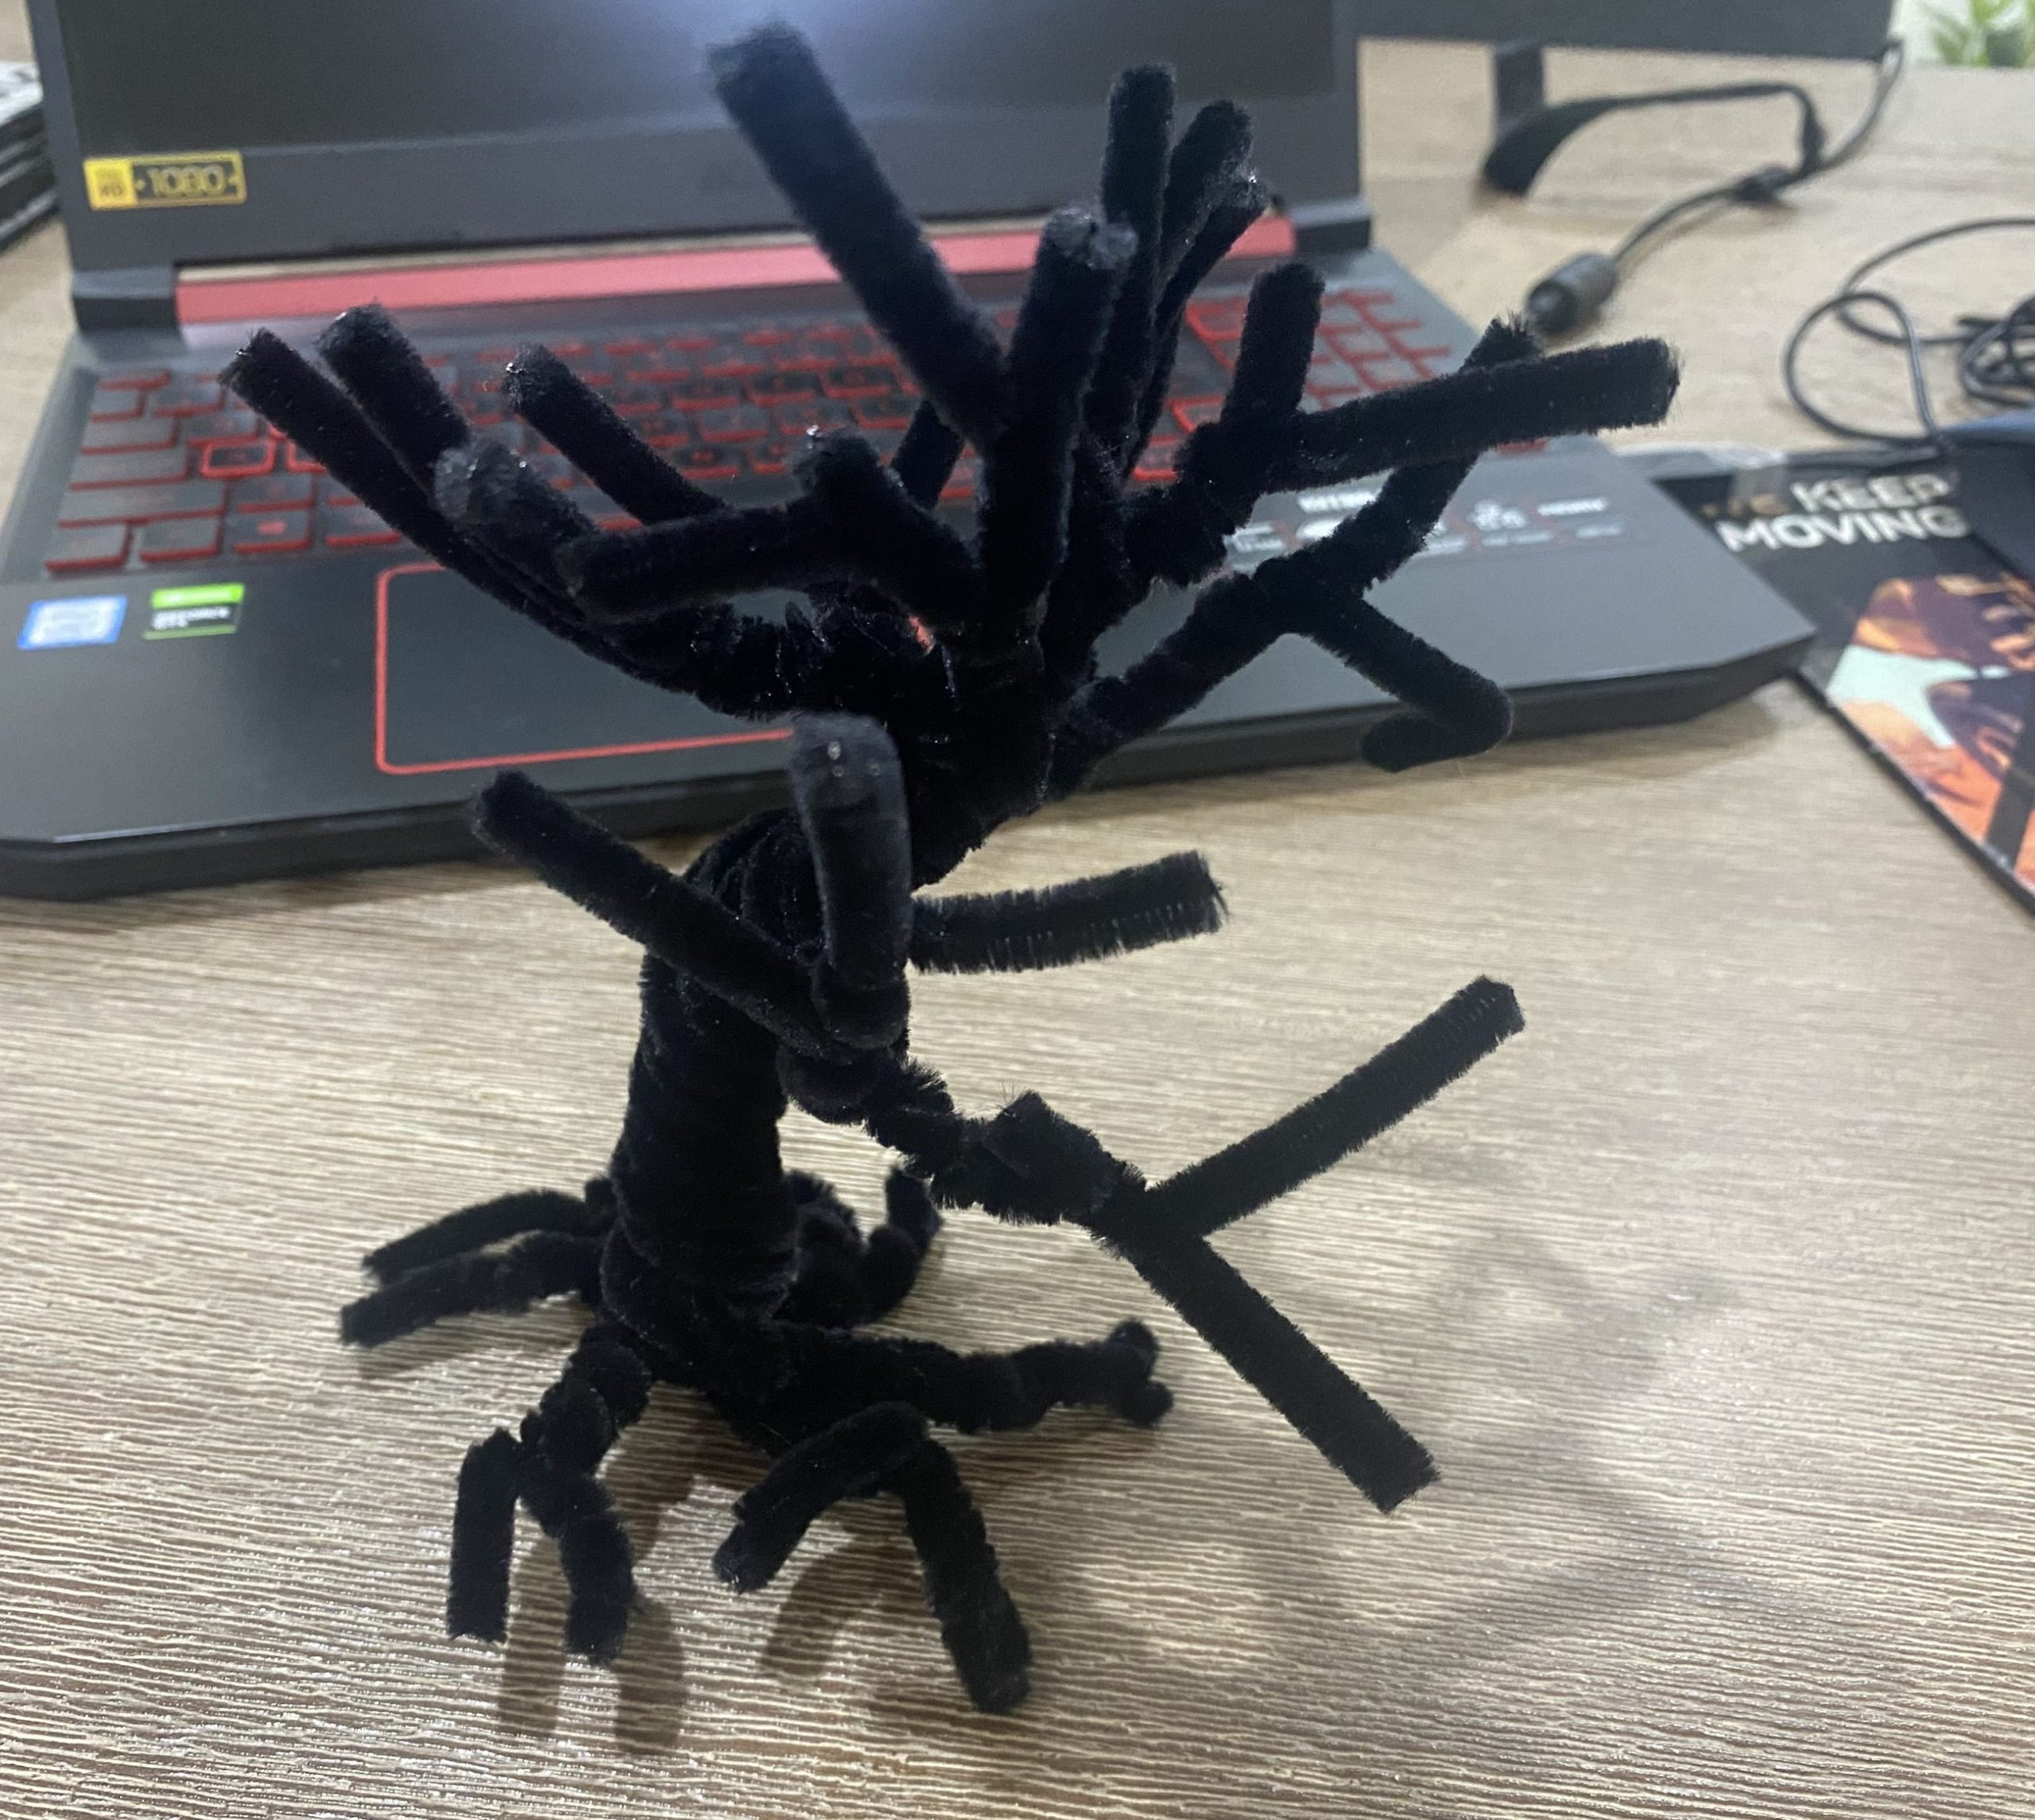
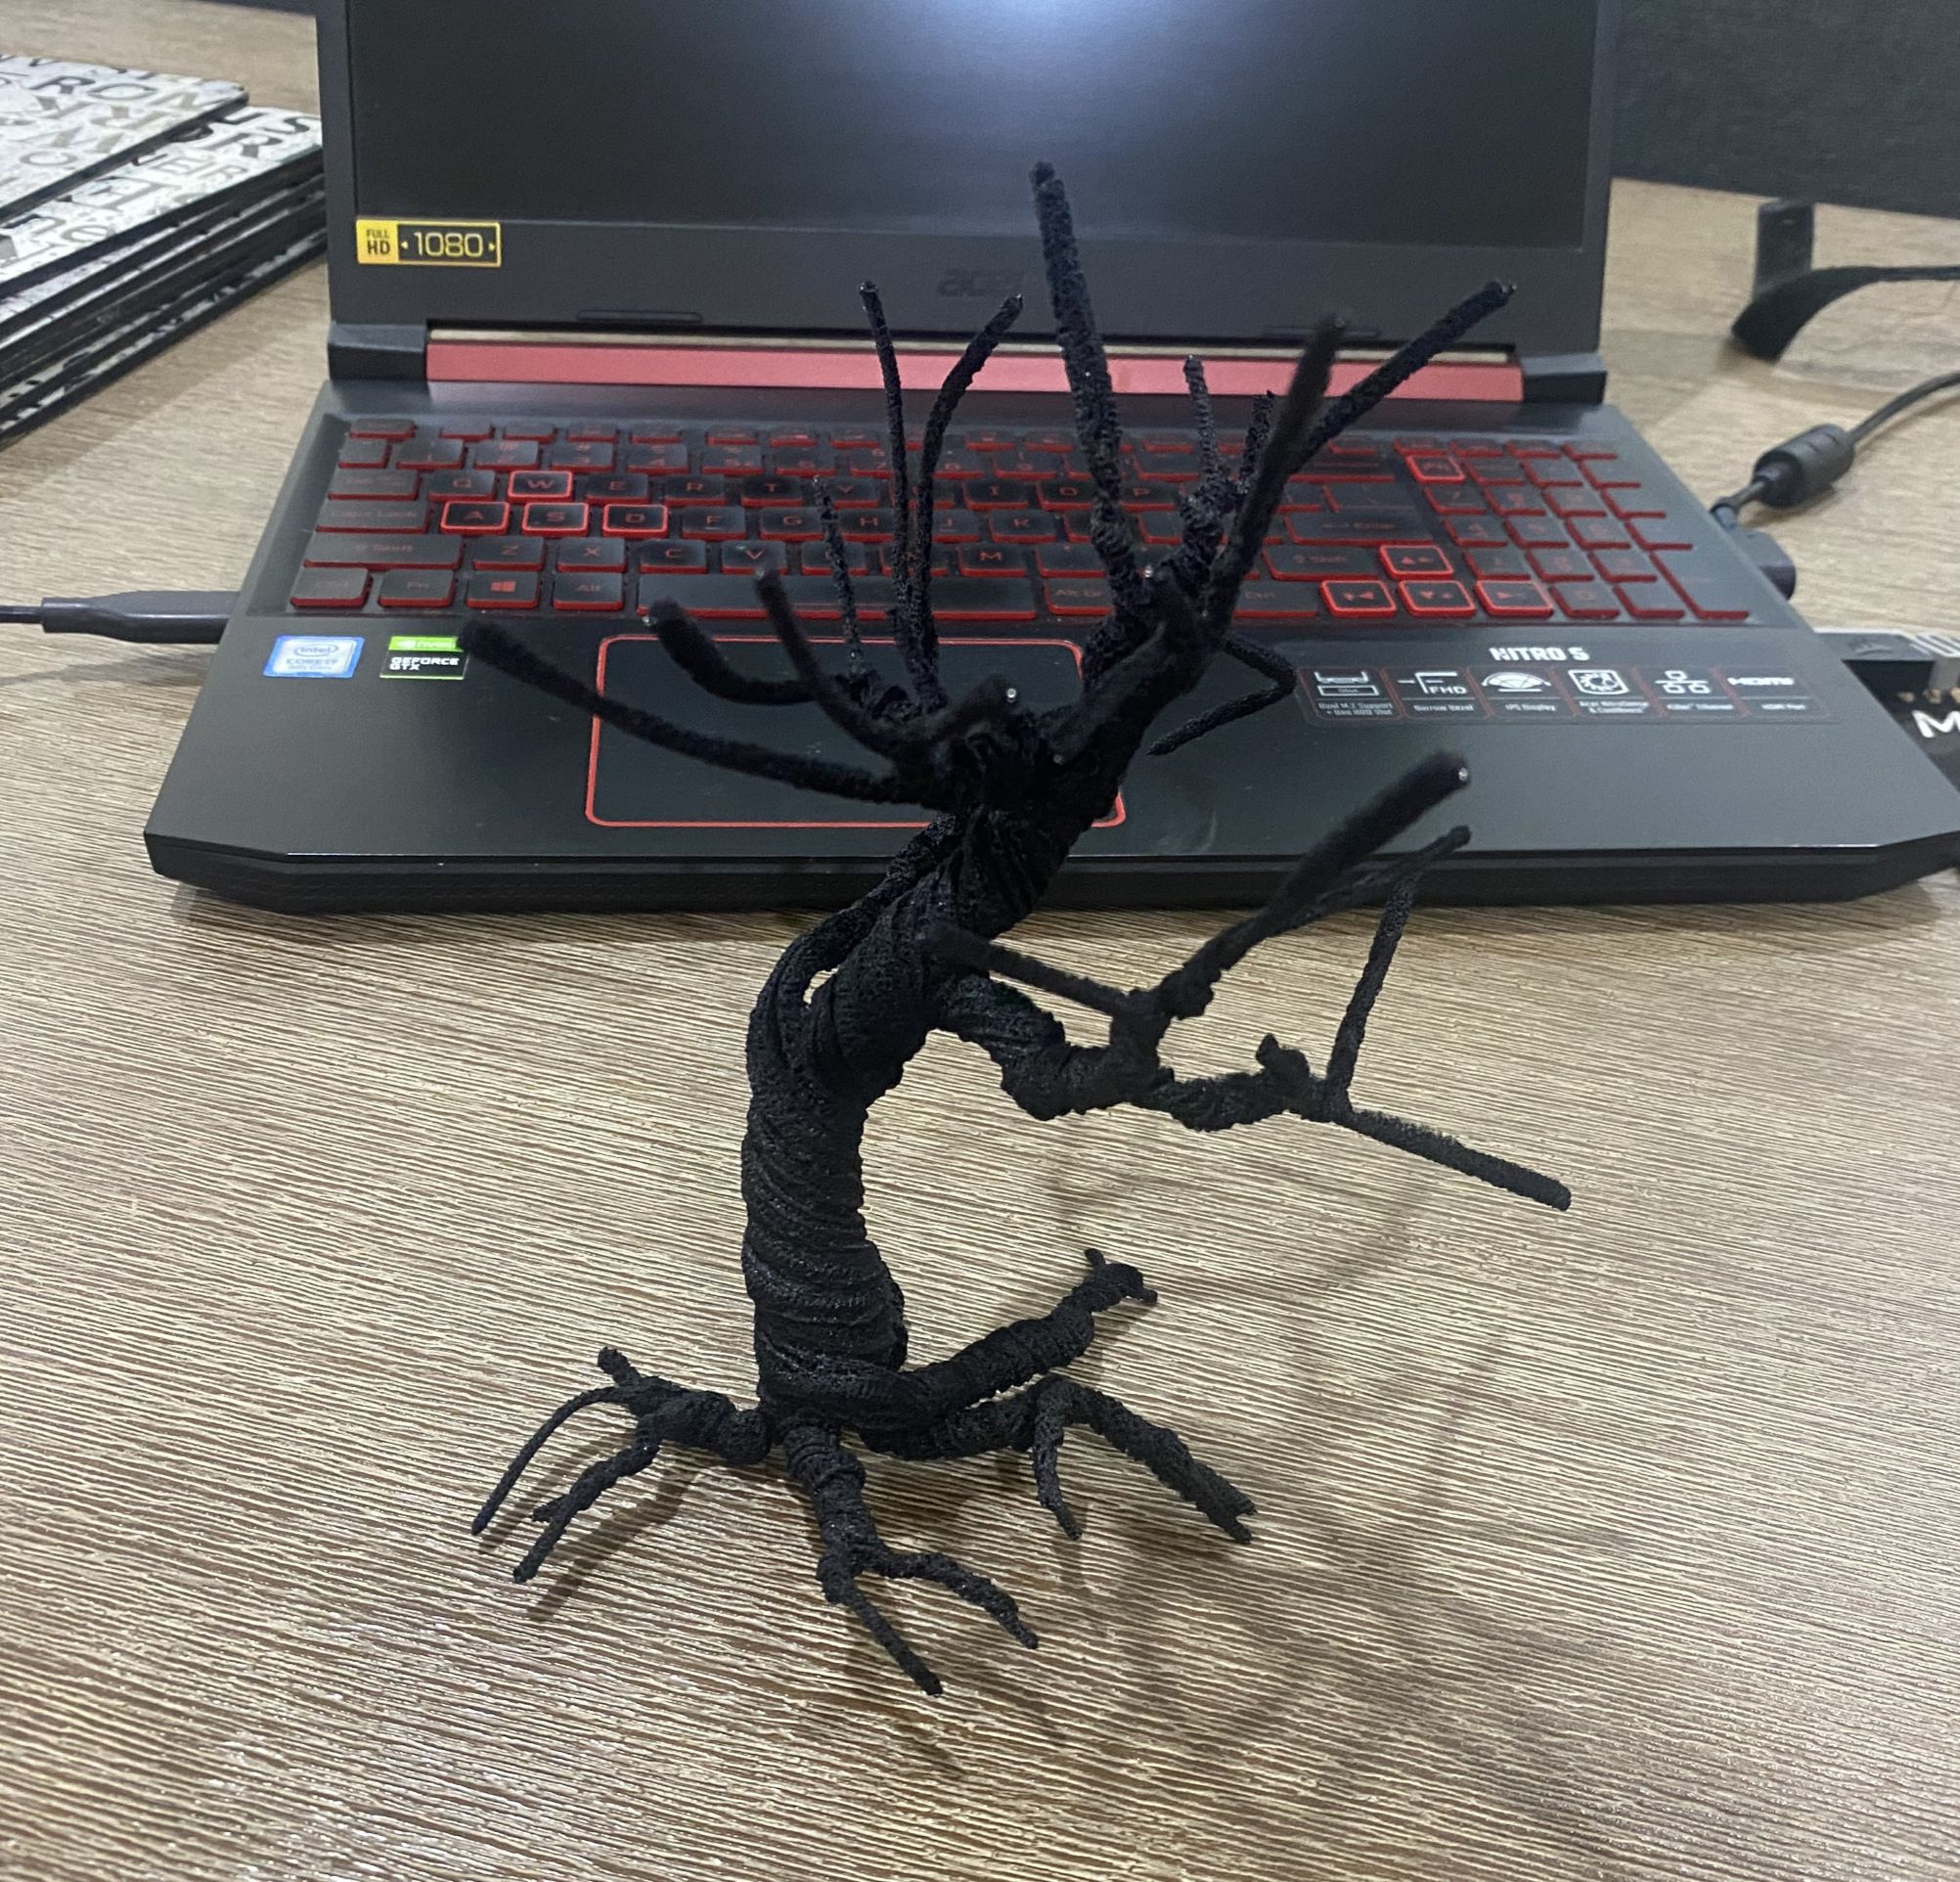
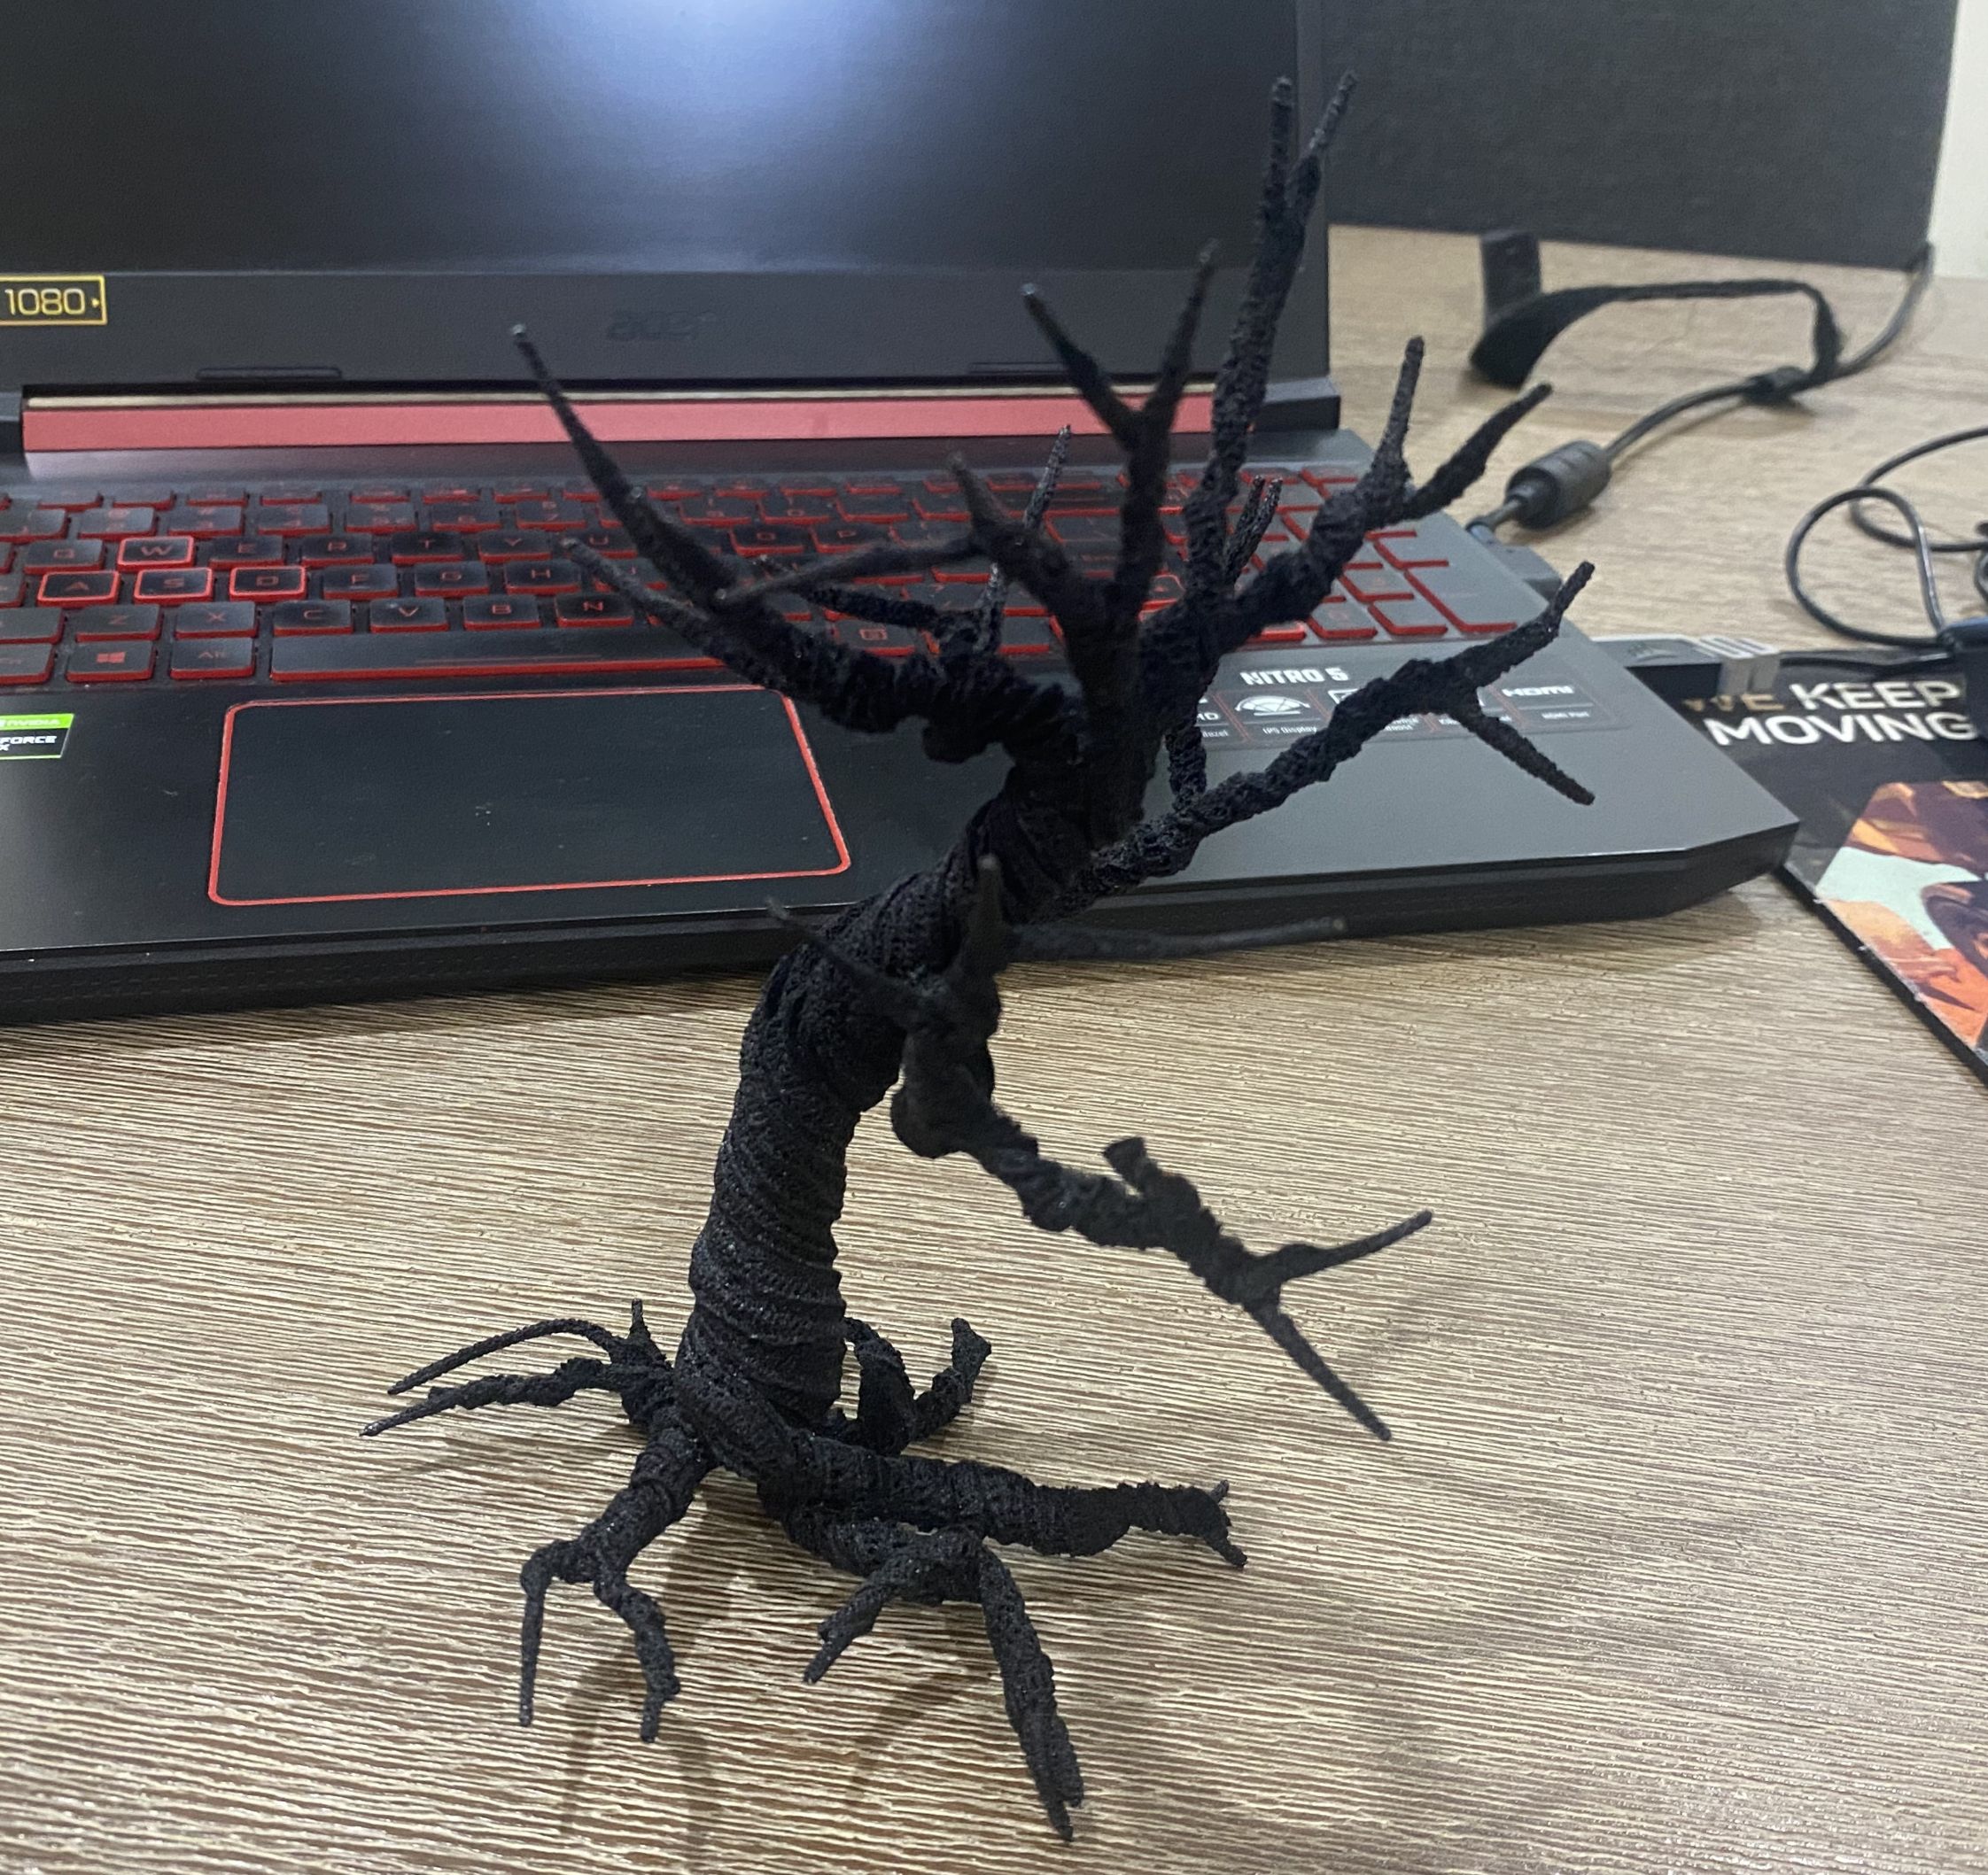
The more heat you apply, the tighter the fluff gets. This is helpful as it allows you to taper the ends of branches to create nice claw-like ends.
To do this, I initially used a heat gun. This is an extremely quick process and the ideal tool if you are doing a whole load of these.
After that, just use snips to cut the branches down to the required length.
Finally, I used a naked flame to heat the ends of the branches to create a nice tapering and give an impression of claws.
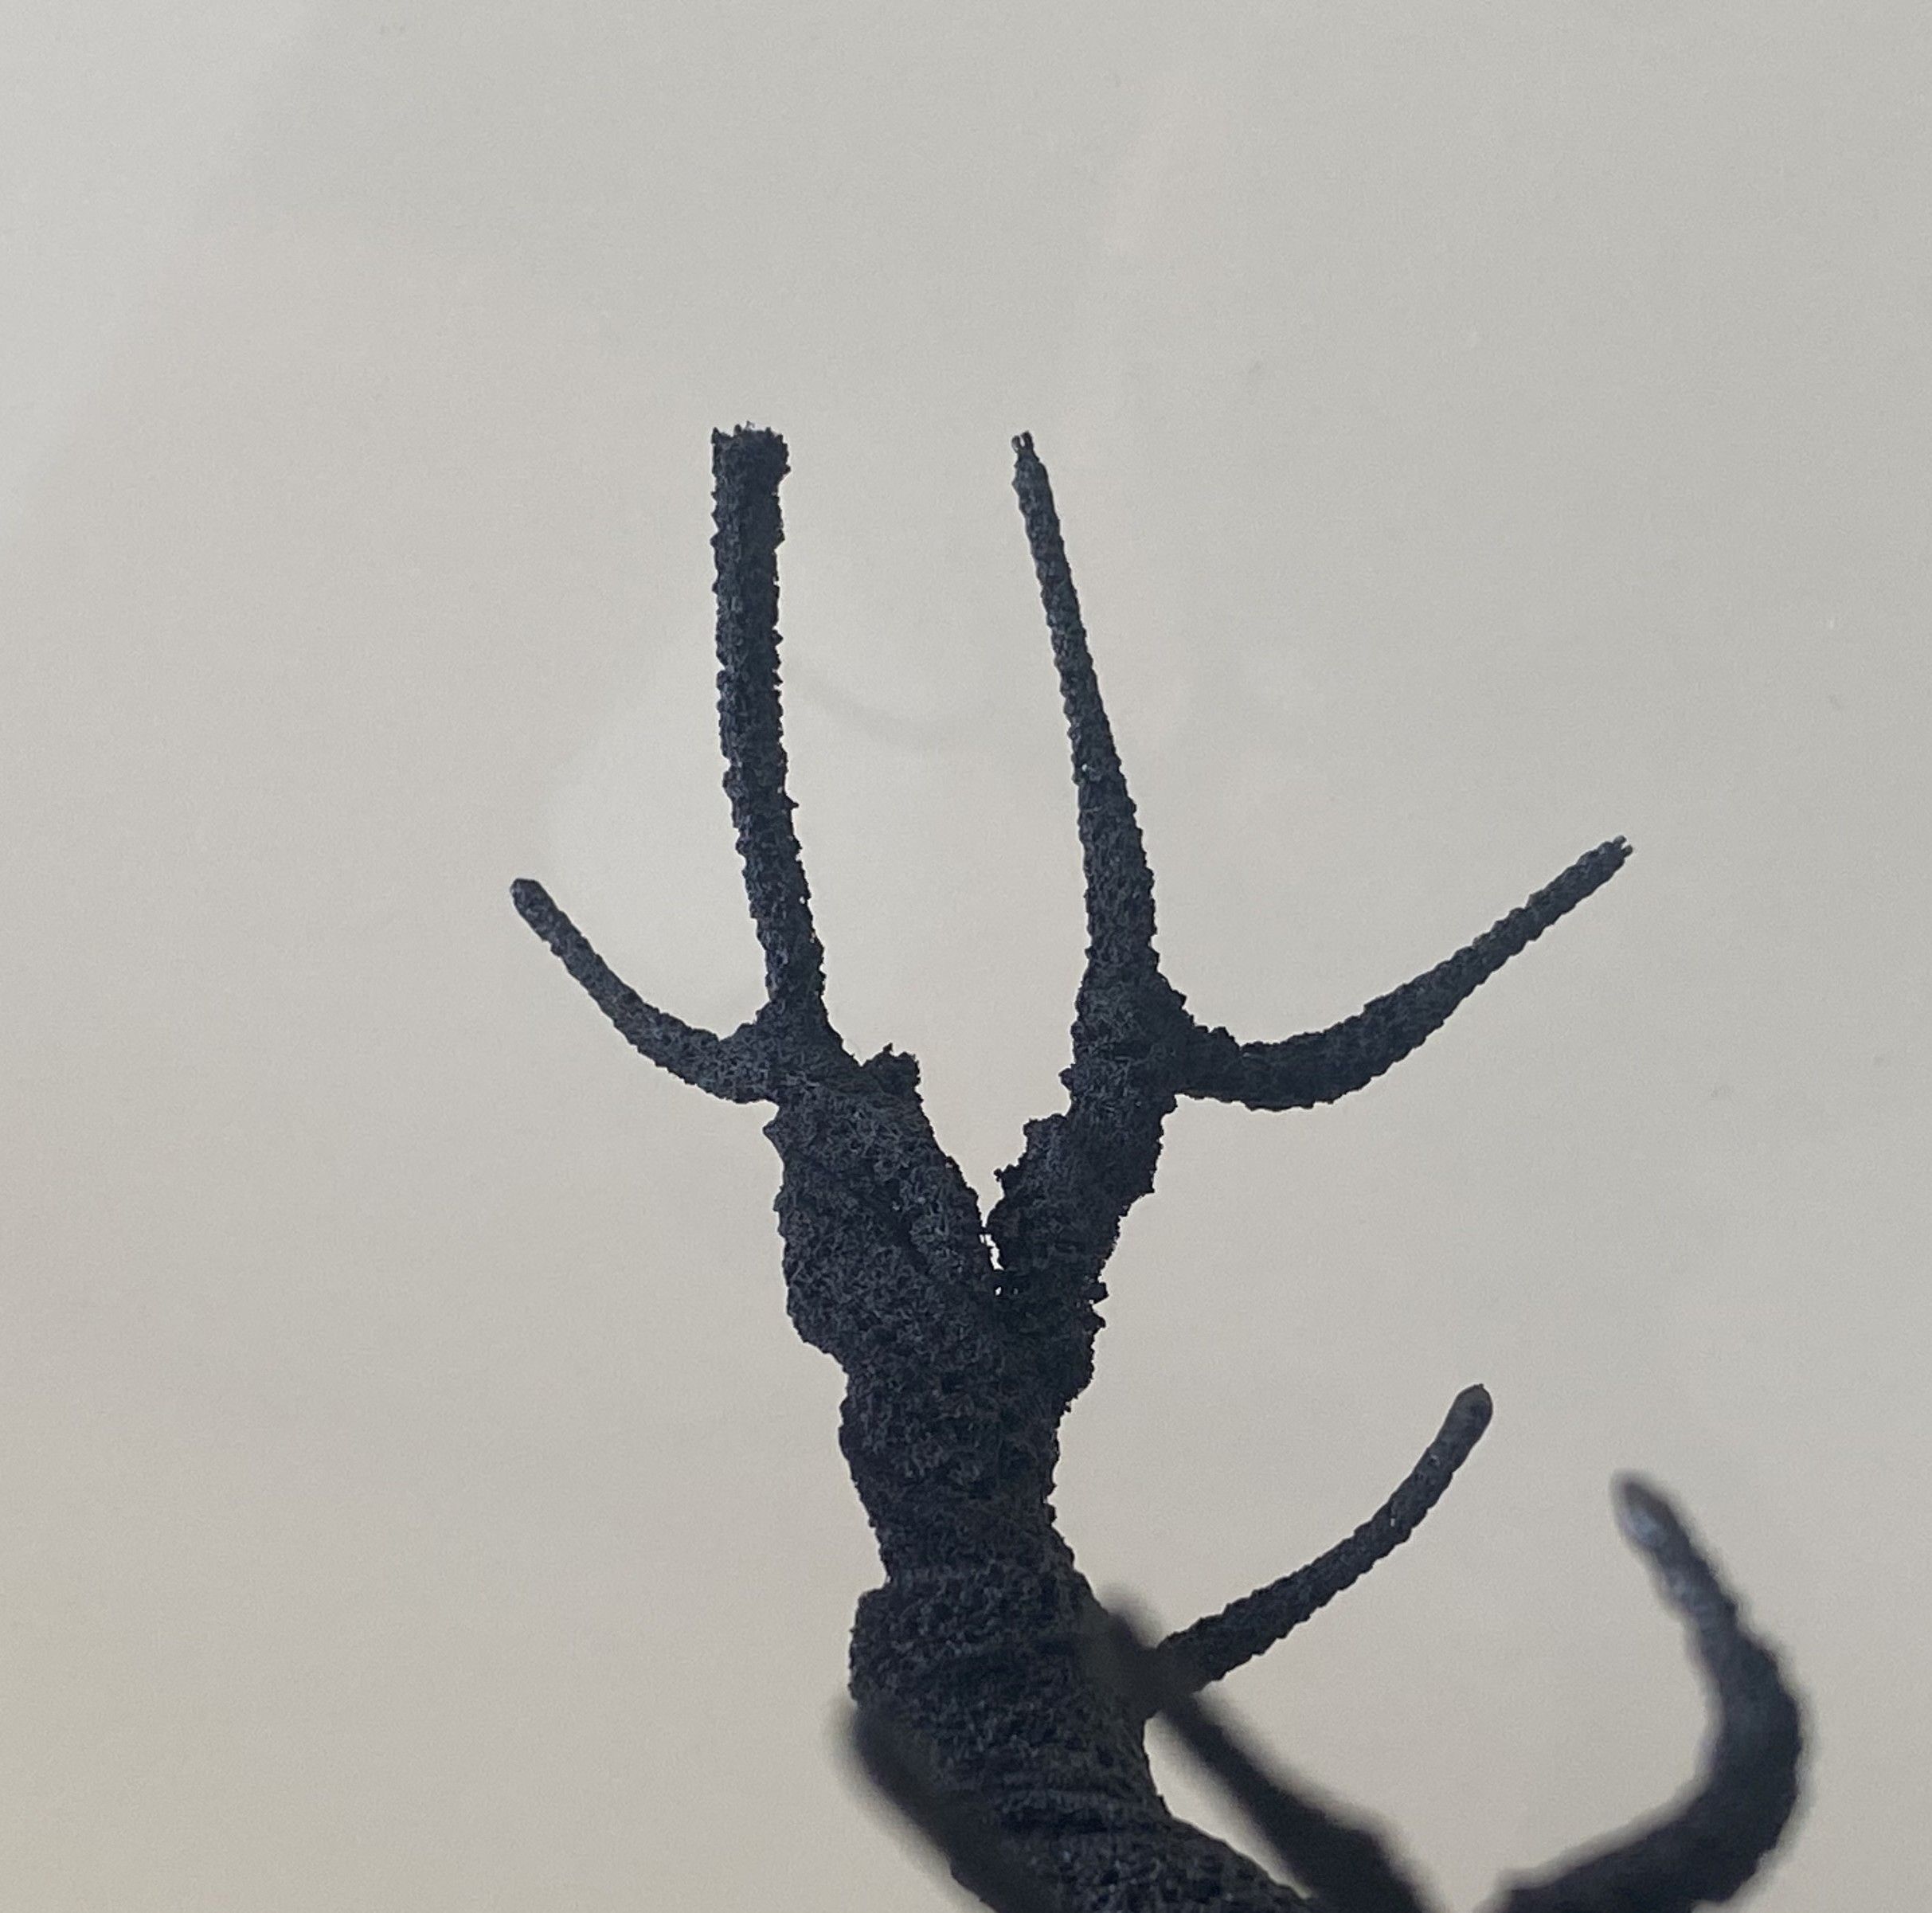 A comparison between a branch with just the heat gun and one which has been finished off with a naked flame.
Now, the number of branches that you end up with depends on how many pipe cleaners you use. This is not a problem if you want quite thin-trunked trees, but it can mean that smaller, thinner trees can look a little sparse when it comes to branches.
To get around this, you can loop the ends of the branches and then twist them back onto the main branch.
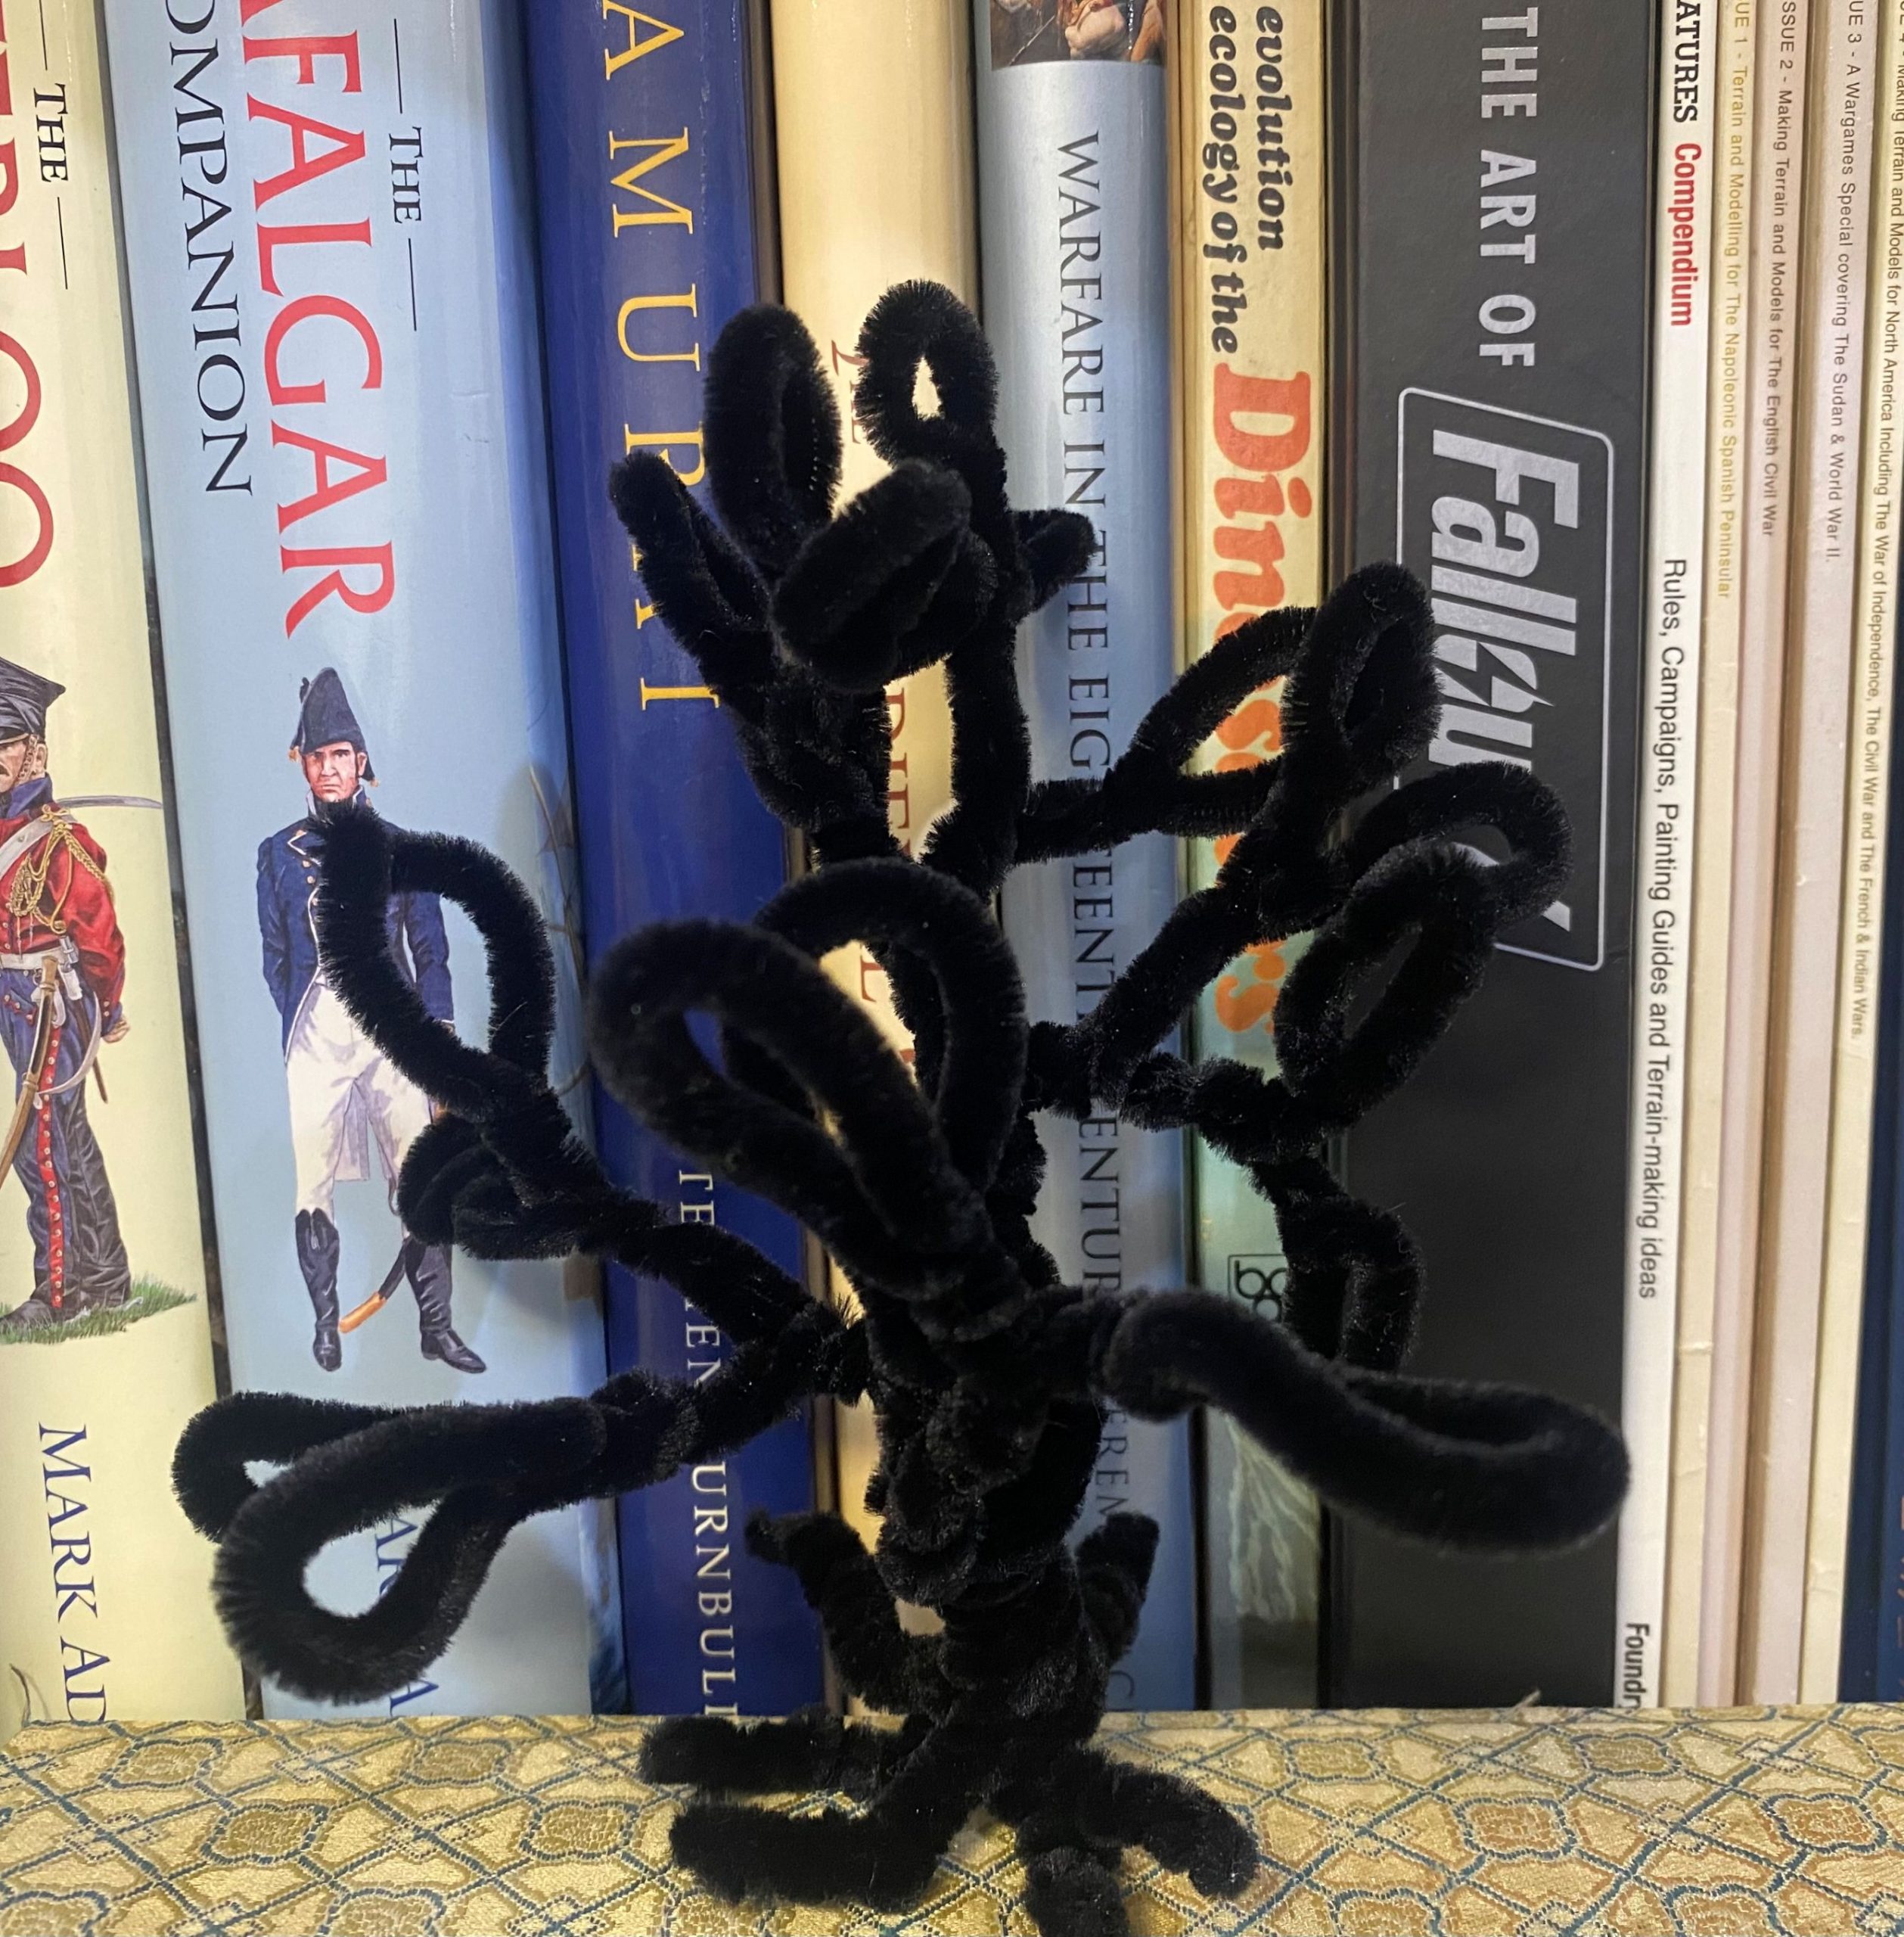
Clearly, it looks ridiculous at the moment. The next thing to do is to snip each loop, effectively creating two separate branches.
 Another example of a tree with and without the ends finished off with a naked flame.
The next part of the process is to create the bark for the tree and then to paint it and add detailing. I will cover those steps later in this project.
The old road
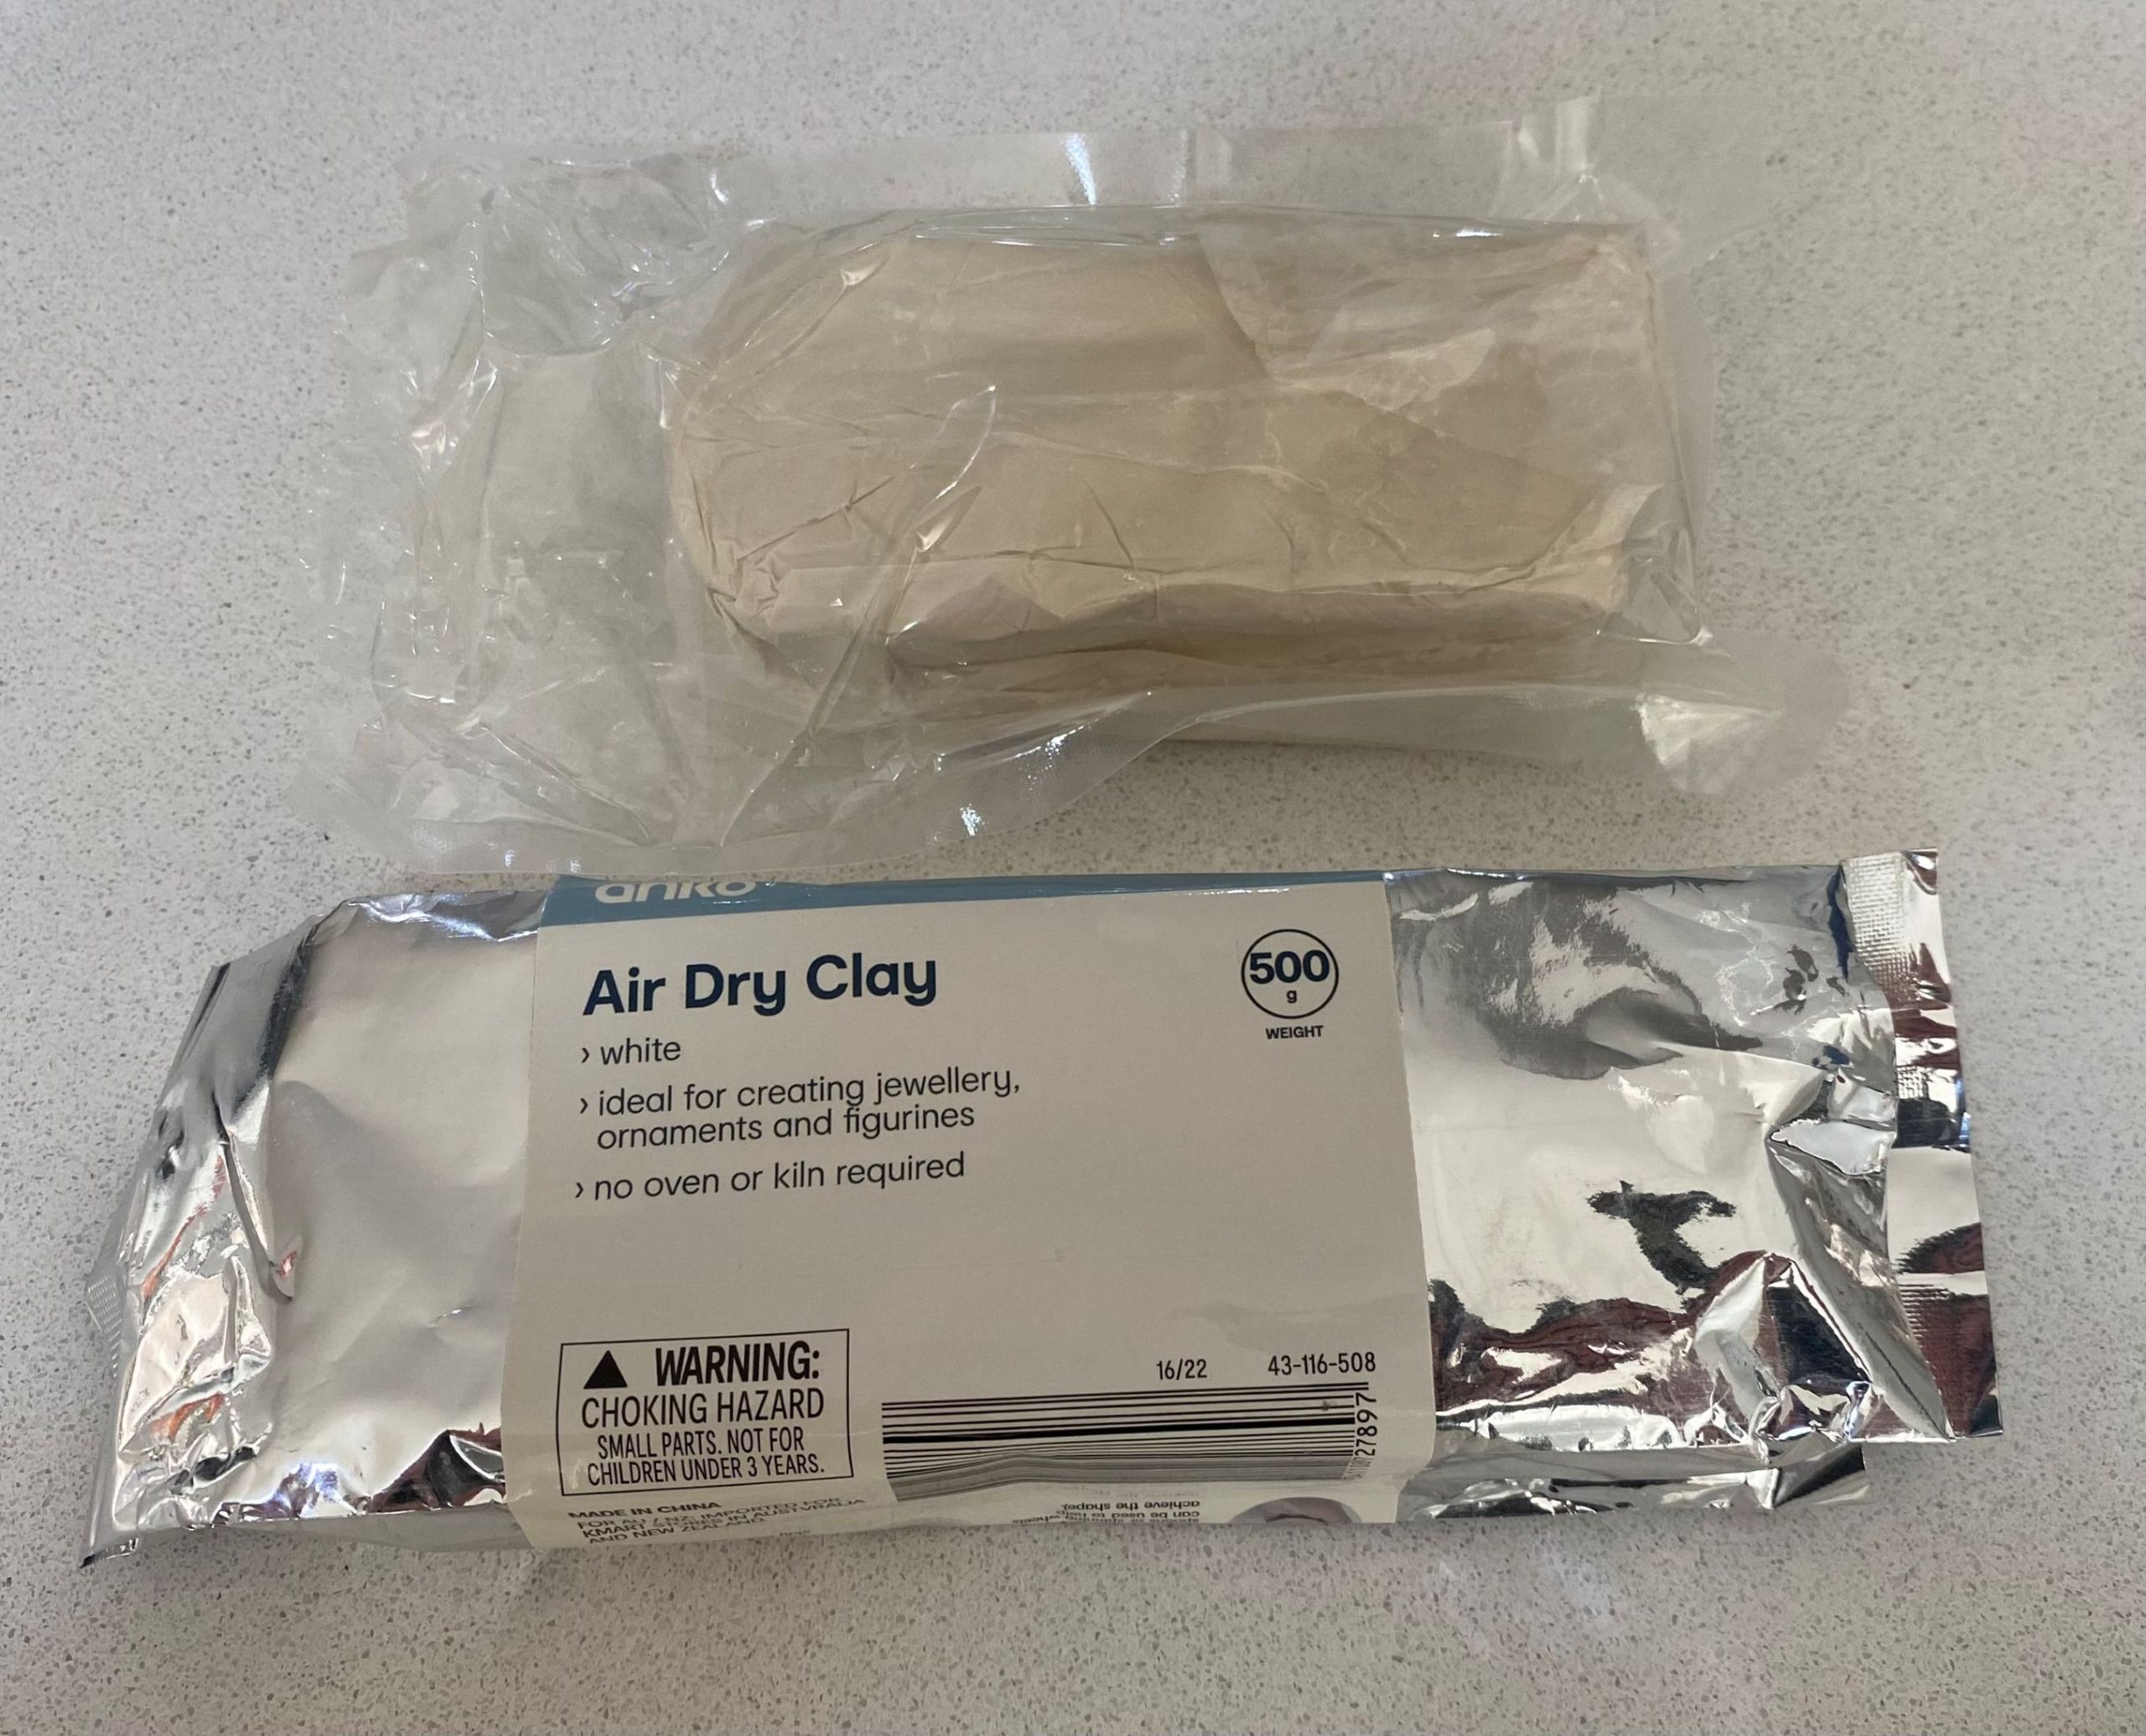
I really wanted to add some elements to this build that were more man-made, which nature had repossessed. An old brick road seemed like a good choice.
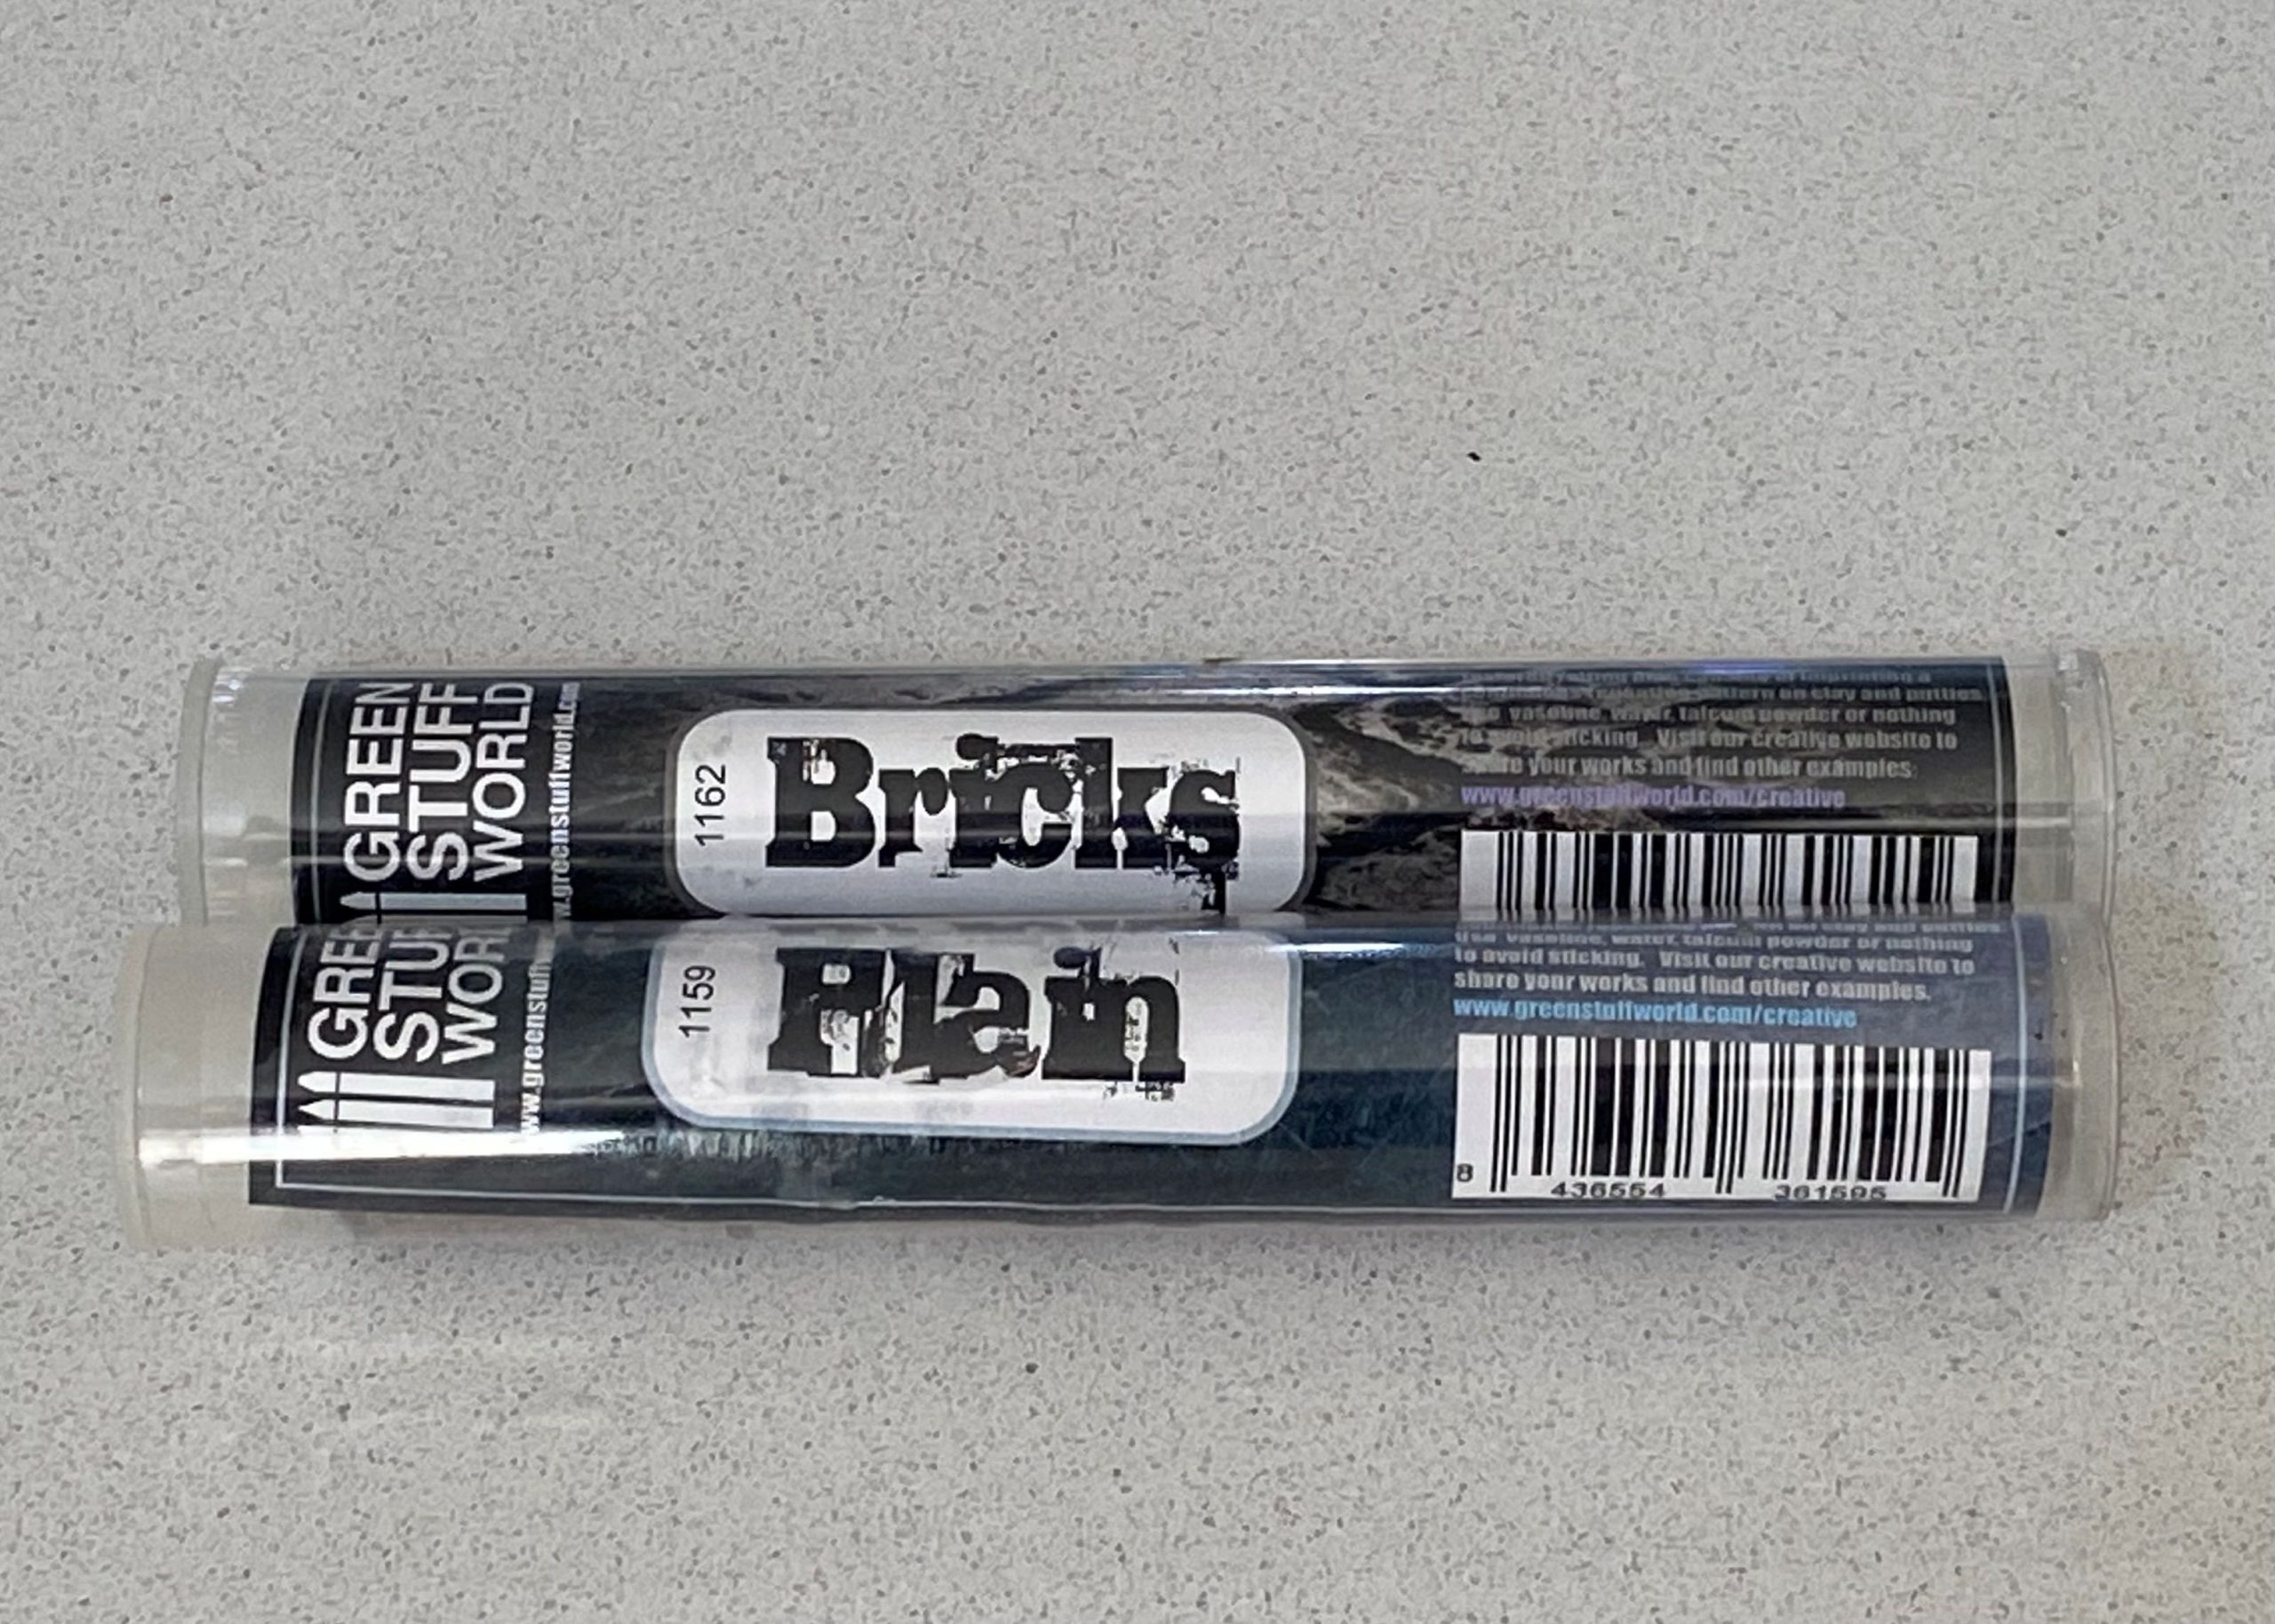
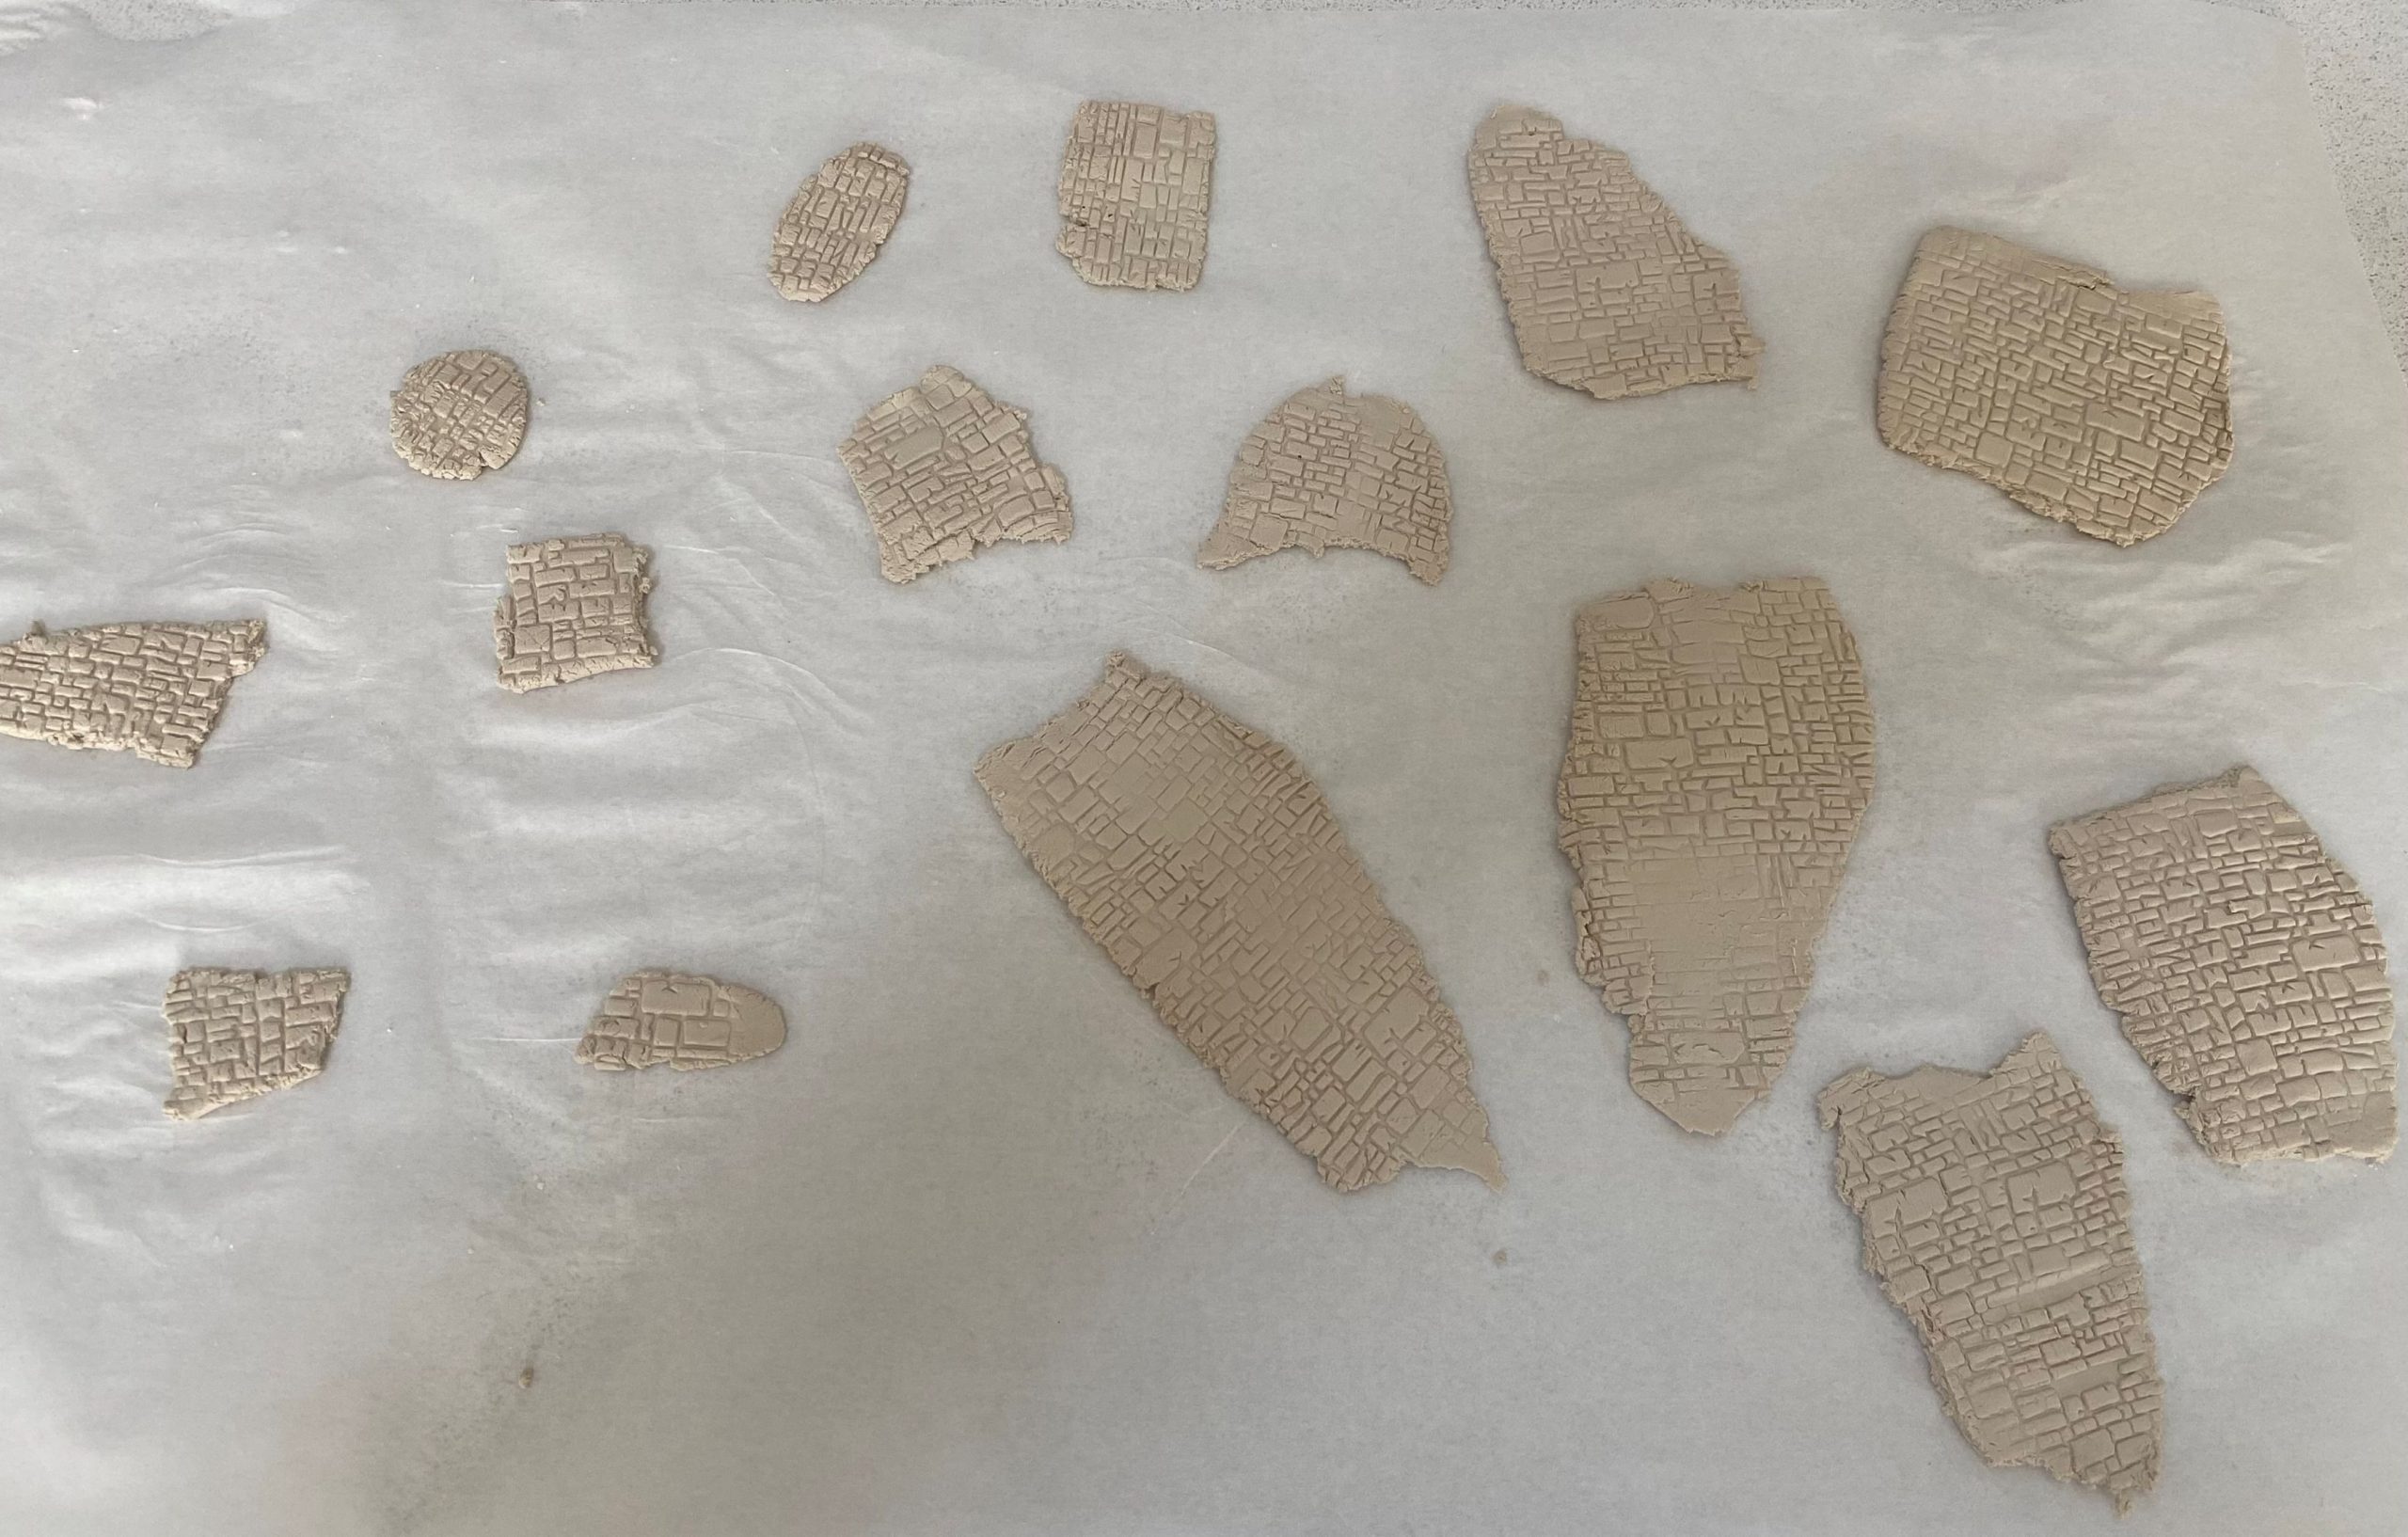
To make this, I would be using air-drying clay and a couple of rollers from Green Stuff World,
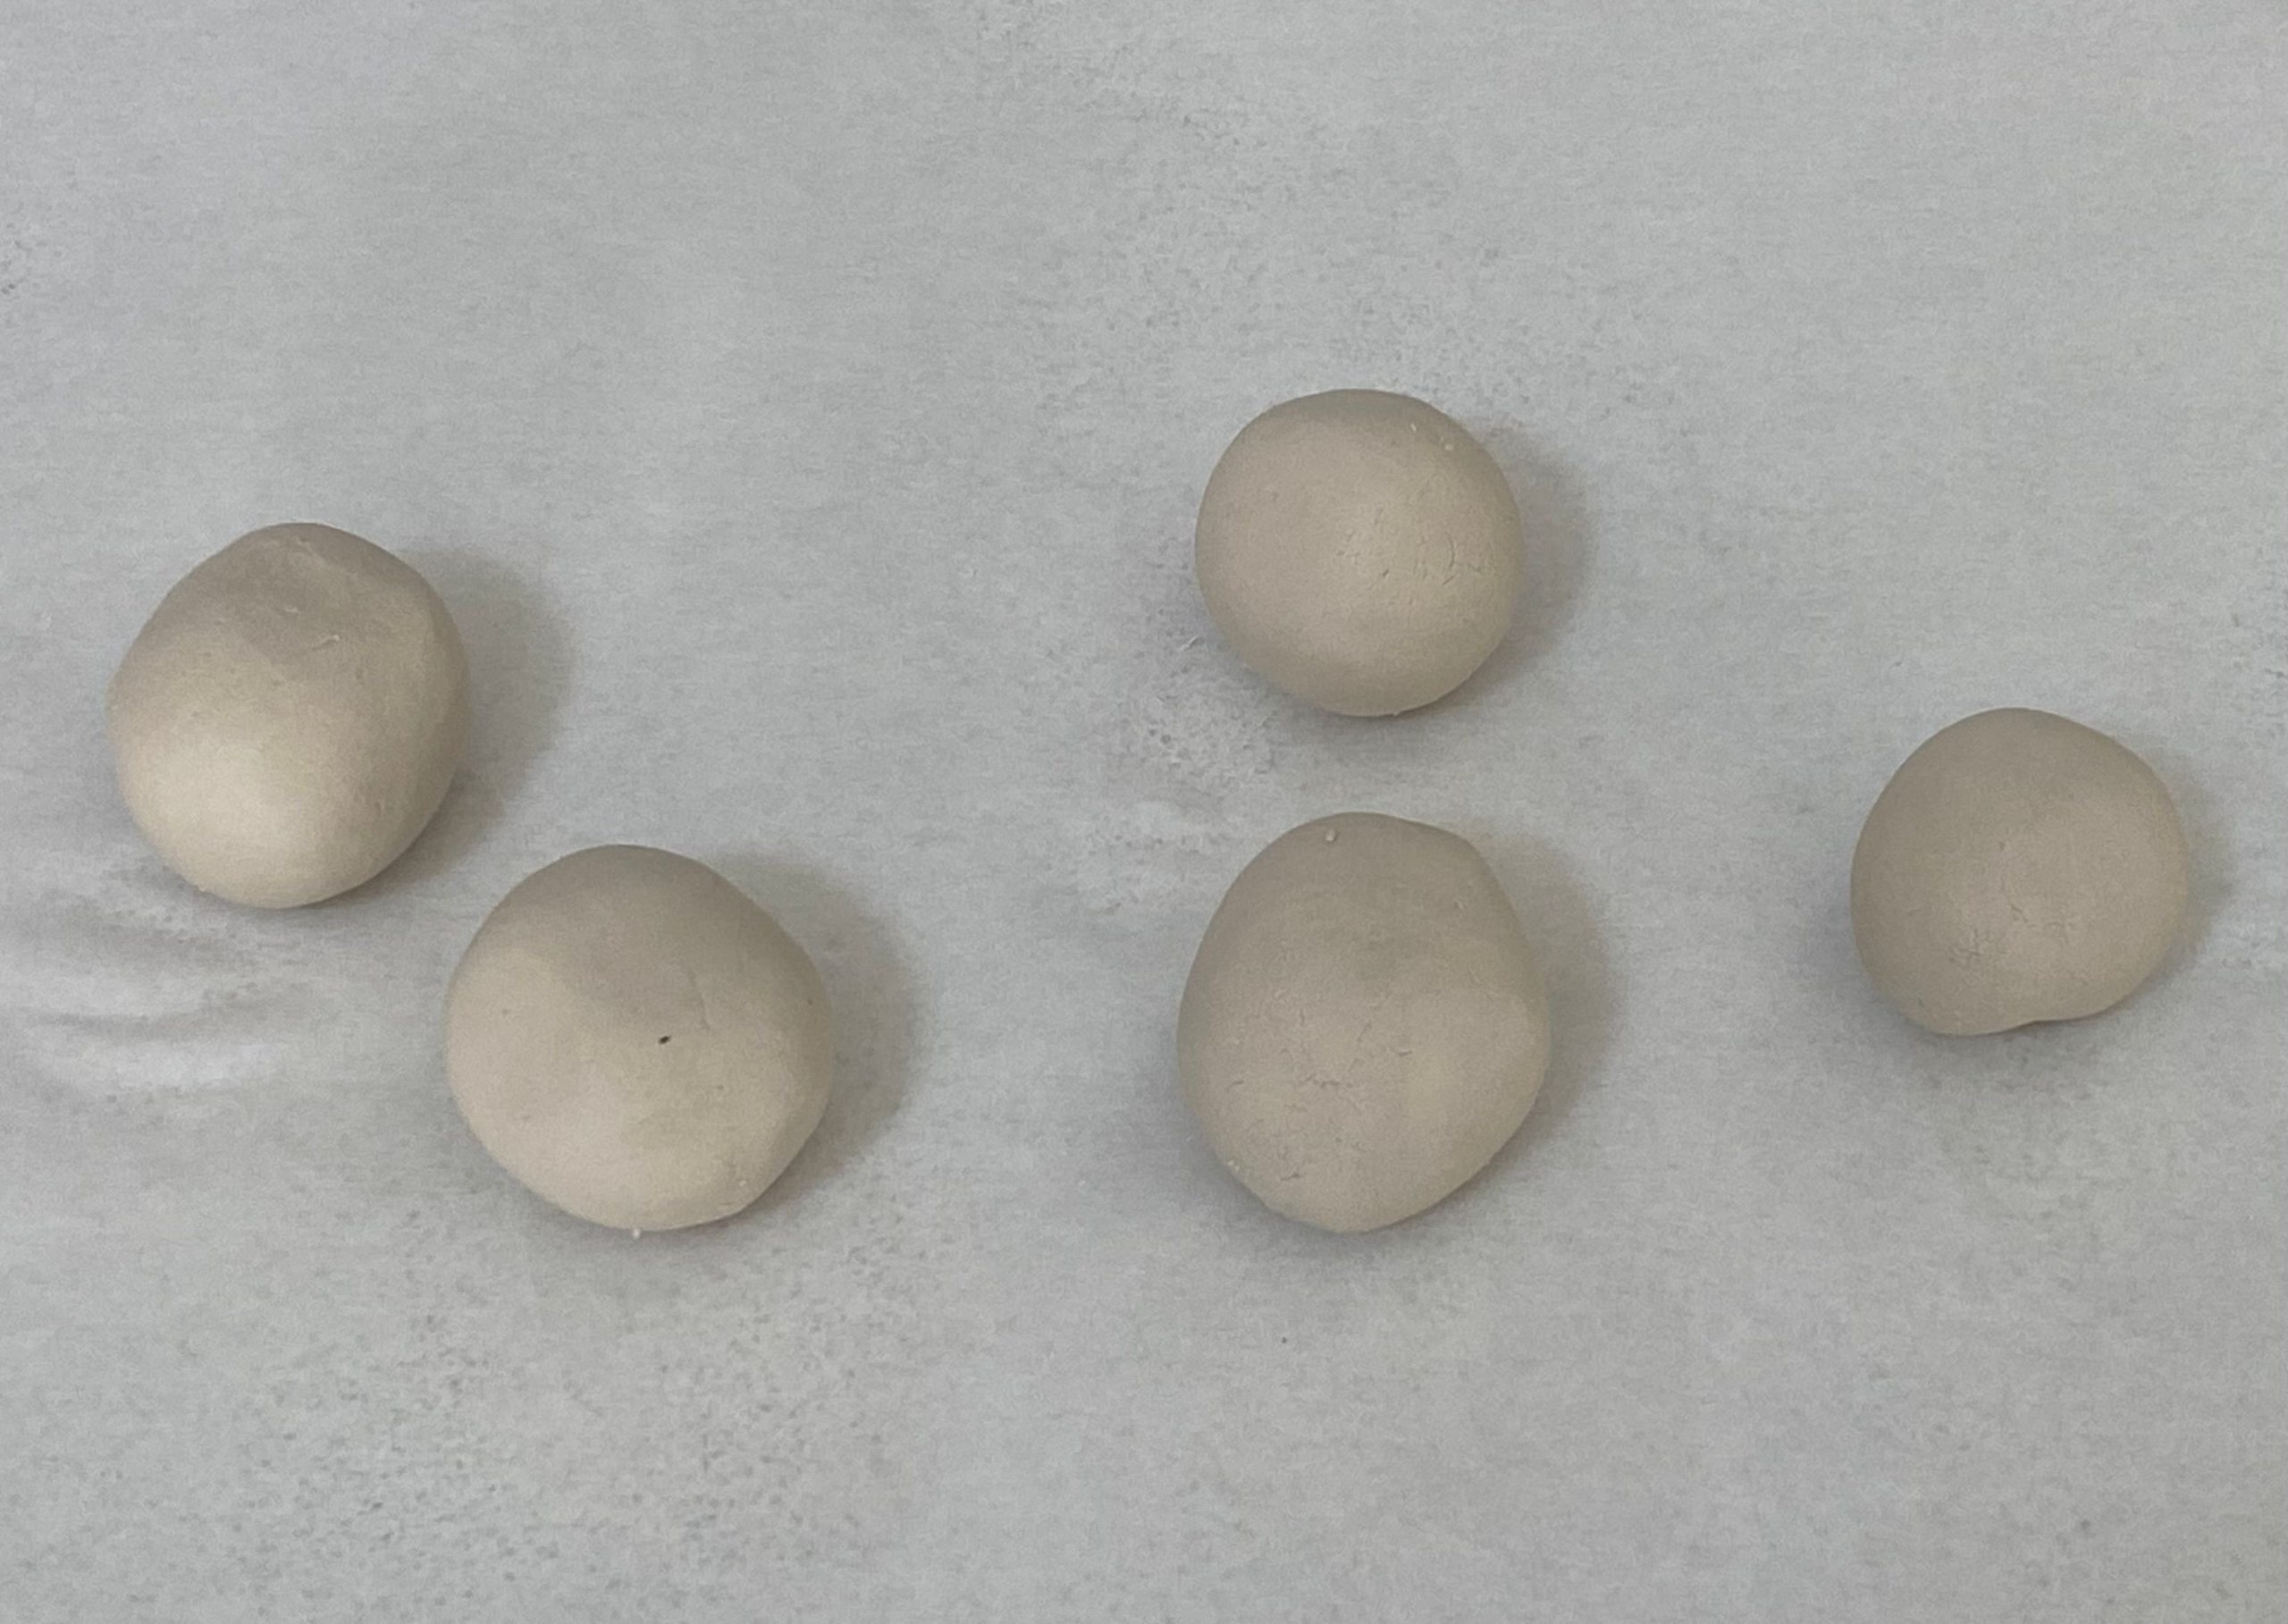
I started by rolling out some small balls of clay, then using a roller, flattened them. Doing this on some baking paper means it won’t stick down and will be easier to move around.
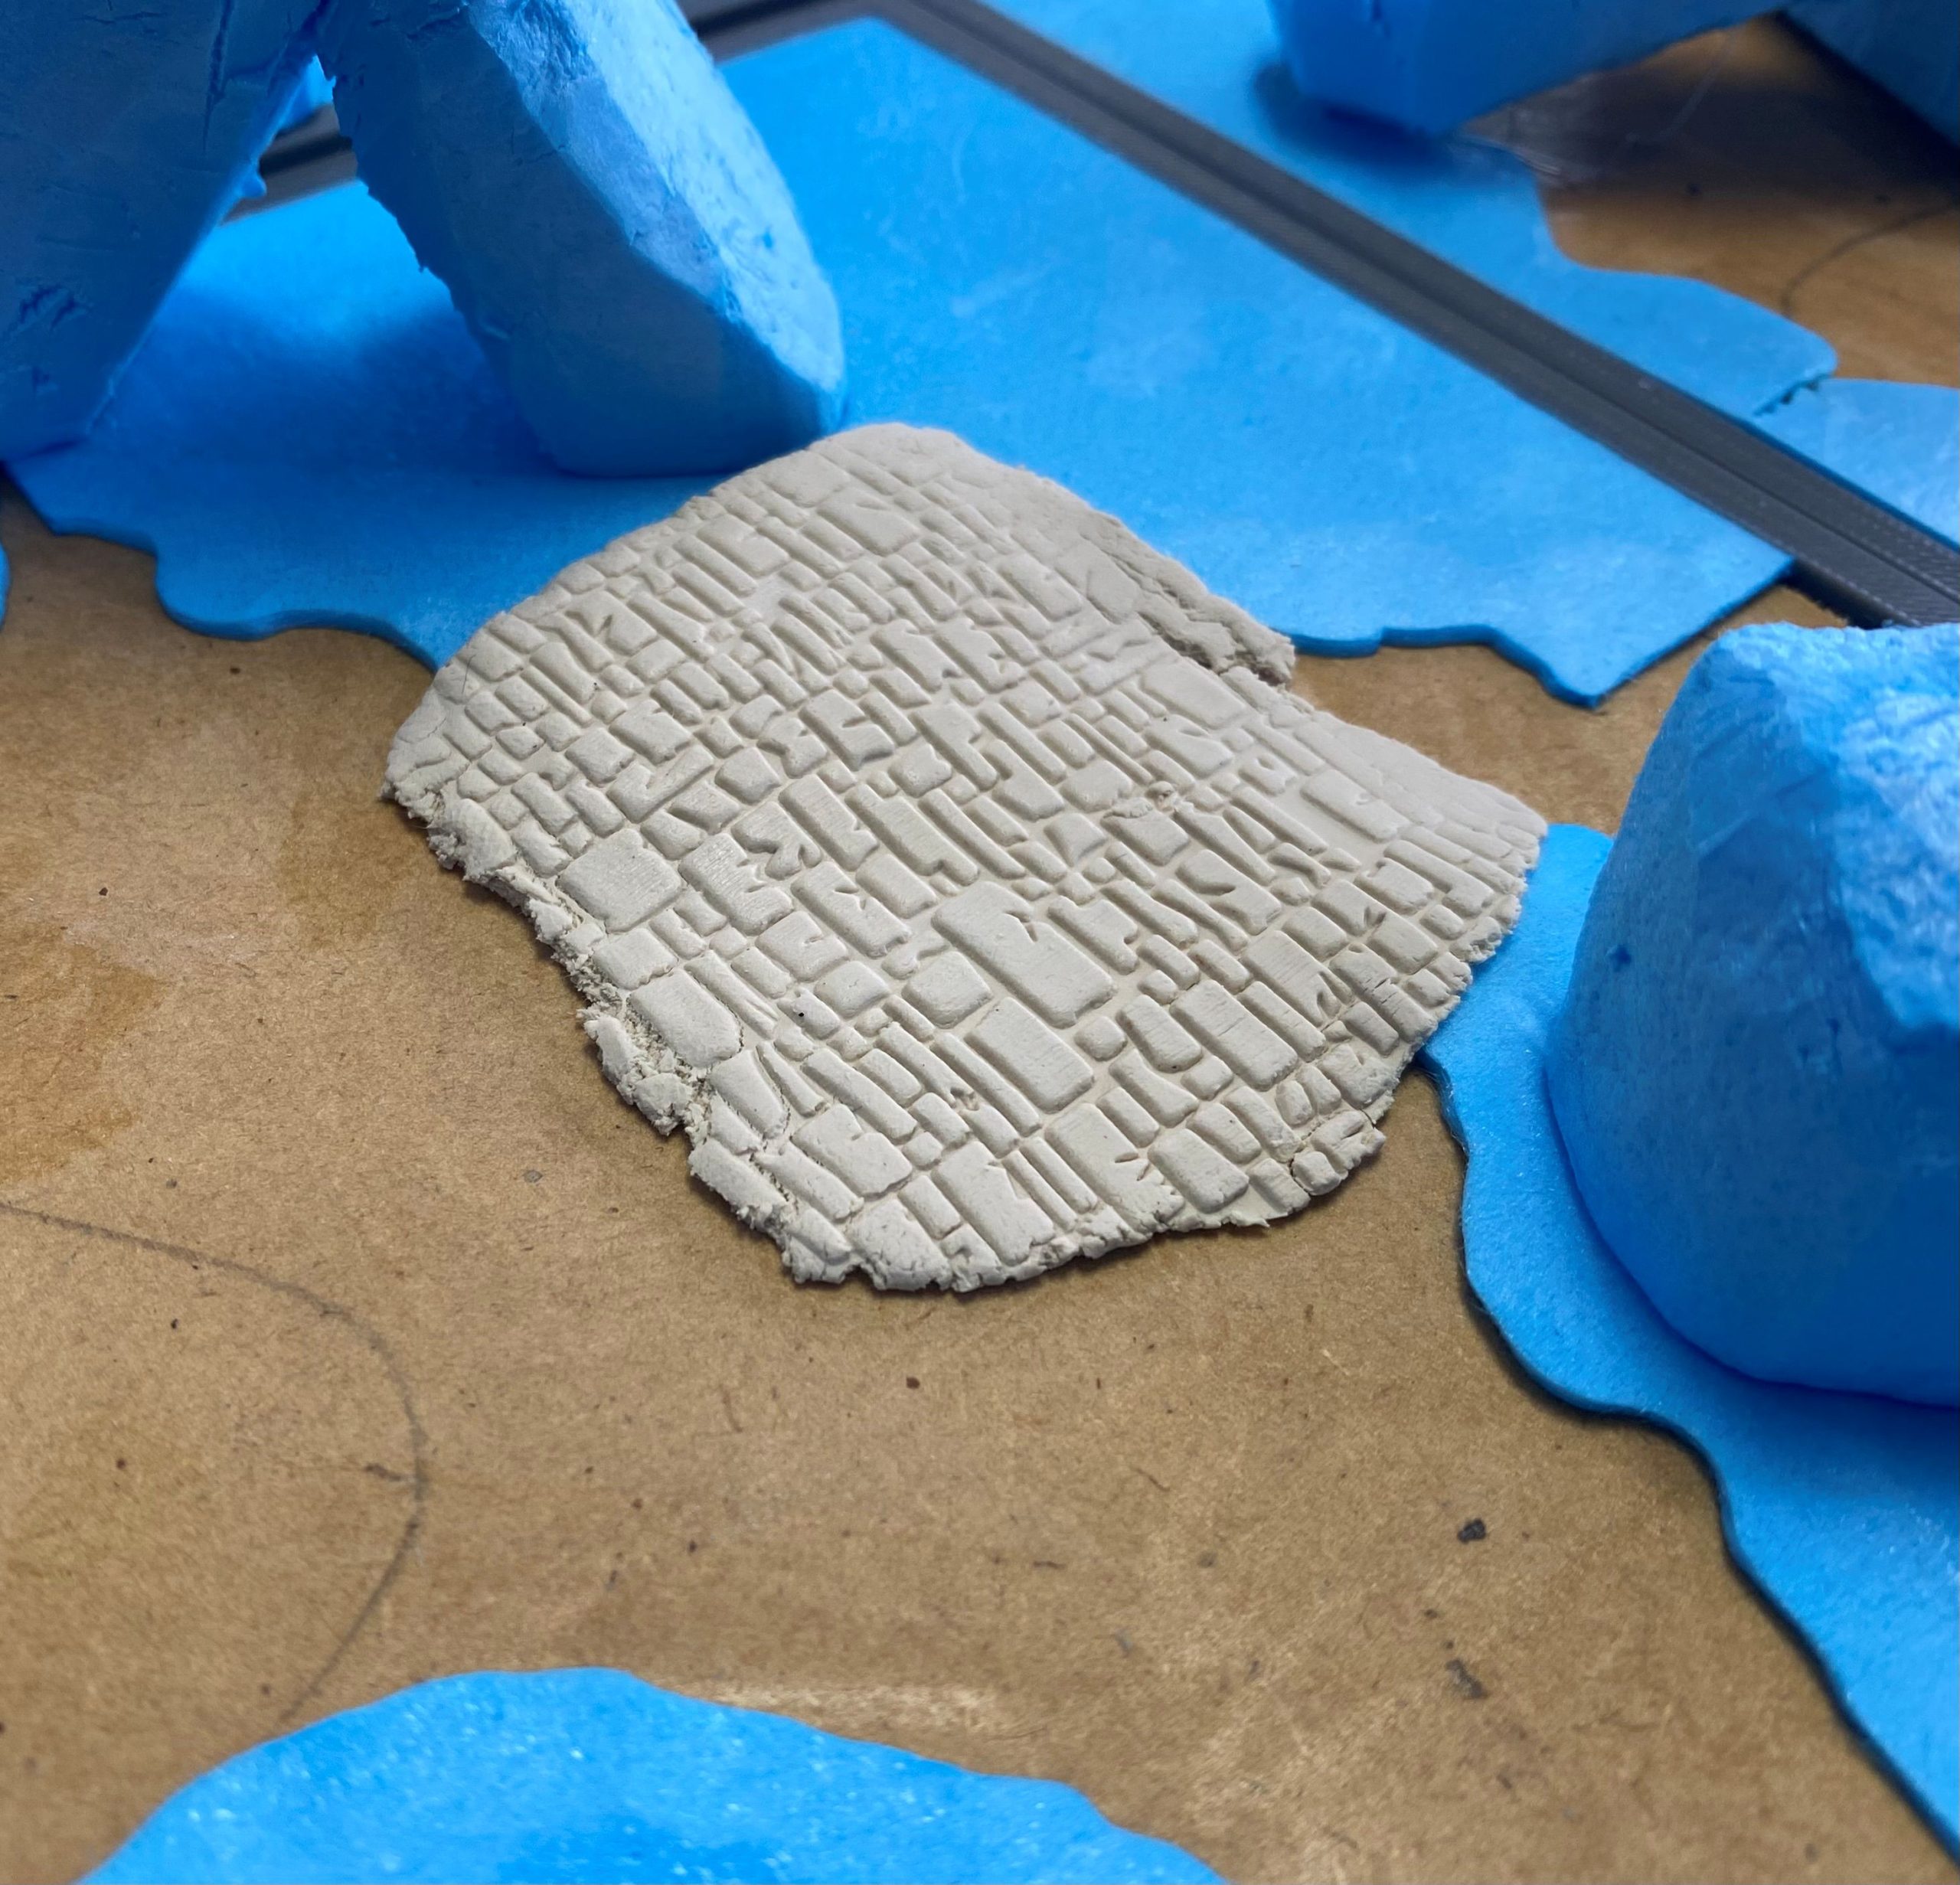
I then used a textured roller to add the brick pattern. As each part got longer and wider, I broke bits off and re-rolled them, creating more bits of broken road.
Air drying clay sticks best whilst it is damp. With this in mind, I used watered-down PVA glue to attach the road pieces to my layout before it had cured. This also meant that I could shape it over the contoured parts of the base tiles to create an uneven road surface.
Once it’s dry, I can think about adding the other ground covering, mud, leaves and the like. If nothing else, it will add another texture to the terrain and the option for some different colours.


