


Just a little something


Recommendations: 639
About the Project
A little something to keep the creative juices flowing.
Related Genre: Fantasy
Related Contest: Dungeonalia 2023
This Project is Active
Just Photos
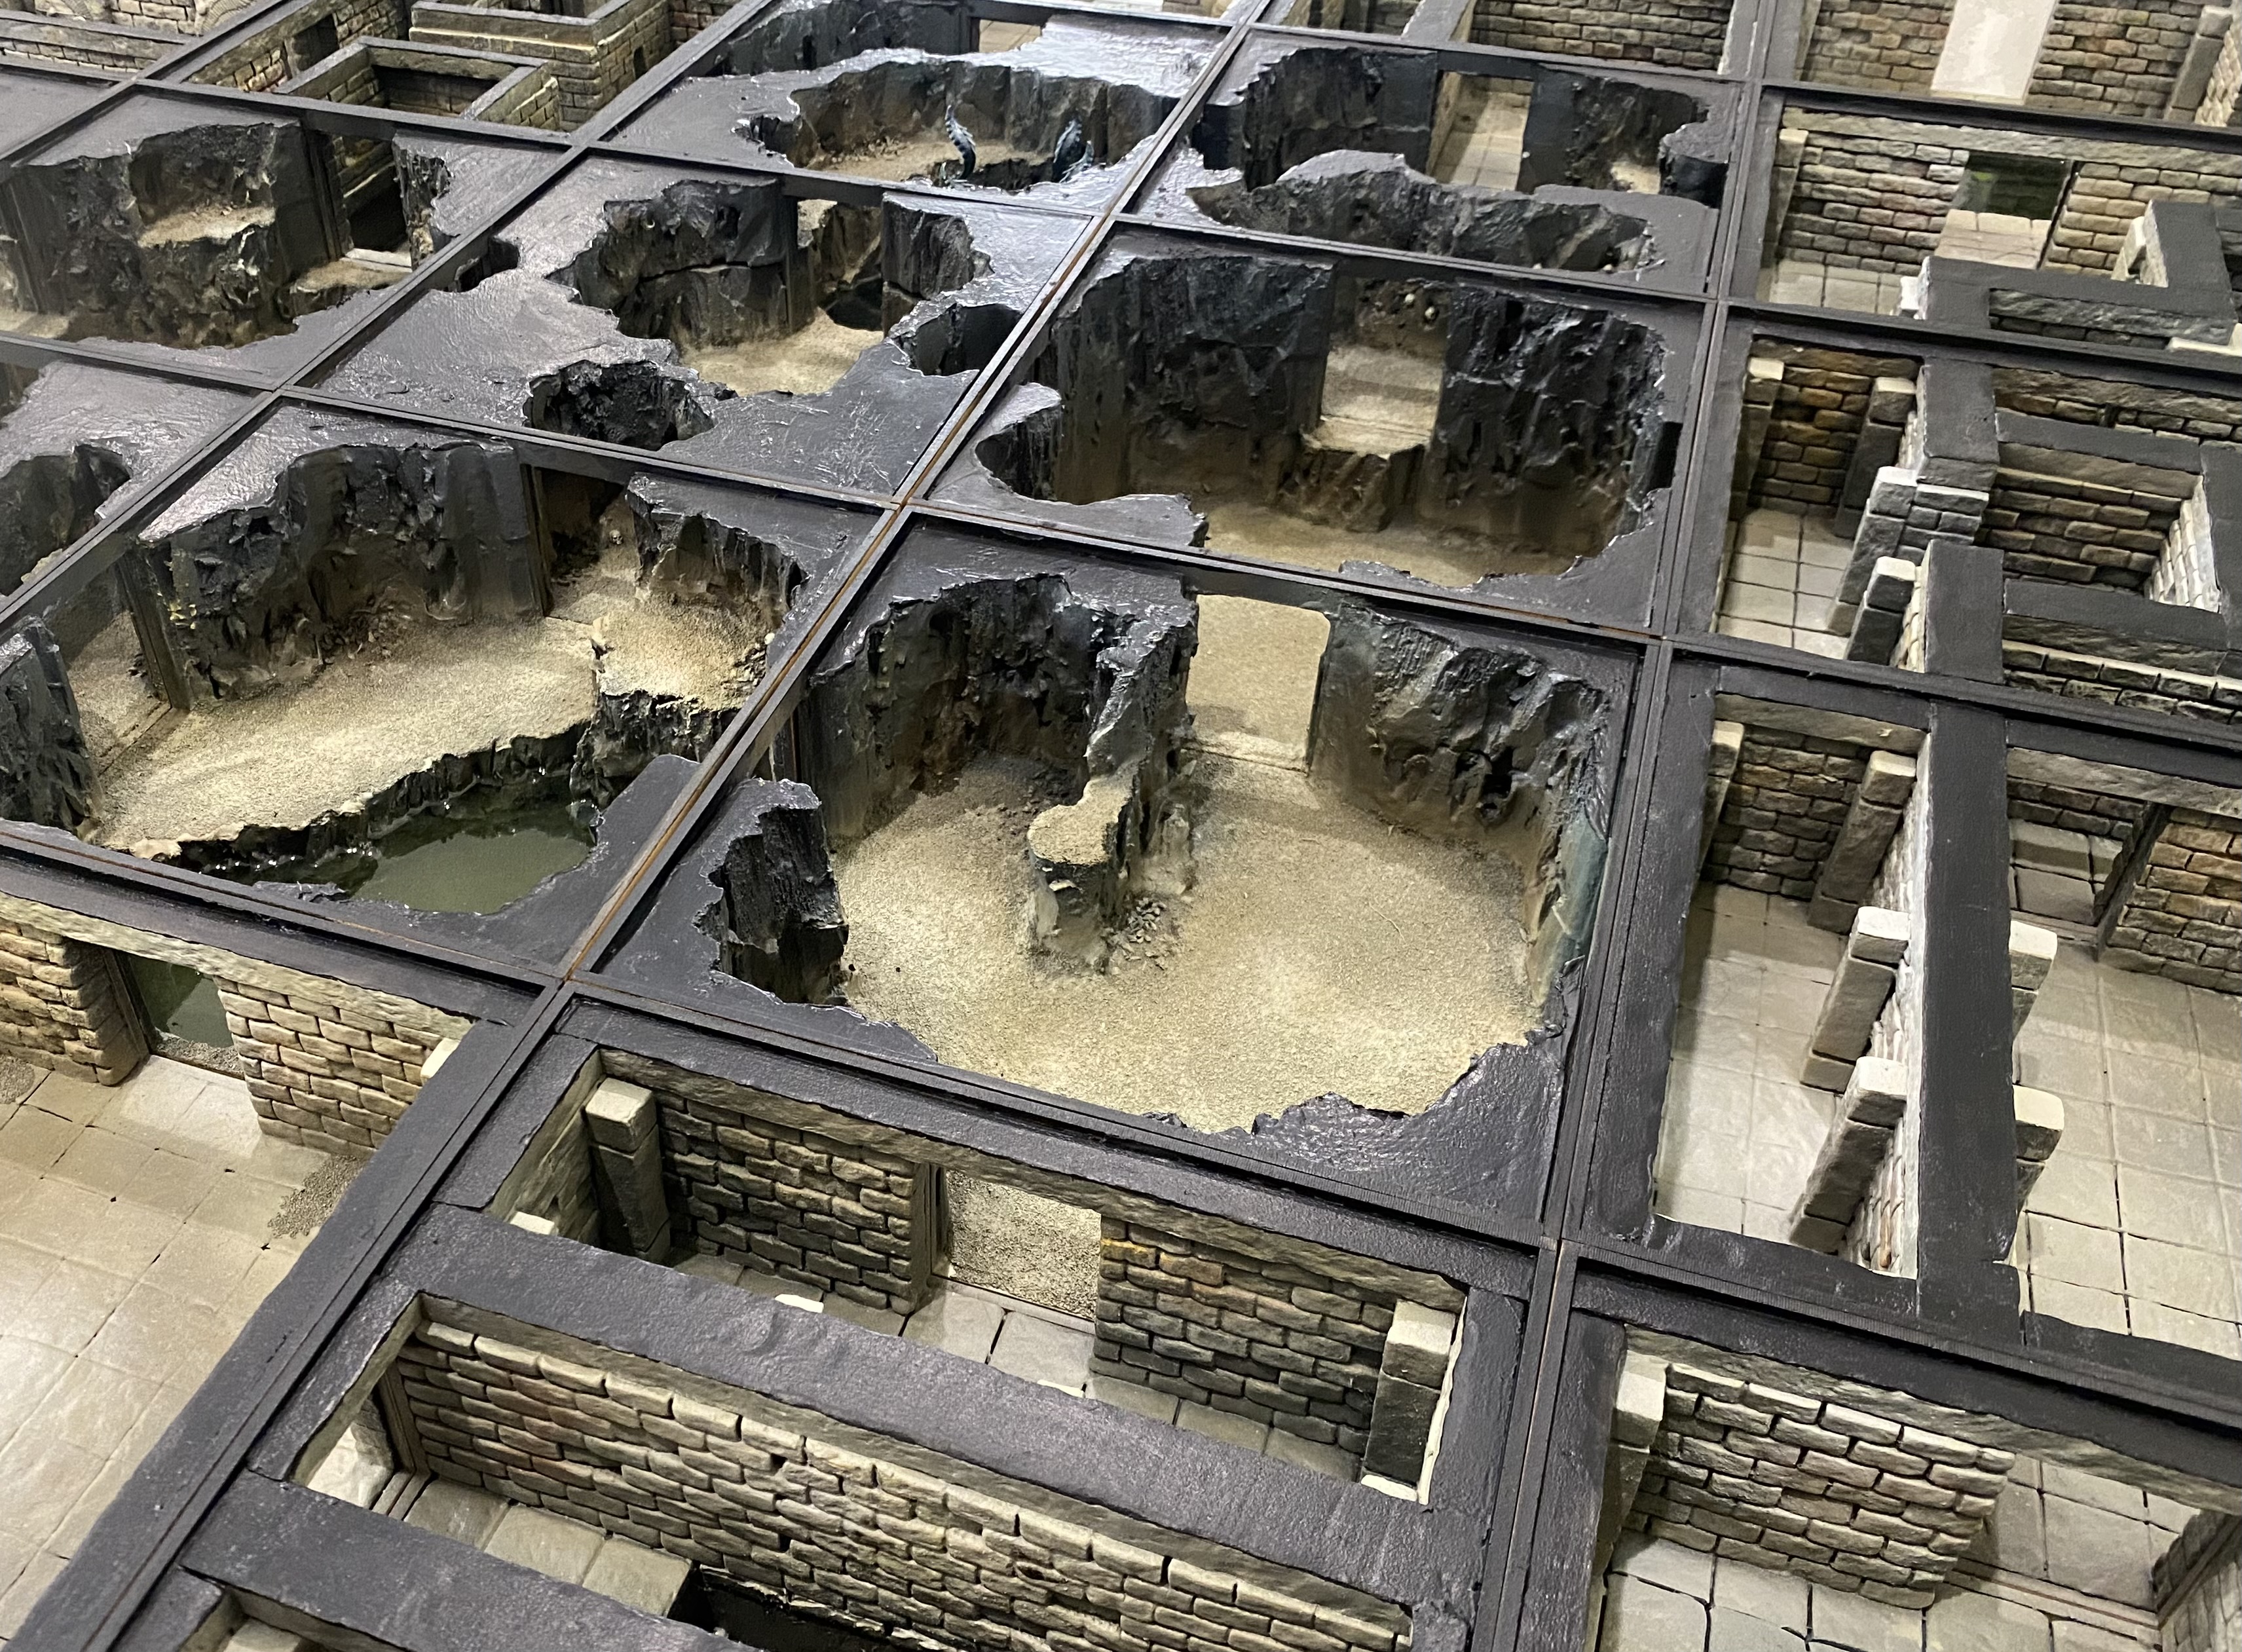
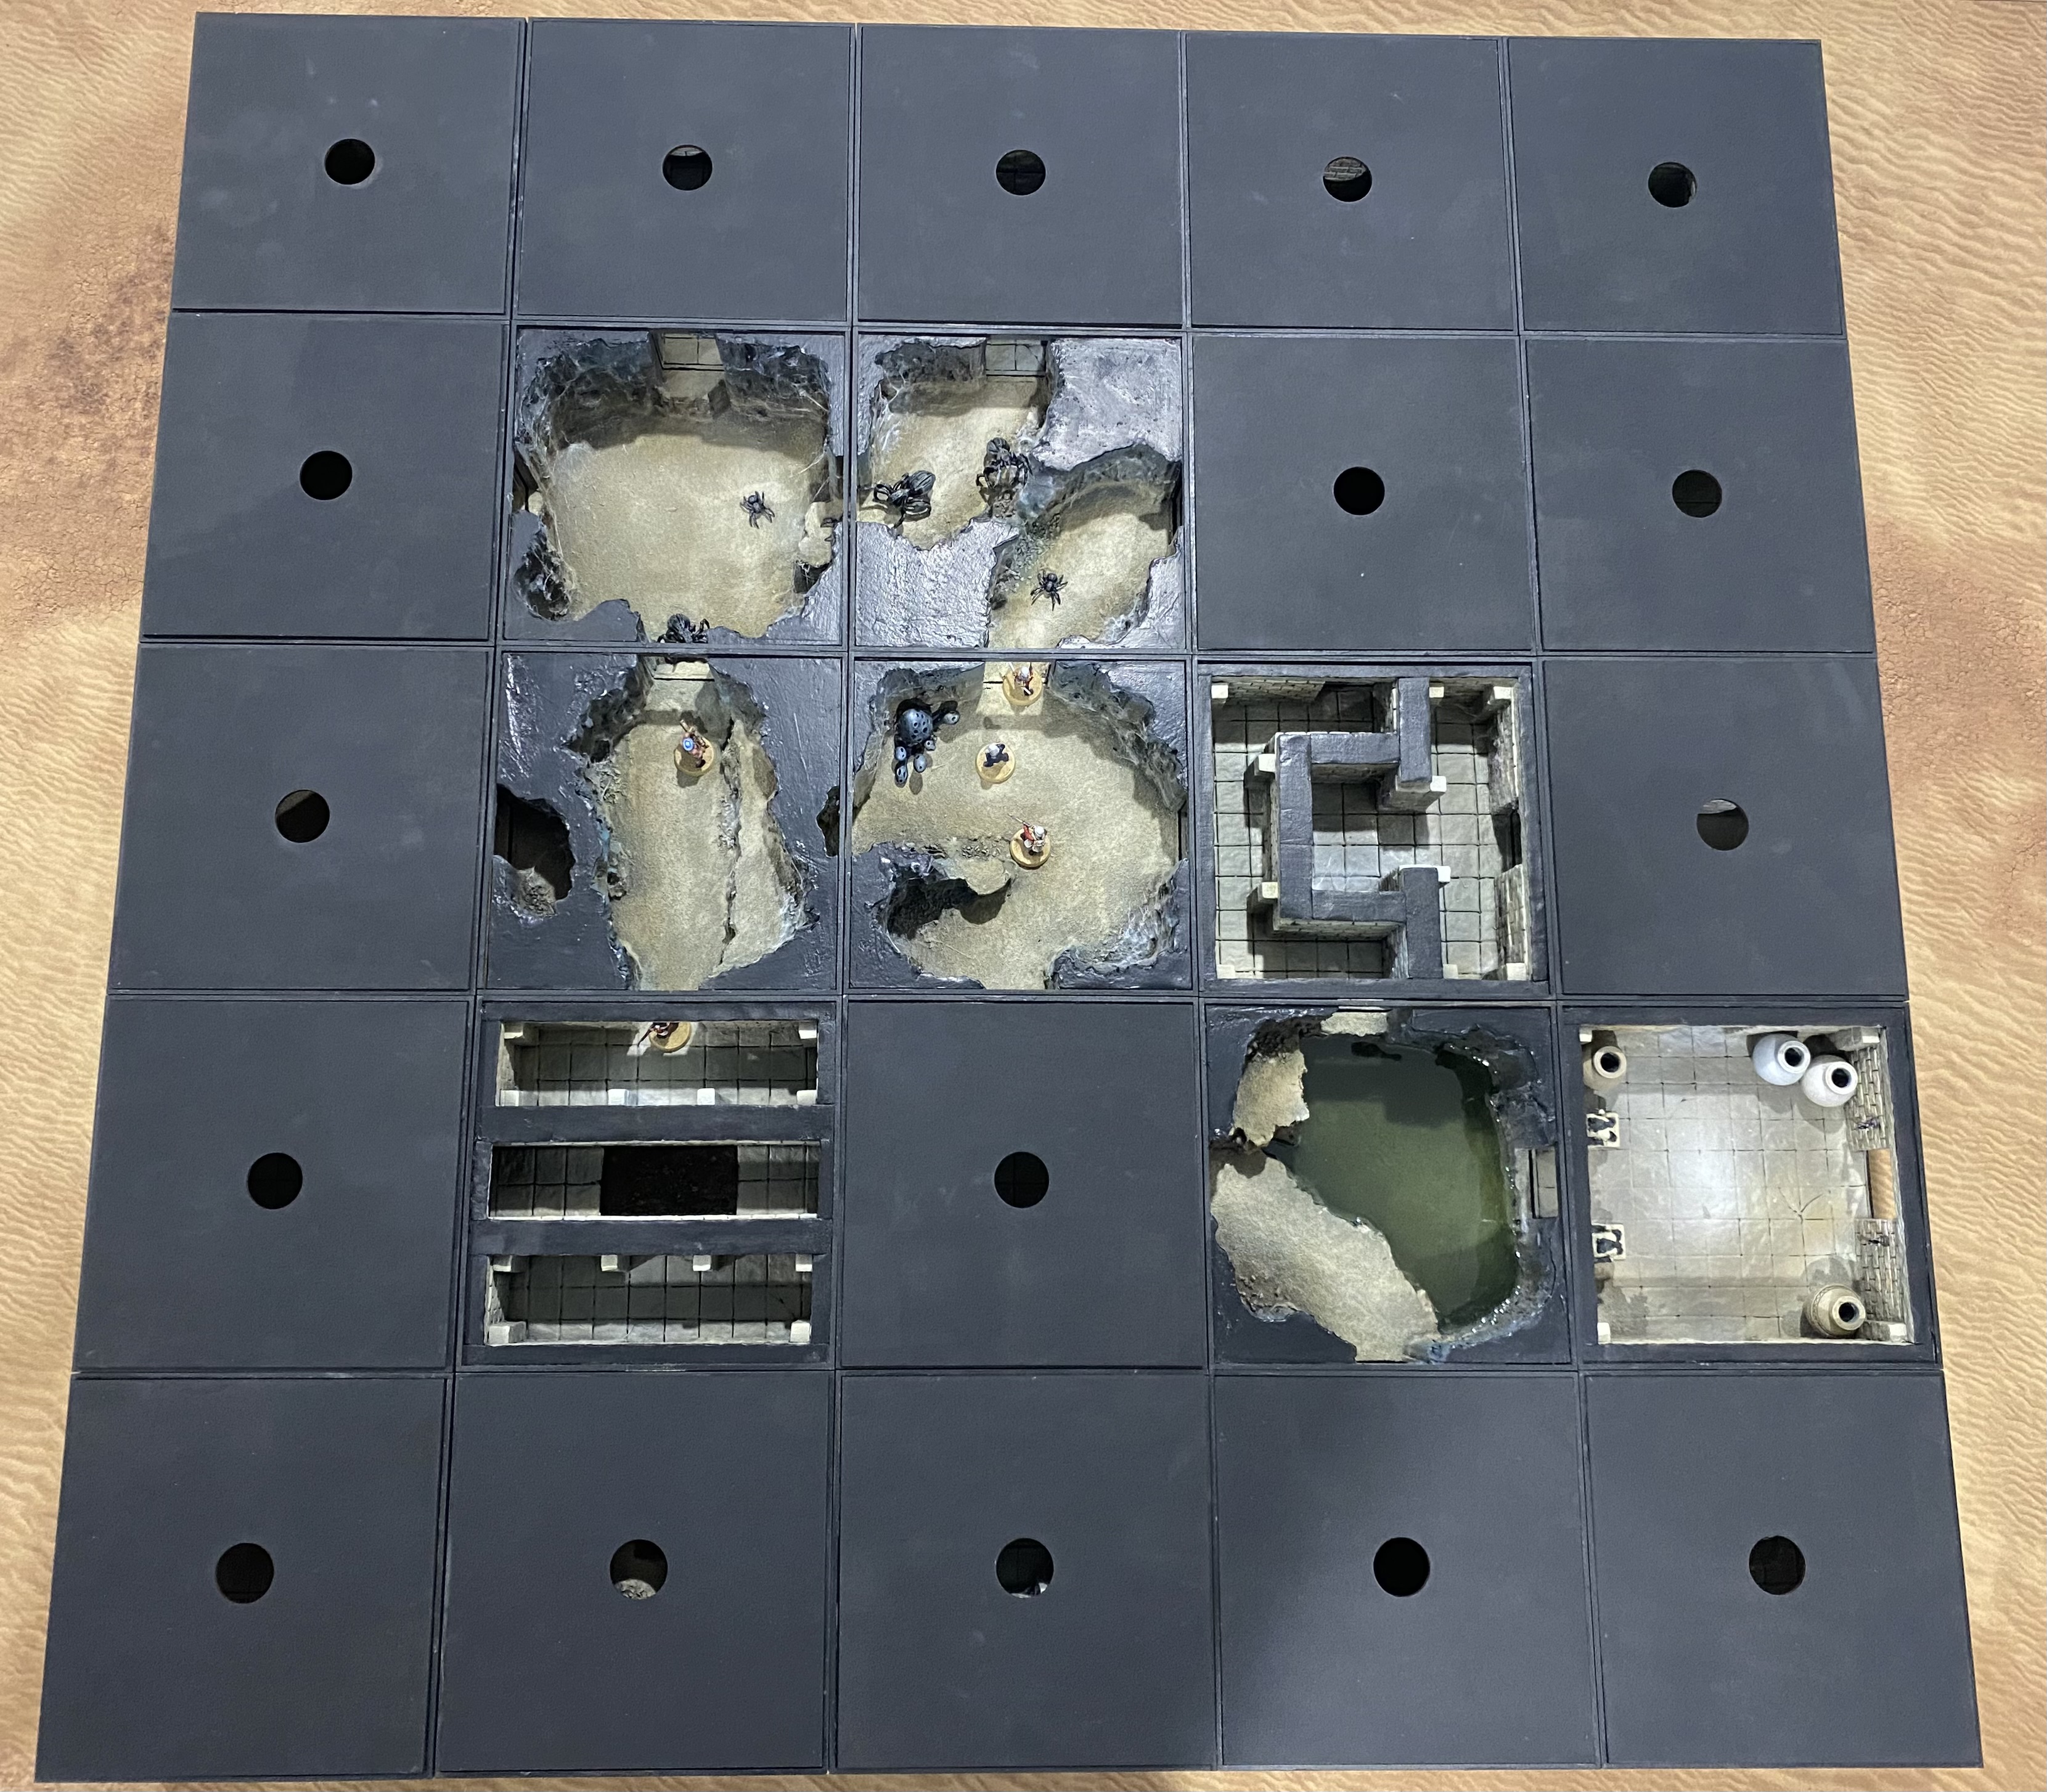 Of course, if I want to be extra mean I can cover up sections after the adventures leave them.
Get a room
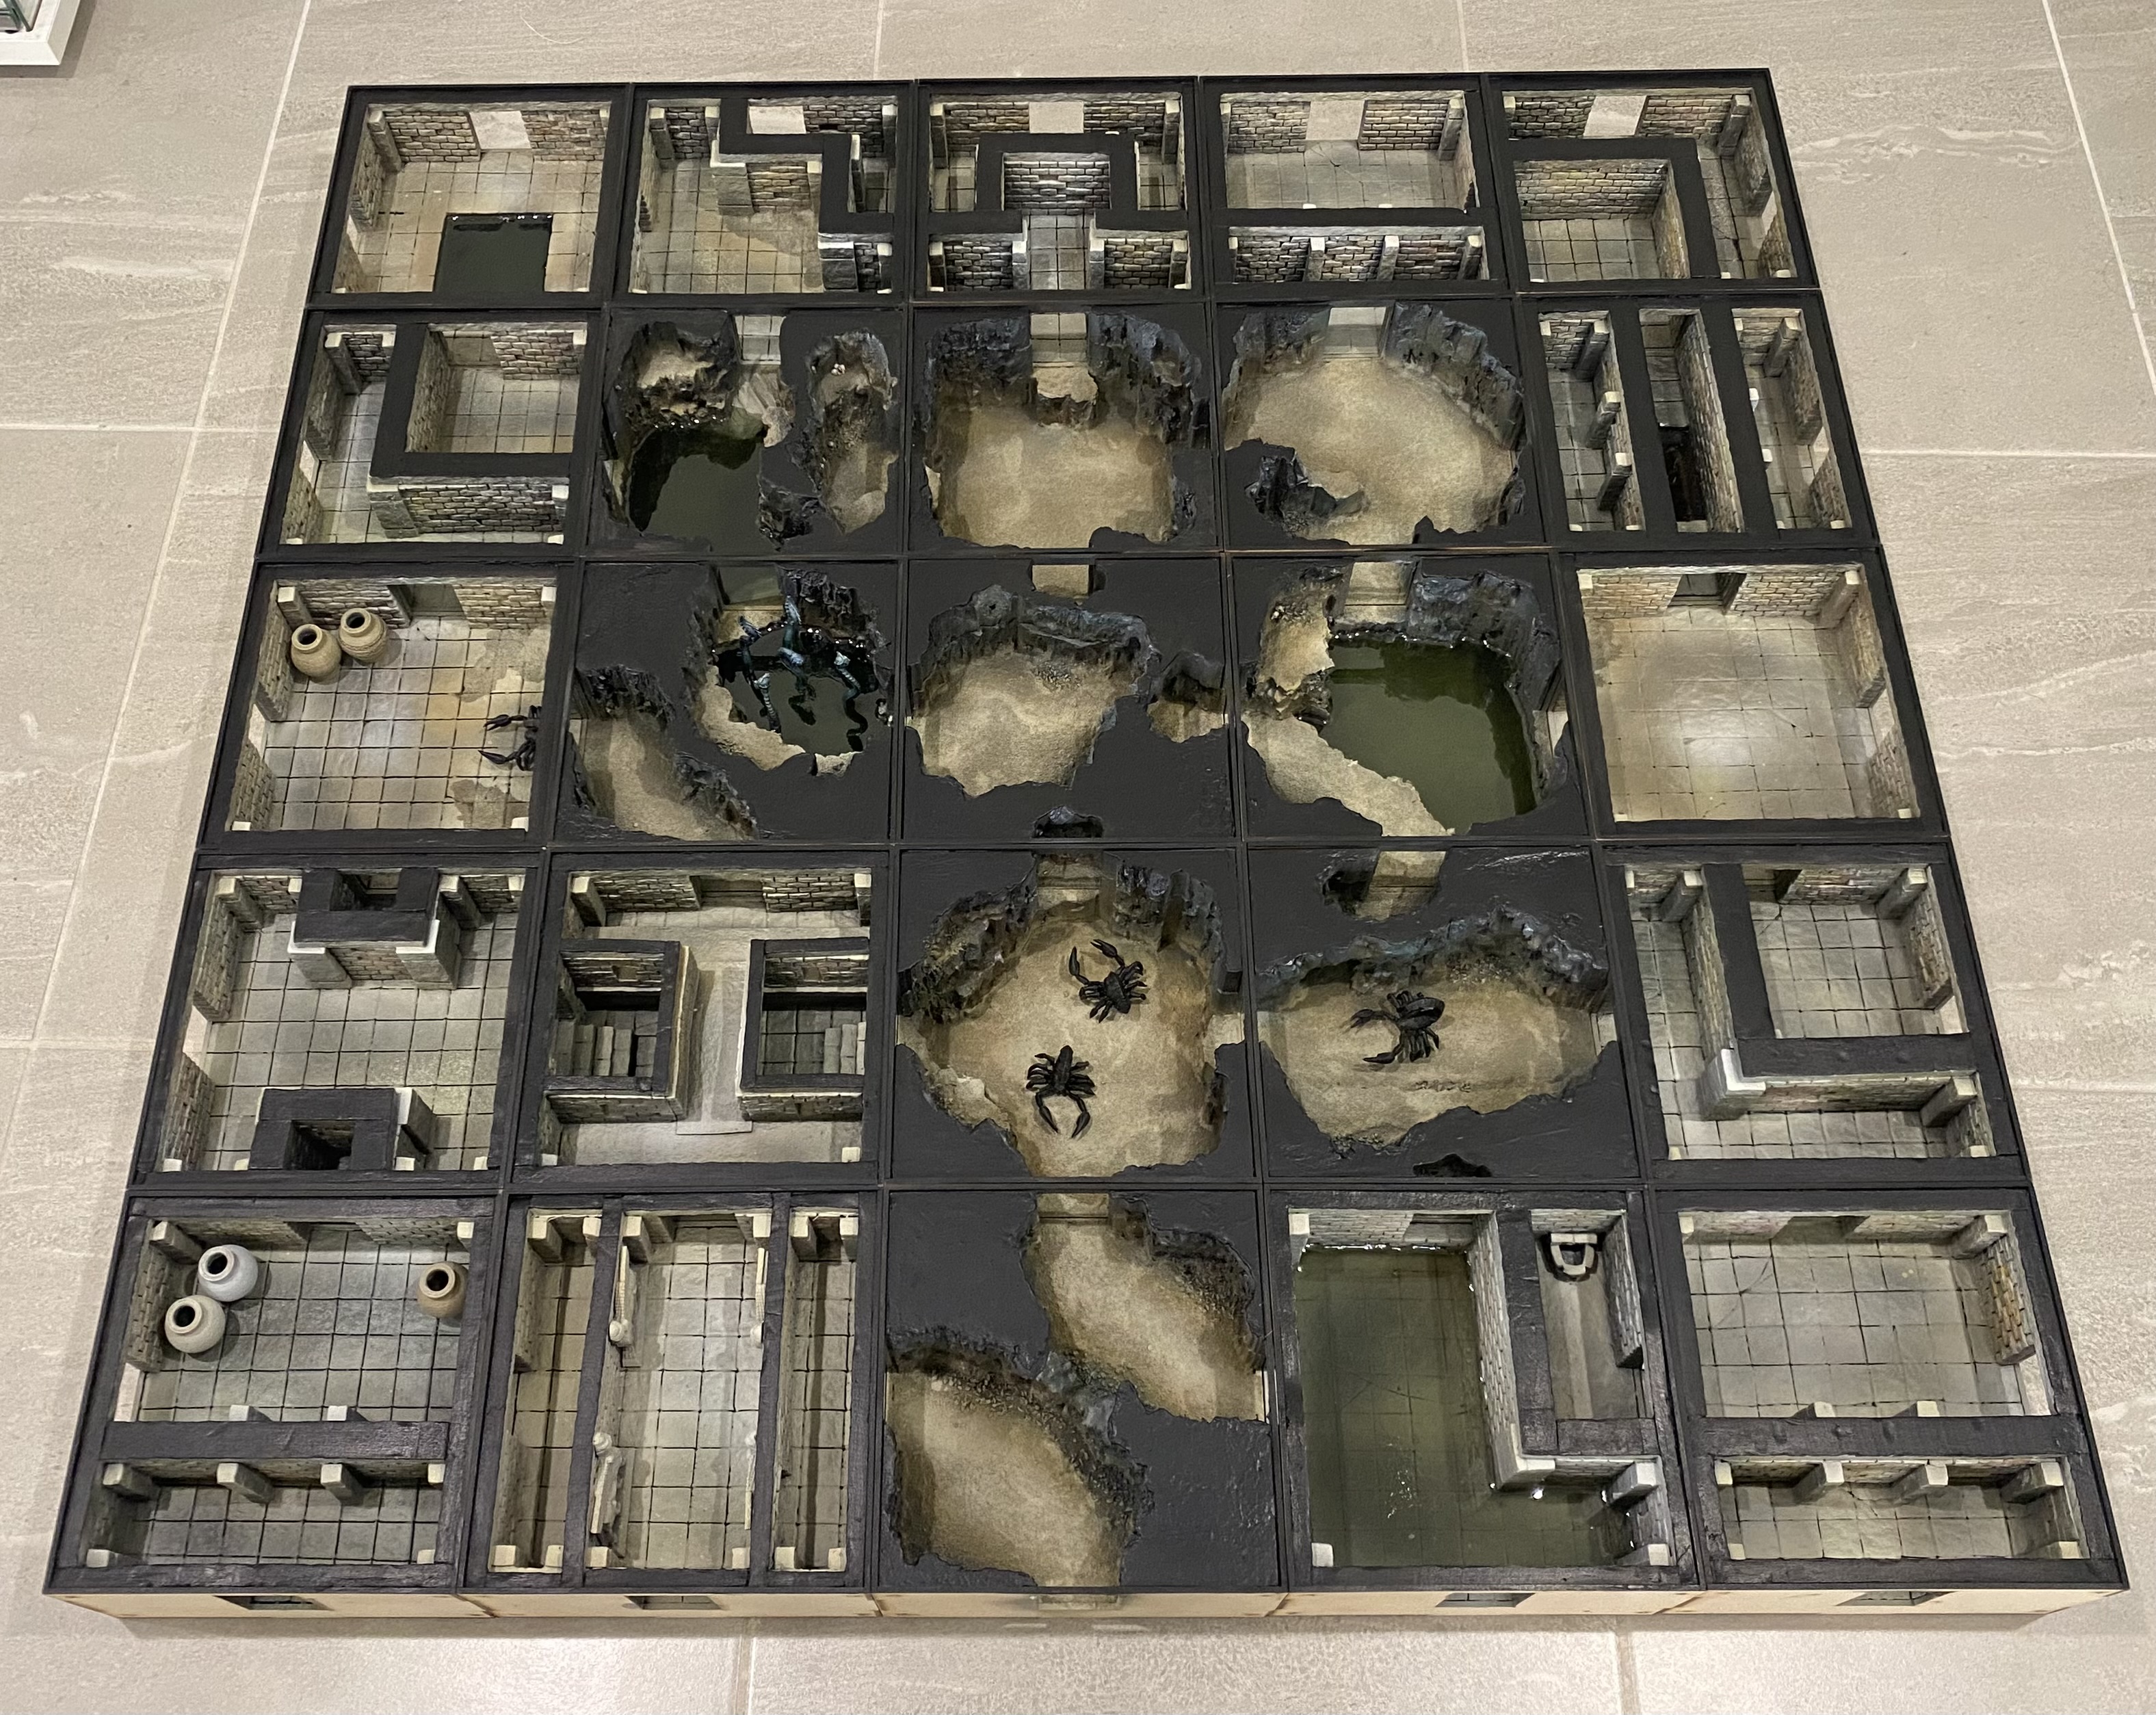
Well, this is the last day and I have a few little bits to cover off on before it’s all over.
Just the odd touch-up here and there and I am pretty much happy with what I’ve done.
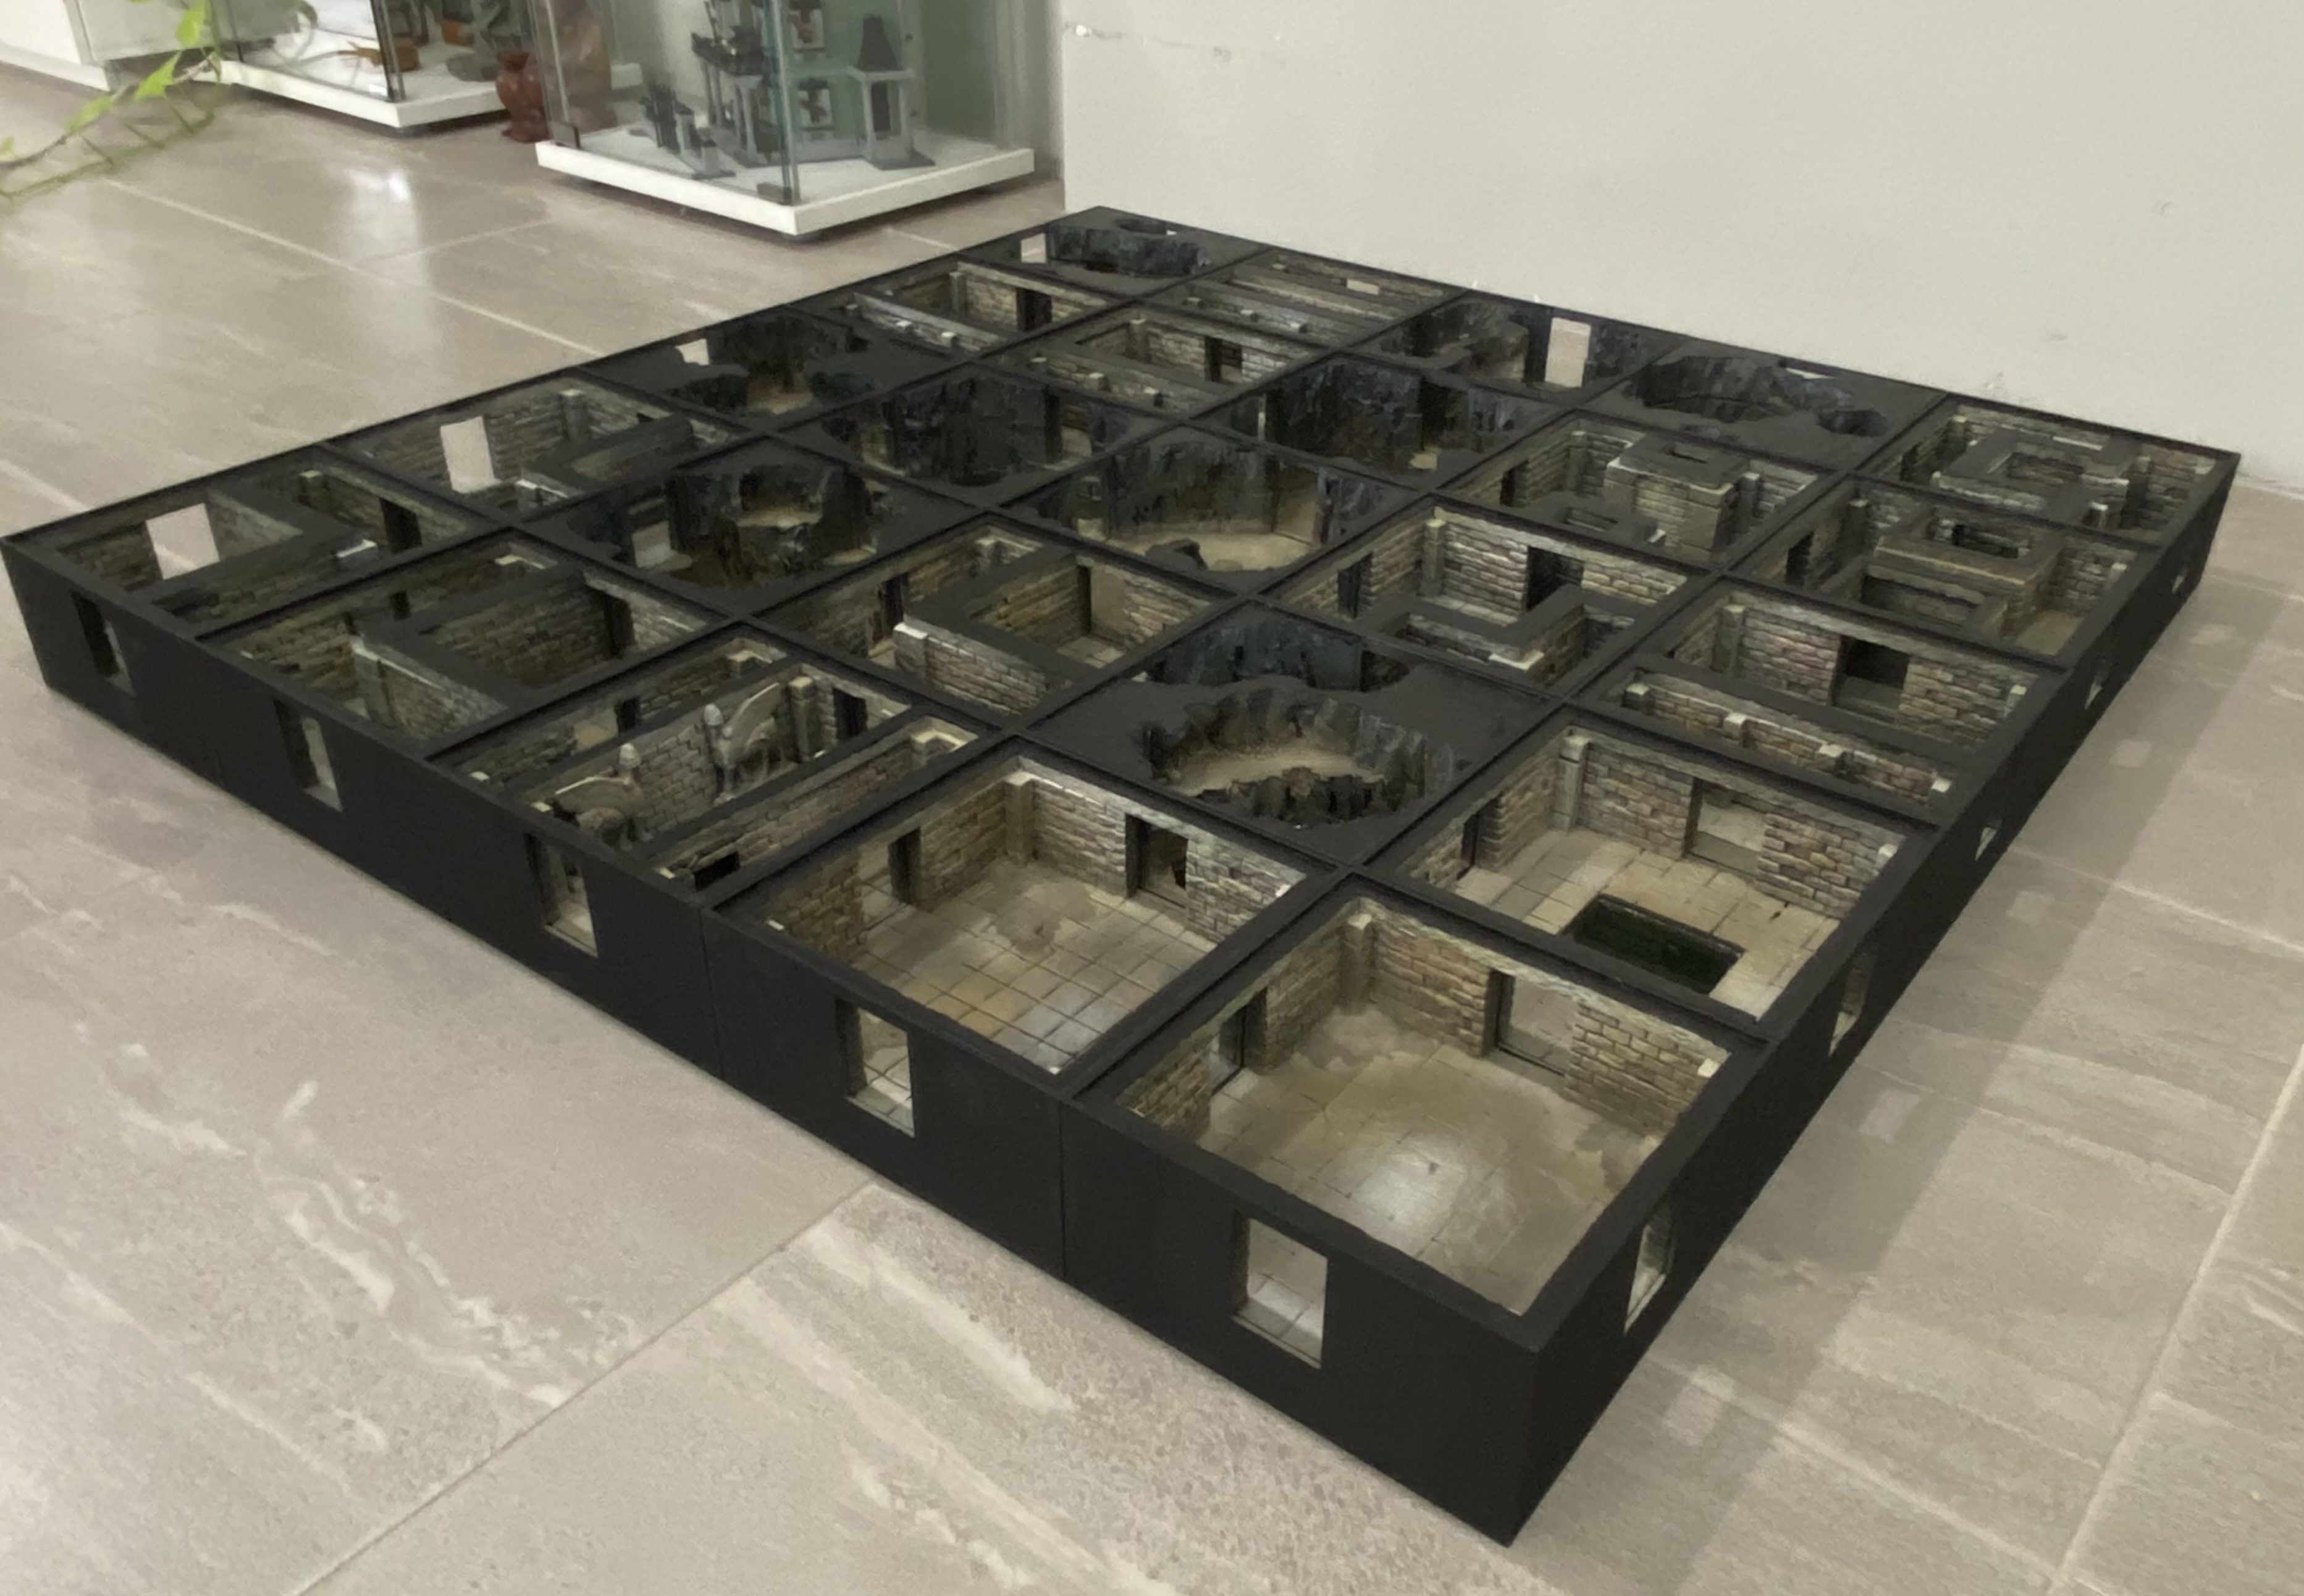
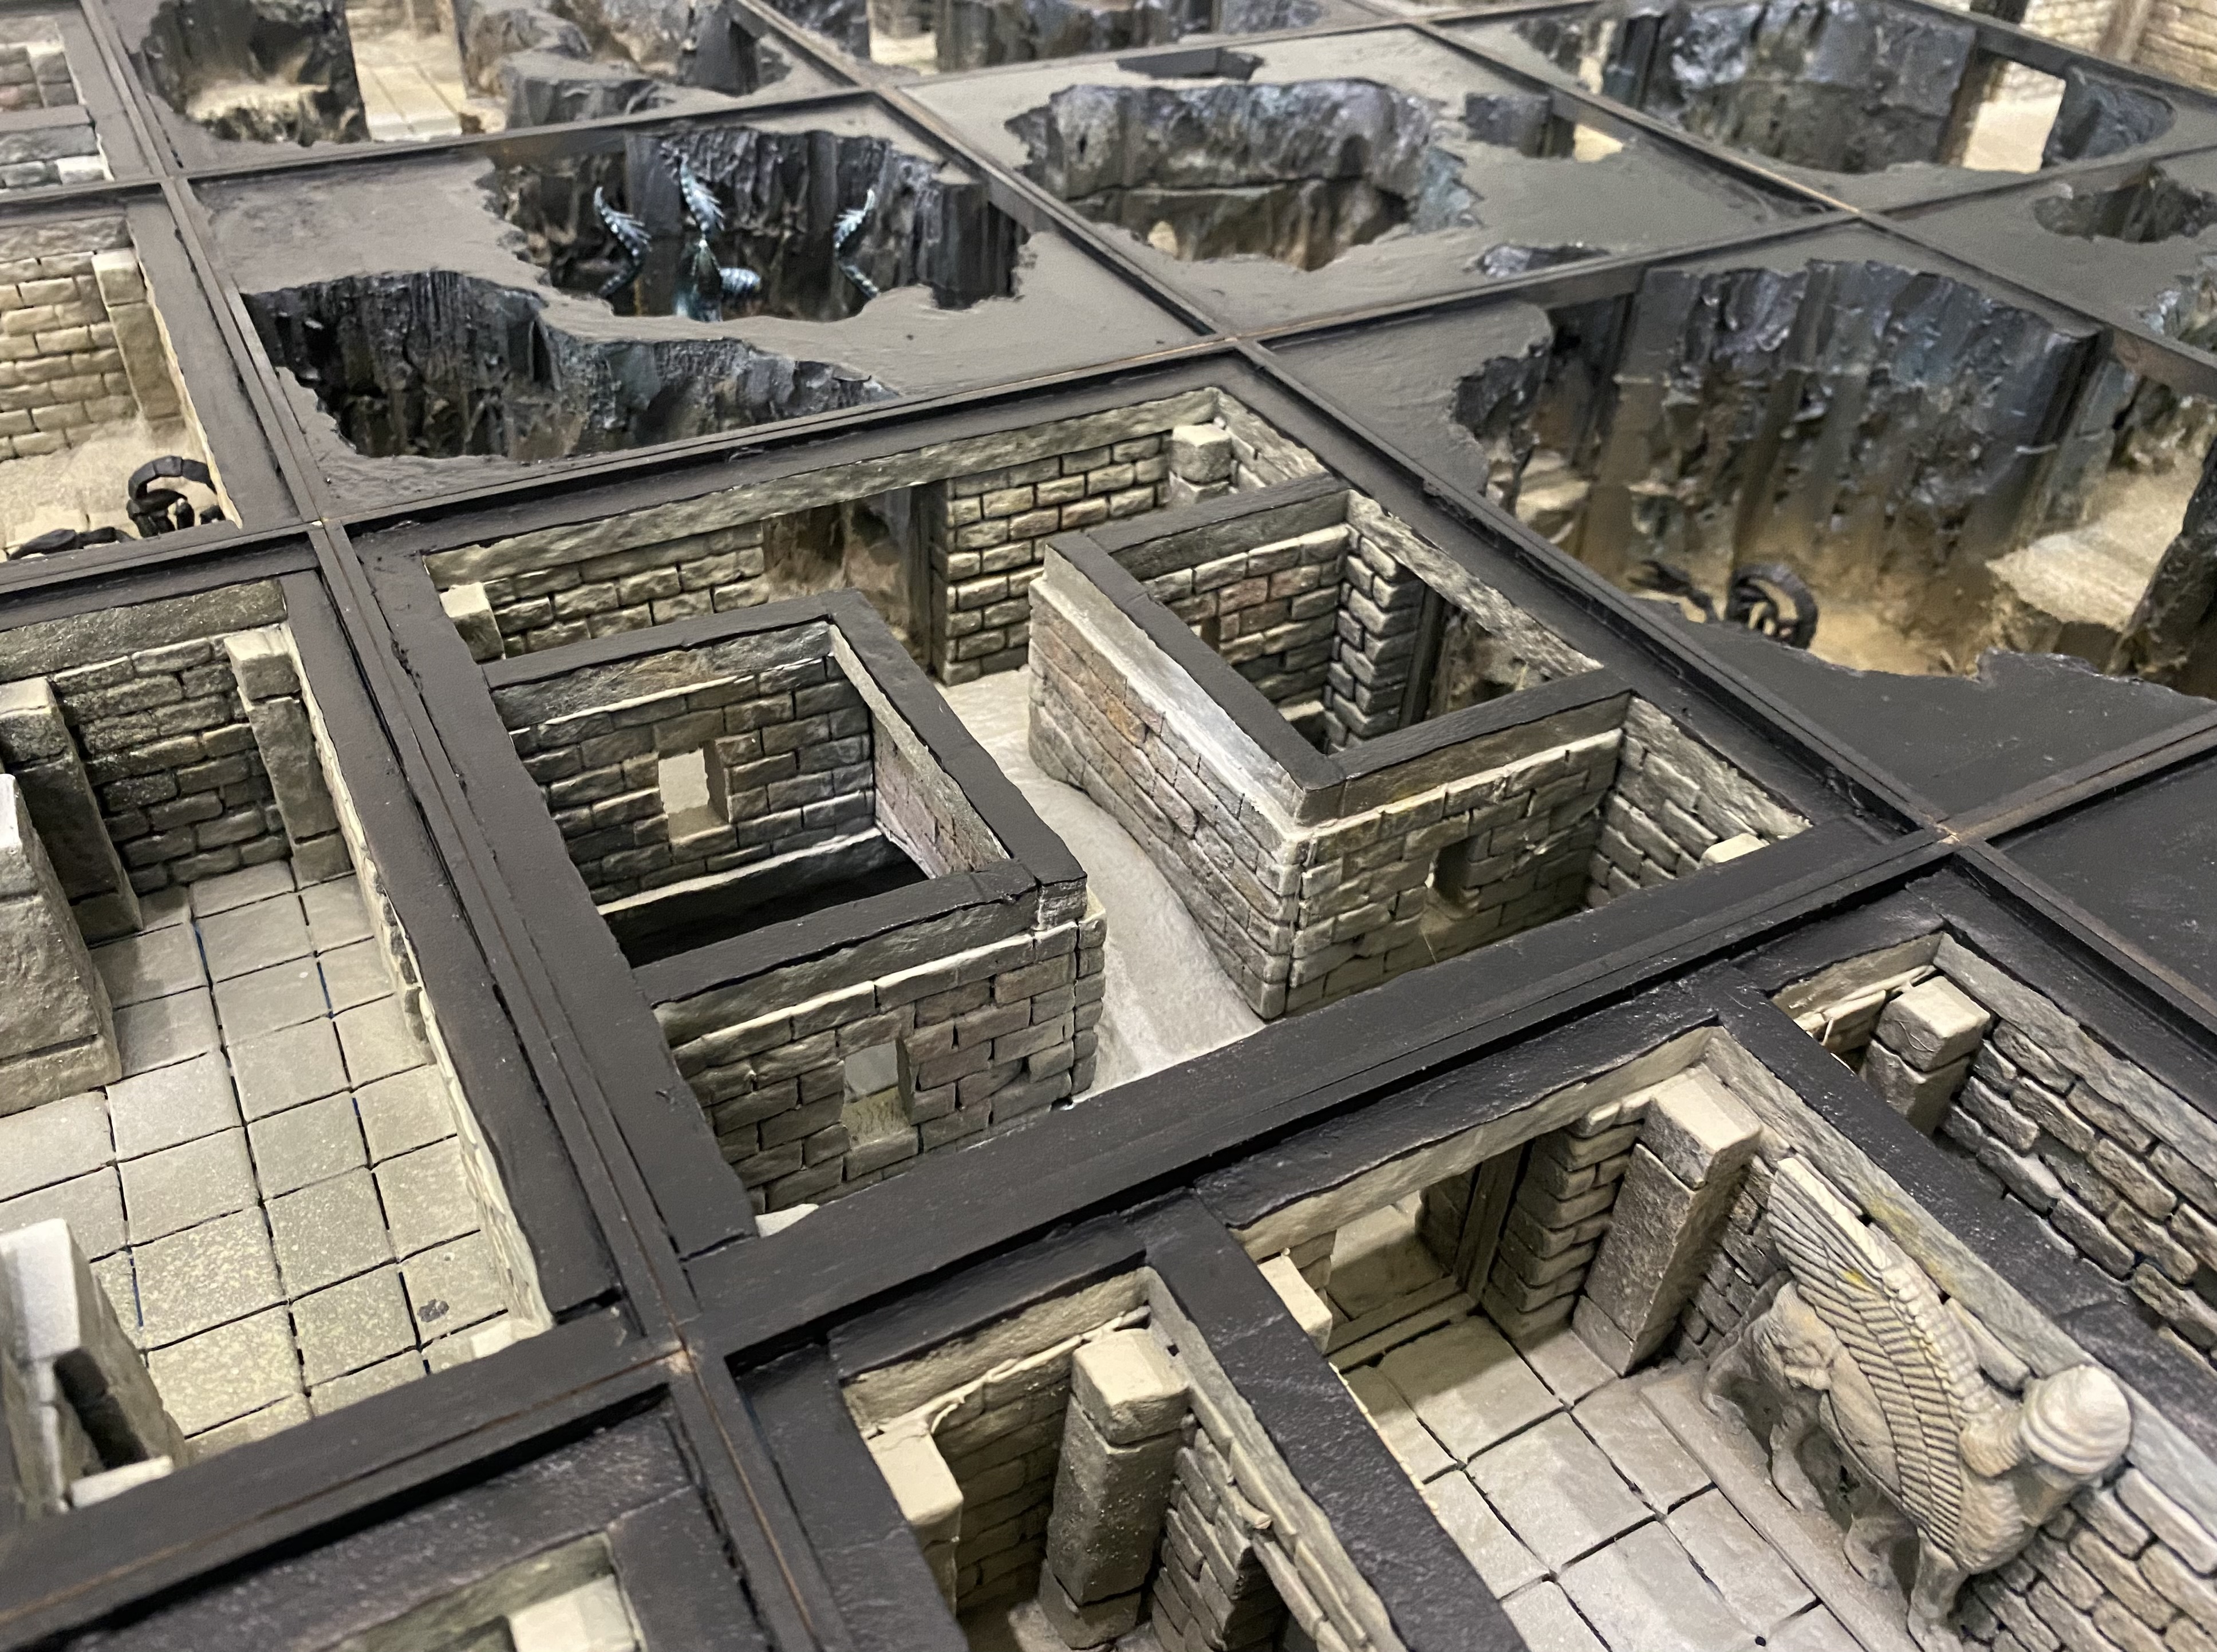
For this project, I deliberately tried to stay away from too much 3D printing and used XPS foam for the bulk of the work. Sure, there are some 3D printed elements in both resin and PLA, and there is also the use of laser-cut wood components for framing each box. Thankfully I managed to design them myself and found a local company that could cut them to my design.
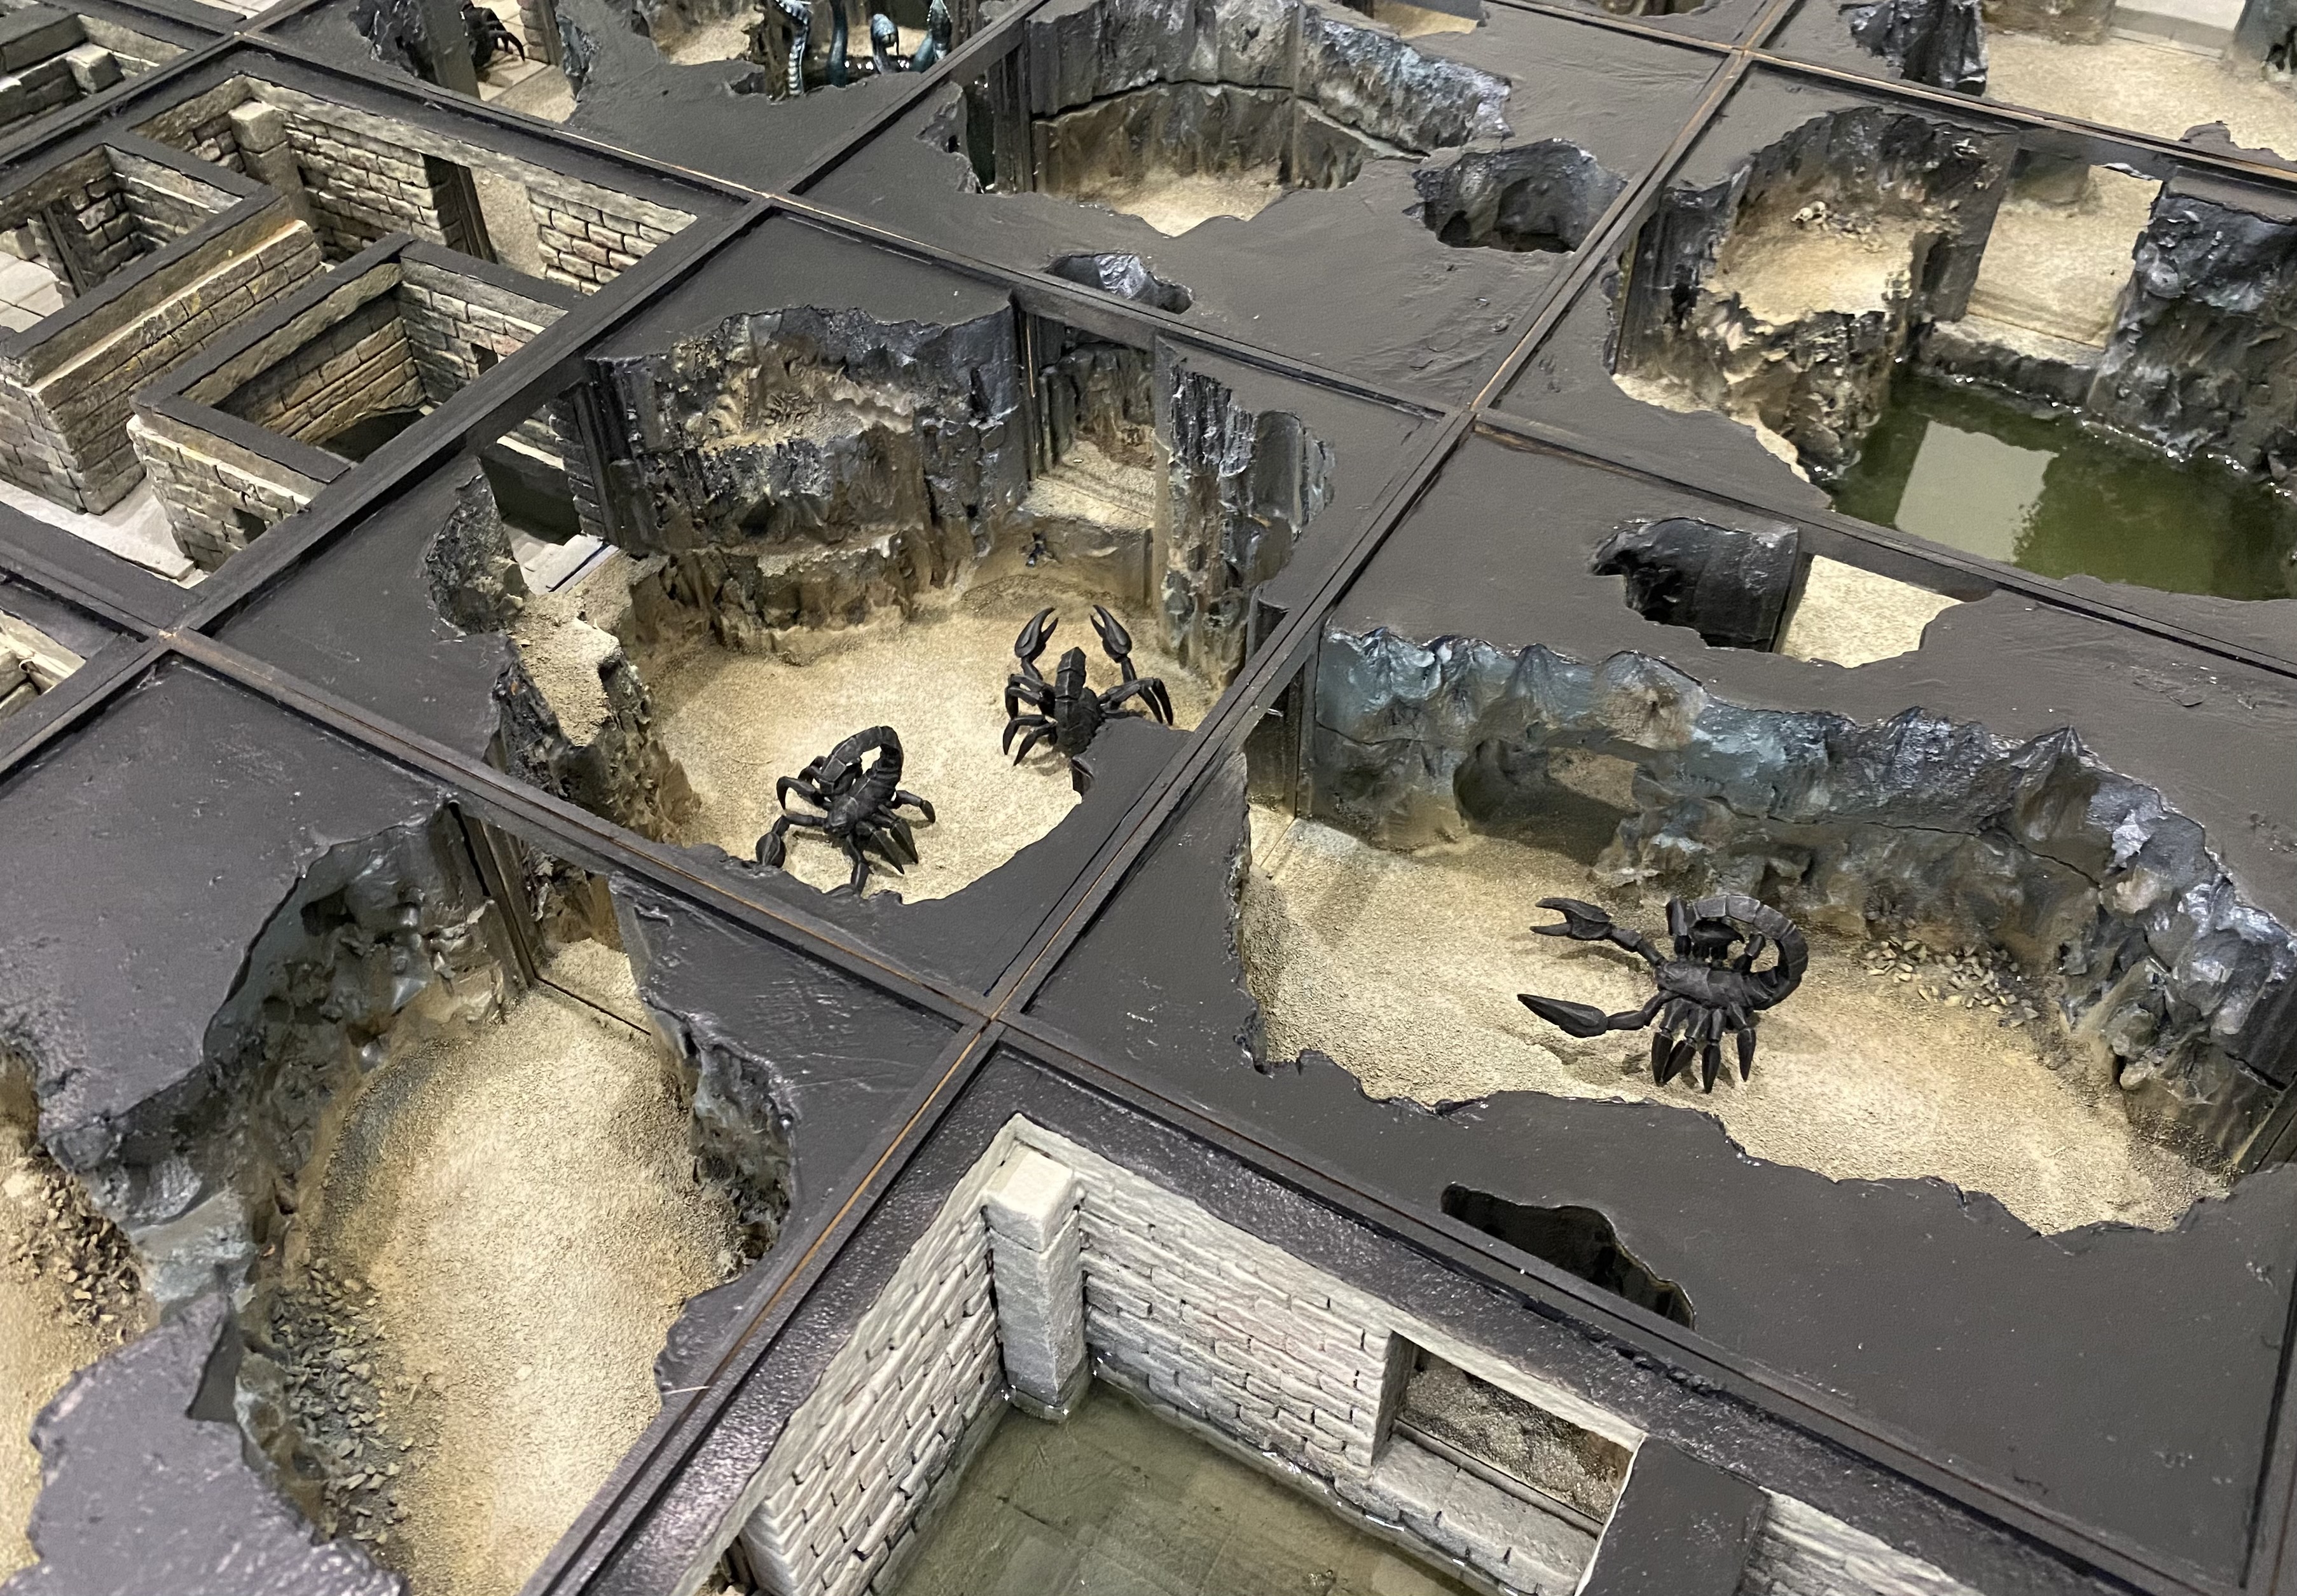
I tried my best not to add too much in the way of creatures or adventures to this project. I have done some but have left the bulk of them out of here as this was intended to be more about the actual building of the structure rather than populating it.
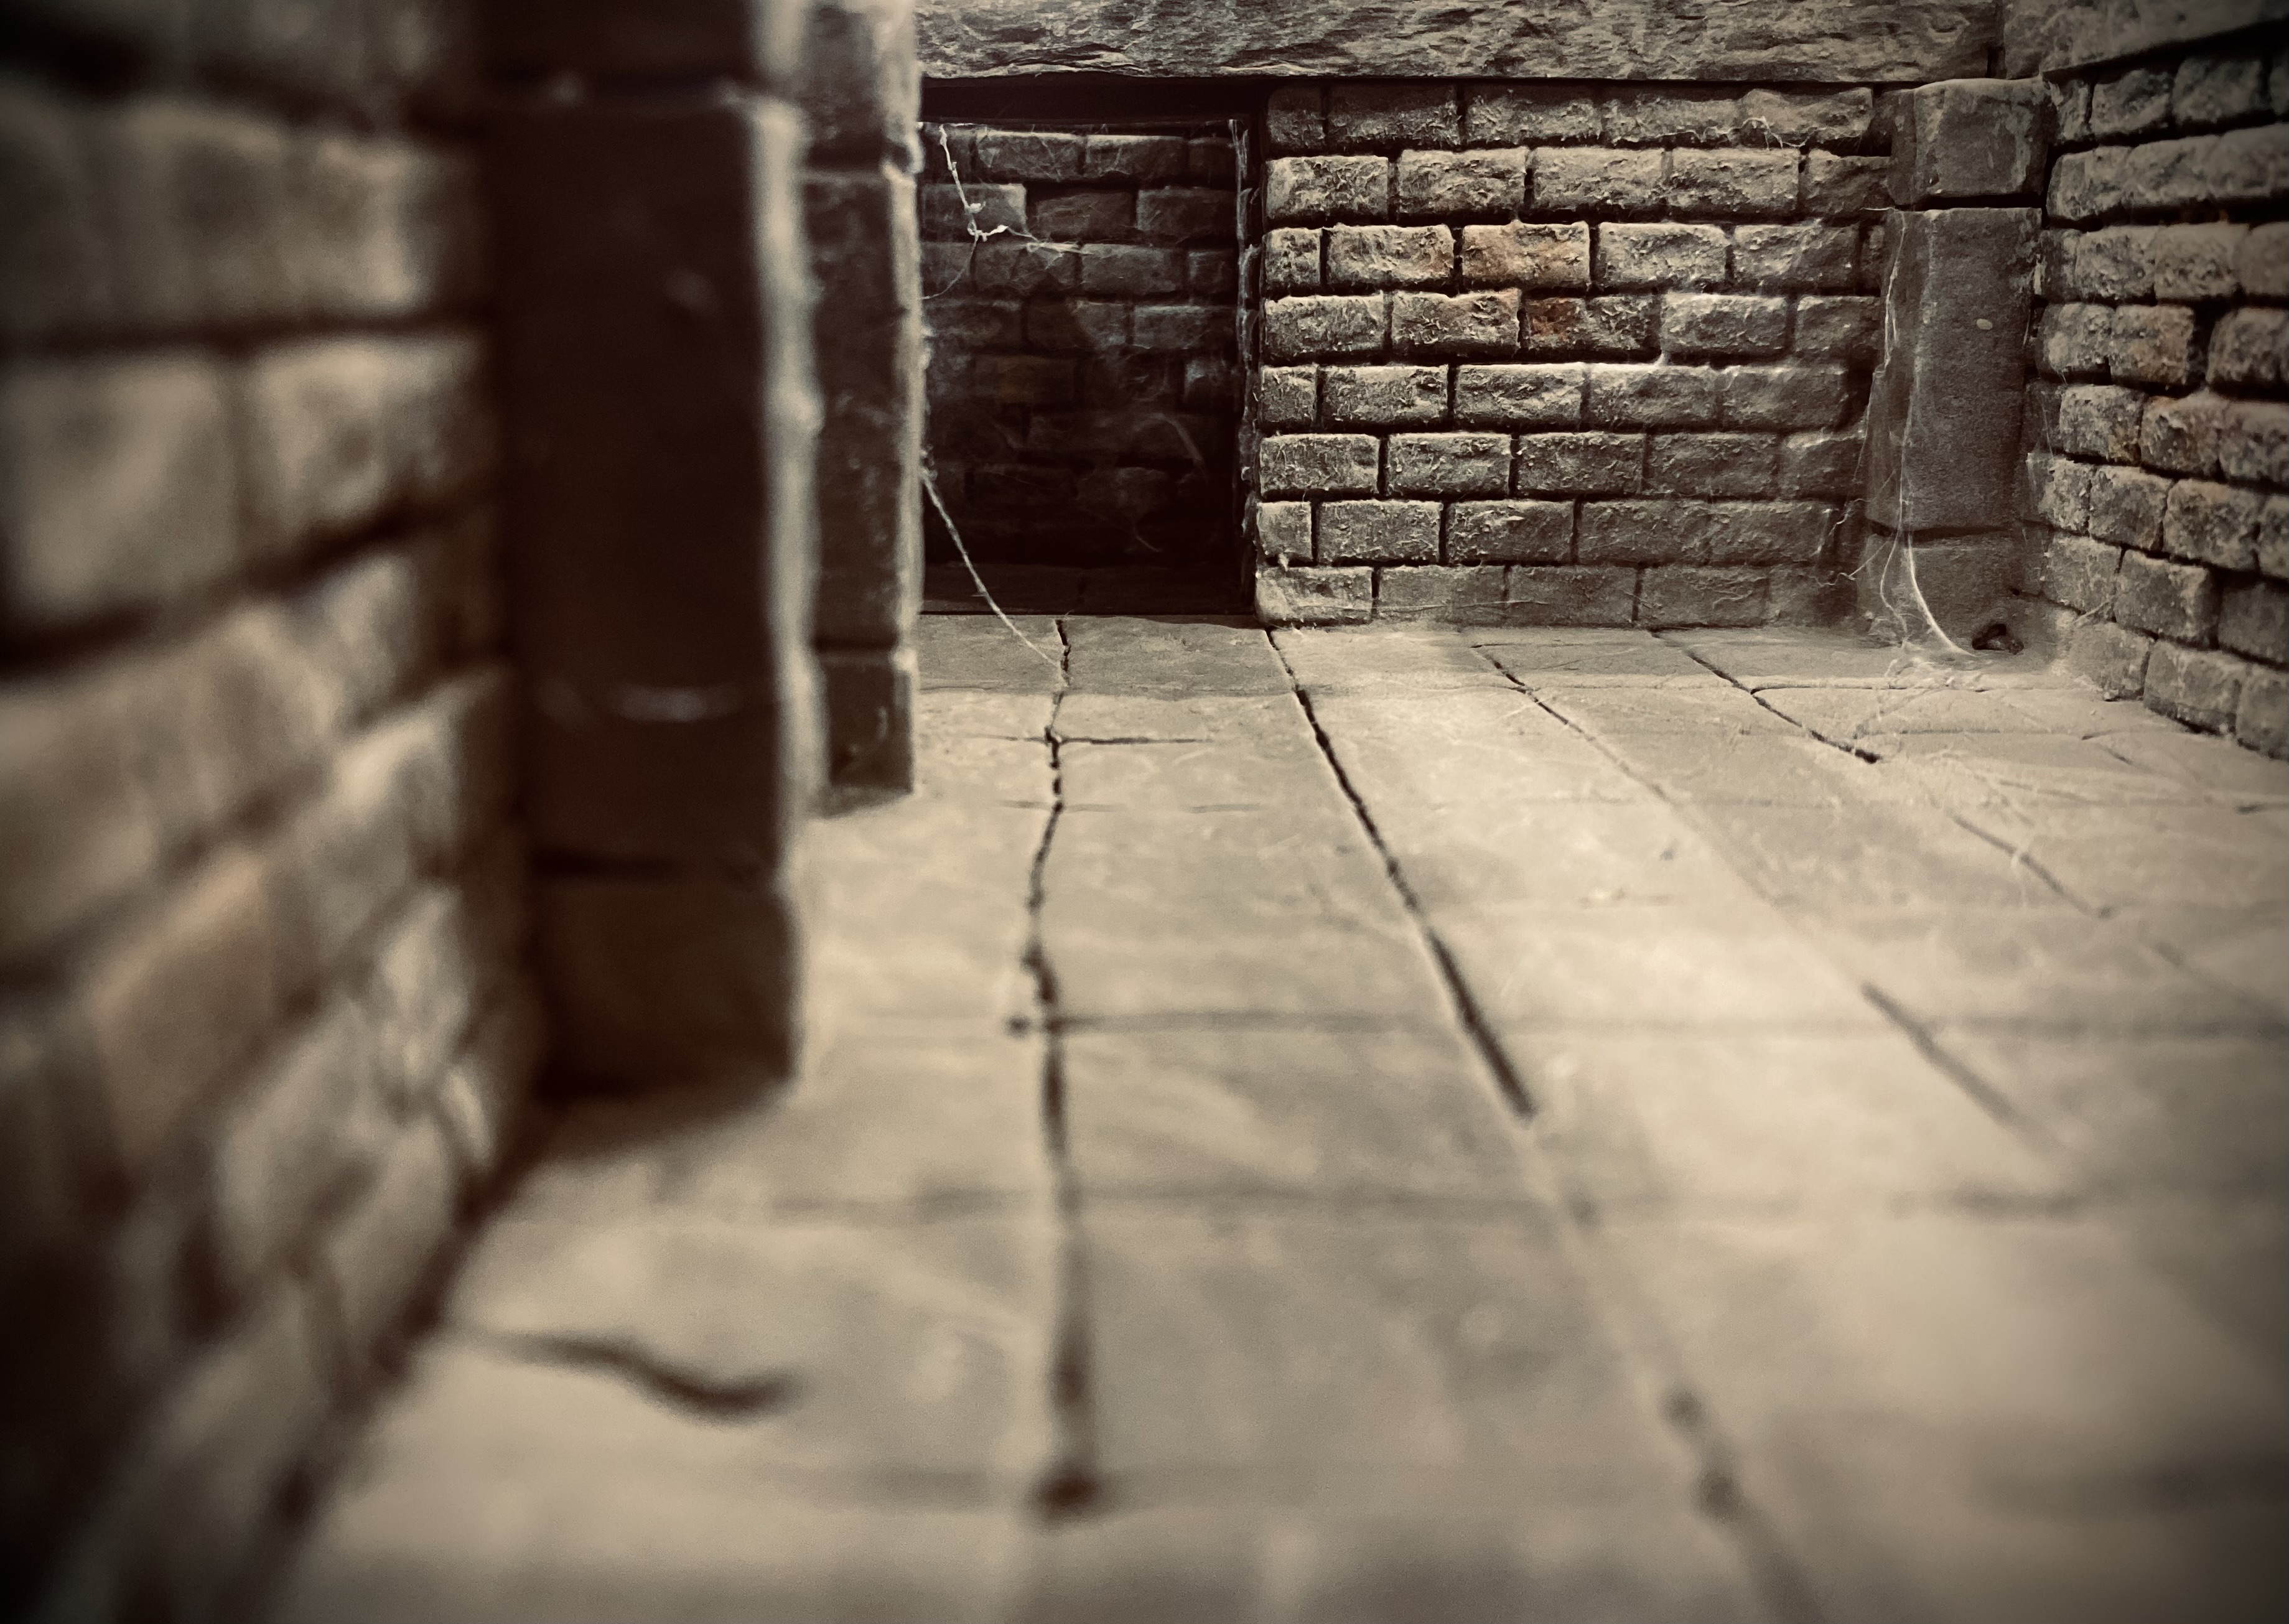
My initial plan was to just go full-on Victorian Science Fiction caves and mines with Martian spiders but that soon derailed a little into incorporating more typical dungeon stonework. However, I think I have managed to claw that back to something still with a strong VSF or Pulp feel by changing the colours from a more traditional dark grey followed by a drybrush of light grey to something more earthy and then adding Egyptian/Biblical era themed elements. I am confident that with only minor cosmetic changes to removable parts, I can turn the feel of the layout into something dark age should I need to.
So where to from here?
I have several ideas in mind of where to go with this. Now I have all the measurements and methods sorted out, or at least in my mind the plan going forward is to make some larger feature rooms. Following the same plan but twice the length so they still fit in with the pattern.
I also have plans to do more ‘mine’ type sections with wooden supports and the like. this will allow me to then maybe introduce the layout into Western-themed games and will of course be useful in Victoriana.
In addition to that, Fallout is on the cards for this year, and I already have a fair bit planned for that so maybe some Vault pieces to link into the cavern’s pieces.
I guess now that I have the basics done, I can take this in all kinds of directions.
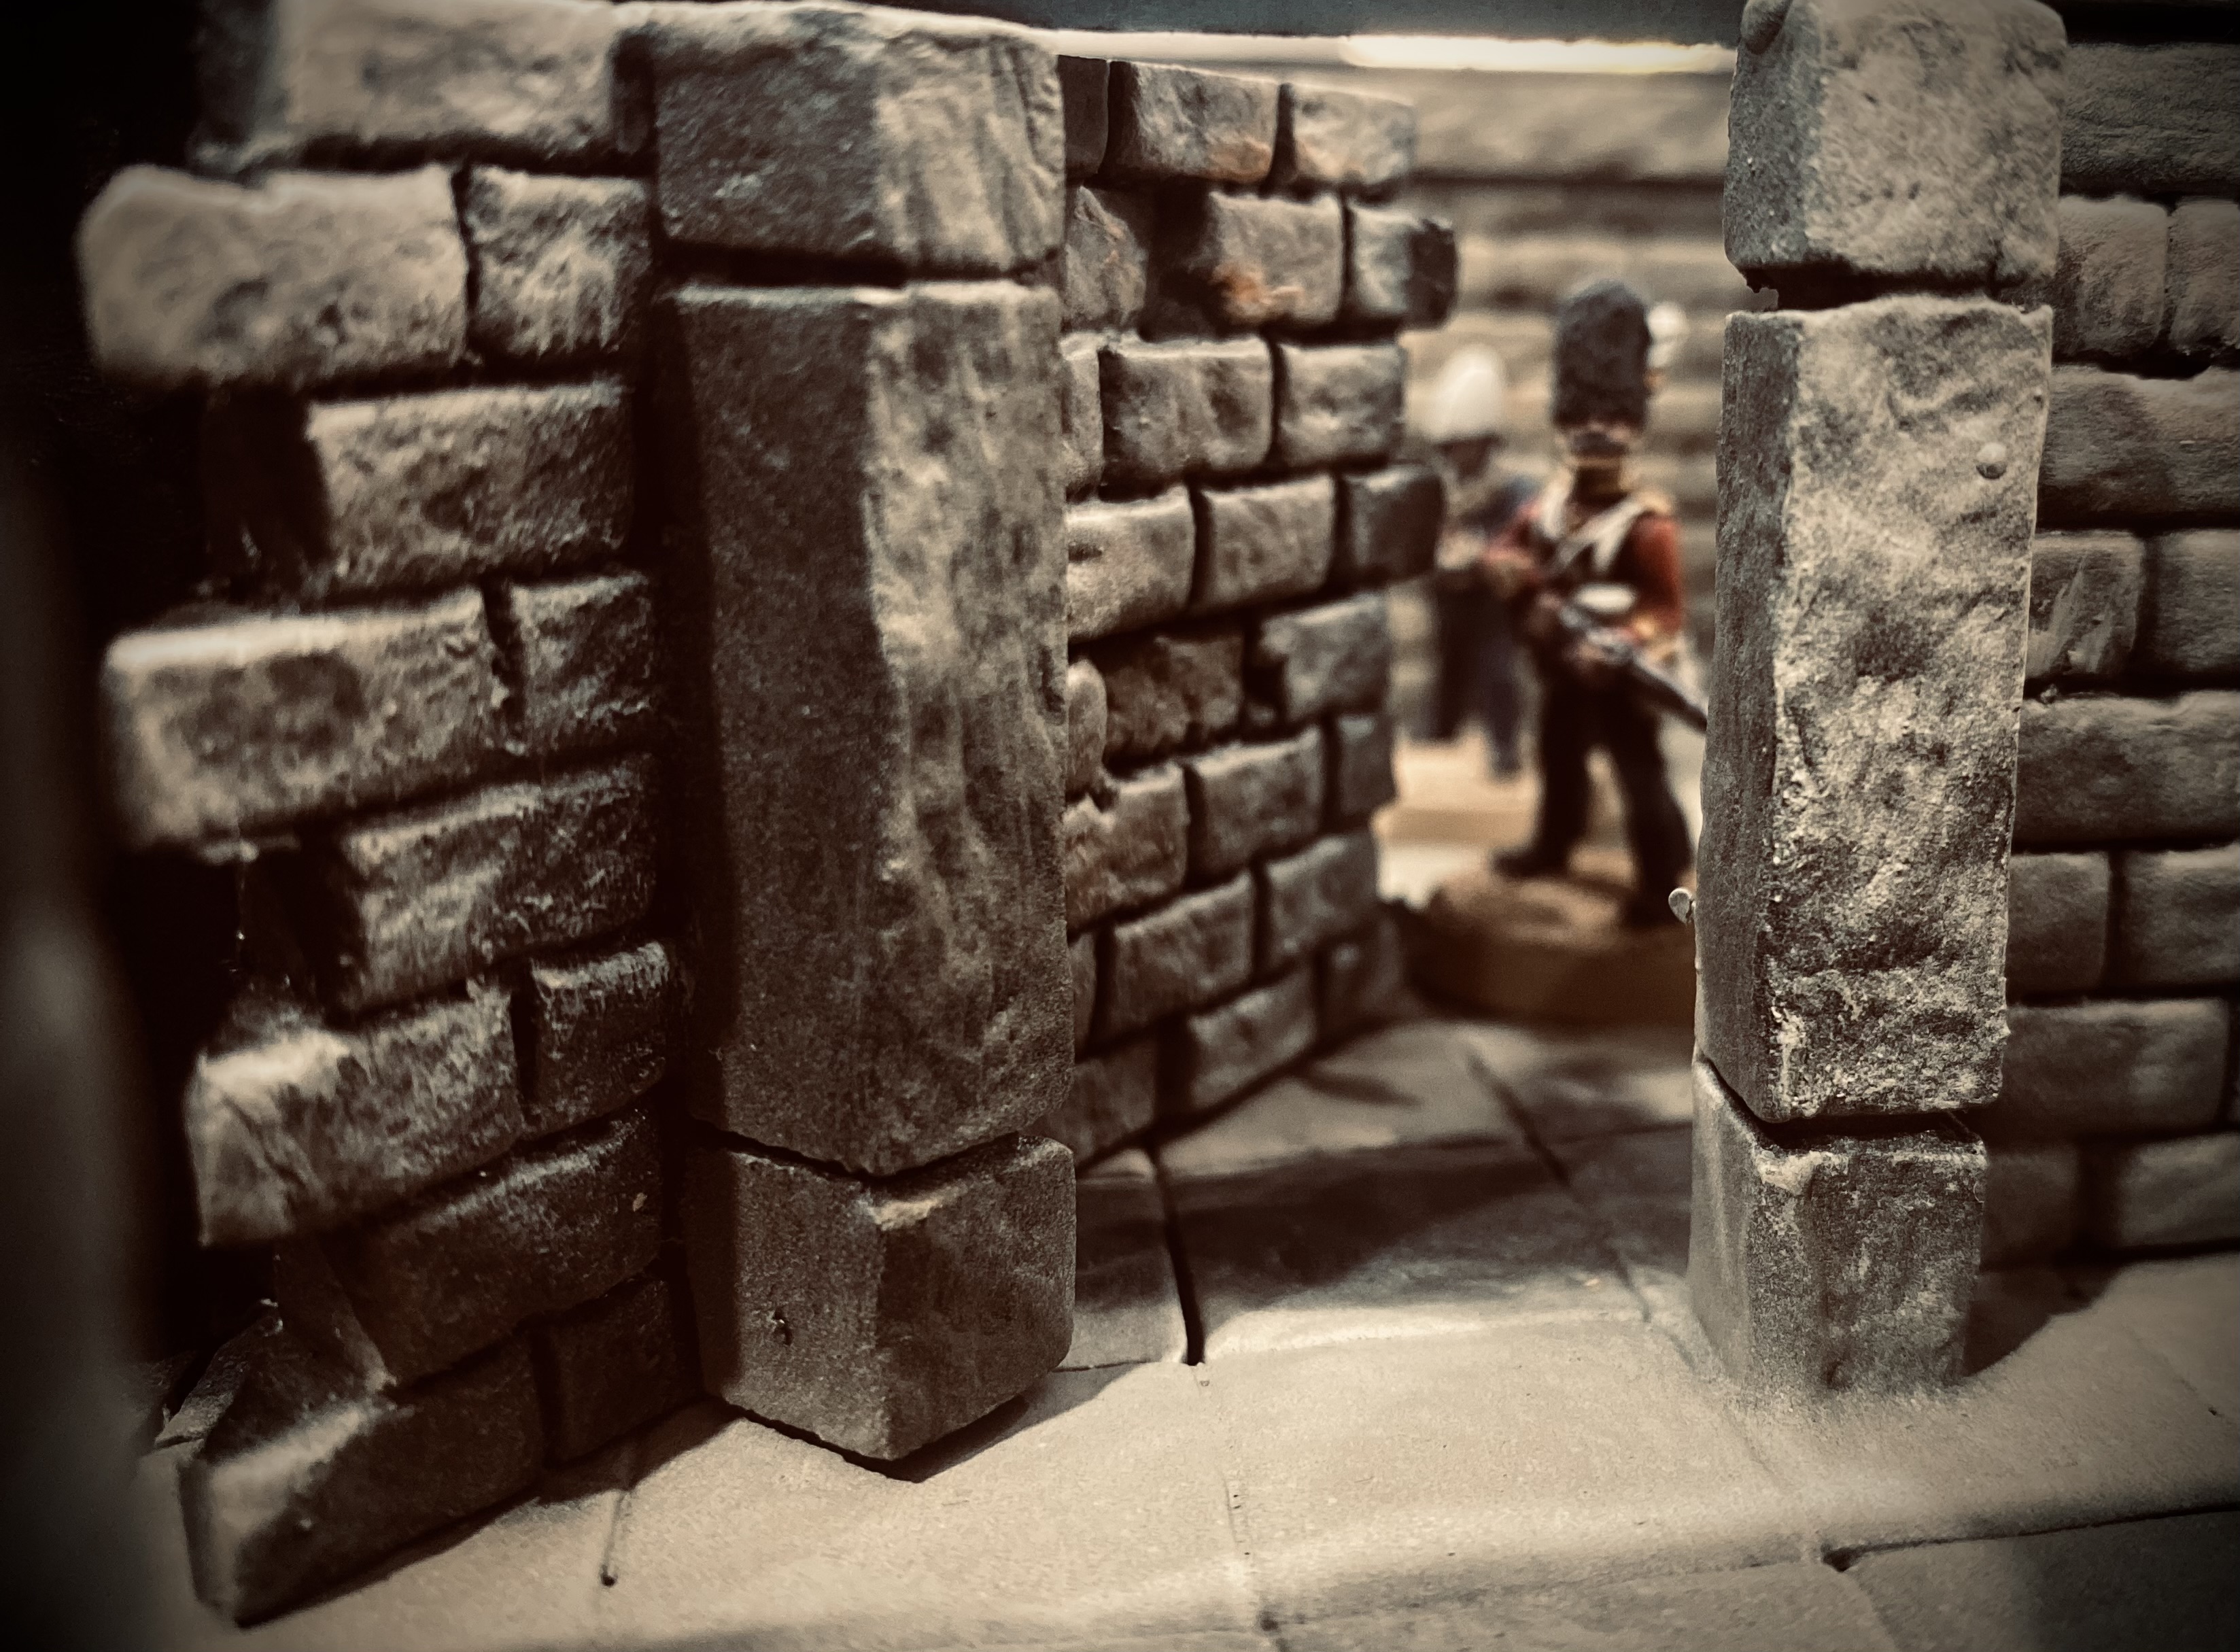
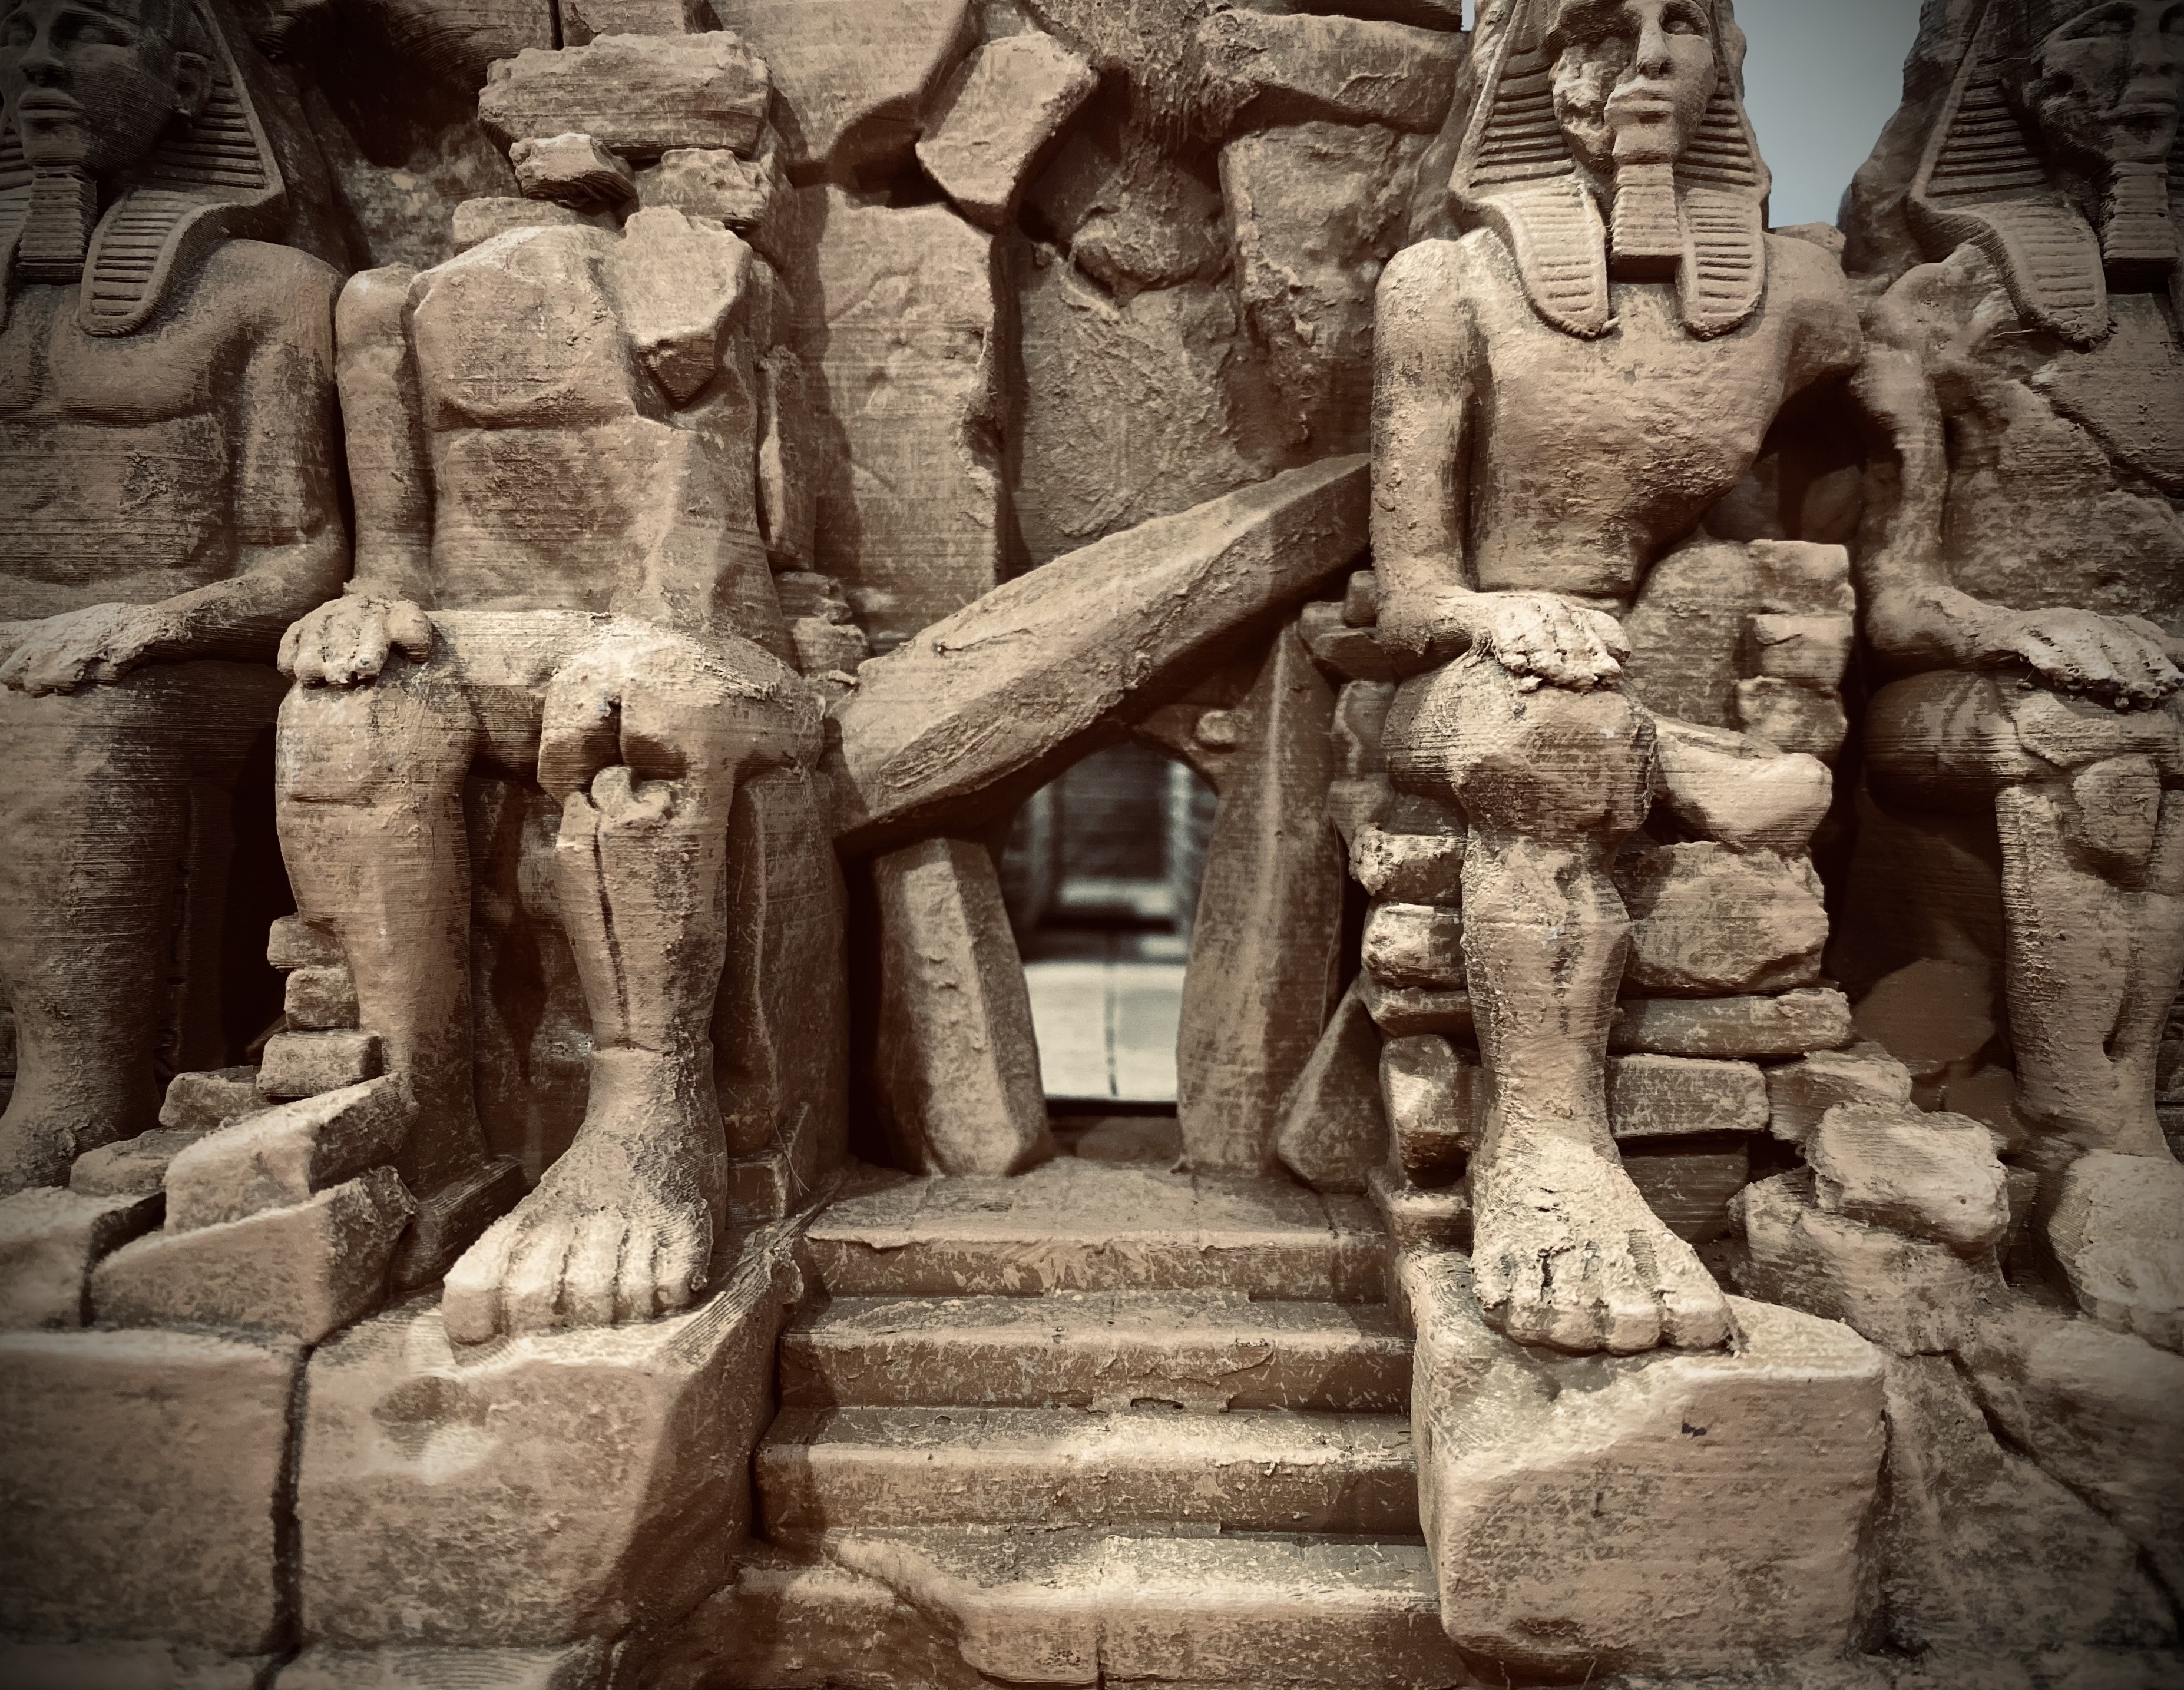 A grand entrance to a forgotten place, for when I want to have games flow from both inside and outside my 'Dungeon'.
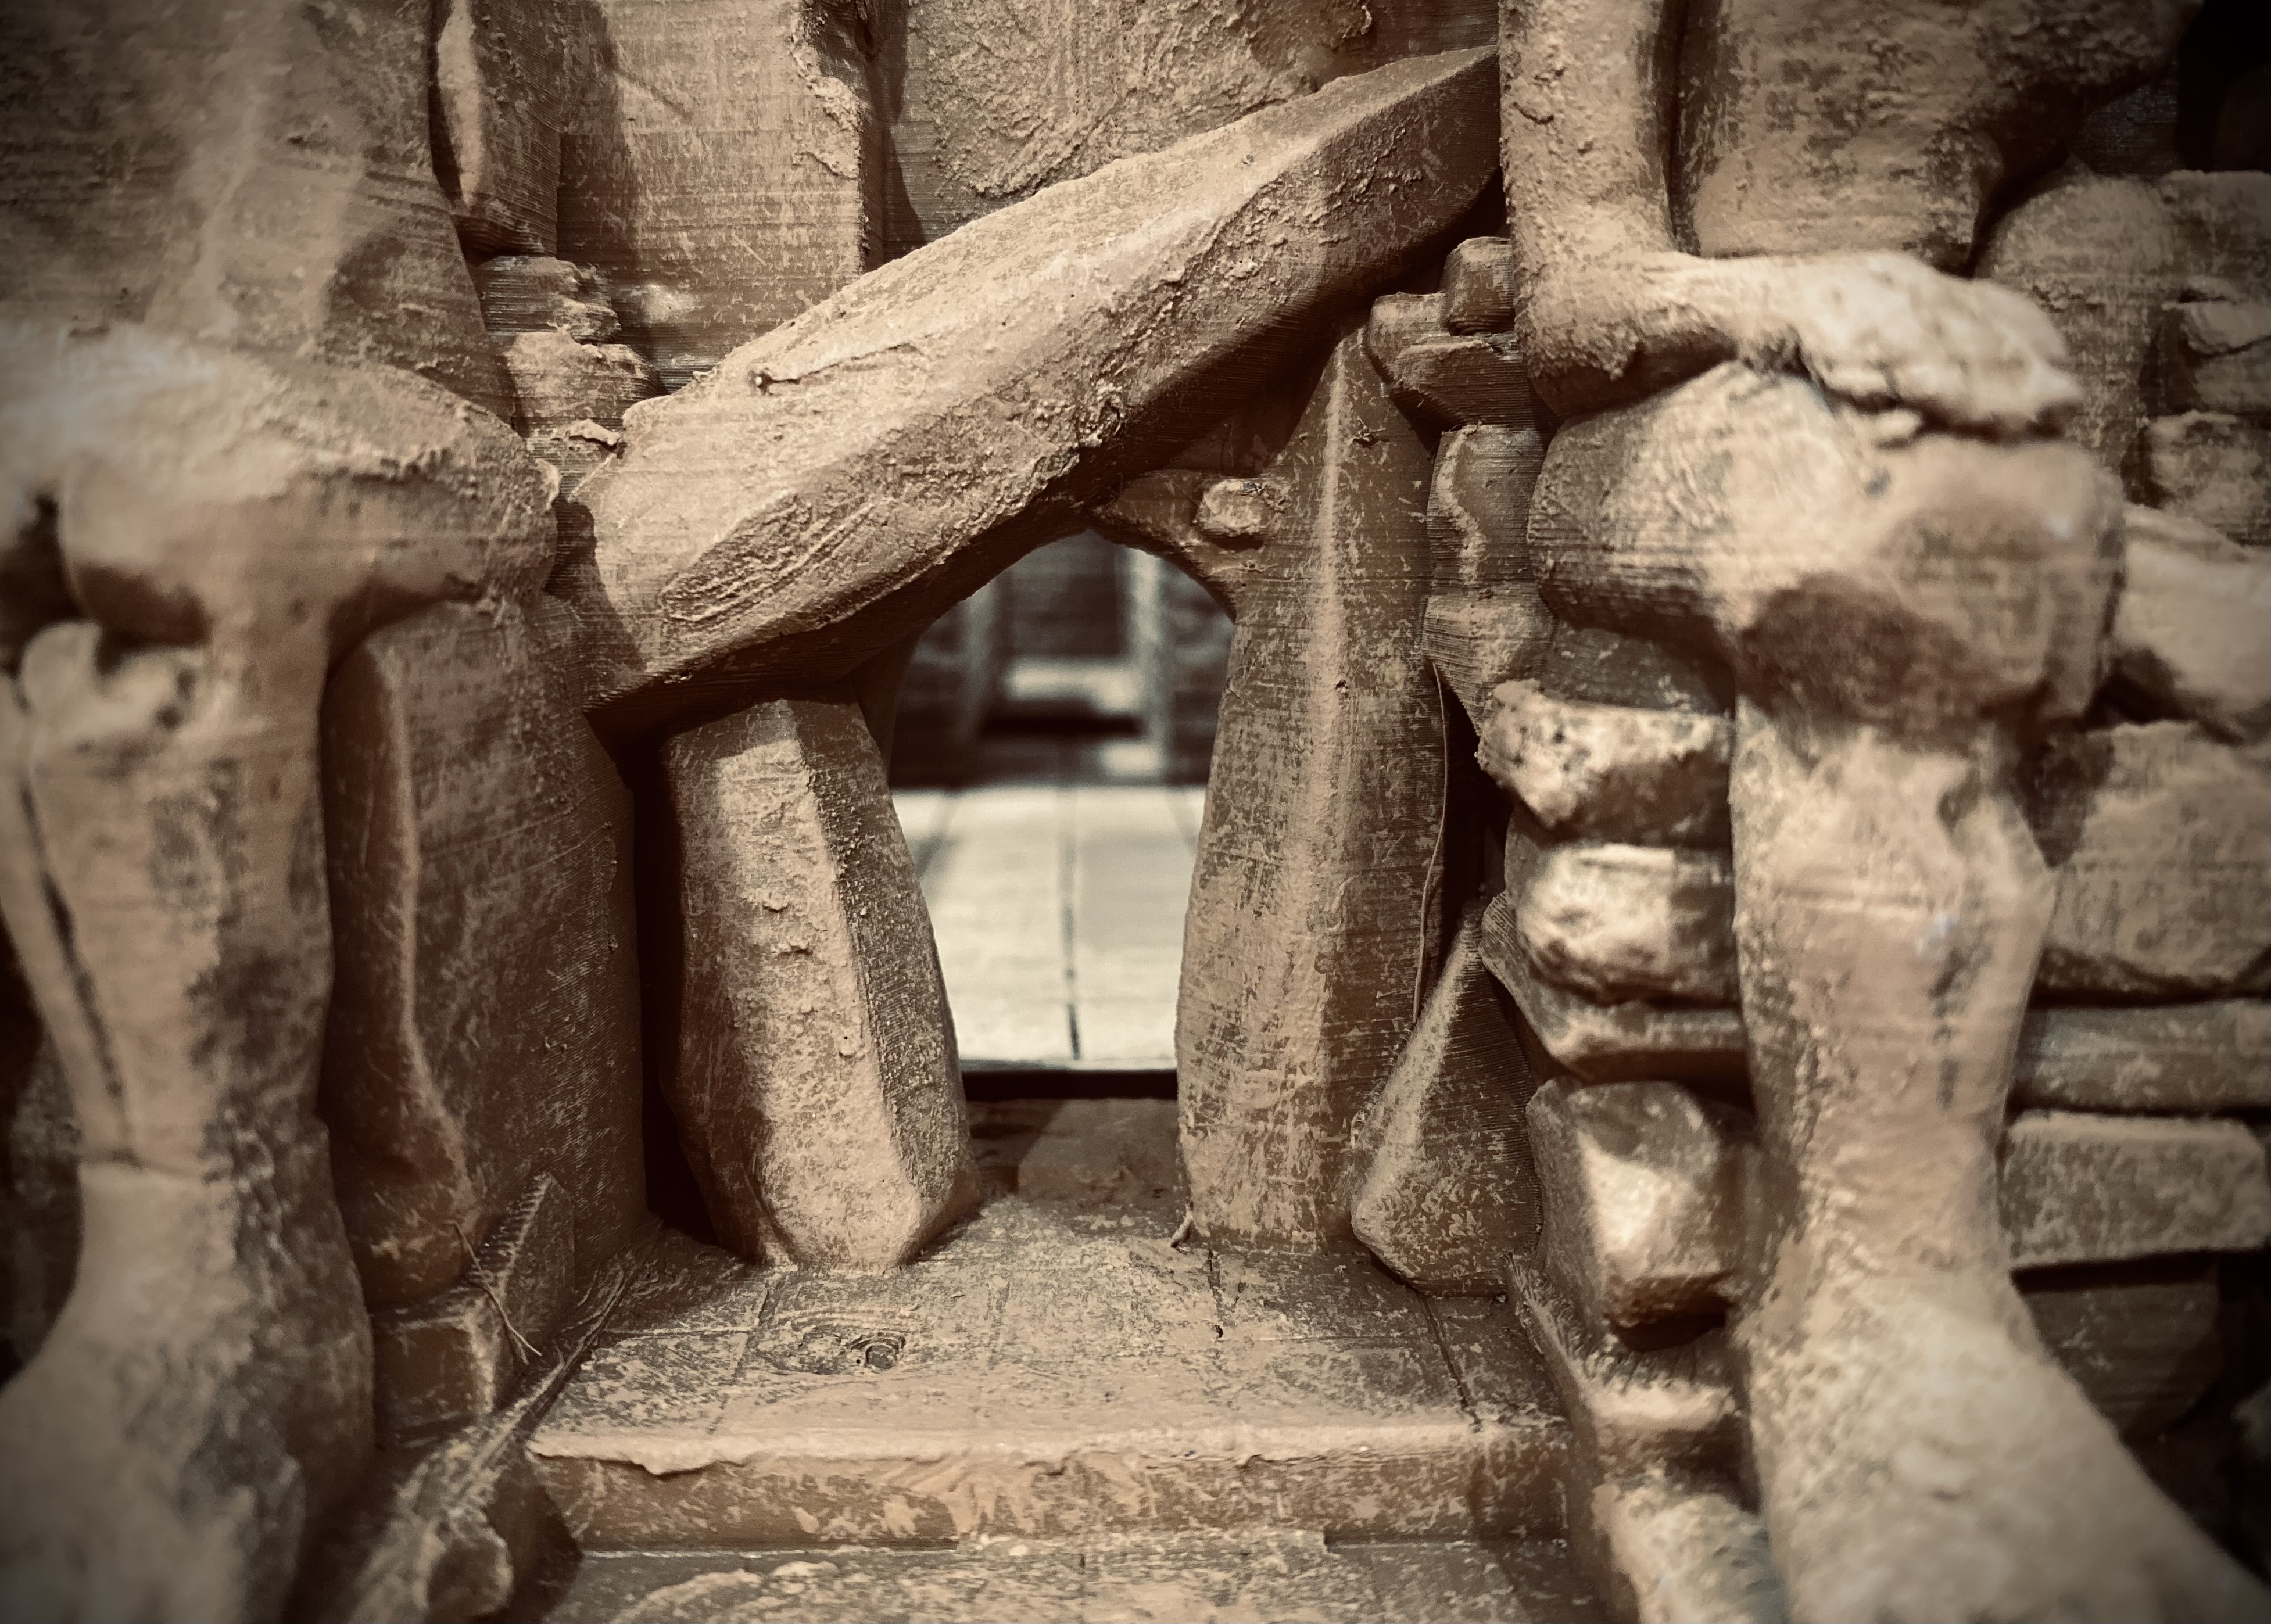 3D printed. One of the few 3D printed elements in this build project. I tried to rely more of traditional methods where possible.
 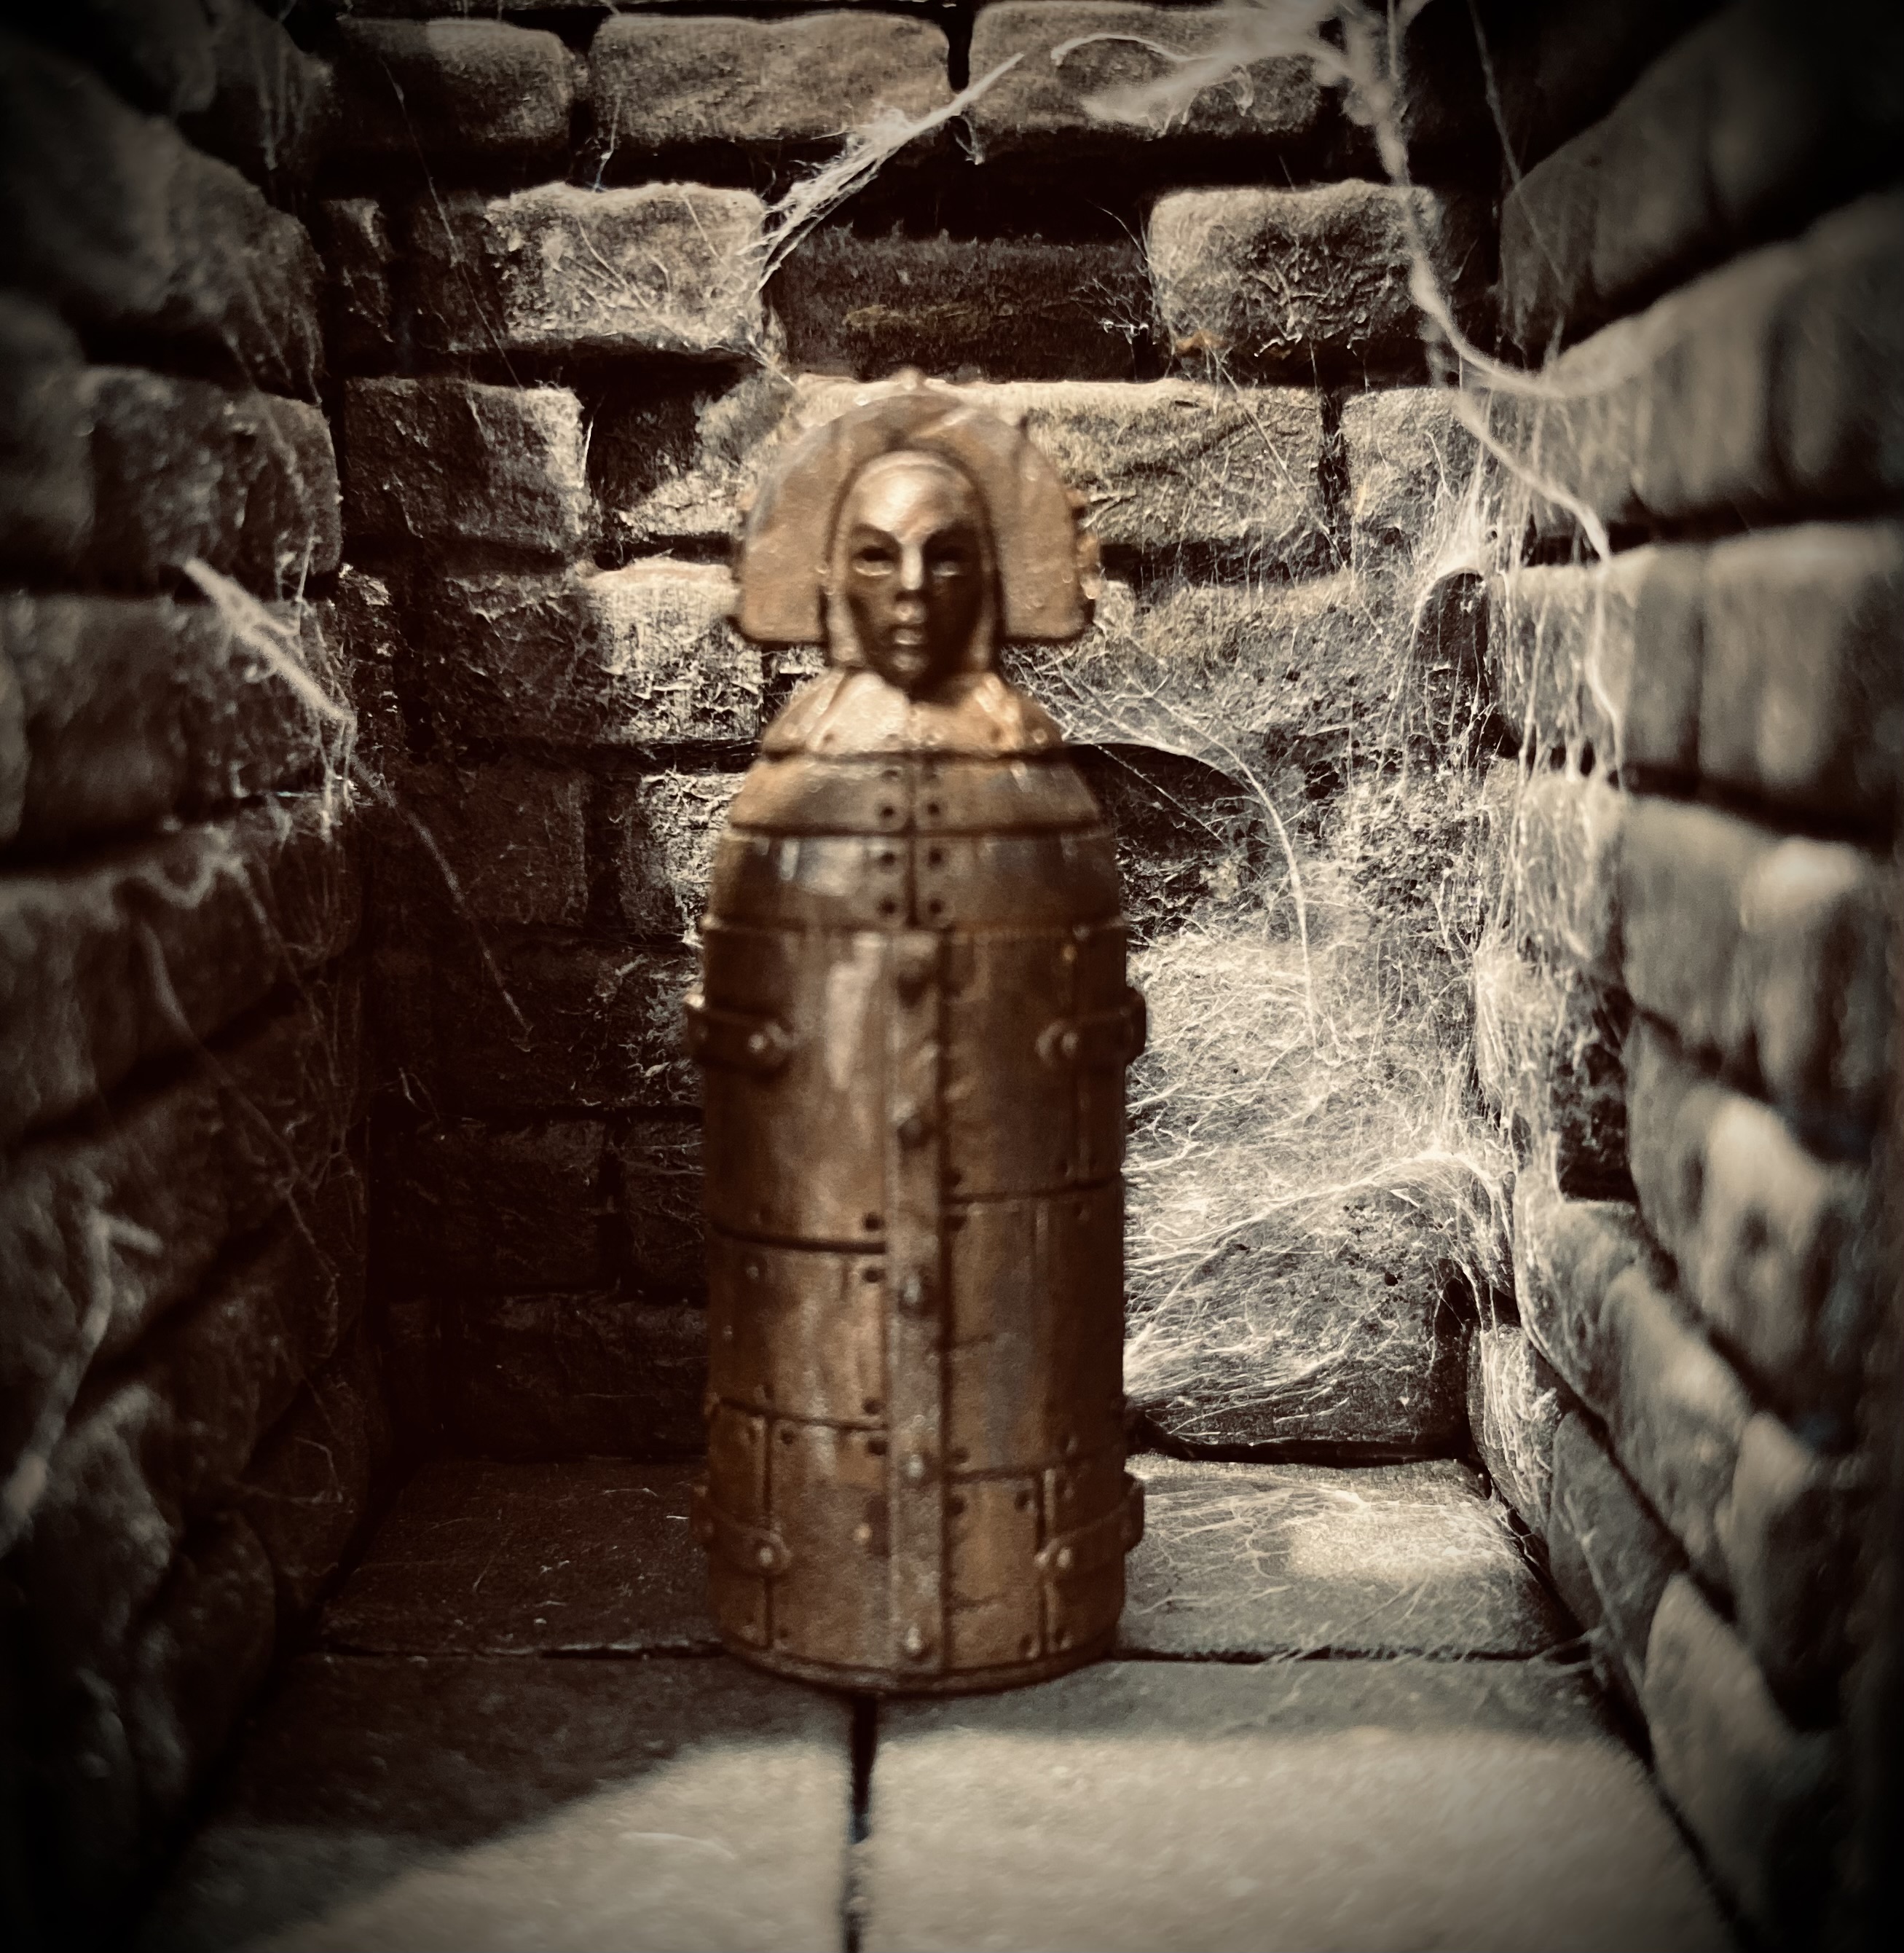 The Iron Maiden, because I want my kids to know this is a cosy welcoming place, and nothing says welcome better than a creepy metal piece of furniture.
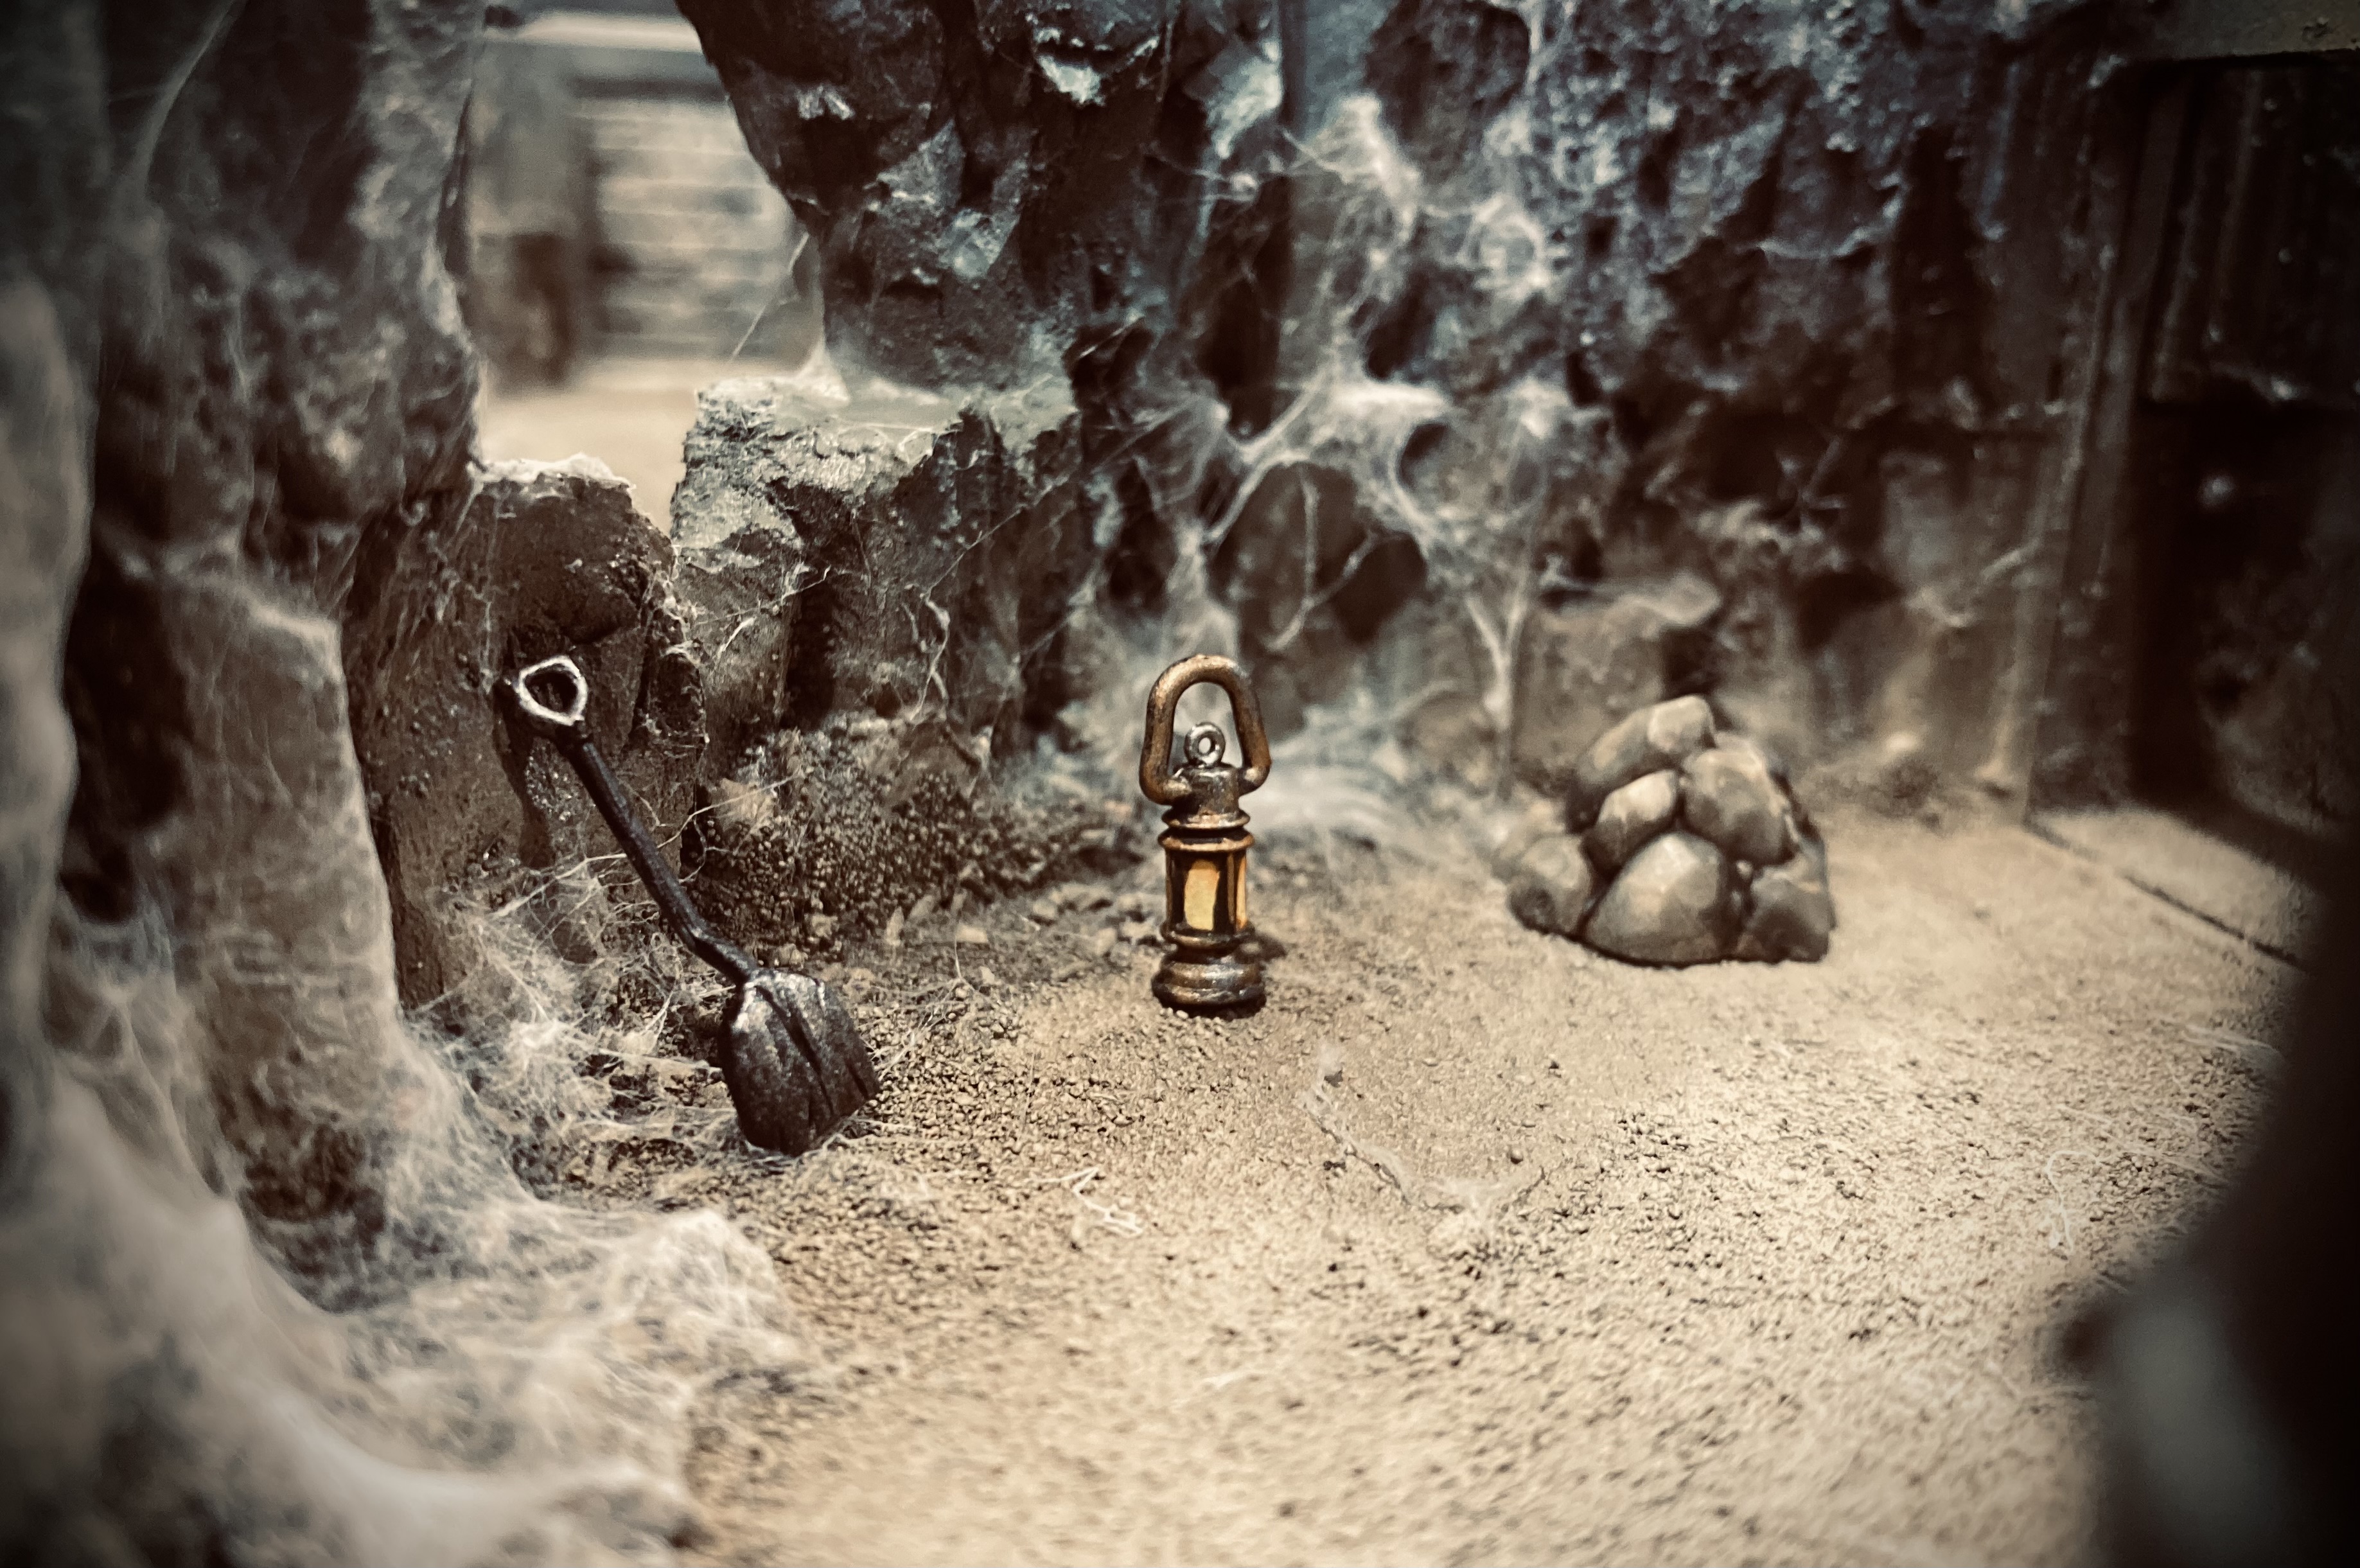
  When the miners fled the Prussian onslaught,they literally dropped their tools and ran. pity they didn't think to grab the last few sticks of dynamite.
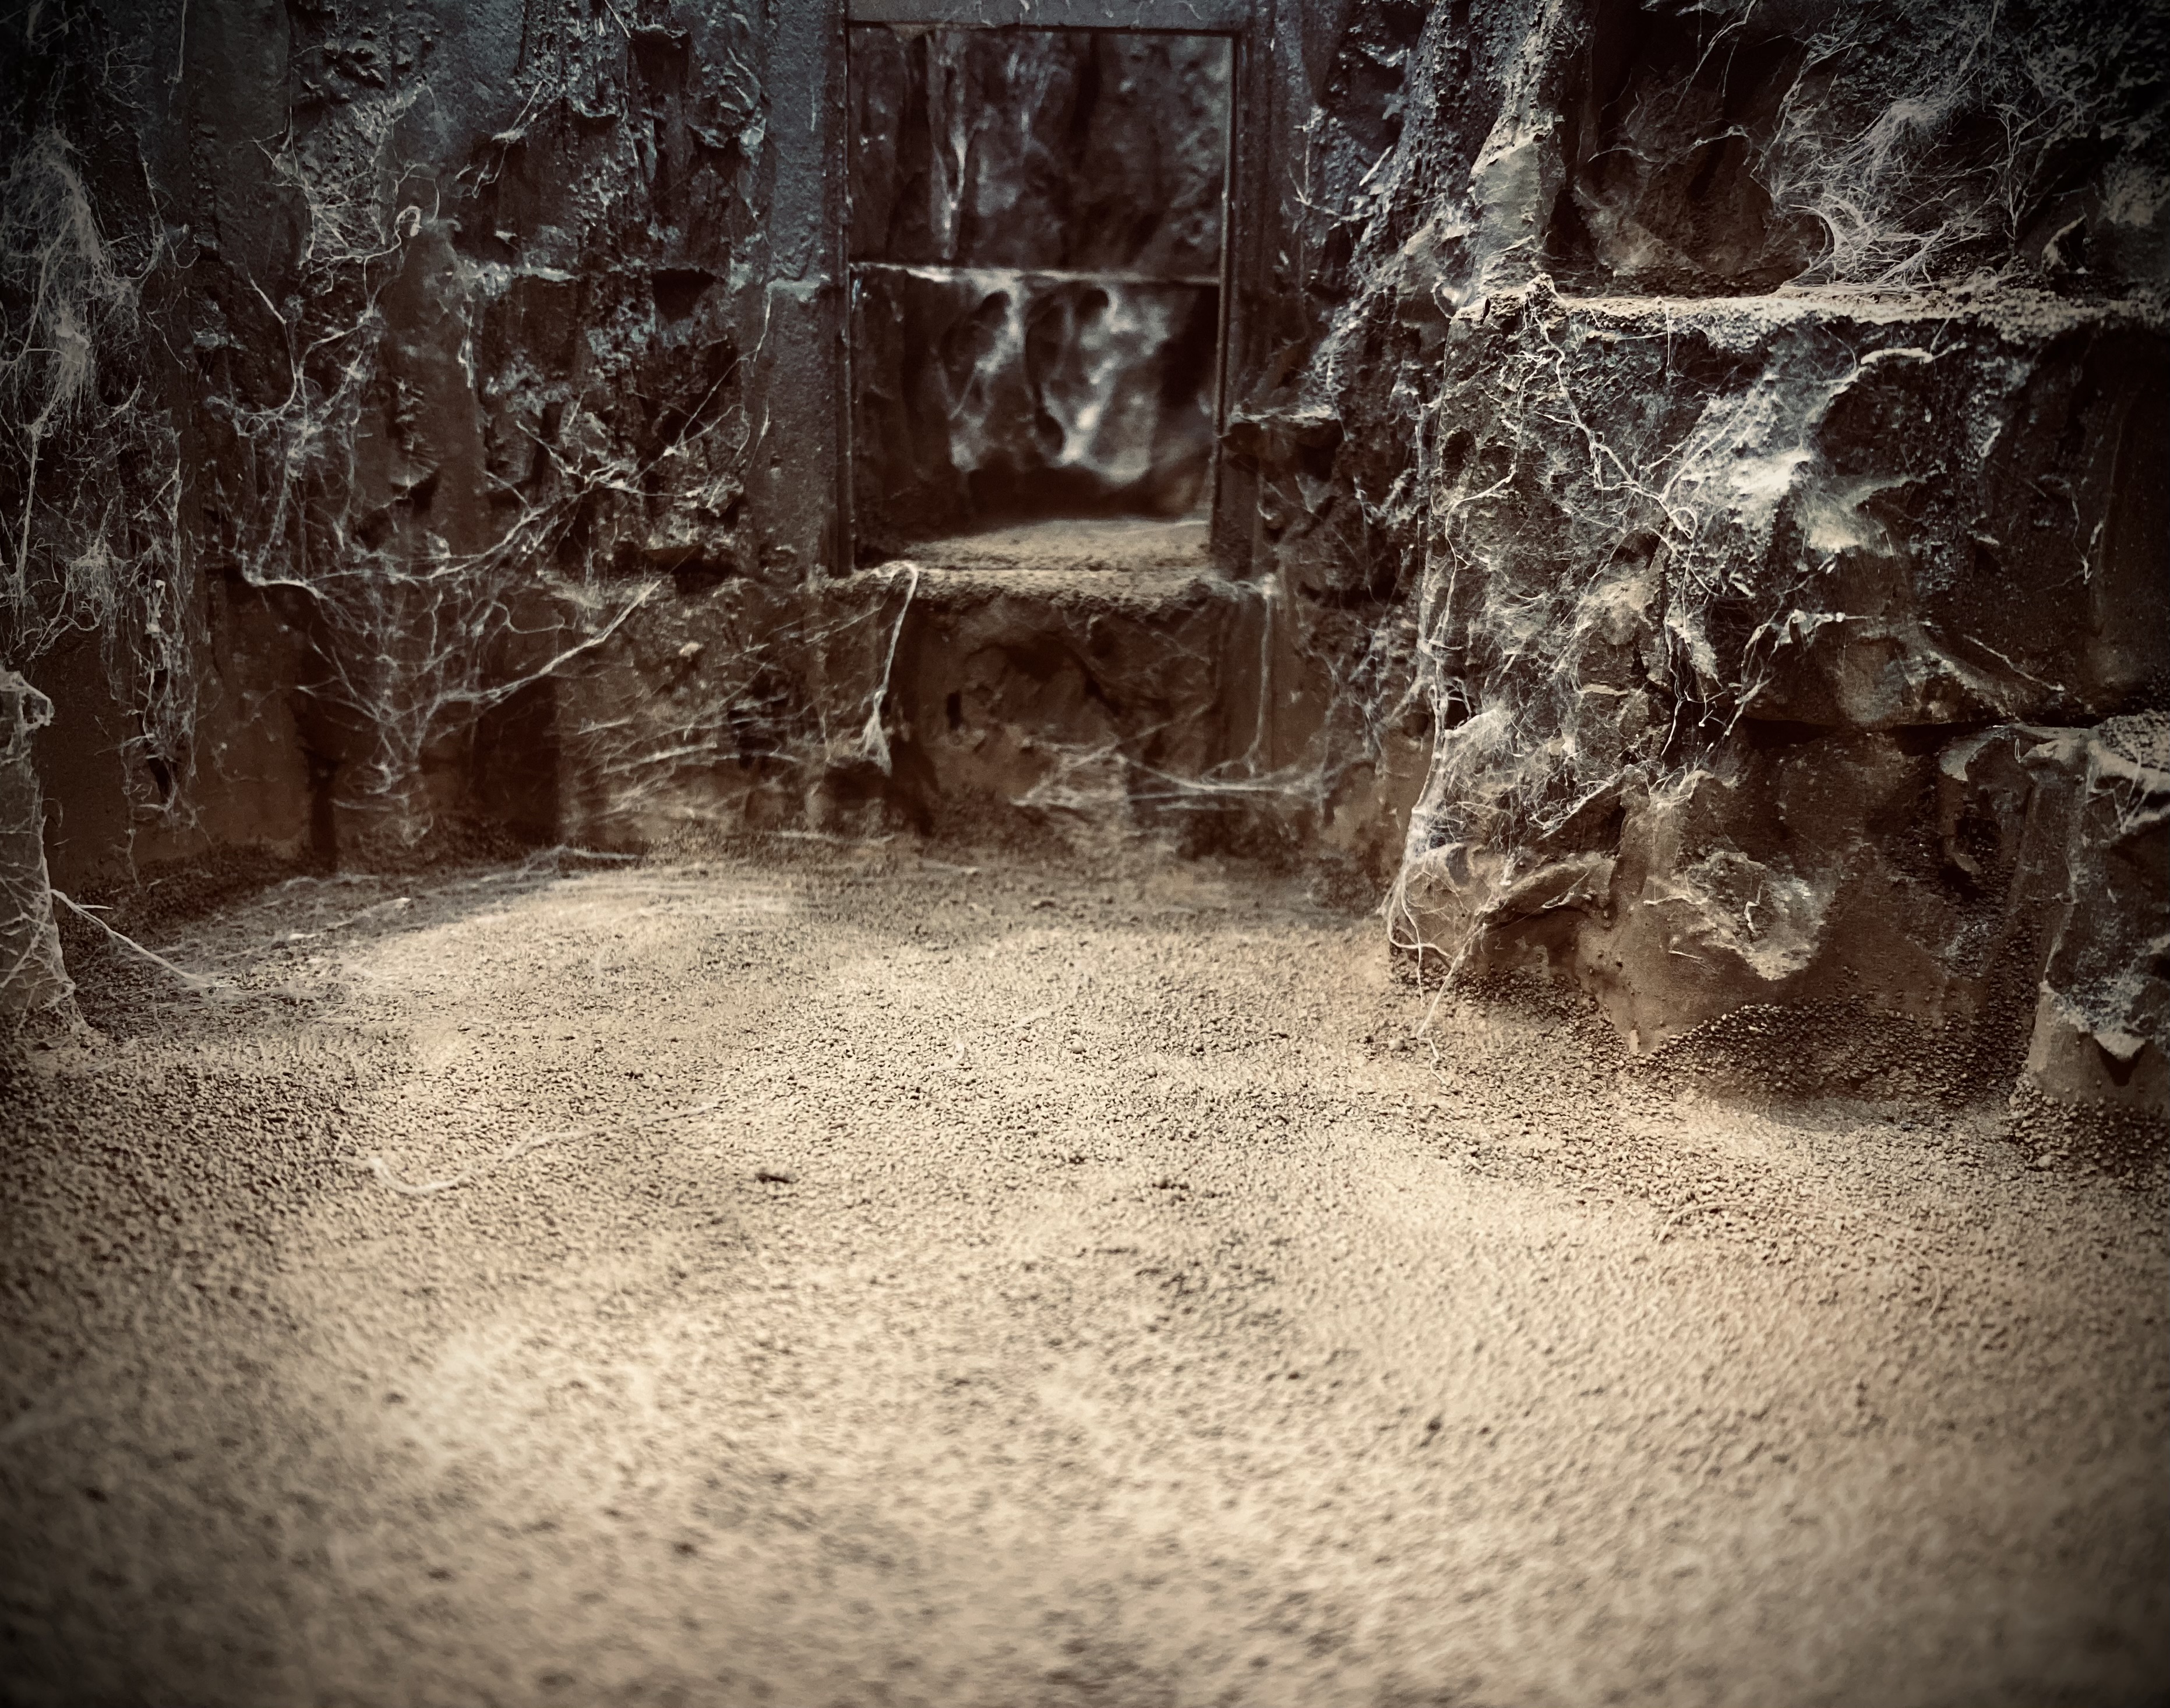
 Abandoned mines and what are those, I wonder if anyone has any knowledge in mycology? I'm sure they look edible.
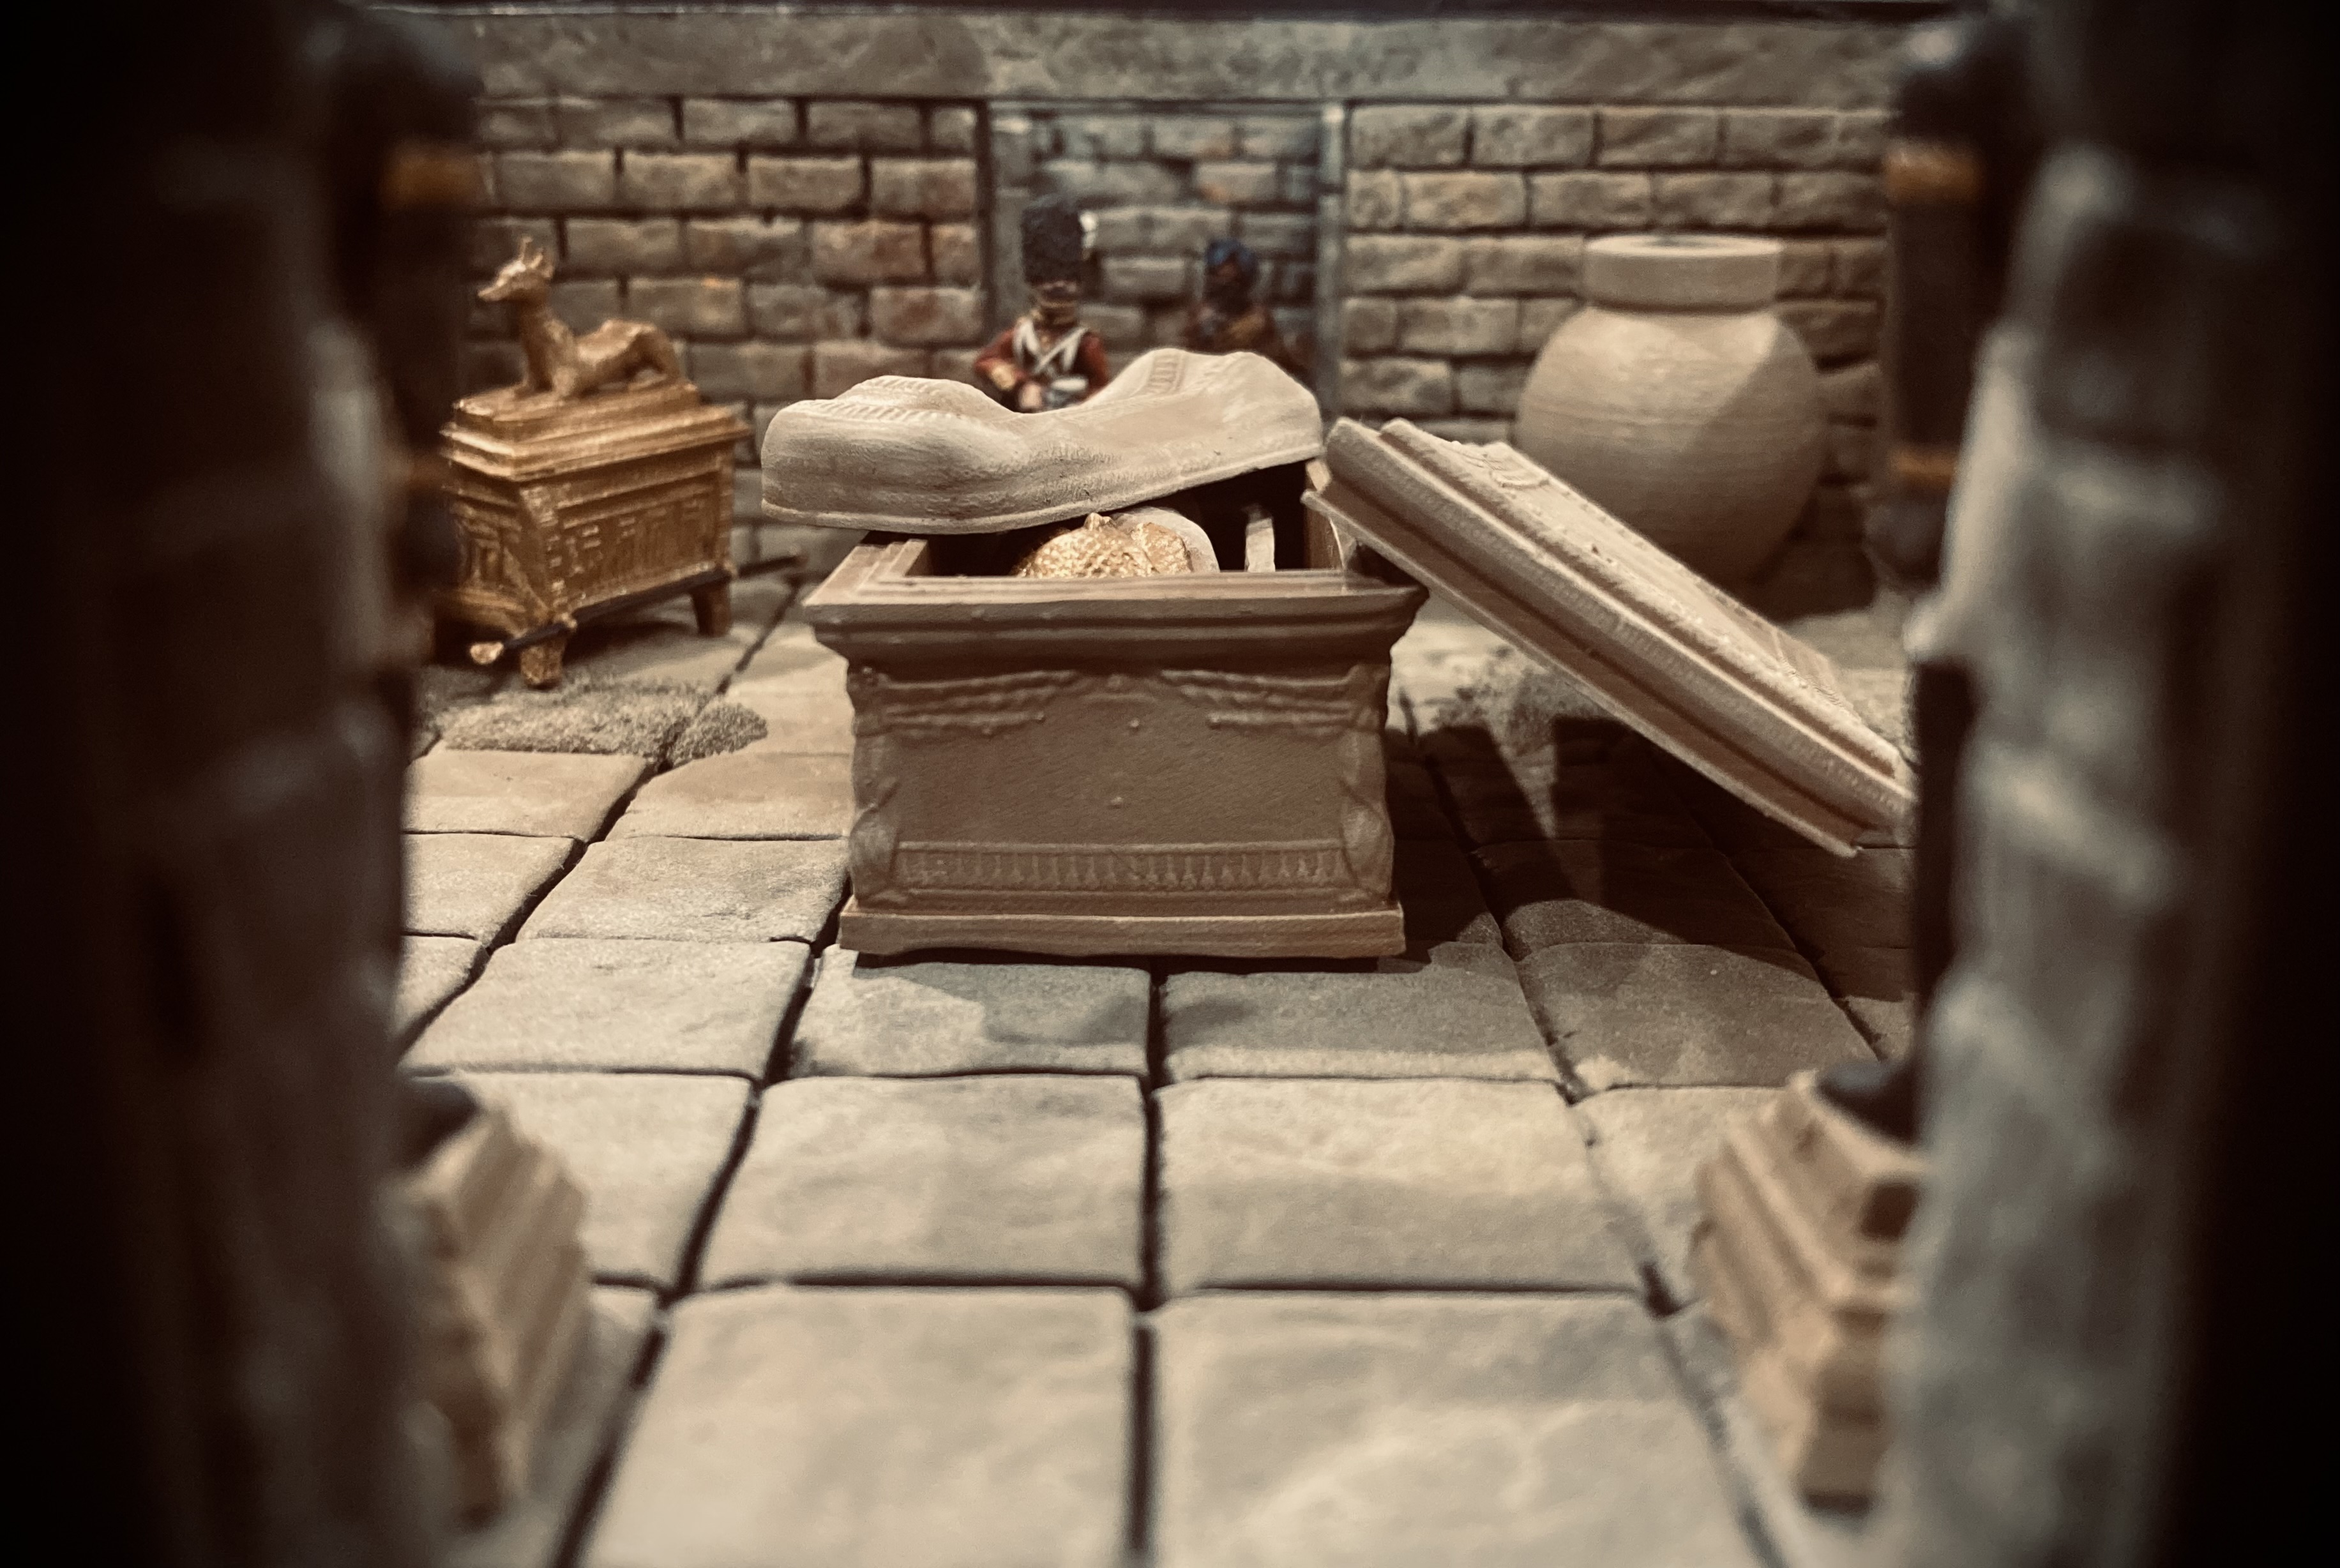
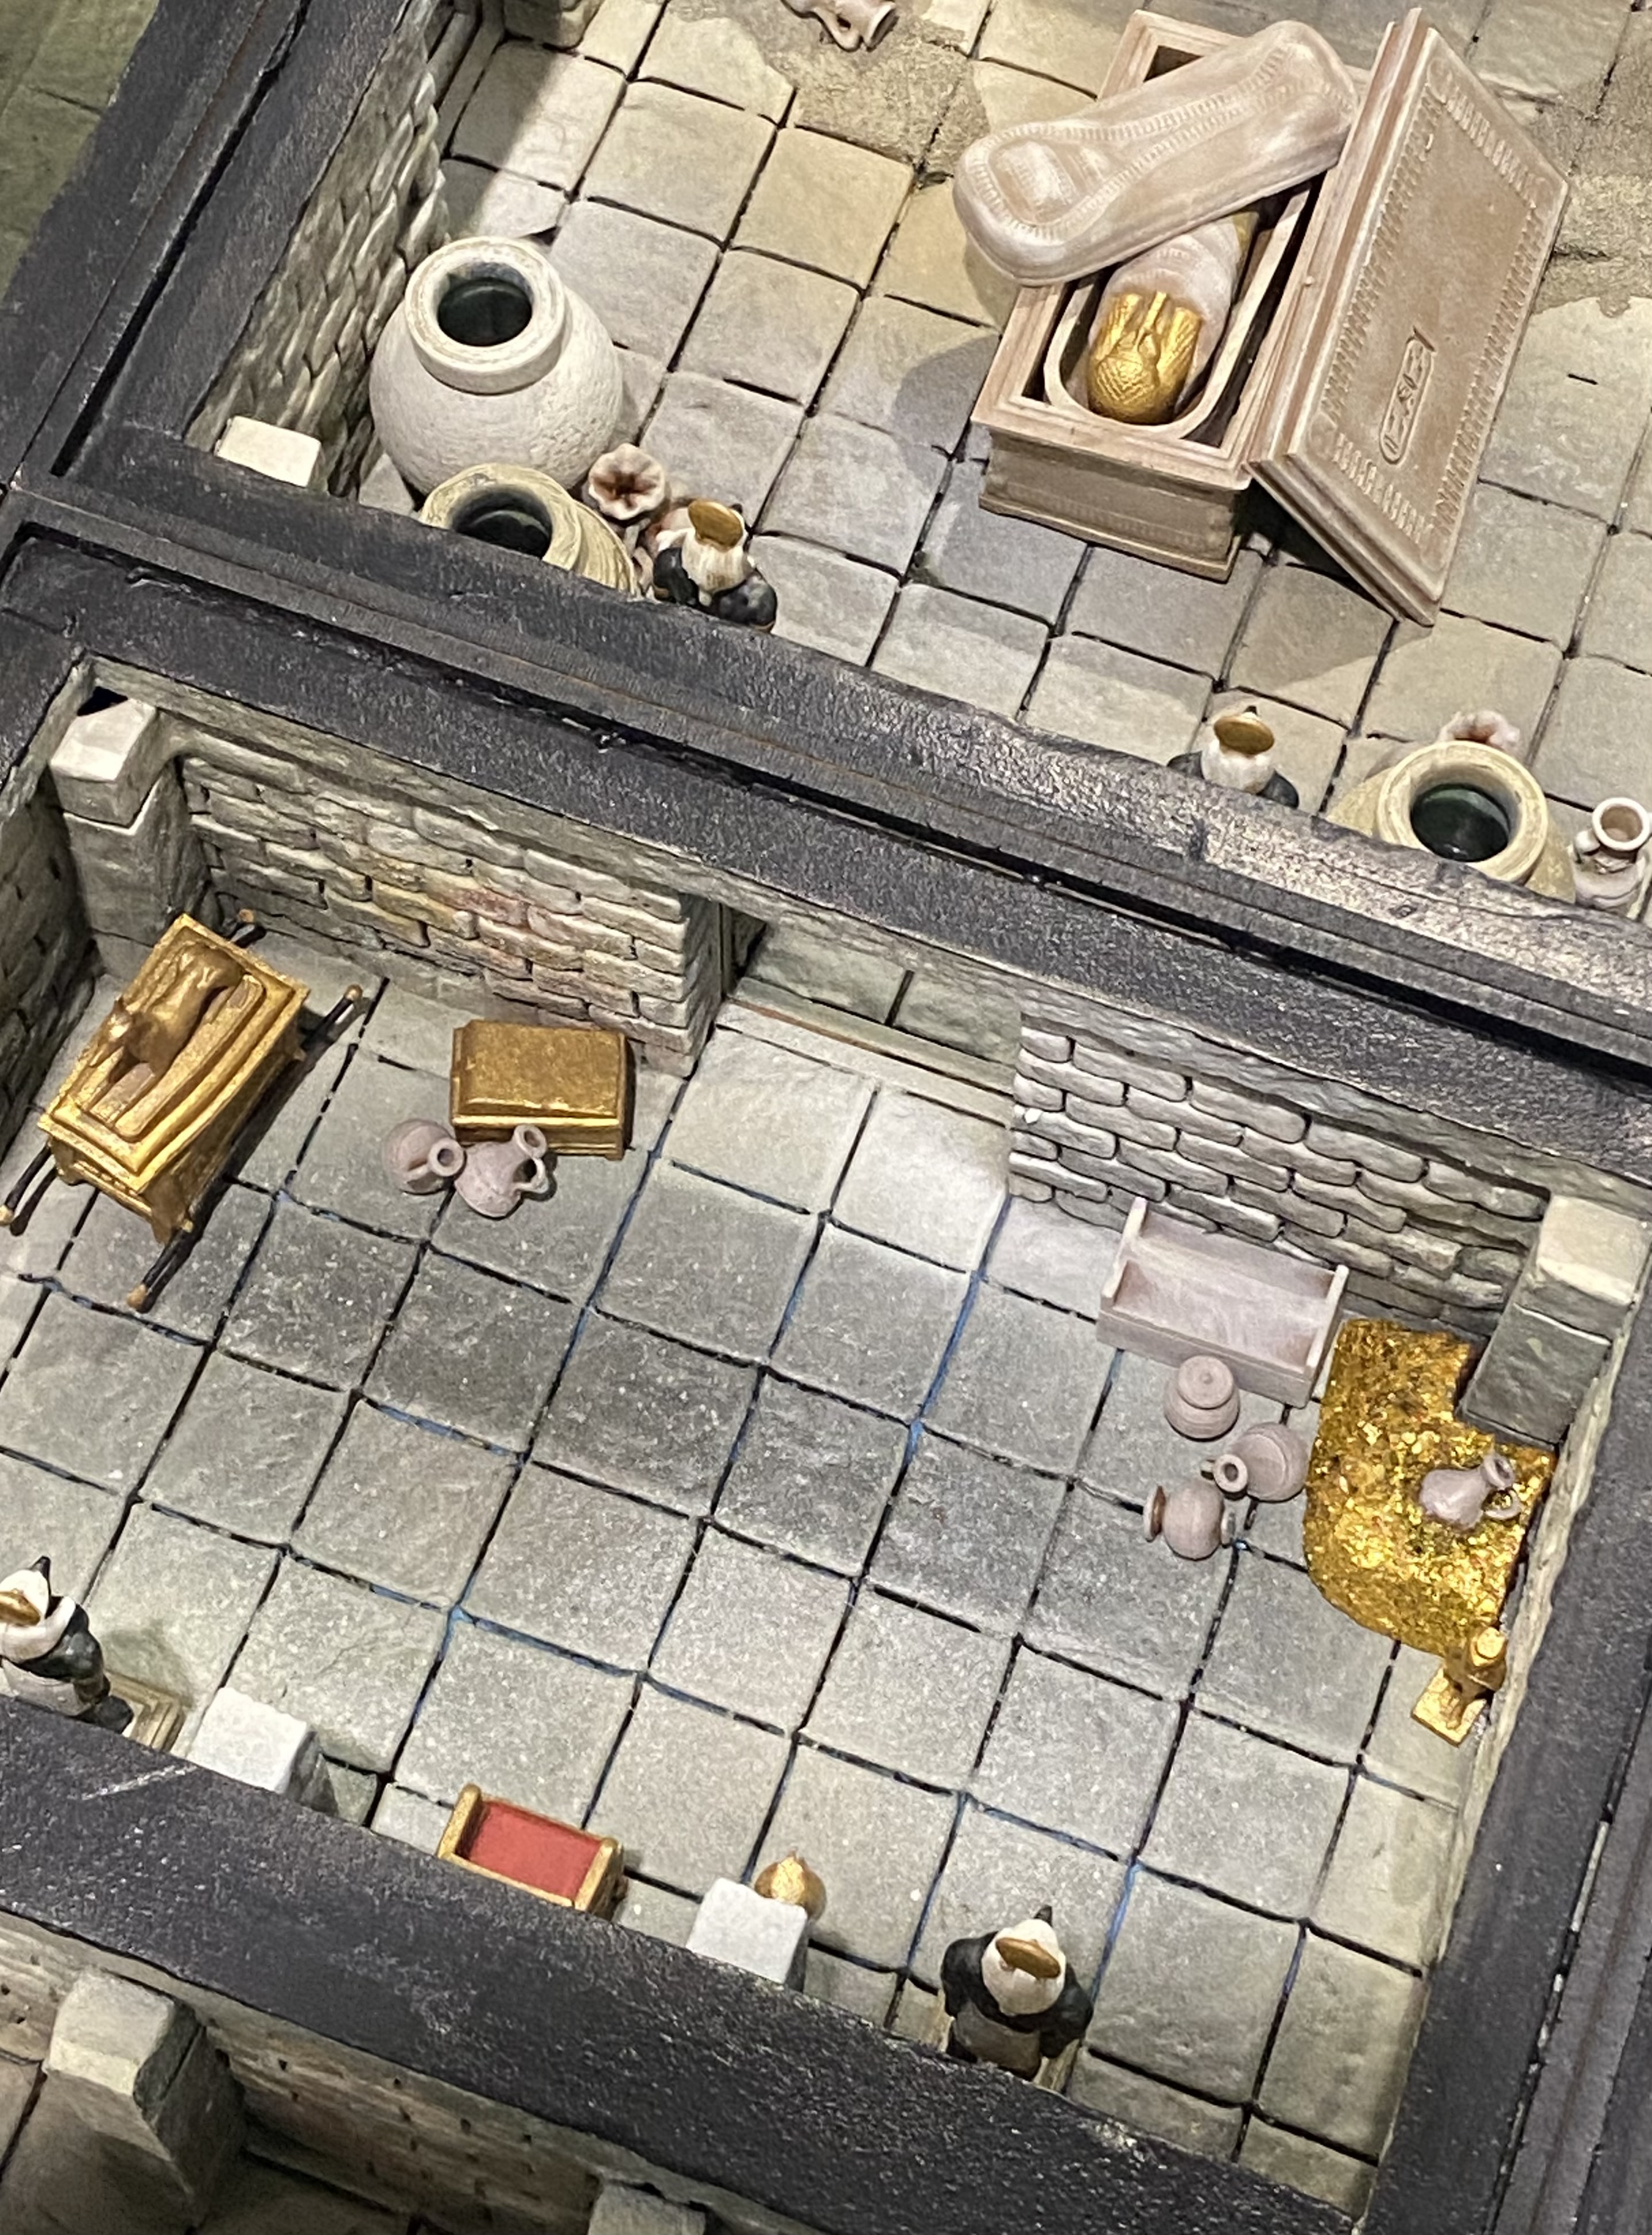
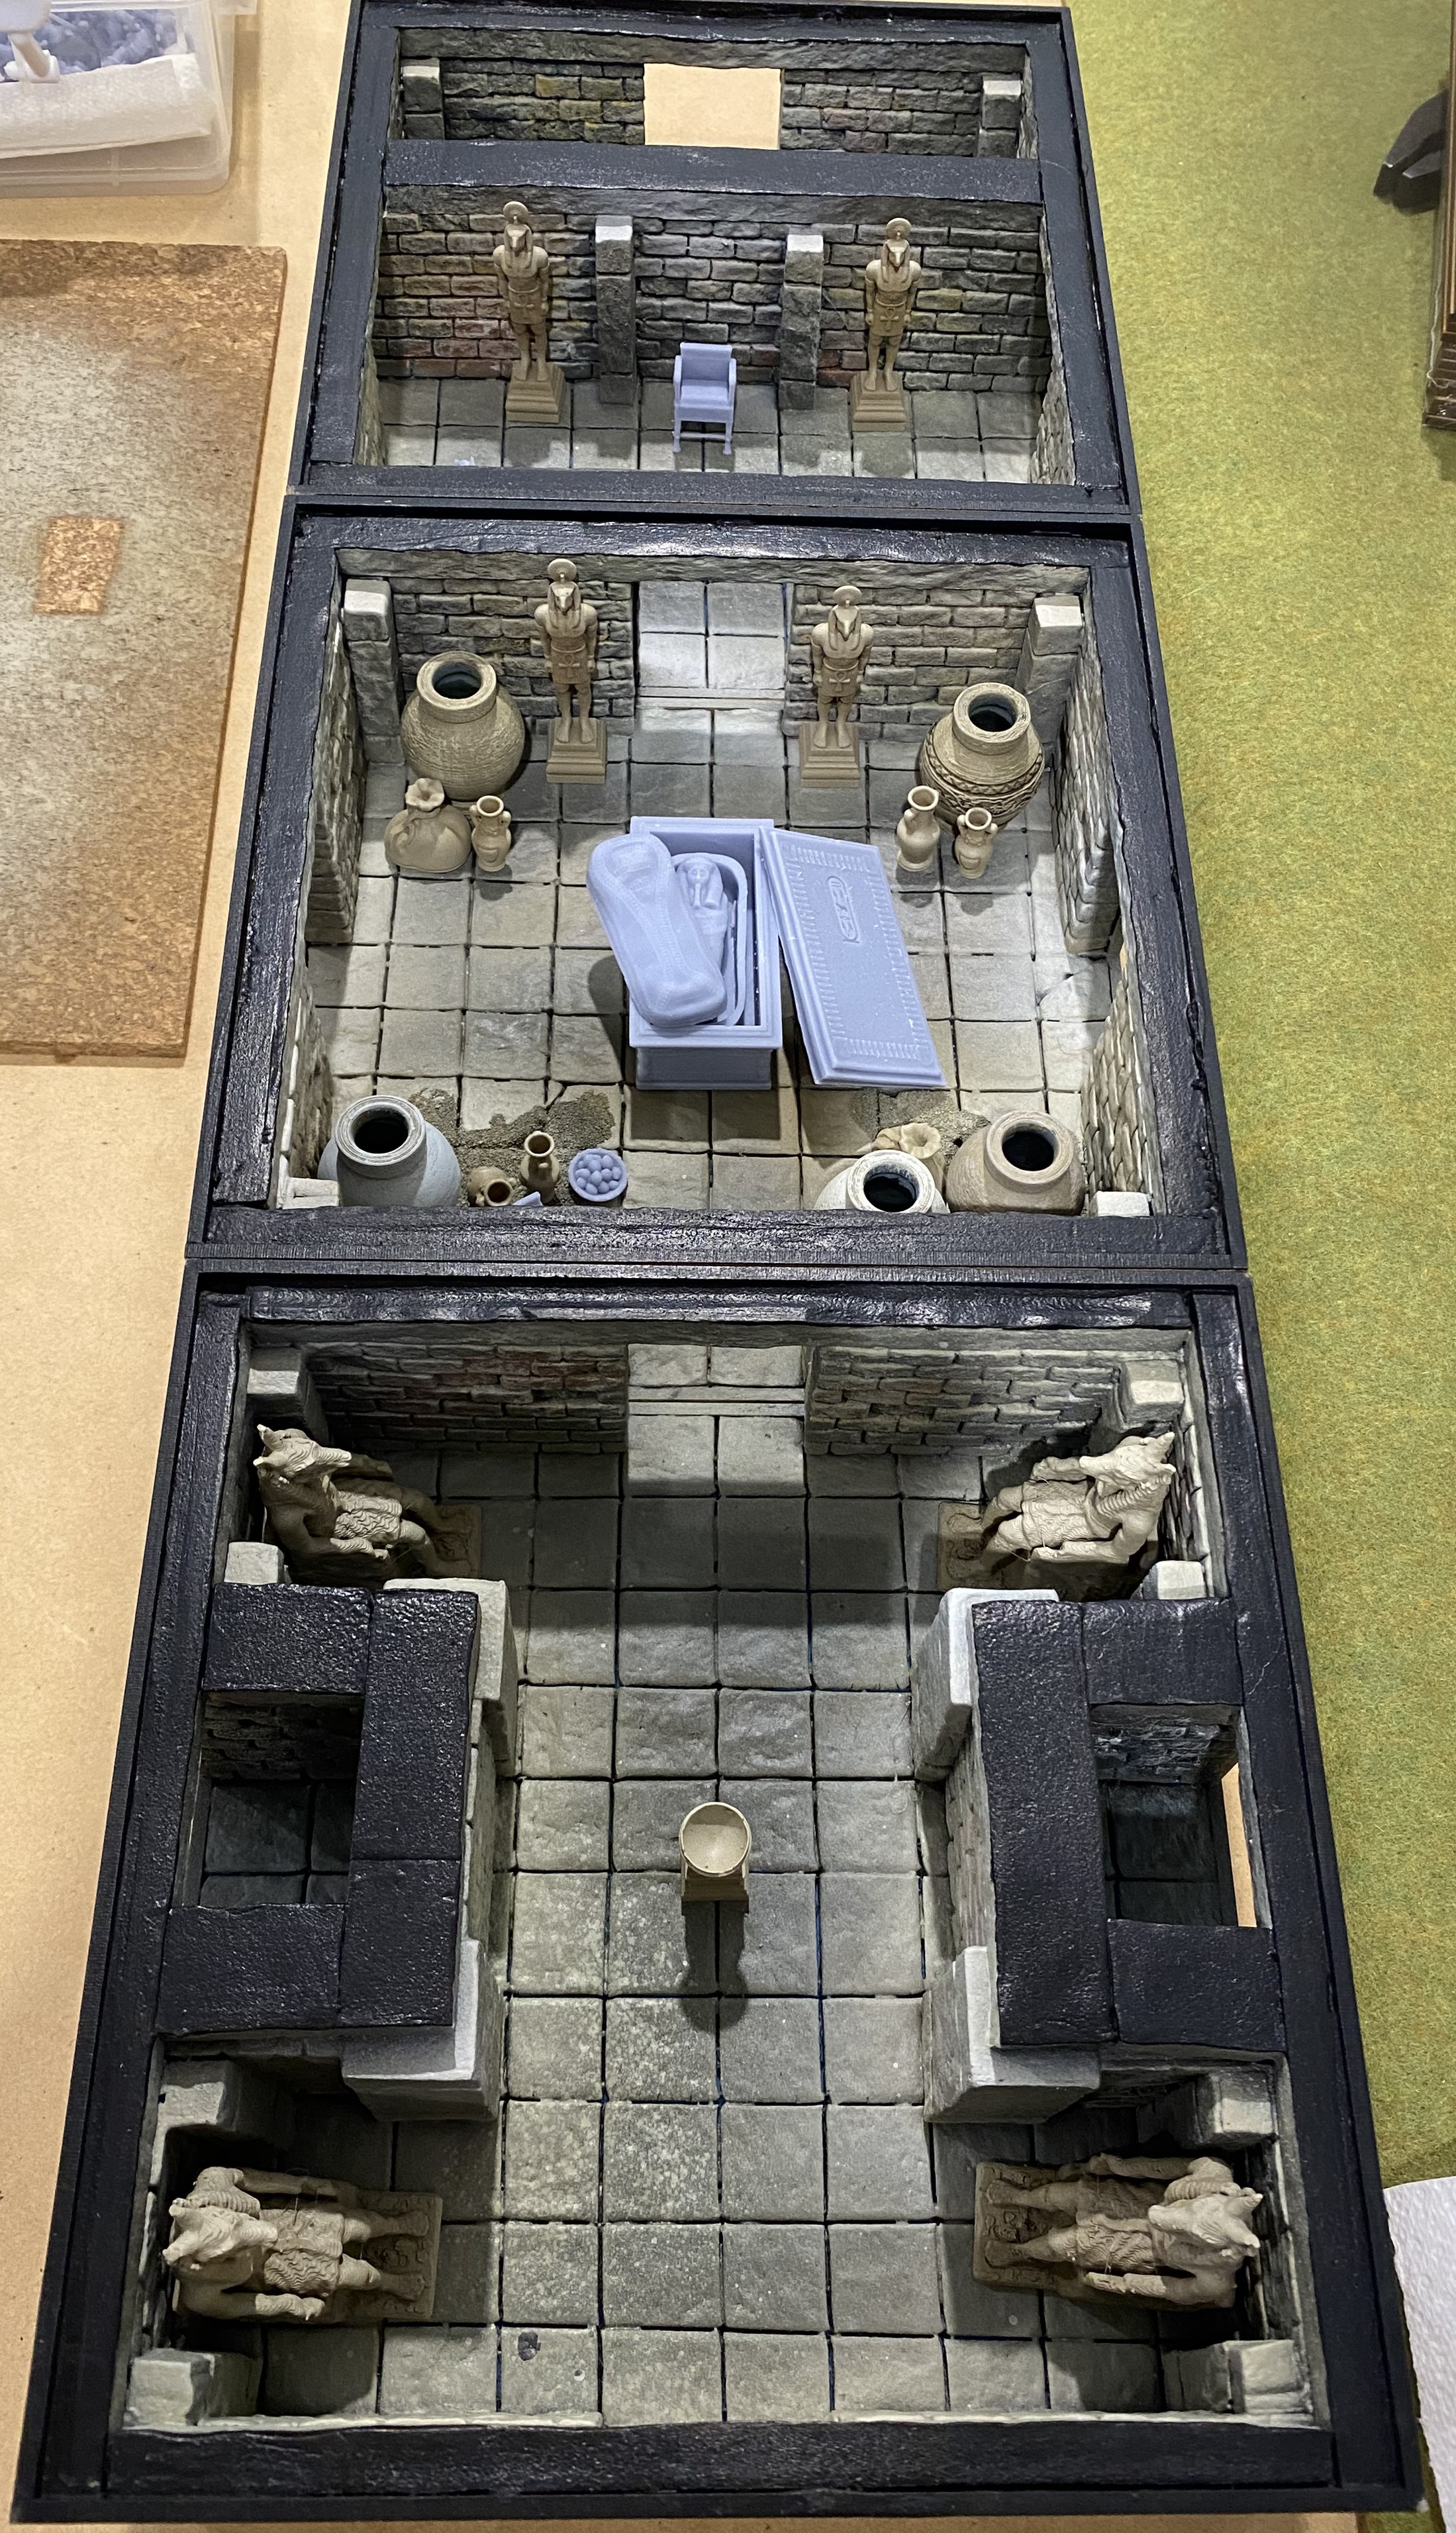
 Sarcophagus. Ancient burial places filled with dusty bones and lost treasures or are they the sleeping chambers for creatures of nightmares waiting to once more draw arms? I kept the lids removable so I can swap the contents of them around, sure they had gold in them last time, can you be sure they have gold in them this time?
 The map room. Maybe by the time they reach this room they will have already started to map the area themselves and won't need this reminder.
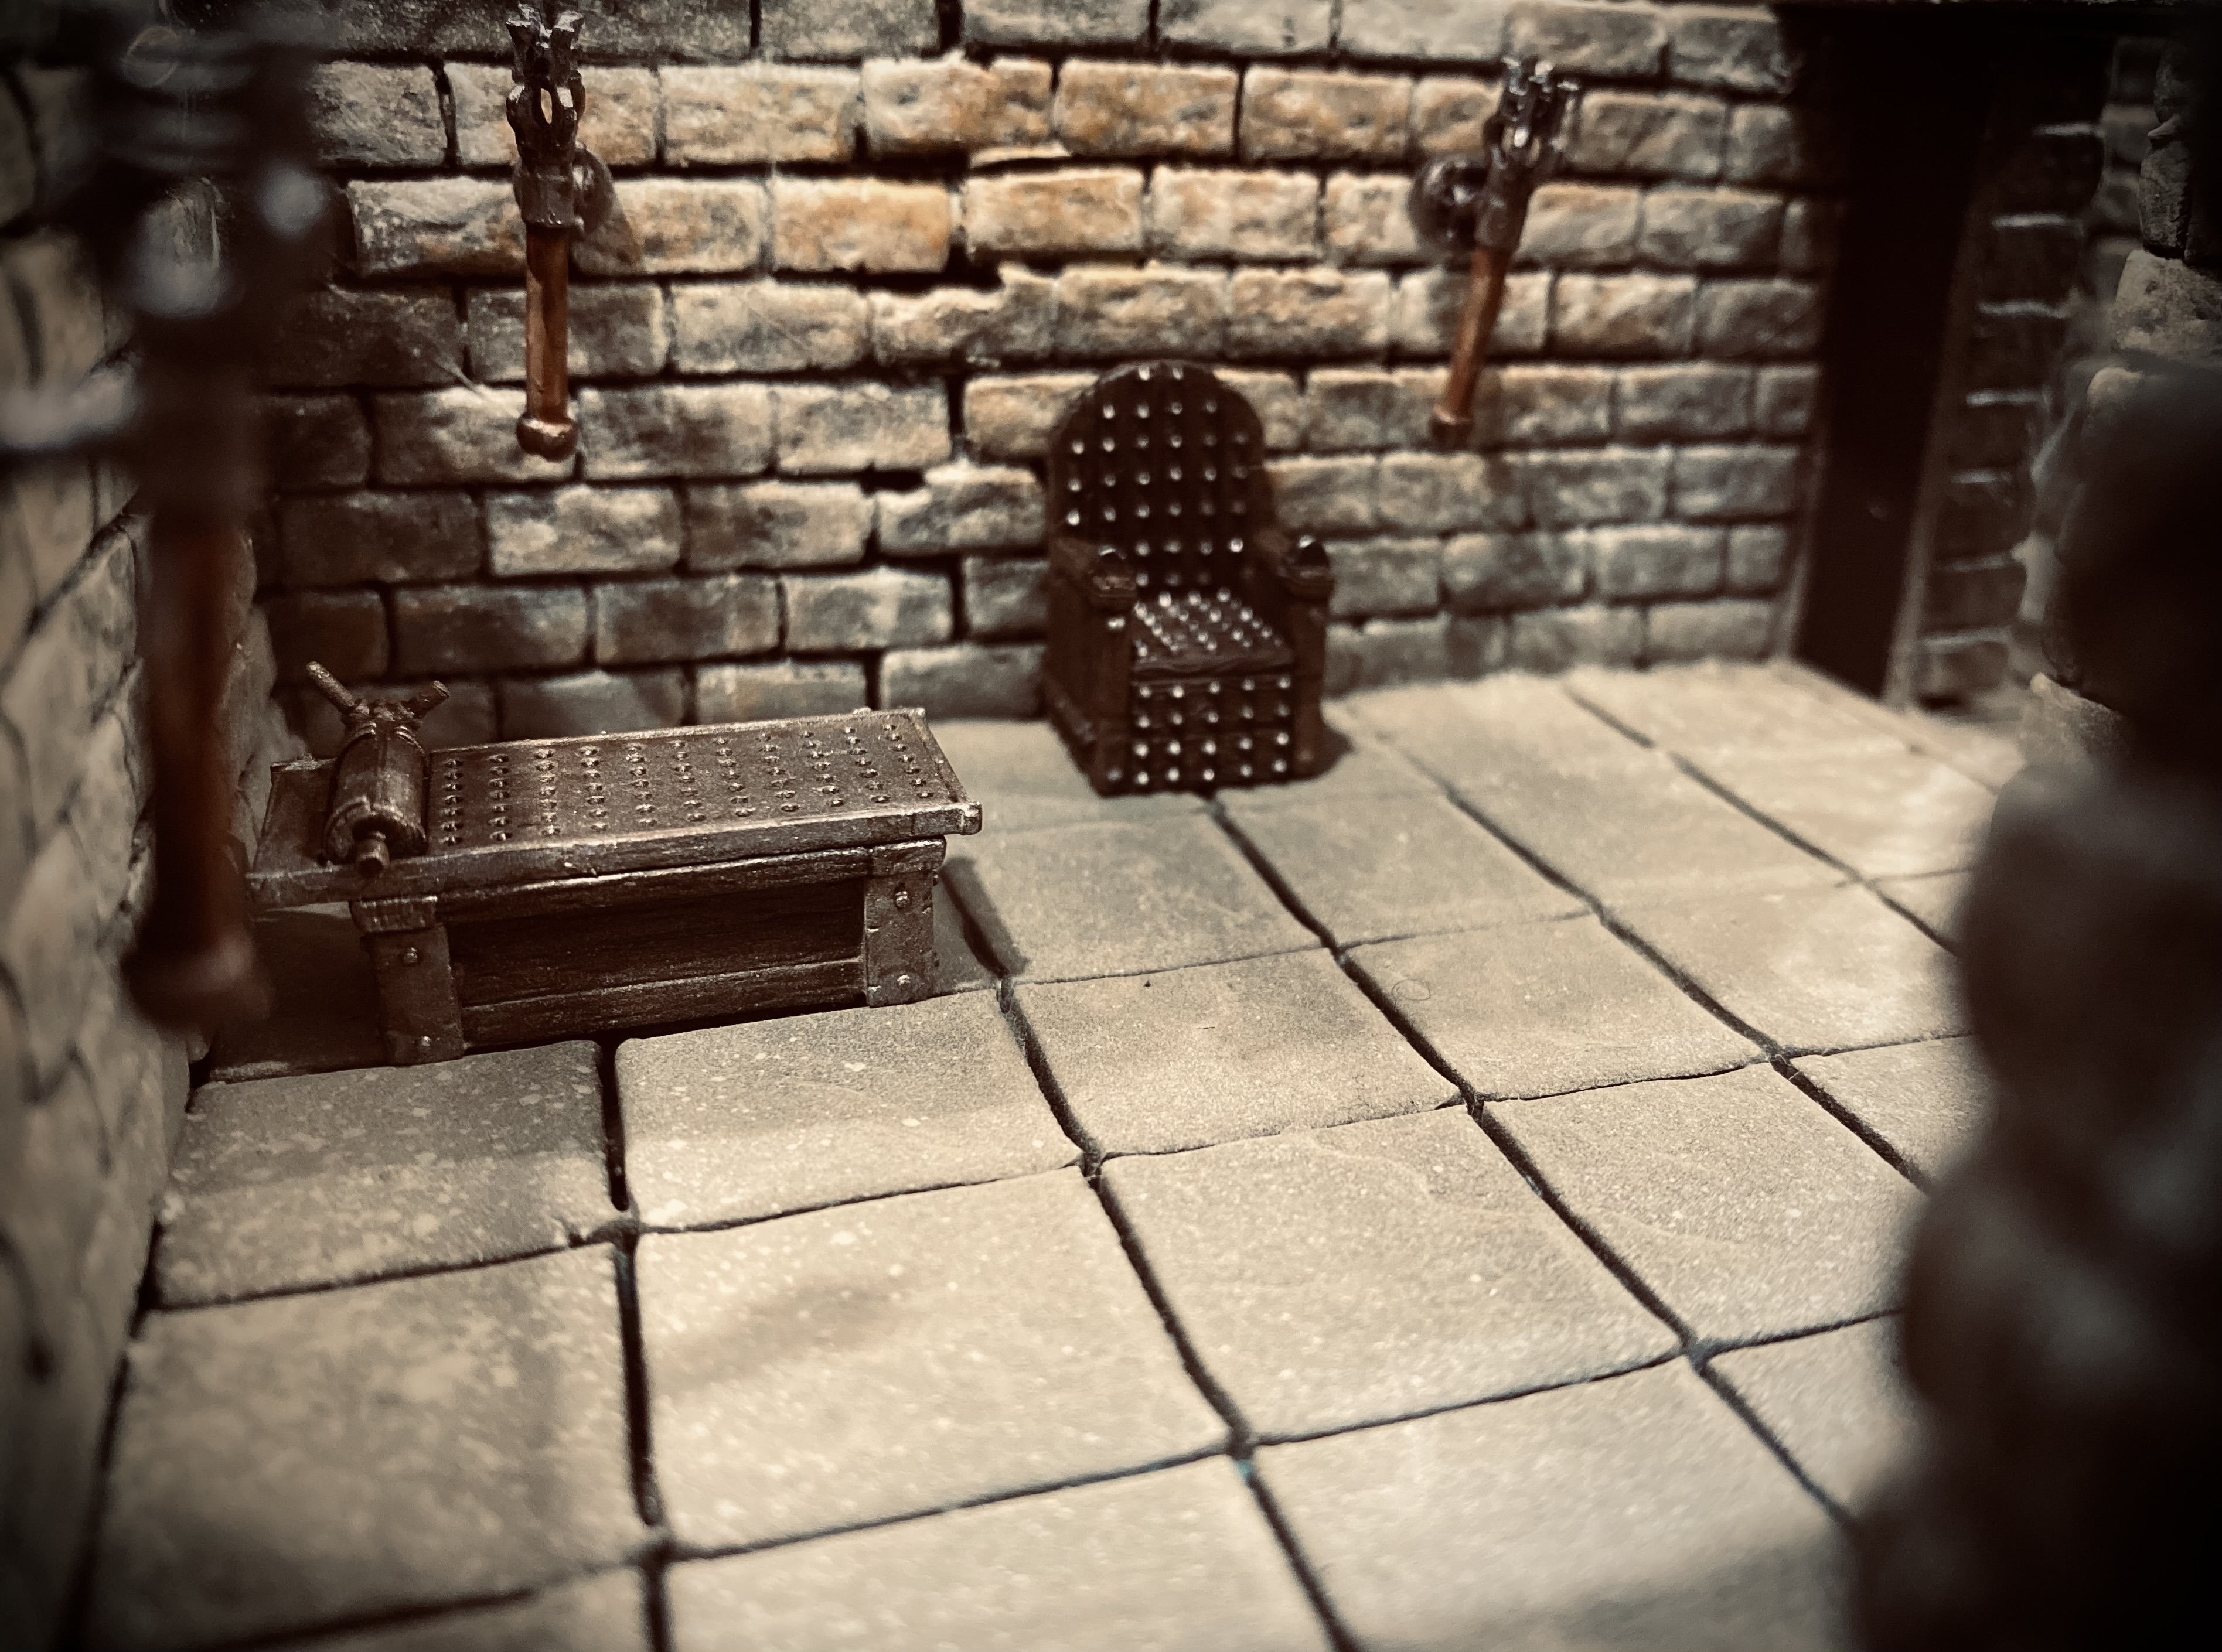 The cosey living room where a weary traveller can sit back or just stretch out.
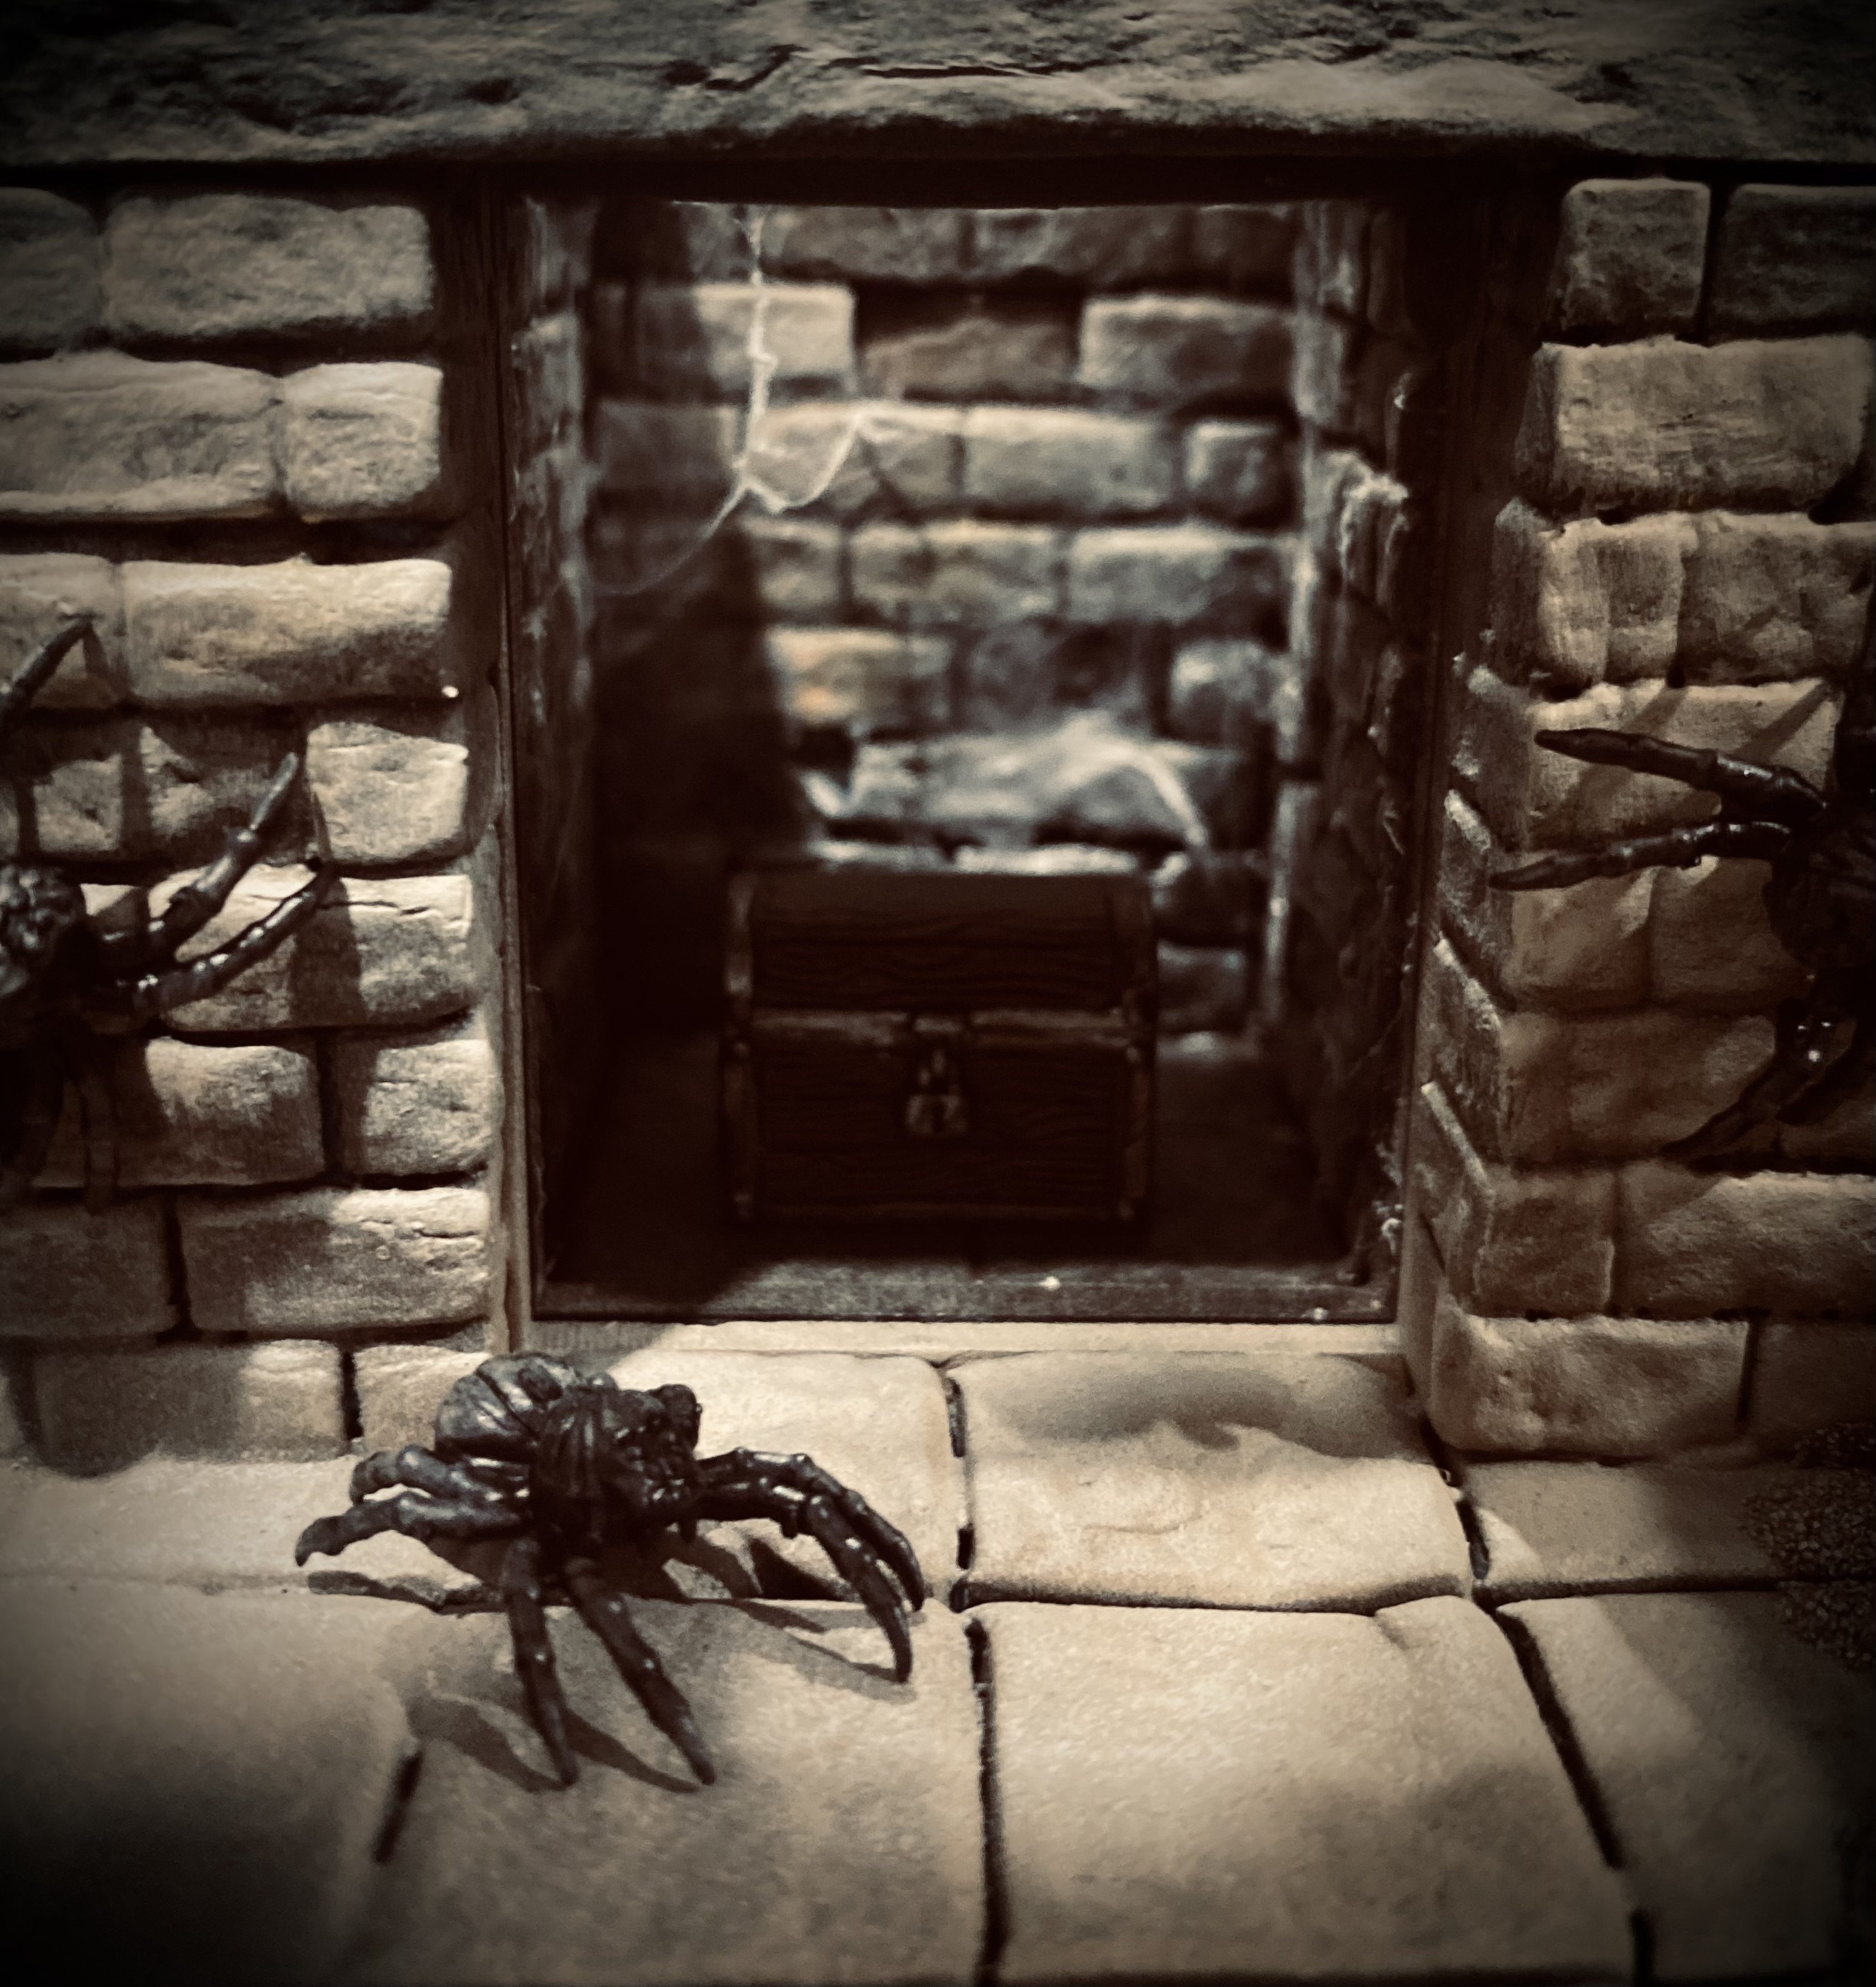 Treasure chest, or is it a mimic? I guess there is only one way to find out.
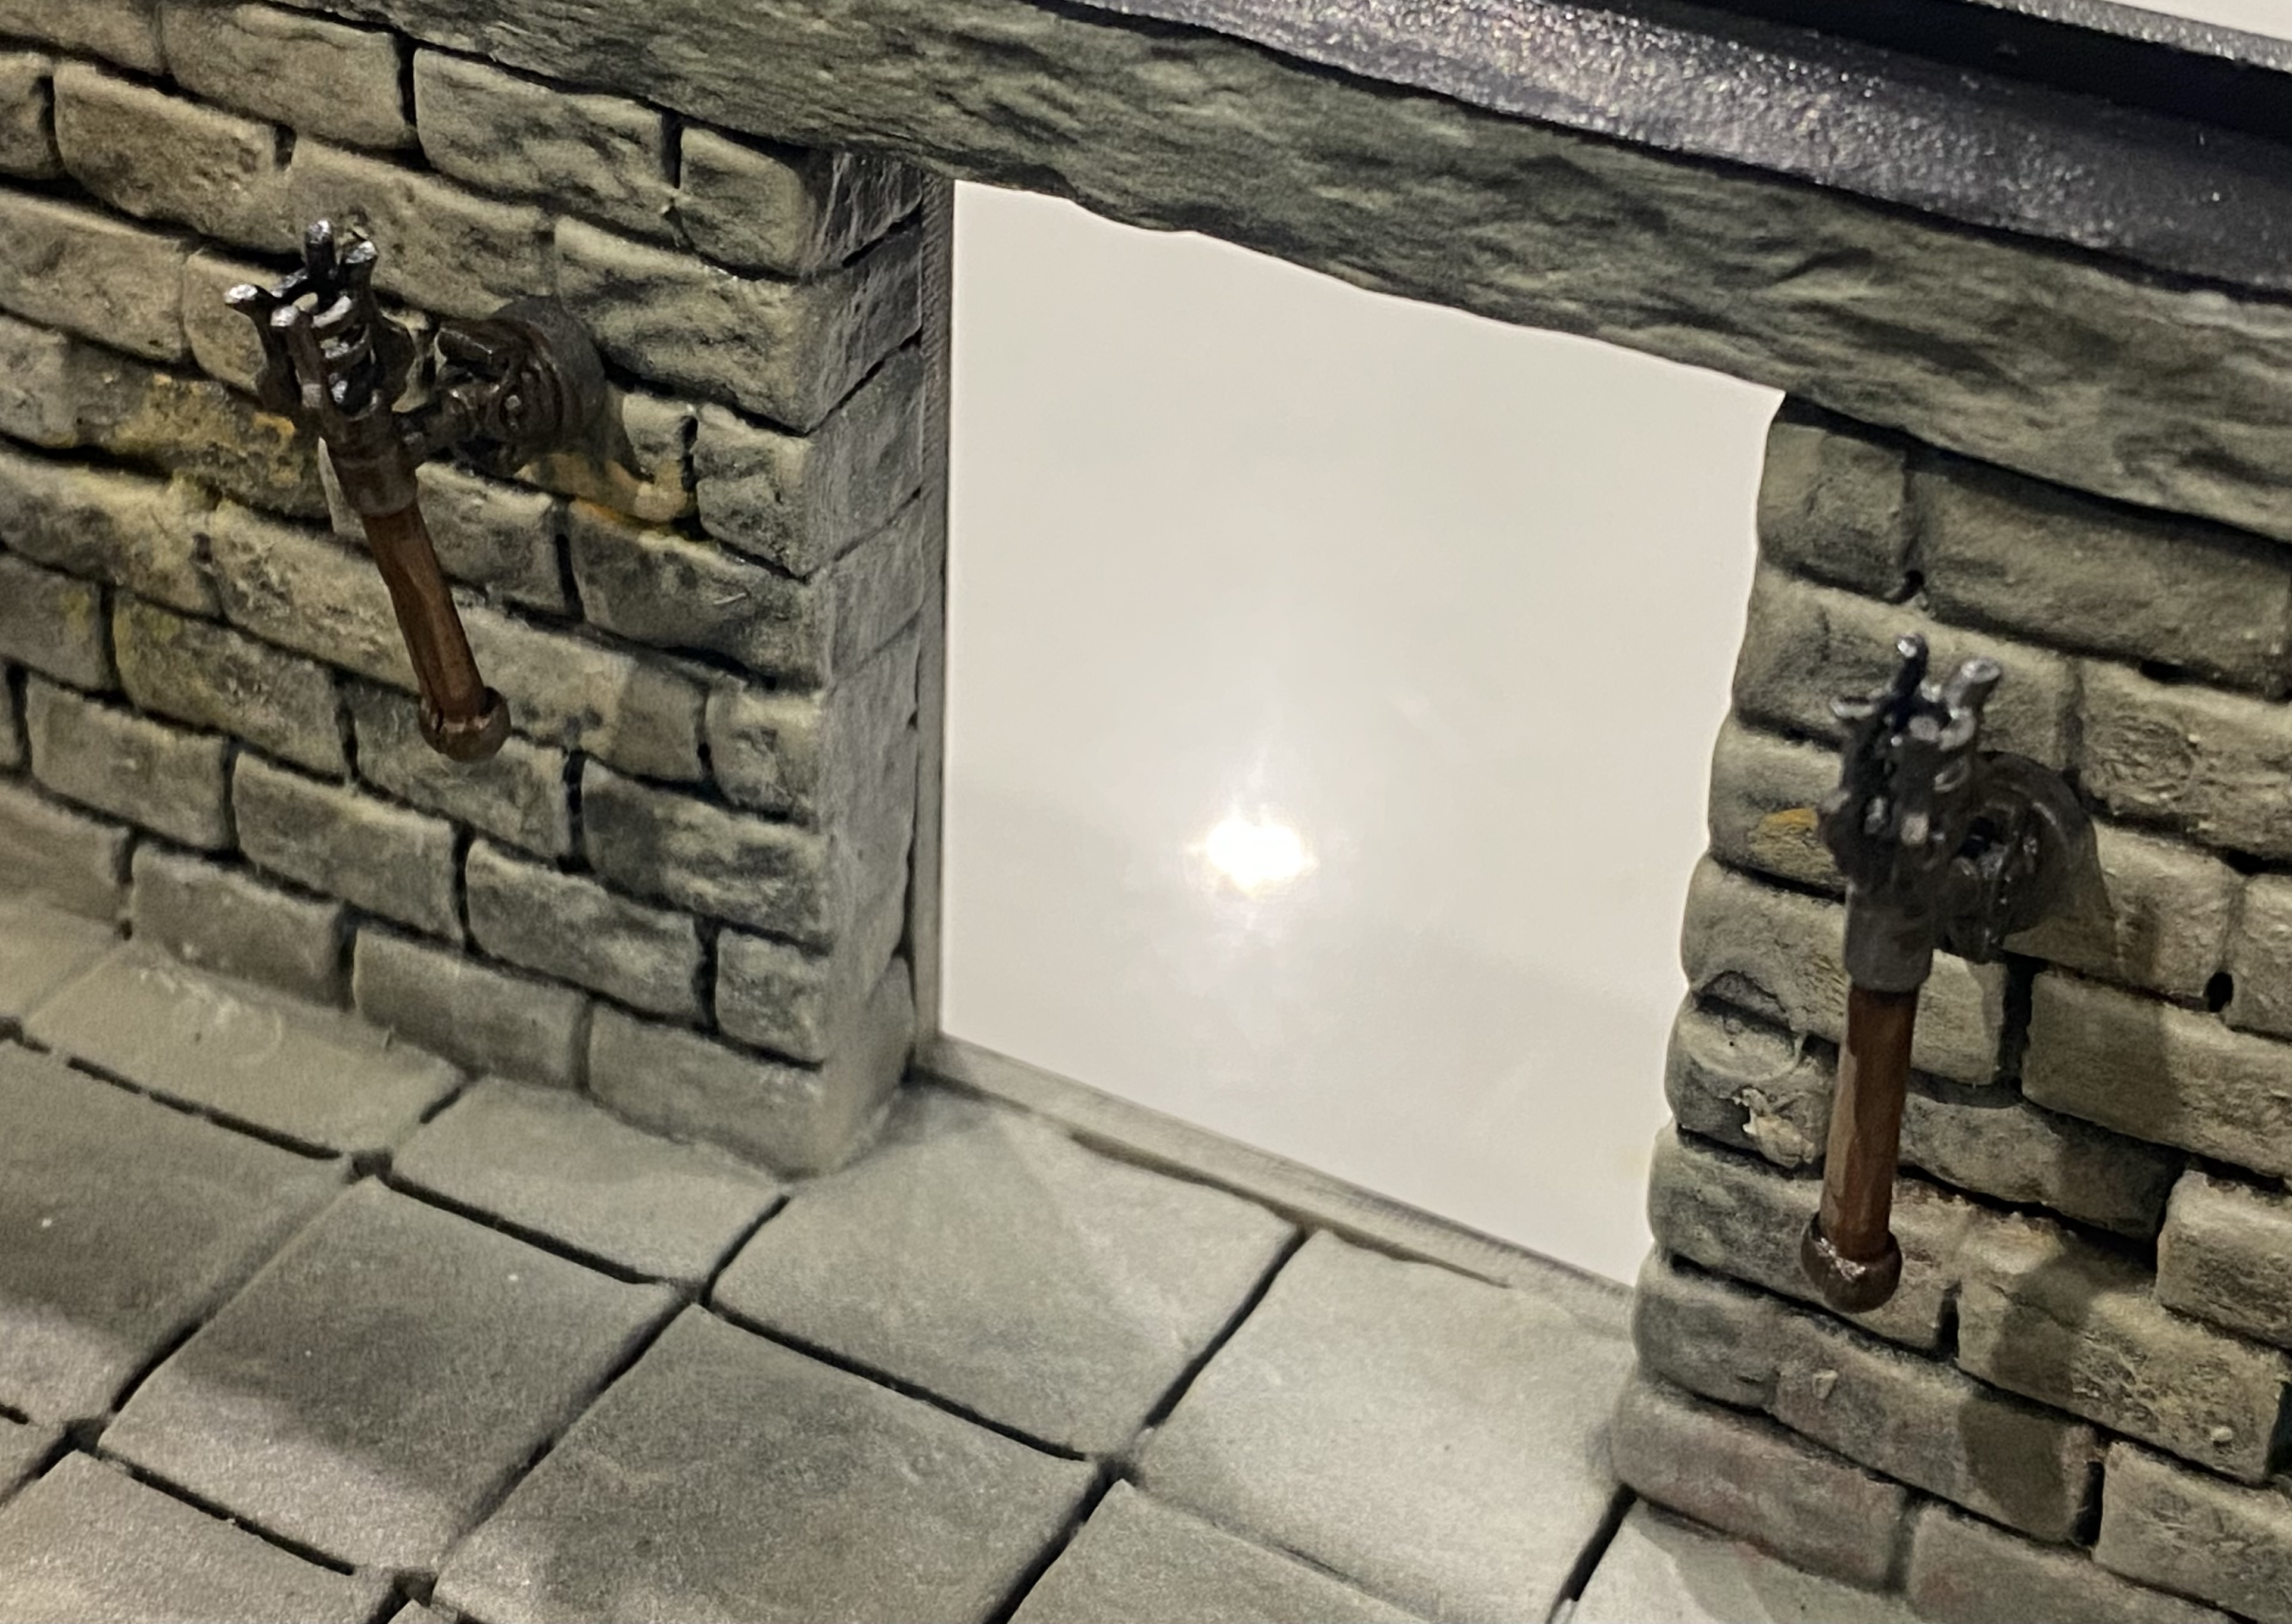
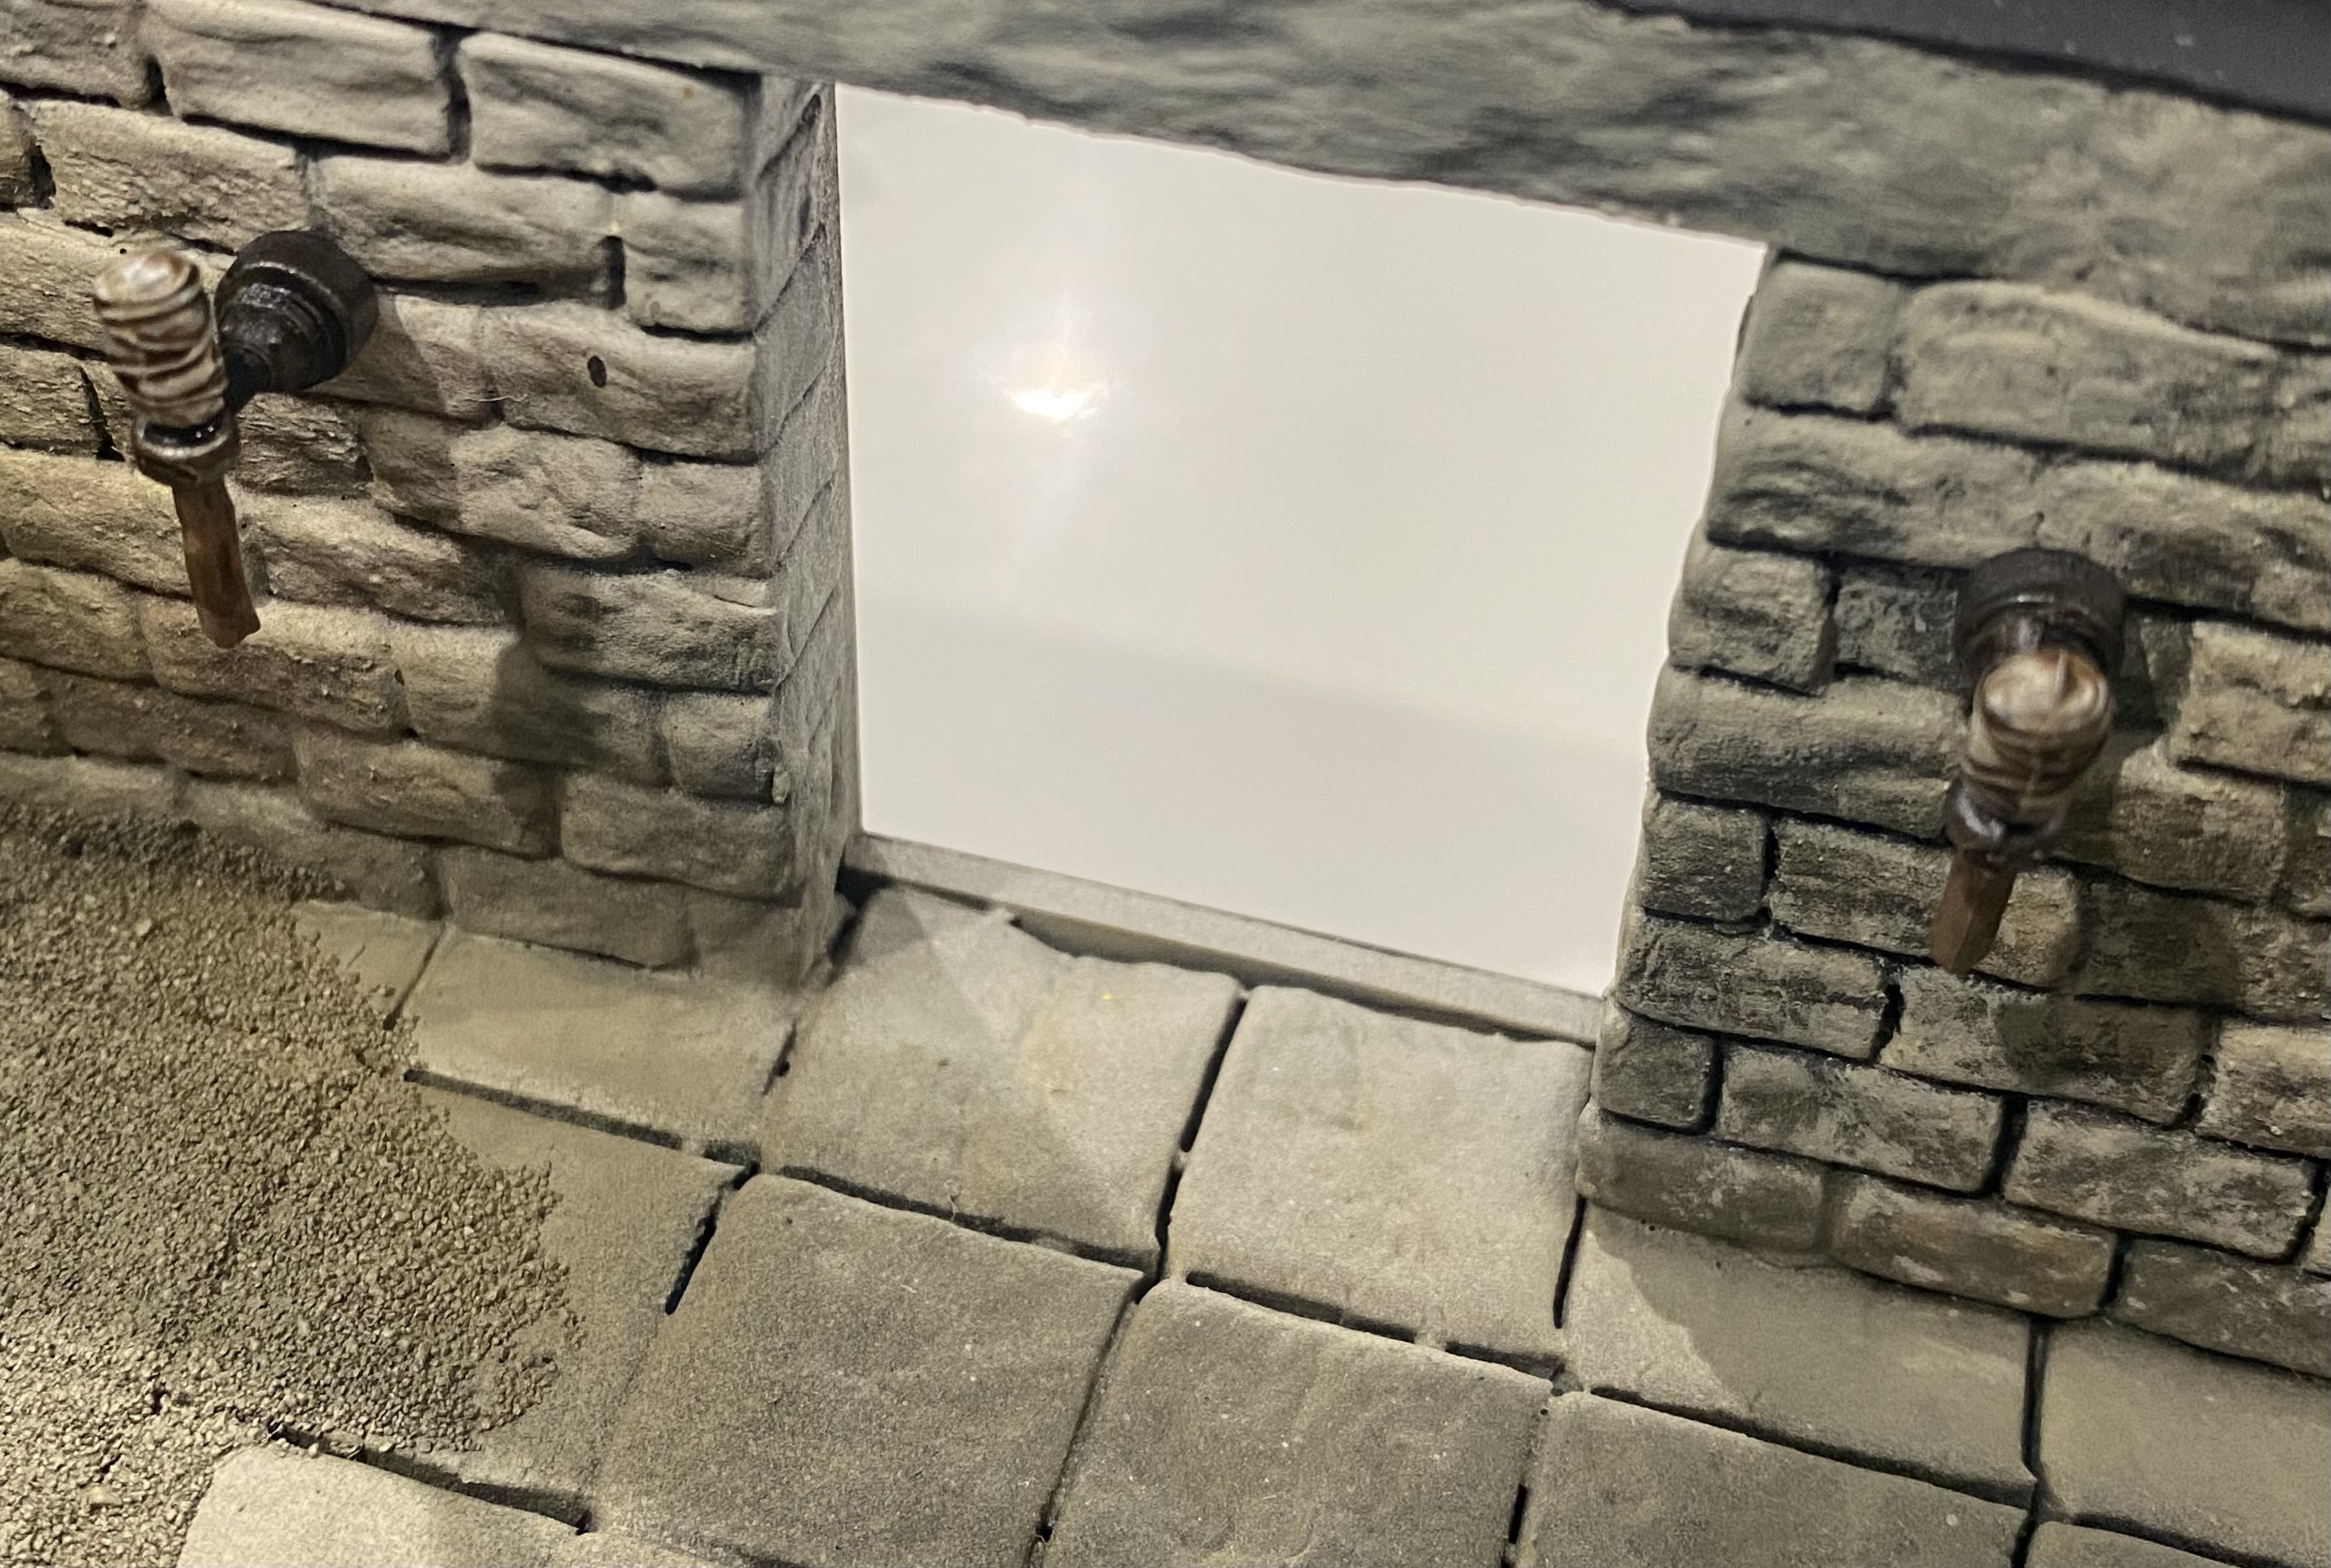
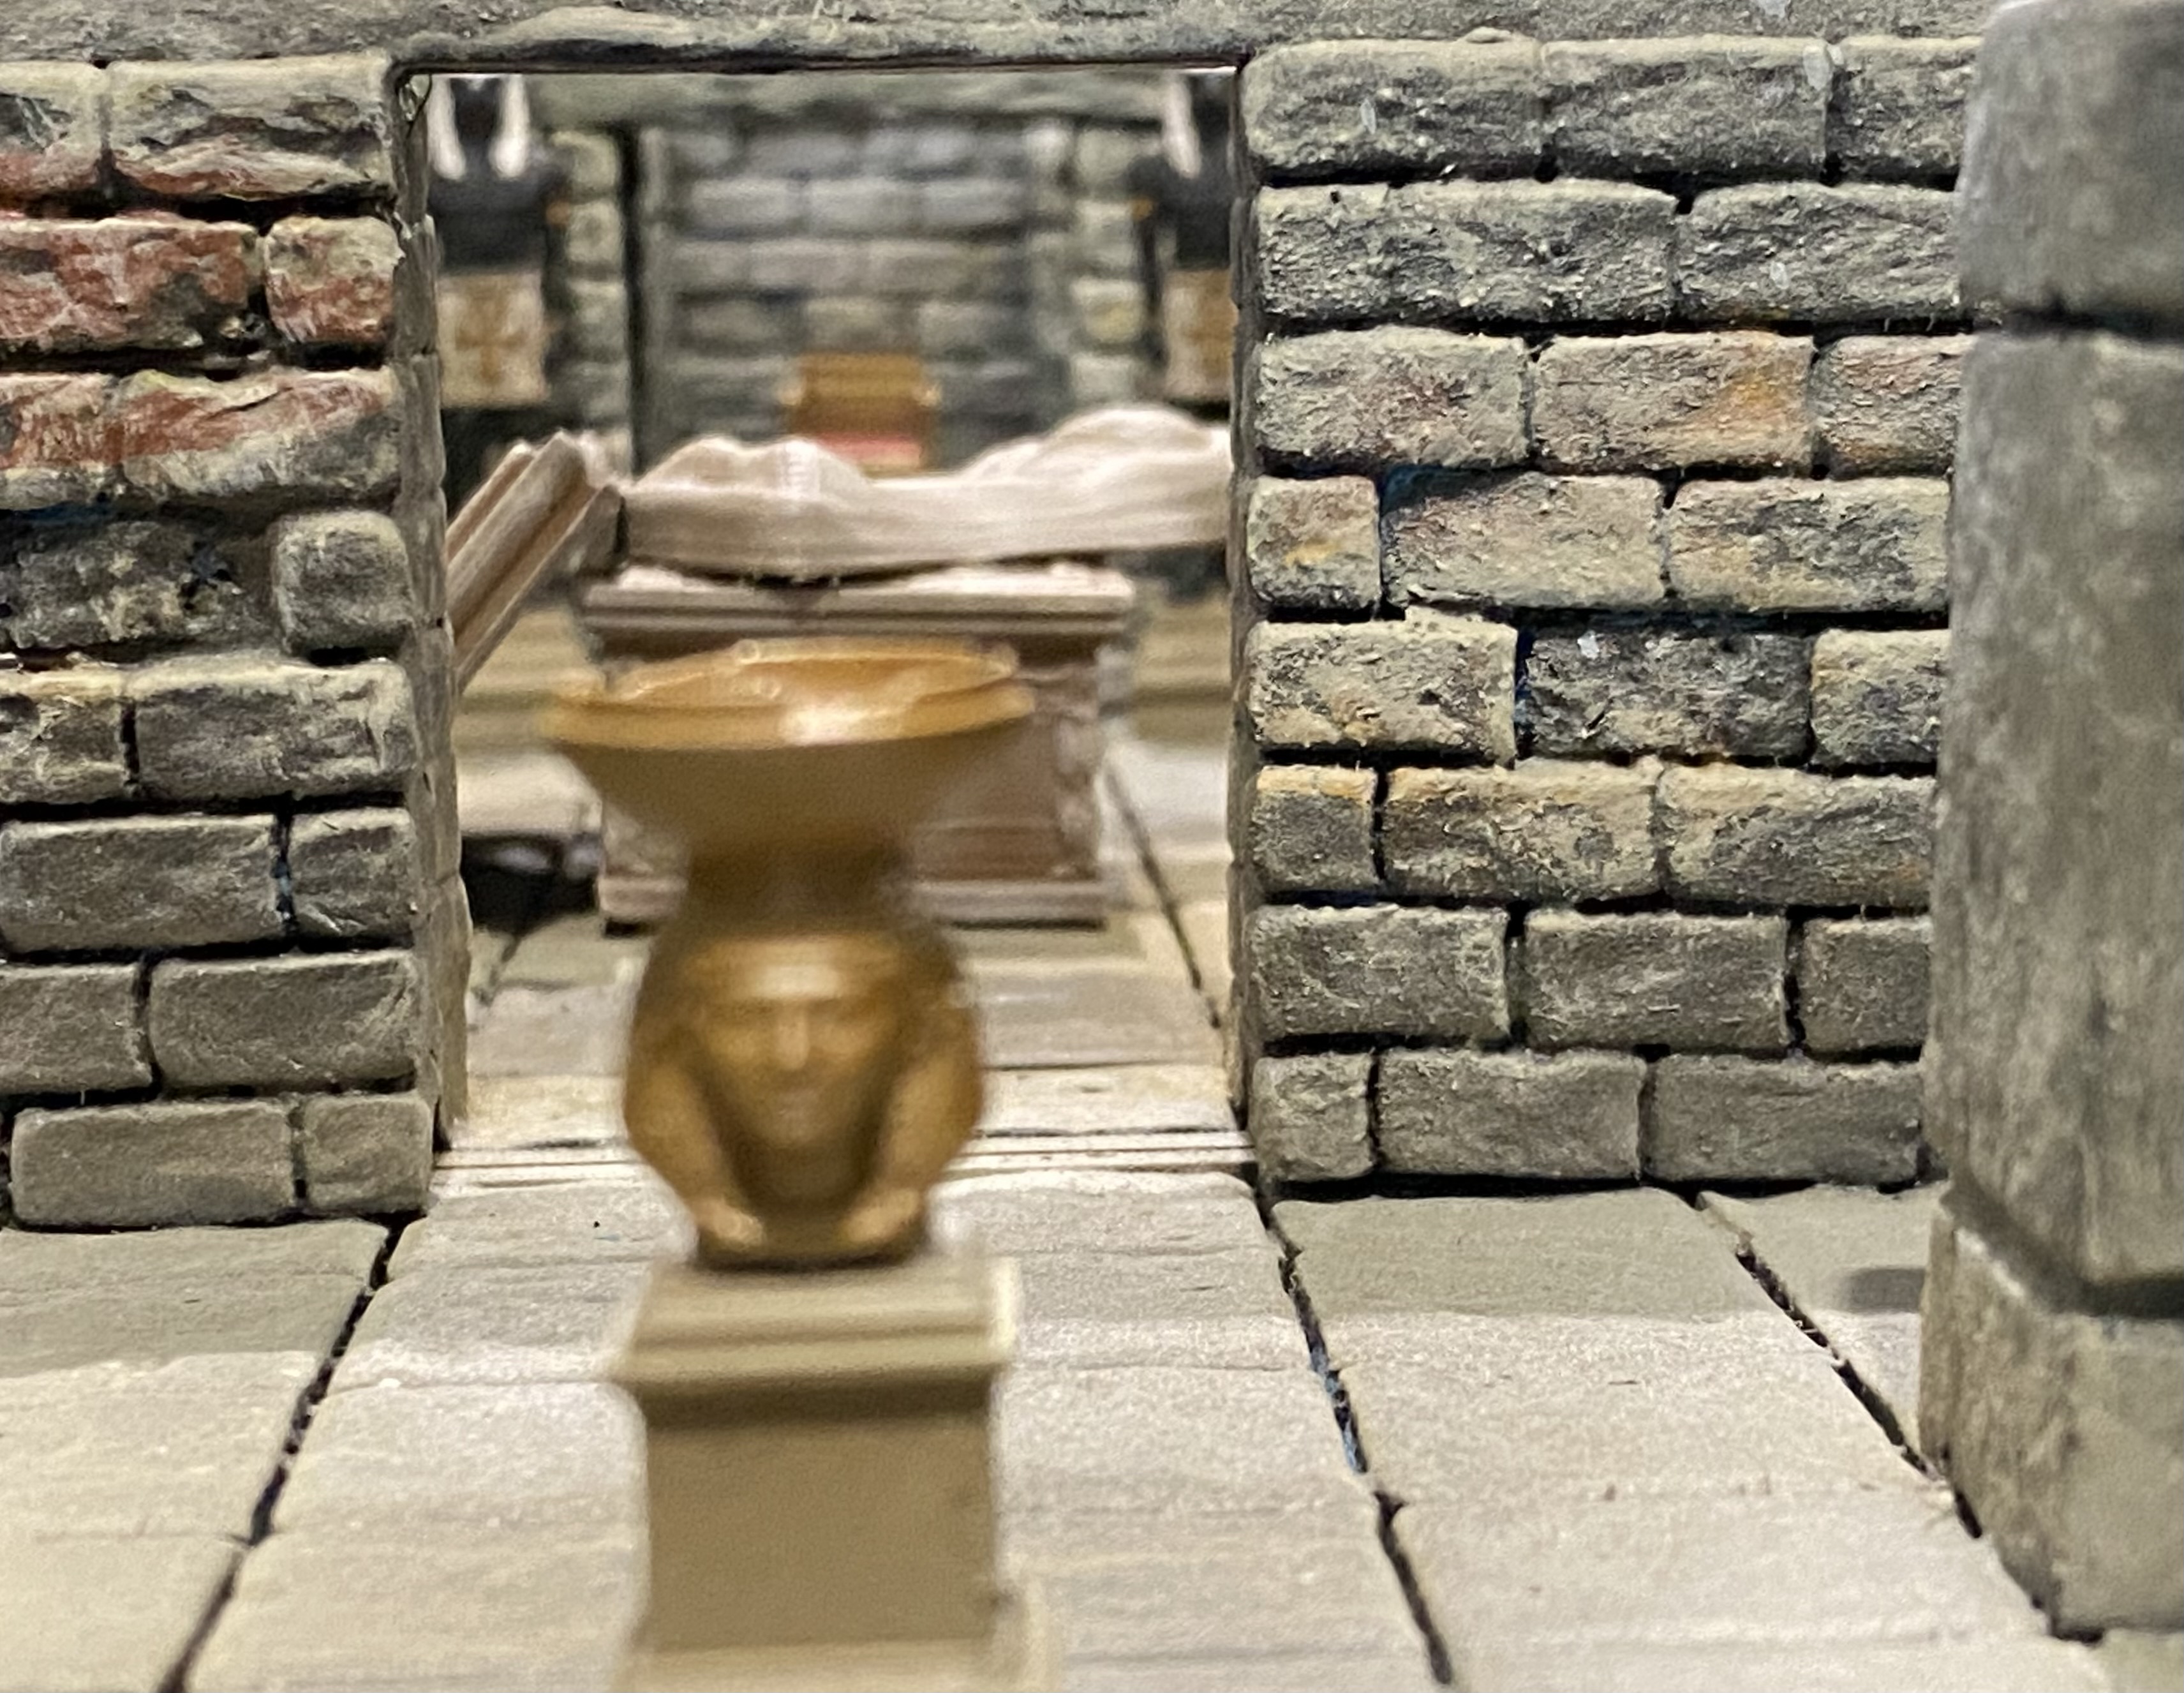
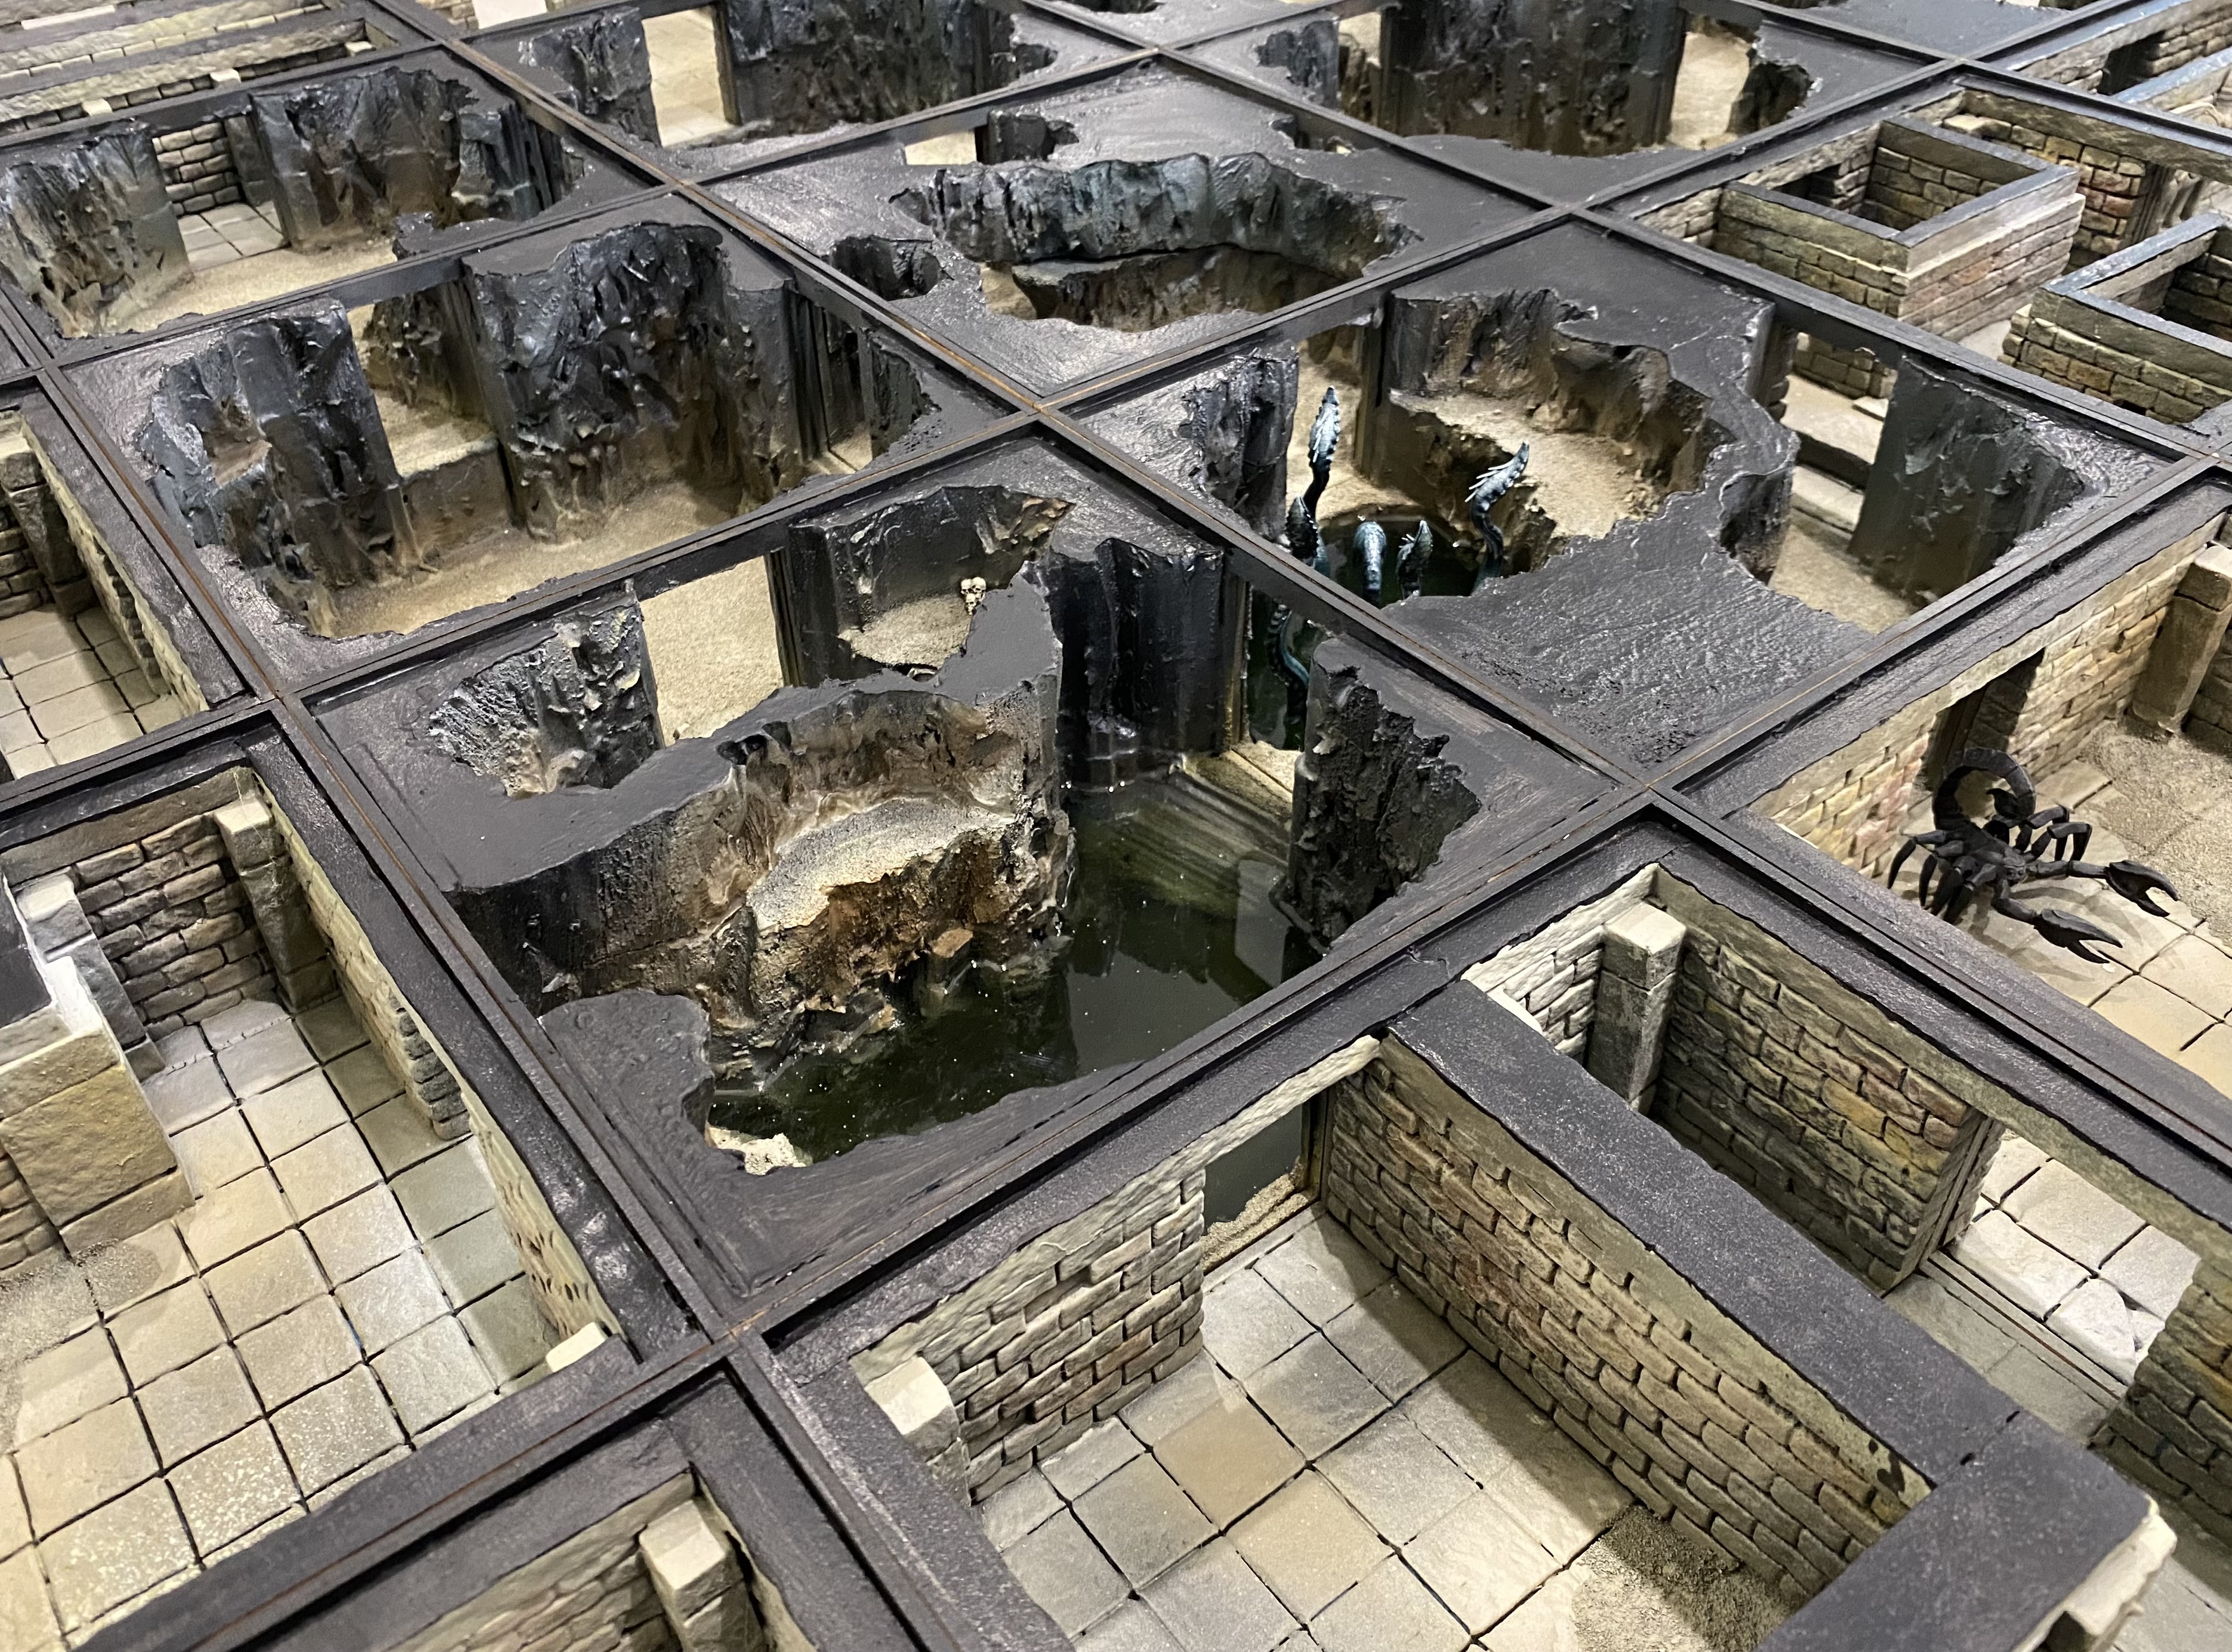
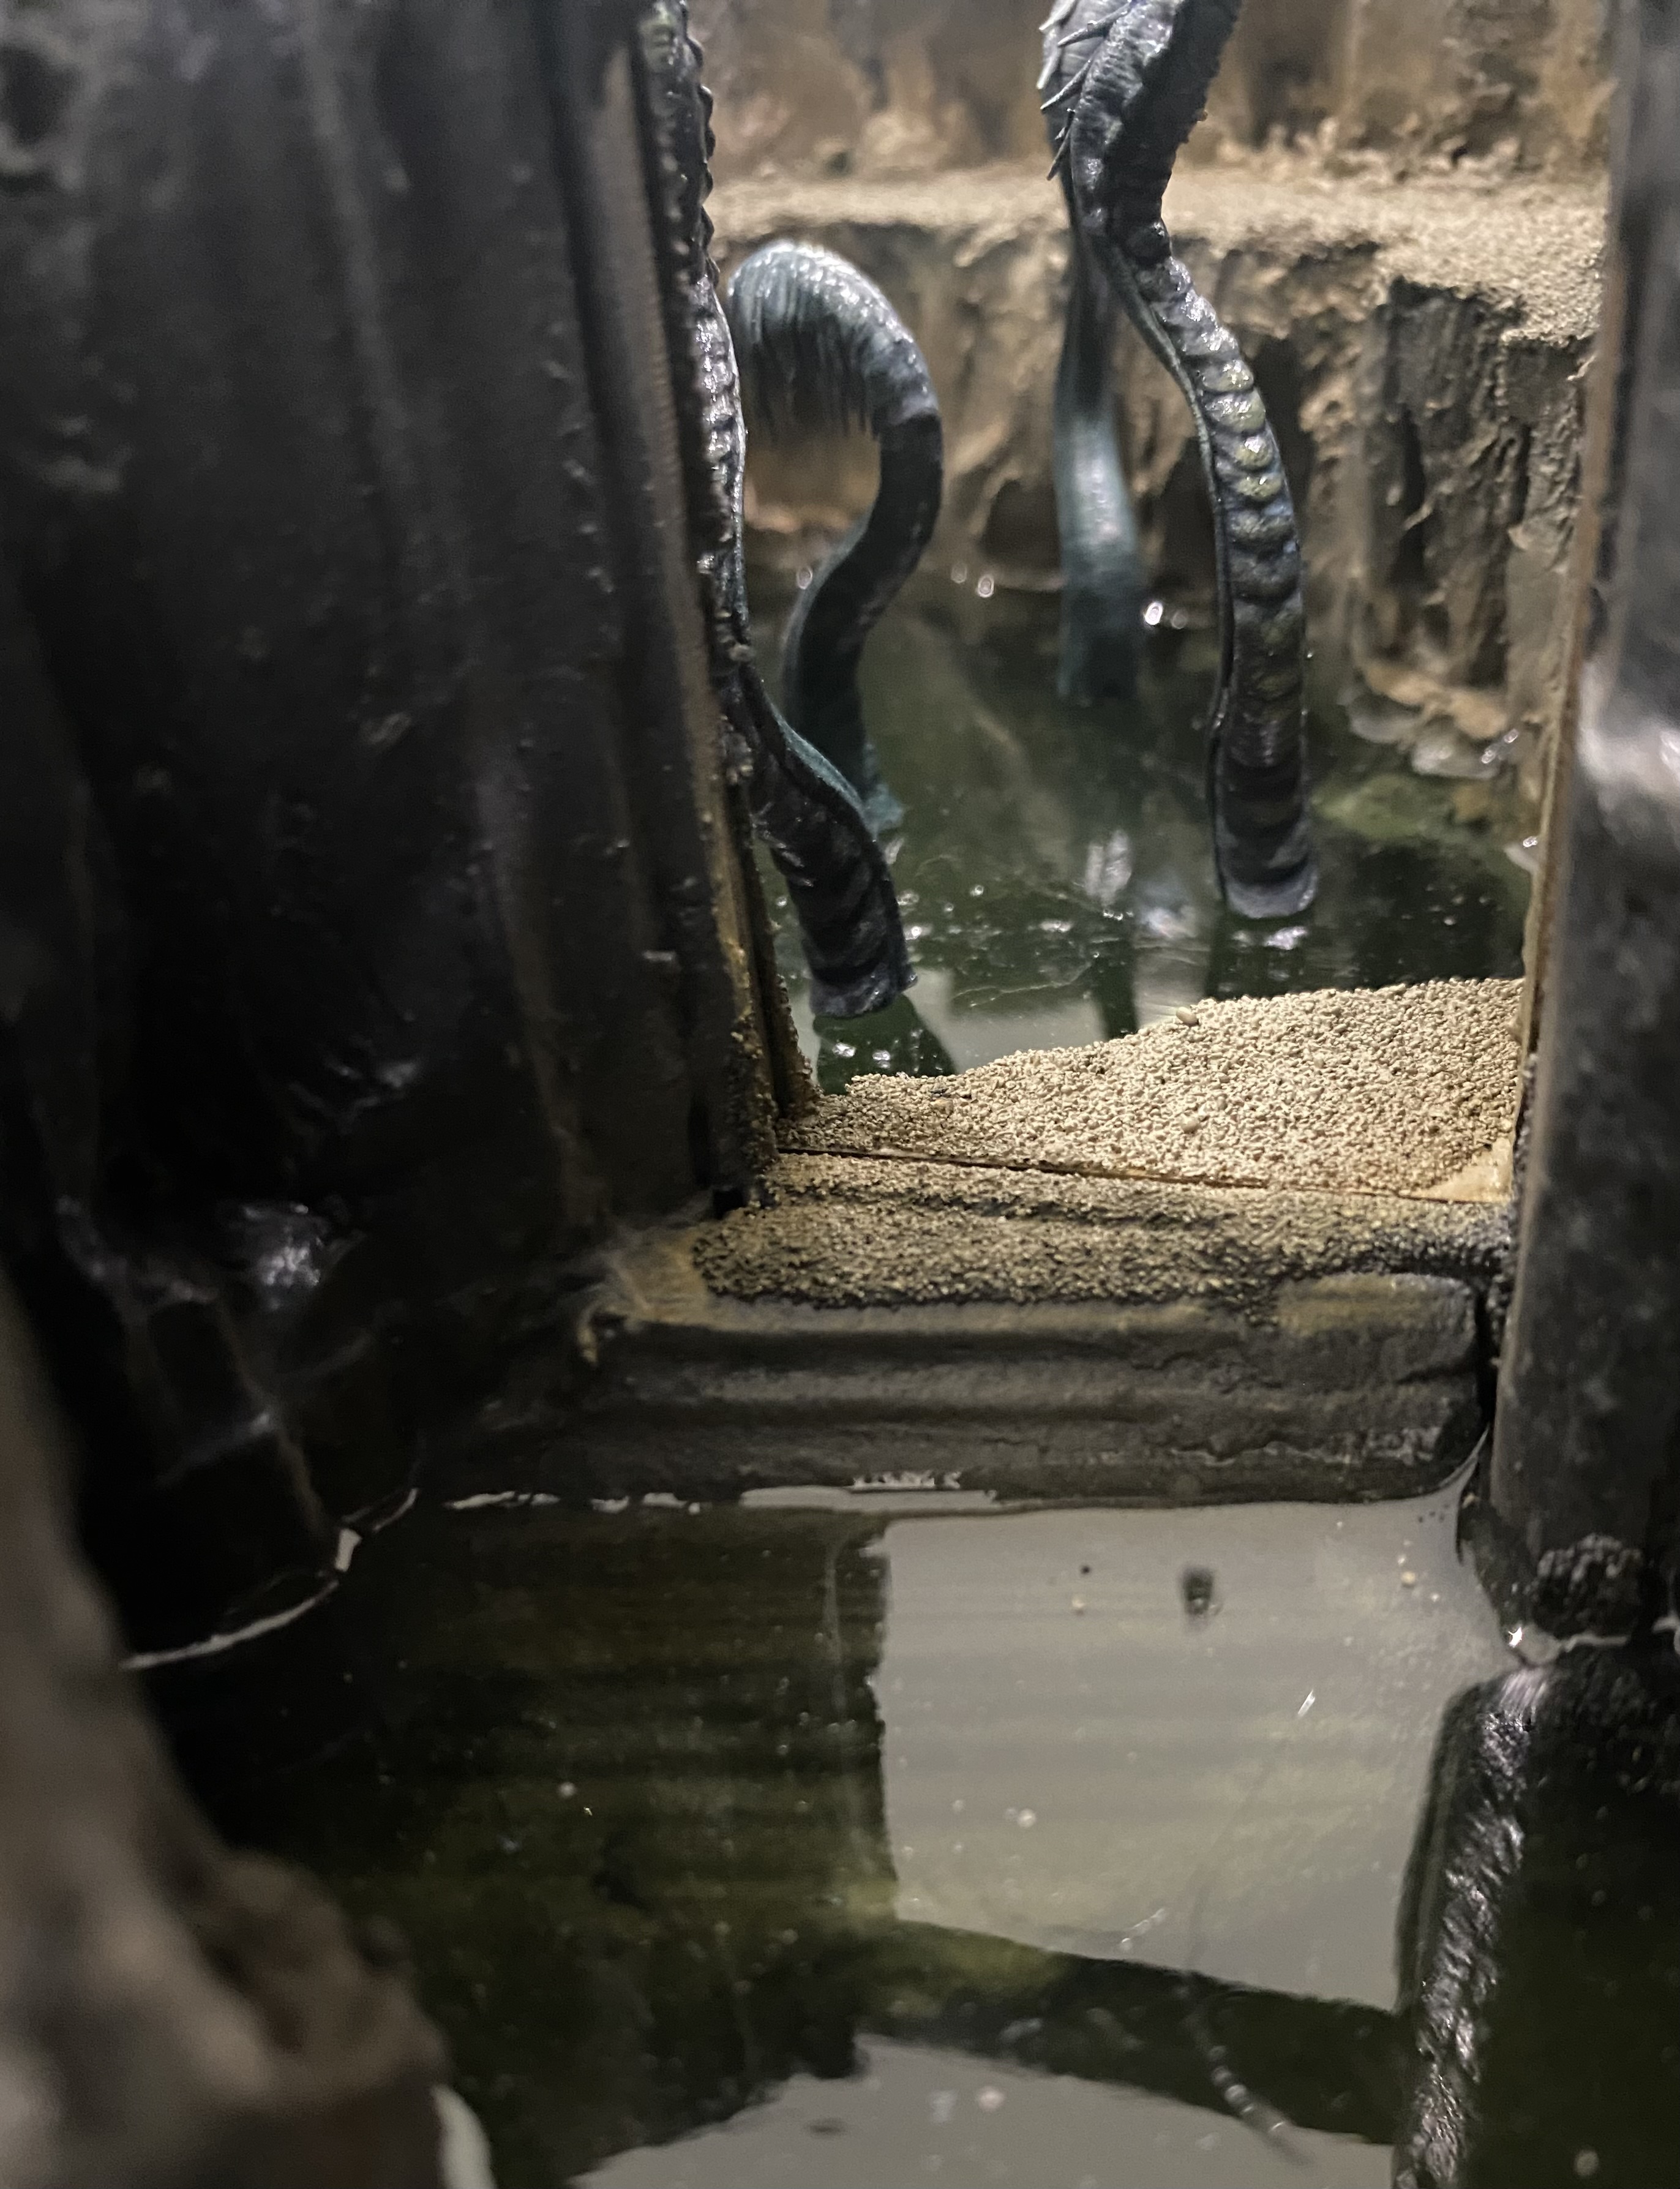
 A refreshing fountain of the purest spring water.
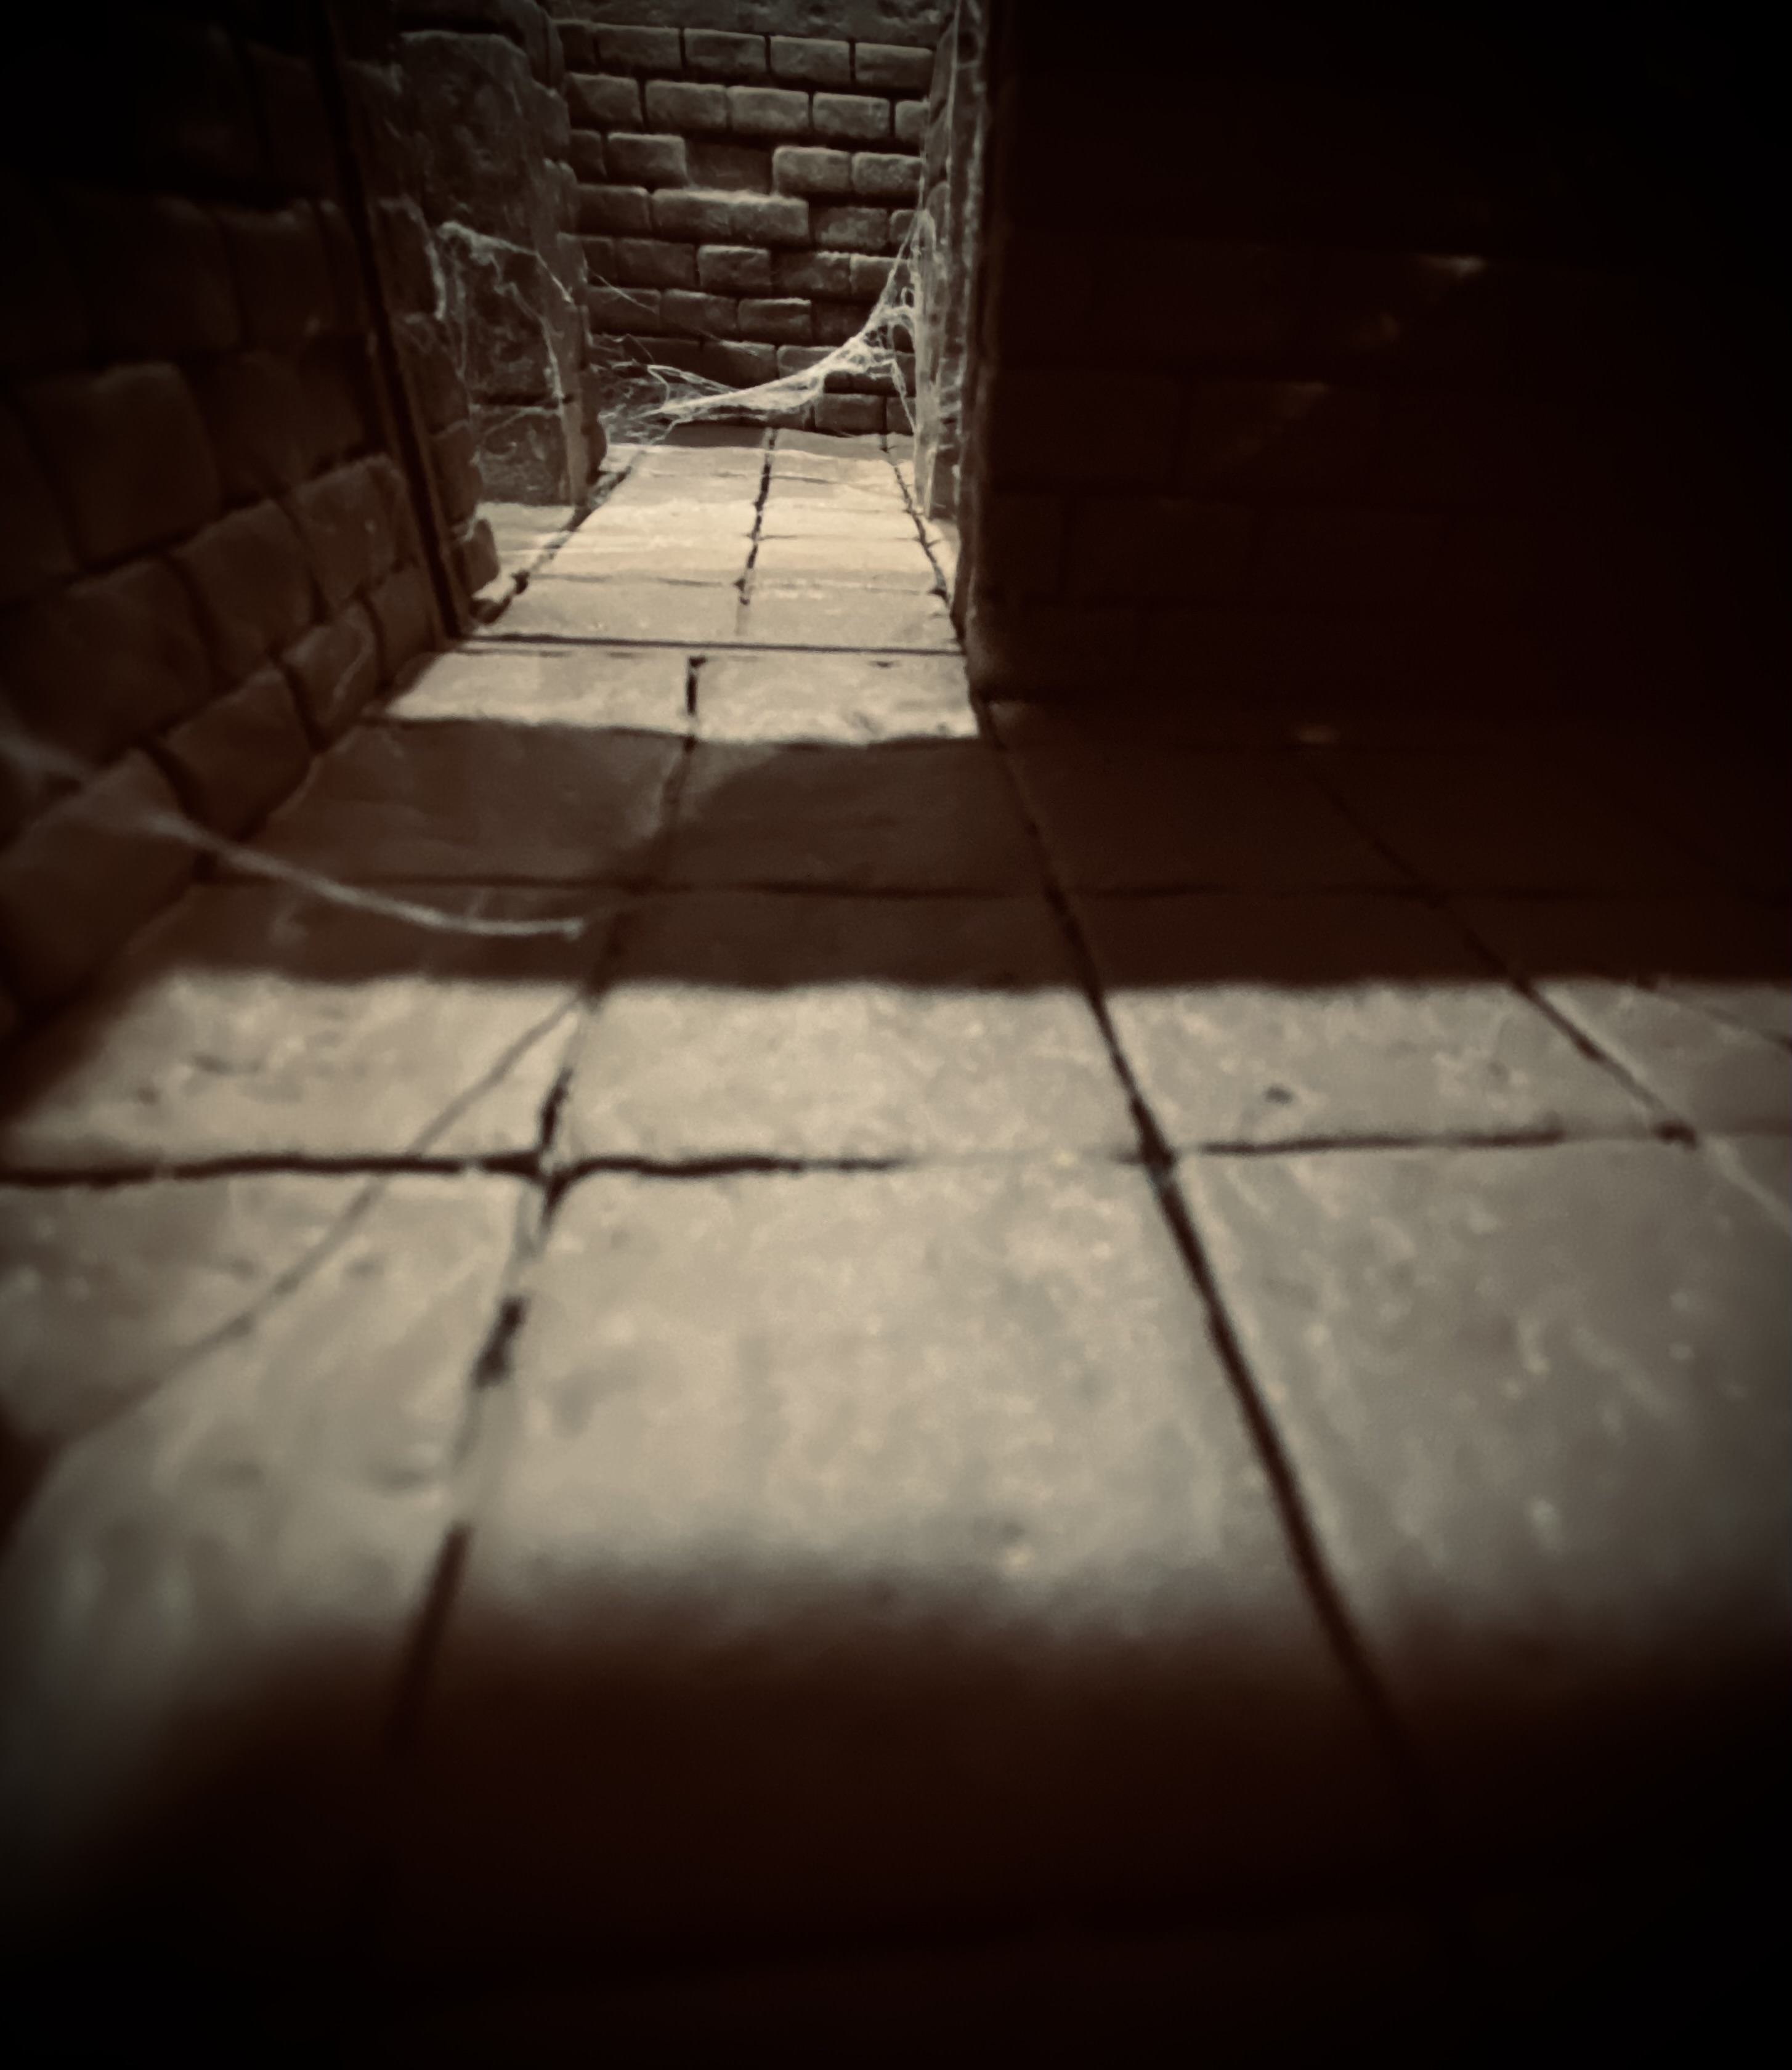
Getting Webby
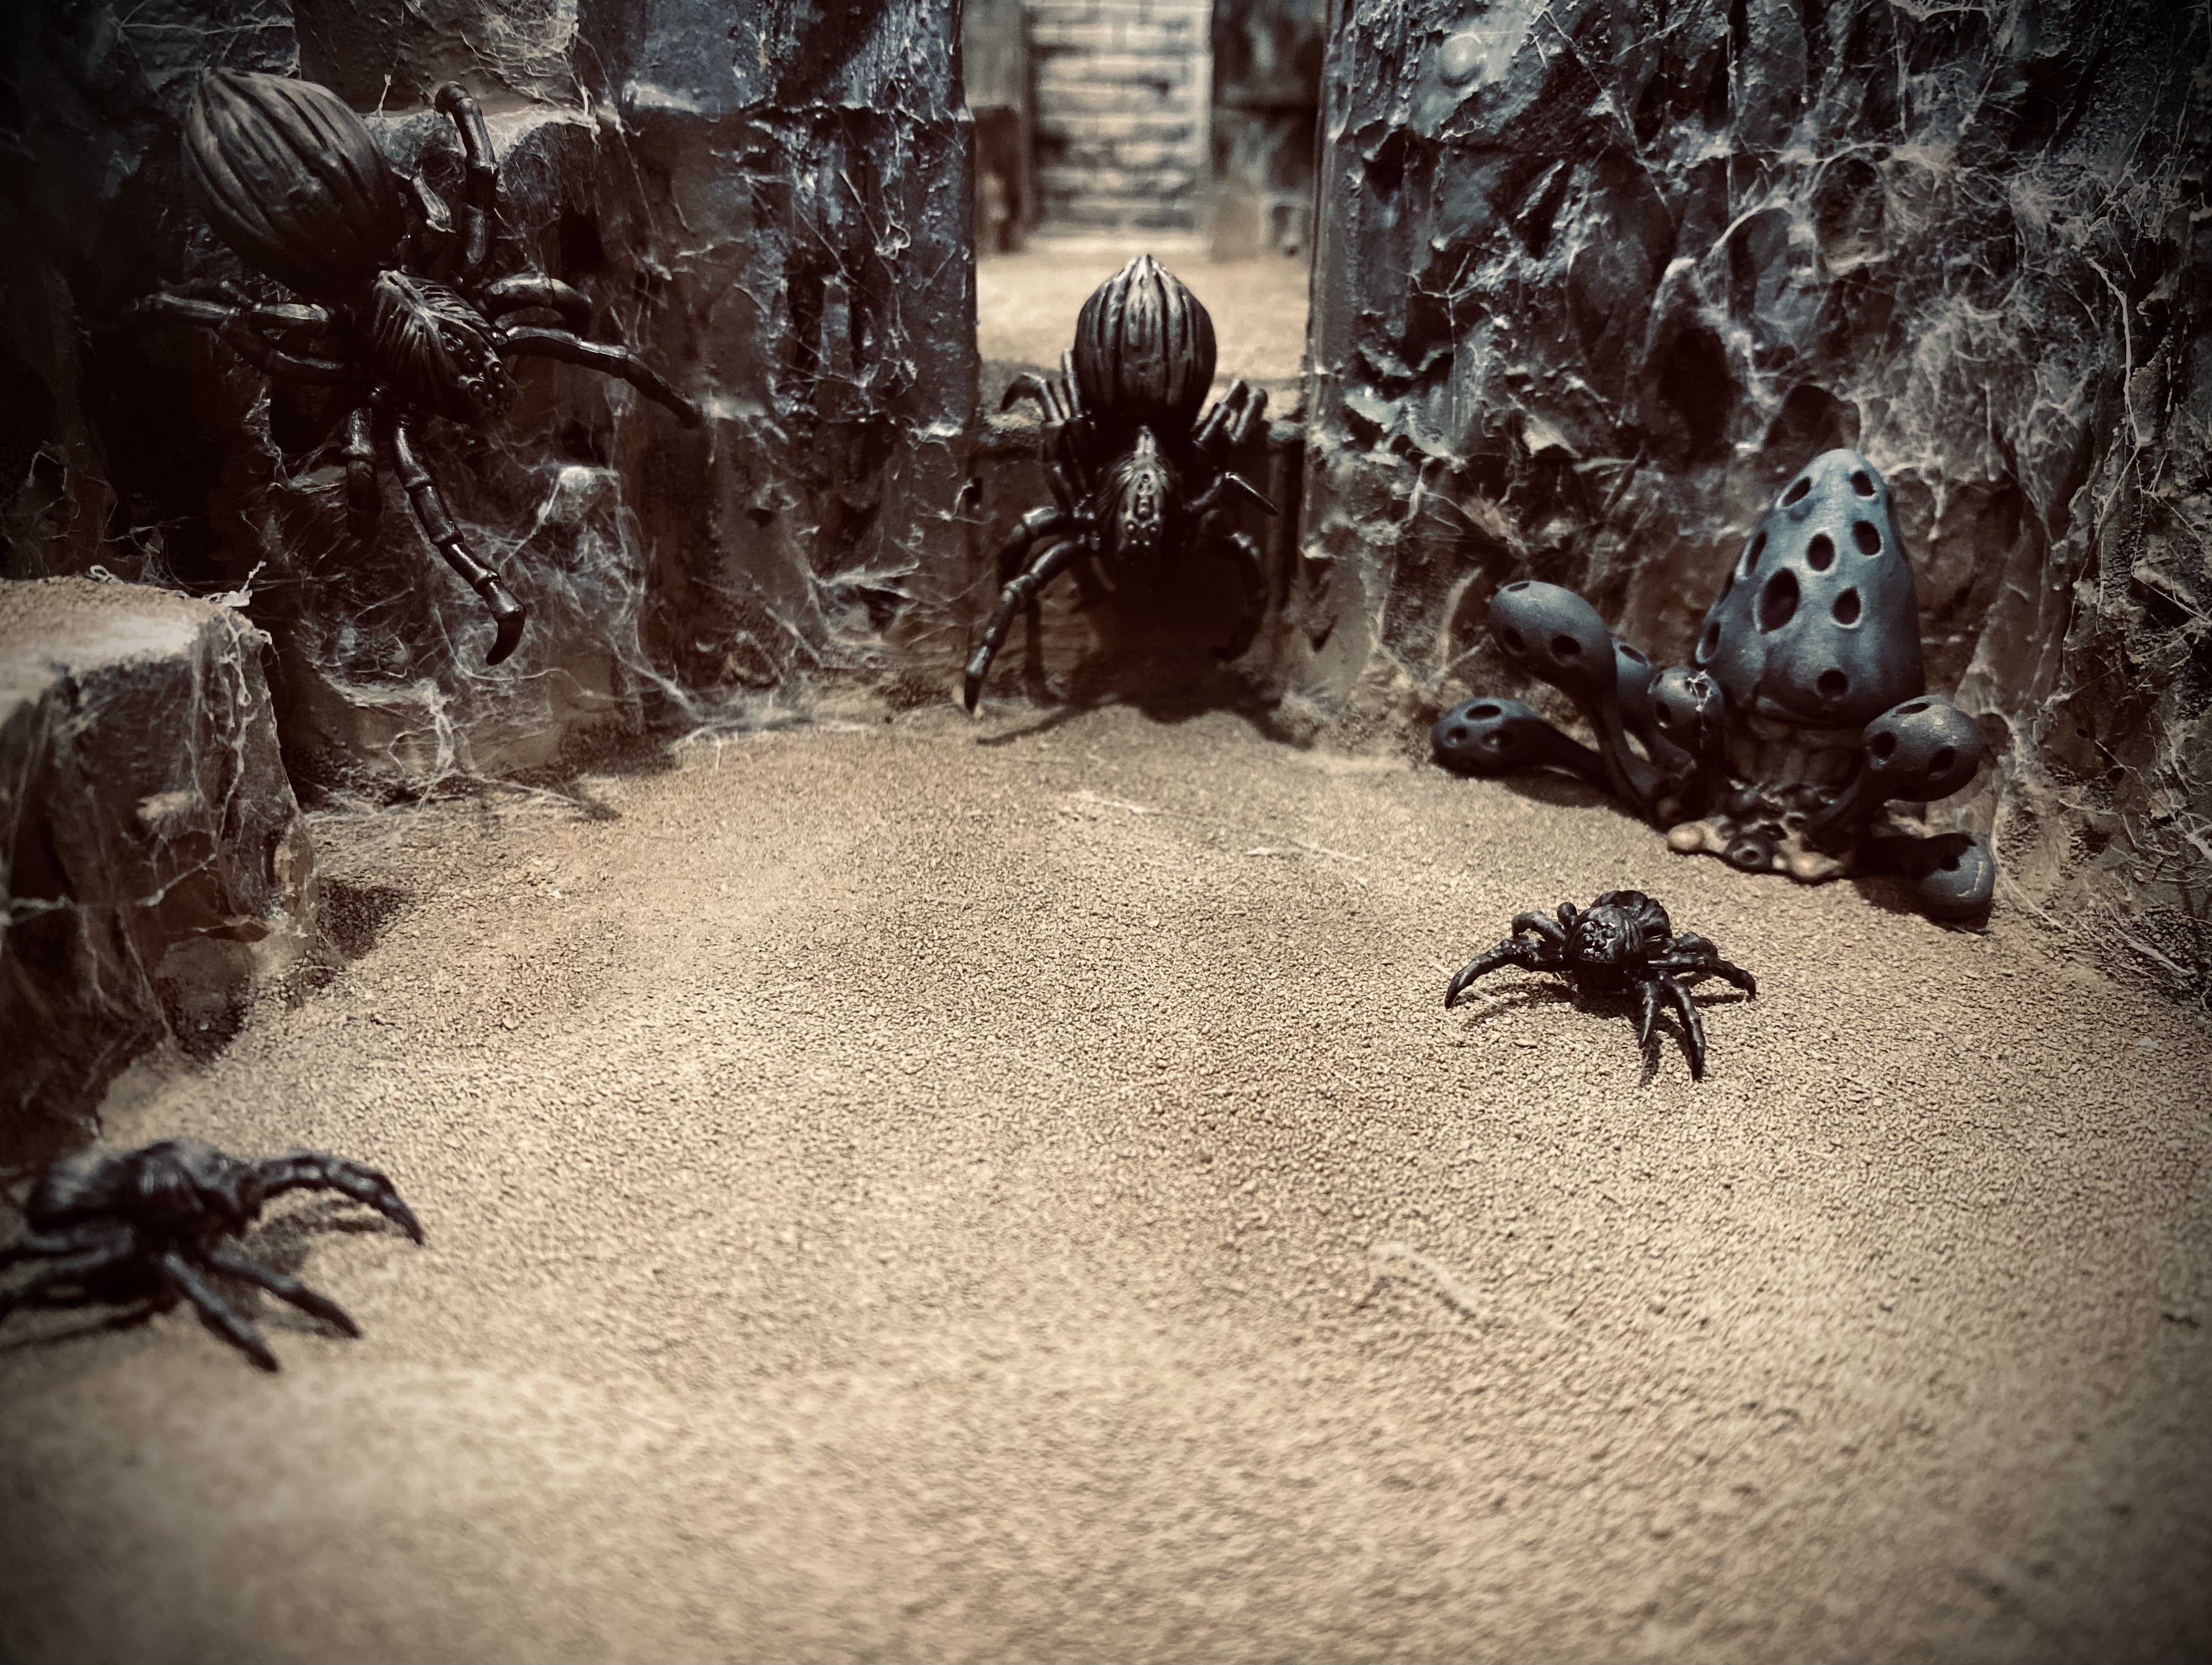
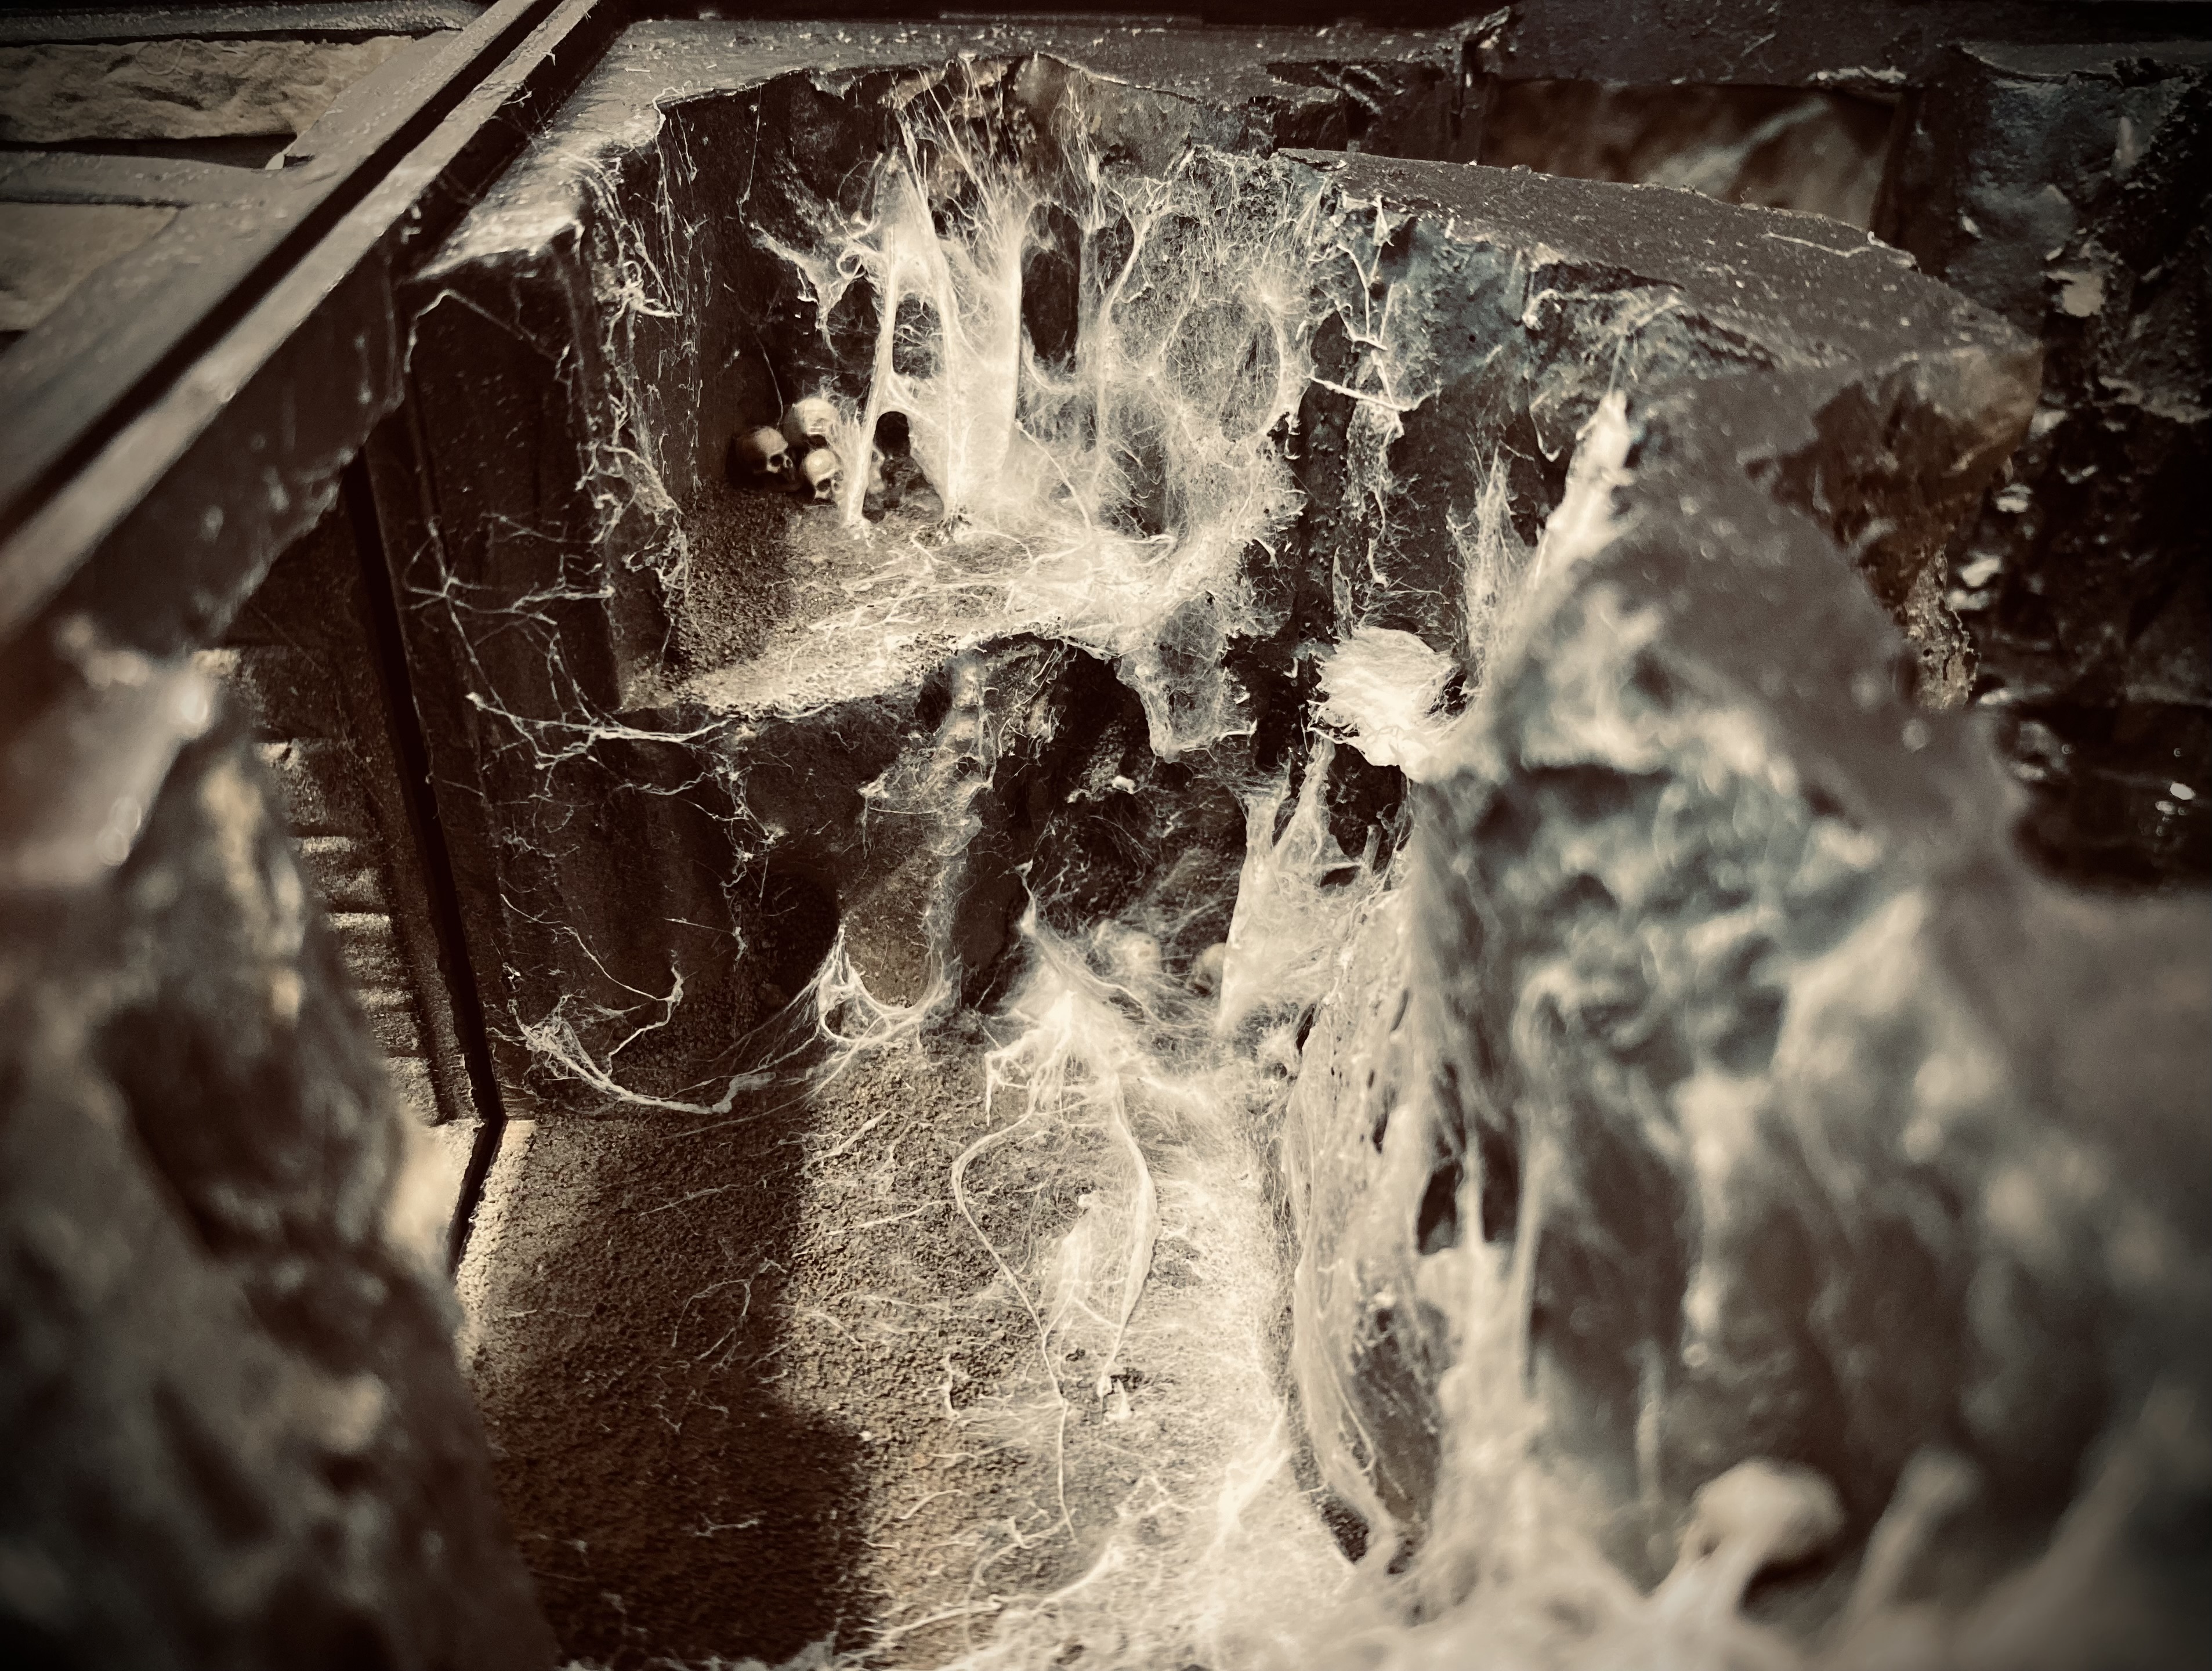
Green Stuff Spider Serum, well what Can I say…
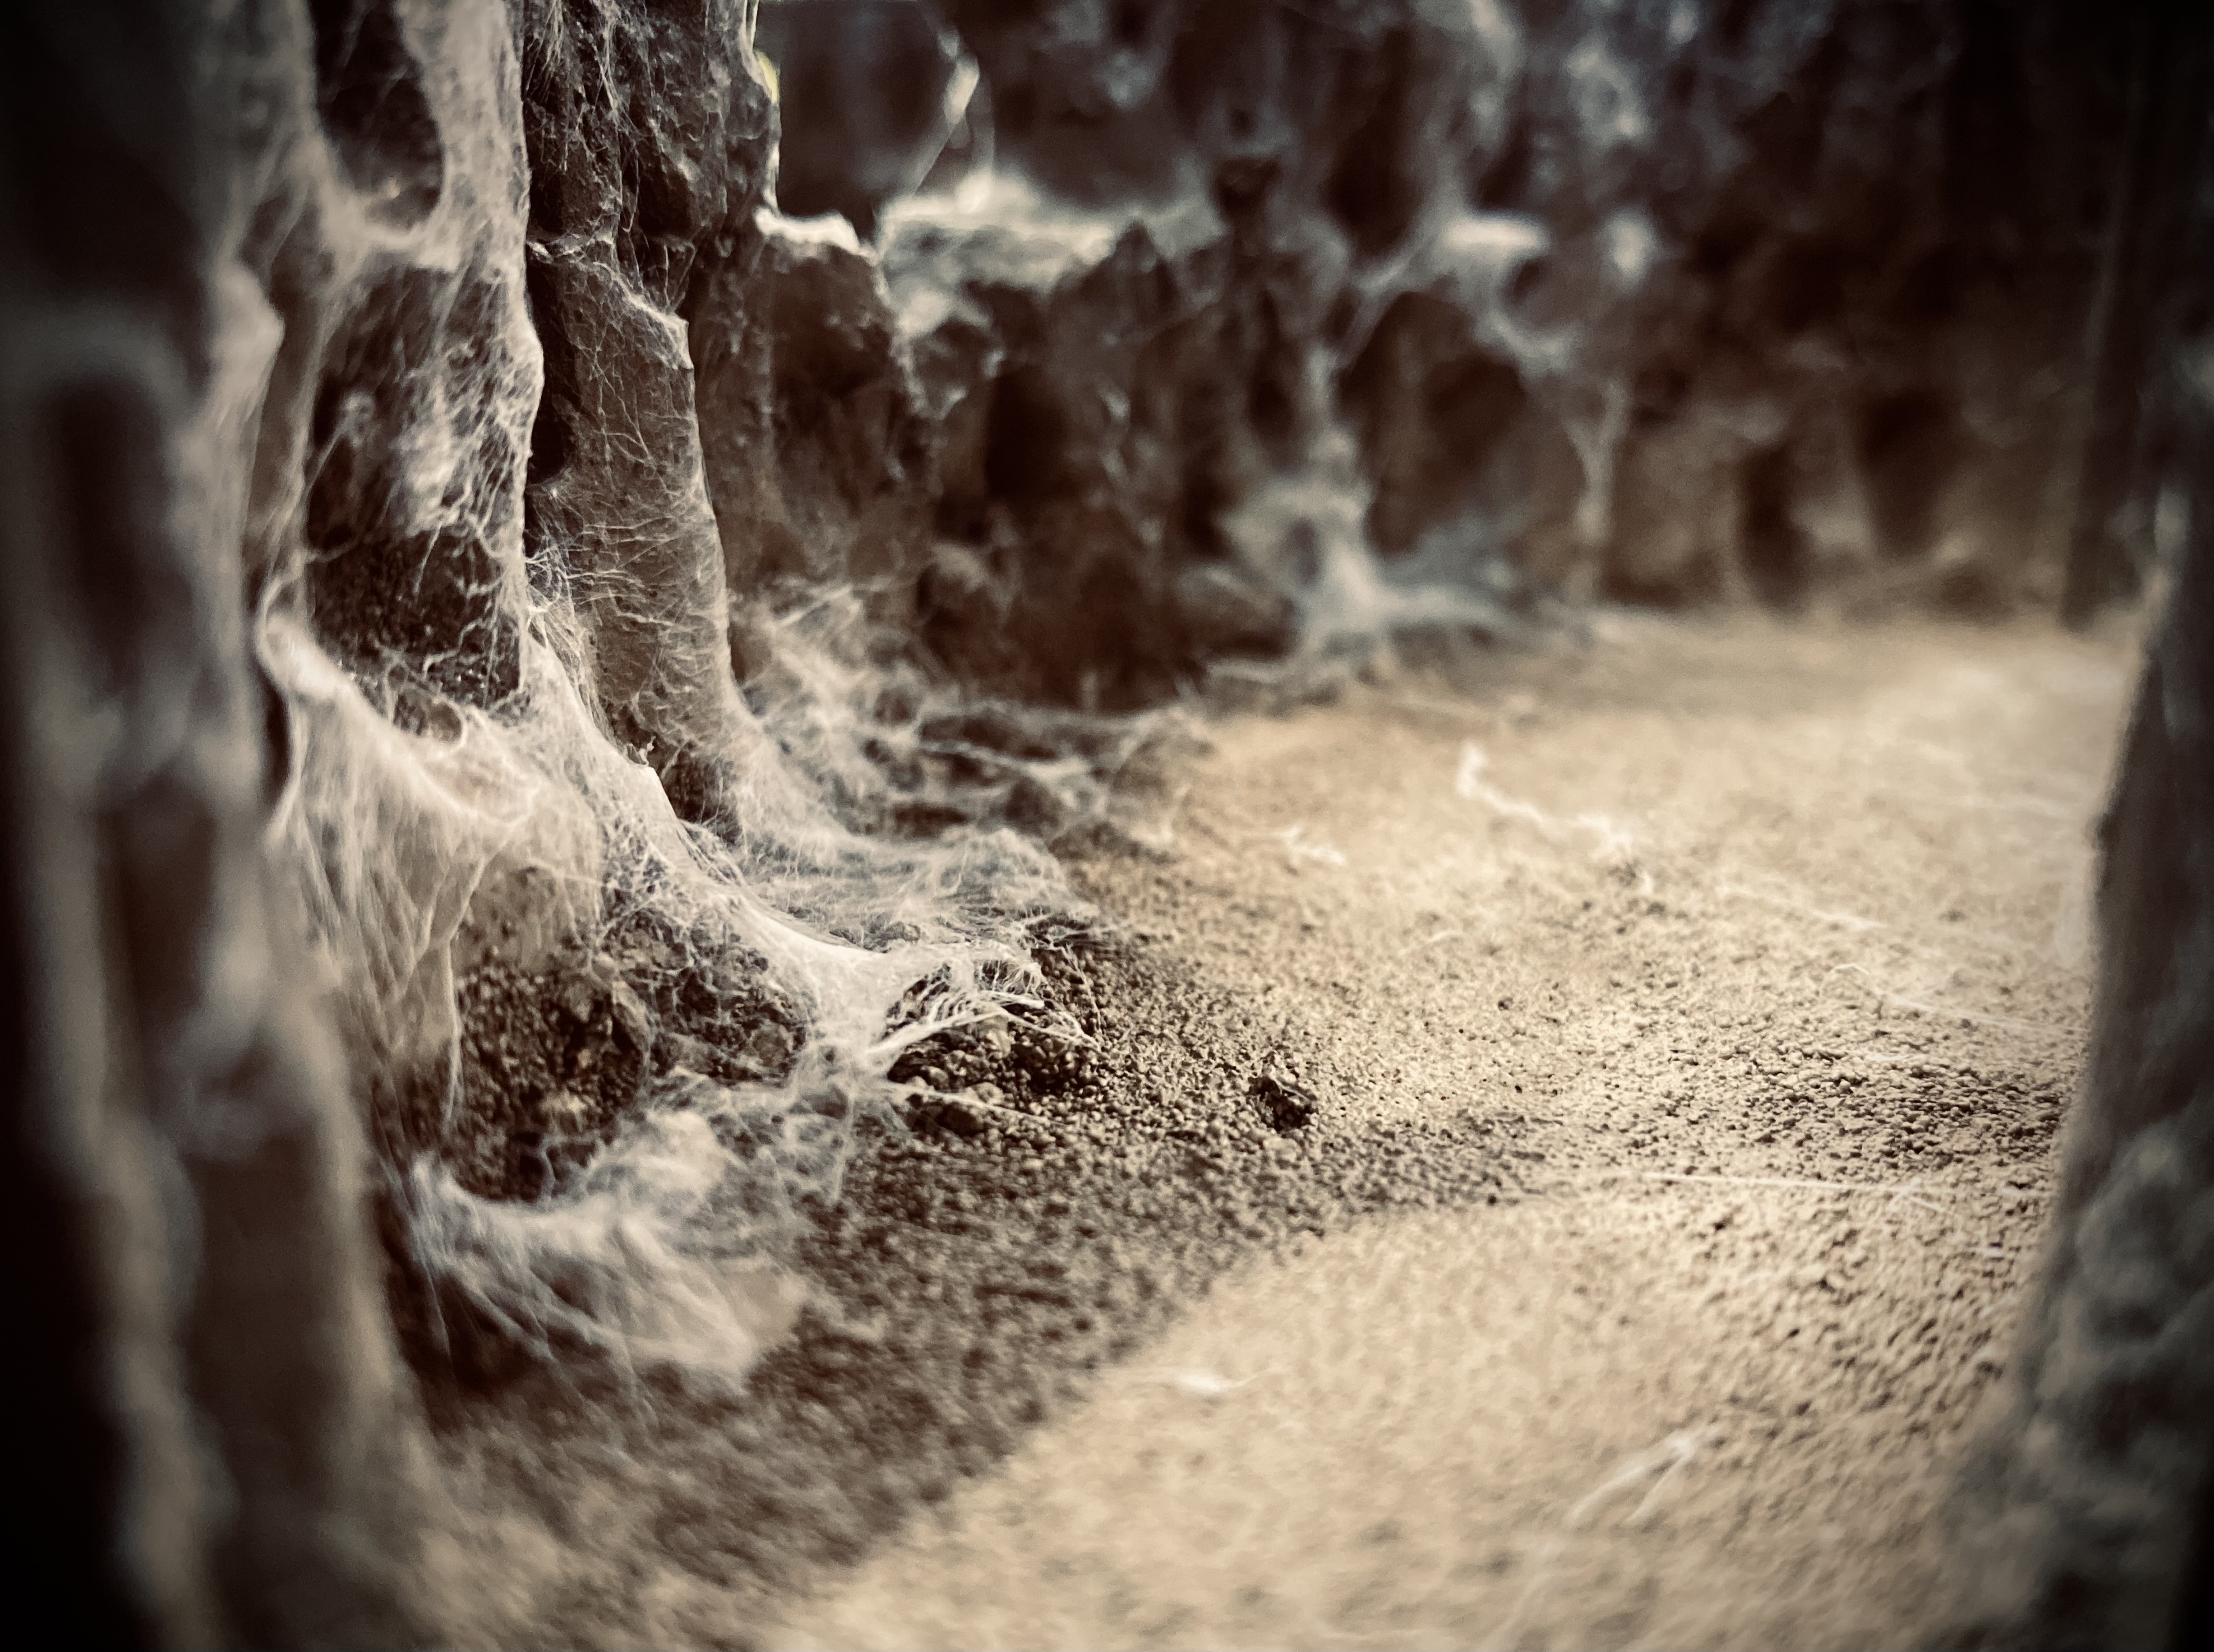
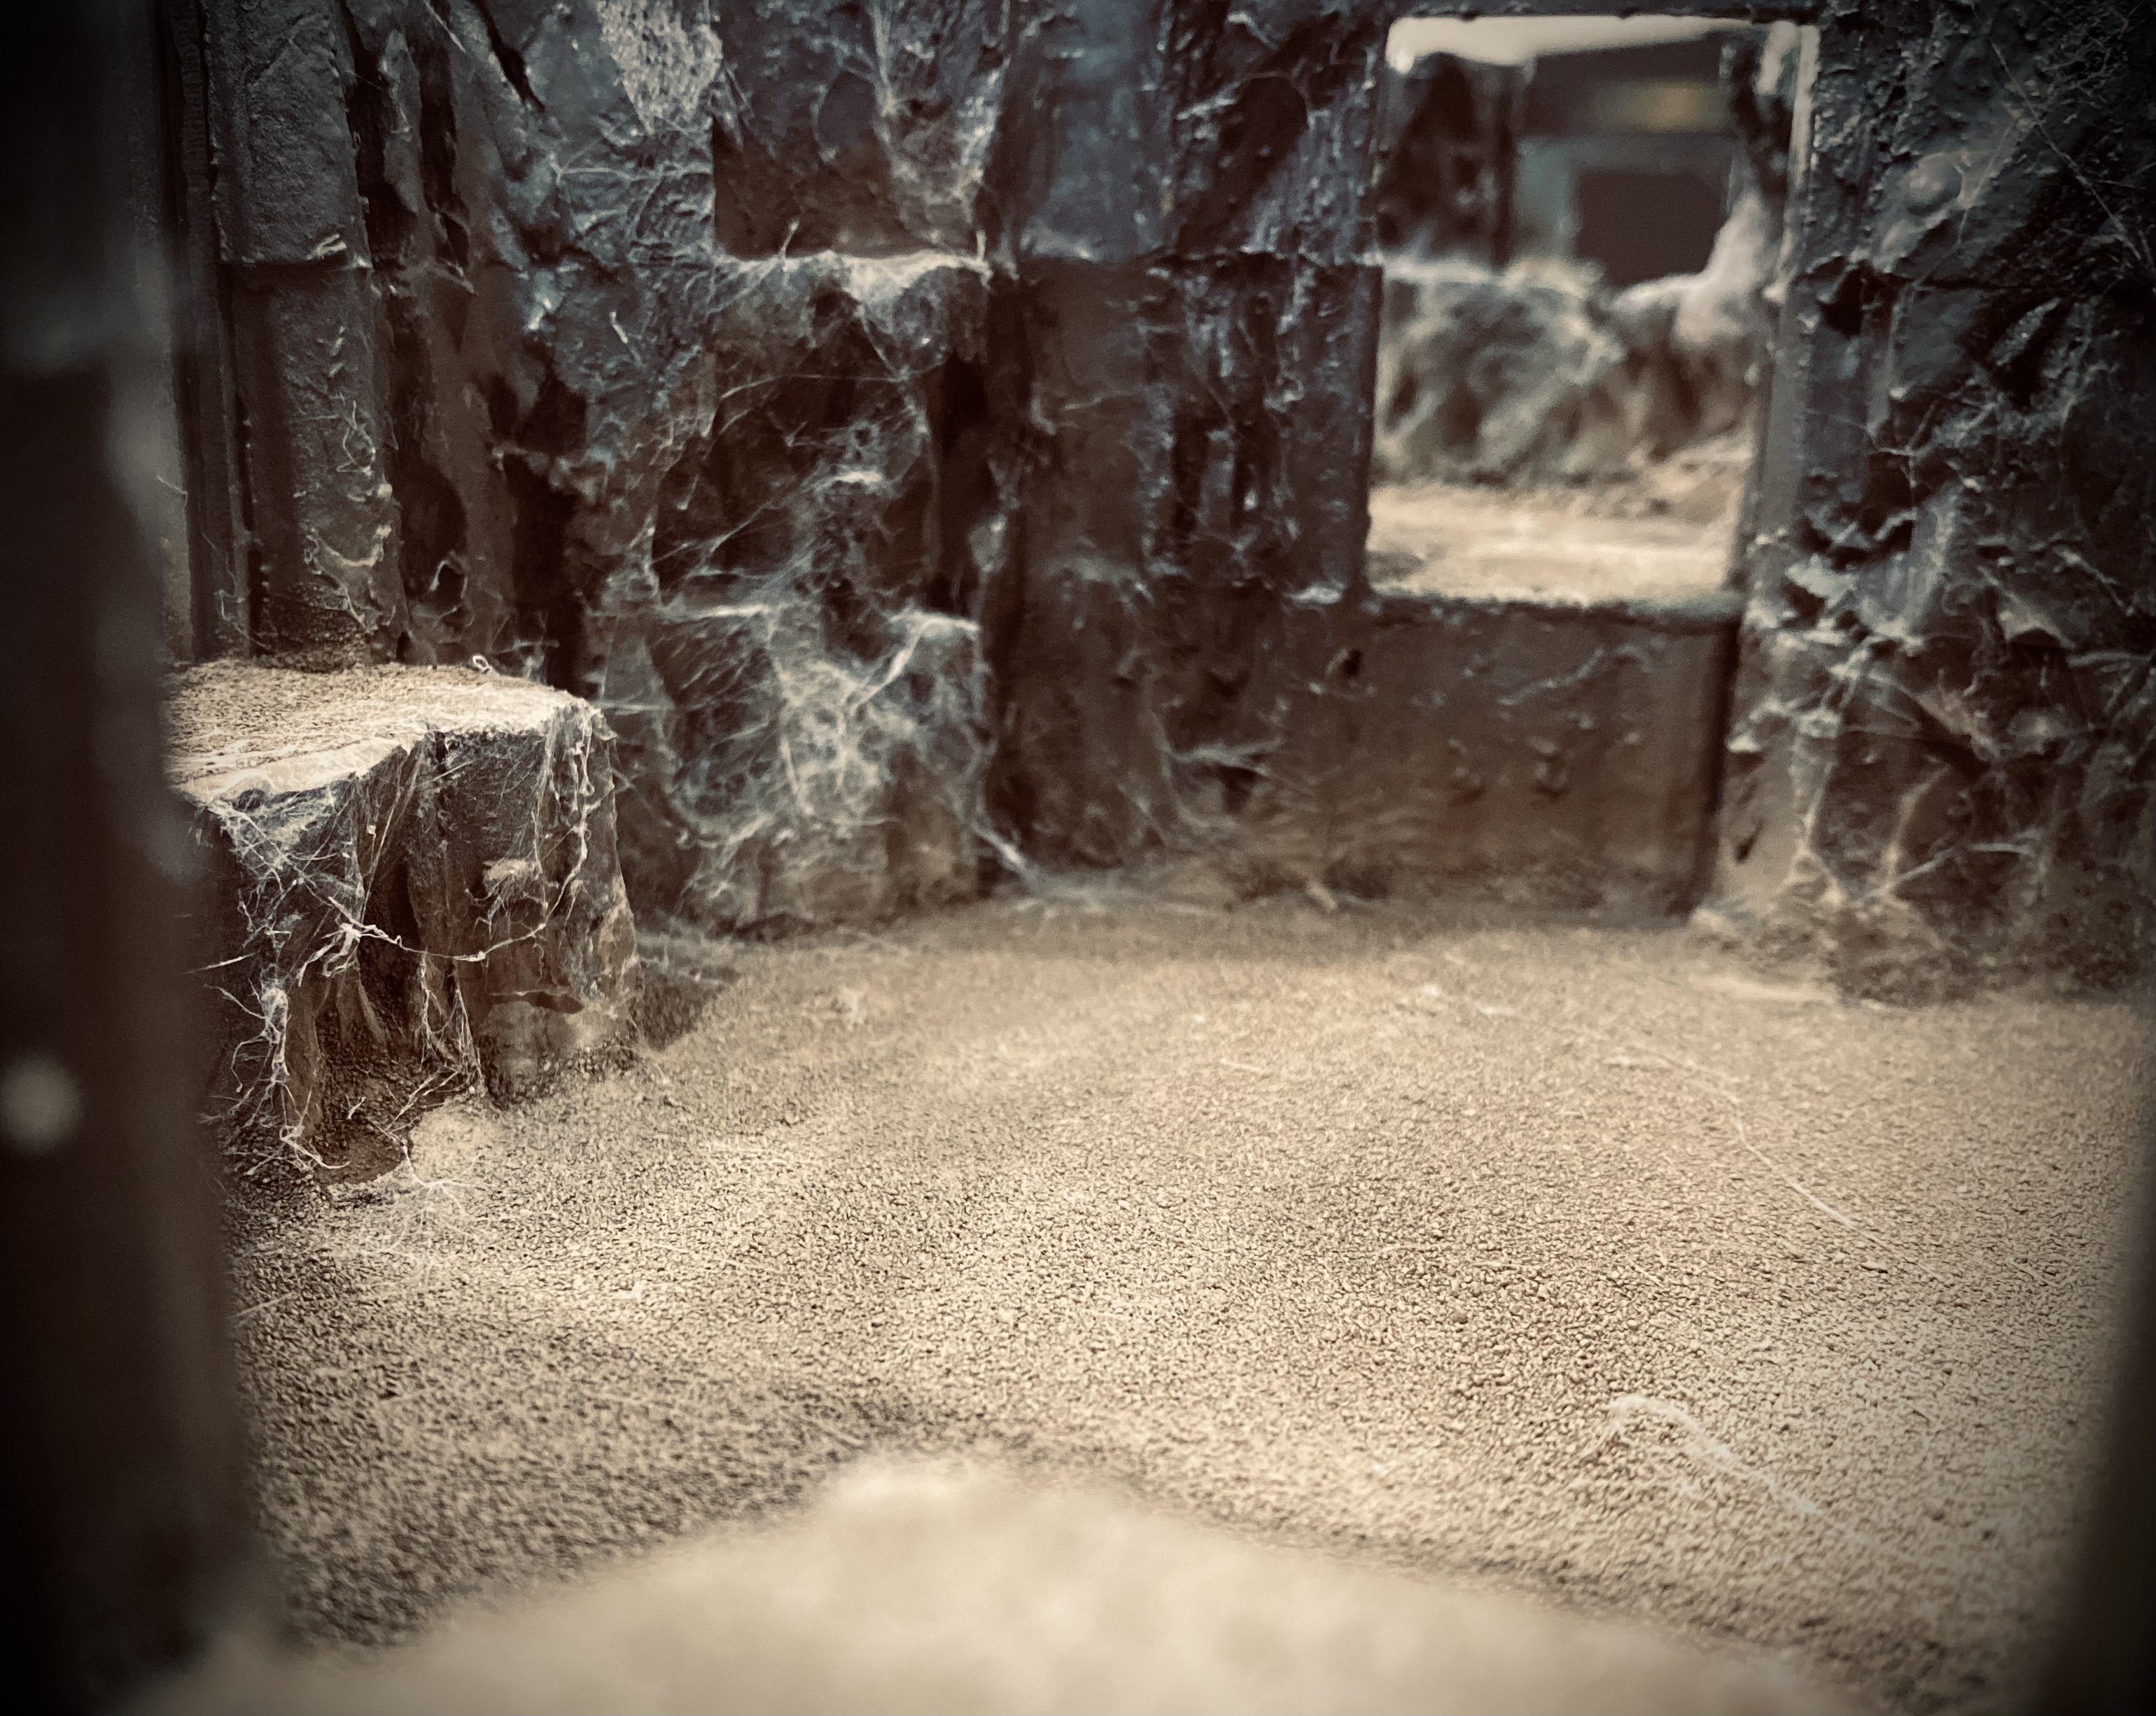
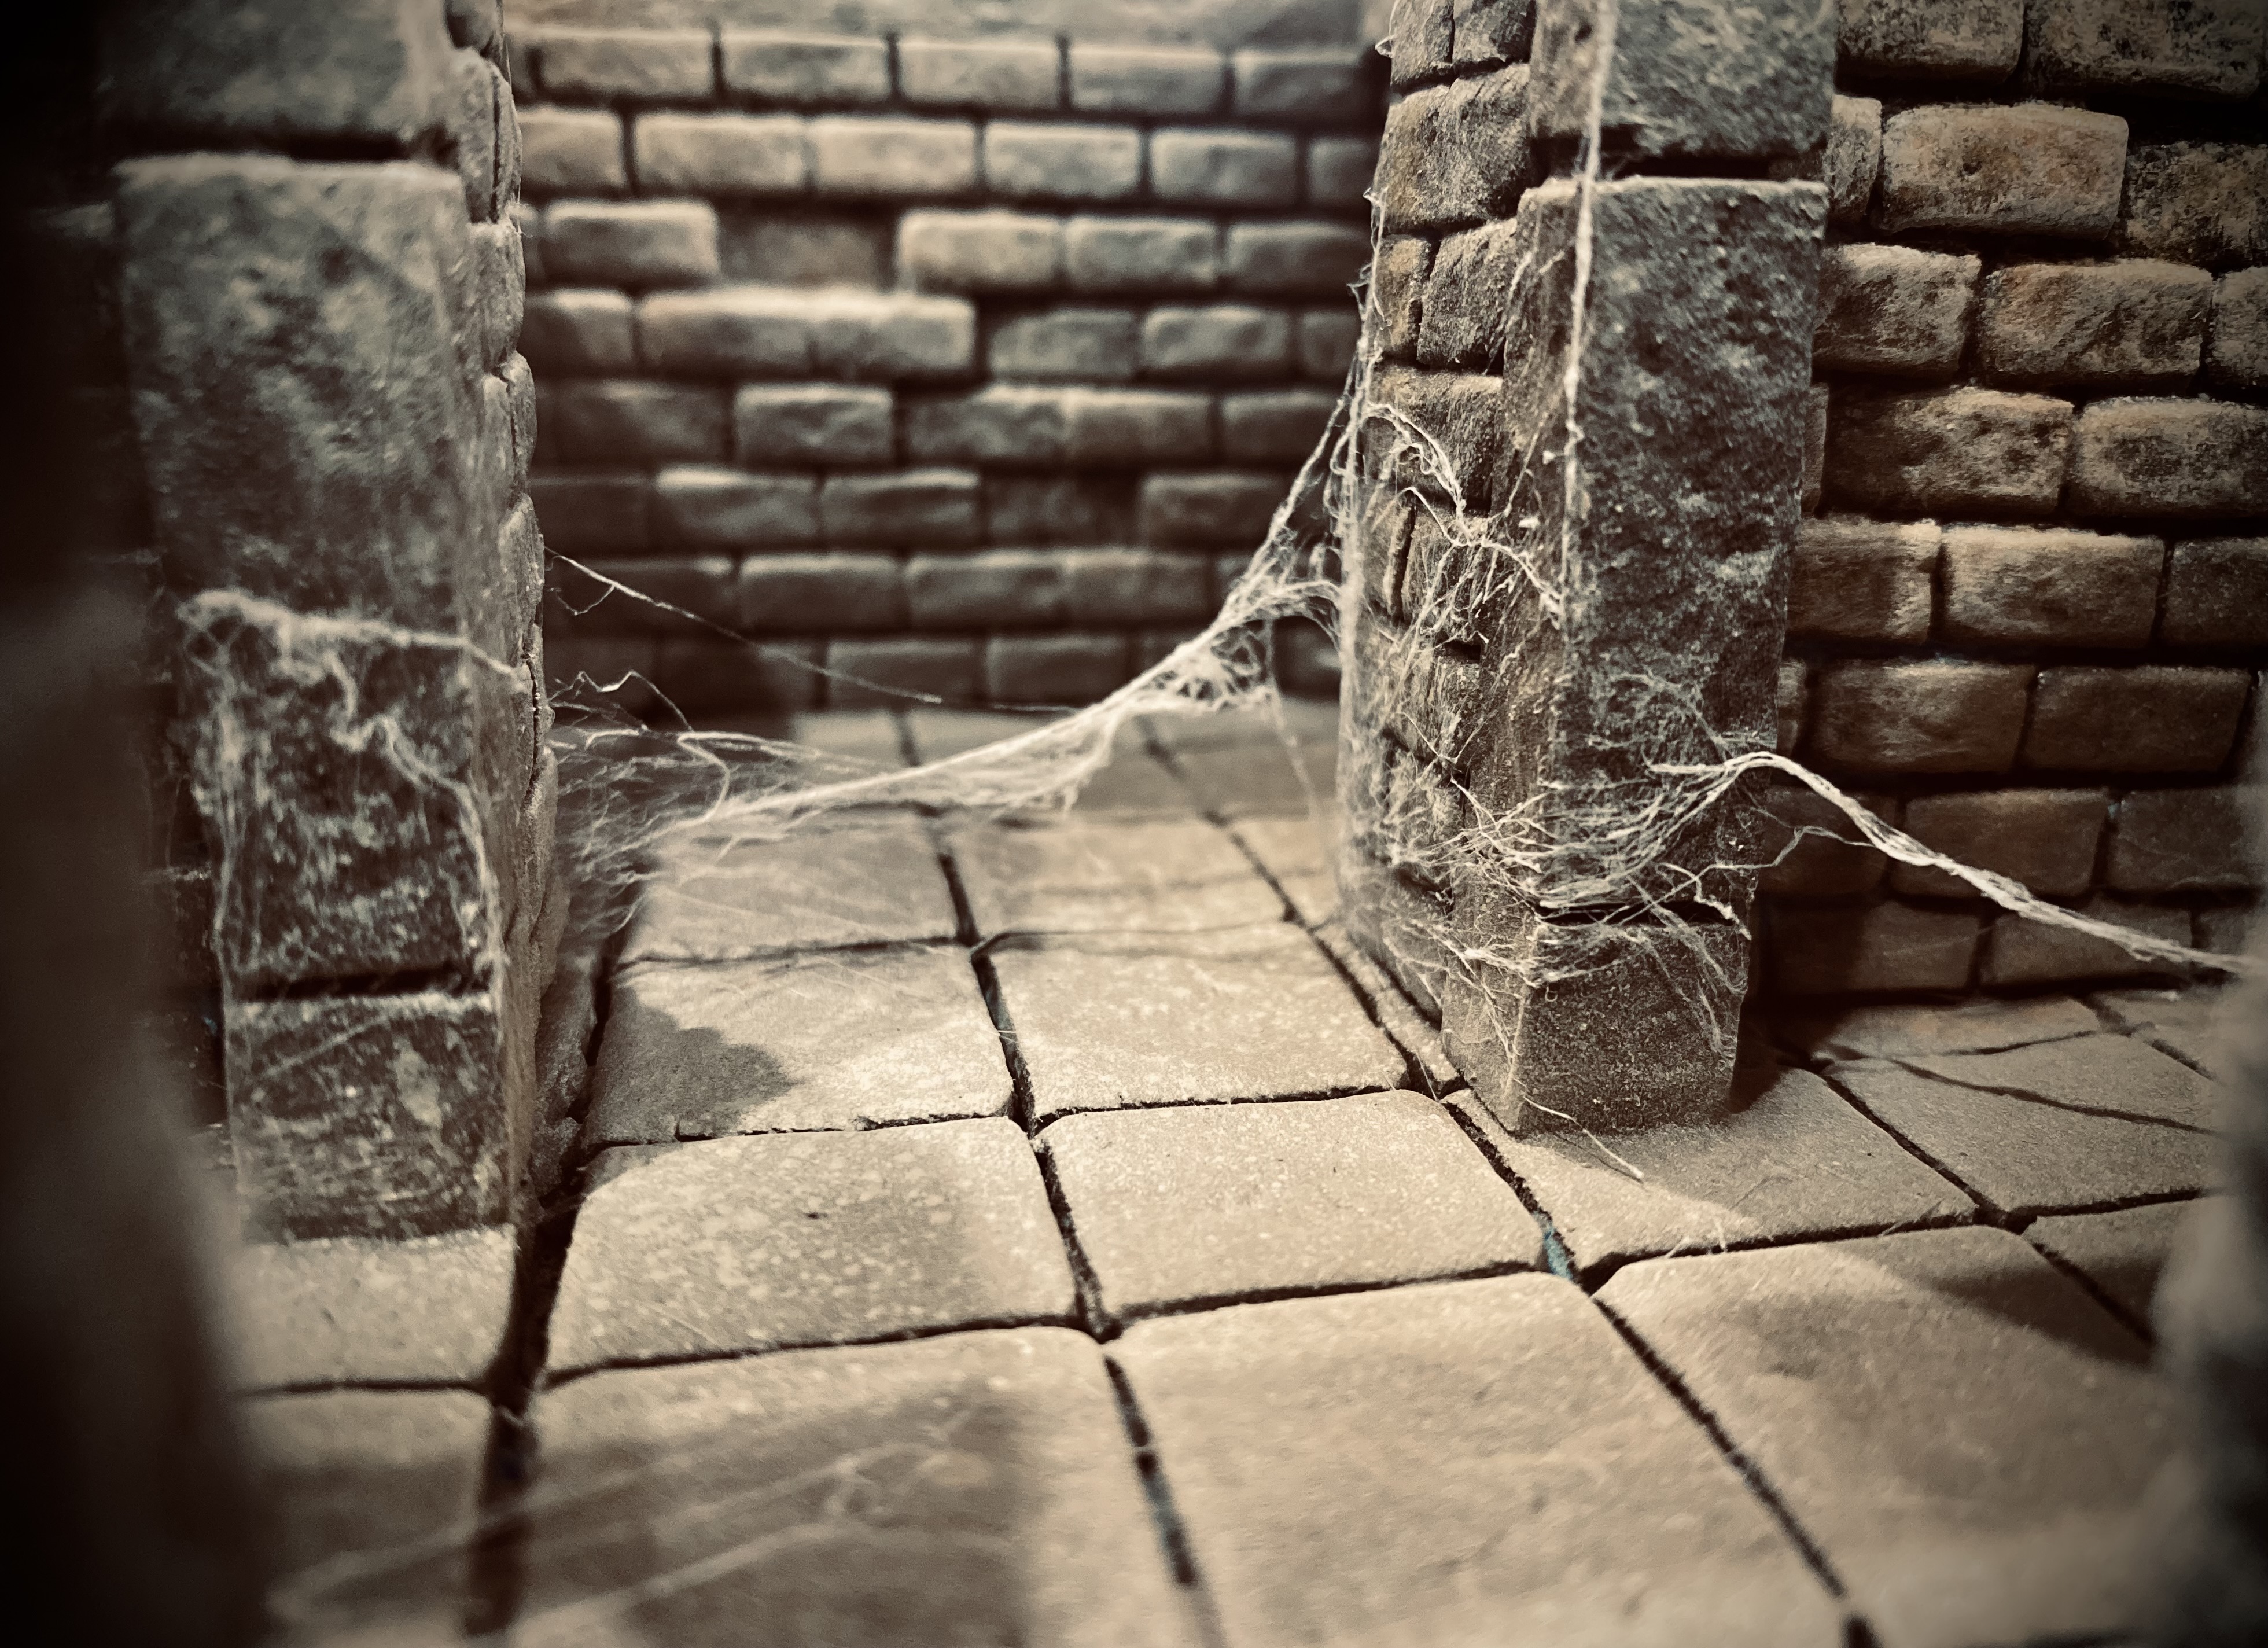
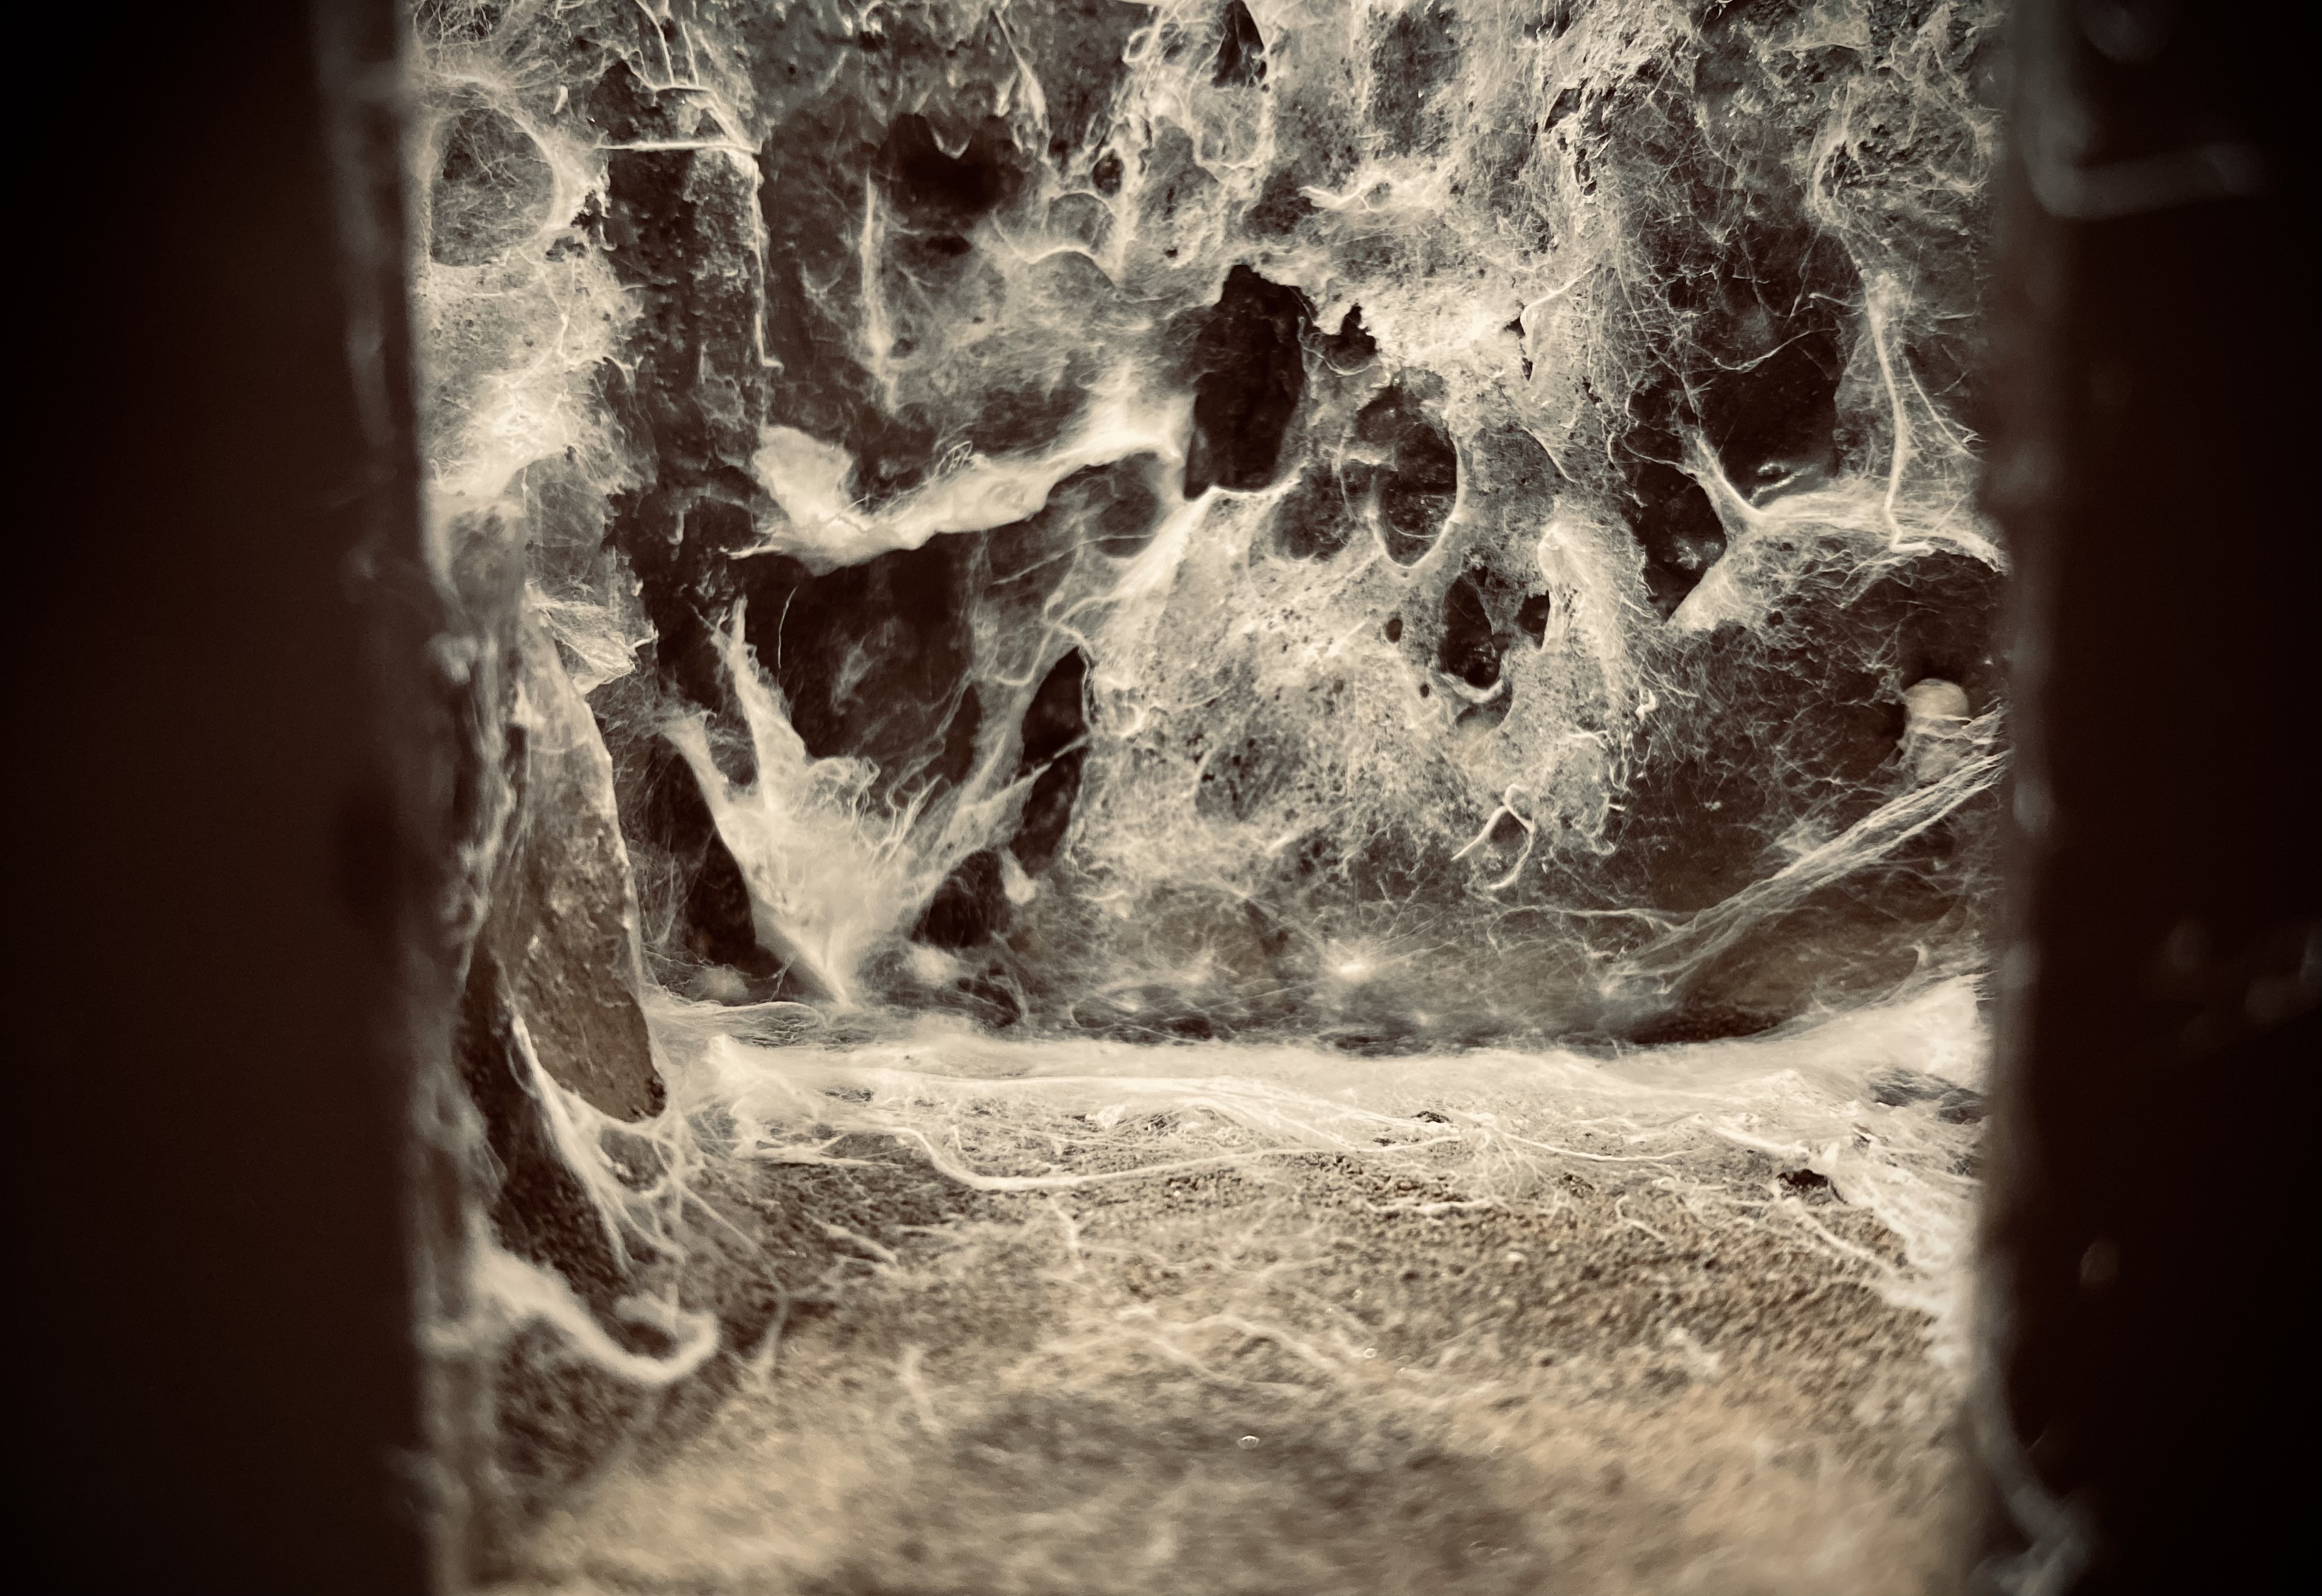
I figured if there are going to be spiders in this thing then there would also be cobwebs. My initial idea was to go down the route of tumble-dryer sheets but then I stumbled on spider serum and thought, why the heck not.
Now a word of warning. If you are going to use this stuff, go outside to do it. Preferably in someone else’s garden and ideally someone you don’t like too much. To say this stuff goes everywhere is an understatement. In just a few short minutes I ended up looking like Frodo after meeting Shelob. Time to turn down the pressure on the airbrush.
So, once I got the millions of strings of cobwebs off my face and out of my hair, I set about the whole thing again, this time with a more sensible amount of air pressure and these are the results.
I have to make some egg batches and add those in. I also have some fungi to do and a few more props.
I think once I am done with this, I should have enough bits to do VSF, Pulp and Fantasy settings, plus I am already thinking of ways to expand this further.

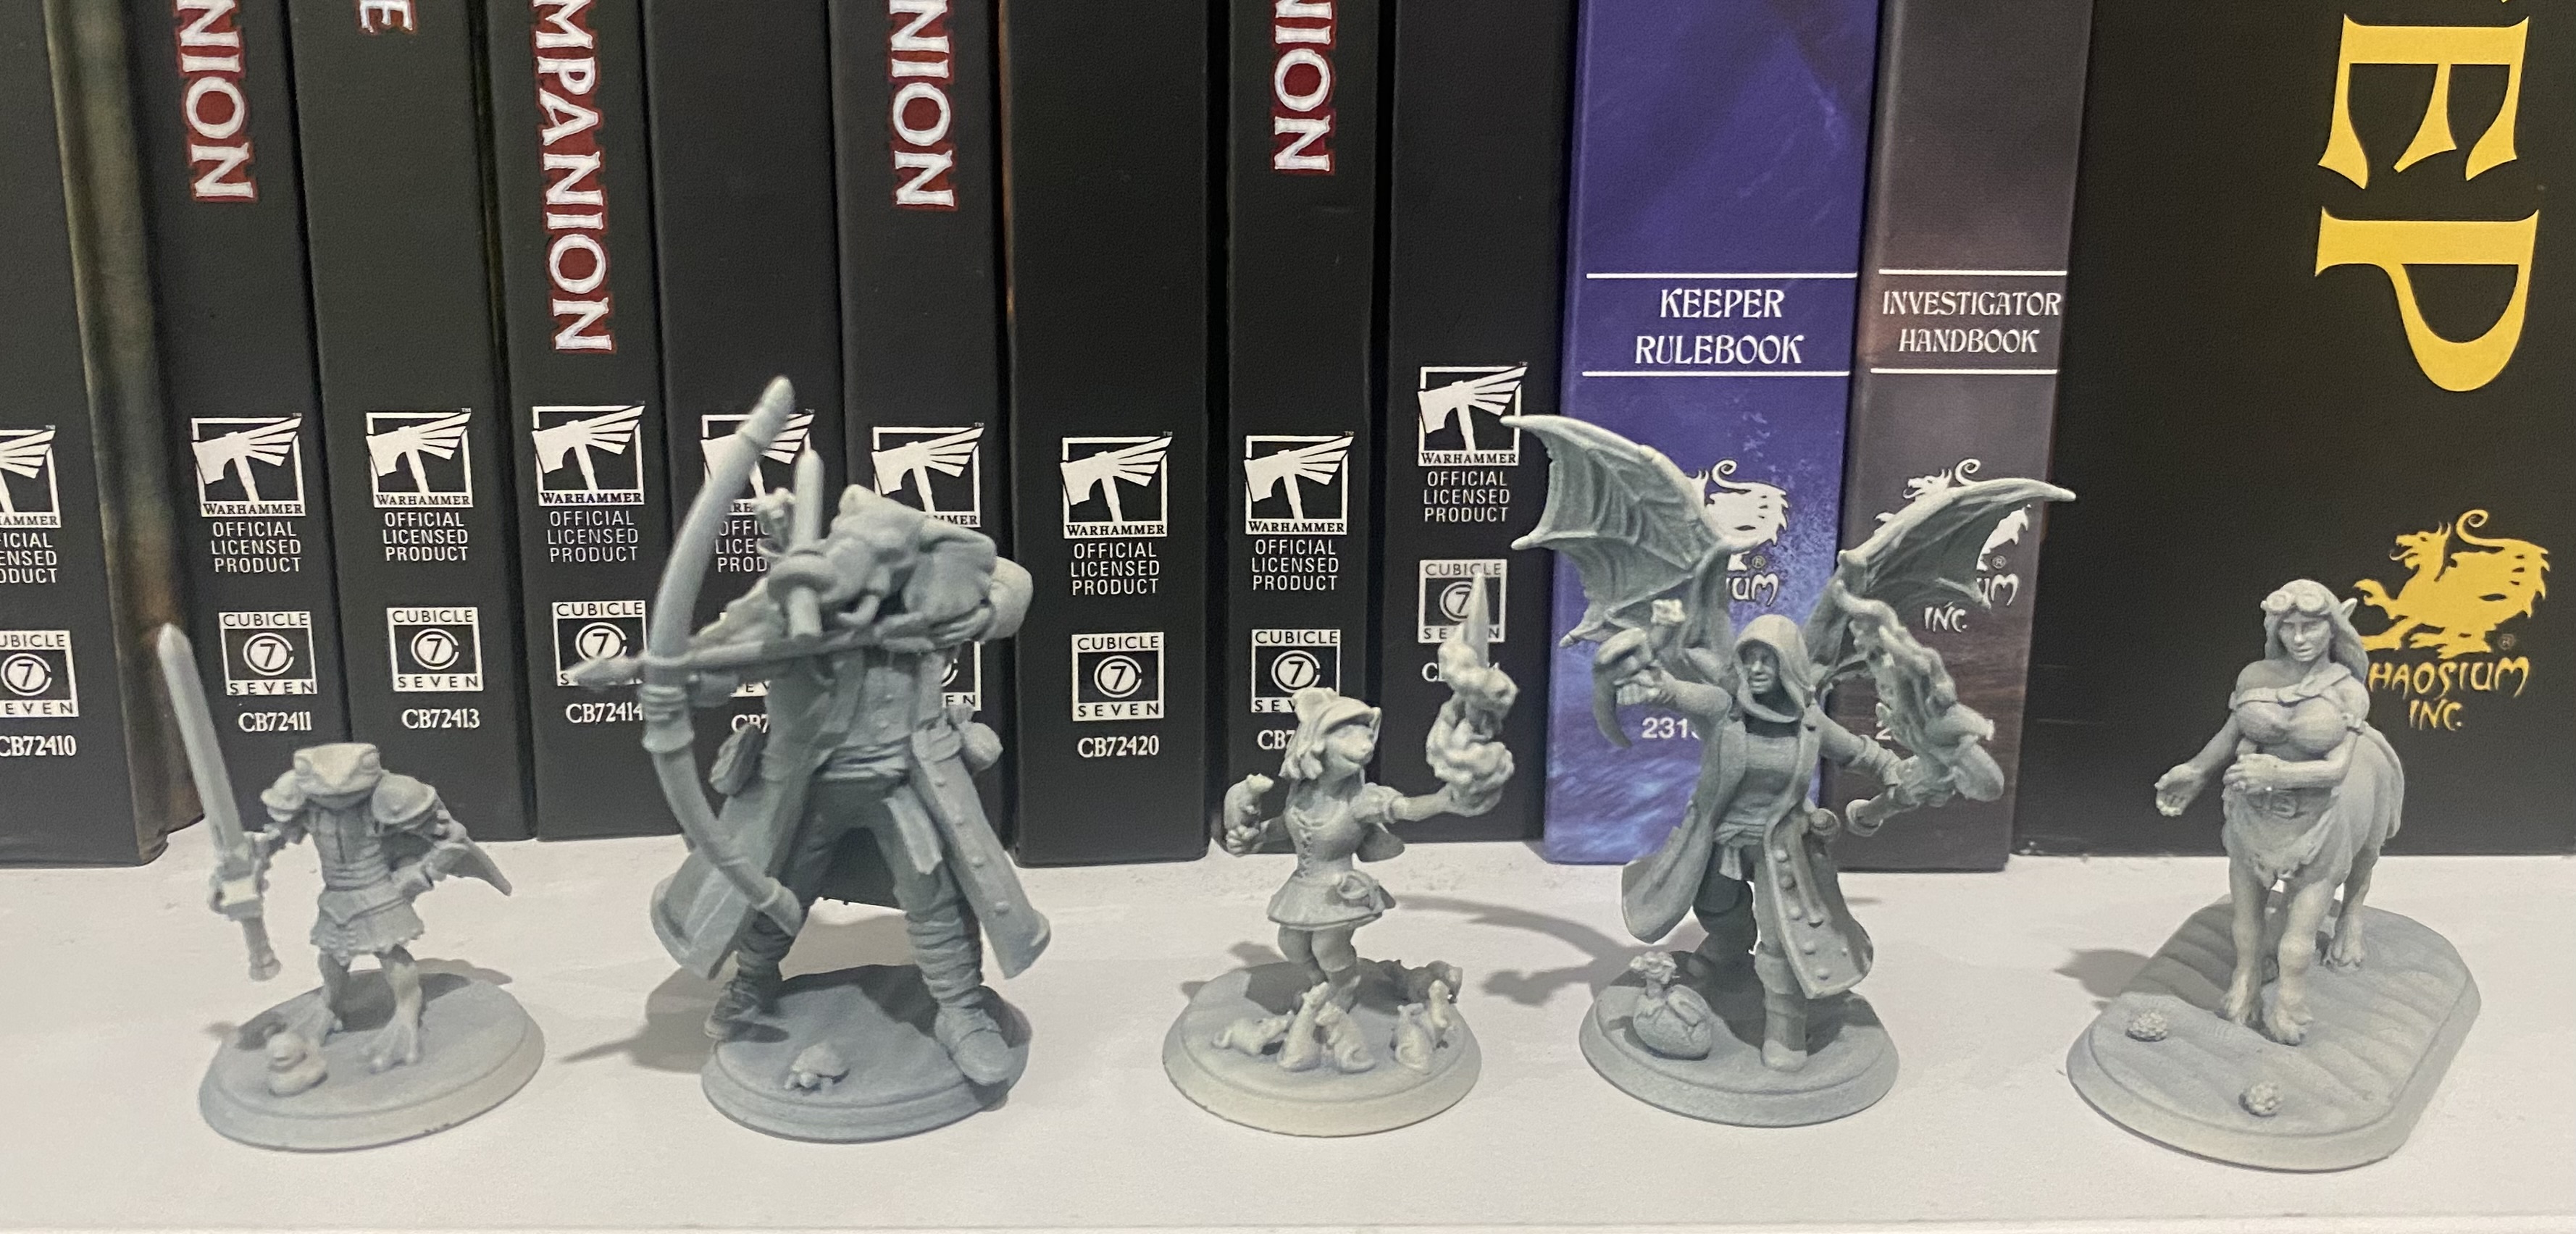
My Little People made some Little People
Well, I showed my kids the Hero Forge Site and they instantly wanted to create characters for adventuring.
They decided to do characters for the whole family and pick character classes and what not.
Just a quick picture of what they came up with, I will get them to start a different project as these characters have back stories and the lot.
The Elephant Ranger/Scout cracks me.
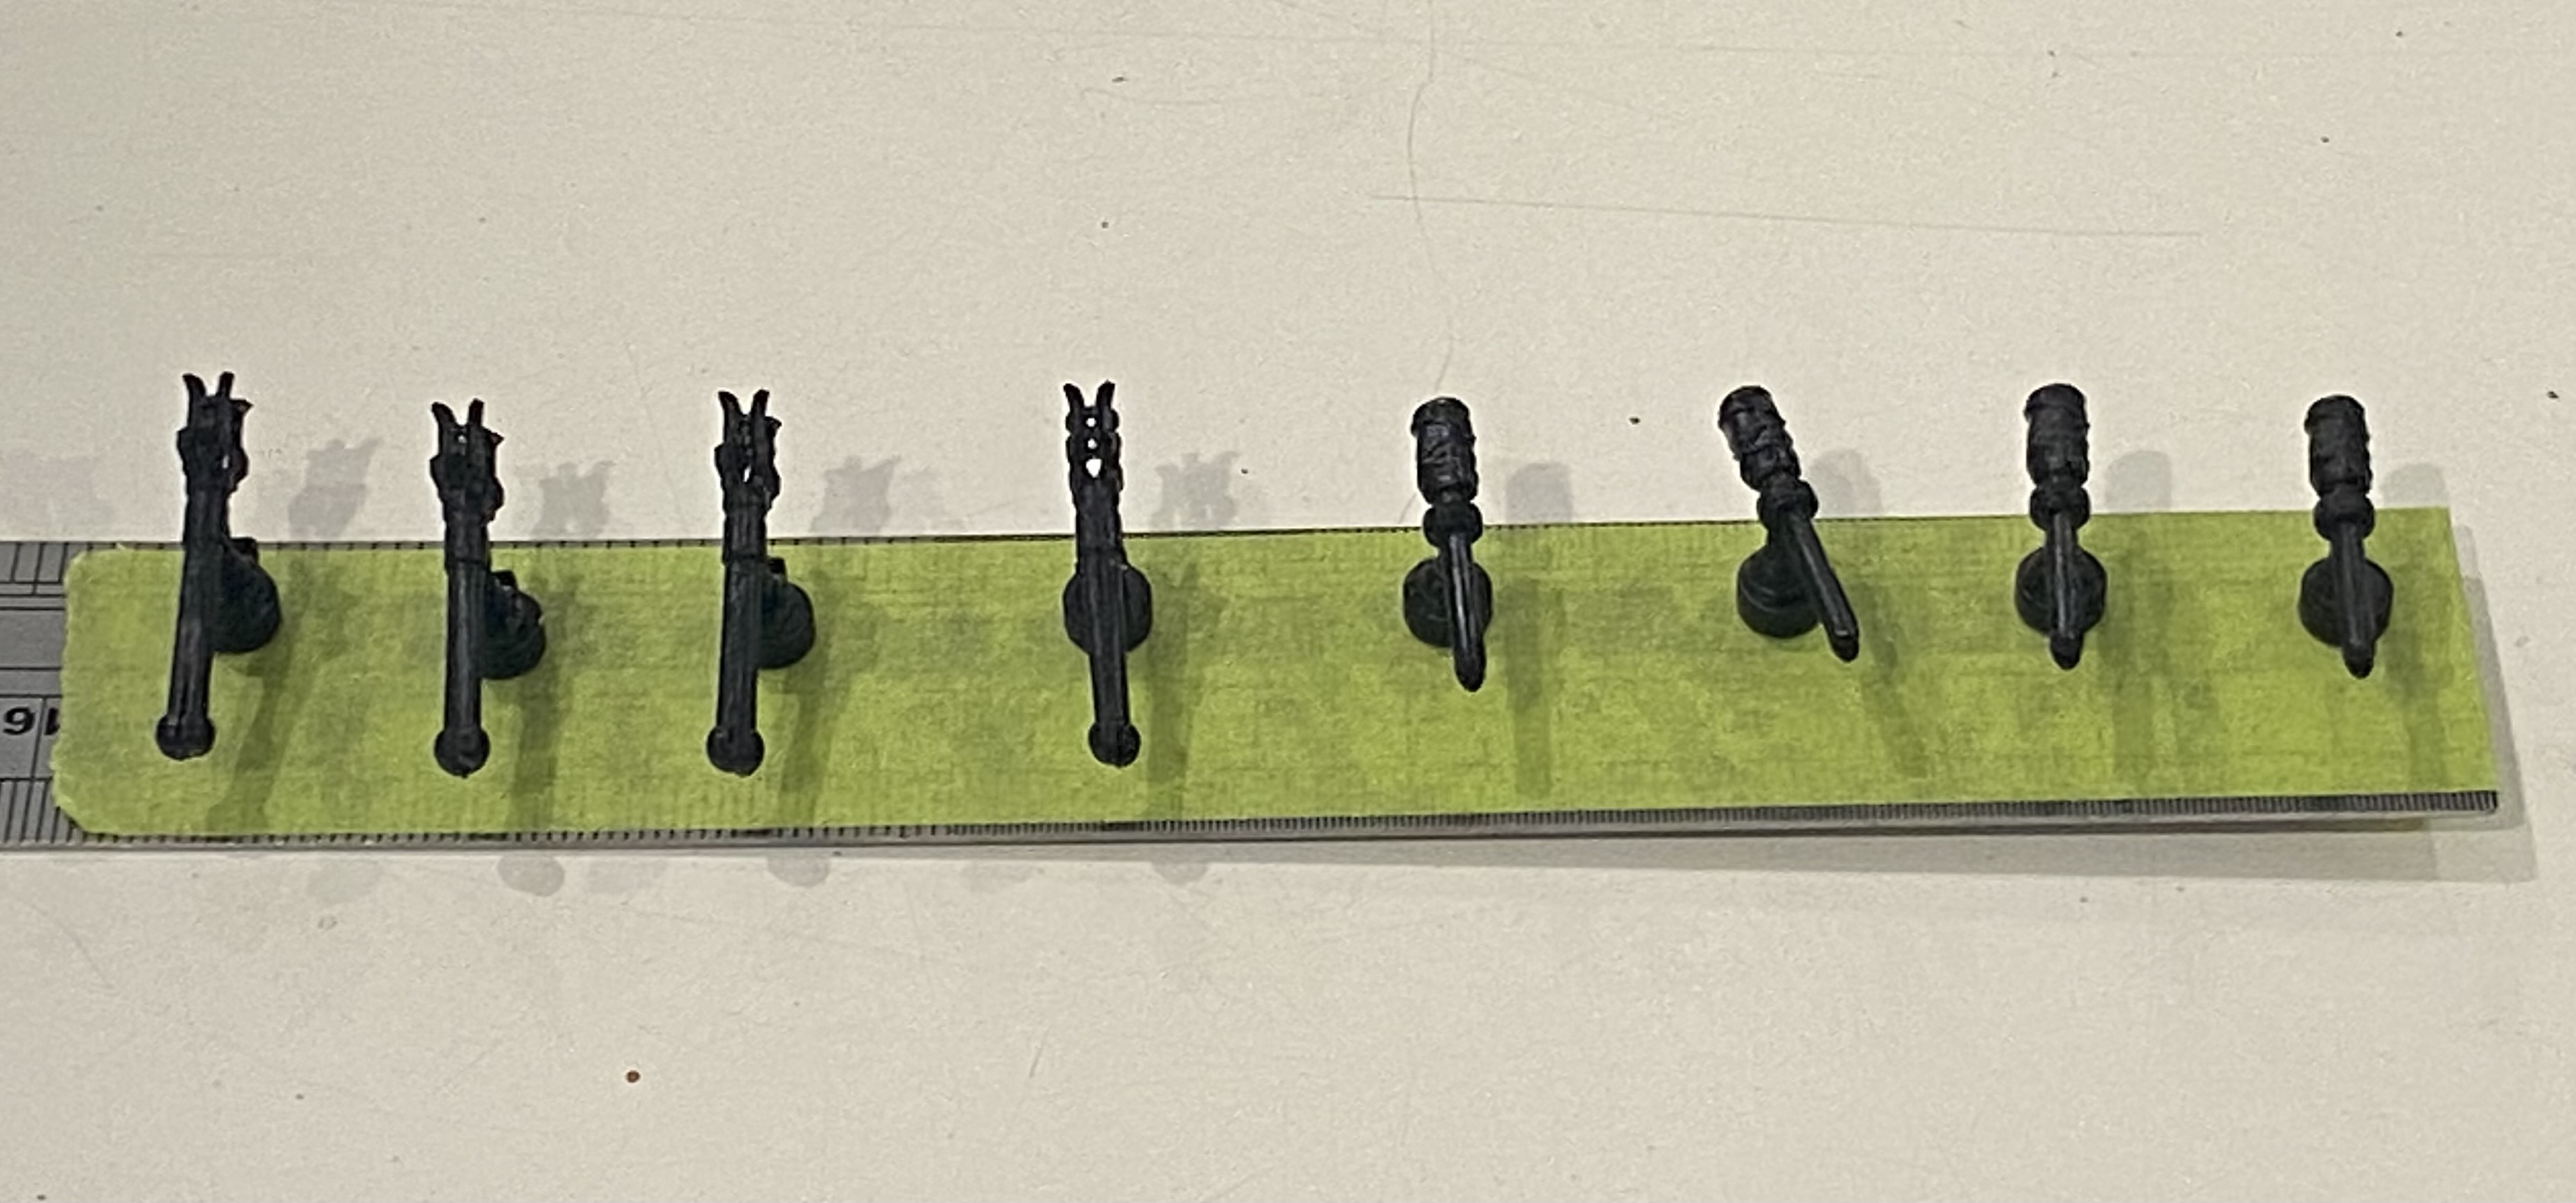
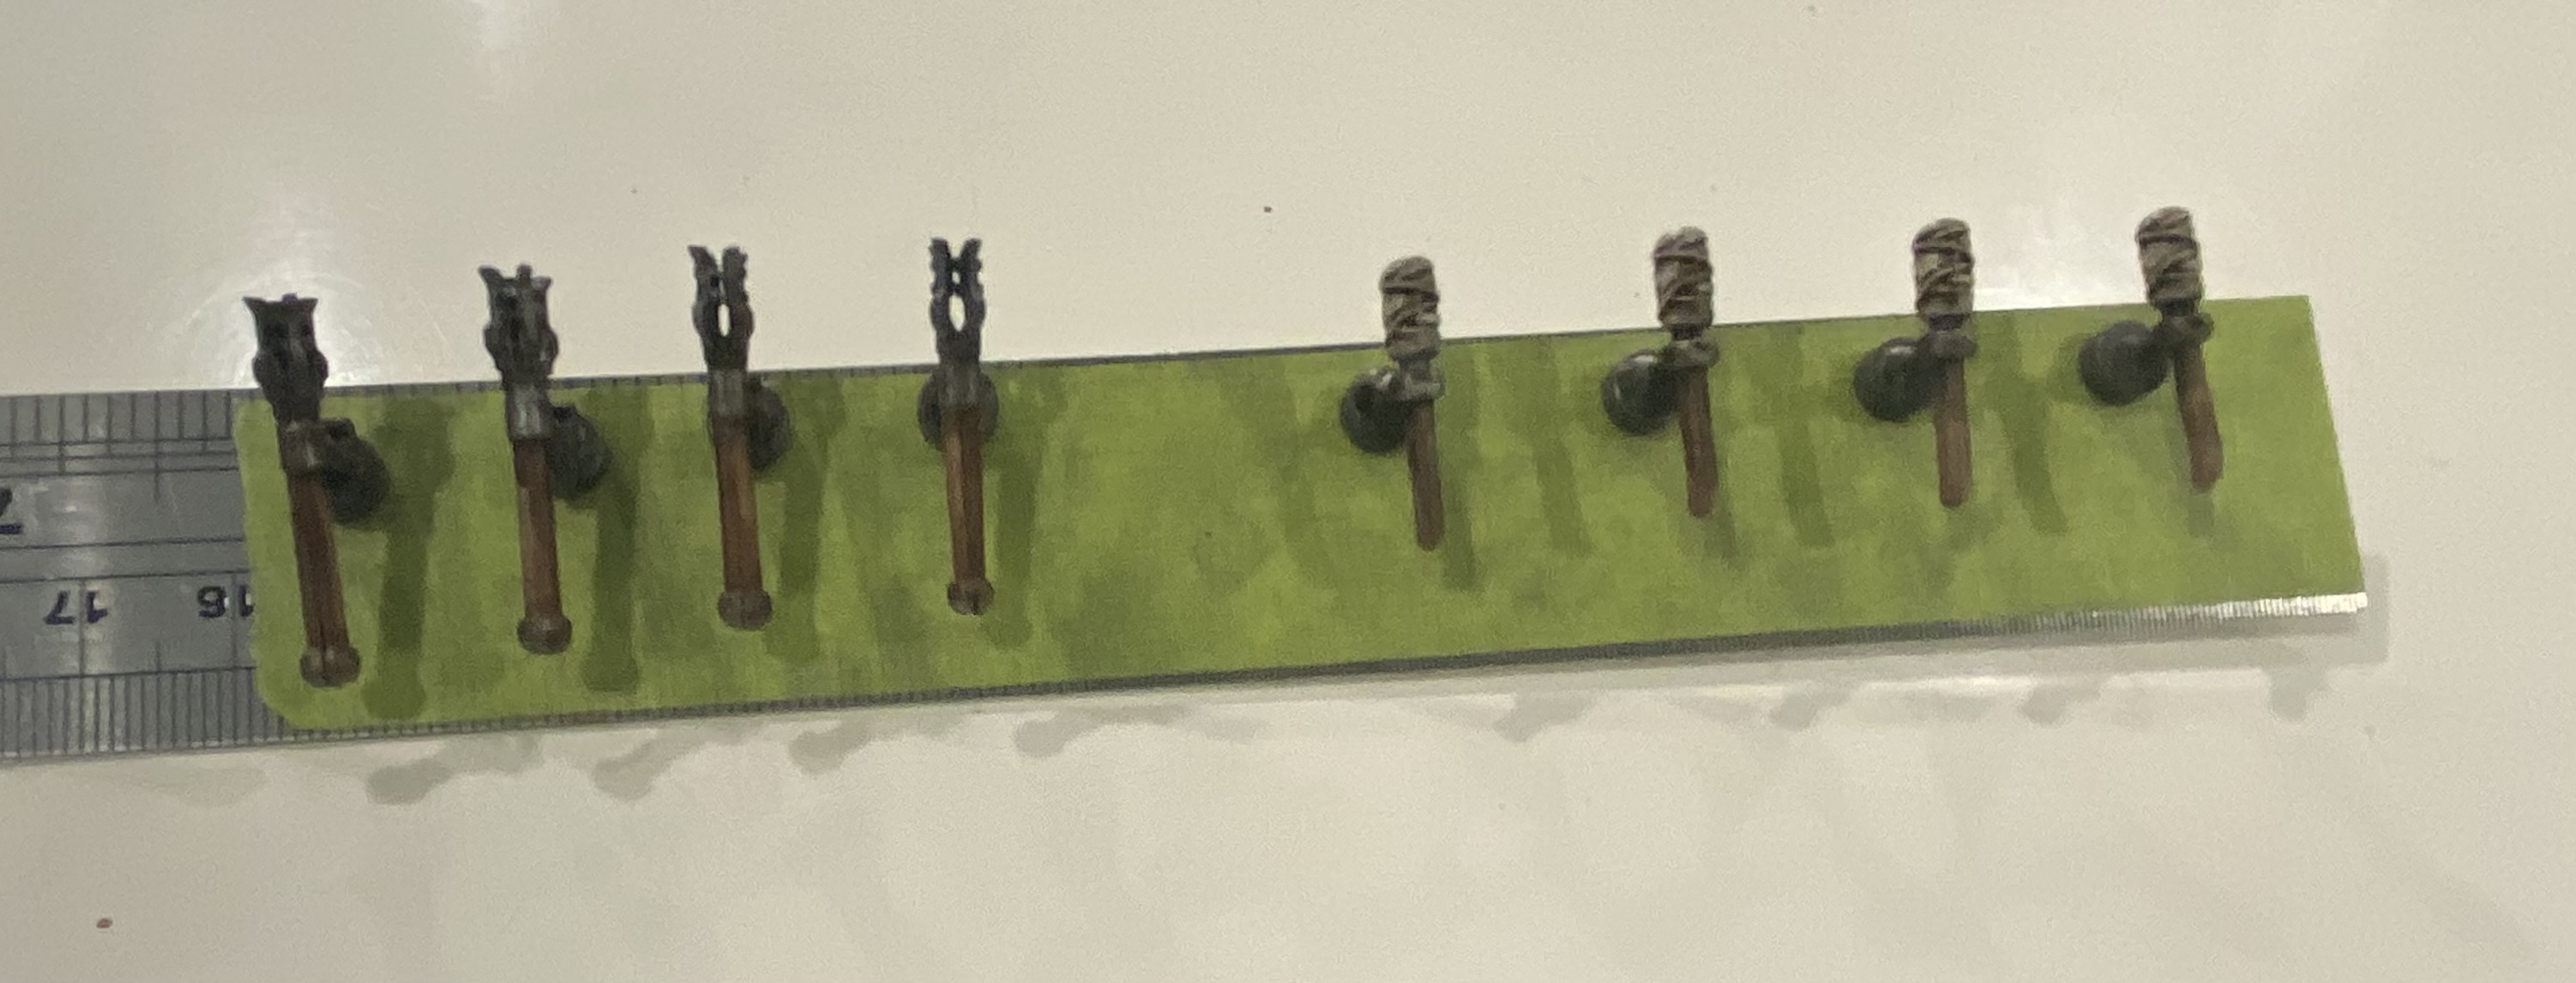
Lighting the way for my little people.
Today I spent a little time painting up odds and ends for this project. Mostly just to add variety to different rooms with various little props.
My kids have also designed some adventures and I am not sure if I should add them to this or a separate project. If it’s a separate project, do I have to create their accounts or do it under my account? Answers on a postcard or message, please.
Part of today’s little bits were some wall-mounted torches. Of course, these are magnetised so they can be moved around or removed.
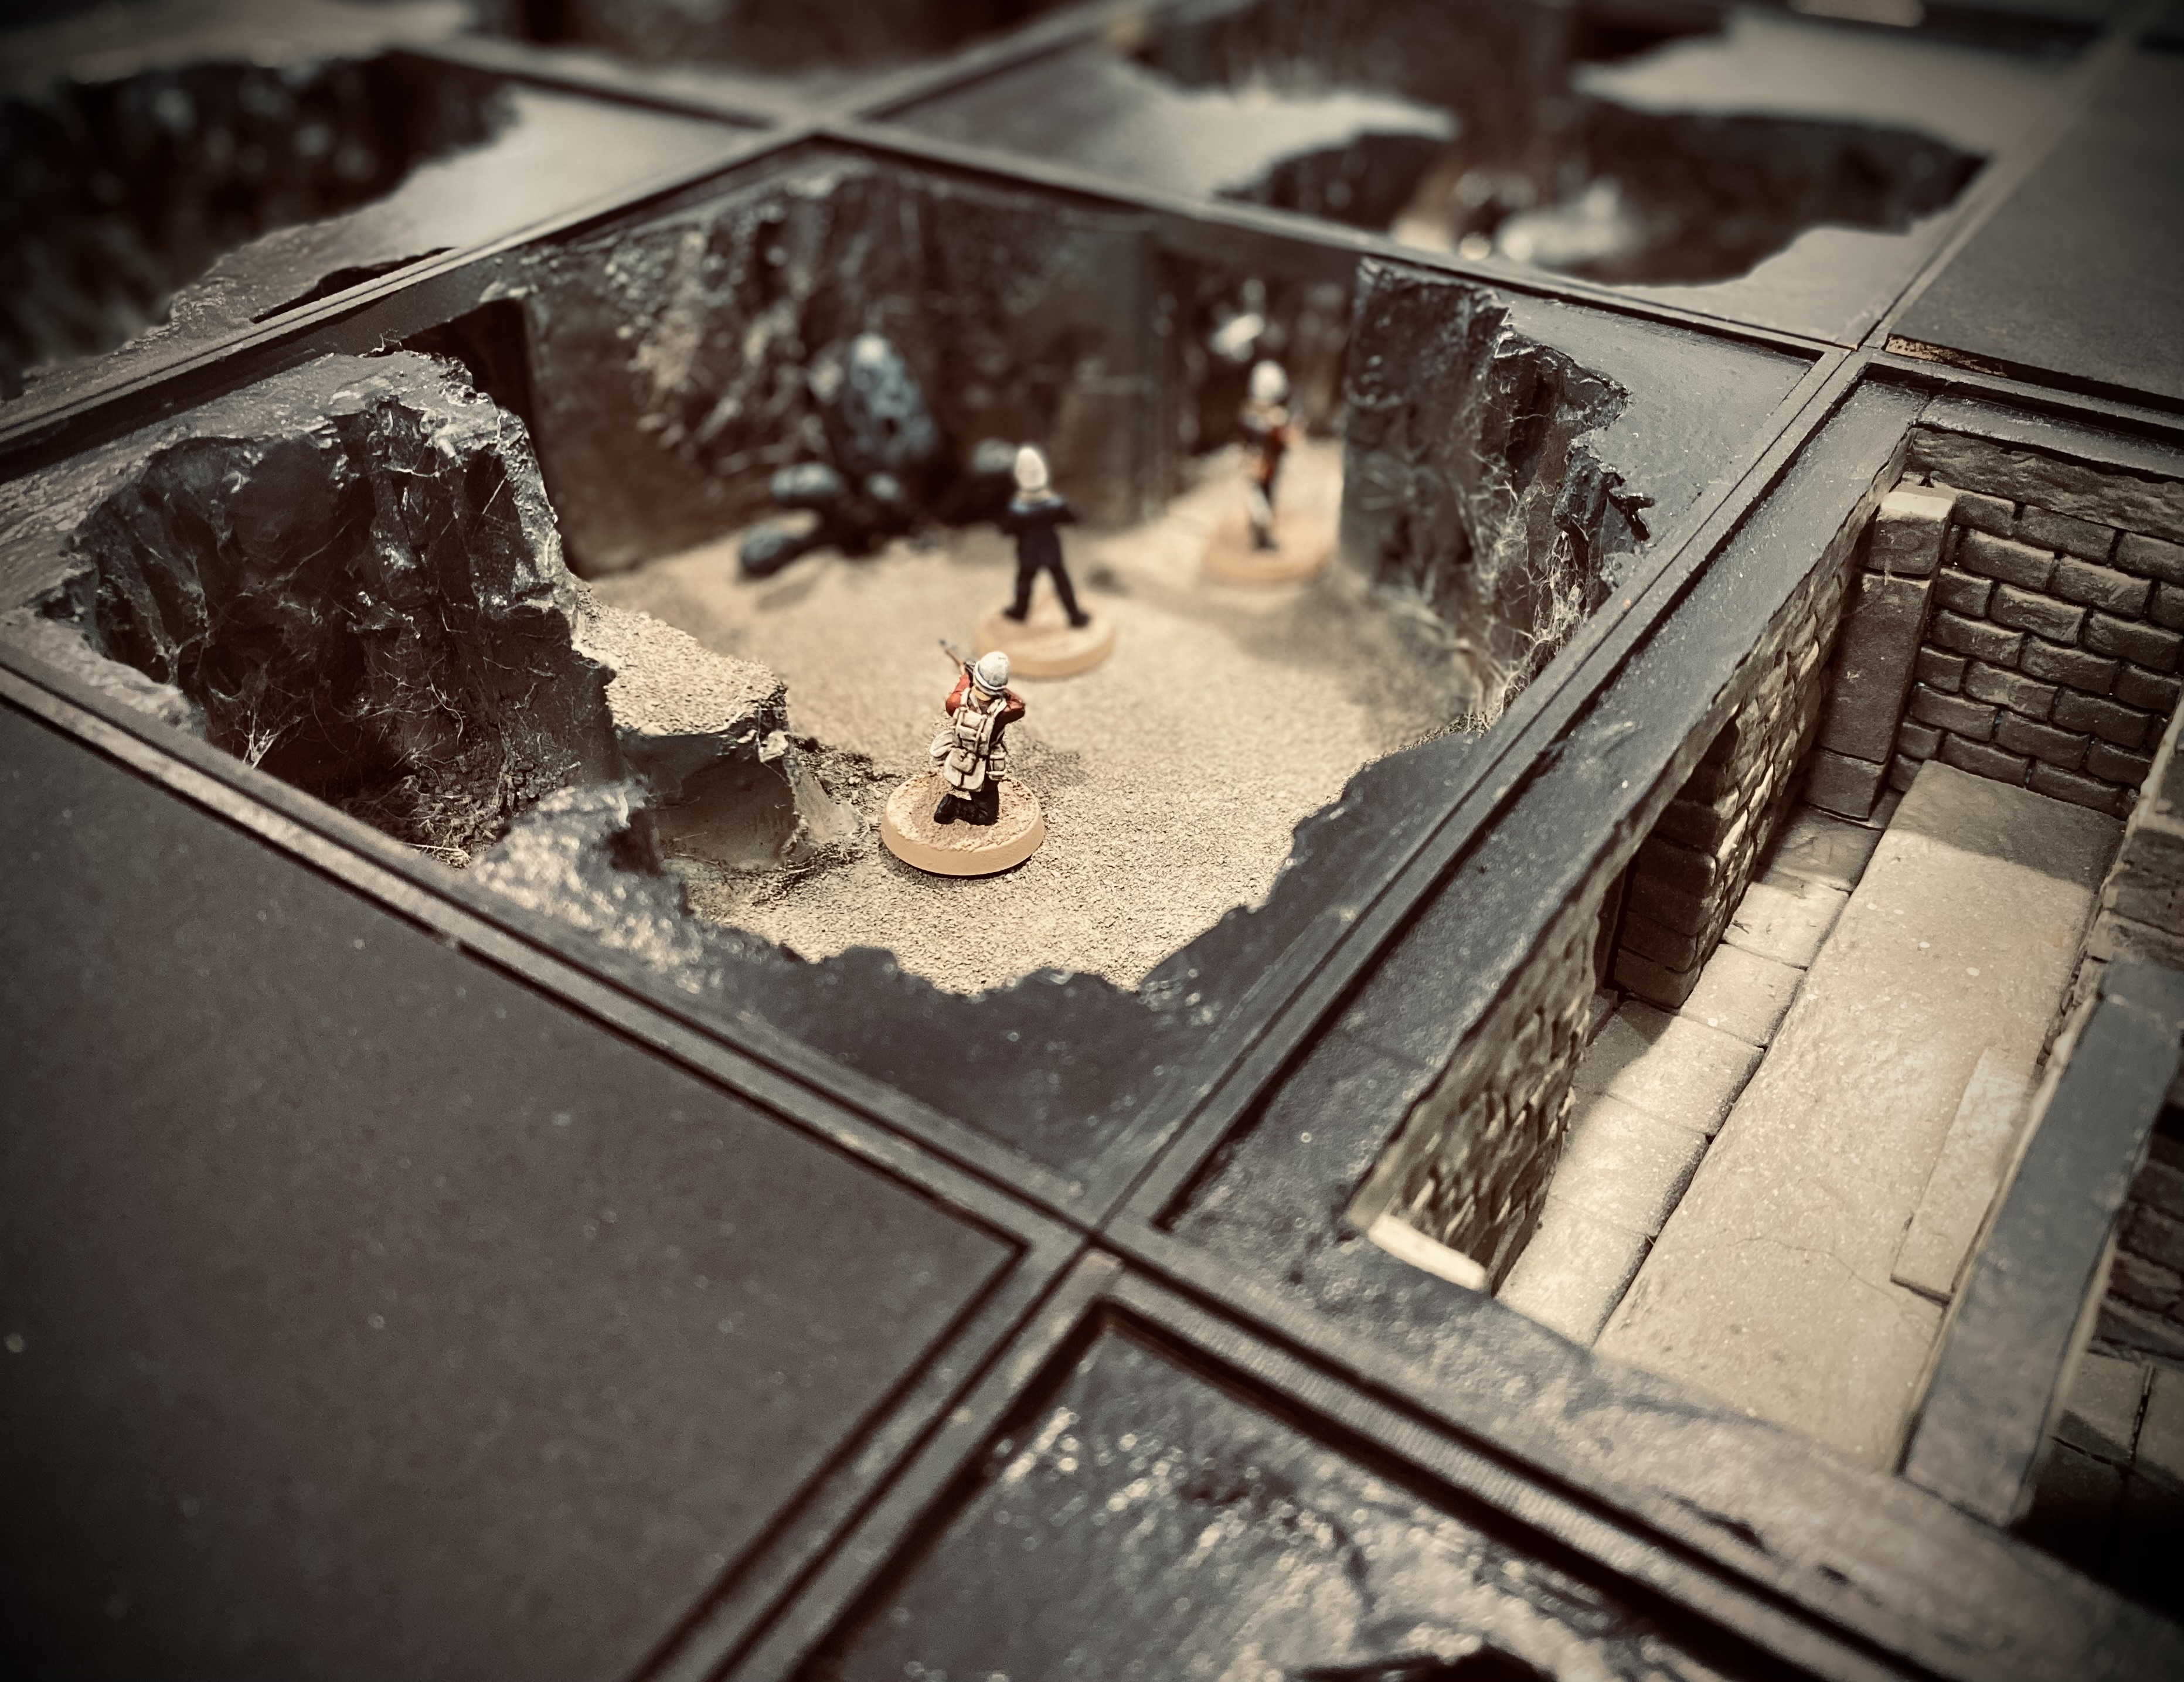
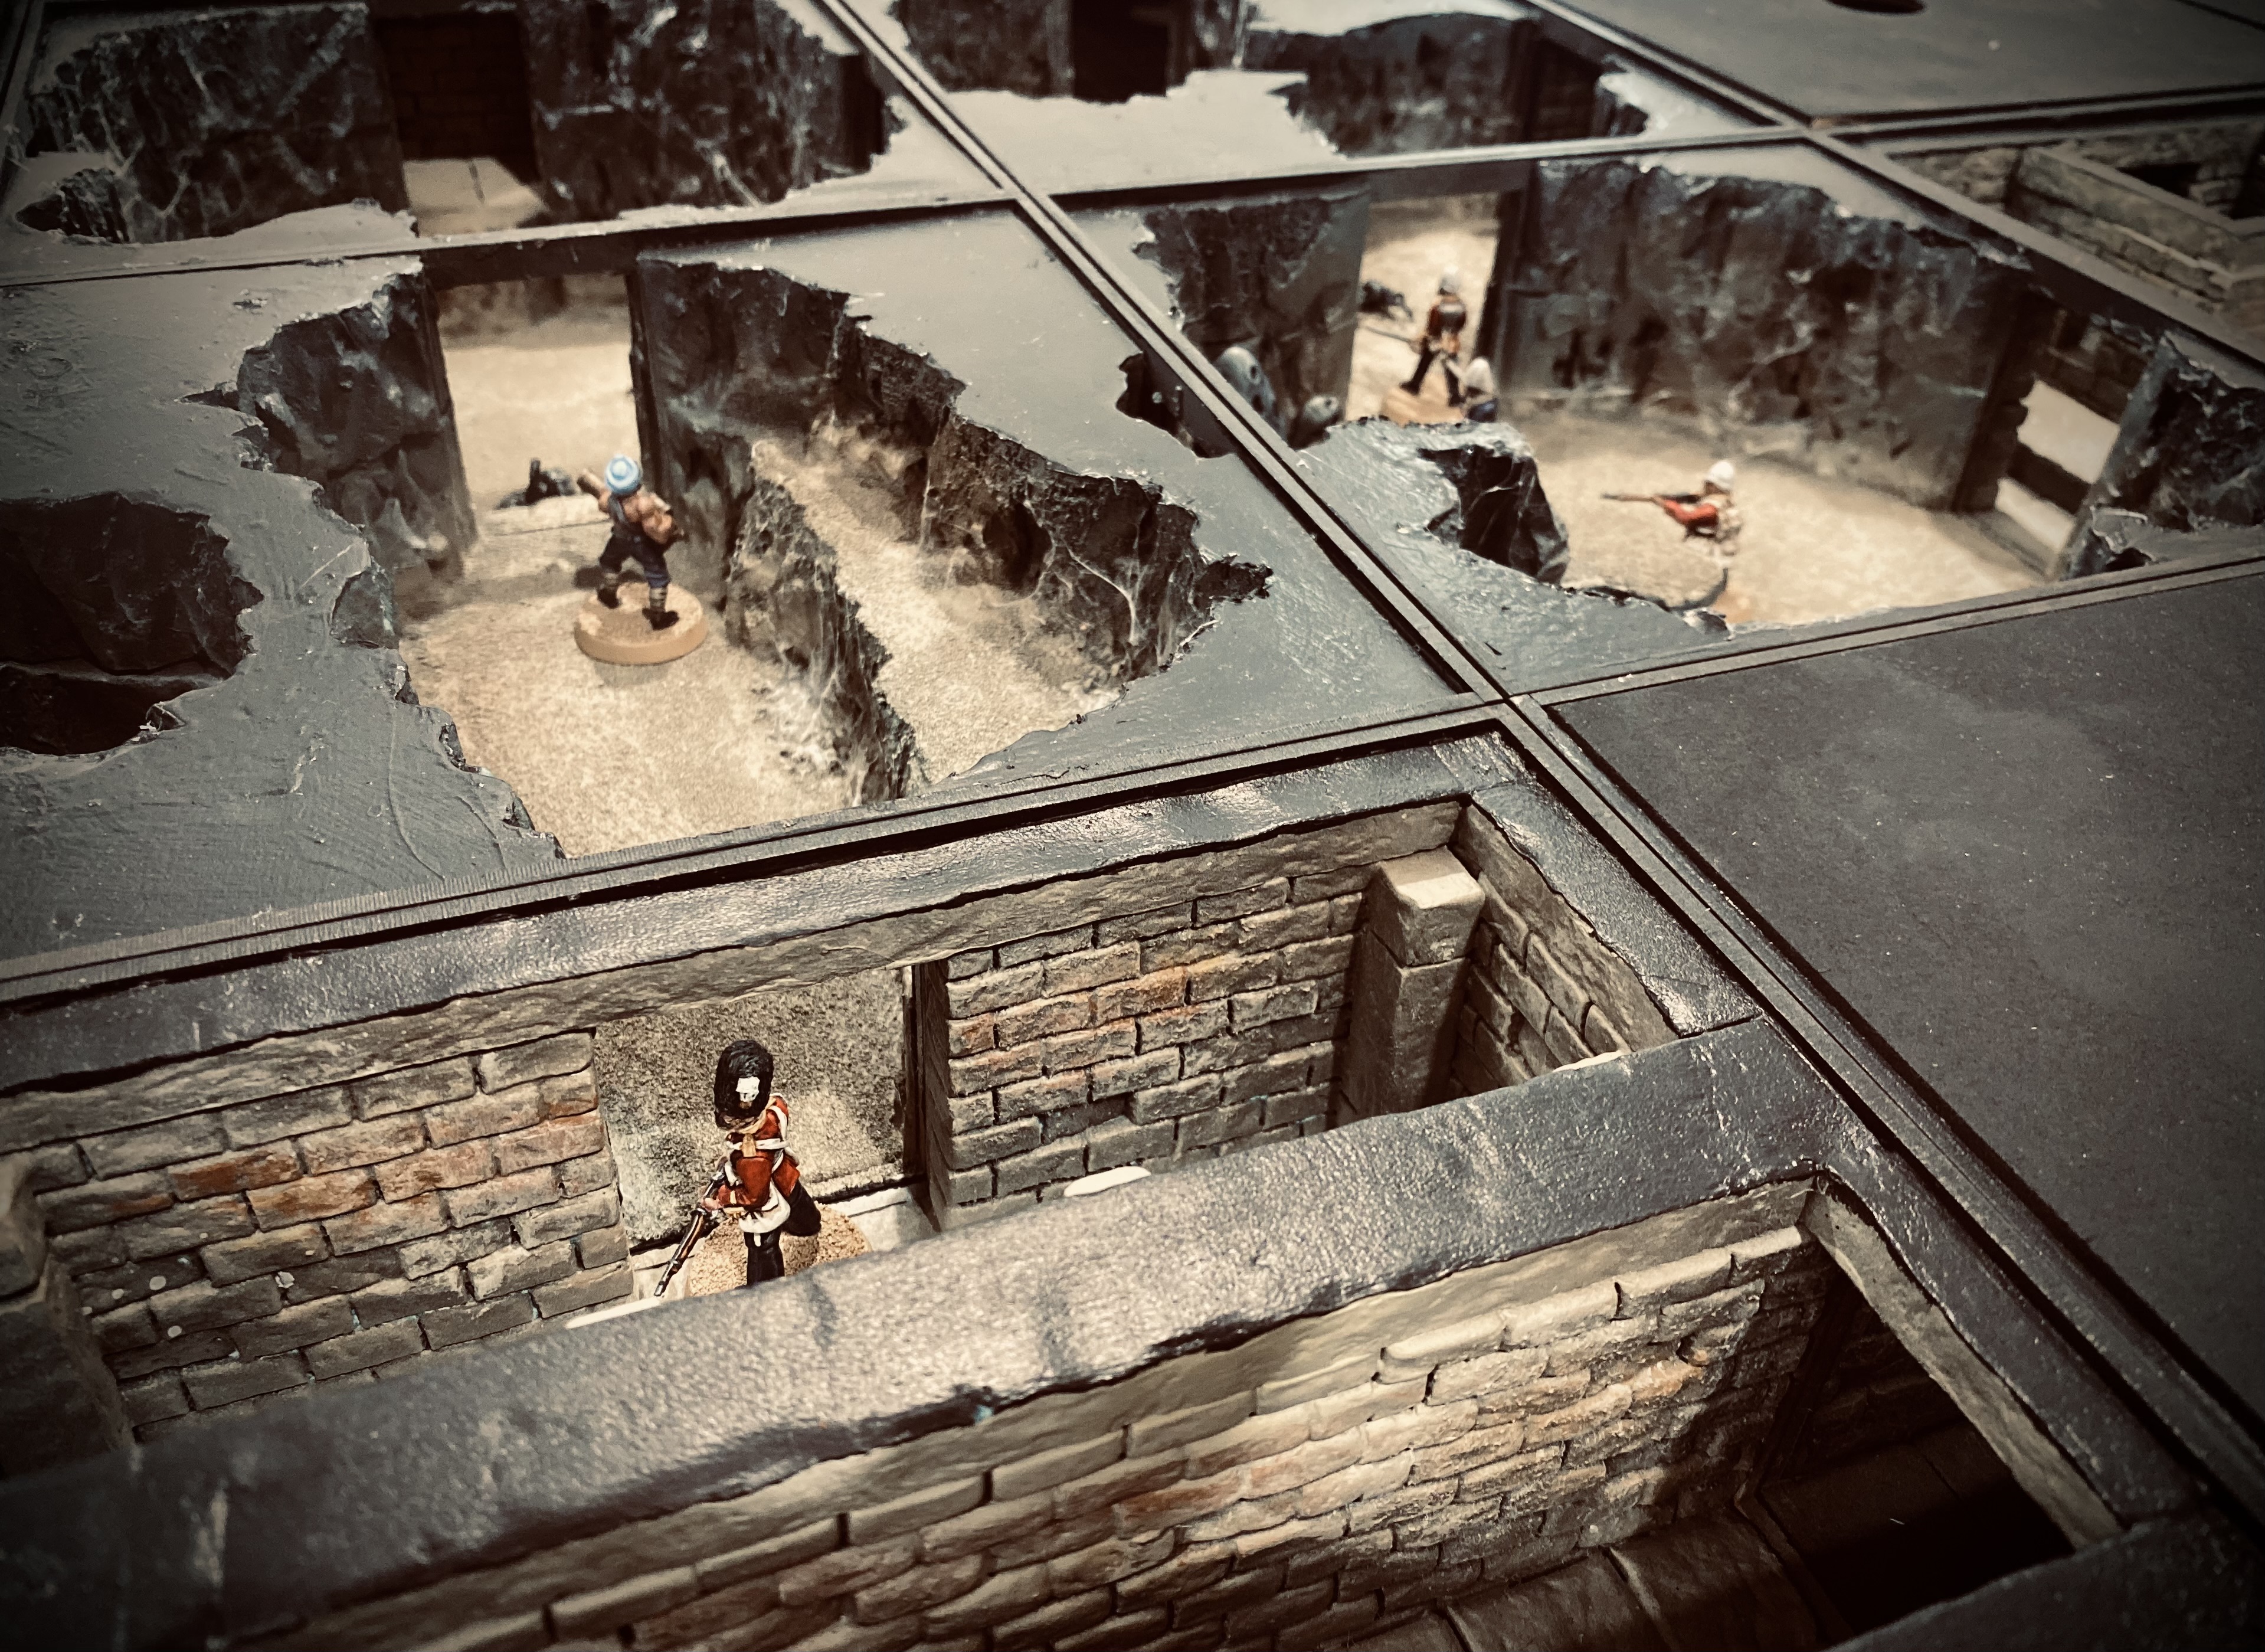
Basing done on the models
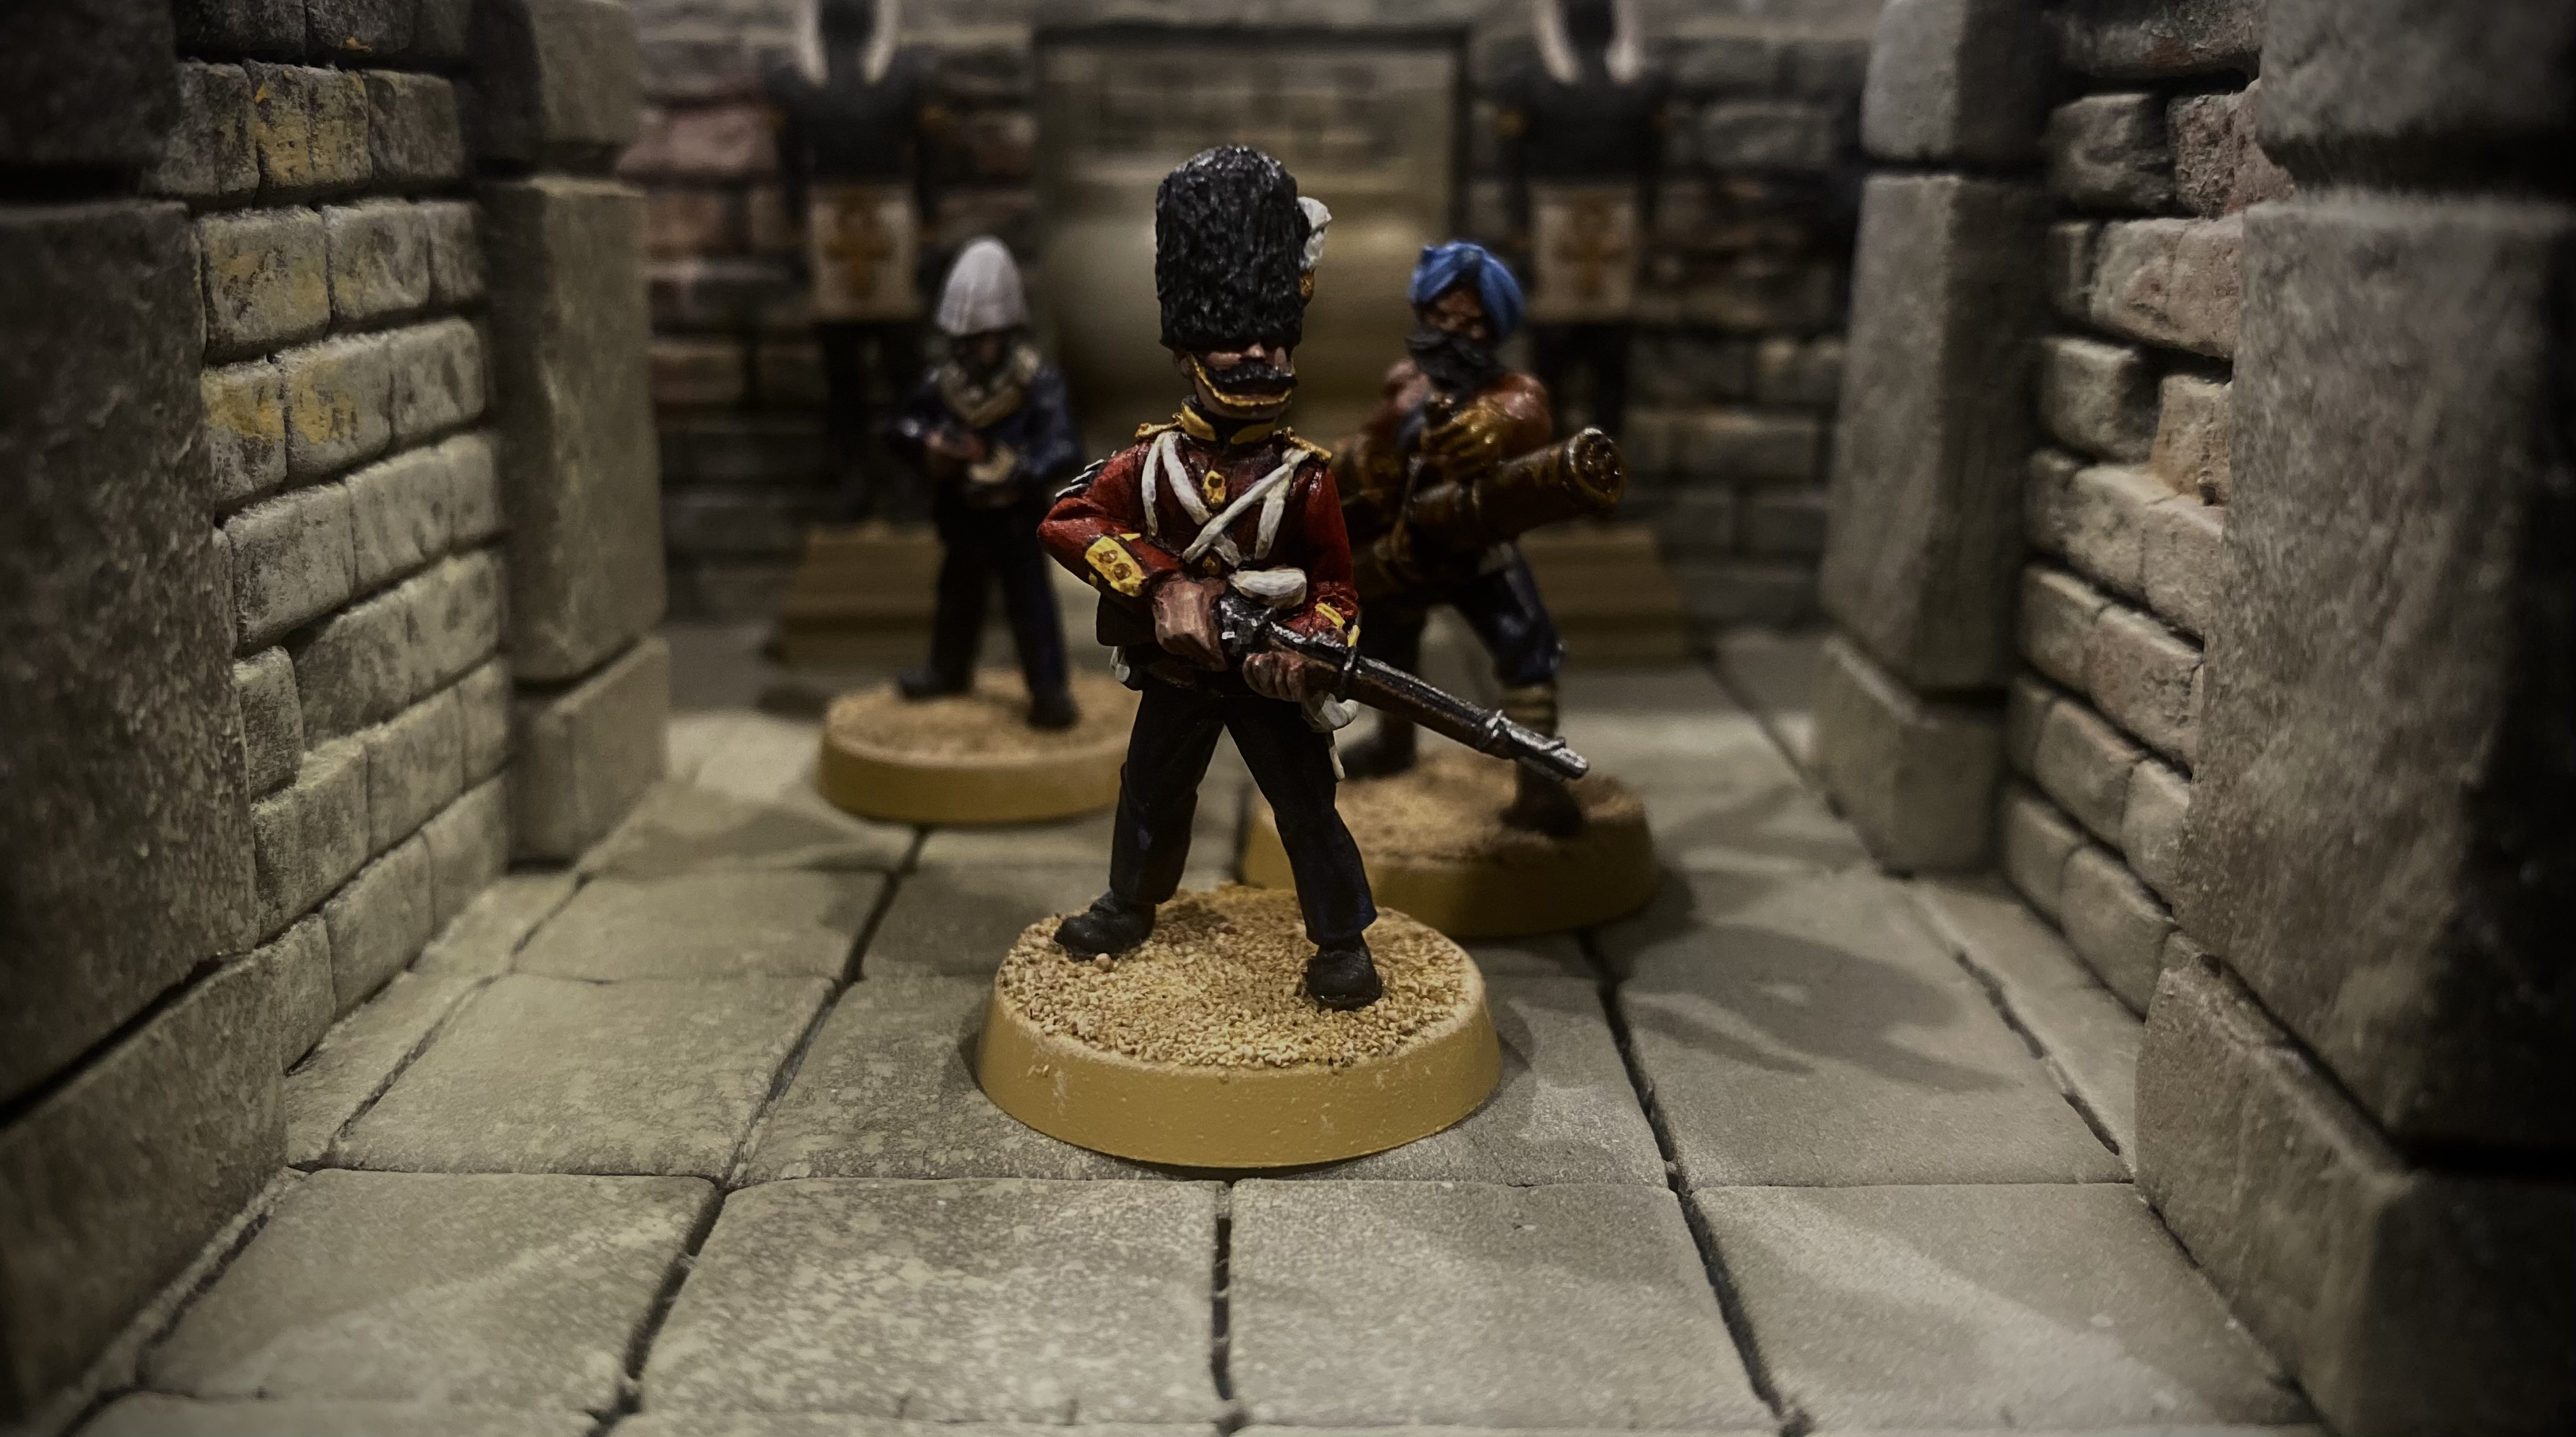
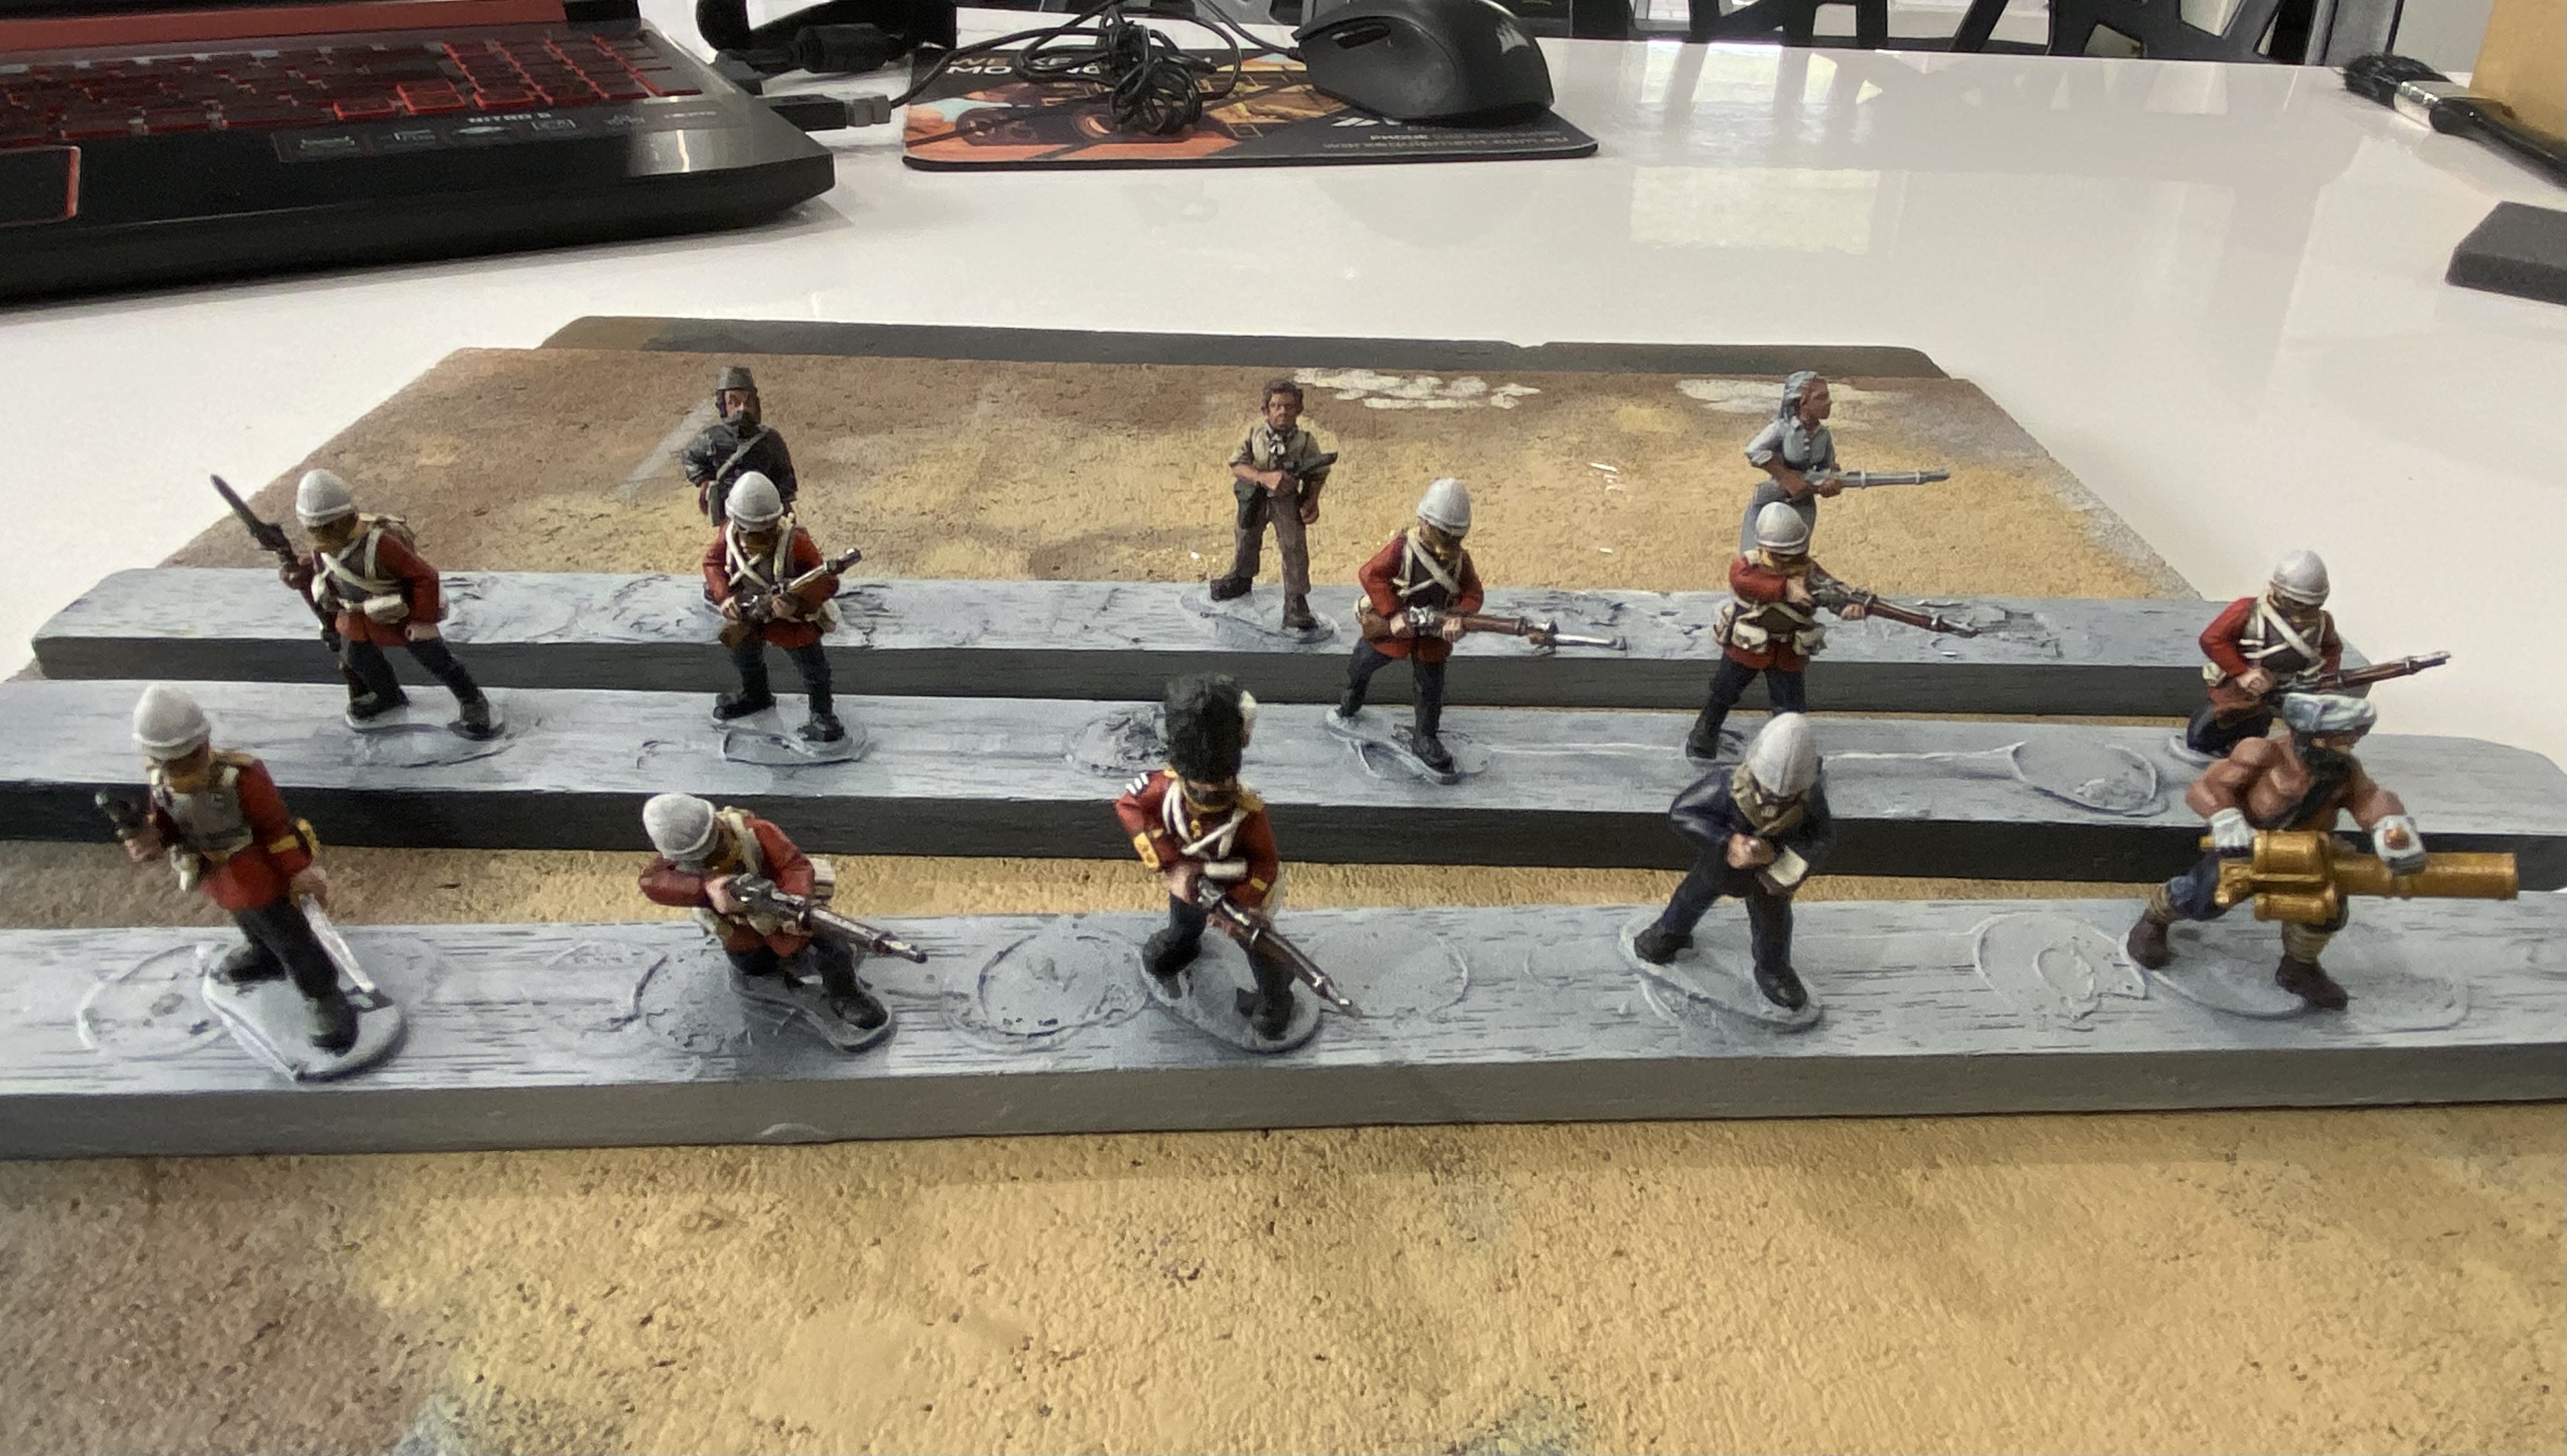
Today I finished off the basing on some of my ‘Adventurers’. I had to be mindful to match them to the bases of the rest of my VSF collection as best I could whilst also trying to make sure they are not too glaring against my dungeon layout.
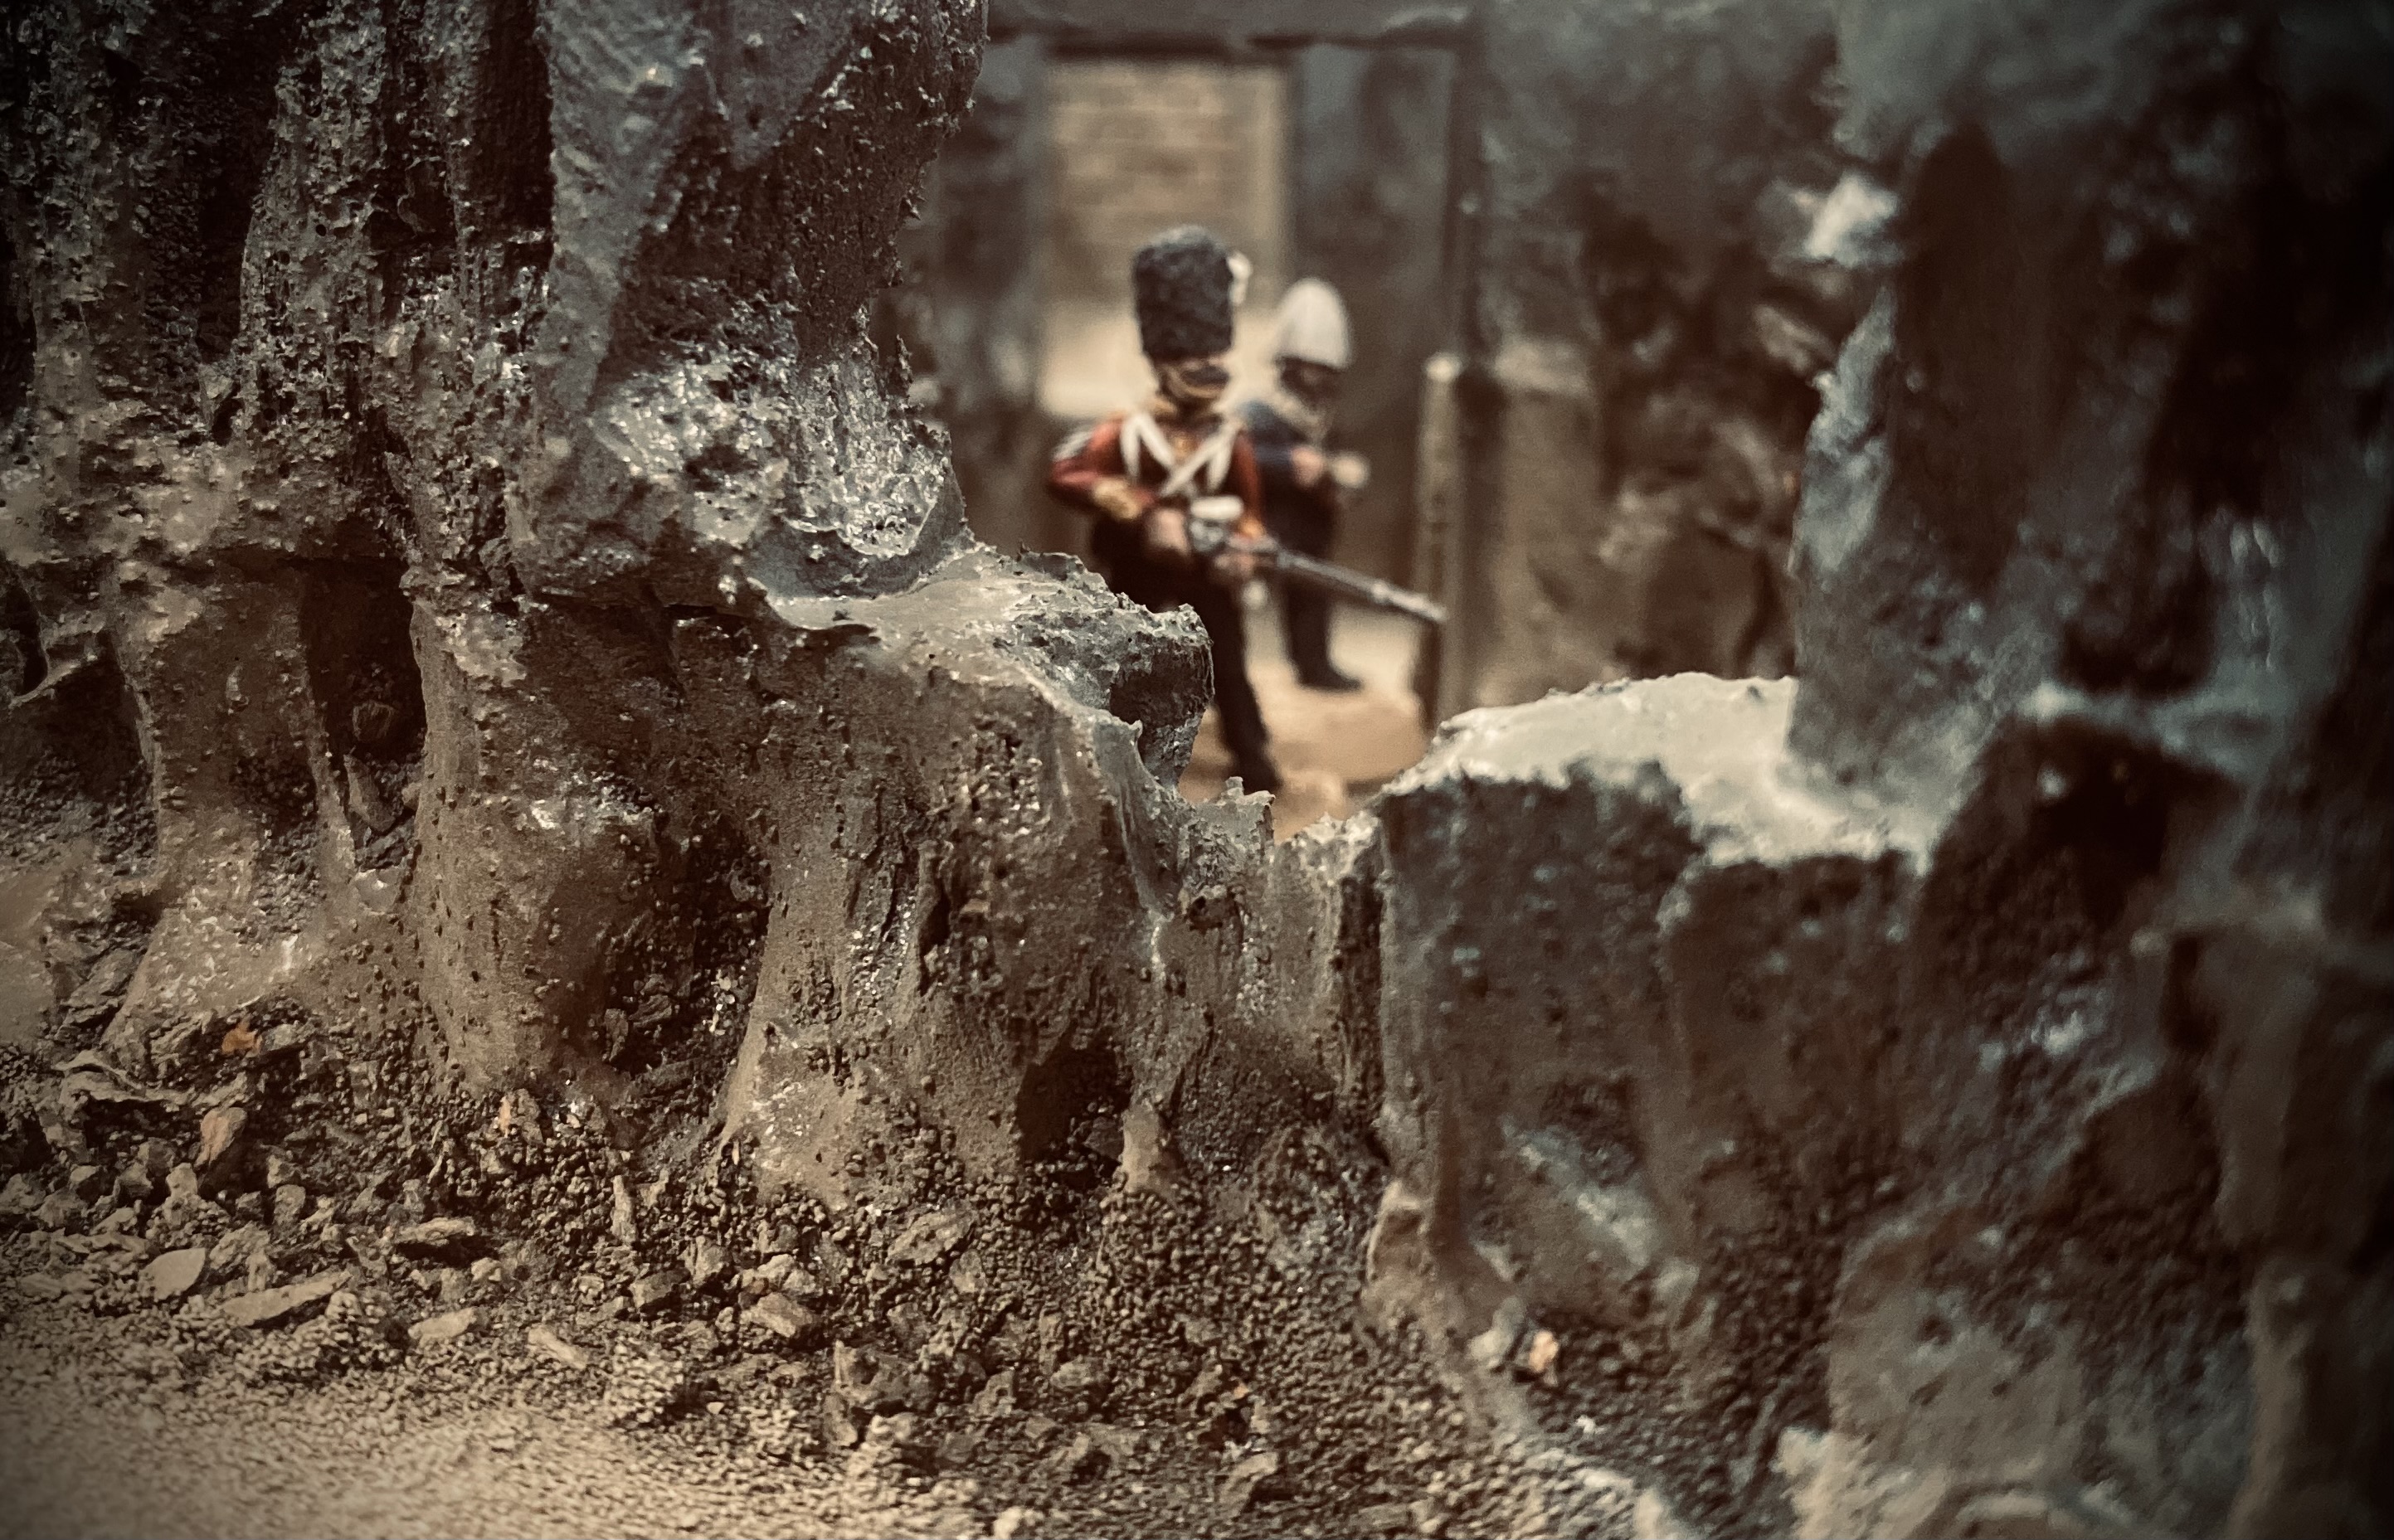
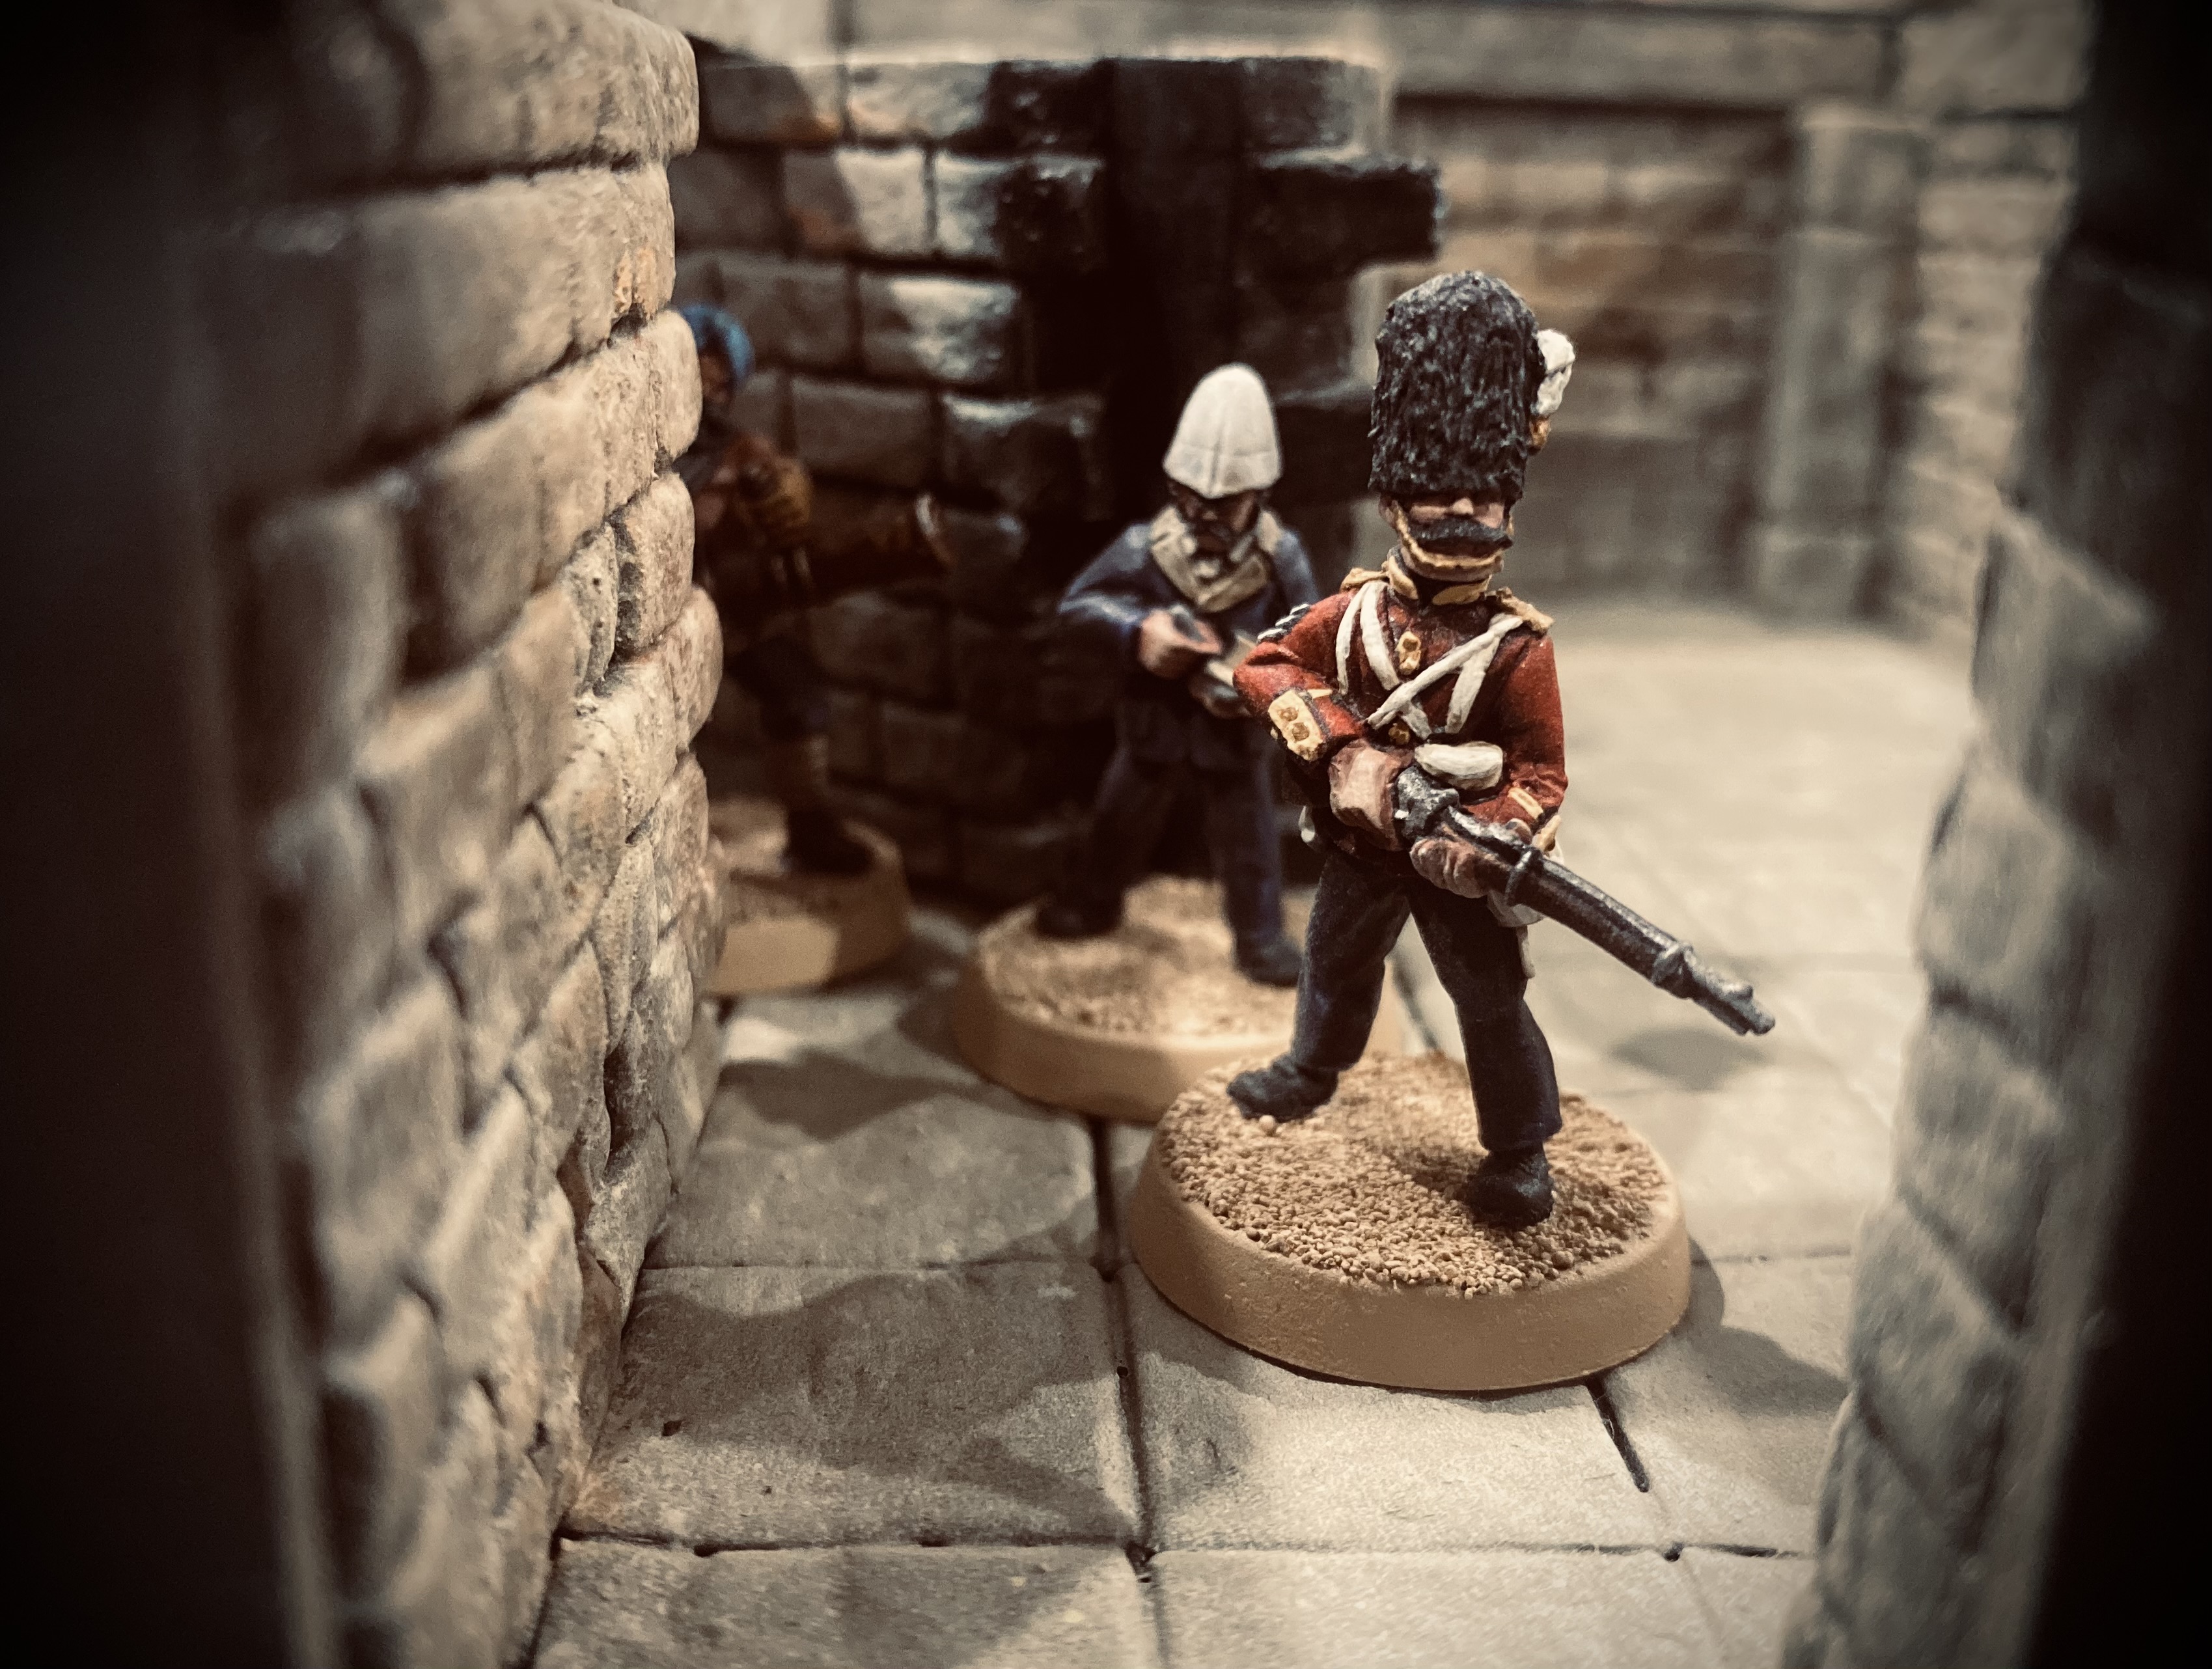

 Lieutenant Bancrofts last stand.
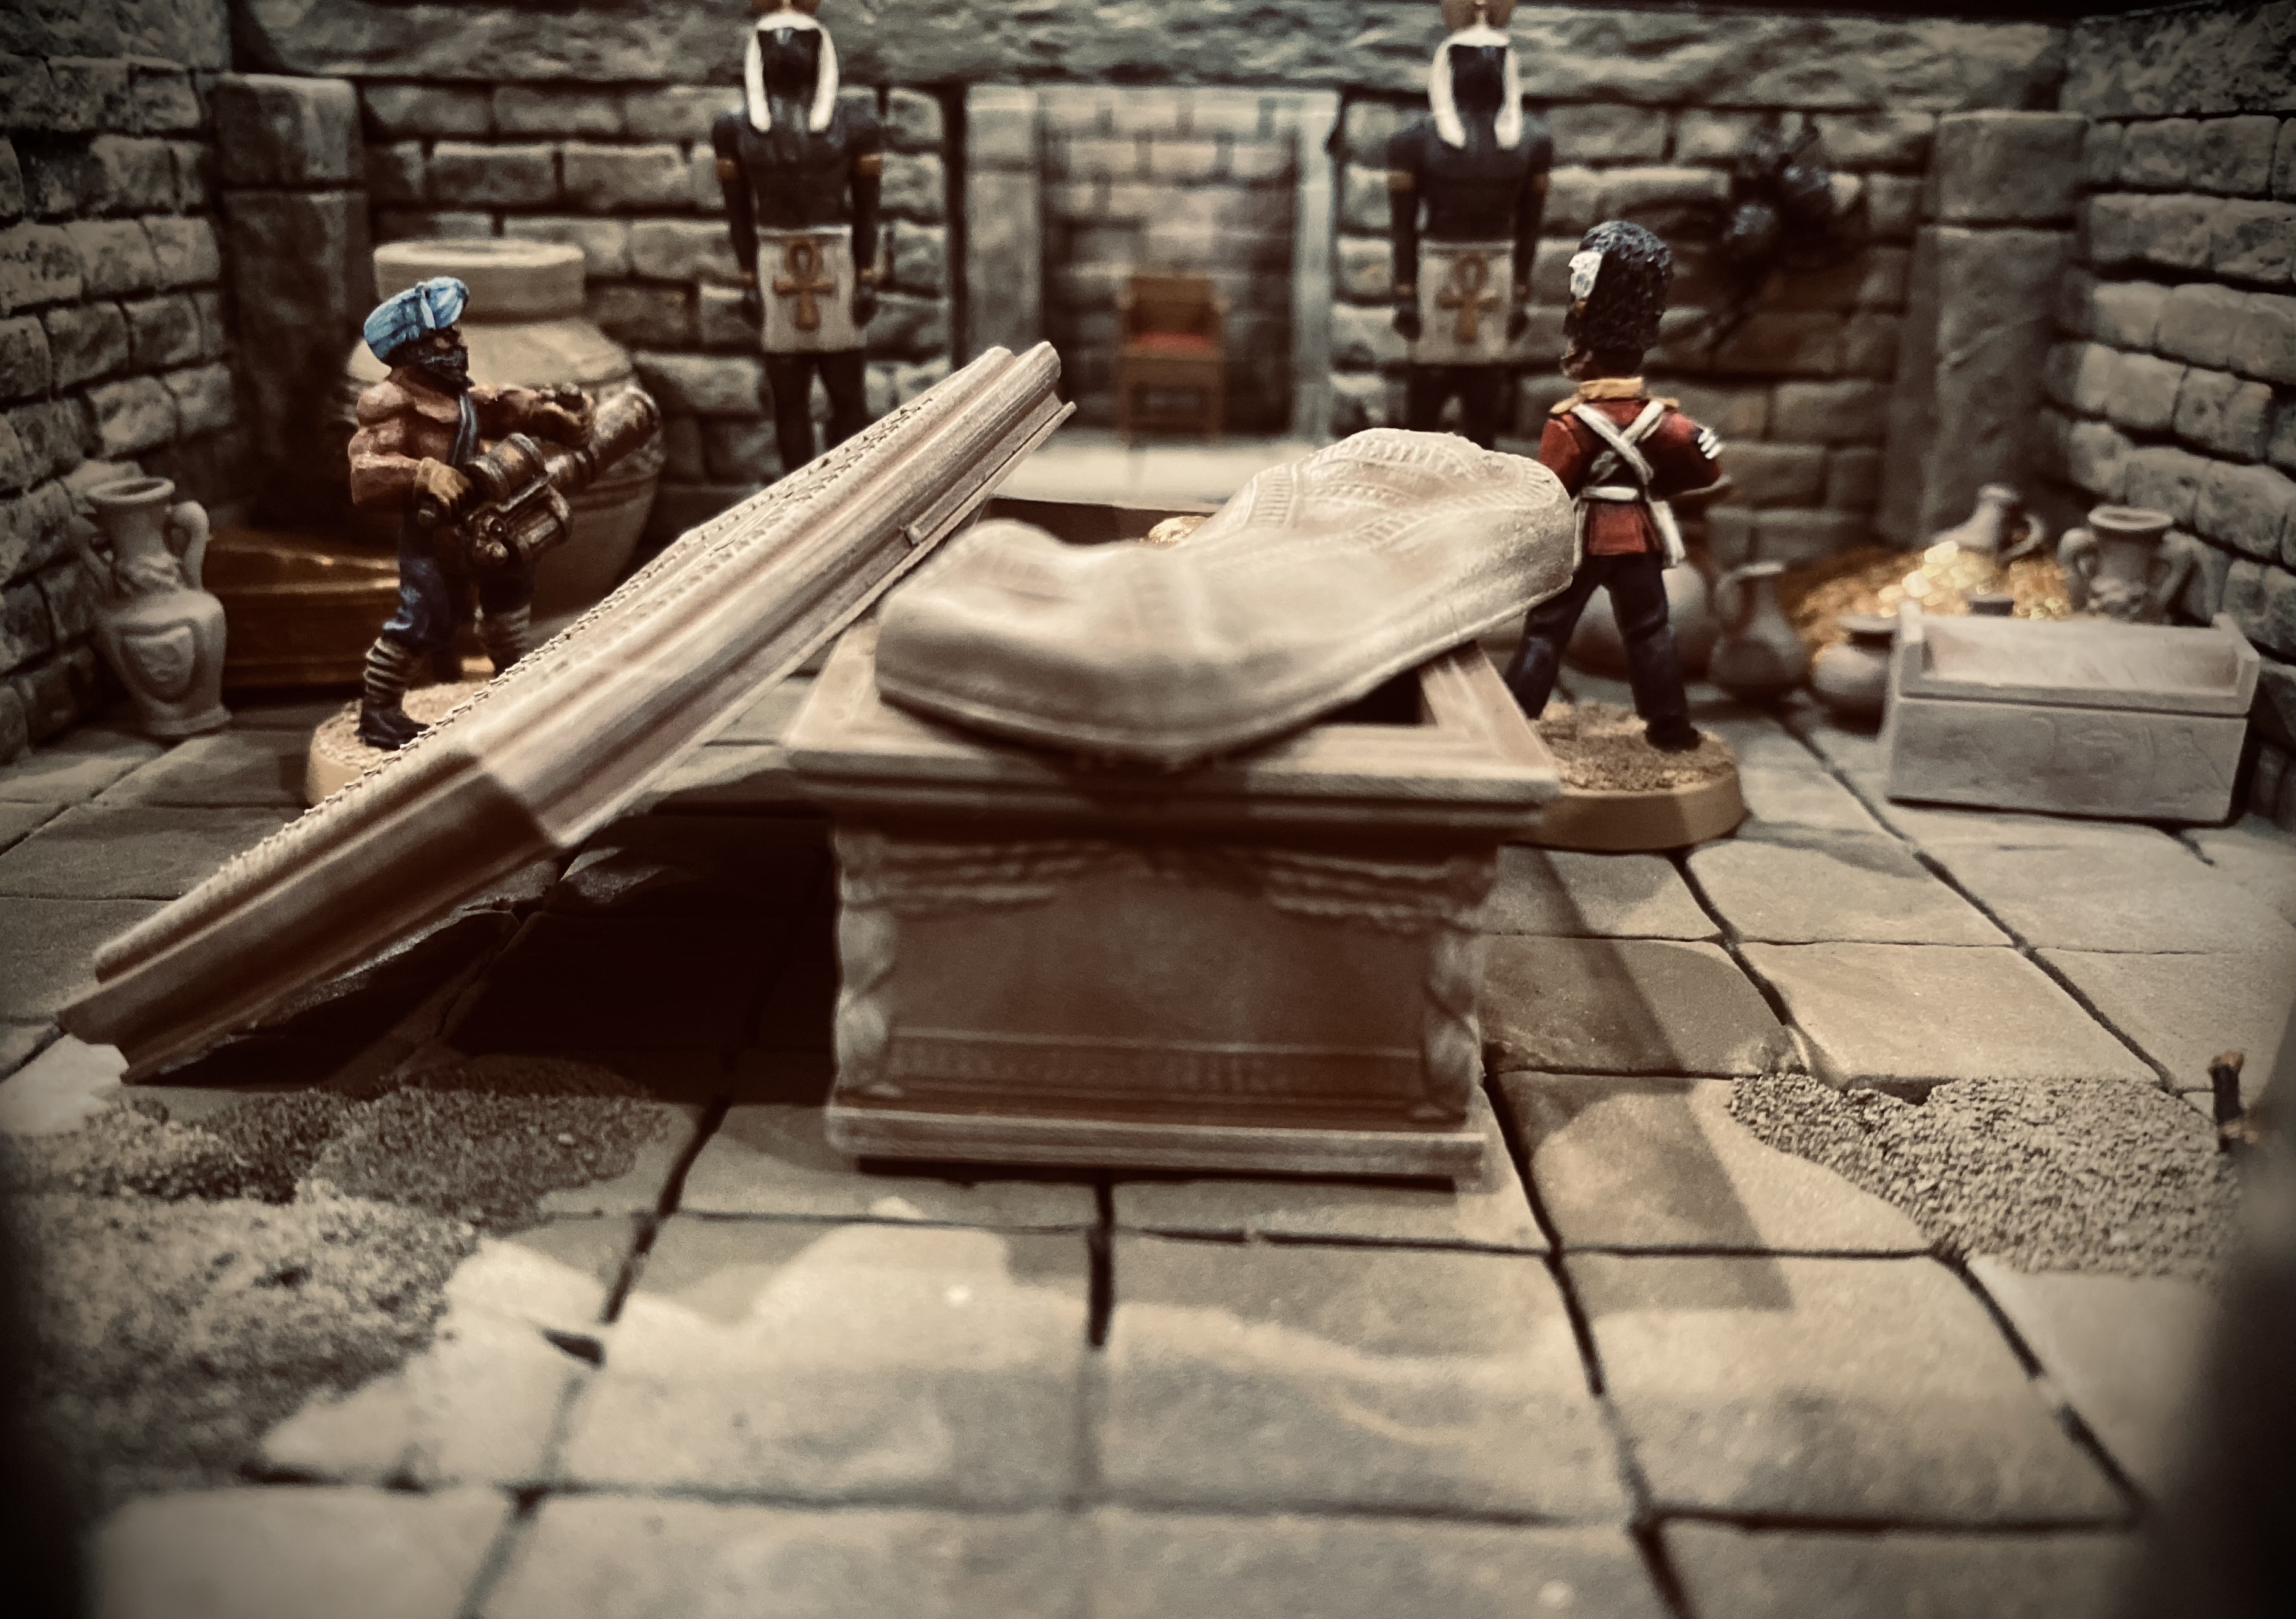
Did I mention the magnets?
Just a little update today.
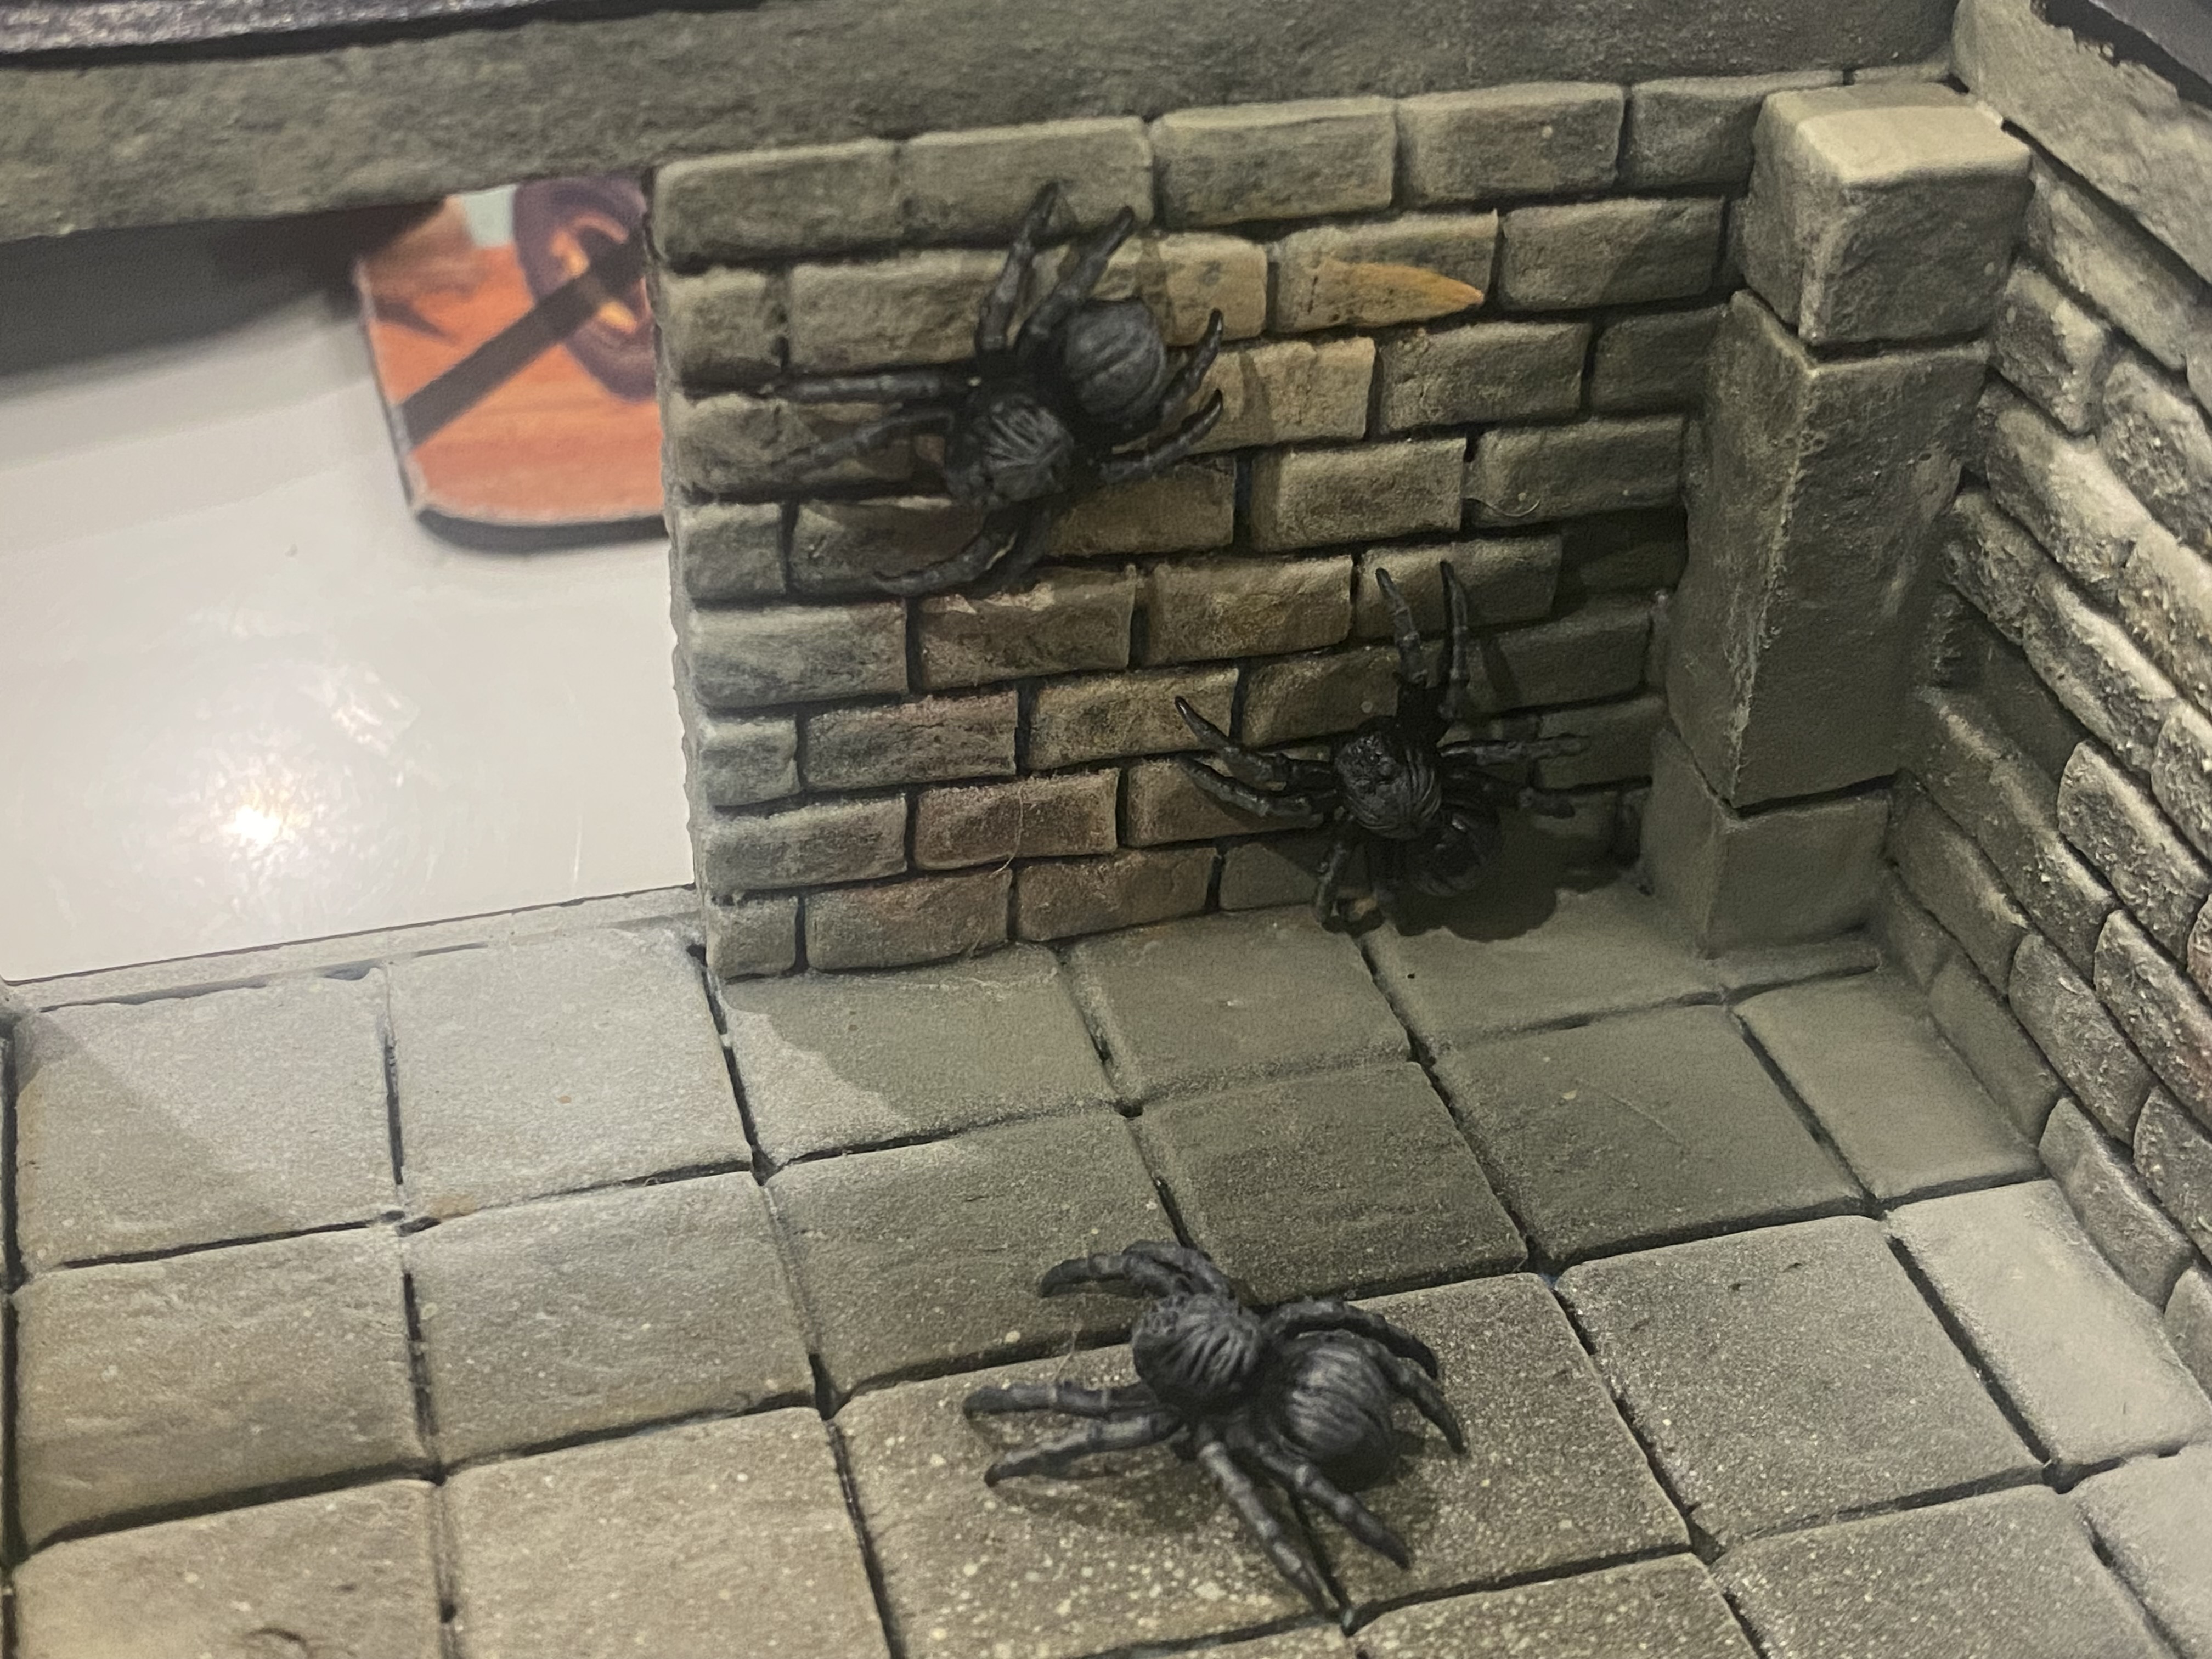
I can’t remember if I mentioned or not that when I was initially constructing the XPS walls I inserted thin metal strips between the brick layers so that I could magnetise different elements later.
Just In case I didn’t, what I did was insert metal wire between layers of bricks every second row before modpodging and painting the walls. The idea is that down the line I can add different wall fittings including lightning.
I have some ‘Bulkhead’ looking lights, which I have magnetised, although temporarily misplaced, which I can use to make the Dungeon have the feel that it’s not newly discovered and maybe archaeologists have set up lighting to help as they uncover and excavate the treasures. Similarly, I have some simple torches in holders to give a more ‘Dark Age or Ancient’ feel.
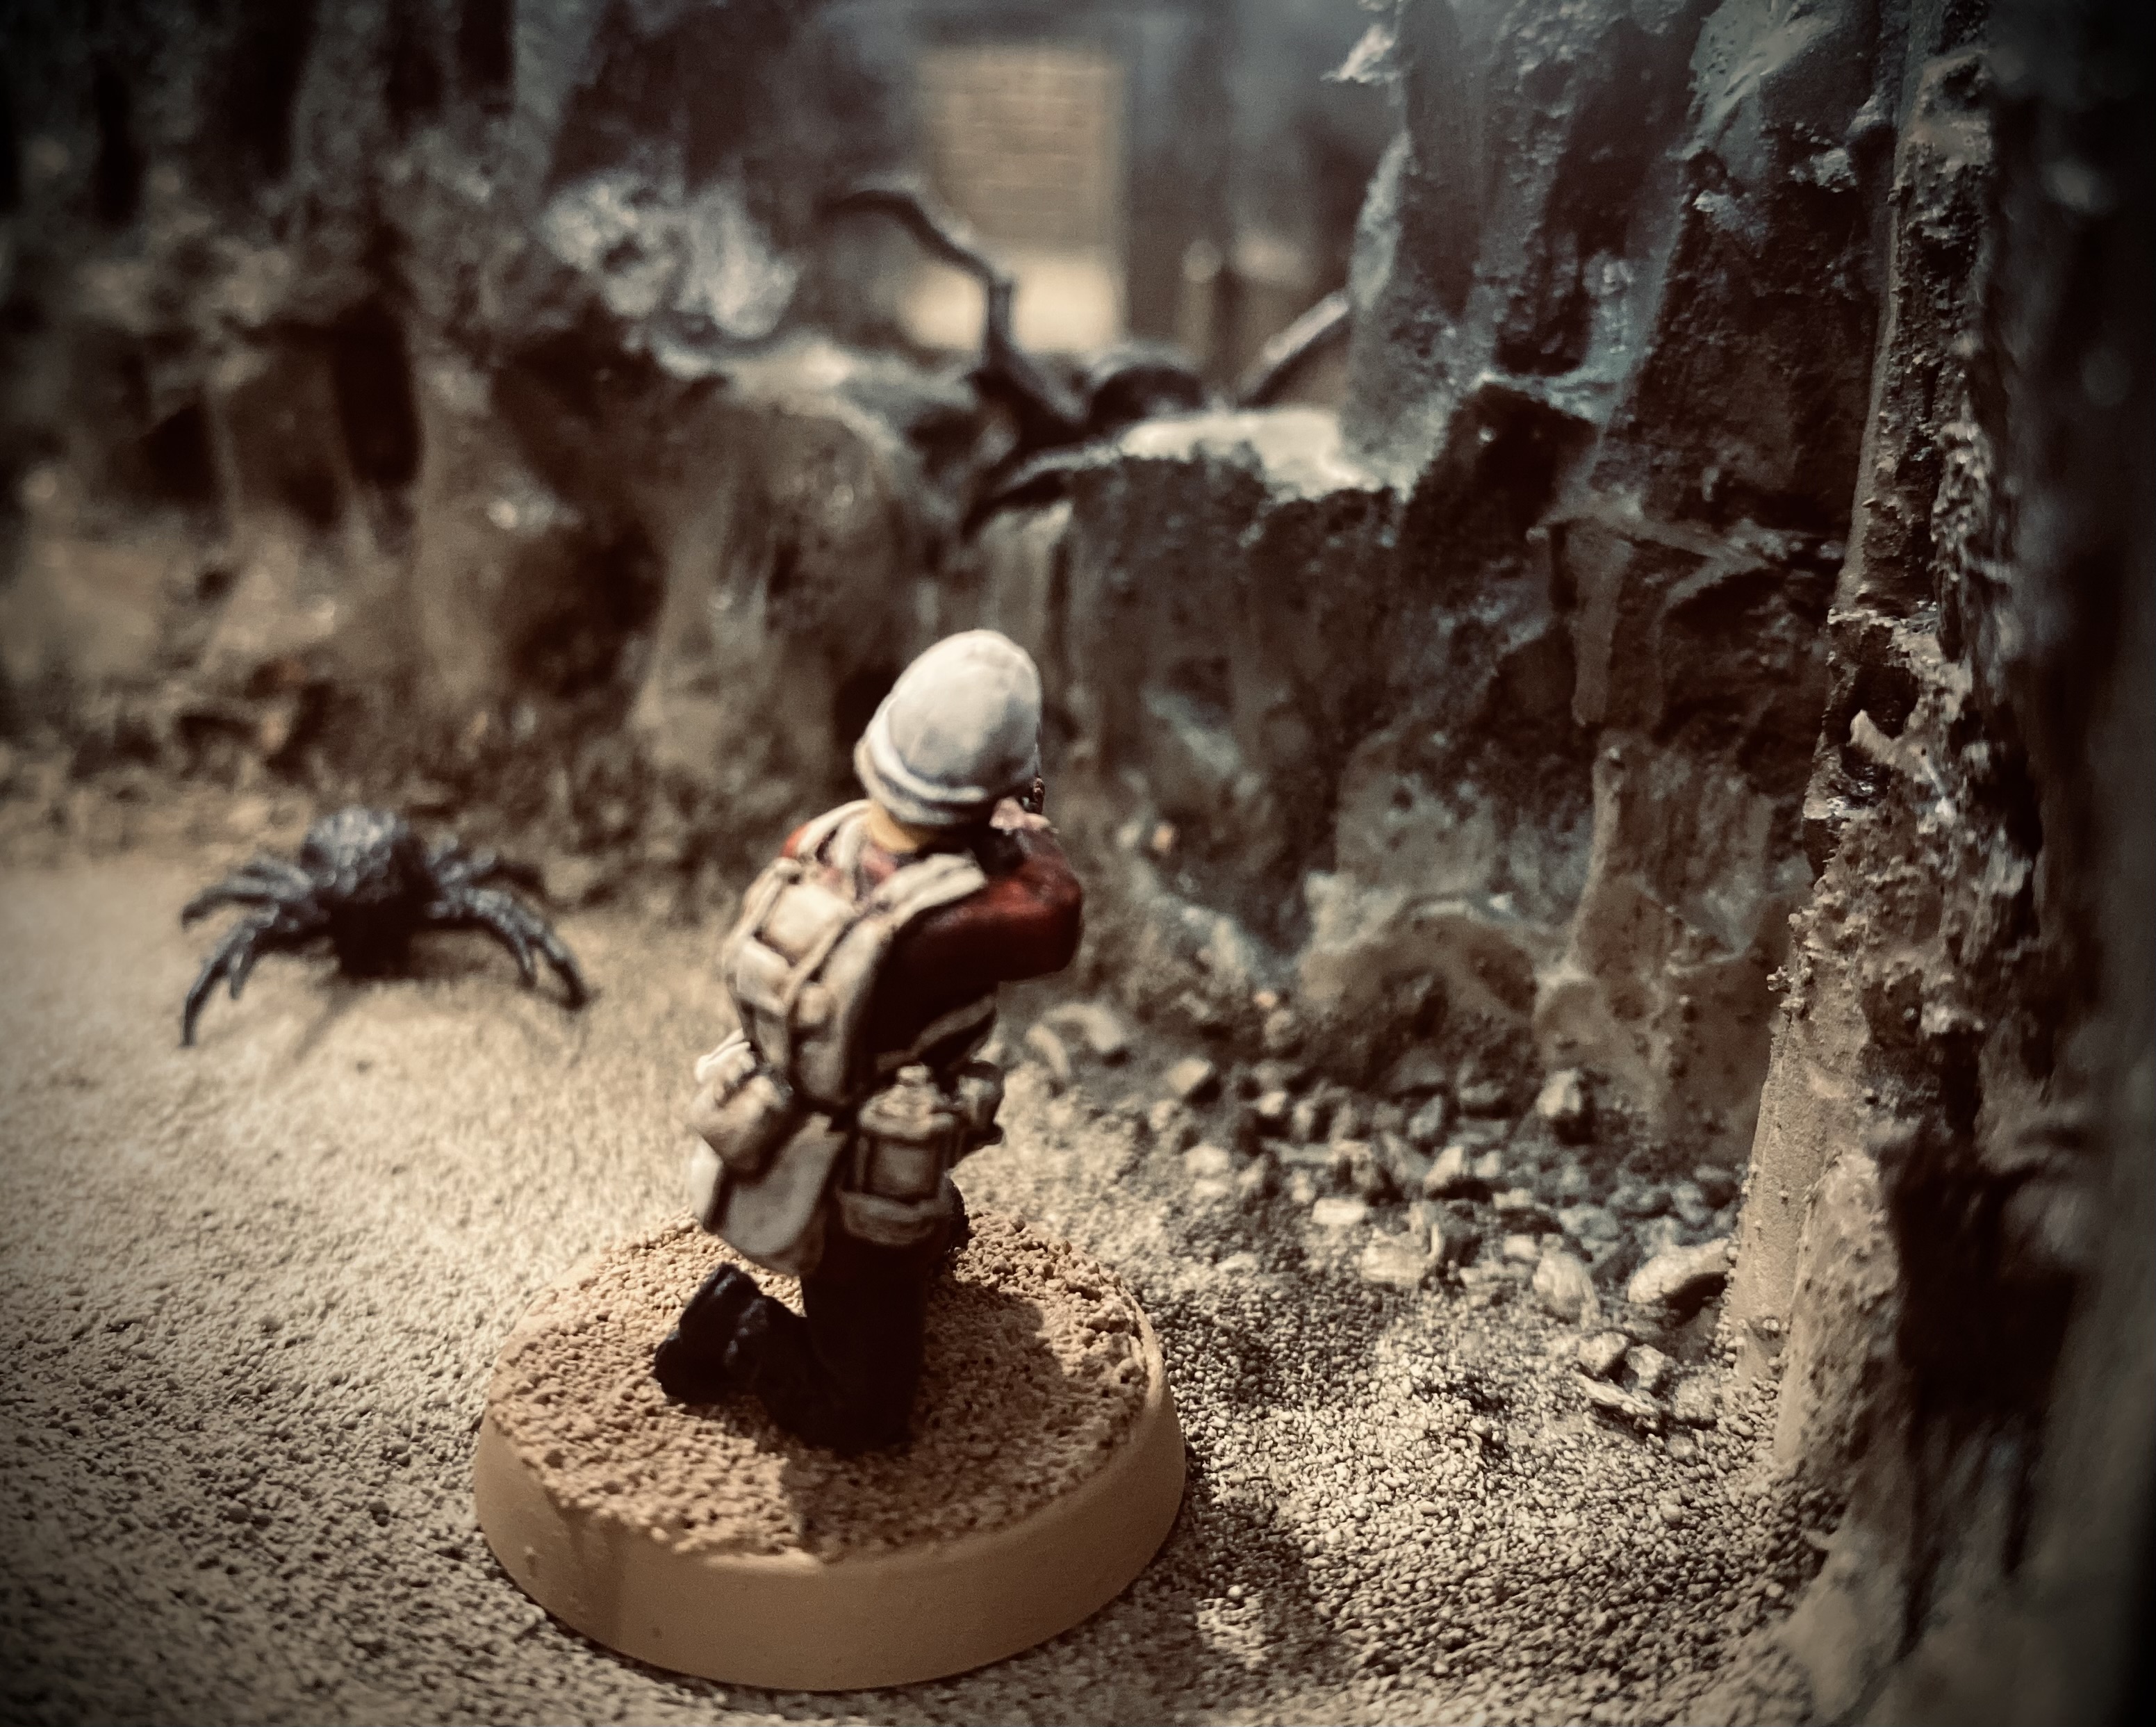
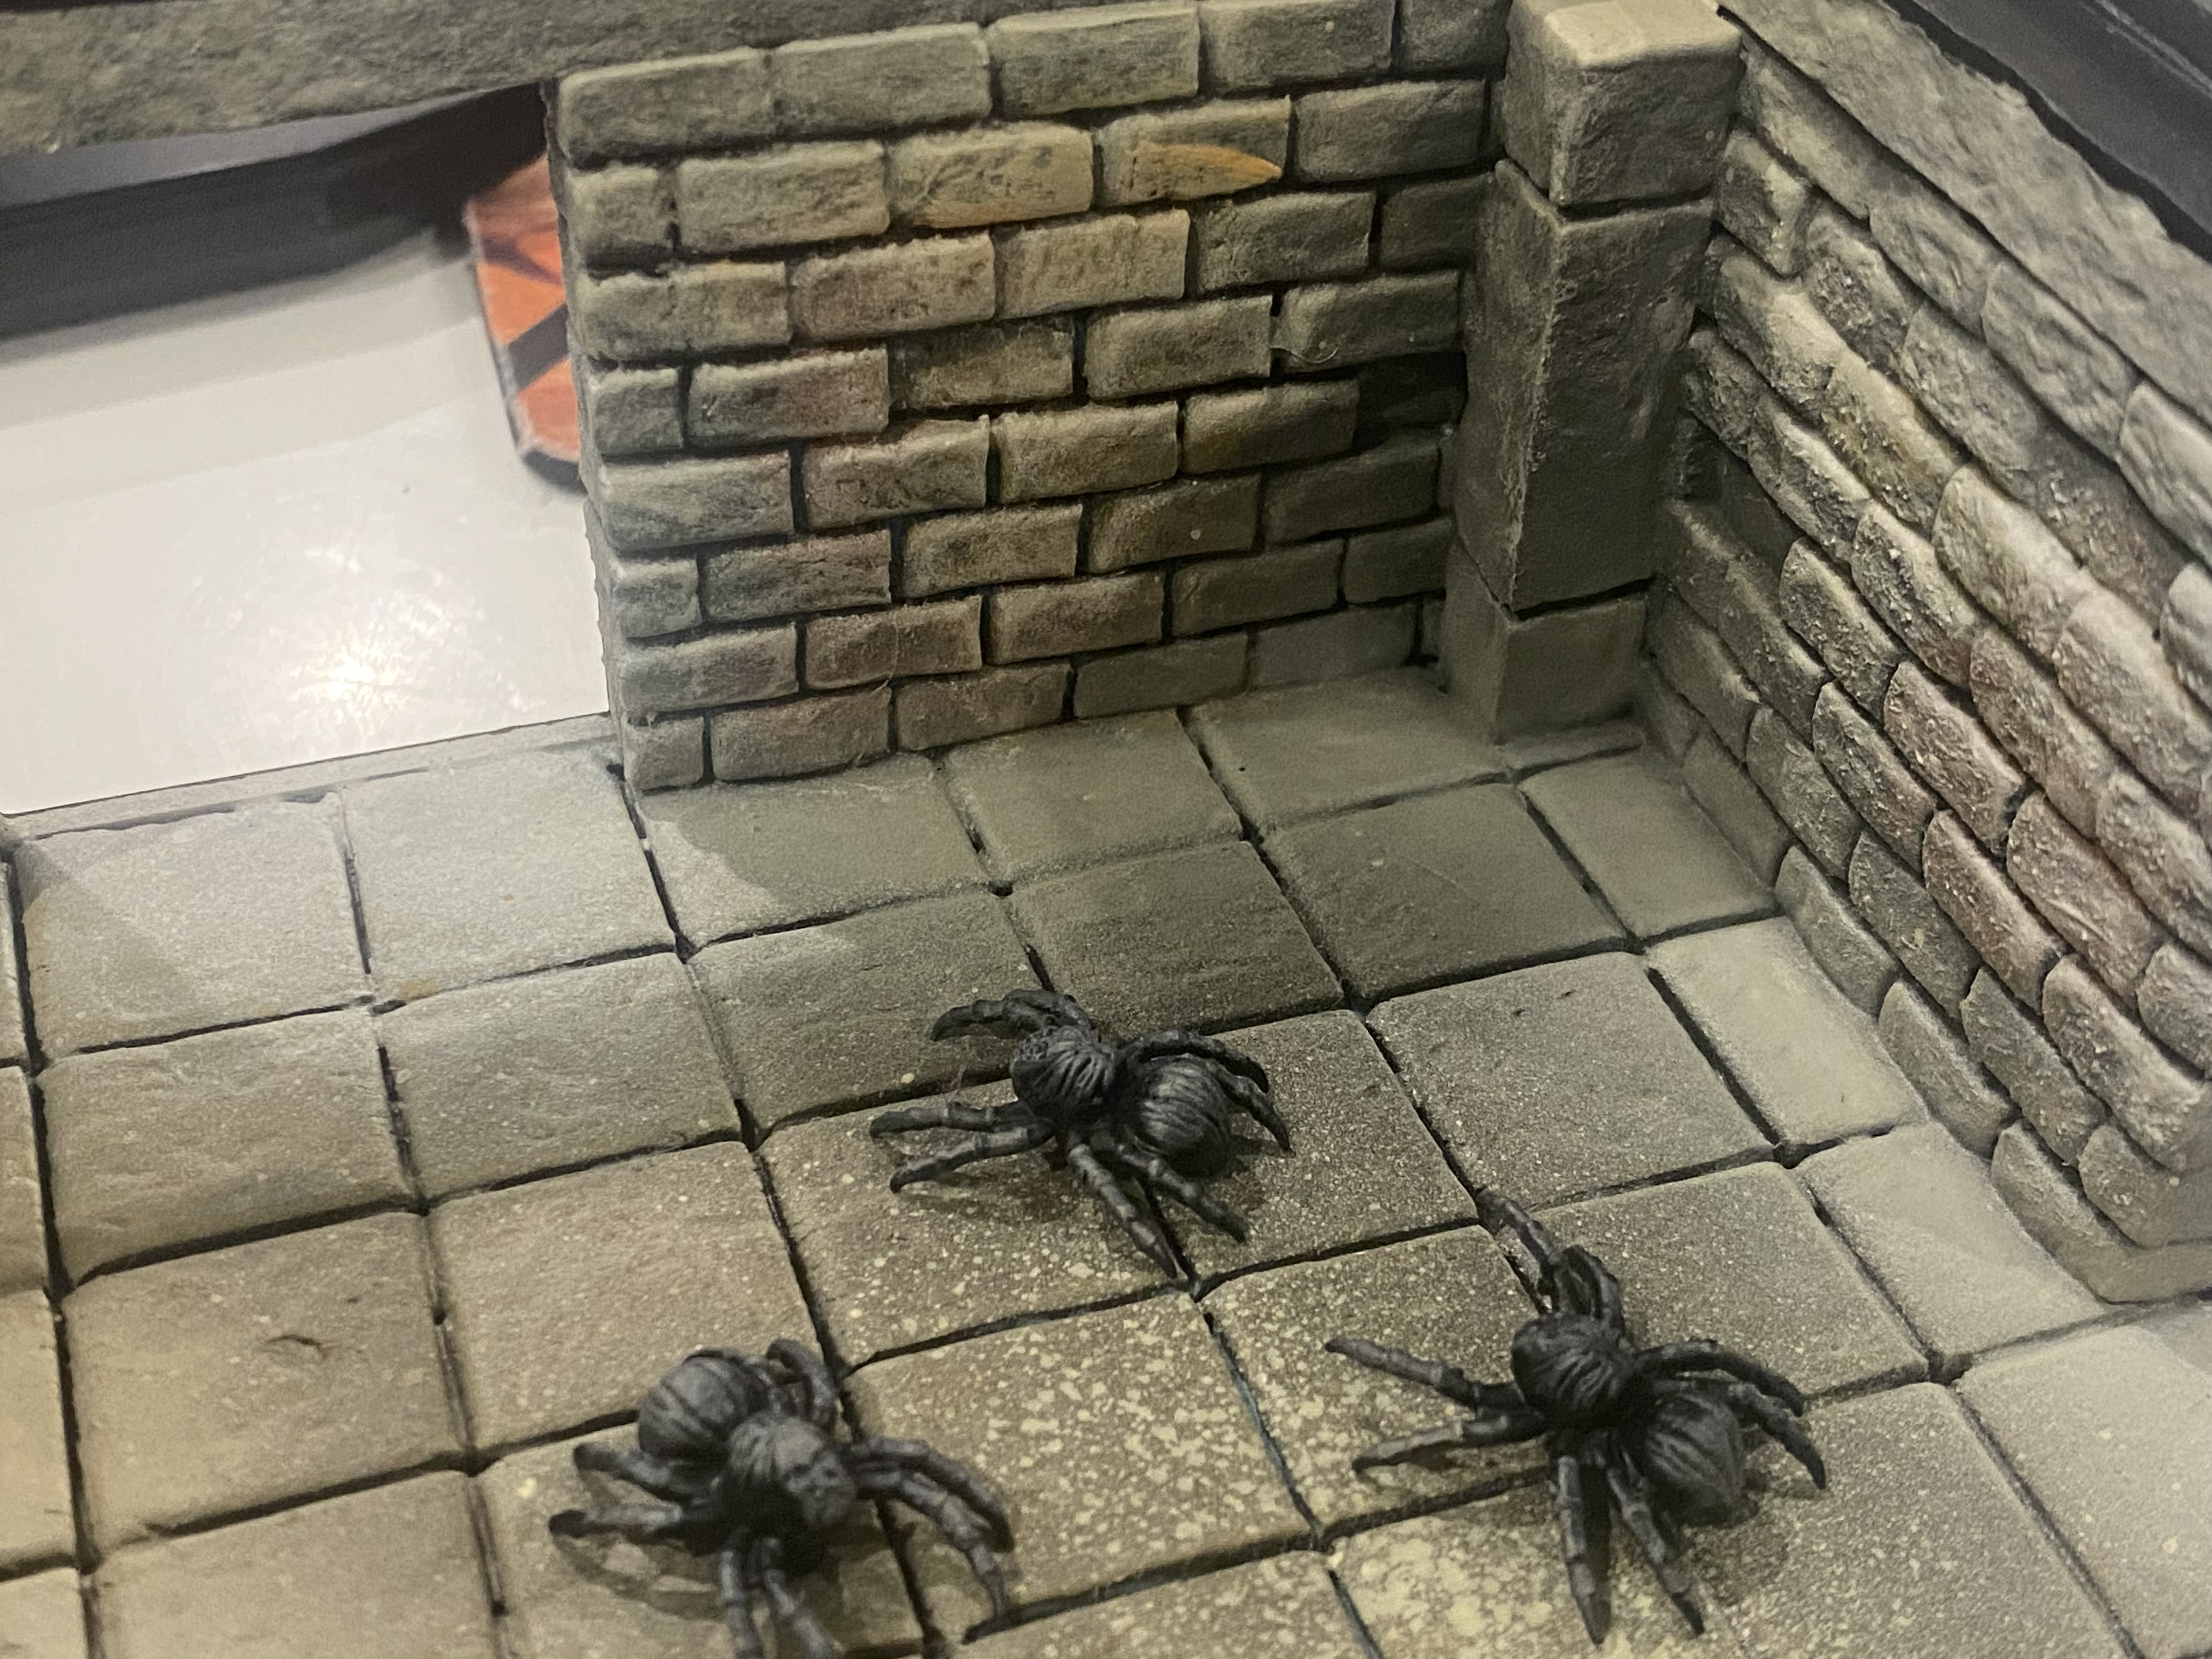
The metal in the walls also means I can add creatures to the walls, just like these (unpainted) spiders.
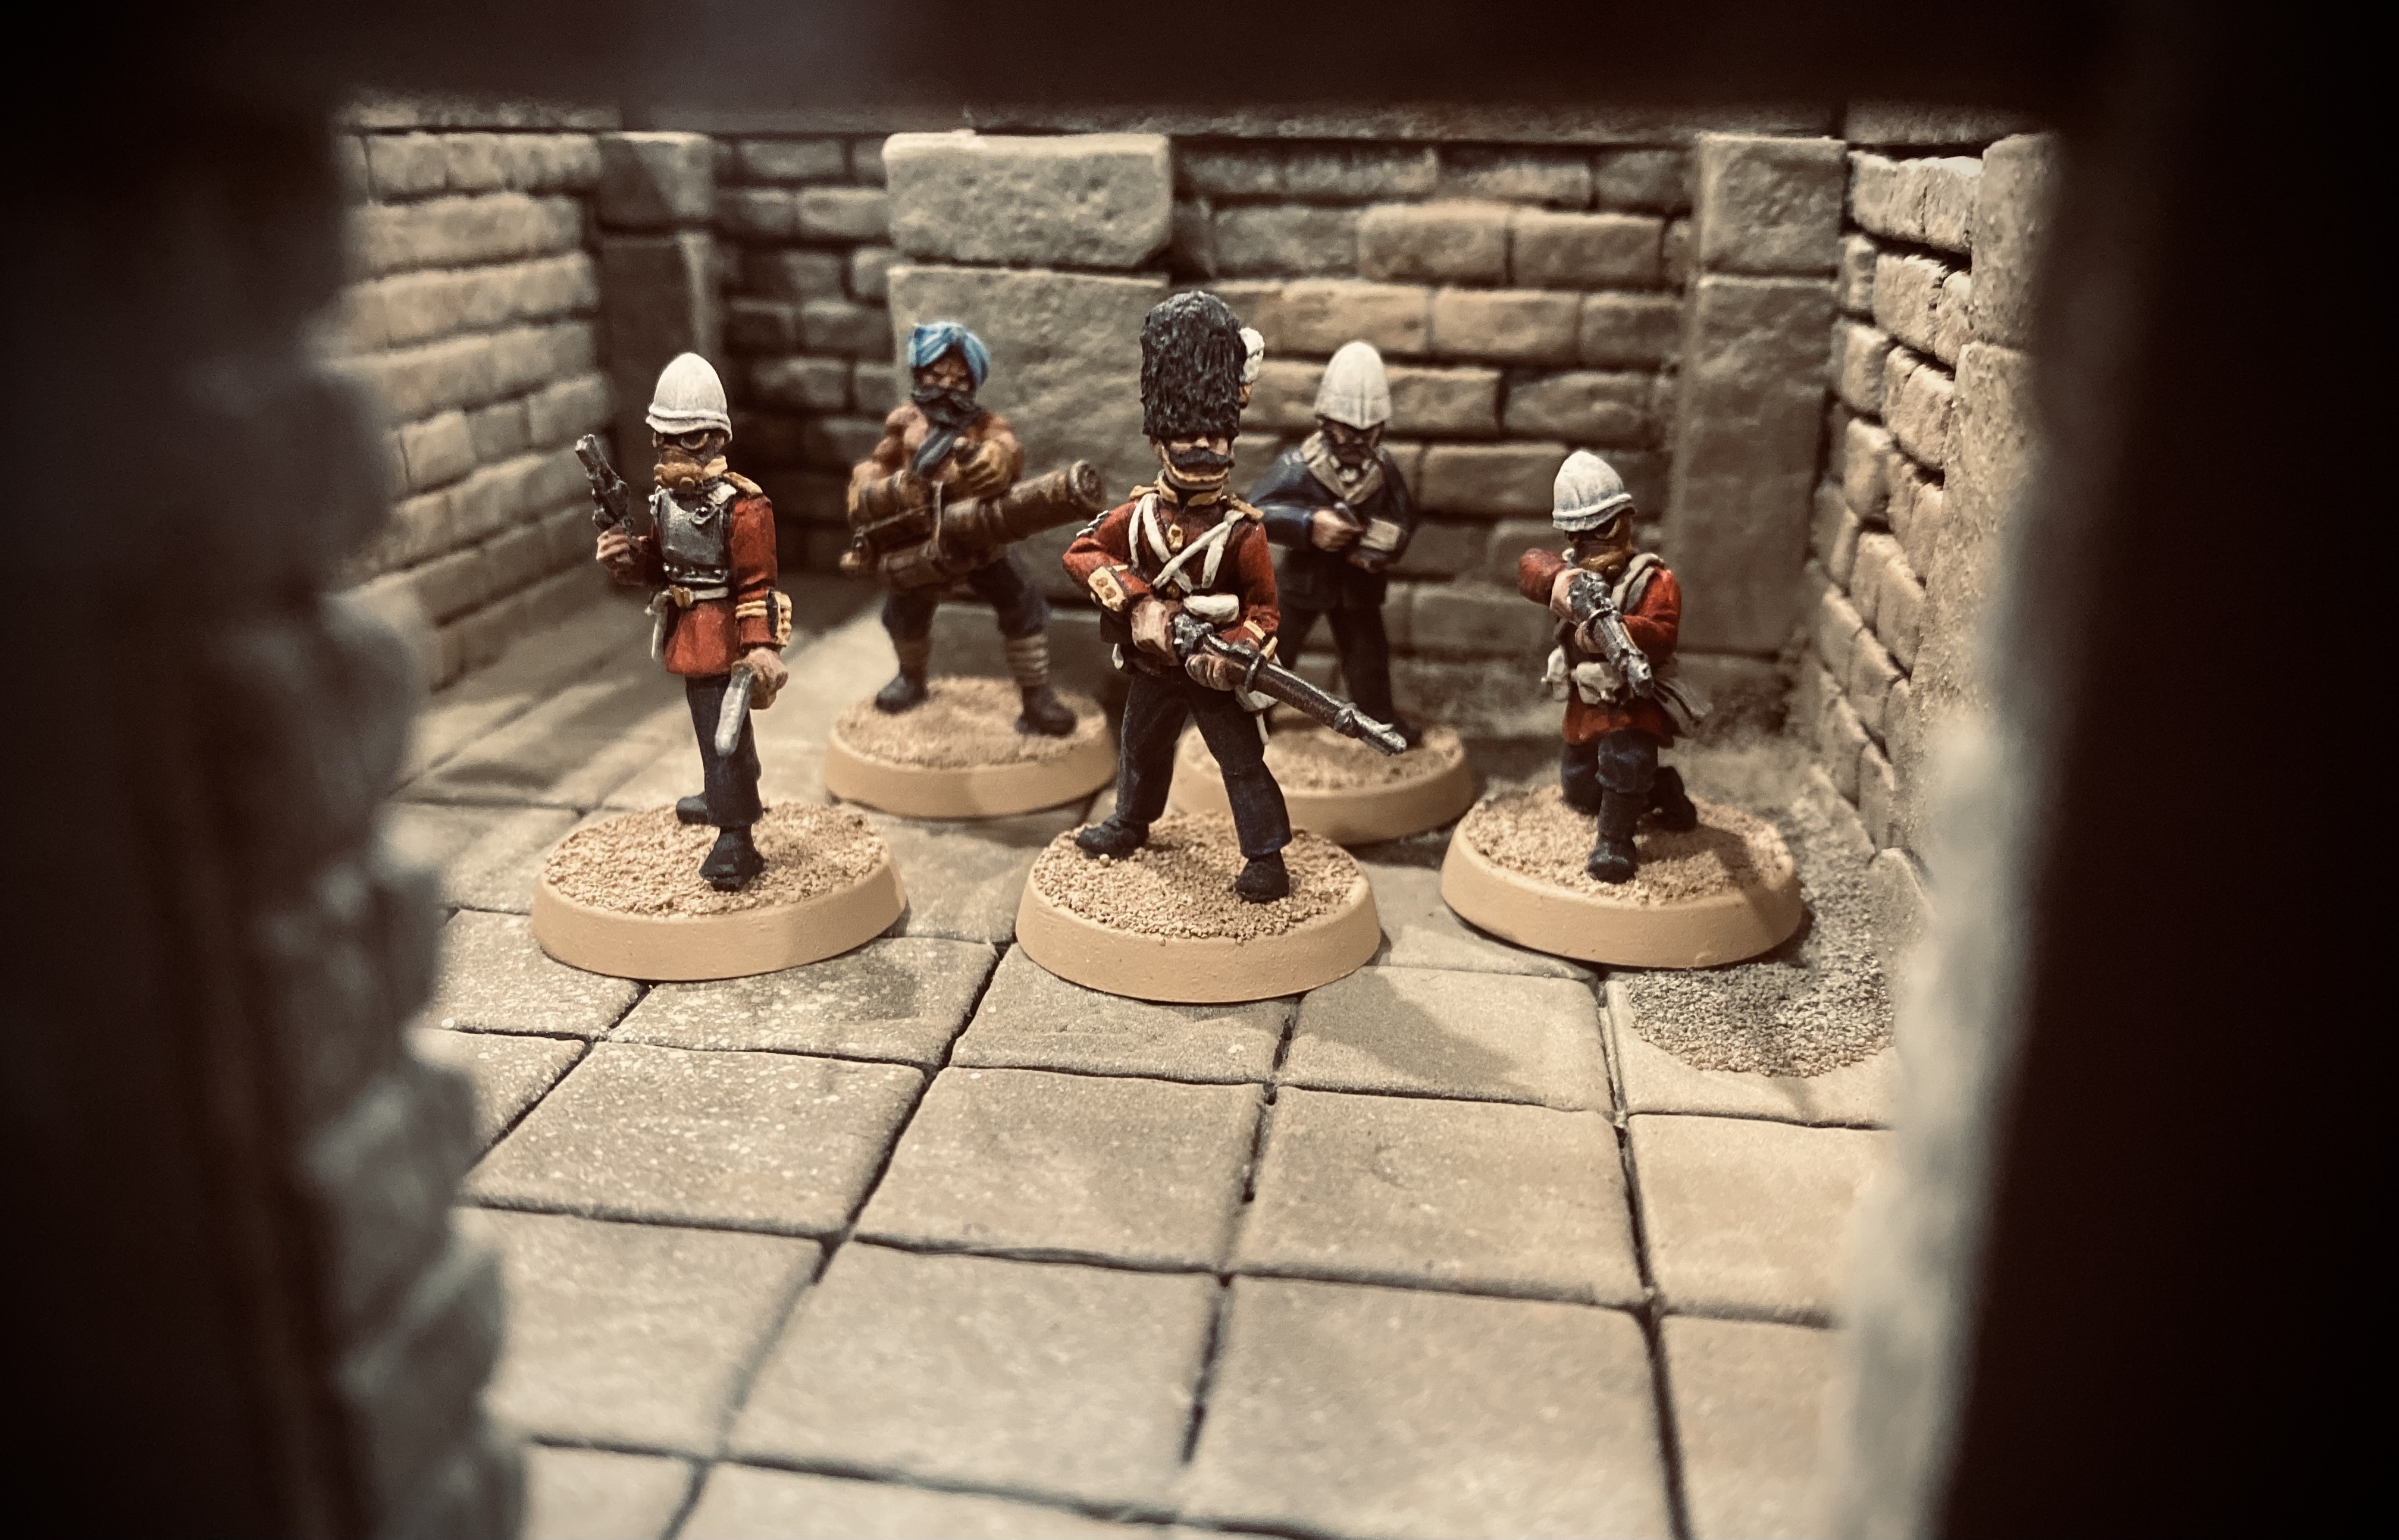
Paint it Black and Sgt Tibbet
Finally found the time to paint the outsides of the boxes to neaten them up a bit. I just used cheap black acrylic paint from the local hardware store and a small roller to get them done pretty quickly.

Next up was a new model to represent Sgt Tibbet, one of the Heroes of our VSF campaign. Sgt Tibbet will lead a group of ragtag survivors through the Martian Caves and hopefully discover something important as he does so.
I will need to paint up some civilian-looking models to accompany him and I am thinking of maybe a party of 6 or 7 models should be enough.
Of course, I couldn’t resist painting up a few more survivors from the attack on Valentine’s artillery Battery as the original figures from the game seem to have disappeared into the aether.

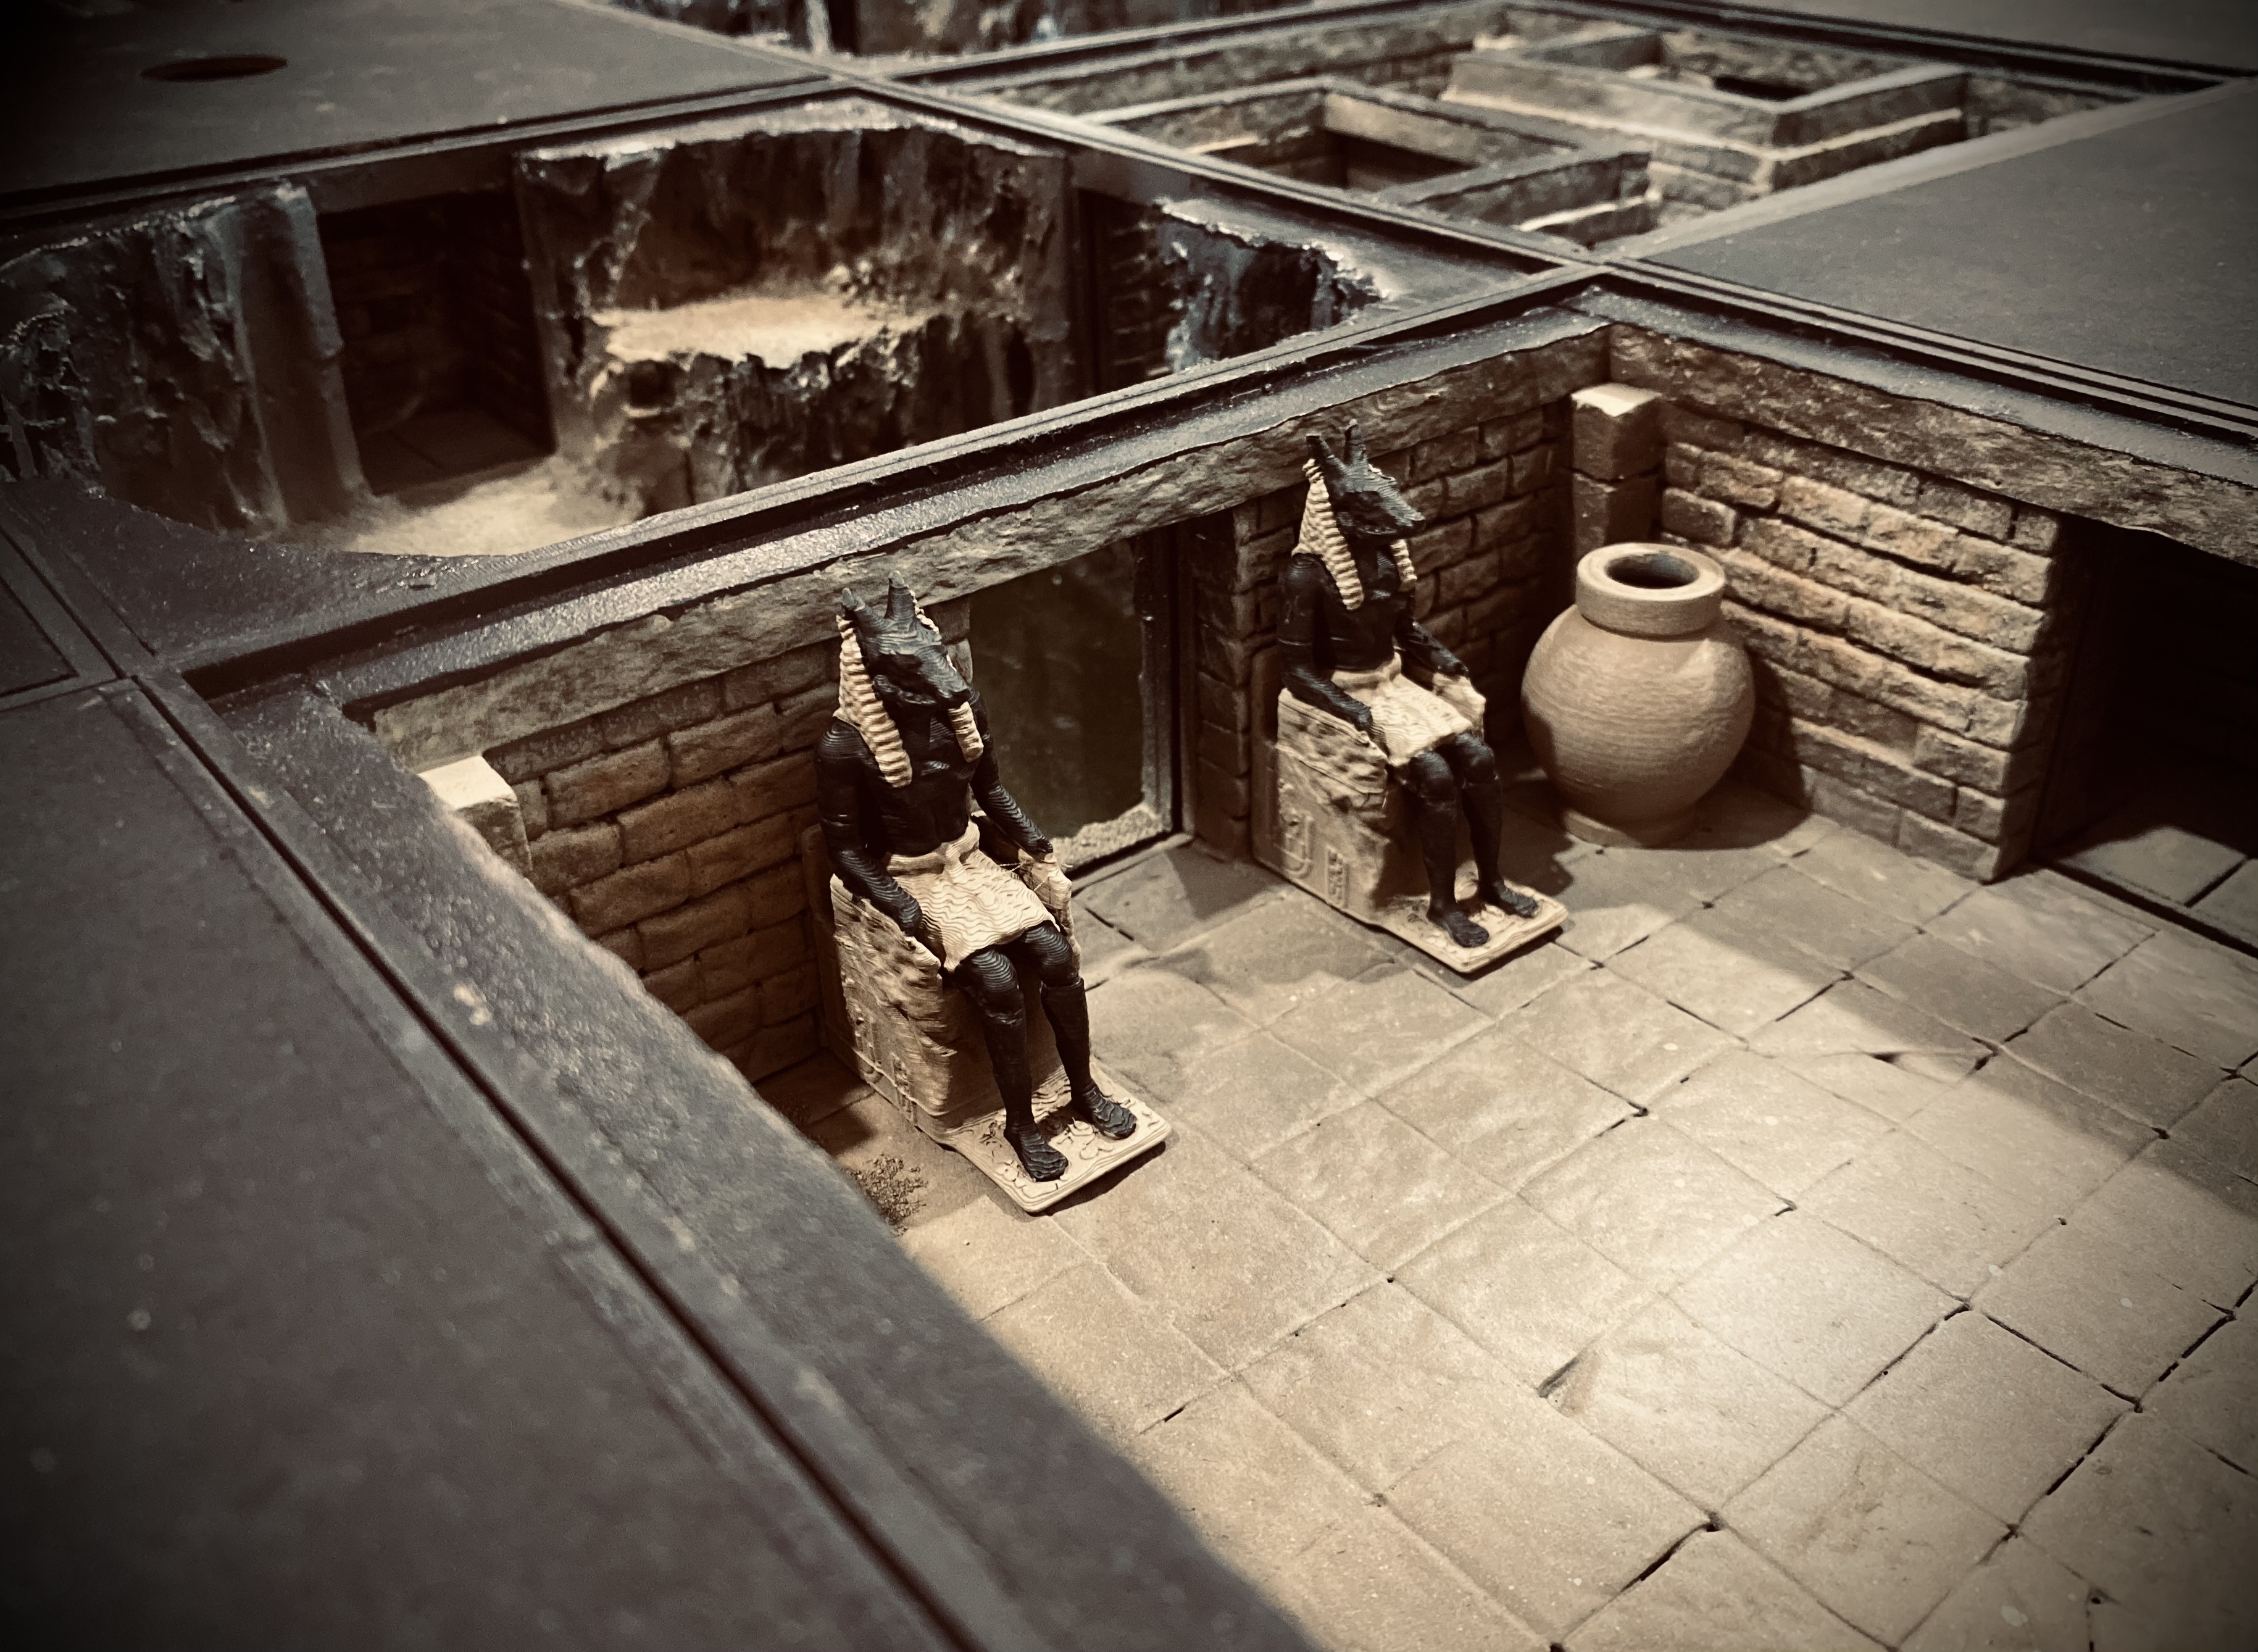
More room dressing progress
Started to add some colour to some room fittings. Nothing too fancy here, but lots of gold elements to try to give the impression of riches and a purpose to the Dungeon.

Dressing the rooms
I have started to gather together a collection of bits to use to dress the rooms a little. The stuff still needs painting and I have a lot more to come up with, but I thought I would share an image of where this is currently going.
Any suggestions on things to fill rooms with would be very much appreciated.
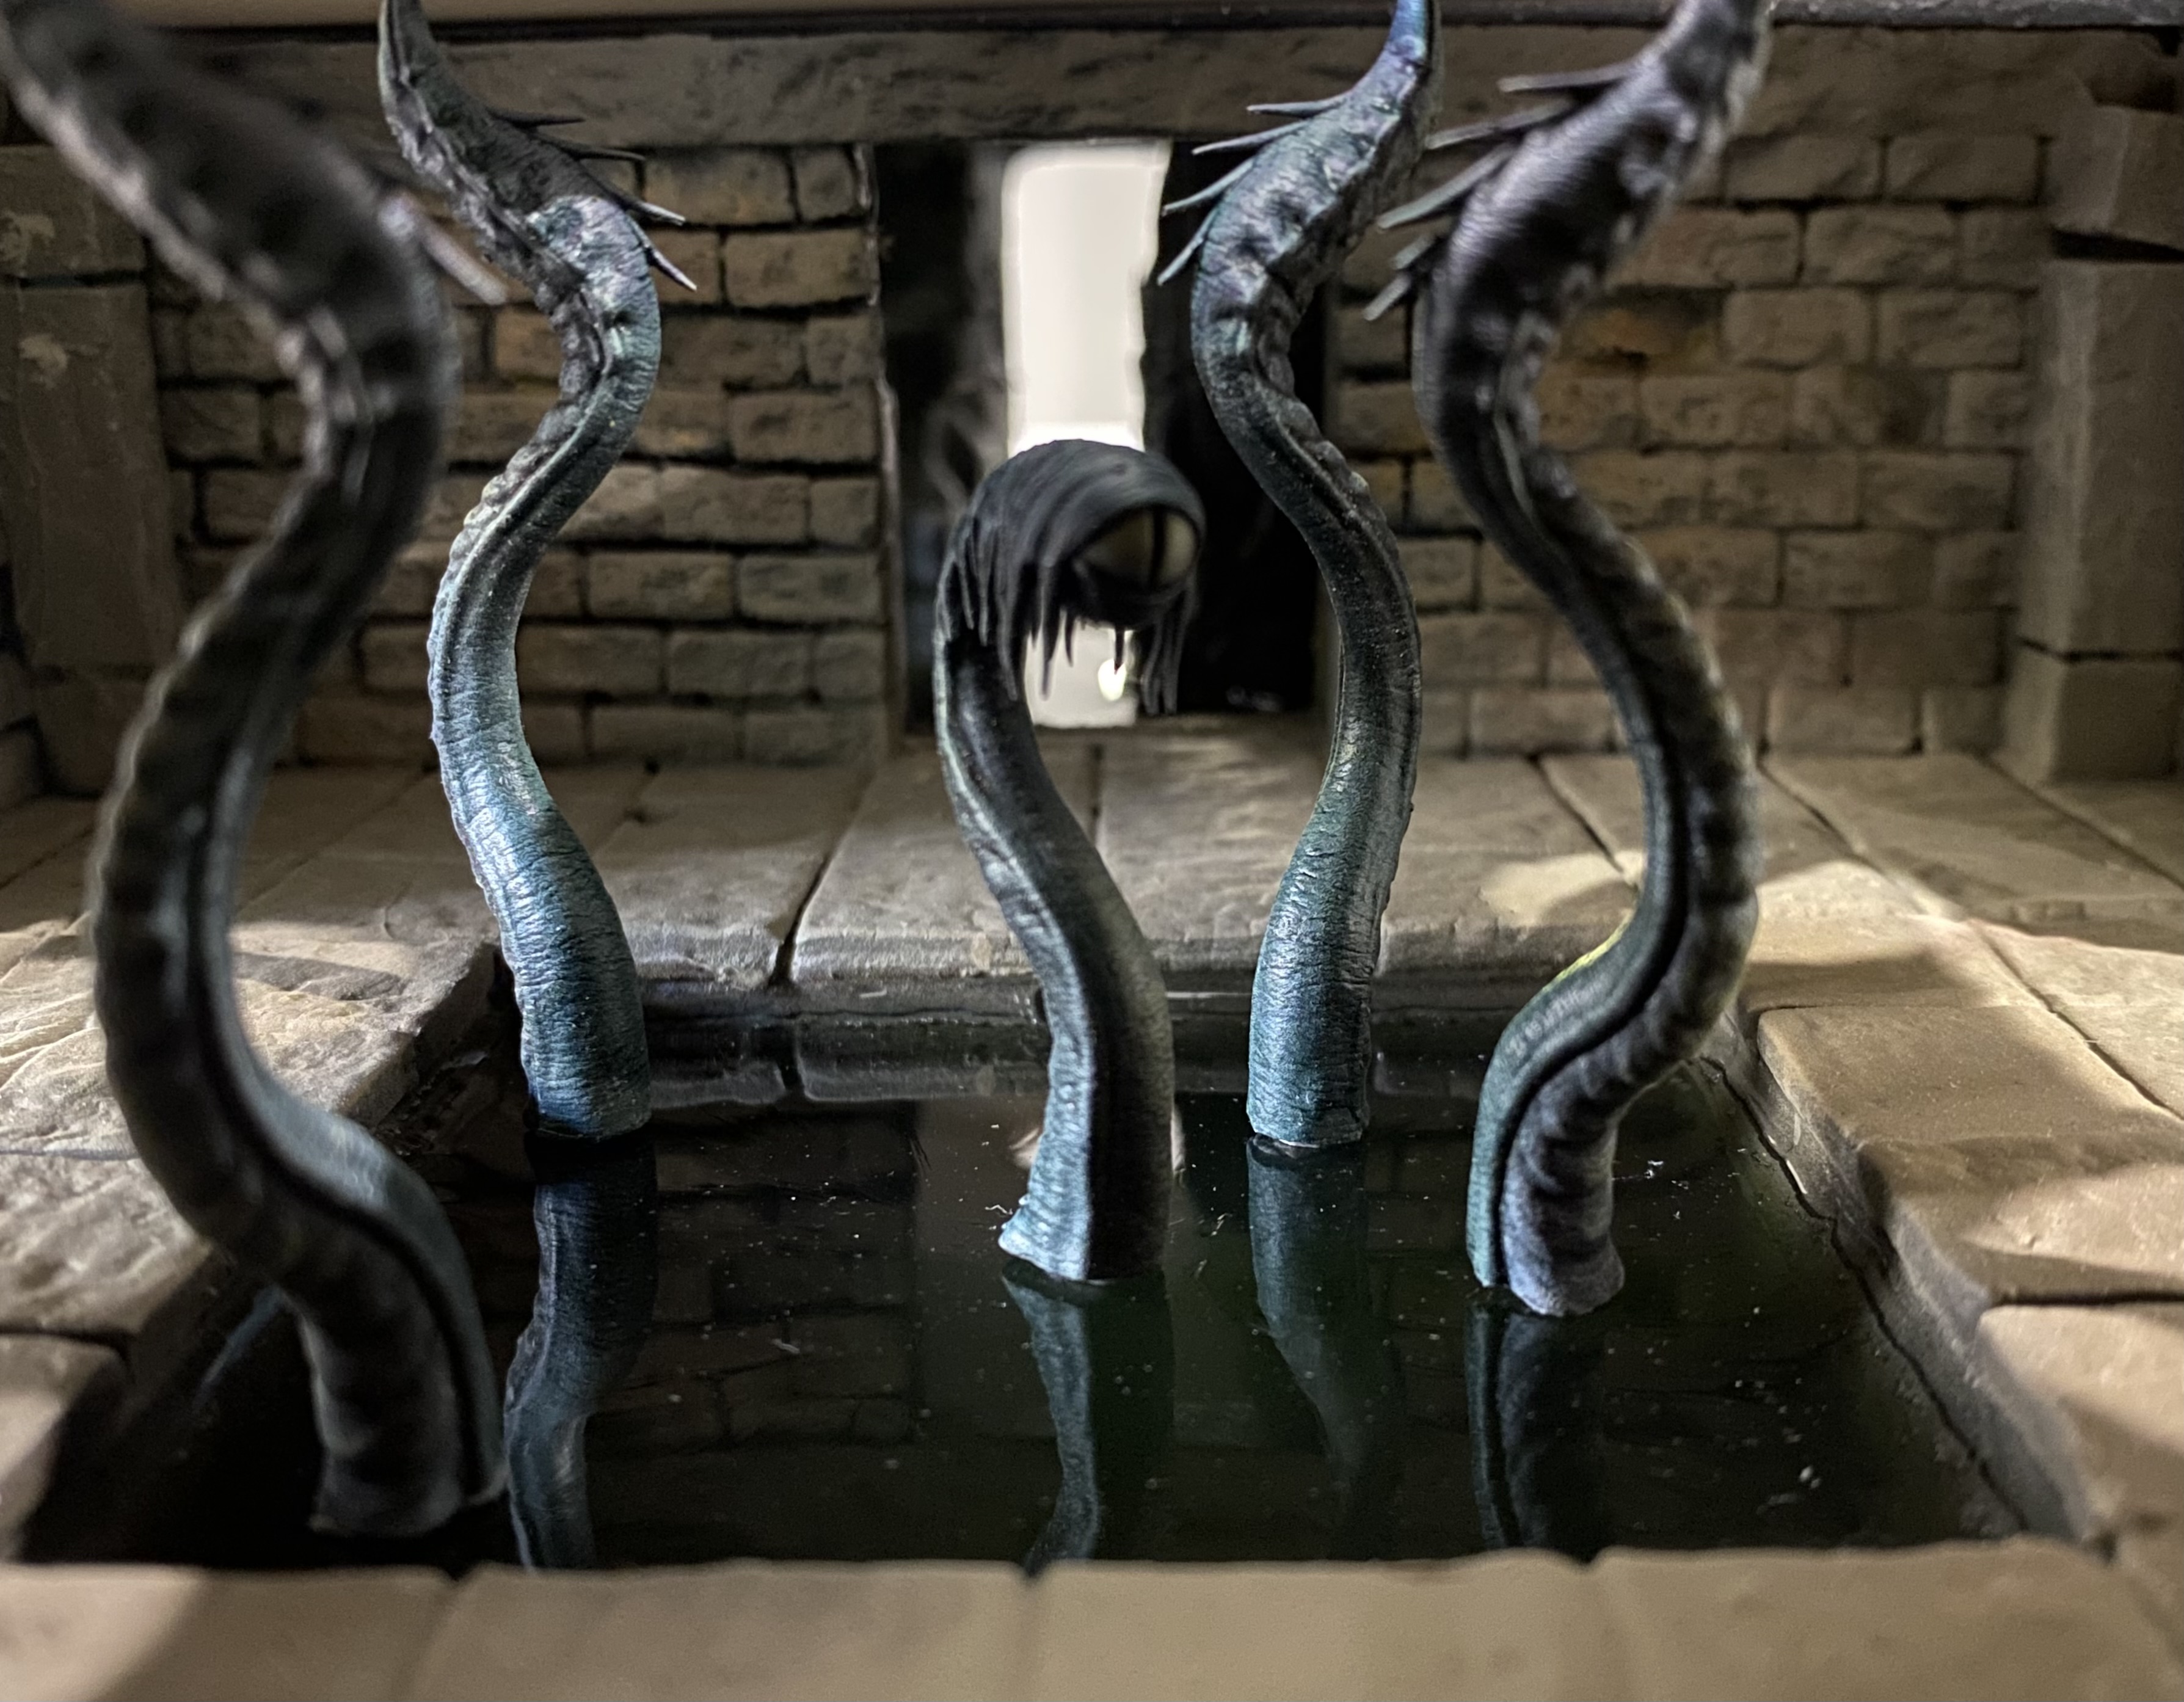
A little more tidying up
This morning, I sanded down the outsides of each box ready for painting and also touched up the black paint on the tops. I also gave the tentacle beast thing a coat of gloss varnish to make it look wetter.
This is the state of the build so far.
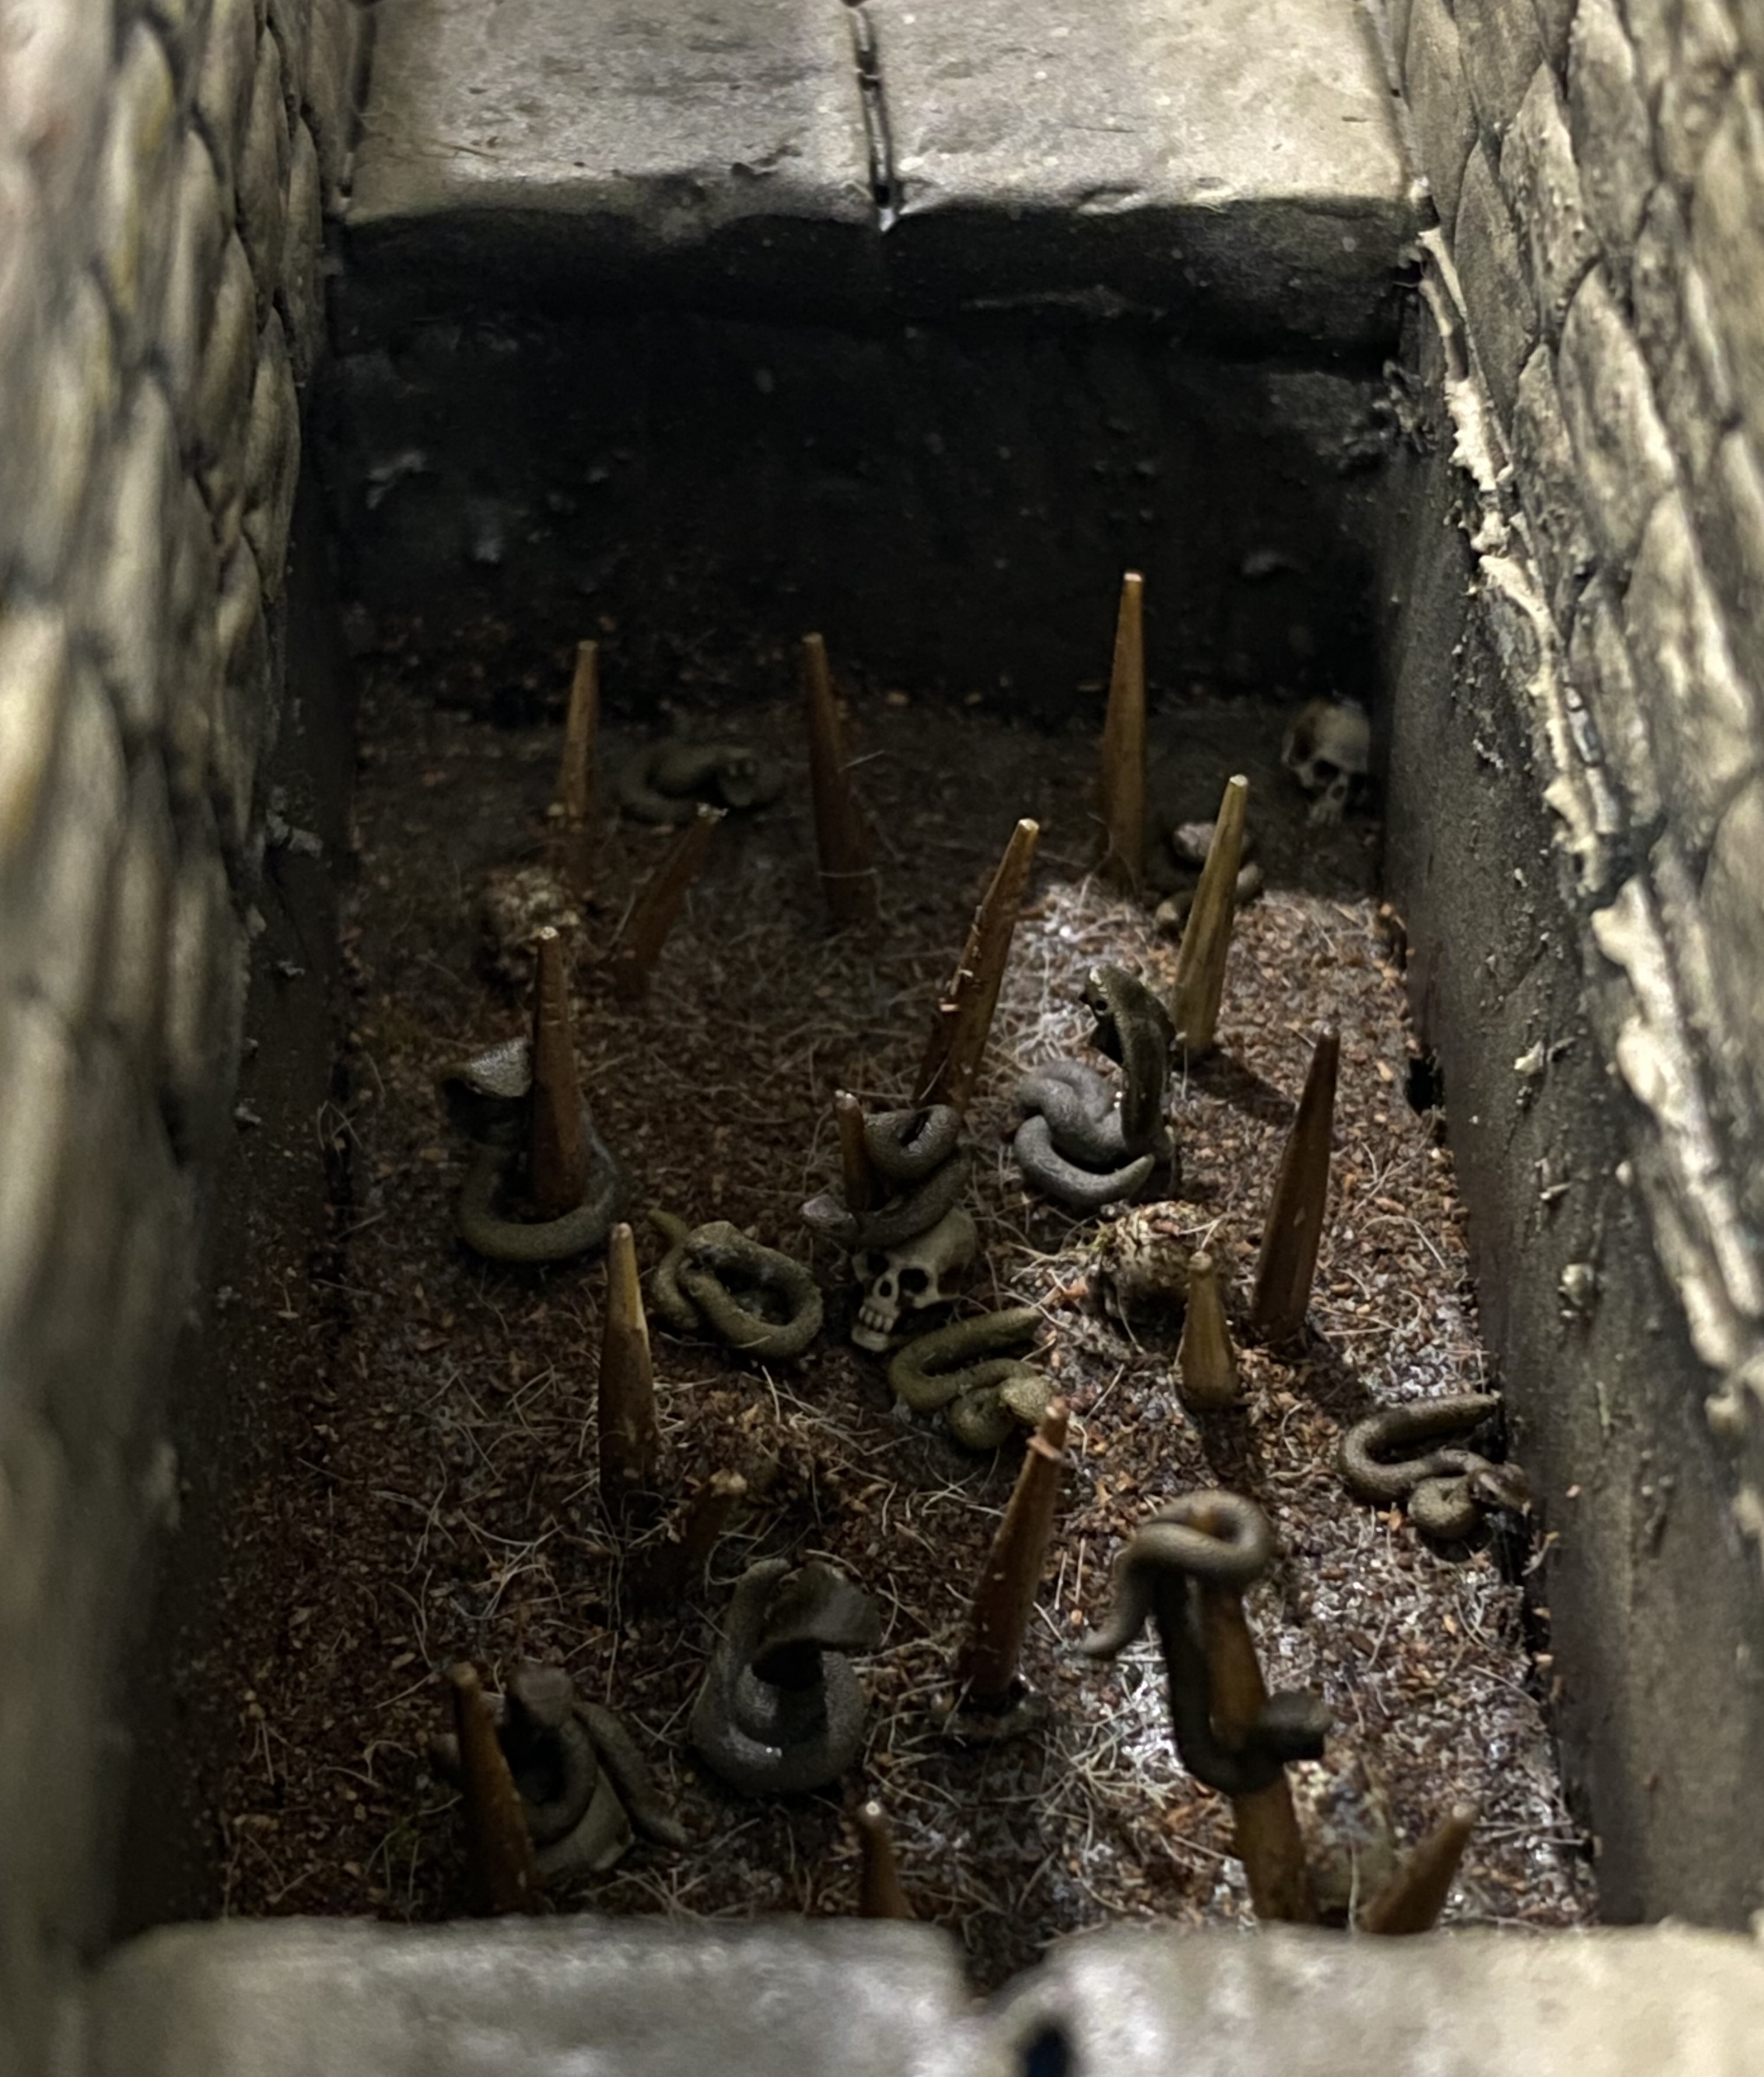
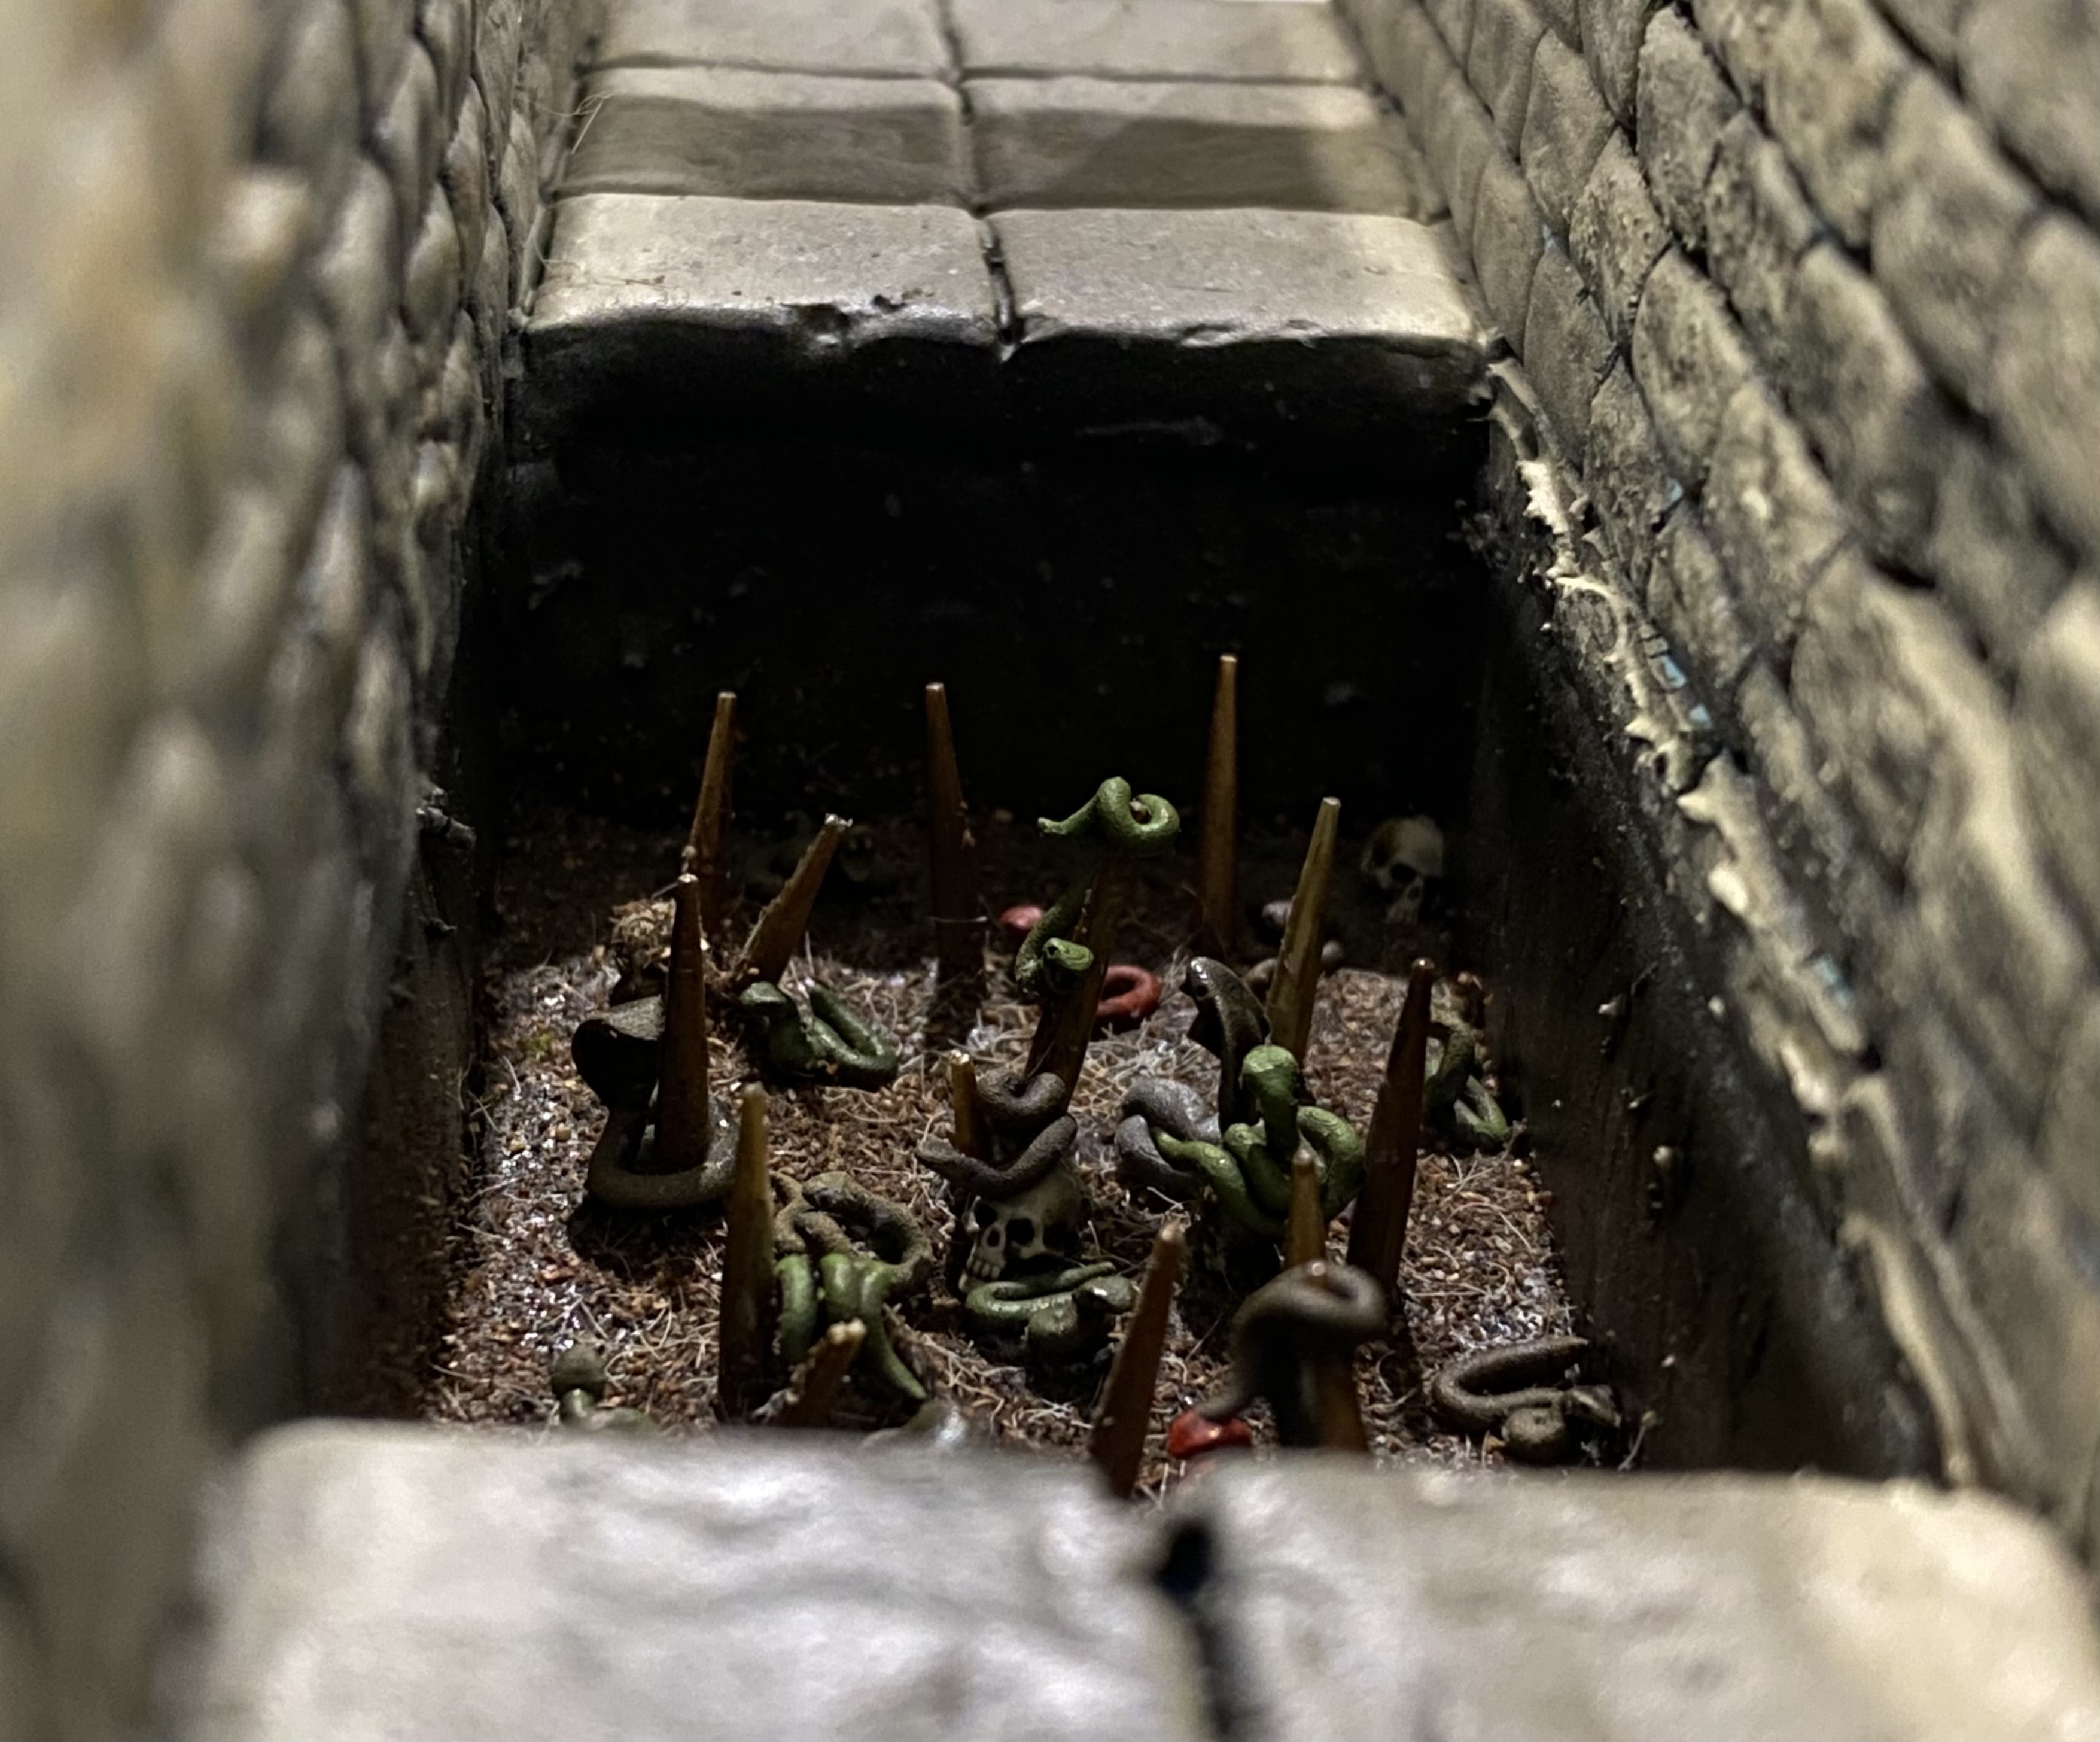
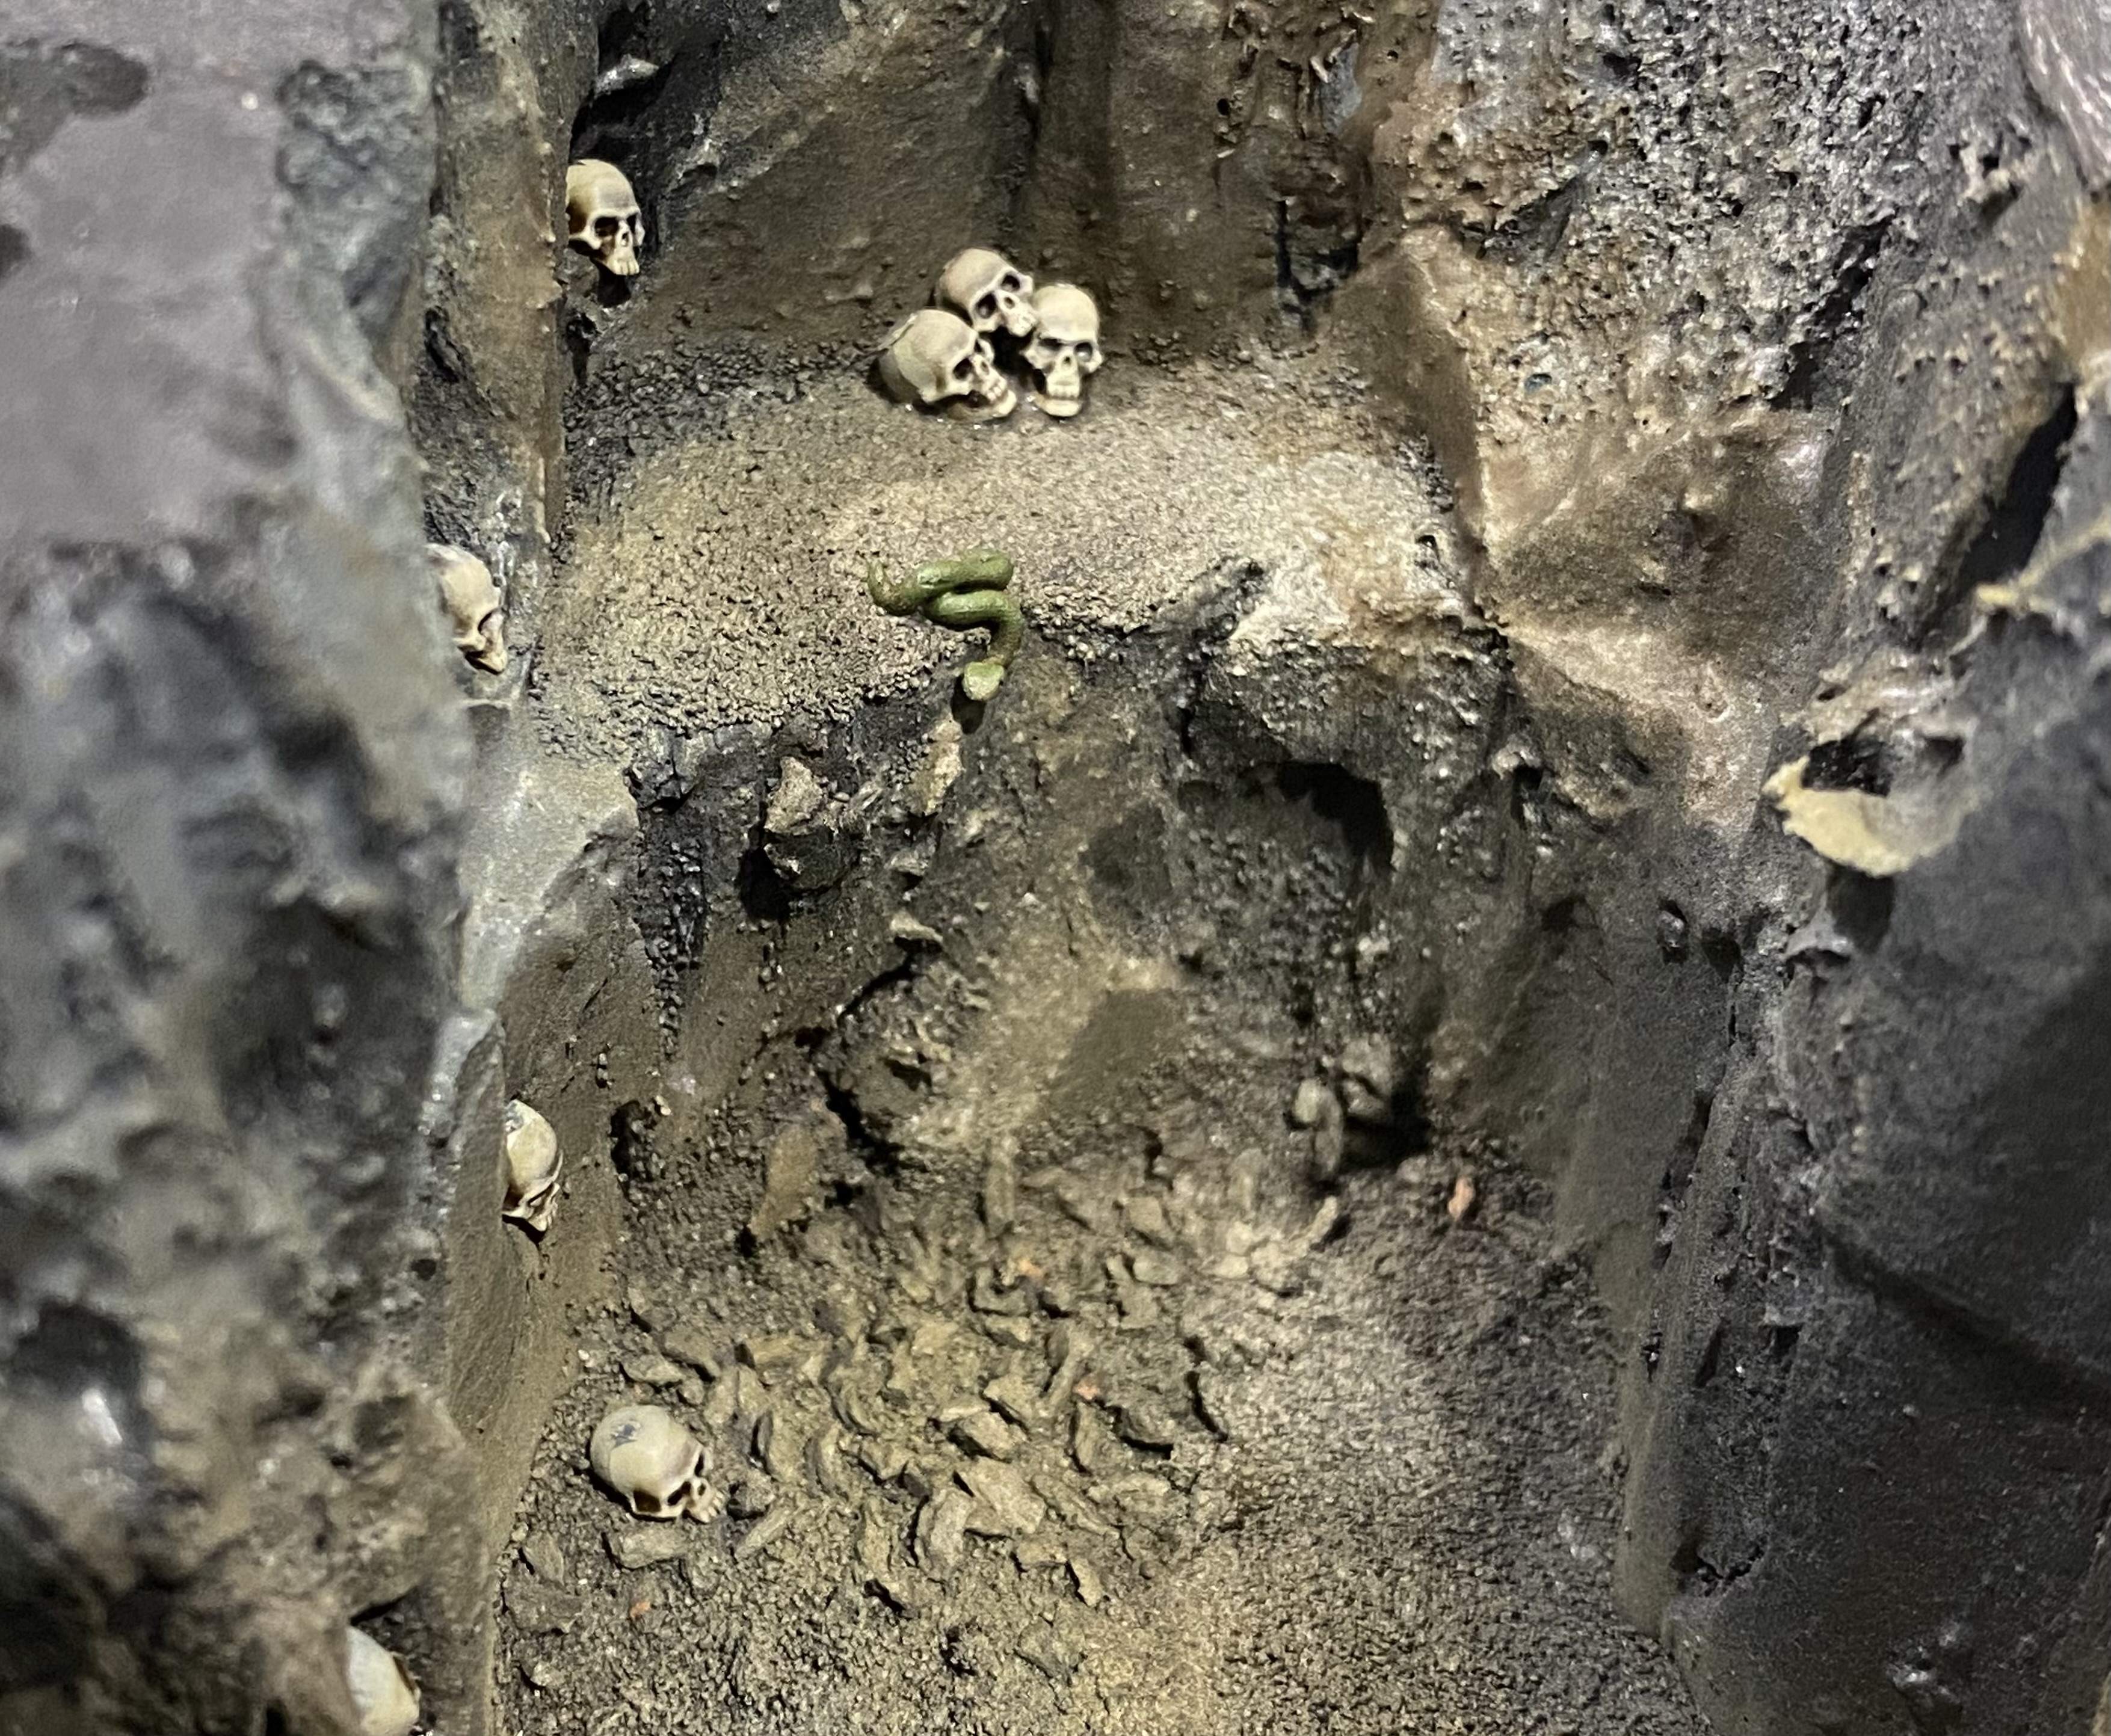
Snakes
A little pit trap made with the left-over bits from the flags I made for my Circus Maximus project. The spikes are the rest of the cocktail sticks that I used for the flags for that build.
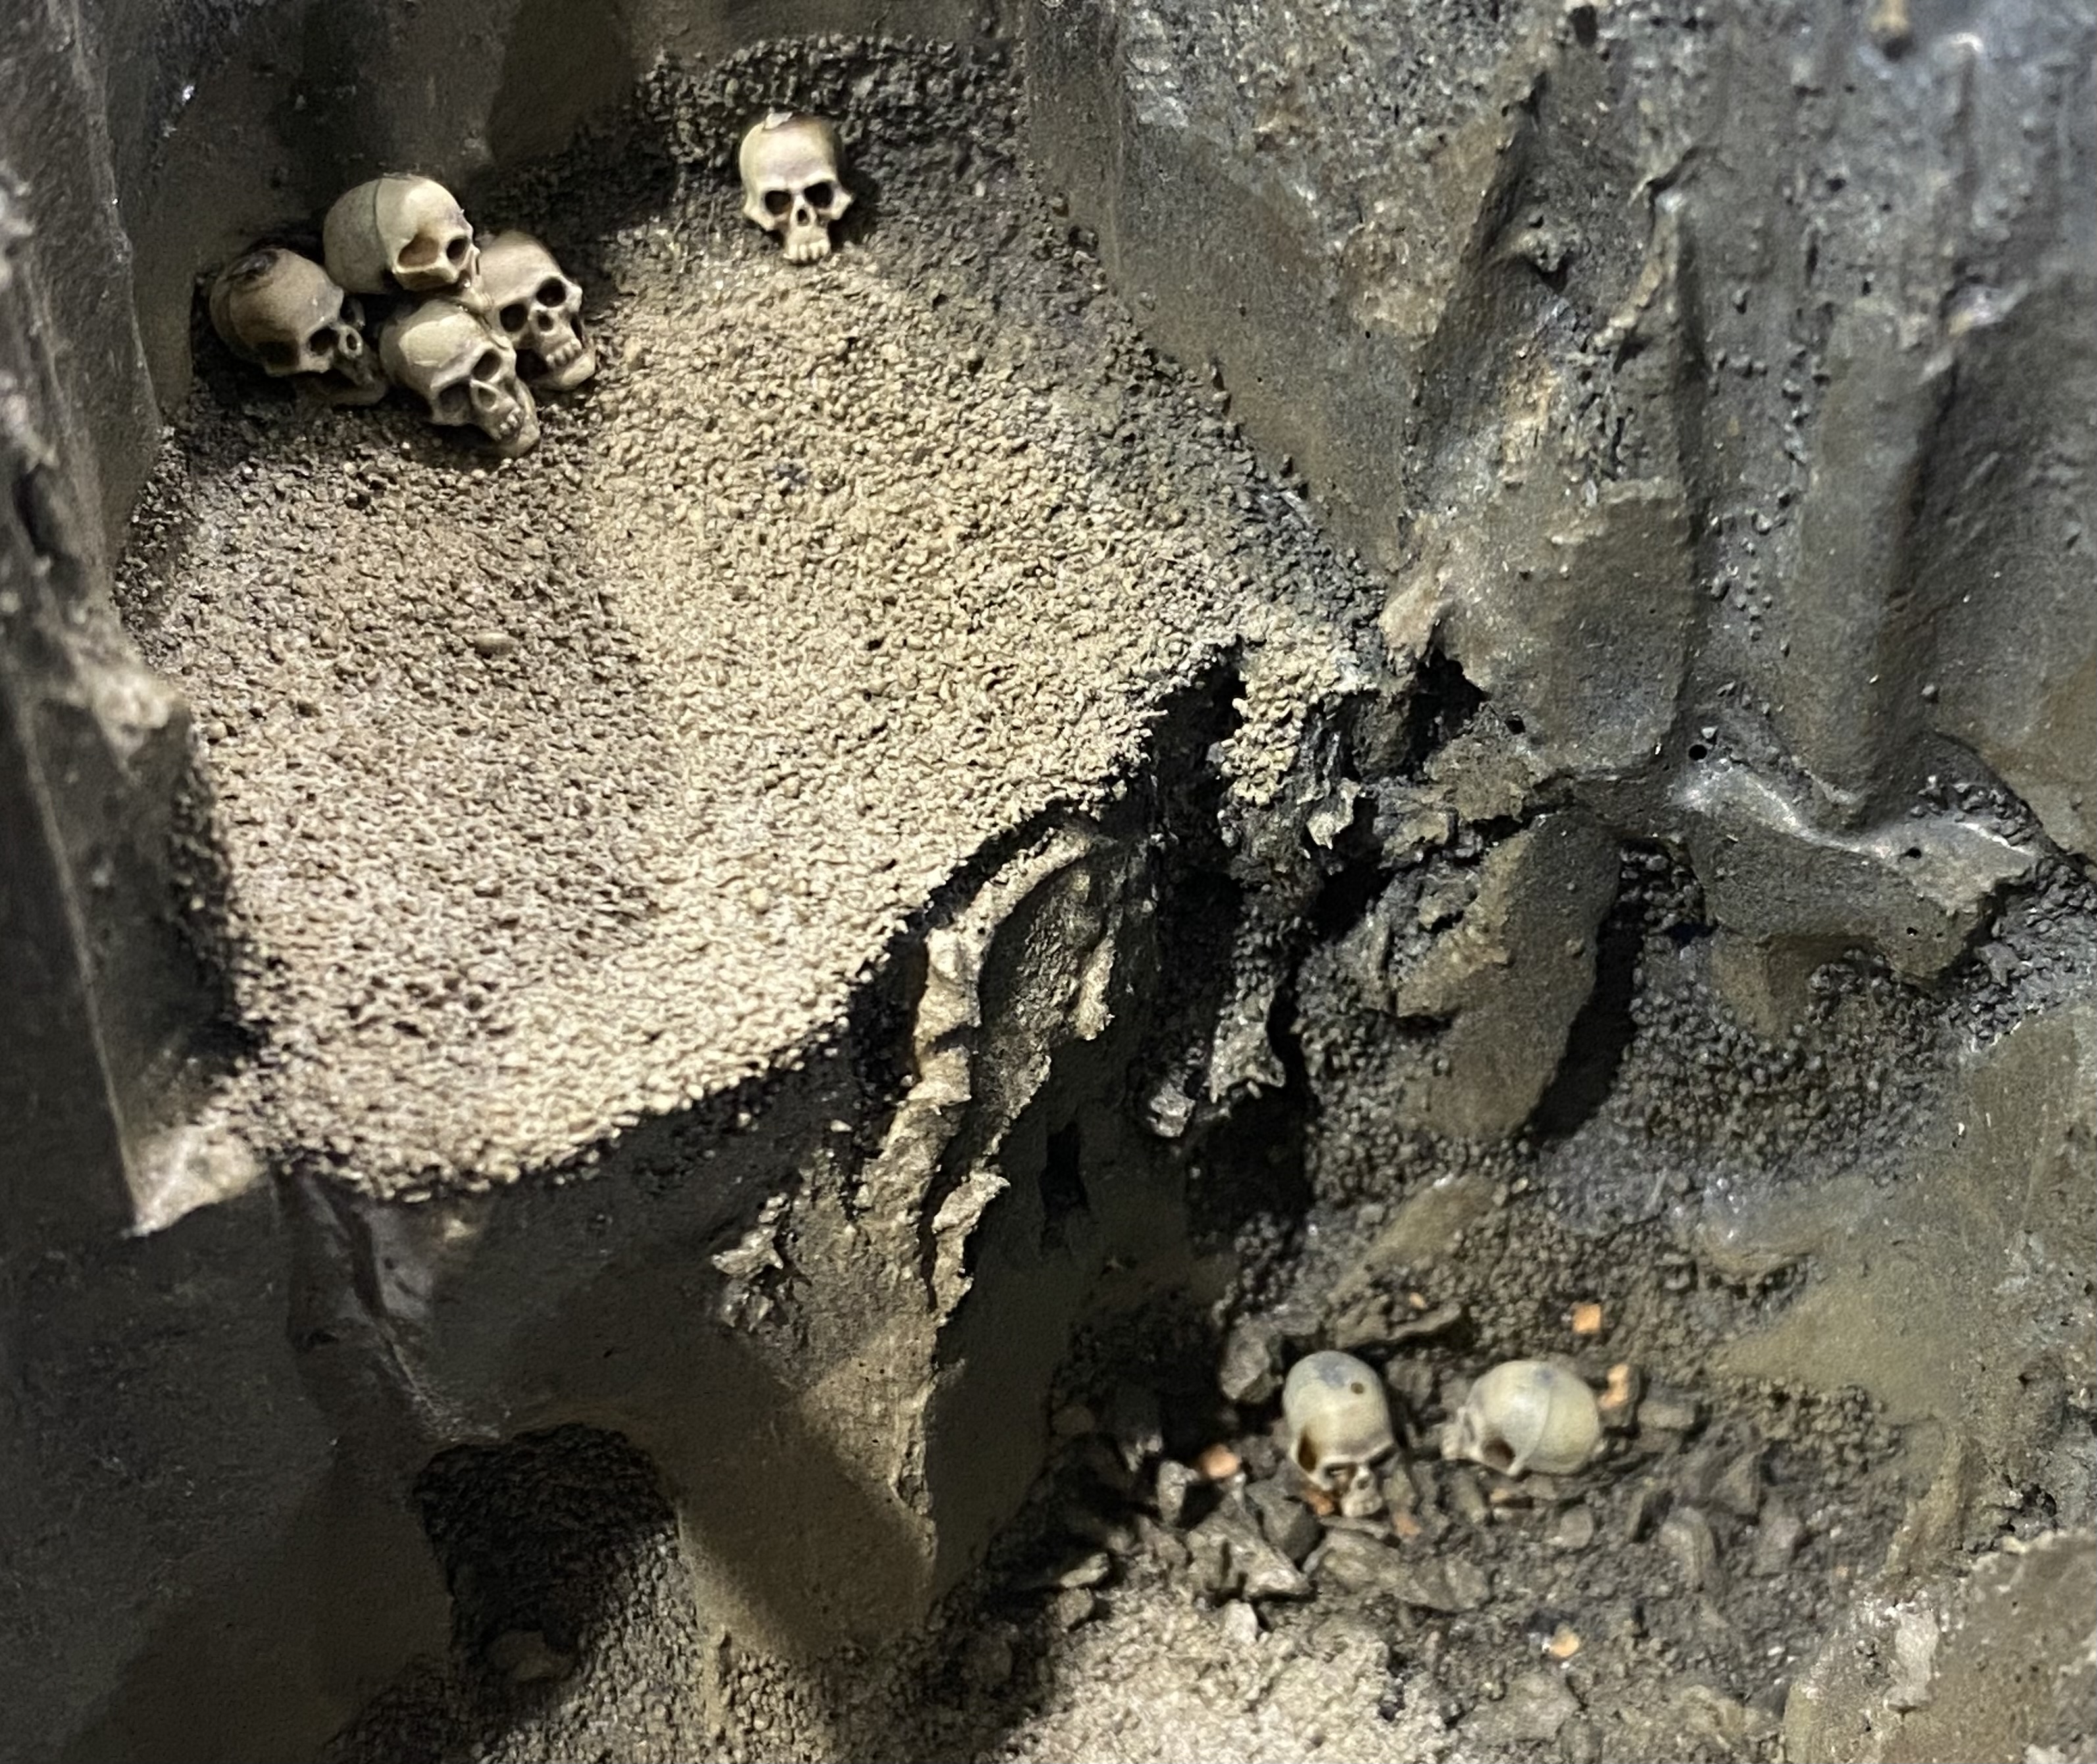
I then took some of the skulls that were left over from my Port Blacksand project and added them in amongst the bit and then in a few other places in this build.
Finally, I added lots of snakes, just because I could.
Next up I started work on what will possibly turn into a nest or lair of some sort. Not sure which way I will take this section but at the moment I am leaning towards adding cobwebs.
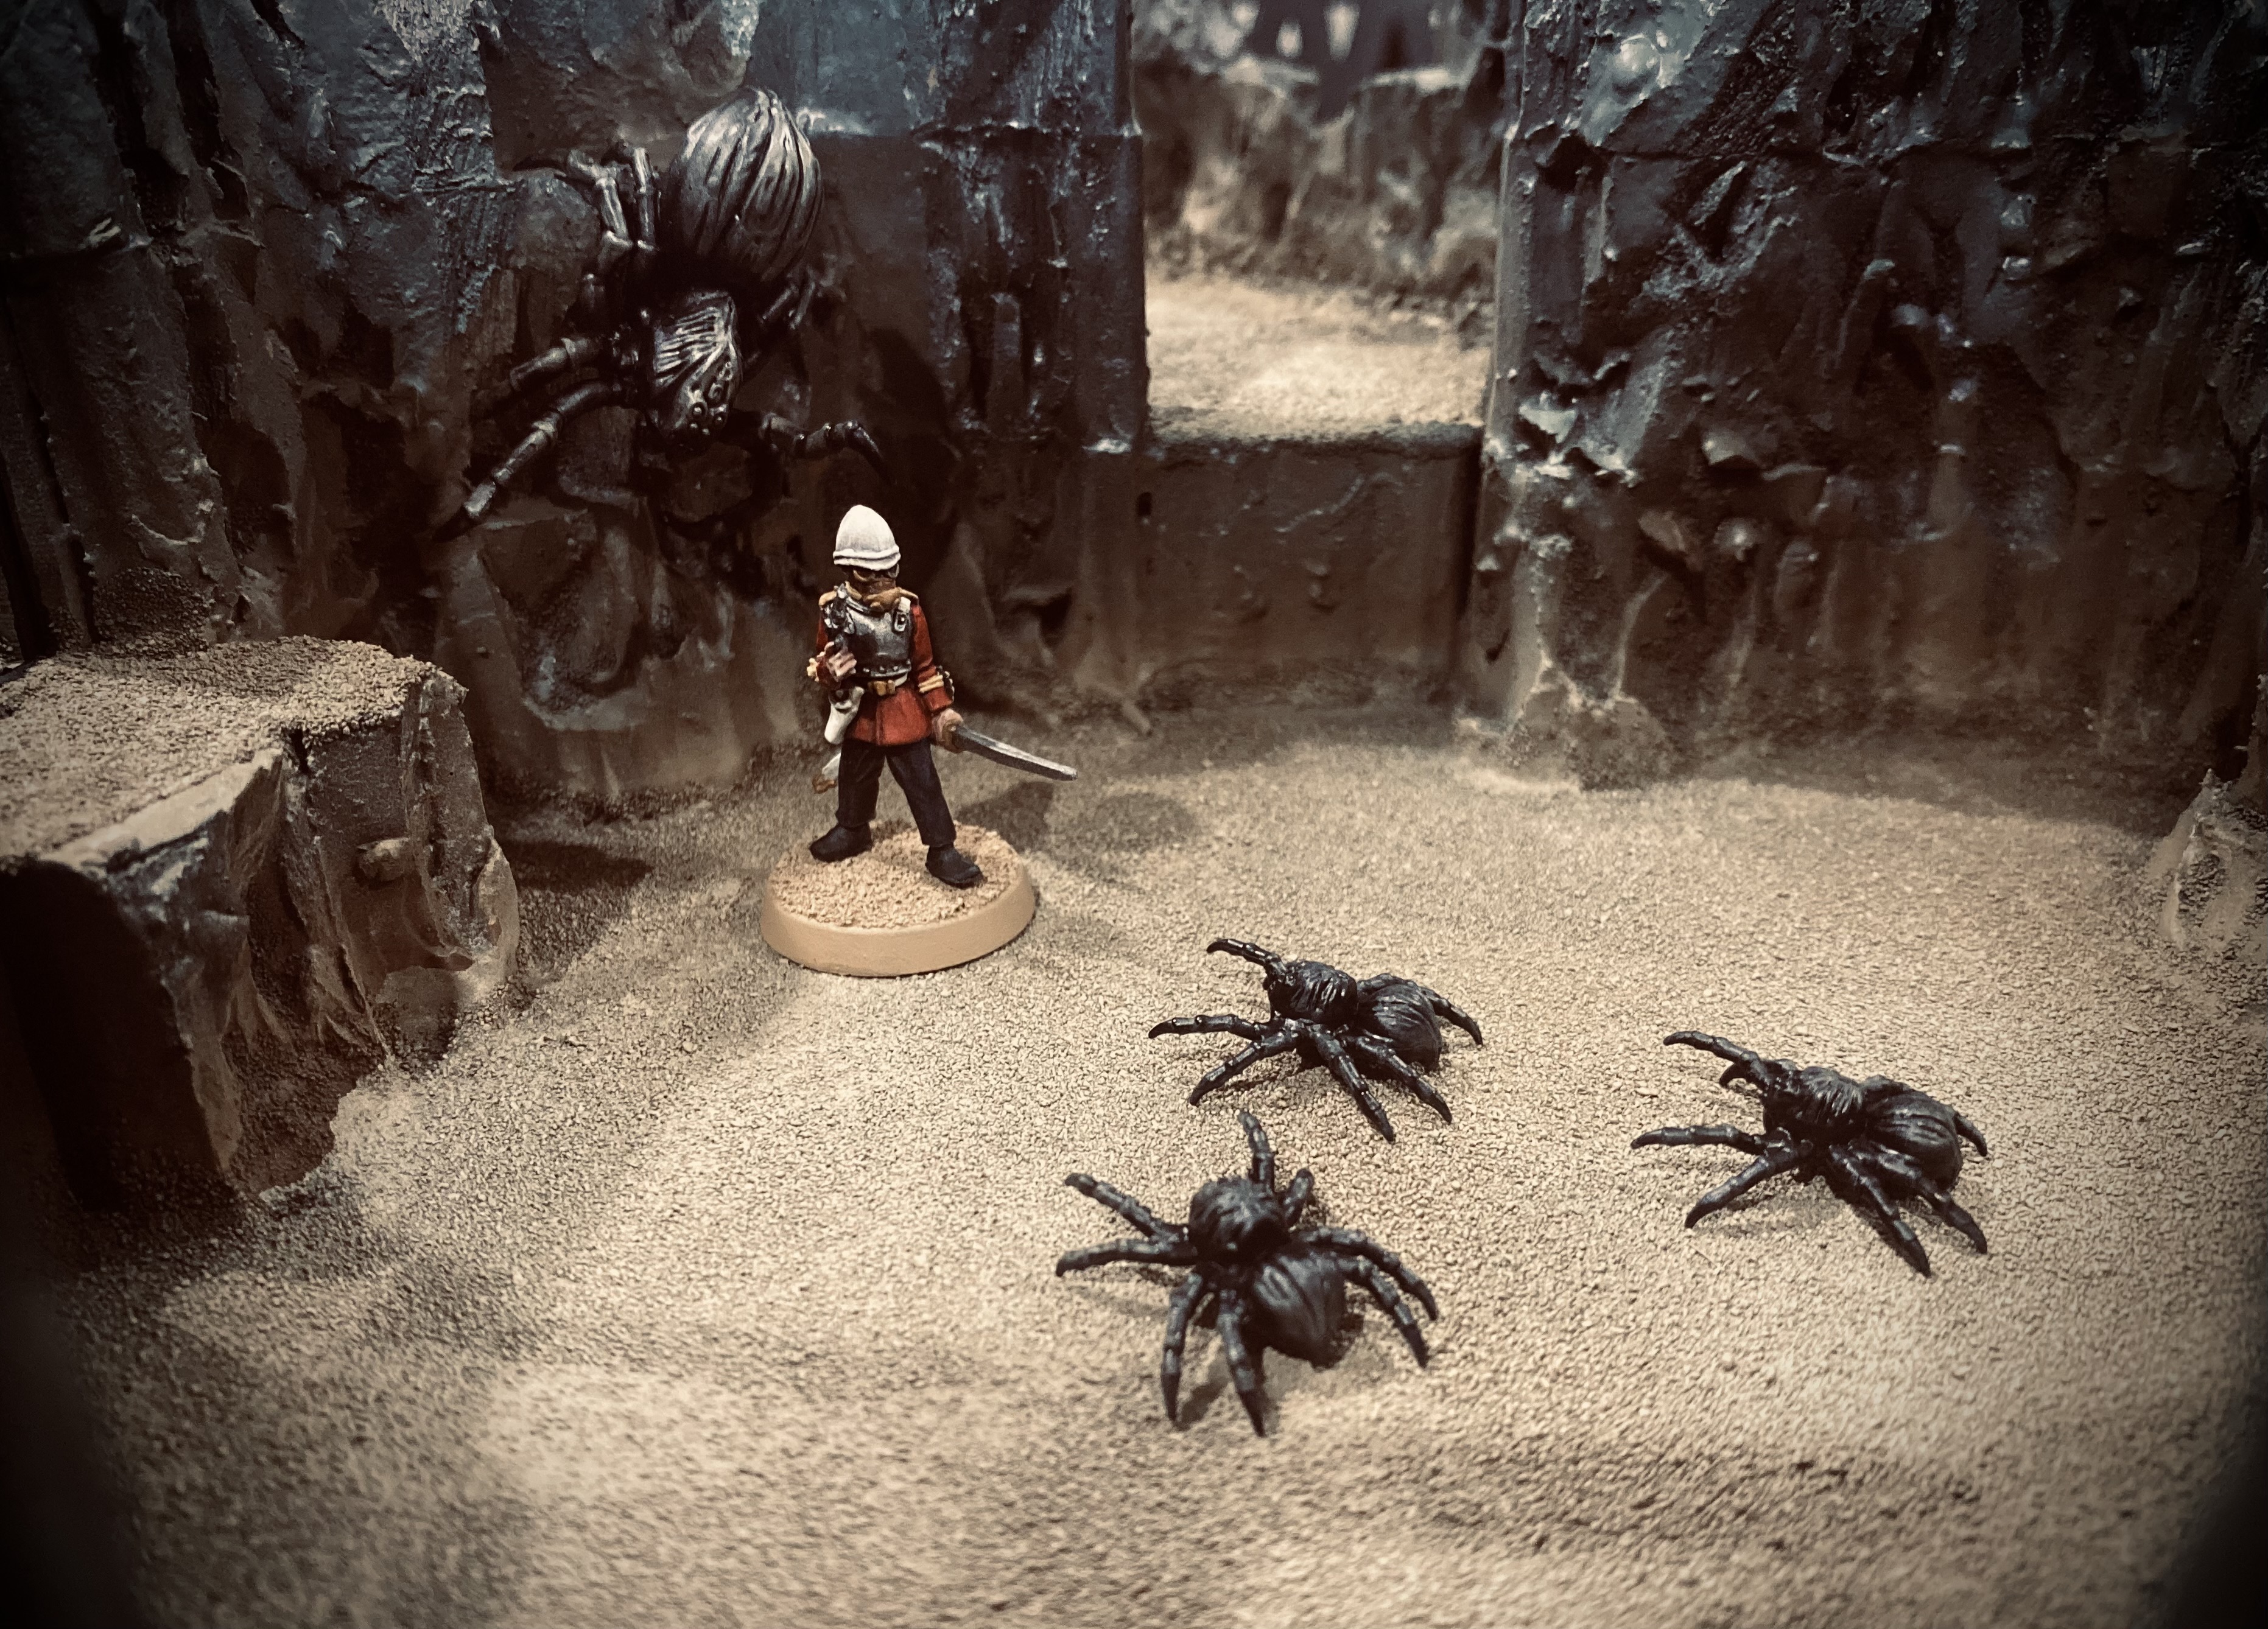
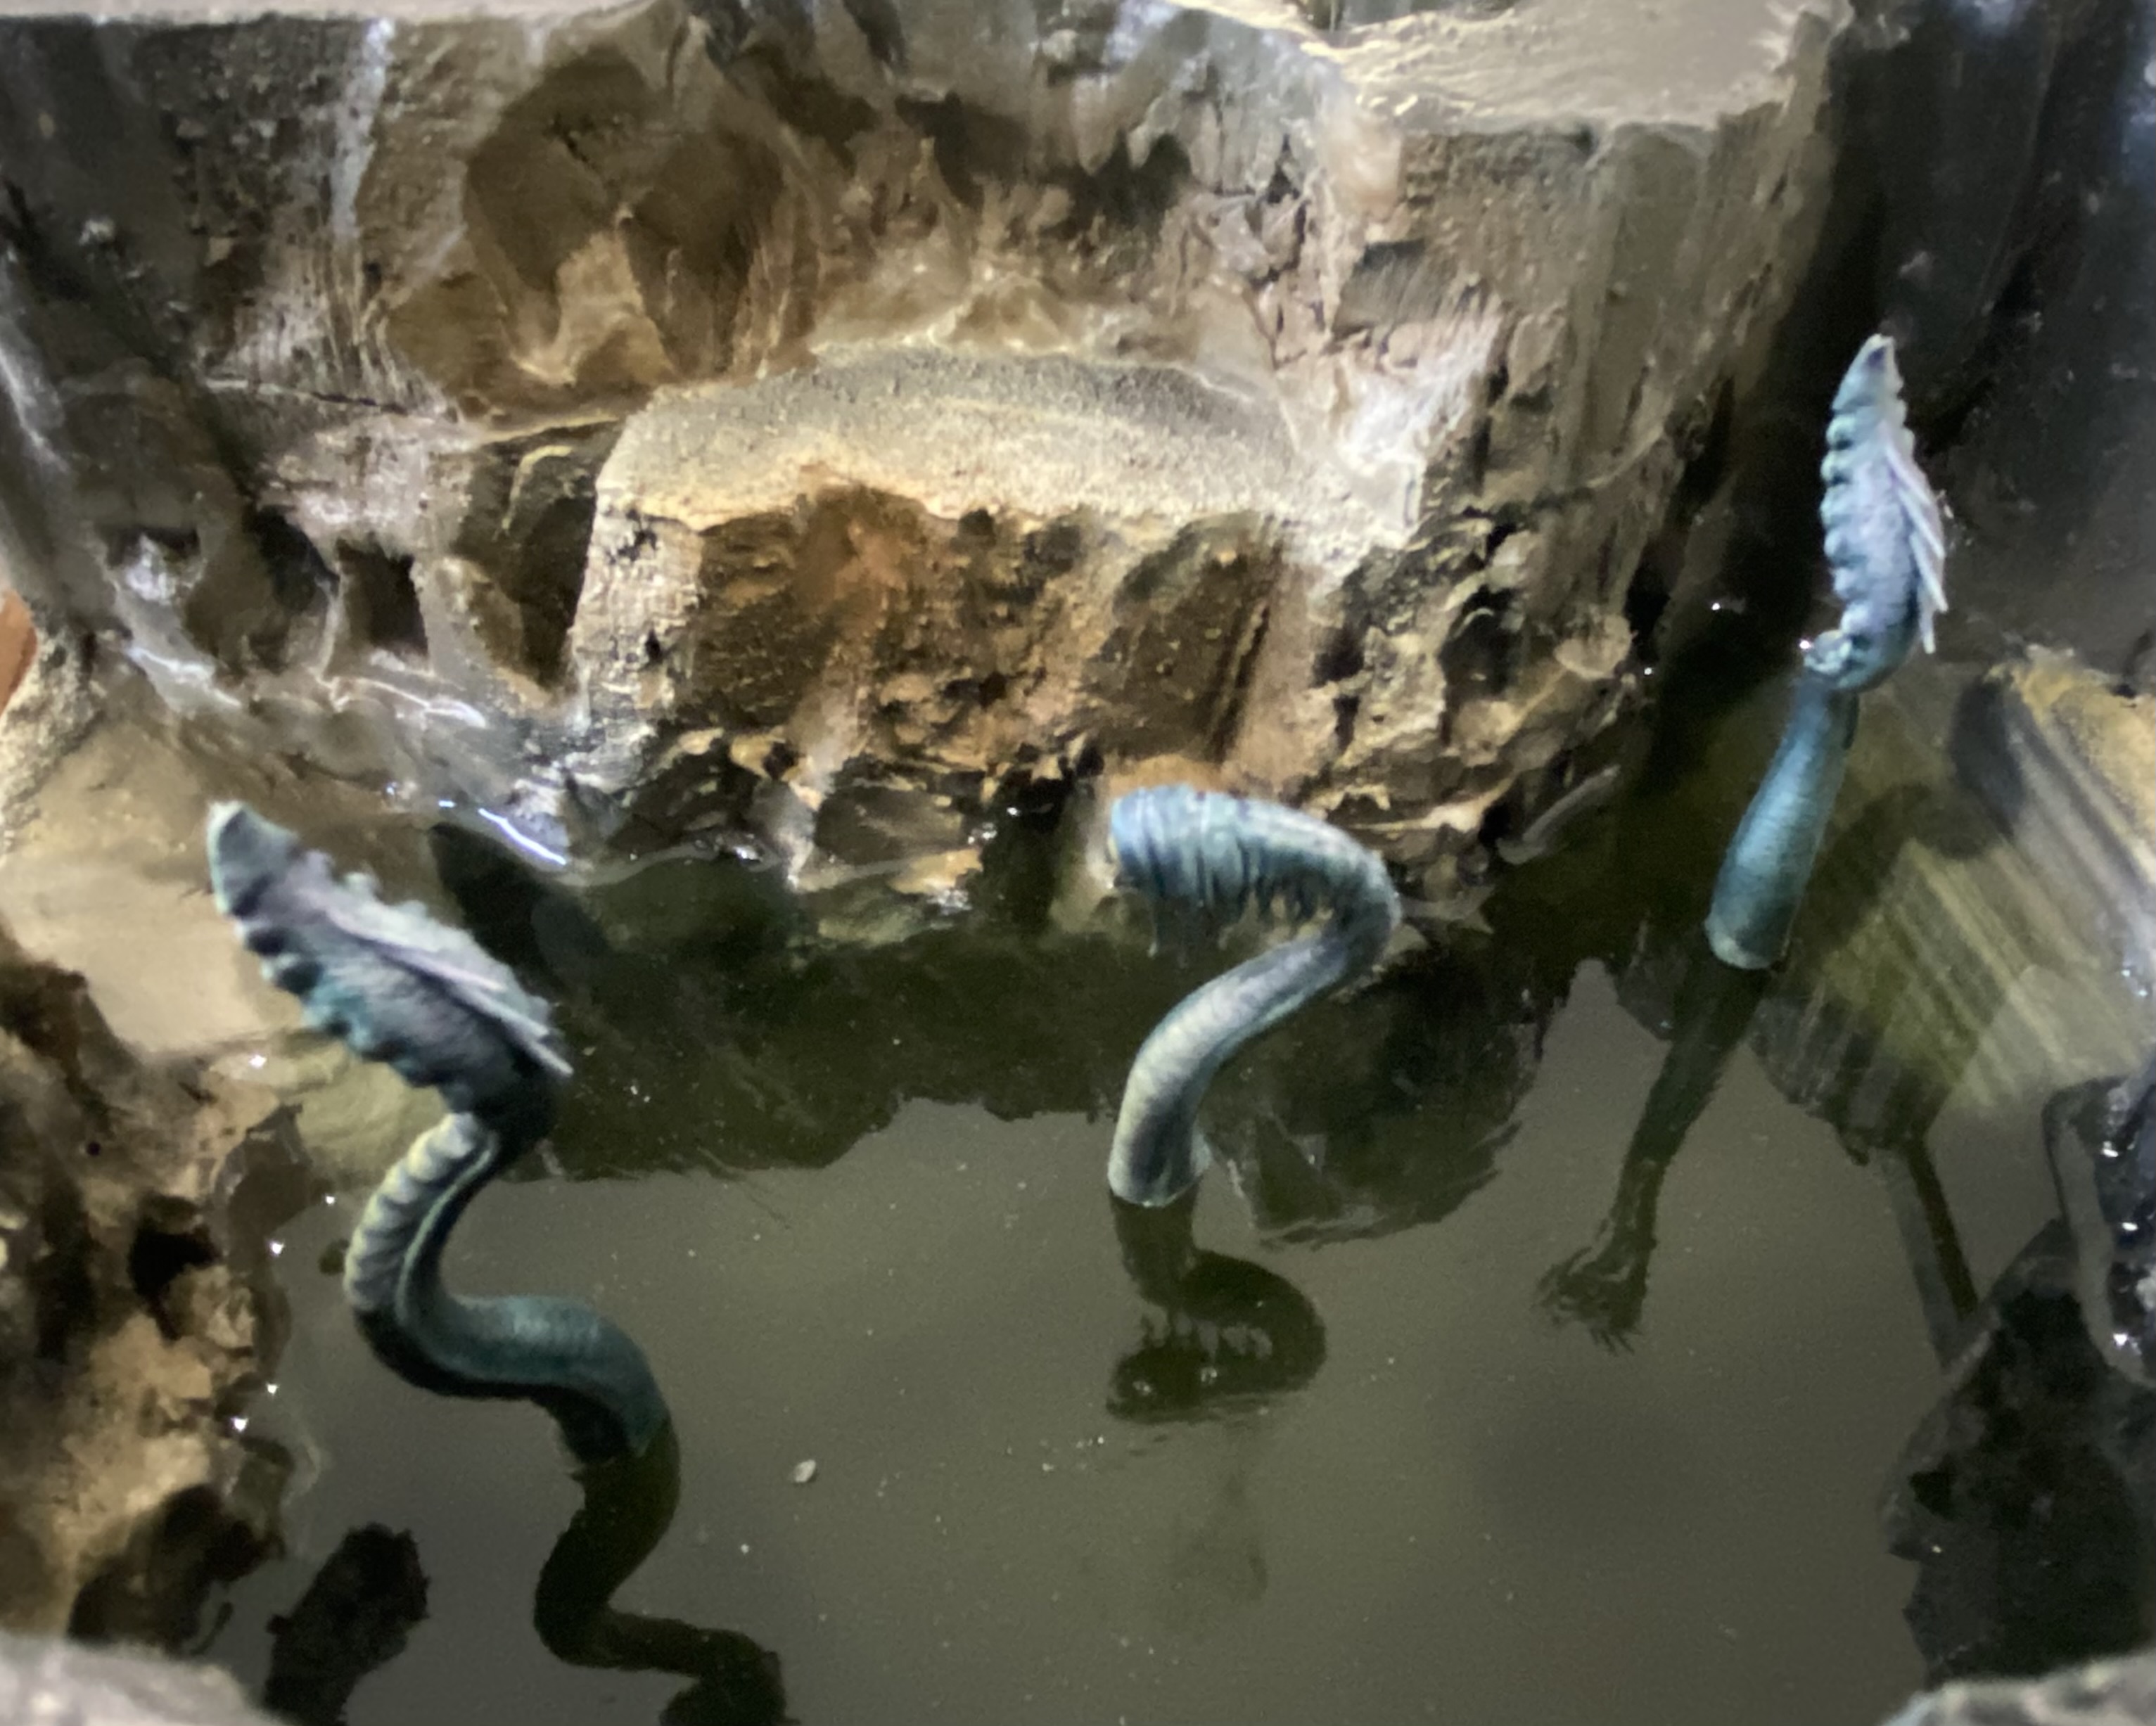
Populating the Place
My apologies for not getting much done for a while, work and having to adult have been getting in the way.
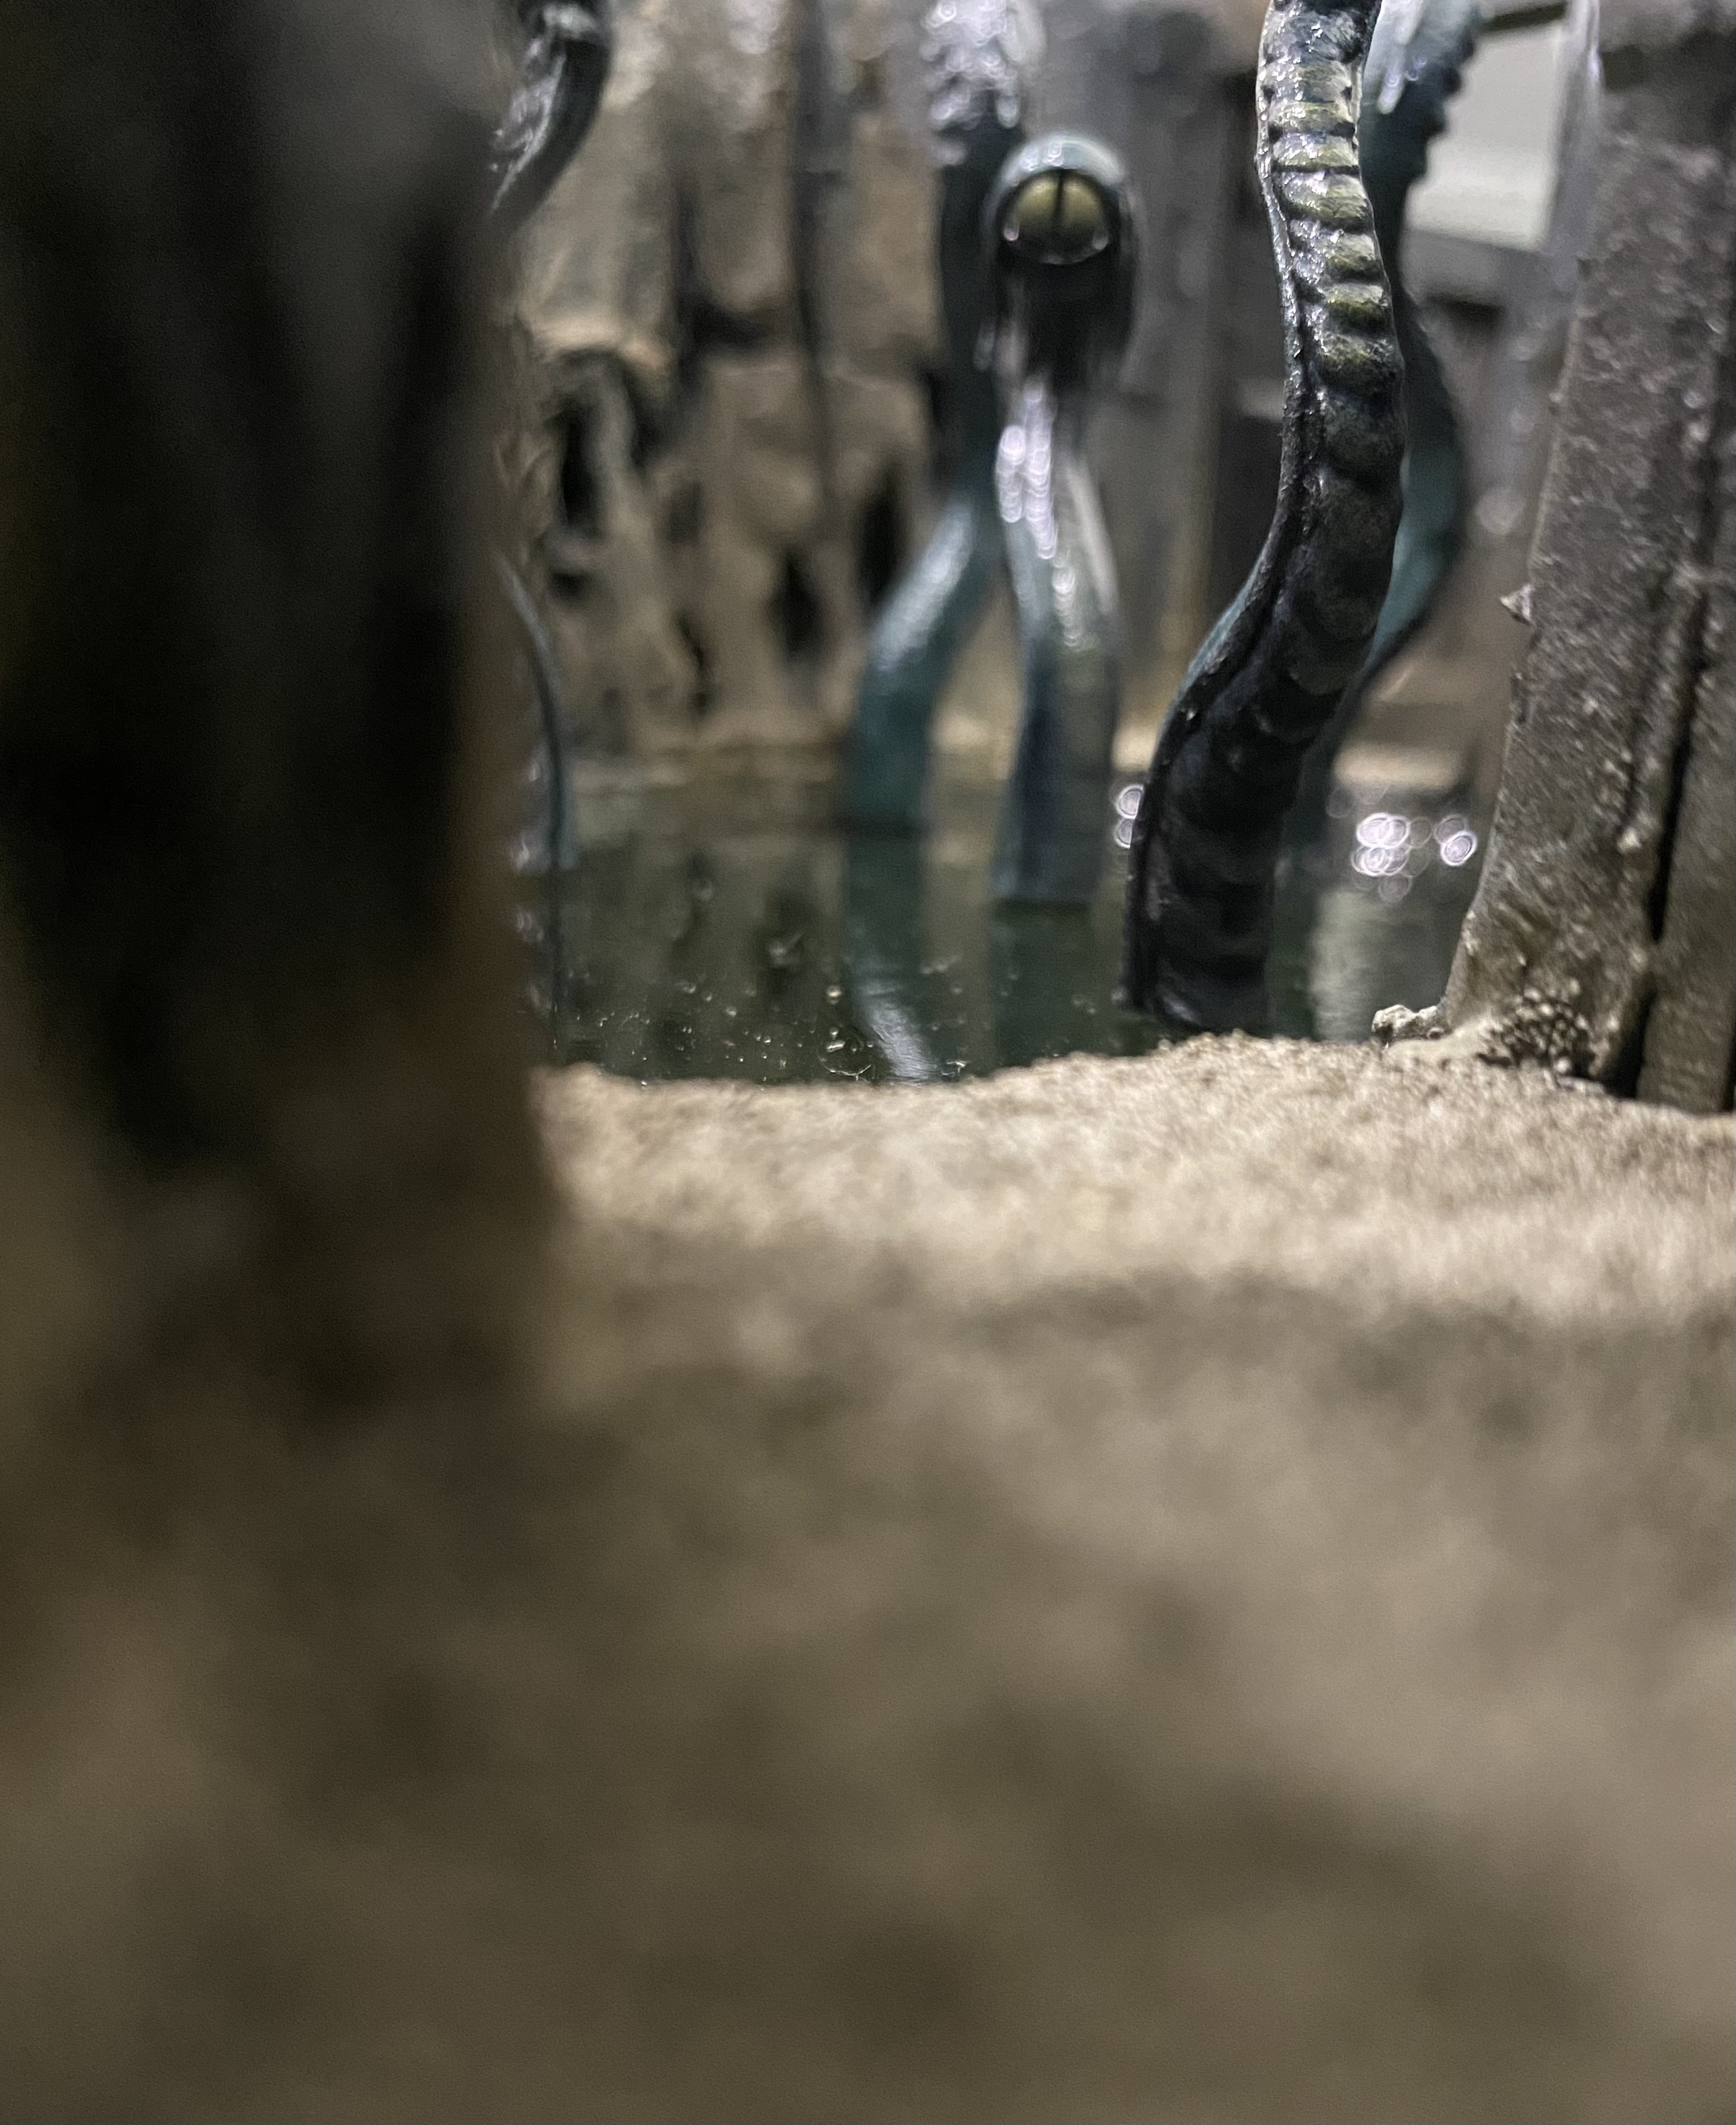
I did add the next layer of resin, this time with less tinting with the intention that it would help create an illusion of depth to the water.
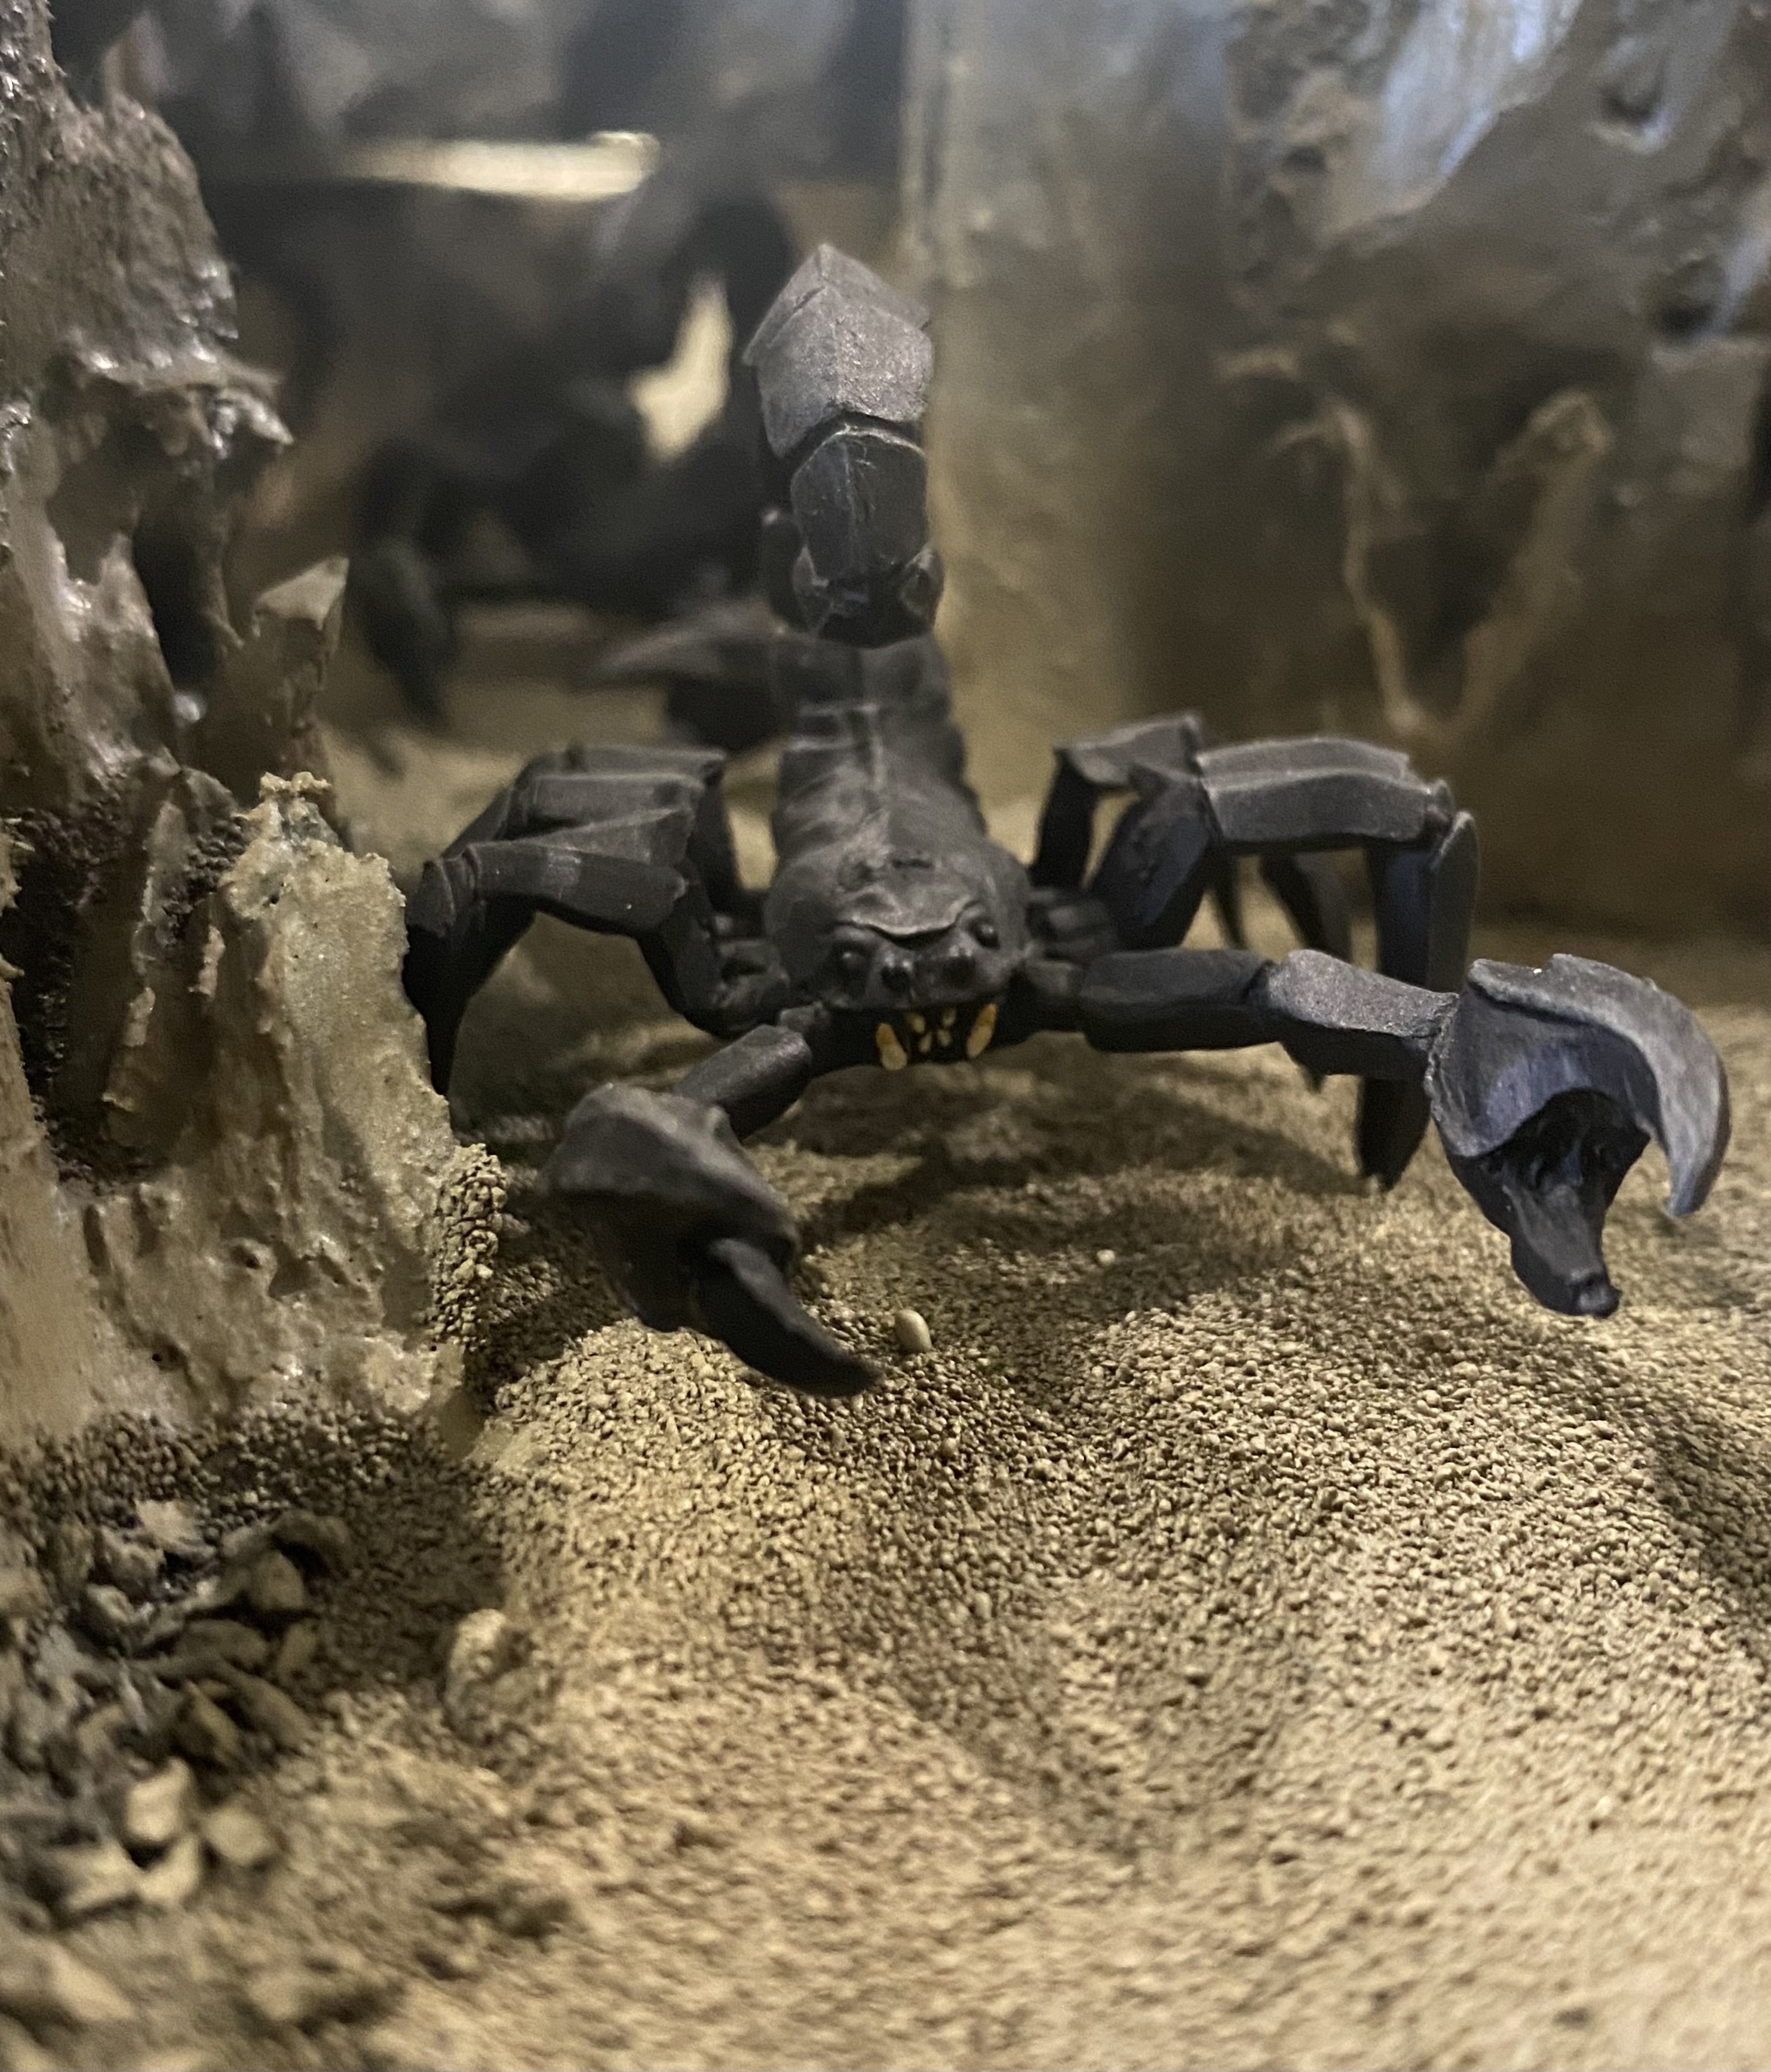
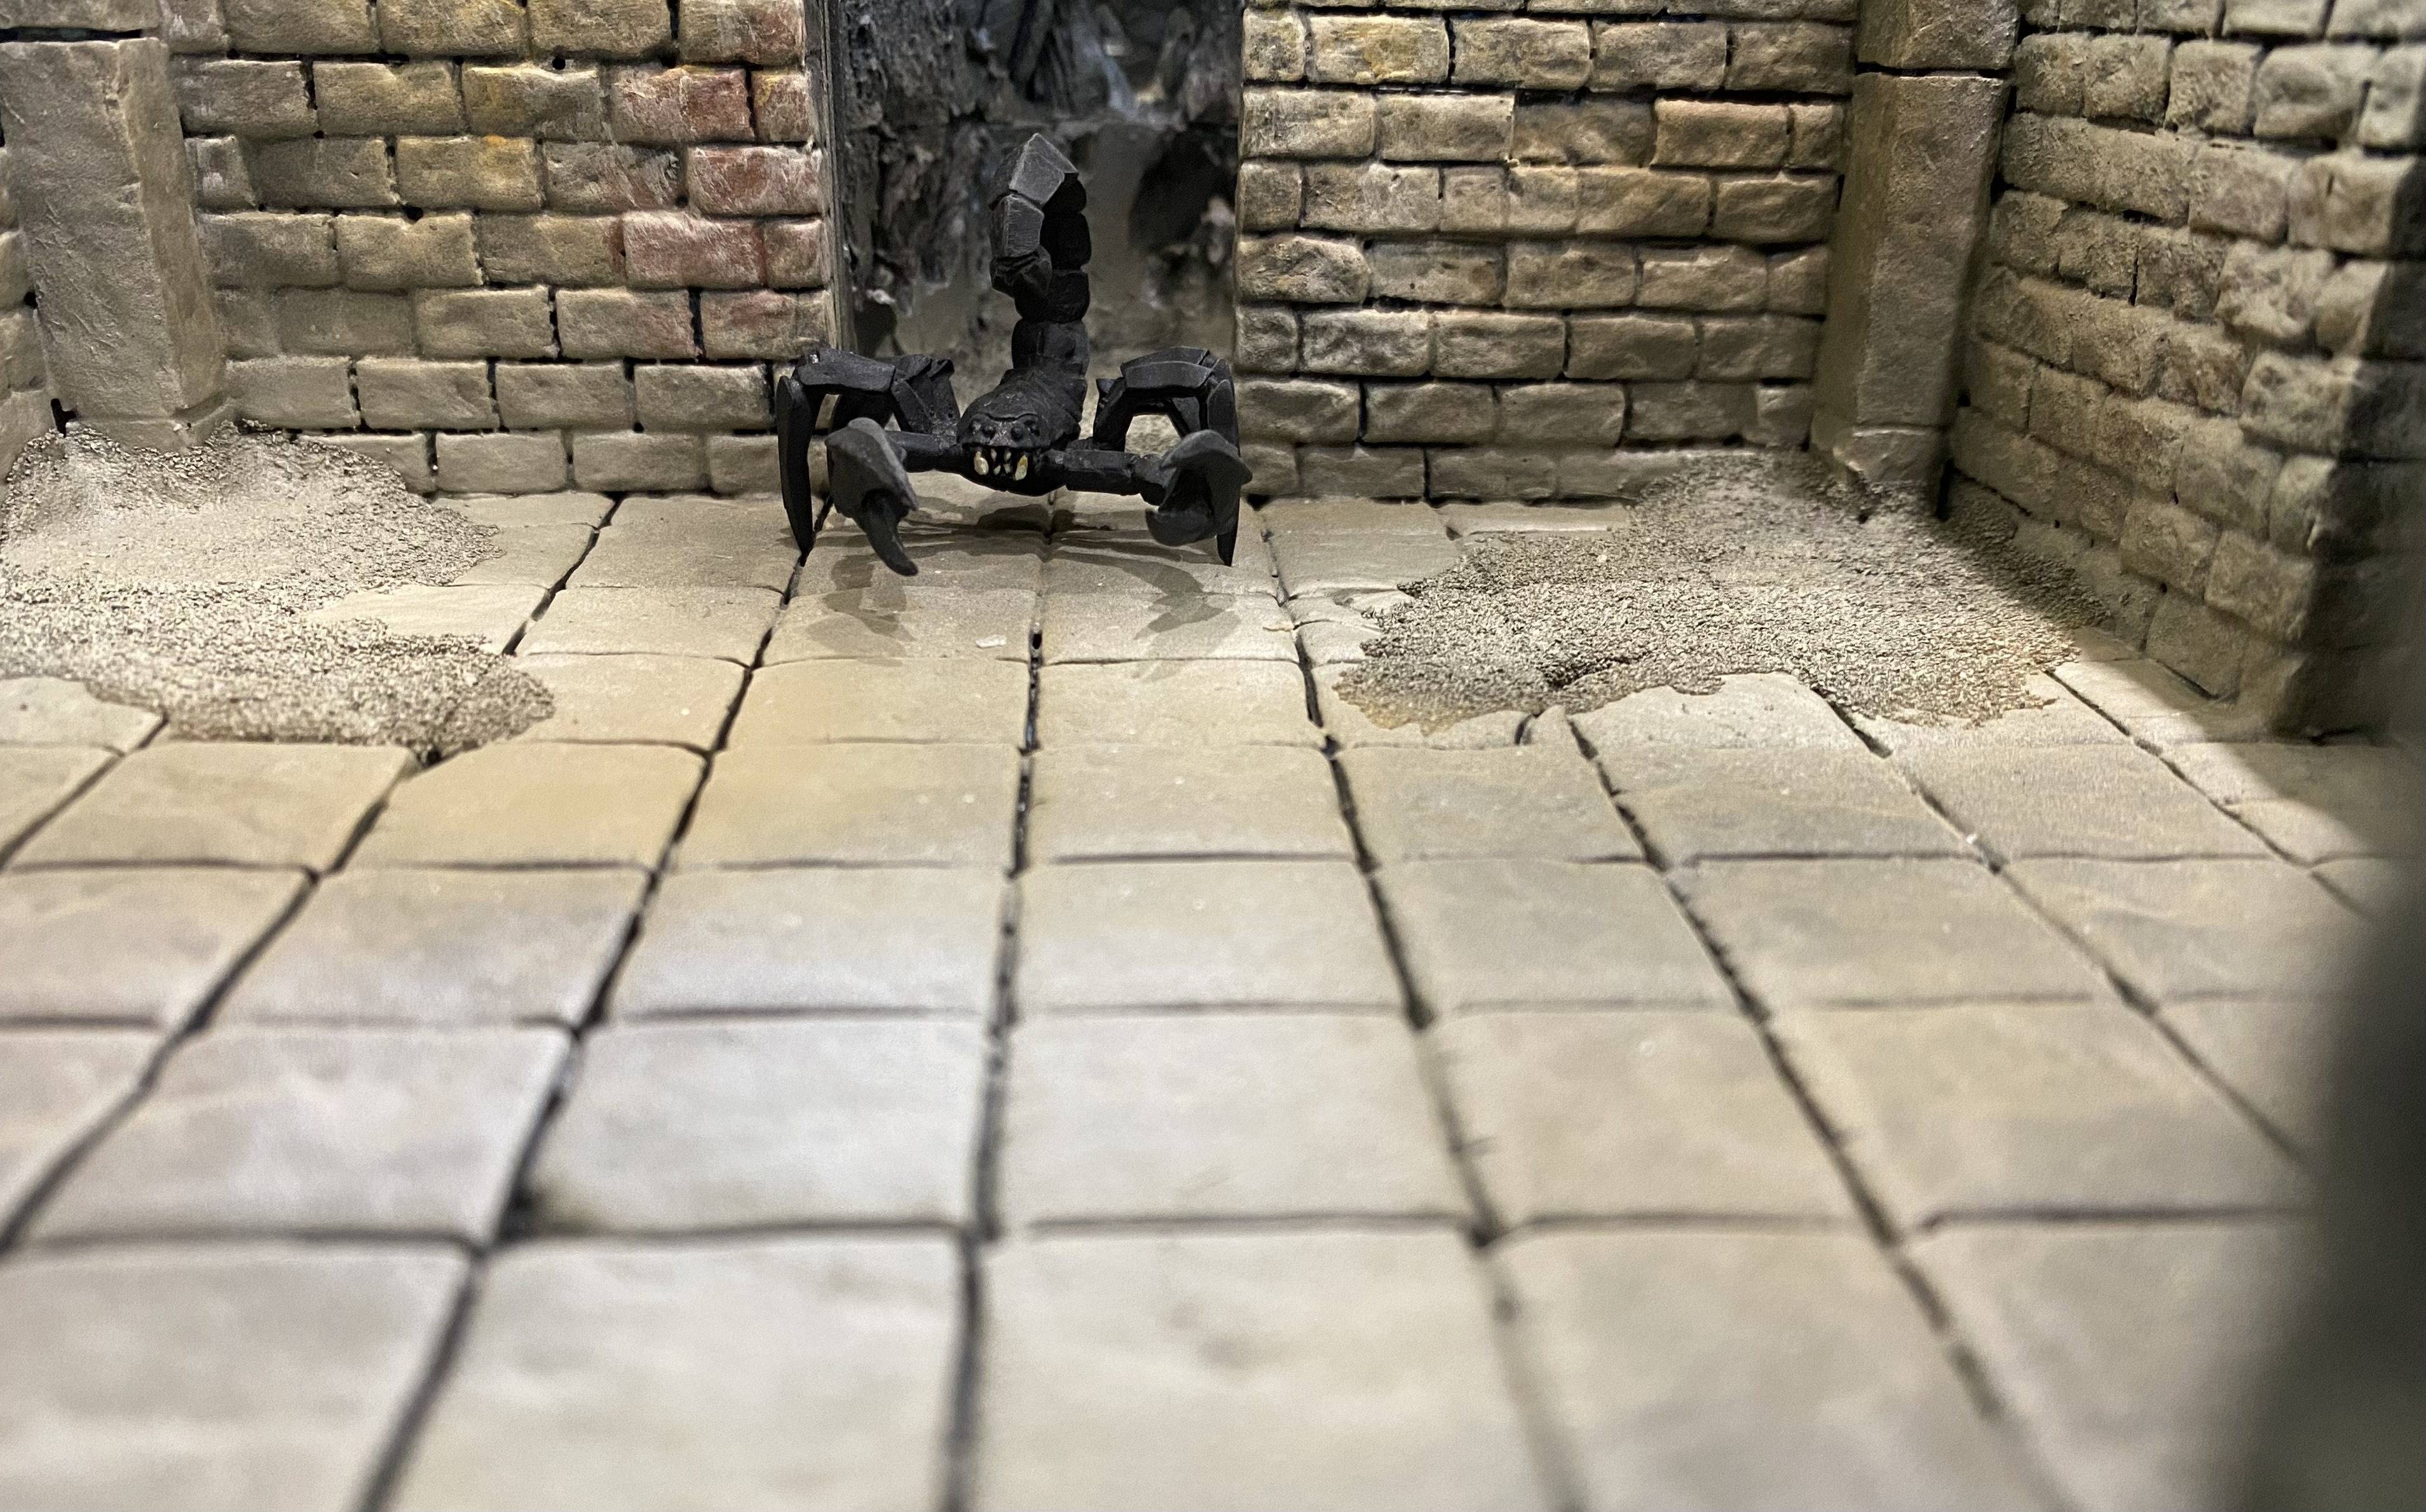
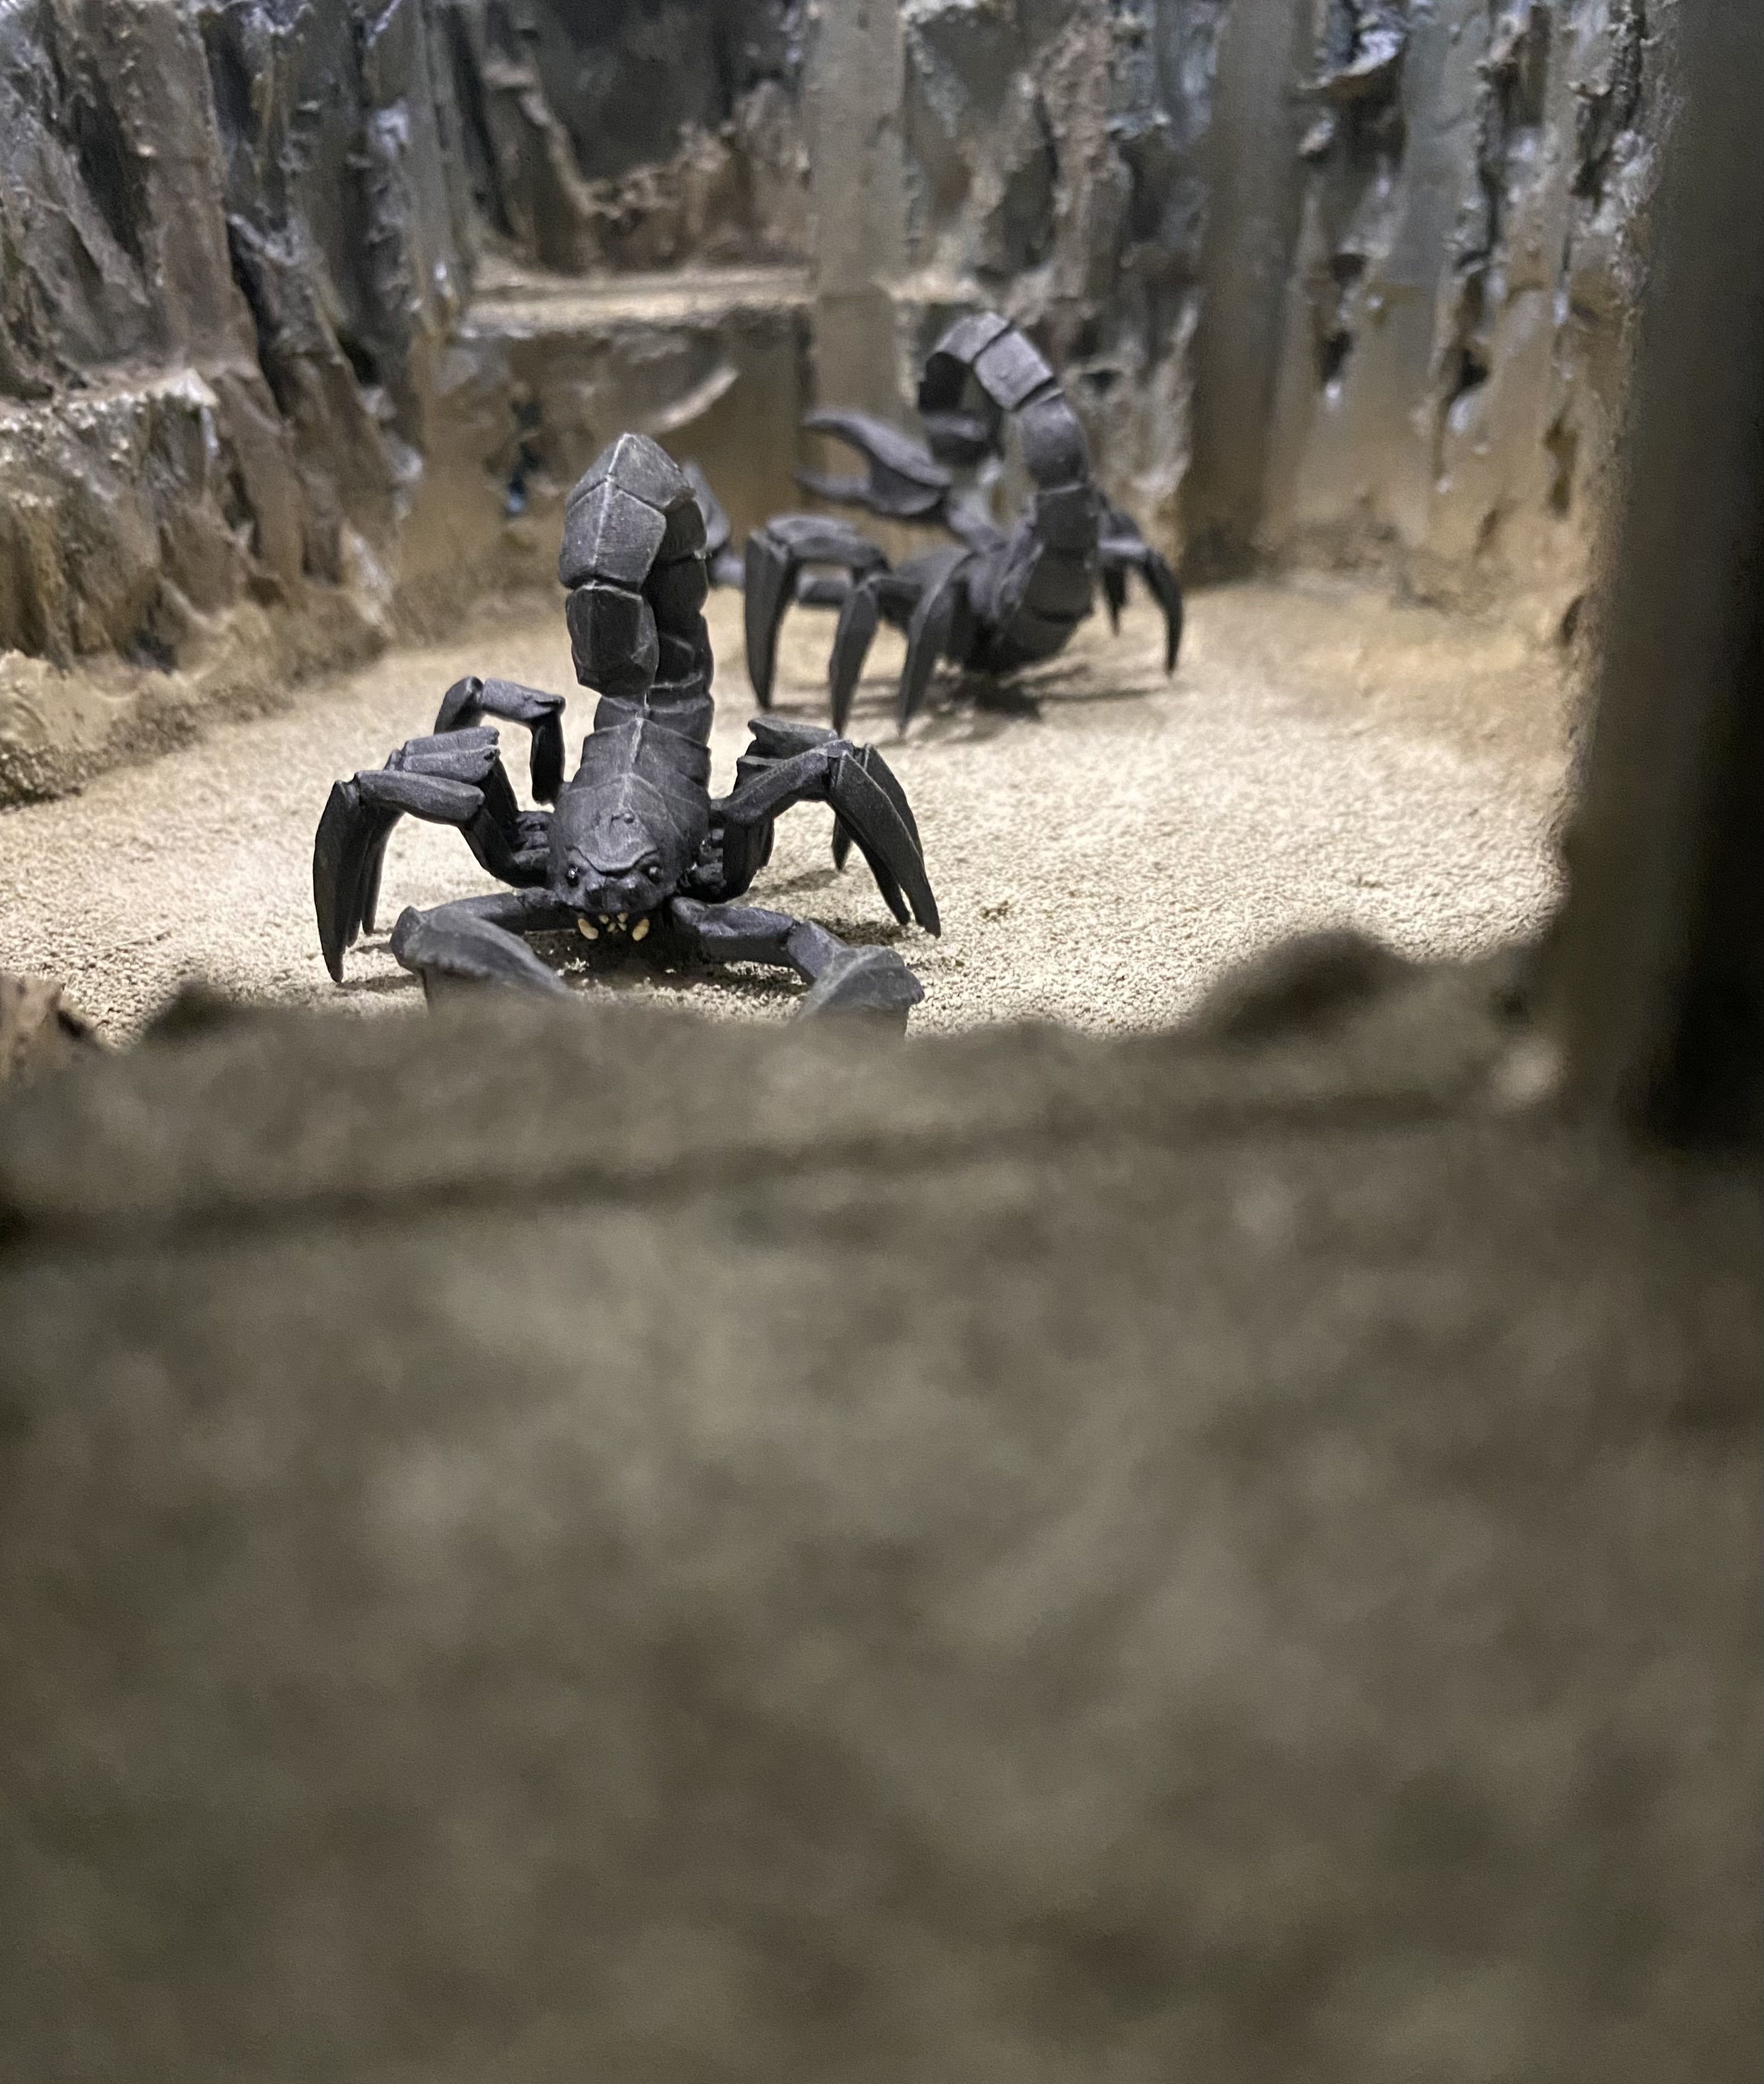
I also quickly knocked up some critters, a tentacle creature that I 3D printed and some giant scorpions that I think were from Hasslefree a long time ago.
I have plans for some more ‘Trap’ features and some internal decorations.
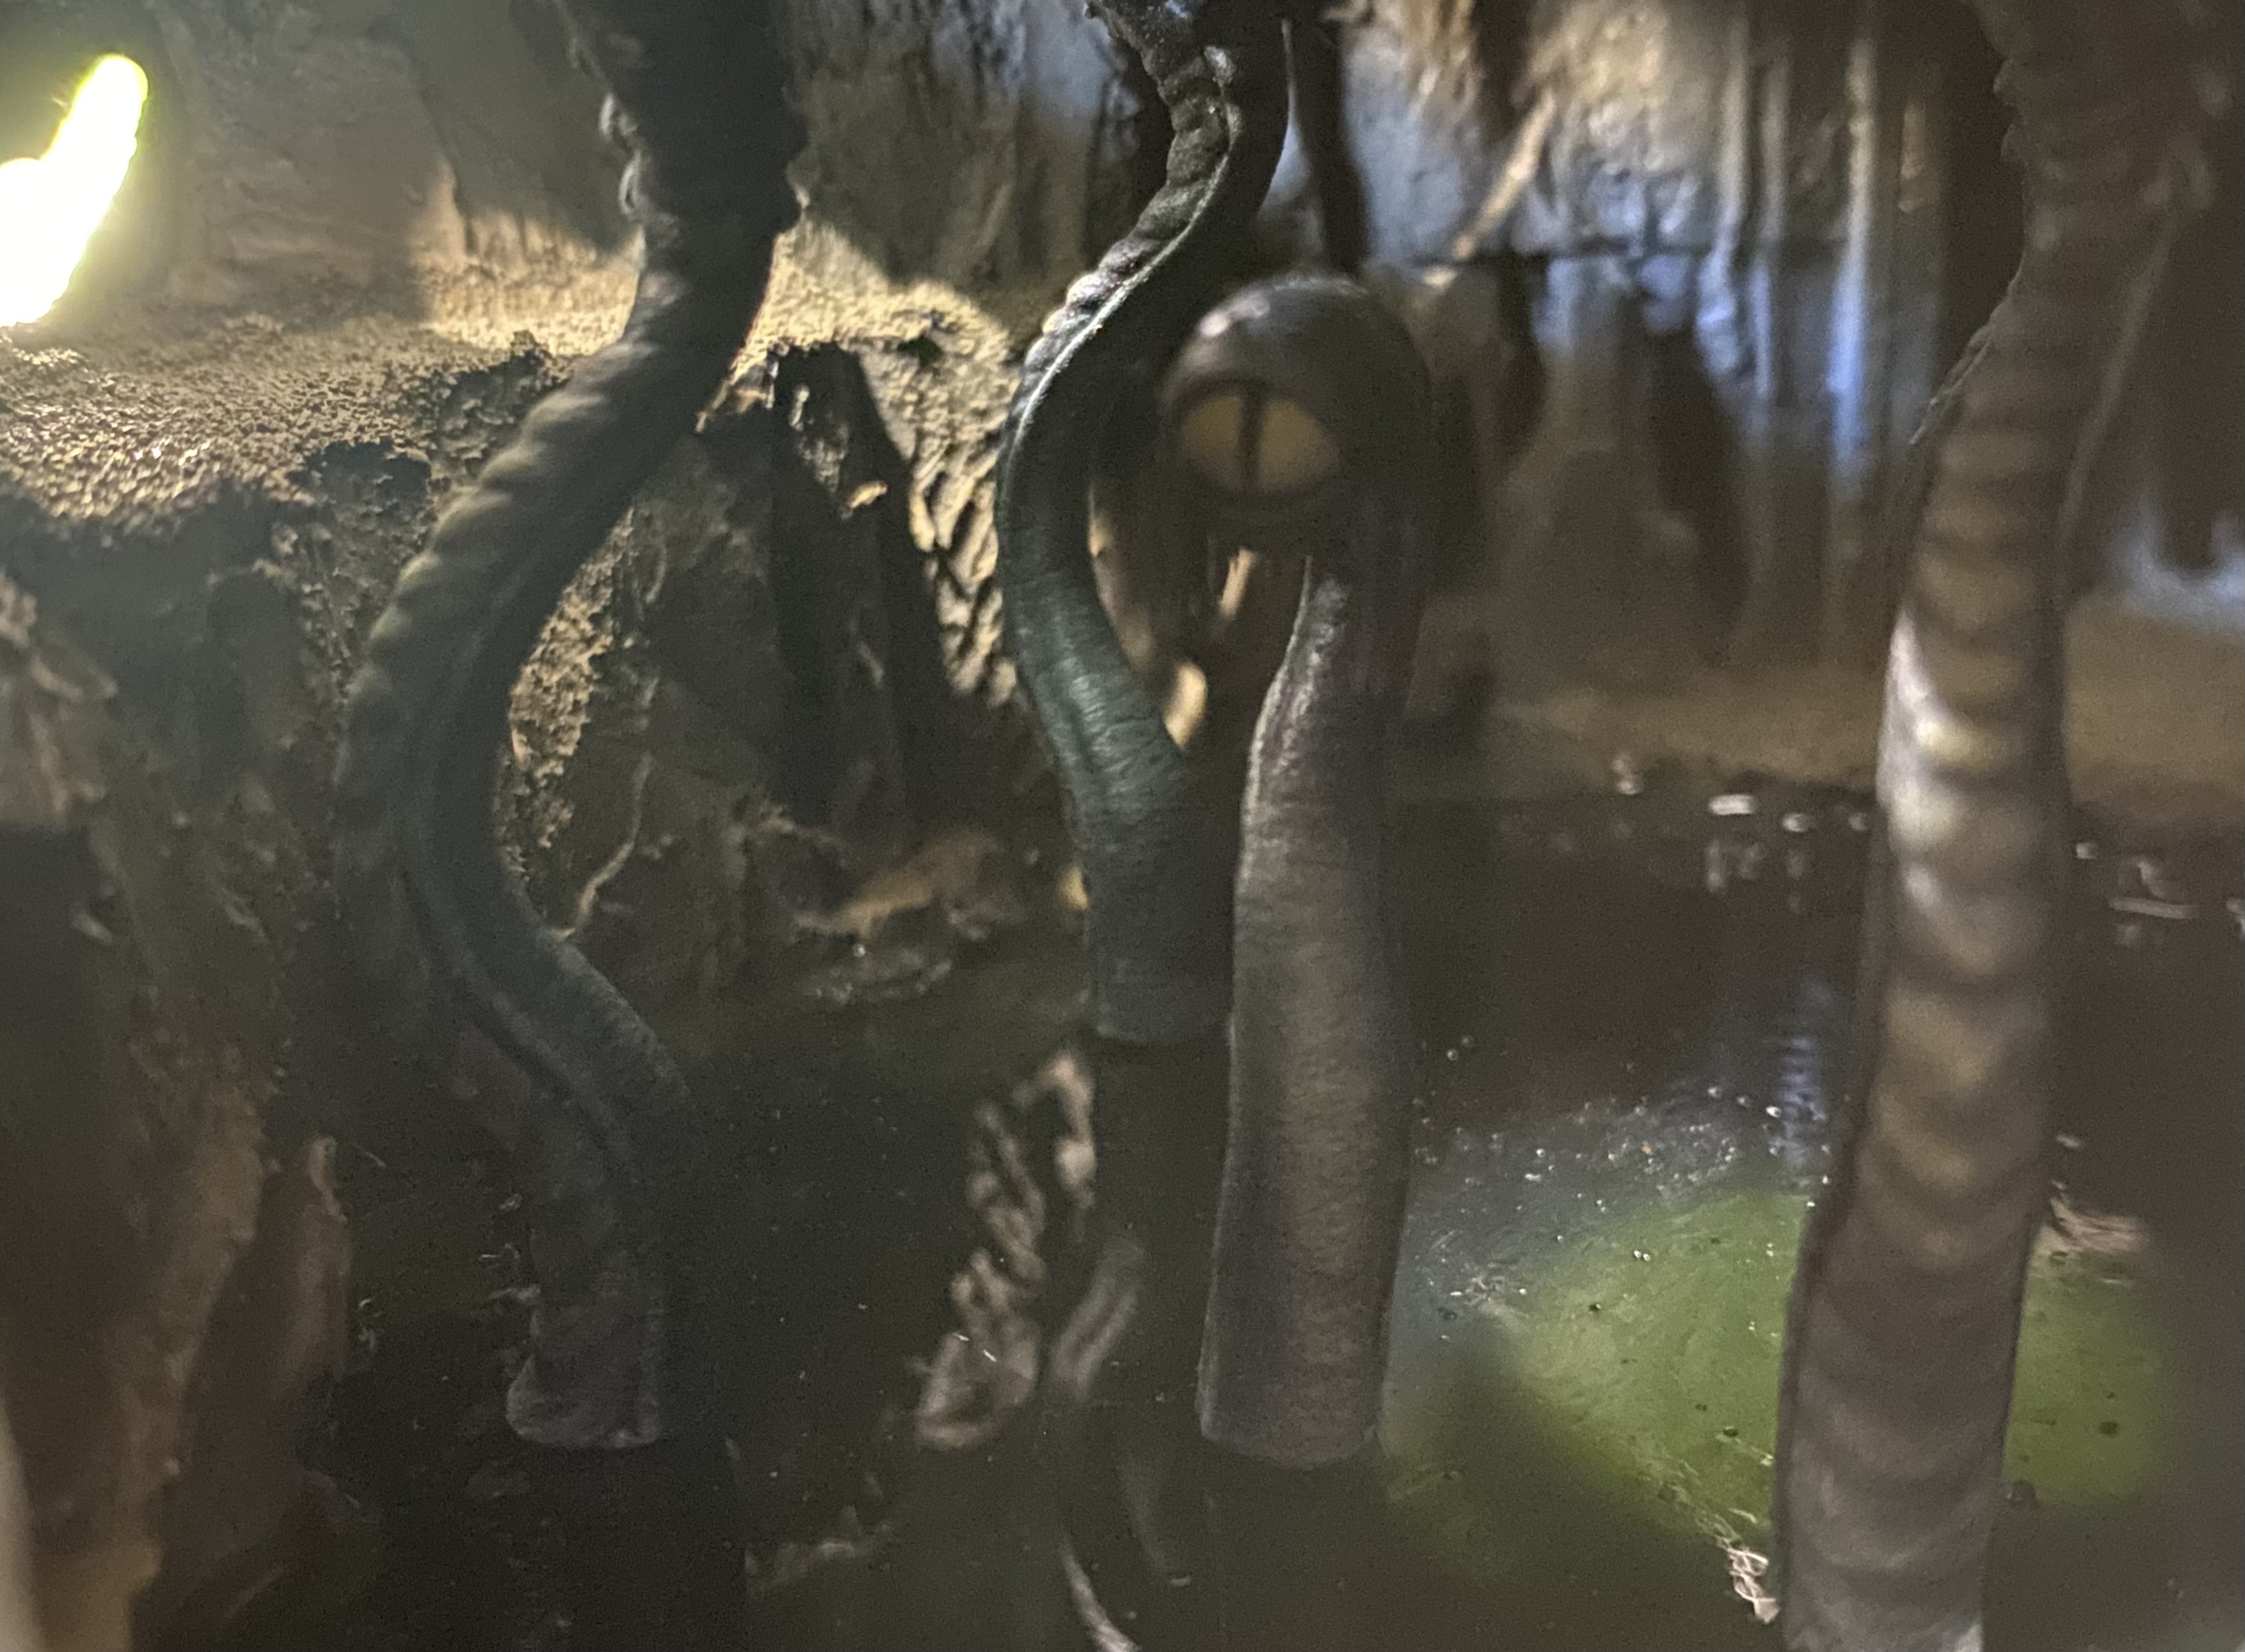
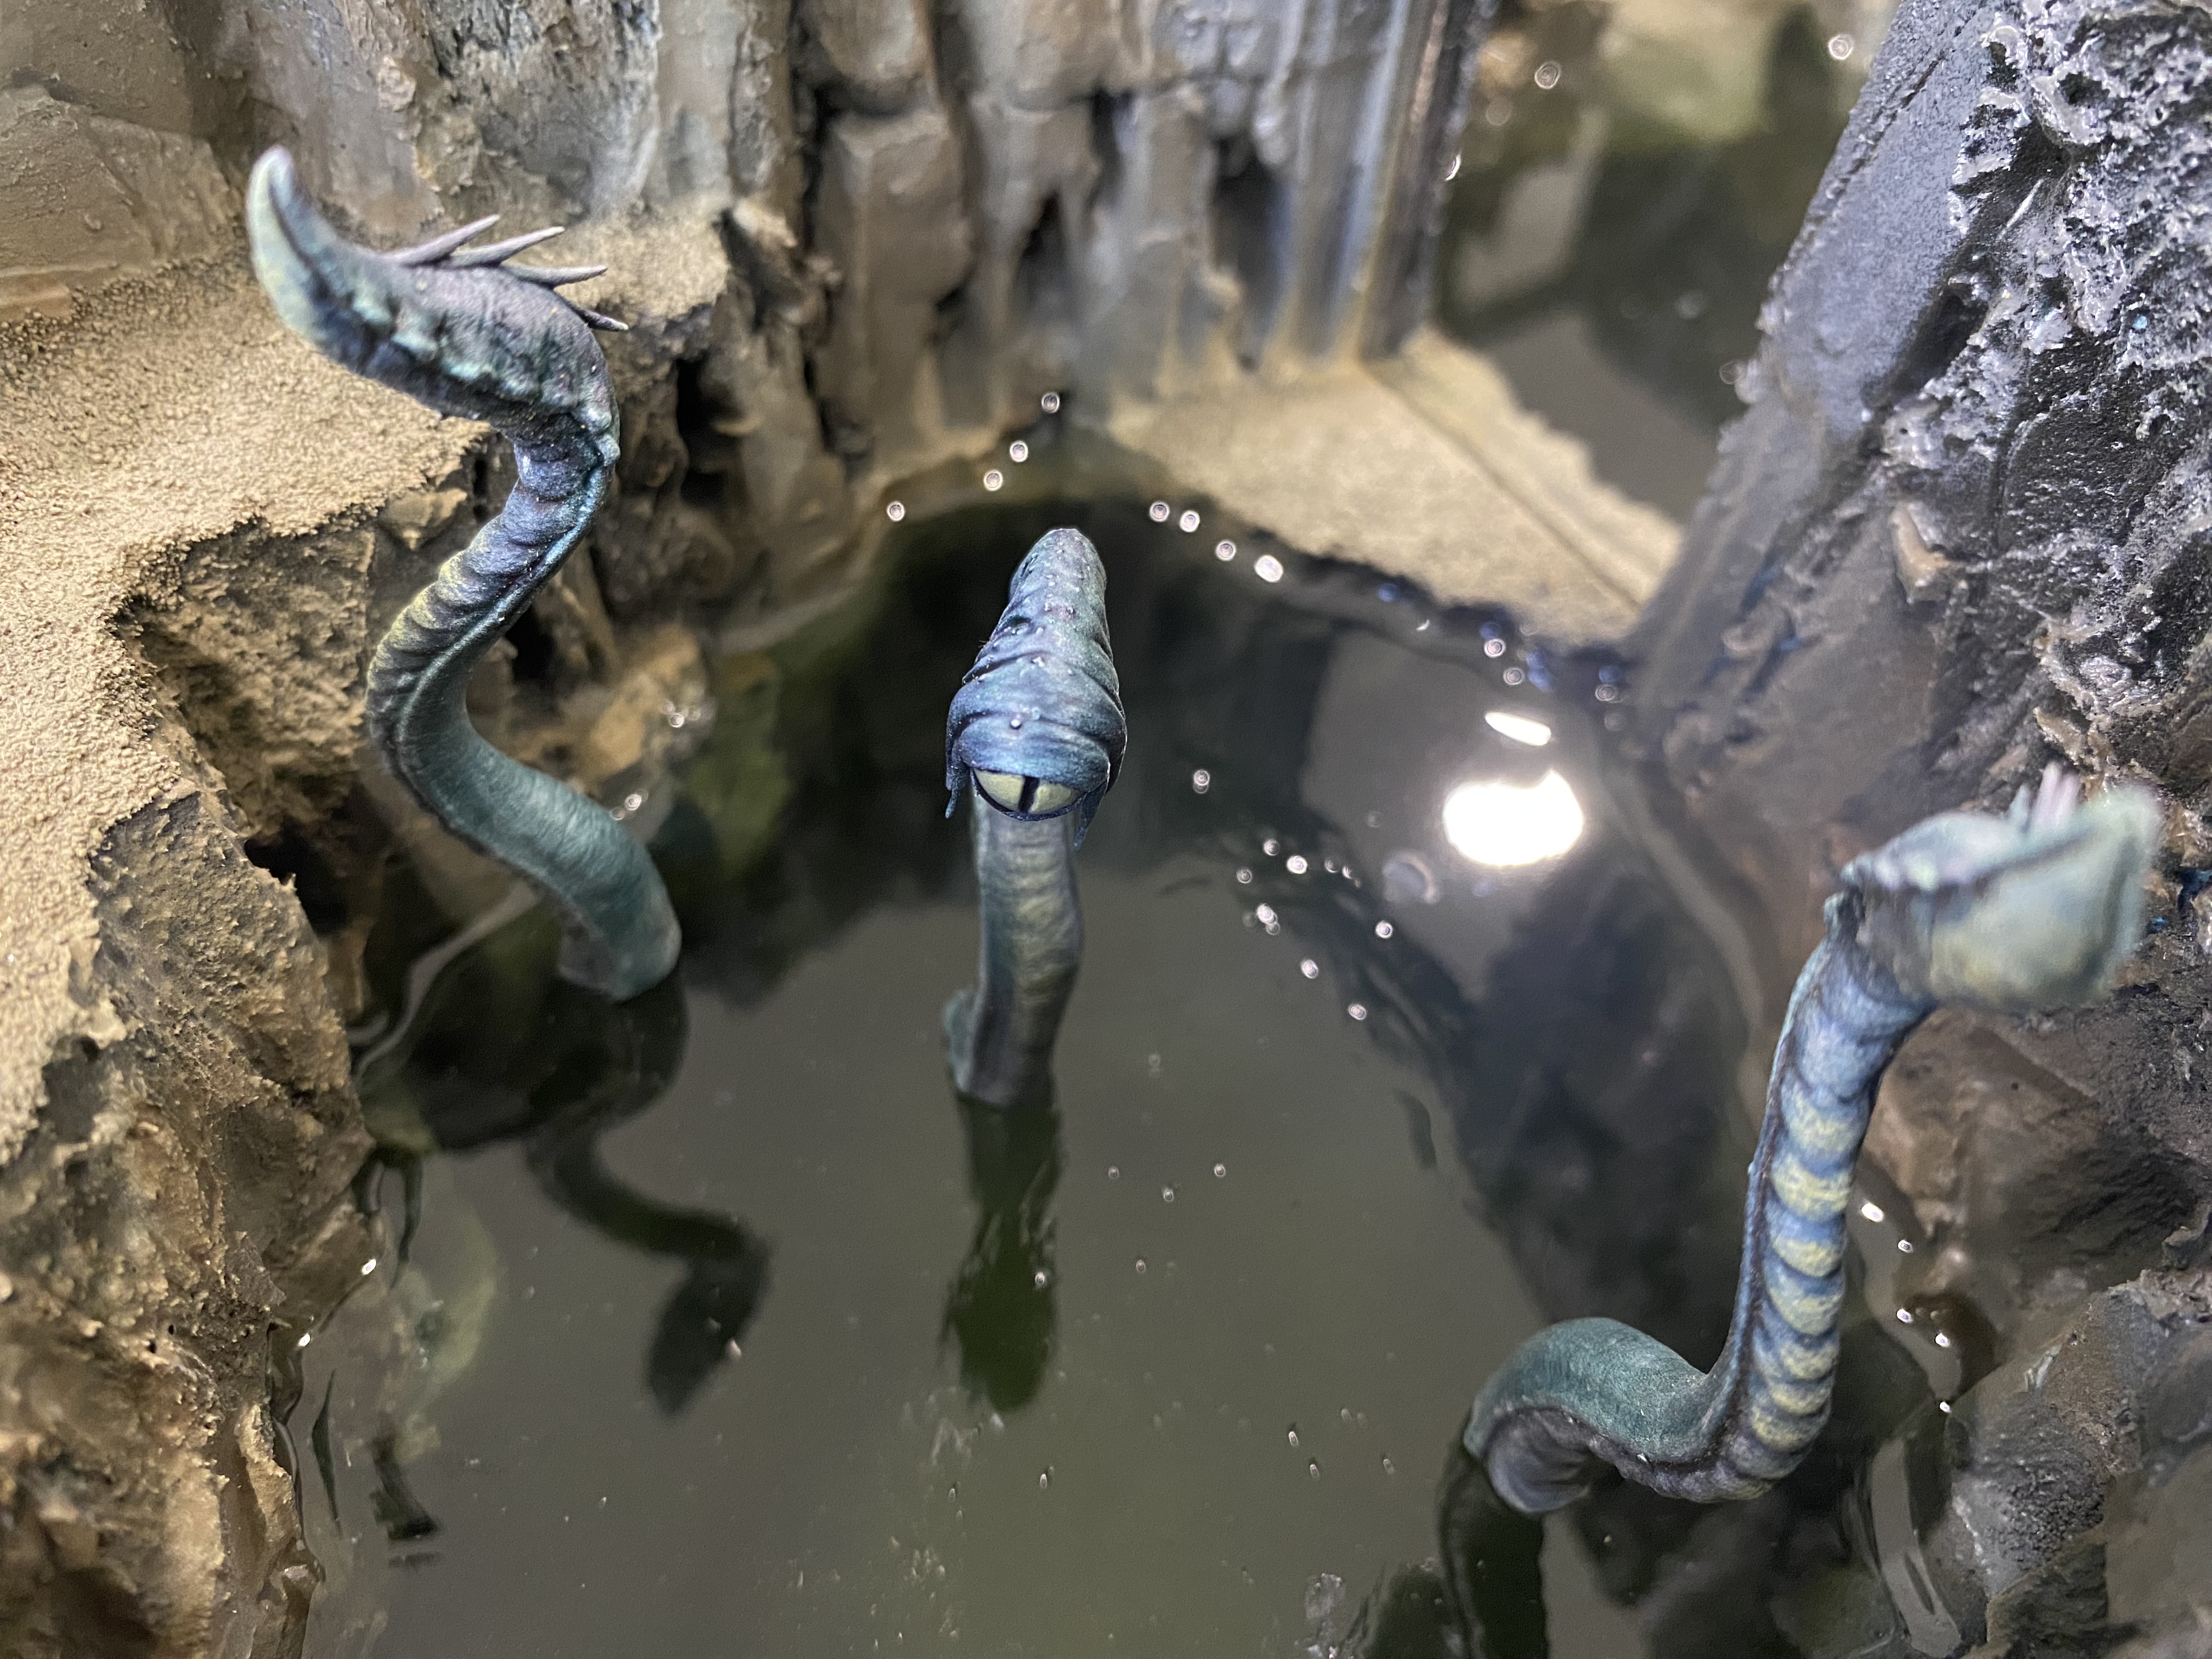
The tentacle beast was just simply undercoated black, given a white zenith highlight and ink washed with the first 3 pots I picked up. Once dry I dry brushed bits of it with orgyn camo and painted the eye with ogryn camo mixed with templar black contrast paint.