


Guild Ball Hunter’s Guild by Lawnor


Recommendations: 43
About the Project
A start to end view of my work on the complete Hunters Guild for Guild Ball. I will try to make this as detailed and informative as I can (I do have a habit of getting caught up and forgetting to photograph steps). I like following guides and tutorials so lets see if others can use this as one when I'm done.
Related Game: Guild Ball
Related Company: Steamforged Games
Related Genre: Sports
This Project is Completed
Clothing - Fur and Feathers
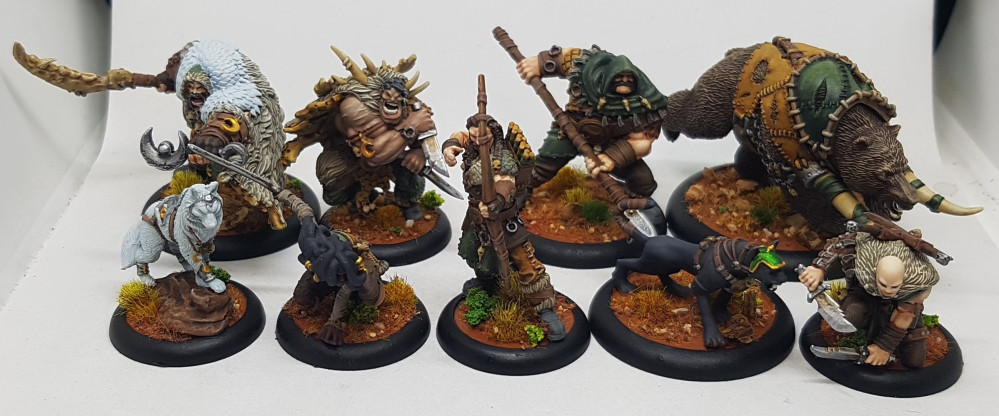
I went with an old classic recipe with the fur from the Circle Orboros guides. I started with a base coat of P3 Cryx Bane Highlight. This was then given a wash of a mix of P3 Thornwood Green and p3 Beast Hide. This was then drybrushed with P3 ‘Jack Bone. It was highlighted with a p3 Menoth White highlight drybrush where appropriate.
 The base coat and the wash
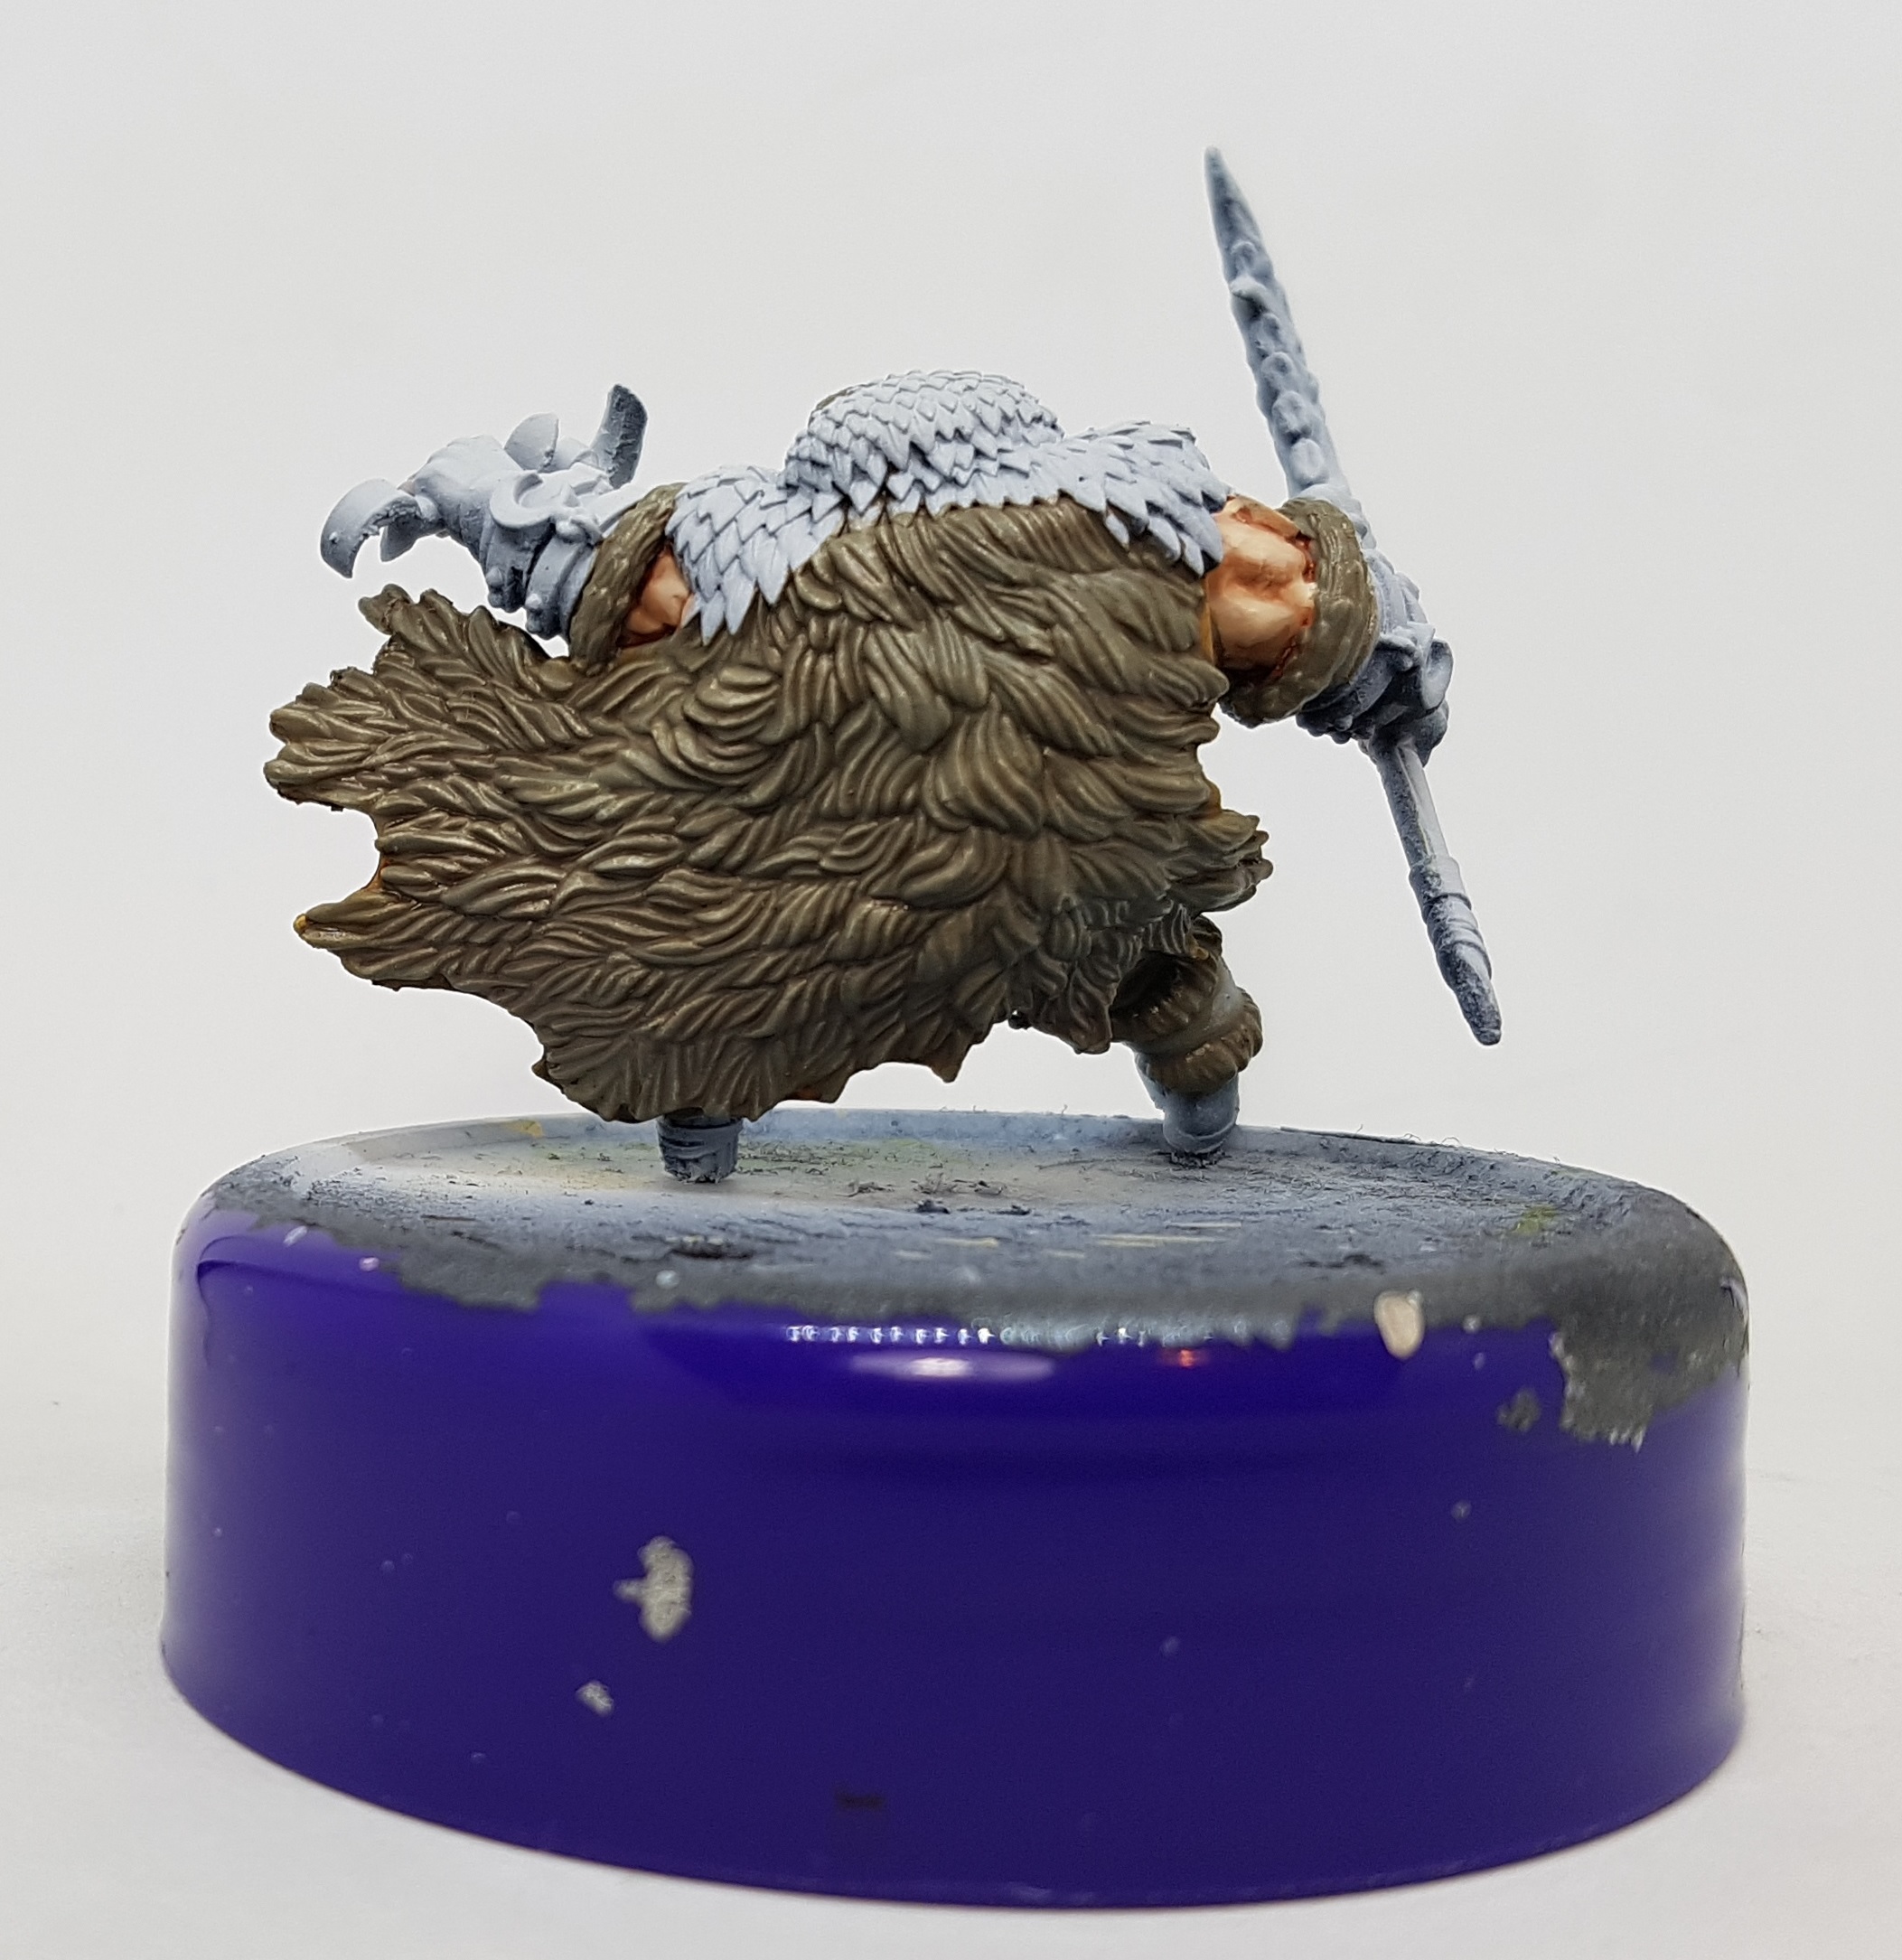
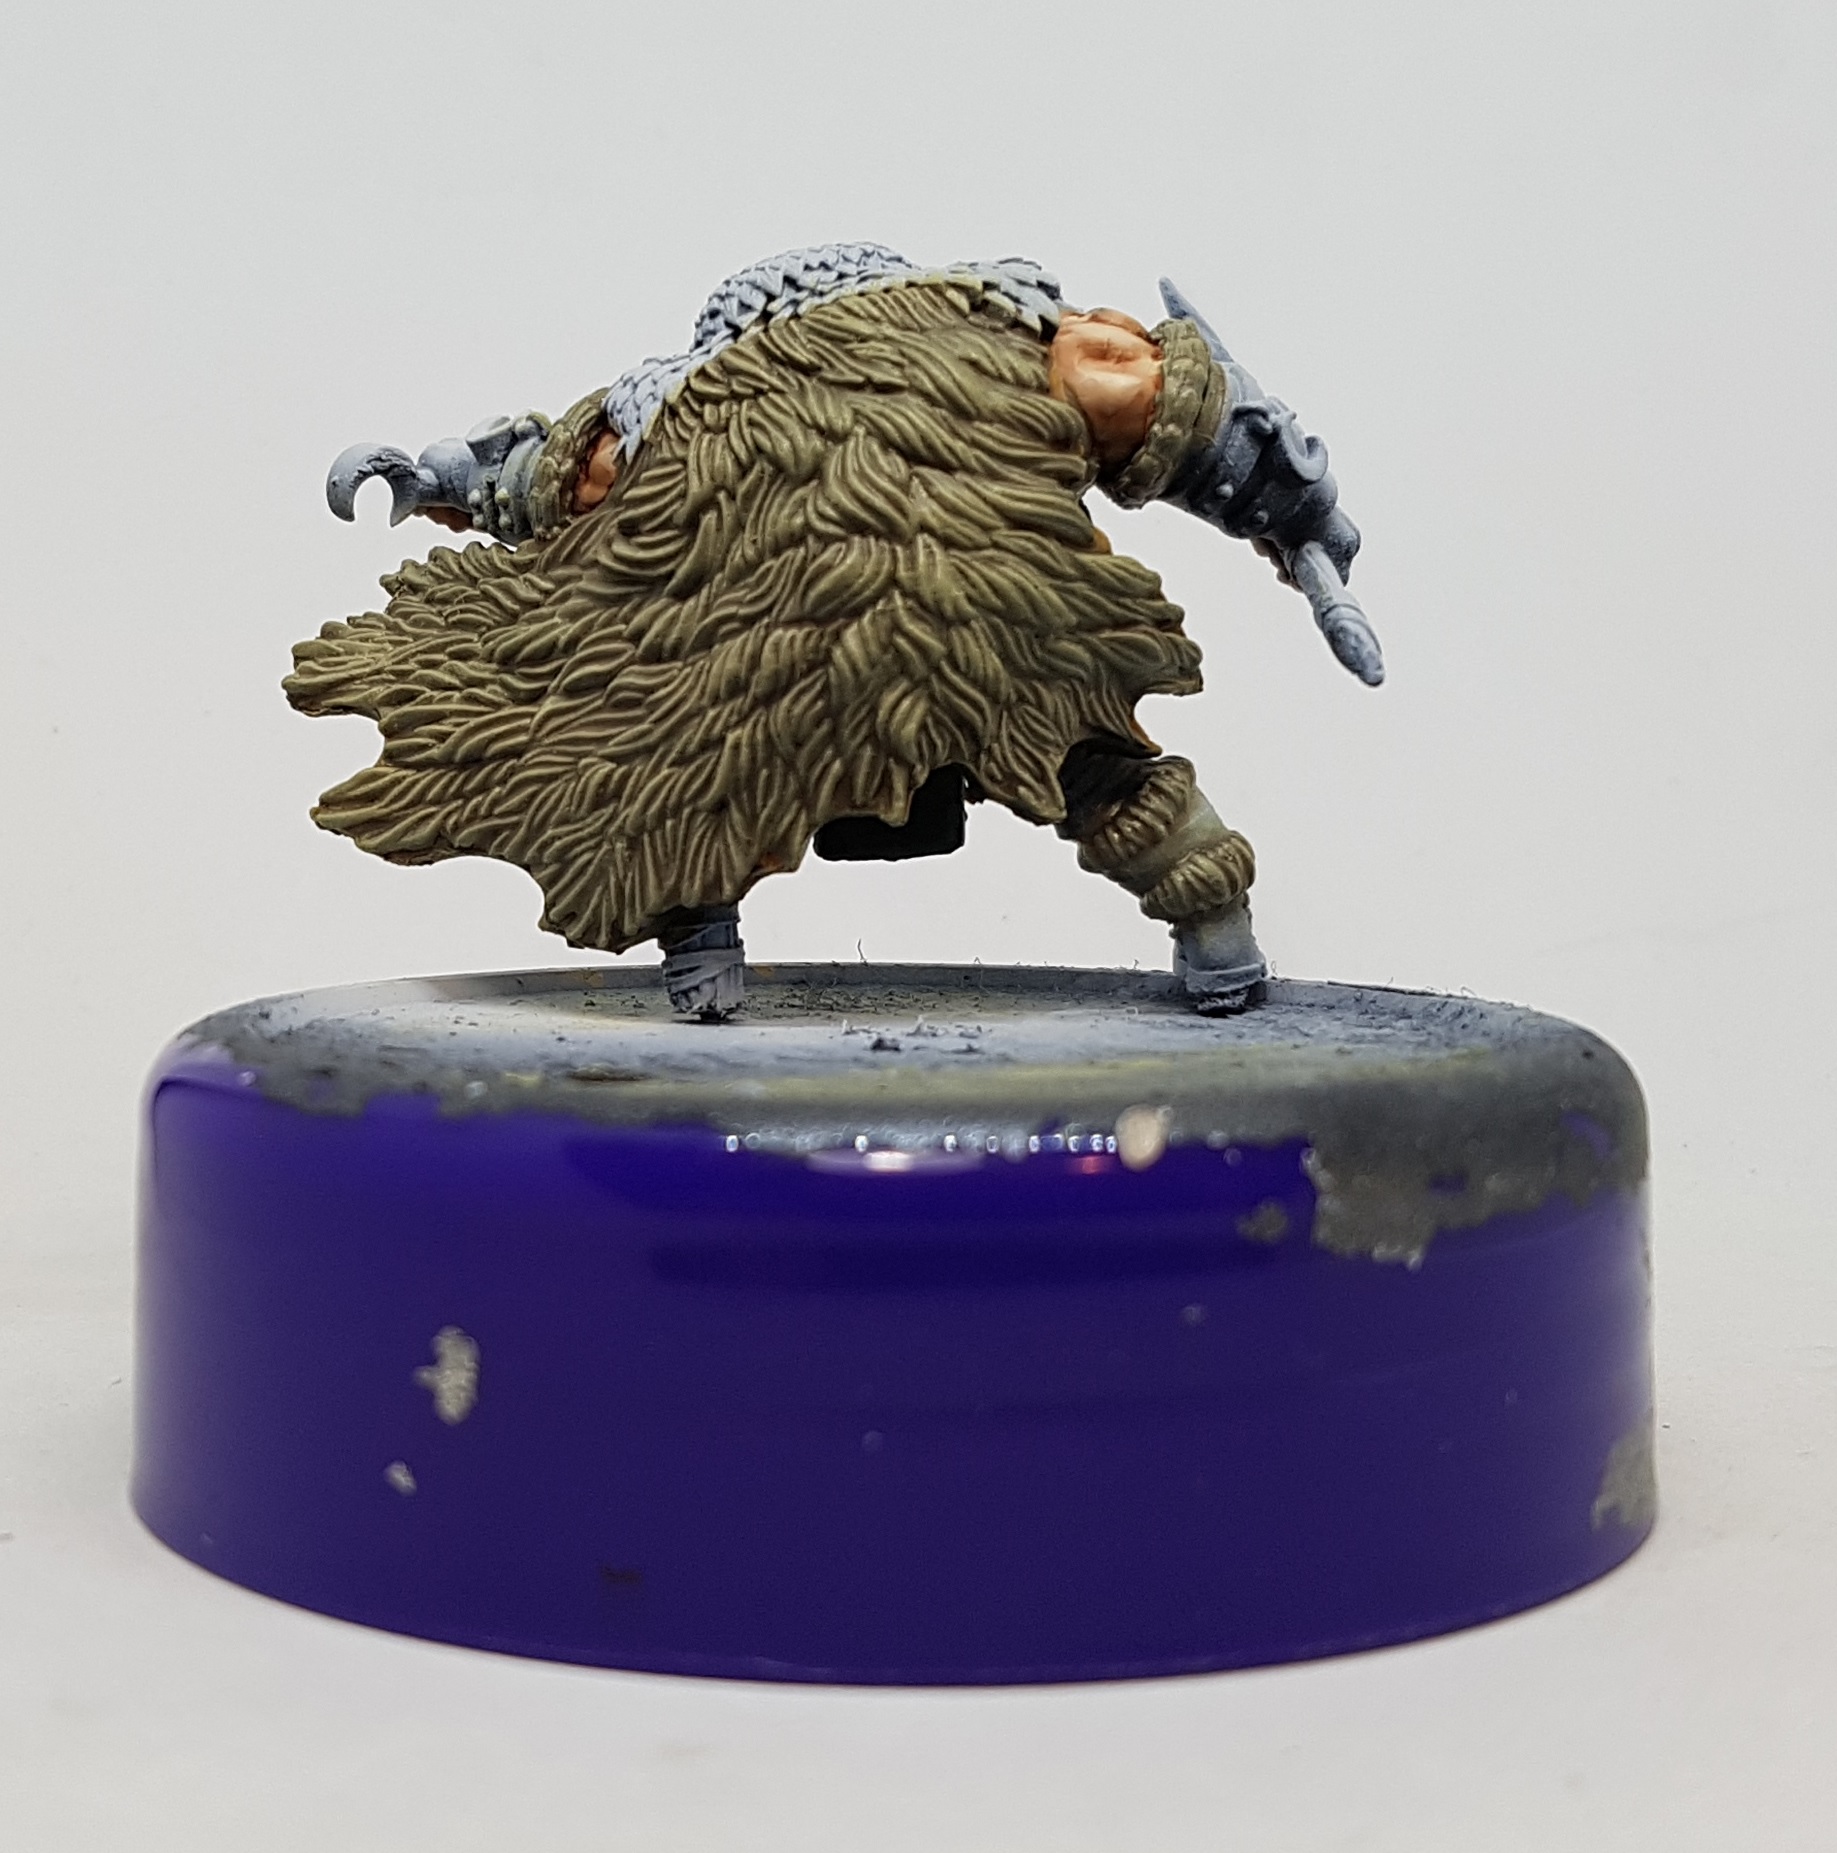 'Jack Bone Drybrush
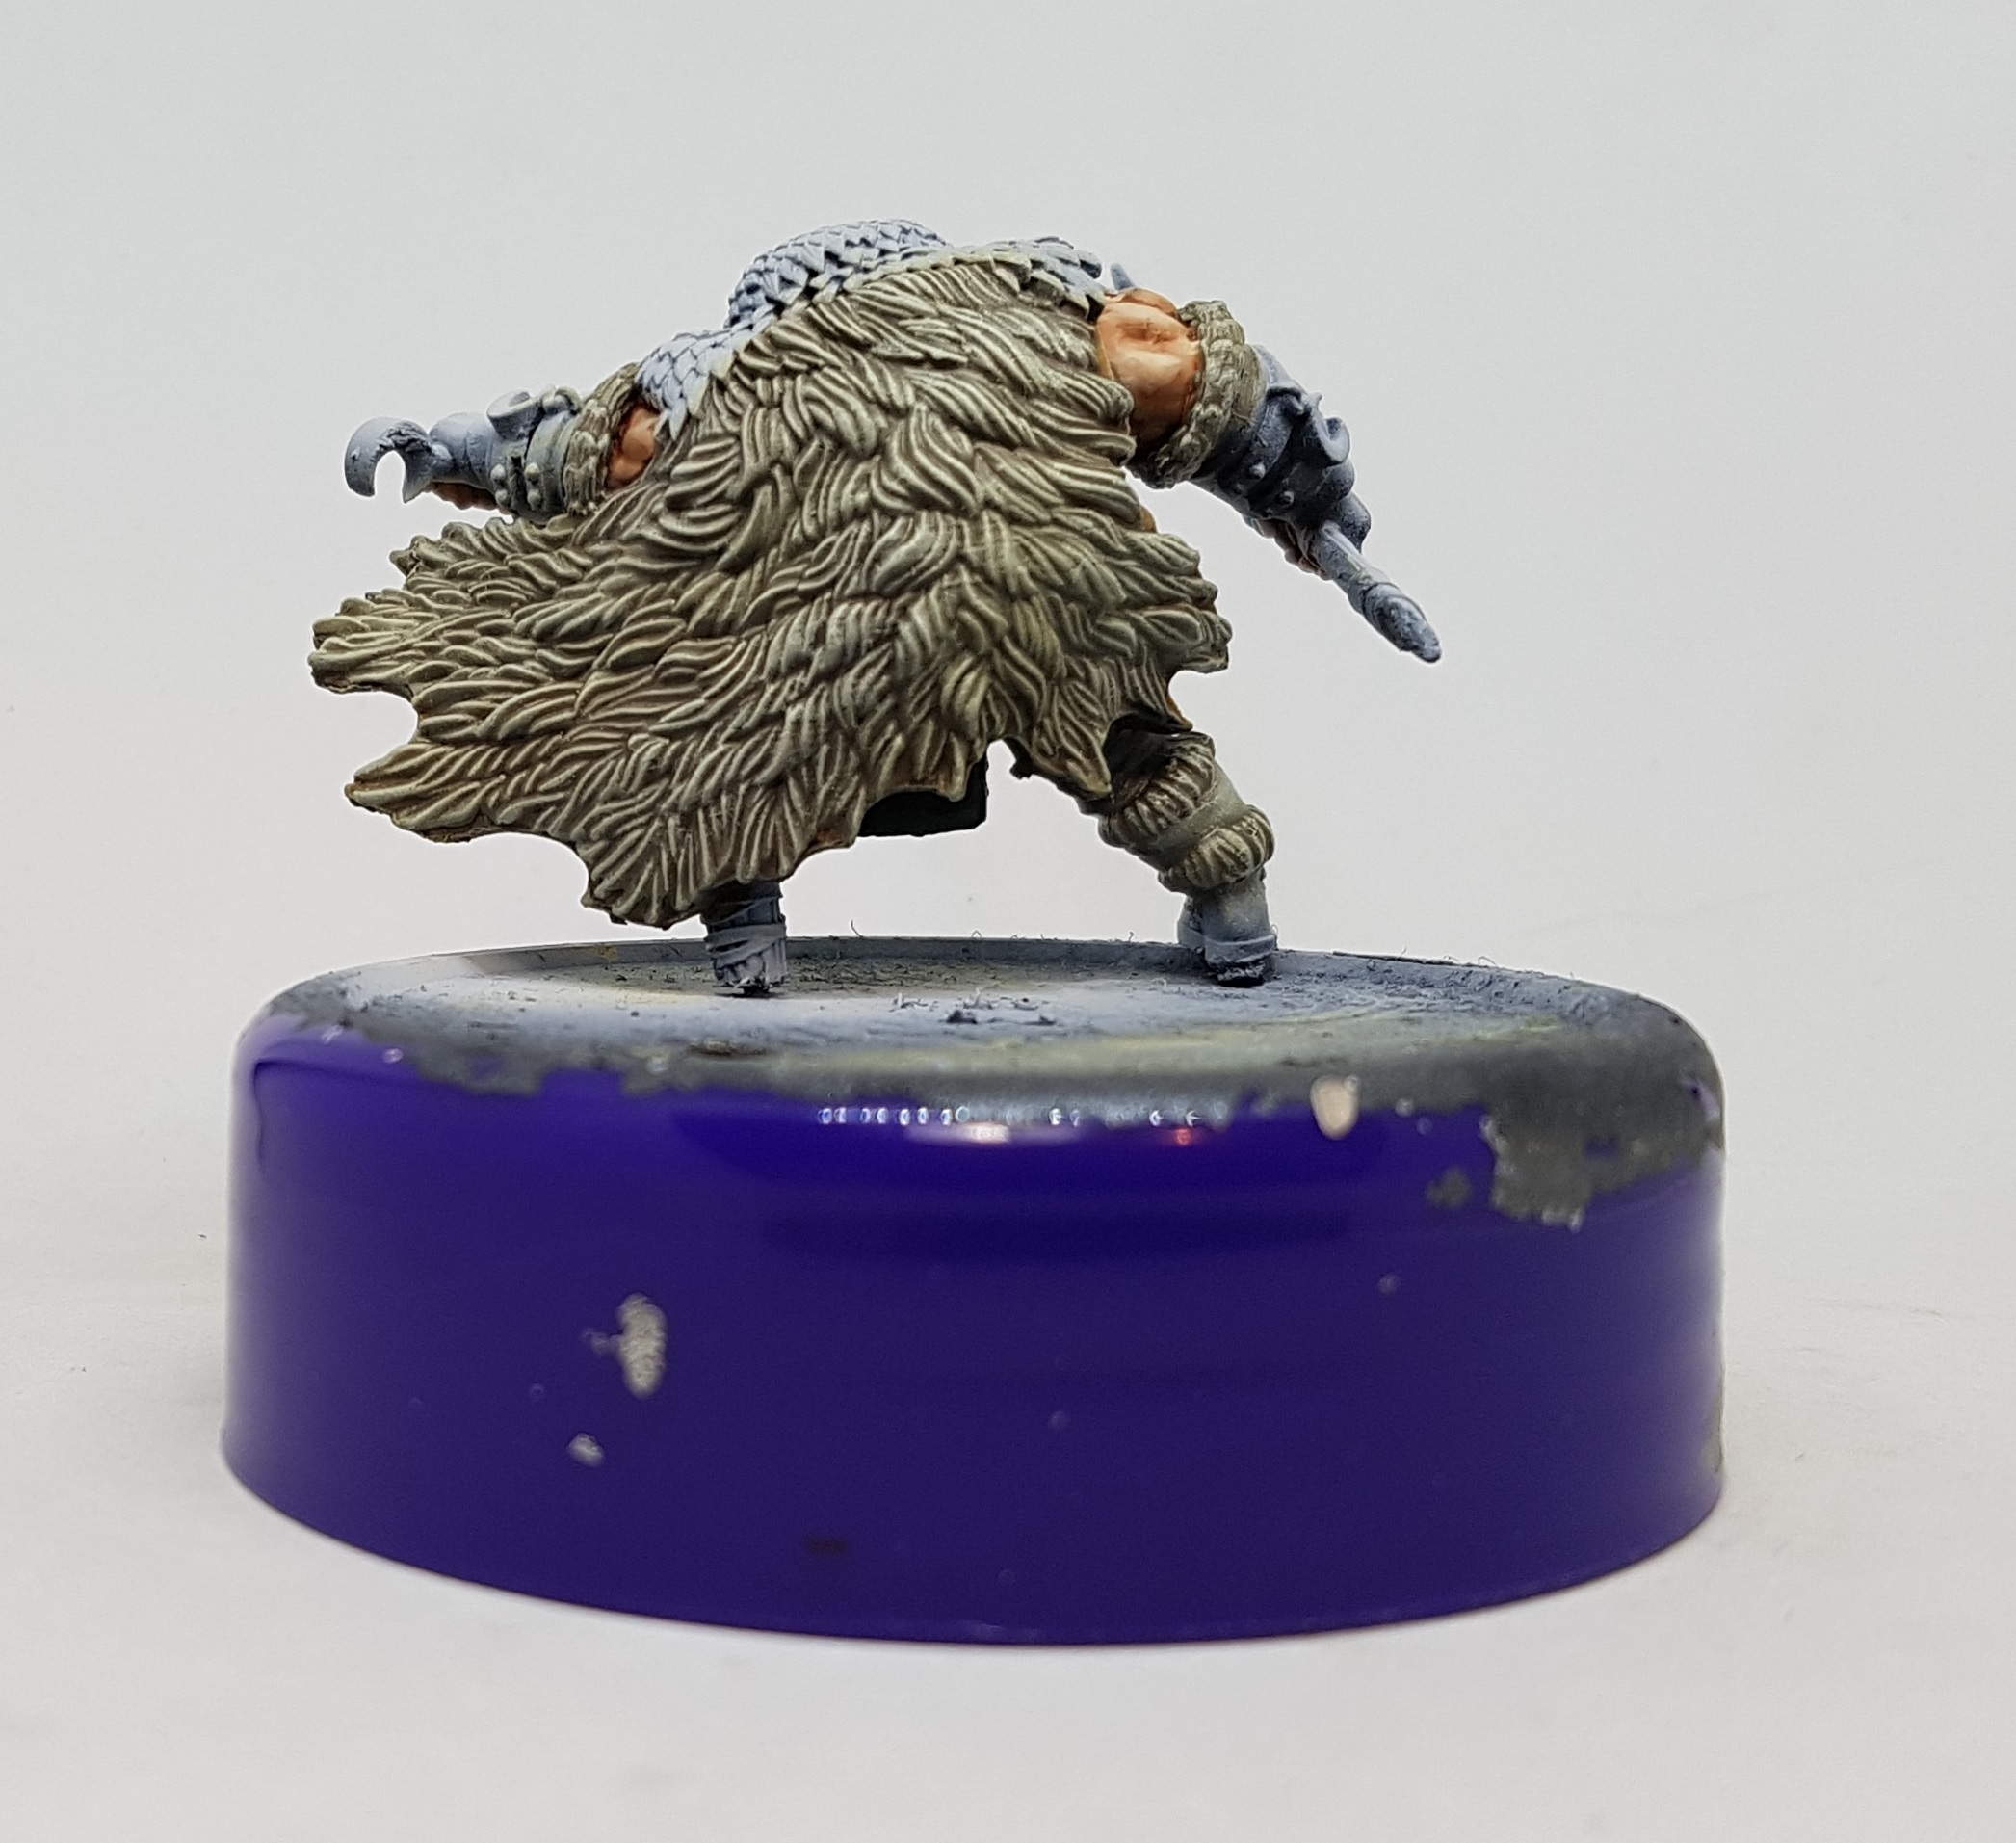 Menoth White Highlight highlight (on OnTableTop)
I wasn’t sure how to handle the feathers so I decided to paint them the same as the icy wolf fur. I base coated them in P3 Frostbite and then washed where appropriate with a mix of Frostbite and p3 Underbelly Blue. They were highlighted with a white drybrush. I found I got the best result if I drybrushed from the top of the feathers towards the base. it gave them a nicer pattern which probably won’t show up in the photos.
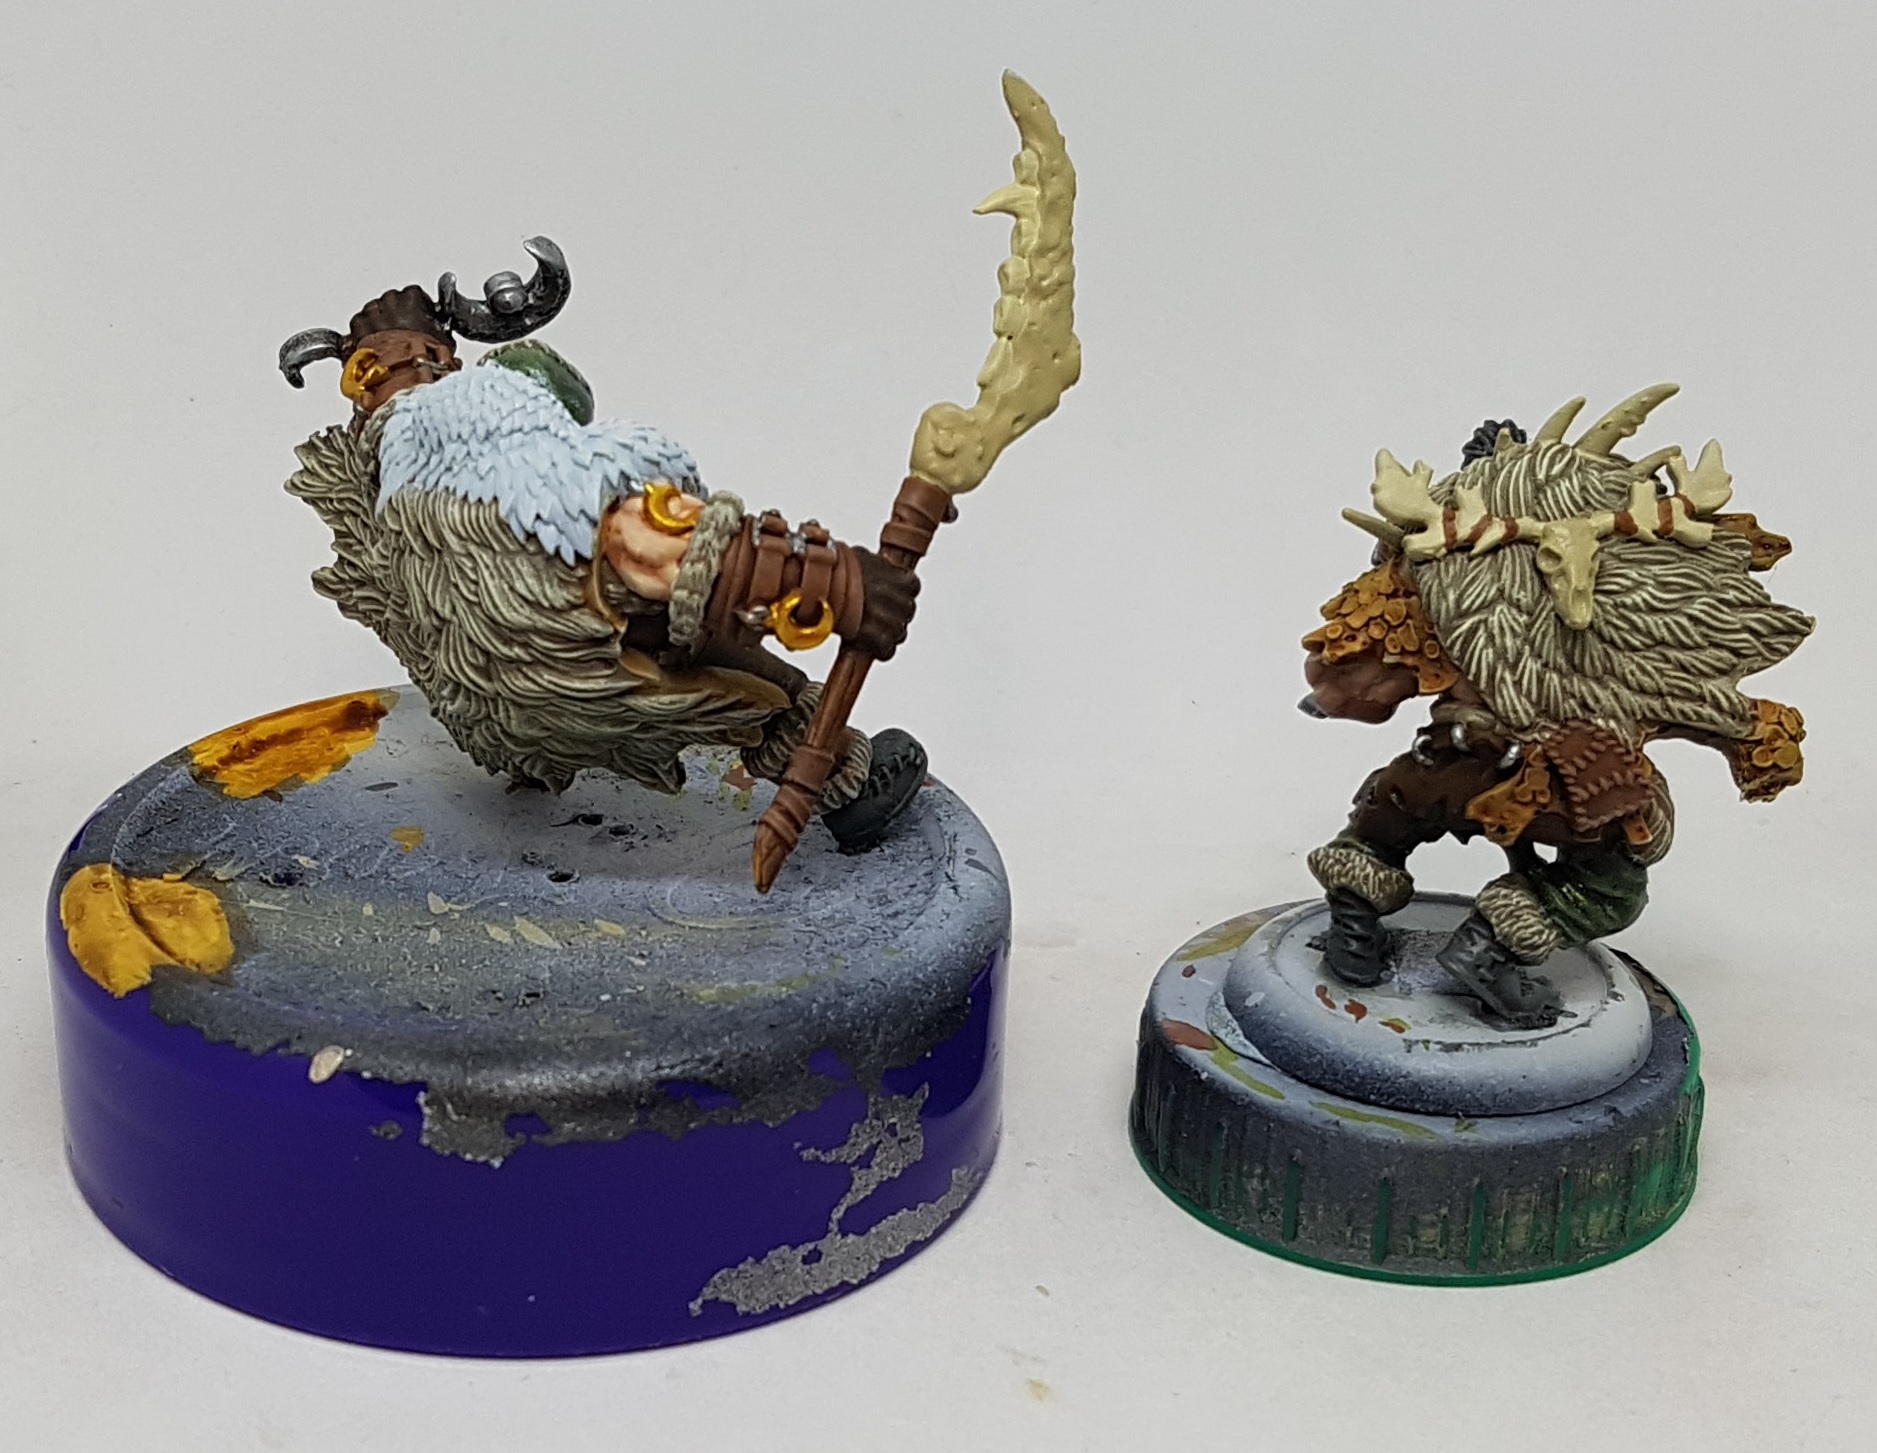
 Fur? Feathers? I can't always decide what they're supposed to be
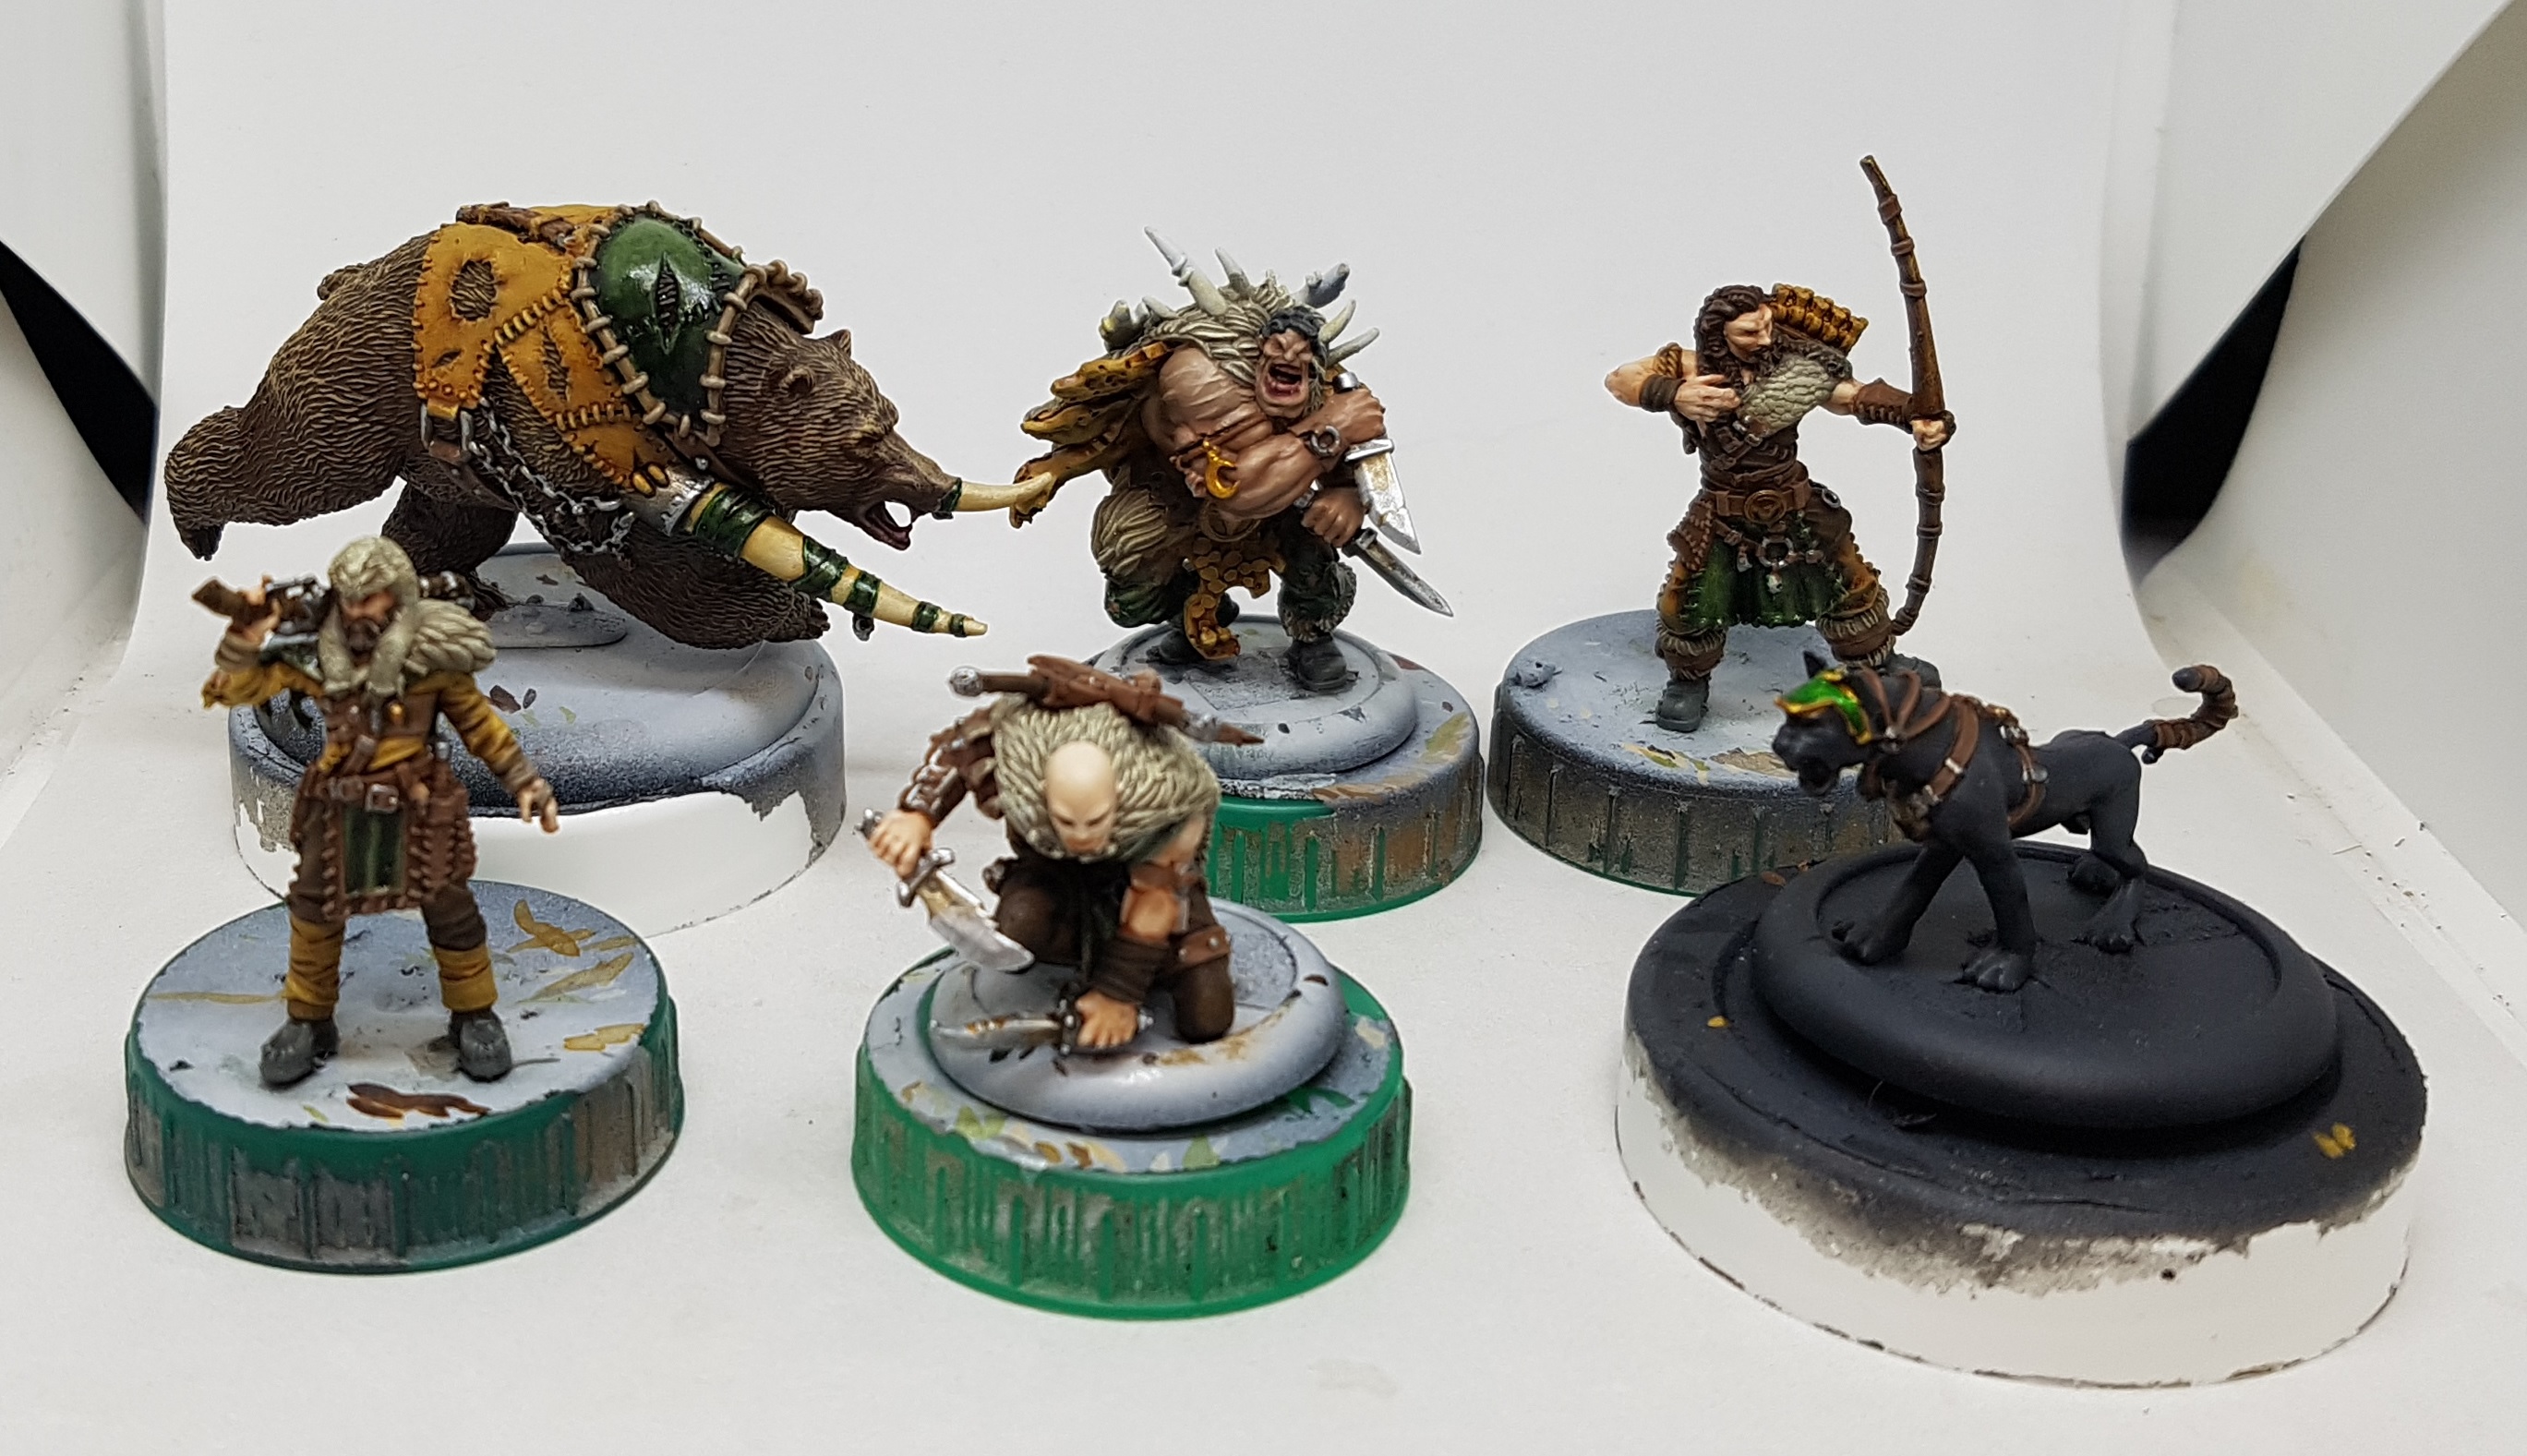
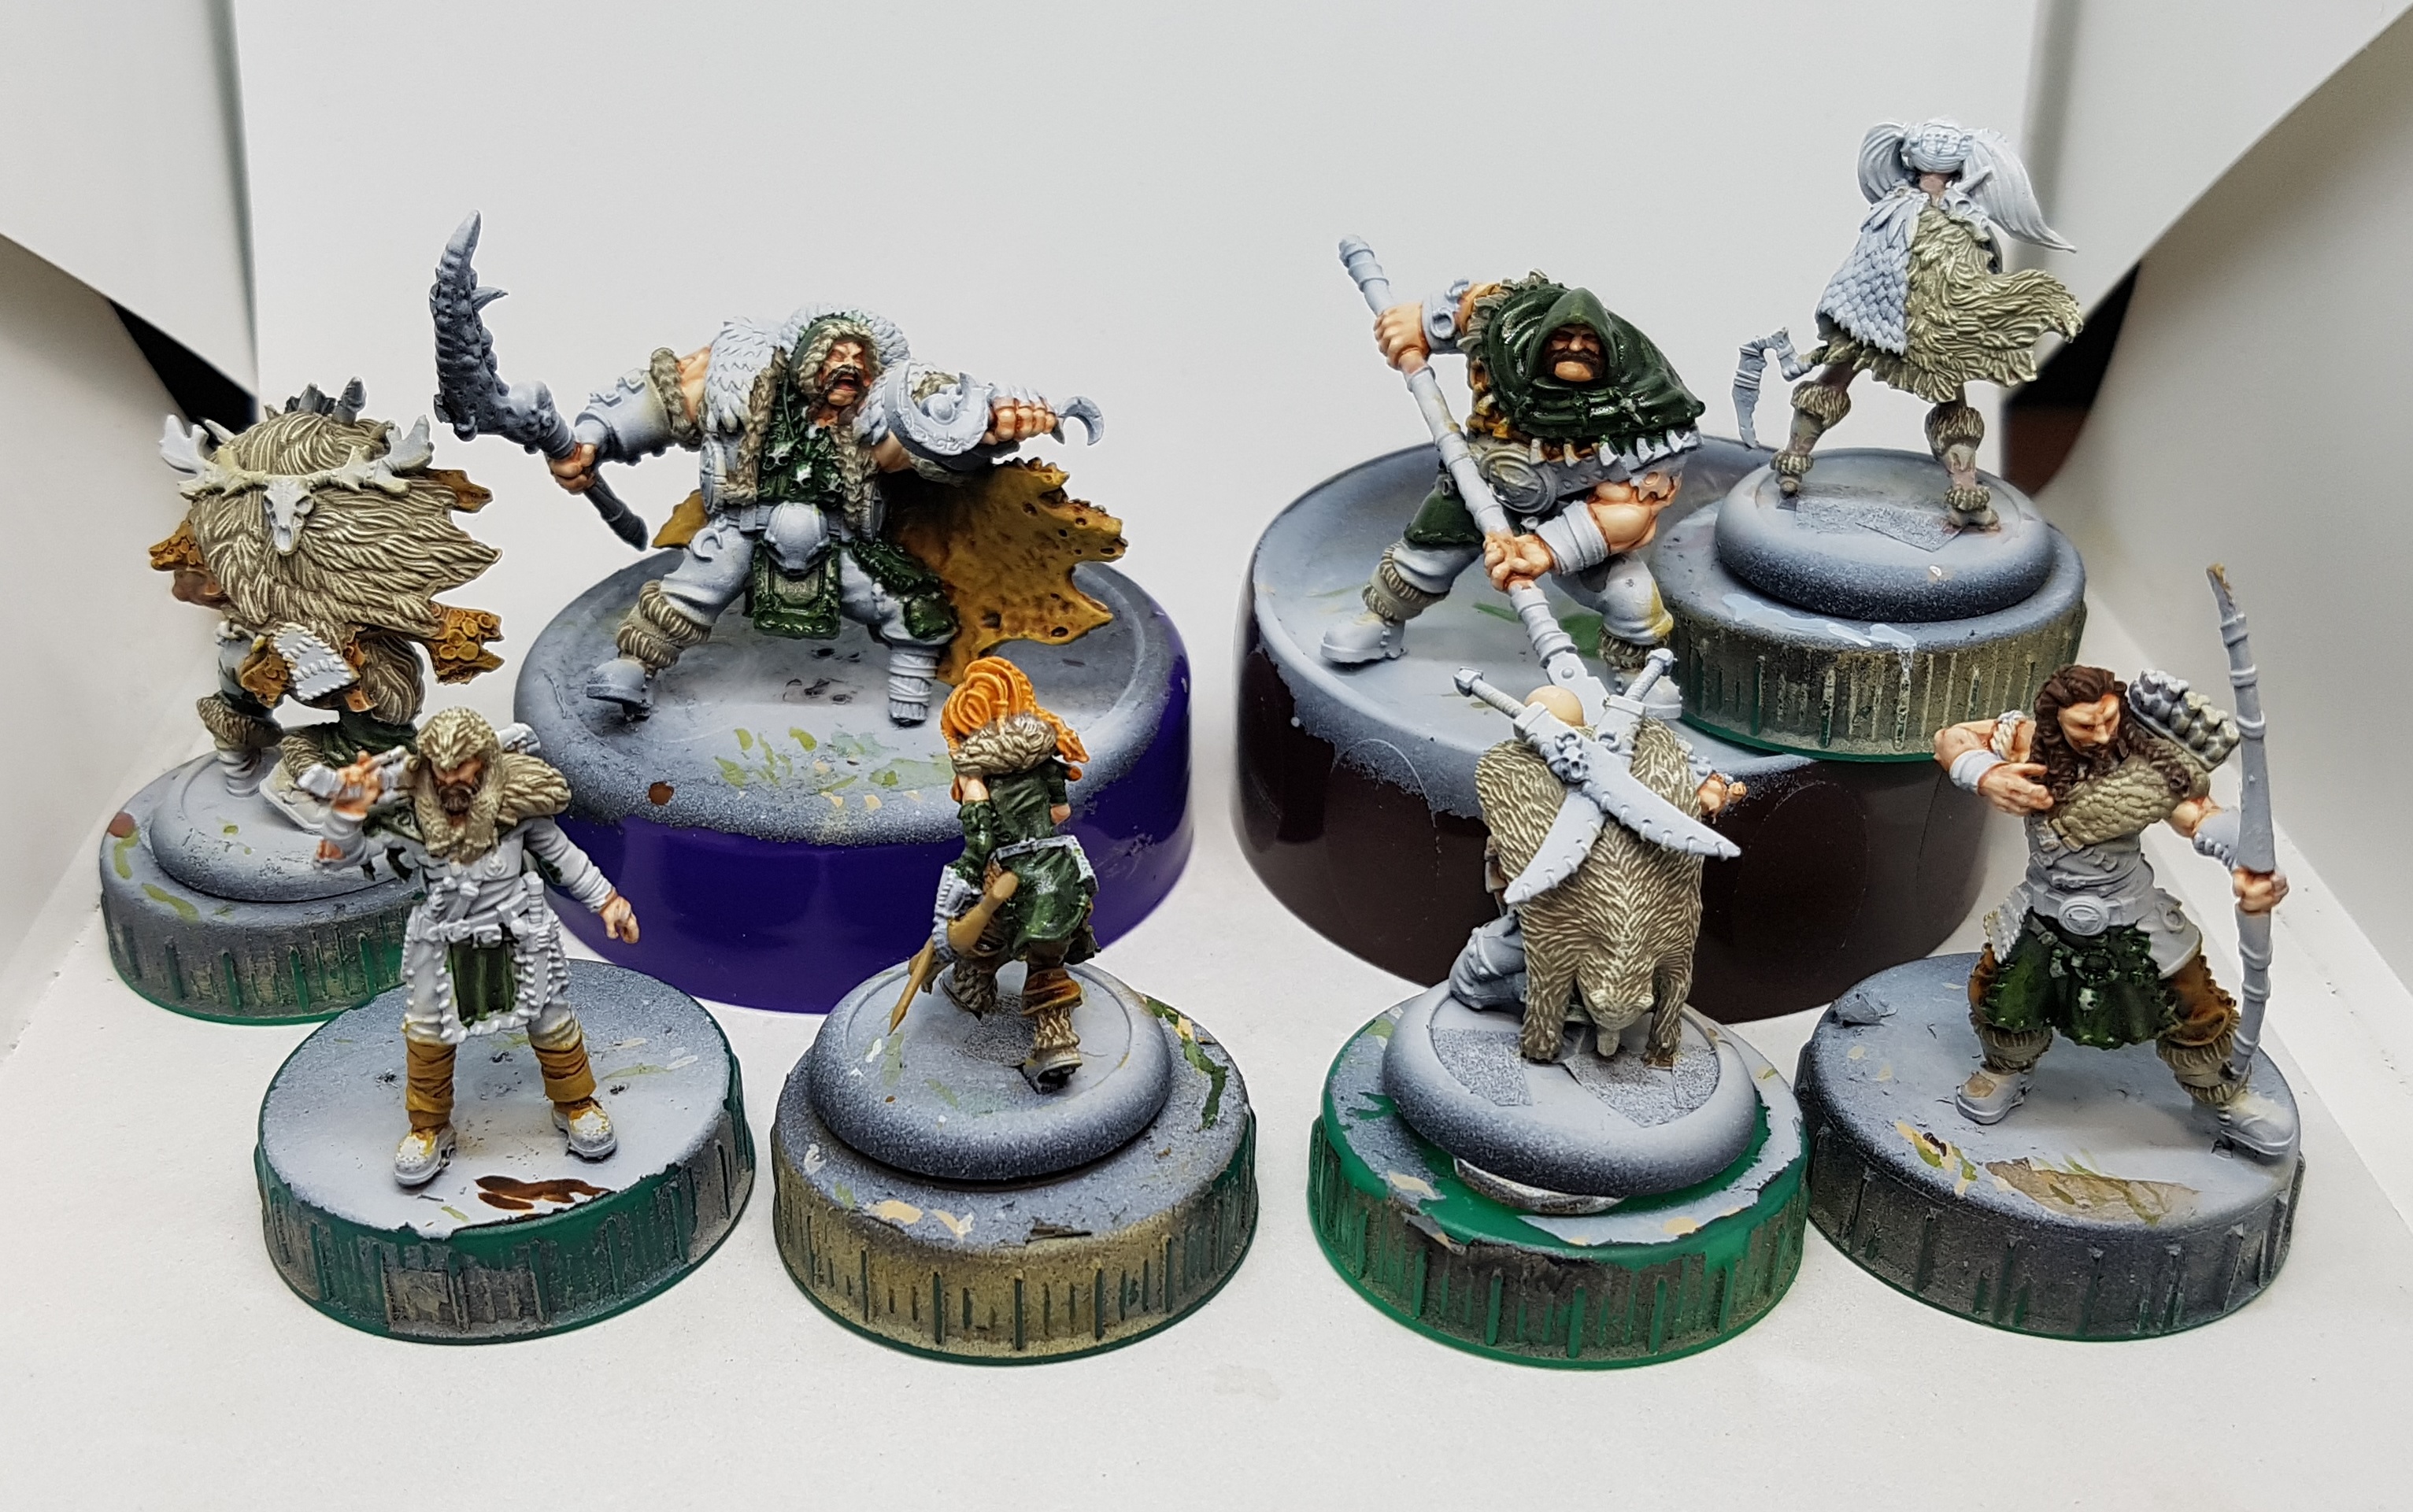 The final group show of all the fur/feather work
A Study in Brown
This leaves picking out all the remaining clothing and armour surfaces in natural, earthen colours. In other words time to work with more shades of brown than I knew were possible. I first went with a rich dark brown for the more dominant cloth surfaces, typically trousers. My base colour was VMC Panzer Aces 302 Dark Rust. This was highlighted with VMC 70.983 Flat Earth, mainly by drubrushing where I could safely get away with it. lastly the whole thing was washed with GW Nuln Oil. There were a few simple areas on a few of models that wanted to be a different shade of leather to everything else. They got a quick coat of P3 brown ink over their pre-shading and no more attention than this.
 Dark Rust base
 Flat Earth Highlight
 Nuln Oil Wash
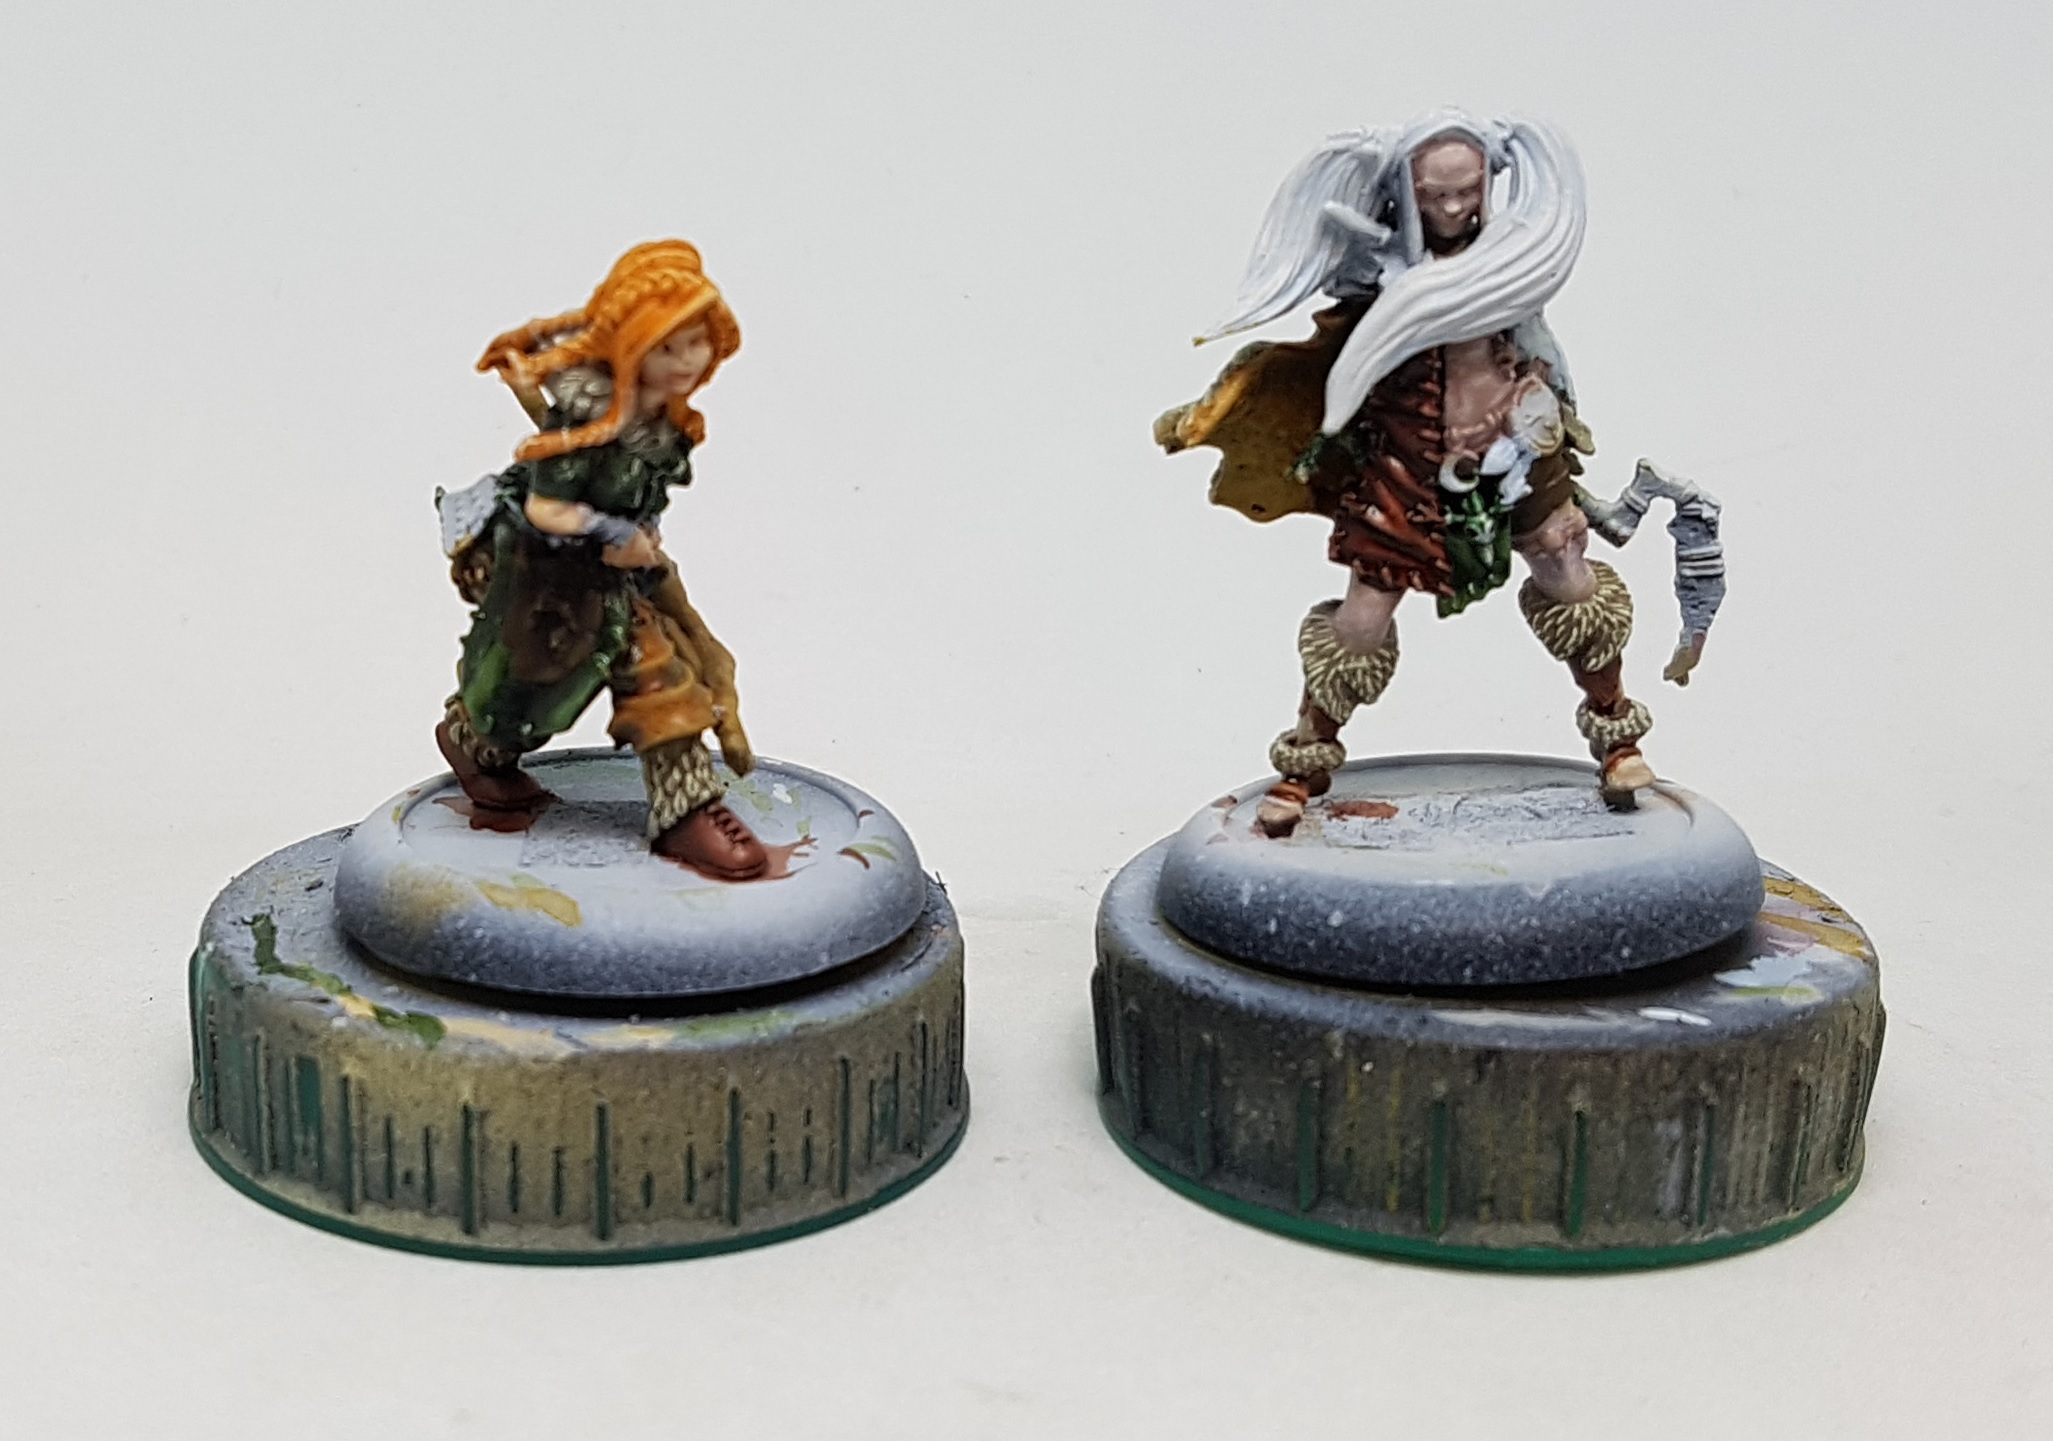 Brown ink
I had at least 2 more types of cloth to pick out in different earthen shades. I didn’t want everything to be mid tone browns so I picked out a less vibrant yellow, P3 Mouldy Ochre, and base coated the remaining large sections of cloth, and some hems. I also painted the wraps on peoples hand P3 Trollblood Highlight at the same time as both colours would get a Gw Agrax Earthshade wash. This tints the yellow and makes it more earthen, and makes the wraps look dirty and old. To get the wash to sit right on Zarola’s top I ended up applying a second wash and holding her upside down until it dried.
The yellow was drybrush highlighted with its base colour. I didn’t want it getting any brighter than that. The wraps were drybrush highlighted with P3 Menoth White base. I think of this recipe as “Walking Dead White Shirt”. On the right surface it looks like it used to be white but you’ve not taken it off or had a shower for many months.
 The yellow is a little too bright after just the base coat
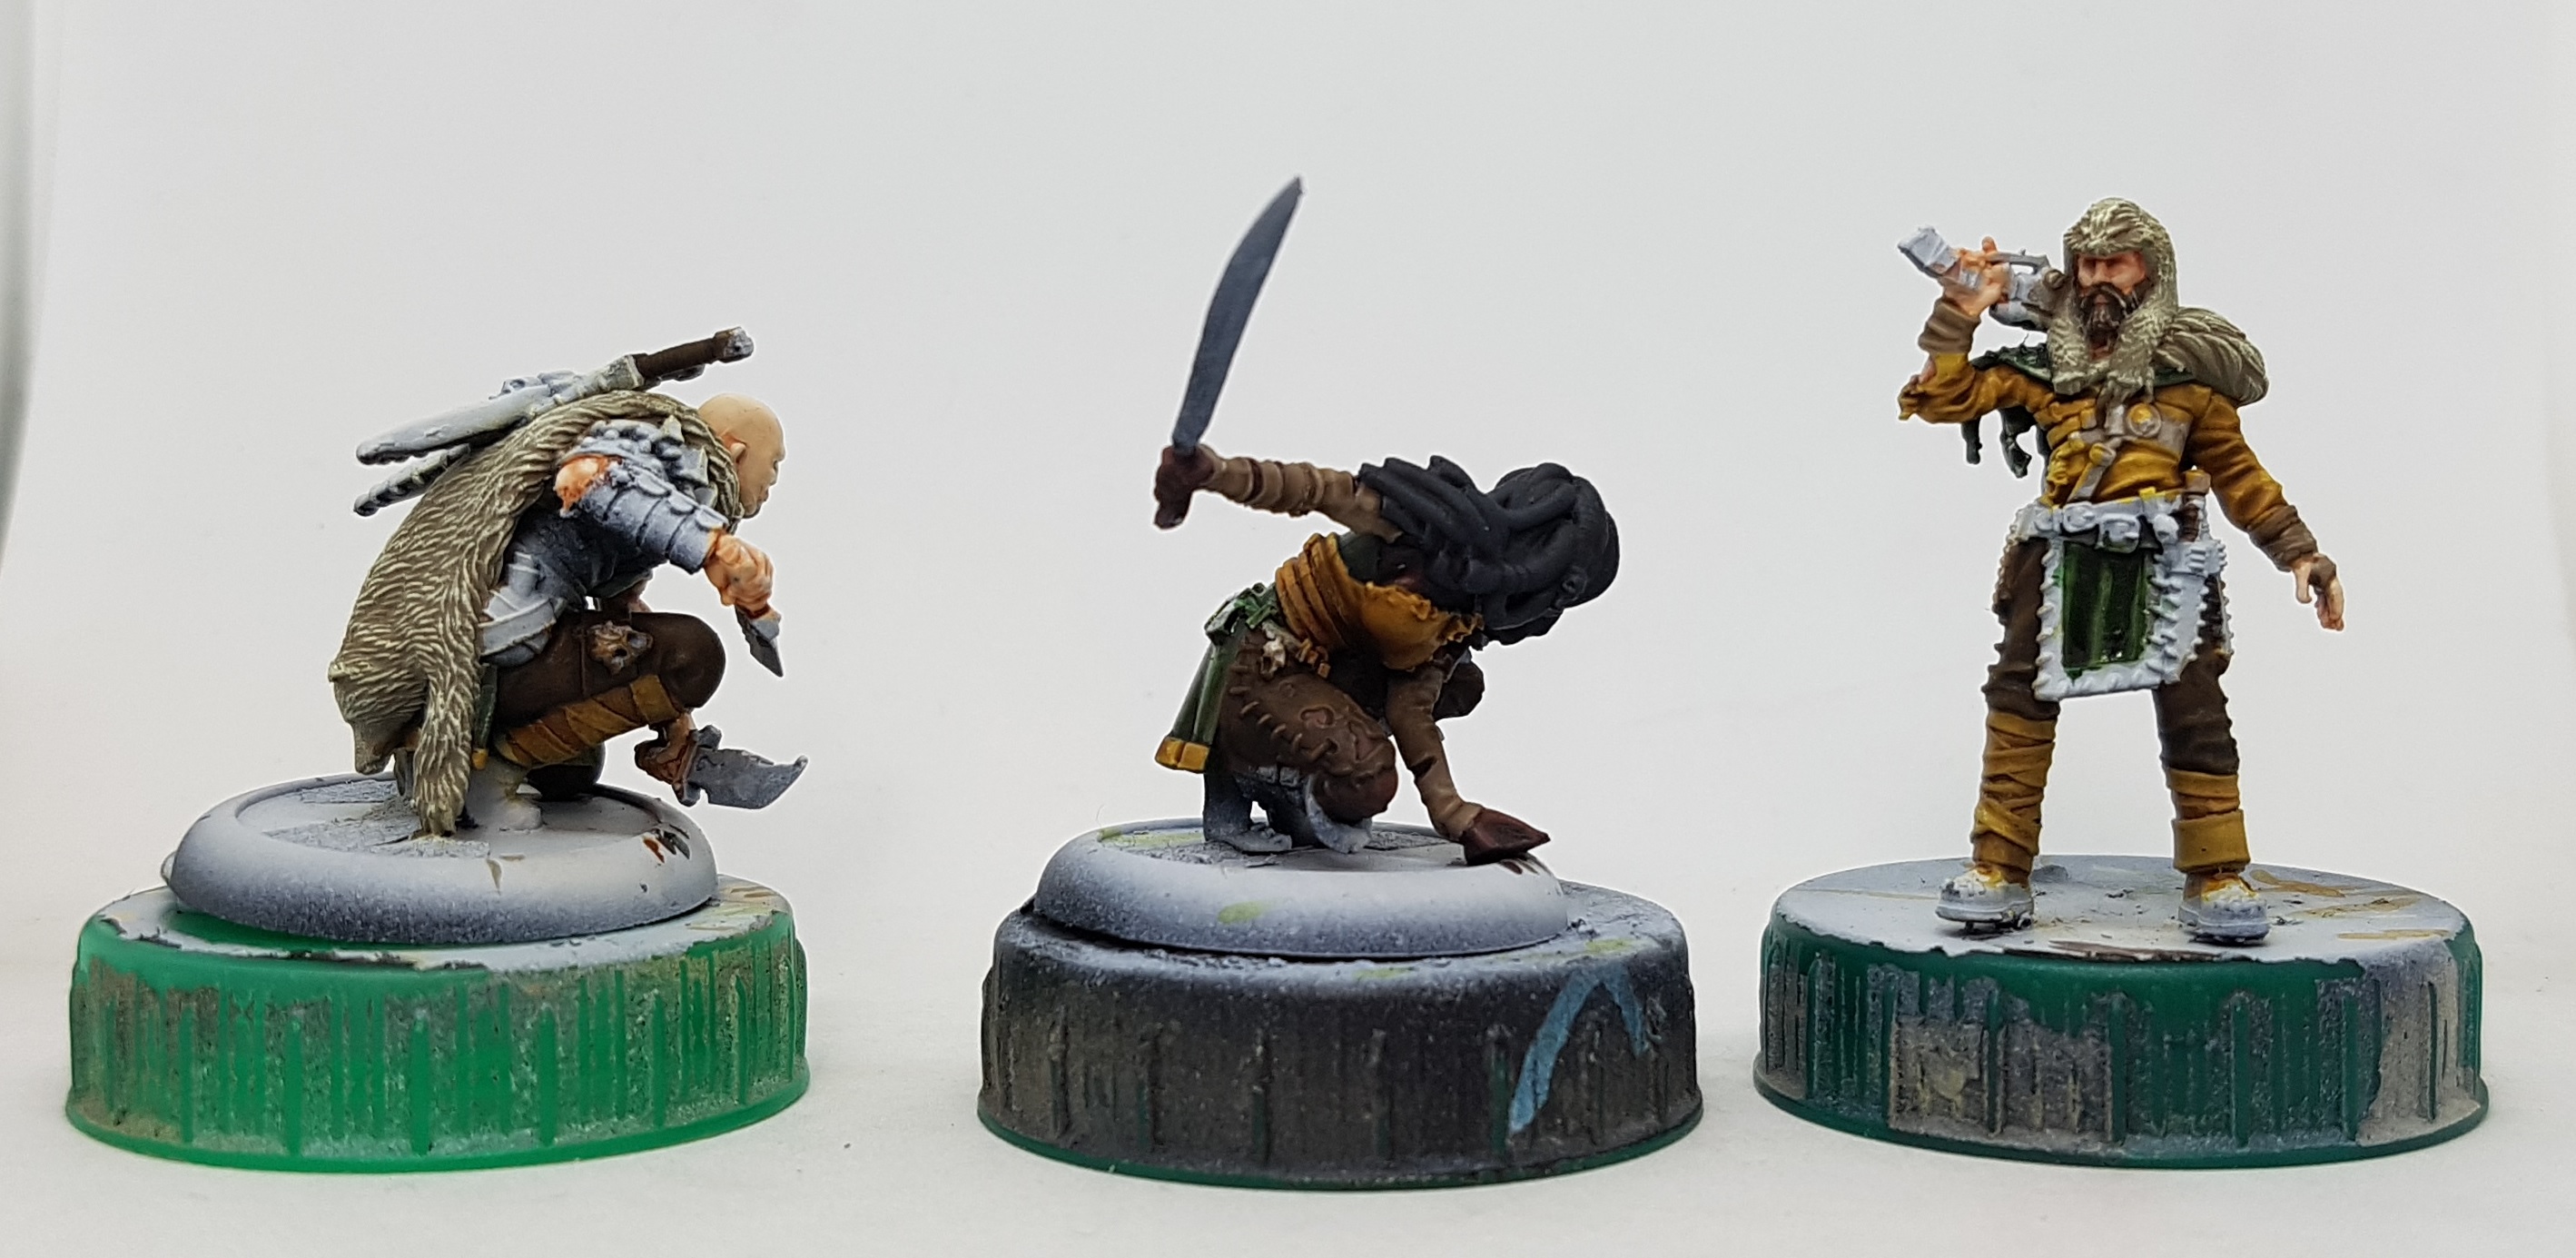 The yellow looks much darker and more earthen (and more brown) after some Agrax Earthshade
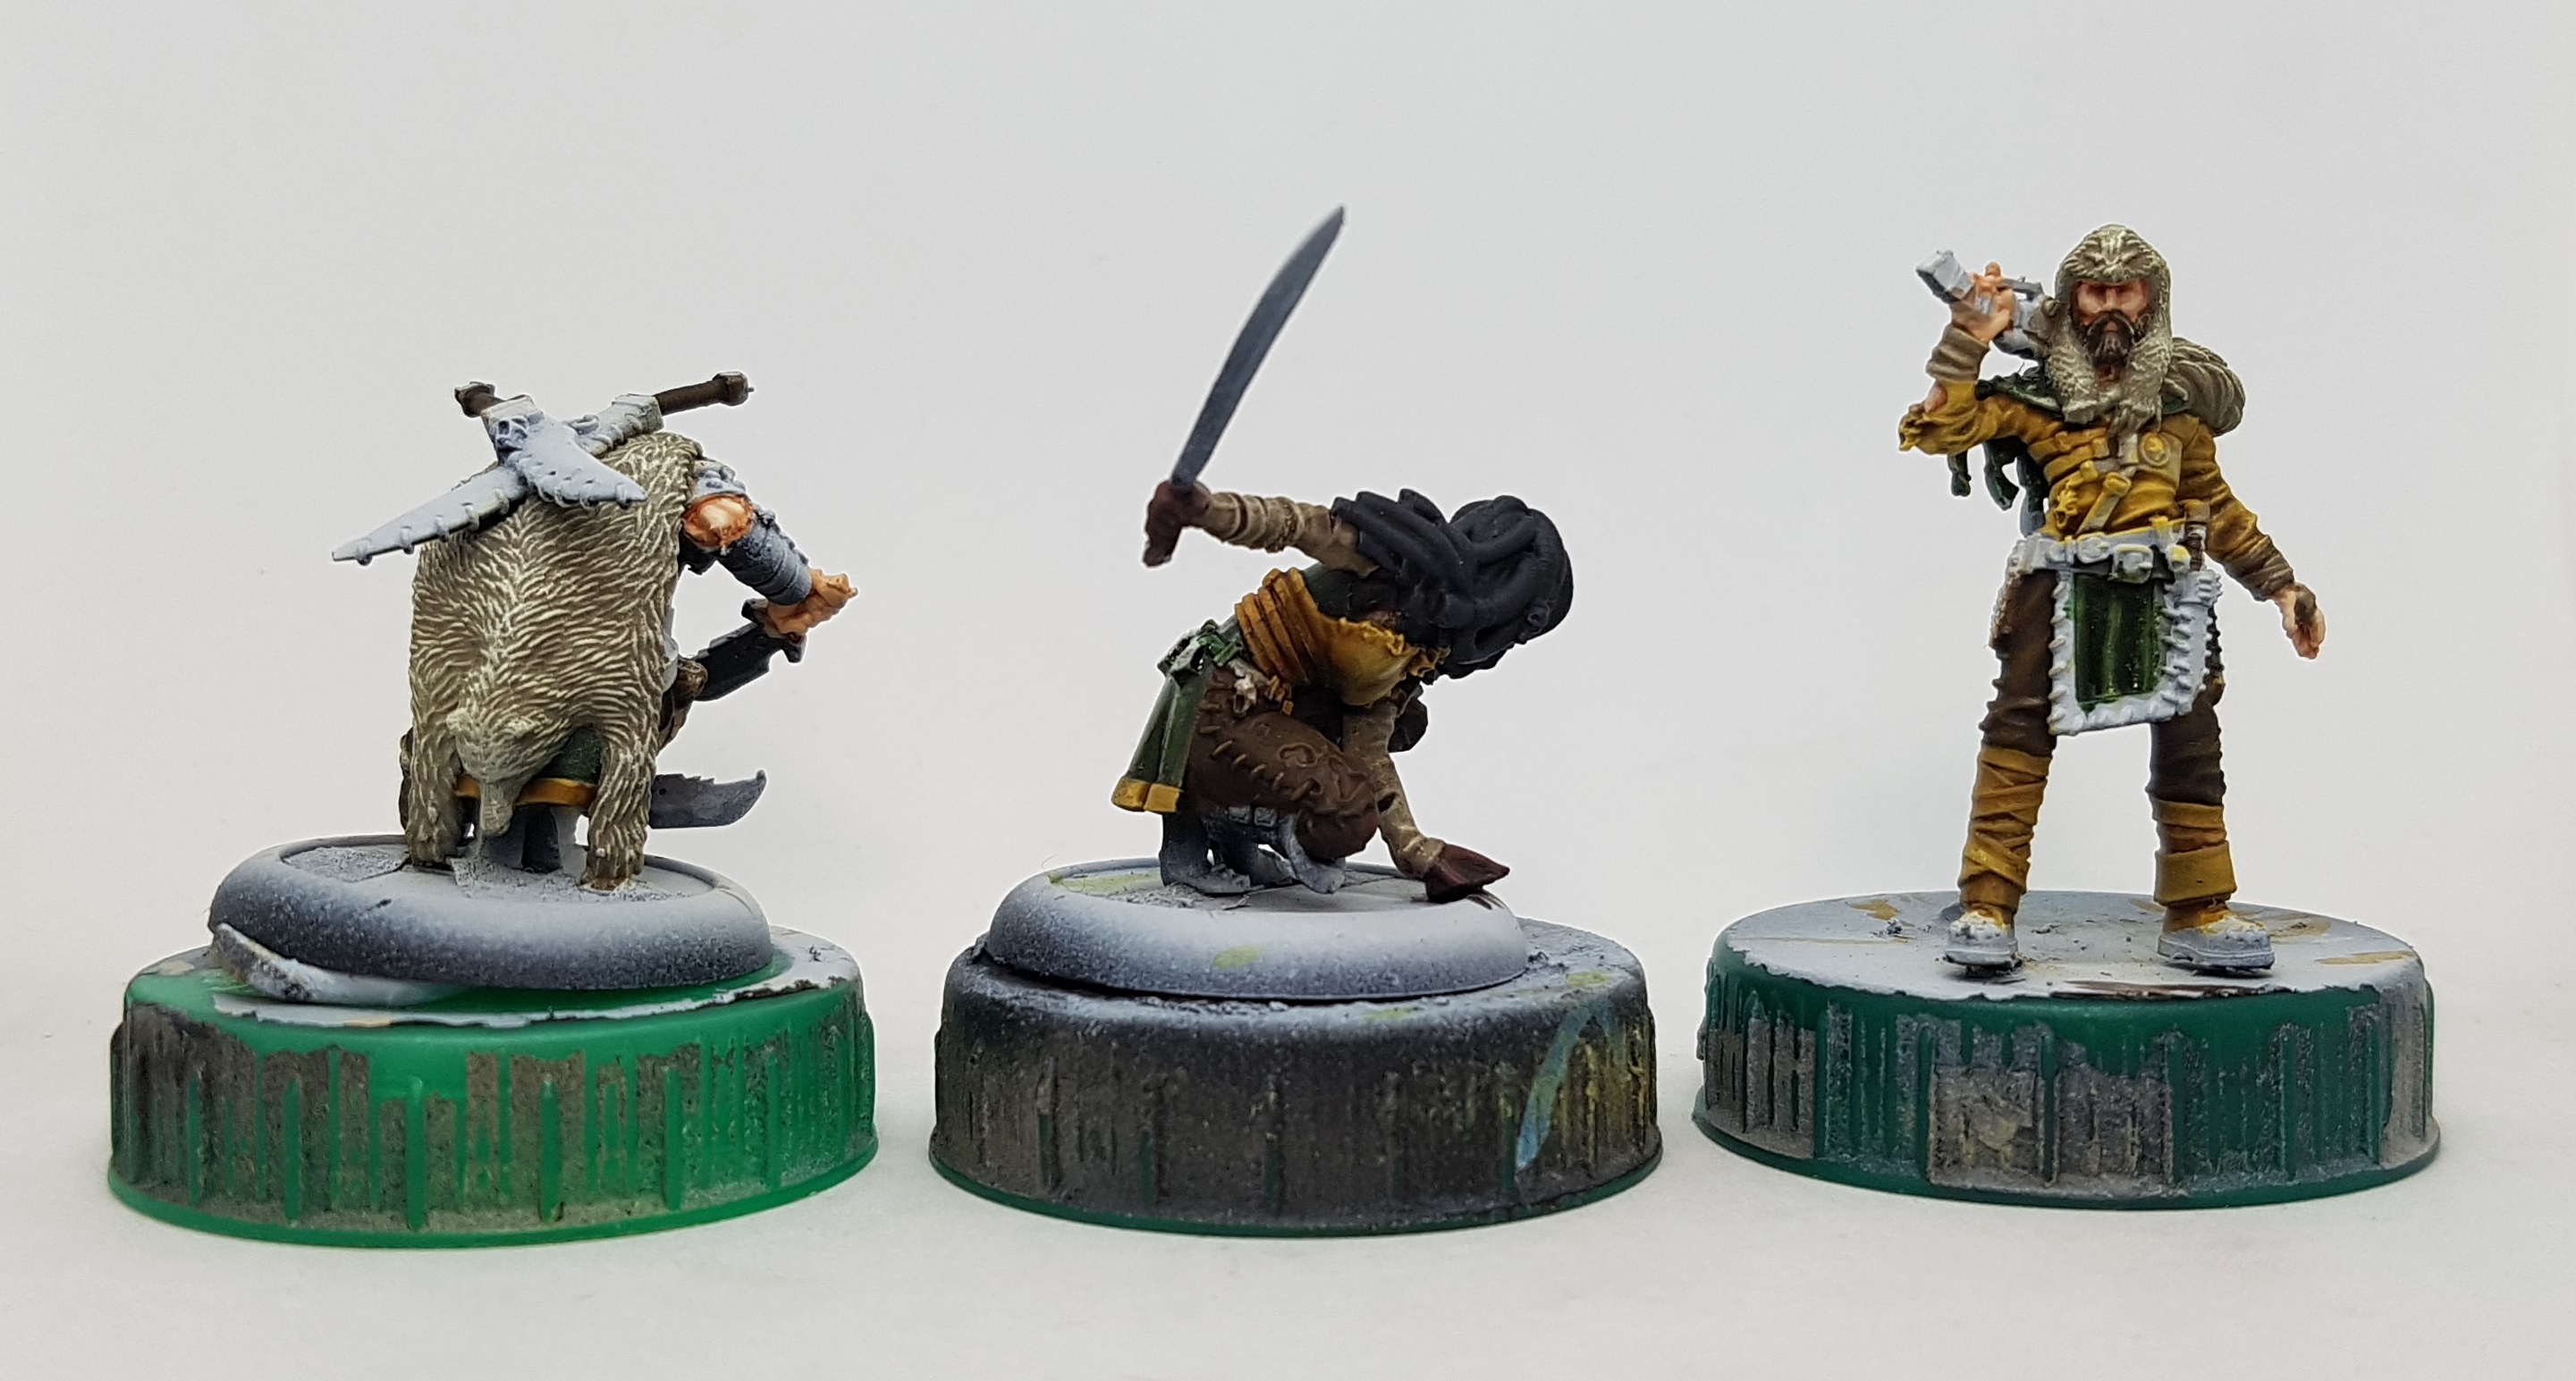 The finished colours
That’s 4 more shades of brown applied, along with the flesh tones, bear fur, leather, fur clothing, and different hair colours. There’s still the brown of the wood, the brown of the leather straps, the brown of some dark bronze, bone (That’s a whitish brown?) the red-brown of the earth, and the red-brown of some rocks to come later. I hope I’ve enough of a range of browns encroaching in to other colours that it doesn’t all blur together.
Wood Effect and Plants
There’s a fair bit of wood across all their weapons. I quite like the wood effect from a recent AssetDrop box so I’ll be basing my work here on that.
Base Coat: ScaleColour SC-31Brown Leather
Shade: base mixed with a little black painted on the lower sections
Highlight: Paint on thinned Coat D’Arms 224 Horse Tone Bay on the upper sections
Wood Core Base: P3 Menoth White Base
 Initial coats on the wood
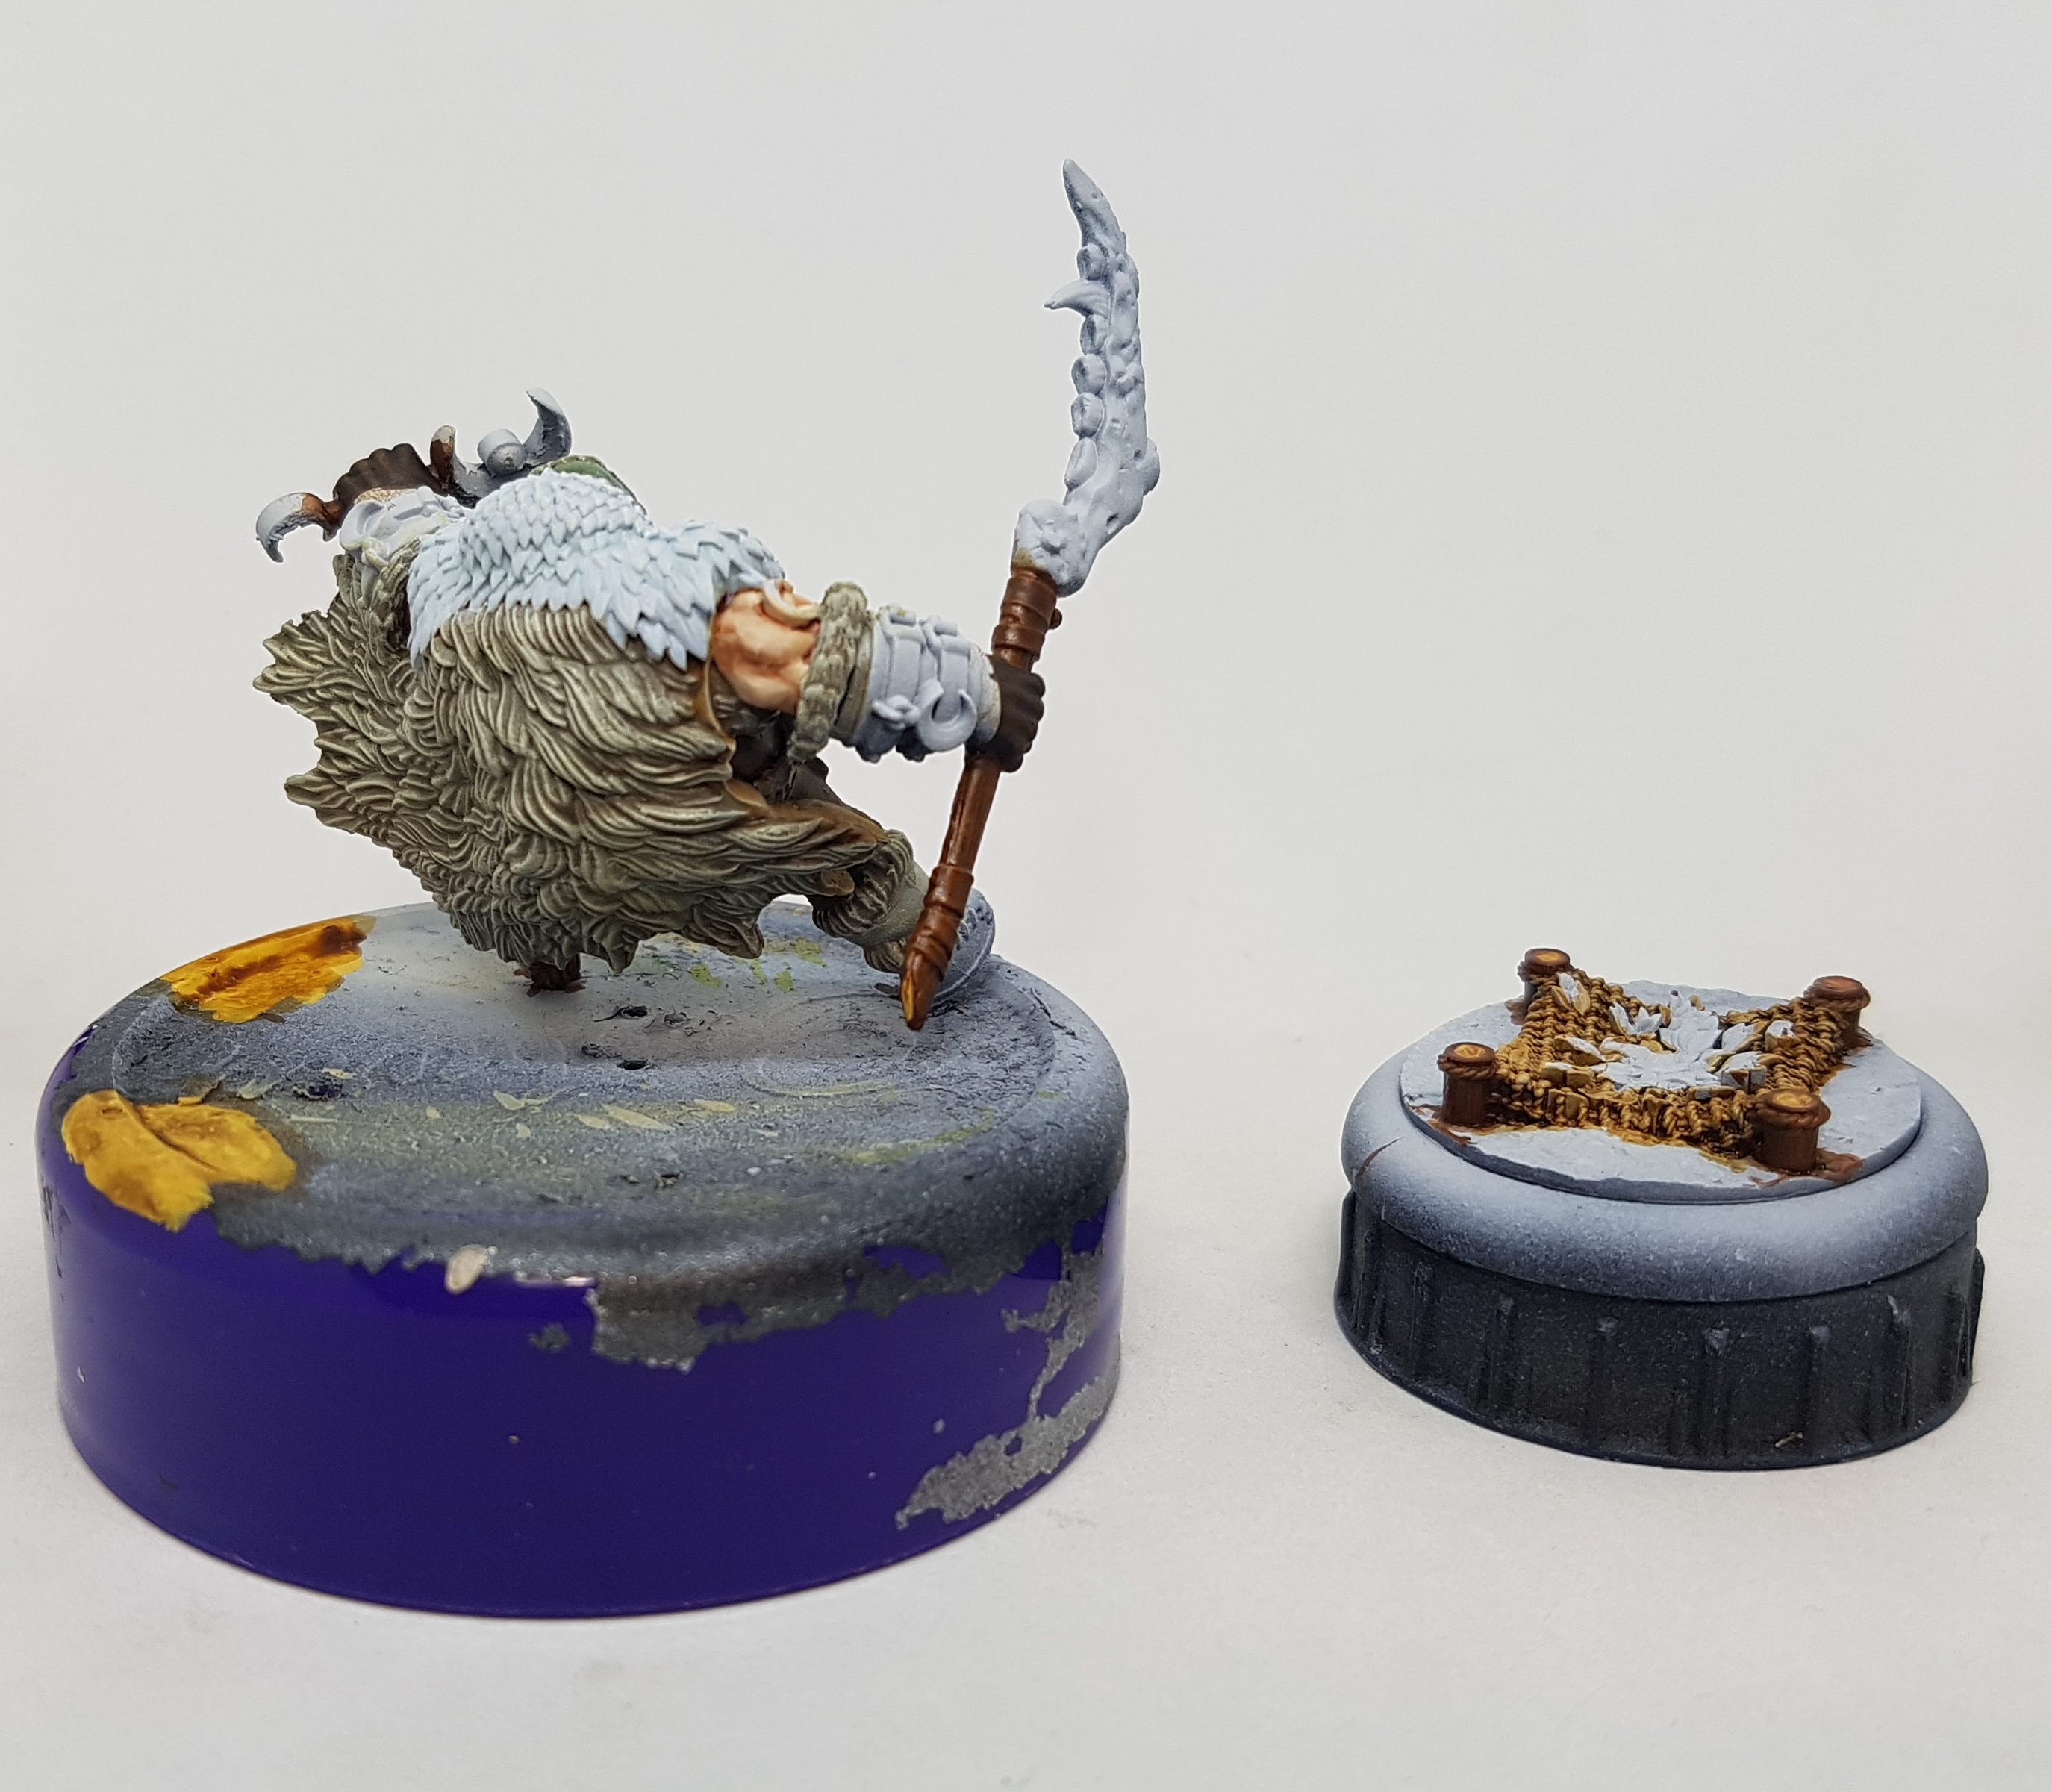 Scalecolour Inktense Chesnut wash over all the wood. I got a little on my primed netting and I liked the effect so I went with it.
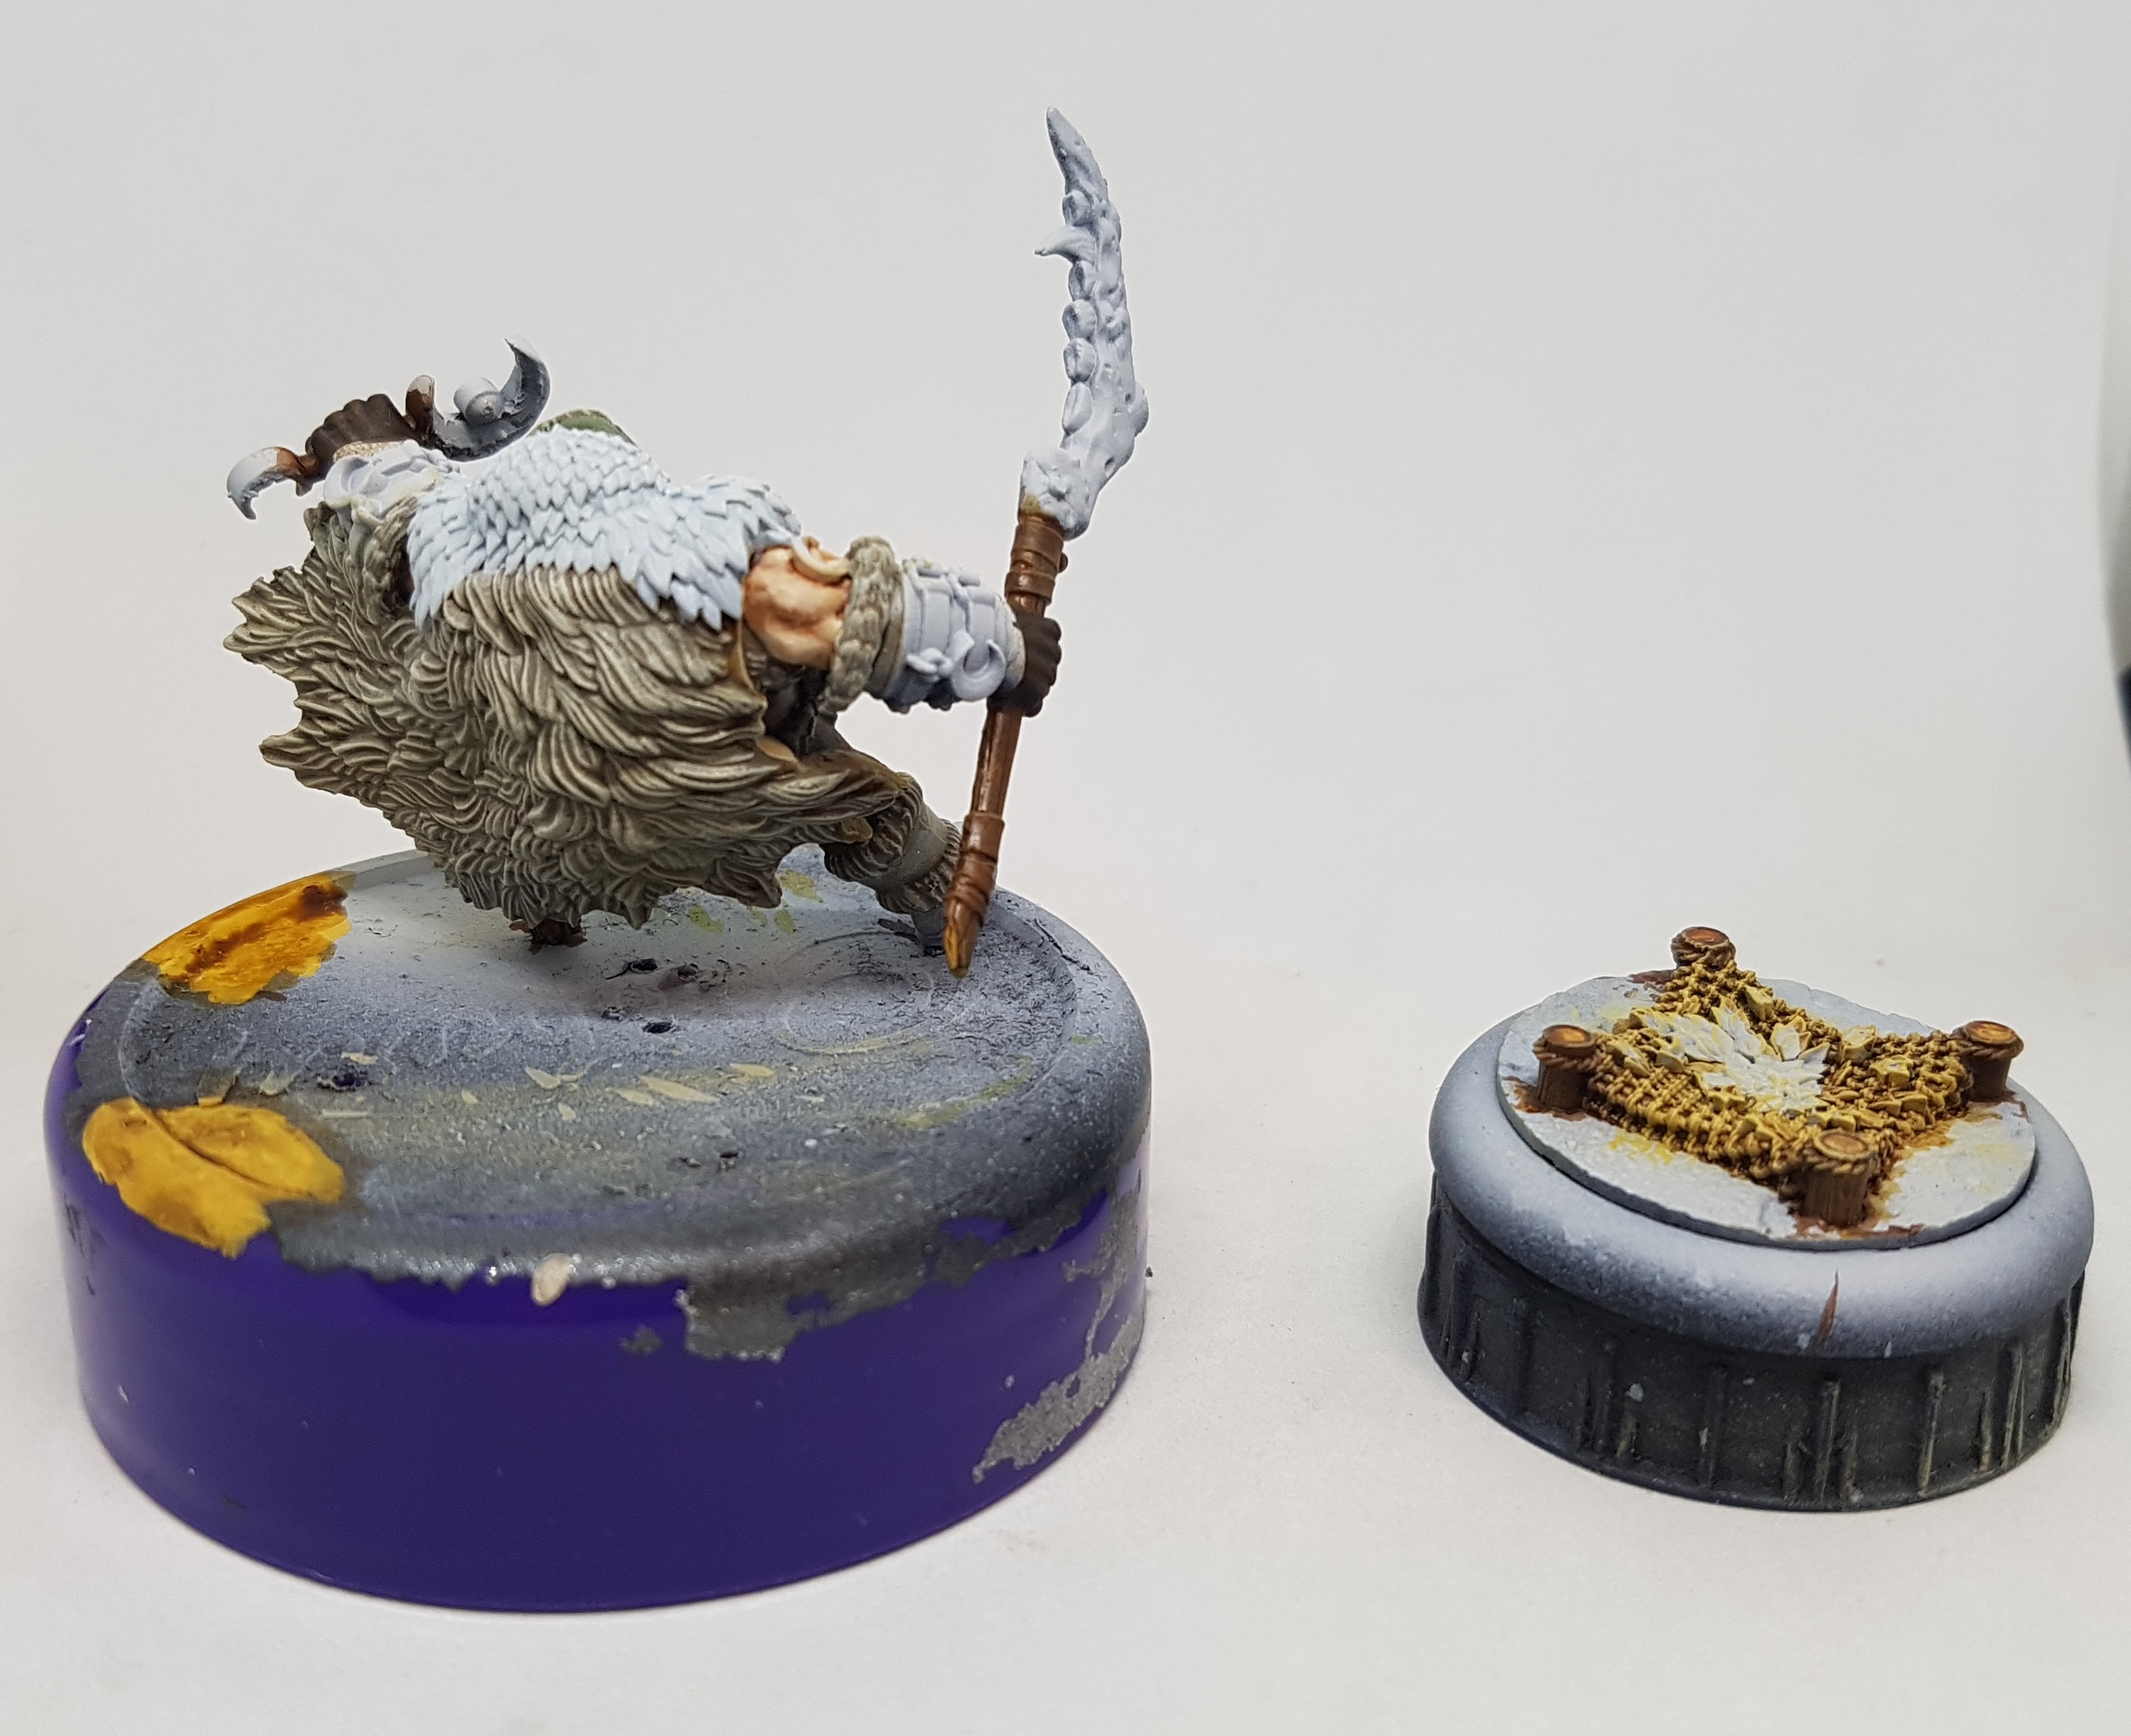 The wood bark wash Drybrushed with horse Tone Bay and the netting was drybrushed with P3 Mouldy Ochre and then P3 Sickly Skin in a pot luck attempt to find something that looked right.
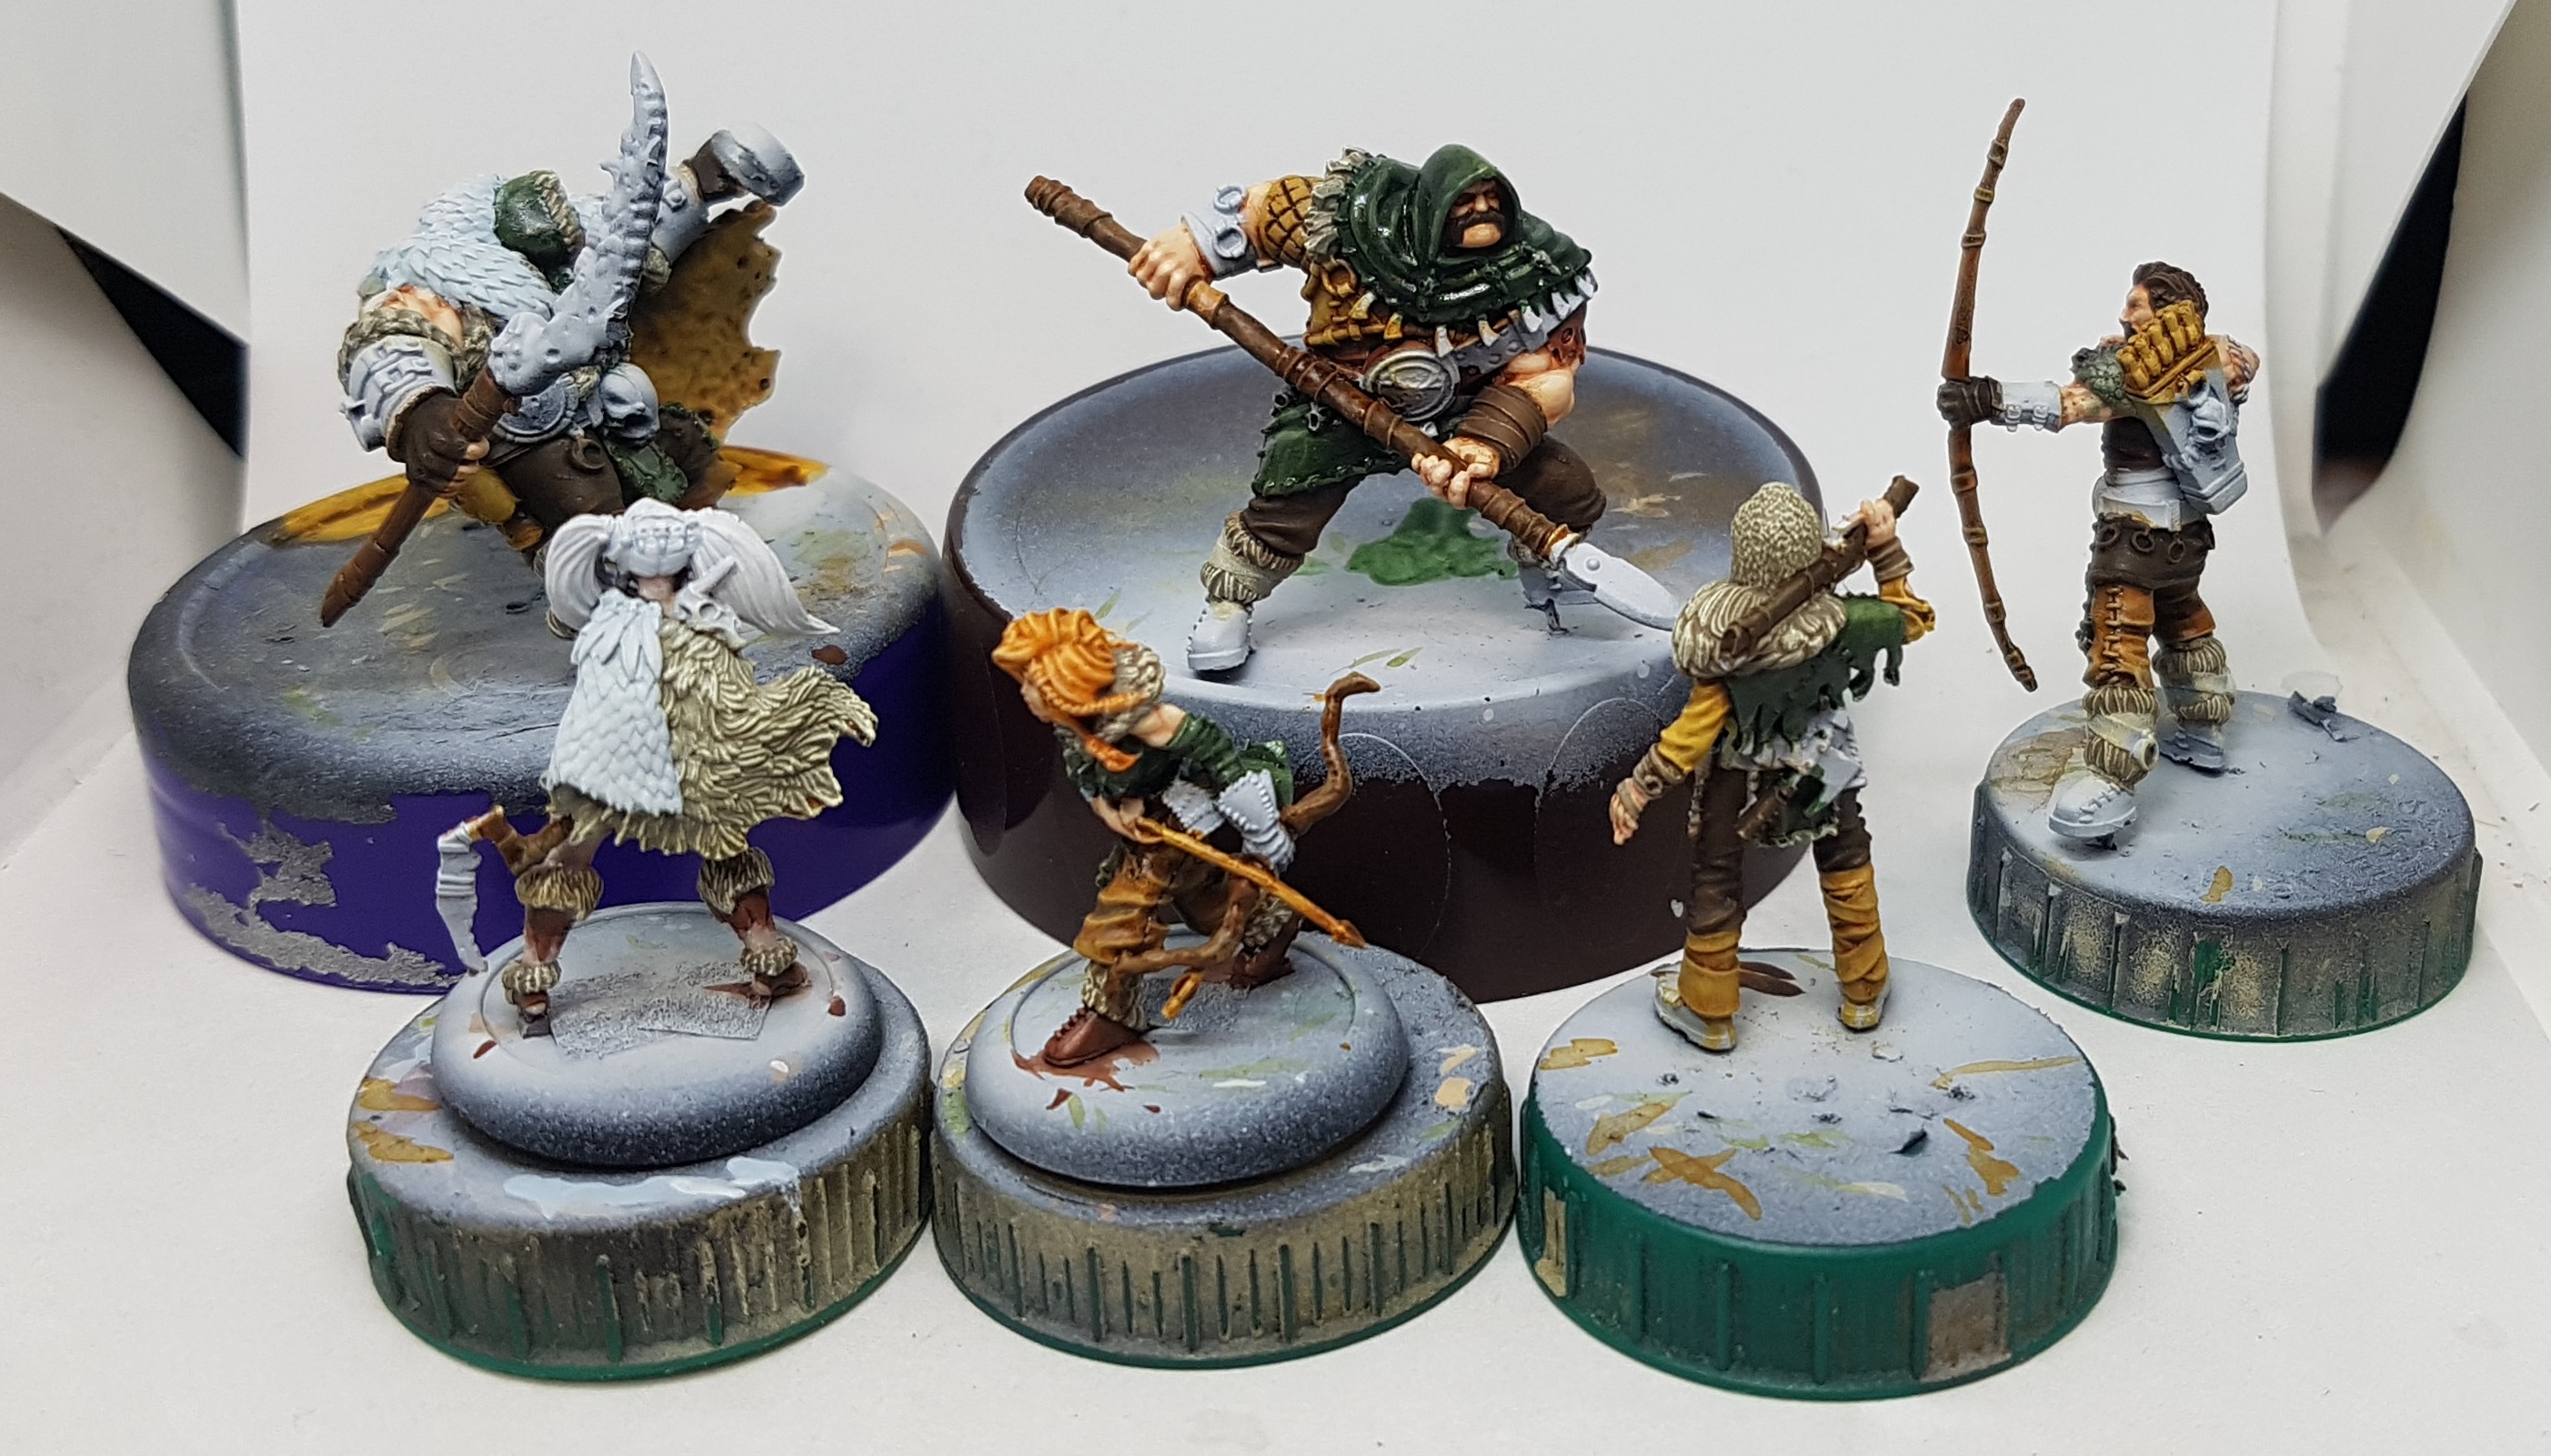 The accessible wood core was drybrushed with Mentoth White base. The wood is now finished.
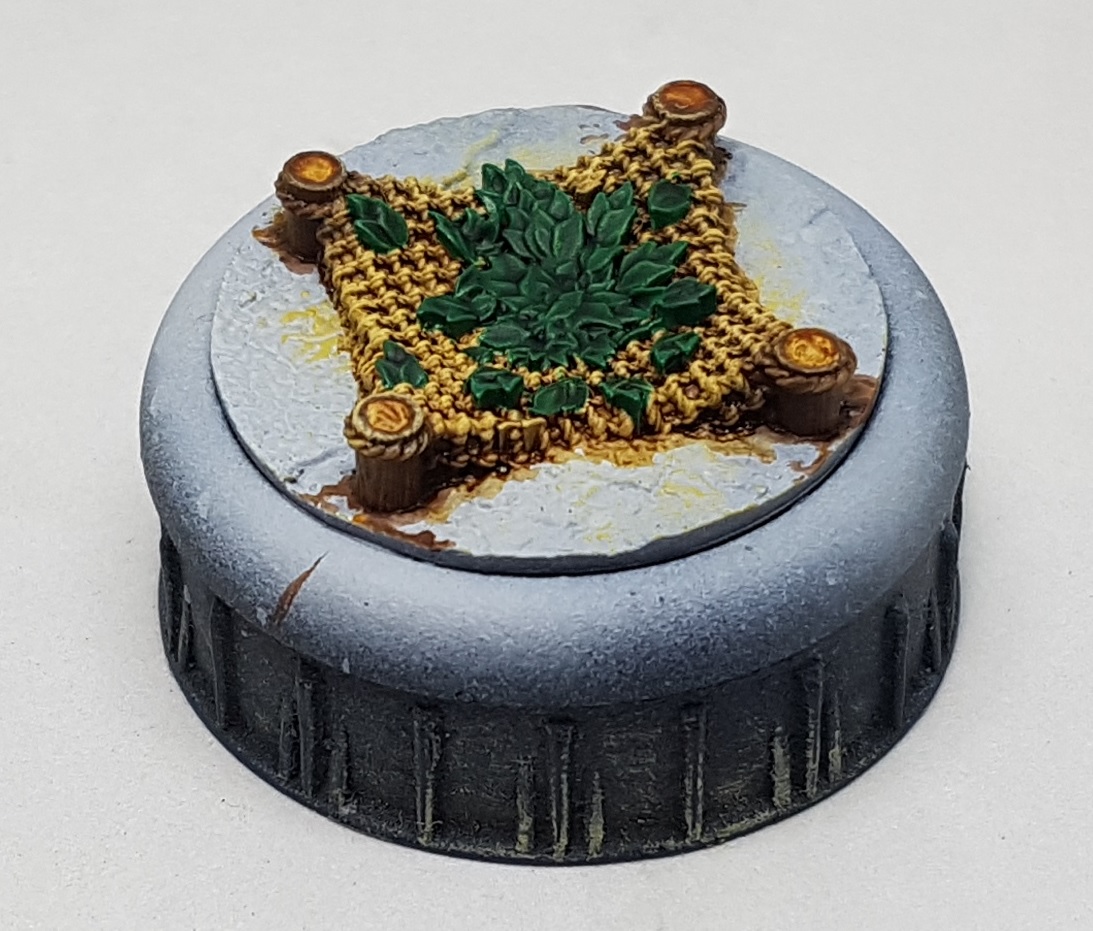 The leaves were base coated with Ammo Mig Deep Green and then washed with a couple of coats of Army Painted Green Tone. A little Army Painted Strong Tone was added to the green tone and applied to the deeper areas.
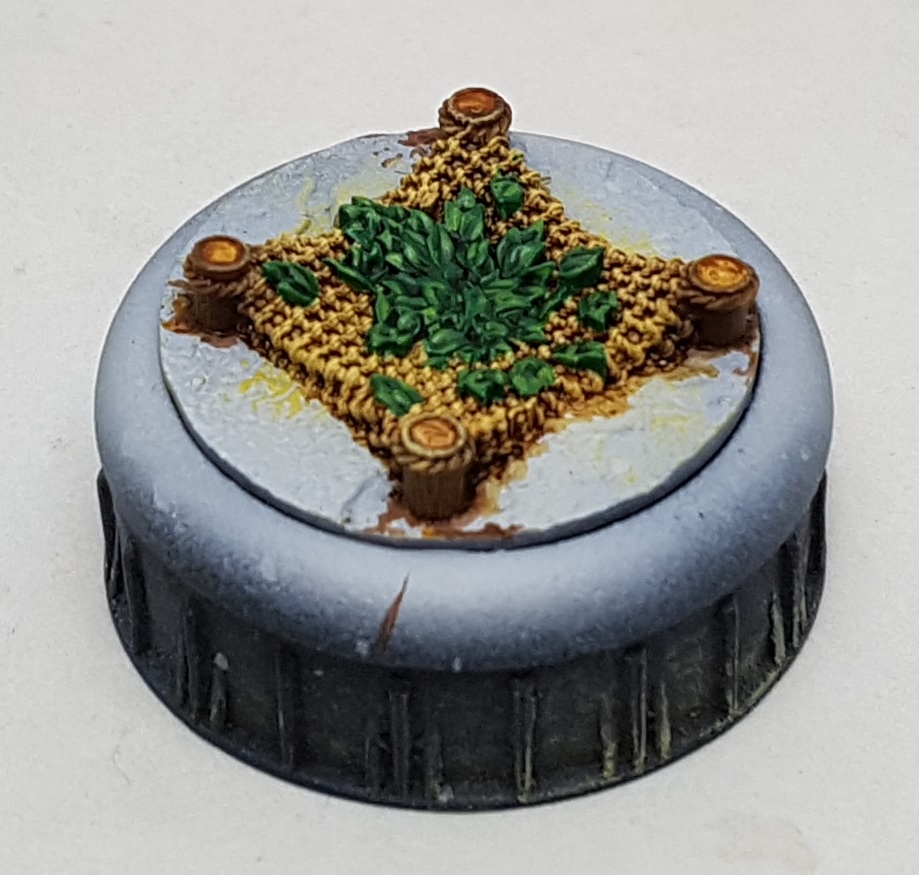 The flat areas of the leaves were reclaimed with more Deep Green. The edges were then picked out with Ammo Mig Lime Green
Grey Boots Because Anything But More Brown
I decided to paint the boots grey as I really didn’t want to come up with the 20th distinct shade of brown. Having recently painted some Khador models I thought I would use the same recipe but I got to the highlighting stage and they lacked any definition and looked too light, clean and smooth so I scrapped that plan and bathed everything in Nuln Oil. Say what you like about GW, but Nuln Oil and Agrax Earthshade are a painters best friends.
 Base coated with a mix of P3 Greatcoat Grey and P3 Menoth White Highlight. After some washes and highlights they largely looked the same as this so i won't bother detailing them
 After an GW Nuln Oil wash they received a Cryx Bane Highlight drybrush. This was done to all the remaining footwear at the same time
The Final Leathers and Ropes
I’ve picked out enough different layers of clothing that I can assume everything else is my Mk1 default lazy leather. Everything gets simpler now as I no longer need to think about picking colours. I painted the final leathers and the ropes at the same time because there is very little rope and it has the same shade wash stage that can take a while to dry:
Leathers
Base: P3 Bootstrap leather (P3 Idrian Flesh where I wanted a second shade to break up different surfaces)
Shade: GW Agrax Earthshade
Highlight: P3 Beast Hide
Rope:
Base: P3 Rucksack Tane
Shade: GW Agrax Earthshade
Highlight: P3 Mouldy Ochre
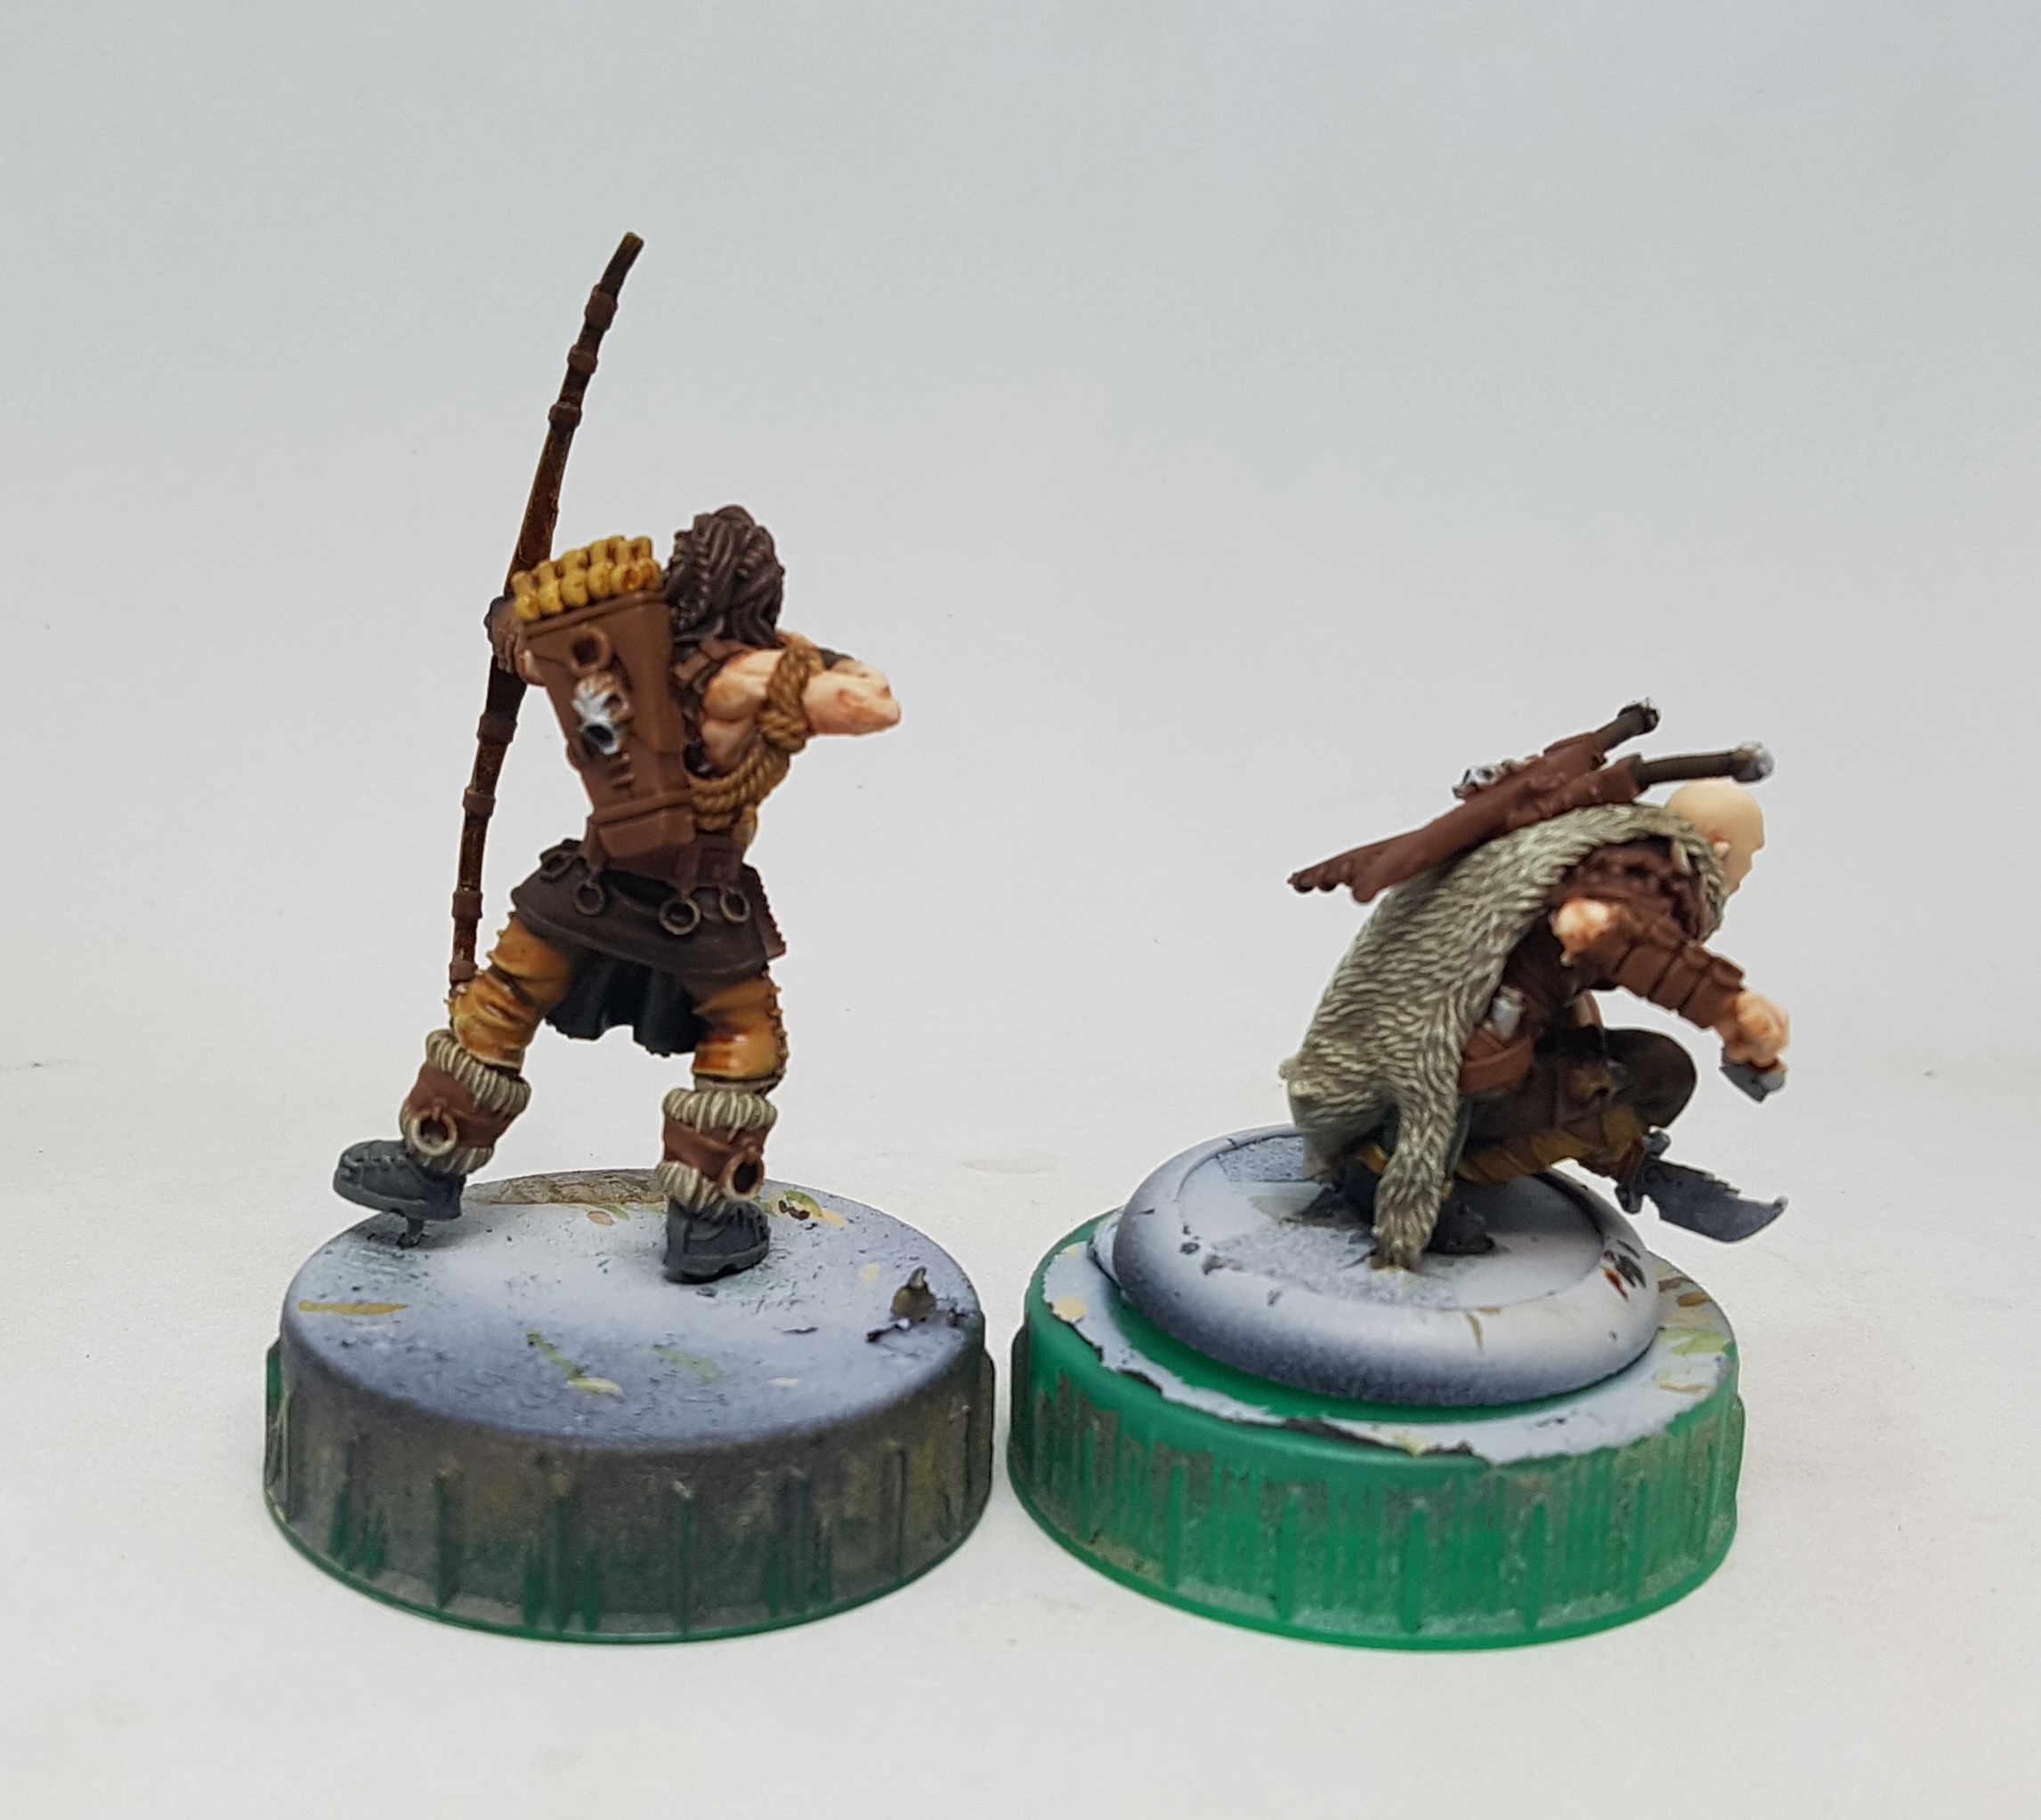 The base coats with the wash applied
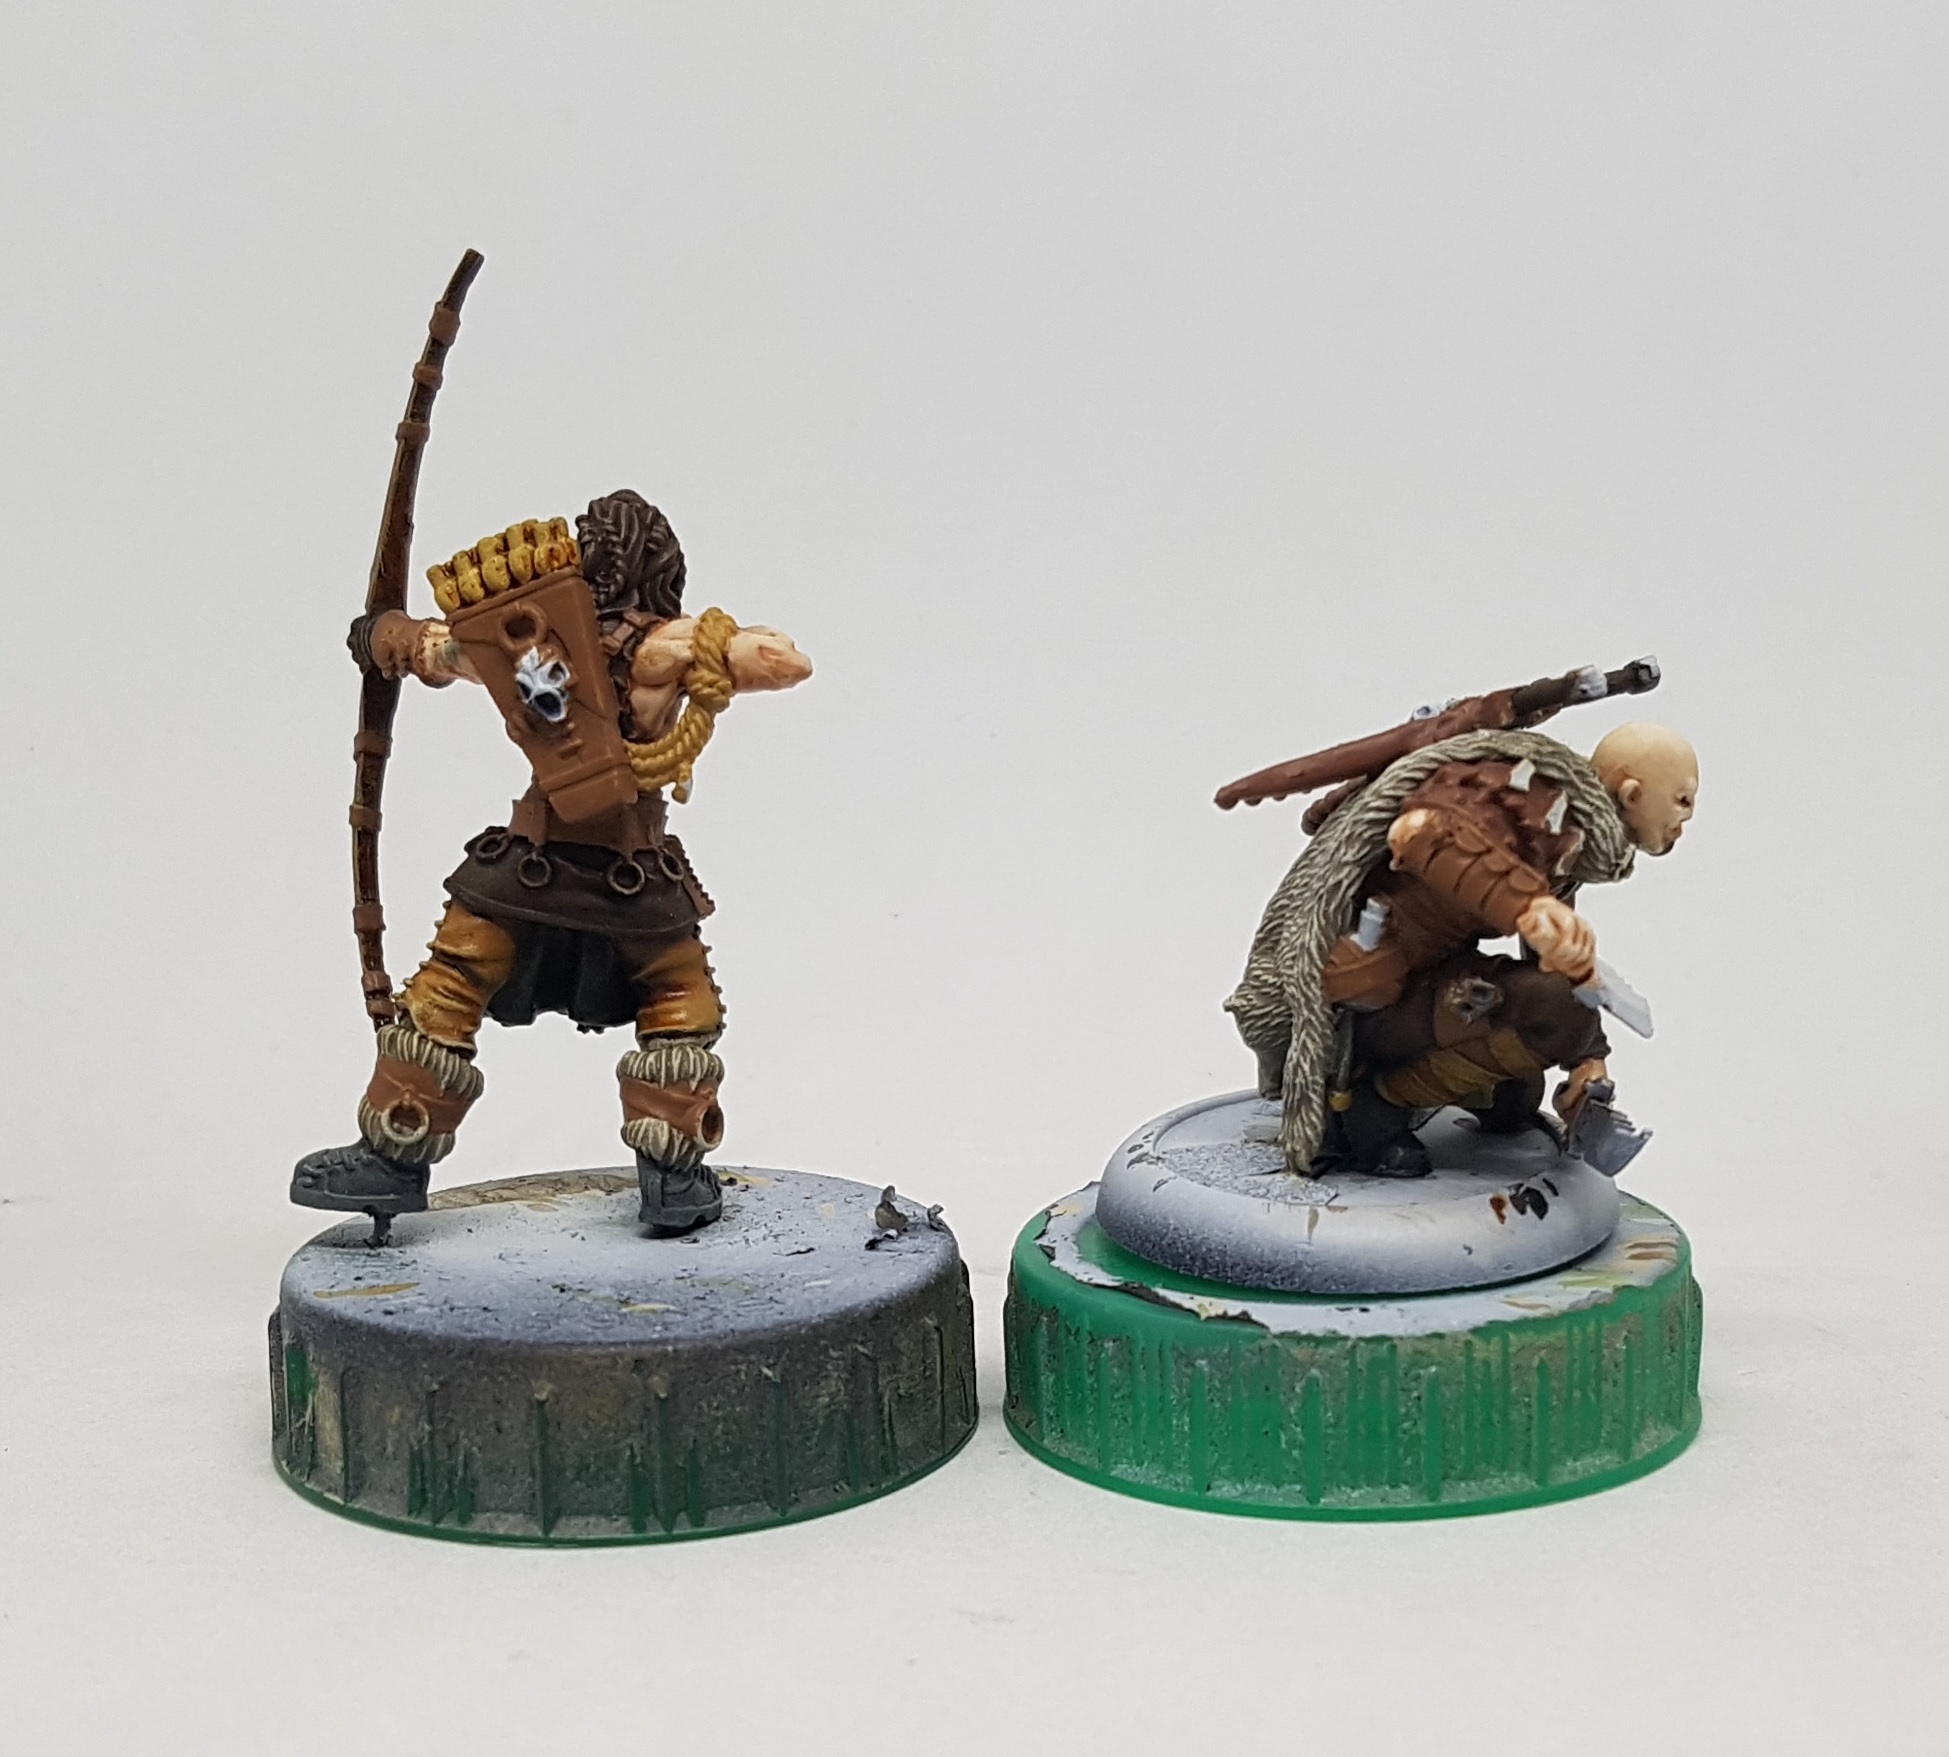 After the drybrush highlights
Iron and Steel
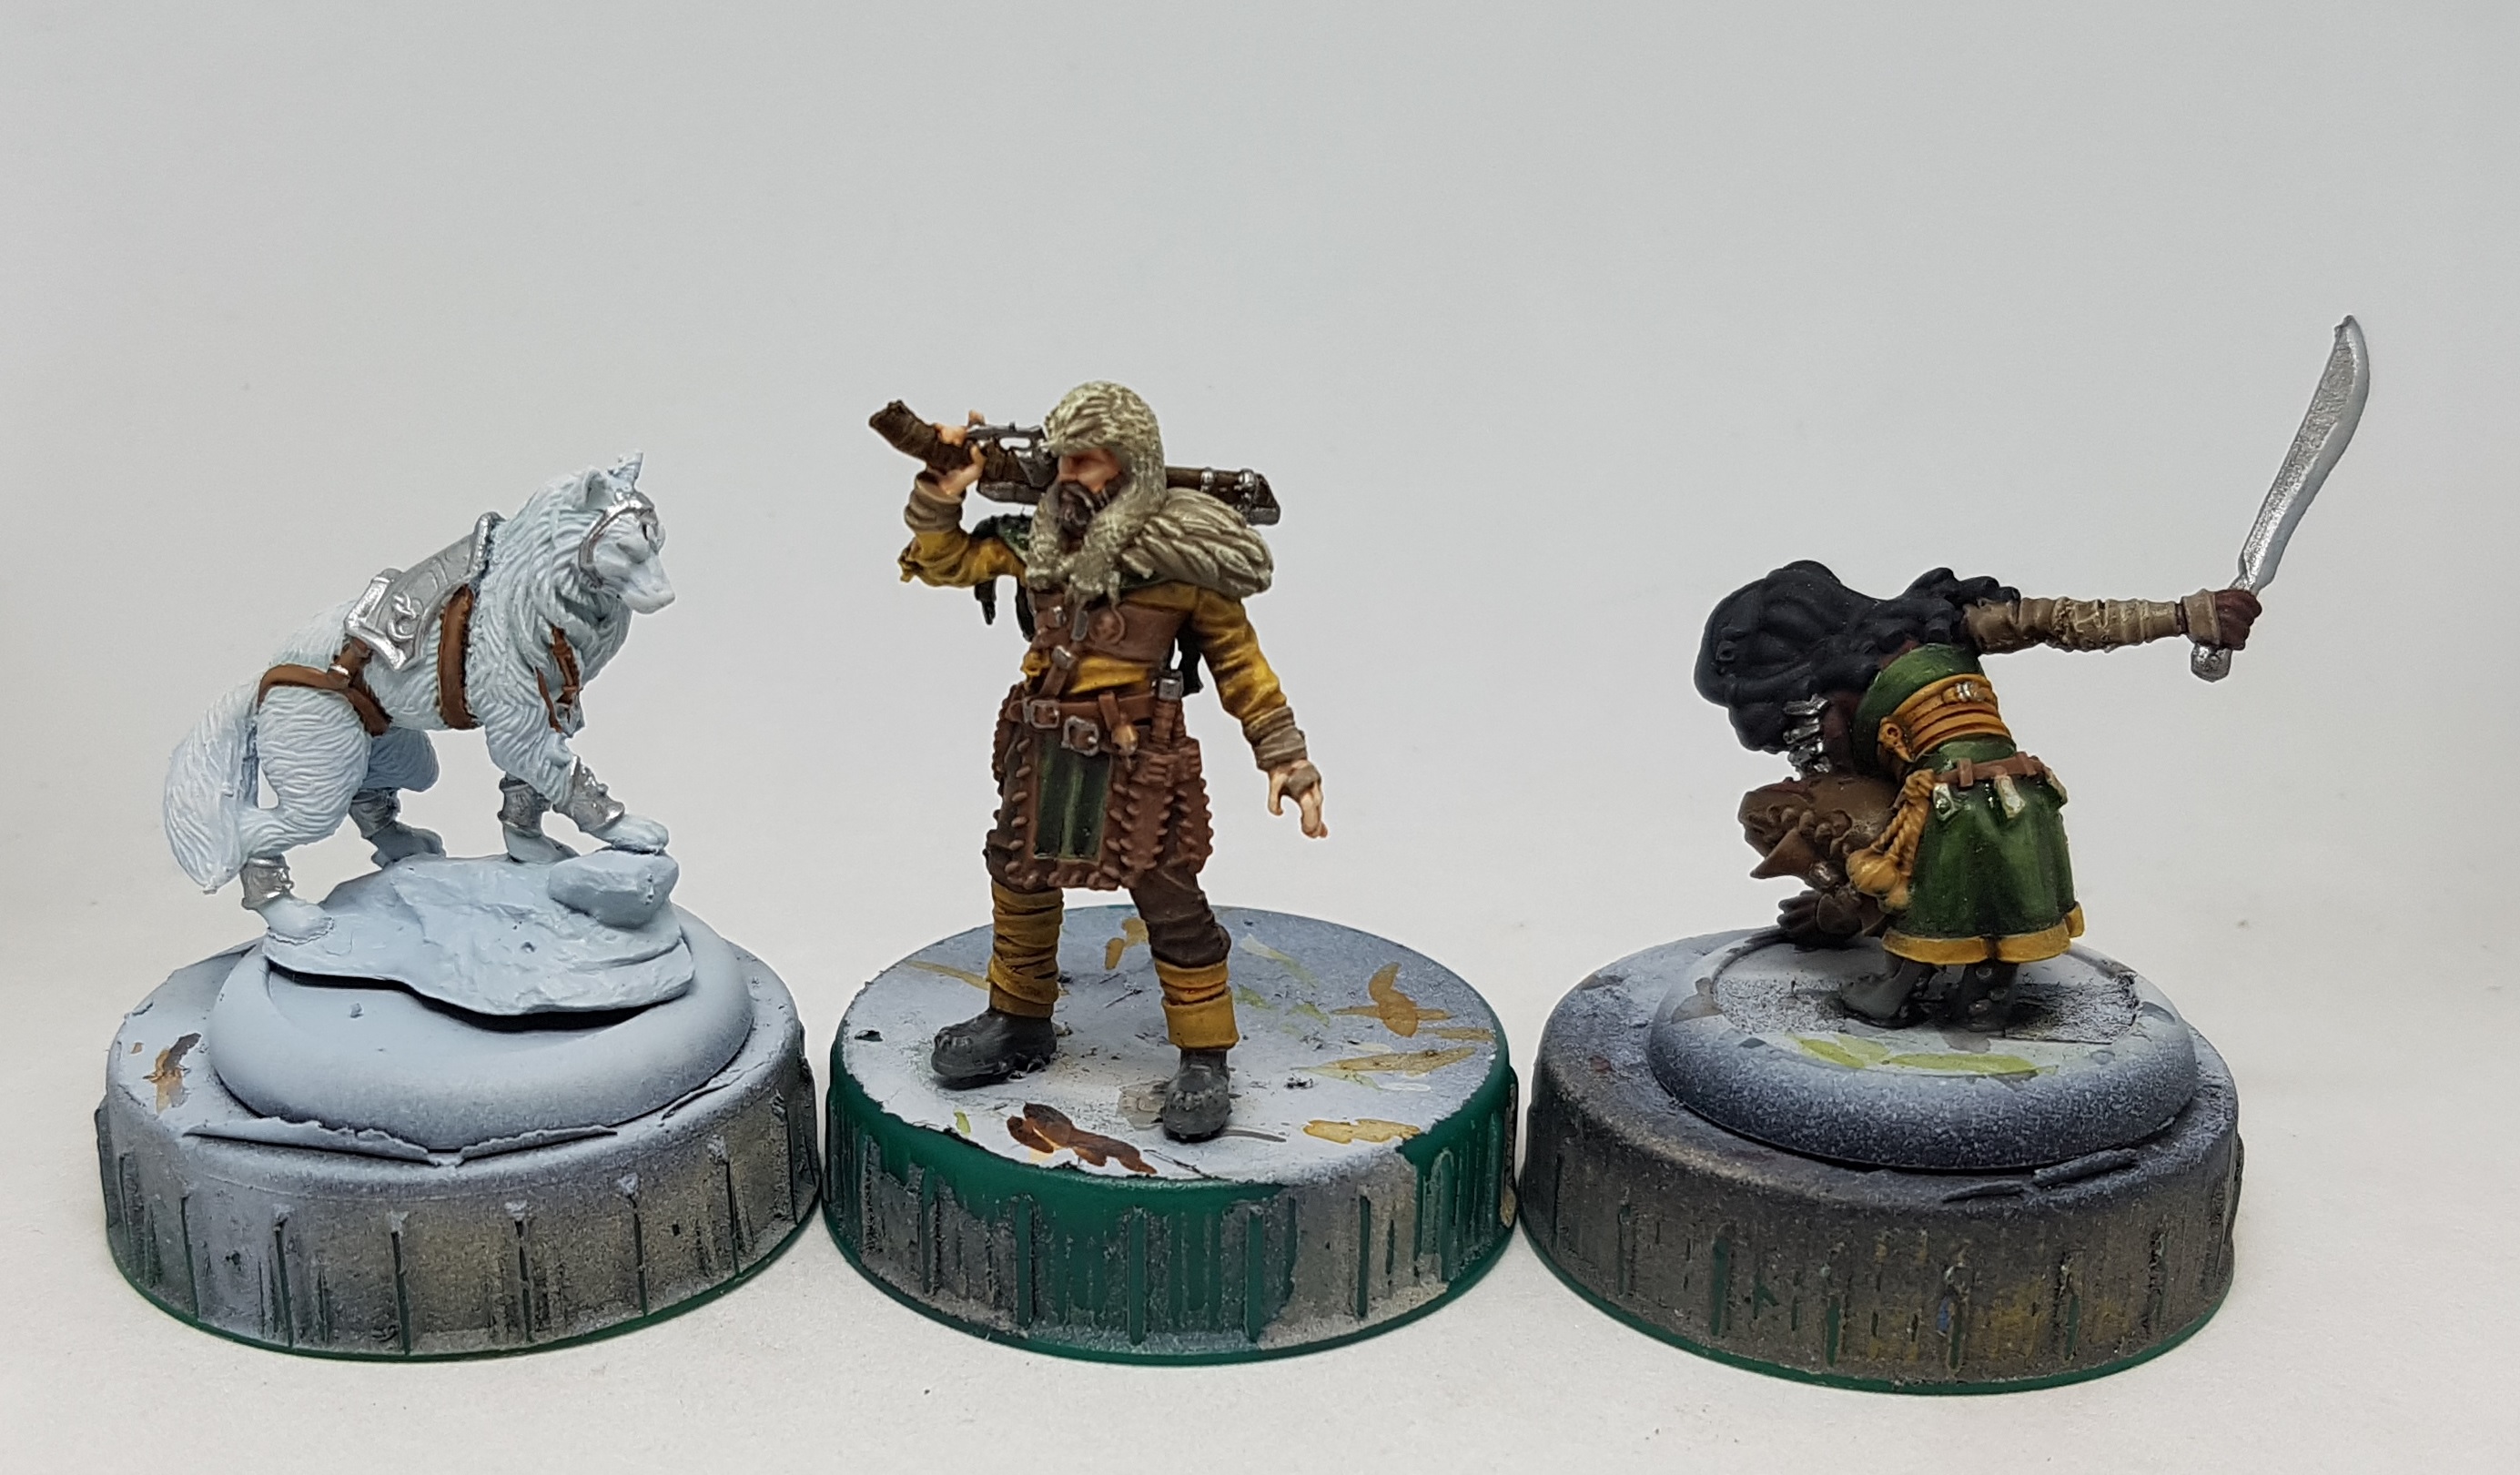
I base coated most of the irons with P3 Pig Iron as its a good standard weapon colour. However Snow, the wolf, has an icy feel to him and I wanted his metal to echo this so I chose a silver that had an edge of cold and blue to it. VGC 72.053 Chainmail silver looked like my best option from the pots at my desk so base coated all his metal in this. I also applied some of this to the edges of the blades of everyone else’s weapons. I’d normally do this after shading, but the paint was mixed up already so i thought why not try it?
Everyone but the wolf then got a wash with Nuln Oil. I gloss varnished the wolf and then applied the nuln oil only to his recesses and the engraved swirls in his armour as a pin wash. The gloss helps repel it from flat surfaces keeping them clean.
Everything then got highlighted with VGC Chainmail. VMA 71.064 Chrome was then used to highlight the wolf and add a little glint to the highest points of weapon highlights. I apparently forgot to take a picture of this stage because I can see the end in sight at last and I was caught up the the momentum.
Back at the start of this project I did an experiment to test out the two different rust pigments I have had on my desk for a while. The very next day AssetDrop posted me a third rust paint, Mission Models Transparent Light Rust. After running a quick test on an old bottle cap I’ve used to paint models on, I mixed a drop of this with a little water and applied it to a select few weapons and Zarola’s shoulder armour to see how it works. I think this could be very good for providing stains, rather than built up rust, but I will experiment more with it in the future.
 Pig Iron and Chainmail base coats
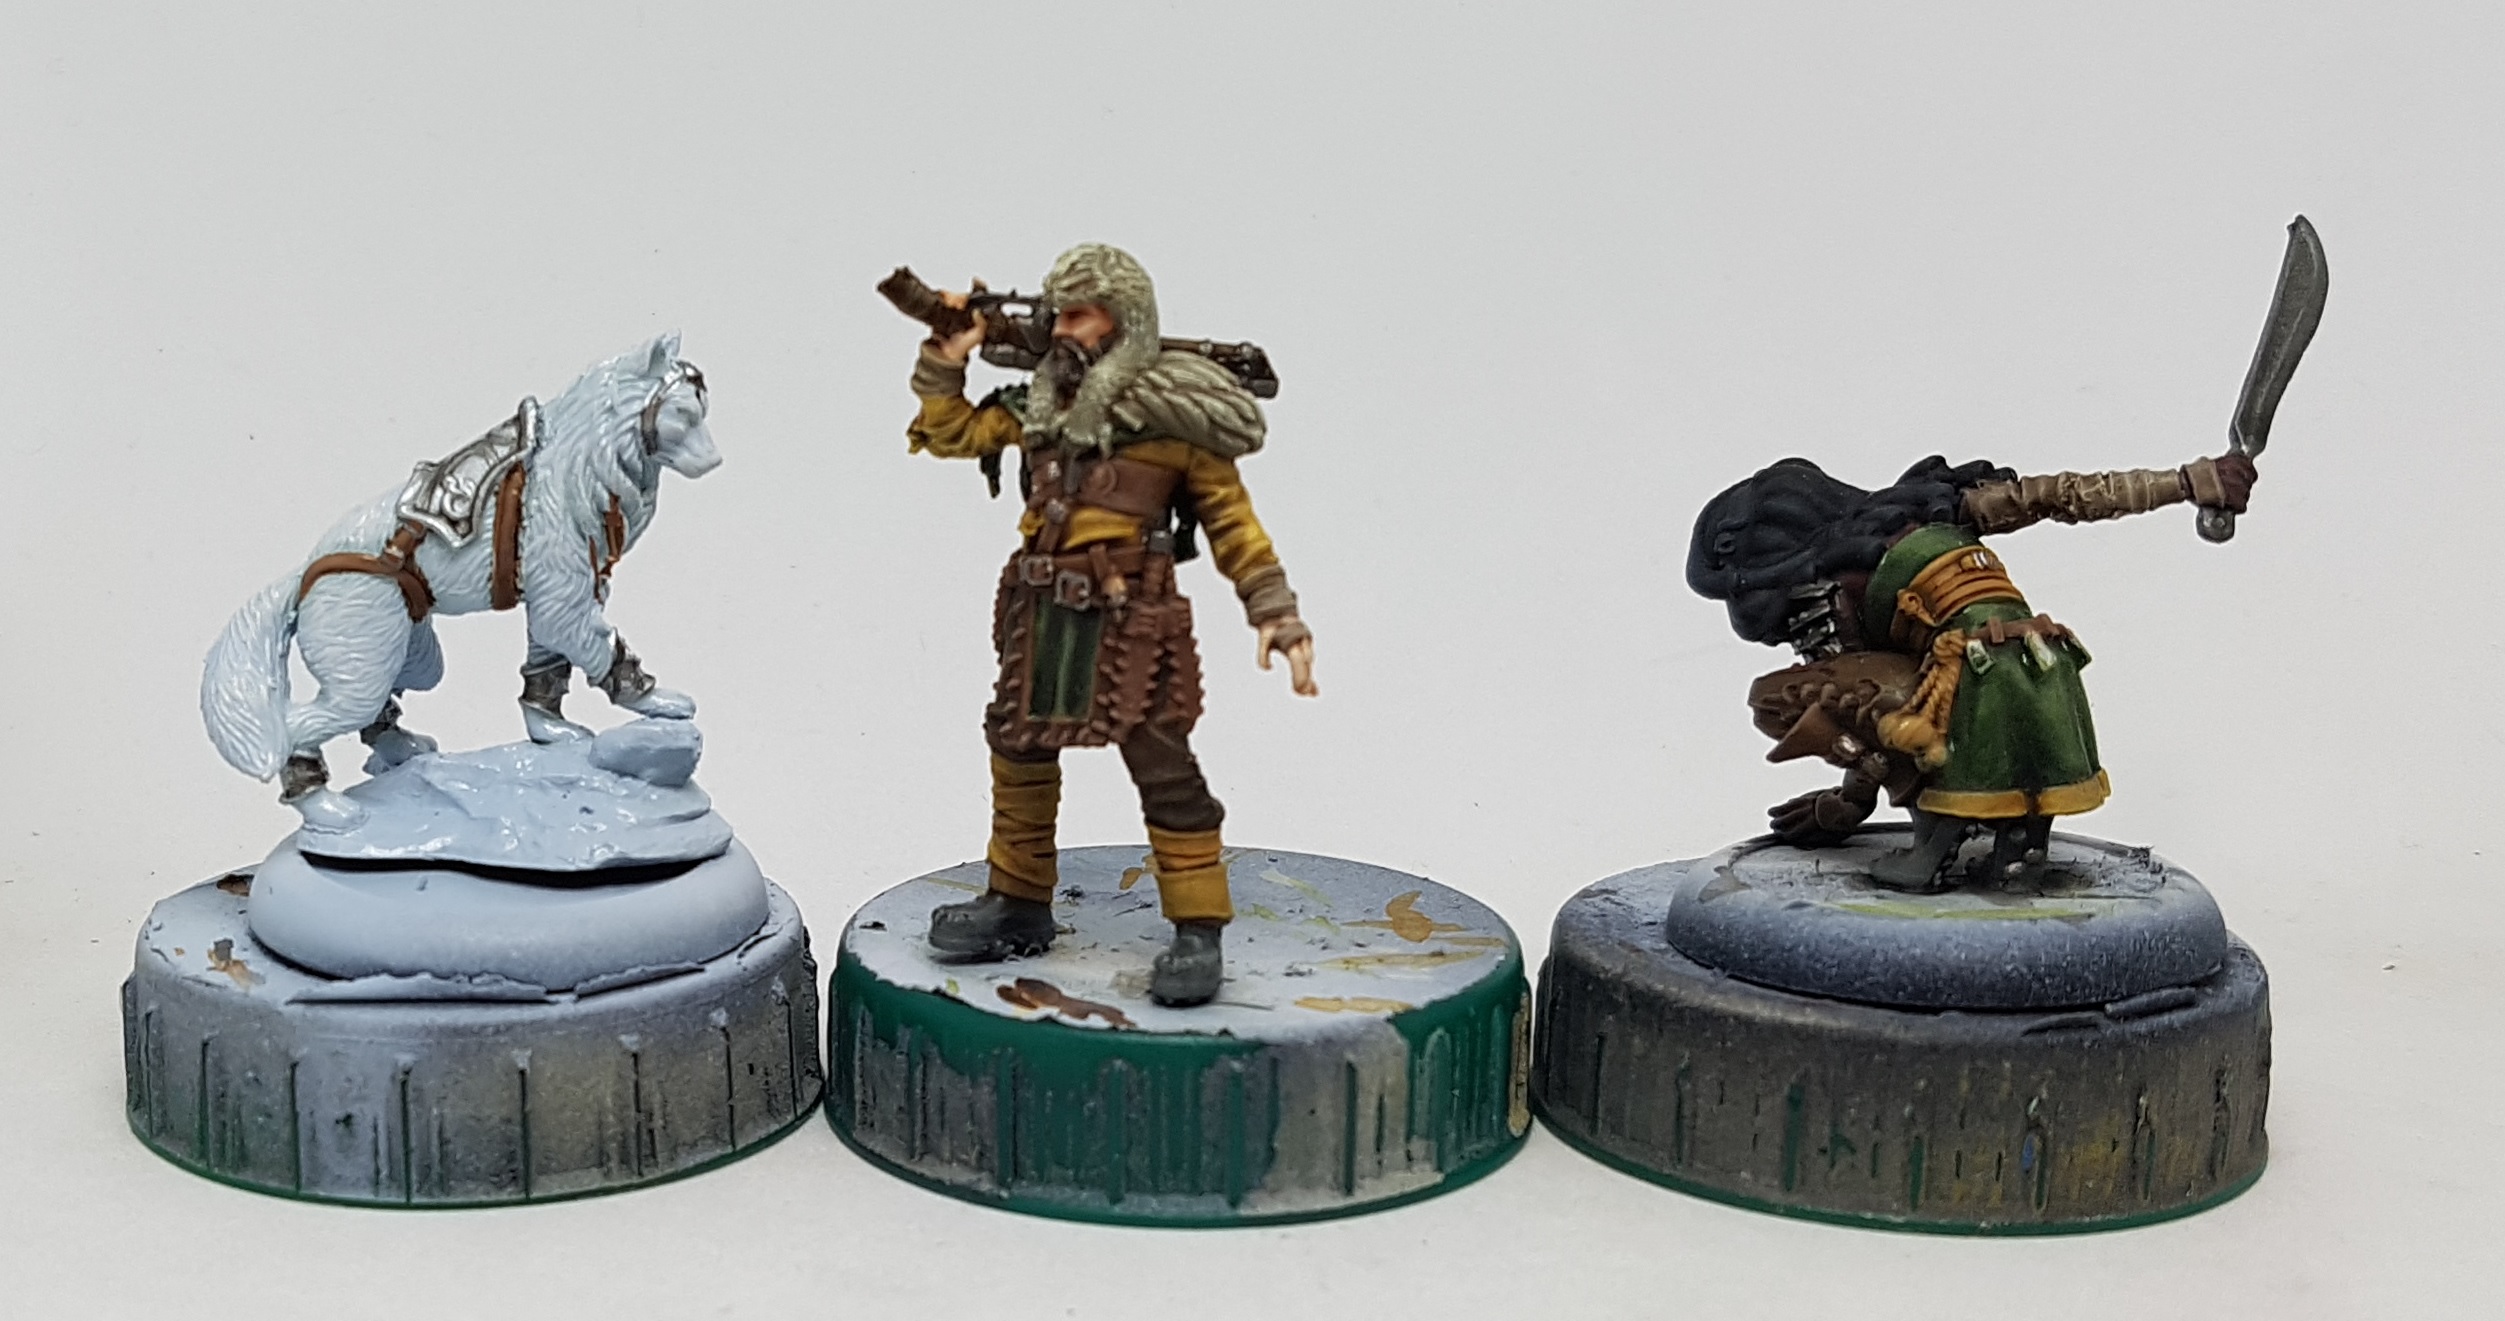 Nuln Oil Wash and Pin Wash
 I forgot to take a picture of the highlight so here's a picture of Gerrard Butler drinking tea instead. Because I'm British and reasons and stuff. I blame Lance.
 My first use of Mission Models Transparent Light Rust on a model
Bronze, Gold, and Green Lacquer
These models have two areas which I see as shades of gold. They have the guild symbols which I see as being older and worn, and they have more ornamental pieces I see as being newer and cleaner.
I haven’t shown any group shots for a few stages so there are some at the bottom.
Old worn Bronze:
Base: Darkstar Blackened Bronze
Highlight: Darkstar Bronze, drybrushed if you can, but I can’t seem to get any “golds” to drybrush well
Shade: Secret Weapon Sewer Water, diluted a touch
Highlight: Darkstar Bronze
Shiny Gold:
Base: VGA 72.756 Glorious Gold
Shade: GW Agrax Earthshade
Highlight: P3 Solid Gold
Laquer: VGC 72.089 Green Ink painted over the gold in a few thin coats
 Base Coat only
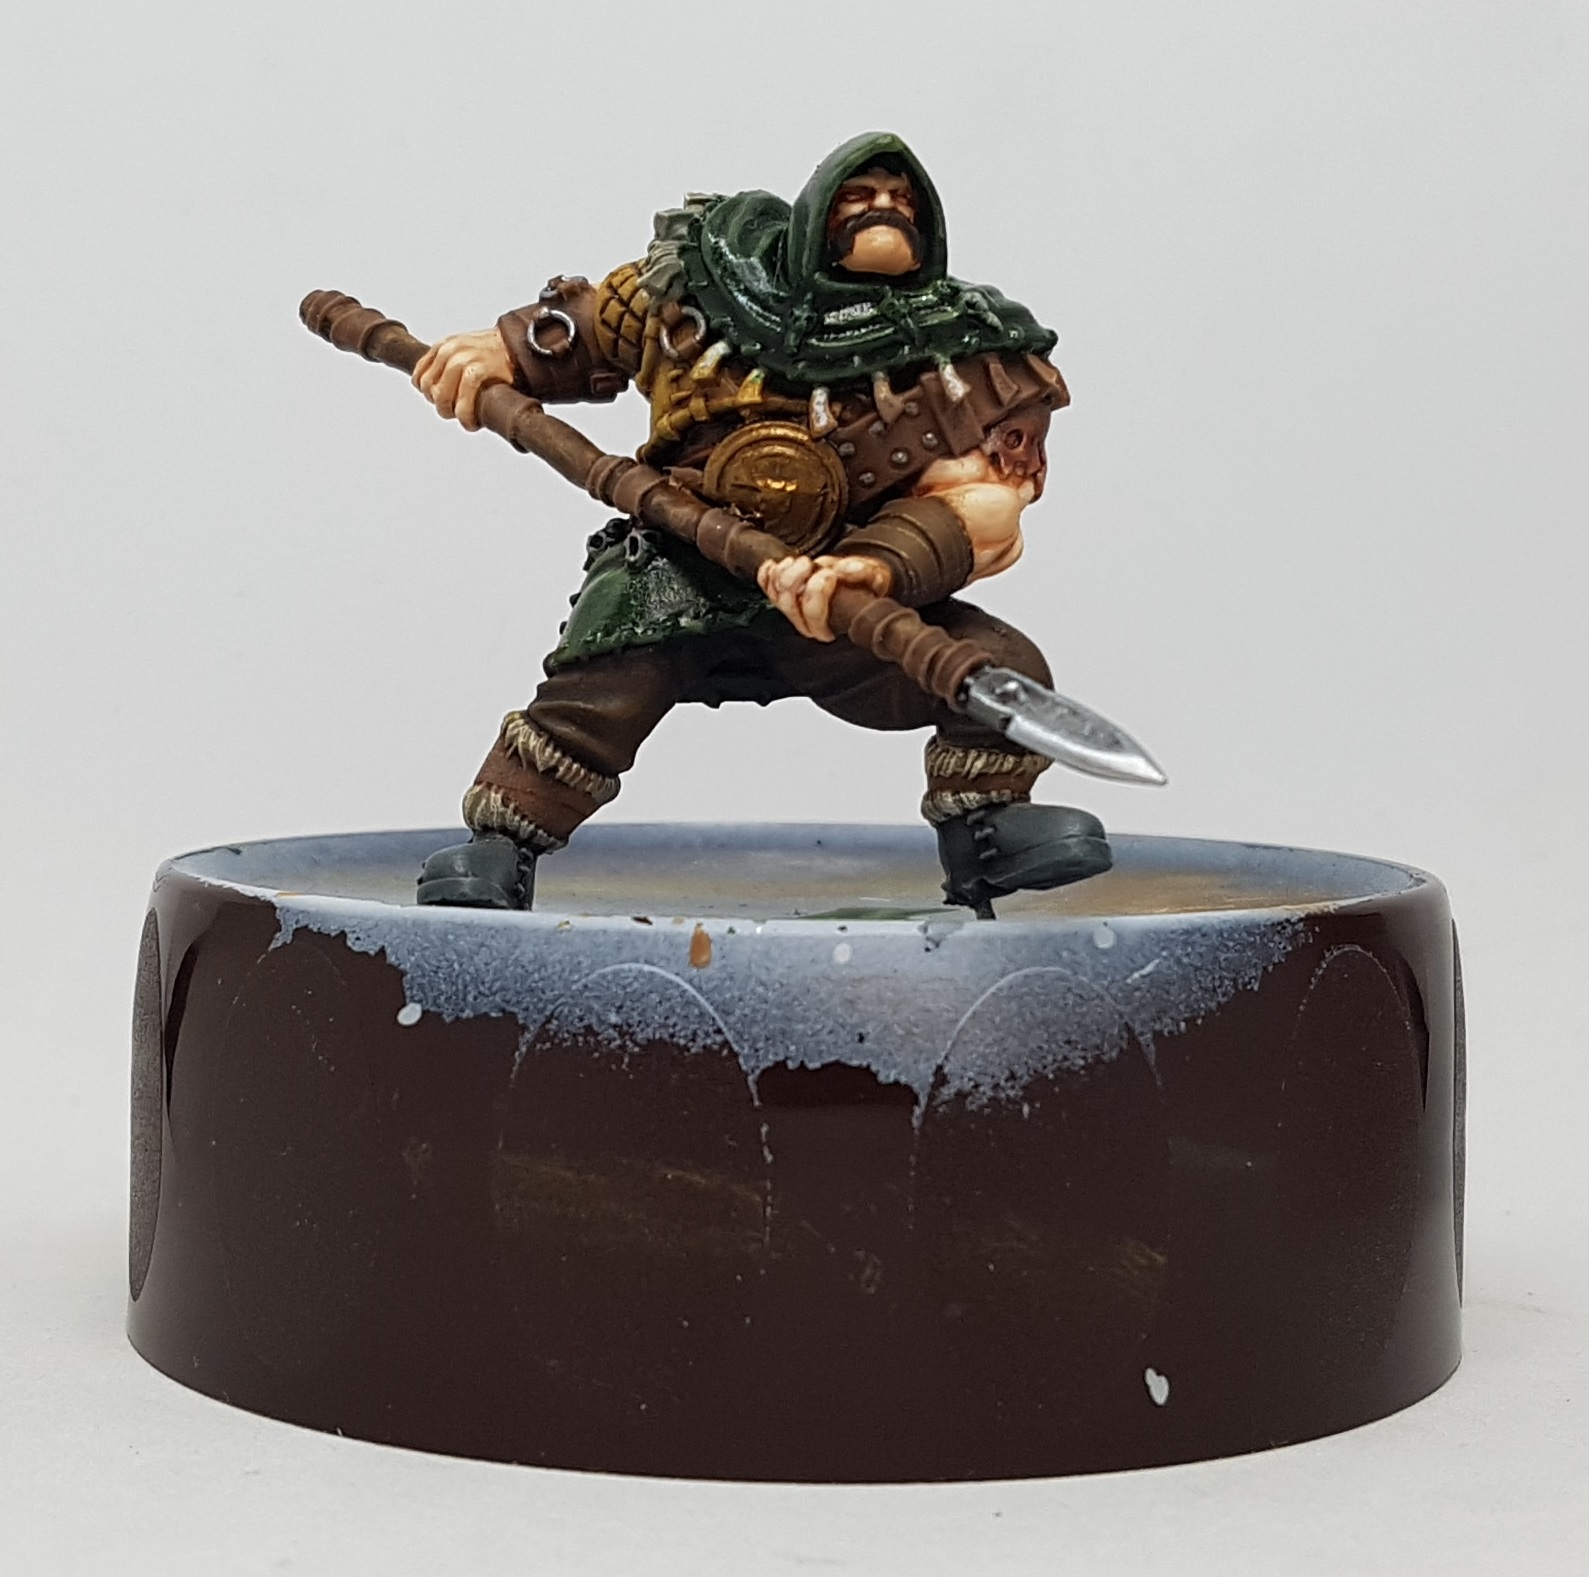 With some Bronze highlights
 2 coats of dilute Sewer Water wash
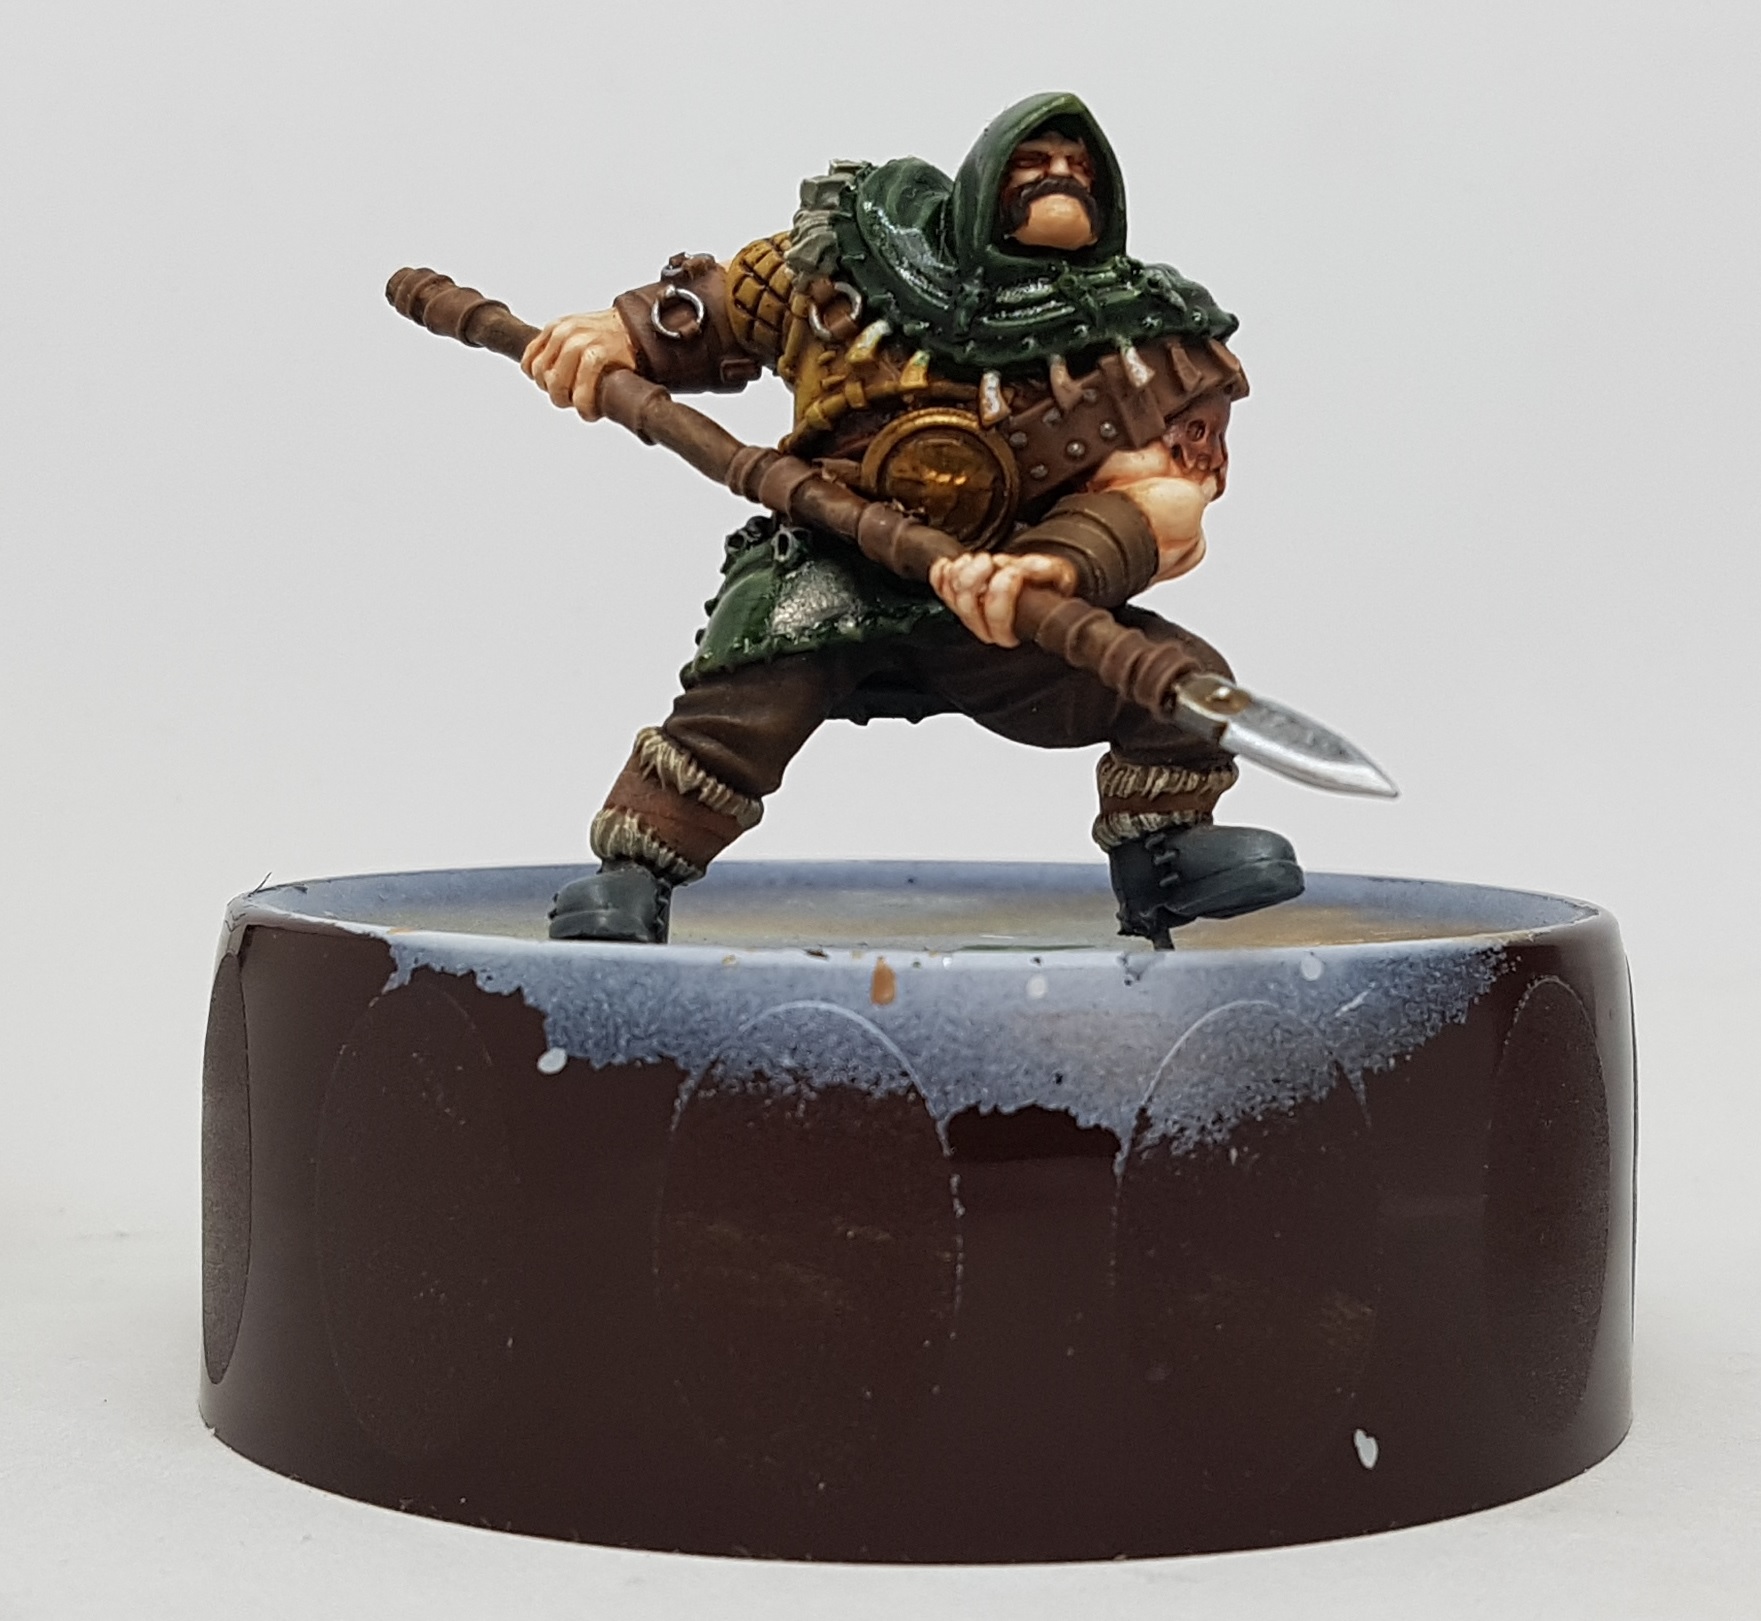 Final highlight of Bronze
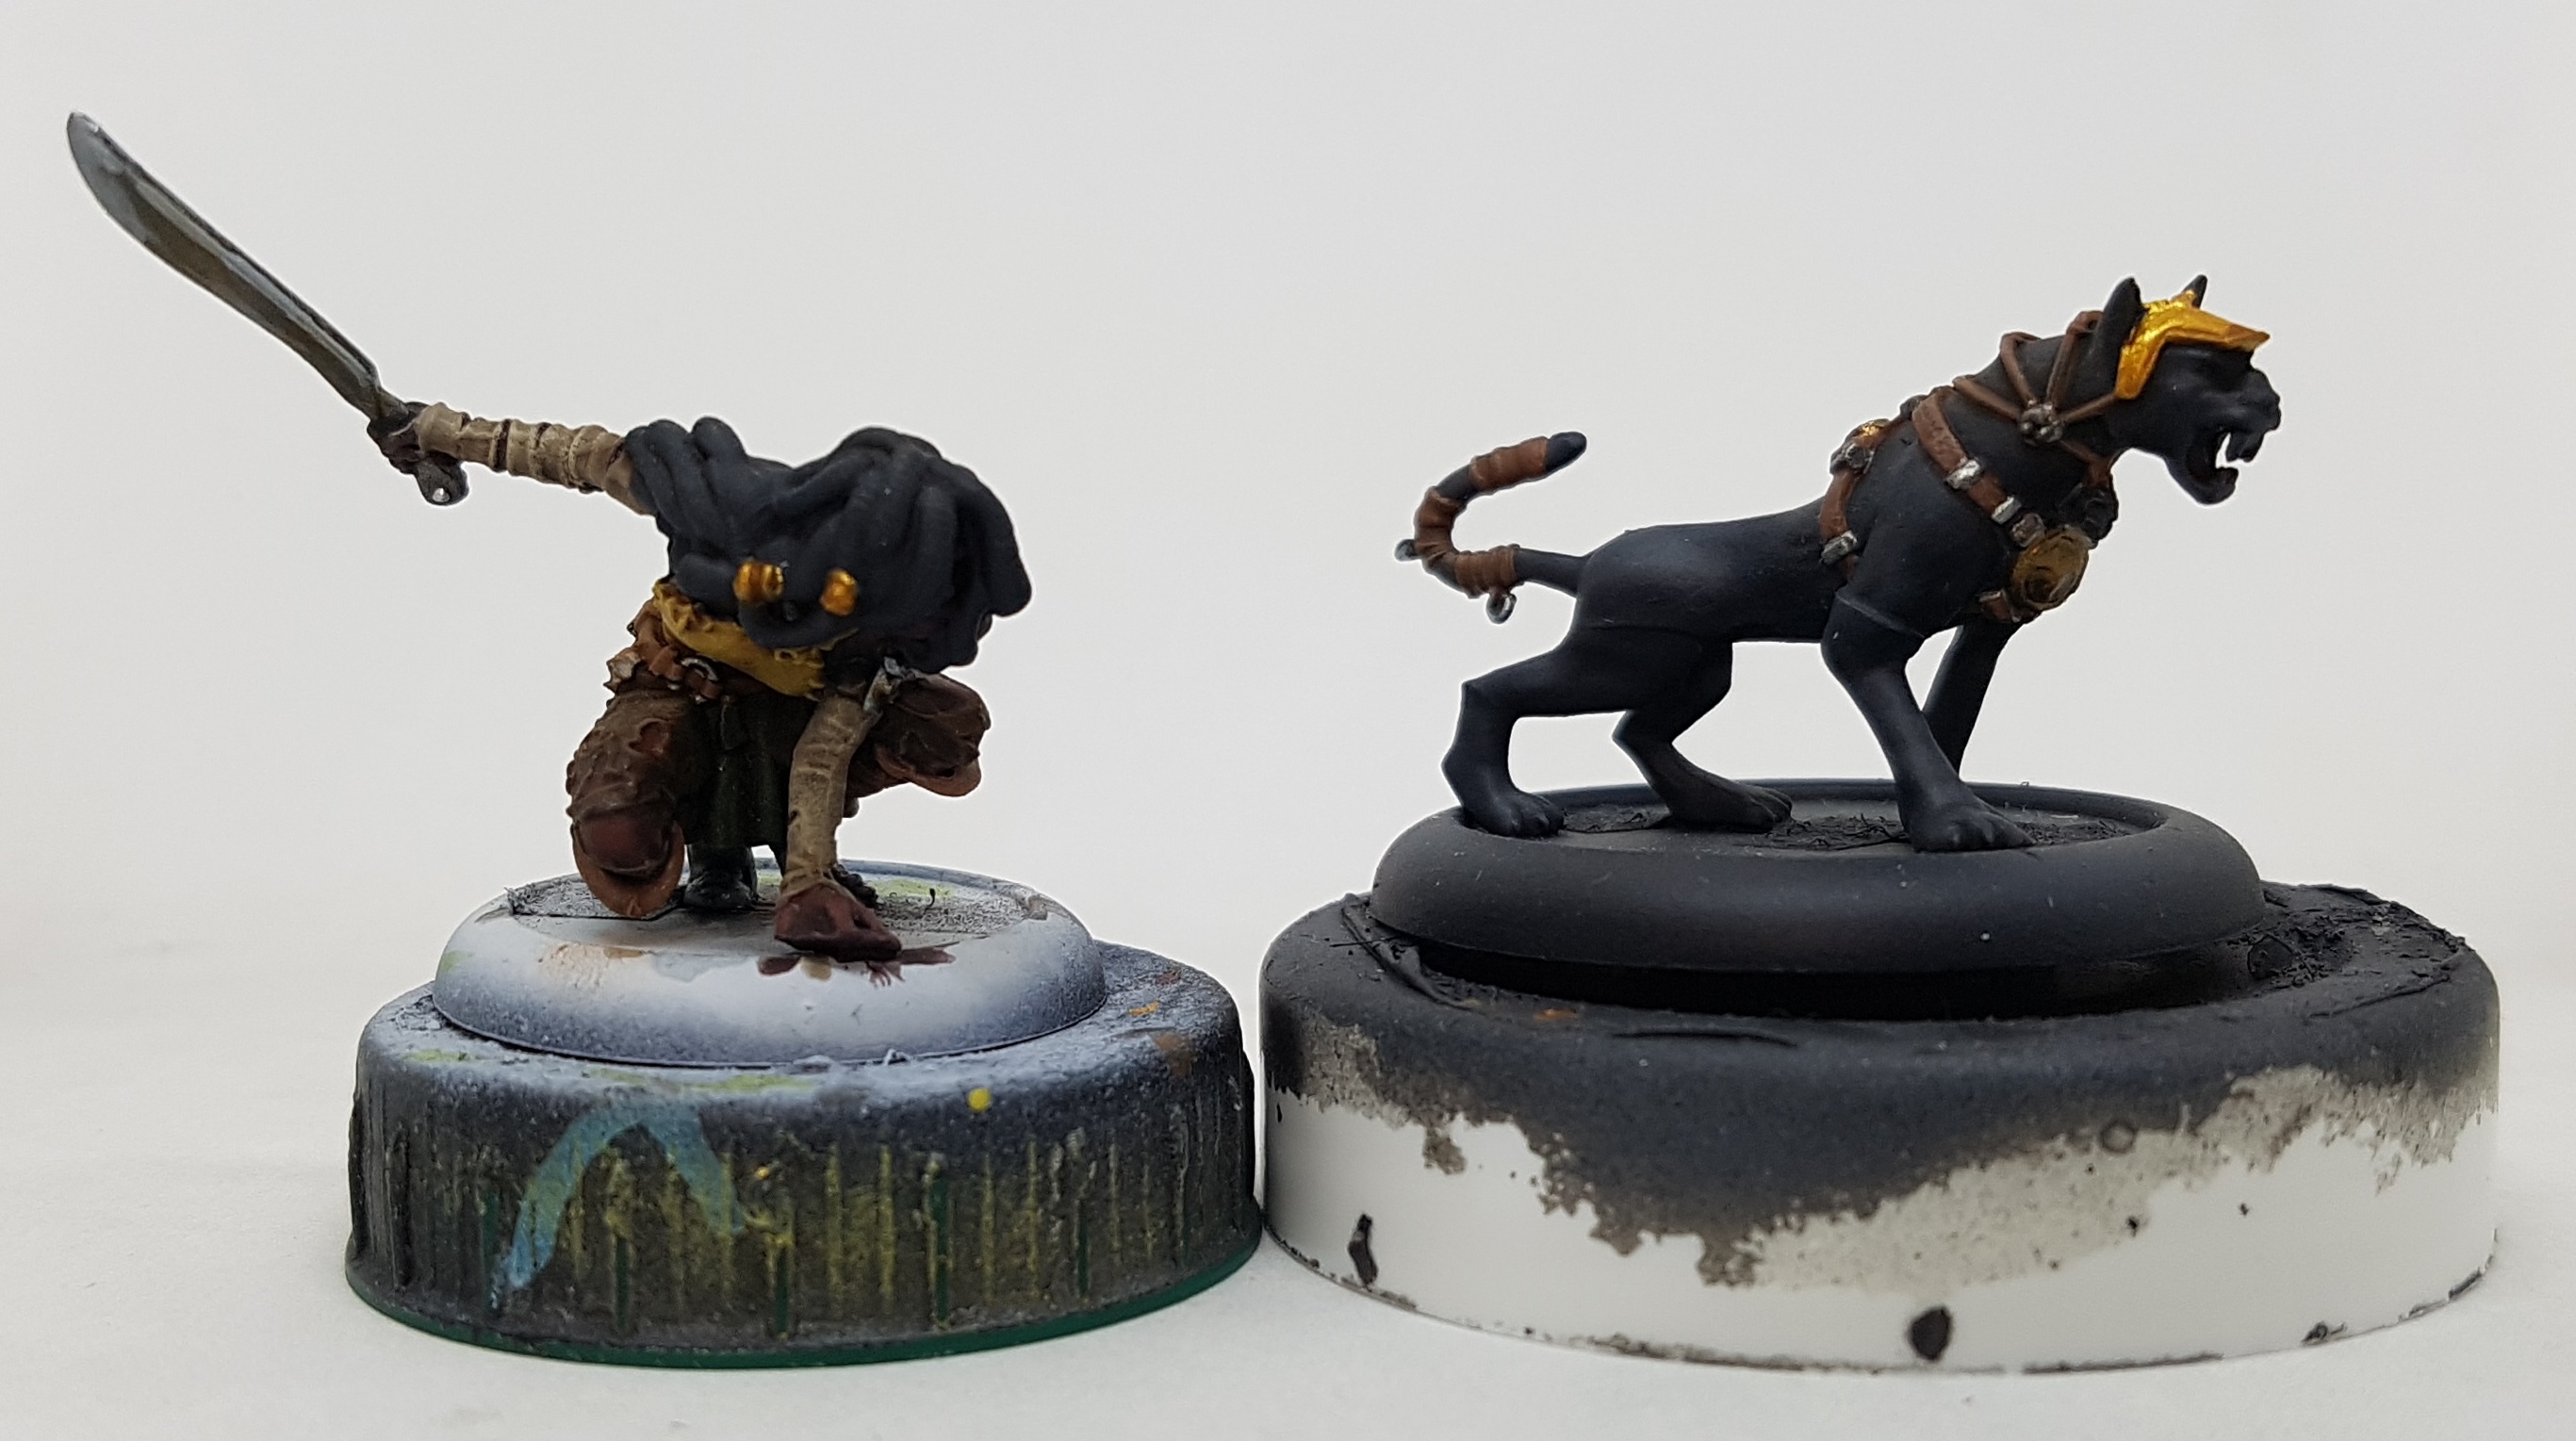 Gold base coated and given a wash of Agrax
 The gold highlighted, and the cats hat given a few thin layers of green ink
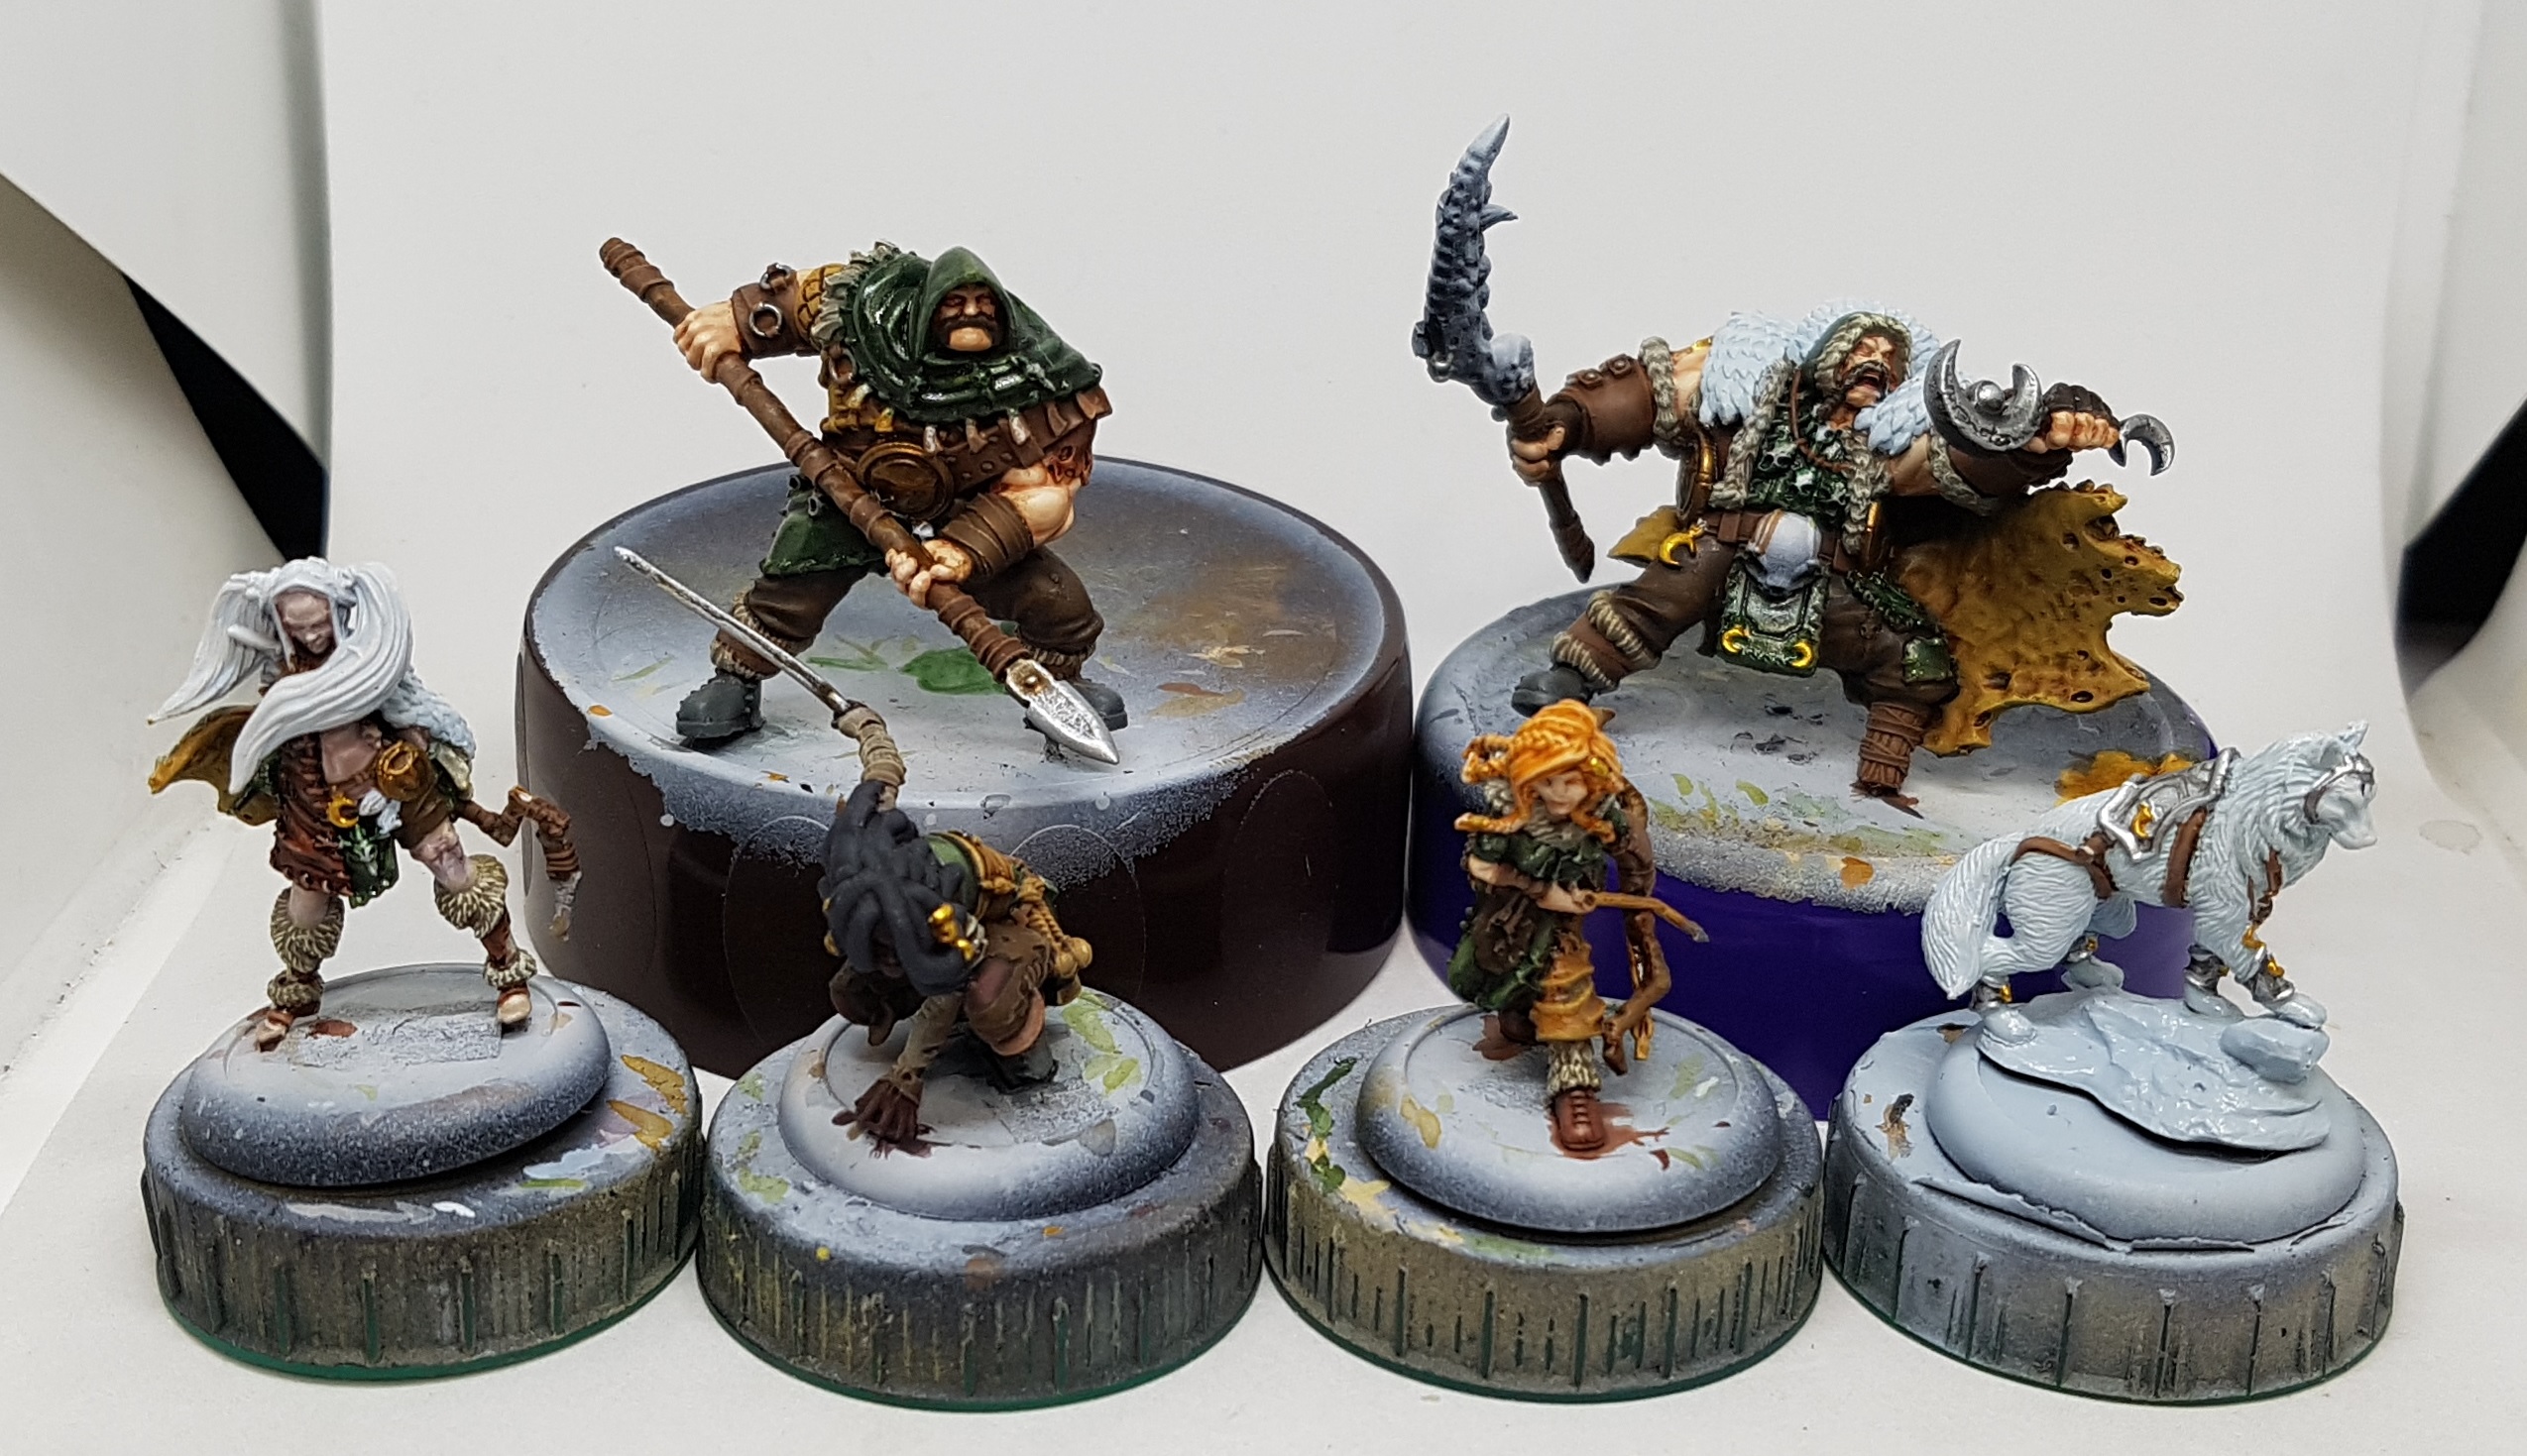
Bone, Antlers, Horns, Teeth, and Eyes
 The bone was base coated with P3 jack Bone. The antlers, horns and teeth were based with a mix of P3 Menoth White Highlight and Menoth White Base to make them a slightly different colour
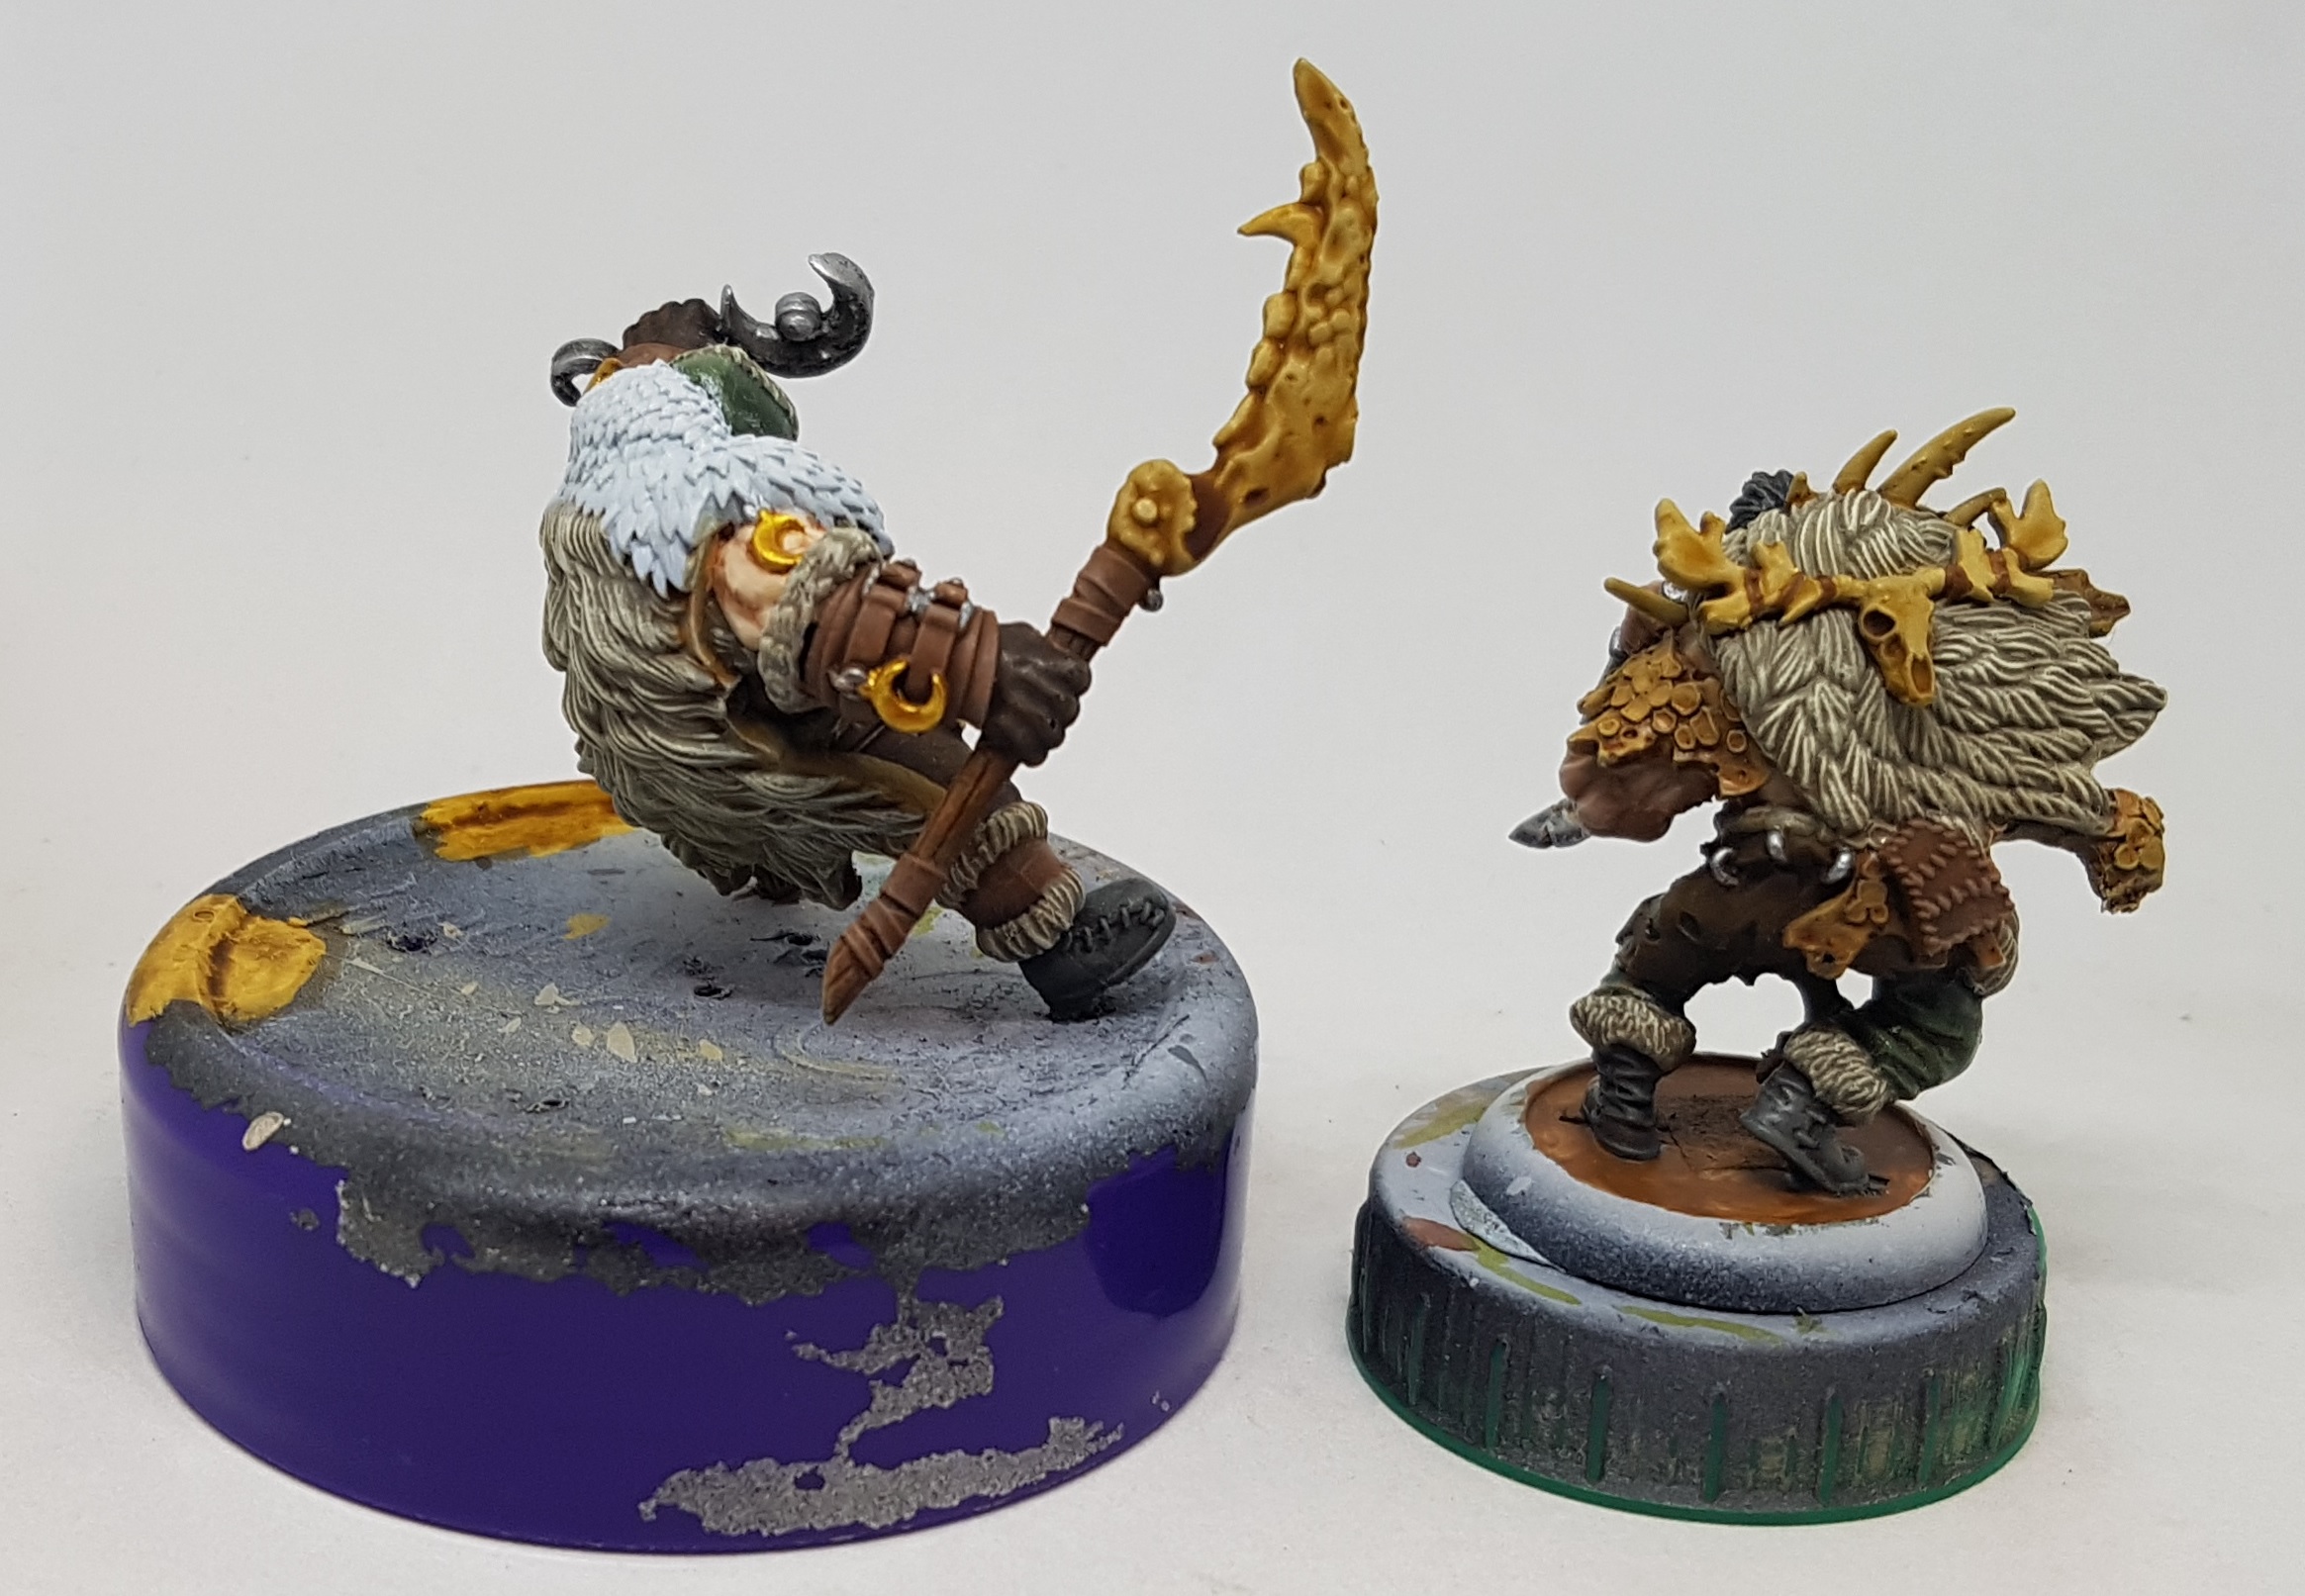 It was all carefully washed with GW Seraphim Sepia
 Everything was drybrush highlighted with Menoth White Base, and the antlers and horns were also drybrushed with Menoth White Highlight. The teeth were also individually picked out with MWH as best as I could
 The eyes of the animals were picked out. The bear had P3 Sickly Skin, the wolf got P3 Underbelly Blue, and the cat got P3 Ironhull Grey
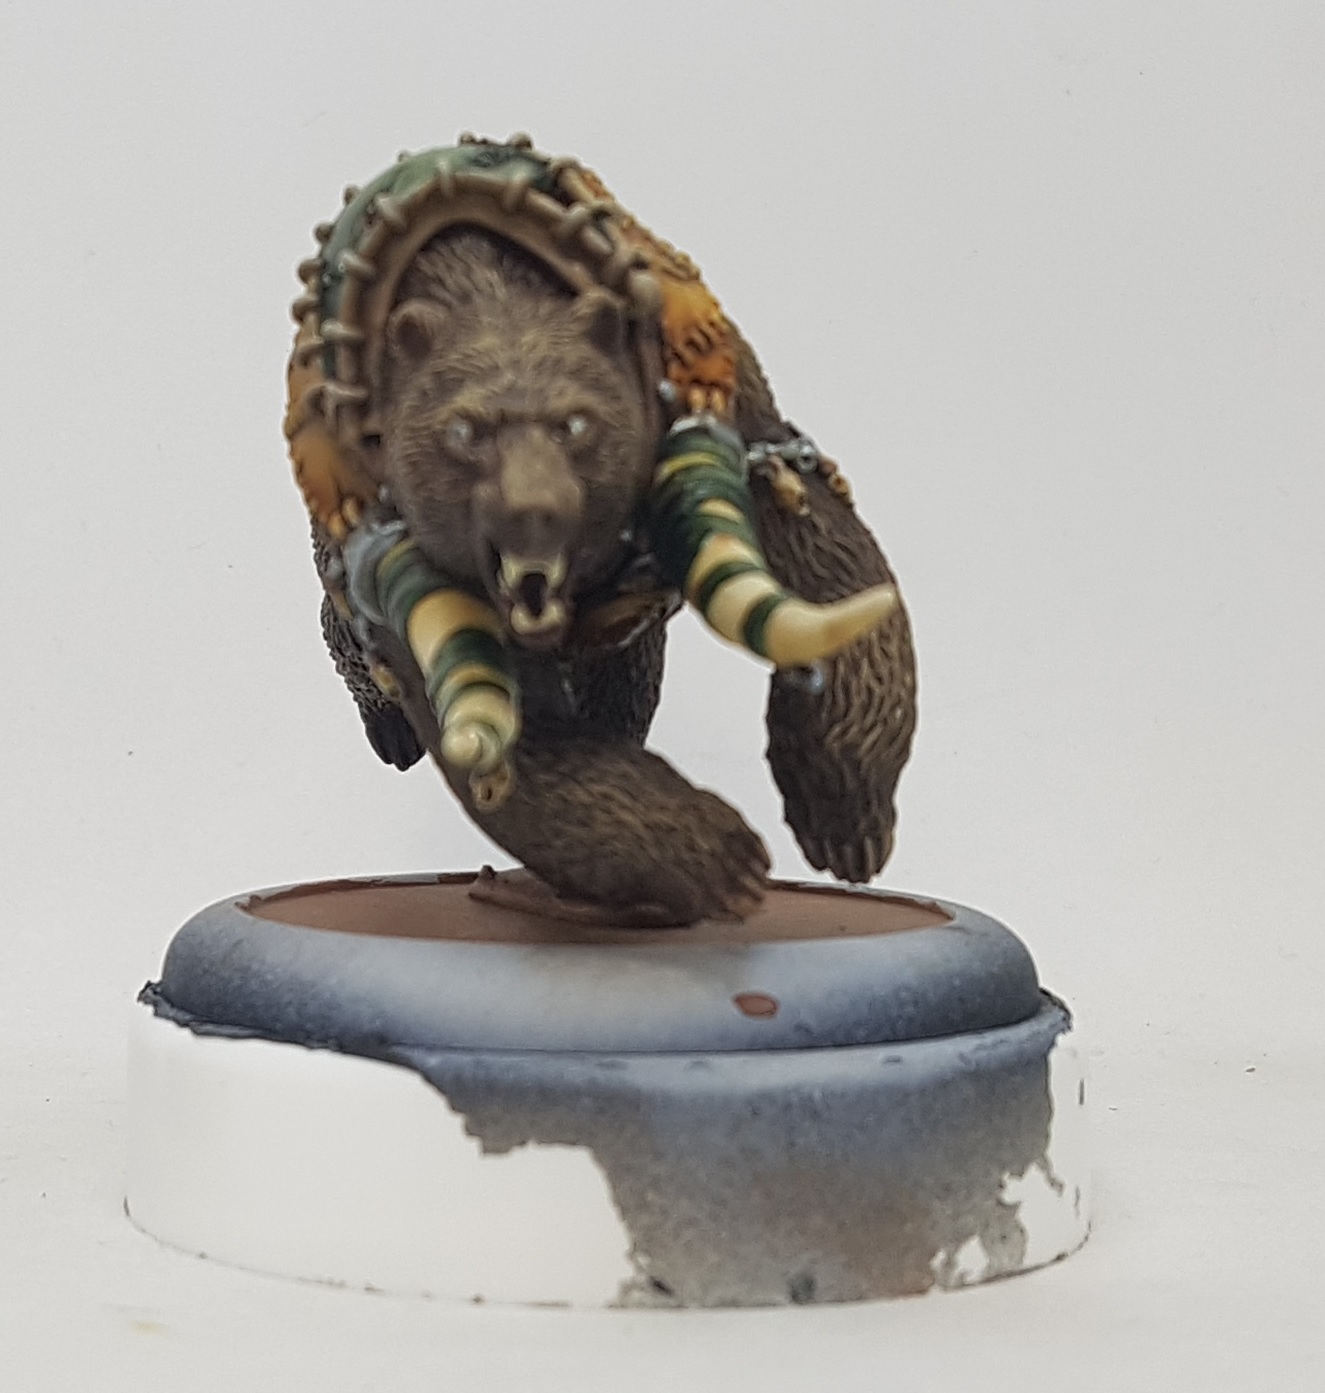 The pupils of the bear were then picked out cackhandedly in P3 Battlefield Brown
 The teeth were individually highlighted with a dot of P3 Sickly Skin. I actually did this the same time I was painting the bears eyes


