Space Hulk


Recommendations: 453
About the Project
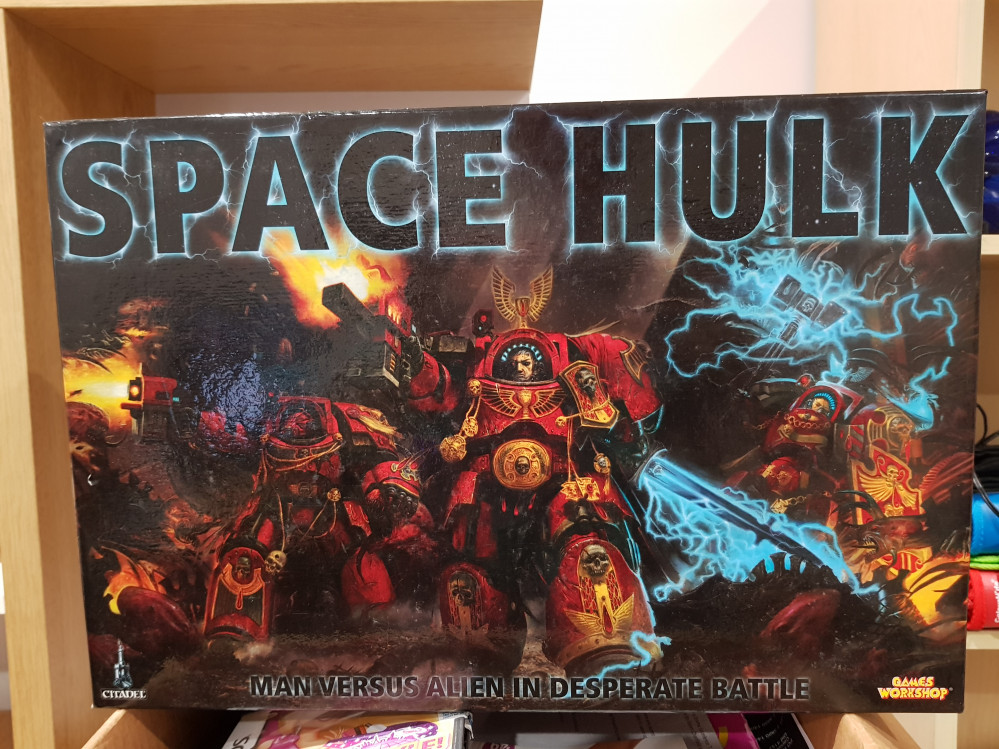
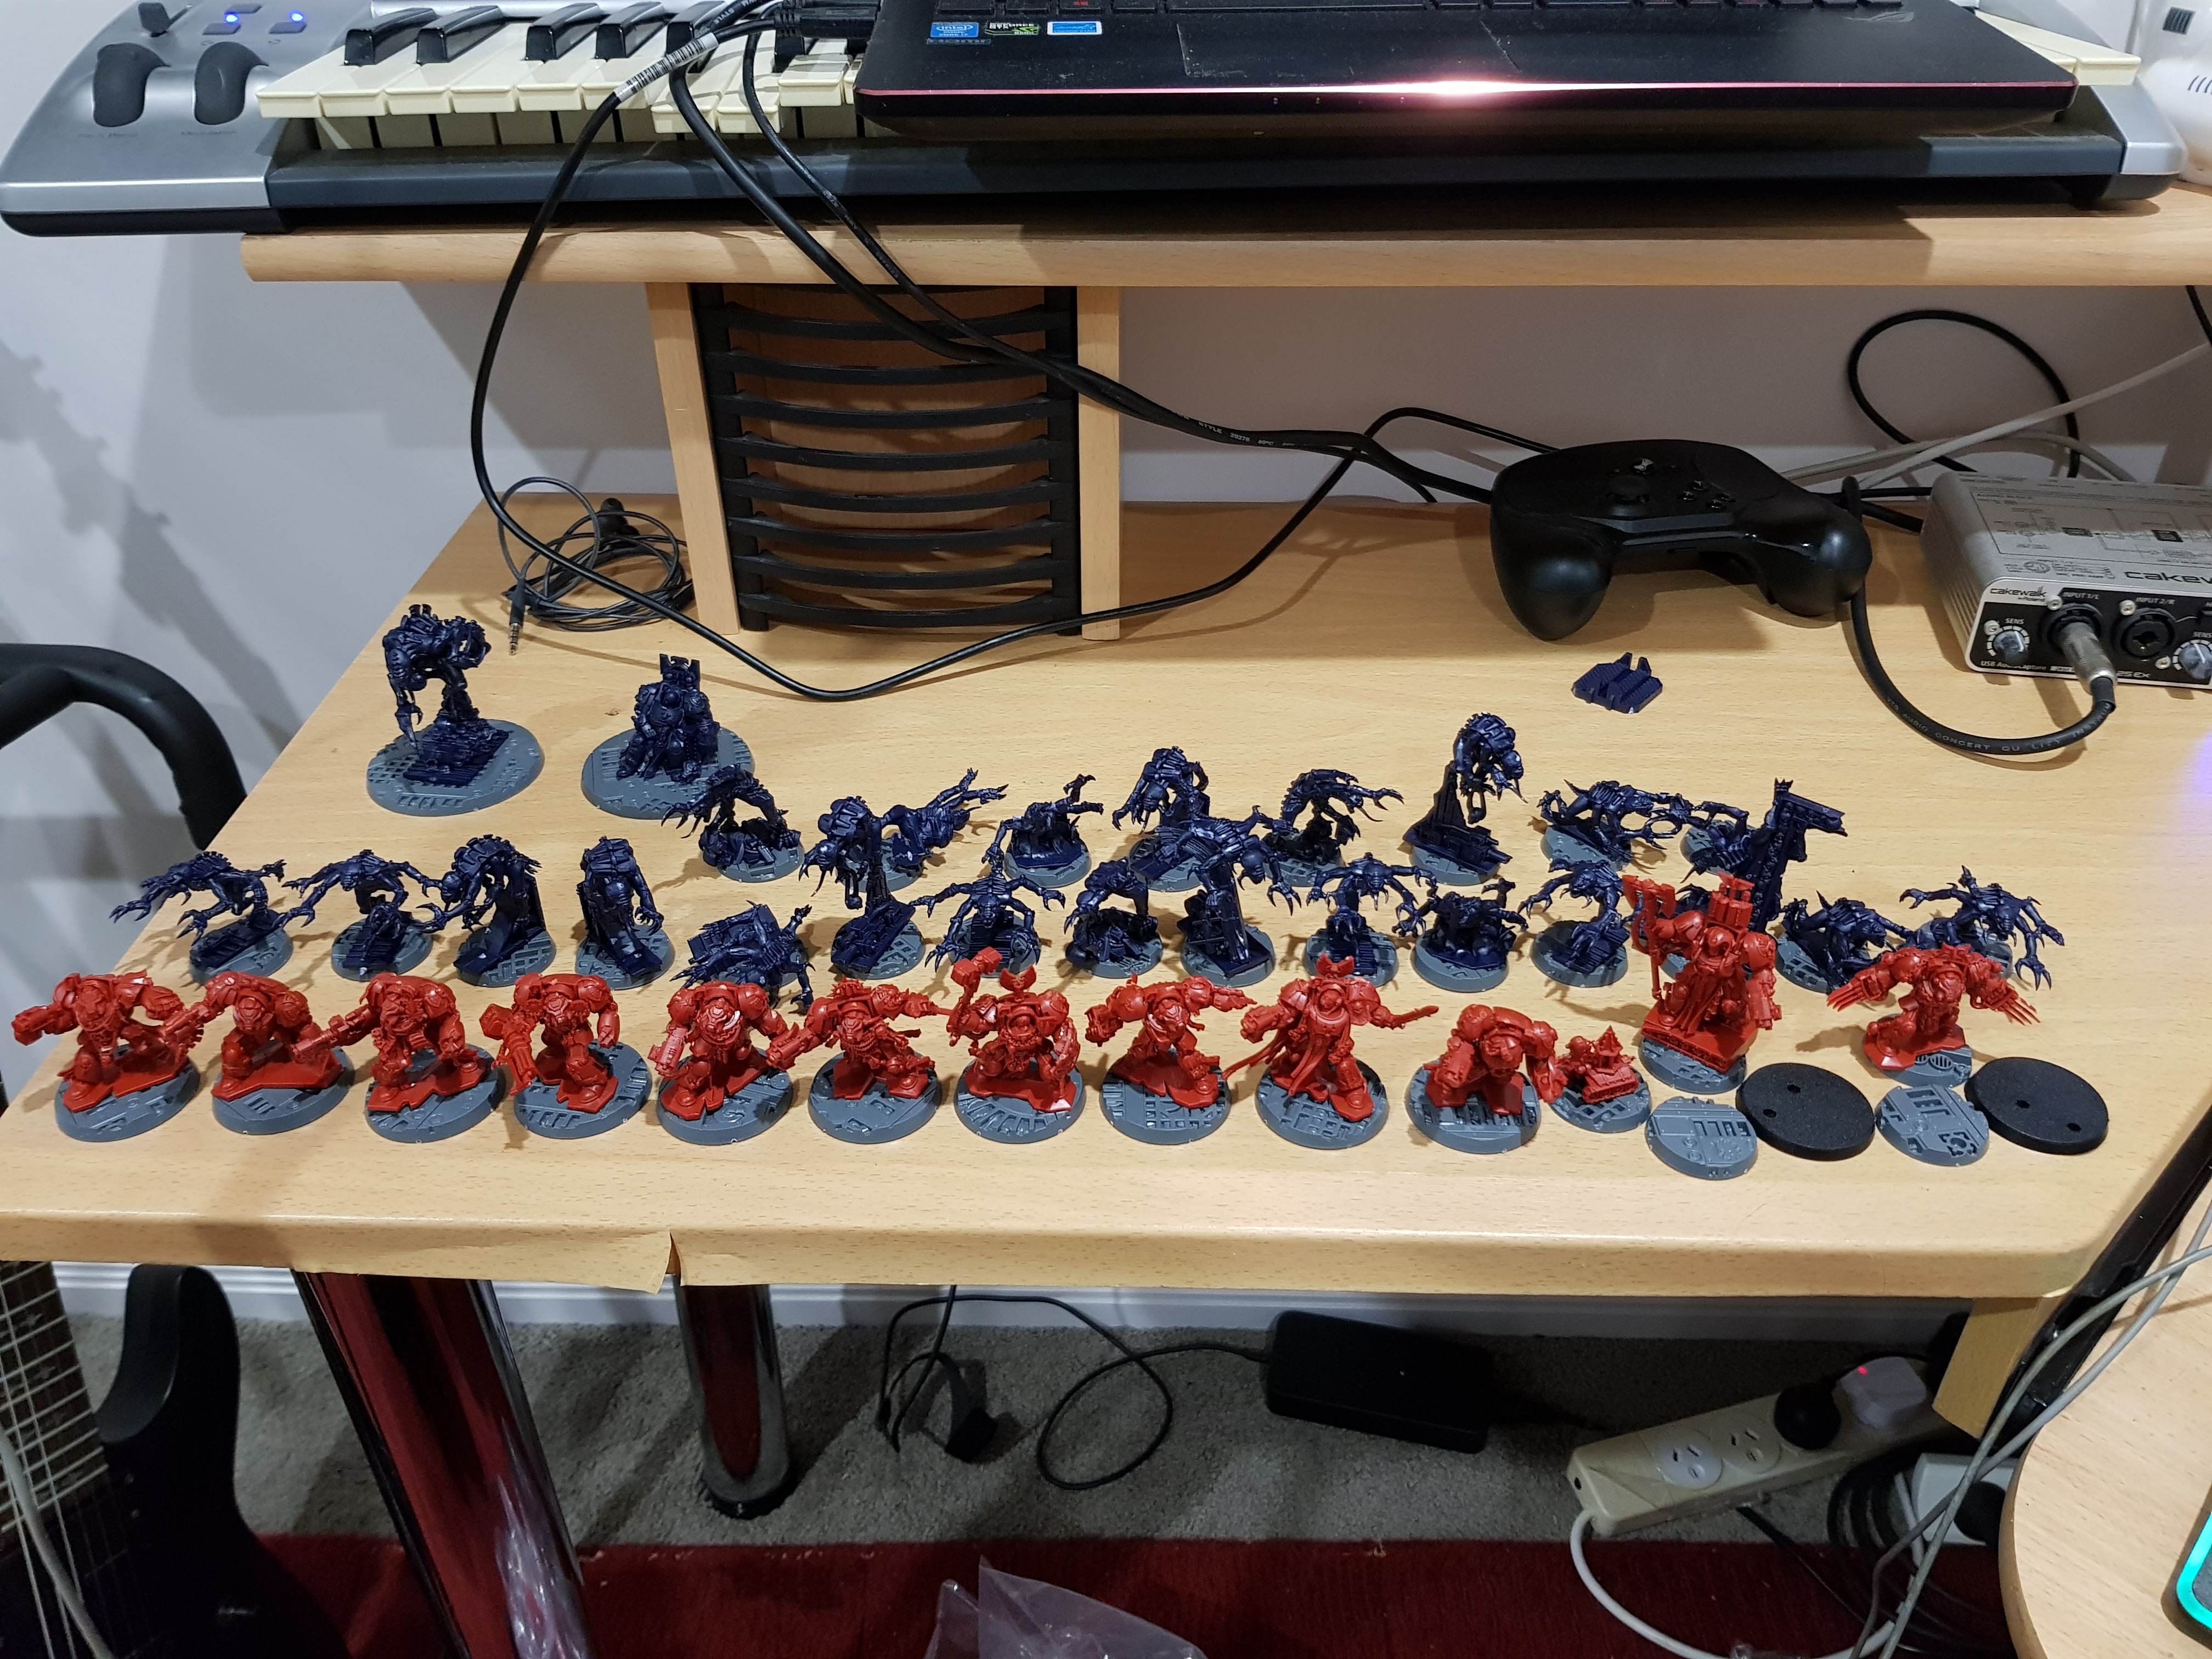
I recently was trolling through Facebook Marketplace when I found a copy of the 2014 Space Hulk for sale for $AU 50.00 (UK Pounds 28.00 - $US 37.00 - Bargin !!!) When I contacted the seller he said he had never painted the figures and I immediately started thinking I can use these in both 40K and Space Hulk and raced over to grab them. The thing is, until very recently, I stepped away from GW and although I knew this version had some amazing sculpts I could use in 40K, I didn't realise they were on moulded in bases !!! AGGGHHH !!! I decided - I can cut them off and put them on GW bases .. !!! - Boy this was going to be one hell of a task - NOTE: I am no golden deamon winner or supper kitbasher .. so this is a everyday man's tale of how to make them look "err ok" and !!! - I am not done yet so it might be a project called - Space Hulk - What not to do !! - But here goes.. Day 1 (oh and 2 and 3 - 4 and a bit of 5 - Cutting, clipping, shaving) - Oops no .. day 1 - a trip to GW and a quick splurge on some adeptus mechanicus (in my mind - Space Hulky type bases).. Now back to the wounds .. err I mean cutting of the models (and me a bit) ..
Related Game: Space Hulk
Related Company: Games Workshop
Related Genre: Science Fiction
This Project is Active
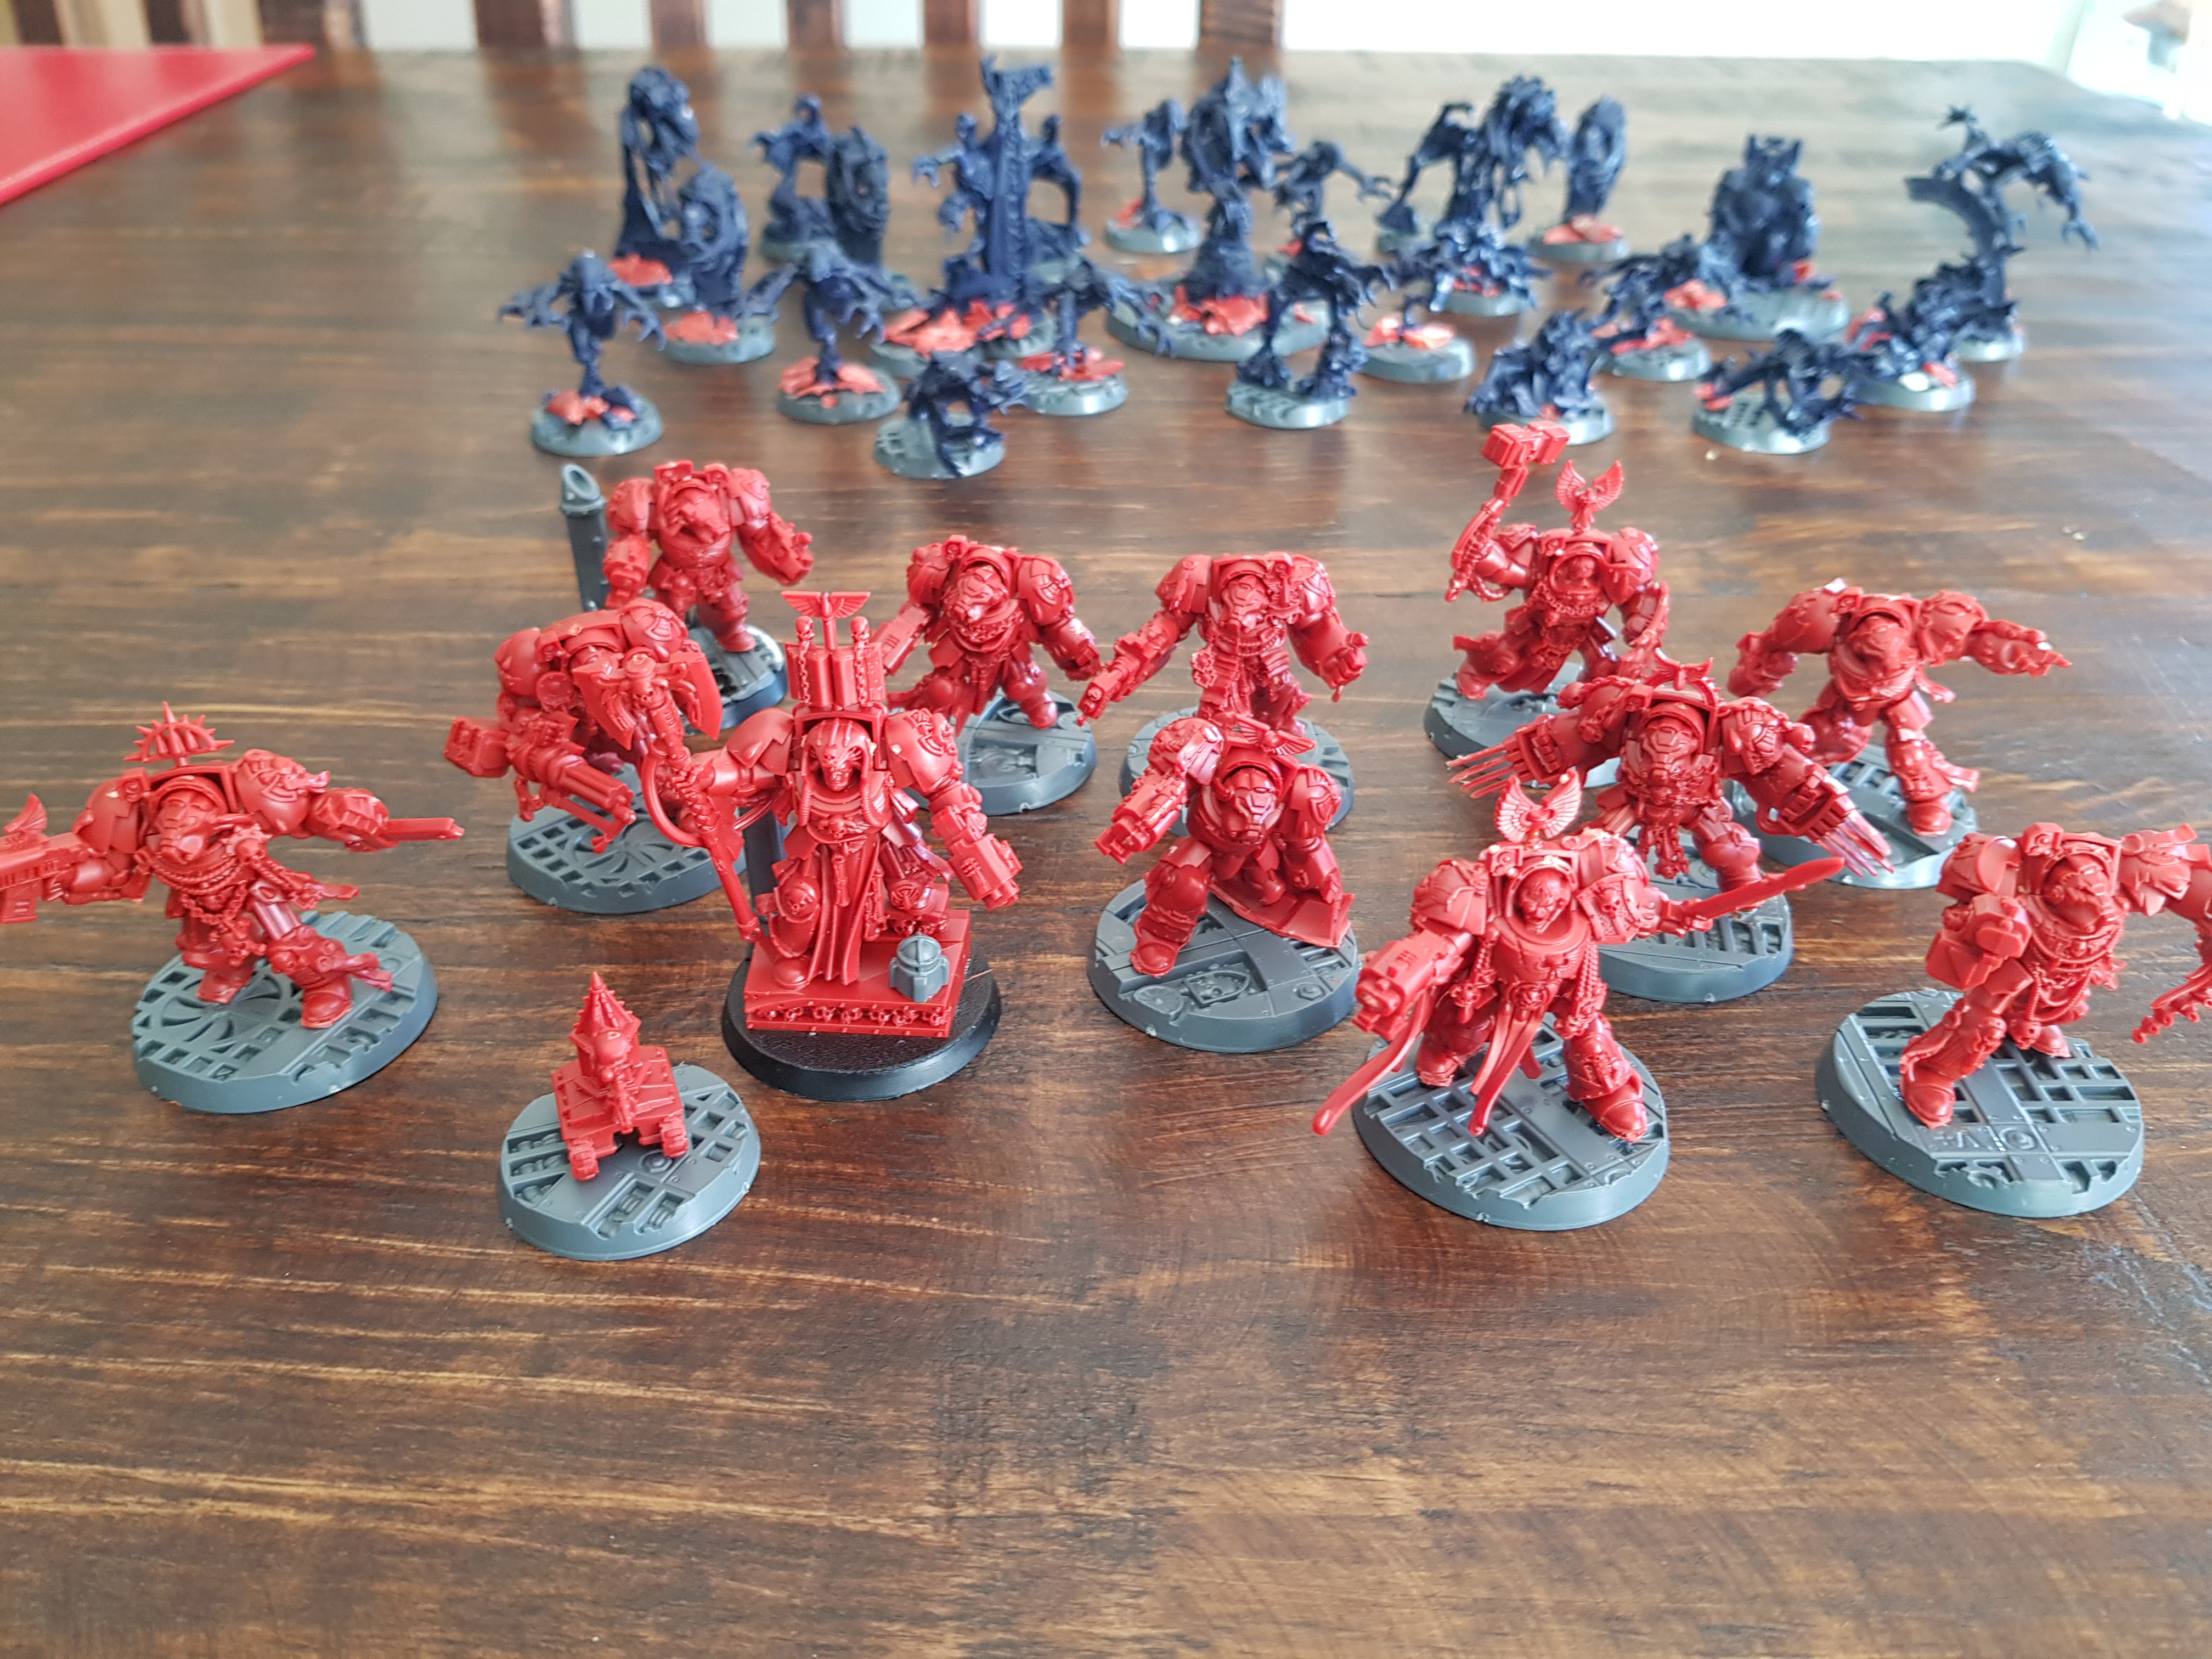
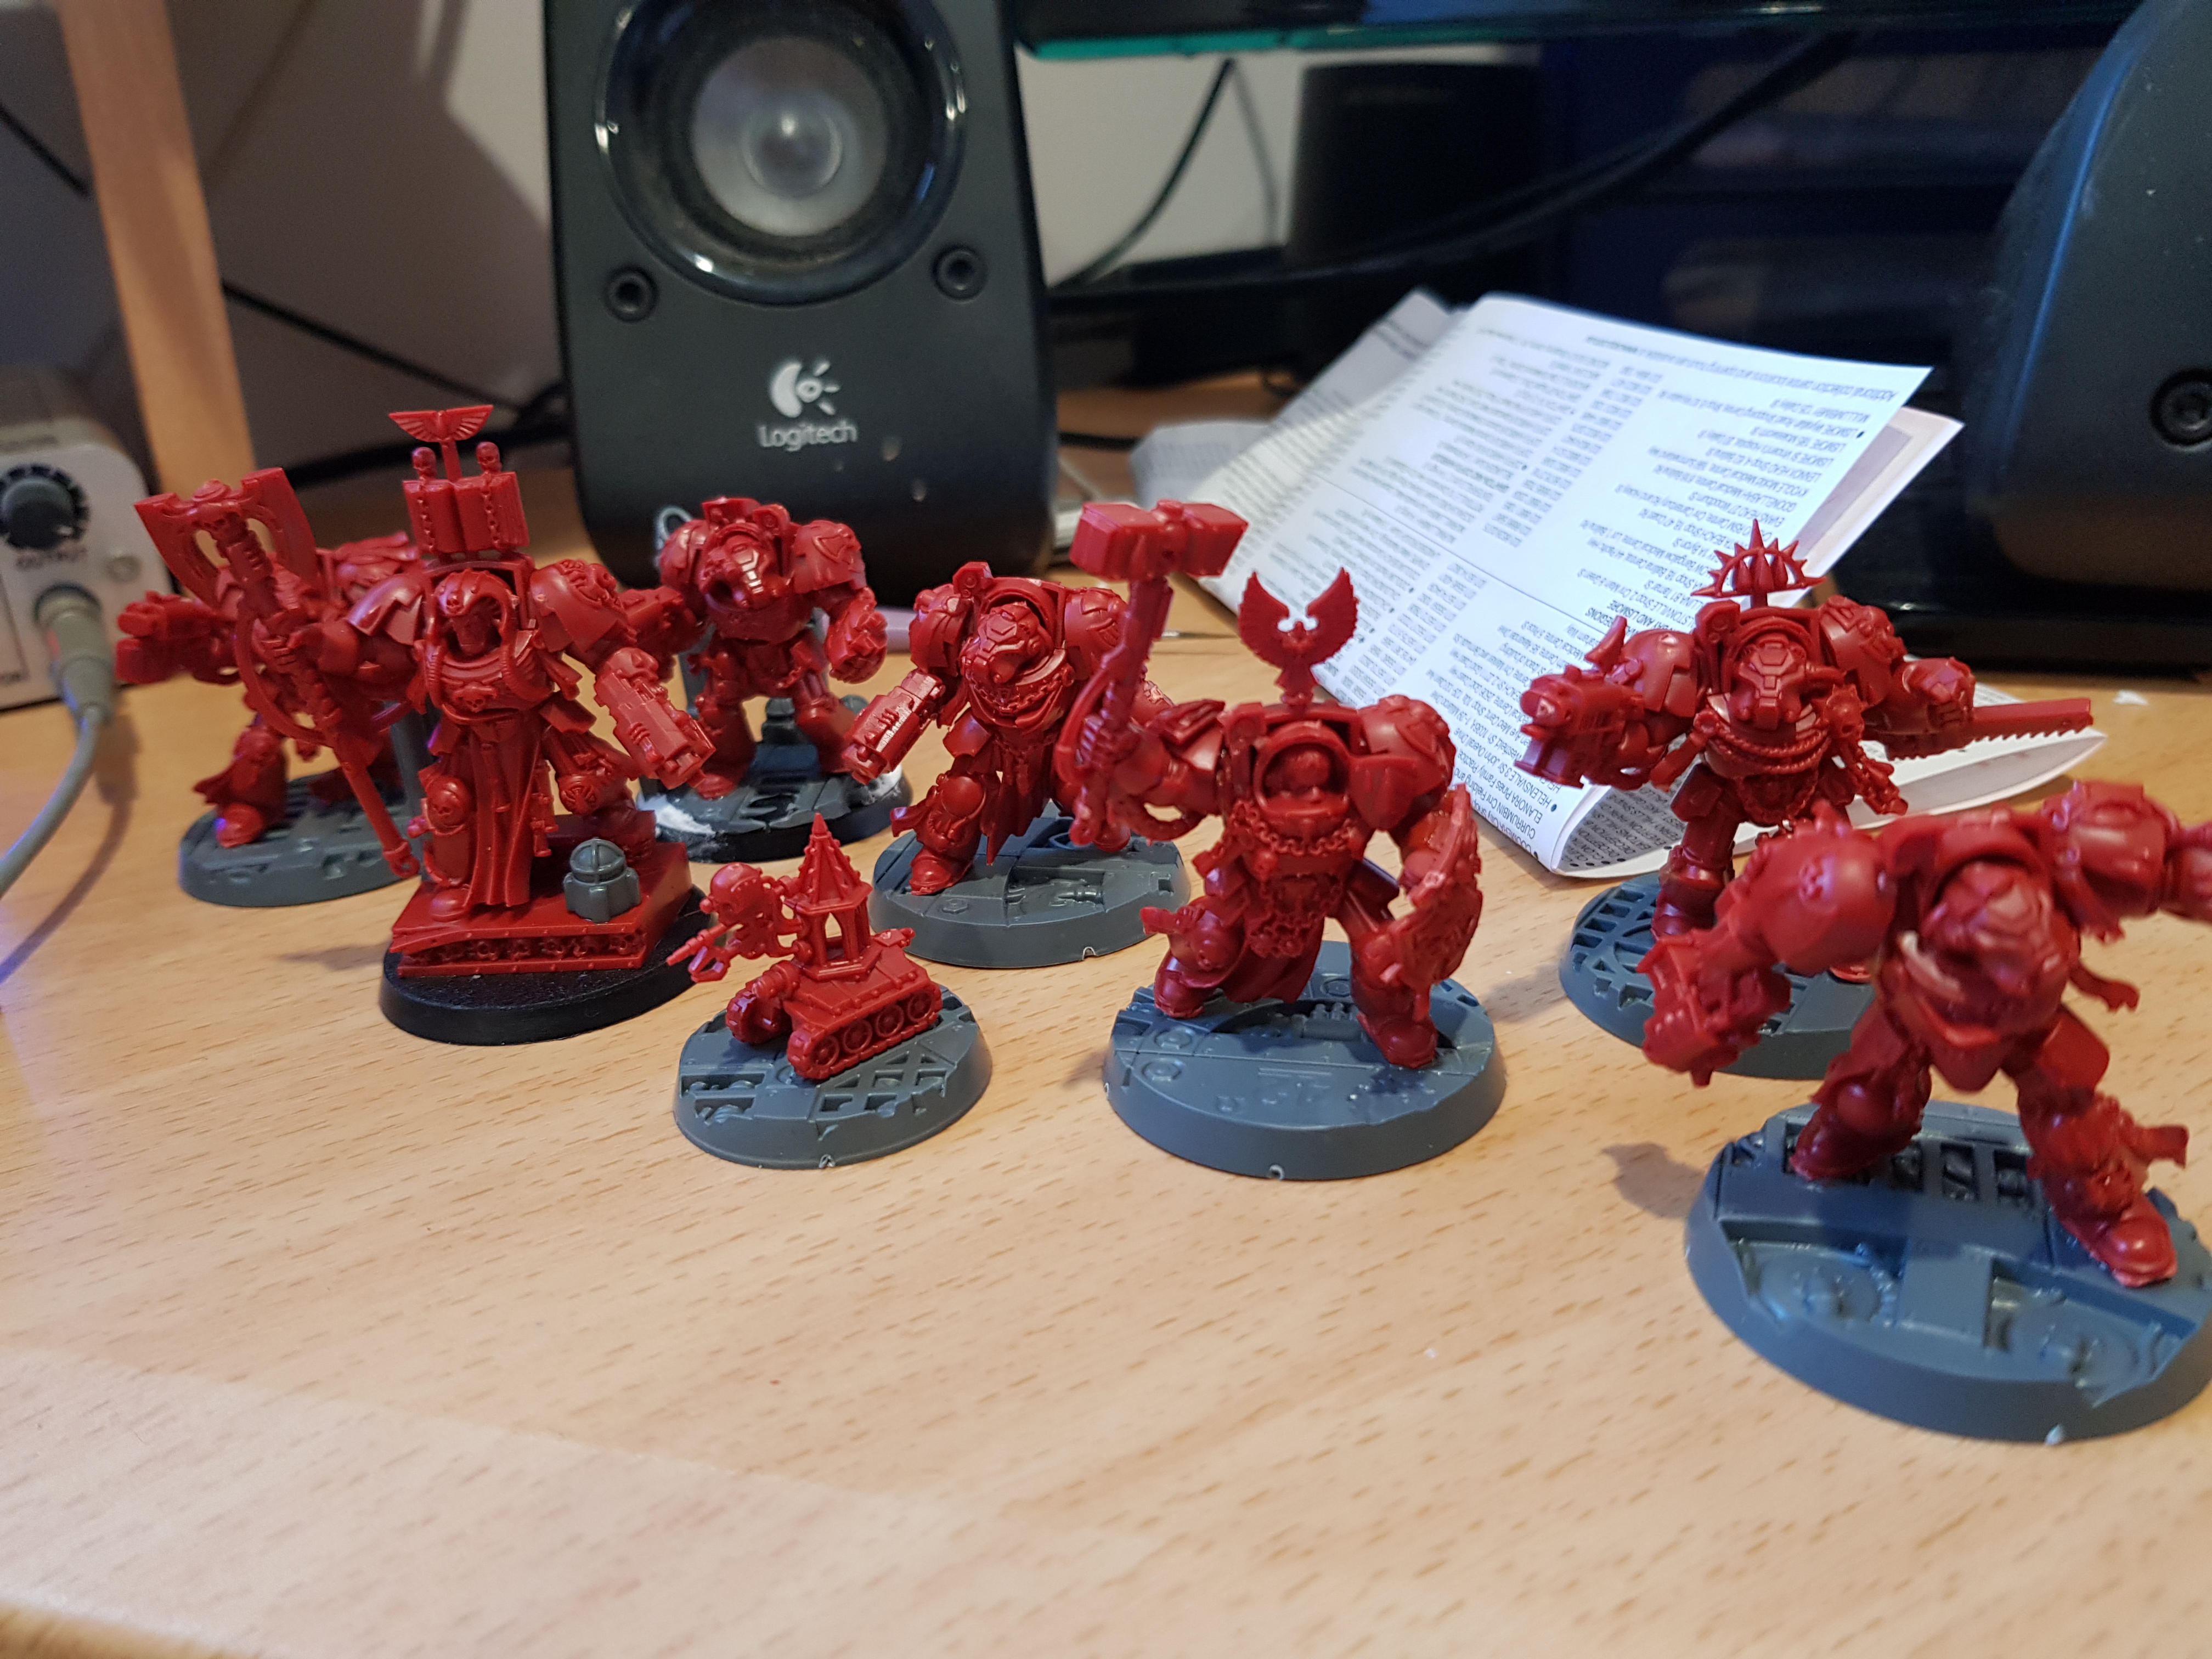
Step 7 - Painting
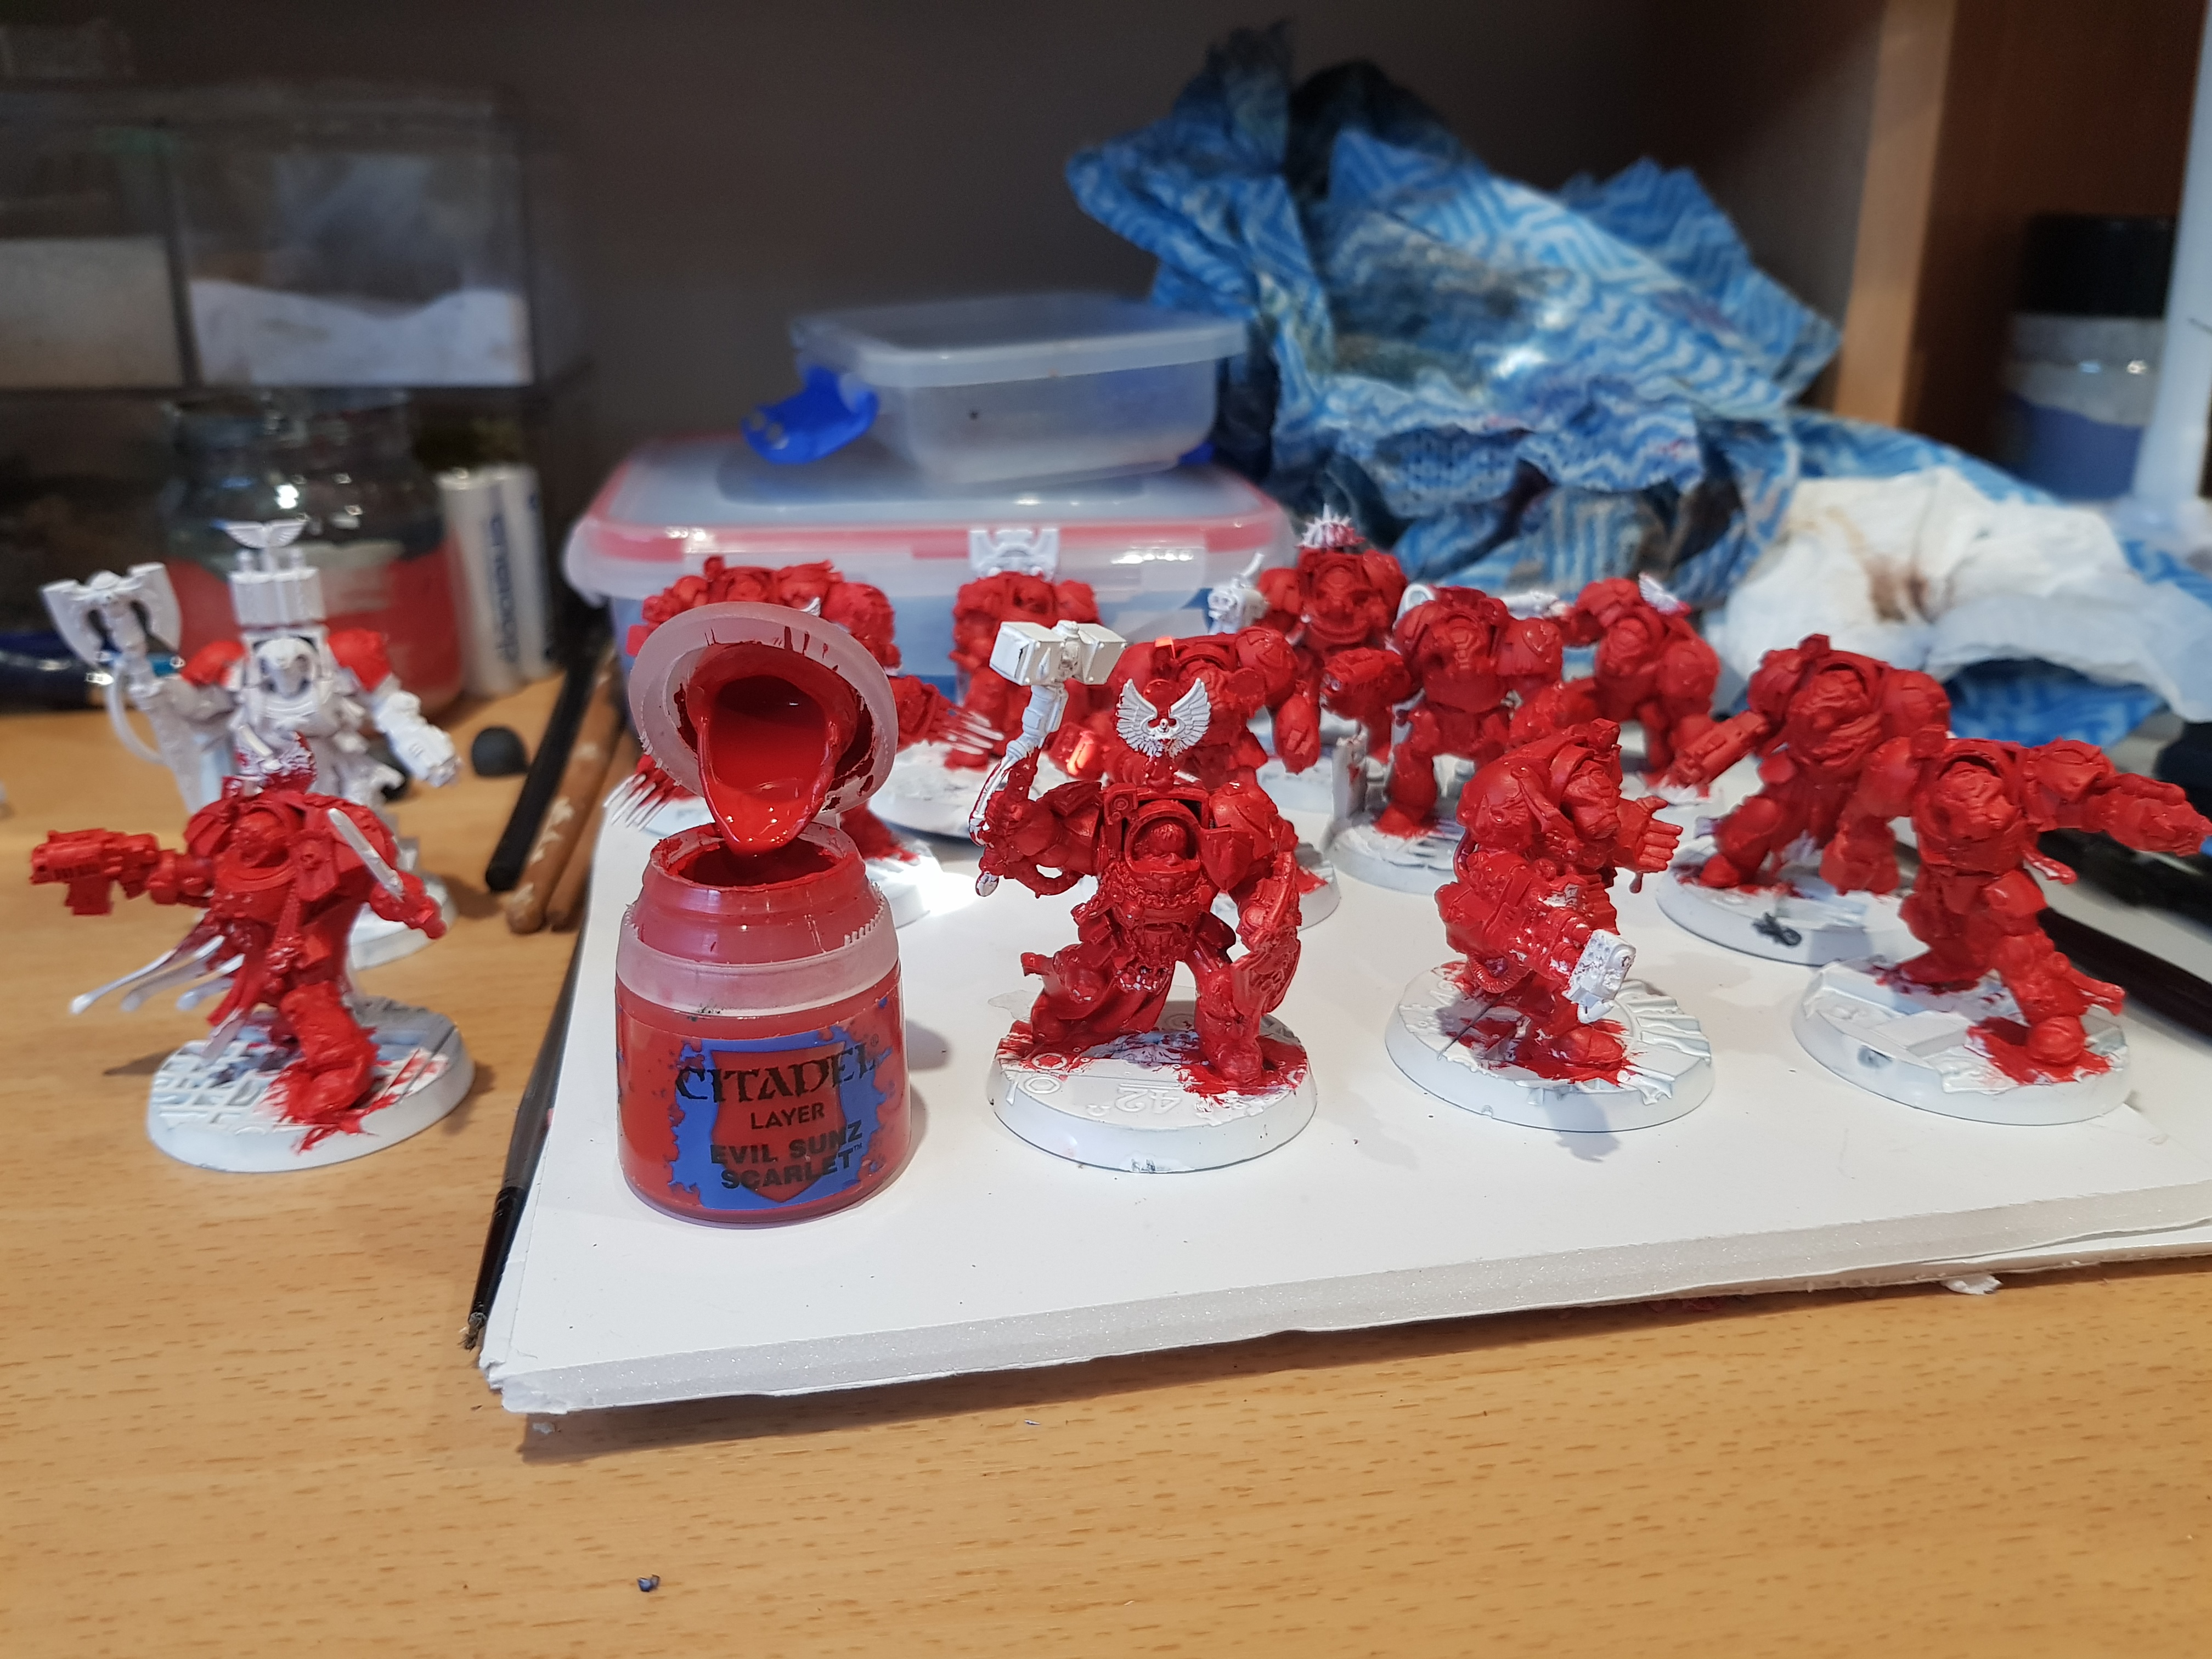
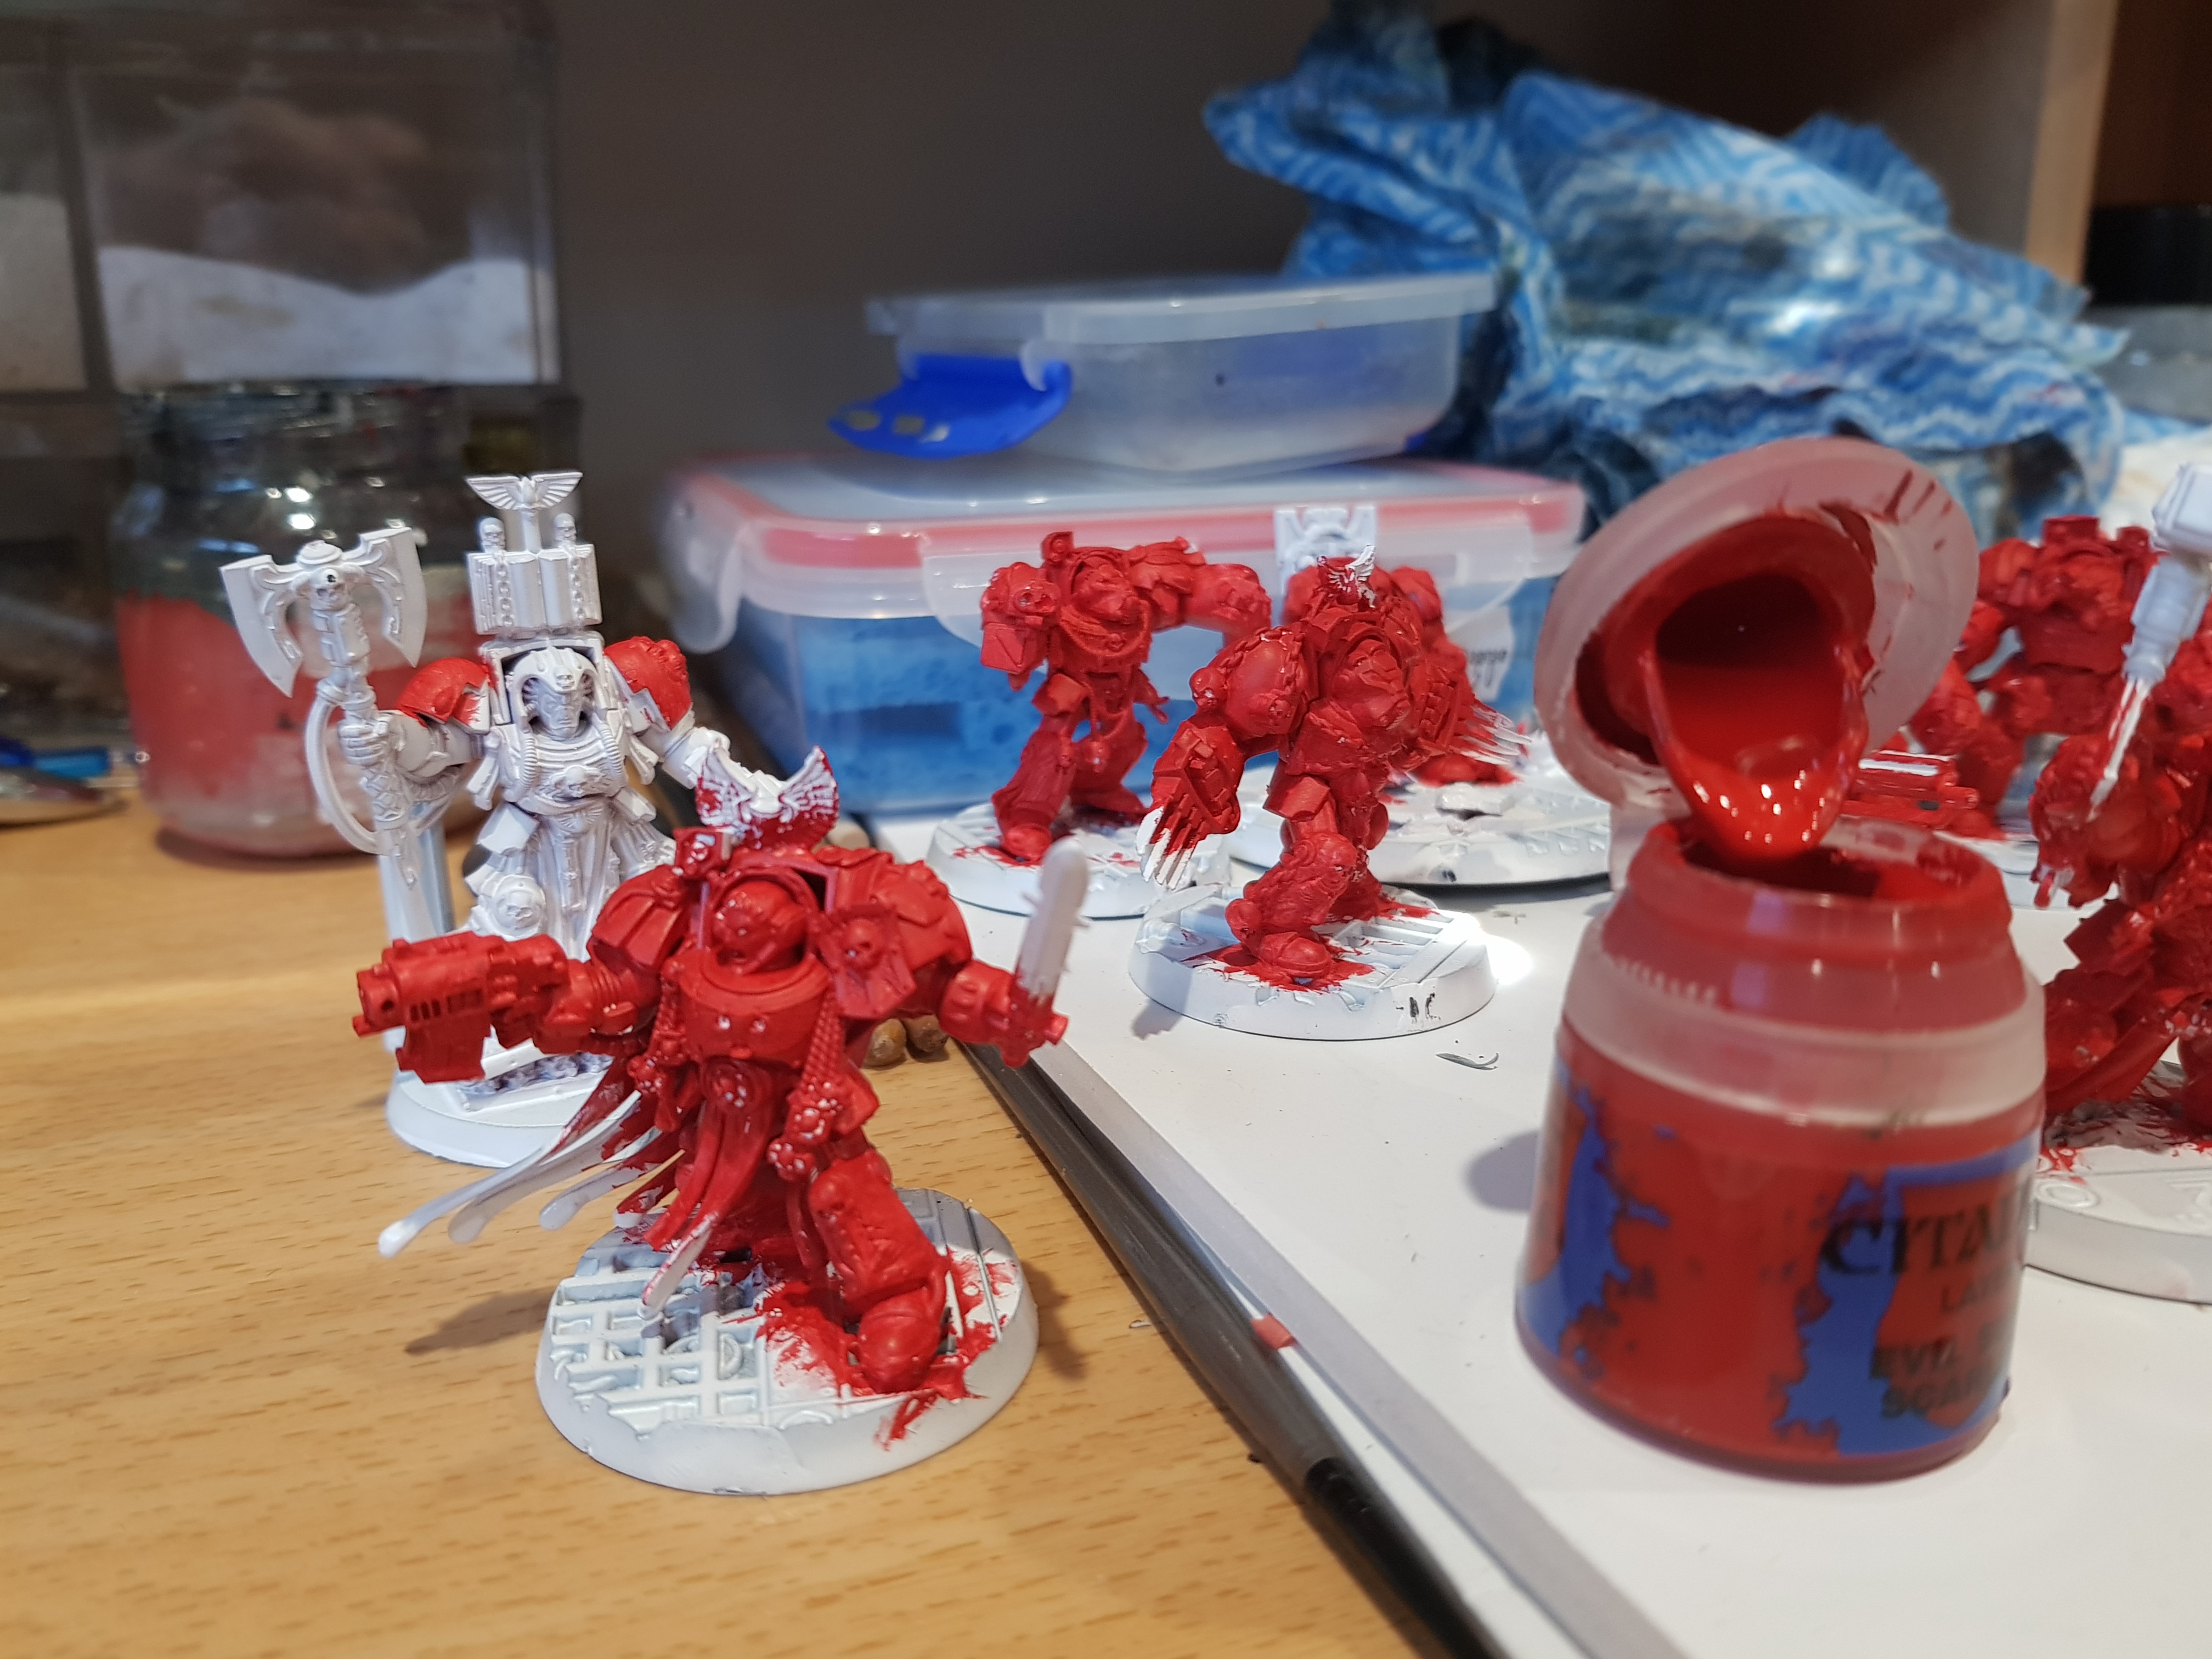
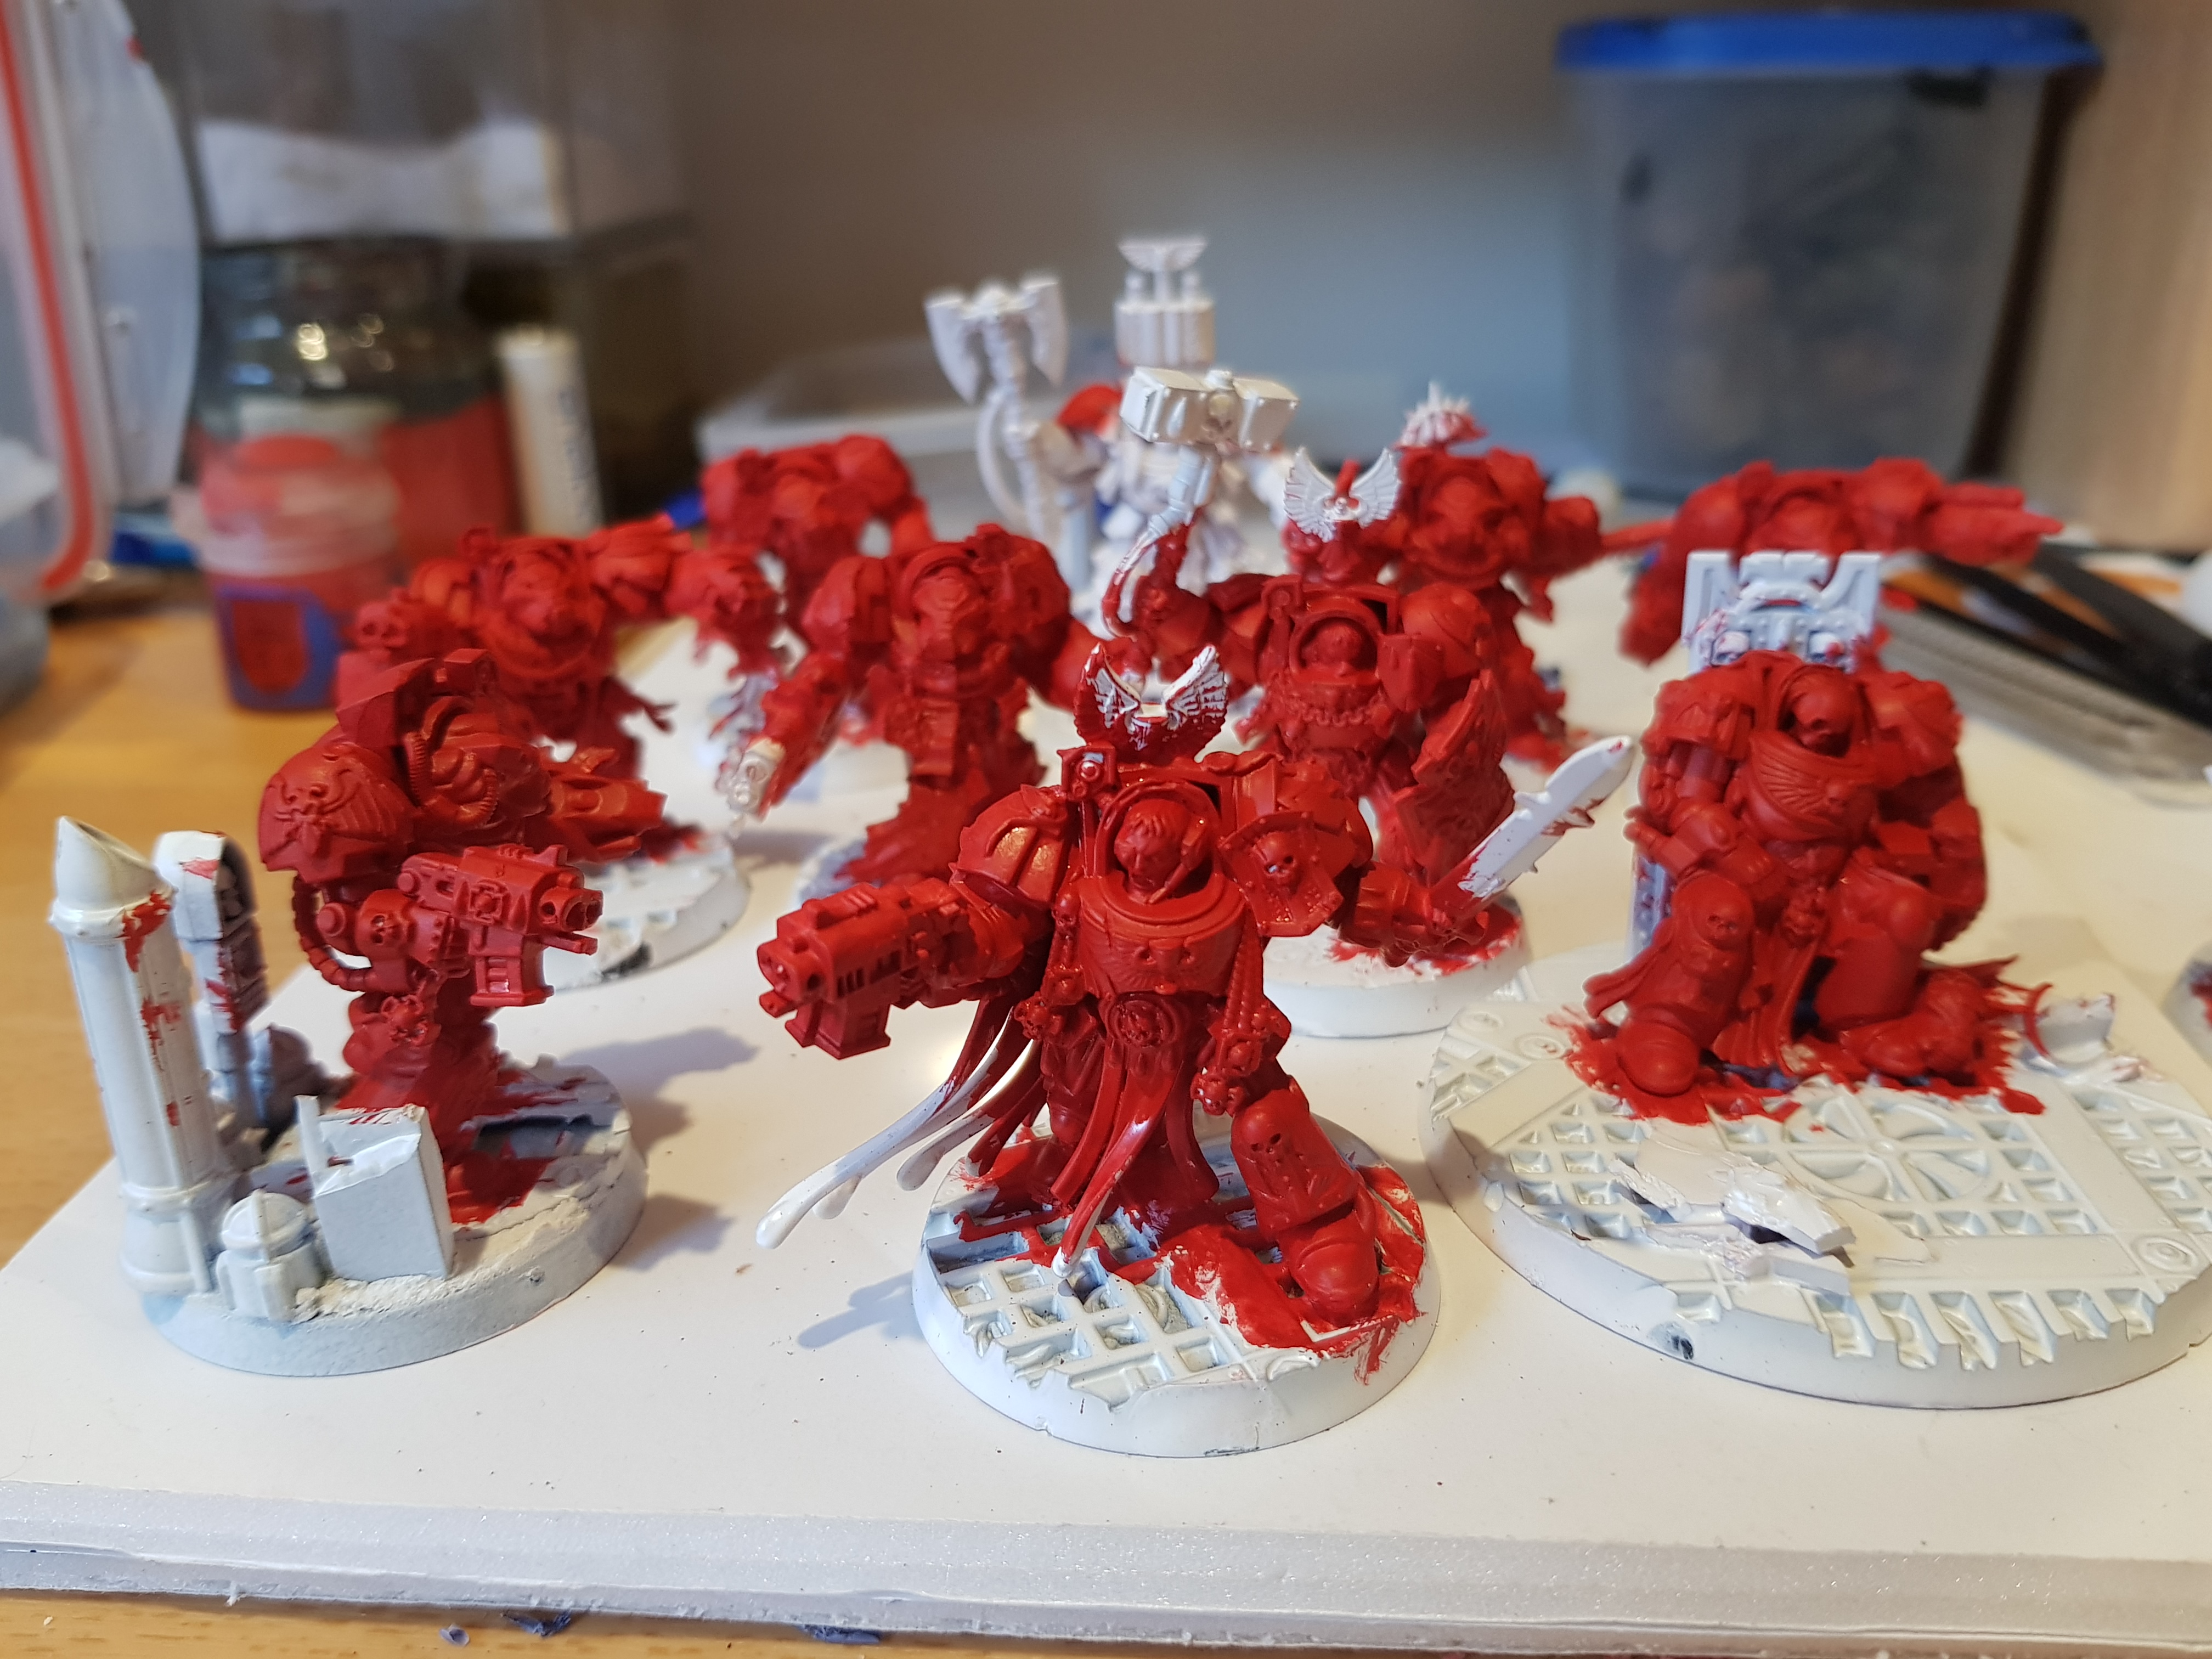
Due to my previous poor choice in undercoating, I wanted to make sure I kept the layers thin. To this end I used a base coat of evil suns red watered down. 3 coats (the final one really just picking out the bits I missed) seemed to do the trick. The final of the 3 coats I used, I really watered down (2 parts water to 1 part paint) because I found the paint did not sit into all the very tiny recesses in these models, maybe the undercoat was coming back to haunt me .. not sure. But either way I had good coverage of the red I wanted.
Why did I choose evil suns red?
- I like that red 🙂
- Seemed like a good idea at the time.
- I am not always a fan of painting the exact GW tones – My Stormcast are much more Bronze than their bright gold because I like the weight it adds to the models.
- For re-application after wash I always like to go … a barely noticeable tone up and I have Army Painter Pure red which (to my eye at least) looks just a touch lighter. (Giving away upcoming steps :/ )
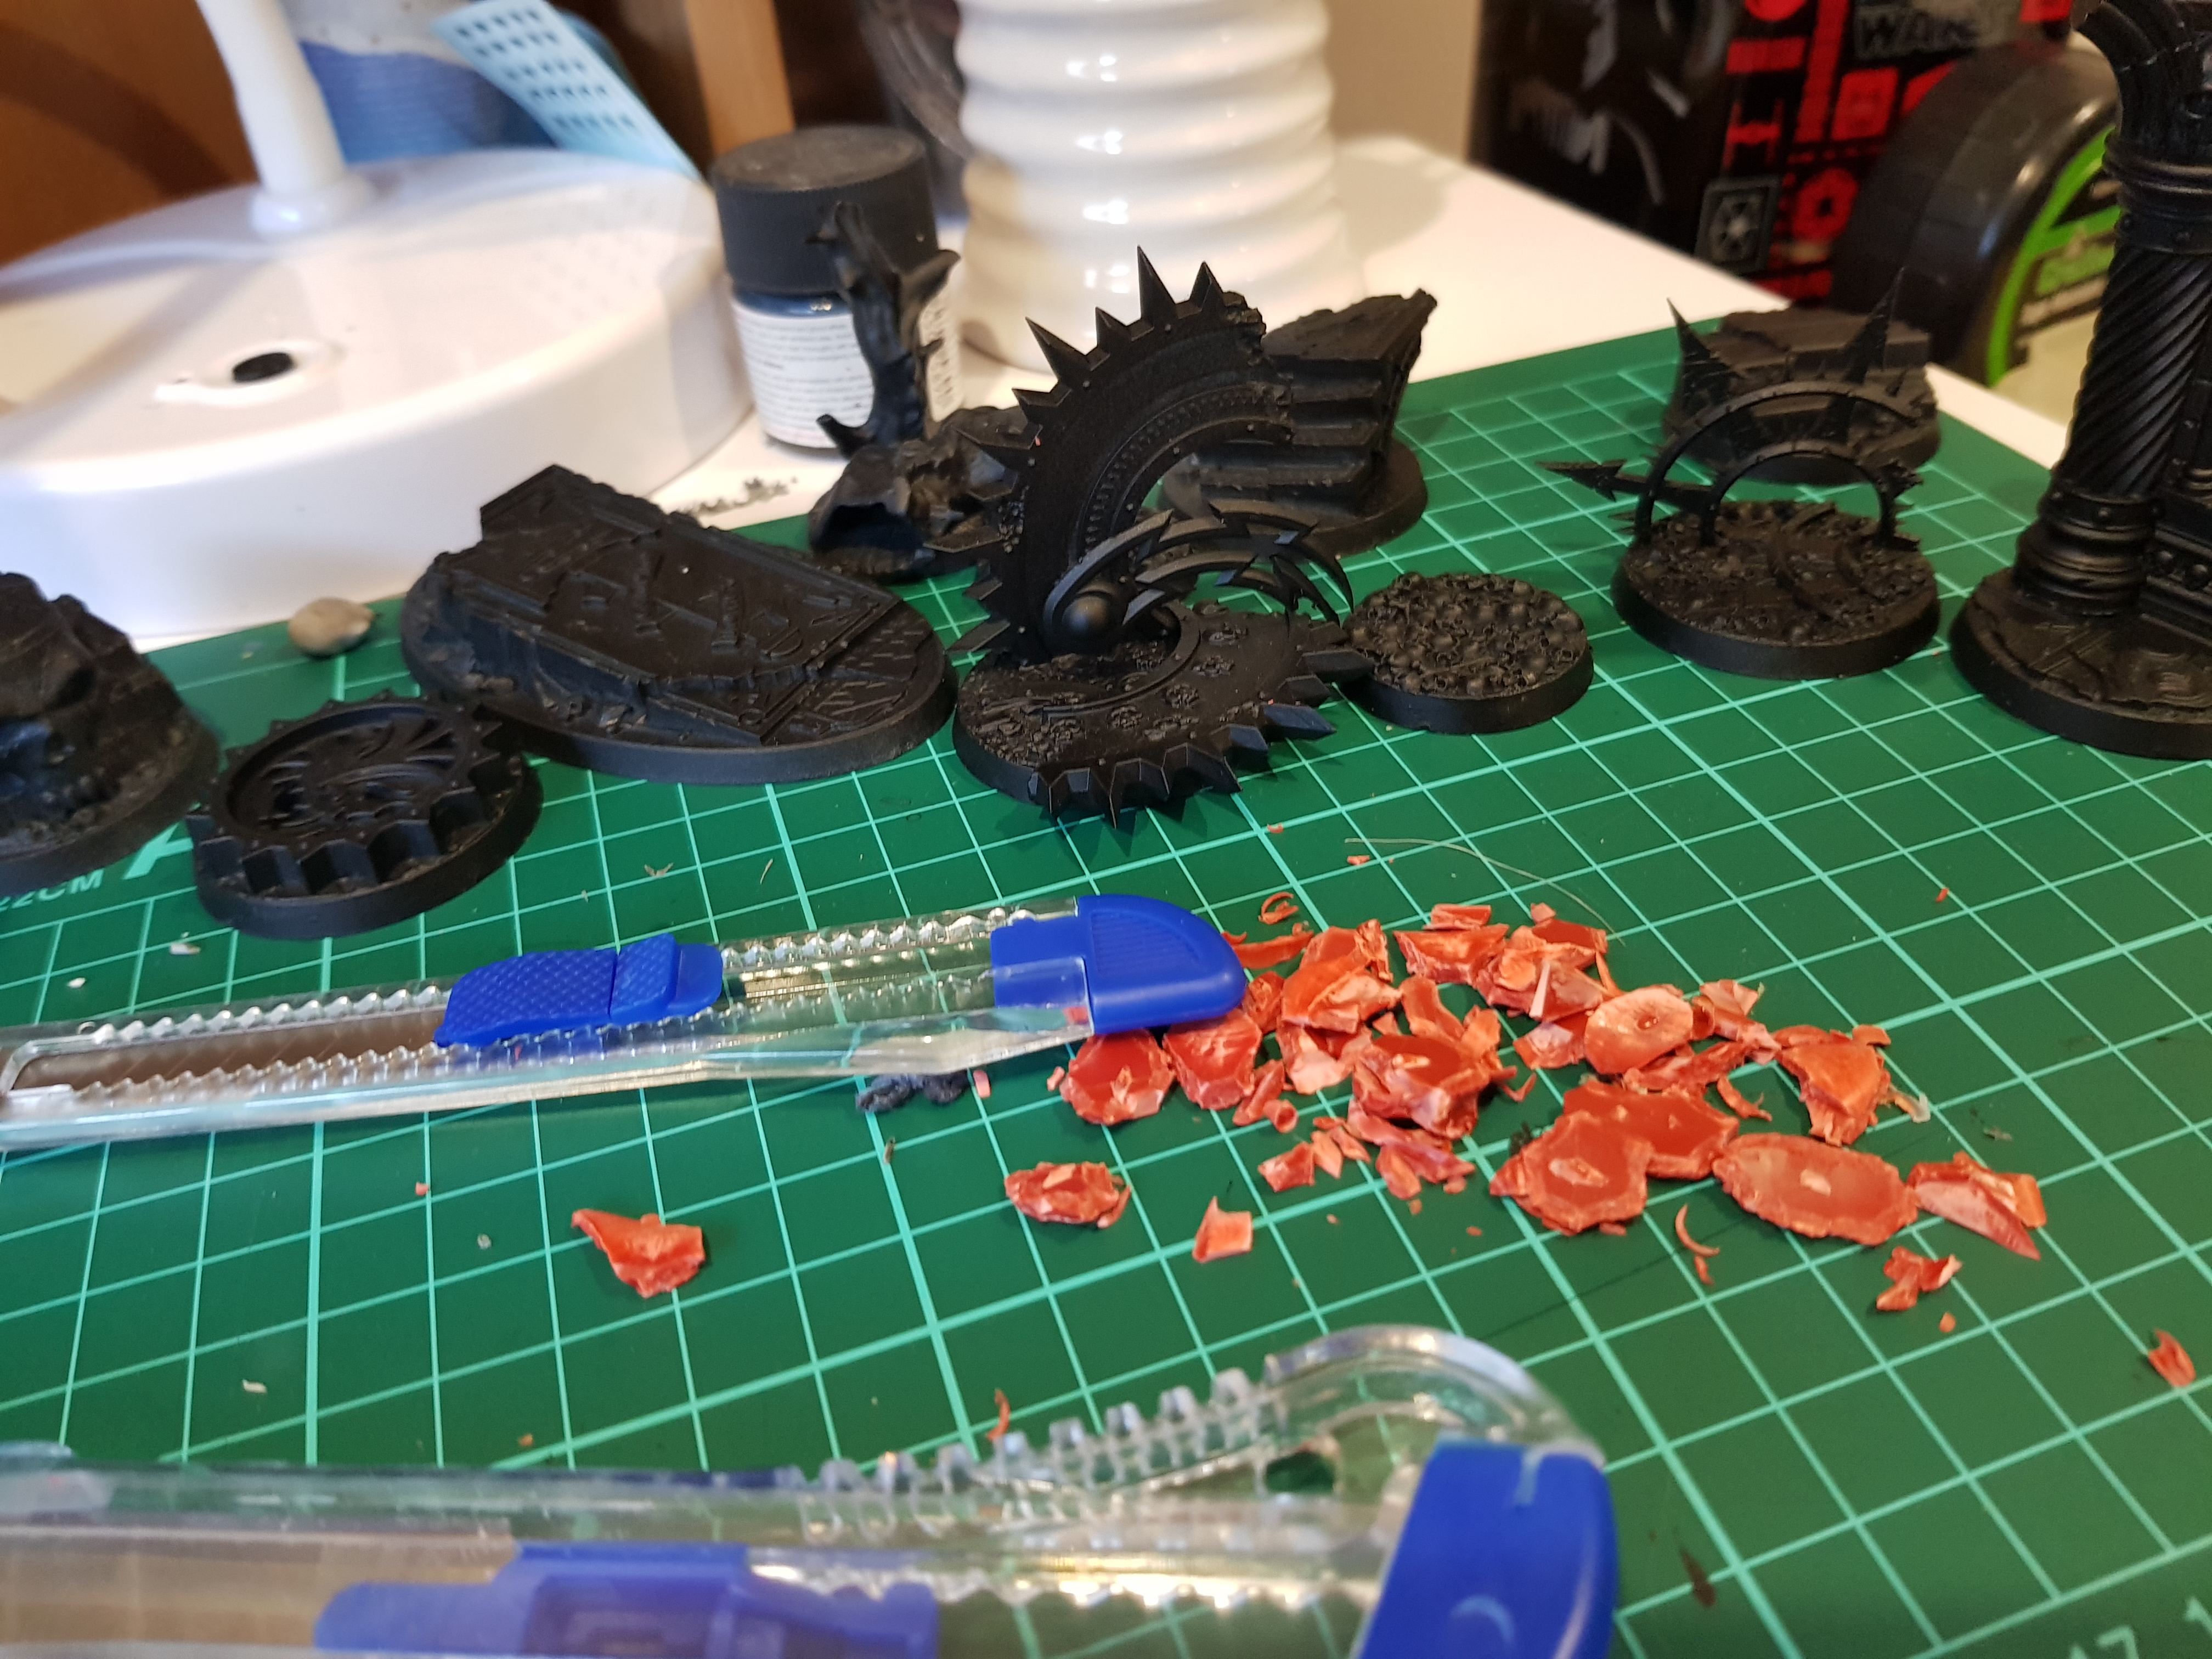
Step 6.1 - Distraction
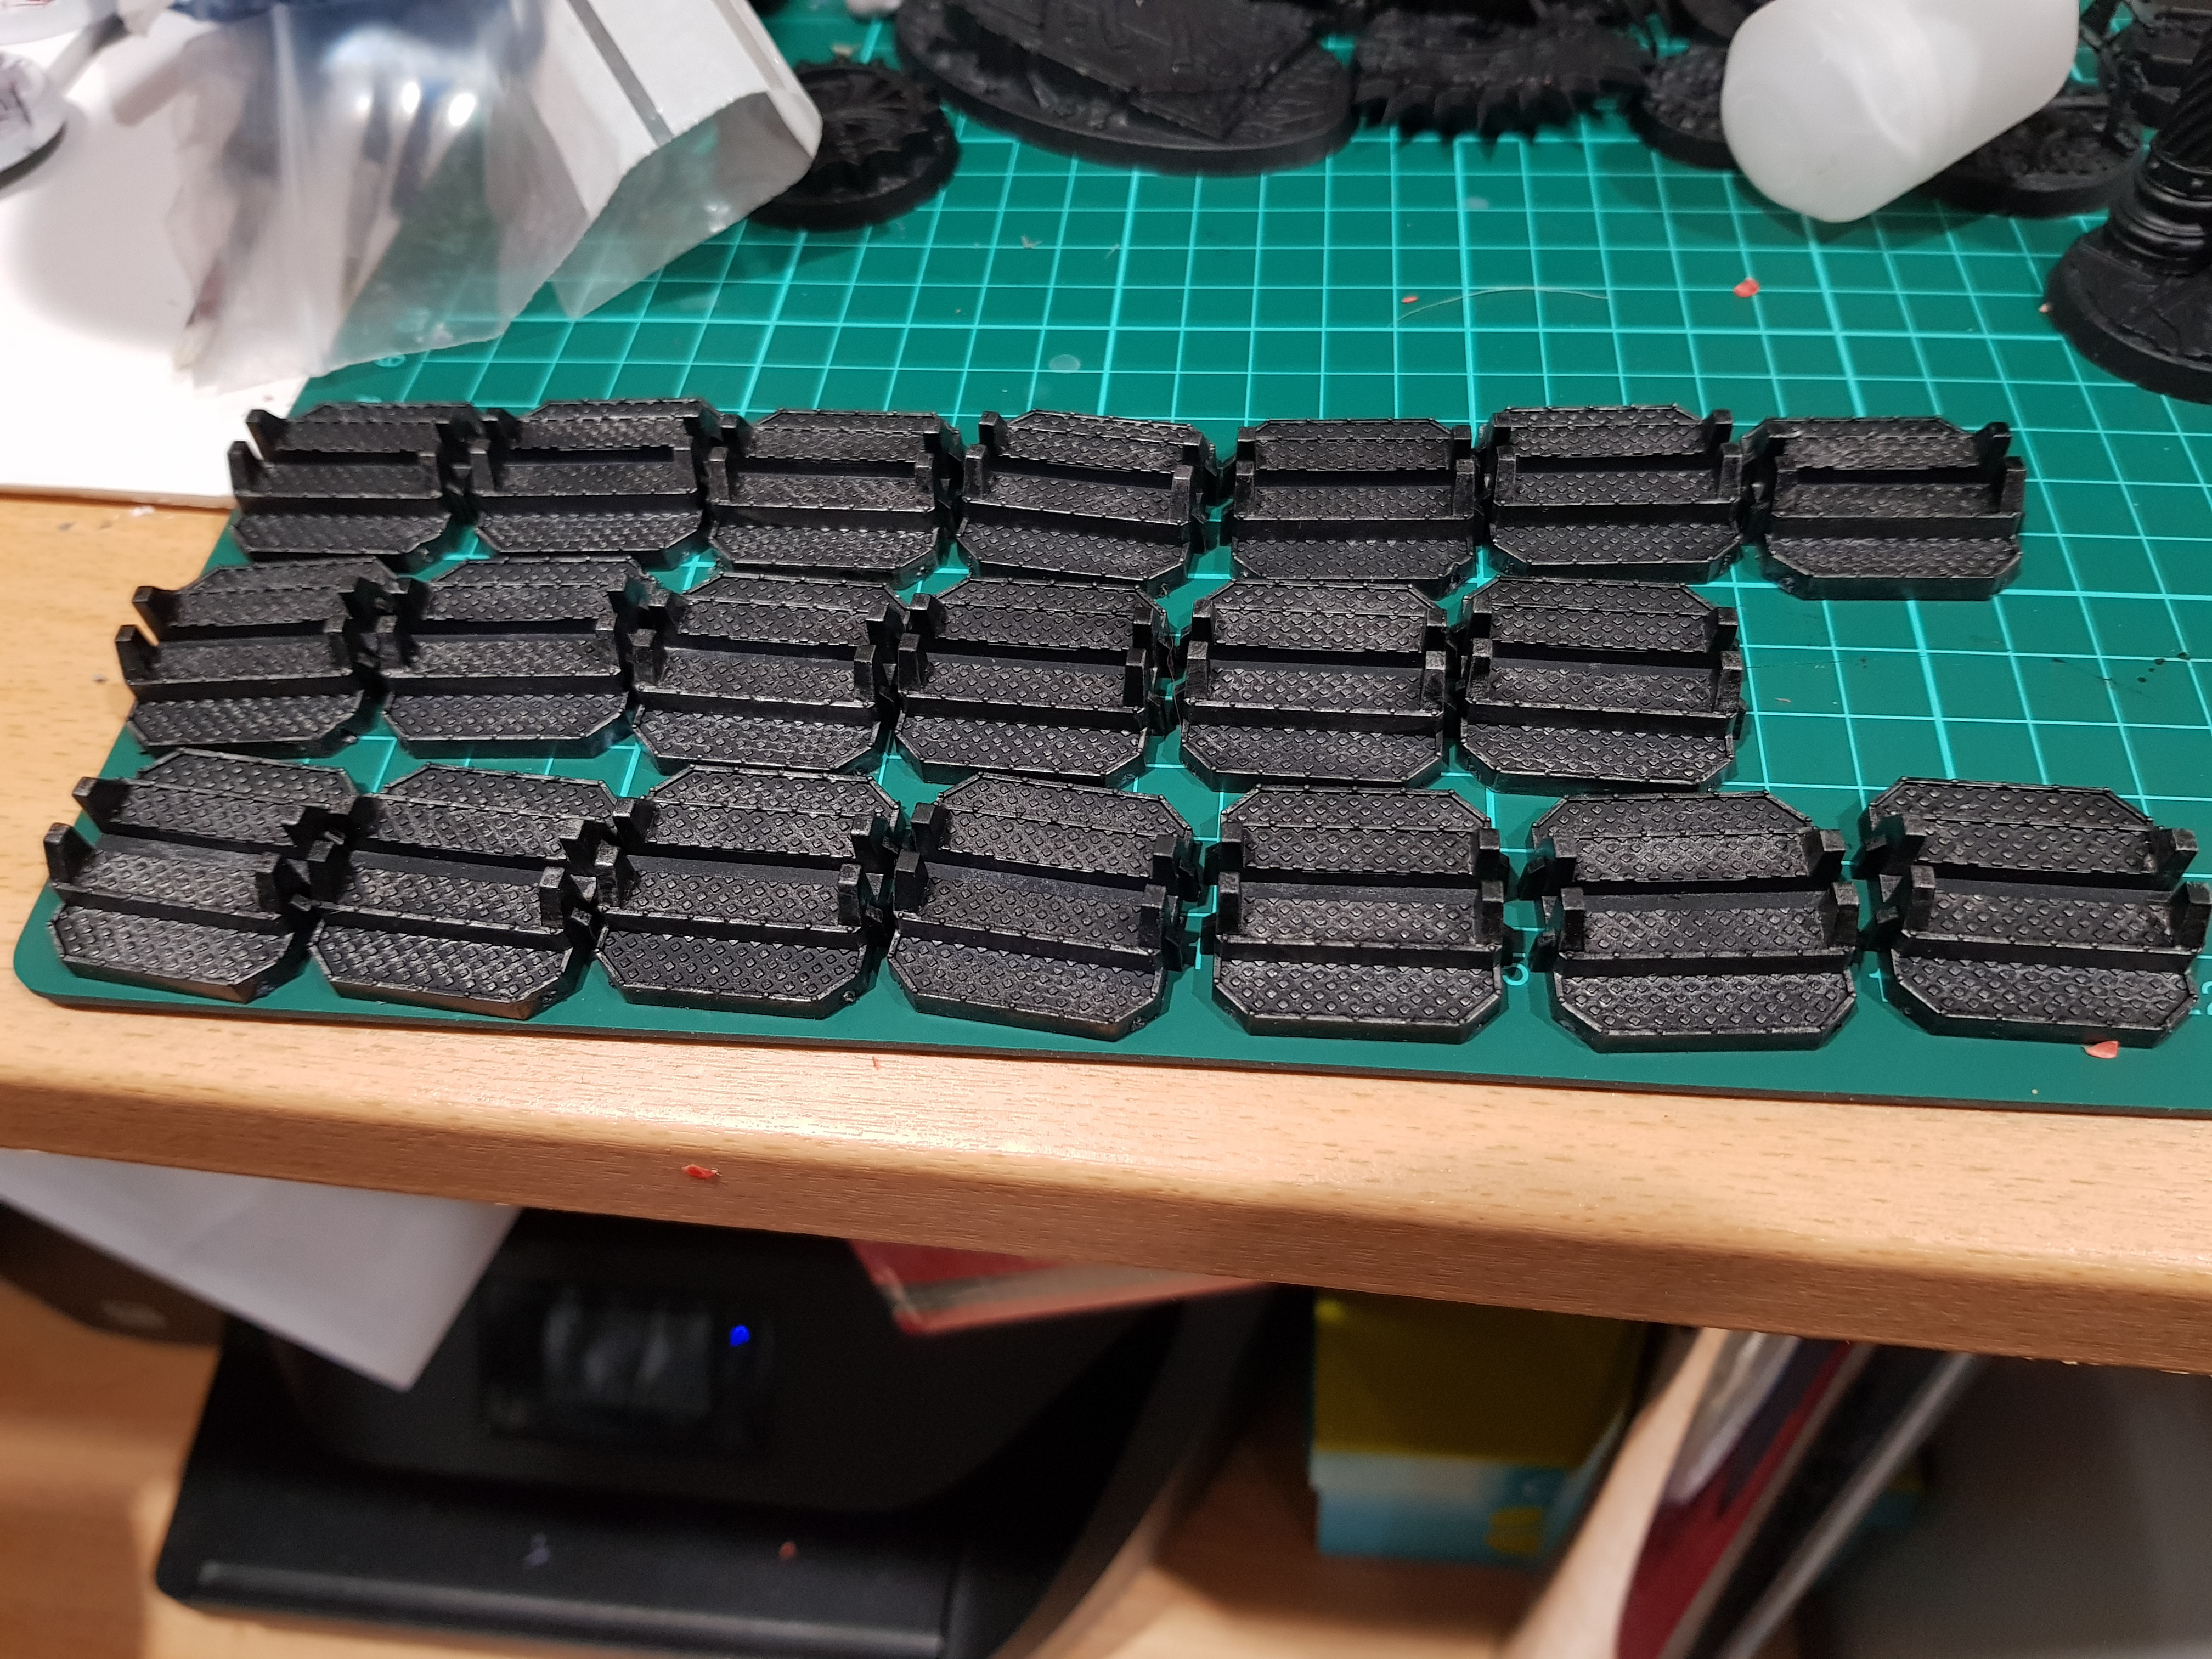
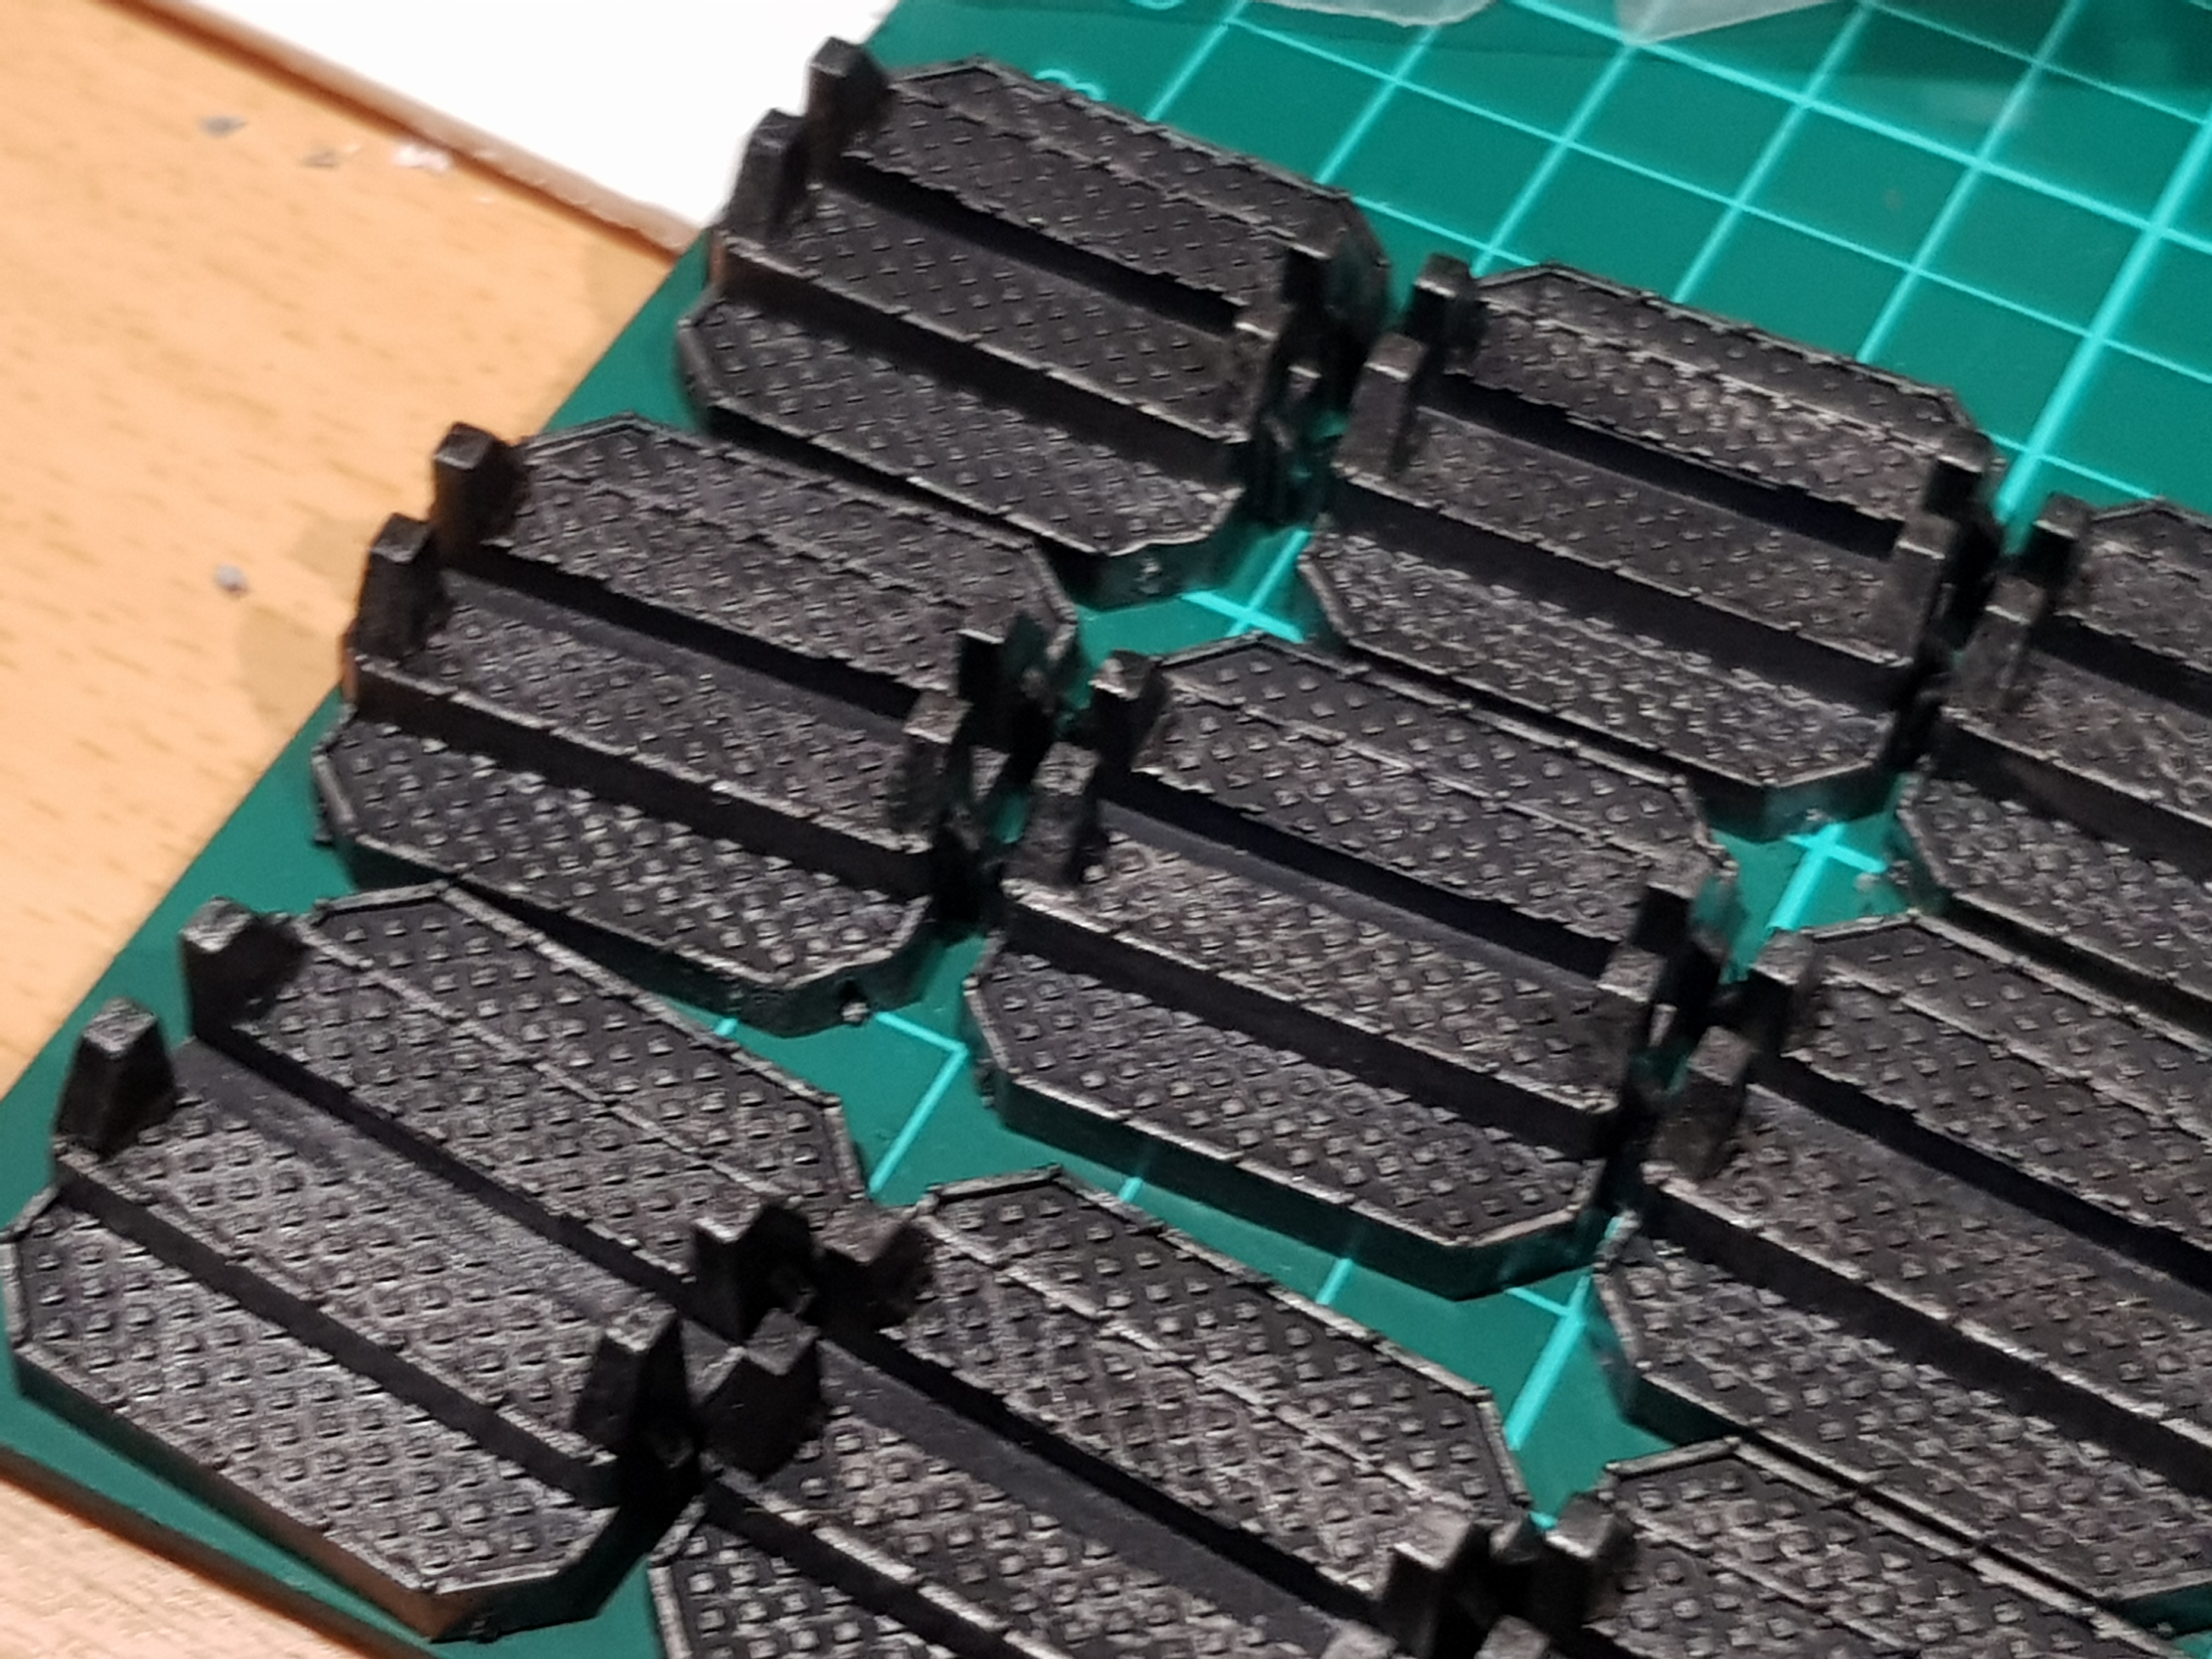
With everything undercoated I had to include those plastic blue door bases – it’s all about the immersion I said to my partner as she shook her head and went to watch “Preacher”(the TV series). I grabbed my trusty semi-destroyed dry brush and away I went with some paper towel and Citadel gun metal – or whatever they call it now (Ironbreaker – that’s it !!)
Step 6 - Bringing it all together
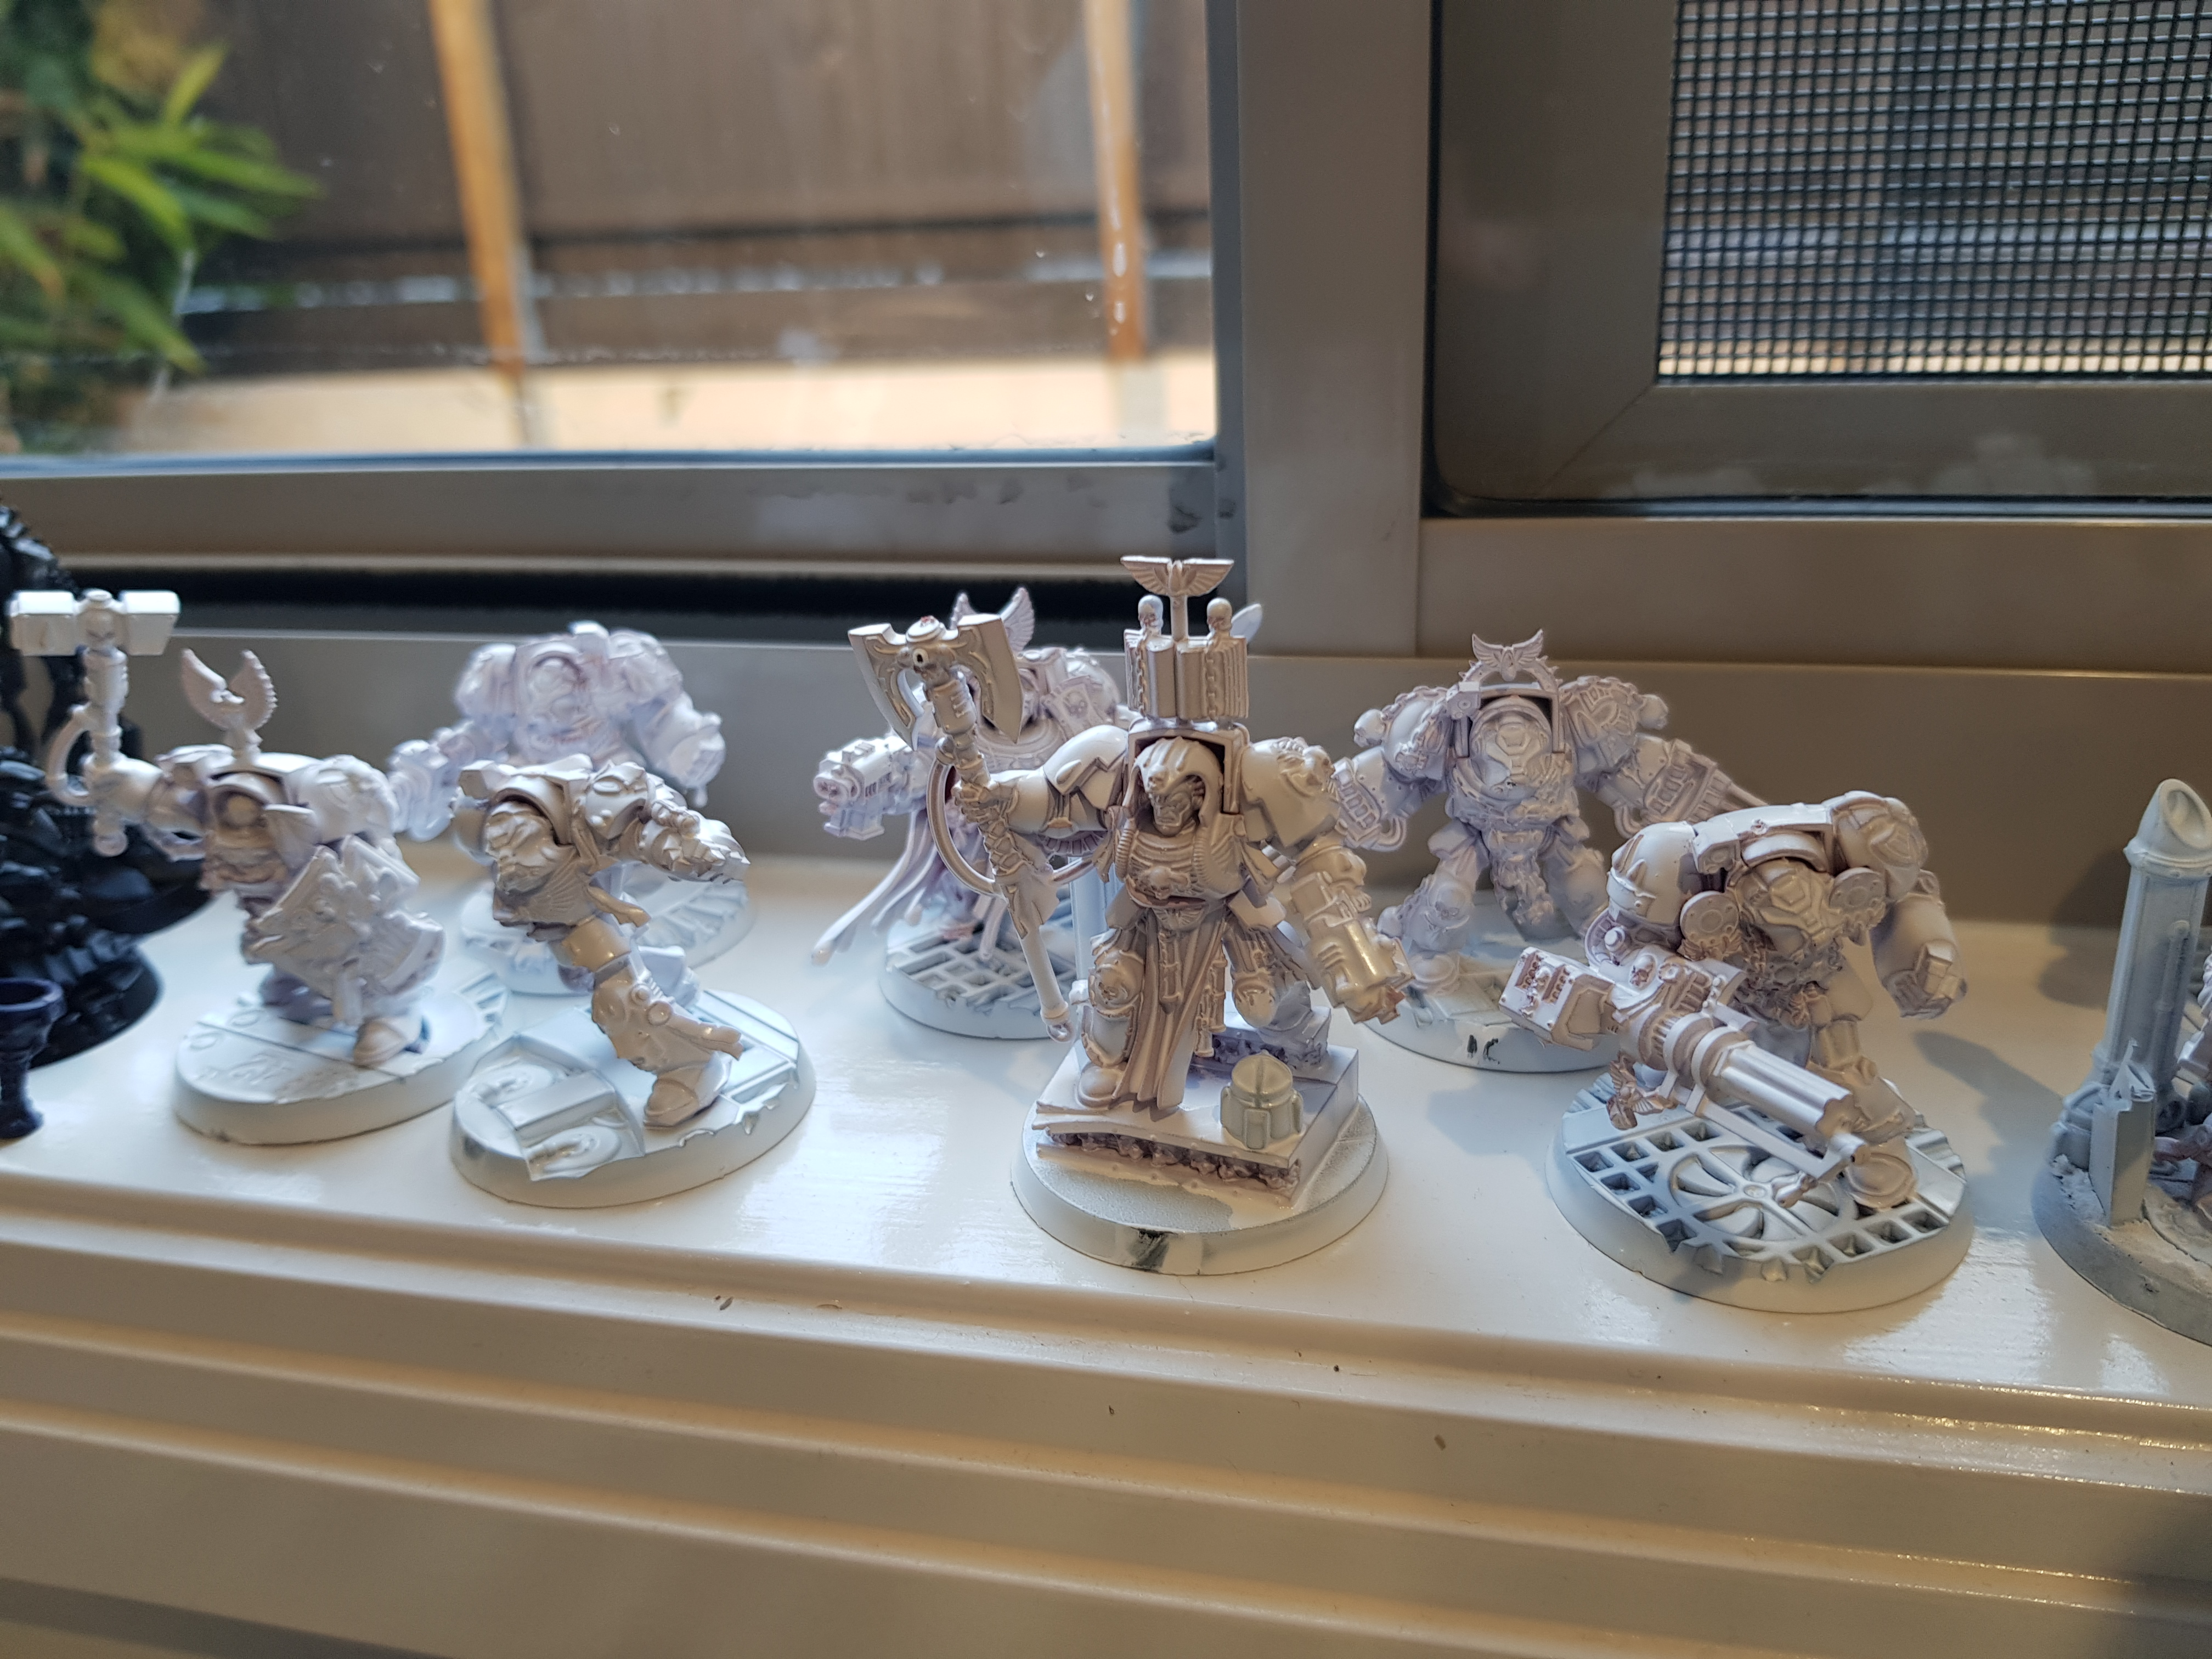
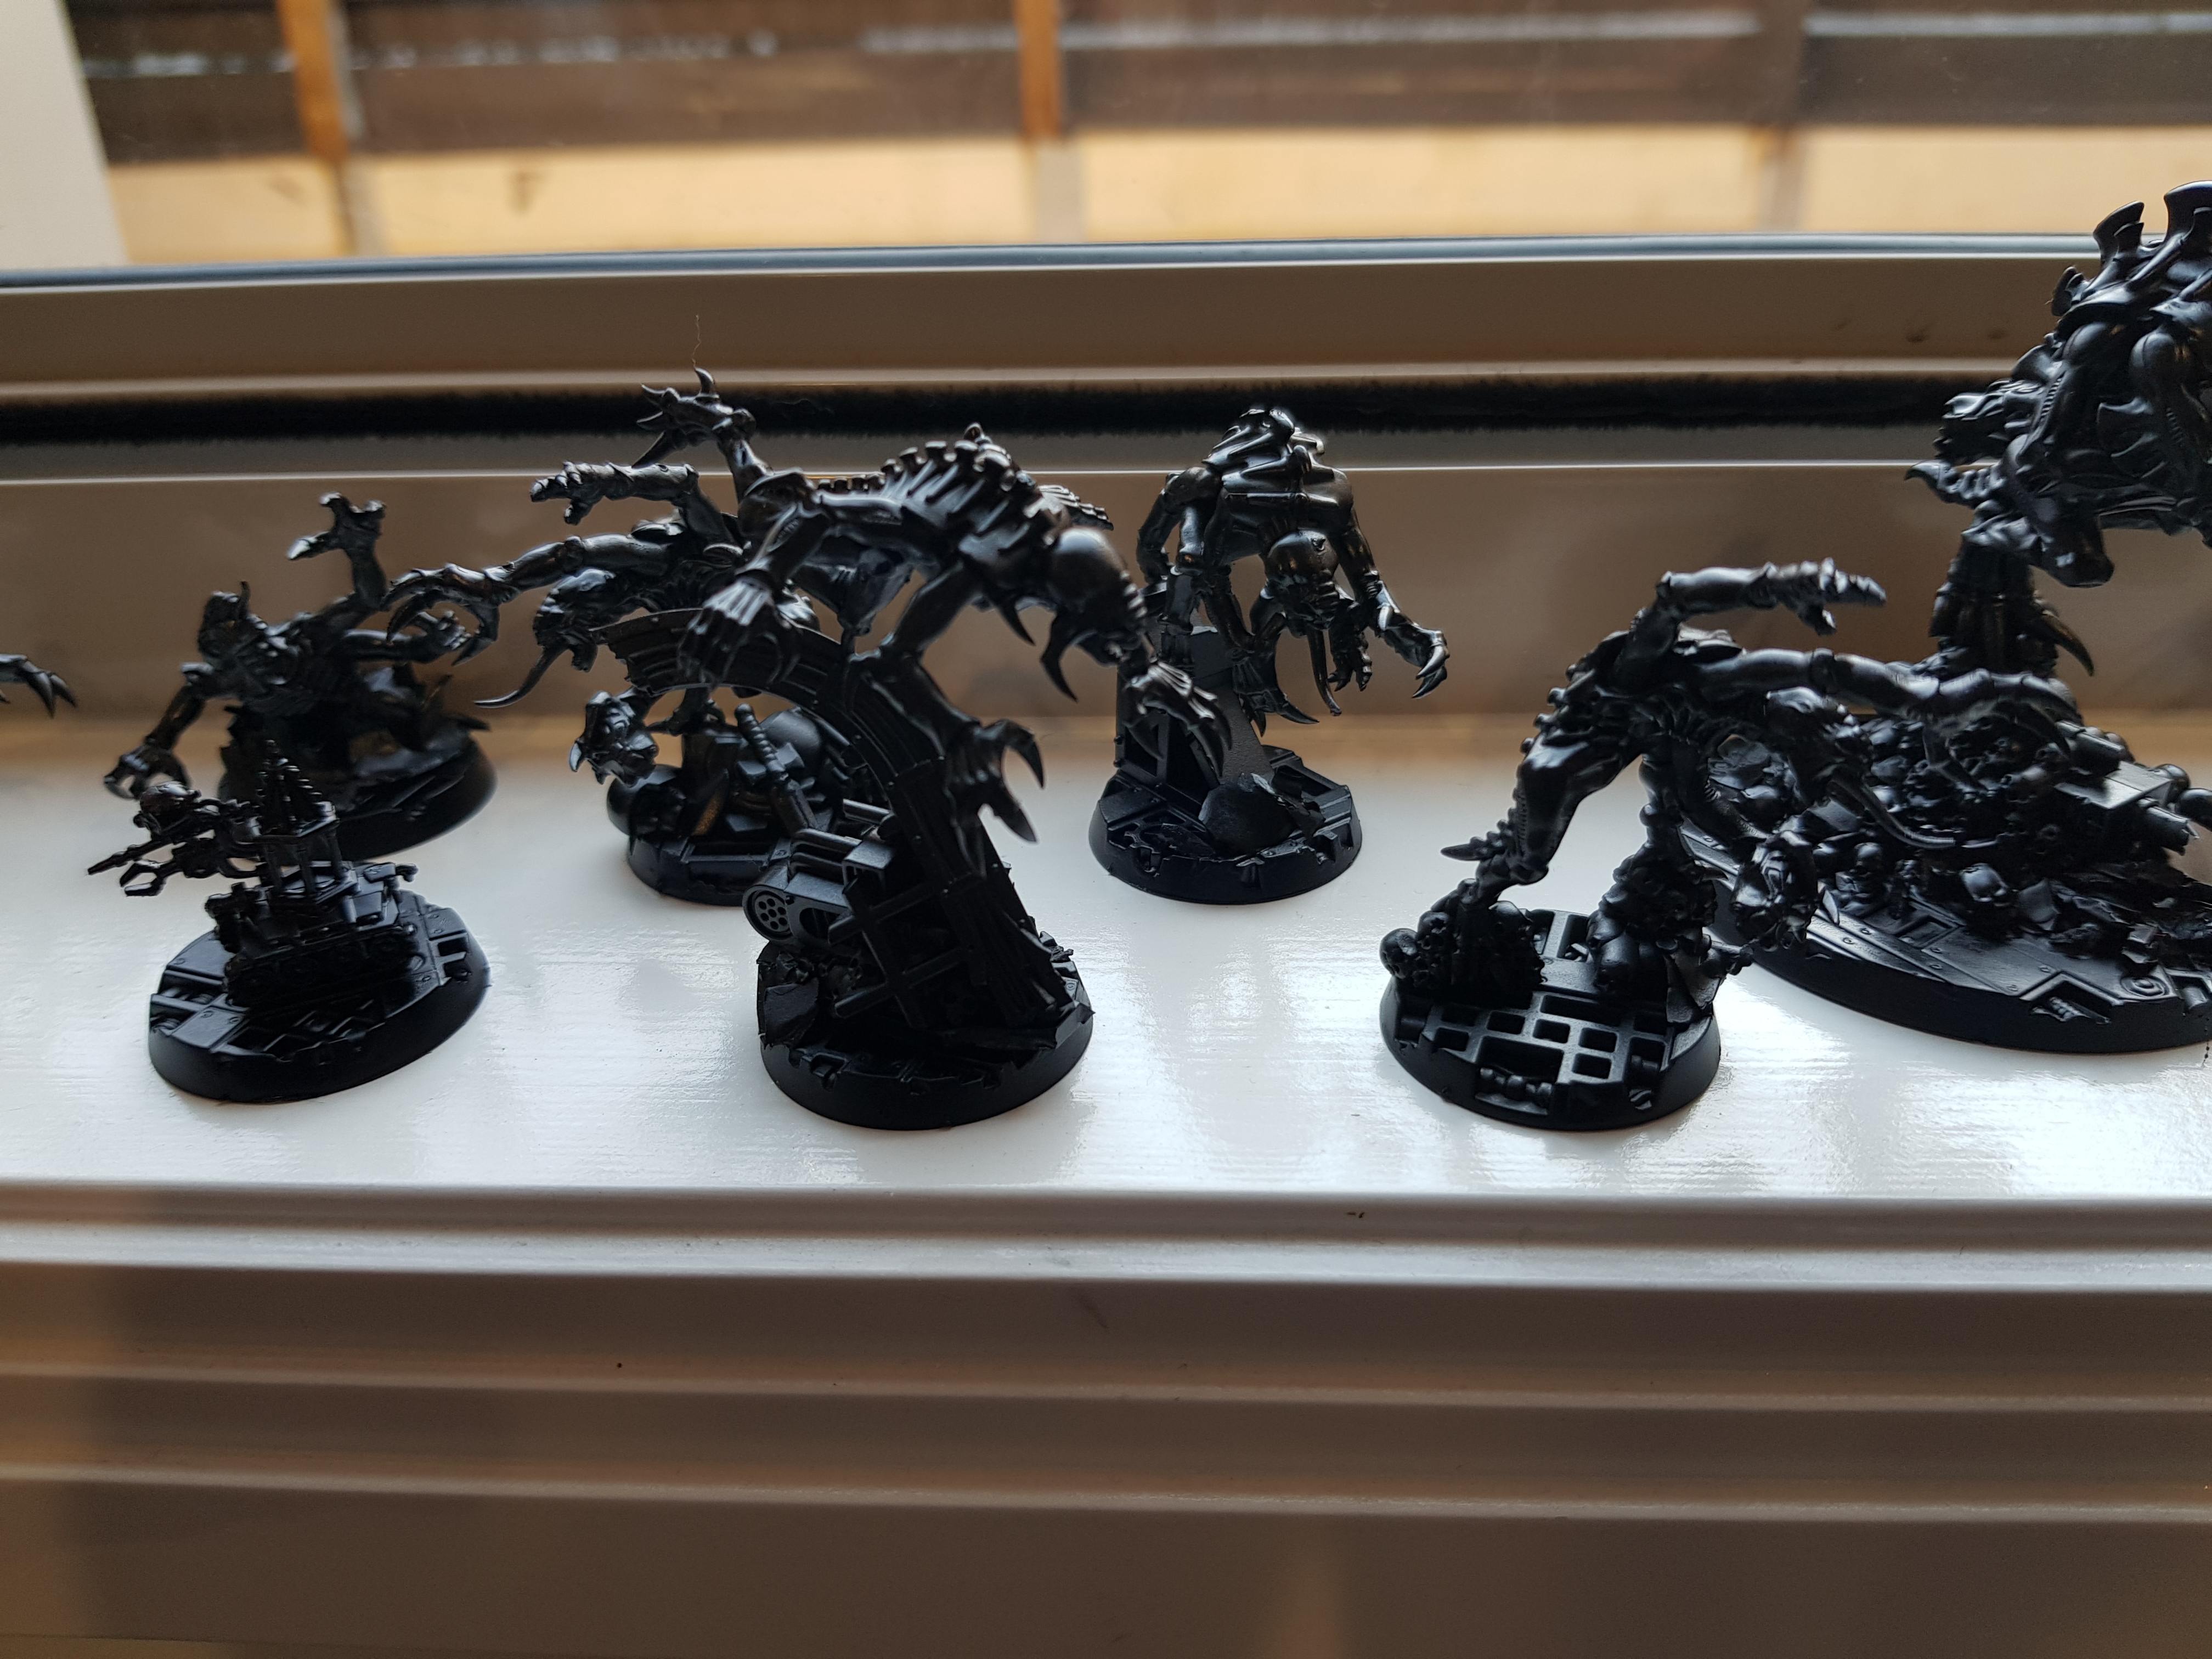
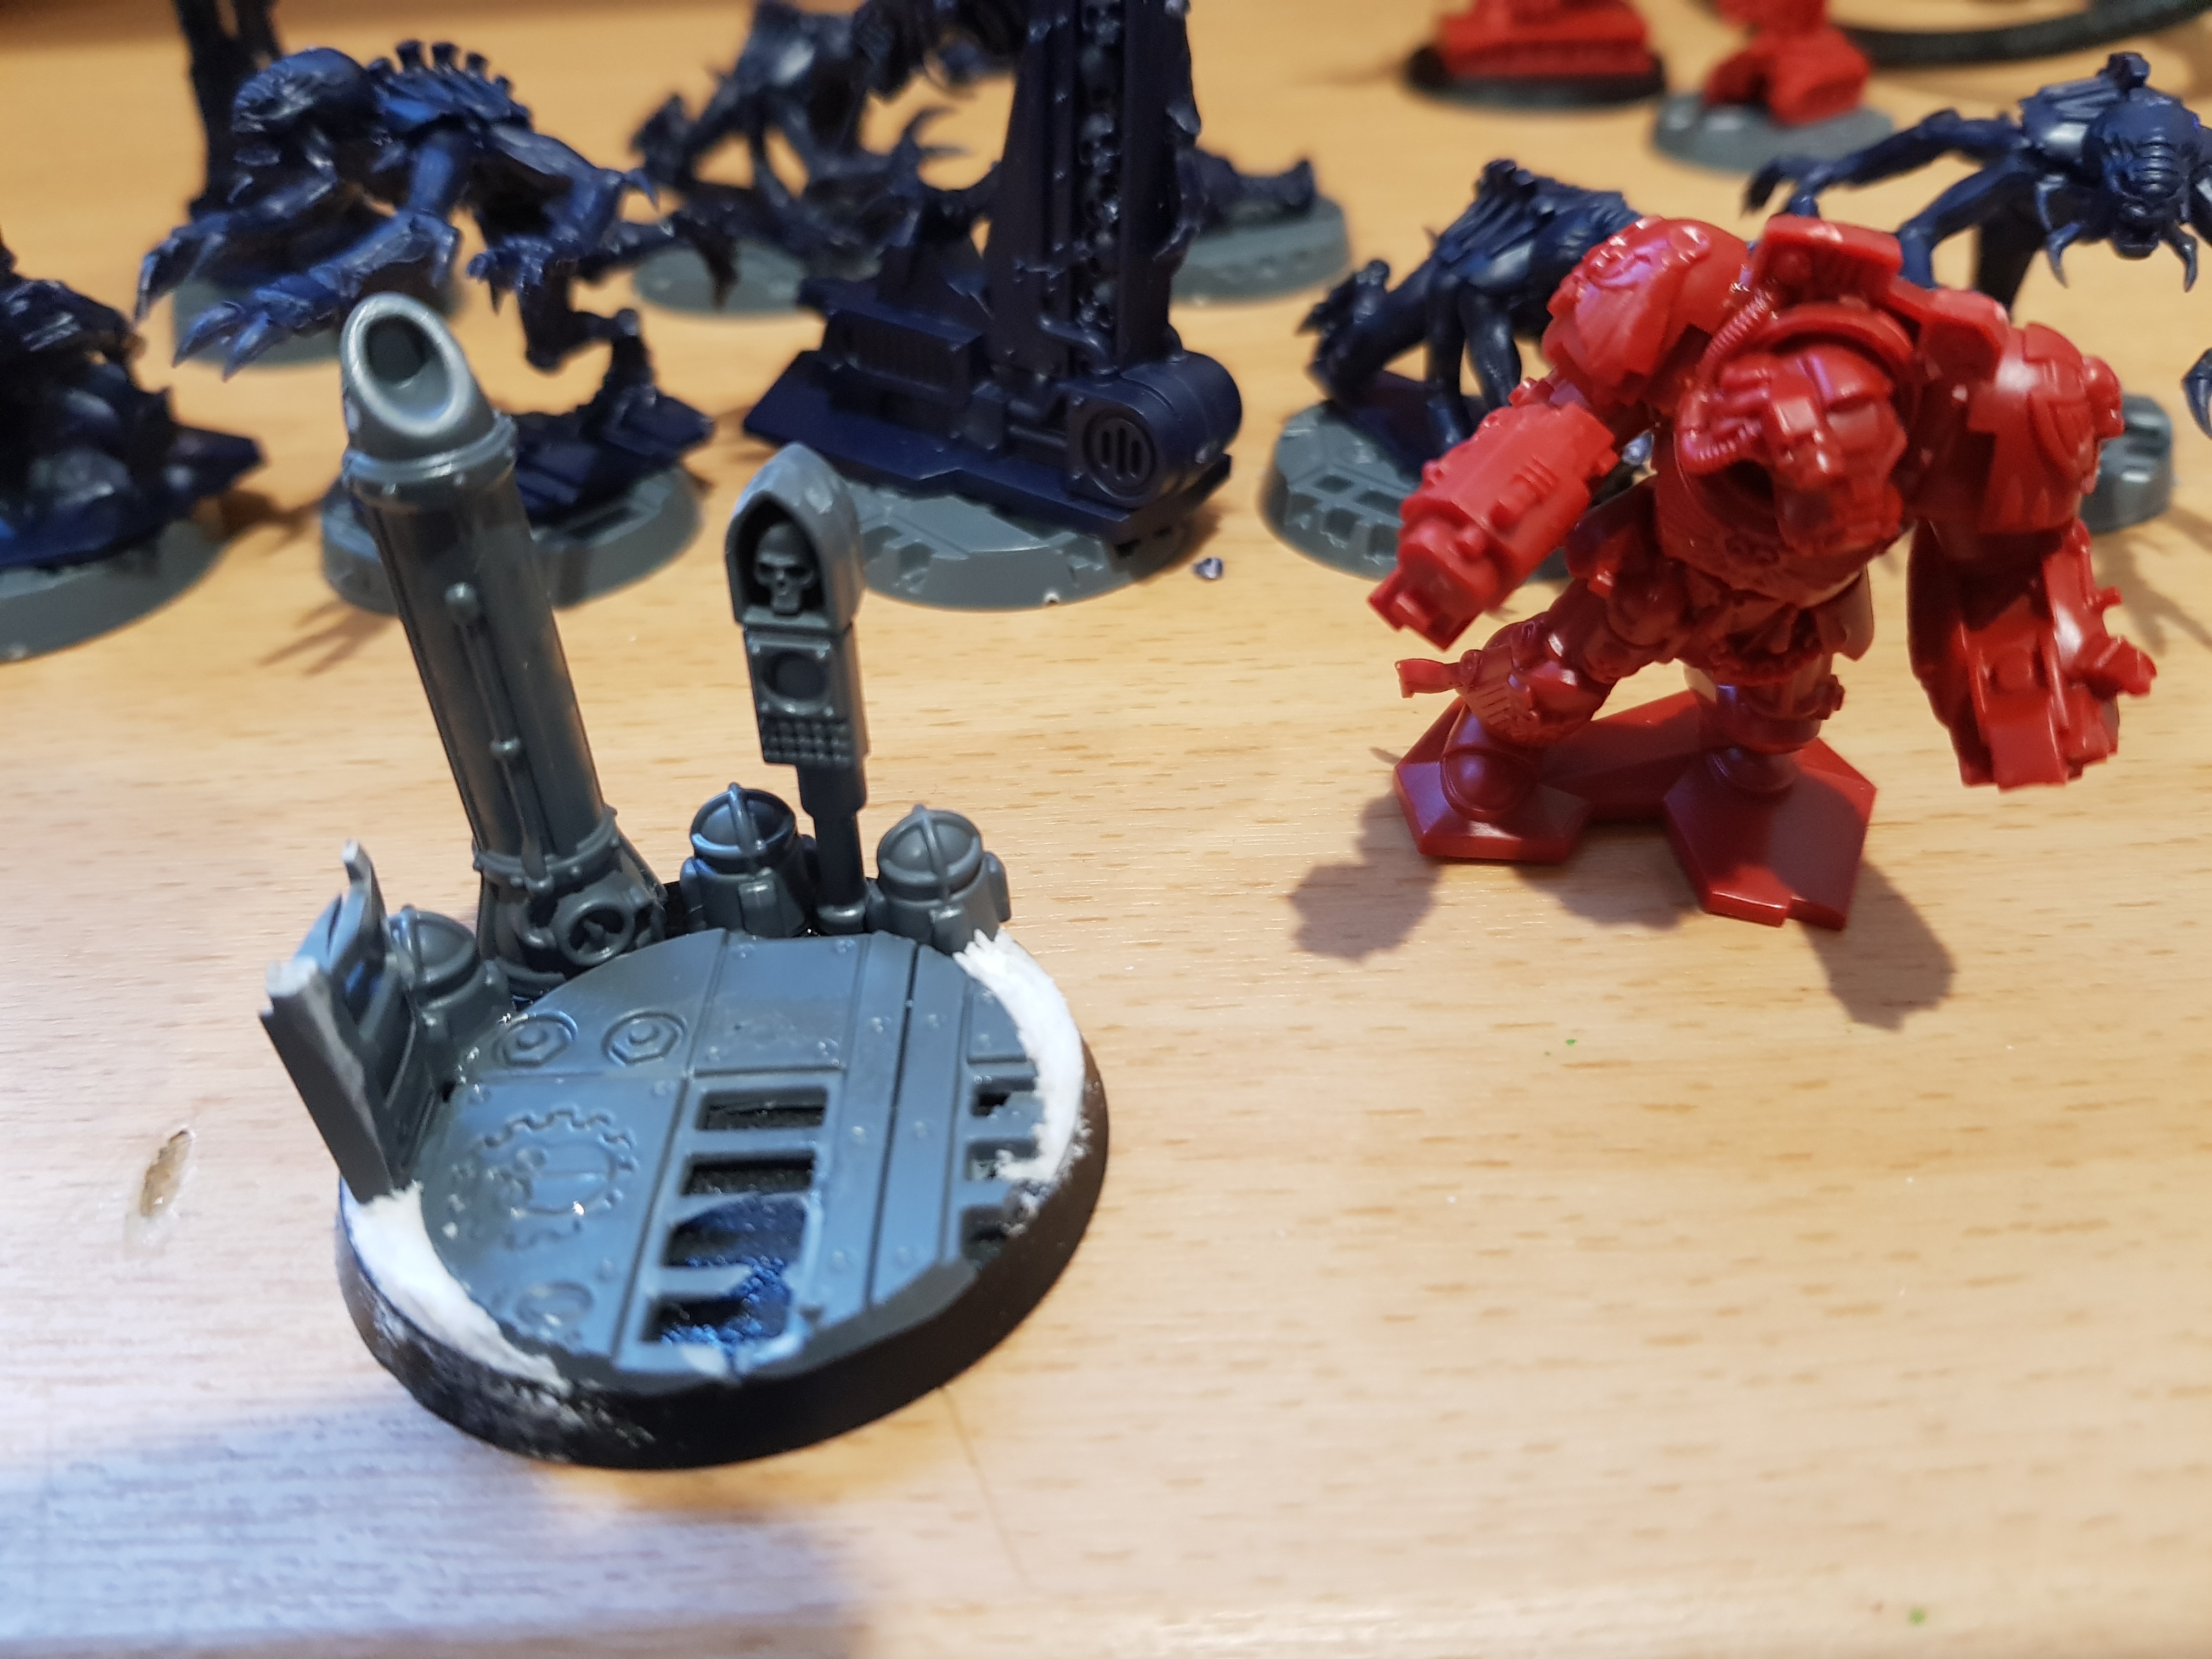
Using some very cheap (and in the case of the white, probably too cheap) undercoat, I set about to bring the colours together. The white was a dulux undercoat that seemed to be quite runny and pool in the gaps cause a little detail loss. Ah well onward and upward .. live and learn and all those other quite generic quotes that cover what i really said at the time %&*&ing mother^&*$% cheap a$$ paint !!! .. Anyway, when it dried it seemed to settle a little but did still allow the red to shine through a little .. no matter a few thinned down coats of white and we will be away. Still optimistic for a good finished product .. lesson learned – use the better brand or hobby specific paints !!
Step 5 - Waste not want not !!!!
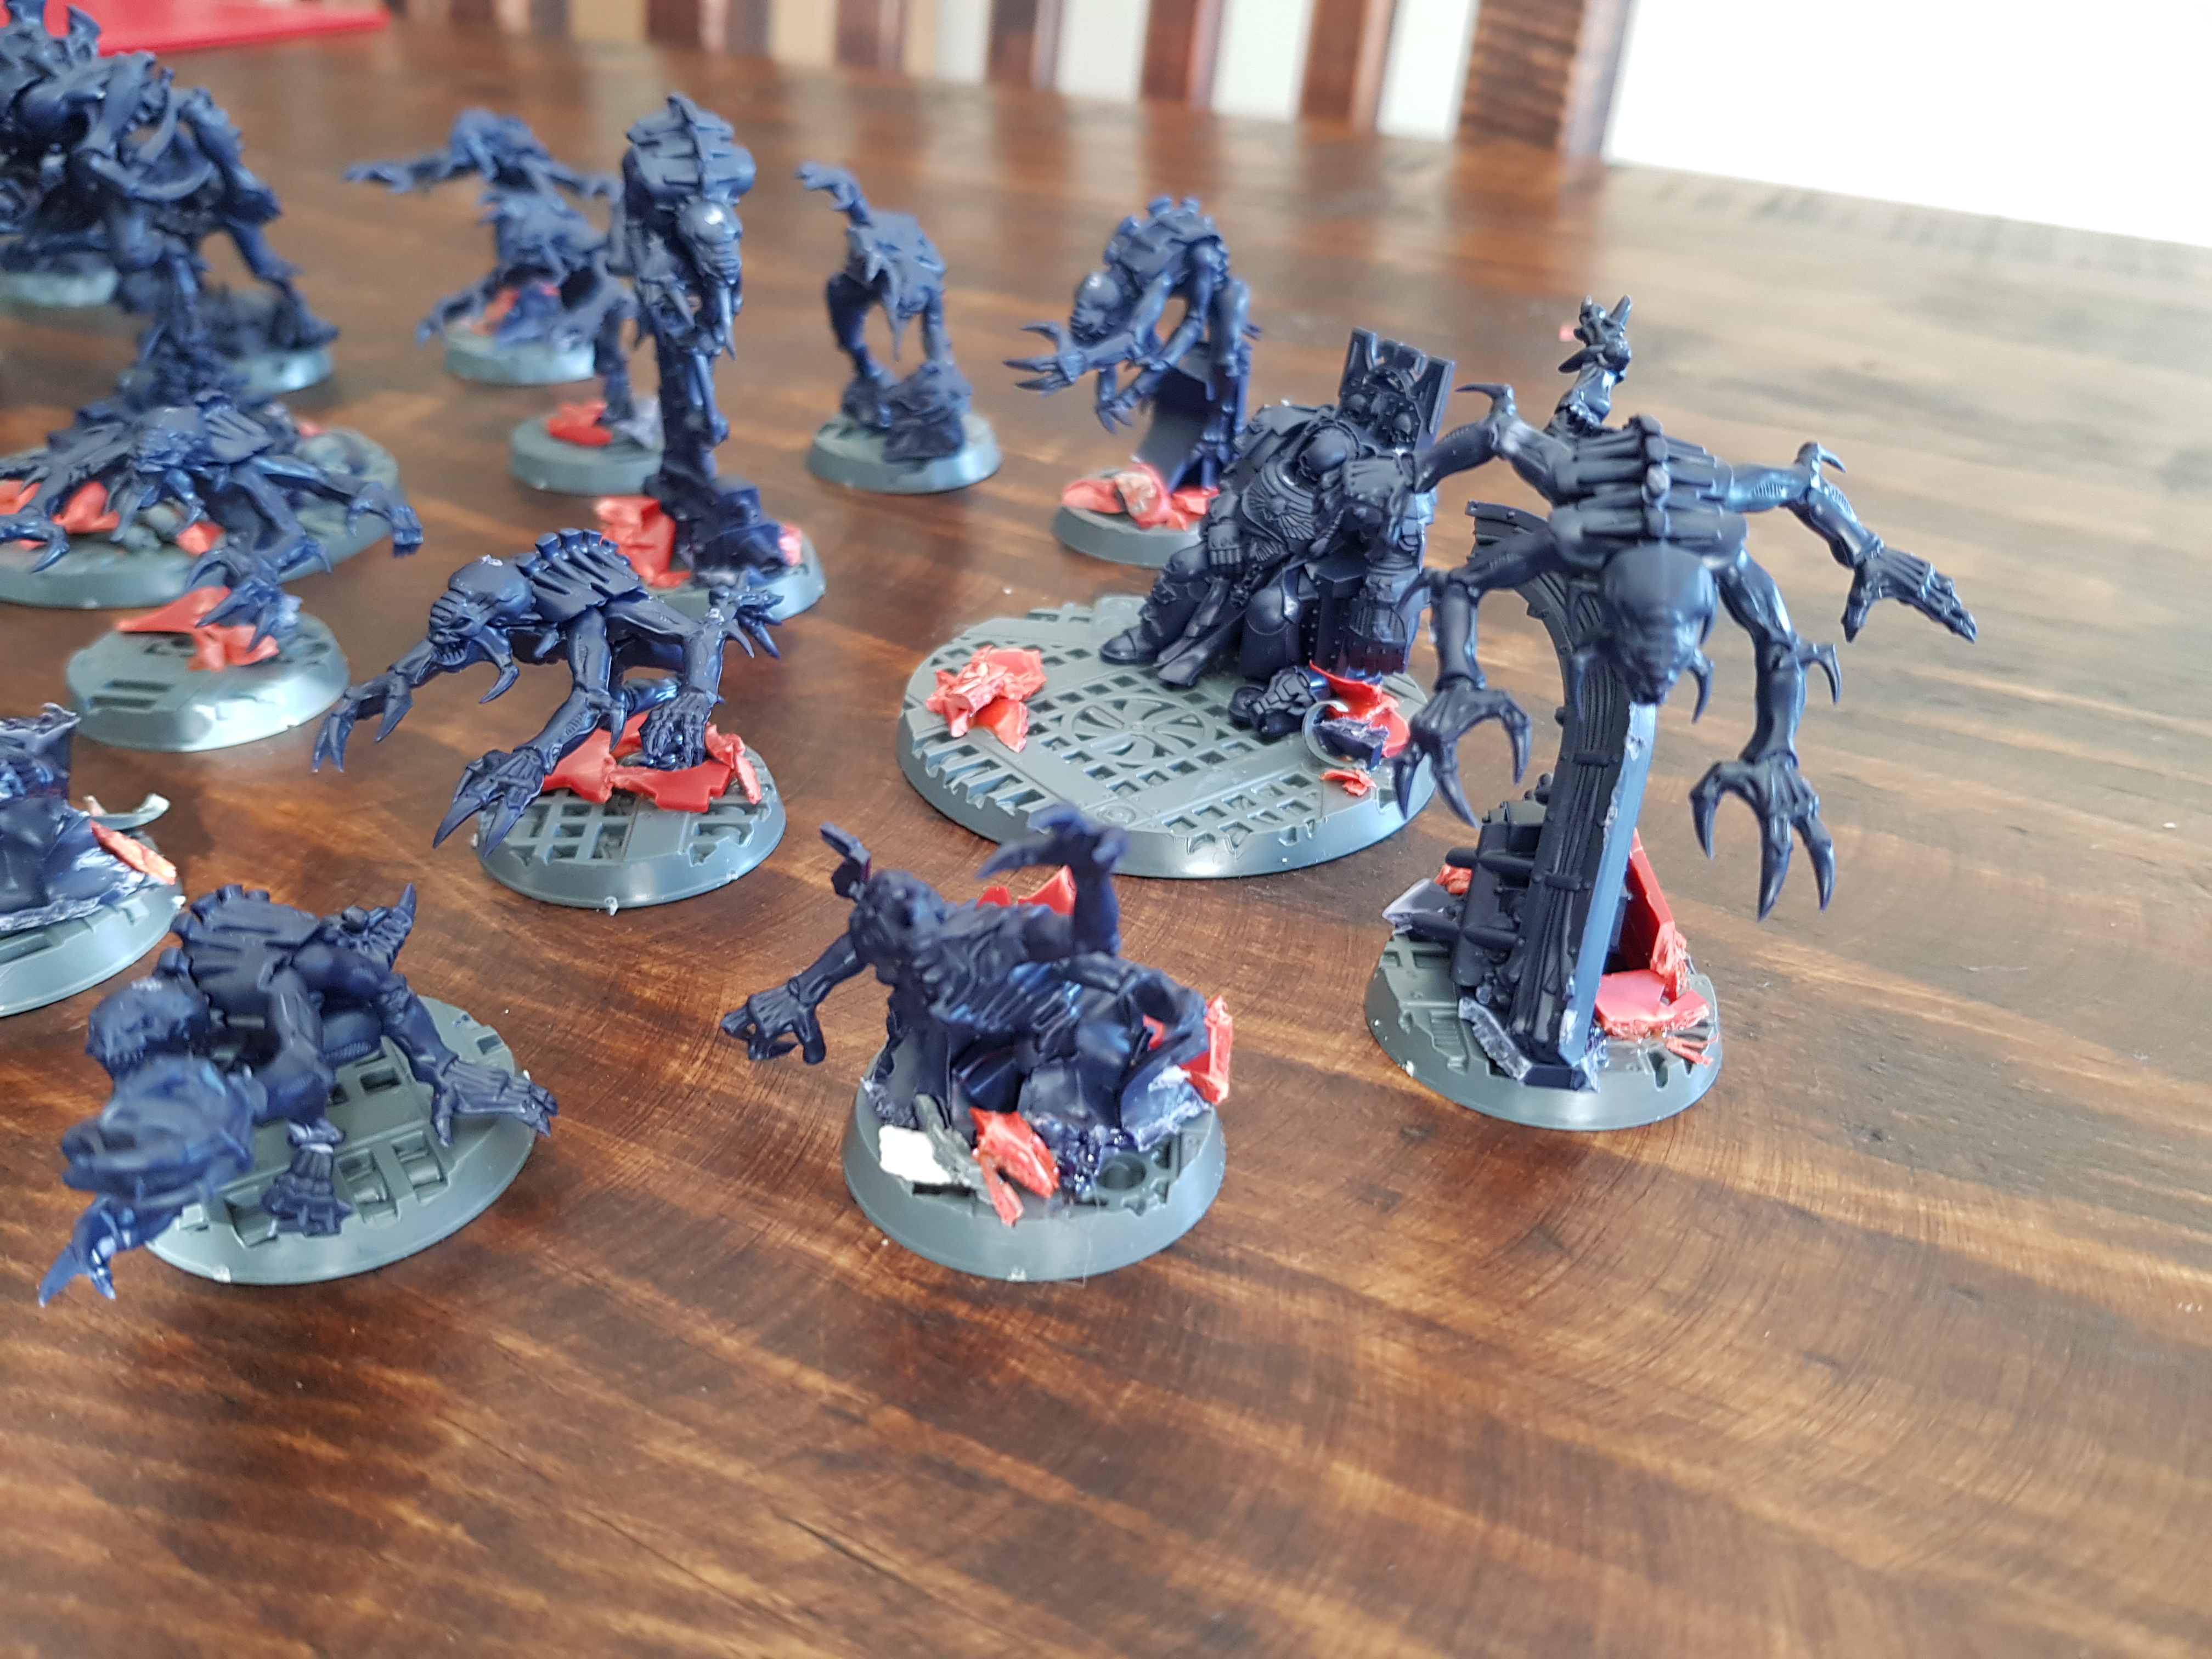
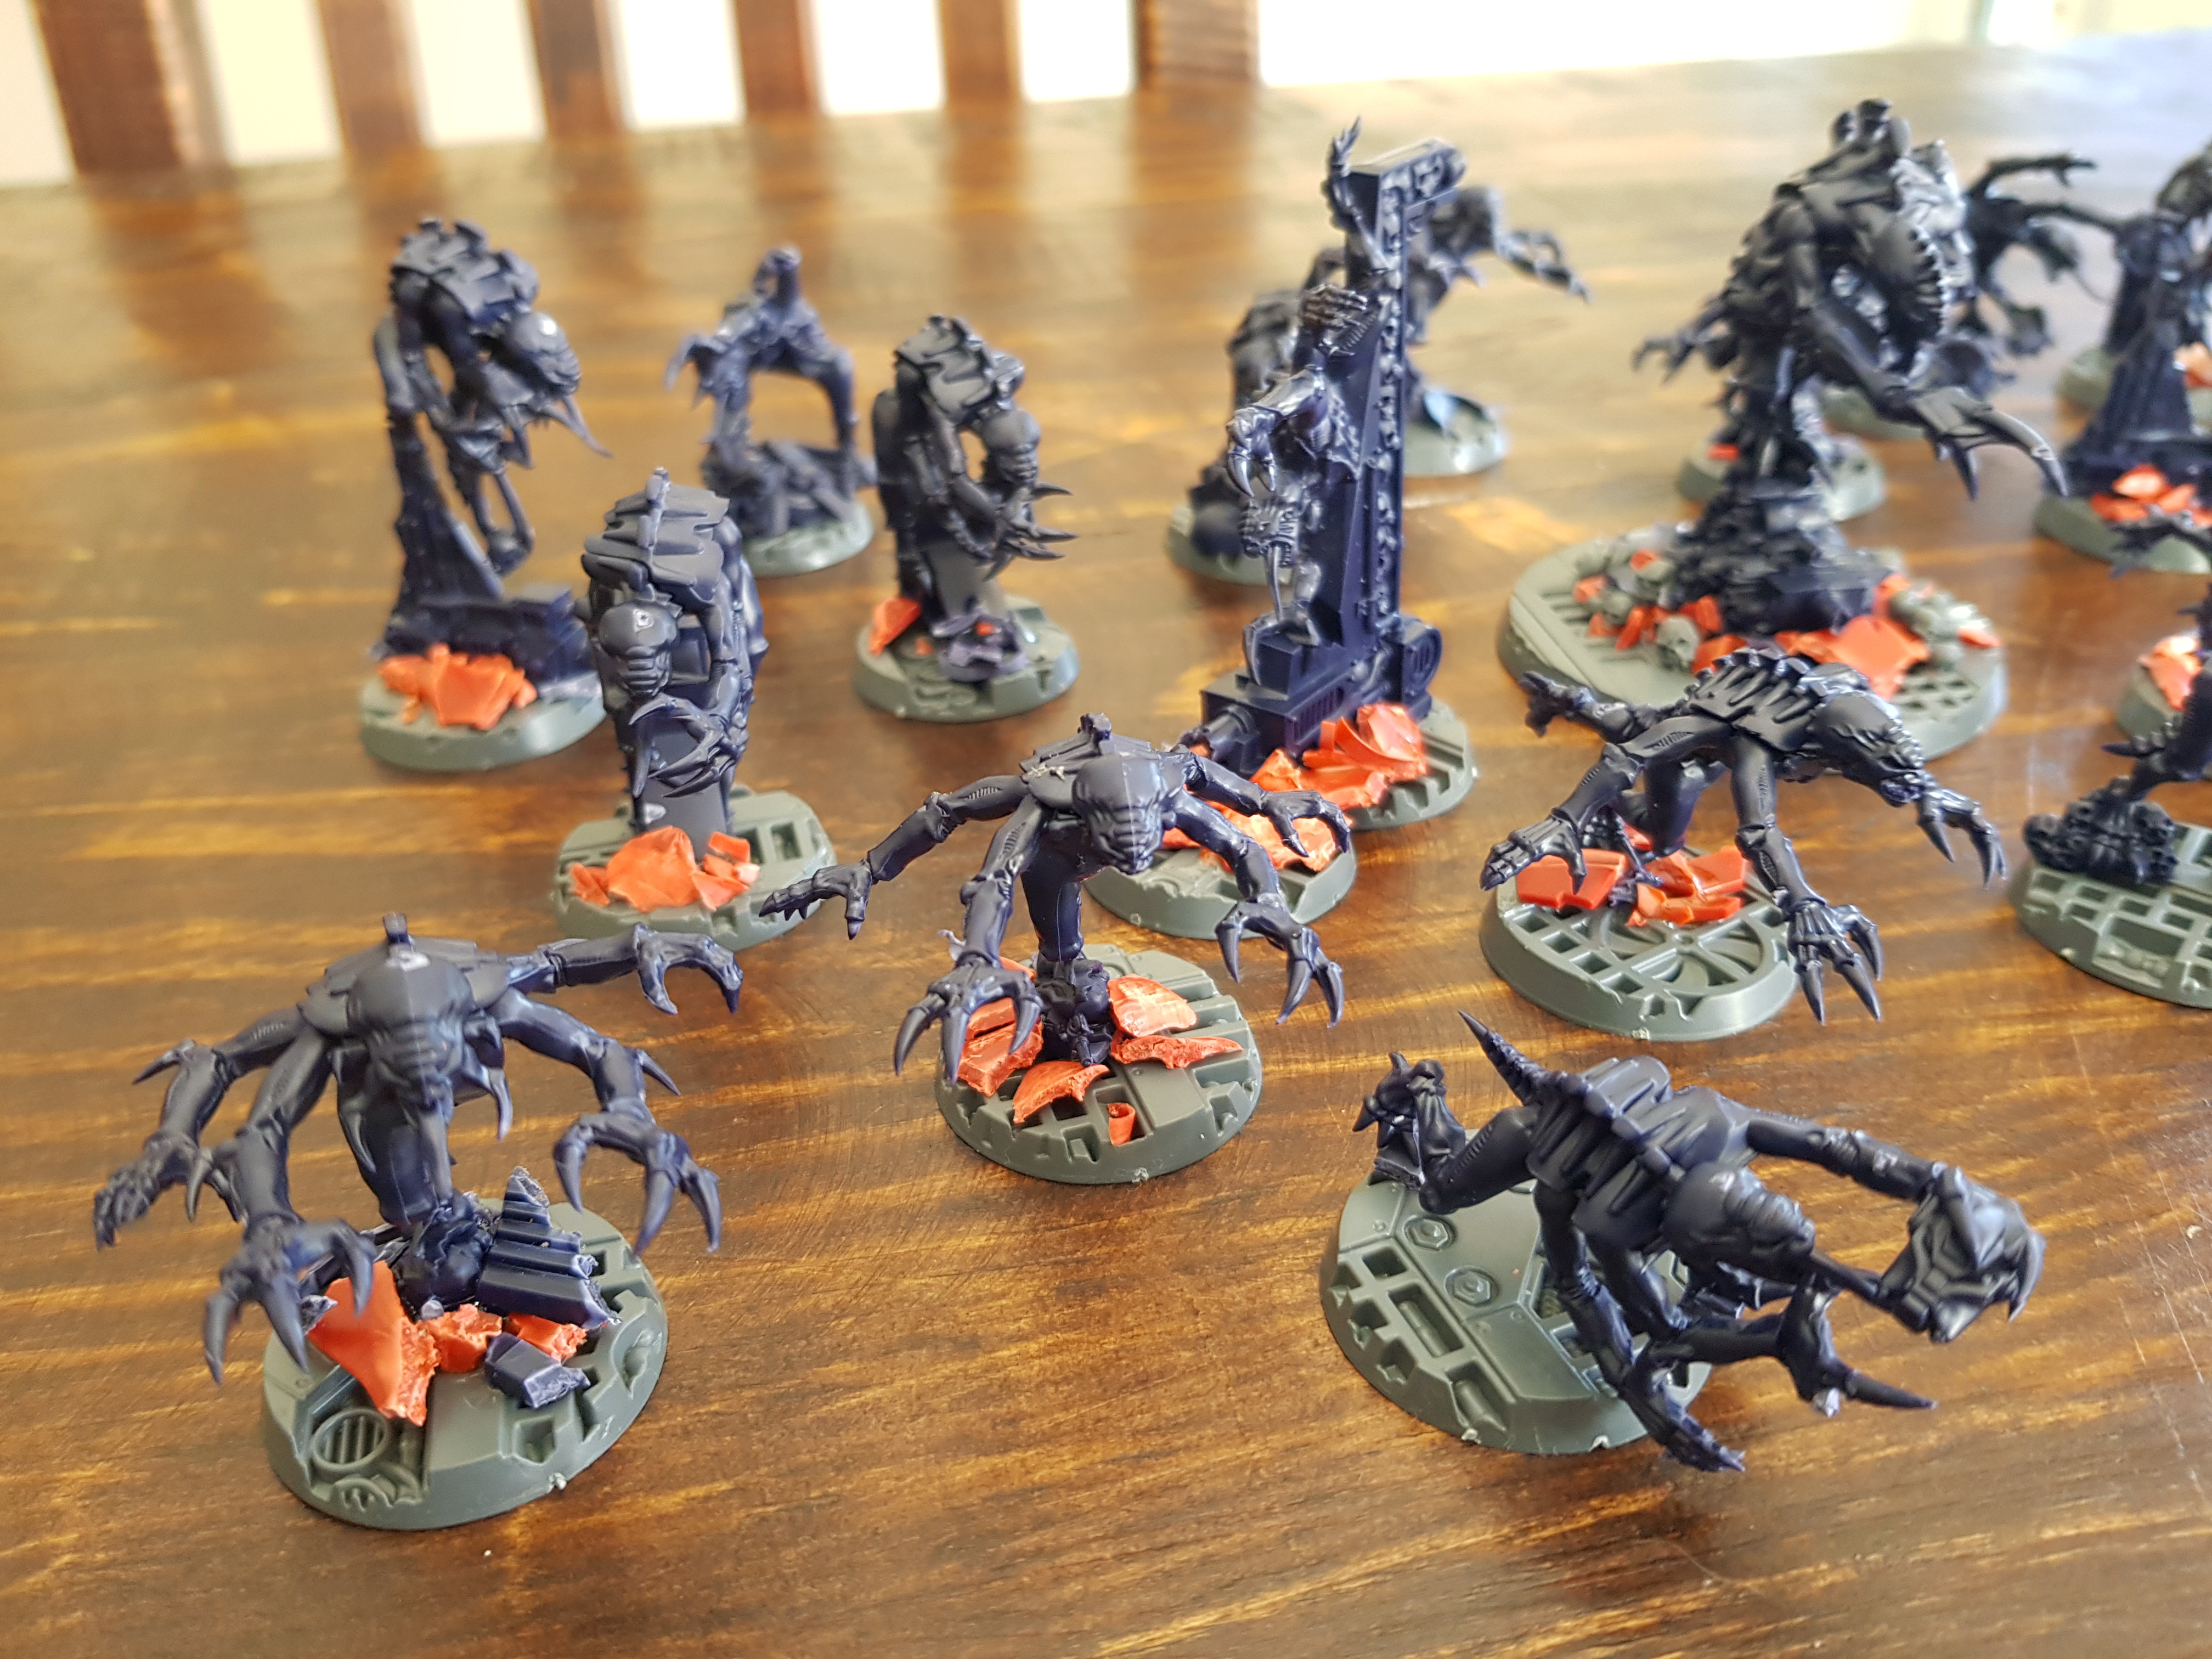


Given the price per kilo of GW plastic, I couldn’t bring myself to throw it out… My mind was ticking about how I could make this a more ruinous and old looking hulk. I was thinking of adding more to the bases when it struck me that all that cut up plastic looked like broken sheets of metal plating etc. – So I set about to put all of the shavings and cuttings to work to make my bases come alive… I must admit it looked weird all the red and blue plastic, but I was convinced that it would all come together in the undercoat …. watch this space.
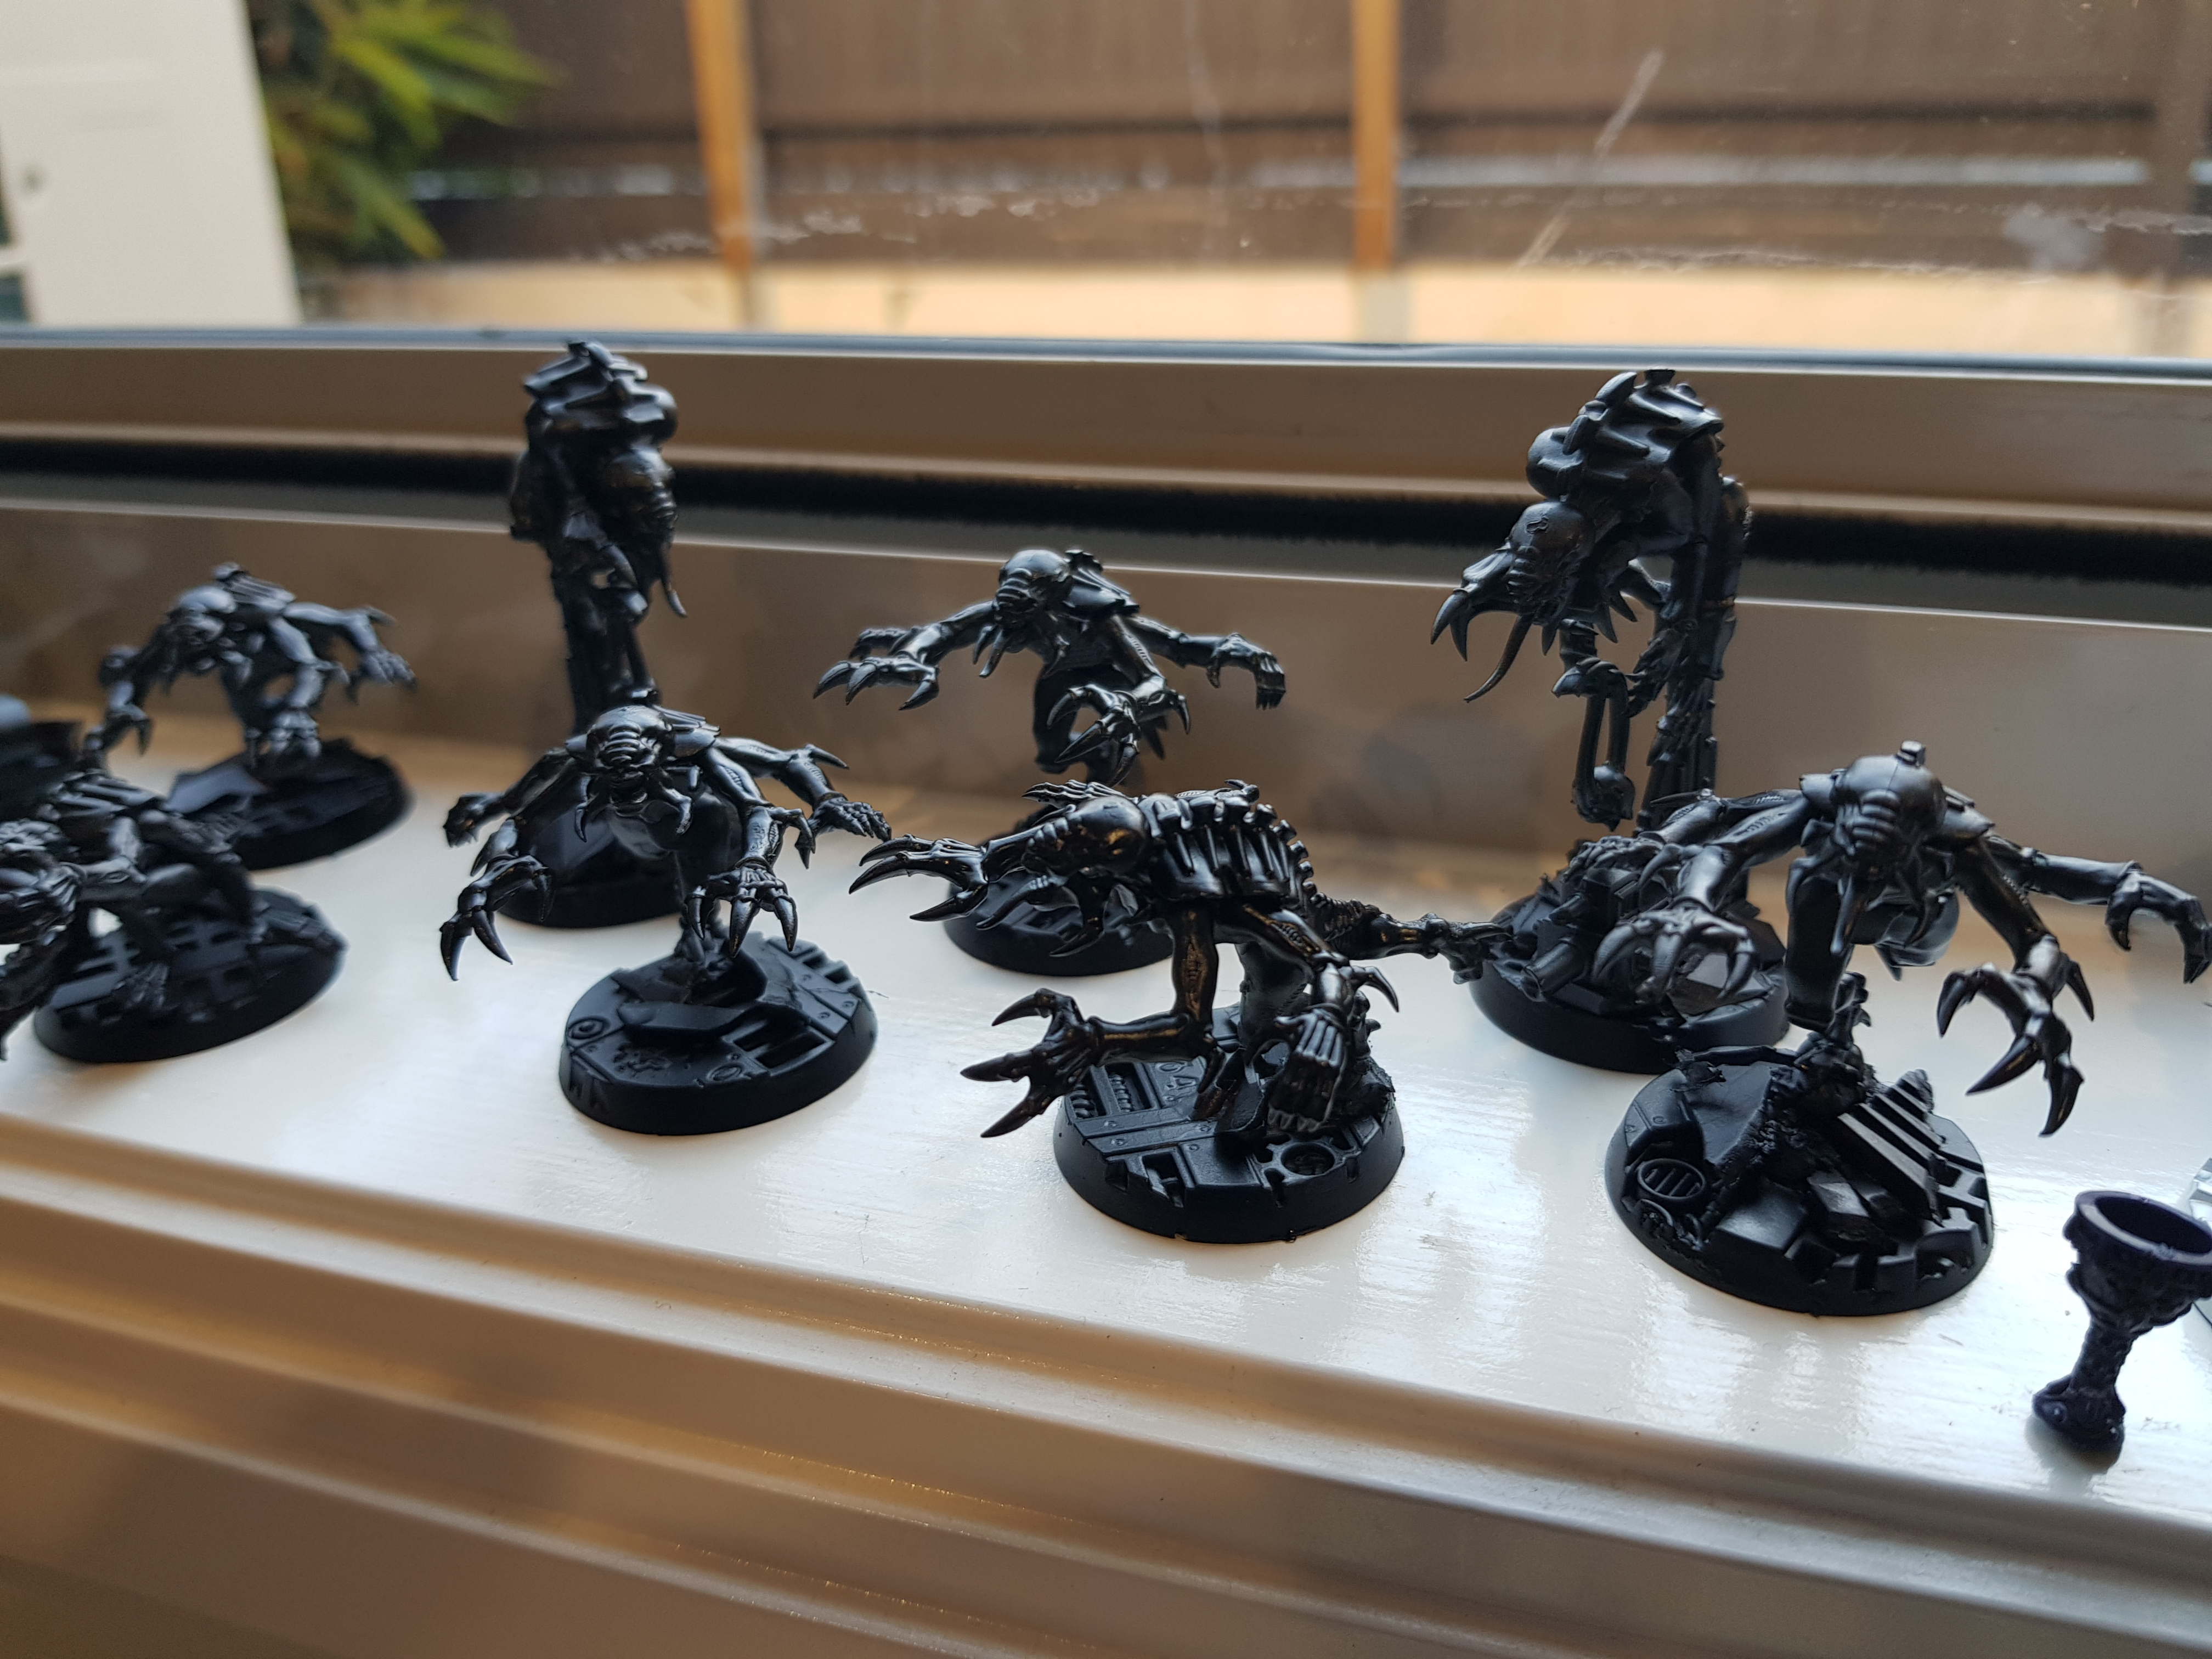
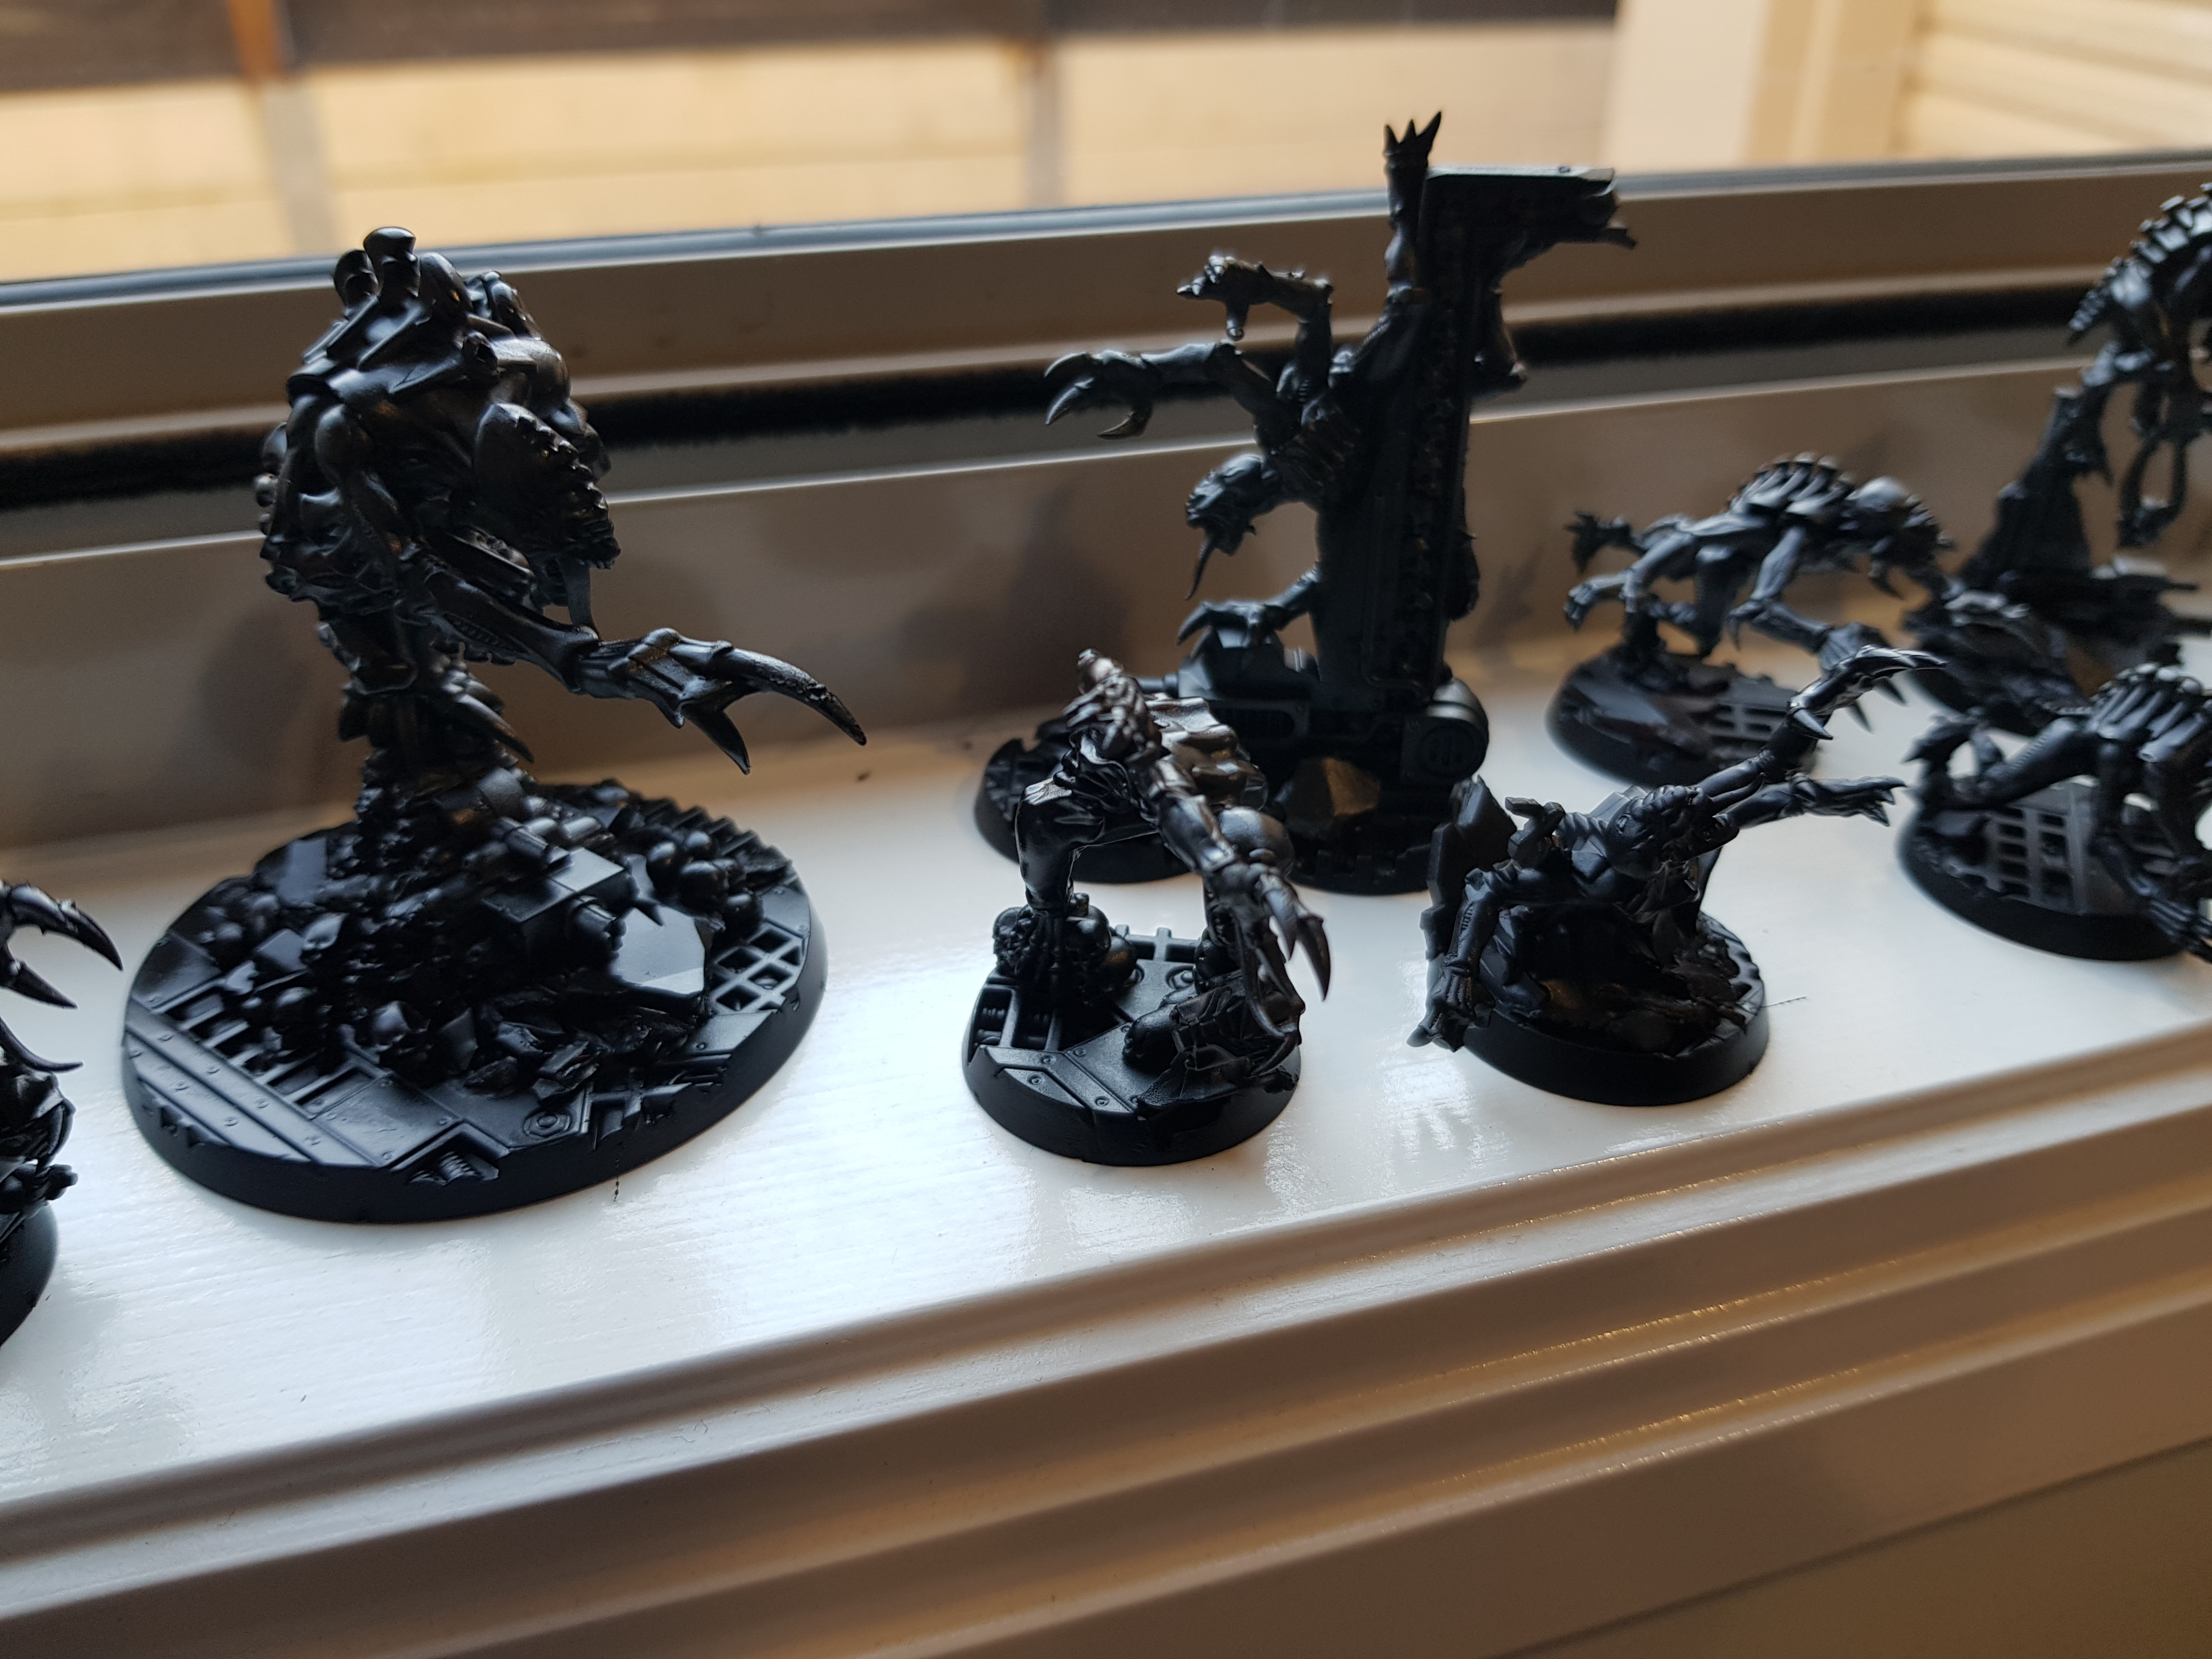
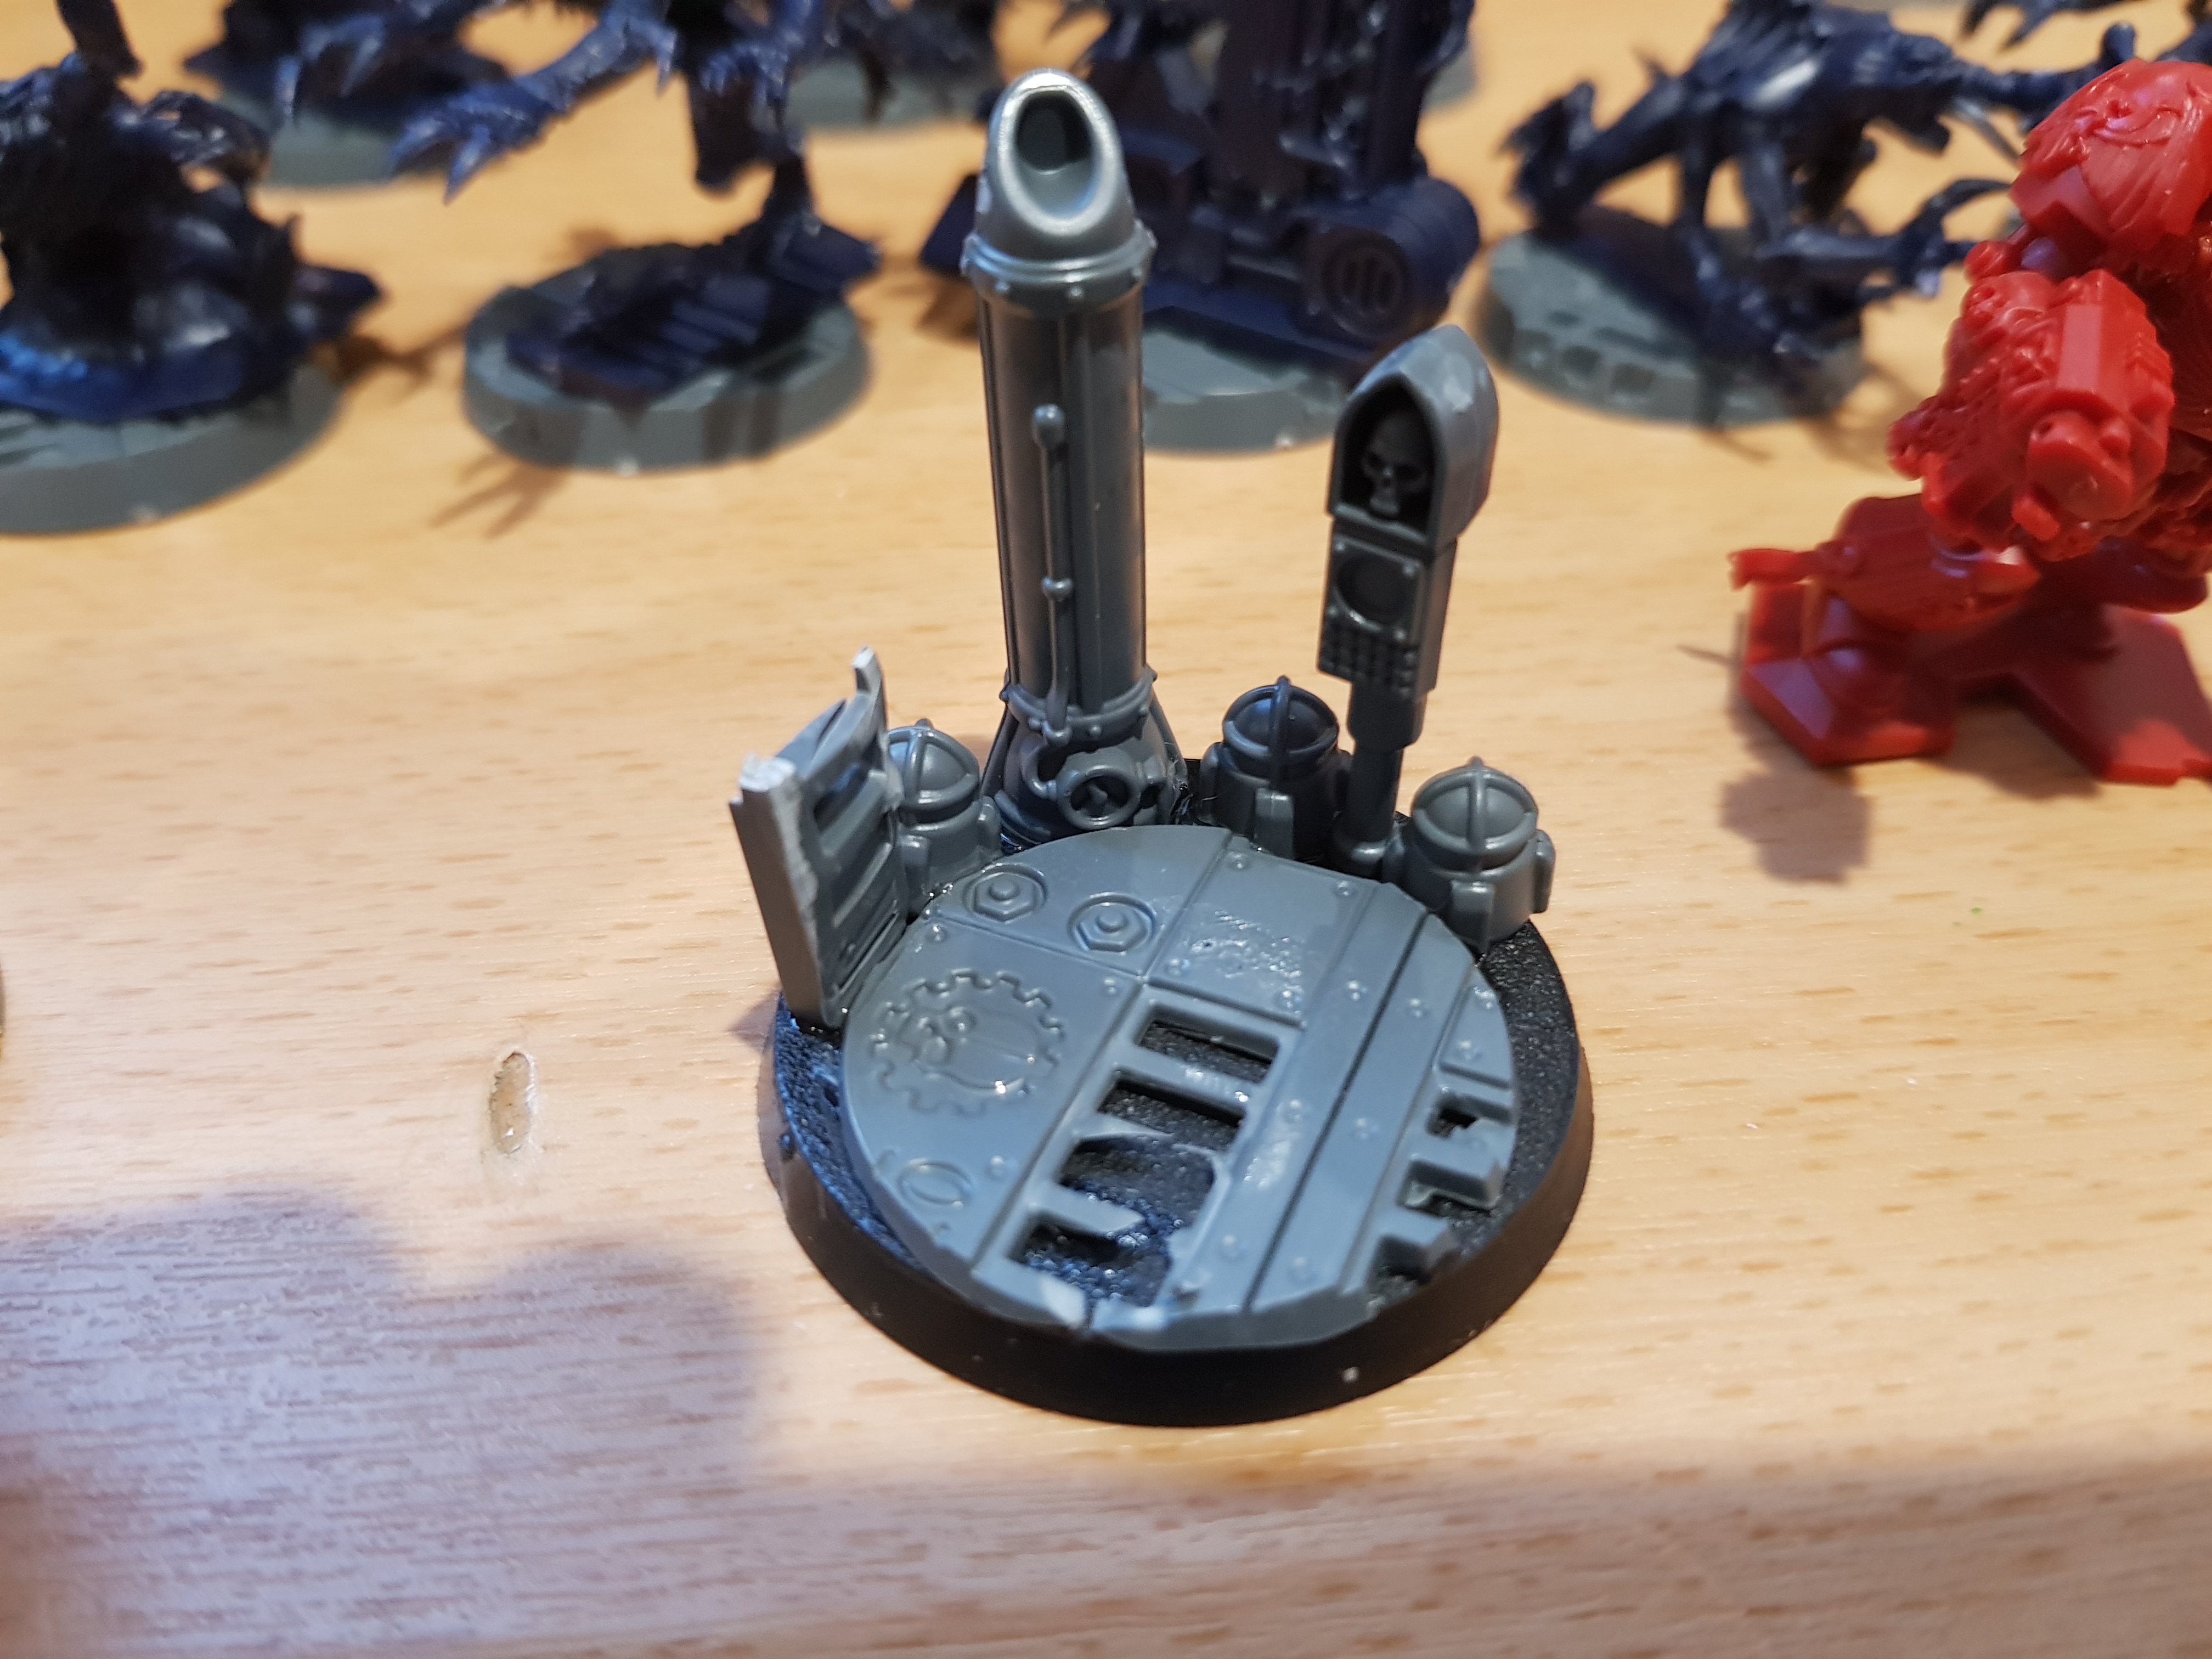
Step 4 - Mounting on the bases

Sooo after a lot of cutting I managed to get the miniatures looking OK on their bases. And I was left staring at a pile of chopped up plastic !!!
Step 3 - cutting, scraping, clipping, cutting some more

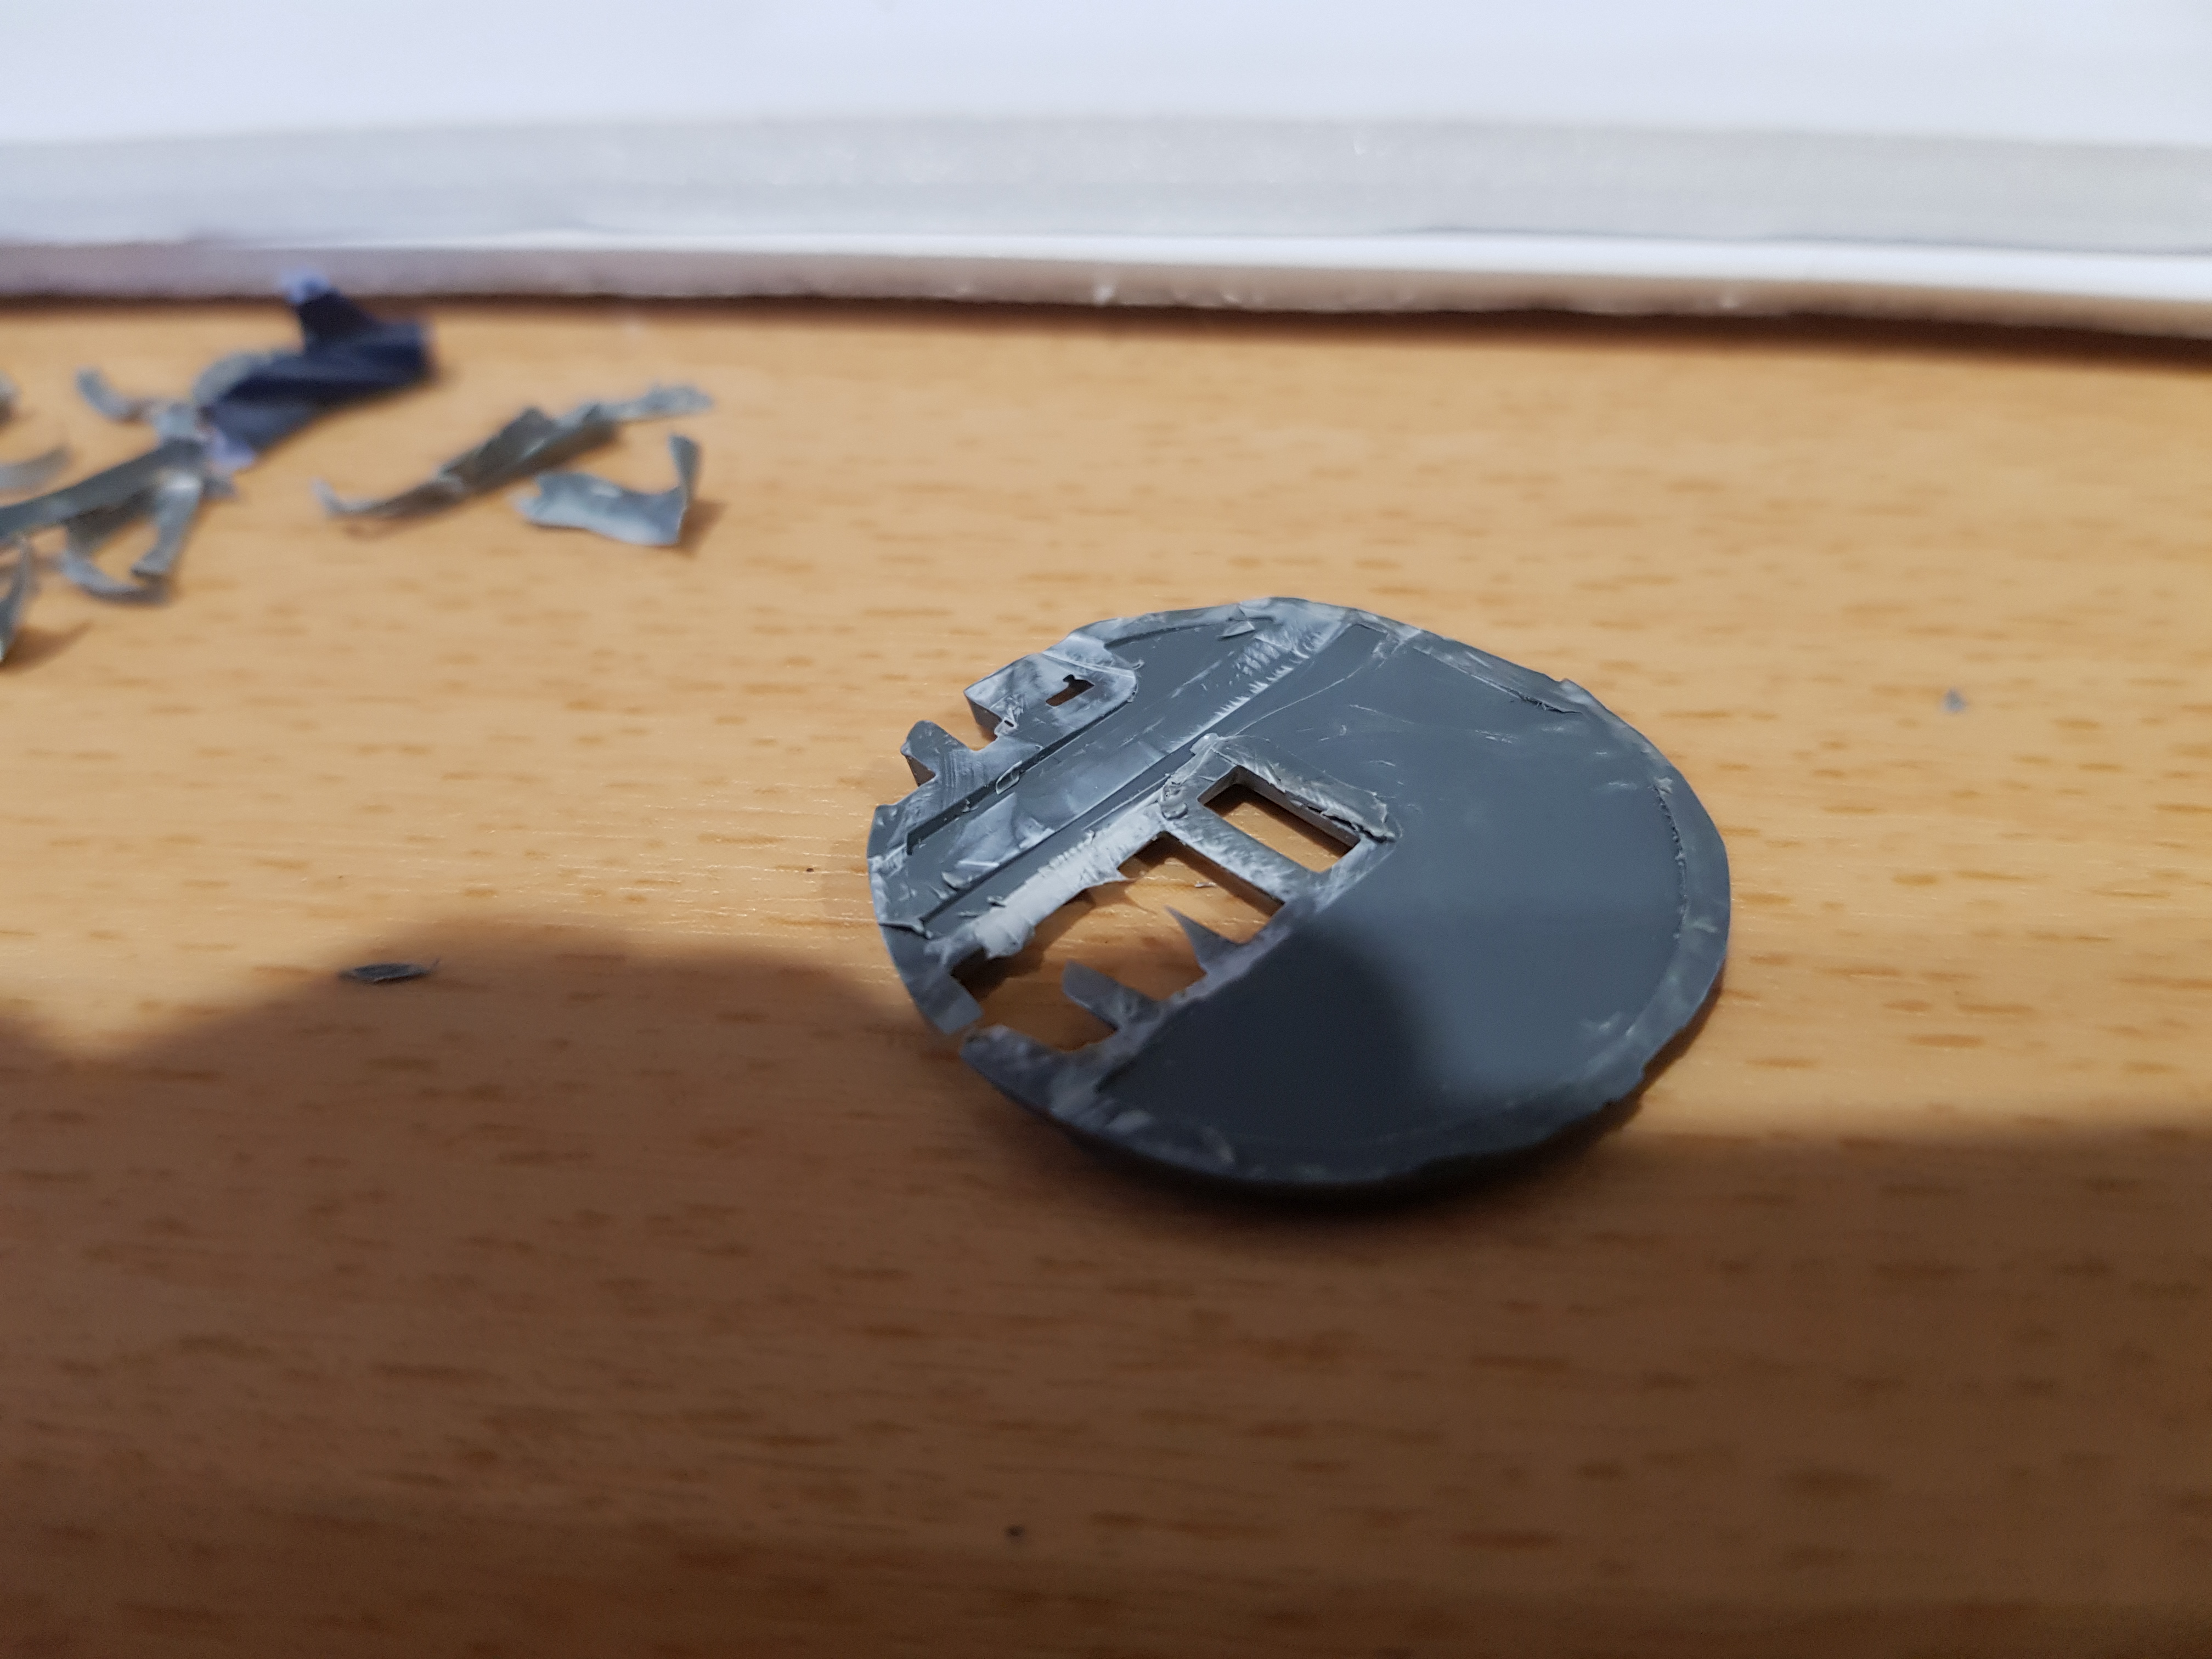
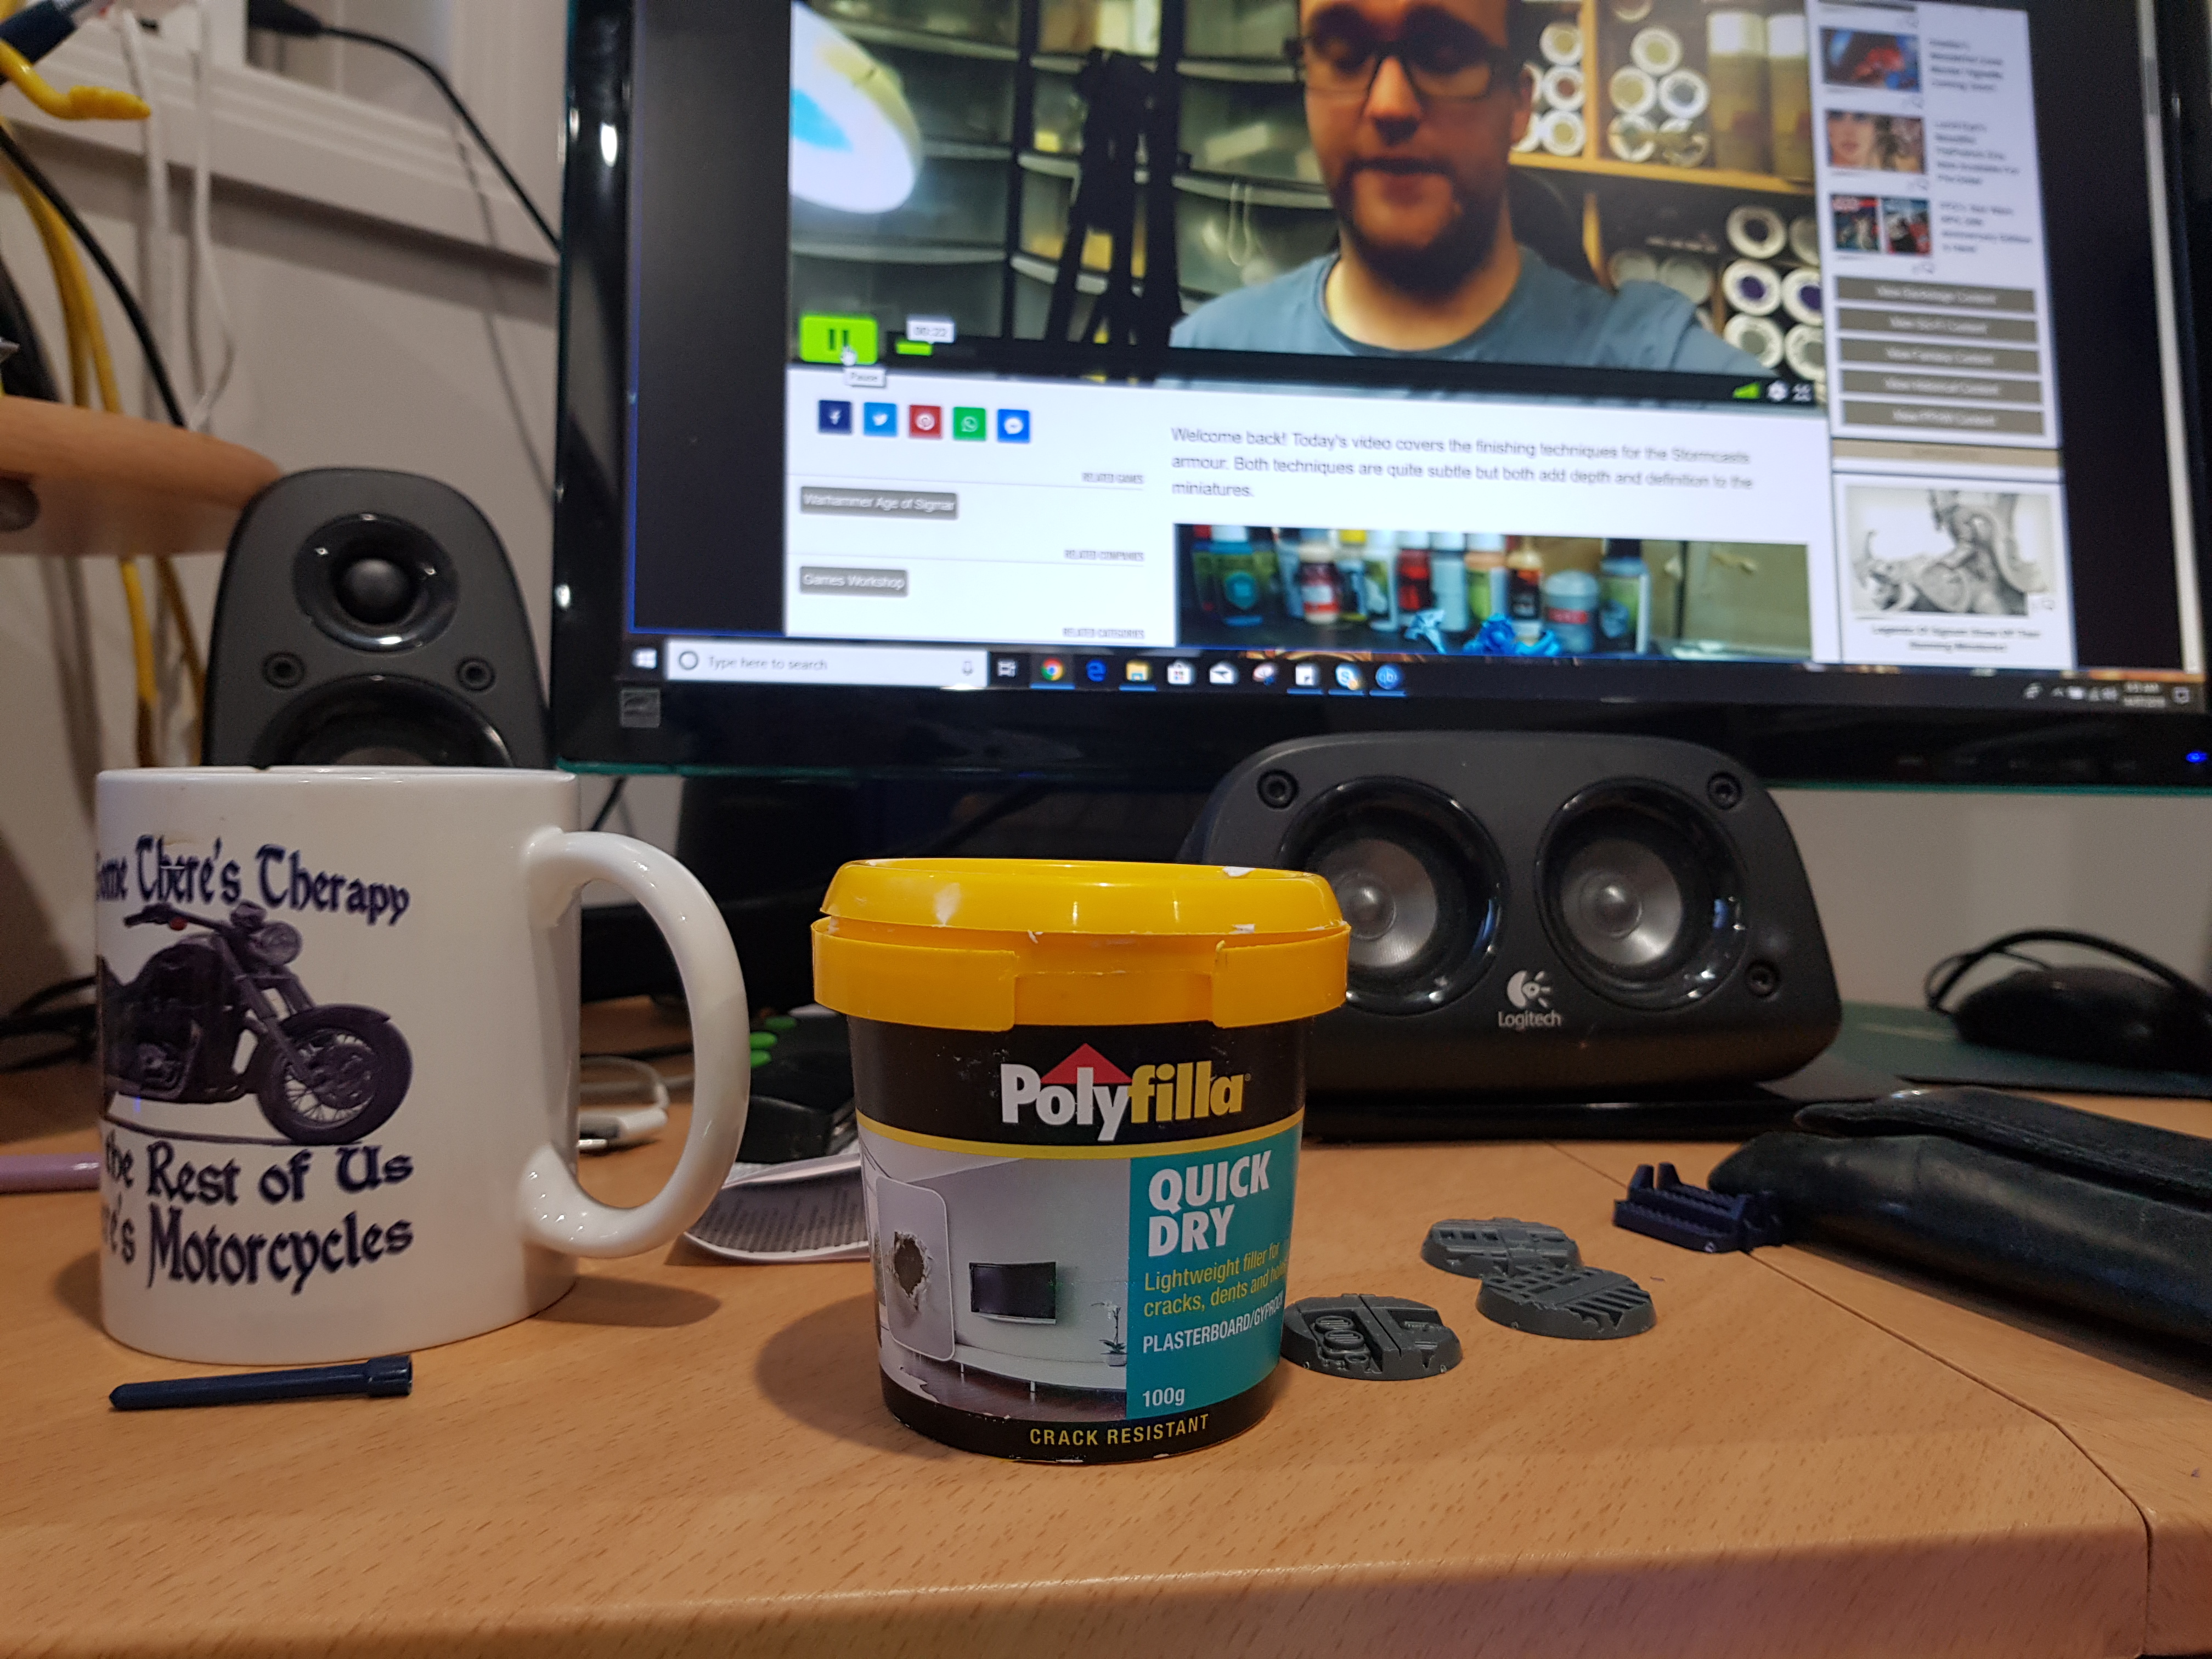
Well !! .. I am not buying another $55.00 set of bases, so it’s off to the blank bases and maybe I can “shave” a 32 mm and use that .. So I promptly looked through the miniatures and found one terminator walking down some stairs – he can go straight on a “blank” base with all of that plinthing already in place. Now .. to the other.. (I am going to digress here) – I spend money on games and models .. sometimes I begrudgingly buy brushes .. But I nearly never buy tools .. so I have a knife .. some clippers and a bigger knife – a bucket of optimism and some muscle .. (although fading with age like the eyesight) .. so with my (bigger) knife and my poor eyesight I go hunting for the base with the least fill on the underside and begin carving, now I placed the “shaved” the base on the blank base and got out the old trusty poly fila and some of the bits that came in the basing boxed set .. and set out to make something that fit in with the others. Results below
Step 2 - First things first
The first thing was to put them on these shiny new suitable bases …. oh … wait the old Space Hulk … (yes I am old) had 10 terminators. This set has 12 and I have 10 40mm bases … didn’t think that one through too well
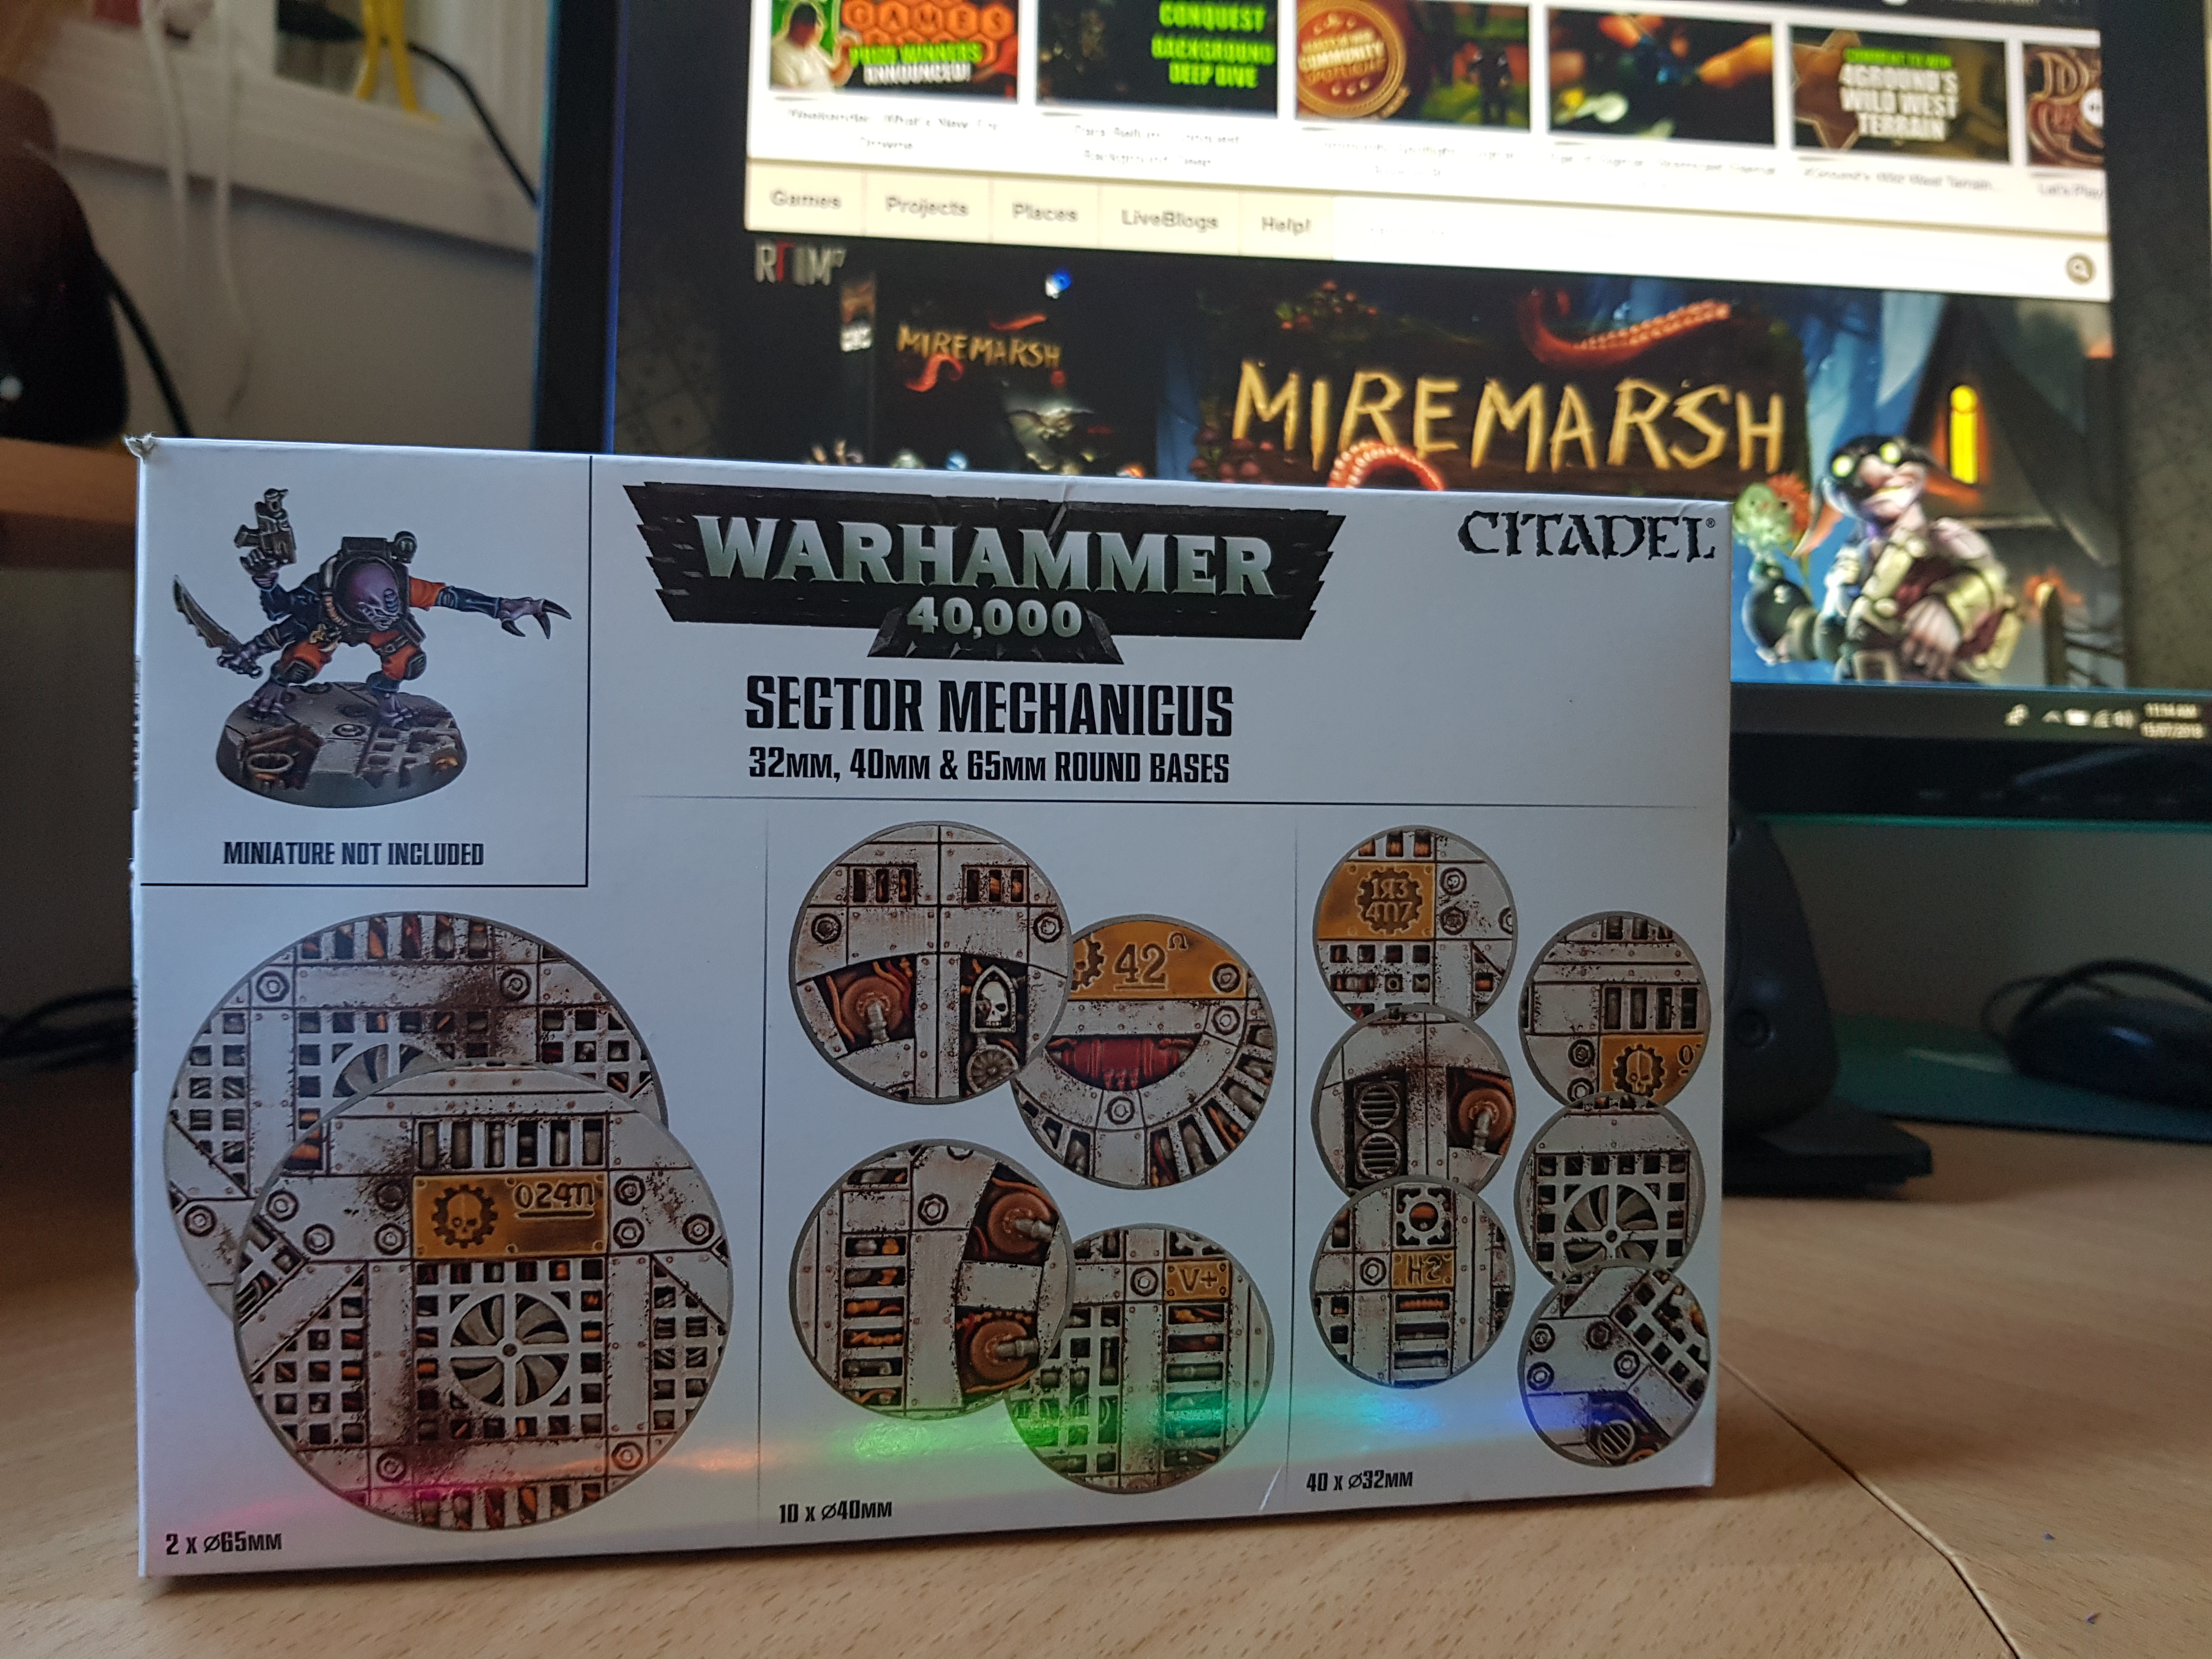
Step 1 - Shopping - I need some "Space Hulk" looking bases - GW to the rescue - Sector Mechanicus bases,
Hang on – these cost more than I just paid for Space Hulk .. !!! – Shake that off – Never mind $AU 105.00 down .. now to start wrecking it all !!!!