Dr. Tortenkopf is making Terminators great again


Recommendations: 570
About the Project
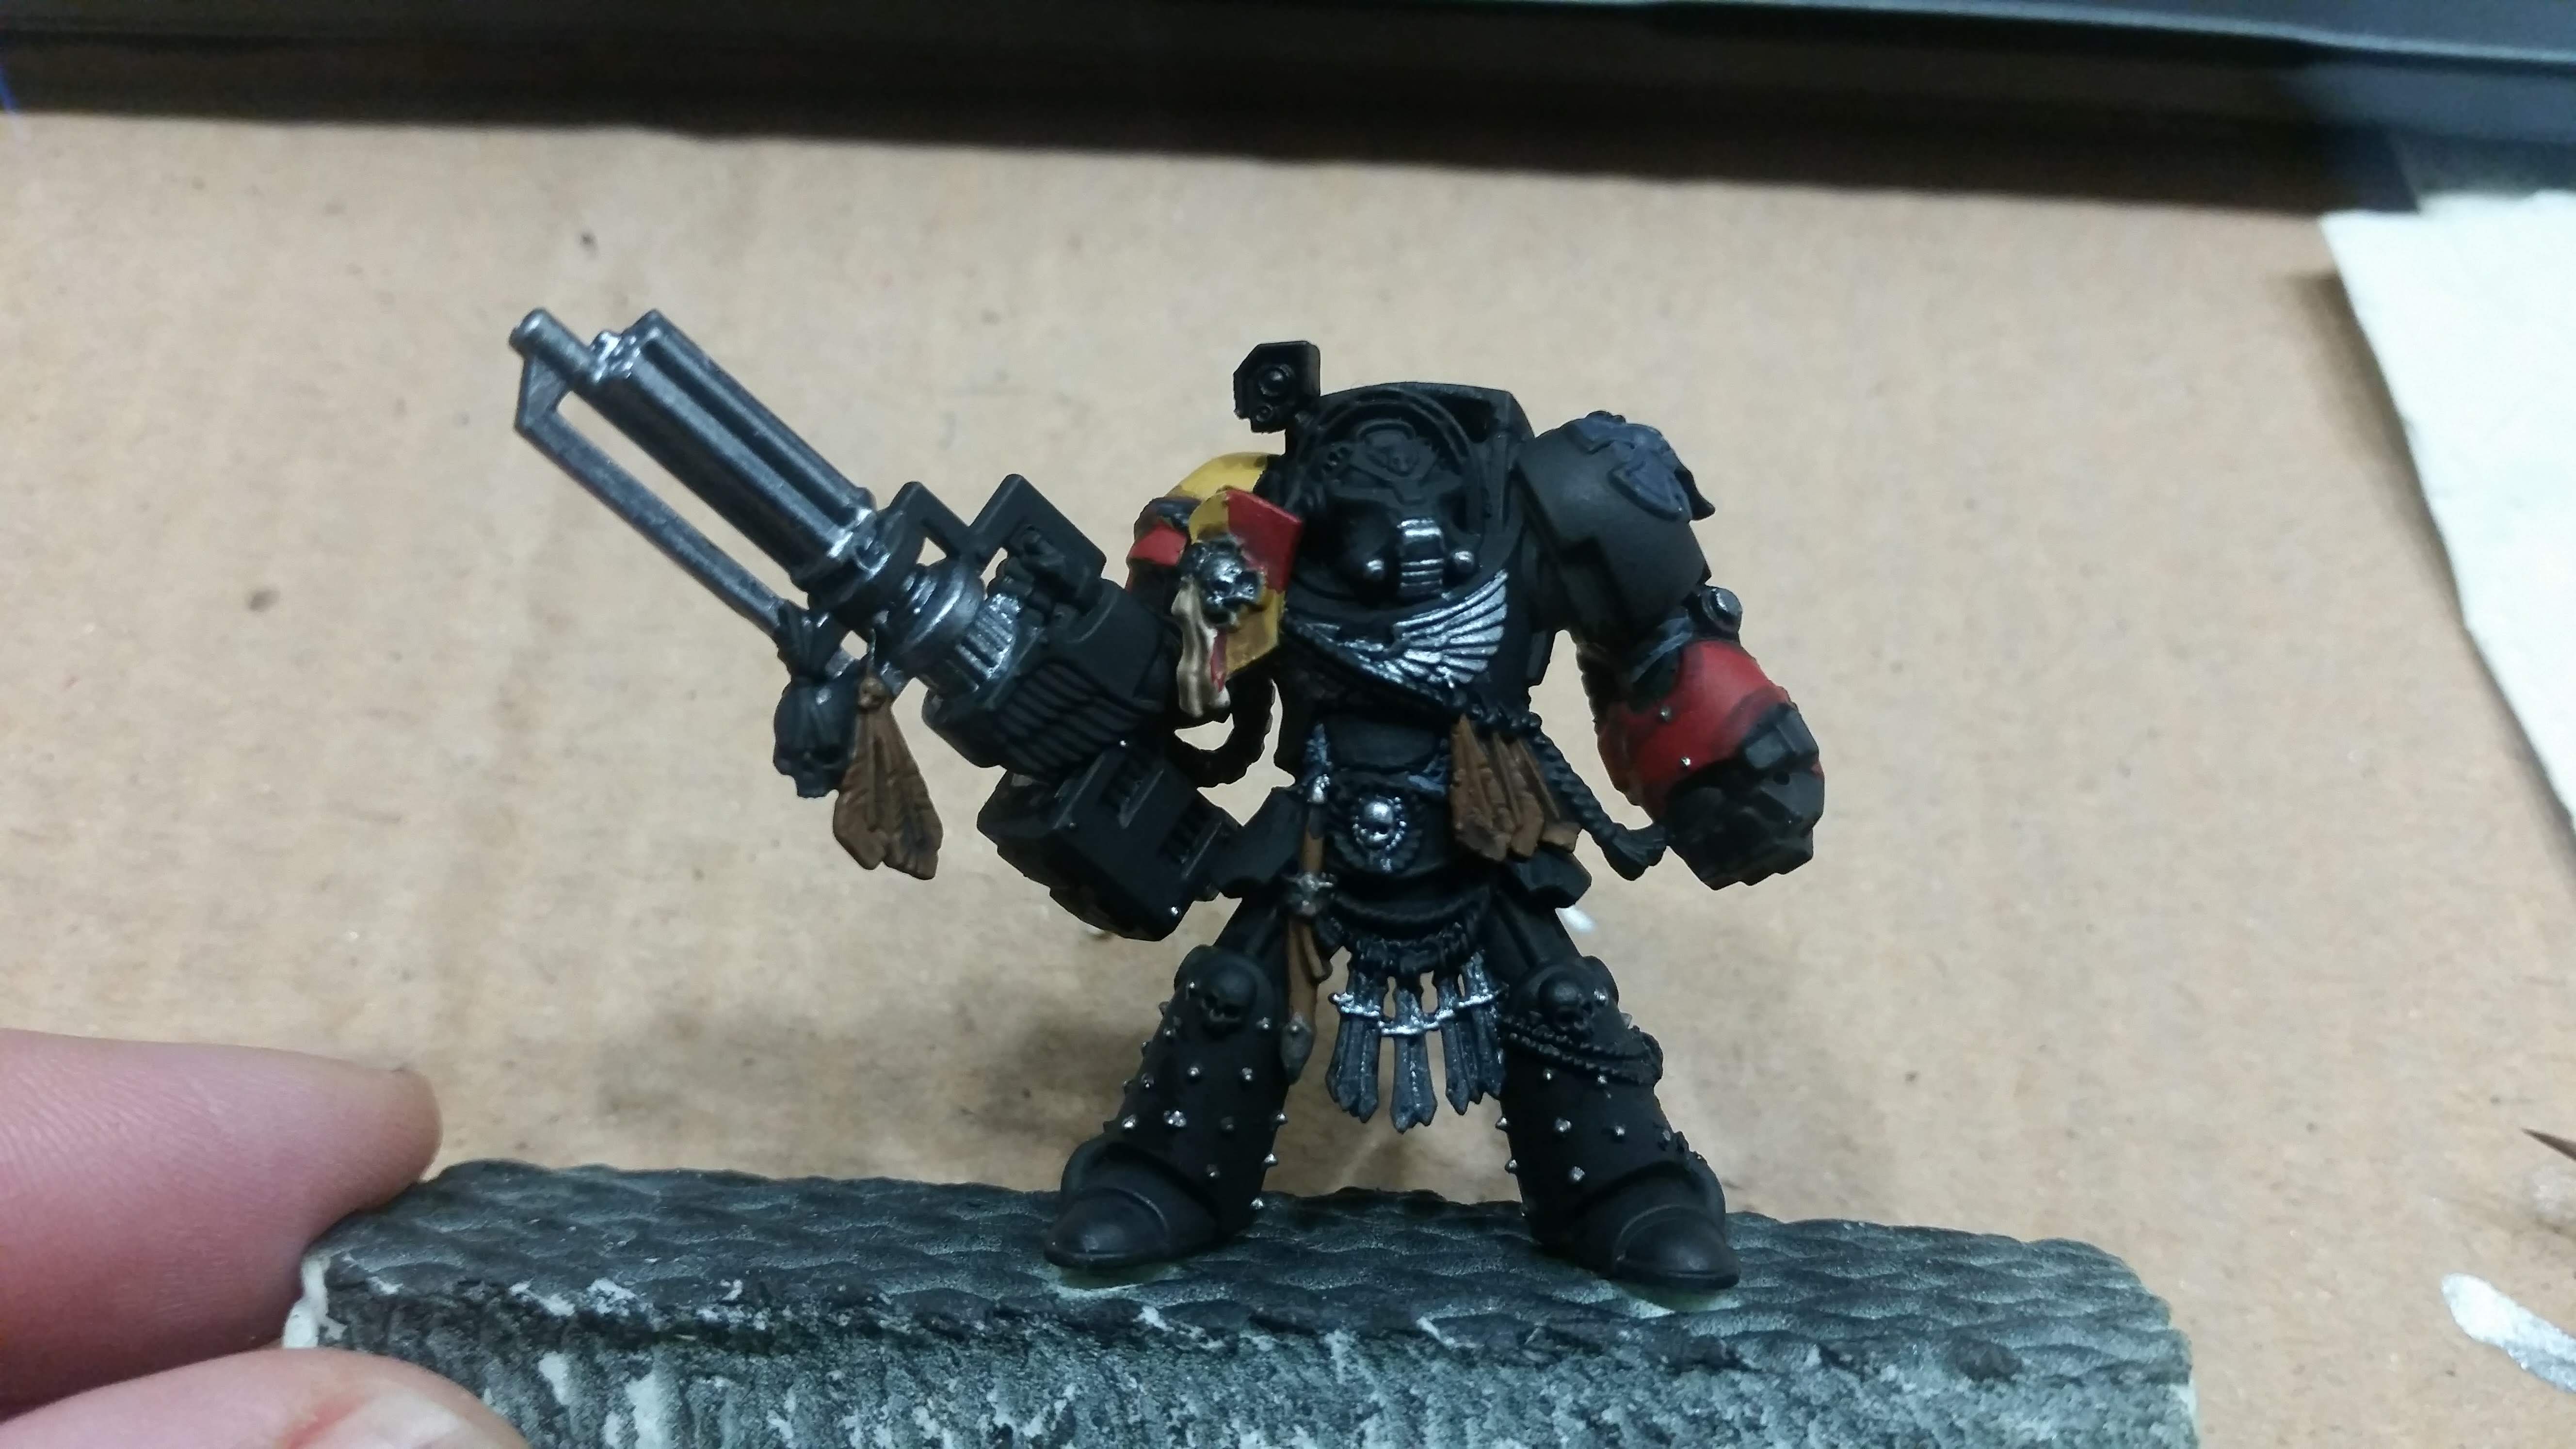
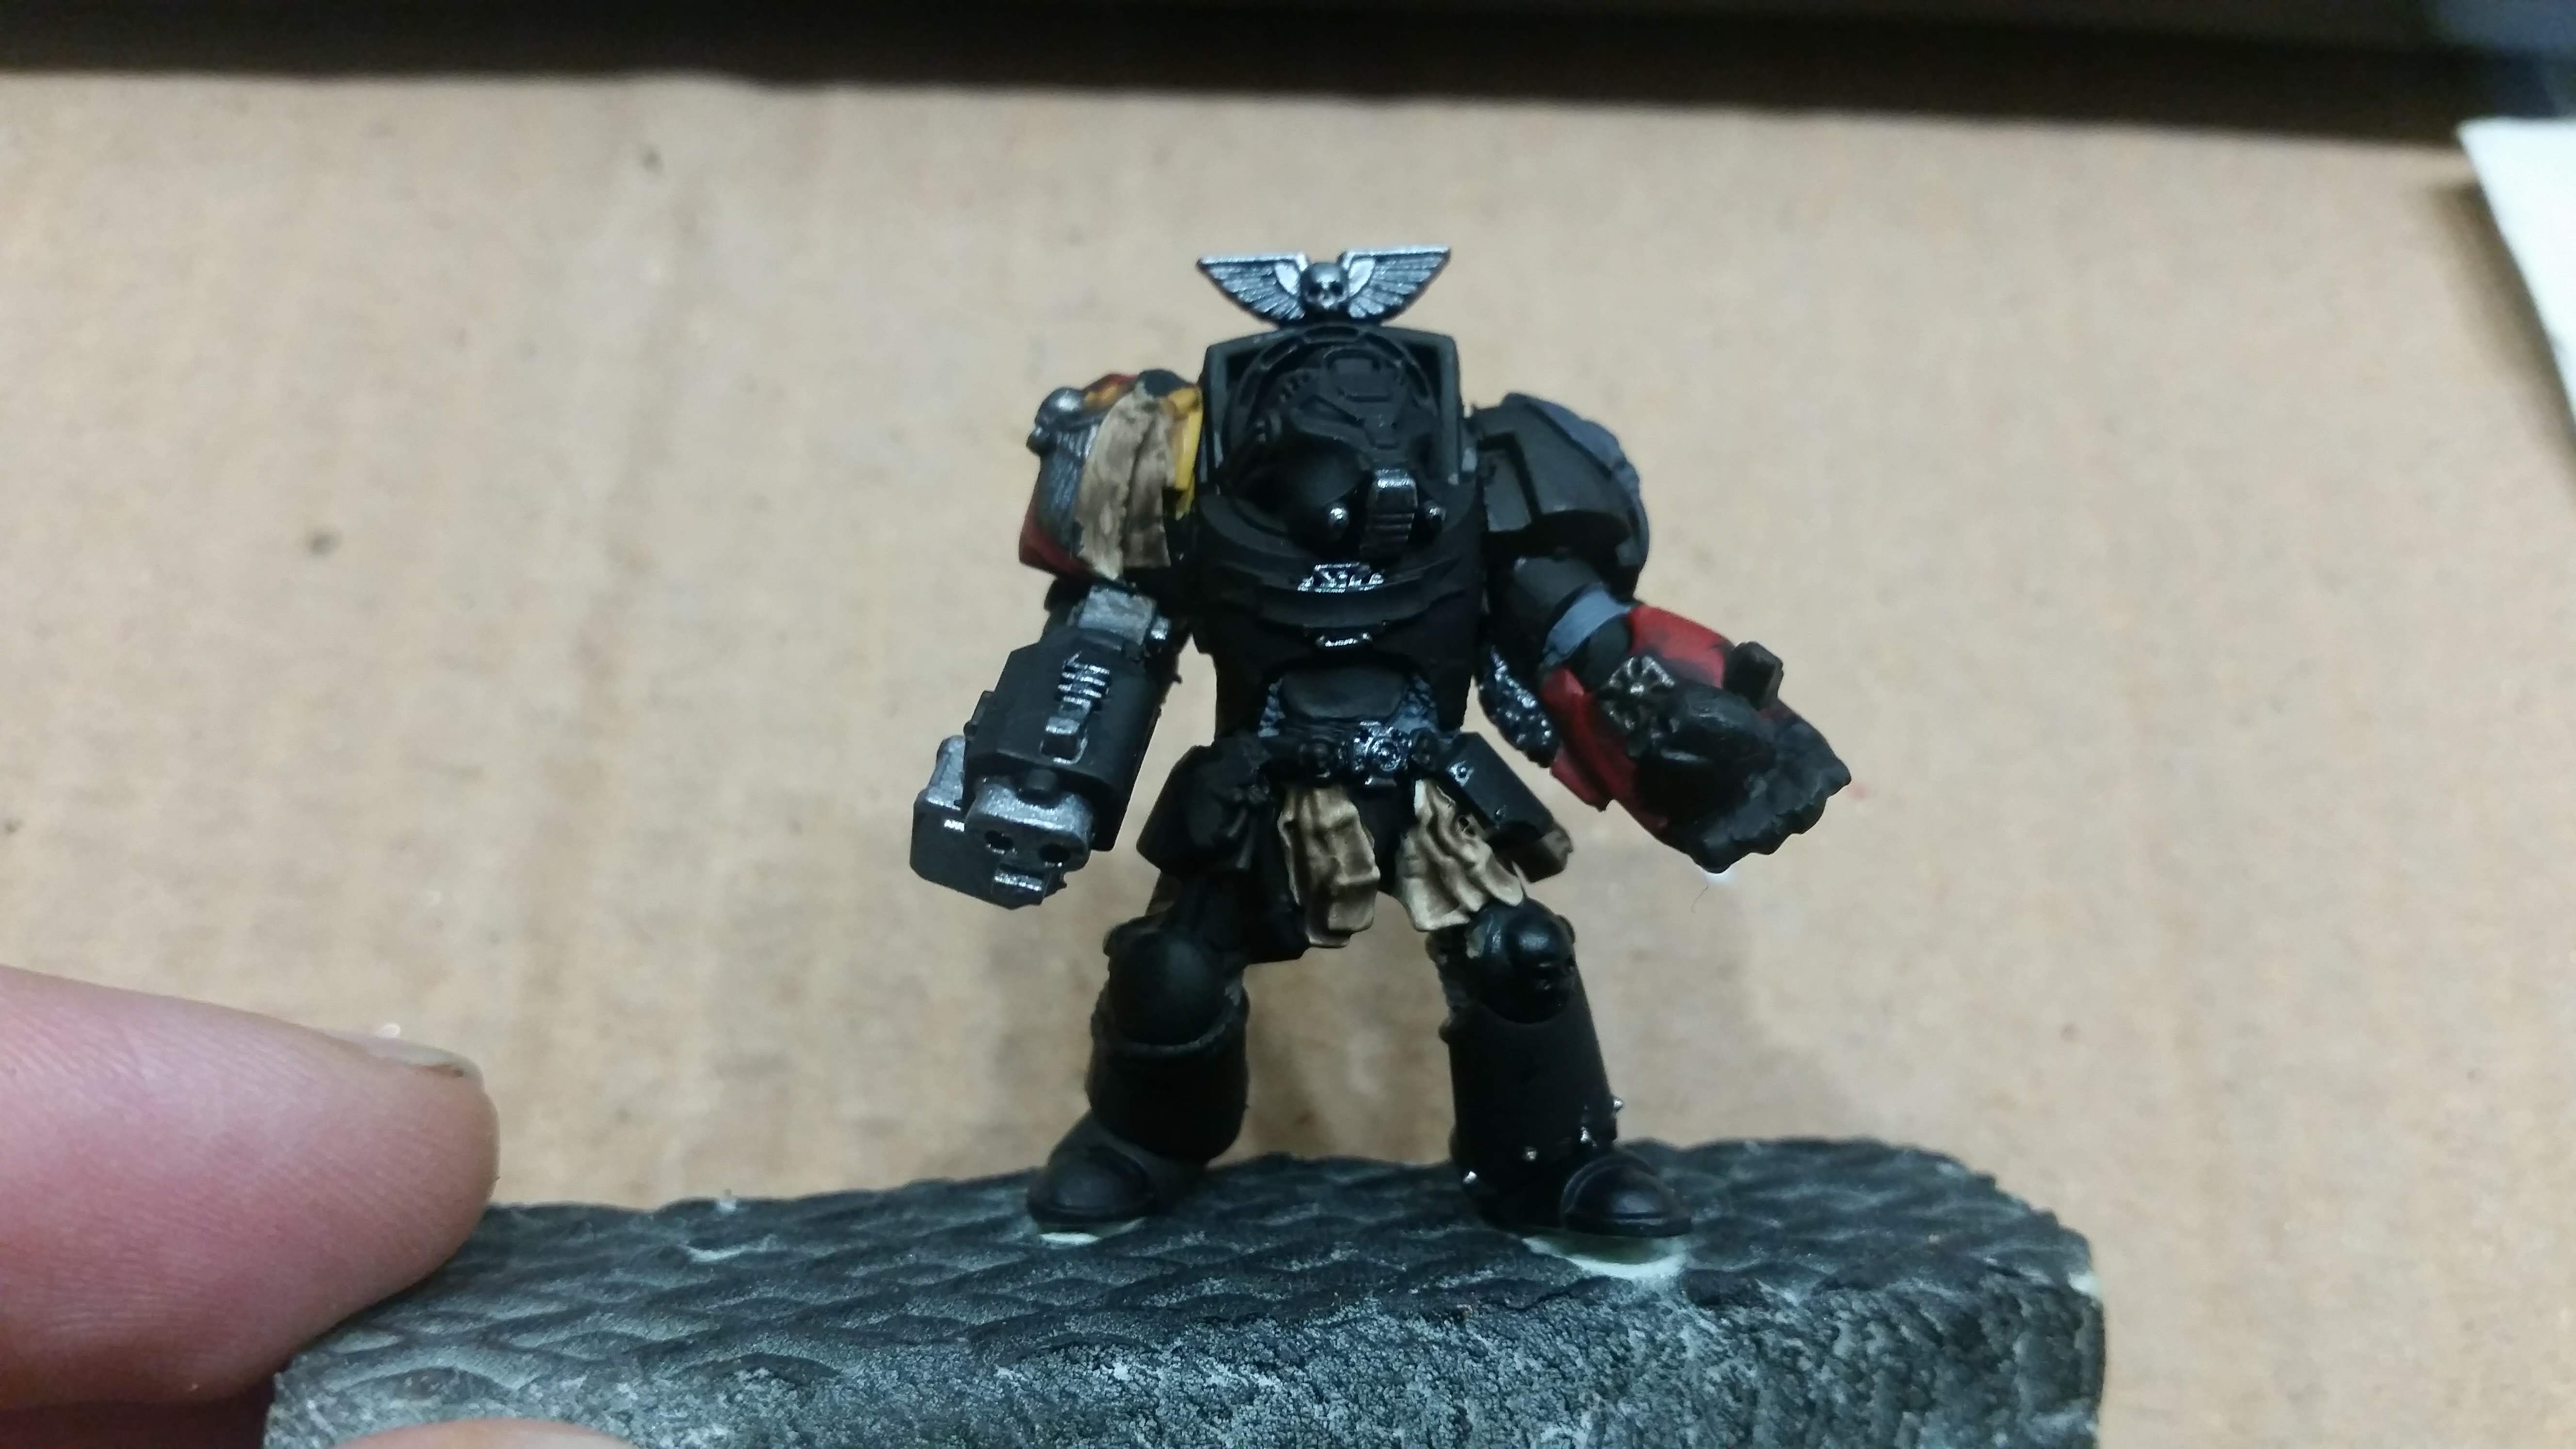
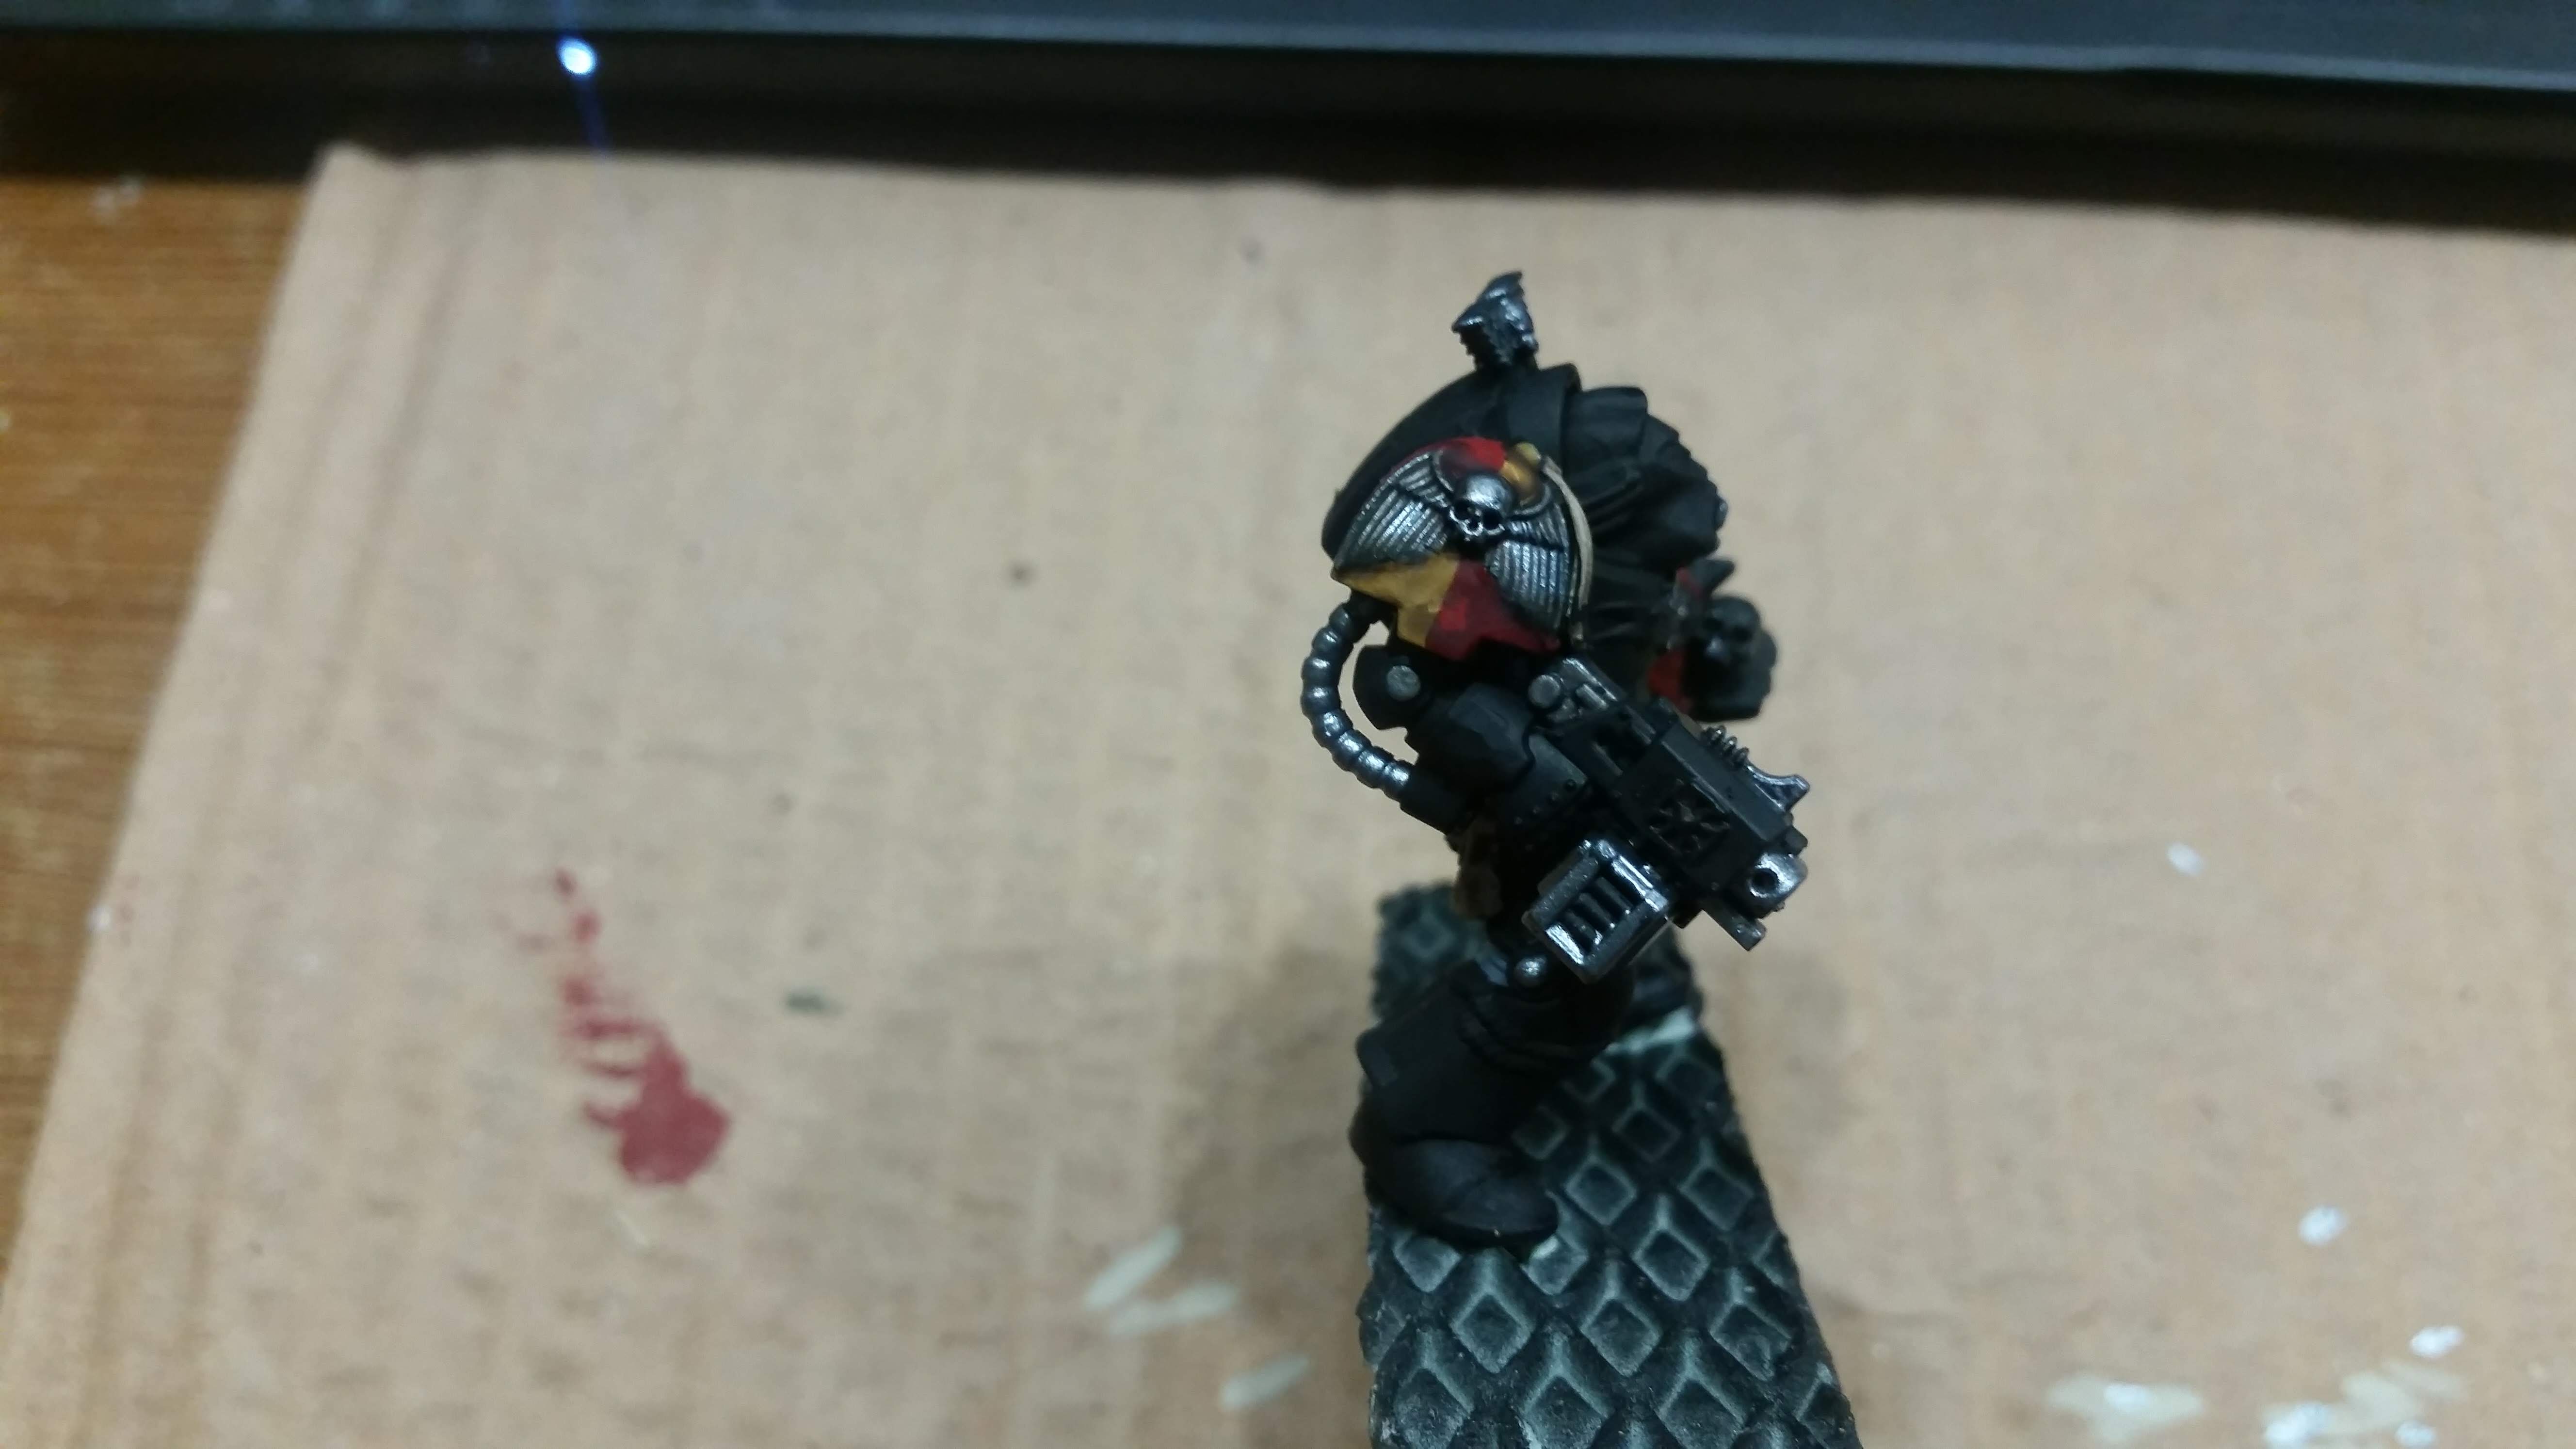
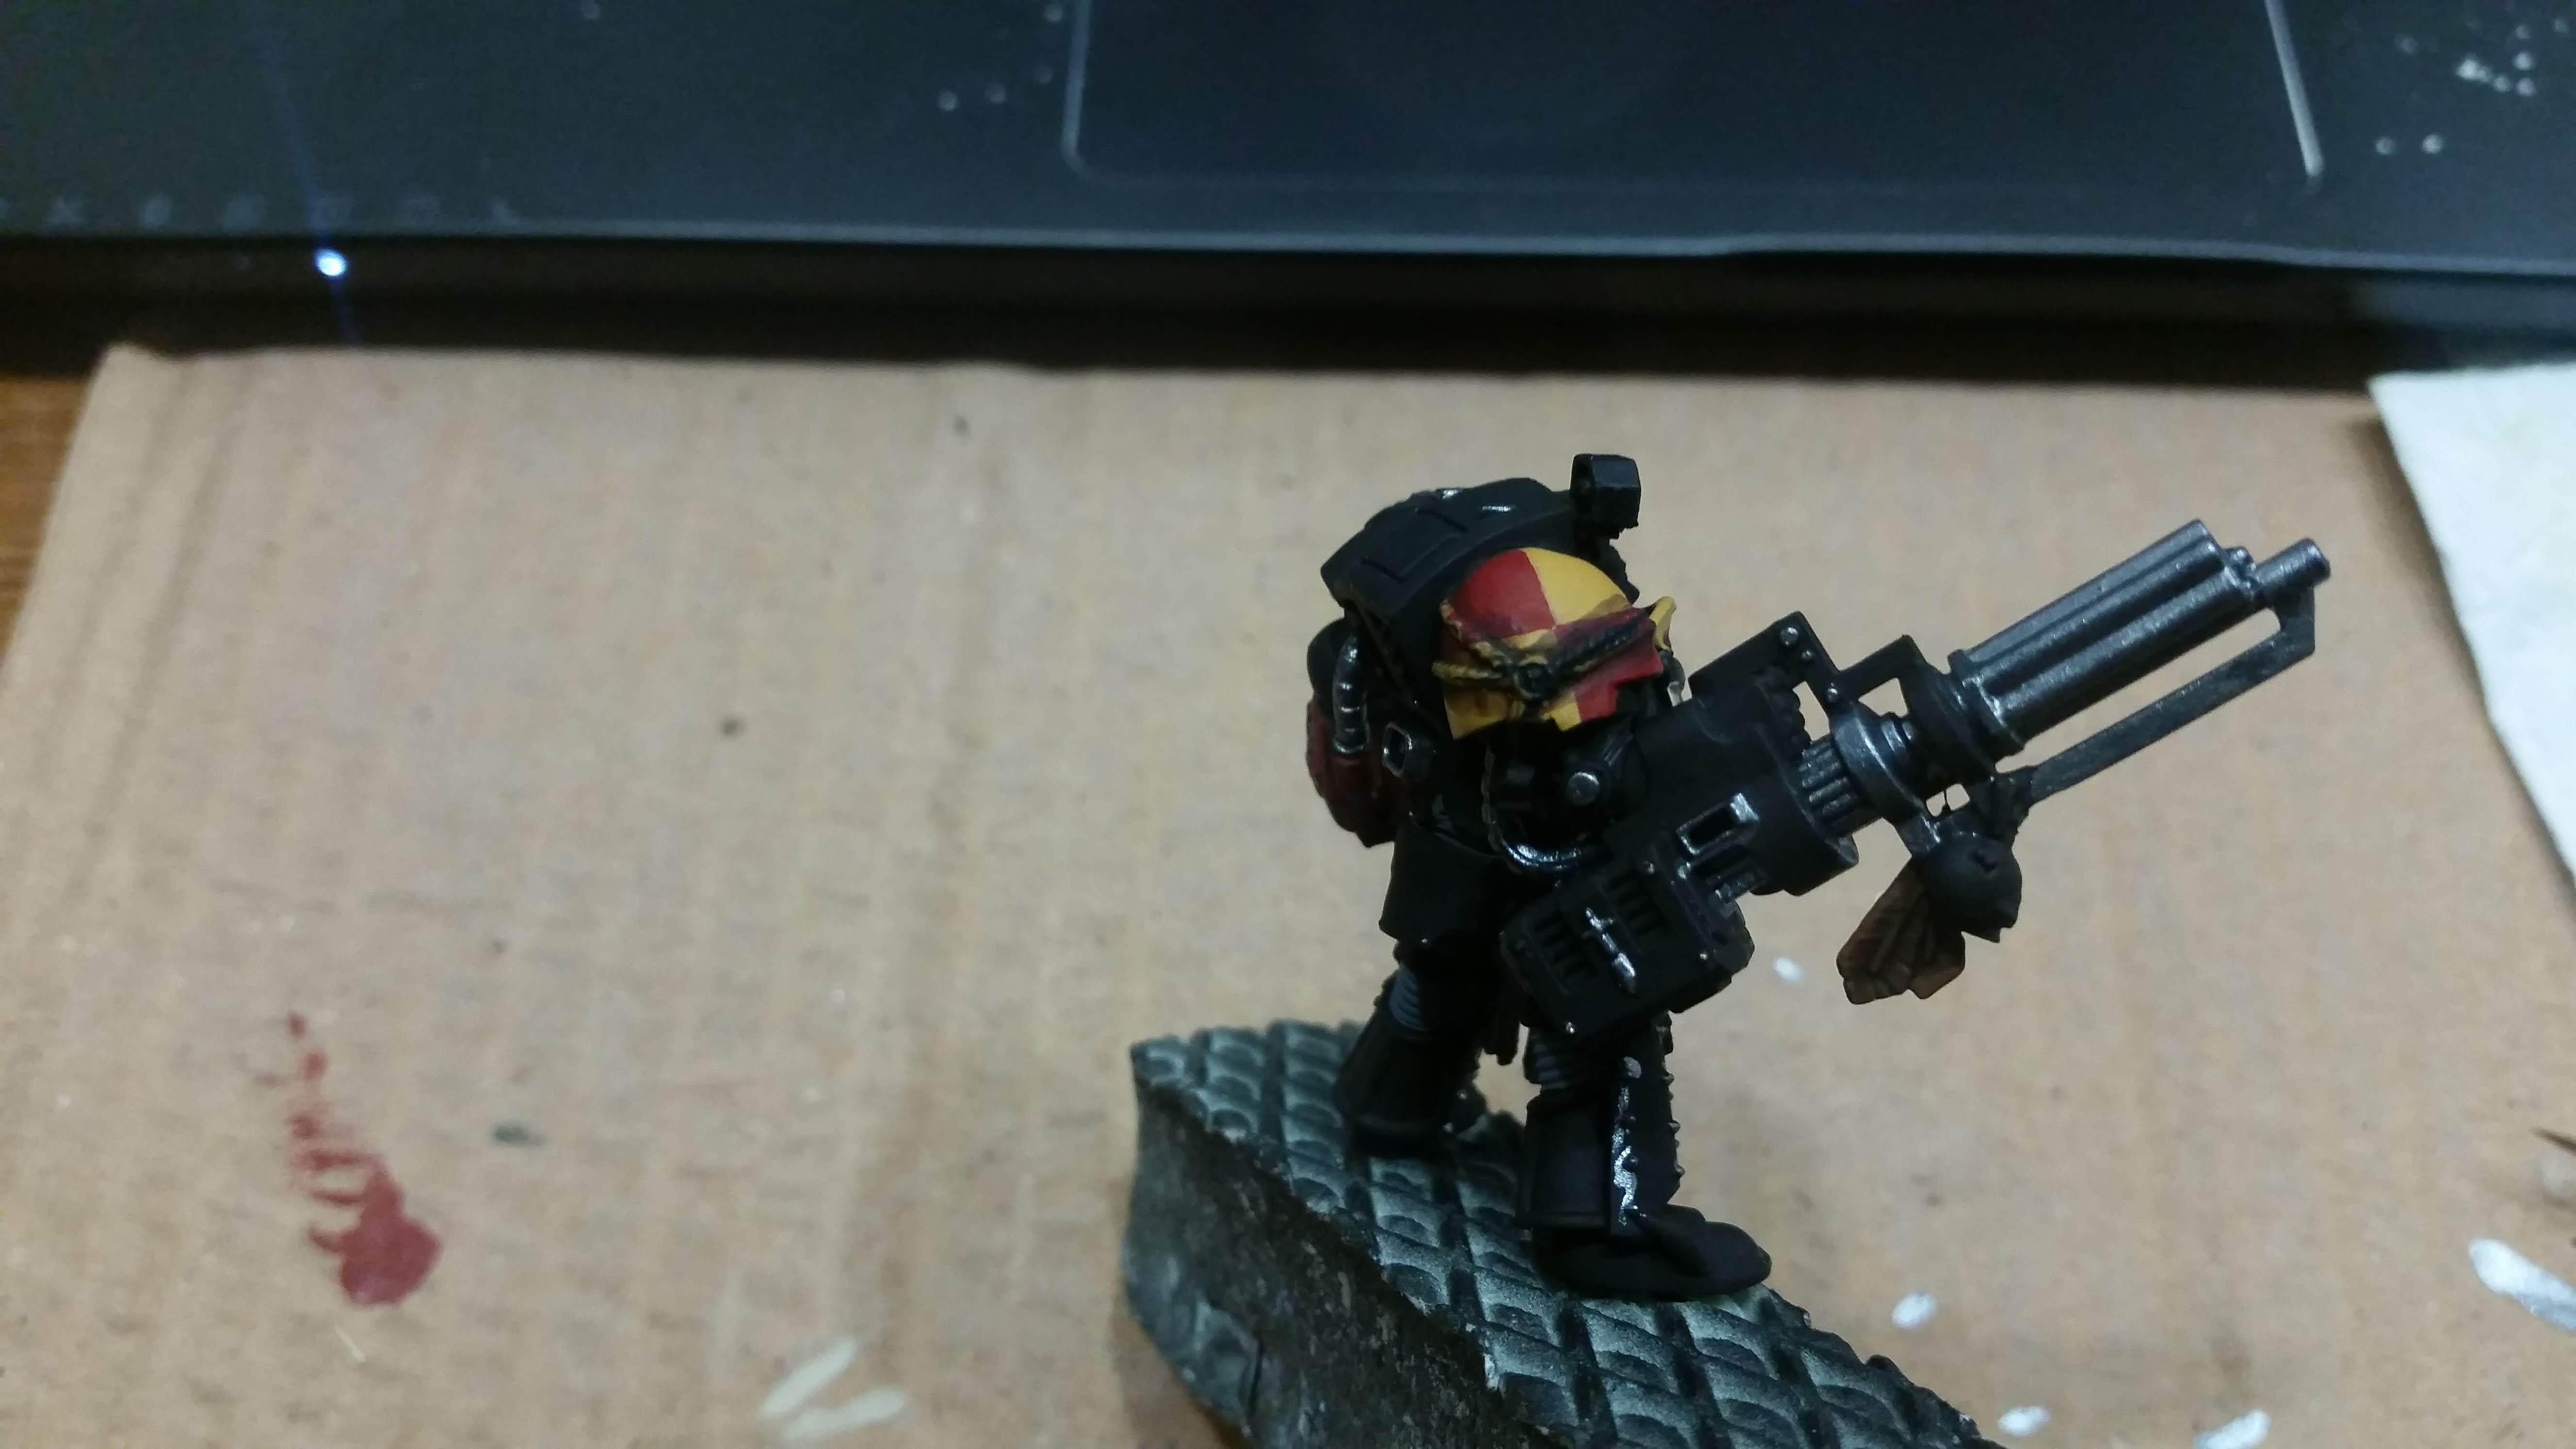
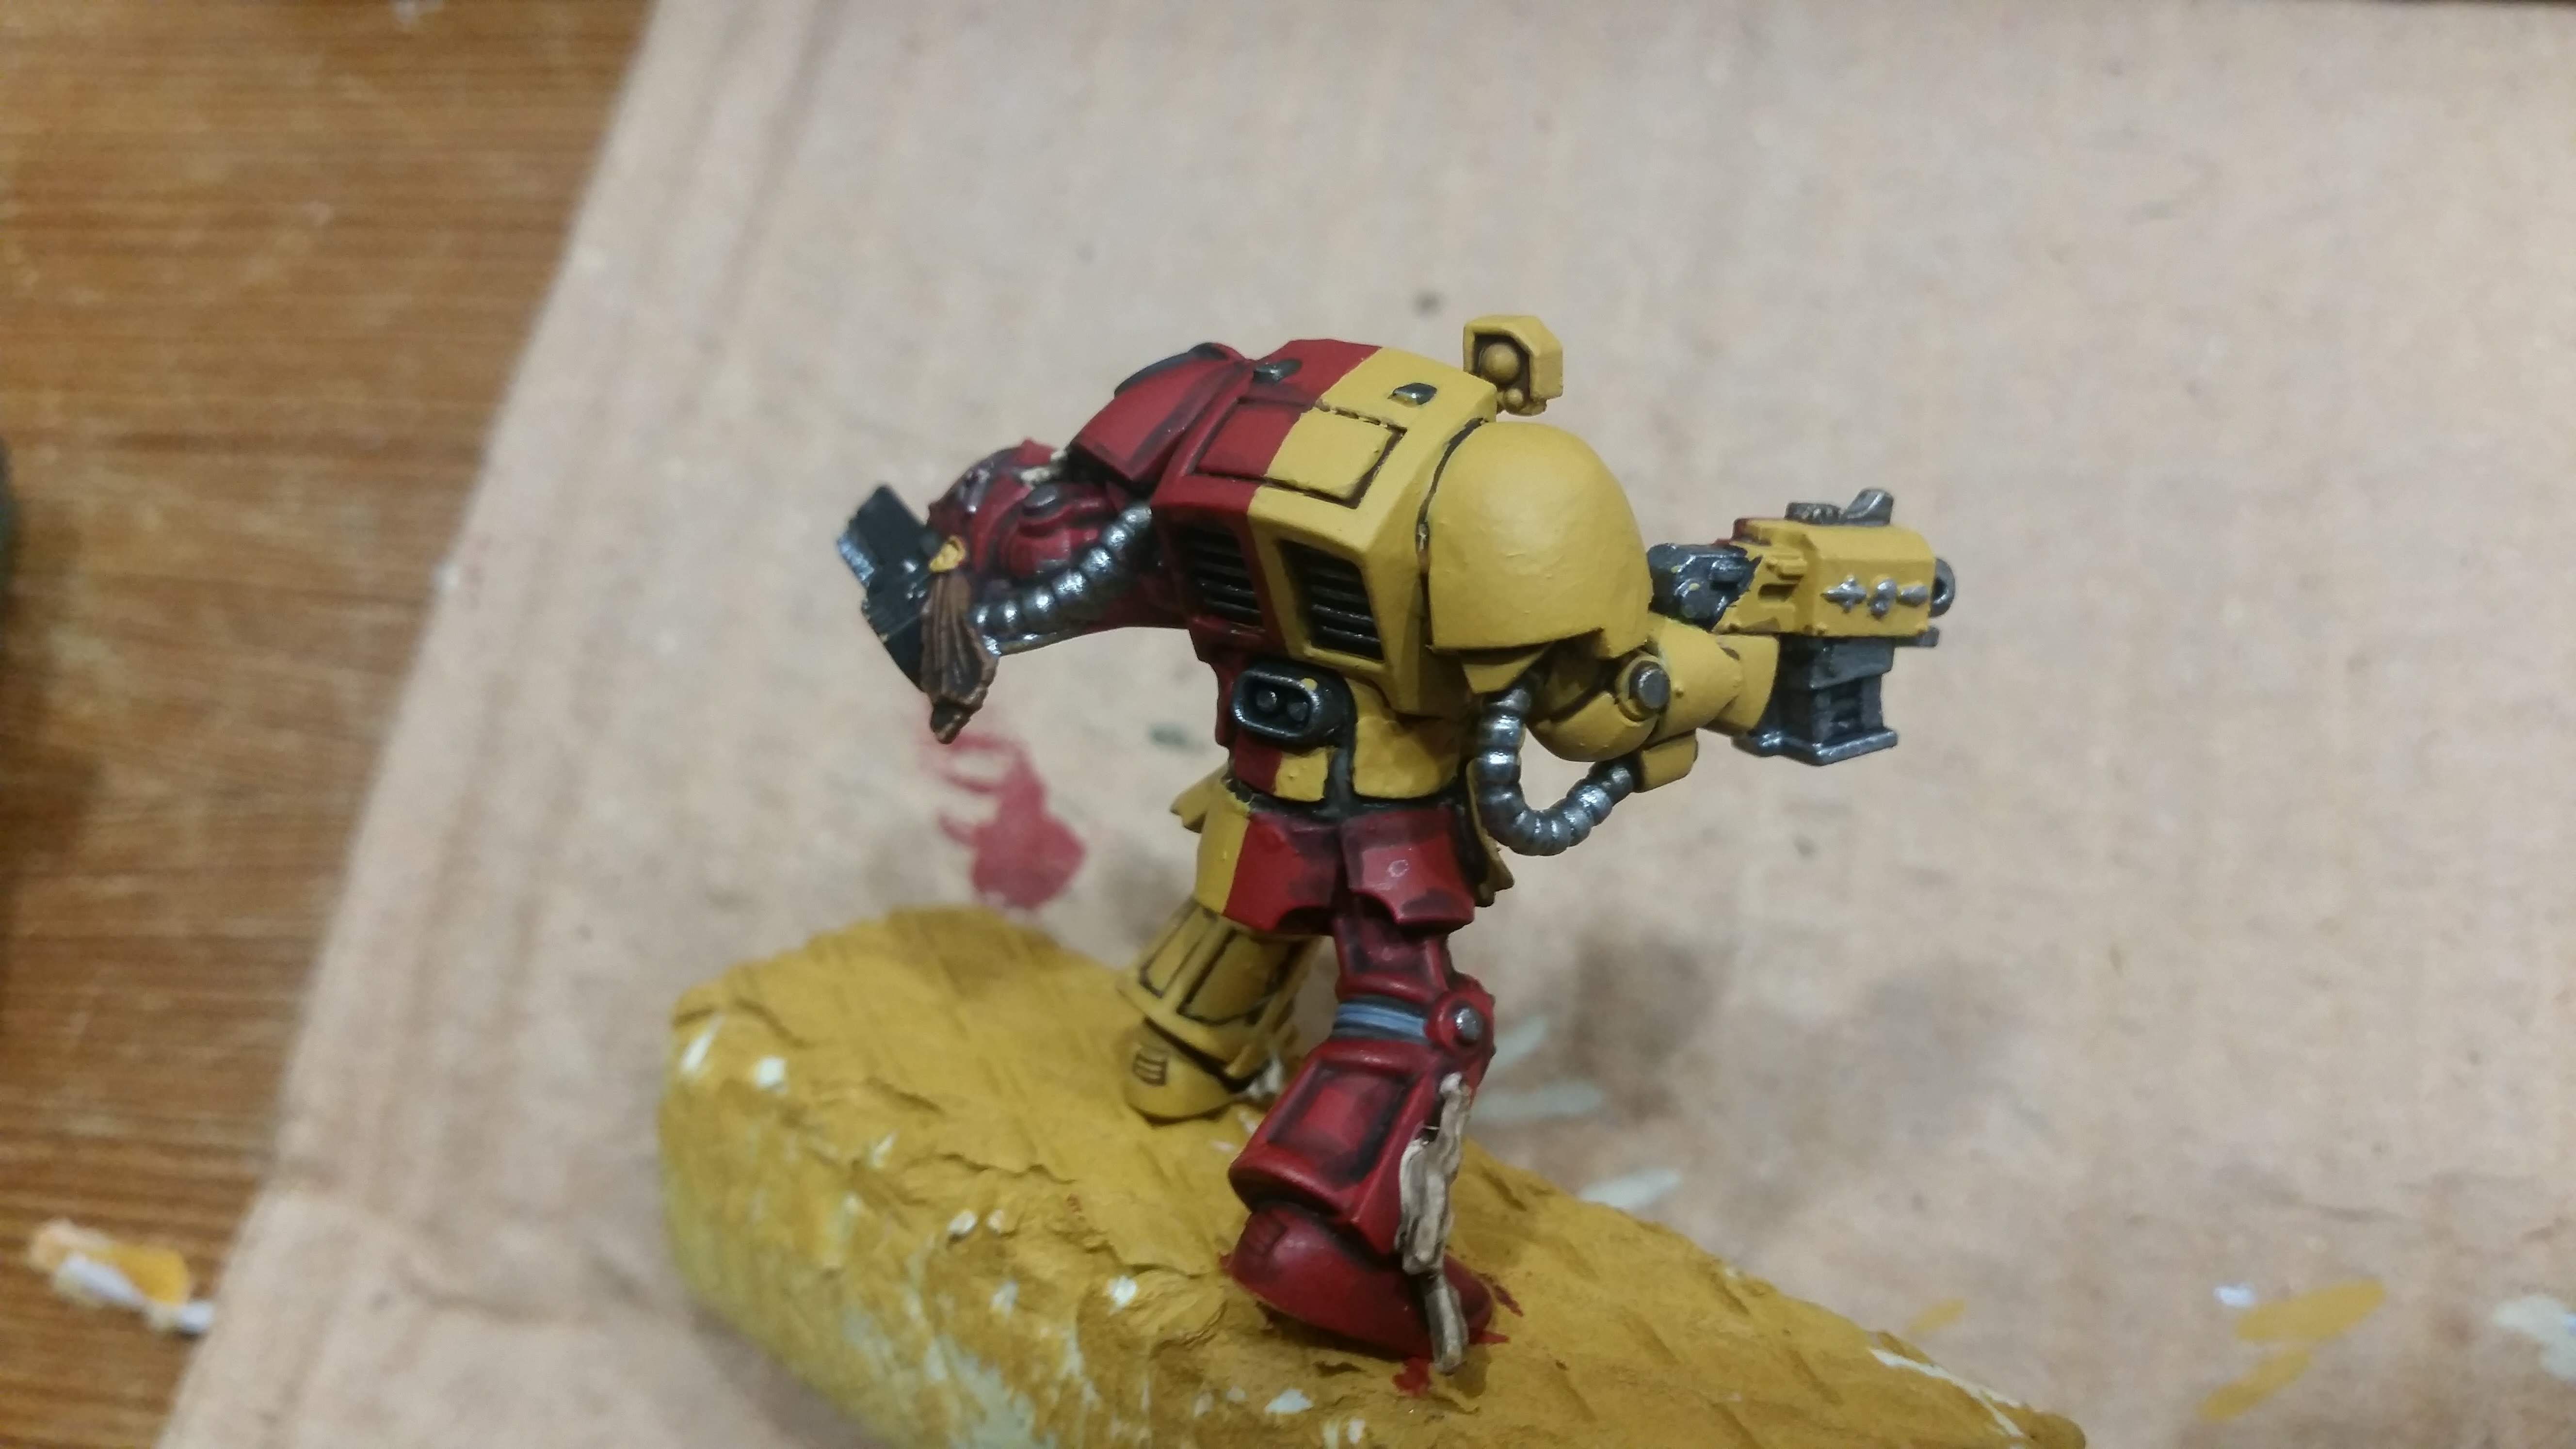
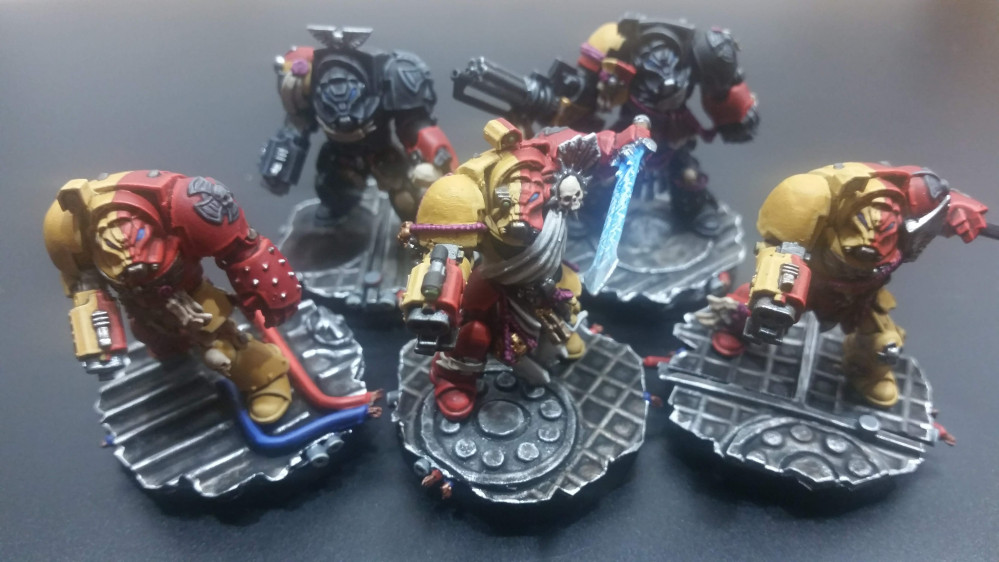
I decided that the Space Hulk Tactics Hobby Challenge would be a great excuse to get away from edge highlighting my Death Guard and get to build something again. So here come some Terminators I have been meaning to work on for several years now. I will true-scale them. I will mod them to not be Death Wing anymore. And I will hopefully get started painting them as Howling Griffons.
Related Game: Space Hulk
Related Company: Games Workshop
Related Genre: Science Fiction
This Project is Active
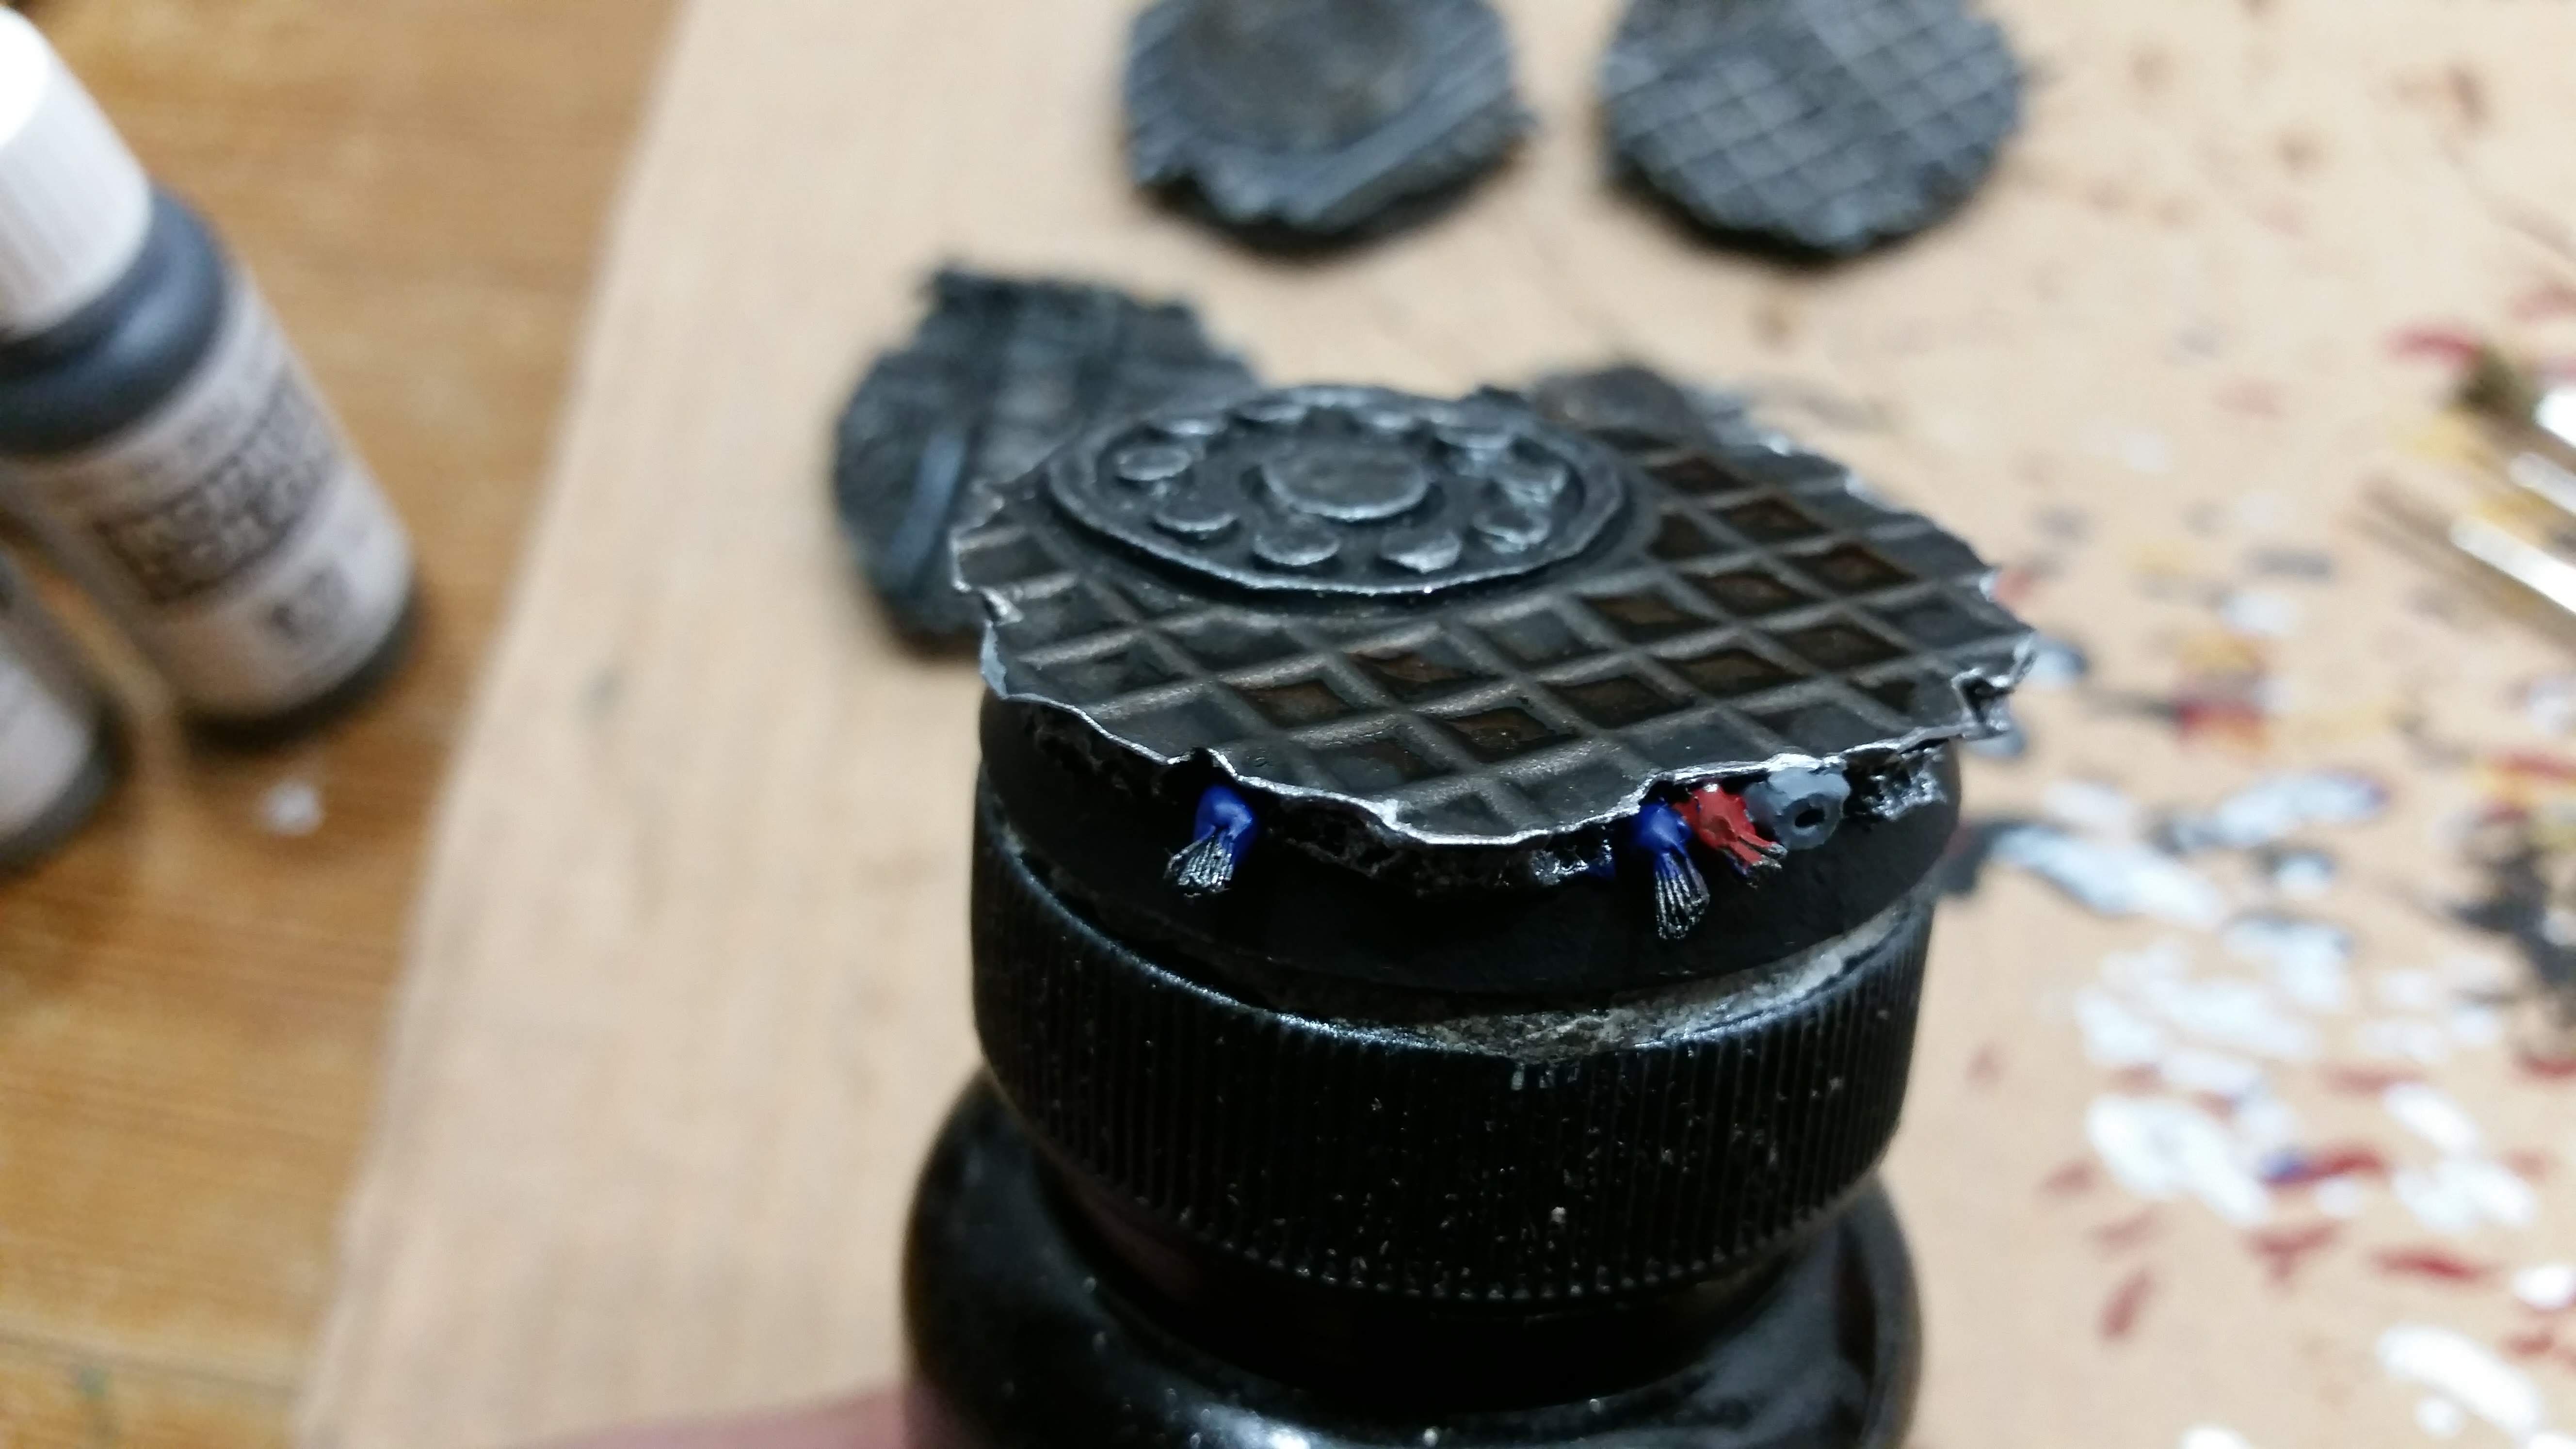
Building the Bases : Part 6
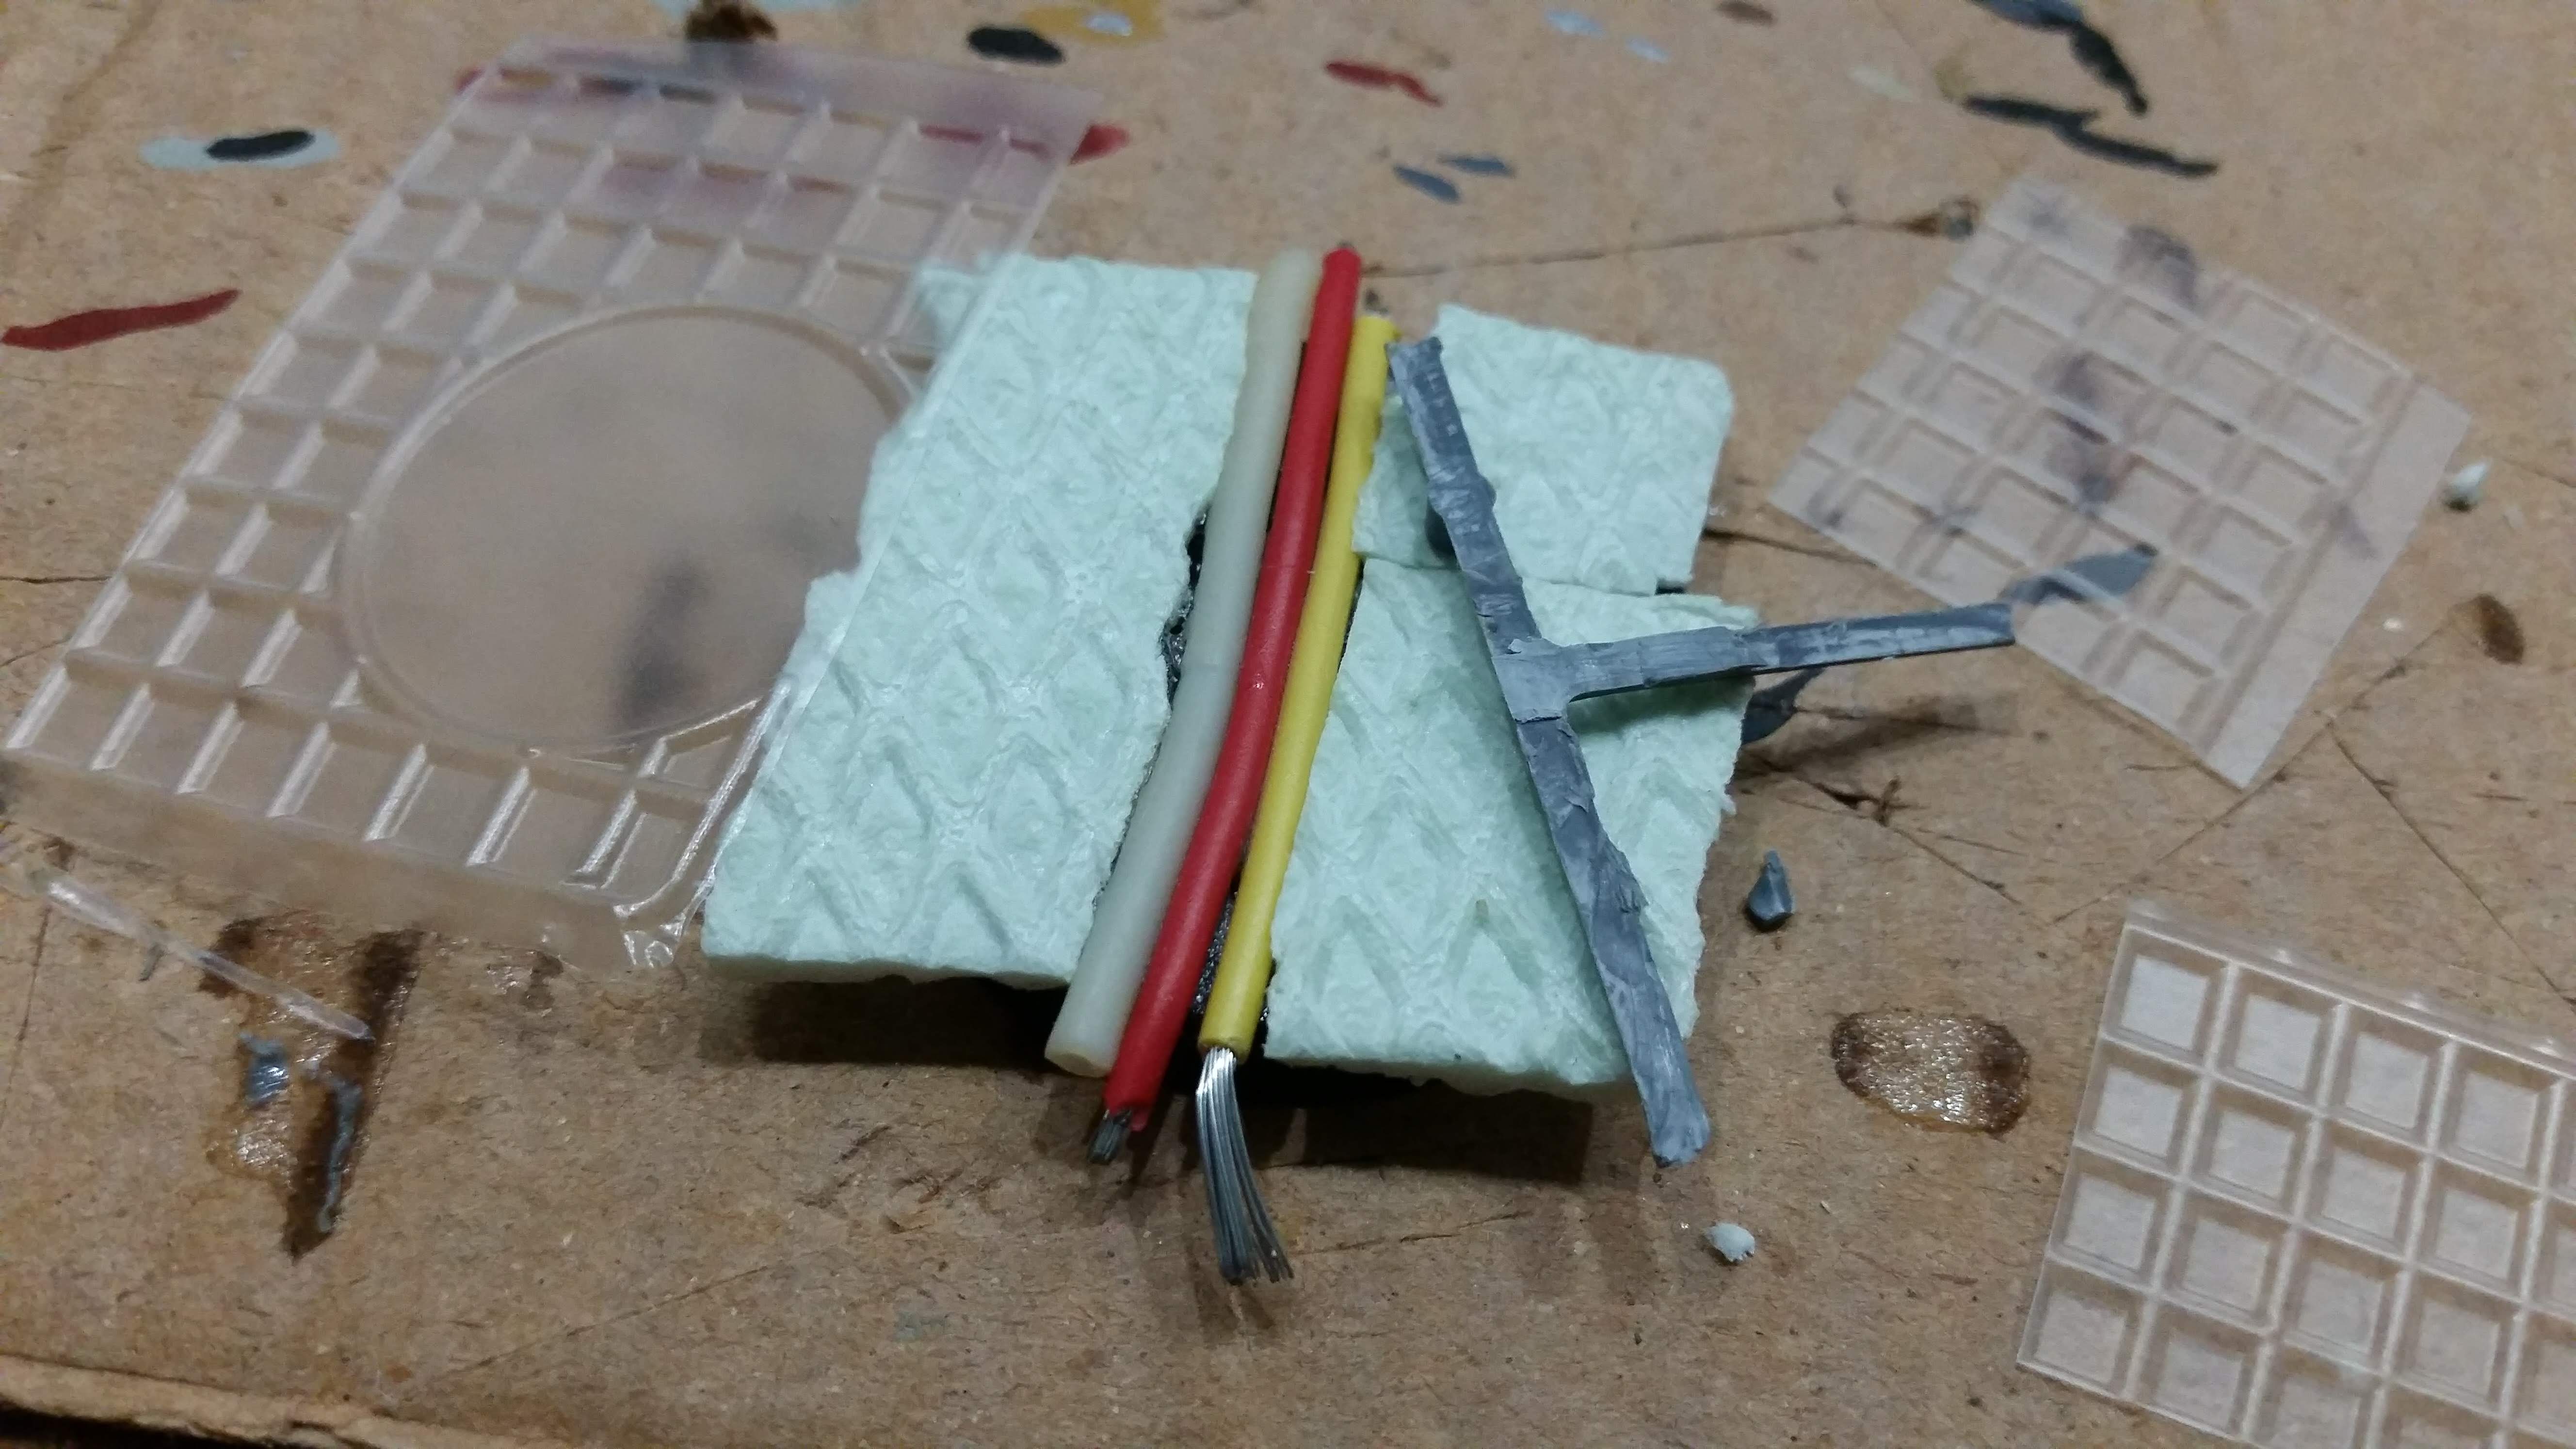
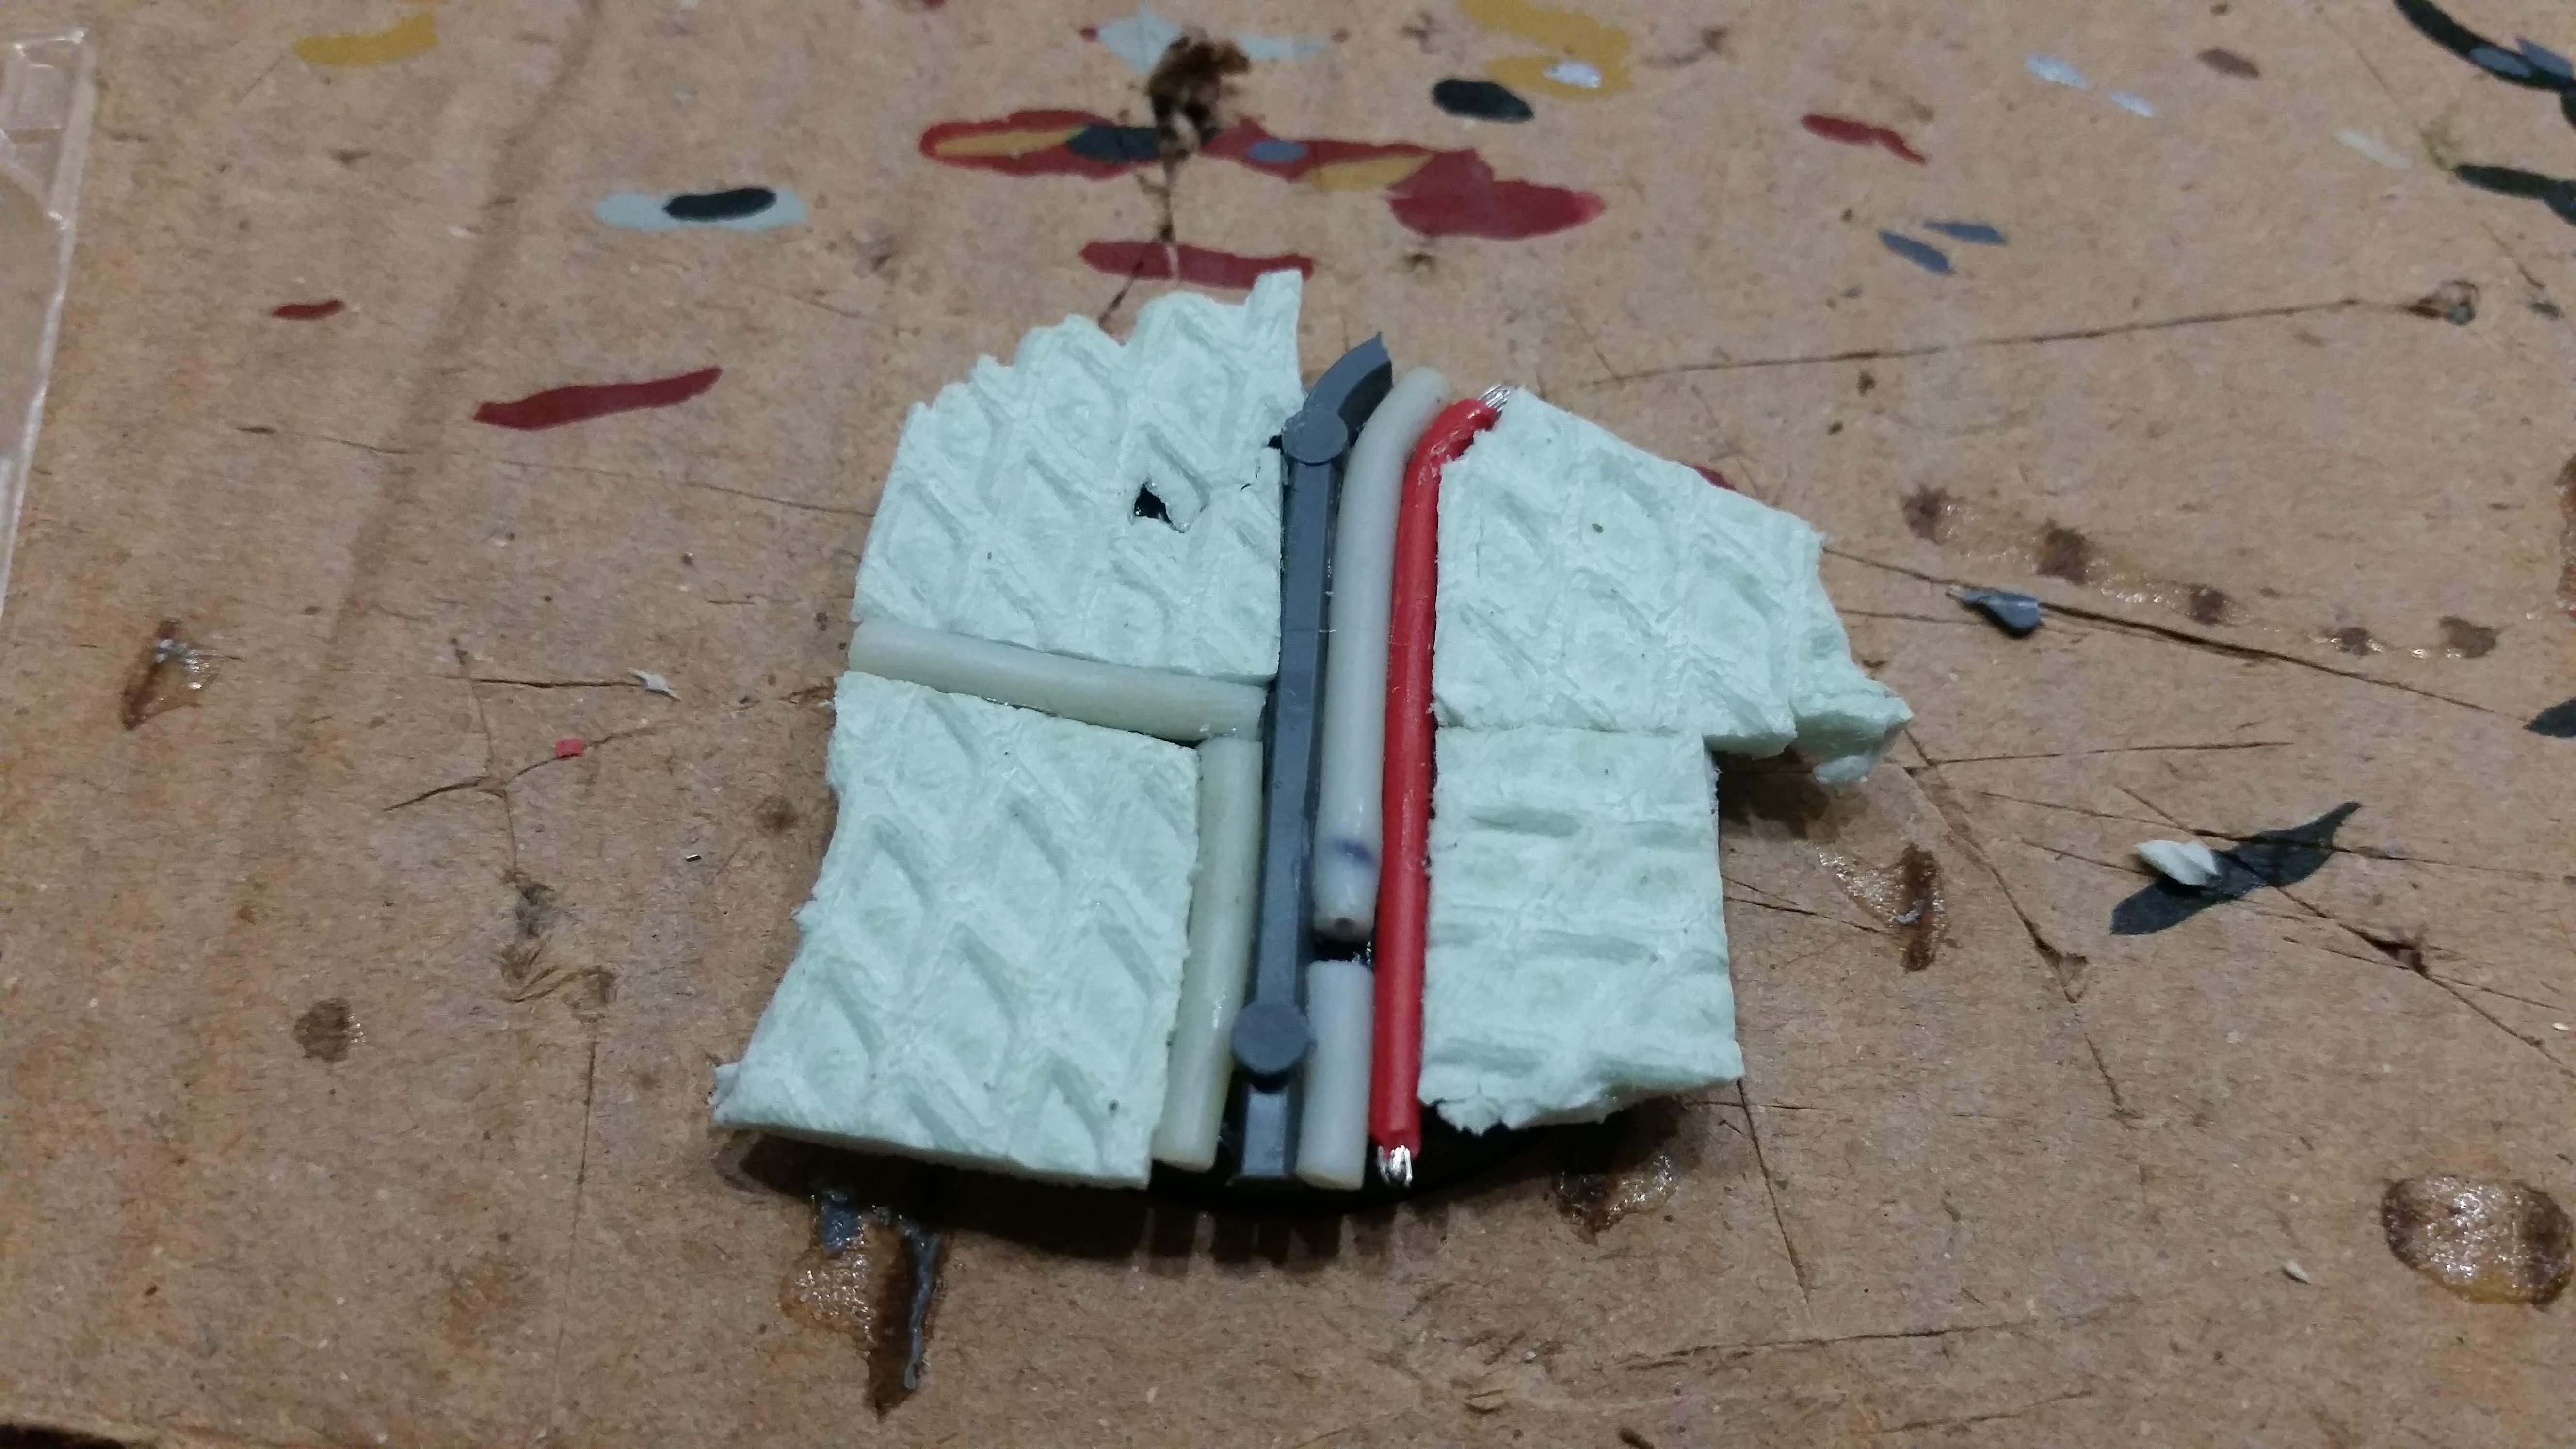
The next step was to glue the plastic sheets cut from the biscuit trays on top of the foam-wire-tubing-layer. Again using styro-foam glue so I would not dissolve the insulation foam. After the glue had dried I cut the foam and plastic sheeting off in jagged rims around the outside of the plastic bases diameter.
I intend to have the basing material overhang the actual base, making it look like the ground has been ripped up together with the figure that will be standing on it.
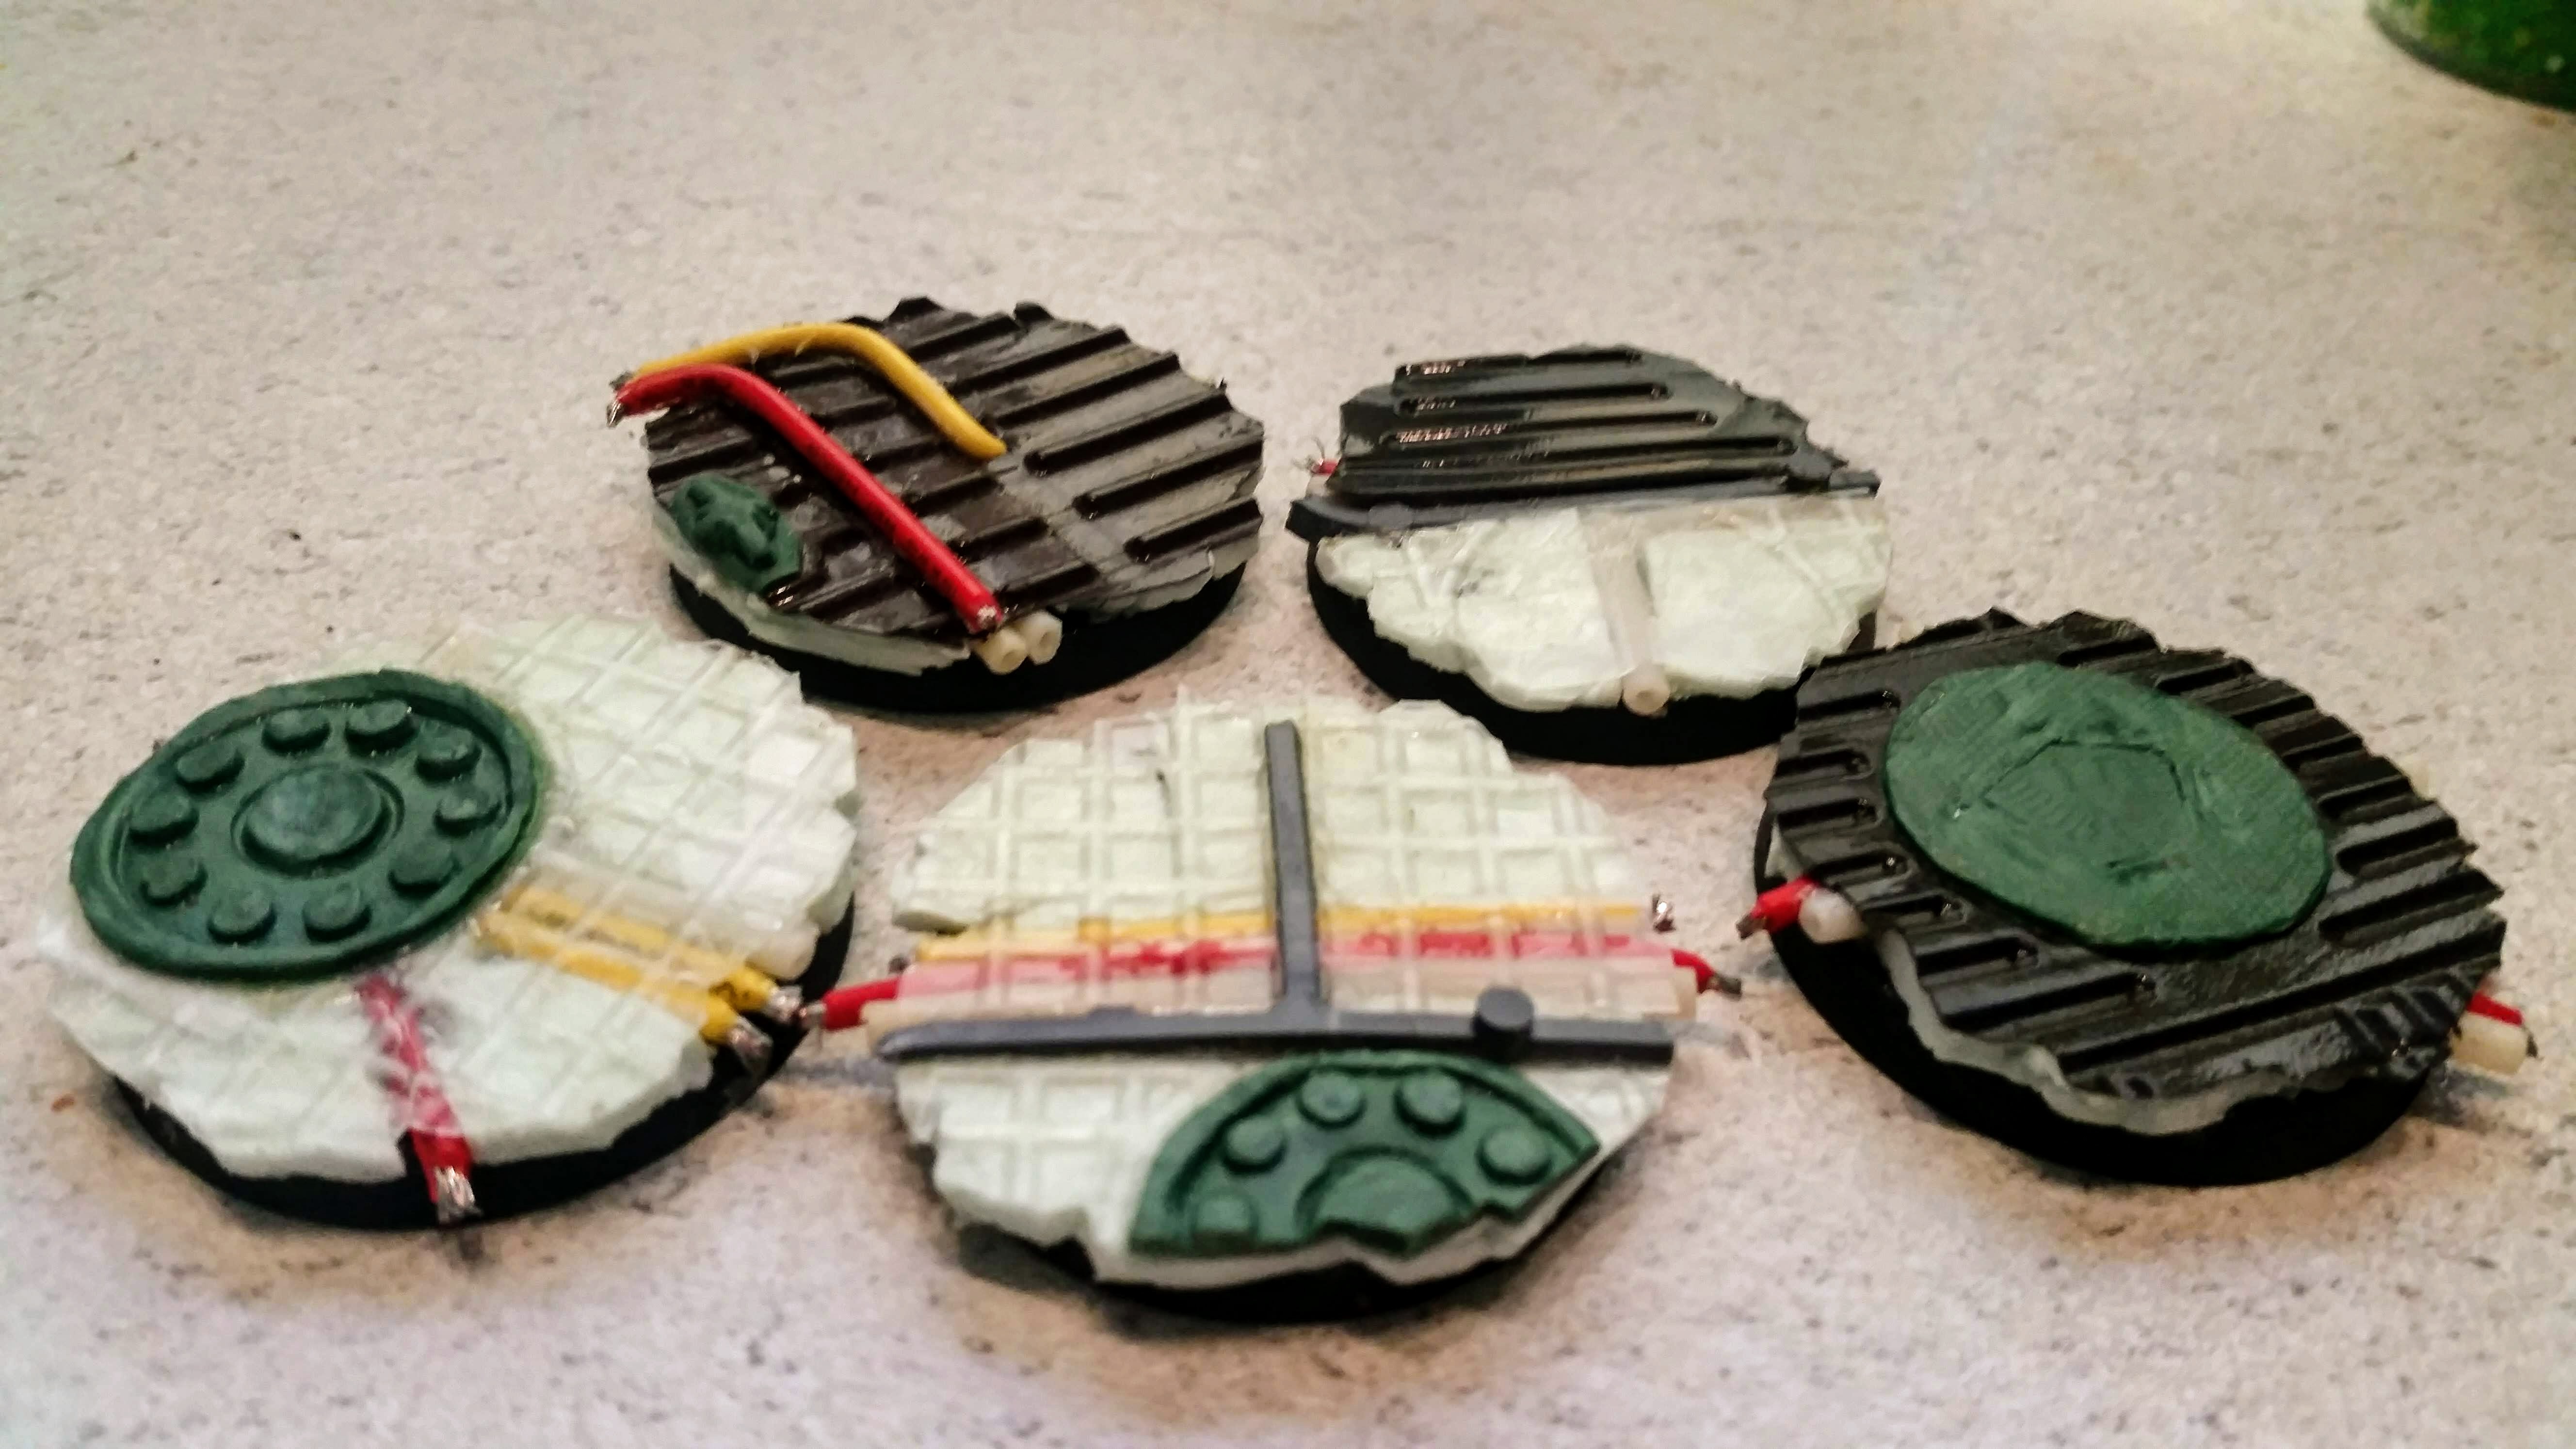
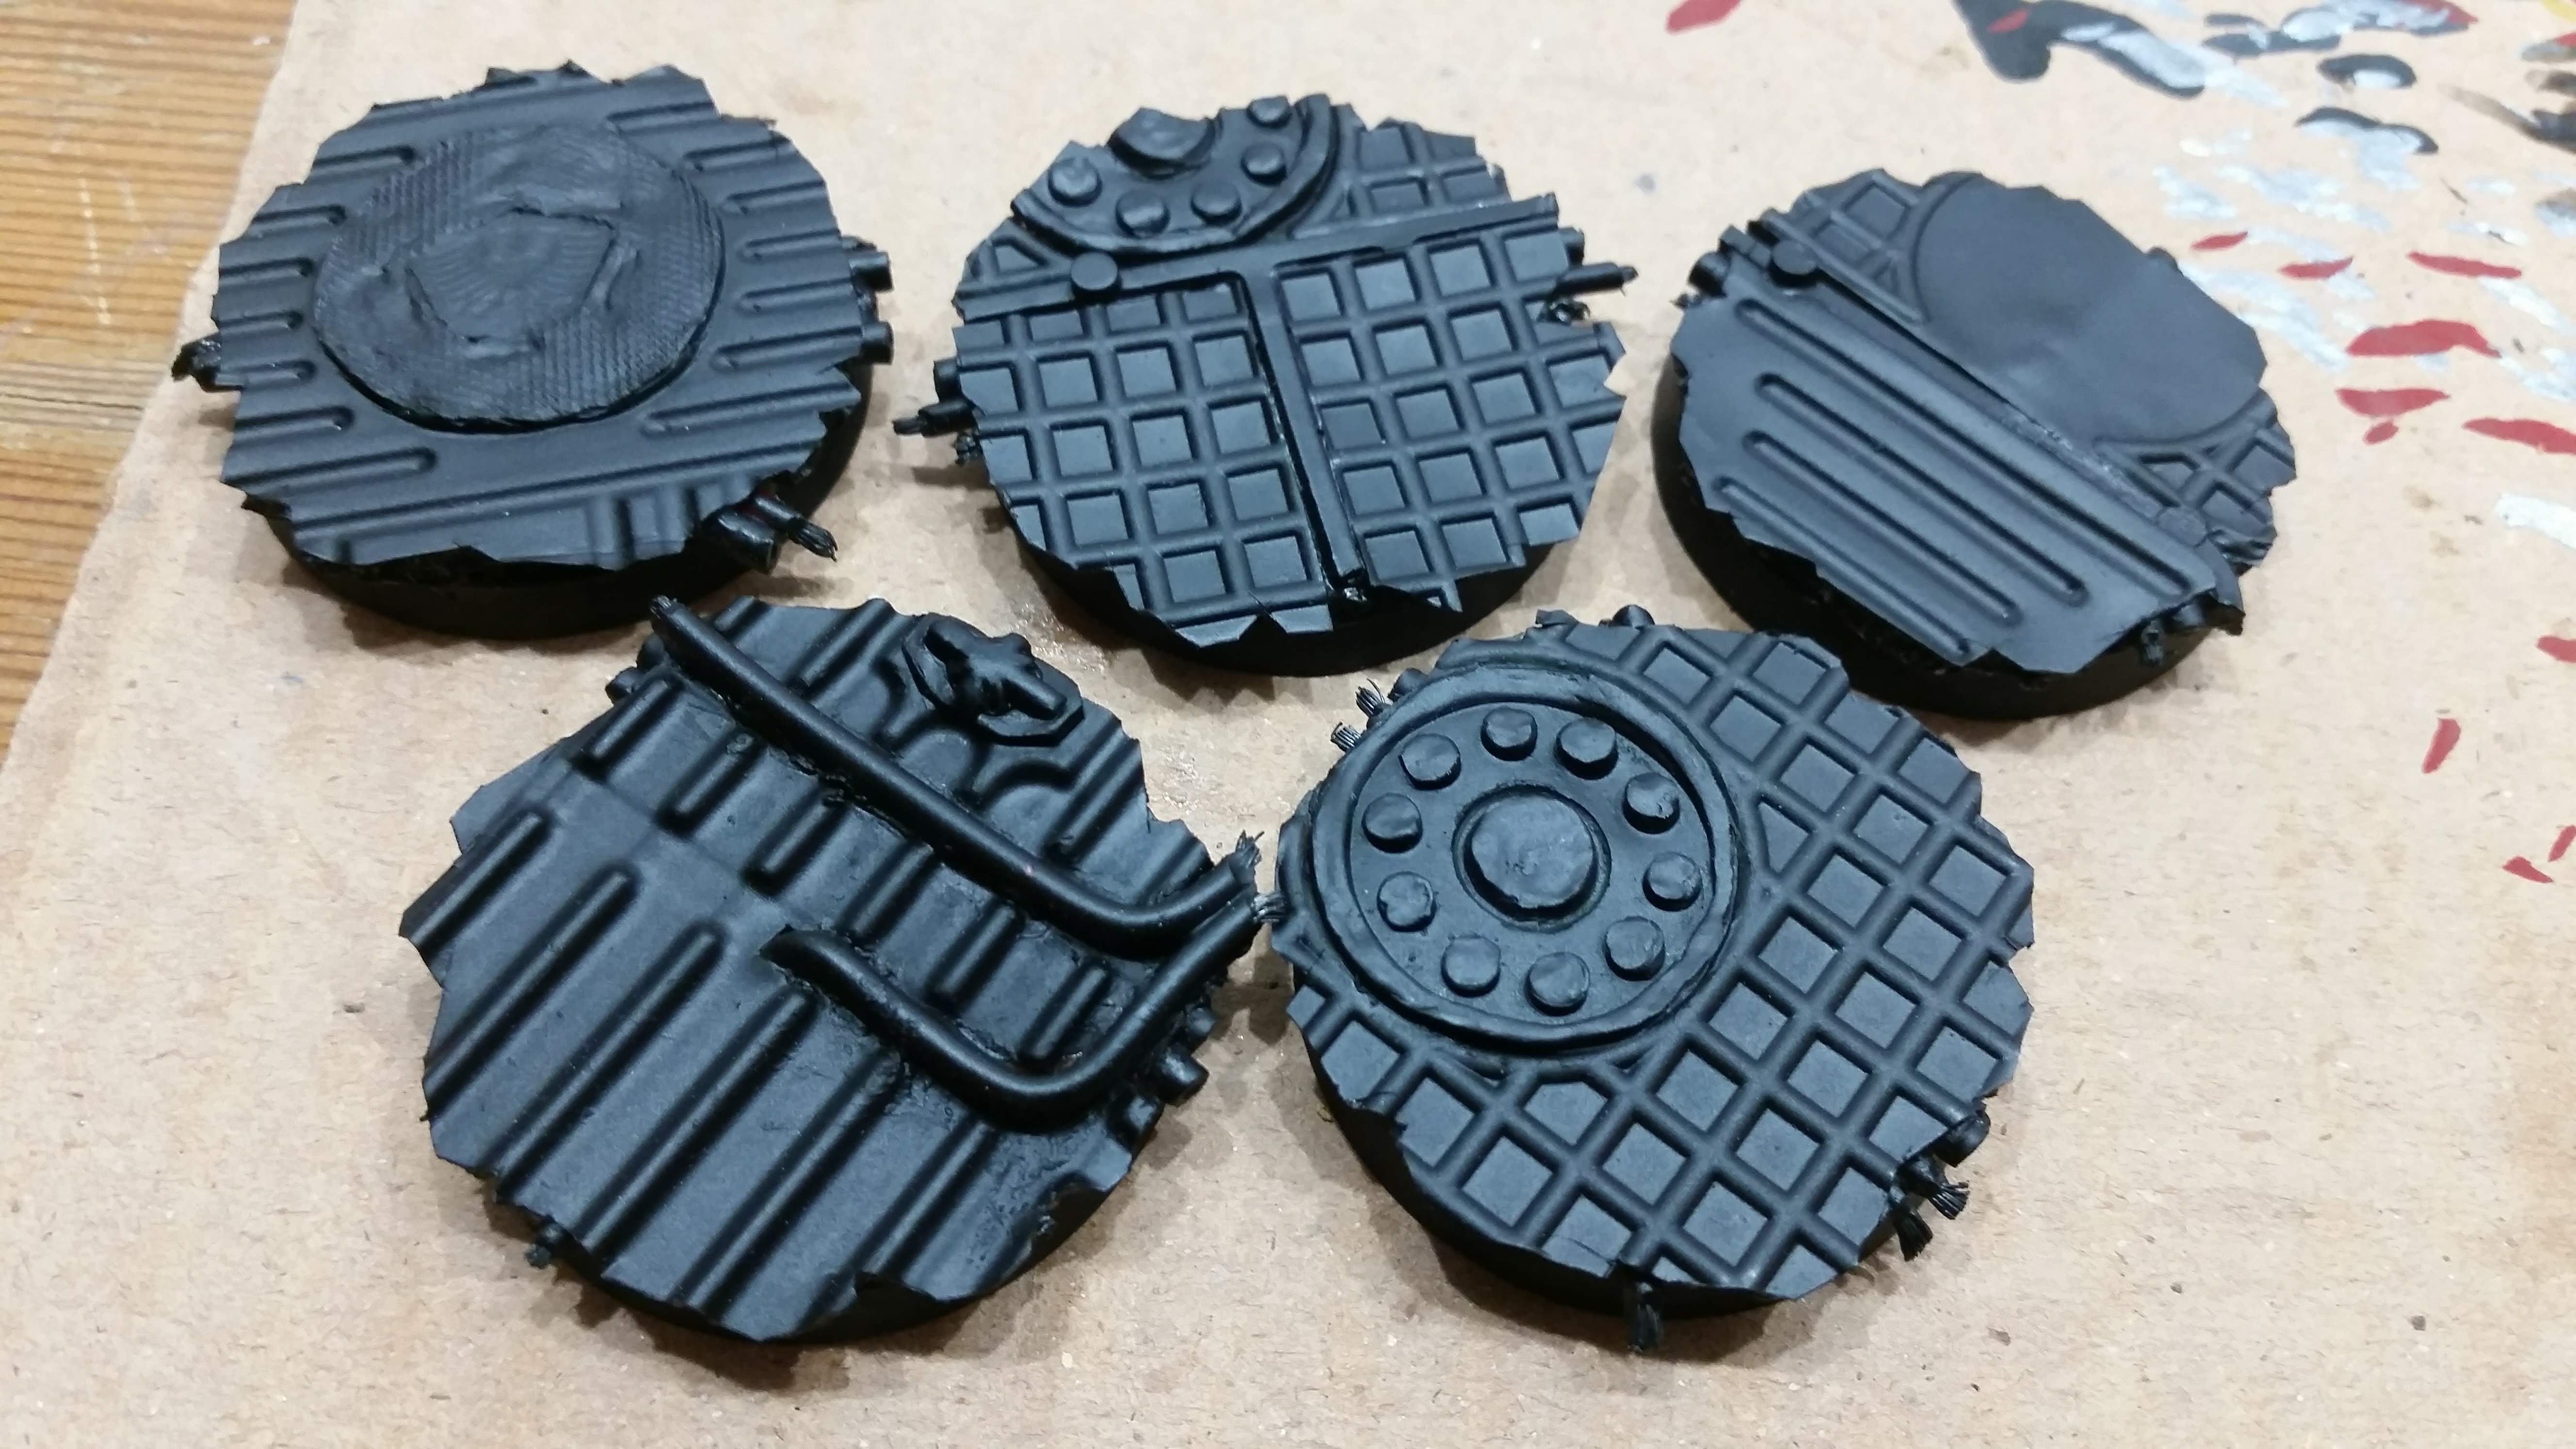
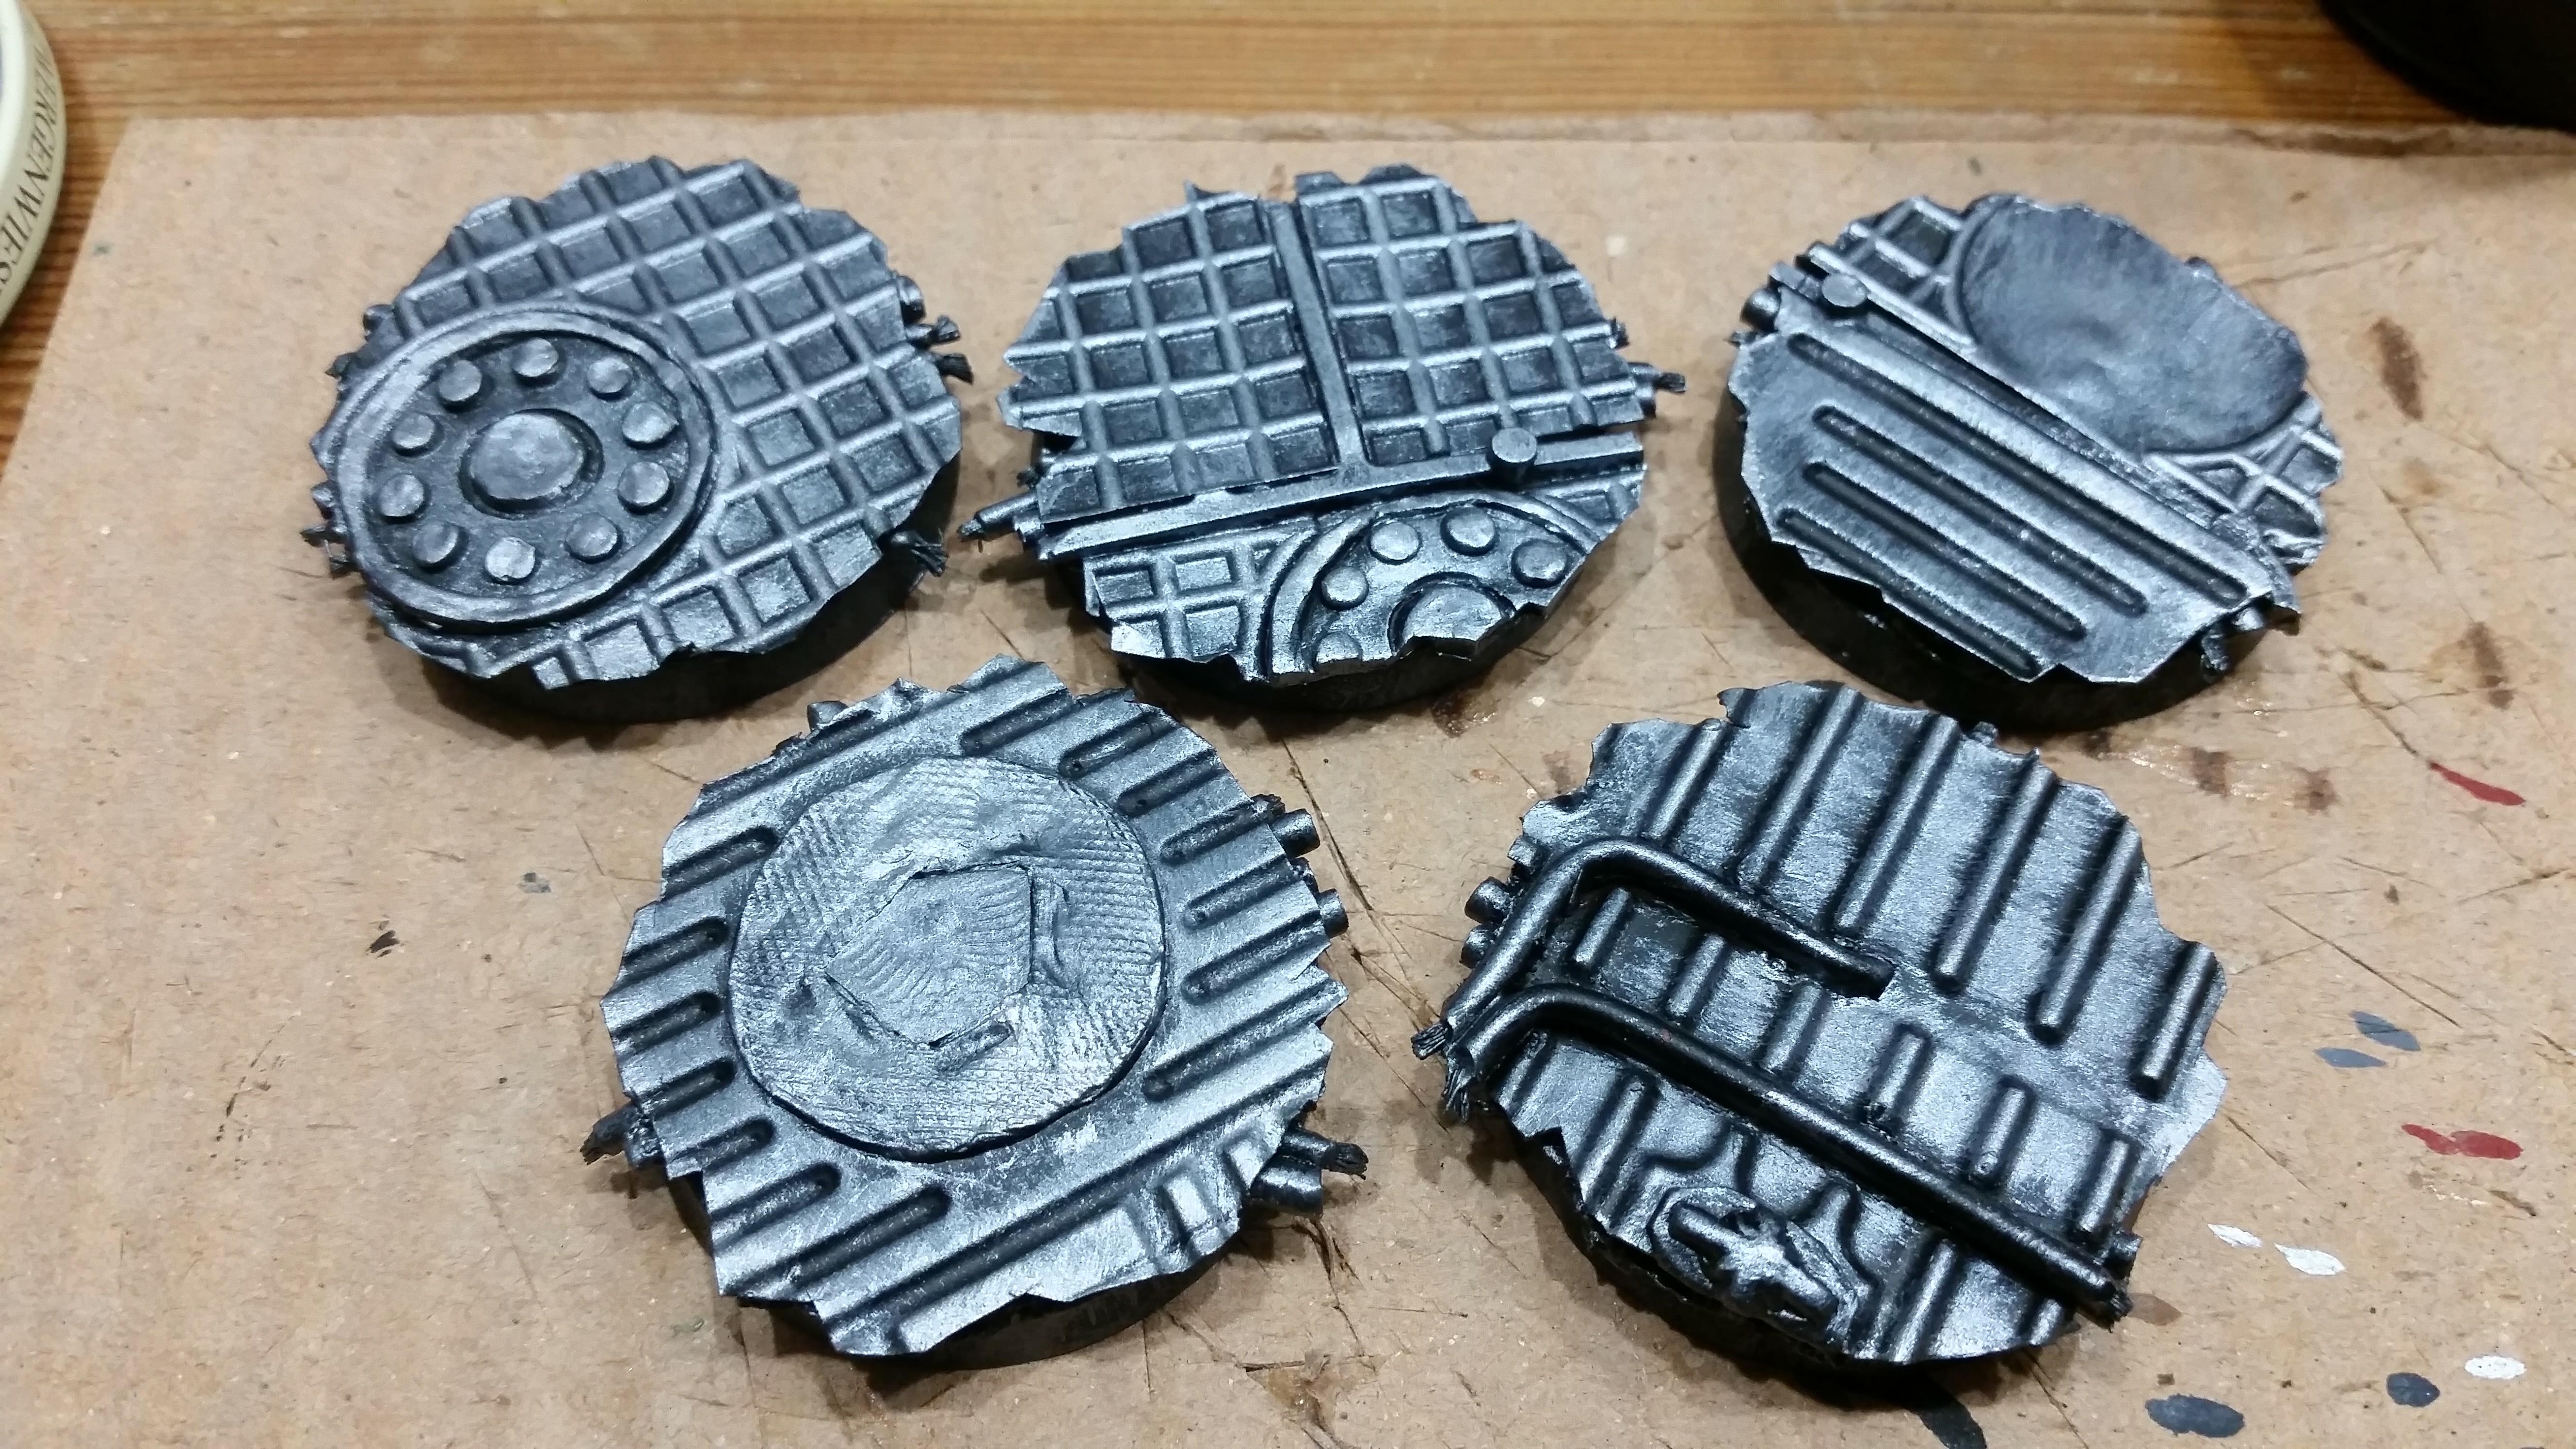
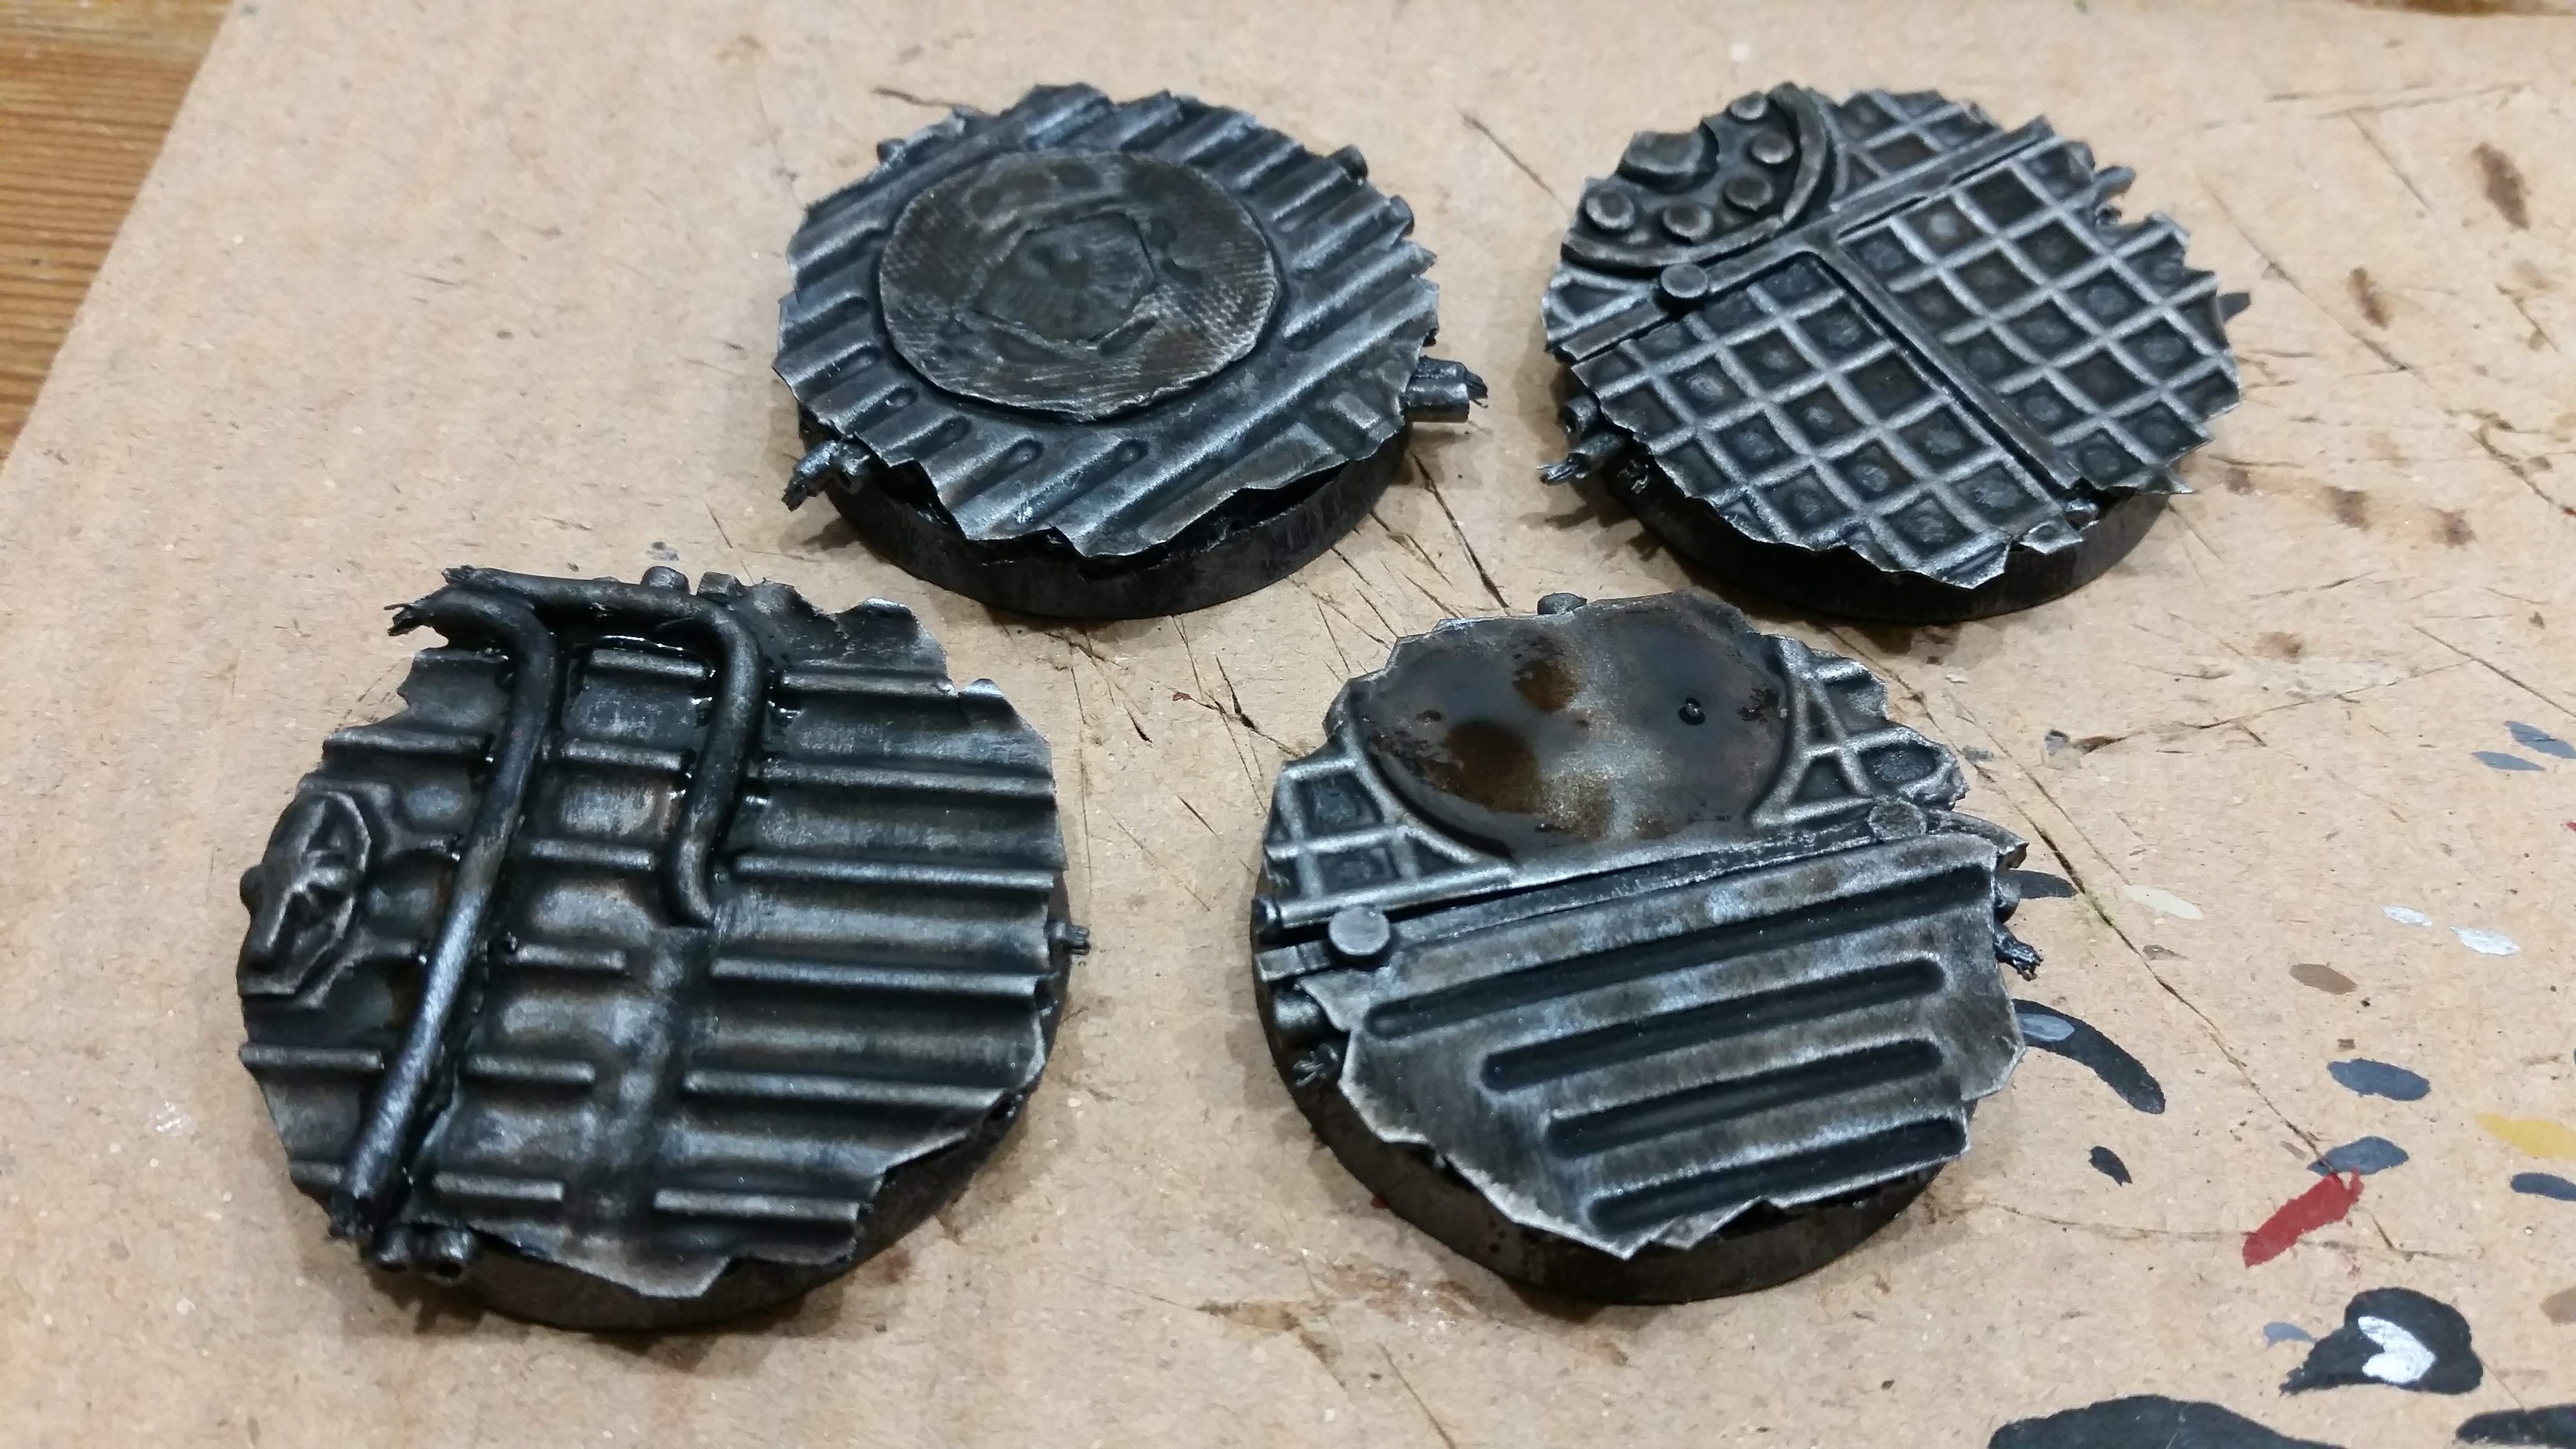
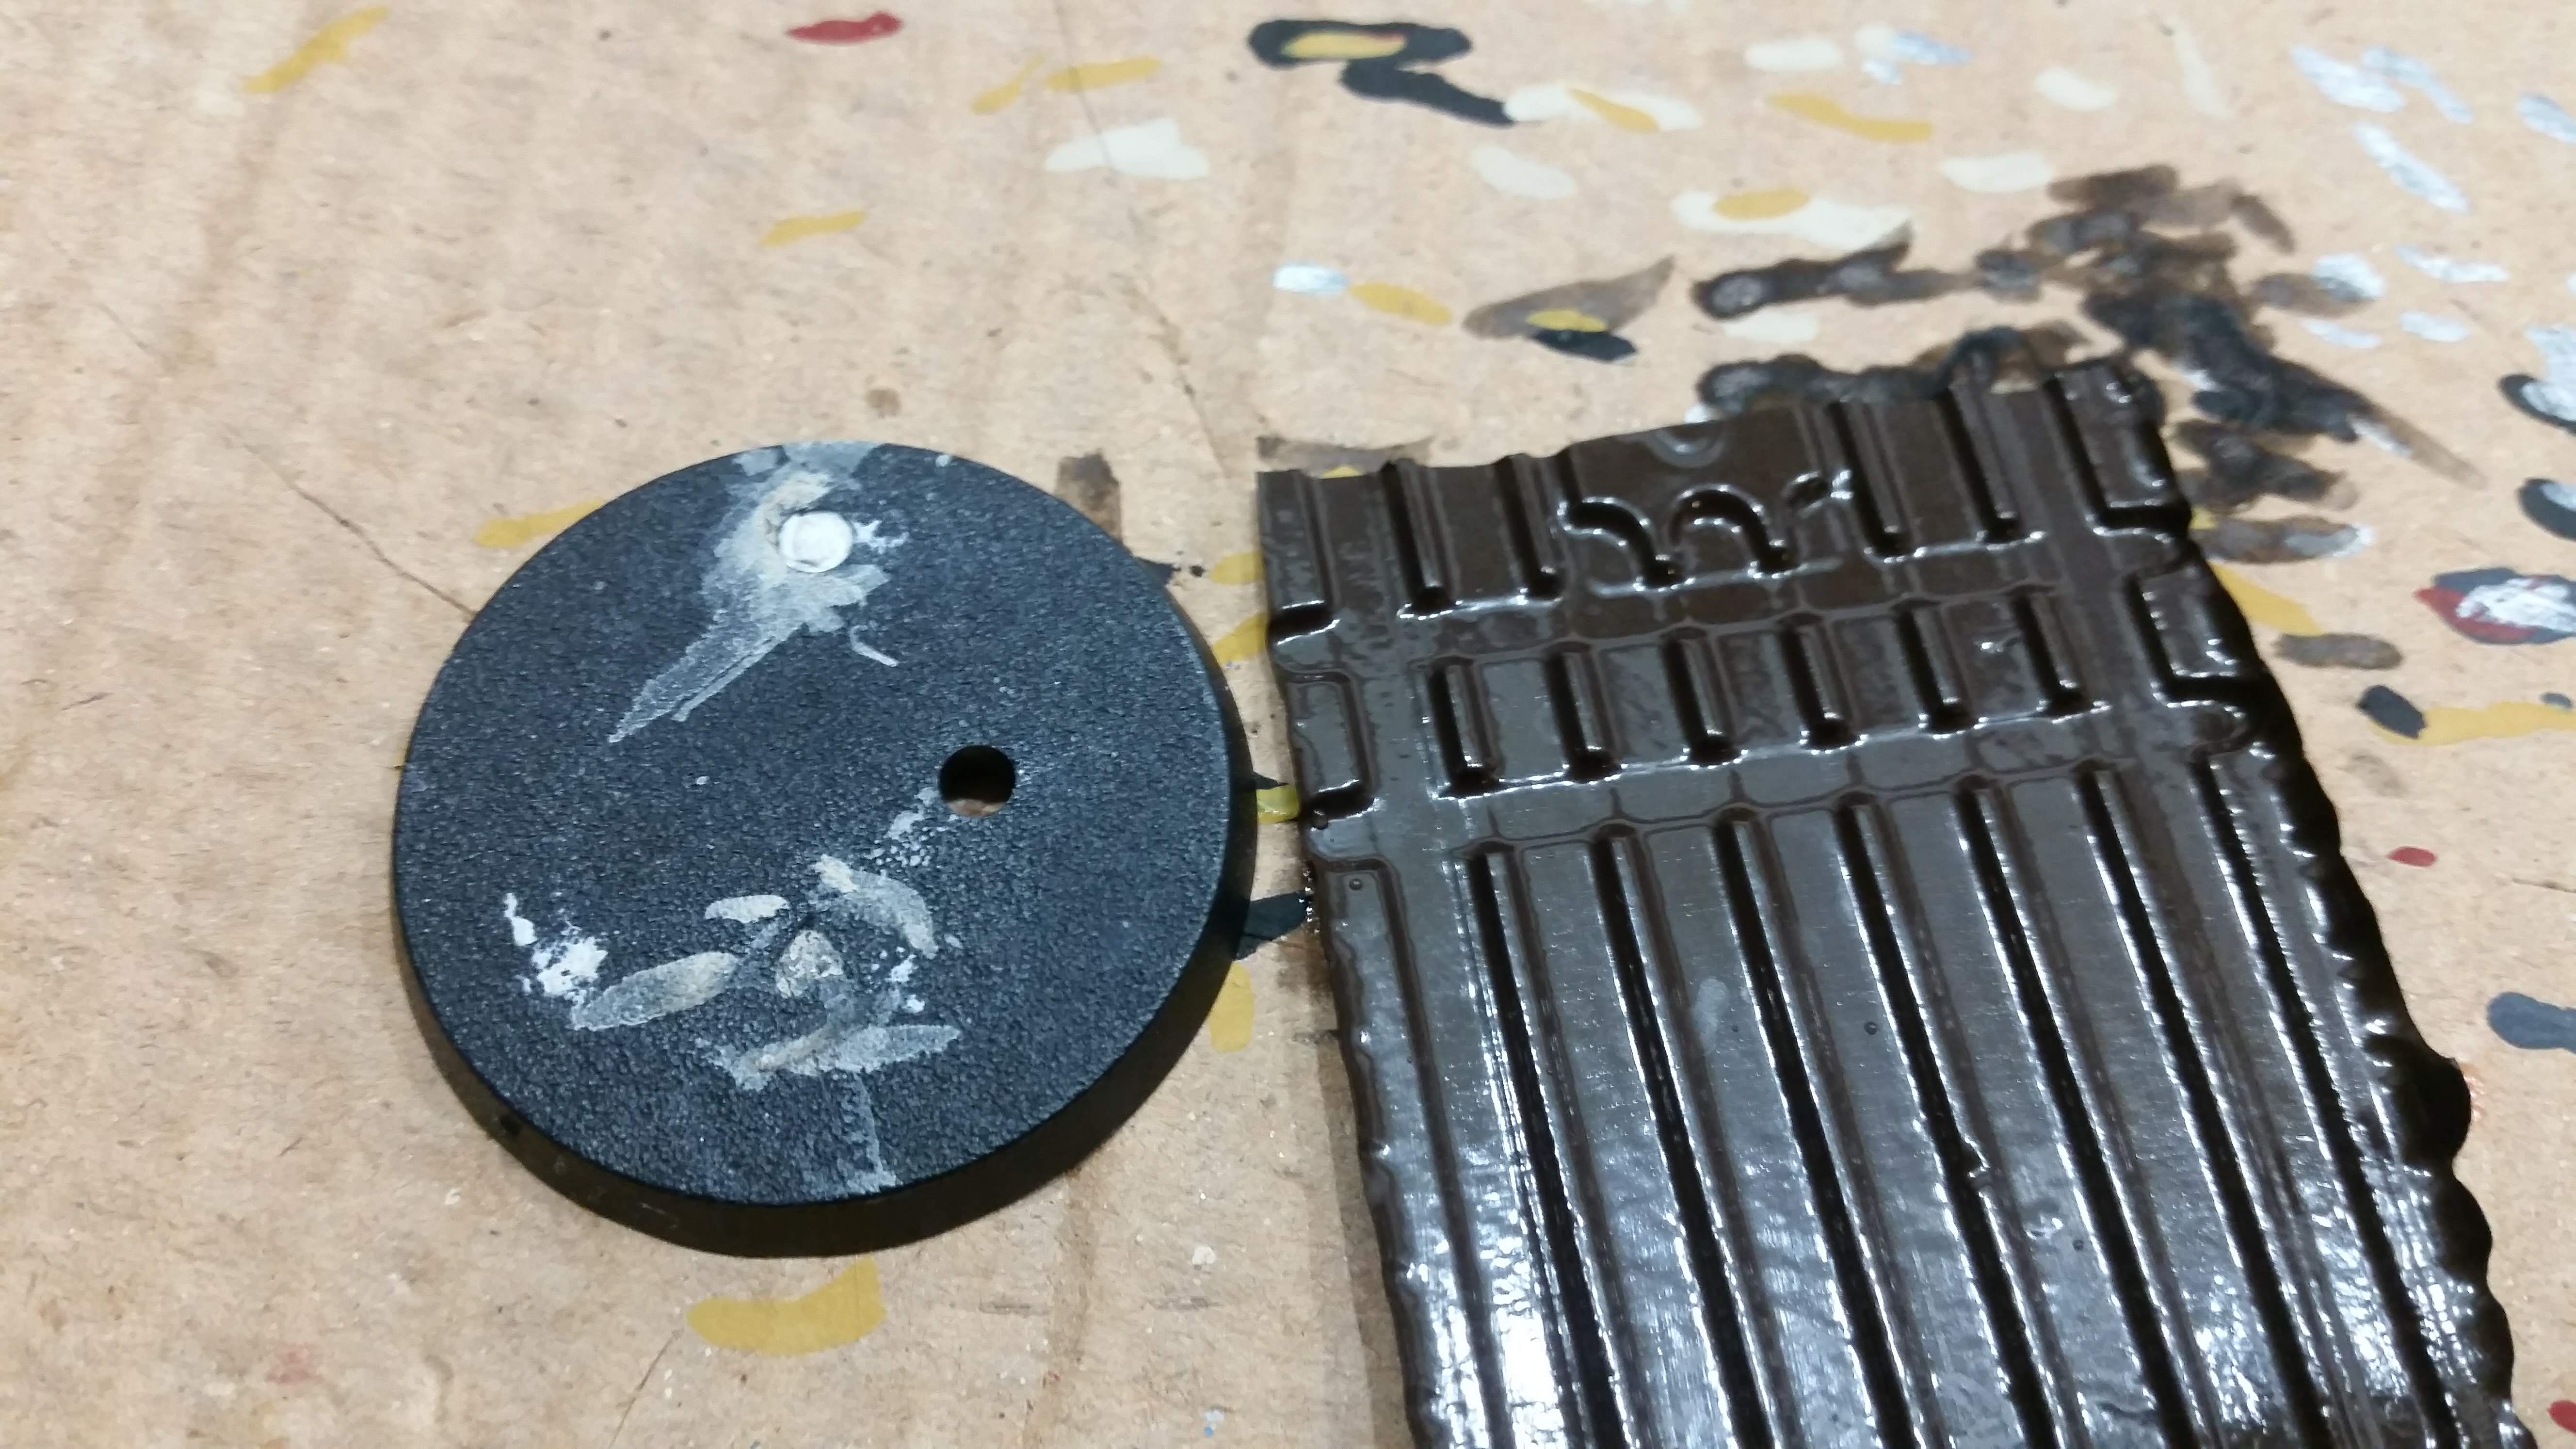
The bases were then sprayed black and given a gunmetal dry-brush. I then washed them with Citadell Agrax Earthshade and painted the cables and pipes different colours. I also highlighted the very edges with a brighter metal colour to make it look like they had been freshly torn
On the whole I want all the plumbing to look rather cleaner than the deck plating. Not only to make it stand out, but also because it has been sealed away for millenia while the plating above was befouled by all manner of xenos and warp spawn.

Building the Bases : Part 5
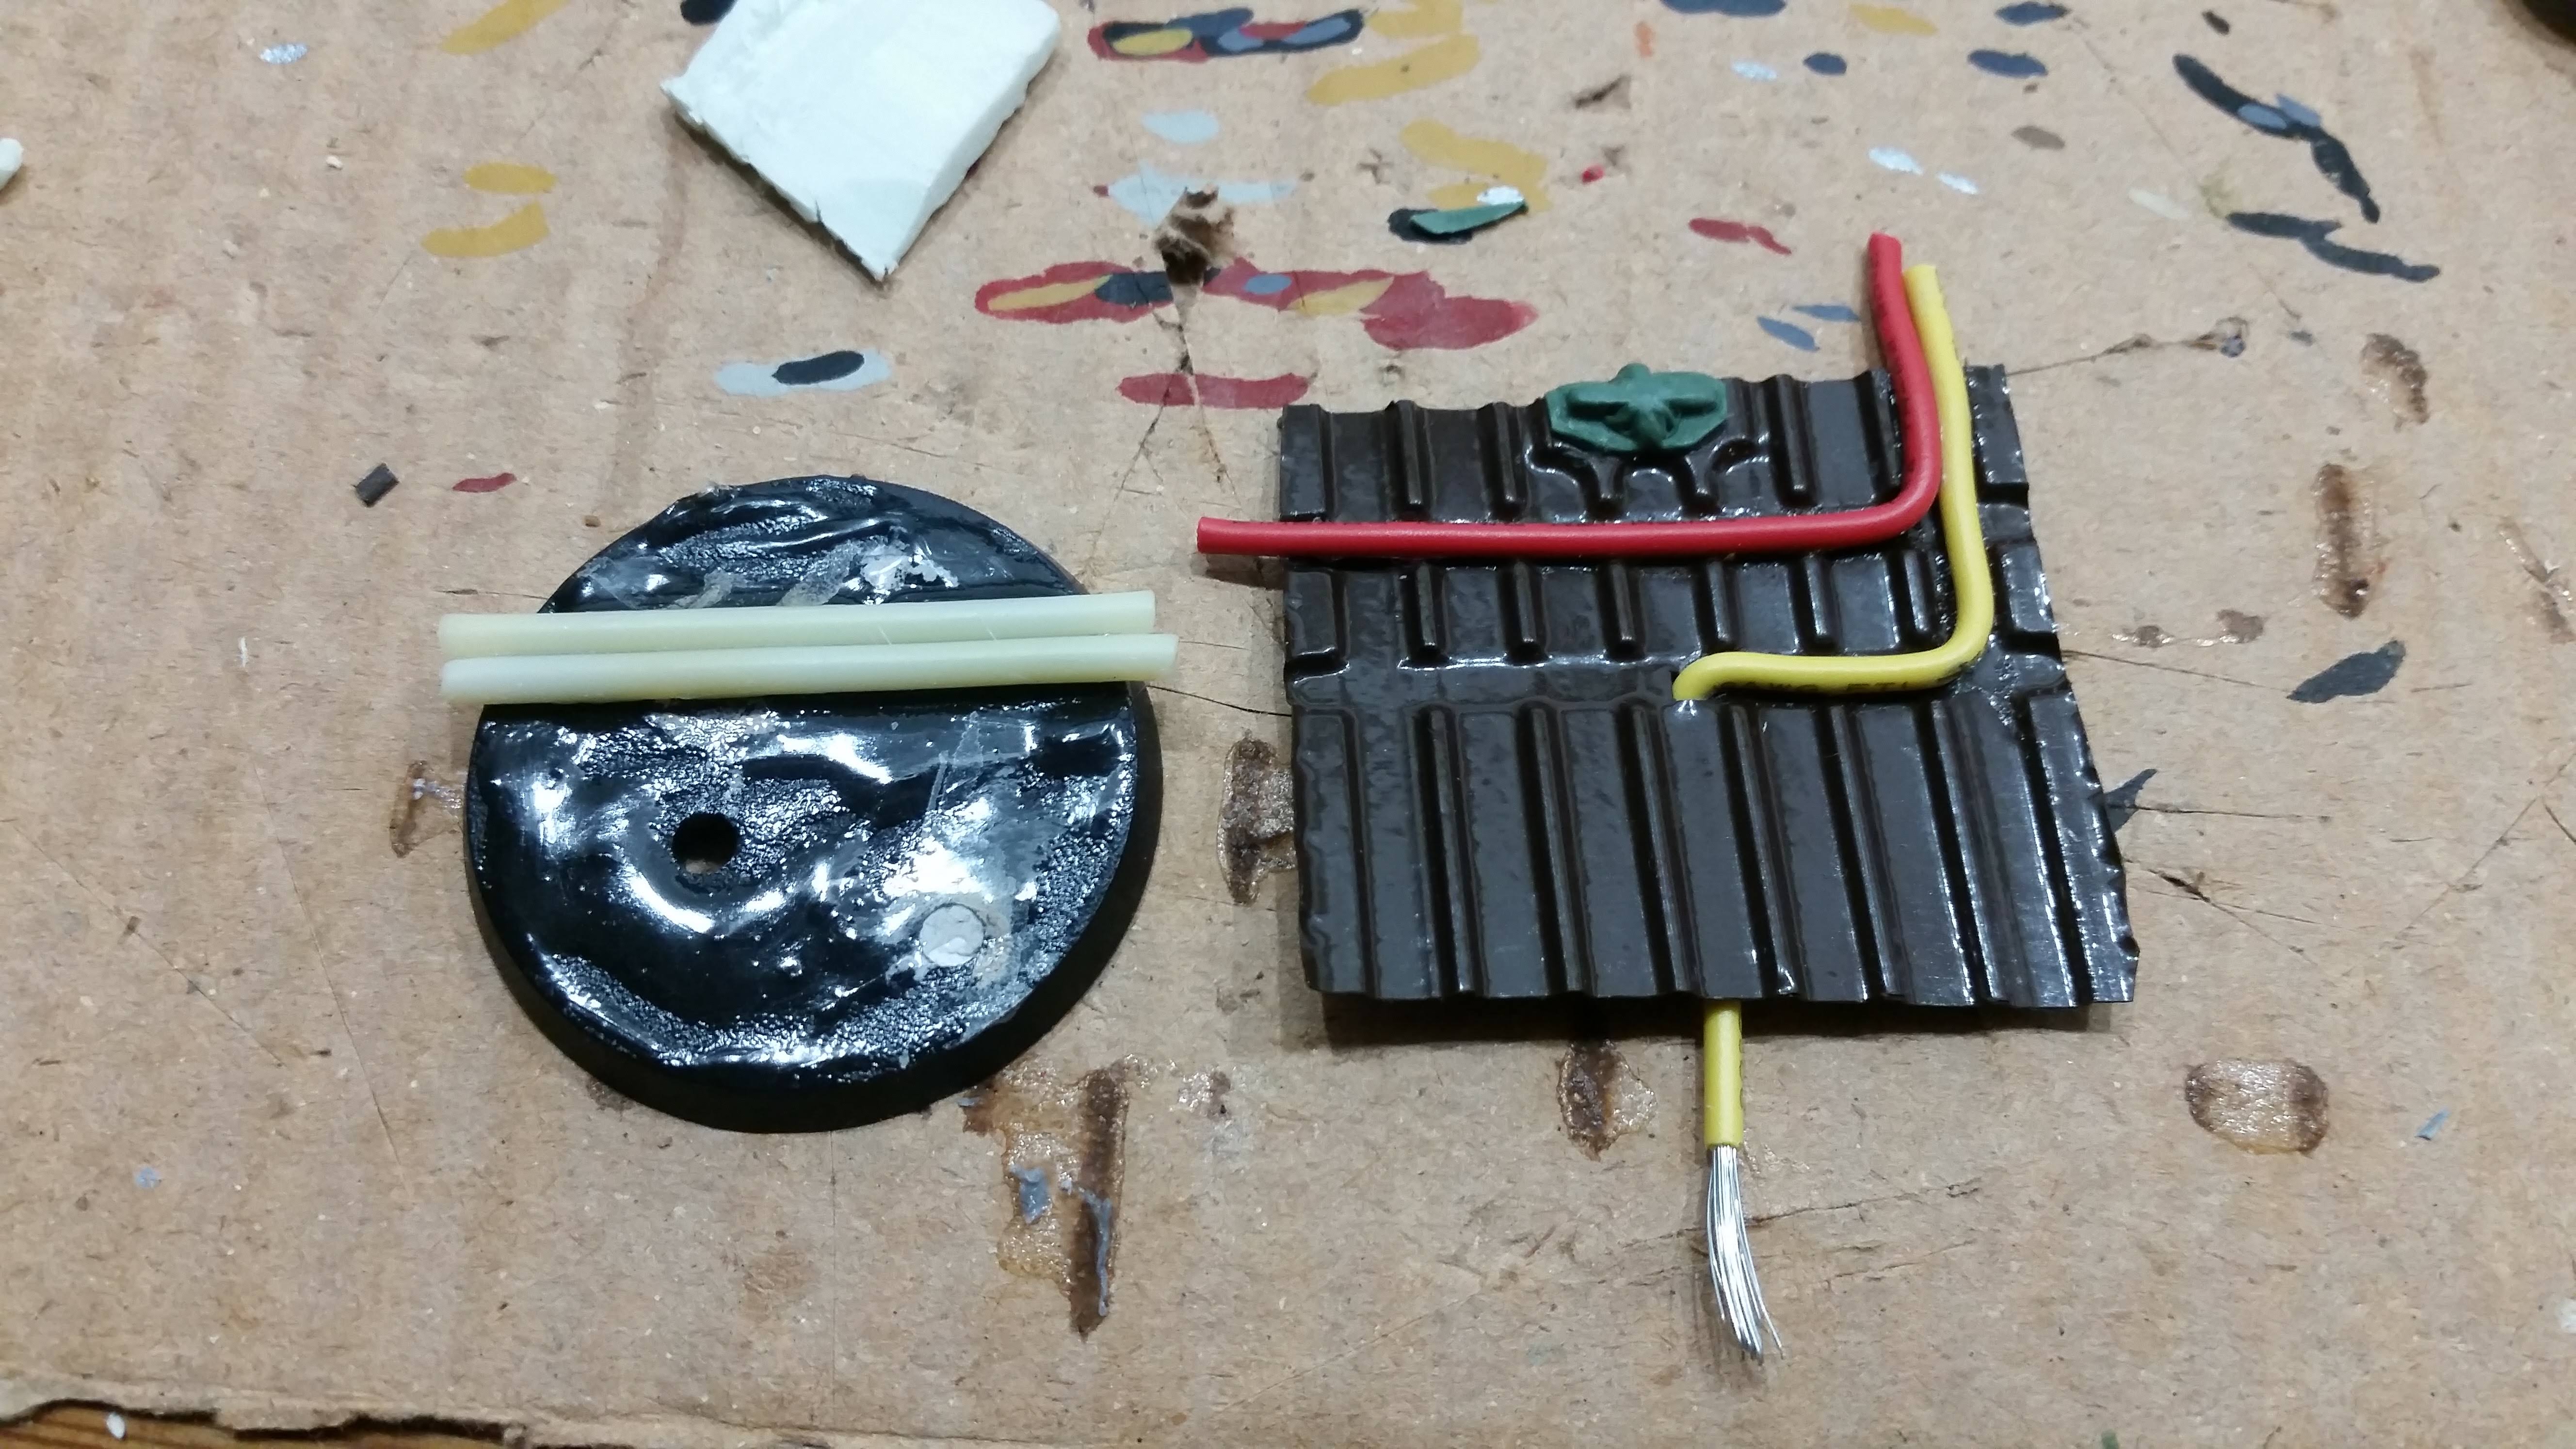
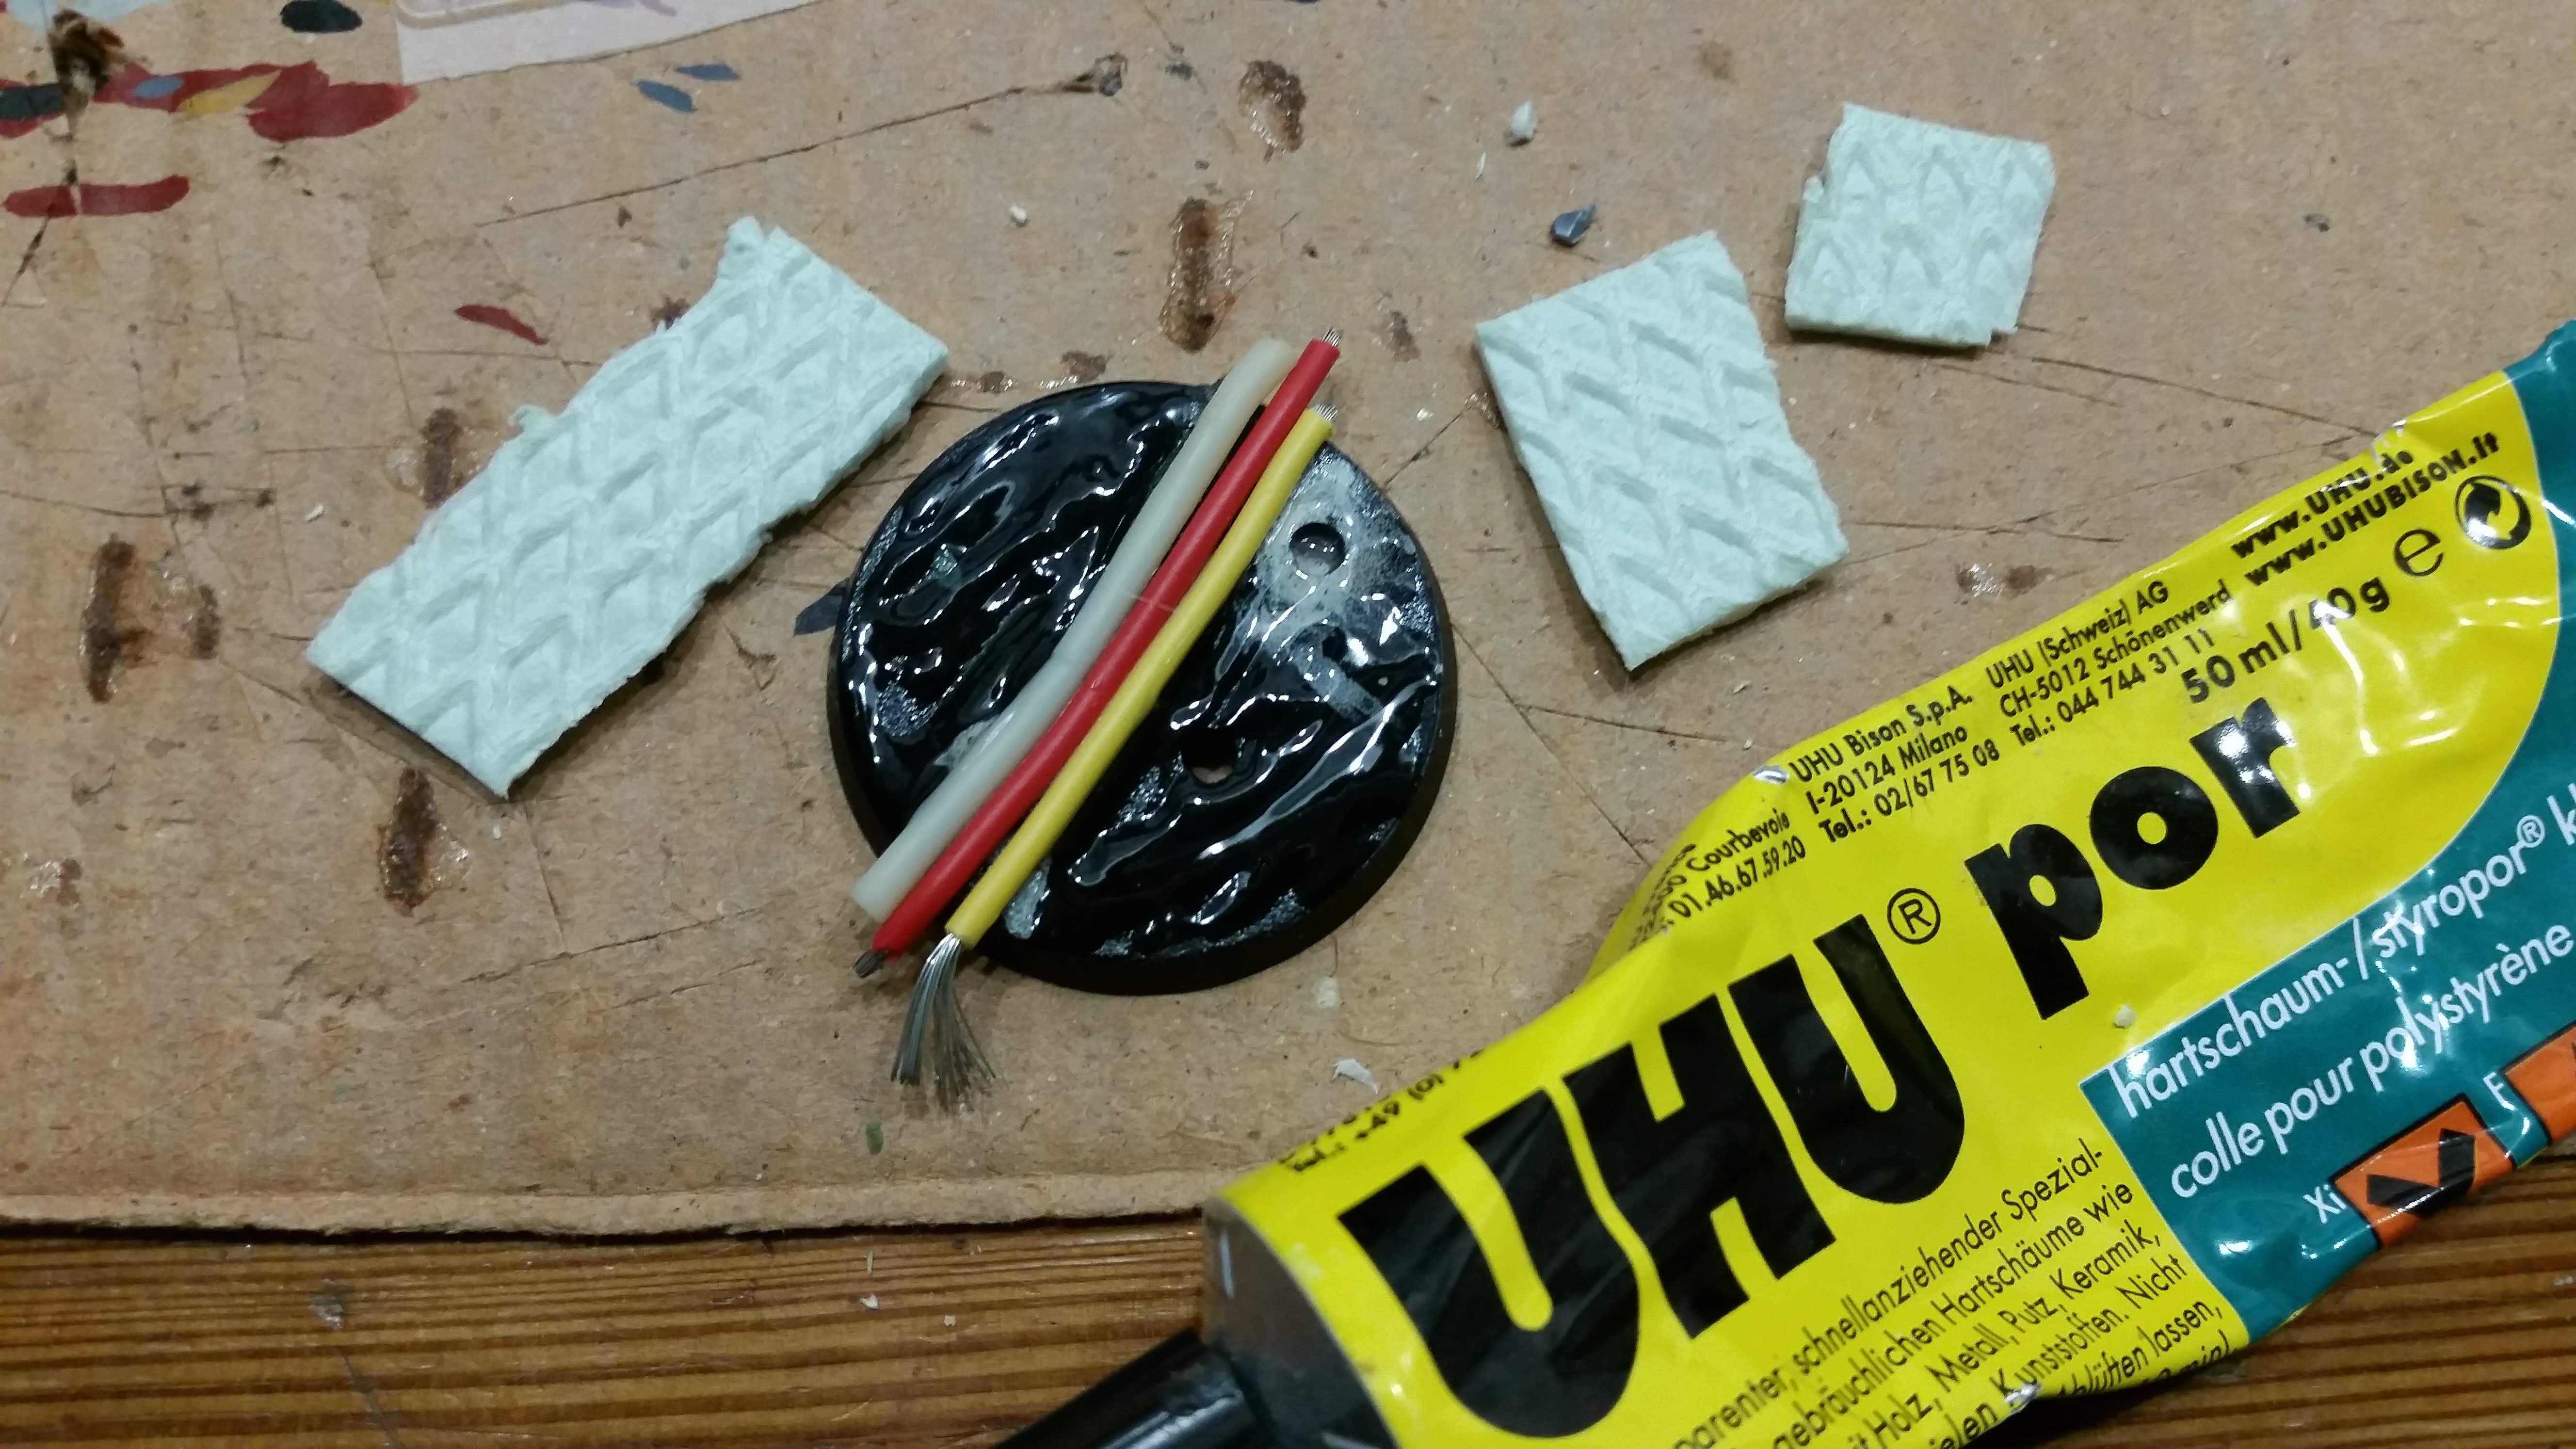
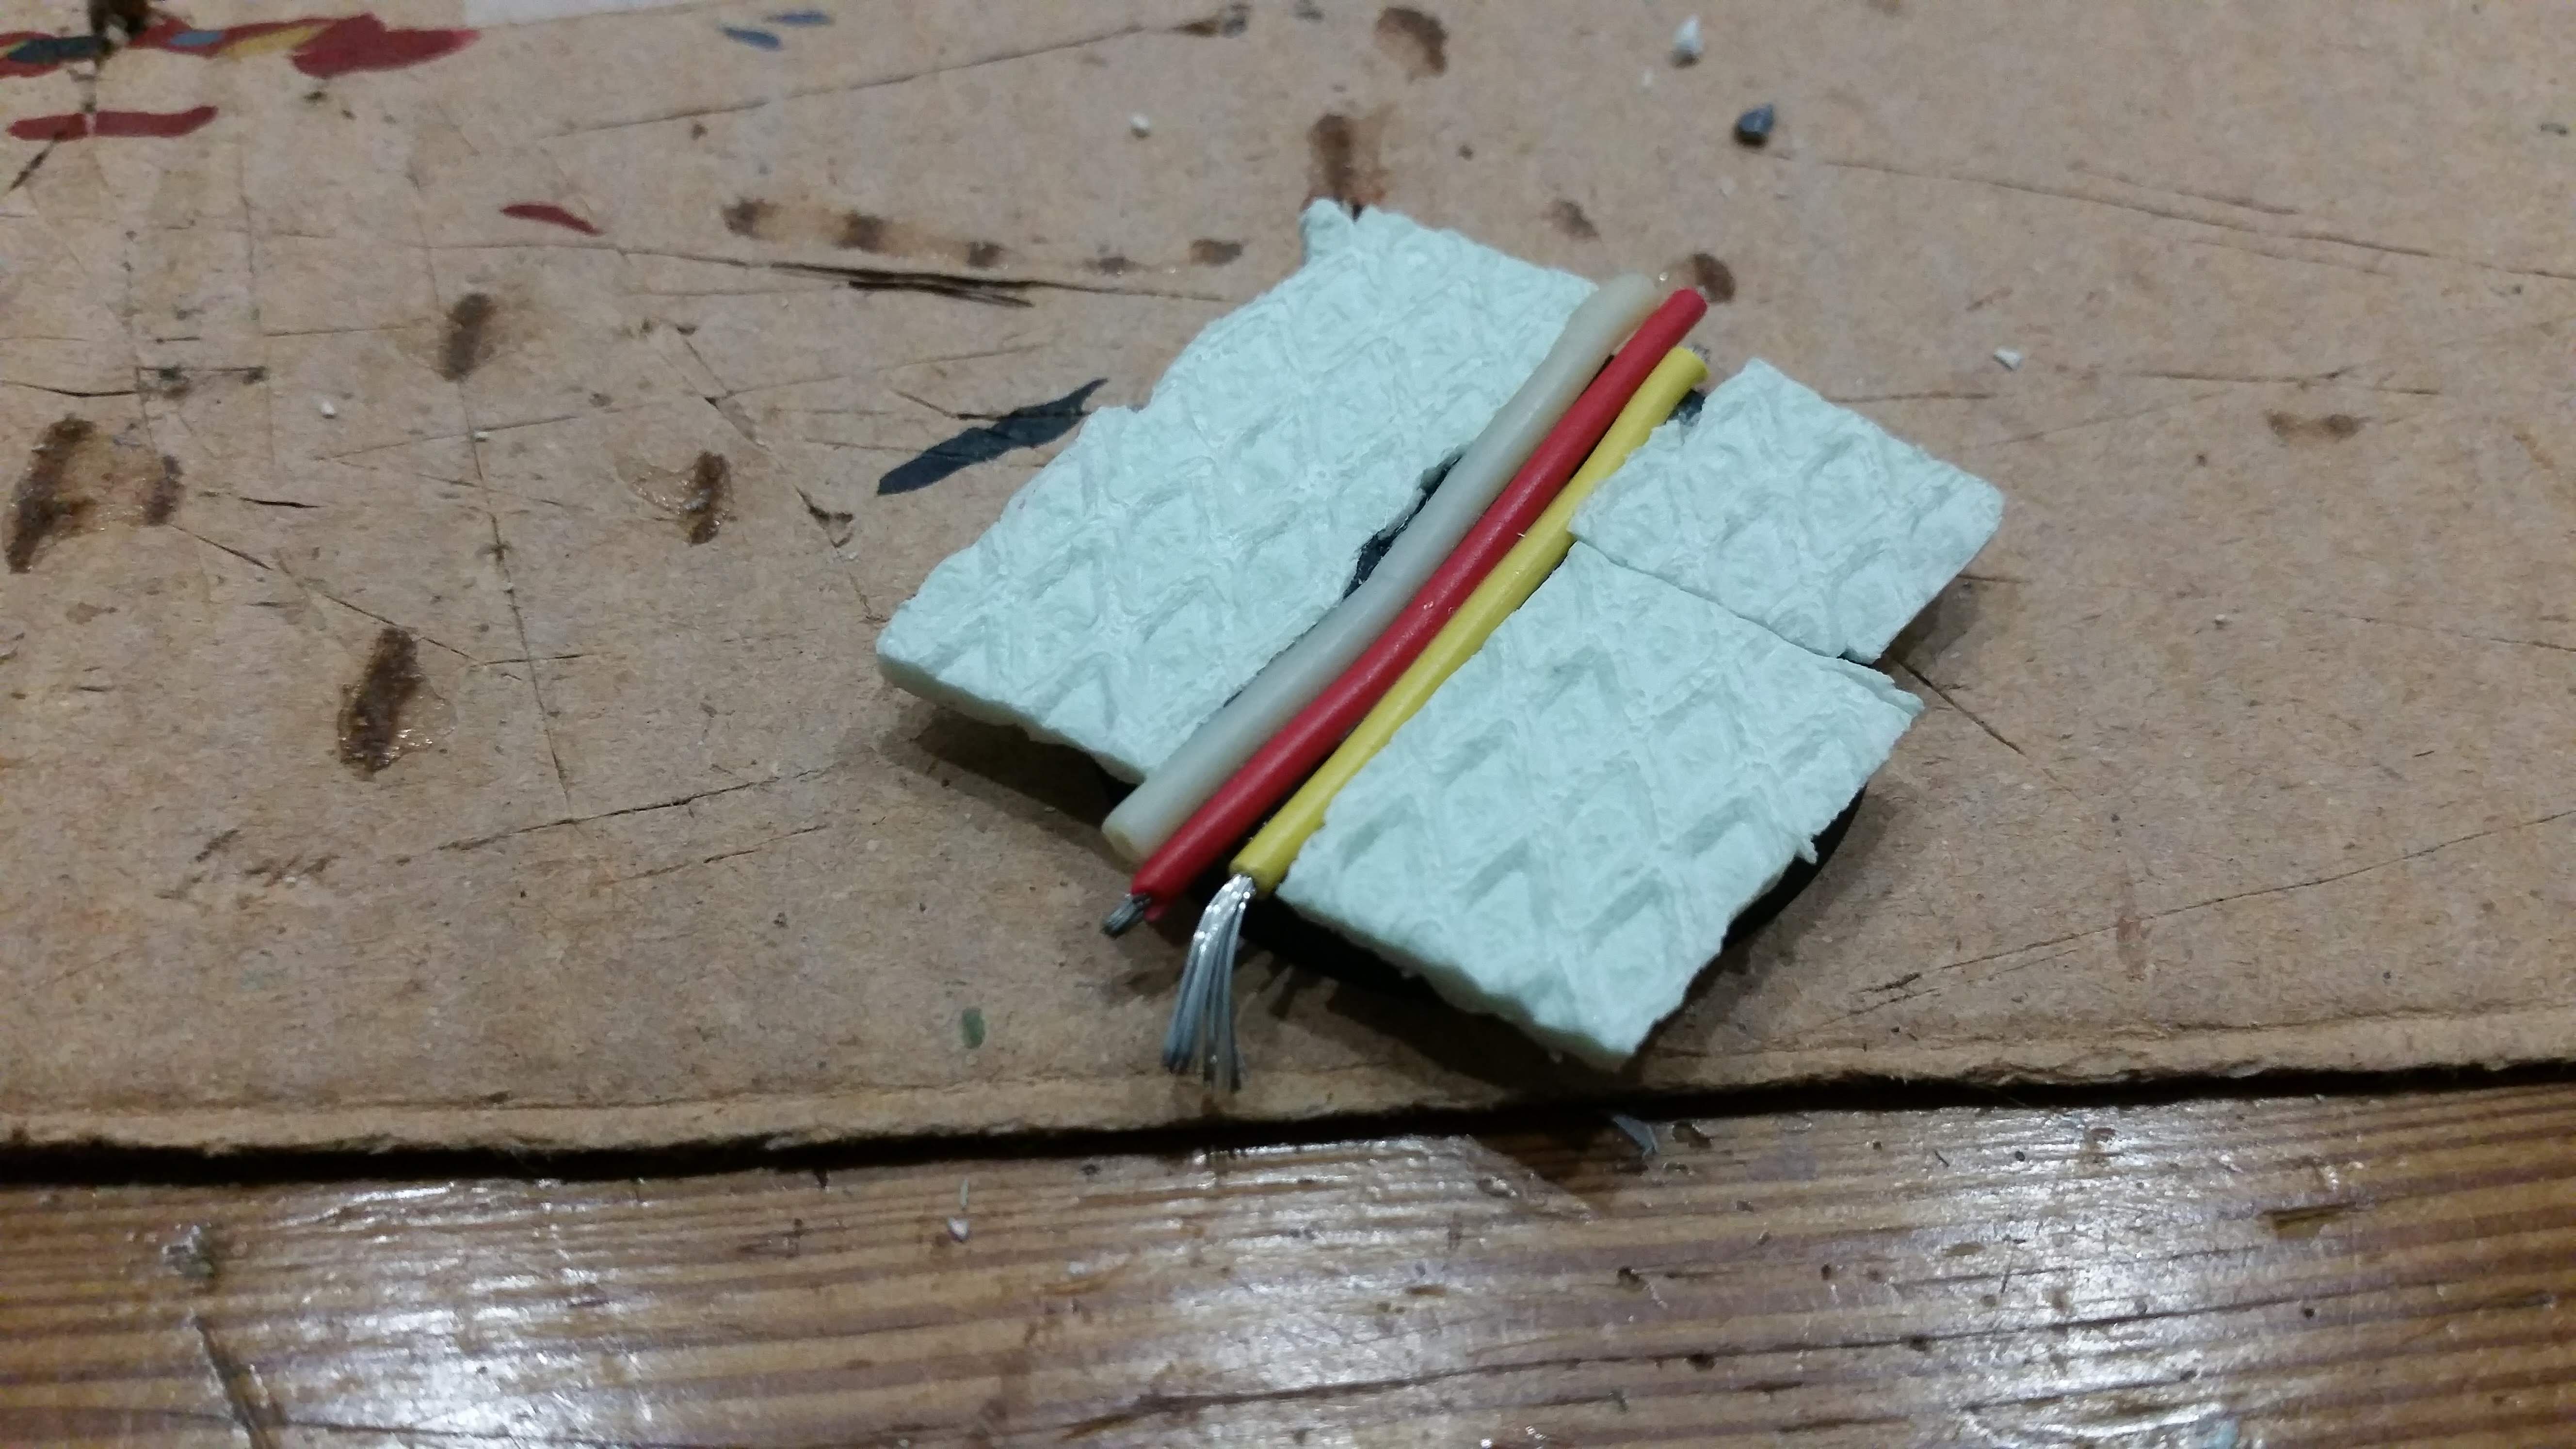
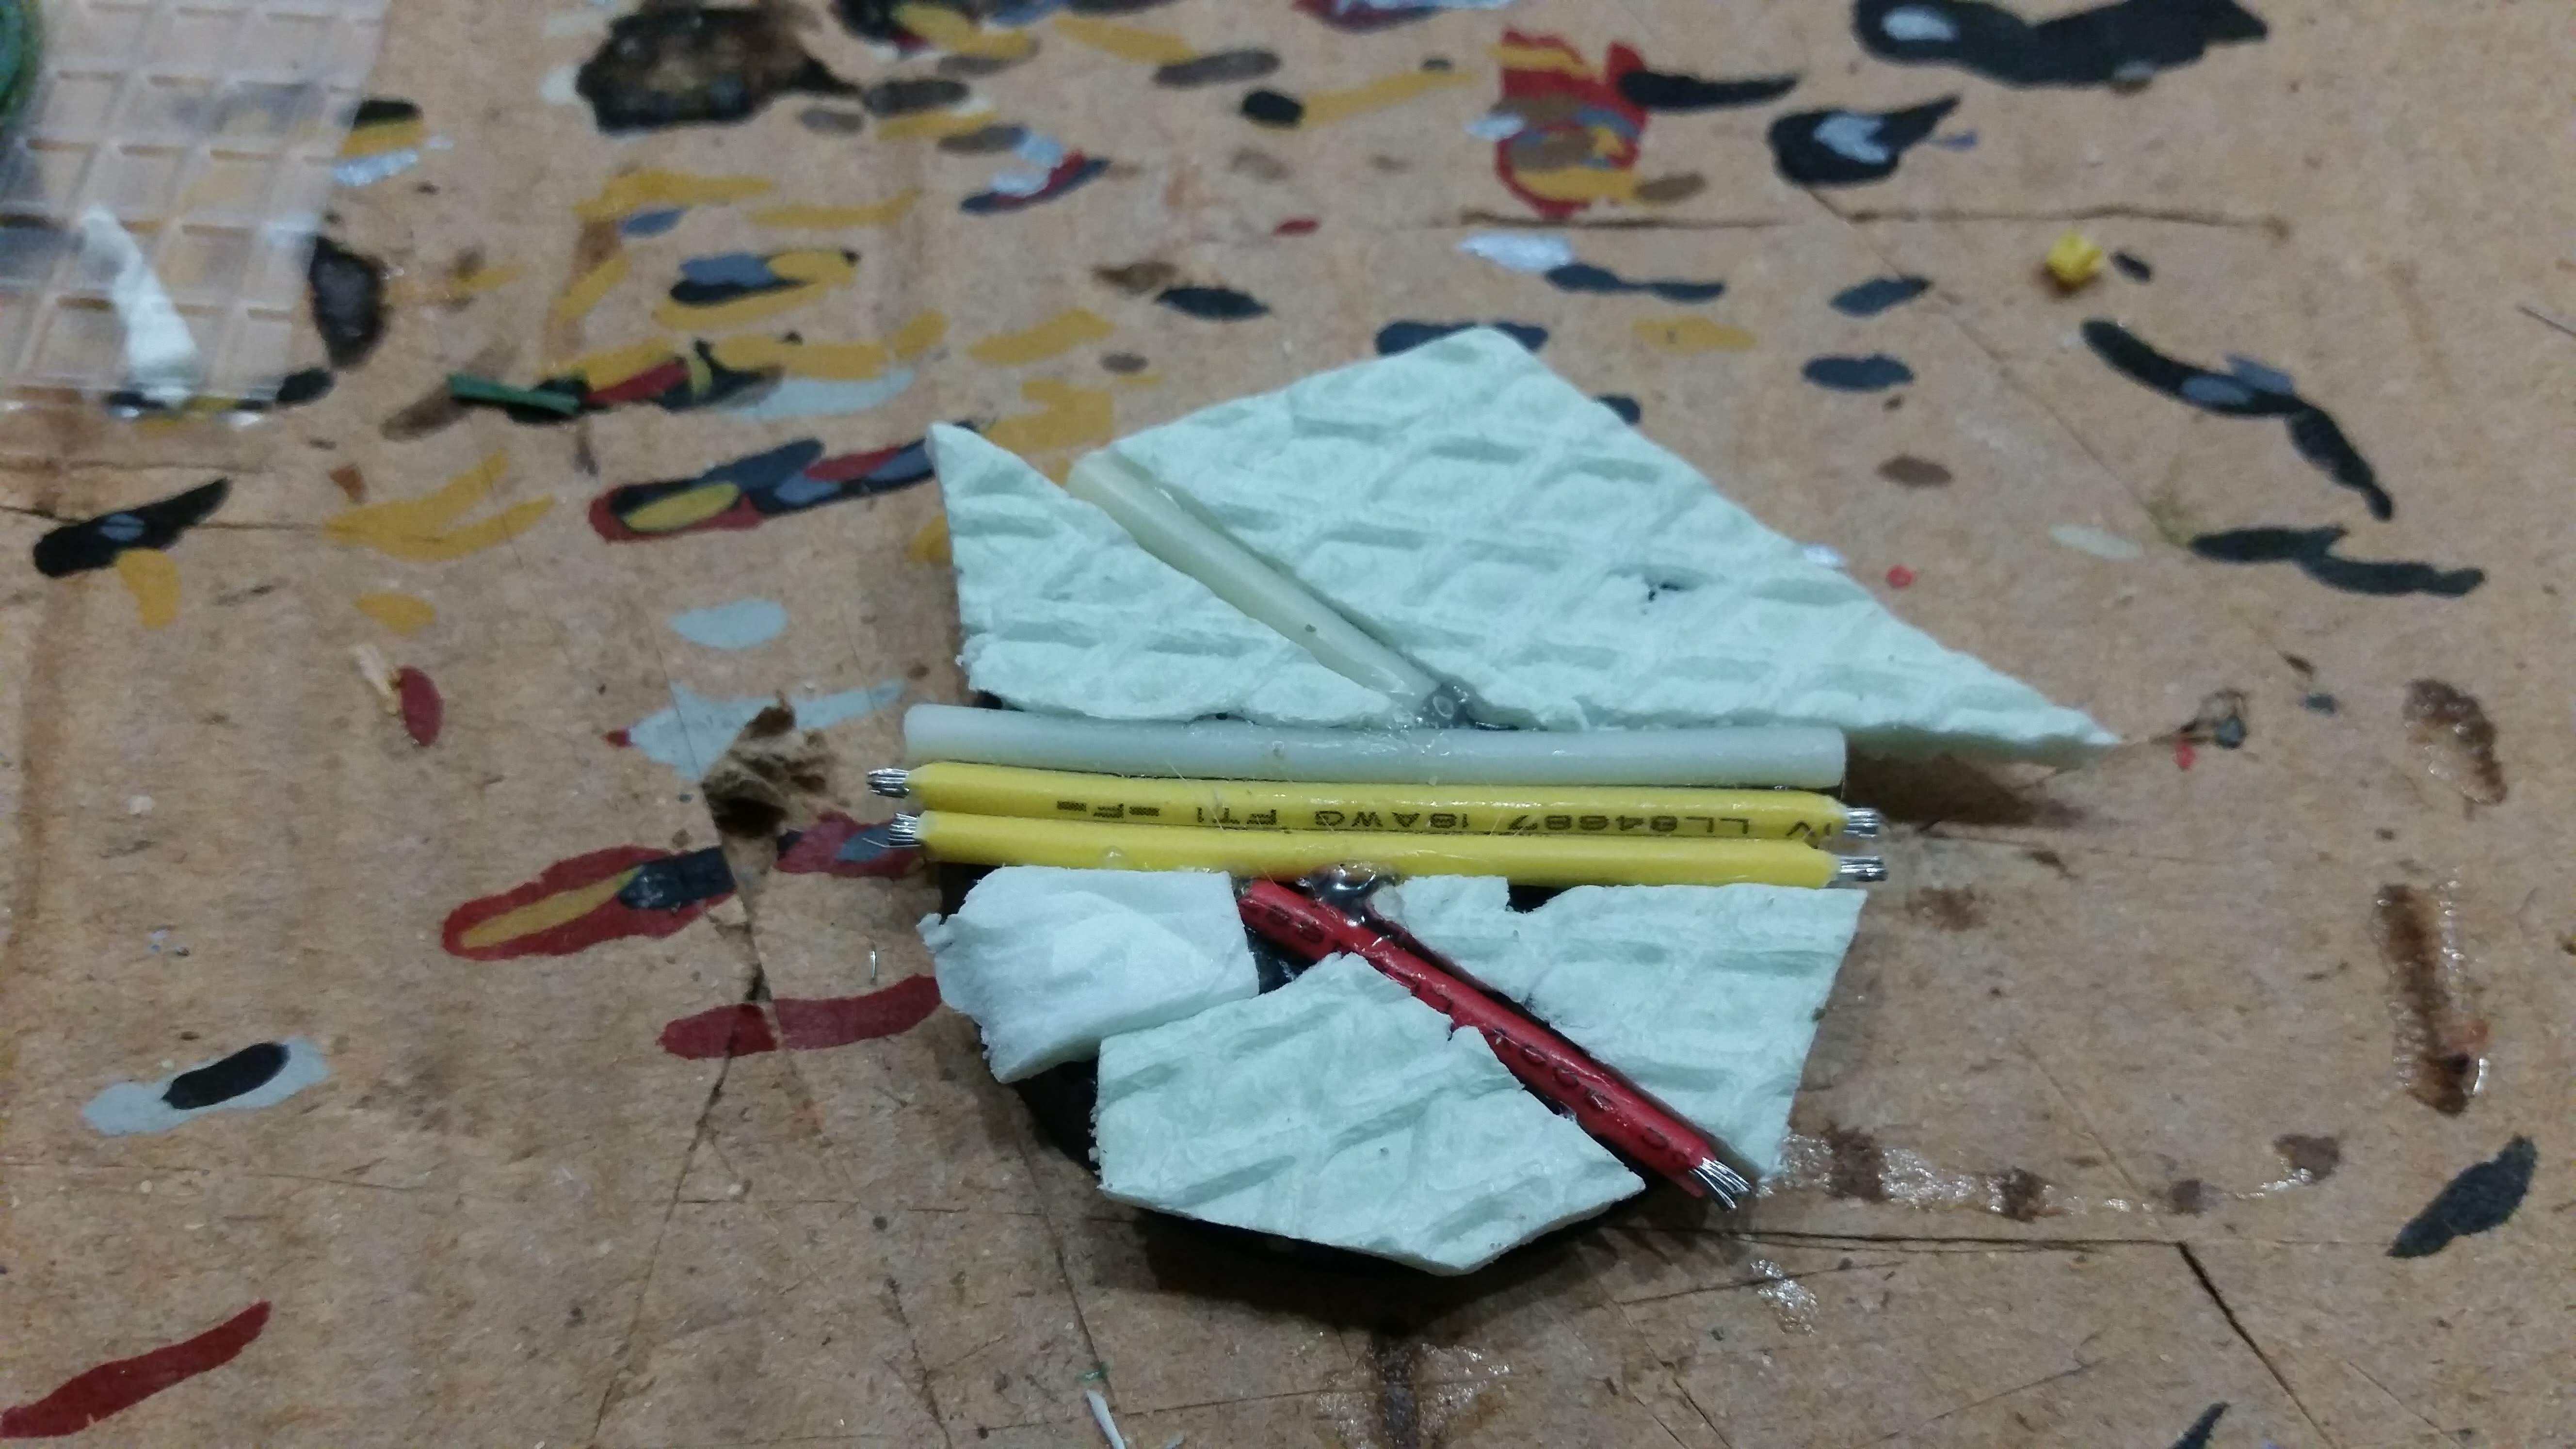
Before actually using the pieces I had cut from the plastic trays I glued some electrical wiring and and plastic tubing to the bases using regular super glue. My plan was to have these stick out from under the plastic on the sides to give the impression of plumbing and wiring.

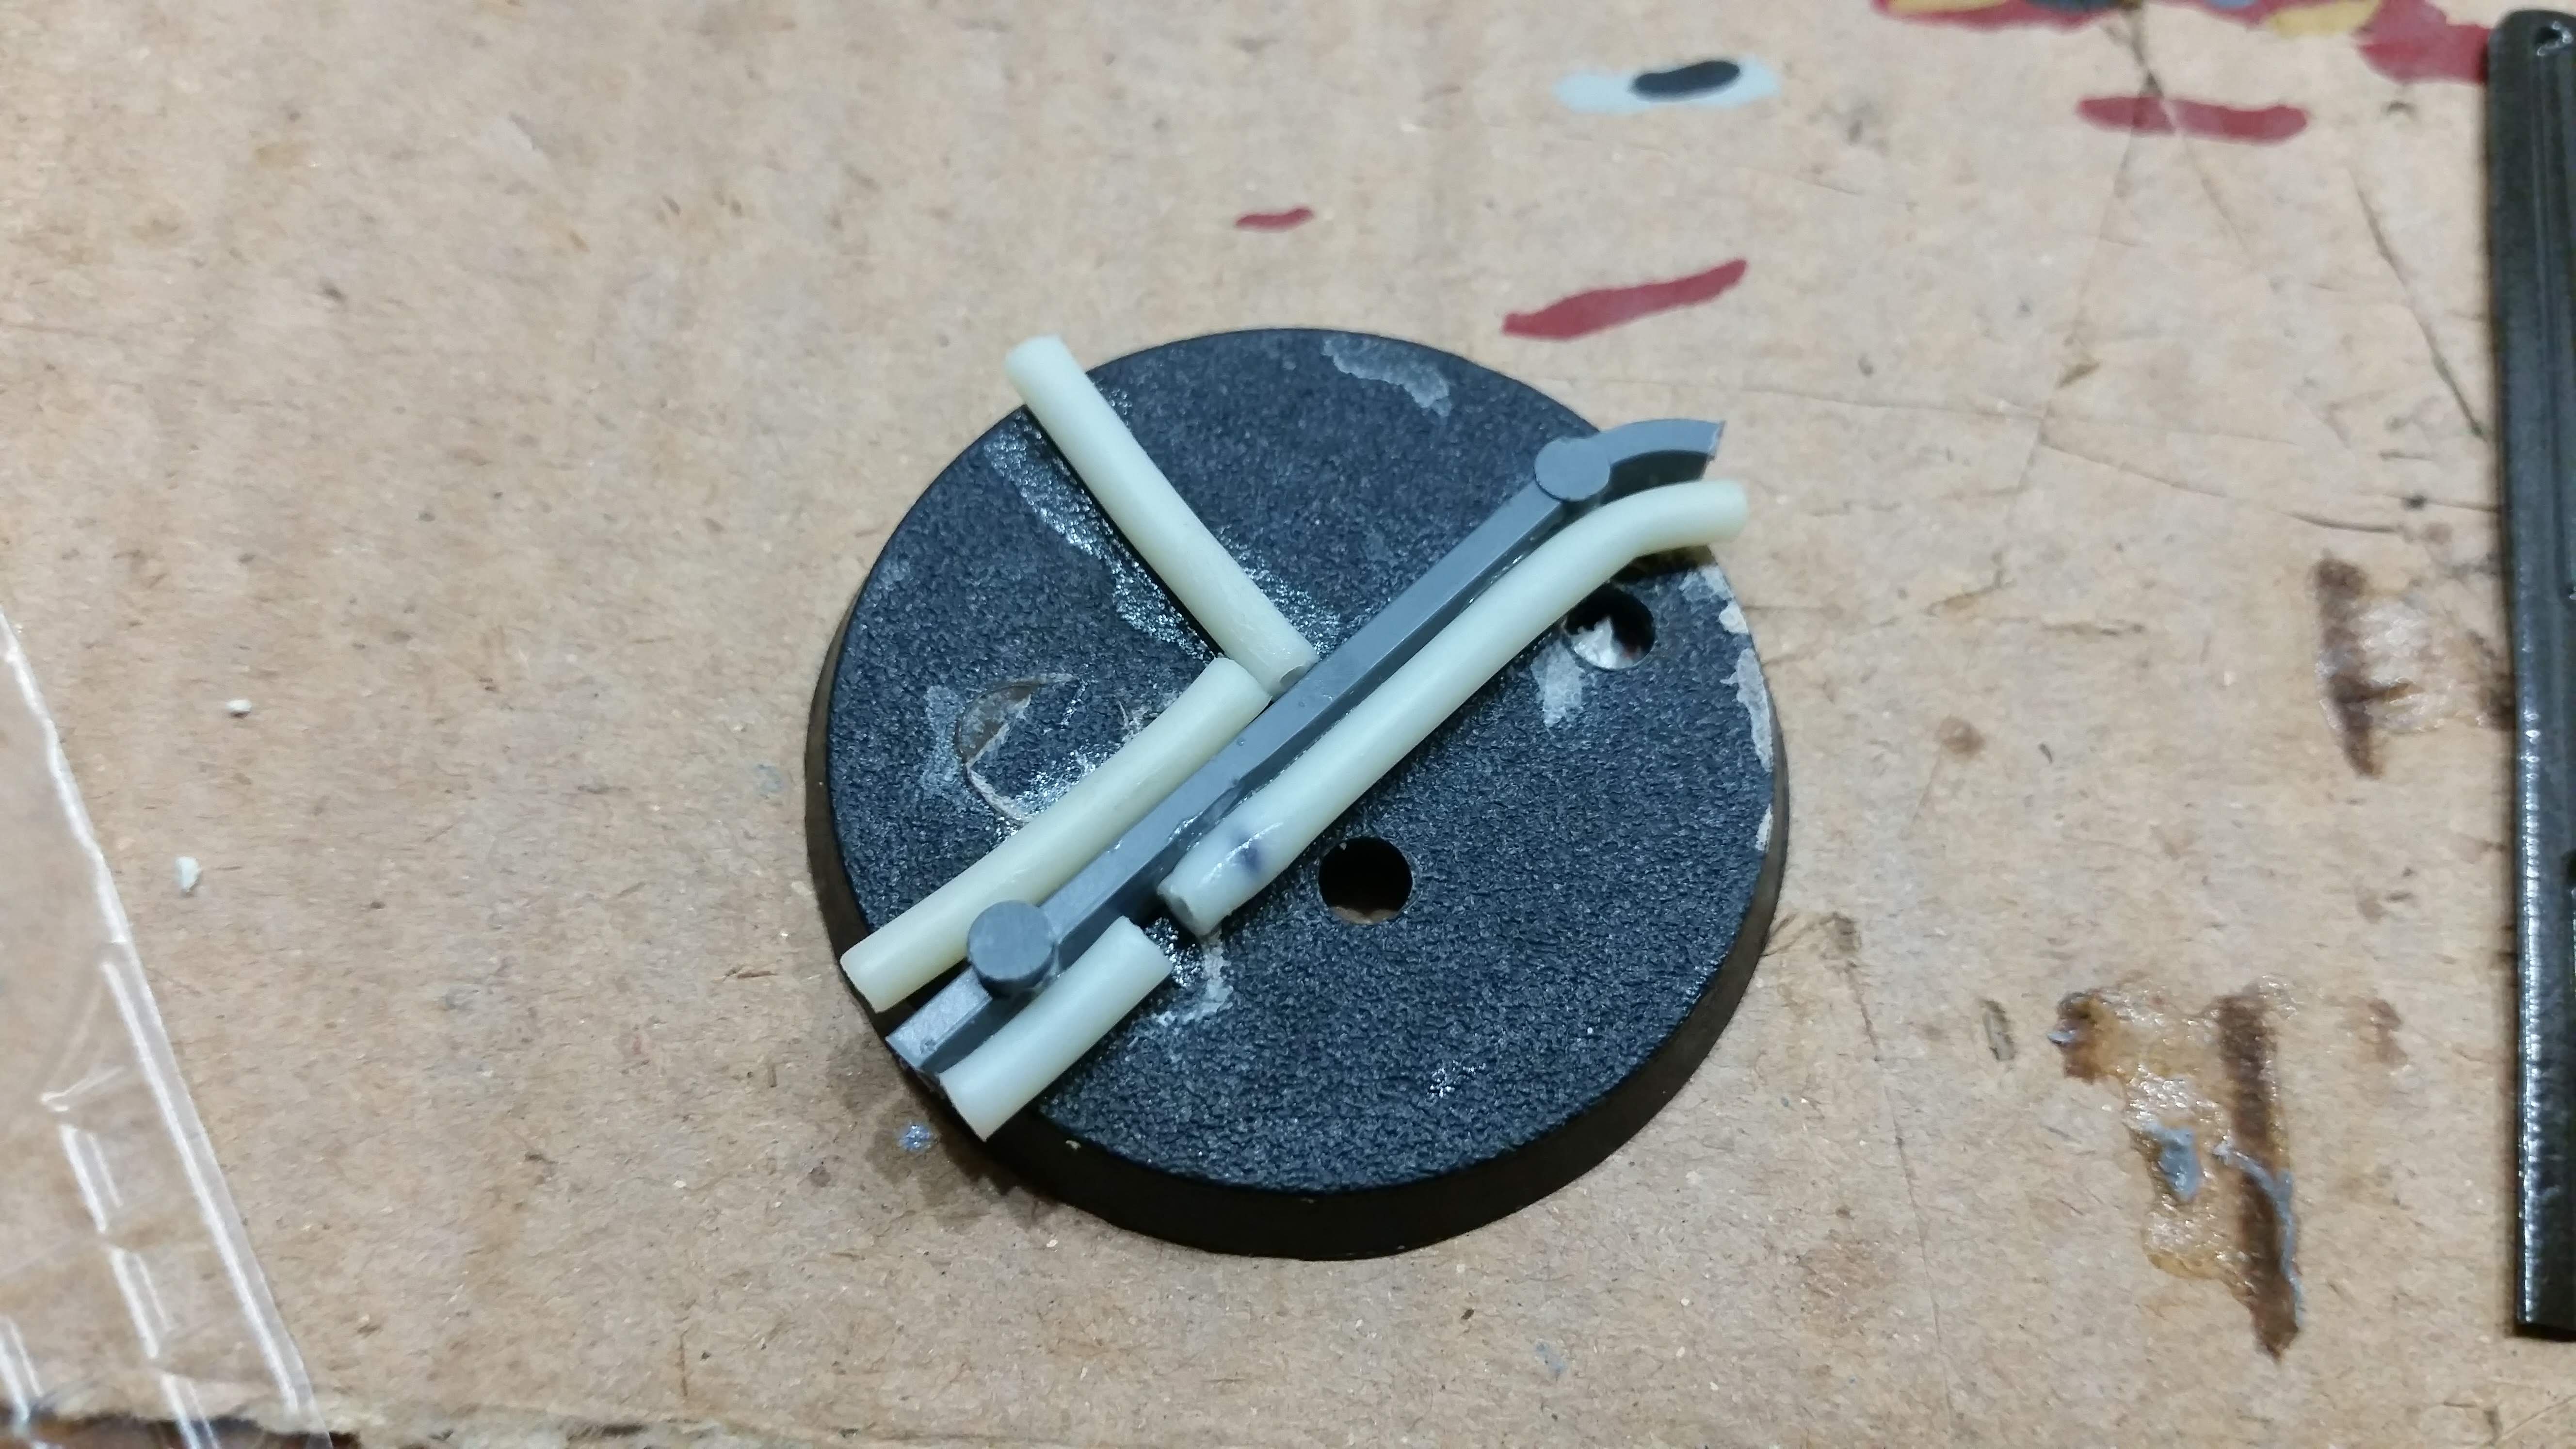
Next I covered the free area of around the wires and tubes with styro-foam glue. Regular super glue dissolves styro-foam and similar materials. That is why a special kind of glue is required when working with foam. This glue is a bit special in that you have to cover only the non styro-foam side of the joint in a thick layer of glue and wait for about 10 minutes until it is dry to the touch. You then press the foam onto the glue and it immediately bonds, leaving almost no margin for error.
I had previously cut fitting pieces of insulation foam which I glued into the spaces.

The insulation foam’s trade name is styrodur and sheets of two square meters can be bought at construction material wholesale stores. No hardware store I checked was stocking the stuff and I only found it available on euro-palettes online. Even at the wholesale store they looked at me in a funny way when I wanted only a single sheet. That I immediately broke it into two smaller pieces to fit it into my car probably didn’t help the impression I must have given.
Styrodur is pretty much like regular styro-foam but with no individual bubbles at all, very sturdy and extremely lightweight. On its own it does not crumble at all and can be easily worked with a knife almost like very very soft wood. It is awesome stuff and I have been using it extensively as basing and modelling material as well as just to make paint sticks.
Its intended use is to by cemented down under ceramic or stone floor tiles as an insulation layer. Hence why it is super sturdy, will last basically forever and has an interesting texture on it, which is intended to make it grip the layer of mortar or cement you are supposed to cover it in. That texture actually offers its own modelling opportunities, which I did not employ in this project.
Building the Bases : Part 4
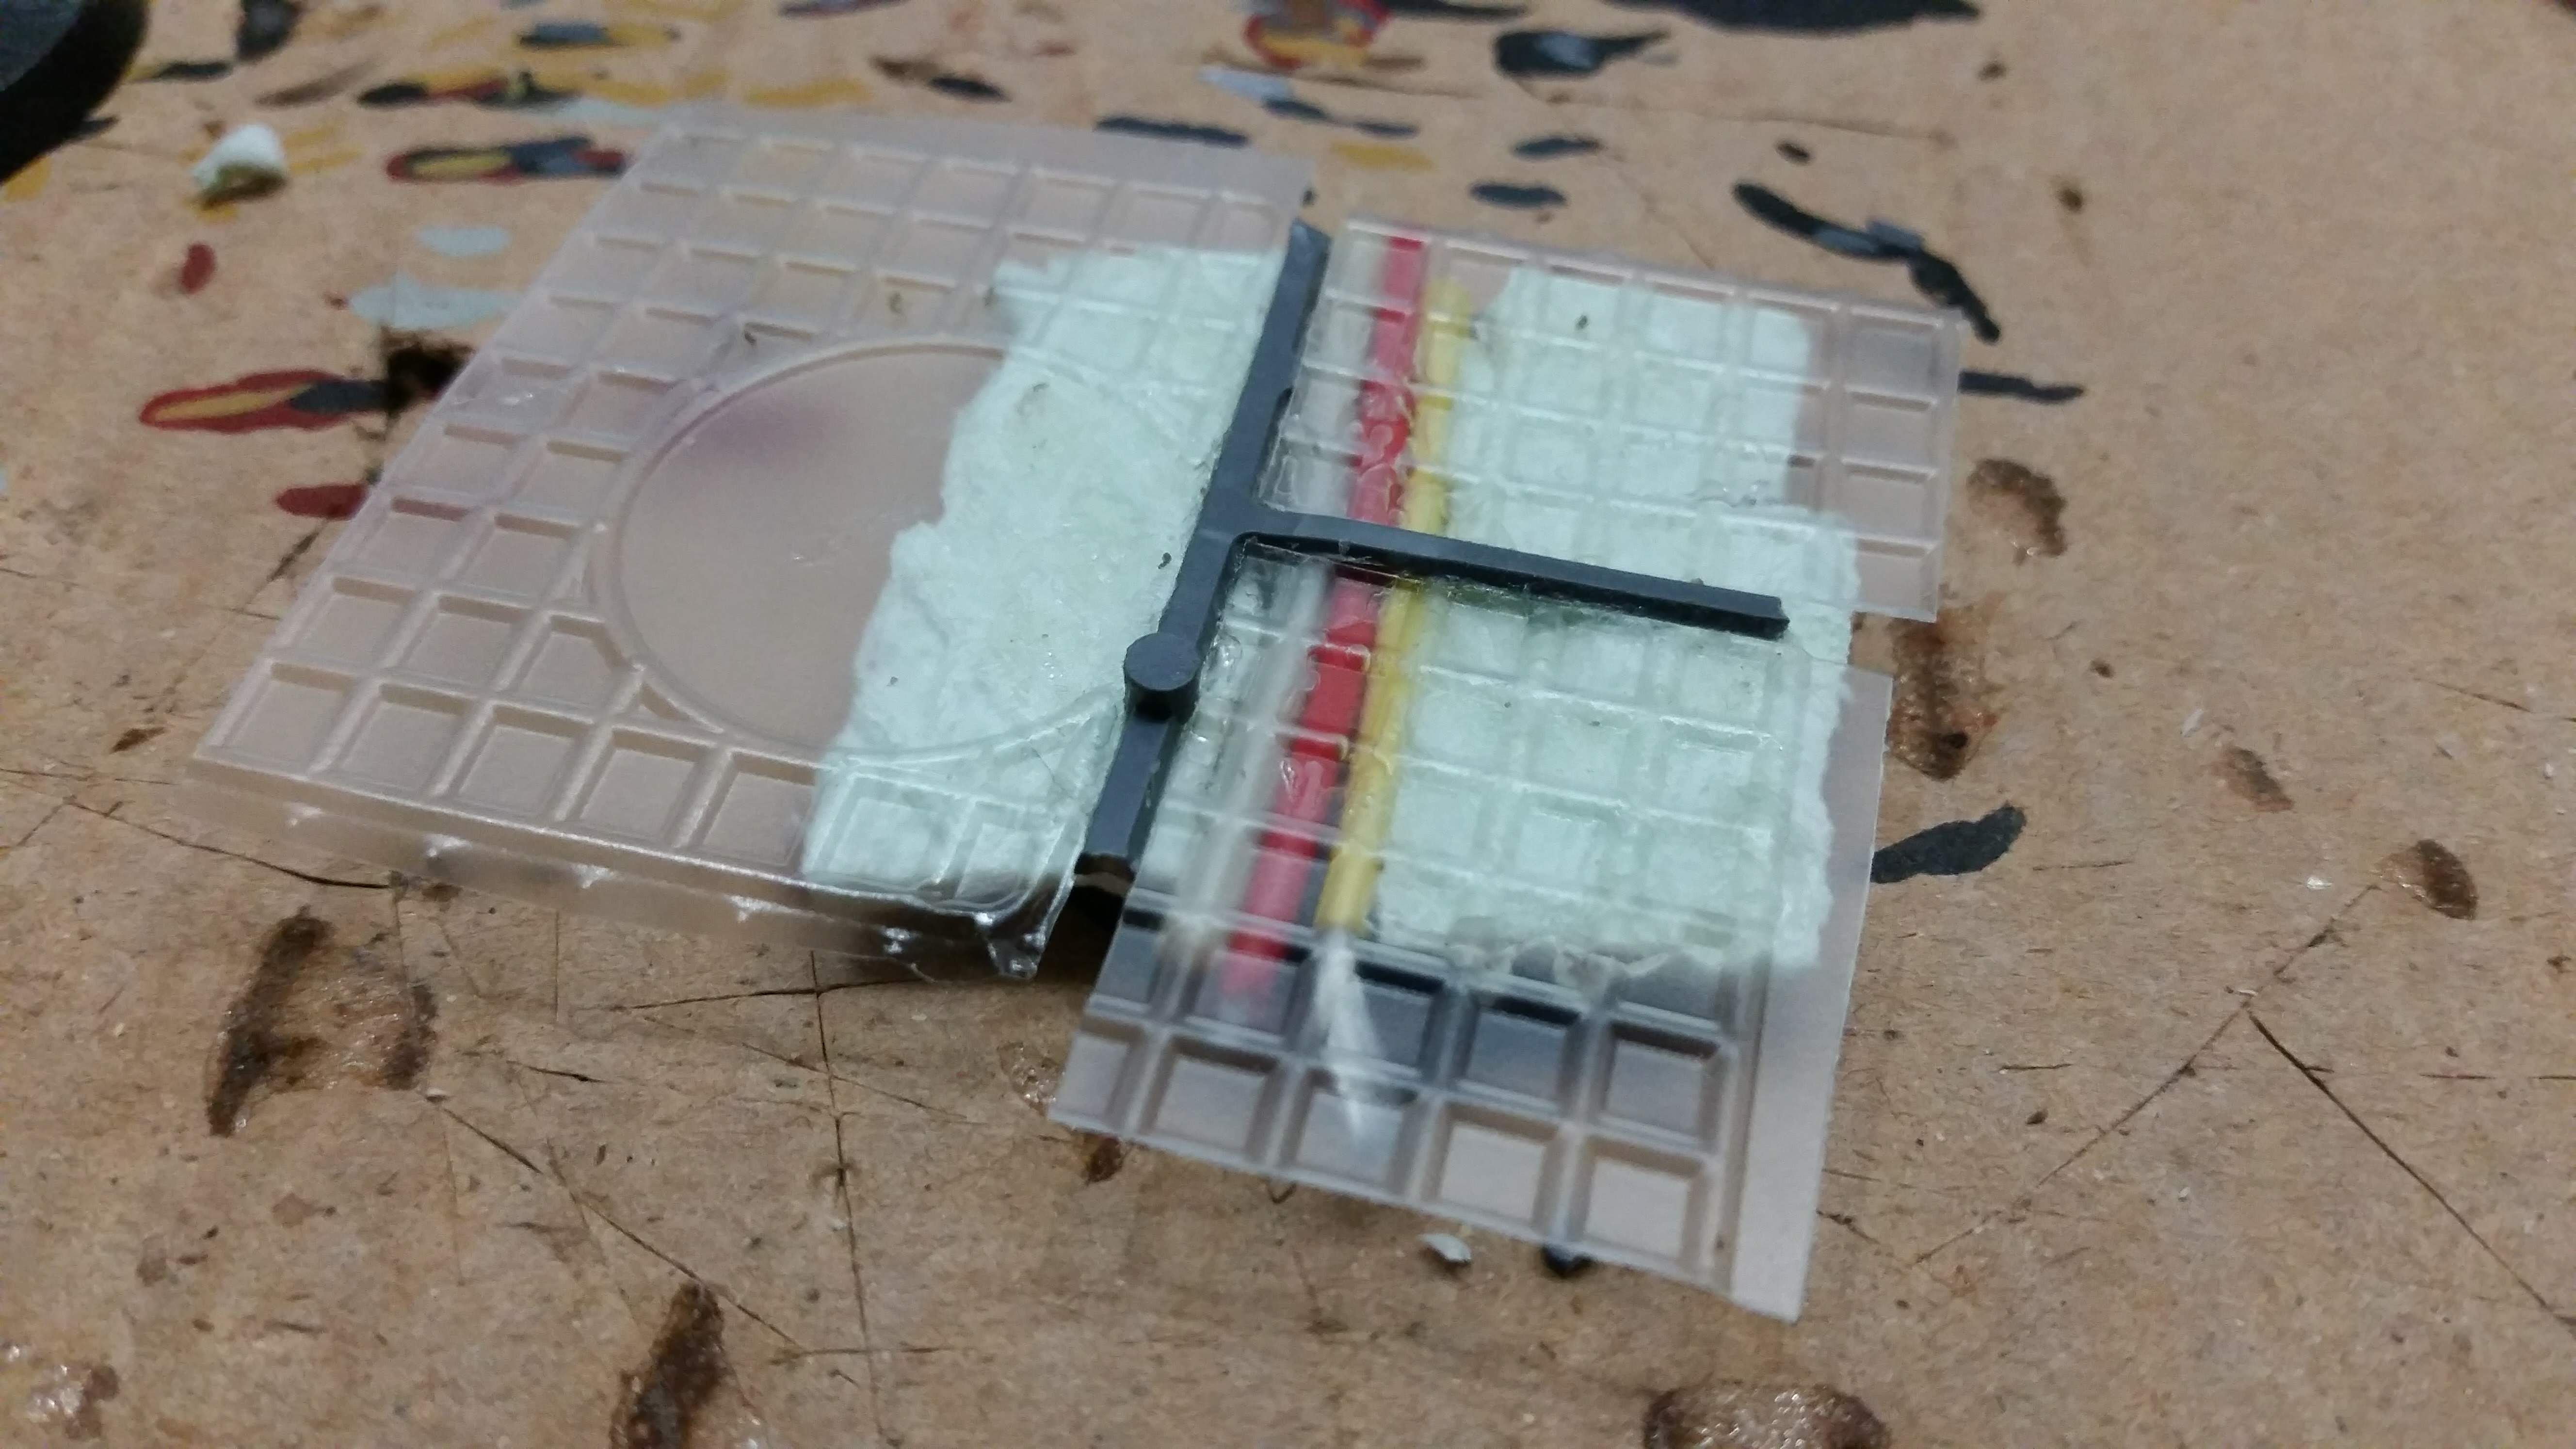
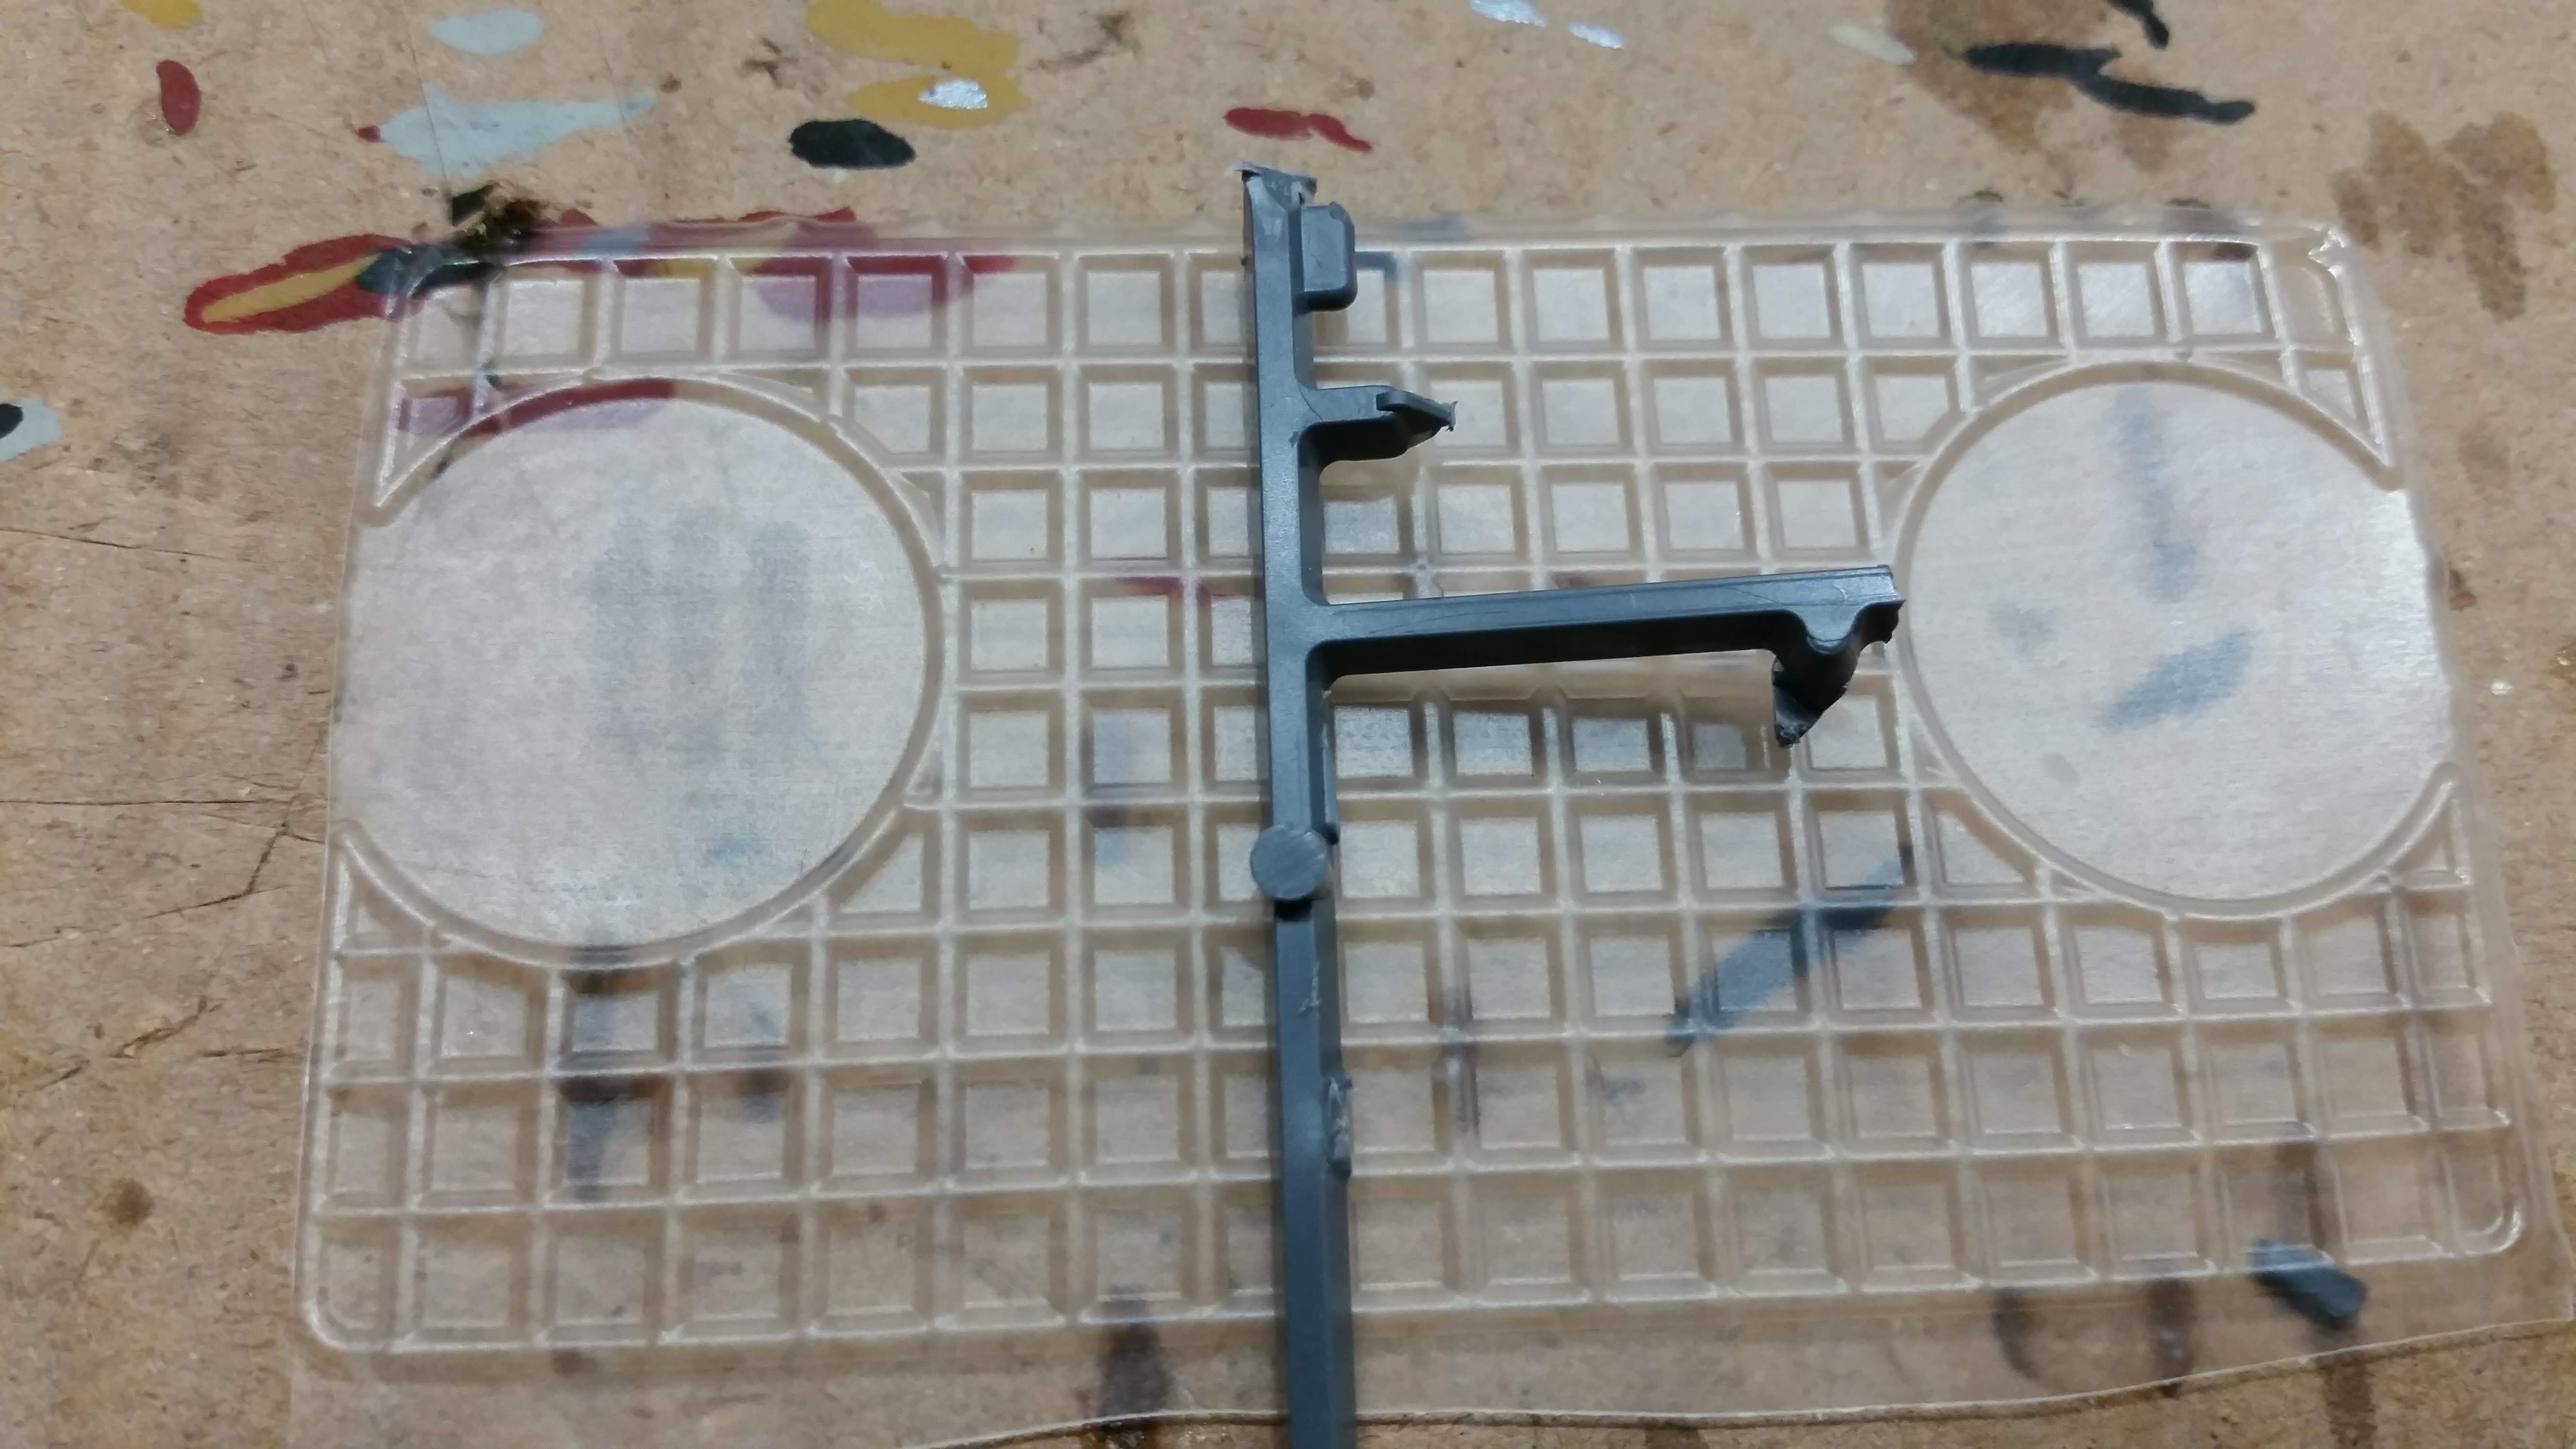
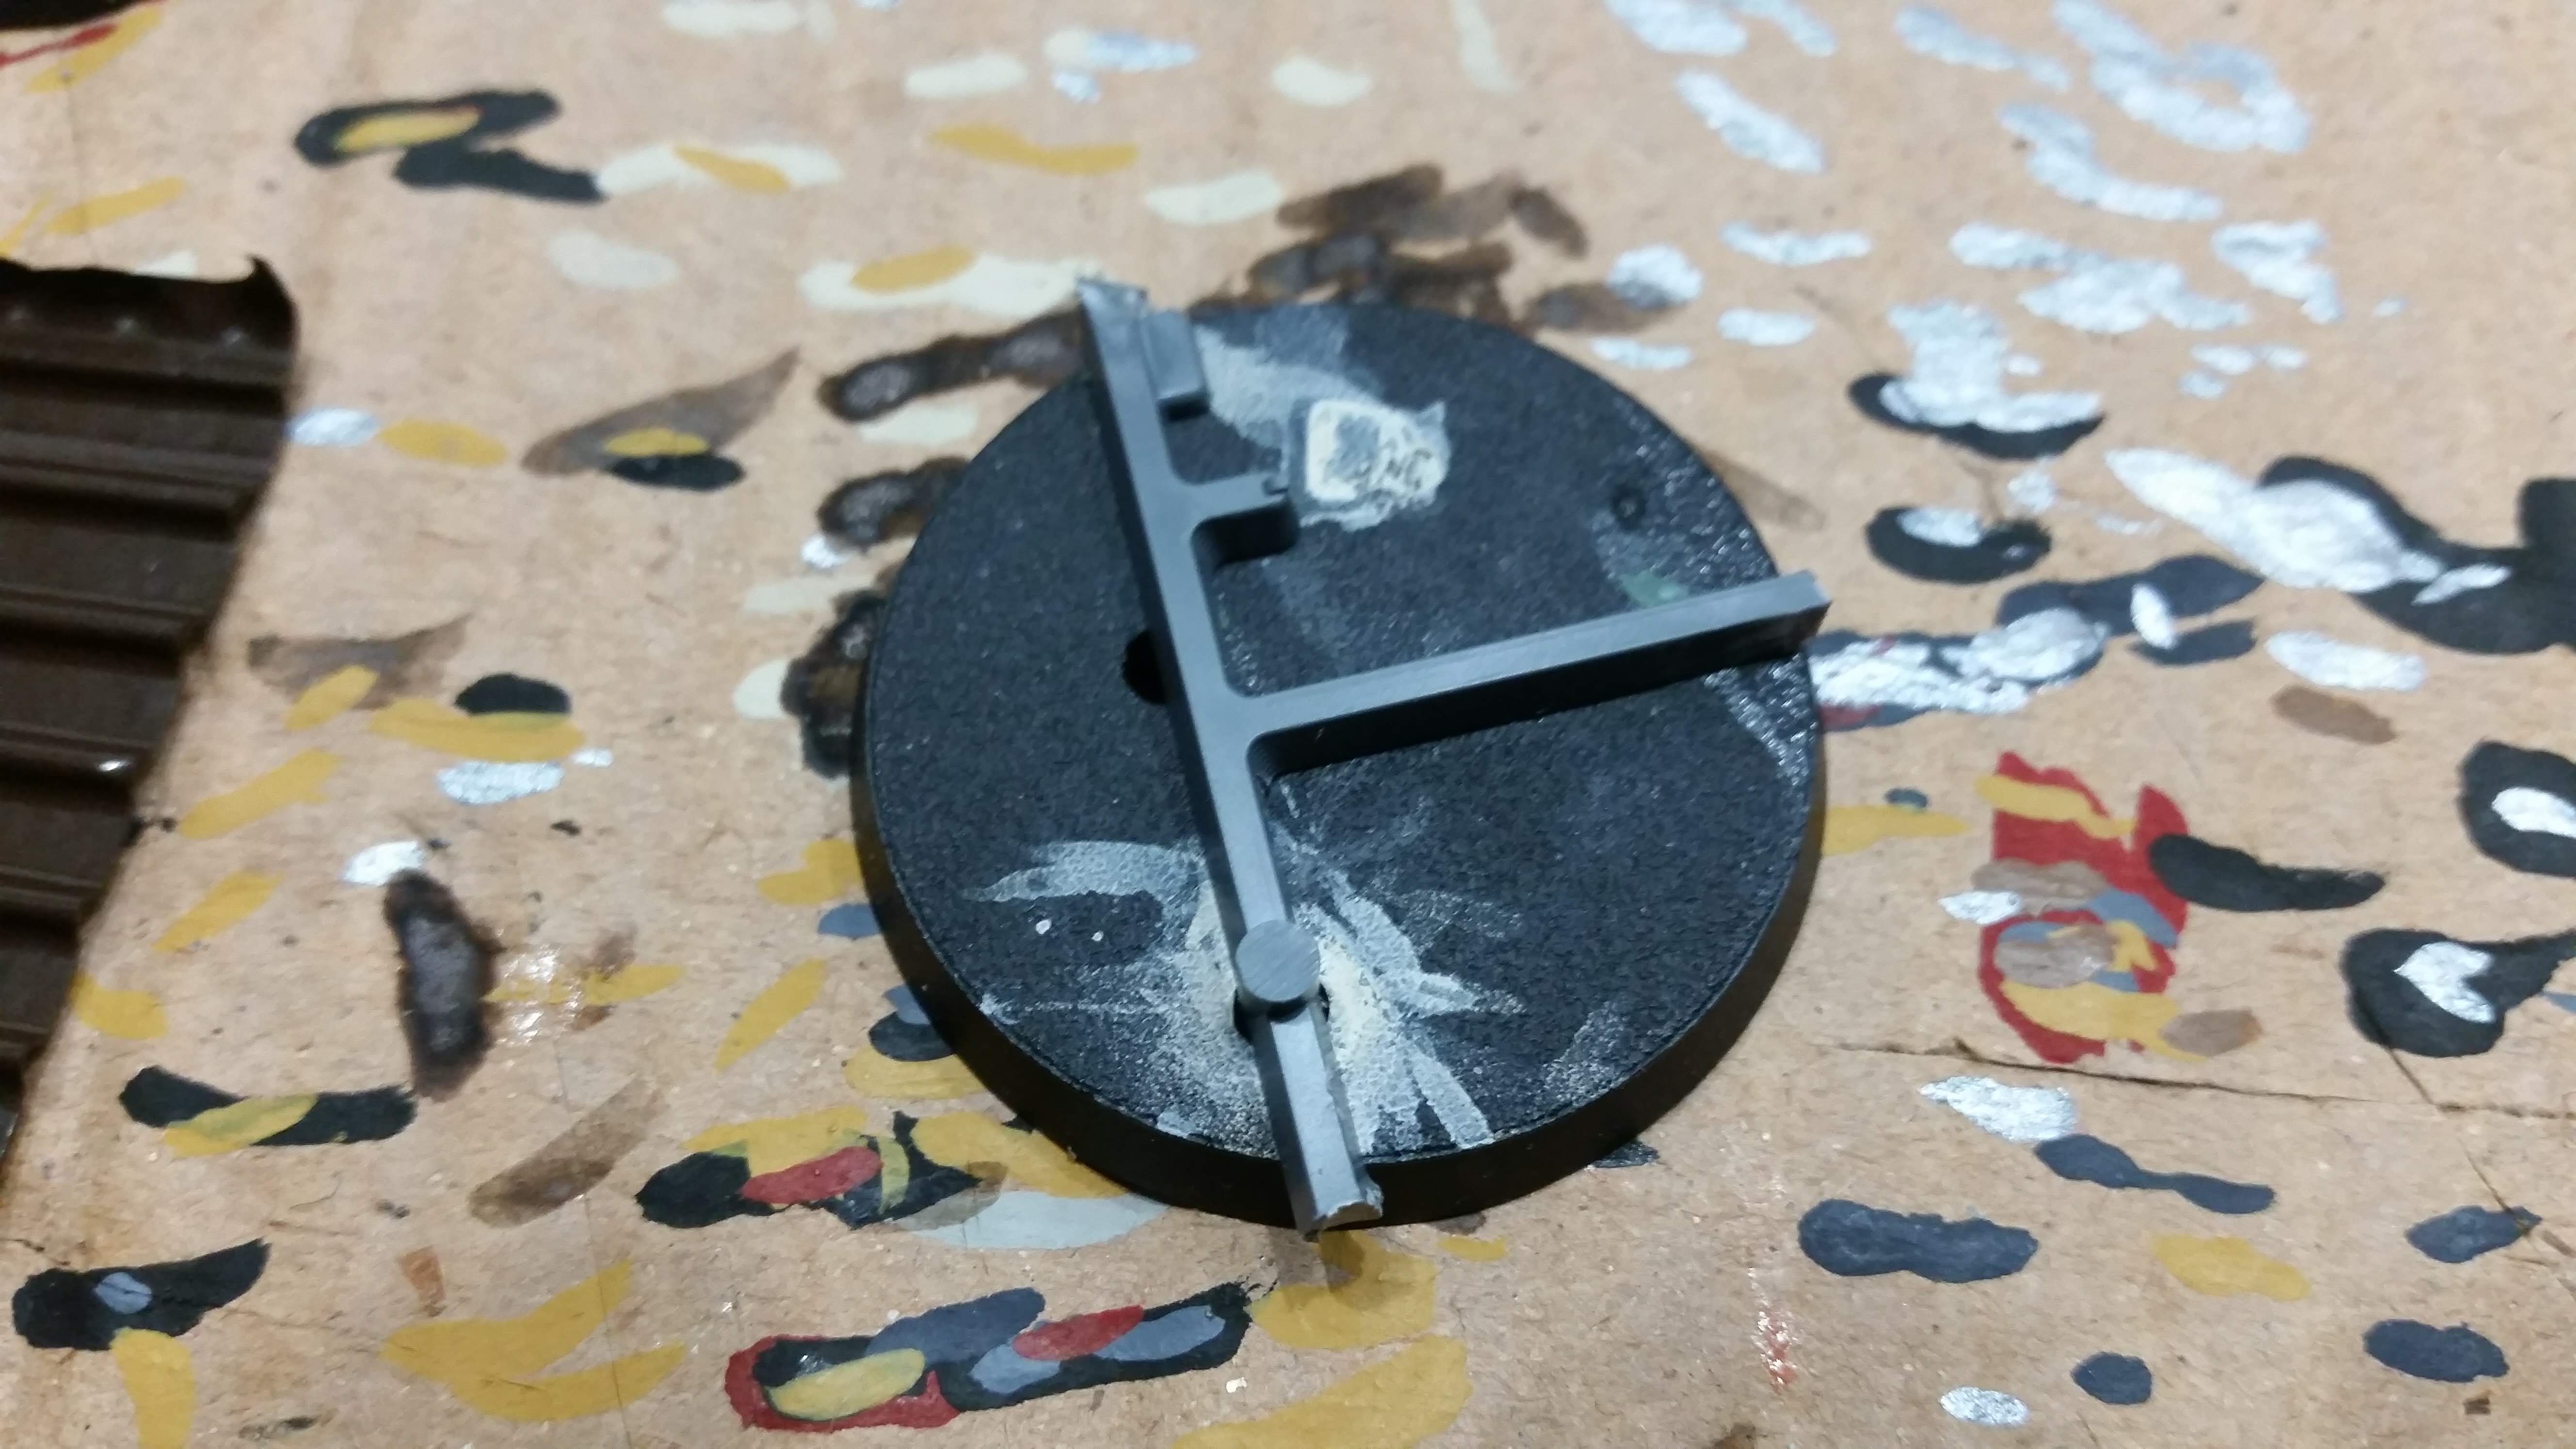
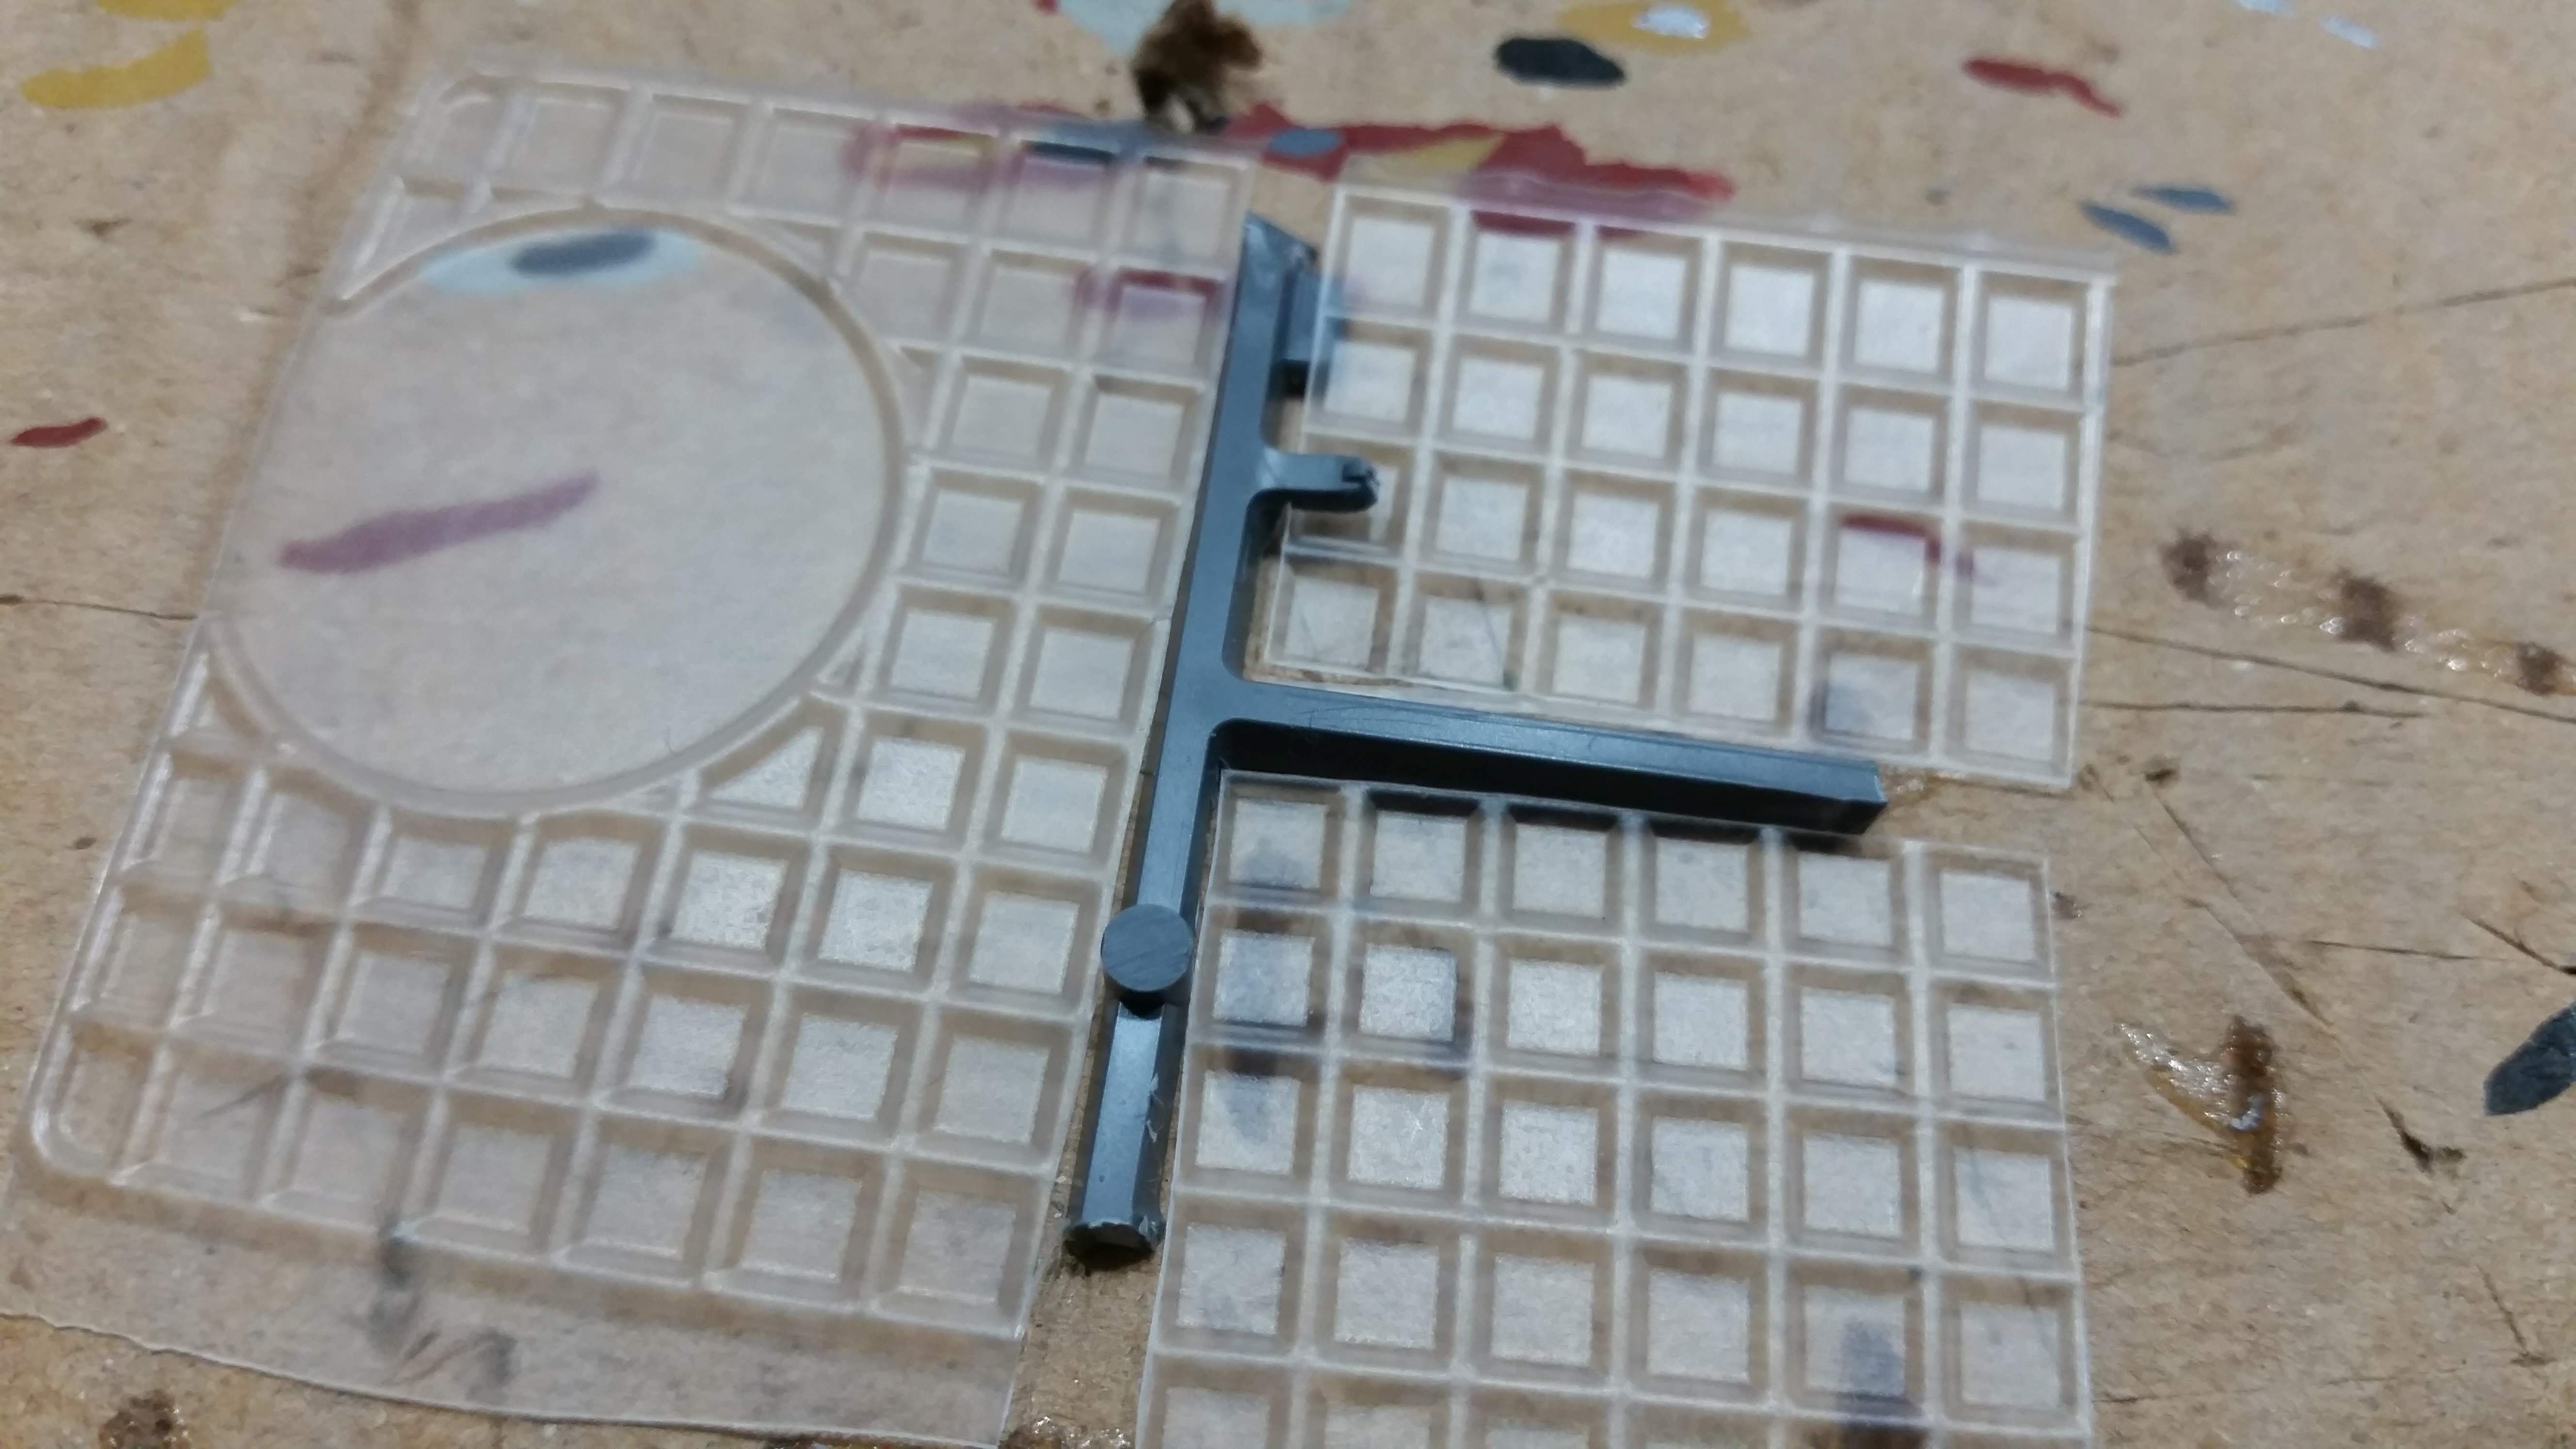
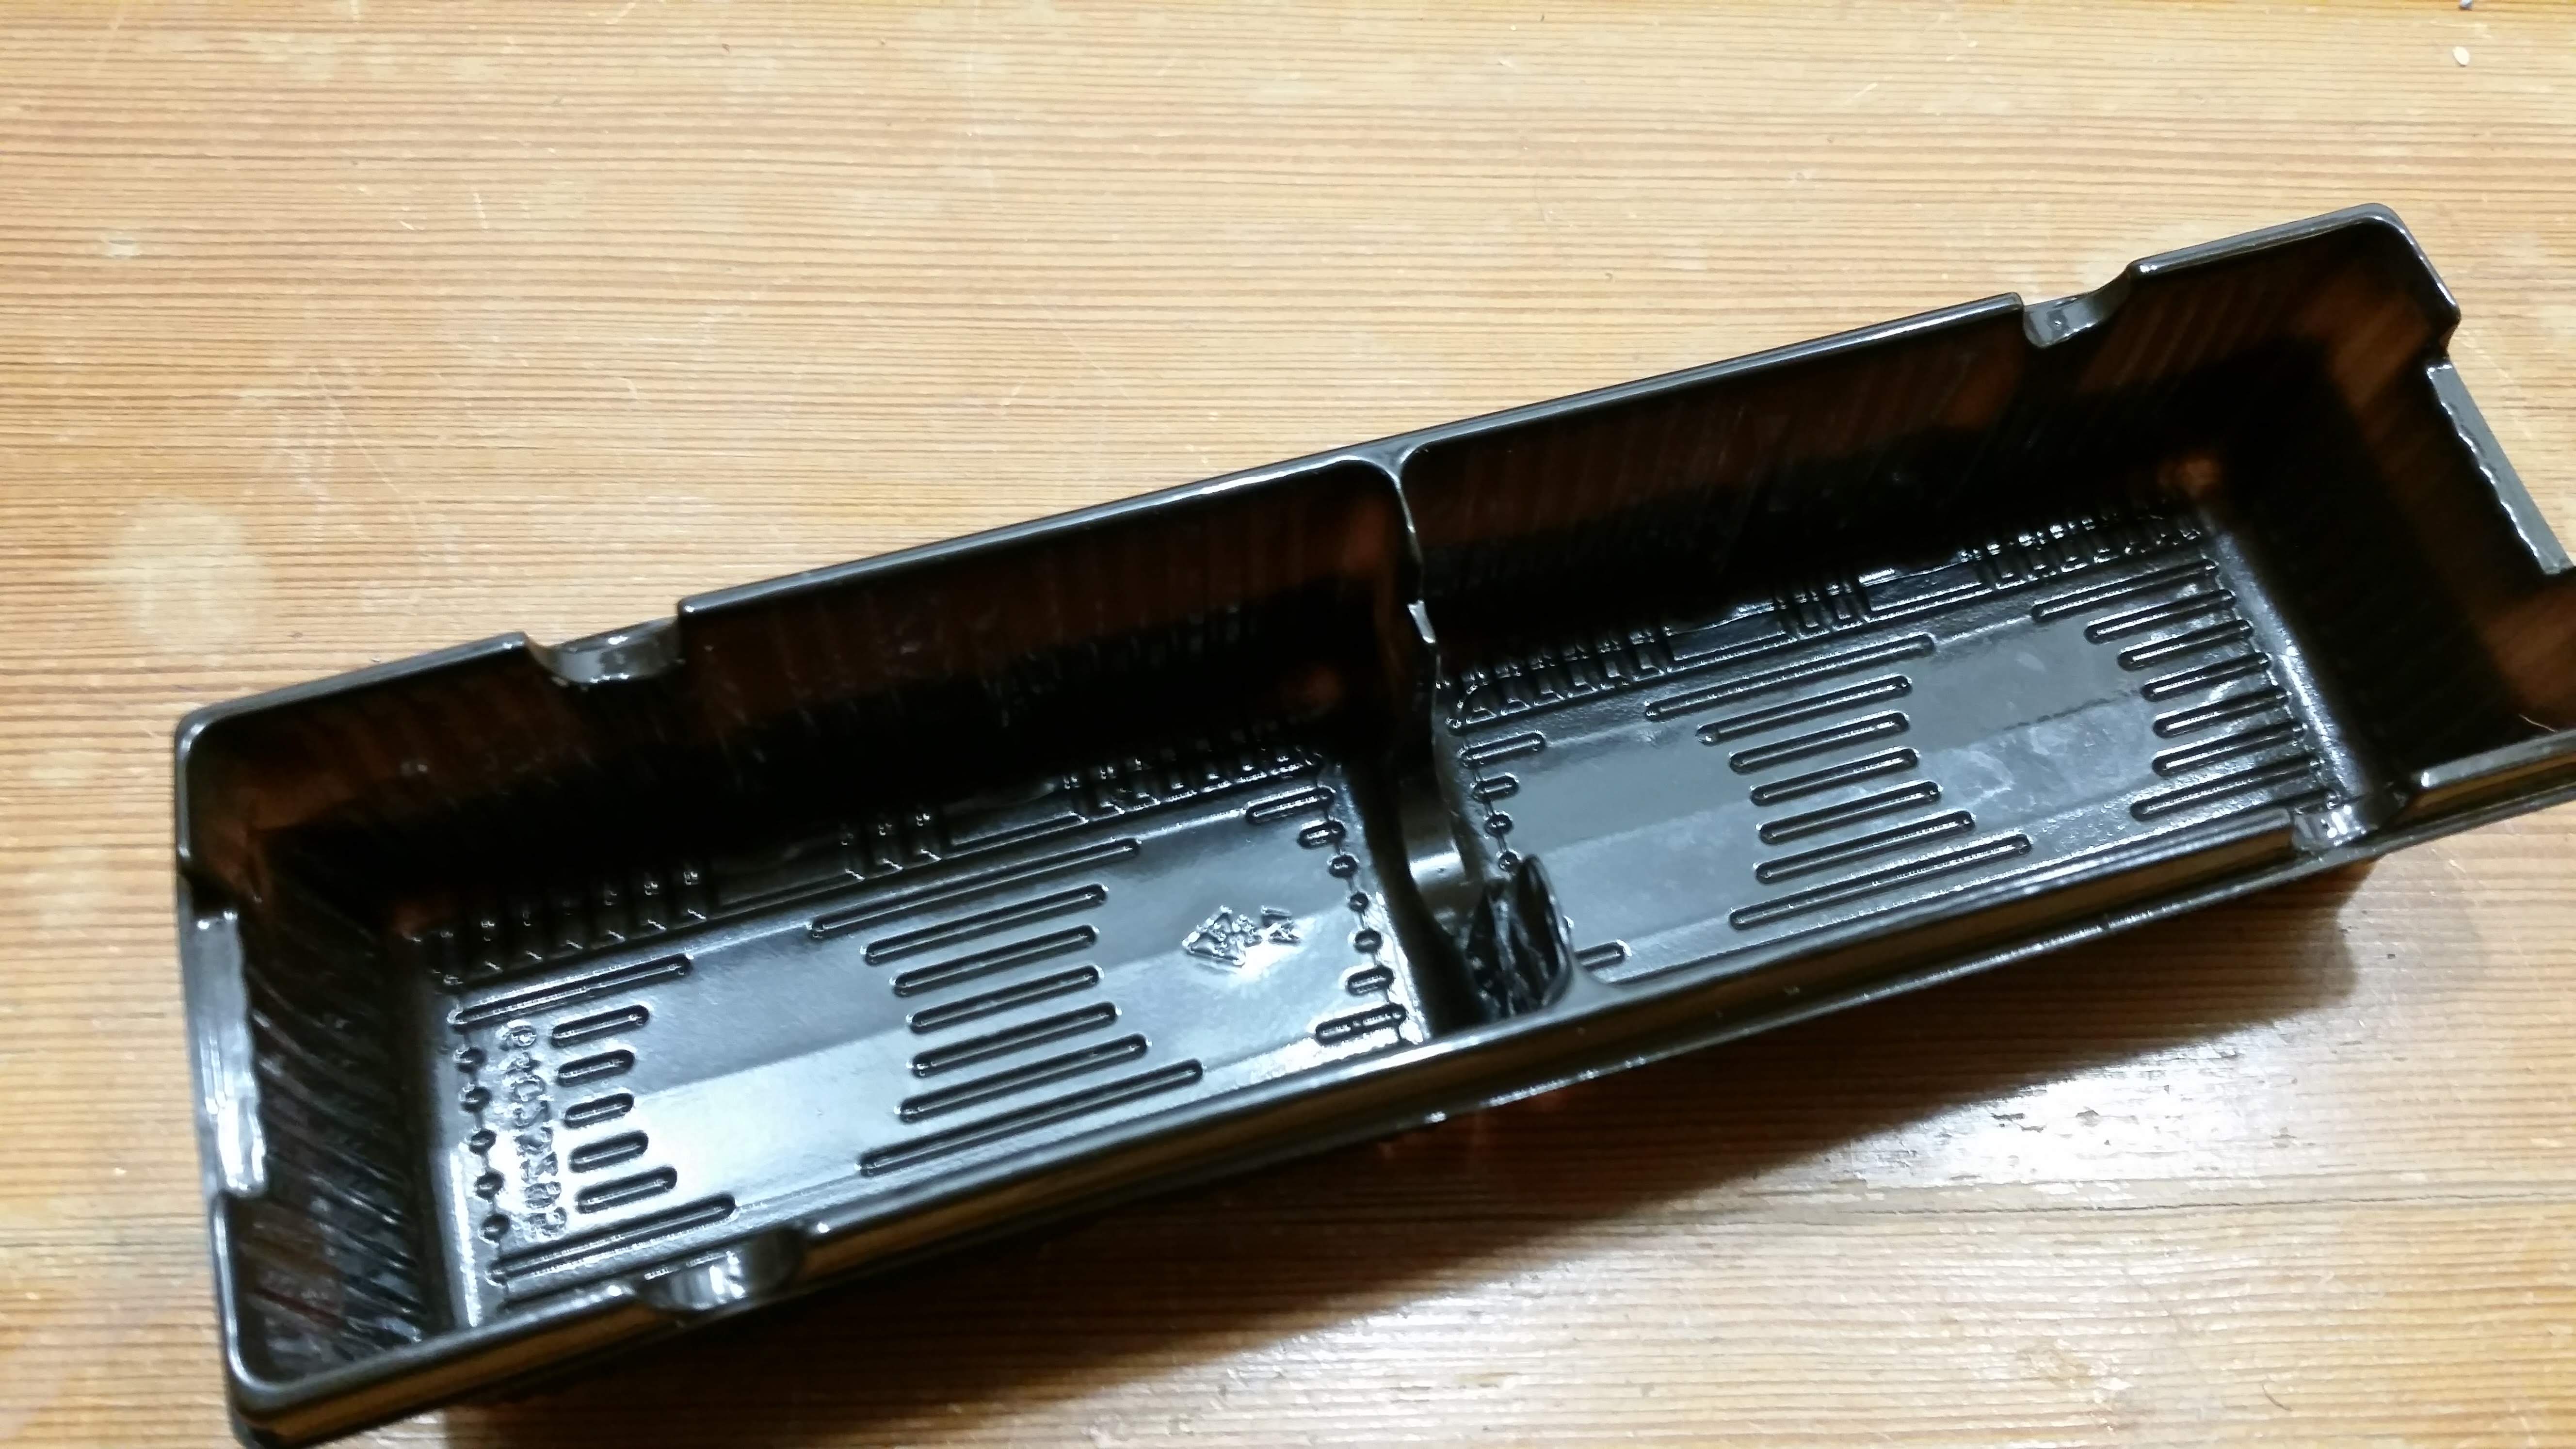
I cut a few pieces out of a used model sprue and flattened them lightly so they would look like metal girders. I made a few cuts into one of the tray bottoms to fit around the girder so it would look like the girder was separating some of the floor plates.
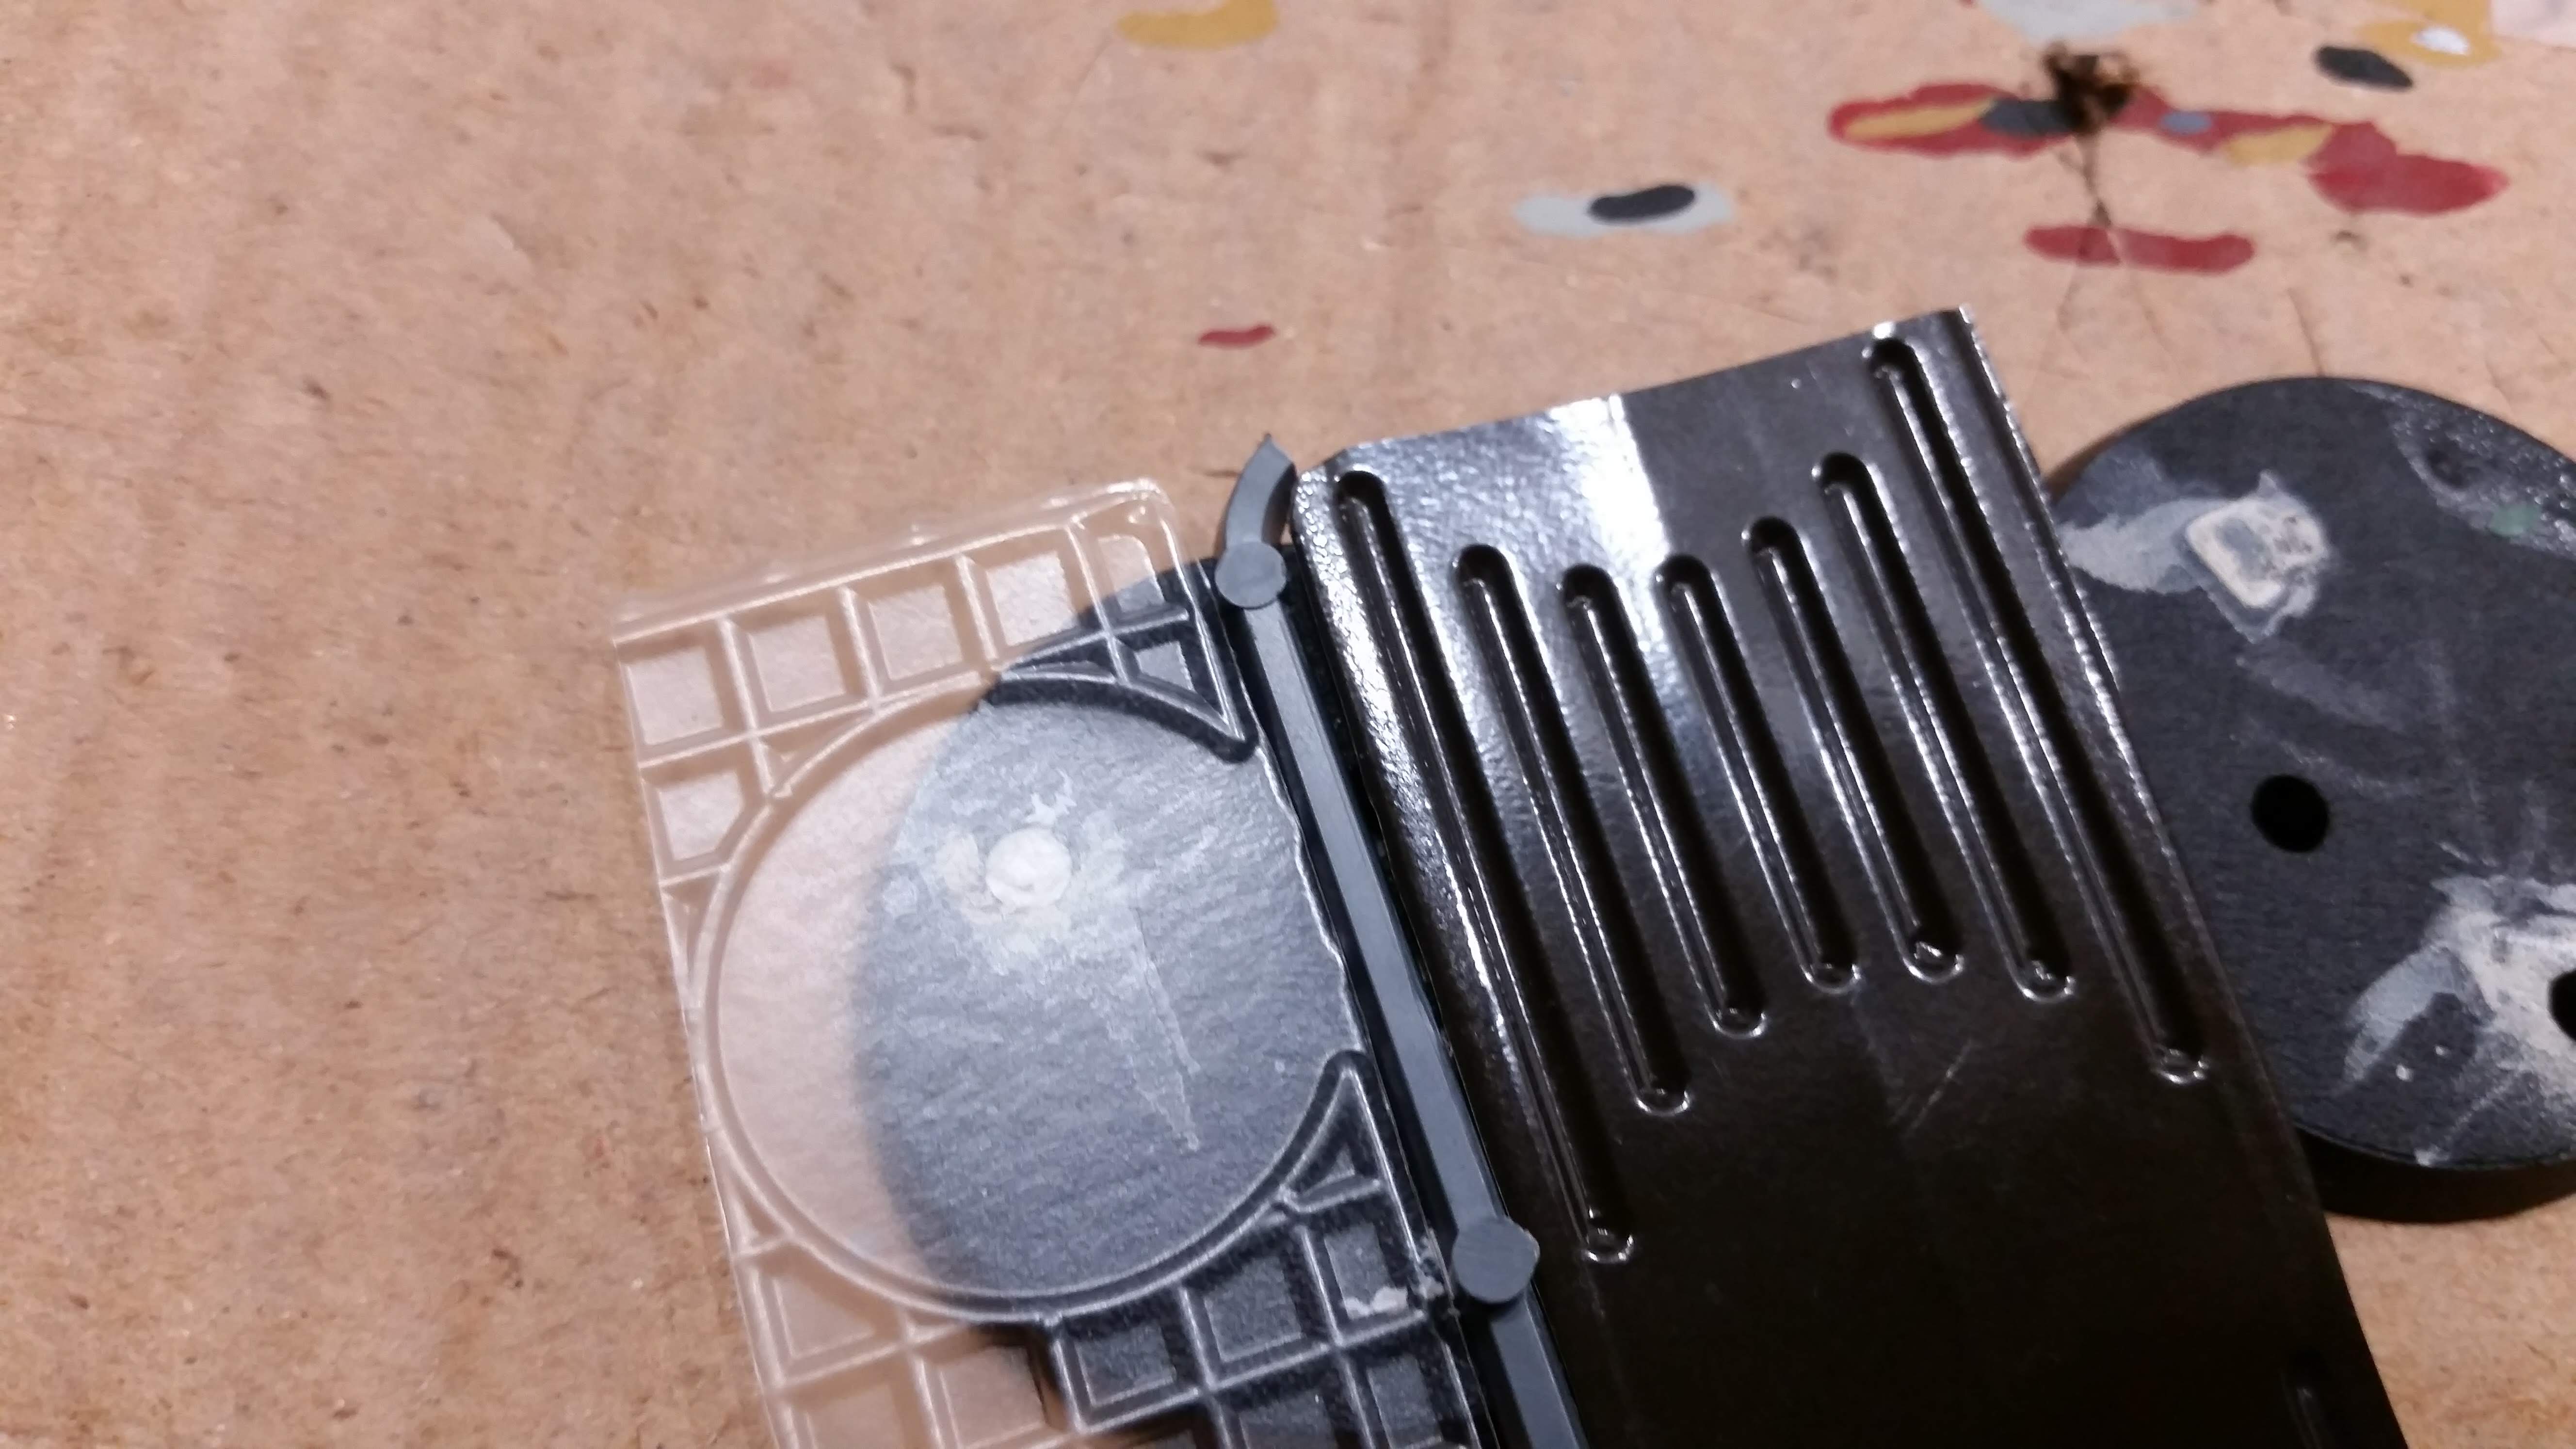
Building the Bases : Part 3
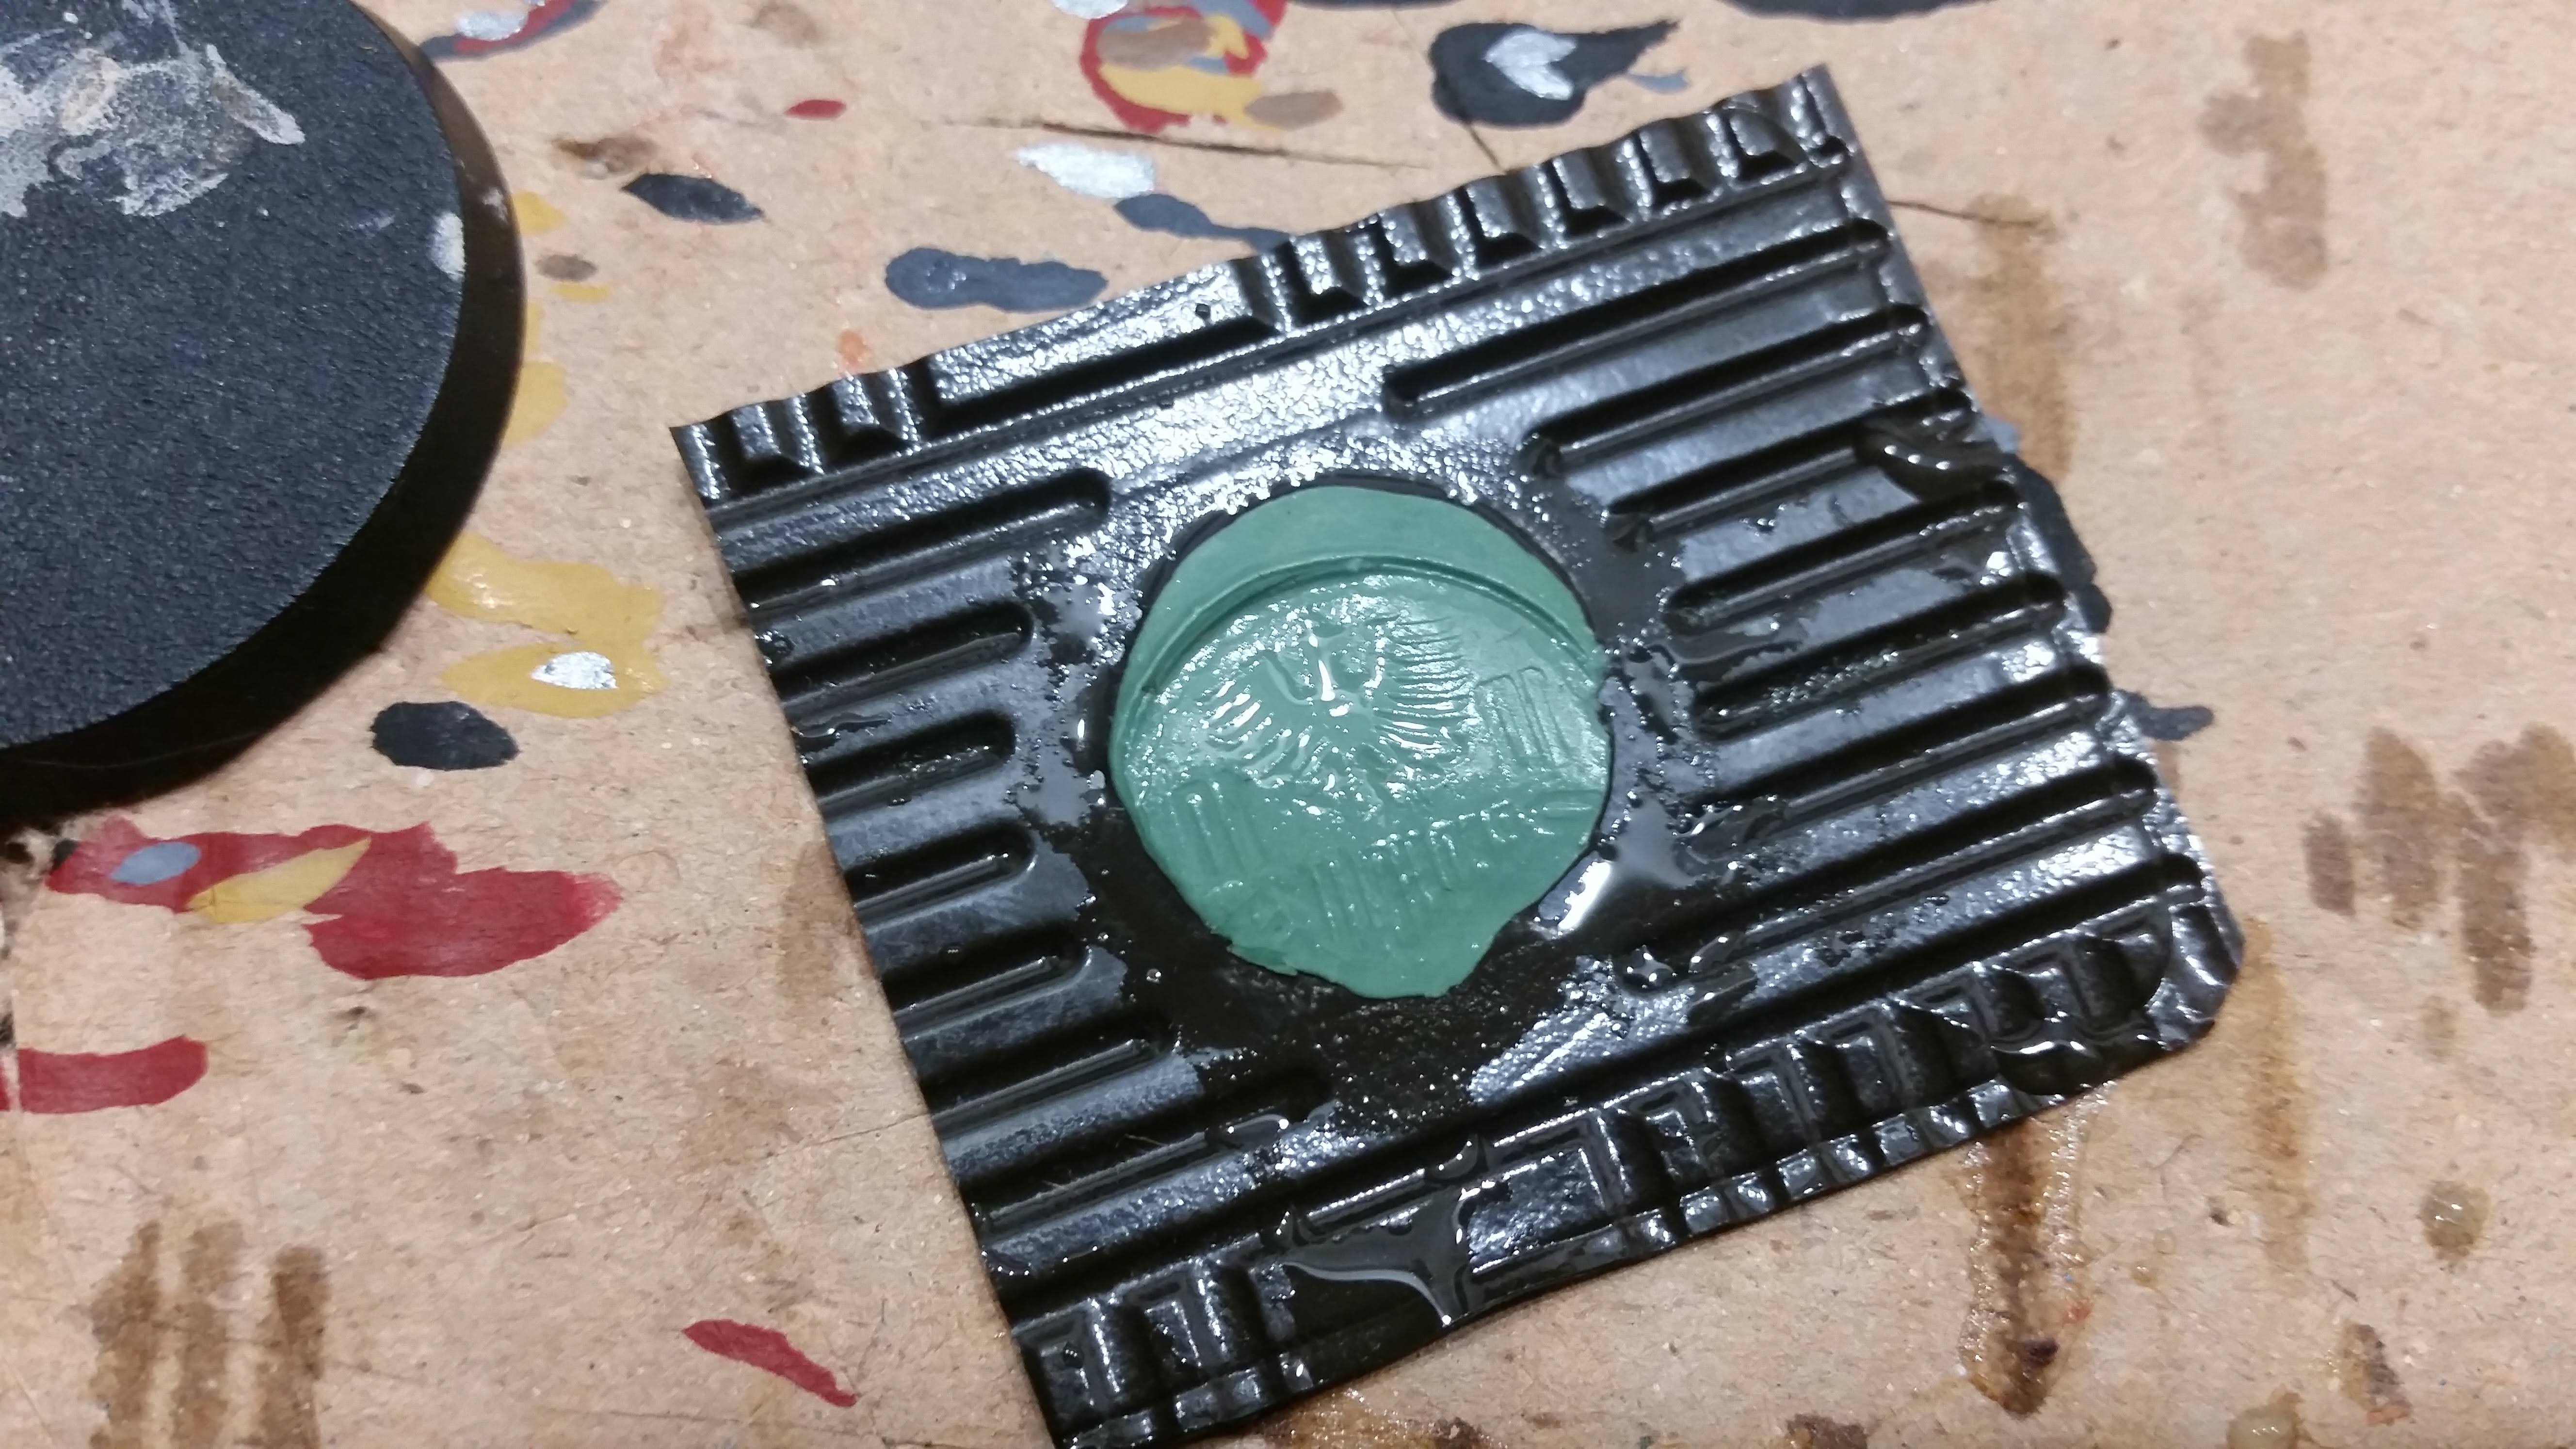
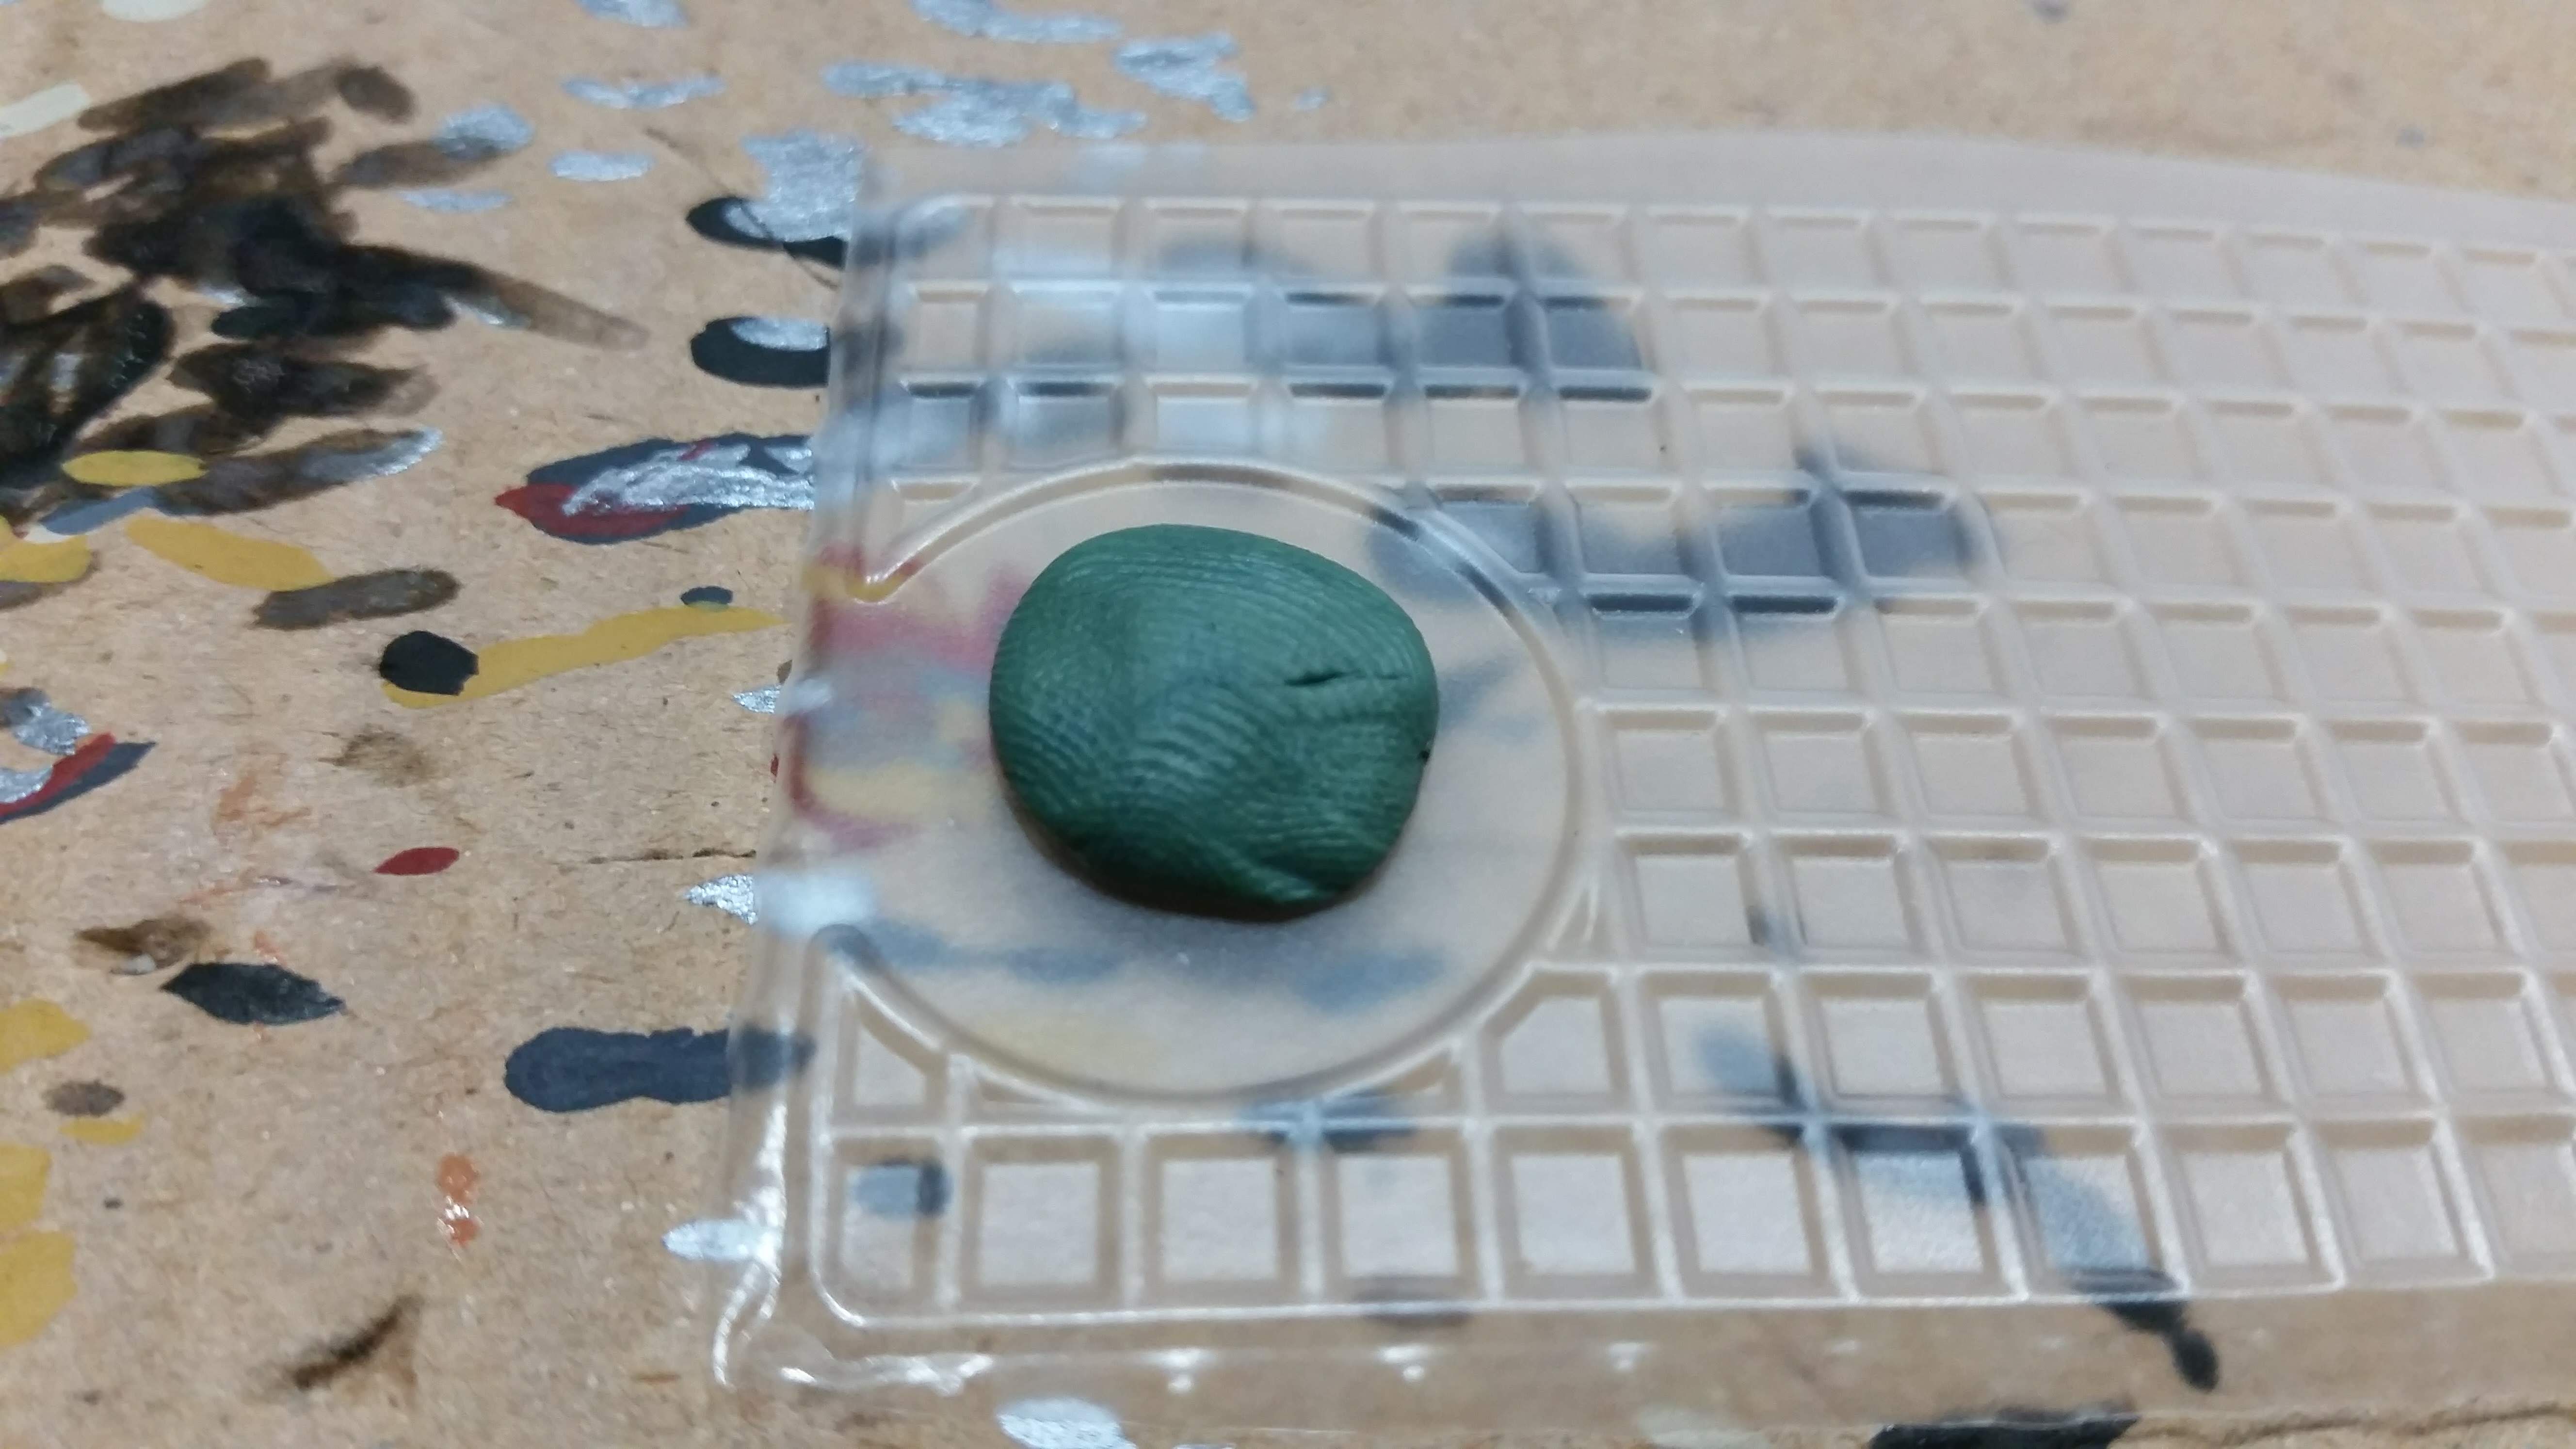
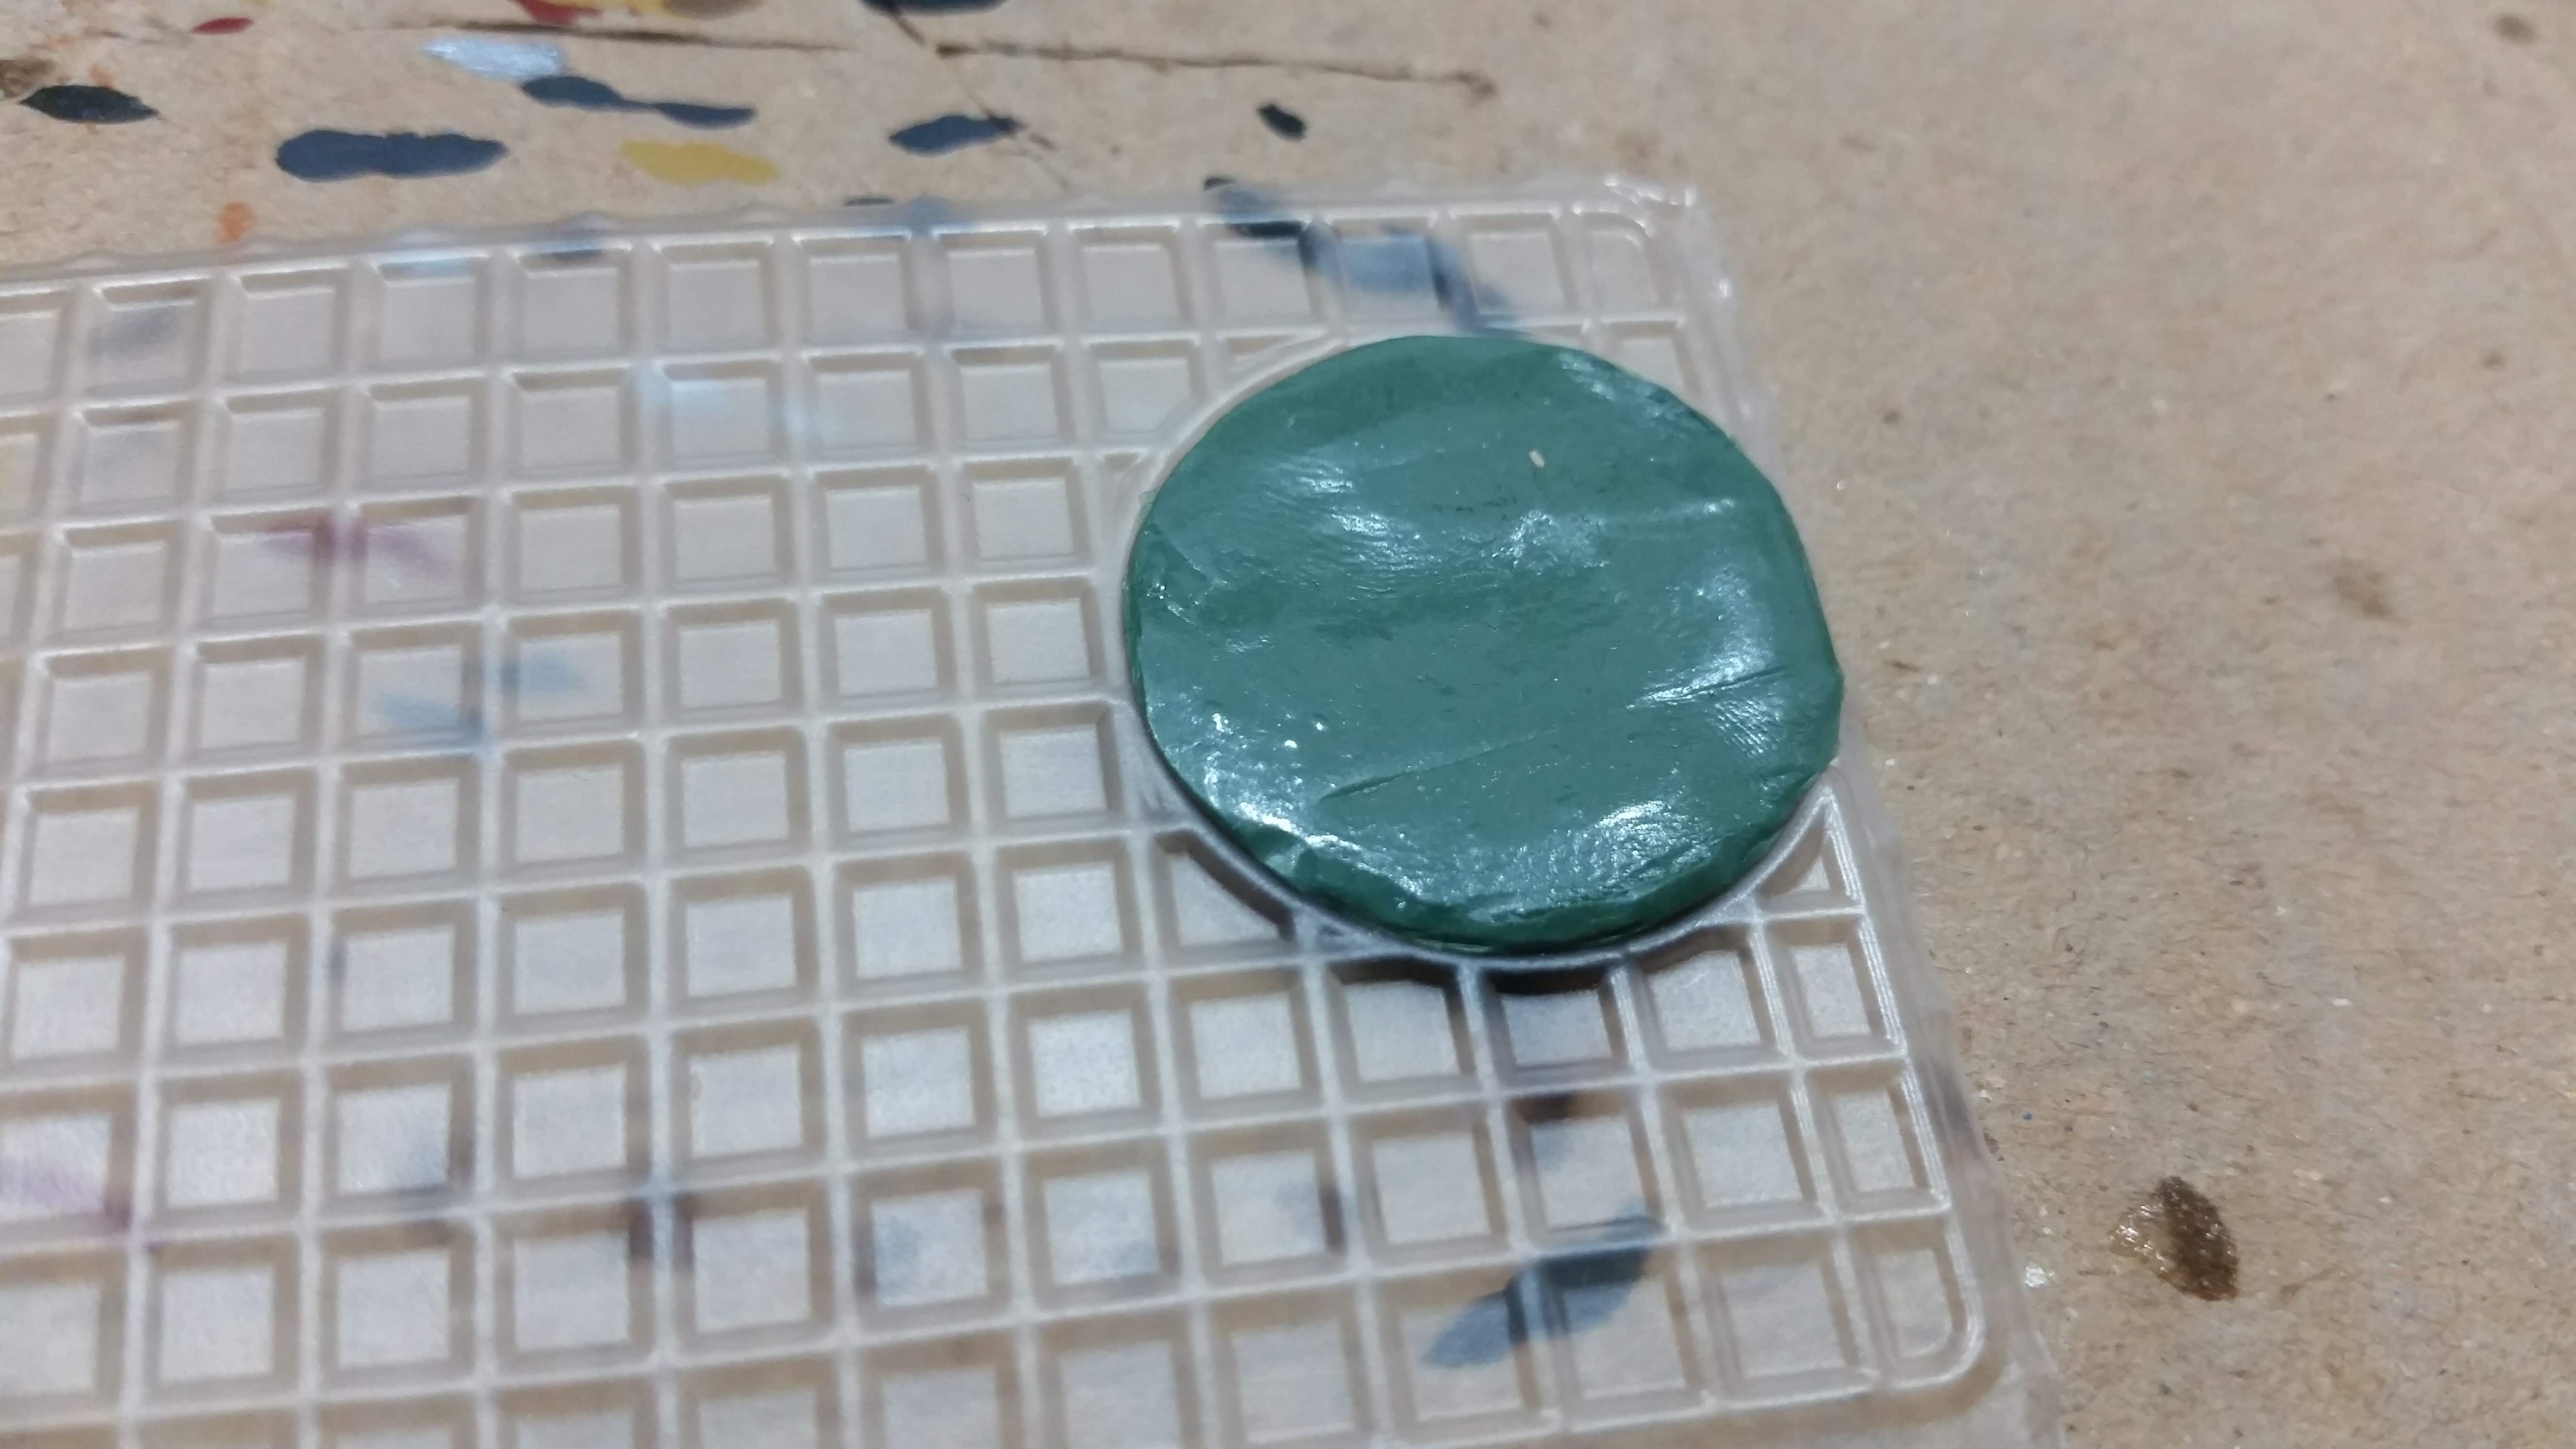
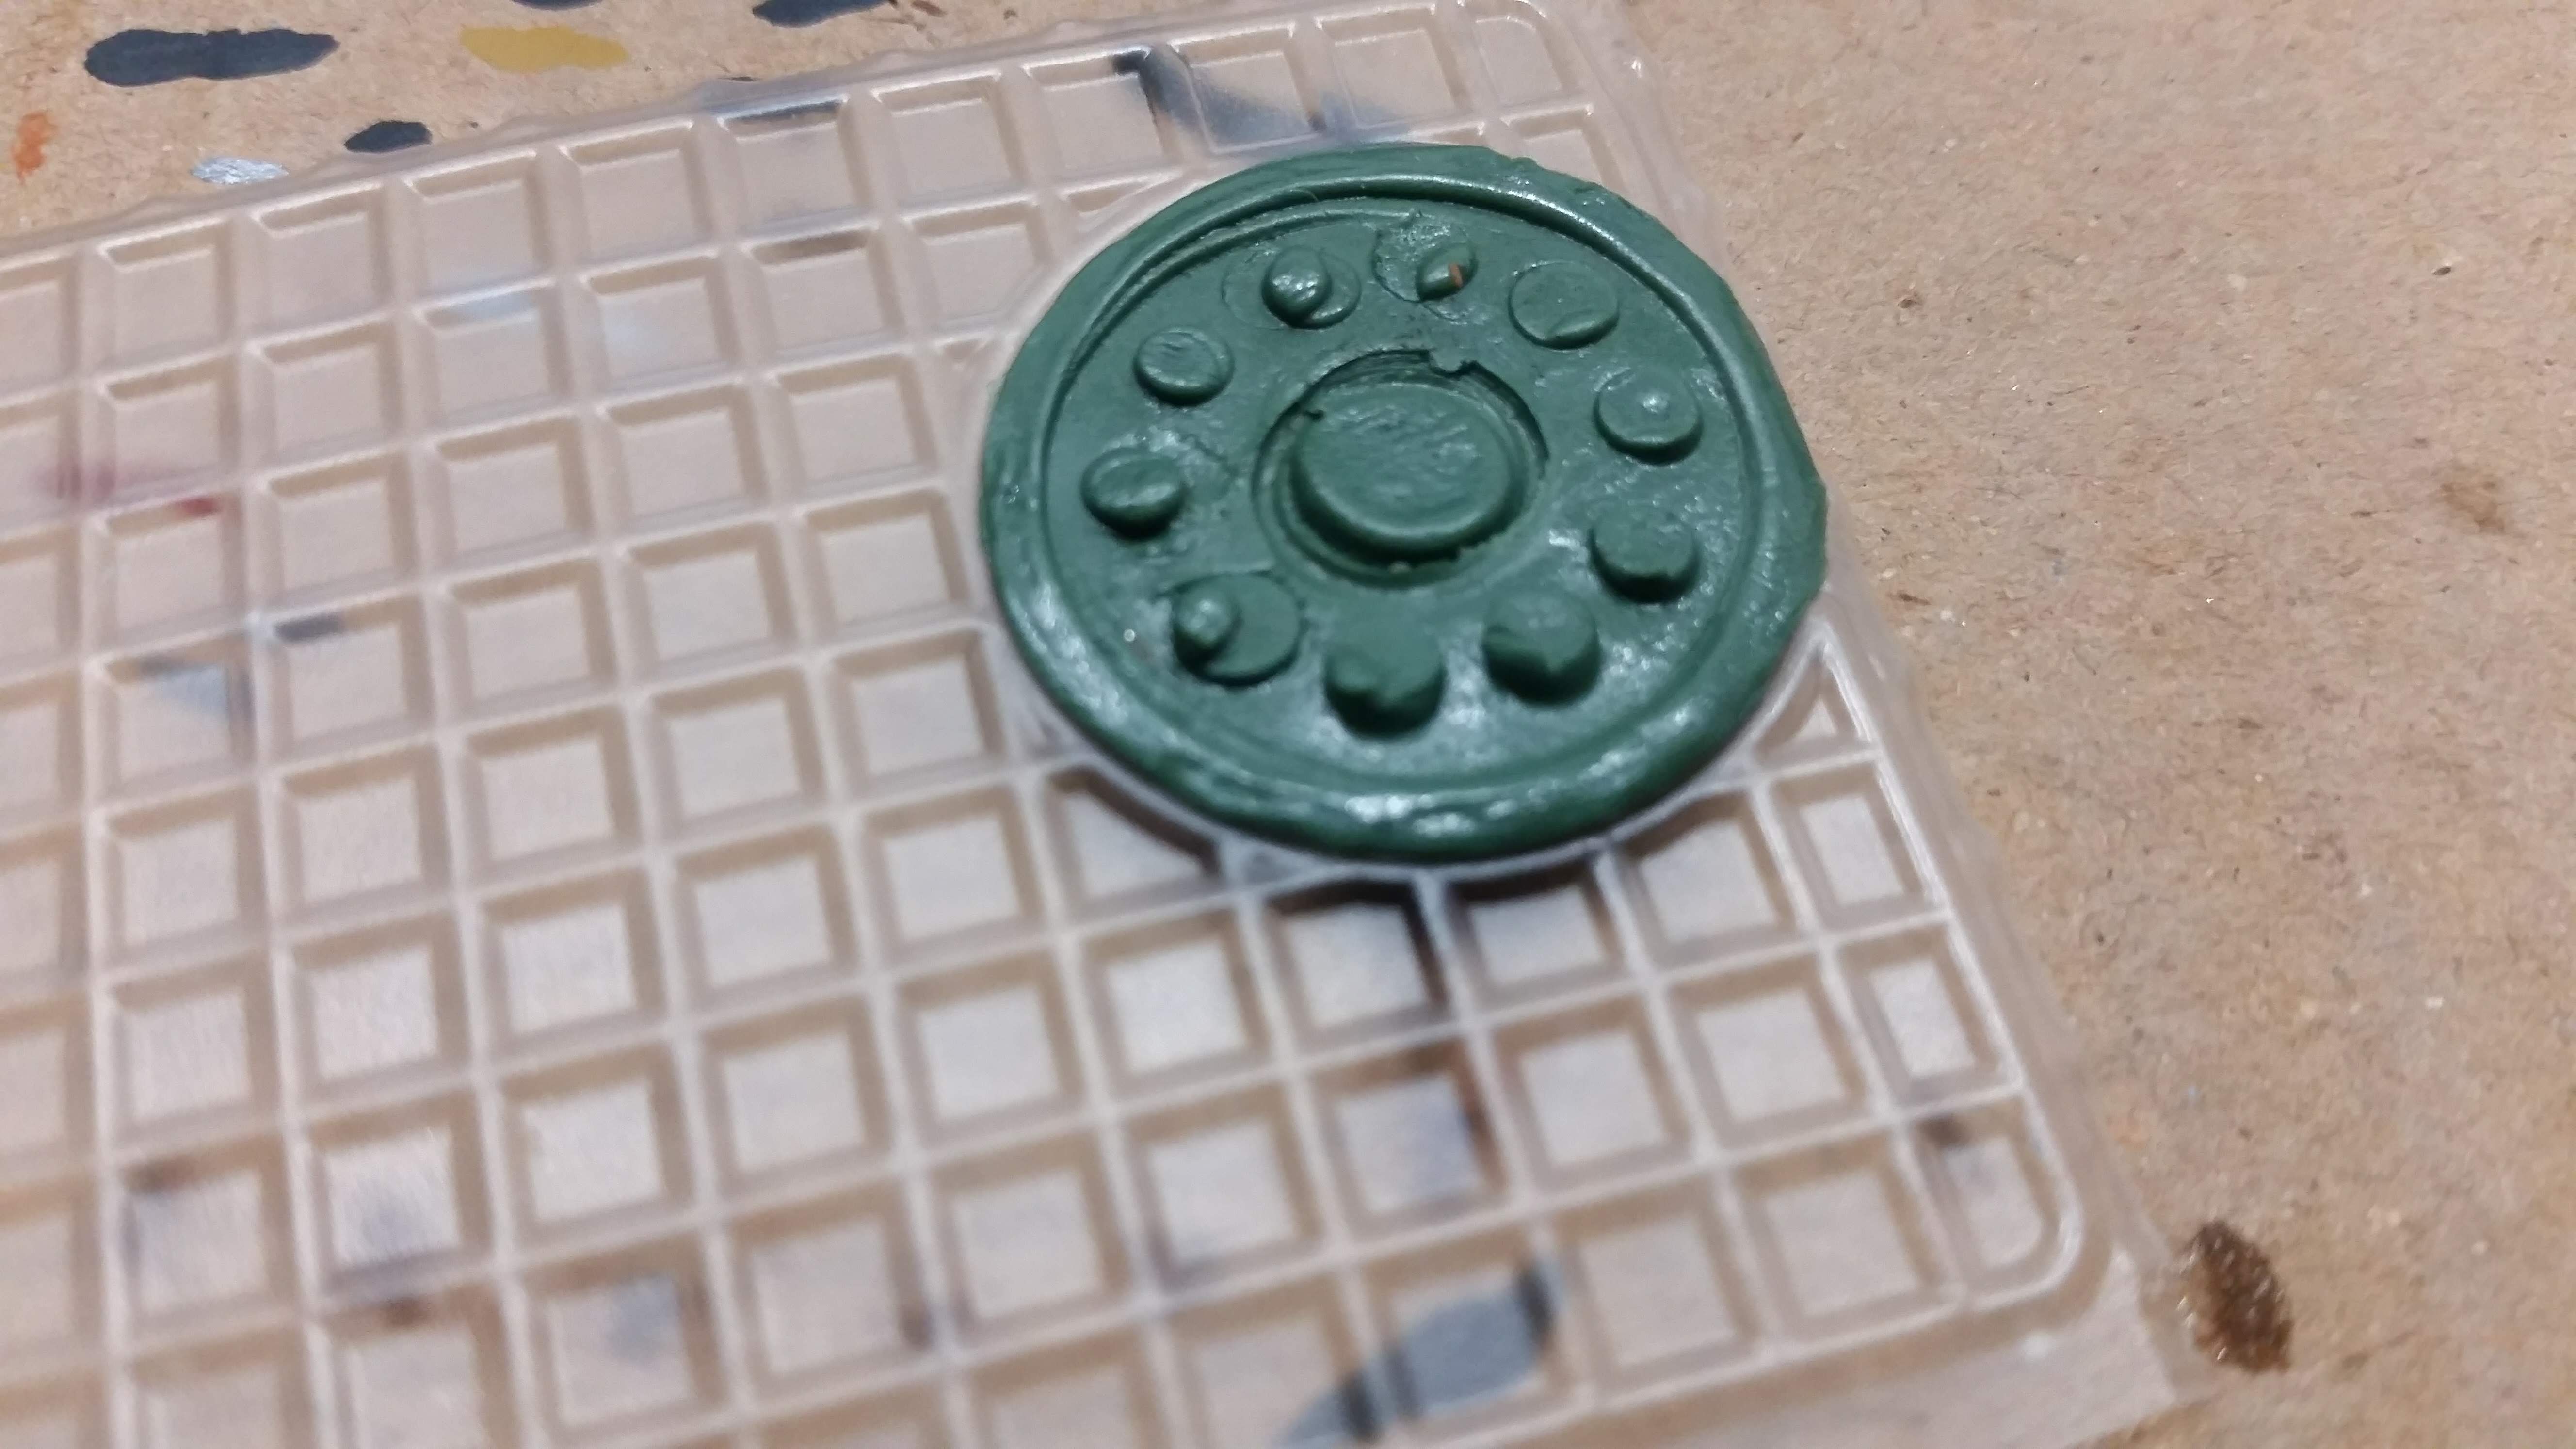
Onto another one of the tray pieces I also put a little piece of green stuff into which I pressed the Austrian coin. I later cut the rim around the green stuff away and replaced it with fresh green stuff over which I rolled the handle of my crafting knife, impressing its pattern into the fresh part surrounding the eagle.

Building the Bases : Part 2
The following is a direct documentation of the rather experimental steps I took with the the aforementioned pieces. That means I really did not know if this would would work out or not while I was doing it, which made the project a lot of fun.
First I used a crafting knife to cut out the bottoms of the trays I had chosen.
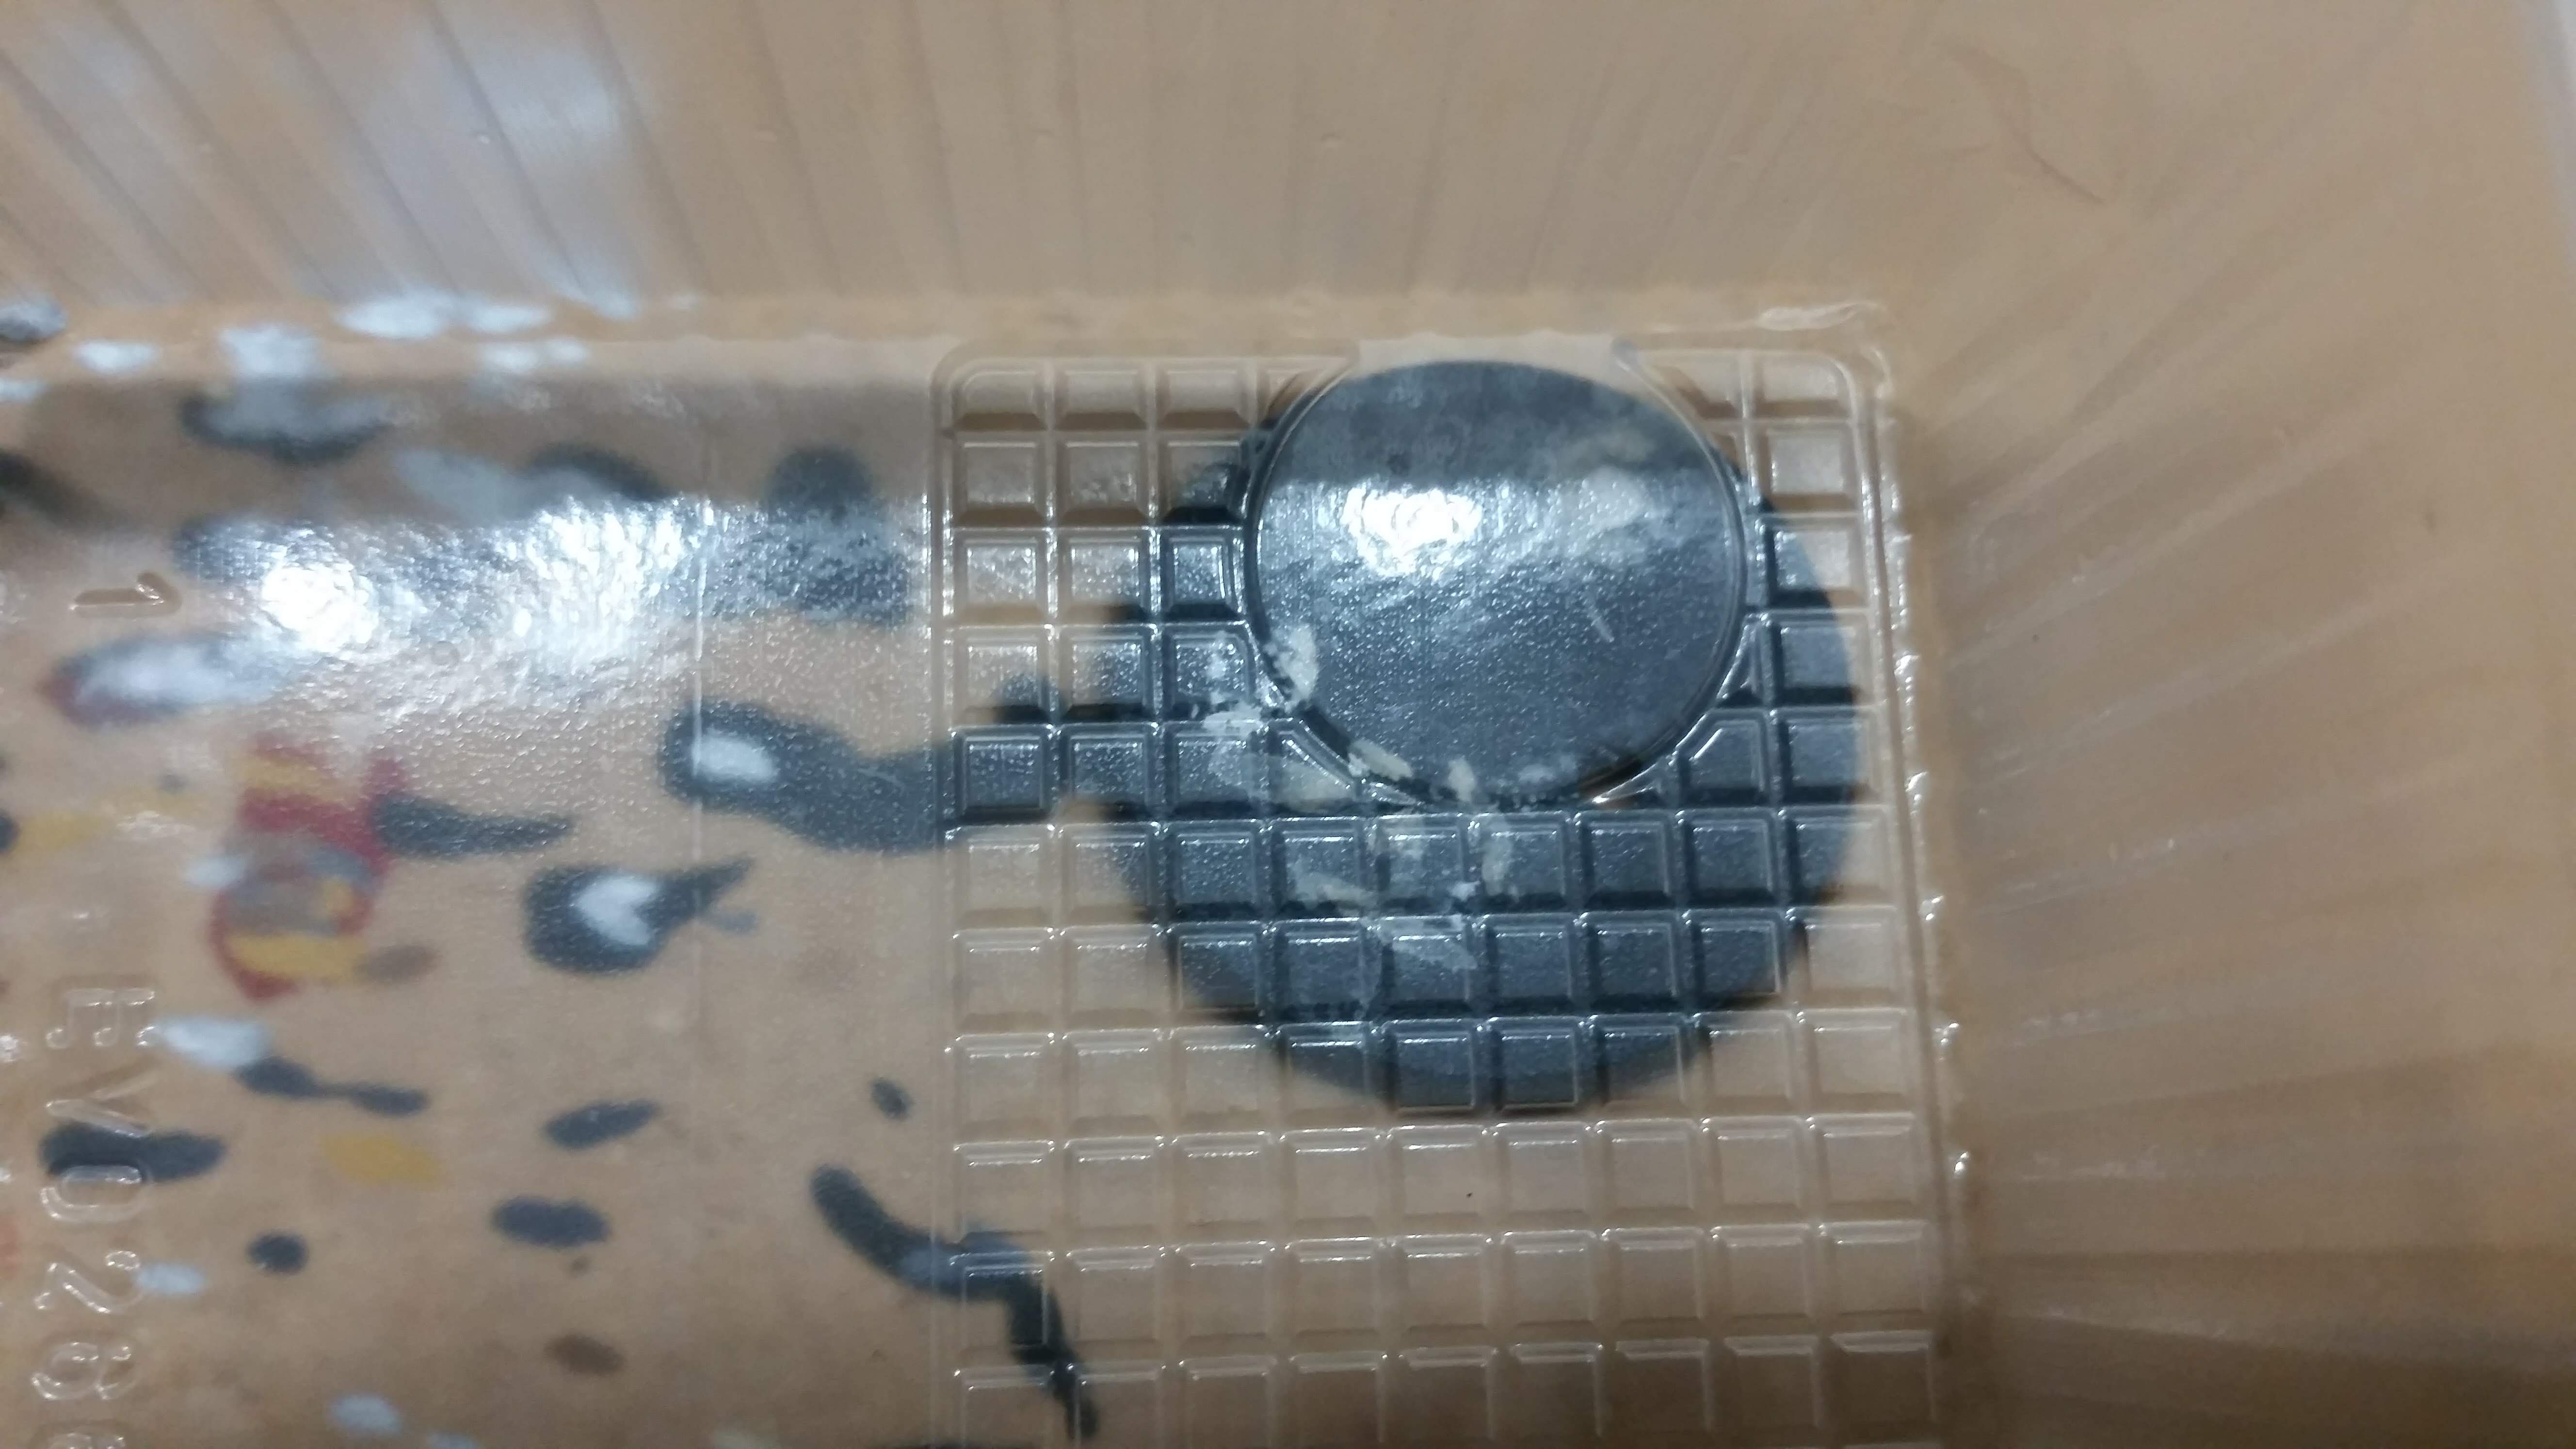
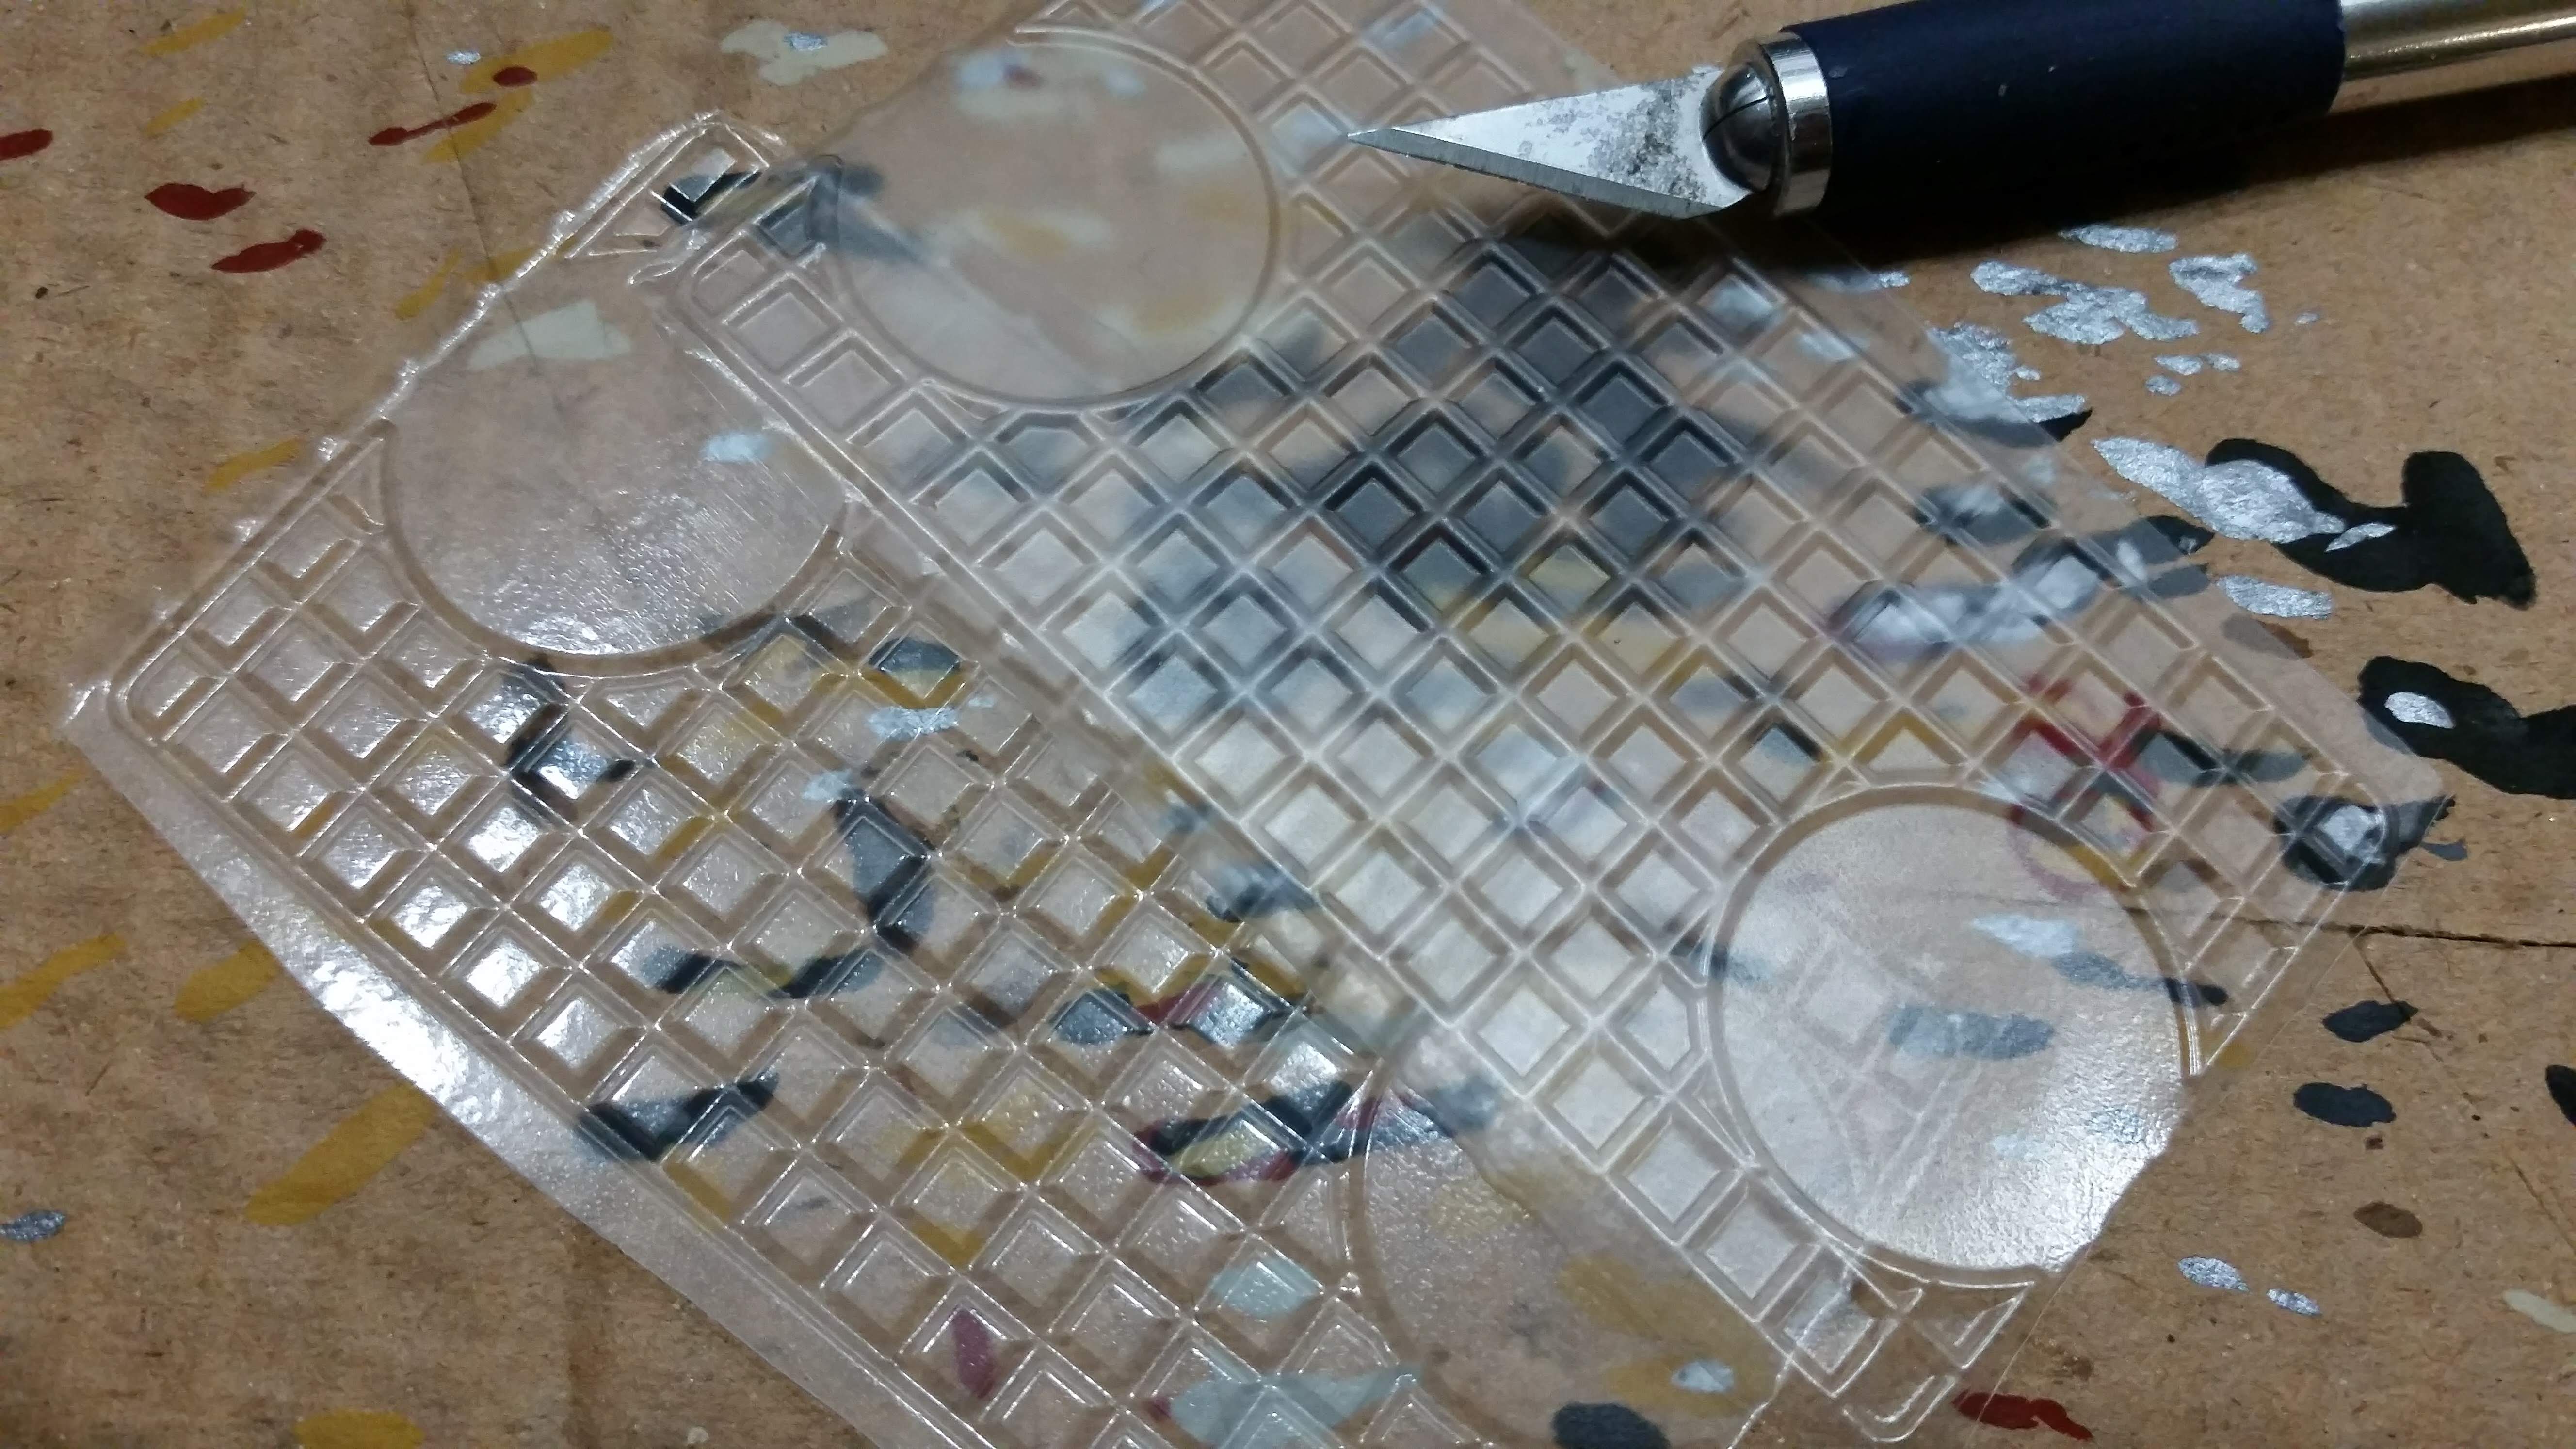
I then flattened a small bit of green stuff onto a circular area on one of the trays. I used the yarn spool to impress a pattern into the green stuff, making it look like a pressure hatch or some other industrial greeble. I am really not sure what it is and it doesn’t really matter.

Building the Bases : Part 1
After I spent the weekend eating all the biscuits I was left with a lot of the plastic trays they had been packaged in. Some of theses turned out to be not that useful for what I had in mind.
Others however looked very promising:
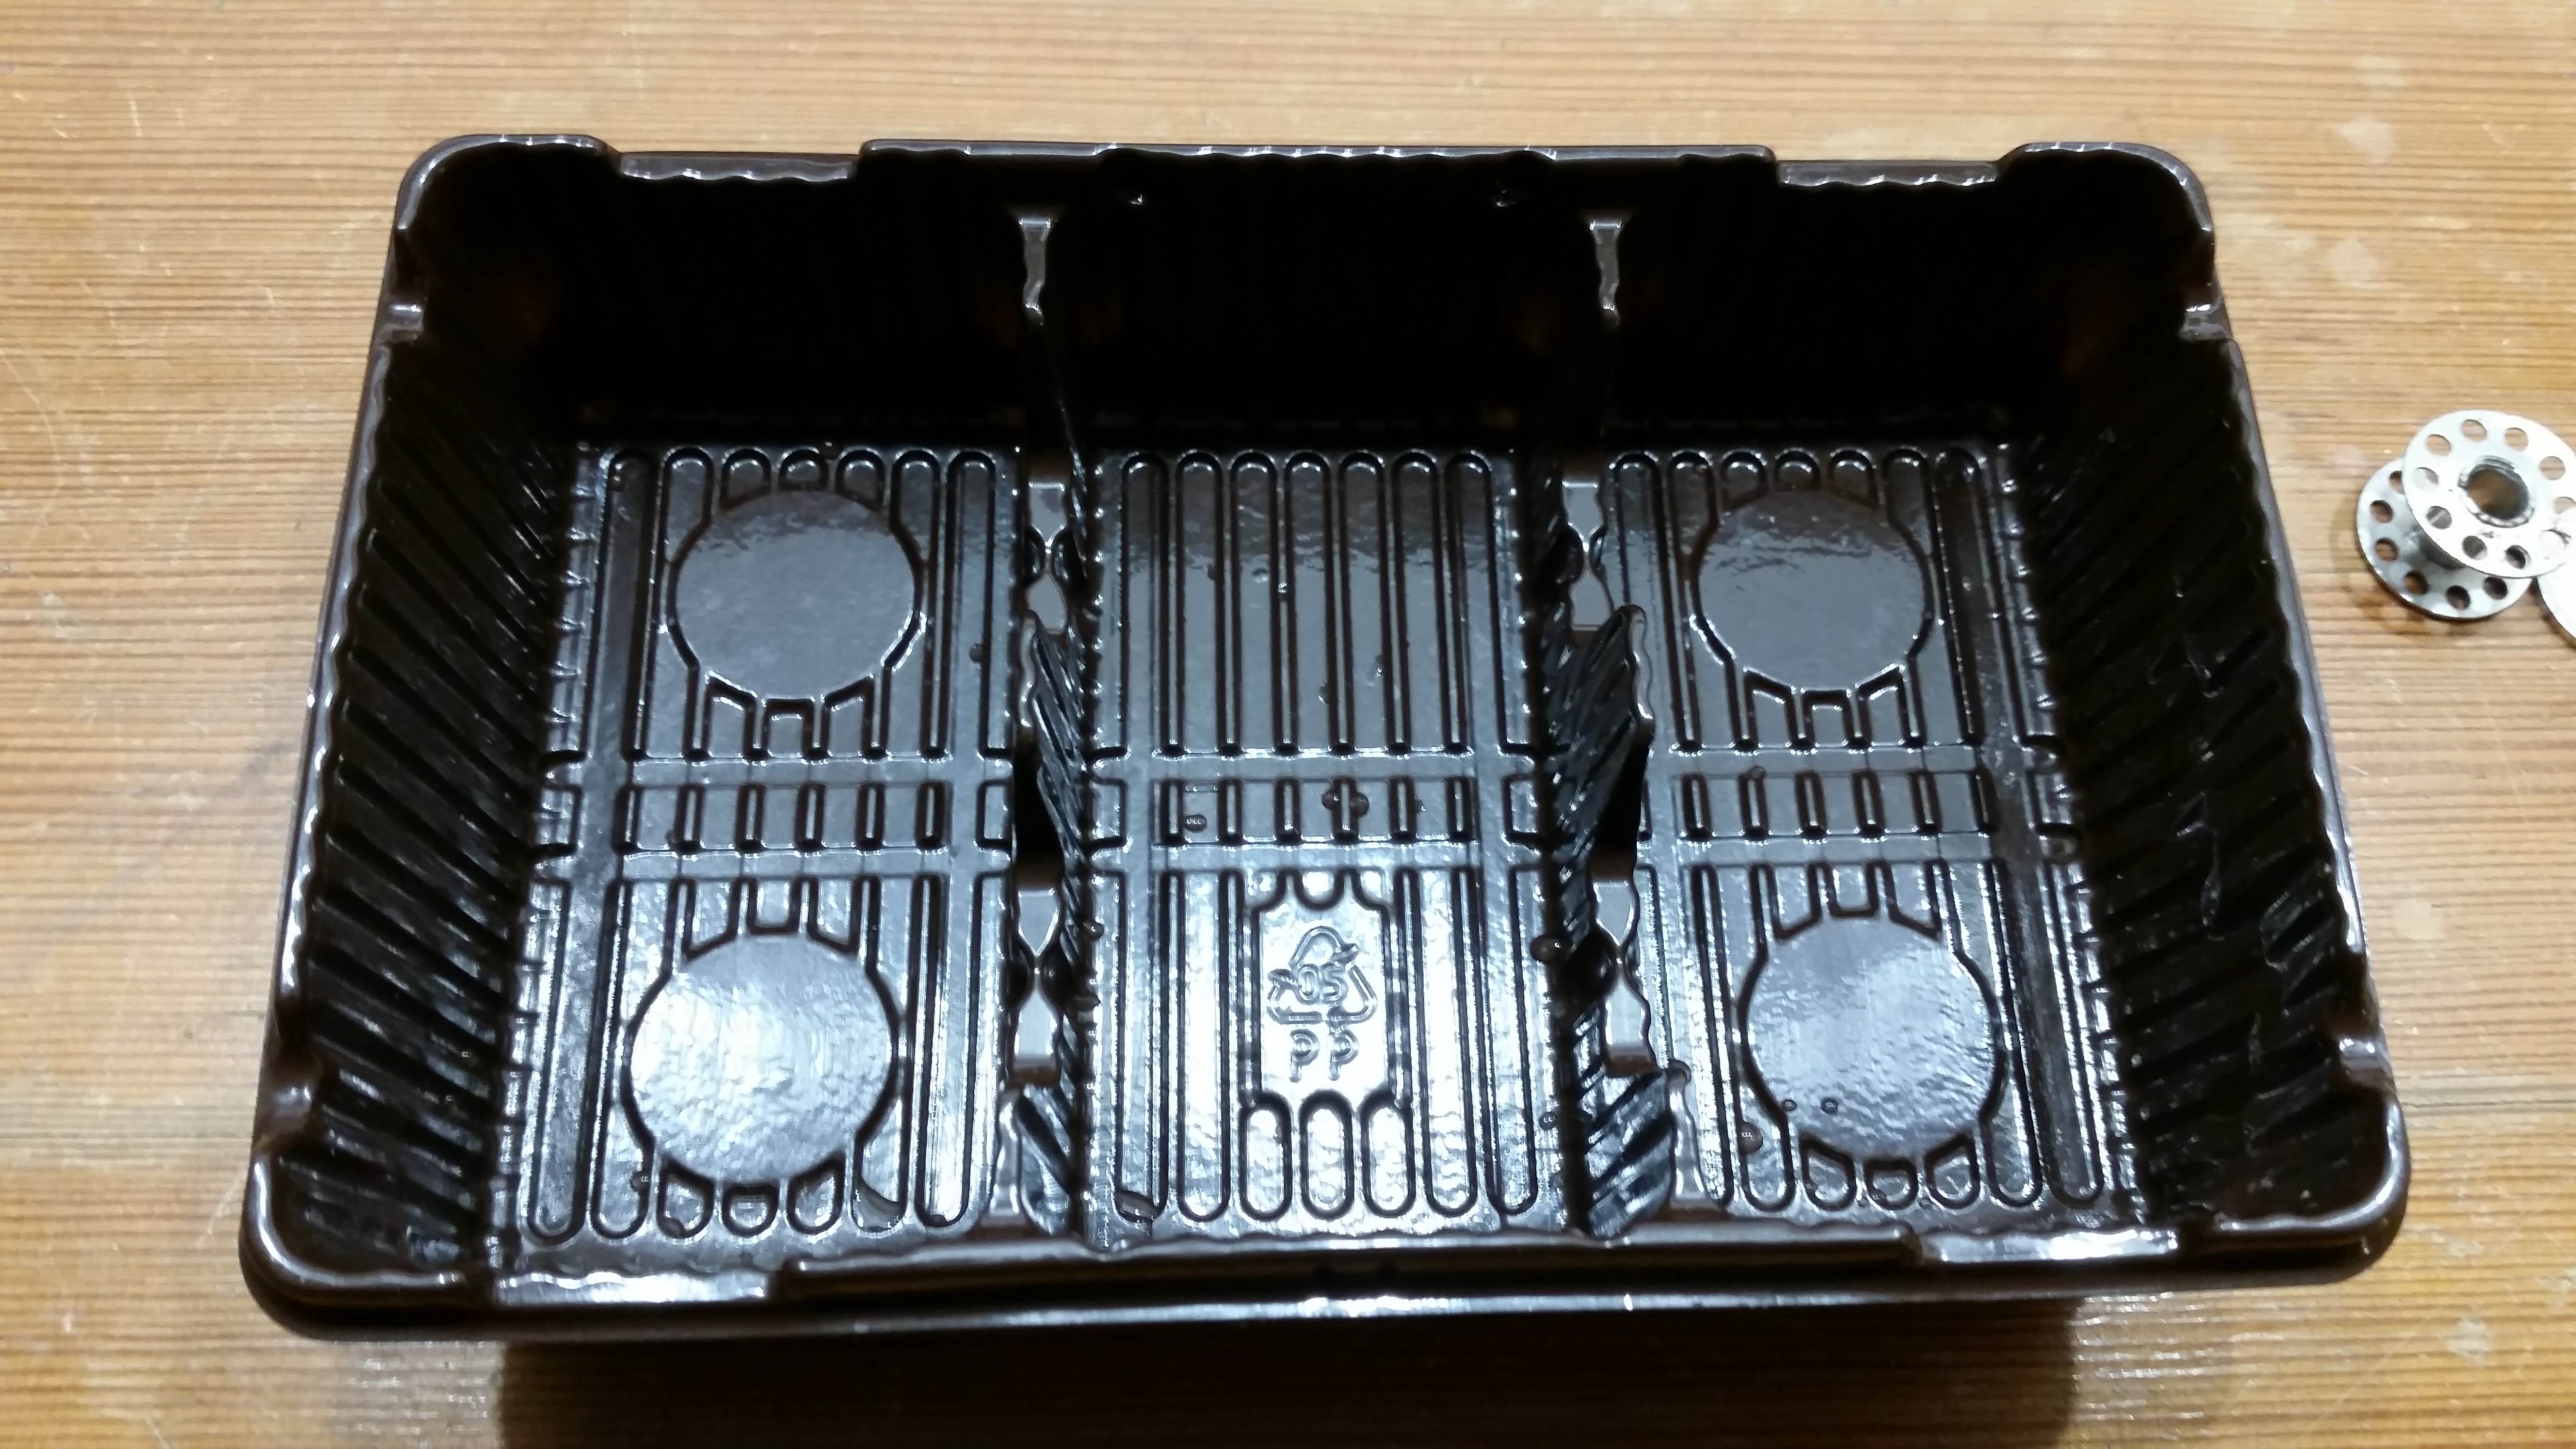
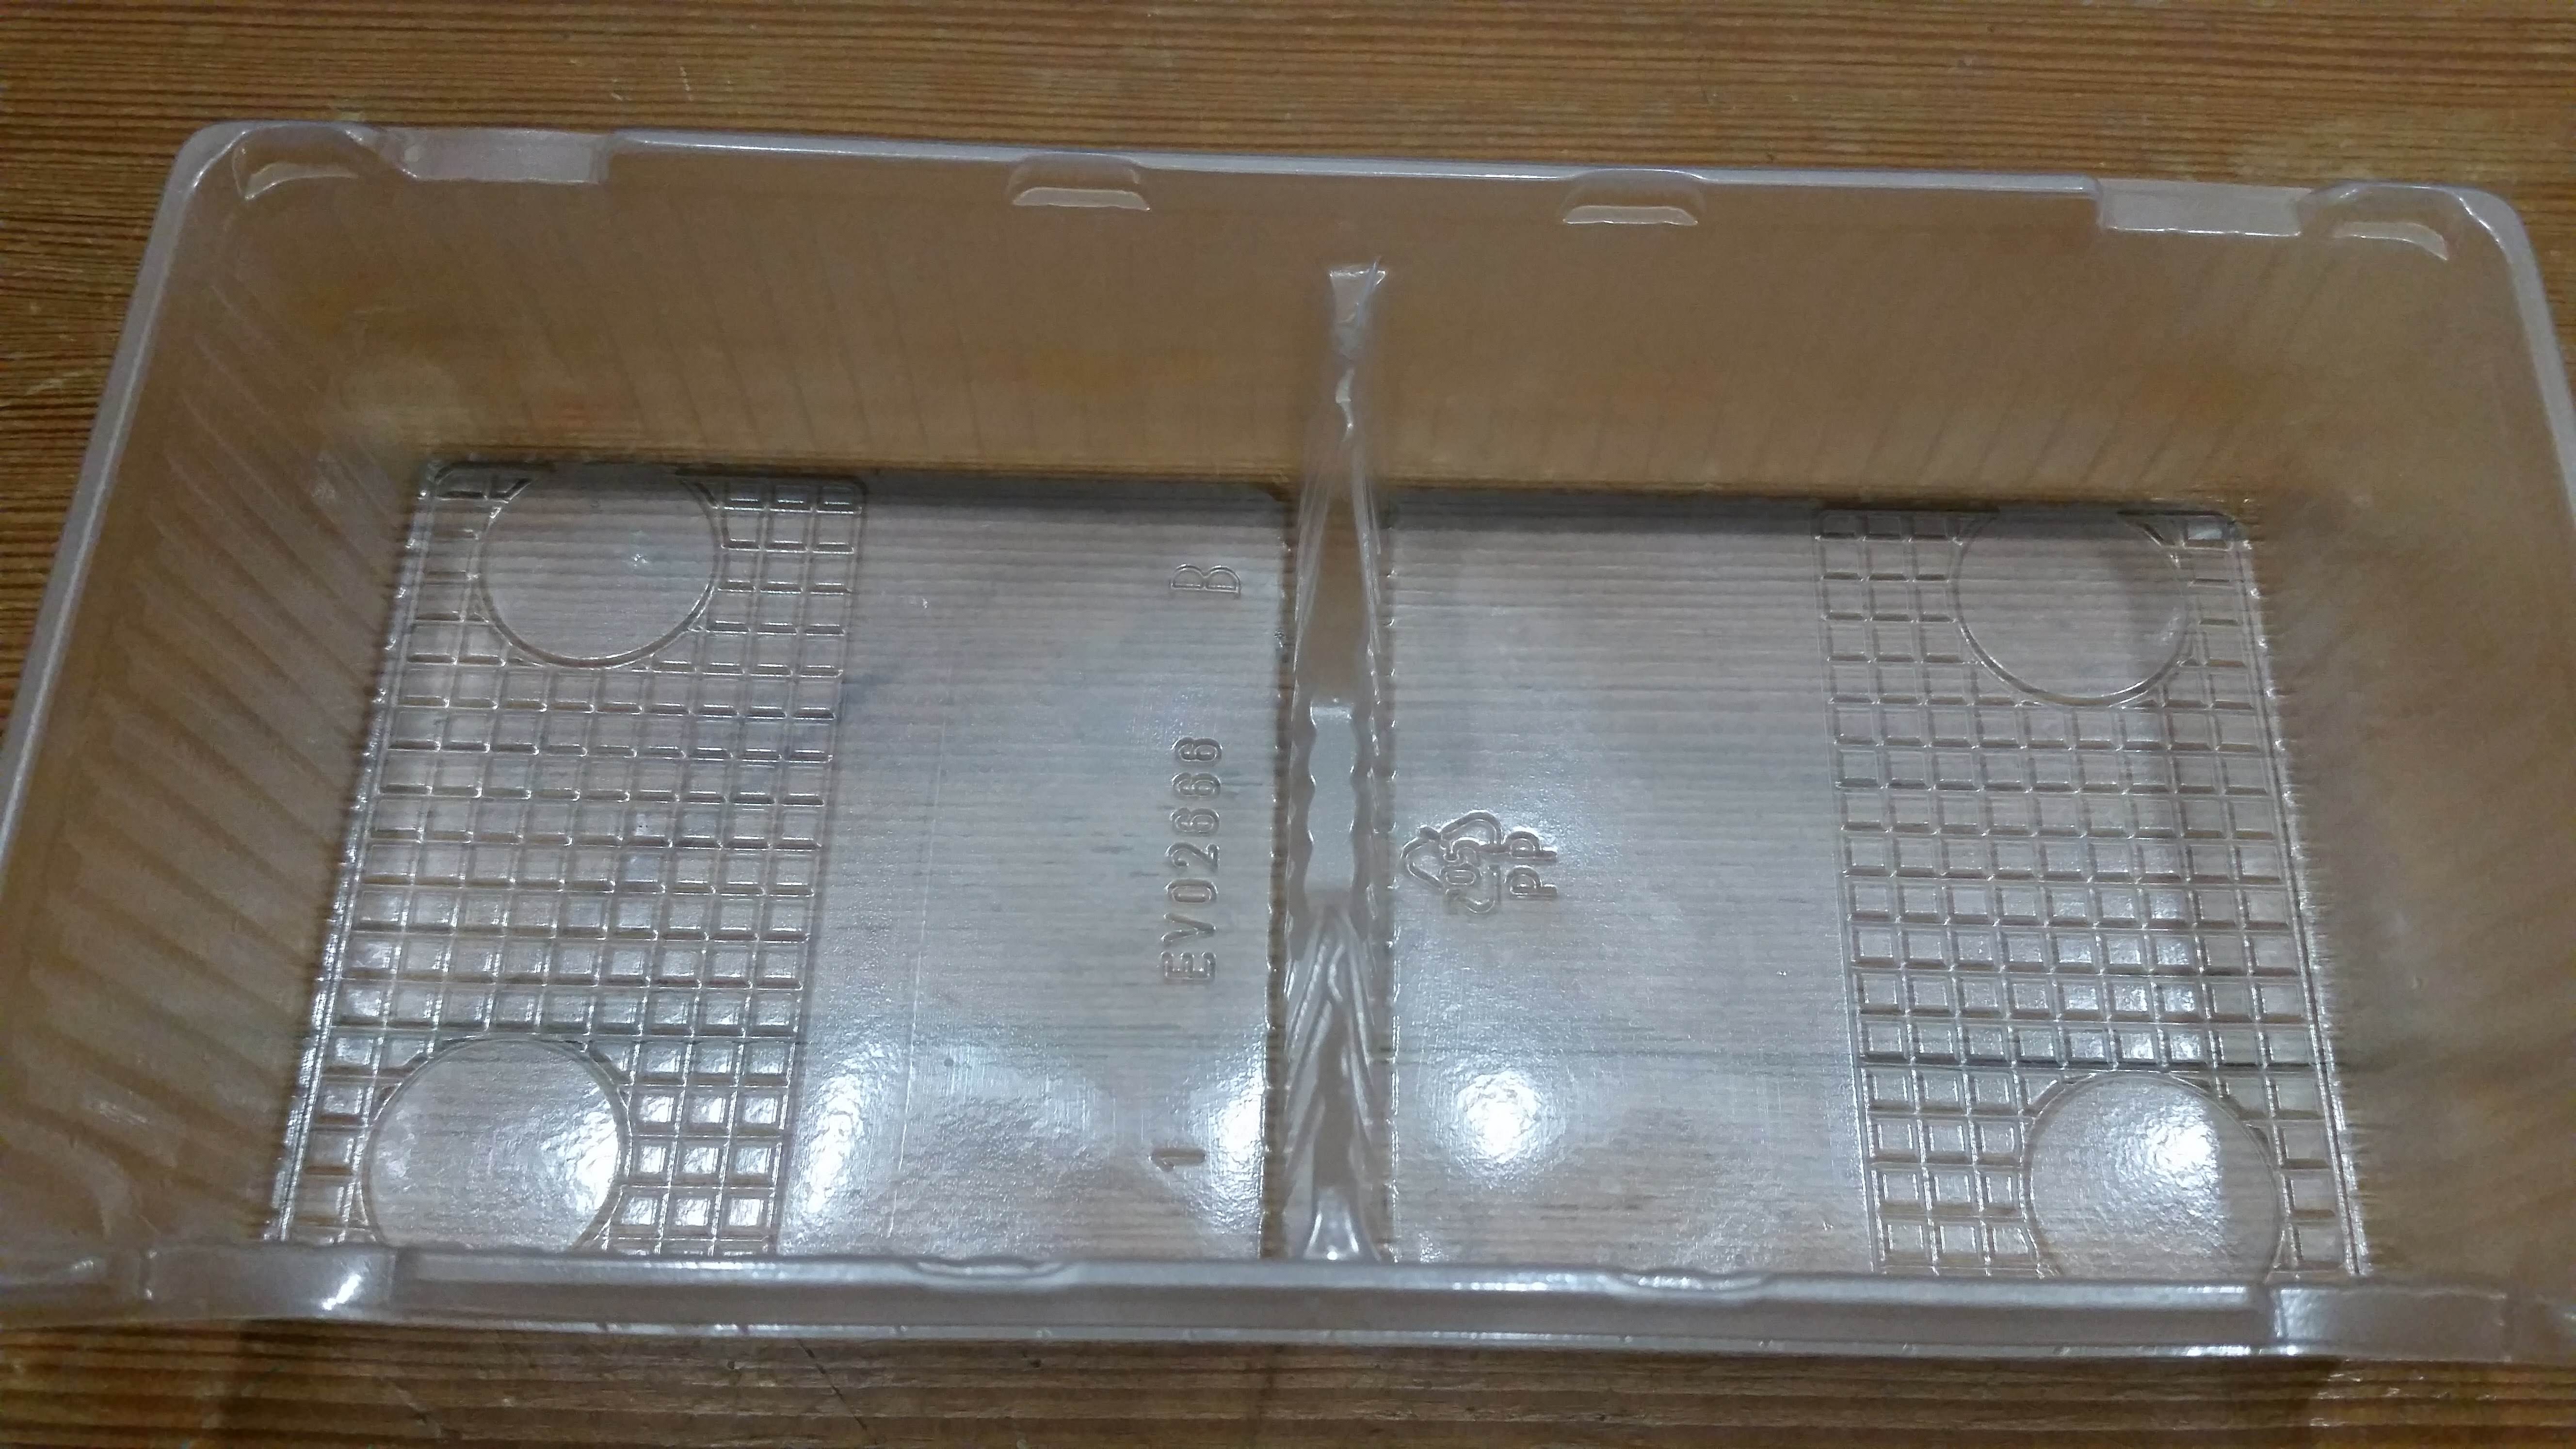
I had tried to preselect the biscuits by the apparent structure of their trays, but have not been too successful. Only the three trays pictured above seemed actually useful. But especially the one with the small square pattern looked very promising indeed.
I must also stress that I did not allow any preconceptions as to the taste of the biscuits which I might have had to influence my decision!
In addition to the biscuits trays I also had all of the following stuff lying around. All of which will come in handy in the following step.
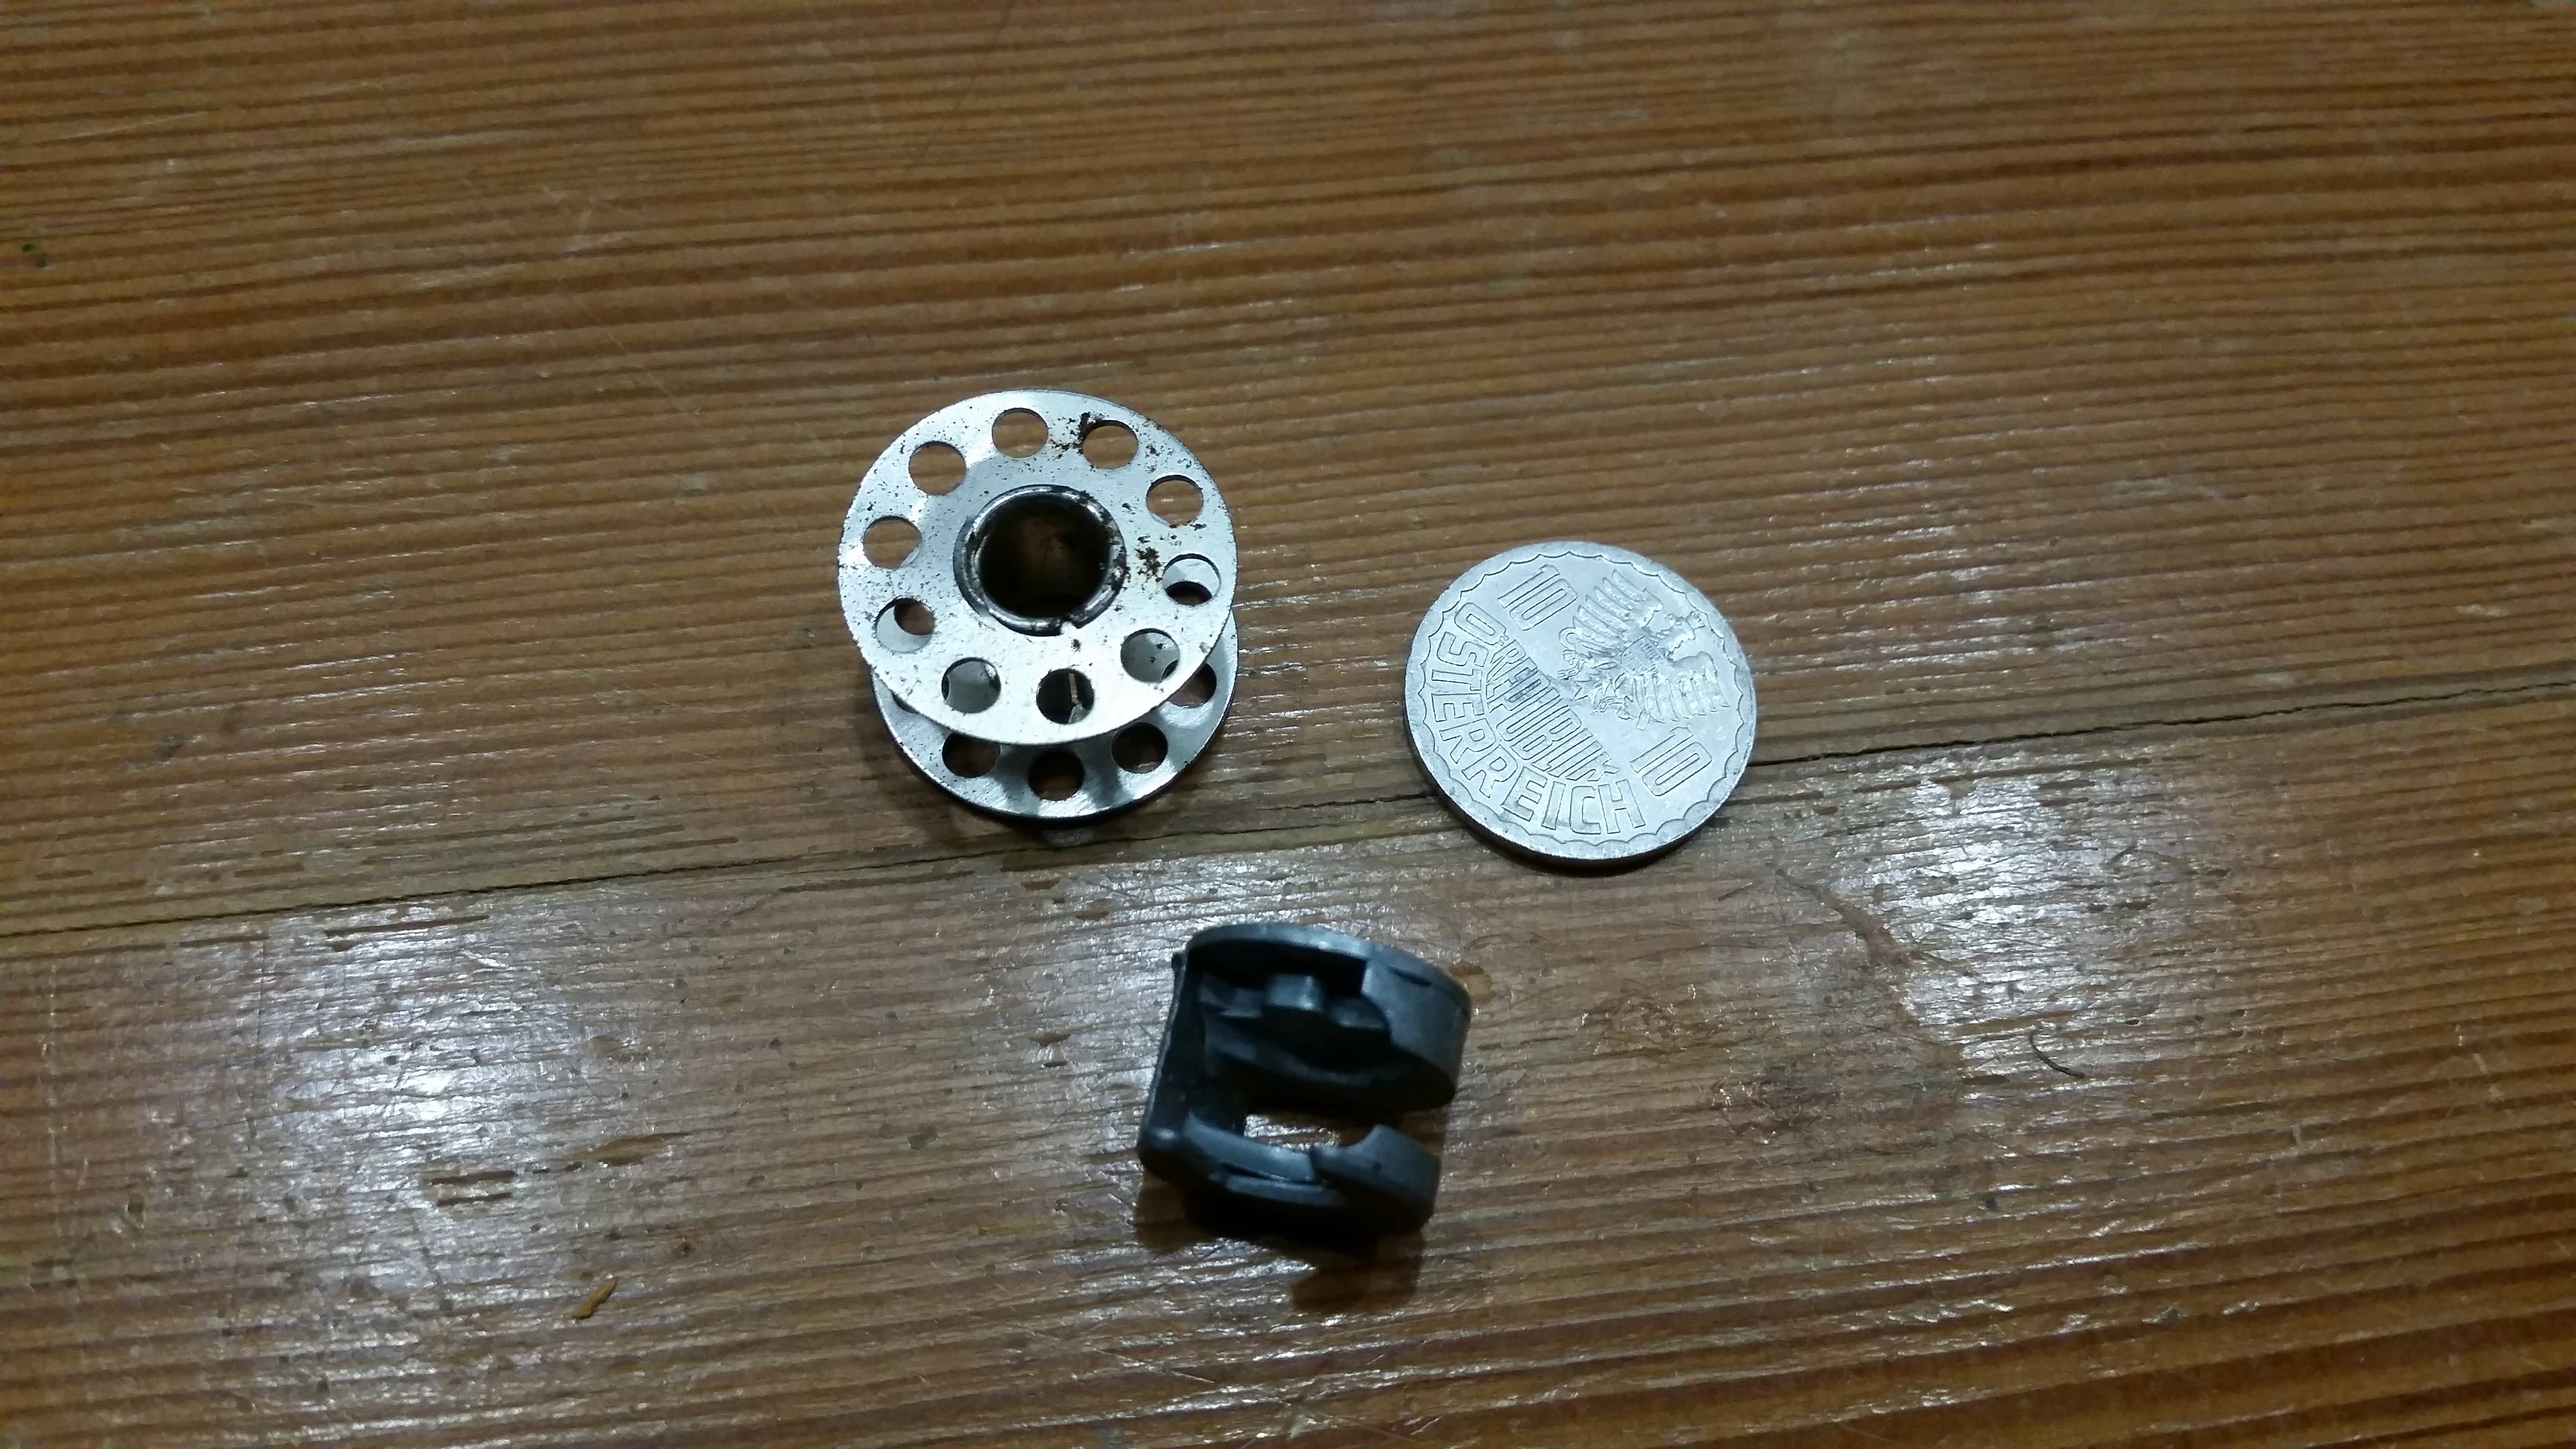
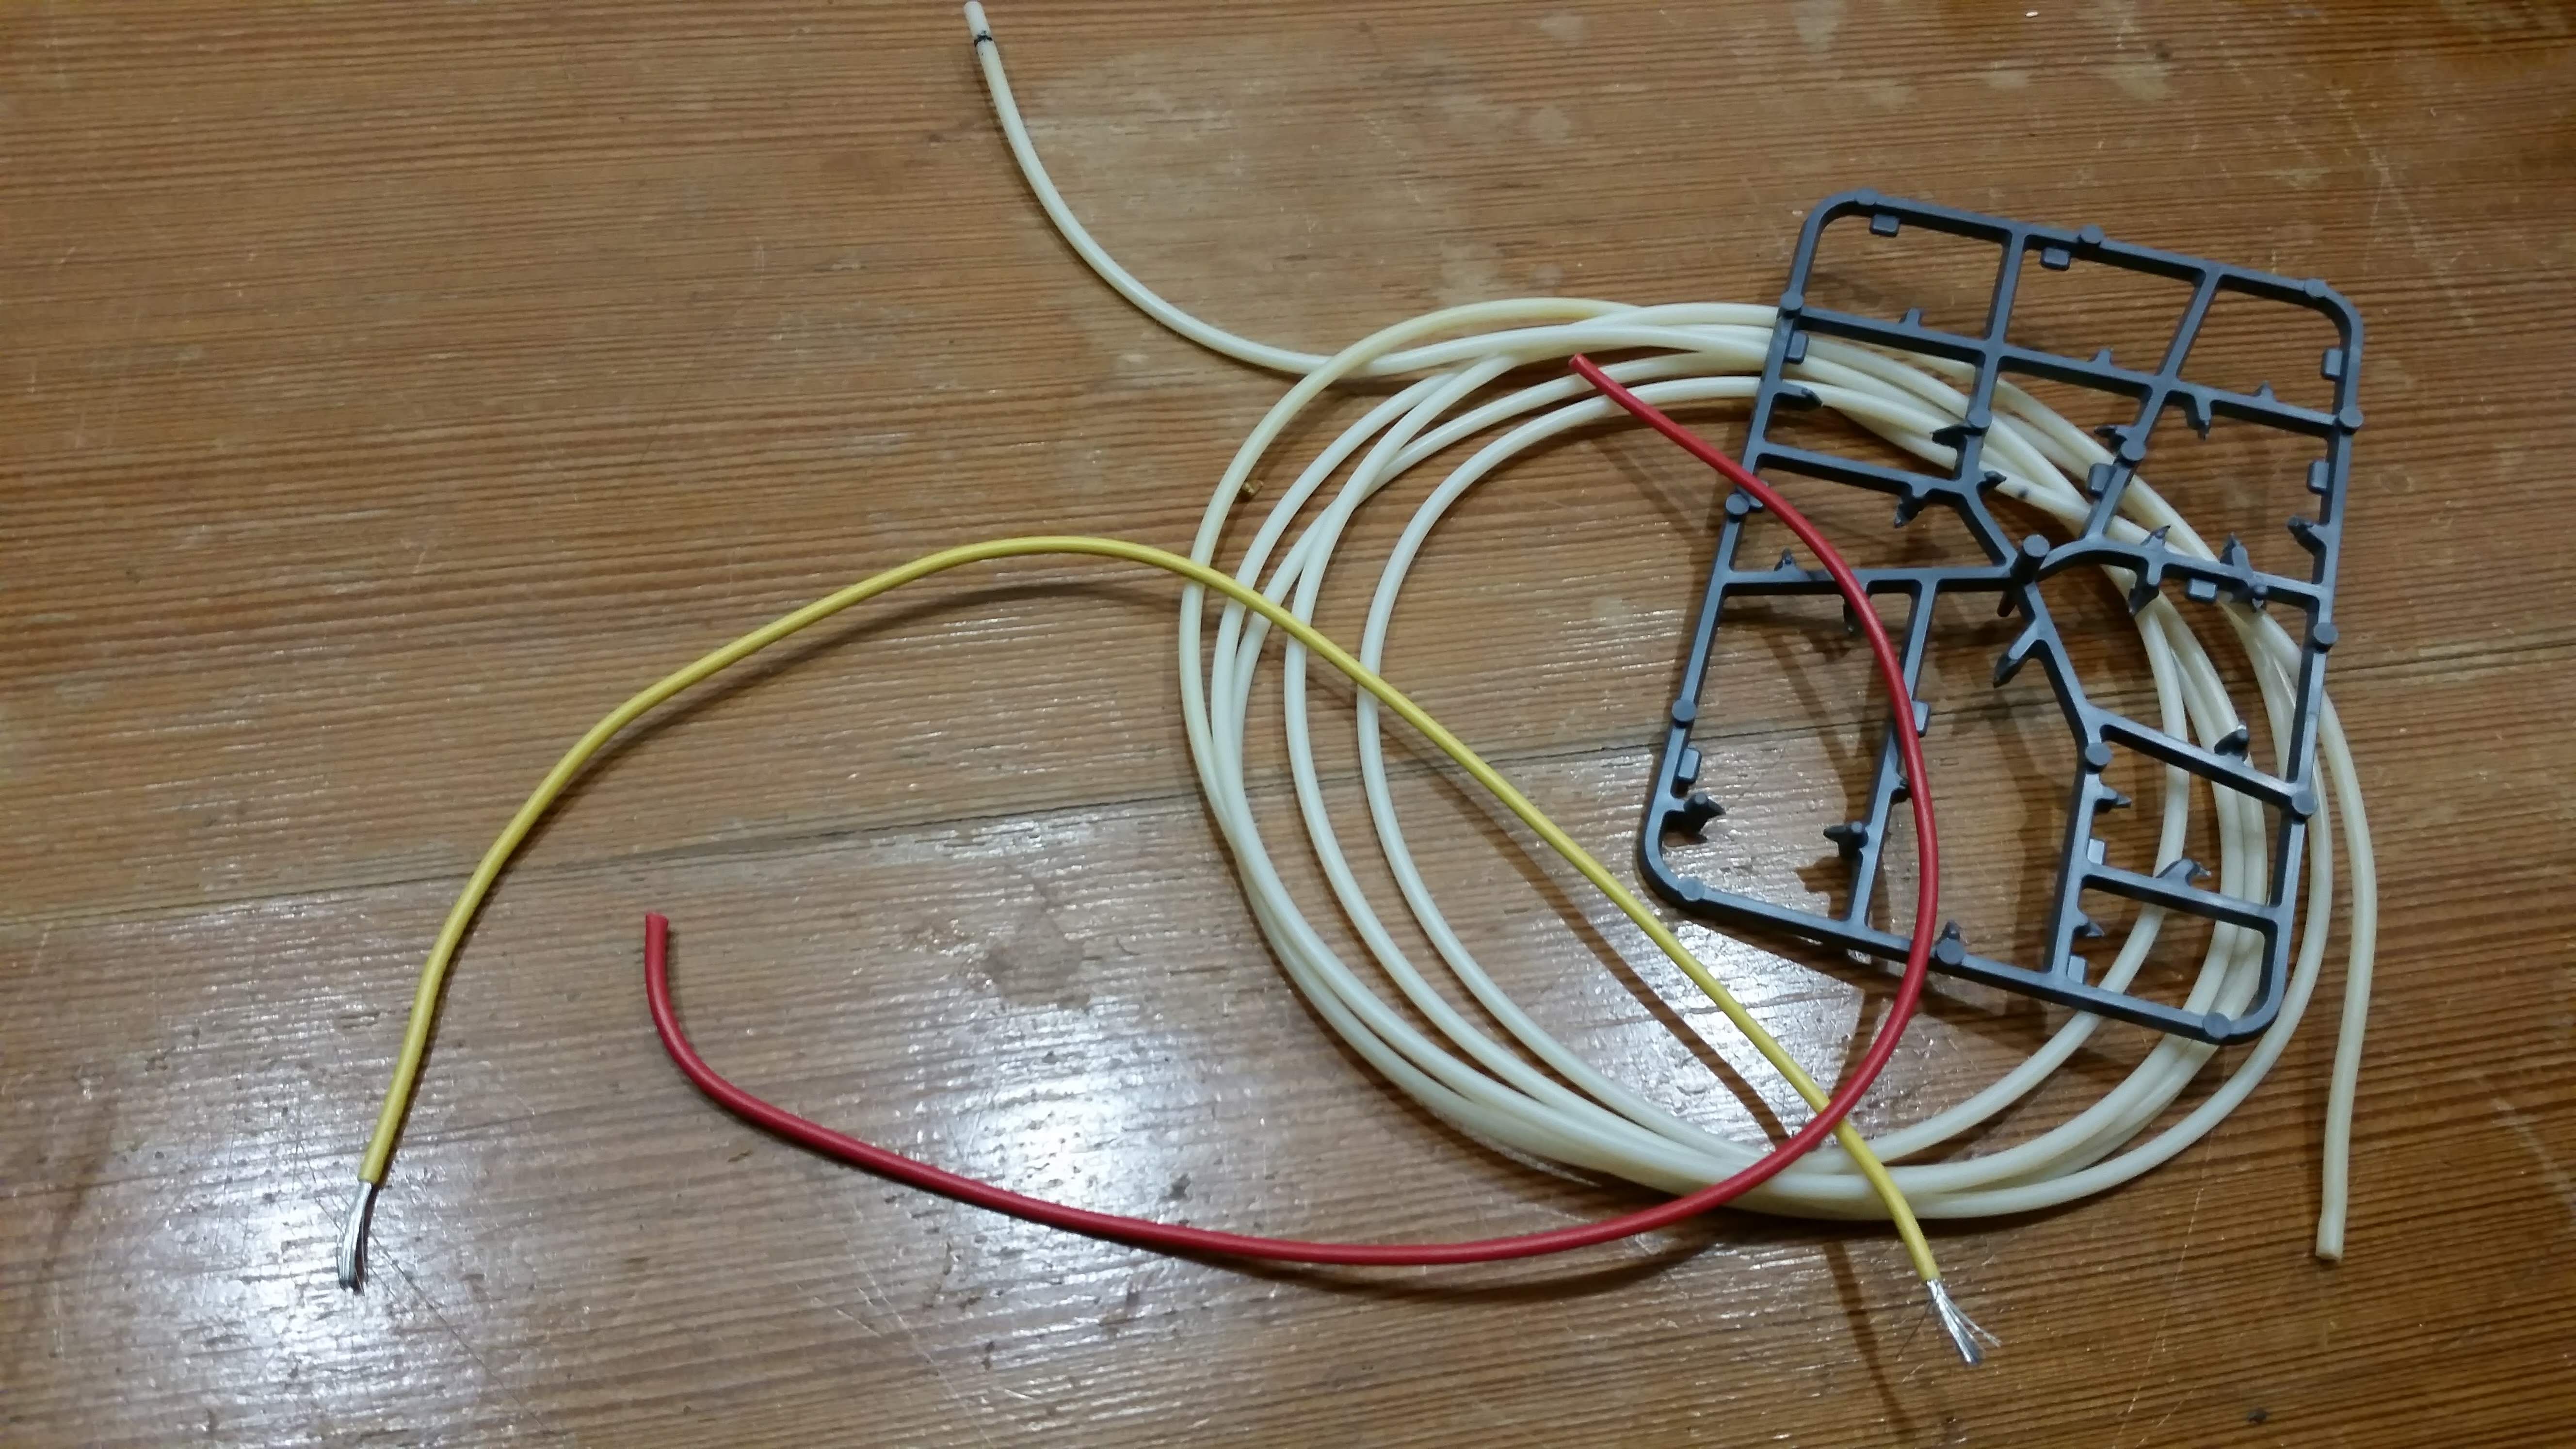
These are two pieces of metal wiring, some plastic piping I salvaged from a spirometry device, since I work with medical equipment. But piping like this can easily be bought online. Also we have an old yarn spool, an empty model blister and an old Austrian 10 Groschen coin which has an eagle on it. I am not an Austrian, but I have apparently traveled to Austria at some point before the introduction of the Euro and must have brought that with me. And of course a self-sealing stem bolt from IKEA.
And ideas for basing
I mentioned earlier, that I was not quite sure of how I would be basing the Terminators. I could just do the same thing I do for the other Griffons, but that would not be very fitting to the Space Hulk theme. Even though I did promise Loyd a tutorial on how I did those bases about a year ago.
What i am planning on doing is something that will stick with the red and brown colour scheme of my existing Space Marines bases, but looks like it is part of a Space Hulk.
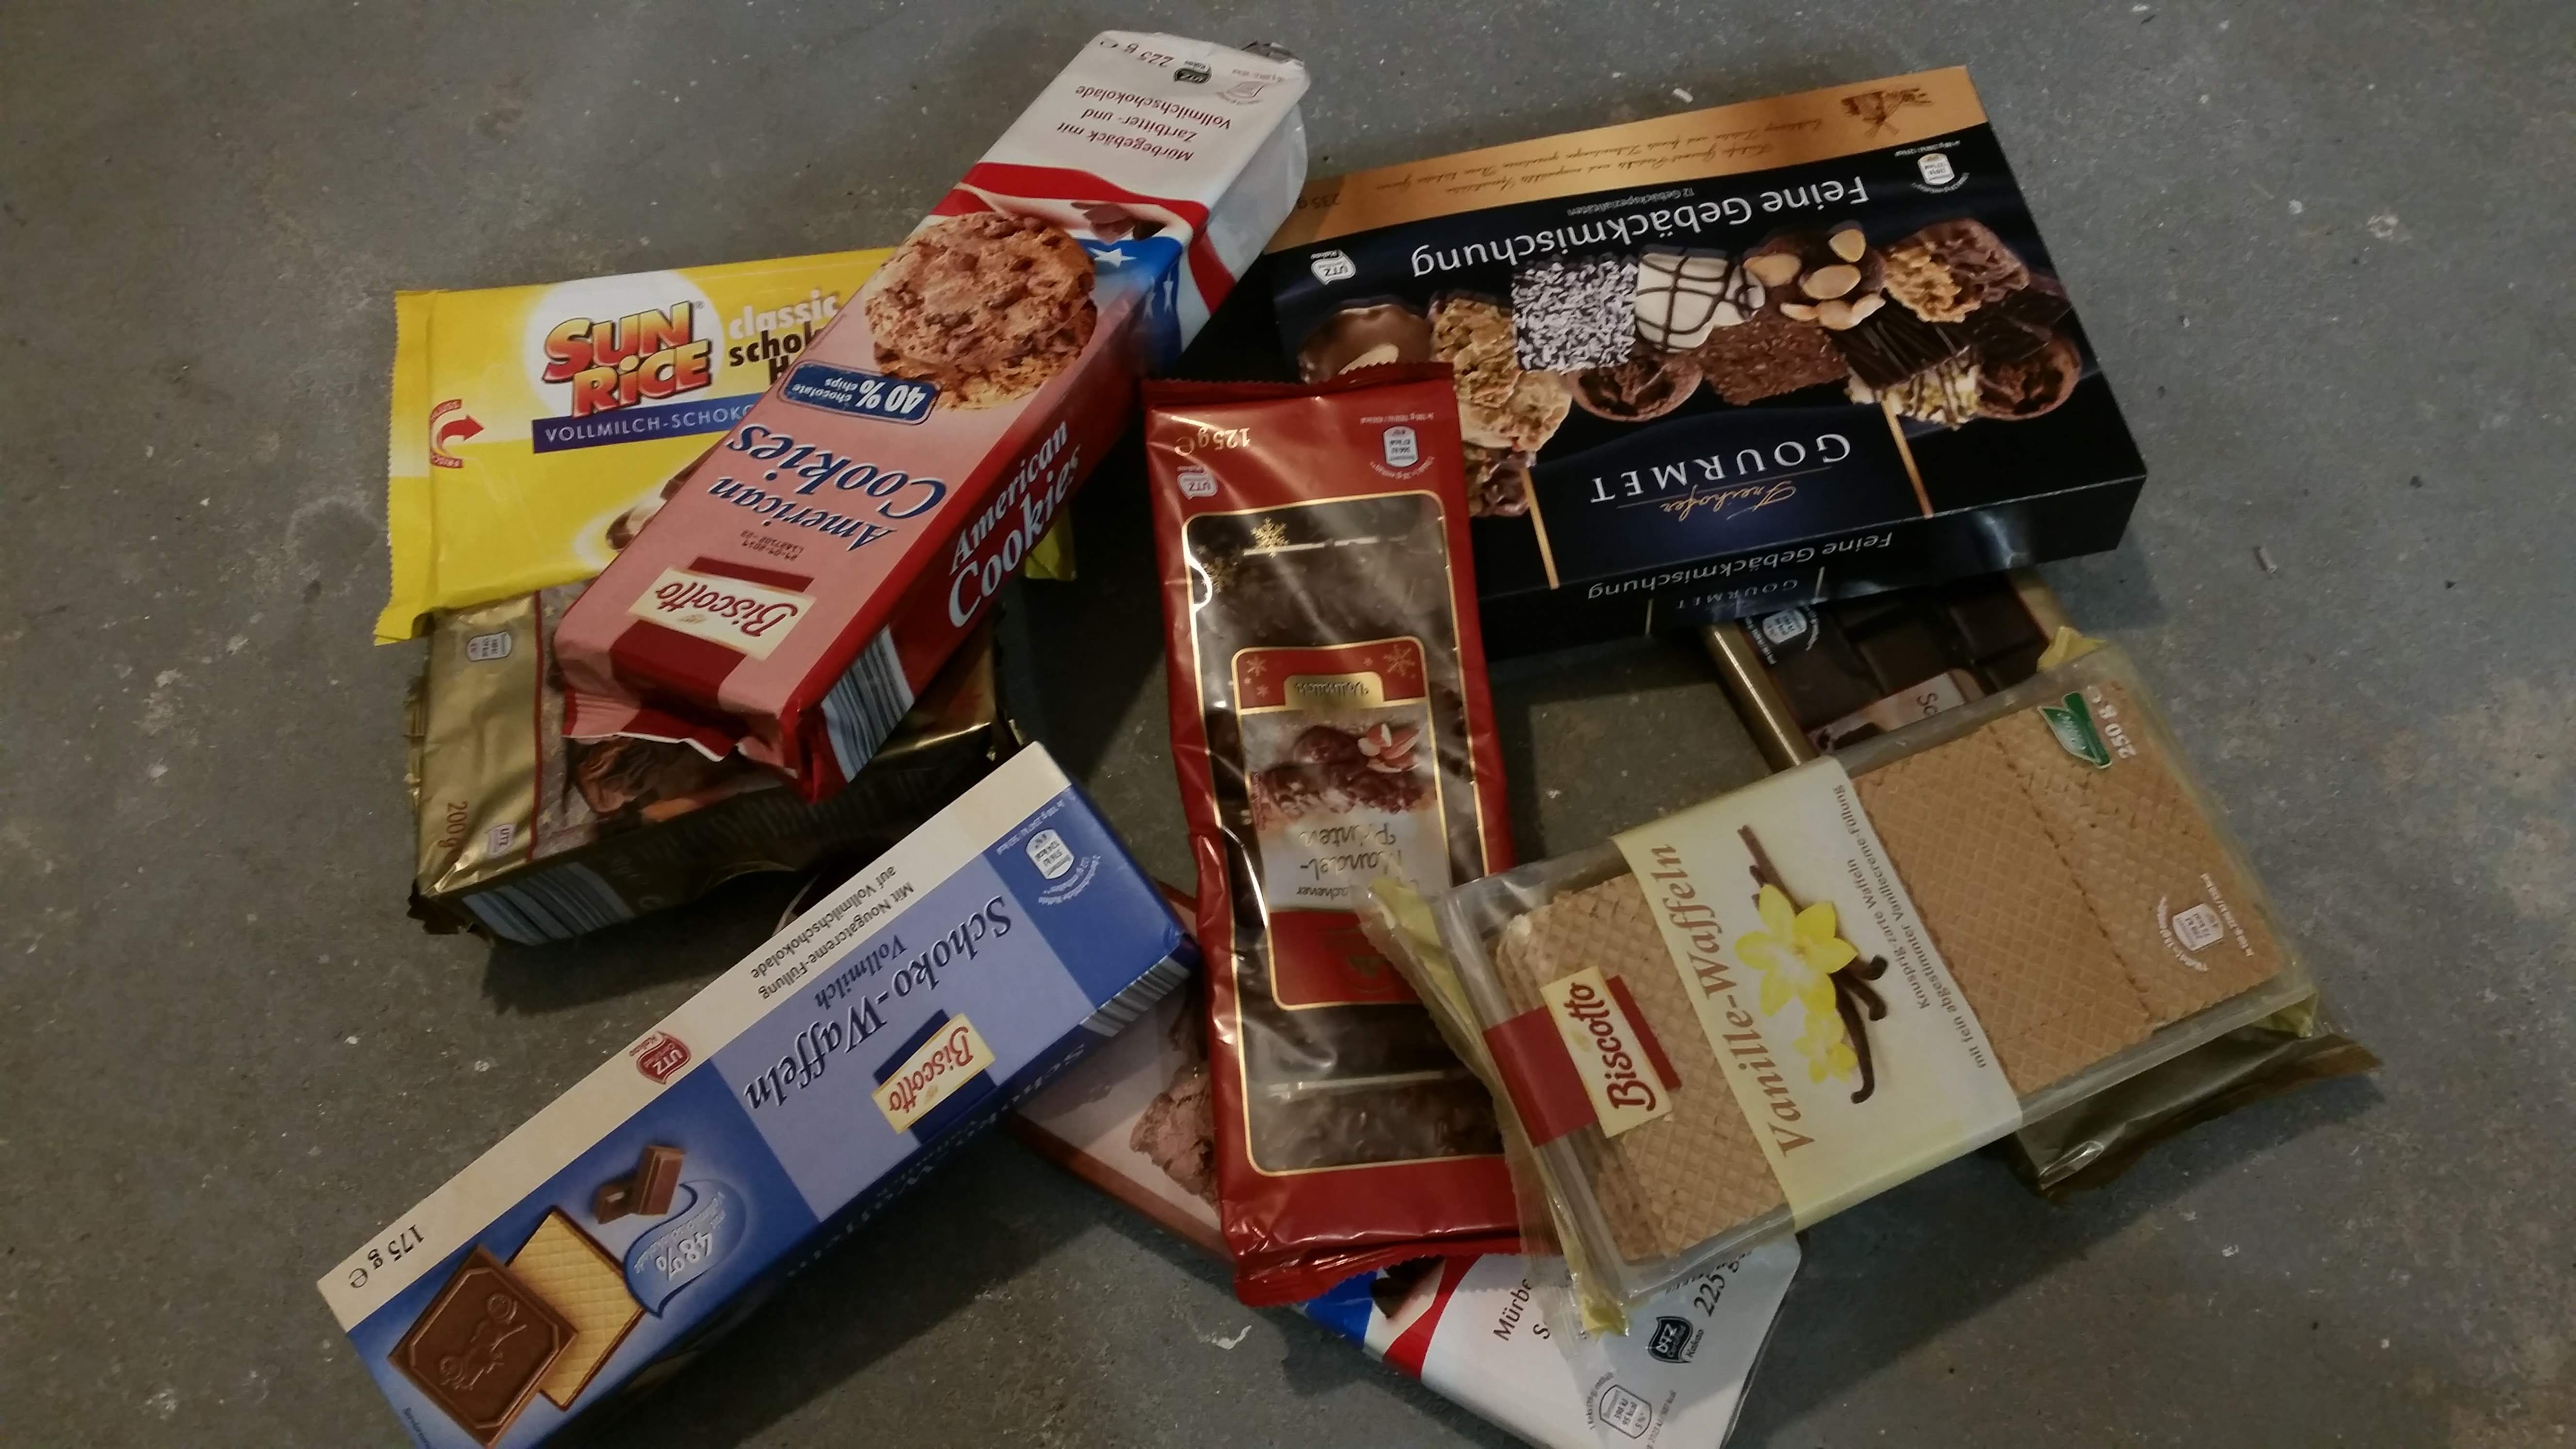
I have been gathering a few odd bits throughout the last week and this morning i went out out to buy the remaining basing materials.
This is what I brought home:
 Stay tuned to find out for what I will try to do with this.
 By the way. I have not done yet, whatever it is that I plan on doing. So this might actually fail. The following part on basing I will not have been prepared for in any way, other than having bought far too many biscuits.
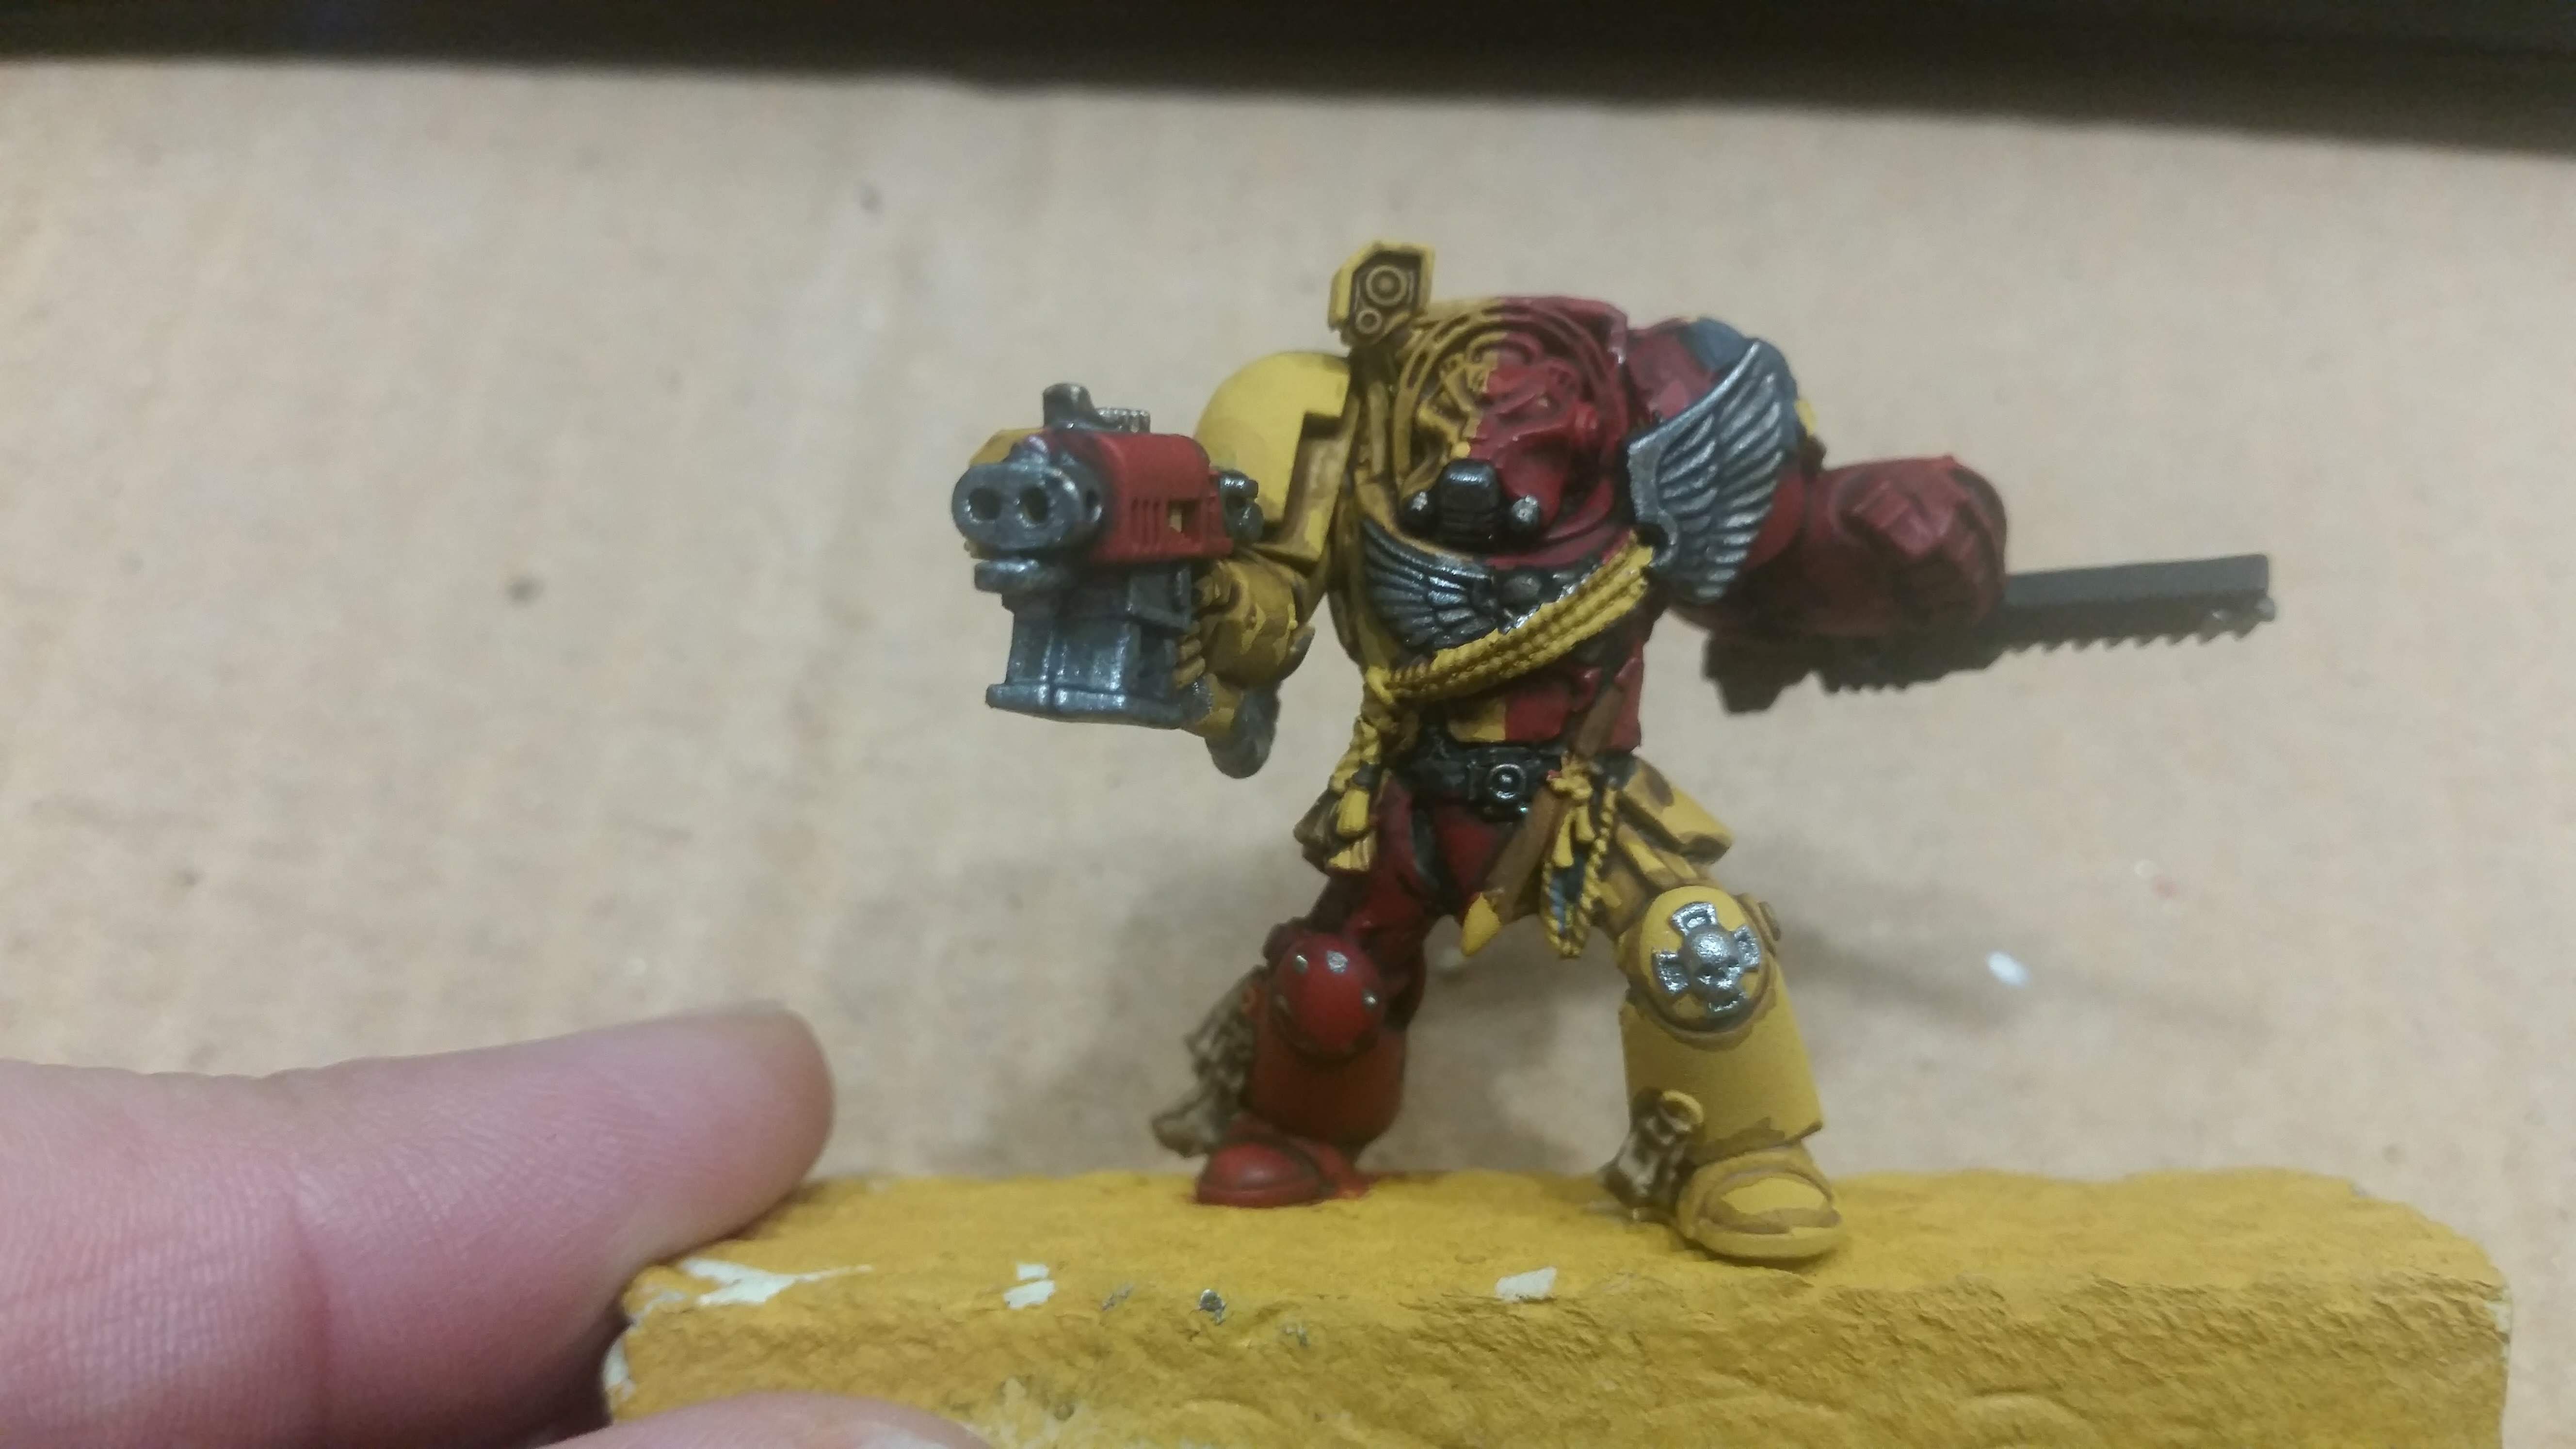
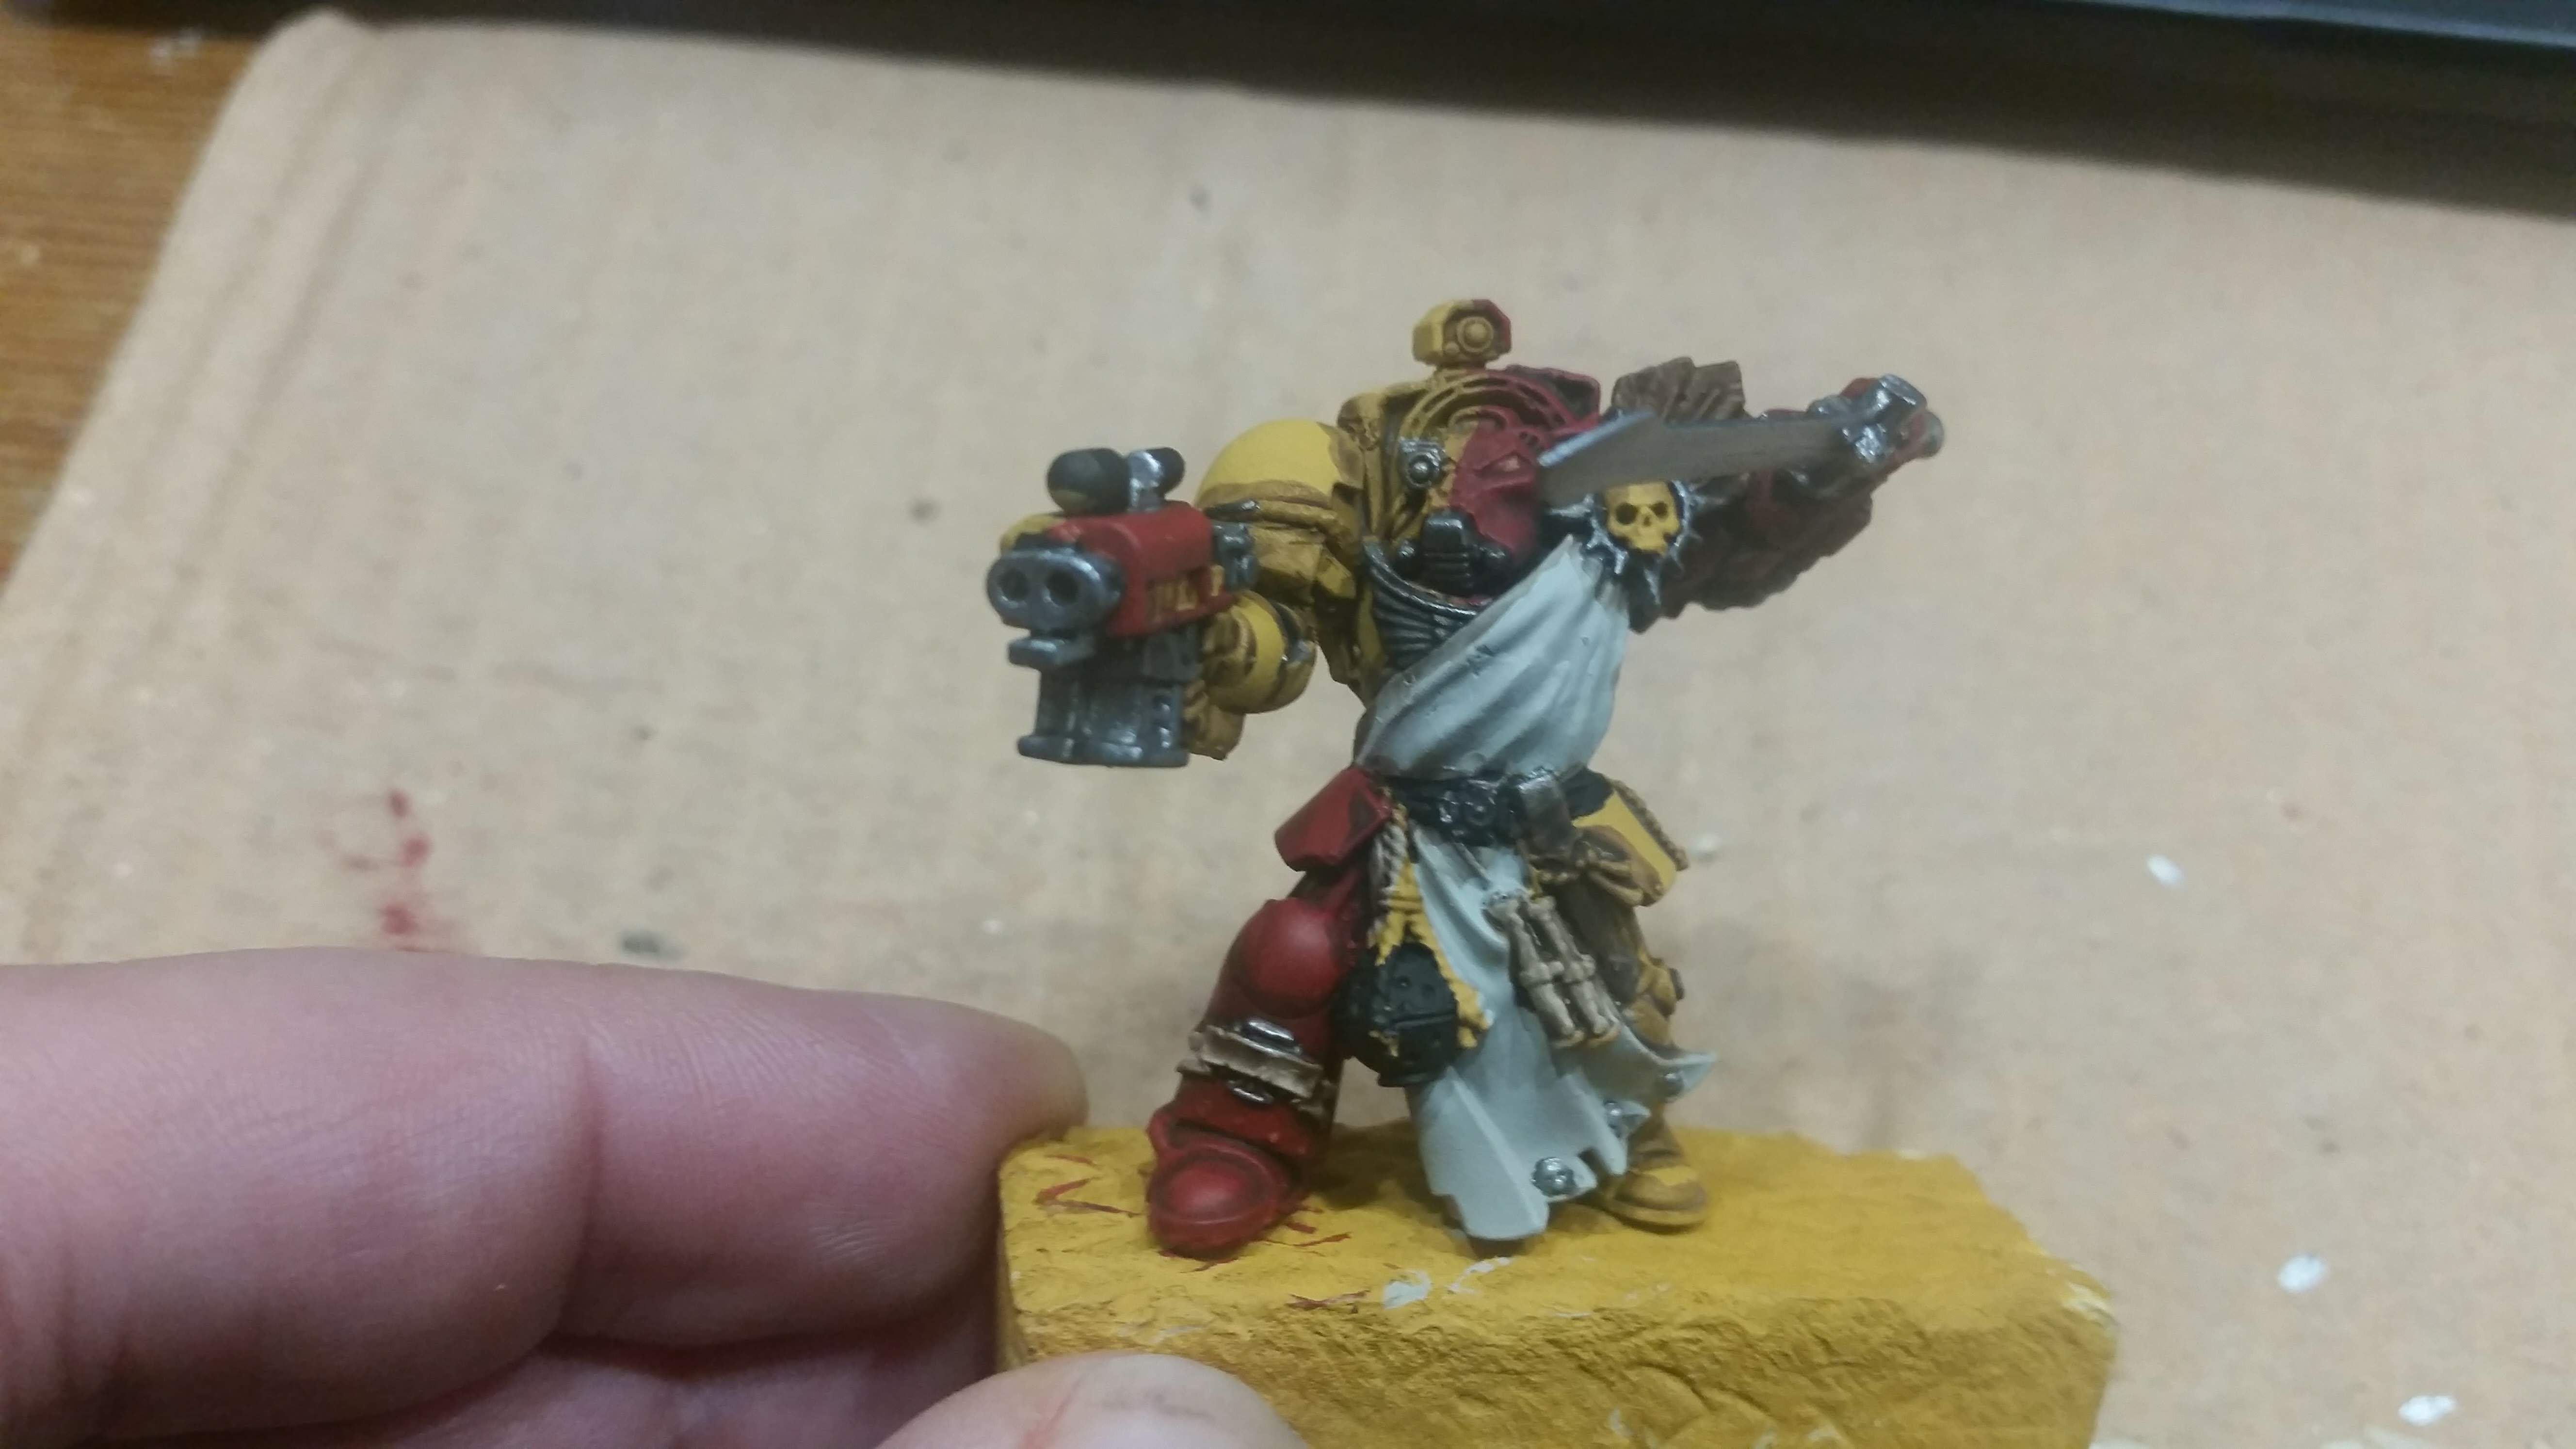
More painting
It appears that daily updates on the painting process are not very practical. So here is a small update on what I have been doing for the last week.
I have been putting down the base coats for some of the larger detail areas, like feathers, the terminator crosses and the metal pieces.
After that I have been adding the line shadows to both sides of the armor and have finished cleaning the yellow sides up this morning. That is the hardest part of the work done. The red sides go much easier and are far more forgiving.