


![1918 Spring Offensive Wargame | Full Rules Overview with John & Gerry (WW1 Tabletop Game) [7 Days Early Access]](https://images.beastsofwar.com/2026/03/unboxing-warfulcrum-games-1918-spring-offensive-review-coverimage1-225-127.jpeg)


3d Printed Space Hulk Terrain (stl files from Printable Scenery)


Recommendations: 233
About the Project
I've been inspired lately by the community focus surrounding Space Hulk and having more or less printed enough buildings for a fantasy town board, I can now redirect the printer (a Flashforge Finder 3d printer)
Related Game: Space Hulk
Related Company: Games Workshop
Related Genre: Science Fiction
This Project is Active
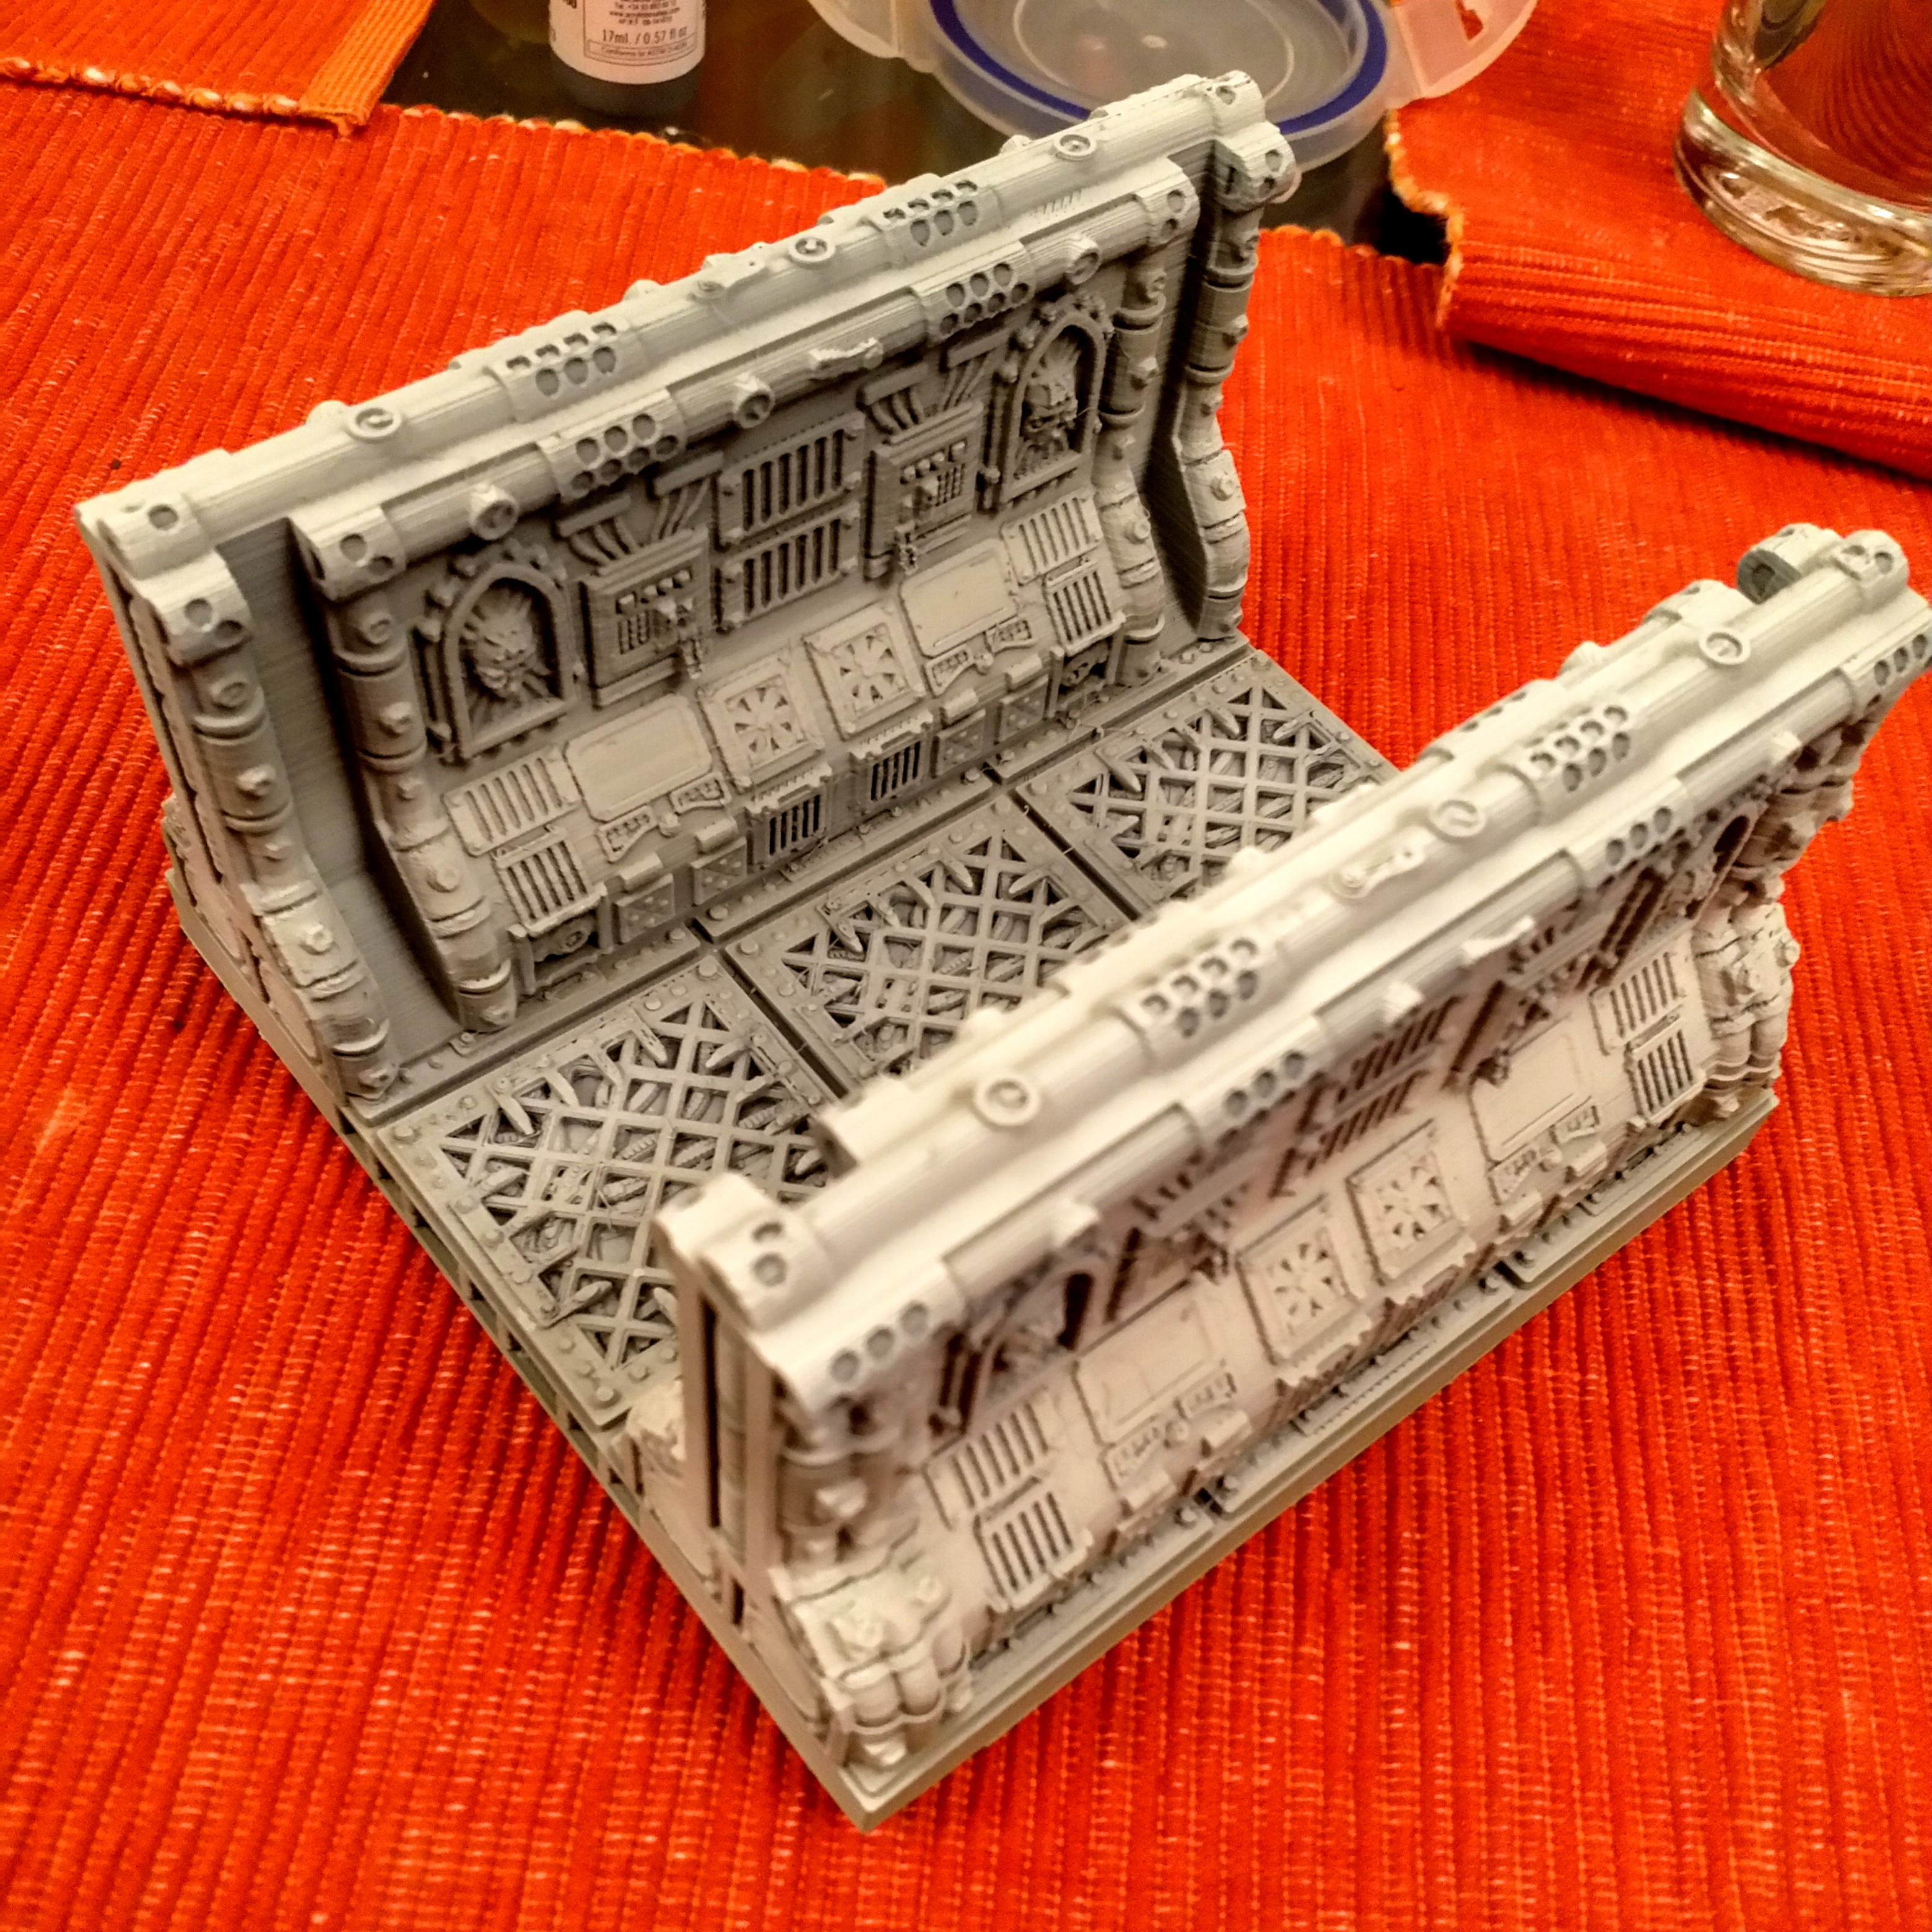
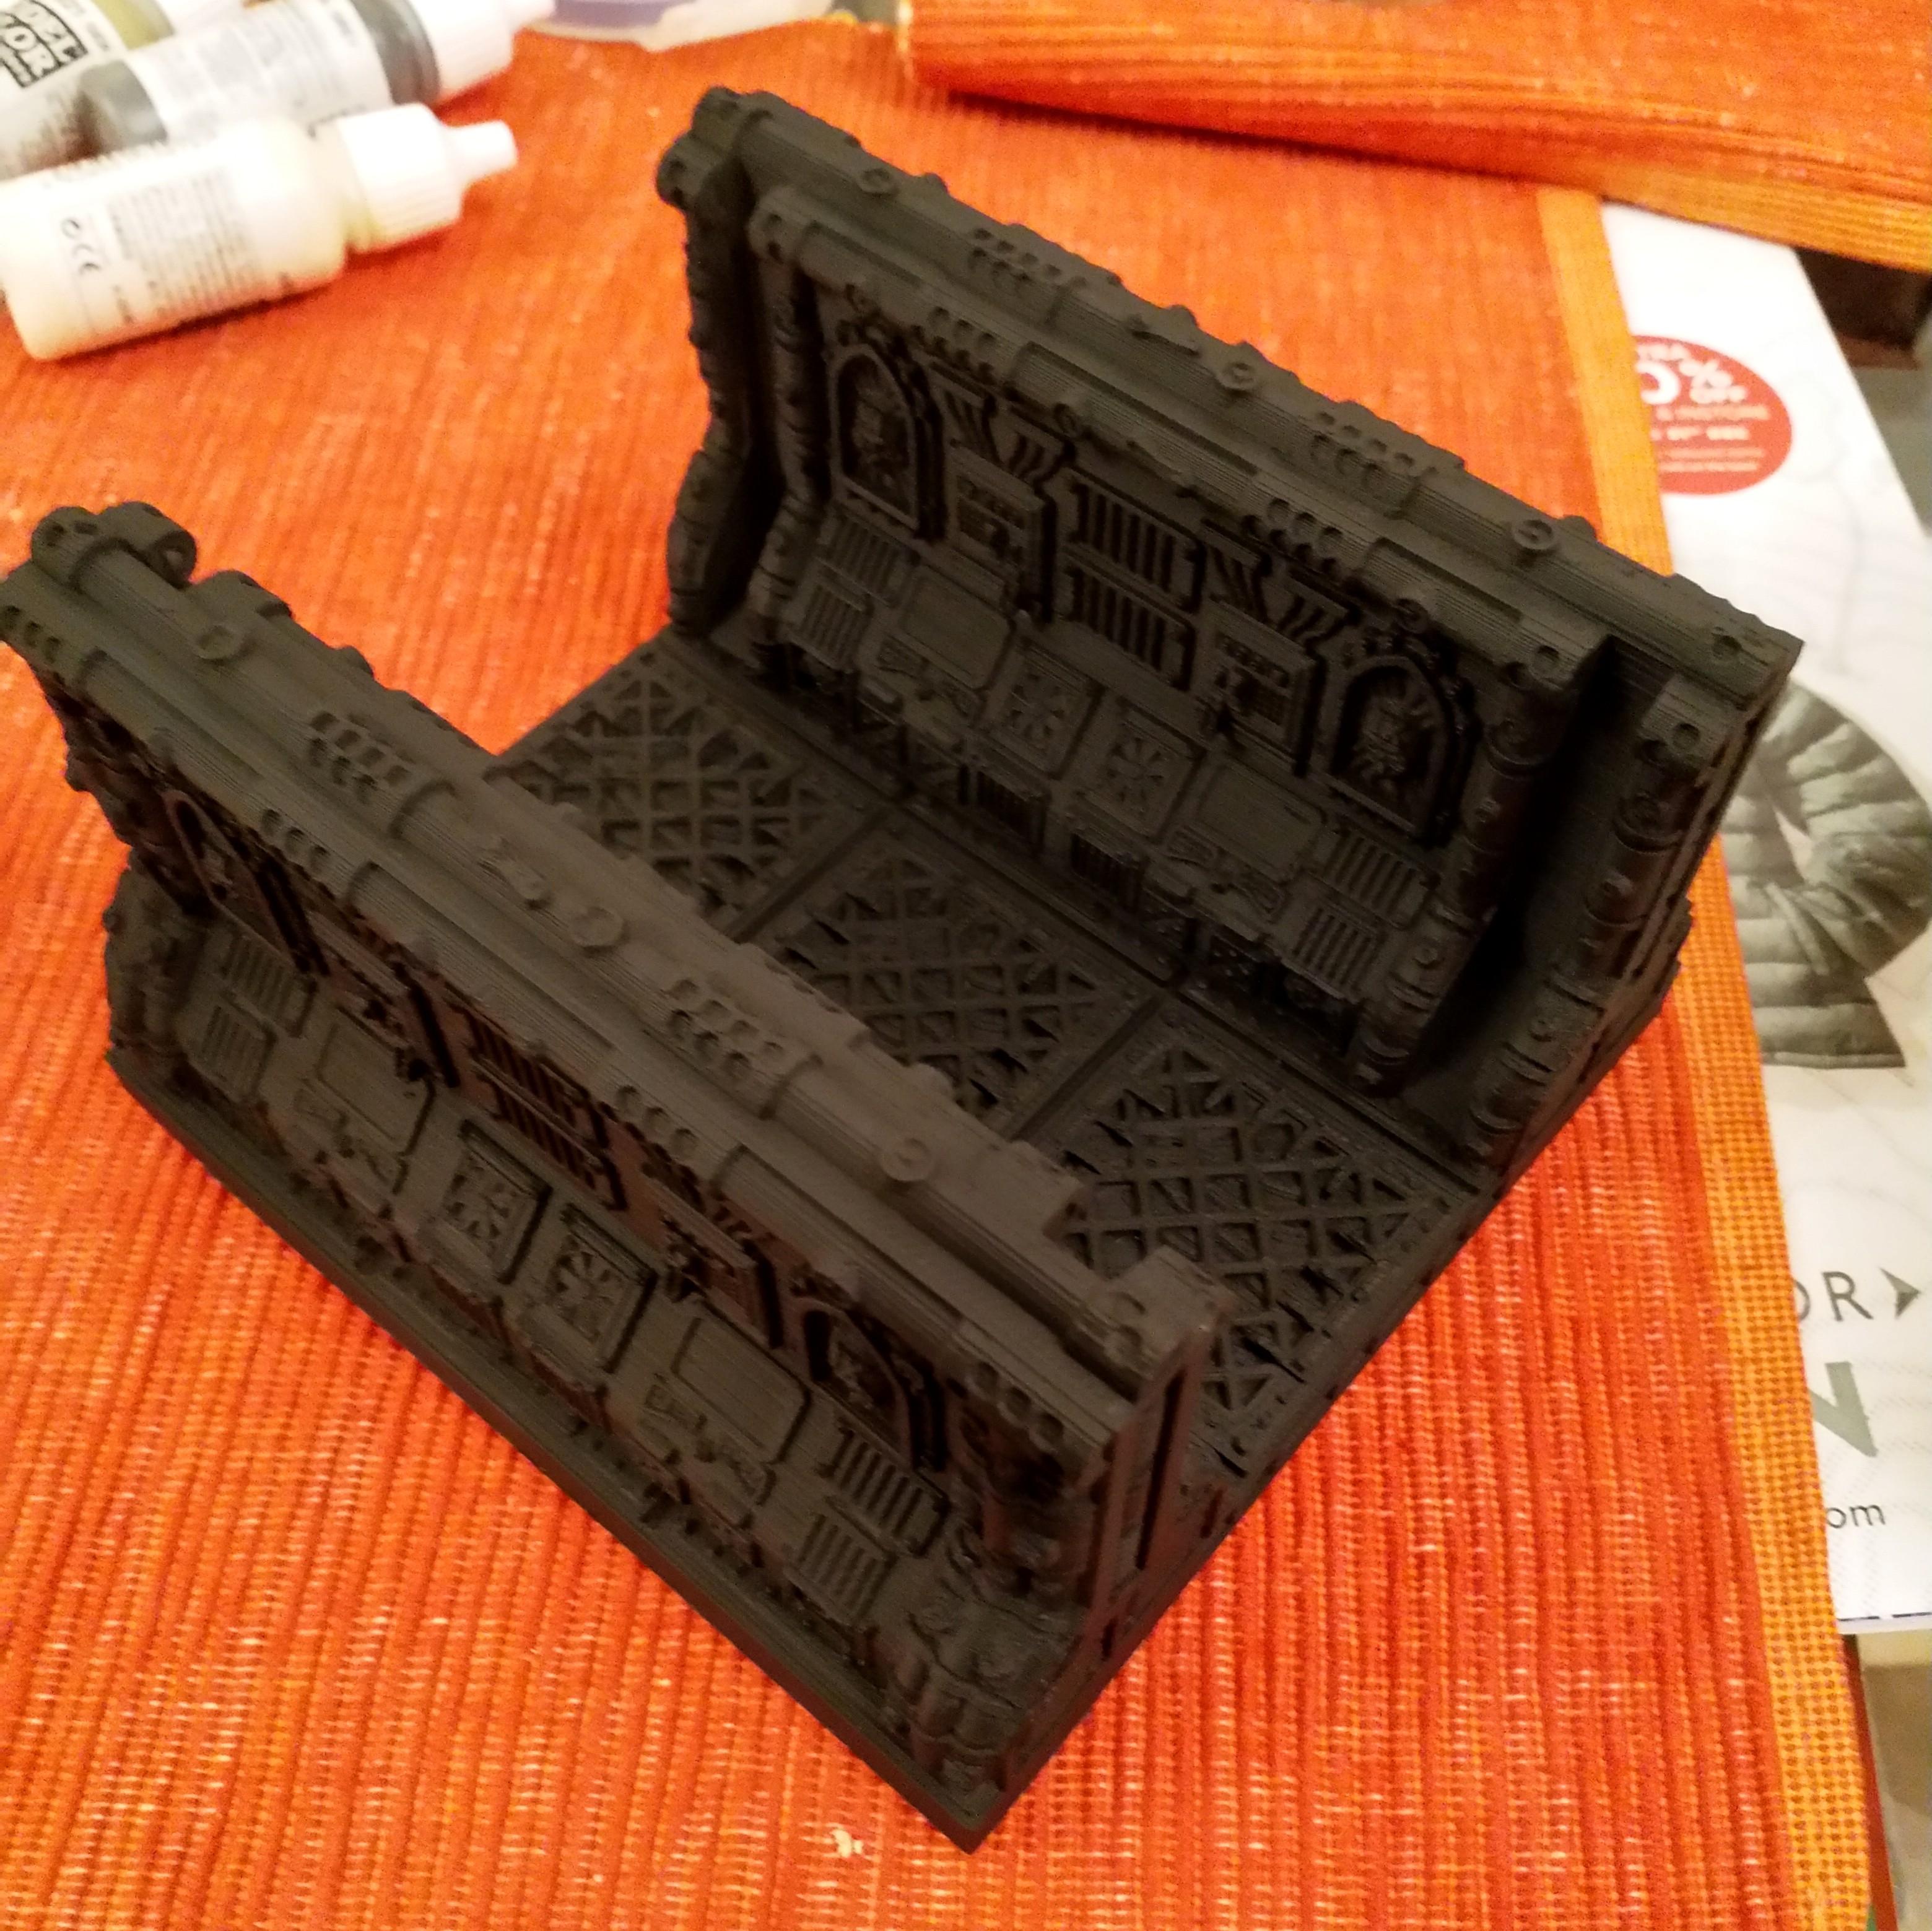
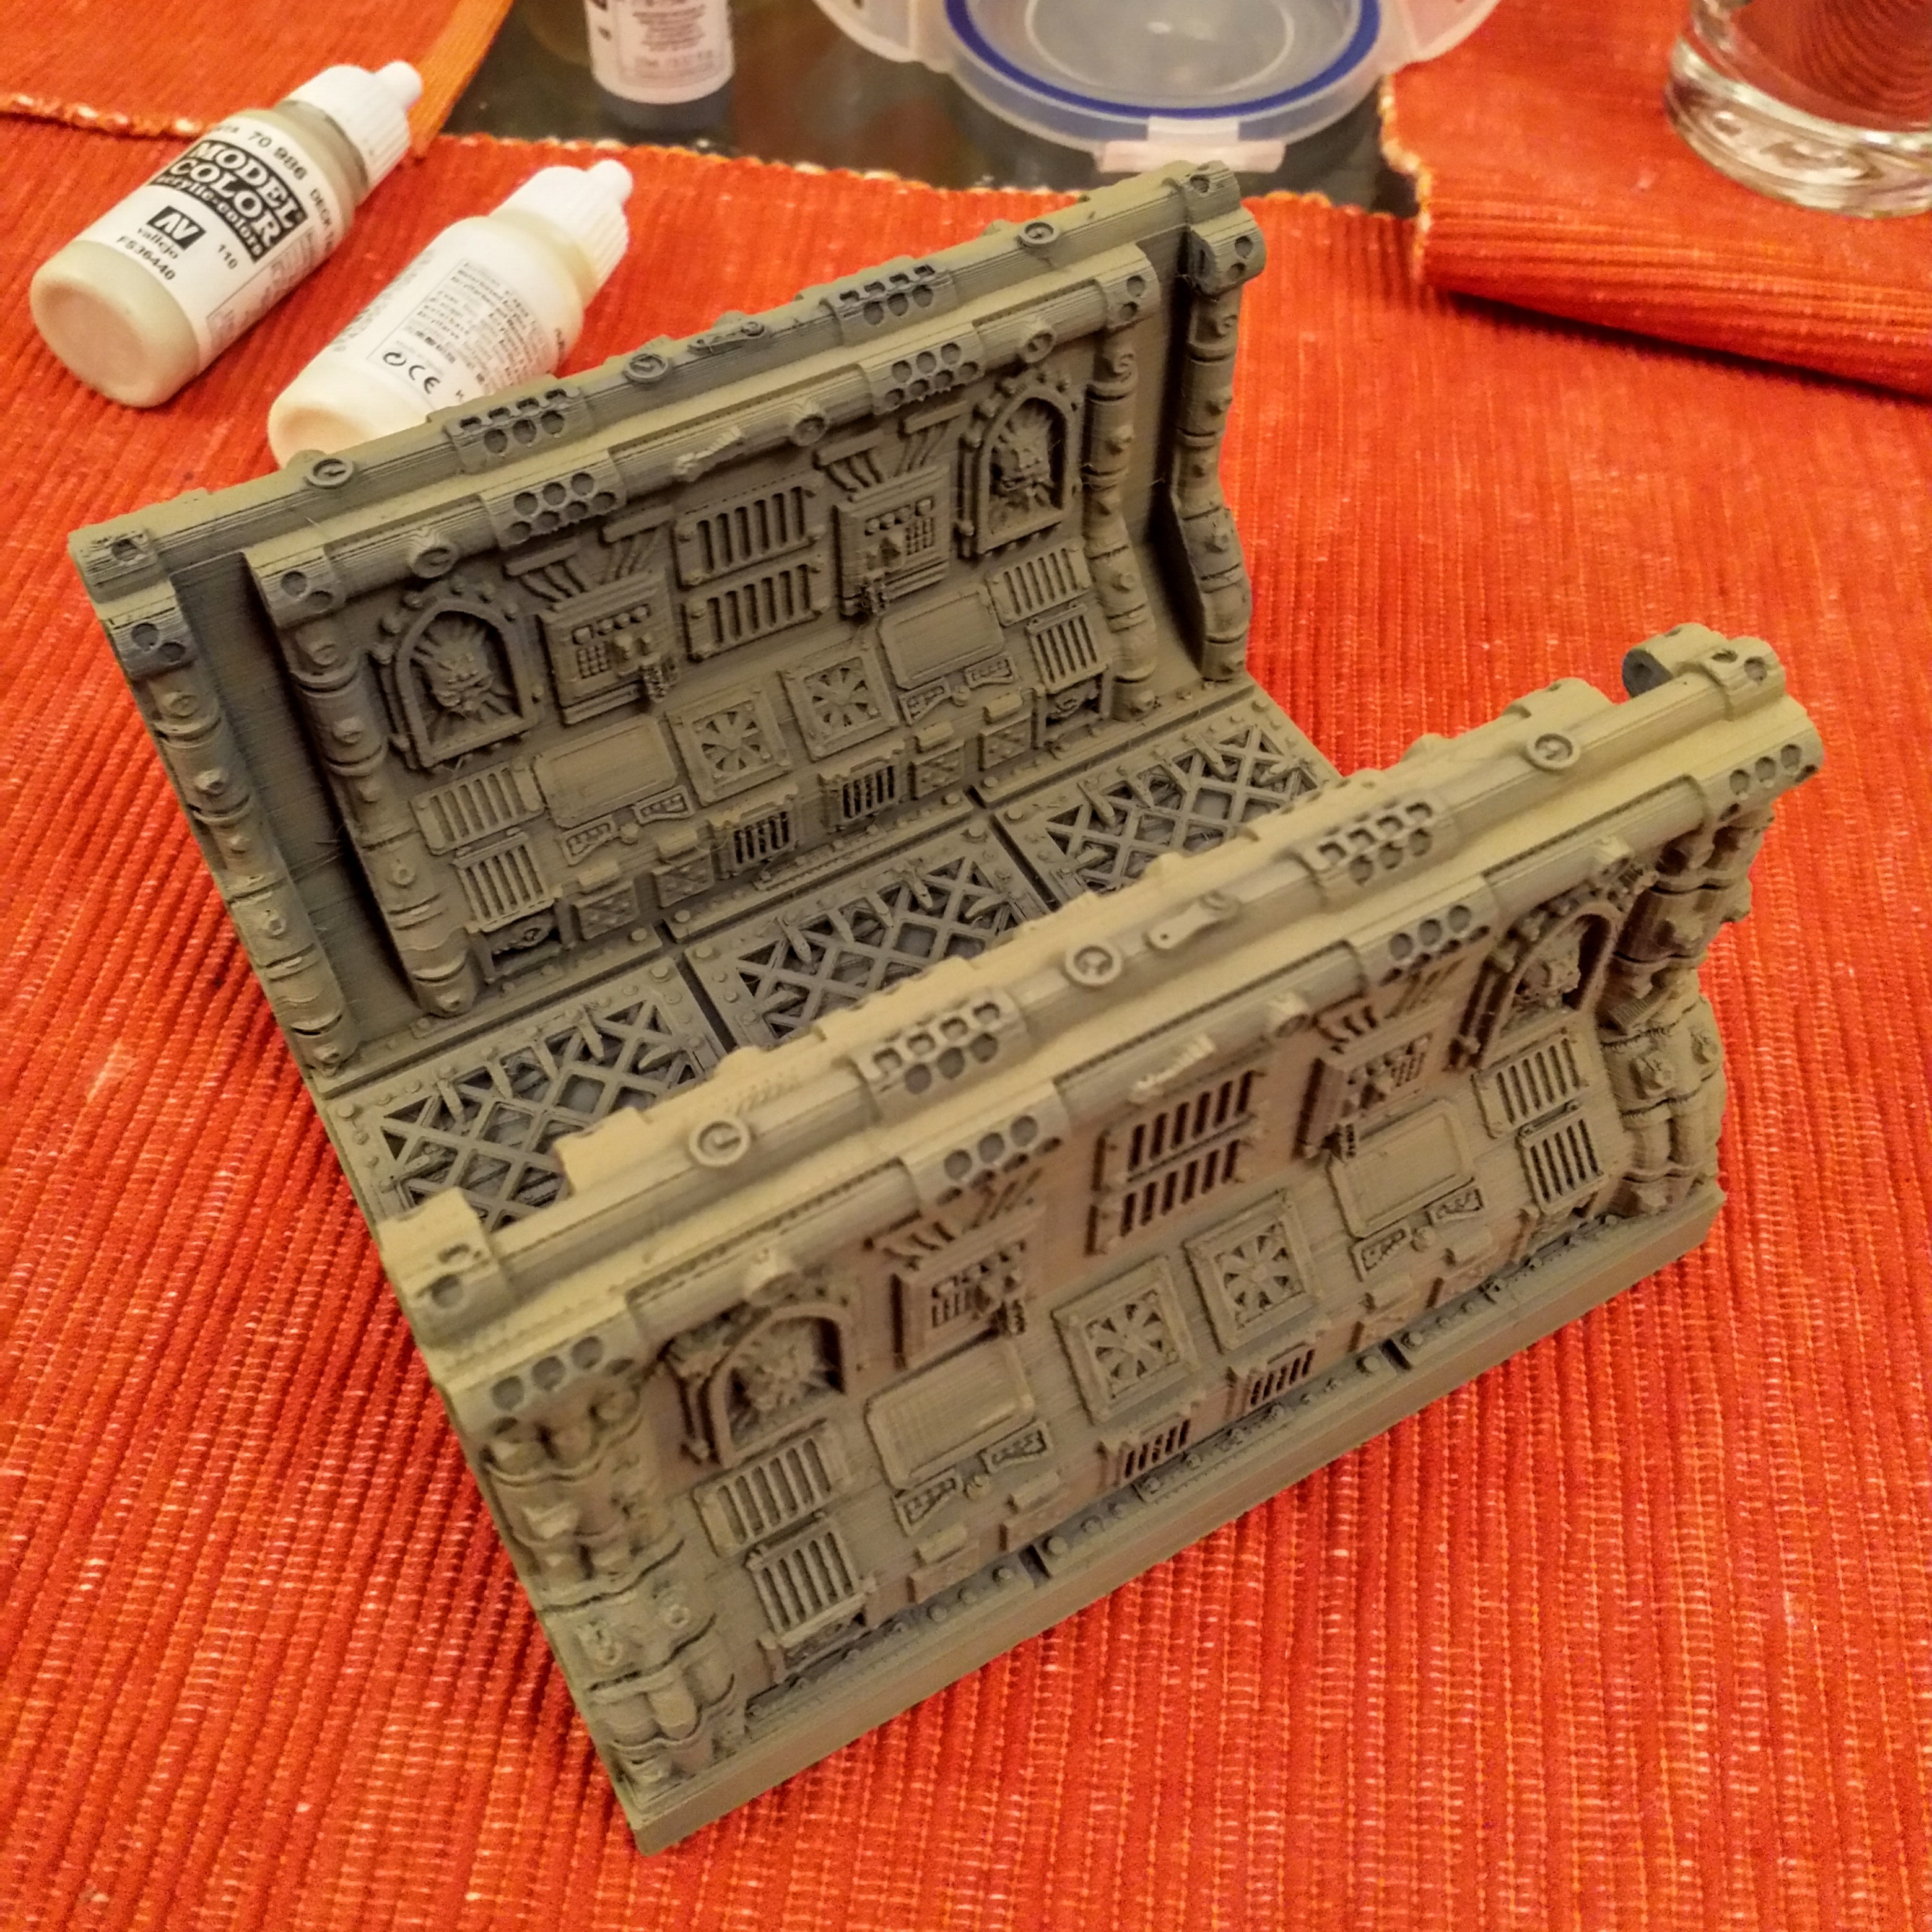
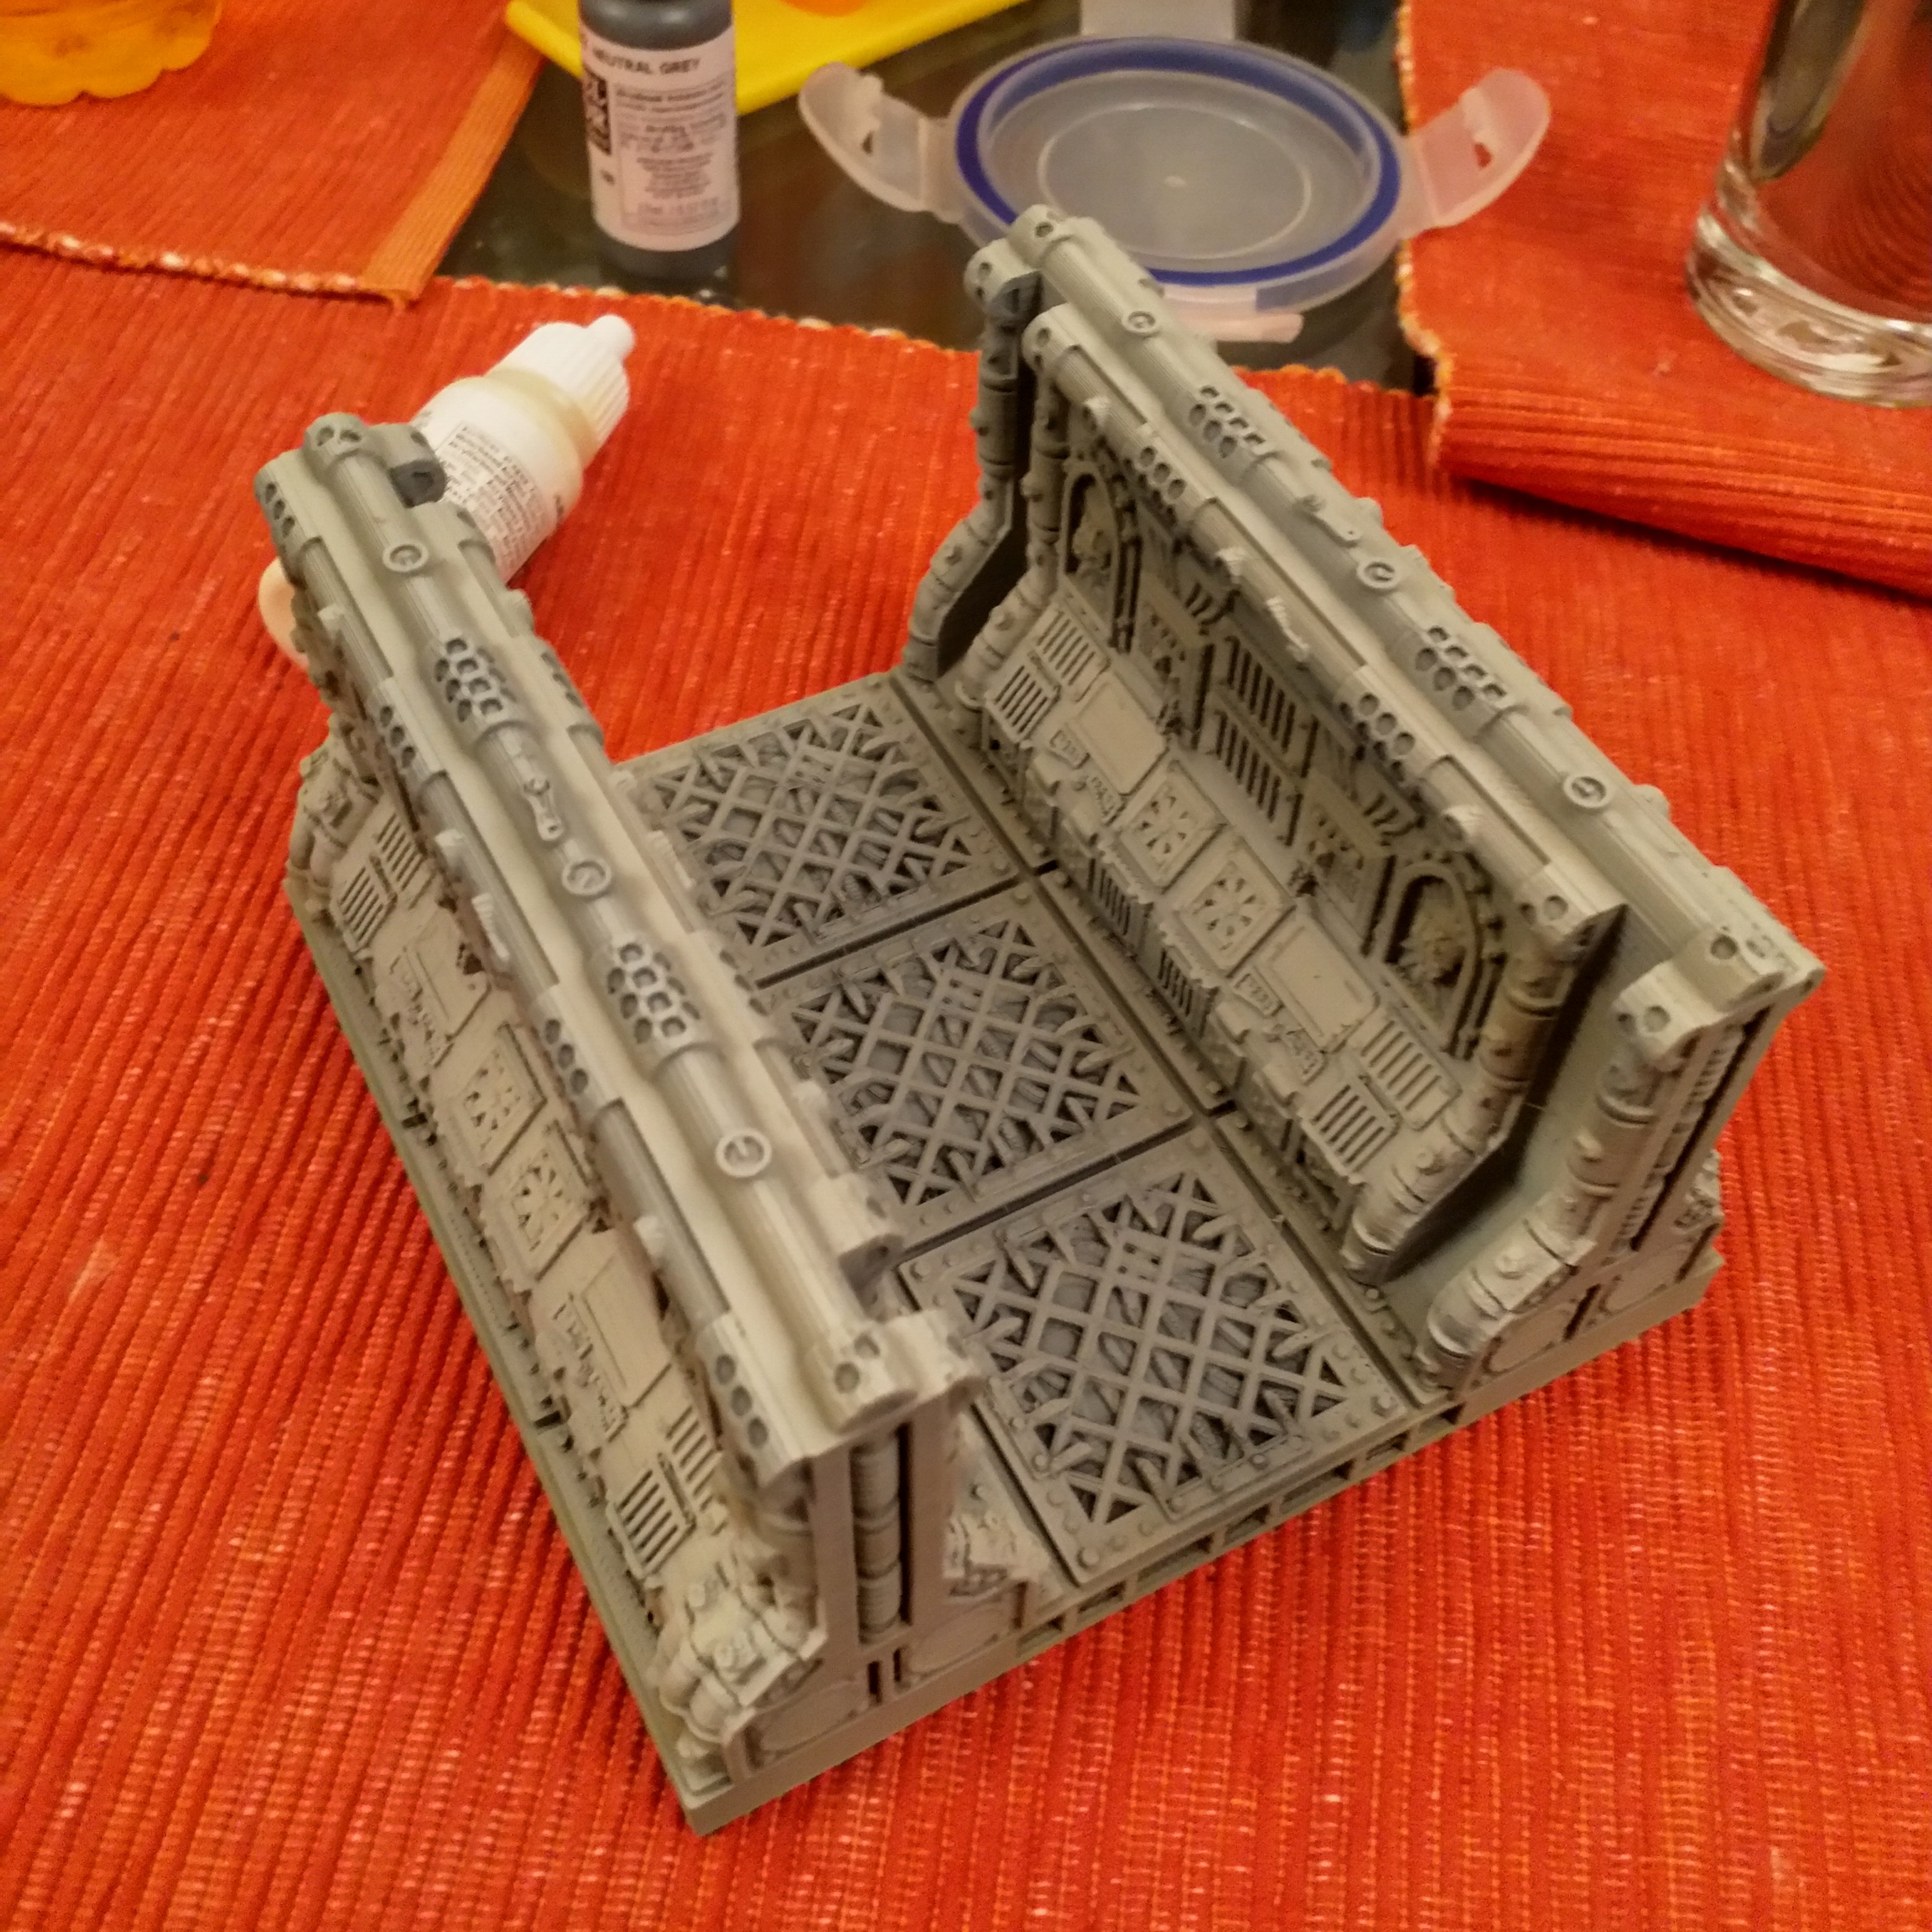
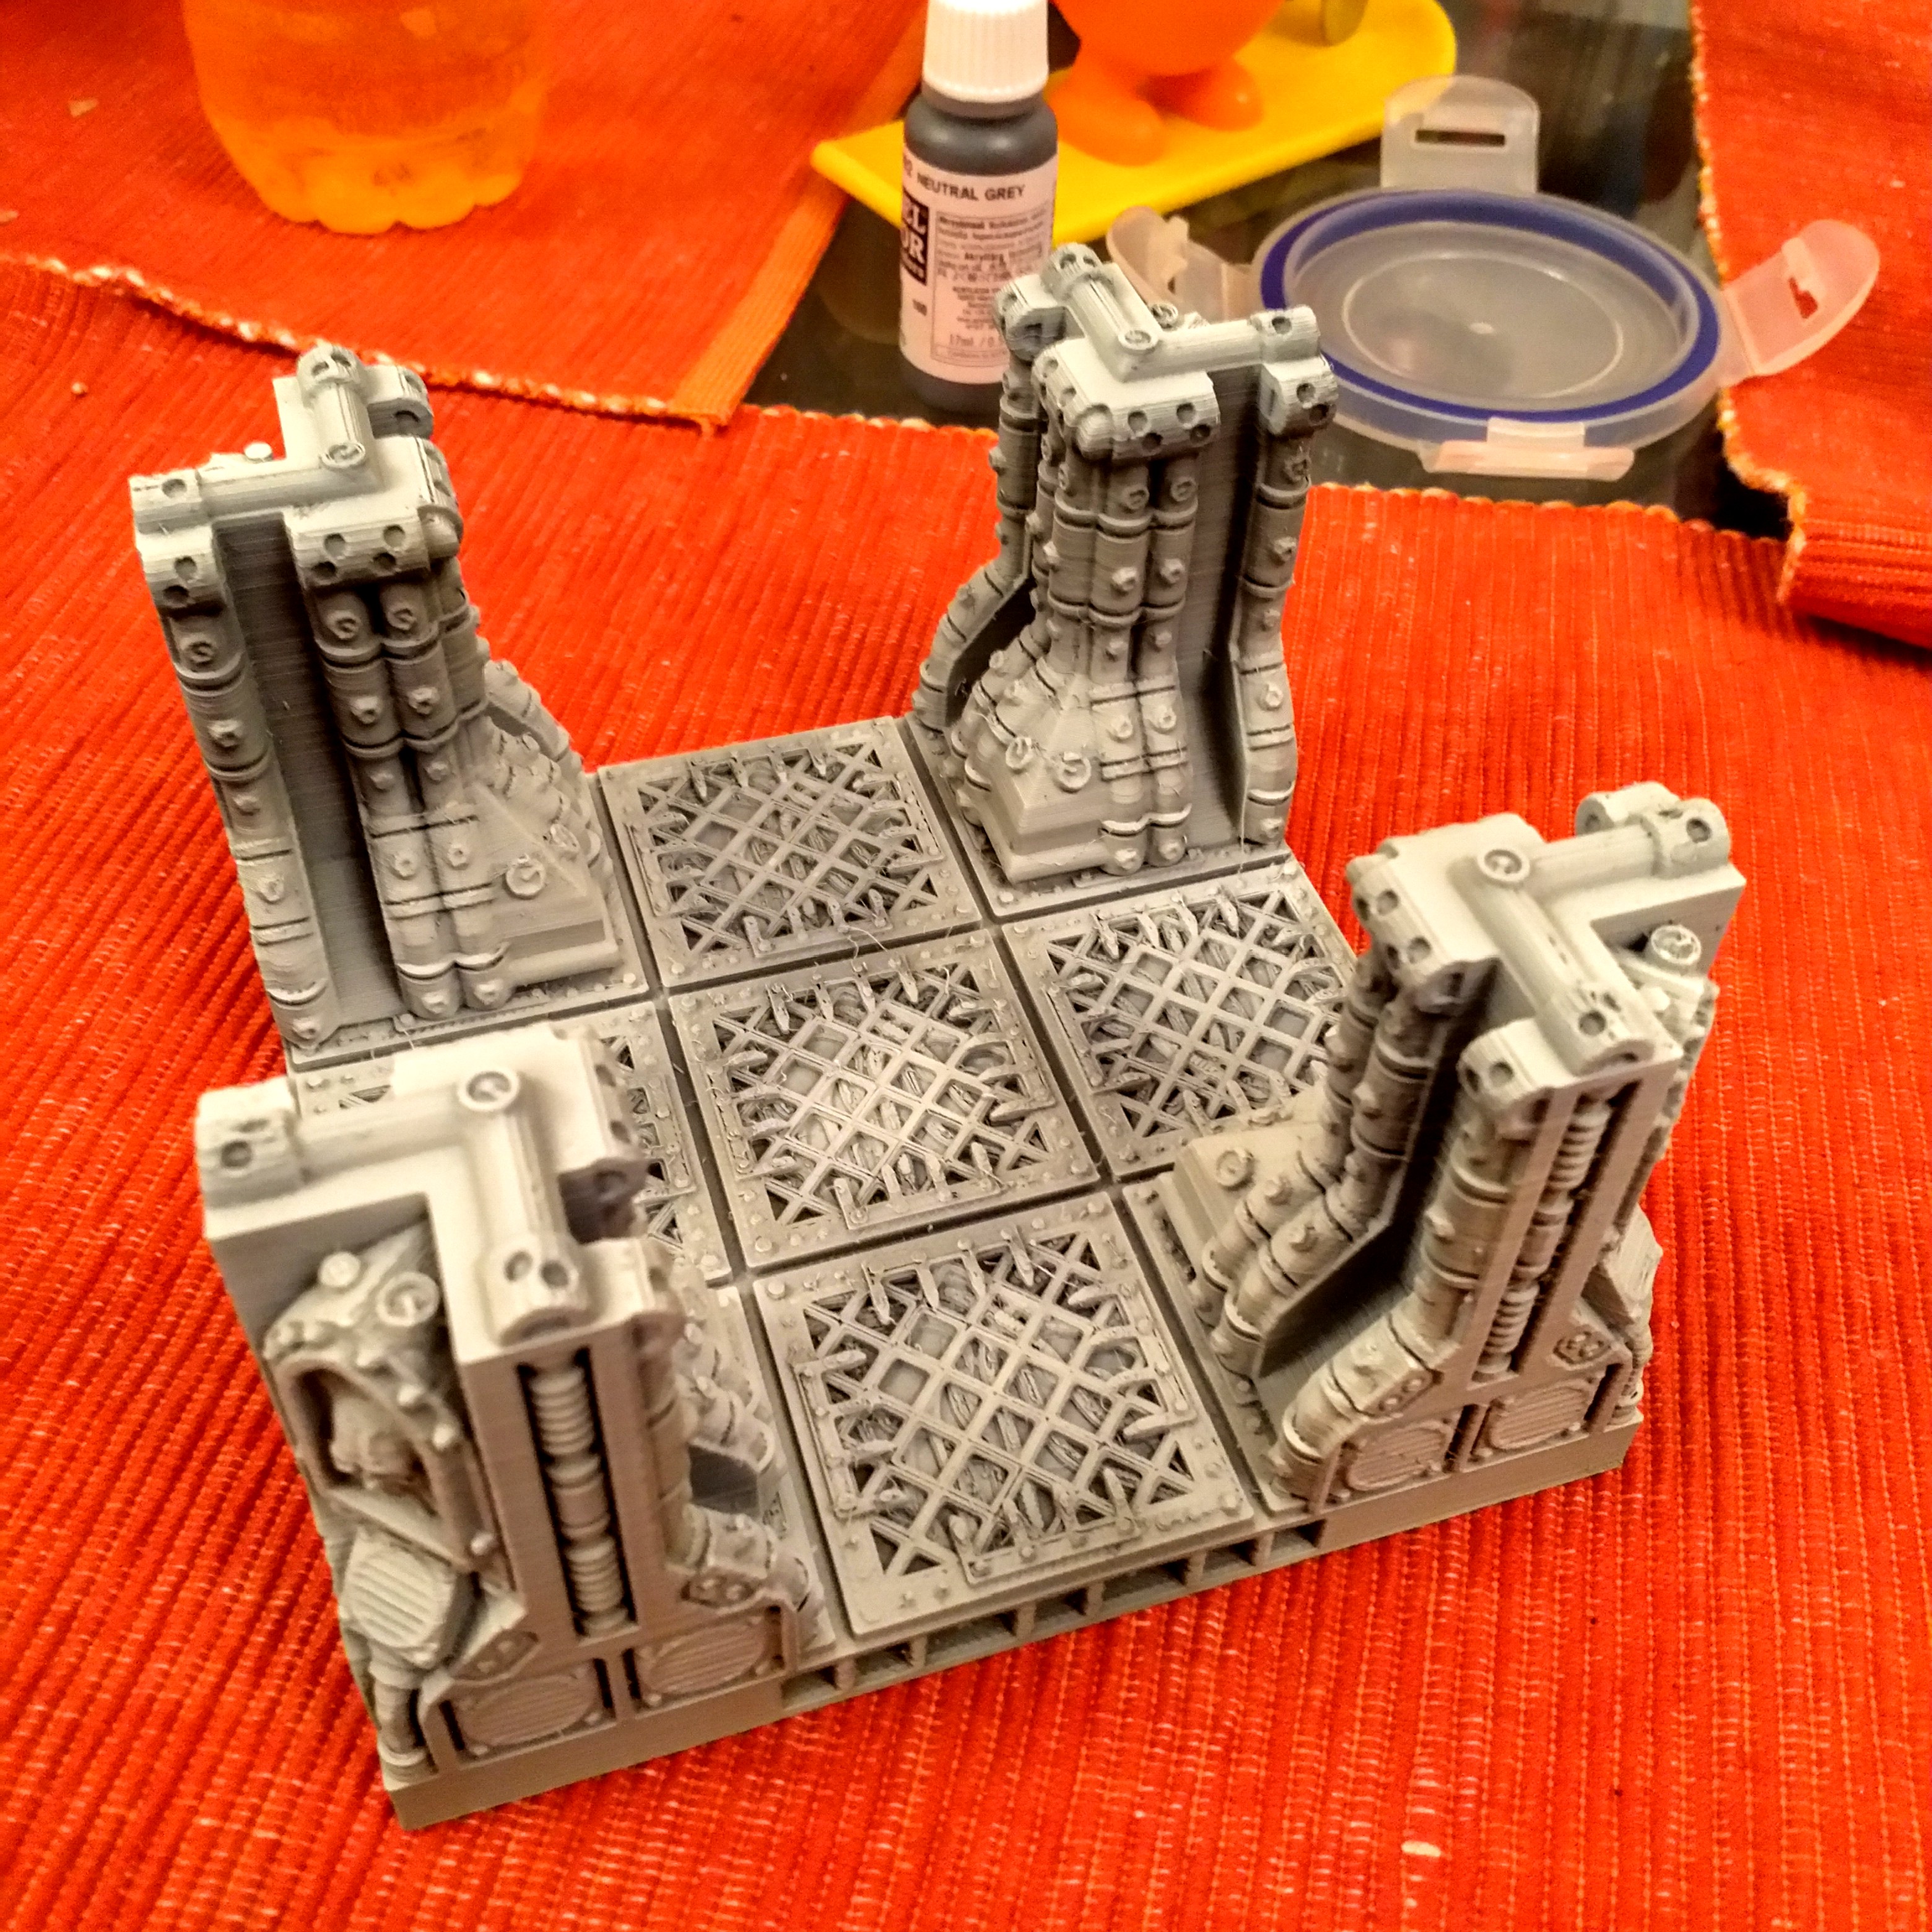
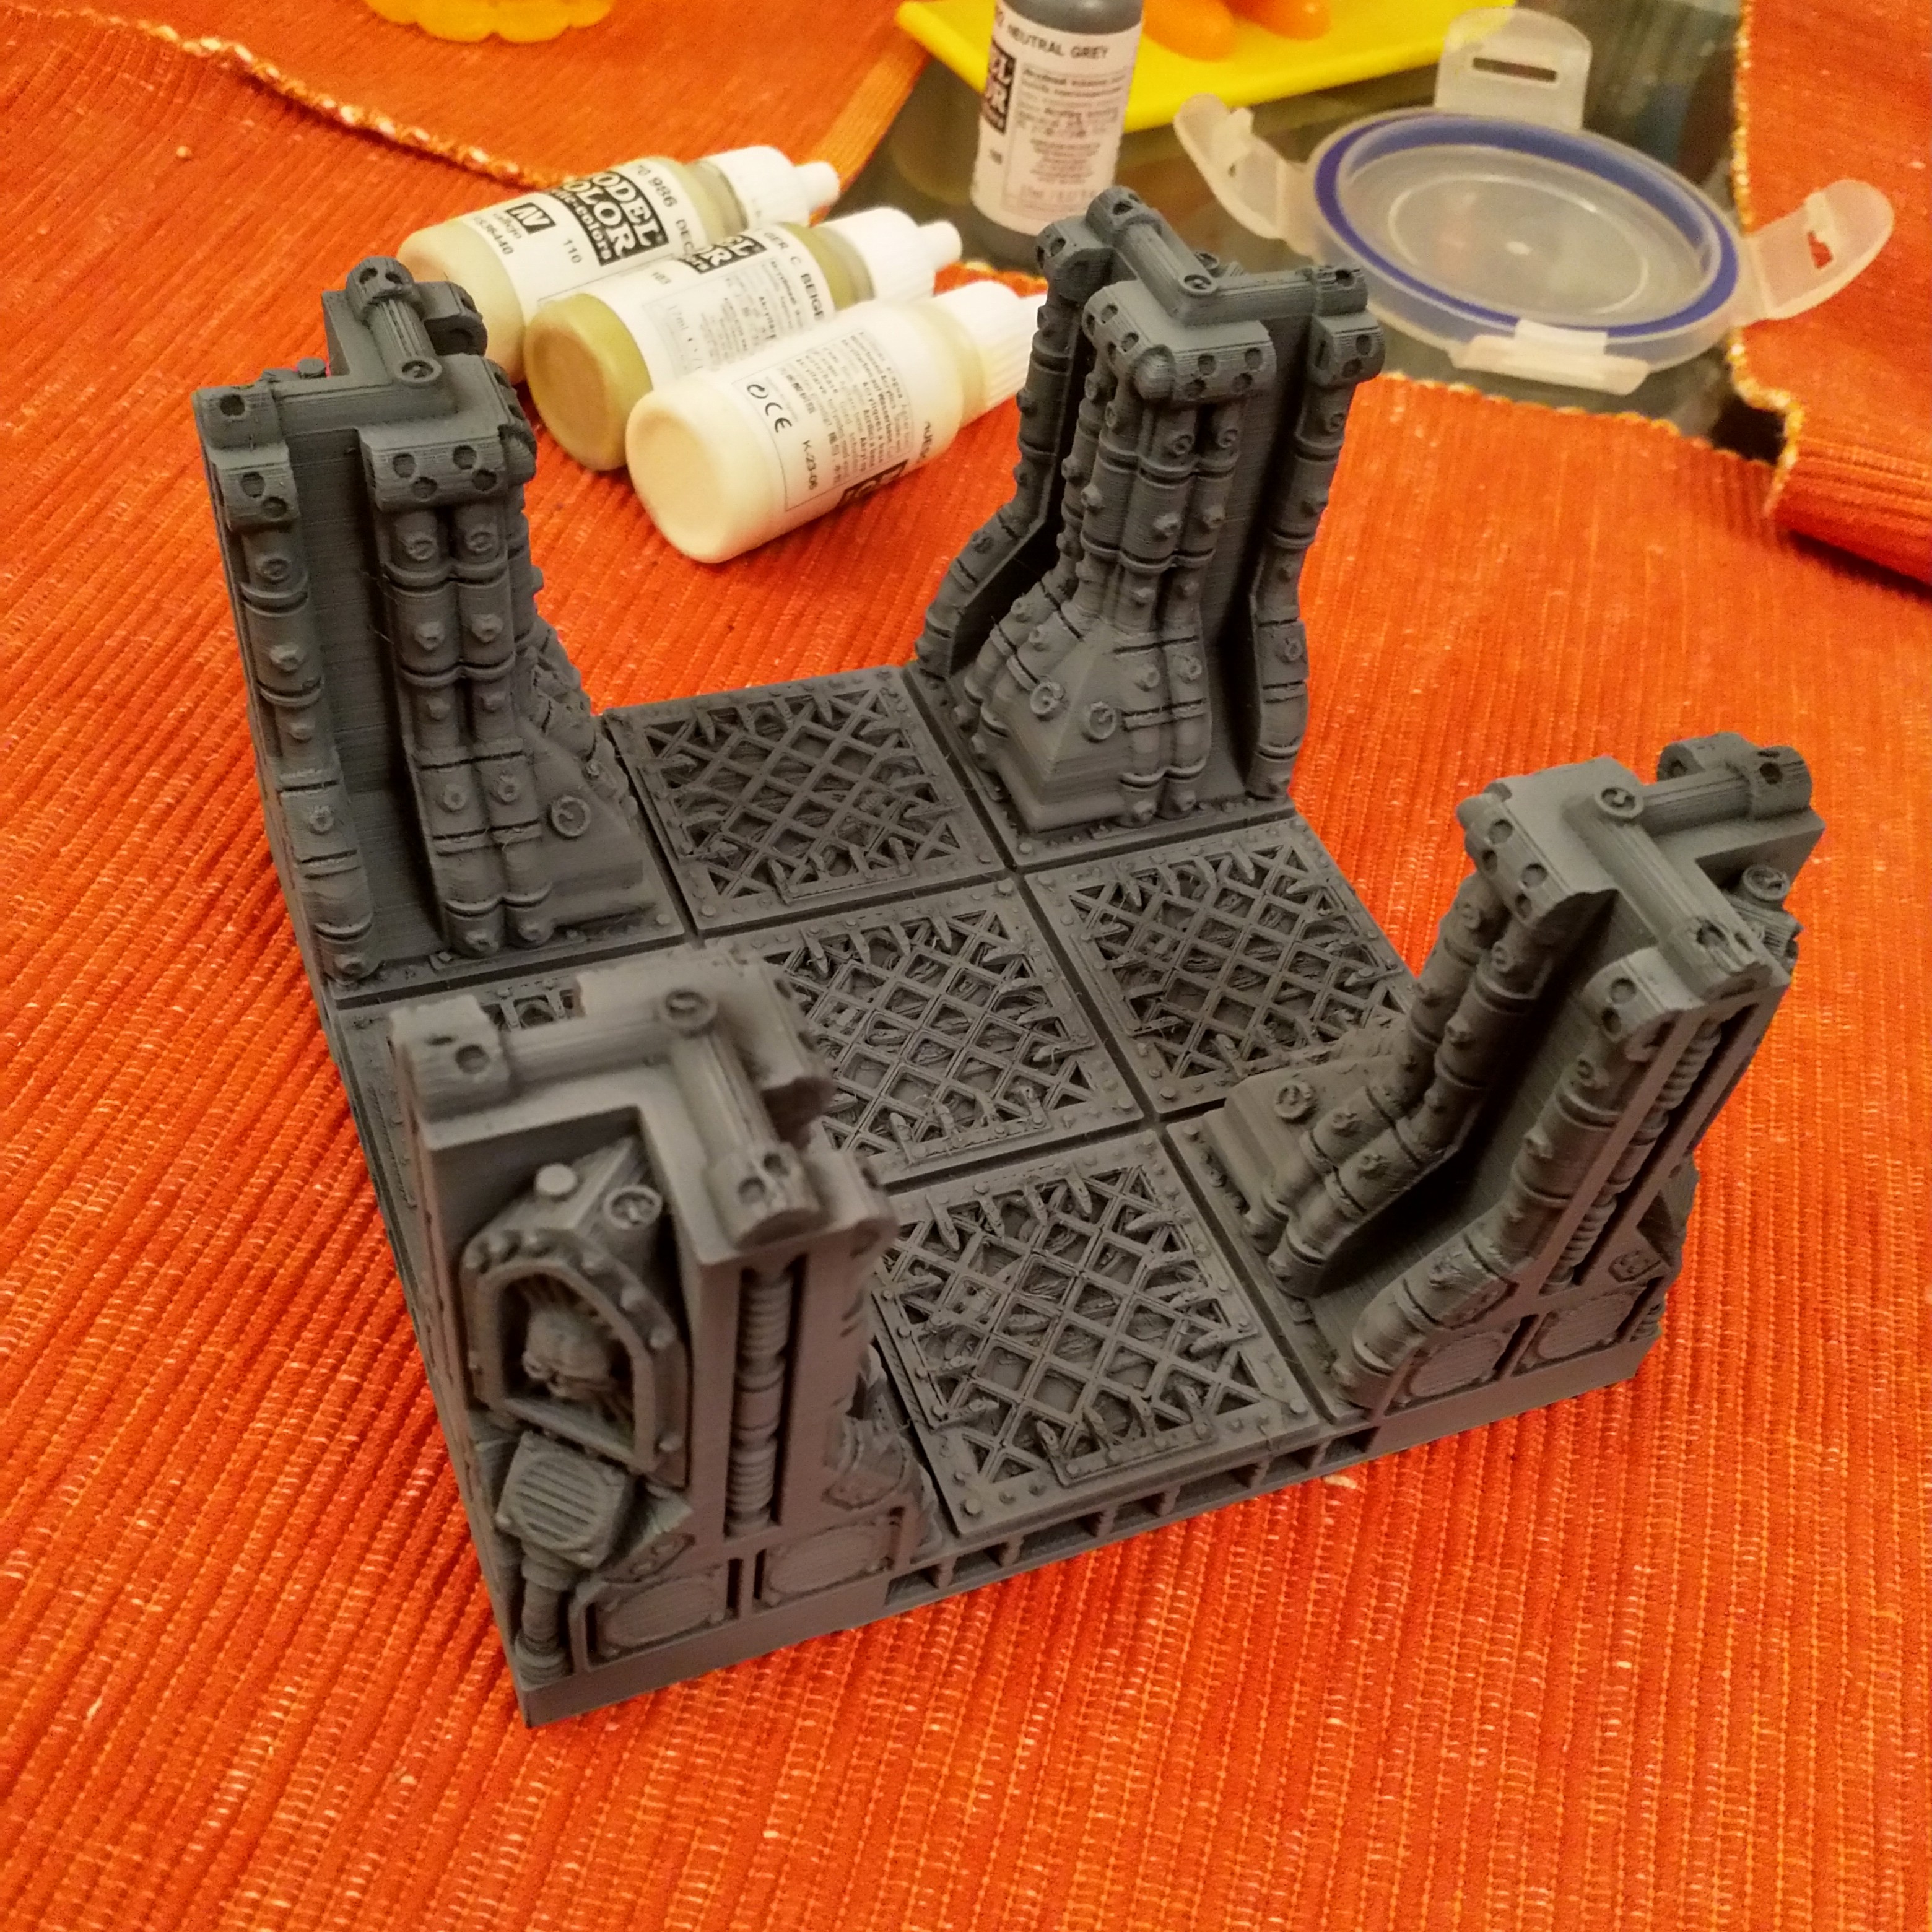
First Paint down
I’ve the first 2 Pieces printed out and have Used some the following colours:
- Stynlrez Black Primer
- Stynlrez Grey Primer
- Vallejo Ger C Beige
- Vallejo Deck Tan
- Vallejo Ivory
Next stages would be a 50% Grey wash and a white drybrush.
Not sure if it’s light enough though – might go heavier on the Ivory before I do the last few stages.


Solving Print Capacity Issues with terrain making
I’ve been considering for a while what the best way to solve the print capacity issues are for terrain printing the Finder on it’s own would probably have to run, 24/7, constantly monitored and fed with stc (opps, I mean stl) files to get close to the desired timeline.
It’s not just this project, during the last one (fantasy terrain board buildings), the rate of producing components using a single printer was a significant project constraint – essentially I’m finding 2-3 months is too long to print the components for a board, and I have generally lost interest by the time the parts are ready.
I’ve had a look at commercial options, but they seem geared towards rapid prototyping rather than low-cost wargames terrain production. I tried the insta-quotes on a few of the more popular on-line printing websites I founds that most didn’t offer options like Infill or scaling on the site, and most could not handle the upload of stls greater than 50MB easily.
The best quote I could obtain was £50 is at 100% scale, so that would be £70 at 140% which isn’t really cost effective. (though I’d Imagine these would be at a higher resolution than I can do.)
I looked at adding an extra finder, but new ones weren’t cost effective compared with other models and second hand ones on ebay had an asking price too close to the recently discounted new price.
So the decision I made was to add a Flashforge Adventurer 3 (@ £340), with a view to running both and essentially double the rate that I can produce the parts without killing myself keeping them running.
This should allow me to build the terrain density that I want at the notice I want.
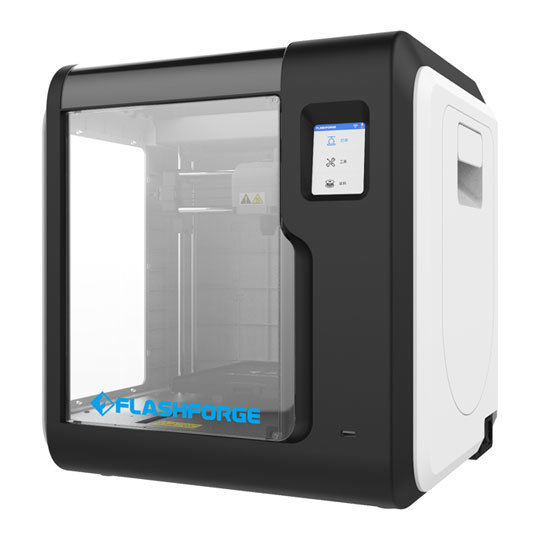 FlashForge Adventurer 3 - Adding extra printing capacity
First (Successful) Corridor Print ~ 20 hours print time
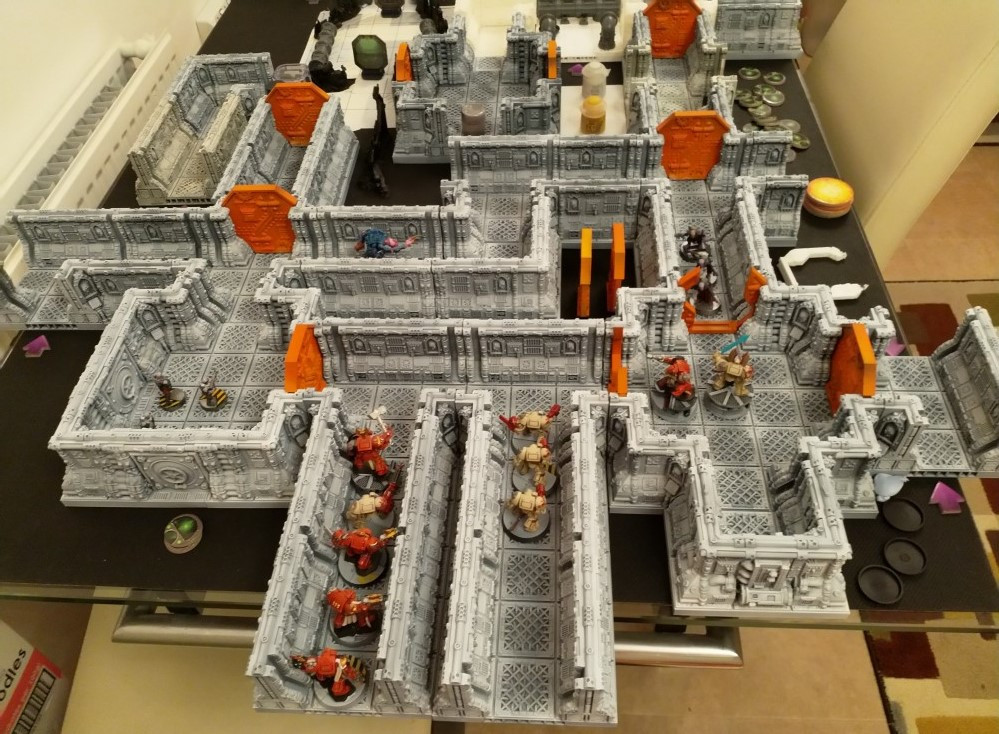
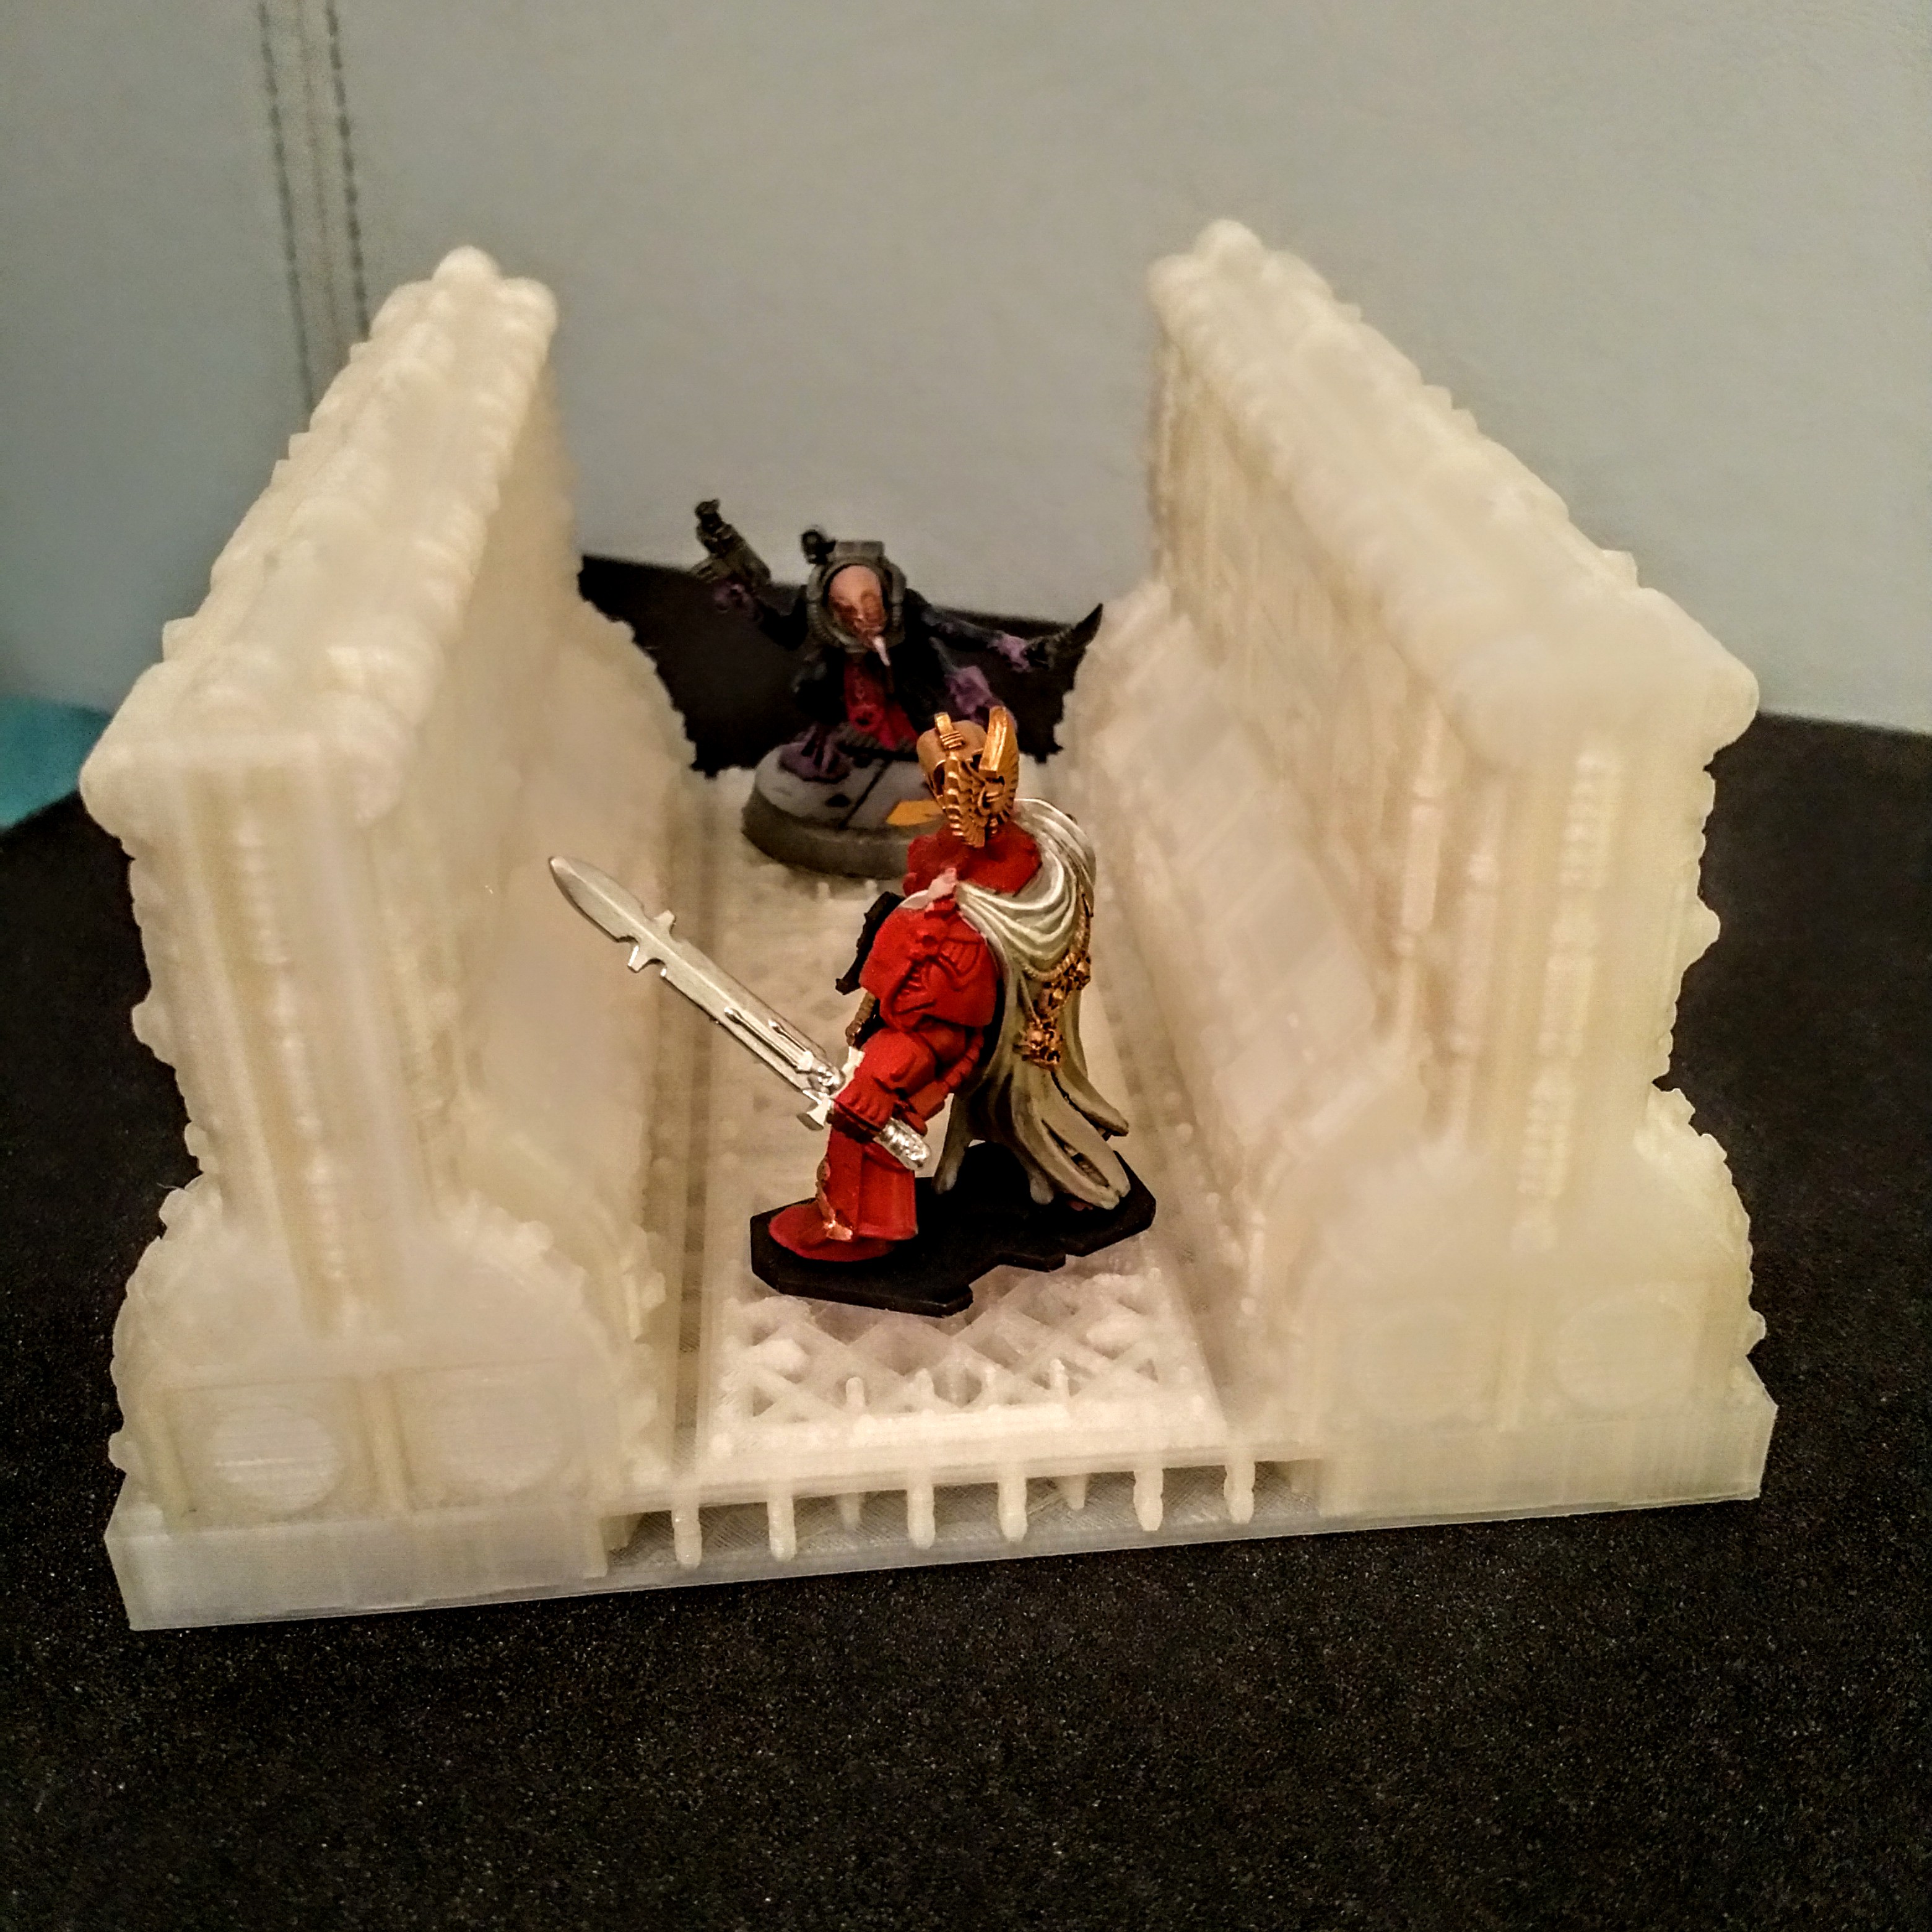
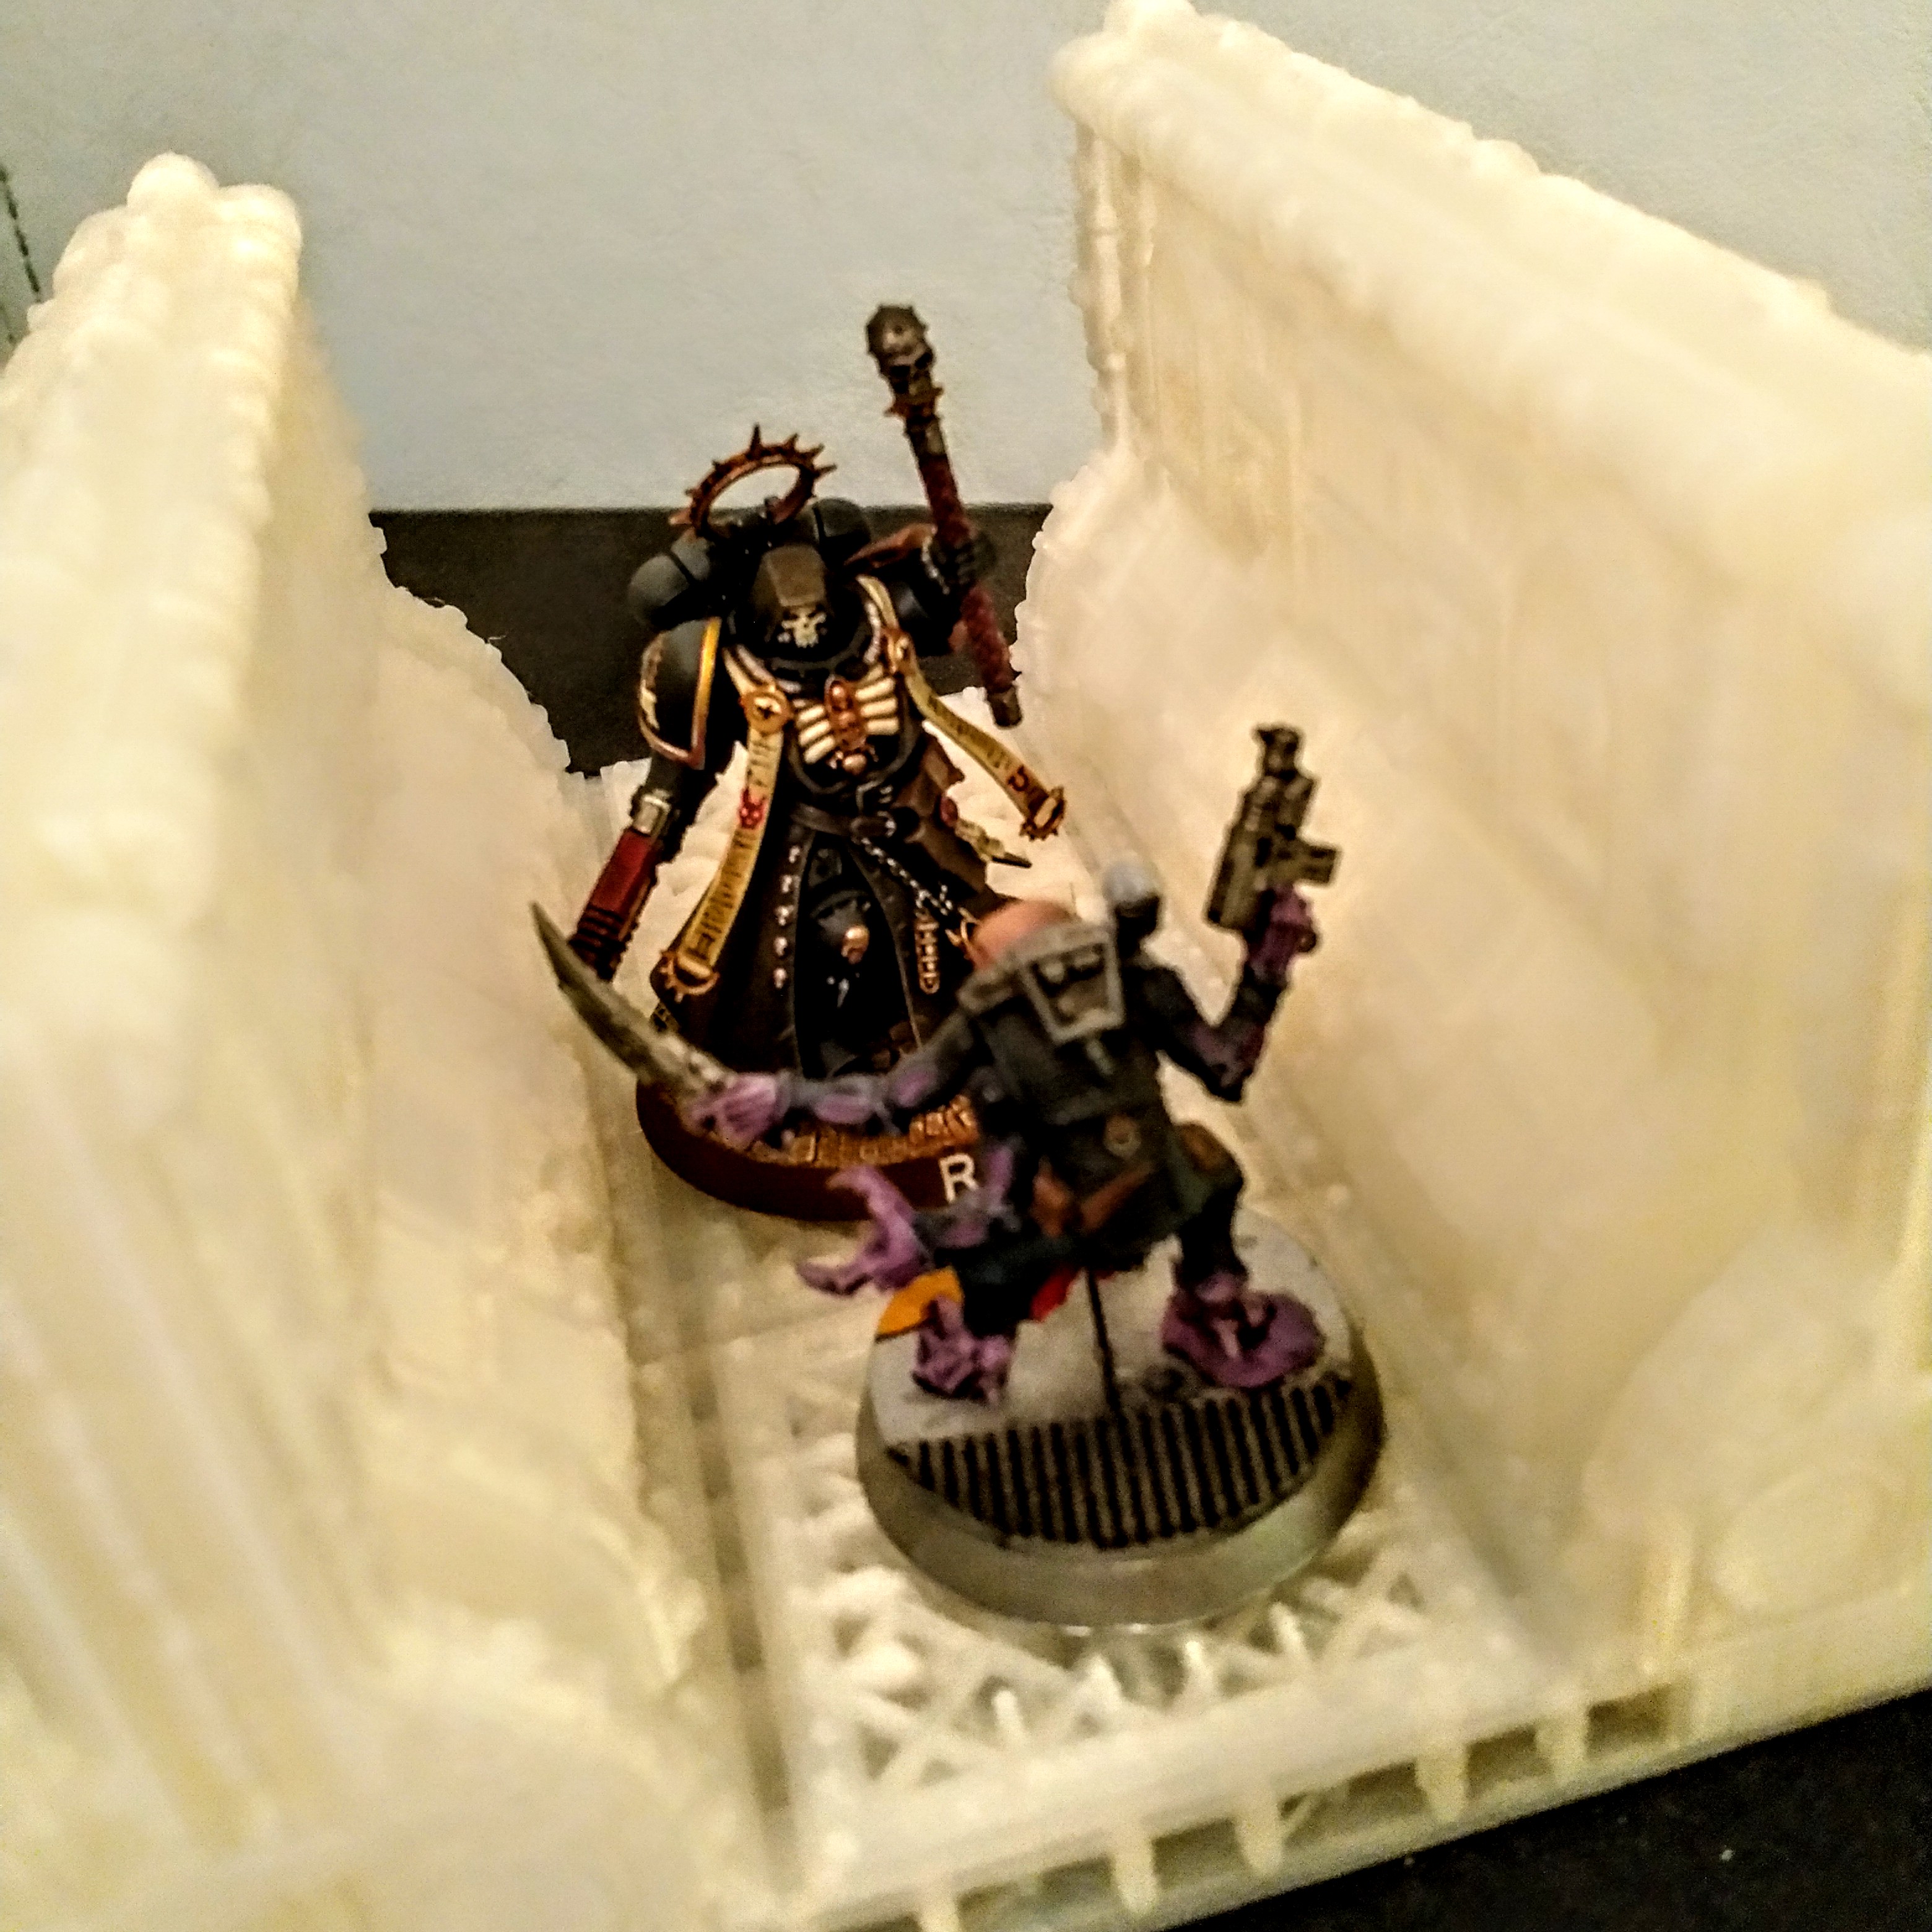
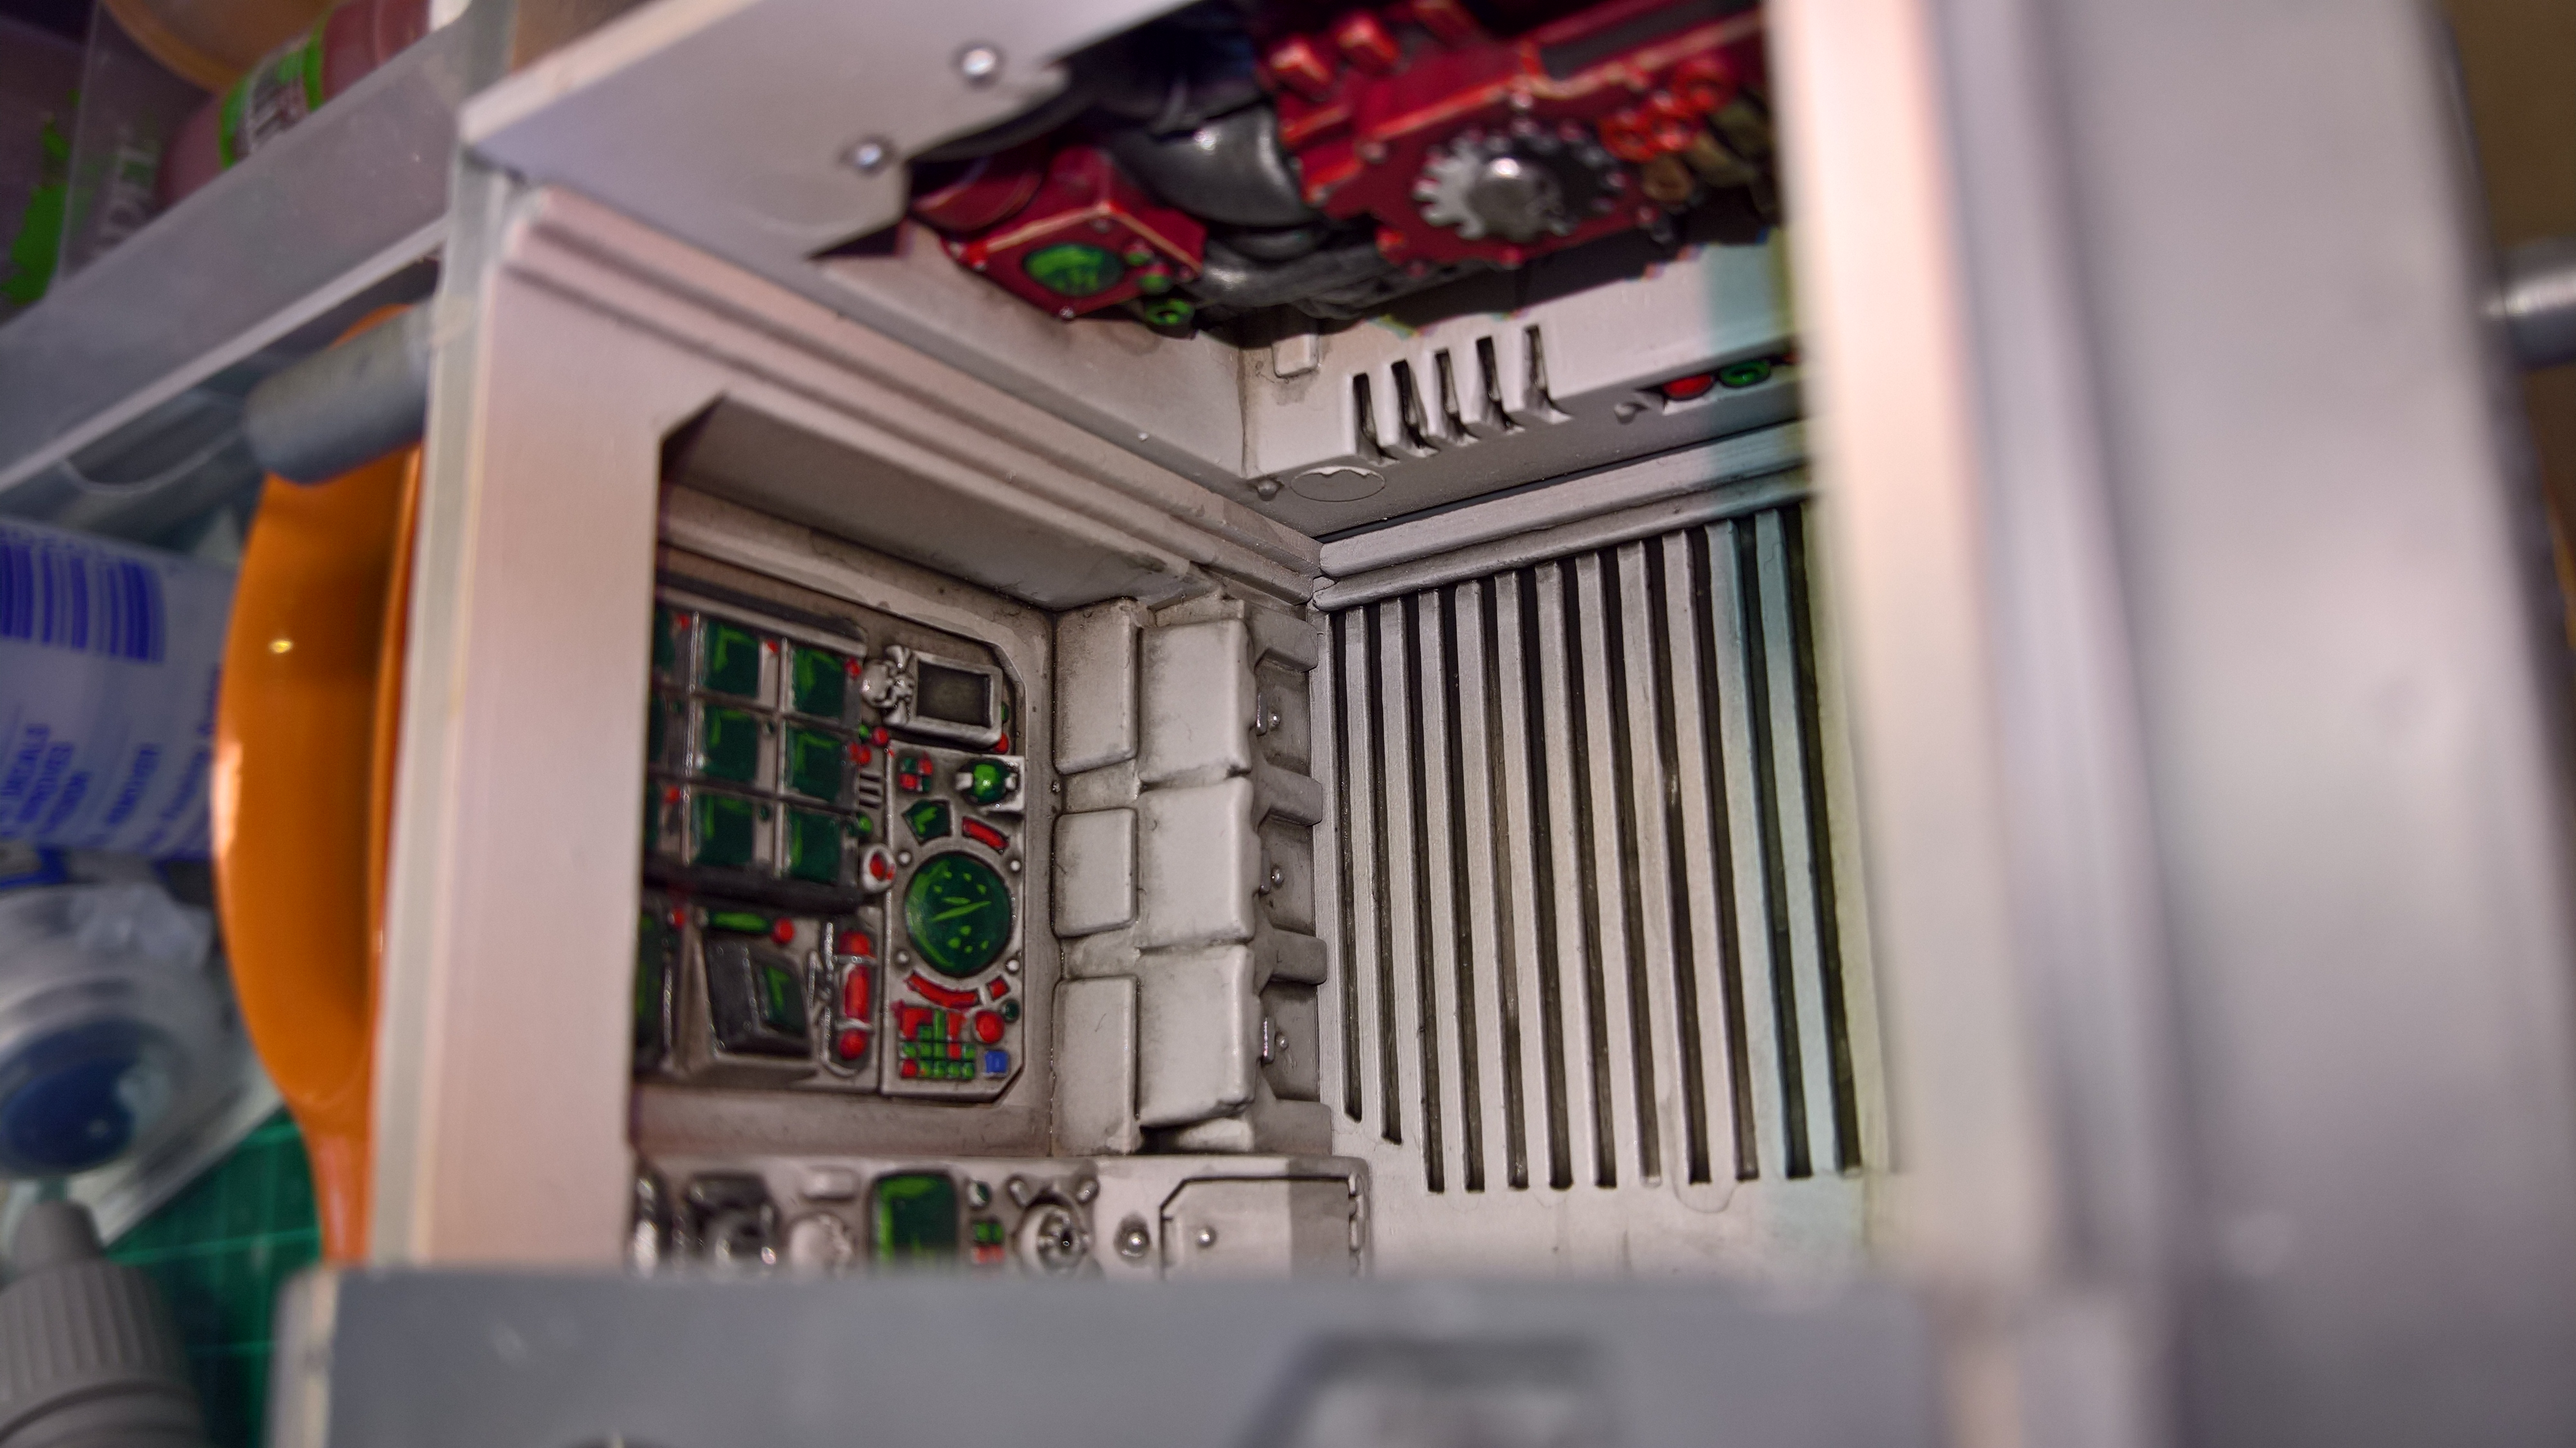
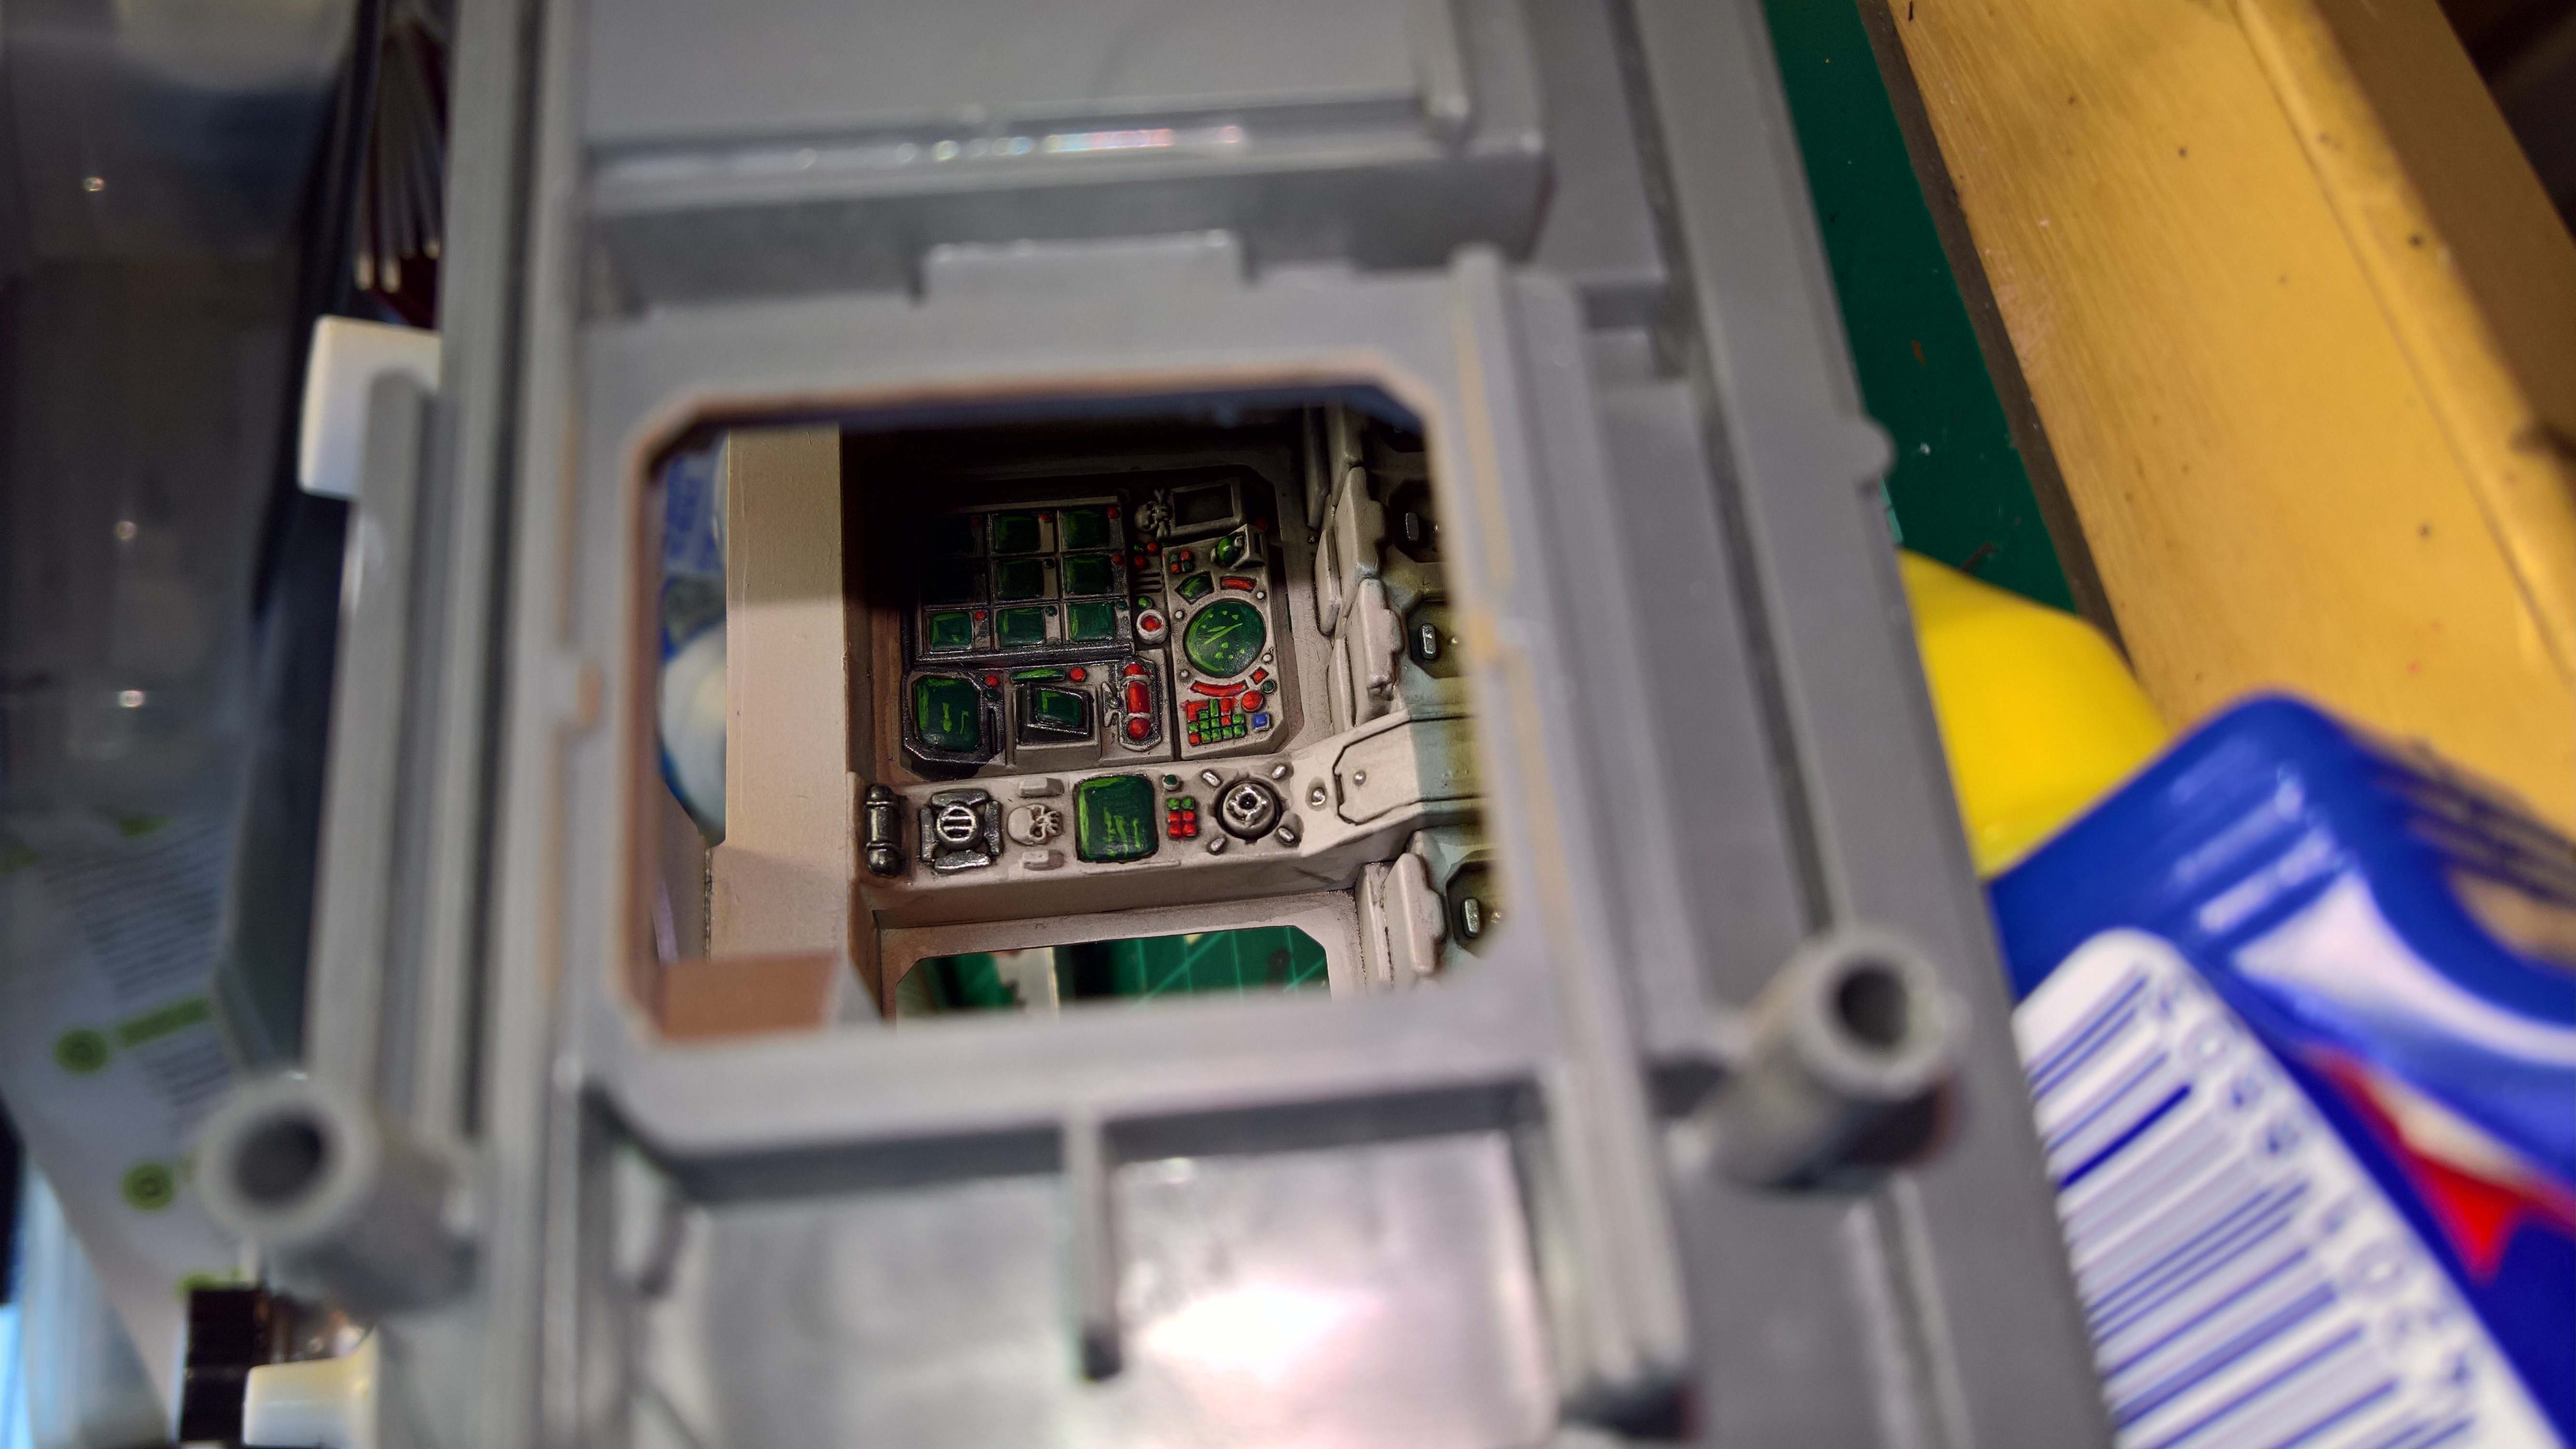
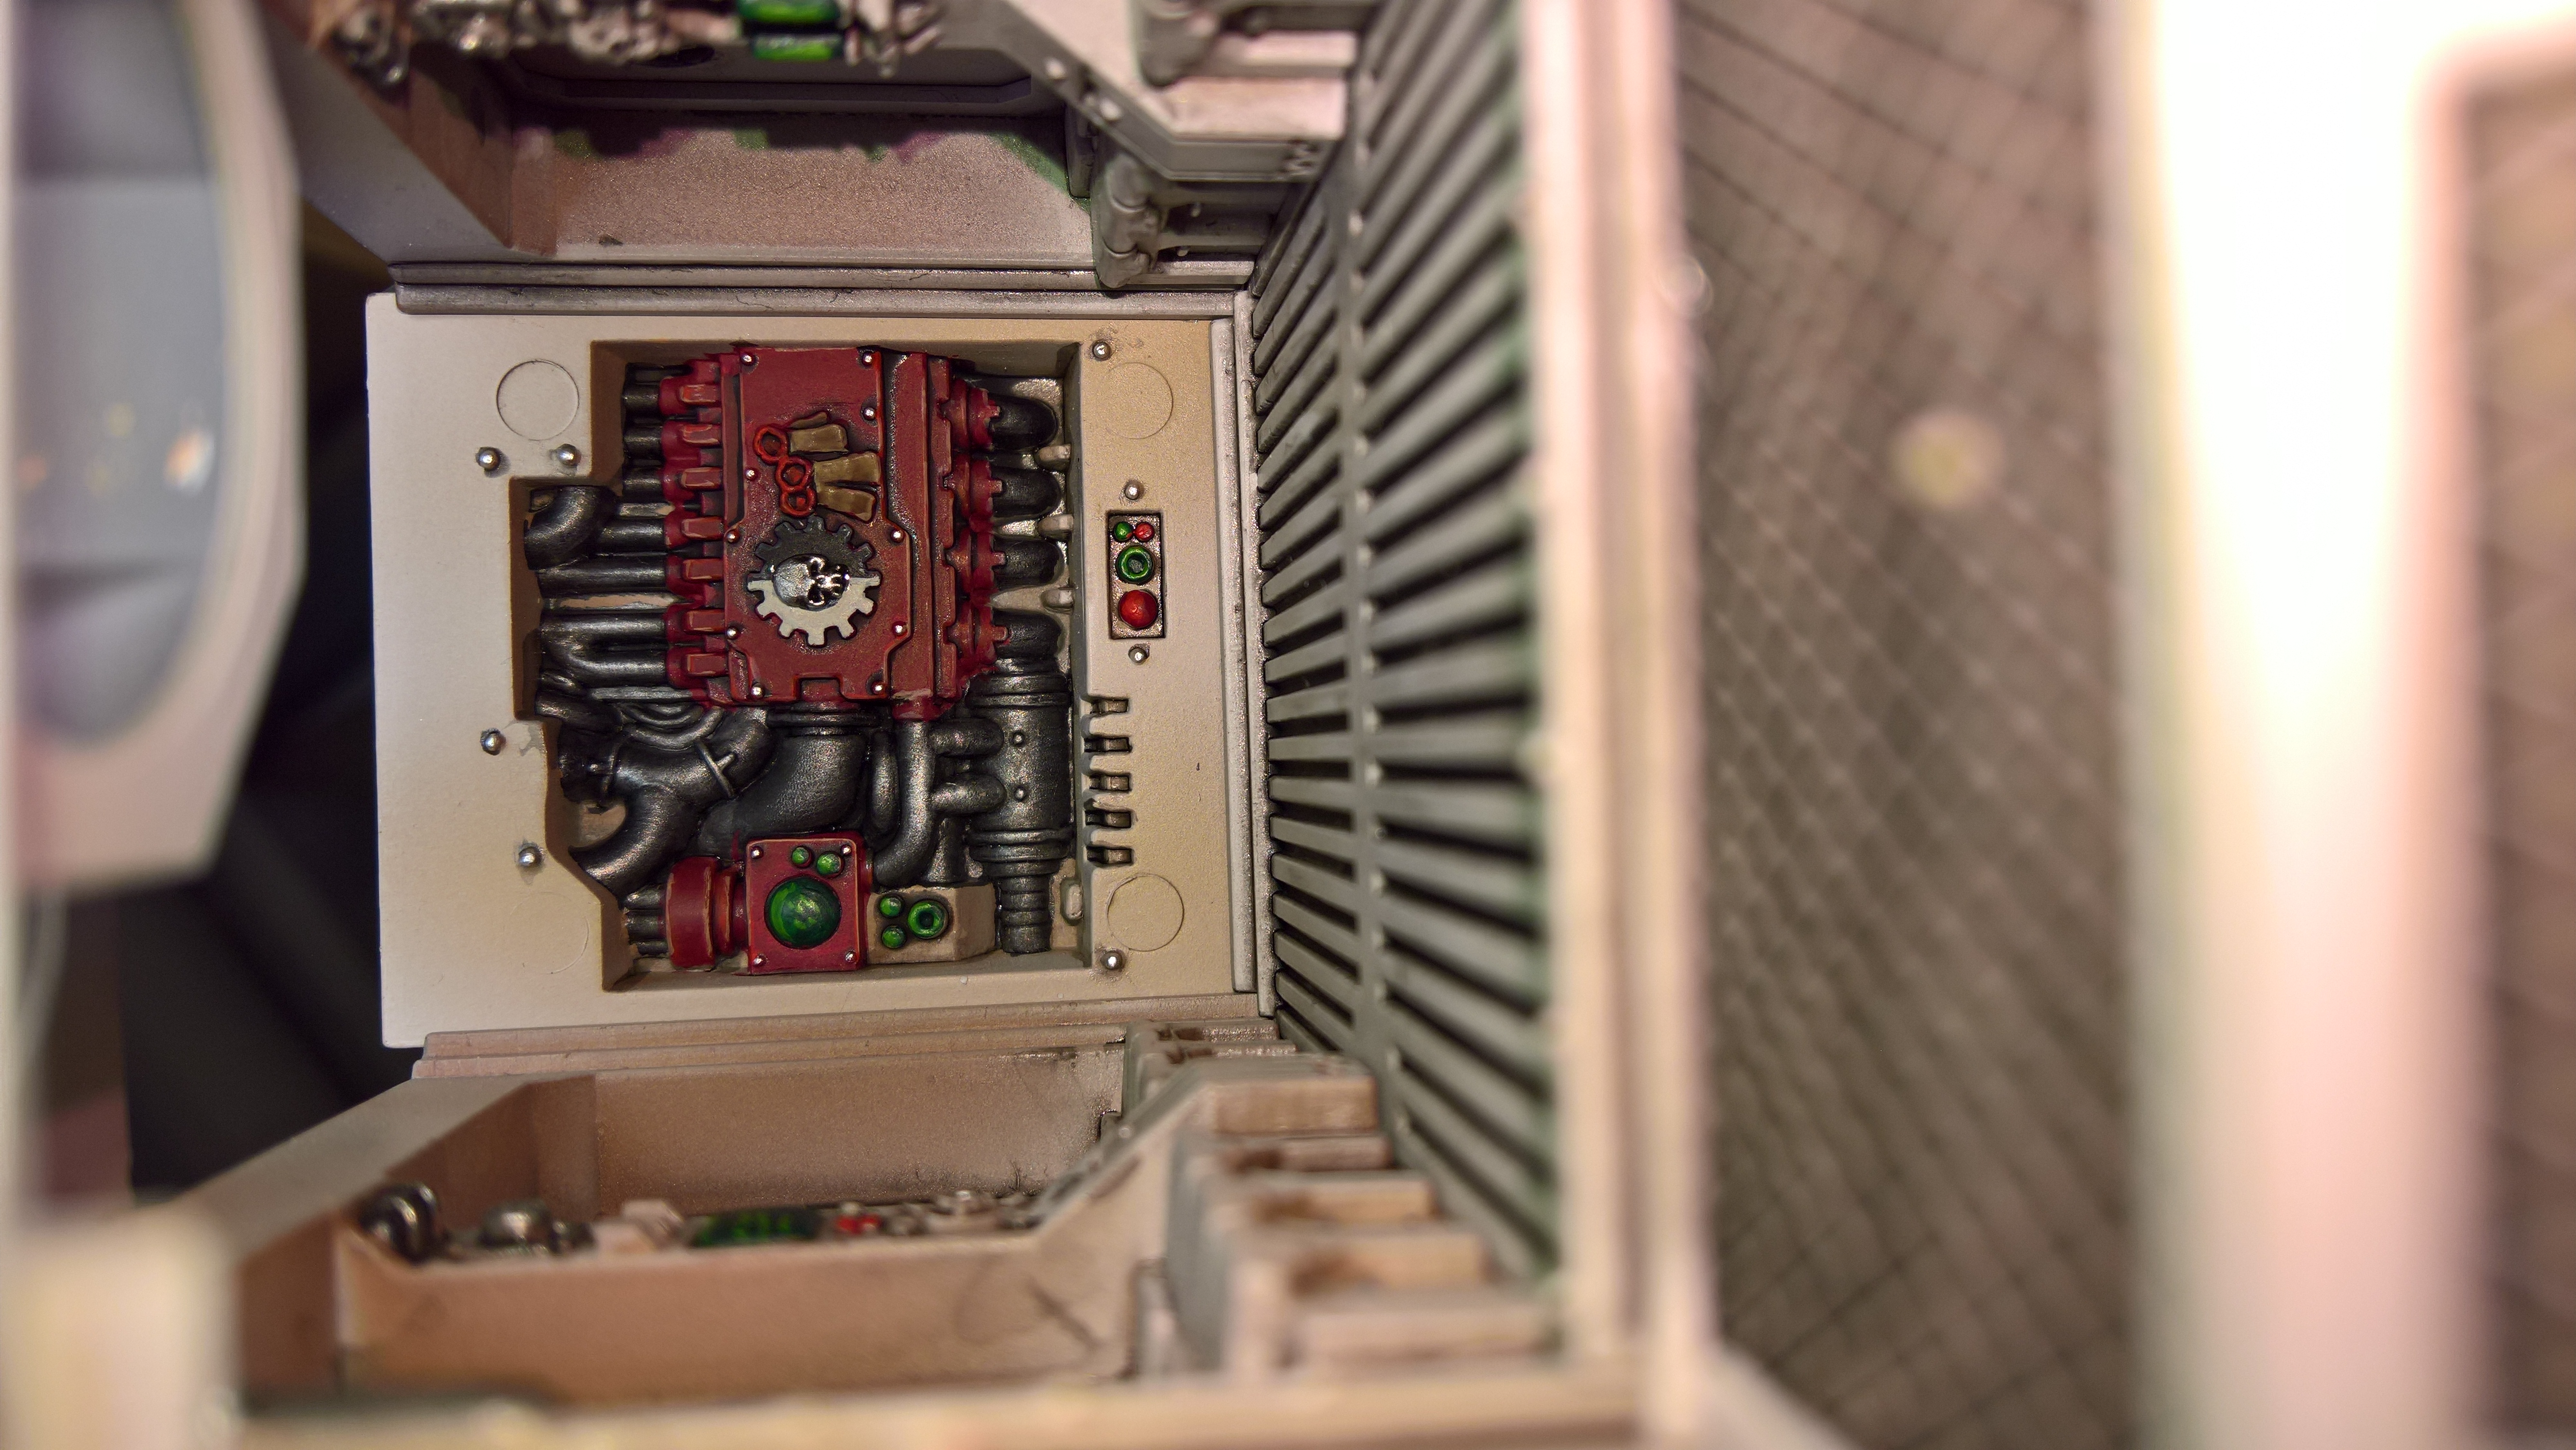
We have our first board piece printed, with a build time of 20 hours.
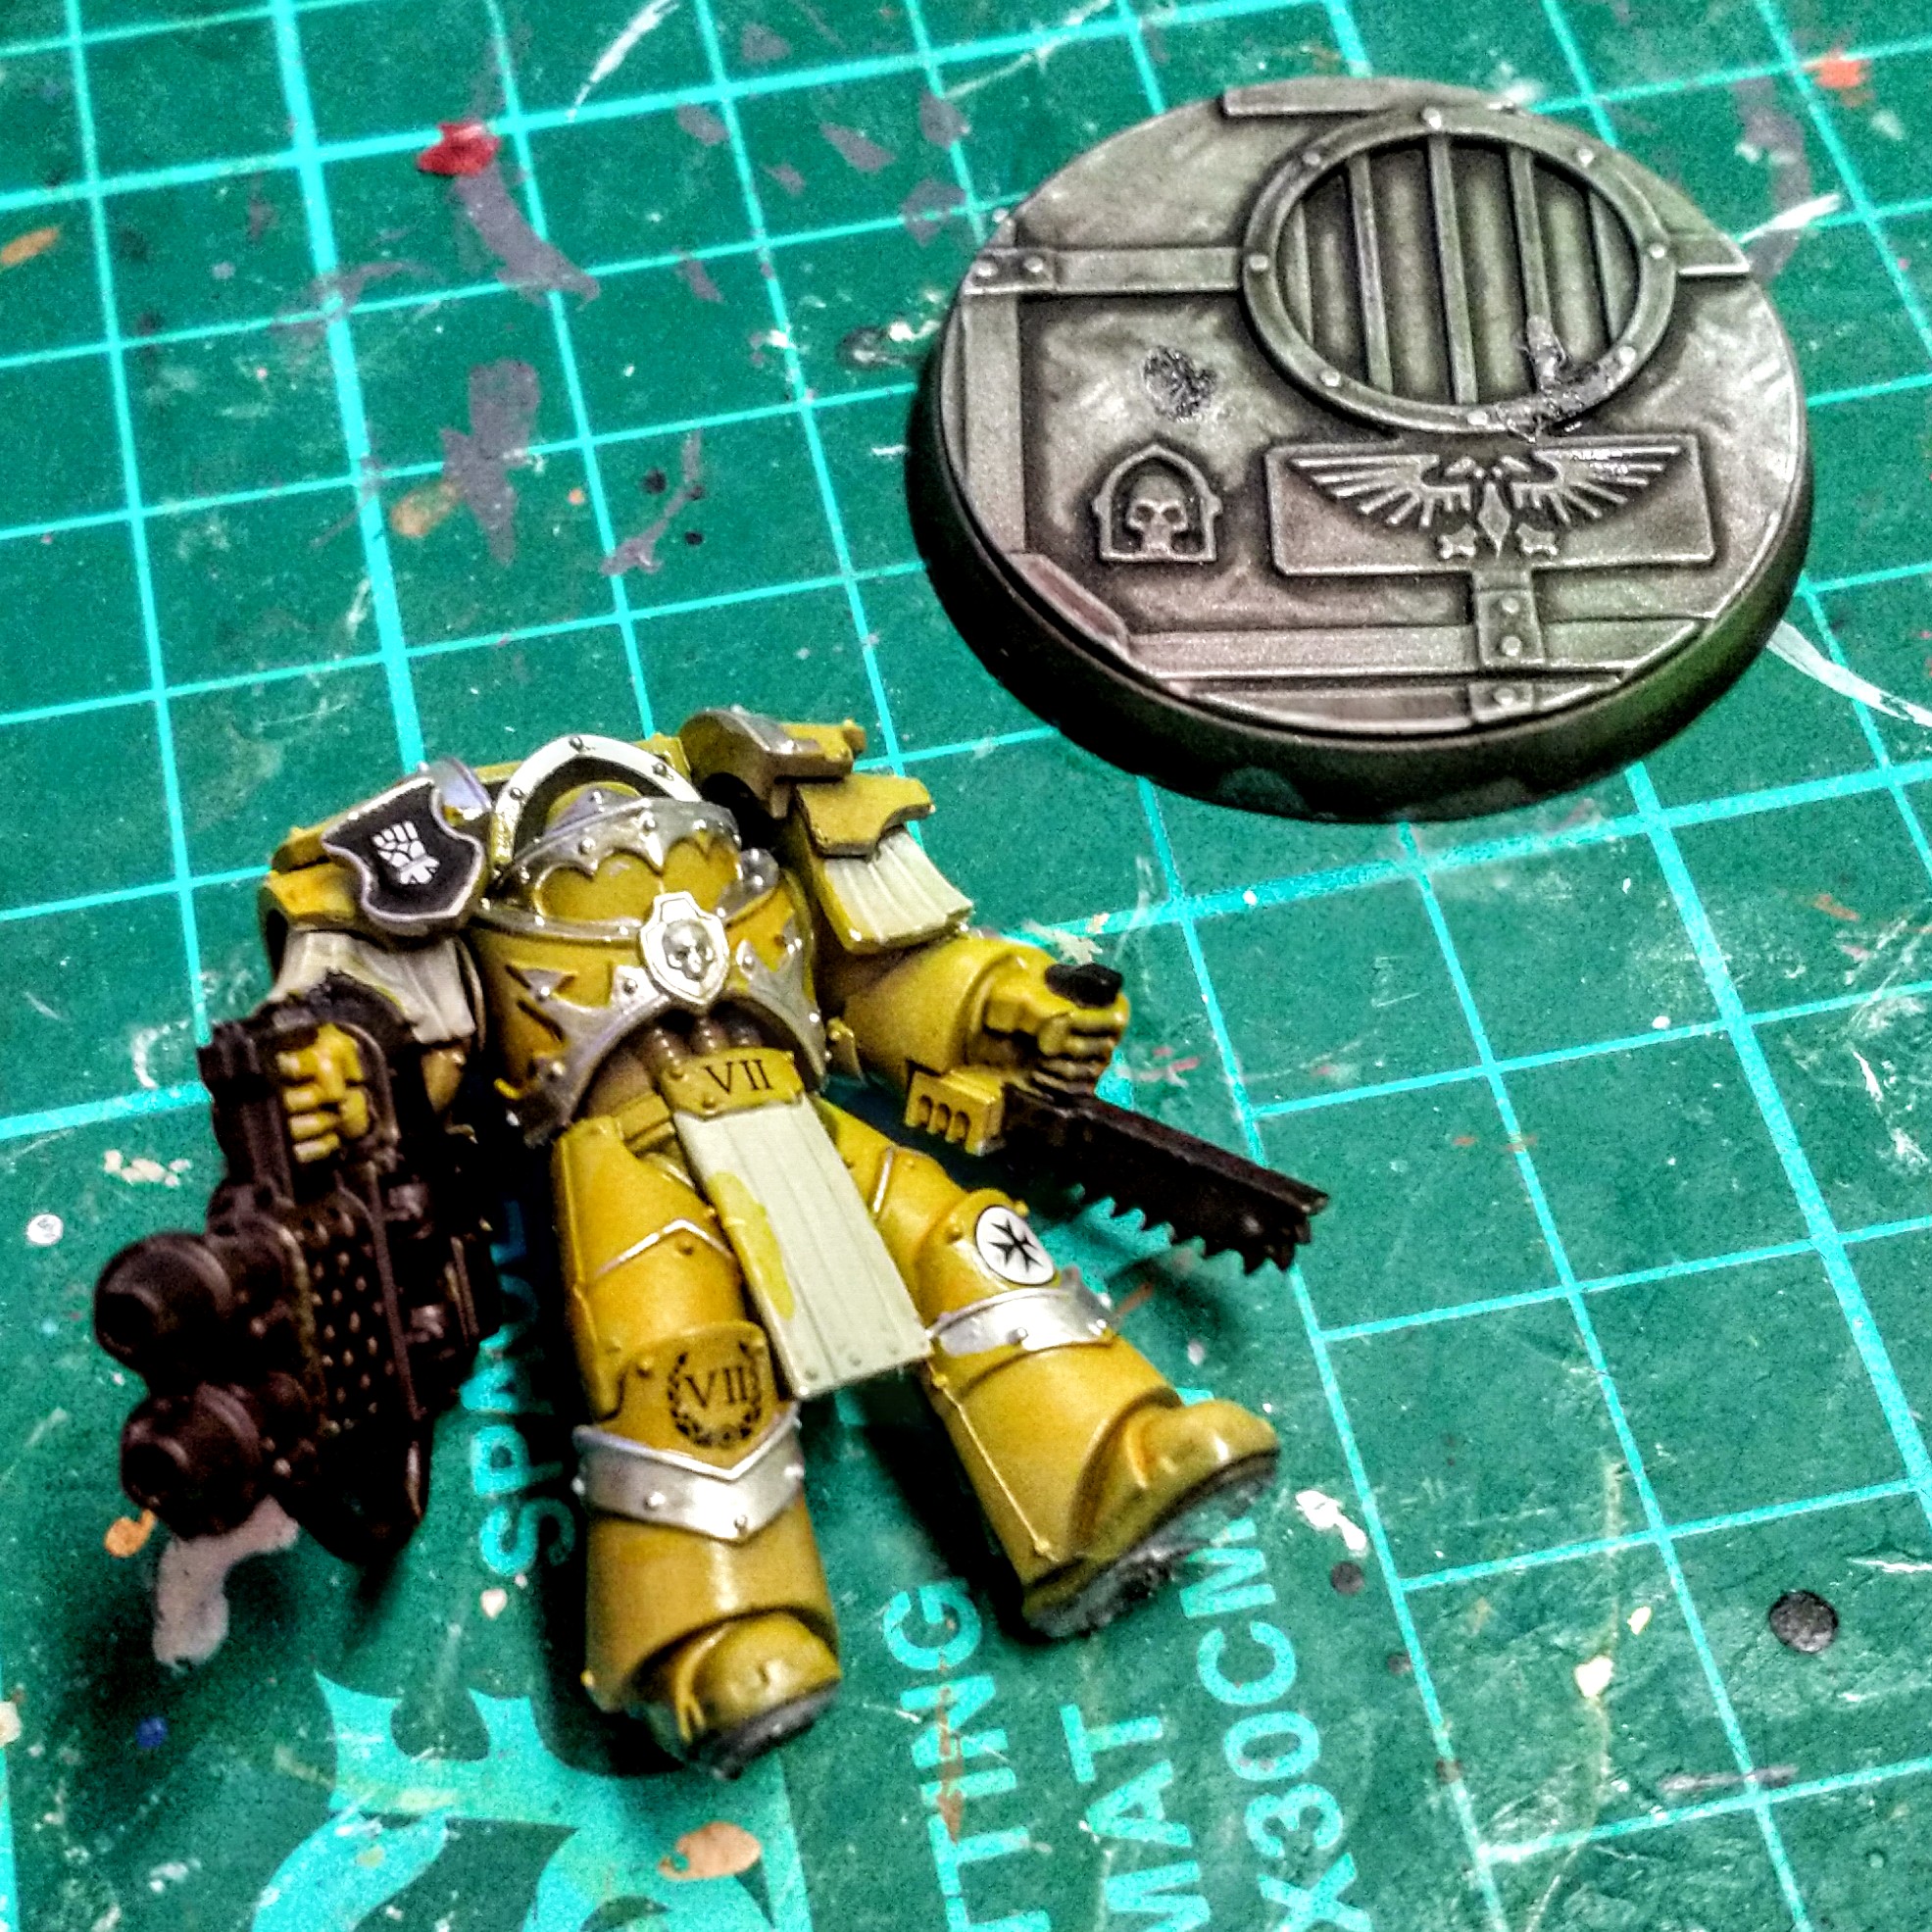
It’s come out rather well. I’ve taken a few pics with minis – the Primaris as the are the better models that I own feature in these shots.
I’m really pleased with how the pieces have scaled up – this not only allows you to use 40mm bases, There is also room to get my hands in without demolishing everything.


I’ve already got the next piece underway before I put this post together so as not to waste any printer time.
The Next piece is going to be a crossroads as below:
Moding the finder
To try an reduce the warping, we’ve added a few draught shields to our Finder to see if that makes a difference.
As you can see, only the highest grade parts were used in the this mod and in no way did we stick 2 kitchen towels on the sides with masking tape.
 FlashForge Finder with makeshift draught excluders
We had an issue with the first print attempt for the 3-square corridor section which failed at 10ish hours – this sometimes happens when you have the usb cable connected and the pc goes into sleep mode – the printer stops and goes immediately off.
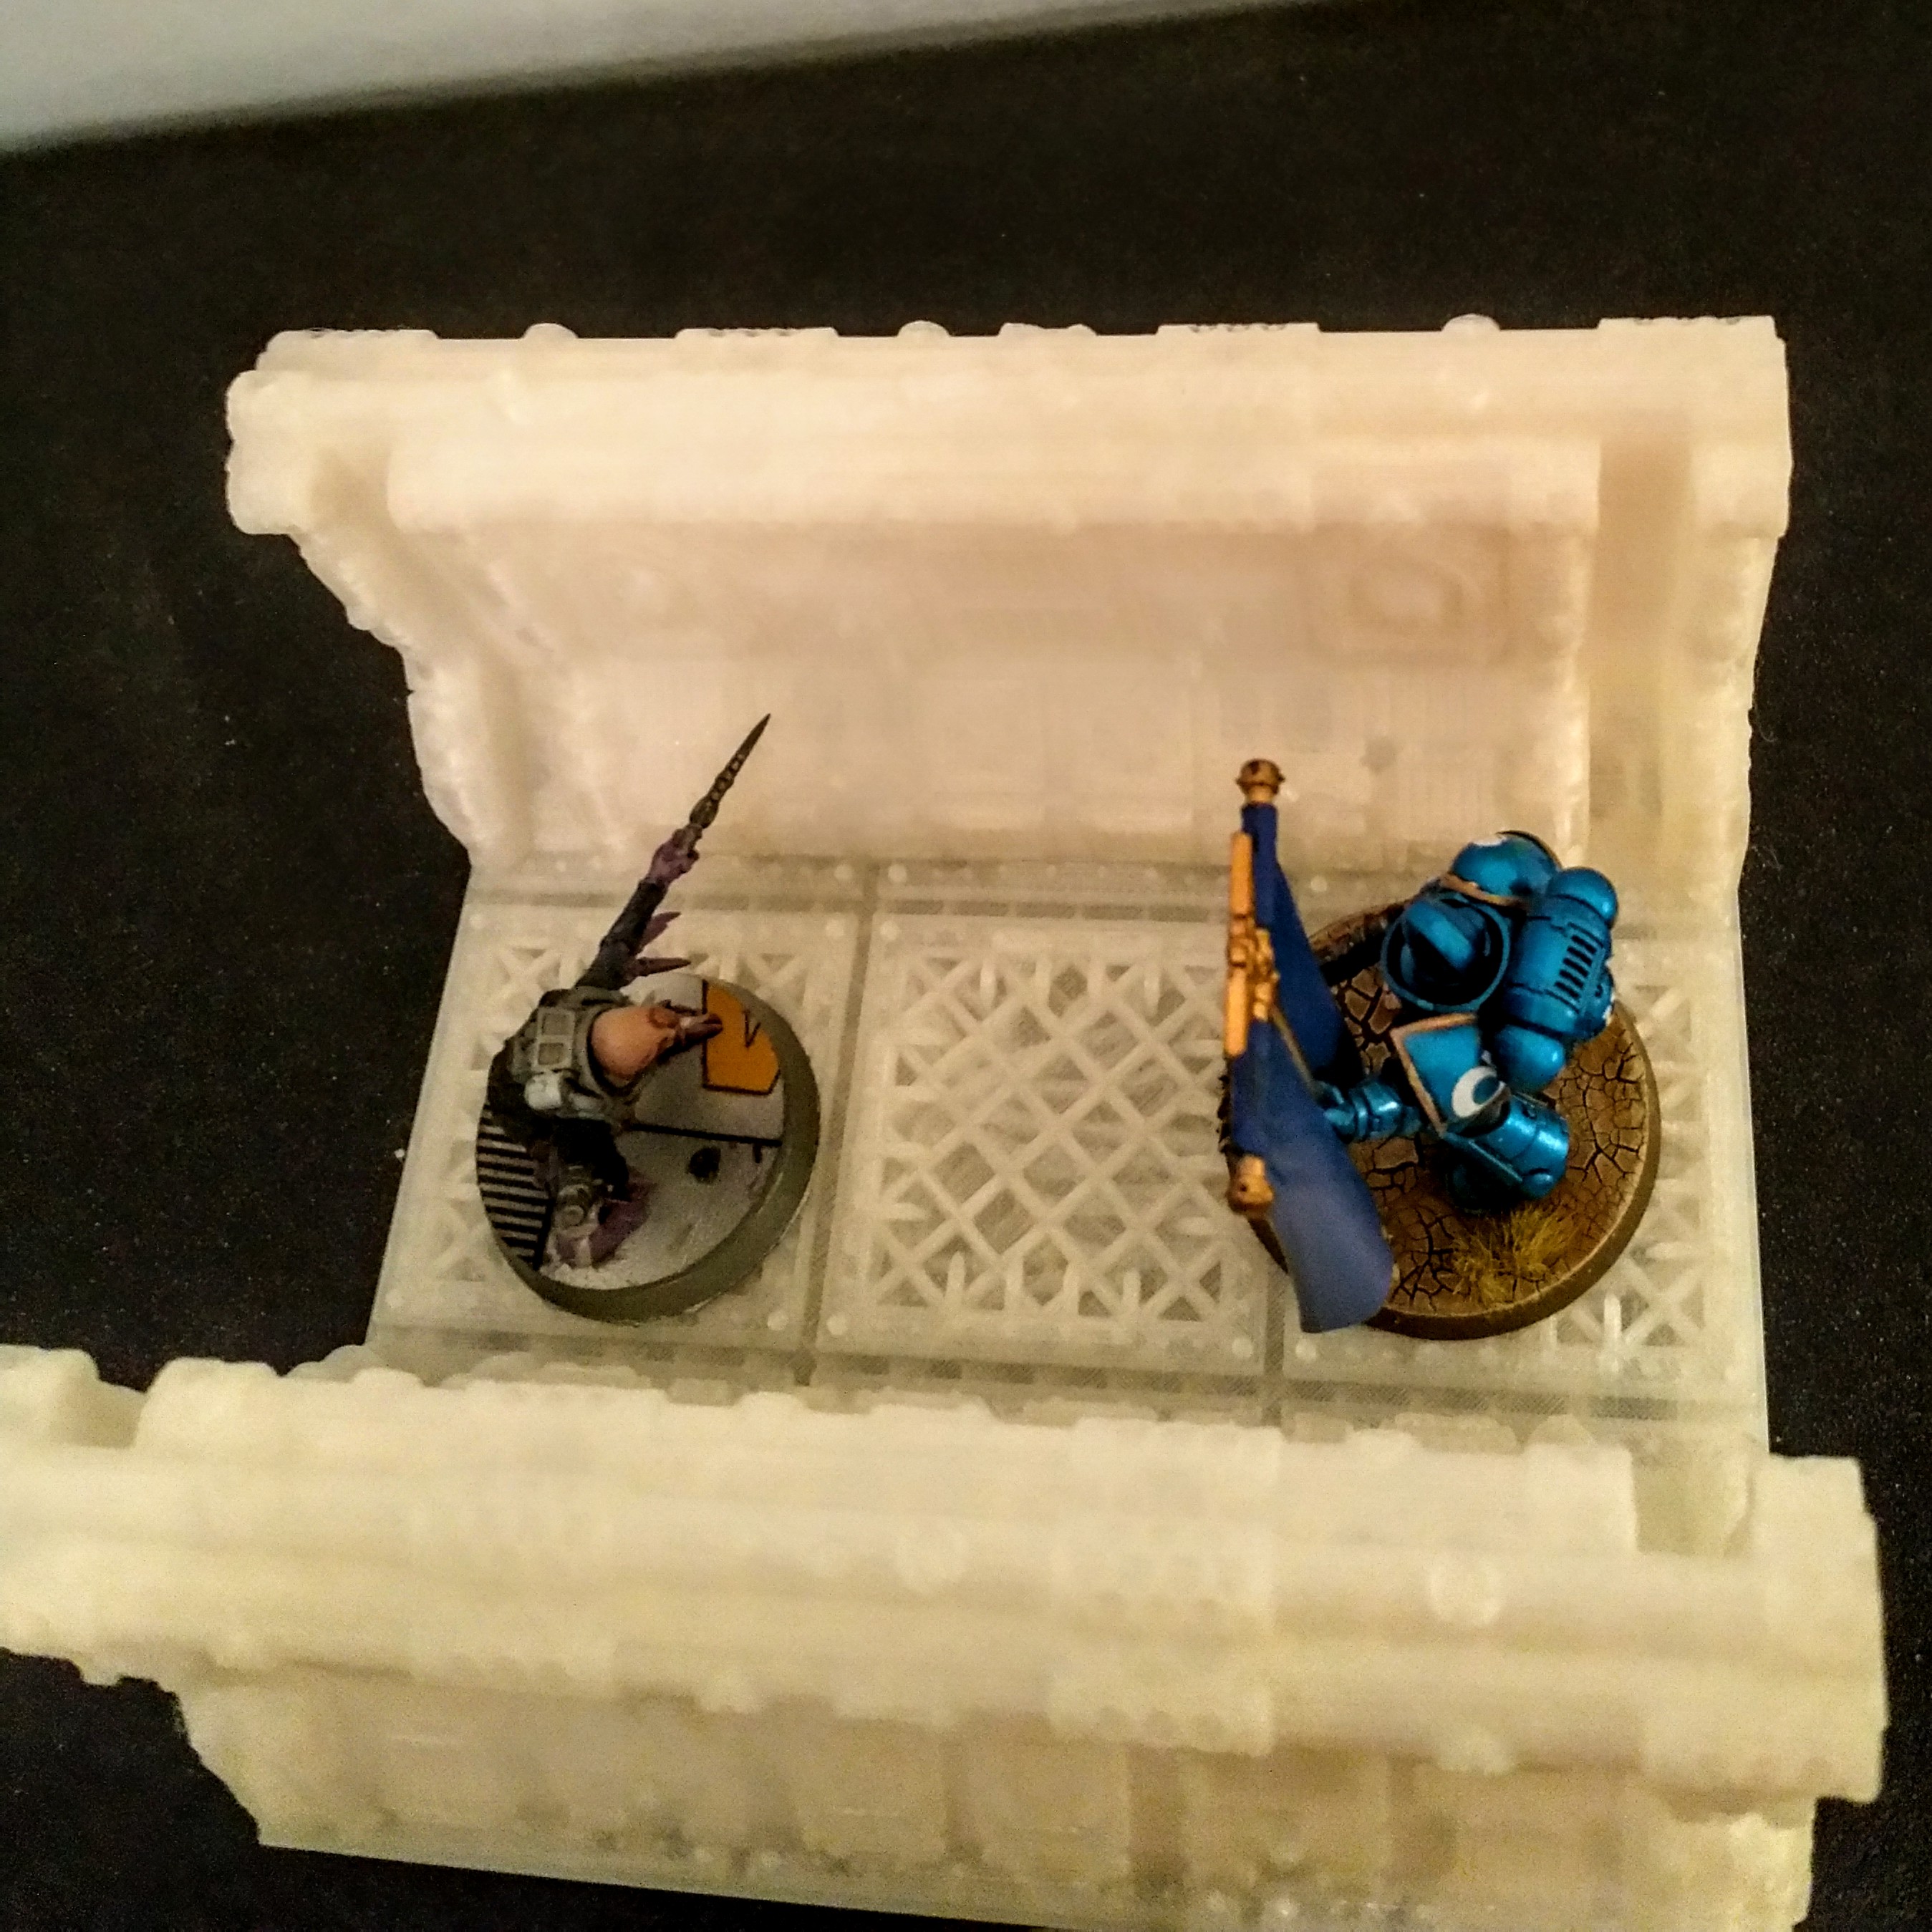
The prints are below at the 140% scale I mentioned earlier and the minis pictured are on 40mm bases.
The things to take away from this are:
- Remember to unplug the USB cable when printing
- Try to keep the door closed when starting off jobs as this helps with draughts (which leads to uneven drying and warping)
- take a bit of care removing the print from the bed in particular the OpenLOCK connector as I broke one of them pulling the print off the bed – running the plastic card underneath should do for this, but I wasn’t being careful as the print failed.
 Failed Print with Warping and 40mm bases
 Failed Print with Warping and 40mm bases
I also managed to sit on this guy while I was taking the pics and really he didn’t stand a chance. (This is completely optional and not recommended for your own projects.)
Chosing a paint Scheme
Traditional colour schemes for space hulk are usually in line with the board tiles and are grey / gunmetal.
I’ve painted a few vehicle interiors in the last few years with lighter, schemes, with brown’s and creams, built up to white, then a black wash, so I’m thinking that might be an interesting idea.
I would probably try out some chipping and light damage to the edges. I think I would avoid rust (as it needs water and air and in space, there isn’t really very much of either) but corrosion around pipework and dirty / grime would be cool.
Cutting Large Pieces to fit the print bed
Breaking up larger pieces to print on the smaller print bed is relatively straight-forward to do with the bundled software.
Since we know that 3×3 squares will fit on our print bed we just need to break the room into 4 pieces in a way that makes it easiest to hide the join when we glue the pieces together.
With the tiling system that we are using, cutting between the floor squares should give us the best results.
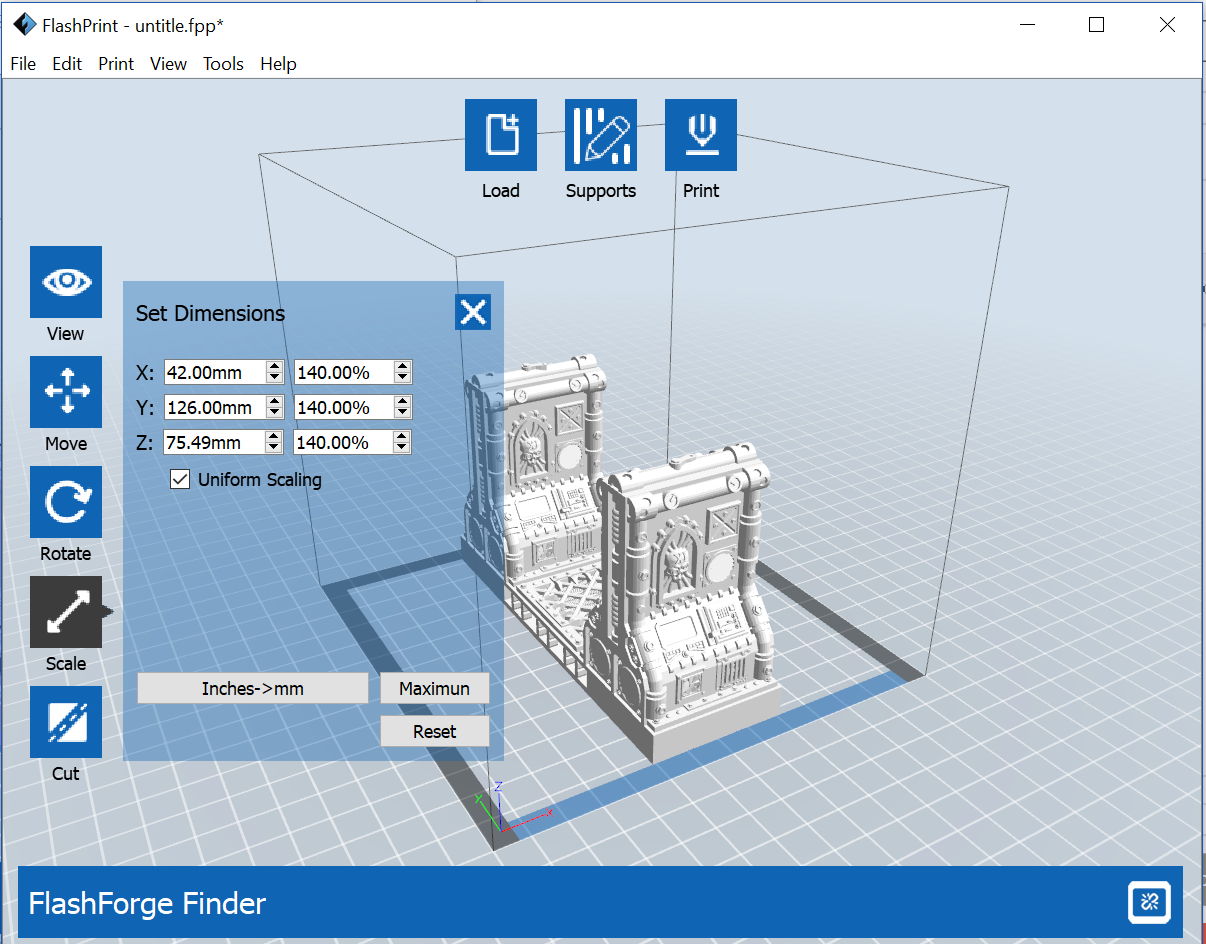
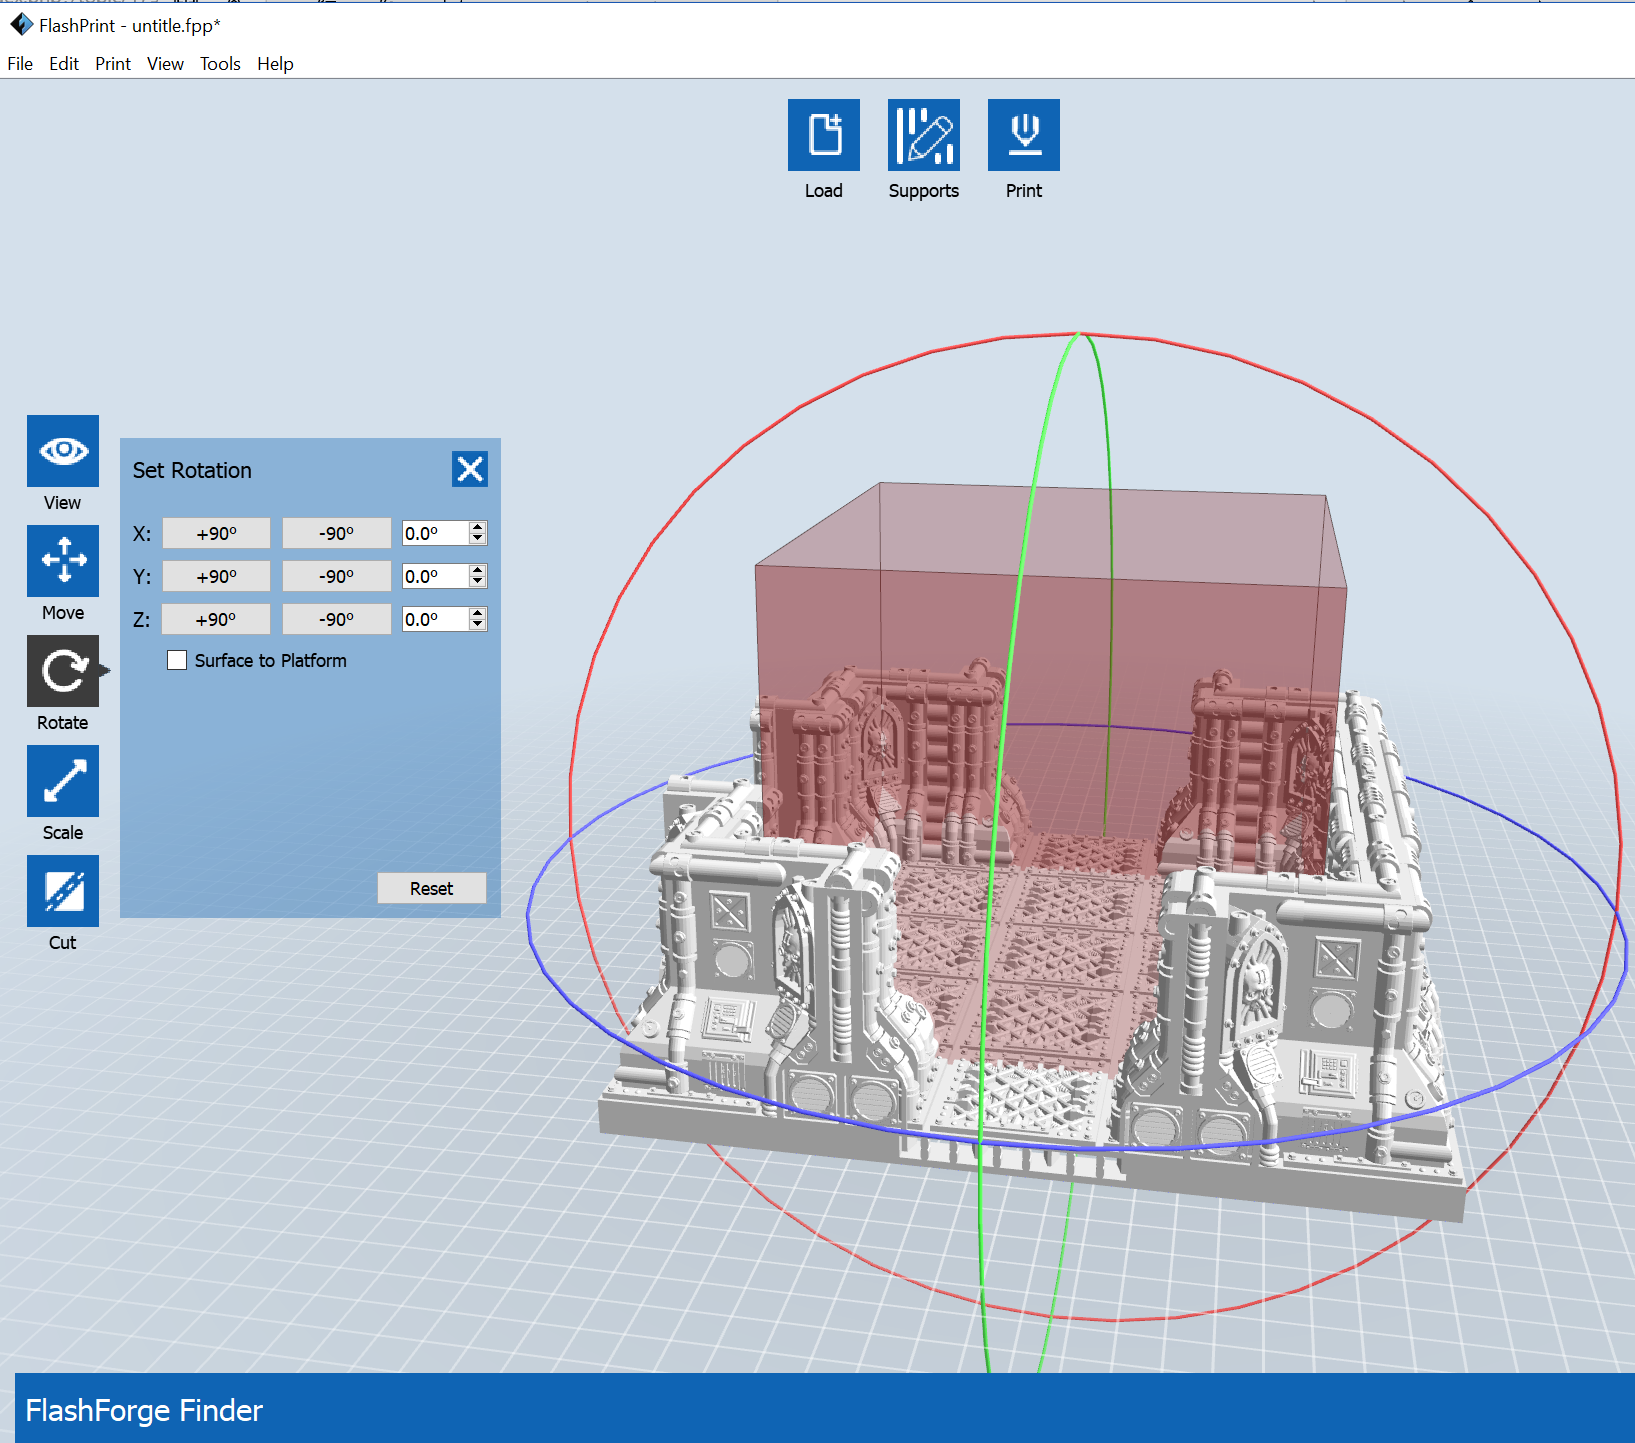 Flash Print - Resize and rotate the Image to make it easier to setup the cut
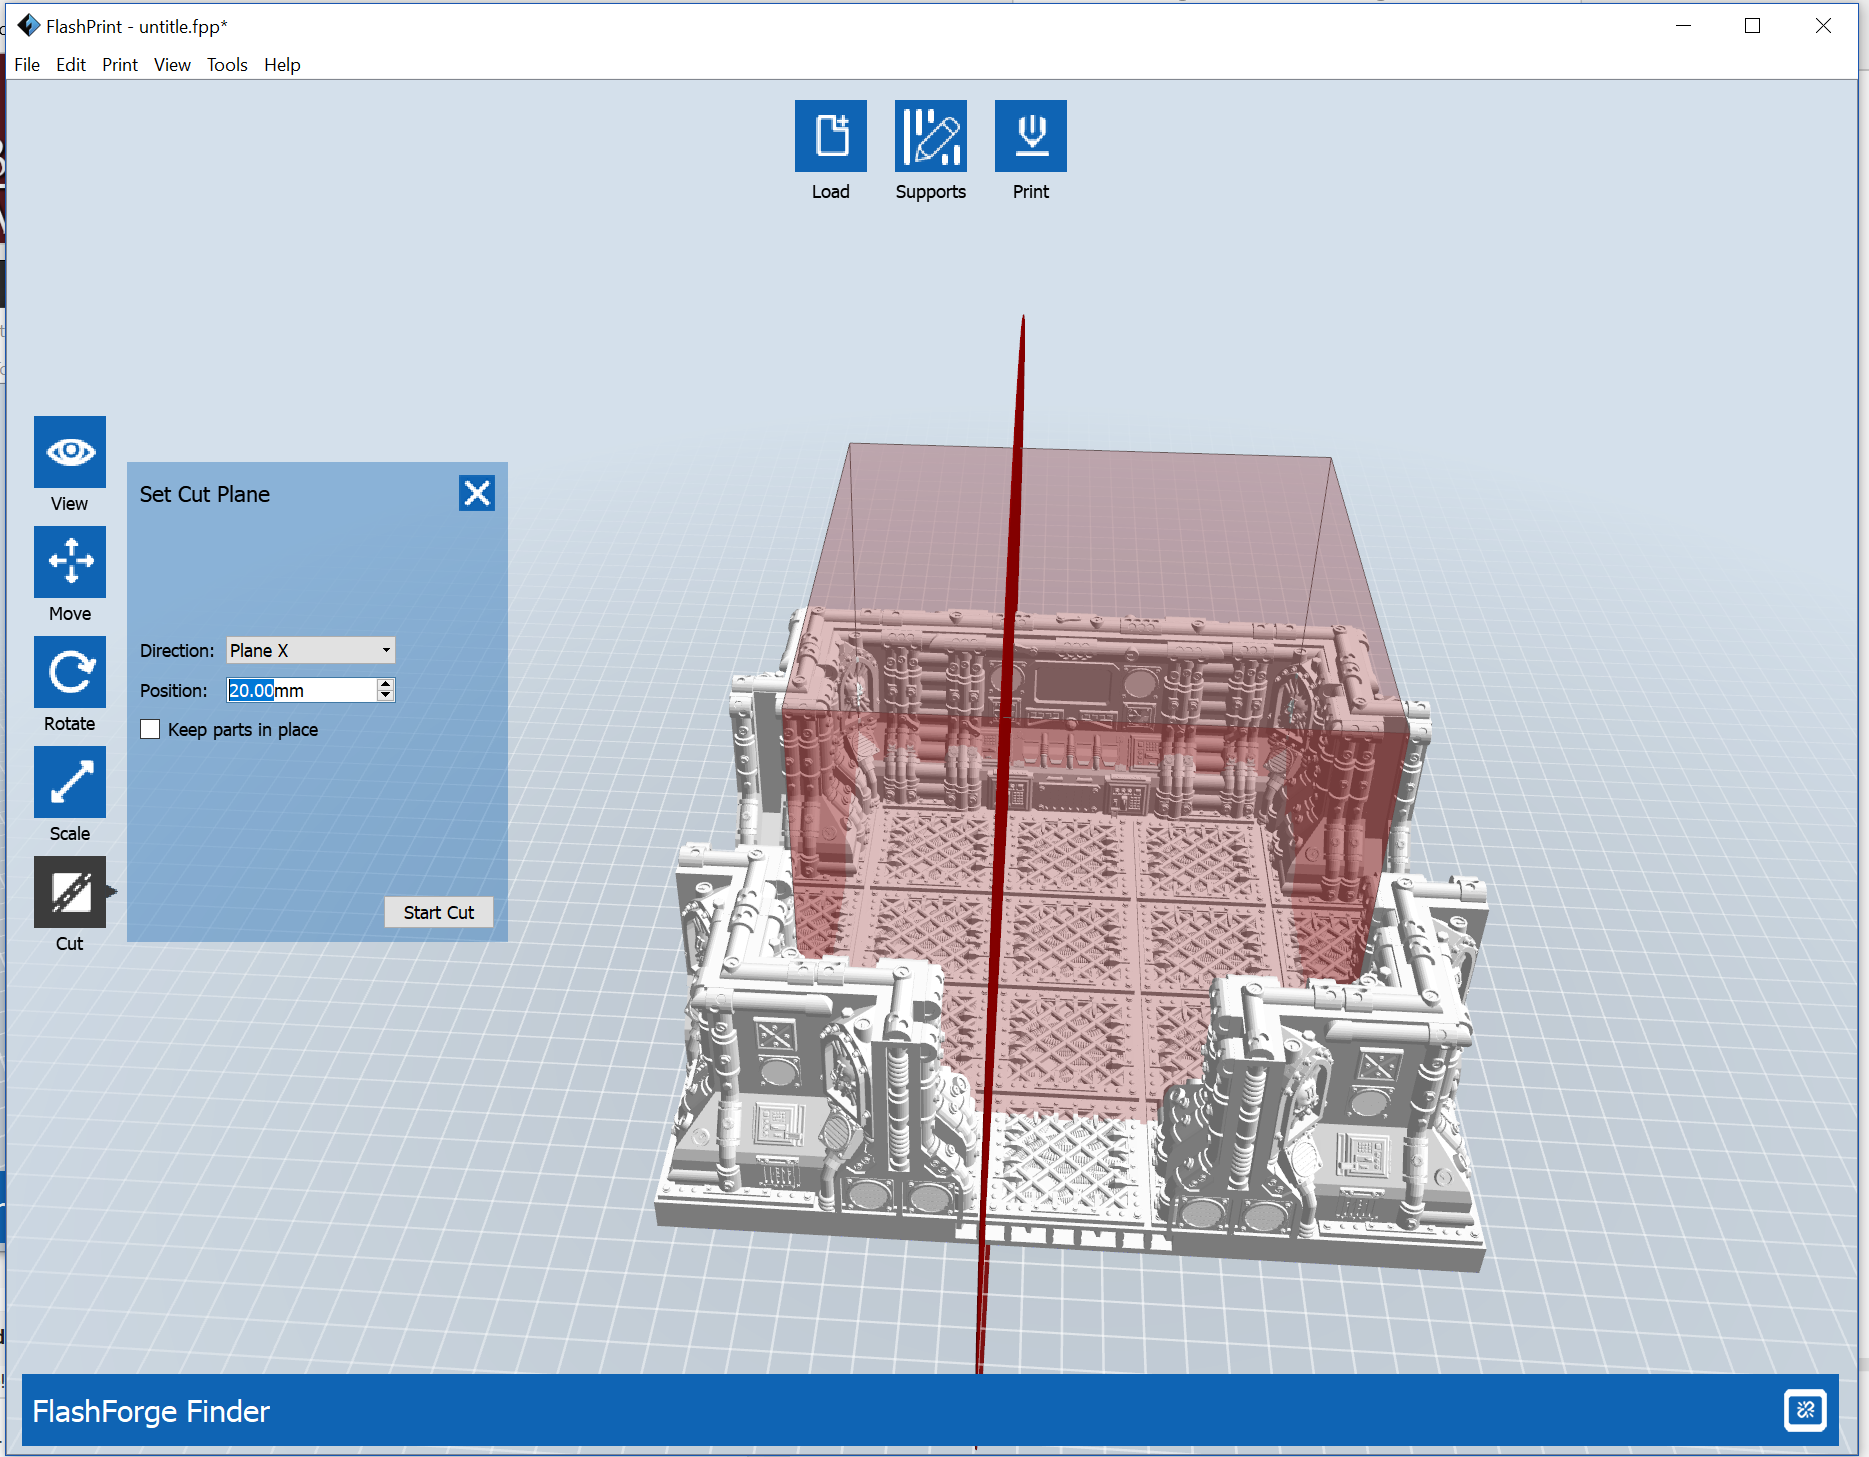 Flash Print Setting the x-axis cut to go along panel lines
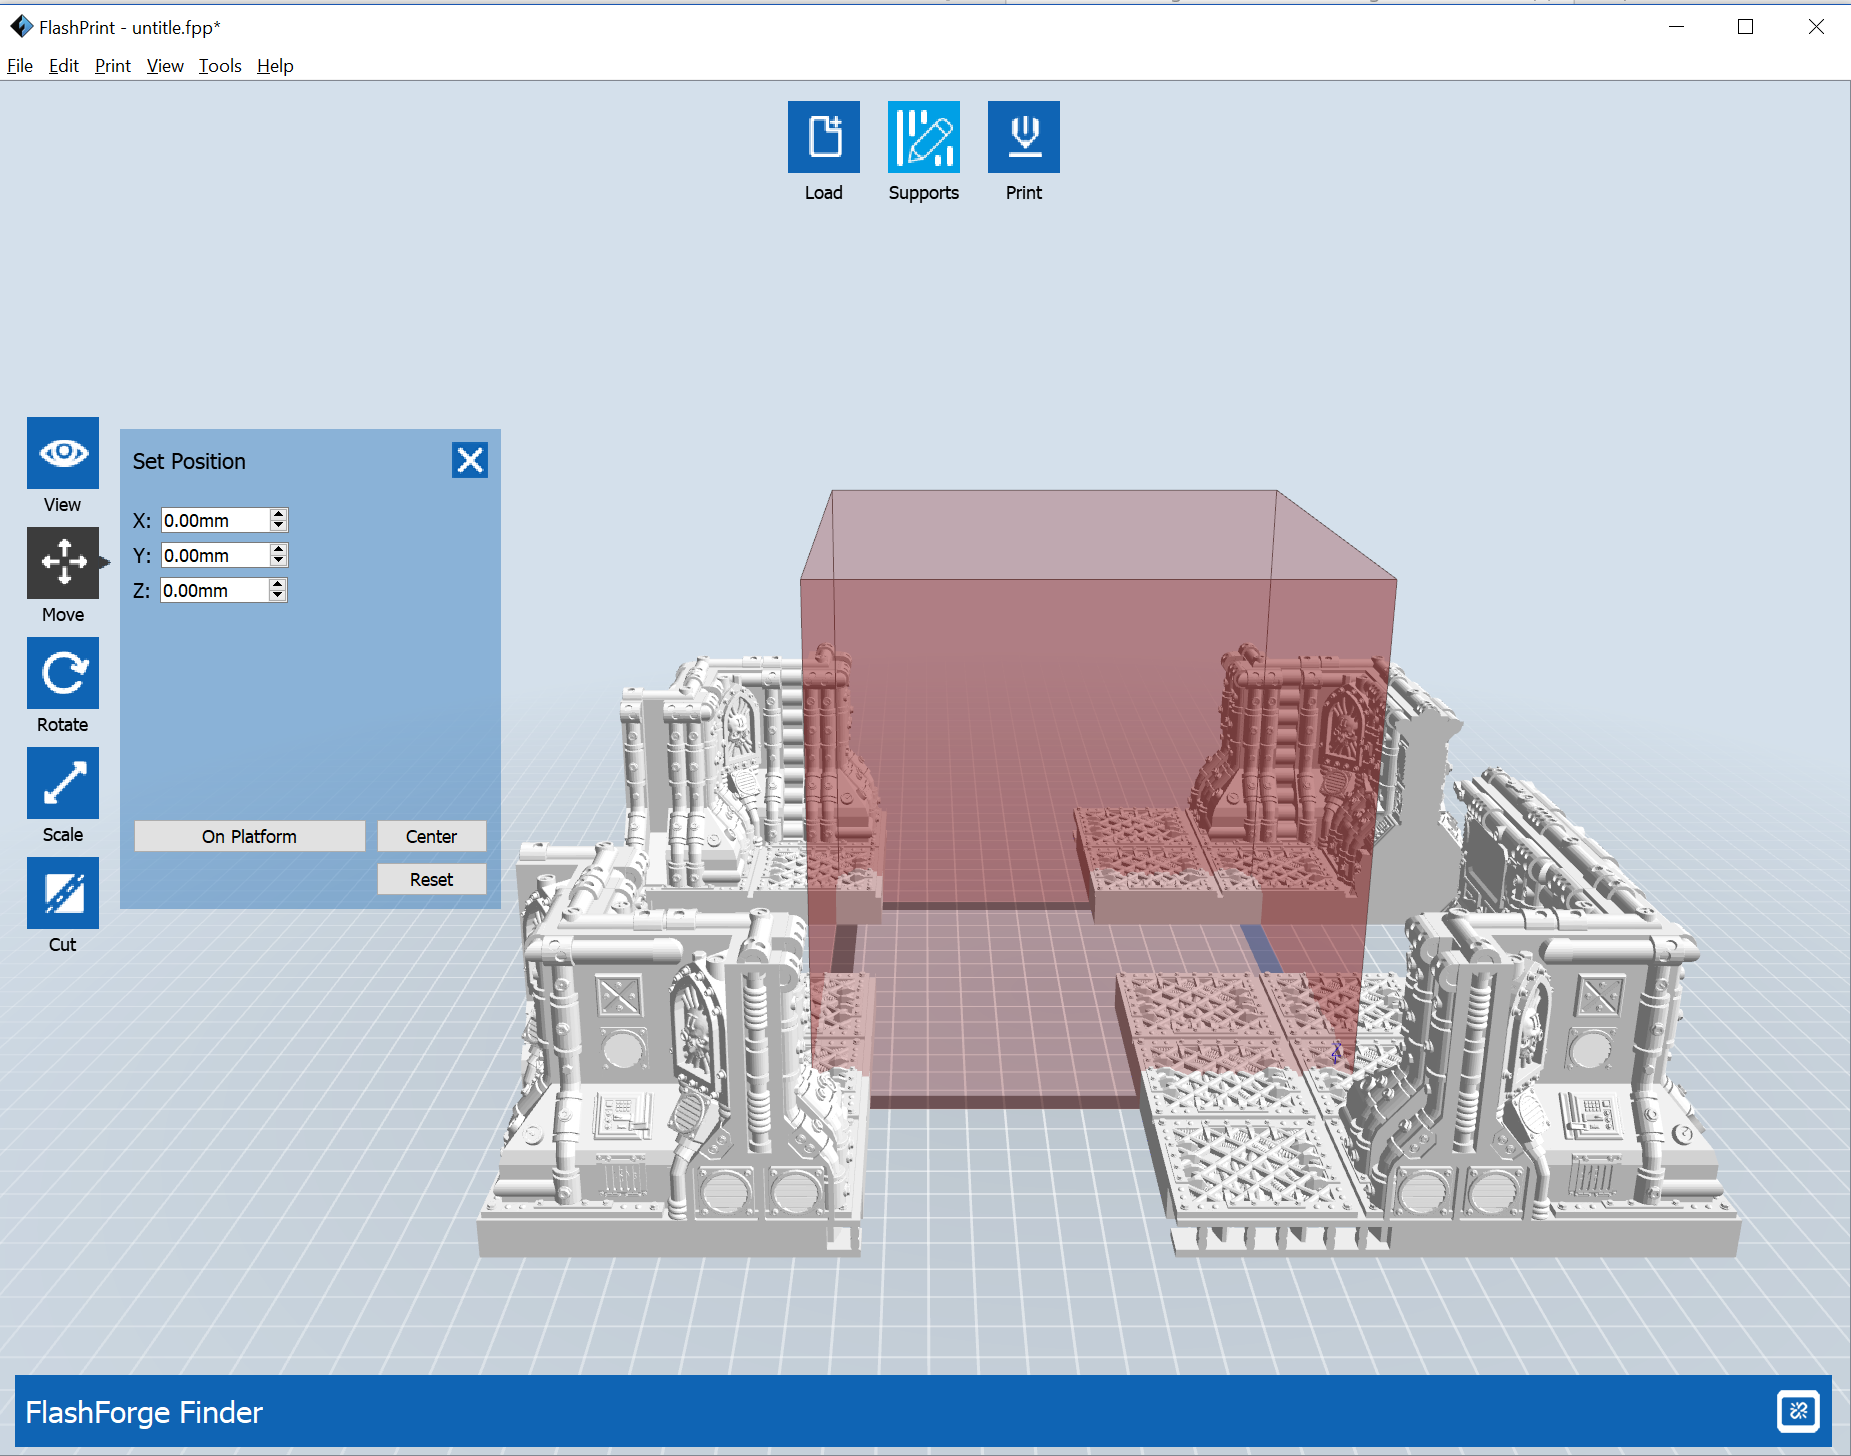 Flash Print - The Room cut into 4 pieces that can fit on the print bed
With all the cuts made, the 4 pieces are saved as separate files so they can be estimated separately and printed later.
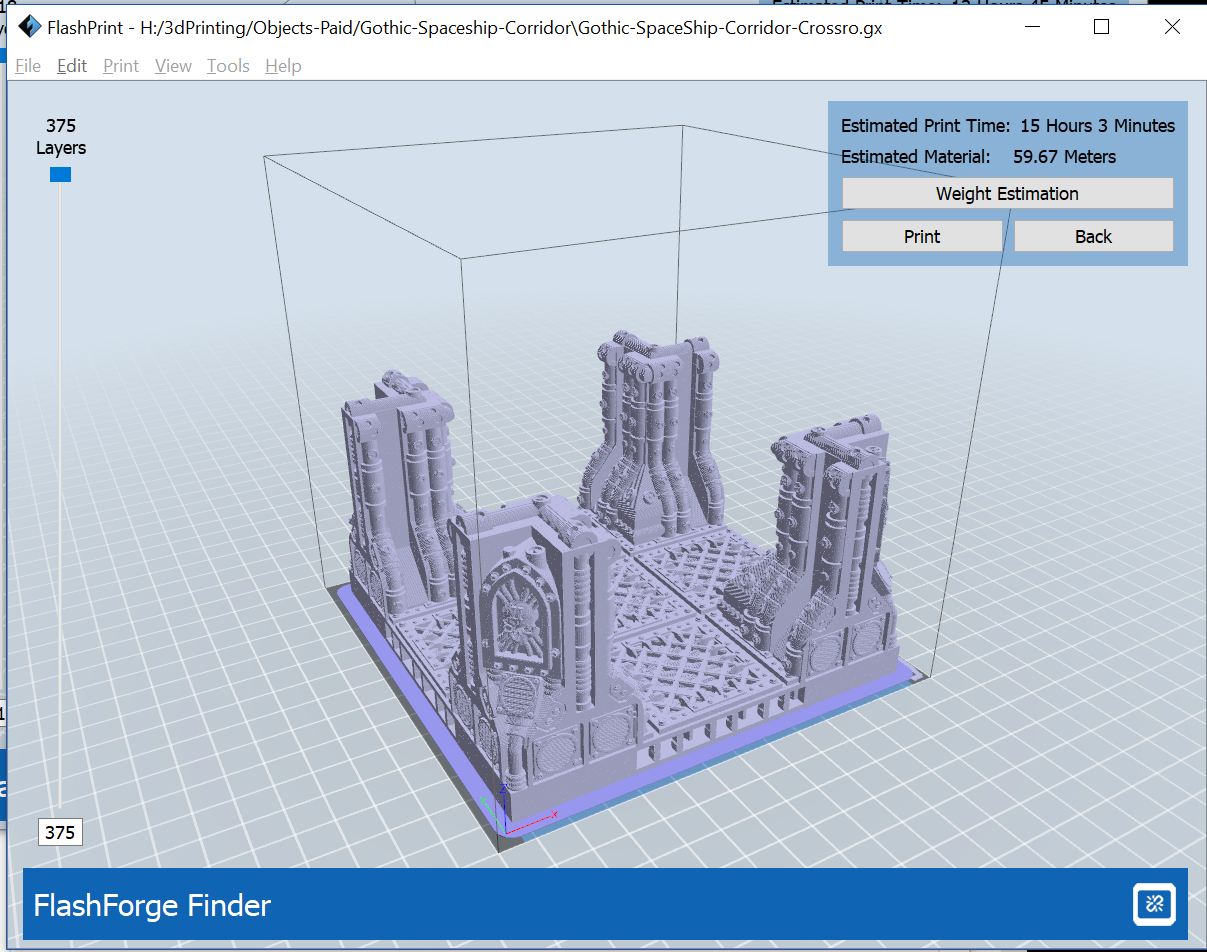
 Flash Print Build Estimate for the first Room Piece
First Print 3x3 Corridor section at 140%
Well, nobody said it was going to be quick – 17 hours will be the longest single part I have printed, but we are underway and that’s the main thing.
 3 Tile Coridor in Flashforge Visualiser
With the raft in place the print bed is entirely consumed with the print.
The OpenLOCK Socket is visible on the left side under the floor.
Planning the Next Pieces
While this is running, I’m going to do a little bit to plan some of my prints – essentially, I don’t have the luxury of leaving this running when I am at work, or when I go to bed, so I need to really organise them so I can run them with 4-5 hour blocks (when I get home after work) and probably some 10 hour blocks (for weekends)
Let’s take a look at the traditionally smallest section for Space Hulk.
It looks like this is estimated at 6:45 (which probably means it will take 8 hours to print.)
 Flash Print scaling parts to 140% to allow for modern base sizes
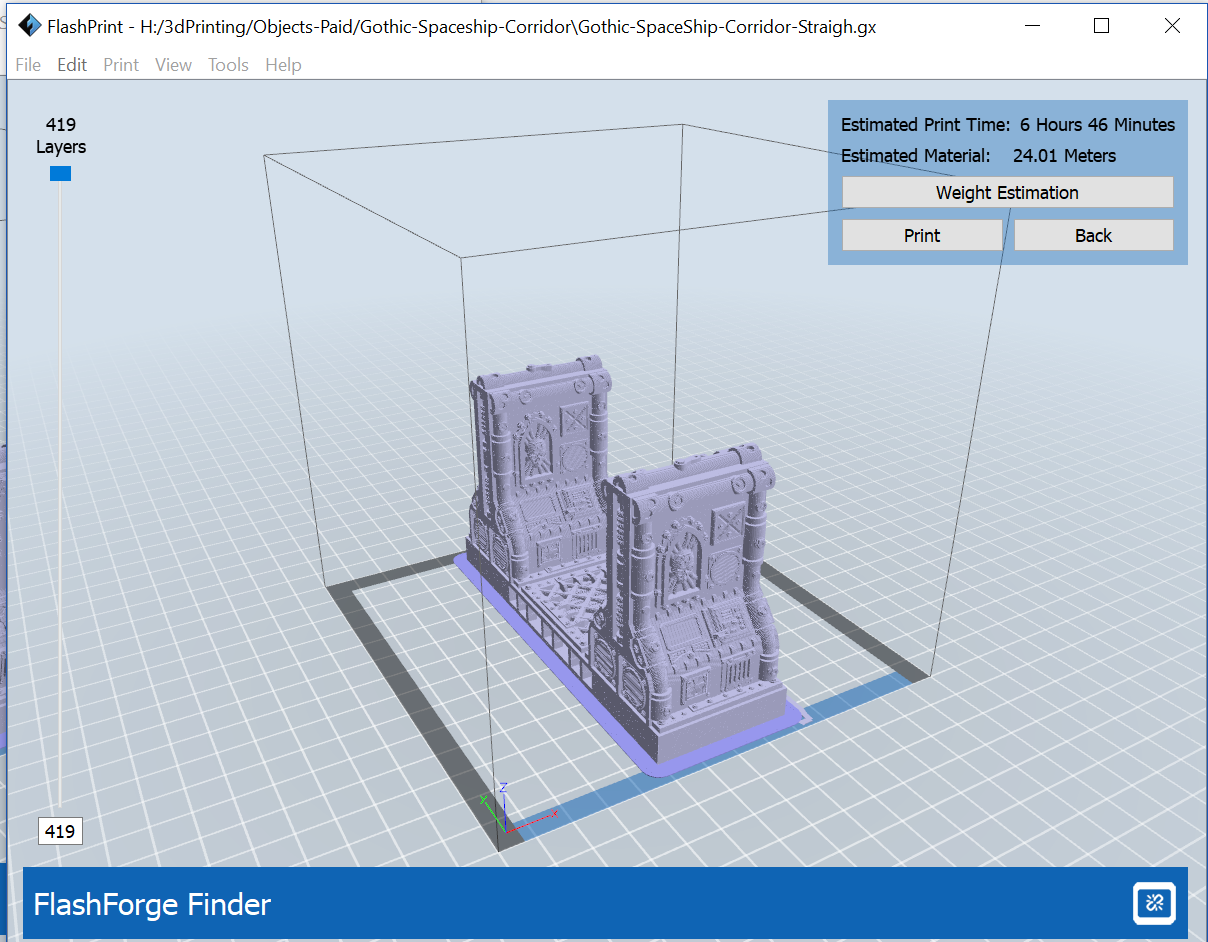 Flash Print build estimate for single square corridor
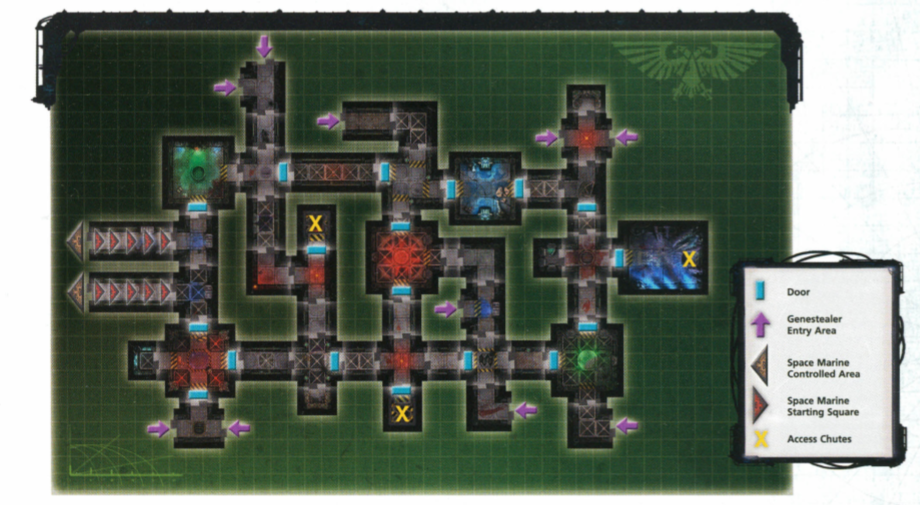 Corruption's Heart Mission Map
From the Mission Map above, it looks like we are going to need a lot of Pieces.
3x Corridor 5
3x Corridor 3 (17 hours Each Estimated, 20 hours Actual) [1/3 built]
7x Corridor 2
2x Corridor 1 (7 hours Each)
5x Corridor + (17 hours Each [Actual])[1/5 Built]
5x Corridor T
4x Corridor Corner
4x Dead End
2x Chutes / Lifts
1x Offset Crossing
2x T Room (4 parts, A=9 h, B=11 h, C= 11 h, D= 14 h Total = 45 Hours)
1x + Room
1x ortho-Room
1x para-Room
1x 3×4 Room ( we can kitbash this from the regular single door room in FlashPrint)
From the very early build estimates it is starting to look as if there isn’t any chance of the board being complete in the 6 or so weeks remaining for the project, so it looks like we’ll need to try and save some time and scale back some of the plans a bit.
If we use the original doors from 4th edition, that will save some printer time.
If we use a 2d laser printer, we can print out 140% tiles for the main space hulk board pieces, then we can move the finished parts (however many we end up with) around so that they are always in the active area – this should give the project as a whole a degree of robustness.
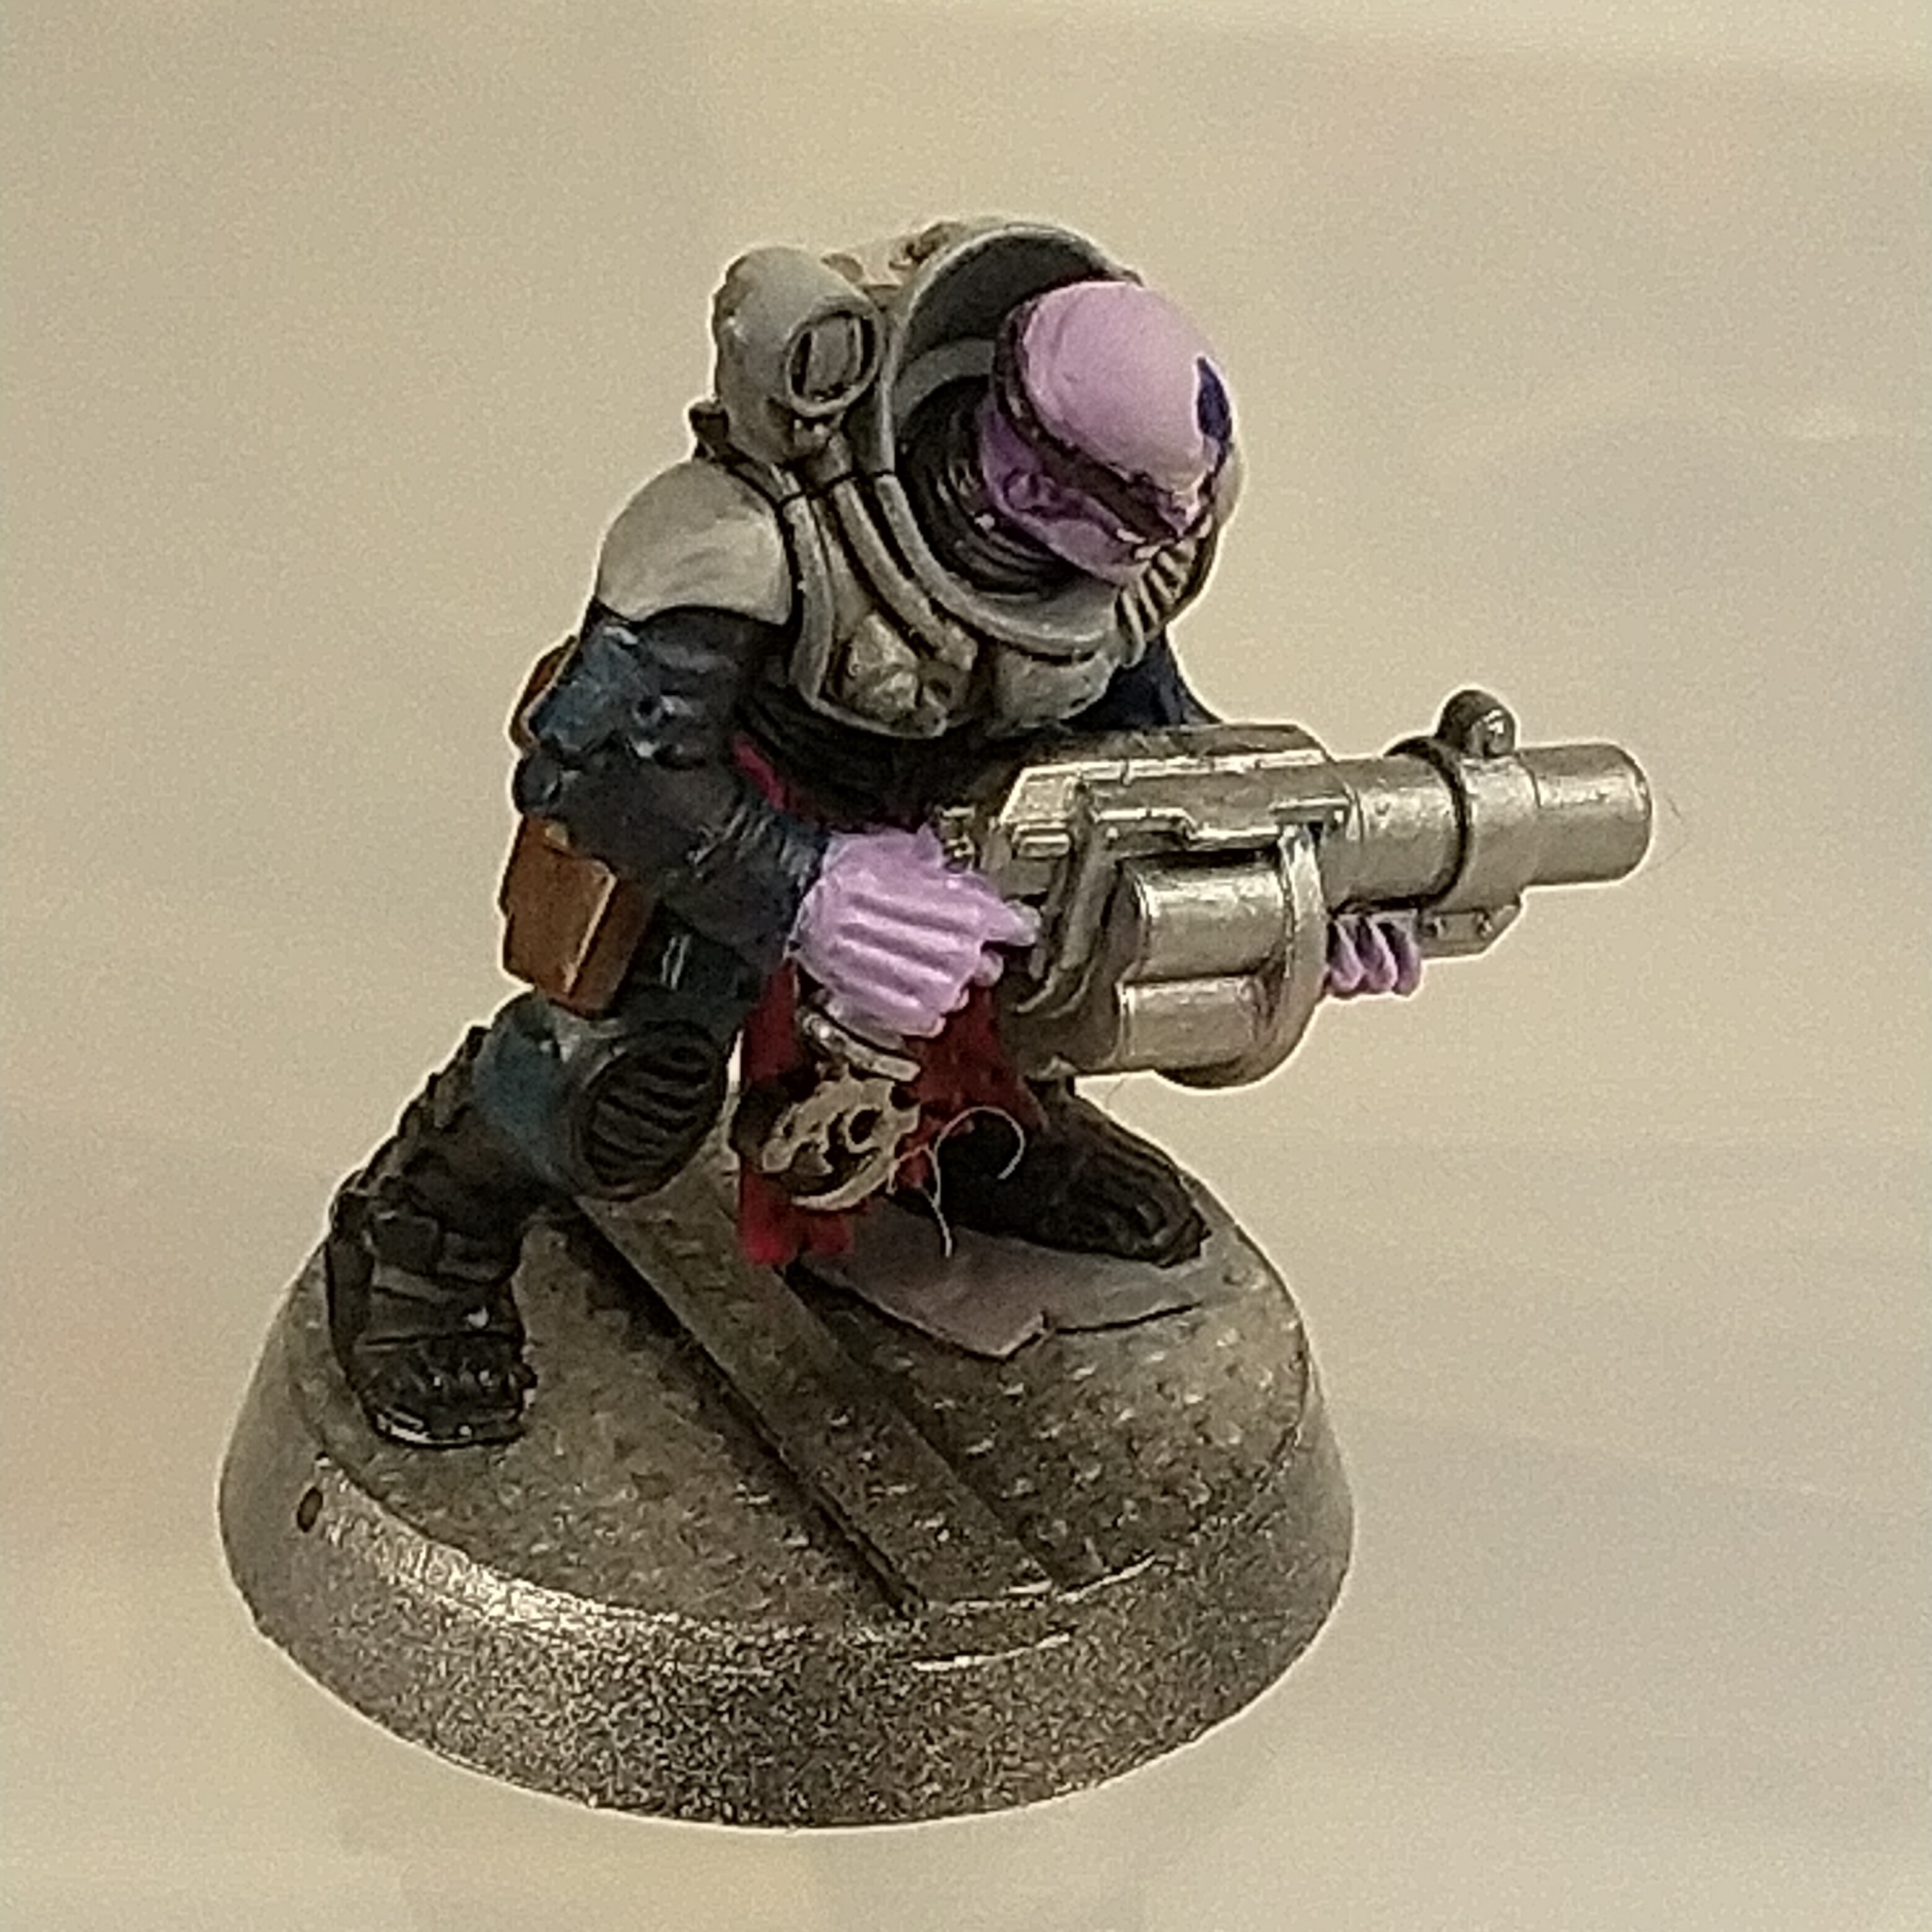
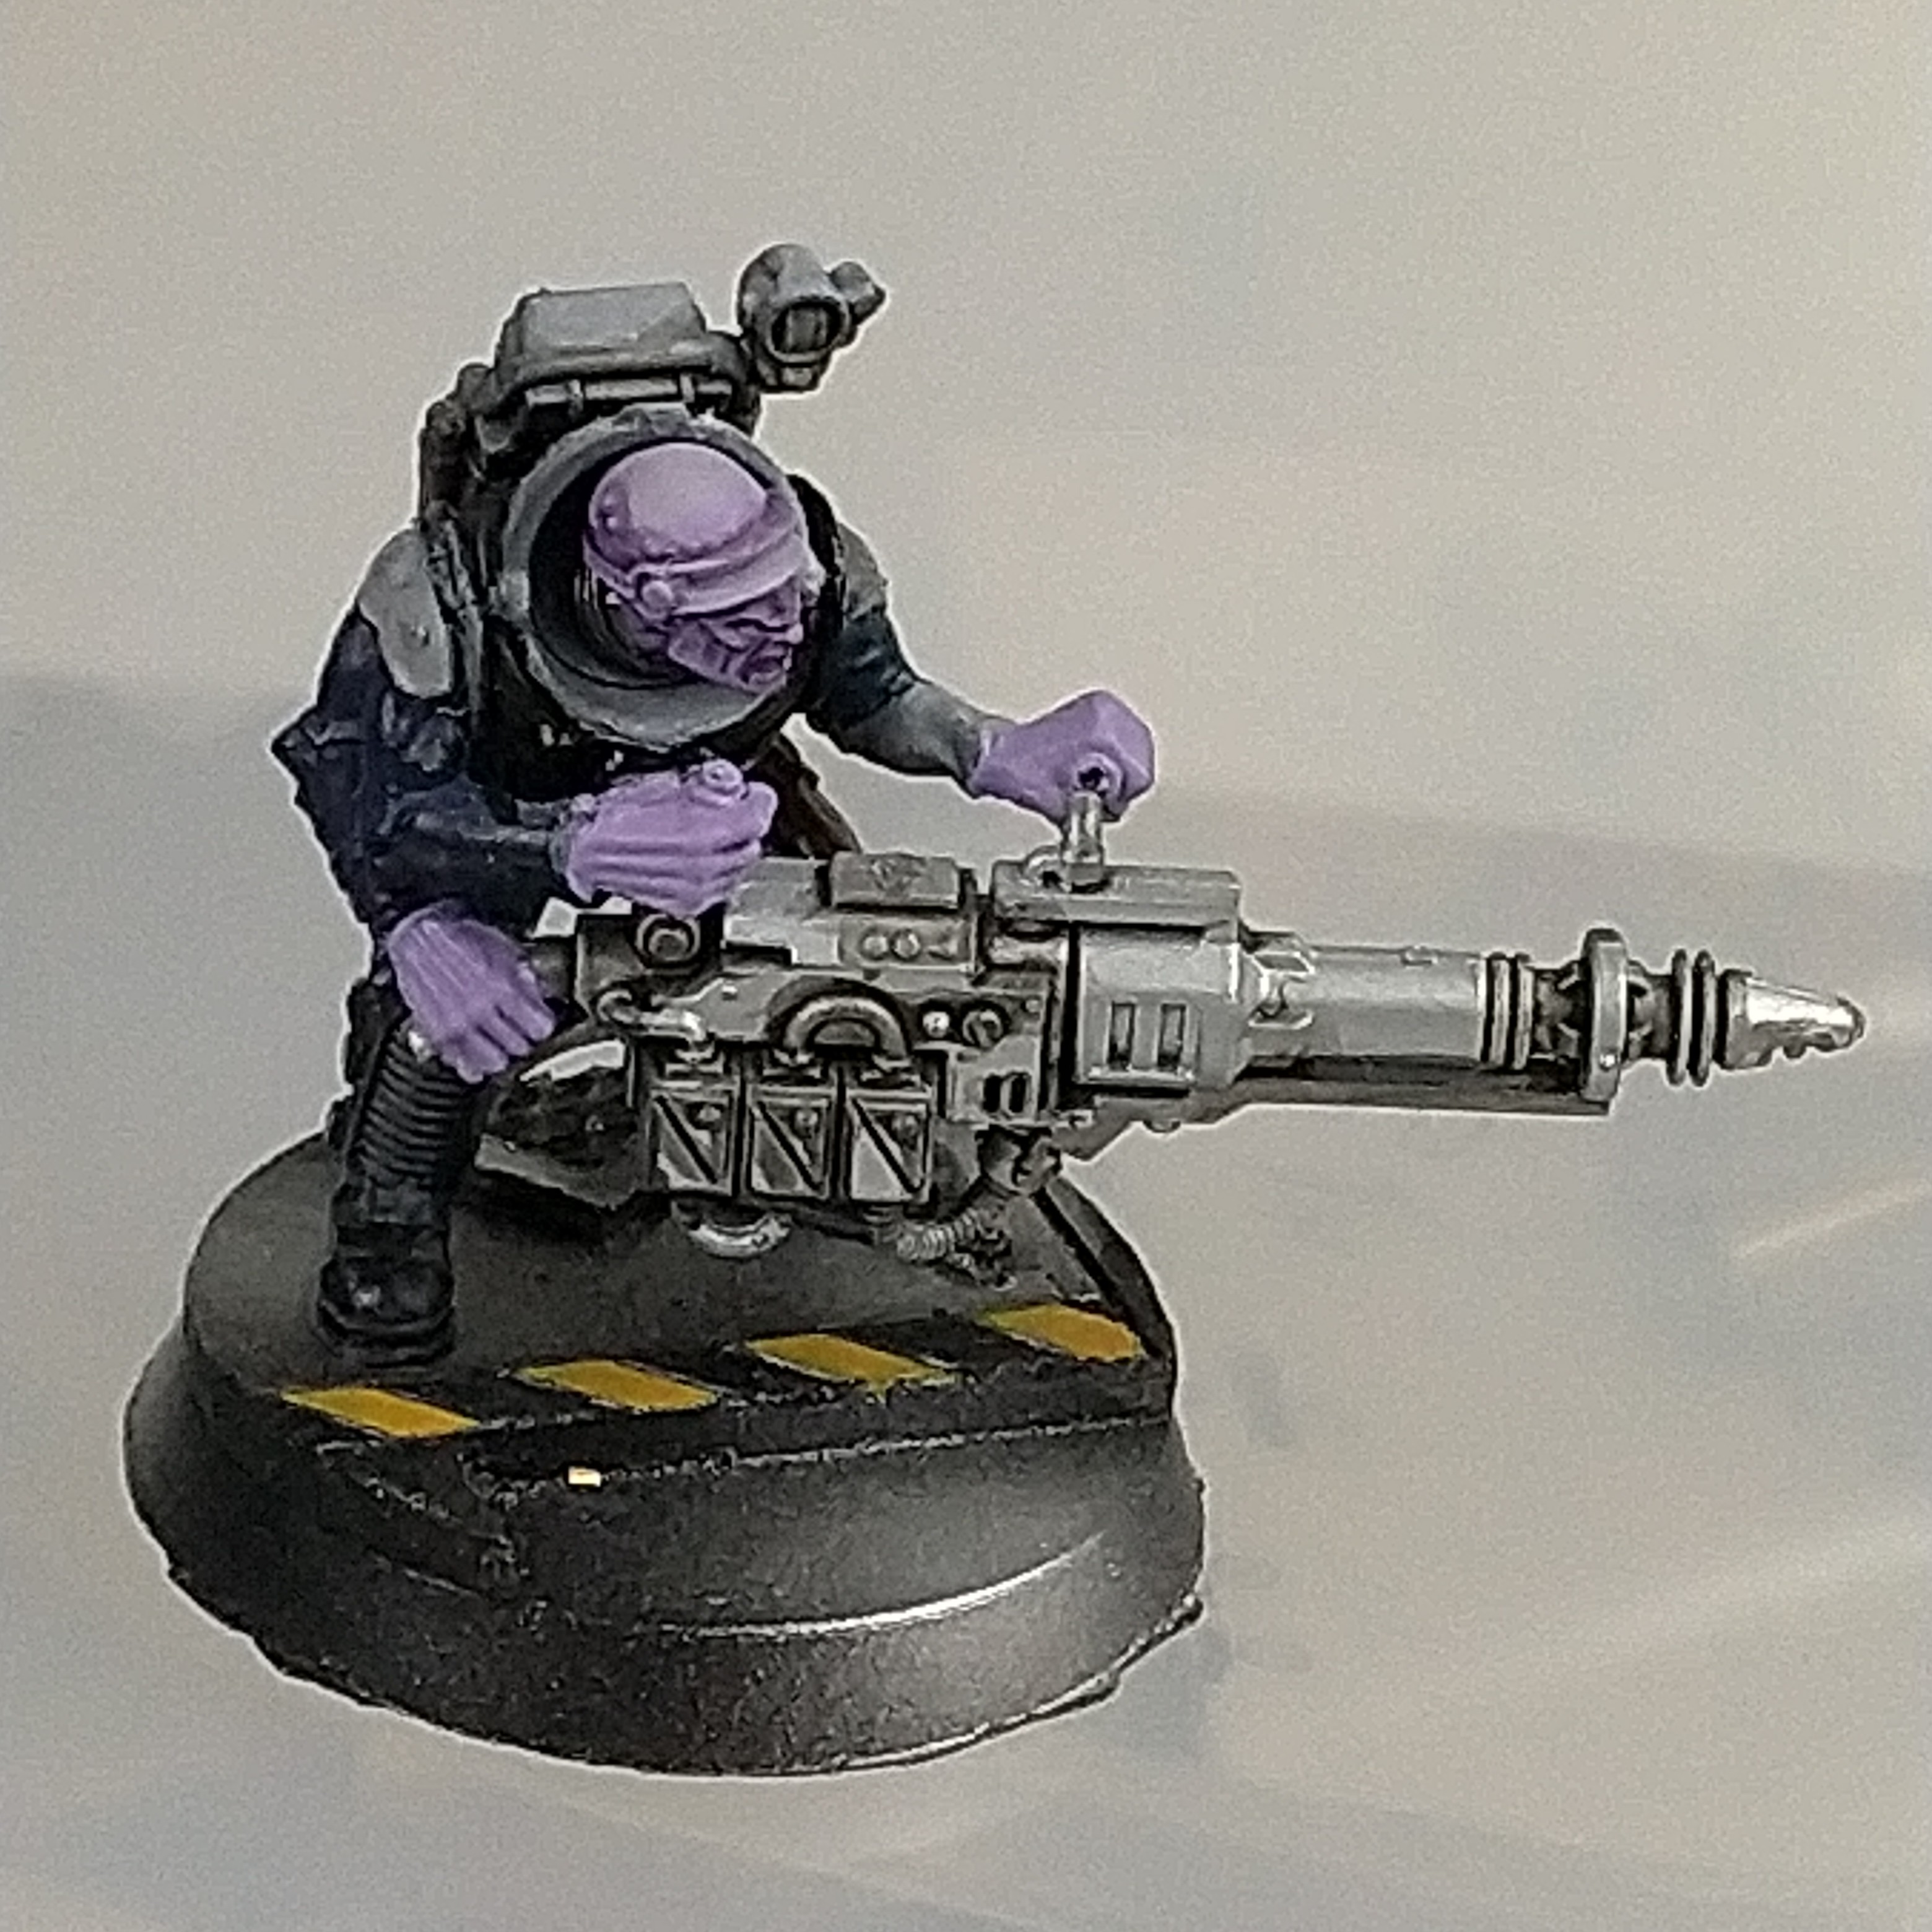
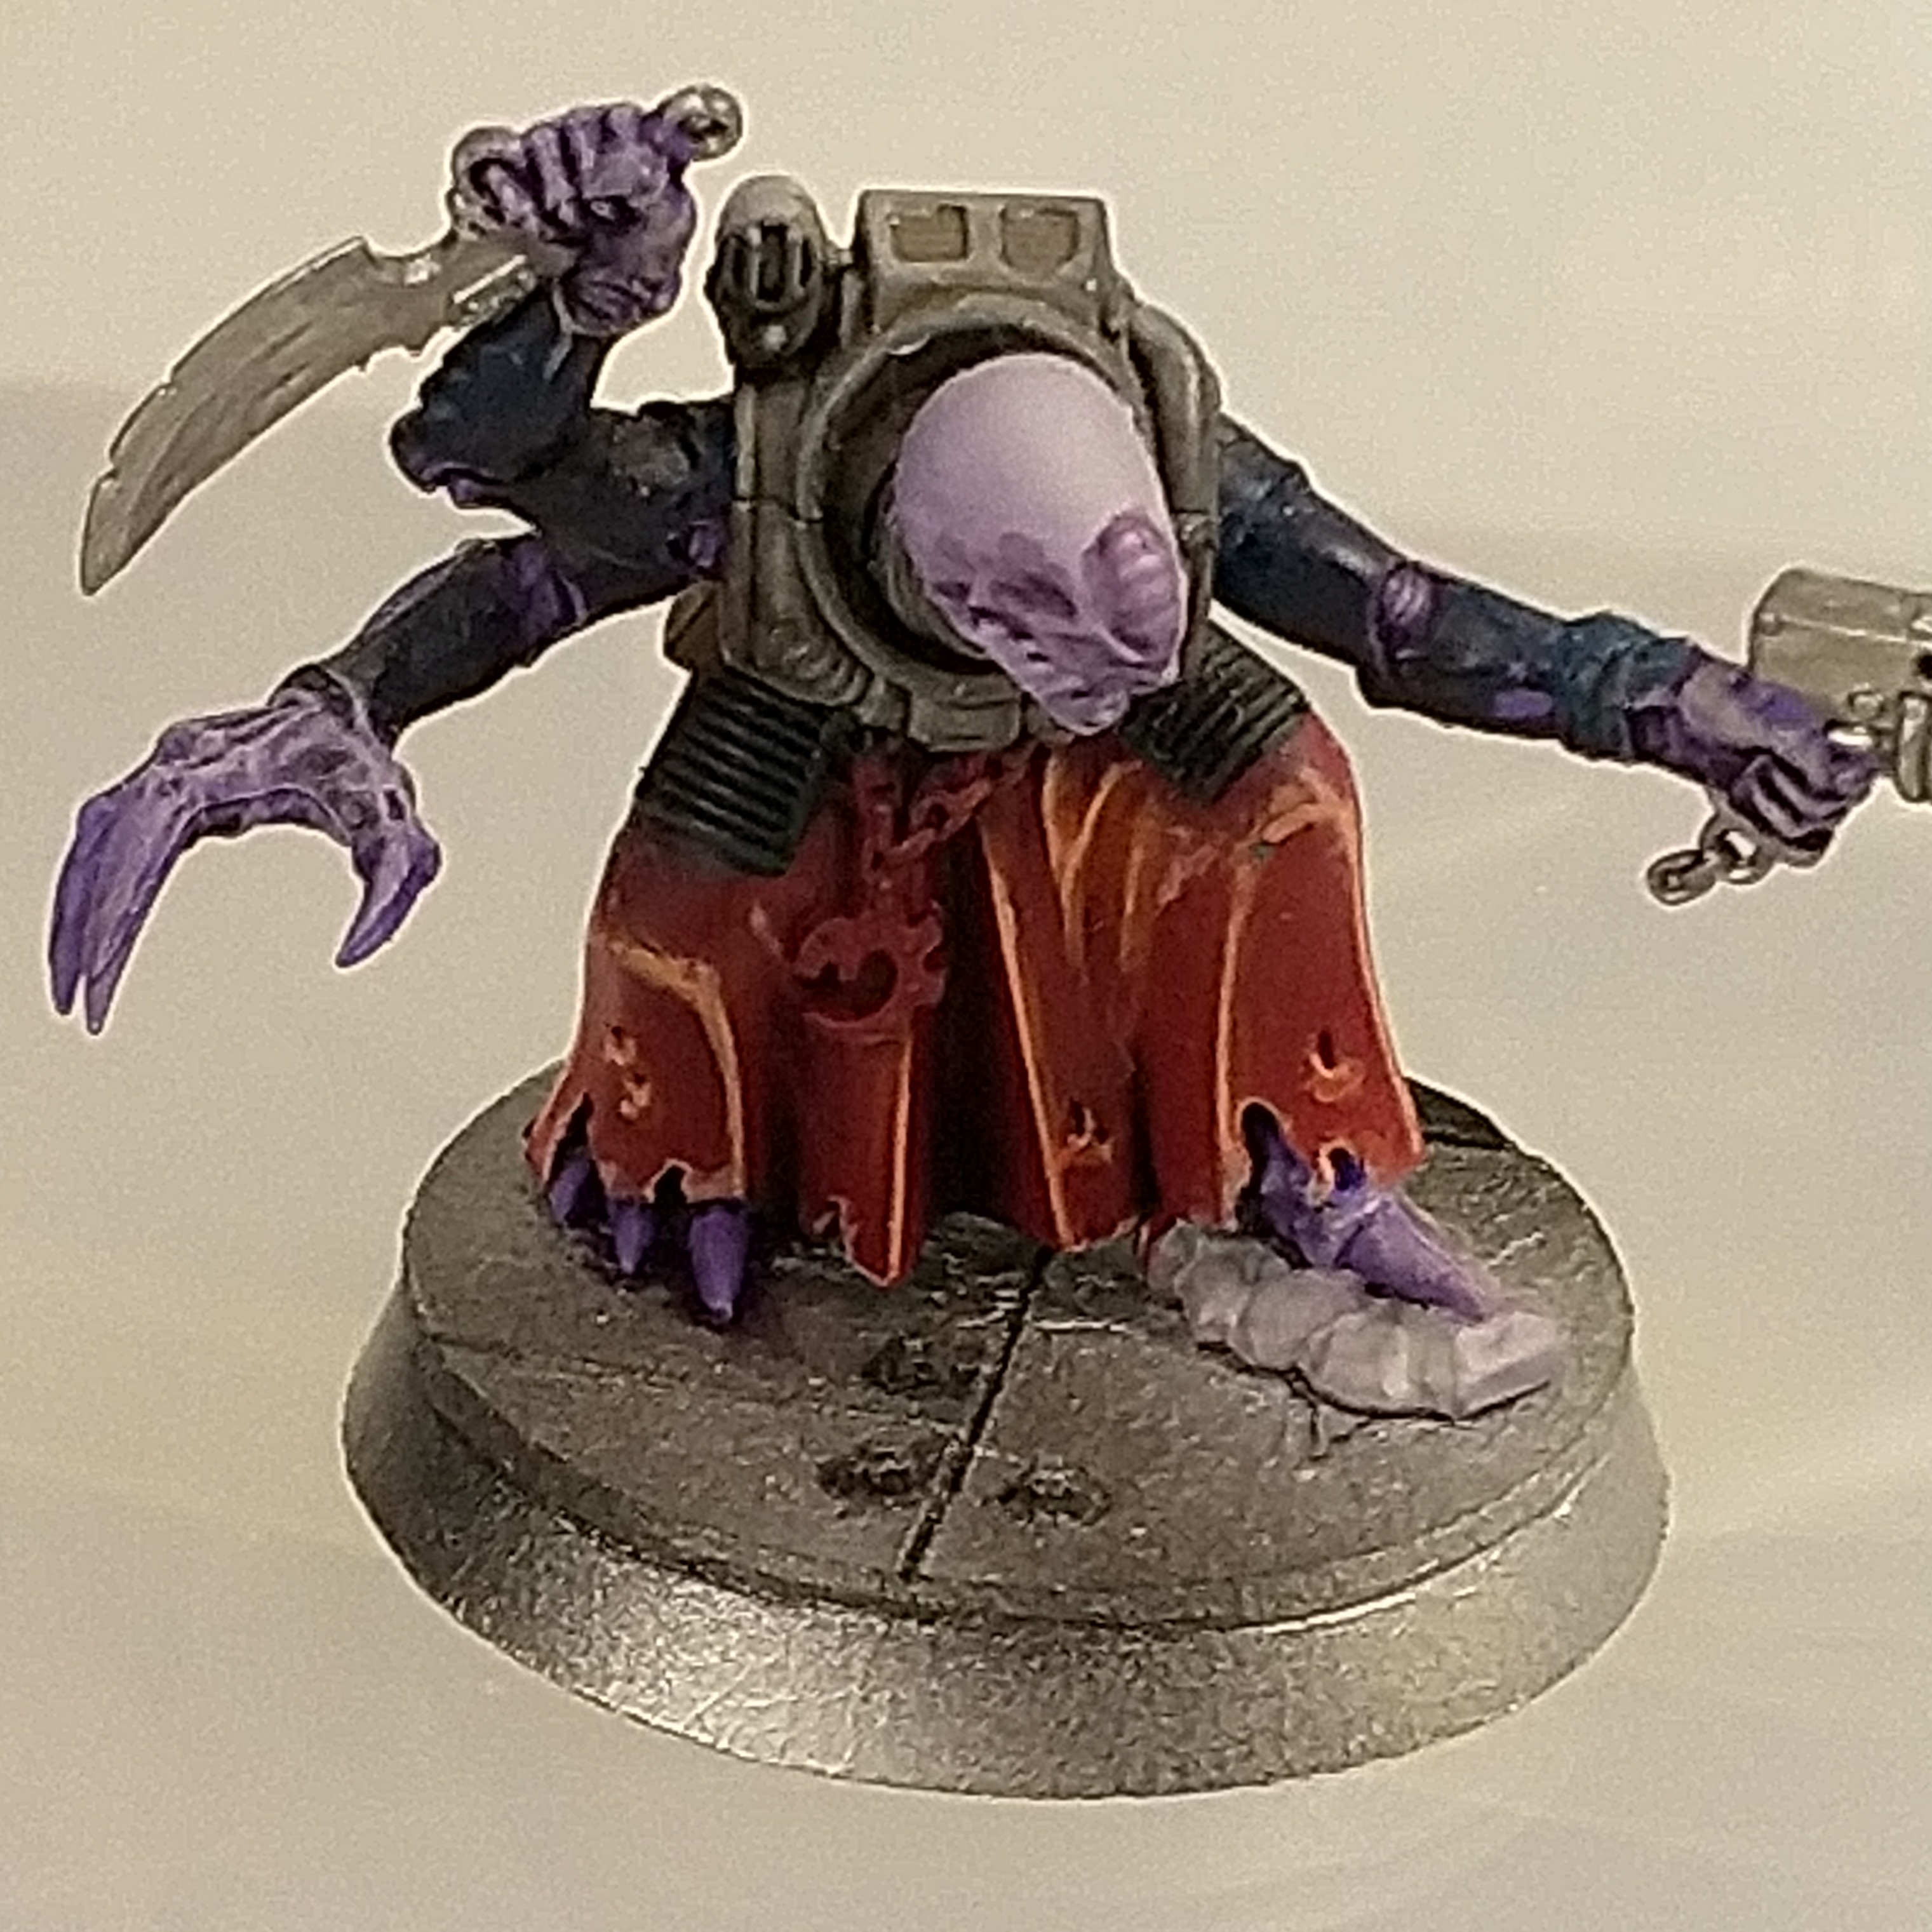
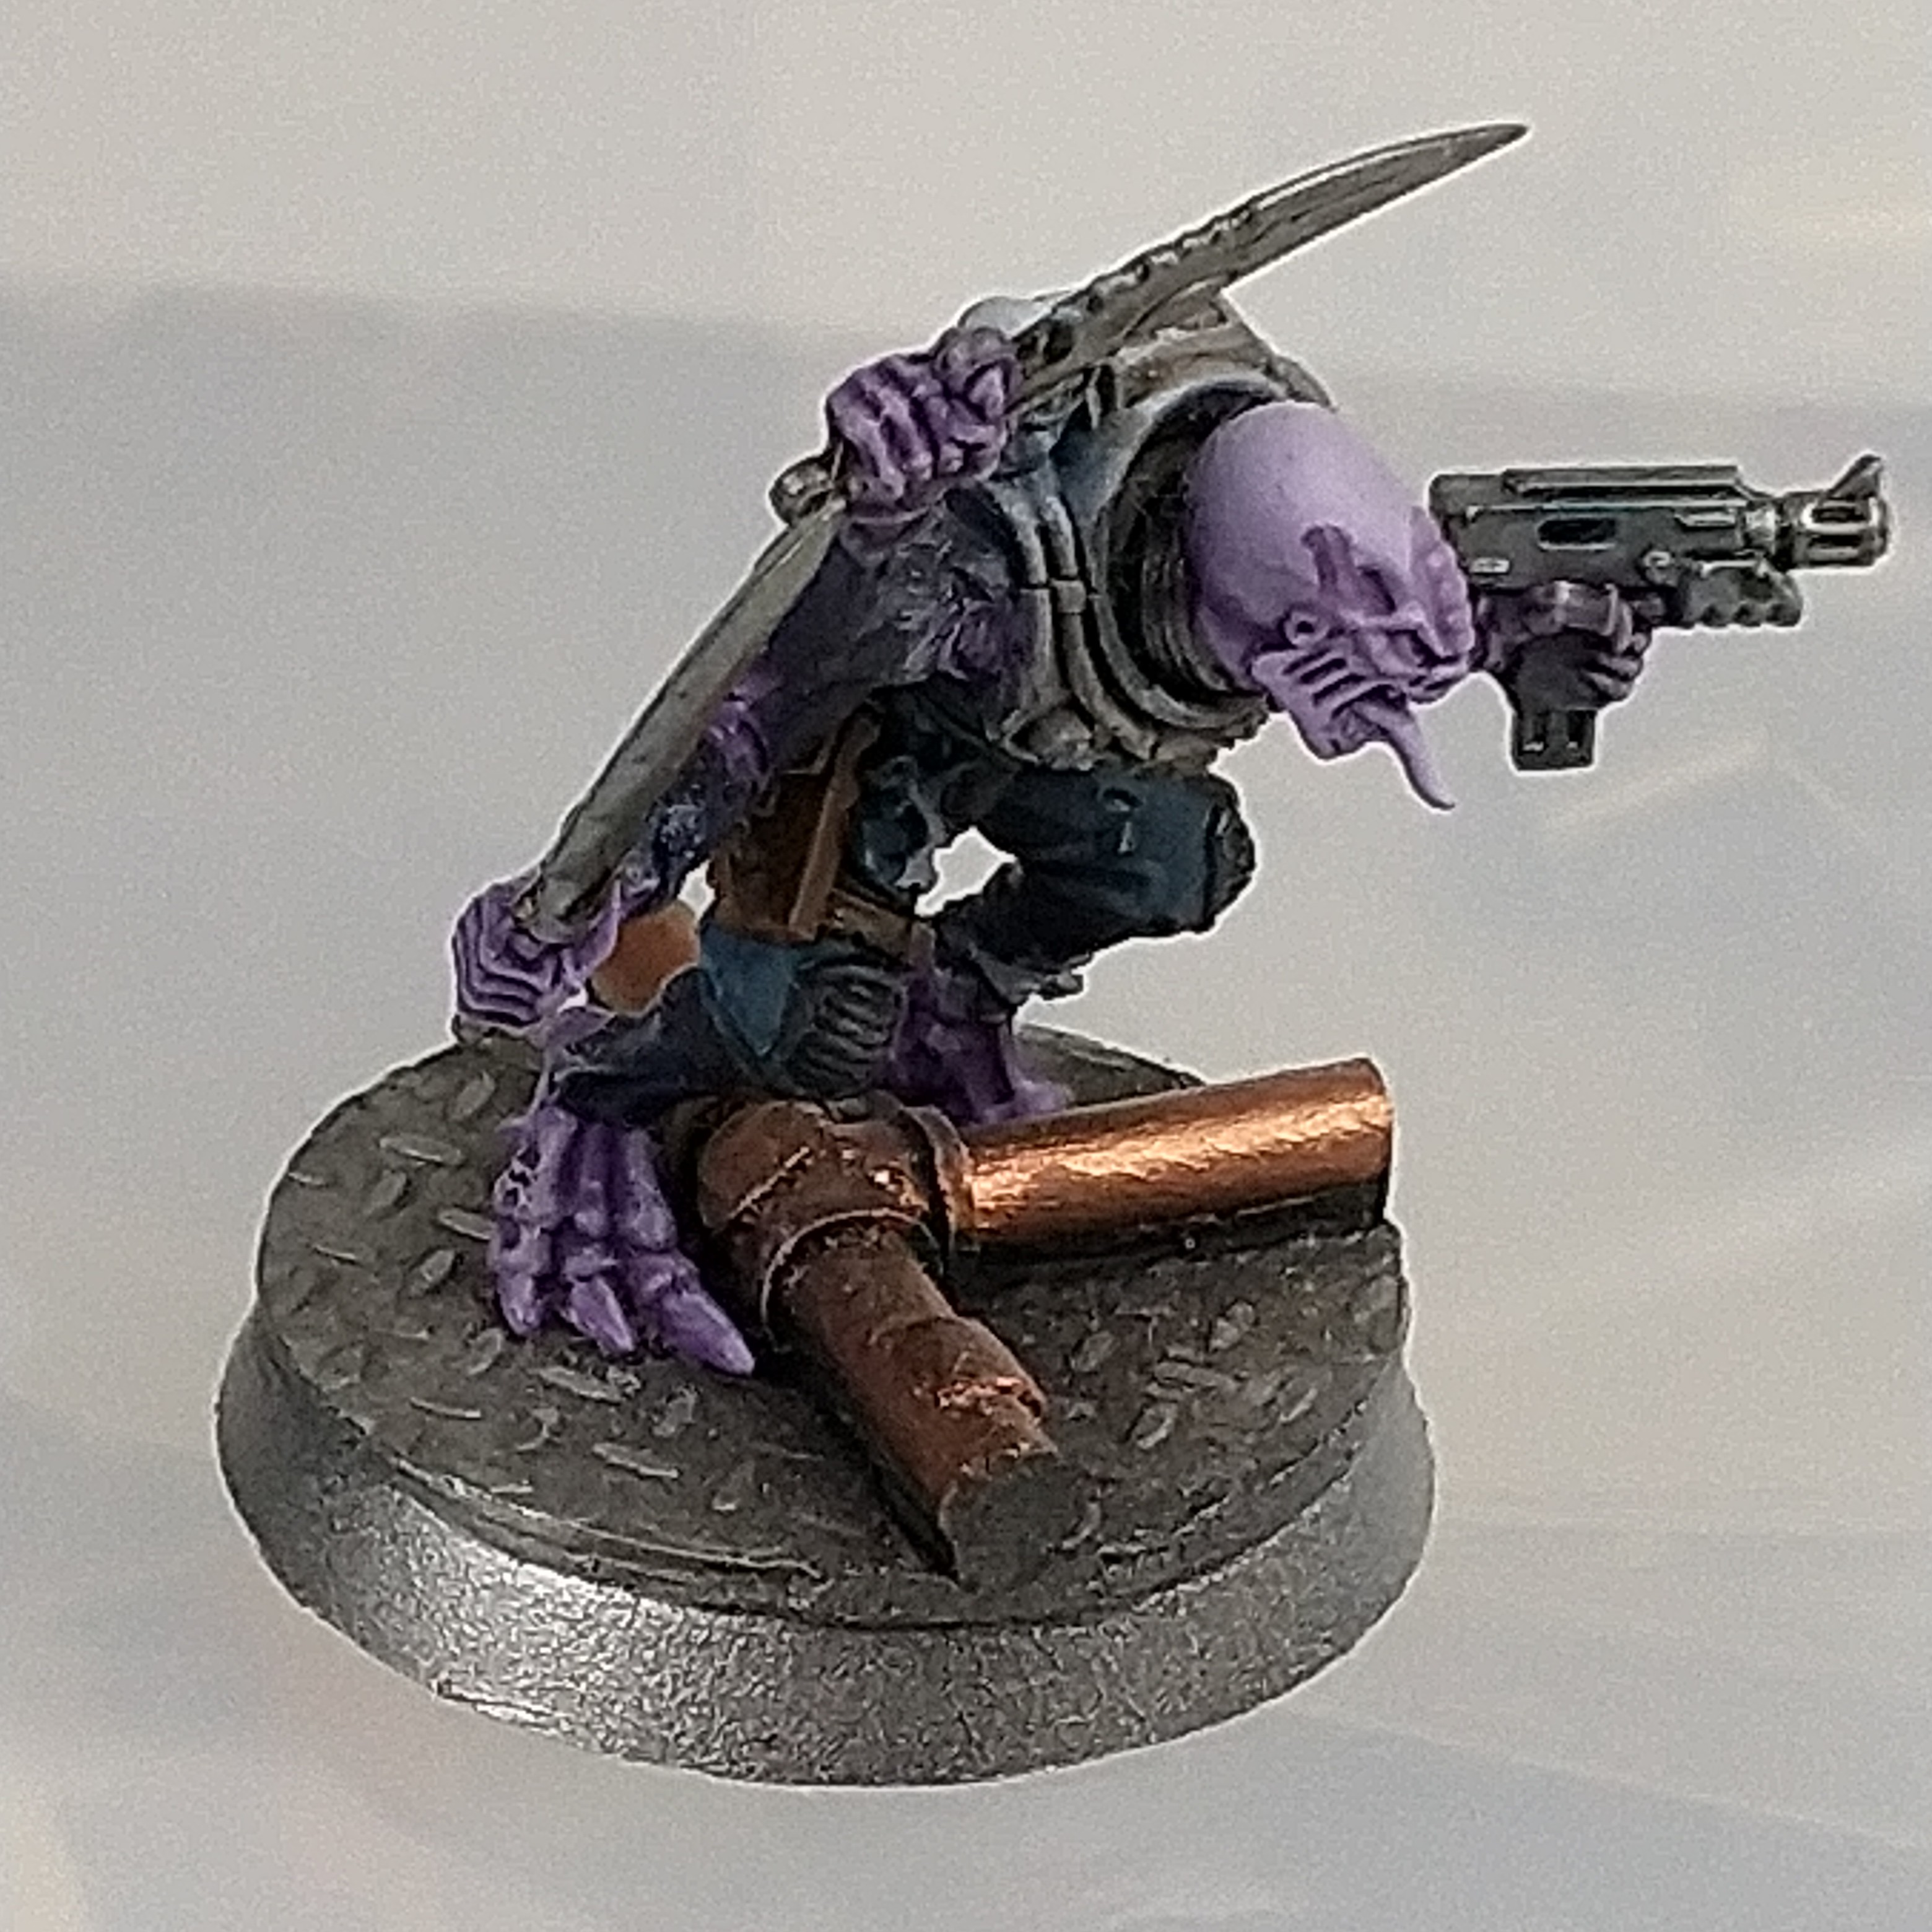
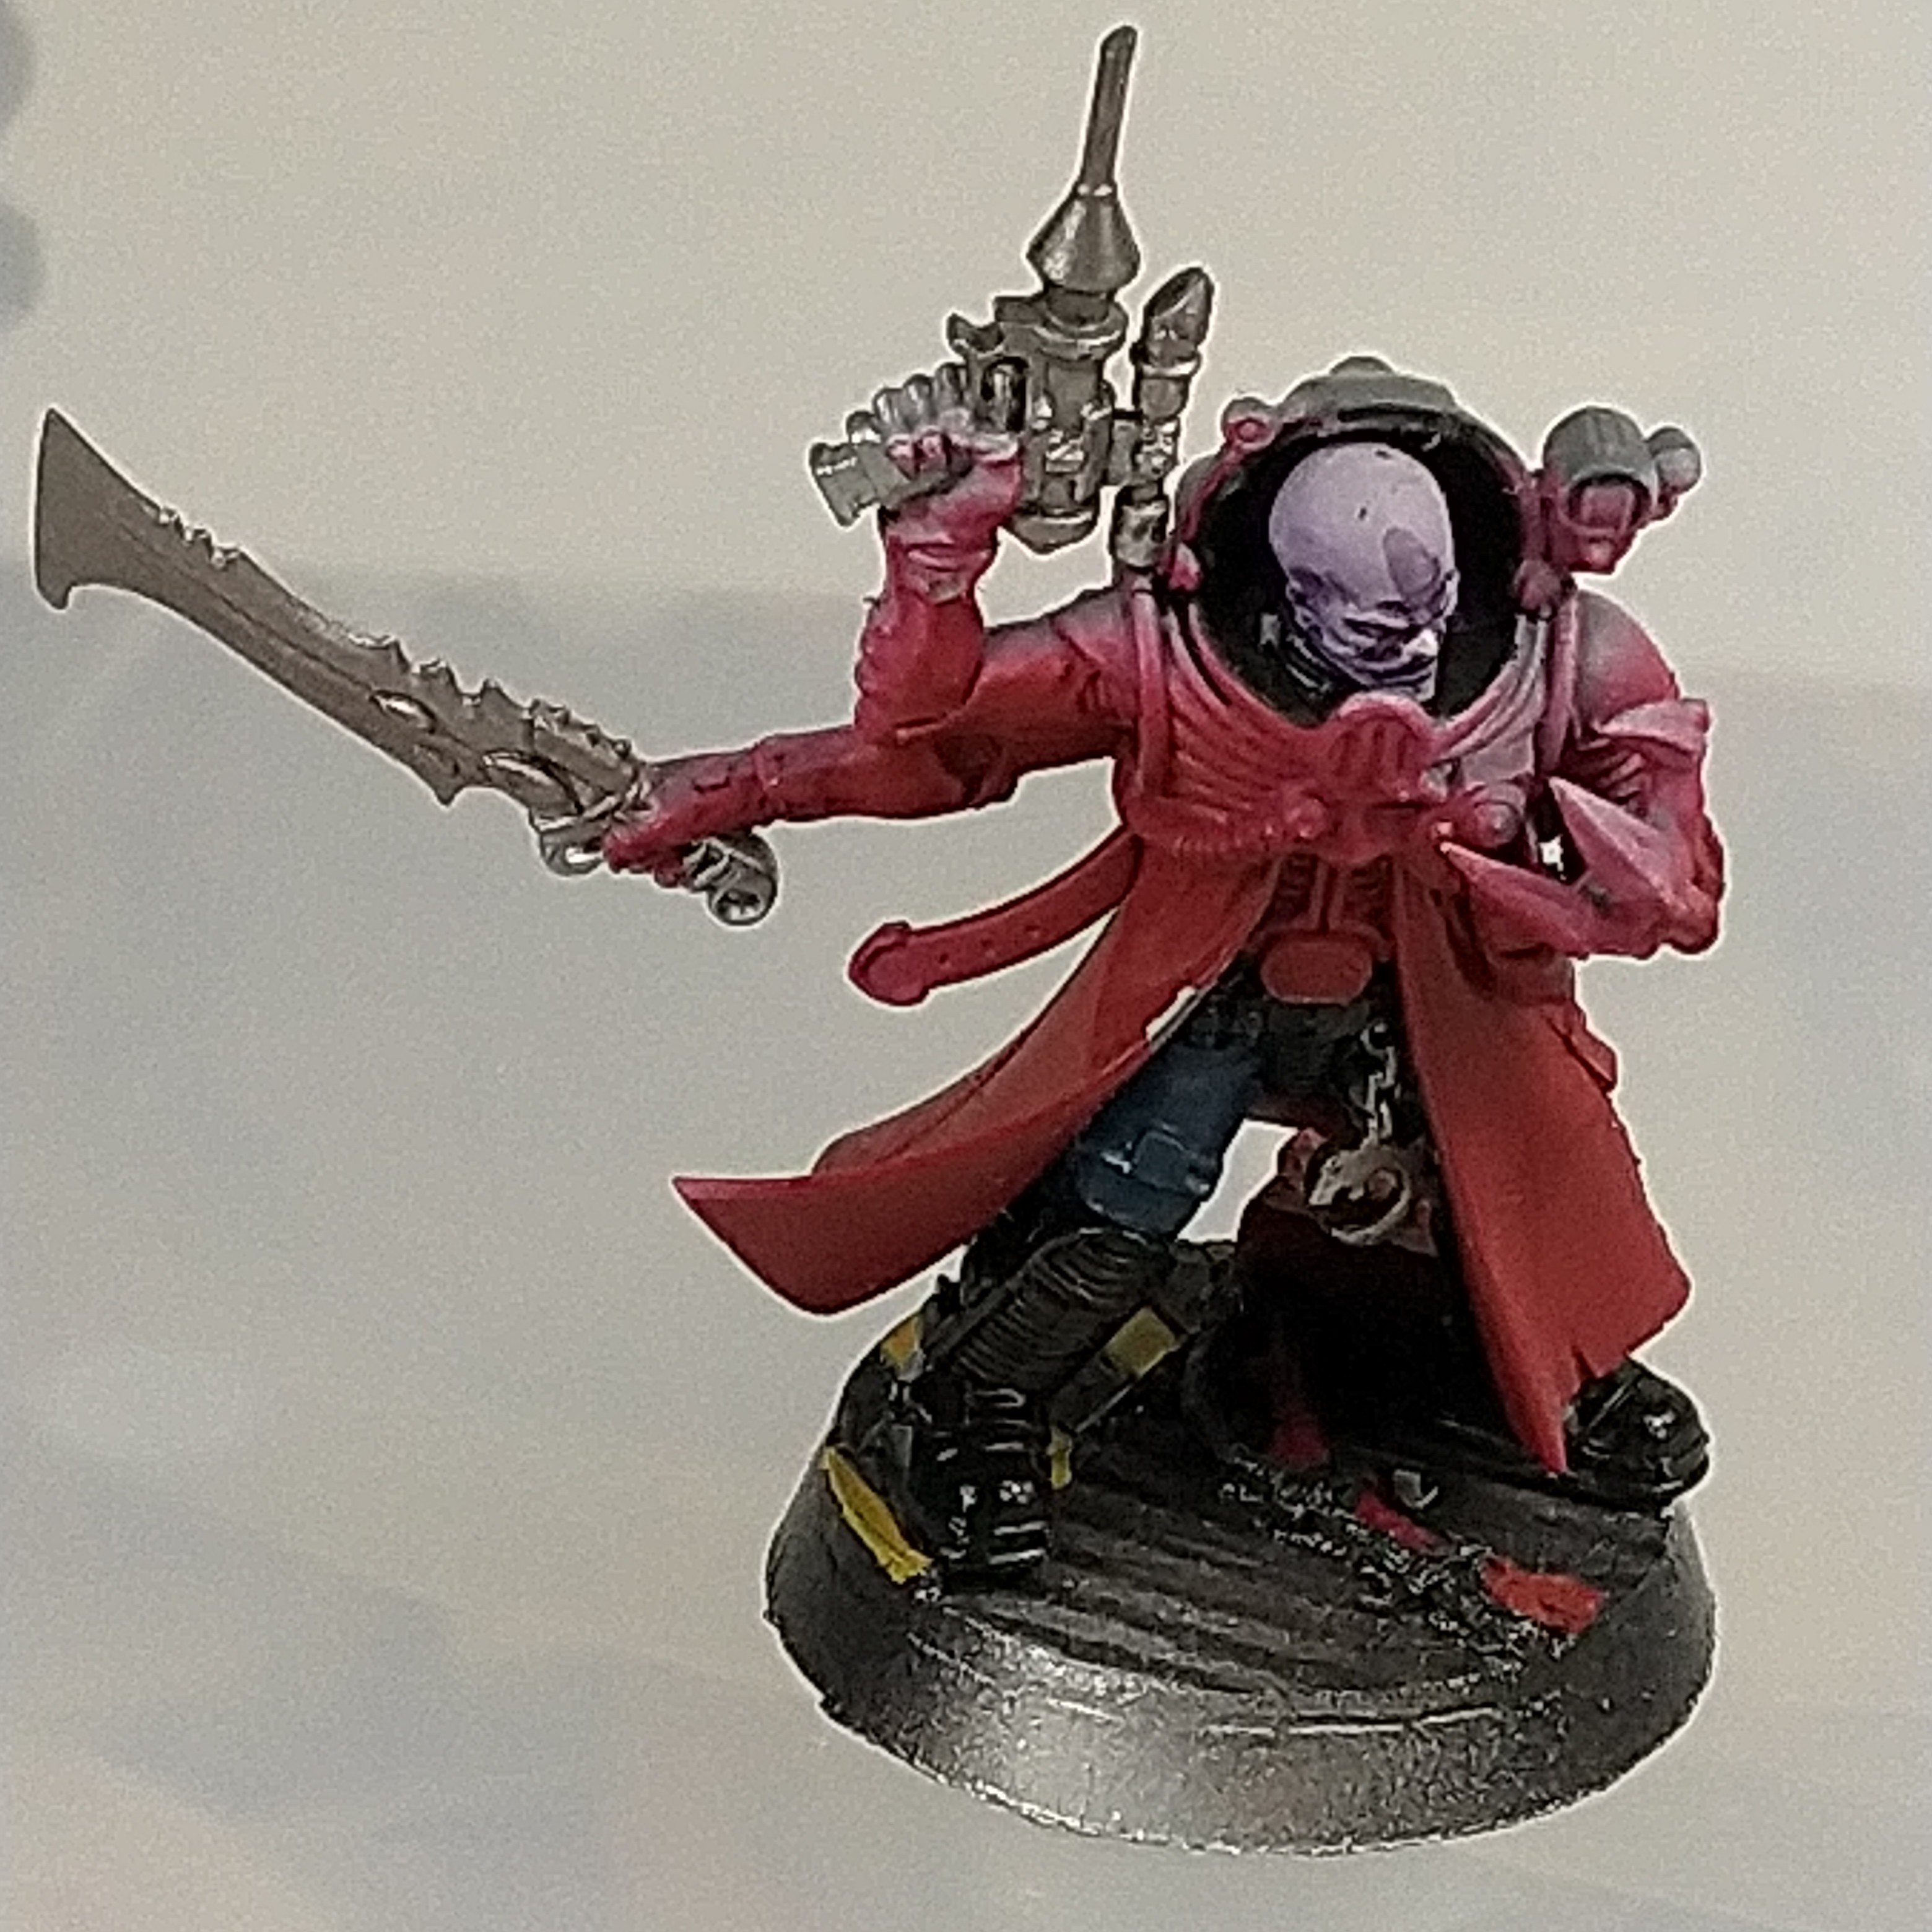
Genestealer Hybrids (Cultists that are ready to go for this project and Rules)
I have a number of models that are pre painted and ready to go for once the scenery is in place.
The cultists from the Deathwatch Overkill board game are good to go (well, they could have been more finished, but that what I have, anyway, I’ll be too busy with the scenery to paint the minis.)
The bases for the models are from the Sci-Fi Deck range from Dark Arts Miniatures, should anyone be wondering.

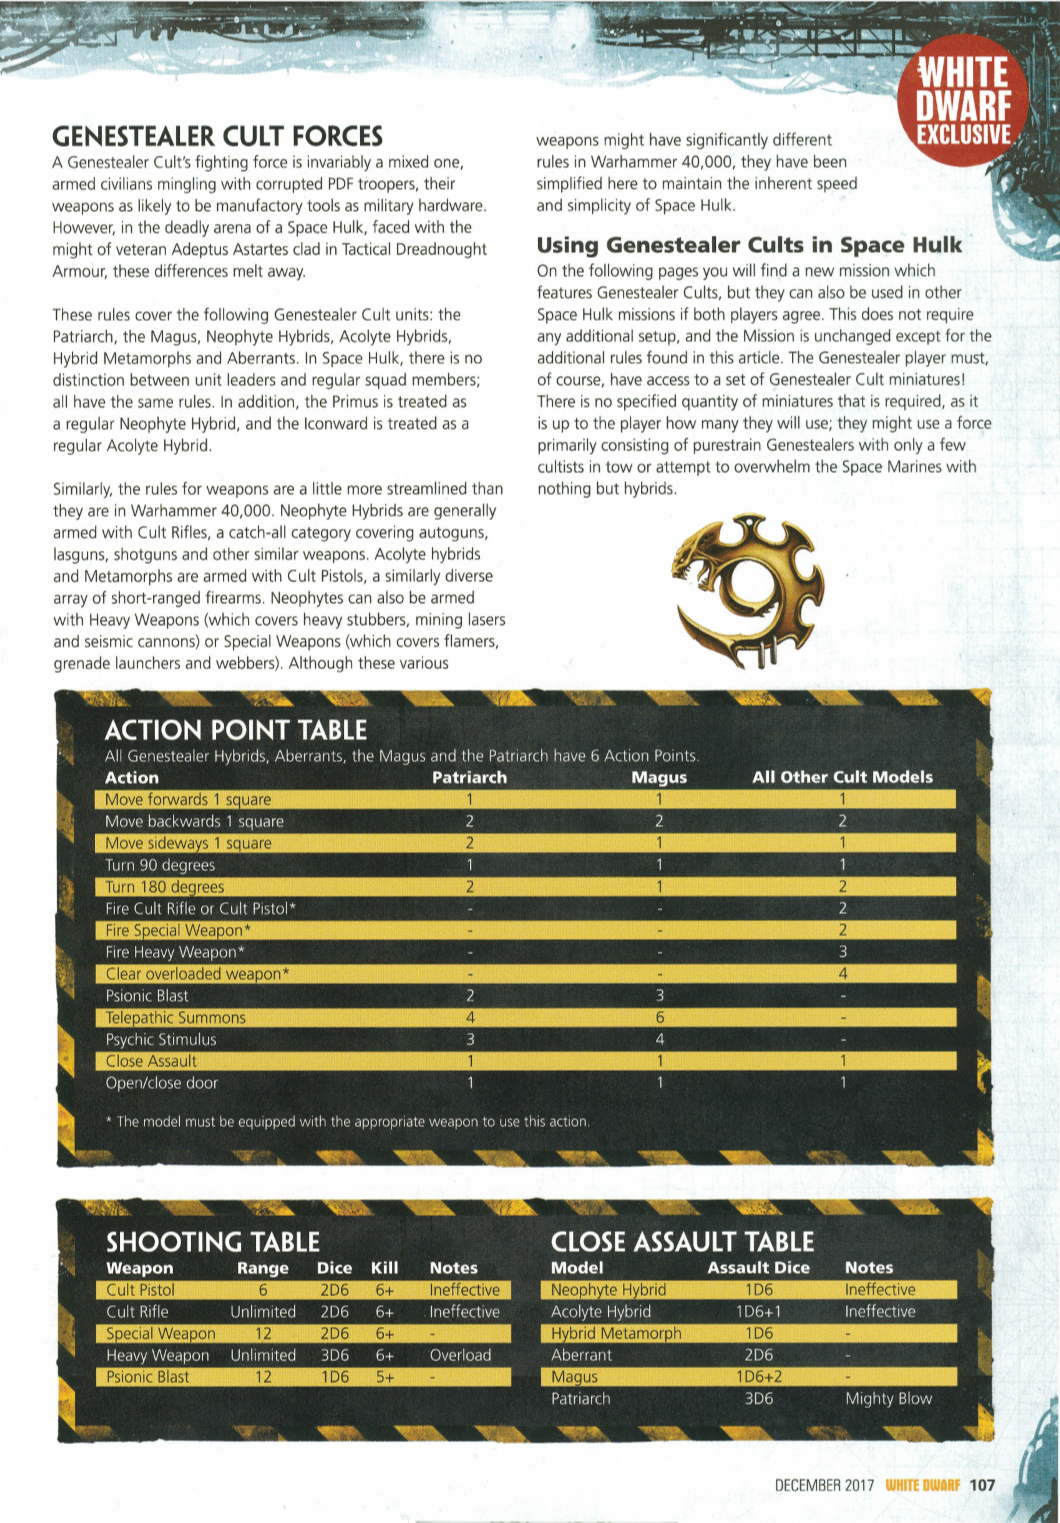
Rules for Hybrid Models (Genestealer Cults)
Rules were added for the models included inside the Deathwatch Overkill box in an Issue of White Dwarf – I have tracked down a pdf of these rules and included them below.
I’ve included a screenshot of one of the pages below – see the pdf for the complete rules set.


![StarCraft Tabletop Miniatures Game Pre-Orders Live Now [Updated]](https://images.beastsofwar.com/2026/03/starcraft-tmg-news-cover-600-338.jpg)


