


Hold Until Relieved. Hold Until Relieved.


Recommendations: 784
About the Project
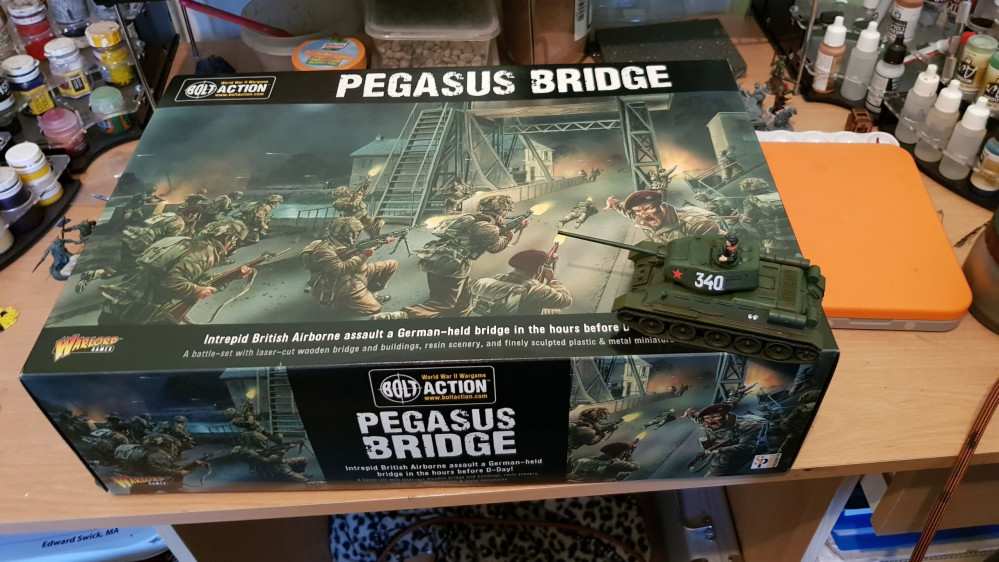
So - I hit a *ahem* significant birthday recently and some of my friends were going to buy me gift vouchers for Warlord but instead just gave me some cash but with a very specific instruction that it had to be spent on Panzers - and definitely not on sensible things like food or the mortgage!! Though to be honest I already have a decent collection of tanks and since they're not *that* expensive I don't mind spending my own money to get more ... So .. in the spirit if not the letter of the promise, I bought myself something that I've desired for a long time but could not justify spending my own money on cause it's just a bit insane! The Longest Day is probably my favourite WW2 movie, and one of my favourite scenes is the assault on Pegasus Bridge. So I bought myself ... fricking Pegasus Bridge v2. from Warlord. This box is insane. Knowing how slow I build and paint, I'm going to give myself a year to complete this whole project. Have until my next birthday to get everything built and painted. So let's get this underway ....
Related Game: Bolt Action
Related Company: Warlord Games
Related Genre: Historical
This Project is Active
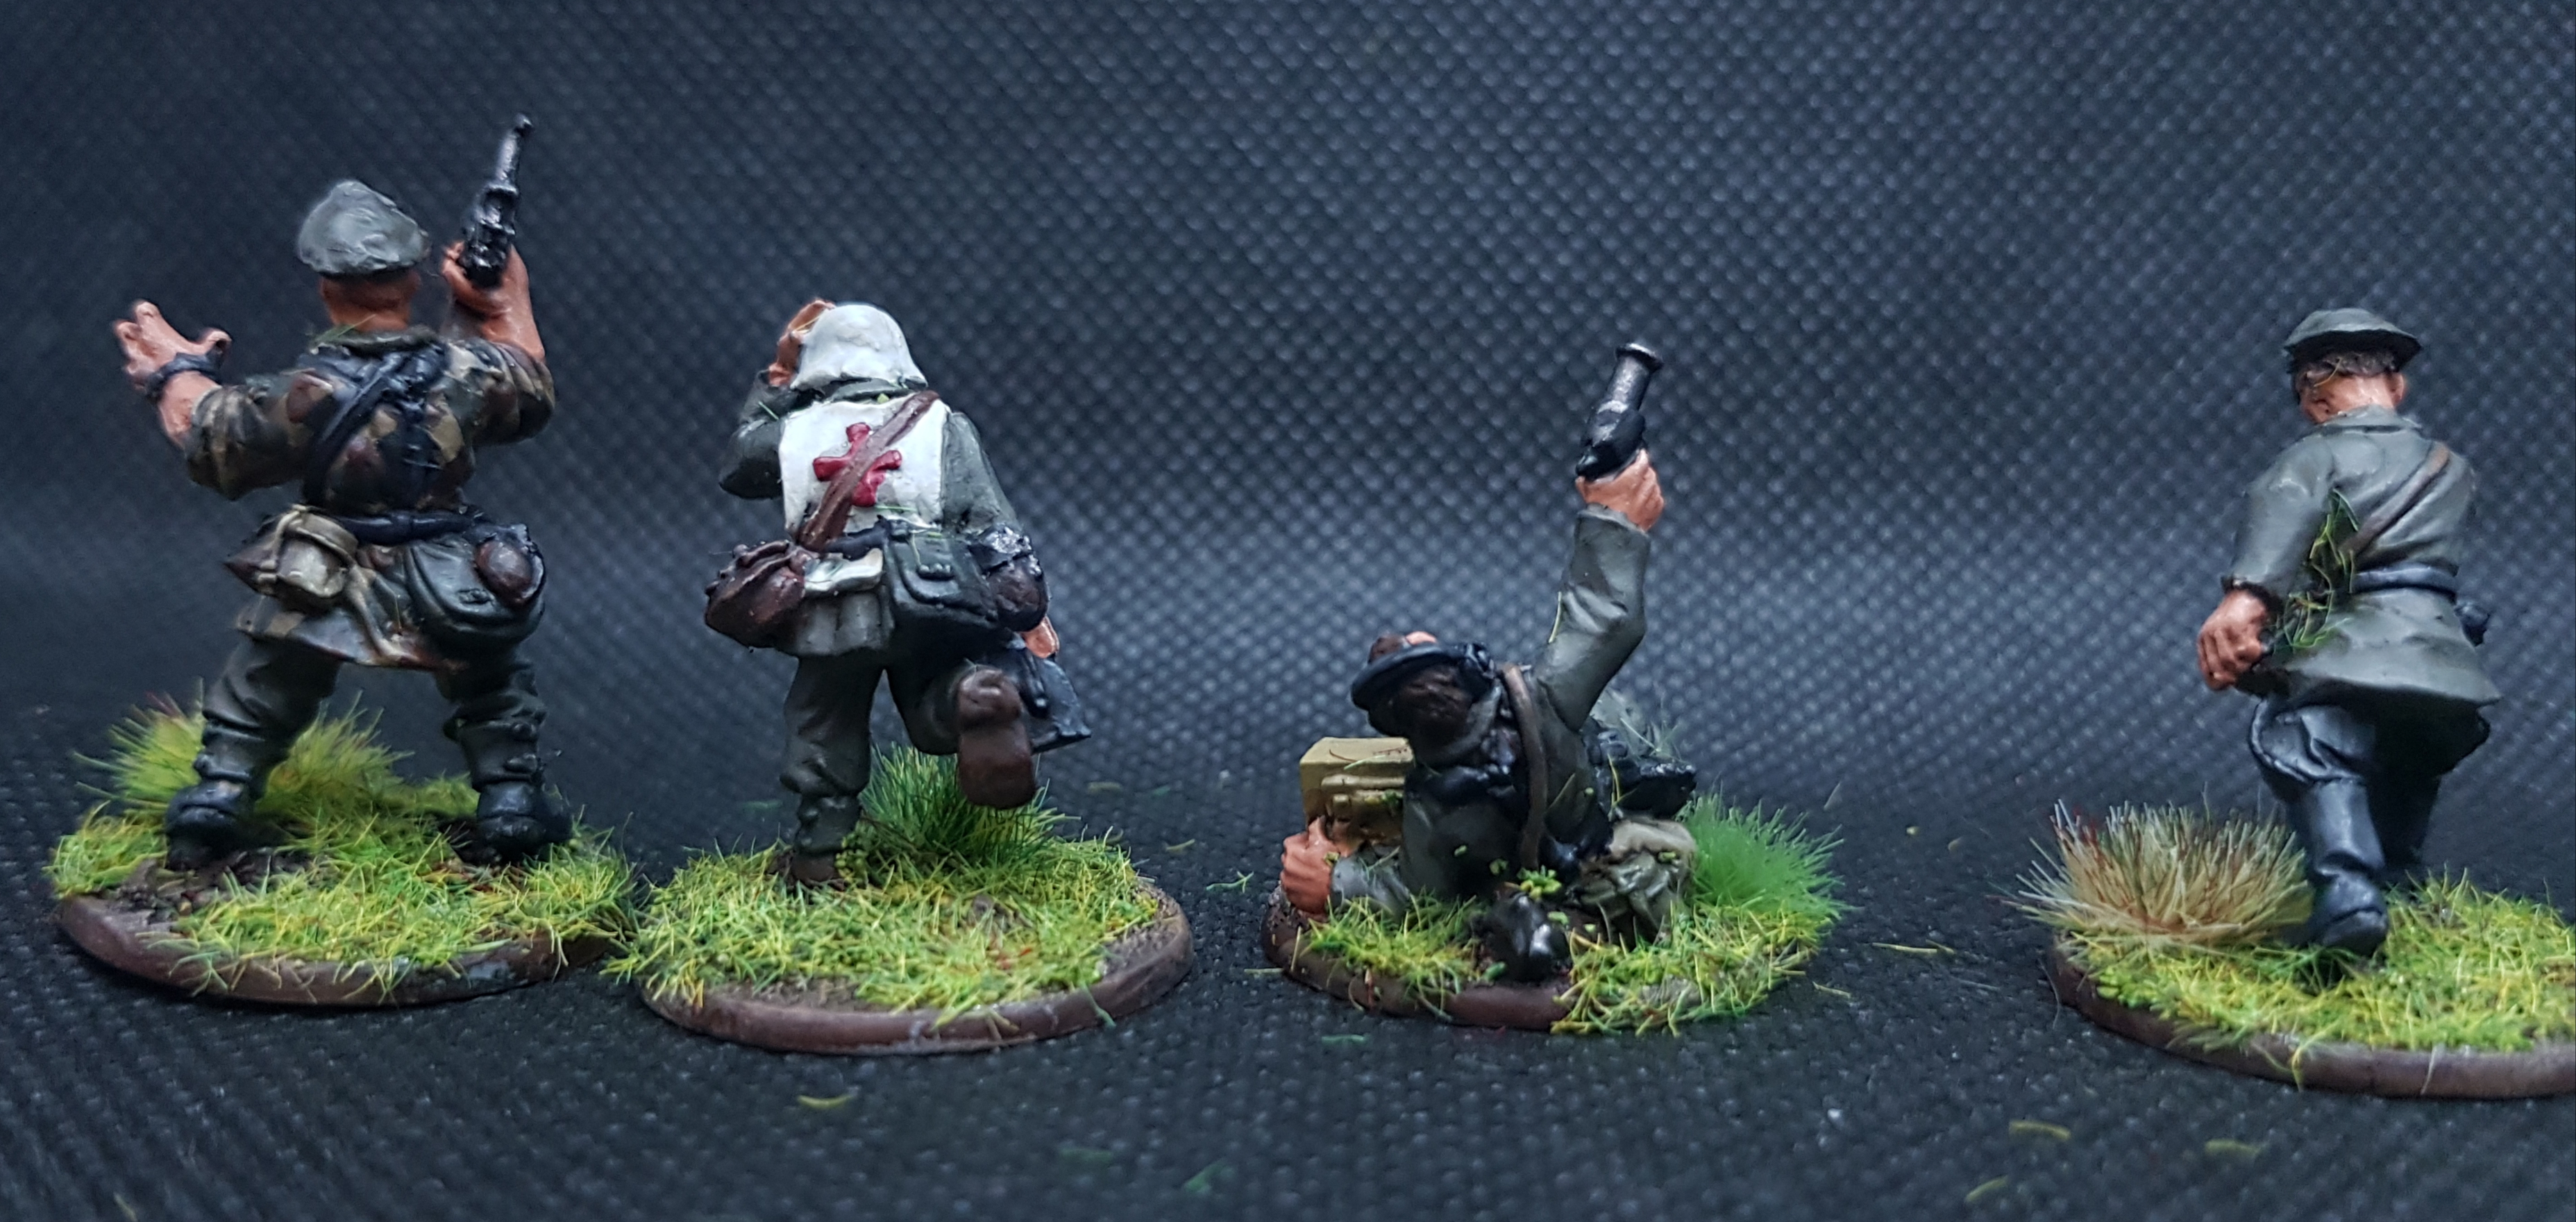
We need a leader
I had a few metal HQ minis from Warlord but not from the Pegasus Bridge set that I decided to get painted up as well. We need some leadership at this bridge!
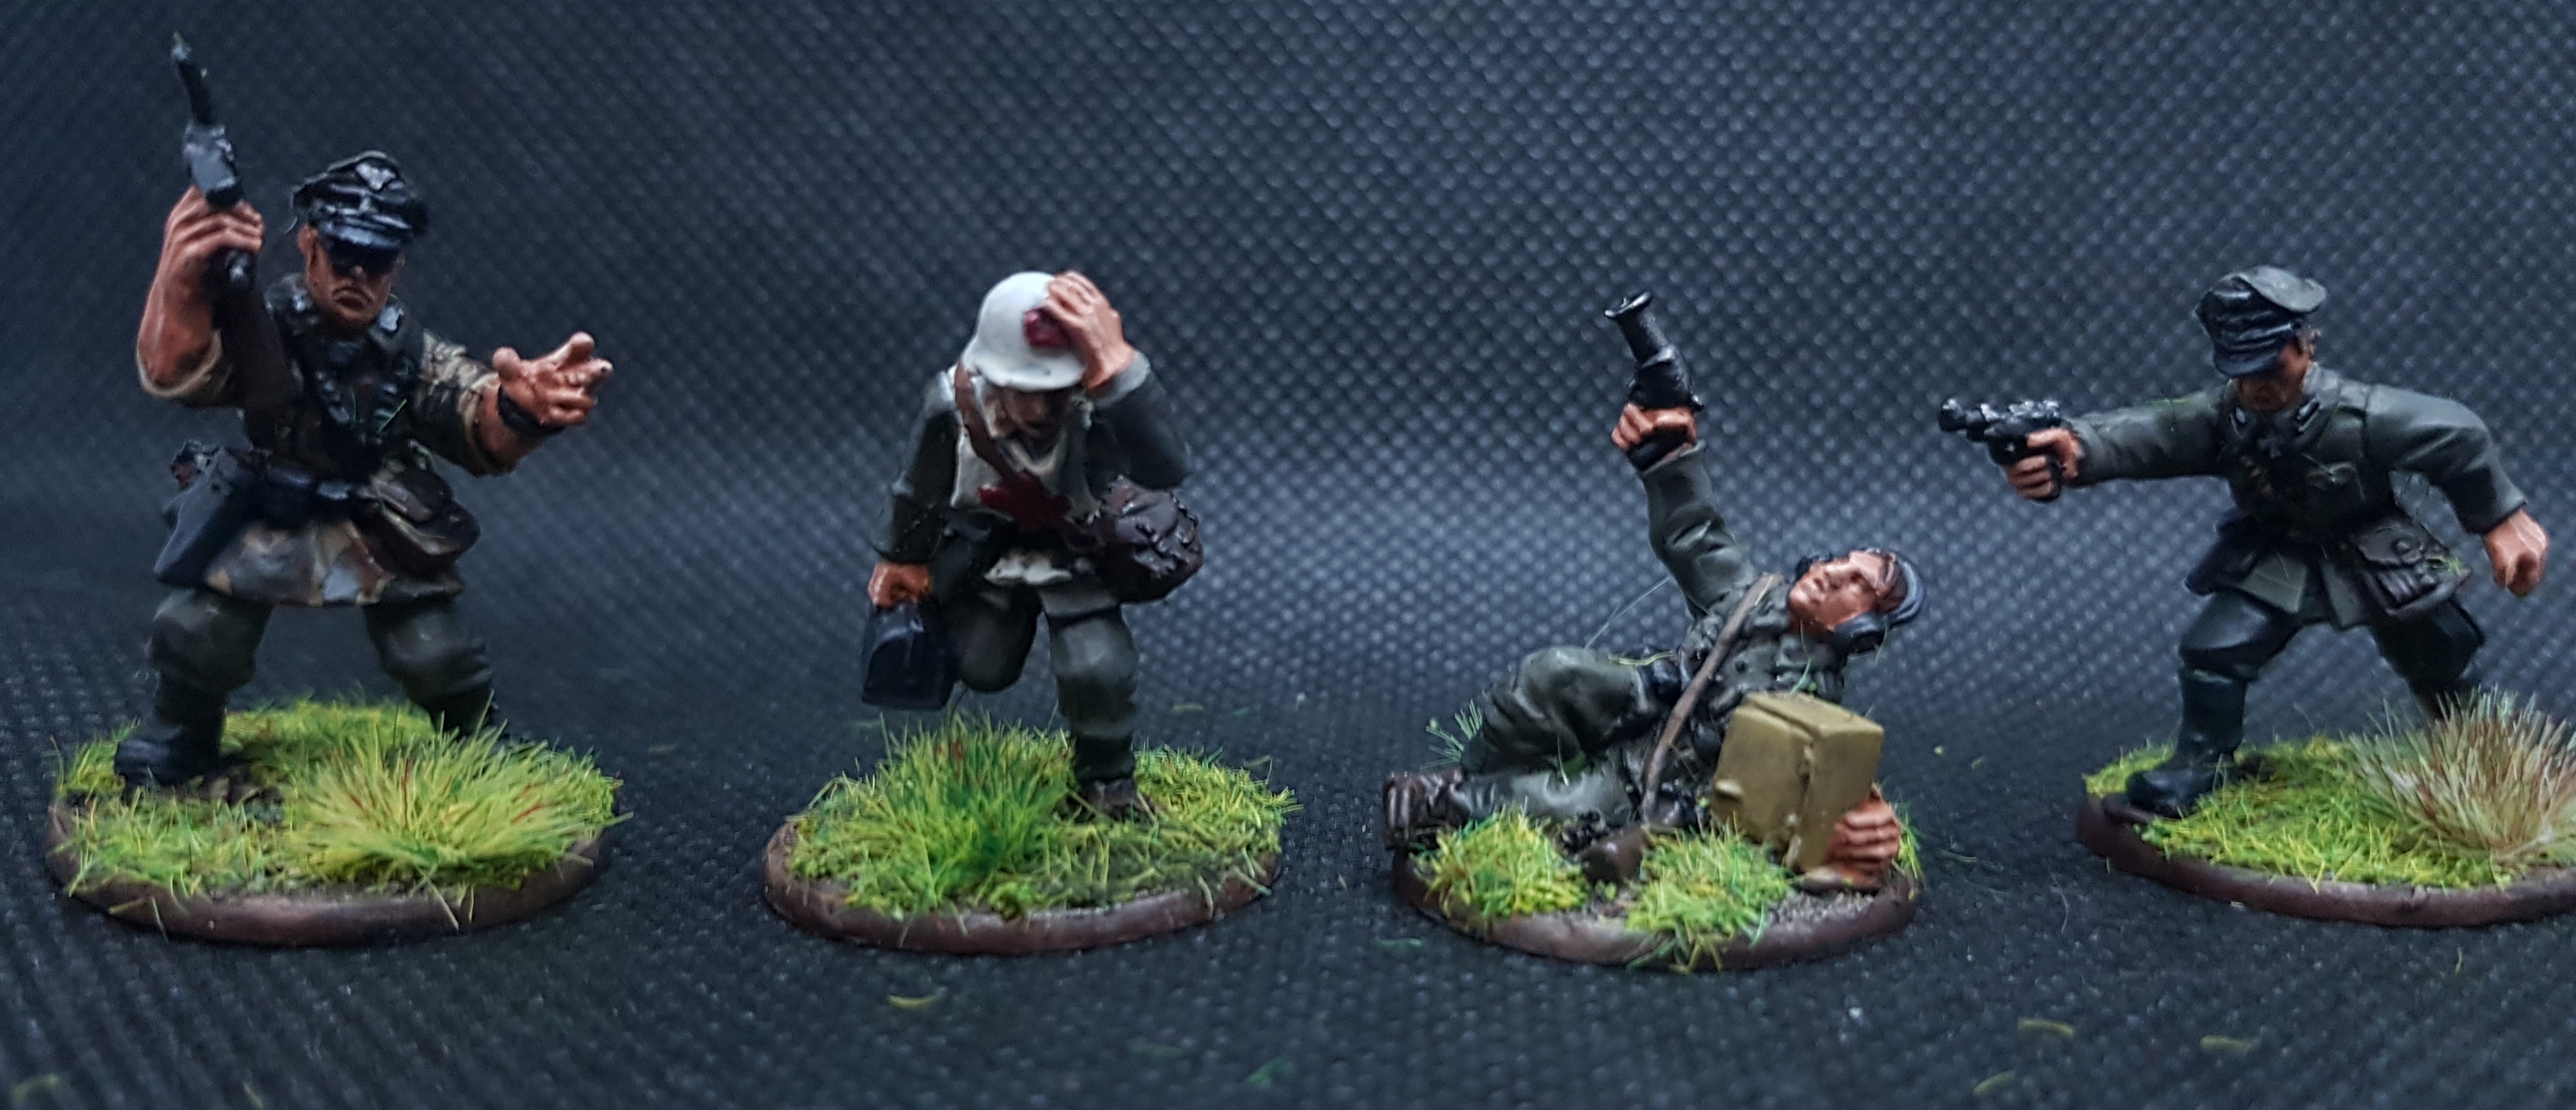

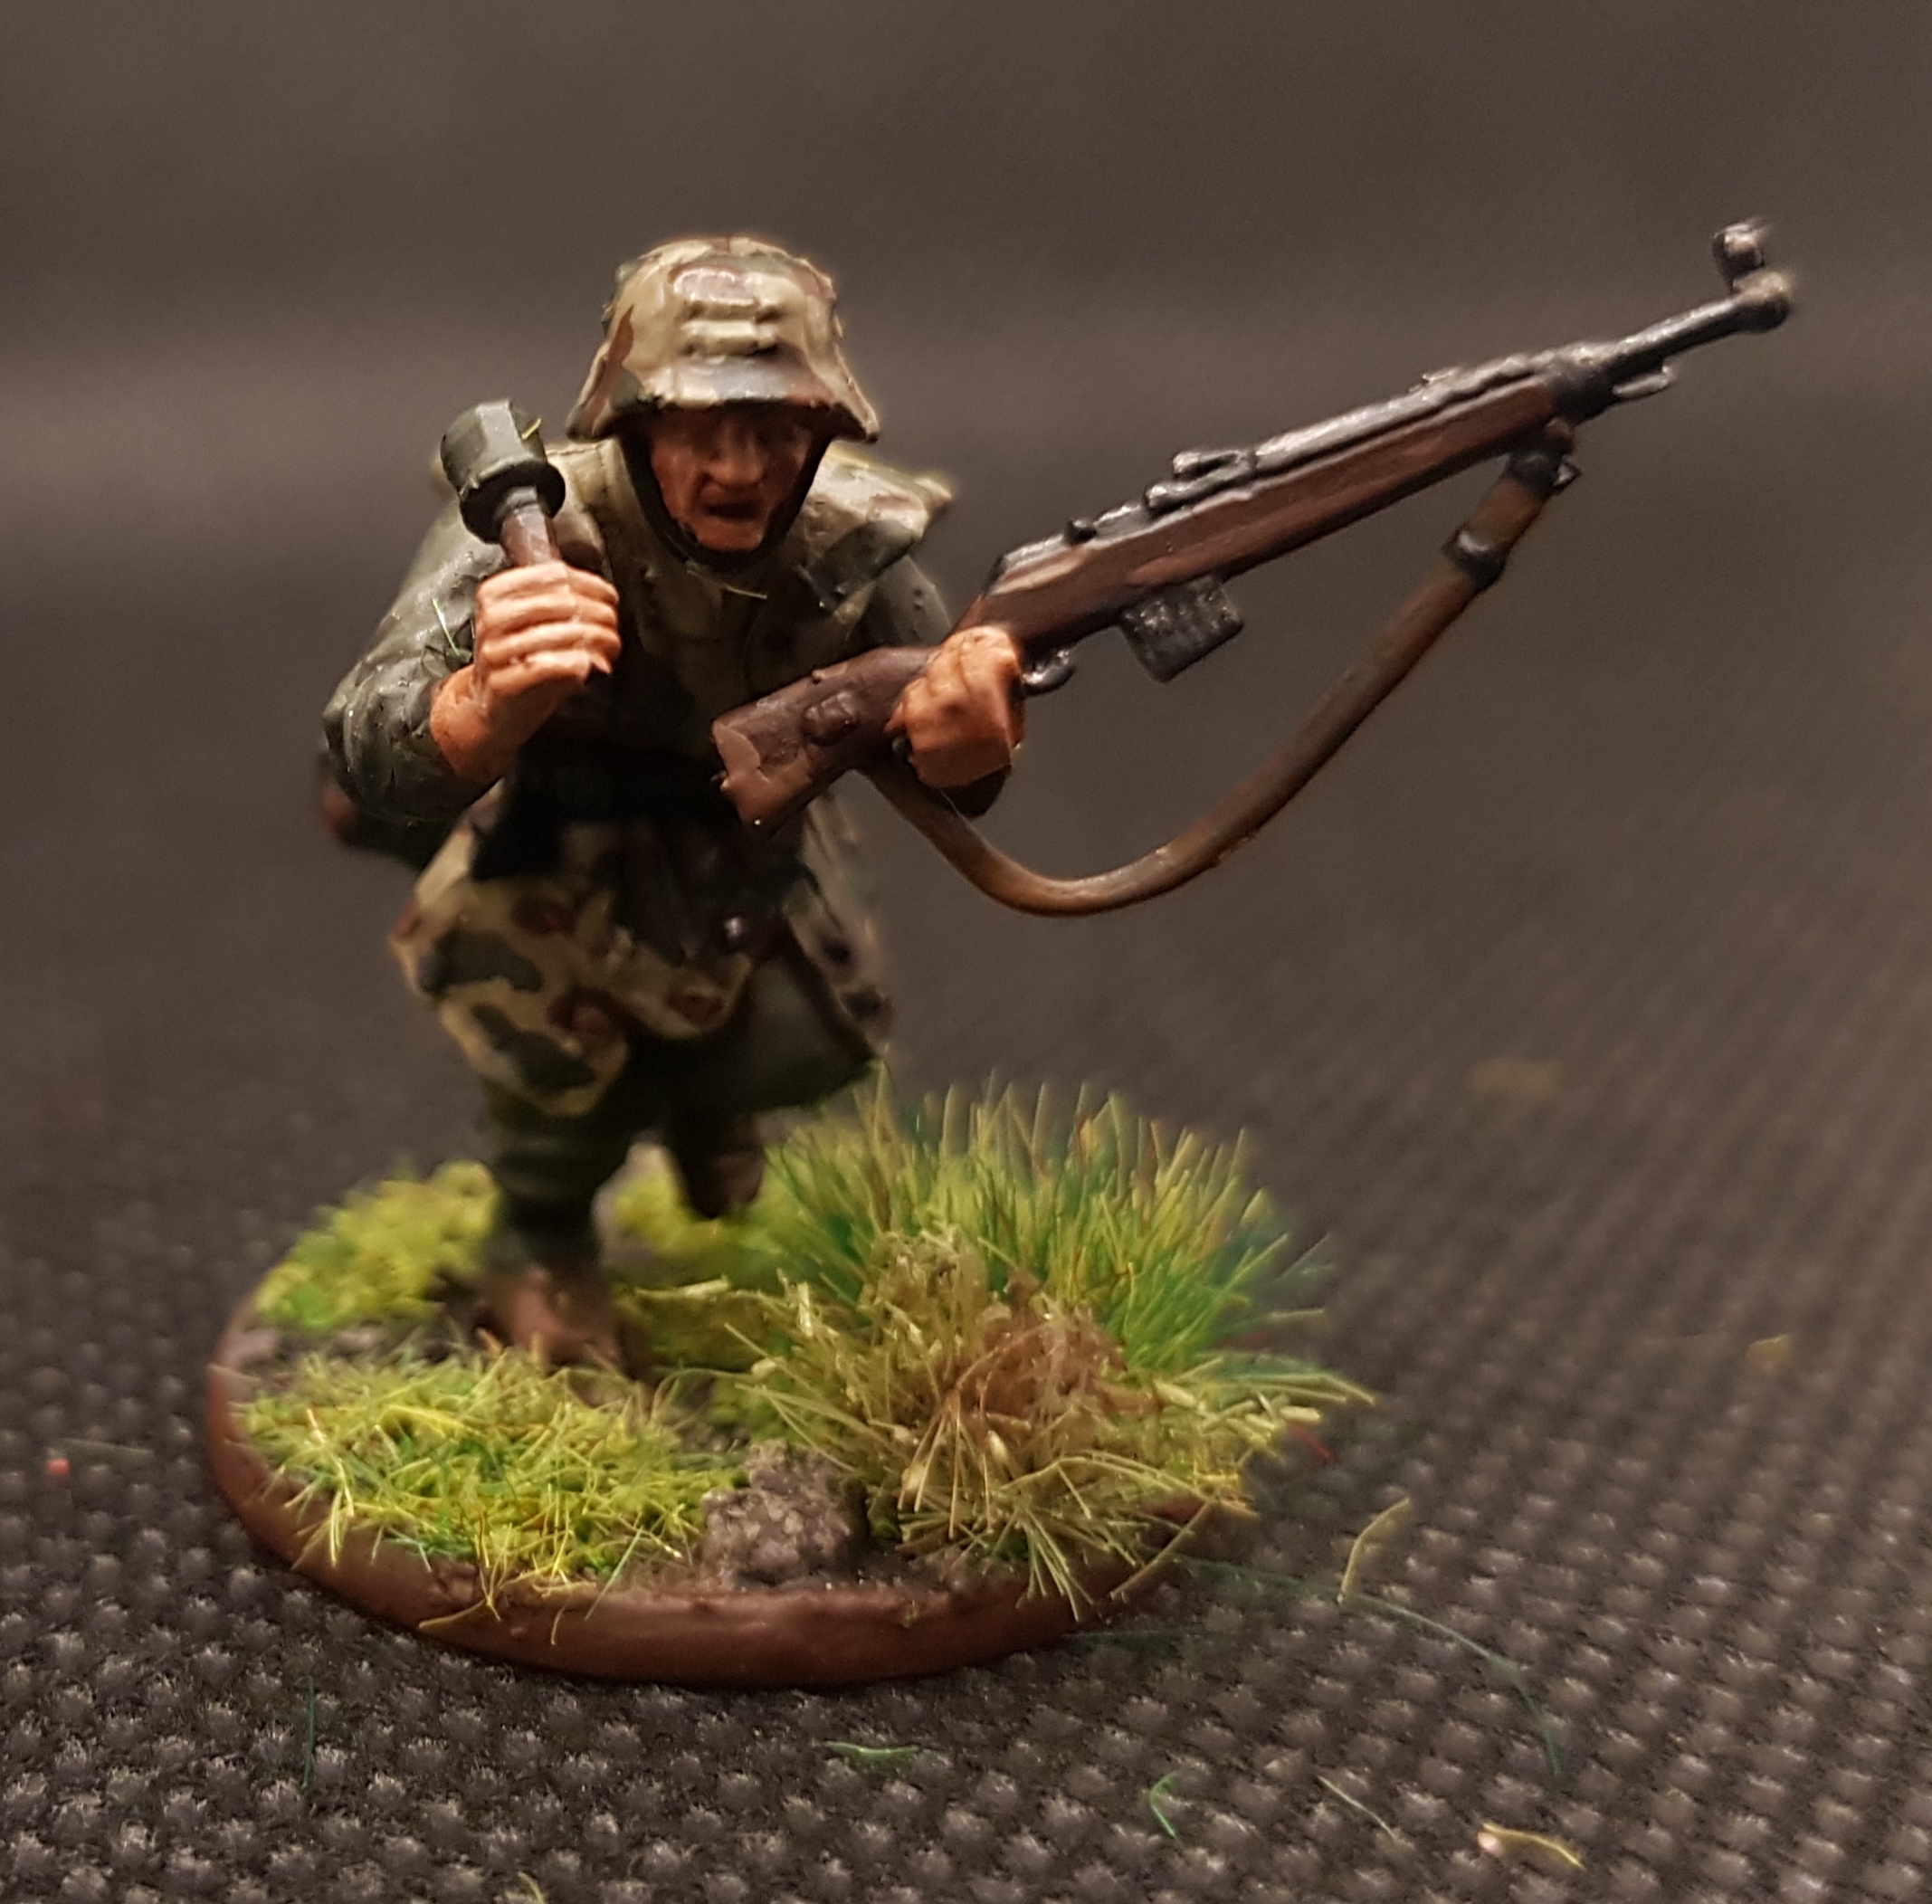
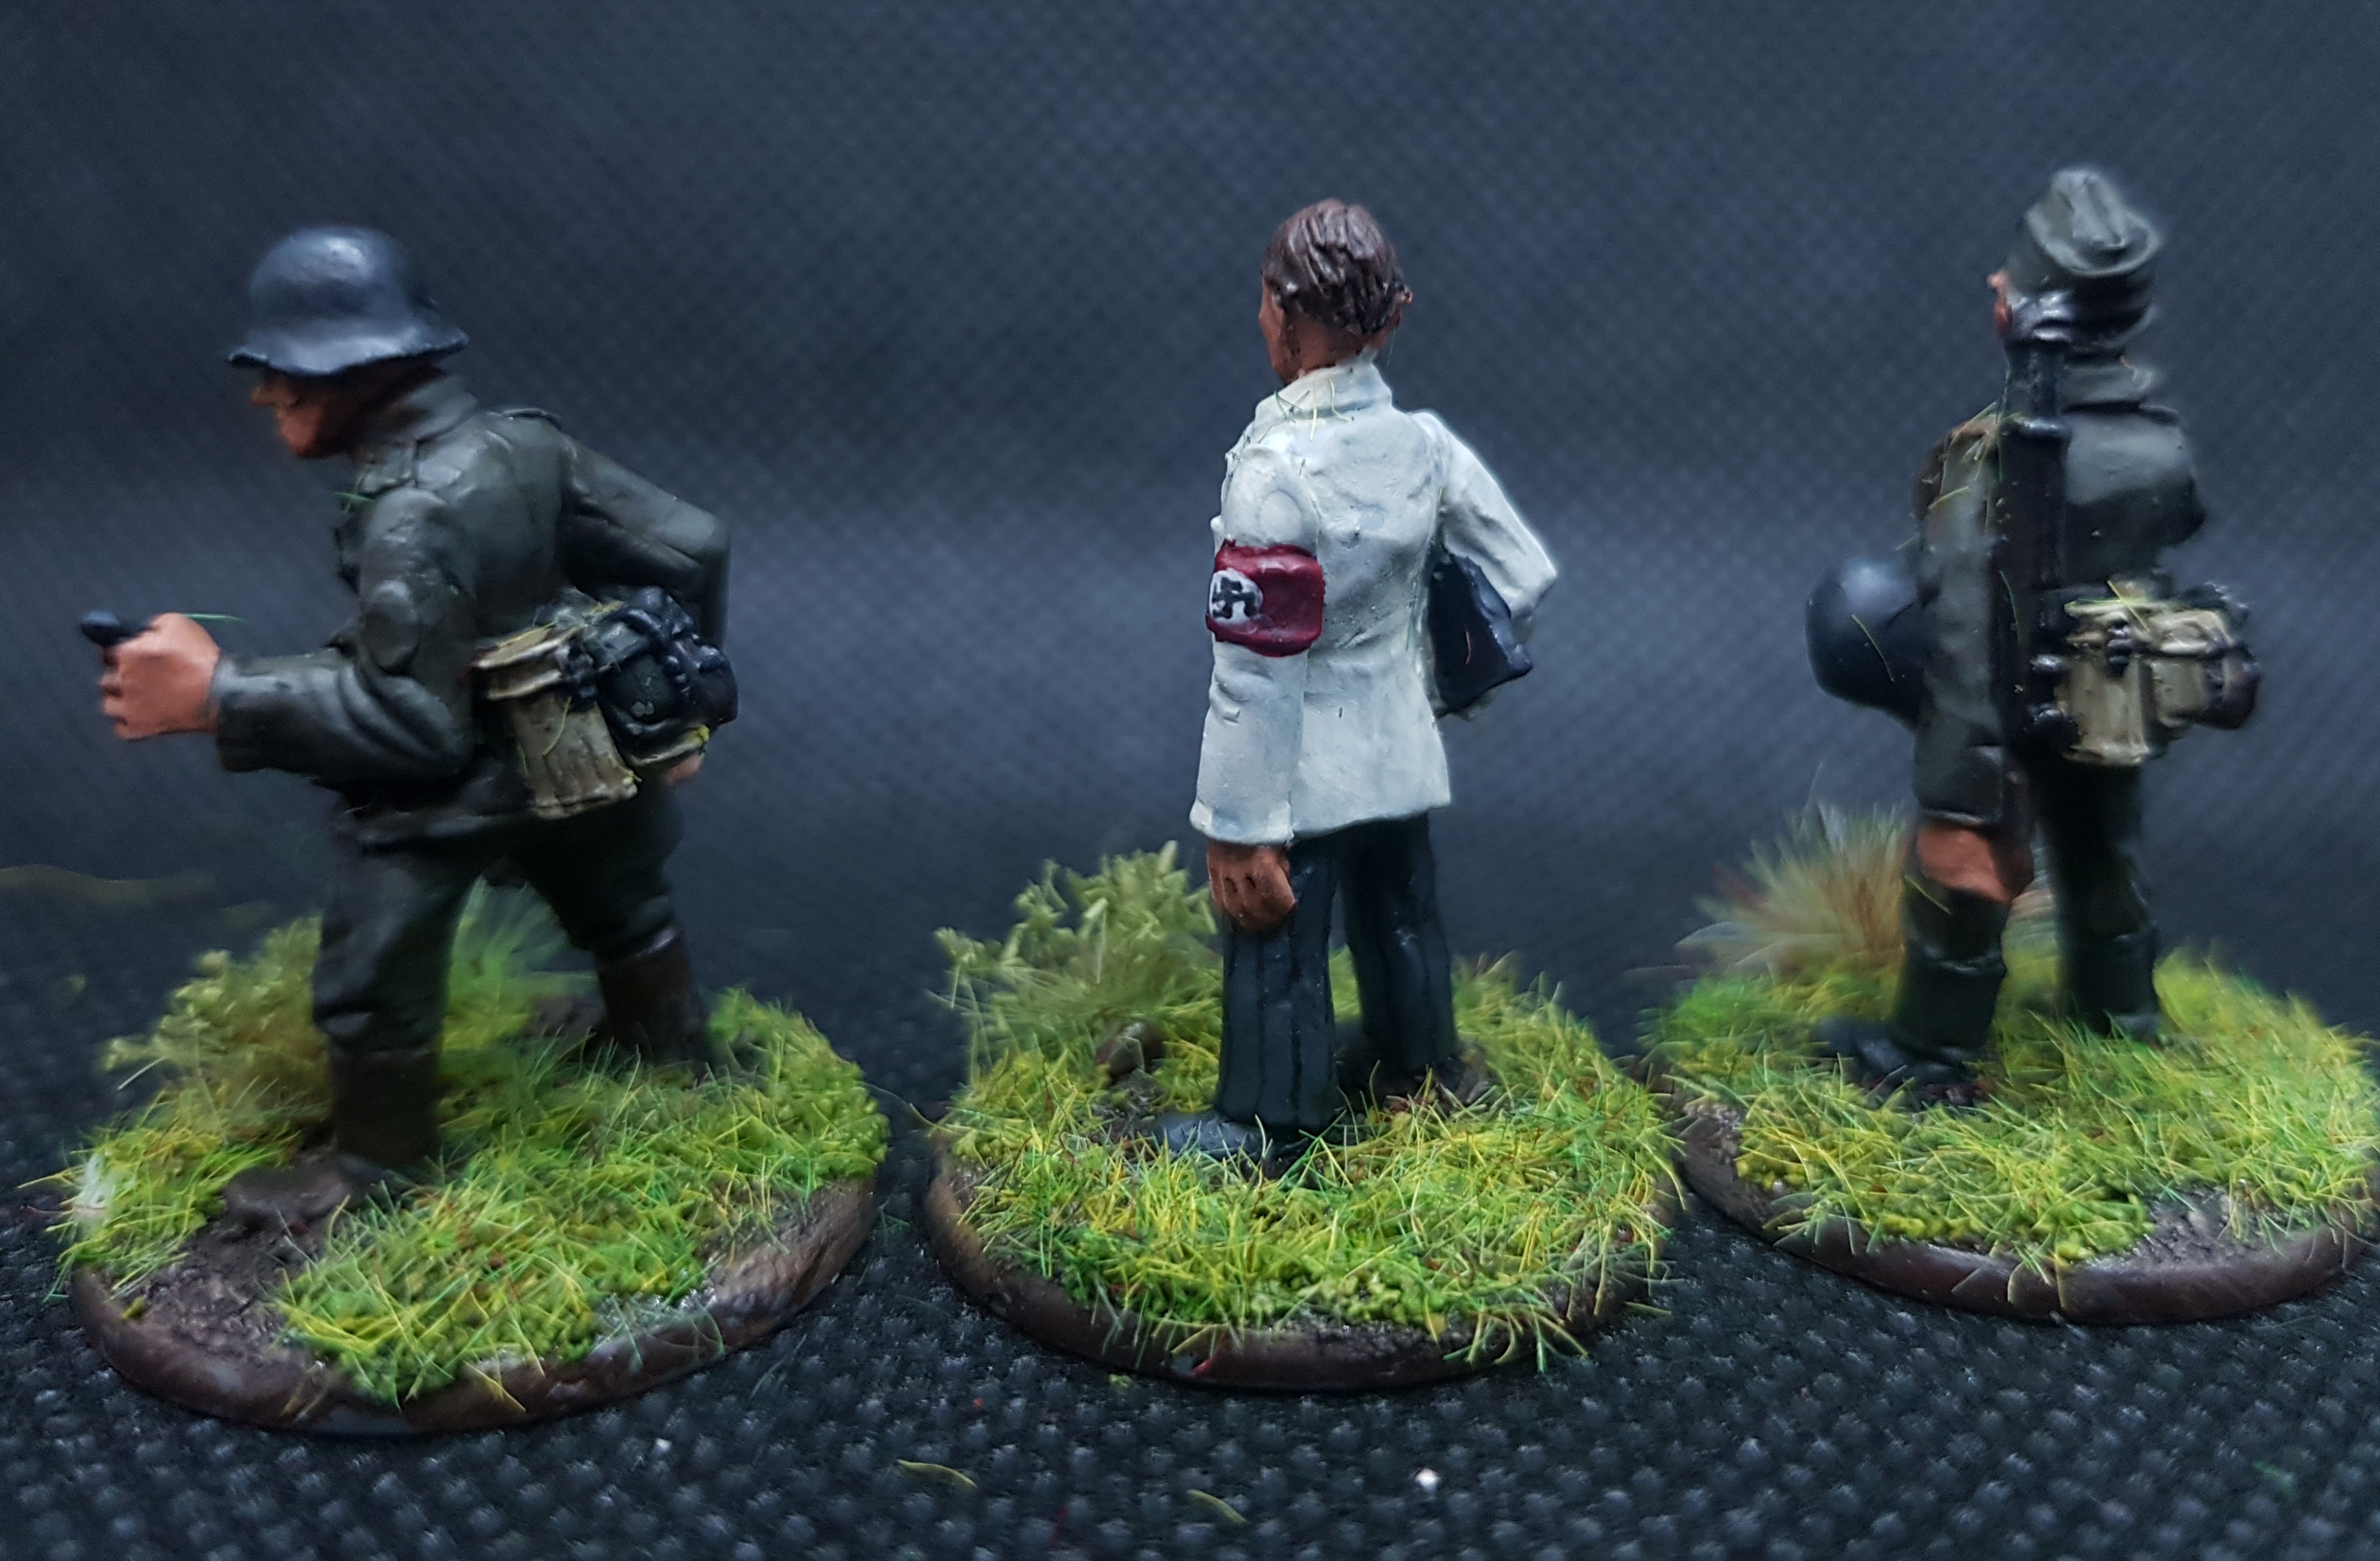 The pin stripes and swastika on Herr Doktor were done using a Staedler .05 pigment liner marker. One of my new favourite tools in hobby. Been experimenting using it on eyes too
A few more Germans
After a shoutout on the unofficial hobby hangout I really wanted to get a few more minis finished before before the Blue Monday stream. Of course I’m slow so that didn’t happen but I still got a mention on Blue Monday – plus a lot of new thumbs up from you lovely people so that was even more motivation!
 More Grenadiers from the box
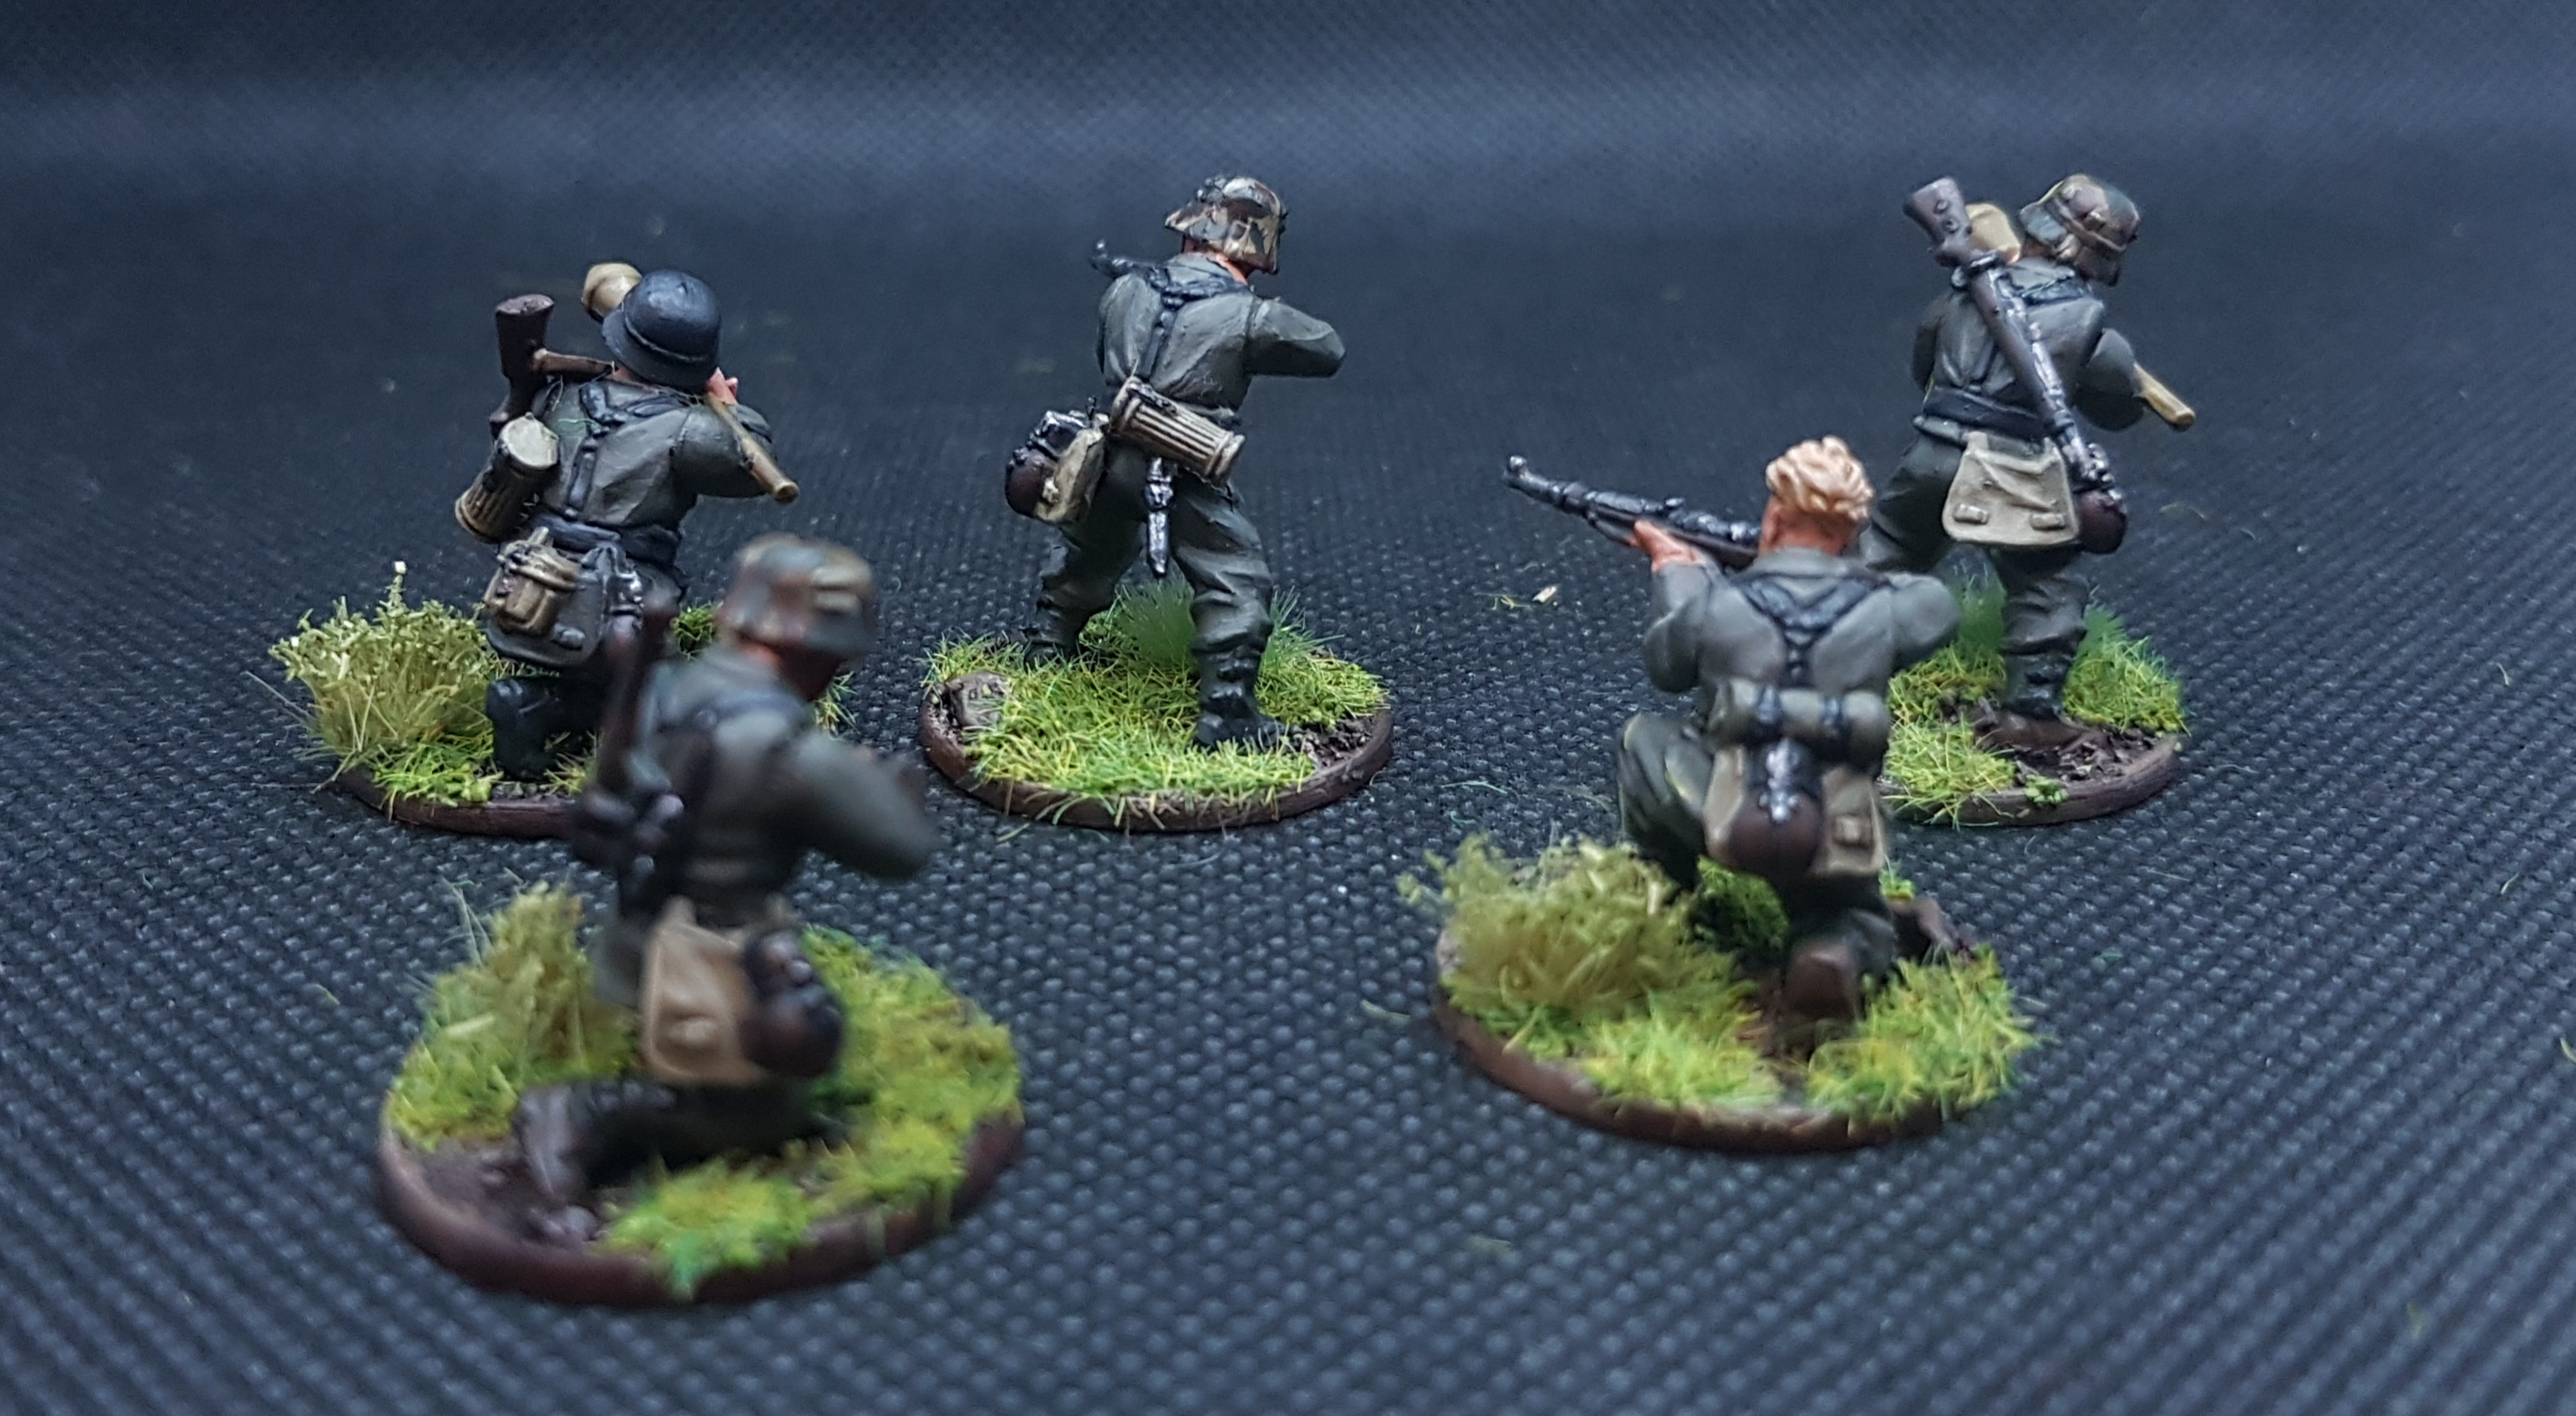 Lloyd shot
The lost glider shows up
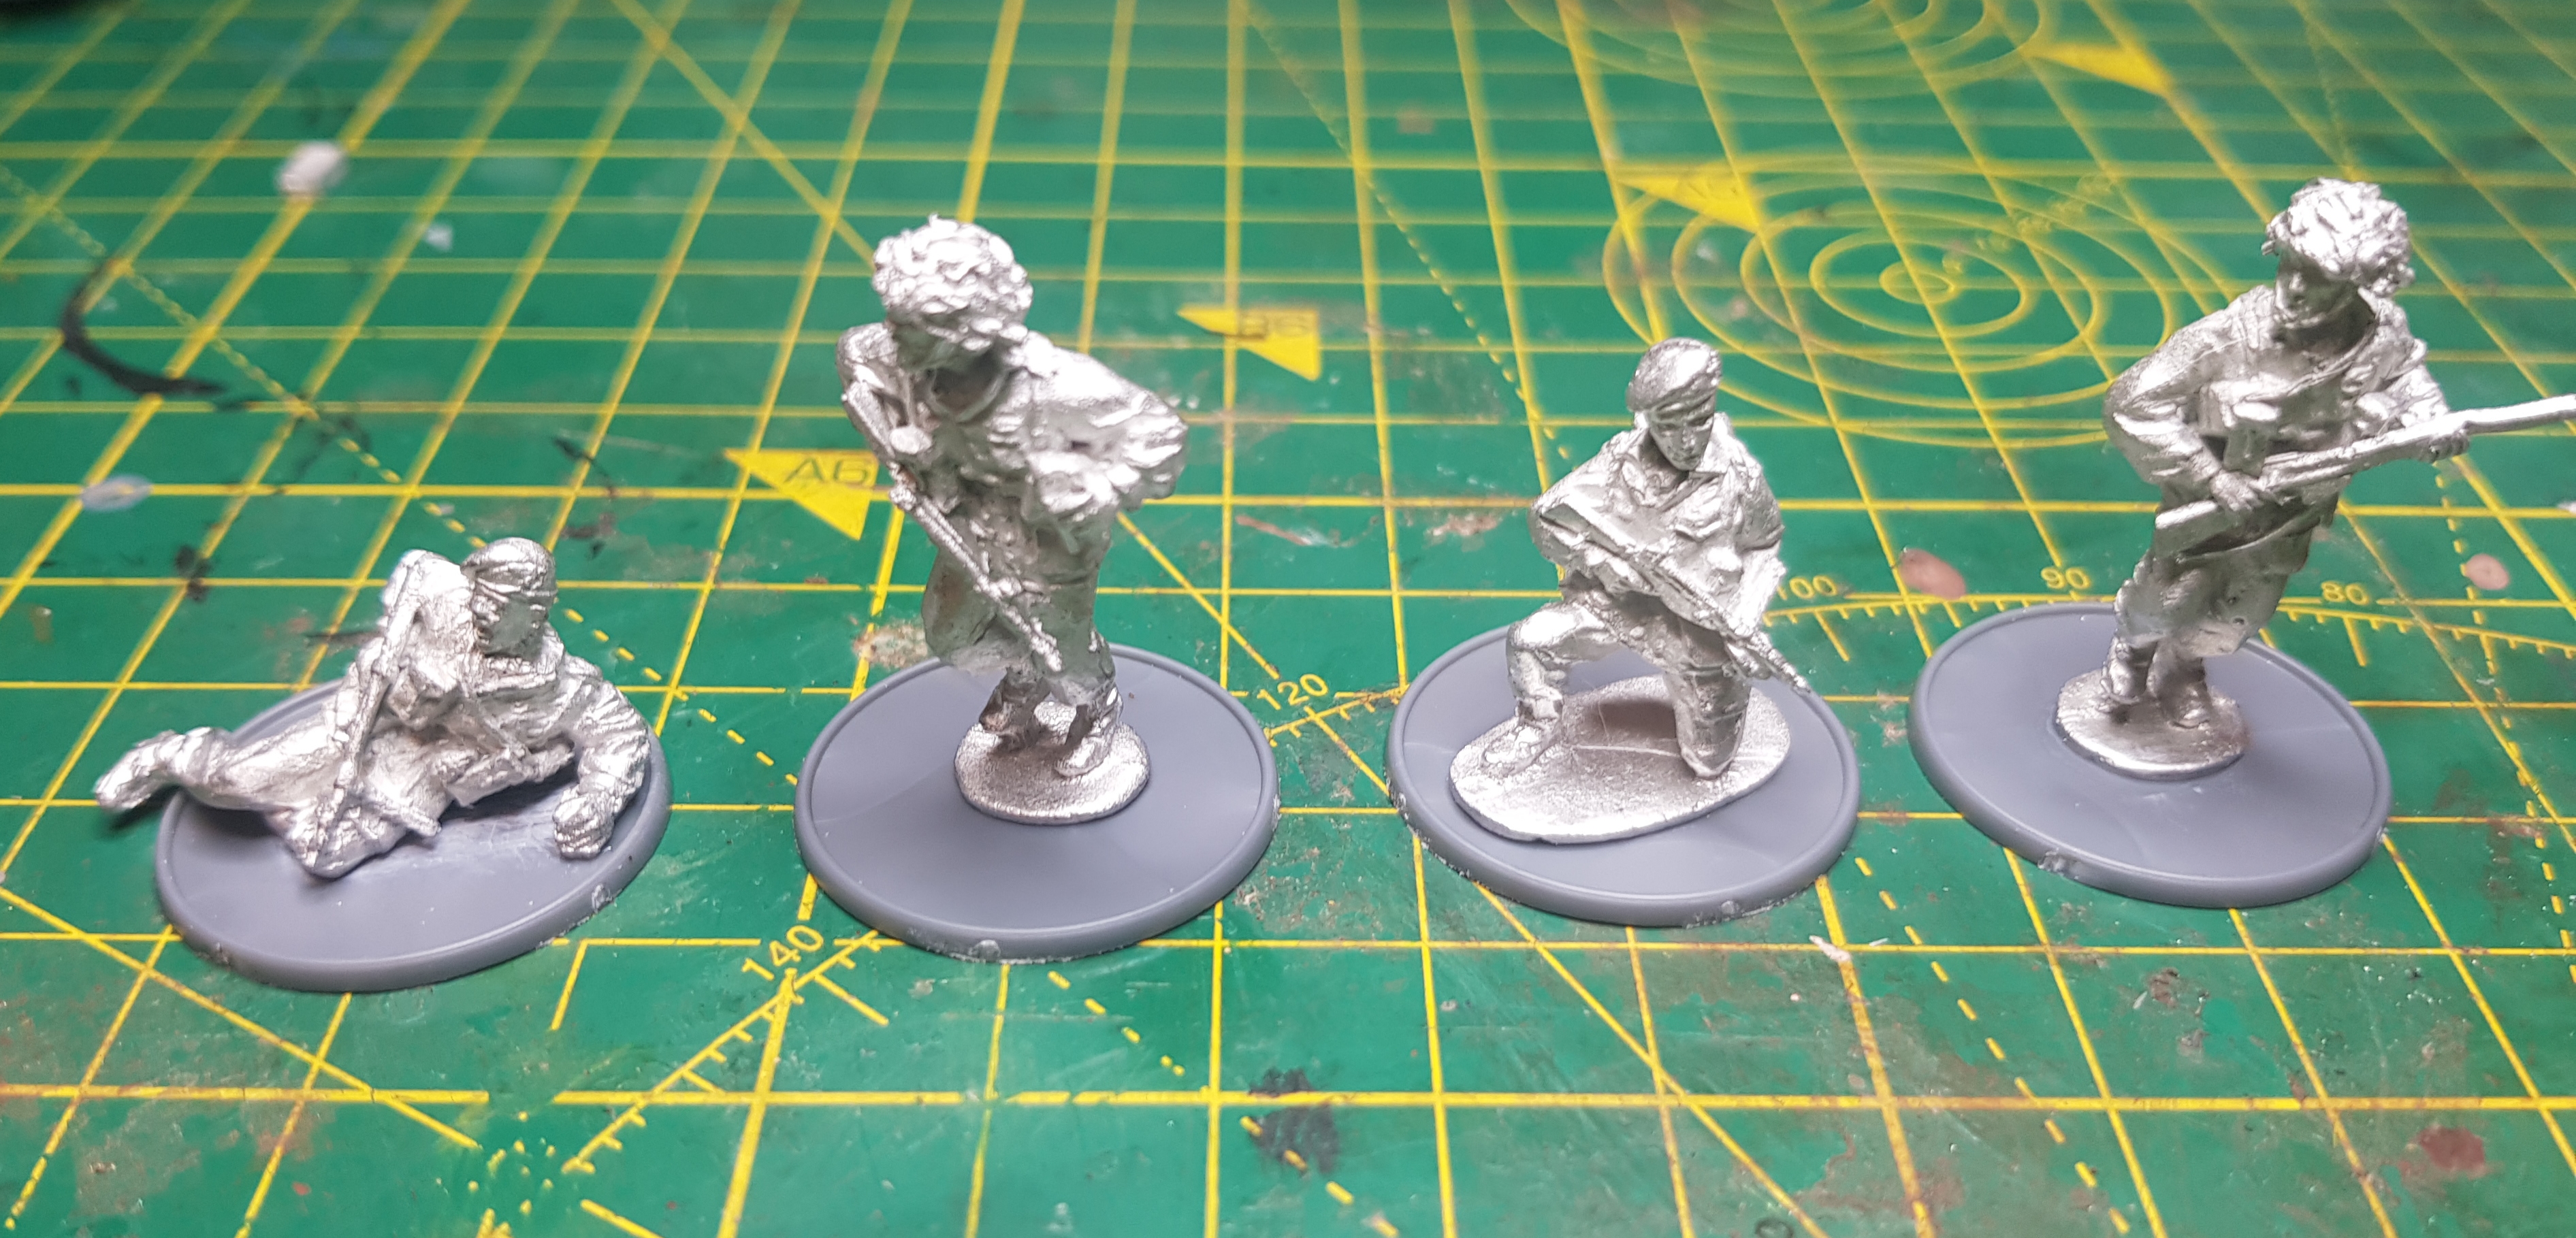
Just a short update today. Wanted to bolster the airborne forces so I piked up a few minis from Offensive Miniatures that arrived today. These are lovely lovely minis.
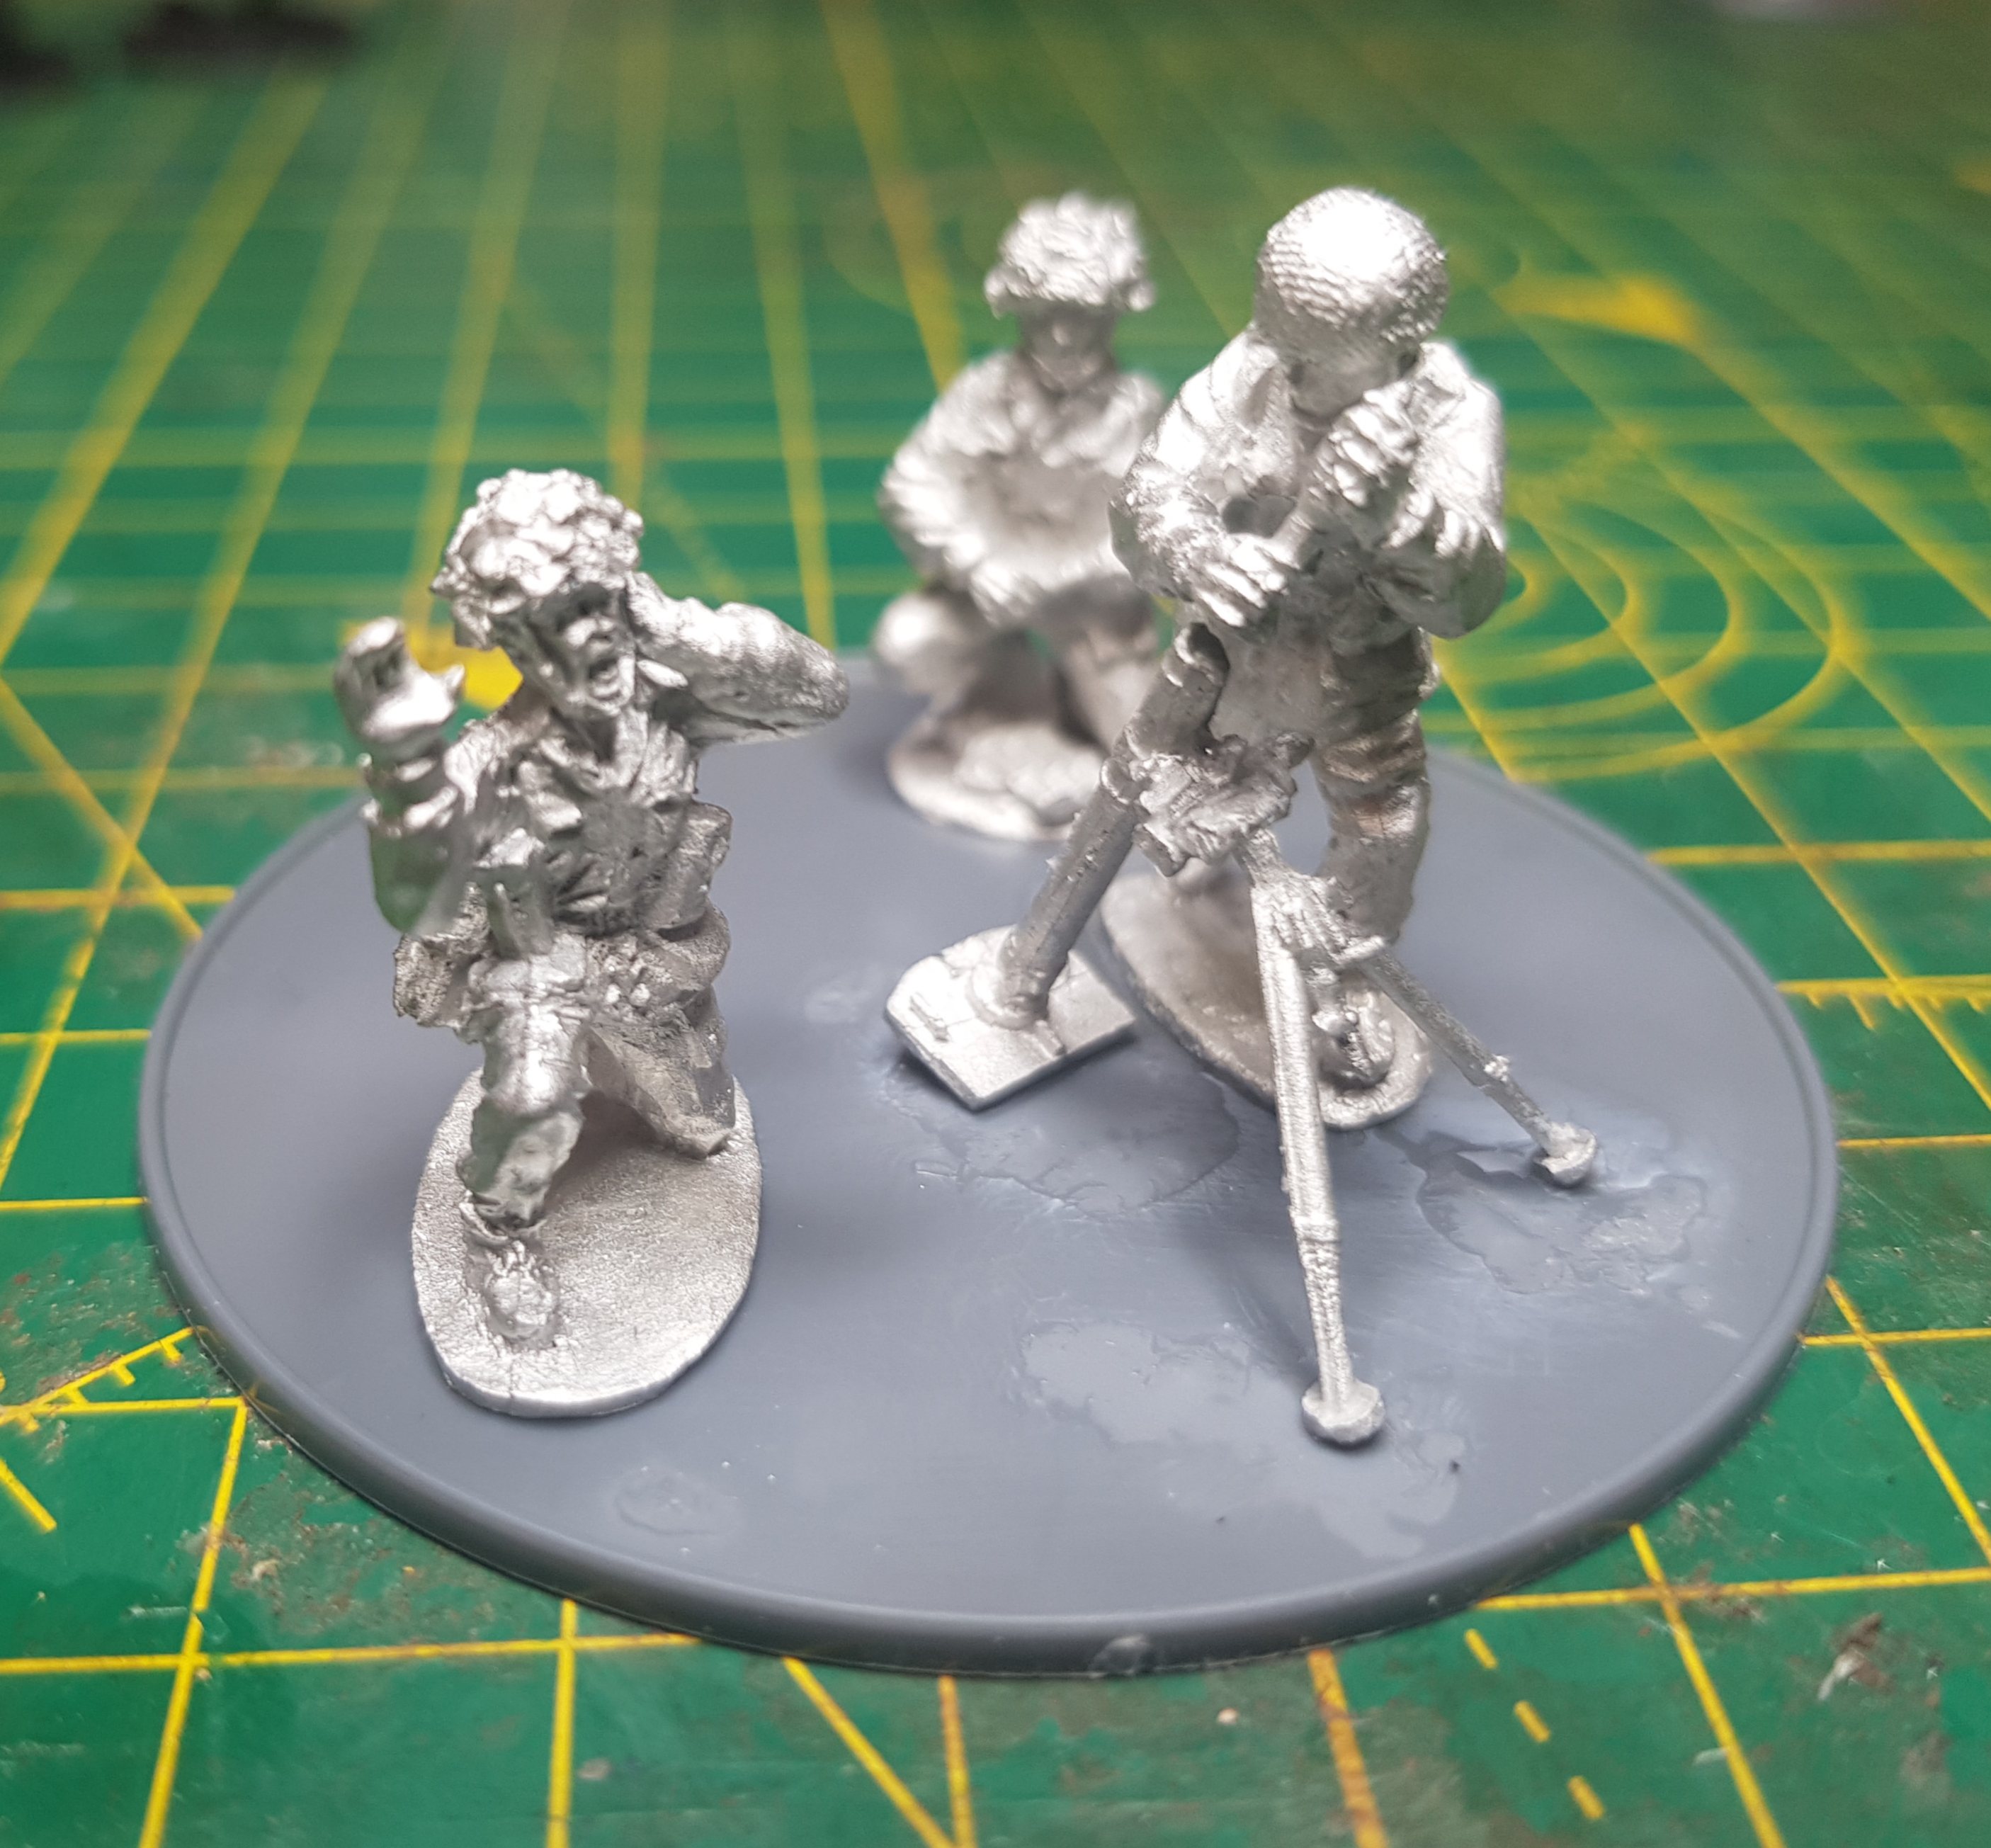
I picked up one section of 10 minis and a support group with a machine gun and a mortar. The support team wont be any use for my Pegasus Bridge scenario but I just wanted to have the minis!
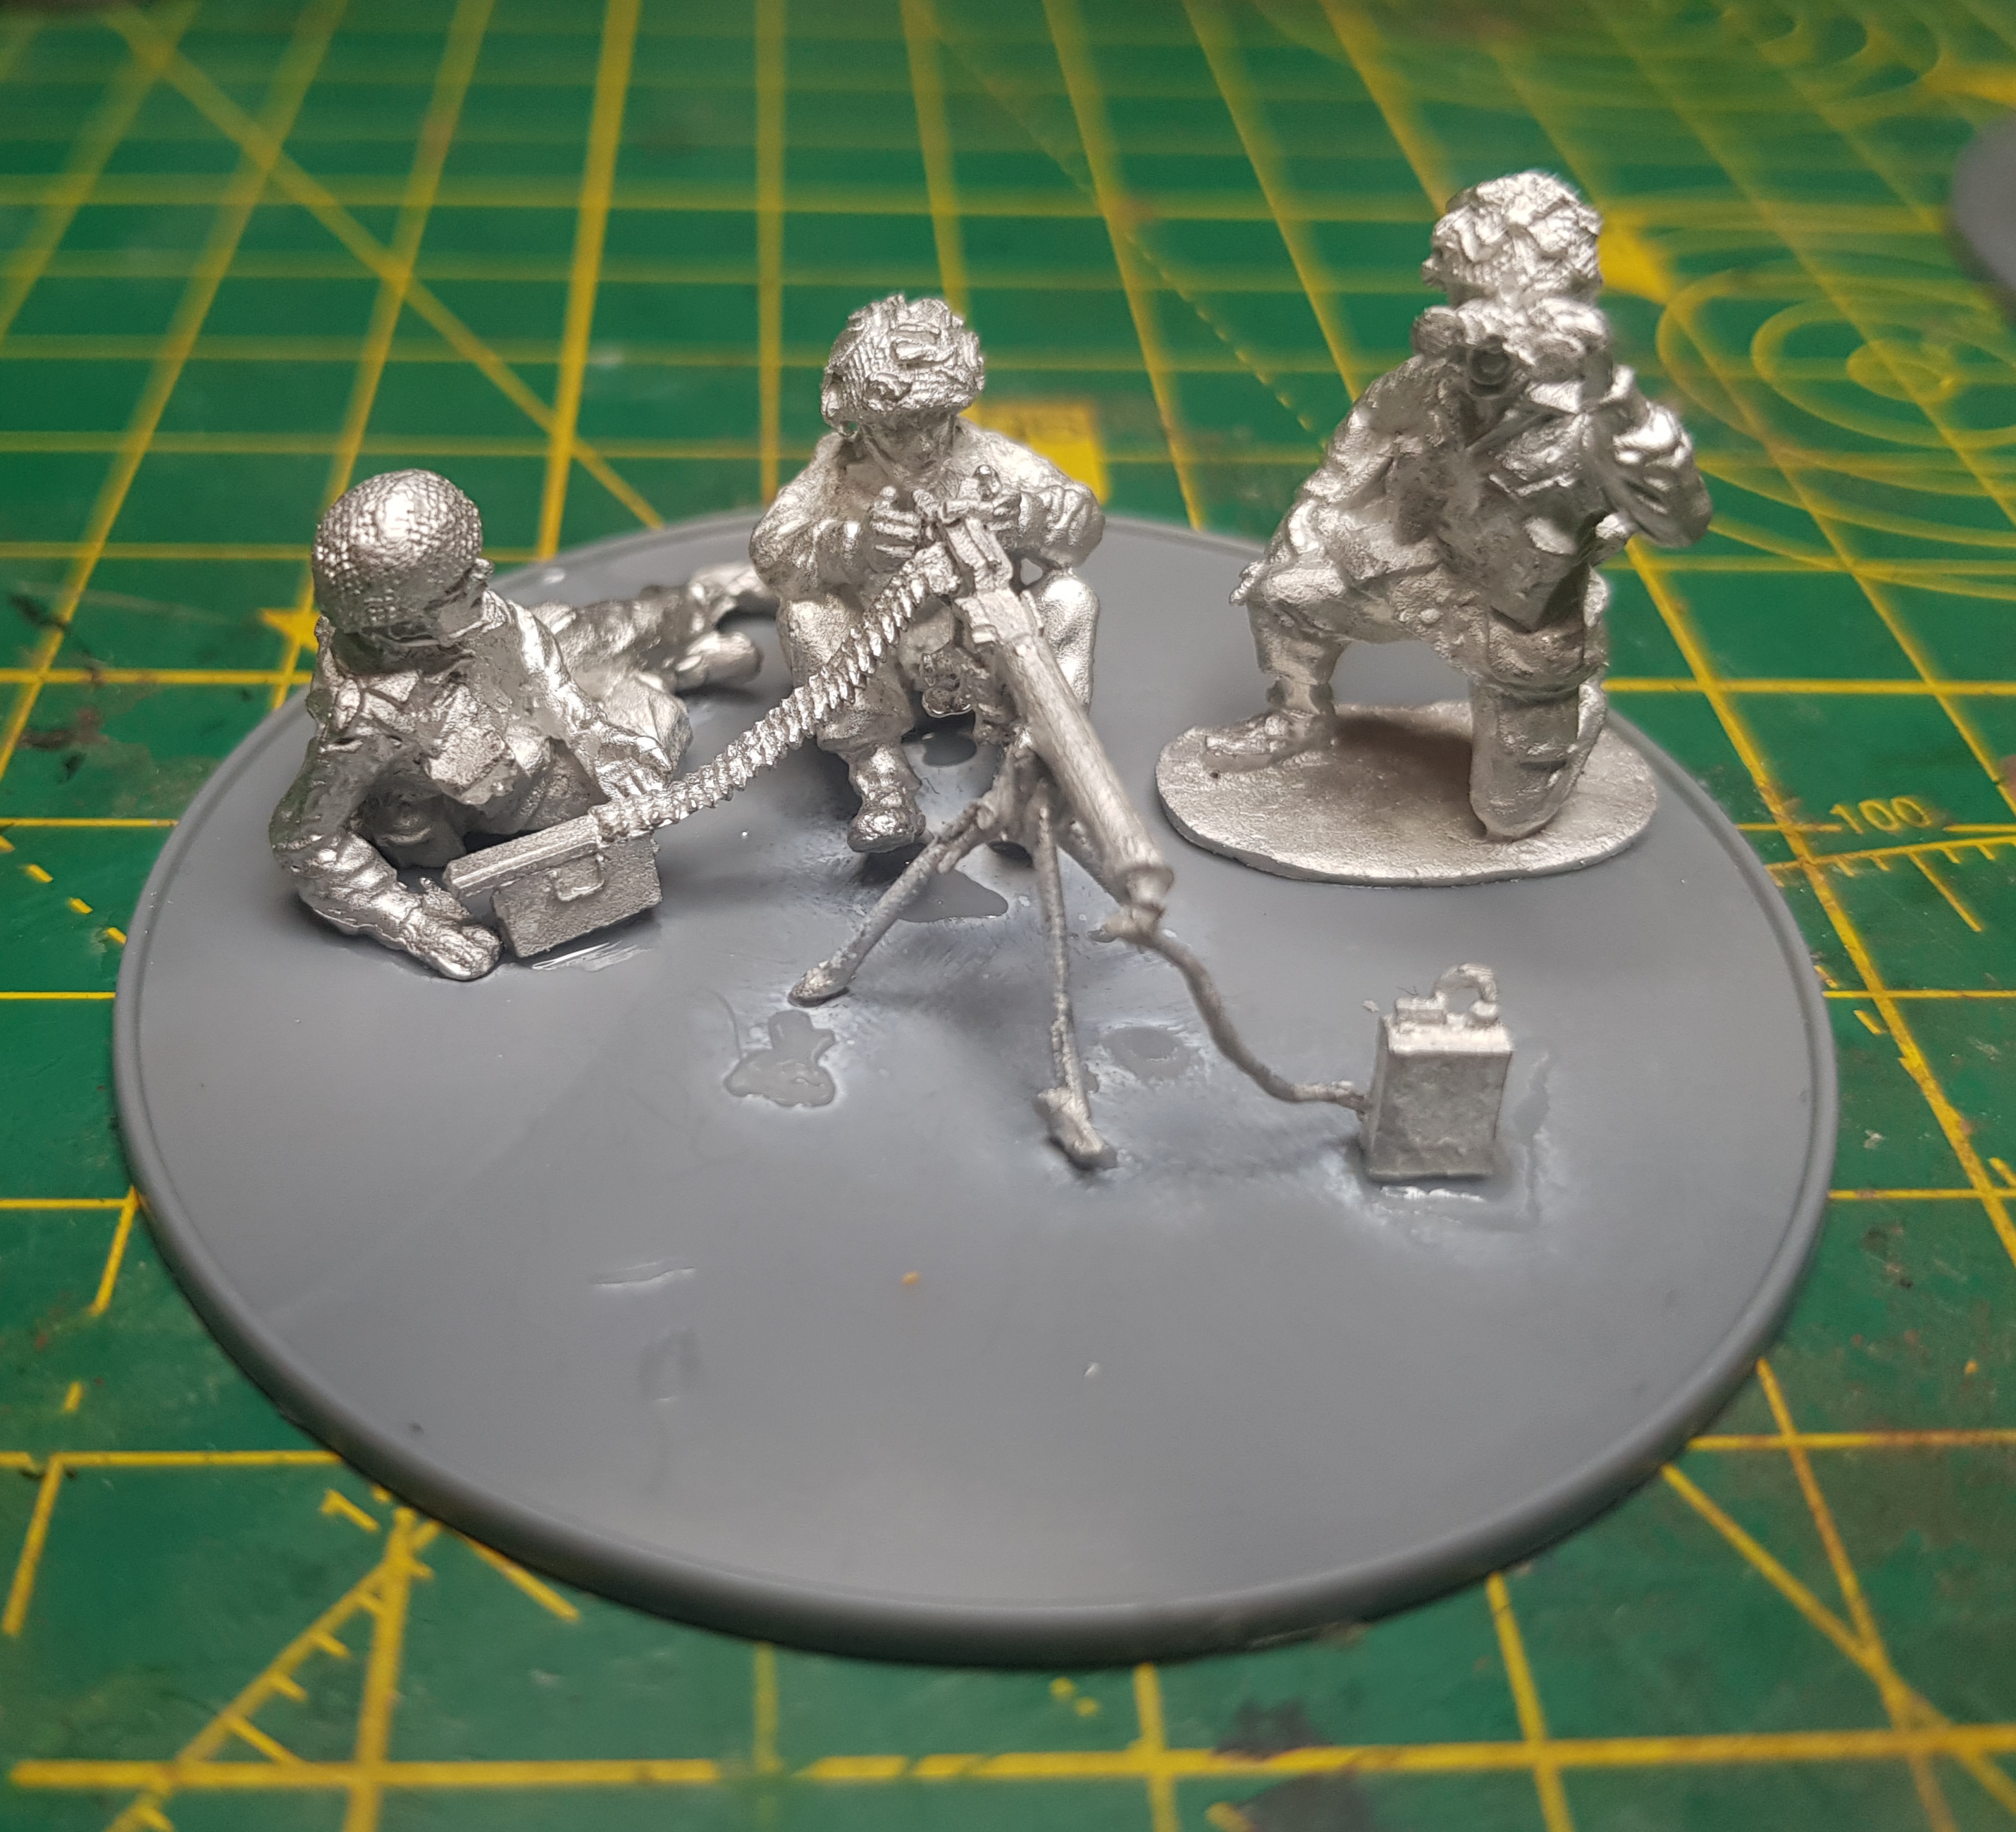
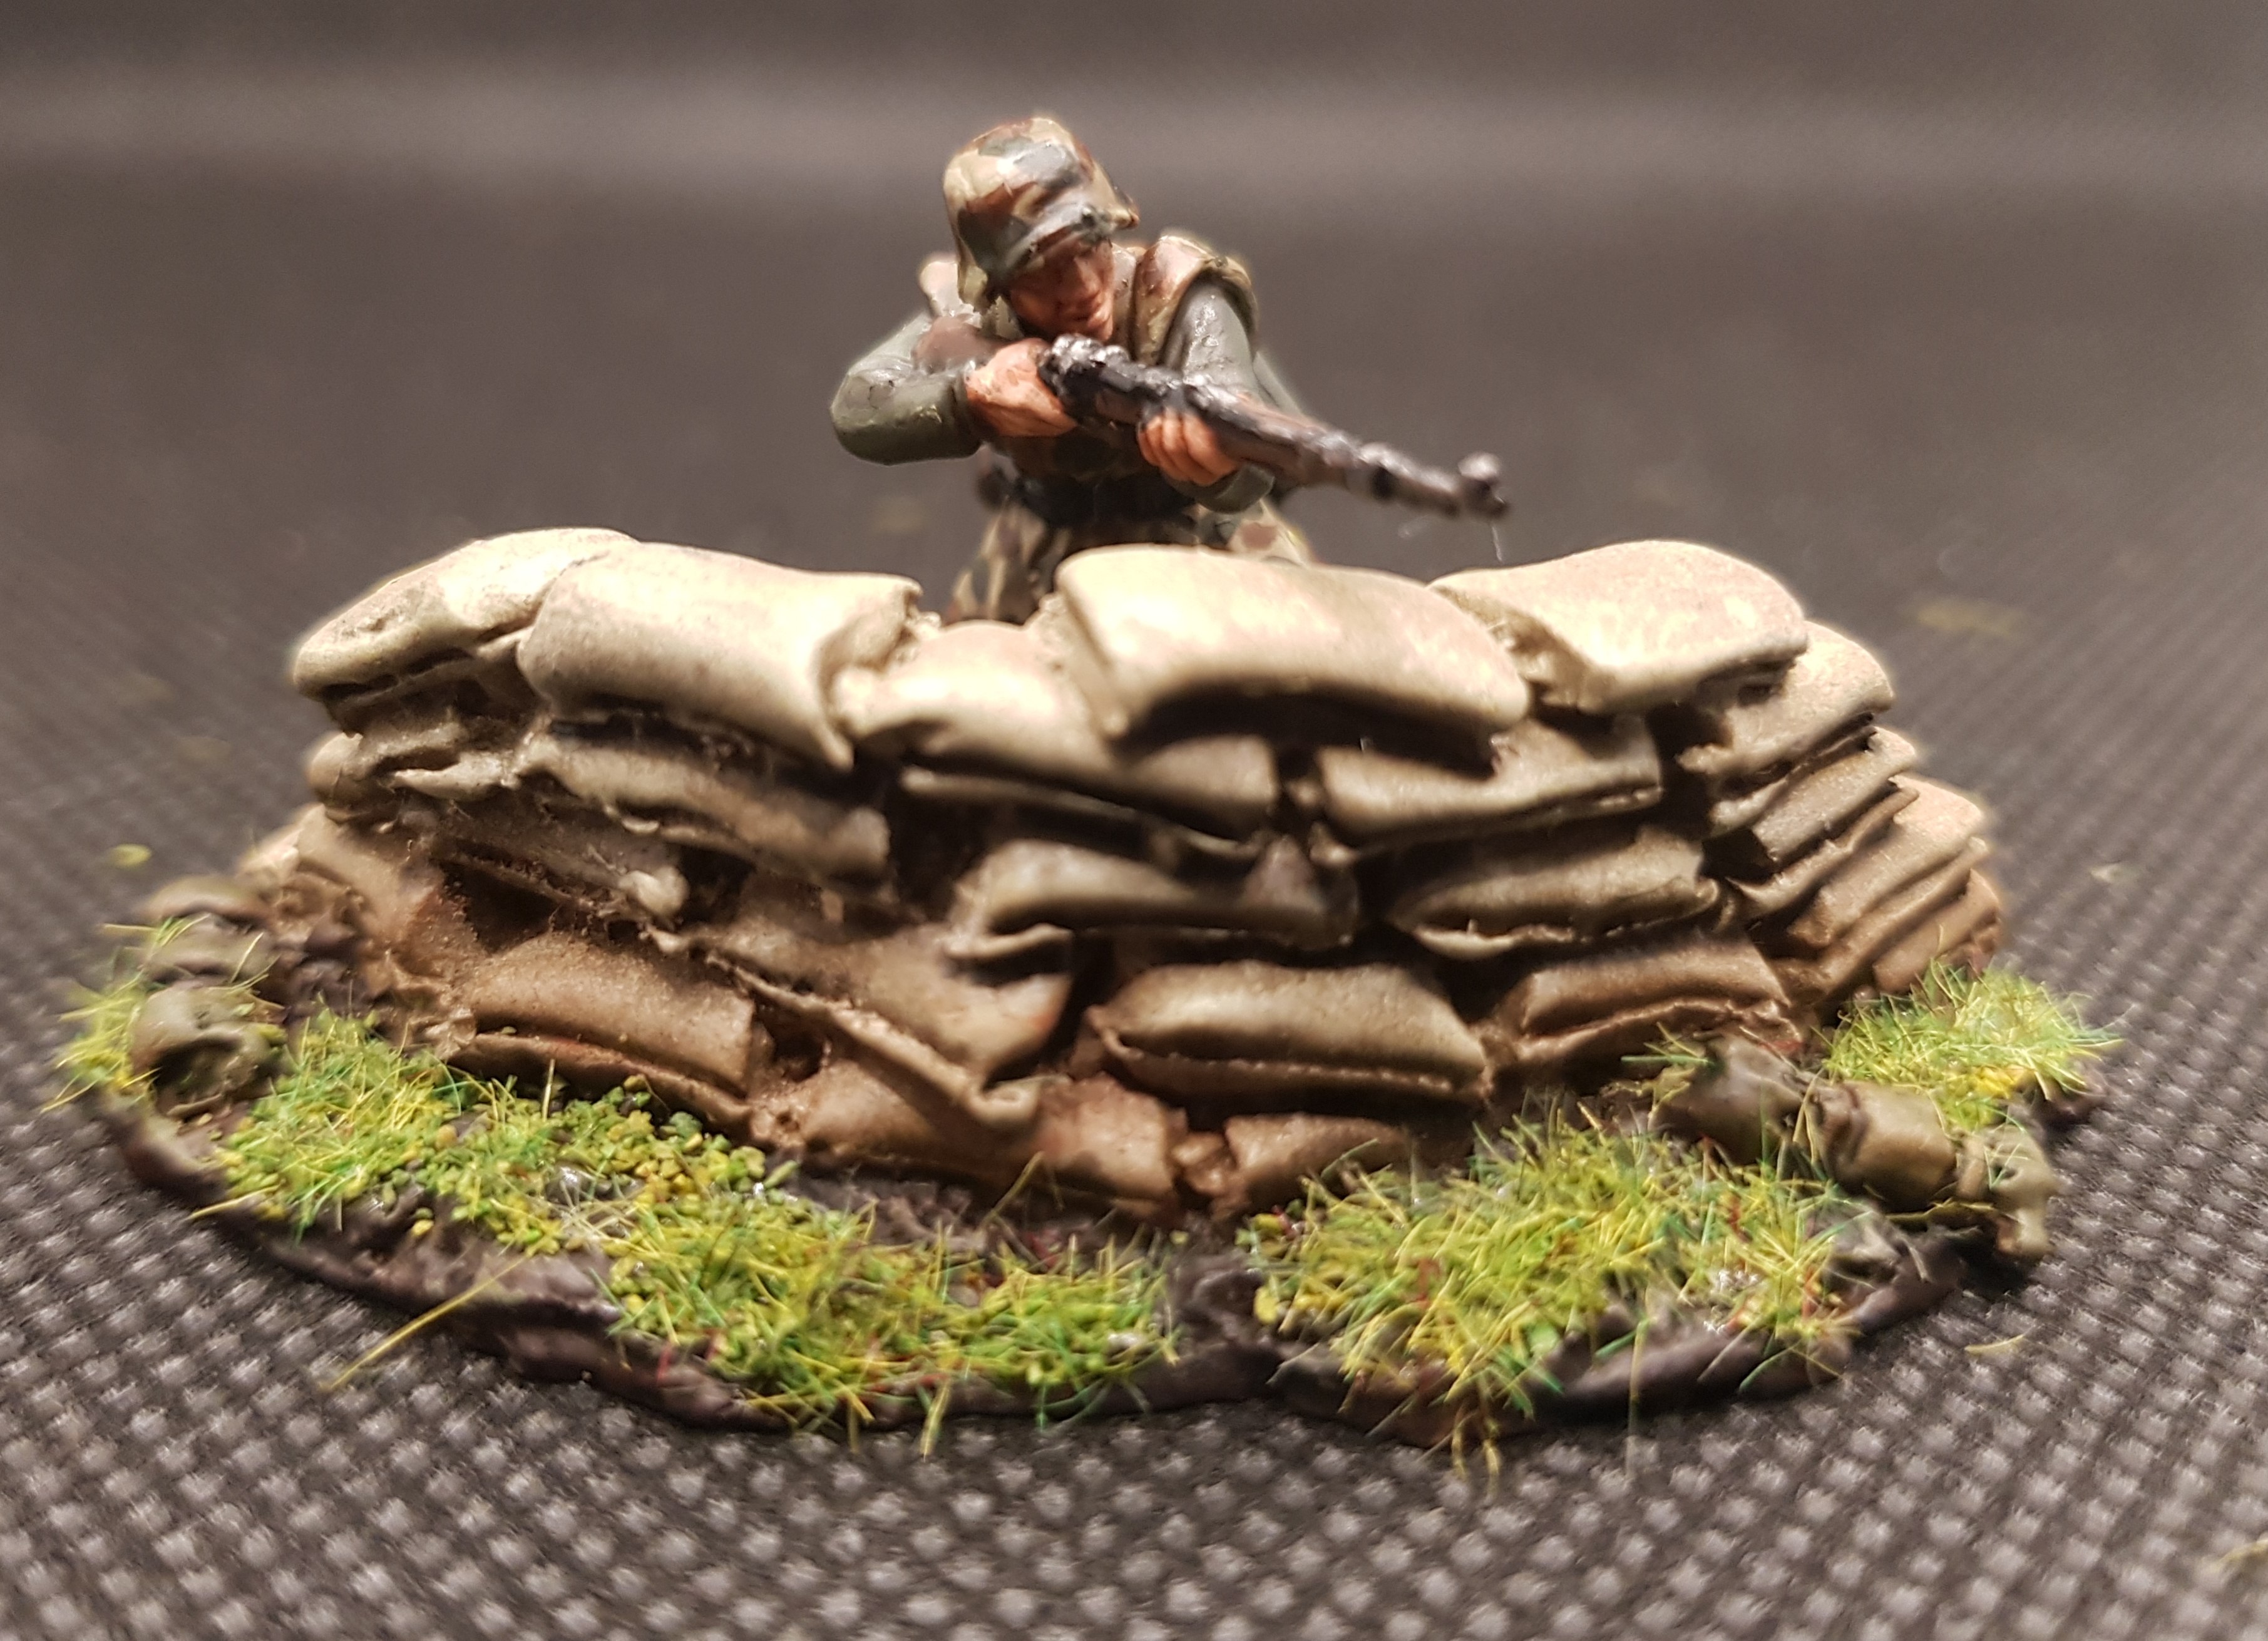
Moar barricades
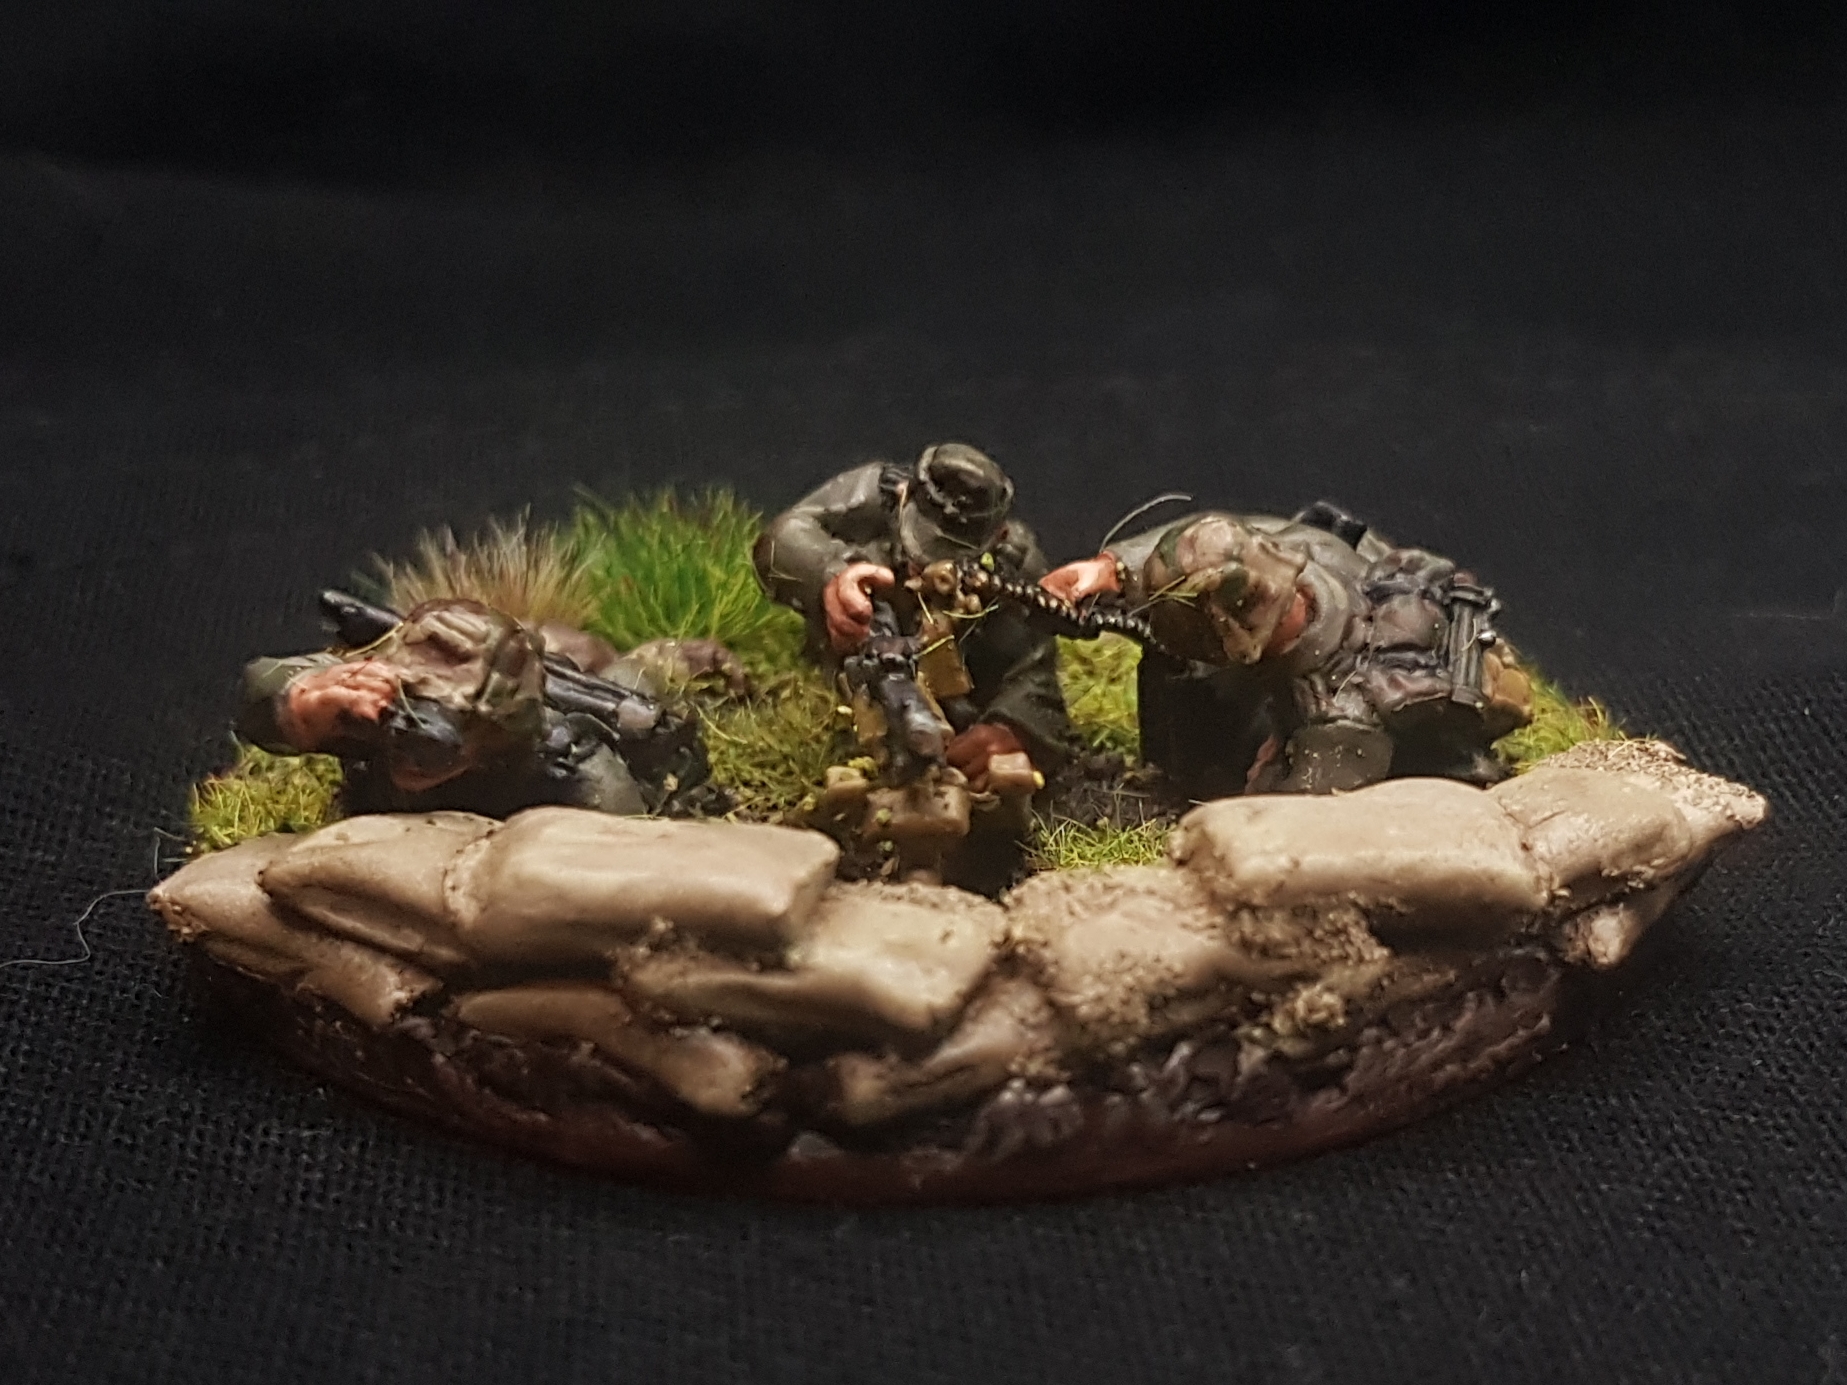
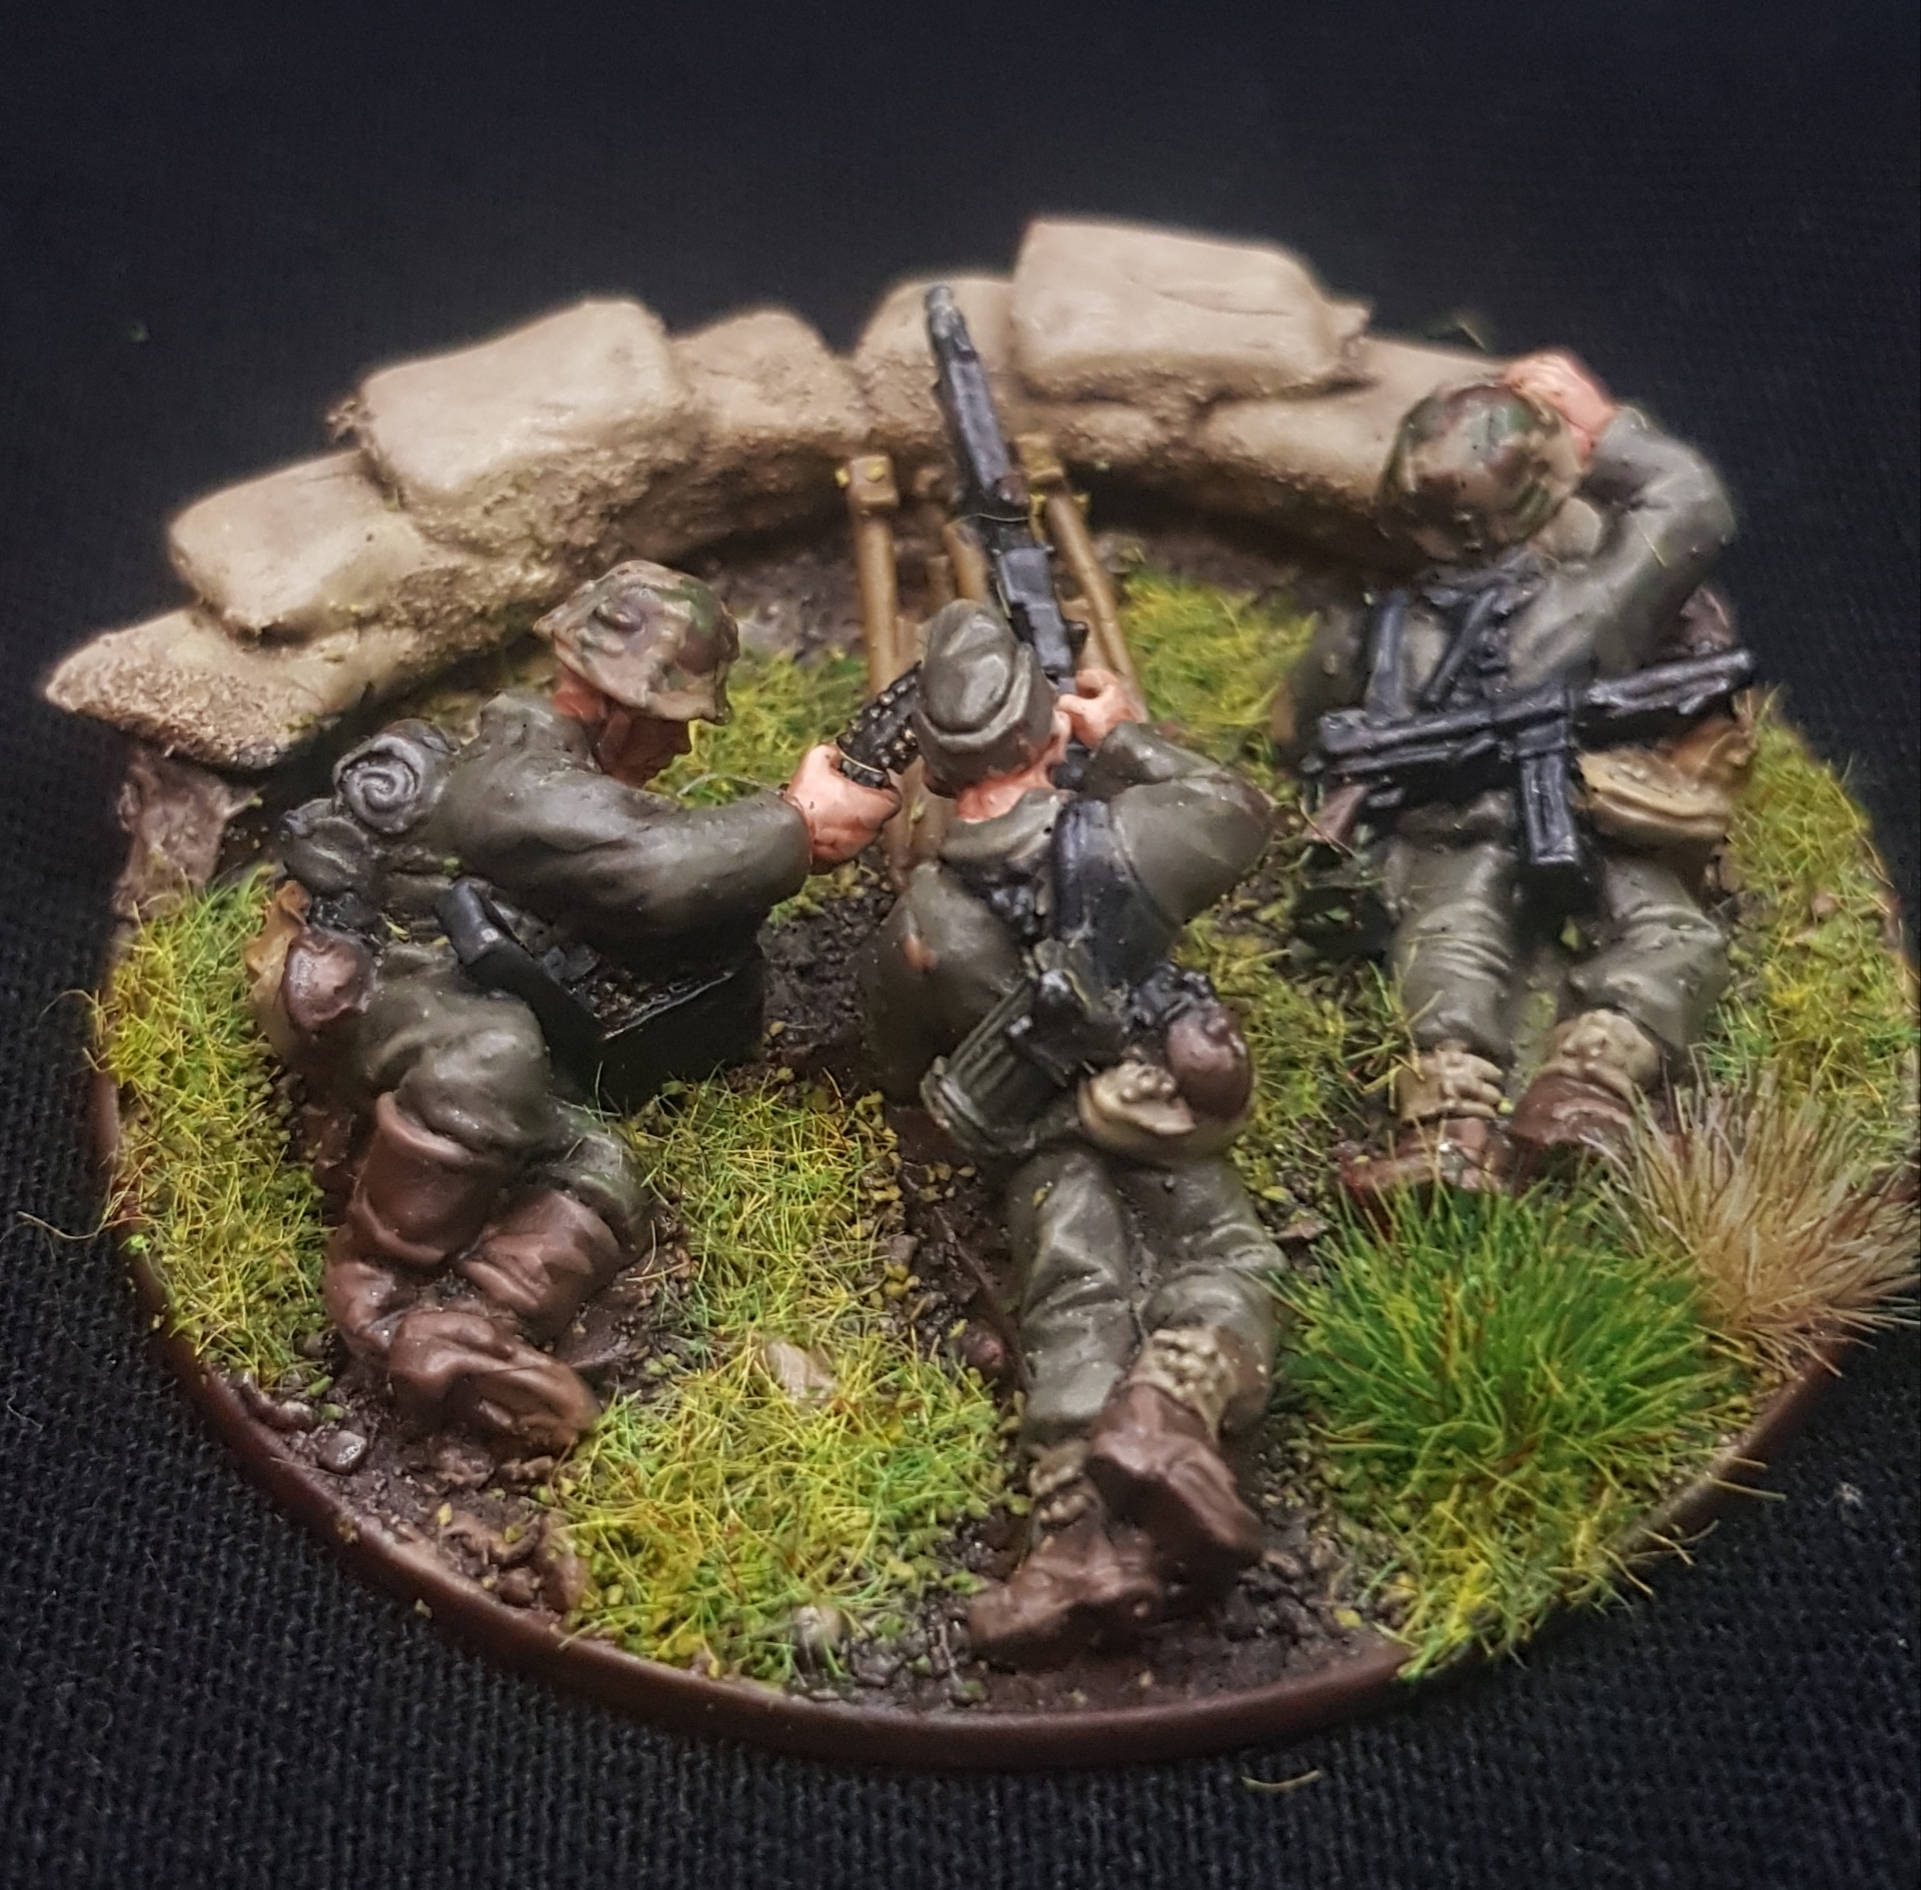
The Pegasus Bridge box comes with 1 sandbag emplacement but I decided I wanted more. So I made up another one using the BoW technique – did this at the same time as the MG42 one – I’ll probably make more in the future but just wanted to test out the technique.
Quick paint job with rattlecans wash and dry brush.
 Resin sandbags from the box
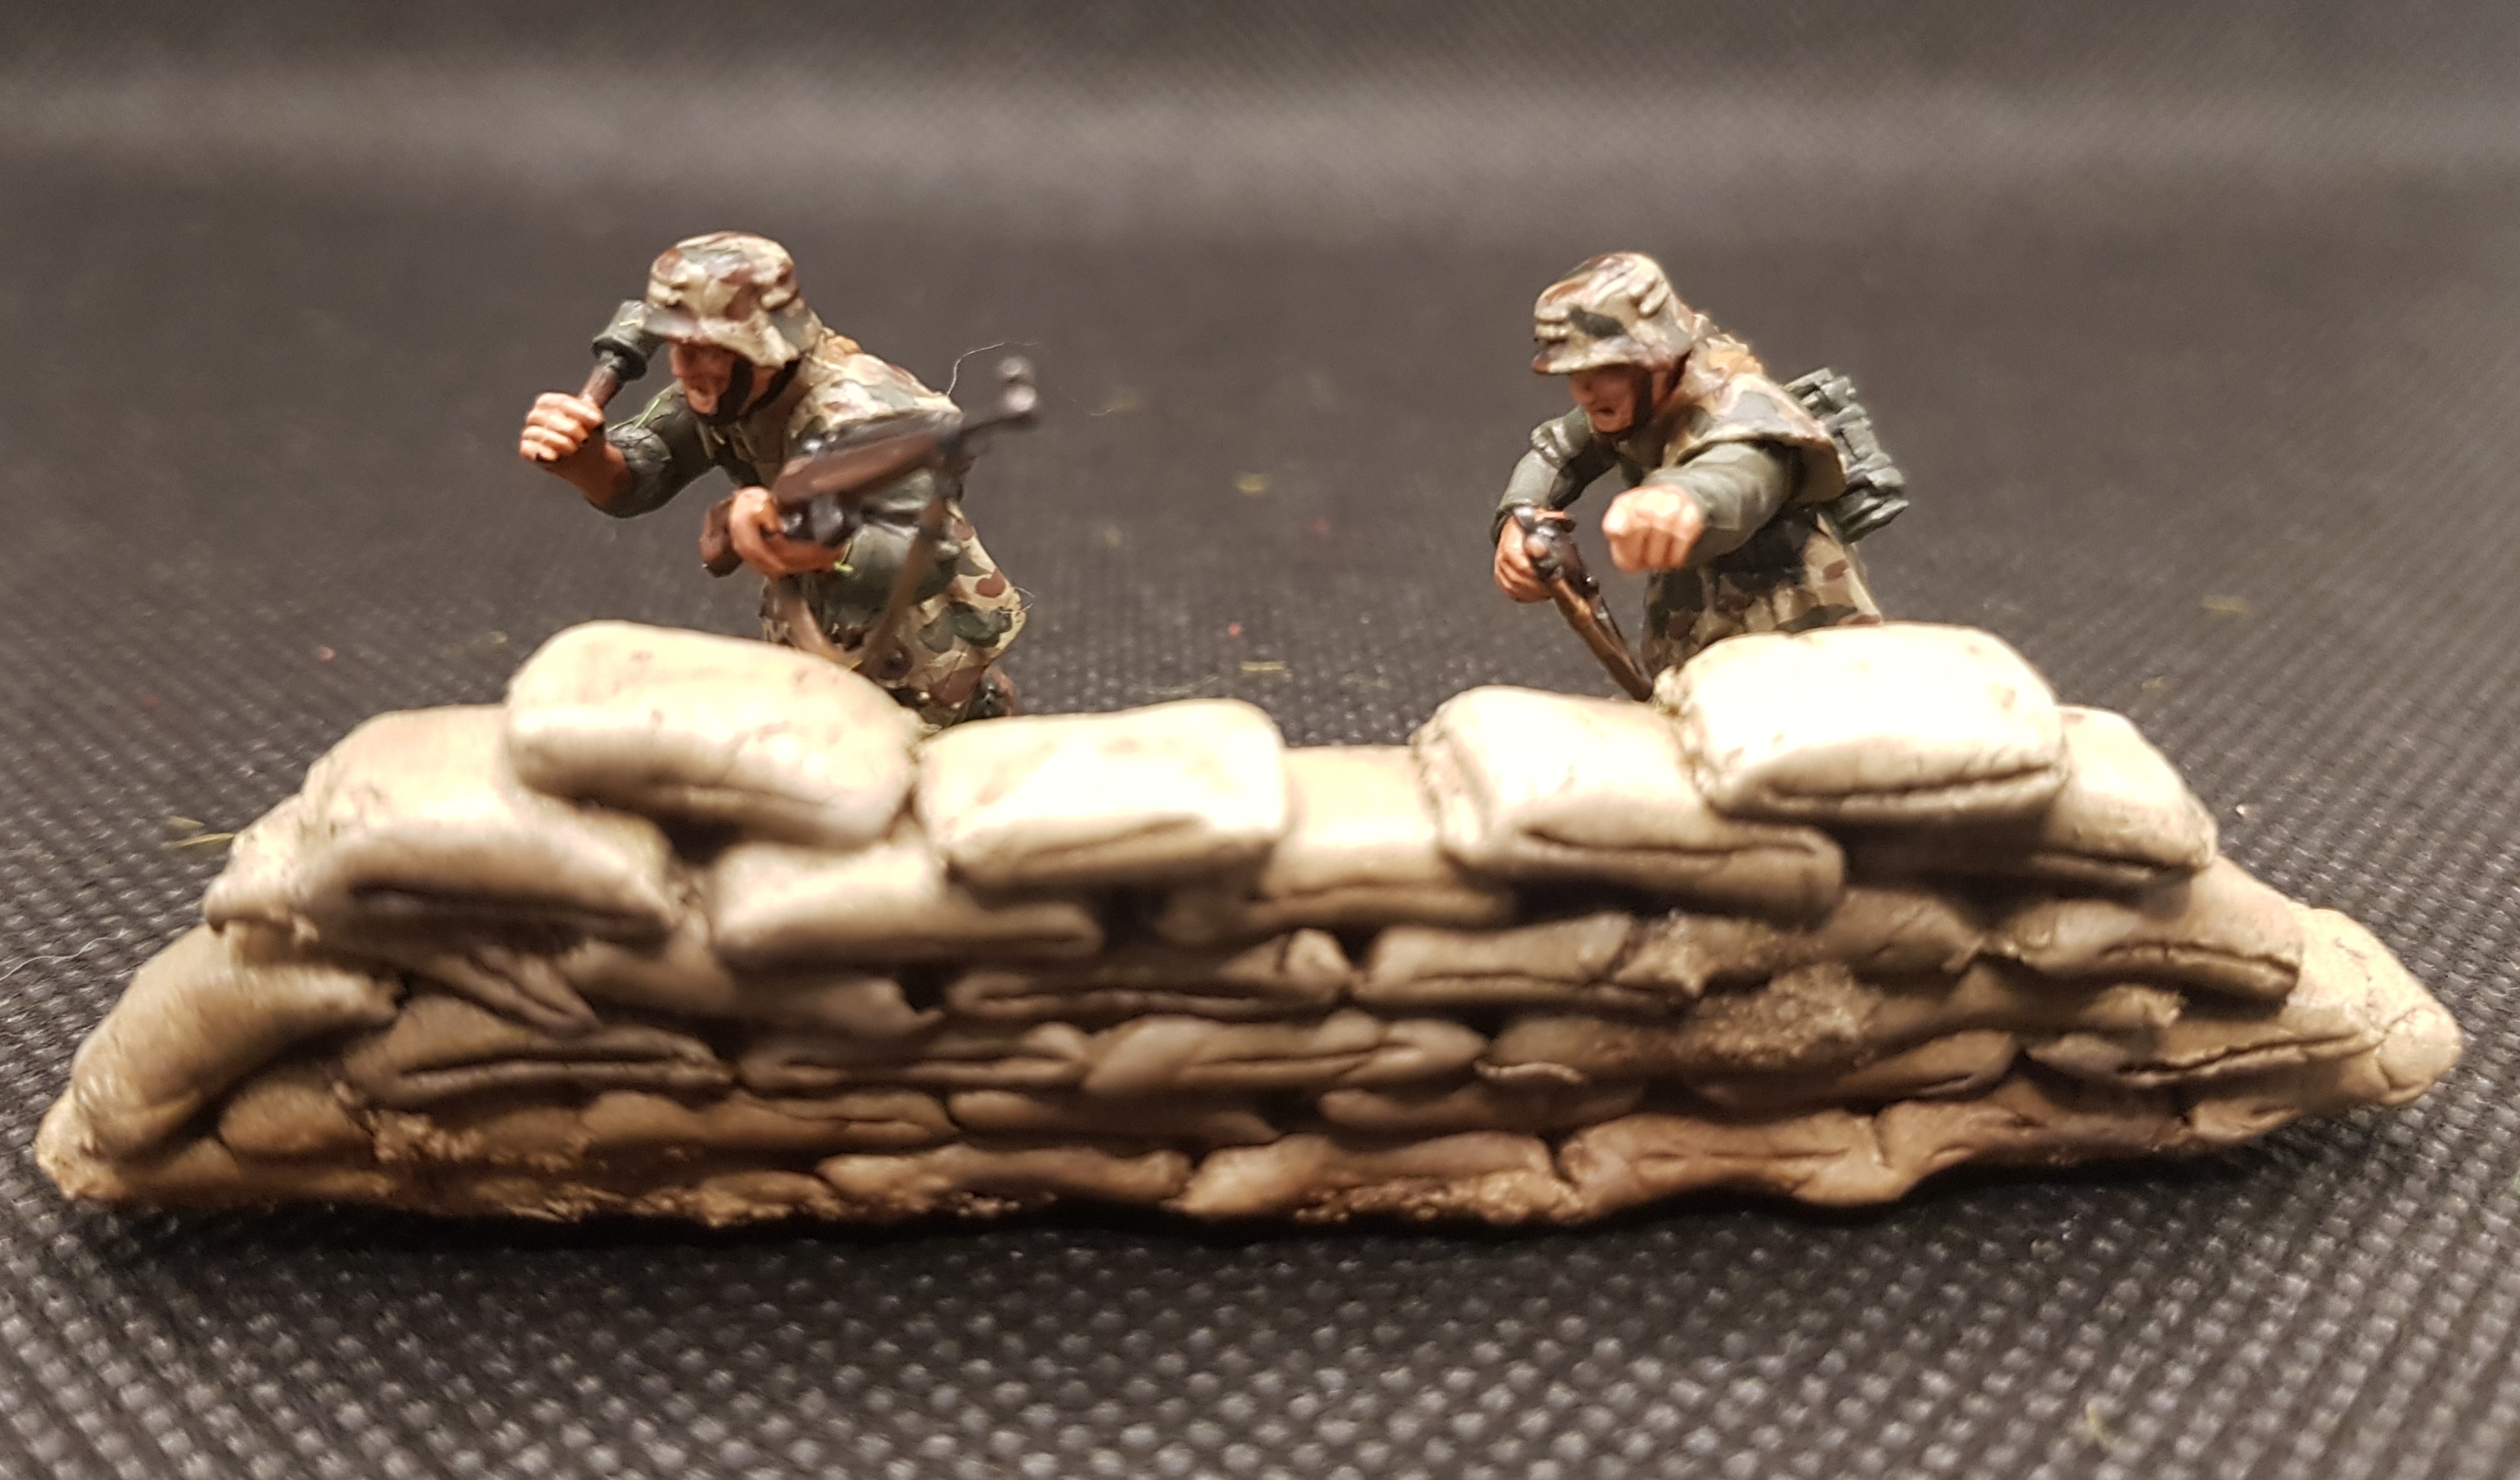 Homemade sandbags
While I was at it, I decided to make a couple more barbed wire fences cause I really enjoyed making the 1st two. This time I used the Geek Gaming flock instead of Javis. Again it definitely gives a much more lush end result. So I think both are useful depending on the look you want
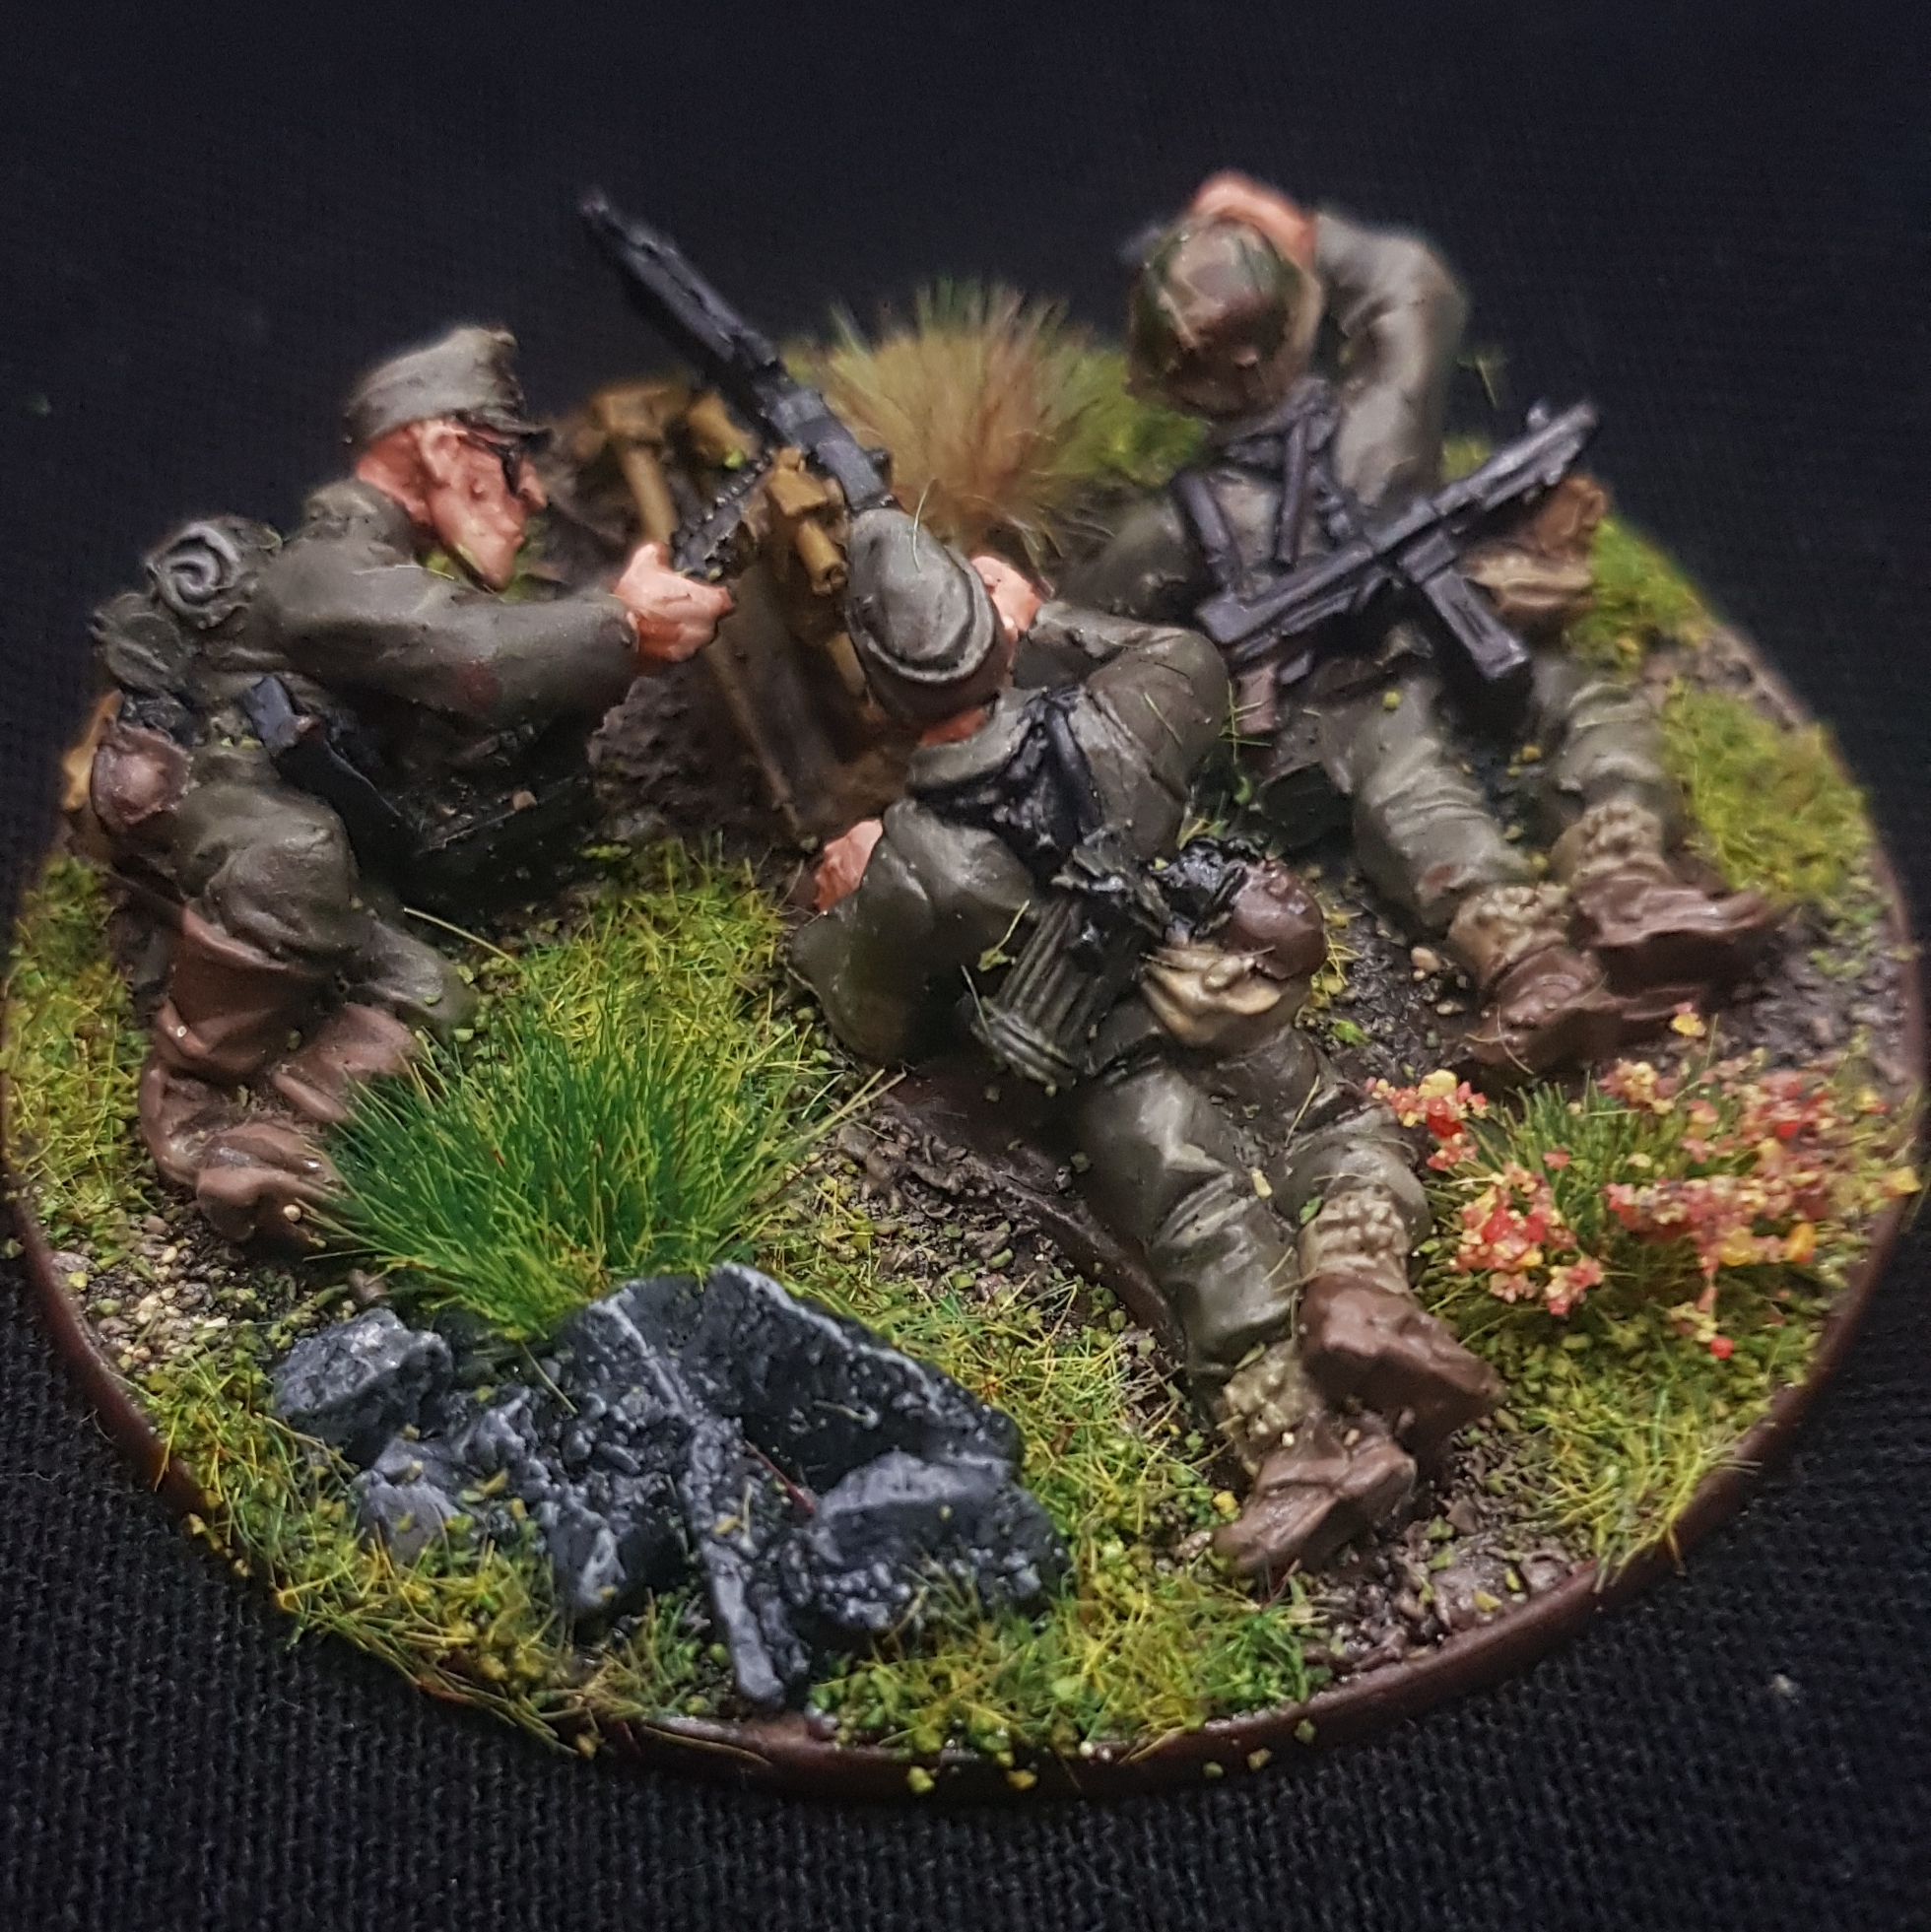
Bridge Defence
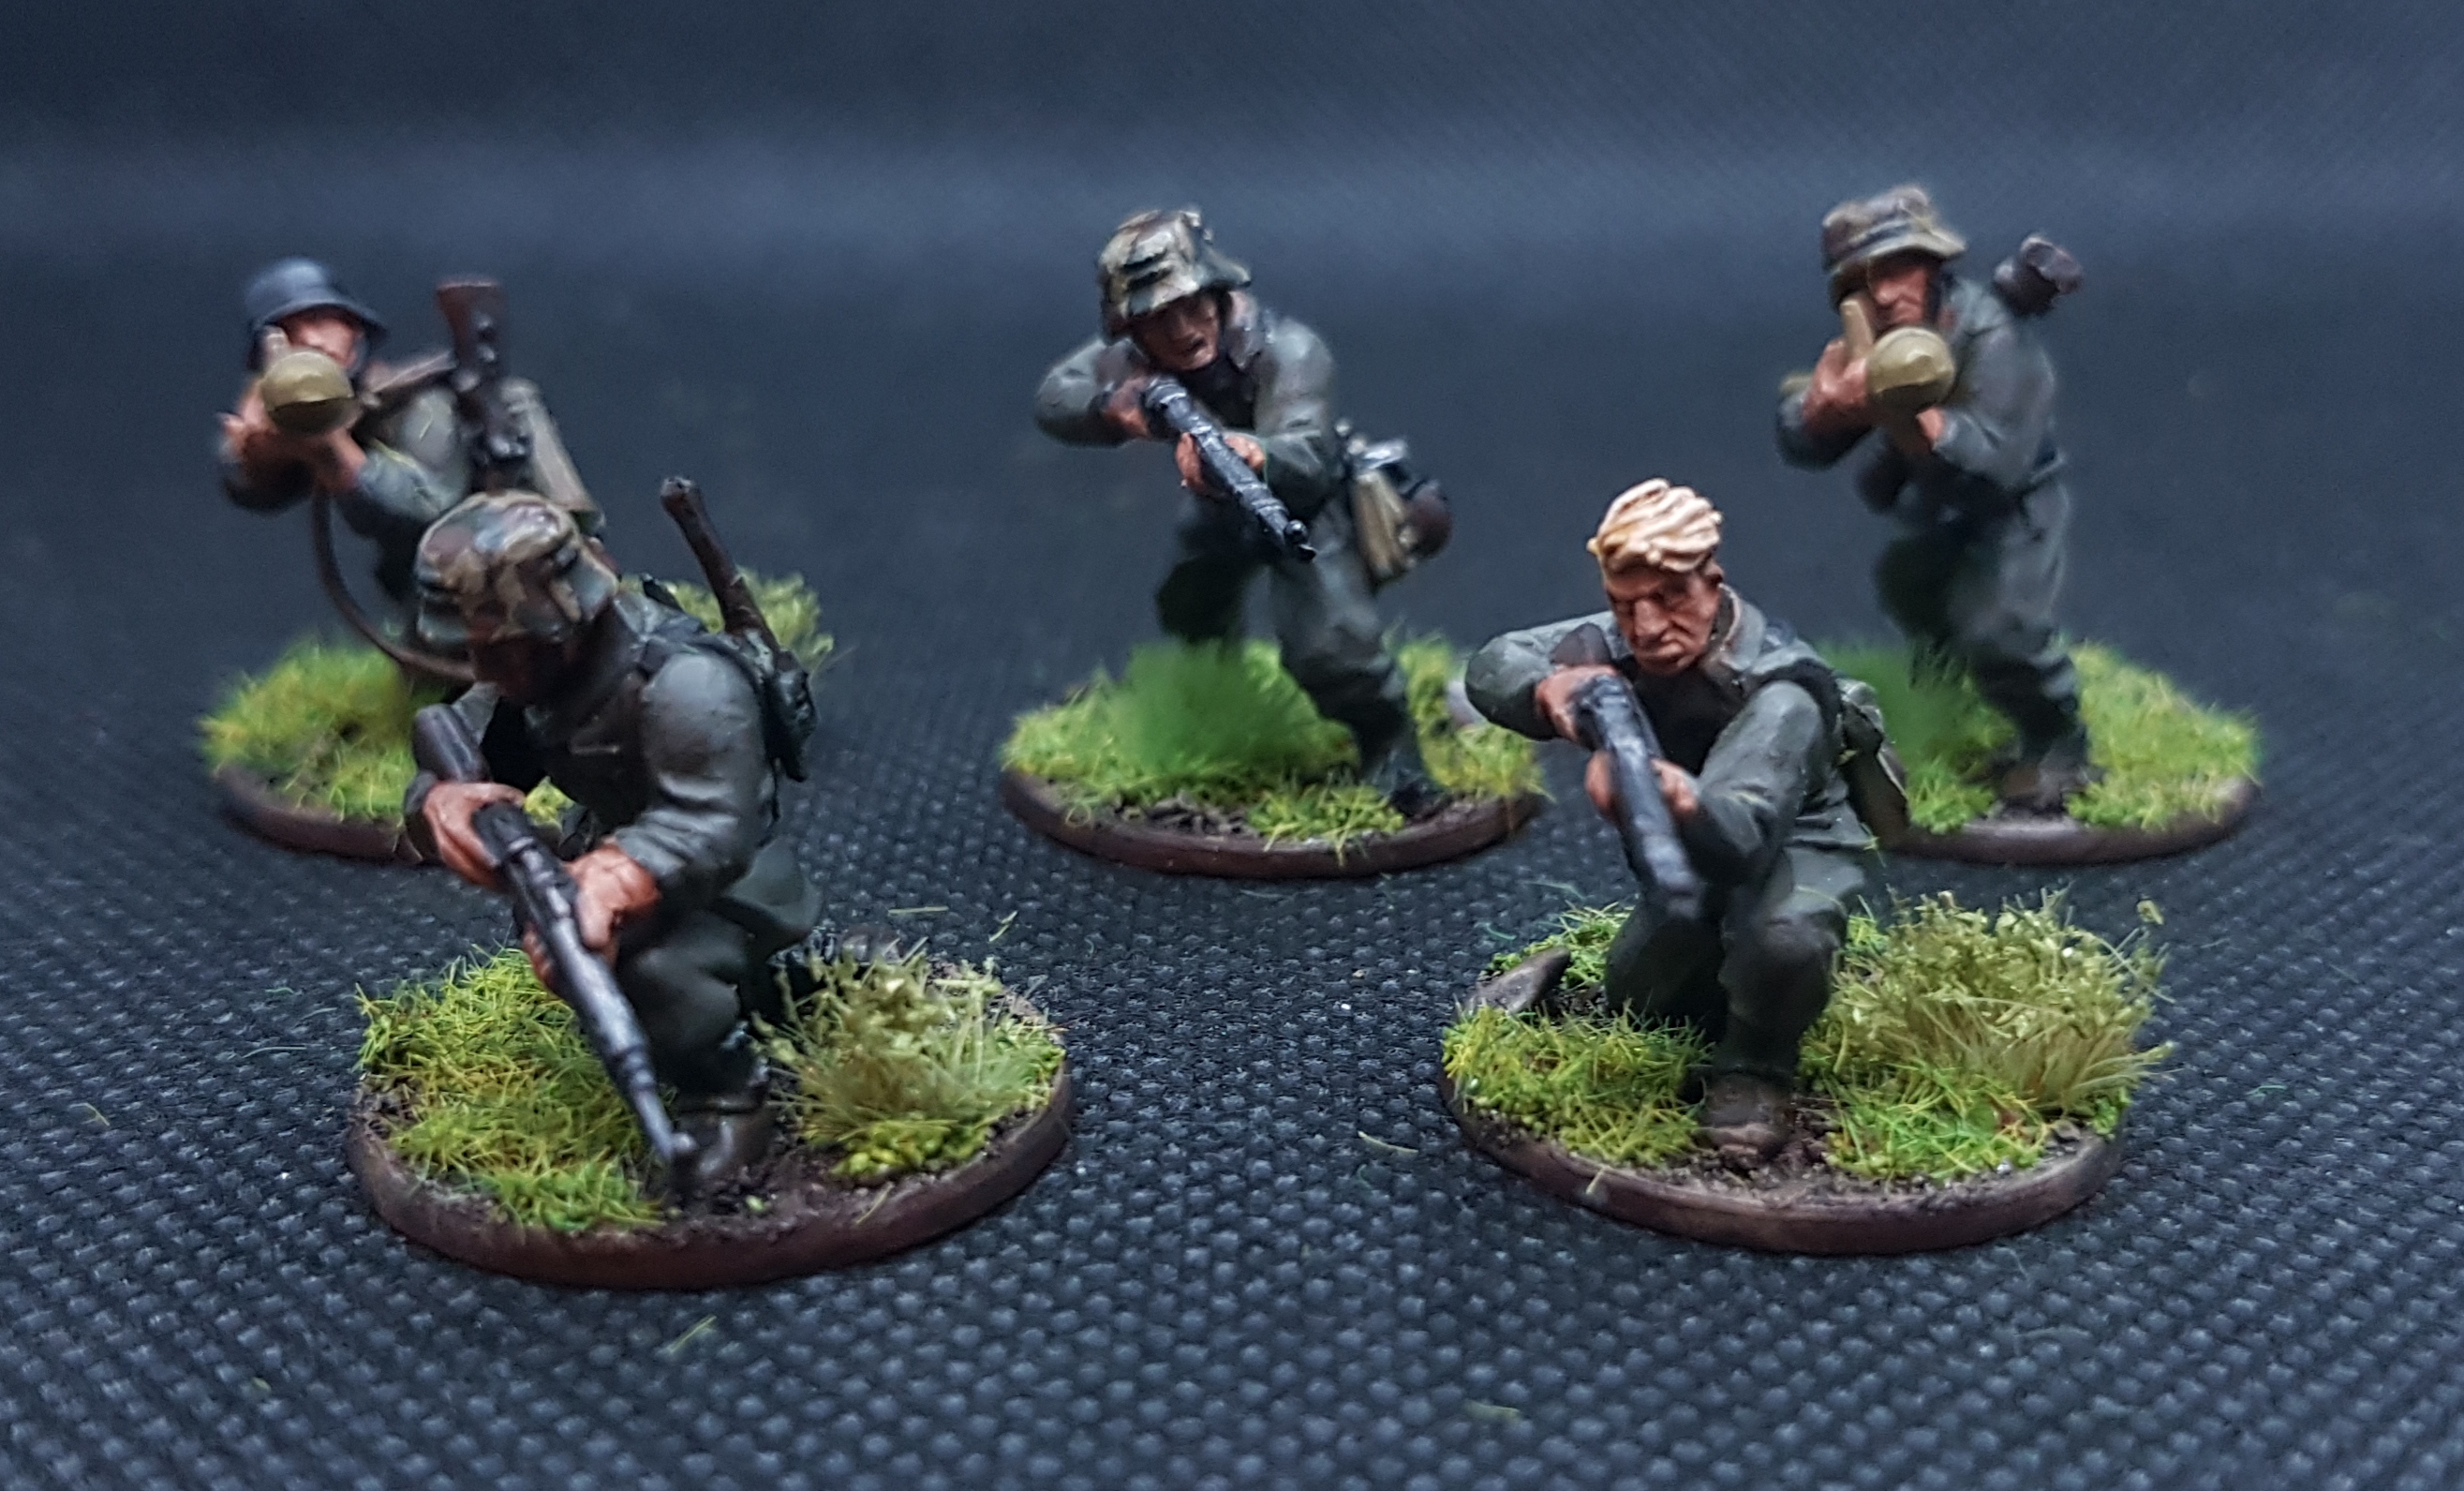
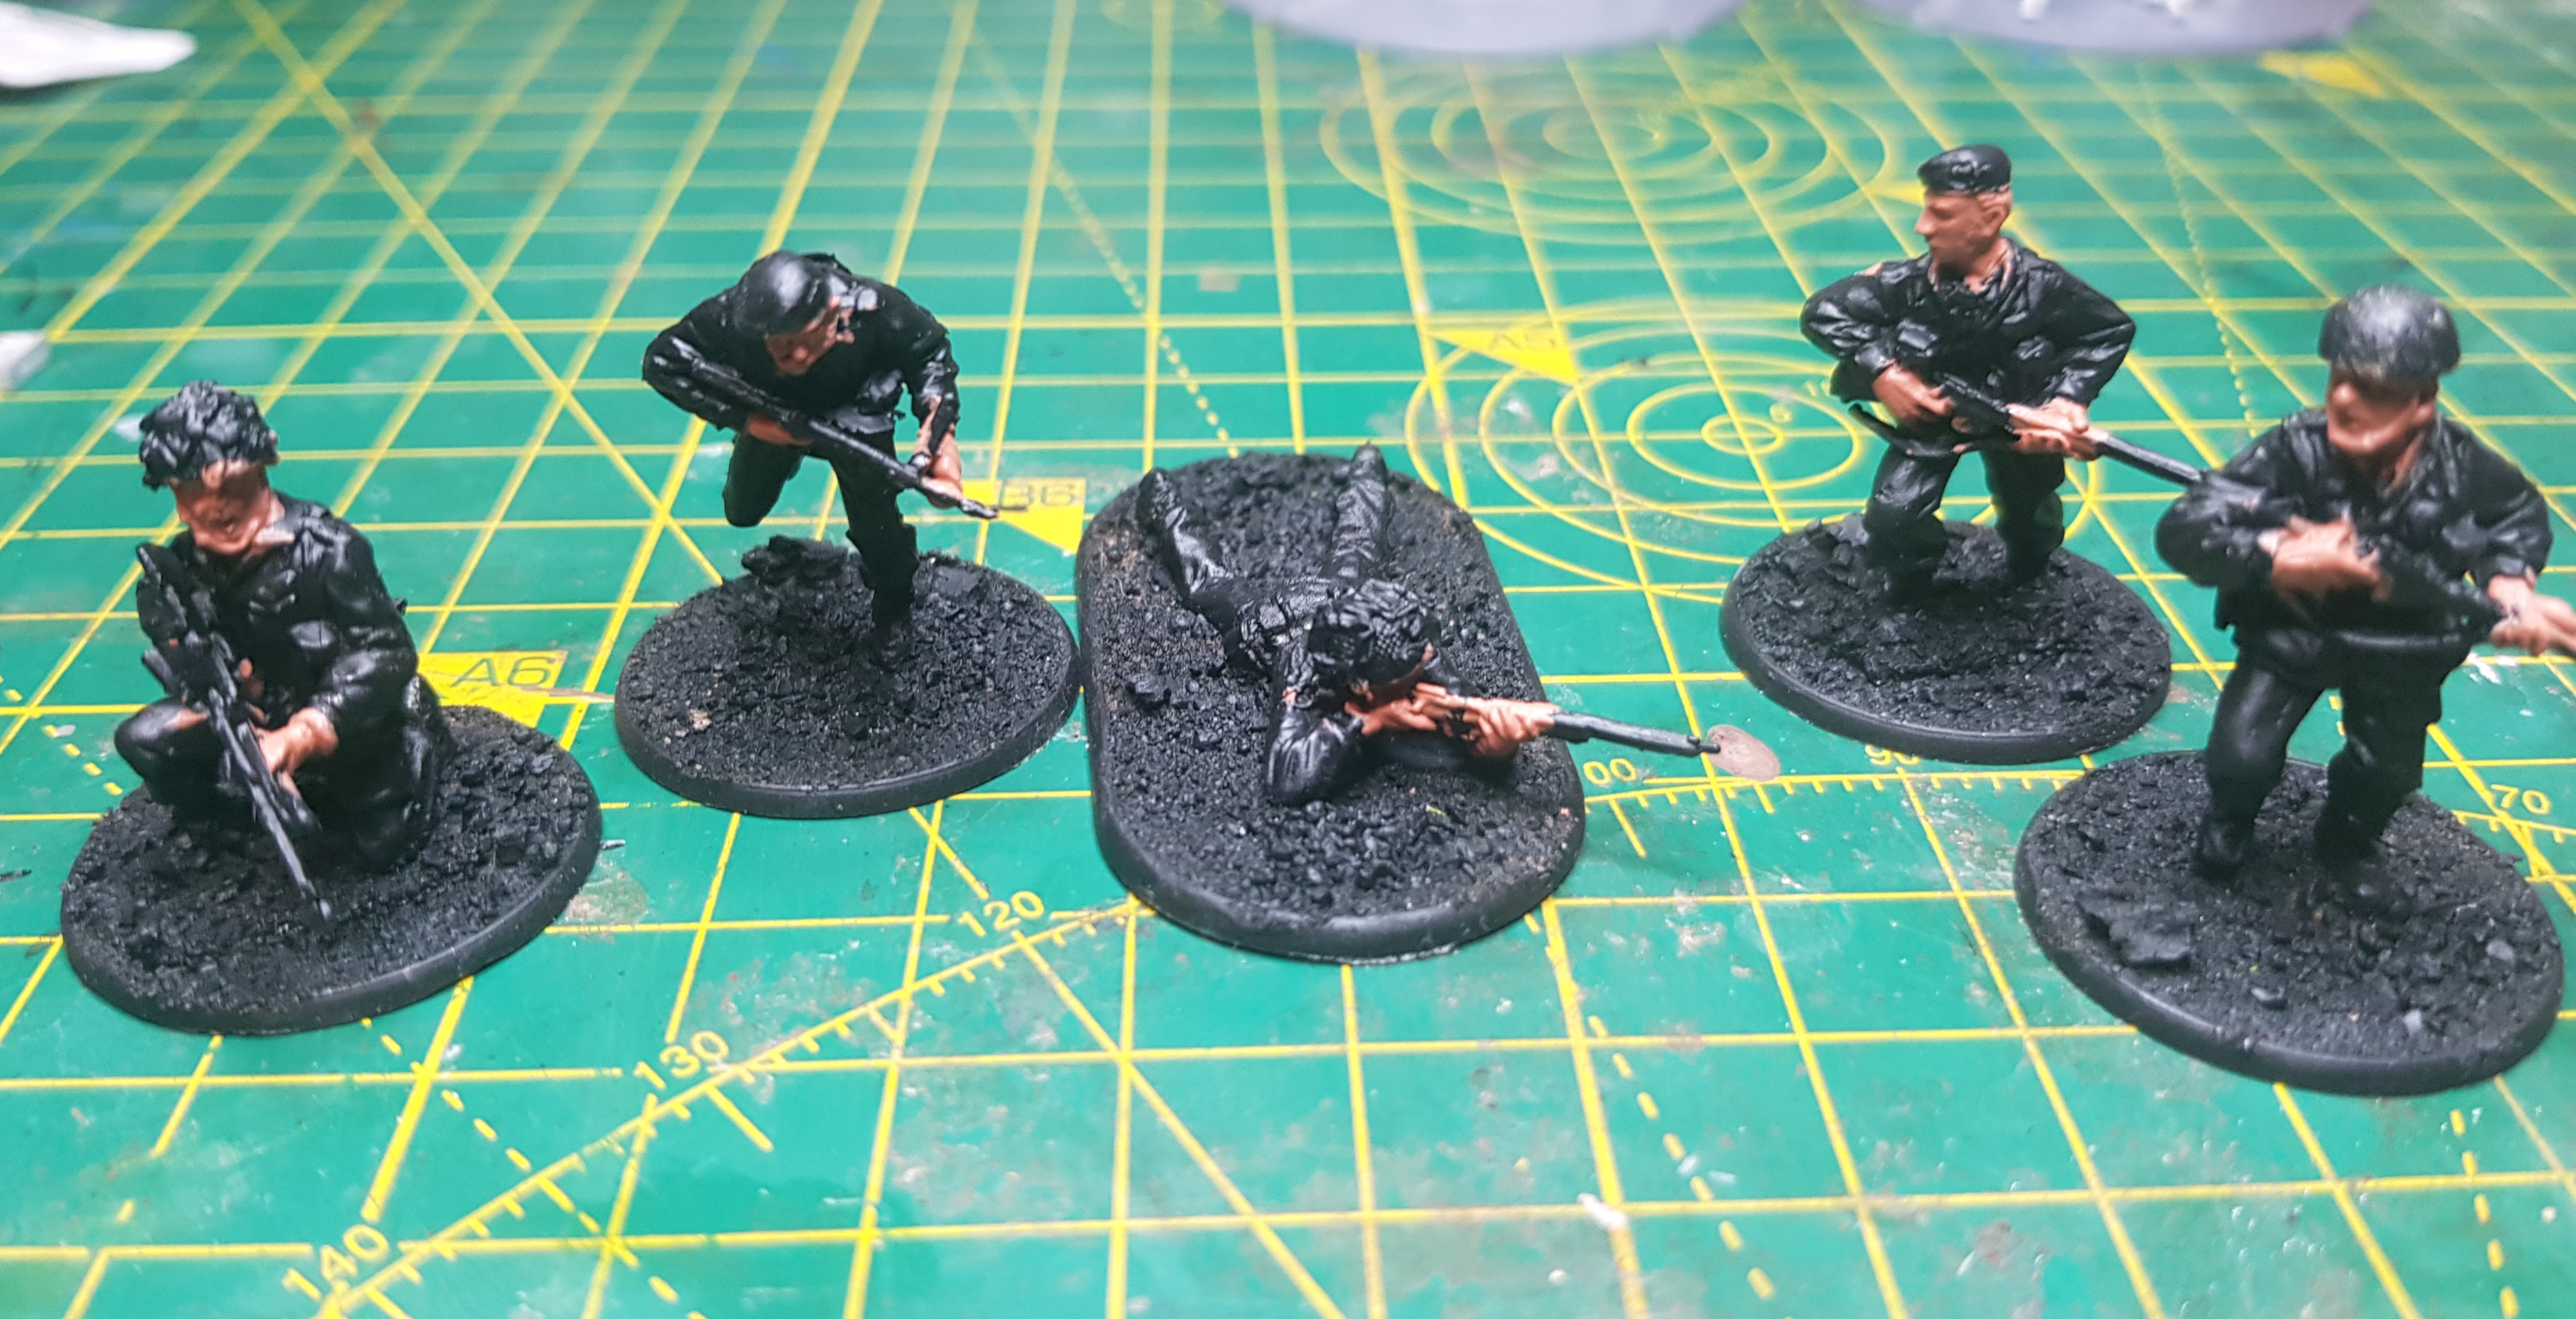
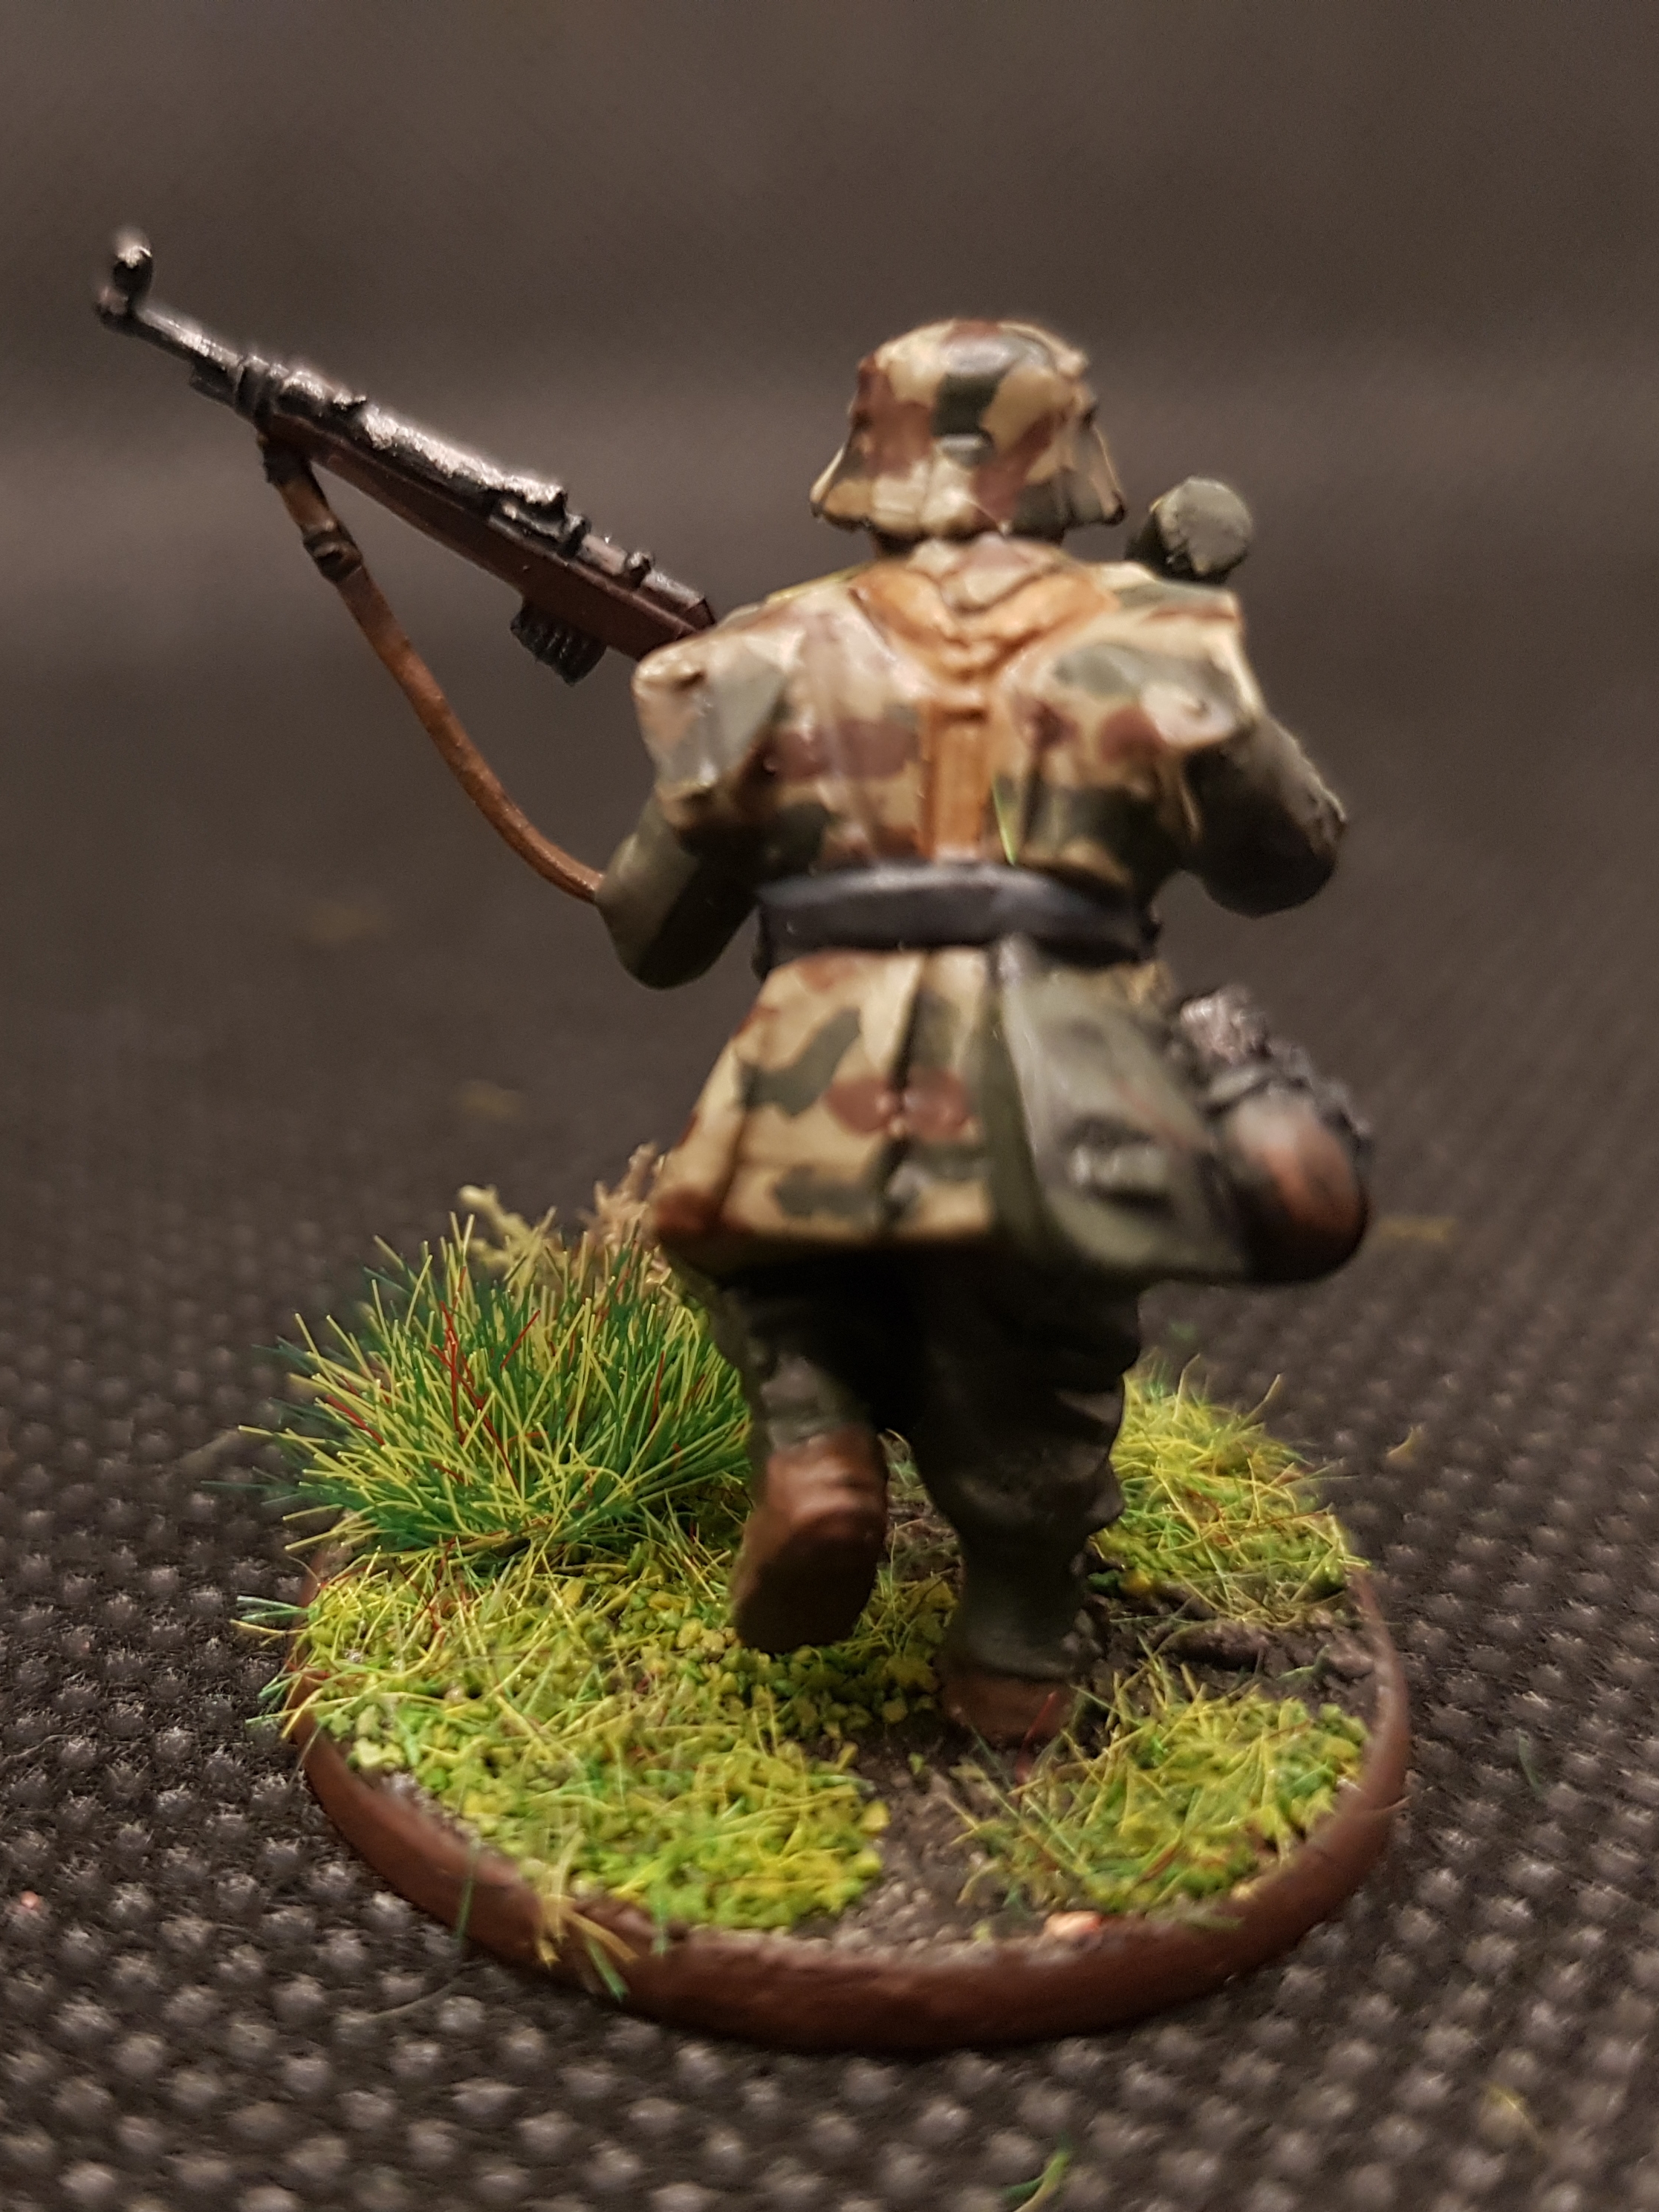
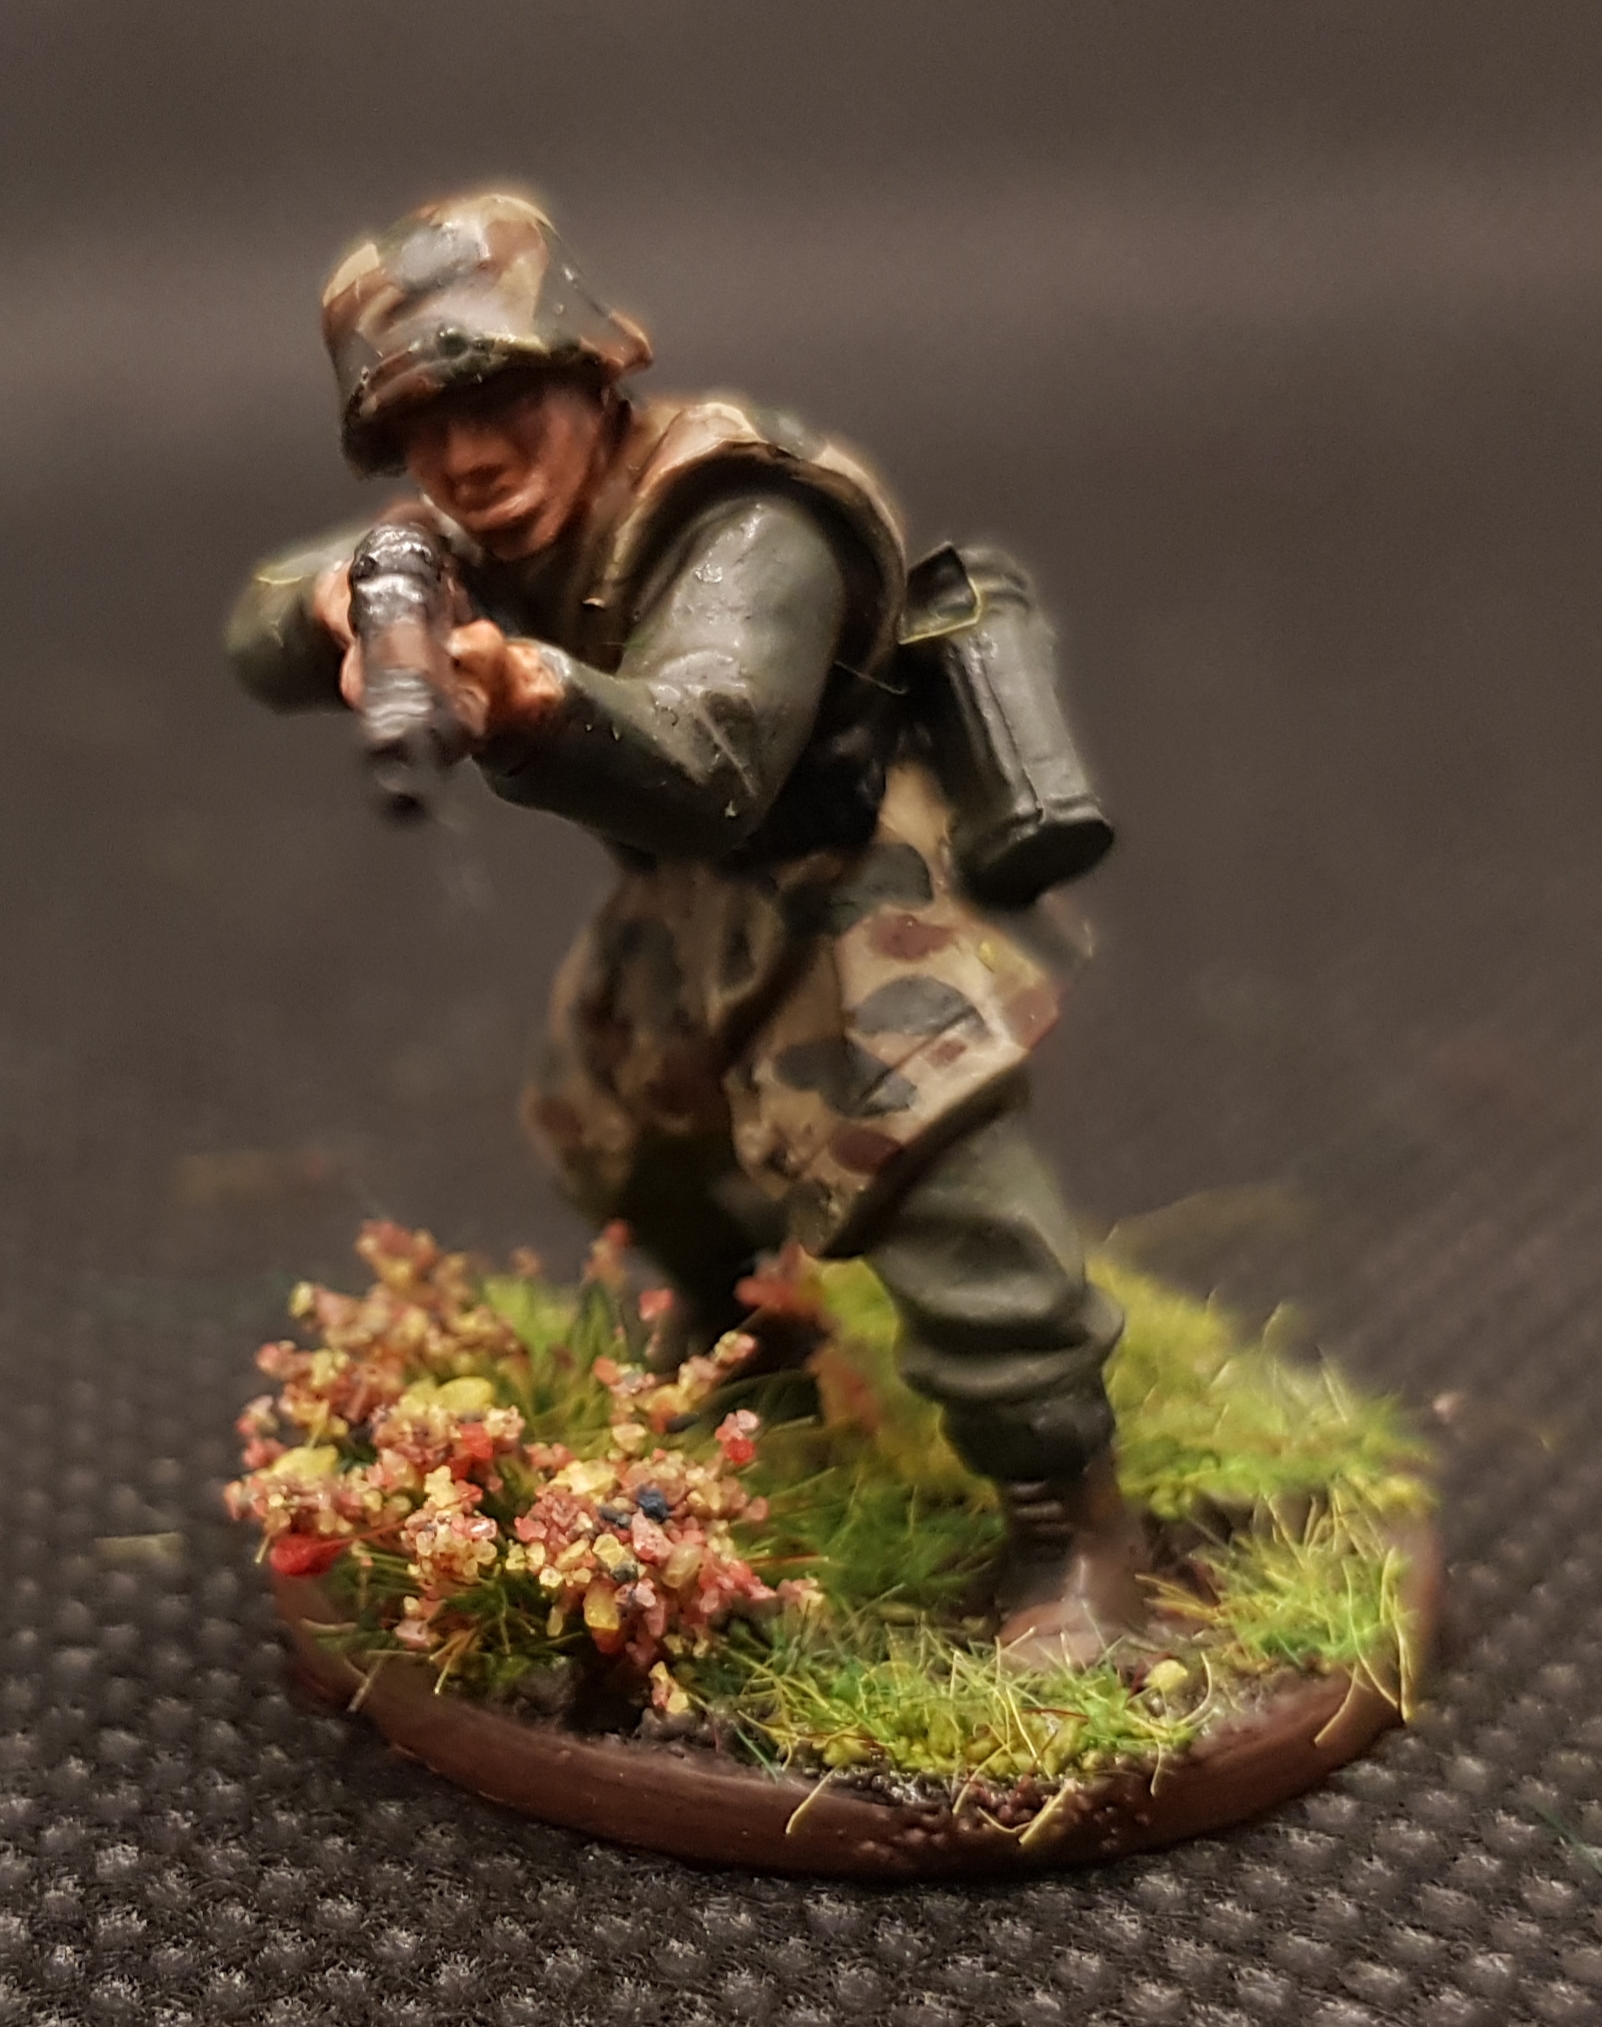
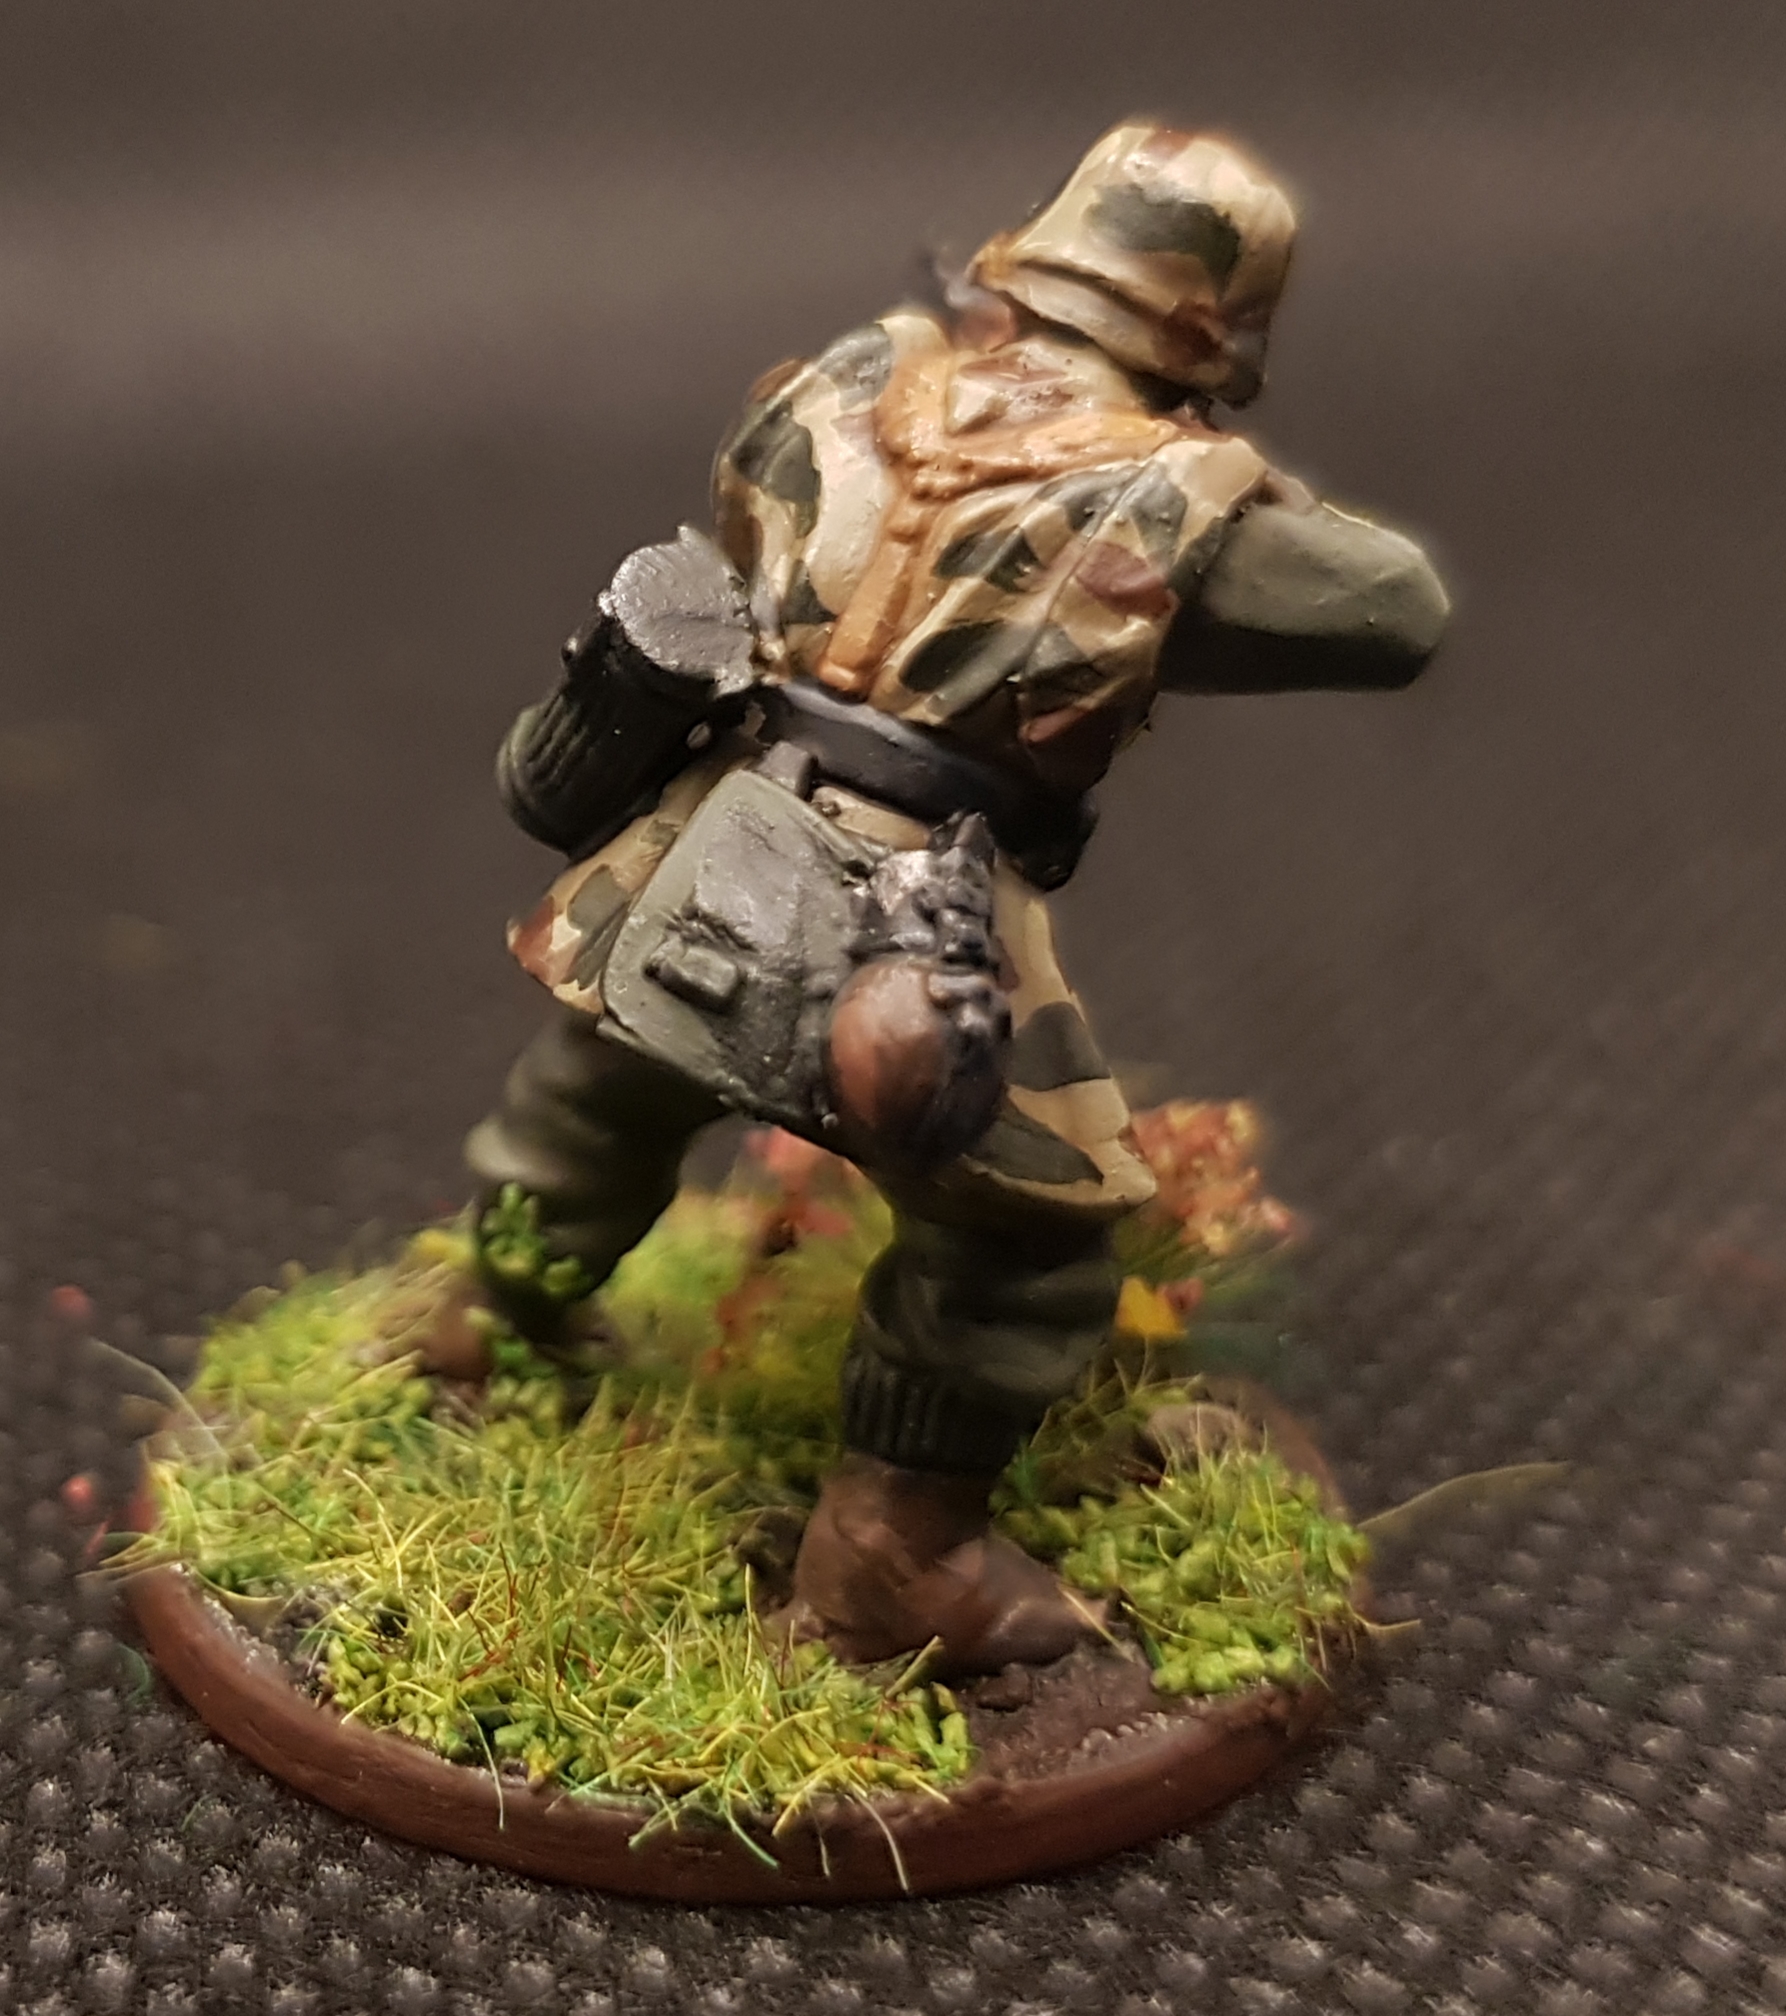
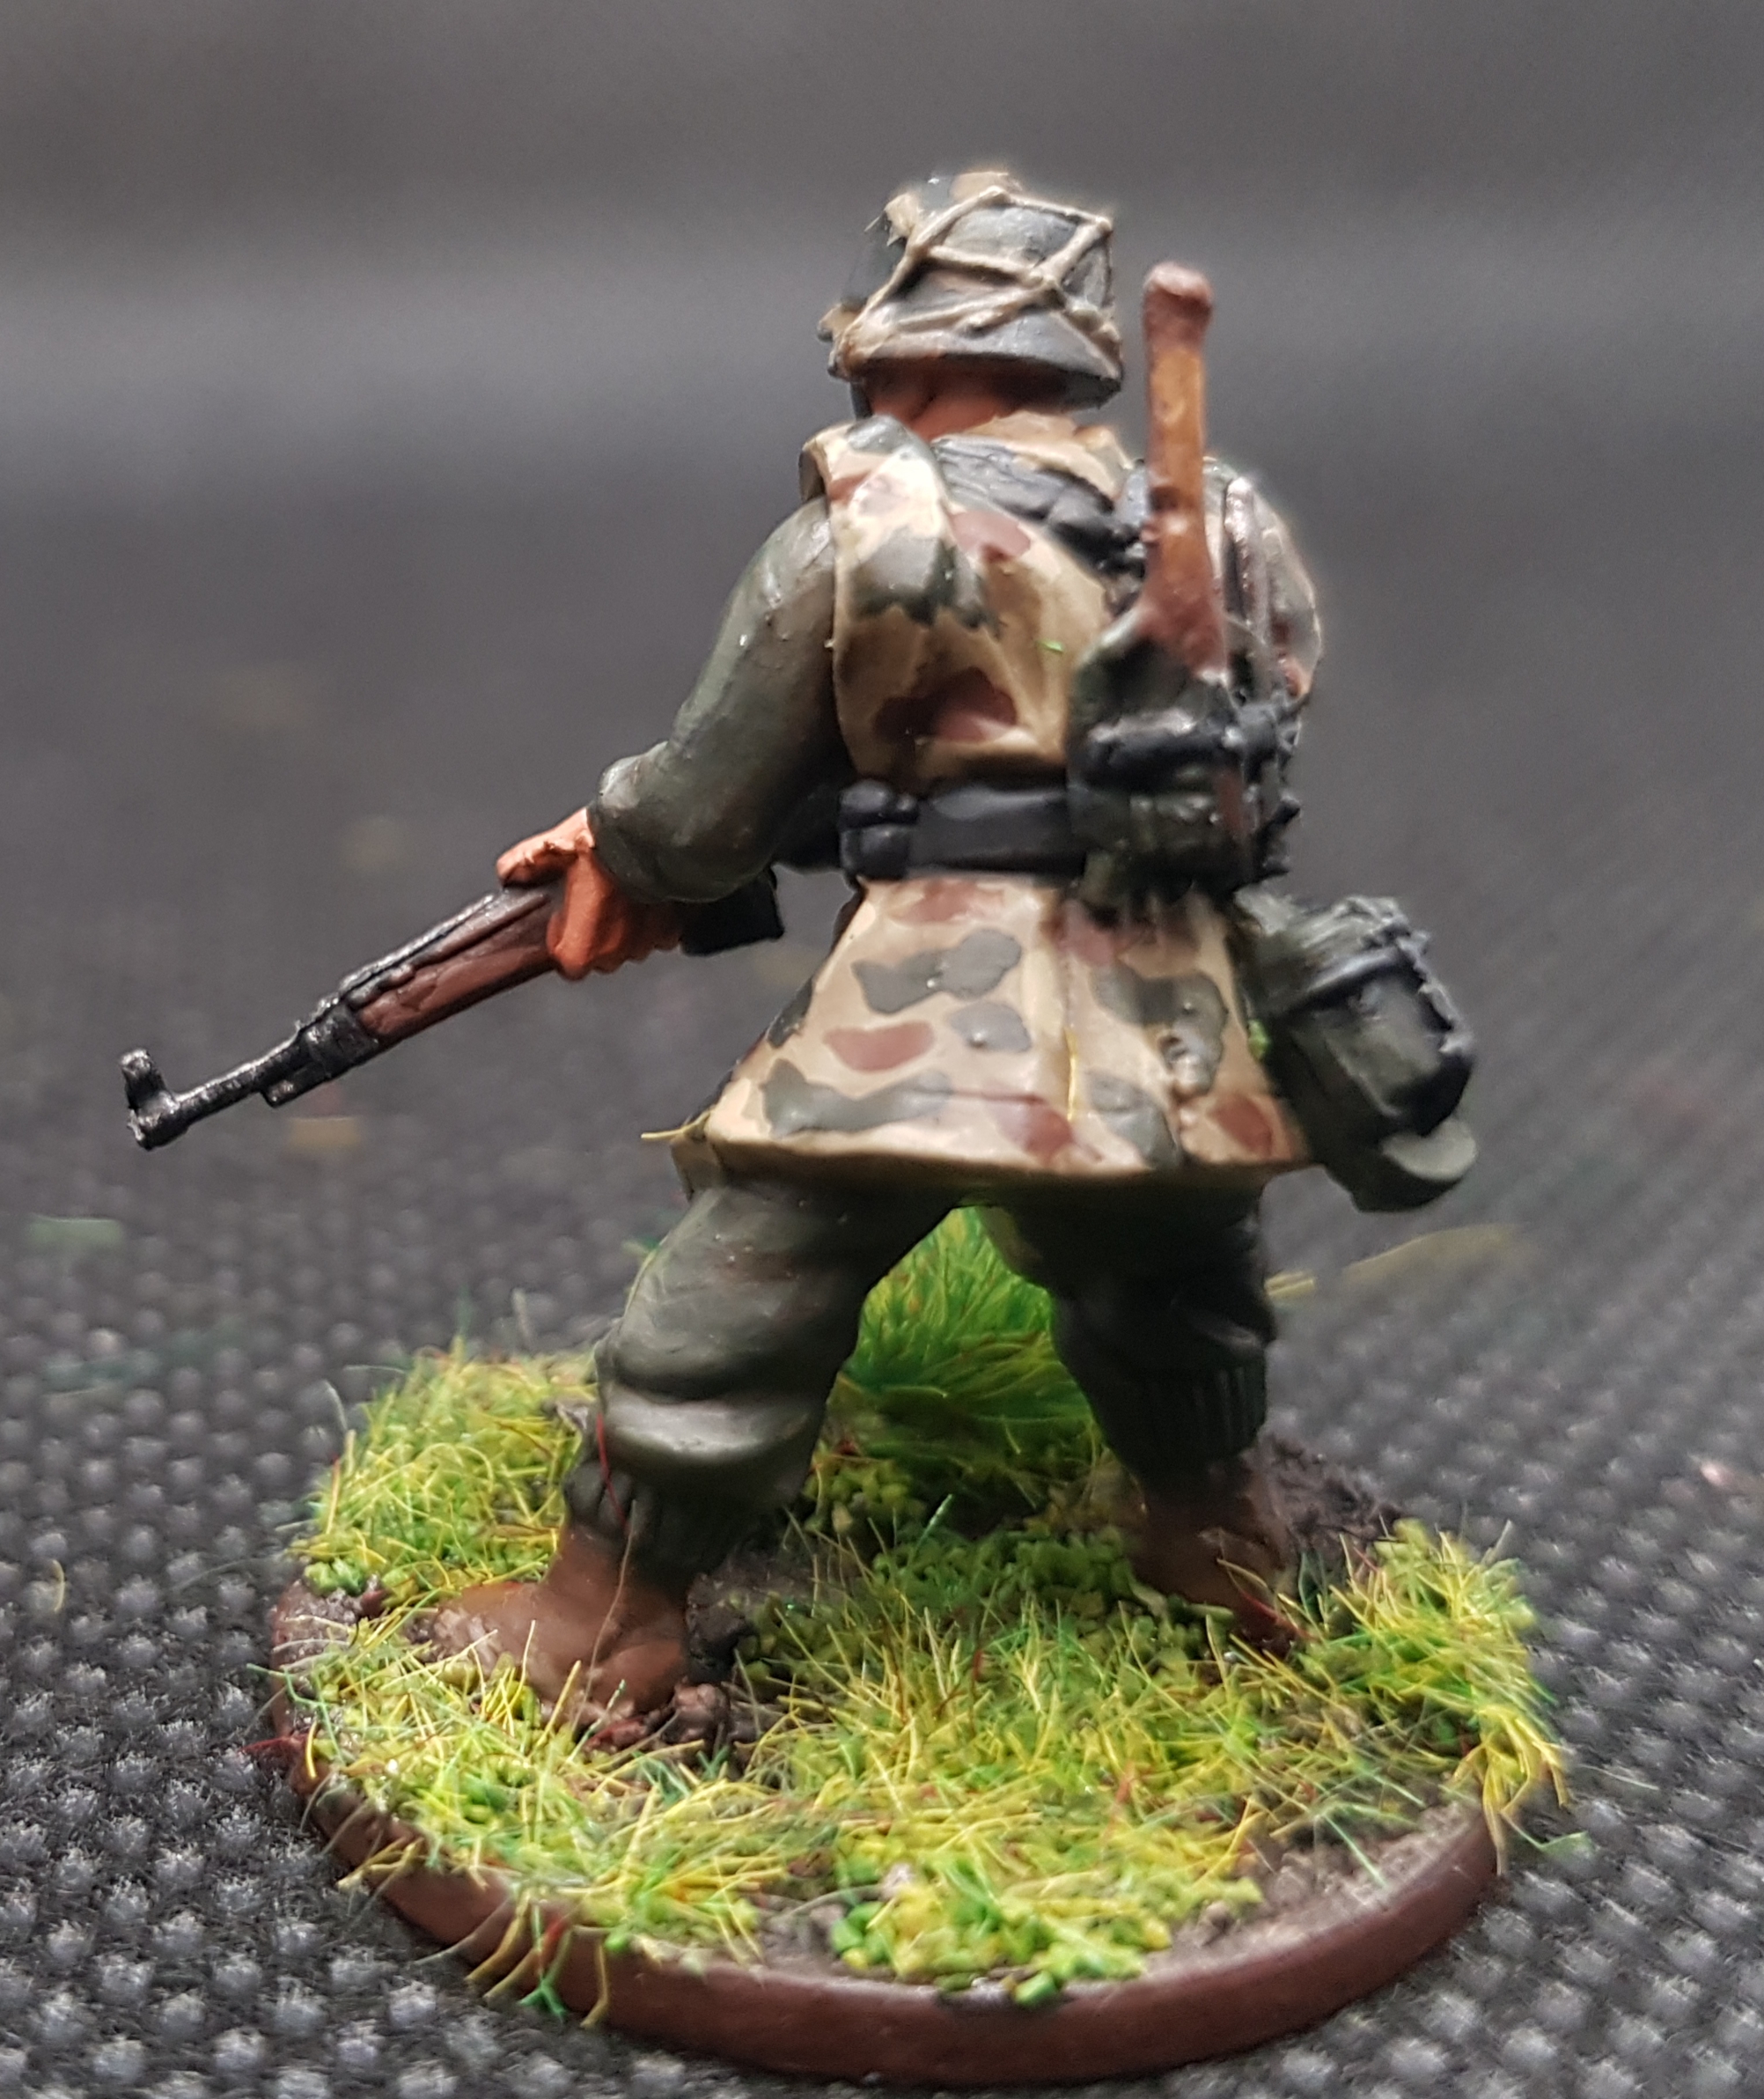
First German/POWs of various nations compete to defend the bridge. I dont to big batch painting cause a) I’m slow and b) I bore easily and like to flit between projects. So 5 at a time. First 5 all in Zeltbahn.
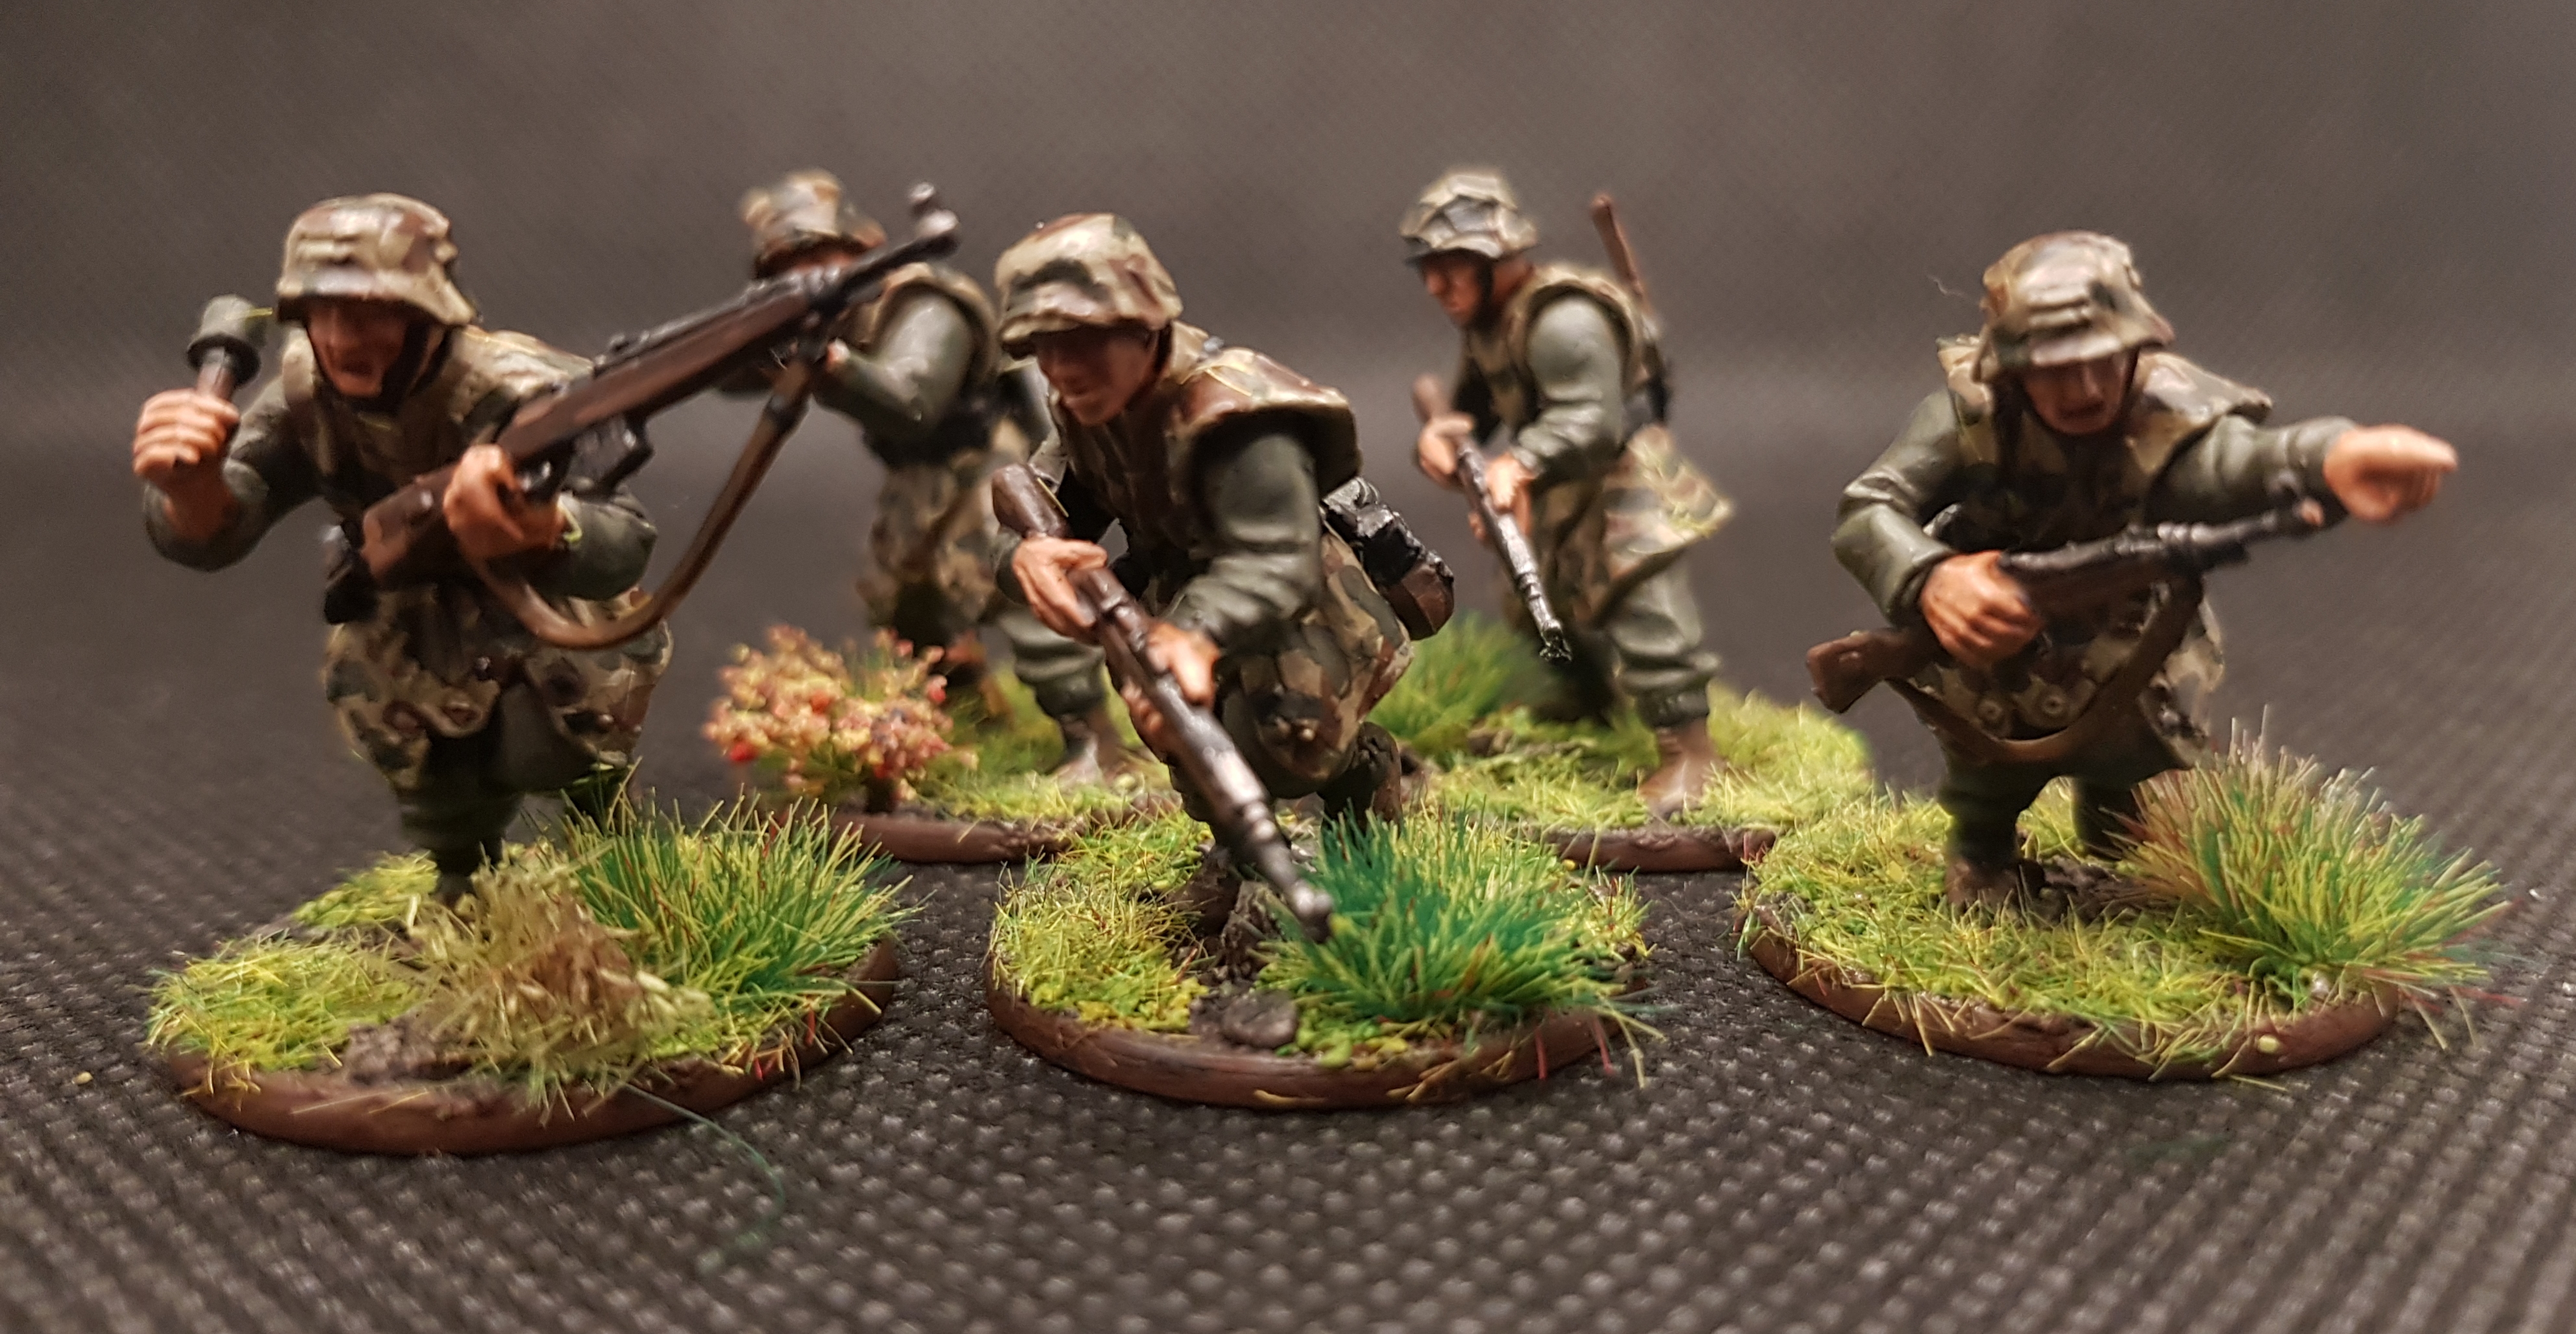
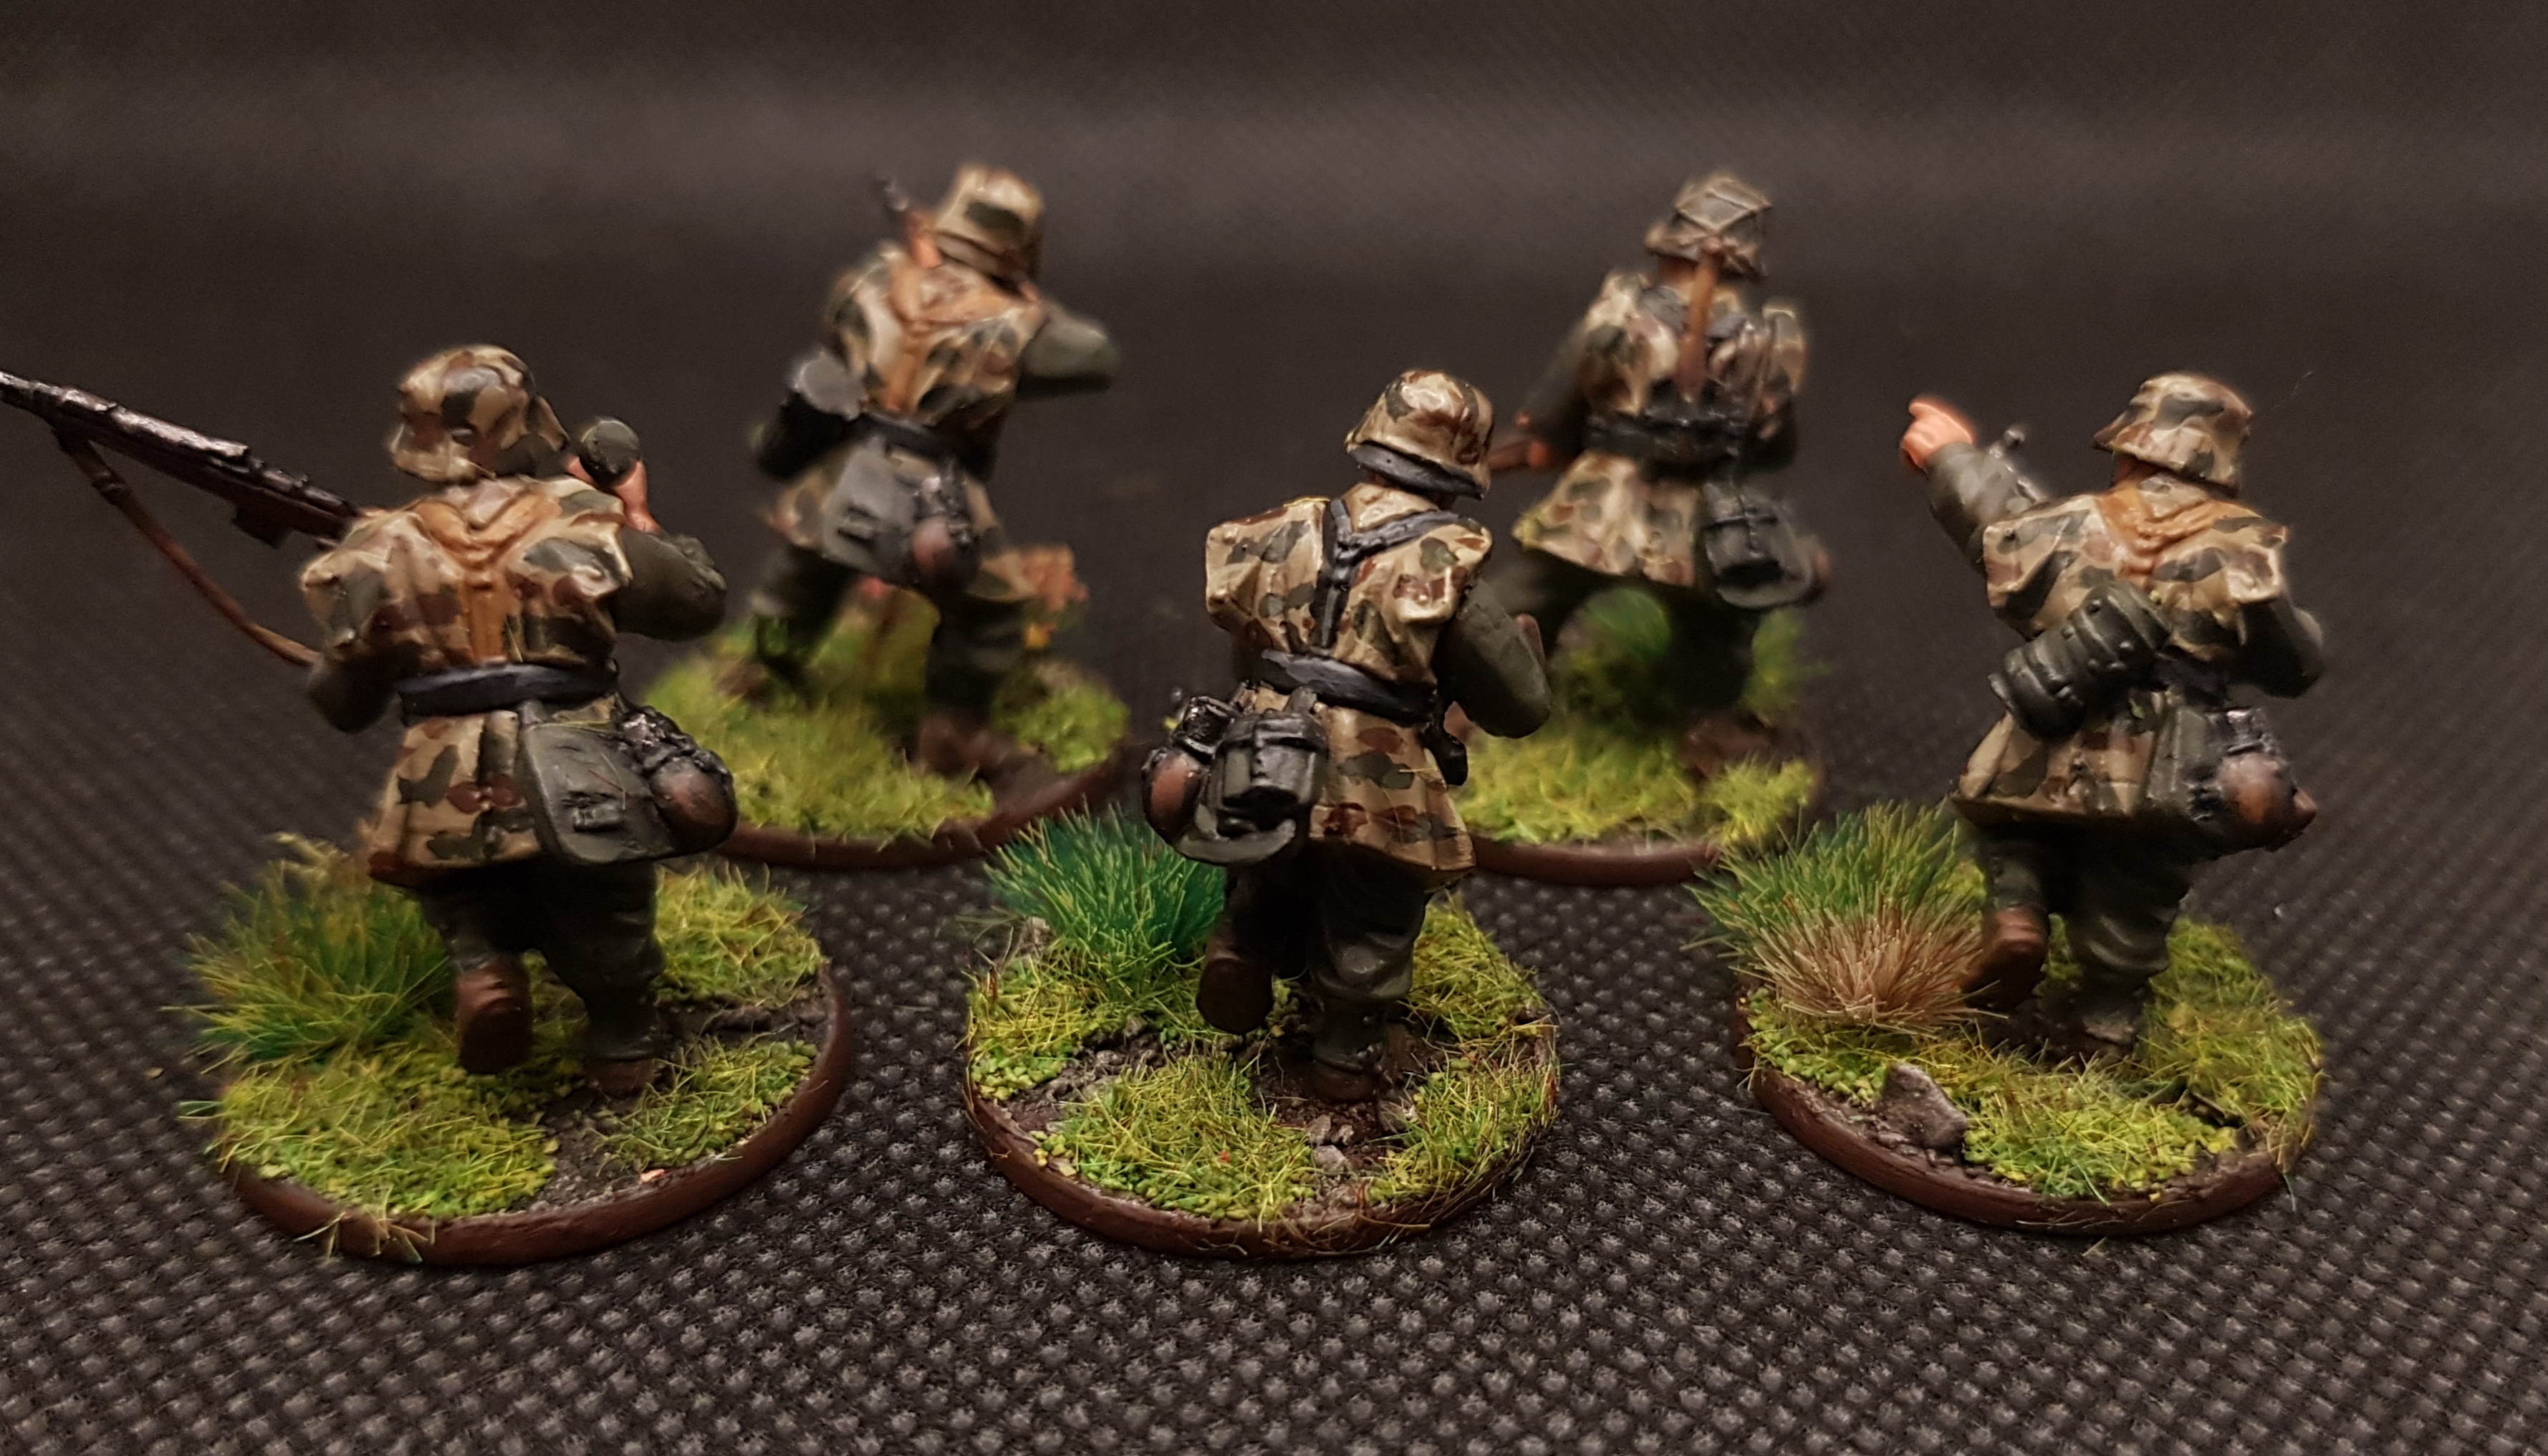
Painted pretty much the same as the MG42 teams but I spent a bit more time on the highlighting and also used VMA Hemp to lighten the field grey – think this is a good match. Zeltbahn was based in german Camo Biege with german dark green and flat Brown for blotches.
Question for the community: is there an easy way to highlight cammo? ??
Spray and Pray
And not just with the matt varnish in this weather! The MG42 teams are based and ready to go.
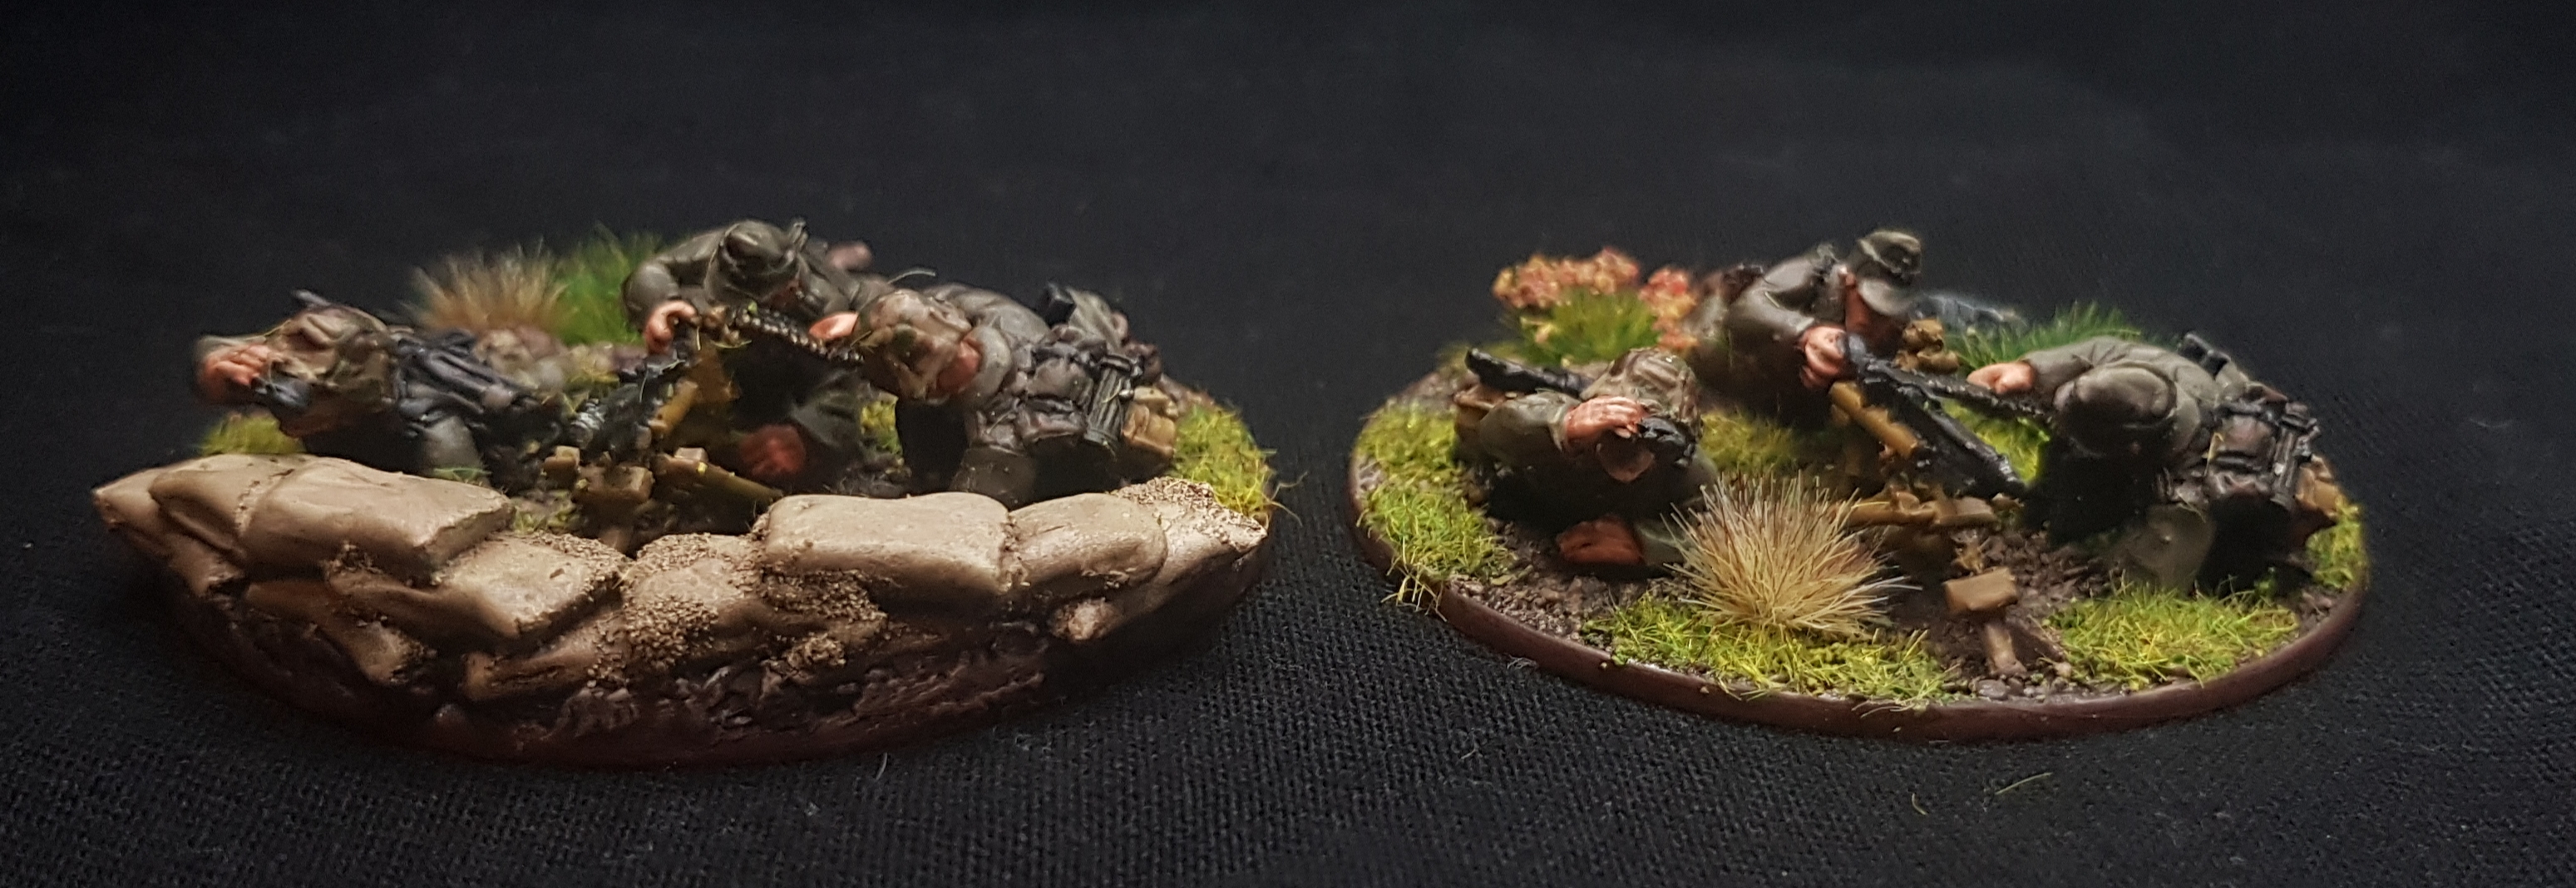
For one of the teams I used the patent-pending BoW sandbag technique with DAS, superglue and bicarb though I left it on greaseproof paper rather than on the base to dry. This meant that when I came to add it to the model there were some very noticeable gaps that had to be plugged with green stuff.
The rest of the basing material came from Geek Gaming – been meaning to try their stuff for a while. I used 3 colours of their foam flock – they call this a 2-in-1 as in it’s both clumpy and fine. If you just want fine you can apply it through a sieve. When sealing it the paint runs quite a bit – I guess this helps blend the different colours together. It’s also a bit more lush than I’m used to but in the end I quite like the result. I think this stuff would be great on terrain pieces. I do really like their tufts – especially as they are quite a bit cheaper than other brands! Finished off with my usual mix of dark and light static grass.

Interlude
A short break from the project on Christmas Day as I piece together this thing that appeared under my Christmas tree! ?
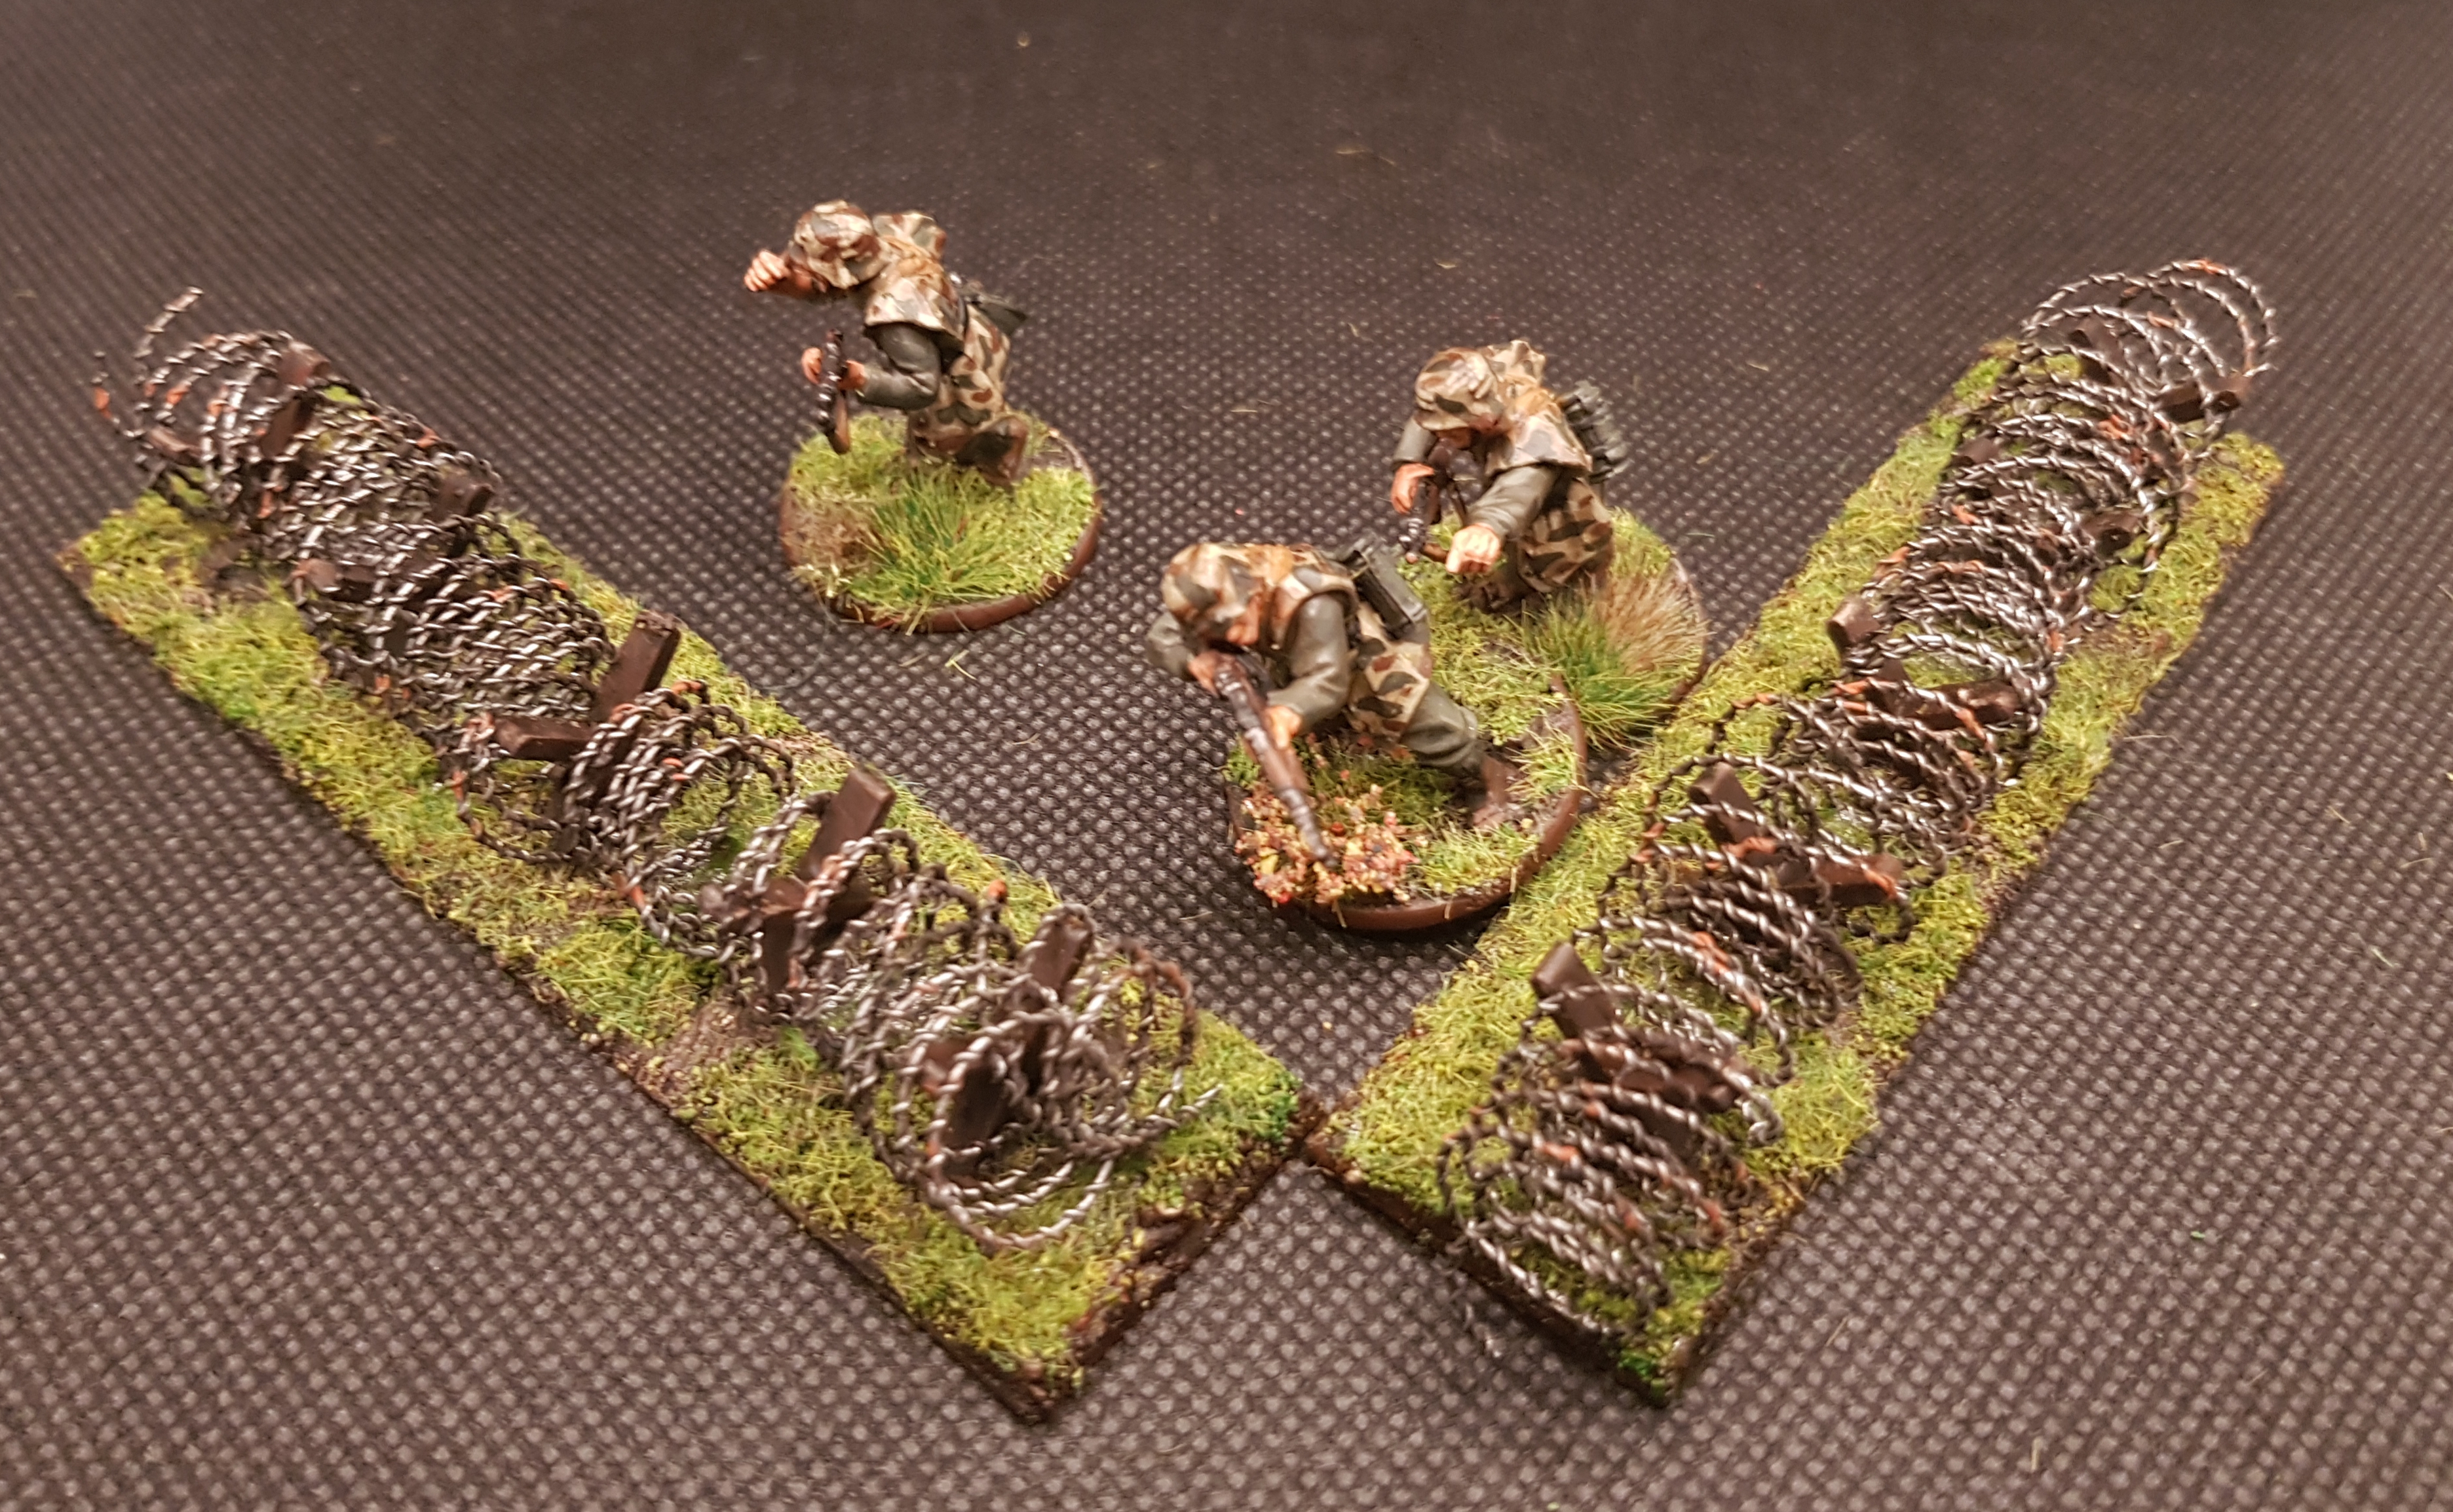
Down to the Wire
Some of the scenarios in the Pegasus Bridge box set call for barbed wire barricades. You don’t get any in the box so I decided to scratch build some with a little help from Mel the Terrain Tutor. I mostly followed his tutorial with a few twists of my own.
First I cut a few 100x25mm bases from 3mm expanded pvc from green stuff world and bevelled the edges. Tile spacers were glued down about 2cm apart. Then to give a bit of texture to the base and to add some weight, I mixed up some PolyFilla with water, PVA glue, sand and some larger rocks – smeared this down and let it set.

Next up everything was painted artists acrylic burnt umber and dry brushed AP Monster Brown and Skelly bone and washed with a mix of black, burnt umber, lots of water and a few drops of flow aid.
To flock I put very slightly watered down pva in patchy blotches and sprinkled on just a little light green flock then covered the rest with a mid green. Both from Javis is think. When dry I sealed it with watered down pva and a few drops of isopropyl alcohol. Finally more pva over the flock and then a 50/50 blend of green and dark green 2mm static grass (GF9)
 Before and after flocking
Finally the barbed wire itself. This was security seal wire dipped in black and brown wash as described by Mel here.
Pro tip: I found that if you run the wire through some fine sandpaper before dipping it gives a better surface for the paint to stick to and produces a much better result.
Finally for rust i used a mix medium red oxide and light orange oxide pigment powders from GSW mixed with some pigment fixer and painted on. The result was a little bright for my taste so i brought it down with a dab of Strong Tone.
PVA the wire to the base and we’re done


![Play WW2 Commando Operations With Butcher & Bolt [Updated]](https://images.beastsofwar.com/2026/03/relaunch-600-338.jpg)


