

![Pure Sci-Fi Nostalgia! War Rocket Review | Hydra Miniatures [7 Days Early Access]](https://images.beastsofwar.com/2026/02/unboxing-hydra-miniatures-war-rocket-coverimage-225-127.jpg)


Bobs Fictional Countries


Recommendations: 697
About the Project
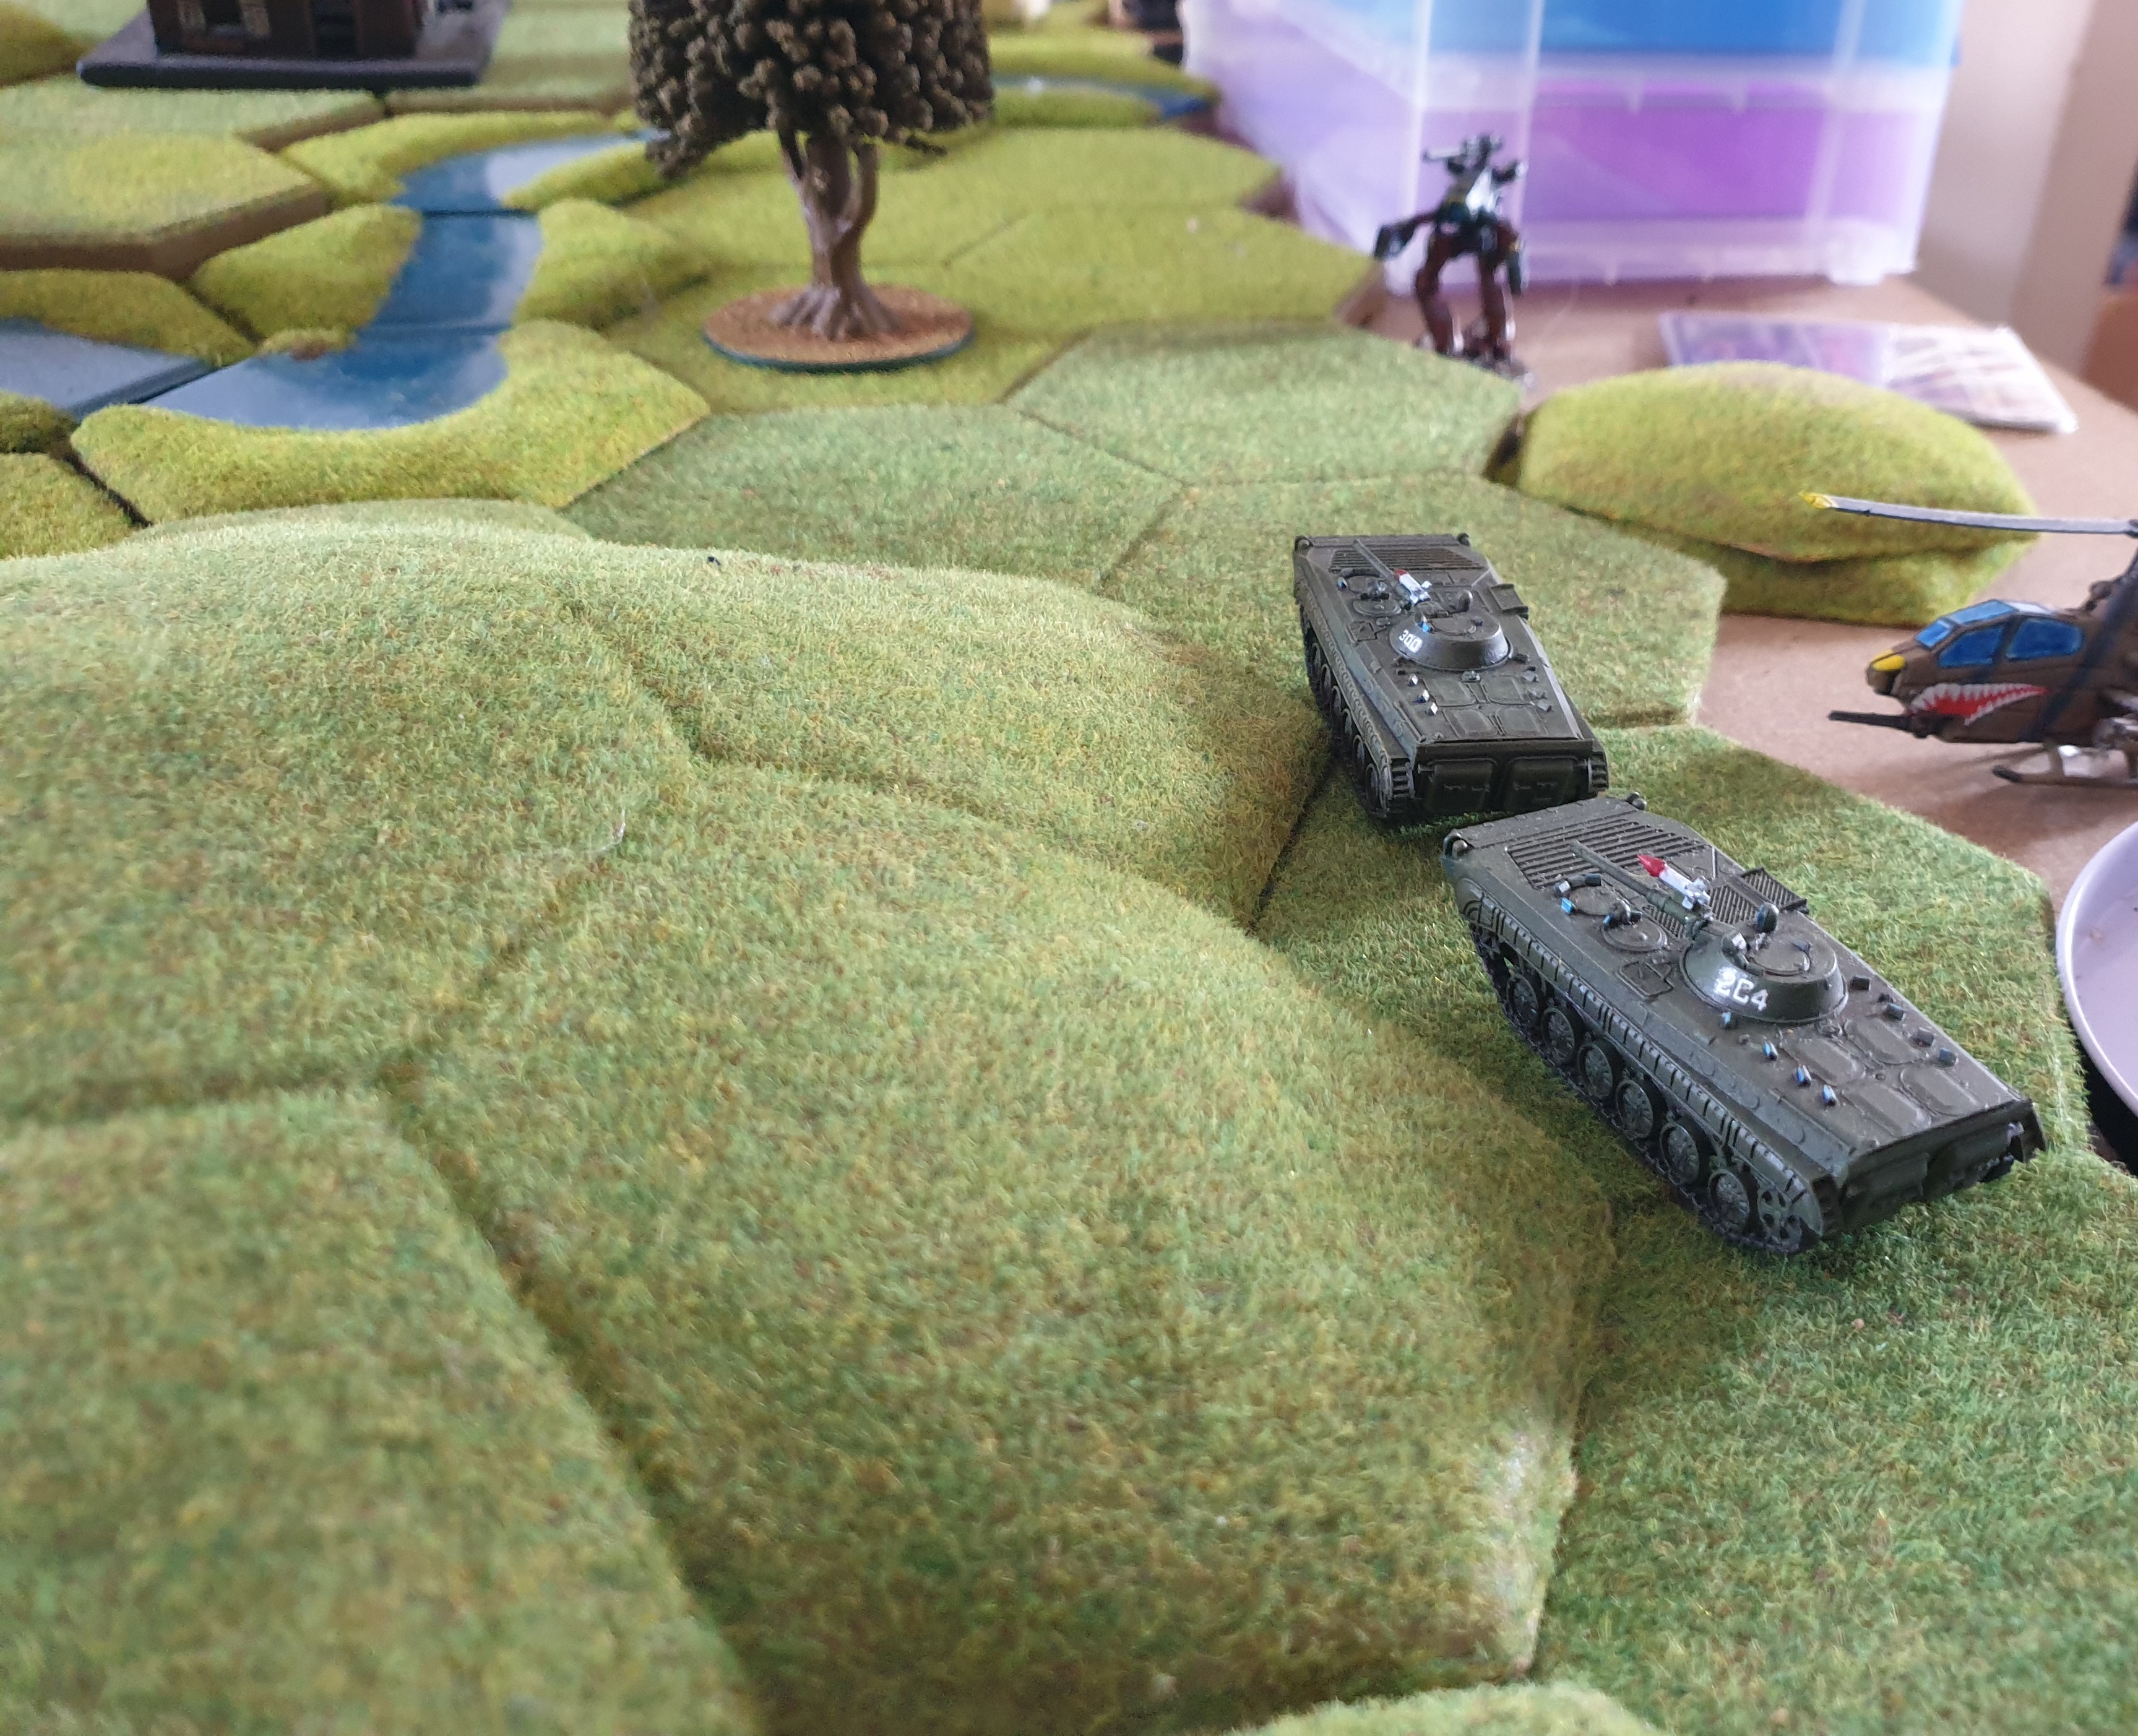
At Salute I found a trader selling the base game of 'Tanks the Modern Age' starters for £10 a box. So went home with two boxes and some extras , for a little project I could do as the nights get lighter.
Related Game: TANKS: The Modern Age
Related Company: Gale Force Nine
Related Genre: Historical
This Project is Active
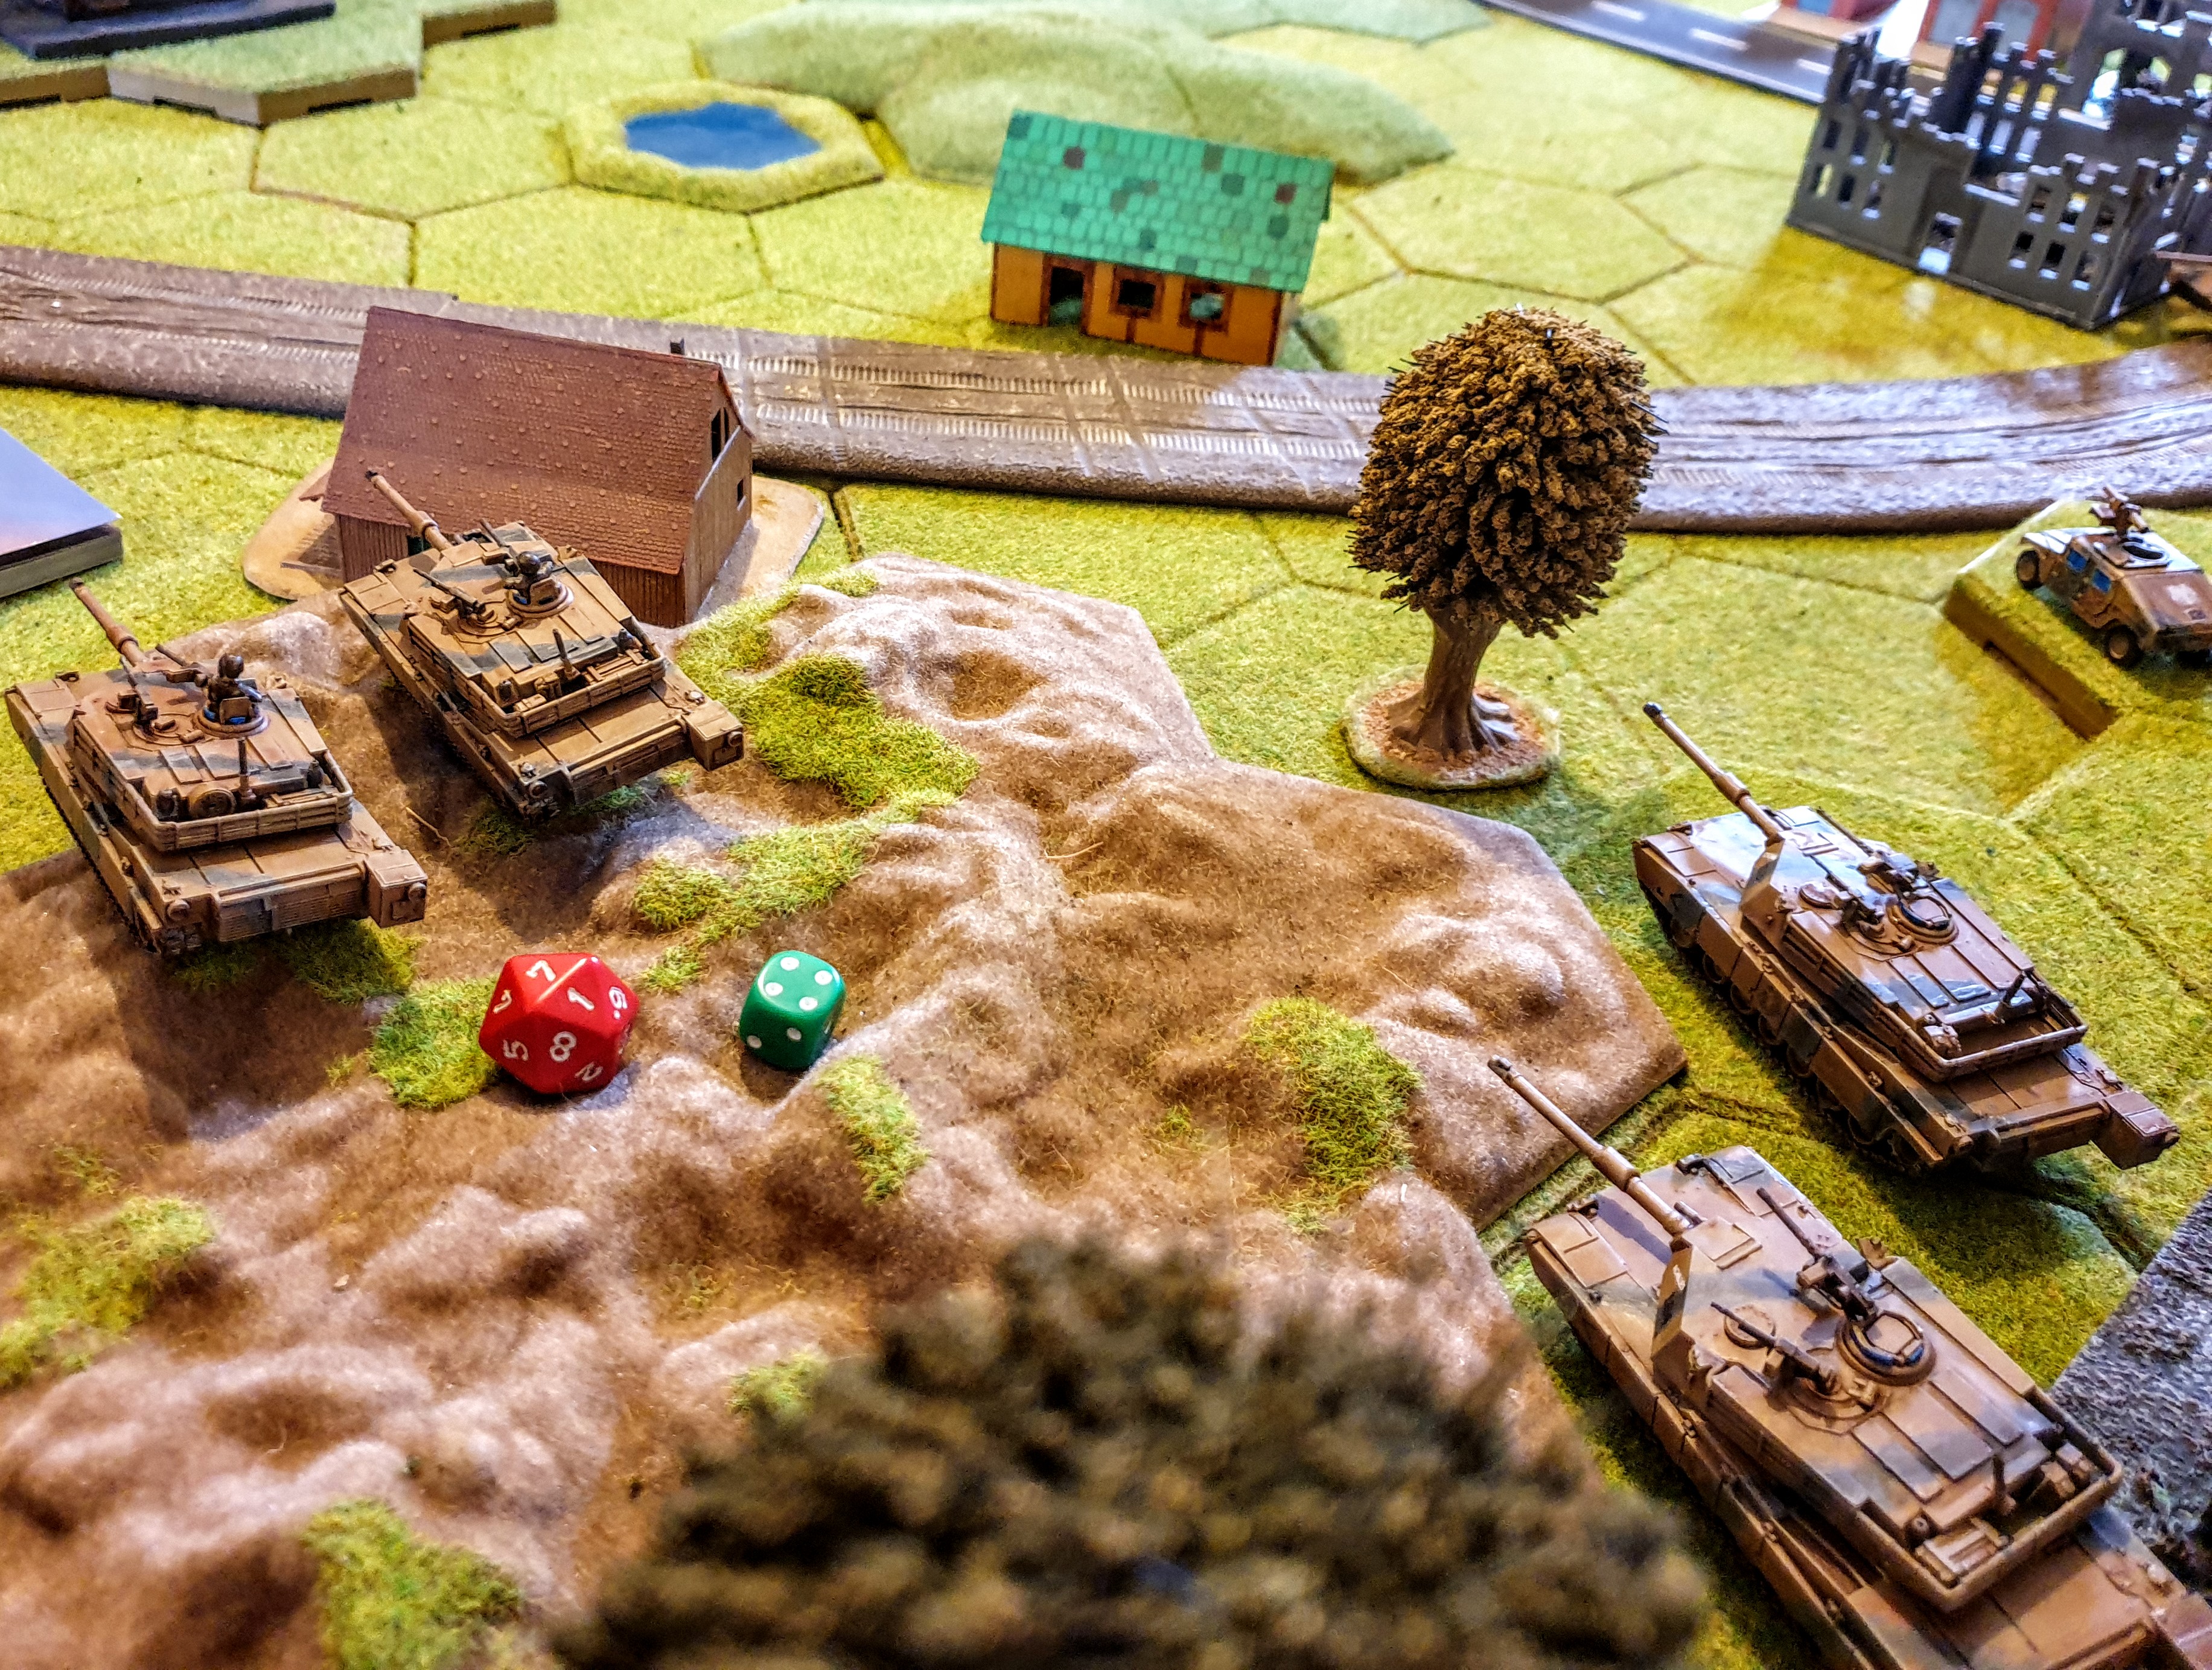
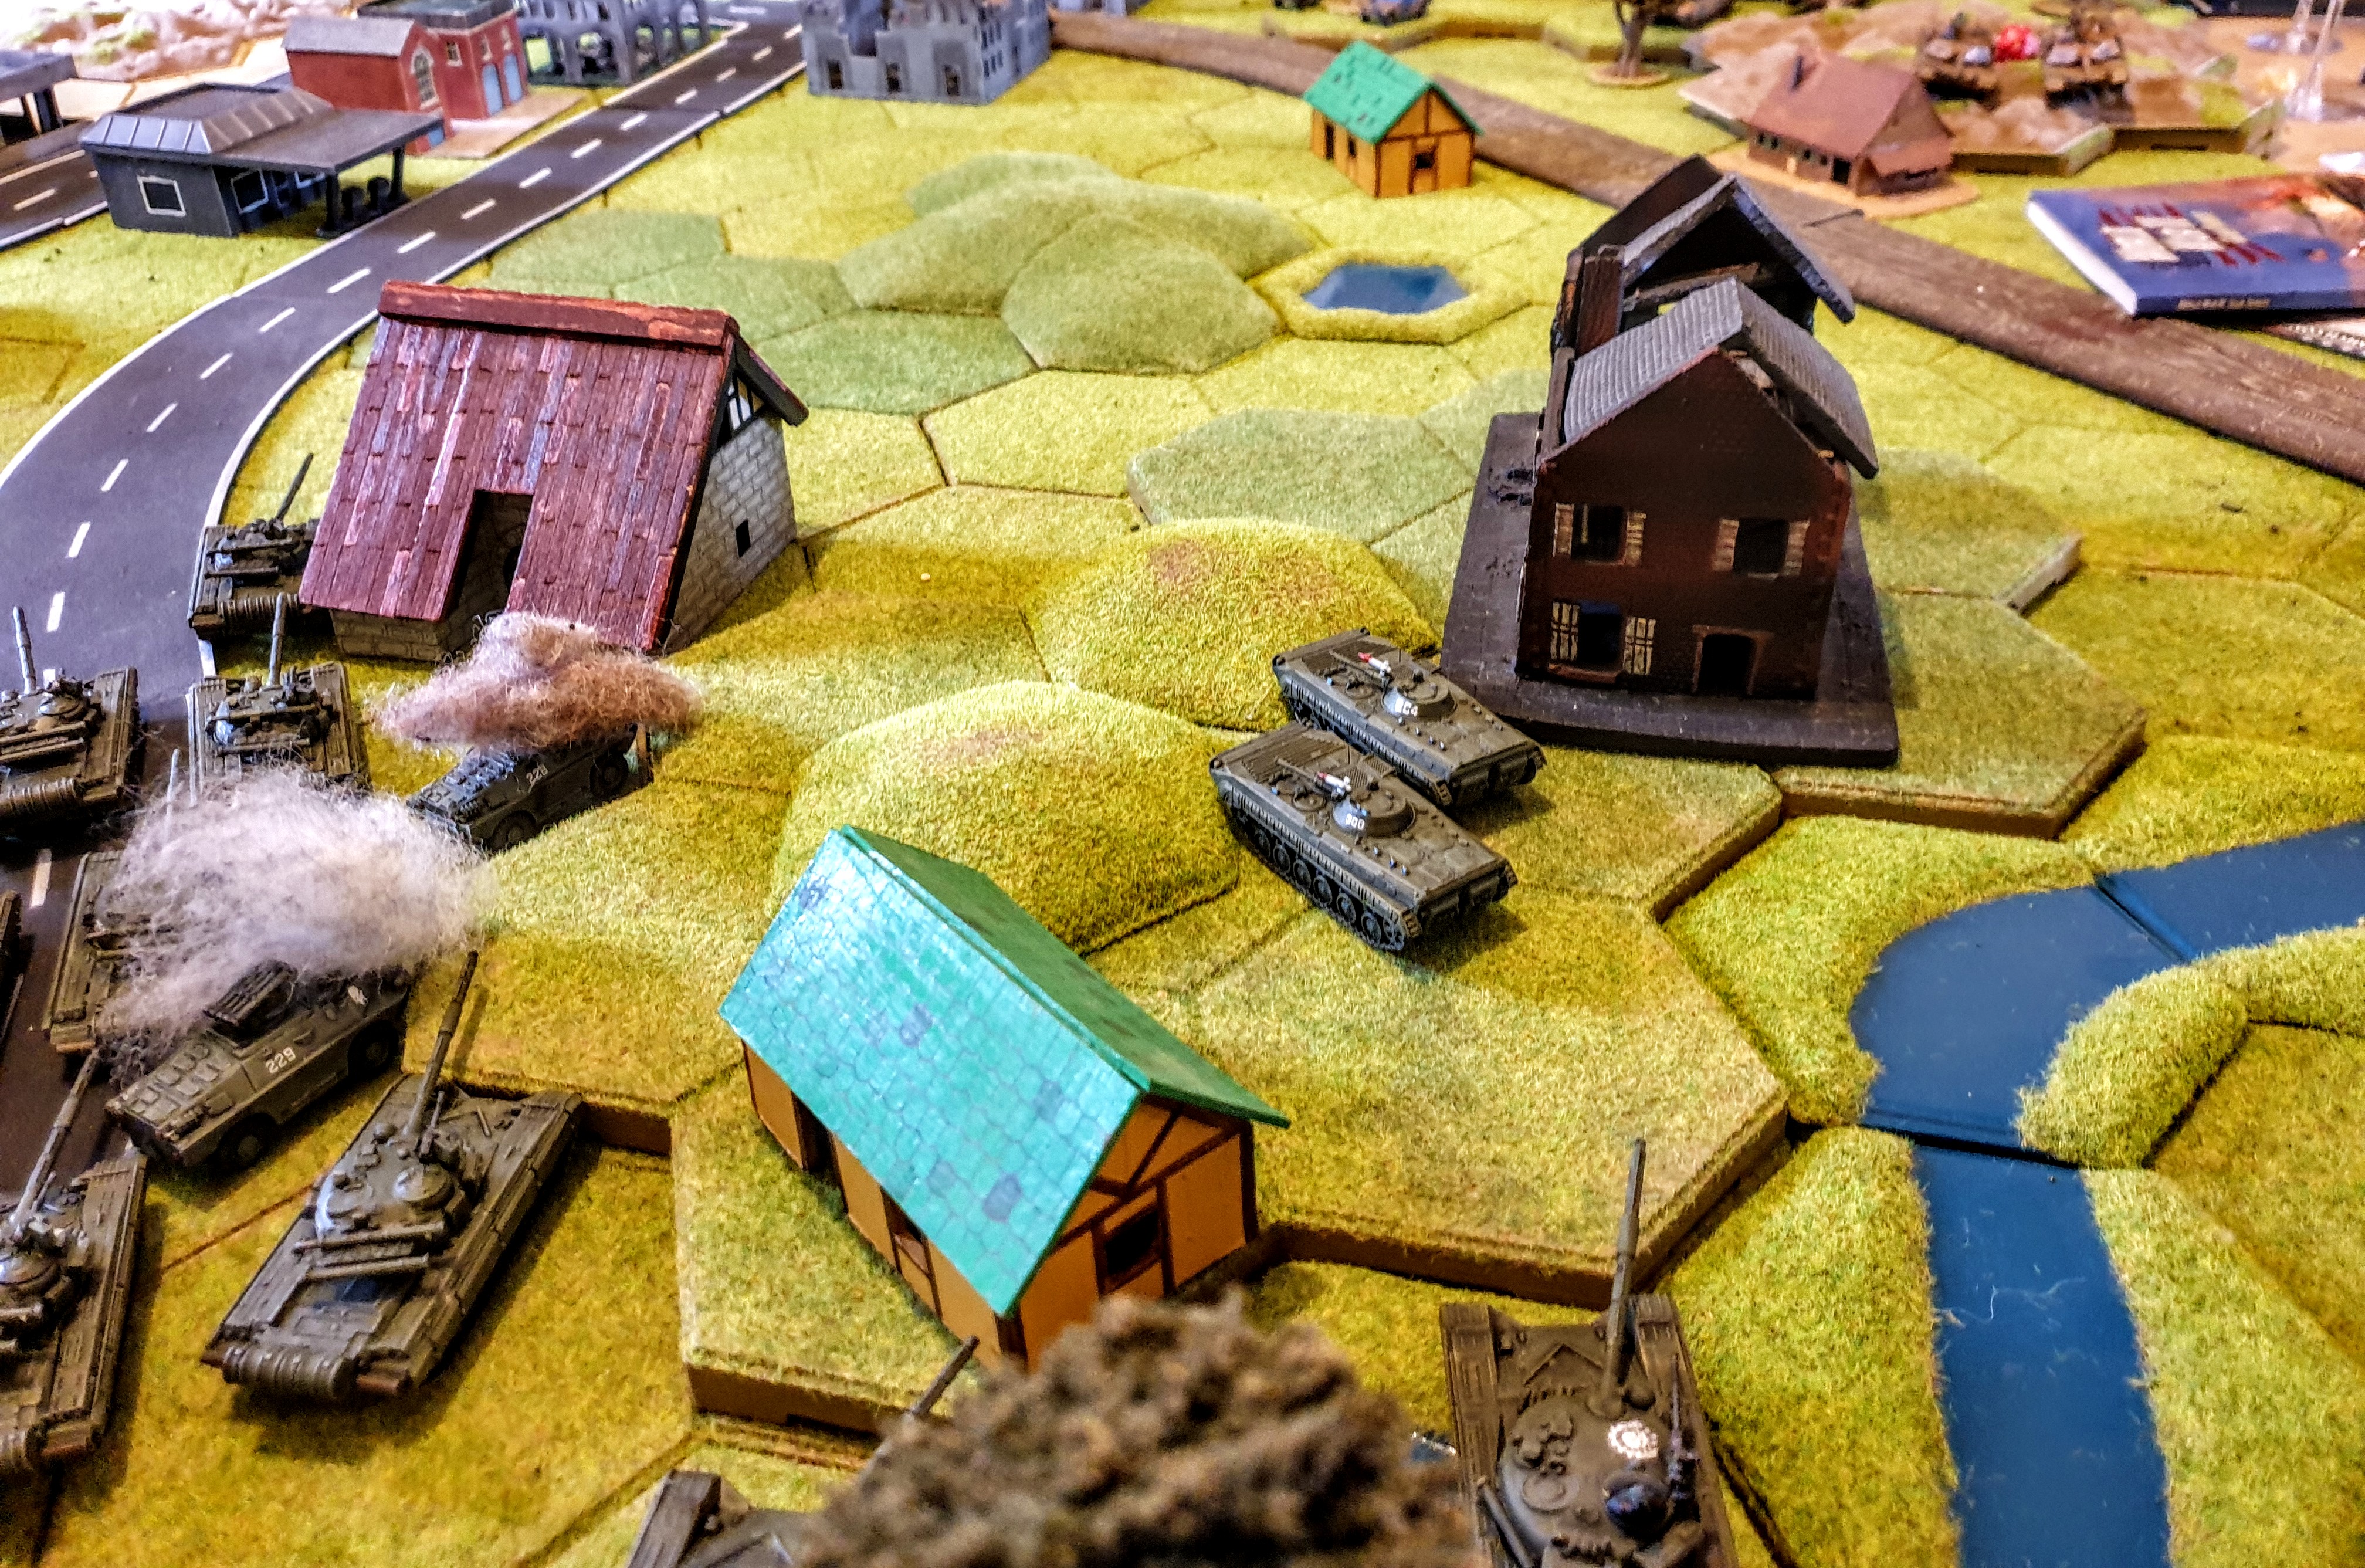
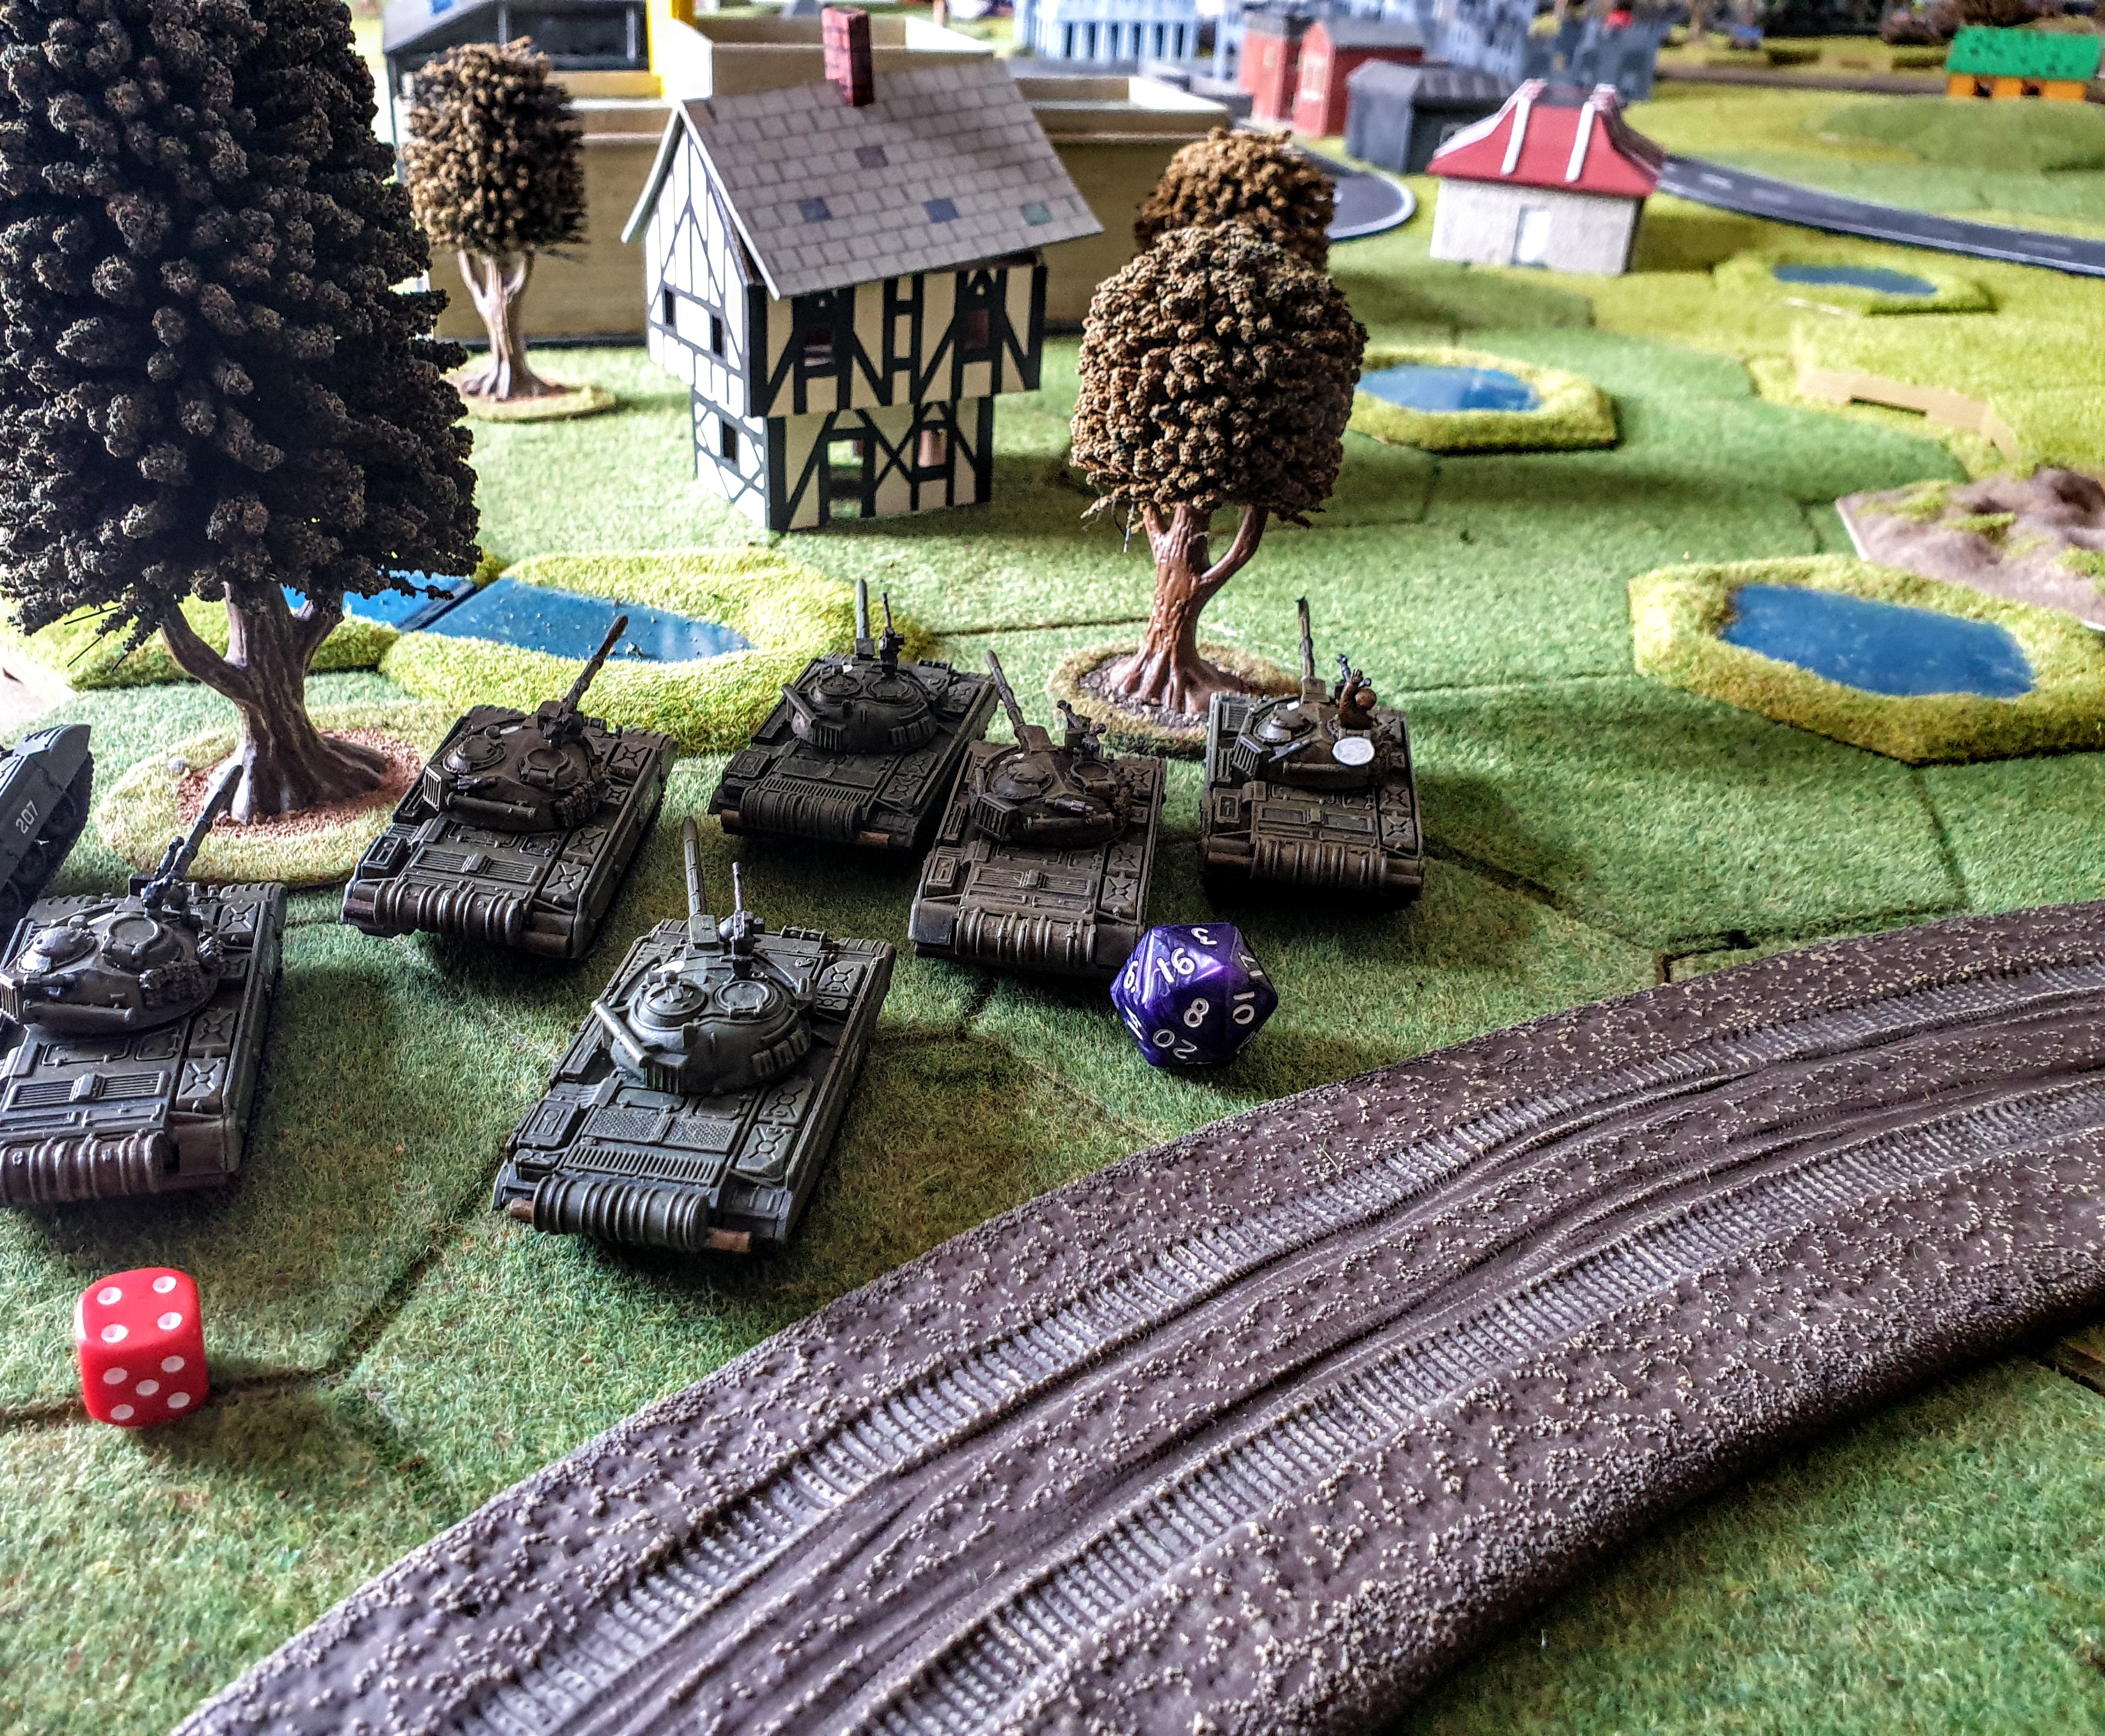
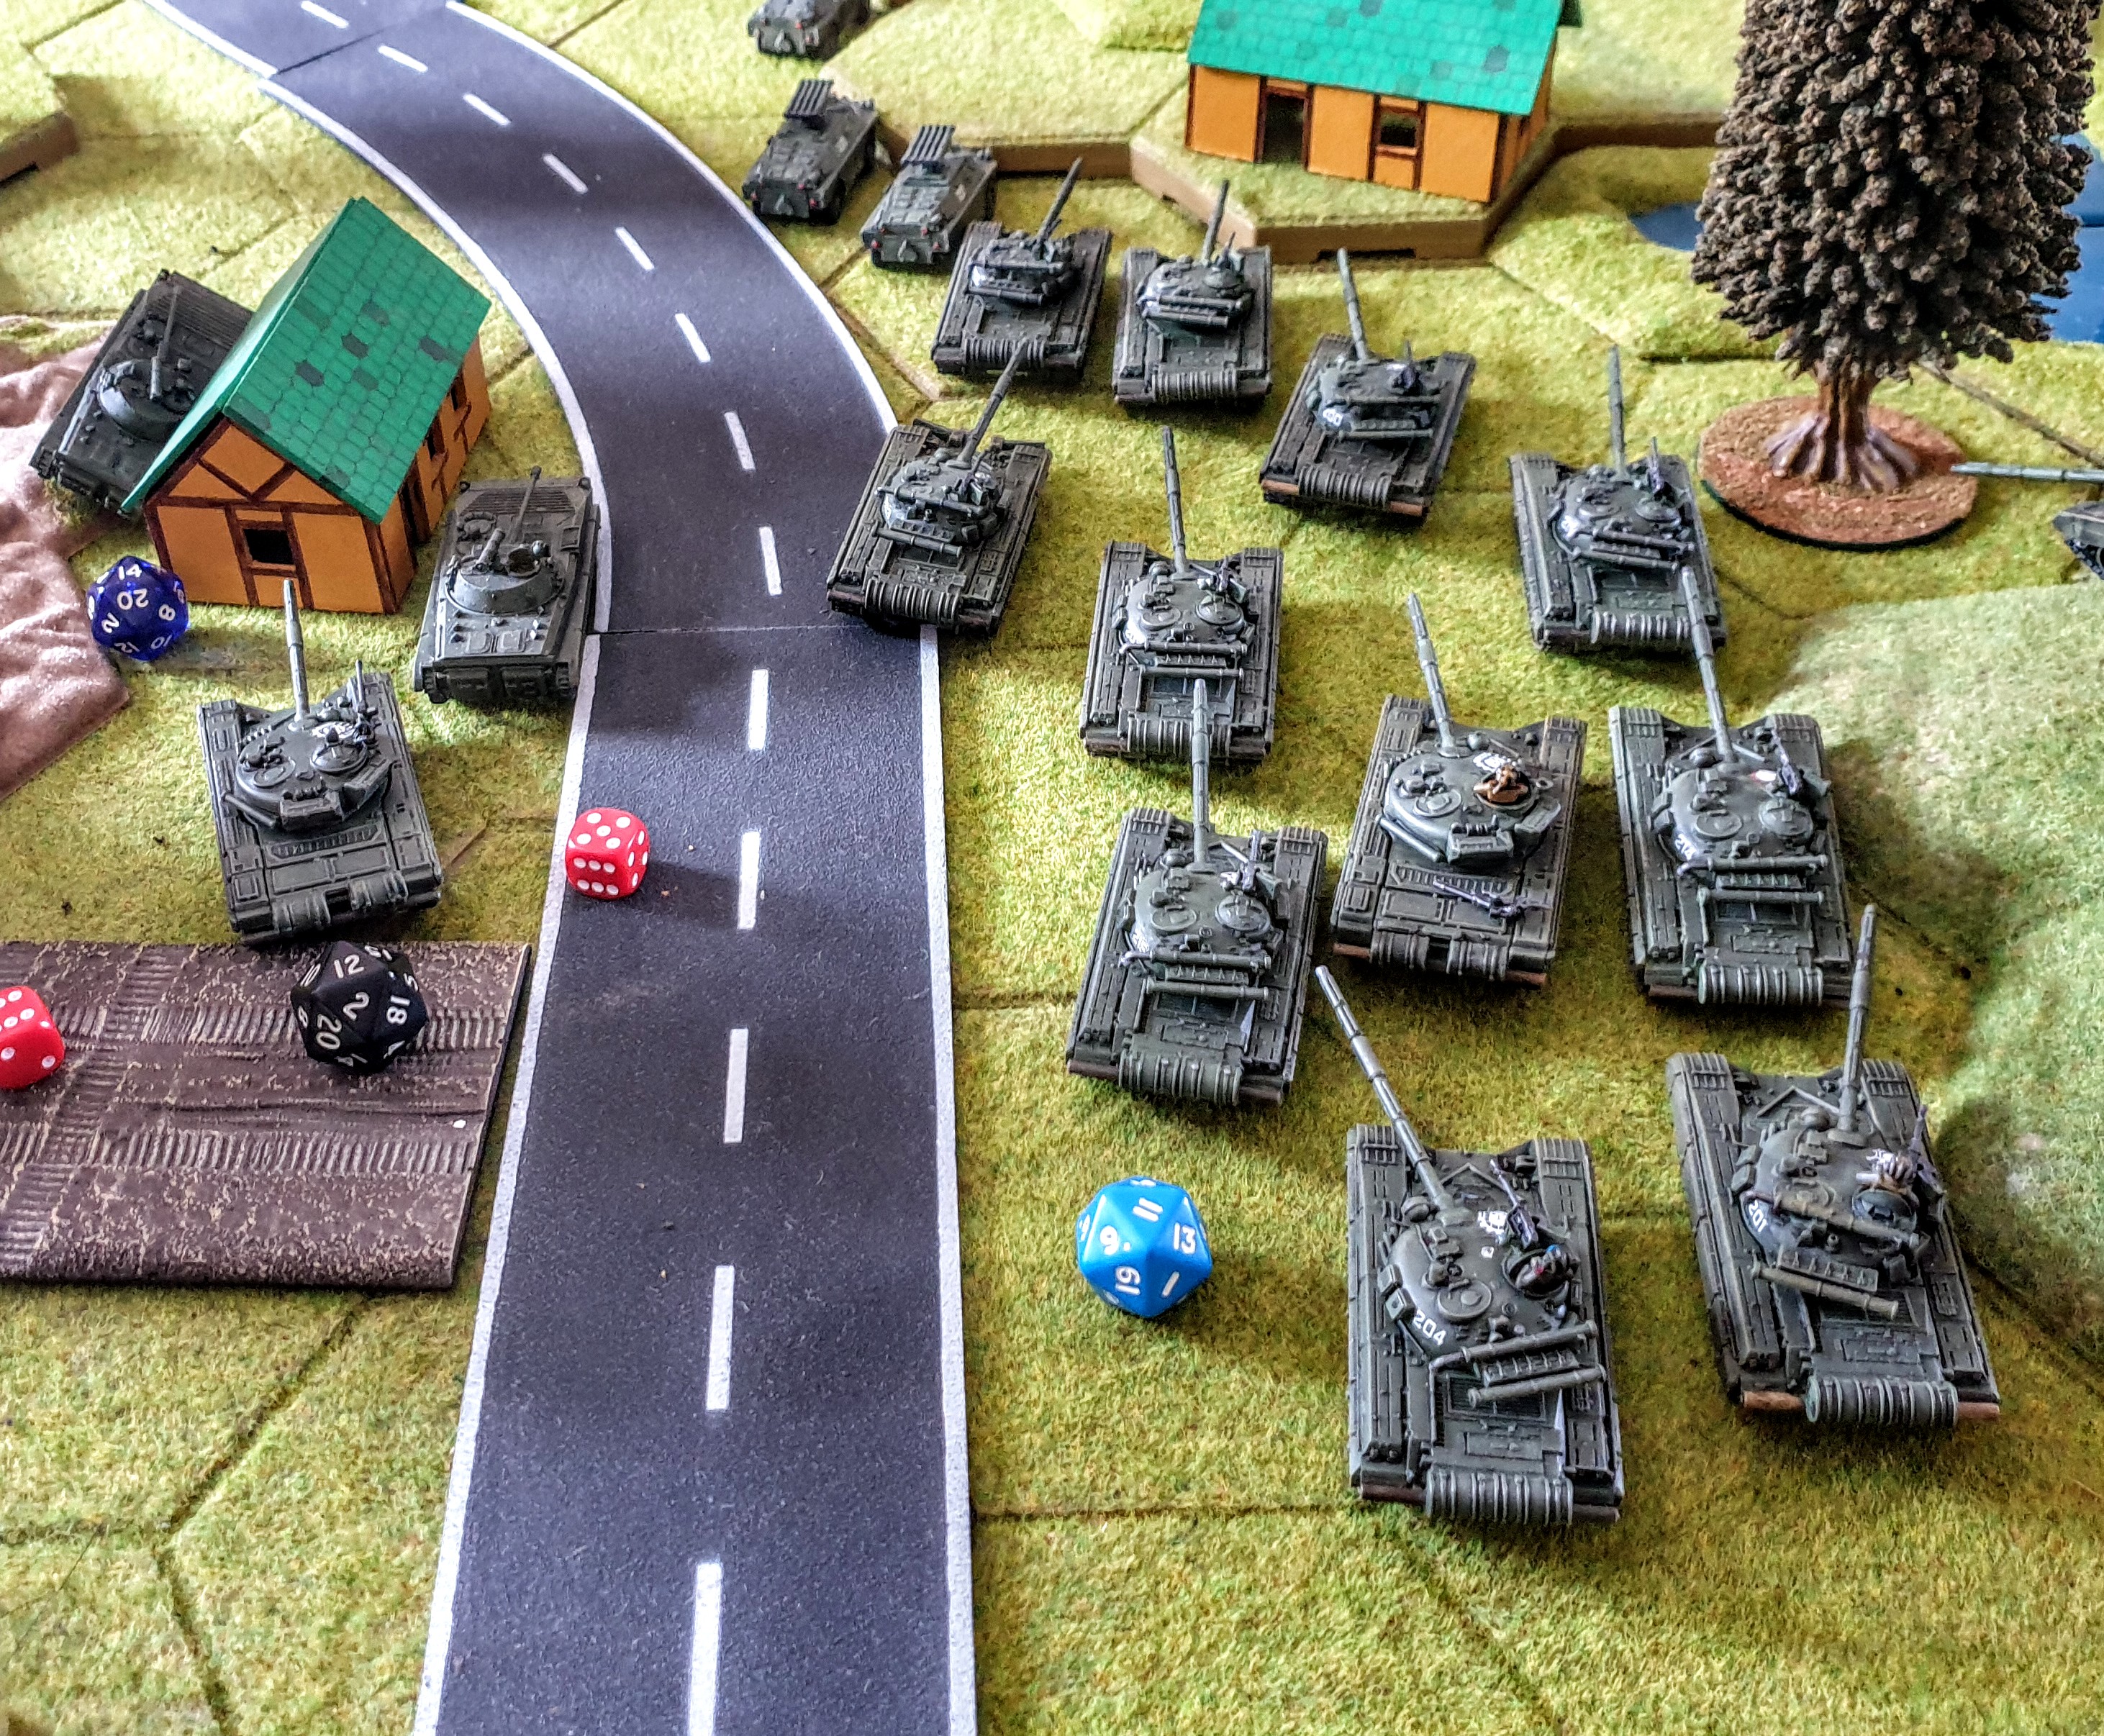
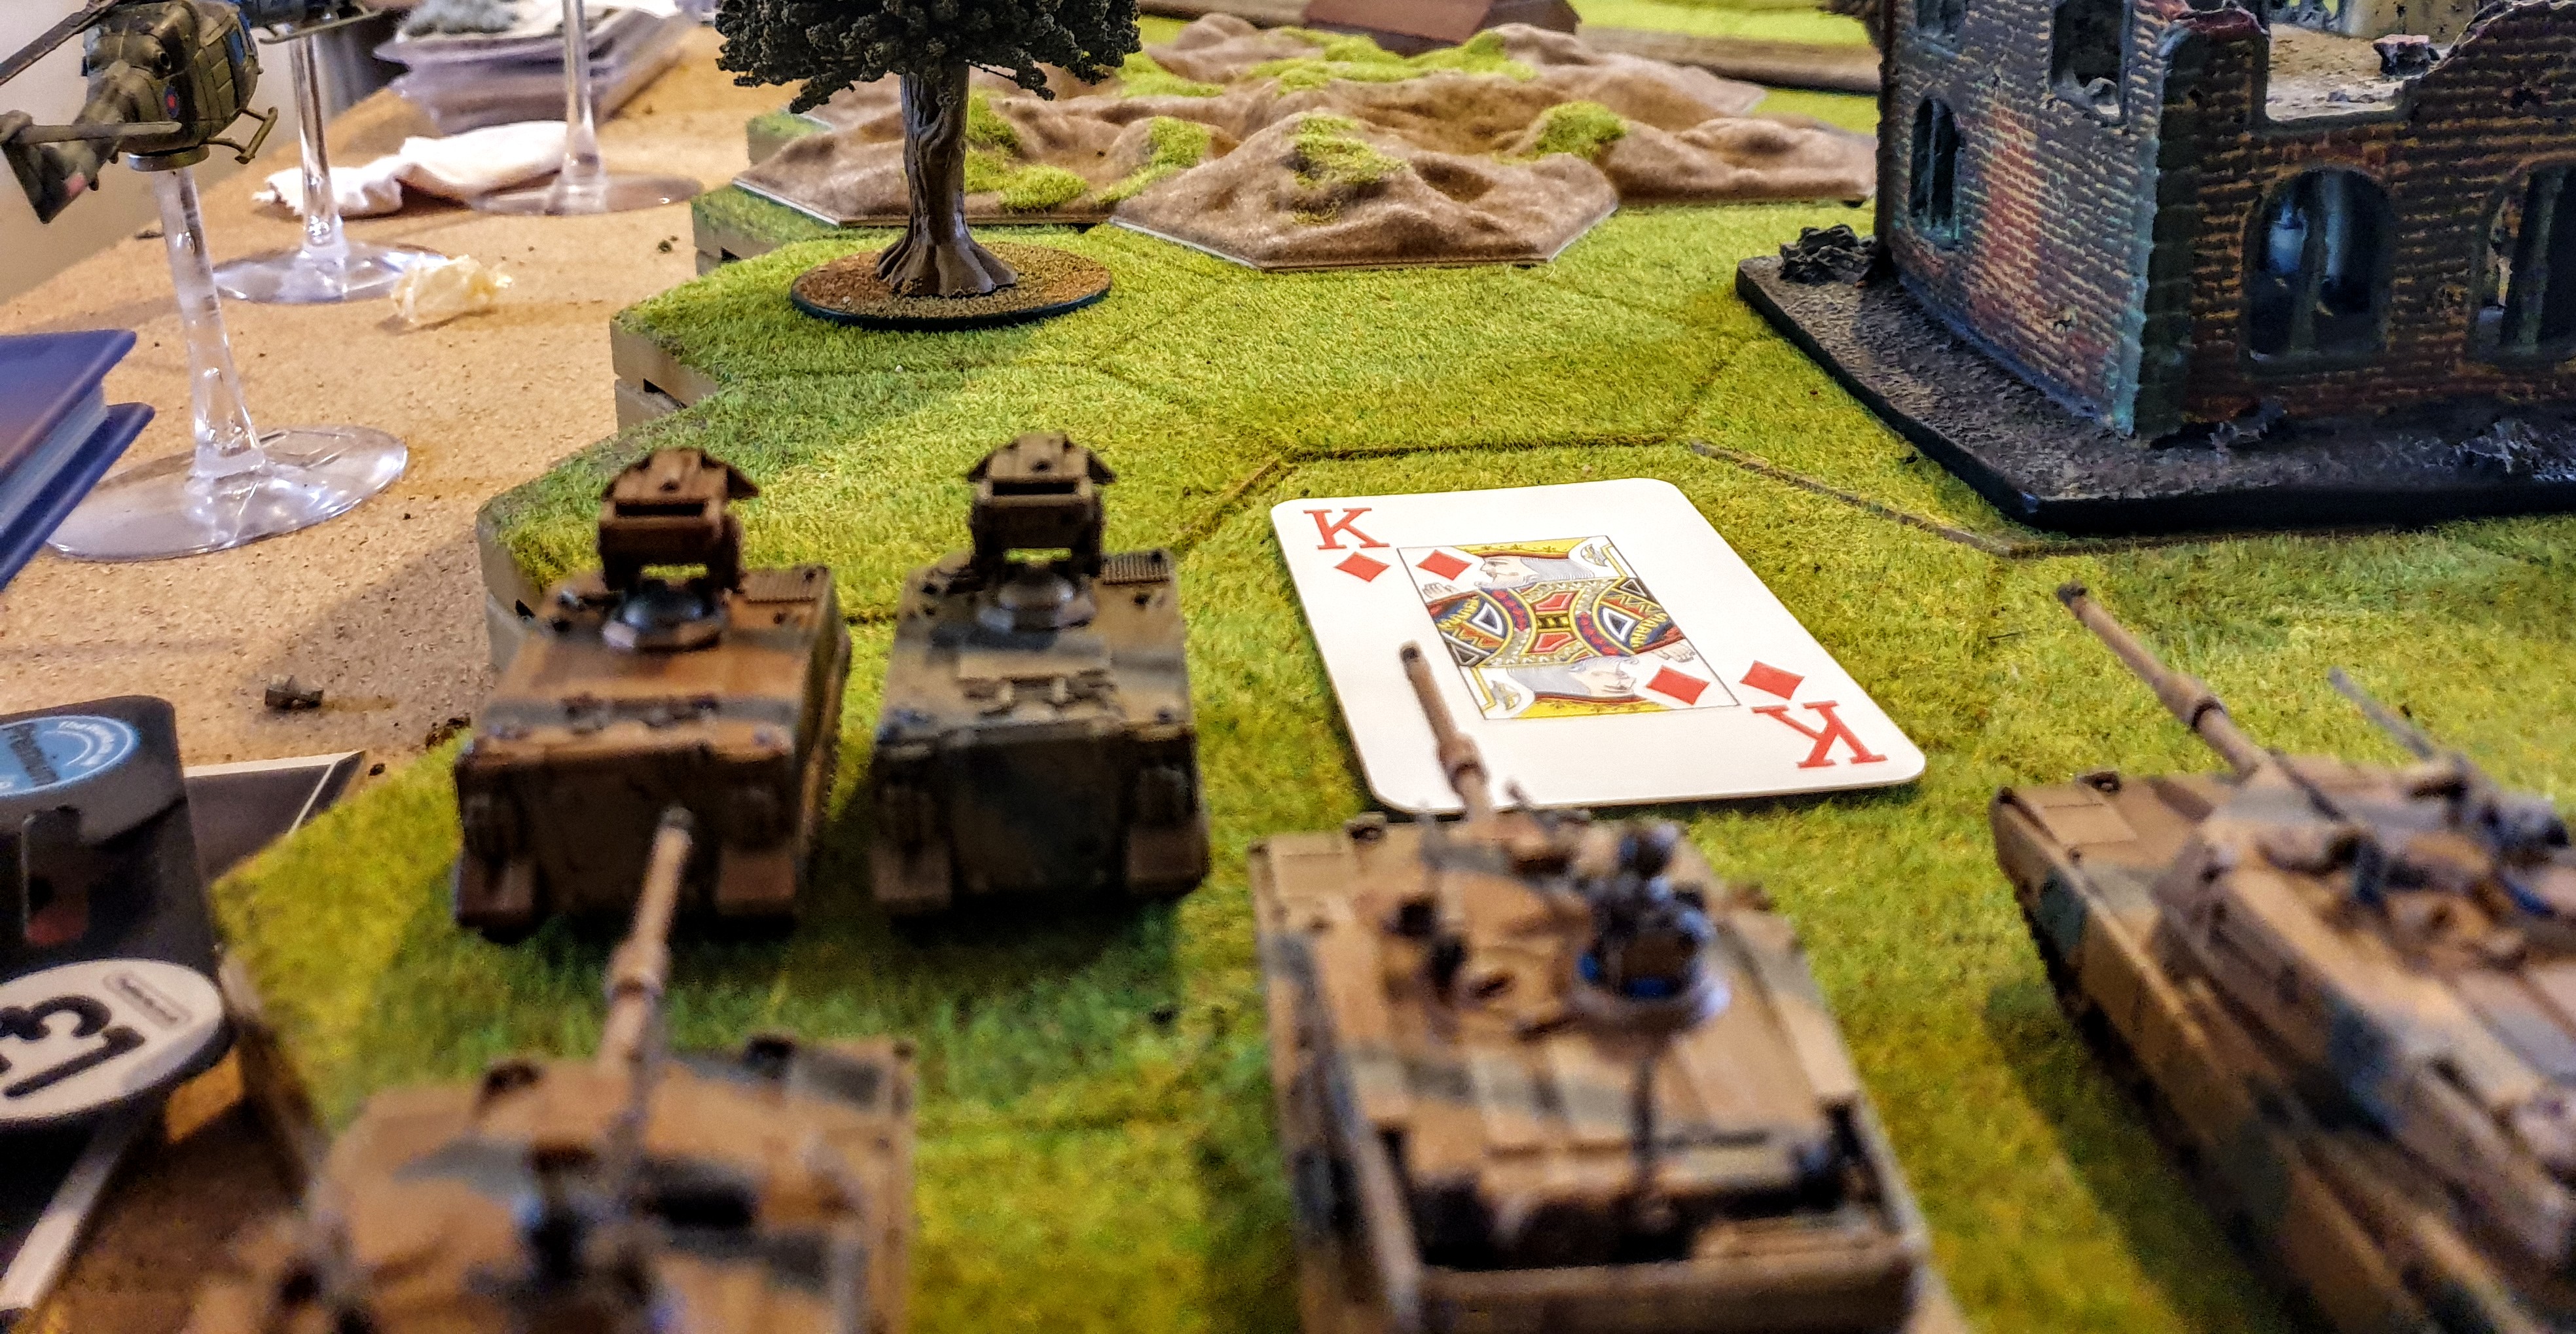
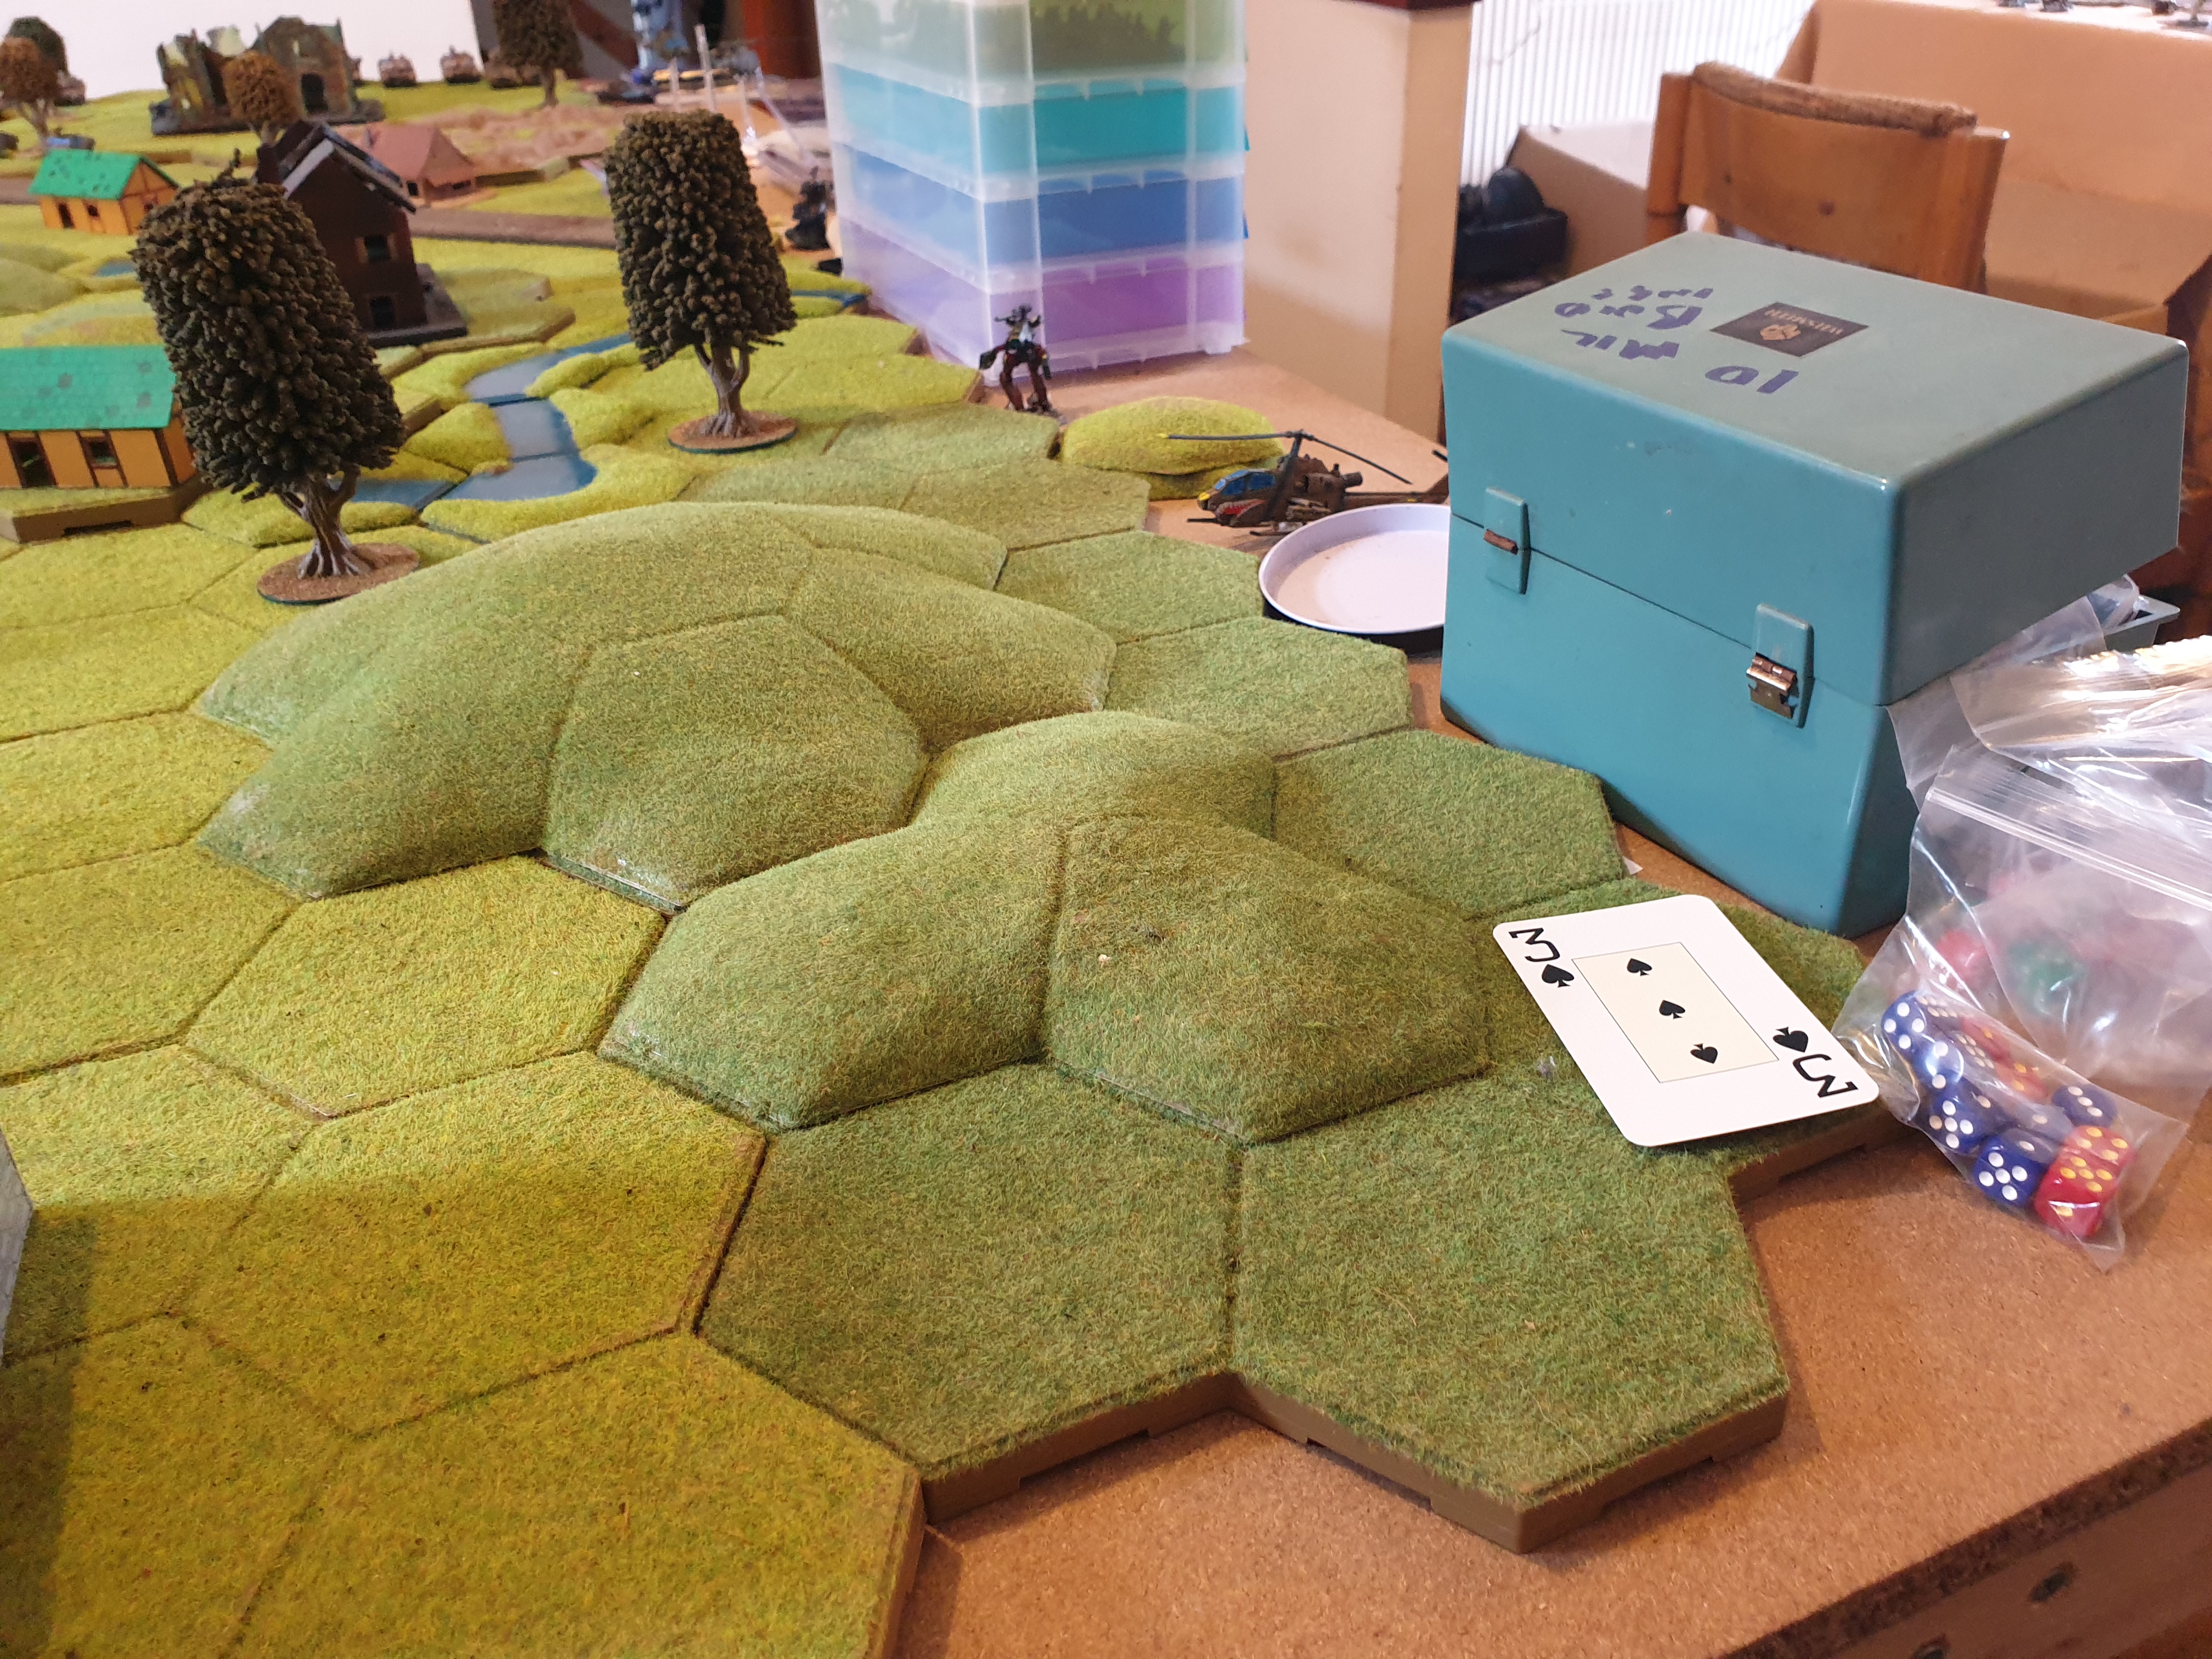
Battle Report Move 3
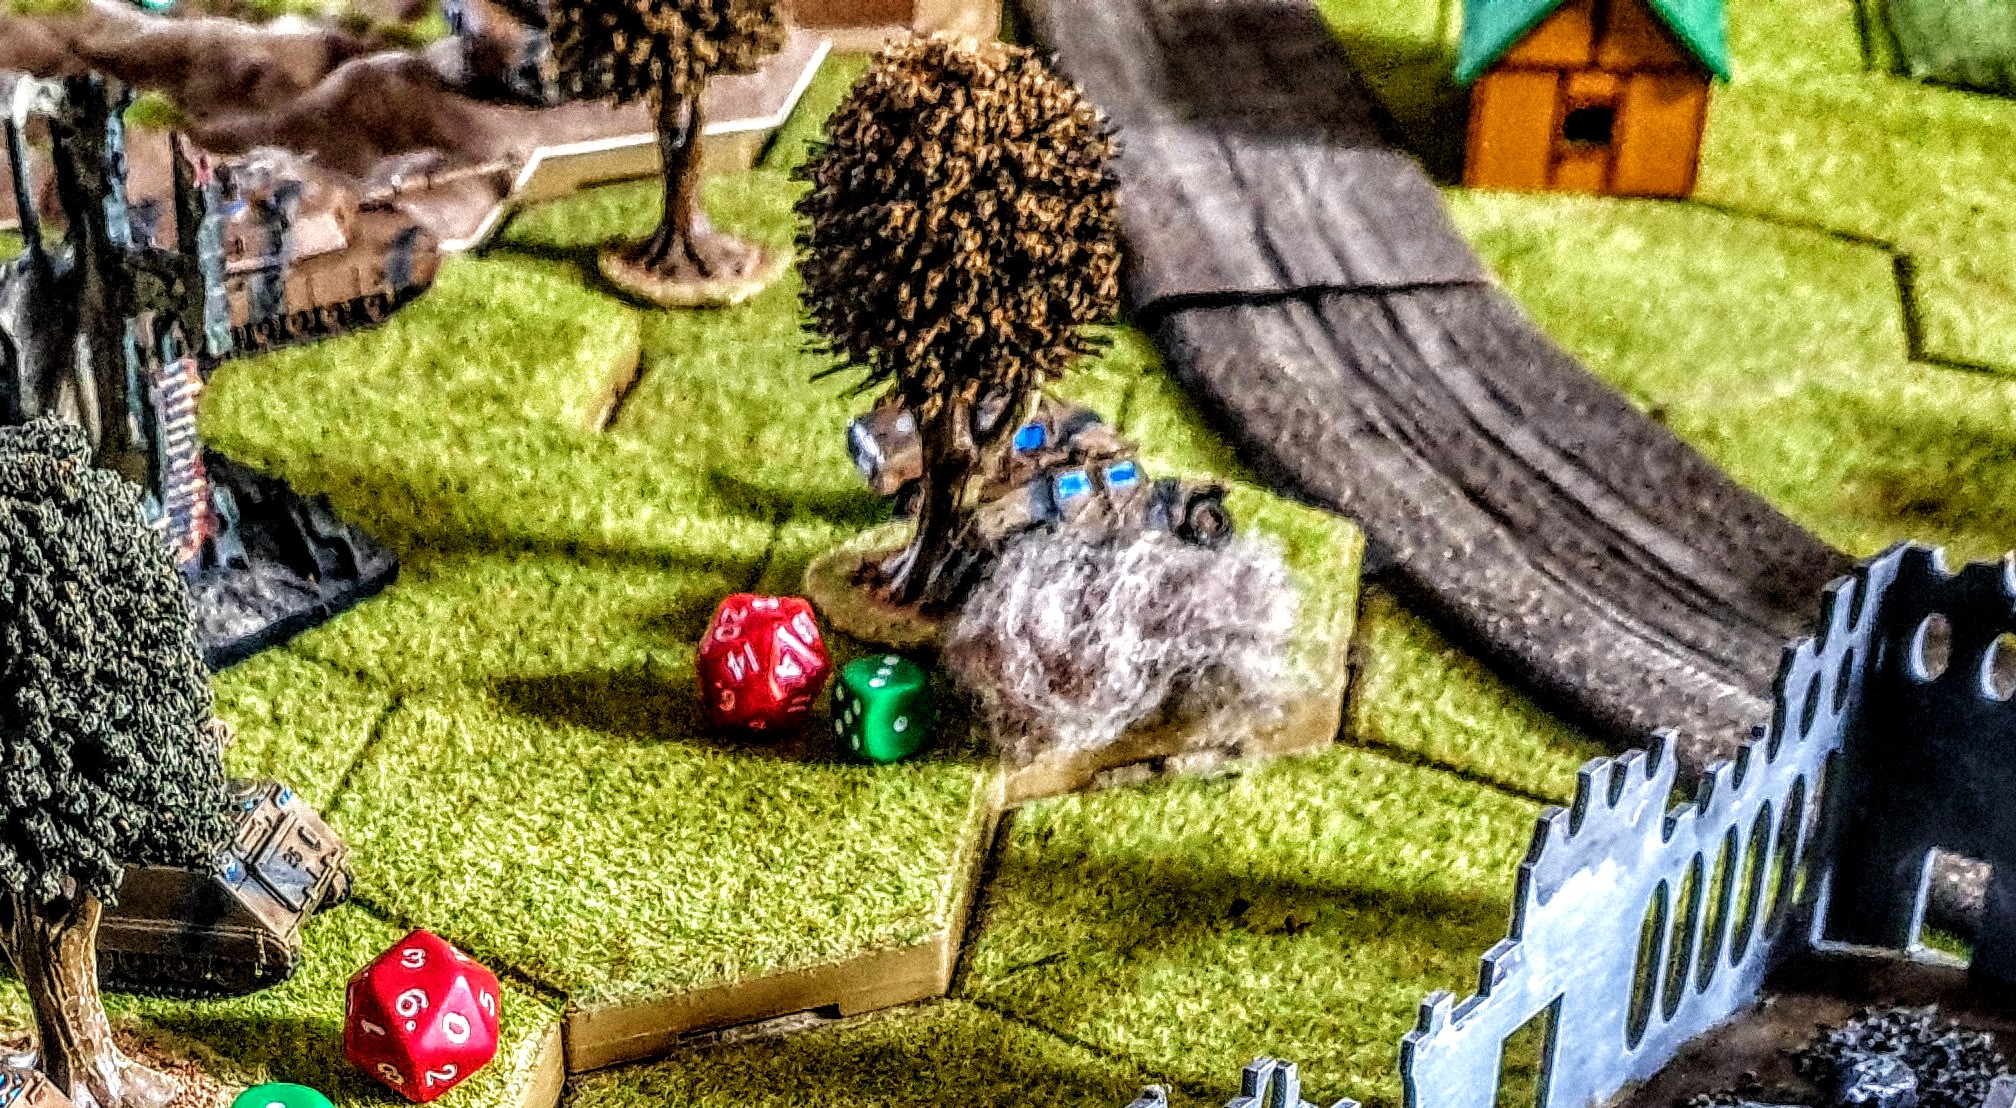
Anyone wondering what the D20’s are for nothing gamewise, they are just to remind me what the order of the activations are for this report.
So Fight fans a we entered the 3rd move the plucky Mercians have destroyed one Vogan unit and reduced a 2nd to 50% strength.
But are Vogan Bear is not out of it yet he is more than able to shrug off these gnat bites.
So after a Justin Swish its on with the next move..
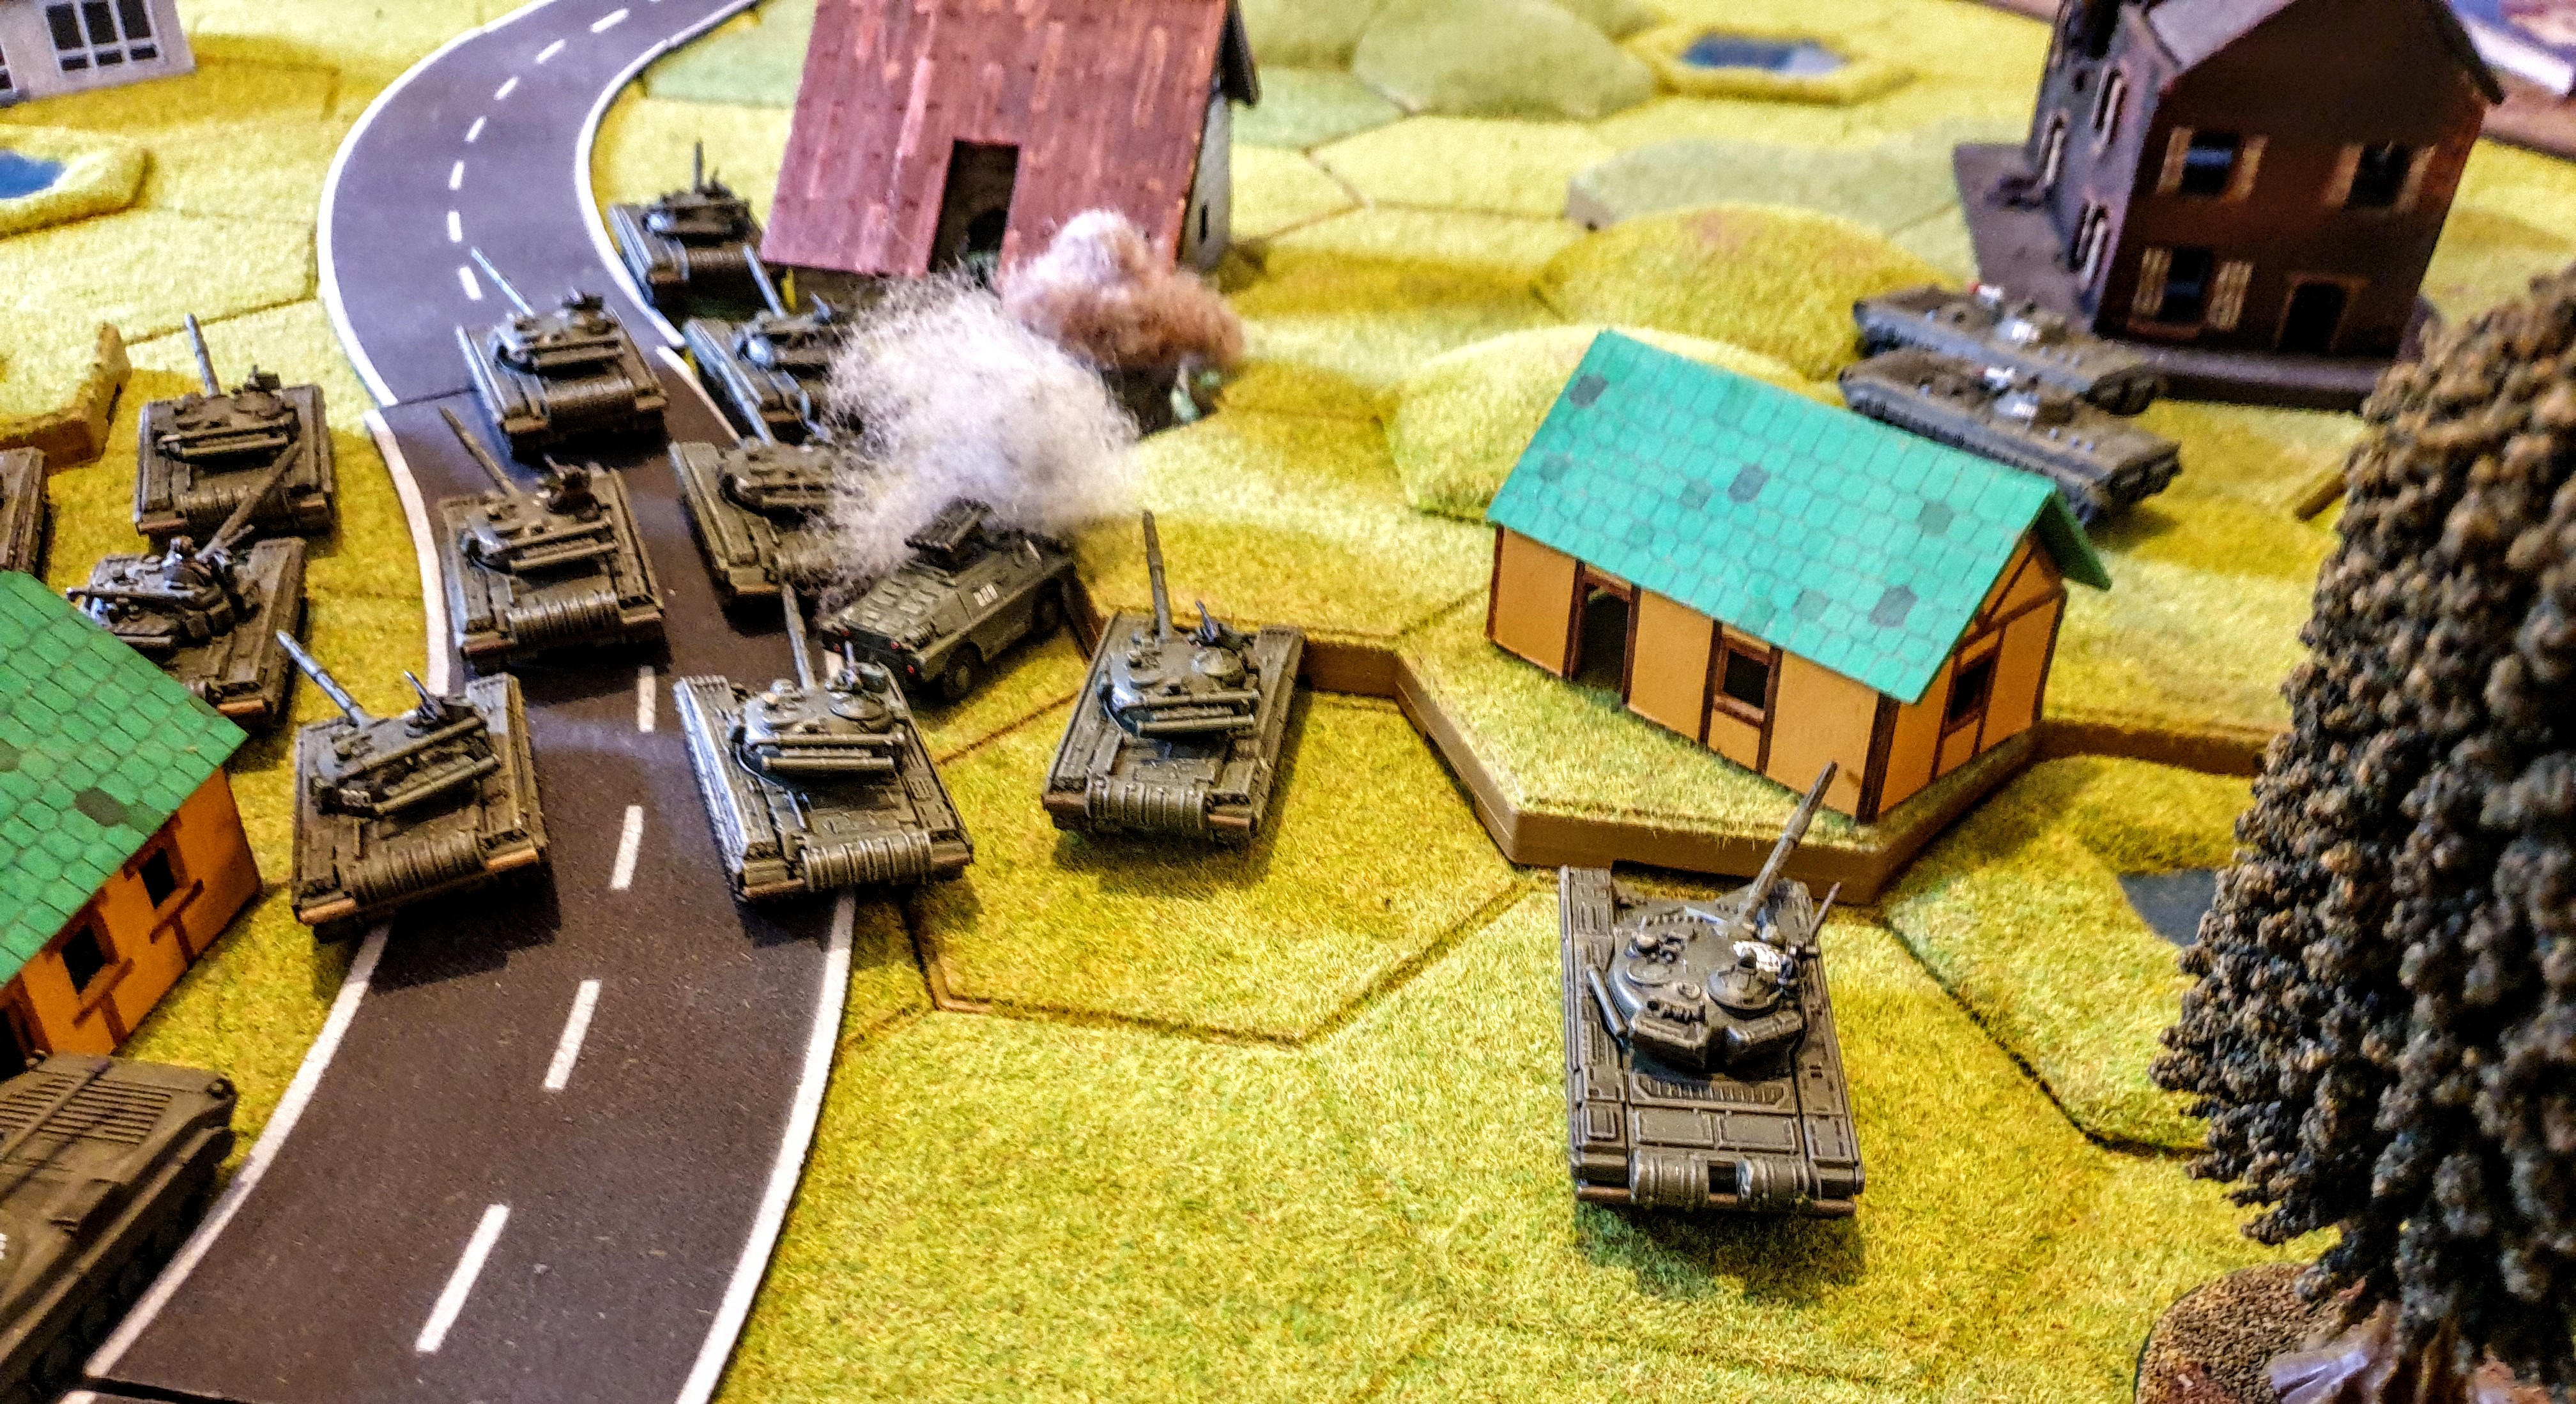
So dice back in bag 2 green are drawn in succession ( Anyone wondering I reduced the Mercian dice back to 6 now there were only 6 Volgan units).
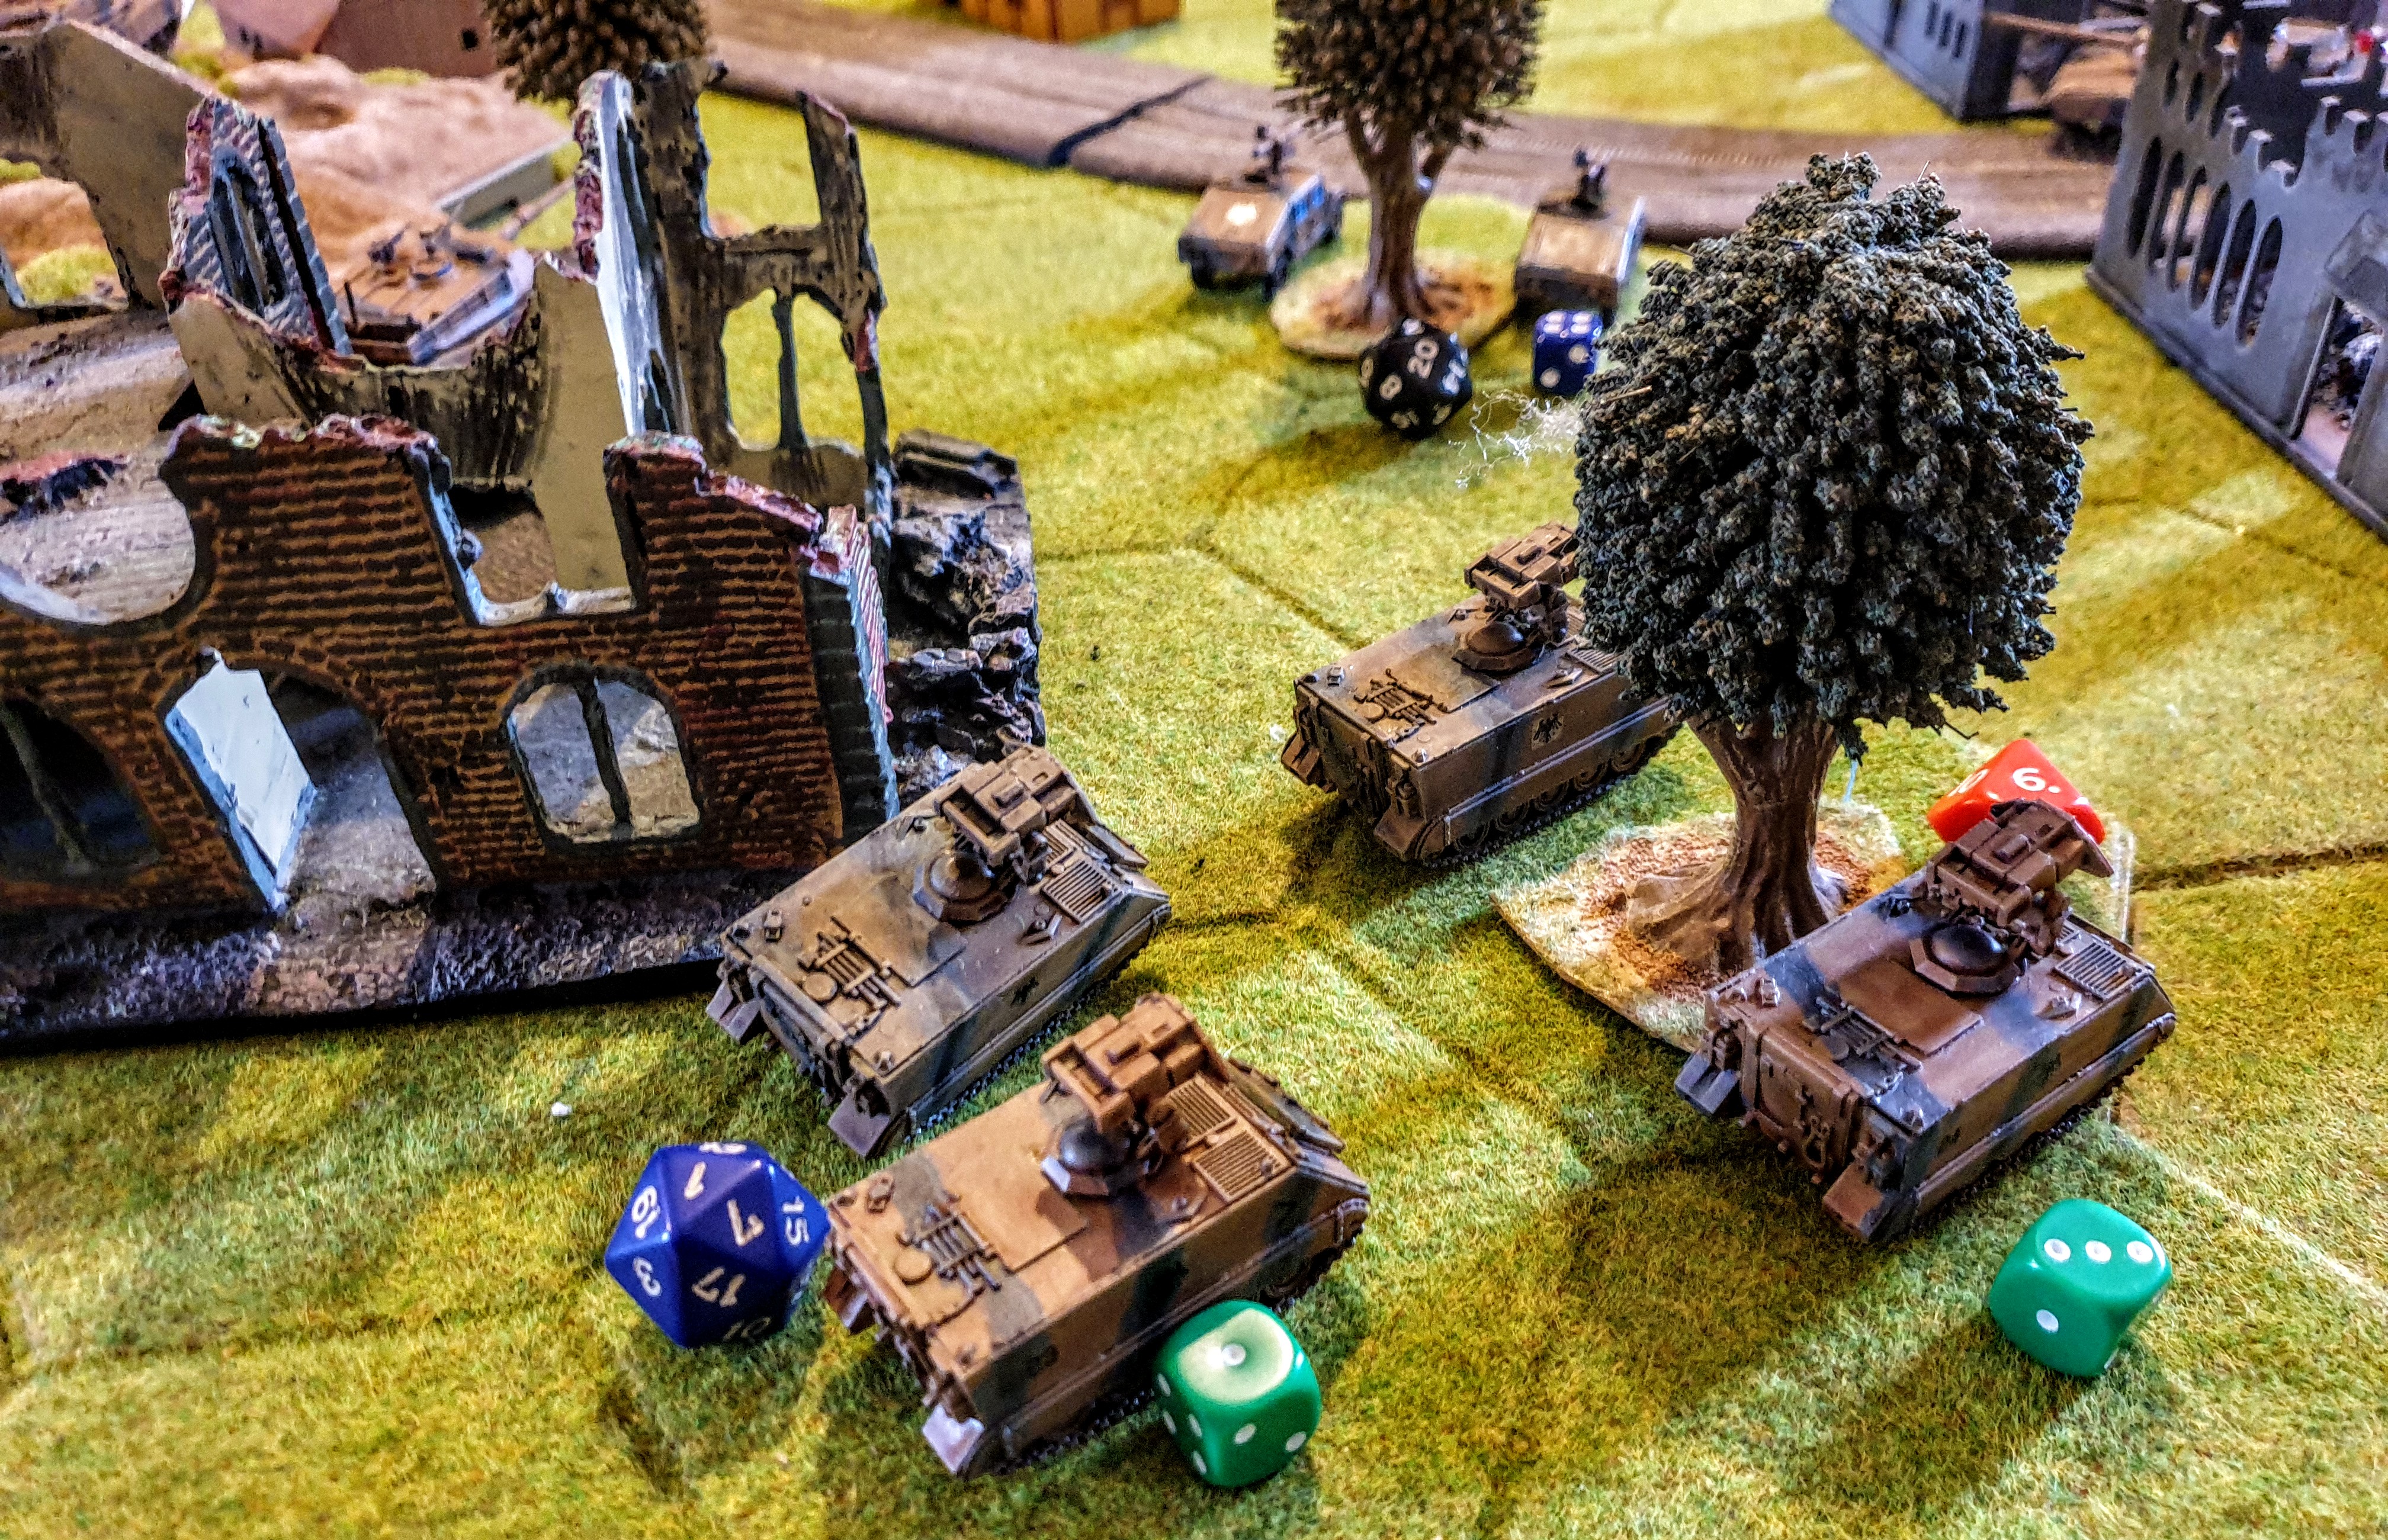
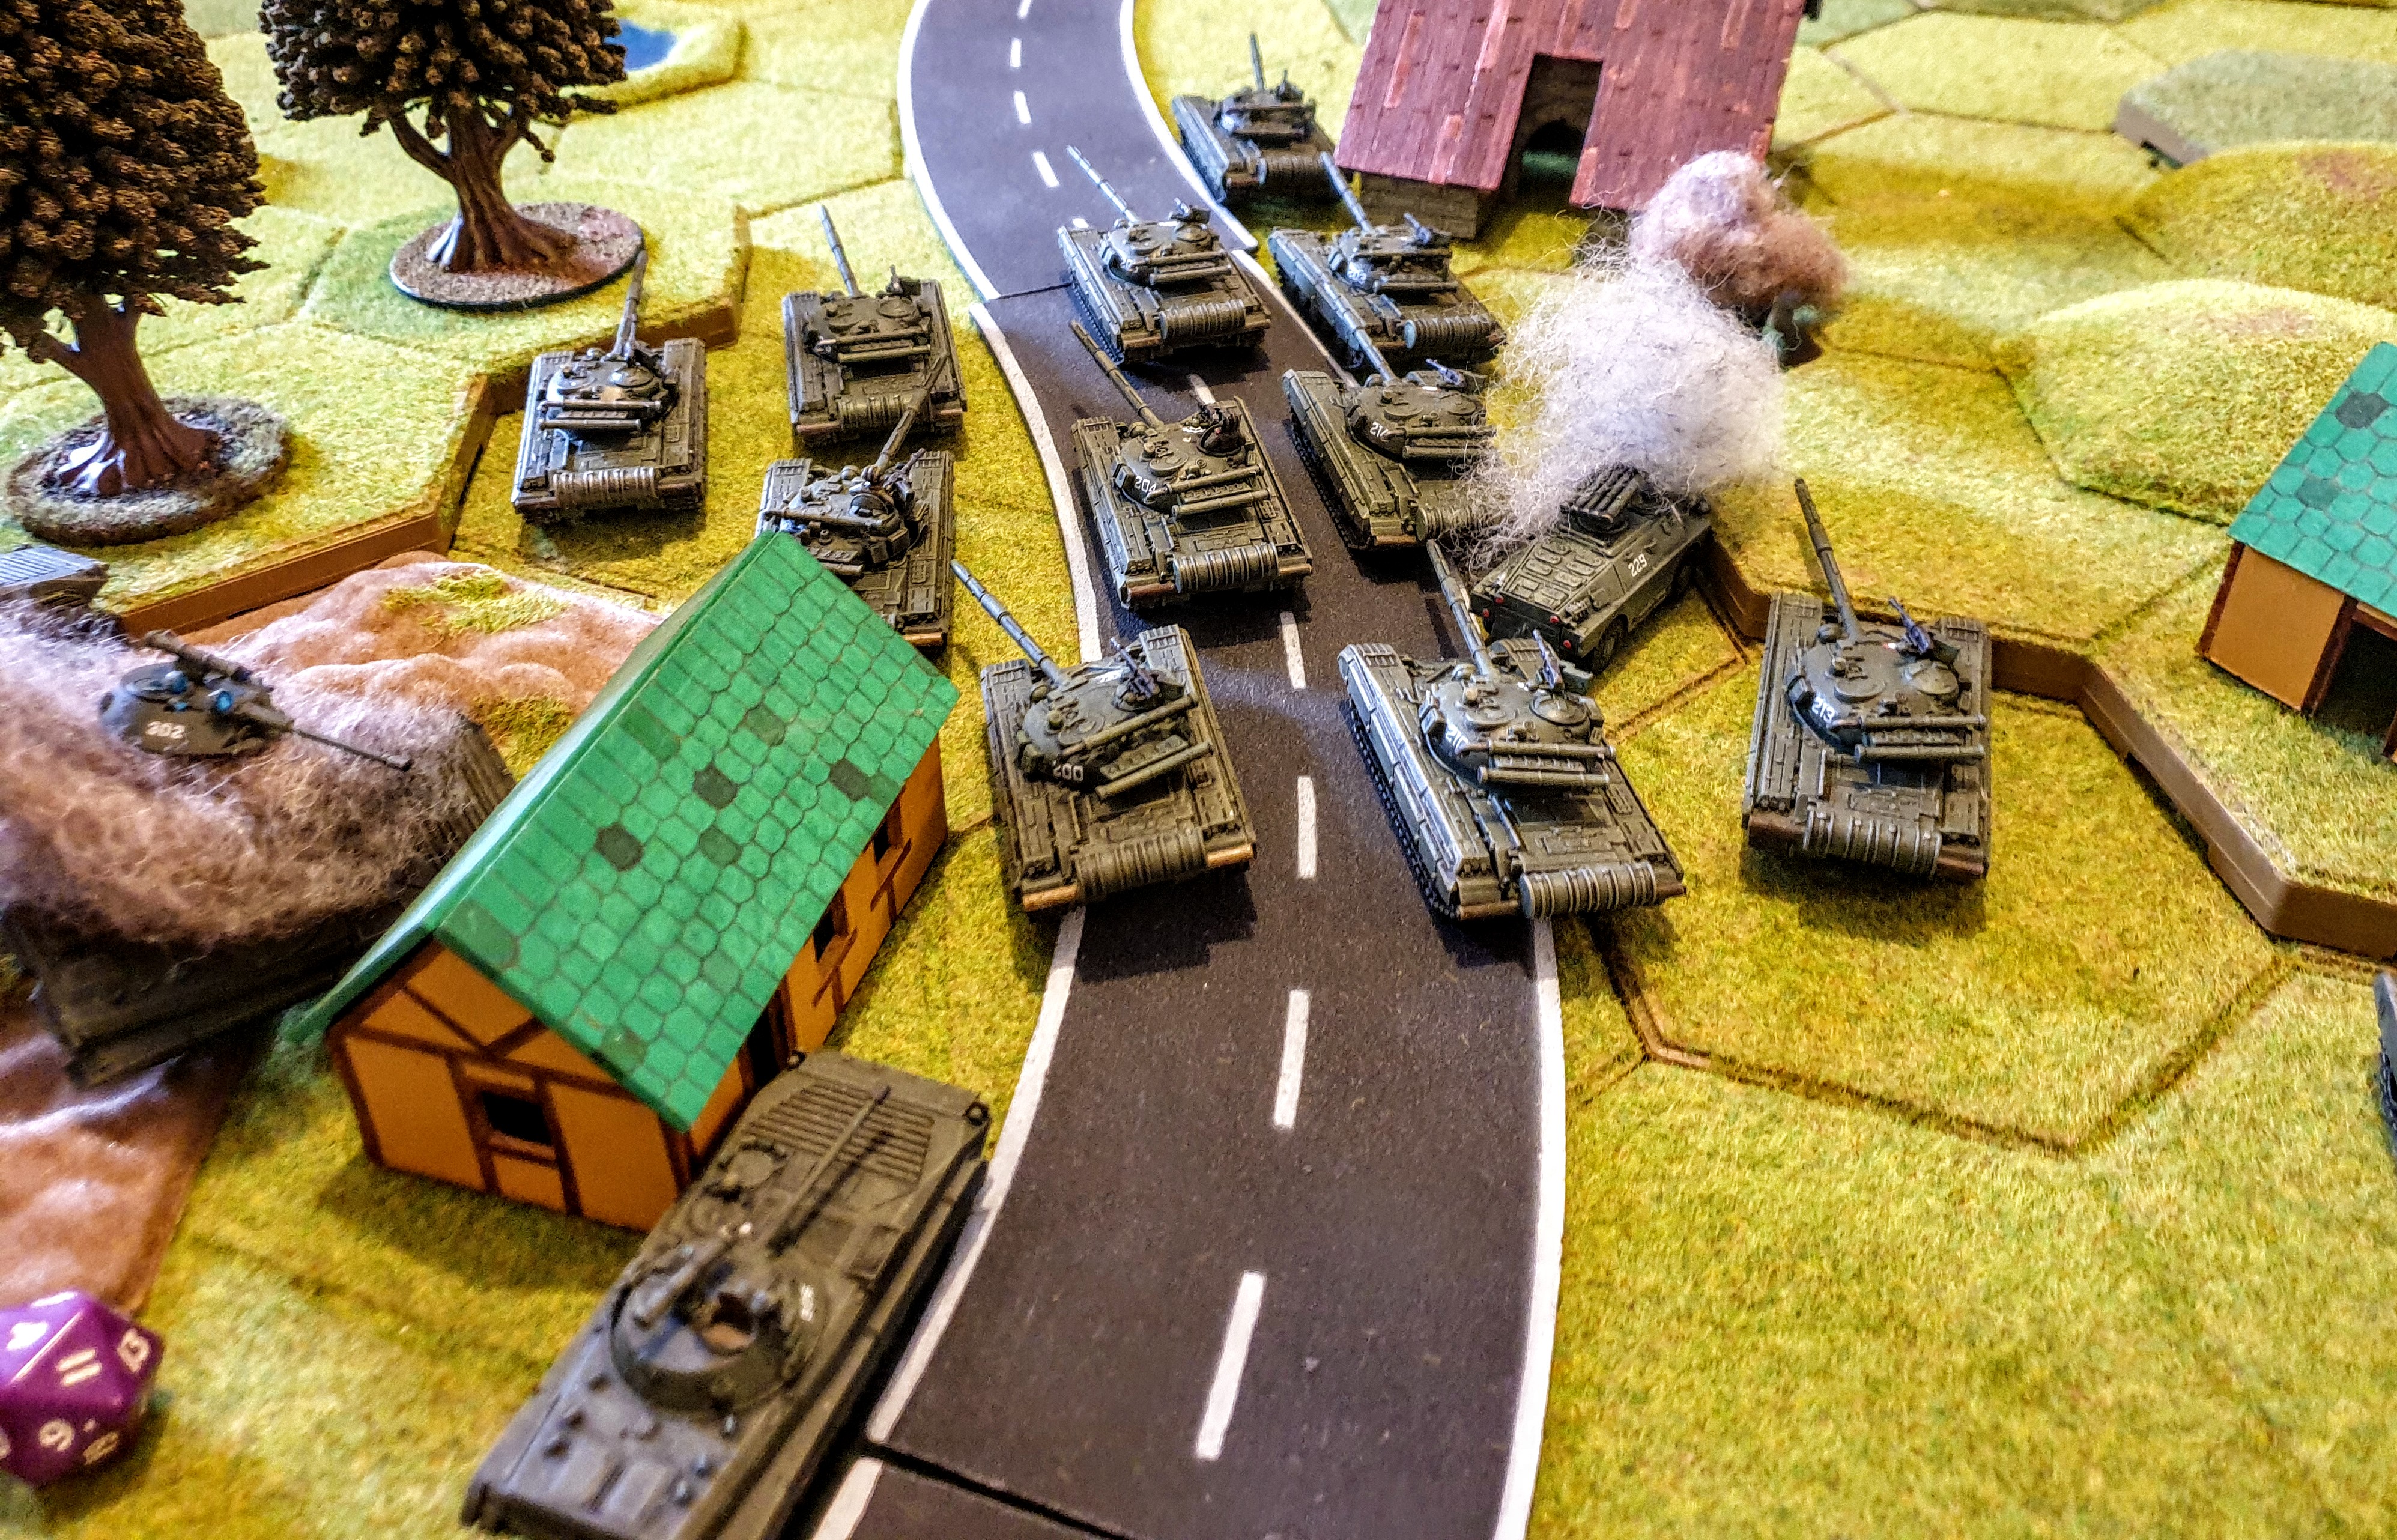
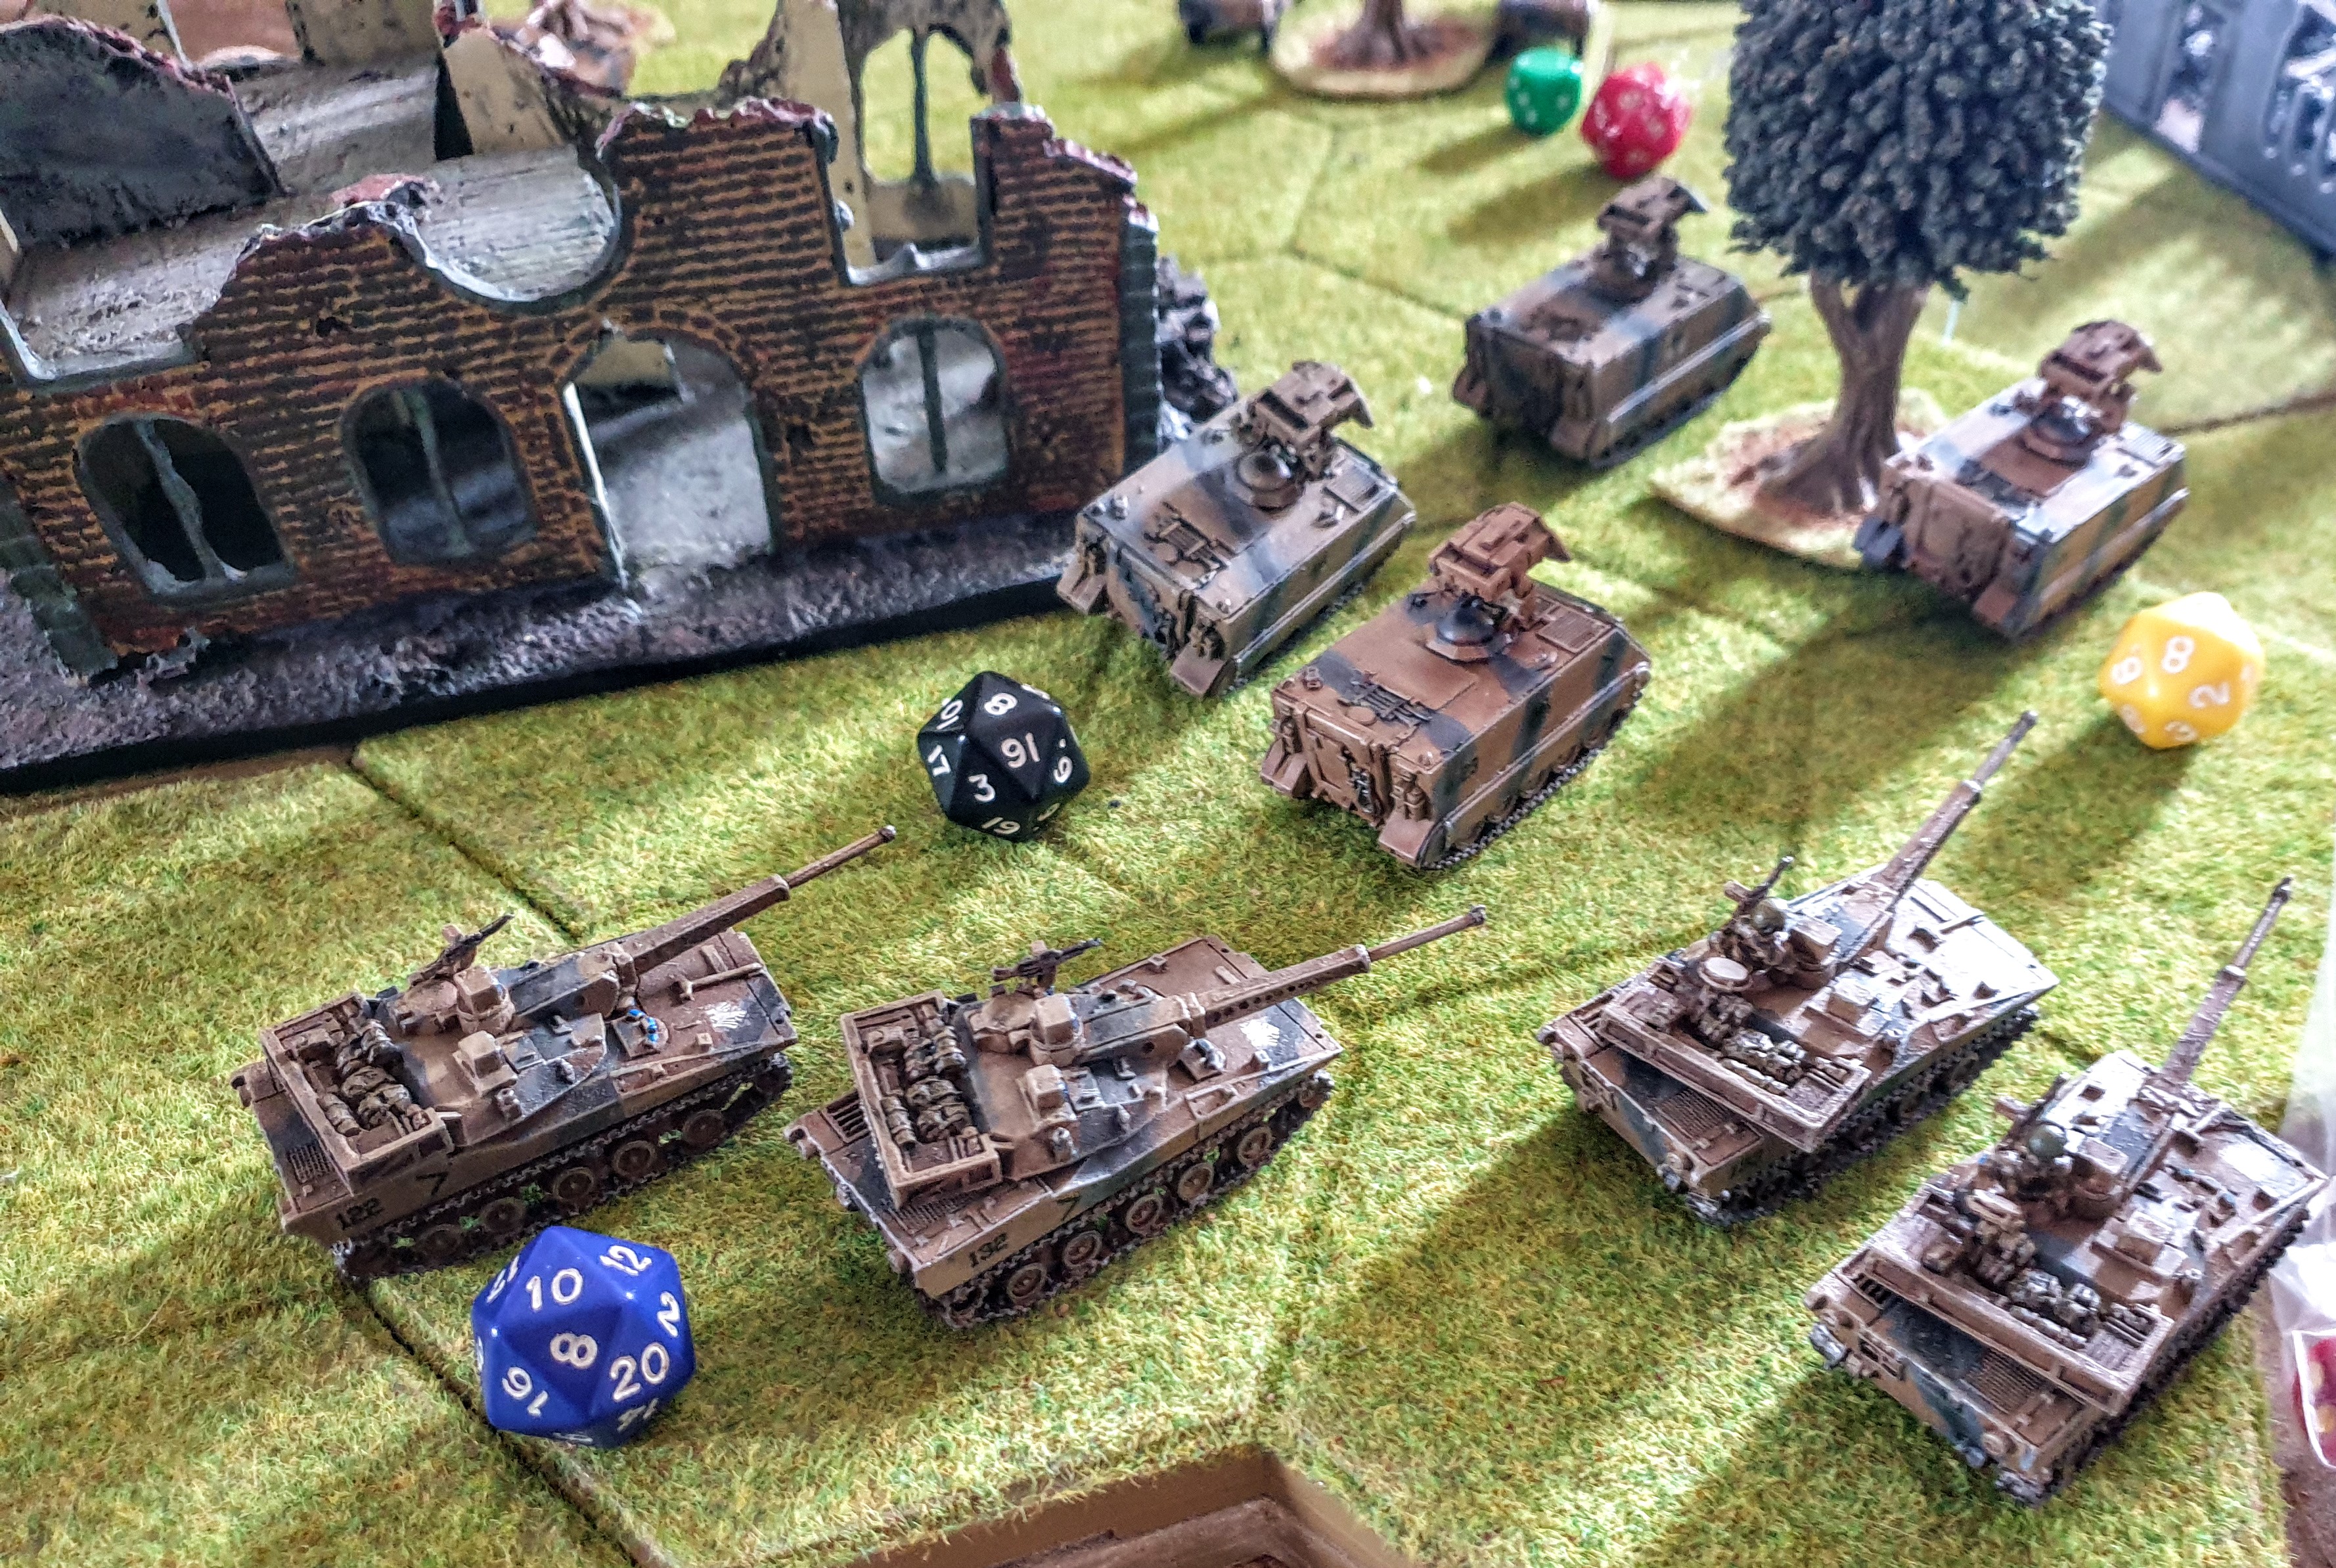
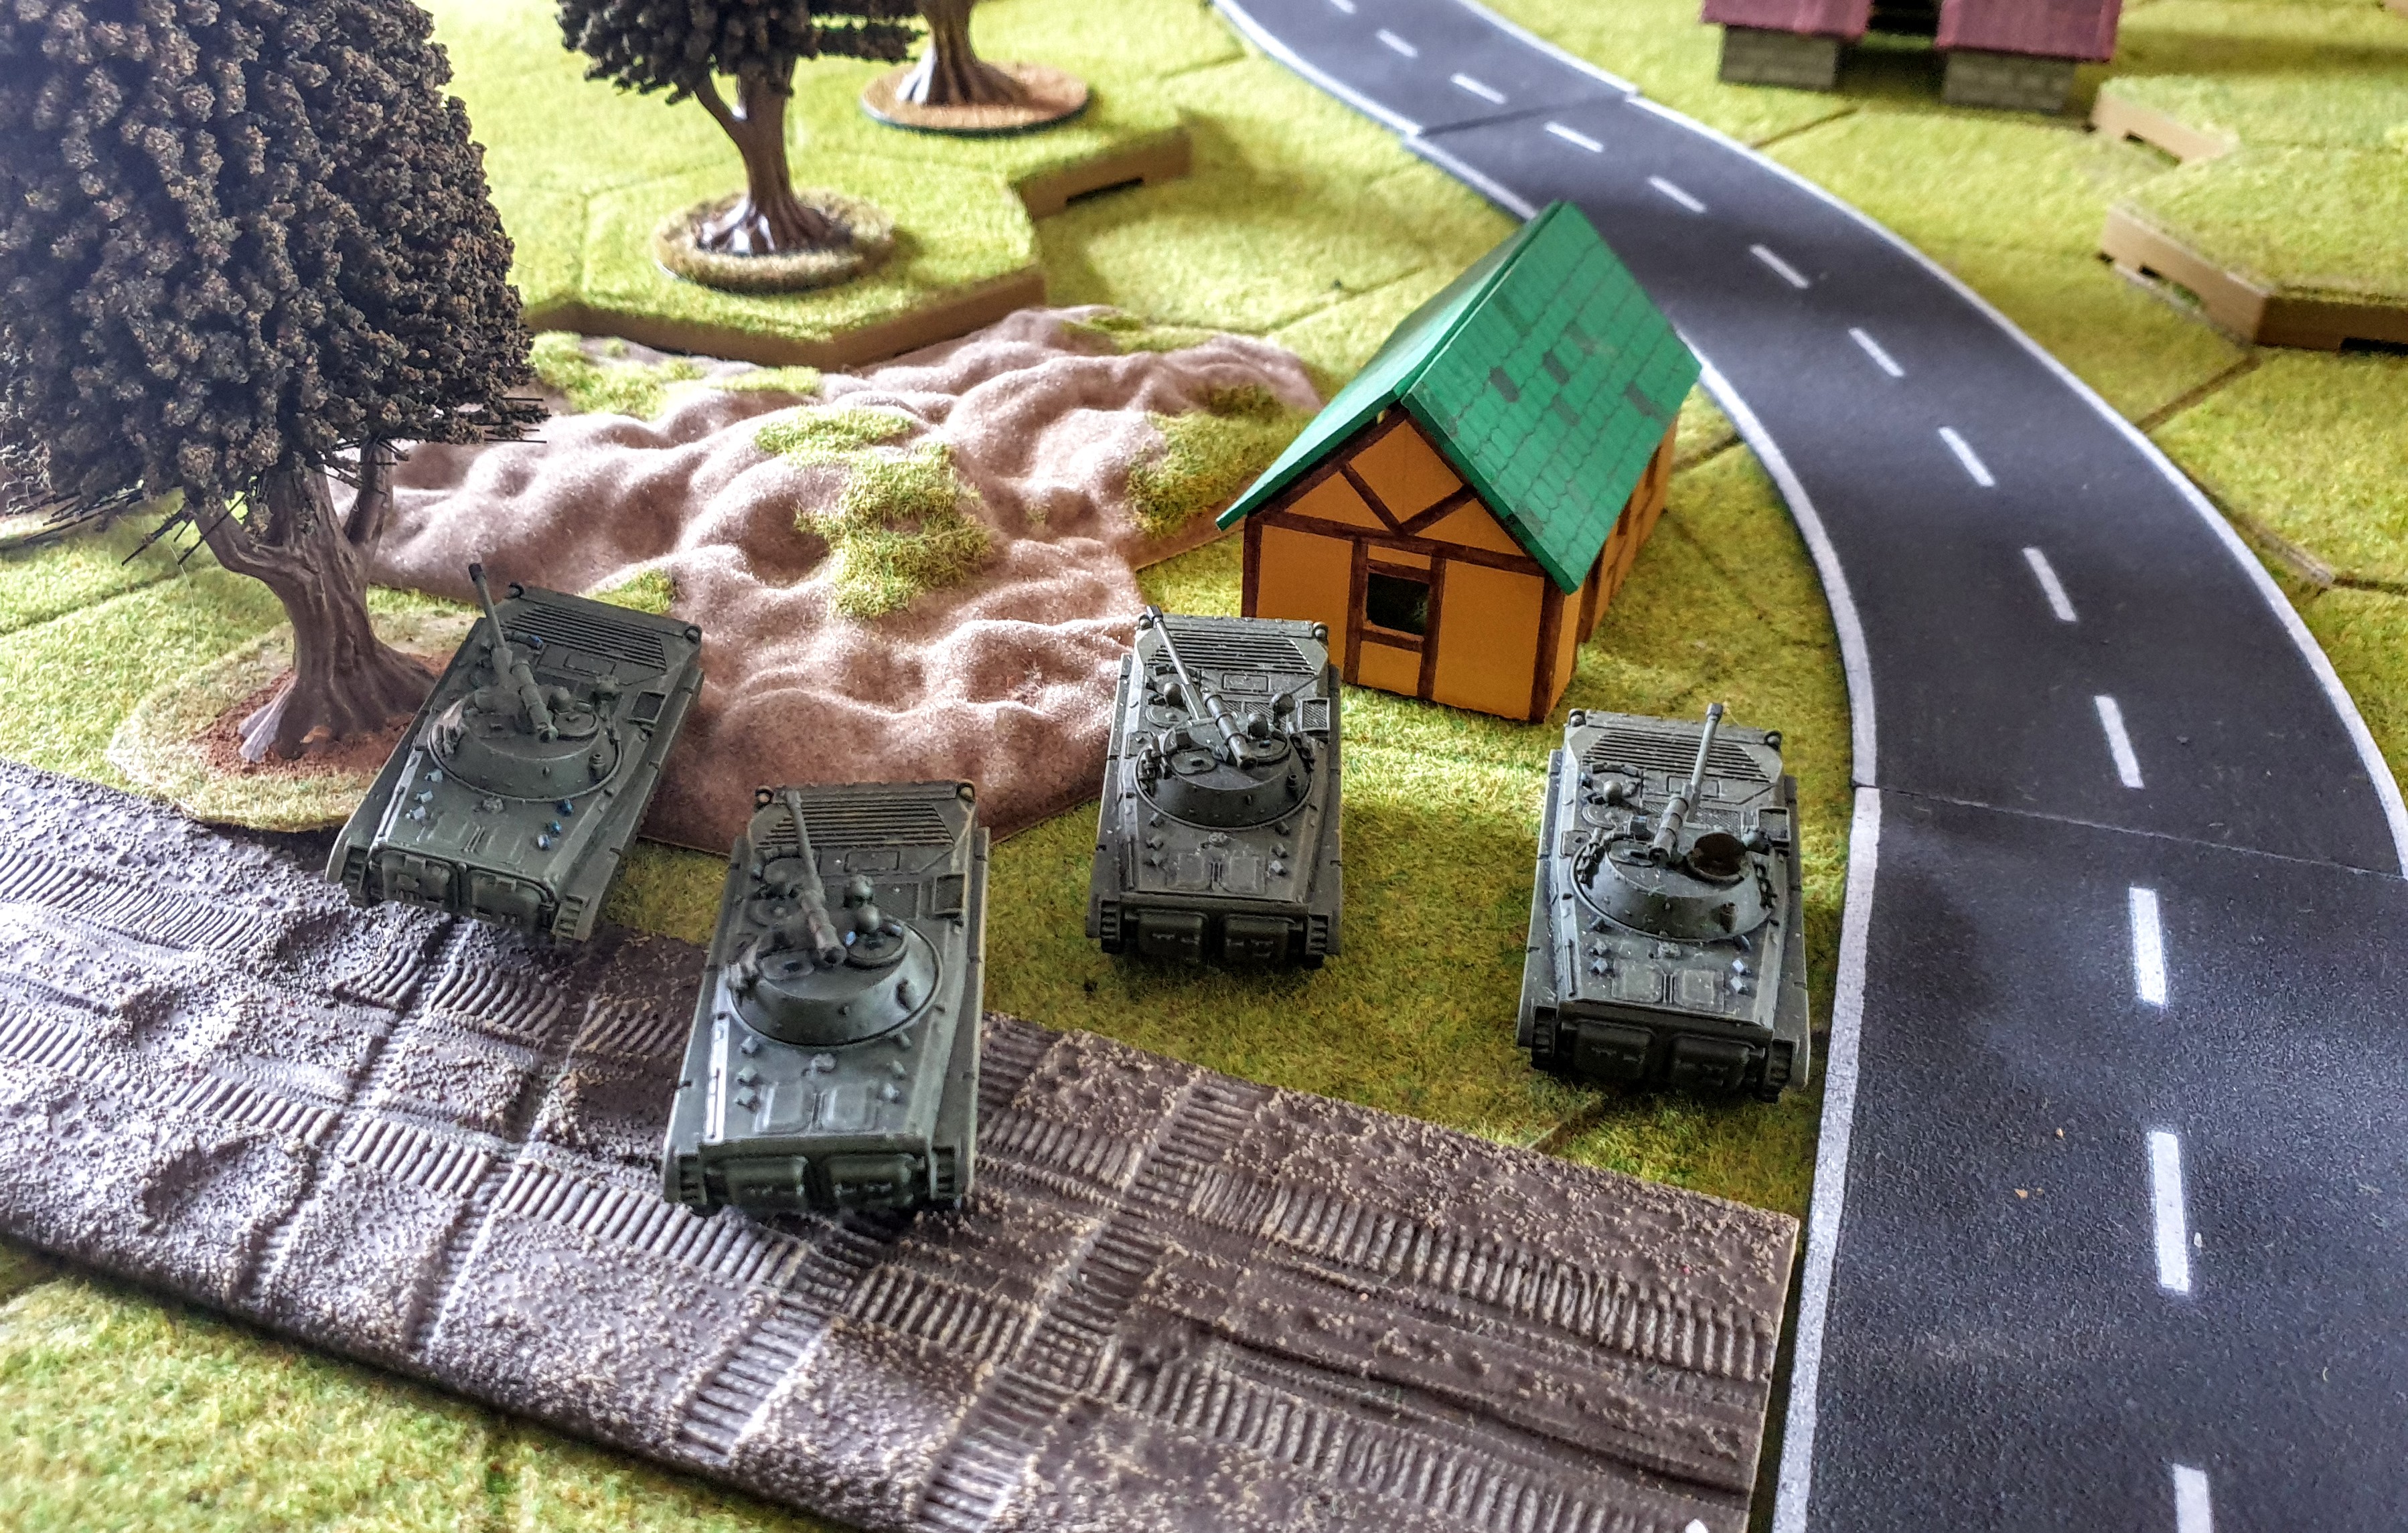
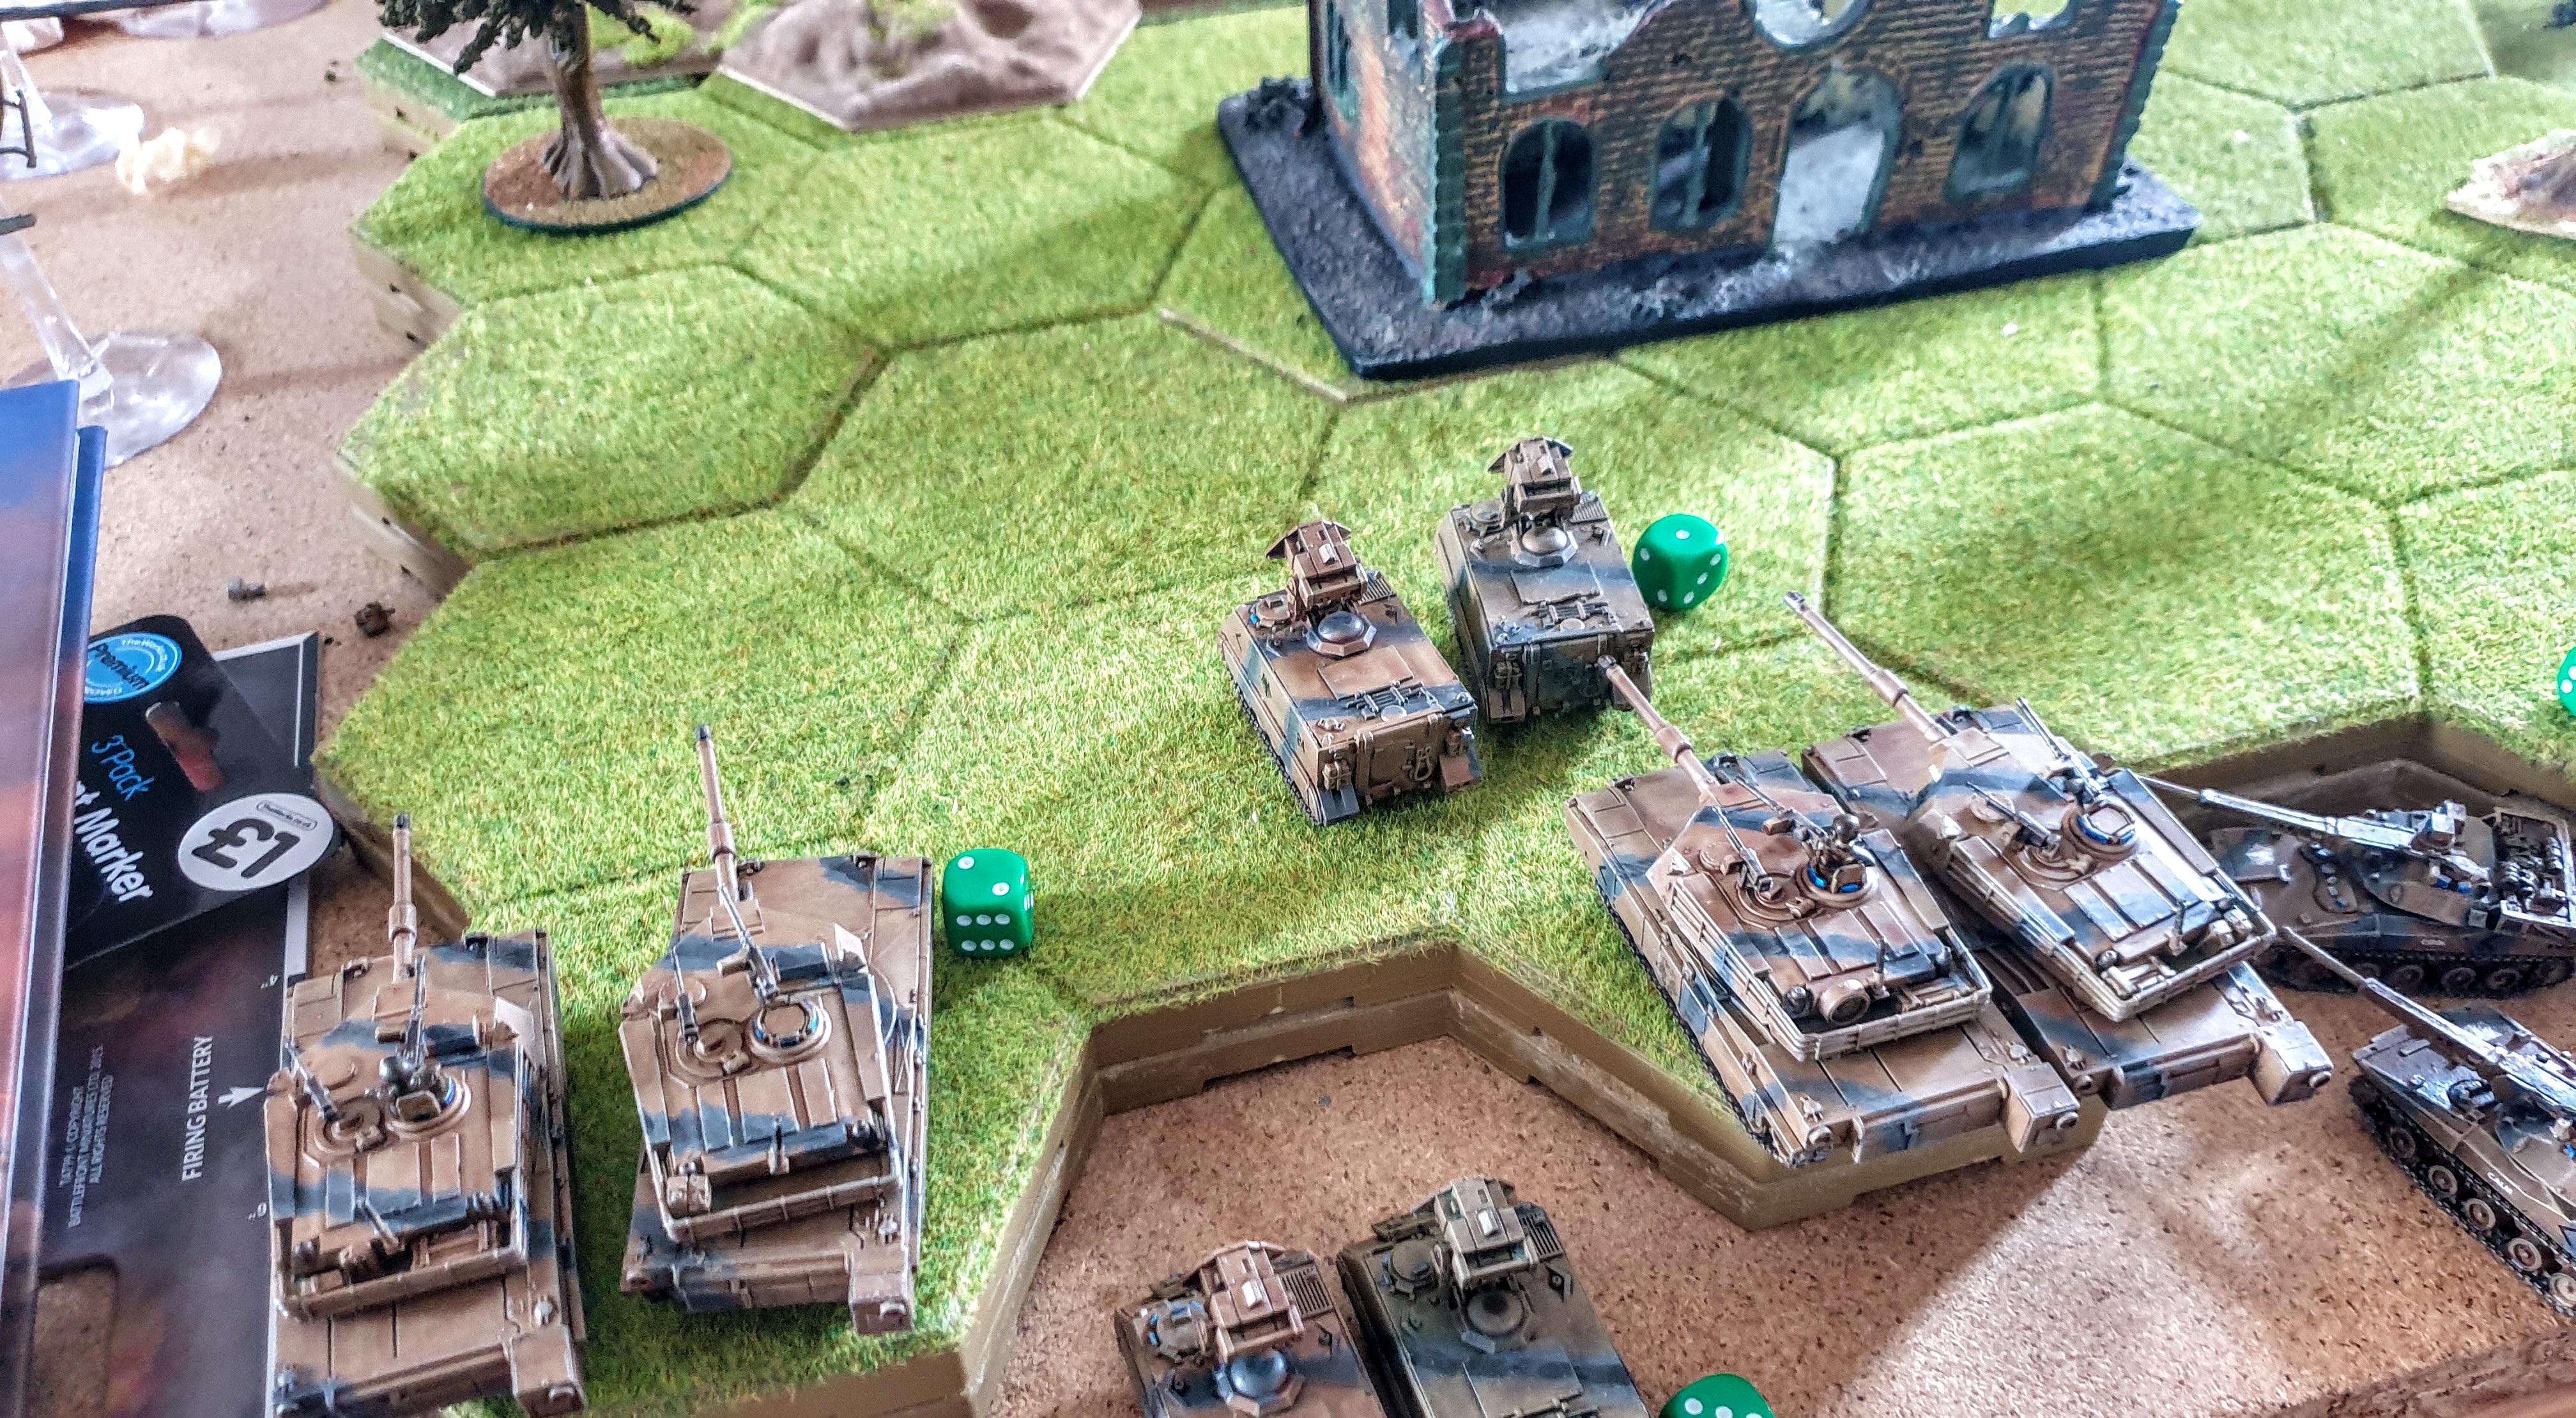
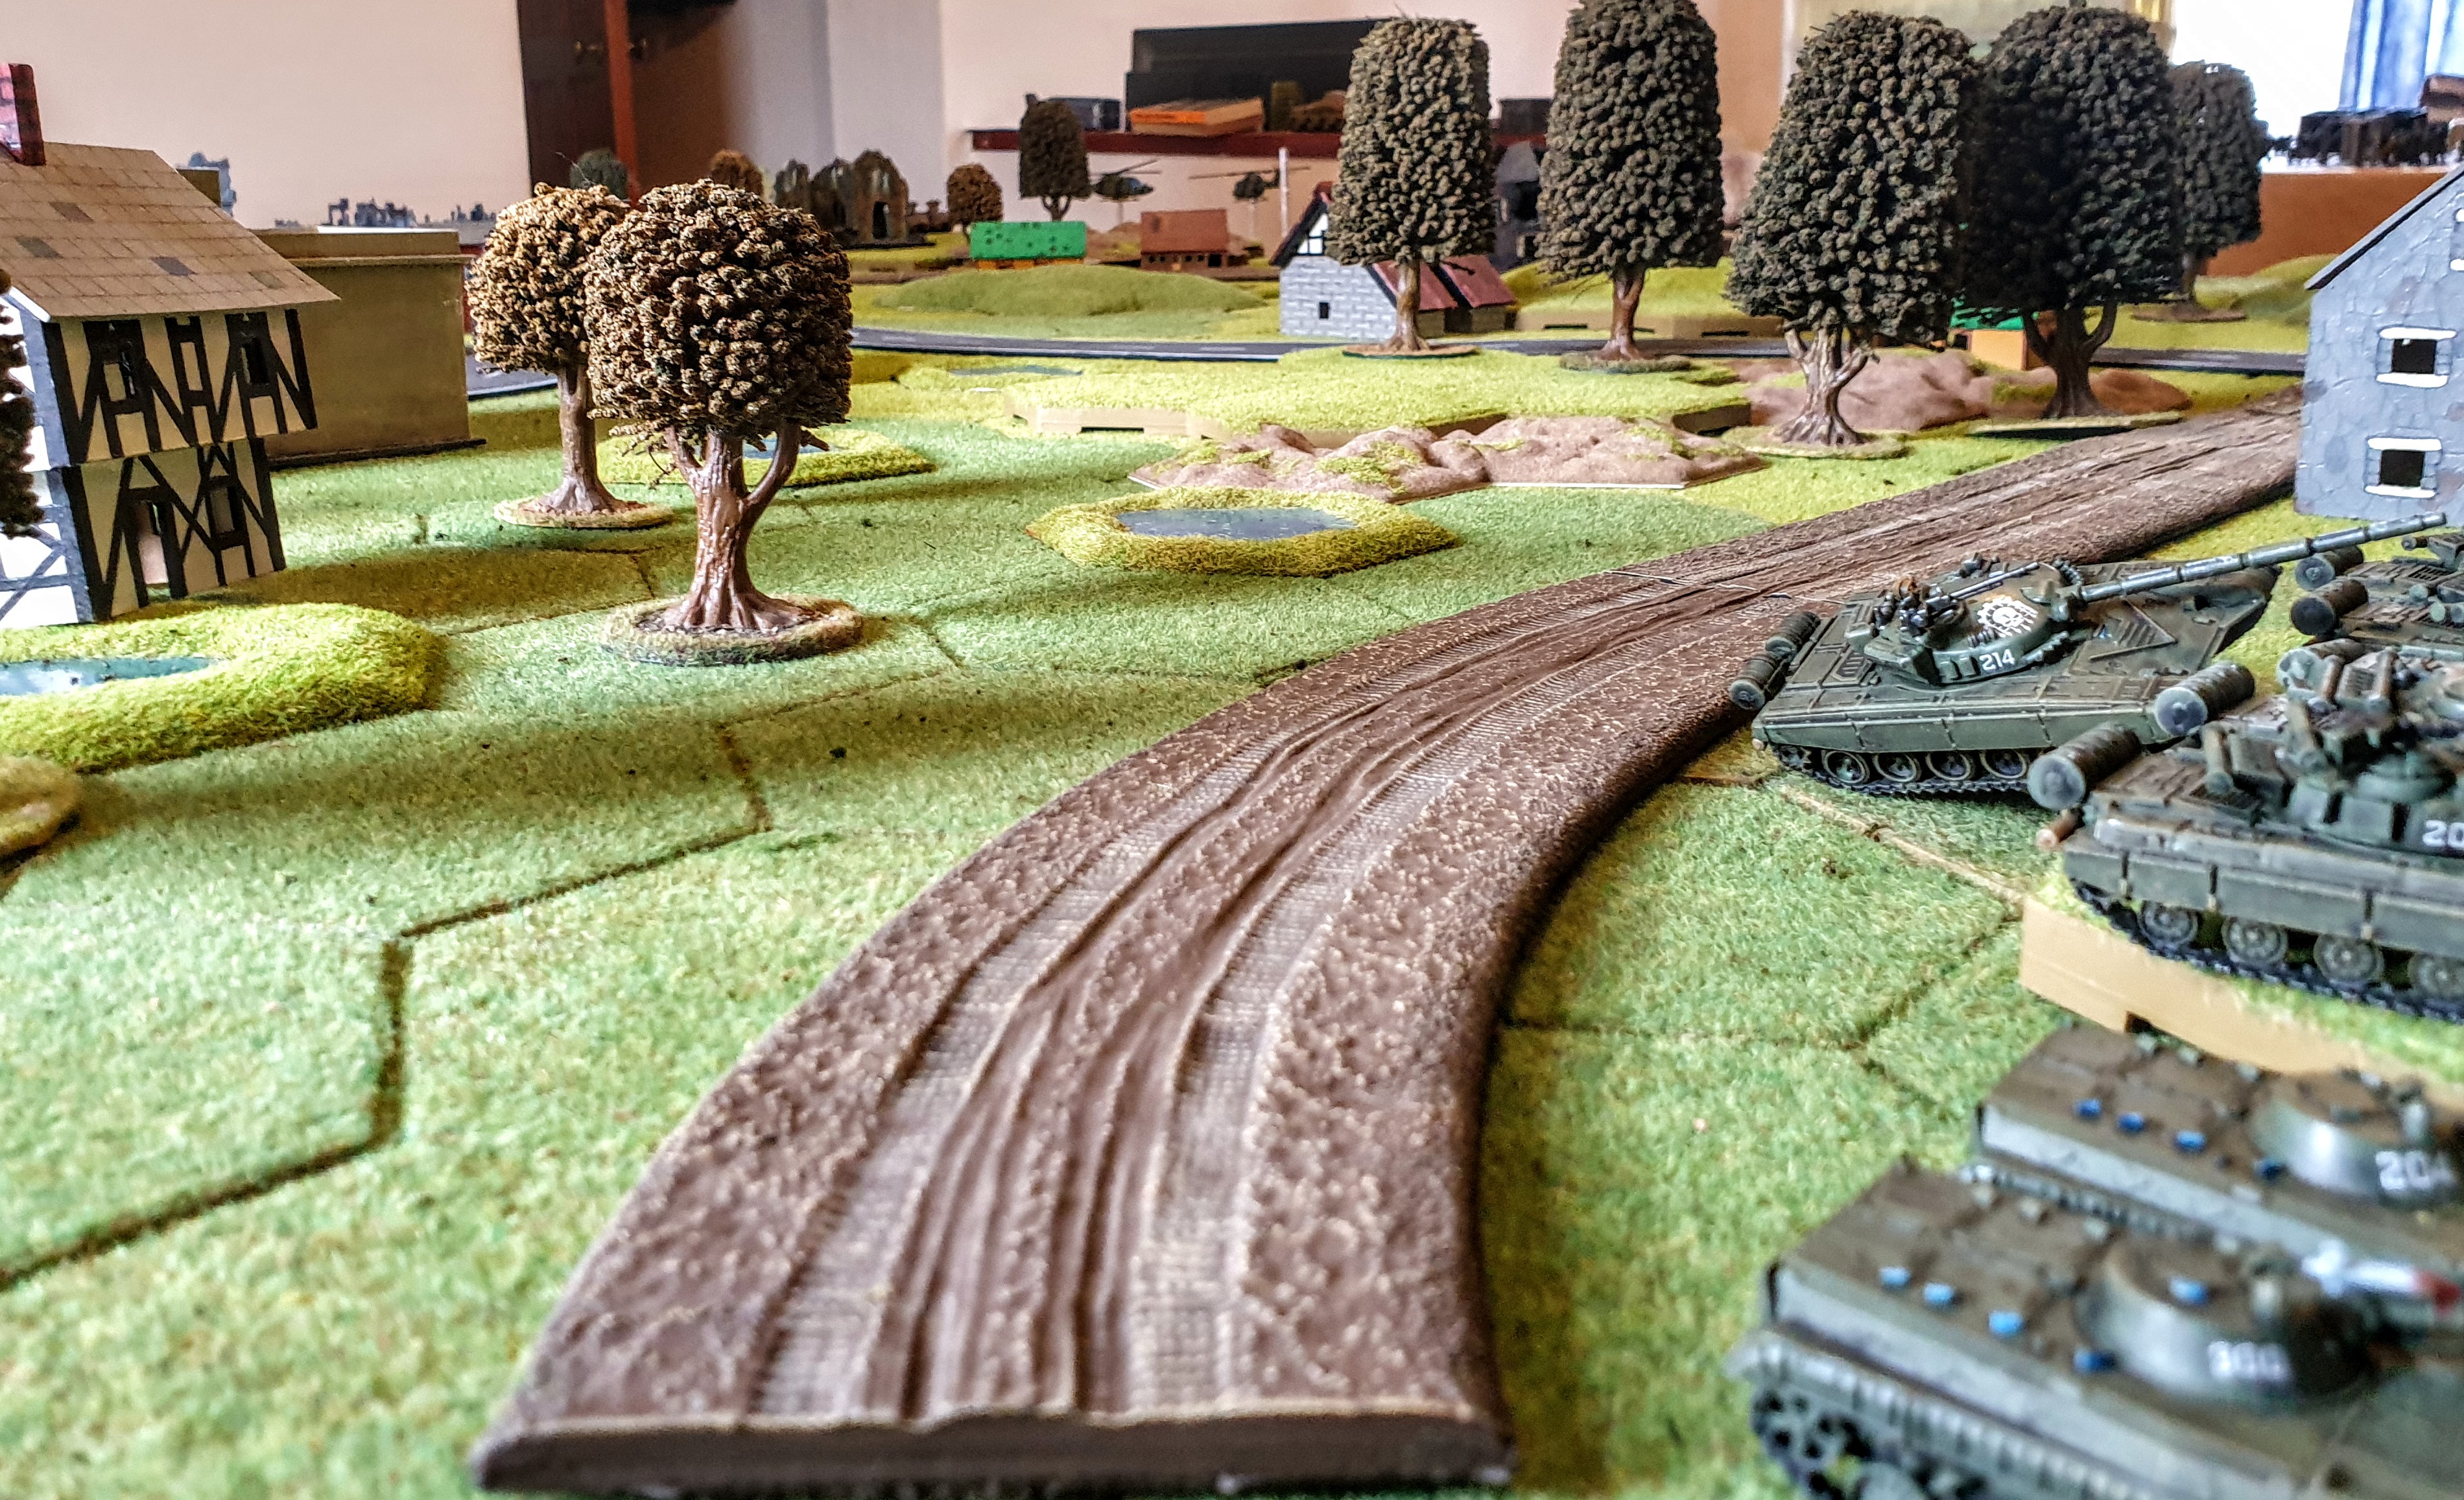
Again the HMMV’s and the 2nd Platoon of M901’s opened fire this time on the 3 T72M’S they could see , the HMMV’s had the range and killed 2, and the M901’S picked on the survivor dispatching him with two hits.
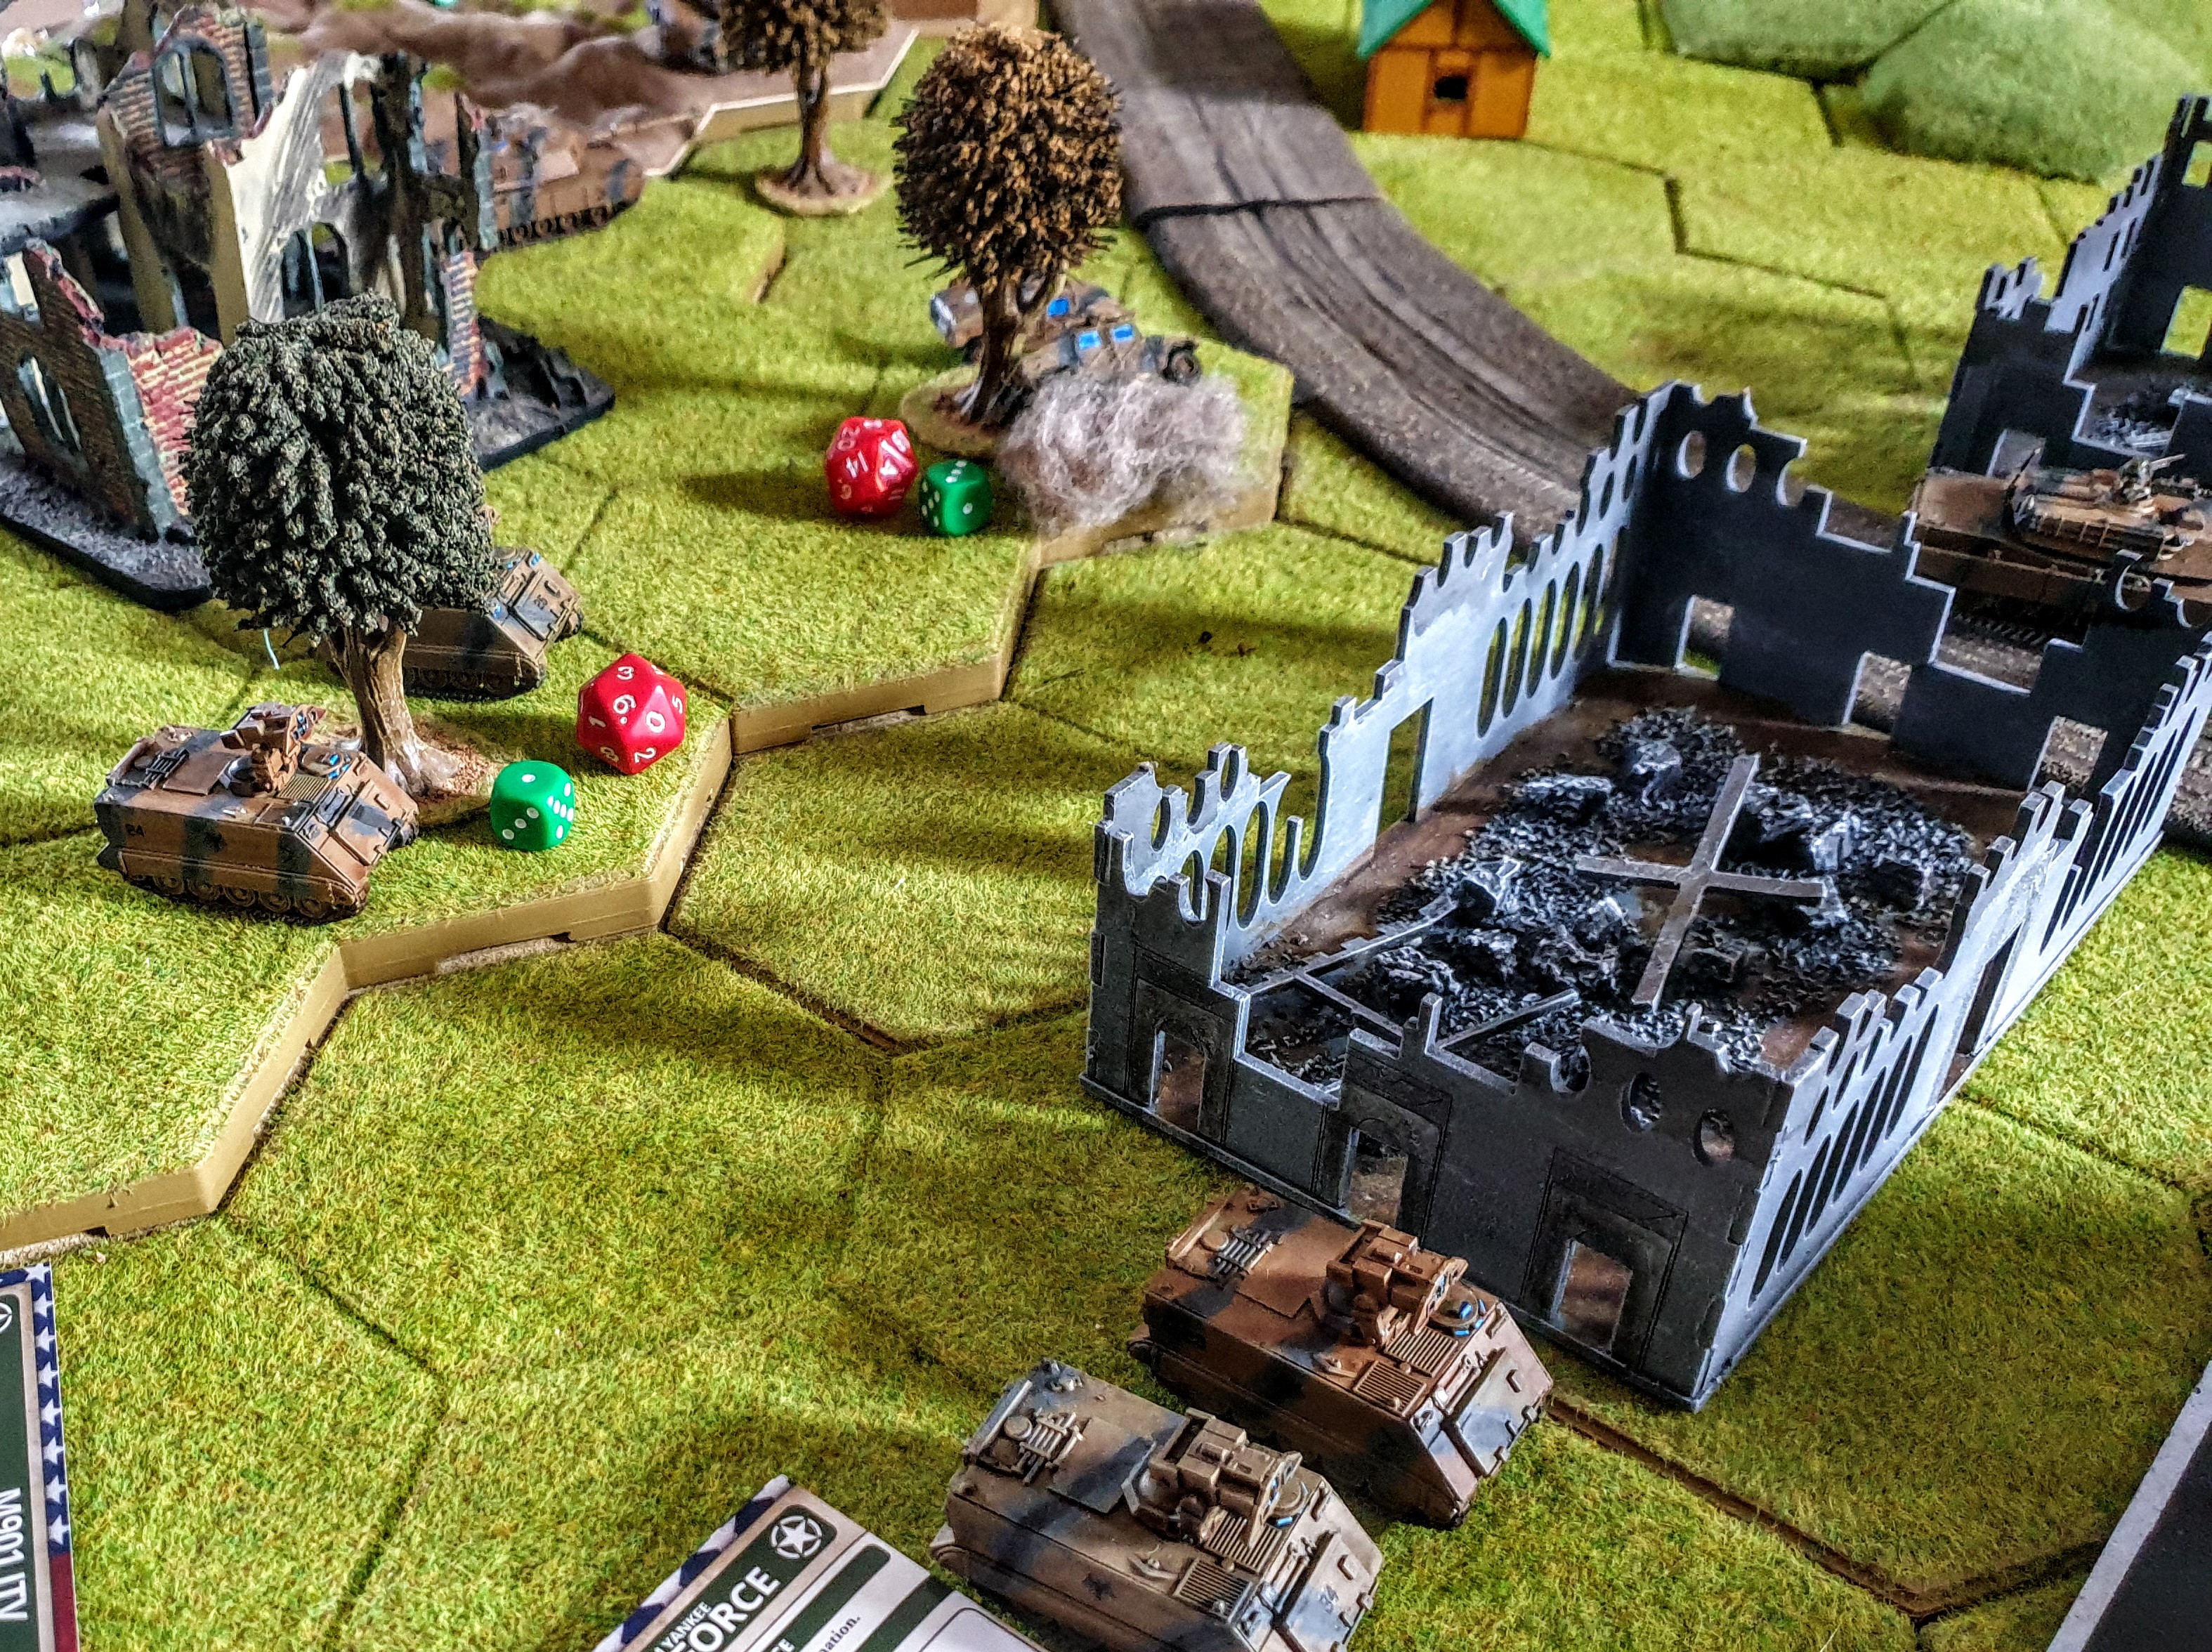
Next up was a Red which I put on the BMP-2’S. I could have returned fire at the HMMV’s on 4’s but at best was going to get only shot and their was still a unit of M901’s which with their Hammerheads Gone to Ground ability meant I would have been on 6’s. So I decided to move both behind the safety of the line of trees.

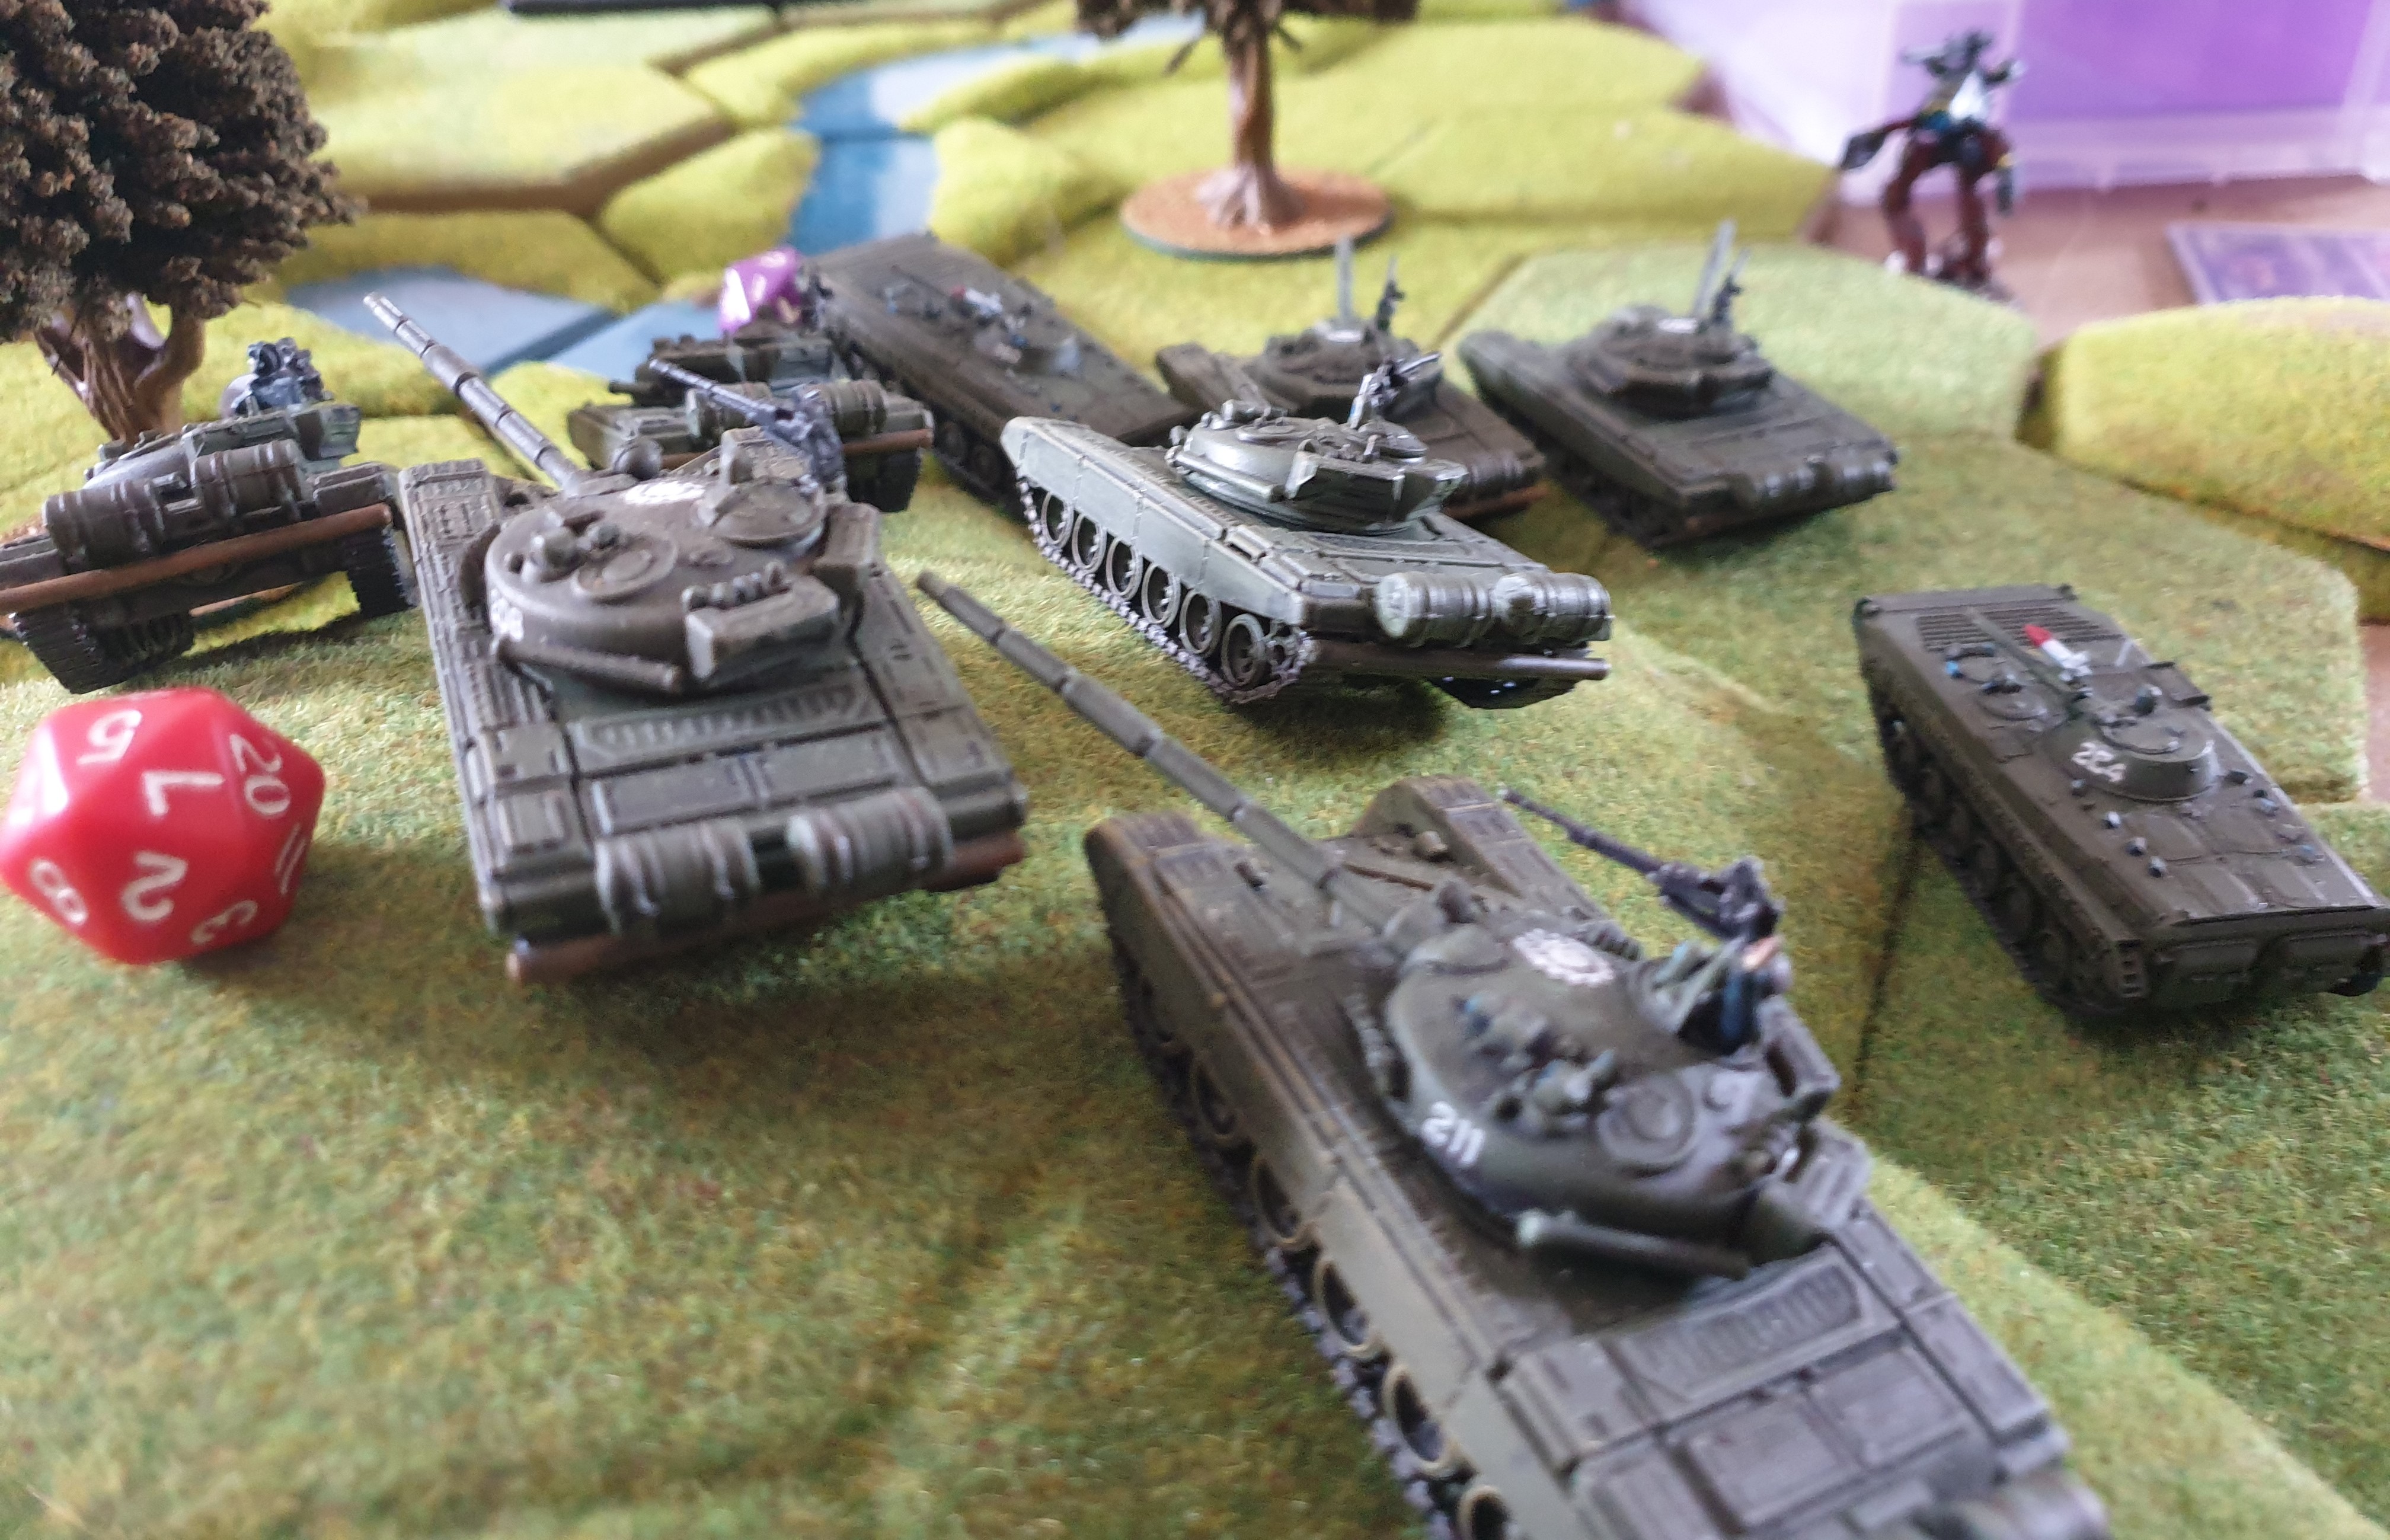
I then made a couple of mistakes in hindsight . I drew a red dice . I should have put it on the T64’s and moved them into cover instead I put it on the T72M’S racing them up the road and into the gap between the fast food restaurant and the garage.
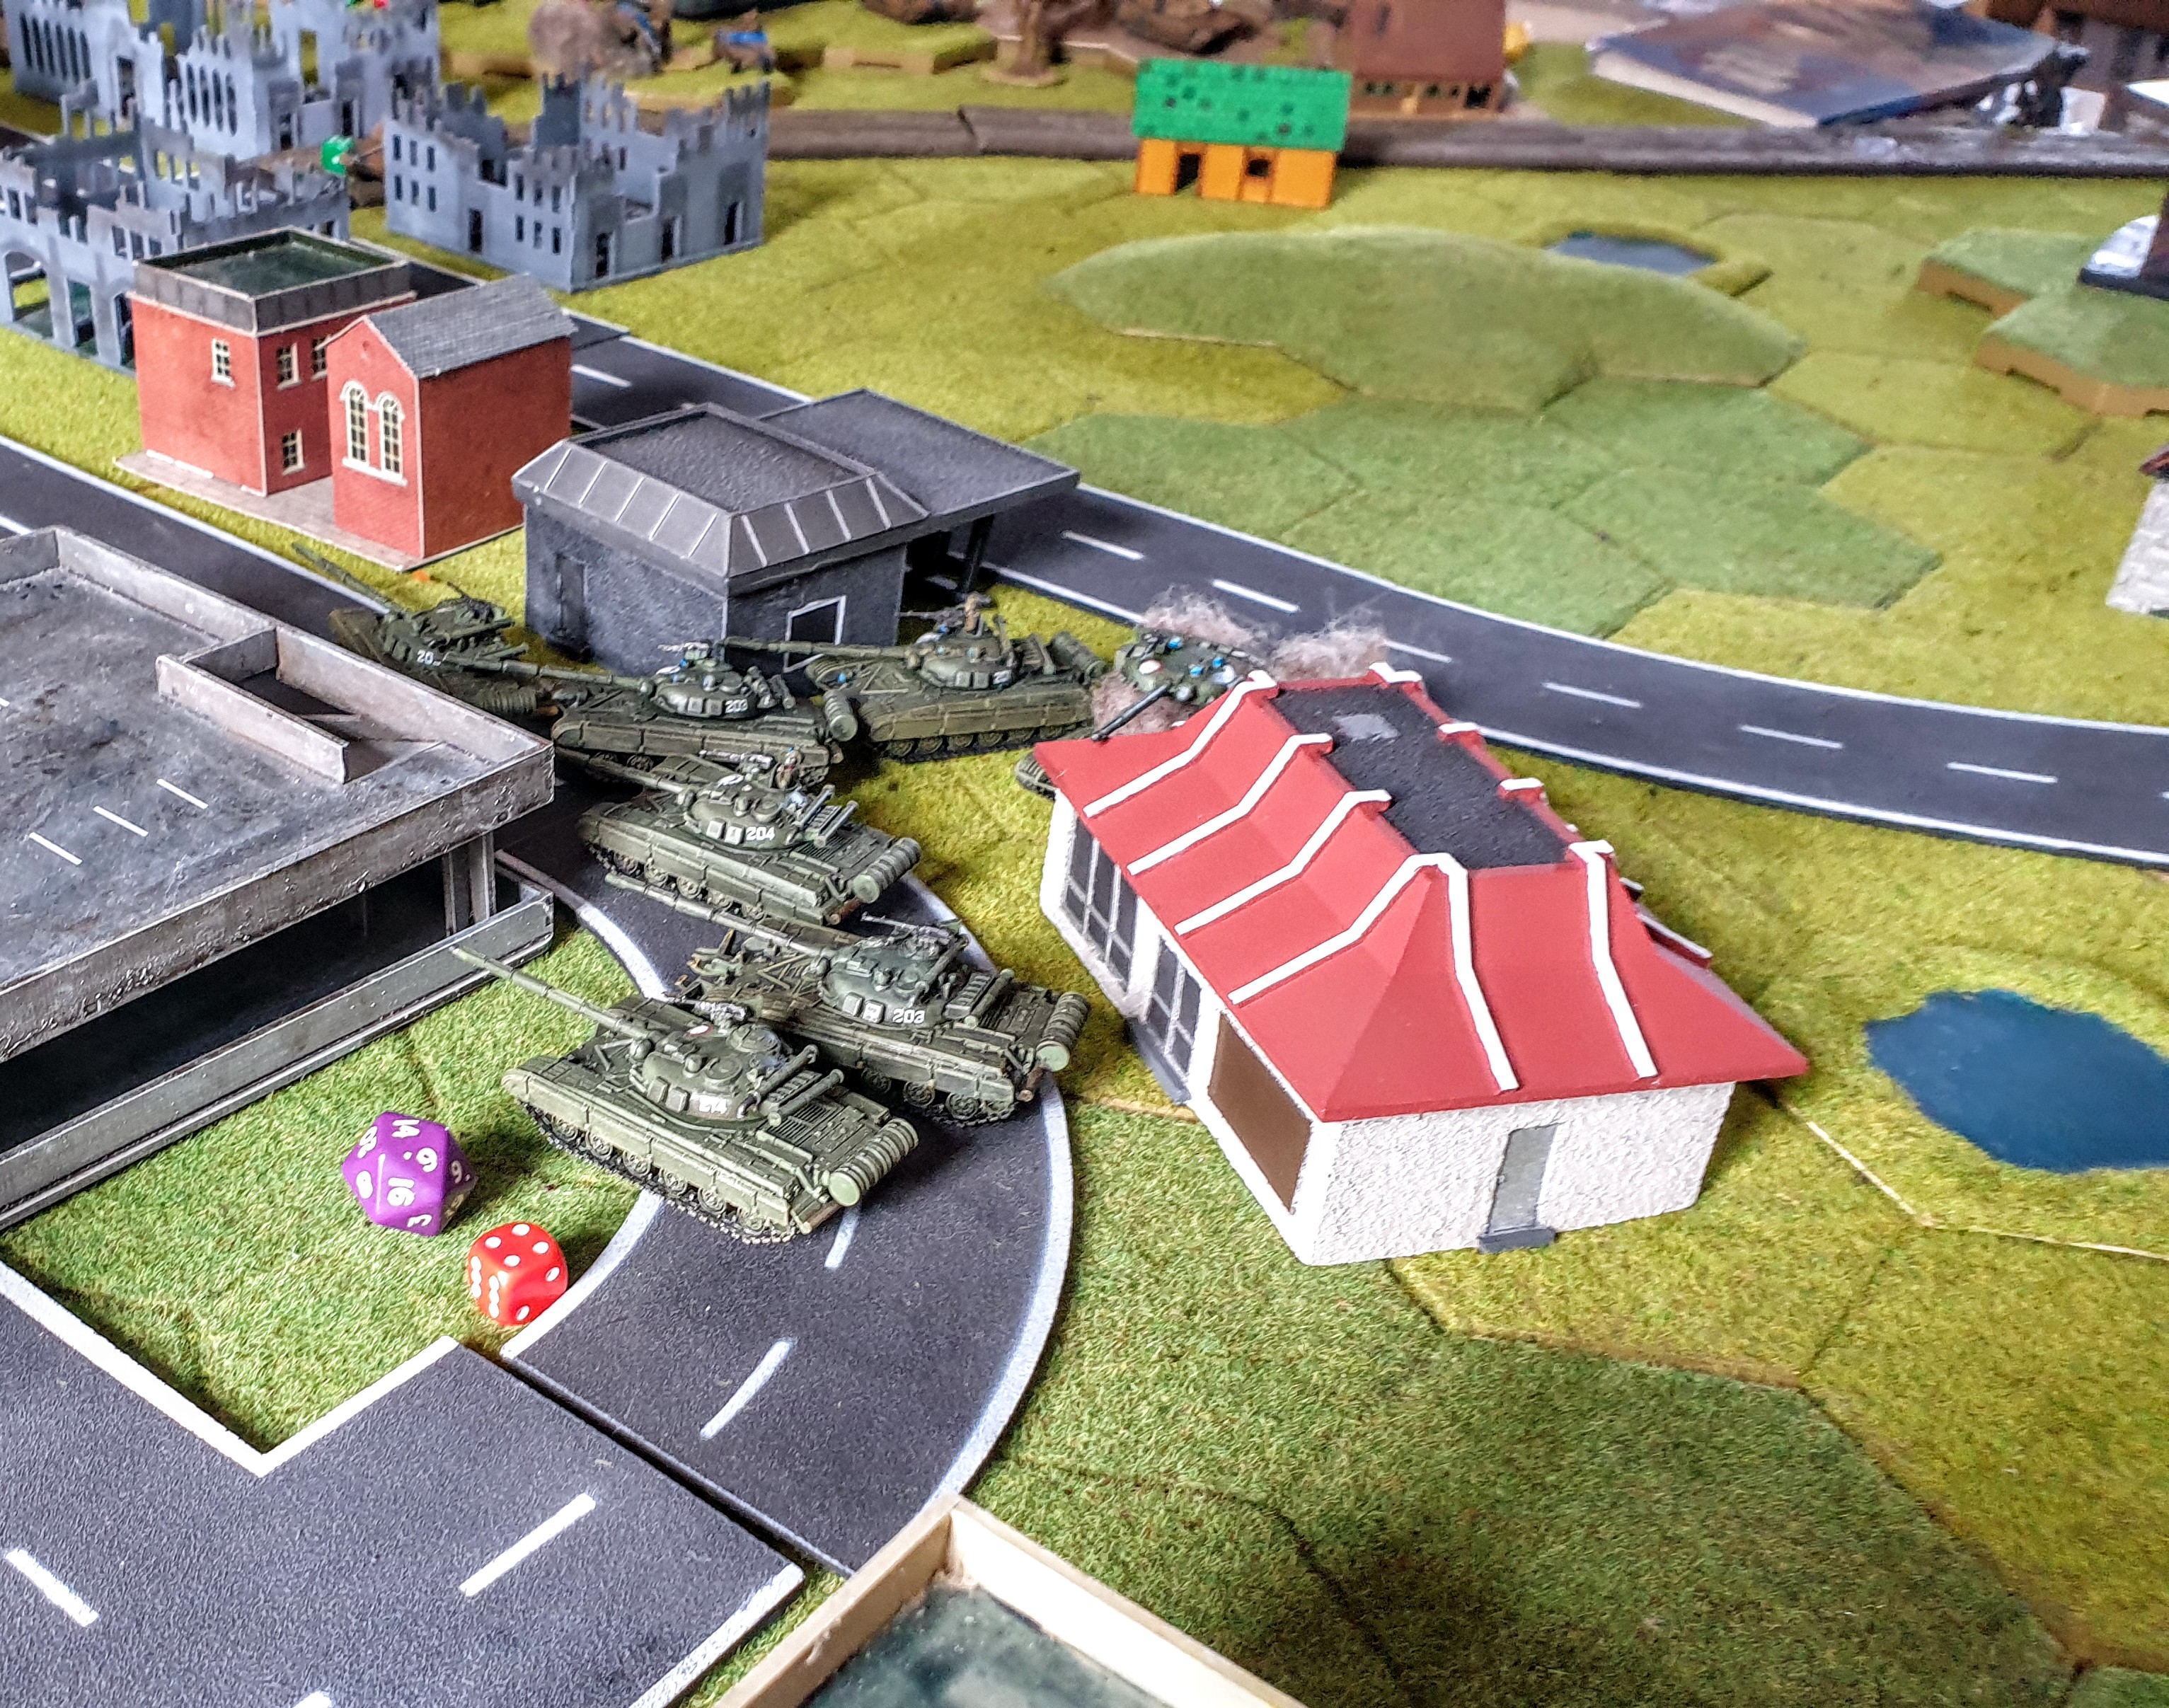
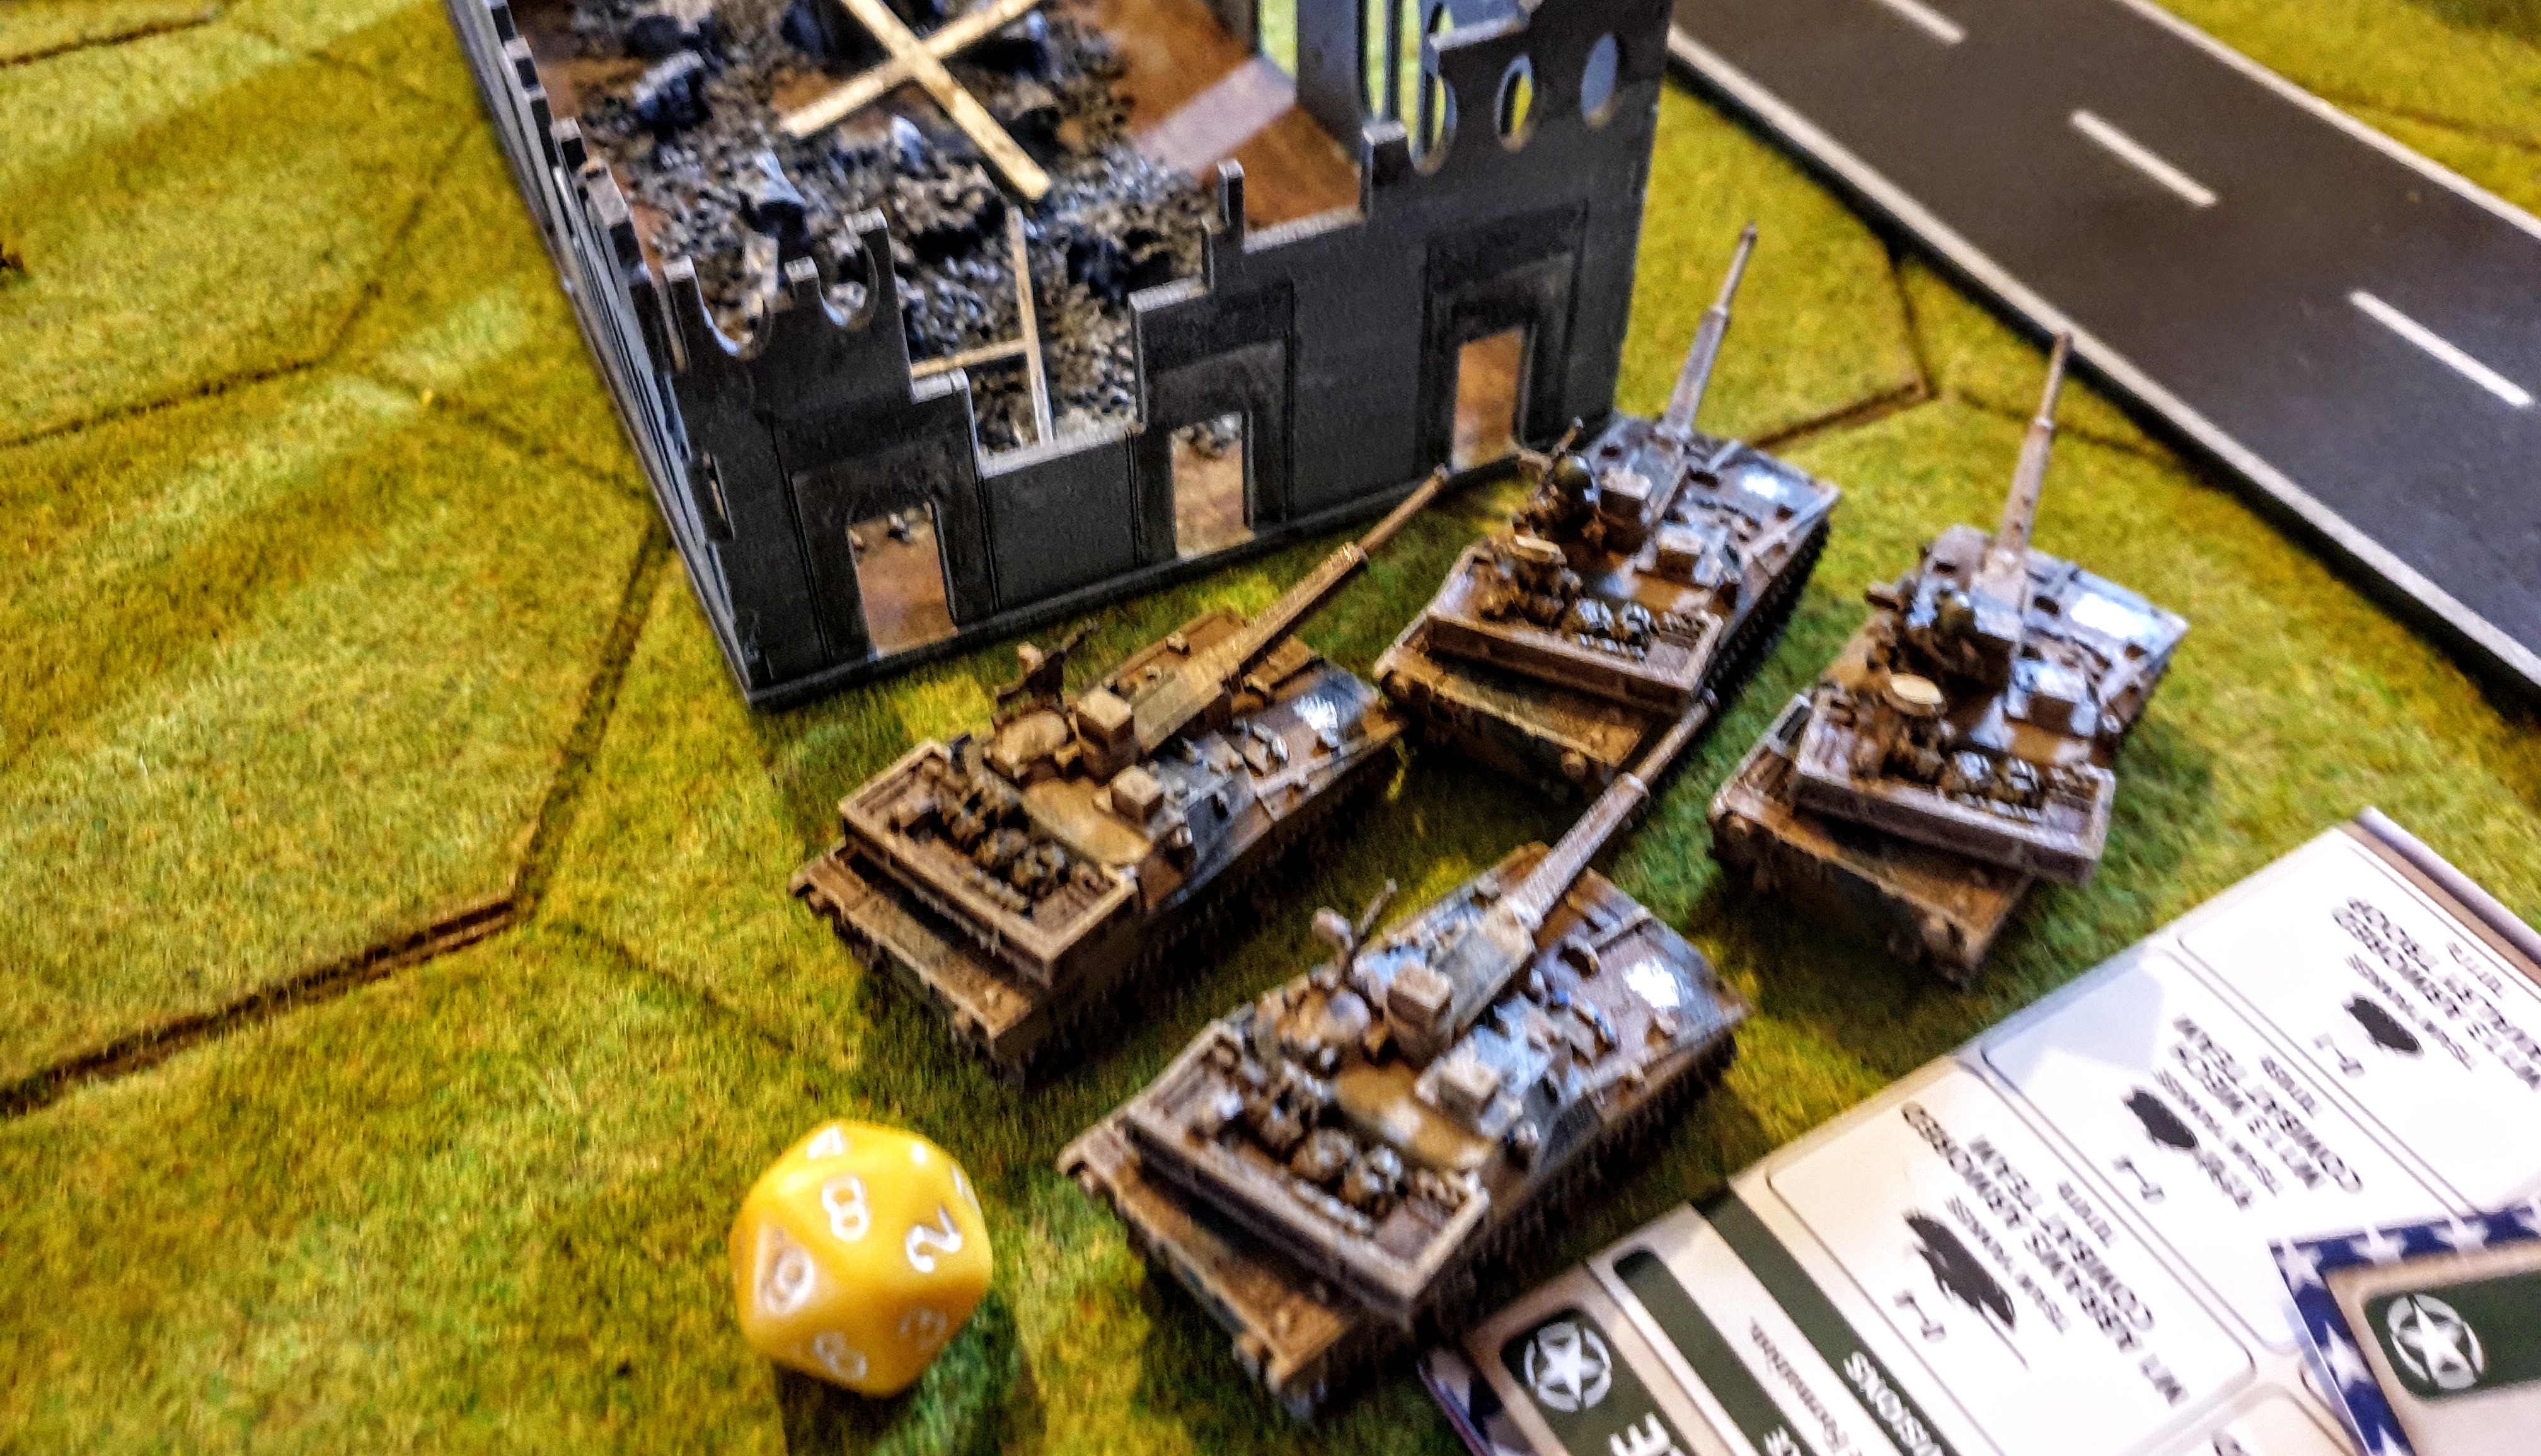
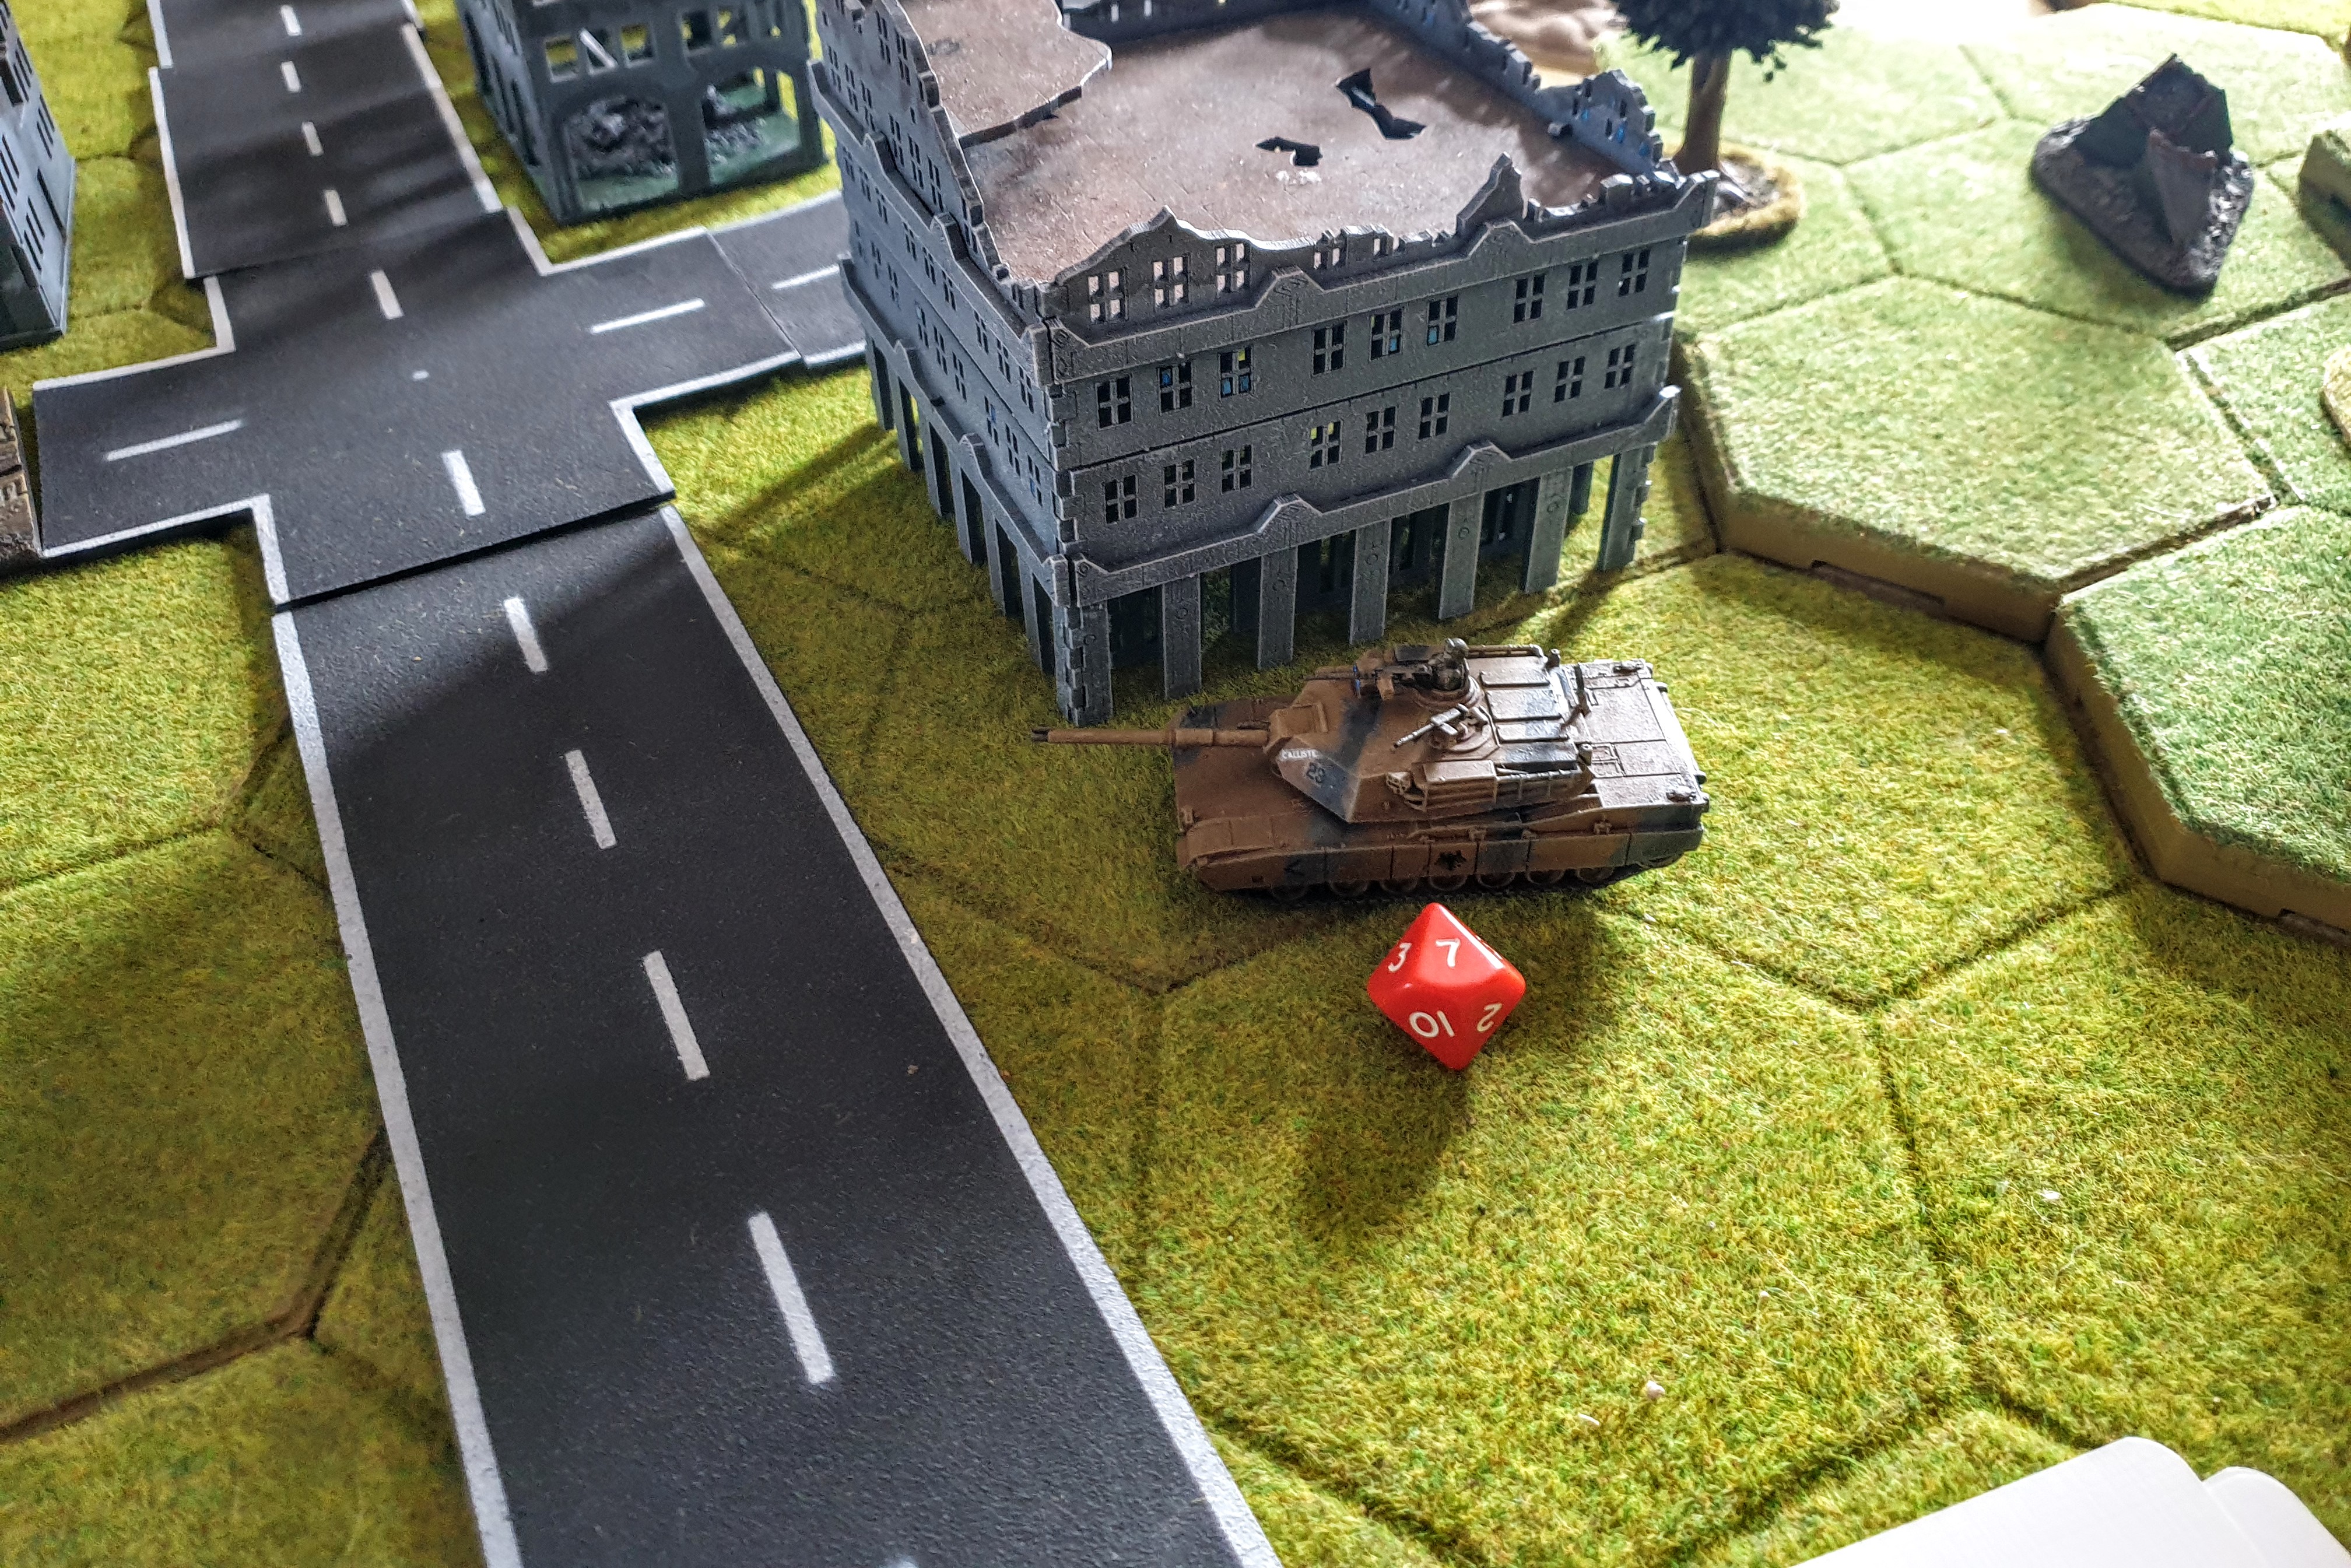
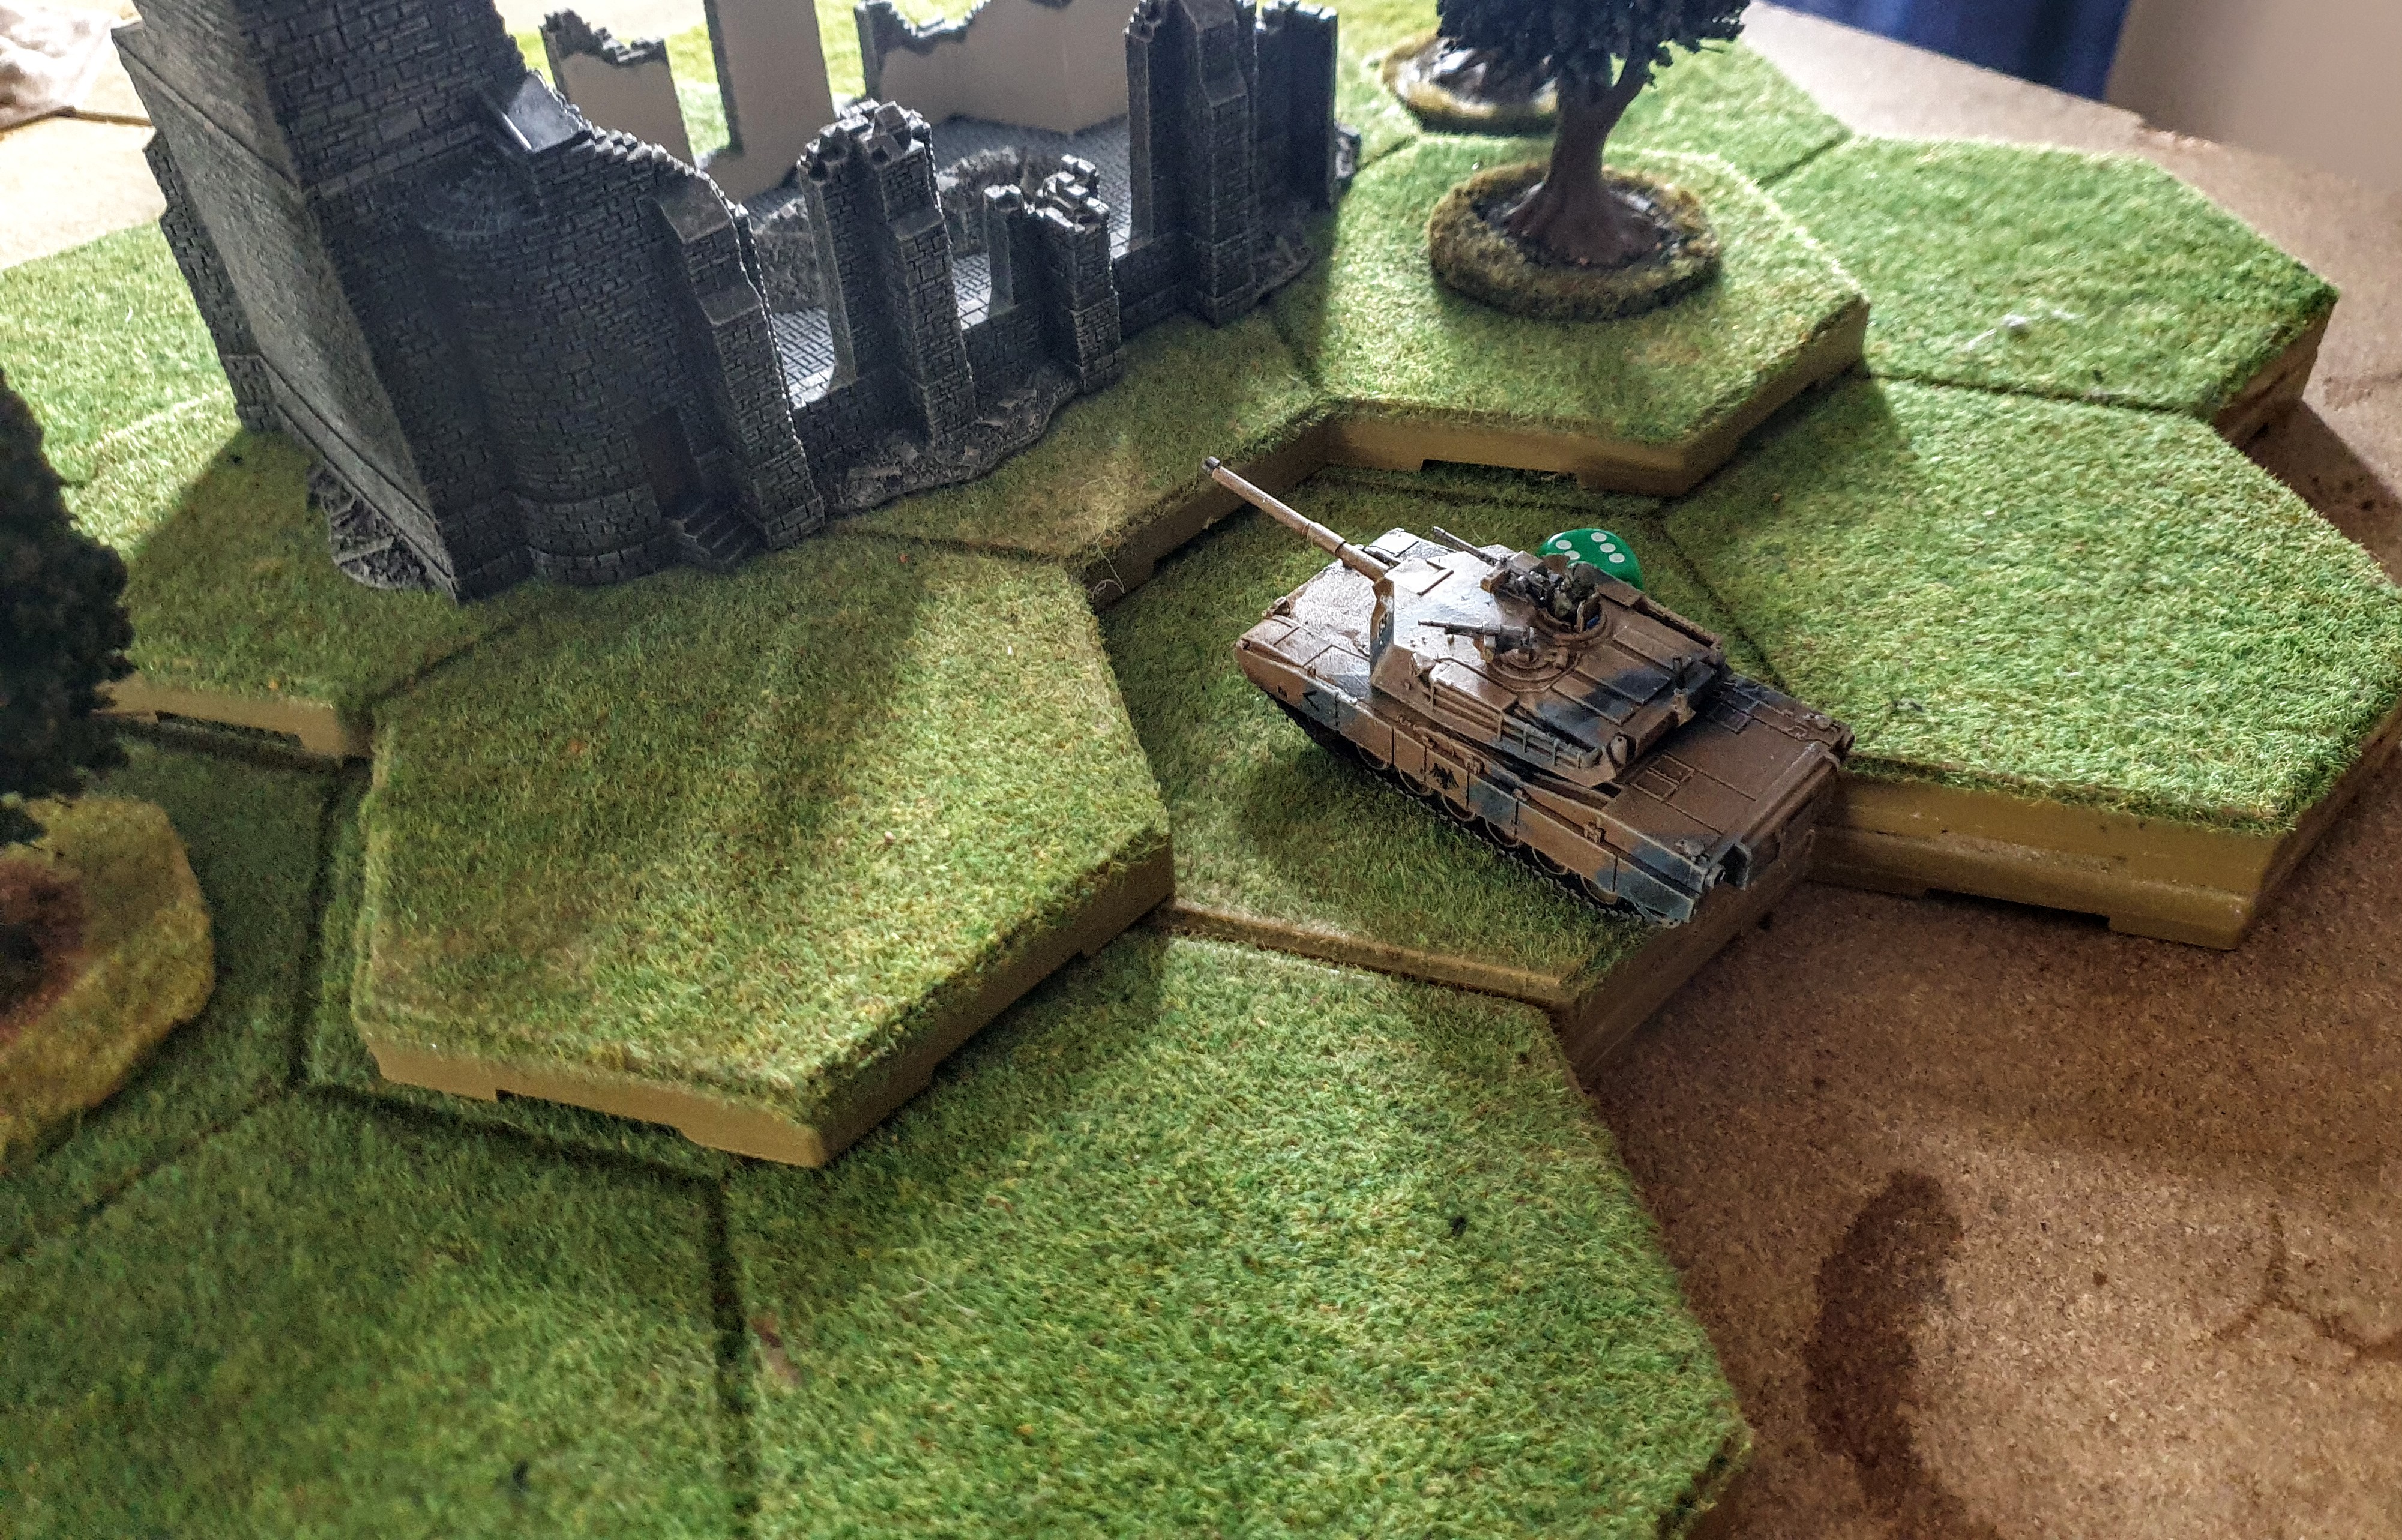
This mistake meant that when the M1A1HC’S activated next , they could not only target the 3 T64’S but the trailing T72M which hadn’t quiet made it.
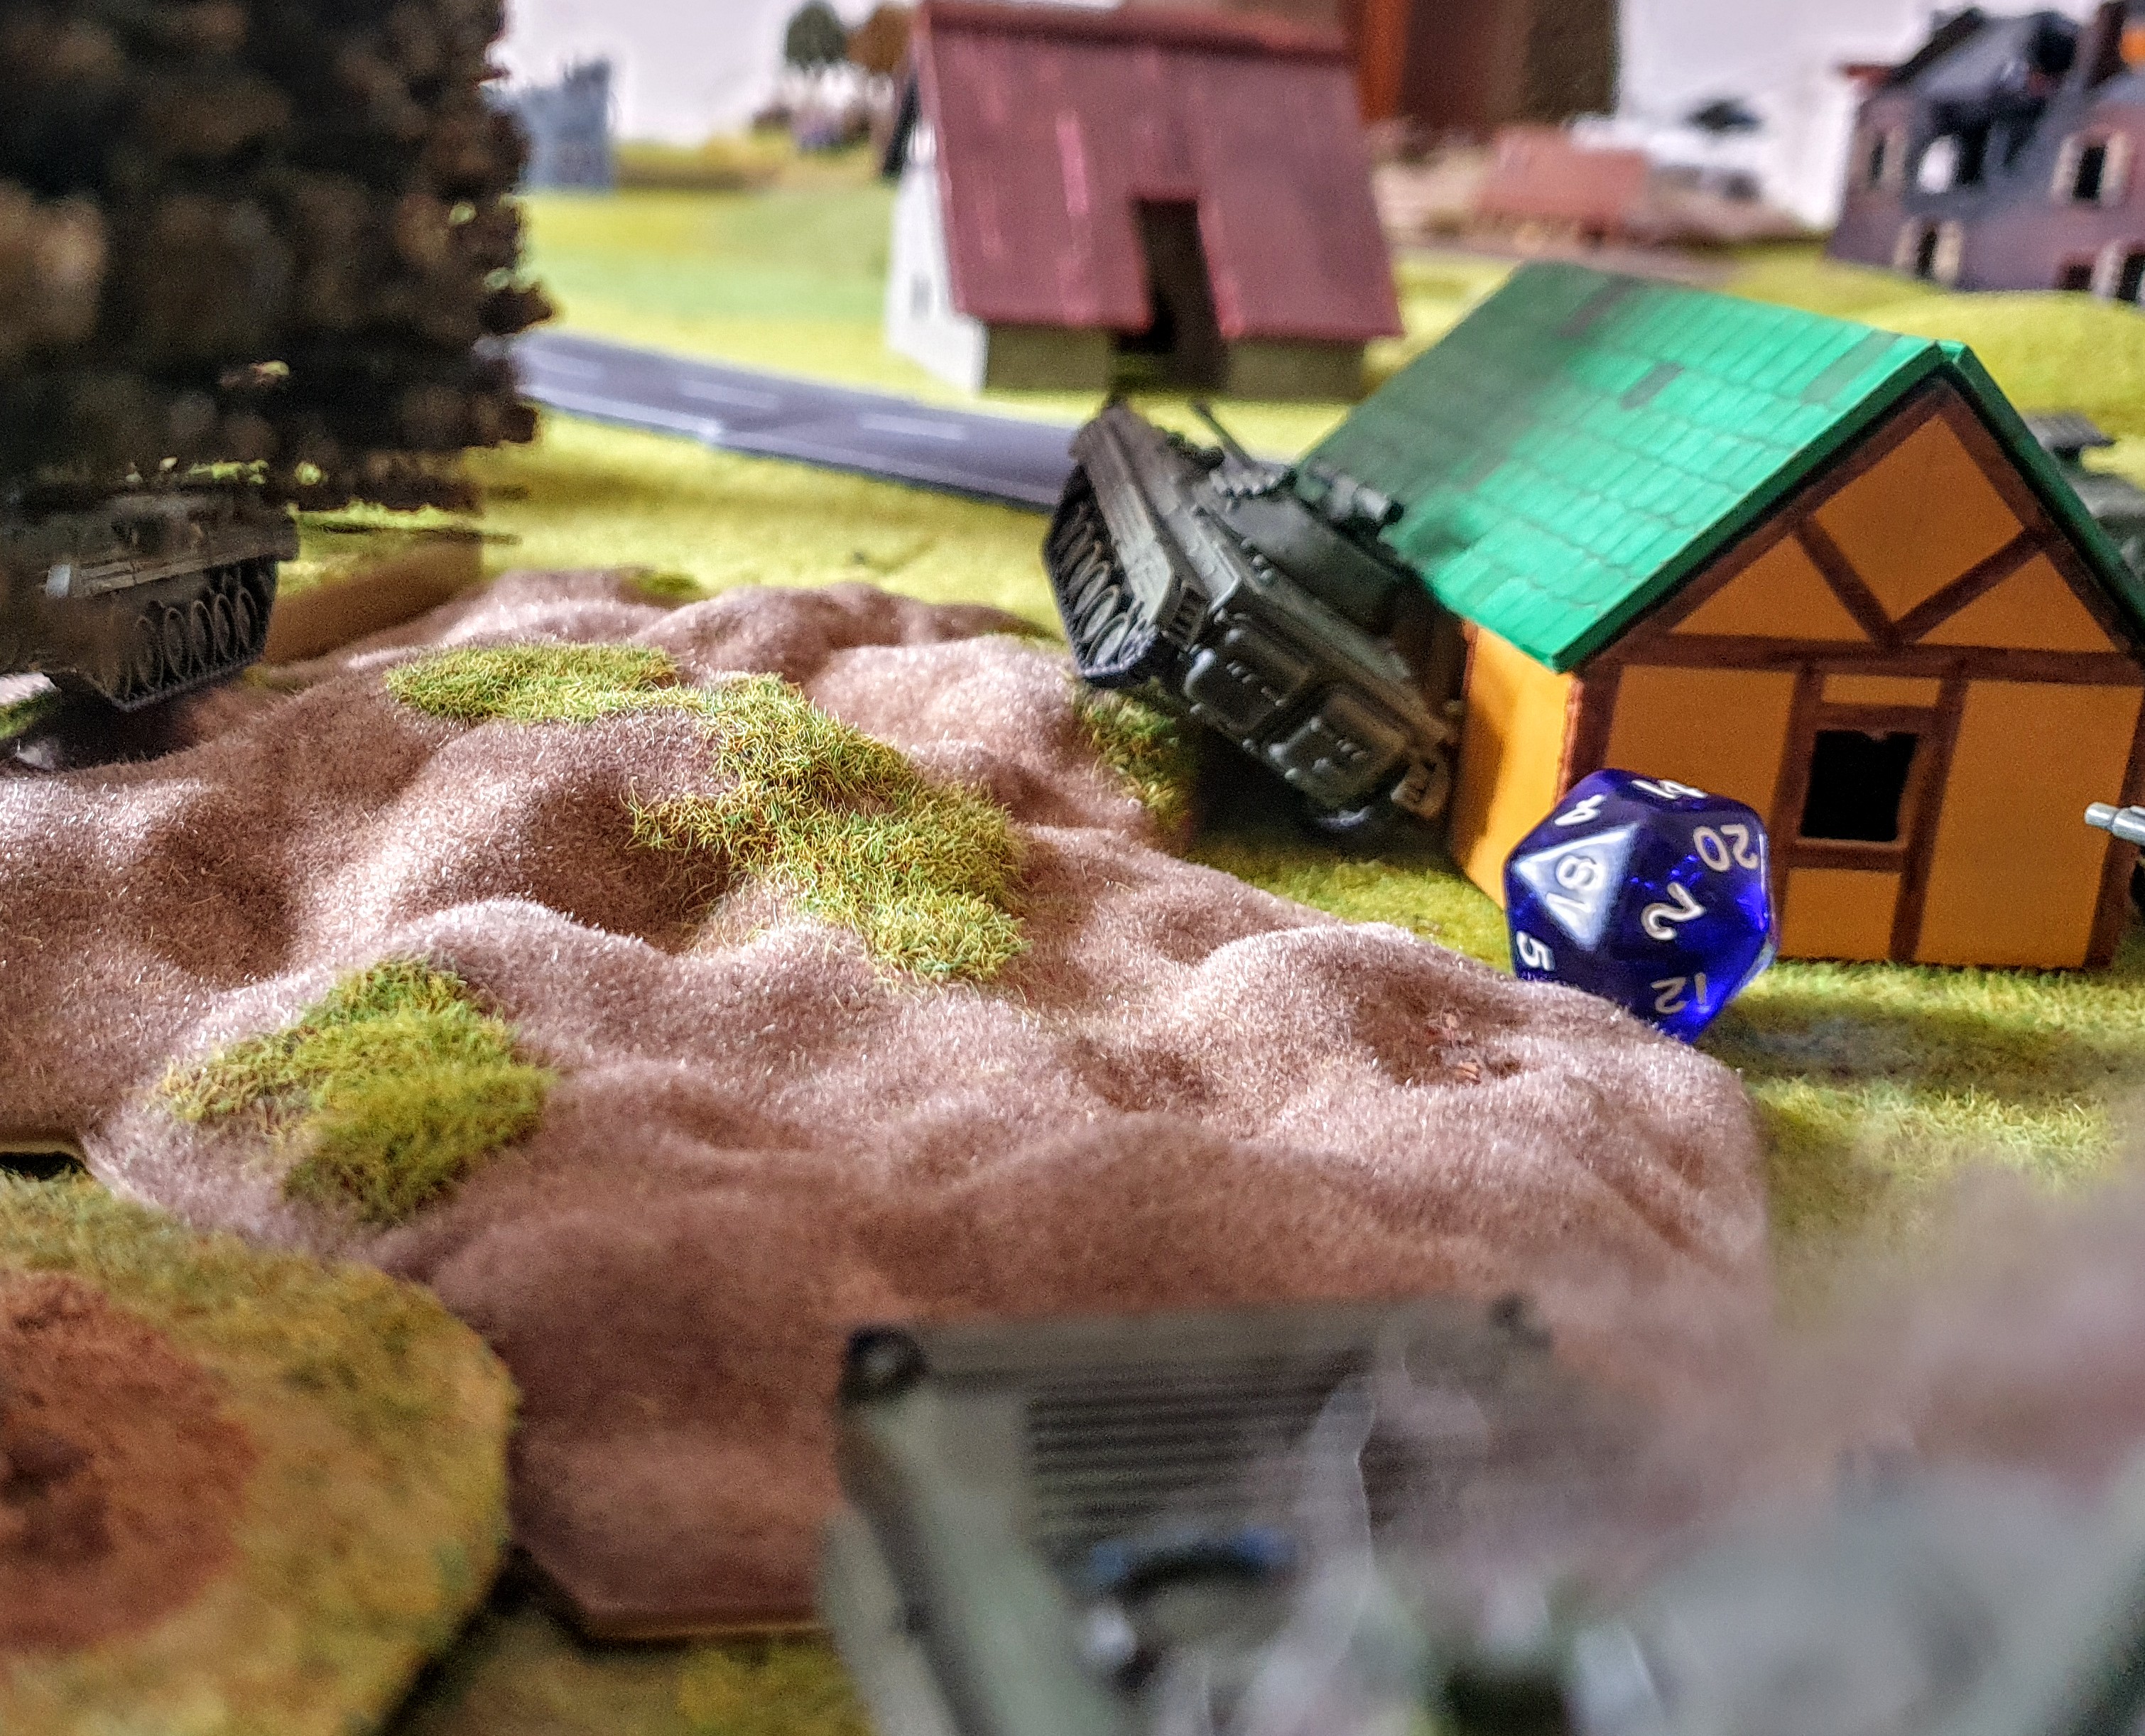
As it happened one of the M1A1HC’S failed again to enter the woods and could not get a line of site. The result still ended with 2 dead T64’s , killing one undamaged and one of the bailed out ones. The T72M died with 2 shots blasting into its side.

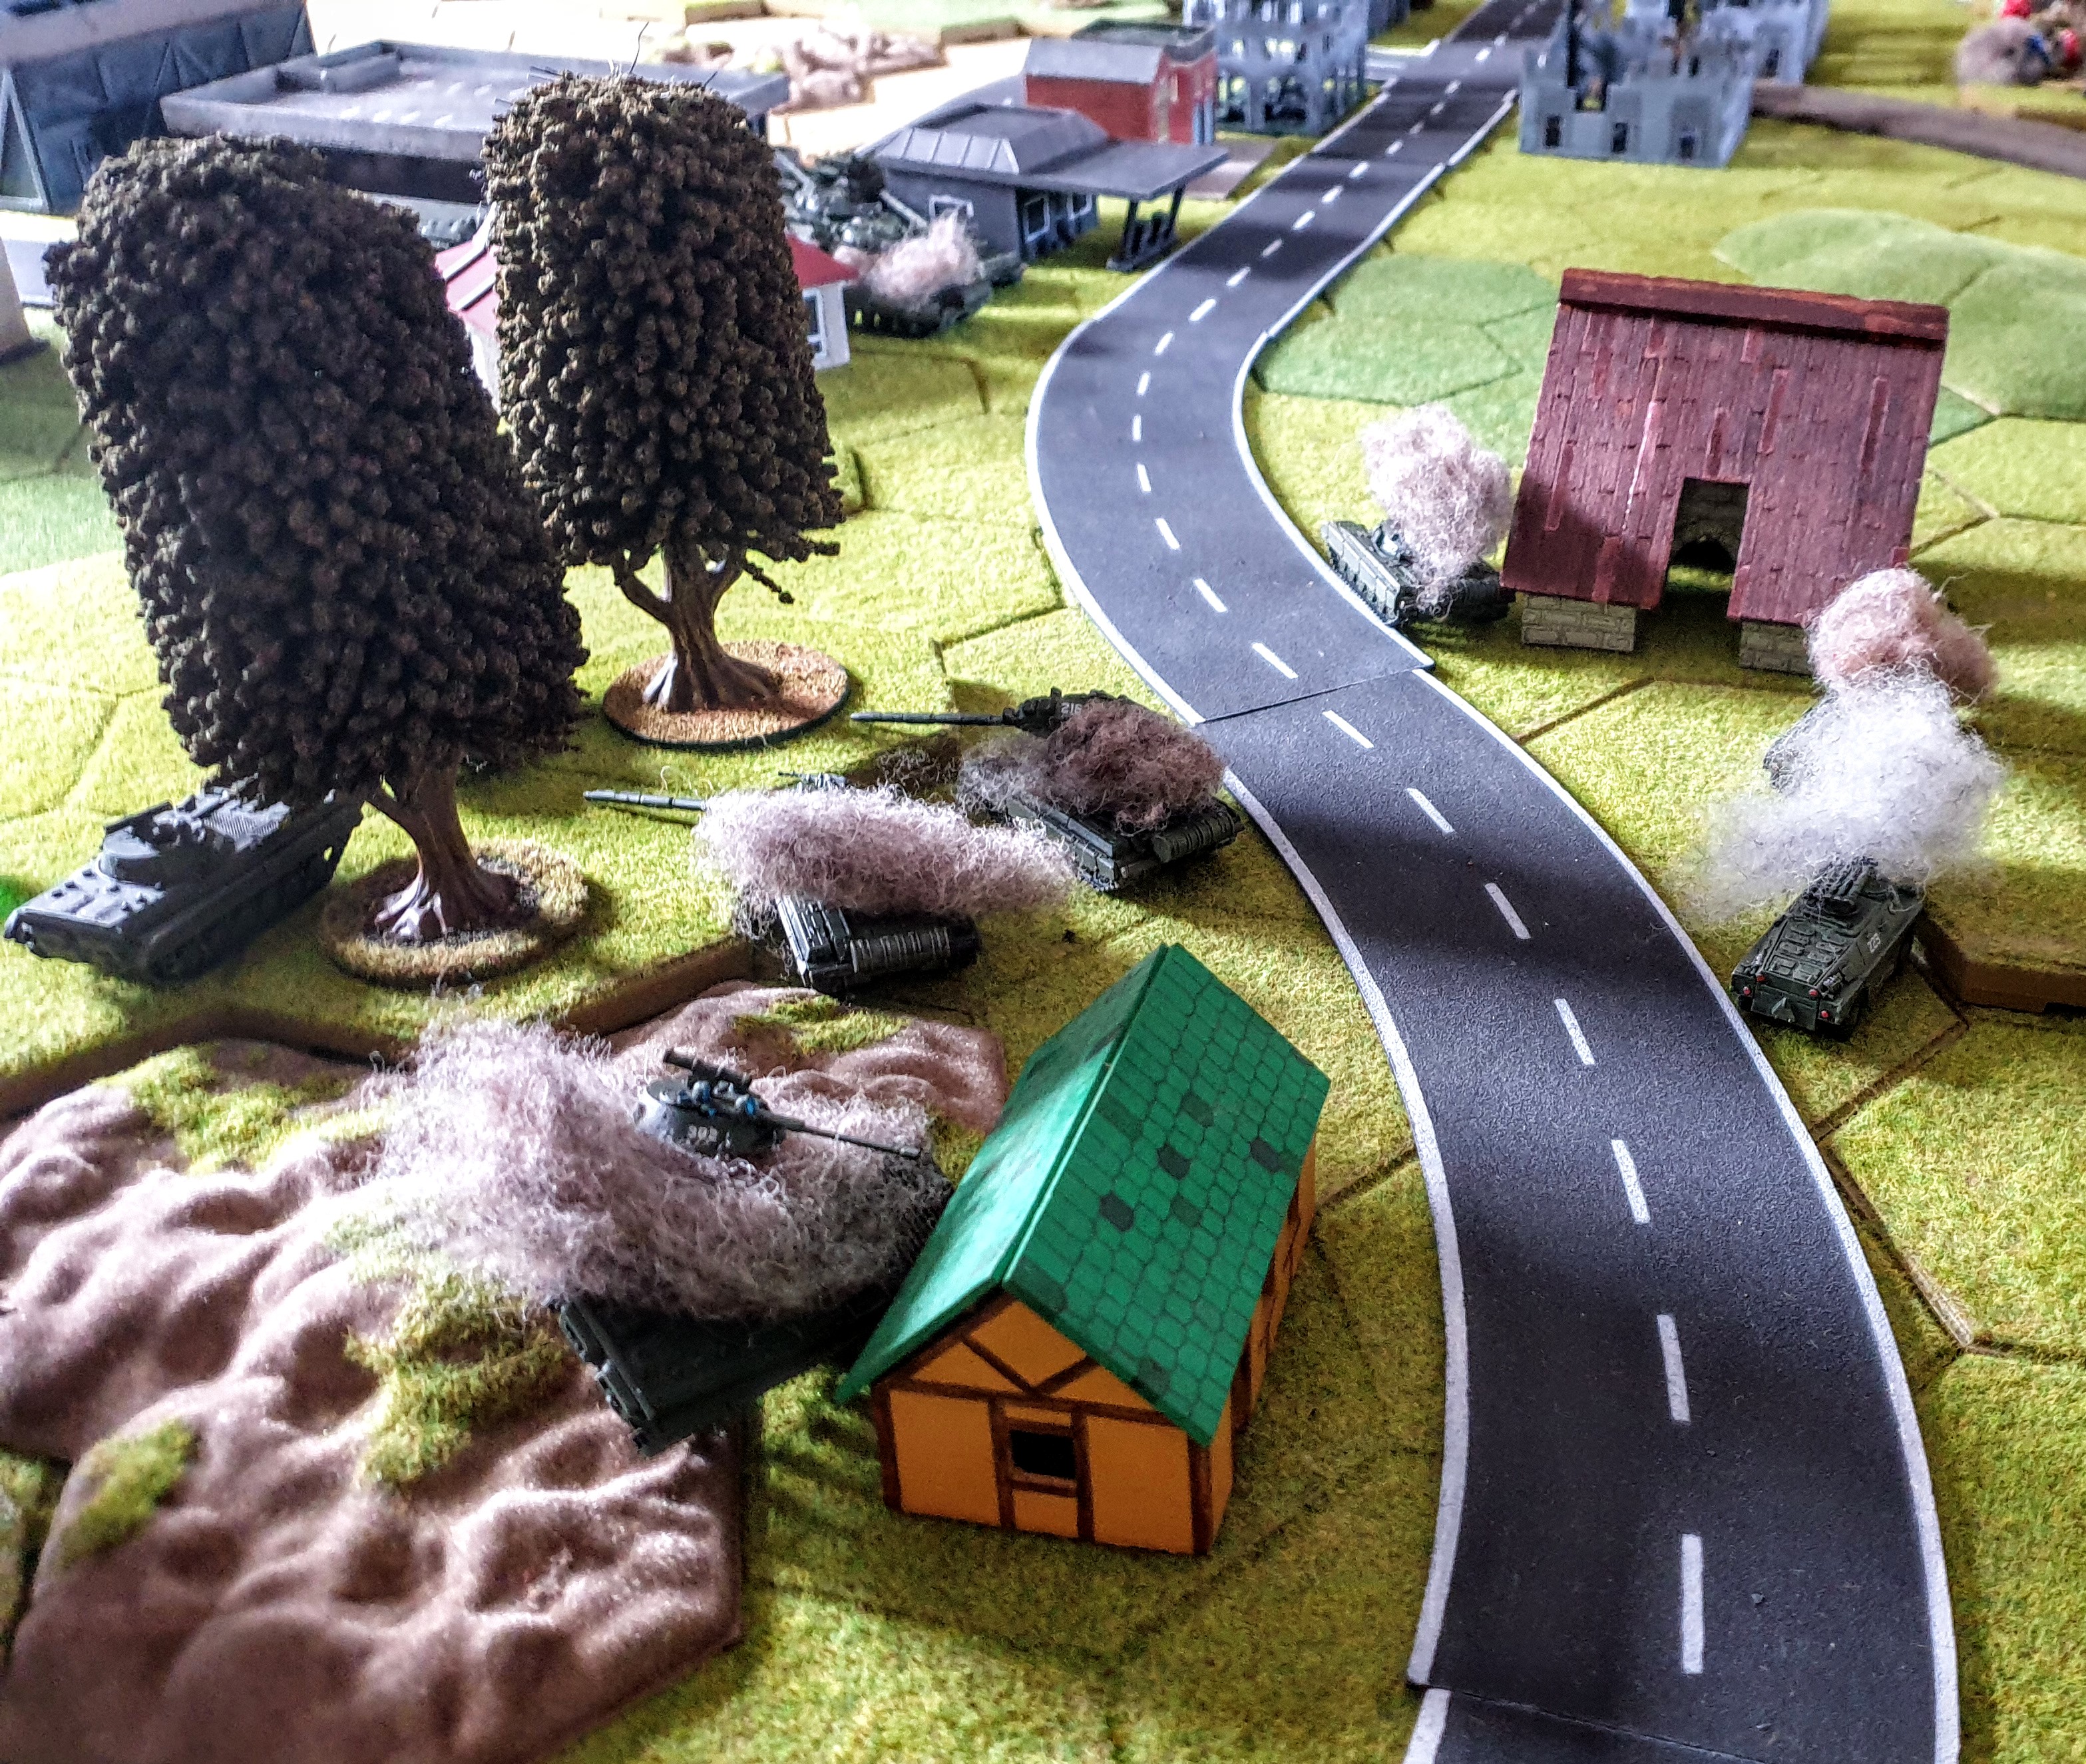
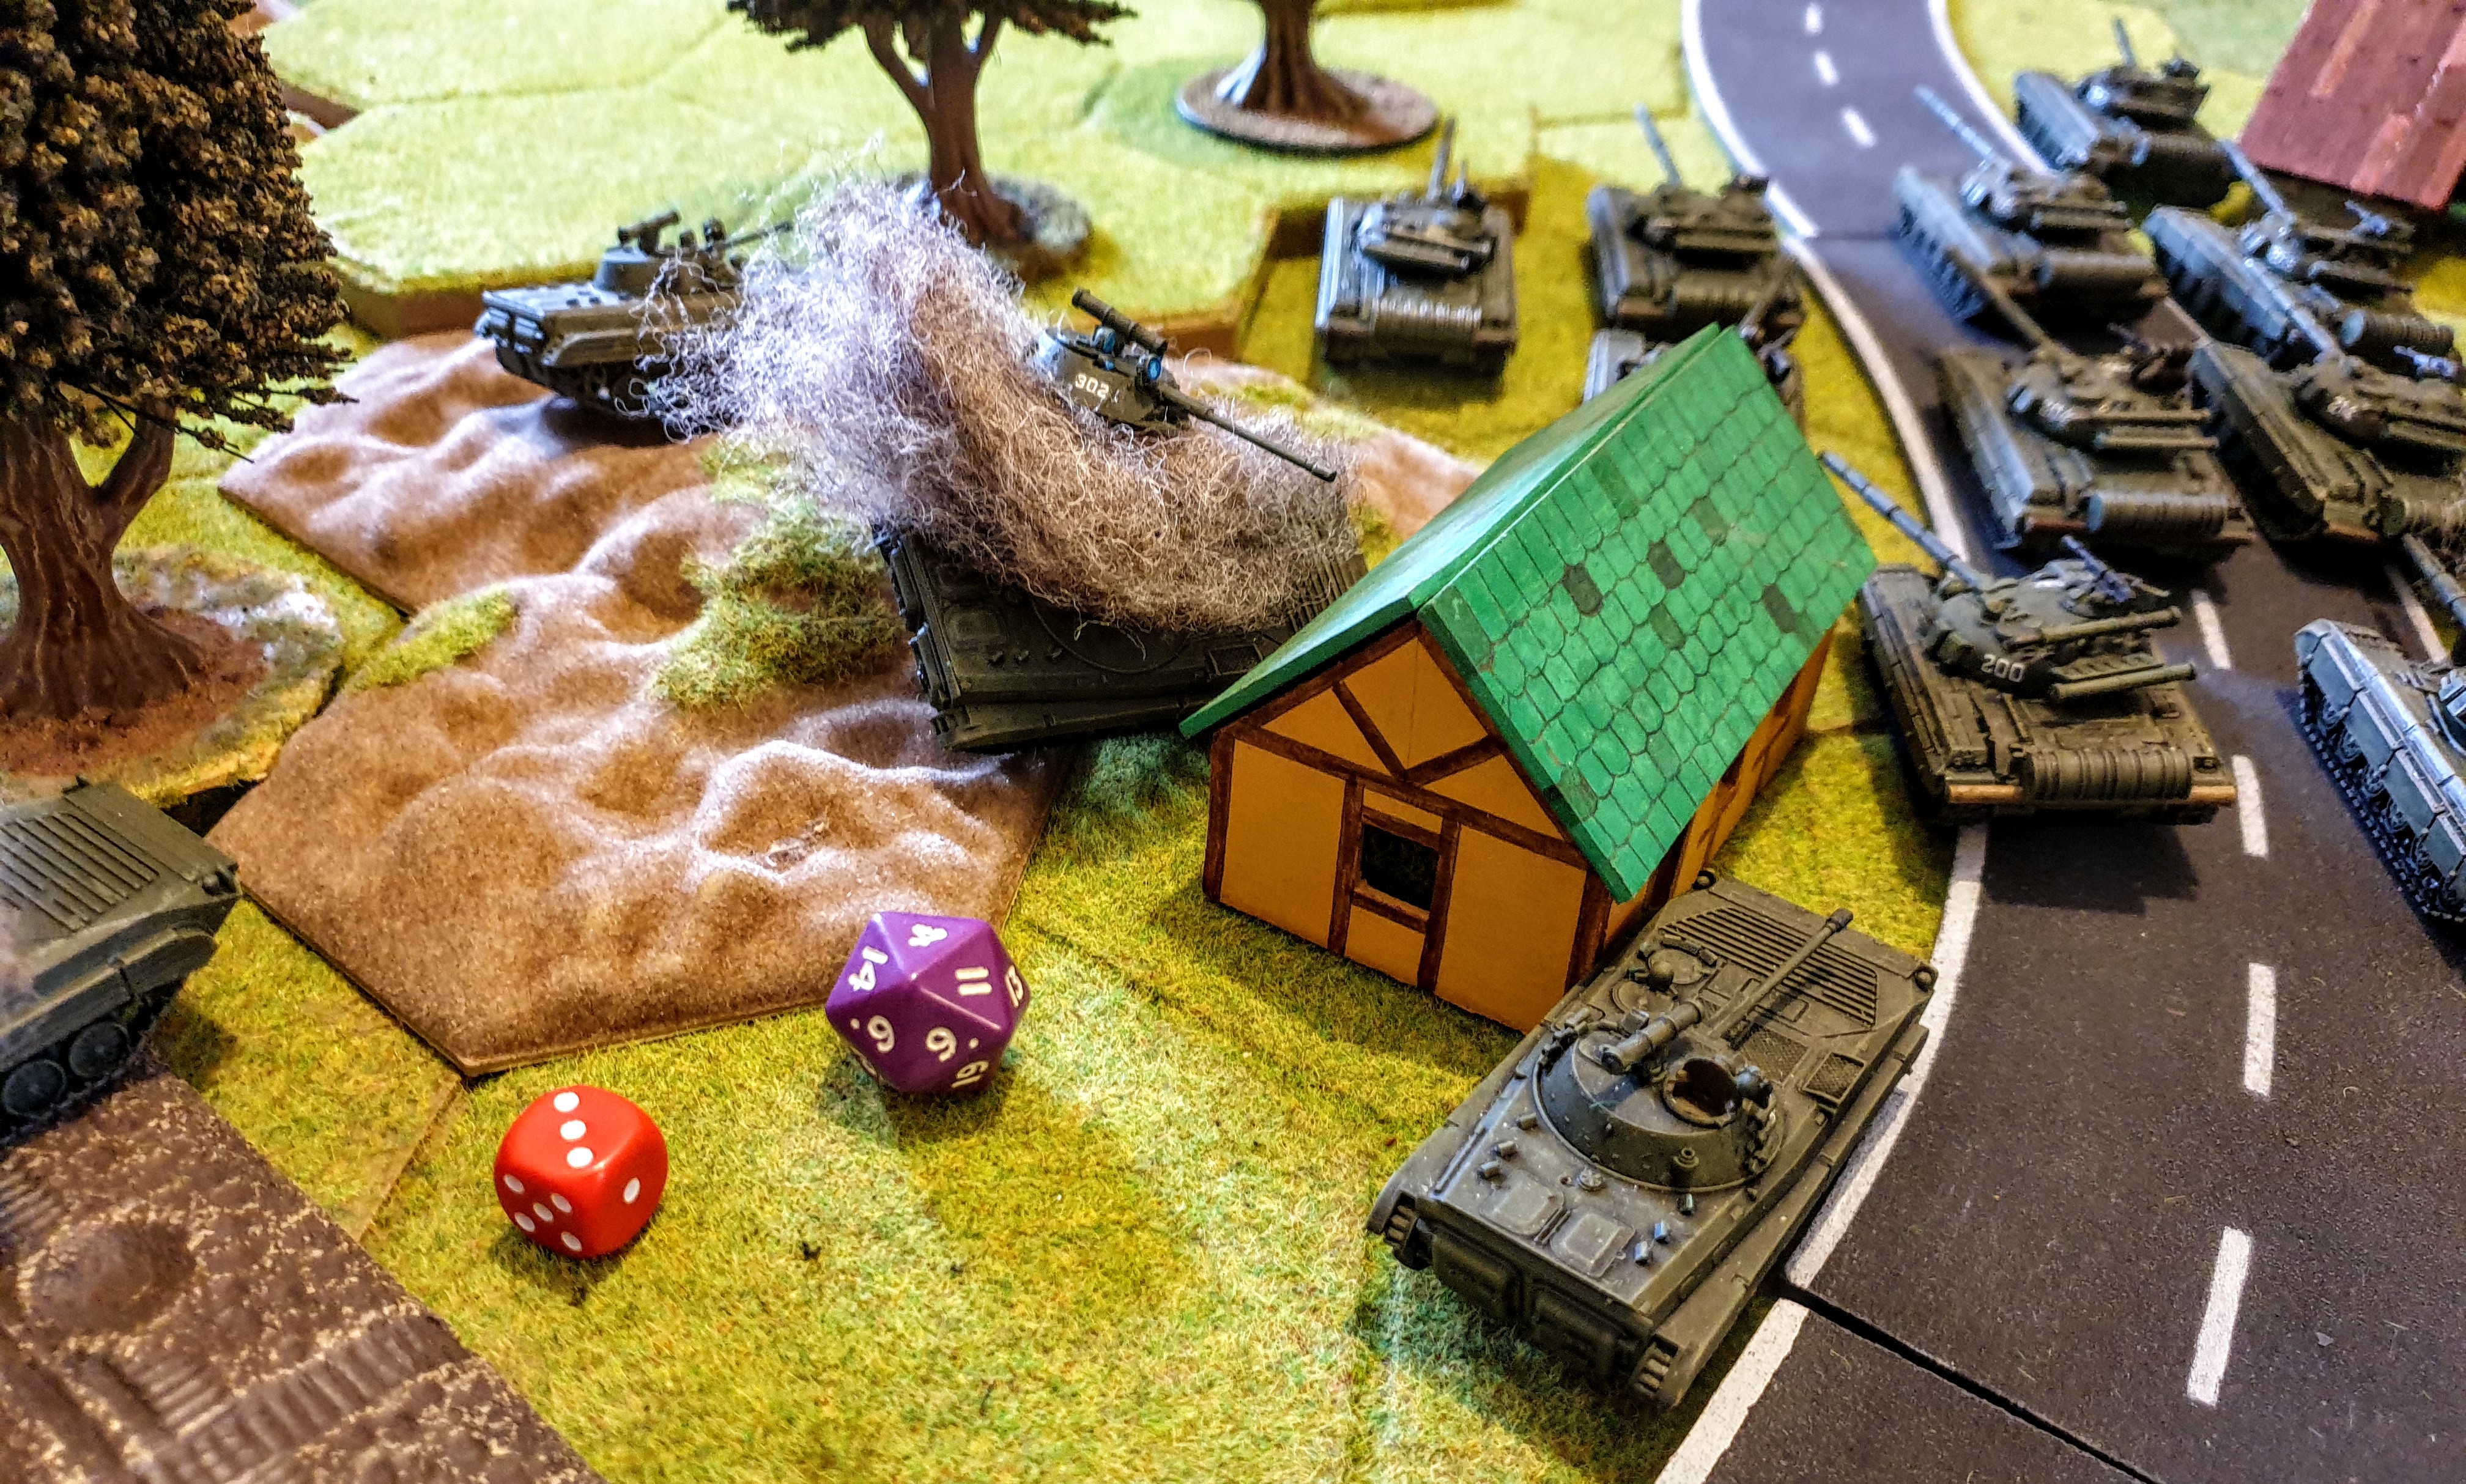
I now drew a red and realising the their was nothing else that could get a line of sight on T64’s so decided to move the T55’s all this time succeeded in the crossing the difficult terrain initially but two got stuck at the stream once they got through the woods.
Another red allowed me to now move the T64’S into cover.
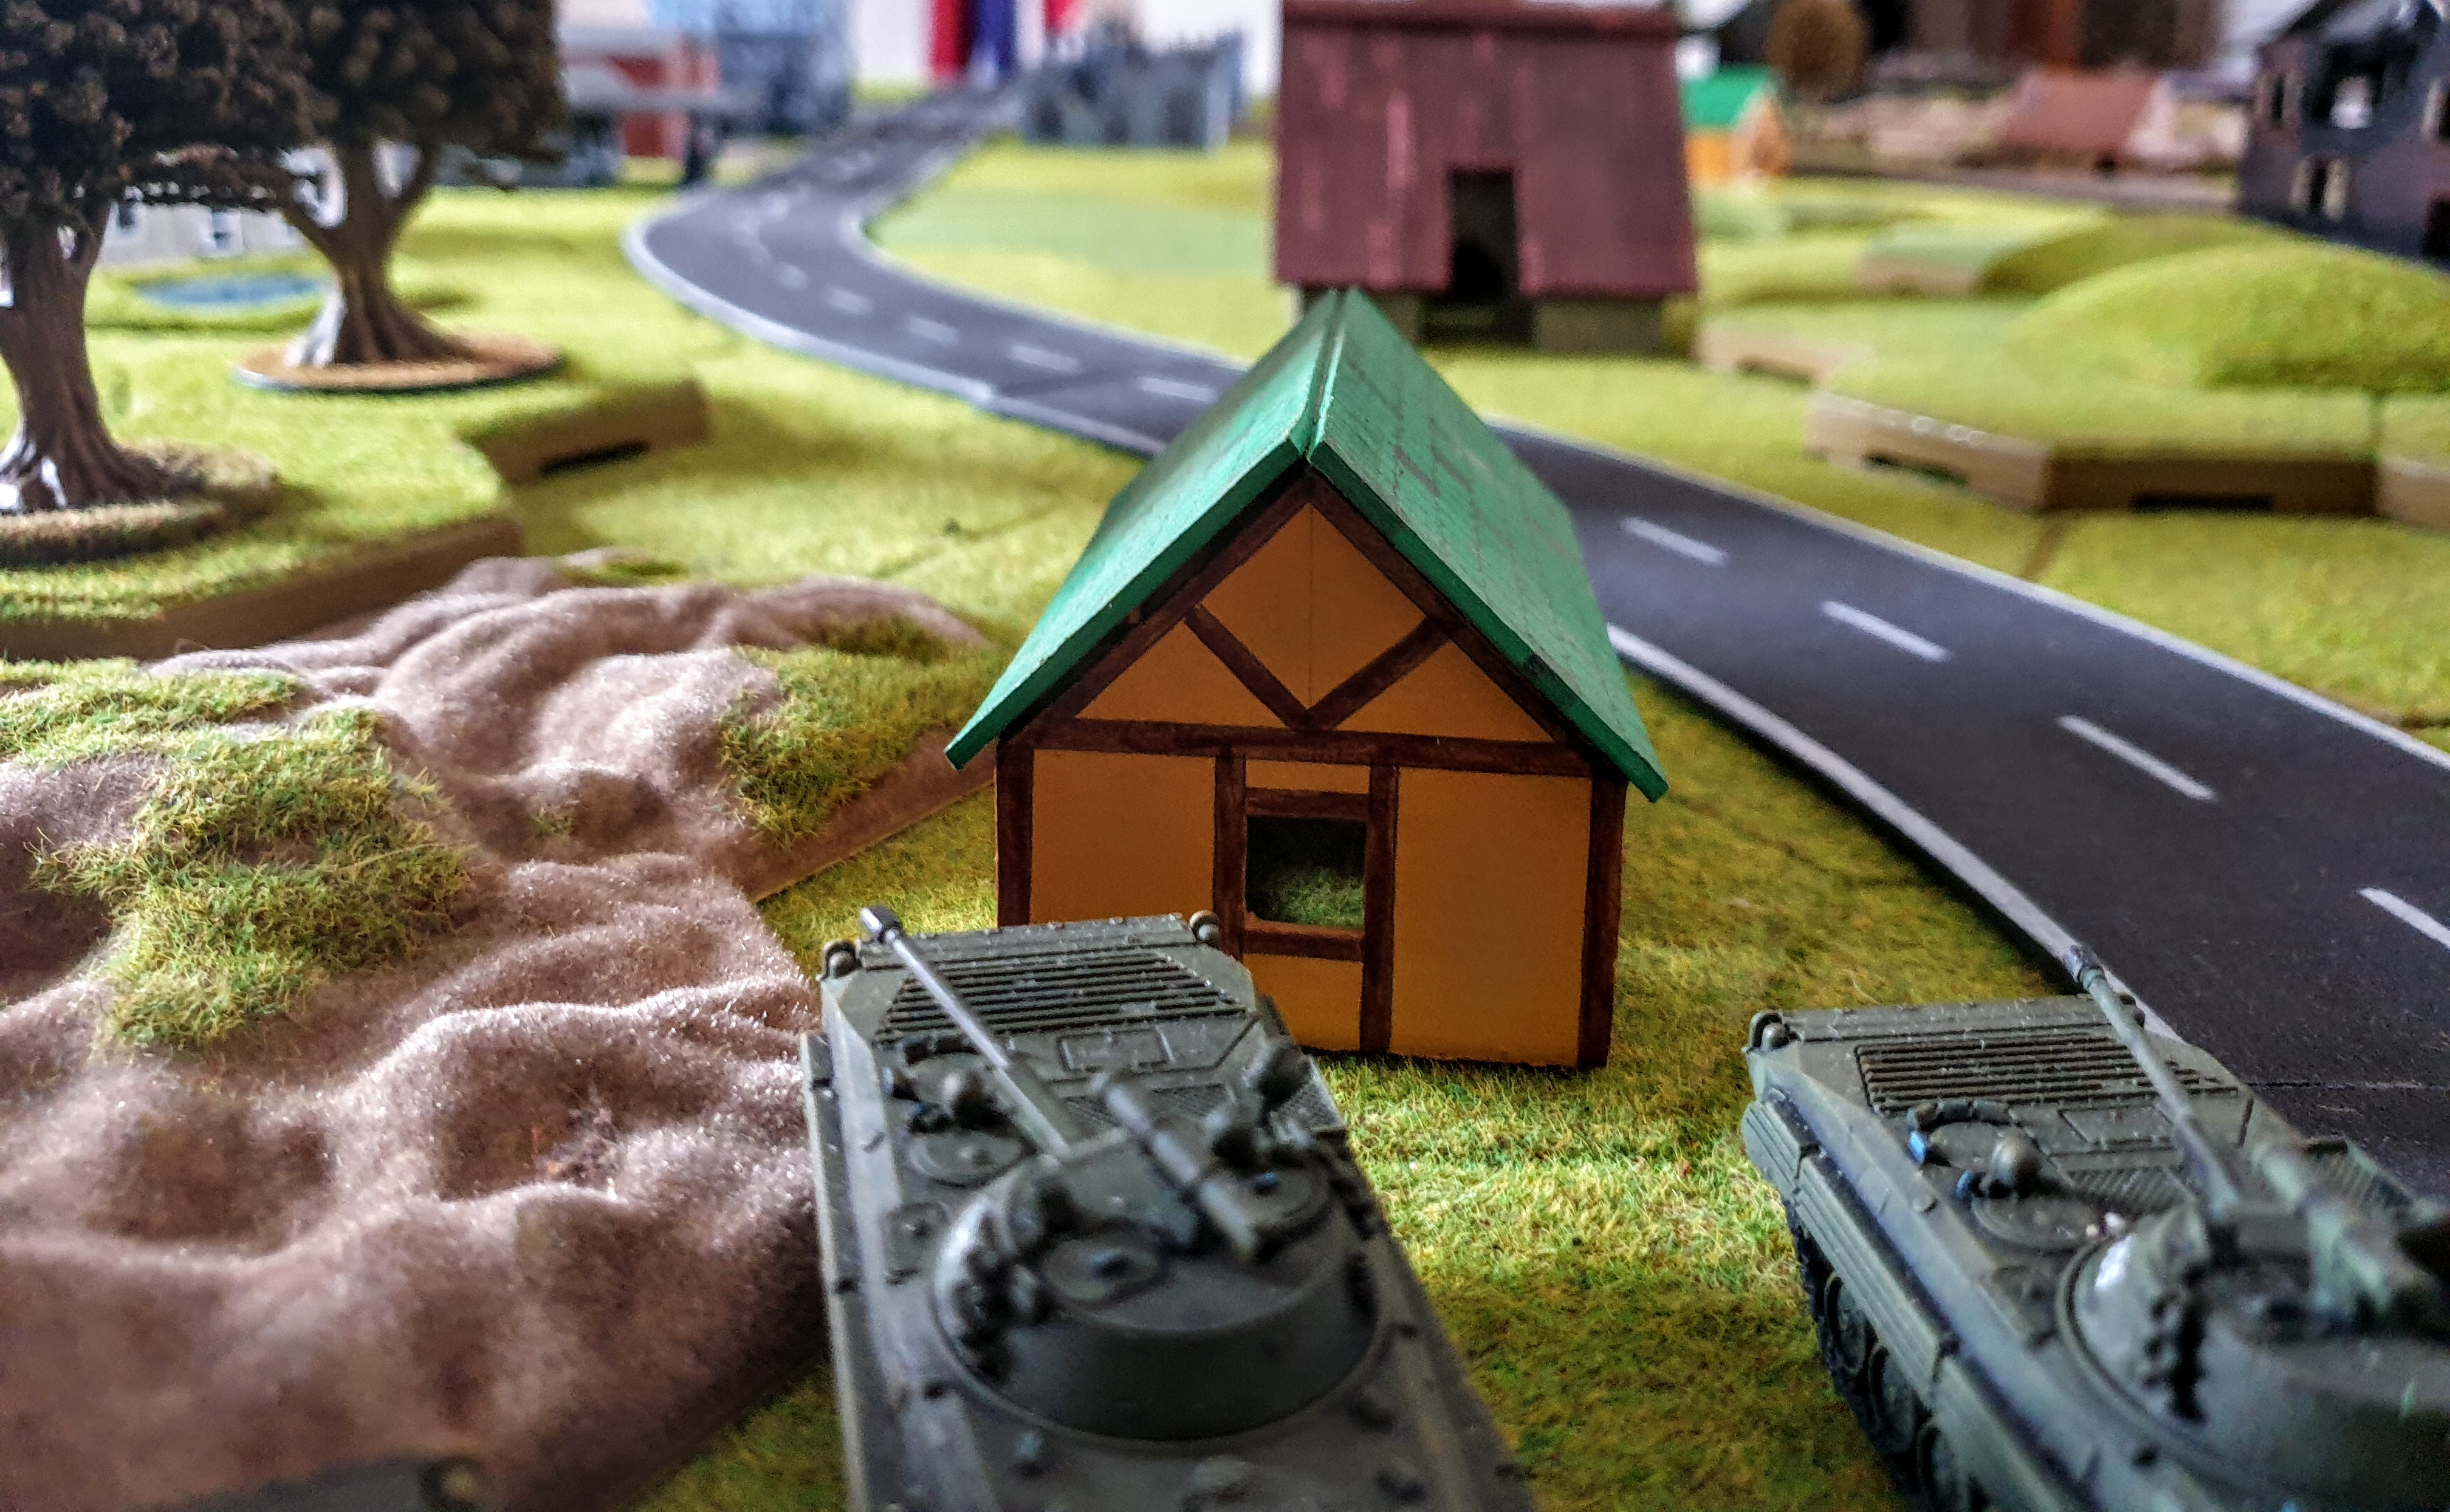
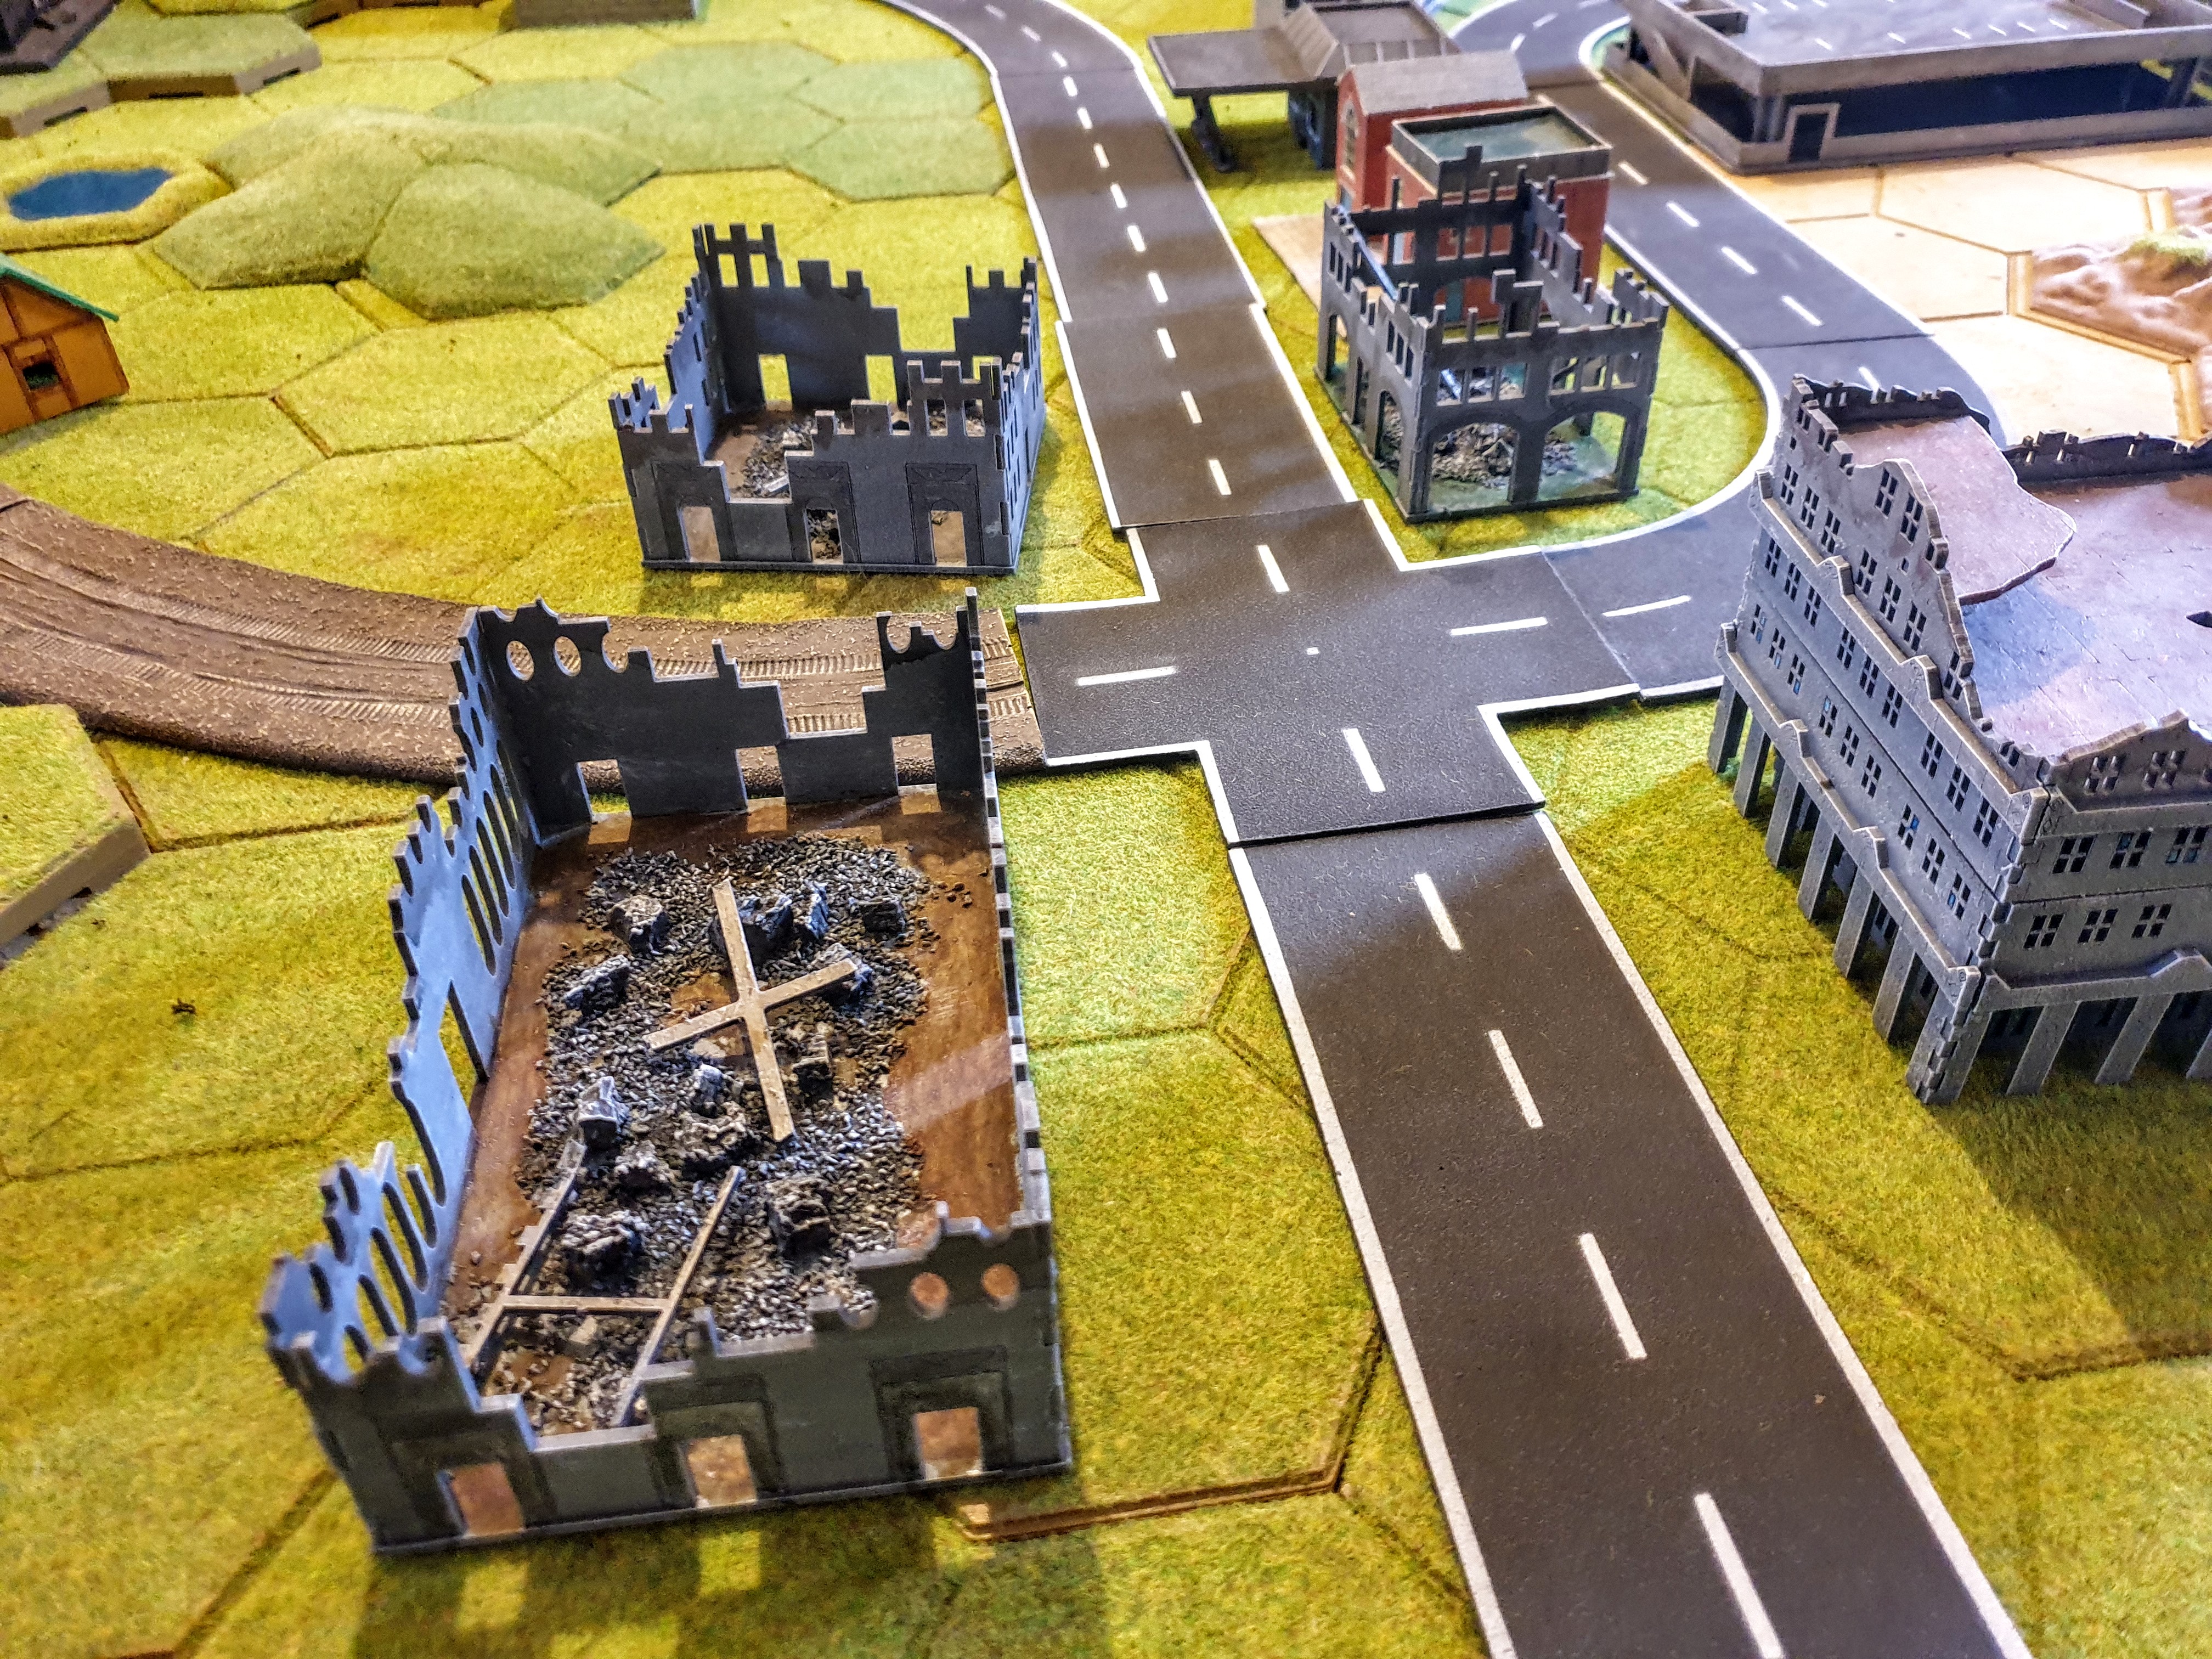
With all the Targets now out of site the next two green dice moved the Assault Gun and the 1st M901 platoon into the buildings spanning the main highway.
The final green was drawn, leaving 2 red which left The BMP1s and the Volgan Commander to activate so the M1 with its weaker armour stayed put.
The BMP1’s themselves were safe with a good line of fire into the built up area so stayed put.
The Commander of the Vogans took the risk and moved to fire on the pesky HMMV’S which had killed far to many of his lads and neatly blew one to bits which wasn’t much of a salve for 6 dead tanks.
Unfortunately the remaining HMMV’S morale held and remains on the field.
Battle Report Move 2
Move 2 can be possibly characterised as the Drrr ! move
More experienced WW3 players may have seen it coming!
Anyway the 1st 2 dice out of the bag were green , one was put on the 1st M901 platoon and one on the HMMV’s . Both stayed put and fired missles at the 3 Spandrels , each unit with 50% of the shots and dispatched their targets, the remaining Spandral decided that the little coastal village it had passed needed defending and left the table sharpish on failing its morale roll.
It is here I had the Drr! Moment as I pulled a red dice and put it on the T64’s.
‘Ah ha’ I thought I can try a whittle down the Abrams and 3 hits were achieved. This was followed by a stunned silence and long ‘ Drrr!’ Moment as I realised that neither my missiles or even main gun could penetrate, as the former is 21 and latter is 22 , the M1A1HC’s is a 22 for armour so best I could do is equal the tanks frontal armour and it still had its save roll even I can’t roll 0 on a 6 sided Dice.
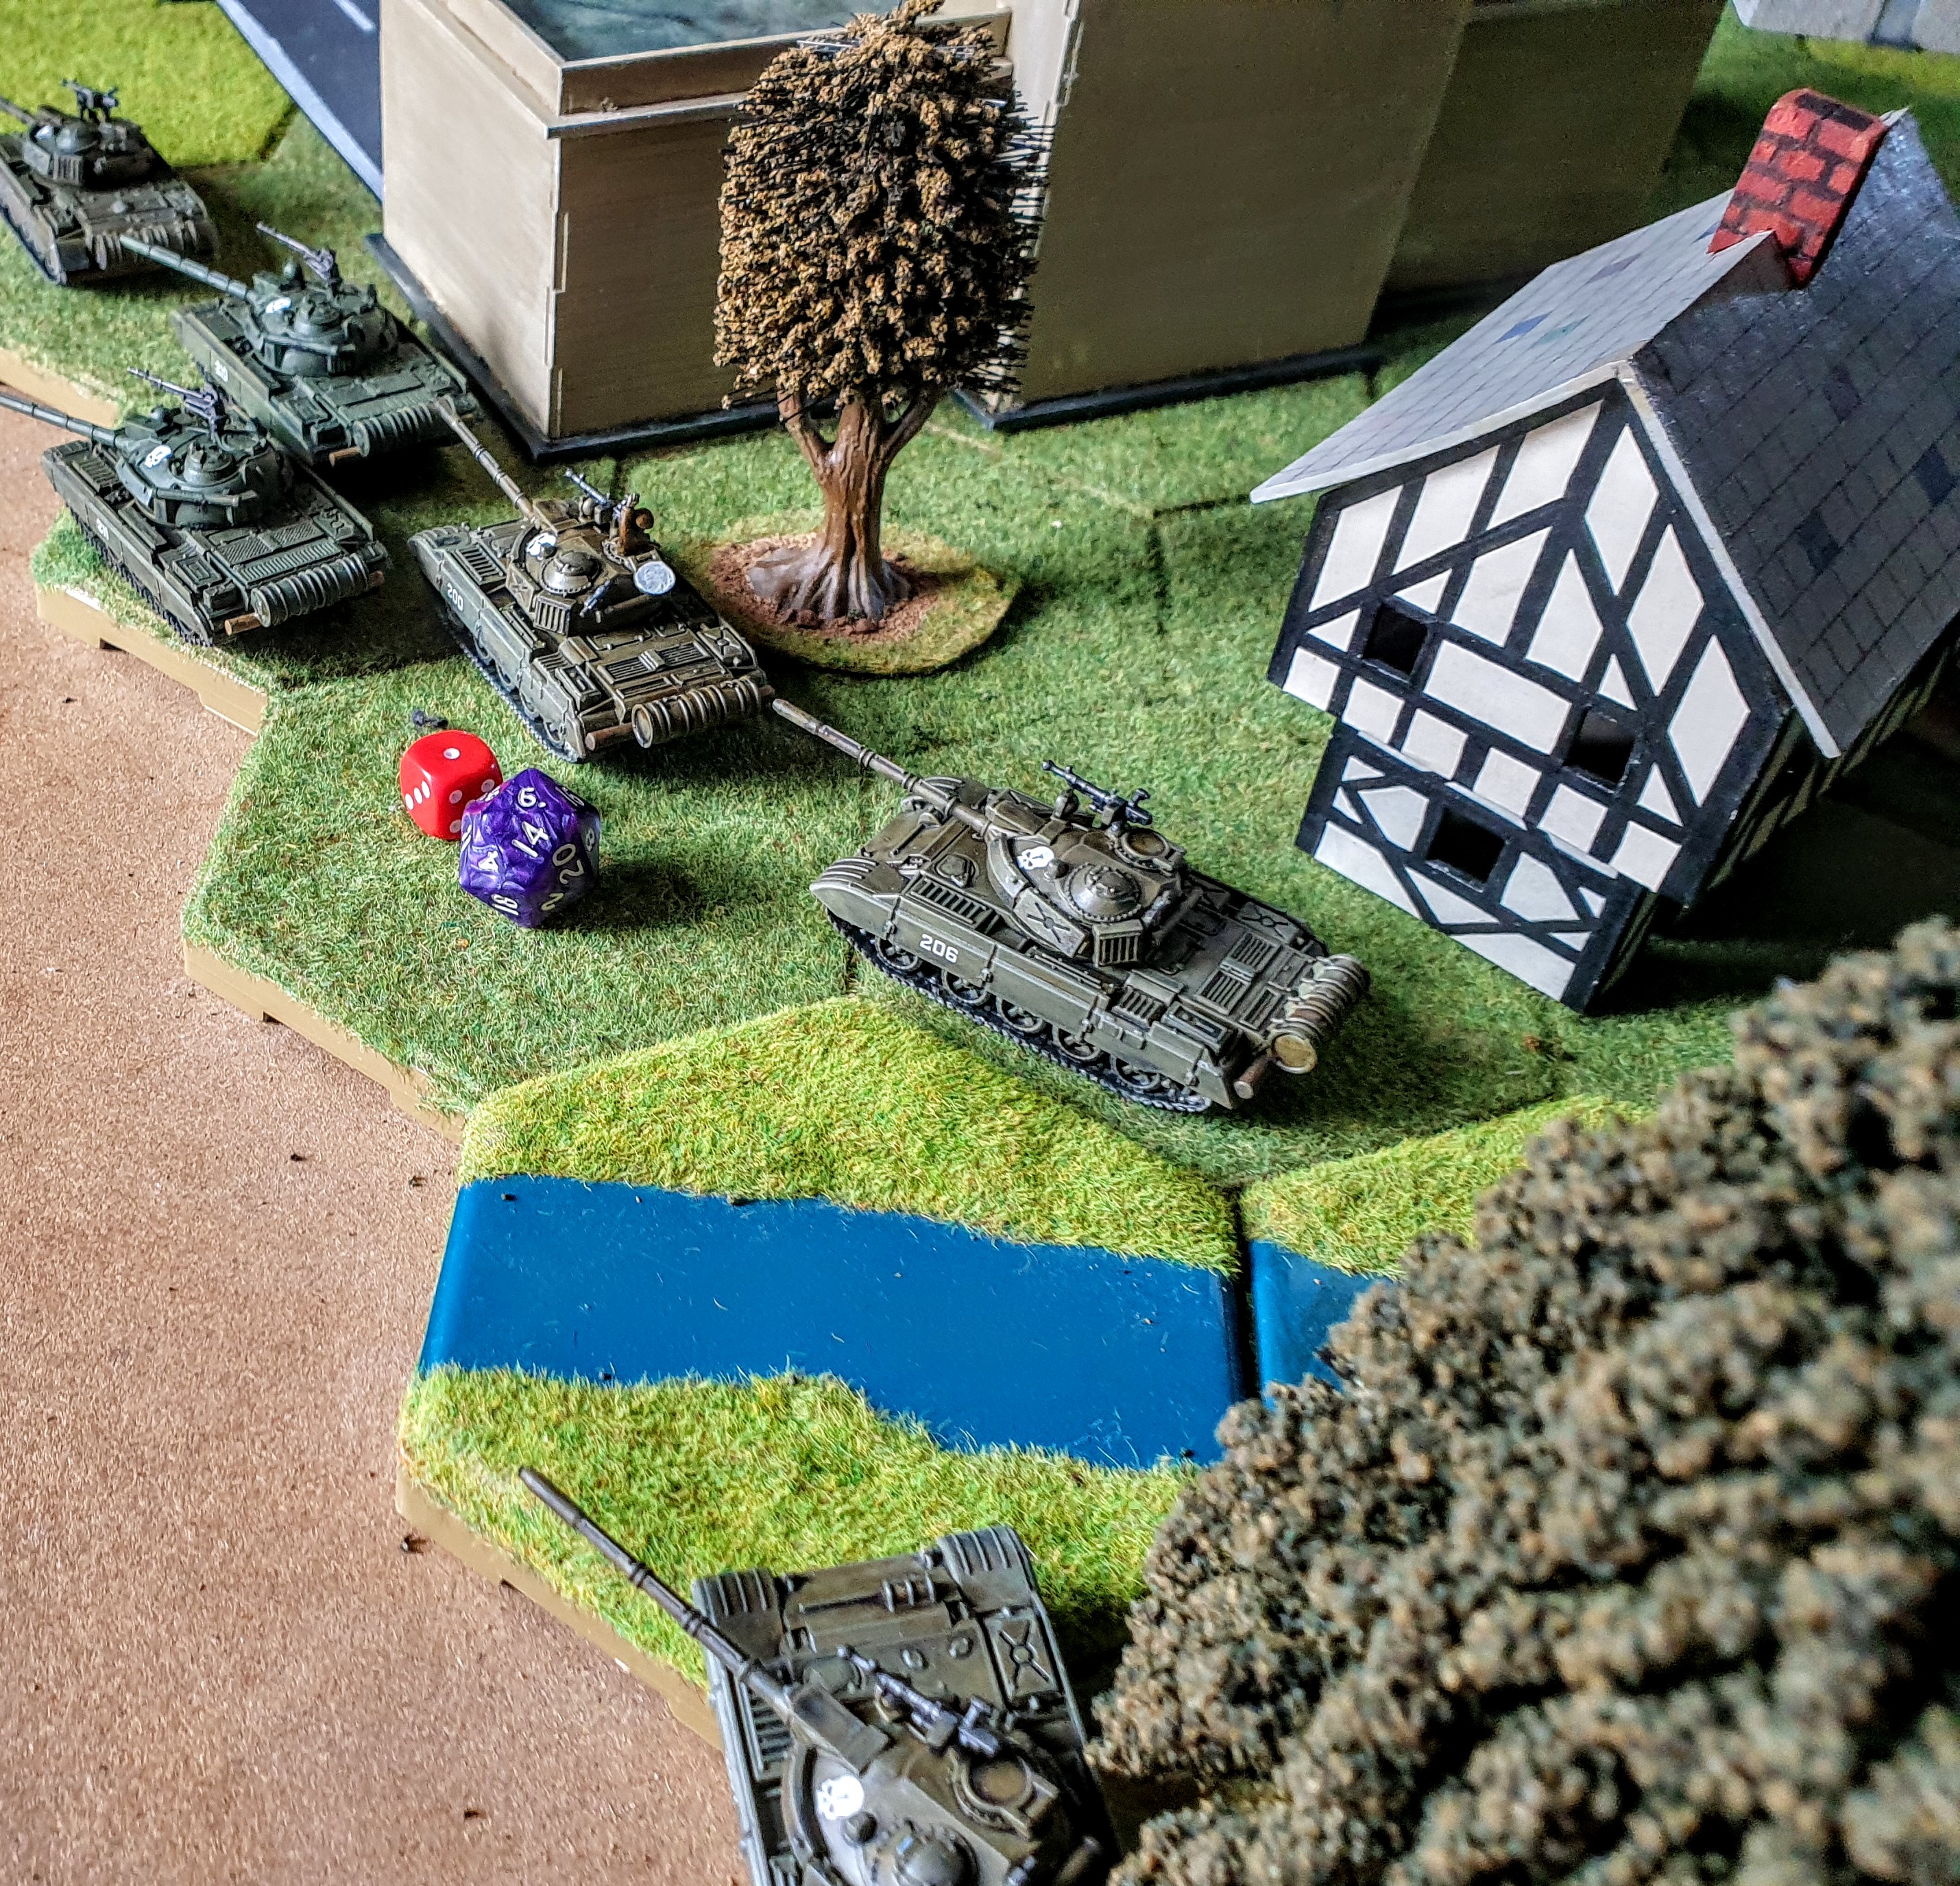
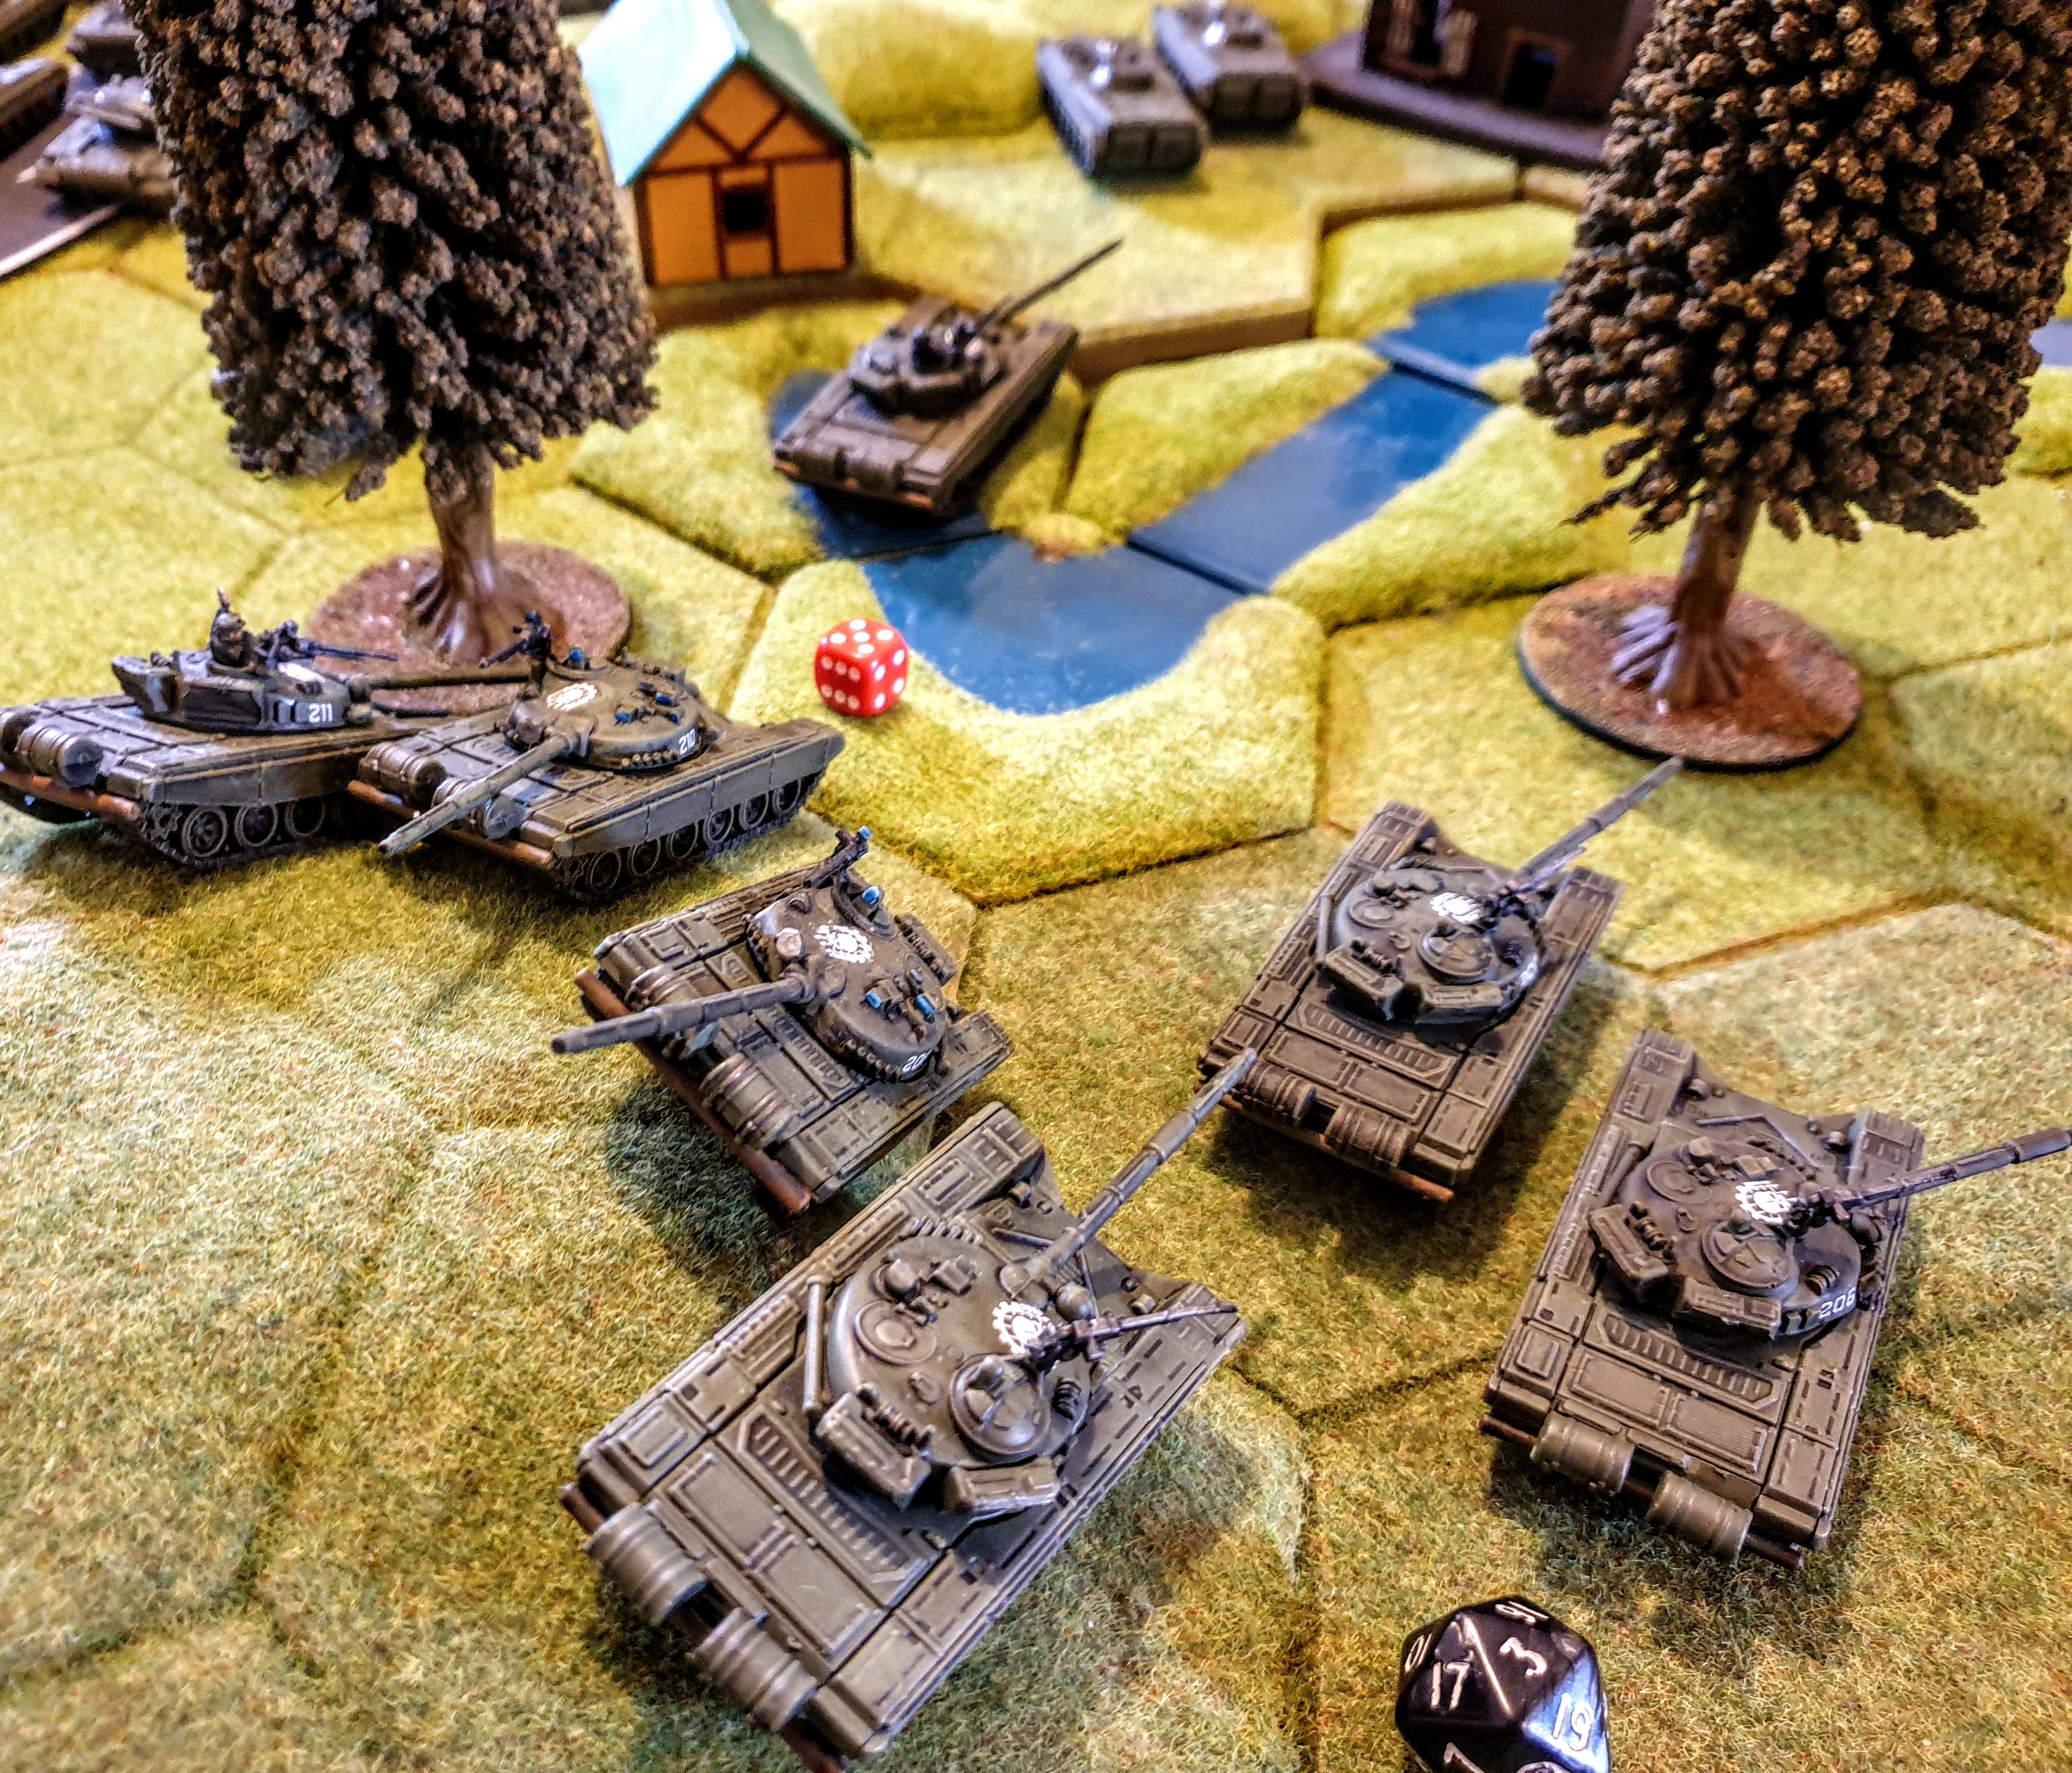
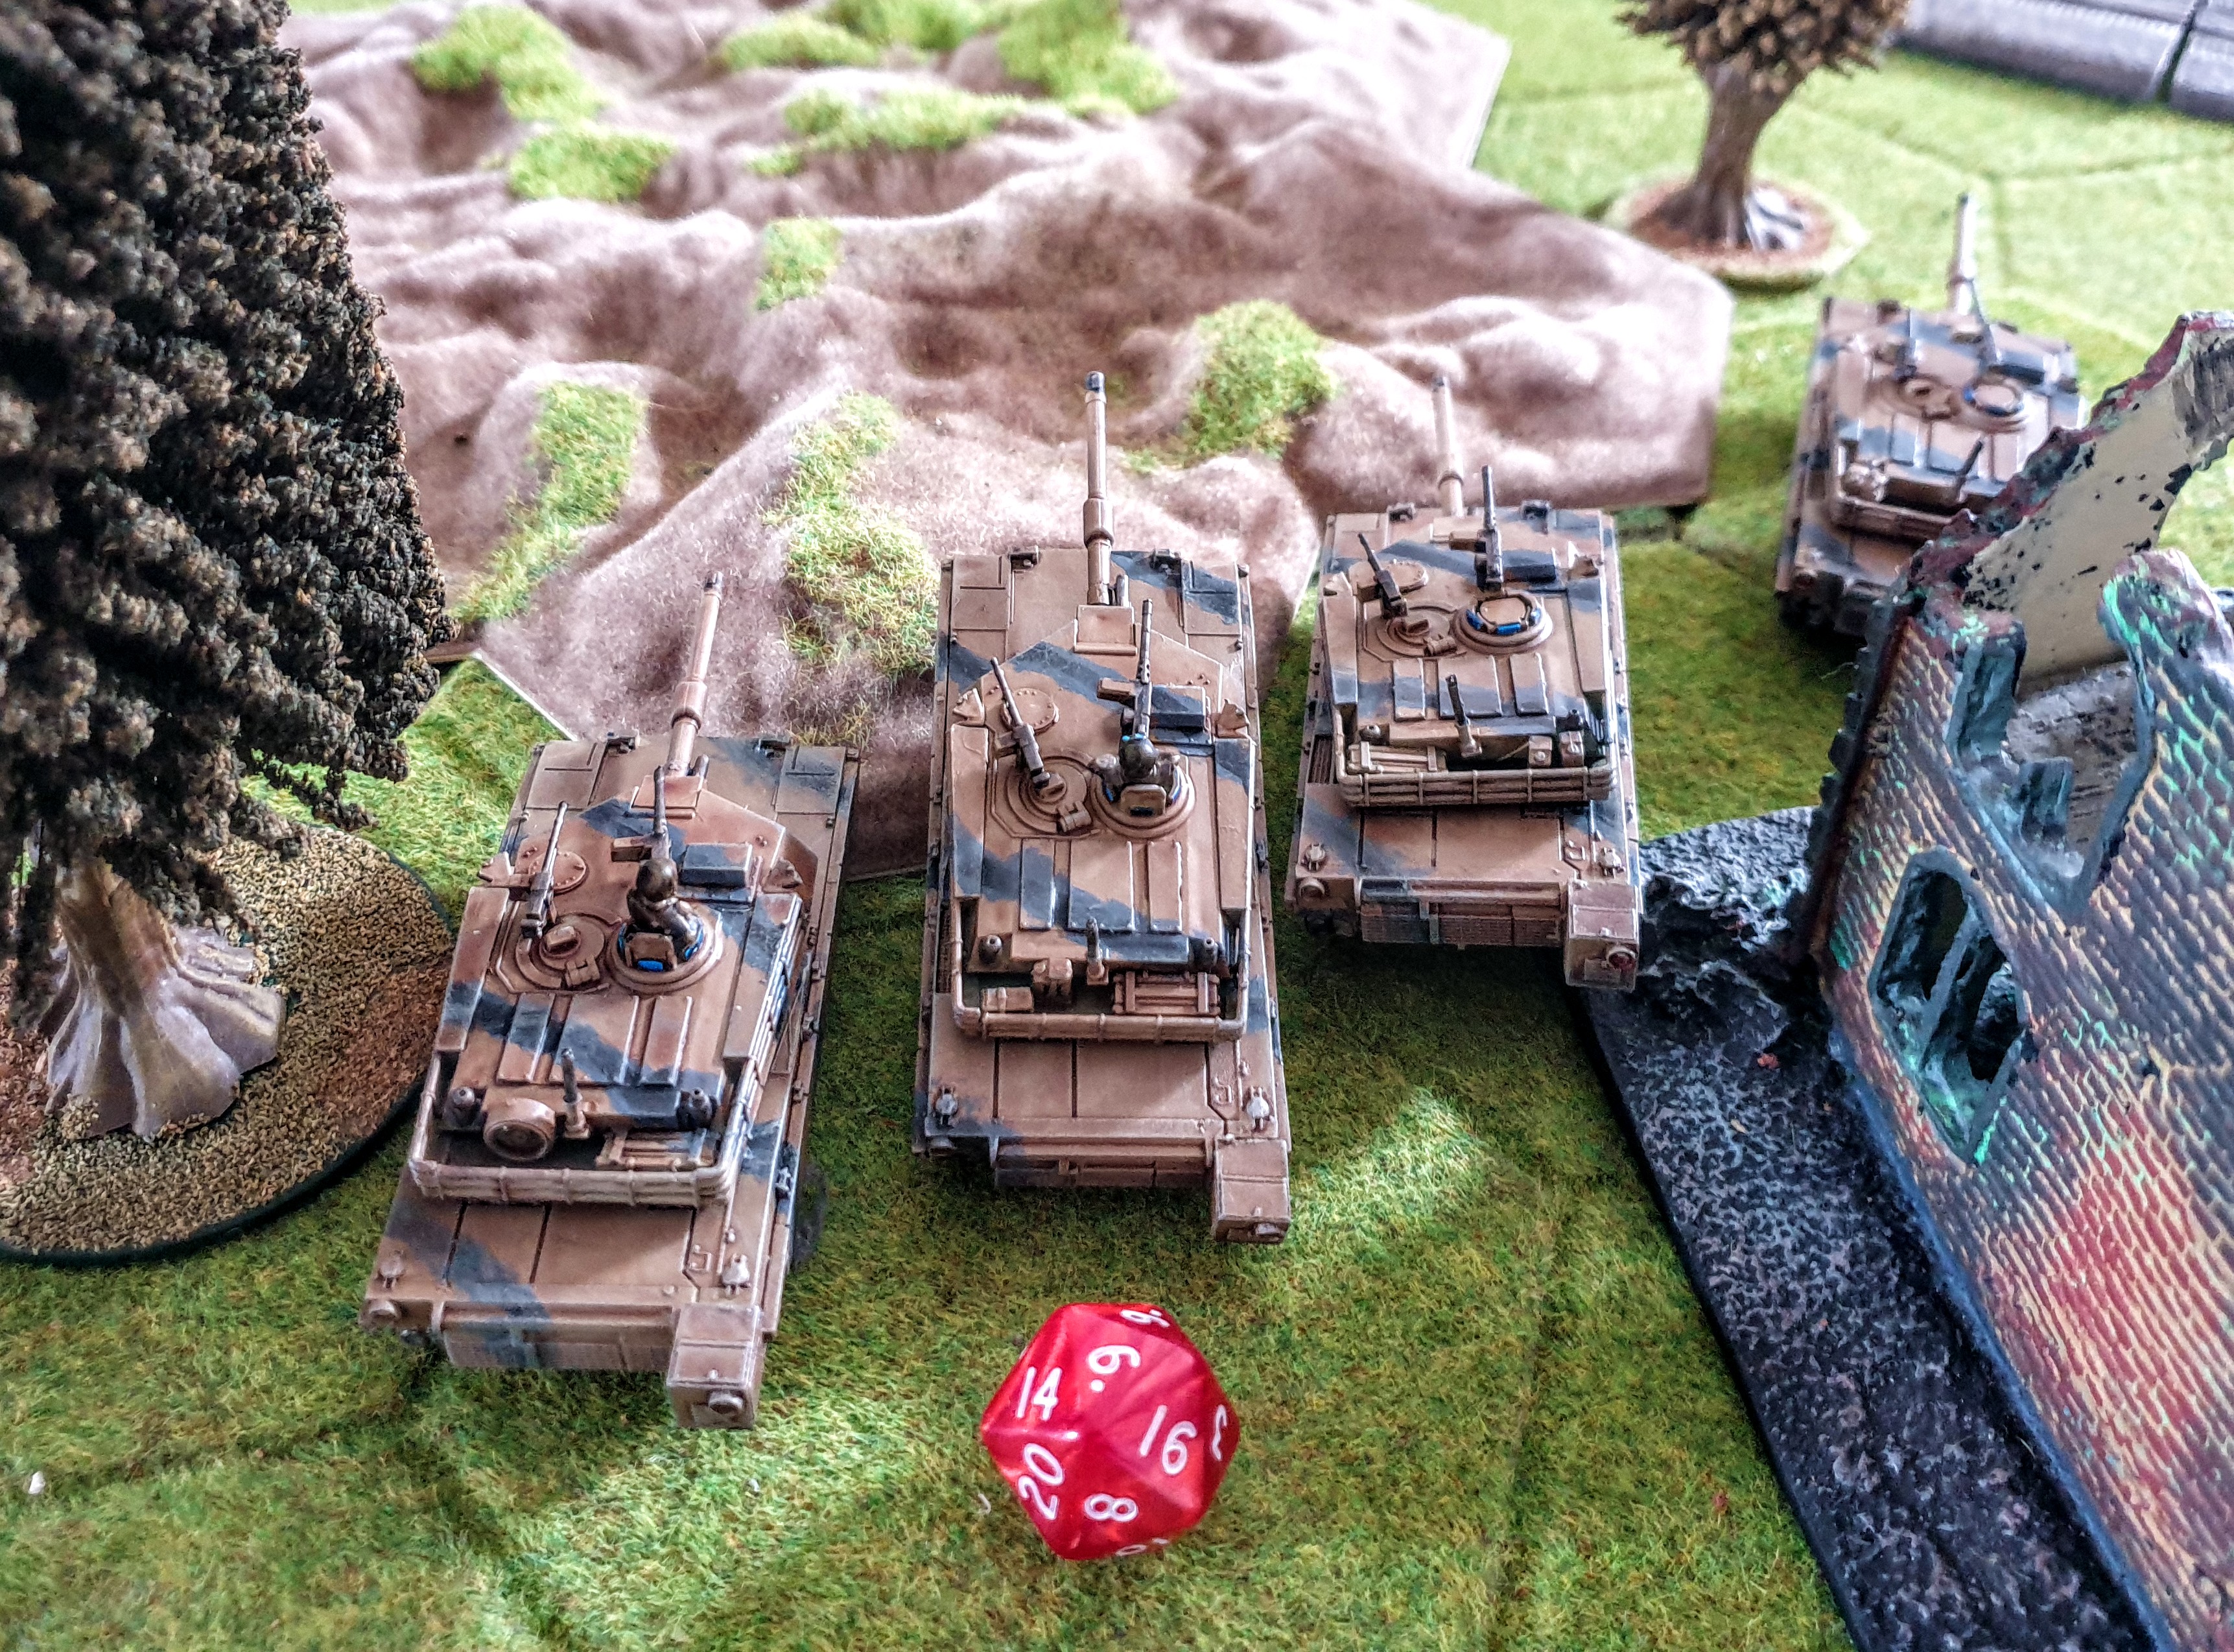
Next was another red , Still slightly stunned and rapidly trying to re think the Volgan plan I decided to move the T55’s up left flank to try and get on the side of the M1A1HC’S , but only 2 of them succeeded in their crossing check.
Then a green for the M1A1HC’S themselves able to fire twice whilst moving and with no mods for range should have been 5 dead T64’s but all this tech can be buggered up by my die rolling two tanks failed their crossing test for the rough ground and so had no line of site. The other 2 got into range both fired twice on 3+ to hit……with 2 as 2 out of the dice were ones . No saving role for armour due to 23 pen of gun and then for firepower tests I role 1’s on a 2× so the crew merely bail out as can be seen on earlier photo tanks have turret reversed!
The 3nd M901’s Platoon goes next and targets the BMP-2’s by the road scoring the traditional 1 hit for another dead BMP.
They go next but have only one that can see its tormentors and promptly shoots at Gerry again.
That was the last bit of shooting for the move. Col Keithsoloplos realising his cunning plan to use his weight of numbers to out shoot the Mercians ,was out the window, decided to charge on down the road hoping the T64’s will keep the M1A1HC’S busy enough for him to get into flanking positions once his left flank has dealt with the Mercian support units These units as was their commander were moving to block.
Battle report Move 1
Well with both sides ‘not exactly’ where they were supposed to be, I pulled the 1st Dice out of the bag and it was red for Vogan, as they were the farthest forward and had a potential shot at the HMMV scouts.
Only one had a line of sight on checking, way out of range for the cannon but a possible with the missile. It was on a 6 as the HMMV’s hadn’t moved so were still technically Gone to ground. It fired…..apologies to Gerry, for the whooshing noise as it went past your house. The rest of the unit moved into better firing positions as unable to fire when moving with the AT missiles.
The next dice was a green, so to show lots of ill feeling they returned fire. I assume on reading the gone to ground description that the BMP had lost its bonus on firing, so with a base 3 to hit and only +1 for partial cover they were on 4’s
A 3 & 6 were rolled so one missile hit, given the difference between the TOW 2’s strike value and the BMP’s defence, there isn’t a possible save roll, and with a 6 on firepower one dead BMP.
1ST Blood to Mercia
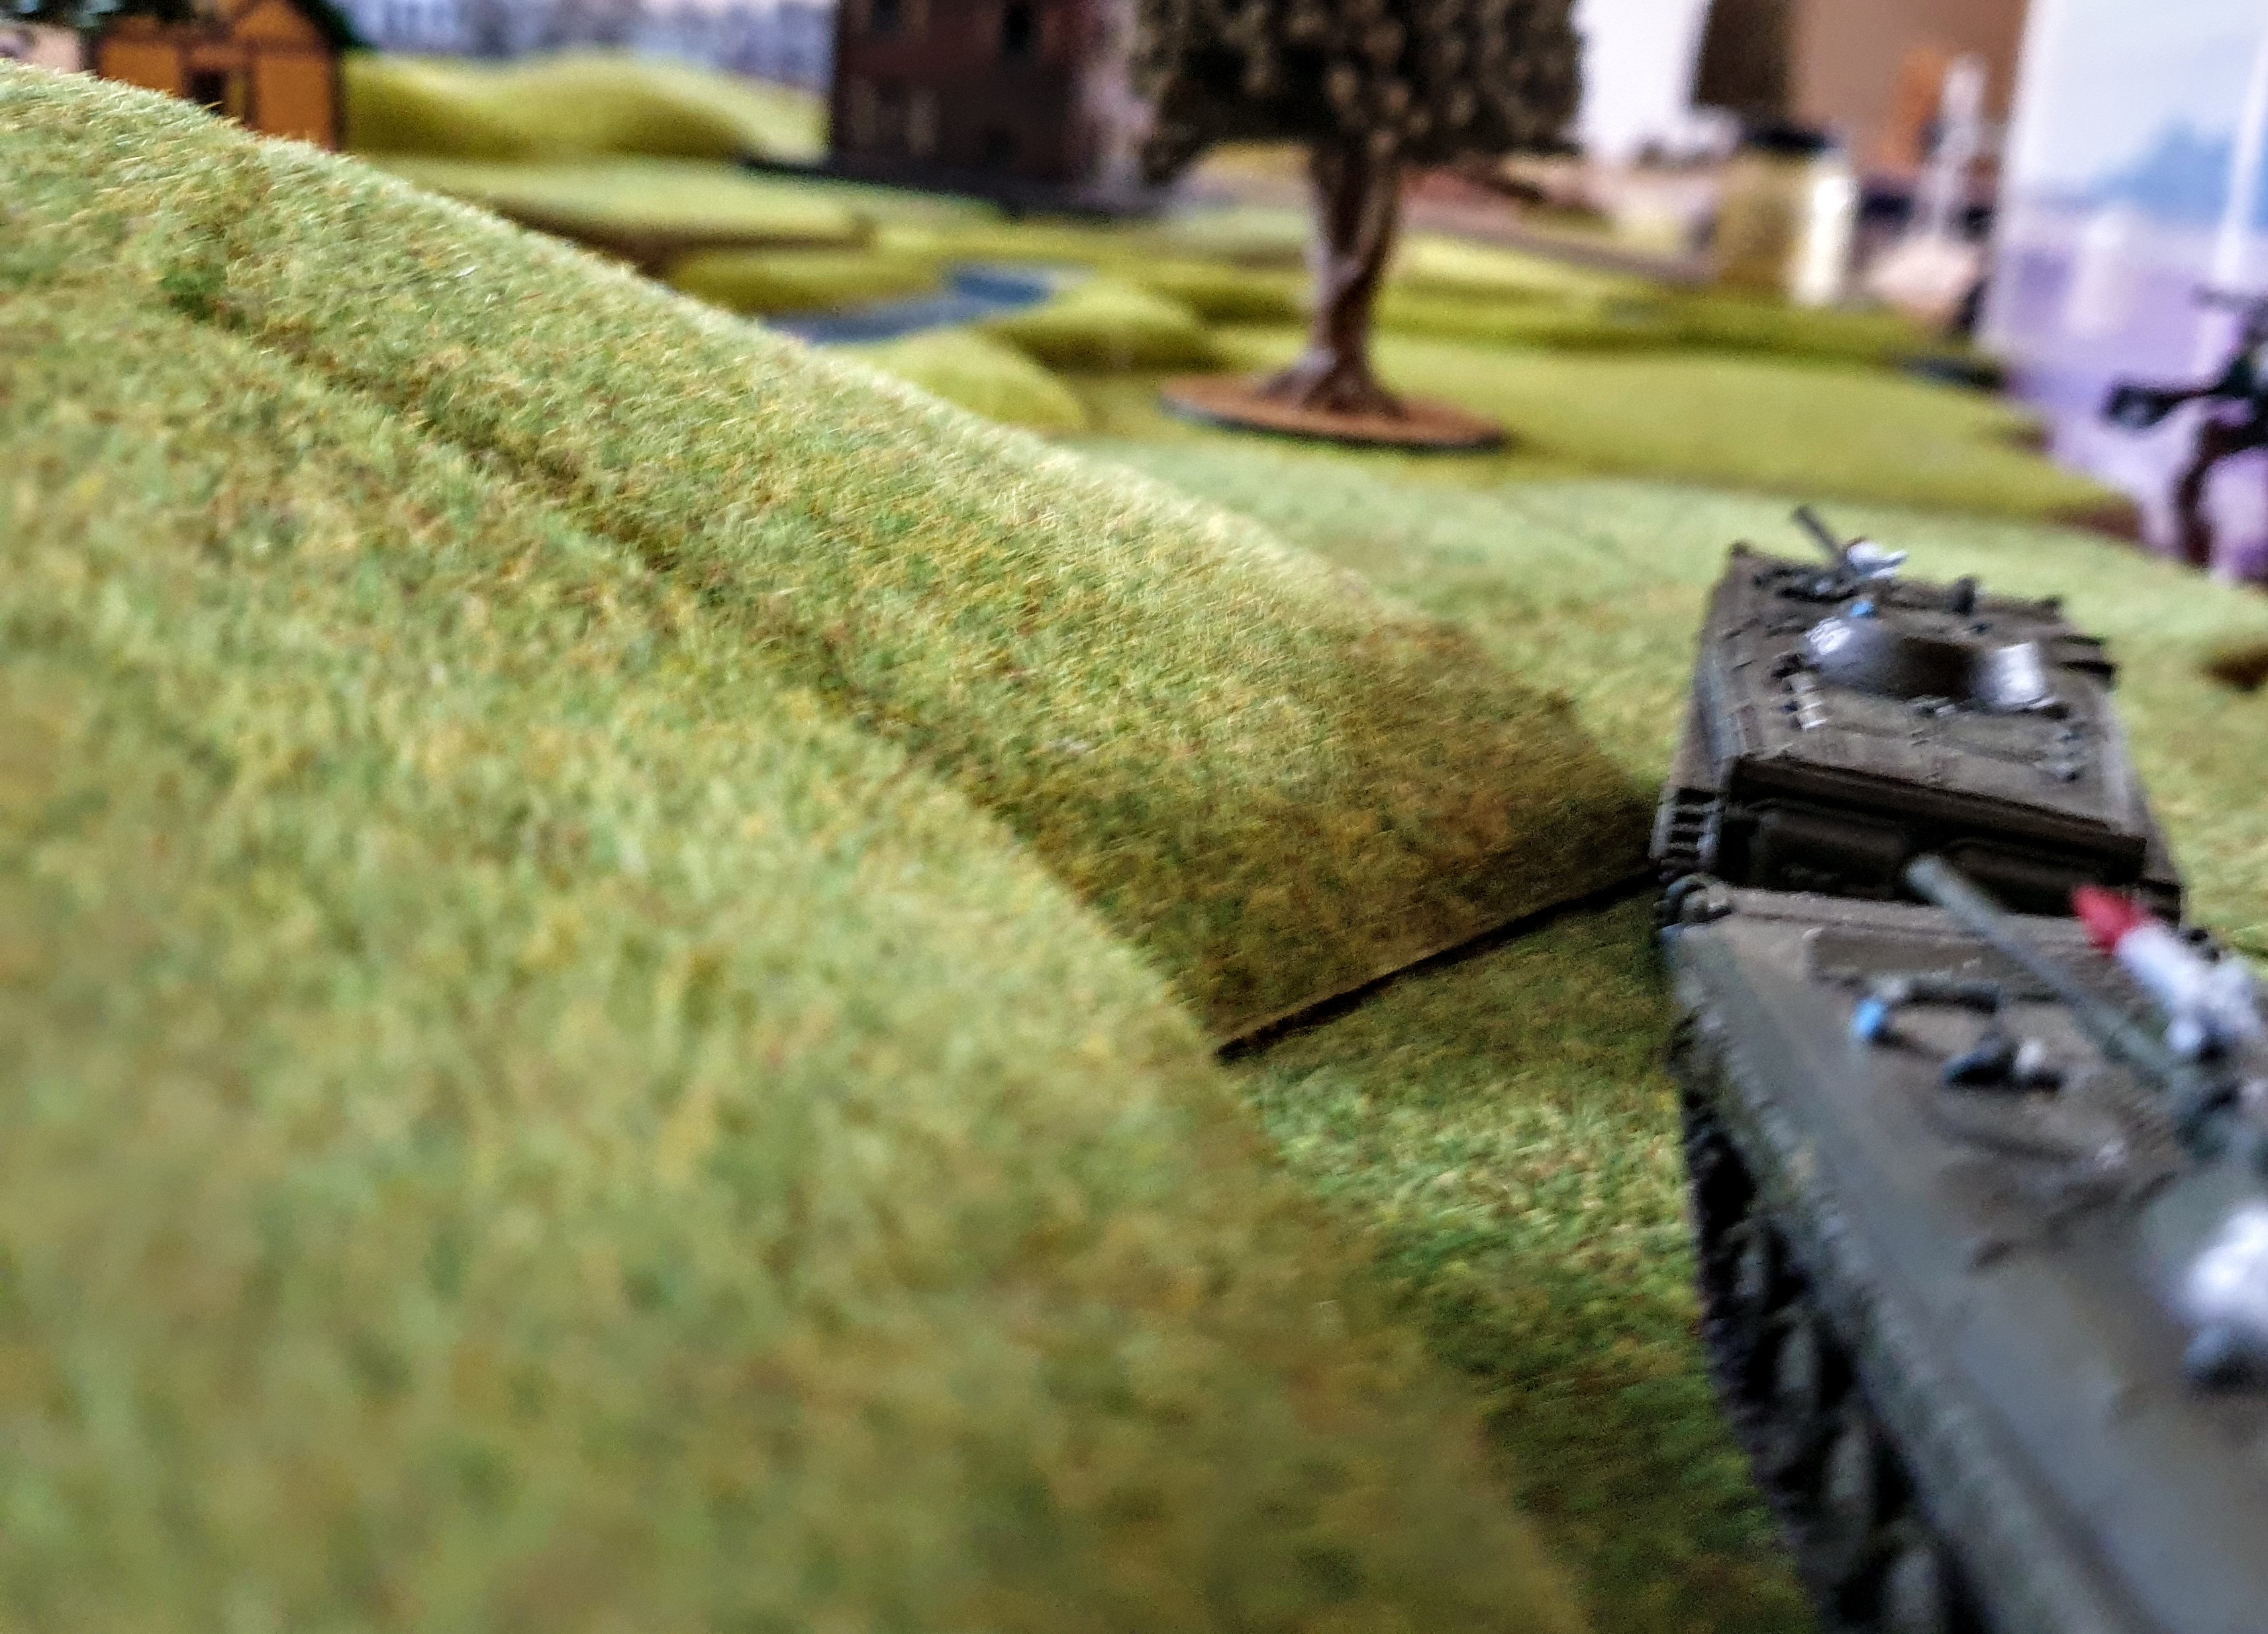
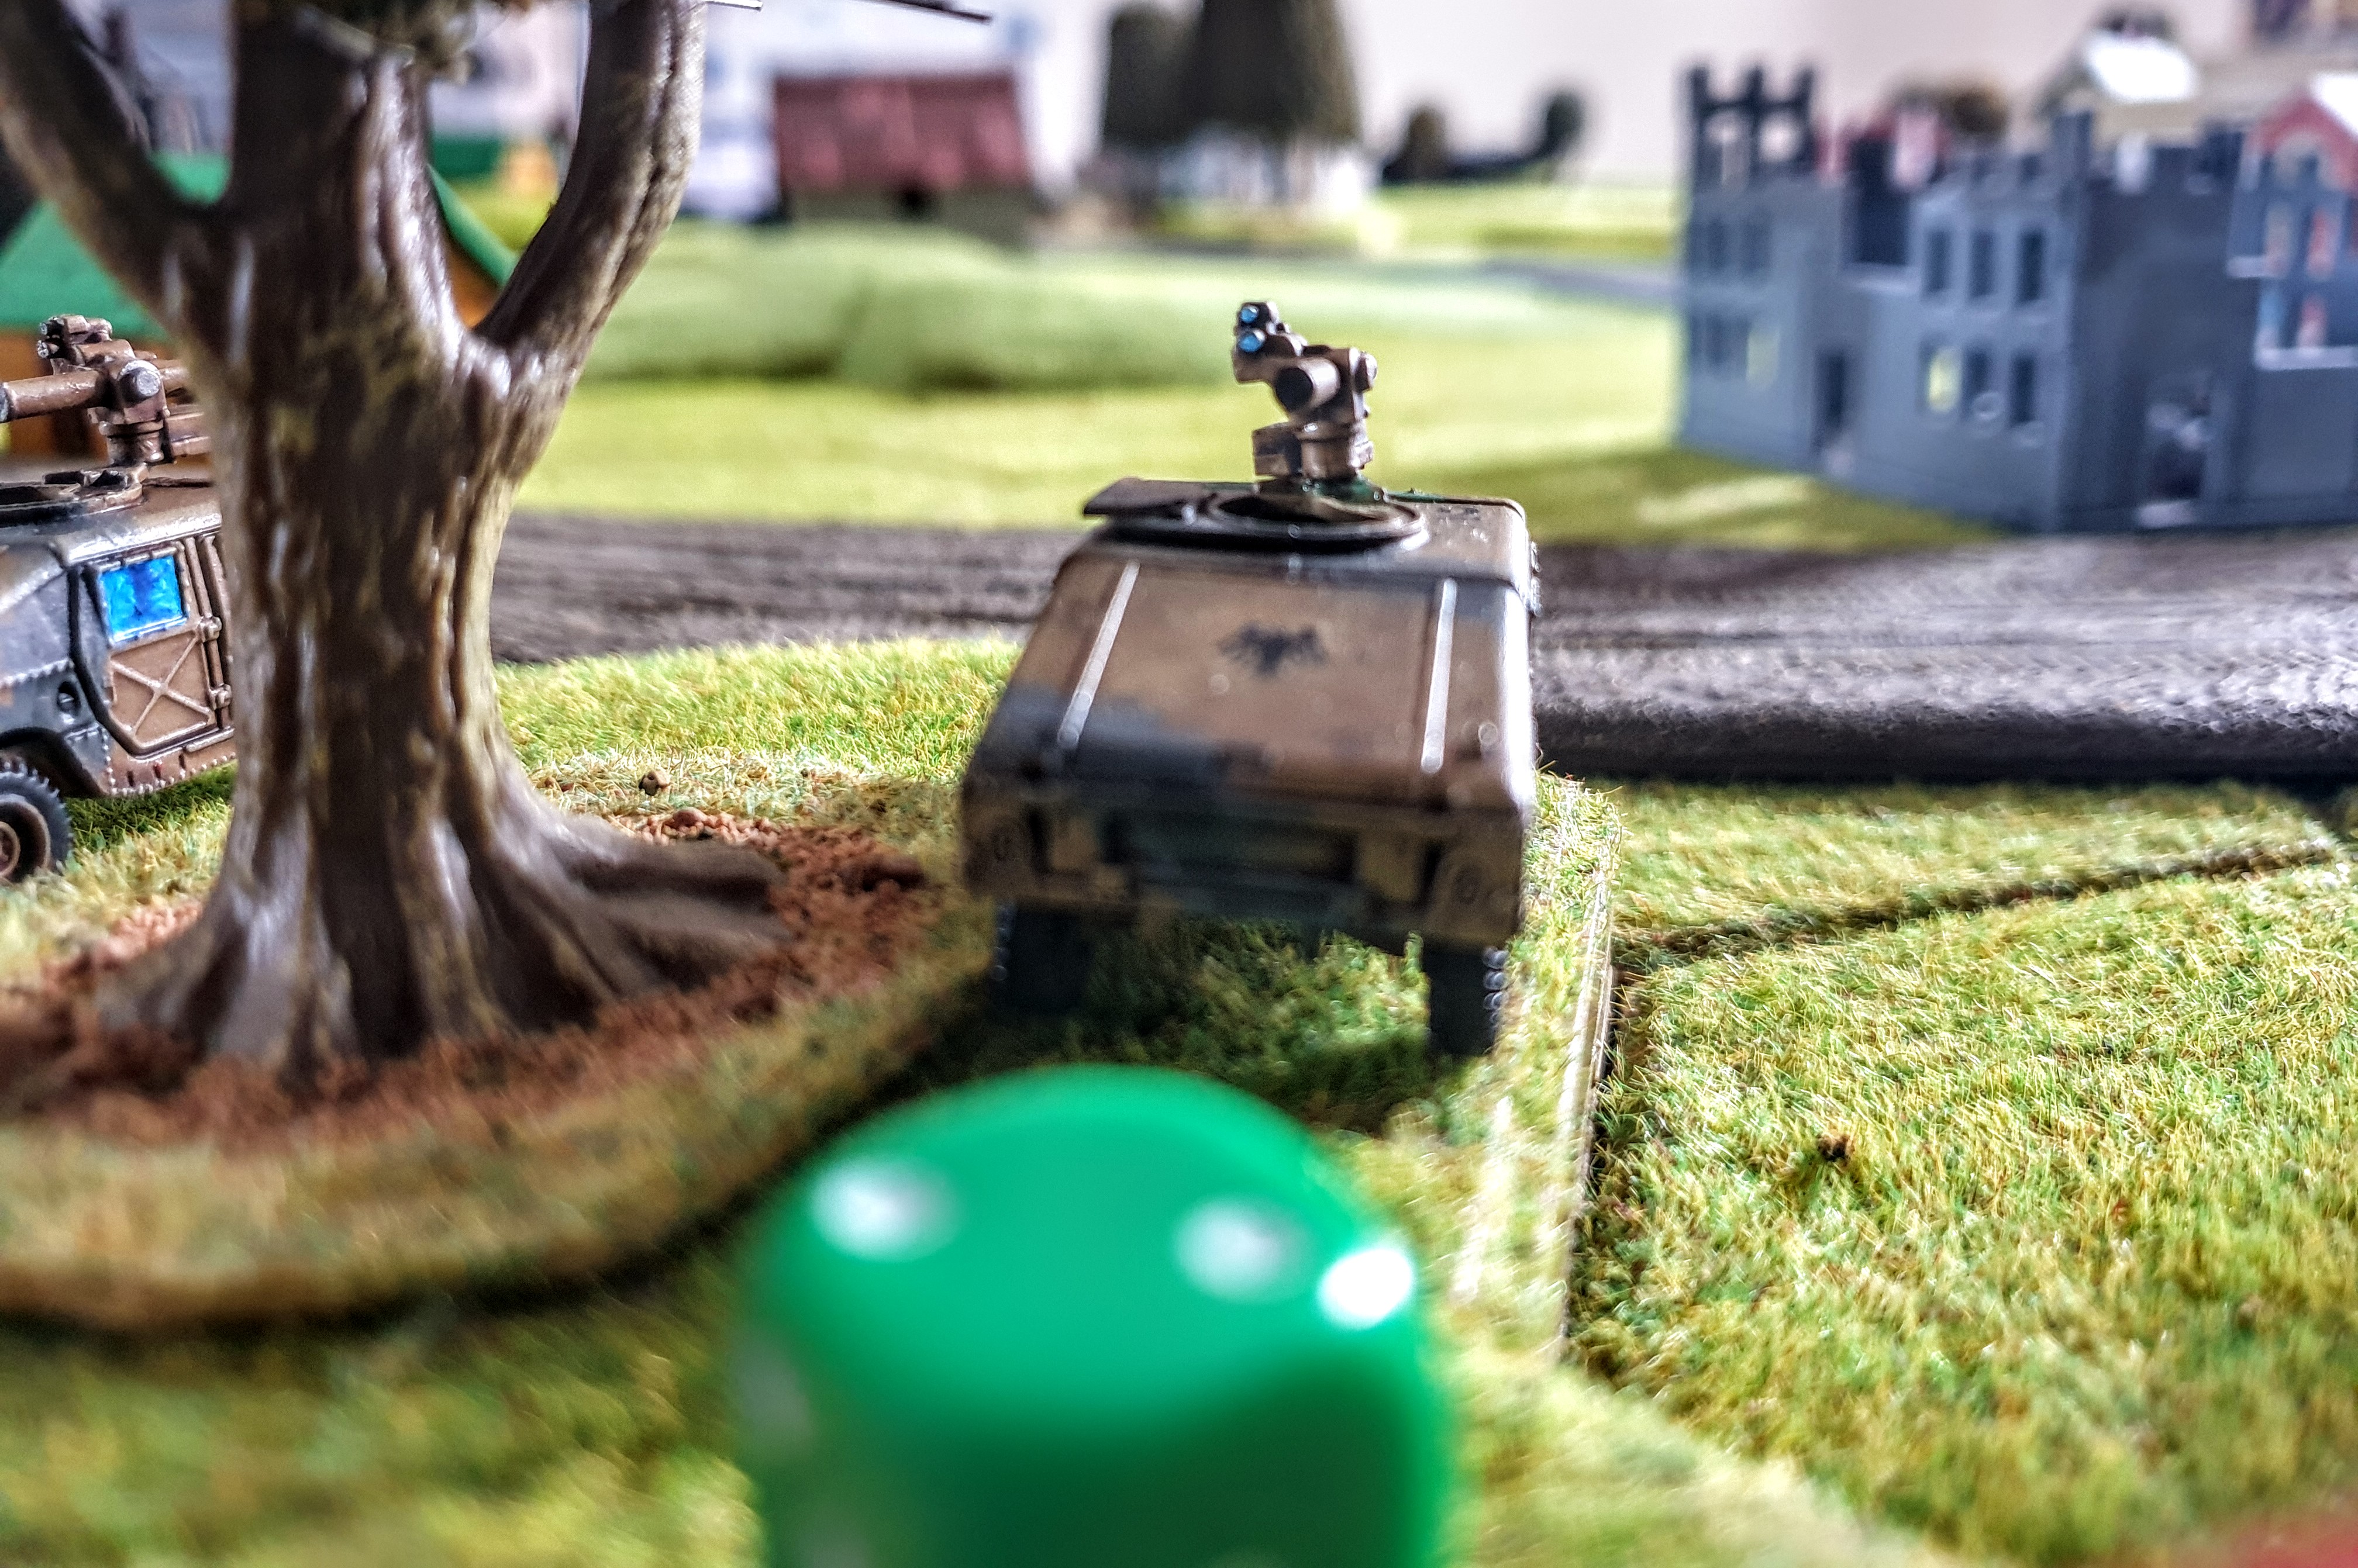 View from HMMV'S
  It go bang
After that the next series of dice came out evenly red and green.
The T55’s commander realising he was totally in the wrong place and seeing the huge amount of open space in front of him, raced his unit towards the safety of the woods.
 Oops!
Oops!Most of the Mercians realised they were out of position and moved as quickly as possible towards the centre of town
 Drrr!
Drrr!The Guards T64 commander on realising the complete FUBAR, decided to forget where he should be and headed over the hills to the small copse of woods to his front, this did leave one tank technically exposed, but as it happened the Abrams troop was unable to move sufficiently on tactical to get it in range. The 1st Platoon was behind so didnt have line of sight or the ability to fire and move, so just moved into a firing position.
The BMP1 scouts spotted the arrival of the Mercian tanks to there front ,and as they were out of range for their missiles decided discretion was the better part of valor and also headed for the safety of the woods.
Col Keitholopolos , had held back moving his main force till last. On seeing the lack of Mercian Forces pushed his armour up the right of woods, and sent the Spandrals to take up positions by the deffelade on the right of the Road.
And finally the Hapless Kaptain Kevlin raced across the table to attempt to reunite with his command.
Battle Report 3a Volgan Deployment!
I did think the deployment would be a quick single update but the dice Gods were not with me so now a separate section for the Vogans
2 Col Keithsoloplos T64
He rolled 3 and arrived at his designated 2 of spades
10x T72M’s rolled and arrived with their commander.
So all was going well.
3. The T55’s rolled and got a 6 and ended at 4
The 3x Spandrels rolled a 1 and end up with with the Hq group at 2
4. With a certain amount of inevitability these ended up at 3.
So the two flanking forces ended up reversed with virtually all the long range firepower in the wrong places!
In the center the order was :
T72’s
Hq
Spandrels.
Now they are actually deployed
I put there dice in the bag
As there was only 6 for the Mercian’s I added an extra dice to even the chance of them being drawn. Each unit can still only be drawn once. I did this as perhaps one of the downsides of the system is that the side with more units has a better chance of its units being drawn early on. The extra dice will be ignored once all Mercian dice have been drawn.
Battle Report 3 'And that went Well!! Actual deployment!!!
As I said I allowed the Soviet Scouts to deploy one move in for their scout skill from the correct Deployment areas
So the Guards BMP unit moved up the side of the main highway.
So again top down view for each followed by the commanders view
BMP-2’s
BMP-1s
Mercian’s
As the models had been placed I started with them
1.The HQ Abrams Kaptain Kevlin rolled a 6 so ended up at the Queen position. OK!
2. The Troop of M1A1HC’s rolled a 3 so deployed as they should at King
The 1st troop of M901’s roll 4
So they were at King OK.
3. The 2nd Troop of M901’s
Rolled 1 so they ended up at King
The Assault Guns rolled 1 and they also ended up at King! Ooooh Kaaay!
Rolling for order of arrival
I got :
2nd Troop M901’s
Troop of M1A1HC’s
1st Troop of M901’s
Troop of Assault Guns
So initially all the Mercian’s bar there commander have arrived on their left flank.
Their hapless Commander has got separated and lost and arrived on the opposite flank!!!
I think most Army vets now know his 1st name.
‘Rupert!
Battle Report 2 Initial Deployment solo.play and the Fog of War The Mercian perspective
Having sorted out the Volgan Deployment, effectively with no prior knowledge of the Mercians, it was now their turn, the only real knowledge they have is of the lines of approach but with no idea of strength.
So let’s look at table from their prospective:
In their case I put the models where Ideally Kaptain Kevlin would like them.
Again I have shown topdown and commanders table view.
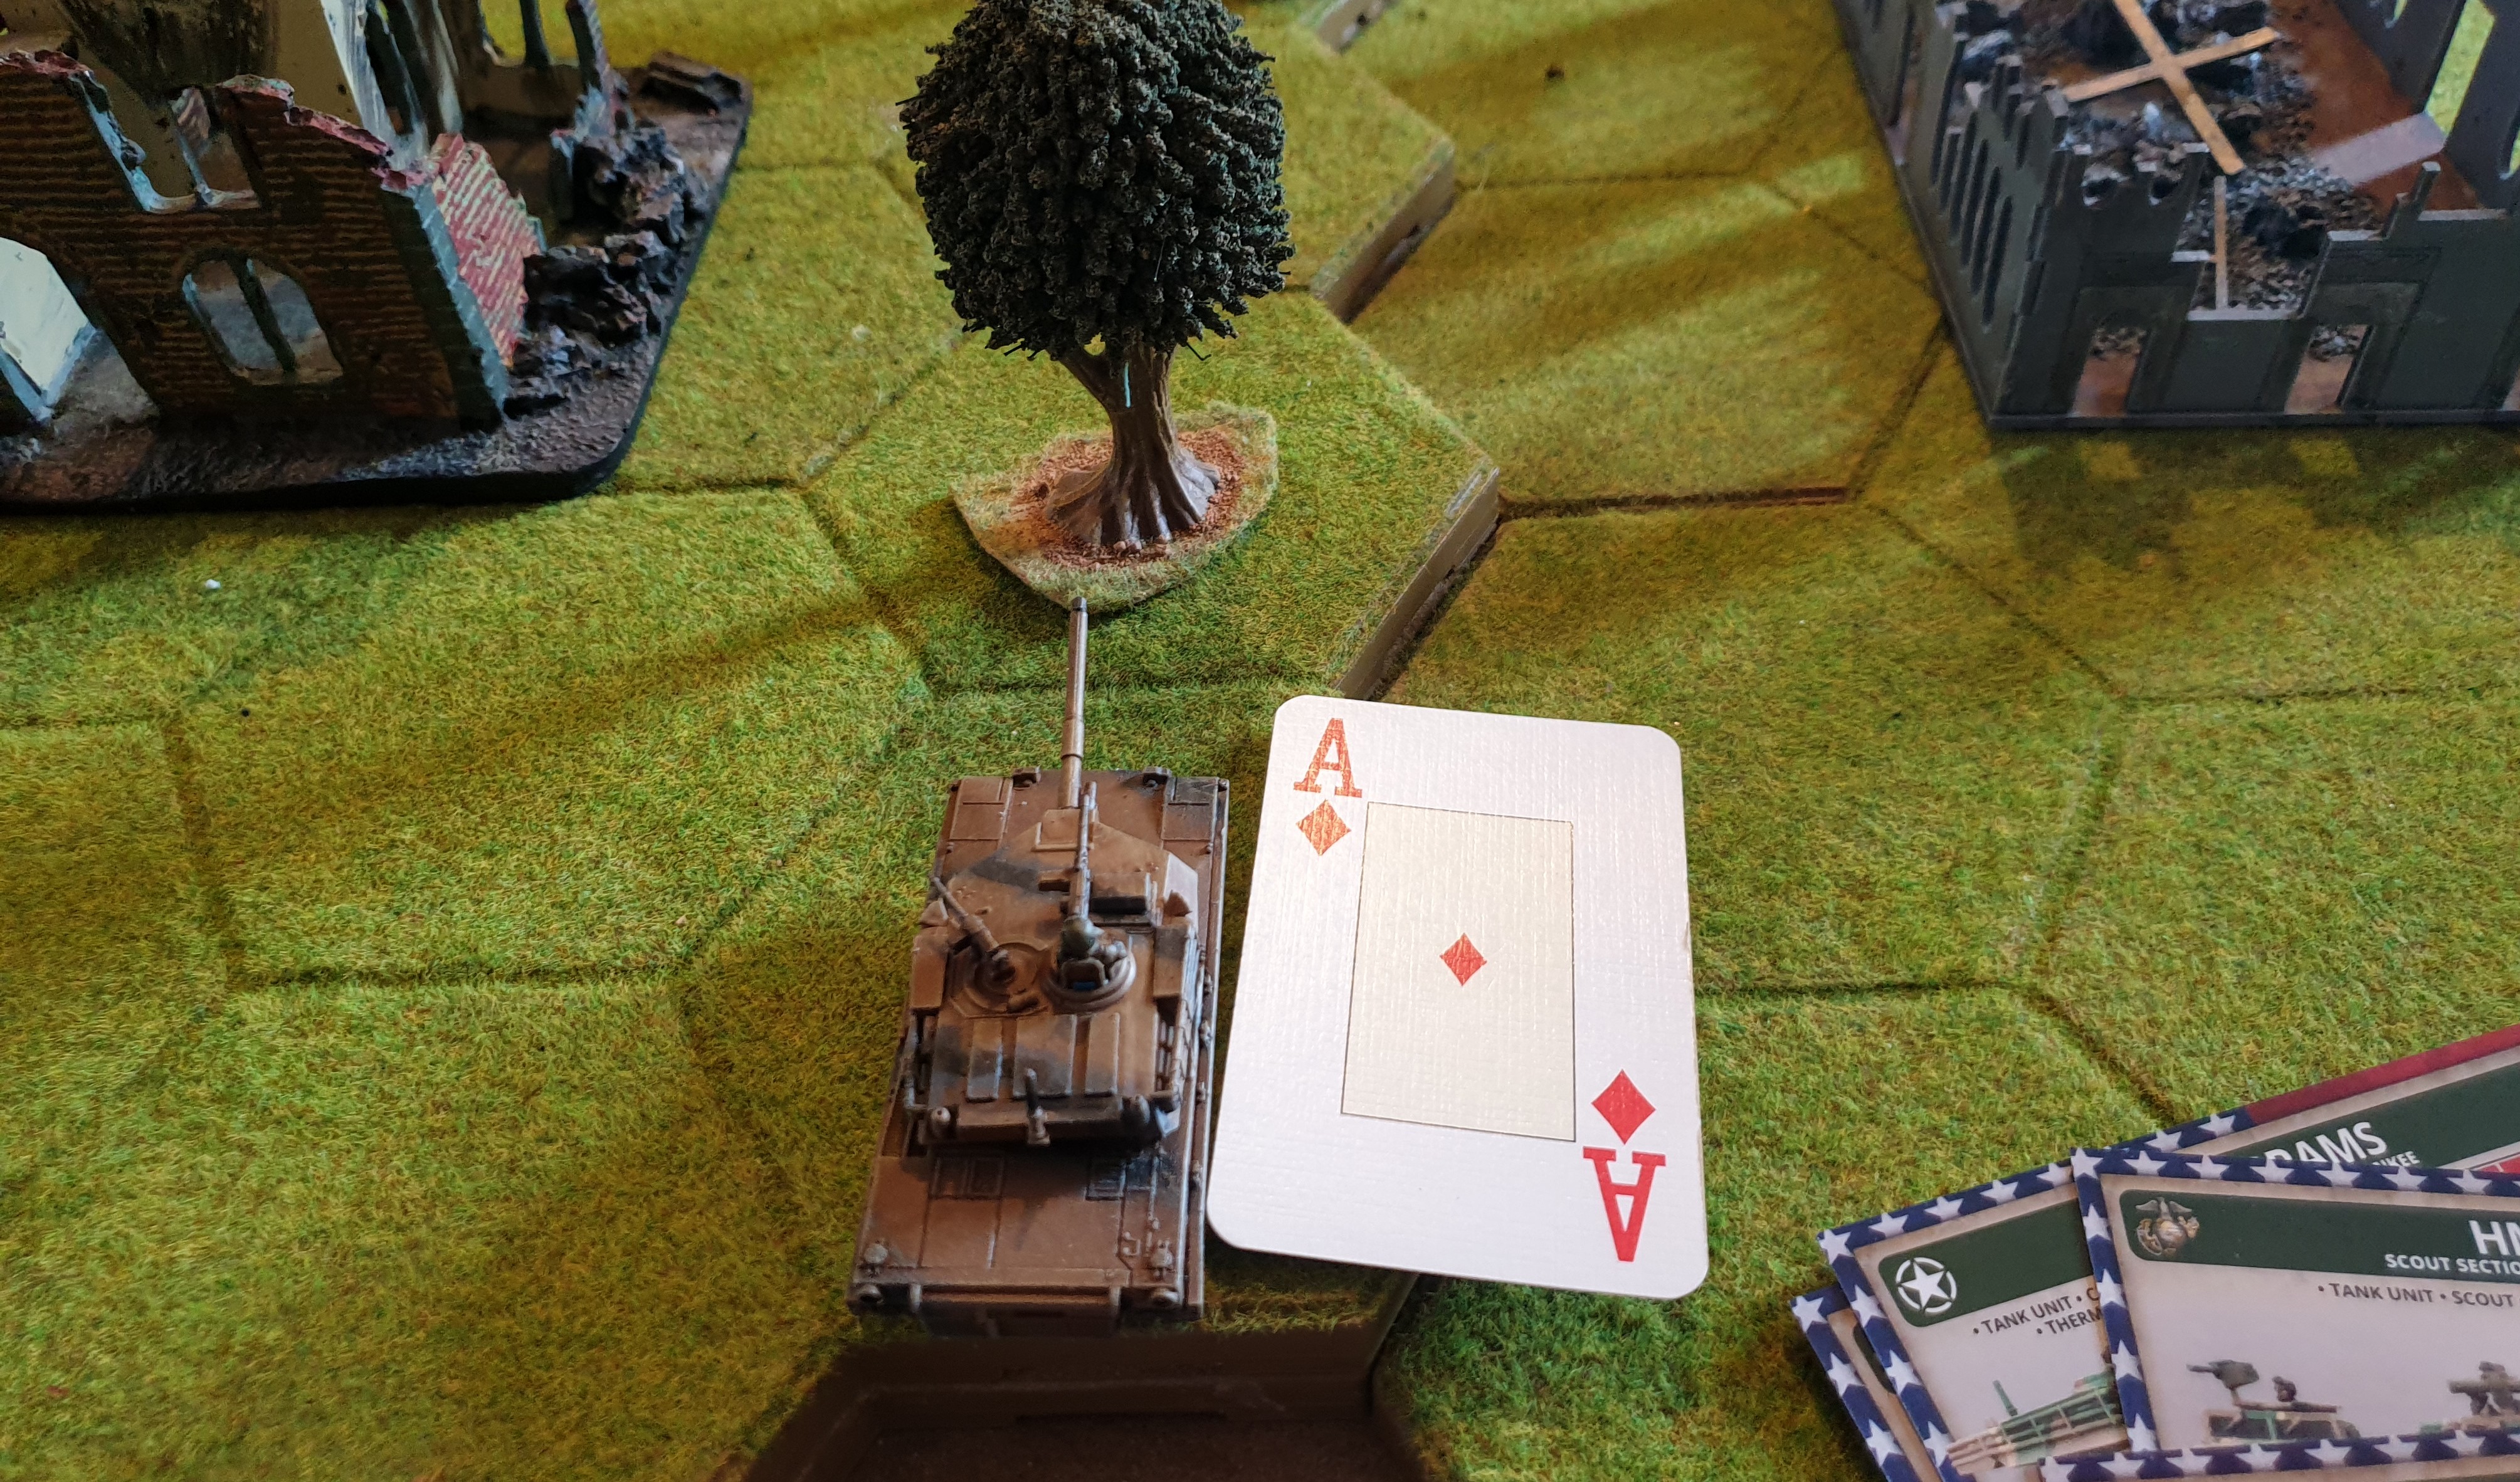
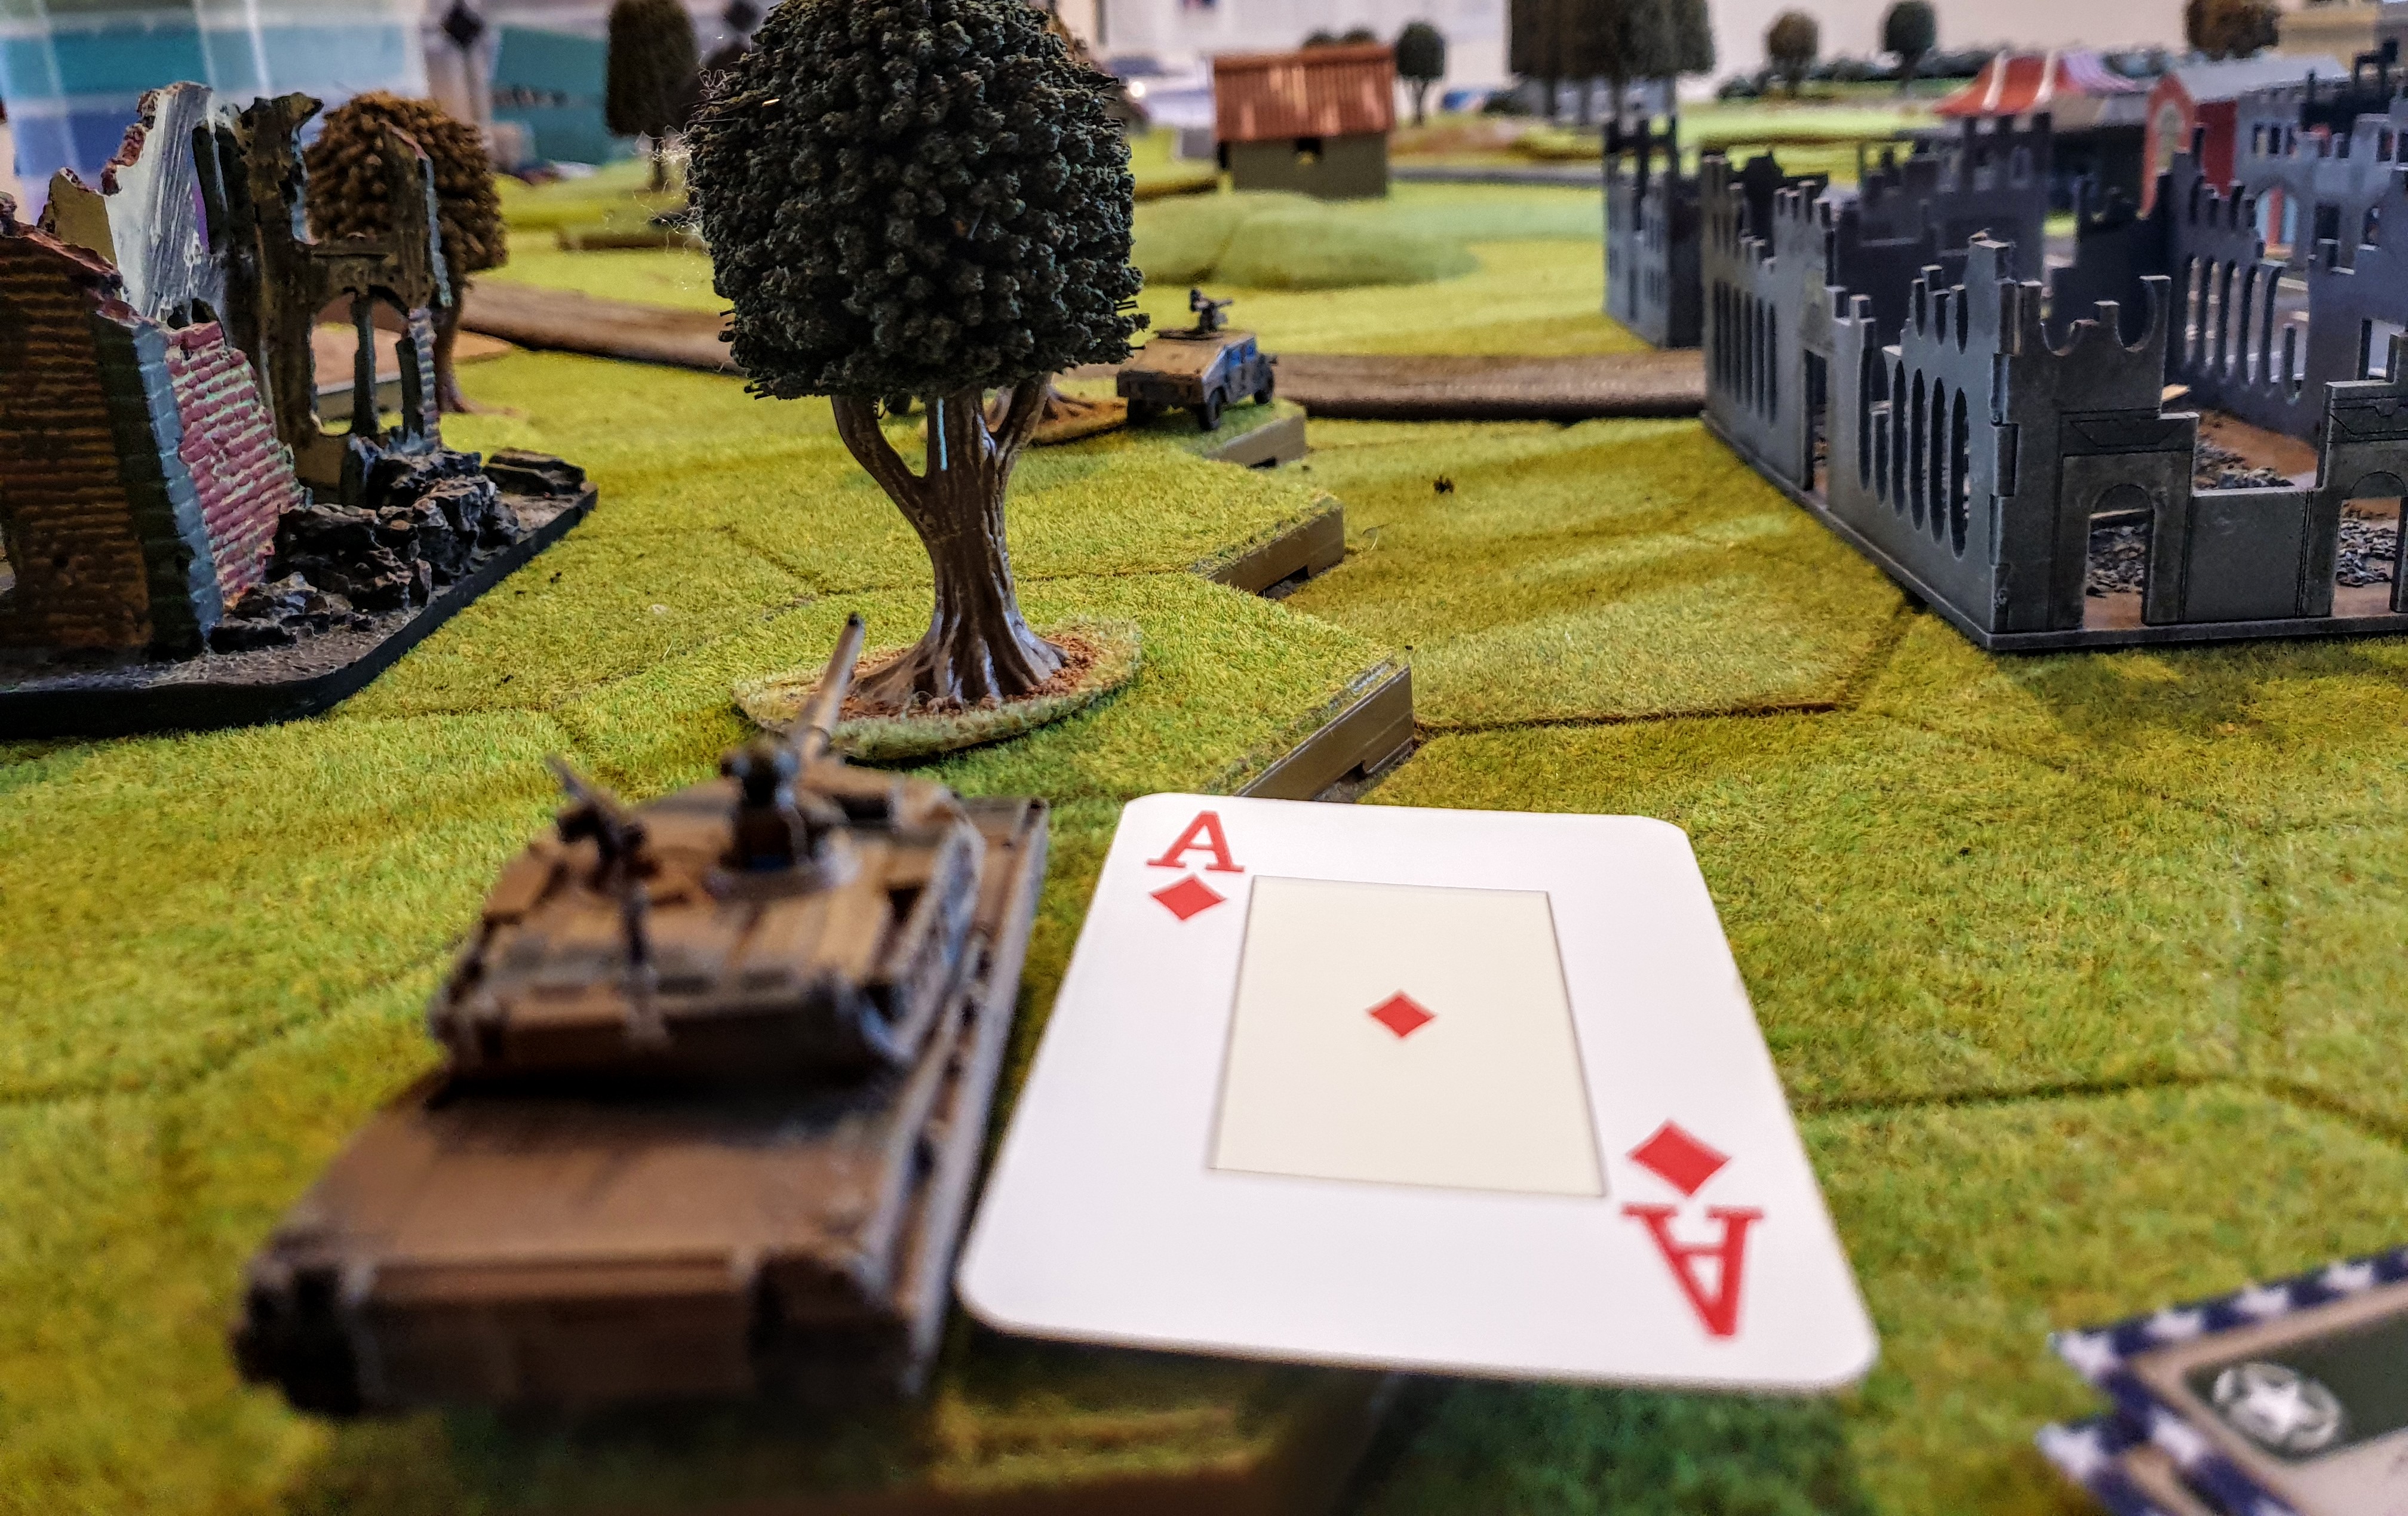
Ace of Diamonds
The HQ M1, I put on the hill on left of road , in central position to aid the forces on either flank.
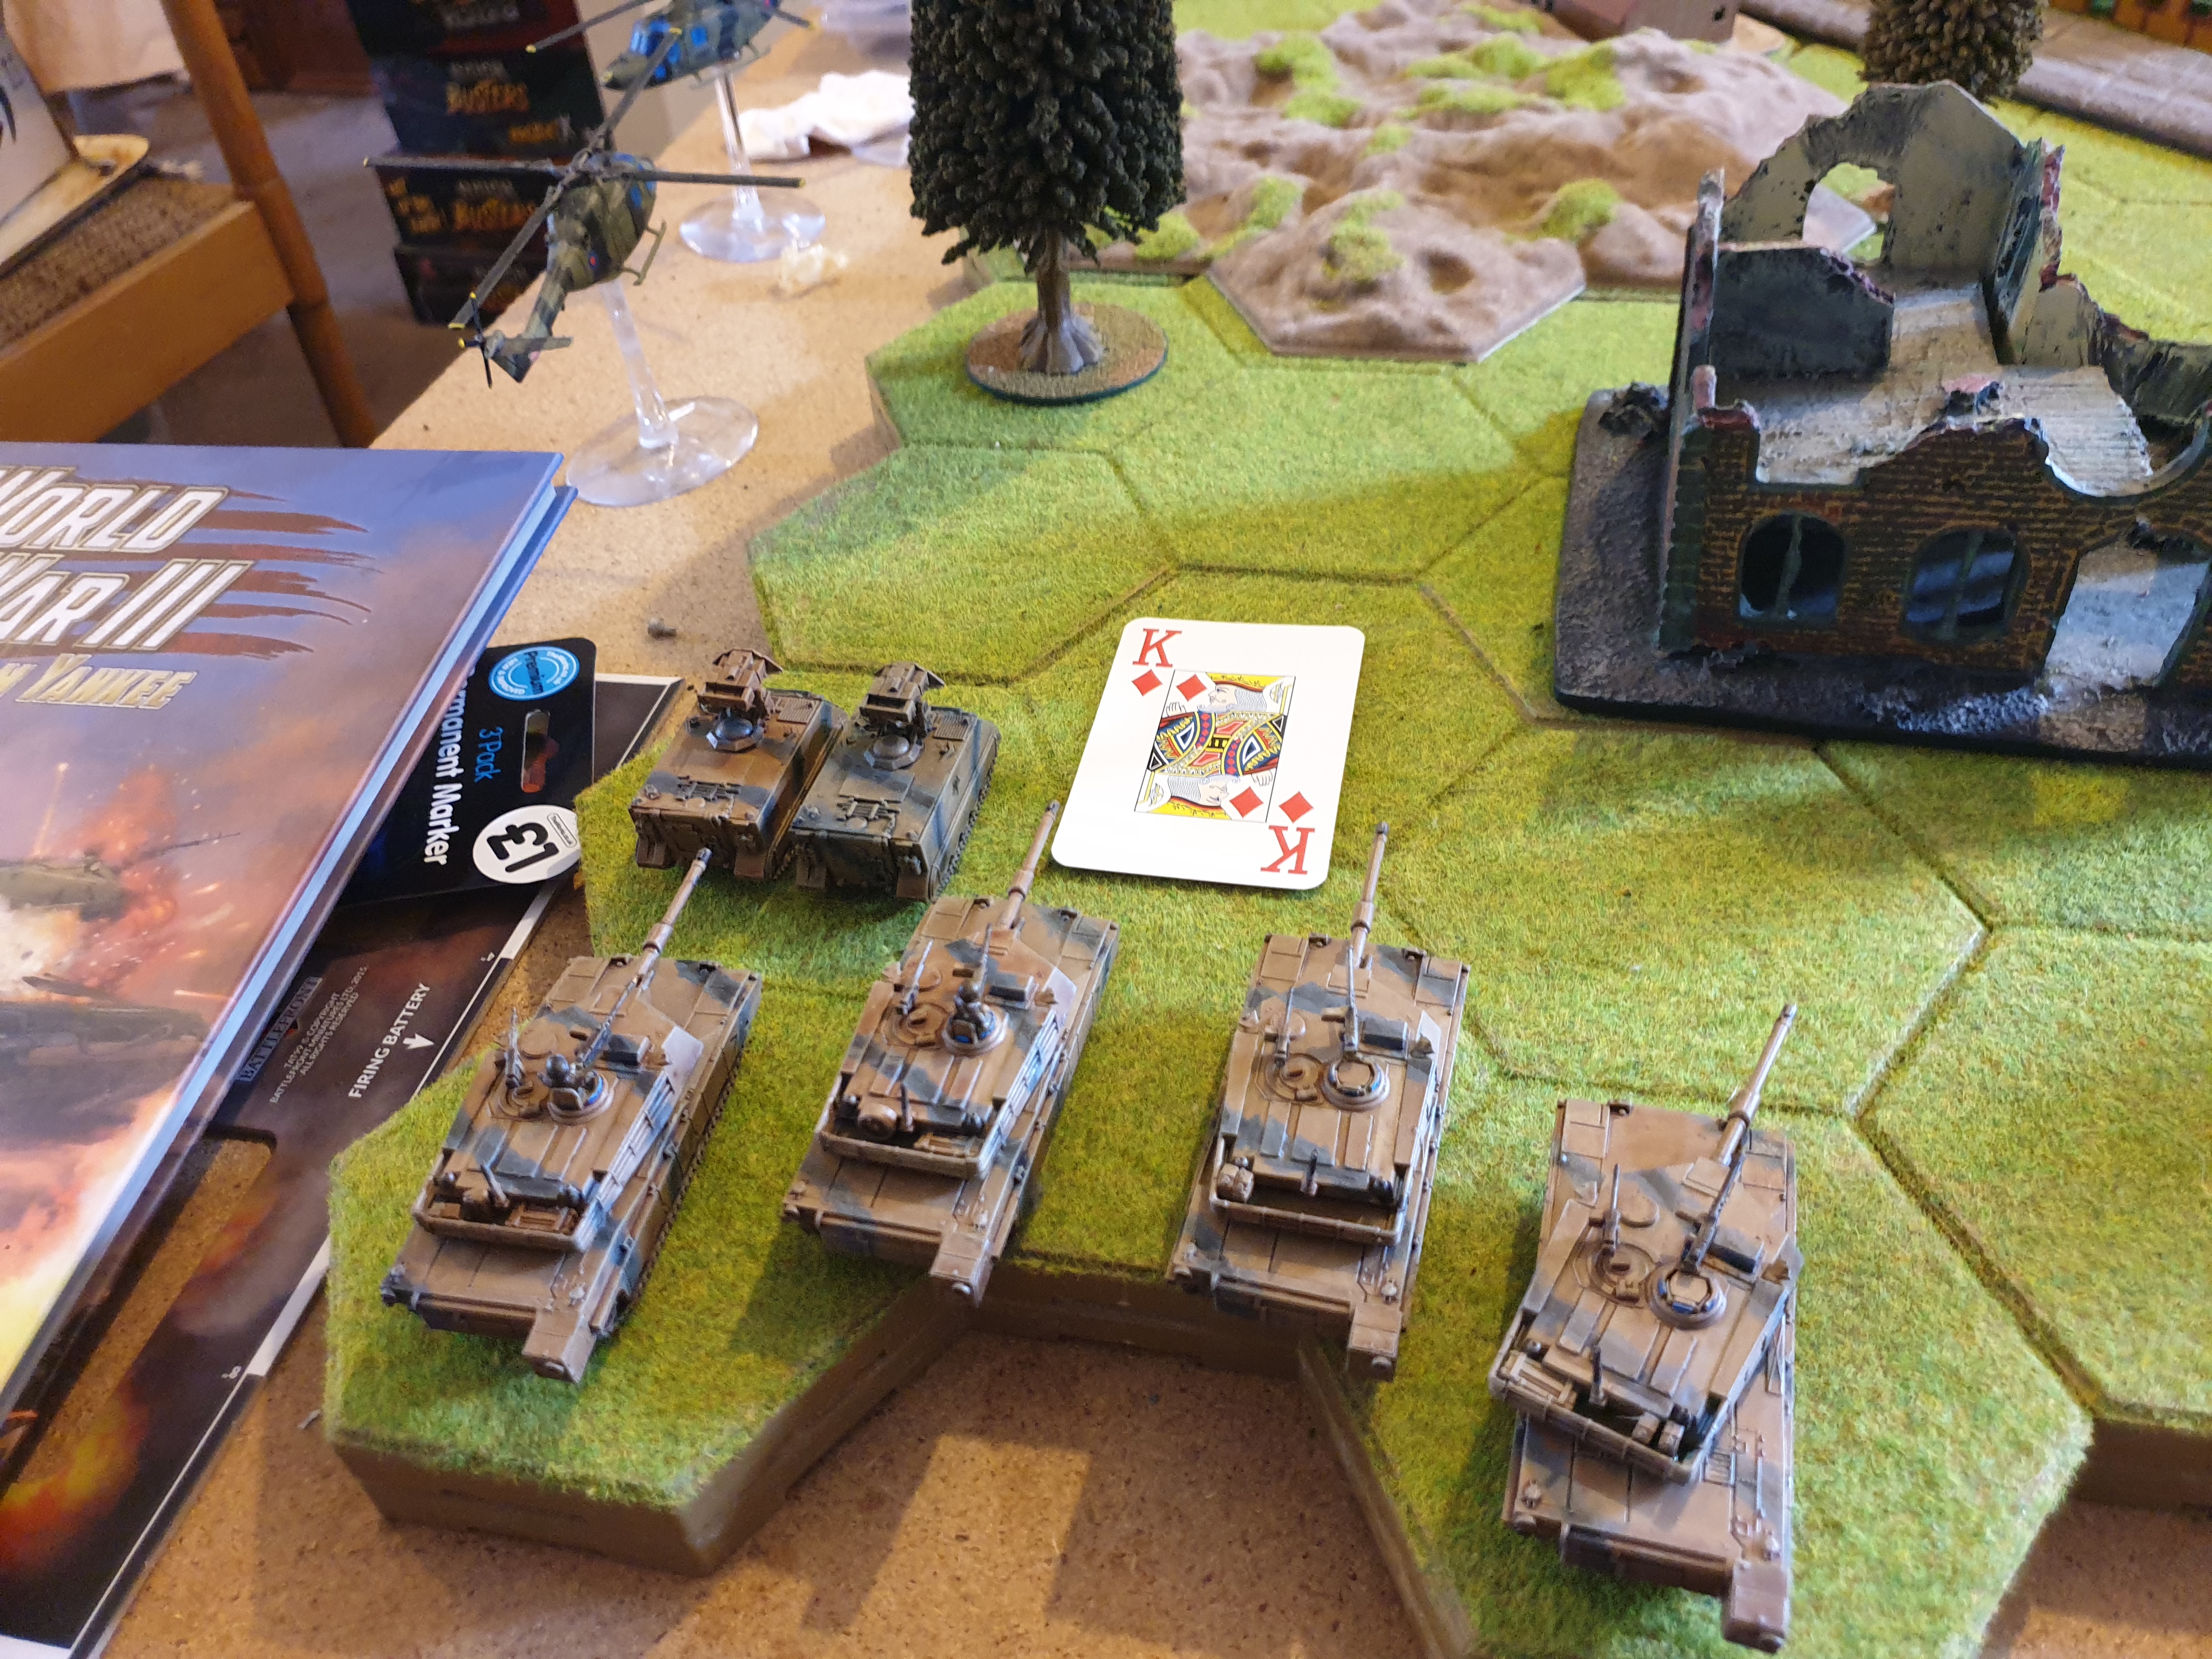
The King of Diamands
4x M1A1HC’
2x M901
On far left flank as they move forward into edge of treeline they will be in cover and be able to have line of sight over most of Battlefield
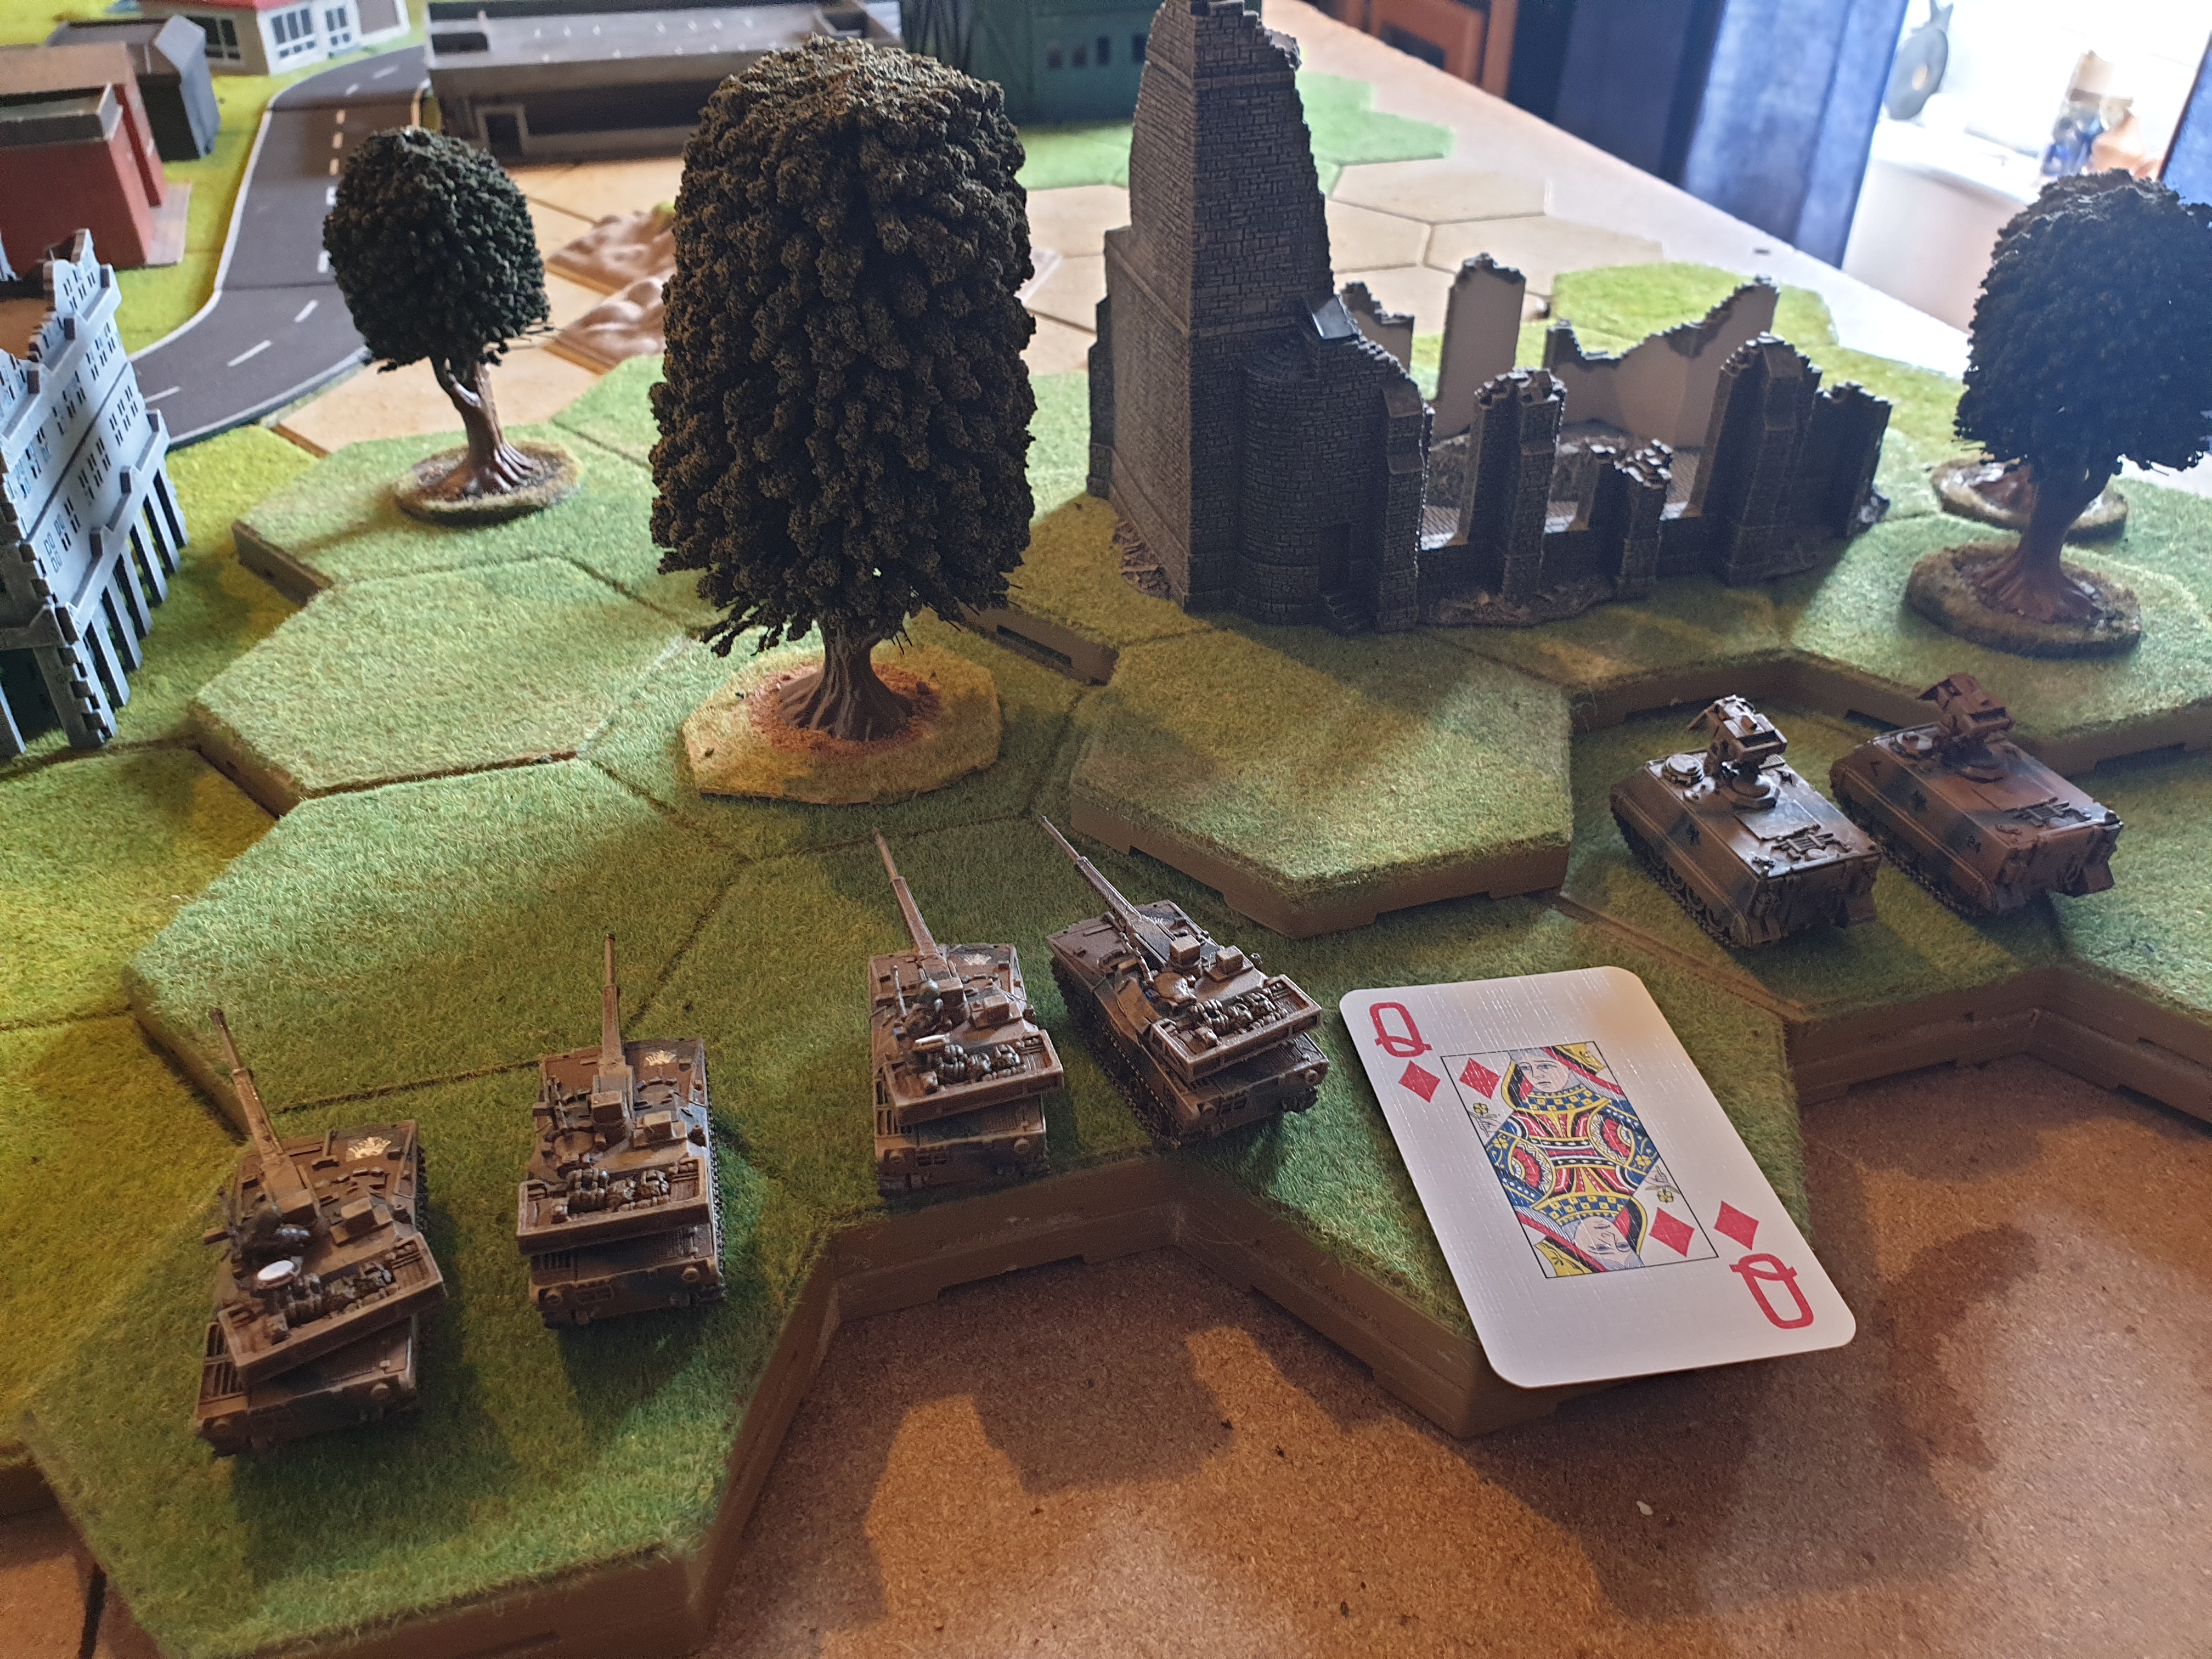
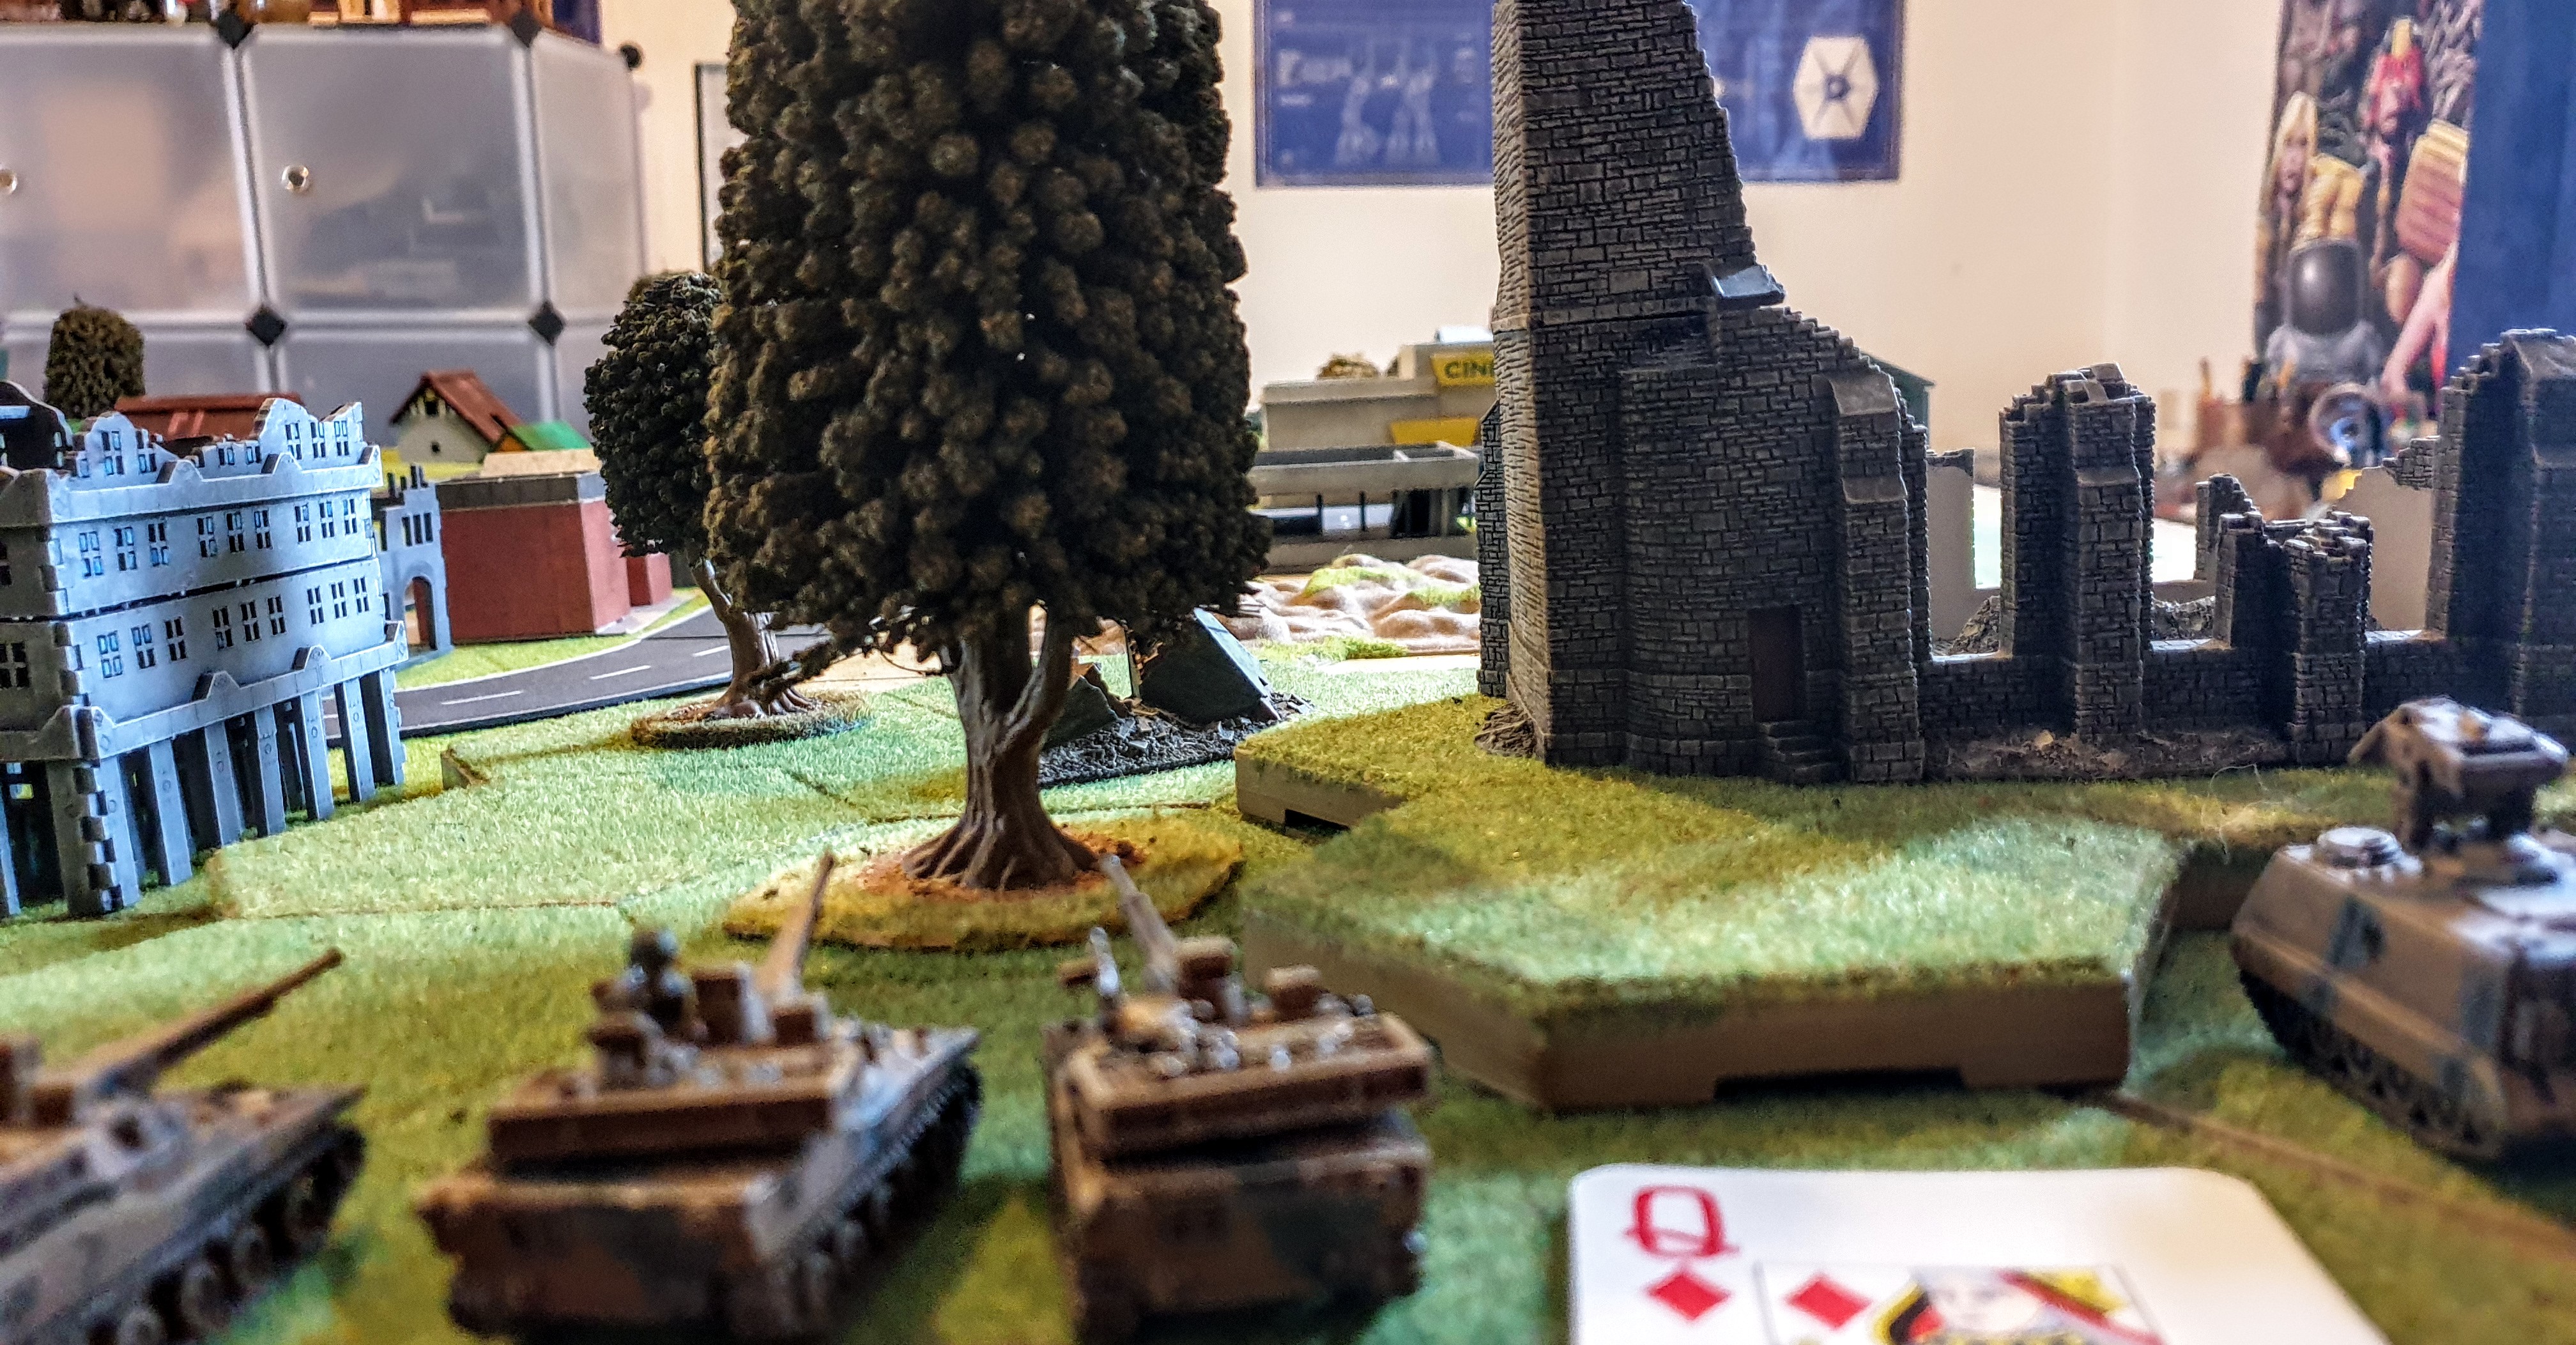
Queen of Diamonds
4x Assault guns
3x M901
- They are on right flank they are in position to move into heights by destroyed church and move into Mall area to lay ambush’s for Volgans.
As with the Vogans this deployment may be messed up but on the similar table as the Volgan Commander . Likewise any who gors 1st if two groups deploy at same area.
The only exception to this semi random deployment are scout units for both sides. I reckon as scouts they may actually know where they are and have had time to rectify it if wrong. Initially I have only deployed the Mercian Scout unit 2x HMMV with TOW2.

Tomorrow, ‘Let loose the Gerbils of War’ (bad greek and Norse translation) as battle commences .
Battle Report 1 Initial Deployment solo.play and the Fog of War The Vogan perspective
As a wize Lloydy said on an Backstager it is difficult to not put some sort of bias to one side when undertaking a Solo game.
So in setting up initial deployment, I have tried to reduce the Bias.
So I initially looked at the Vogan deployment, as they would be technically attacking. There base orders are to push through the Town move on to next objective and allow the infantry following to invest the town.
So I Initially looked at the table from the Volgan Commanders point of view one from initial arial recon, and one from his view on arrival at Edge of table. No Mercian Forces have deployed so he is deploying blind,his only advantage is that he knows the current strength of the opposition.

Breaking the table into the traditional 3 flanks , I broke the Vogans into 3 groups
A red playing card was placed on each
They break down as follows:
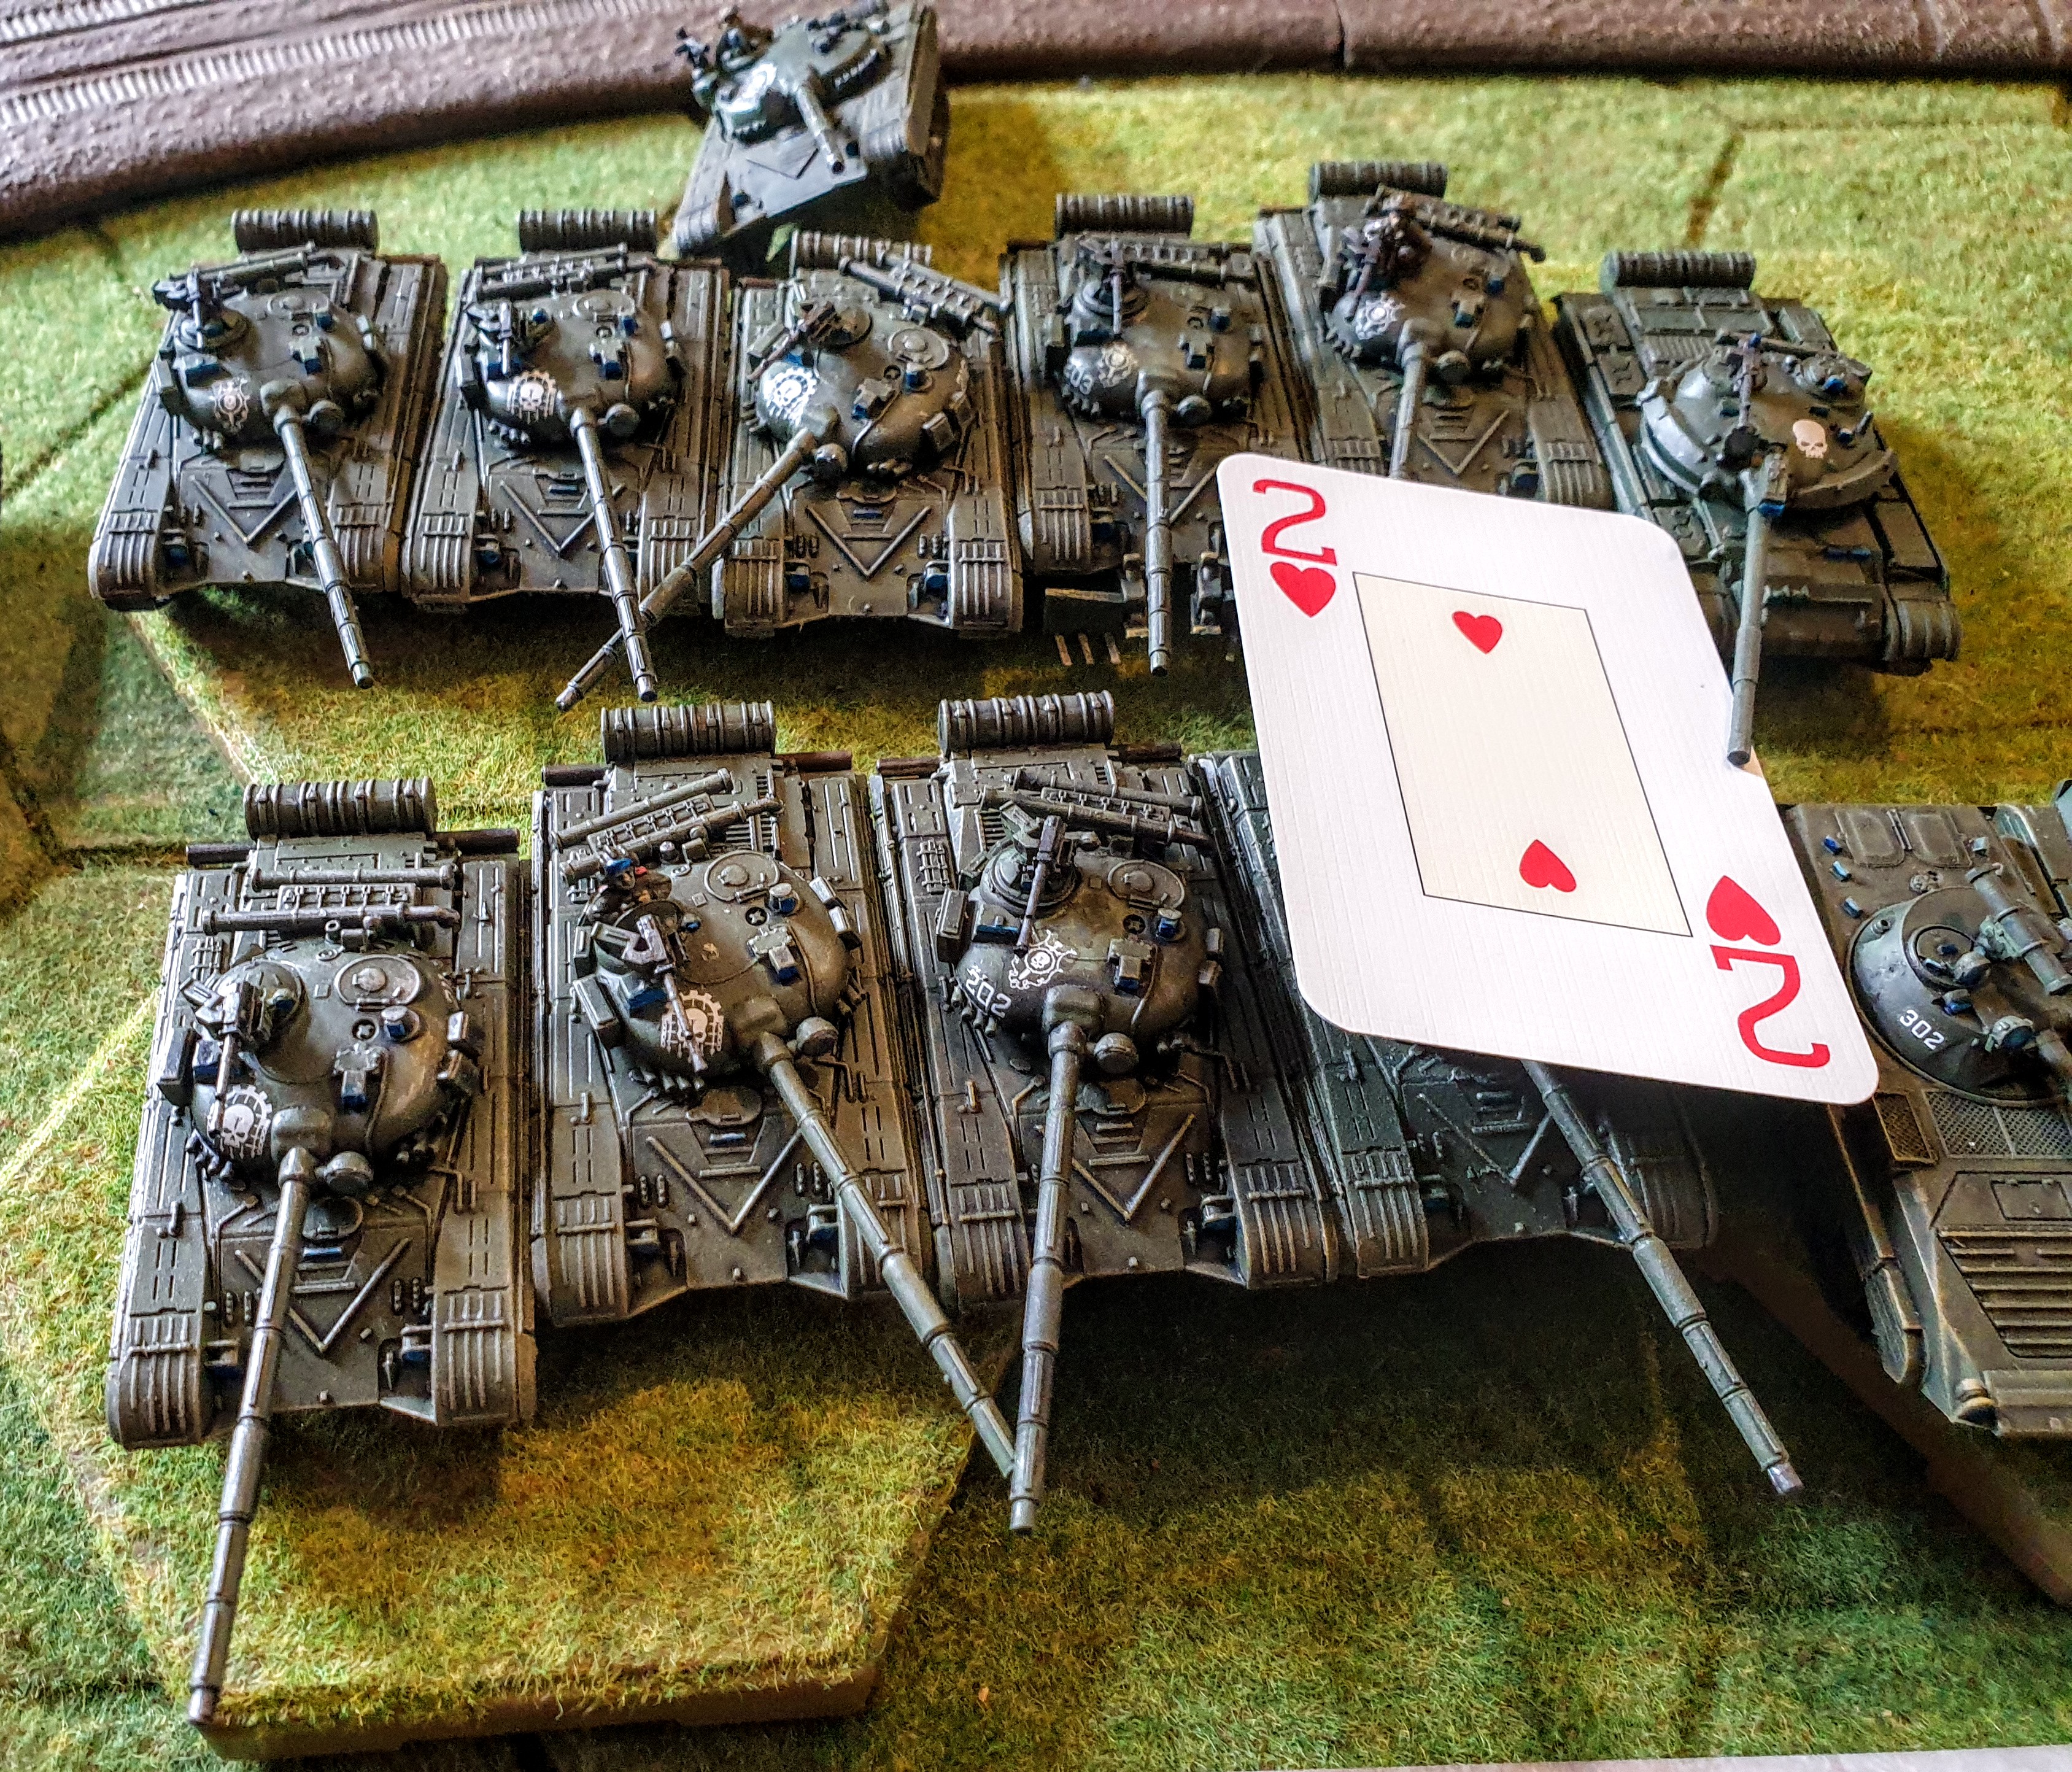
2 of Hearts
Hq 1x T64 Vogan Heavy Guards
Lt. Col Keithsolopolos
10x T72M’s Volgan Regulars
4 x BMP-2 scouts Volgan Guards
As the T72’s were the biggest unit in his command Col Keithsoloplos had attached himself to this unit to aid its moral, and so that his tanks gun help negate the range advantage the Mercians had .In a similar vein he had attached his own Guard Scout unit to boost long range firepower.
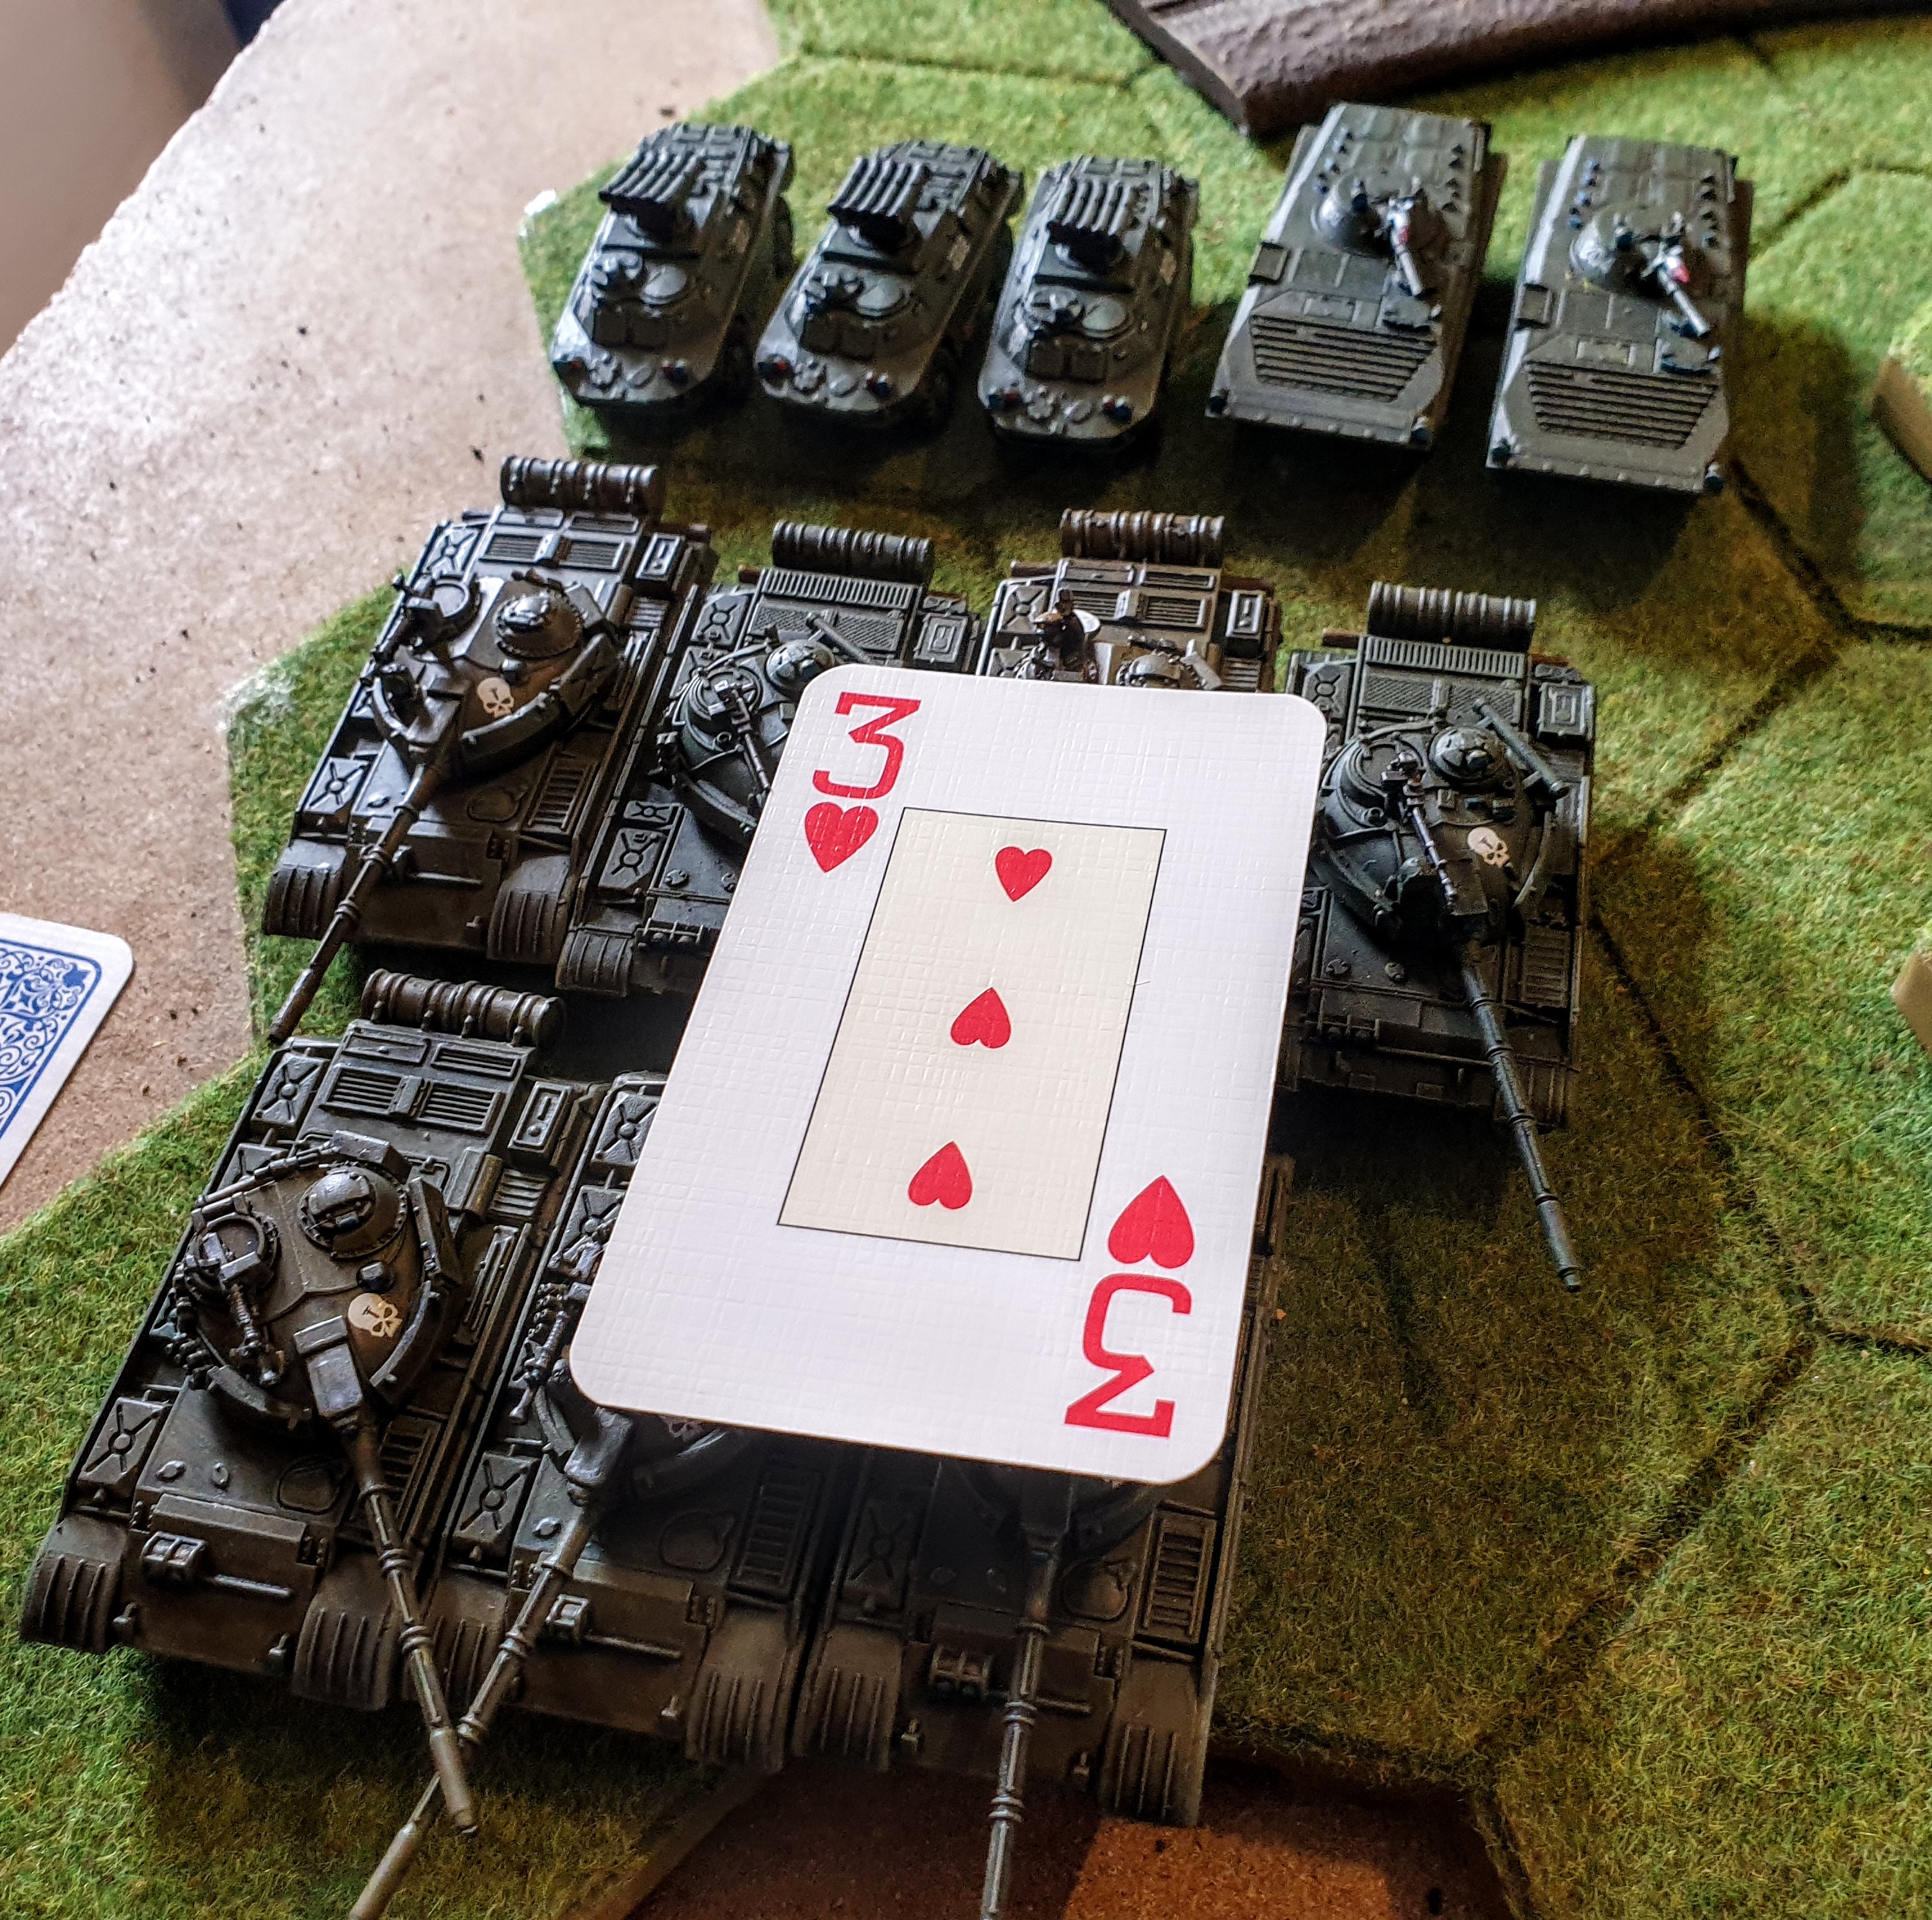
3 of Hearts
7x T55M’s Vogan Regulars
3x Spandral
2x BMP 1 Scouts
The T55’s despite their upgrades are the weakest of the 3 Vogan main groups and the tanks least likely to stand any chance against the Abrams , so I have beefed them up with the long range Missles of the Spandrels and BMP’s
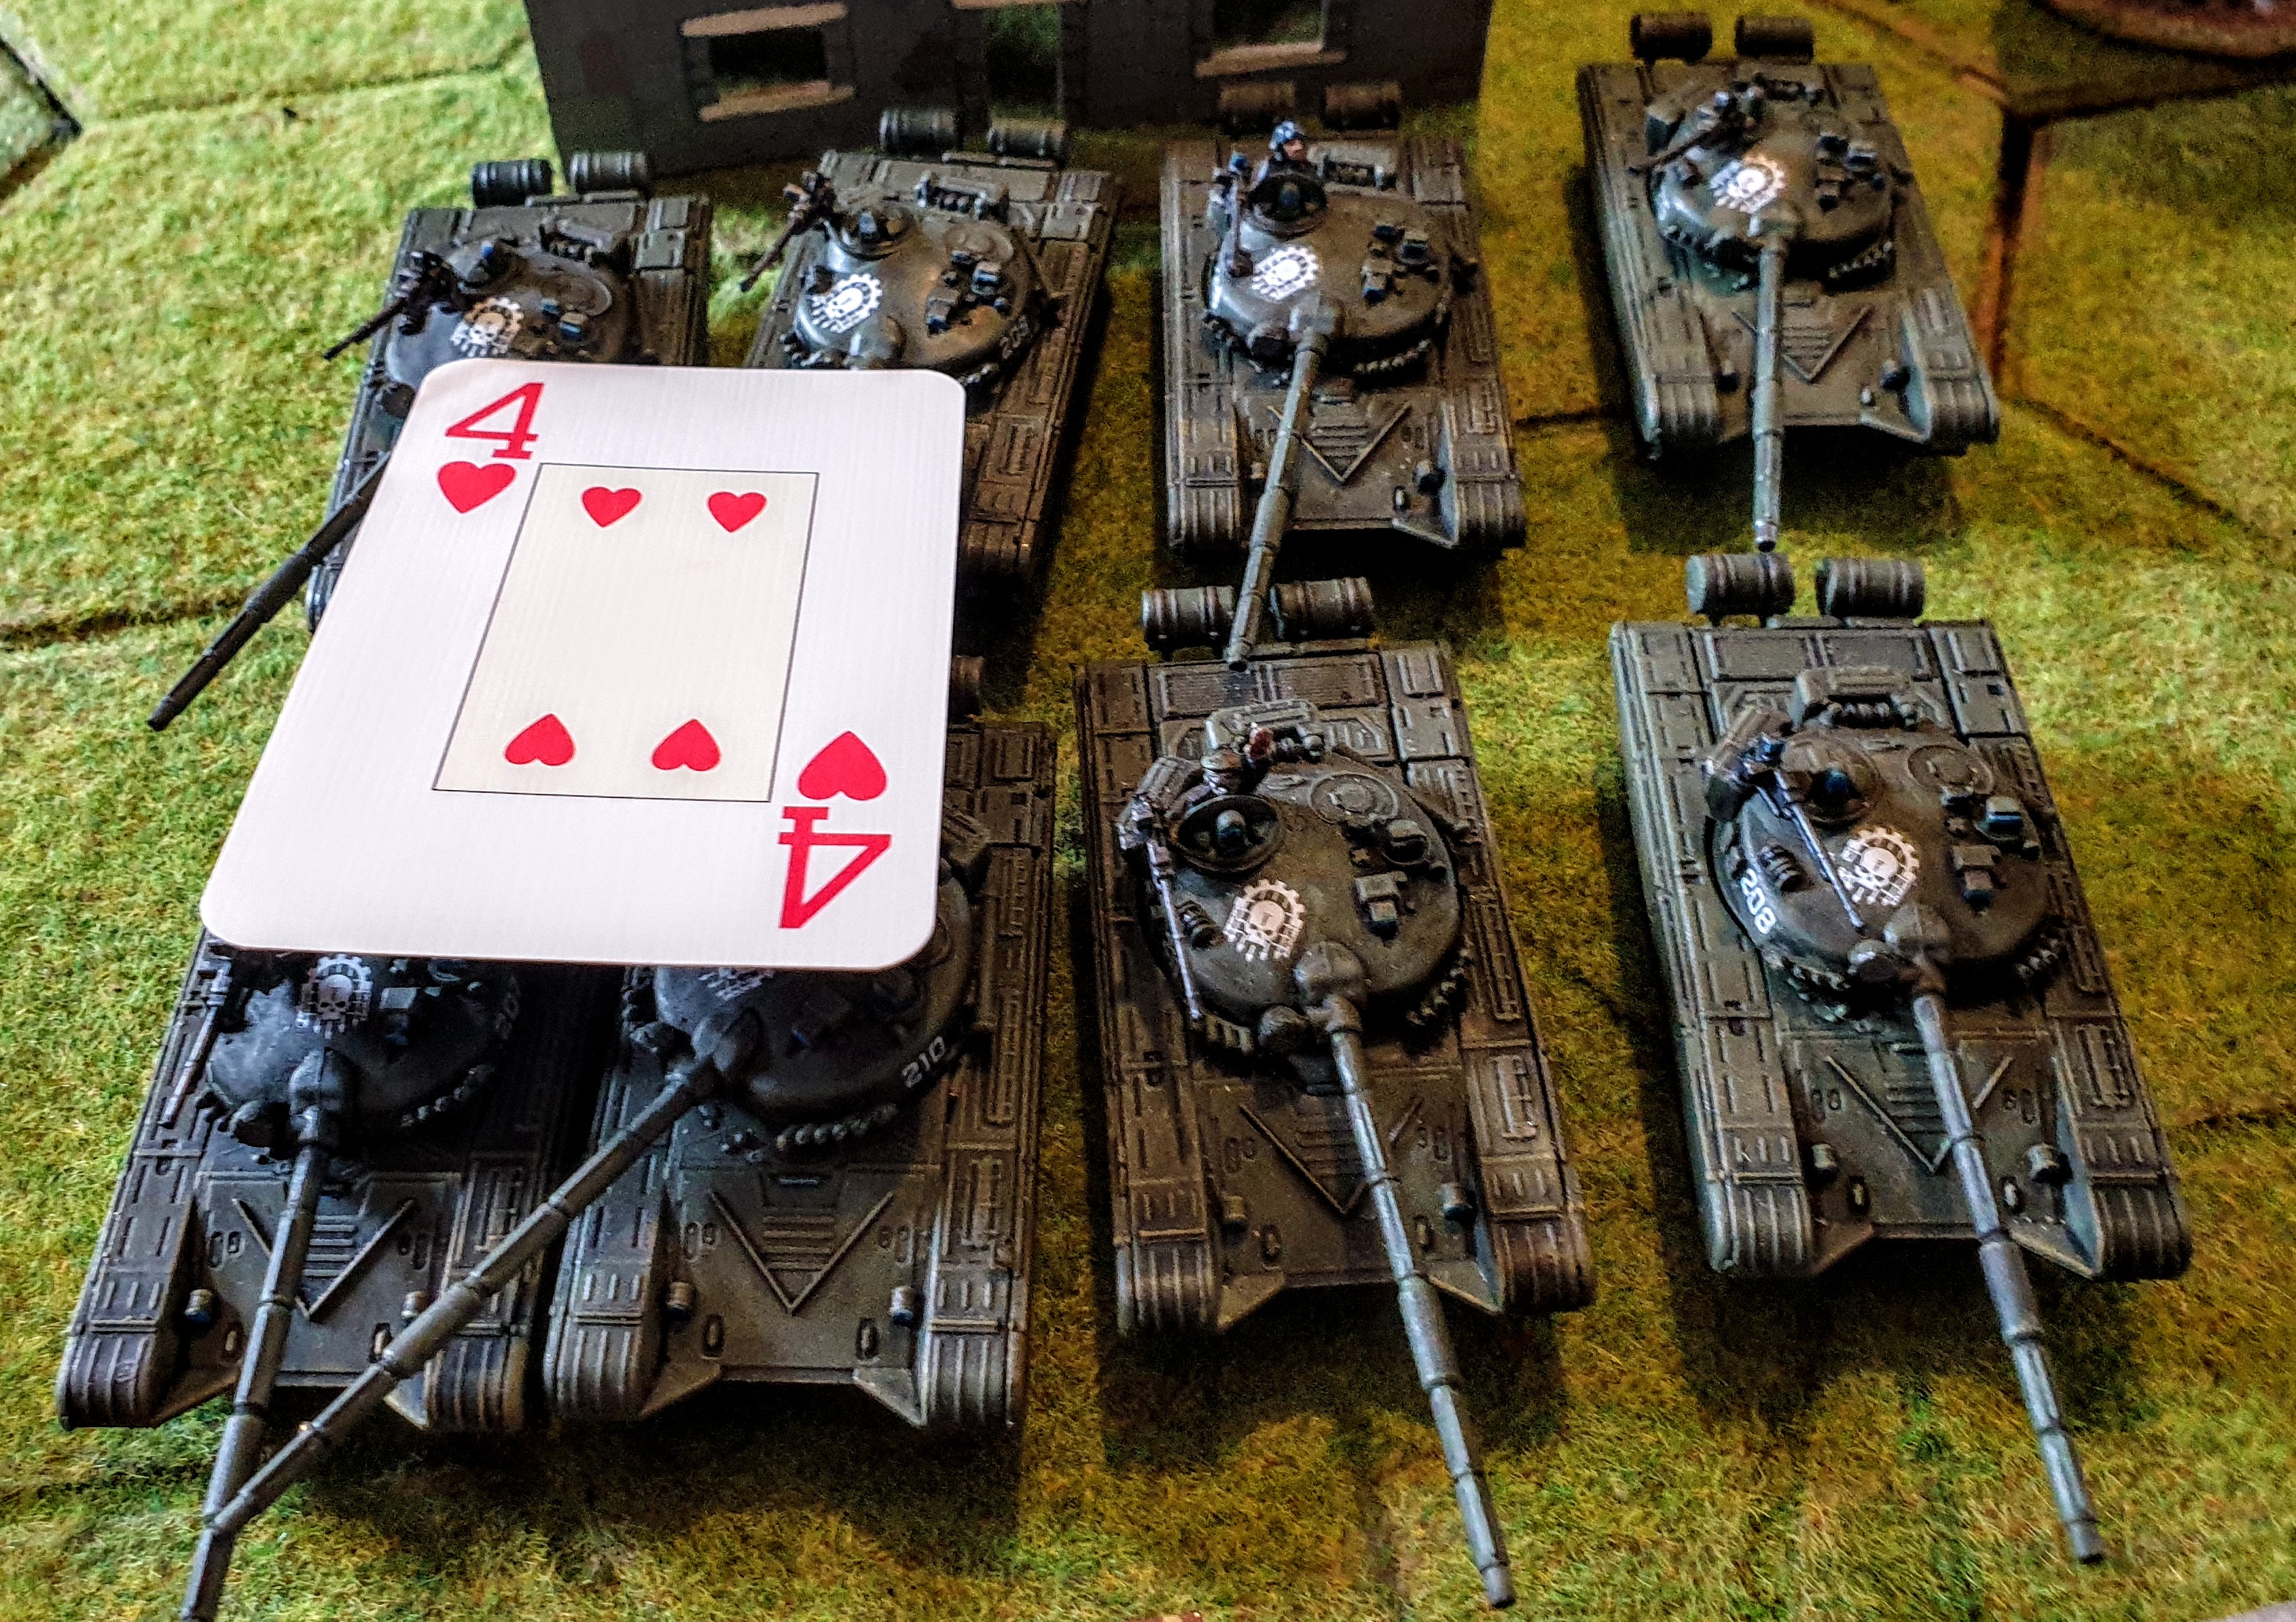
4 of Hearts
8x T64’s Vogan Guards
This is a stand alone unit the Col considers dependable, with the AT8 Songster missle capability the shorter range of their main gun is more than compensated for.
Deployment
I placed on the Vogan side of the table 3 corresponding black playing cards
I looked at the table and decided that in ideal world Col. Keitholoplos who try to deploy
2 of Spades
Skirting on left side of main road.
A good avenue with reasonable cover from long range shots till most of his main force could get into cover
3 of Spades
Behind the hills on far right of table entry , force is entry is screened by both hills and woods with cover for the scouts to deploy in.
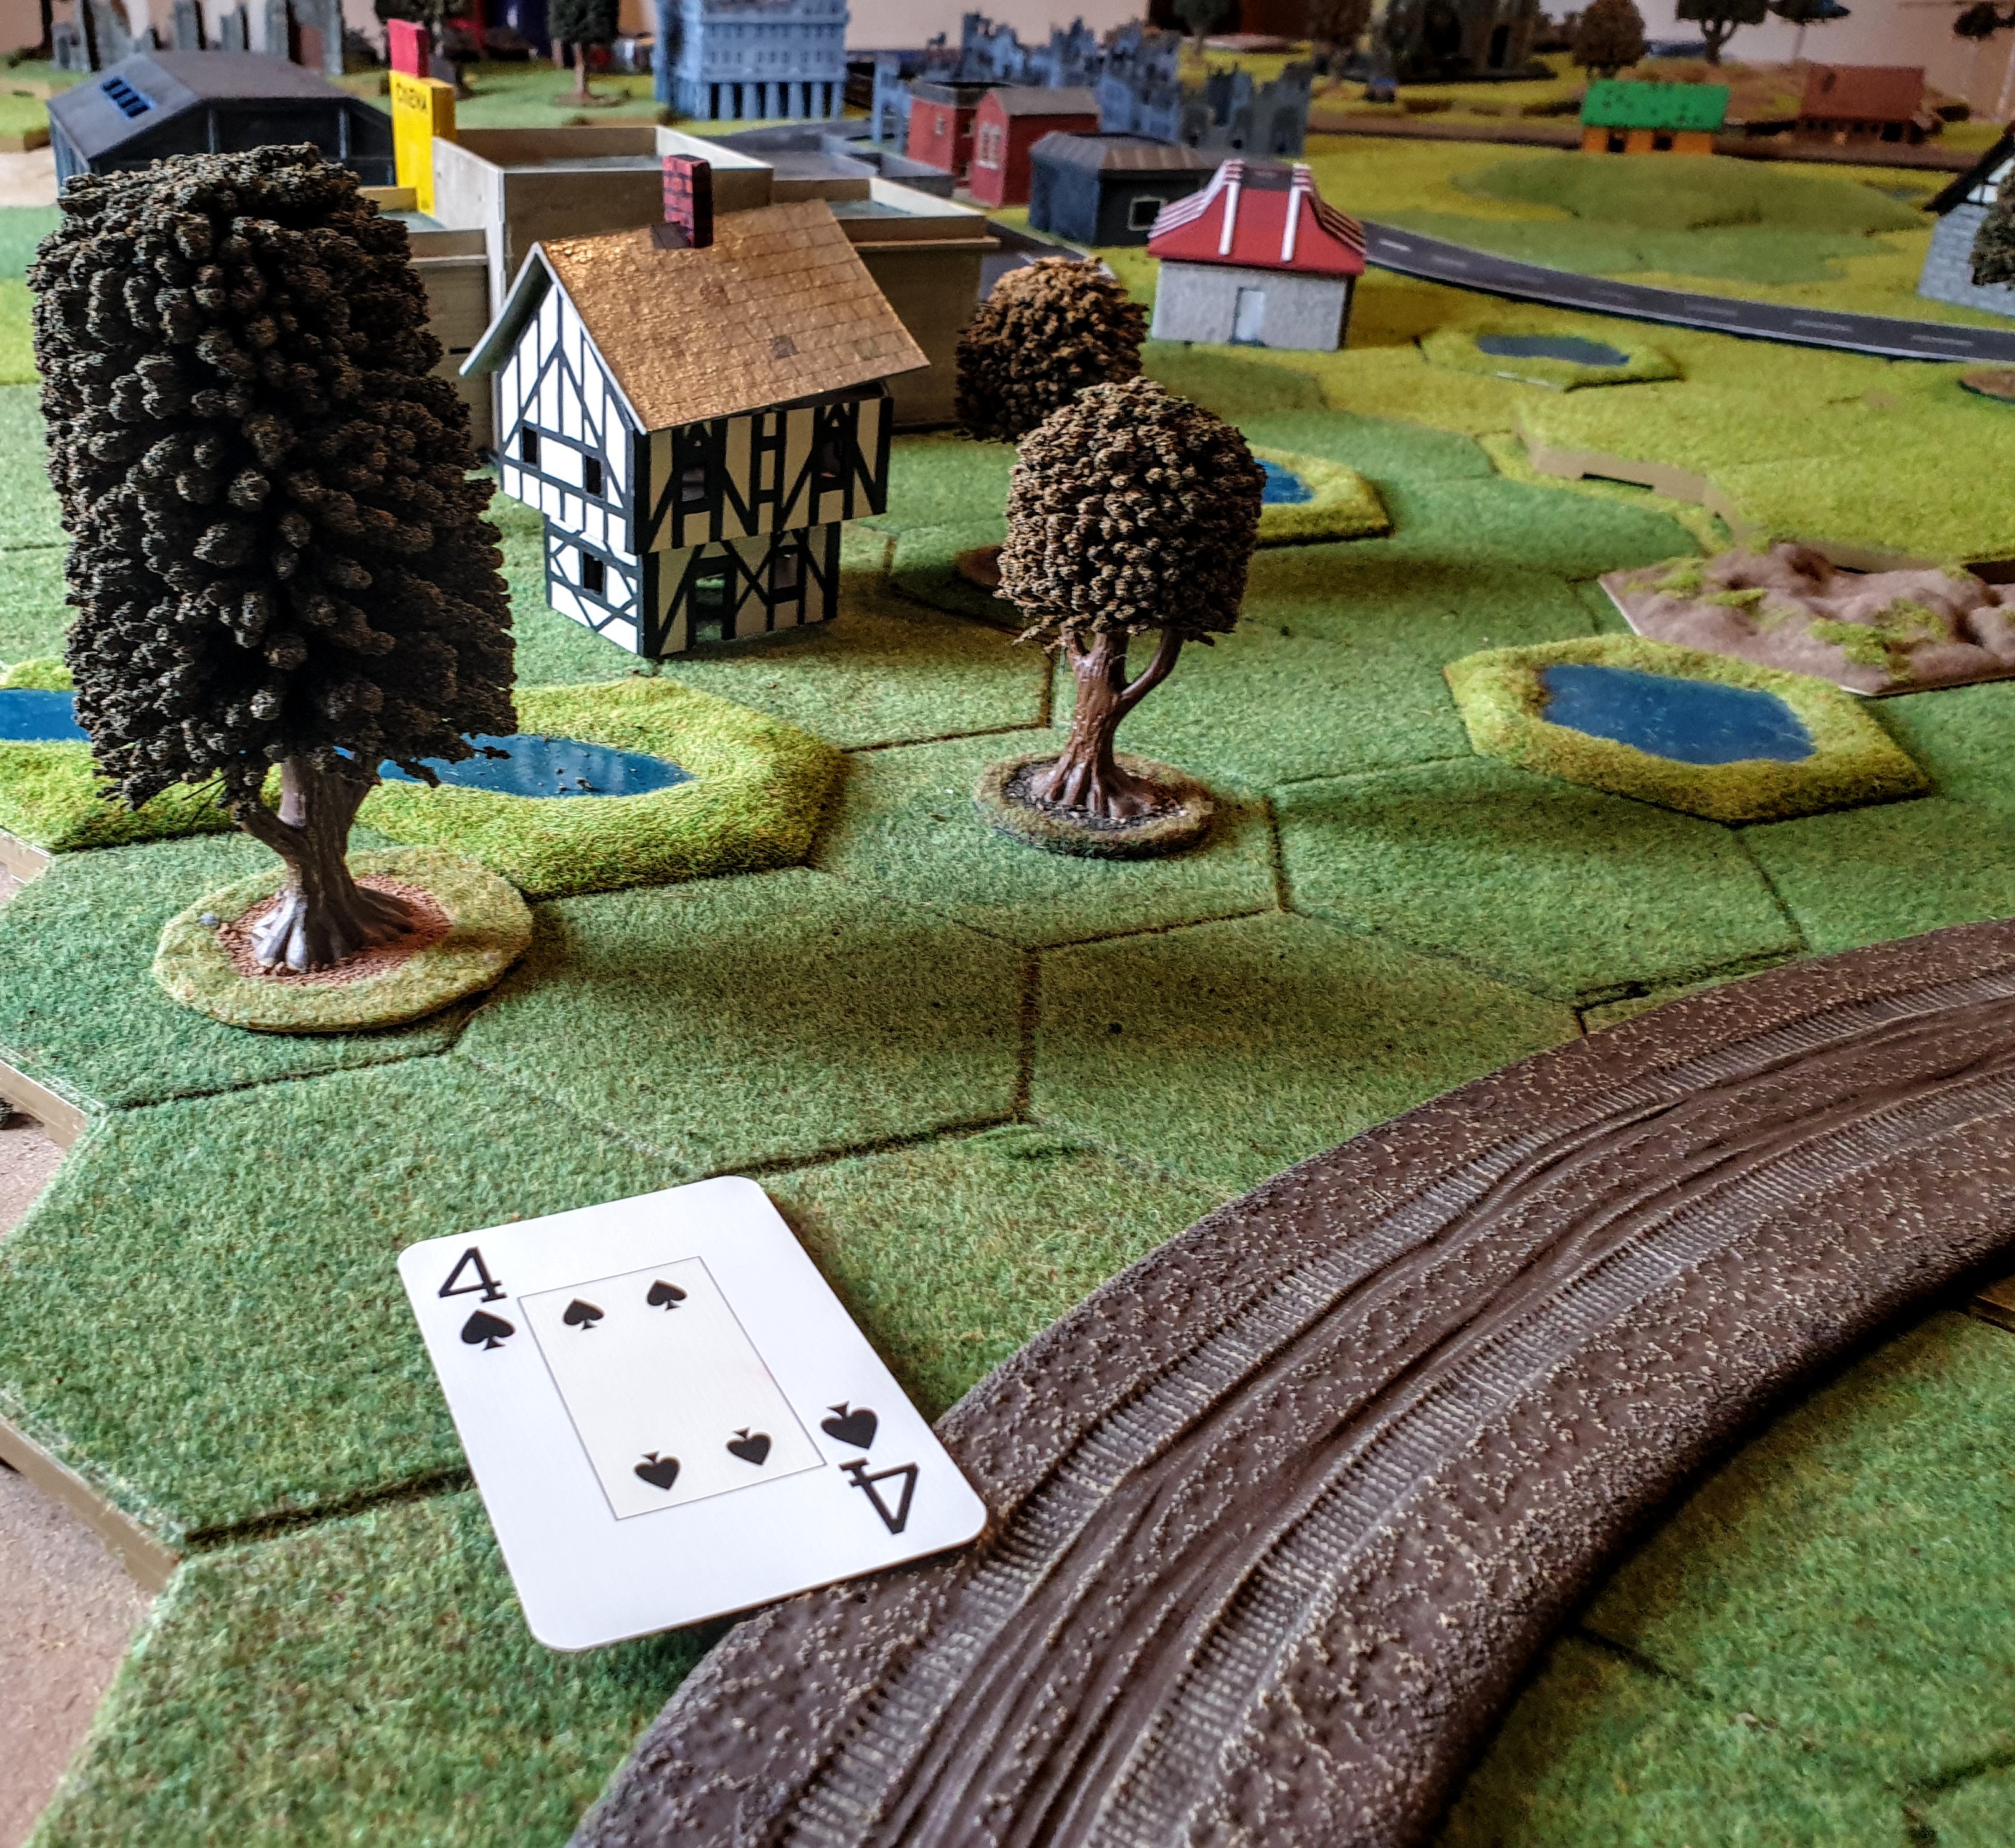
4 of Spades
Side Road behind cover of woods and buildings but with line of sight to provide covering fire at range for central force.
Below is a top down view and commanders eye view of each entry point.

Now as I said that was the Colonel’s ideal deployment .
After I have done Mercian Deployment (see next section). I intend to add a bit of Fog of war in that the Volgans line of advance may have got messed up on the way to the edge of table.
Now 2 of hearts with the Commander is most likely to know where its going so will reach its deployment on a 4-6 on an initial role if 1 it goes to 4 if 3 it goes to 4.
3 of hearts are most likely to get it wrong so on similar d6 will go 1-2 it will go to 2 3-4 it will deploy correctly on 3 and 5-6 it will deploy at 4.
4 of Hearts are Guards so on a 1 they will have royally screwed up and deploy at 3 , 2-4 they will deploy correctly, or 5-6 on central axis.
If two groups arrive at same entry point they will die for who arrives 1st
Doing this it will not only add confusion to Vogans but also to myself when trying to do the initial Mercian Deployment.
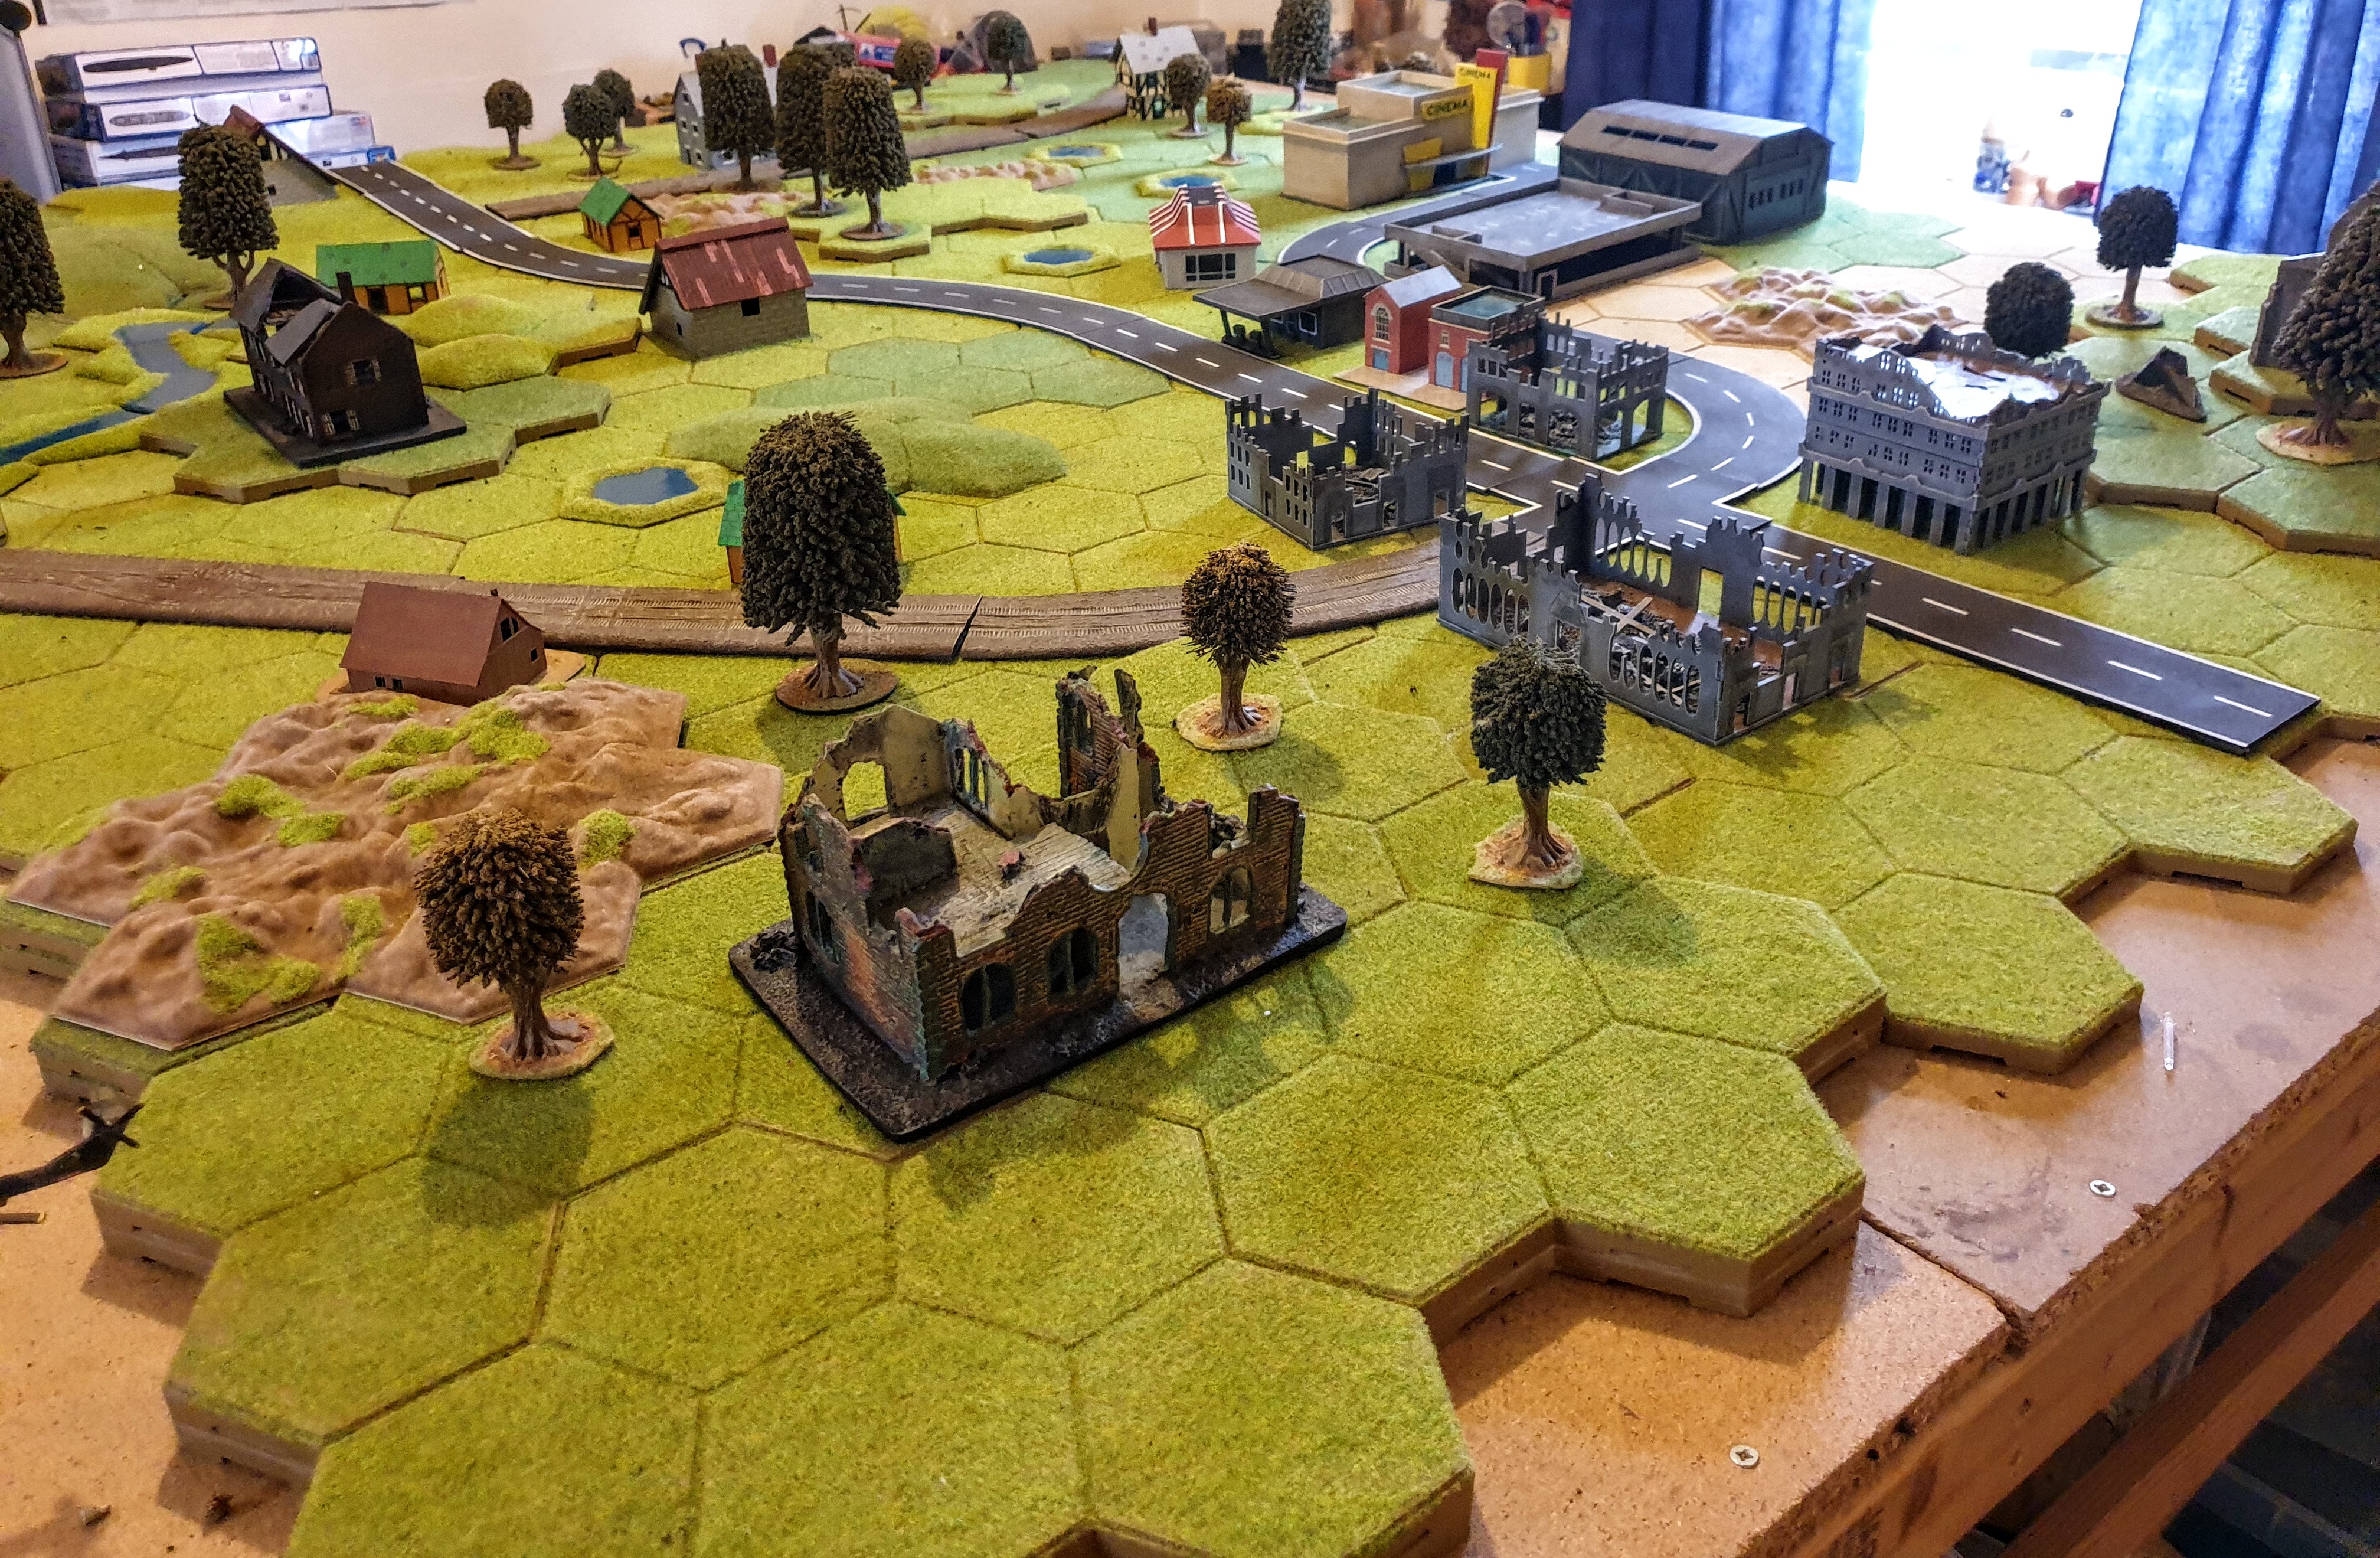
Battle of Keithopolos Picture House
Well having been busy painting Mercians most of my week off , thought it was time to get some of the new toys out to play, and thought lets try a battle report.
As most of the normal players are off doing silly non gaming things over holiday it will be a solo game.
It will be all tanks and armoured vehicles as I’m still in learn mode with rules and want to get the armoured rules grounded before I go for anything complicated.
In addition I want to try something different , I had noticed on the card that M1A1HC Abrams came to a whopping 72 pts for 4
So for a 100pt game what else could I squeeze in to their force and what were they going to be possibly facing.
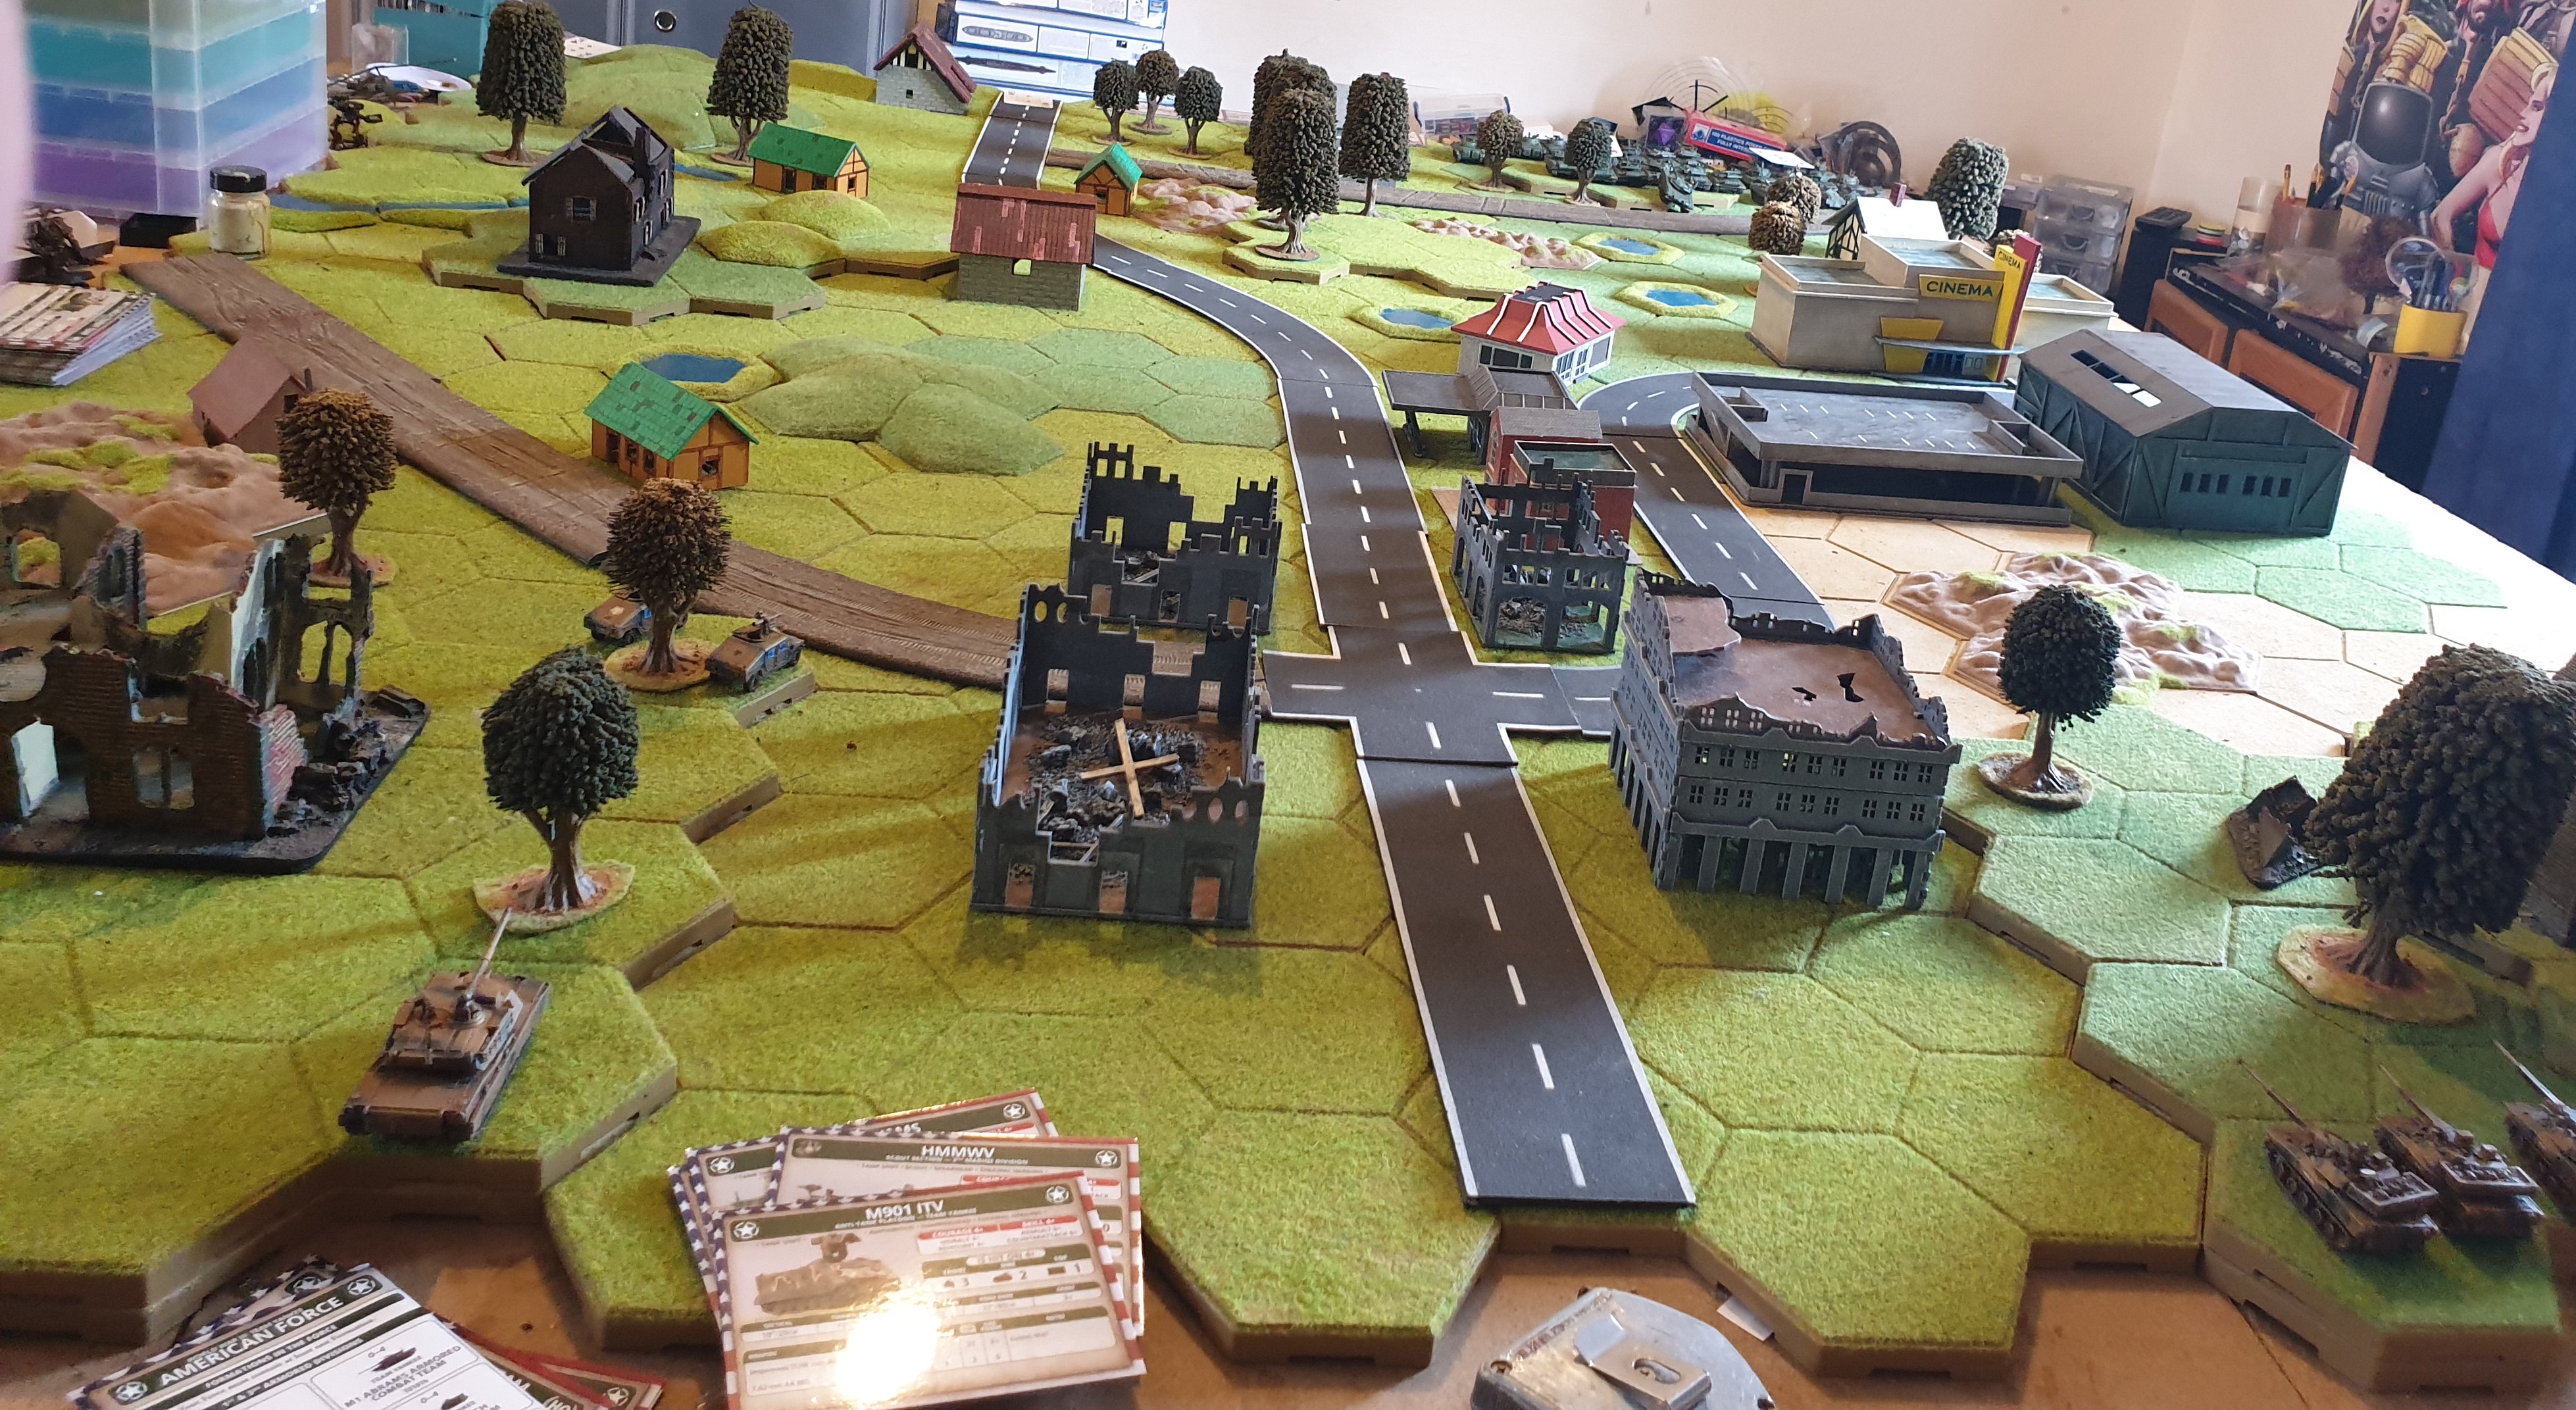
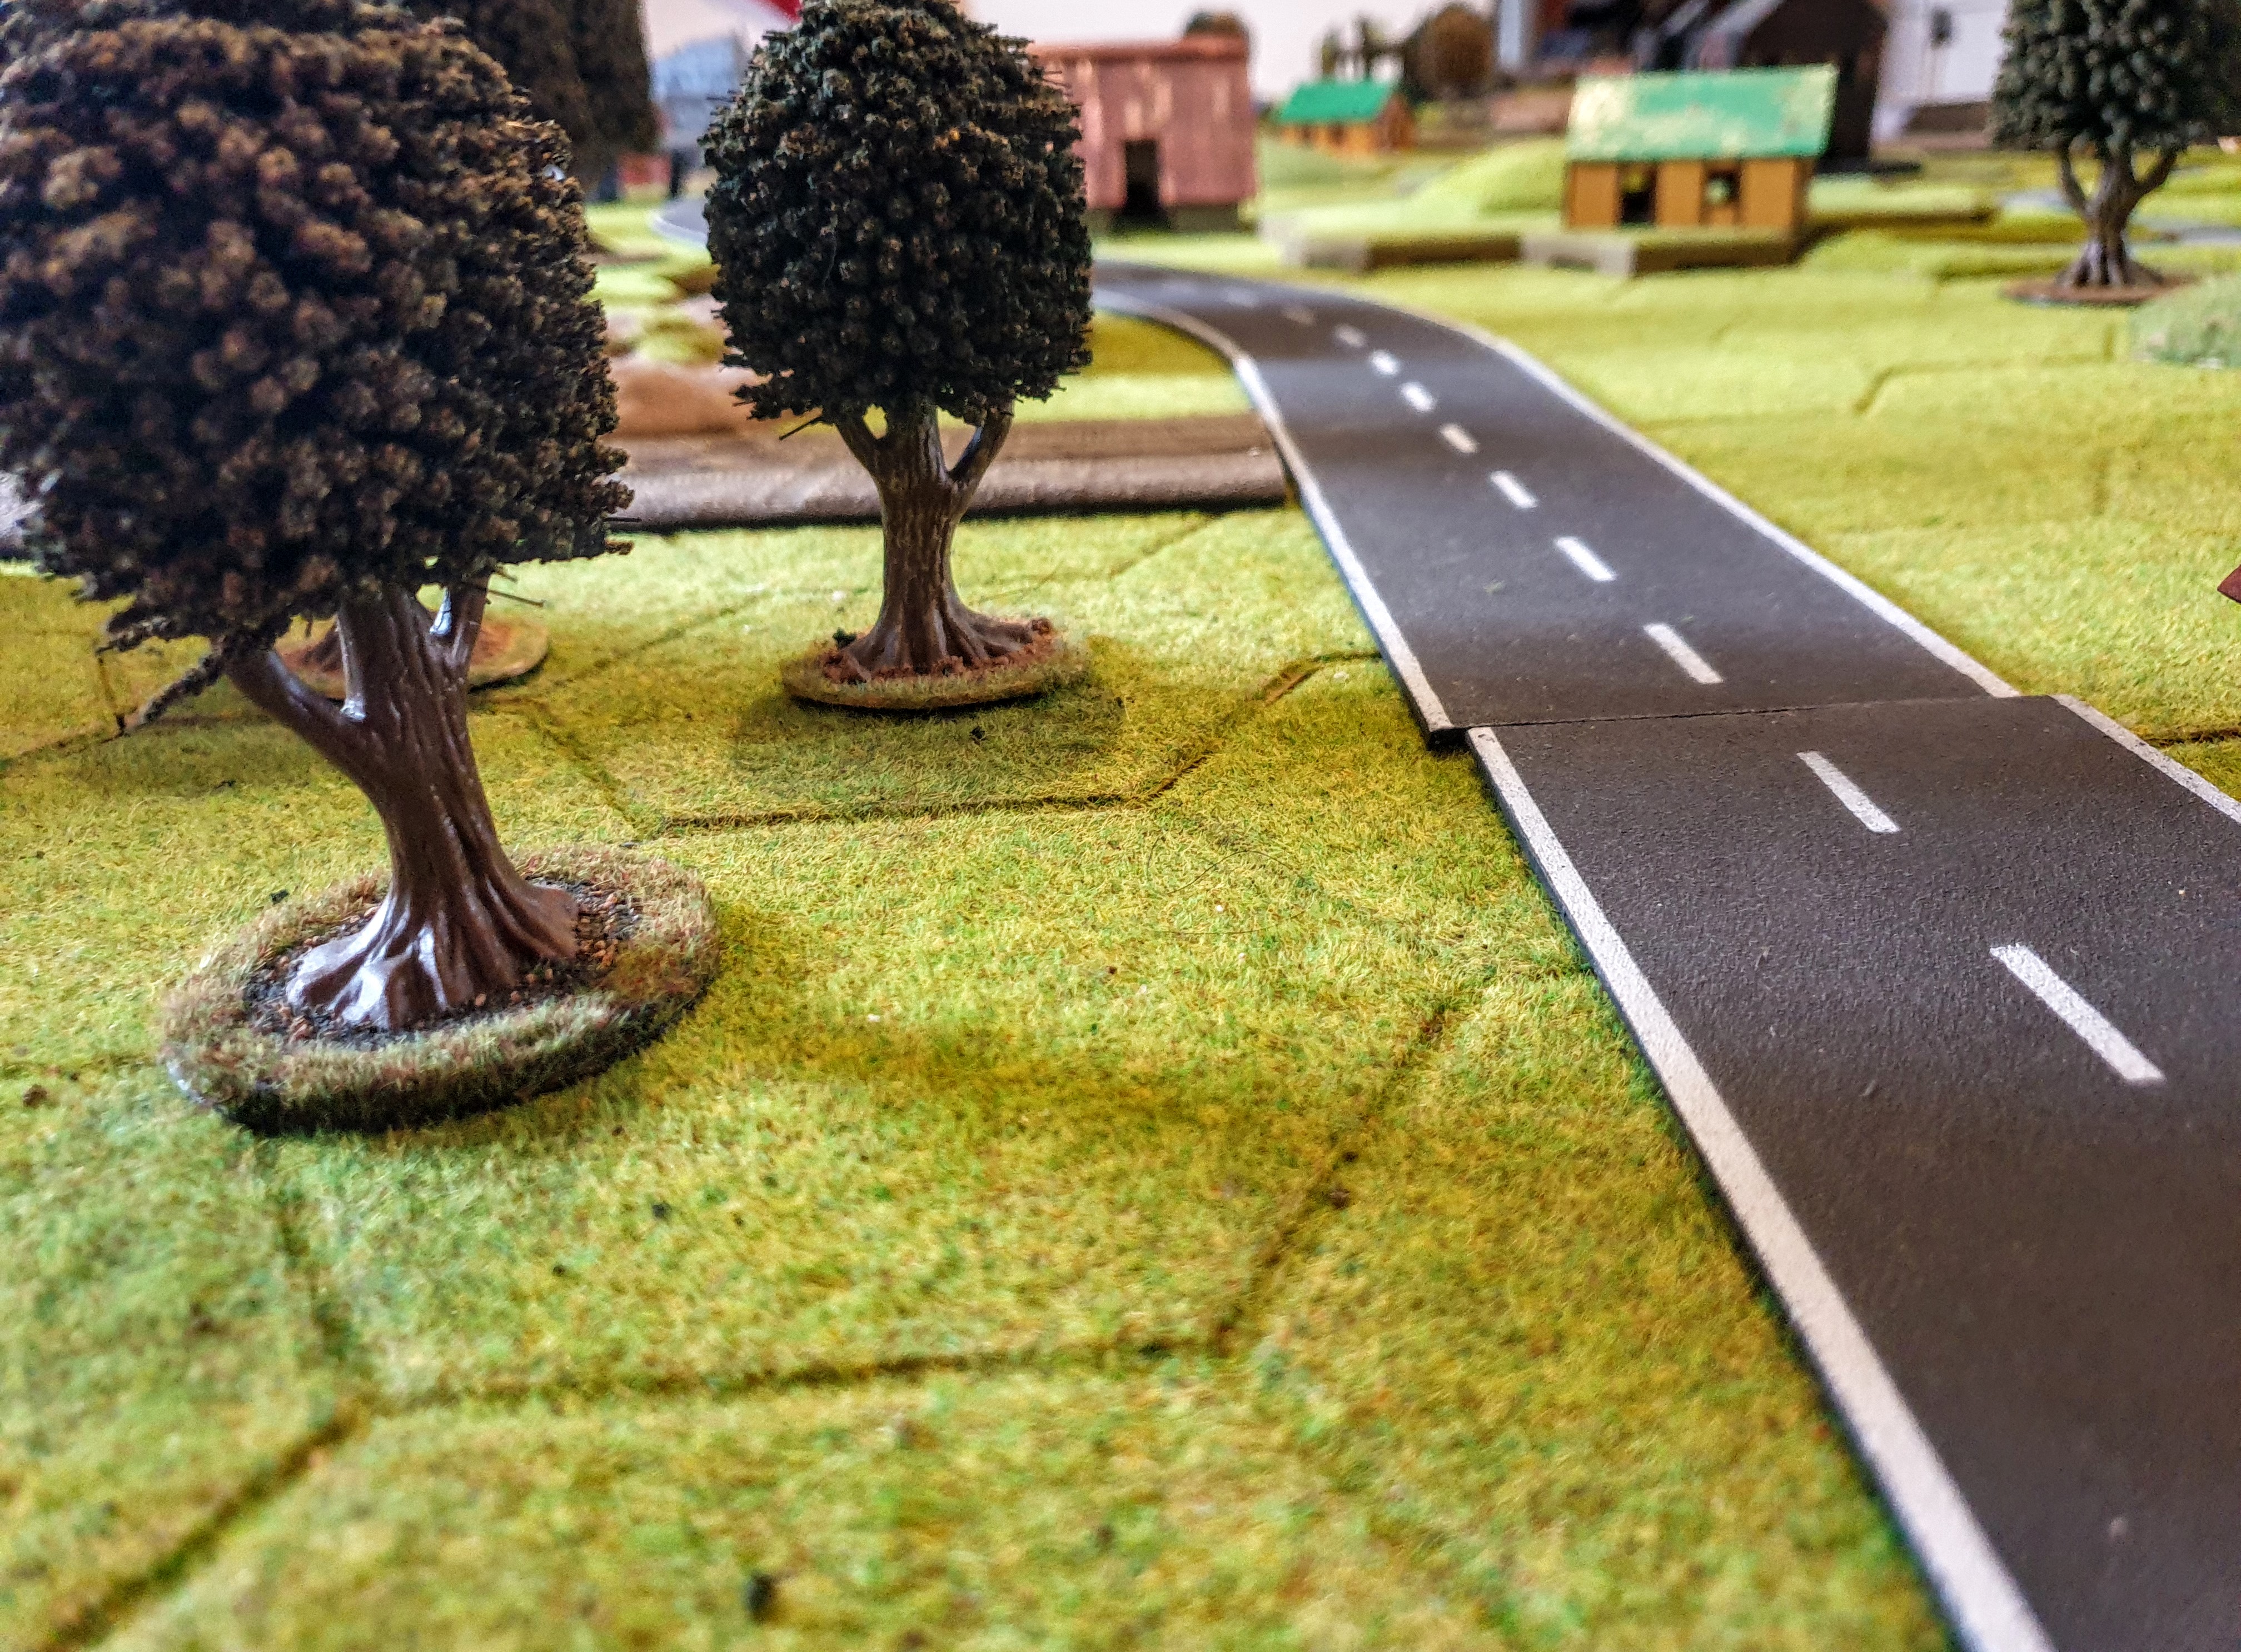
So 1st of all lets set the scene.
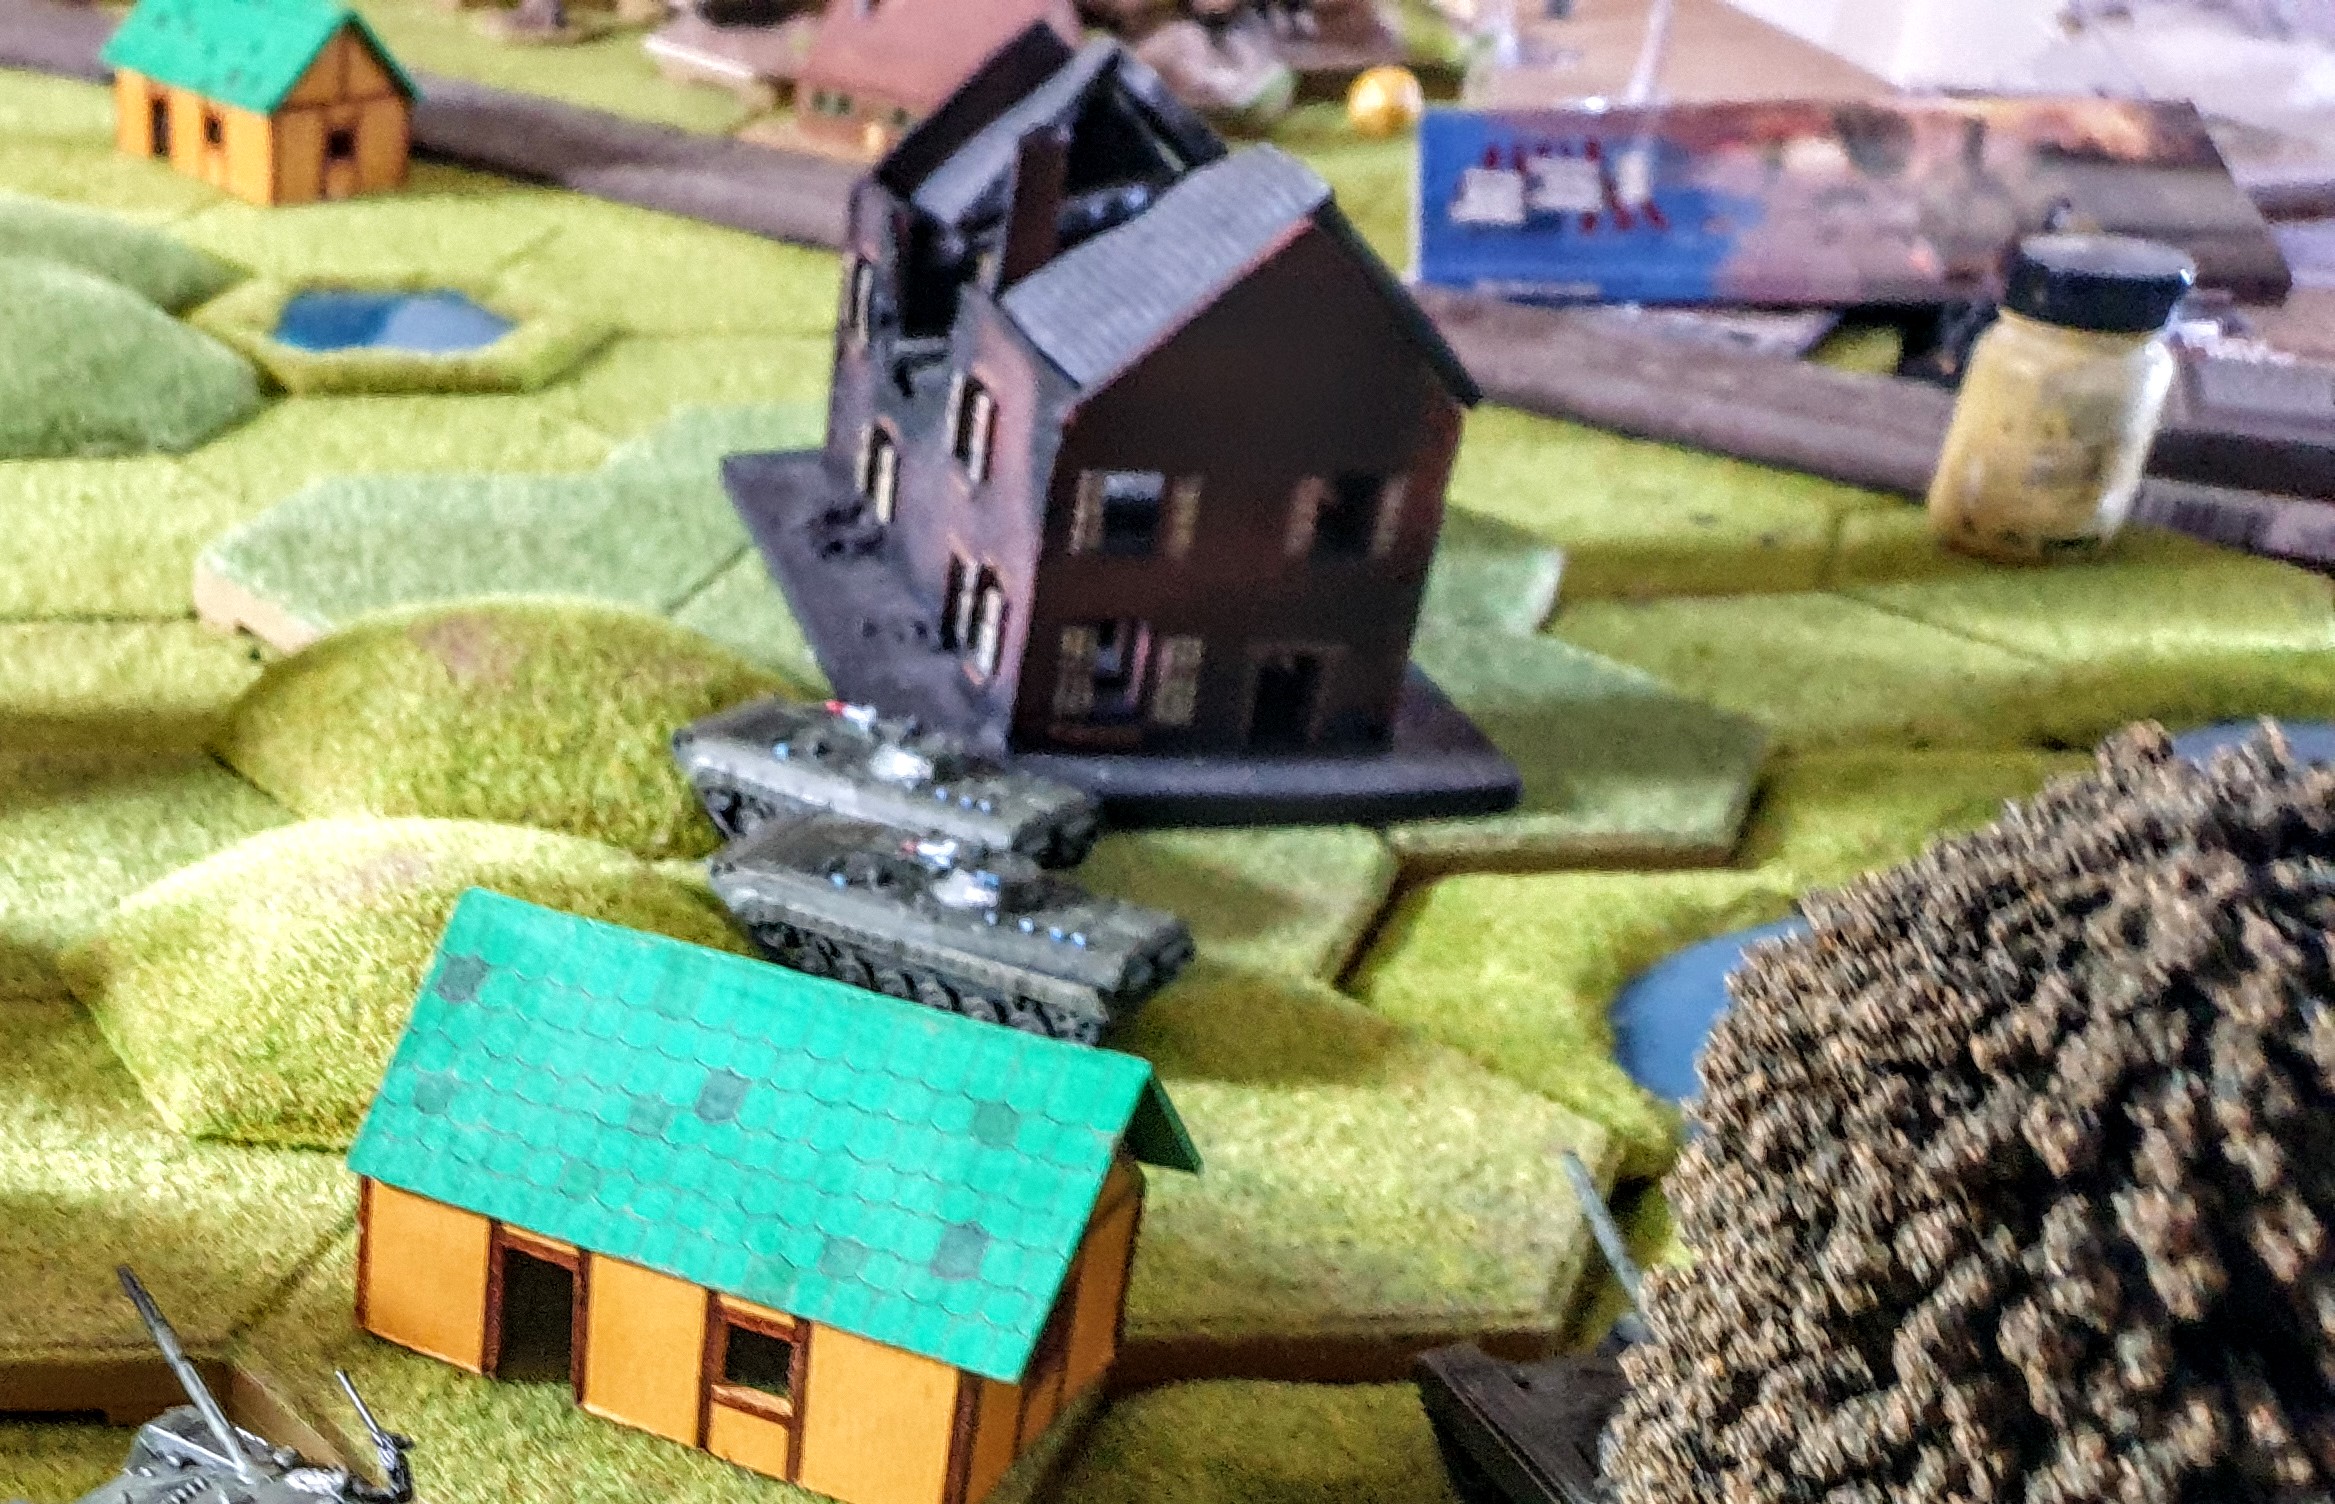
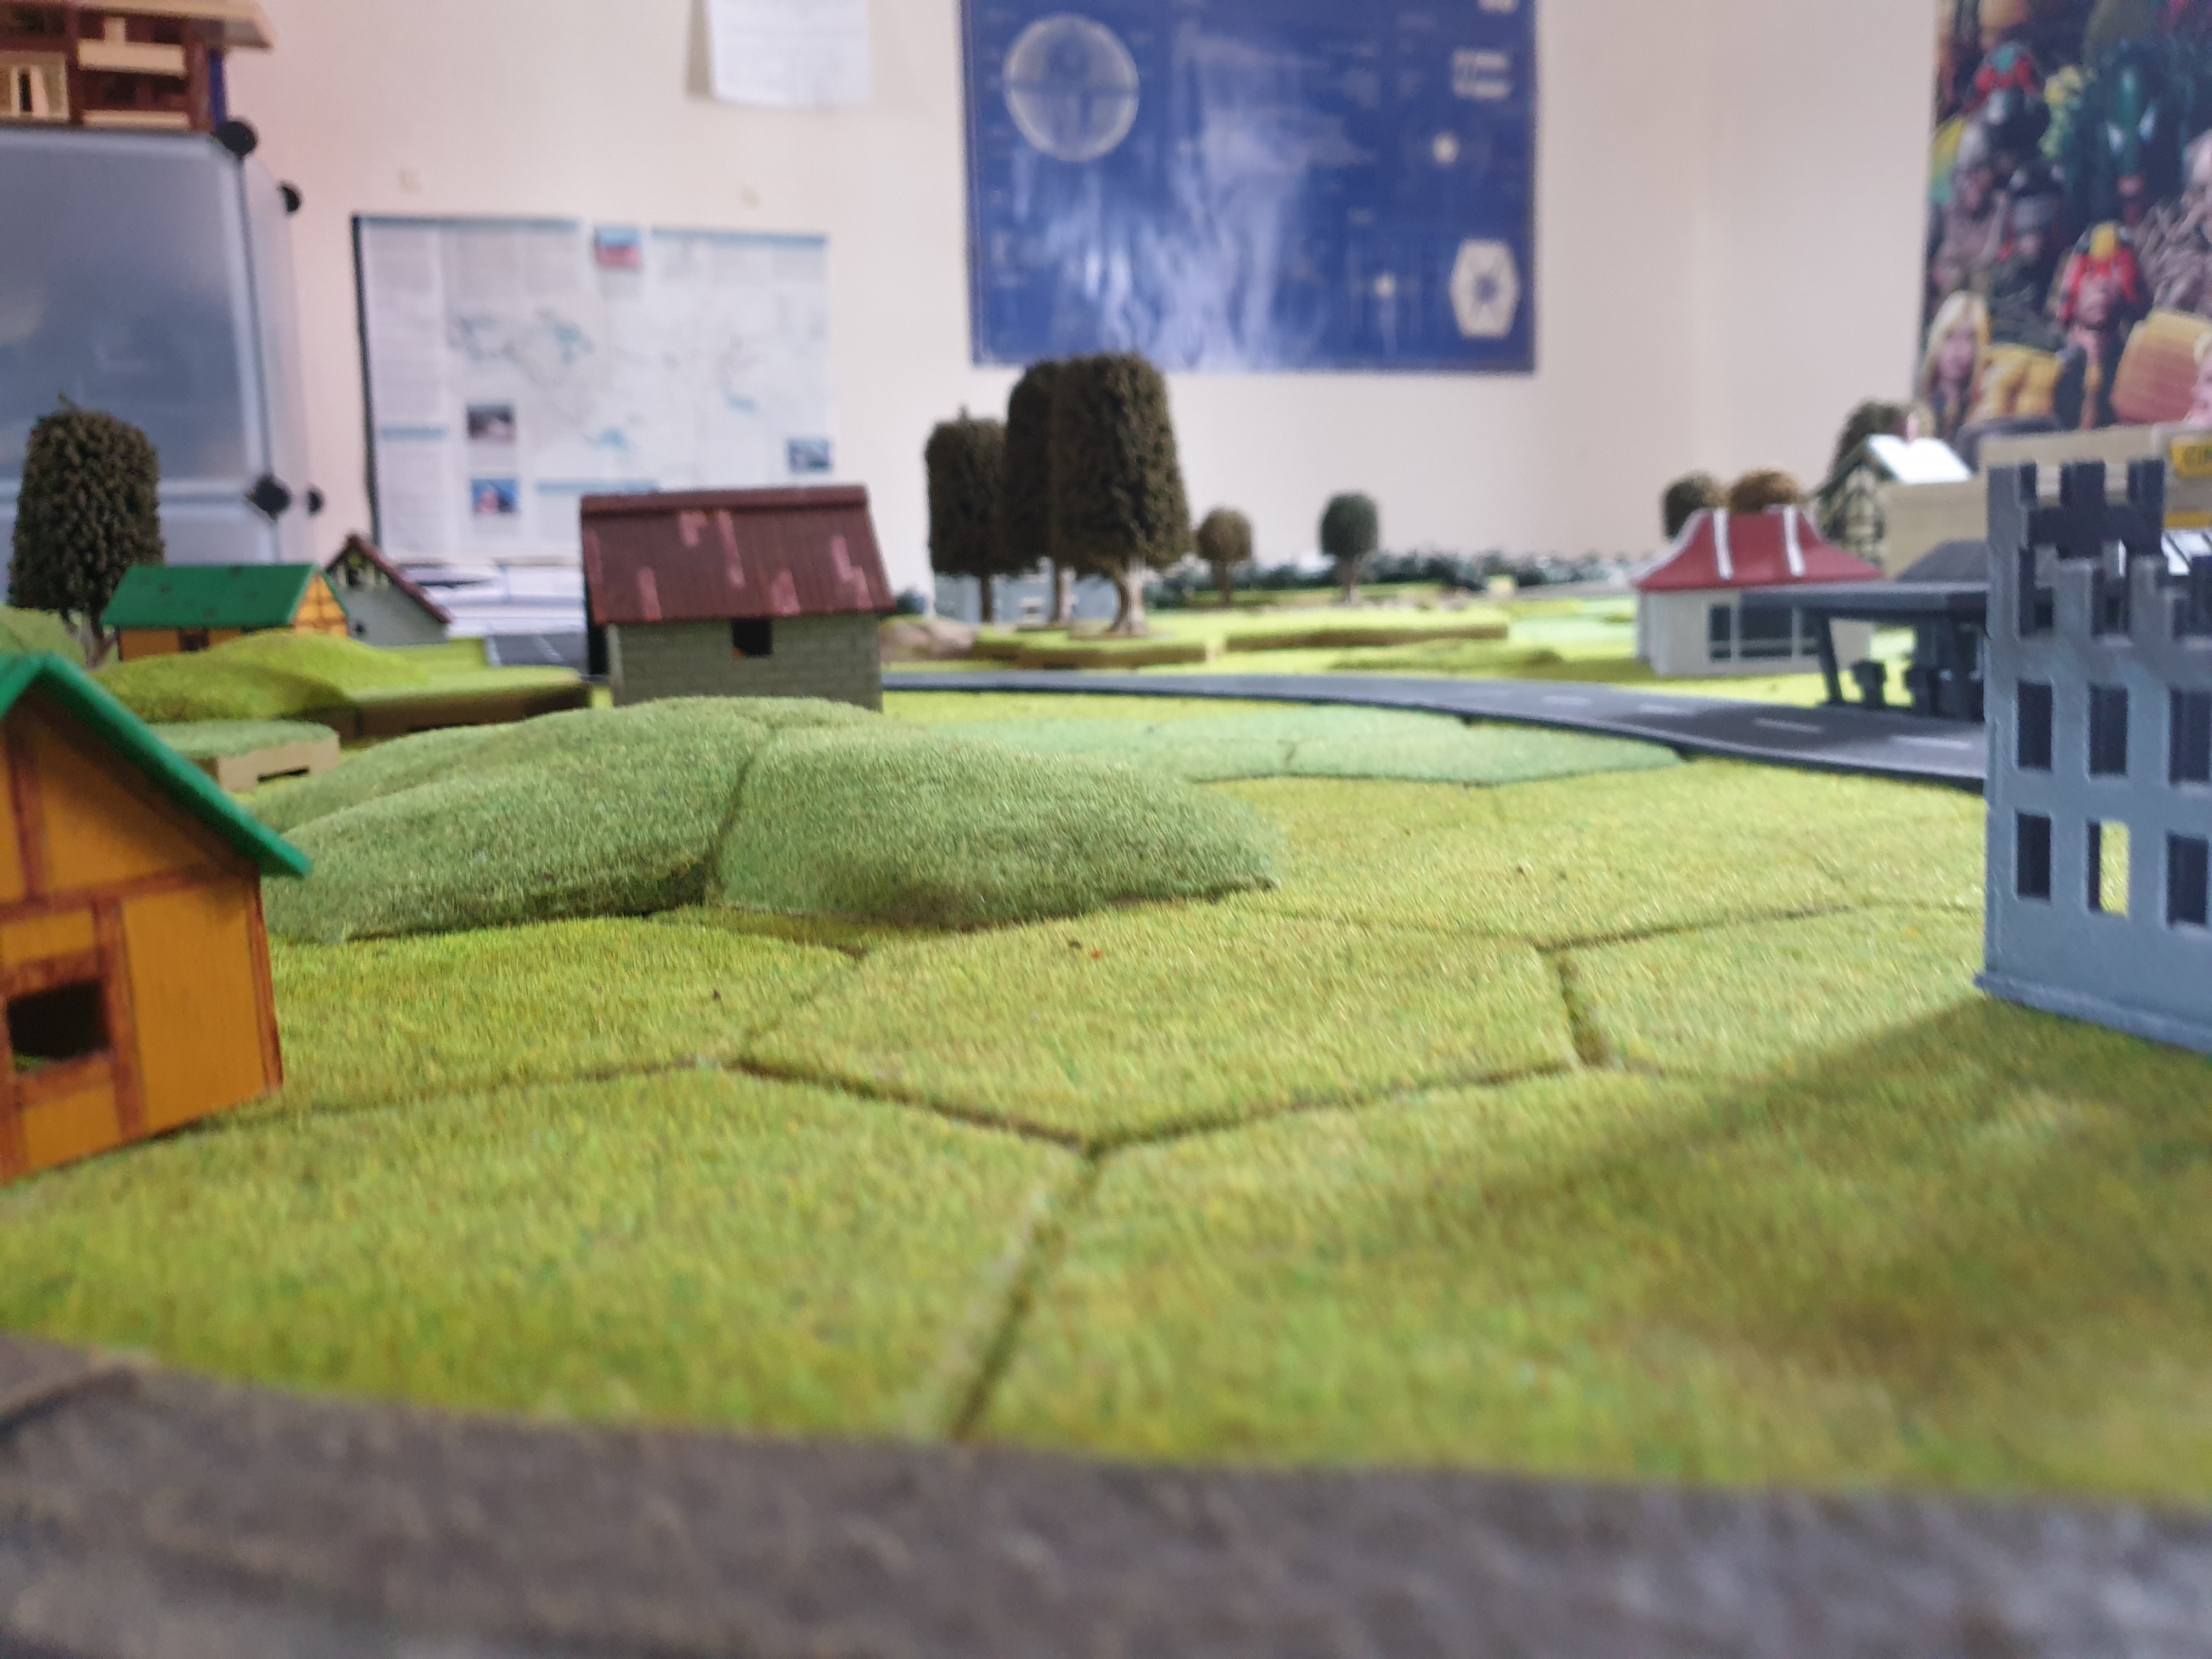
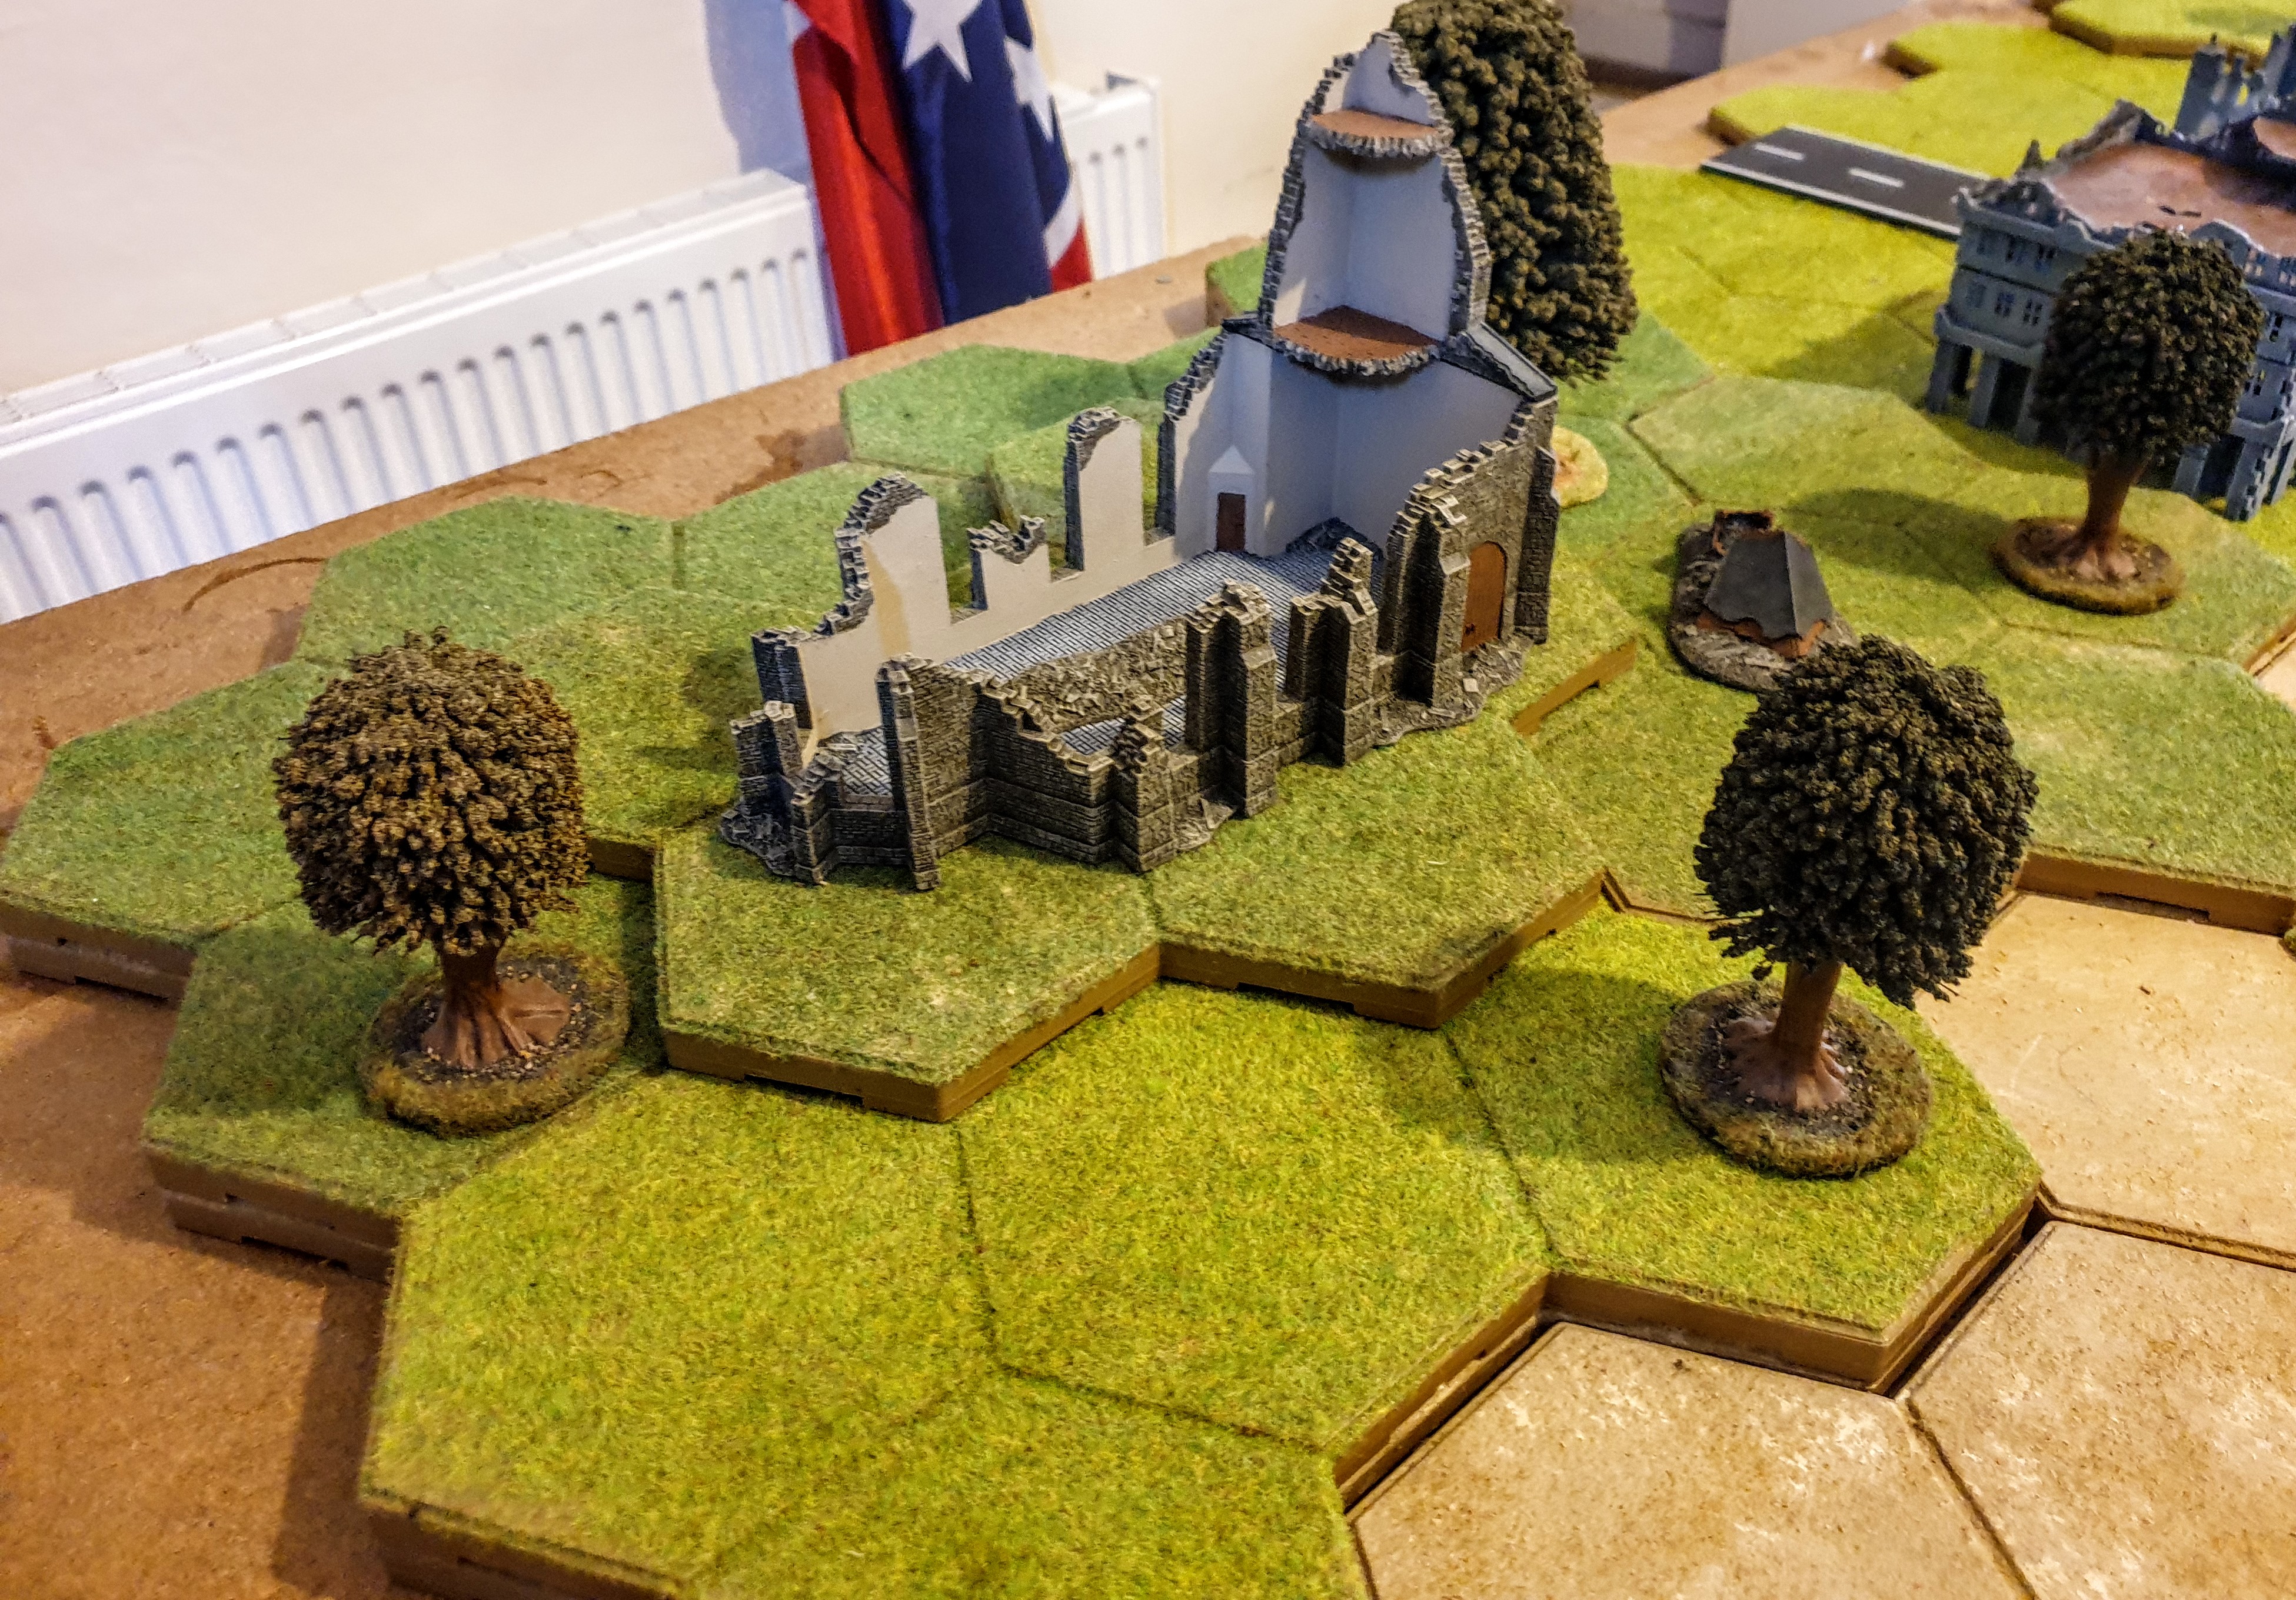
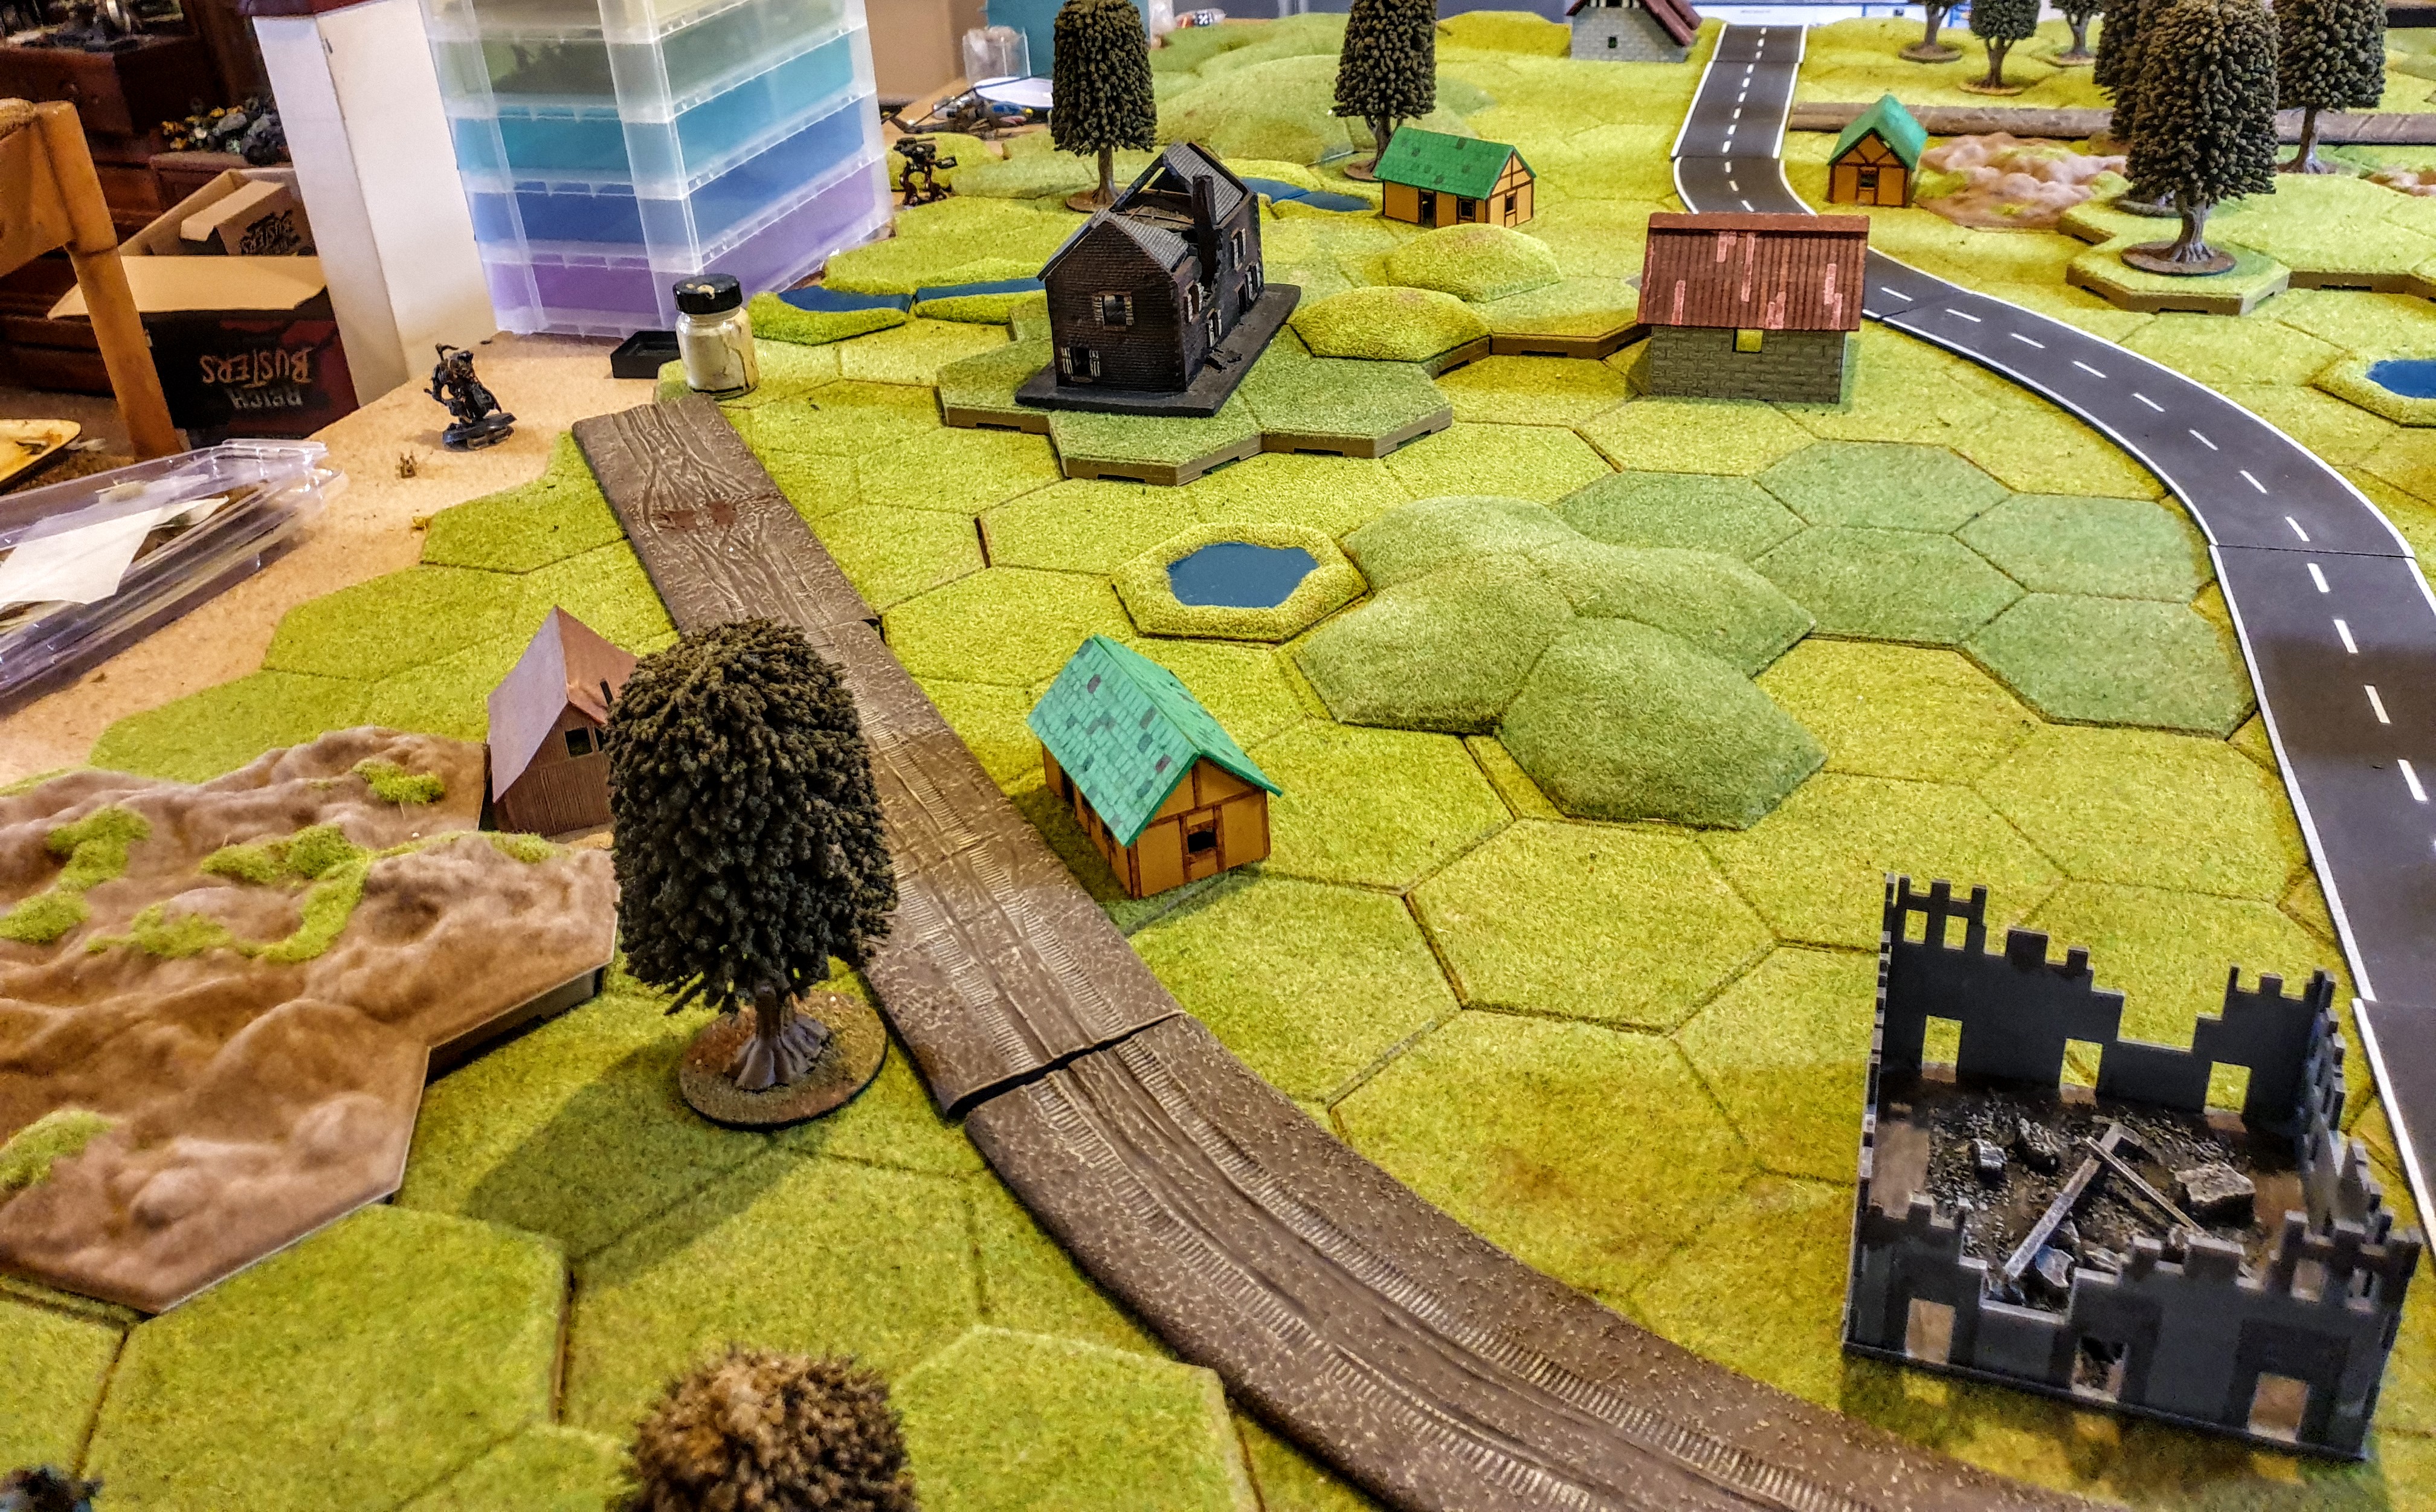
The setting
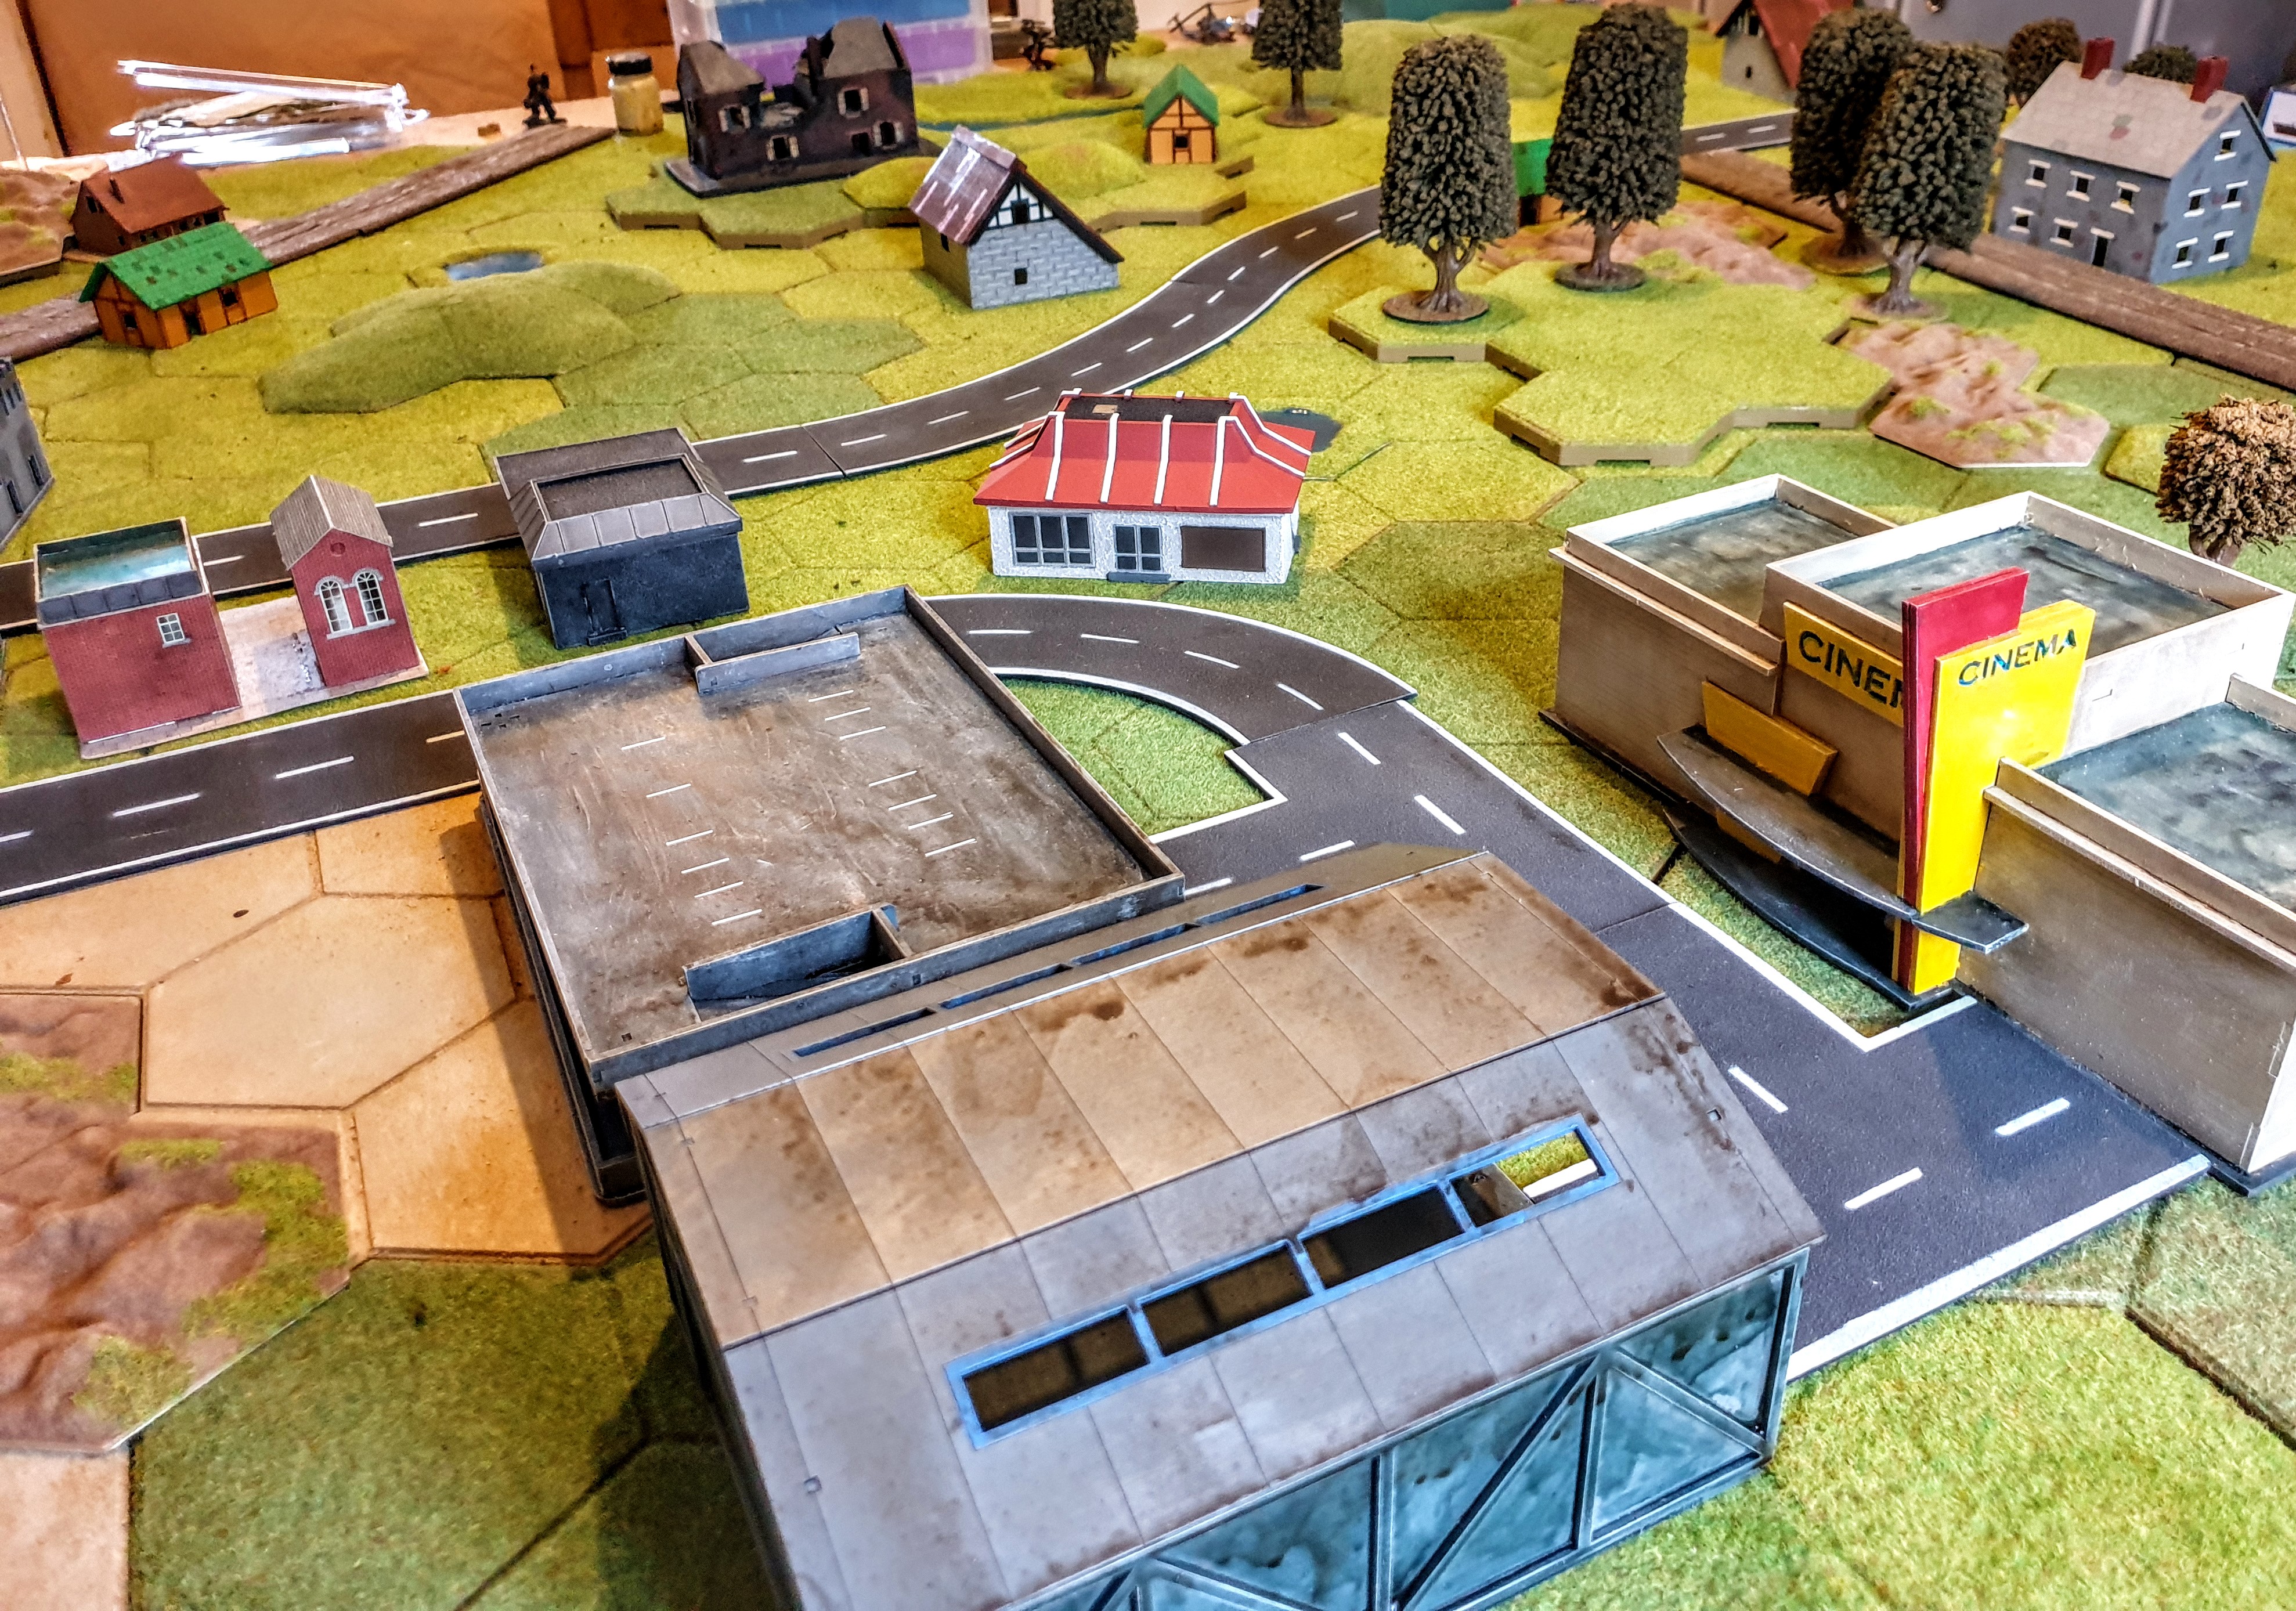
The Island of Dunheep has little in the way of centralised government, and what little it has is generally centered around the small hamlets and villages that scatter the Island. A handful of which are beginning to grow into small towns. Few of these have any modern facilities that common in the West. Bigpaulonople is one of the few that can boast it has such. It had the Islands only cinema , fast food restaurant and a large warehouse which is used as indoor Market the closest the Island has to a Shopping Mall.
Centrally located on the Island it straddles the only modern road that crosses the Island. With the Volgan Invasion it was inevitable that it would become the focus of Numerous battles for the control of the Island. In fact the 1st major battle had been fought only days before when advance elements of the Volgsn Army had been badly mauled by the Mercanary East Riding Yeomanry. The latter had been replaced by a small combat command of the Royal Mercian Army.
The Forces
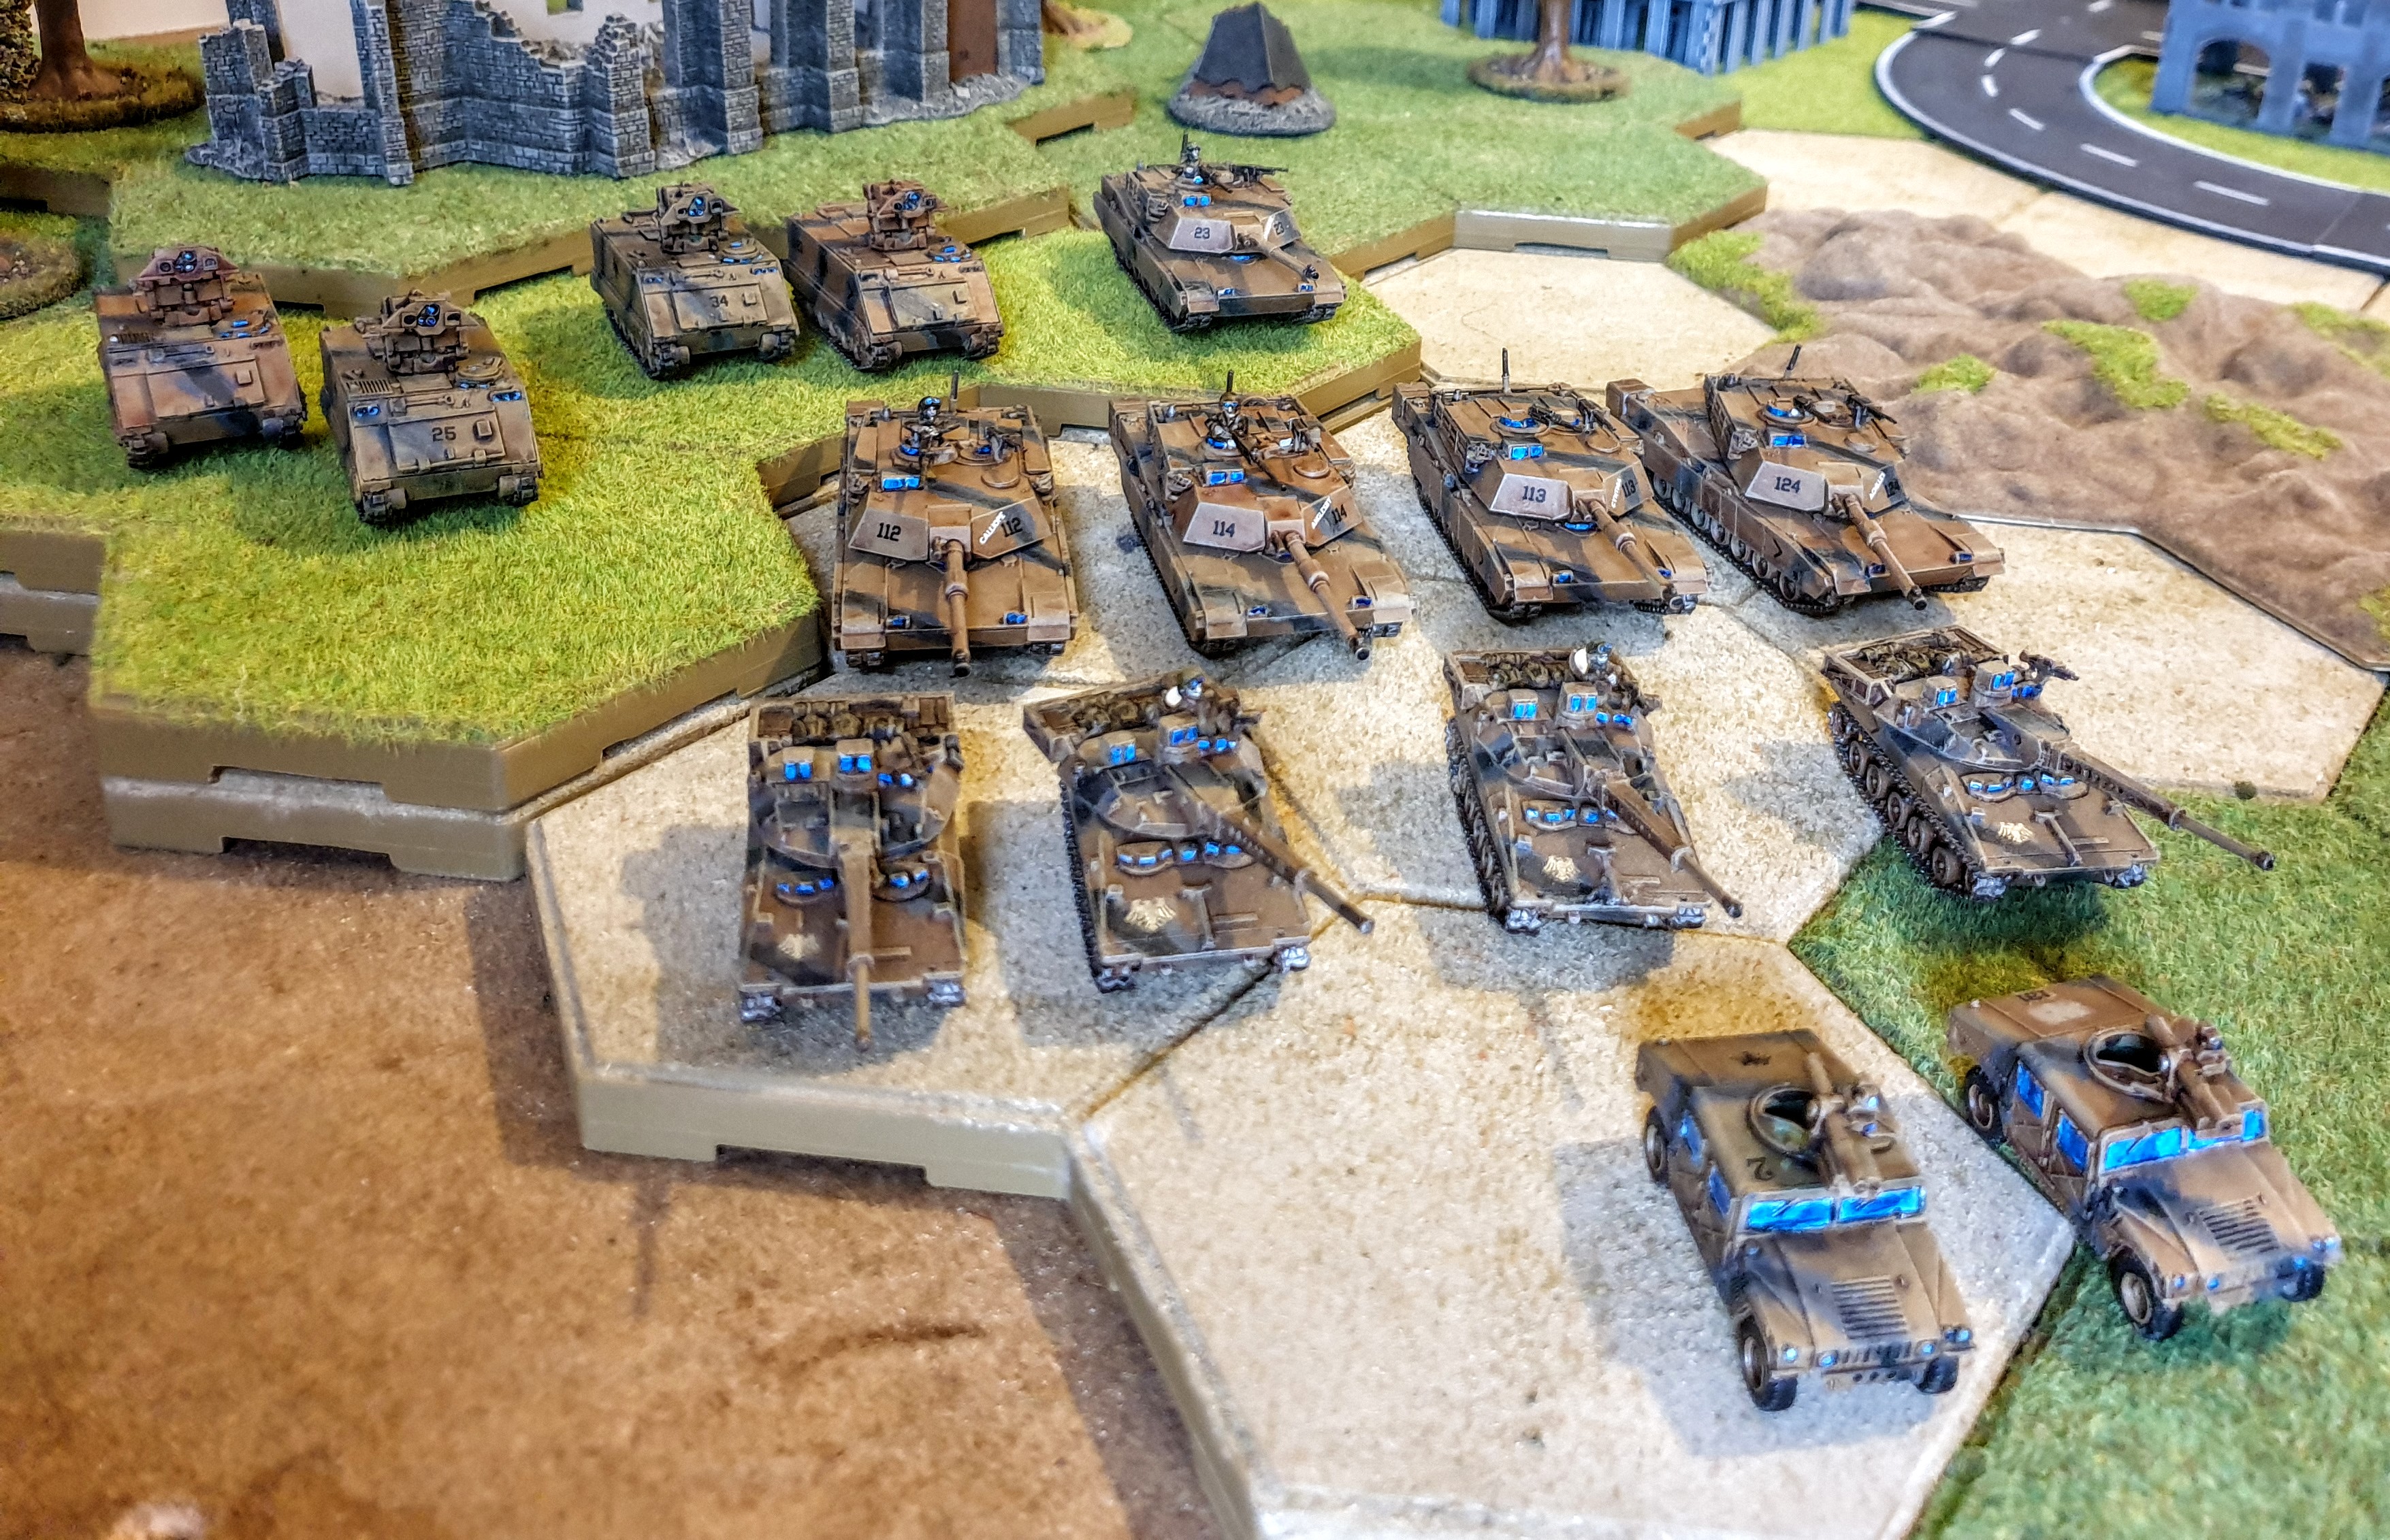
The Royal Mercian Army Armoured Combat Team ‘Heimdal’.
Armoured Combat Team HQ
1x M1 Abrams 8 pts
M1A1 Abrams Tank Platoon
4x M1A1C Abrams 72 pts
M901 AT Platoon
2x ITV (TOW2) 4pts
M901 AT Platoon
2x ITV (TOW2) 4pts
Assault Gun Platoon
4x RDF/LT Assault gun 9 pts
HMMV TOW Anti-Tank Platoon
2x HMMV TOW-2 3pts
Total 100.
The Volgans ‘Peoples Revolutionary Volunteers ‘
The above are a mixture of Russian for Volgan Guards
and Czechs for Volgan Line.
Volgan Heavy Guards ‘Belizarius’ company
Company Hq
1x T64 6pts
AT 8 songsters missile upgrade 1 pt.
8x T64 43 pts
At 8 upgrade for all 2pts
BMP-2 Recon Platoon
4x BMP-2 6pts
2x BMP-1 Recon Platoon 2 pts
Volgan 2nd Armoured Regiment
3rd company.
10x T72m 27pts
Volgan 2nd Armoured Regiment
7 x T55AM2 11pts
Spndral AT Platoon
3x Spandral 2pts
Total 100pts.
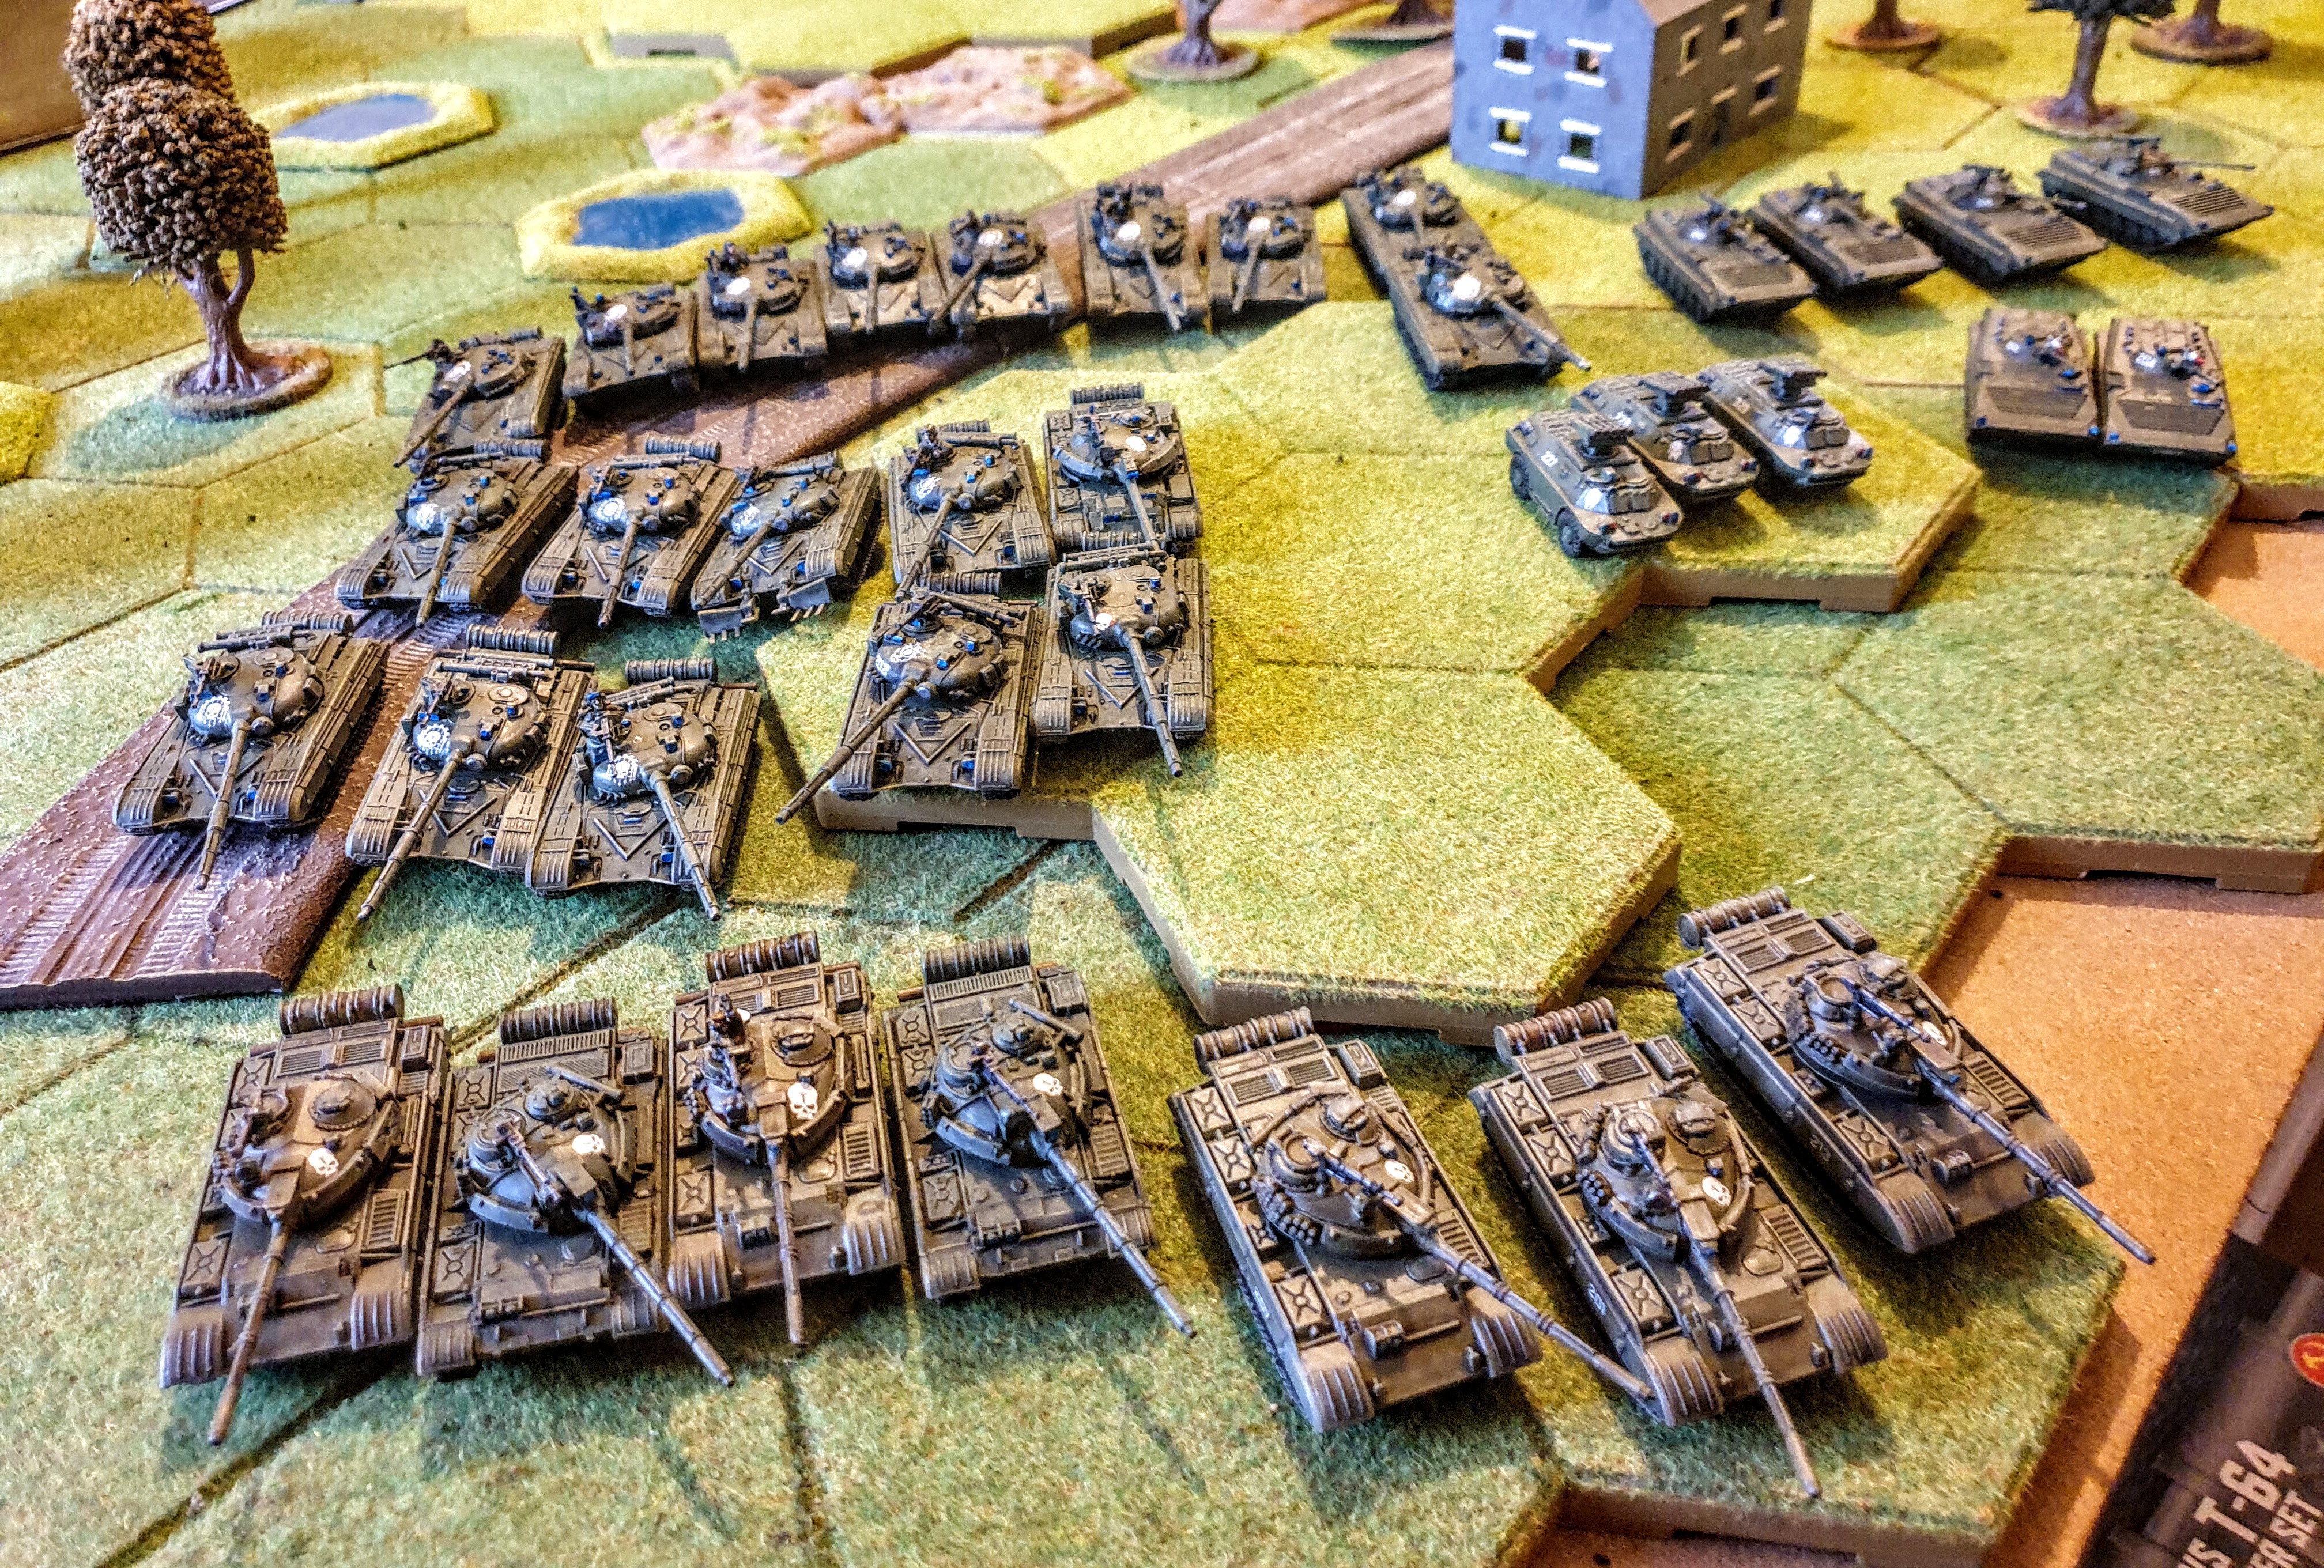
Looks like a considerable difference in numbers here.
I am modifying the basic Team Yankee initiative here I’m not a great fan of I go you go, and not sure it really works for solo play.
Therefore I will be using Bolt action style die in bag initiative.
If a die is put on a command unit I will allow it to give orders and activate other units within its command radius.
Tomorrow I will detail how I intend to put some Fog of War into my deployment and run 1st couple of moves.


![Zenit Miniatures’ Samurai Warlords Now Live On Kickstarter [Updated]](https://images.beastsofwar.com/2026/02/samurai-warlords-launch-main-600-338.jpg)