


![10mm Medieval Miniatures! Azincourt English Army Review | Wargames Atlantic [7 Days Early Access]](https://images.beastsofwar.com/2026/03/unboxing-wargames-atlantic-azincourt-english-army-coverimage-225-127.jpg)


A long time ago at a Hobby Weekend far far away…


Recommendations: 352
About the Project
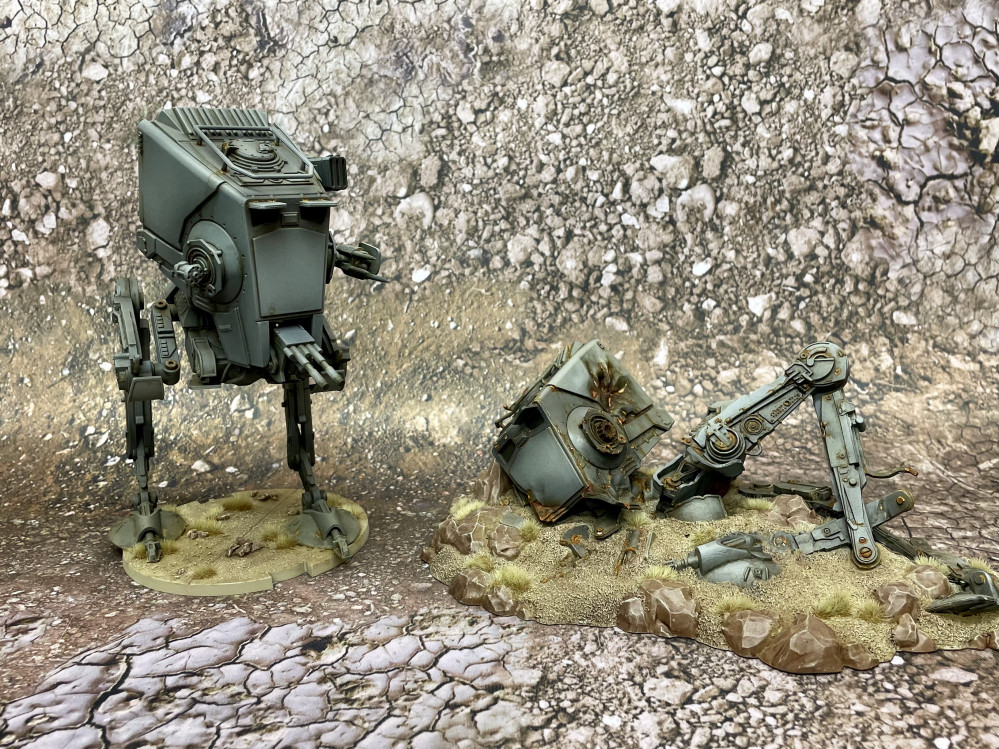
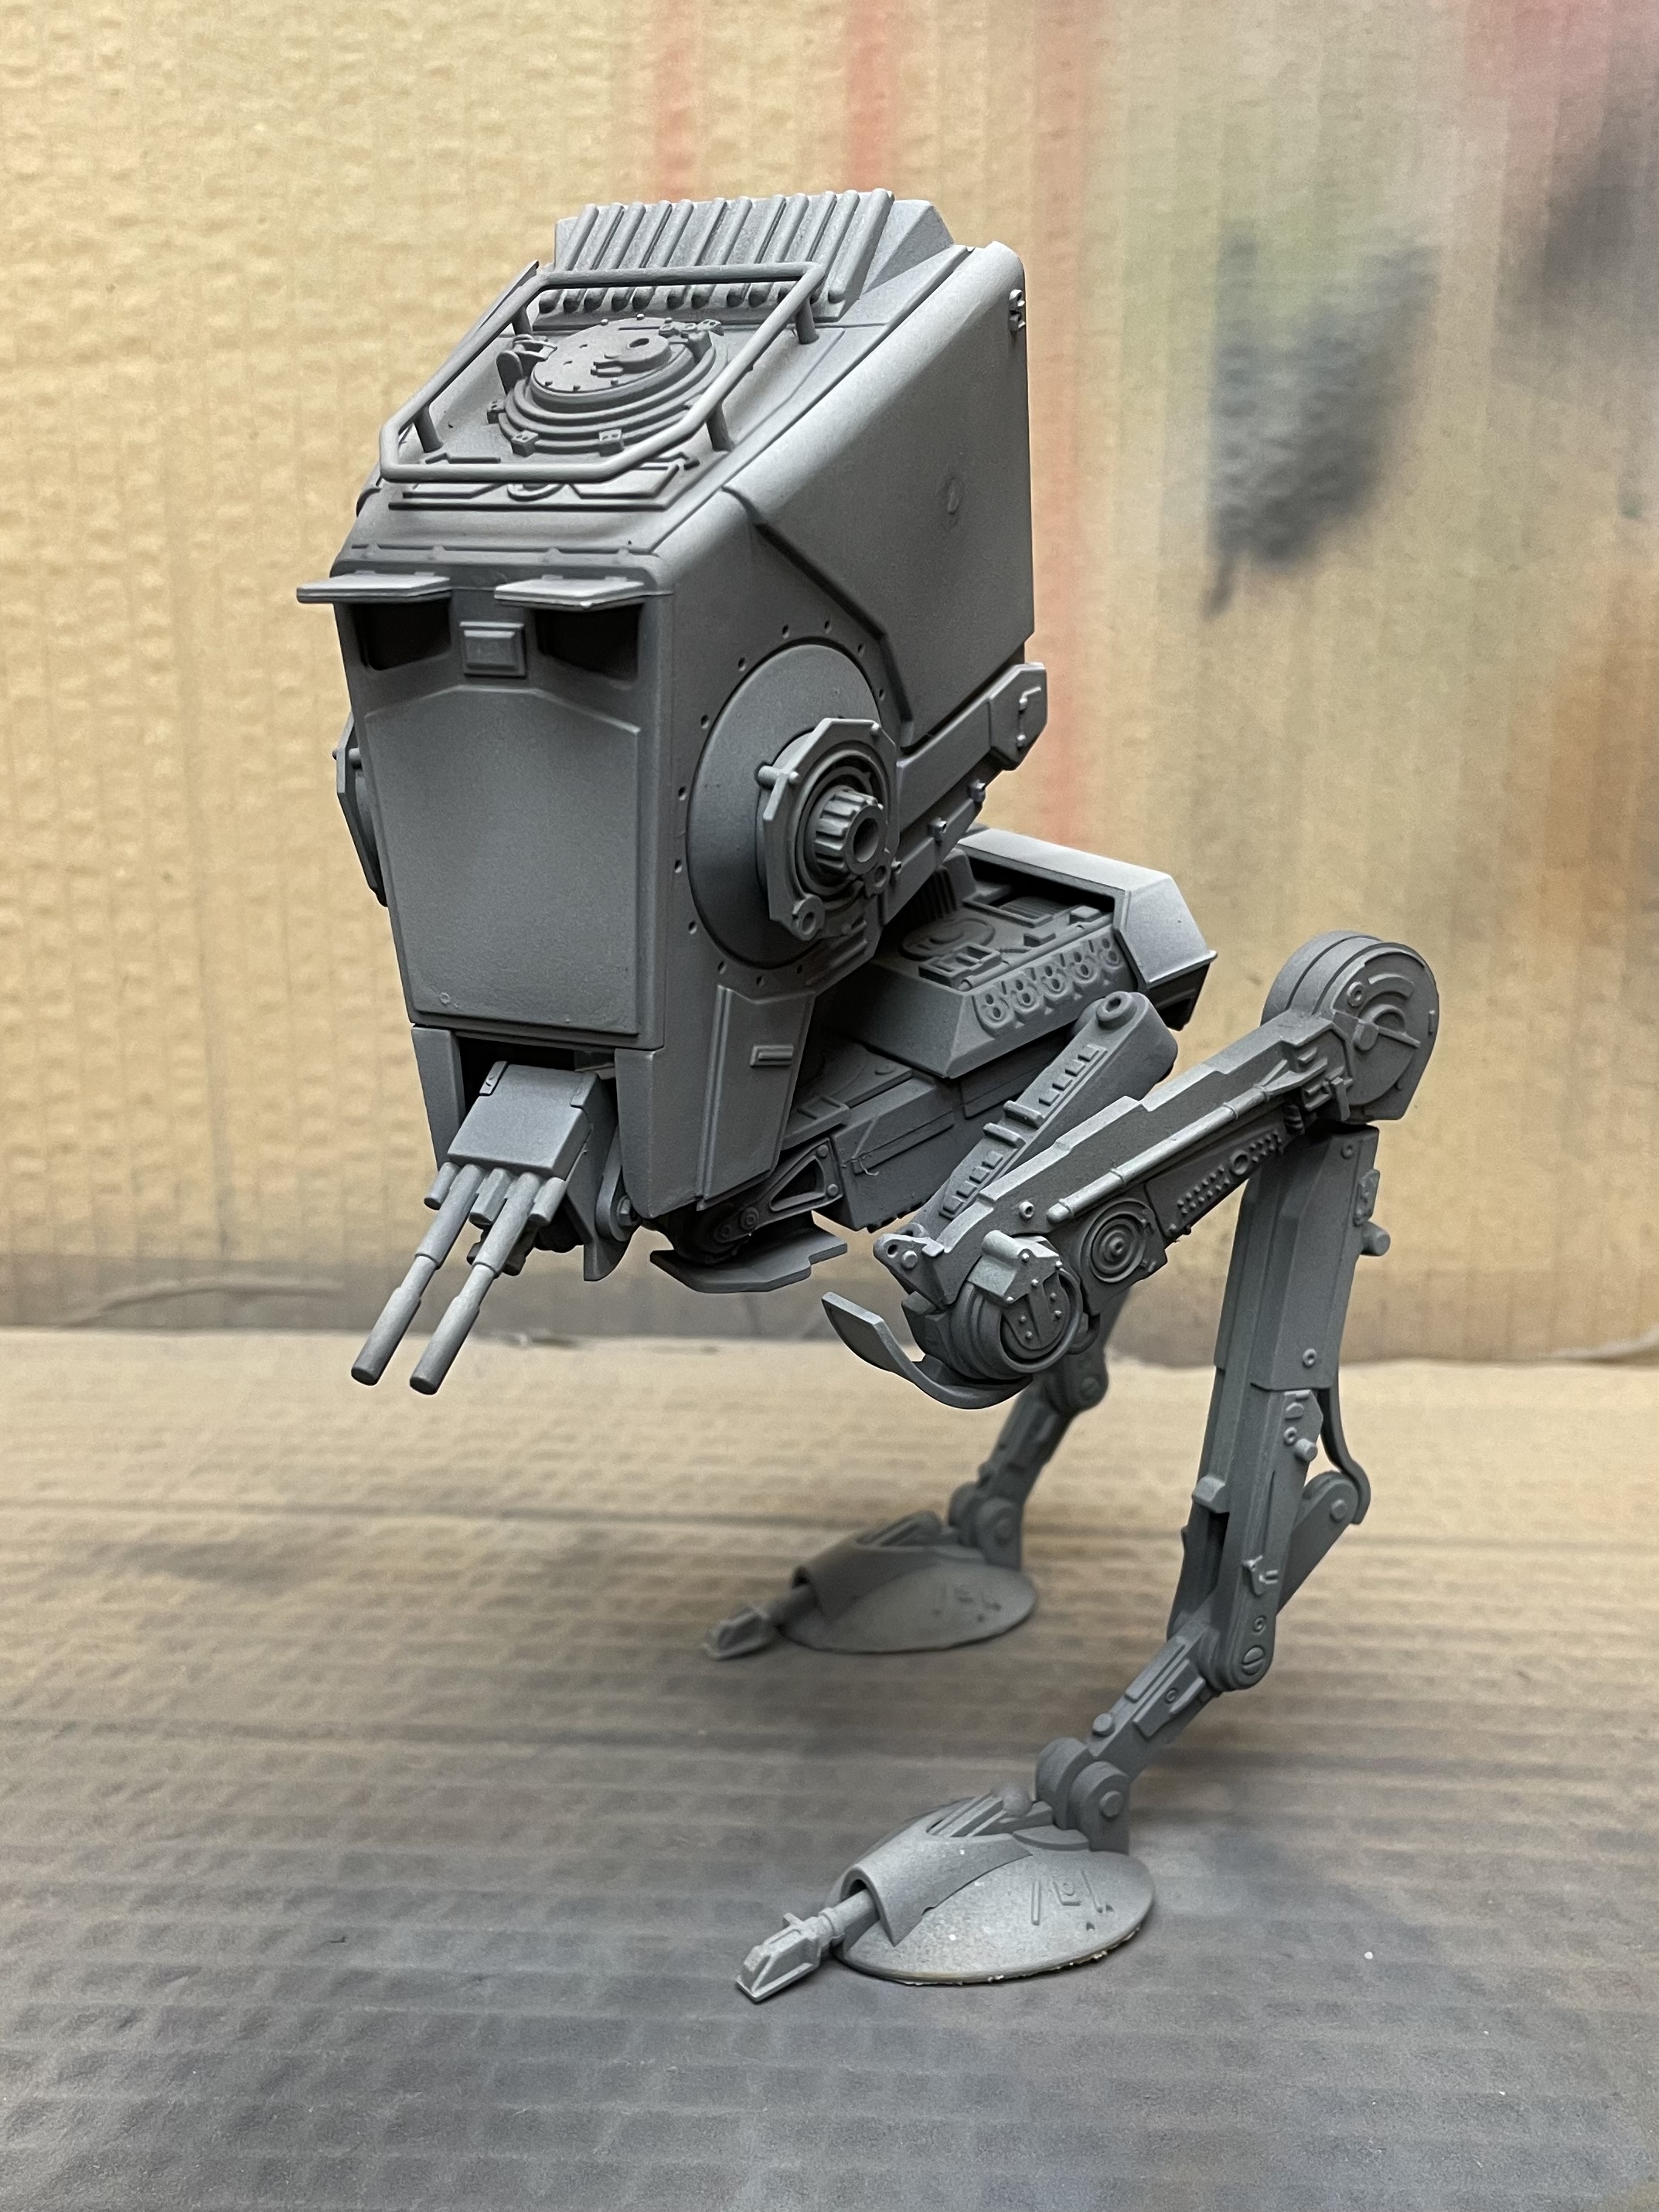
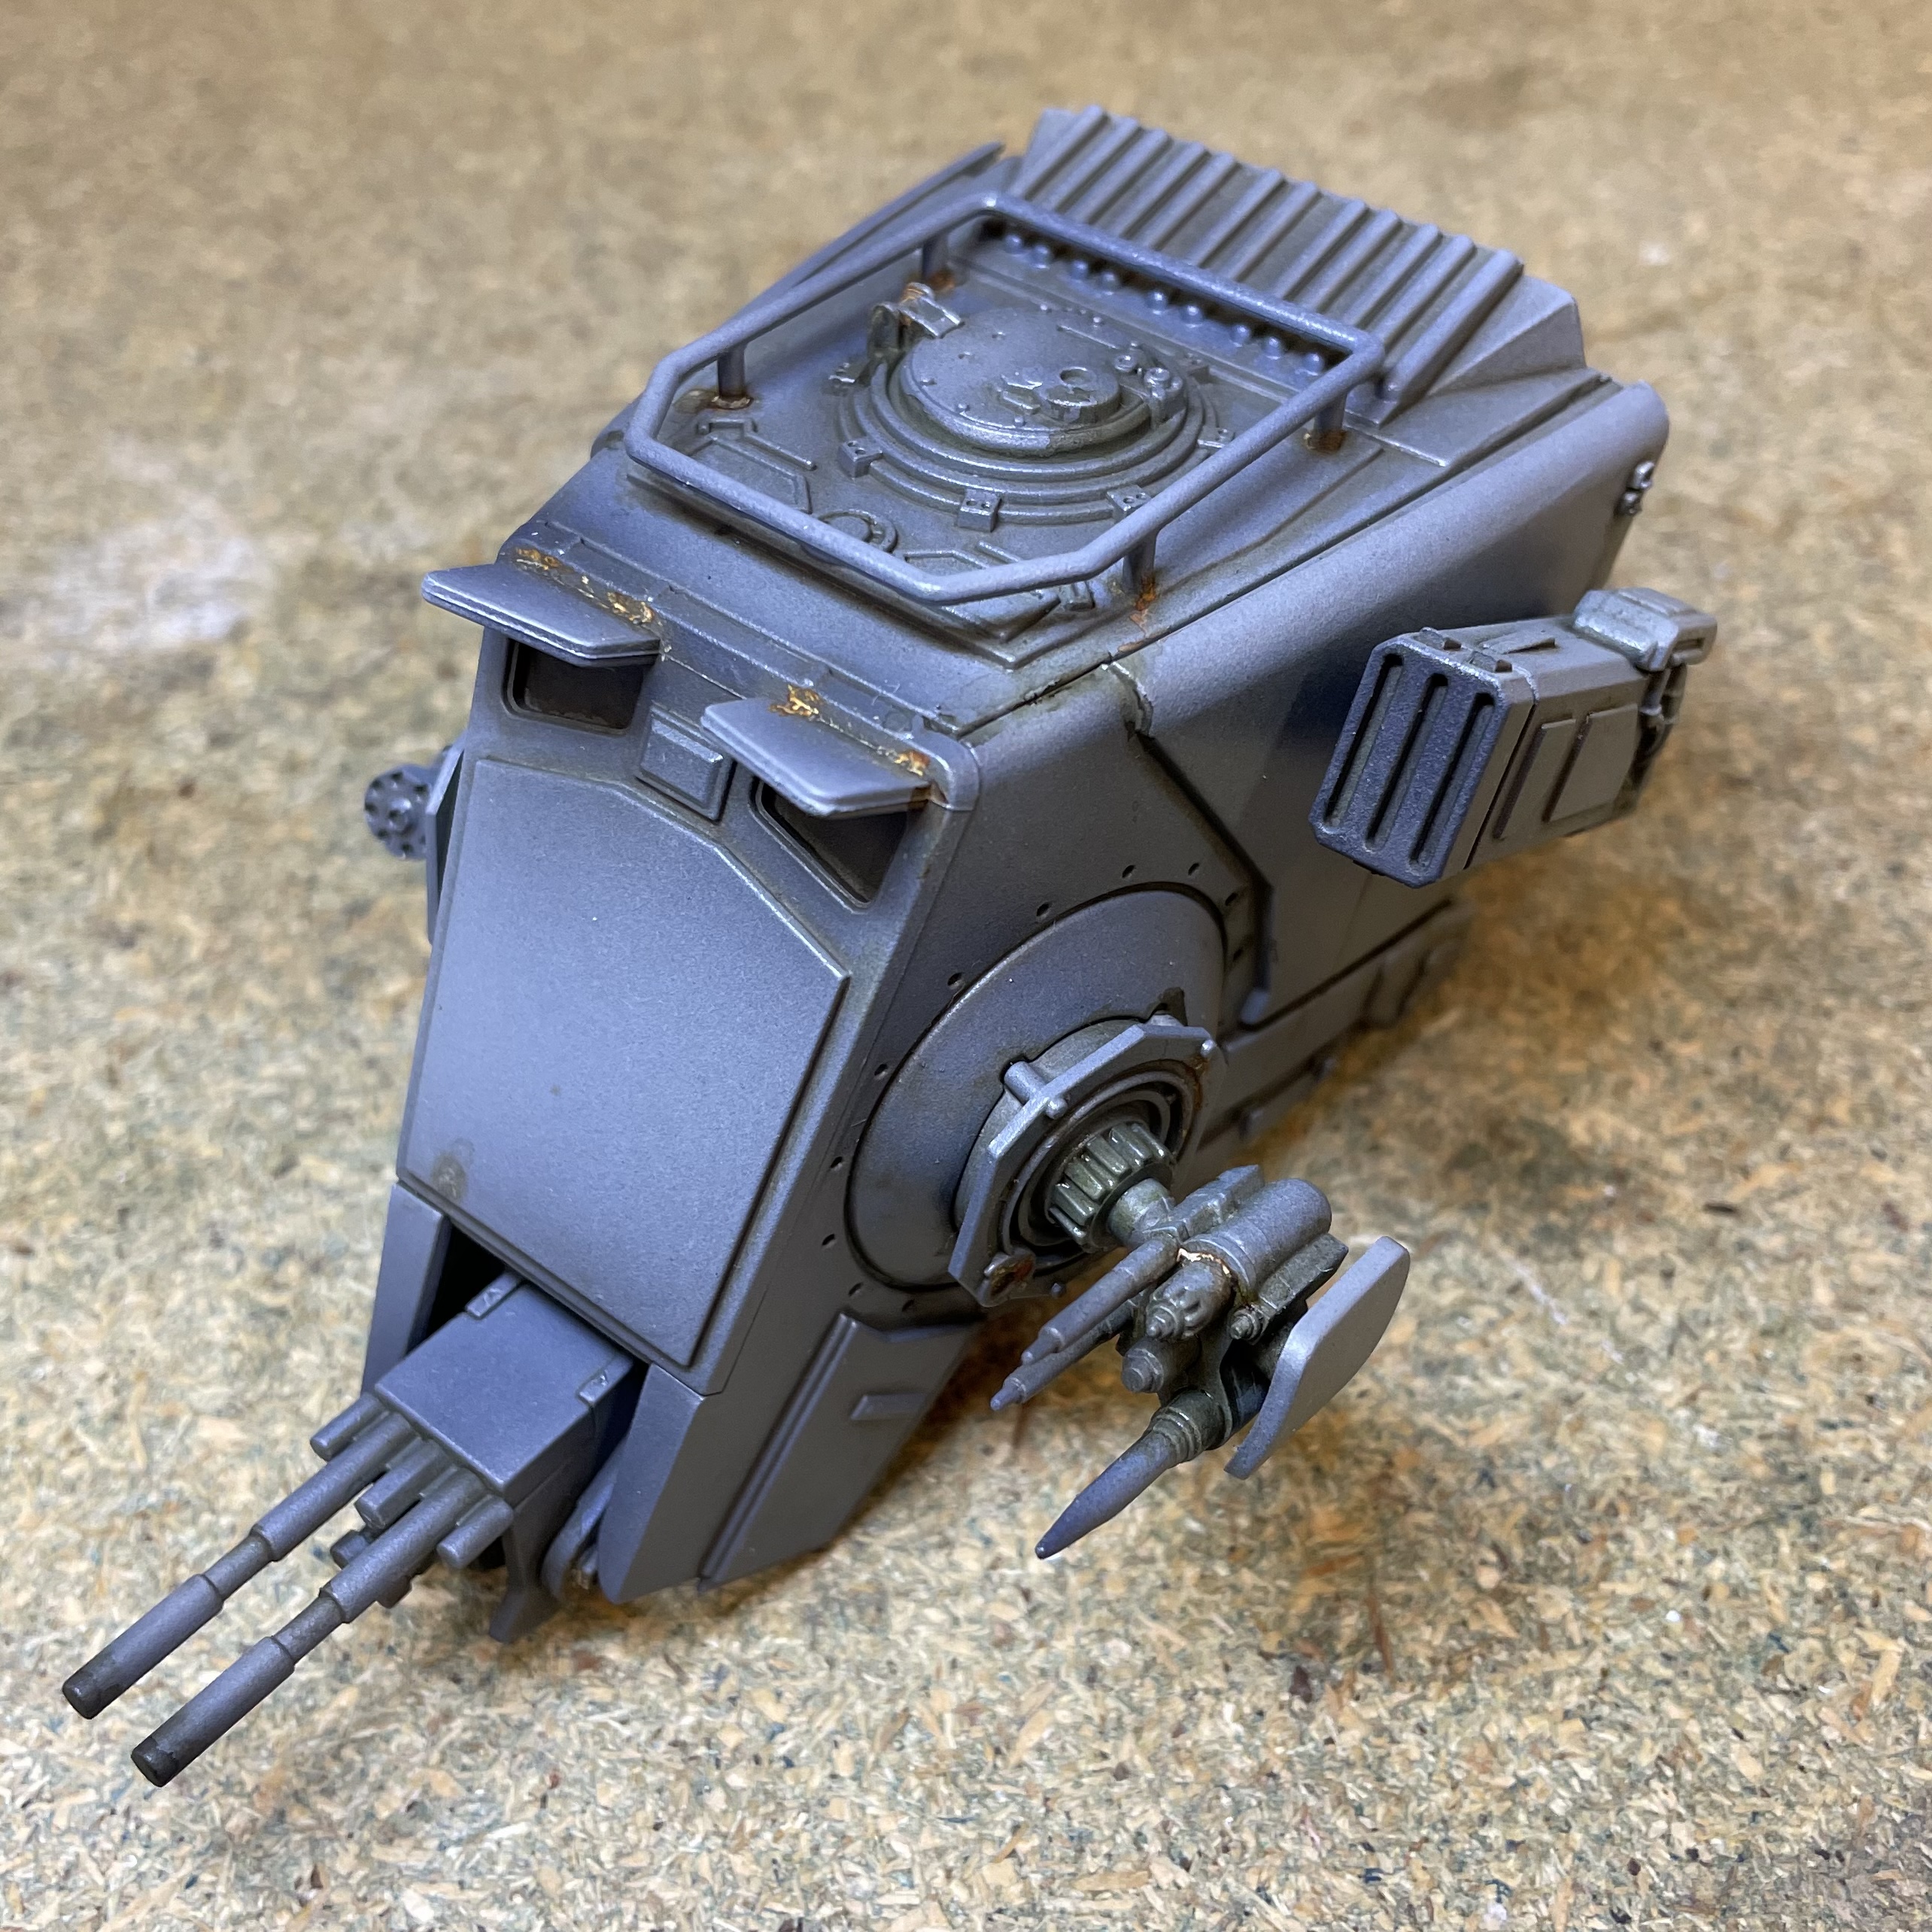
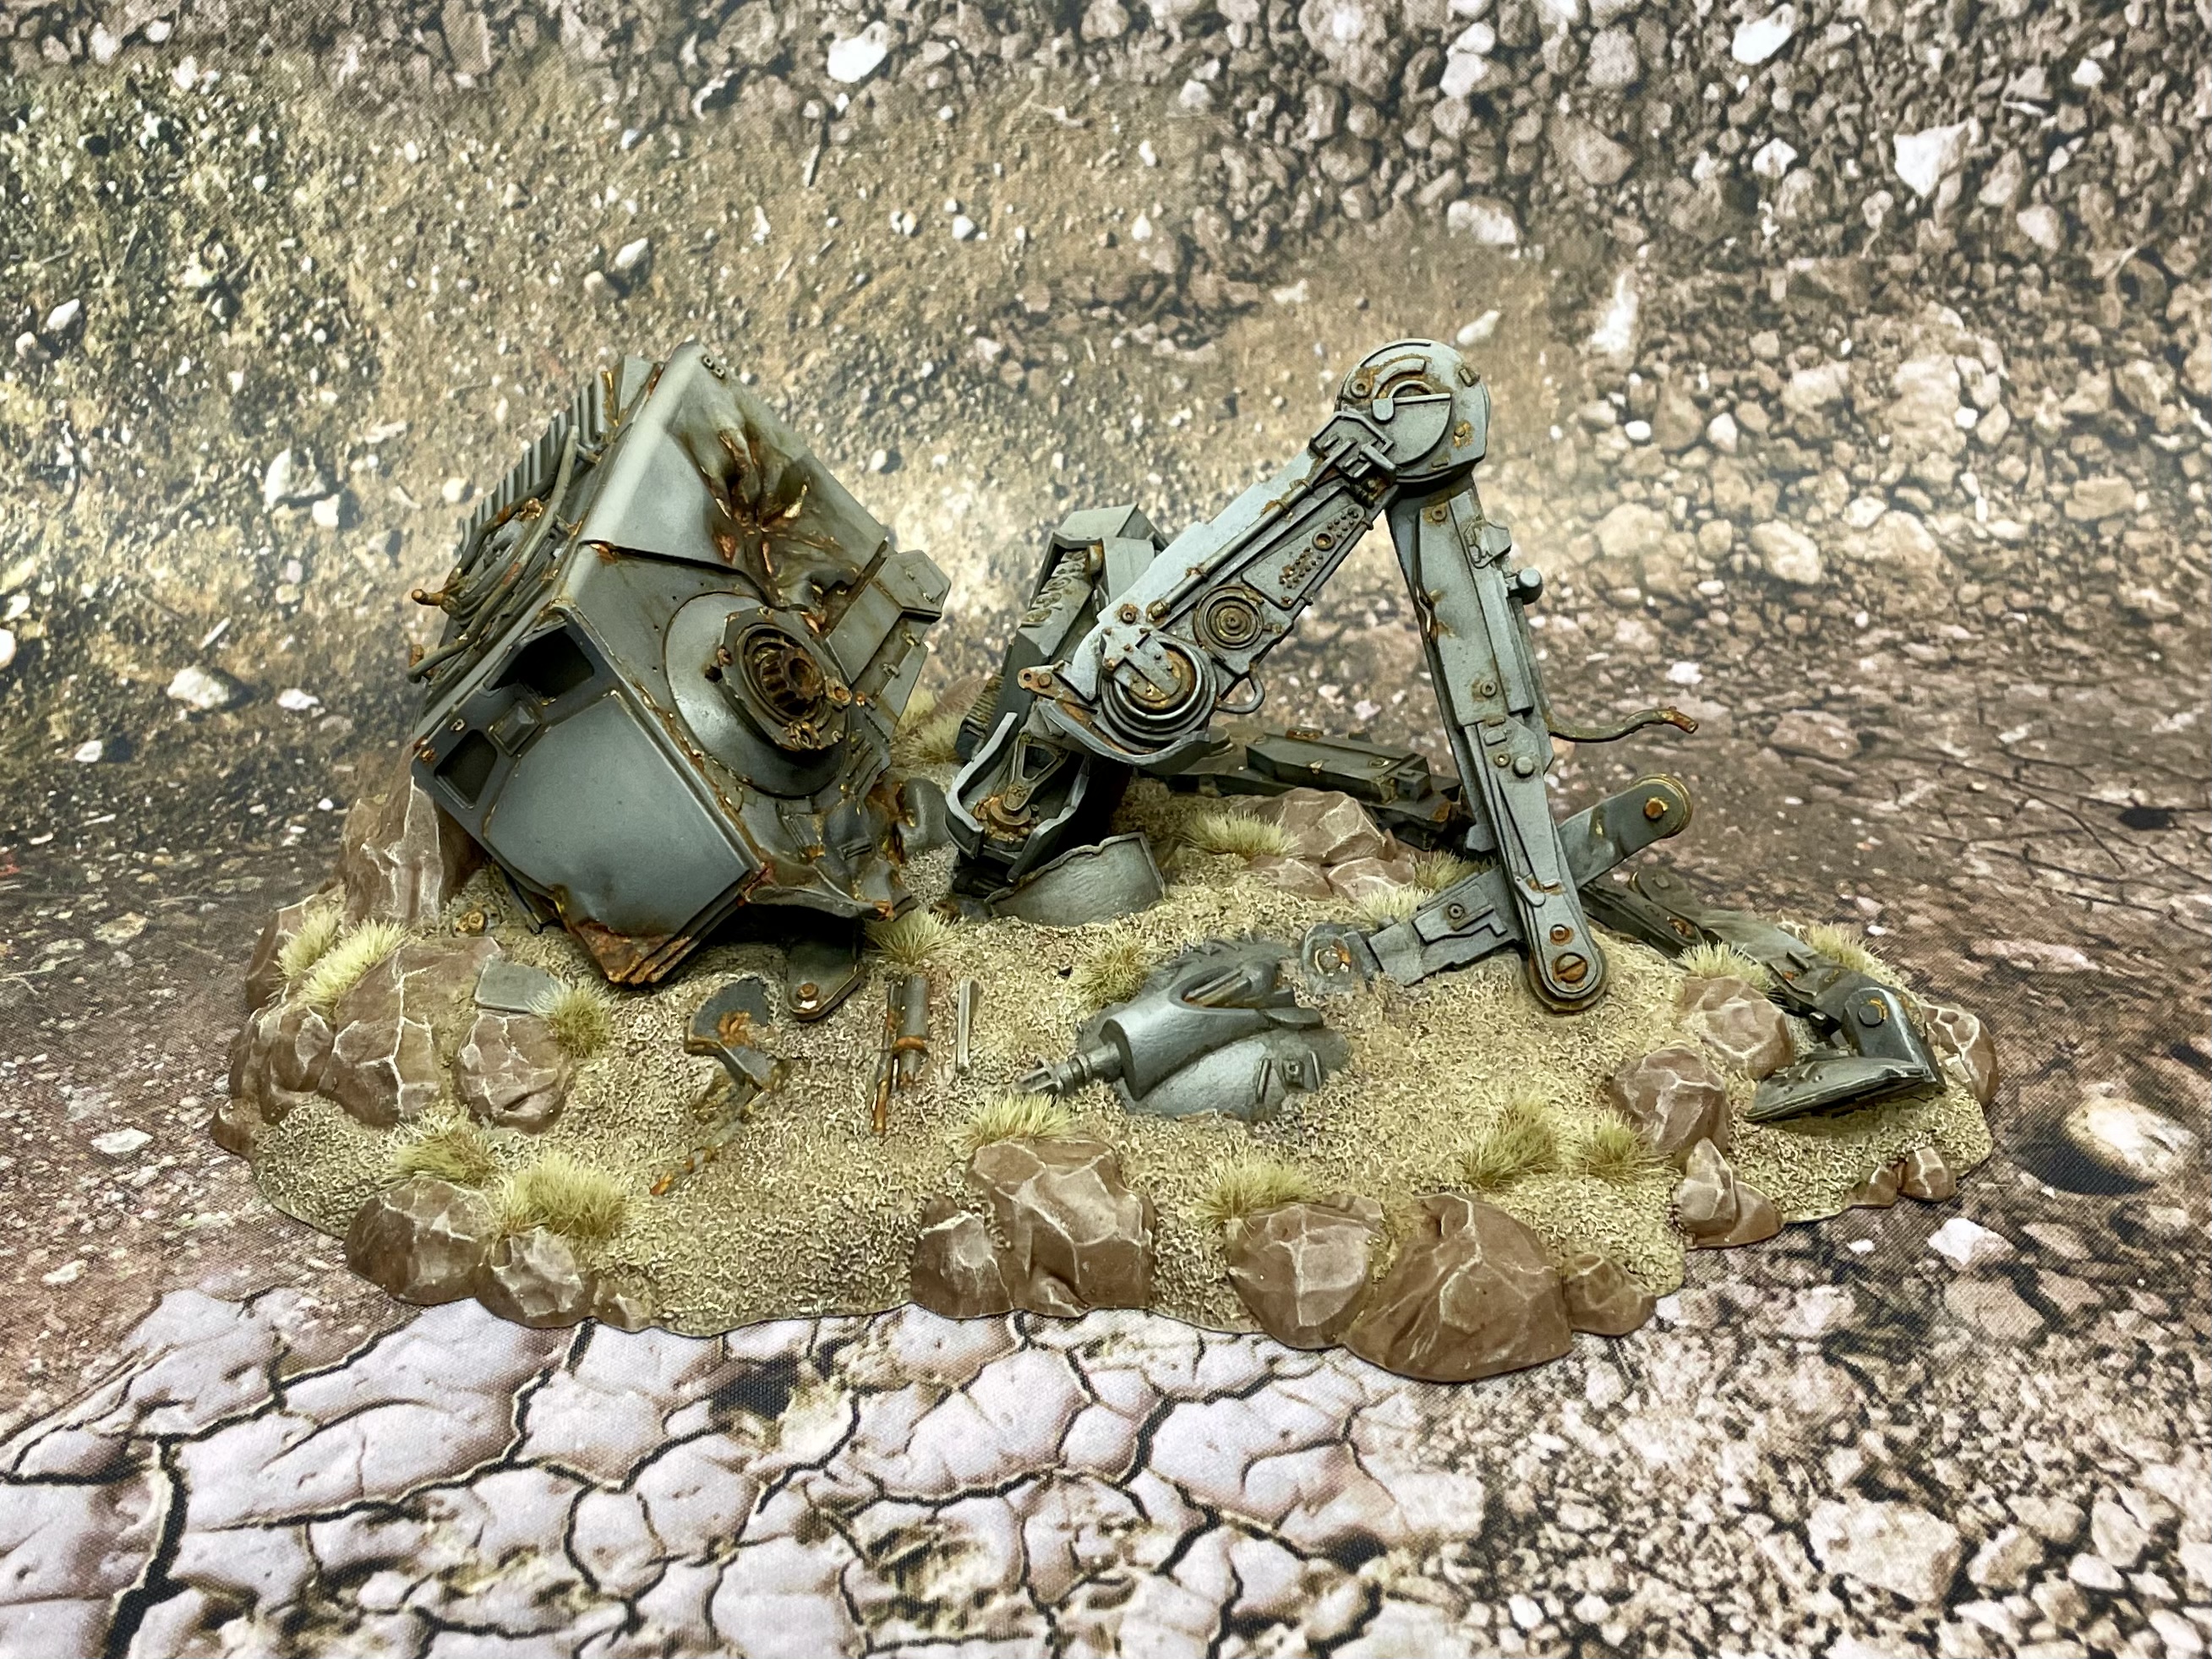
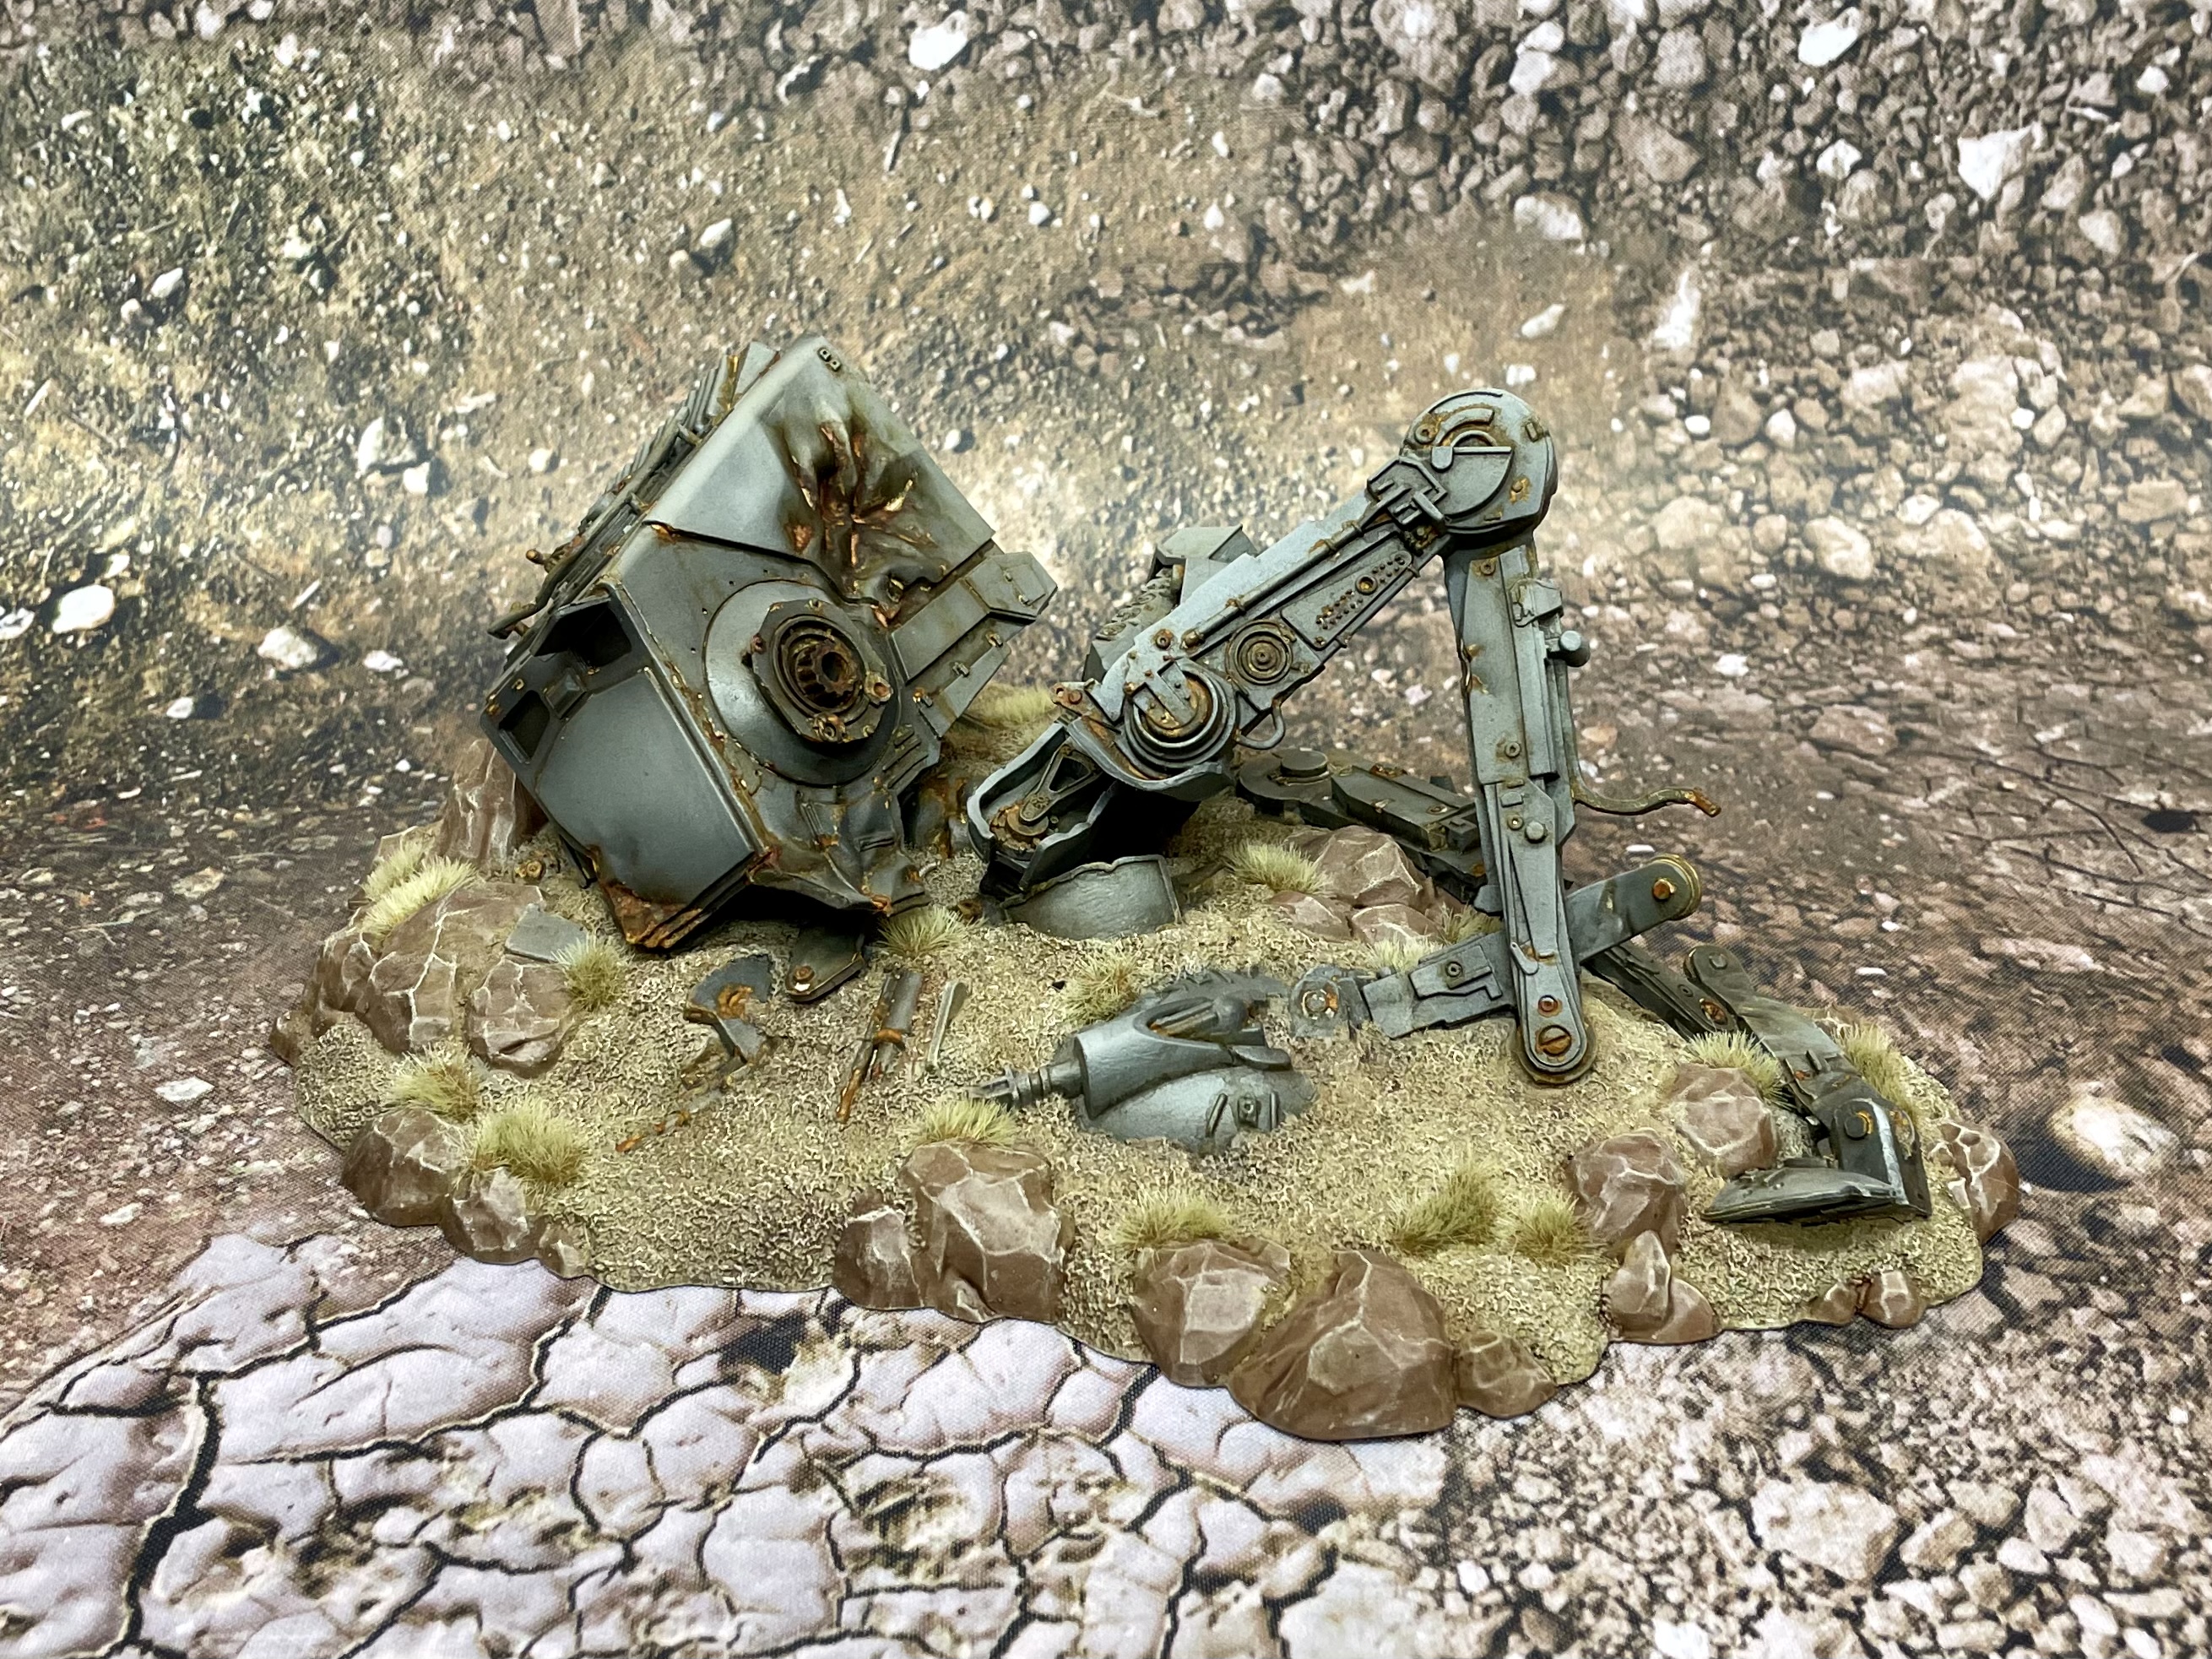
My aim for the hobby weekend was to build and paint the Downed AT-ST expansion for Star Wars Legion, as well as paint a regular AT-ST I had built in advance. At this point I had never used an airbrush and hoped to get my hands on one while at OTT HQ. I was going to be relying on a little tuition from a member of the OTT crew. This would be the beginning of my using an airbrush more and more for my hobby.
Related Game: Star Wars: Legion
Related Company: Fantasy Flight Games
Related Genre: Science Fiction
This Project is Completed
Chicken Tonight
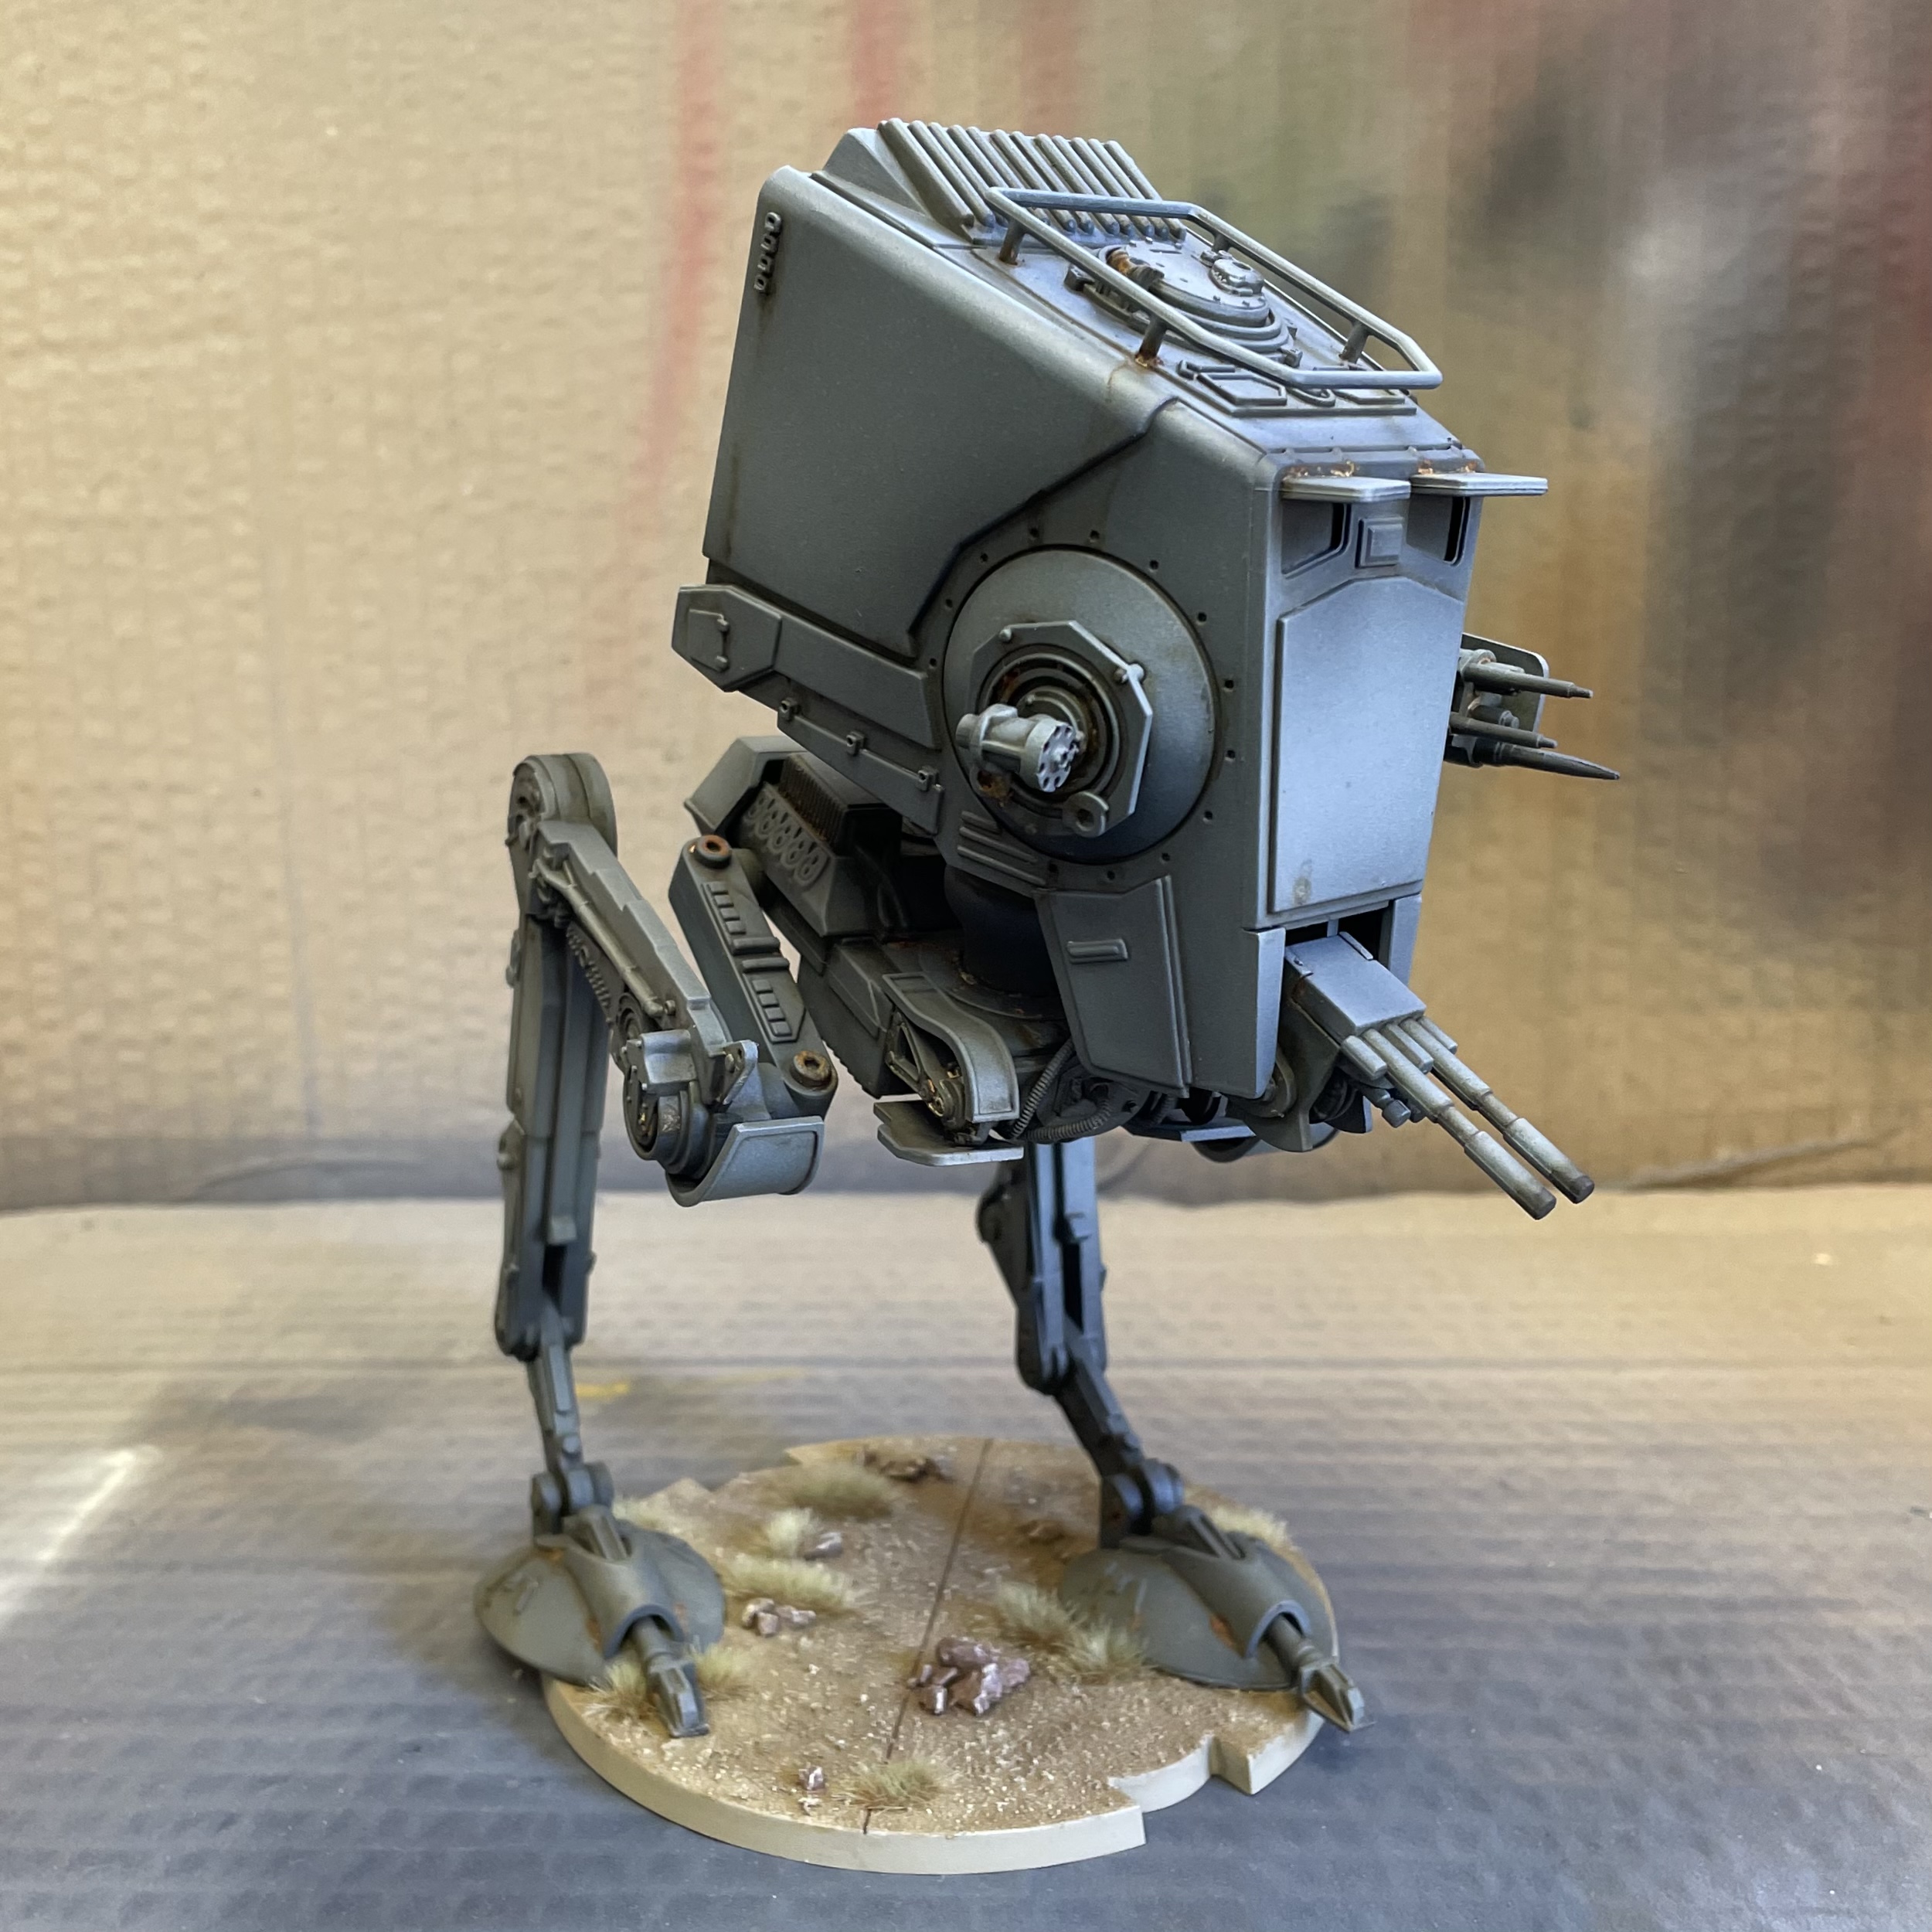
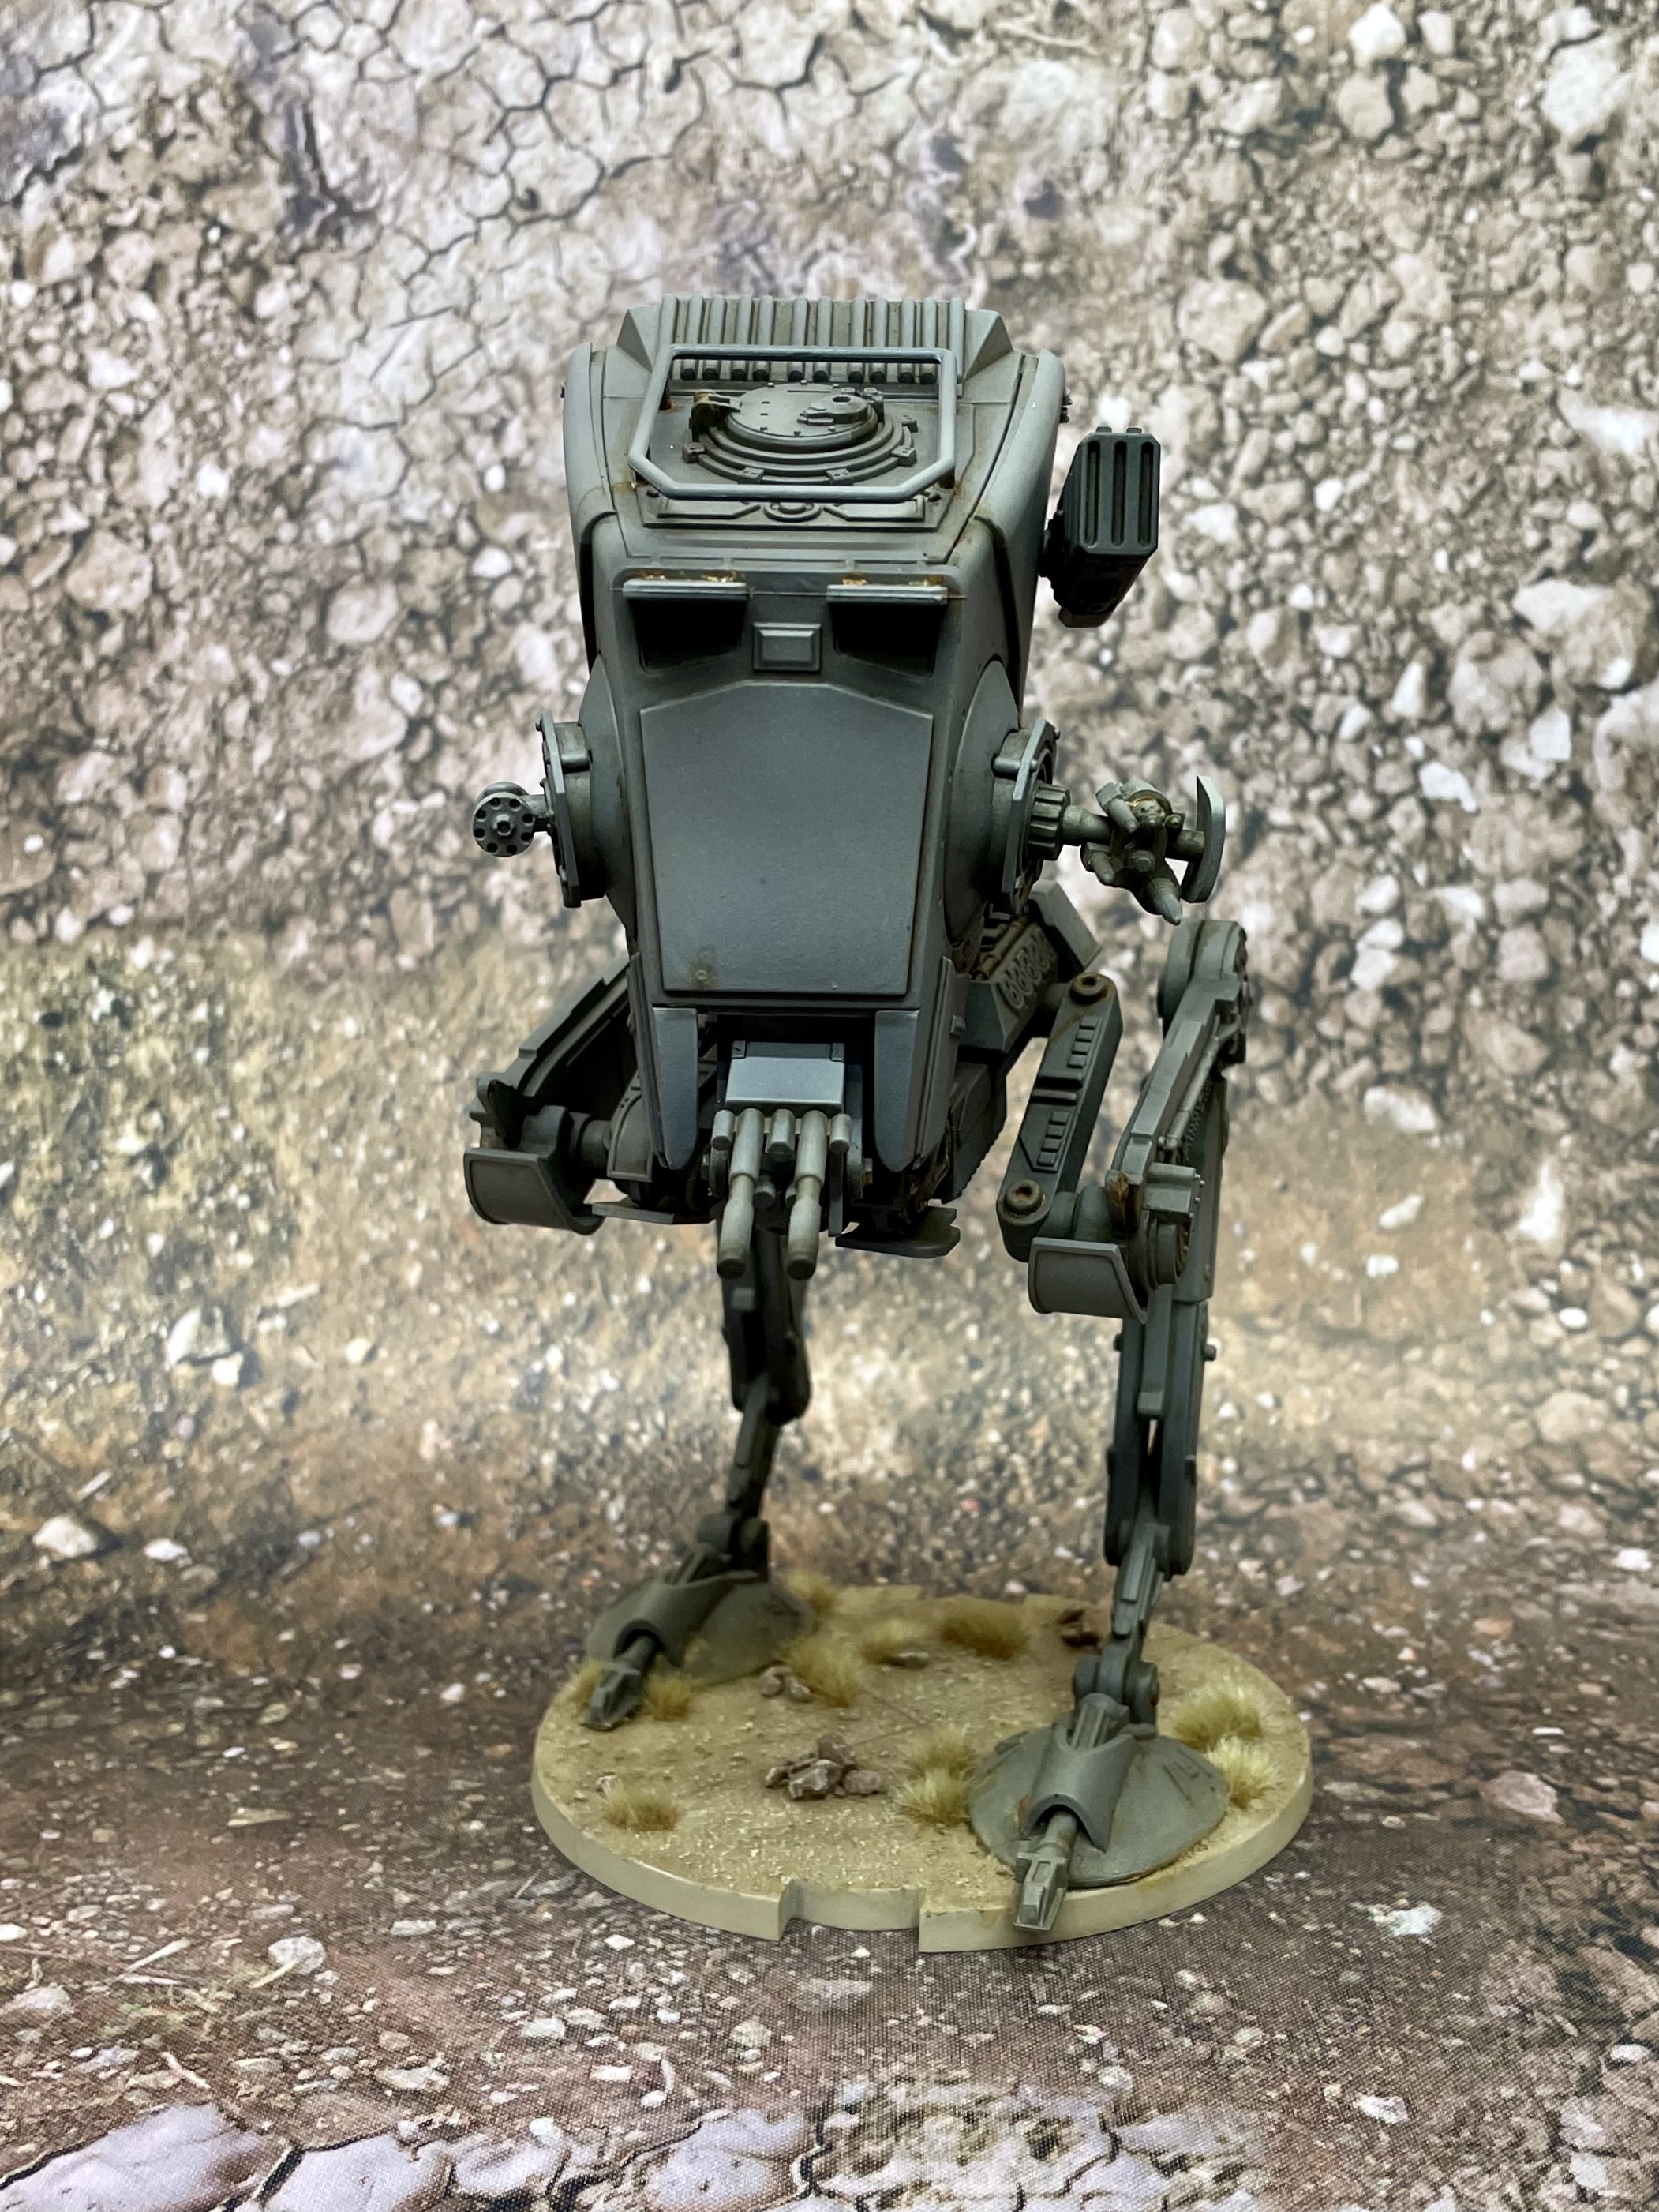
Moving on to the operational Walker, I was surprised at how little variation I had put into the paint job. I had clearly chickened out of doing something bolder. I only had one person to blame, and that was John. He should’ve pushed me harder!
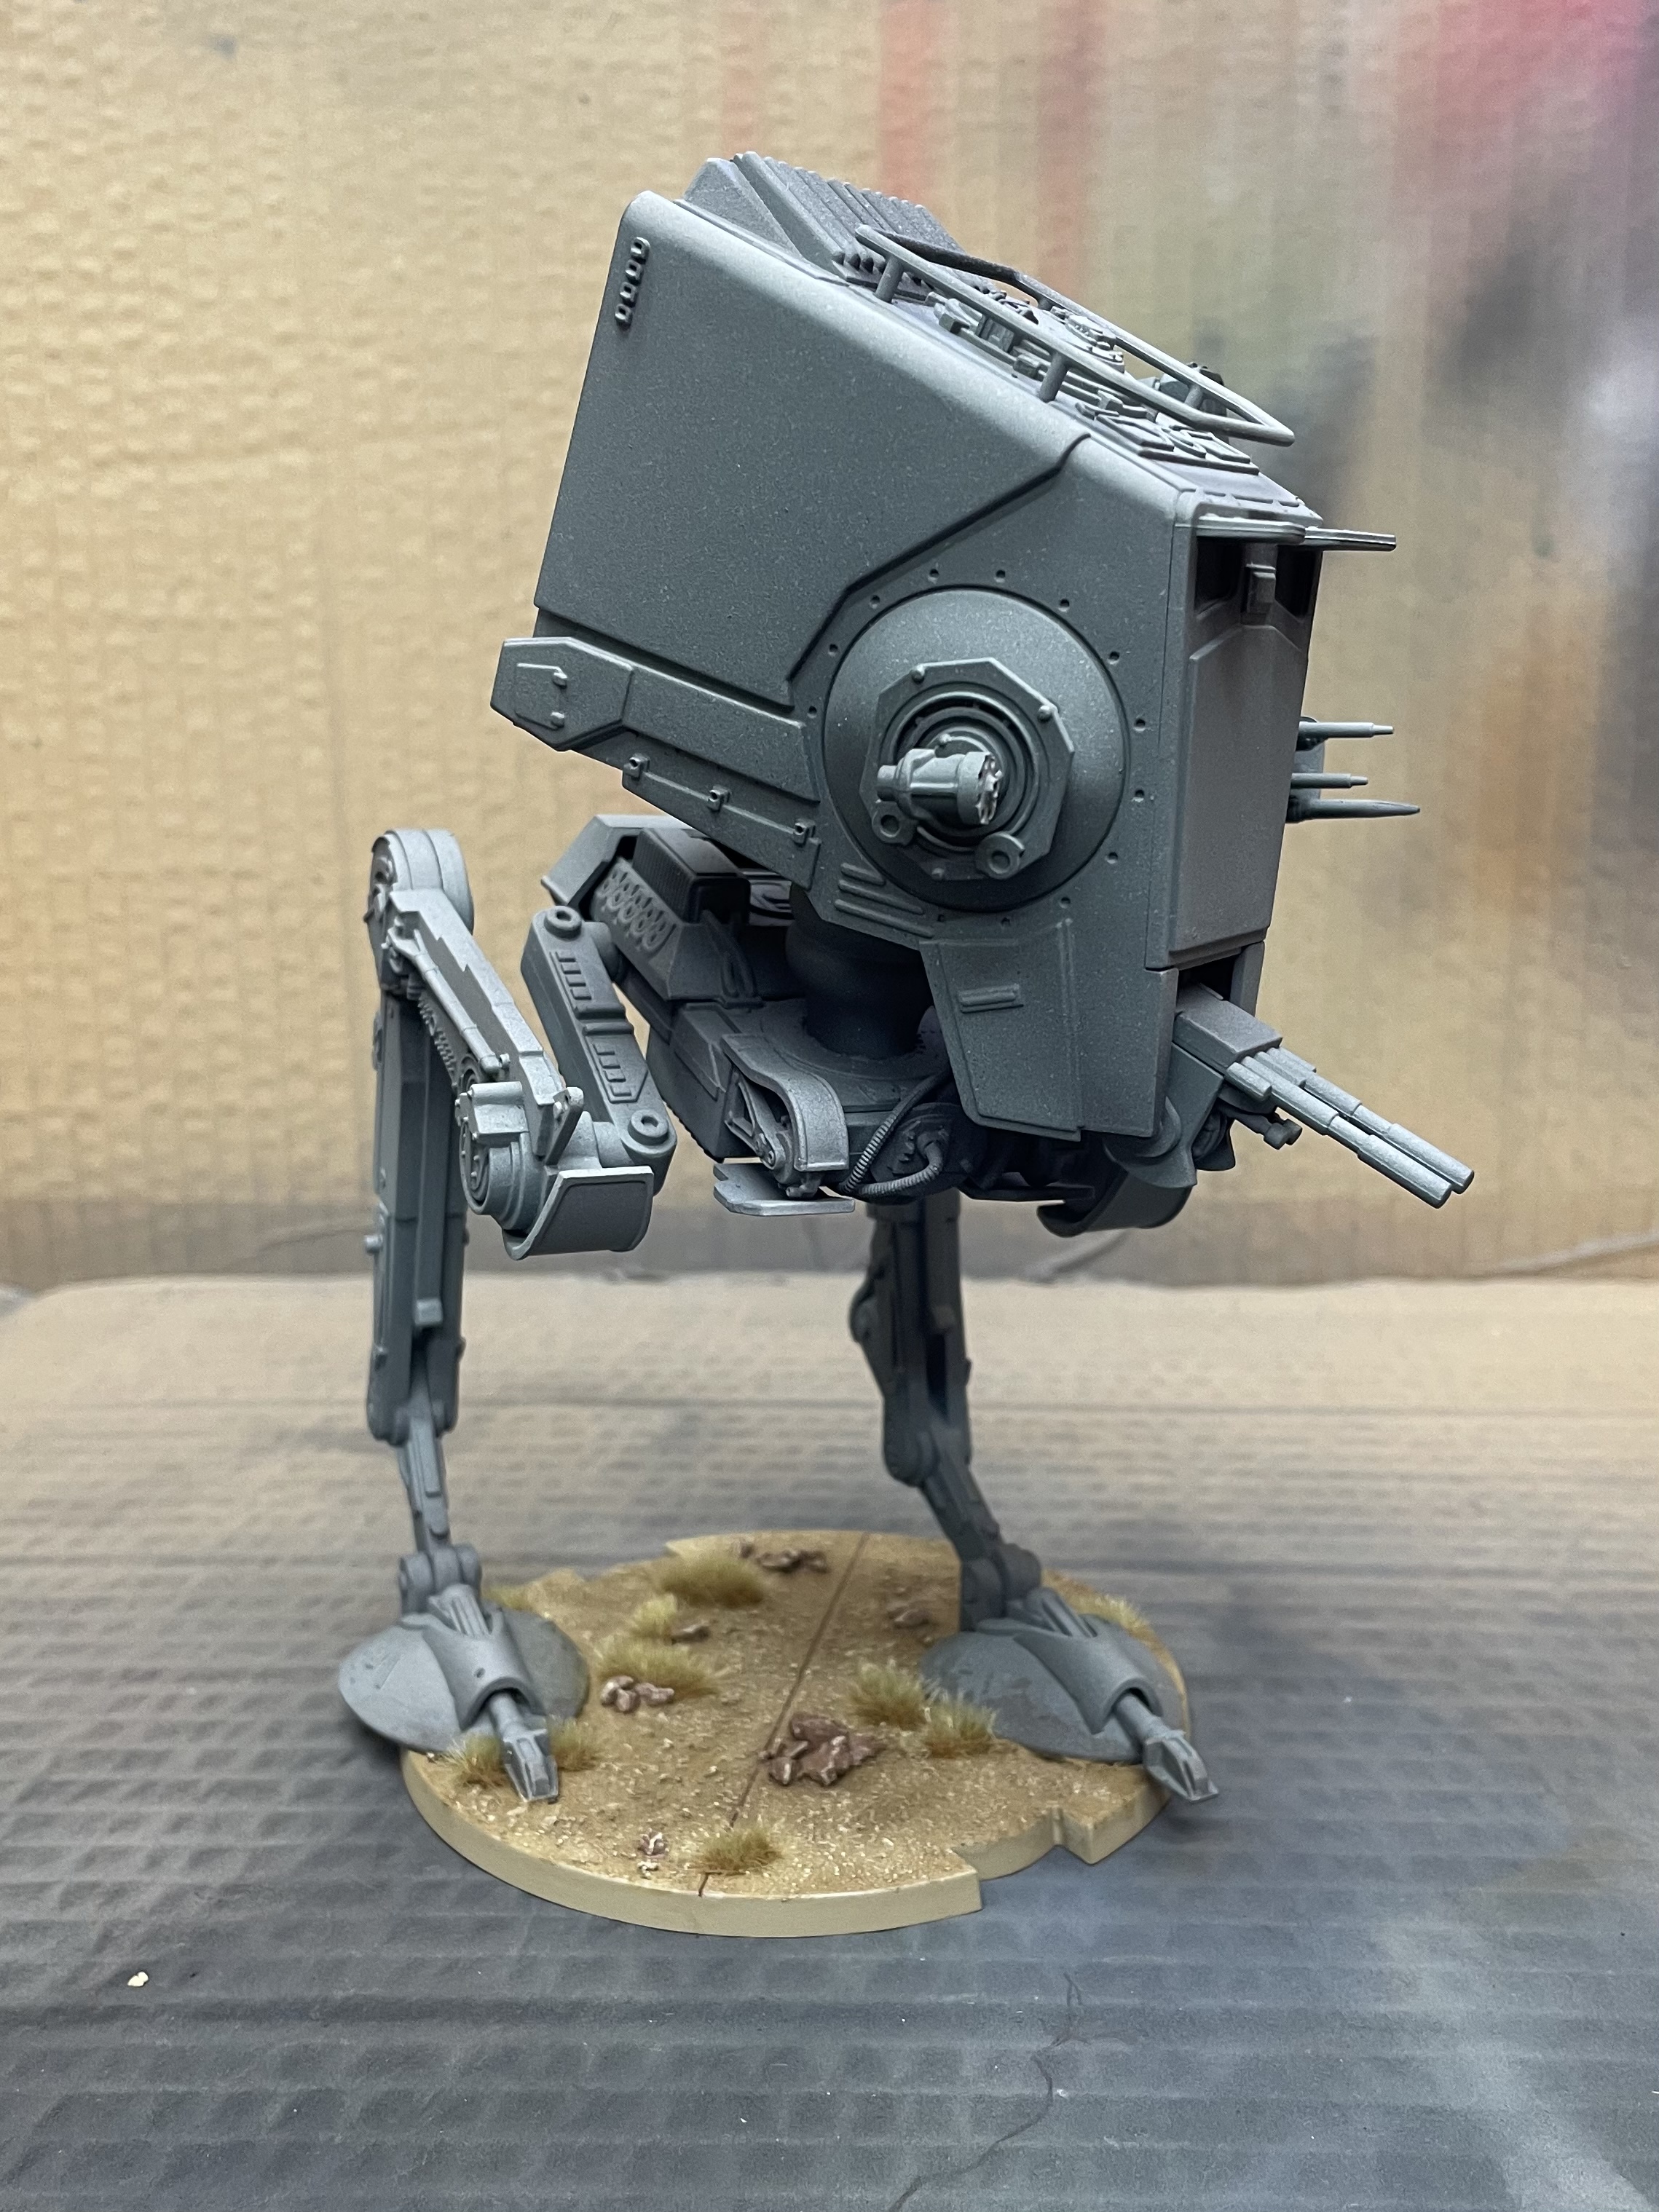
I definitely needed to do more than just lighten the grey with the airbrush. I had planned to mask the base with cling film but in the end it was easier to just flex the plastic until the base and feet separated. With the base out of the way I went back over the Walker with the original dark colours I had used – Corvus Black and Dawnstone.

This was an immediate improvement but as originally planned, I now needed to bring the grey up to a lighter finish. As with the downed Walker, this was was achieved with Vallejo Air – light grey

Getting back to it…
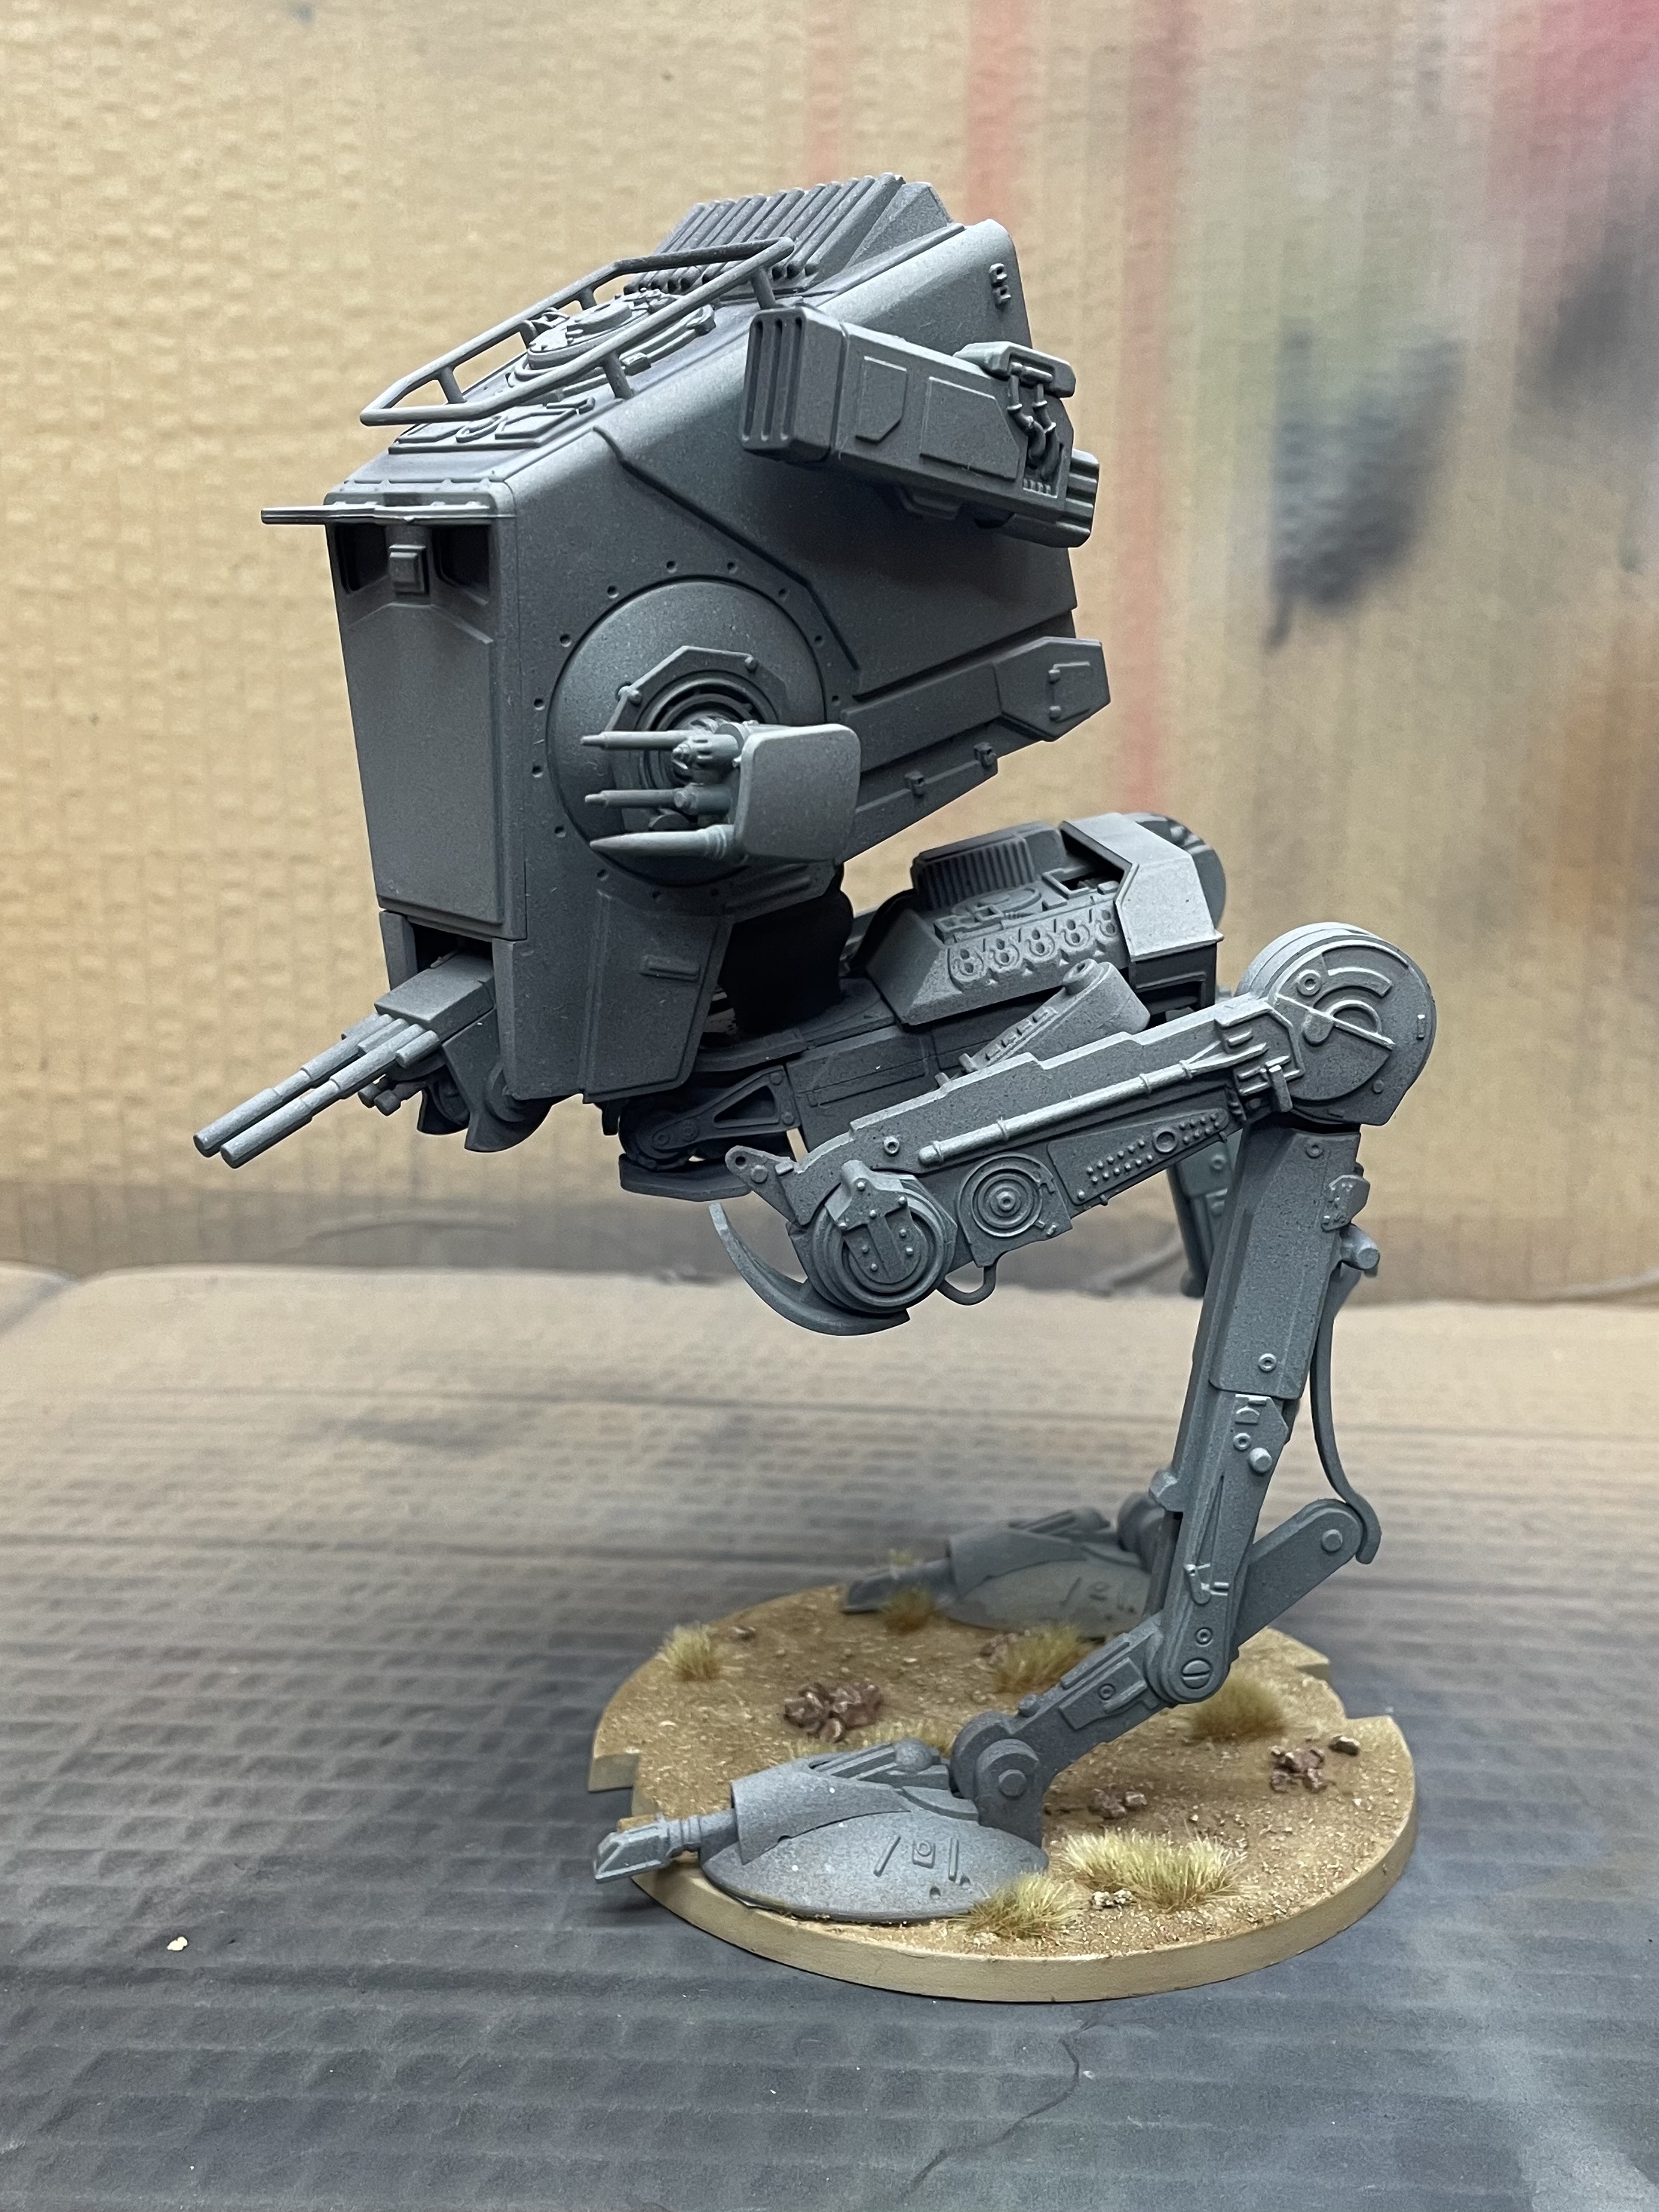
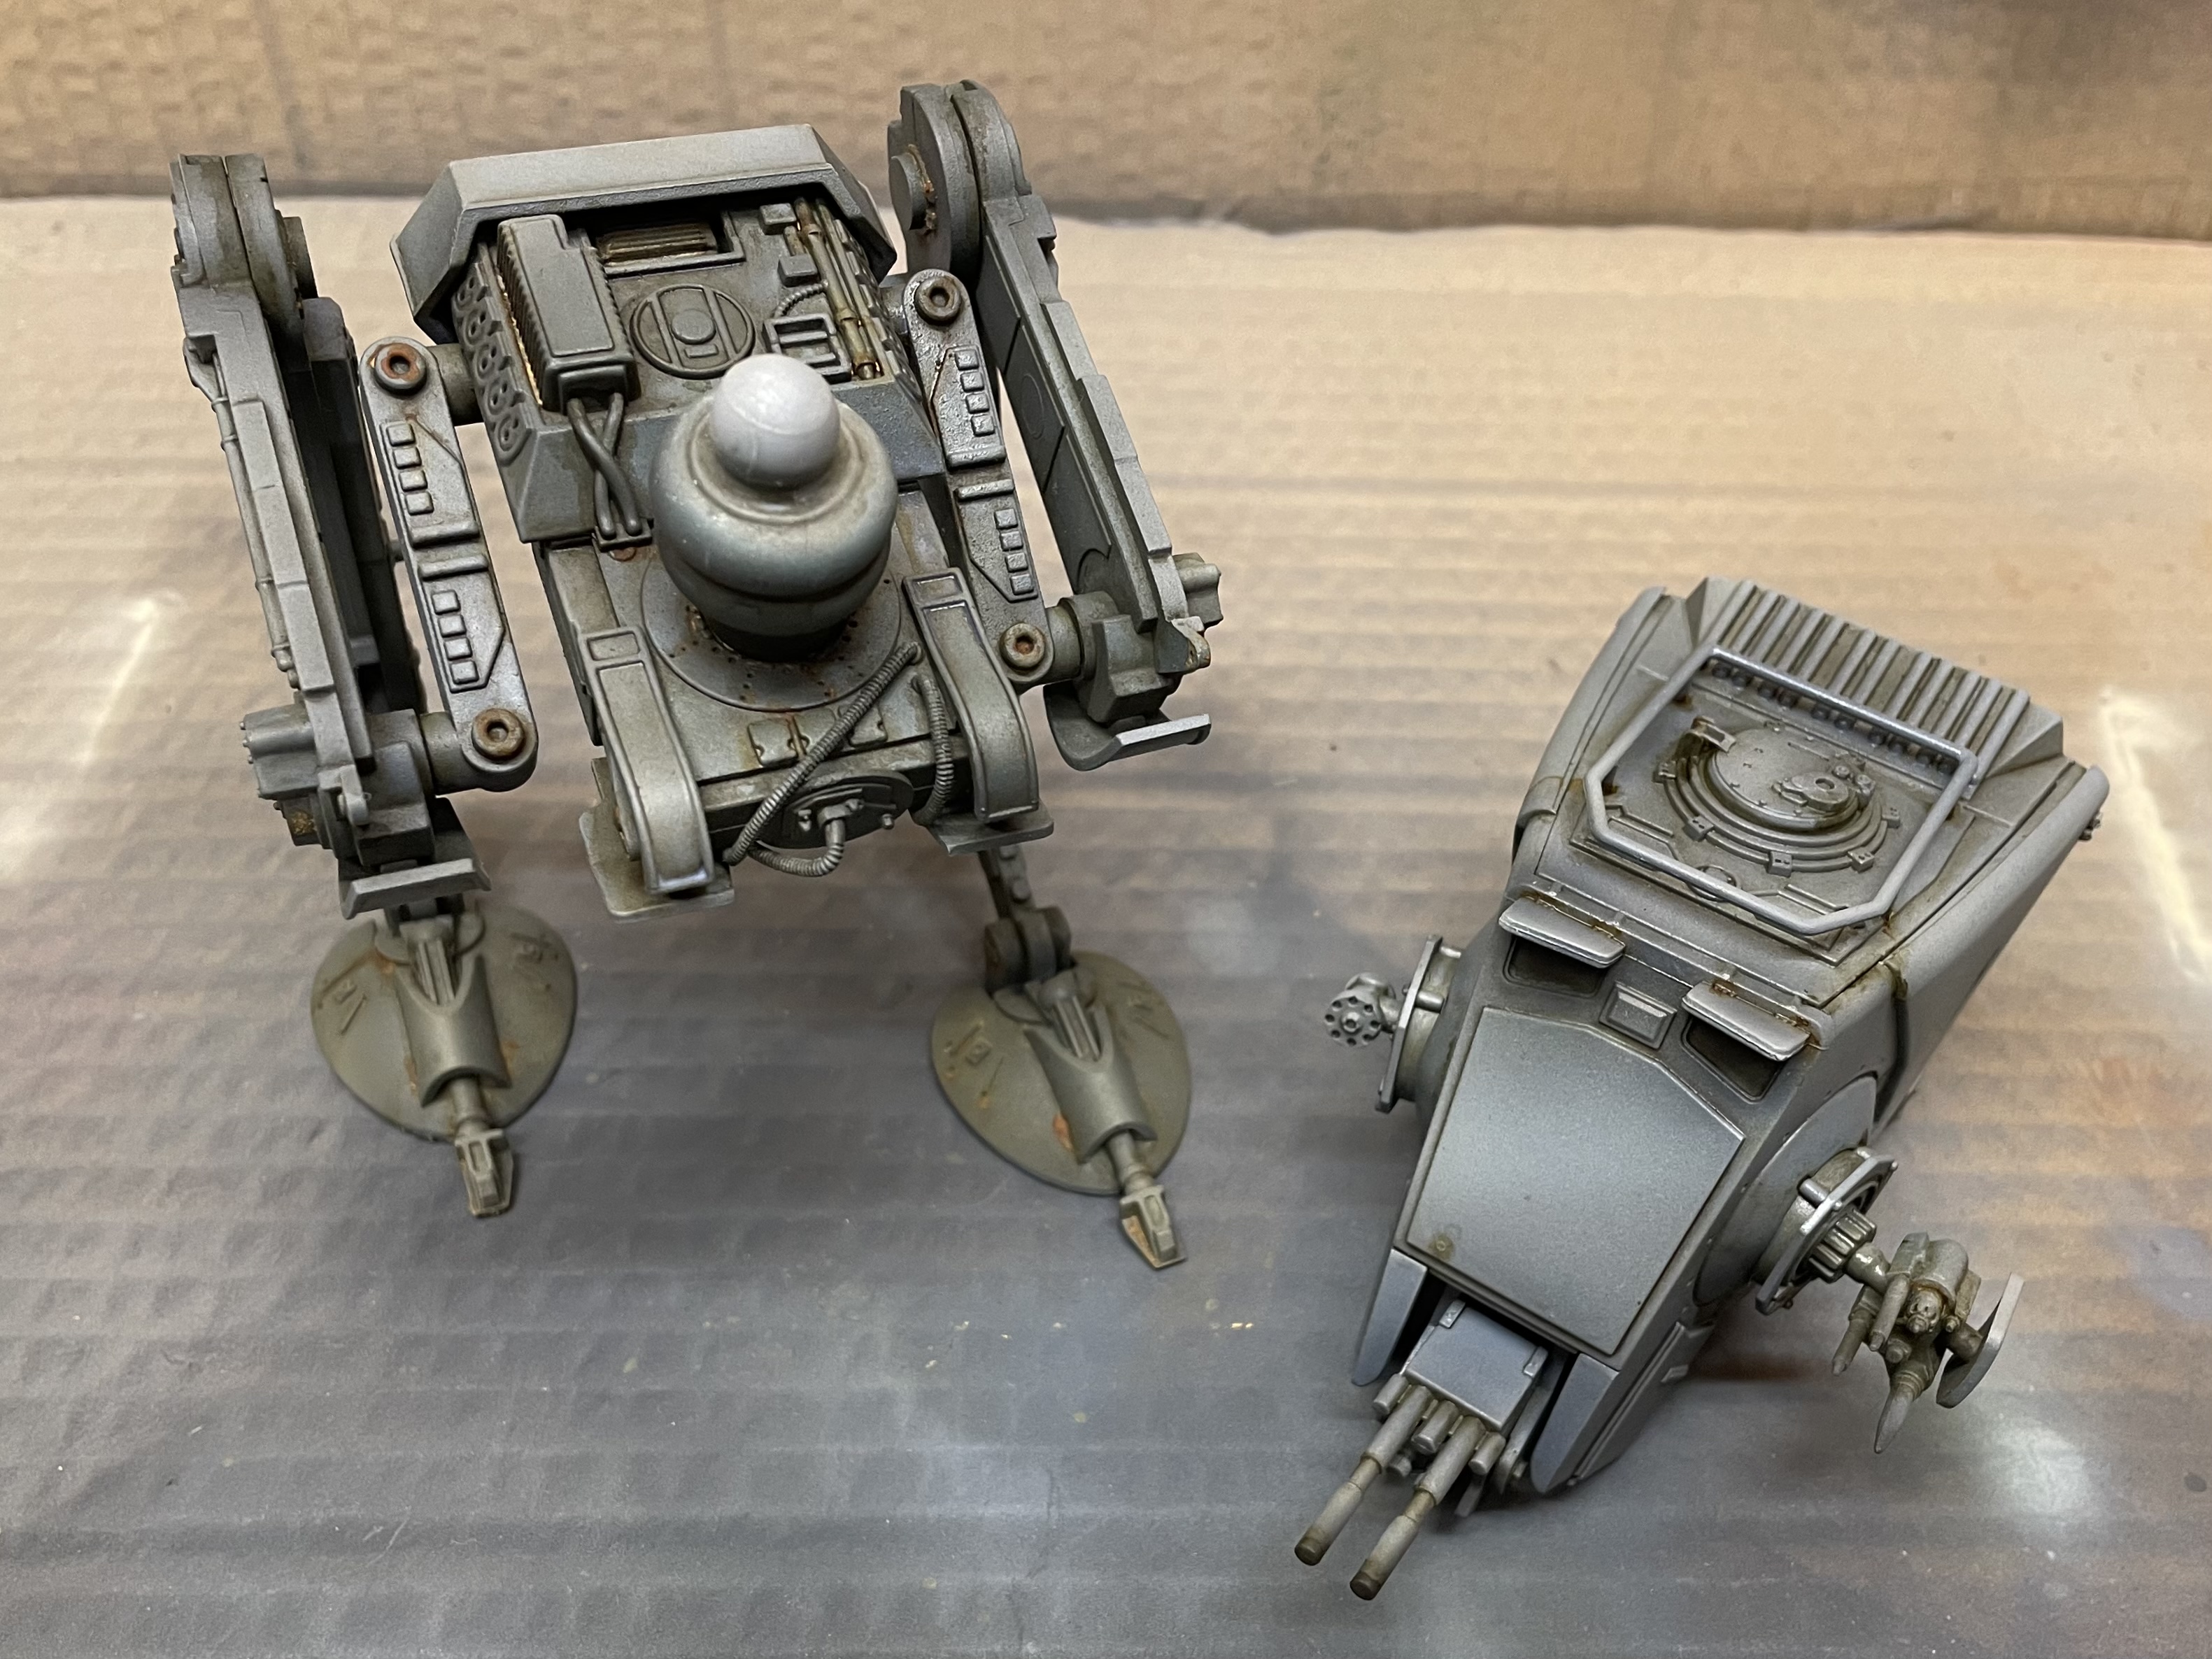
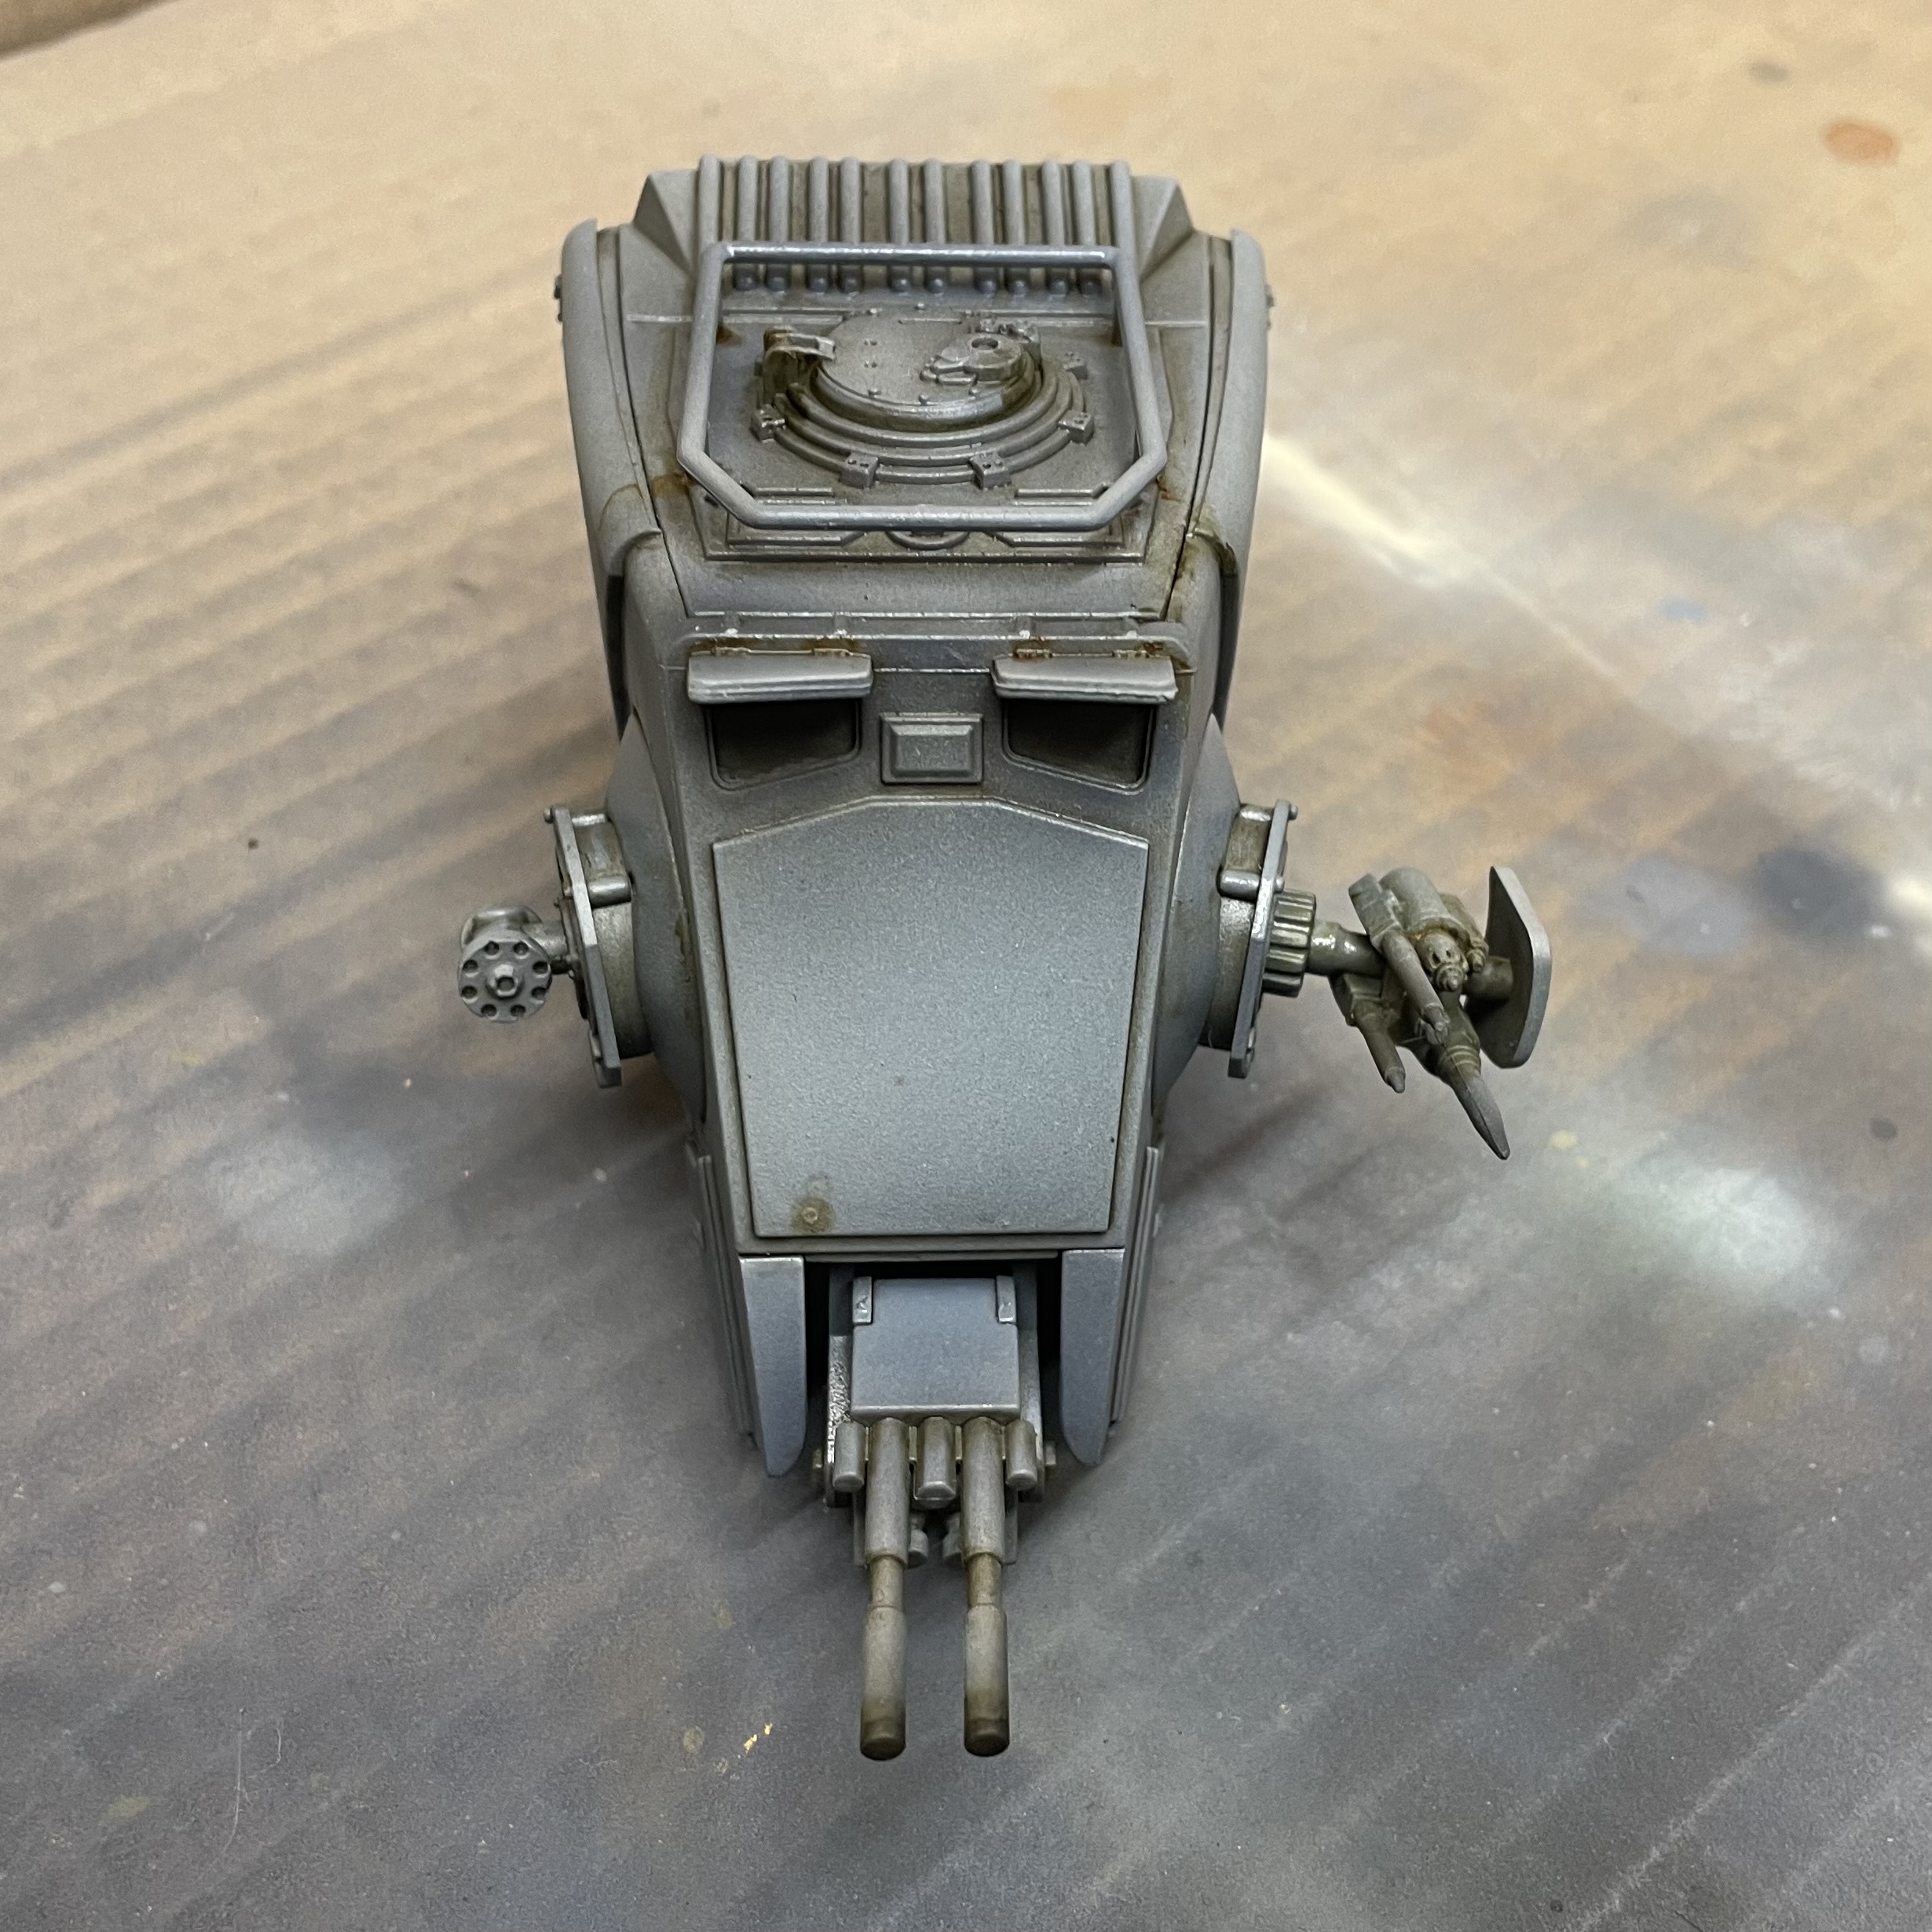
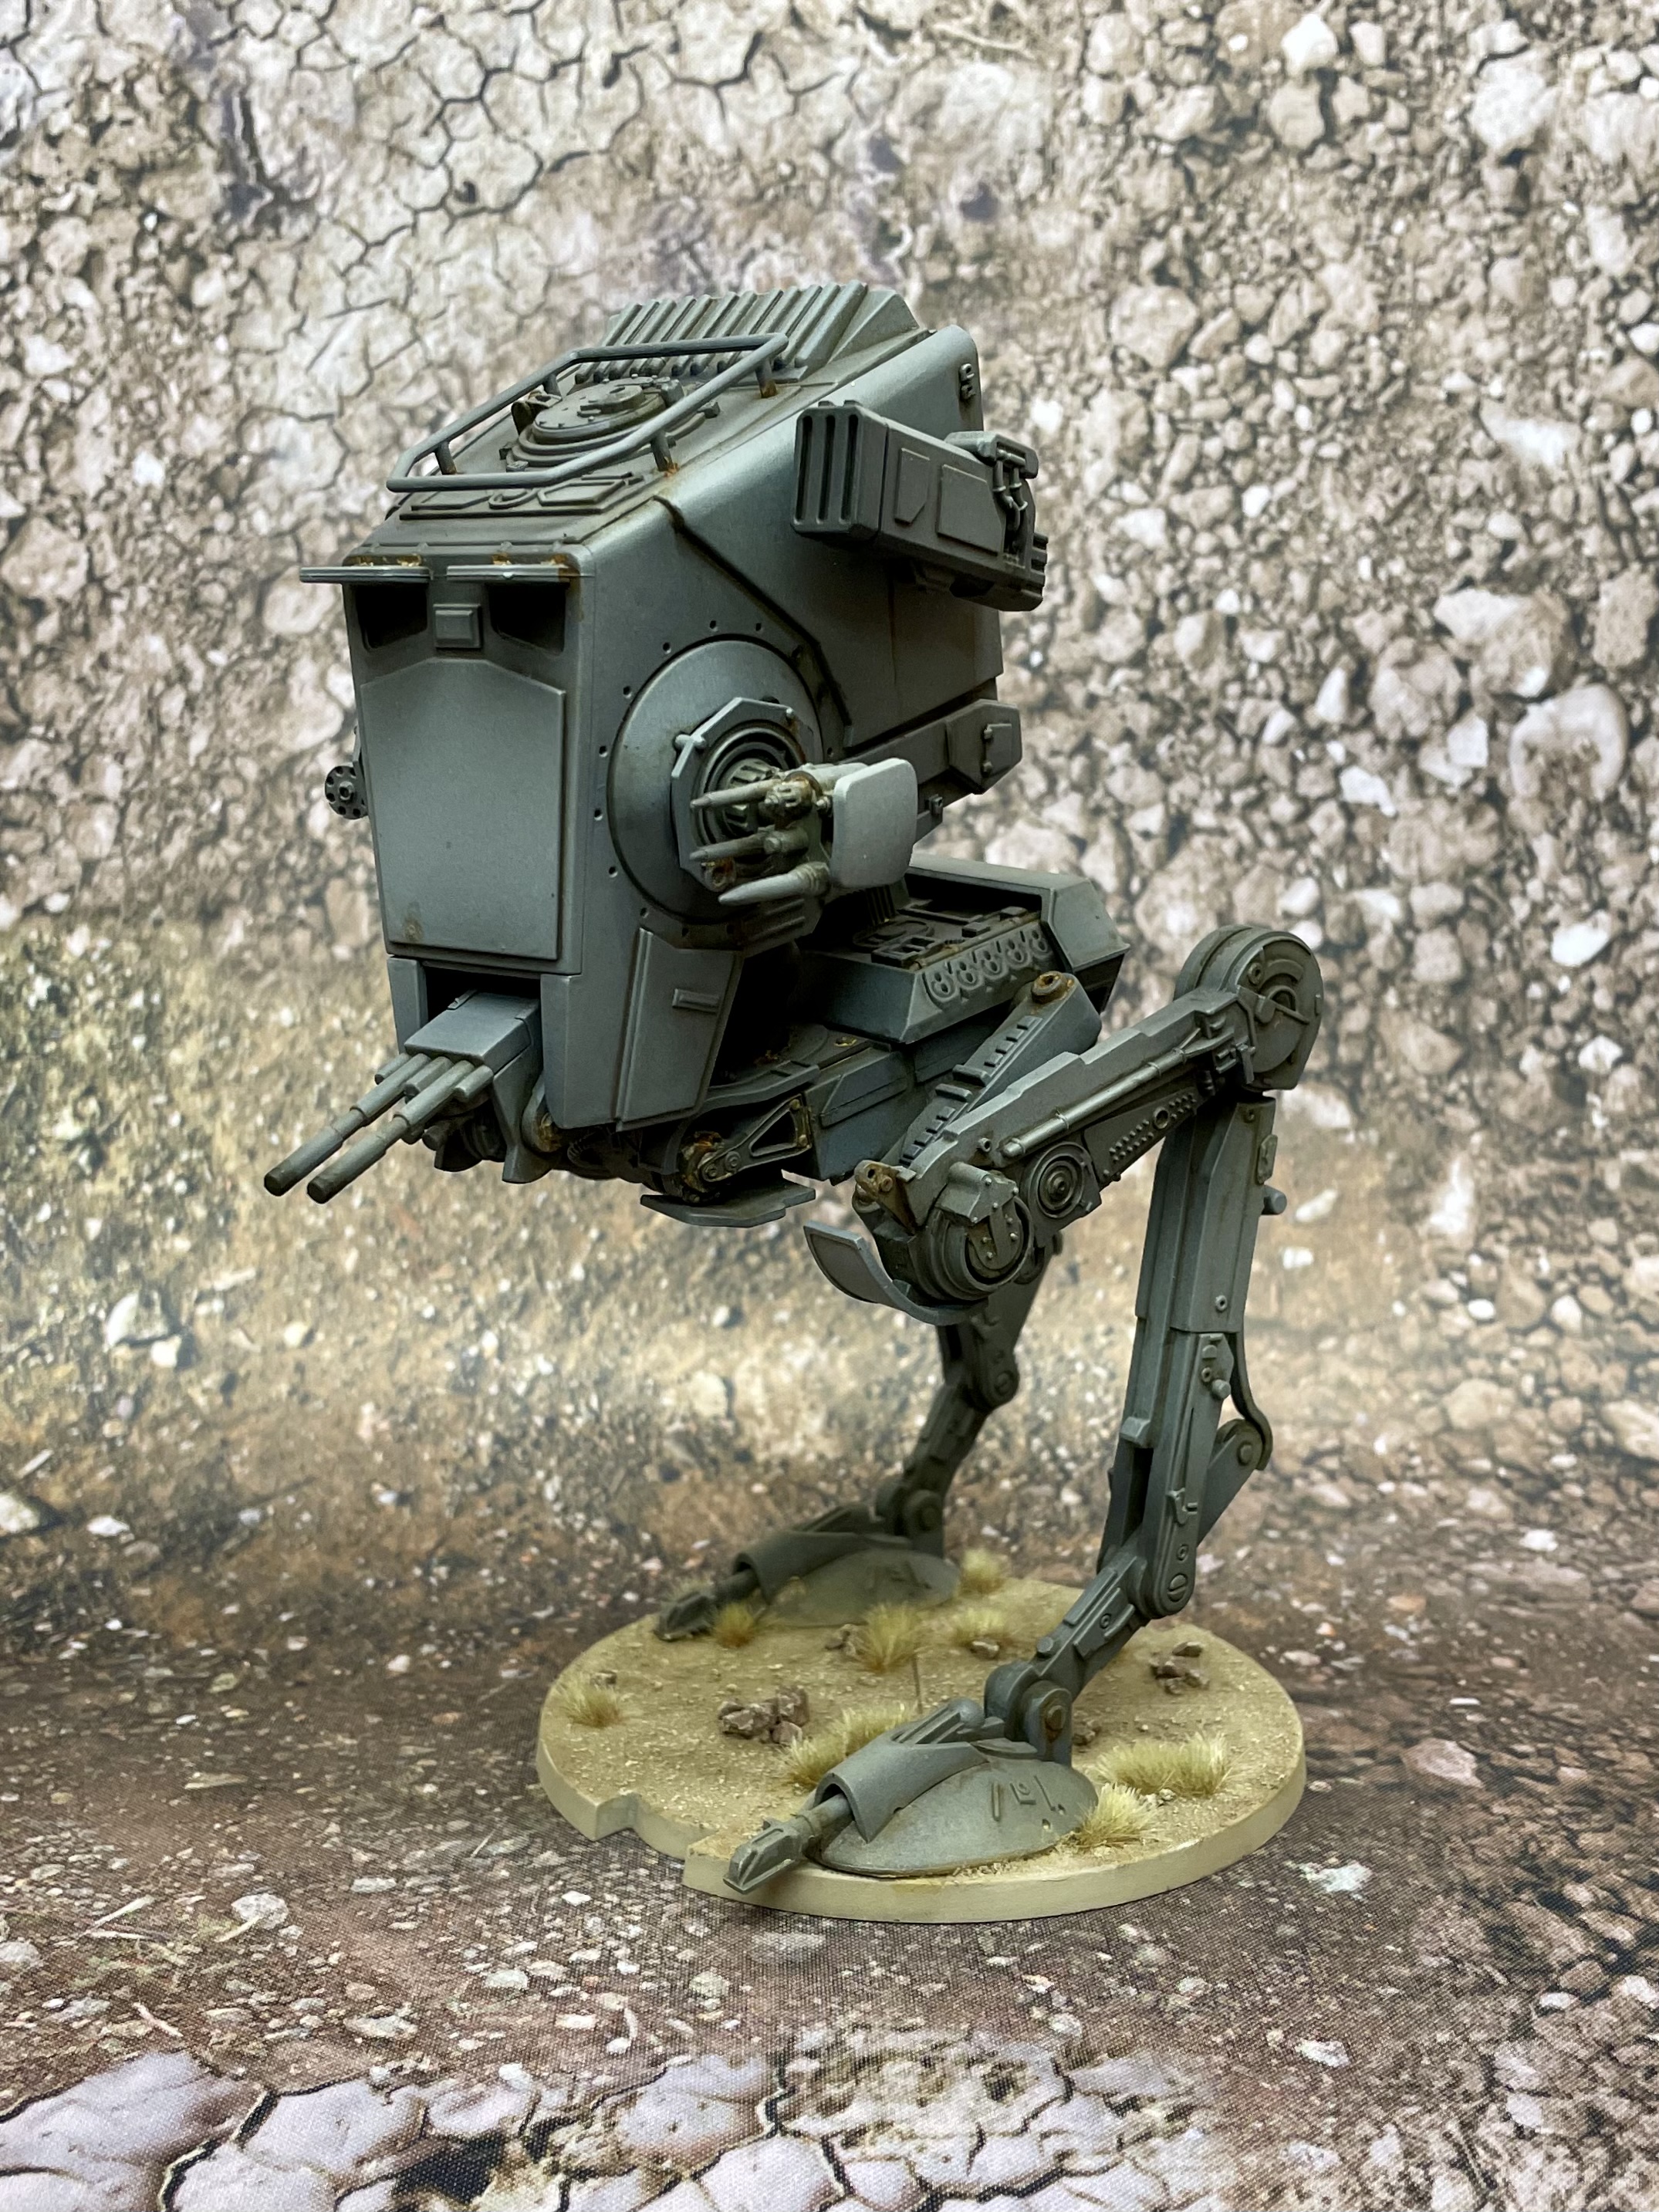
Spring turned to summer and eventually I found the time to pin wash the Walker. It immediately became obvious that accessing the areas below the head would be impossible so I ‘deconstructed’ a little further and removed the head, along with the weapons.
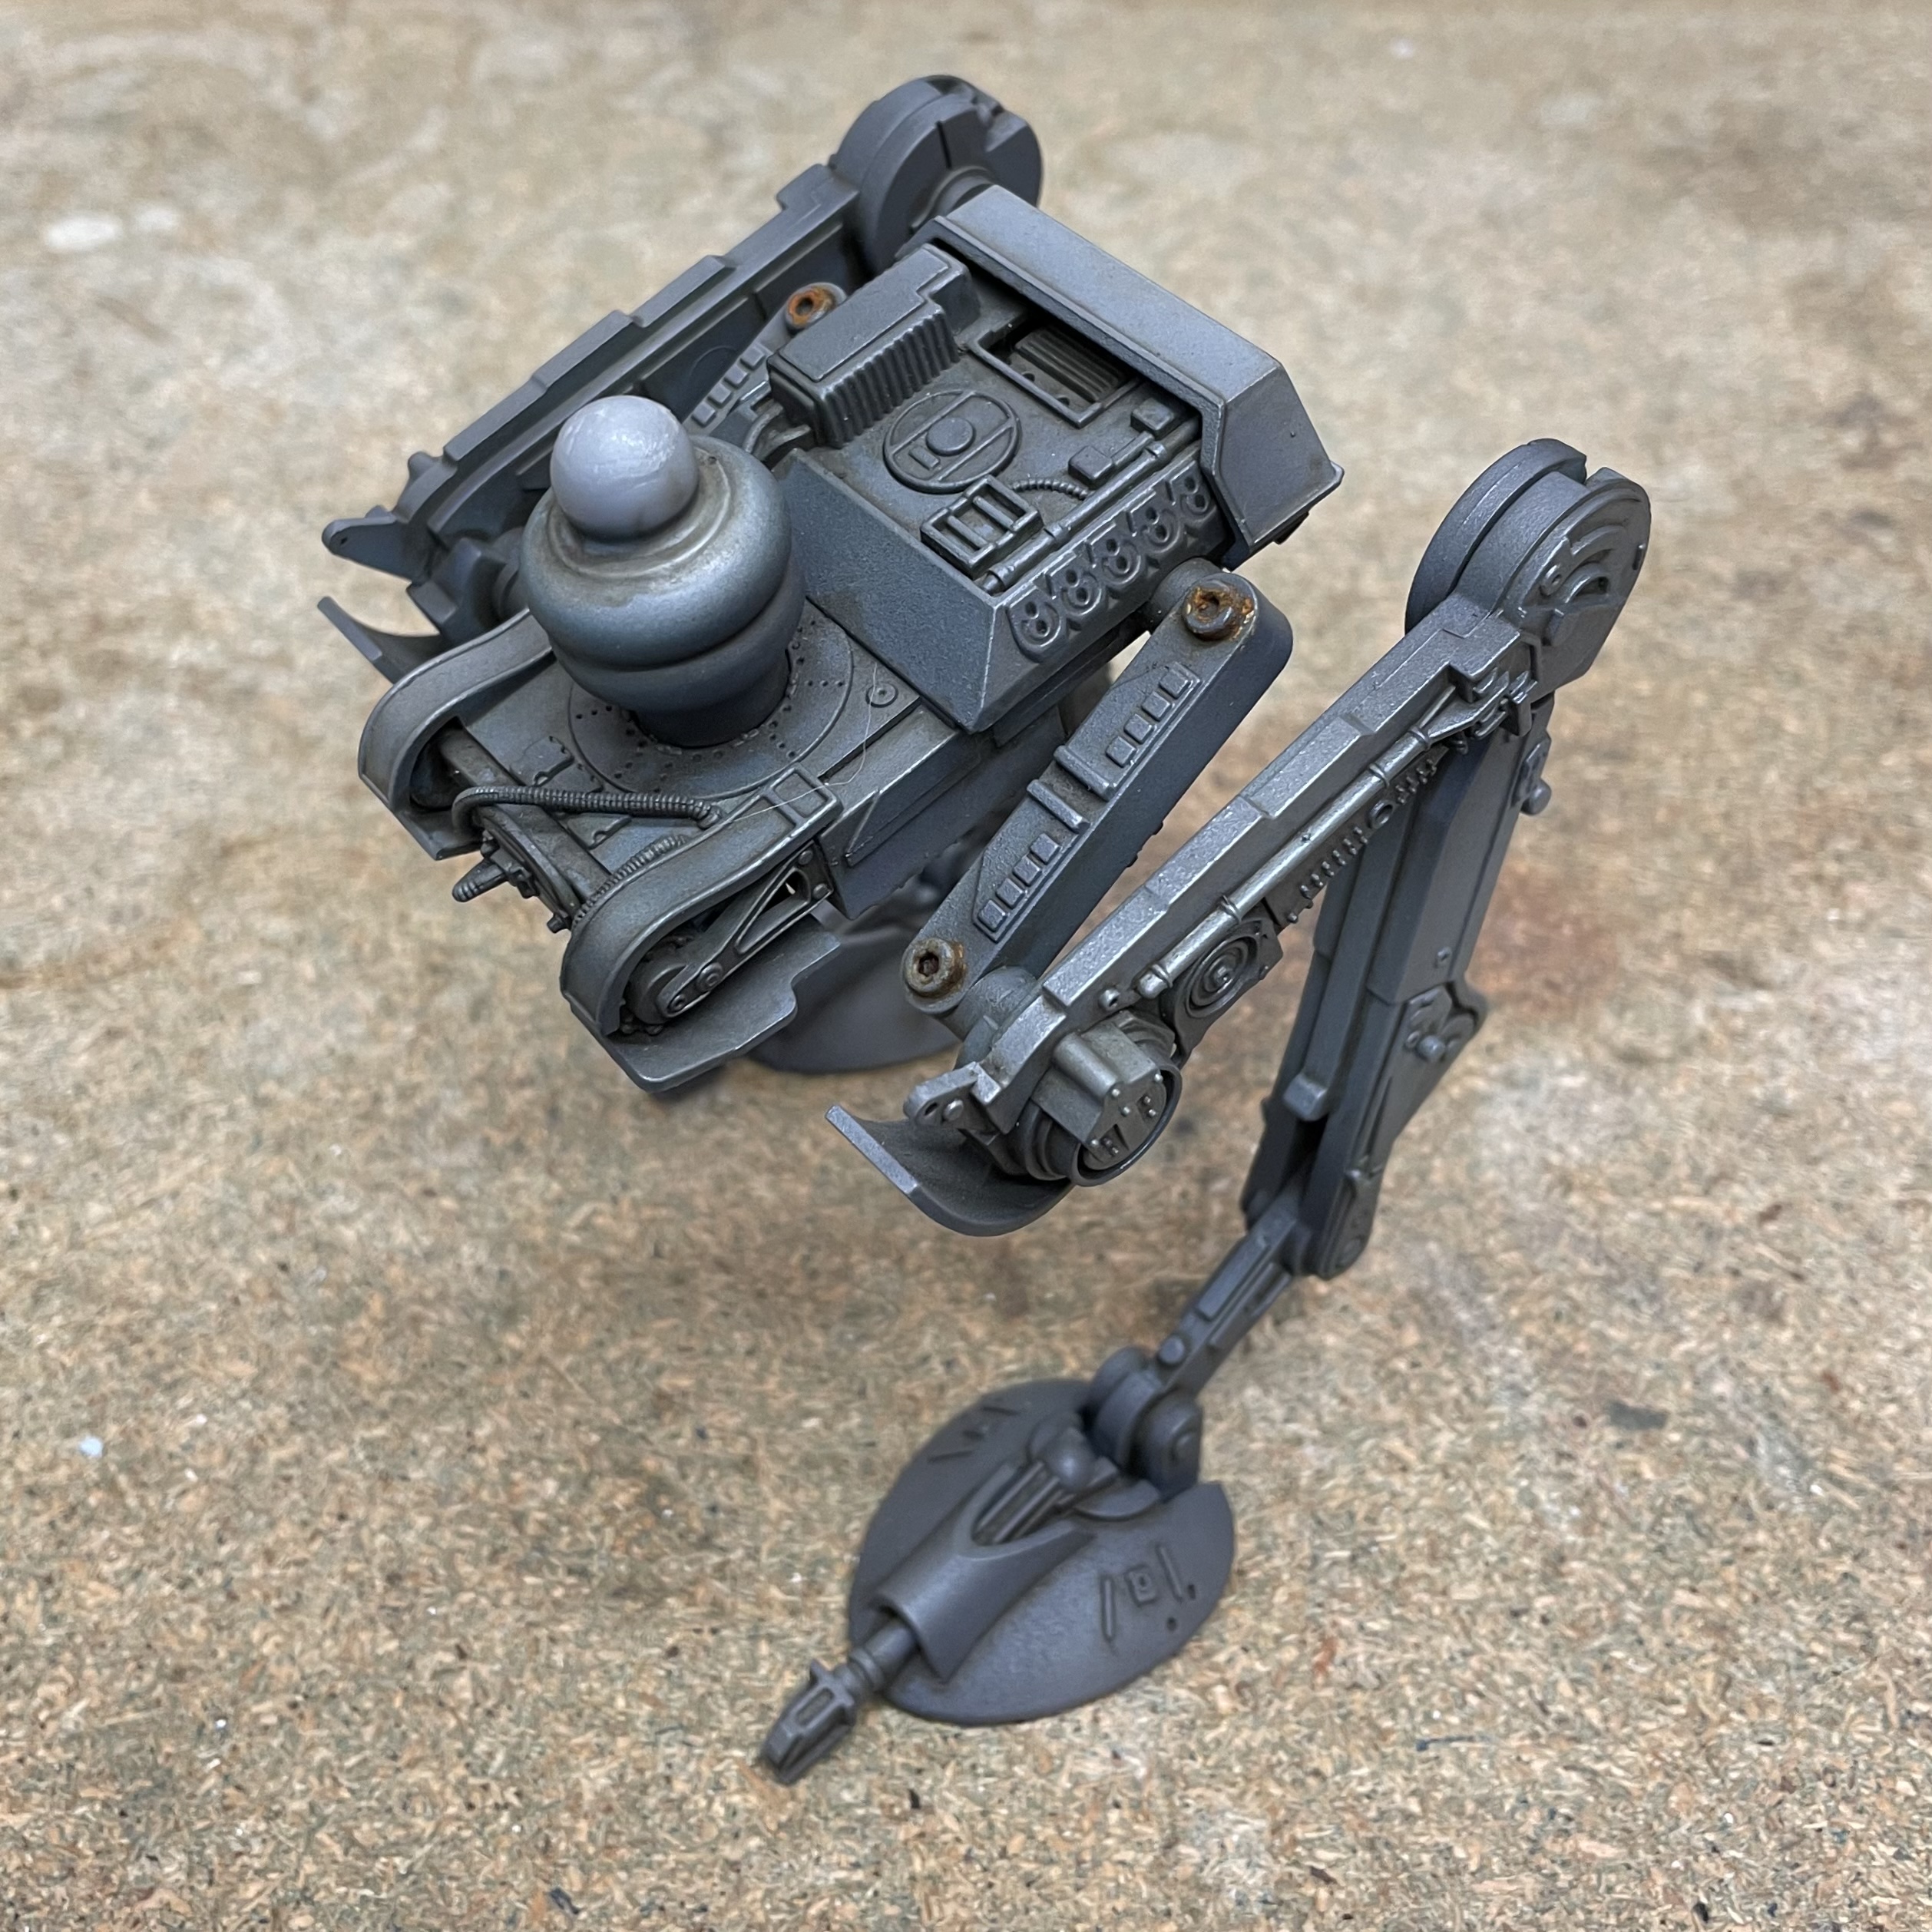
With the head out of the way I followed the same process I had used on the downed walker. This meant spraying with gloss varnish and then going back to the Mig Ammo pin wash. I started working around the legs and chassis….
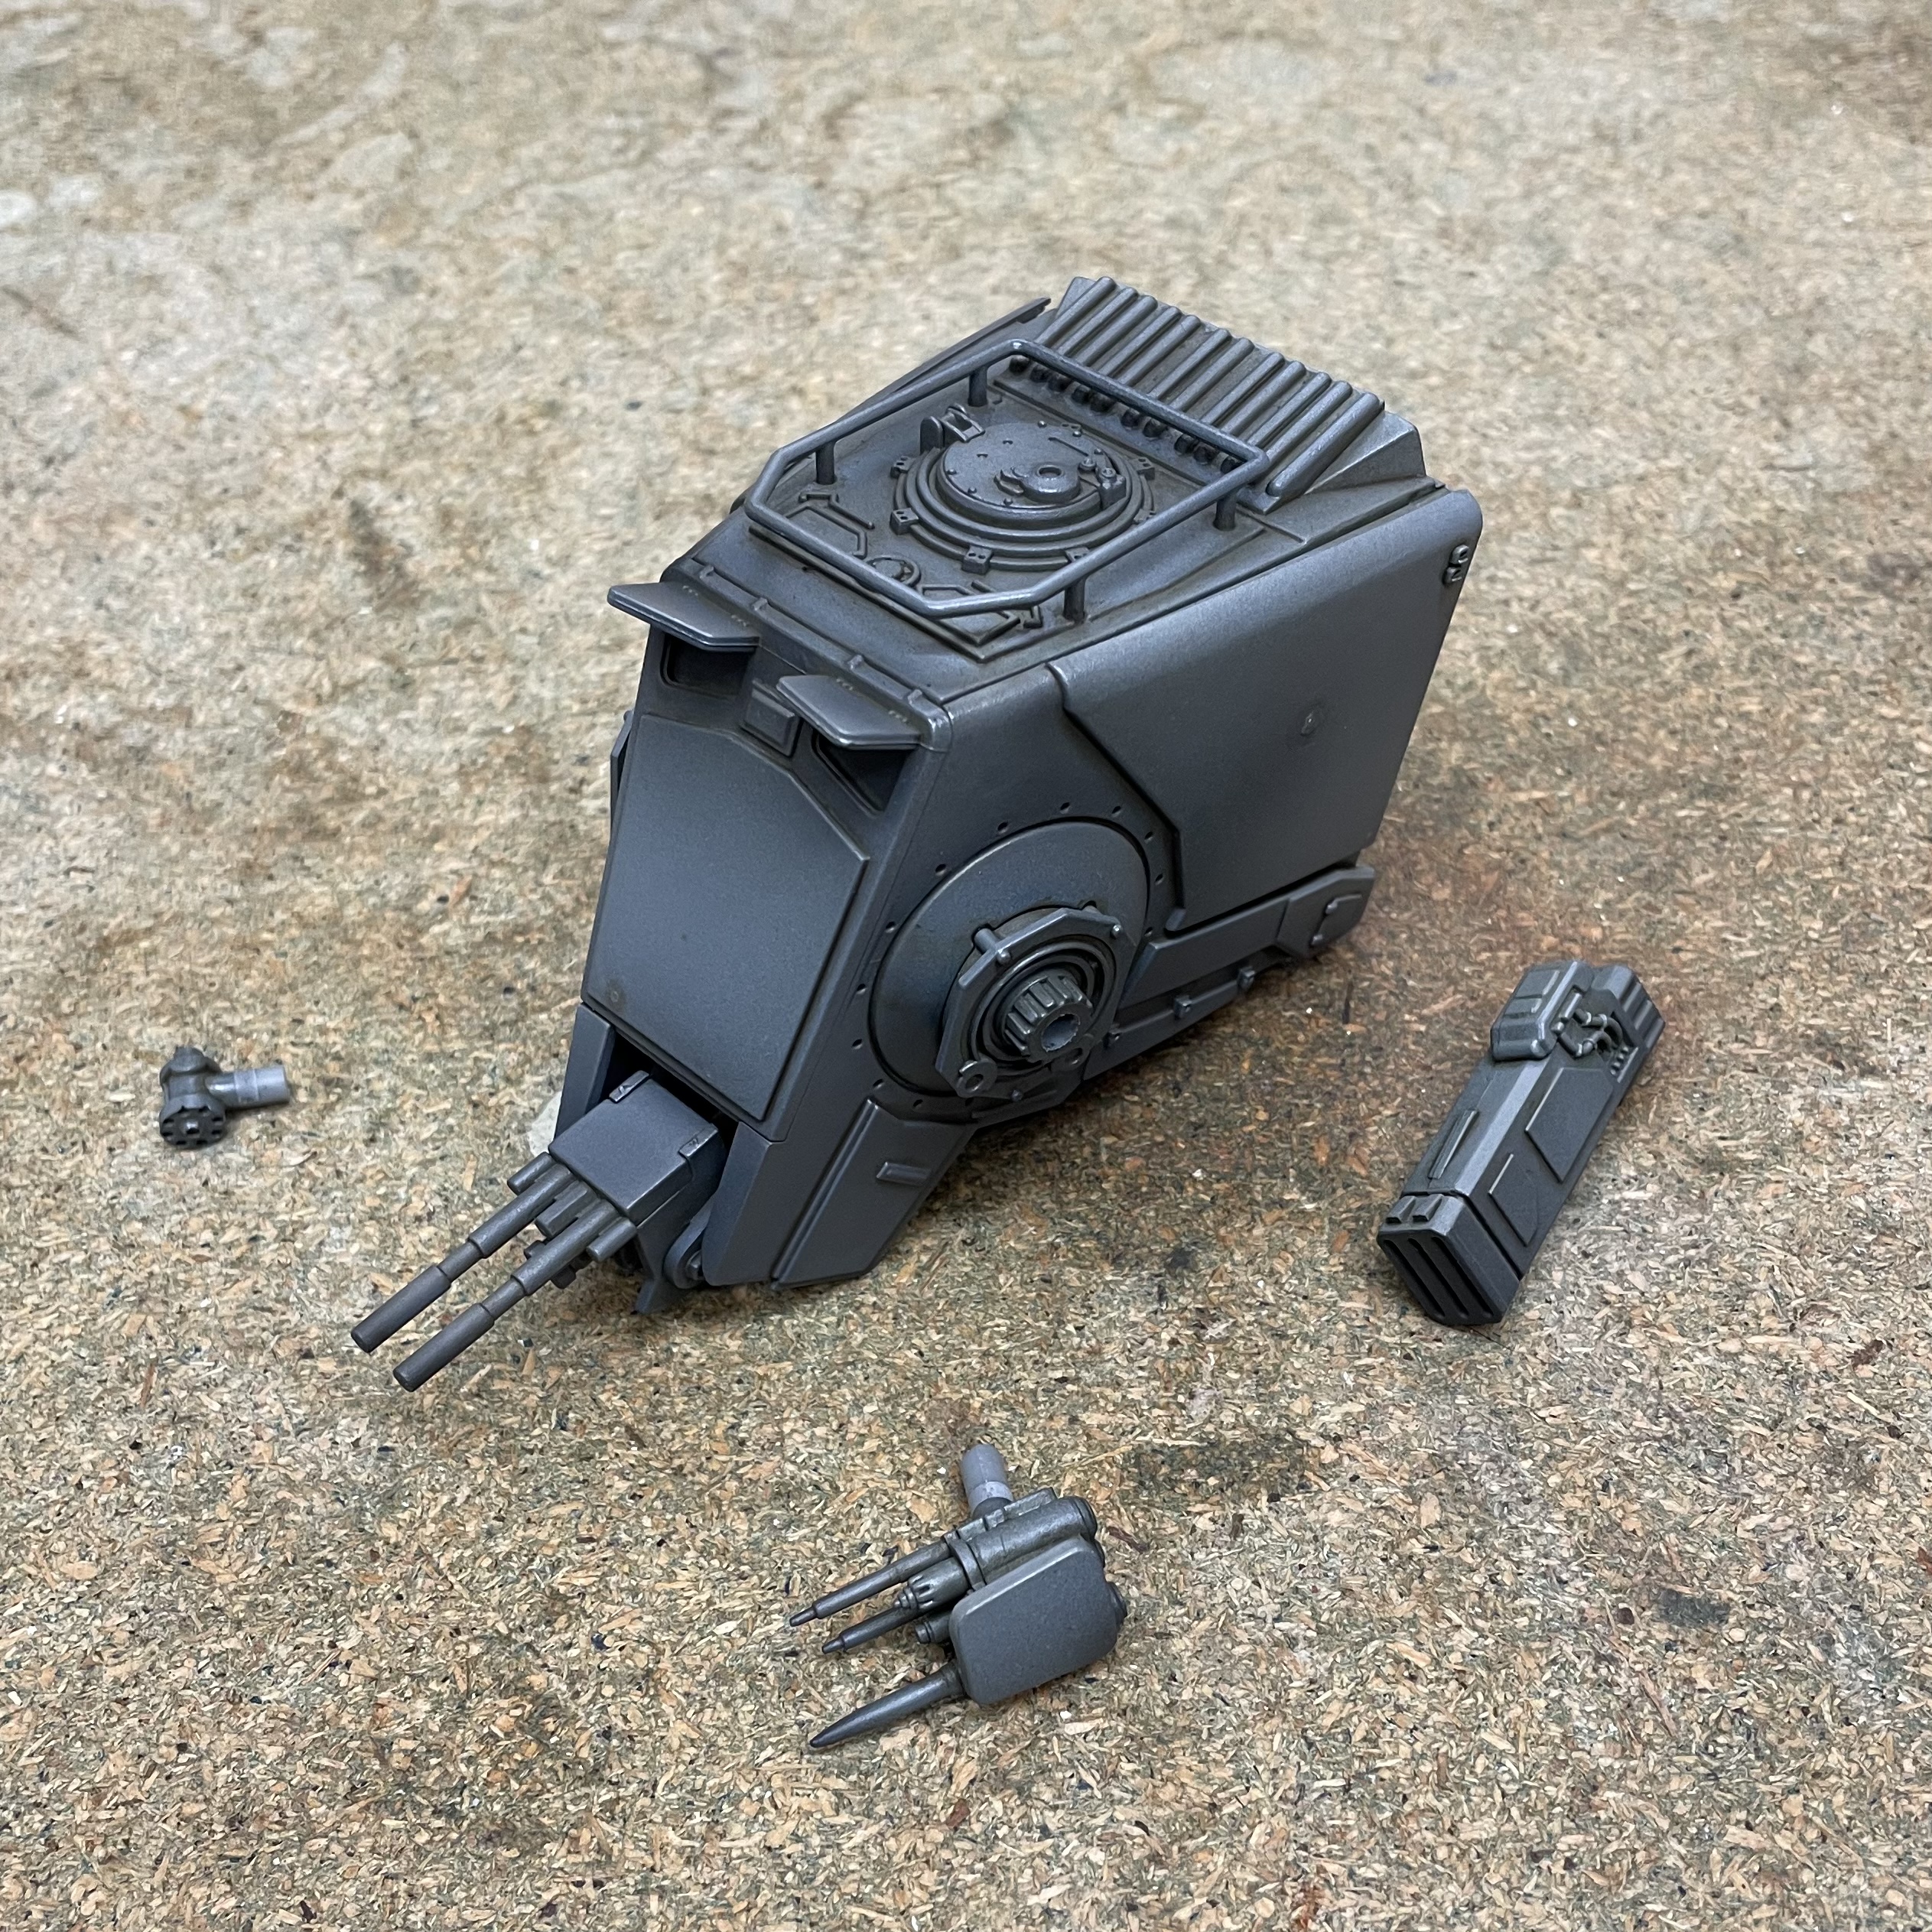
… and then continued onto the head and weapons. It has to be said that the head was a piece of cake compared to the legs, which required a lot of surface work!

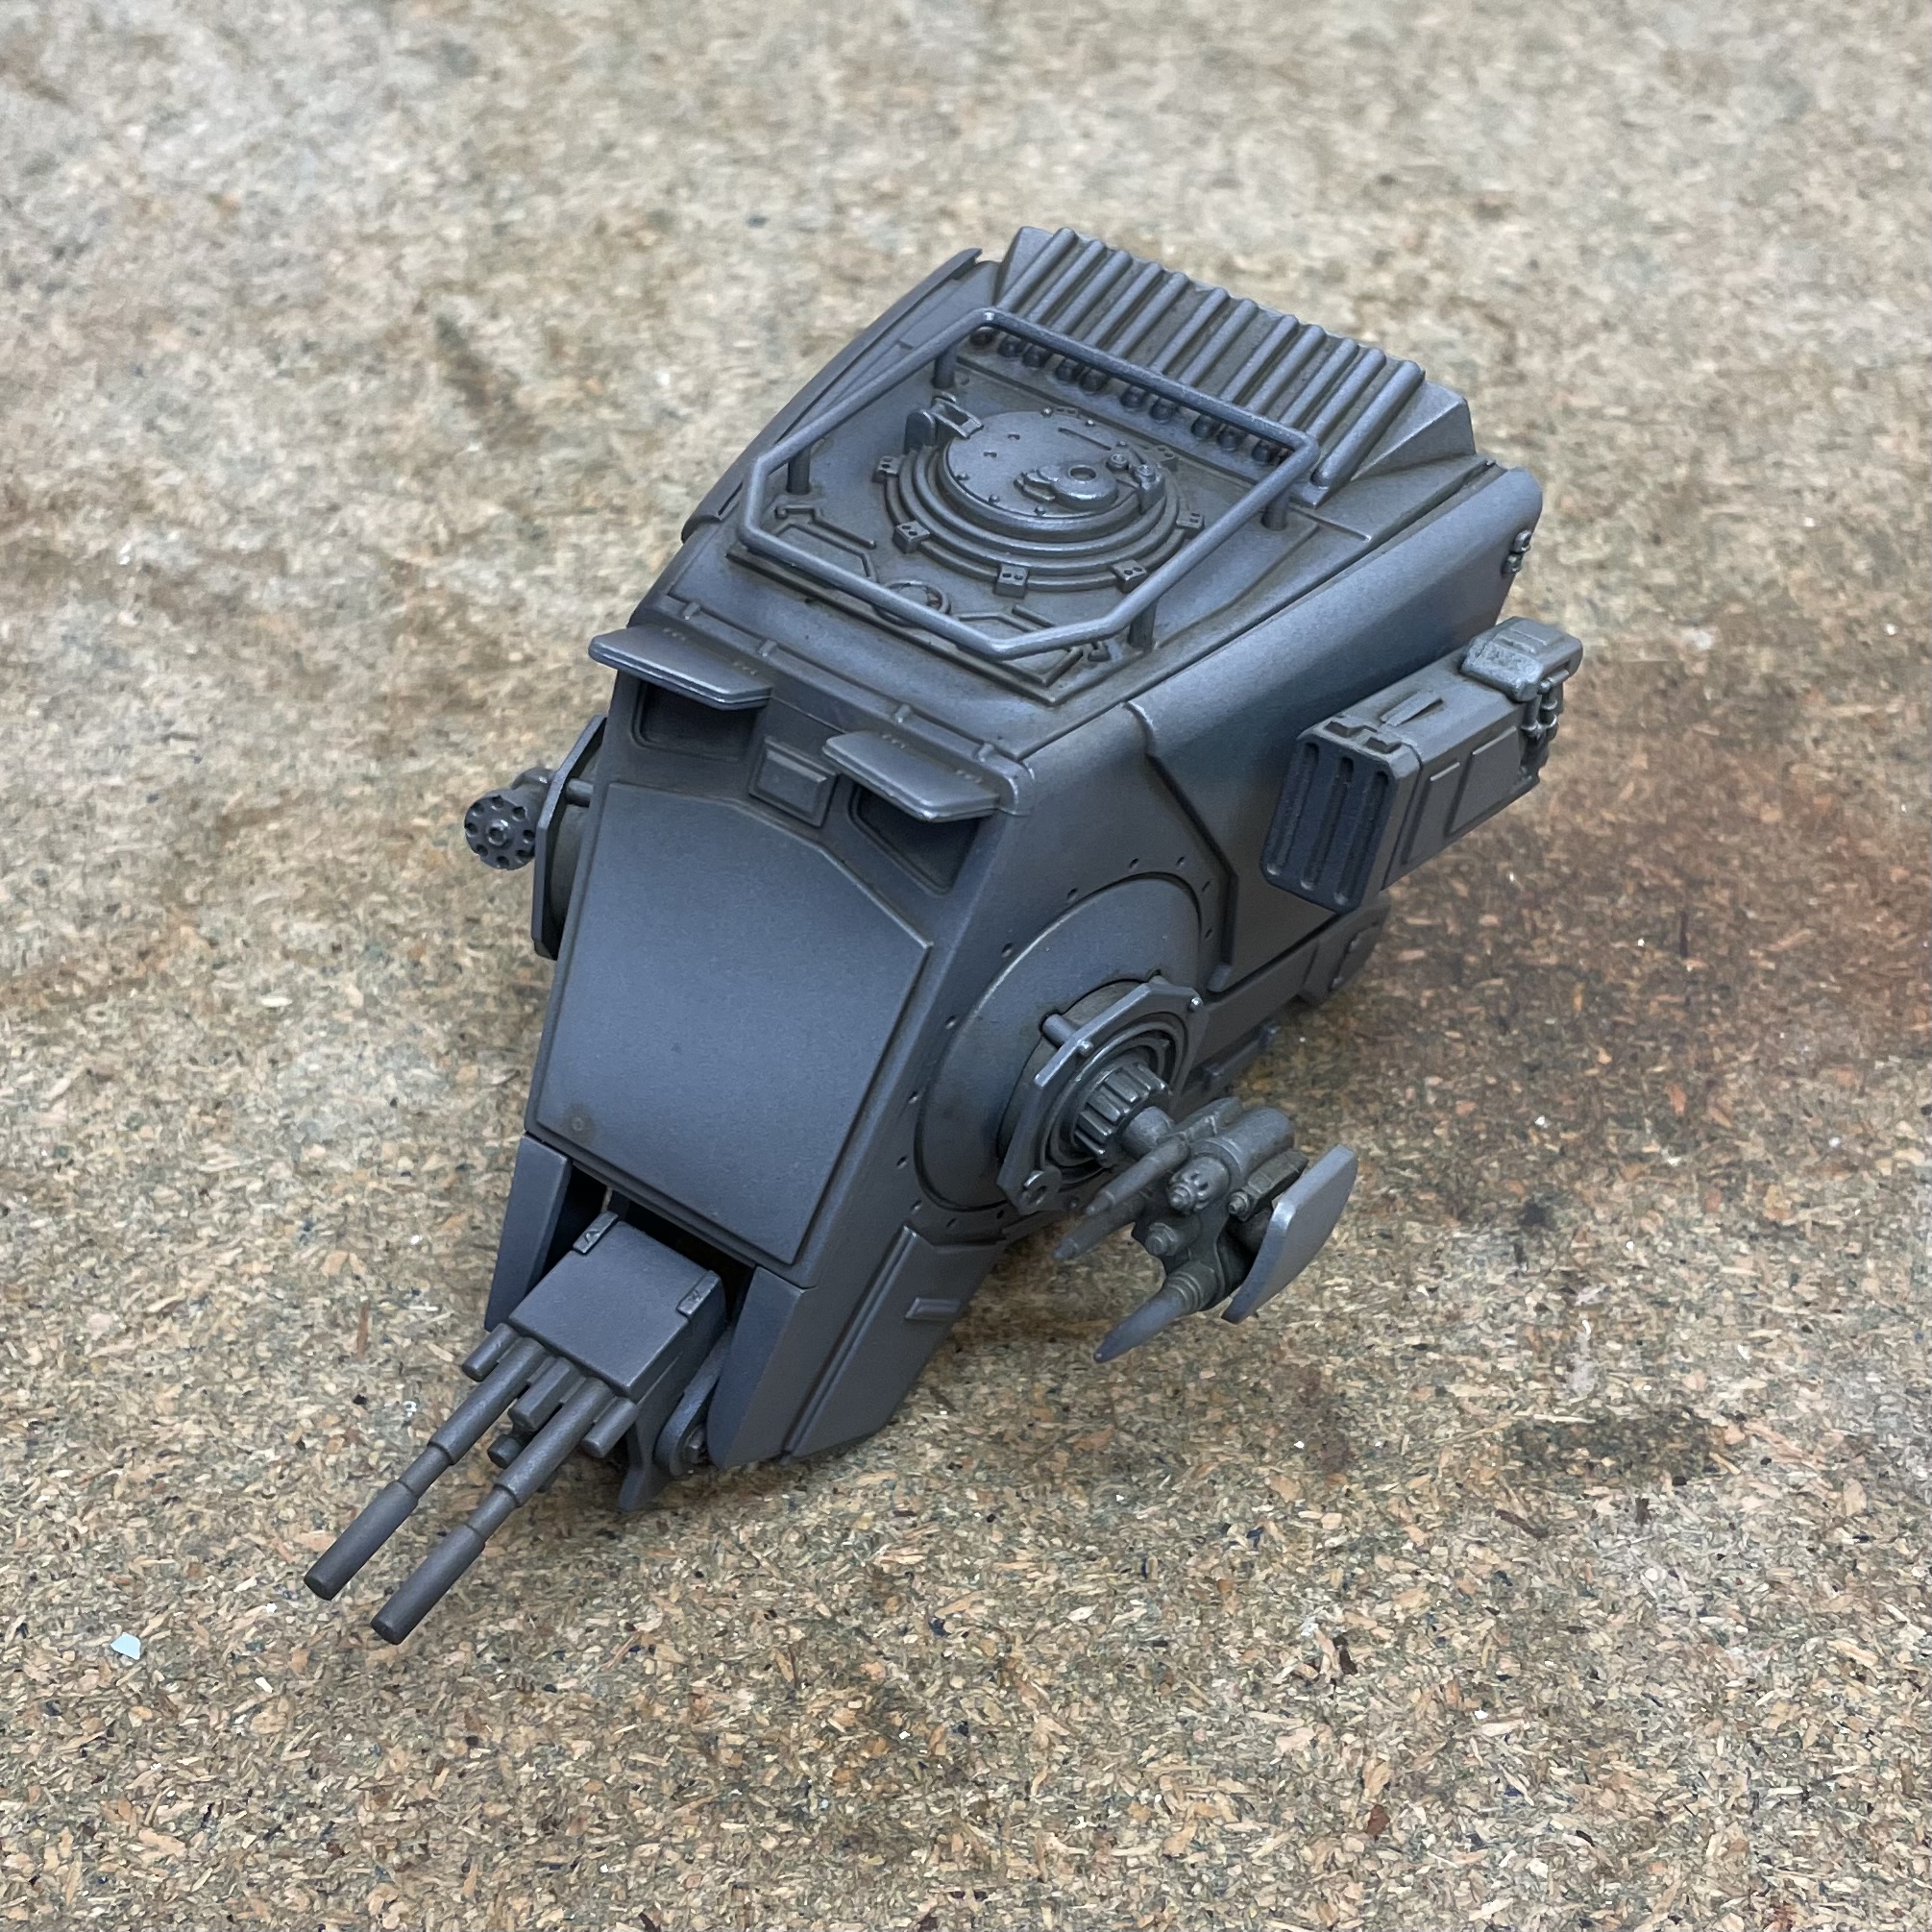
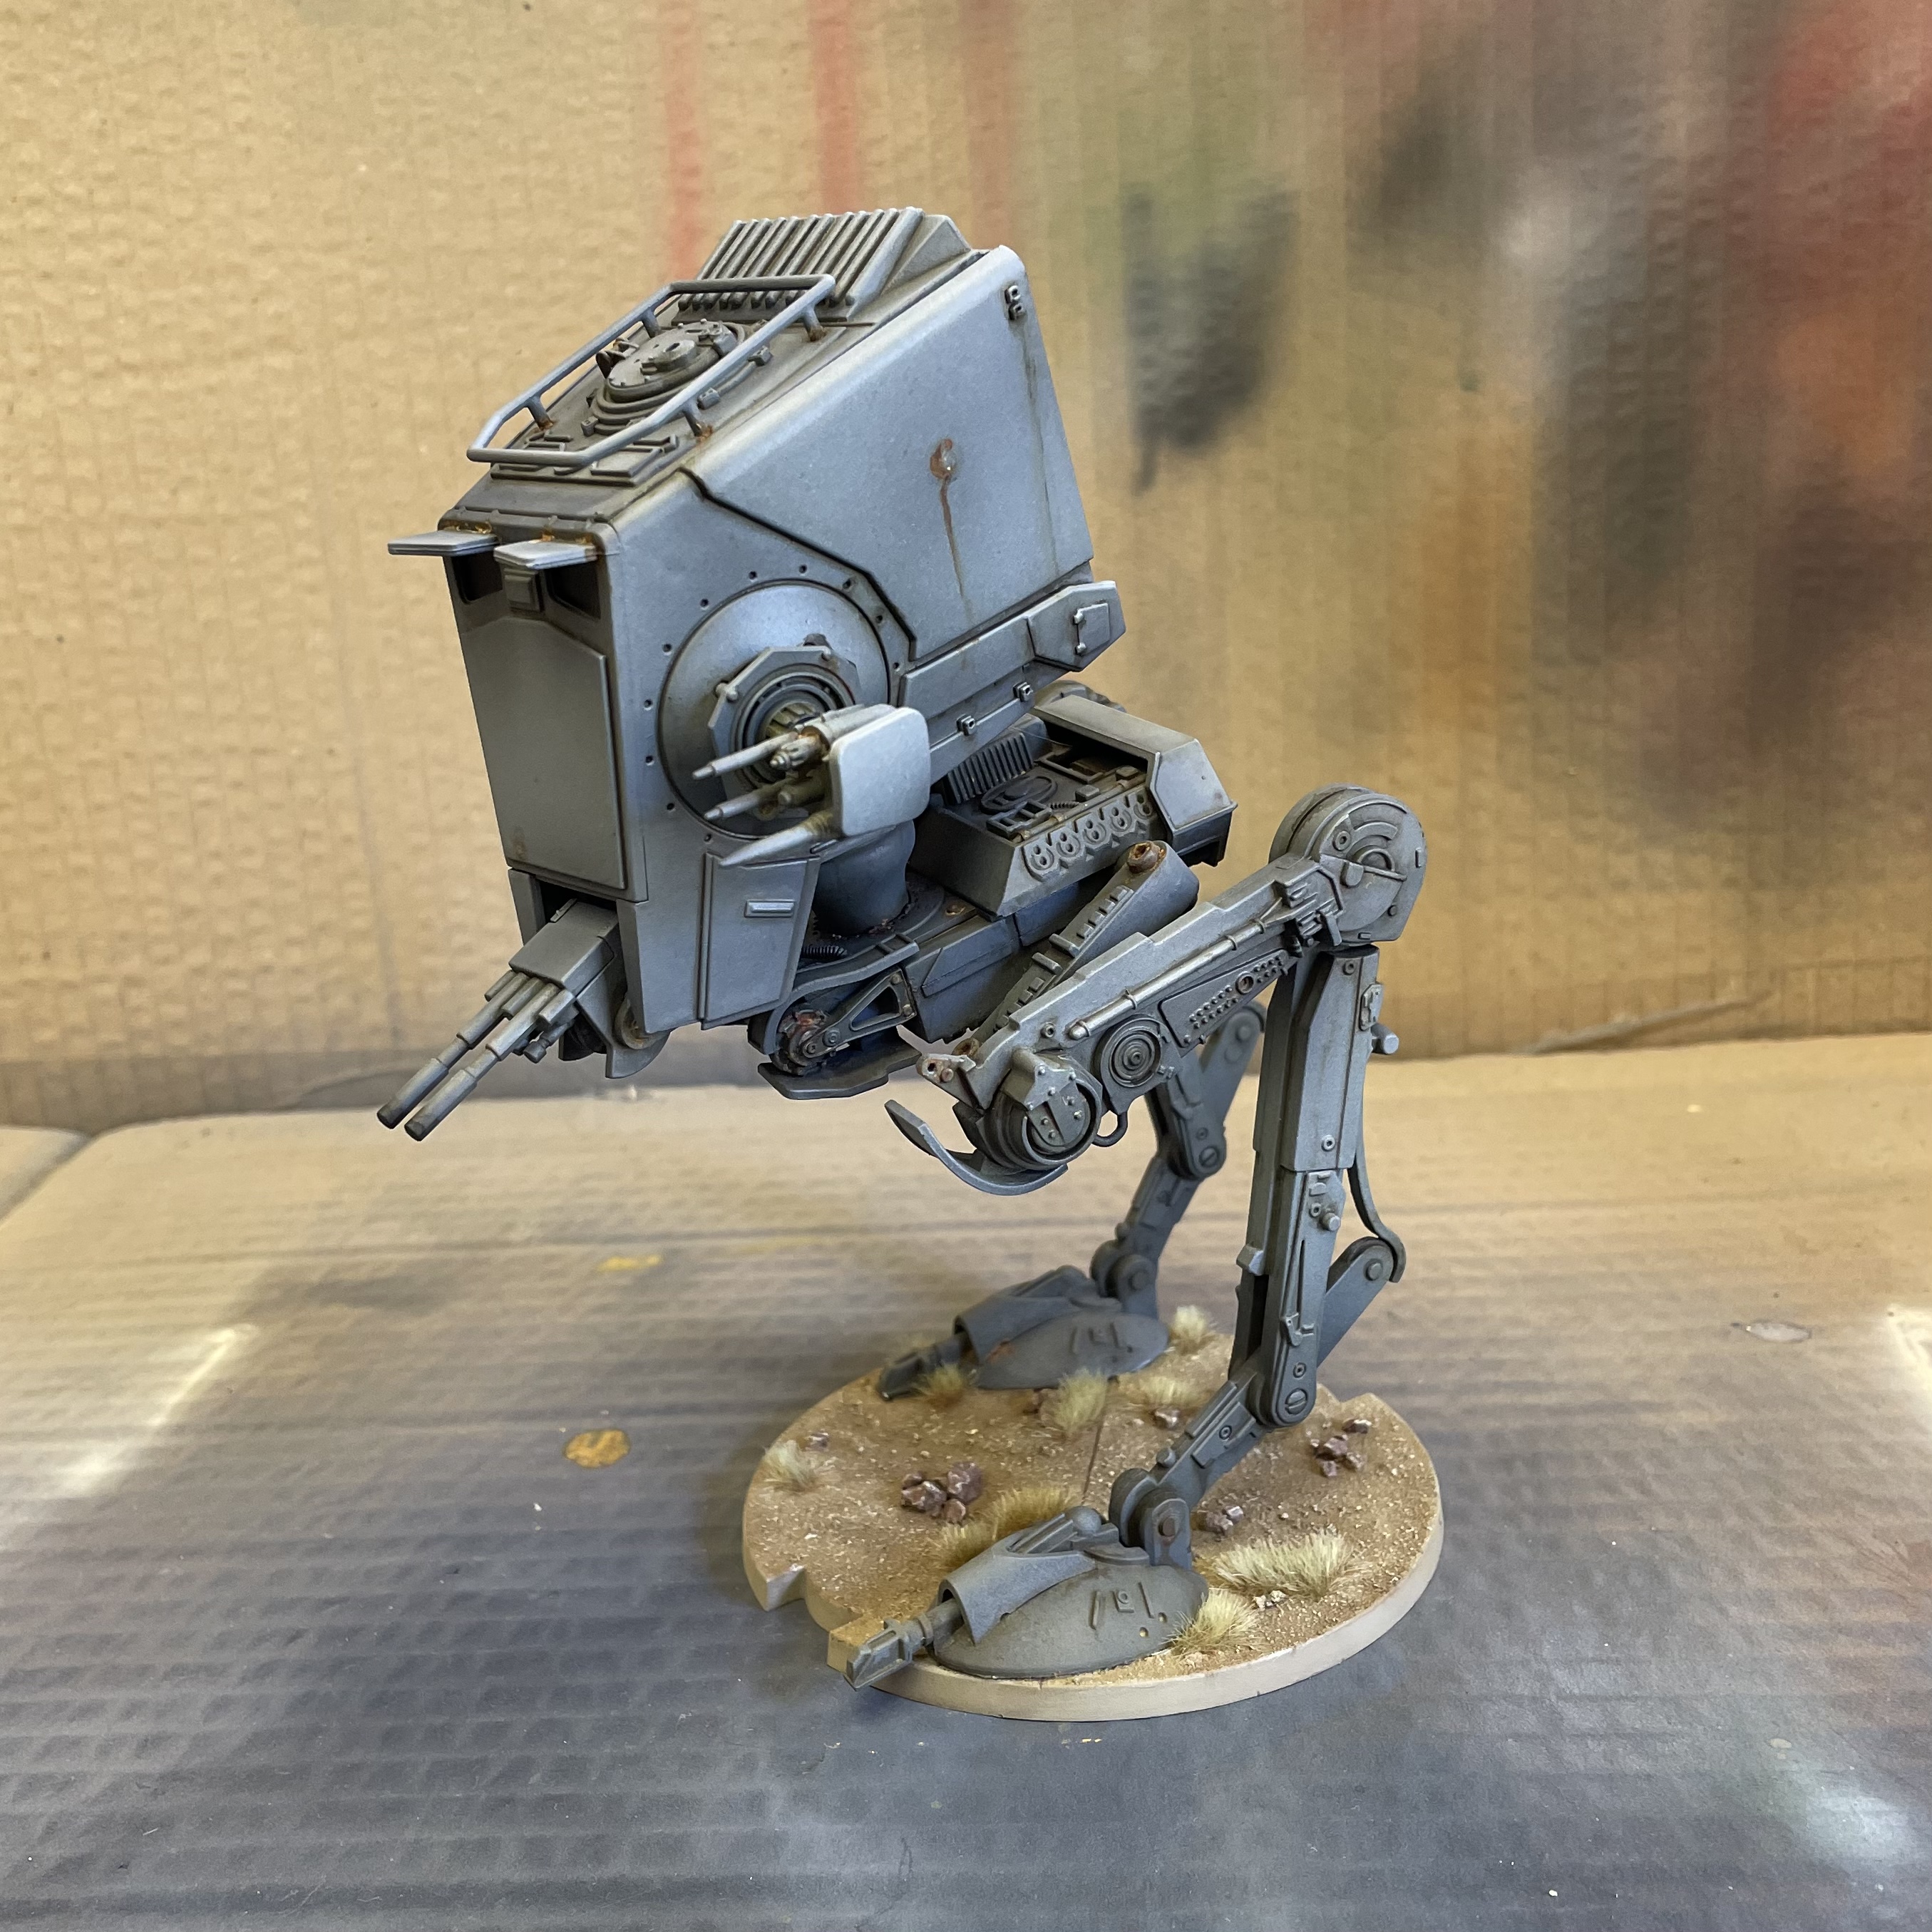
Leaving the head off for the time being, I broke out the Modelmates that I had employed on the downed Walker. I wasn’t intending to do anything like the amount of breakdown I had done to the wrecked version, but felt a little rust here and there would break up the greyness.


Using the Modelmates I added some small areas of rust around any bolts or grills that looked susceptible to weather damage. Oil streaks and stains were then added anywhere you might get leaking fluids!
Dust and Matt Coat
With the pin wash and weathering complete I decided to use some weathering powder around the feet in order to add a layer of collected dust. For this I used Secret Weapon Dark Yellow, applied with a large, course brush.
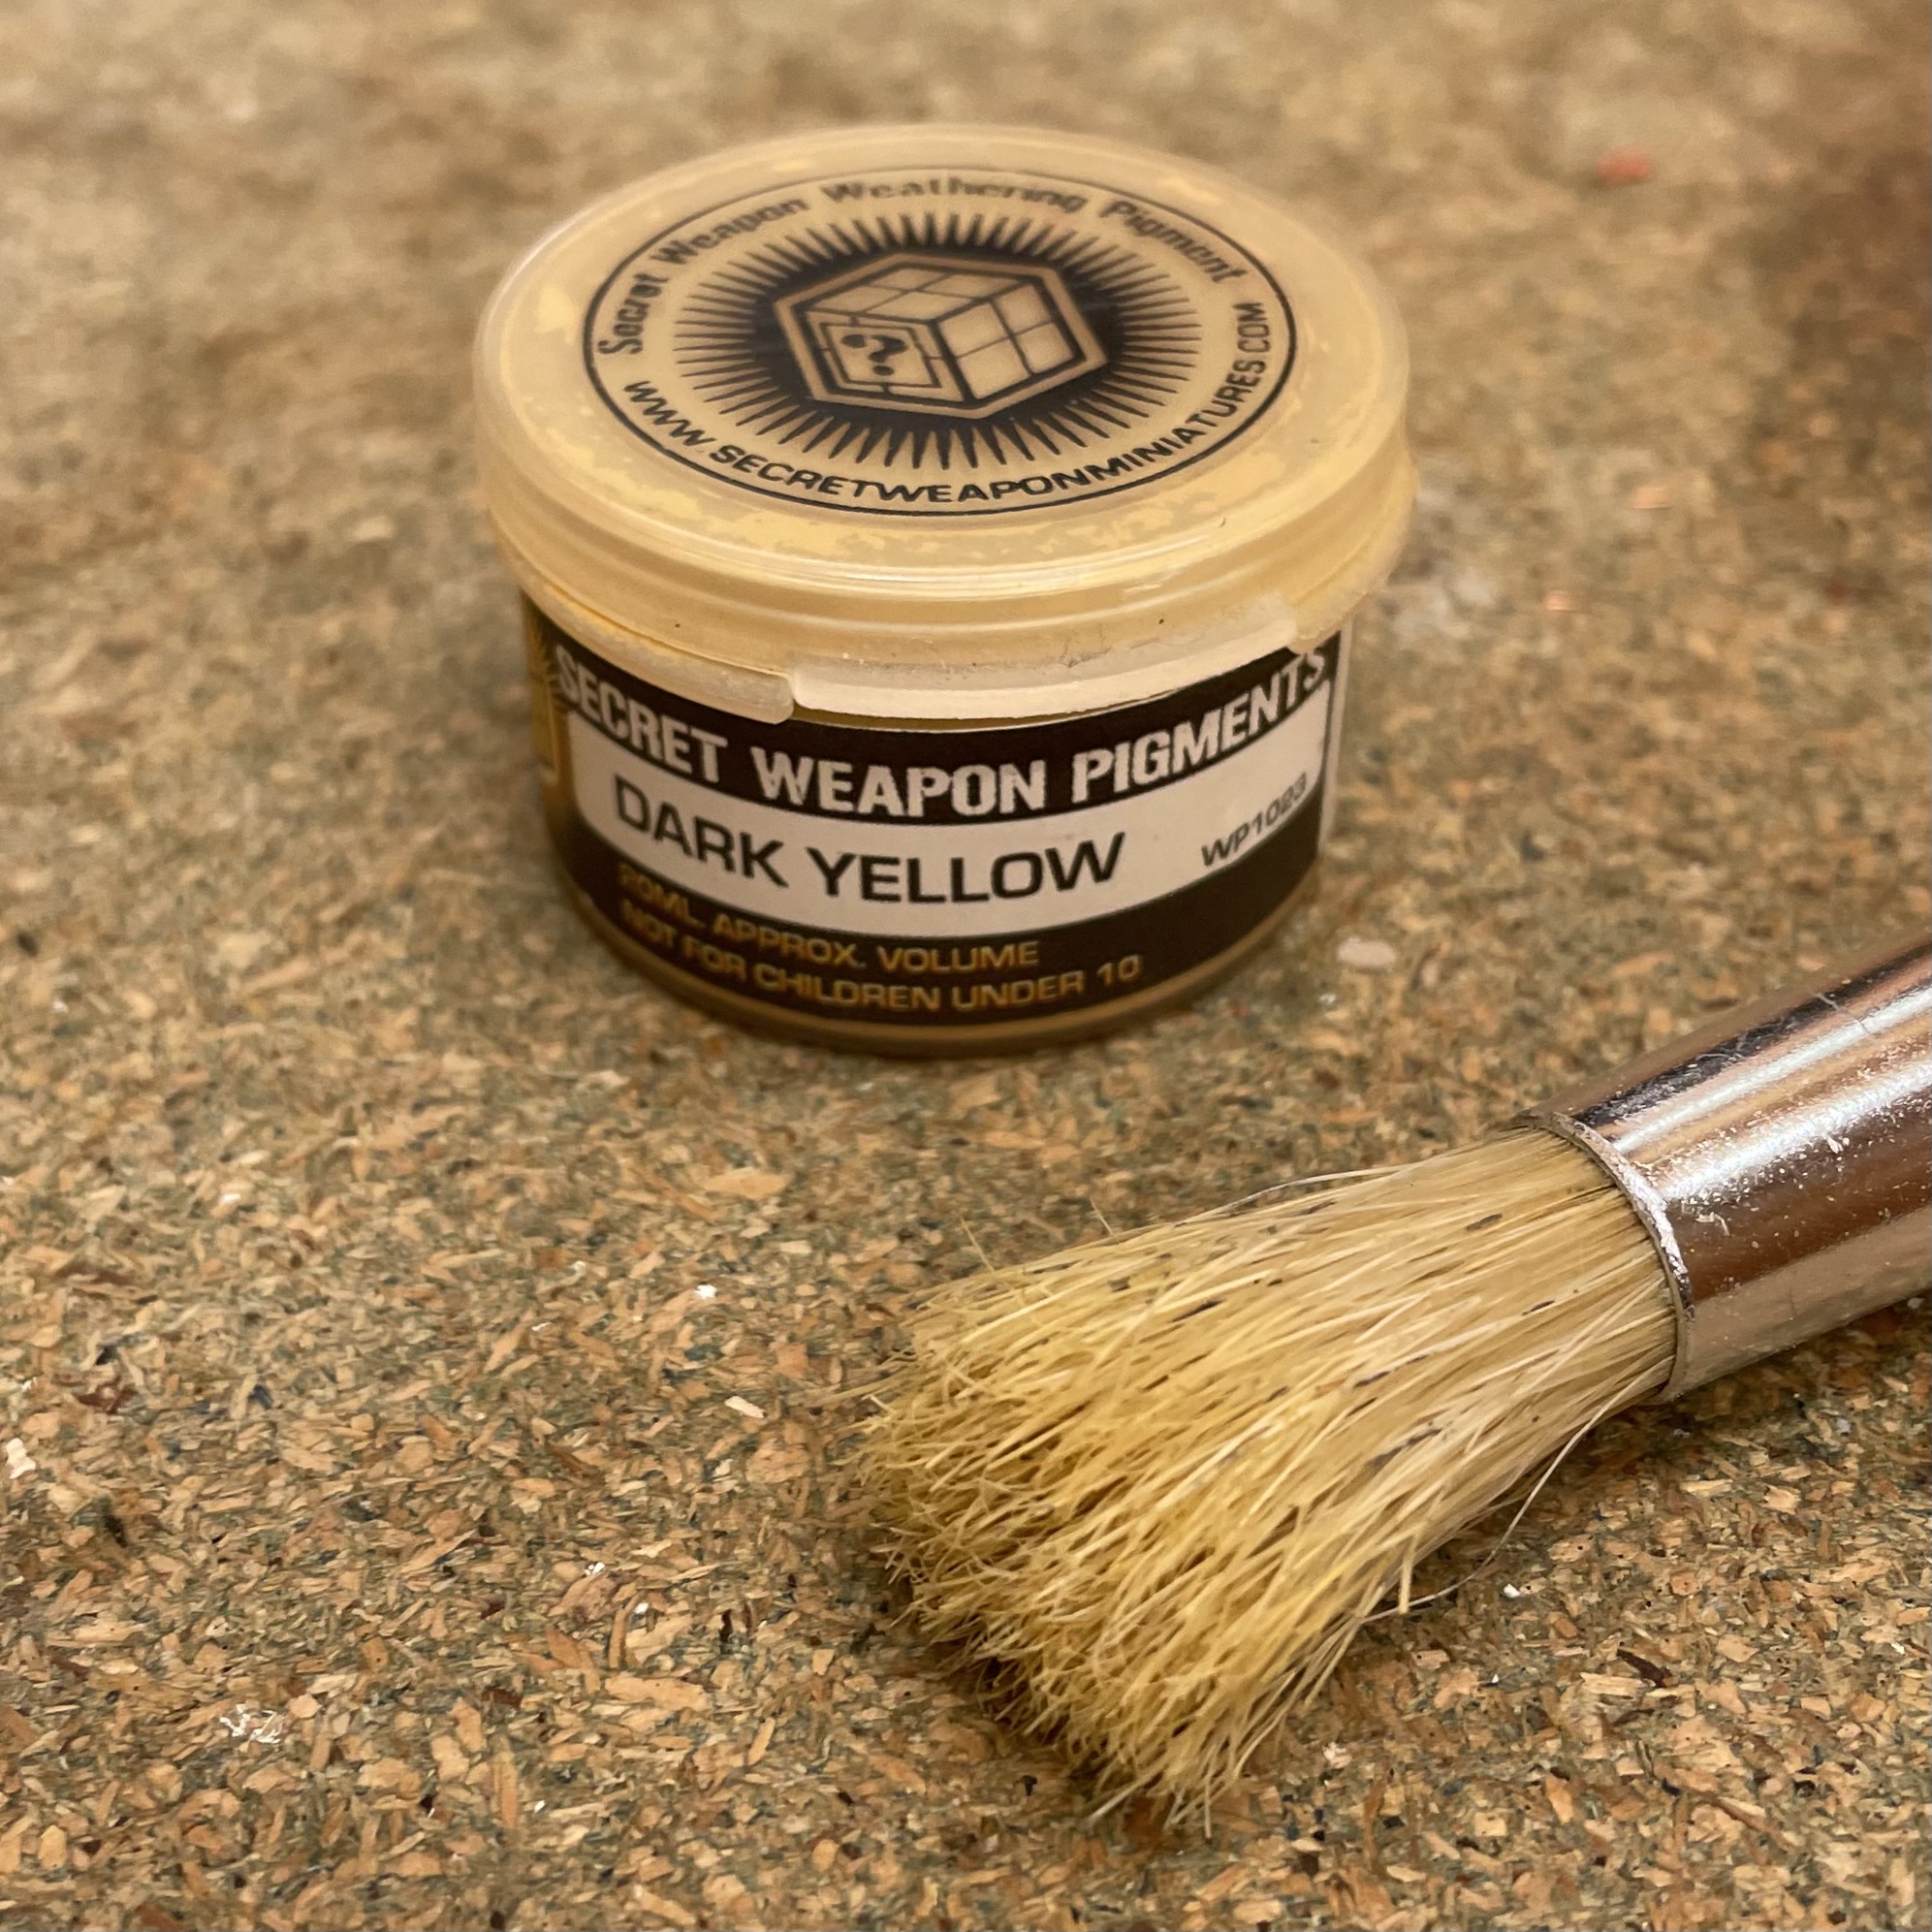


With this done I gave the whole model a coat of Vallejo Matt Varnish. This would remove the gloss and seal the model mates and weathering powder in place.
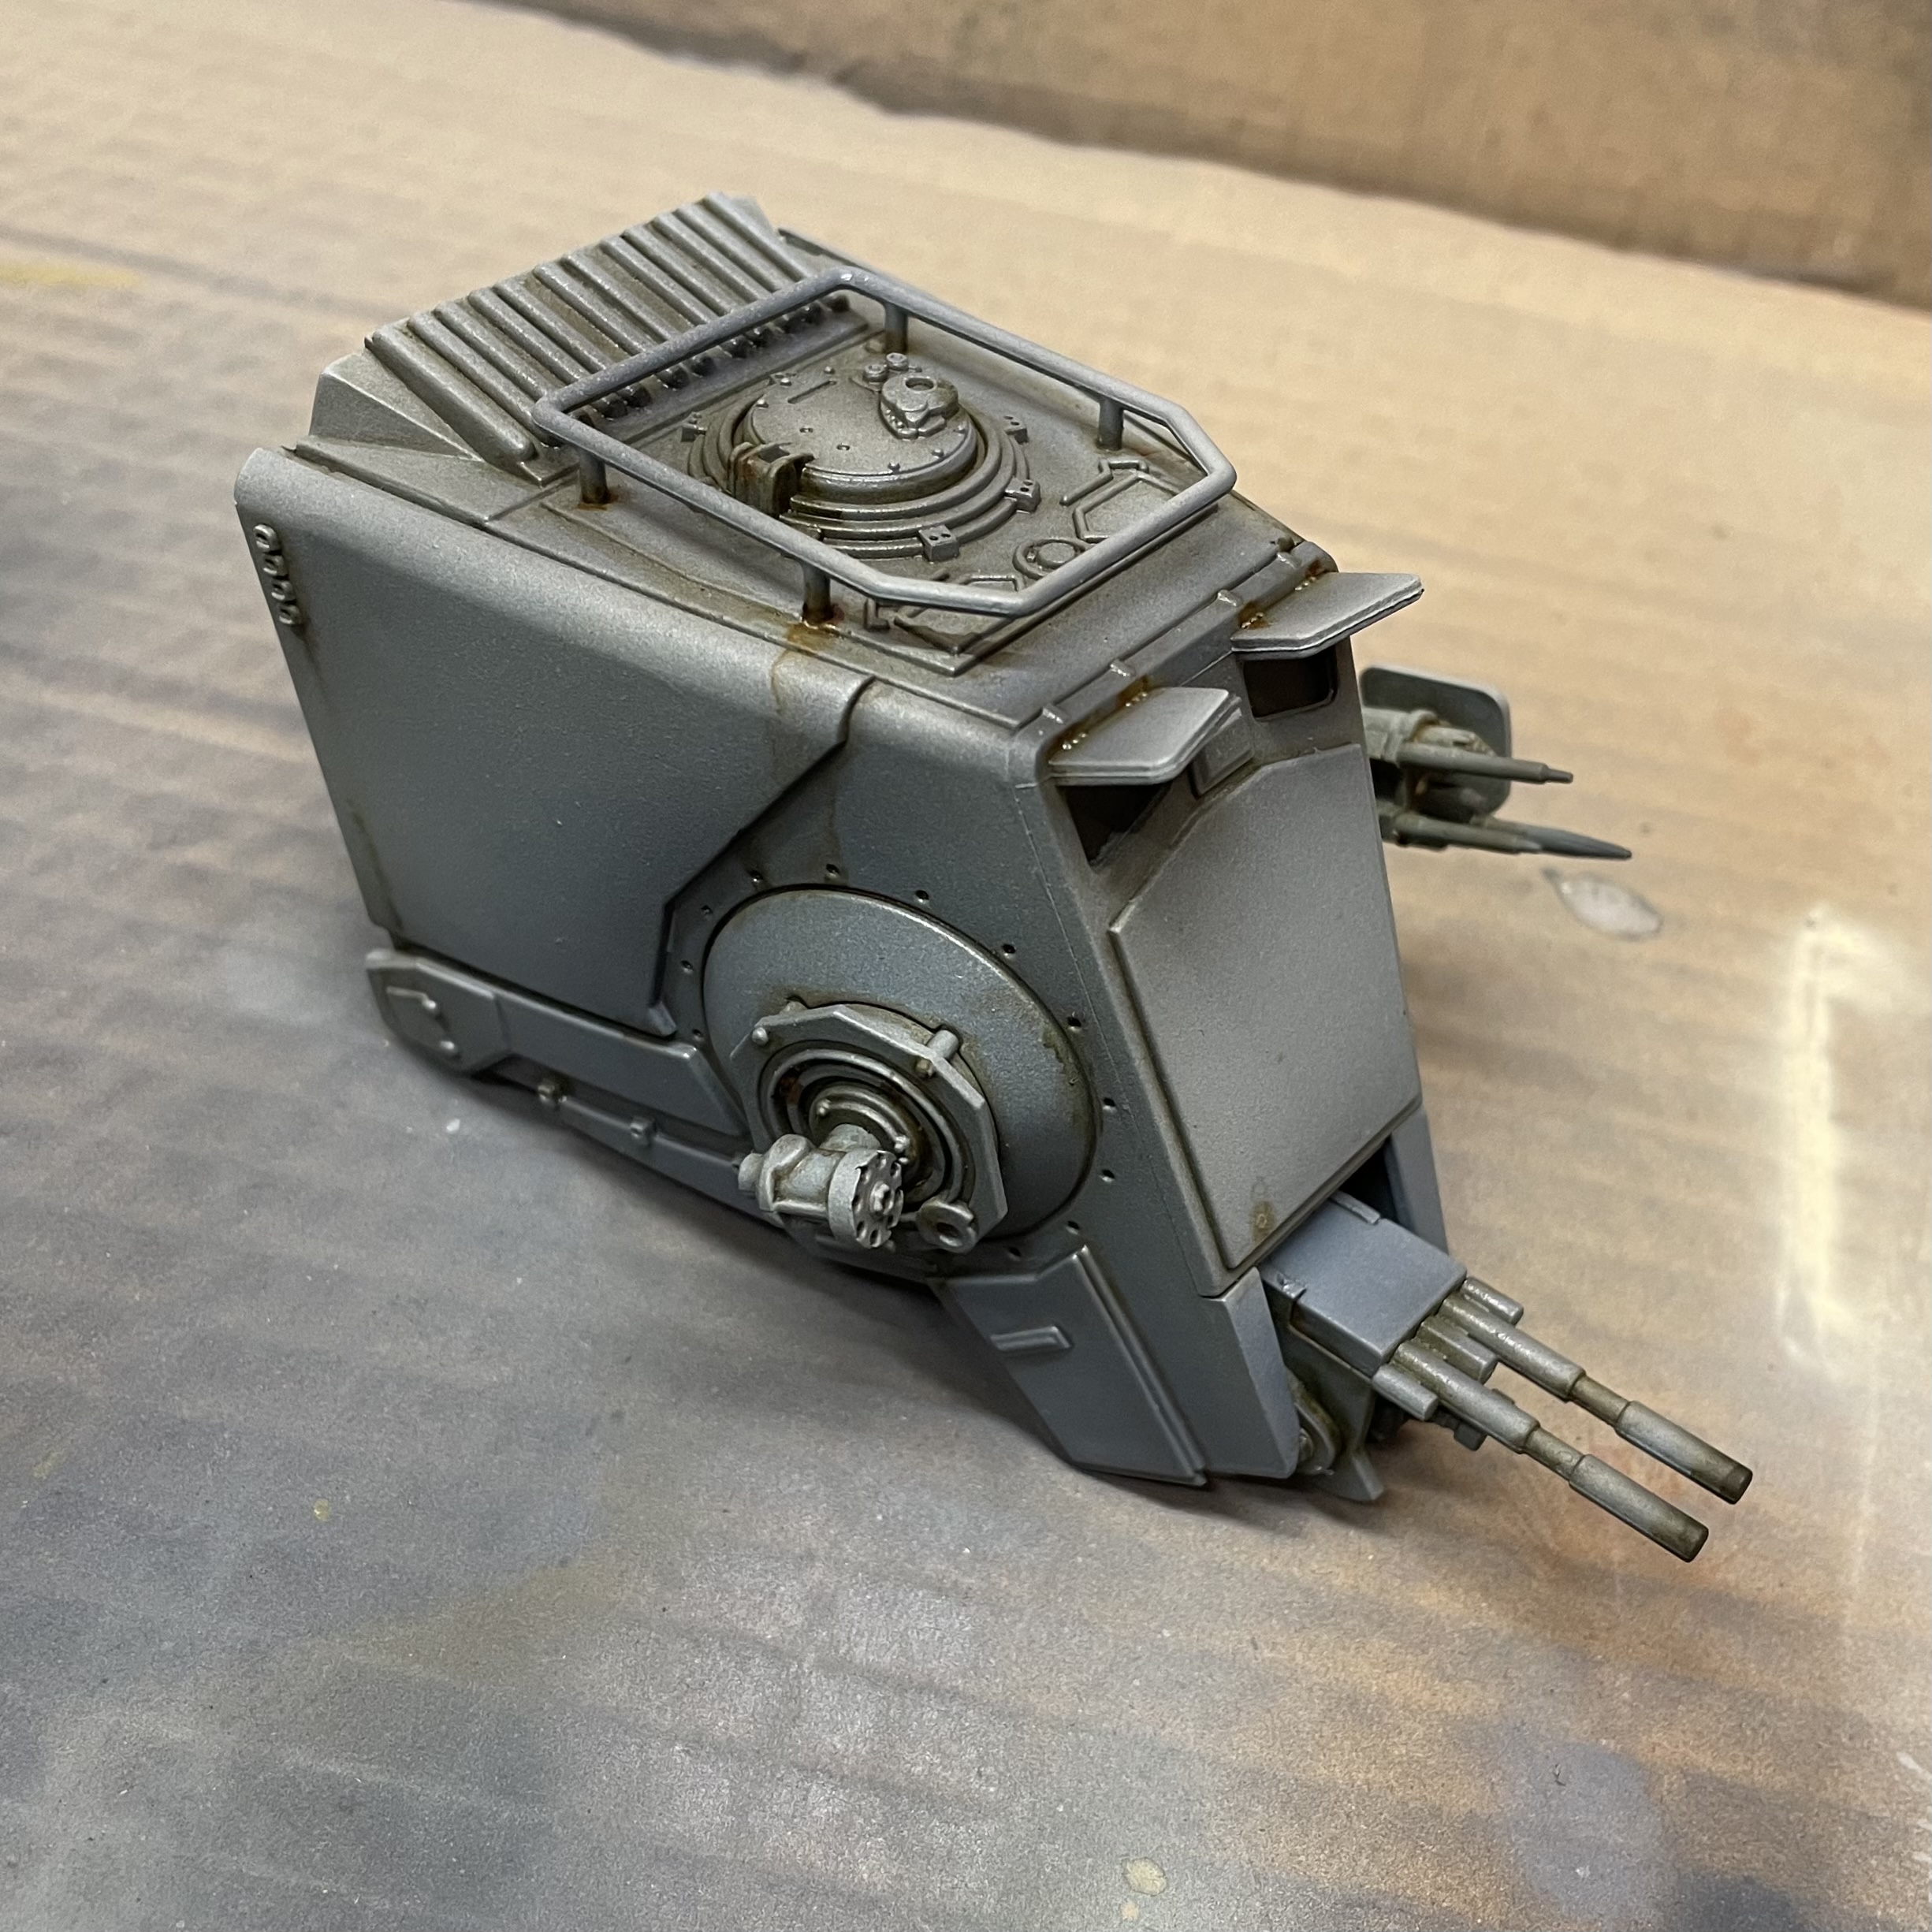

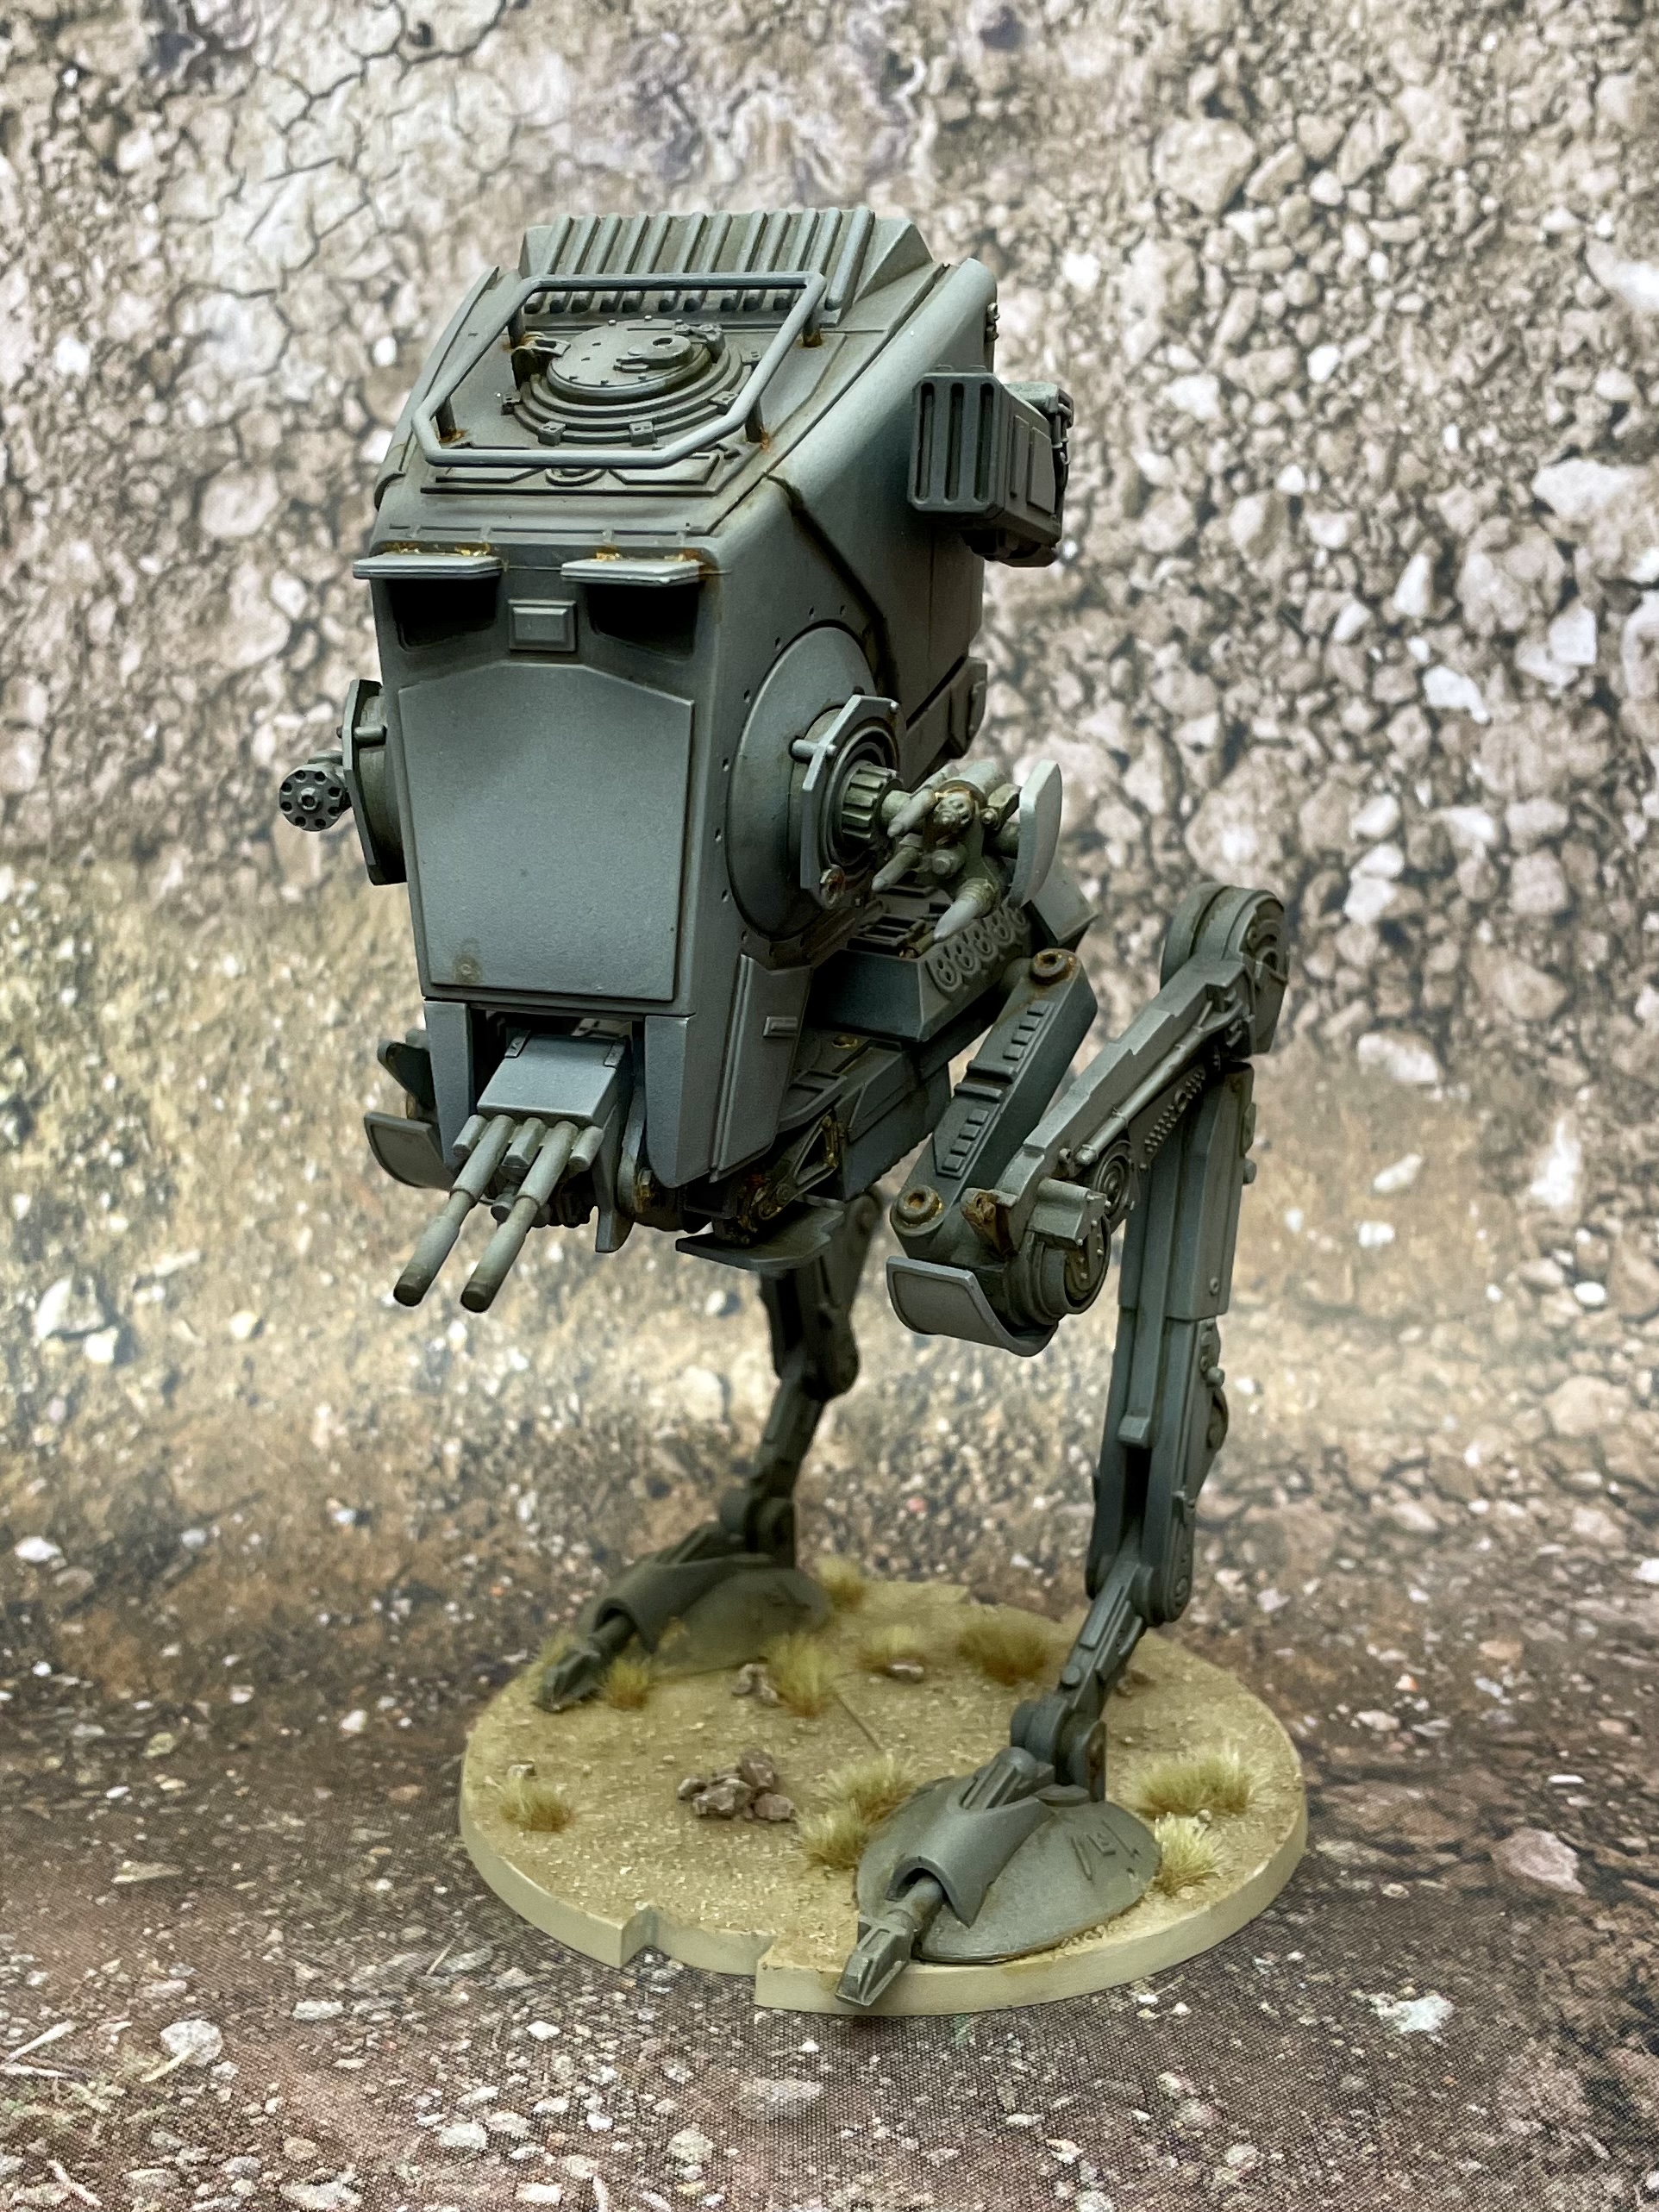
Unbroken …
Once the Walker was glued back together it was almost finished.
I just needed to match the feet back into the base, using my tried and tested formula of Armageddon Dust, Agrax Wash and a Screaming Skull drybrush.


![Mounted US Cavalry On Kickstarter For Dead Man’s Hand! [Updated]](https://images.beastsofwar.com/2026/03/us-cavalry-main-600-338.jpg)


![Play WW2 Commando Operations With Butcher & Bolt [Updated]](https://images.beastsofwar.com/2026/03/relaunch-600-338.jpg)


