
![Pure Sci-Fi Nostalgia! War Rocket Review | Hydra Miniatures [7 Days Early Access]](https://images.beastsofwar.com/2026/02/unboxing-hydra-miniatures-war-rocket-coverimage-225-127.jpg)


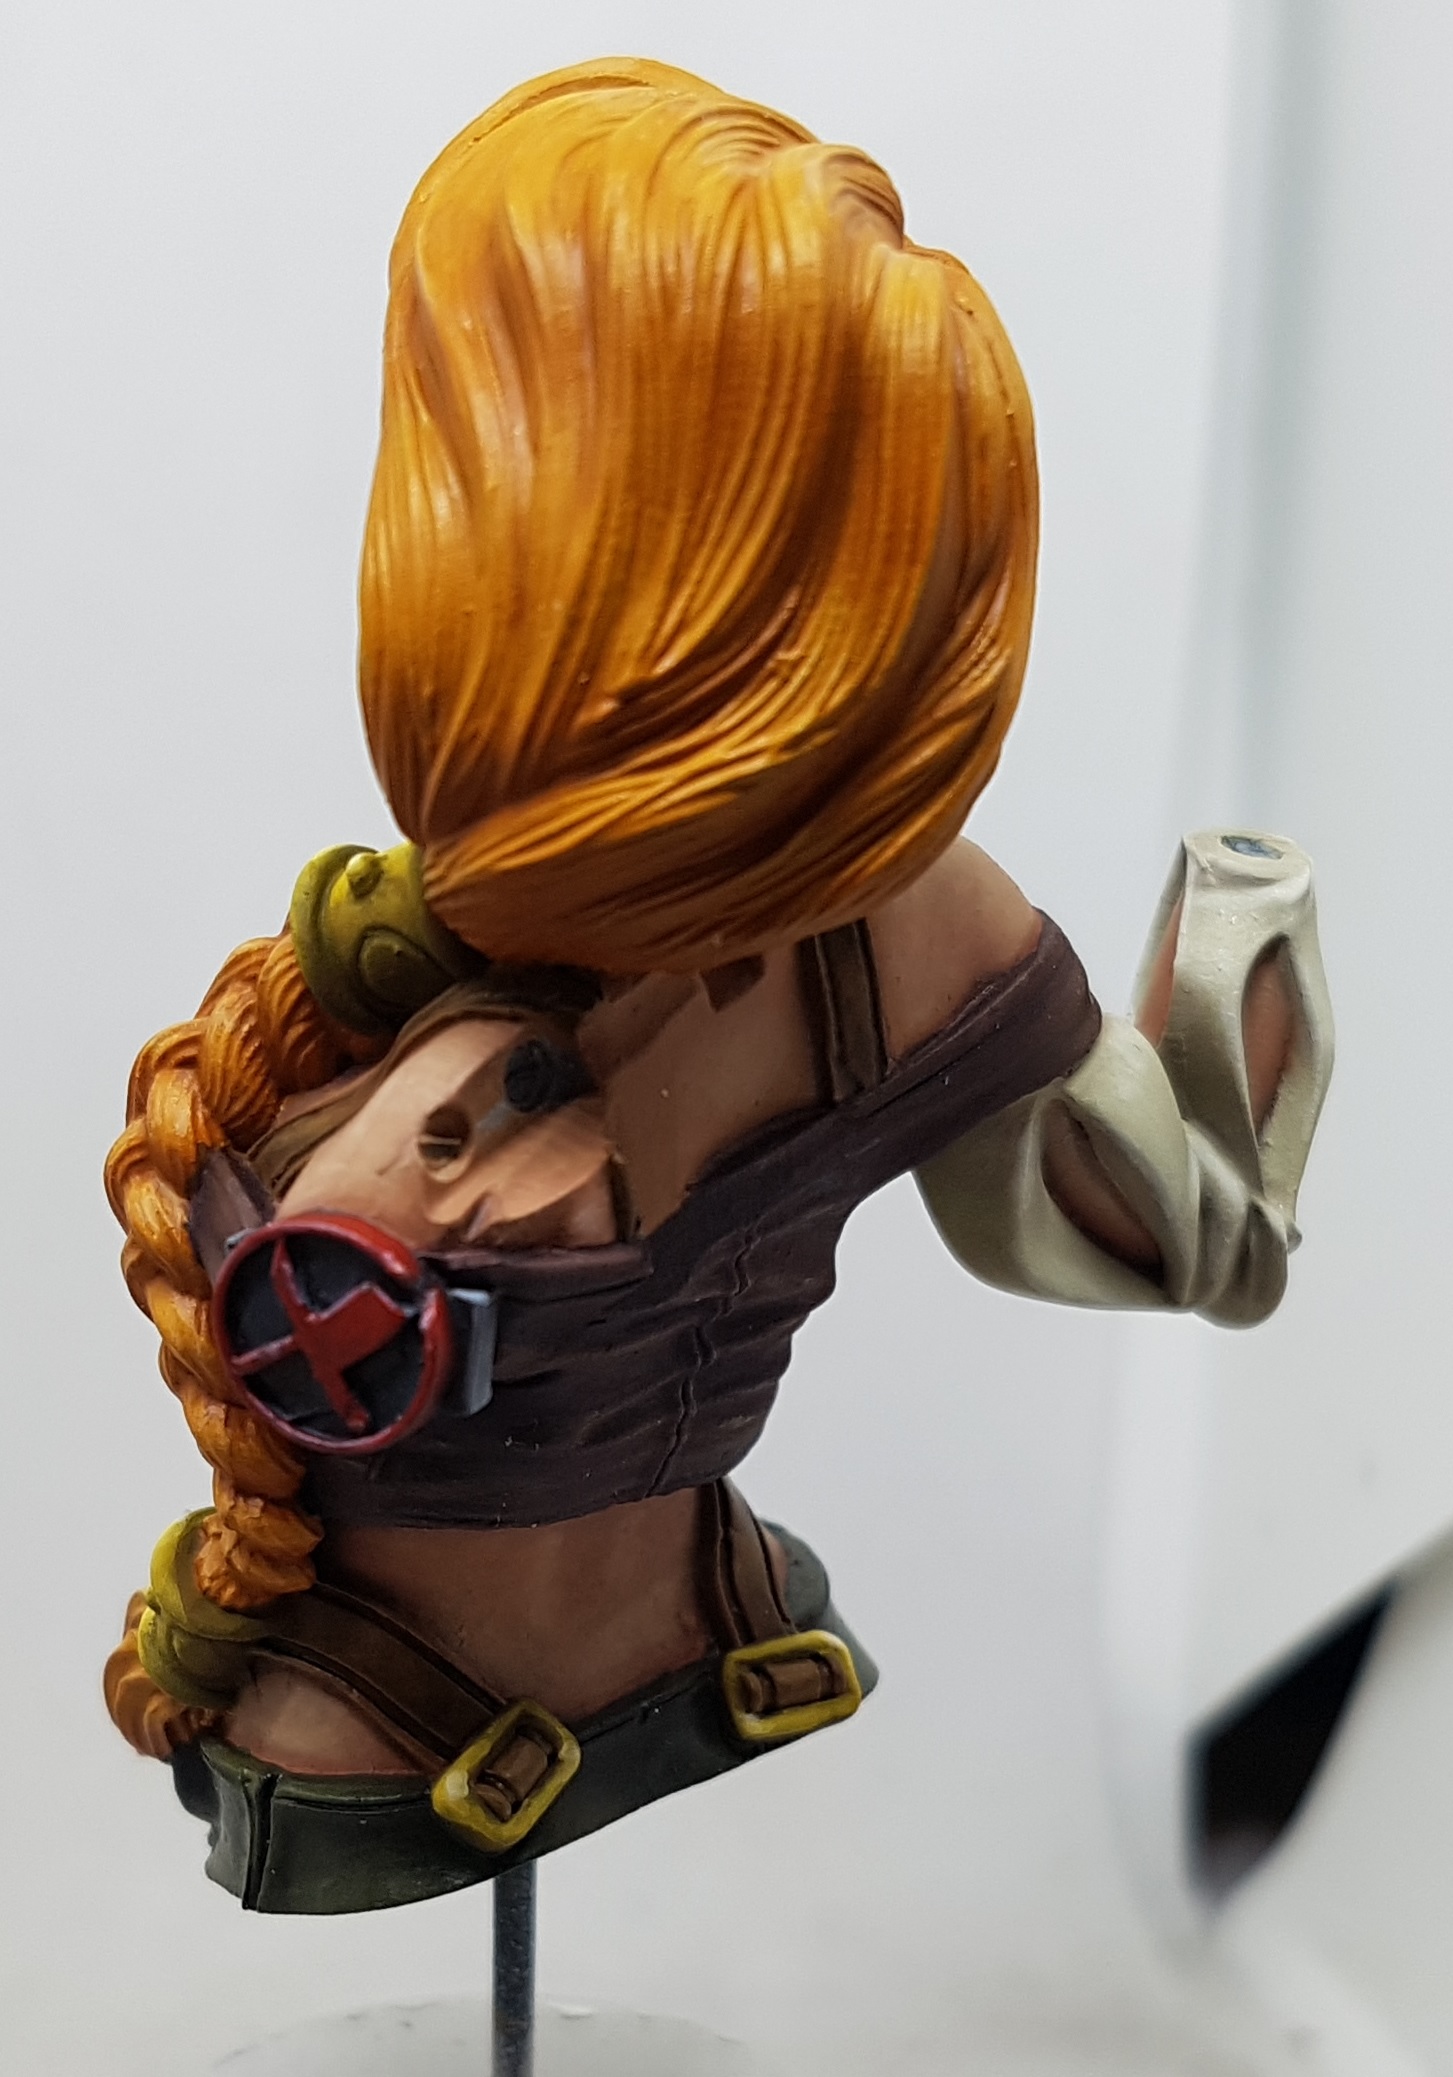
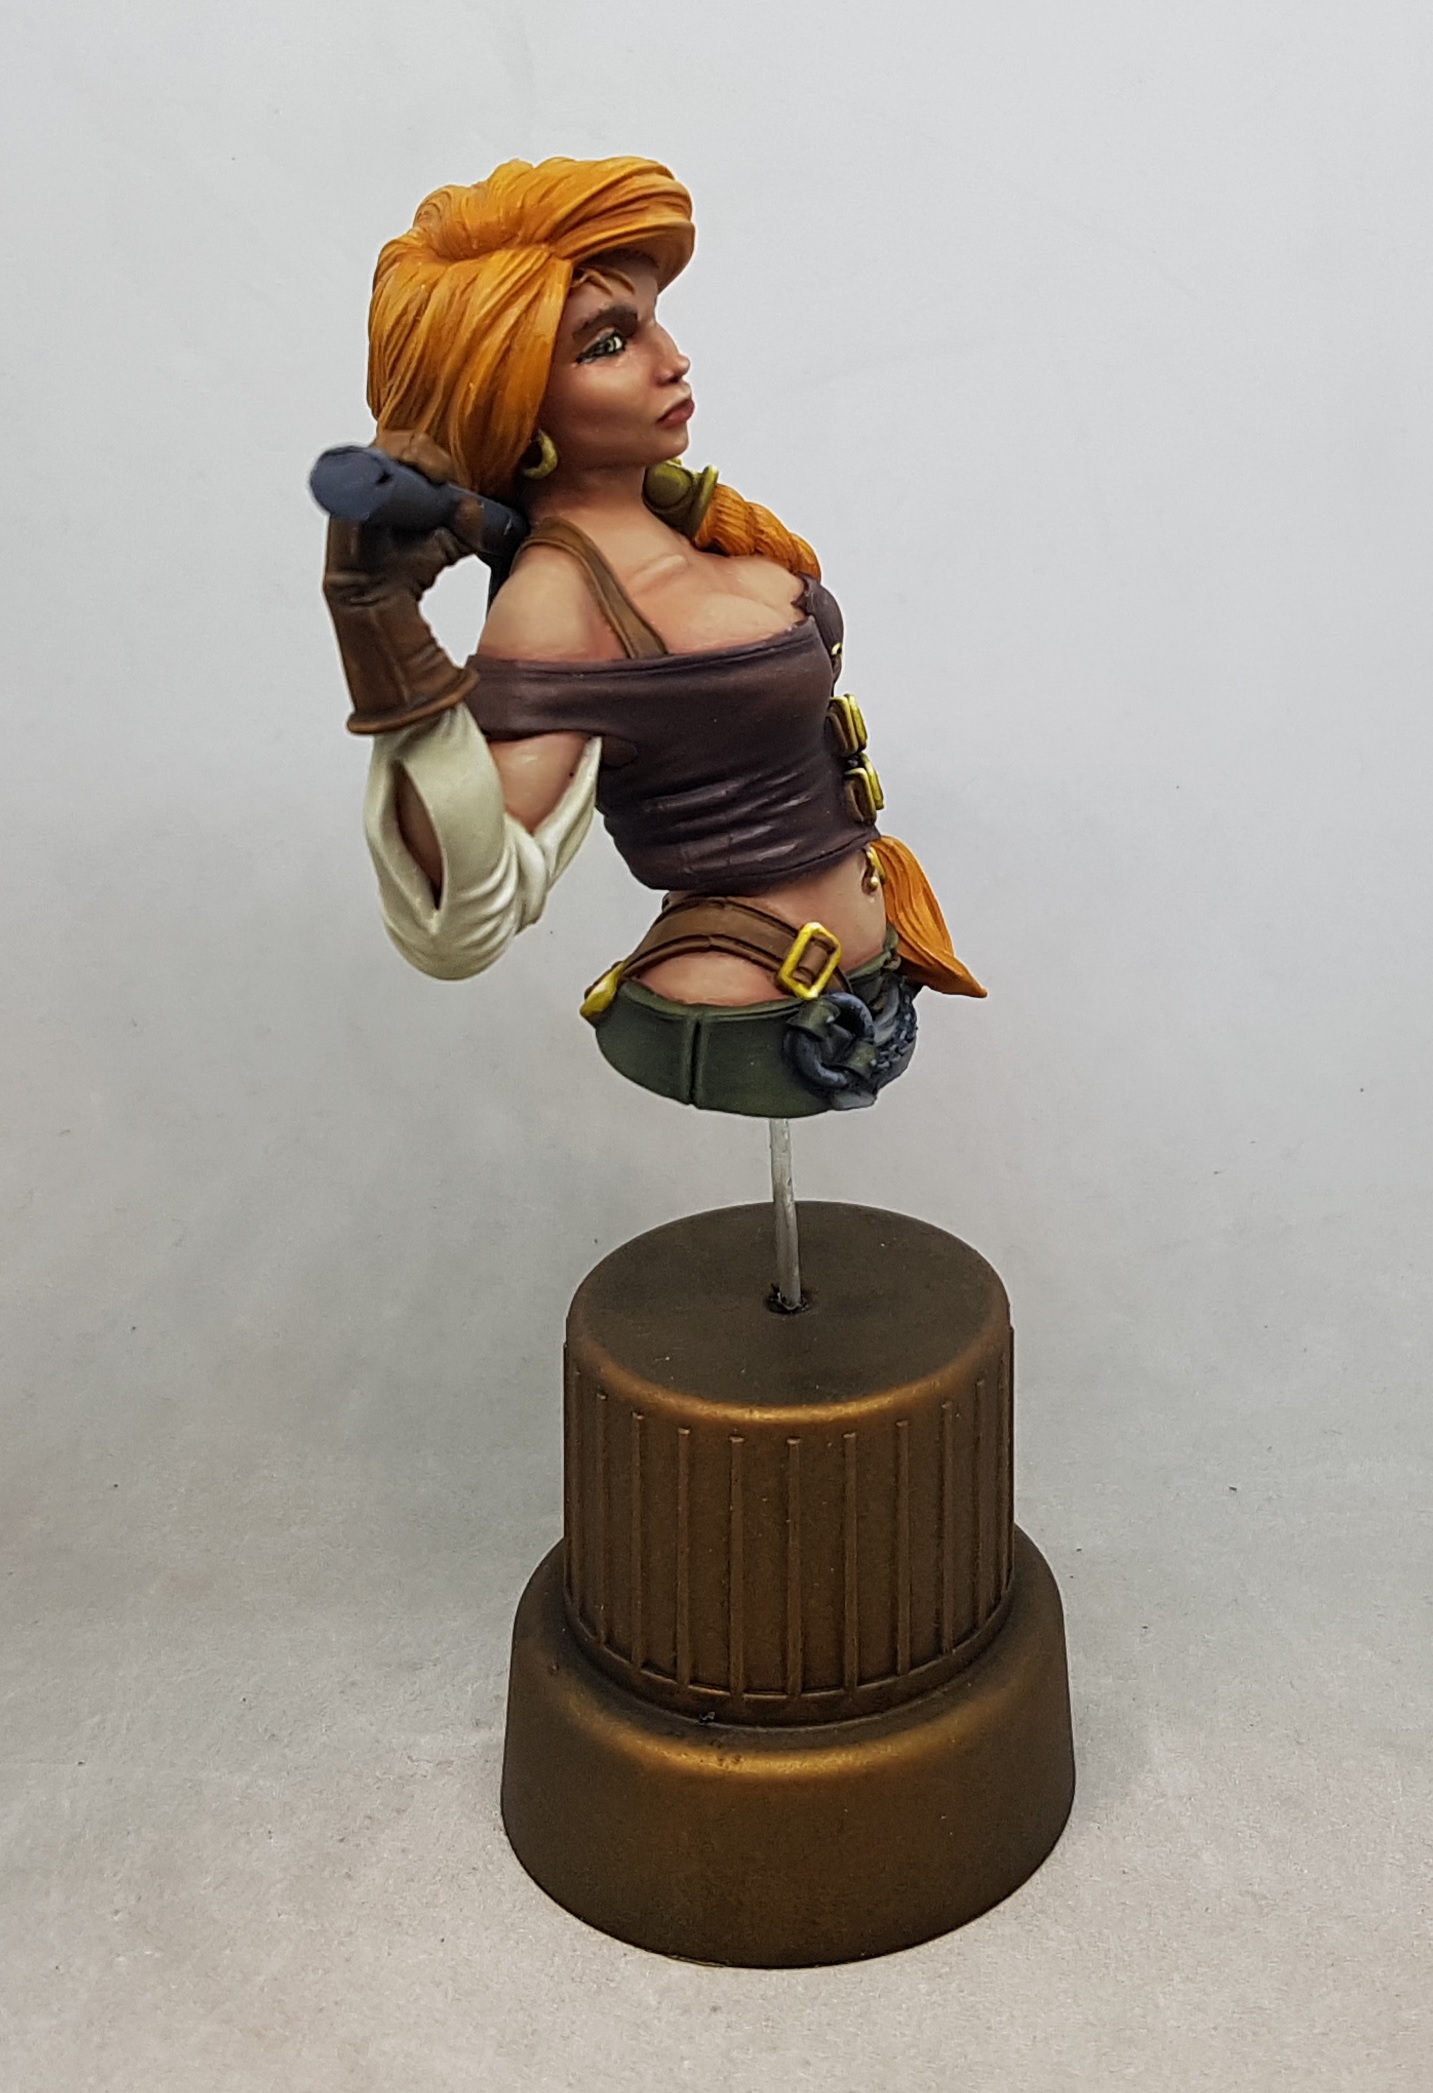
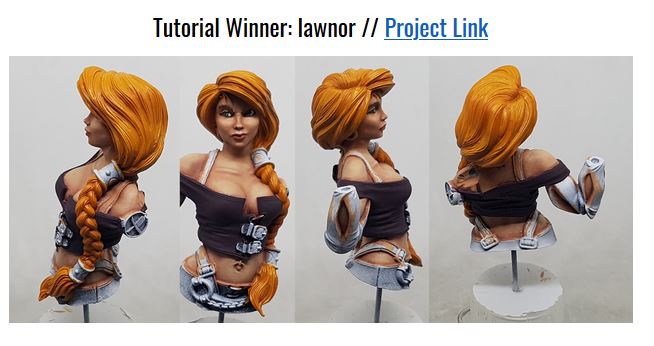
Brisket Bust by Broken Toad: Lawnor’s first ever bust (& a cheeky attempt at winning the Spring Cleaning comp)


Recommendations: 396
About the Project
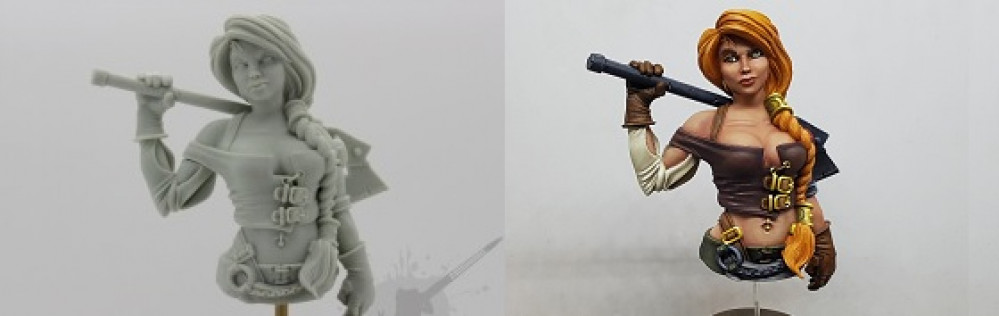
I've had this bust for 6 months and been avoiding it. Busts are intimidating. I've cleared a lot of my backlog and the KS project I want to be working on is trapped in France (I think) due to Coronavirus, so I'm running out of excuses. Time to paint her up.
Related Game: Guild Ball
Related Genre: Fantasy
Related Contest: Spring Clean Hobby Challenge (Old)
This Project is Completed
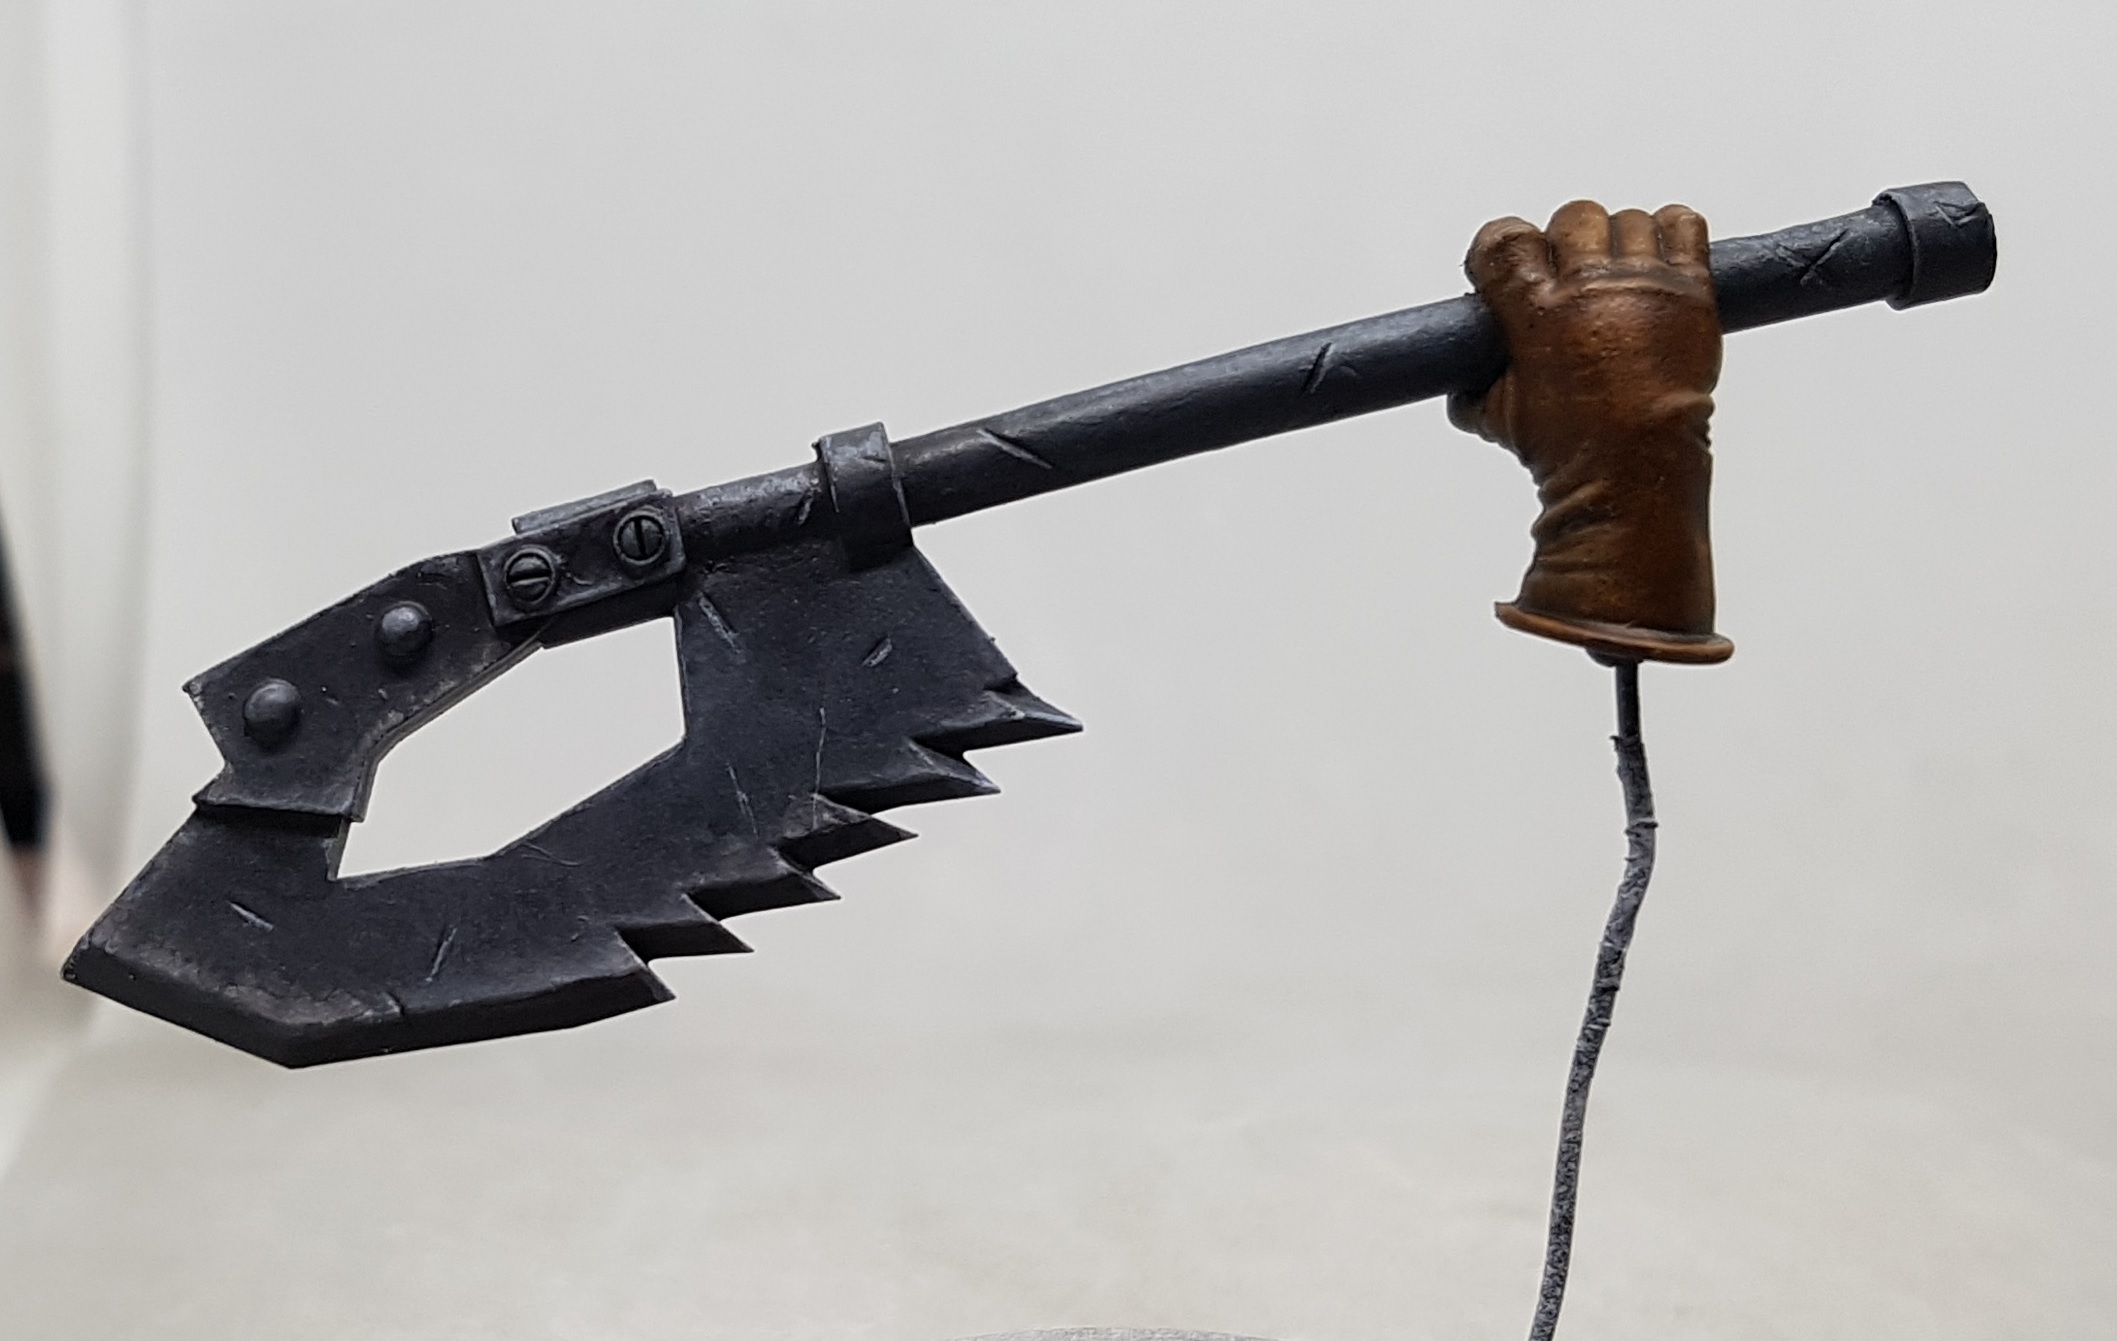
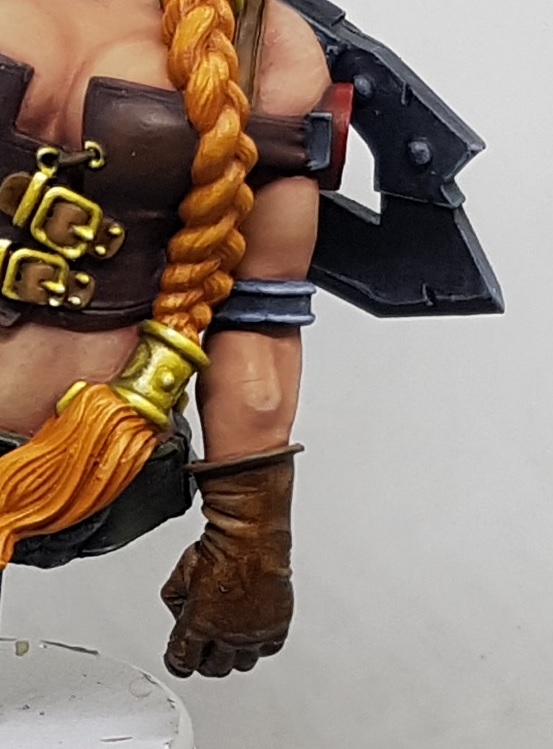
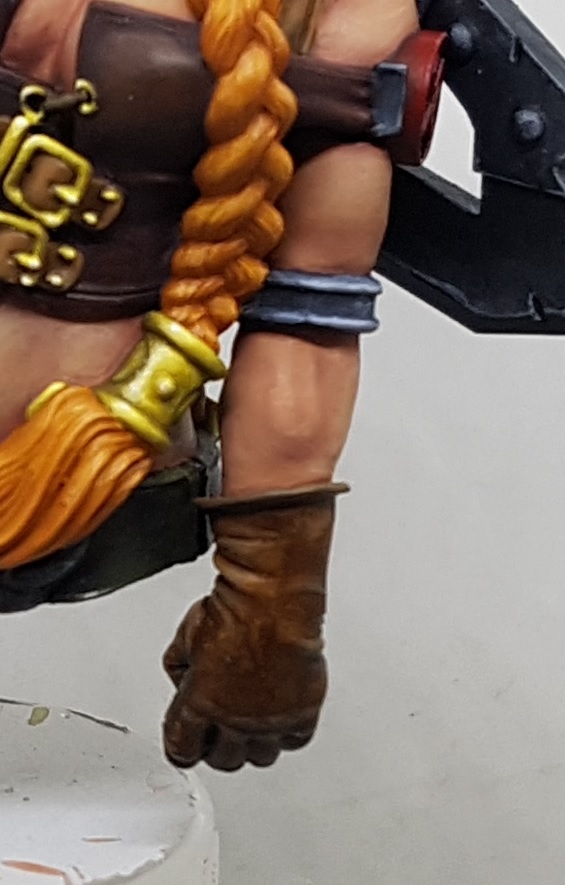
NMM Iron Axe and Red Insignia
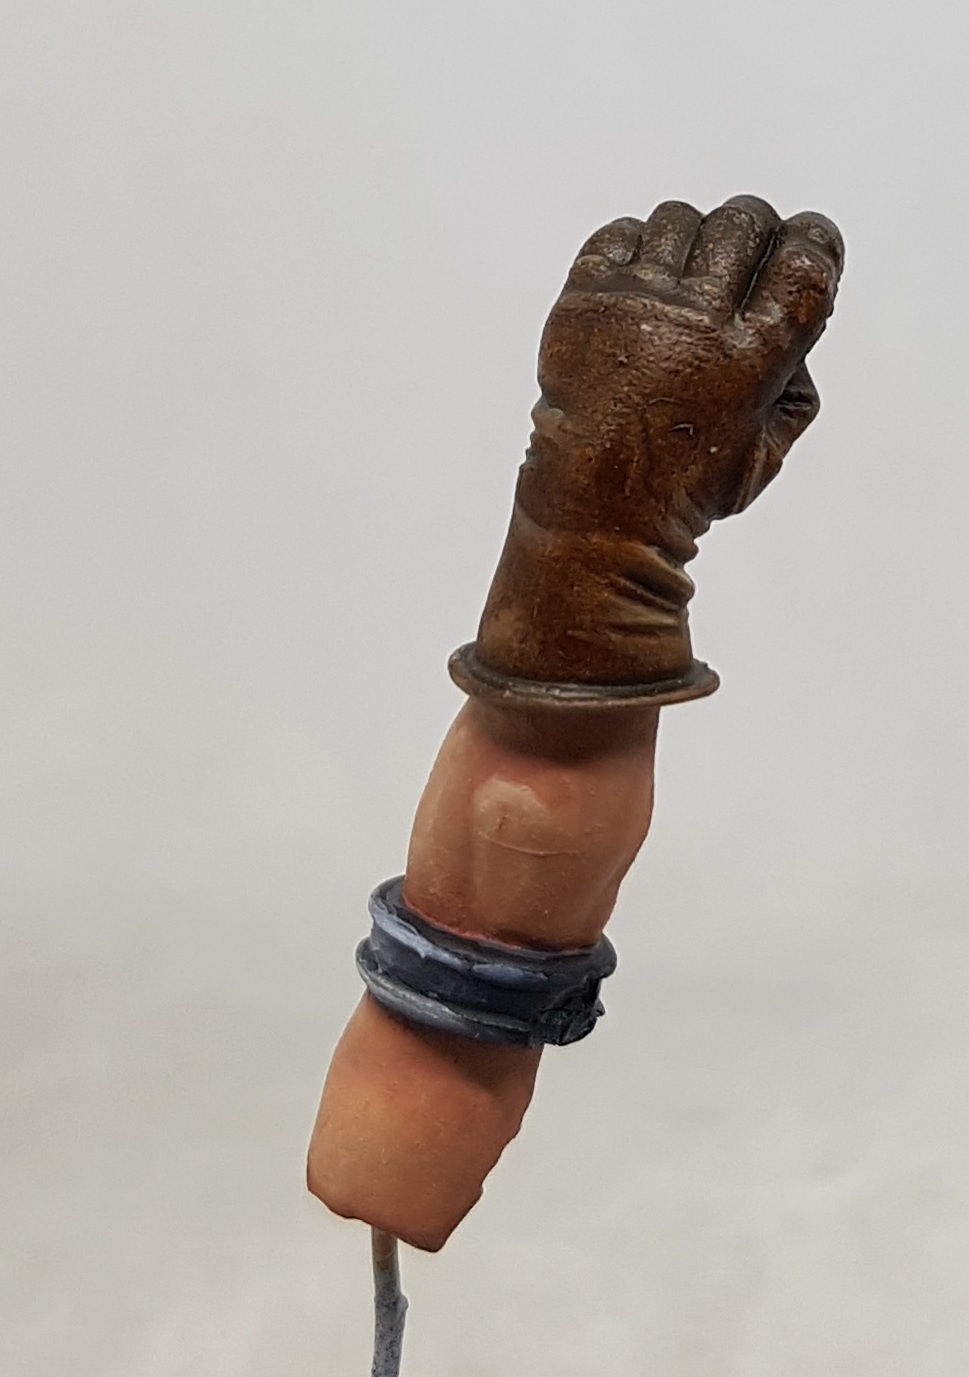
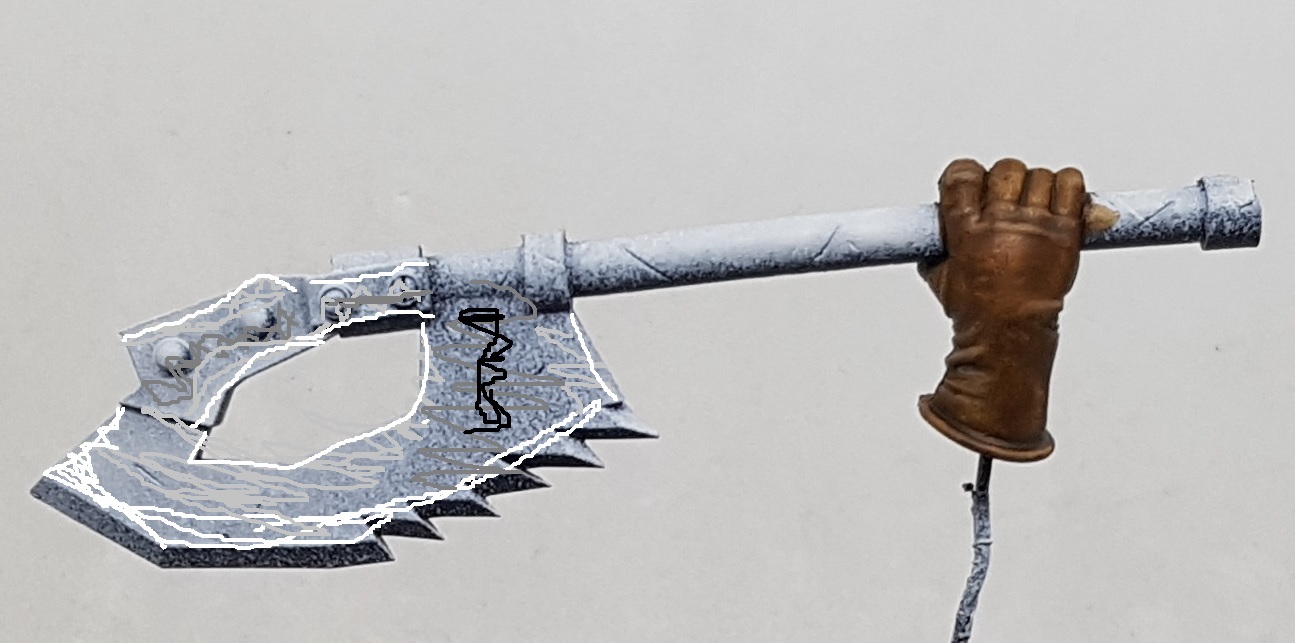 Bow down to my MS Paint skills in awe and wonder! I know this isn't pretty, but I think this is kinda where I want my shadow and light? Please correct me if this looks wrong as I'm about to start painting. Please bear in mind that the connection point on the wrist will be horizontal, so the axe will be at more of an angle. Also, MS Paint only has 2 greys so when I've drawn black, I might not necessarily mean black for all of it.
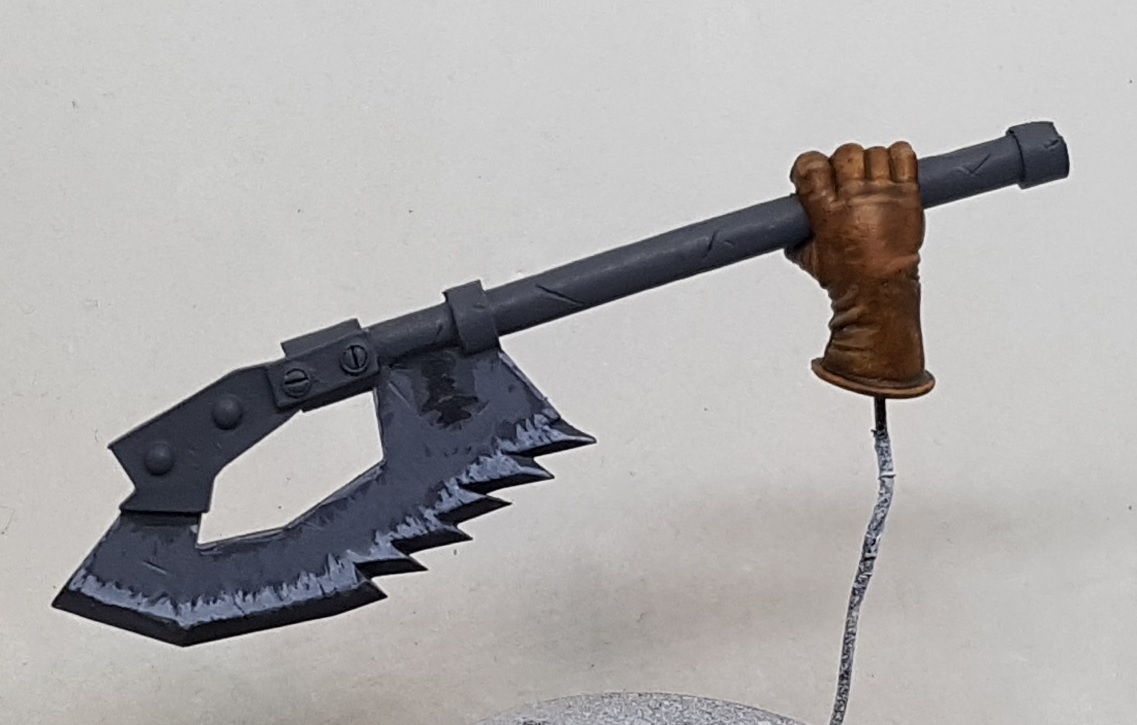 The videos I watched all suggest blocking out where you want your highlights and shadows without caring about delicasy. Just slap it on so you can see what you're aiming for. Then, once you're happy, start blending and glazing and blending and glazing again and again until its smooth. First I layed down an even base coat of Dark grey, then I mixed in a little white and applied the outside highlight. I made a midtone and painted that, then I mixed a liitle black in to the dark grey and picked out the darker areas. I'm just working on this one section of the blade for now as a proof of concept. If it works I'll do it elsewhere. If it doesn't, then I've not wasted as much time.
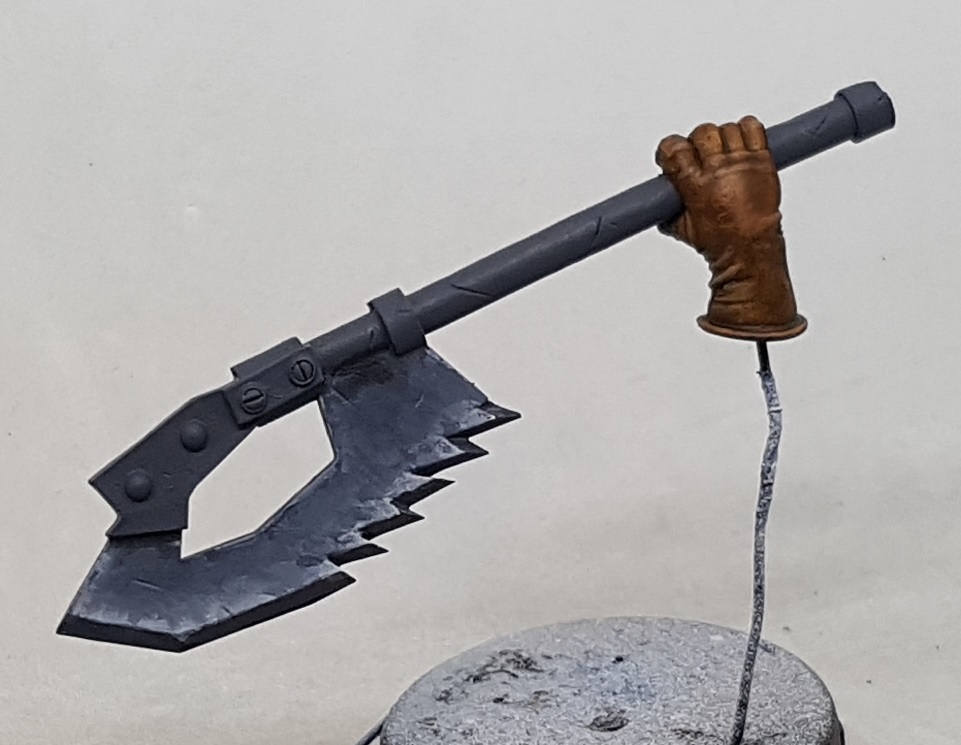 I've got my black, dark grey and my white all on my wet palette all blurred together and I'm going back and forthe pushing them ove the blade, almost using it like a mini palette itself. Everything is bluring and smudging and its starting to look like something. I've also realised that while I can't tilt my pics by 10 degrees I can tilt my camera by 10 degrees to show the axe at the corrent angle. OTT: Can we please have these text boxes bigger when typing in?
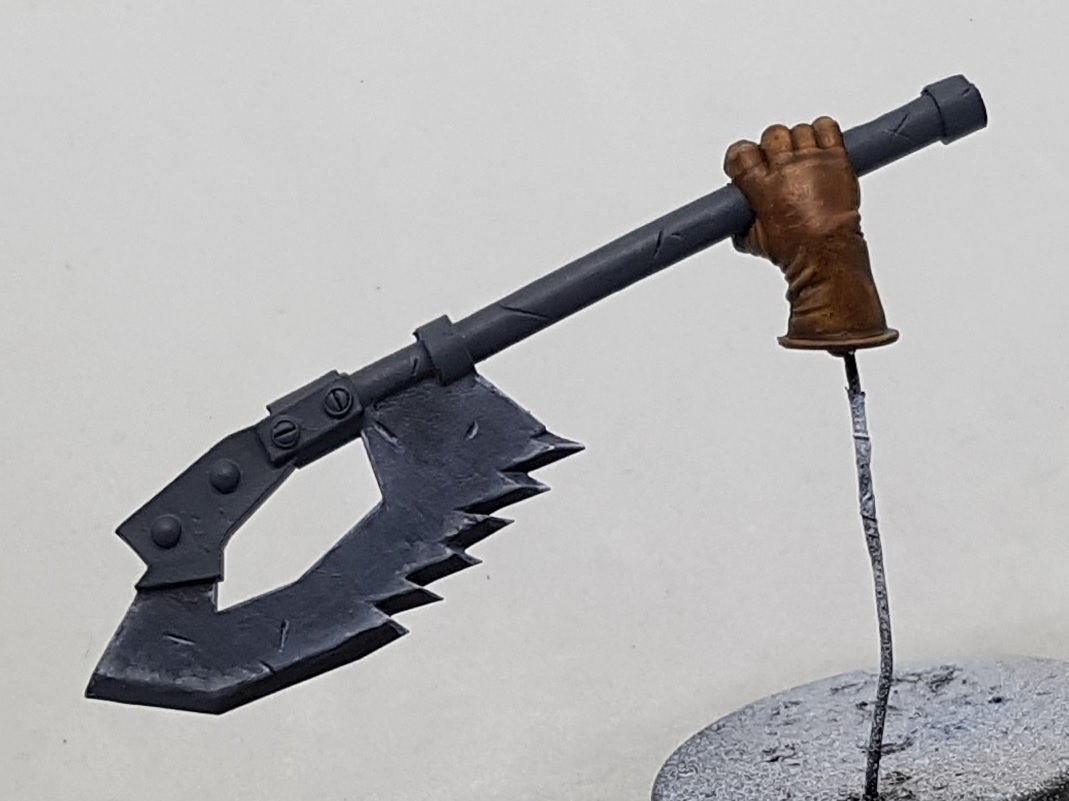 After another coule of rounds of smudging and blending and drying between each round I decided to edge highight the area, put a little Nuln Oil in to the cracks and underline them with white and it actually looks pretty damn good. I also painted the undersides of the tapered blade. Any plane pfacing towards the milk bottle top got my darkest shade and the edge at the end facing the bottom left corner got a lighter dark shade over it. I don't know if the very edges of the blade should get a white line or not, but I did white line the upper tips and upper sharp edges of the teeth. I think I'm going to leave this area alone and expand out now. I may revisit it later if I feel I can do better after more practise.
 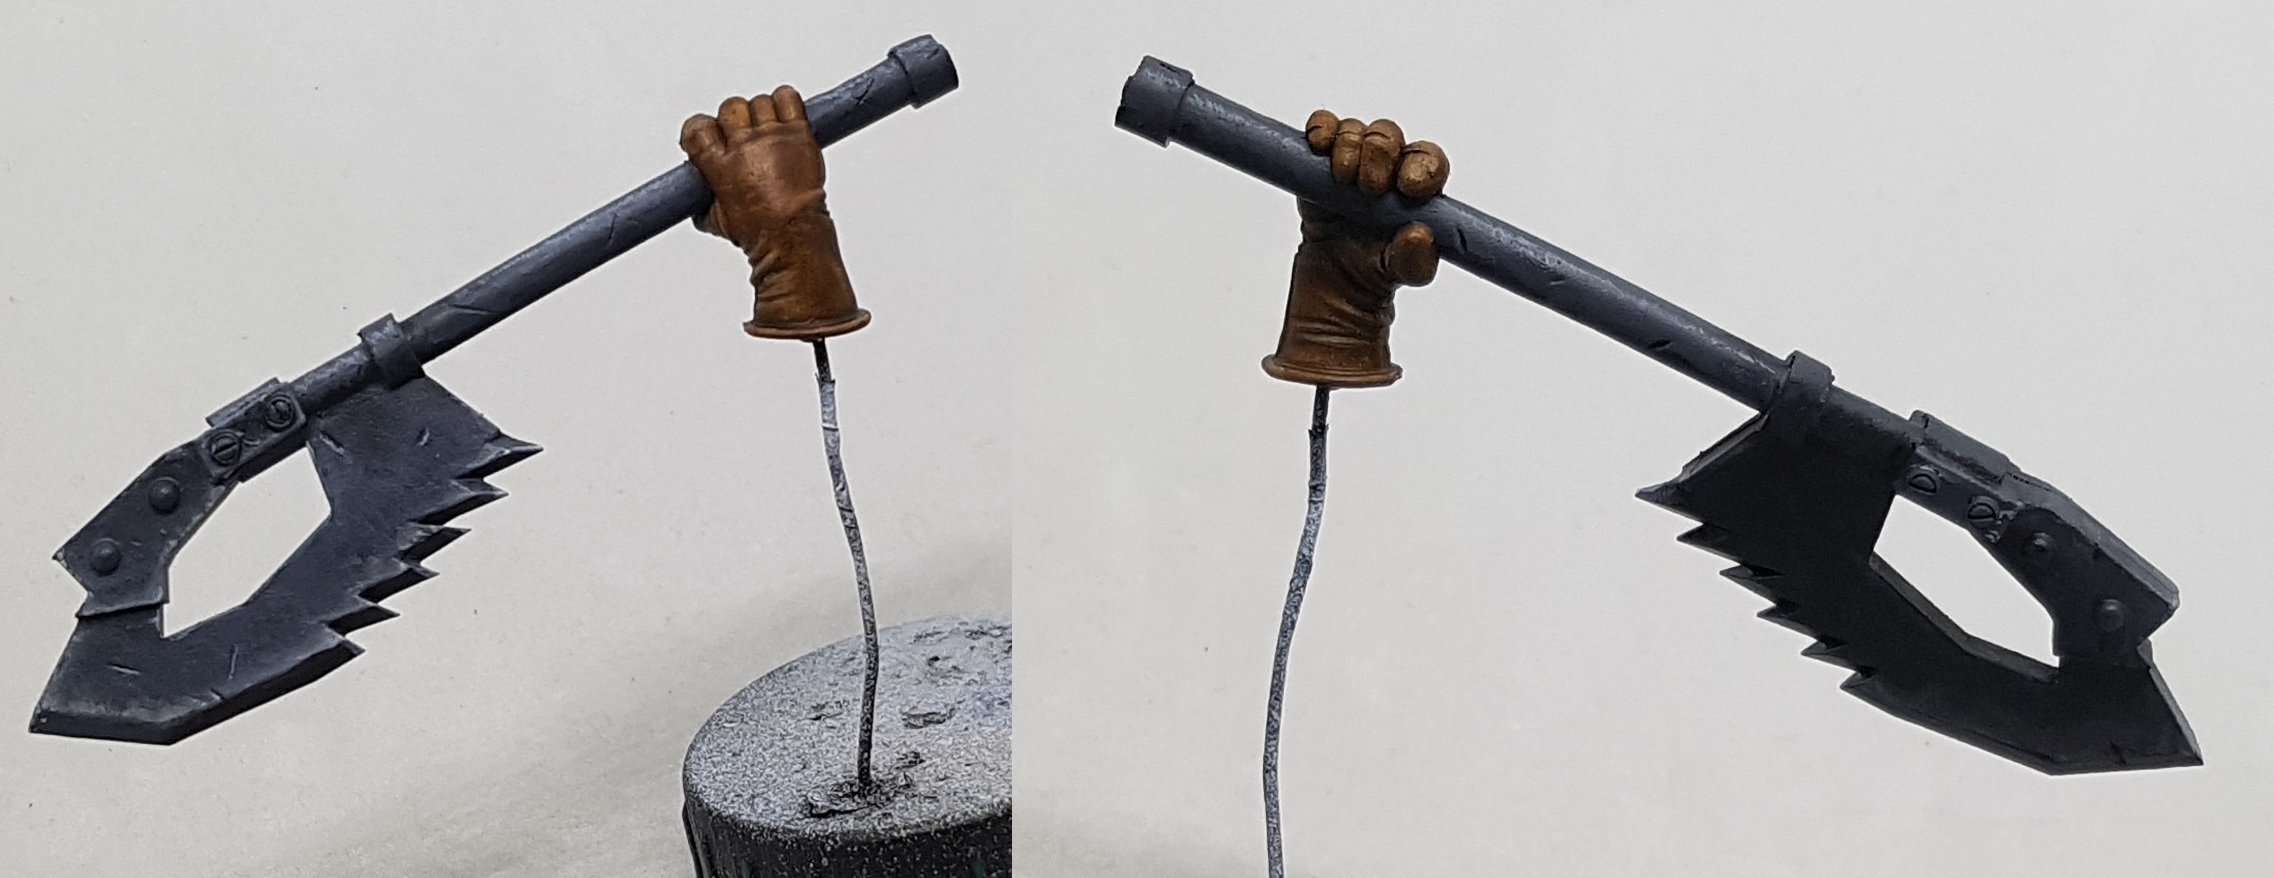 I've done everything over the qhole of the axe, except the nuln oil and edge highlight stages. I applied the same techniques over the handle, applying a long shadow on the underside and 2 highlights at the 2 and 10 positions along the handle. I then blended up and down, almost erasing that highlight. I replaced it by getting almost no paint on my finest brush and then making small lines along the length of the lighlight by touching the side of the brush tip vertically repeatedly along the horizontal length. The long highlight is then made out of a series of overlapping blurred vertical lines instead of one straight horizontal lineline
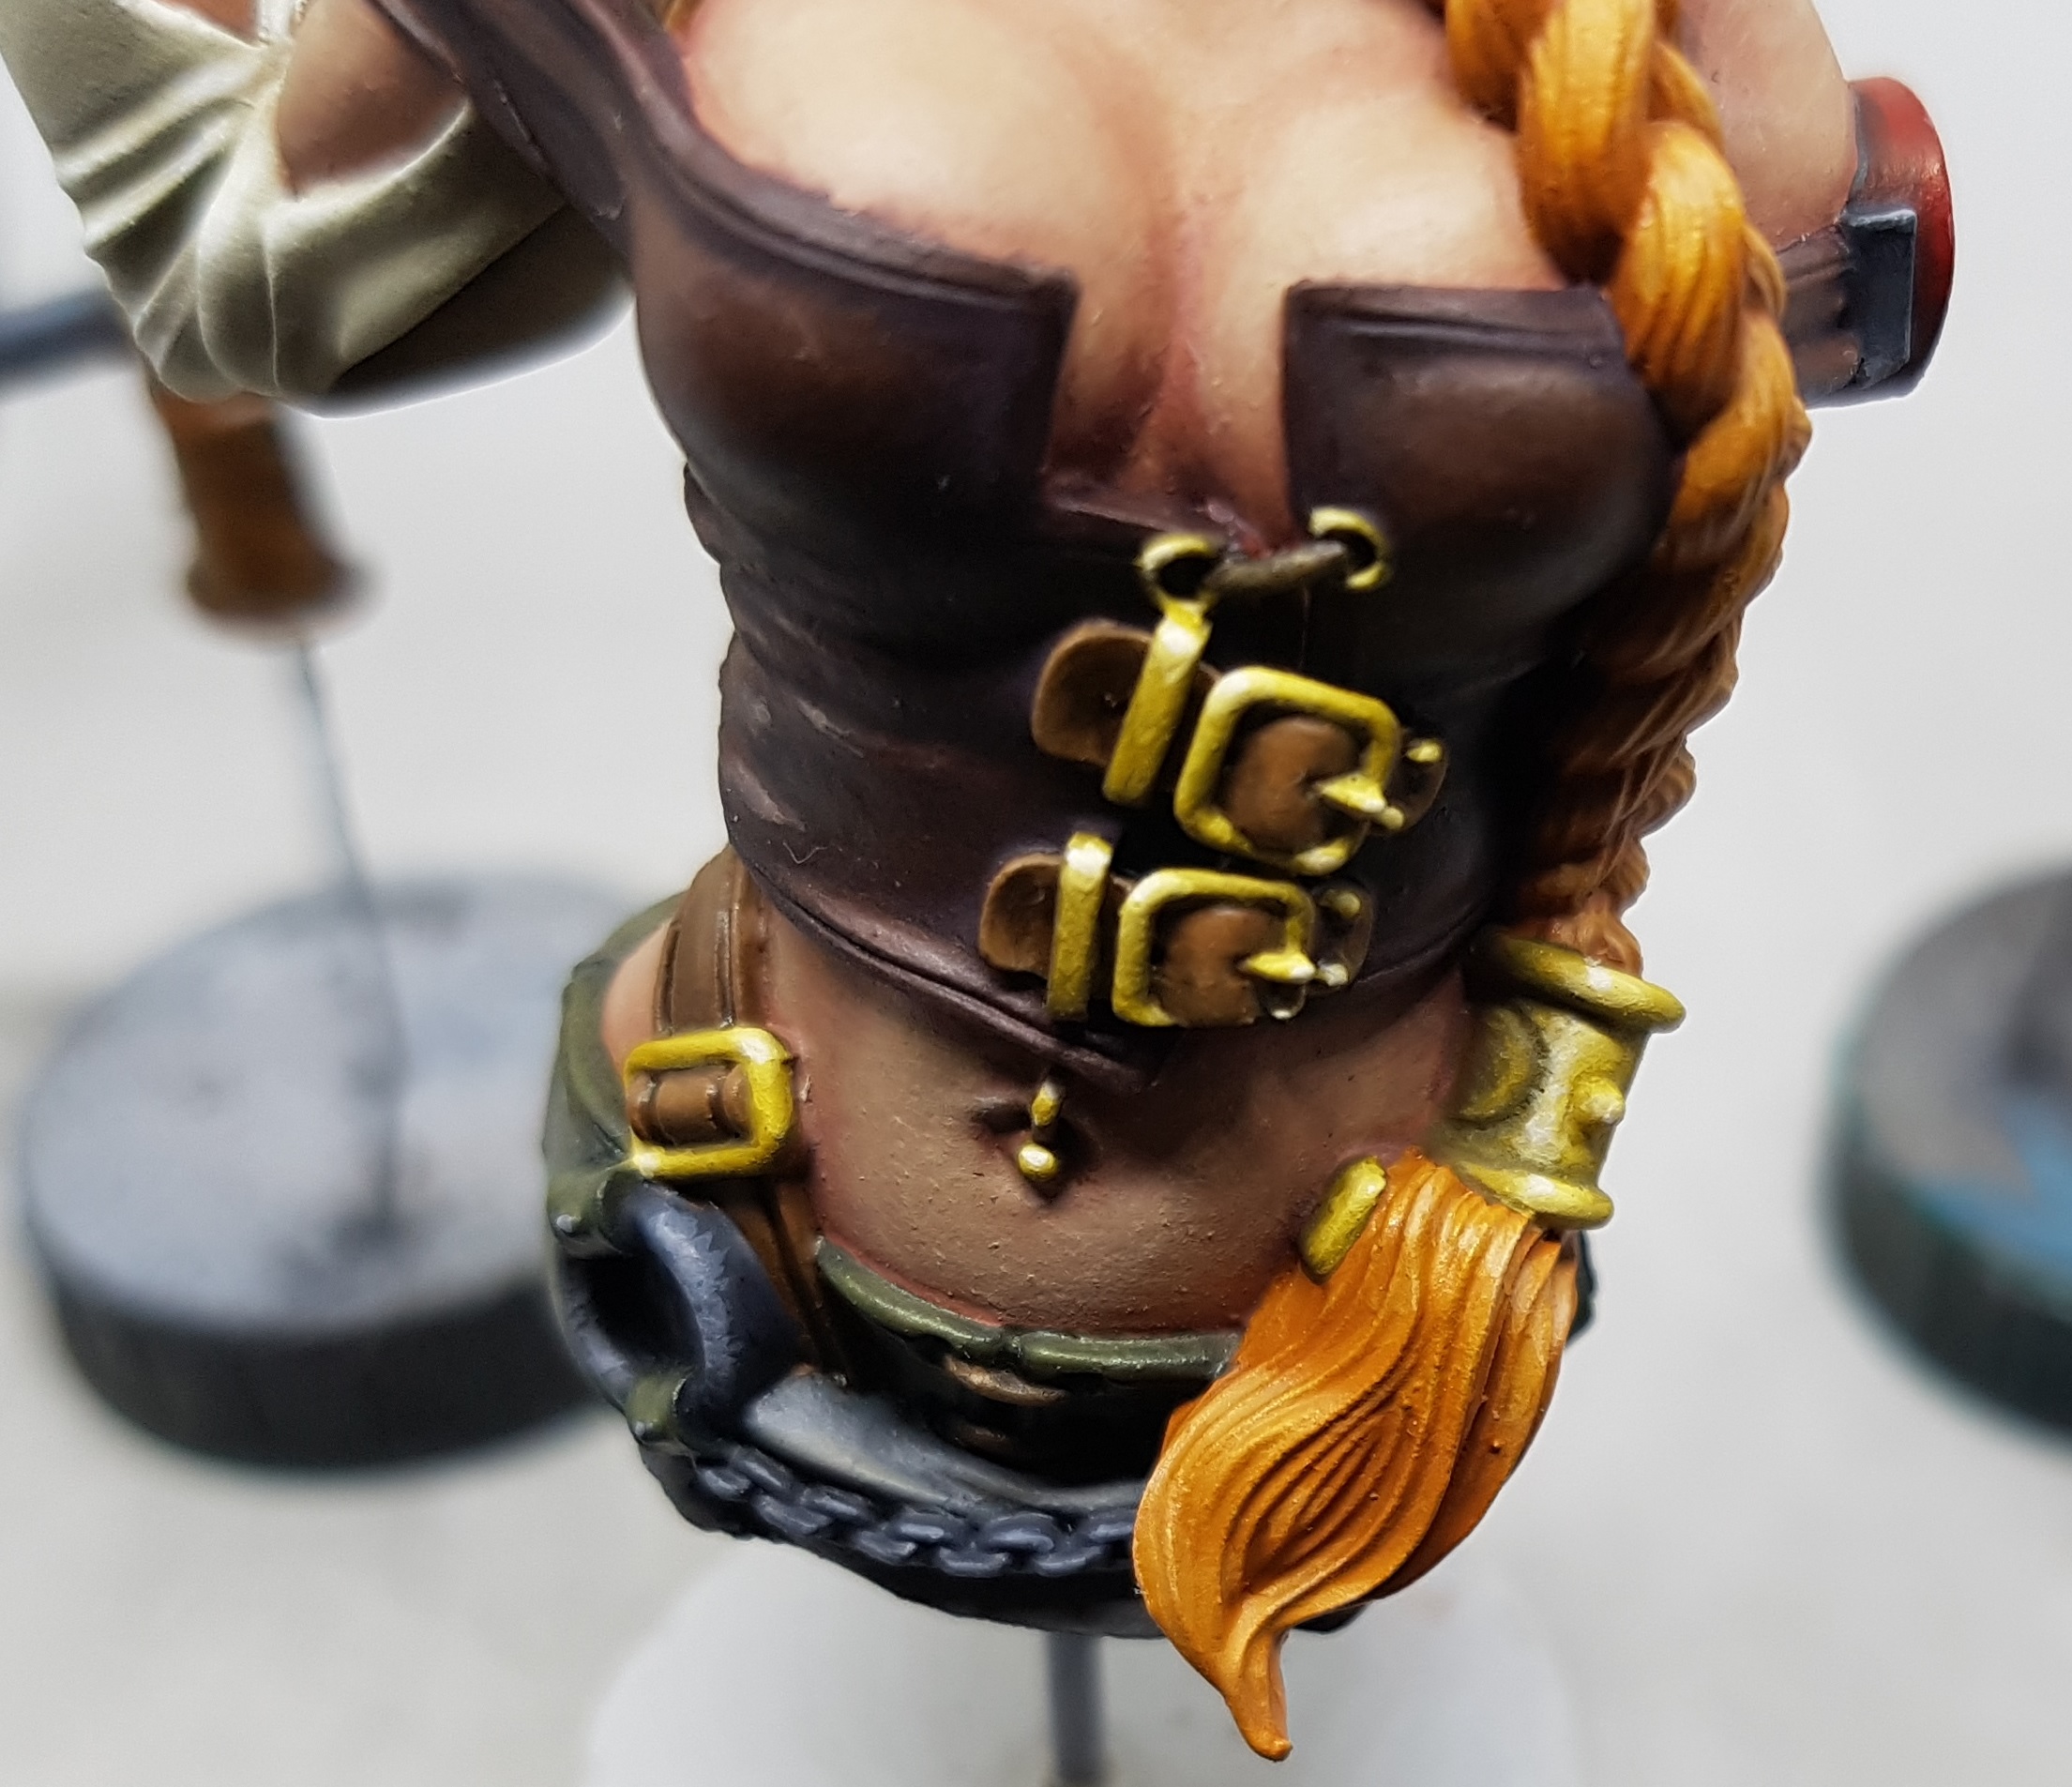
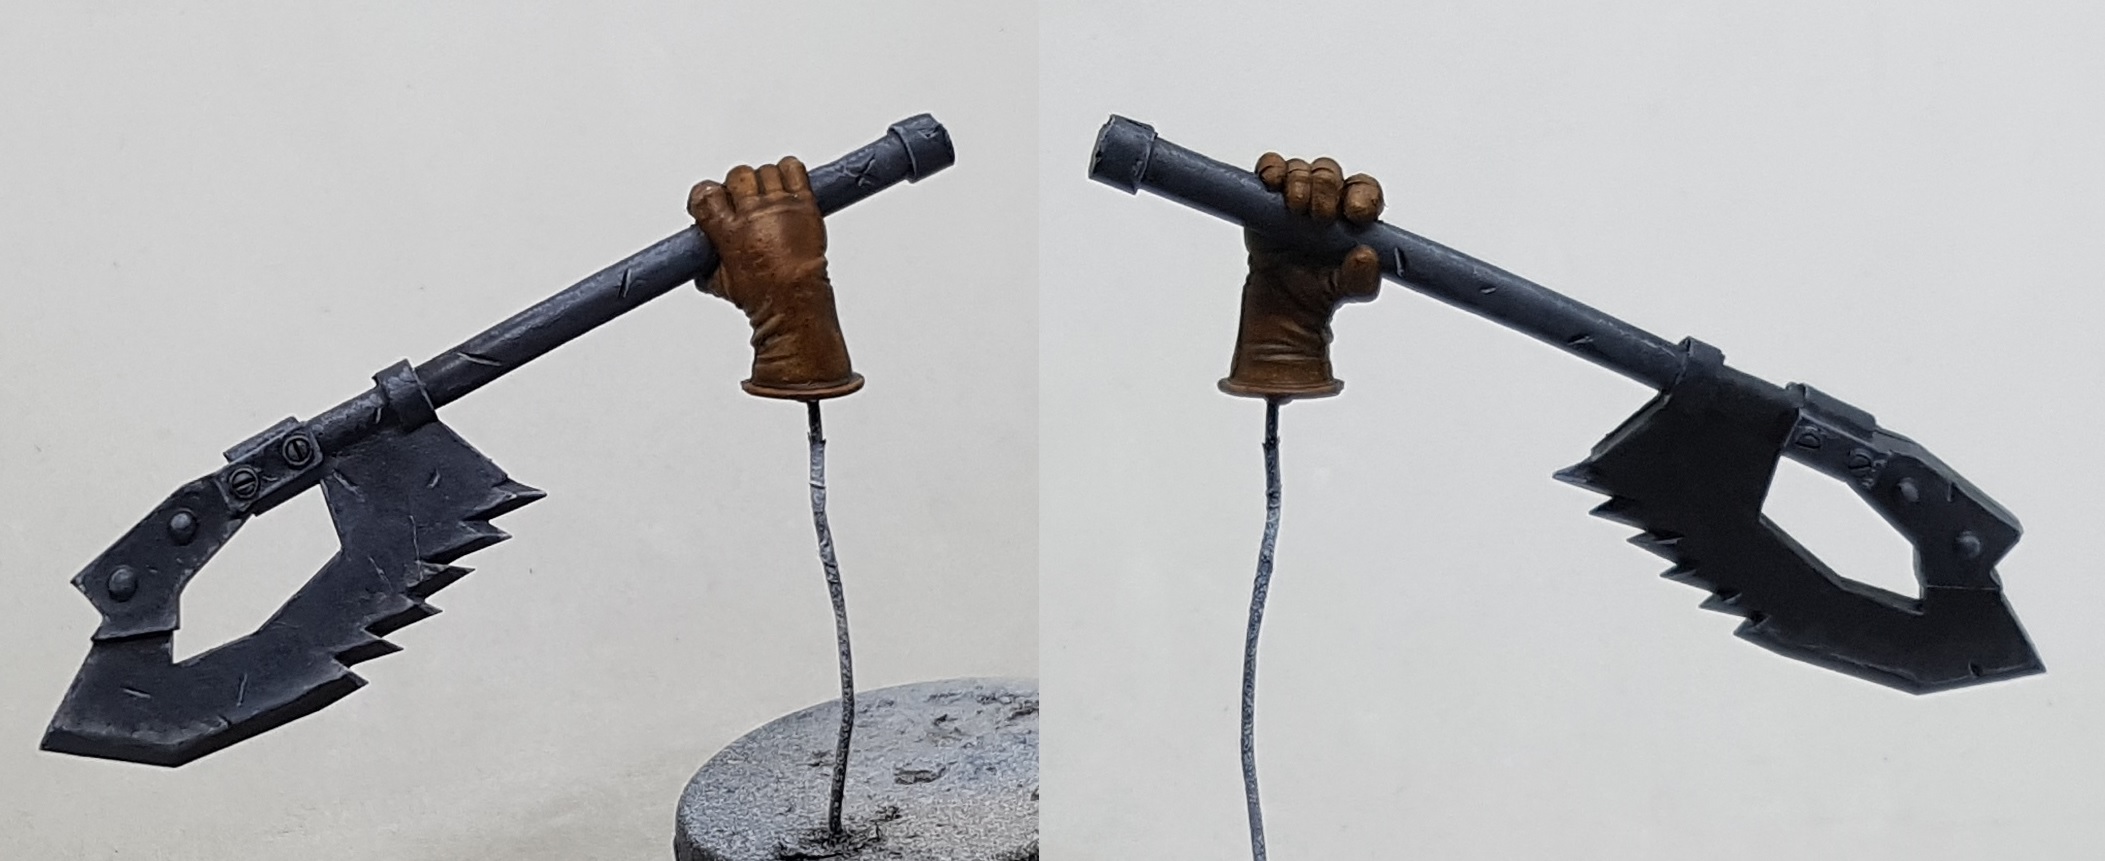 I painted my nuts and did the nuln oil and edge highlight bits. This just leaves the chain, the arm band and the shoulder mounted guild symbol. Then i might mix up 50/50 dark grey / dark prussian blue and apply a dark shade where plates join, like Mr Giraldez advises.
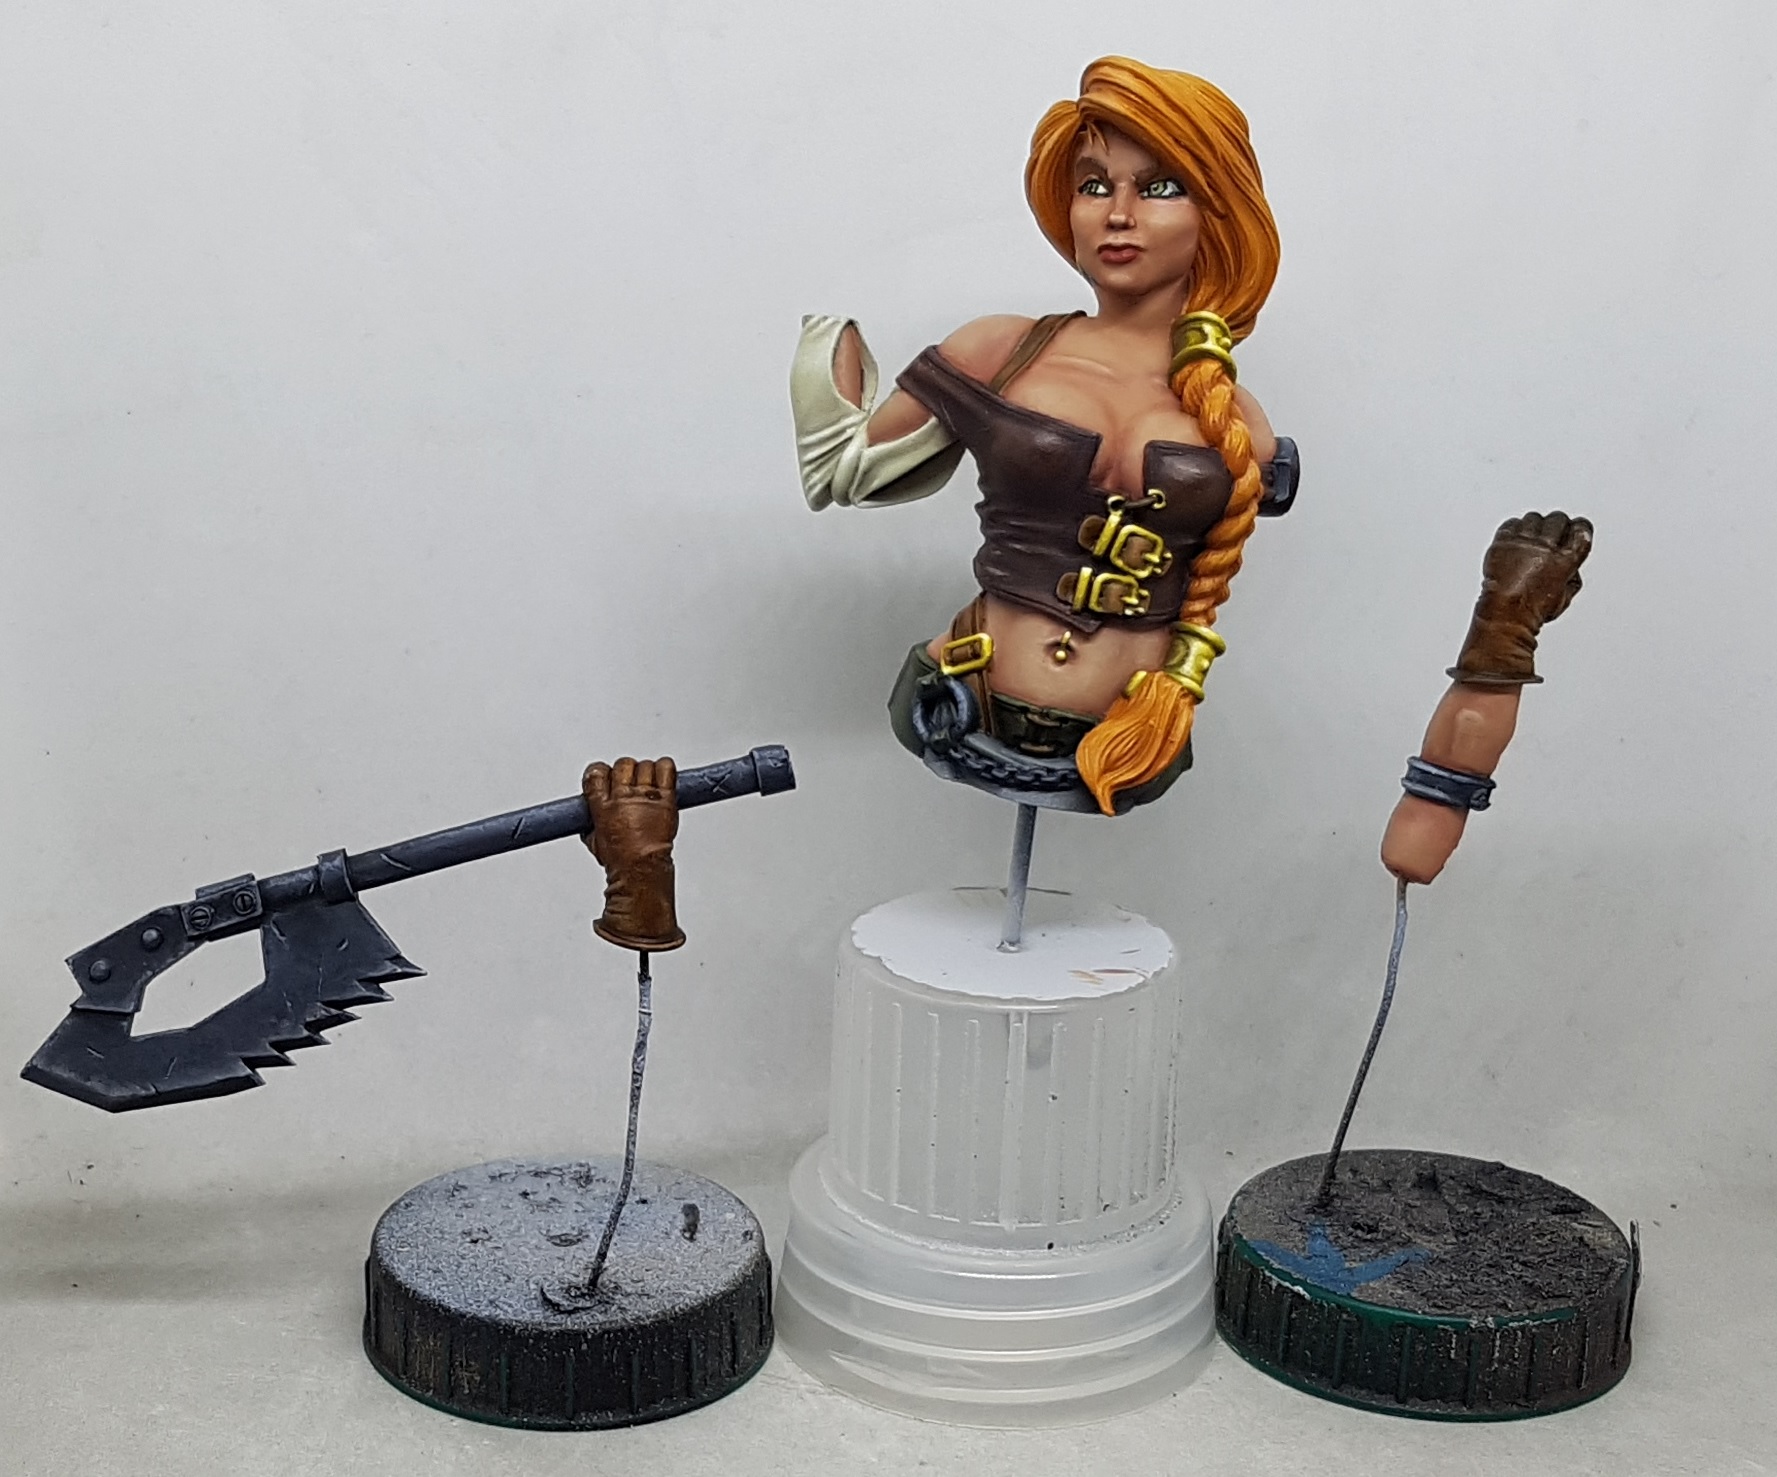 Work done on the remaining metal parts. I tried the 50/50 blue/grey mix and didnt like it so i went with a nuln oil line along any overlaping plates For anyone curious, I started the NMM at about 10.30AM and finished it about 7.30pm. Bear in mind I got everything before the gold done in 3.5 days, so its taken the longest of all the colours by far.
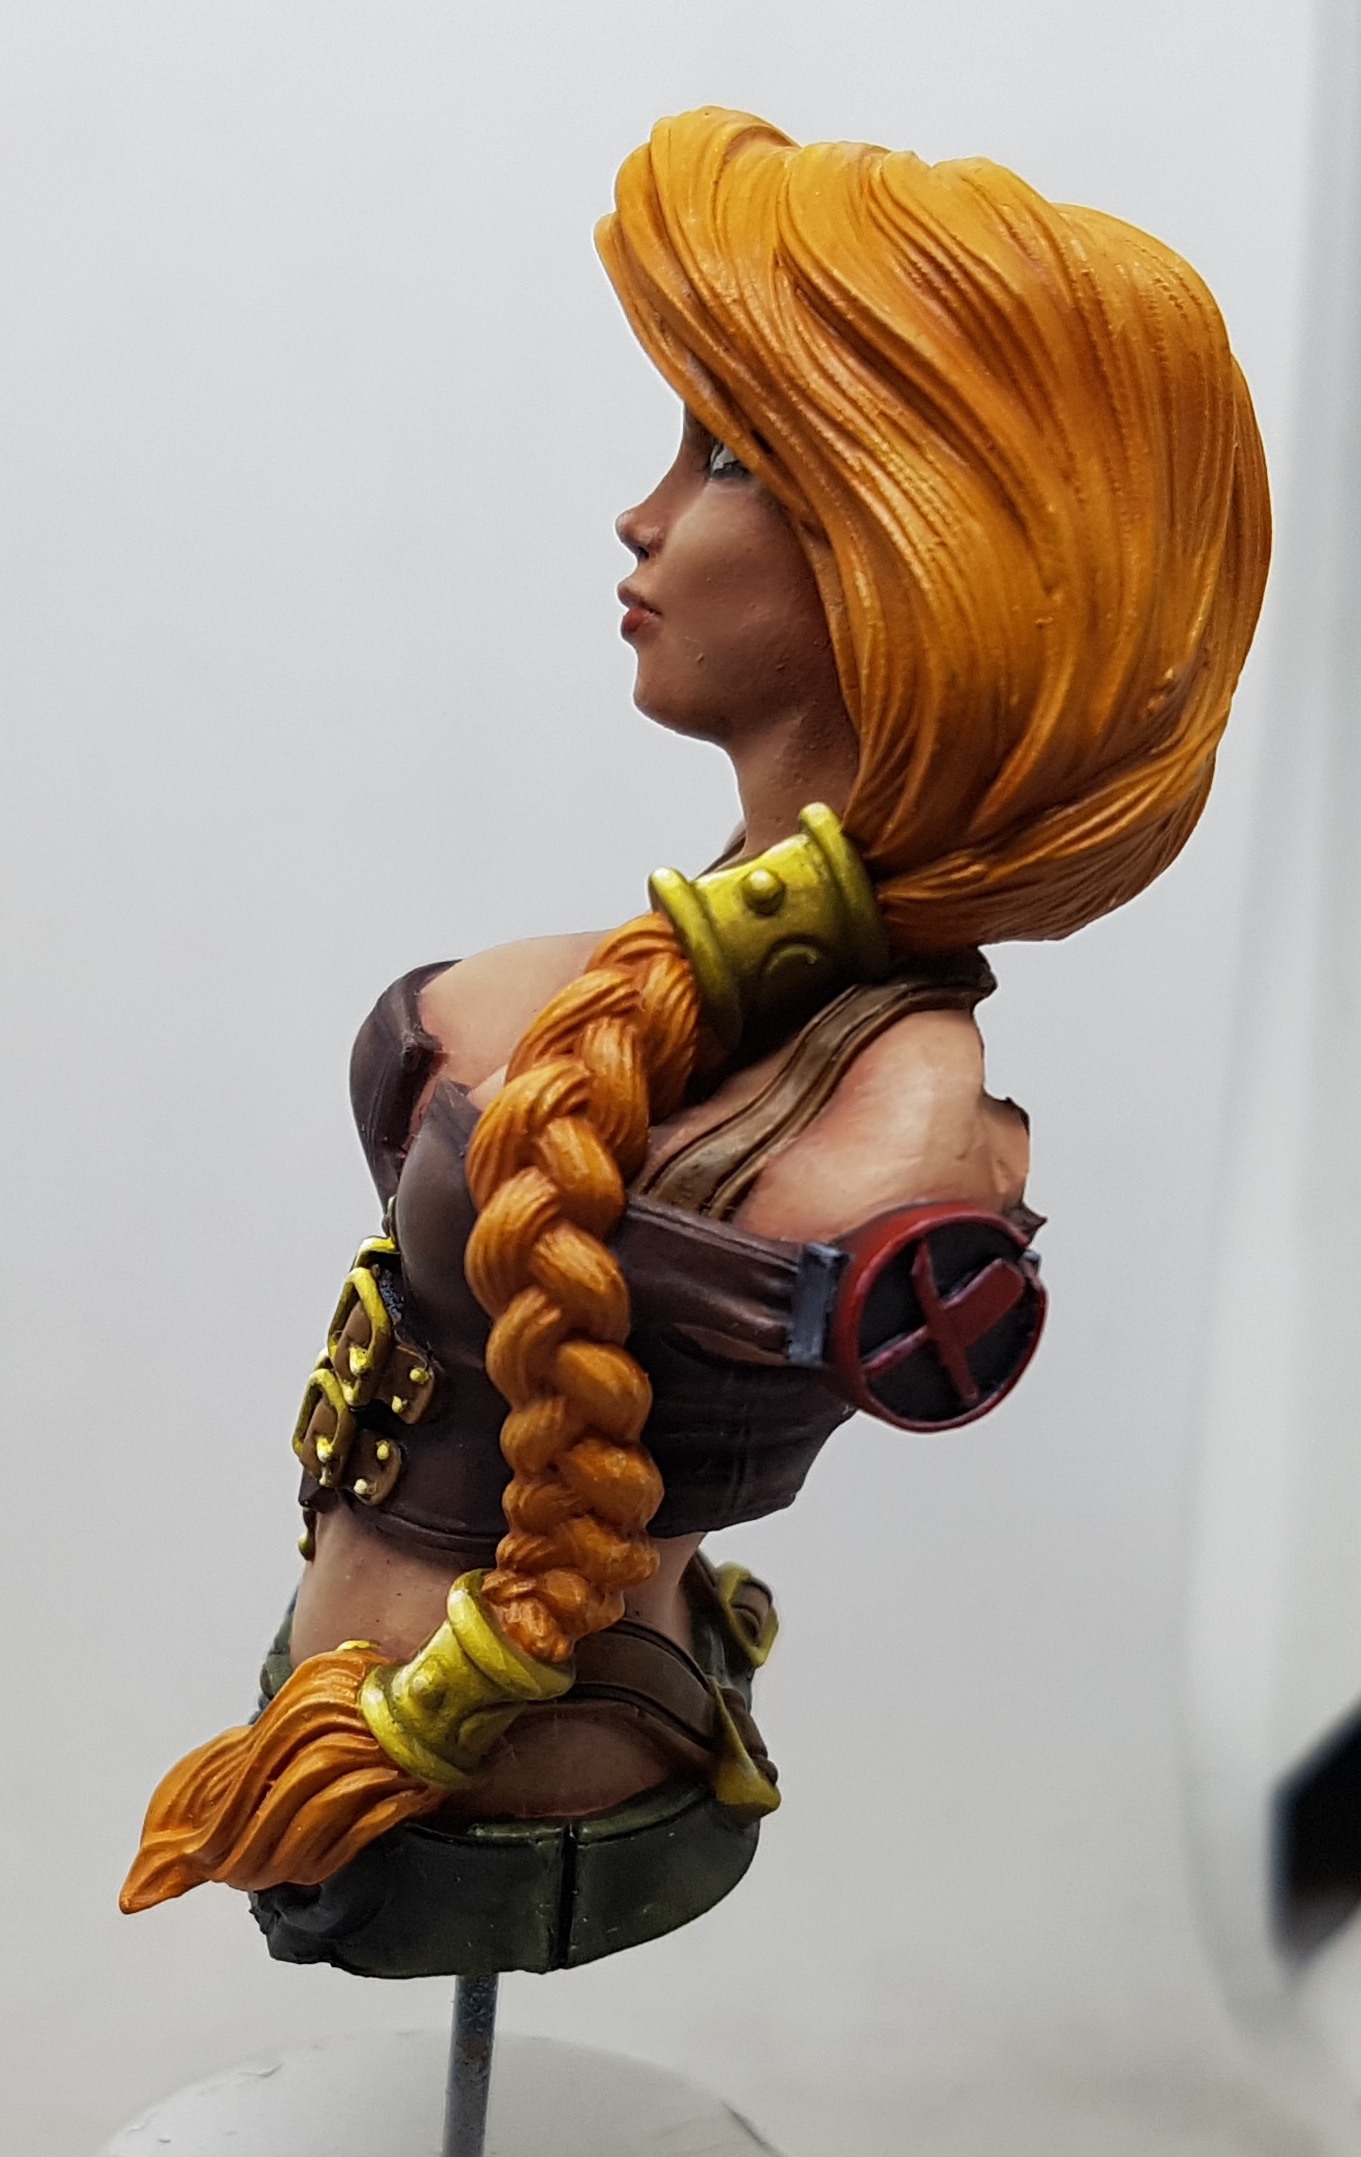
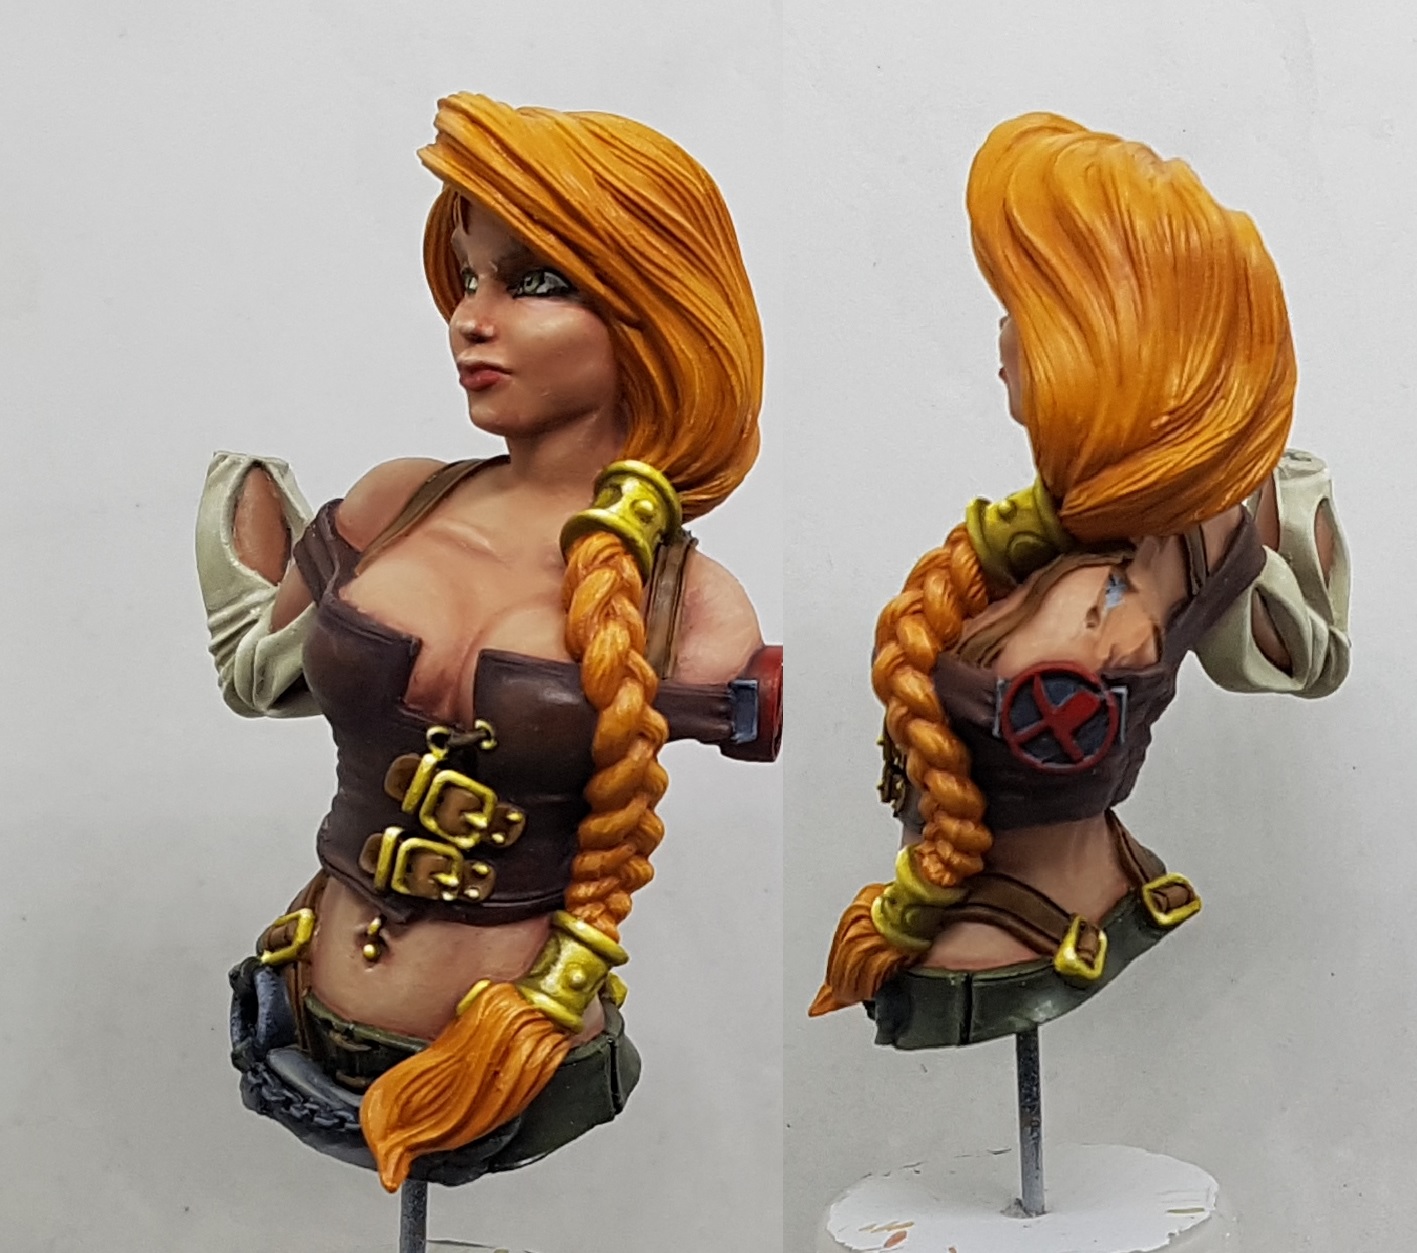 I just took 2 red, smeared them in to each other and painted the insignia. I'm going for the look of, "It's metal, but the bits facing out have been painted red" look.
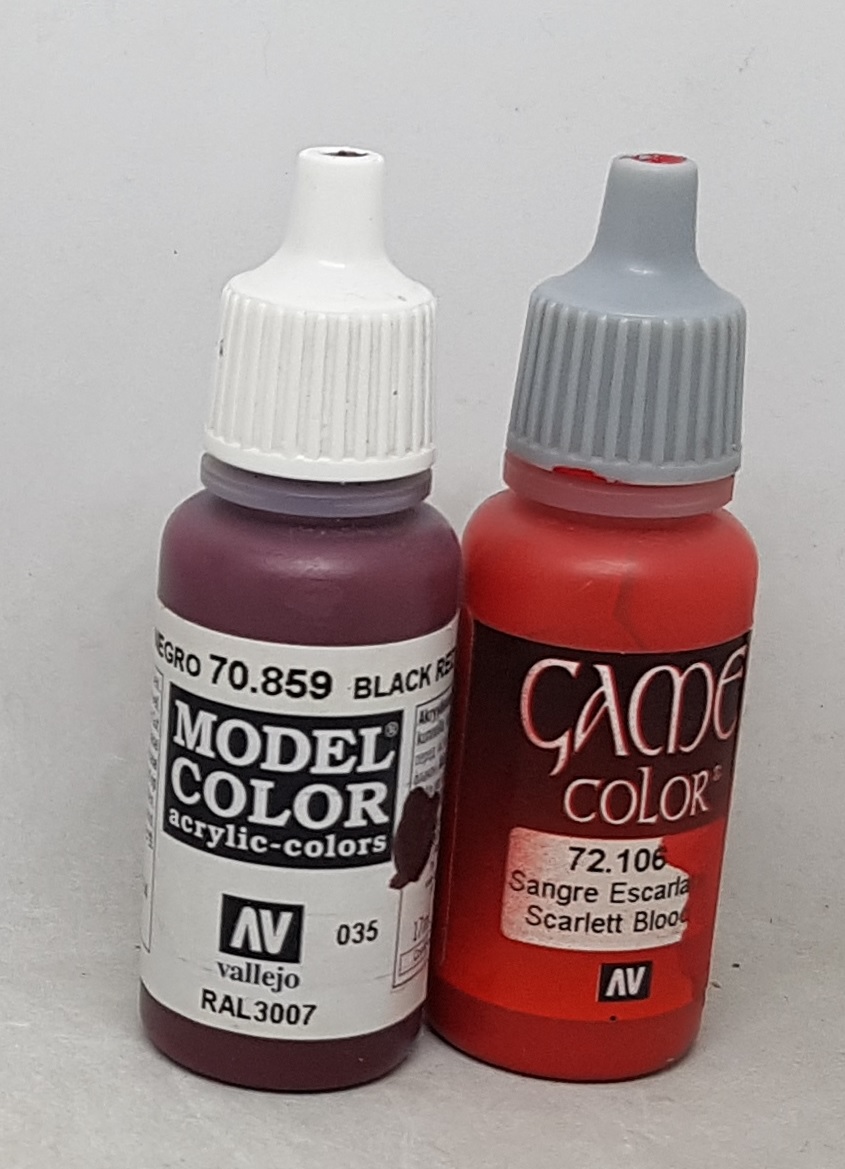 The two paints used on the insignia
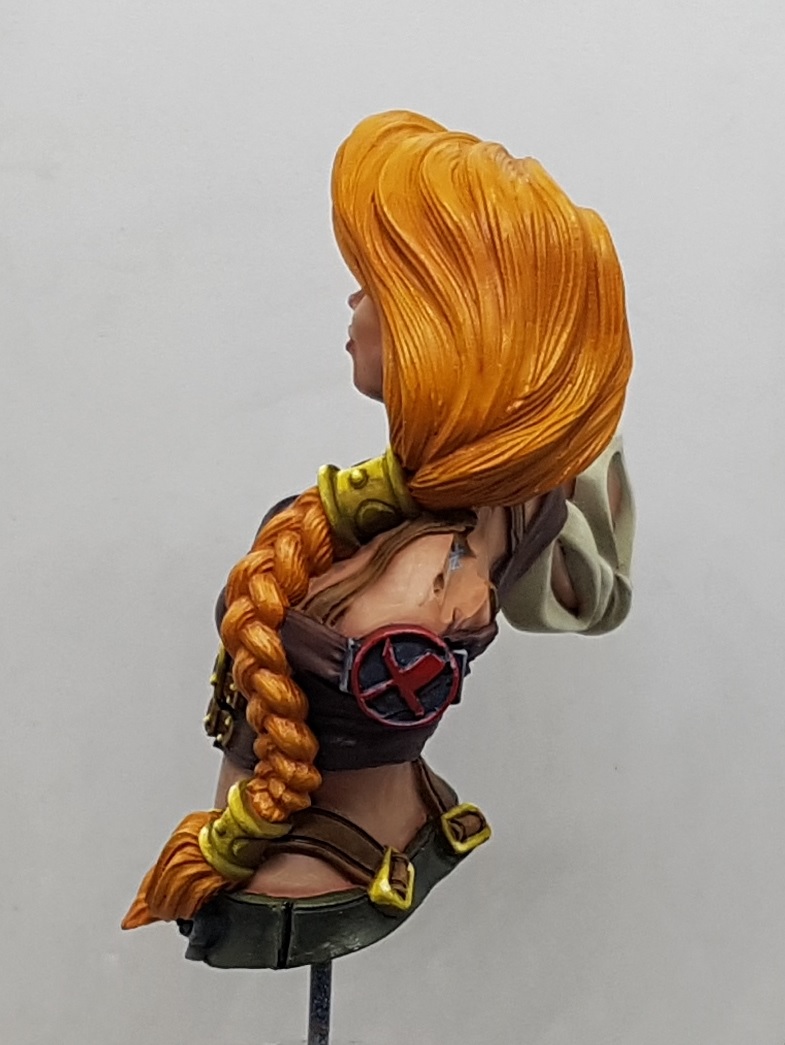 Posting the above pi and seeing it here made me realise I needed to go one step further. I mixed a little white with a little Scarlett Blood and edge highlighted where apropriate.
Am I done now? I think I might be done? What do you think?
Am I done, or should I revist the gold on the hair things? What are they called, anyway? I’m happier with the gold right now than I have been, but I could perhaps do better. I have some IRL comparrisons now and a better understanding of nmm. I could also make it worse, or slip or spill and ruin the whole piece. Its taken me all day to do the iron so theres many hours to redo the gold, or I could take the win, be happy and move on to something else?
The Handsome Plinth
I’m no woodcrafter and I don’t want to spend £10 on a plinth when that money could go towards more plastic crack so I’m going to make my own plinth out of trash. This can take a few days of drying time so start this early on. Here’s how:
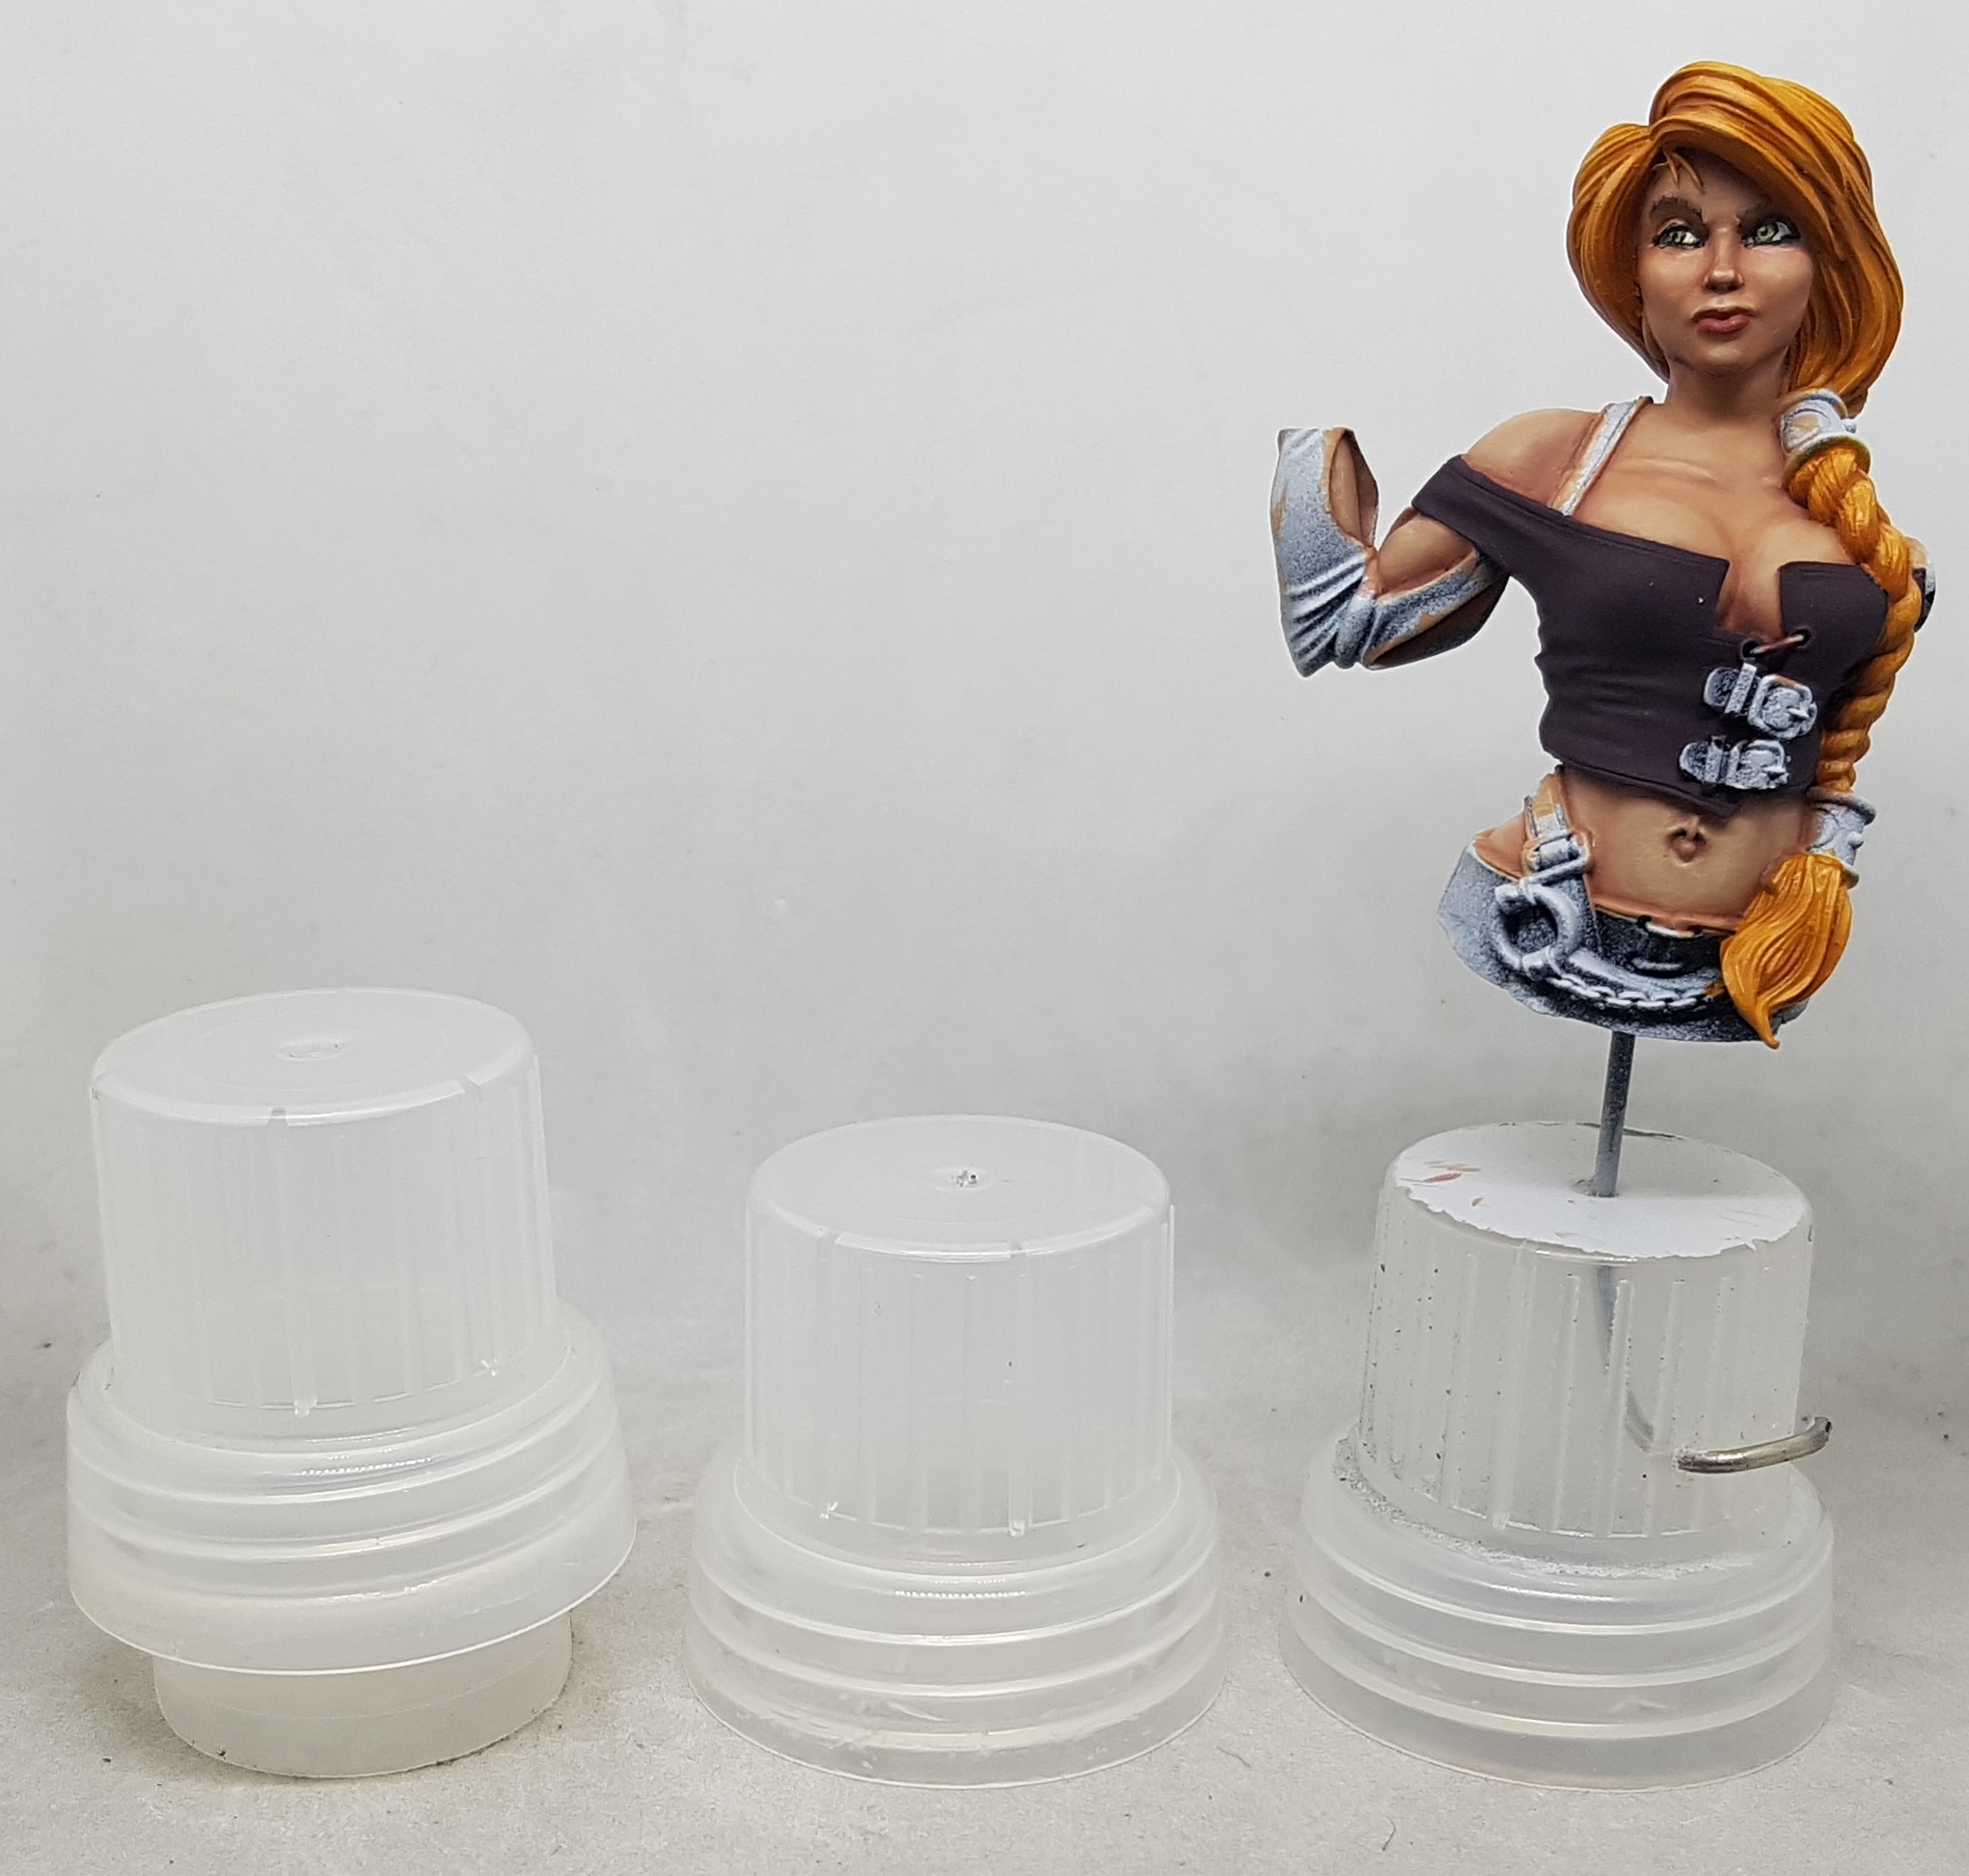 I start with the top from a bottle of washing liquid (Surf). Give it a thorough wash, then cut the inside part out. I use scissors to cut shark teeth in to it and then cut them out in chunks. It's easier than cutting around in one pass.
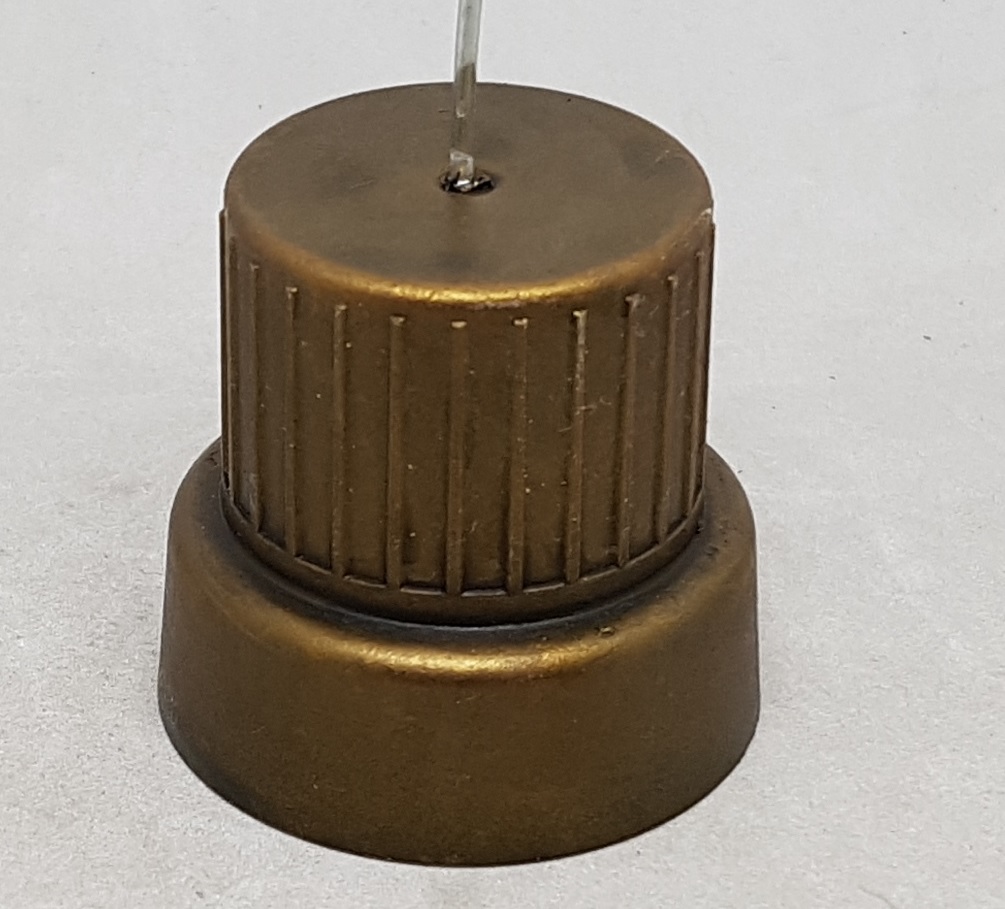 I then paint it up to look like brass
Brass recipe used:
Prime Black – The cap was transparent. To reinforce the black I also primed inside the cap as it wasn’t going on as solid as I’d expected.
Base coat Darkstar Blackened Bronze
Drybrush Darkstar Bronze
Wash 50/50 Water / Secret Weapon Sewer Water
Wash again anywhere you want darker (Along the insdie of the step)
Drybrush Darkstar Bronze
Targetted wash of Secret Weapon Green-BlackWash only in the recesses. Inside the step again, and inside the botton of each of the lines along the outside of the top part
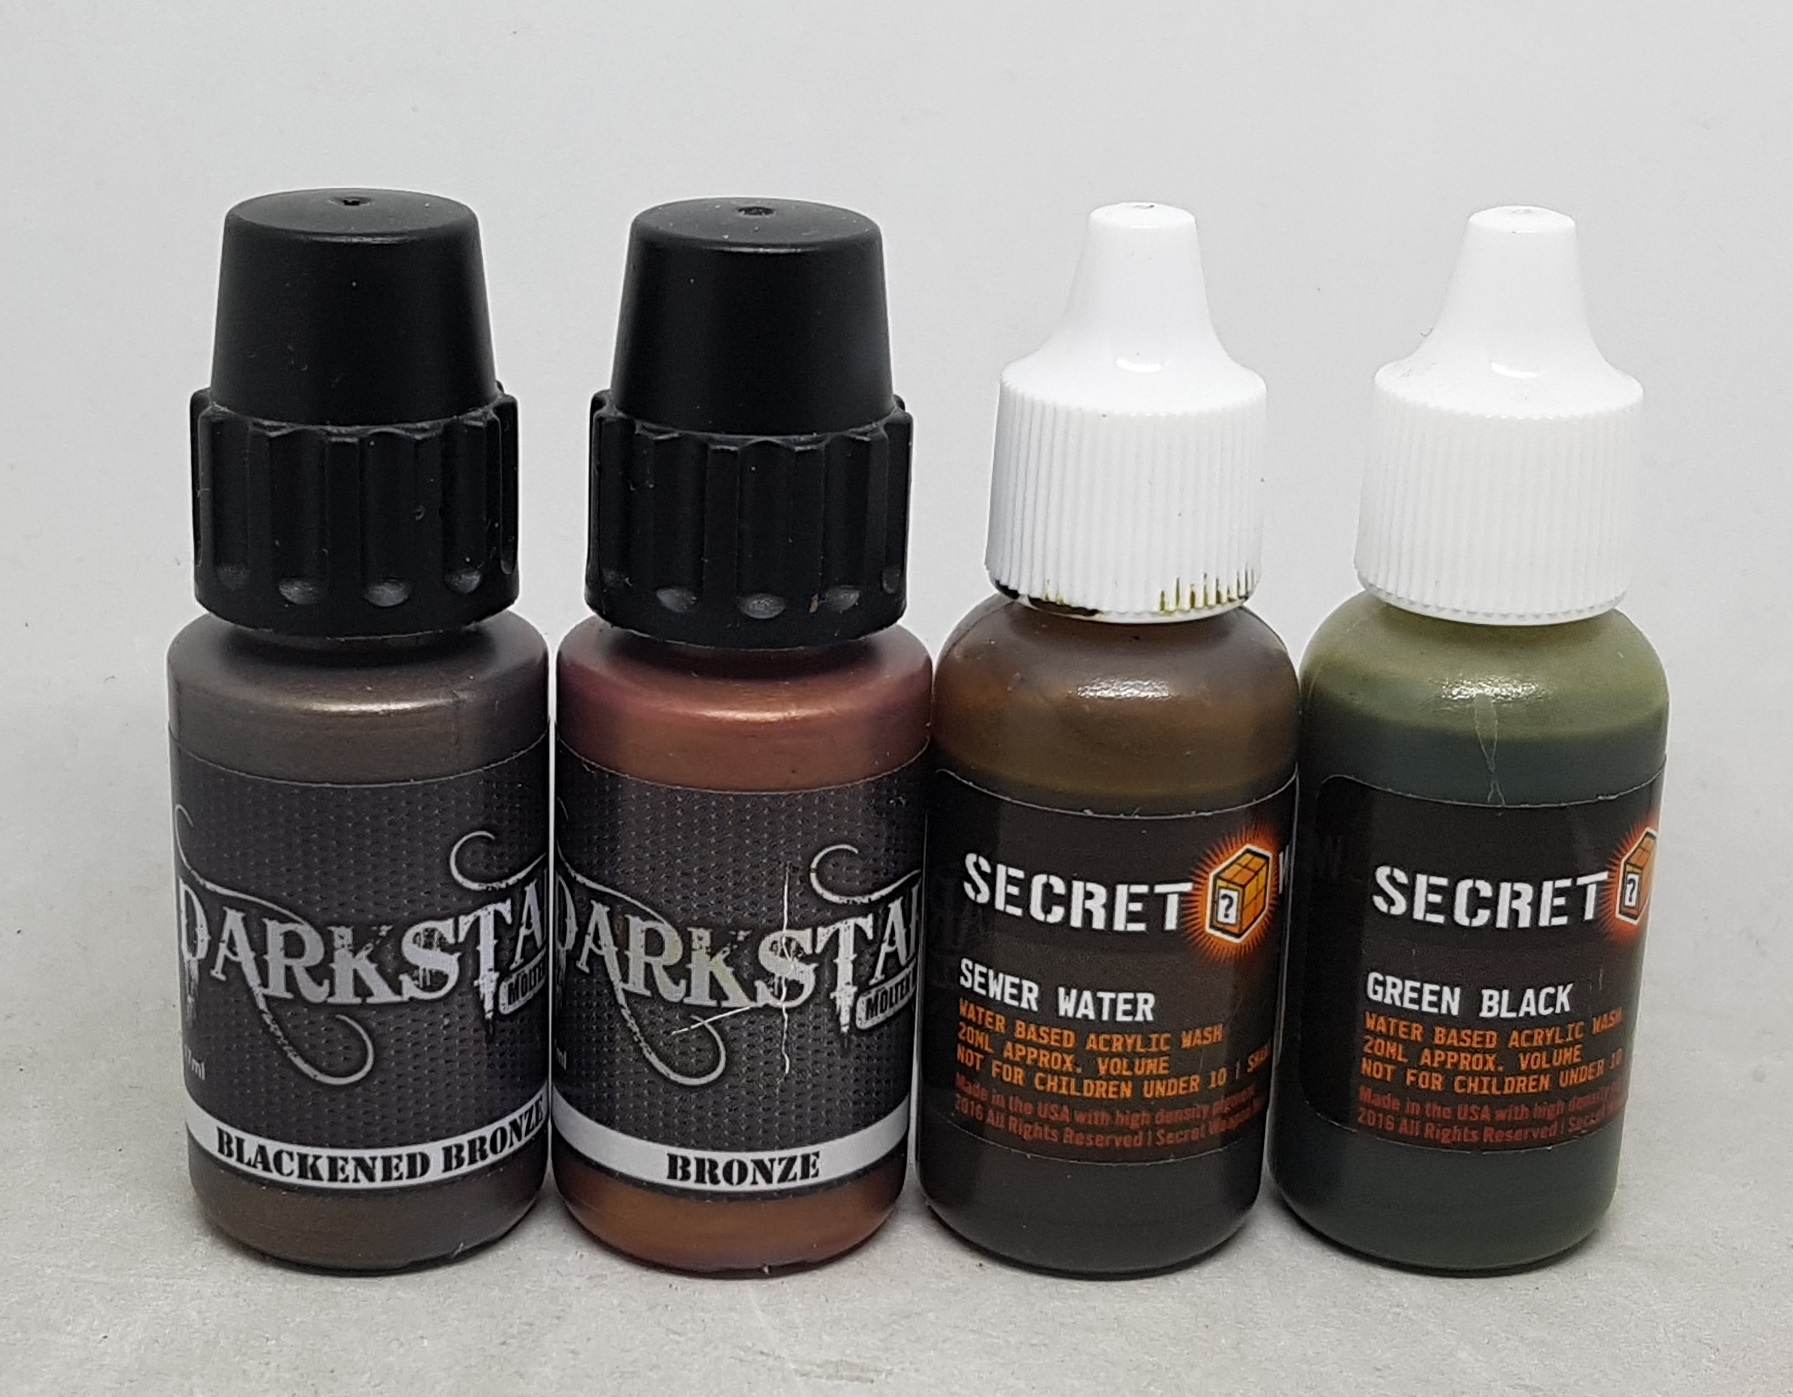 Paints used
 Once dry and ideally varnished, get a chonky paperclip and bend it in to an L shape like this using a couple of sets of pliers. The bottom of the L needs to be as big as it can be but still smaller than half the width of the top of the cap so it fits inside. Cut off the paperclip so it will be higher than you expect to need. You can always remove more, but you cannot add more. Drill a hole in the centre of the top of the cap and feed the paperclip through from underneath
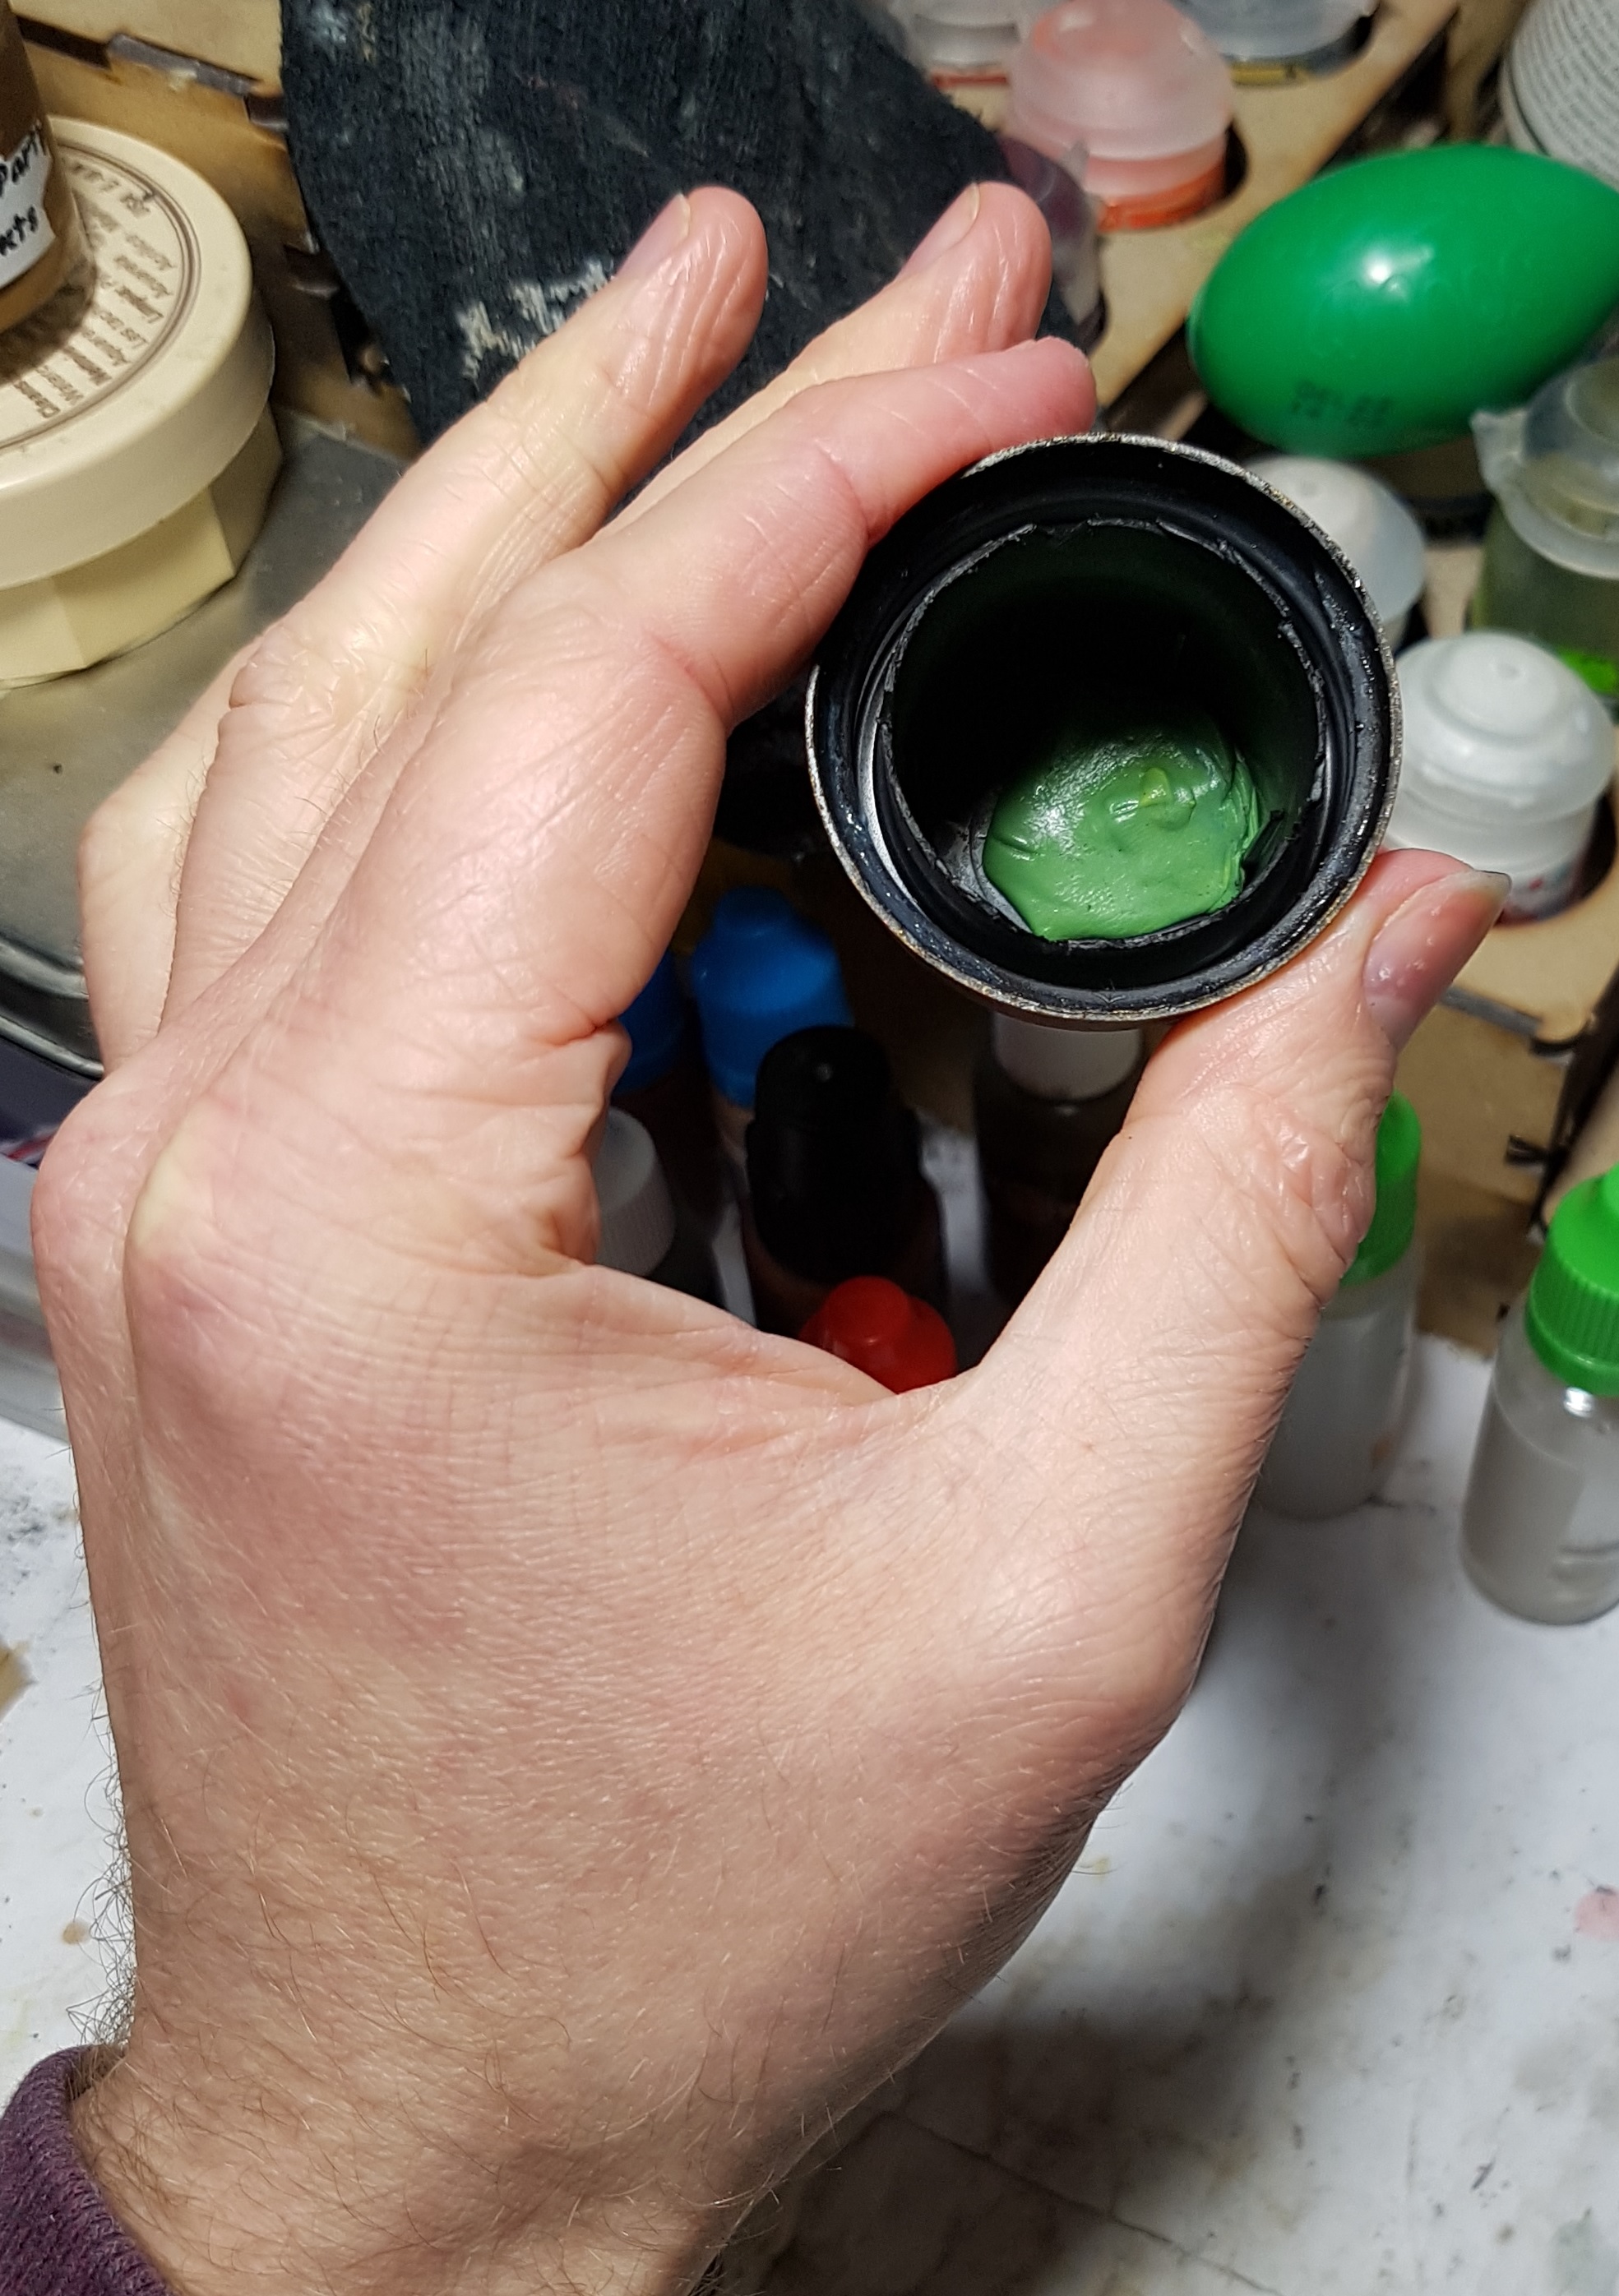 Mix up two lumps of green stuff. You want a little between the paperclip and the cap, and the bigger piece over all of the paperclip. This serves two purposes. To hold it in place and to block the hole so it is waterproof, to avoid leakage later. You could always leave it here.
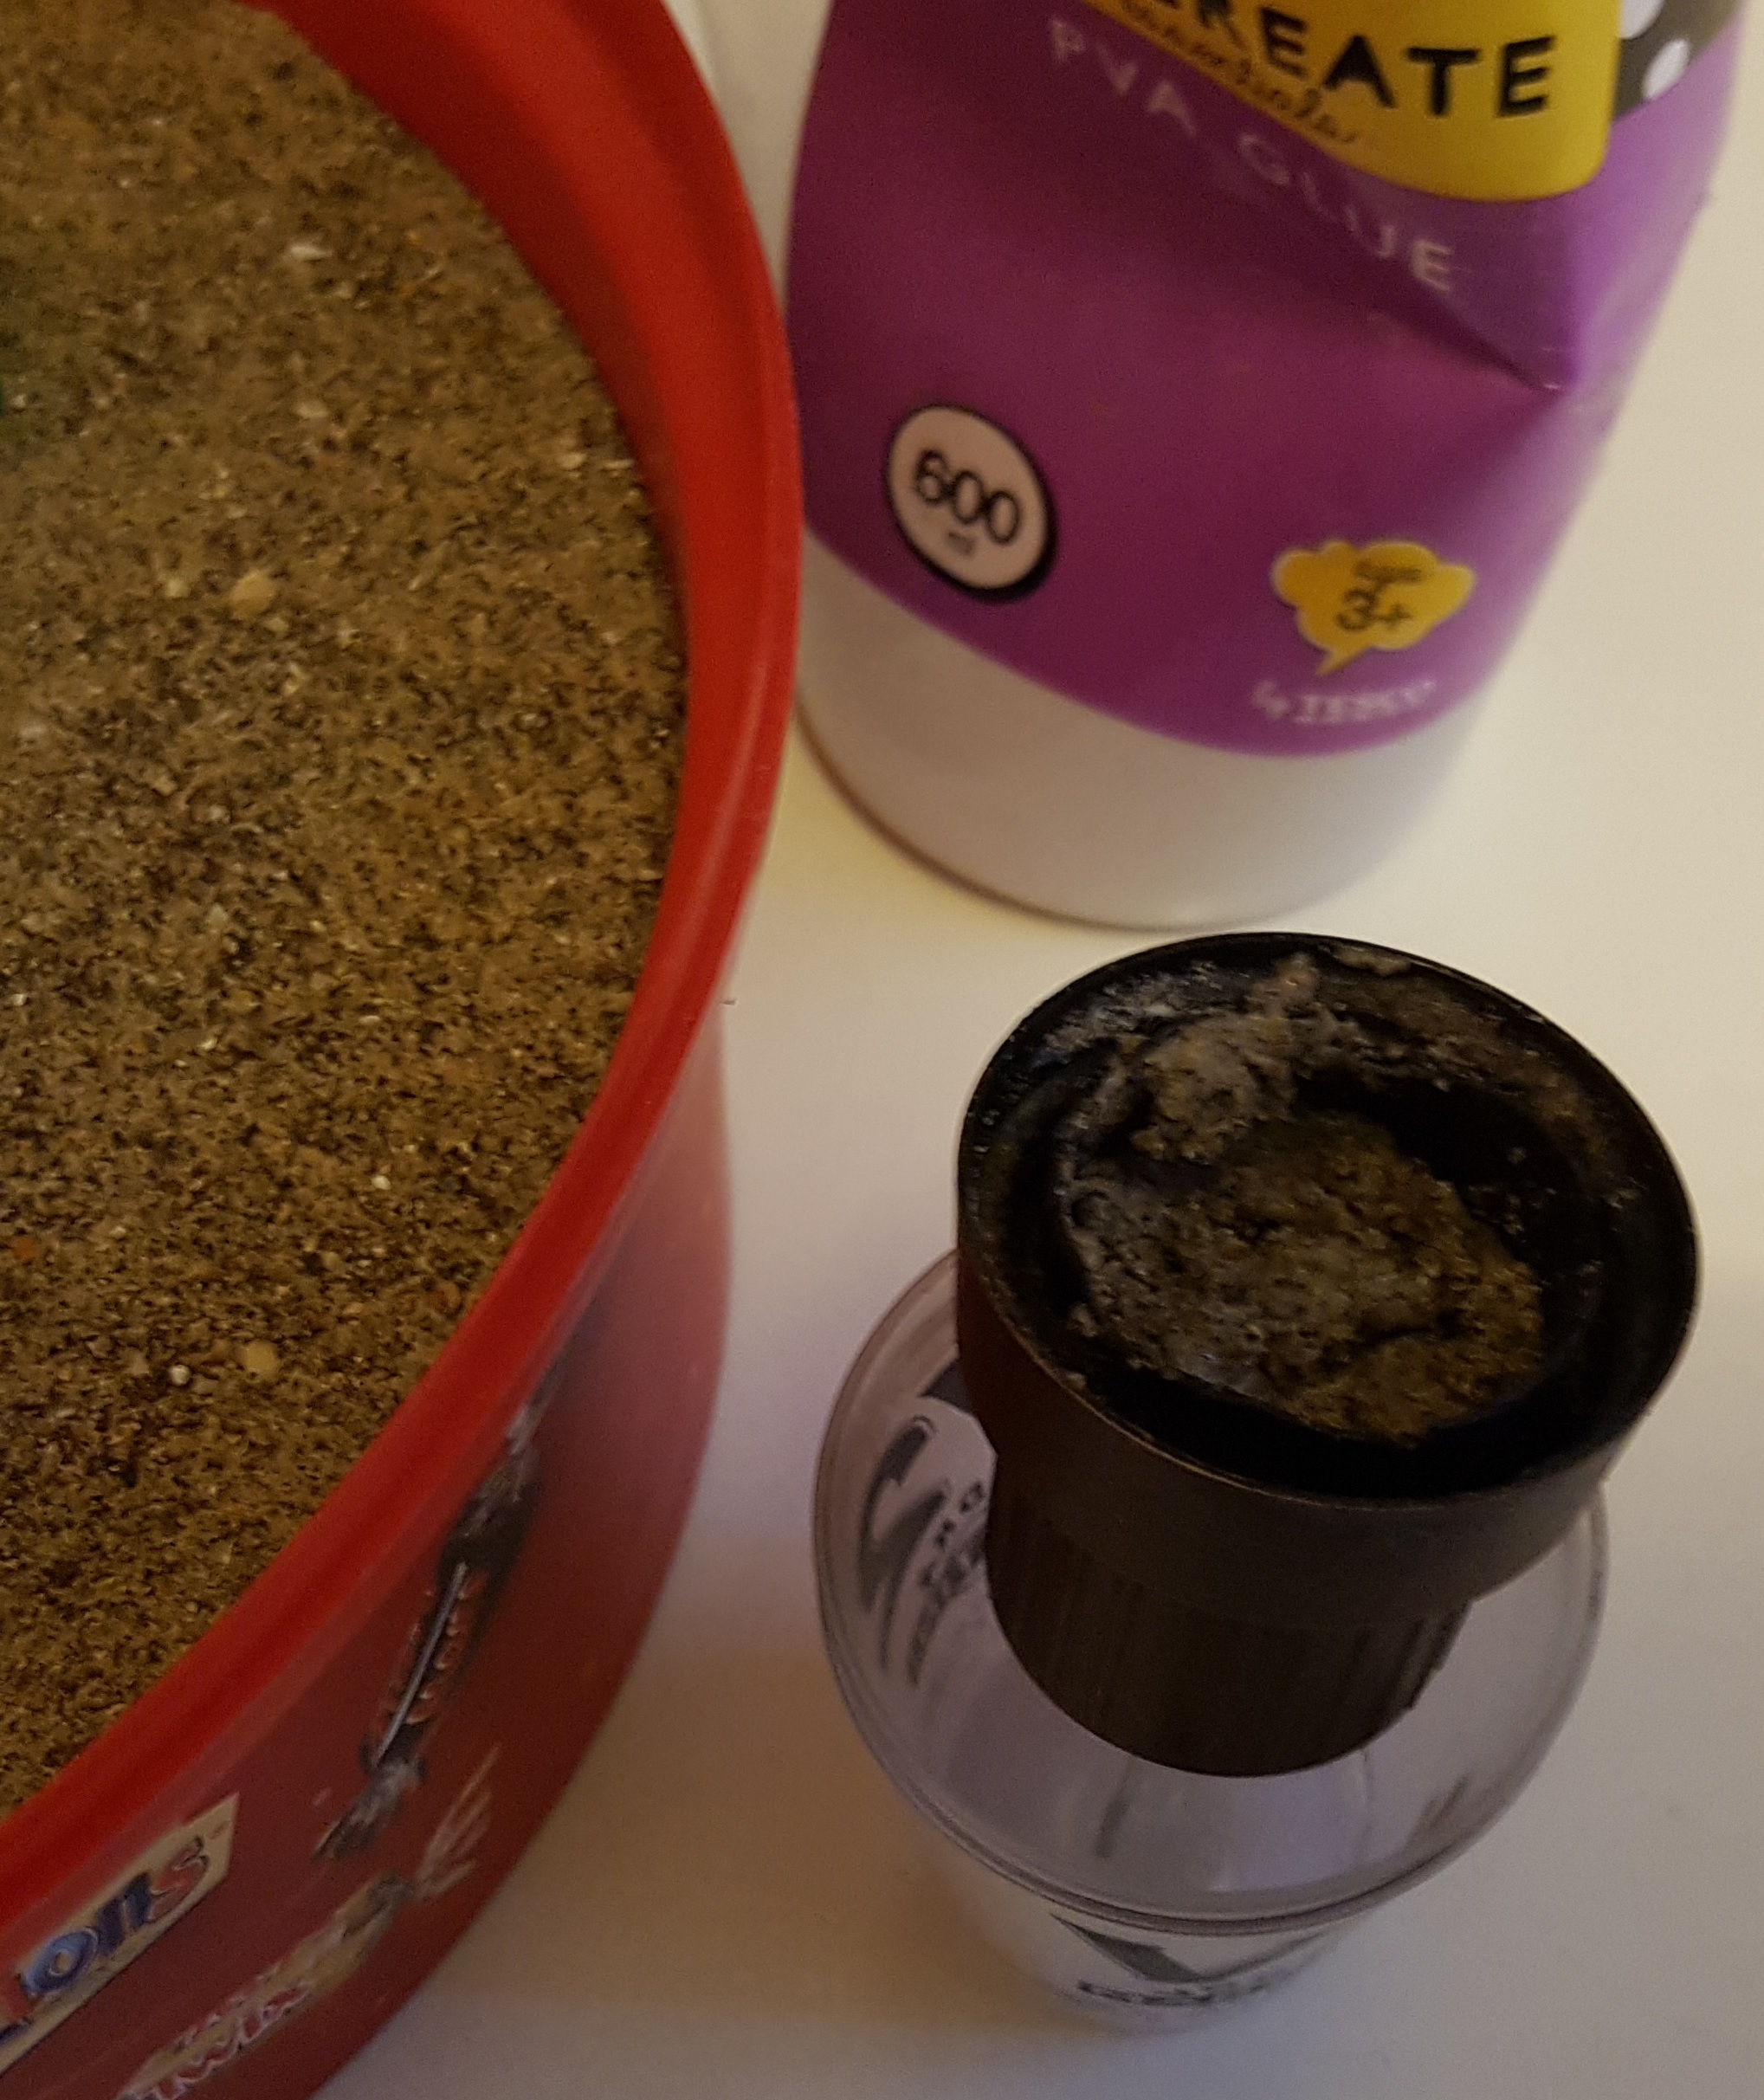 If you want to add extra strength so the paperclip doesn't come loose or you want to lower the centre of gravity so it is more stable once the bust is attached then mix up some water, pva, and glue inside the cap to make something akin to cement. Be careful not to get anything on the outside of the cap, and be careful if you clean anything off as sand is abrasive and can remove paint. Leave 24+ hours to dry. Mix up some water and PVA so it is watery and pour it on top so it soaks through the sand. Do not add so much that it pools. It will take forever to dry, and PVA contracts as it dries and will pull in the walls with it, warping them. This could take a few days to dry, but onces it is, it's ready for varnishing and use.
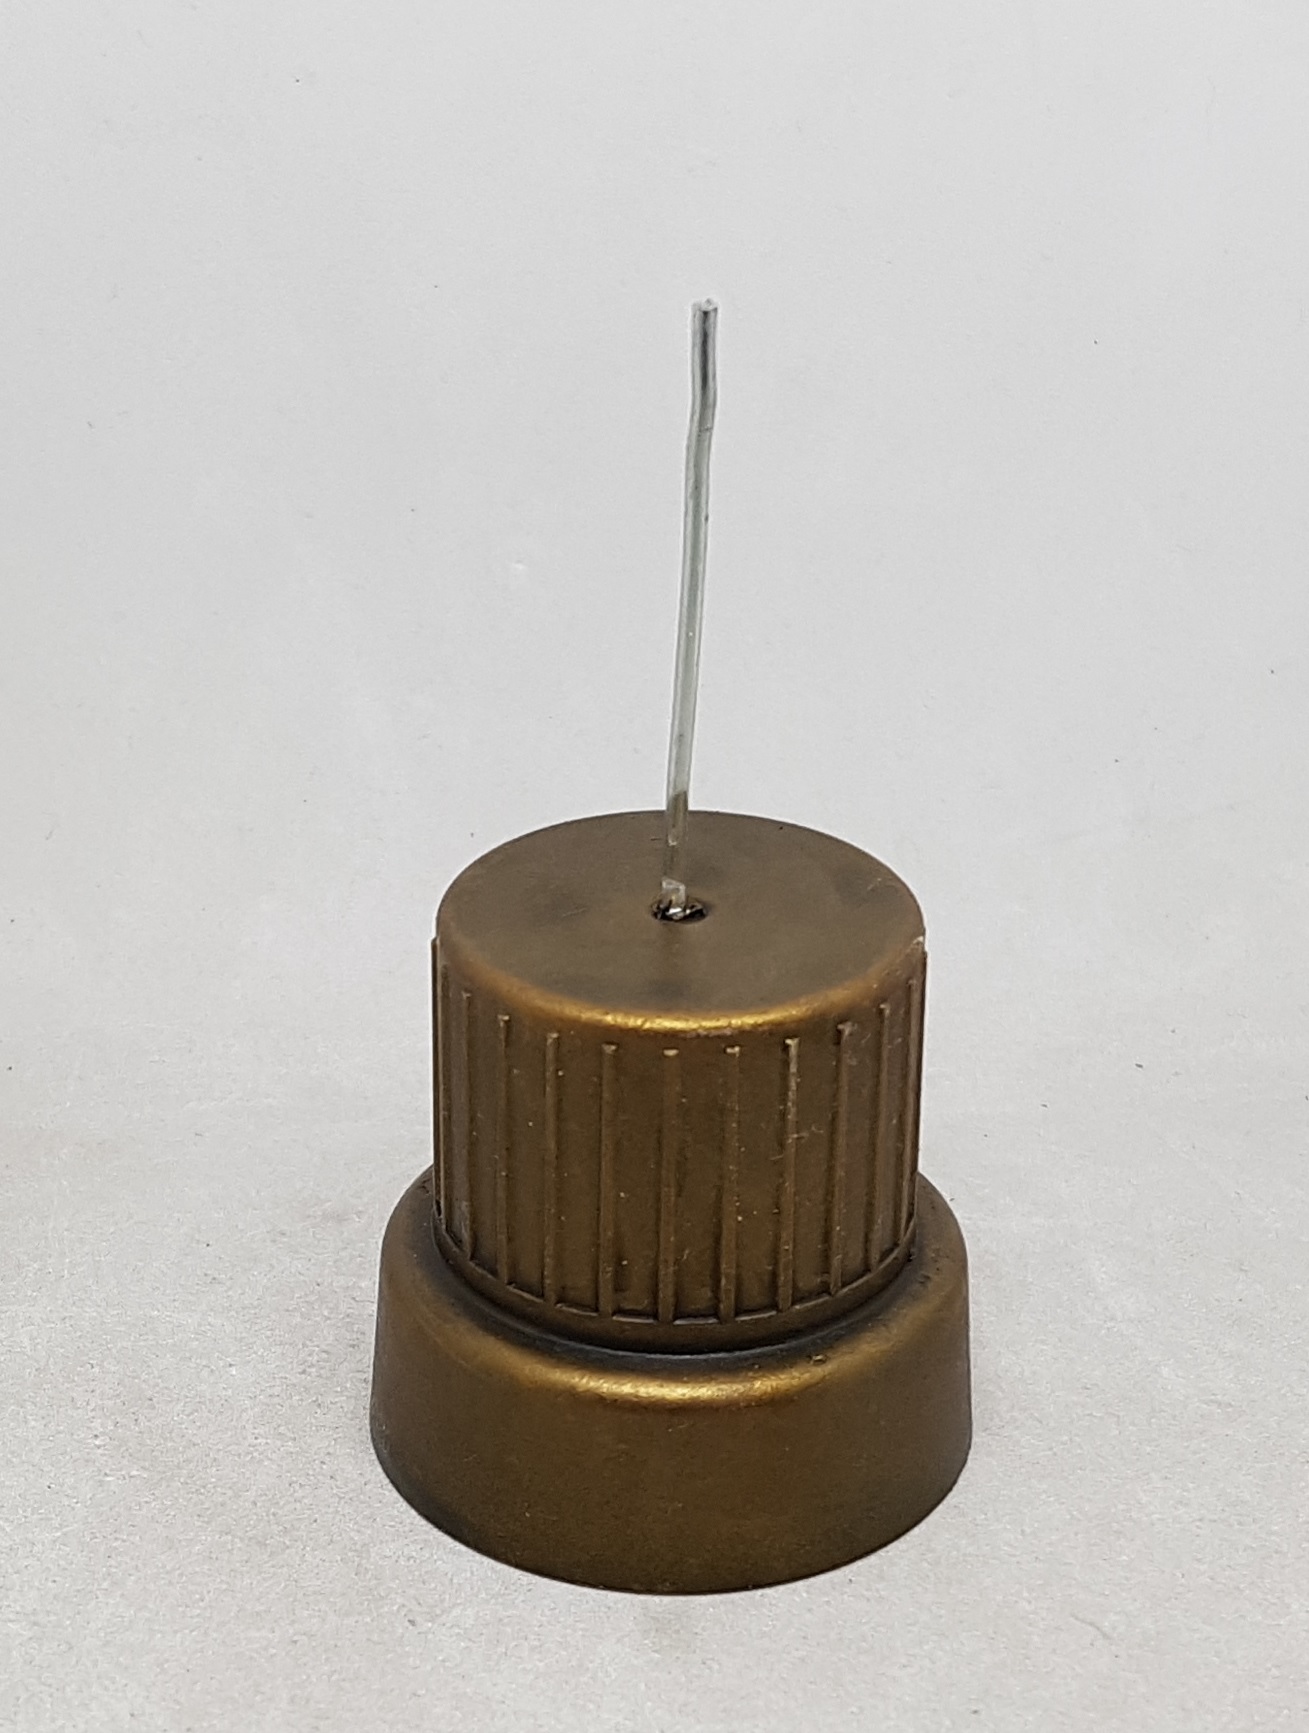 The final result.
Assembly and repairs
 Gah! Damage!
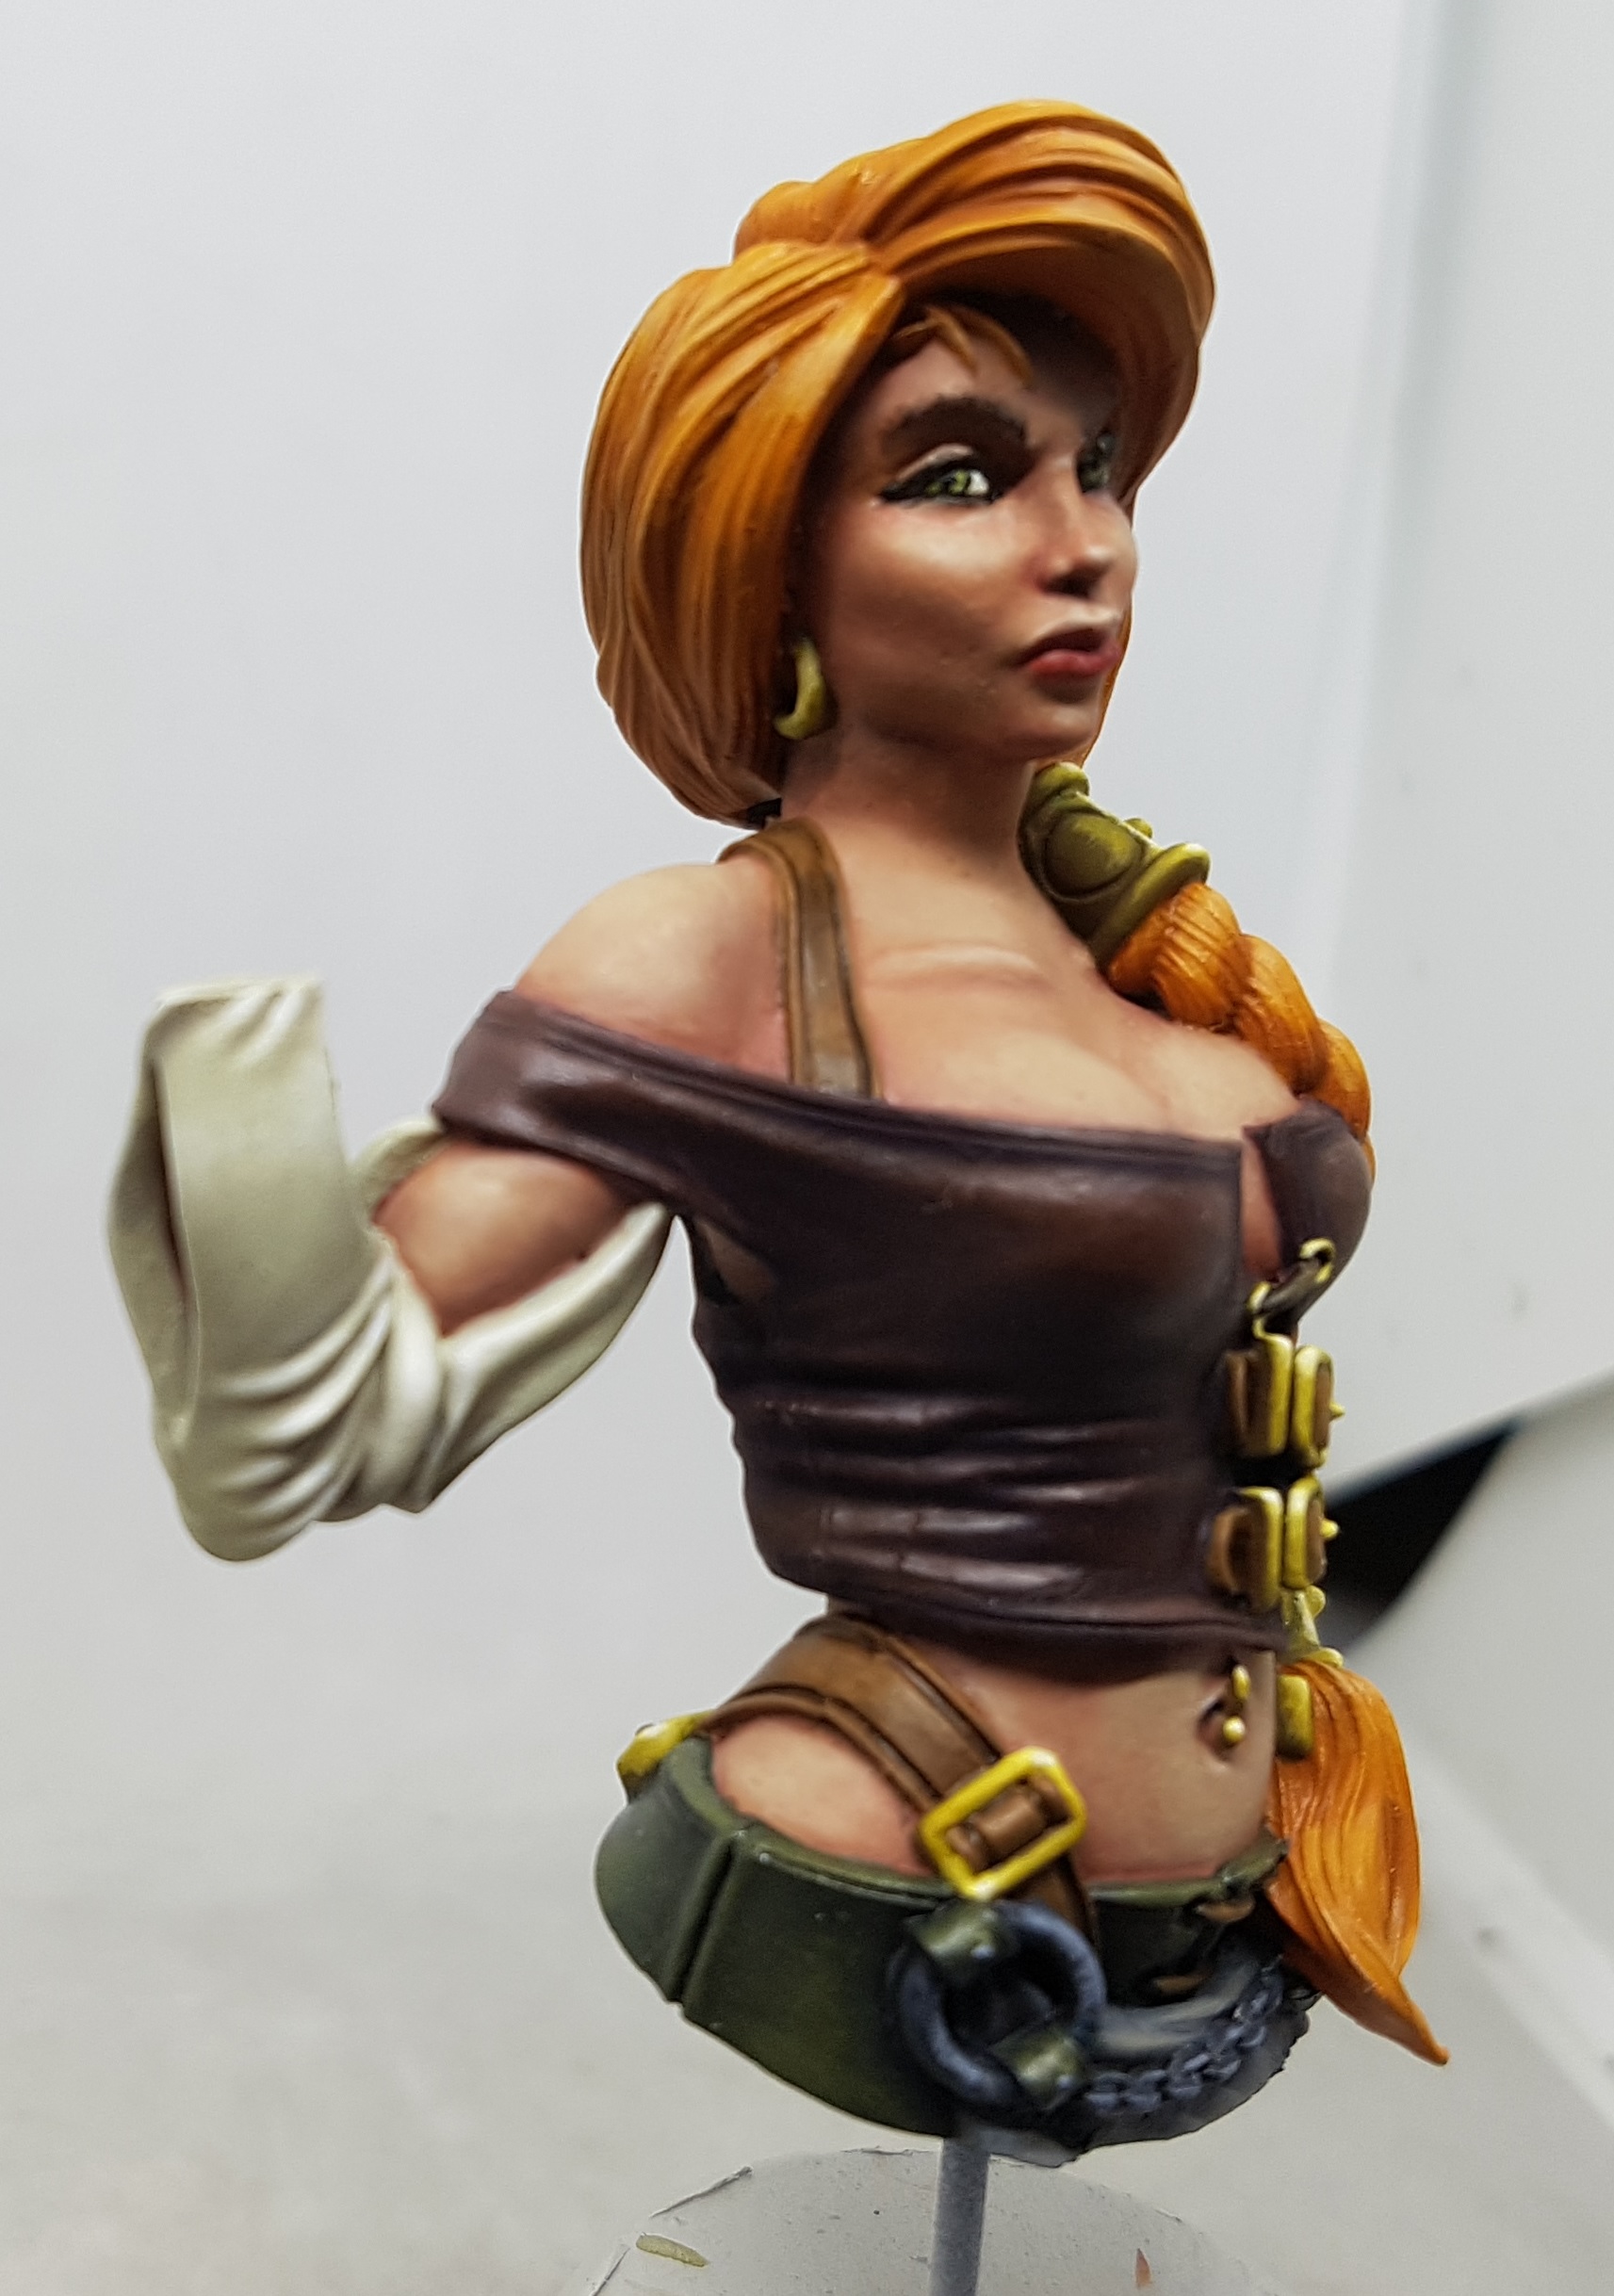
I’ve had 3 people say she’s good to go and no one say I should retry the gold so I’ve assembled her. Once built I noticed that there is a new scratch or crack or something on her left arm. I was hoping it was a hair but it wouldn’t wash or brush off. I mixed up some more of the base tone and tried to paint over it. It didn’t seem to be taking so I put 2 coats of gloss varnish over it to fill the crack. It painted over better after that. I then added more Caramel to re-apply a highlight, and then more Sunburnt Flesh to make a shade, which I turned in to a glaze in the end and applied over the whole area a few times. I think I’ve recovered.
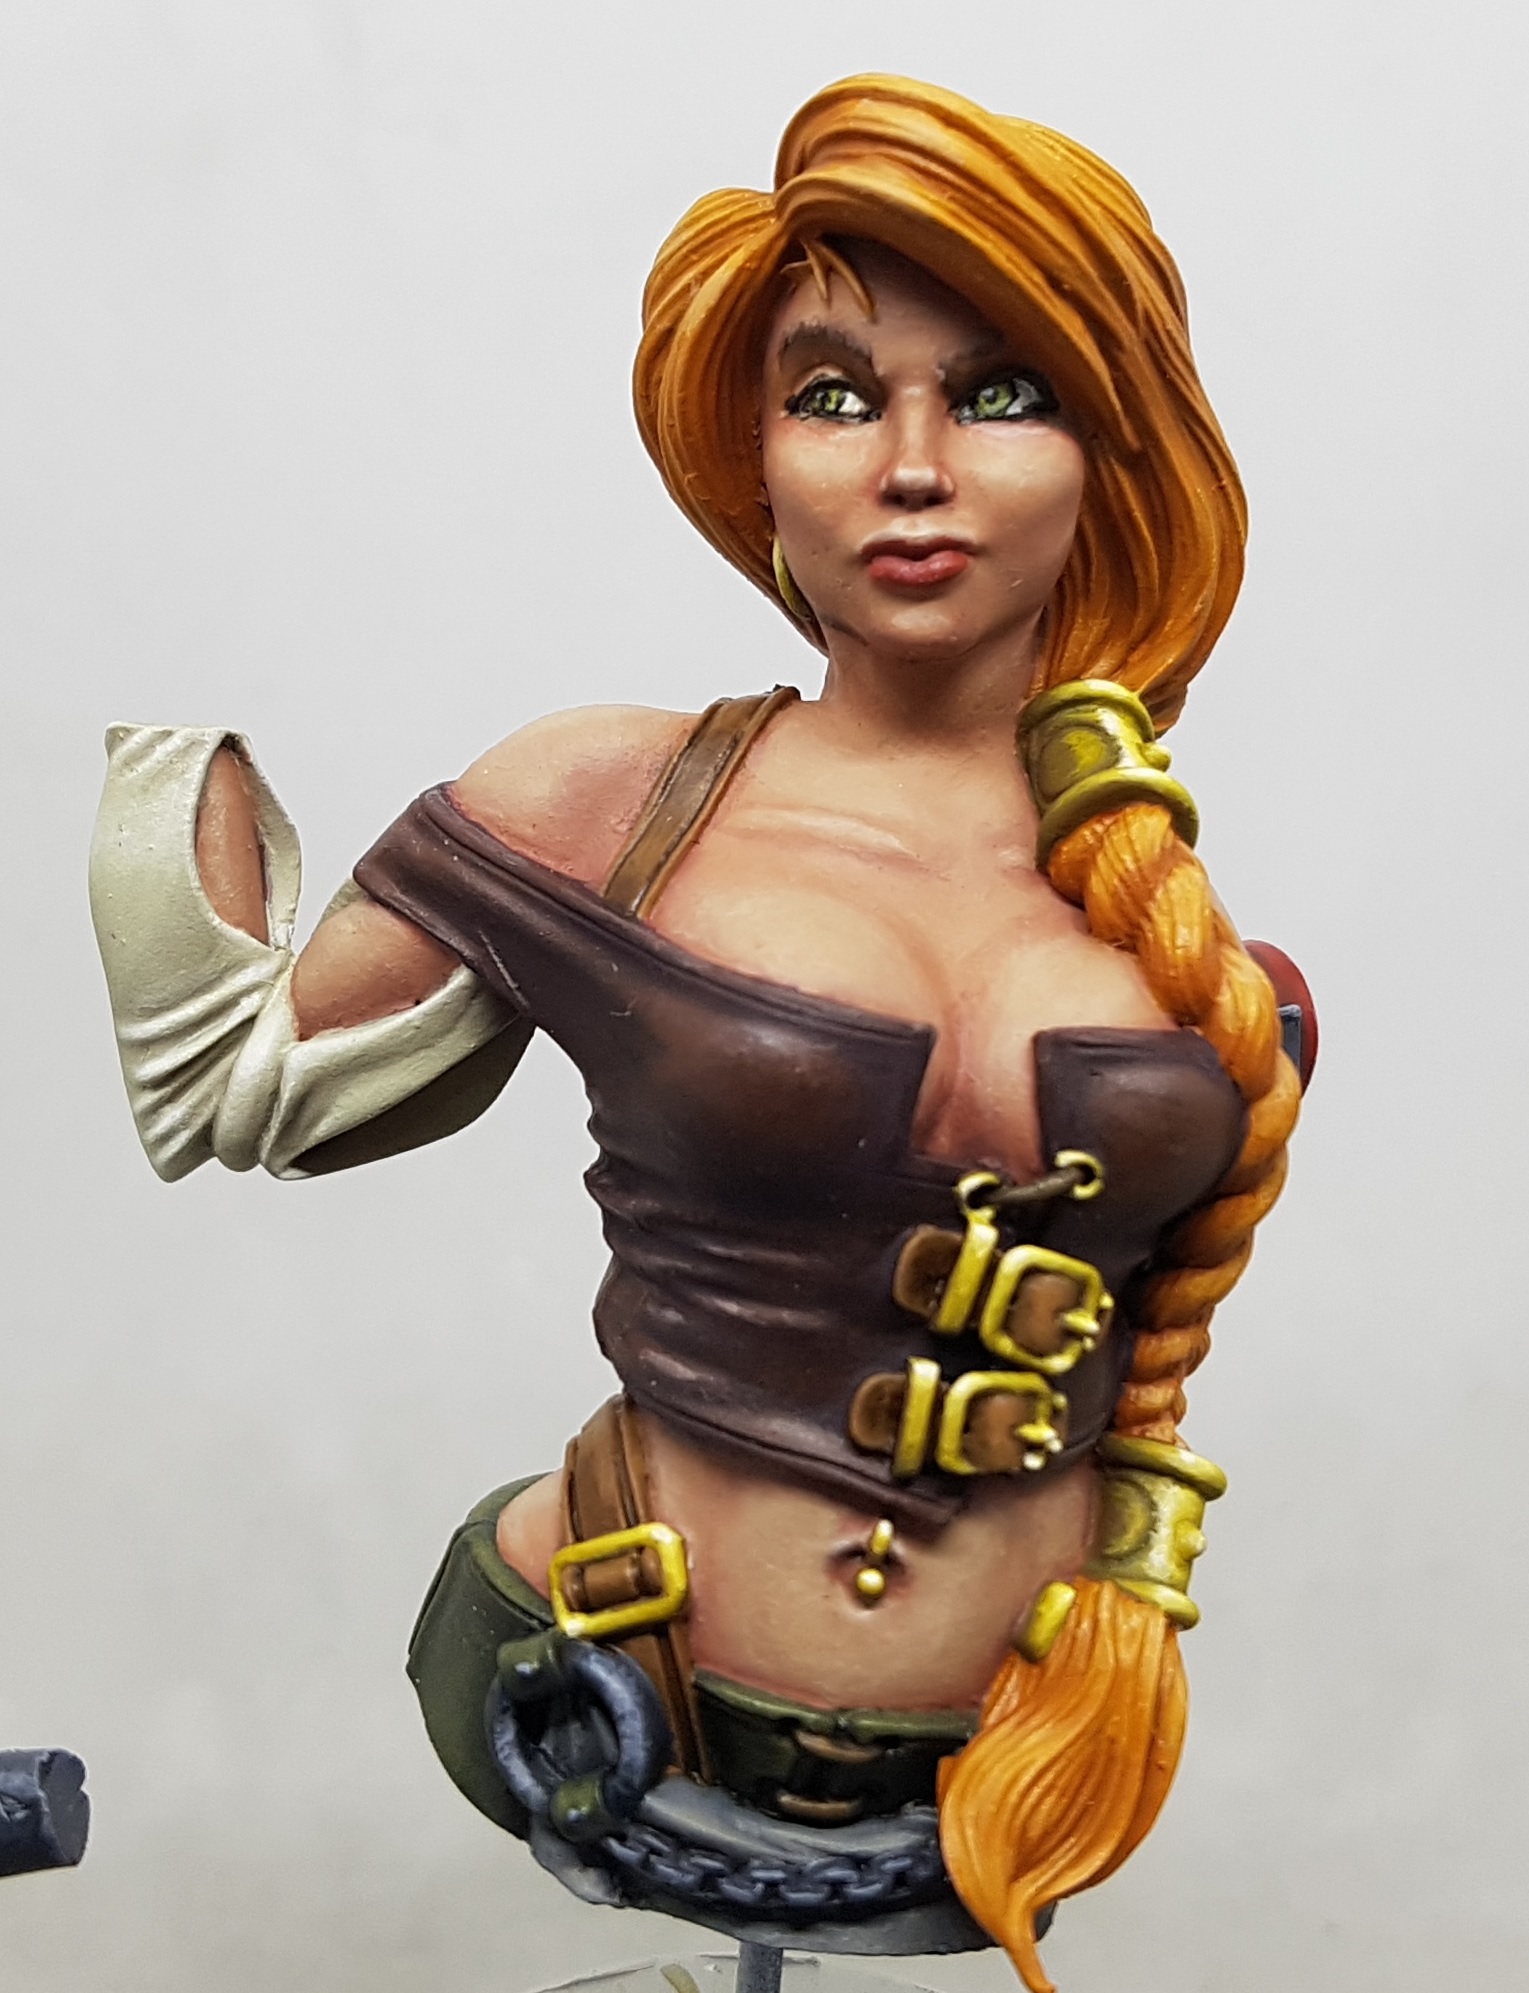
 Successfully repaired? I've just noticed that white dot on her left breast which cannot be seen outside of zoomed in photos. I've mixed up a glaze of the highlight tone and I think I've gotten rid of it now too.
All done
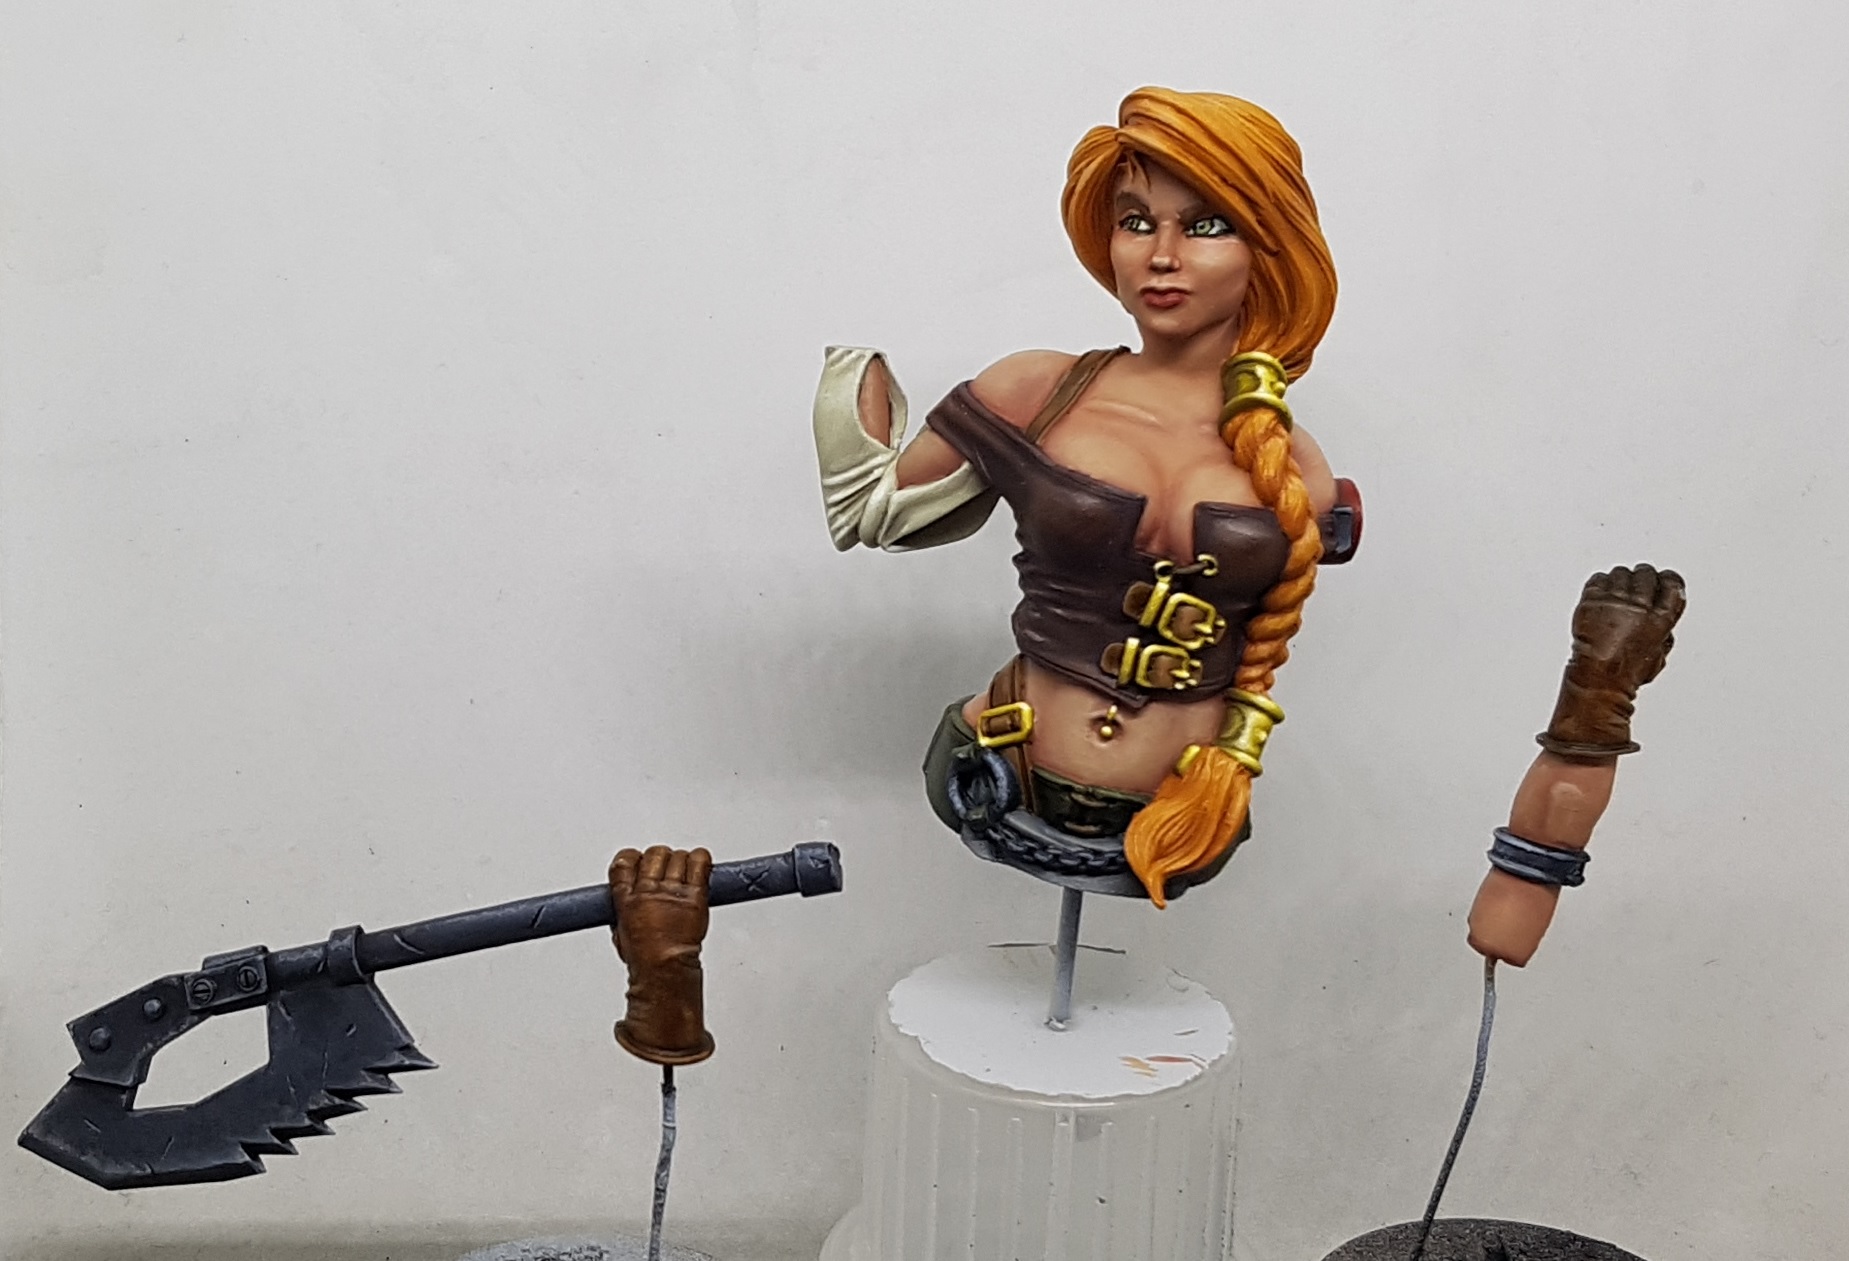
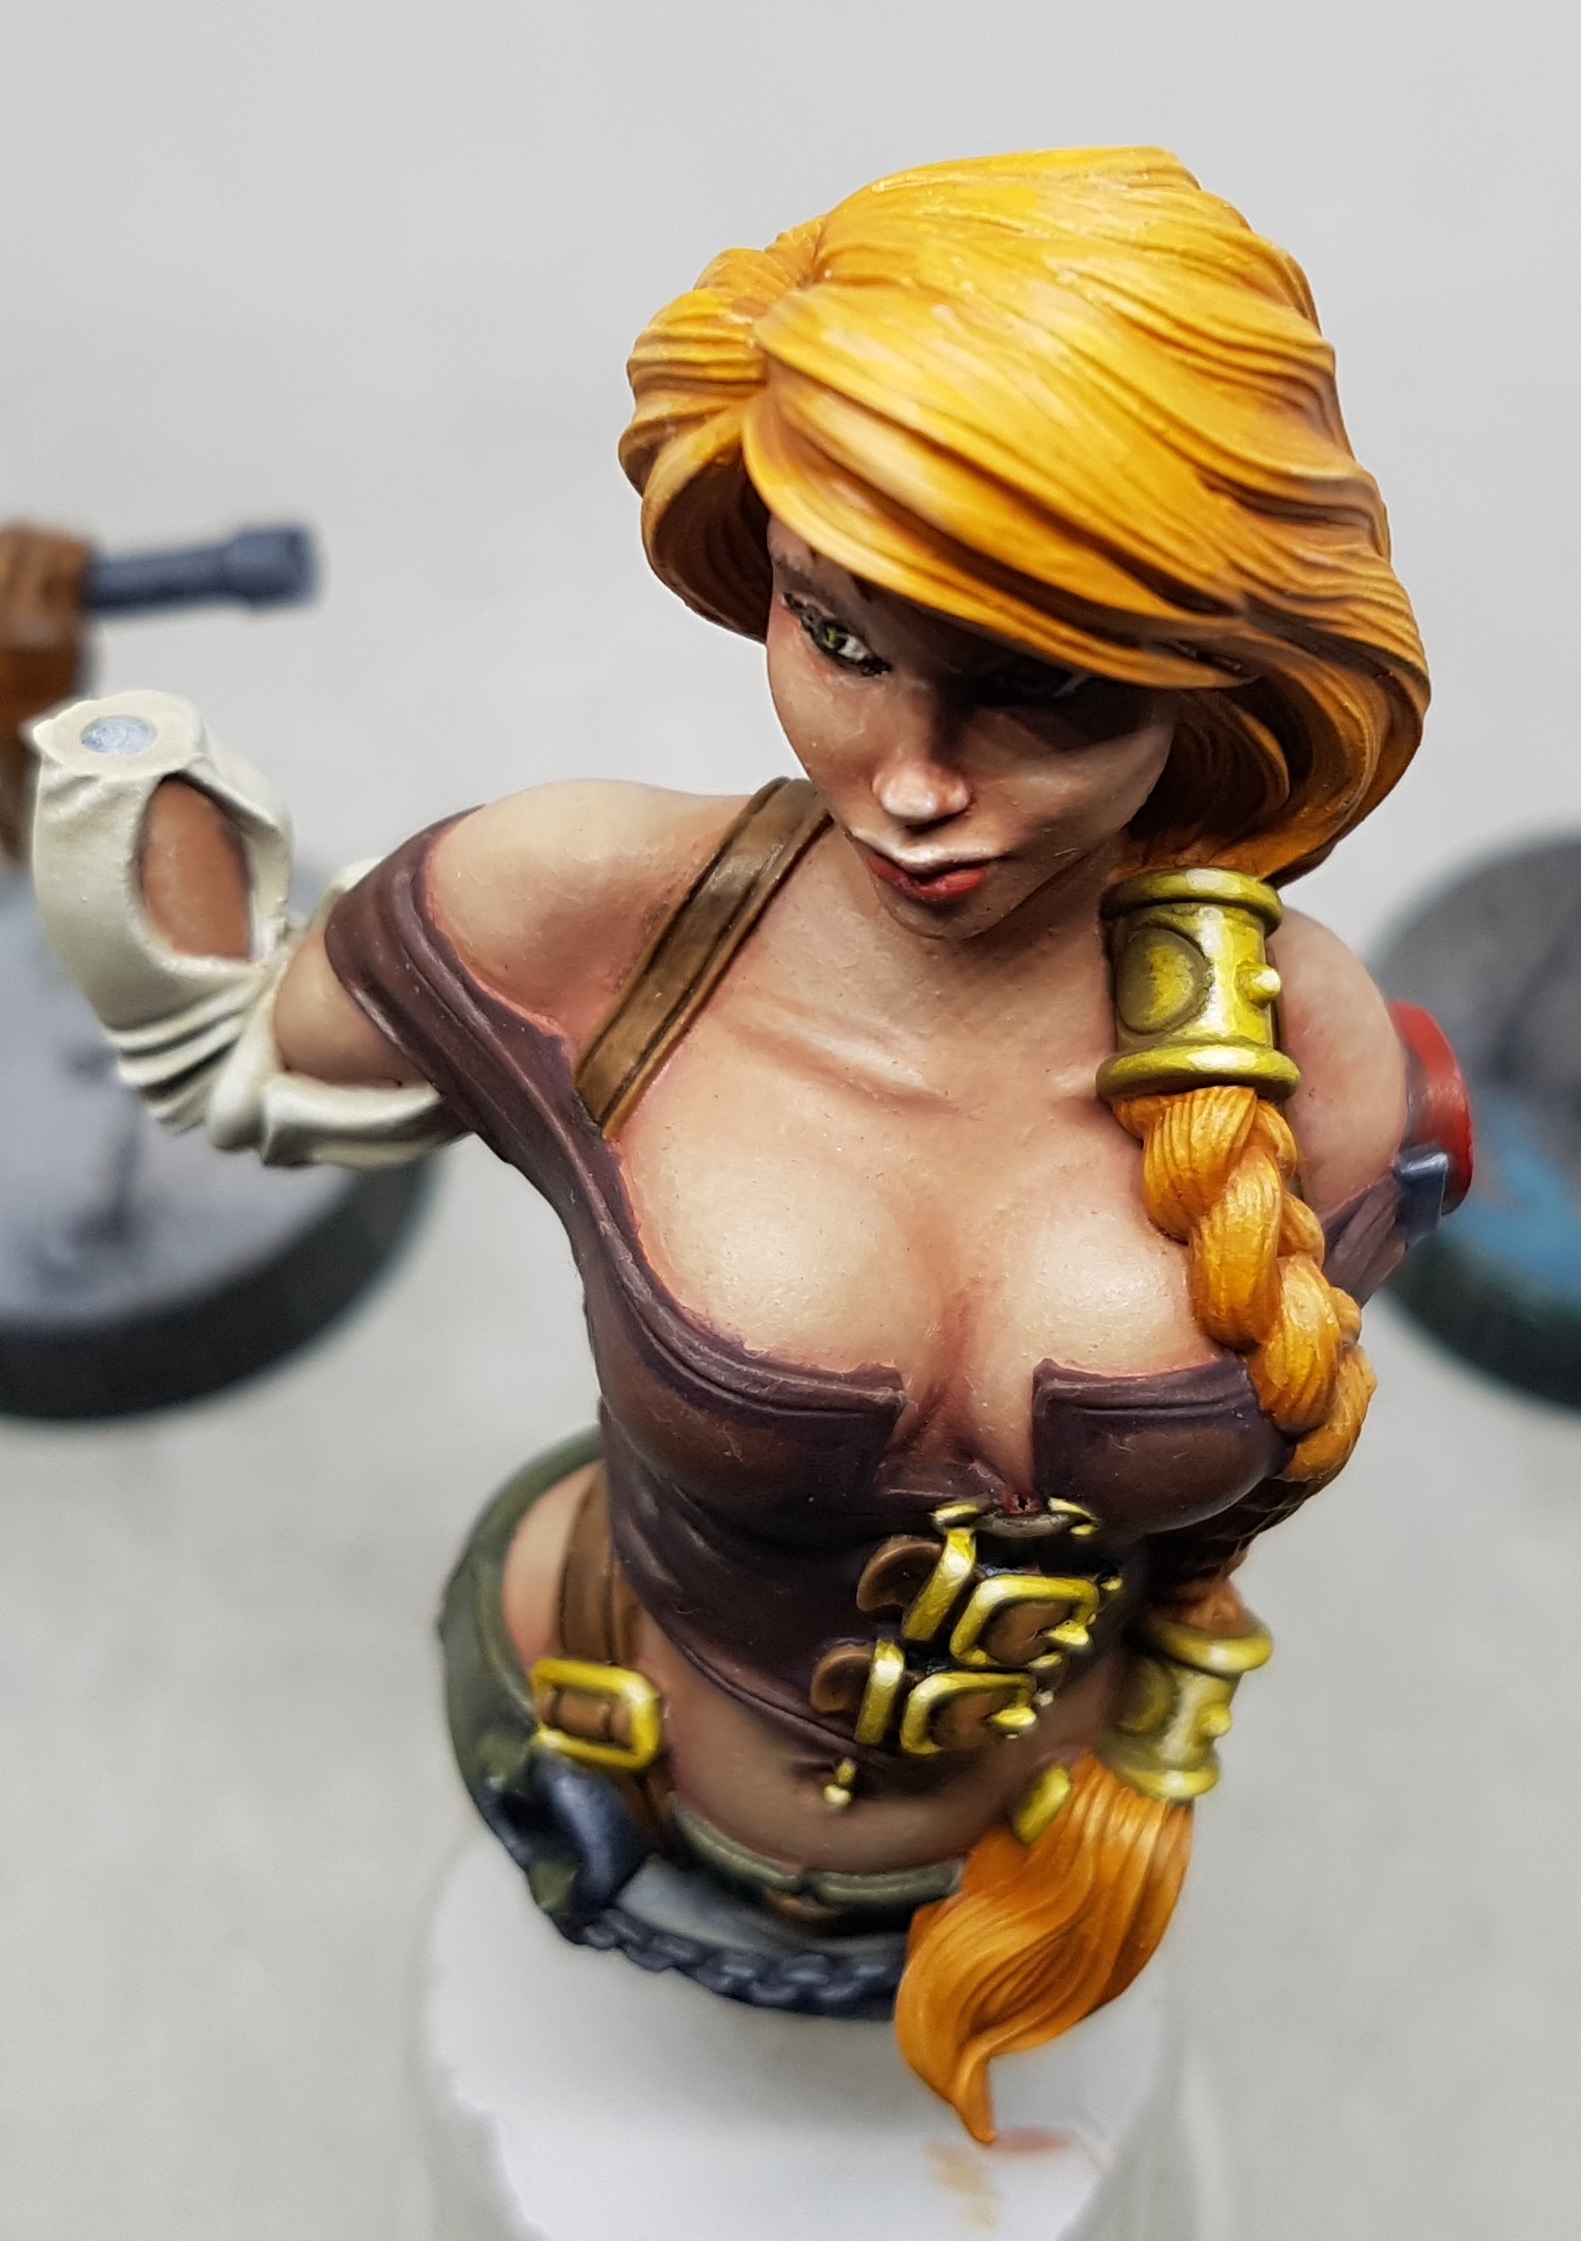
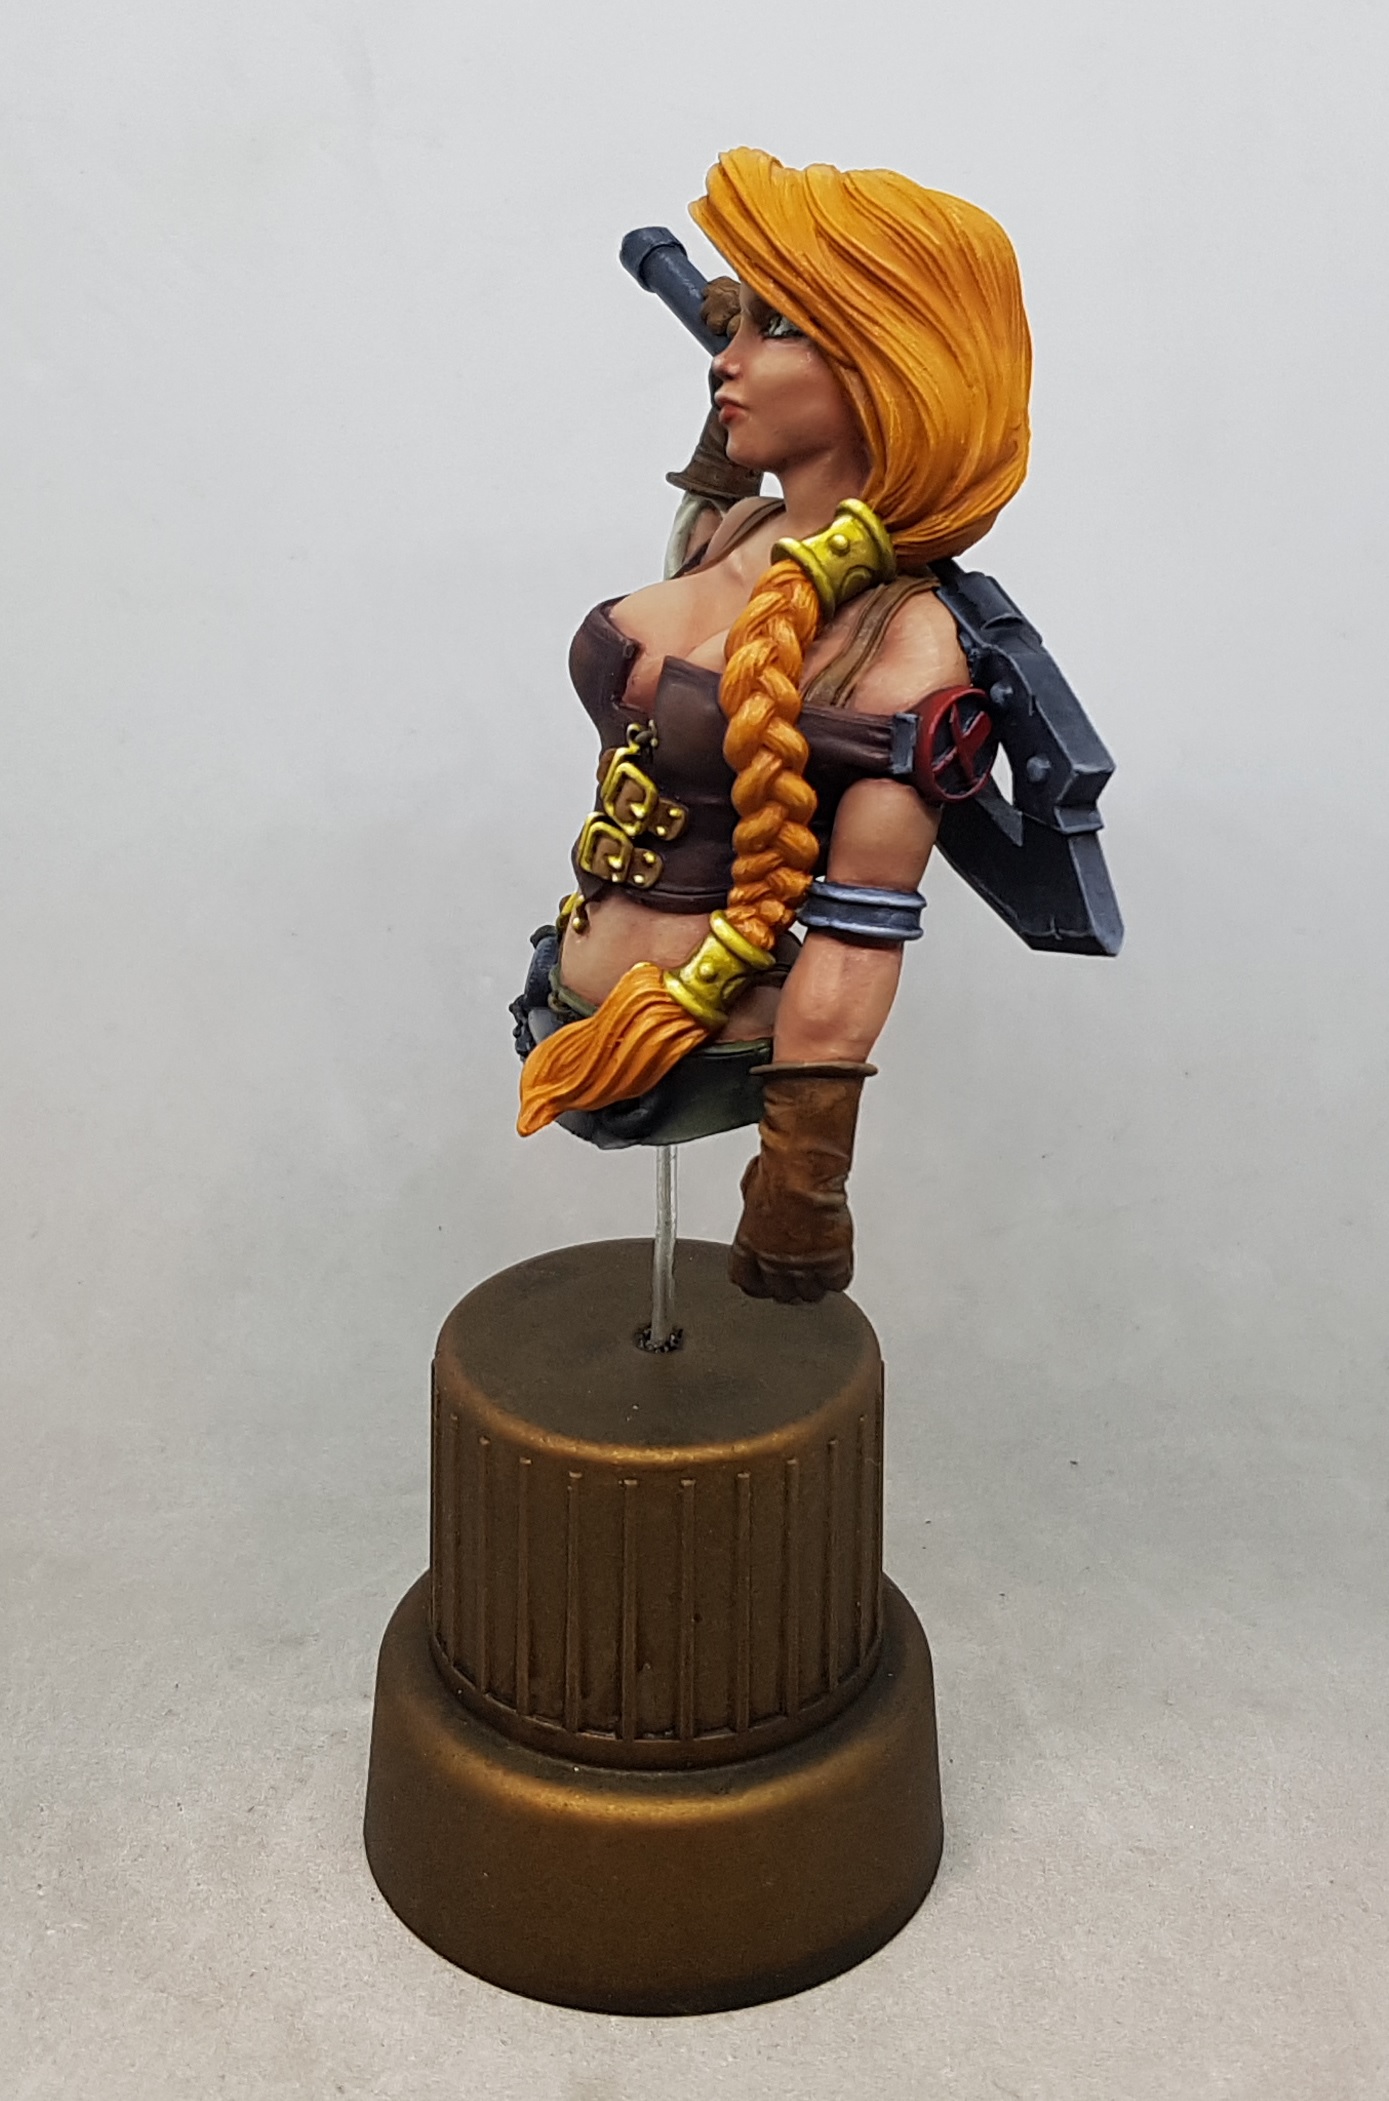
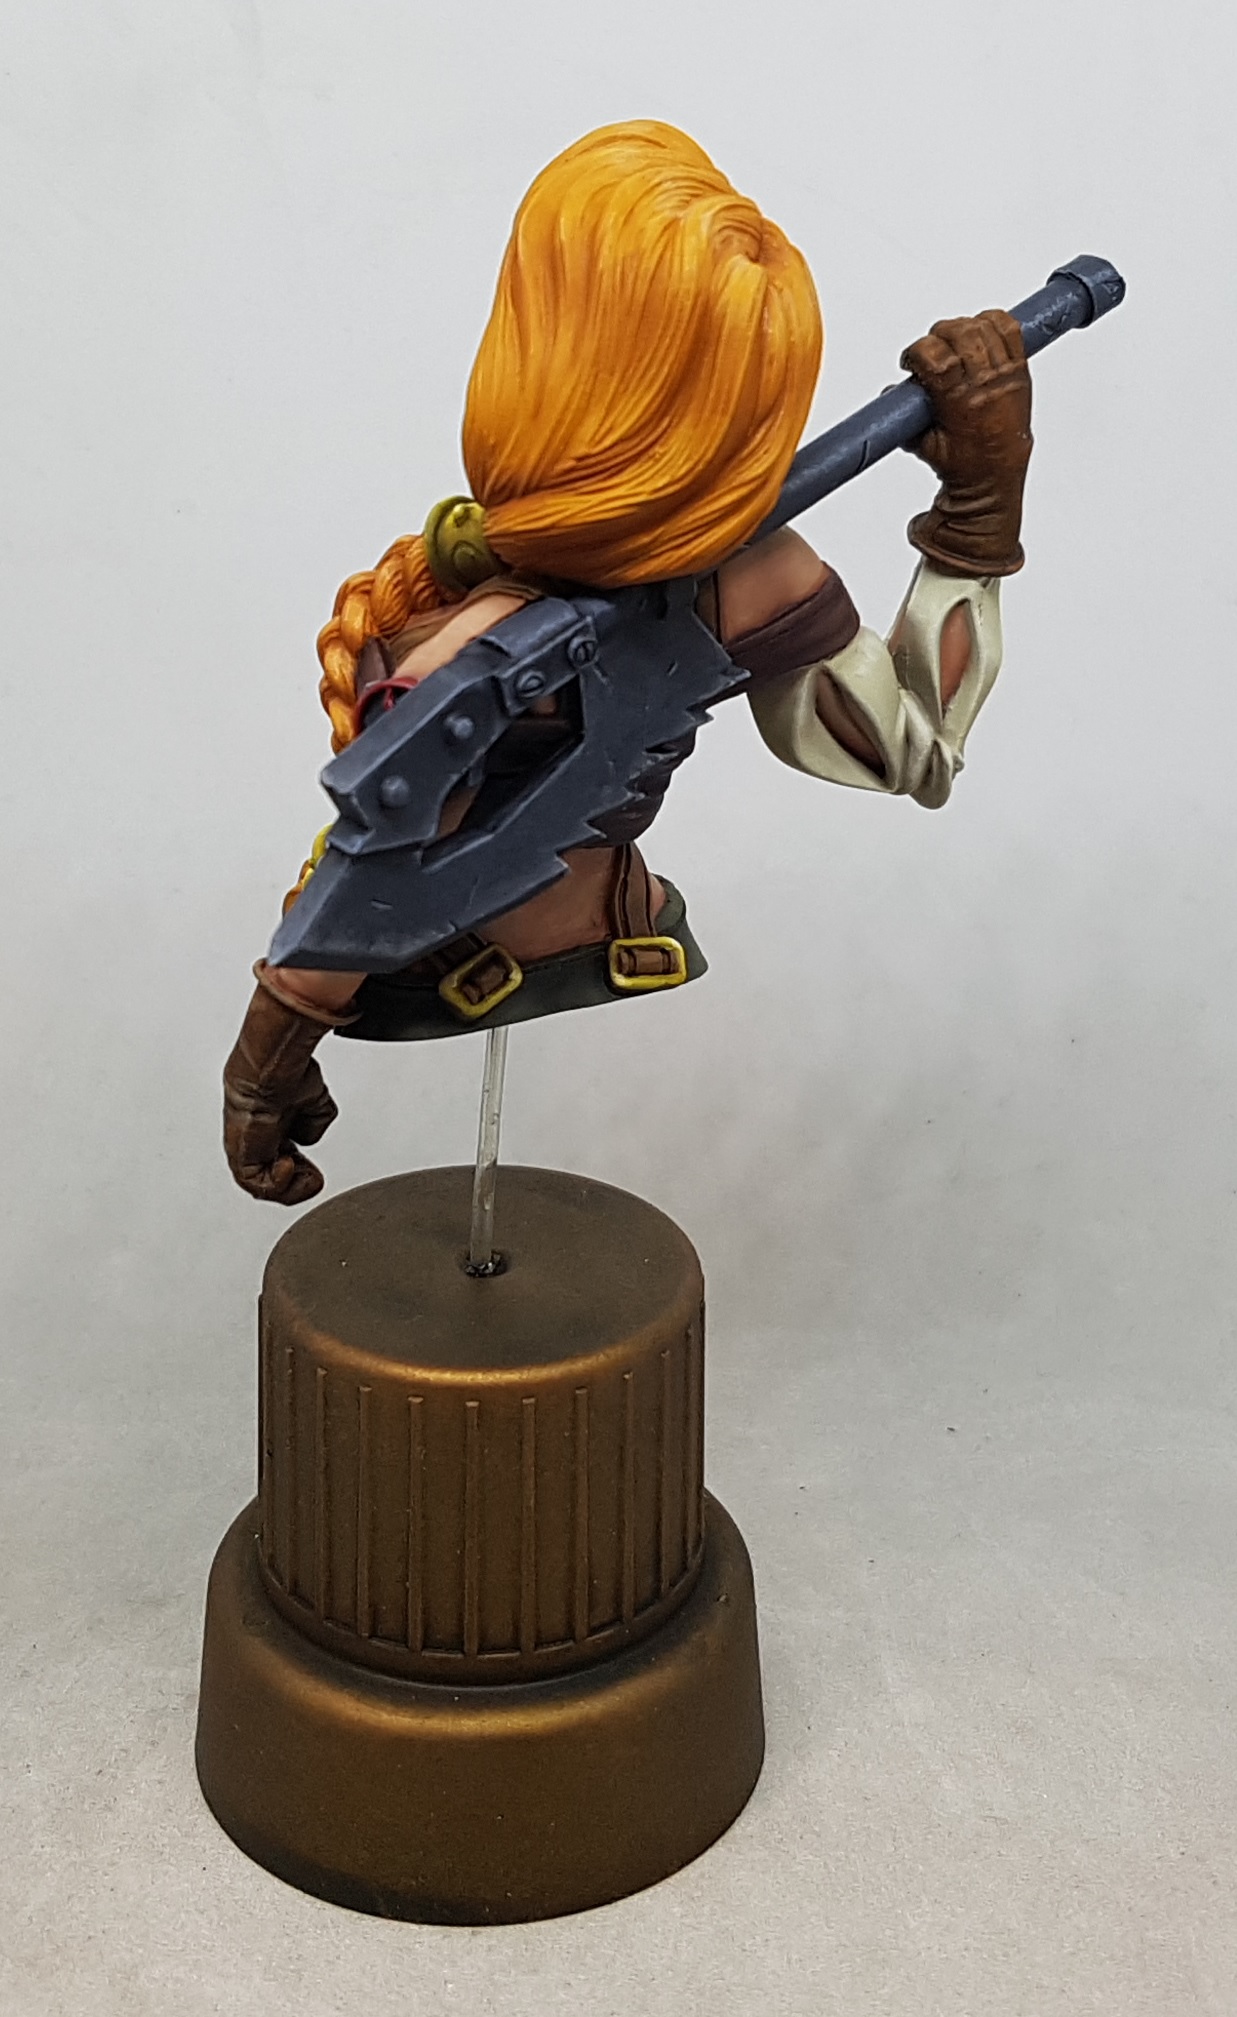
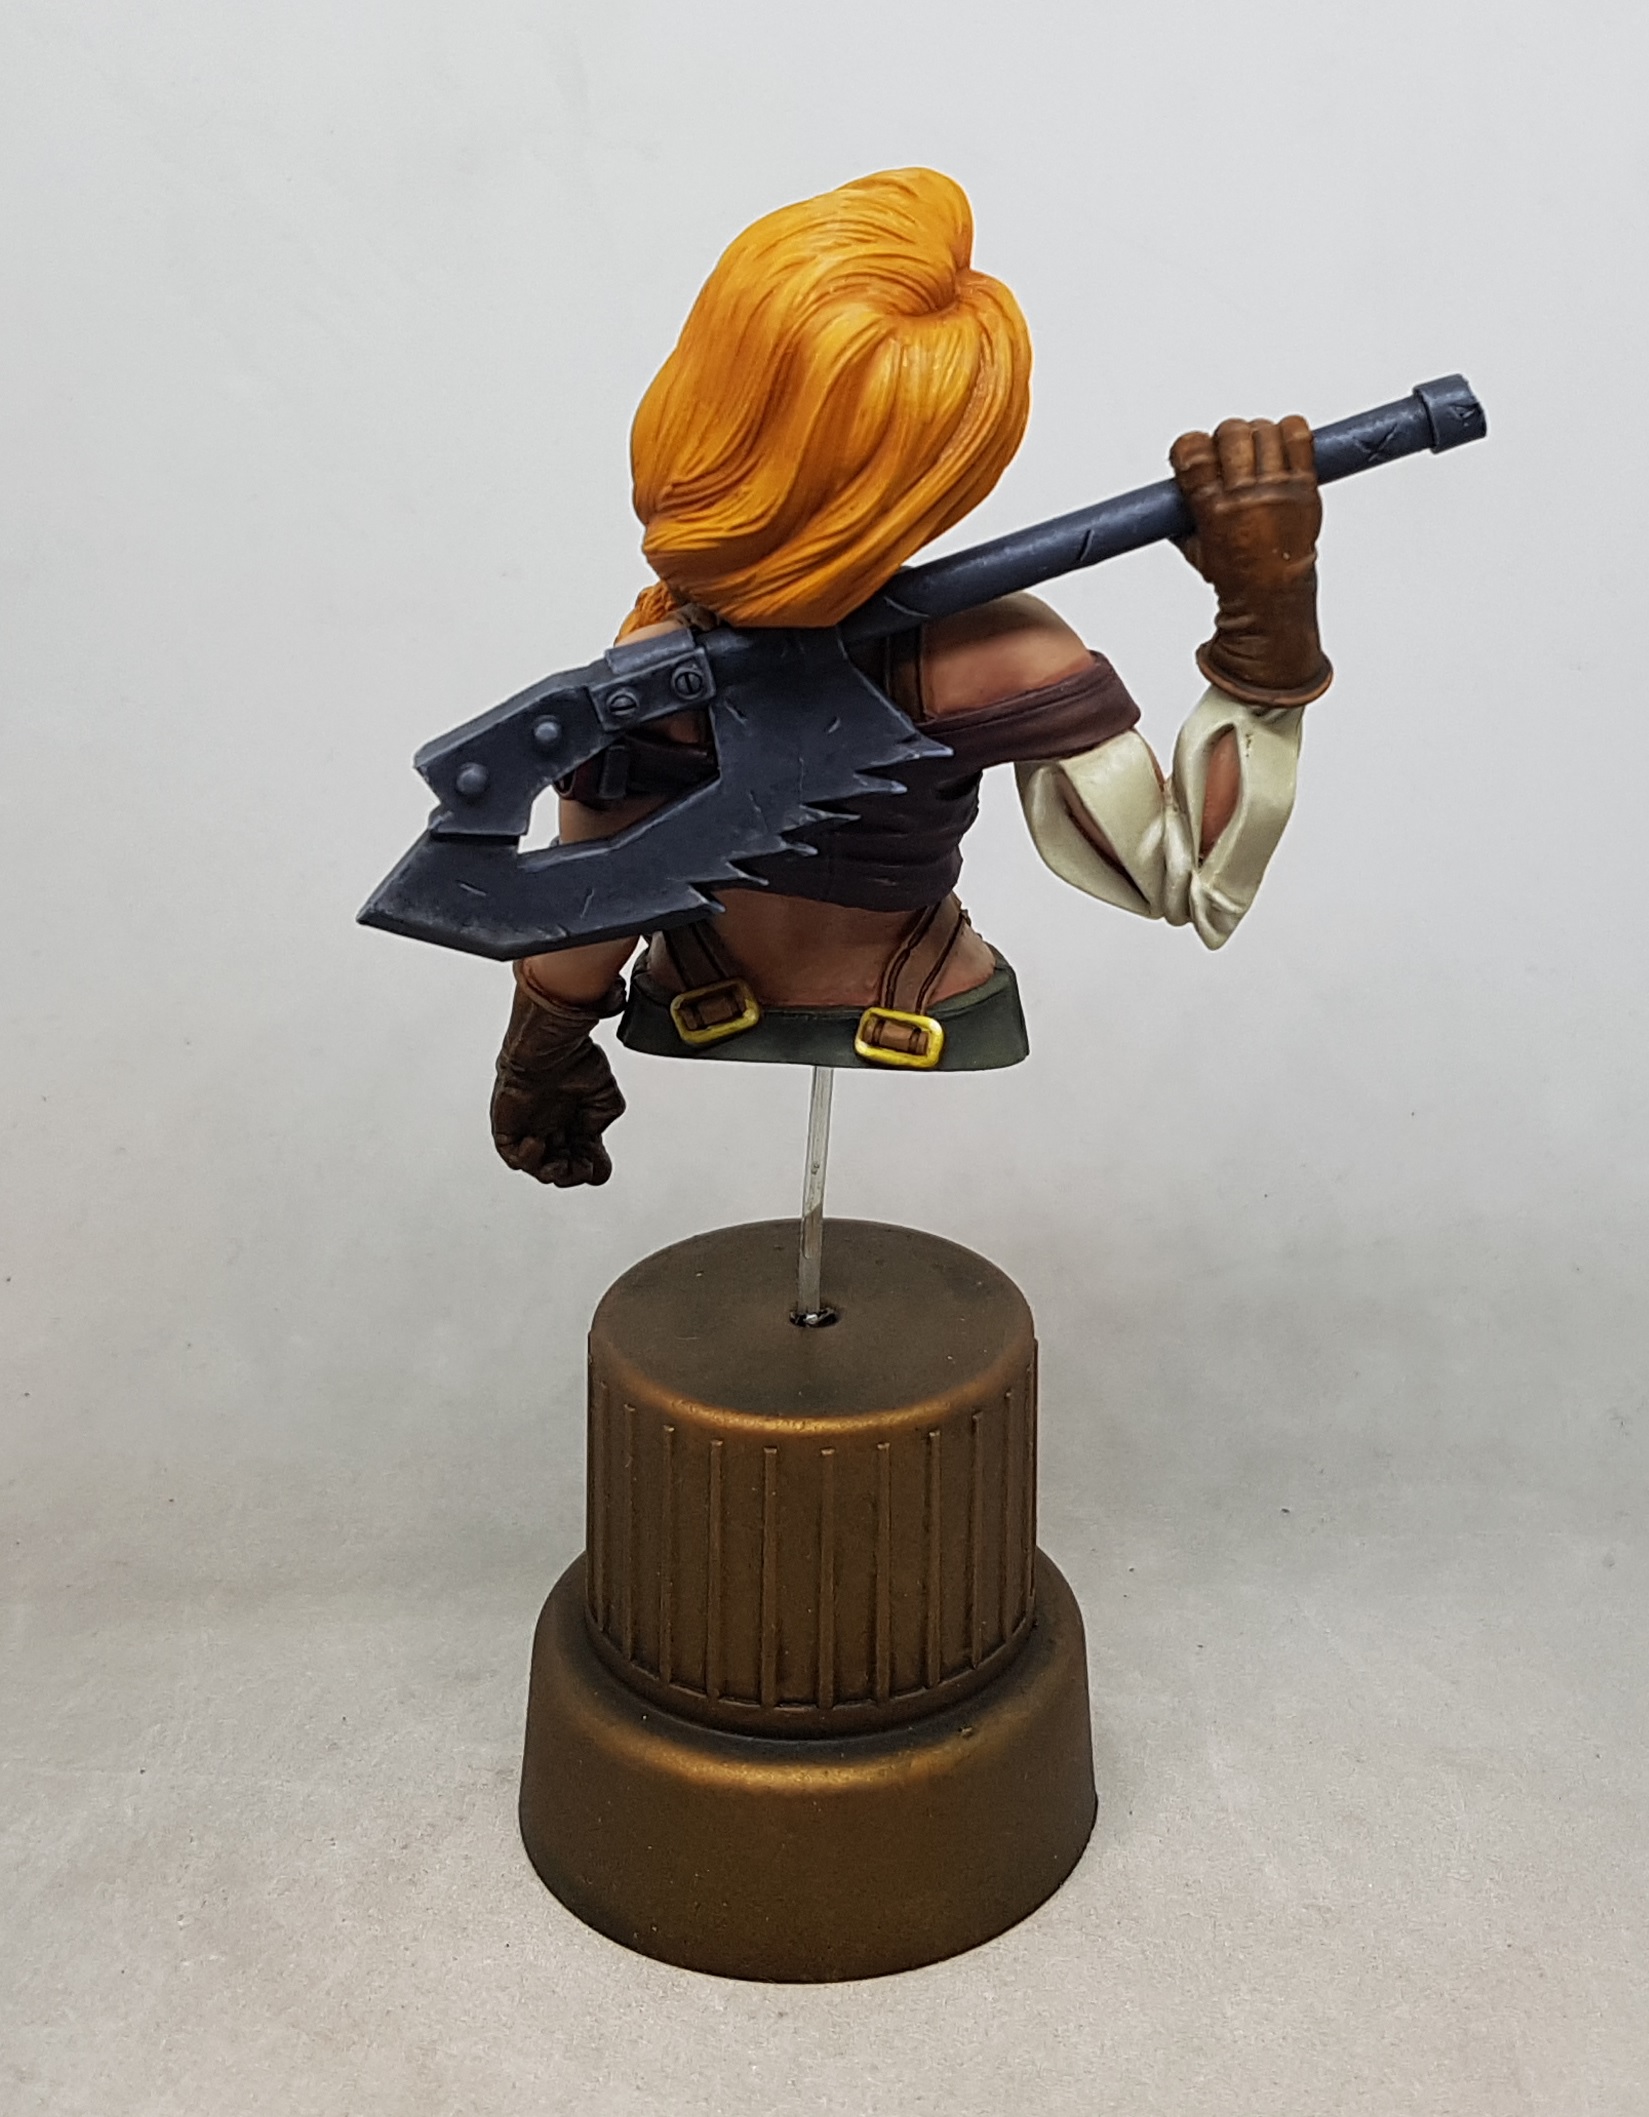
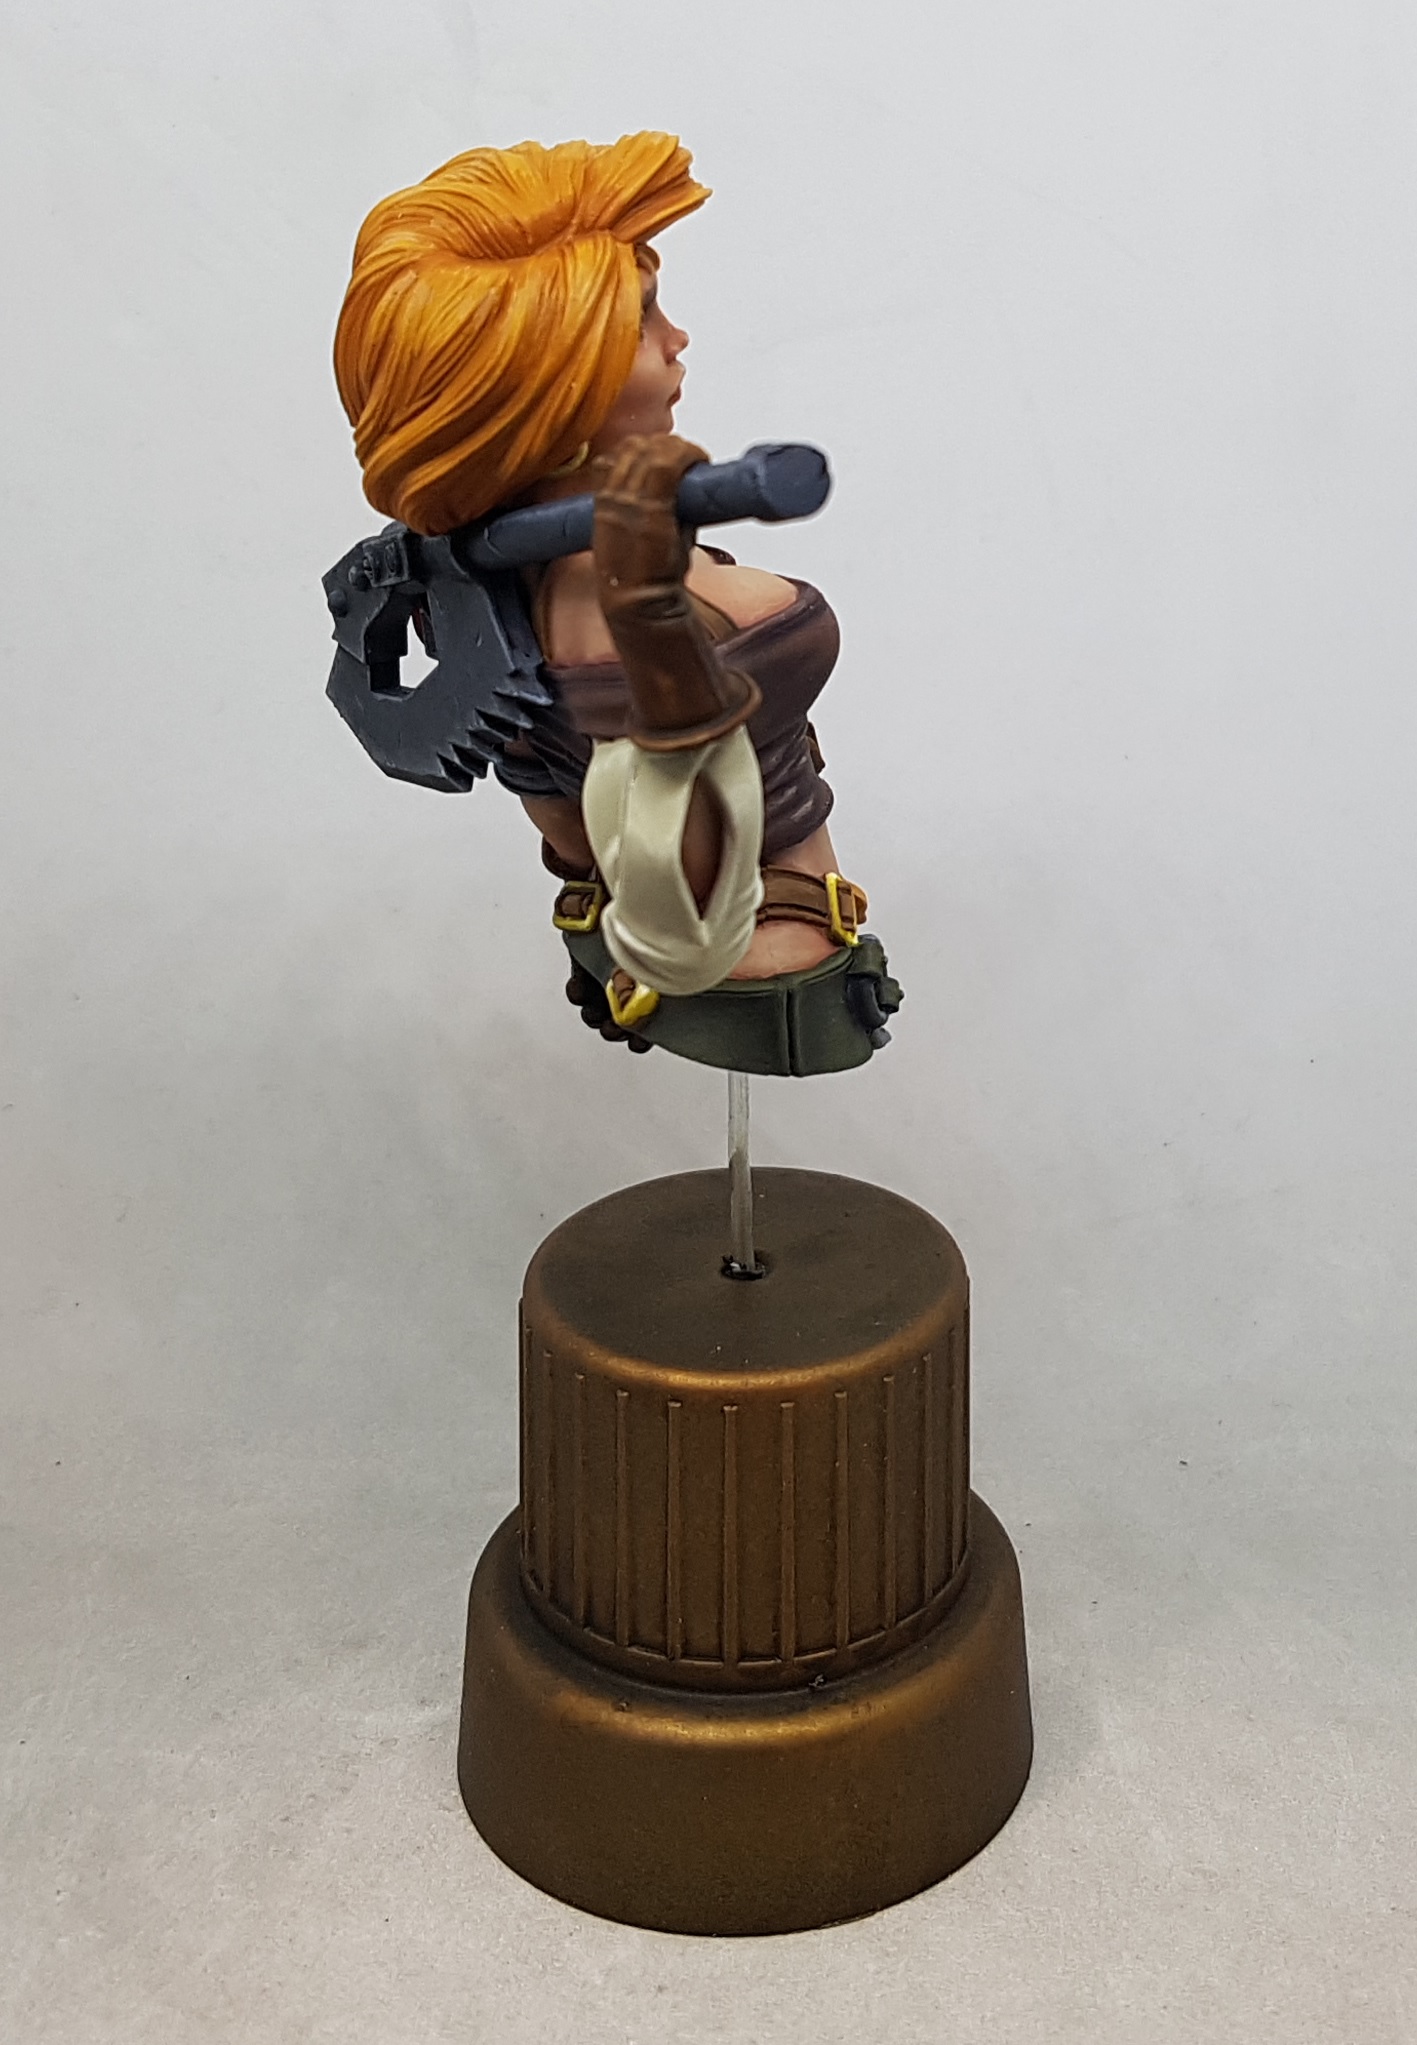
She’s all done. I’m really happy with my work. I think she might be my finest work to date. I know others do better all the time, but I’m really proud of her. I’m definitely up for doing more busts. Just not any time soon. She was kinda intense and I’m looking forward to some more relaxed painting for a little while.
If anyone wants any other pics from other angles or close ups of anything, please ask.
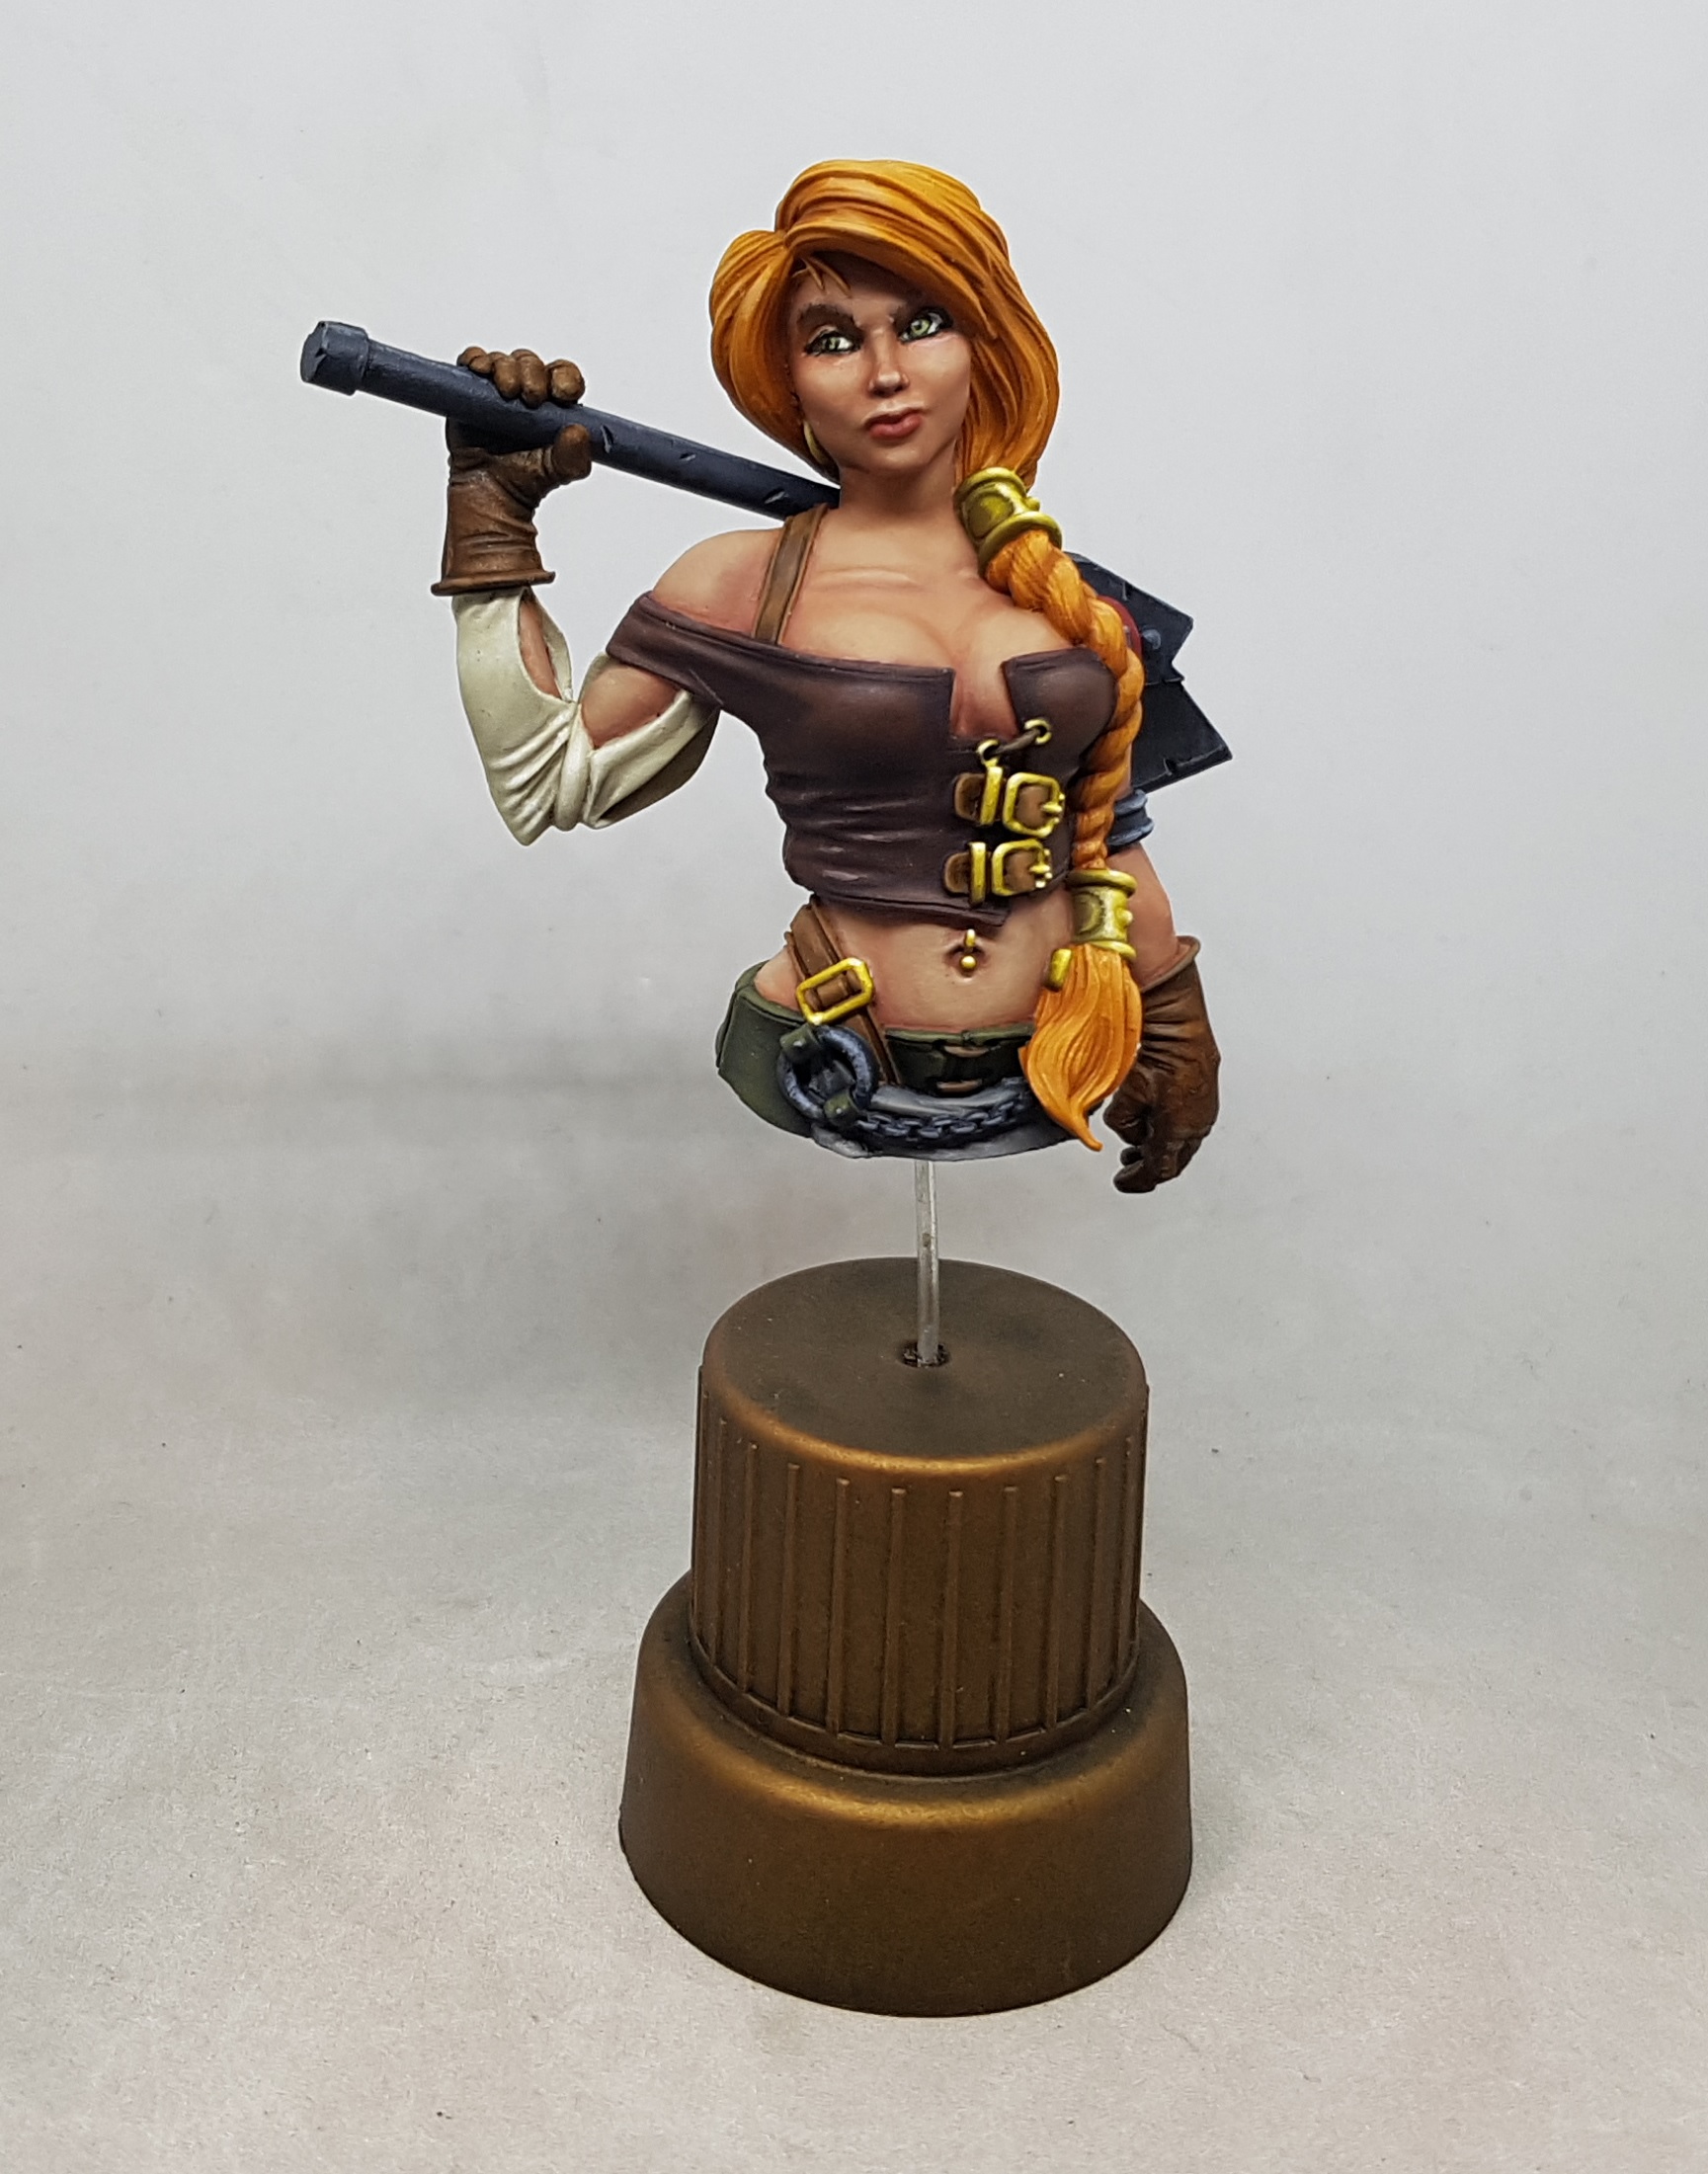 Brisket, by Broken Toad. Based on Brisket of the Butchers Guild from Guild Ball
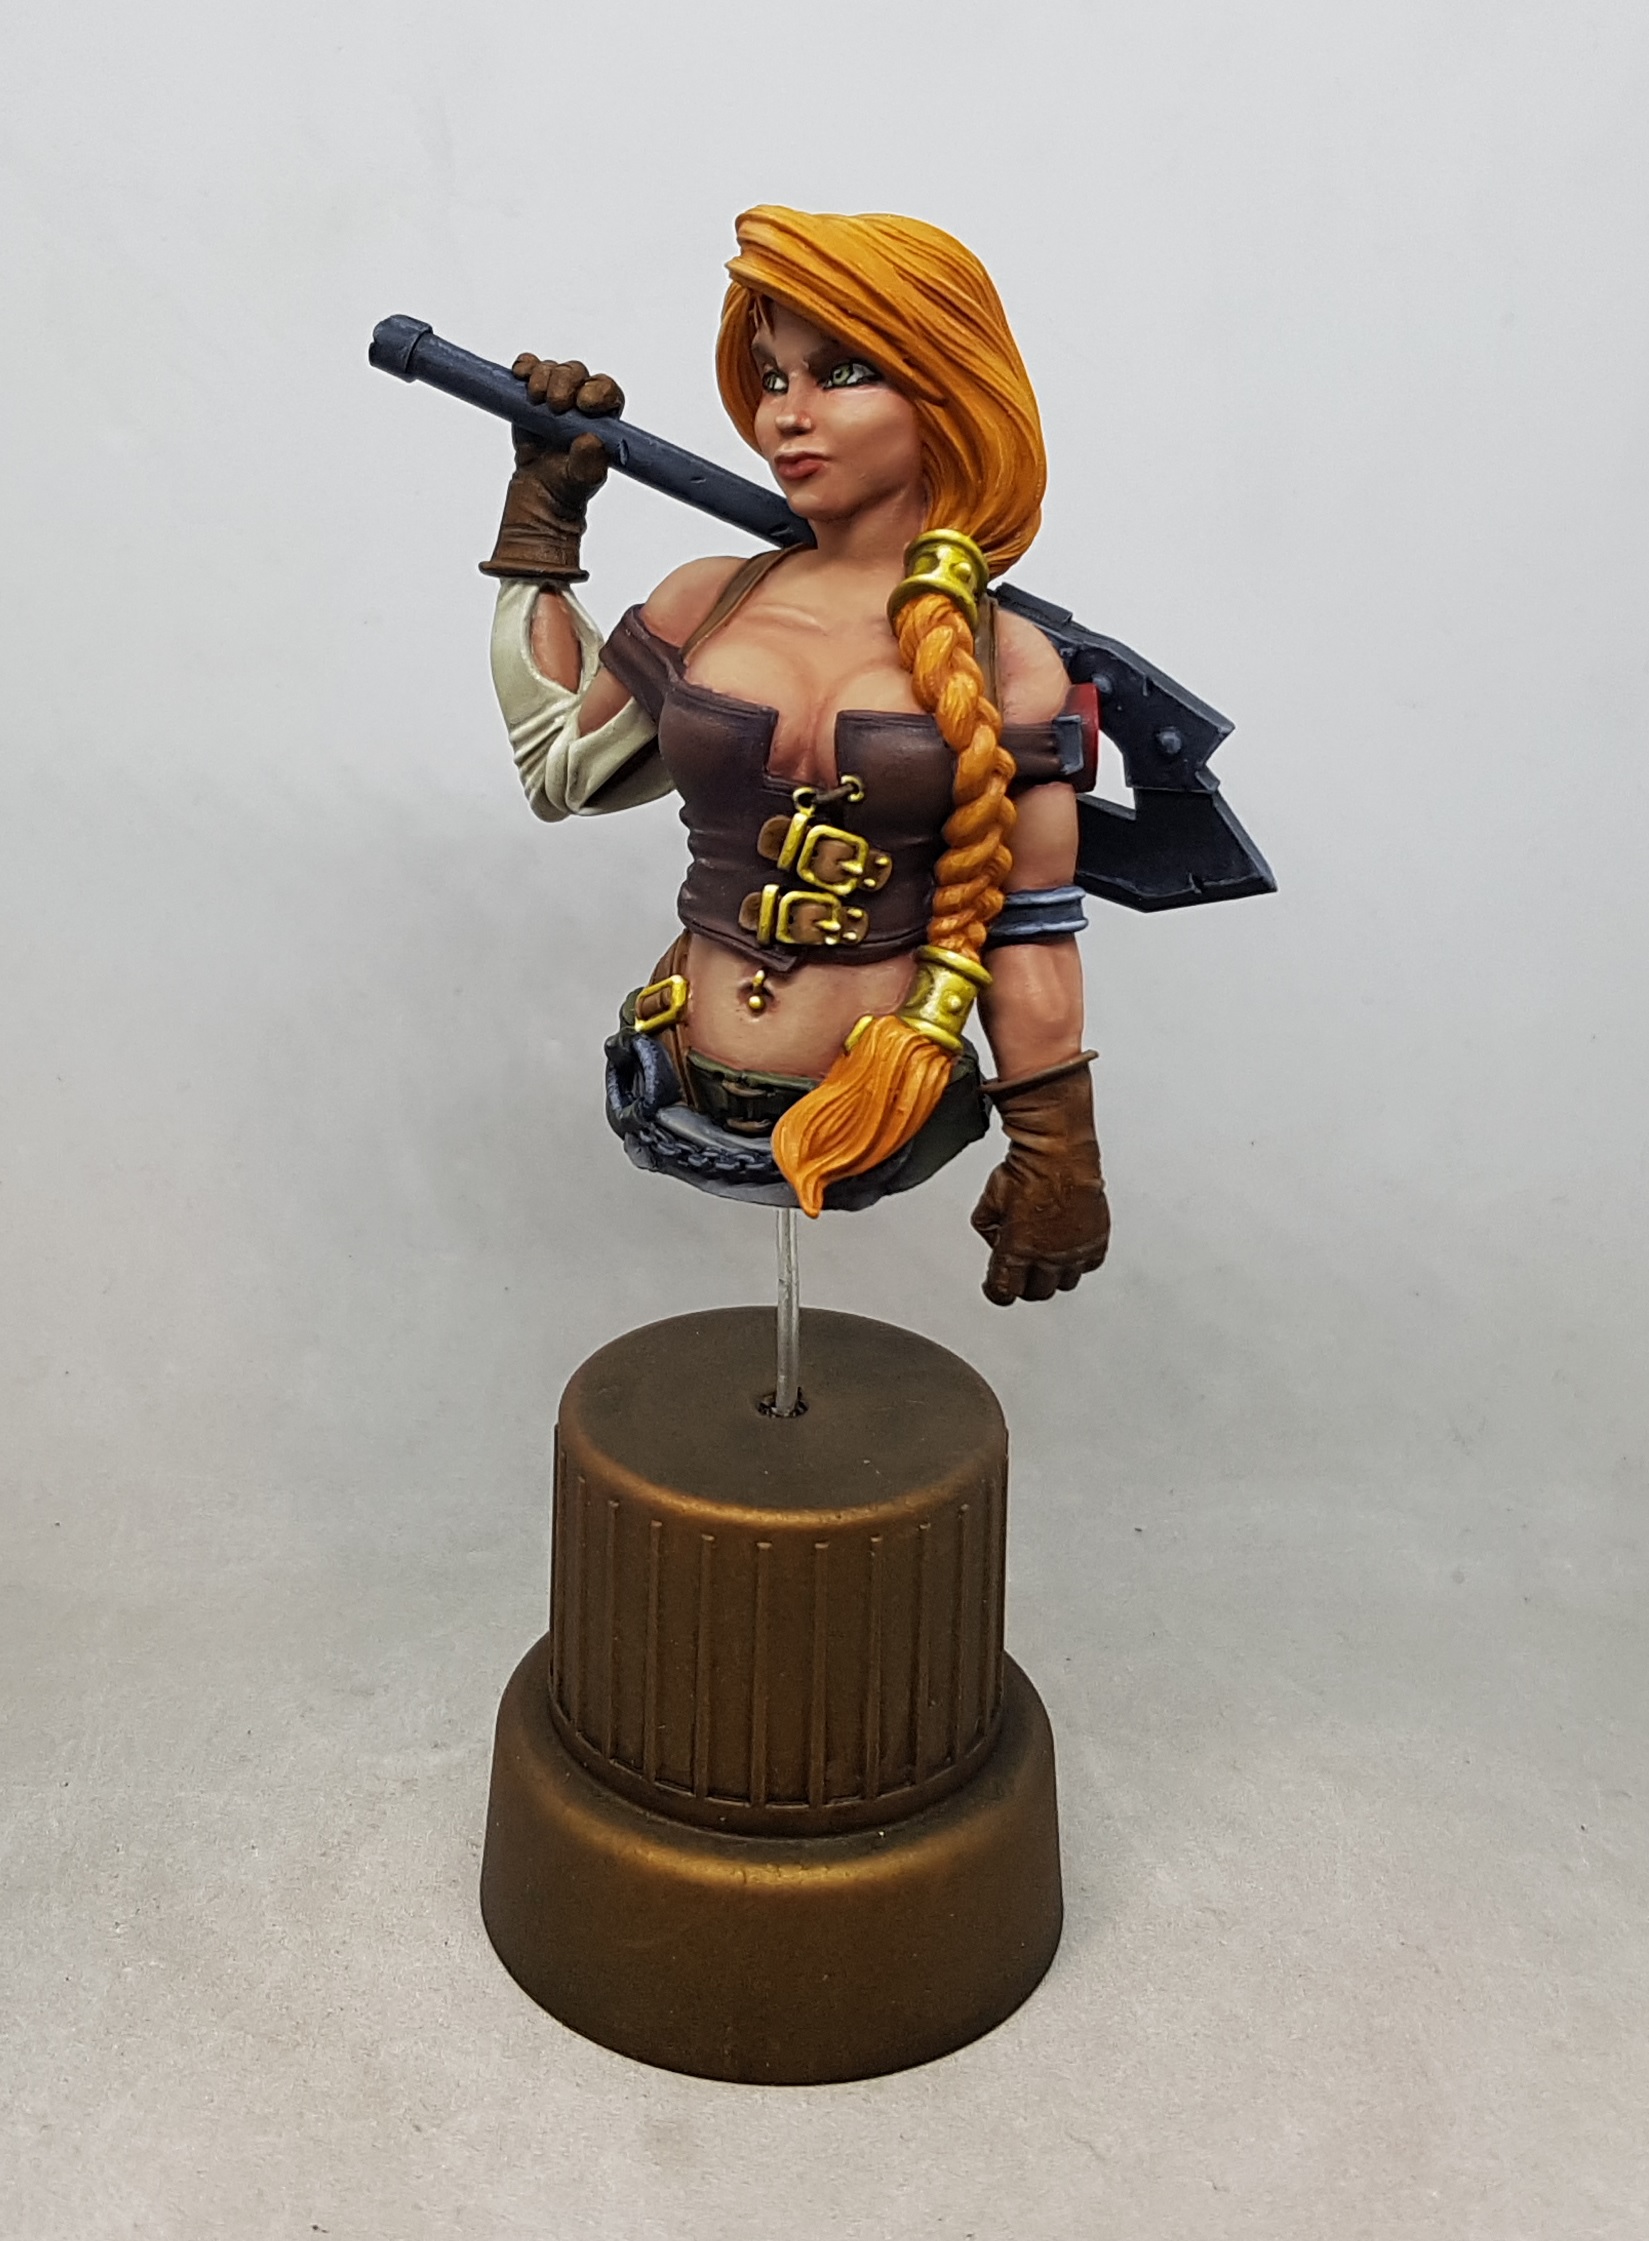


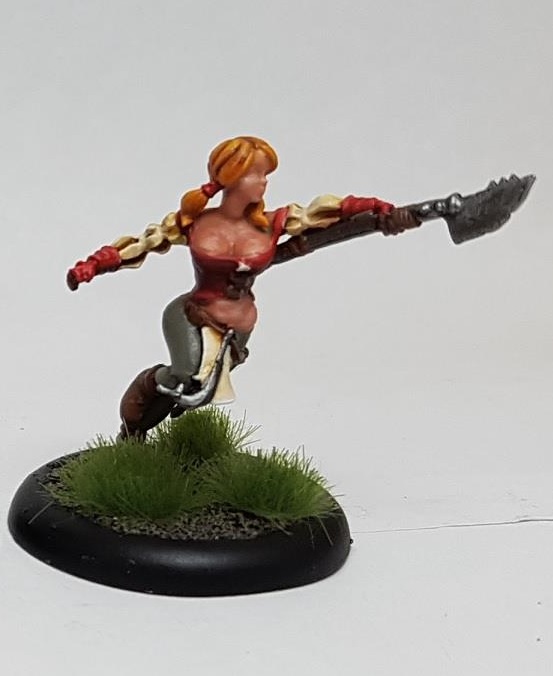 For reference, here is my Brisket at 28mm, painted up by me on 5/10/2016
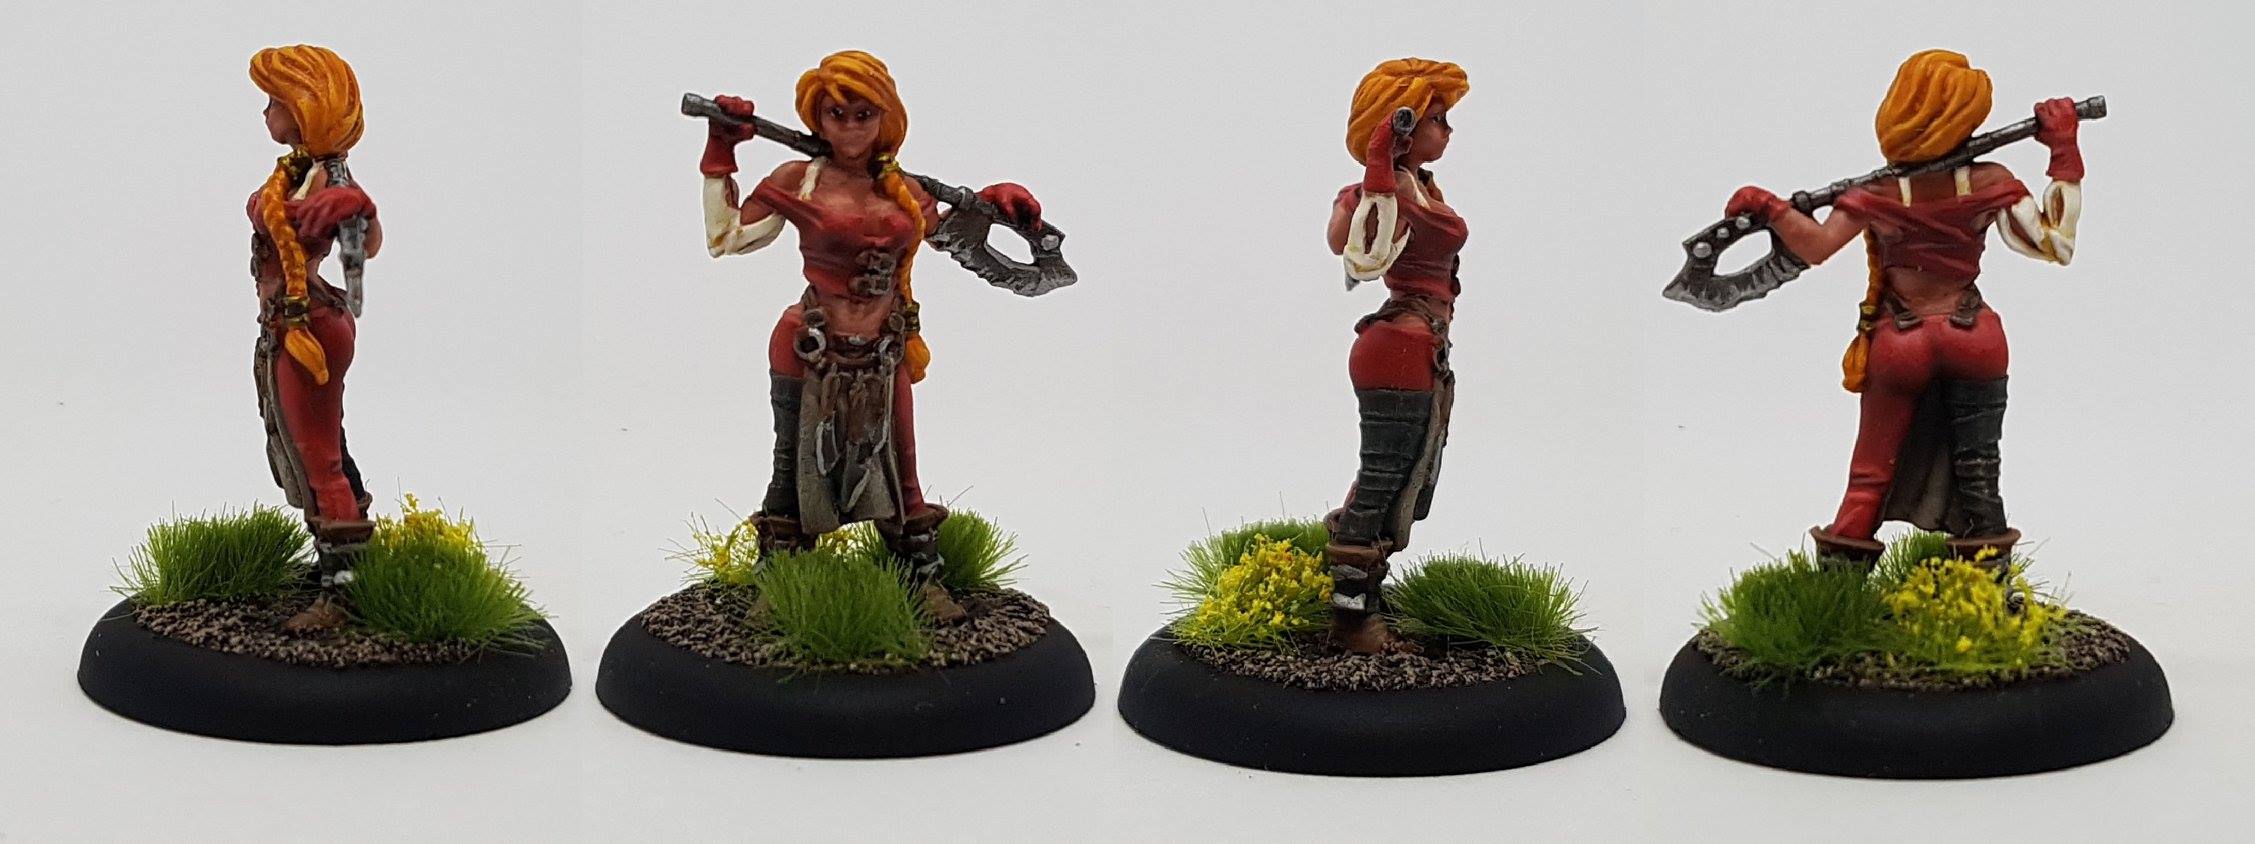 And here is my Vetern Brisket, painted 28/10/2017. I think we can all see I've improved a little since then
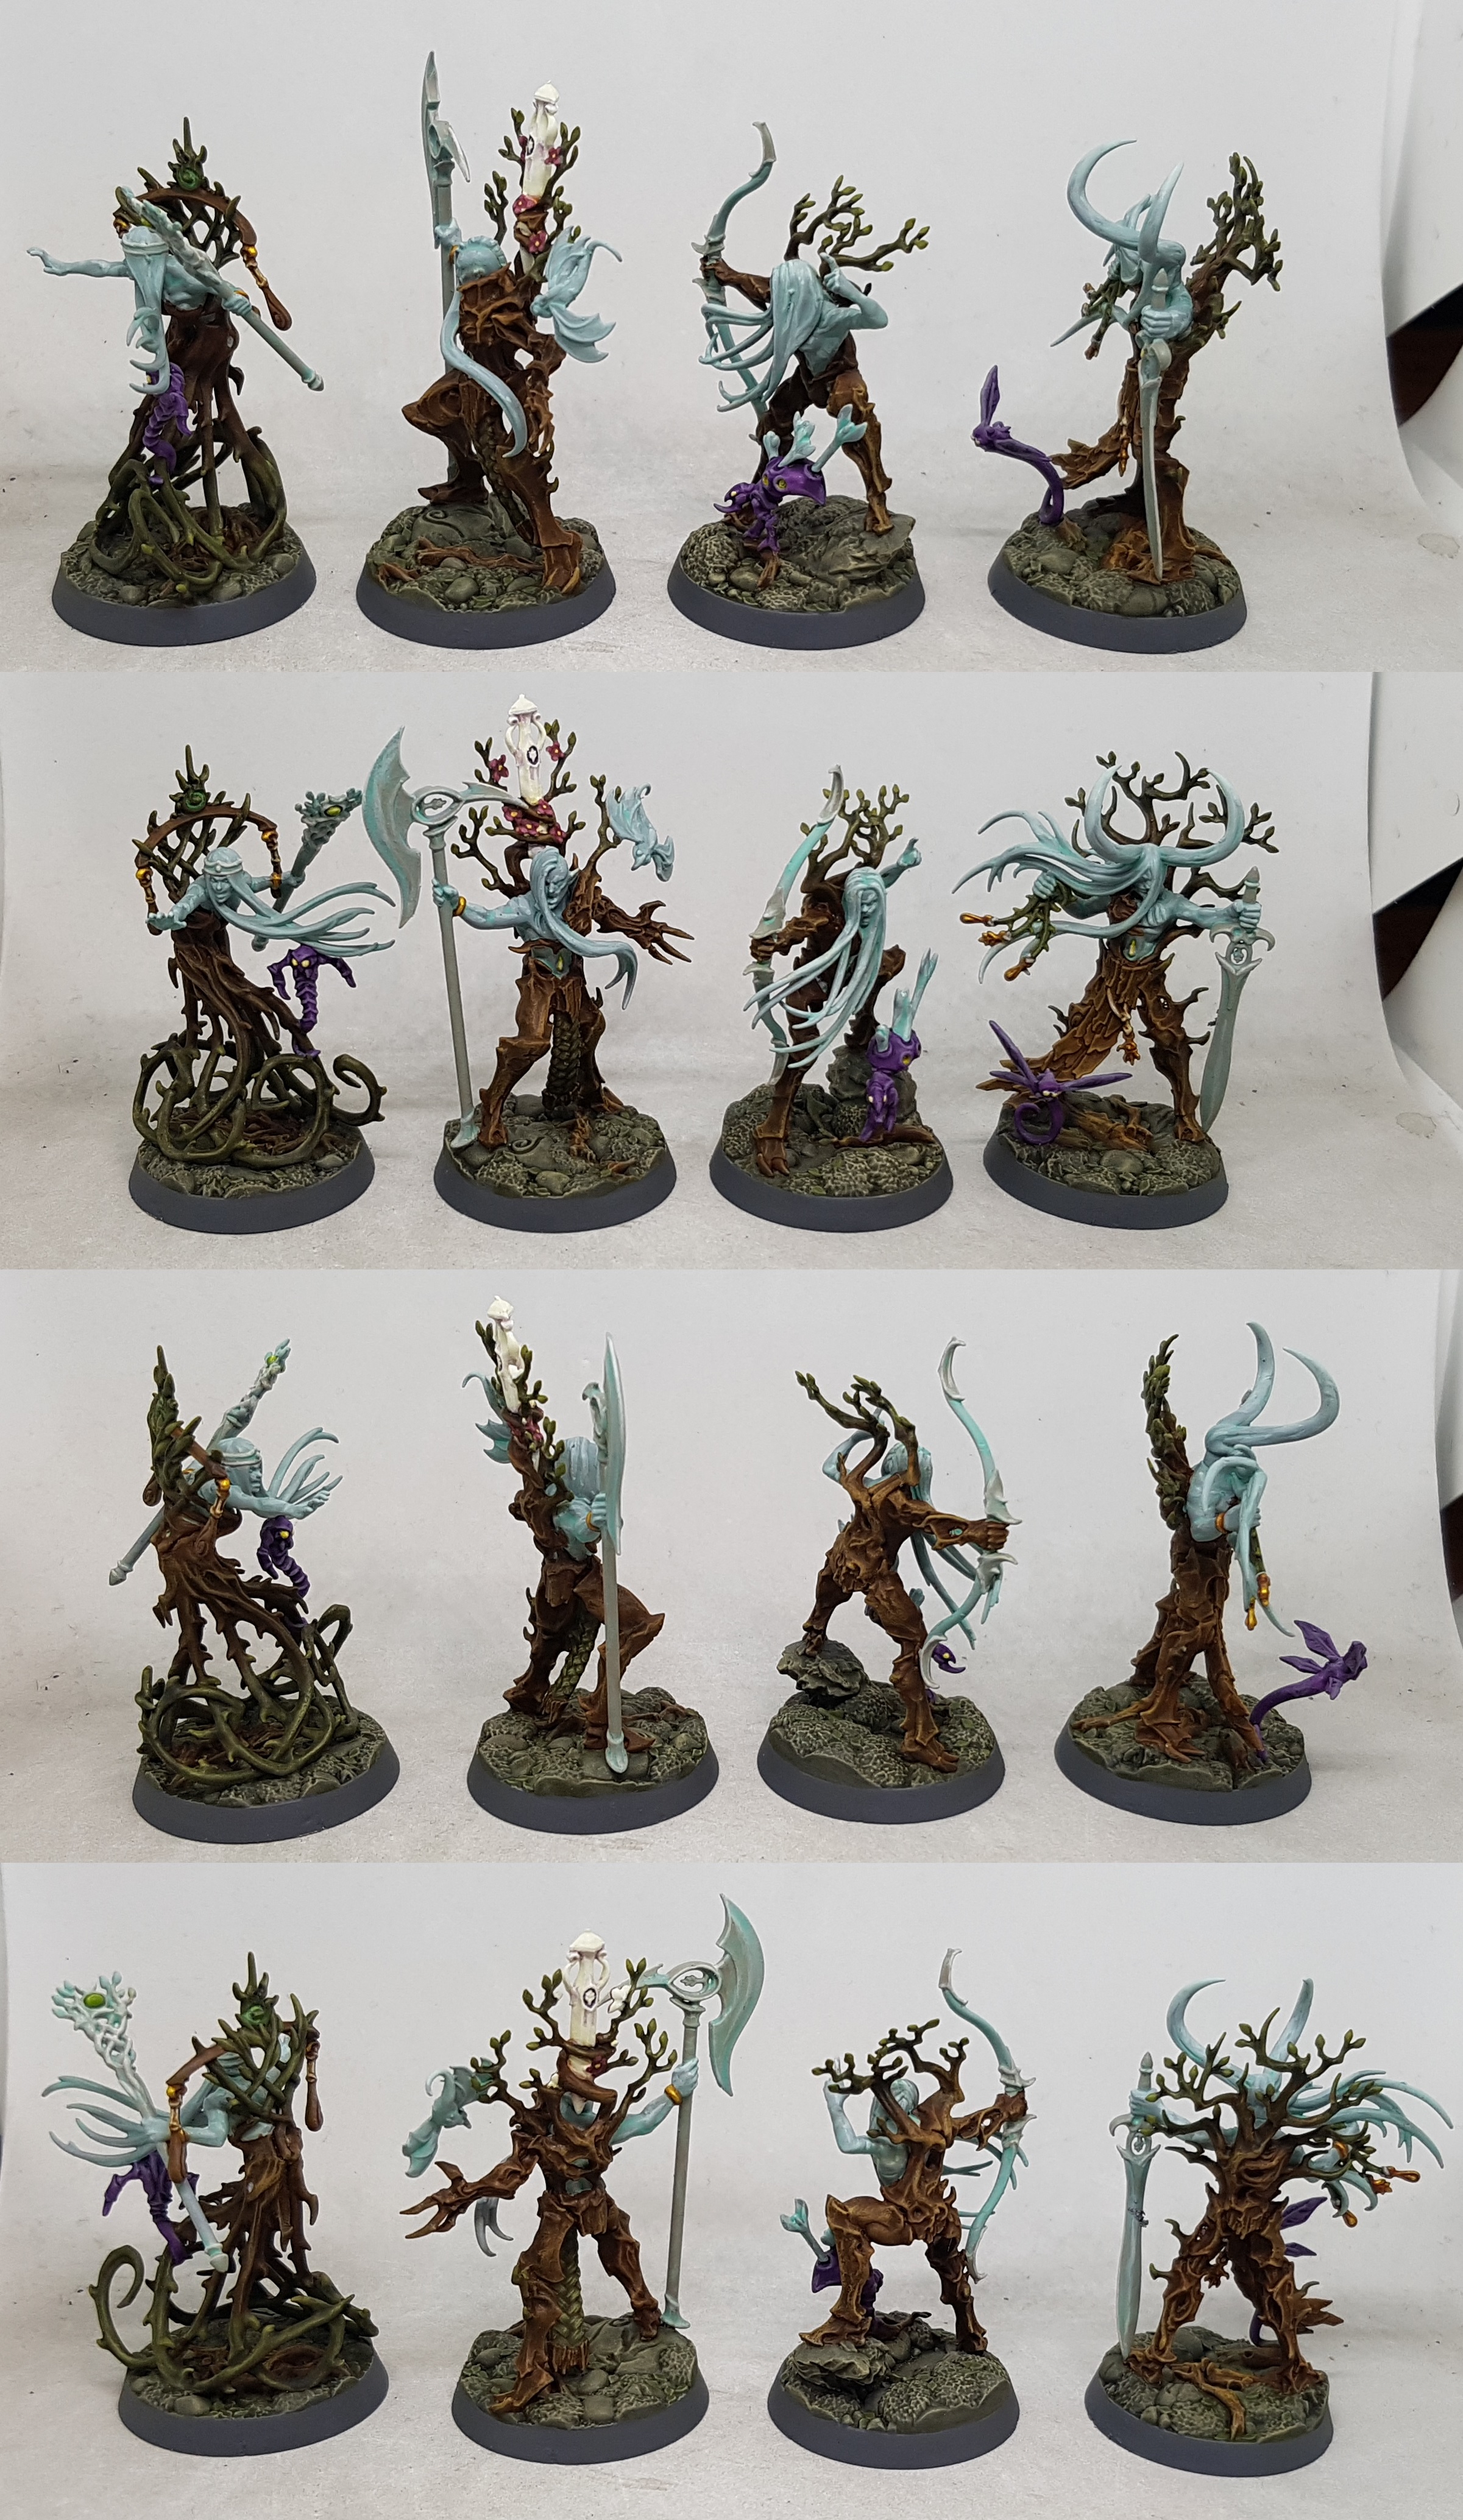 I also finished the palate cleanser models, Ylthari's Guardians for Warhammer Underworlds
Awwwww yeah!
I only went and won best Turorial for this project. Thank you everyone.
https://www.beastsofwar.com/featured/spring-cleaning-hobby-winners-2020/


![Zenit Miniatures’ Samurai Warlords Now Live On Kickstarter [Updated]](https://images.beastsofwar.com/2026/02/samurai-warlords-launch-main-600-338.jpg)