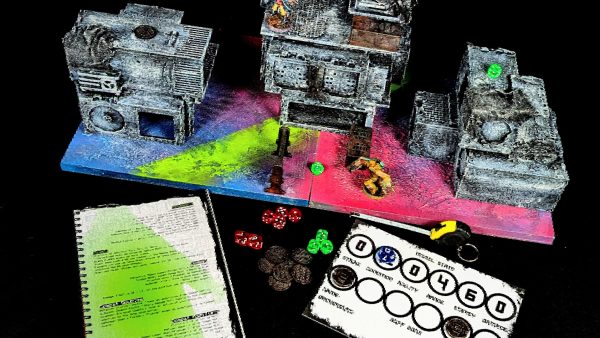


Kitbashing and recycling packaging for sci-fi terrain


Recommendations: 1043
About the Project
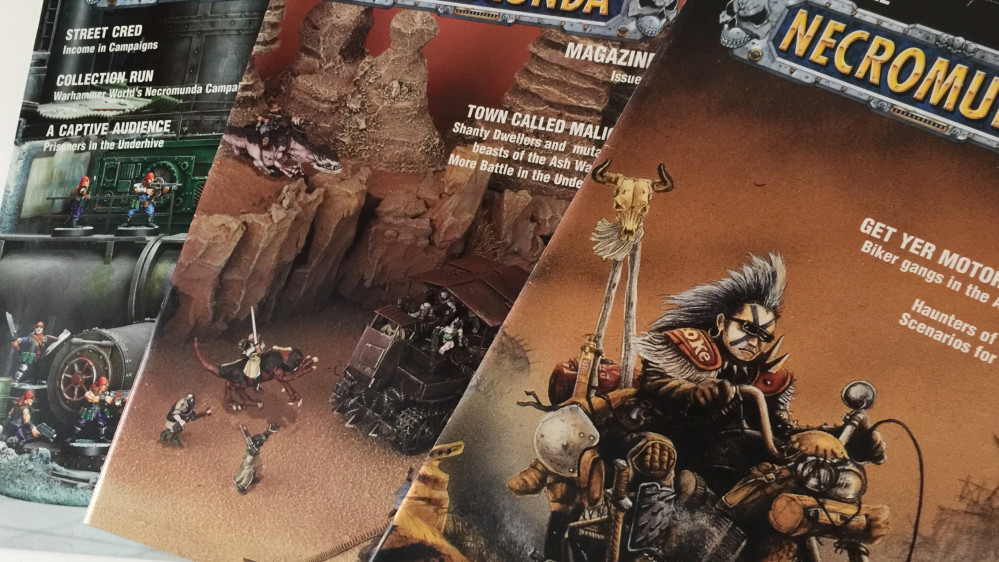
I’ve been keeping a hold of various bits of packaging, different plastic parts and gathering up some old model kits to try and get a collection of things that can be used to create some sci-fi terrain pieces. I really like the look of the post apocalyptic ash wastes aesthetic that I’ve seen in old Necromunda magazines and pictures and I want to build some kitbashed items that could be used in table top gaming, wether it be Warhammer 40k or Necromunda itself. The plan is to make a number of individual pieces that all fit into the look and feel I’m going for, and to take pictures along the way to help show where the models are coming from. Also aiming to get lots of nice weathering techniques tried out and to see what works.
Related Game: Warhammer 40,000
Related Company: Games Workshop
Related Genre: Post-Apocalyptic
This Project is Active
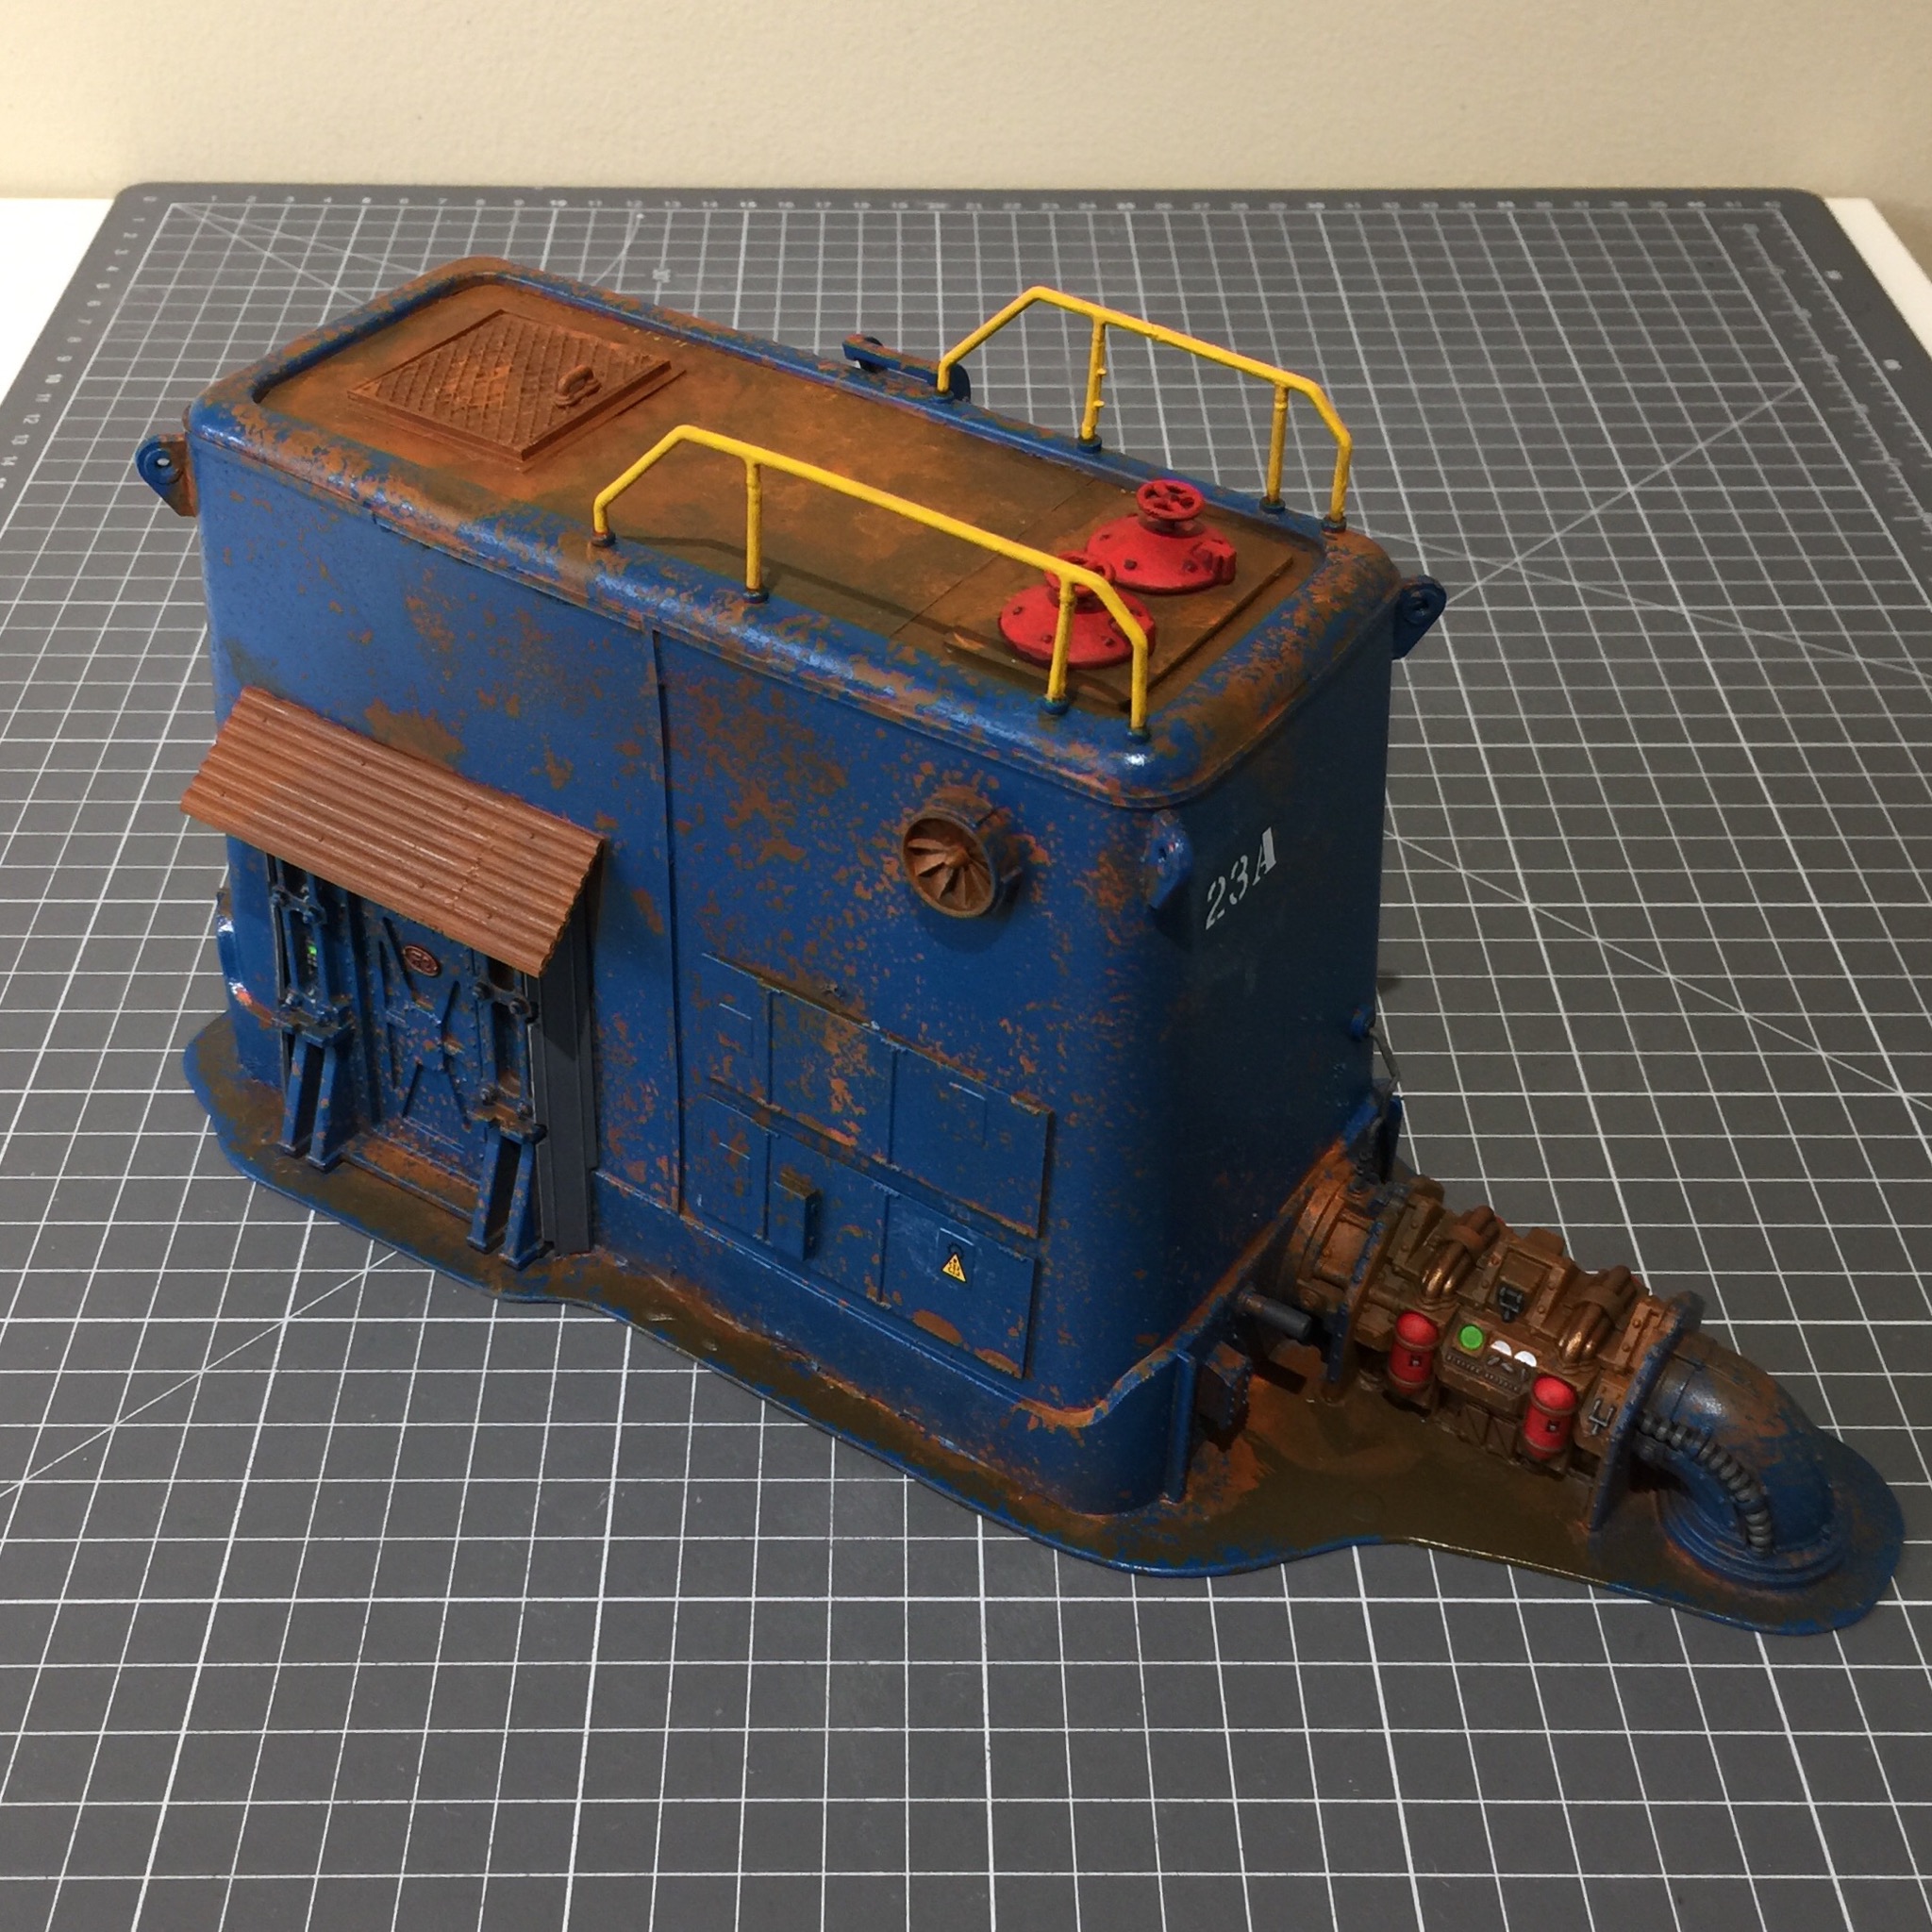
Rusted up the Windtrap


Pretty quick stage again, prime with some Tamiya spray paint then a cover with brown also from a rattle can.
After that I’ve used a few browns, roughly stippled on without much care. The last colour being Ryza Rust to get those lighter, orange bits. And that’s us, ready for salting up and spraying with top coat colours.
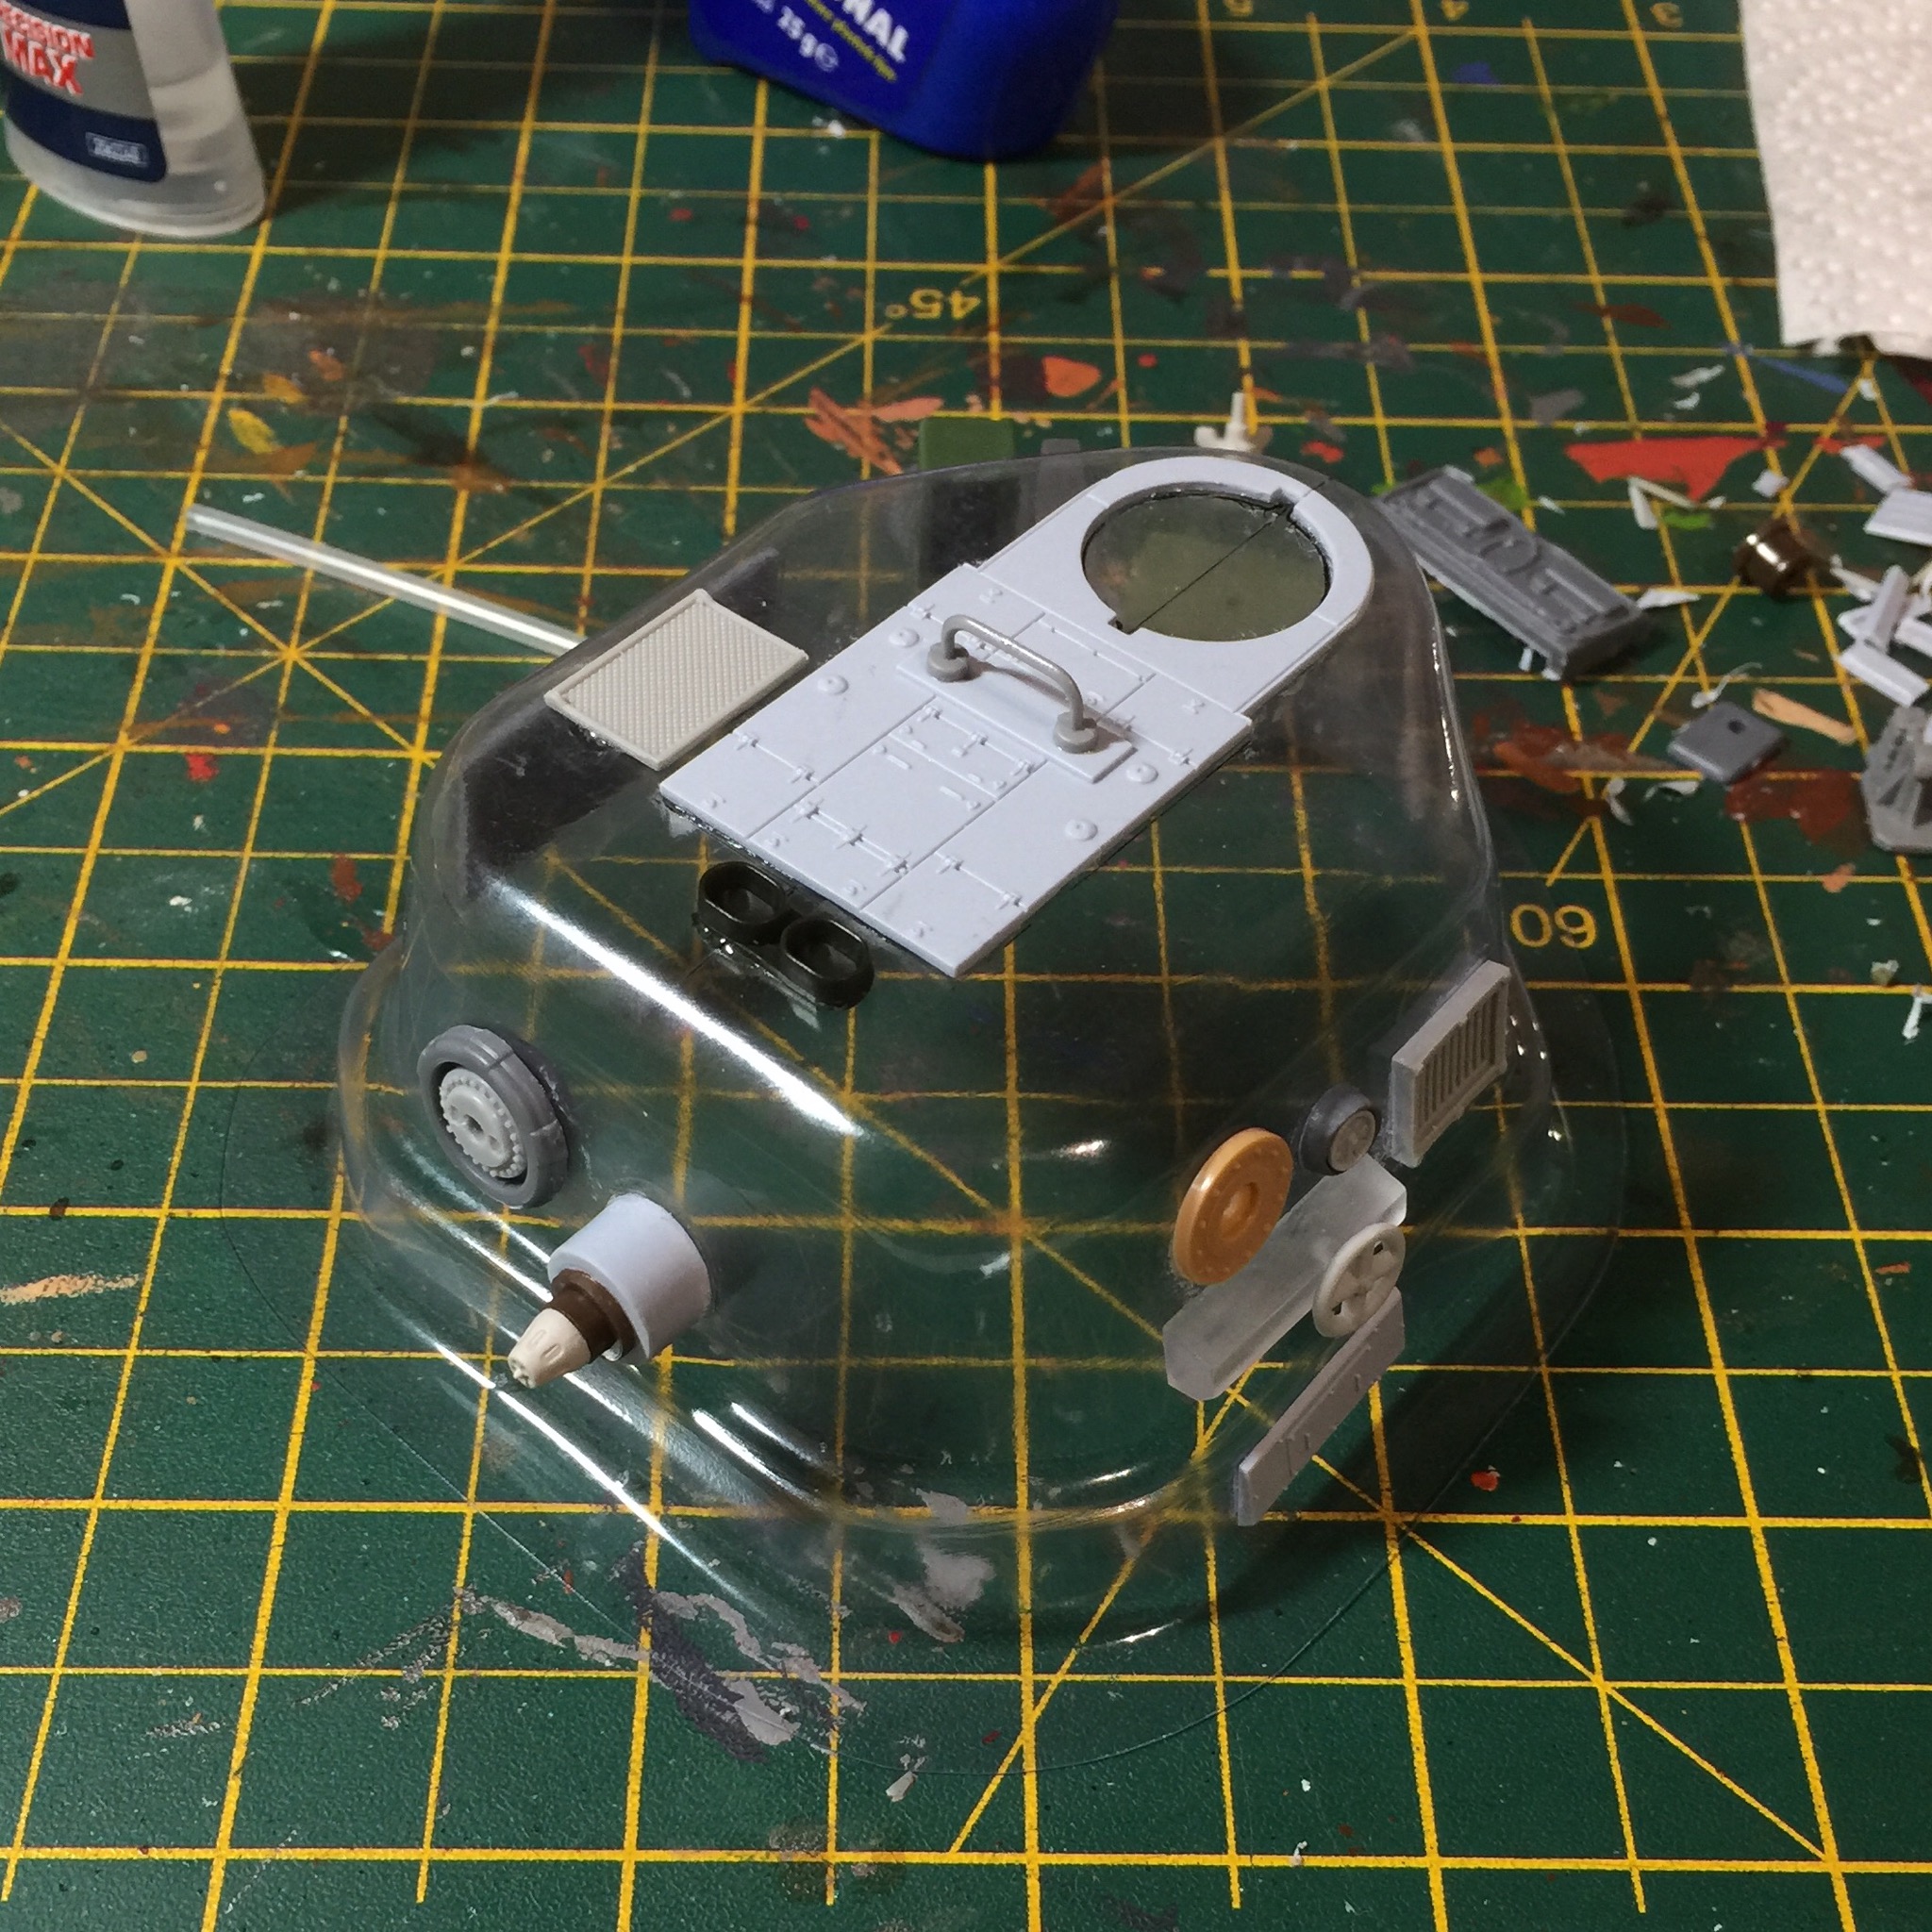
Detailing finished on the Windtrap

With the various bits now glued on its time to finish of the detailing with some thin strips of styrene. I have a few pieces pre cut, 1 or 2 mm thick and I start by glueing one end to the model then moving to the next strip of styrene and glueing it’s first end elsewhere. That gives time for the first piece to stick and then I can go back and add glue and form the styrene around the edges etc. It’s the most efficient way to do, until I can think of a better way. You can’t do the whole strip in one go as the glue tends to let go once you go round a bend or over an edge.
Really important step this, in terms of getting across that your model is constructed from large pieces of metal that are welded or bolted together.
 The completed build stage
Barring some filling in with Liquid Green Stuff, which I’ll have a go at another day, this model is now ready for priming. Then onto the painting stage!
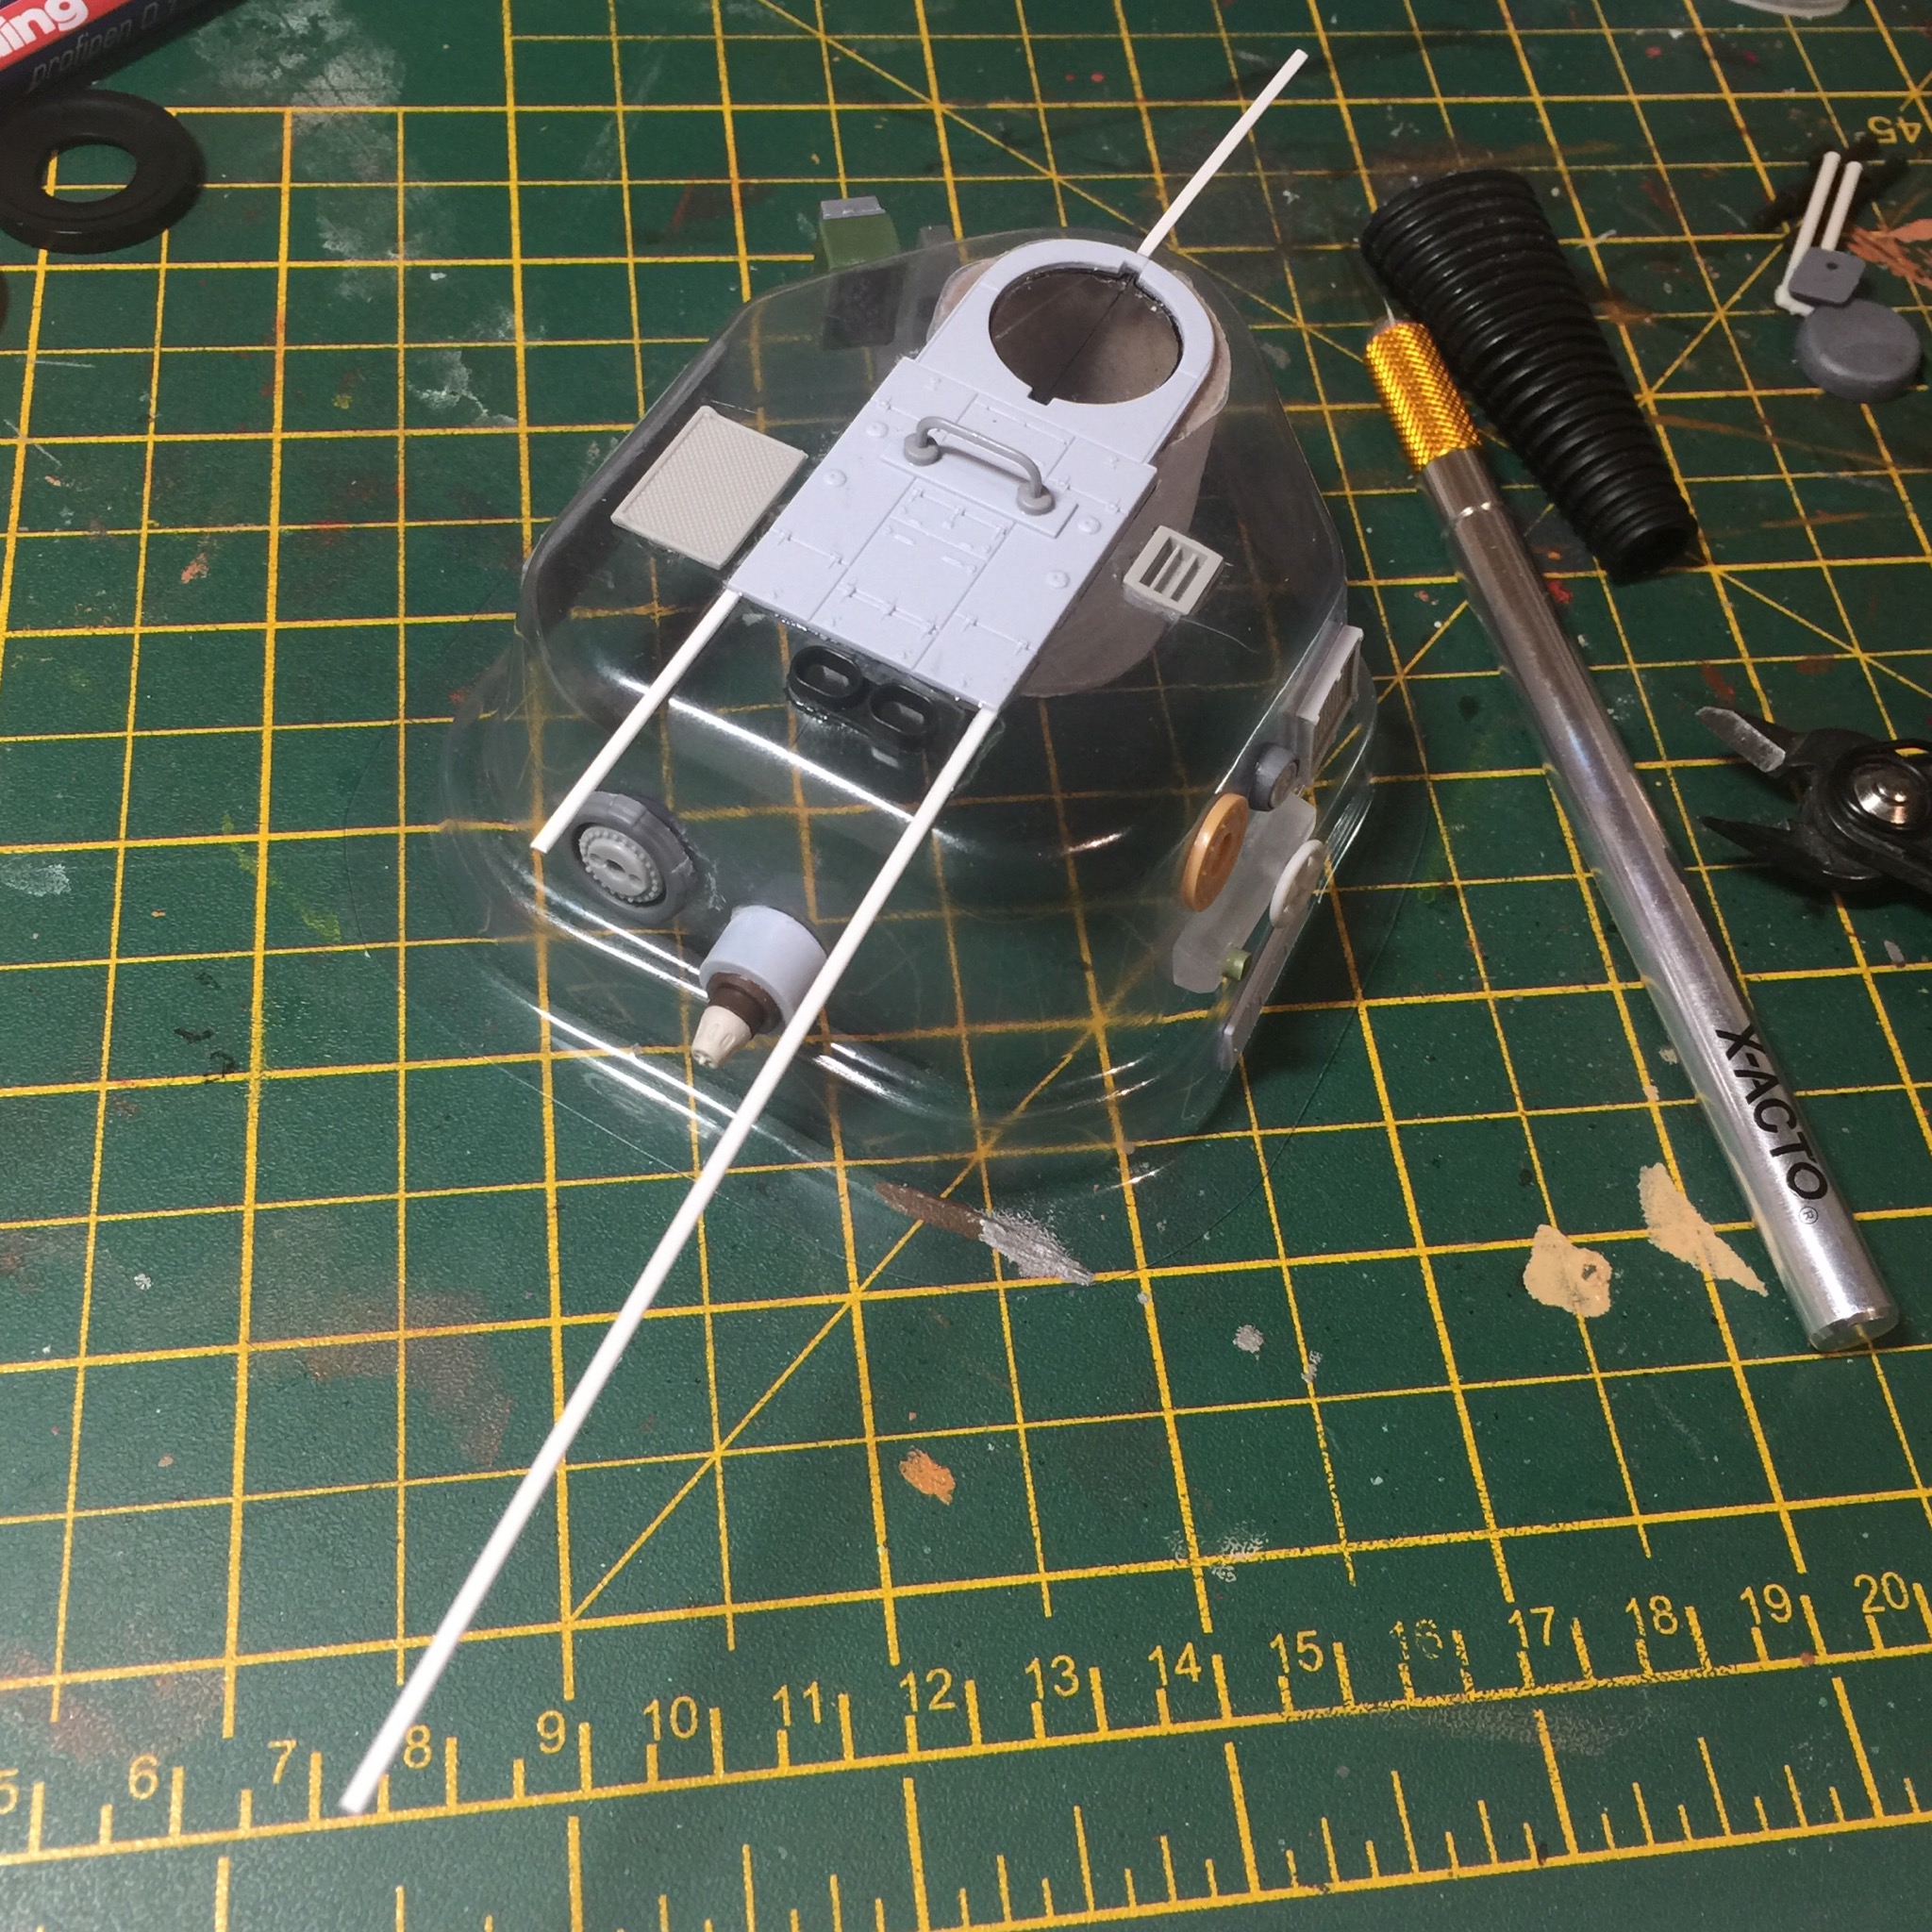
Detailing the main unit

Moving to the main unit of the Wind Trap now and getting some bits stuck on to build up the detail from being just a plain box.
I’ve found a nice part from a tank kit and cut away the sides and rounded off the front end to match in with the packaging it’s getting stuck onto. That makes for a suitable detail where the blades assembly will fit. Then it’s just a case of finding items that look good when offered up to the sides of the main unit and getting them super glued in place.
Windtrap started
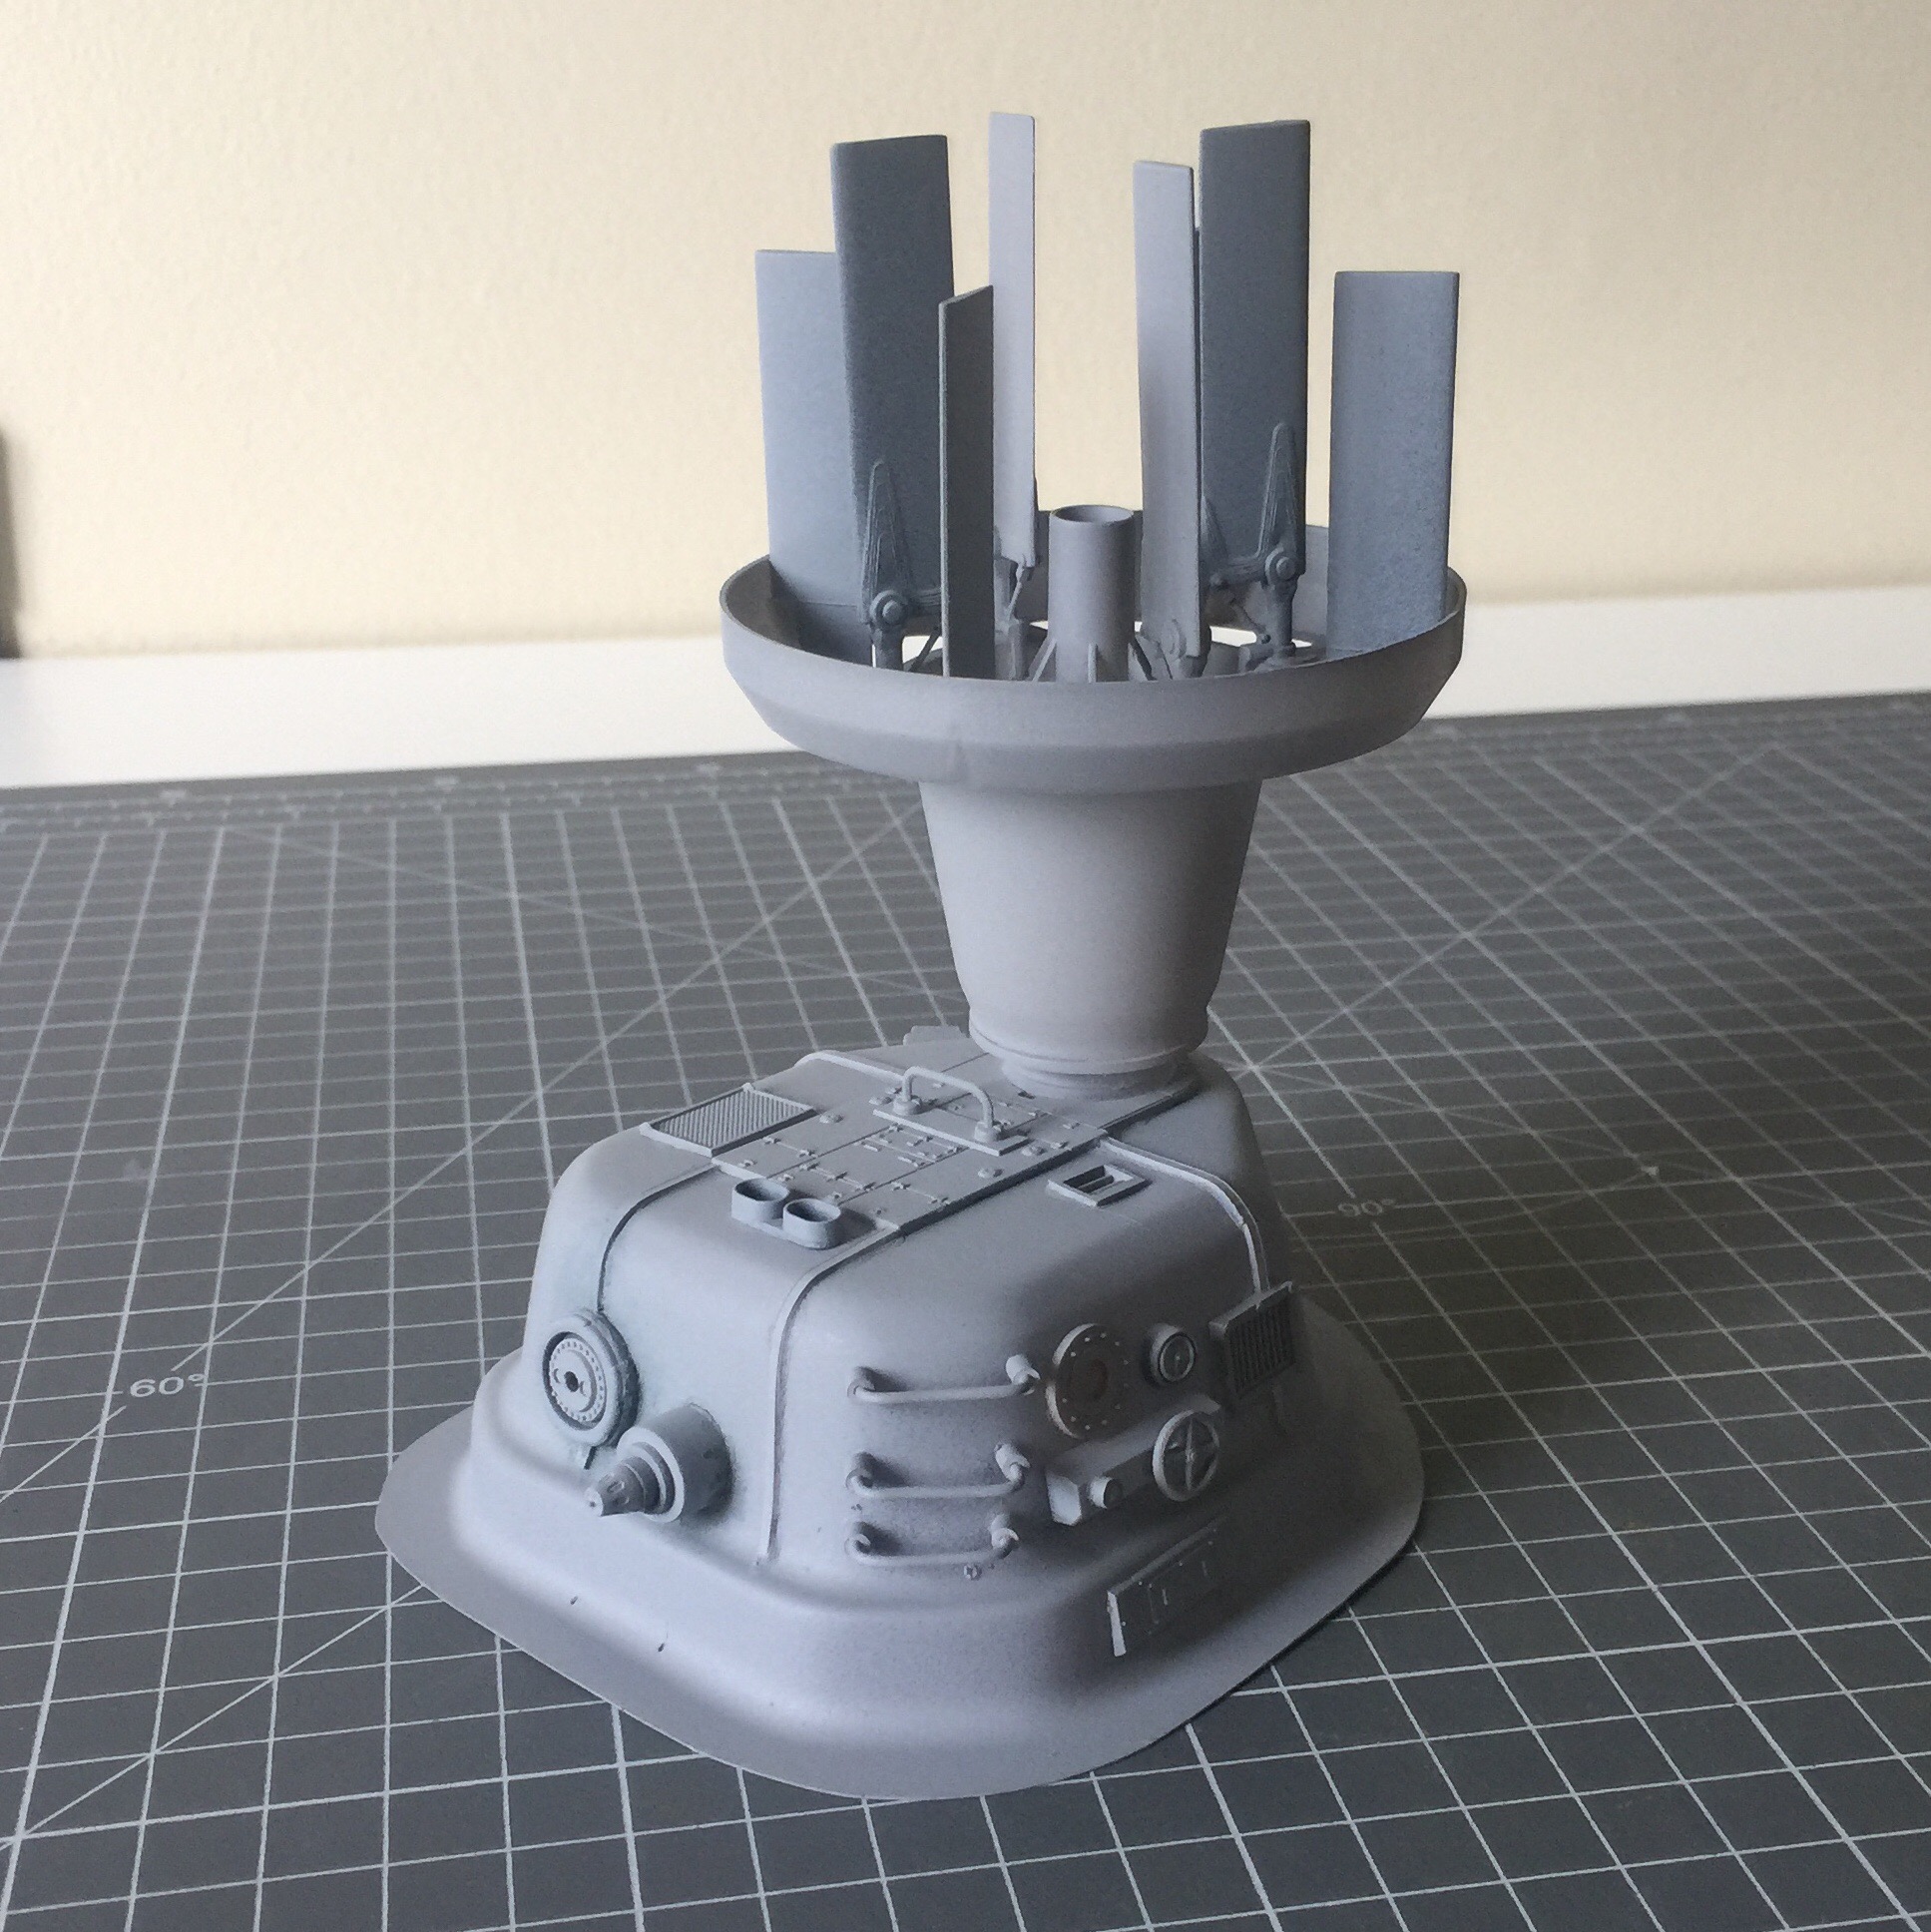
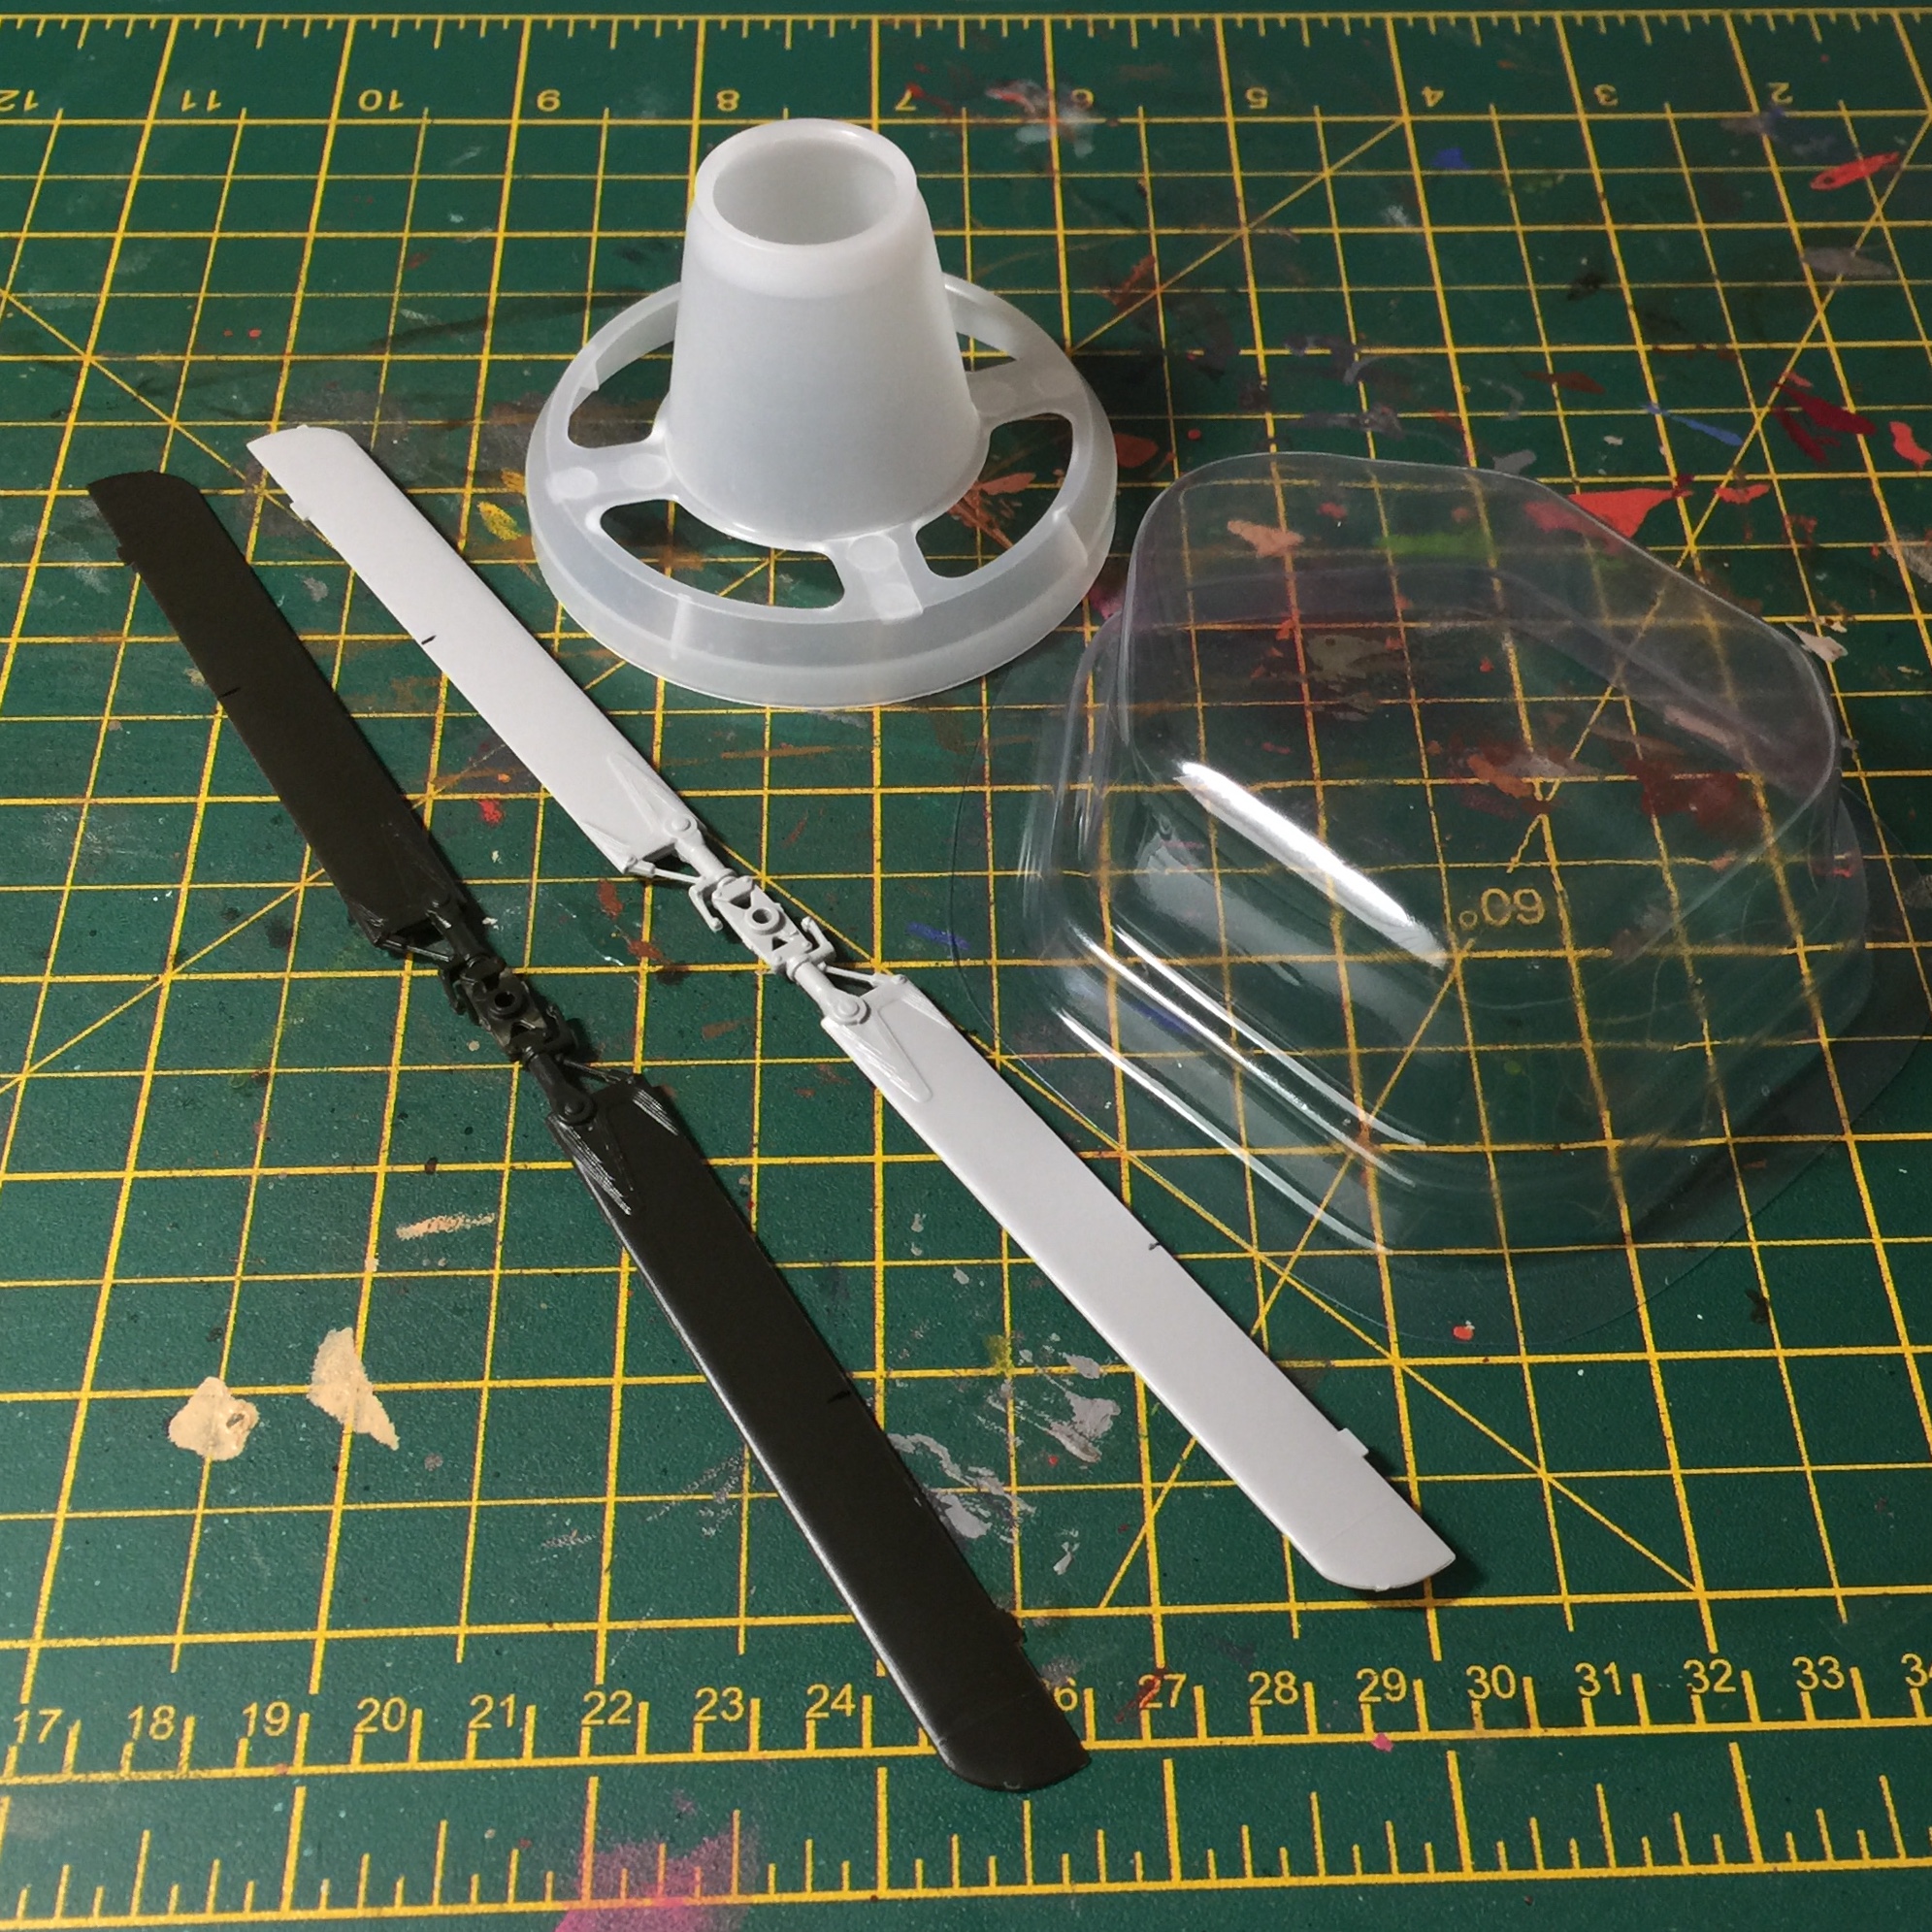 The basic bits to start with
The next piece is going to be a “Windtrap” as listed in the Necromunda Shanty Town territory table… essentially the blades on top spin in the breeze and cause the turbine within to draw air into the machine below. The moisture in the air then condenses and is stored in the catch basin below, underground. That’s the idea, I think a machine originally described as part of the Dune universe. Then the wider Necromunda fiction.
So I’ve got these pieces to start with, some packaging from something and a couple of helicopter kit blades. The rest will just be whatever looks right when glued onto it.
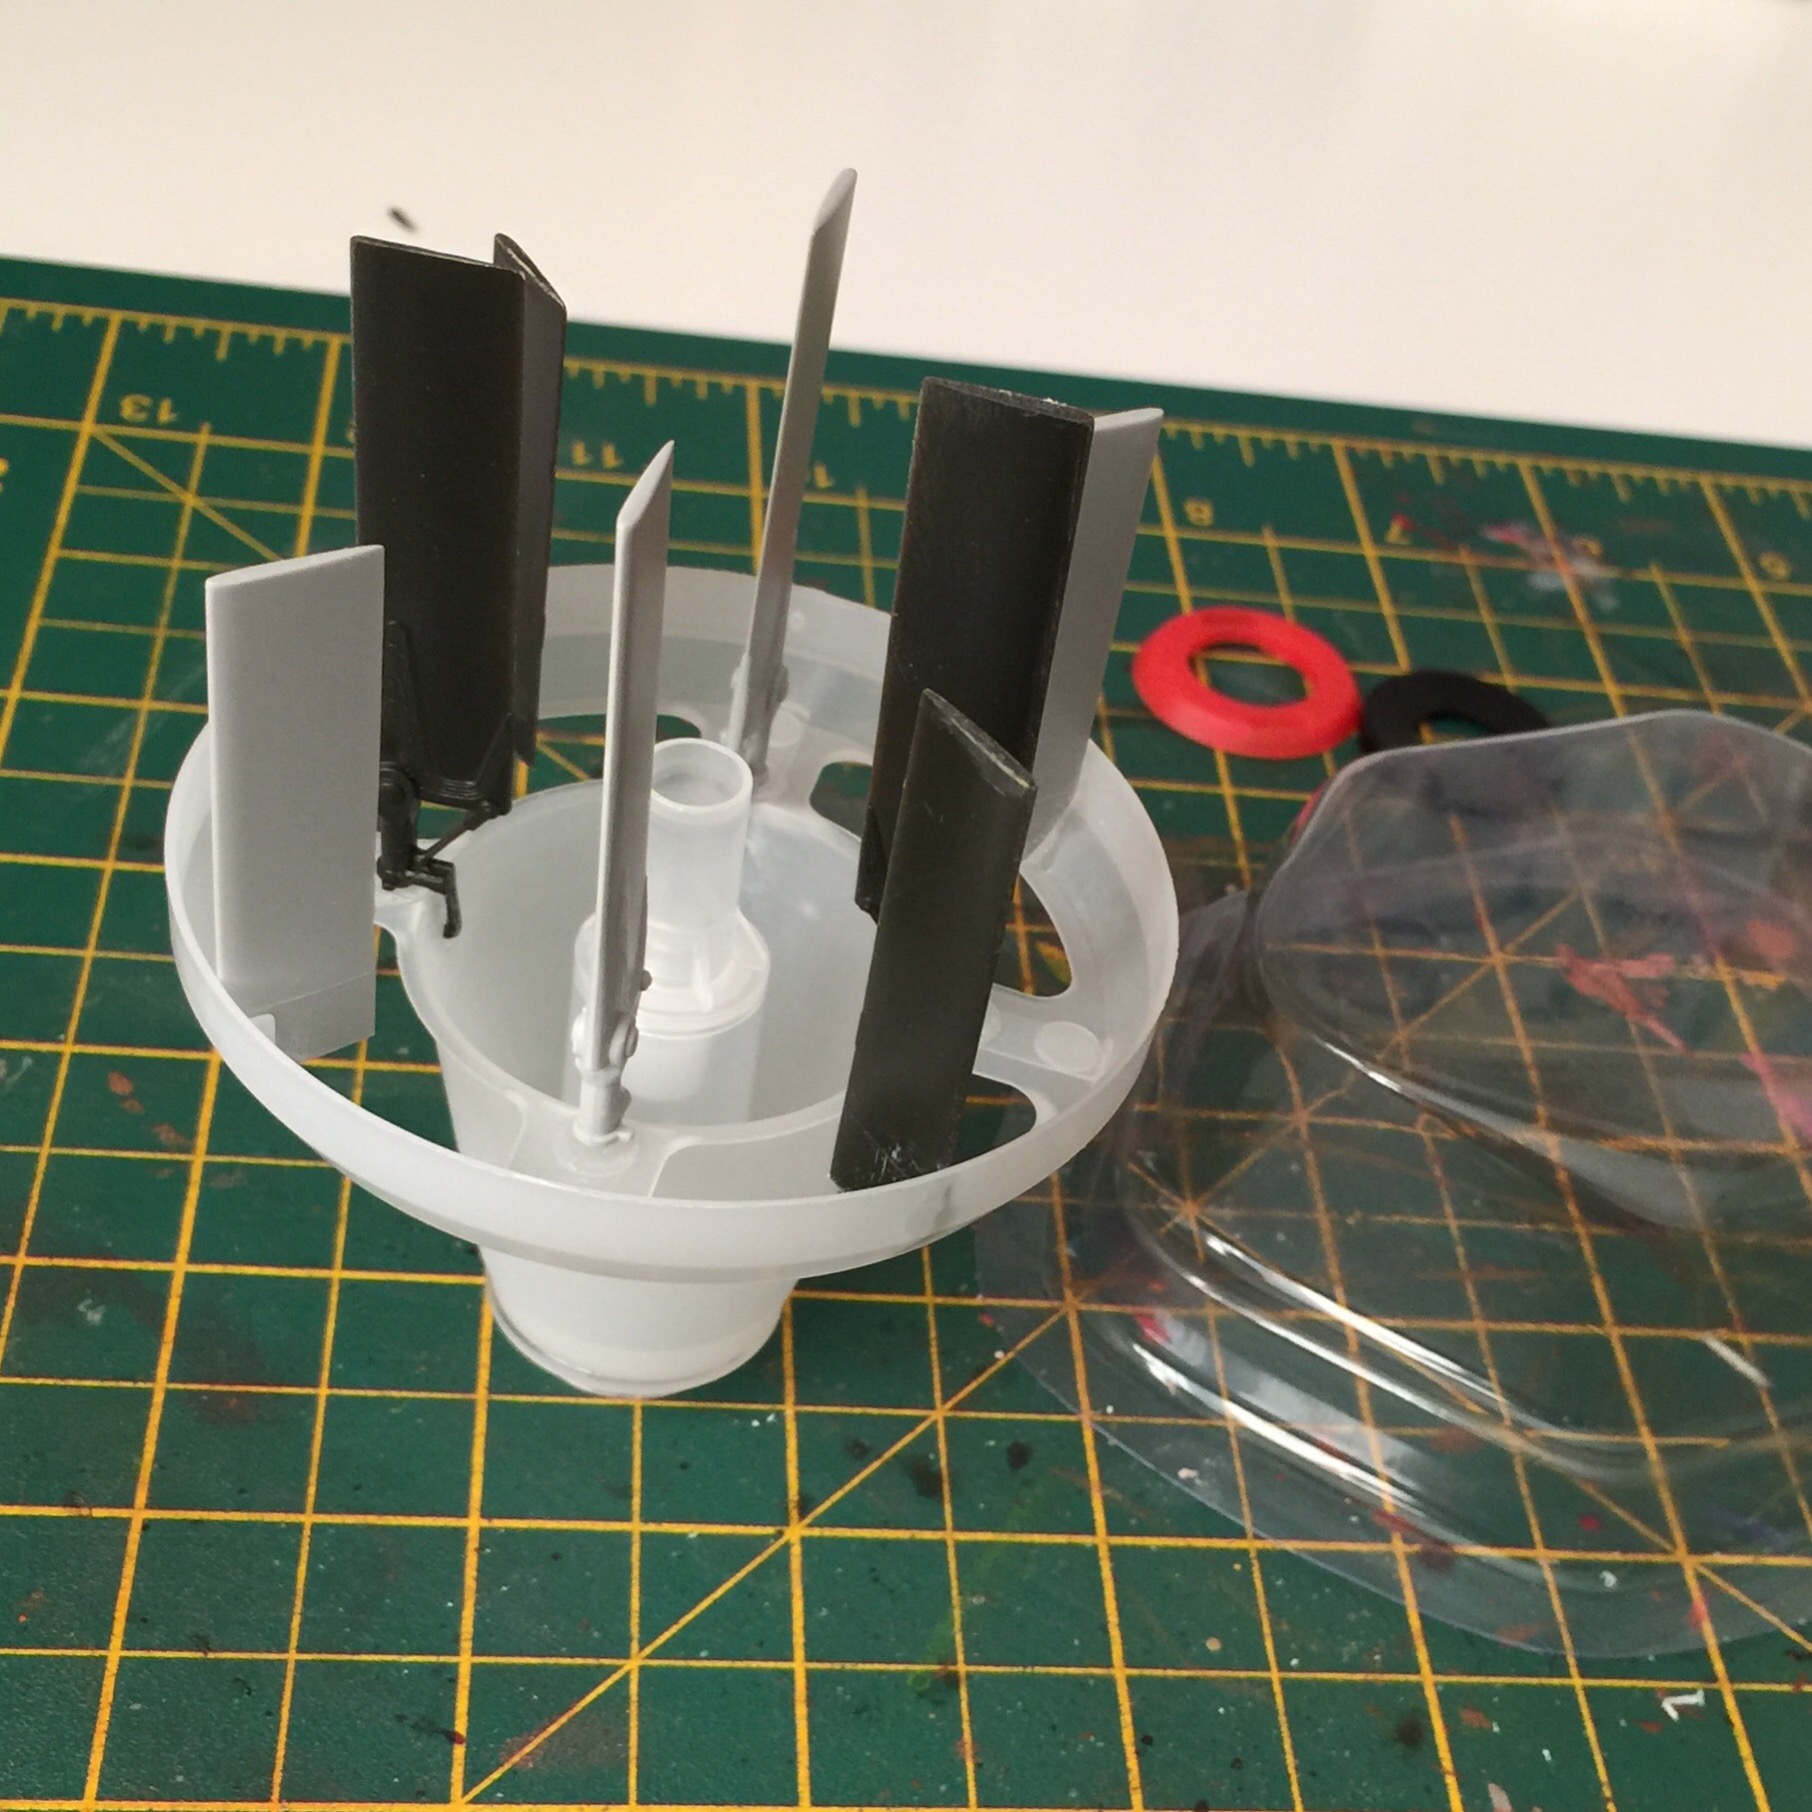 Blades in place
There’s a nice piece from the inside of a press pump bottle top, like hand sanitiser, and it fits perfectly into the middle of the larger part with the blades.
Sludge Processing Unit complete
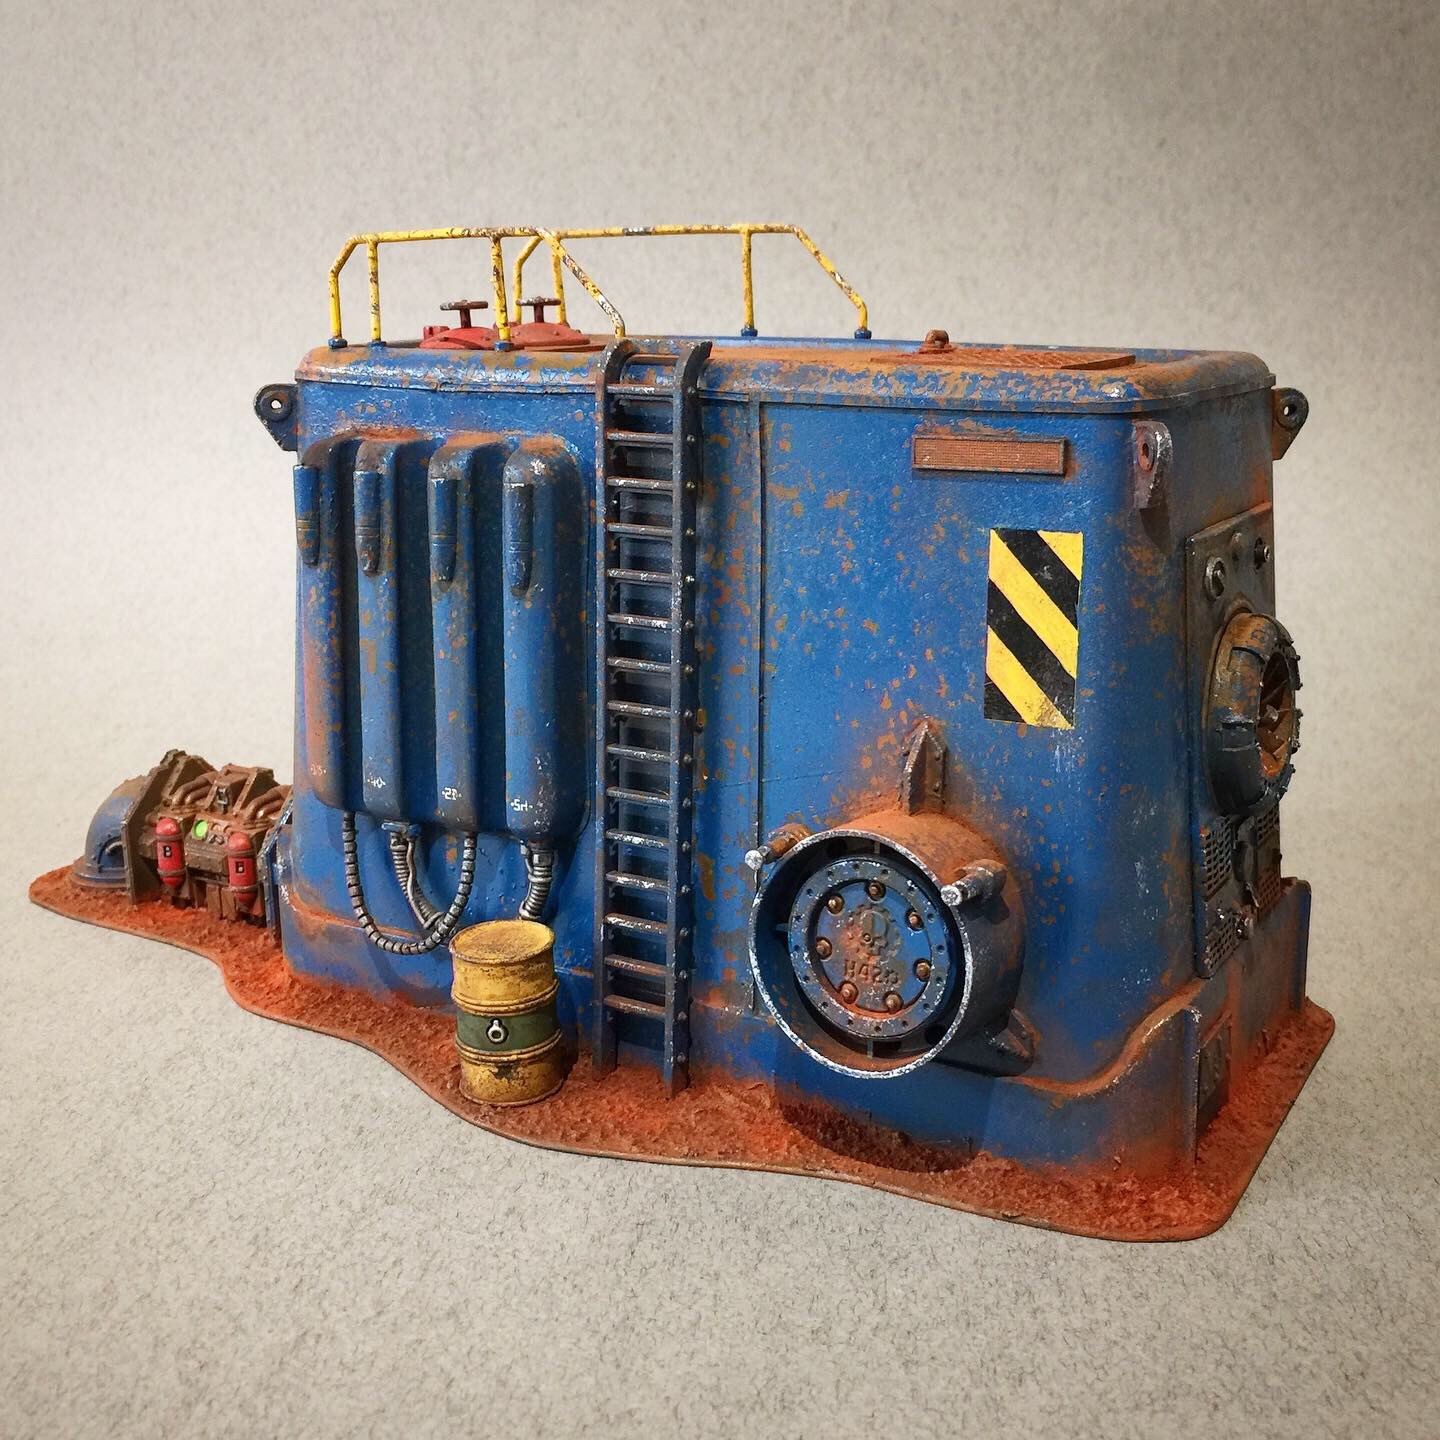 Mandatory barrel
 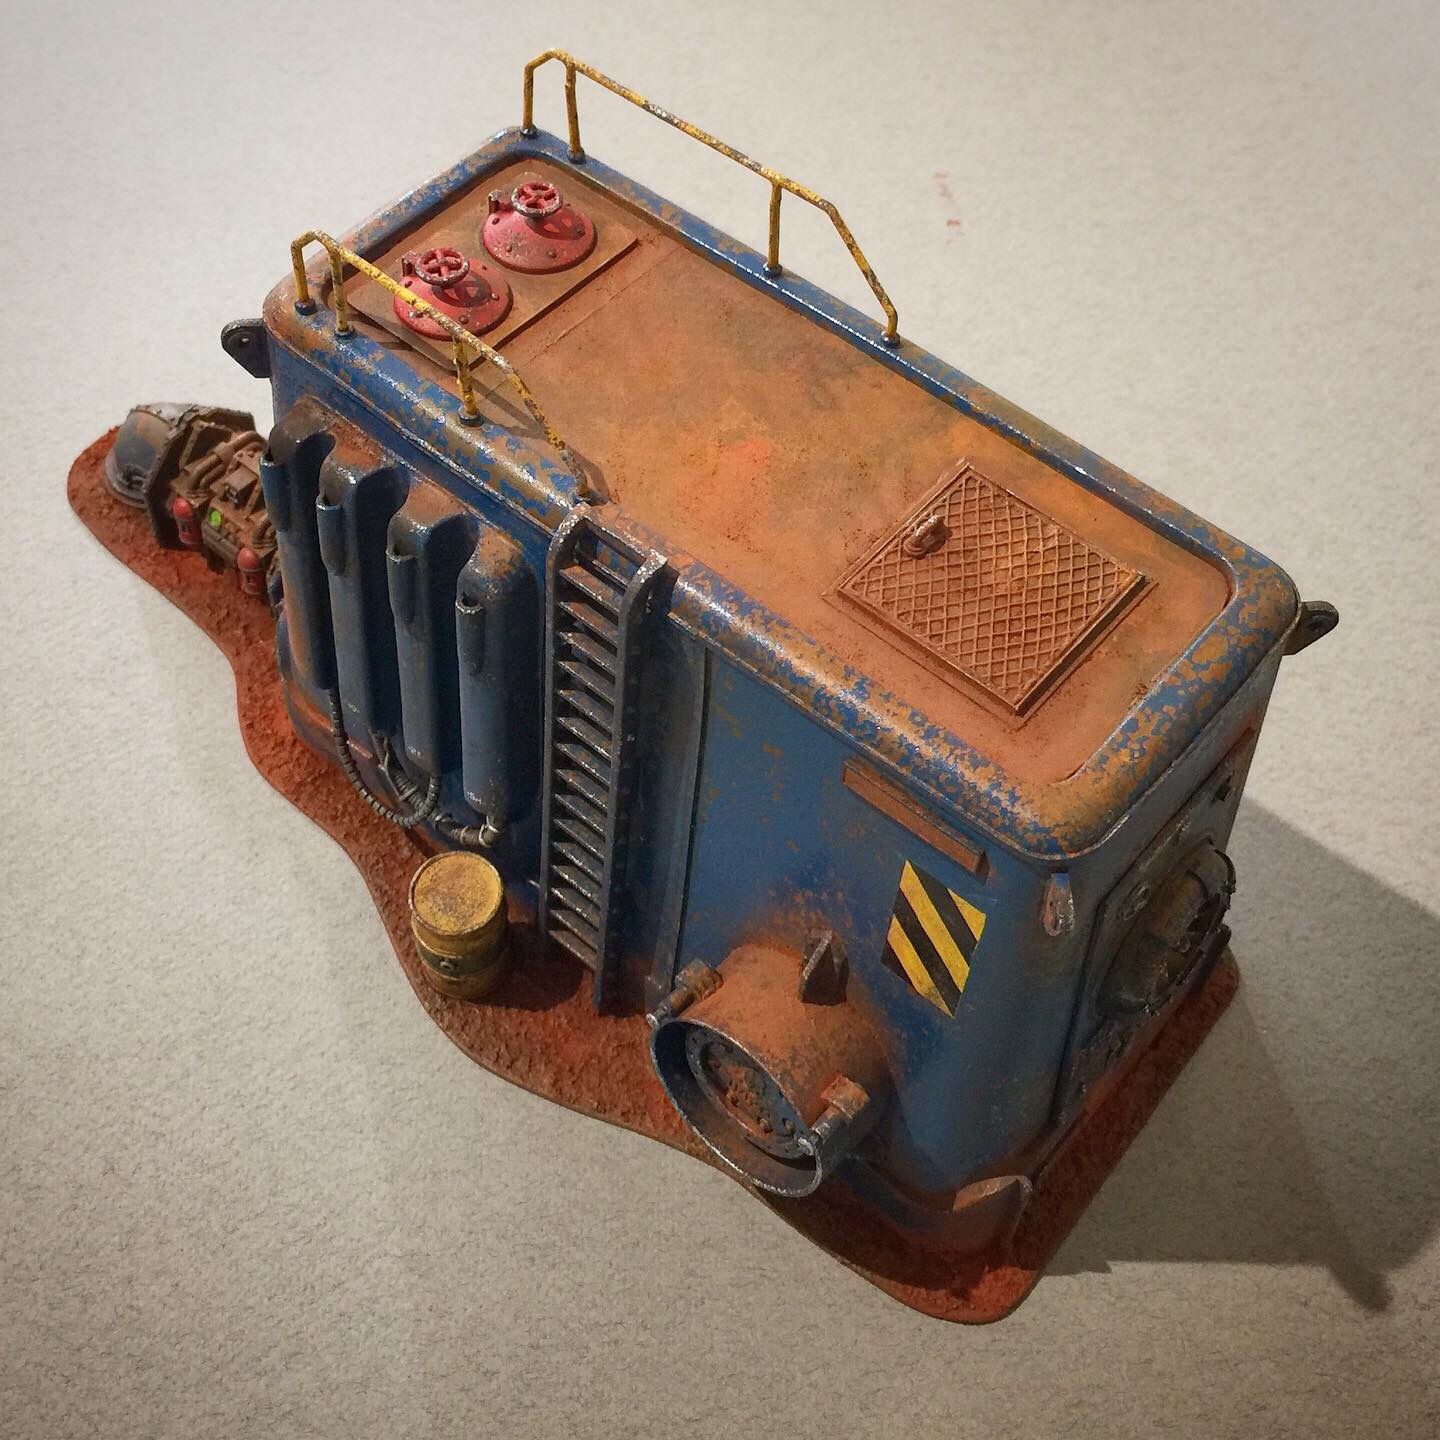 Top hatch and tank access
 Where the chems are collected
Well that’s the Sludge Processing Unit completed and ready to start separating sellable chems from the sludge found underground. It’s seen better days but remarkably it’s still operational, and will be a target for rival Ash Wasters and Nomads scavenging this area for vital resources.
Overall it was a similar process to the first terrain piece, spot a useful looking packaging design and super glue on some other bits and pieces. Give it a rusty base then use the “salt weathering” technique to get the worn and damaged paint look on top. Vital step at the end is getting the additional areas of chipping and wear then a final going over with the weathering powders.
Source bits are from GW, Zinge and various old tank model kits. The bigger the bits box the better! Hopefully I’ve disguised the washing machine pods box, at least until you are told what the base item is.
Base painting done

So that’s the initial paint layer done, again sprayed from a rattle can over the previous rust layer and with some salt sprinkled over the model to scrub away later, leaving the rust showing. Picked out a few items in other colours to add interest and now we’re ready to get the final weathering done then the basing… first thing to do next is some chipping with grey and metal paints.
Rusted Up
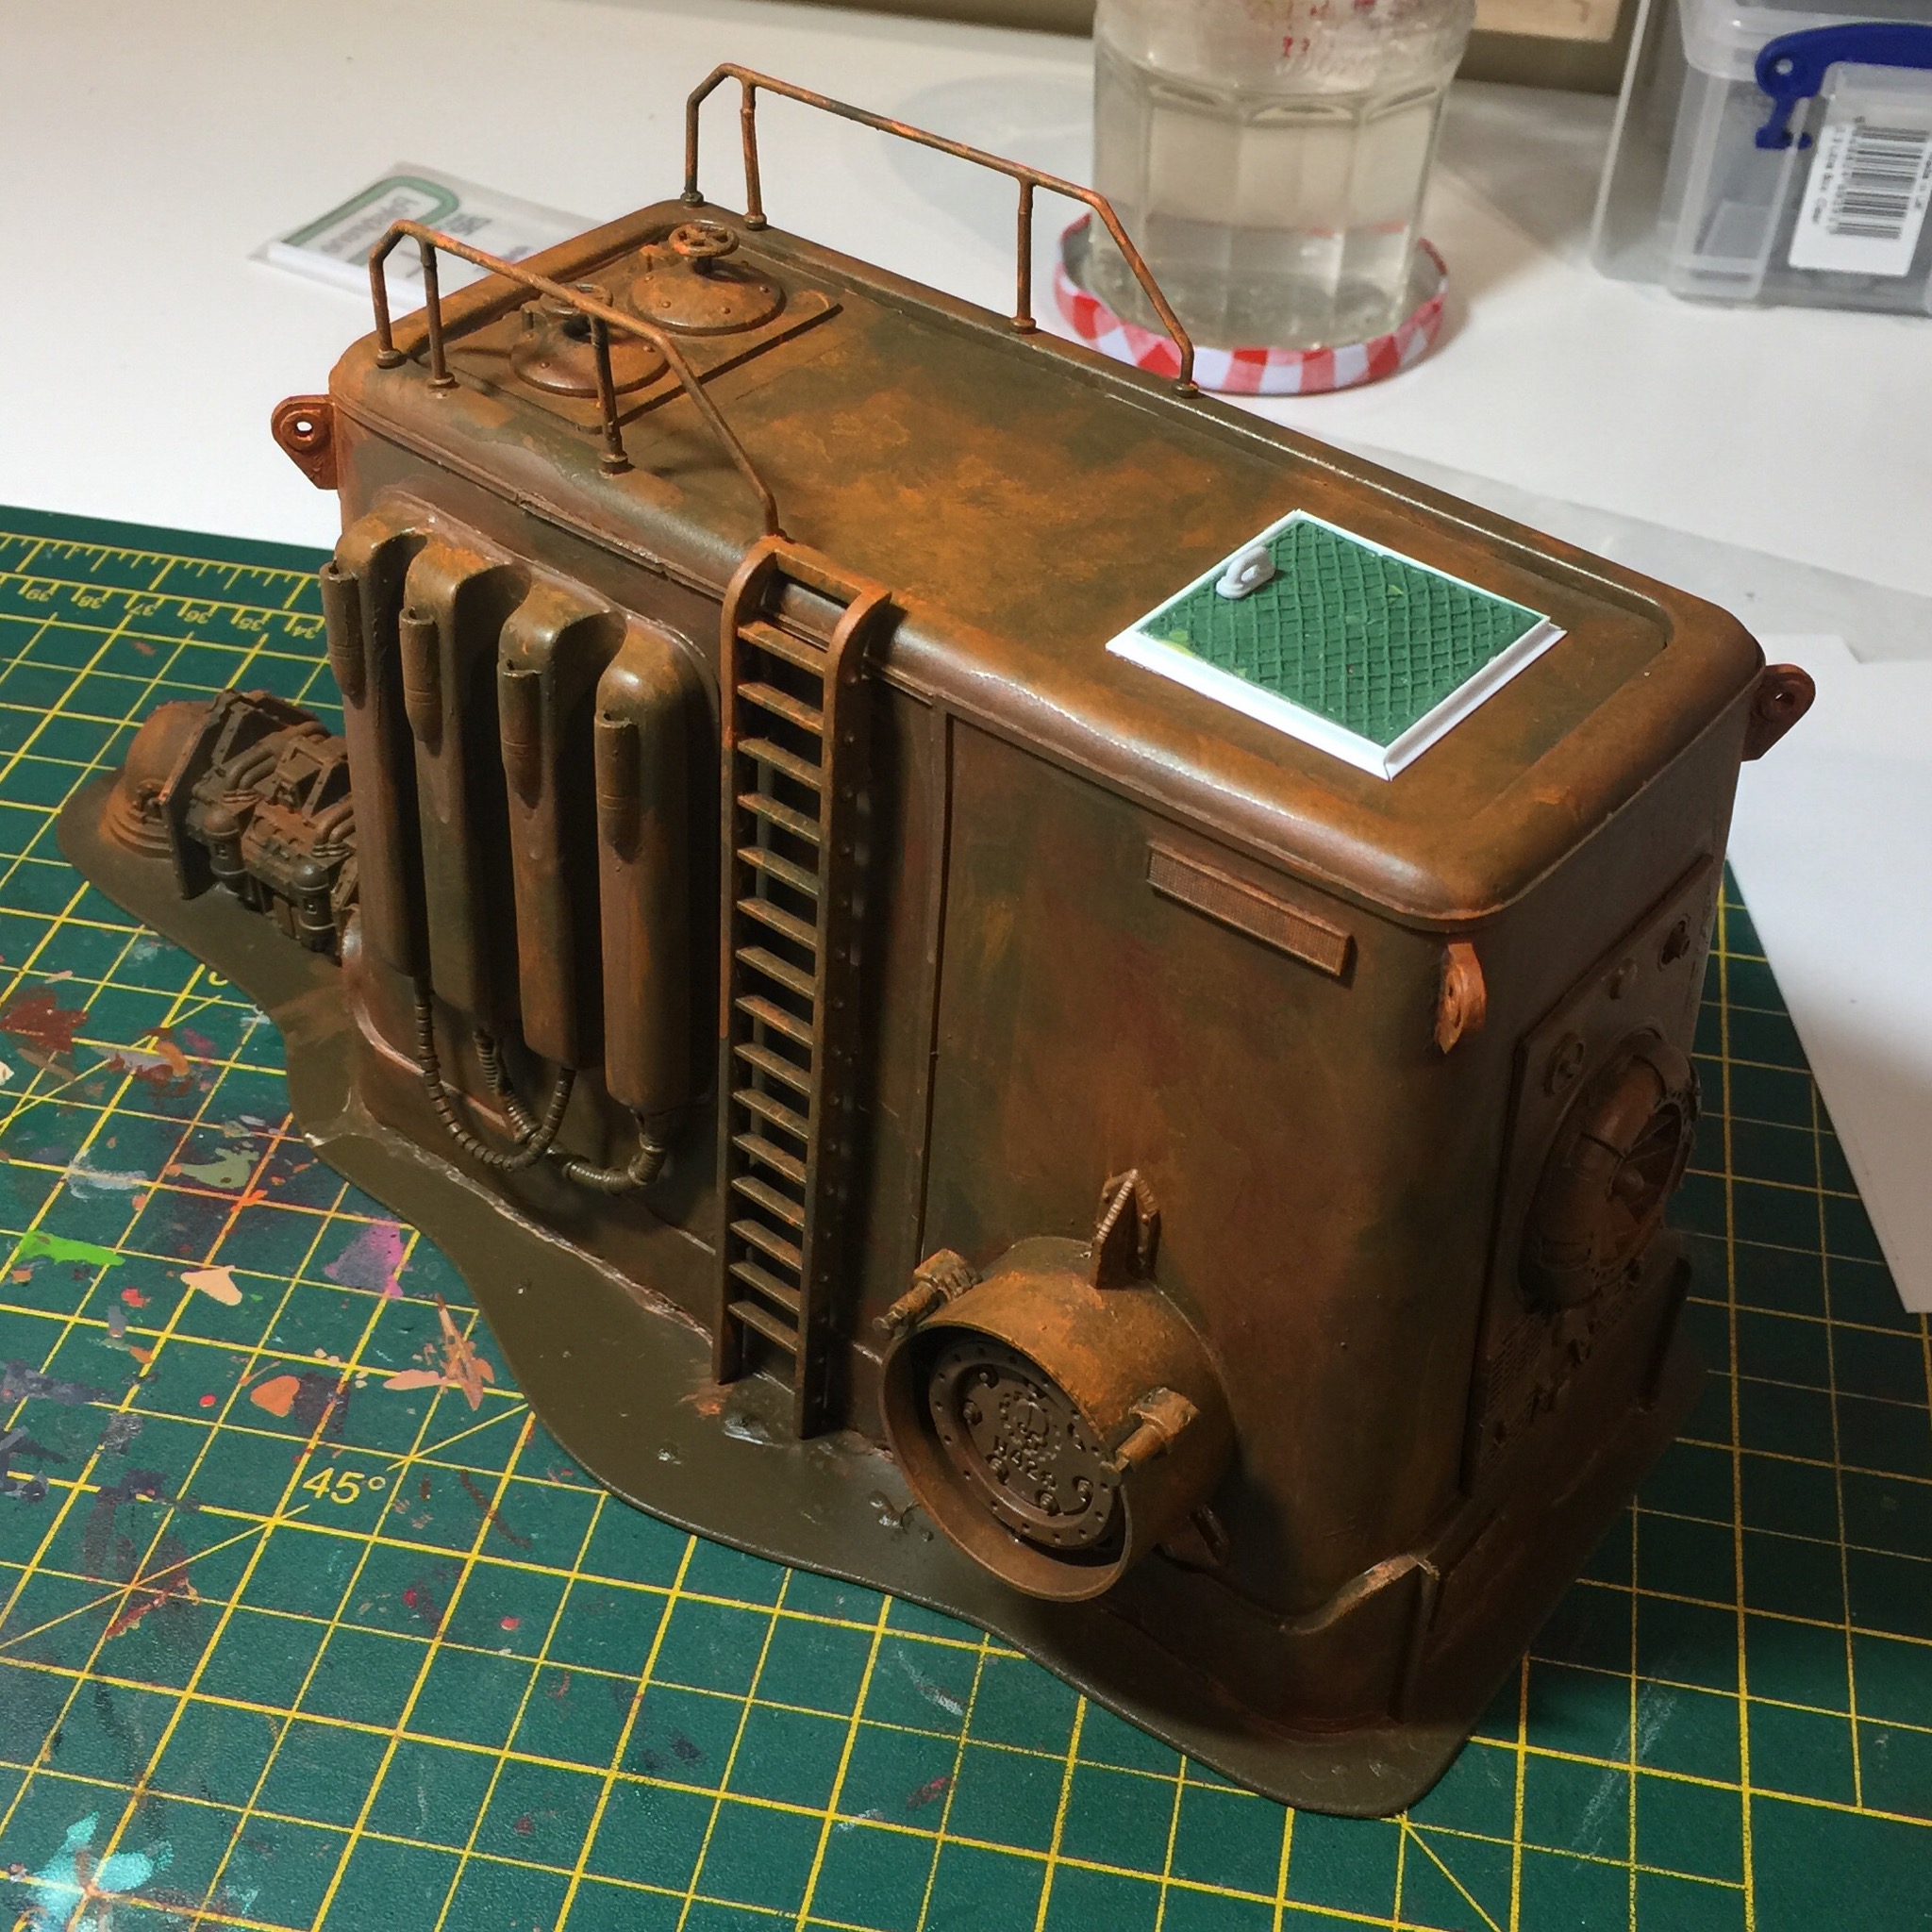
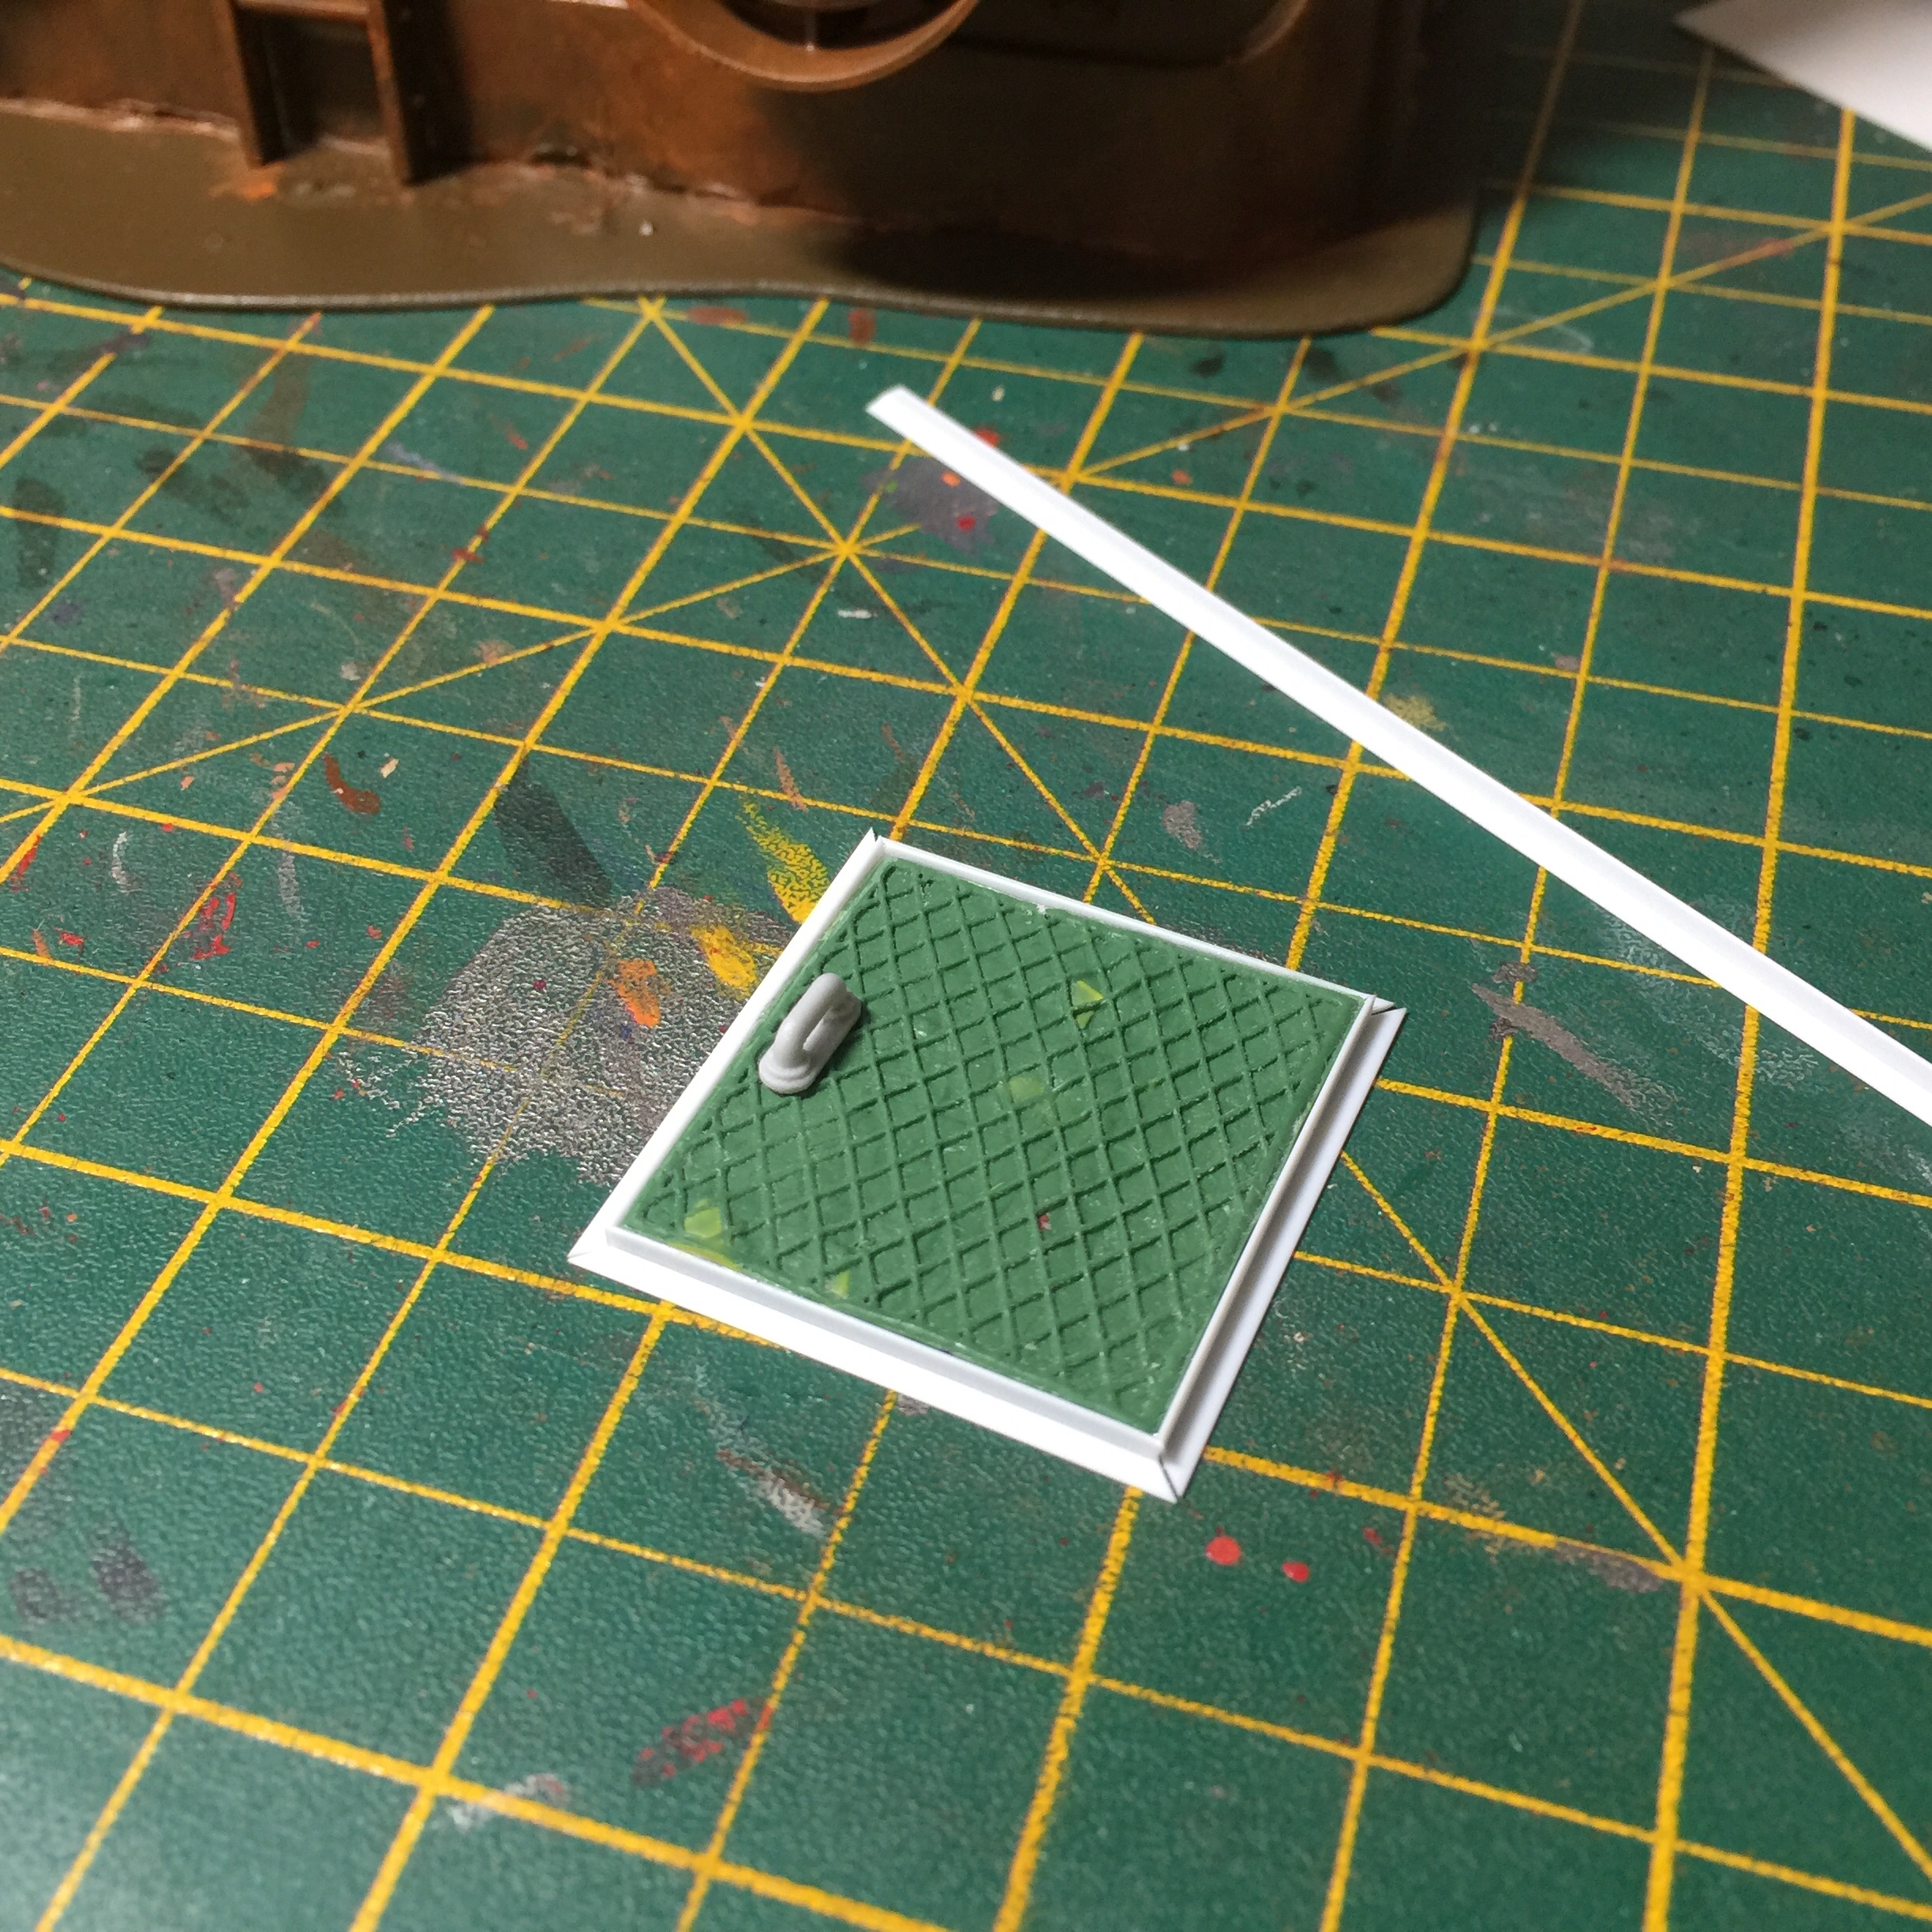
That’s the rust layer pretty much done, could add some weathering powders here and there but overall that will do. I did want a bit more detail on that top surface though. There is a layer of card from a chocolate box that had a nice checker plate pattern but it’s starting to disappear with the paint so I went and added in a hatch of sorts. Just some green stuff flattened out then a quick roll with one of those GSW textured rolling pins. I then used some Evergreen styrene angle to form a frame. That should do it and can move on to getting some colour onto the overall model now.
Priming brings it all together
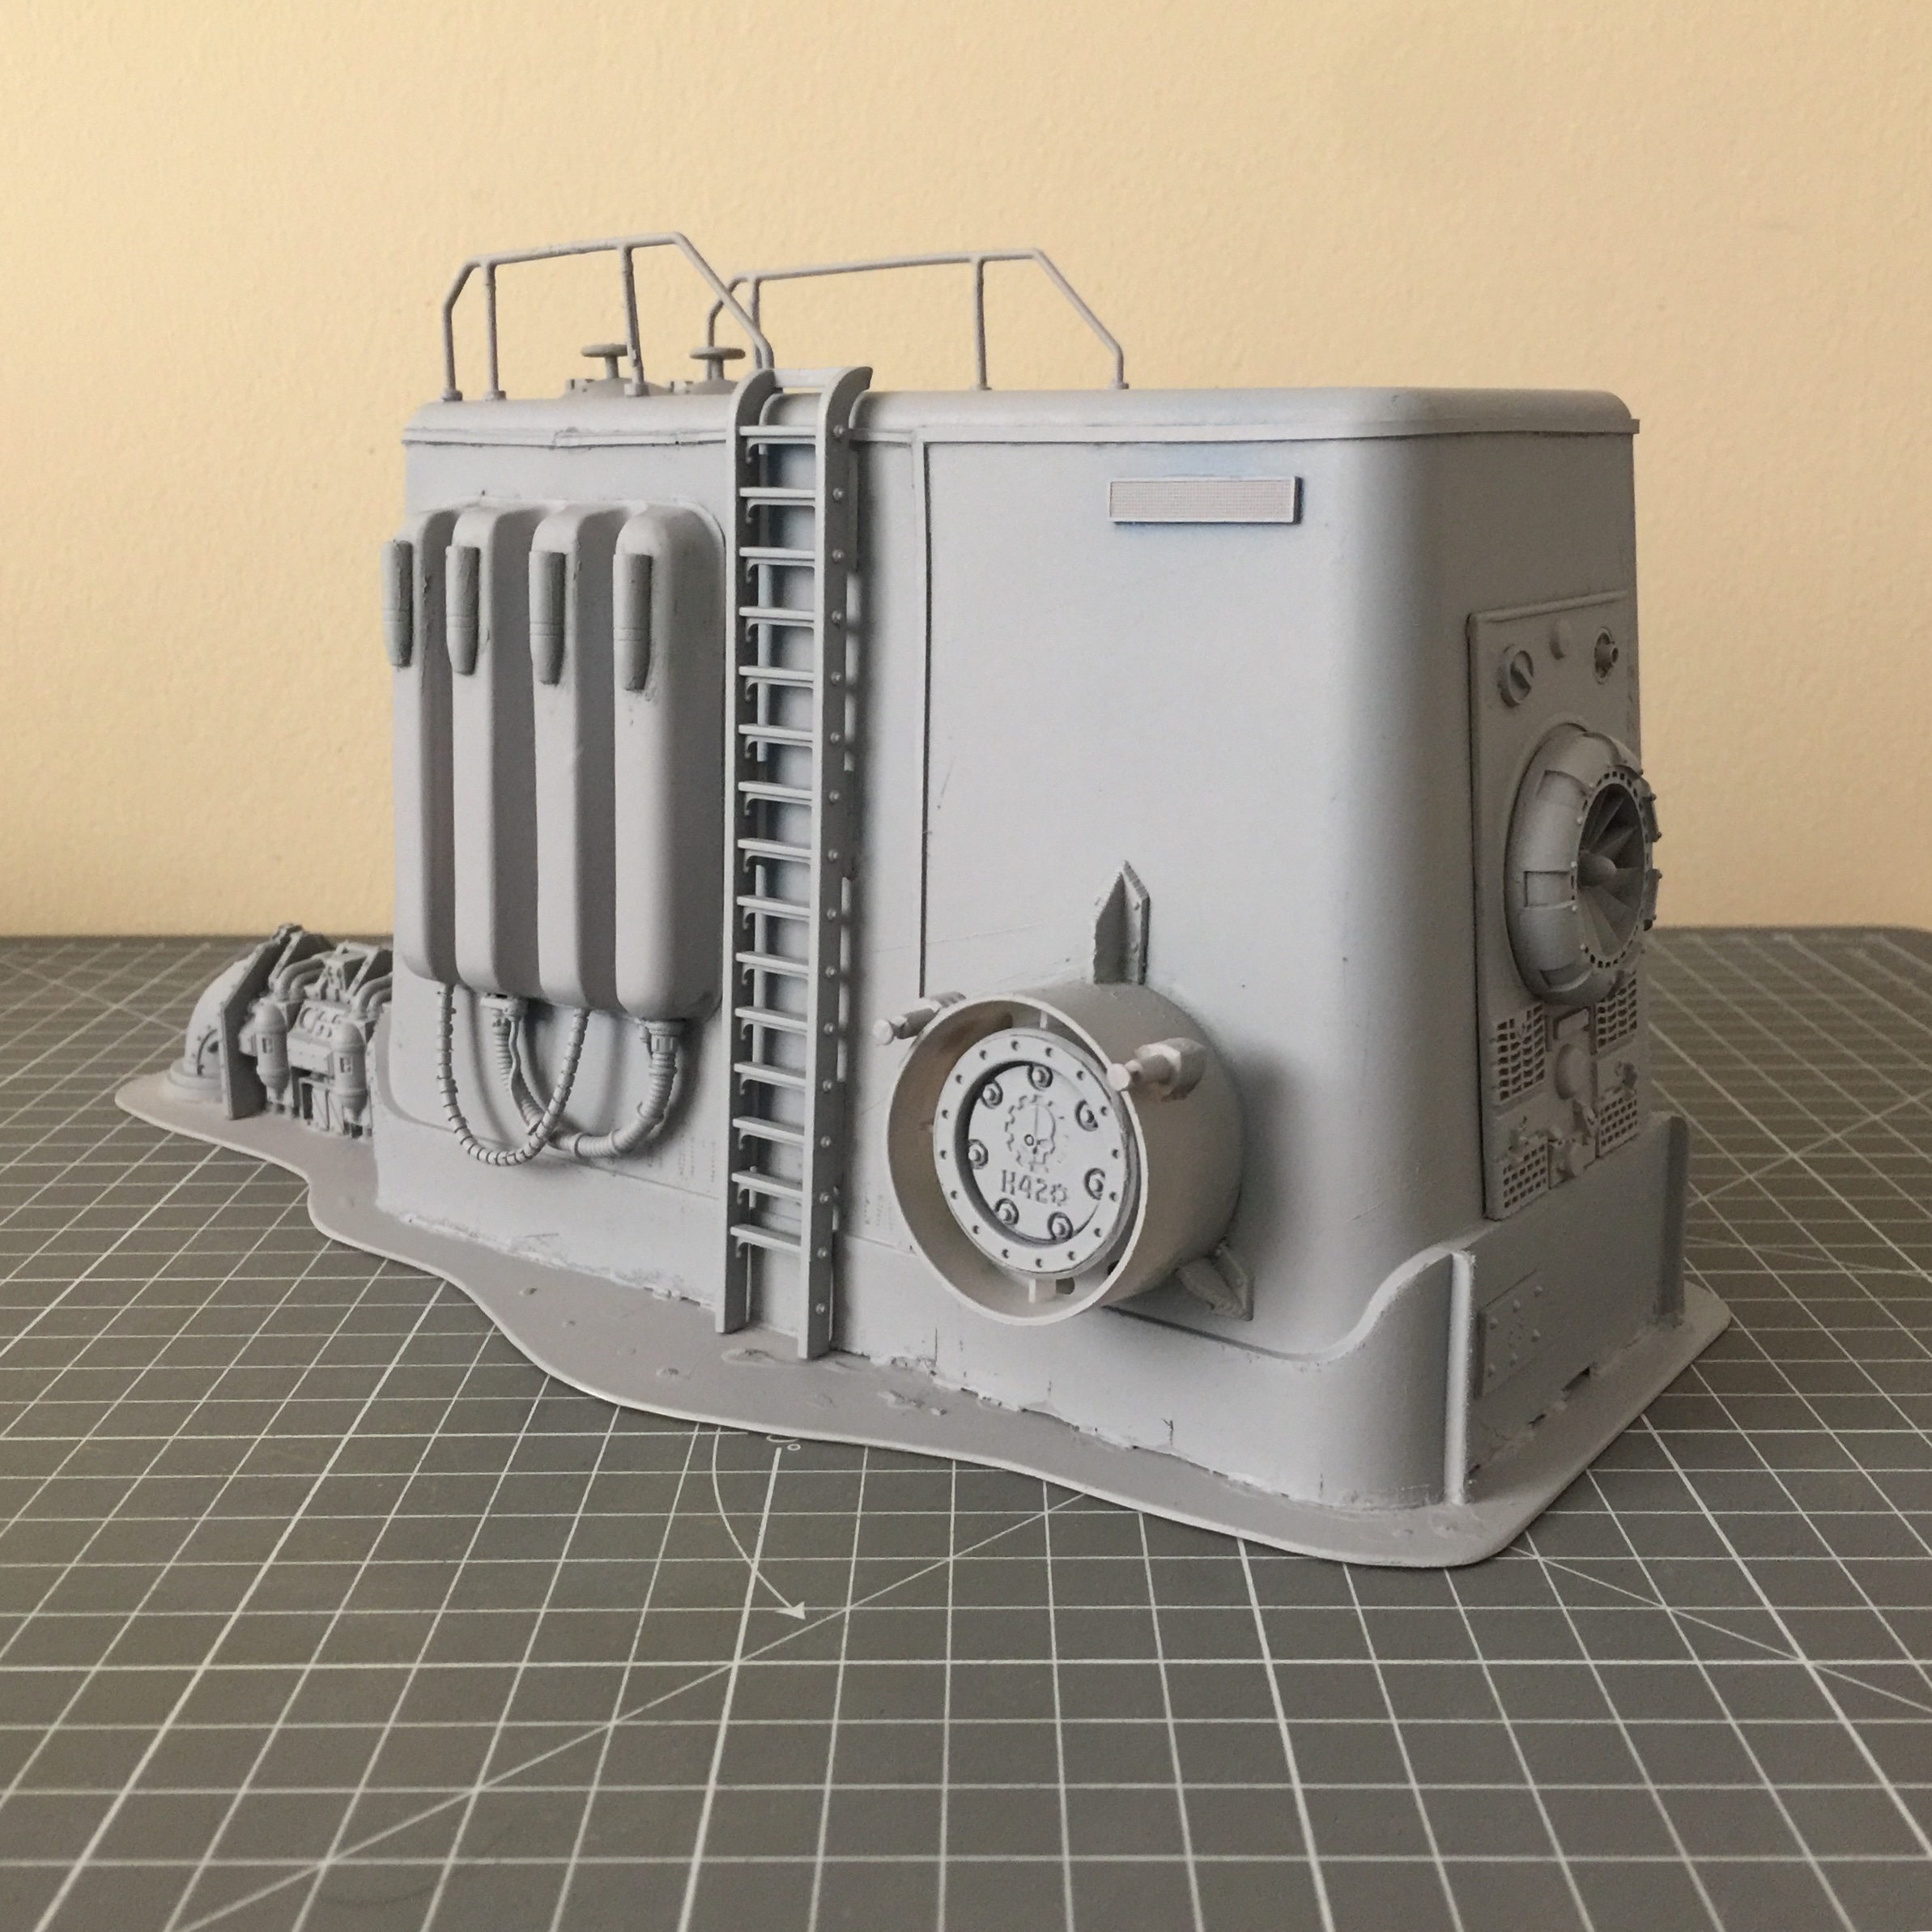

Once you get the primer on it just suddenly pulls the whole thing together as a semi-convincing model. All the various bits from different places start to seem connected, almost make sense together. A few GW parts help tie it into the over riding 40k and Ash Wastes setting I’m going for so it’s certainly worth making sure to have some of their model kits at hand to super glue into the mix. Love this stage! I can now get onto the “turnin’ rust” stage…