


![Alternative Trench Crusade Miniatures? Trench Missionaries Review | Wargames Atlantic [7 Days Early Access]](https://images.beastsofwar.com/2026/03/unboxing-wargames-atlantic-trench-missionaries-coverimage-225-127.jpg)


Kitbashing and recycling packaging for sci-fi terrain


Recommendations: 1043
About the Project
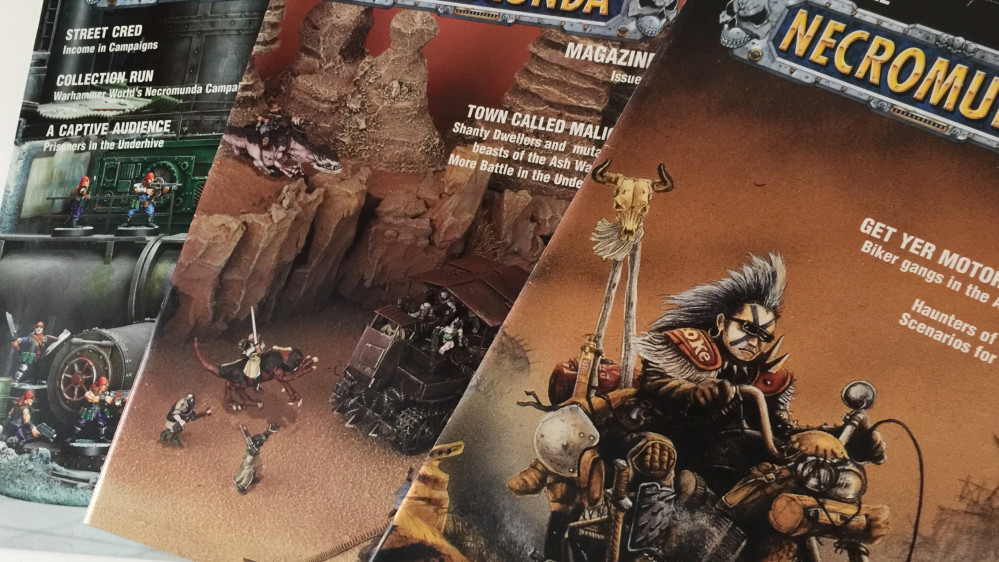
I’ve been keeping a hold of various bits of packaging, different plastic parts and gathering up some old model kits to try and get a collection of things that can be used to create some sci-fi terrain pieces. I really like the look of the post apocalyptic ash wastes aesthetic that I’ve seen in old Necromunda magazines and pictures and I want to build some kitbashed items that could be used in table top gaming, wether it be Warhammer 40k or Necromunda itself. The plan is to make a number of individual pieces that all fit into the look and feel I’m going for, and to take pictures along the way to help show where the models are coming from. Also aiming to get lots of nice weathering techniques tried out and to see what works.
Related Game: Warhammer 40,000
Related Company: Games Workshop
Related Genre: Post-Apocalyptic
This Project is Active
Sludge Processing Unit - Kitbashing done
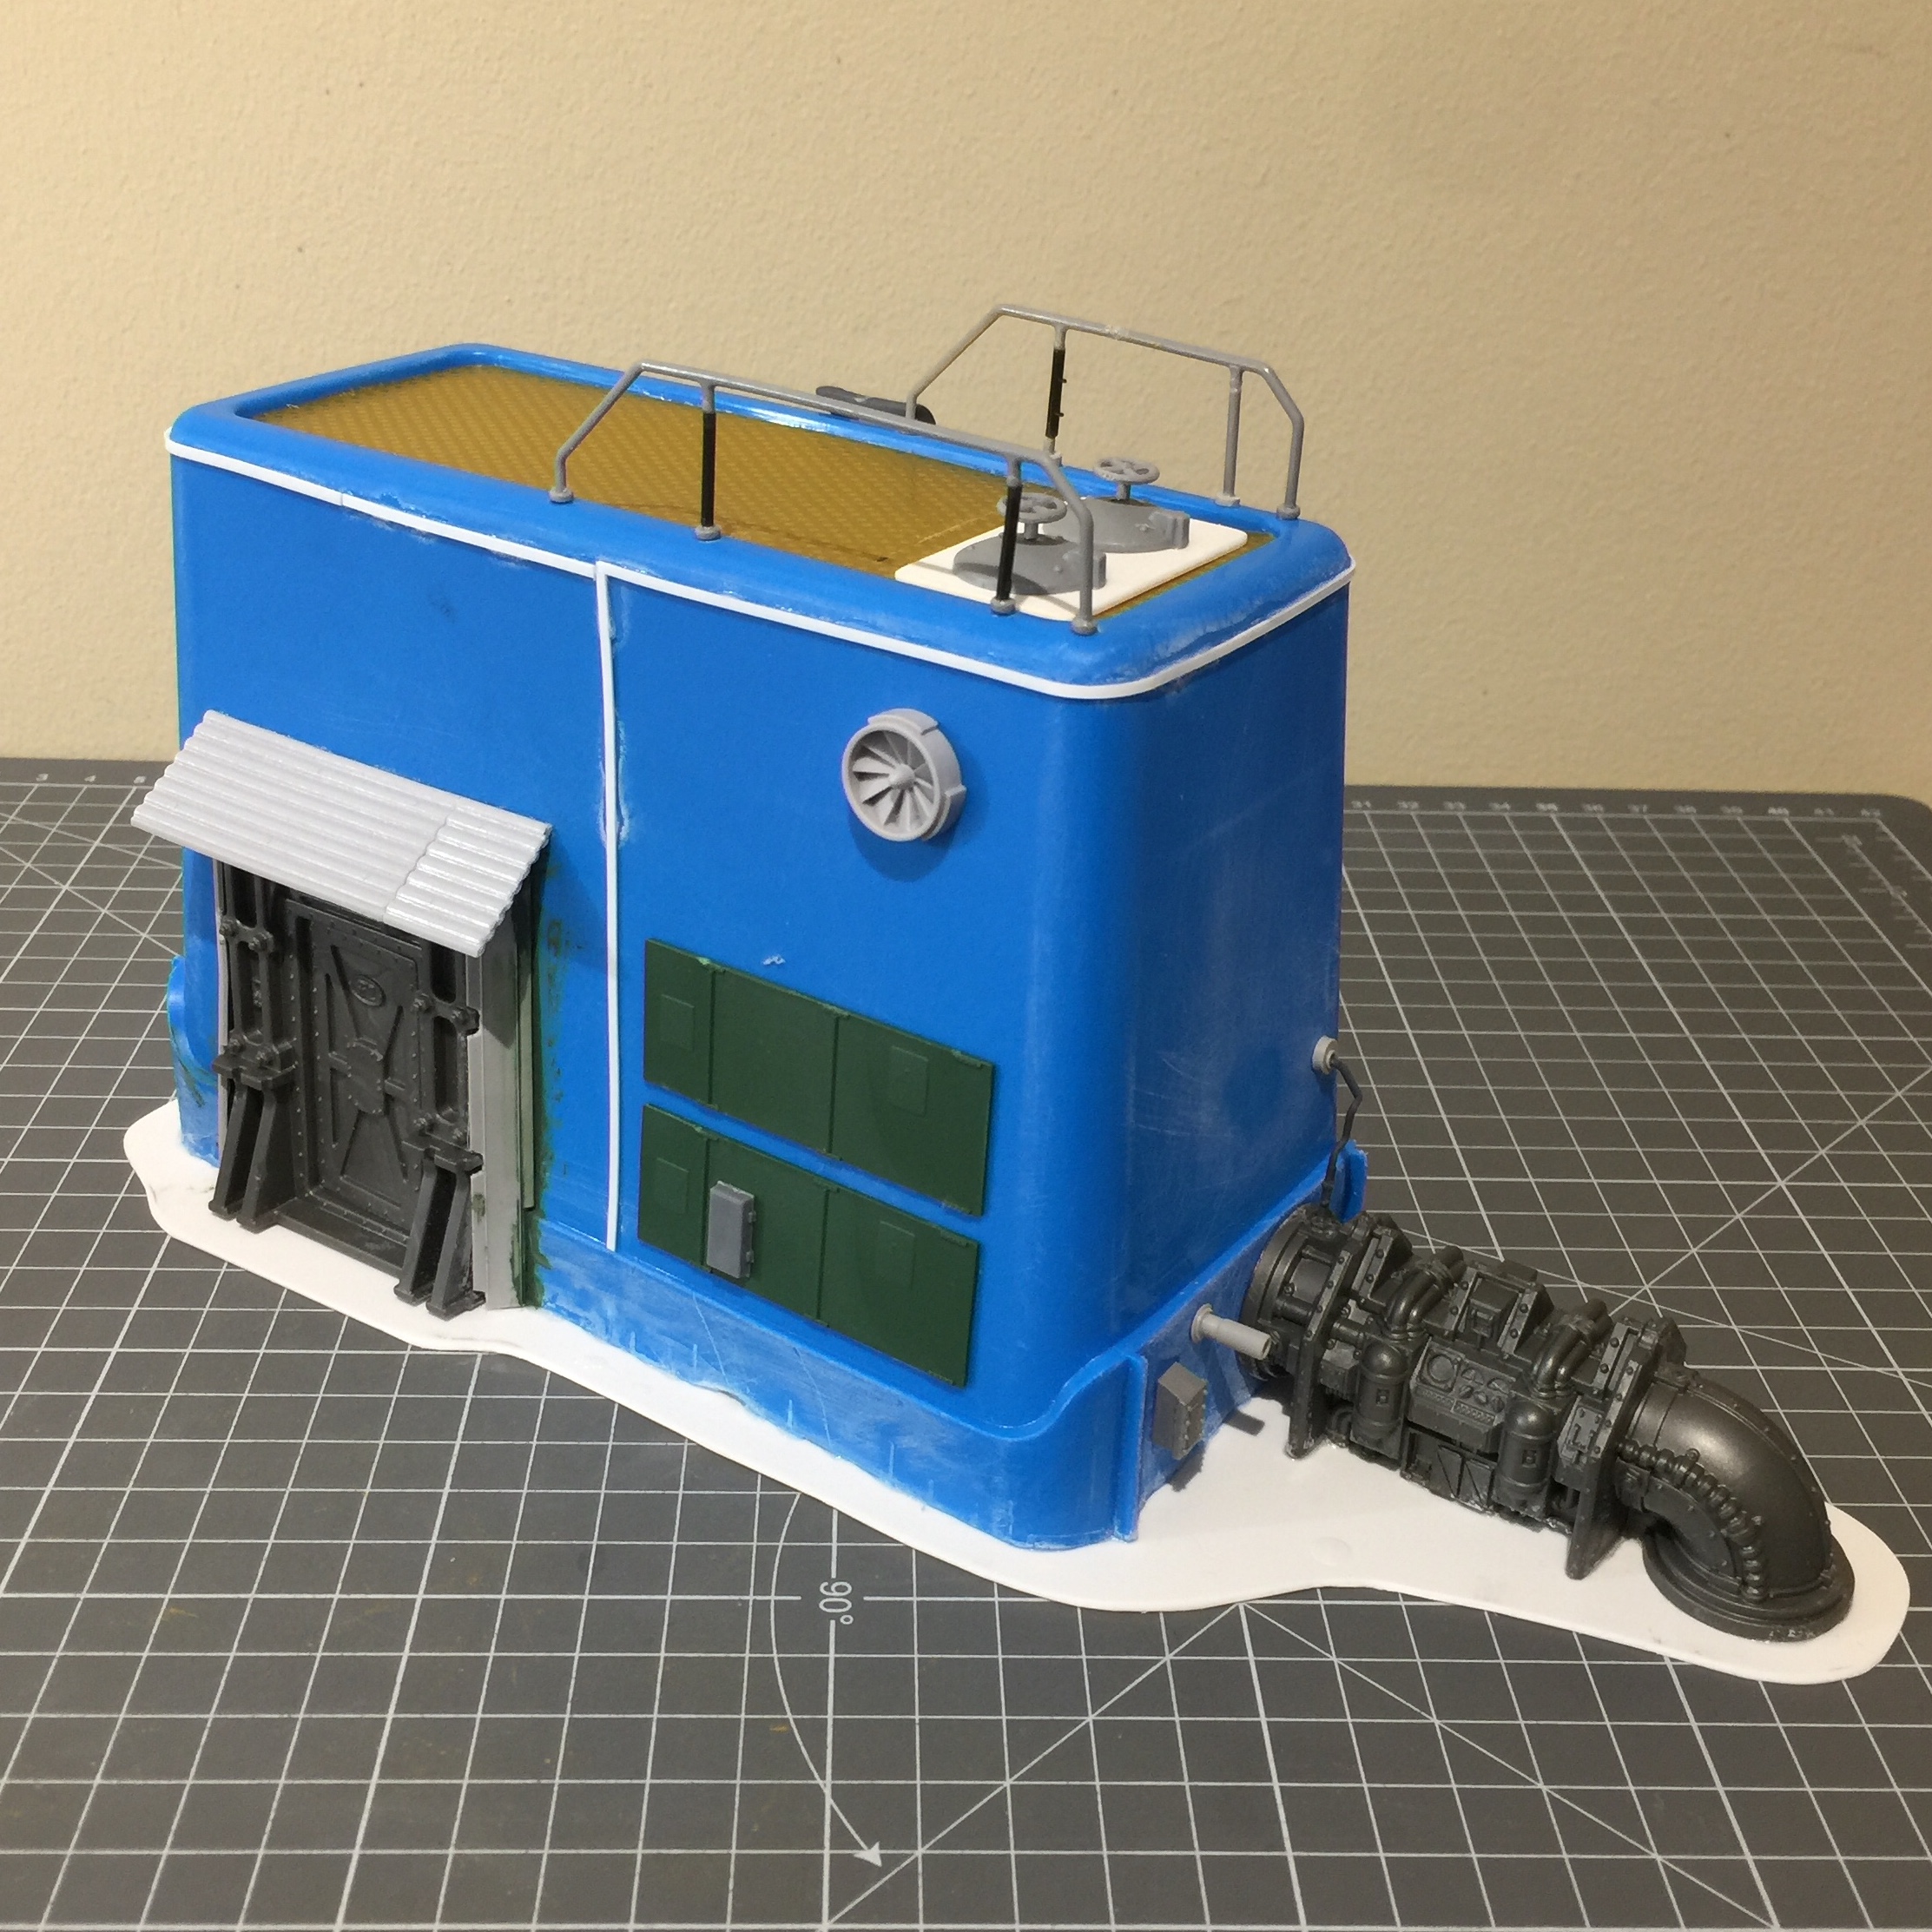
So the Ash Wasters have happened across an old Sludge Processing Unit situated over a sludge outpouring. These are used for extracting sellable chems from sludge and if it’s in working condition, it’ll be a valuable resource.
I’ve started with one of those washing machine pods boxes, as I like the way it appears as if it’s a prefab unit that could be brought in and dumped into position quickly. The door is from the Kill Team Rogue Trader set, and I didn’t make a neat job (not going for neat) of cutting a suitable shape out from the box to glue the door into. So I’ve added some bits and pieces to help hide that. The piping piece coming out the side is also from that same boxed set.
Weathered up and ready to pump moisture
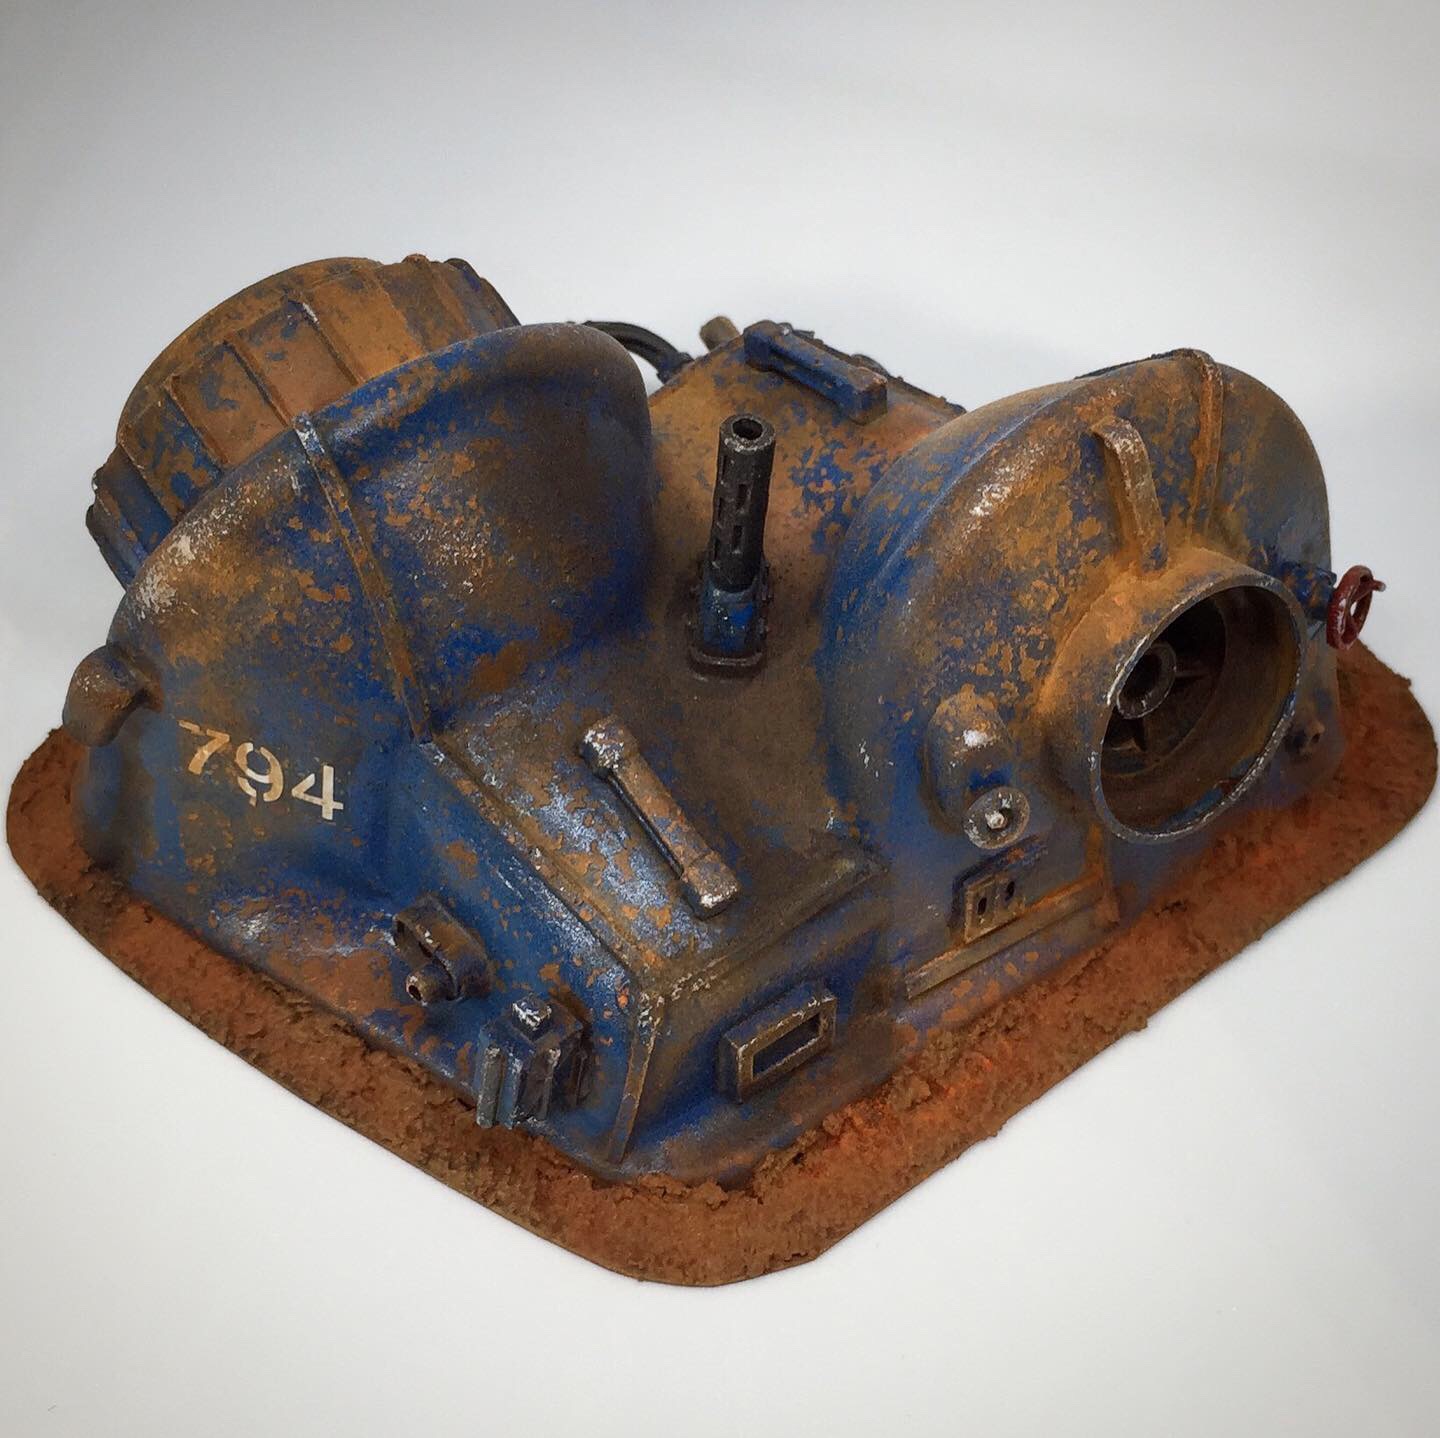 Subsurface Moisture Pump 794 ready for operation
Here’s the completed model with weathering and some basing. Decals always add a nice finishing touch and help set the scale.
Basic process was to go in with some weathering powders and get some rusty, dusty effects back in. I also sponged on some brown paints in places to scuff it up to counter act the previous blue spray.
Also used some metallic paint with the sponge to get that metal feel into the exposed edges. Used a few of the AK Interactive enamel washes for various additions of colour and grime here and there. Quite like using those.
 Motor or rotor or turbine
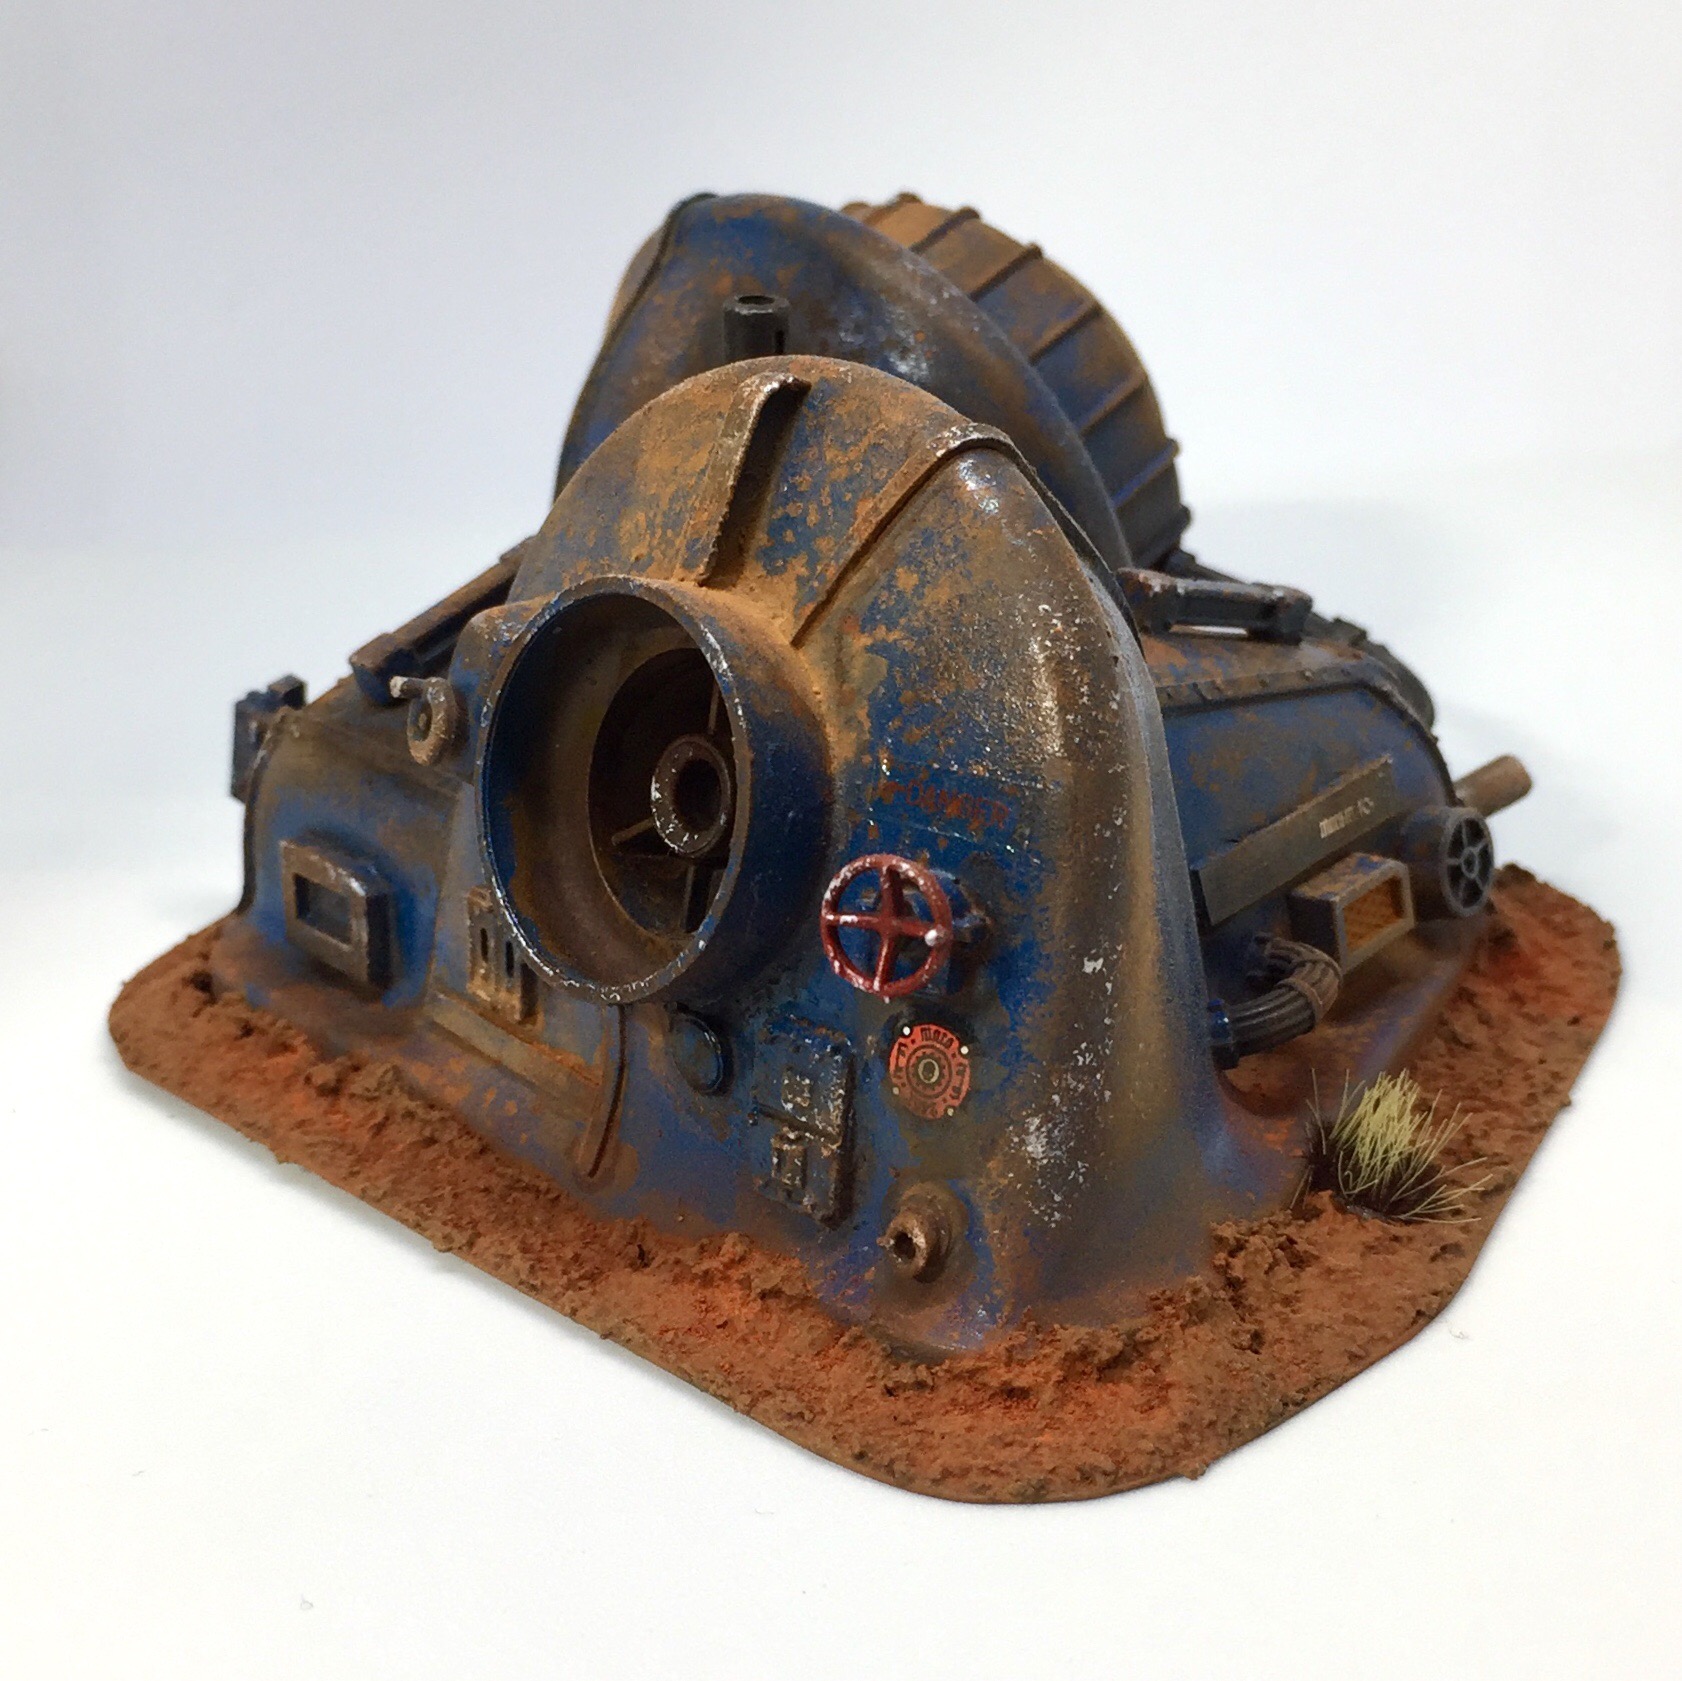 Connection points
  Always add a decal
So that’s the first piece done, kitbashed and based on some old plastic packaging.
I’m happy with the end result, and with the red rust basing it’ll fit into my overall theme of a post apocalyptic red planet. All that’s left to do is get her up and running and start condensing some moisture to sell for credits.
Ok, on to the next piece… that Ariel Washing Pods box looks good for something.
Weathering with salt
 Maybe over did it
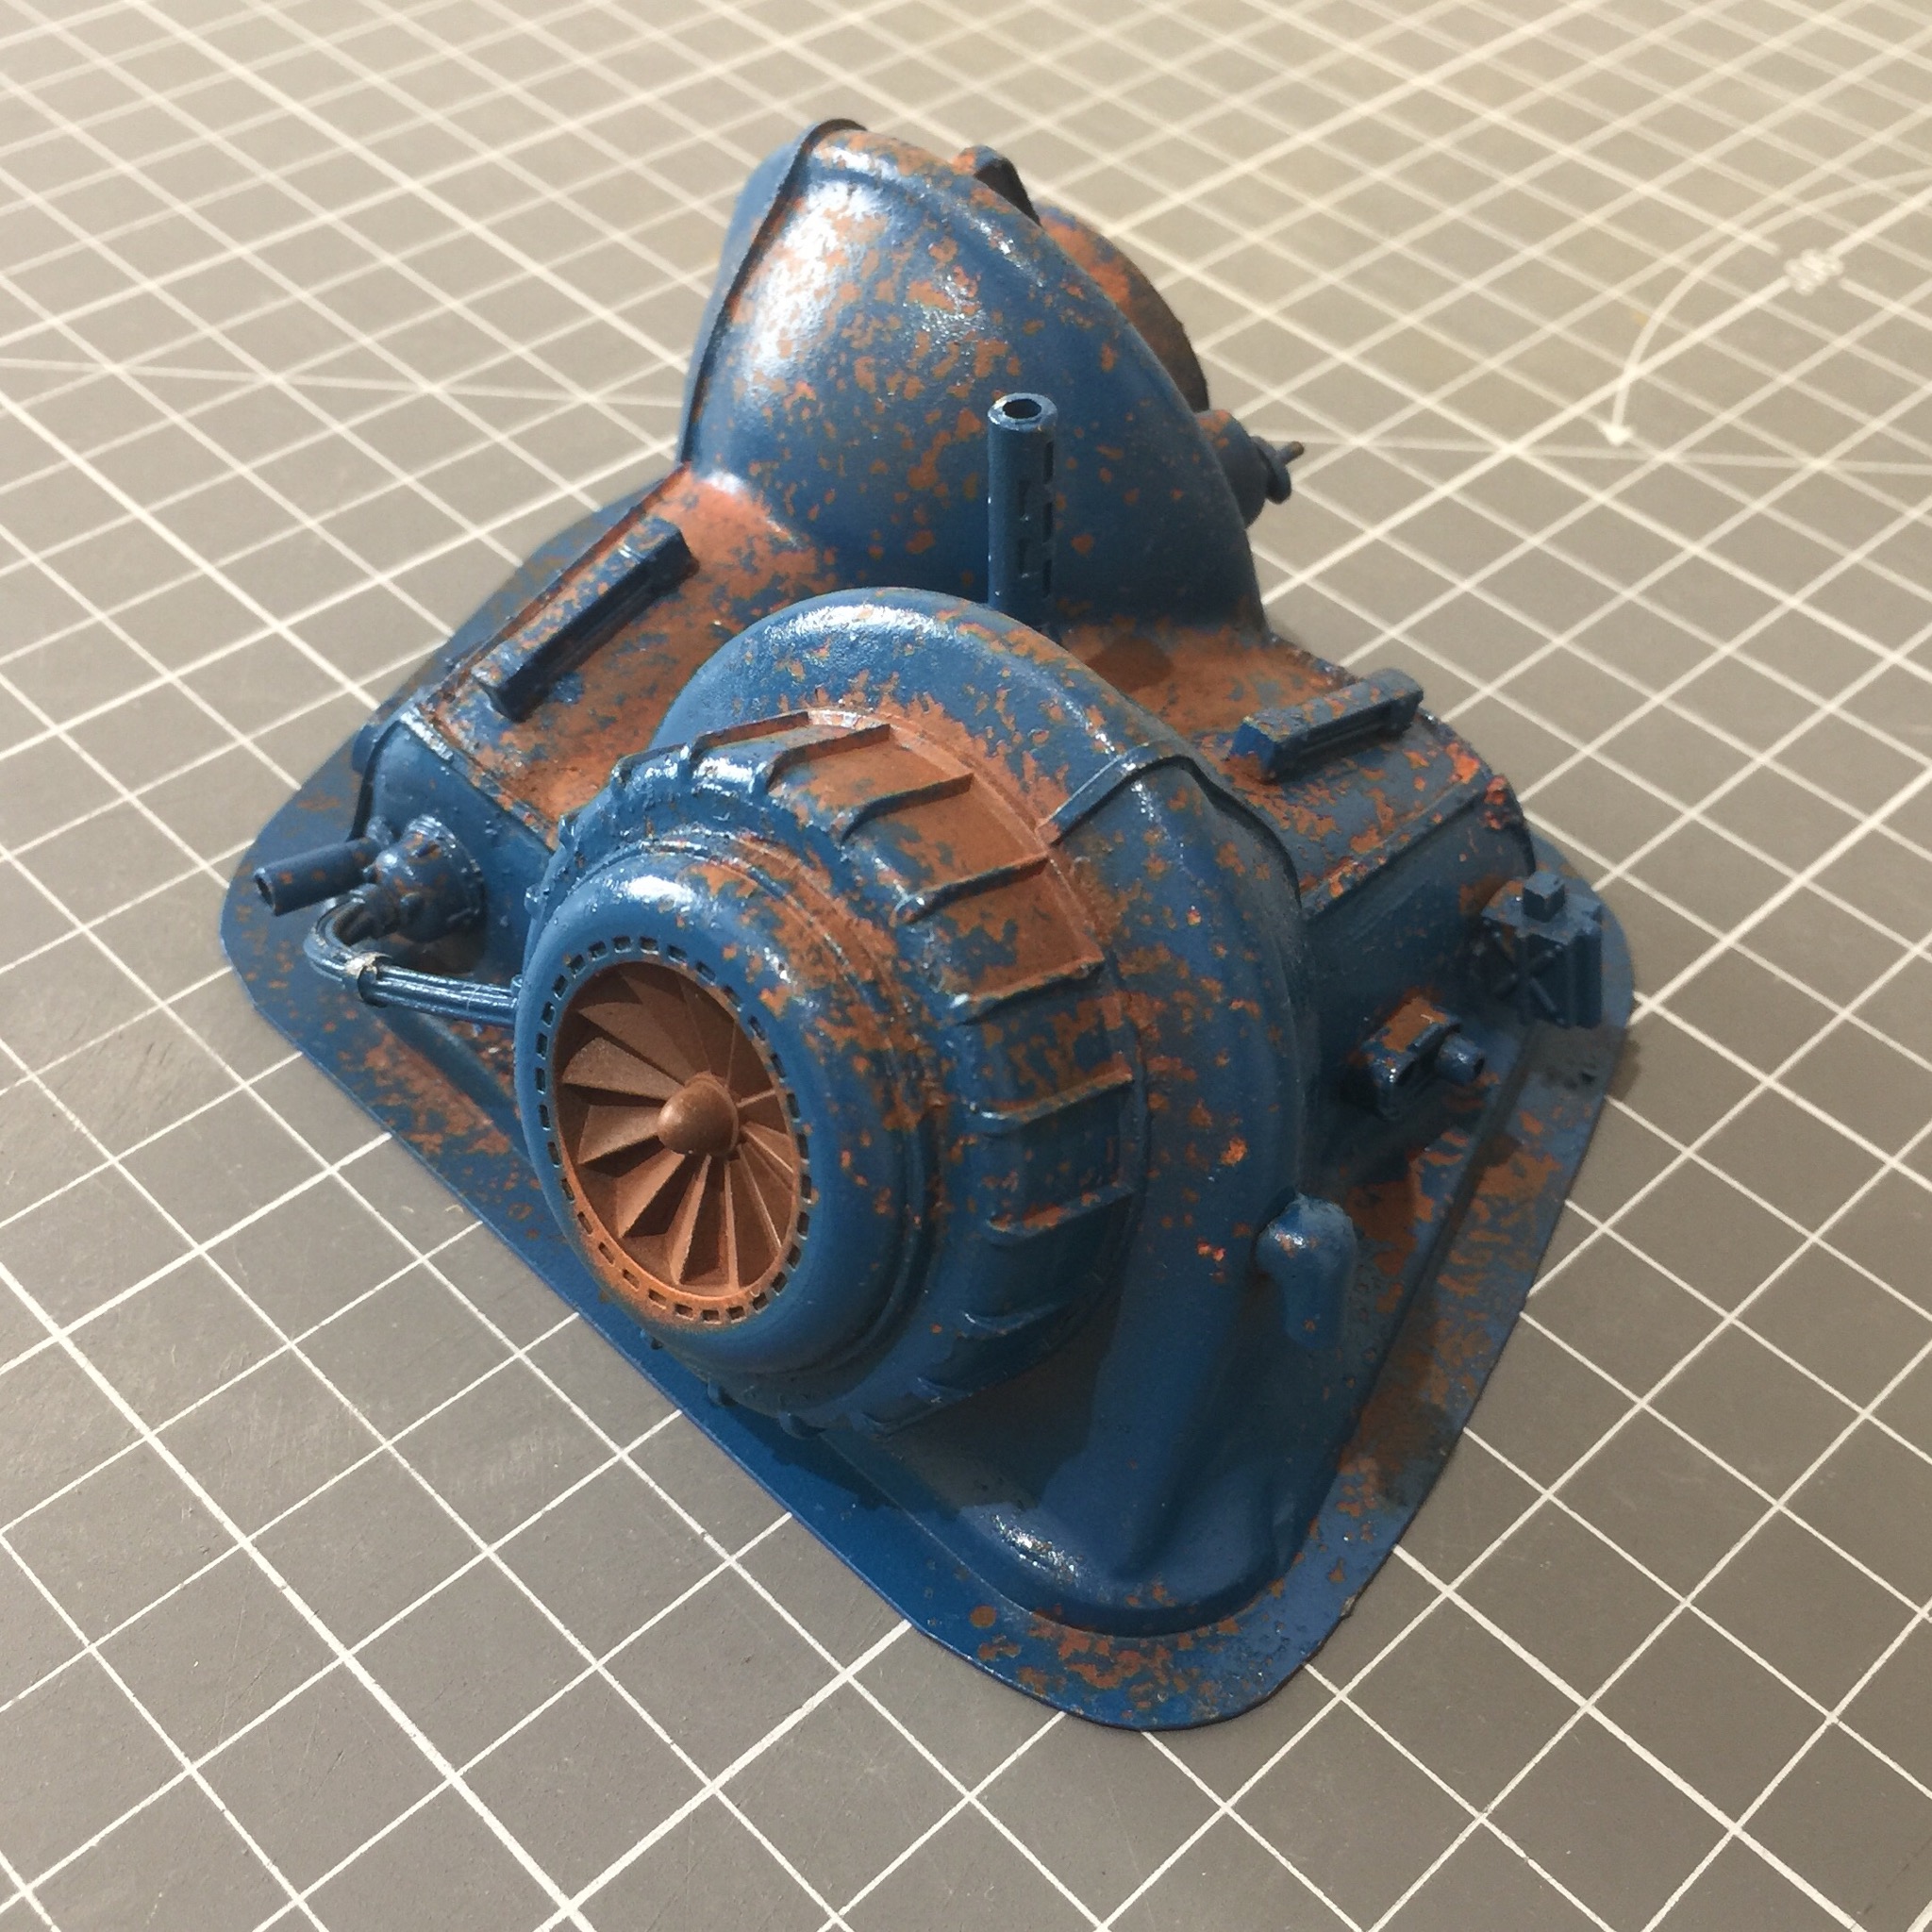
Having watched a lot of people on YouTube using the salt weathering technique, I wanted to have a go too. So a spray of water over the top of the model and then sea salt sprinkled over. The salt sticks to the wet and that’s about it. I then sprayed it with my top colour, another rattle can enamel paint.
It went on pretty well, and after letting it dry off and brushing away the salt with an old toothbrush I think I lost too much of the rust layer to being covered with blue. So either not enough salt or too much blue paint sprayed on.
I think next time I’ll do a lighter spray so as not to cover up the overall rustiness completely. Overall though, I like the technique and it works for what I’m after in terms of look.
And, I can pull back the rusty look with weathering in the last steps.
Completed model primed
 Primed
With the various parts all super glued together, and some rough filling around gaps with liquid green stuff, the model is primed. Suddenly it starts to look like something.
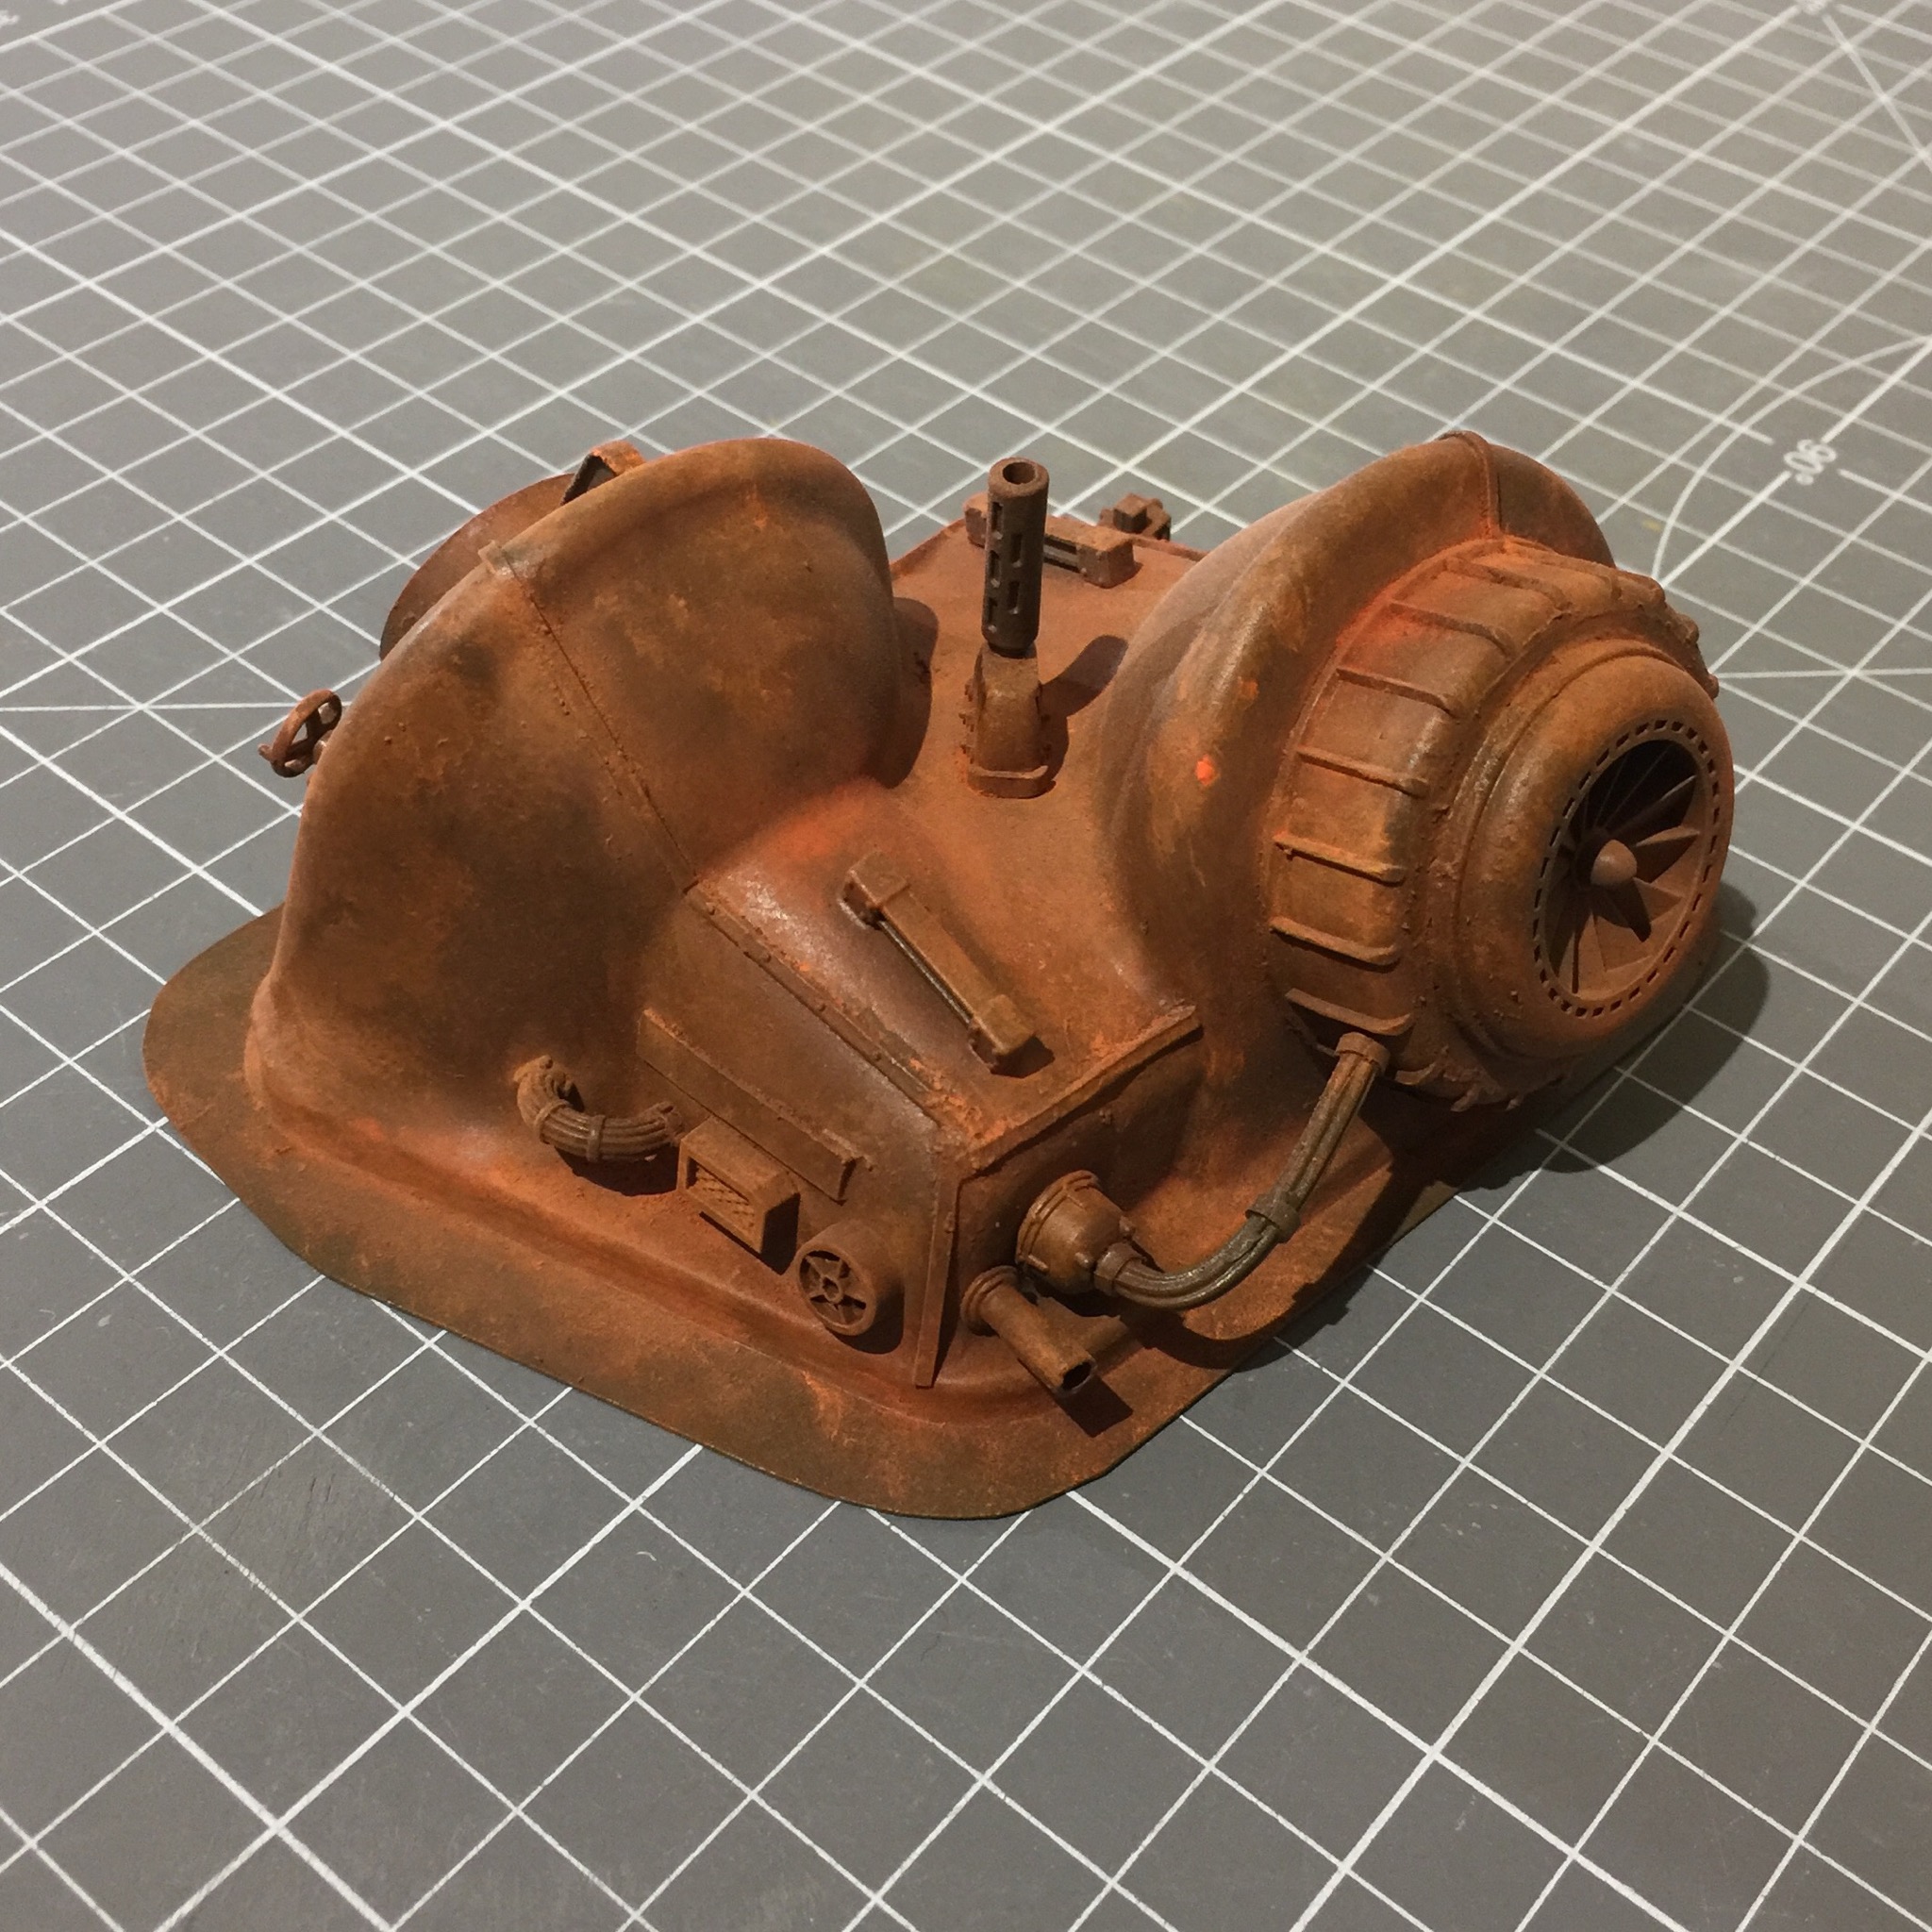 Rusty
RustySome colour now with an all over spray with some brown rattle can paint. Onto that goes a few different tones of brown paint, just randomly dotted around for variation. A mix of stippling and dry brushing.
Finally a few colours of weathering powders are added and that’s when it really starts to look like rust. Love this stage. Need to find a good way of locking weathering powders in place other than with Matt spray. I use the GW spray for this, but always feel that it sort of blows away the powder to a degree. But then you also lose that dry, dusty, rusty look that the raw powders have.
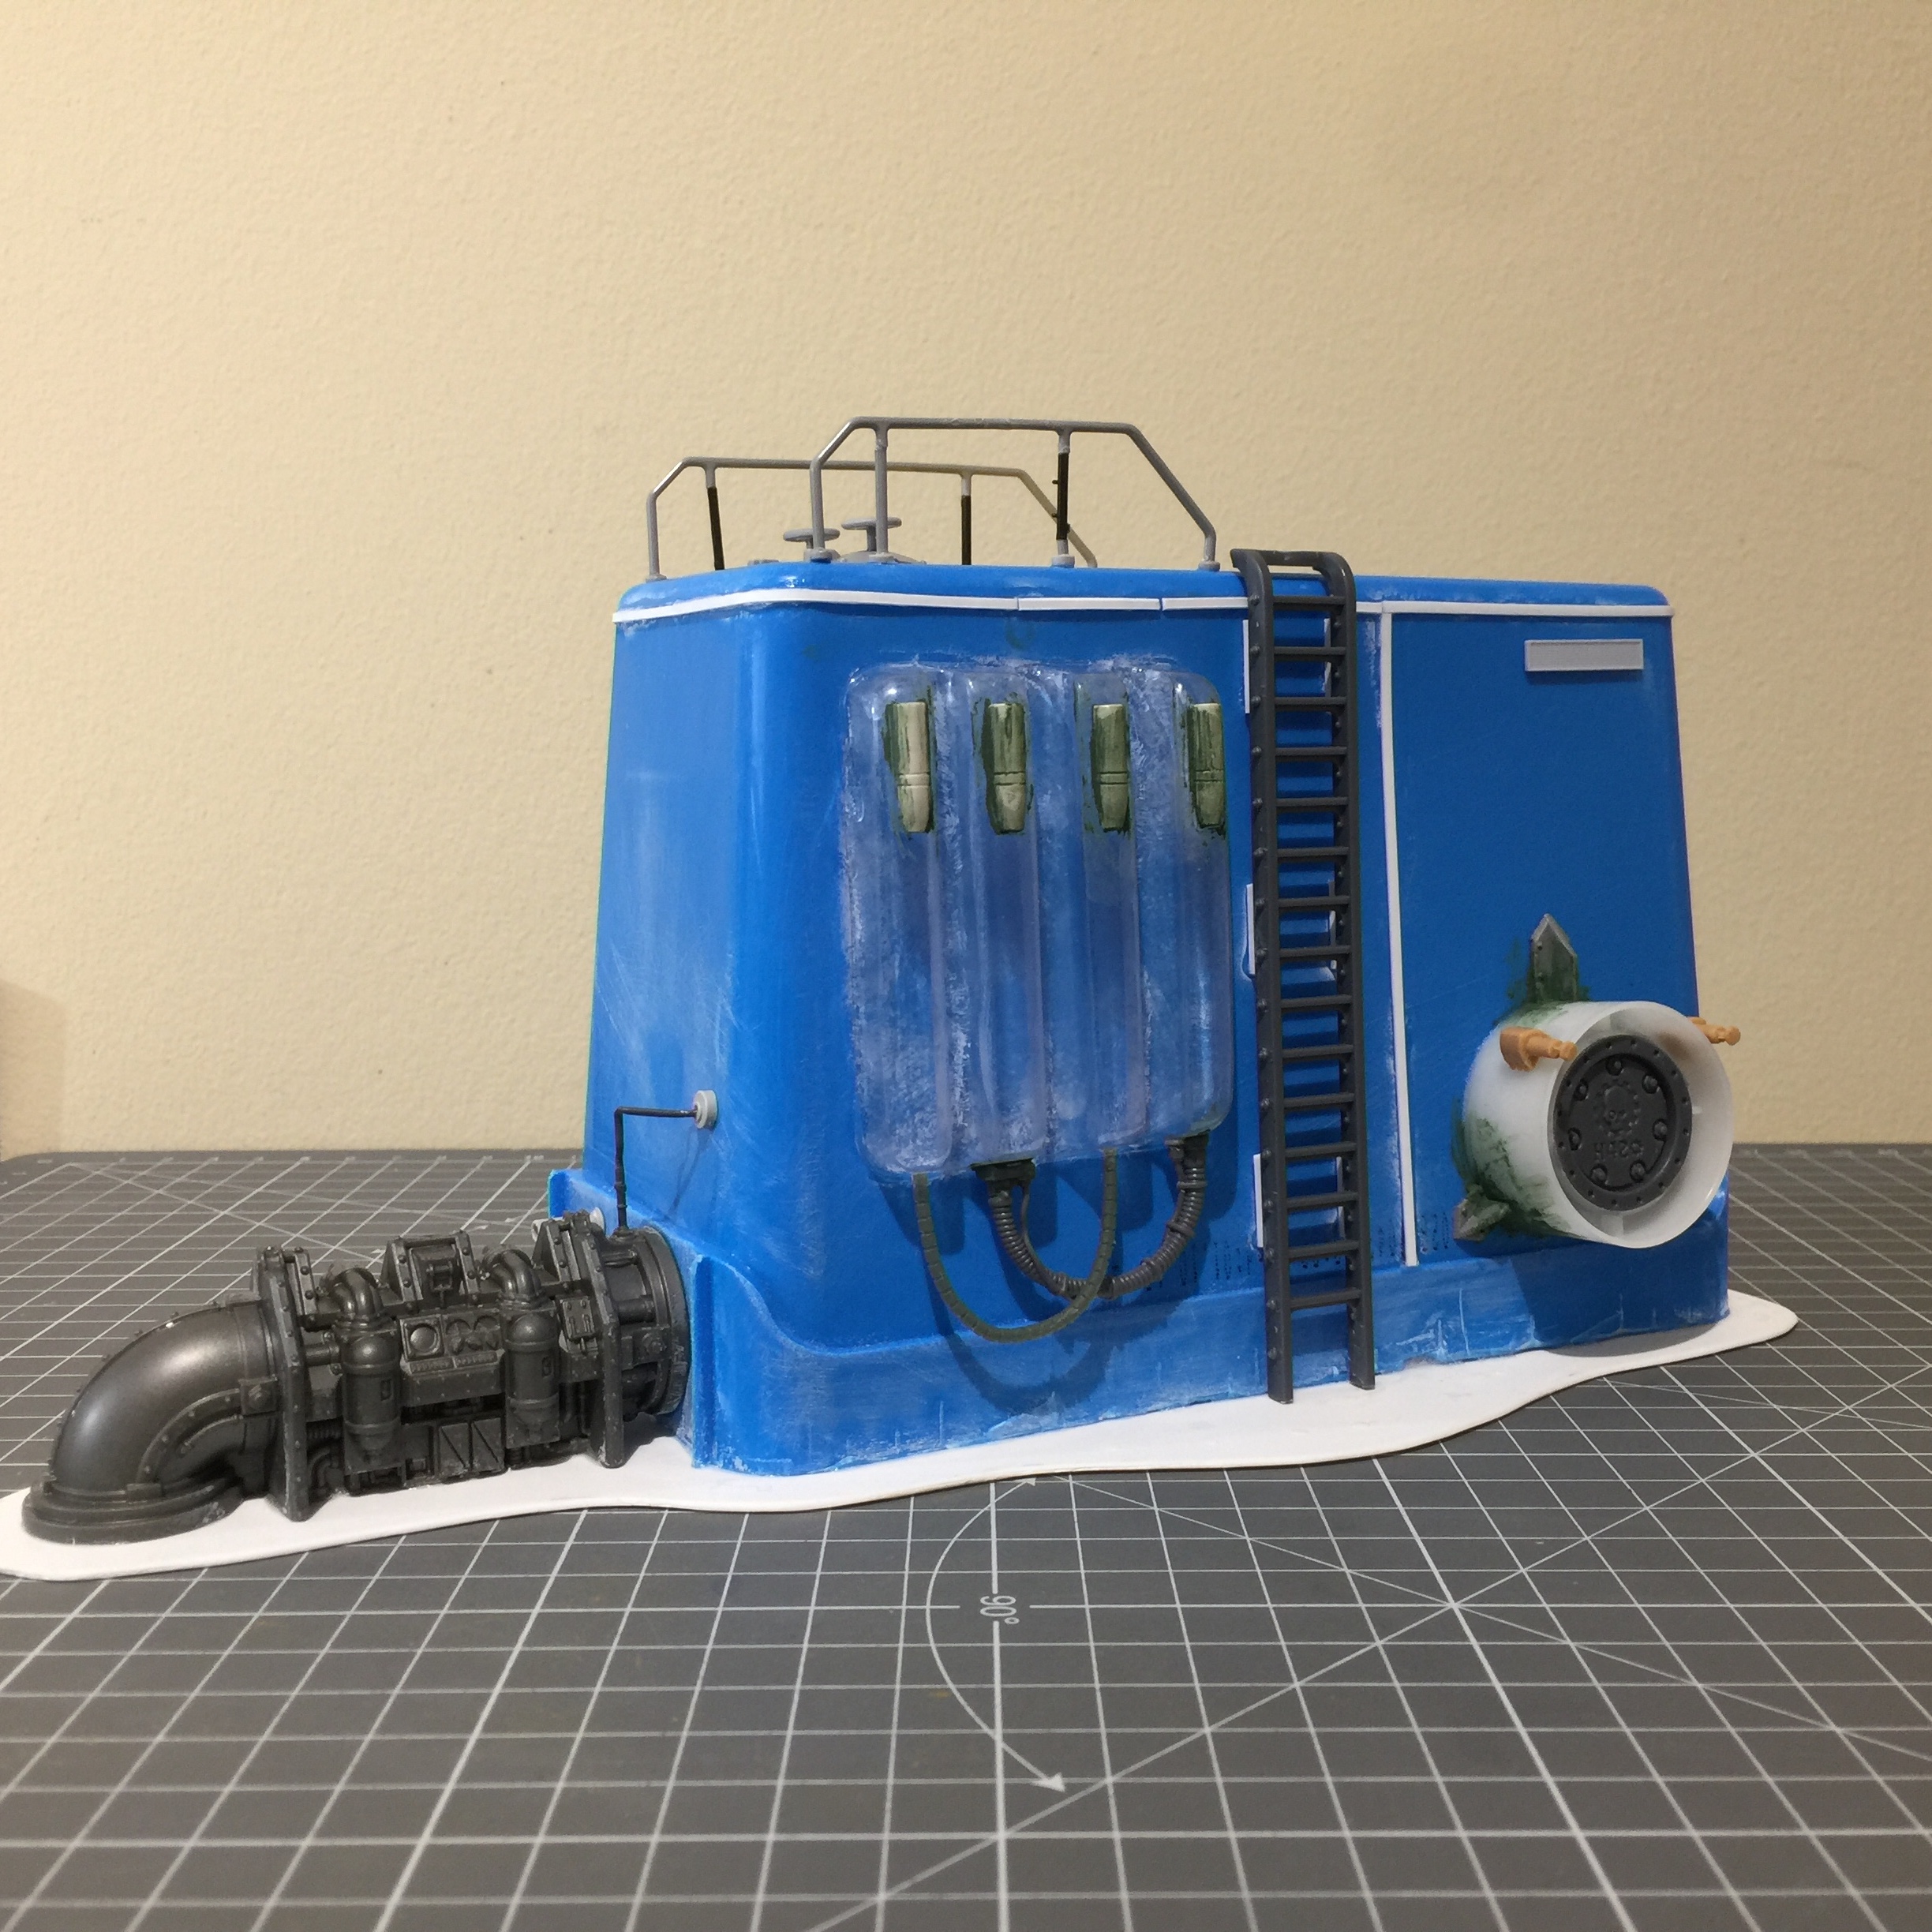
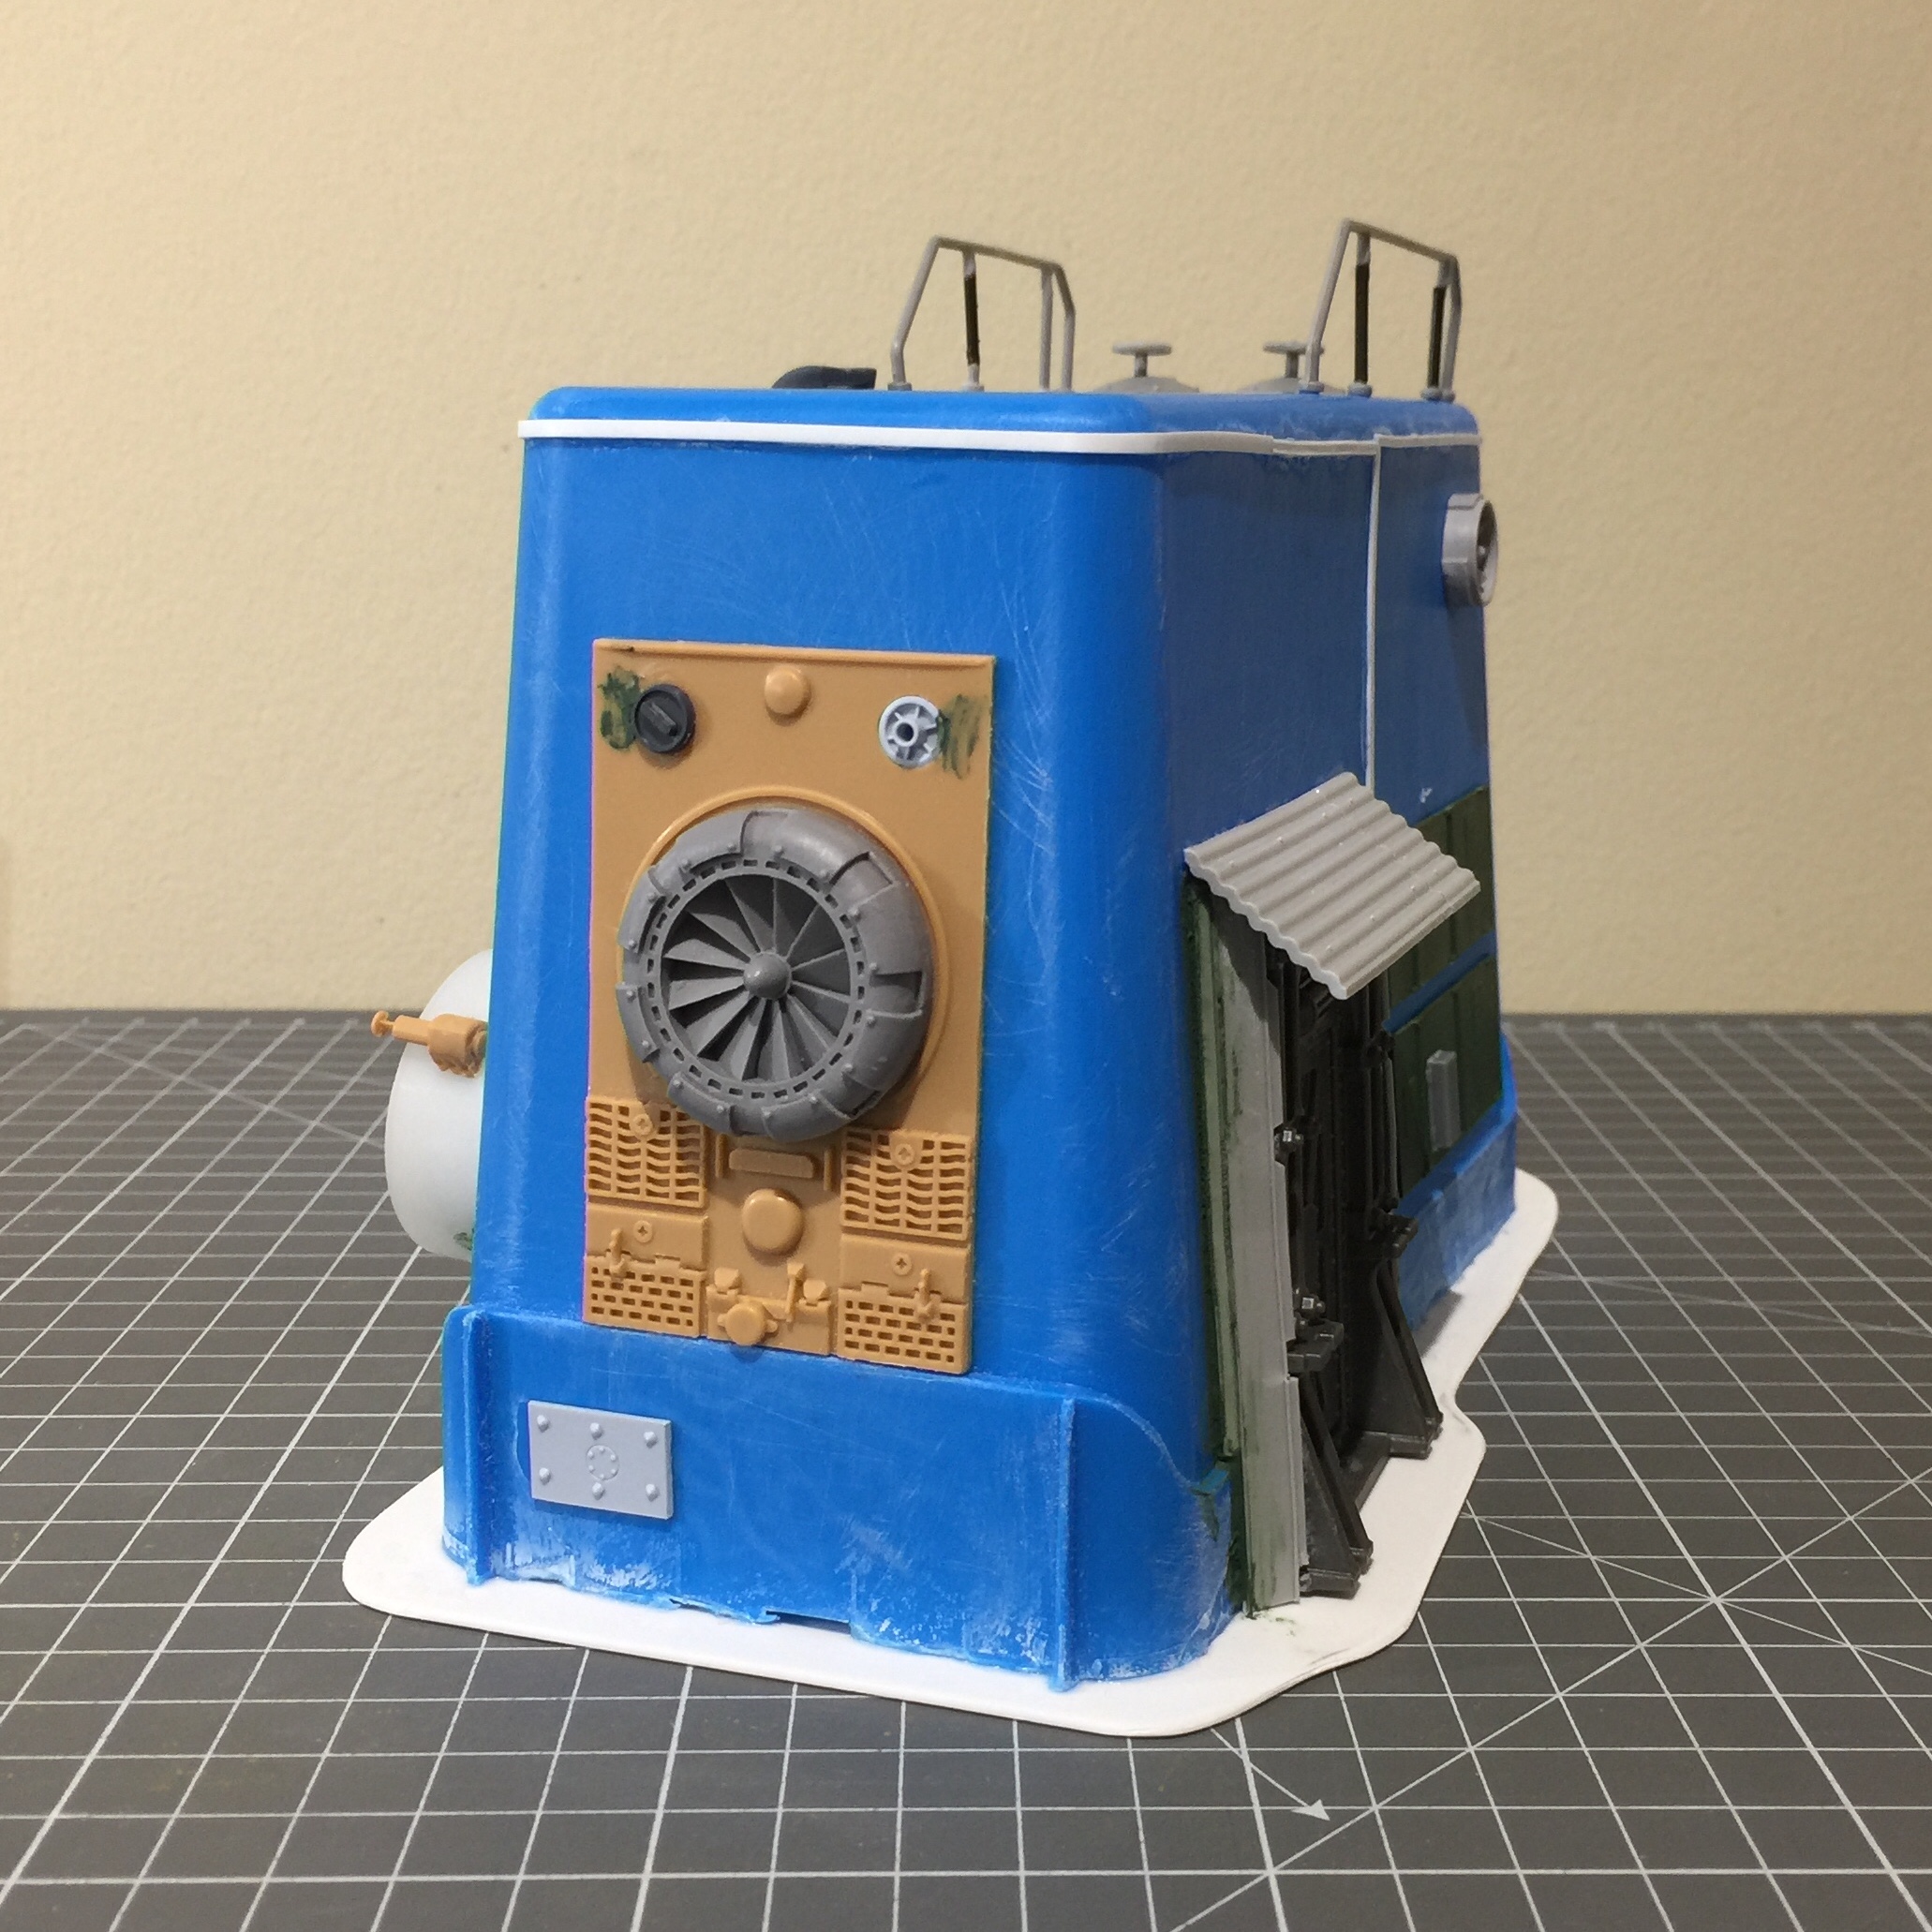
LED Bulb Packaging
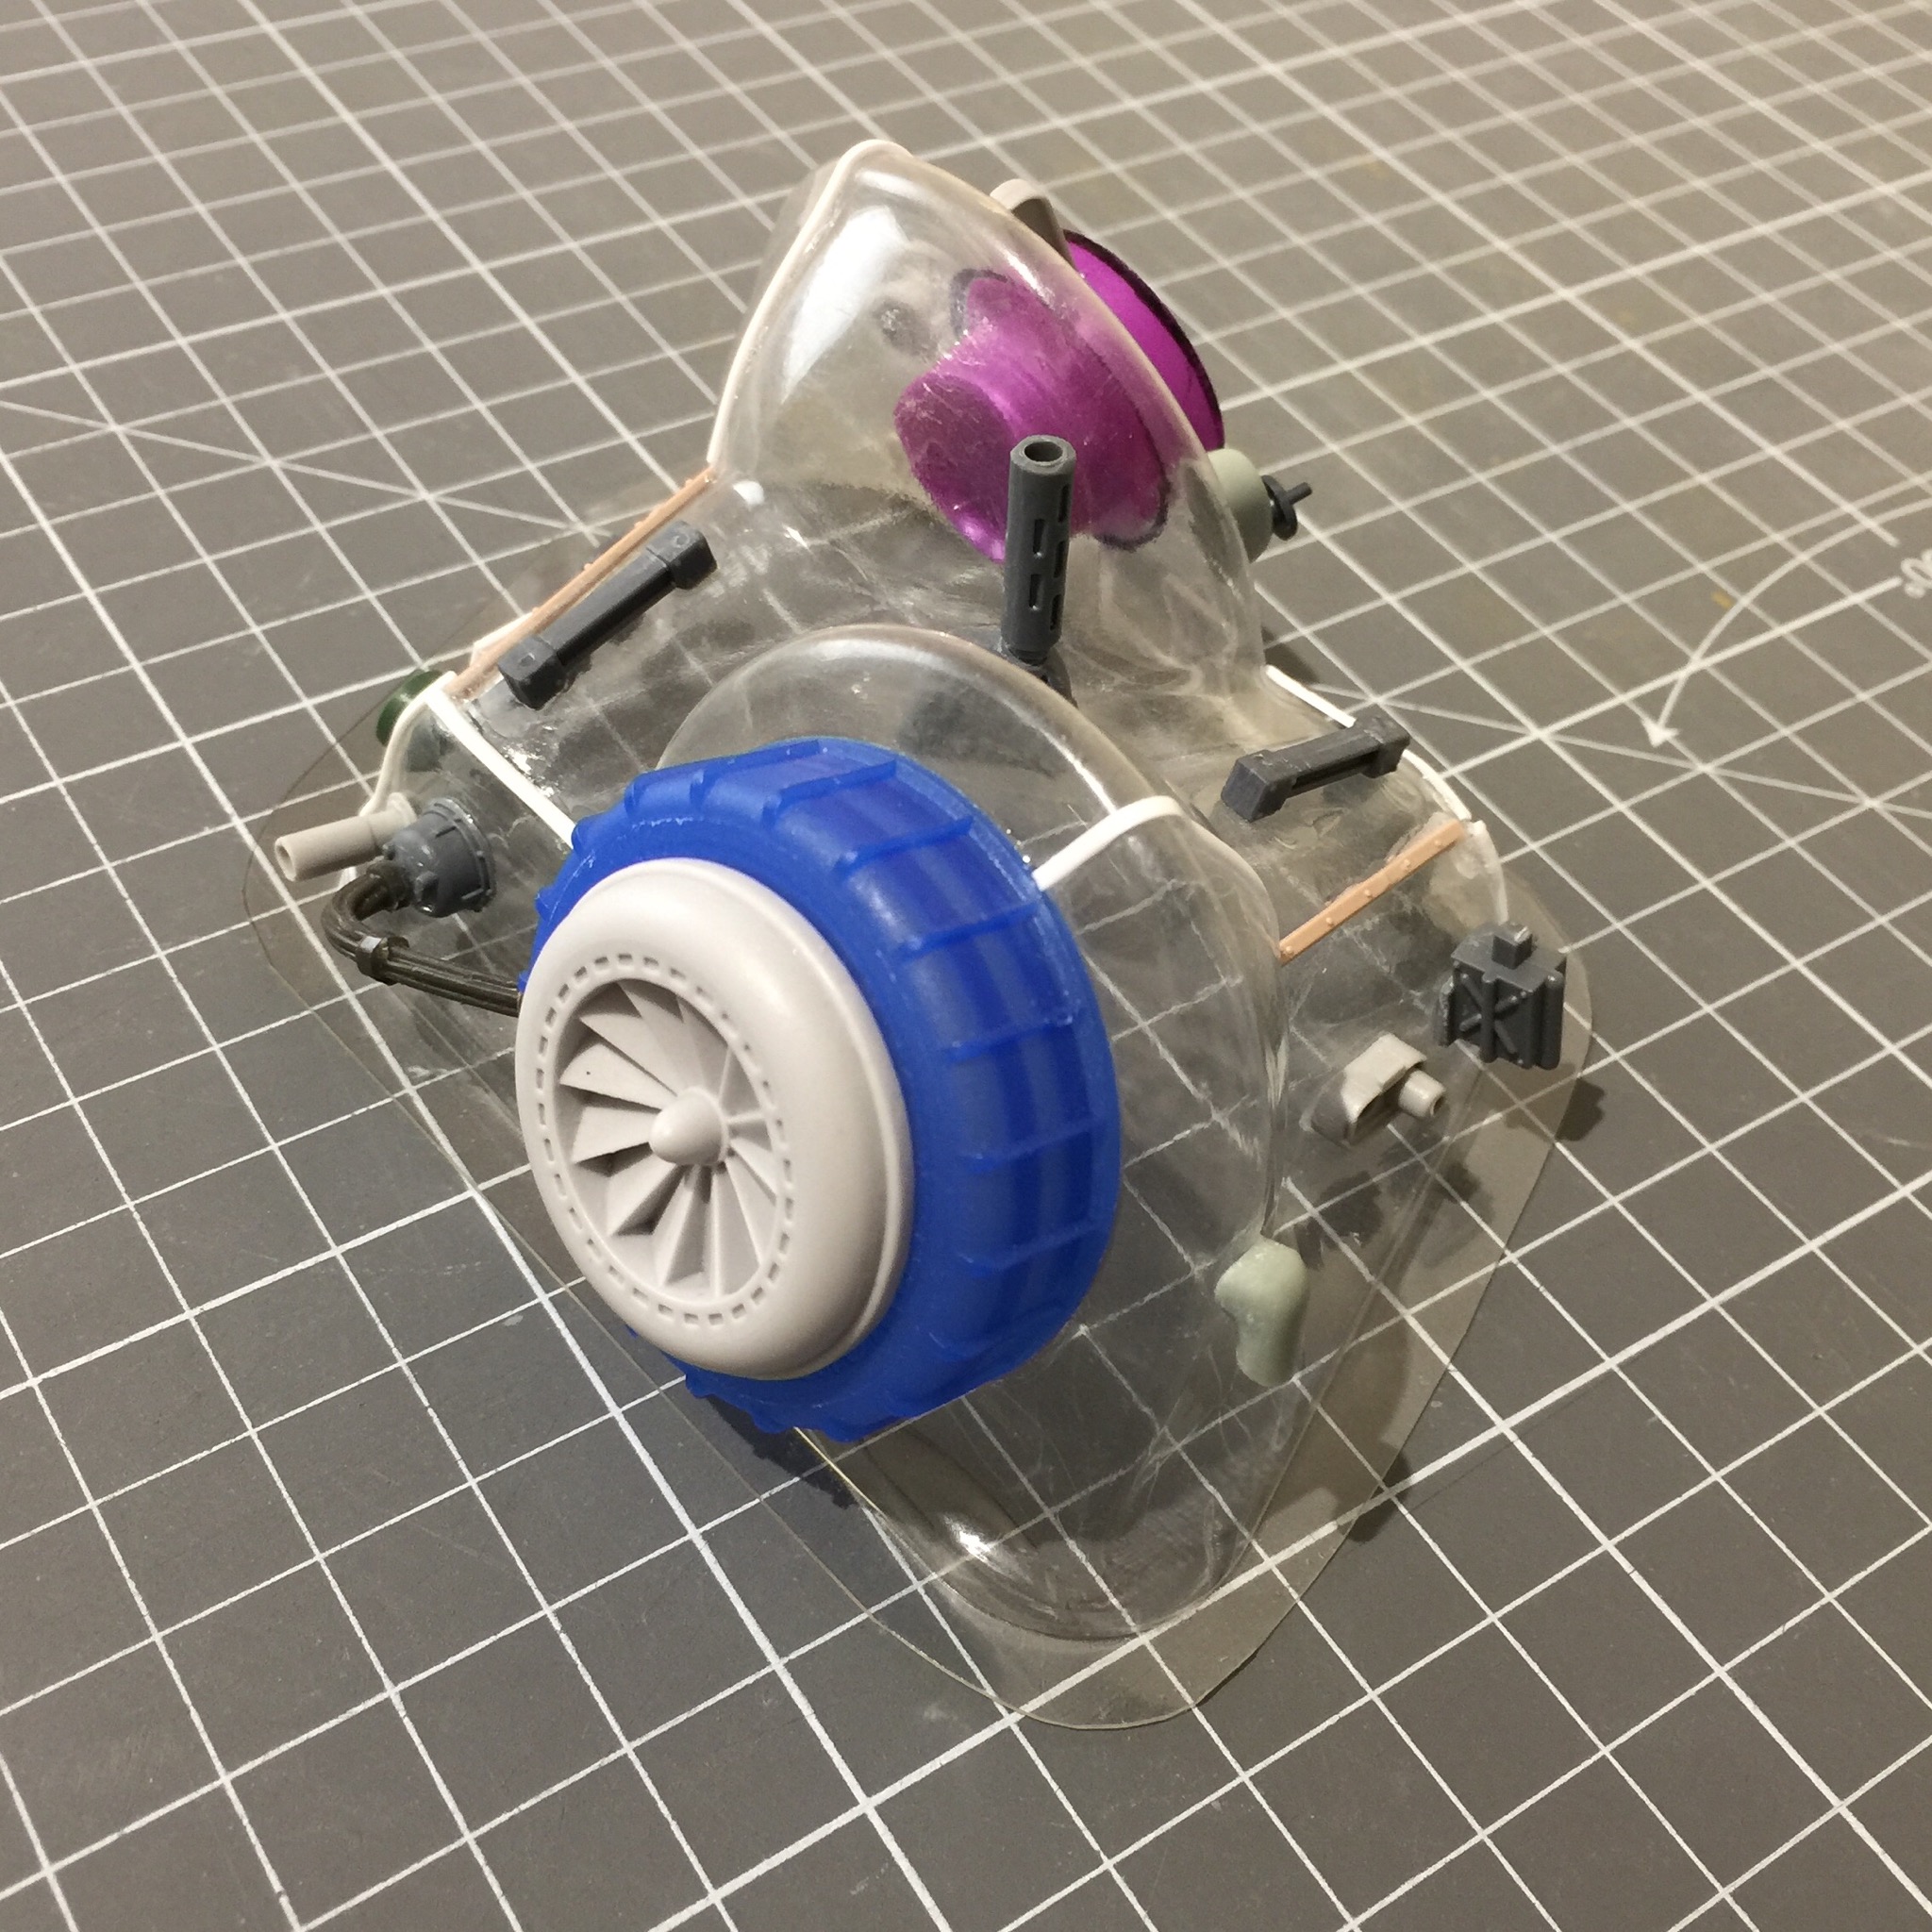 LED bulb packaging and other bits view 1
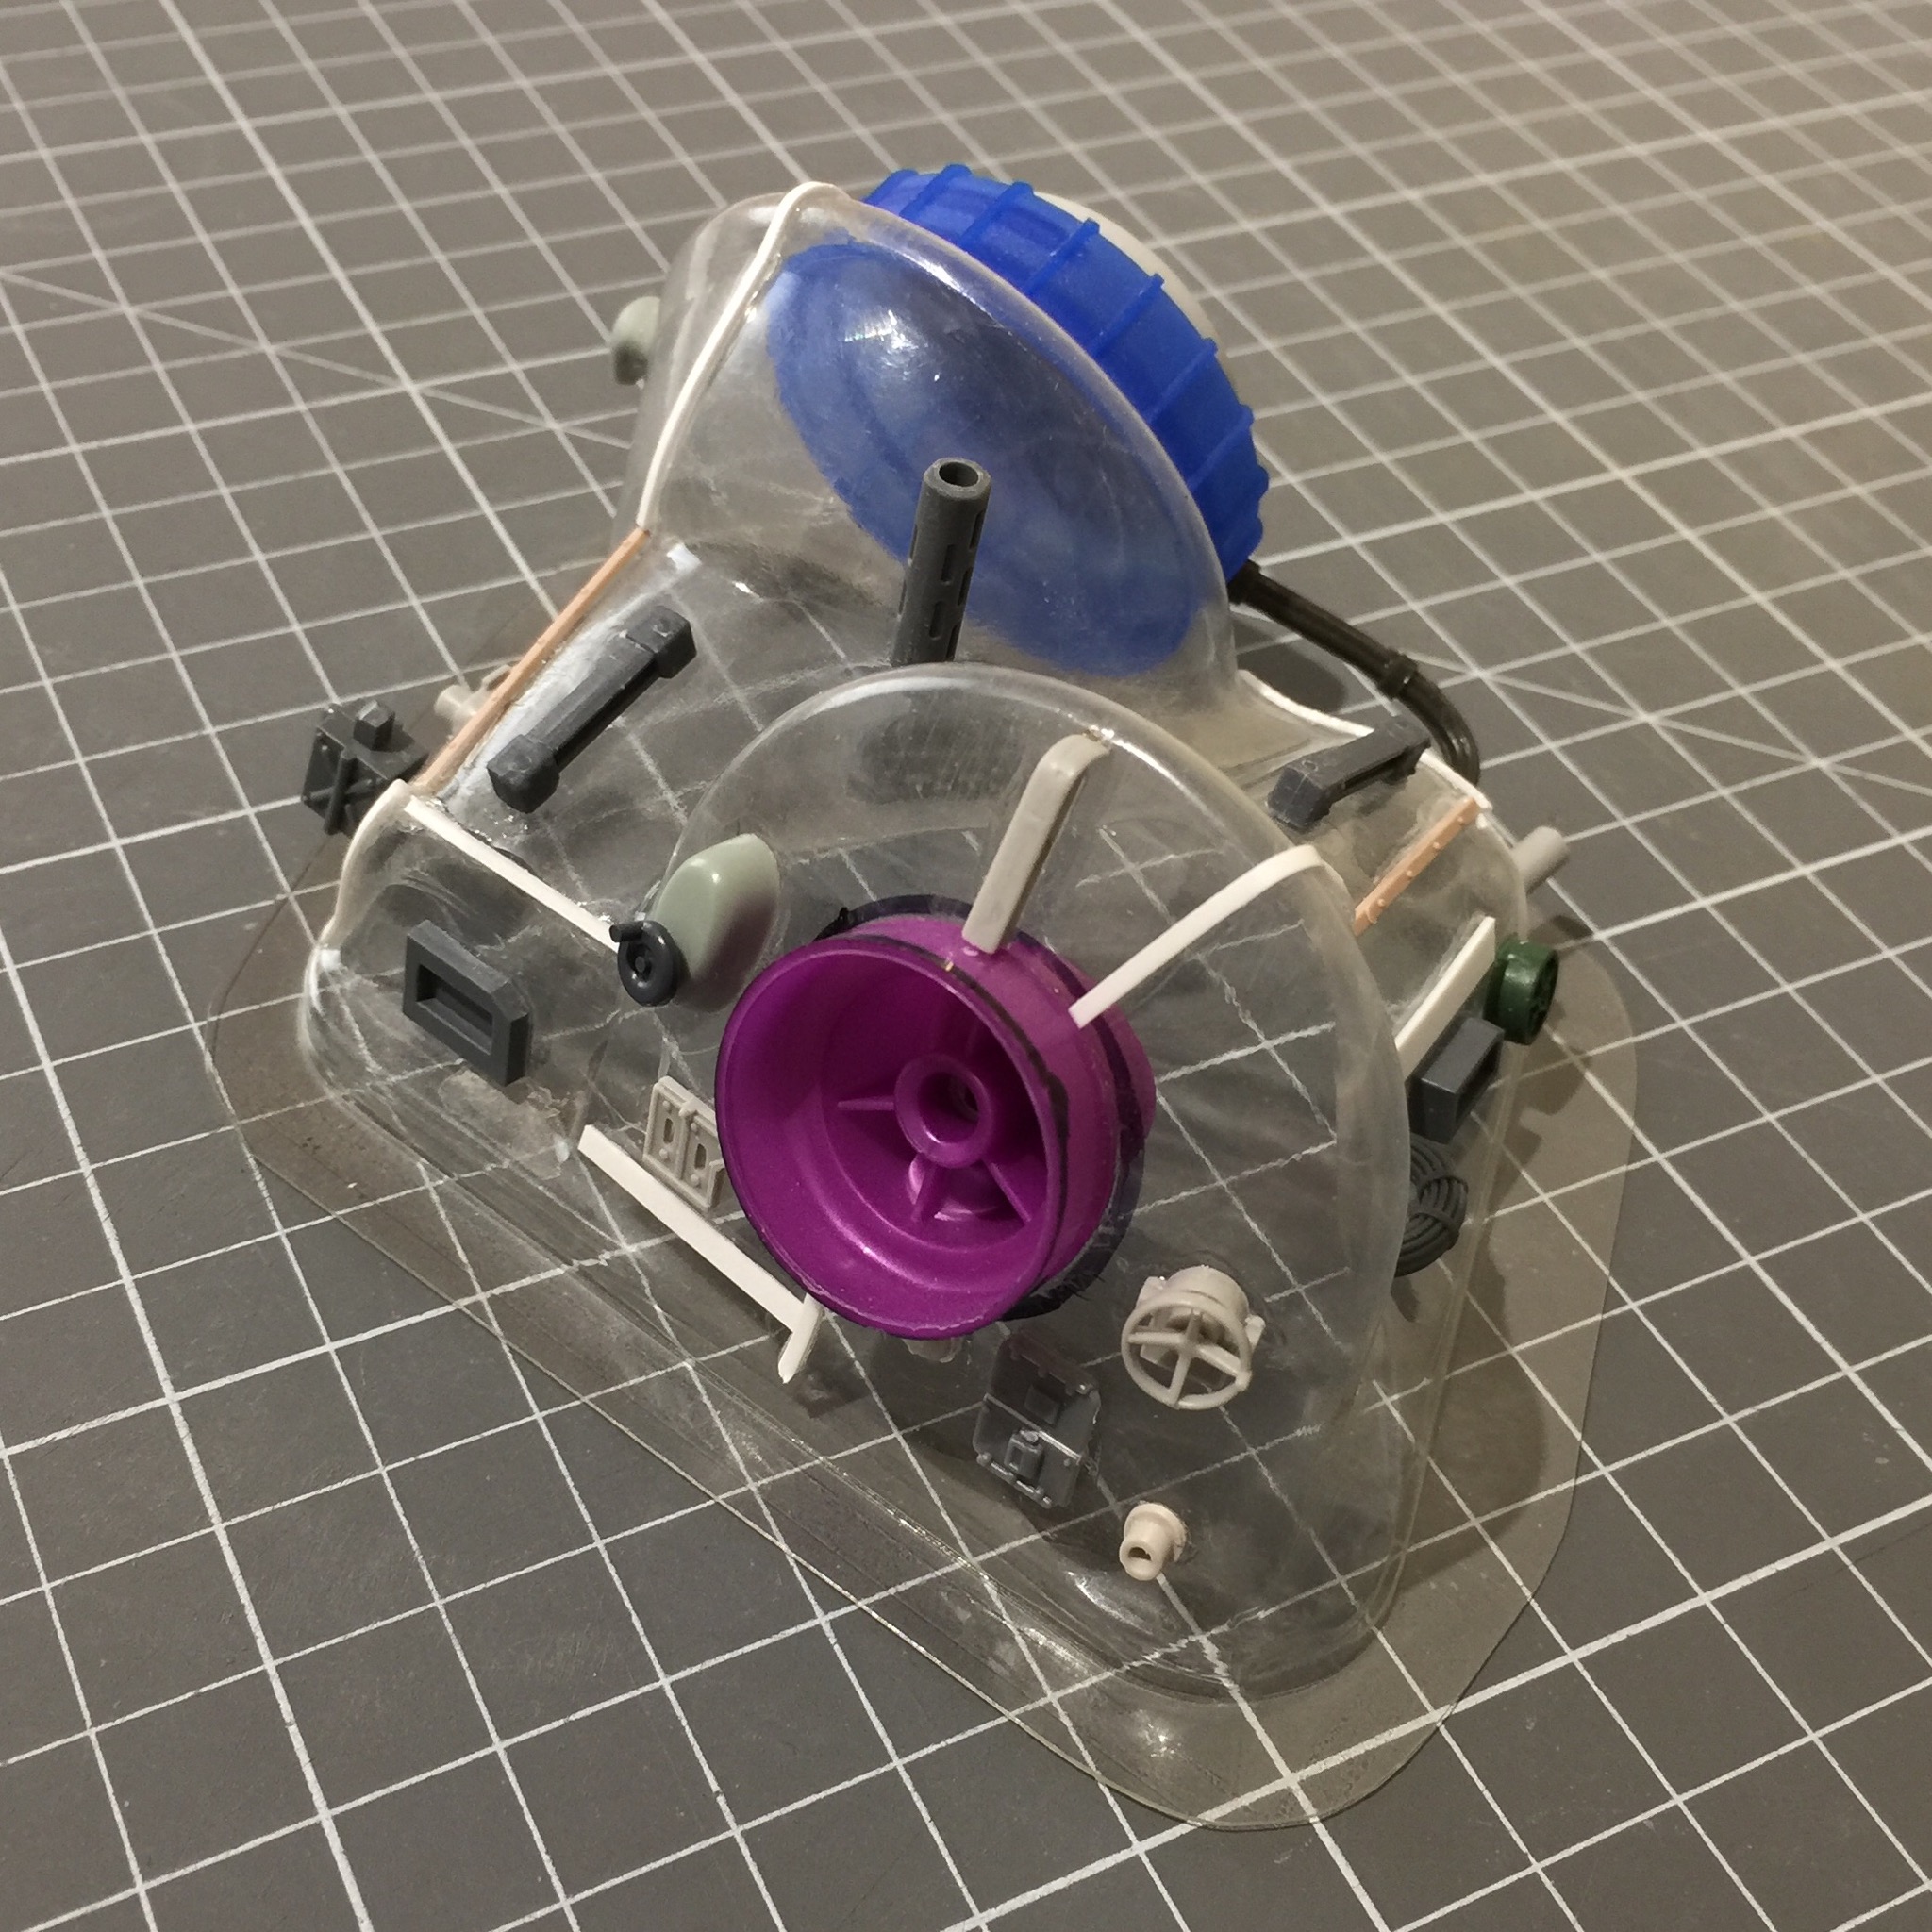 The other side
So here’s the starting point for terrain item one… it starts with the packaging for a pair of LED bulbs. I immediately recognised this packaging as being the basis for some sort of sub surface moisture pump. A vital piece of Ash Wastes equipment.
Onto that goes a few pieces from various places, including a nice industrial fan from Zinge Industries. This helps give the impression of a sort of turbine driving a pump, I think. A few ports for connecting hoses to are dotted around for collecting the condensed moisture and spitting out the waste.

![StarCraft Tabletop Miniatures Game Pre-Orders Live Now [Updated]](https://images.beastsofwar.com/2026/03/starcraft-tmg-news-cover-600-338.jpg)


![Mounted US Cavalry On Kickstarter For Dead Man’s Hand! [Updated]](https://images.beastsofwar.com/2026/03/us-cavalry-main-600-338.jpg)


![Play WW2 Commando Operations With Butcher & Bolt [Updated]](https://images.beastsofwar.com/2026/03/relaunch-600-338.jpg)


