![NO Weekender Or Cult Of Games XLBS This Weekend [Updated]](https://images.beastsofwar.com/2026/03/No_Weekender_and_XLBS_this_Weekend-225-127.jpg)


Bushido Game board


Recommendations: 422
About the Project
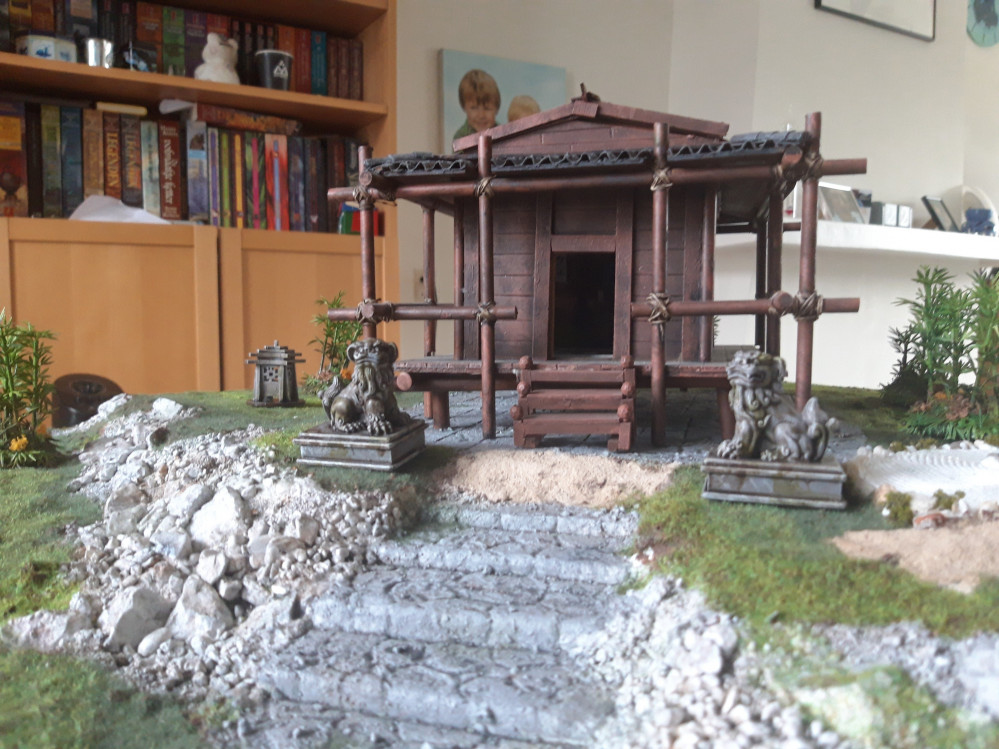
This has been a long time coming and kept being pushed aside for other projects, But I've finally made a real start. Bushido Risen Sun is, in my mind, the best miniature game out there. The small scale of a handfull of mini's a side on a 2 by 2 gaming surface allows for some real flexibility on projects. I had decided long ago I would make a garden with a temple in it. The temple has long been made(and needs a bit of fixing by now) It was time to make the garden. I have ordered several bits now, and gathered some more over the years. Lets hop to it.
Related Game: Bushido
Related Company: GCT Studios
Related Genre: Fantasy
This Project is Active
A small adjustment
Talking to my regular gaming buddy, I started considering storage. I was planning bamboo and plants around the pond, but this would increase the vertical footprint. My friend suggested some weighted down little pieces that I could remove, using washer to weigh them down. I quickly decided for a lttle extra to keep the pieces into place. Carefully drilling some holes at the edged of the pond, I inserted some magnet. Then I covered these holes with a mixture of wallfiller and PVA. When dry some pva and sand, and then blended it in again with some pva and paint. Careful to pay attention to the polarity of the magnets as always. This will allow any set up.
When this was al dry, it was once again time for painting. This was supposed to be the fun part, but due to the humidity, the first layer of wash isn’t dry at the moment of writing.
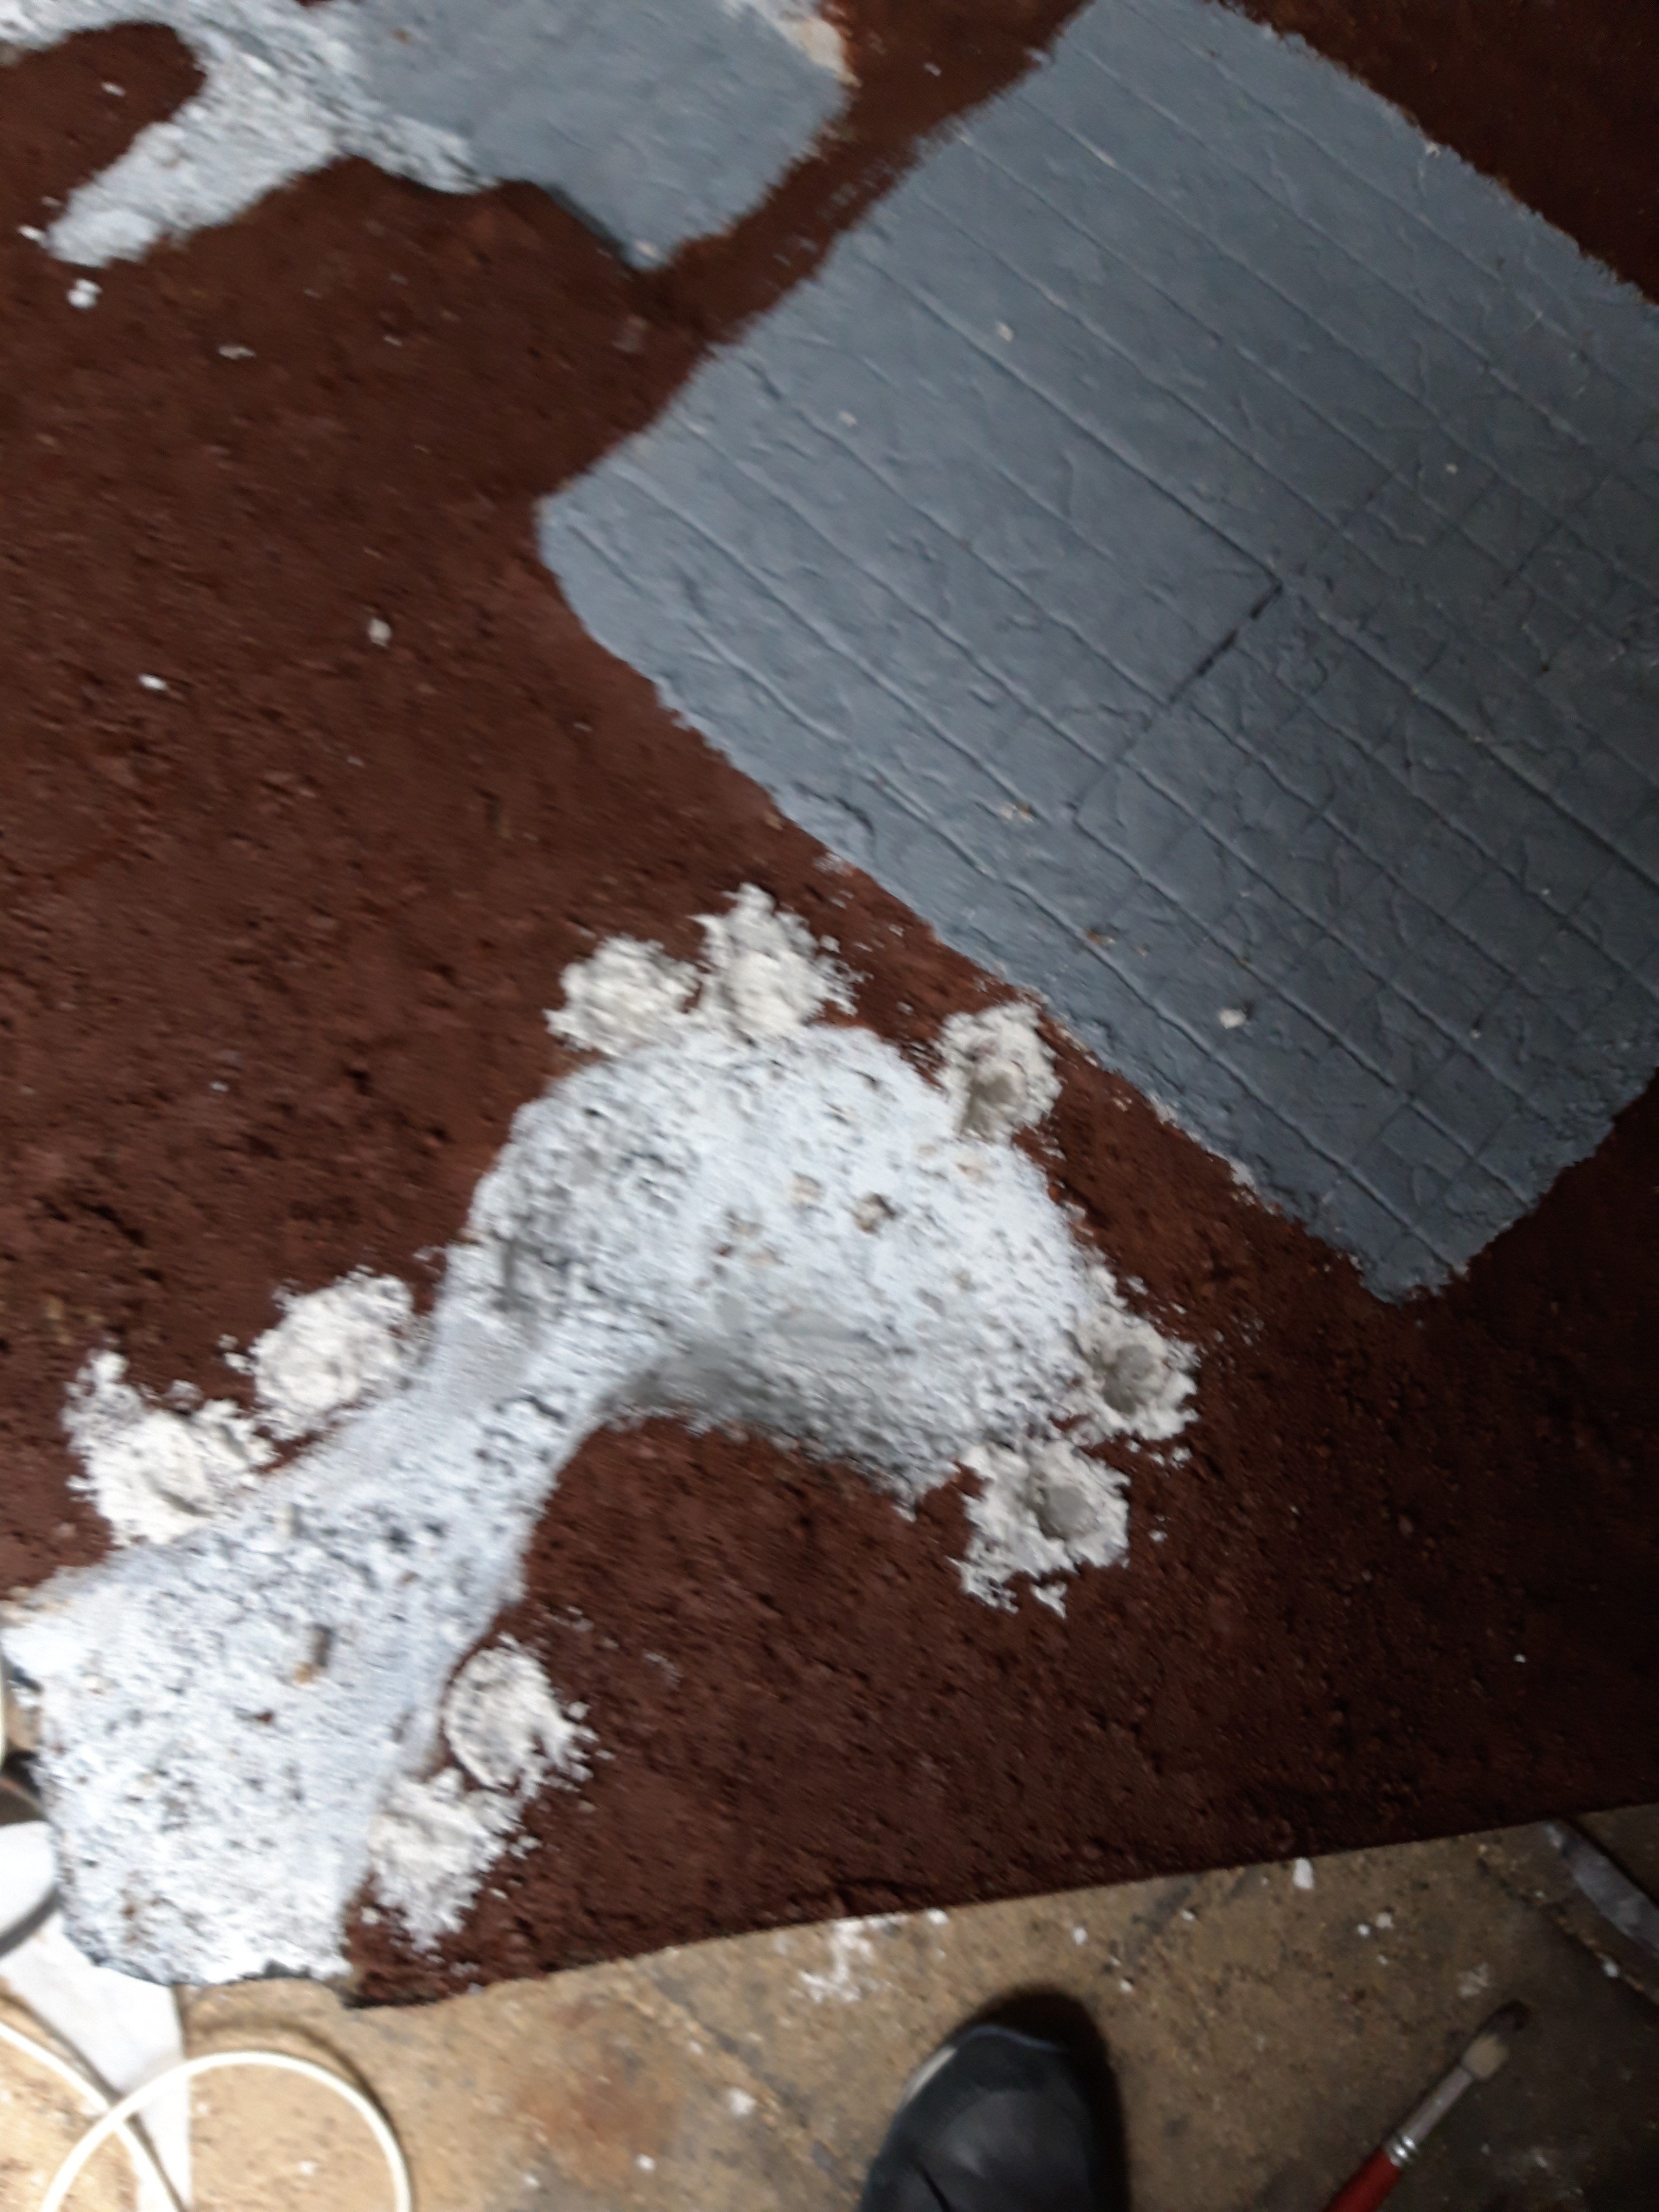
I made 3 thin washes of cheap acrylic. 2 browns and a dark green. This I put in a random manner over the white and greay areas’s of the board. This will make sure it will look interesting when the final black washes pulls it all together.
Washes ar very thin. It’s easier to put a second wash over the model than fixing a wash that’s to dark. Keep in mind there’s a huge difference between the wet and dry look. I have made the mistake on earlier projects of making my wash to thick, because it looked off when wet.
It's coarse. And it gets everywhere...
Sorry for that title. It felled kind of a requirement.
The mixture had not fully dried. This stuff takes a while and the night had been less dry than I hoped. Still, good enough.
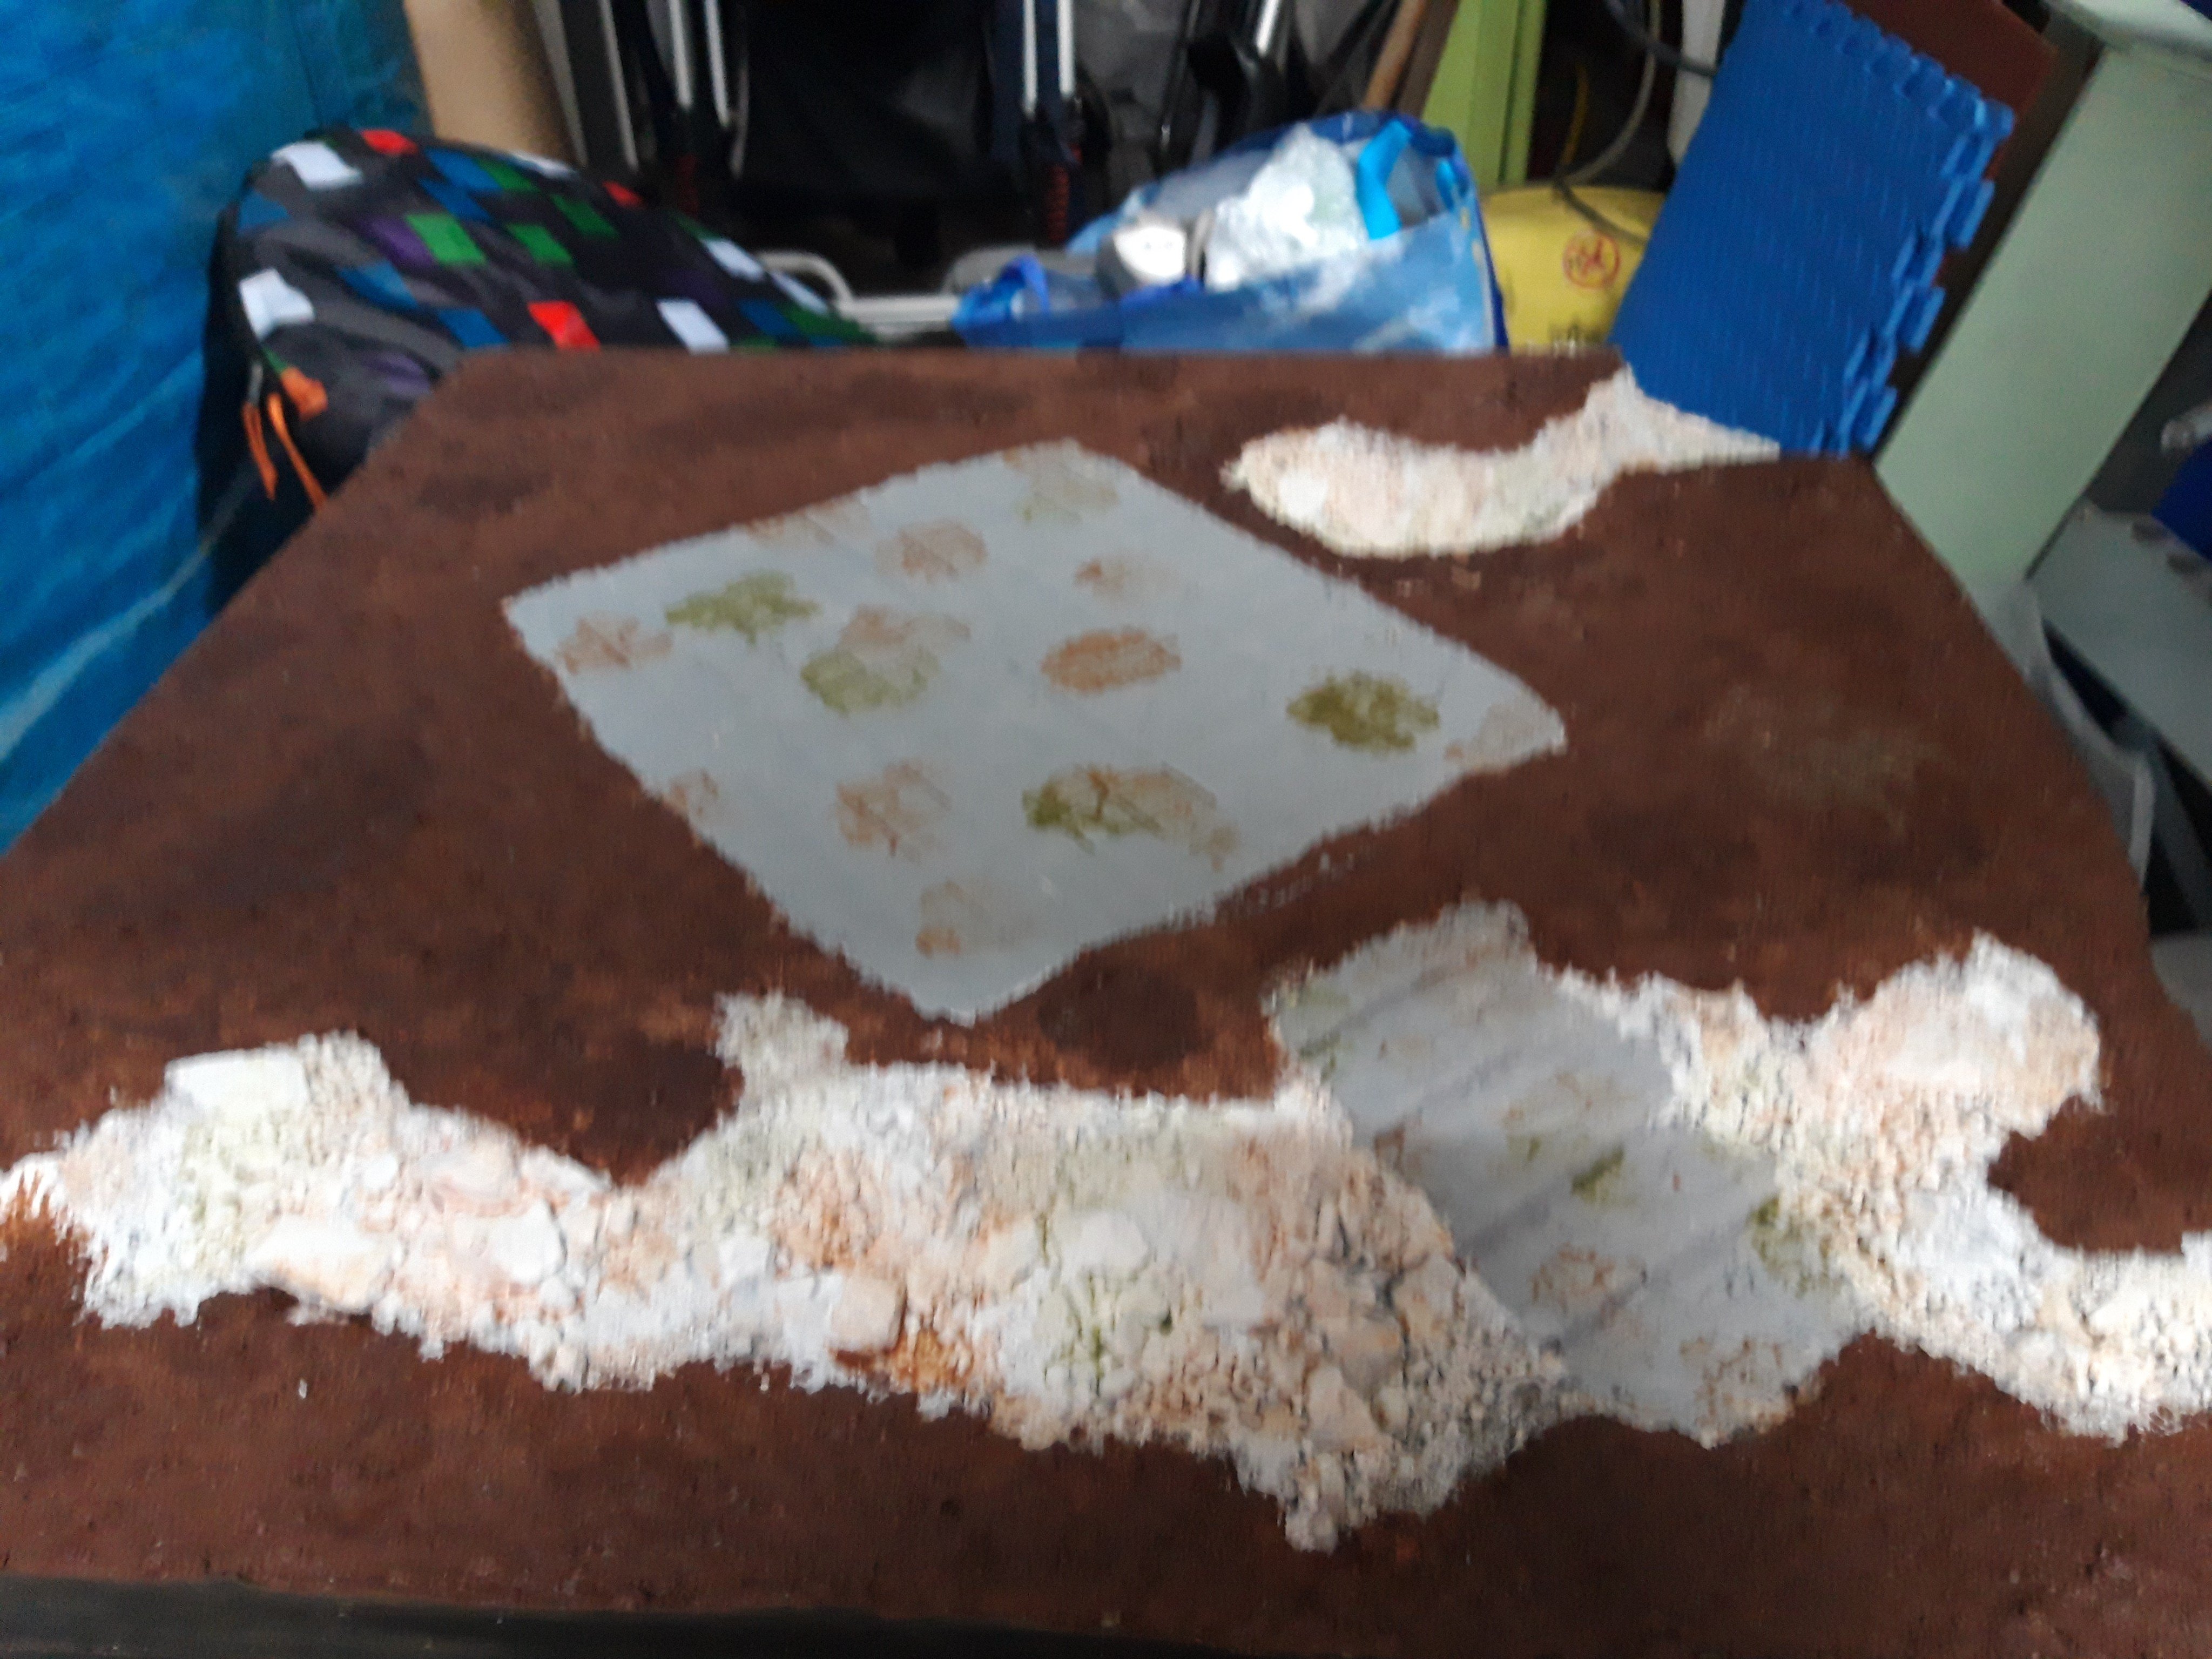
I covered everything I wanted covered in sand with watered down pva, making sure not to cover to much of the rocks, which I wanted to jut out.
I did this in parts. Cover a part in pva, cover MOST of that in sand and slatter more in pva. Drying took a while. When it was done I shook of the excess sand.
this showed some splodges that I didn’t cover. see picture.
I corrected this and also layered some of the watered pva on the tiles and stairs. This will stop the foam from melting when I spray the primer, but also protects it from damage during play.
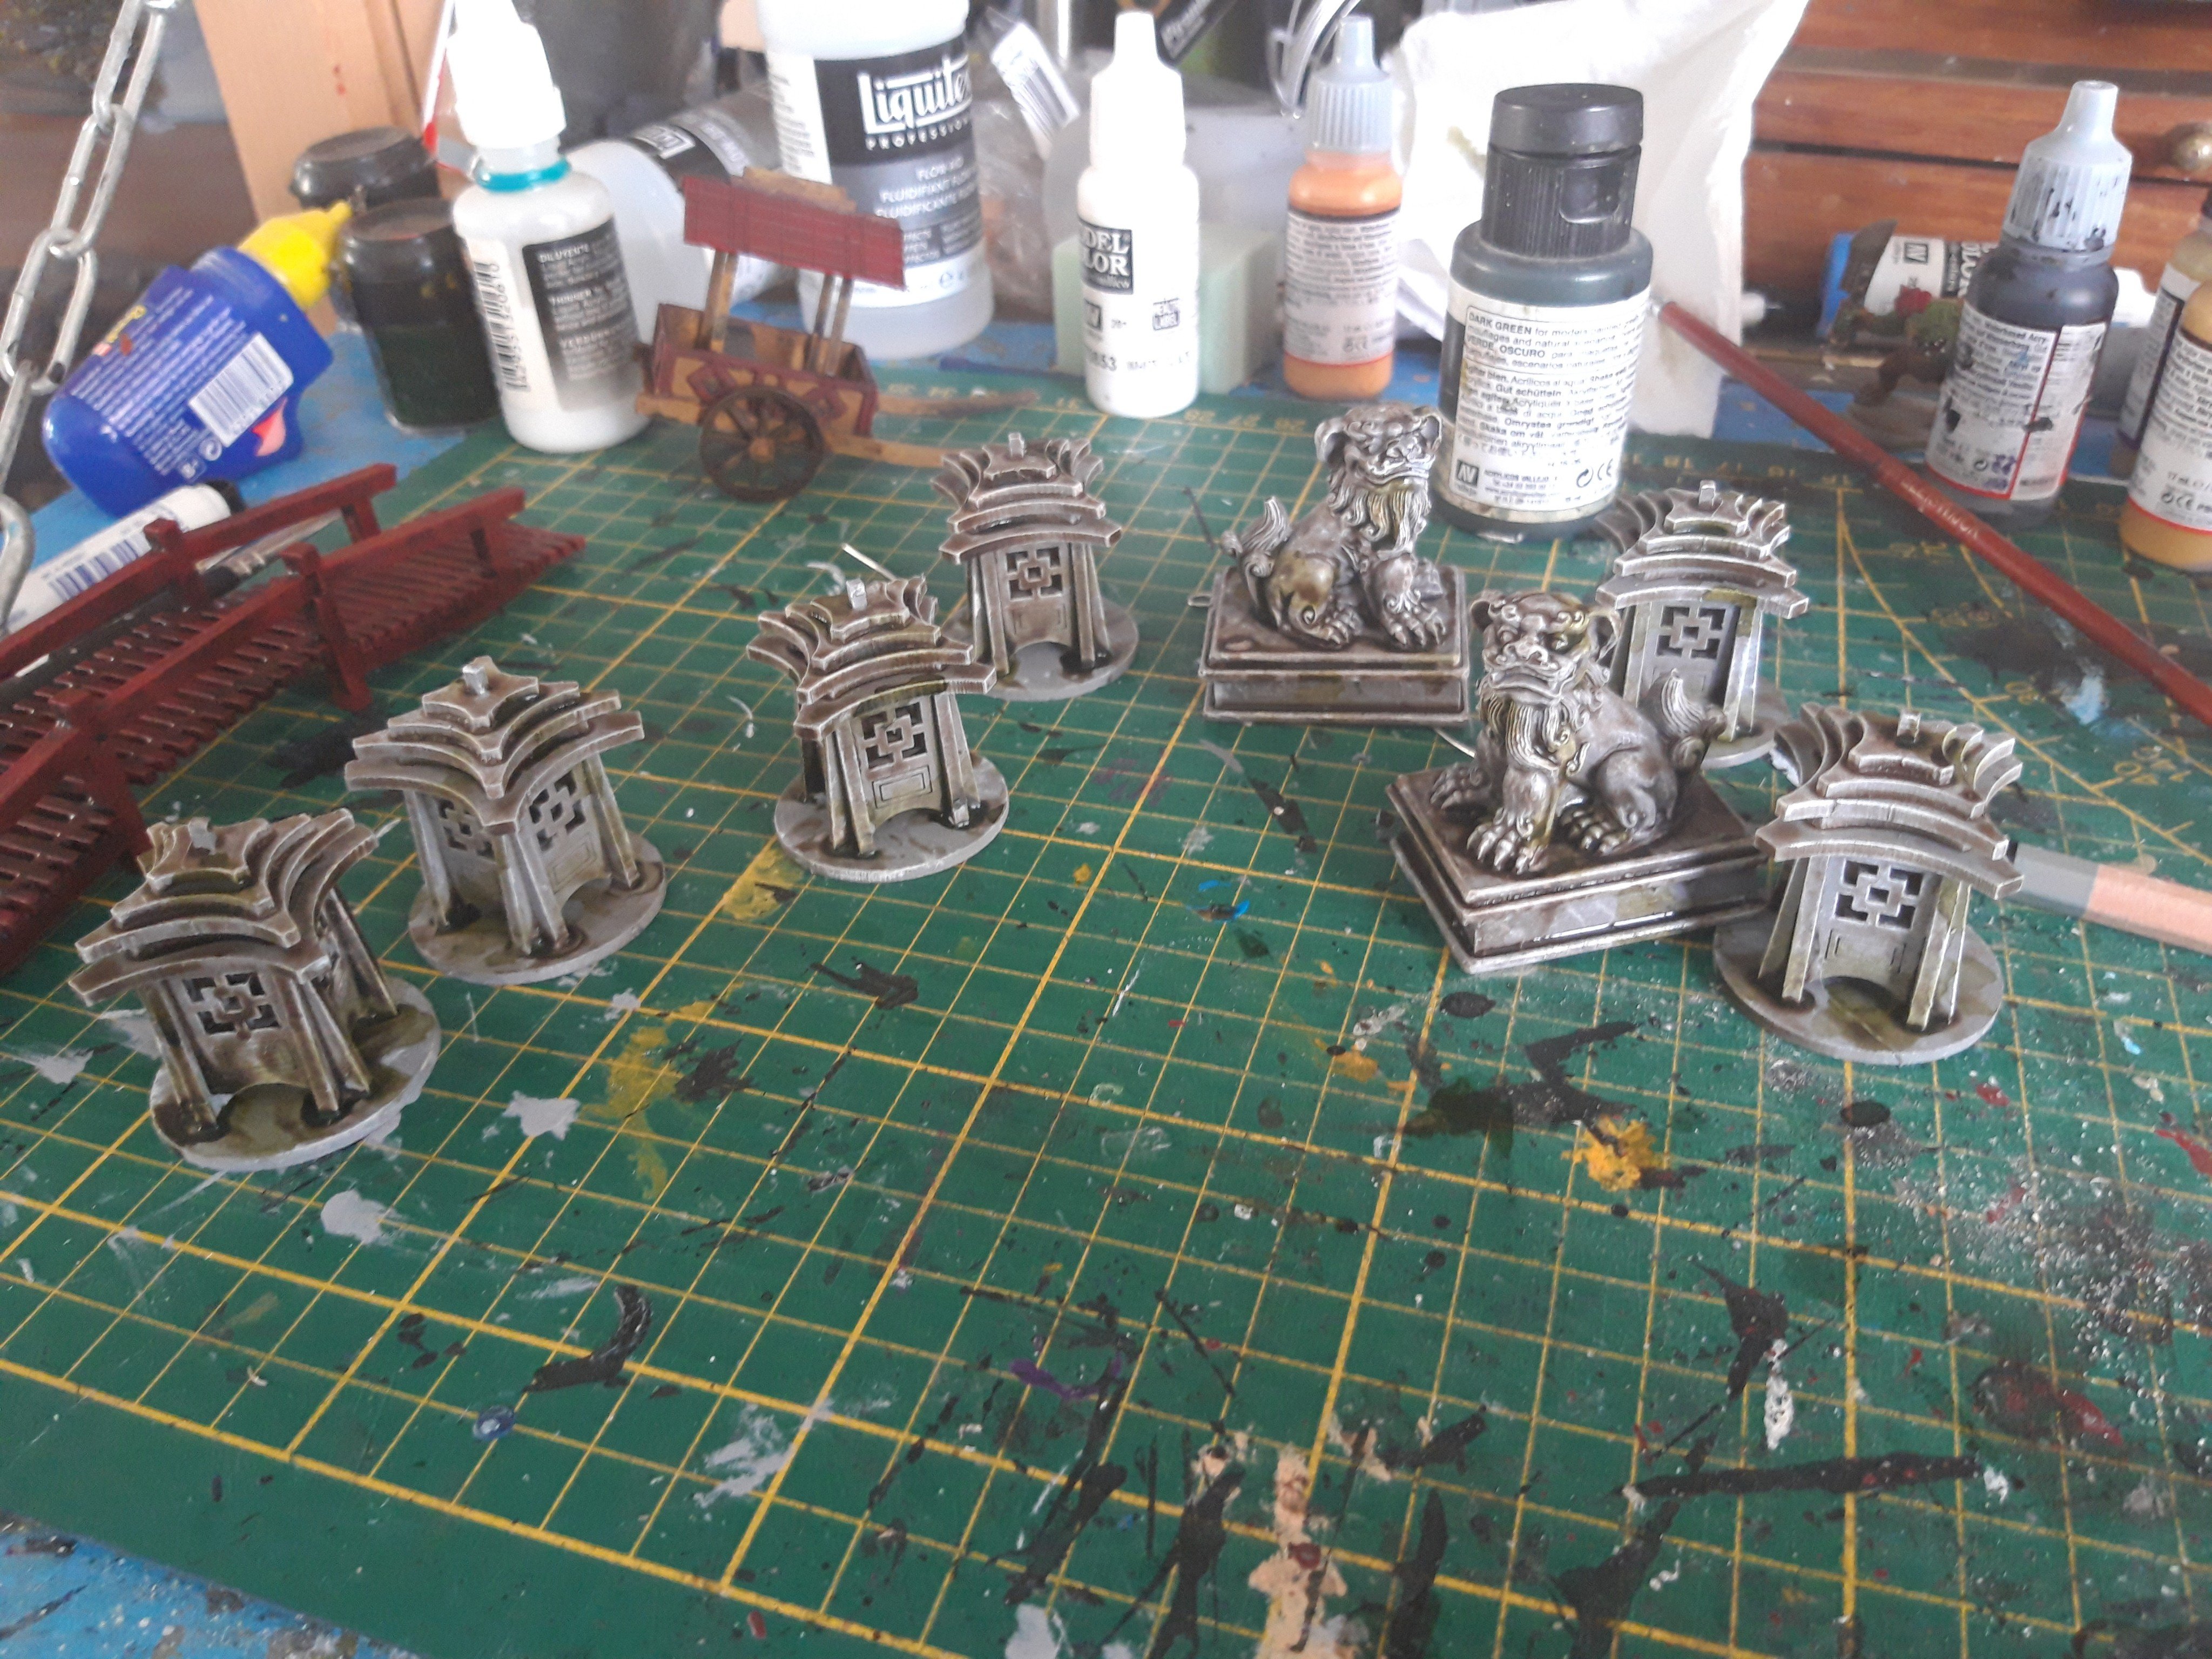
In the meantime I dug these out. They will mostly be objectives during the game, but now was as good a time to paint them as any.
I painted them the same as the statues, to which I also added an extra wash of armypainter strong tone (diluted) and some splodges of camo green to emulate mossy growths.
When the board was dry enough, I added one more stage.
Shaking it excess sand, I put some watered down pva in spray bottle and gave it a good covering. This should seal it in real good when dry. Leave it to dry till tomorrow. Hope I might get some painting done on it.

Some light painting on scatter terrain/detailing.
While stuff was drying in the shed I used my eveing to paint some stuff I needed or had lying around.
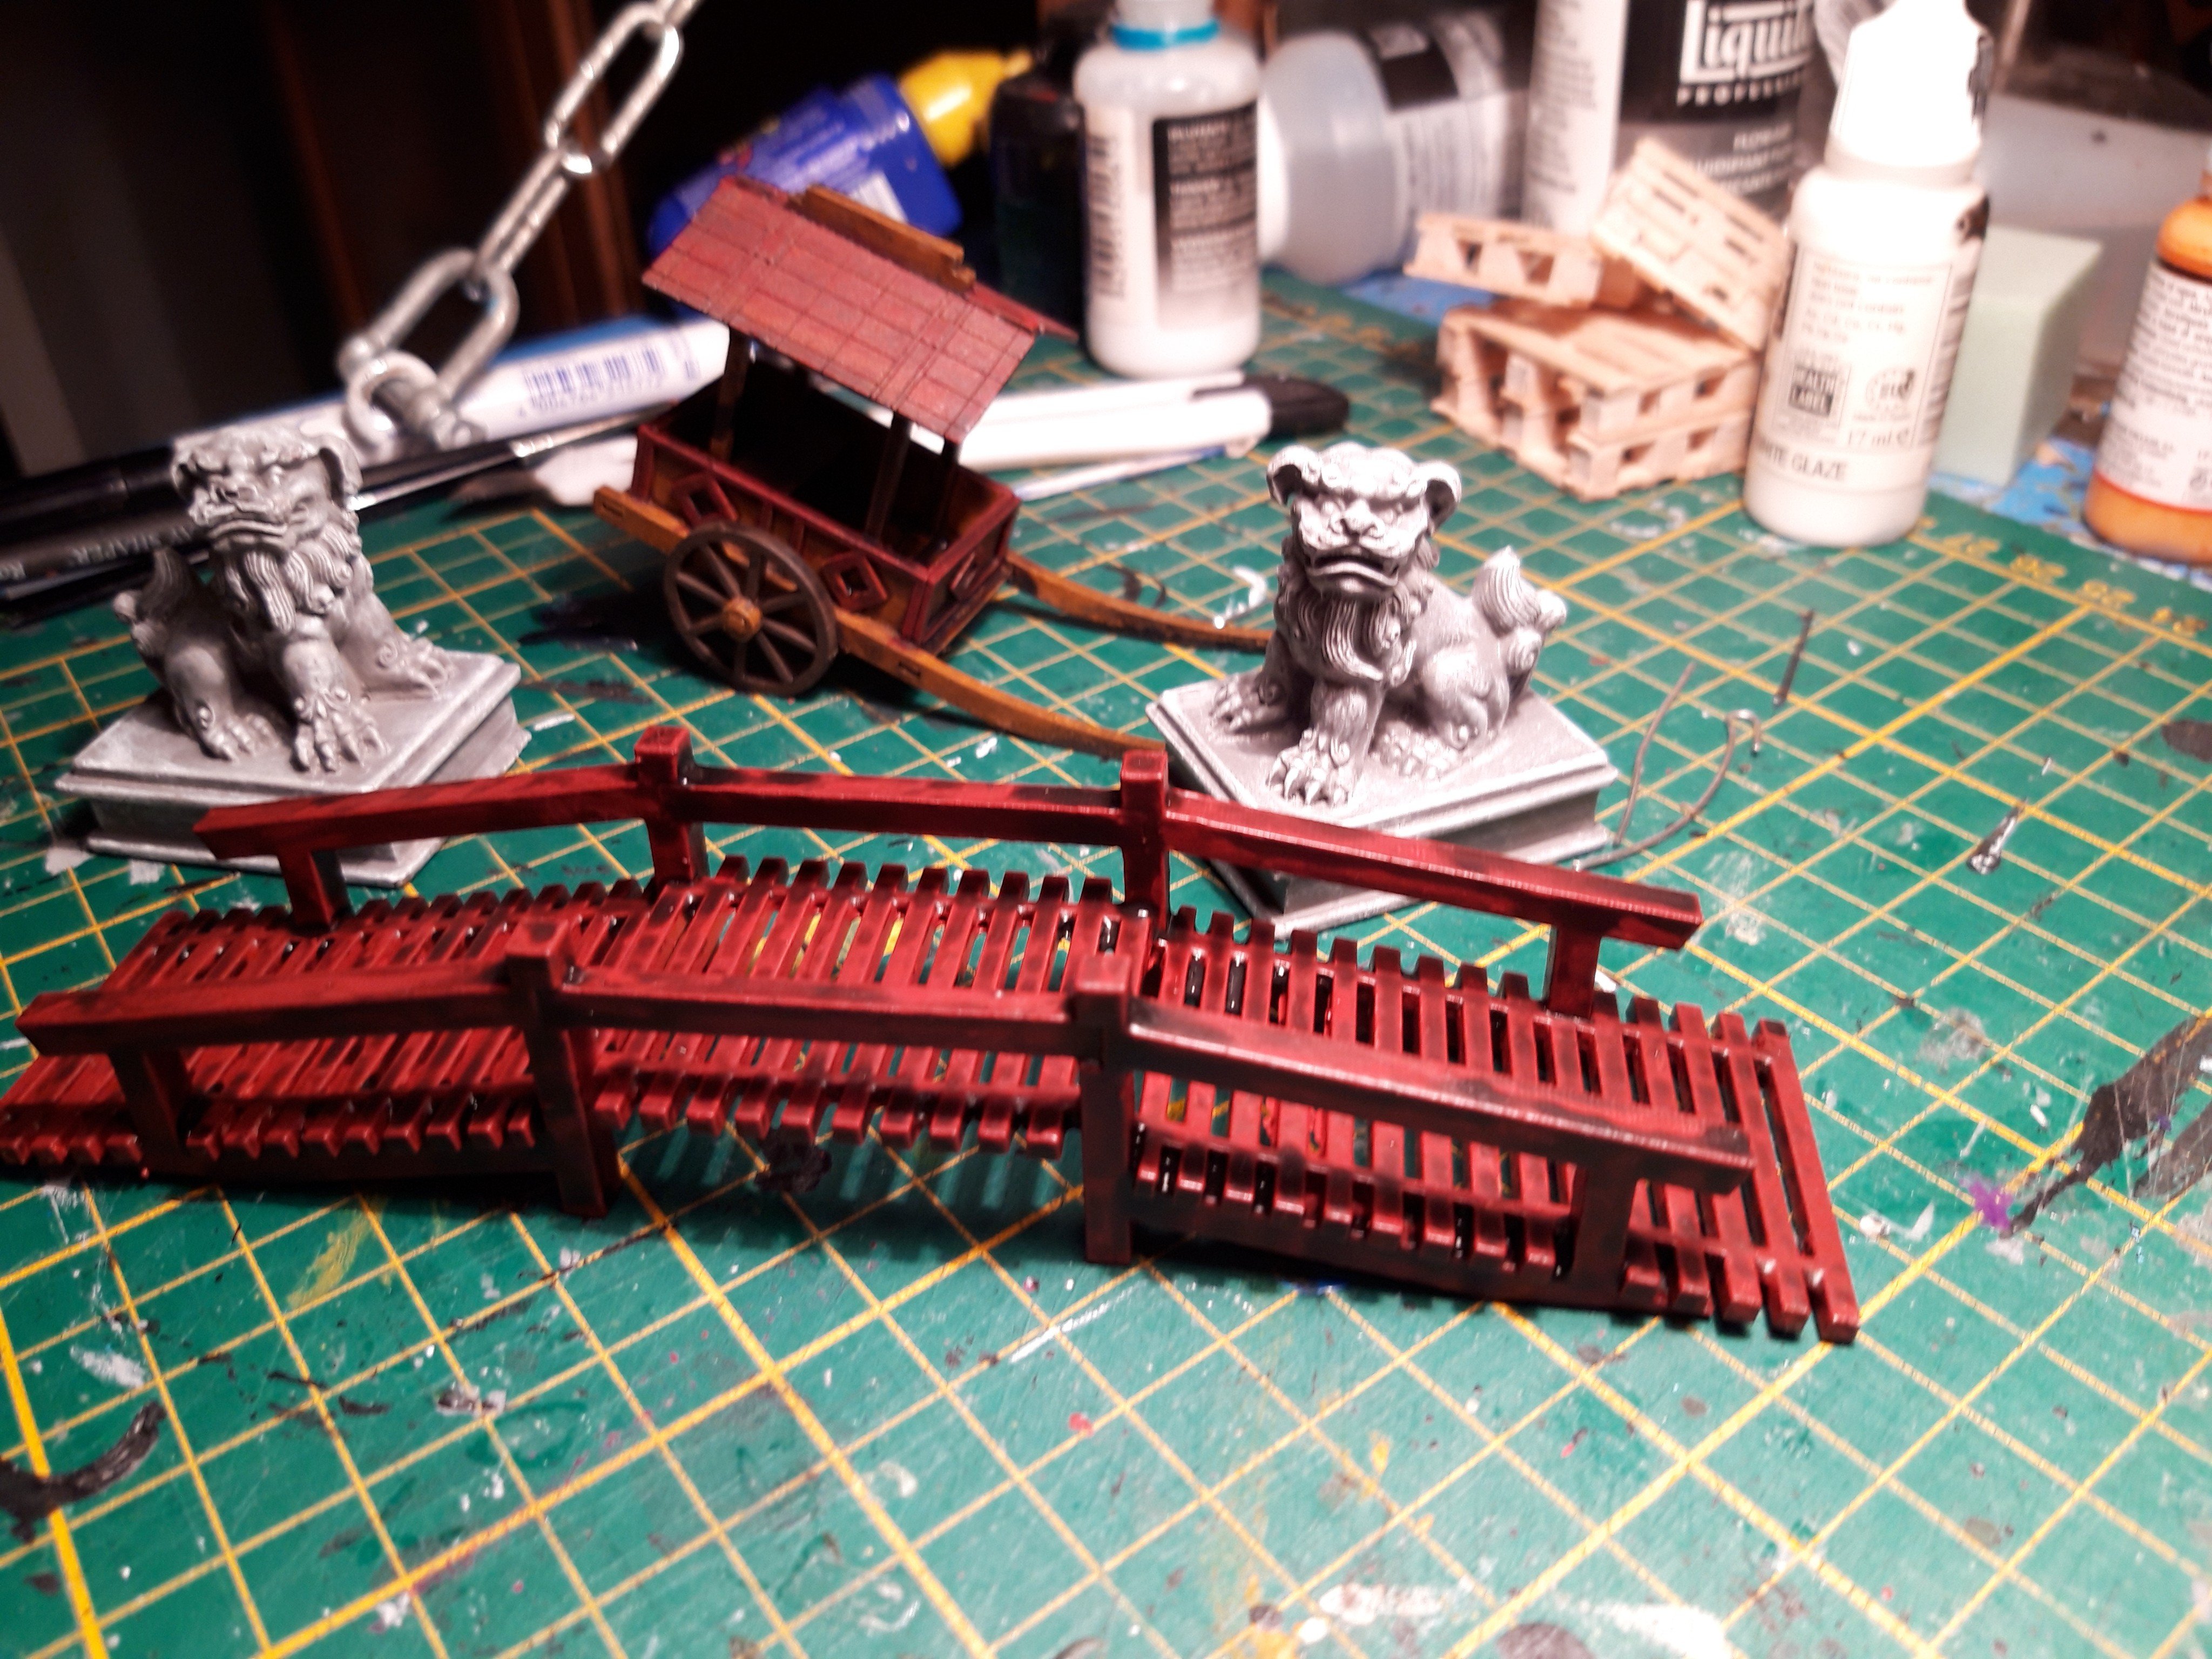
The two statues will be a mainstay in front of the temple and the bridge ( a lucky catch in a goody bag from a convention) will go over the pond, of course.
The little cart might not really fit this board, but is sure to come in use at some point. This is not the only bushido board I’m planning. None of this will be glued into place.
Just some base coats and washes/drybrushes
From the ground up/ day 1
The board is made 2 by 2 foot (or 60 by 60 cm to be exact, this allow me to get more board out of the same board.)
I build a skeleton underneath. There will be pu a lot of glue on this. I don’t want it warping on me.
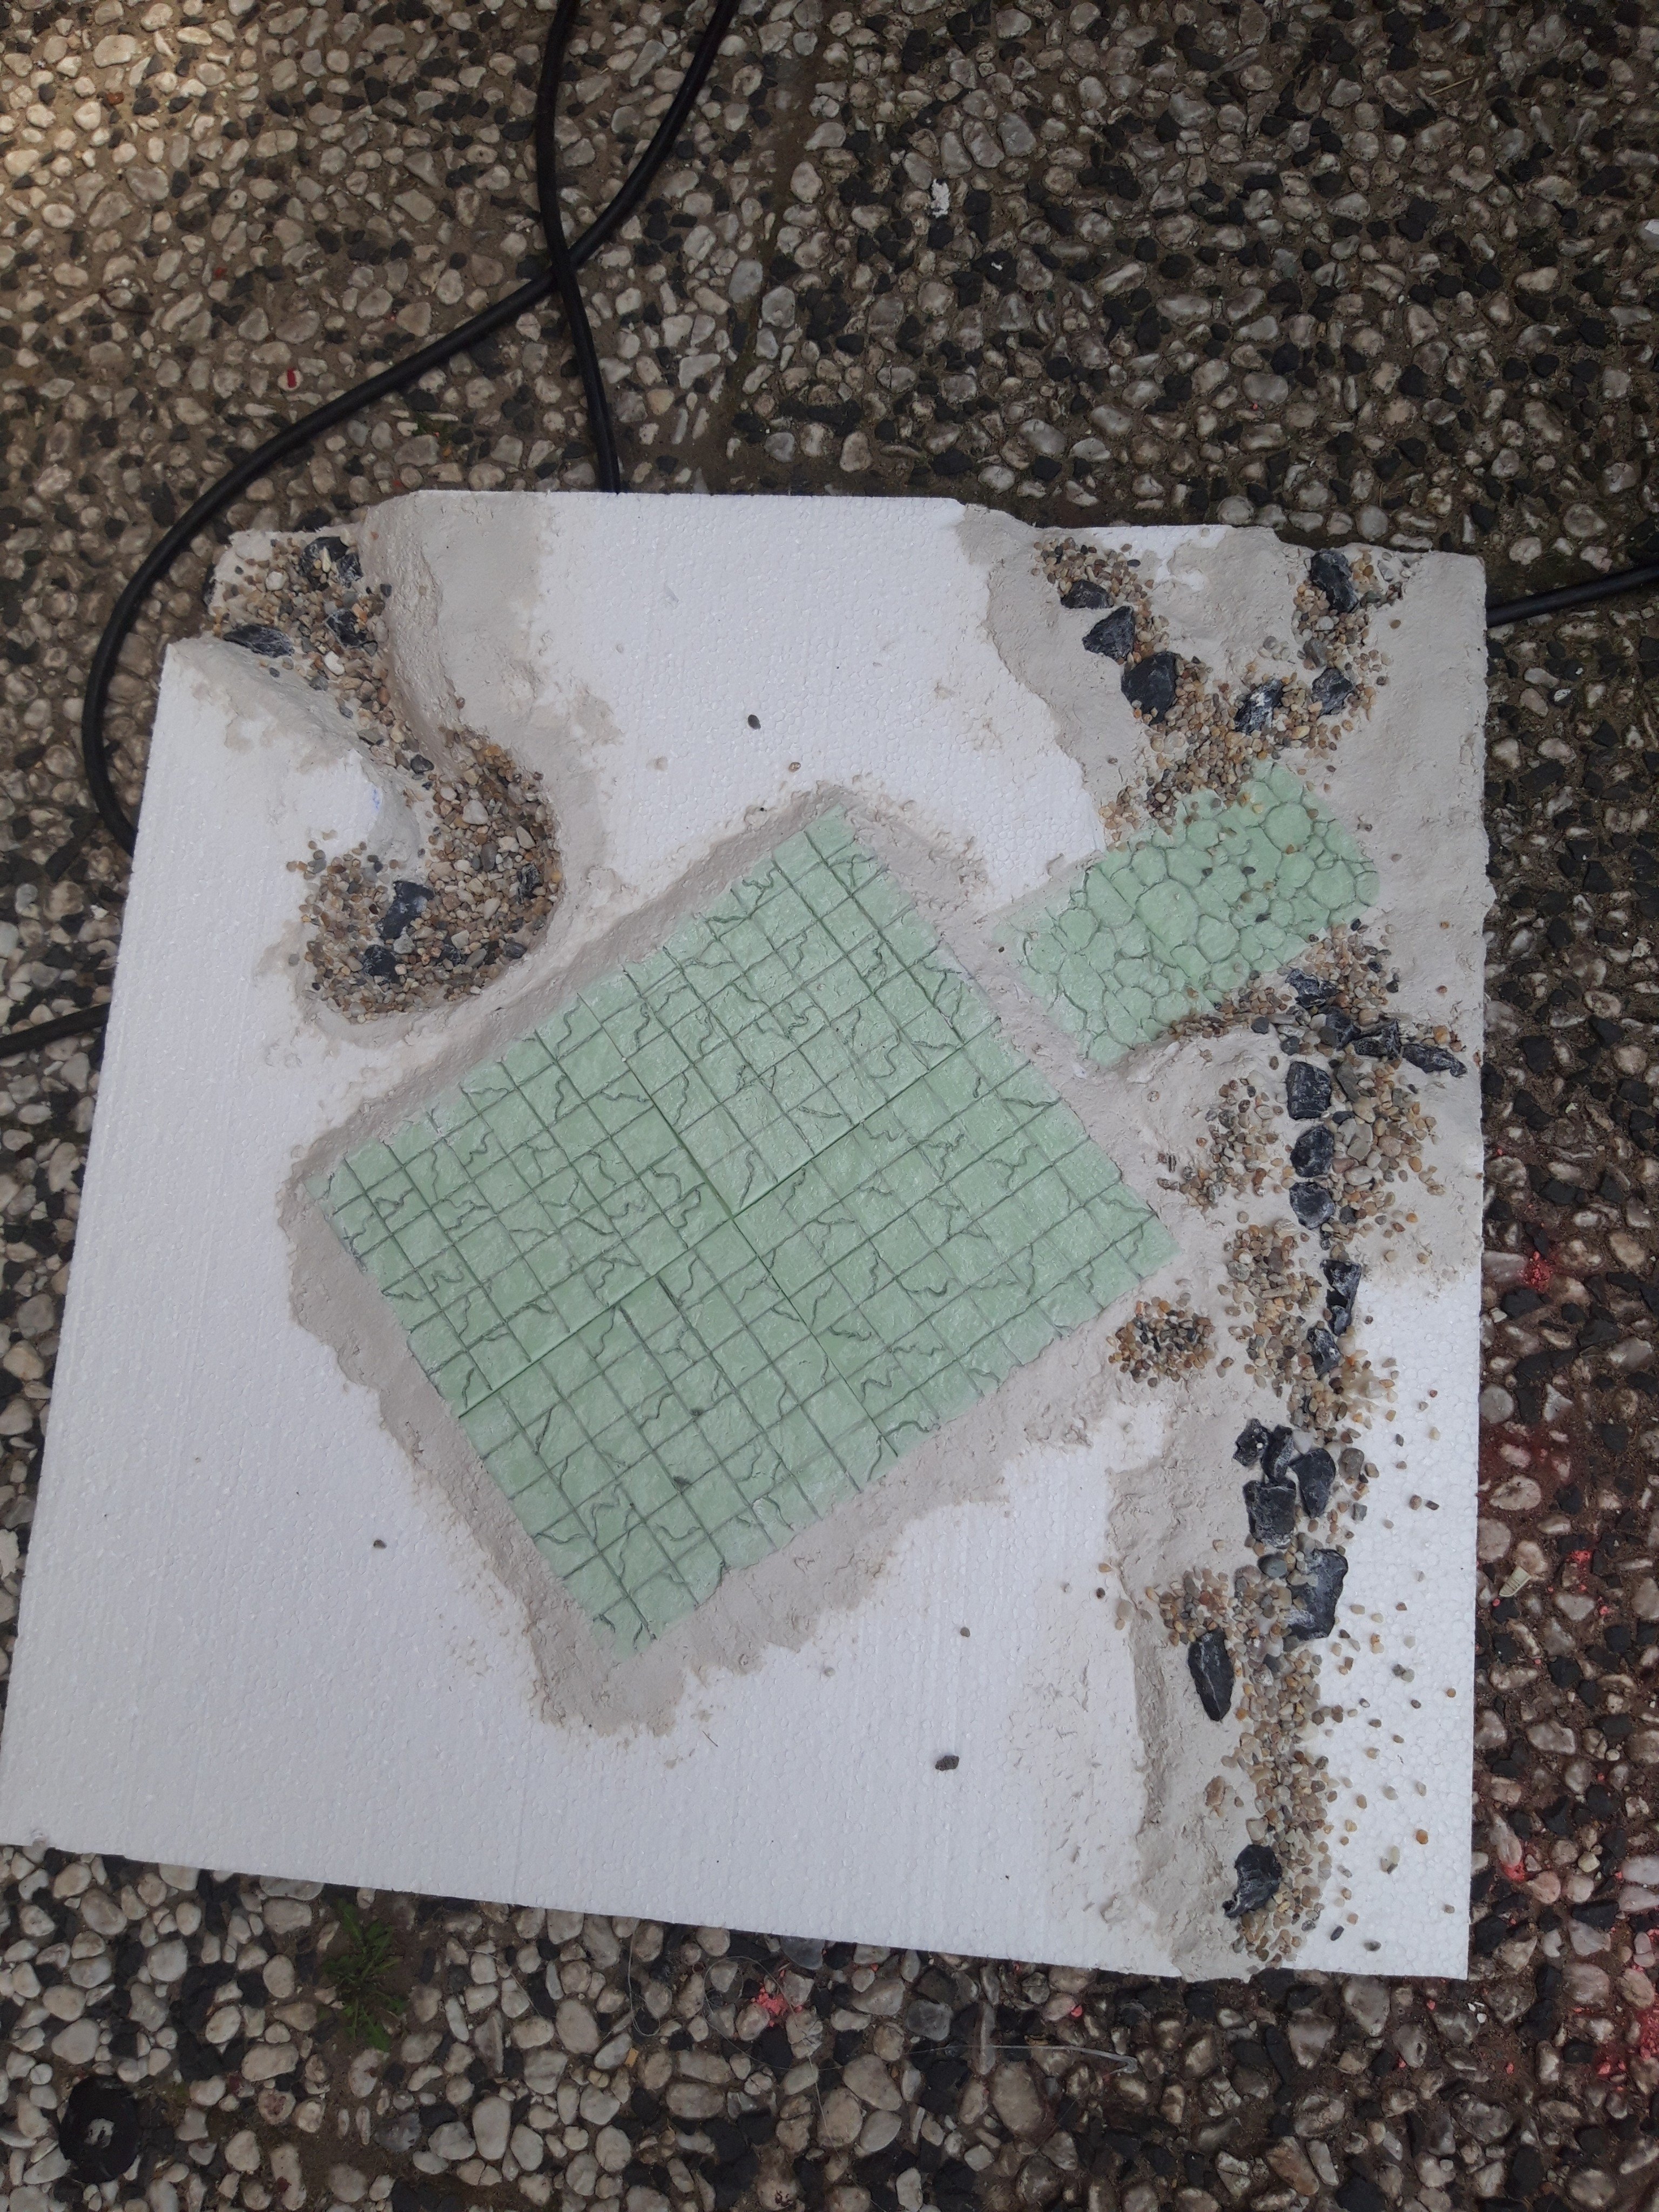
Next some cheap styrofoam to create some depth. Both to add some interest in on the board, but mostly as I’m planning a small pond with a bridge and some koi carps

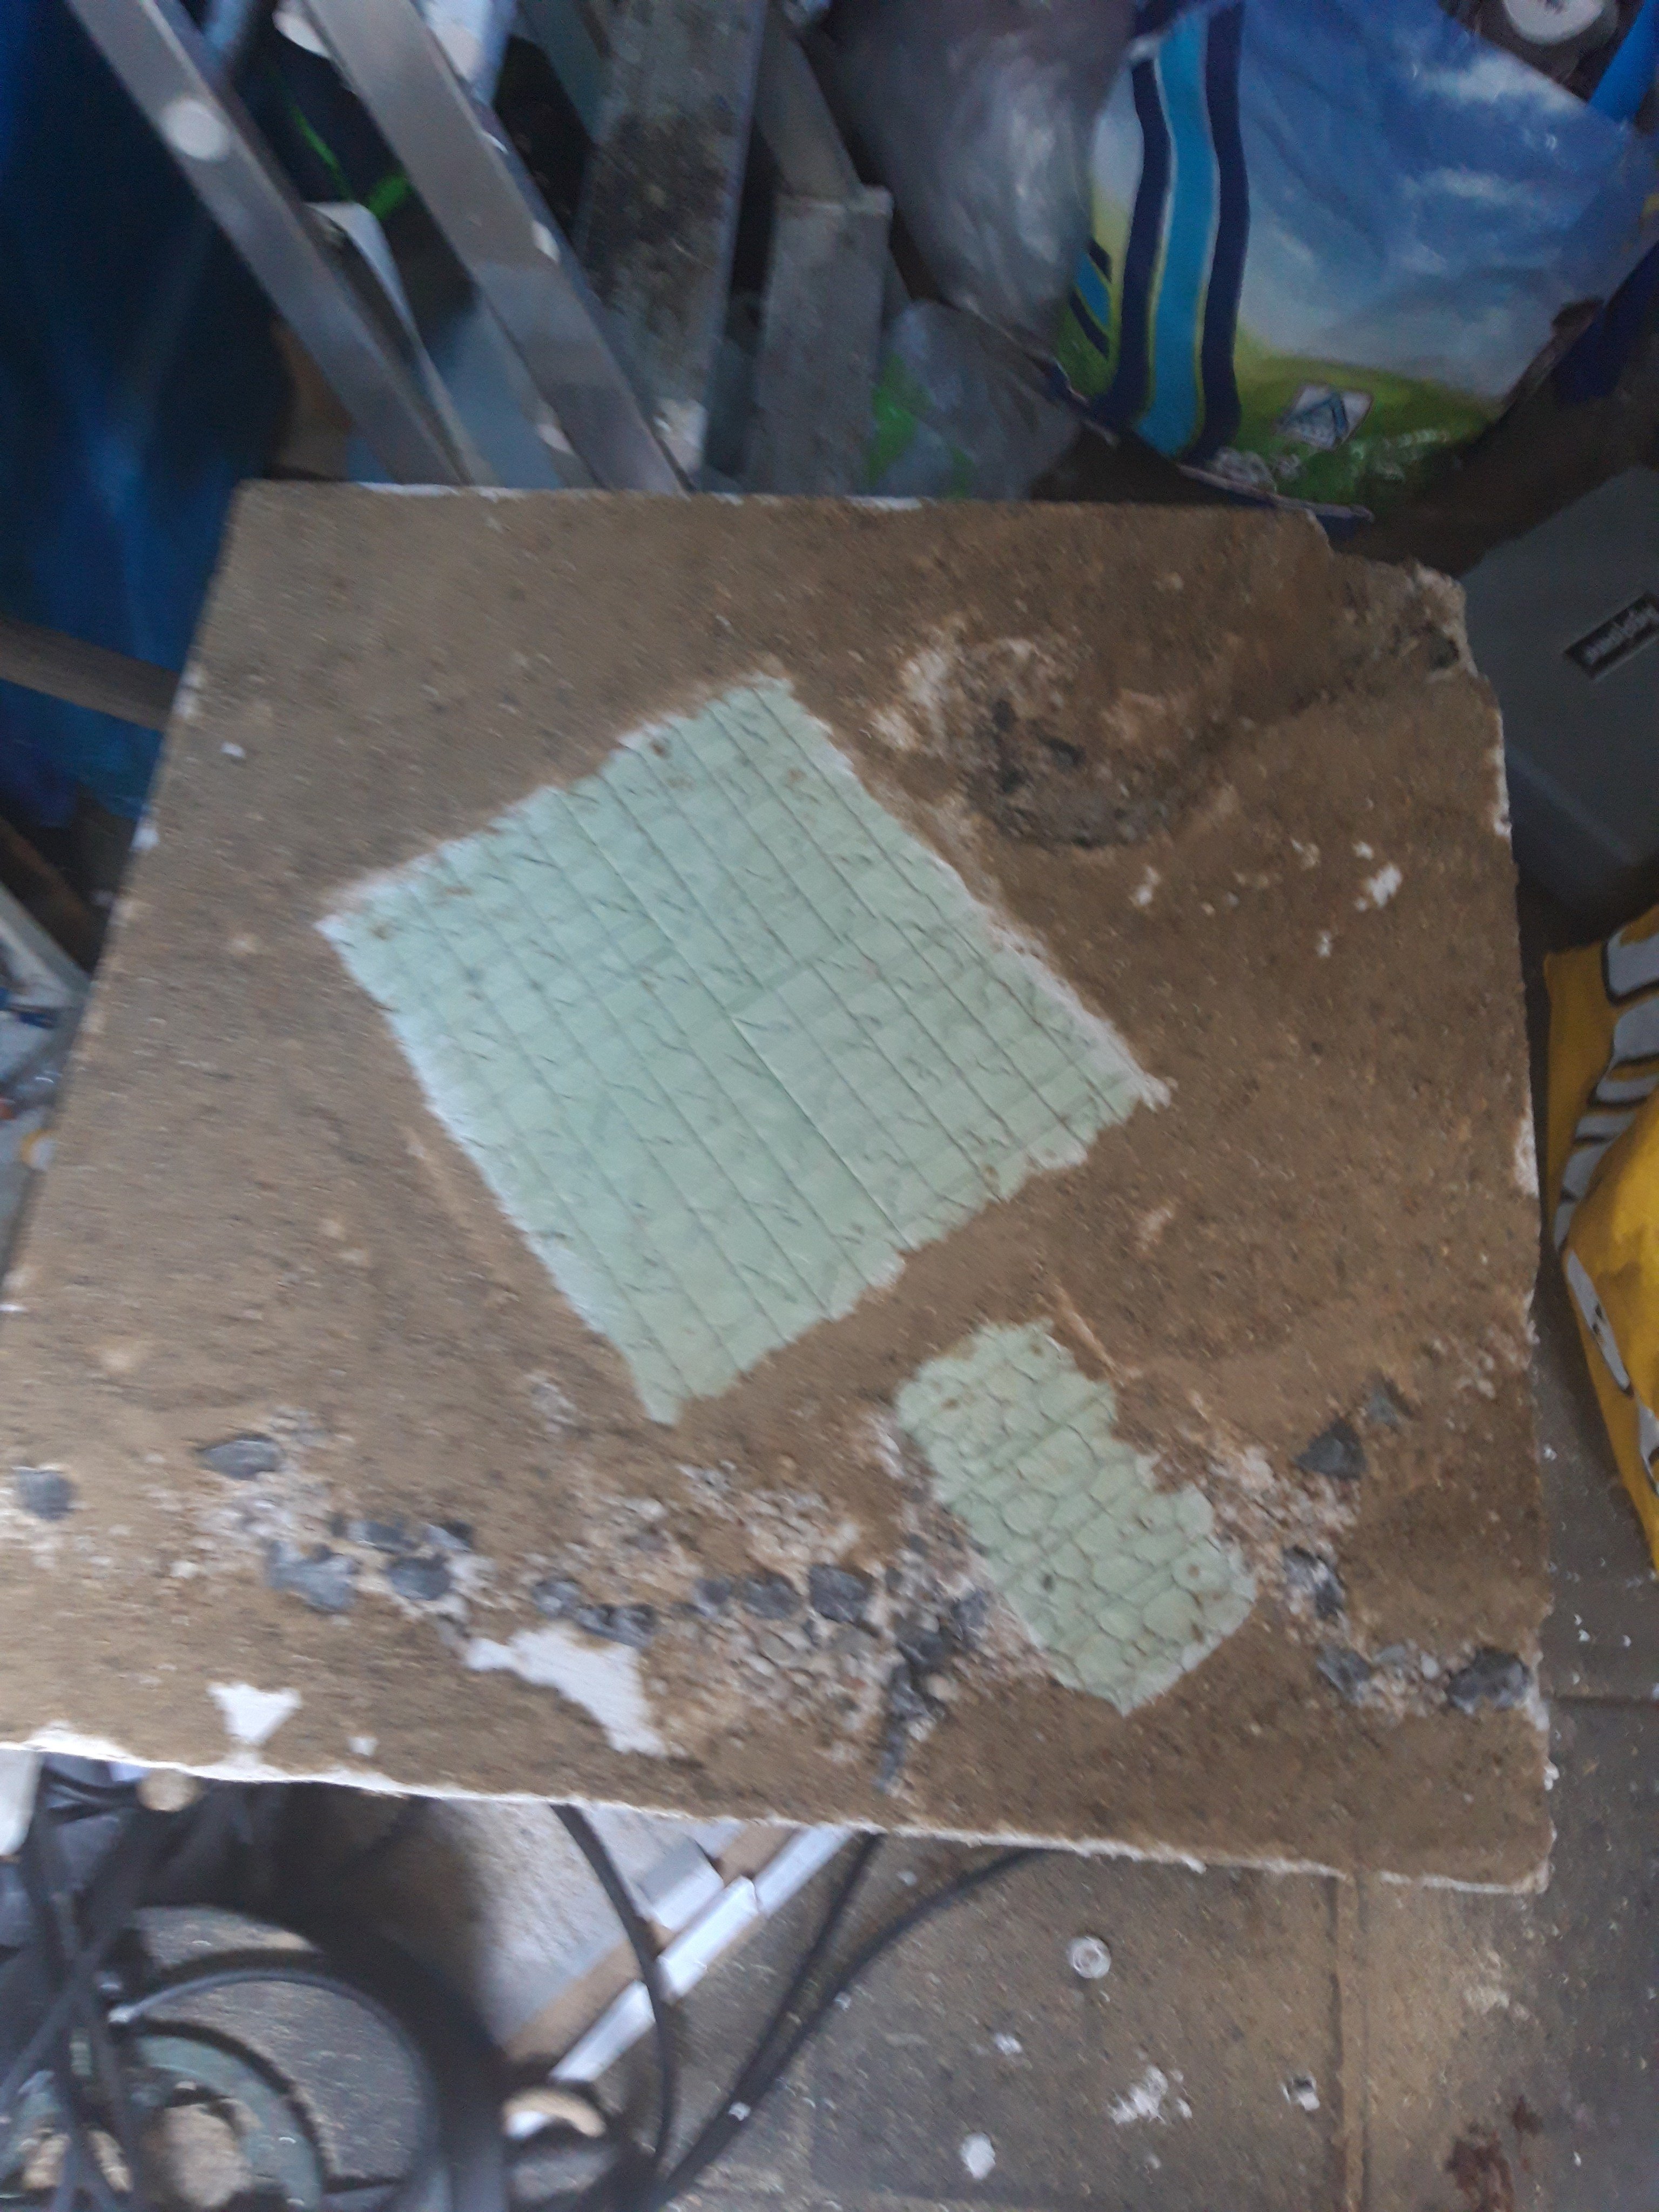
While the glue dried I used my Proxxon hot wire cutter to crate the tiling for the shrine and a stairs. The tiling would be bigger than the Proxxon allowed, so I created for pieces.
When I had the correct shapes, I started drawing the tiles/stones with a dull pencil. This styrodur holds detail far better than styrofoam and does not show any small ball structure.. Happy with the details, I rolled up some aluminum foil and rolled/dabbed until I had some nice structure.
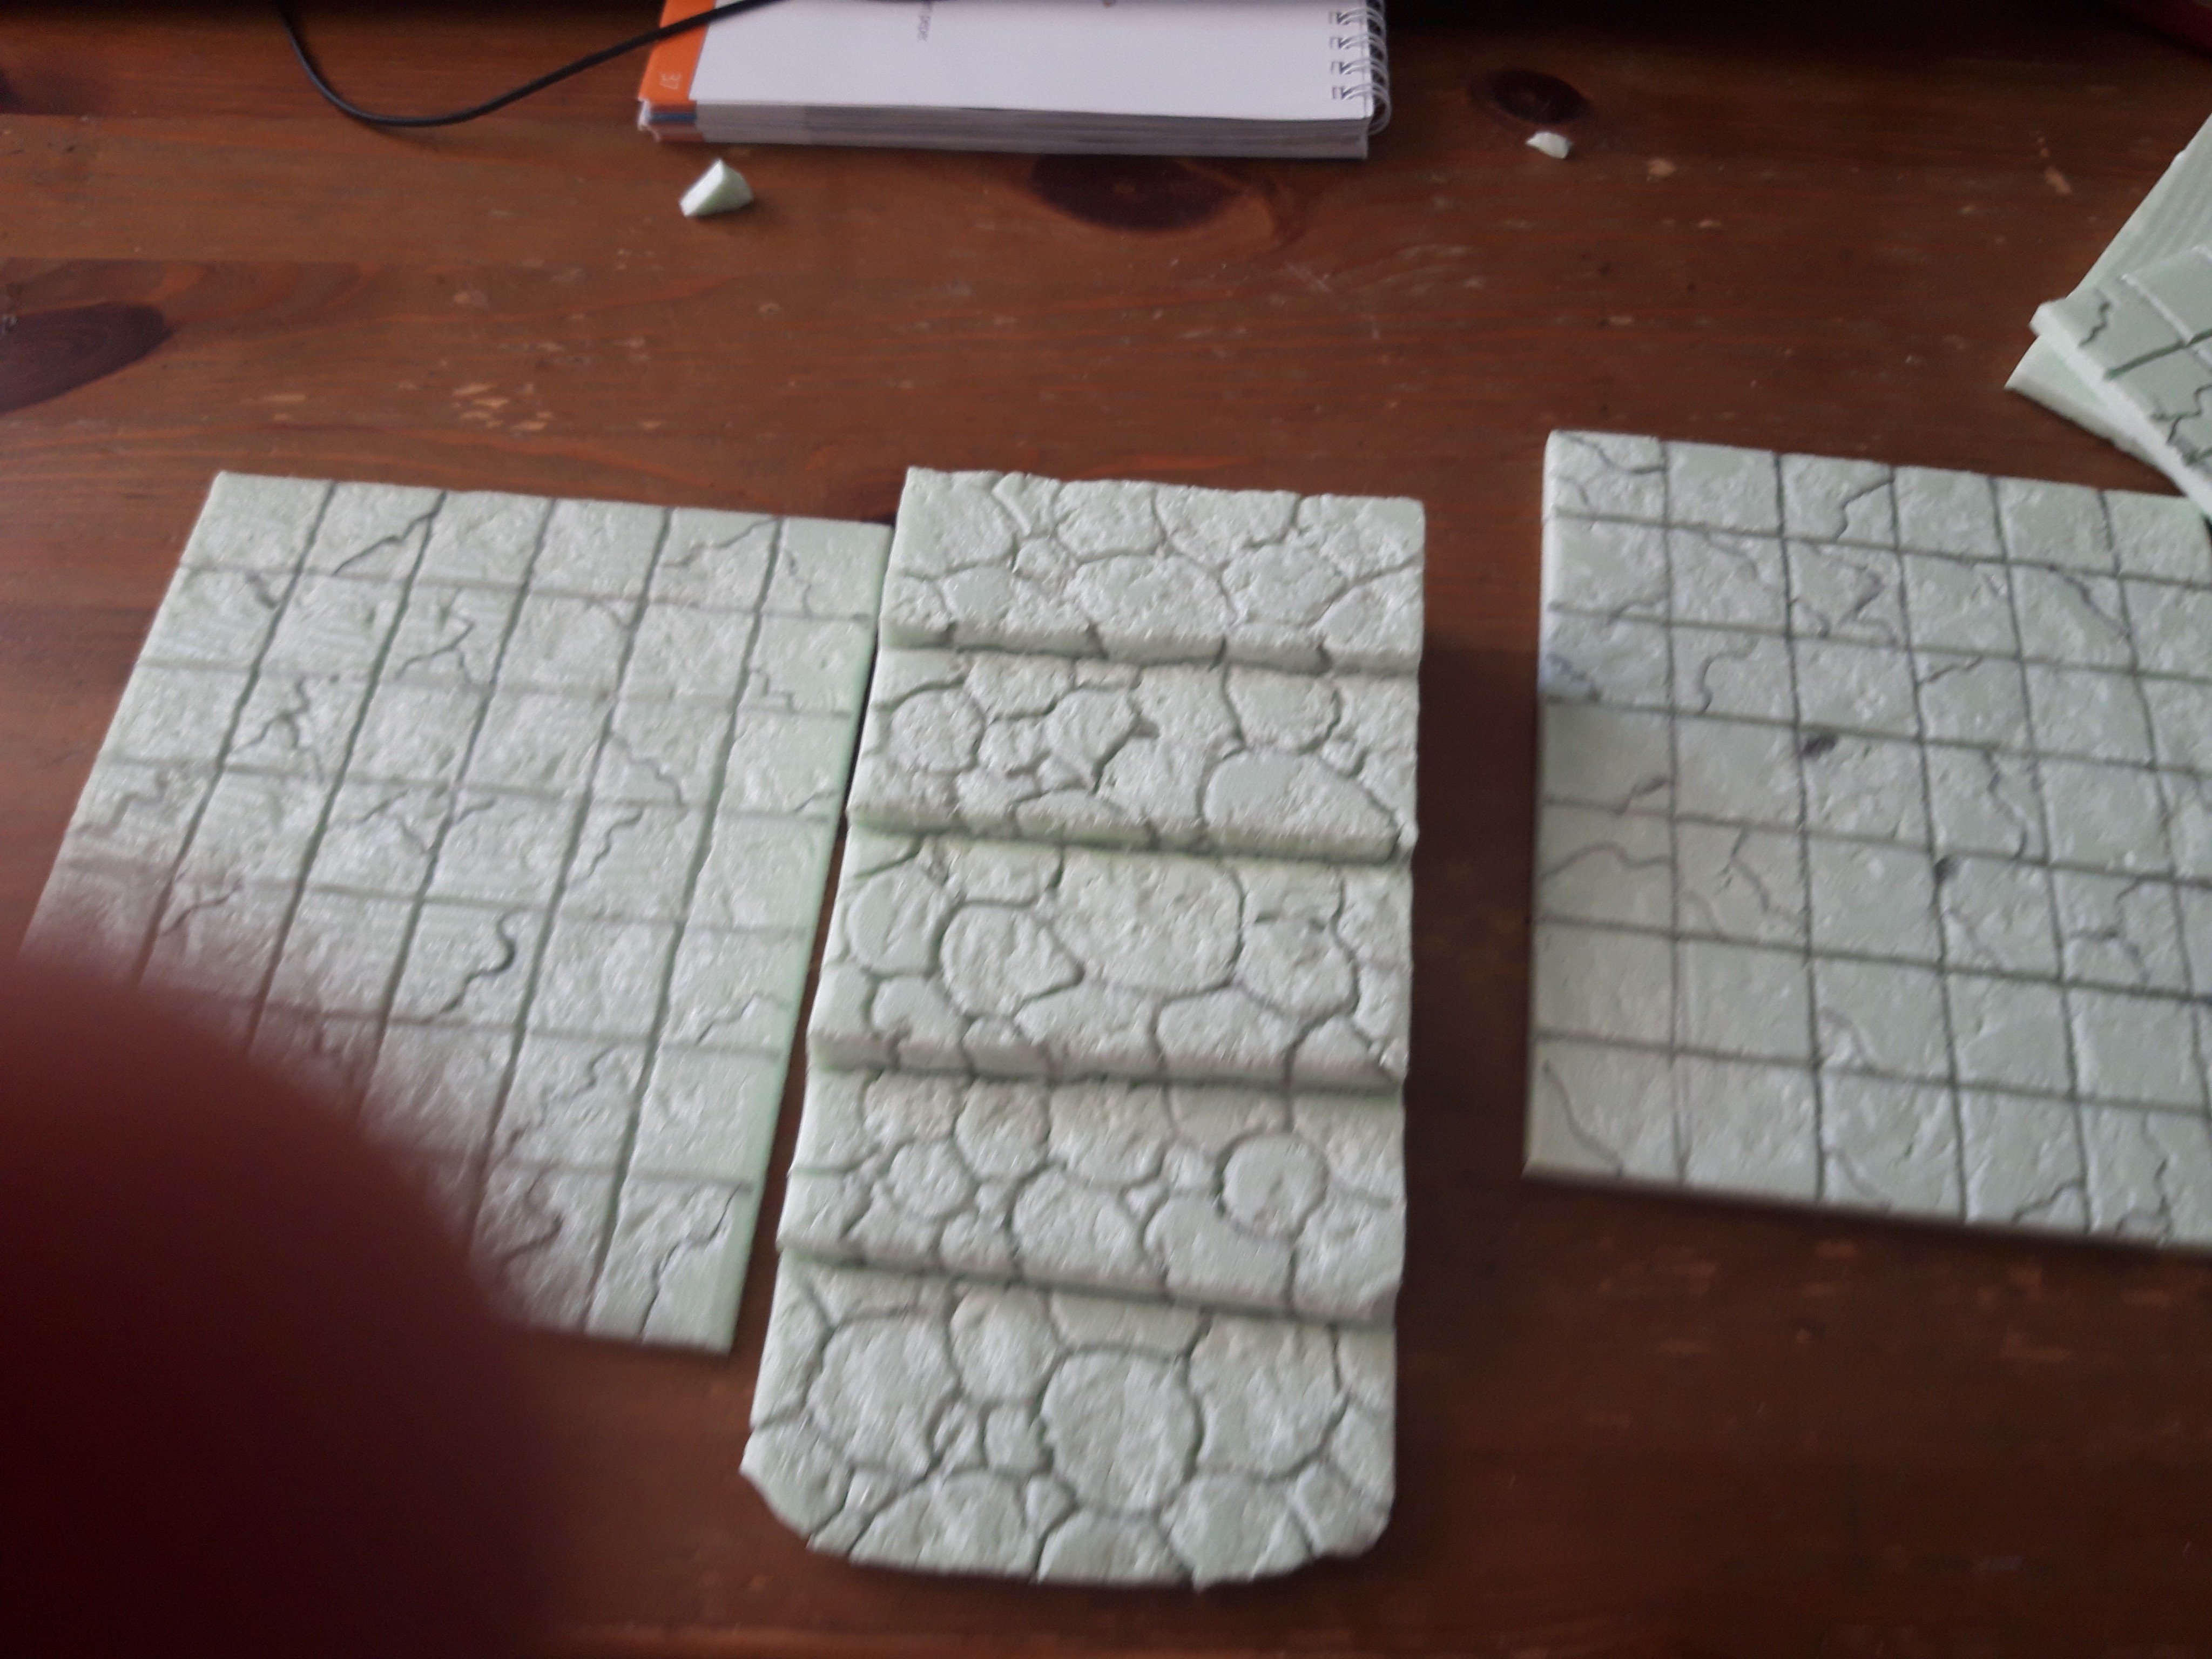
After gluing this into place, it was time to smooth things out.
I made a mixture of wall filler and paper pulp. This paper pulp is toilert paper that had been shredded in water with a blender, than dried in th oven. A technique I learned from Lukesaps on youtube. It bulks out the wall filler quite a bit. Making it during the great TP-scare of 2020 felt a bit weird.
Adding stones I got from my neighbor garden (with permission, off course) and two bags of aqarium gravel I added boulder and such. I simply pushed this in the mixture. Not as solid as it needs to be, but it will receive a layer of pva at a later stage.
Using a wet finger I smoothed this out and let it to dry. This takes a while