
![Pure Sci-Fi Nostalgia! War Rocket Review | Hydra Miniatures [7 Days Early Access]](https://images.beastsofwar.com/2026/02/unboxing-hydra-miniatures-war-rocket-coverimage-225-127.jpg)


Path of Conquest 2020 : The 100 Kingdoms – The host of the Iron Wolf


Recommendations: 347
About the Project
Getting in the #PathofConquest 2020 challenge. I'm going to build an entire 100 Kingdoms army, and I'll post here for each step I take.
Related Game: Conquest: The Last Argument Of Kings
Related Company: Para Bellum Games
Related Genre: Fantasy
Related Contest: Path of Conquest 2020
This Project is Active
I could not resist
I started painting the miniatures I finally got two days ago.
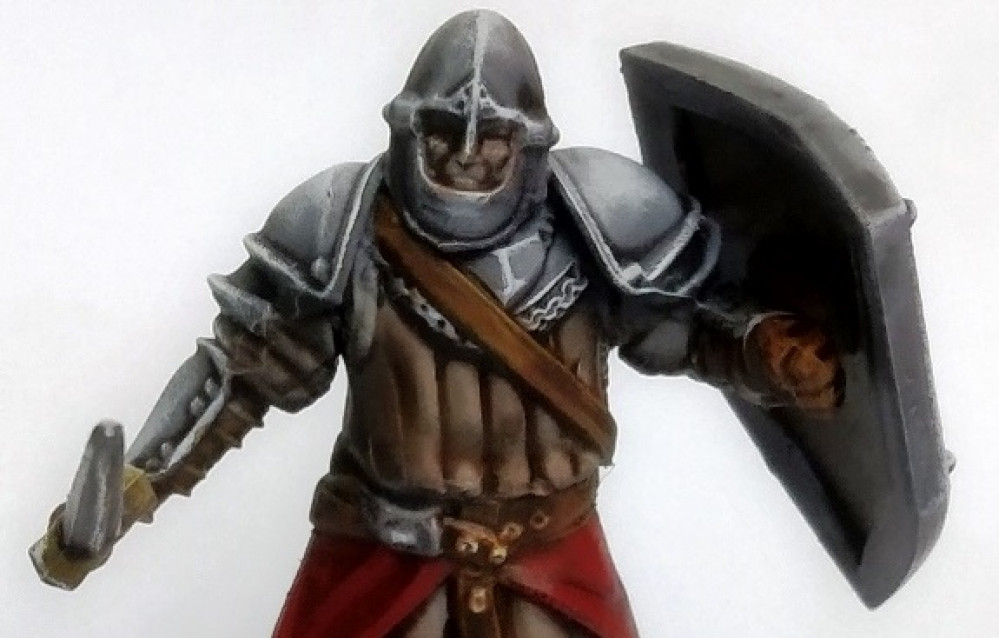
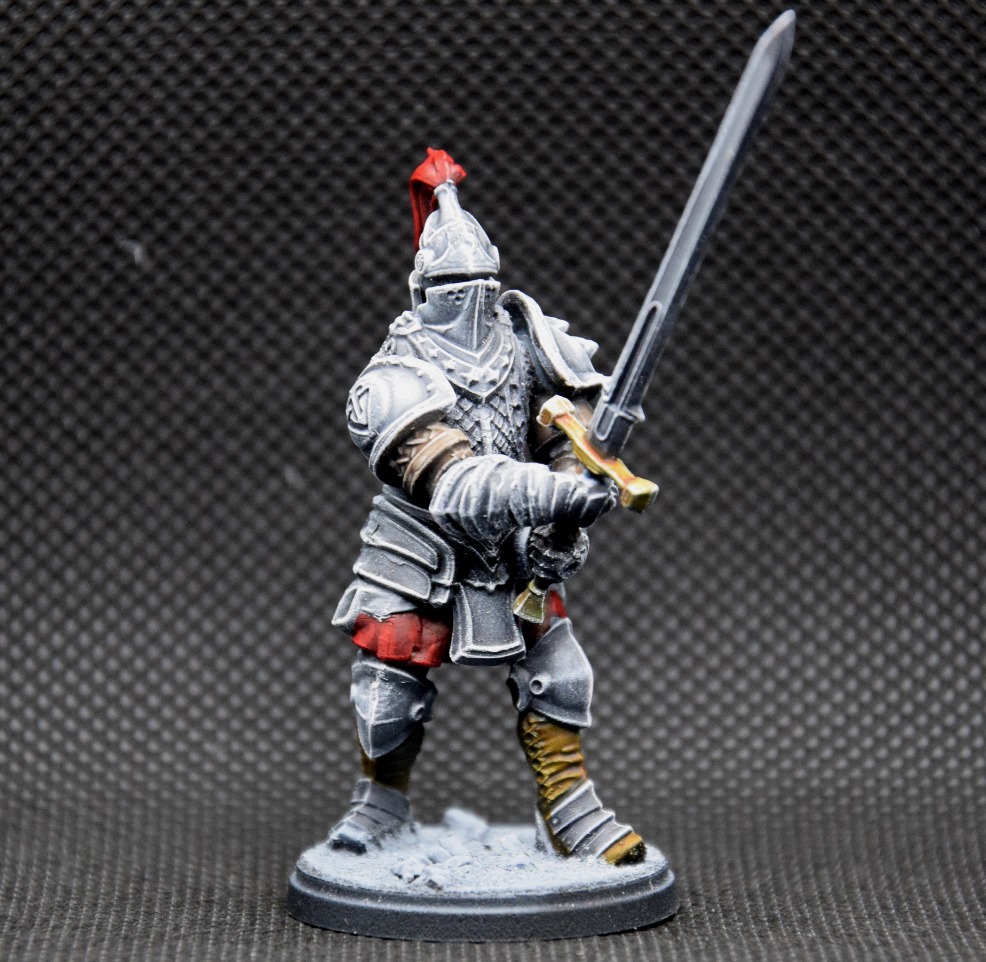
The Drillmaster is almost finished, but there are a few things I need to work on.
I spent some more time on the armor (NMM, but not drybrushed), and there are a few parts that need more attention. The face needs some more work too. I also have the base to work on, and I want to make it slightly different from the other bases
I also added blue parts to make him more visible in the regiment (Steel Legion)
It is a 3D printed miniatures (the original, then it is cast) : there are a few 3D features that are still visible (like on the right shoulder on this picture). I wish Para Bellum were selling 3D models to be printed…
 Starts to look great, but needs a few finishing touches.
Finally
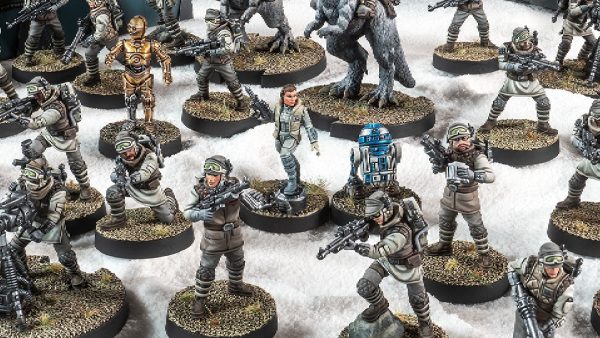
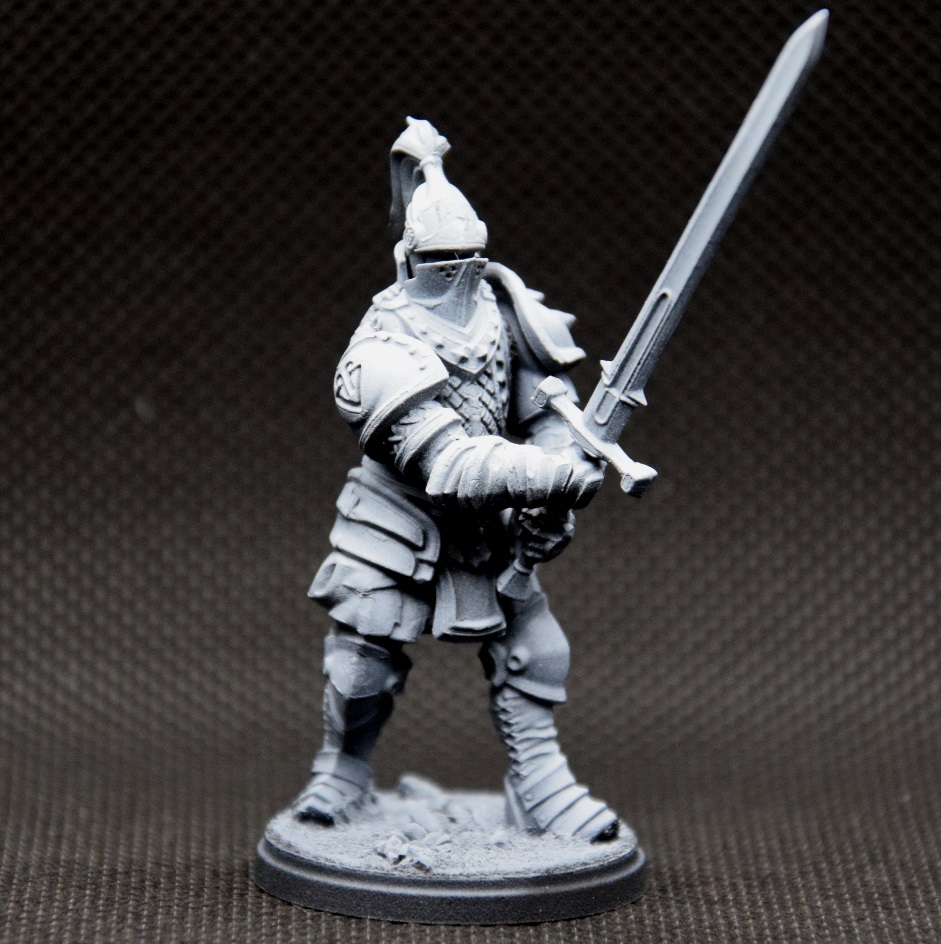
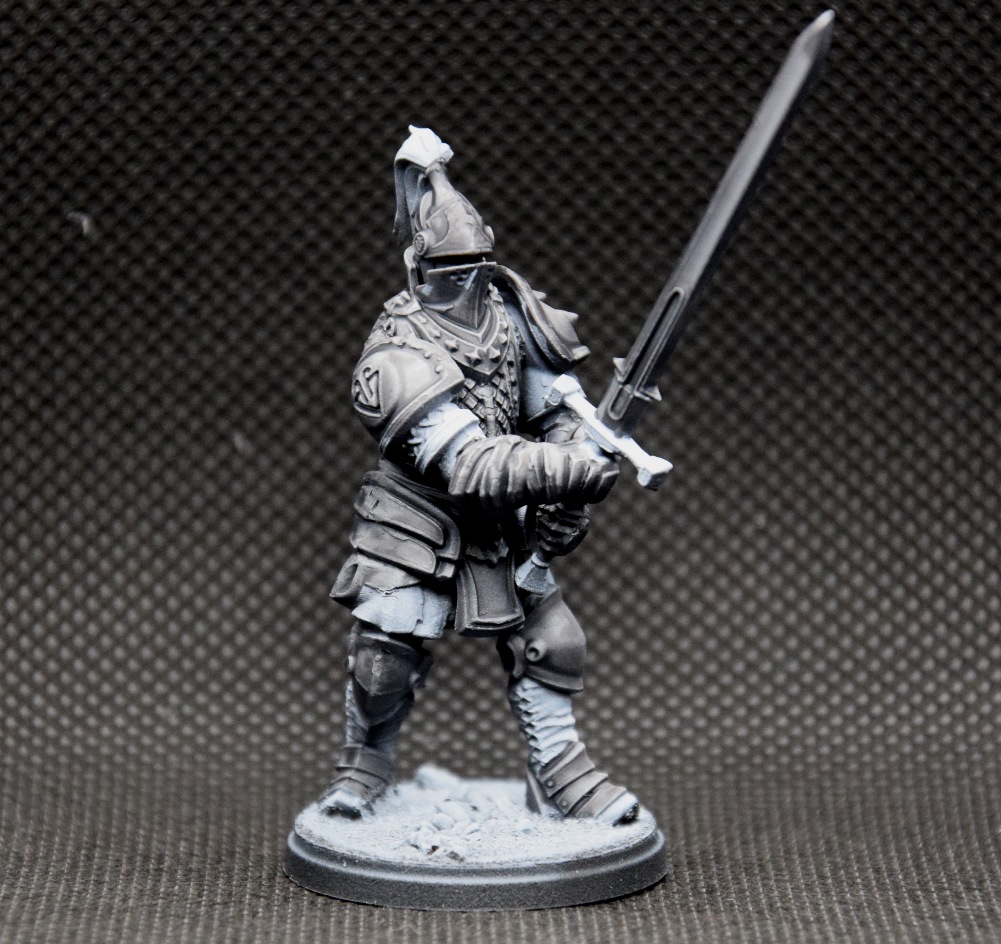
I finally got my OTT order today !
It took almost 30 days to the French Post to get it through the process they had put in place for Brexit.
 Finally !
I just assembled the minis, and they really are incredible. The details are amazing and there were very few molding features I had to remove. I‘m going to take my time to get them painted.
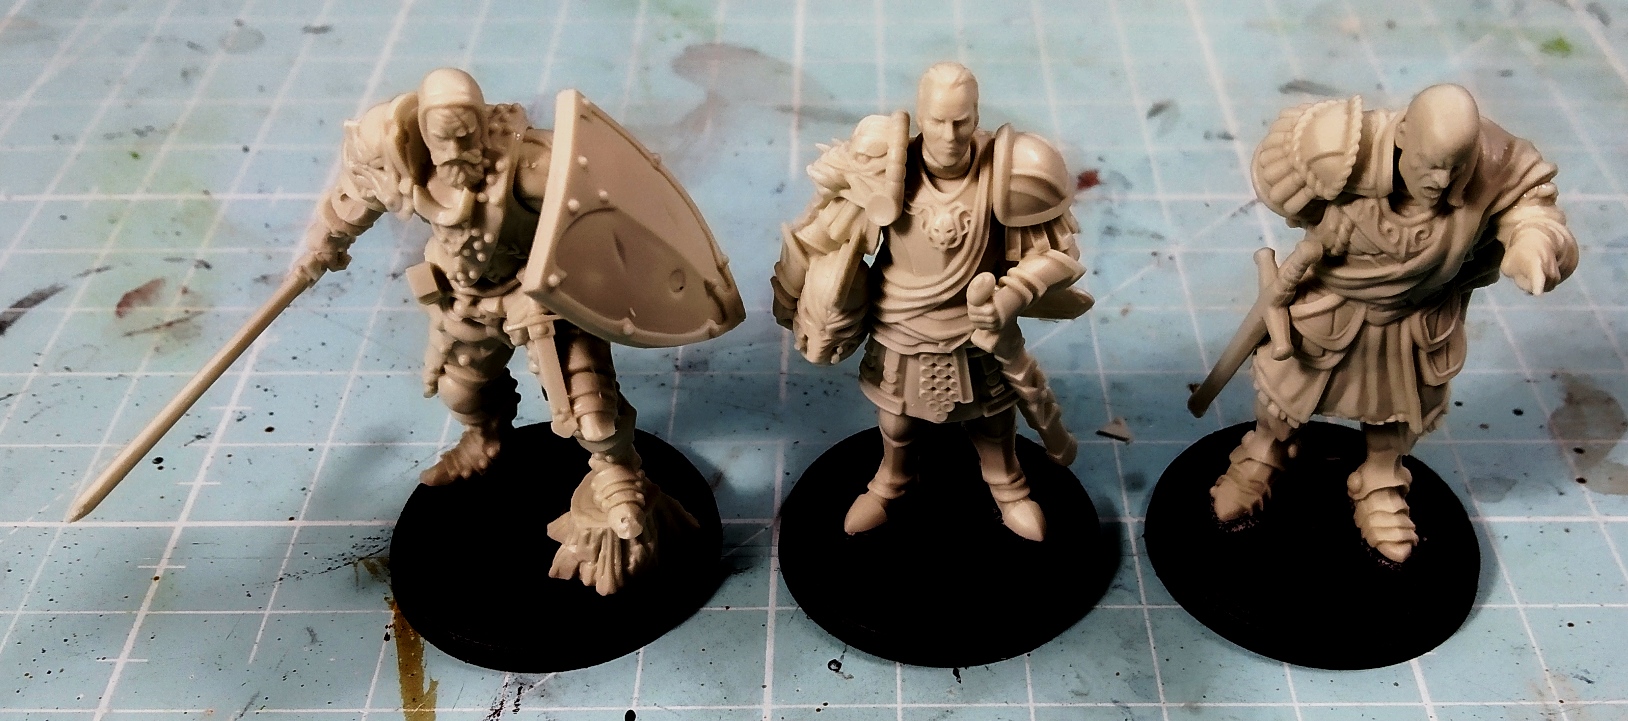 They really look amazing and I can't wait to paint them.
I also thought a bit about the way I created the Host of the Iron Wolf after watching the videos of the OTT team about milestone 4.
This army is mostly build around Men at Arms and Mercenary Crossbowmen, and both are mercenaries. No Household Guards, and the Militia is just a pack of wolves. It only leaves the Household Knights as “locals“.
And it makes sense. The Iron Wolf is a rich lord living in a harsh environment. The locals are busy surviving or digging in the mines, and only the strongest make it to the top. But since he is rich, he can hire mercenaries almost at will. I’m thinking about changing my plans for the next milestones to stay on this path.
Terrain and battles to come
First I noticed only today that the team awarded a Golden Button to this project back in October ! Thanks guys !
I’m still waiting for my order from OTT. It has been stuck at Roissy Airport for more than two weeks by the French Post “adapting it’s procedures to Brexit”. That’s frustrating, since I really want to get my hands on those minis…
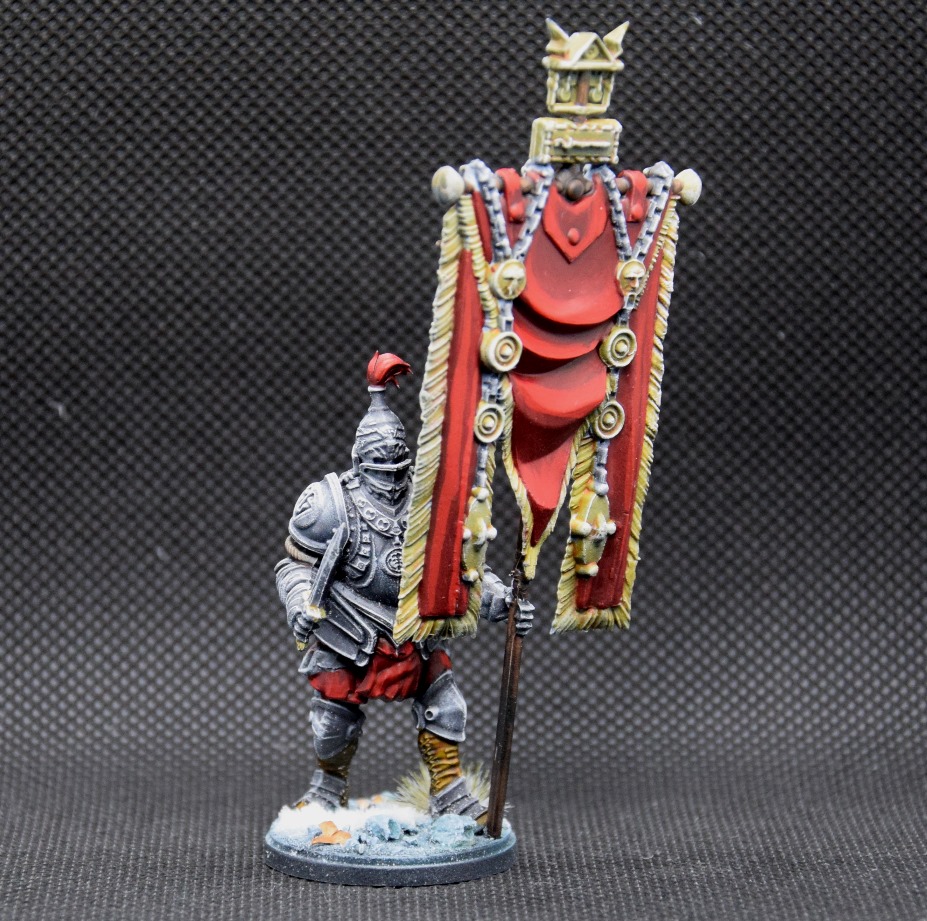
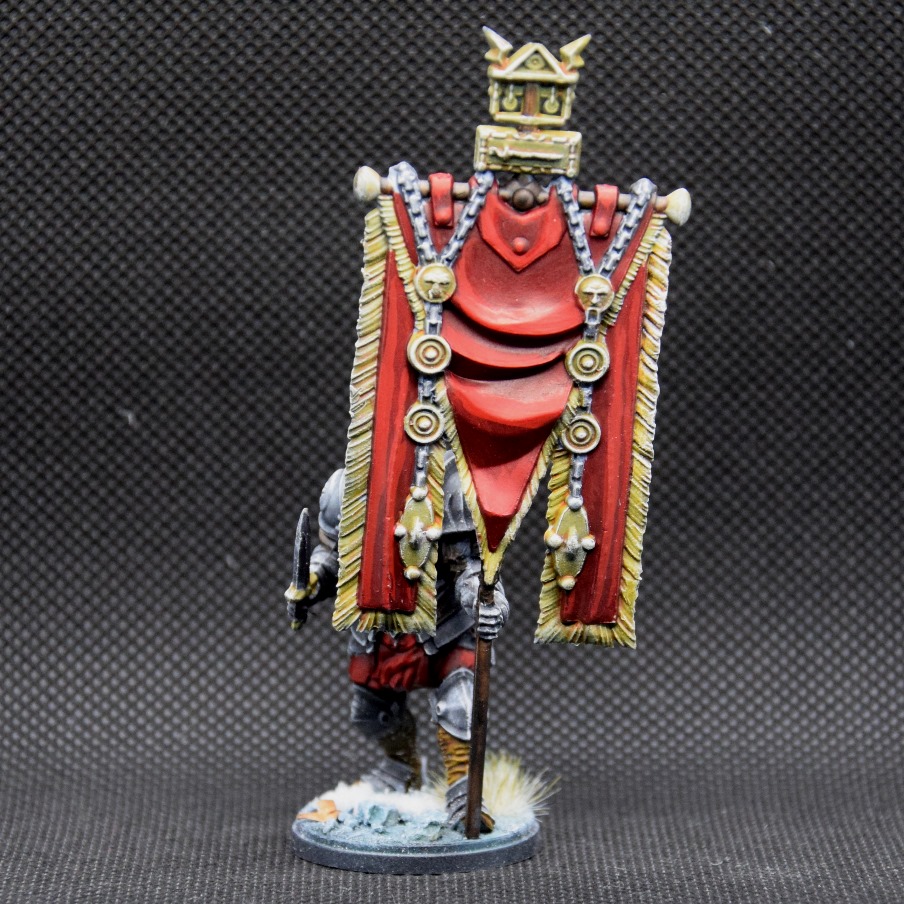
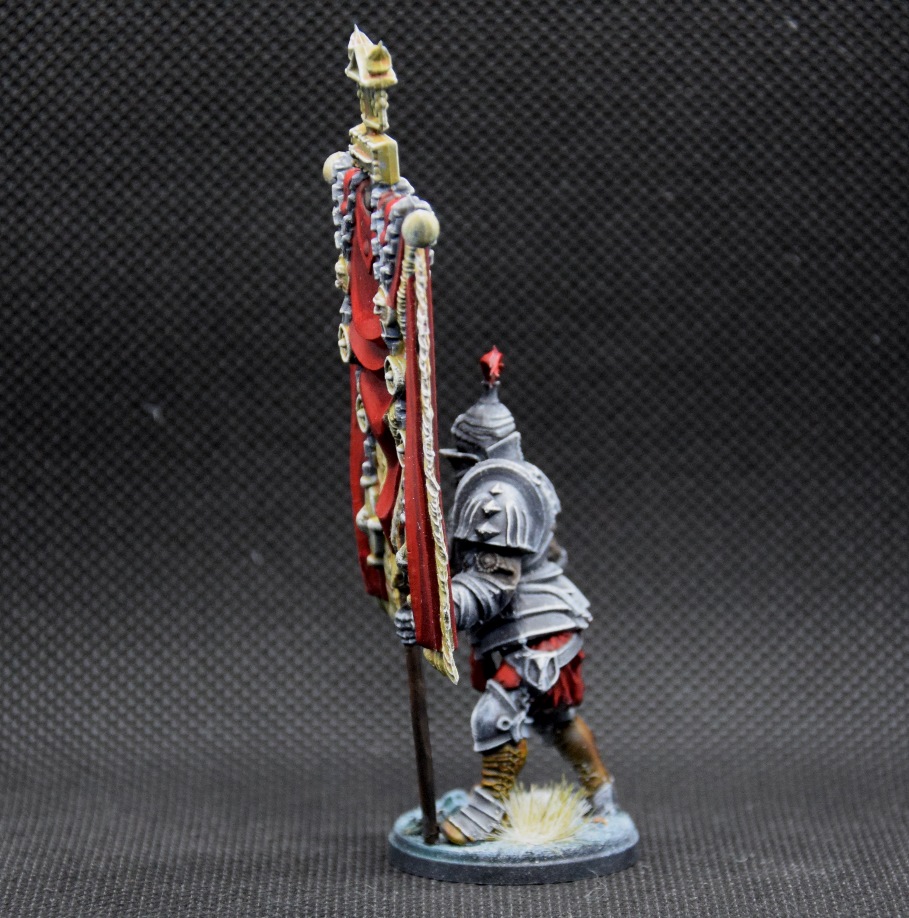
I wanted to show a piece I’m especially proud of : the standard bearer of the Steel Legion. The banner is really finely detailed, and it was a real pleasure to paint. It came out quite well and stands out naturally.

I play miniature wargames because I like miniatures.
Thus, a battlefield should be aesthetically attractive for my miniatures to fight in.
There are a few things that can make a battlefield great:
– Nice battle mat (fortunately, there are great battlemats nowadays: mine comes from Crank Wargames, a small French company)
– Scenery based on the army’s lore (that’s the goal of the next steps of this project, since the minis I’m painting right now are not really something new)
– Coherent : everything should fit well on the battlefield
I had already decided that the Iron Wolf lived in snowy mountains, and his Kingdom was rich because there were iron mines.
I really like the Let’s Play Justin did with Leo, and the snowy battlefield helped a lot to find inspiration.
Those few hints led me to have a few scenery ideas :
– Snow battle mat
– Scenery with a mine entrance
– Buildings that had the color of the bases (with the same techniques)
– Vast forests of pine trees covered in snow
I also had a few thoughts about the battles to come. I wanted to test the gameplay of Conquest in three parts :
– I want to first test a small encounter (around 600 pts) just to understand the game
– The next battle would be a small one (800 pts) where the local Lord faces the Spires. I thus wanted a Noble House, probably another house, and a few pine trees
– The third battle would be in the middle of the forest (1200 pts), with big rocks and hills
– The fourth battle would be at the entrance of a mine, with the 100K protecting the mine (1500 pts)
Those battle are made to use the various milestones up to milestone 4.
I have a few more ideas for milestones 5 and 6, but it is a secret…
For the first battle (not the encounter), I already knew what I was going to use. I had a few 3D models of small houses and noble houses. You can find those free 3D model here (this guy does amazing things).
I settled for the Noble House and the Small Cottage you can see below.
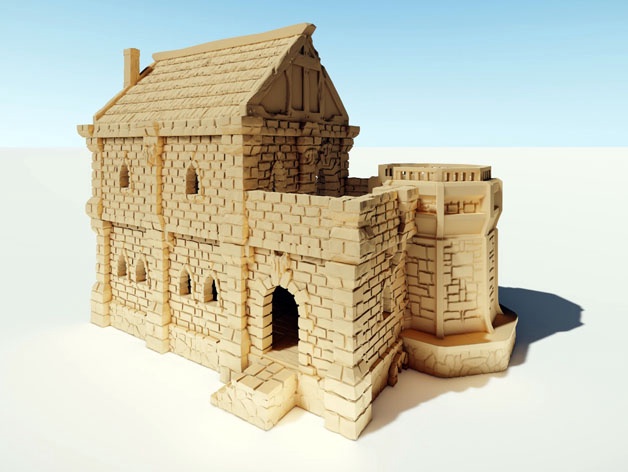

For those, it’s just matter of printing time anf filament so no big deal, my 3D printer works for me.
For the pine trees, I looked at what existed but ended up not satisfied.
I then decided to build mine. Next update will be on how I did it (simple and efficient way to get an entire battlefield in a few hours, for just a few bucks).
Planning for Milestone 4
Milestone 4 is an important milestone. After this one, there’s only 500 pts left, and I already know what I want to put in those 500 pts (if you want a hint, I think the Iron Wolf should lead himself a 2000 pts army…).
1500 pts is a pretty big army and should have big regiments.
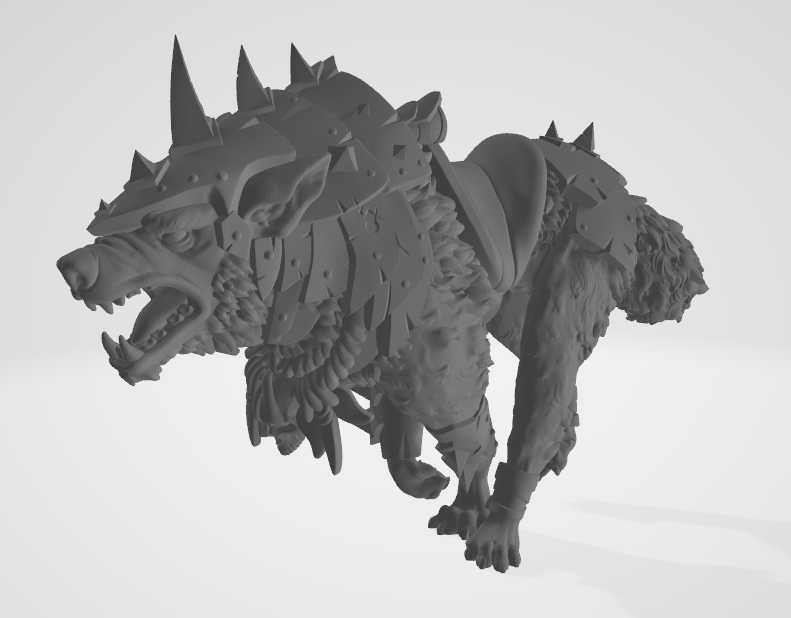
I thus decided to expand one of my Men at Arms regiment and the Militia regiment of 3 stands each. If I add a Mercenary Crossbowmen regiment, it makes exactly 300 pts. I got the miniatures for the Men at Arms and the Crossbowmen with the second starter set, and I printed the wolves of the Militia on my 3D printer (I changed the printing parameters to get rid of the printing patterns I had on the first ones : the first Wolves were among my first prints on my resin printer, and those are much better).
 One print, 3 stands, 5 hours
Here is the link to the list on the Army Builder.
There’s not much more to say about it, since the painting scheme already exists.
But next milestone will be an important one.
Very important…
Want another hint ?
Okay…
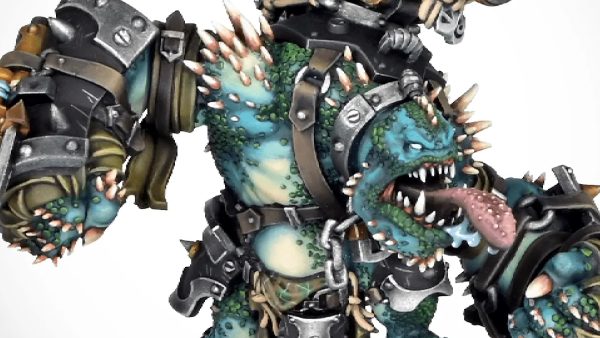
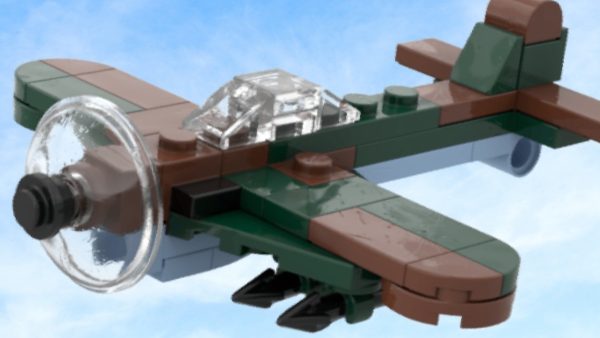
 A few things to modify, but it's overall a decent mount...
Milestone 3 update
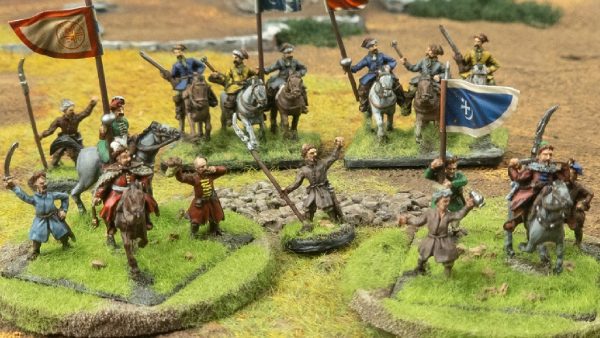
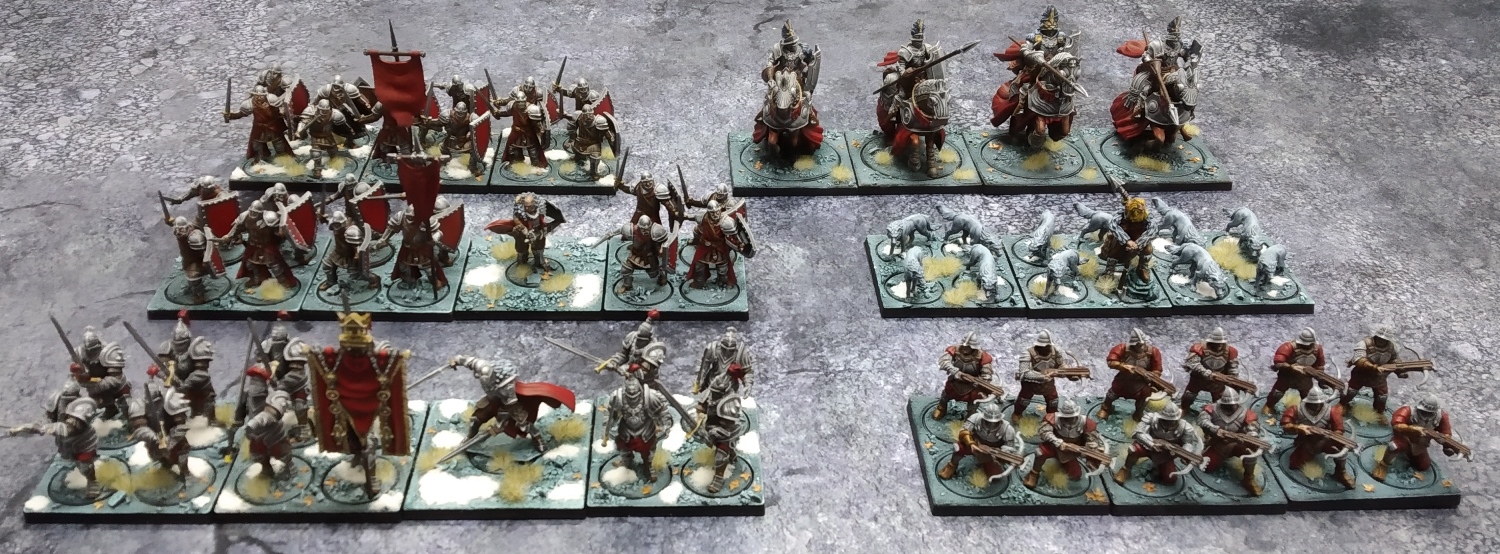
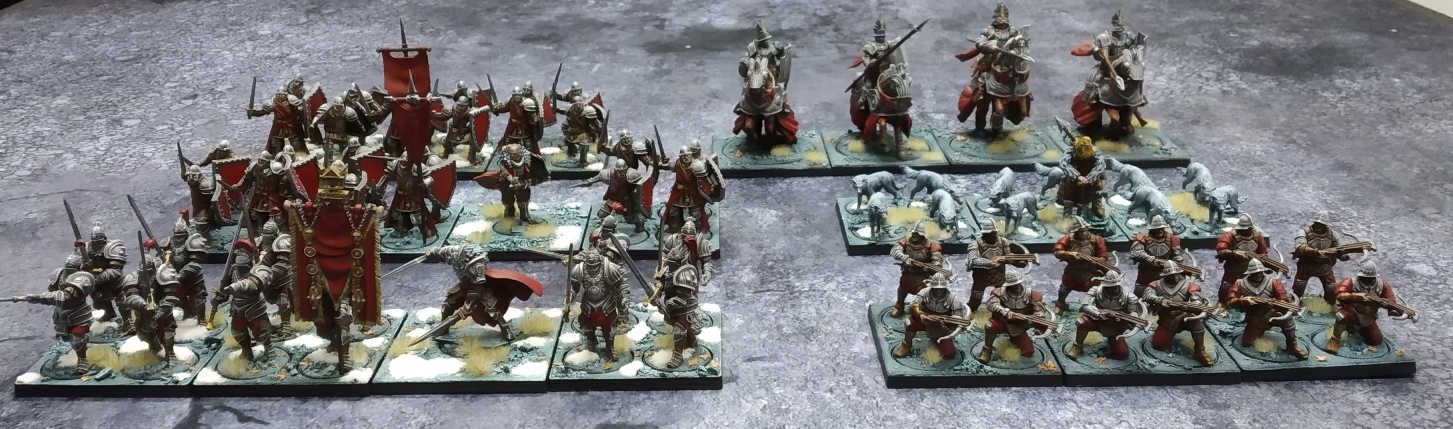
A quick update : Milestone 3 is almost done (I have a 12 Men at Arms to finish, and a few finishing touches to the bases, shields and banners, but I hope it’ll be done tomorrow) !
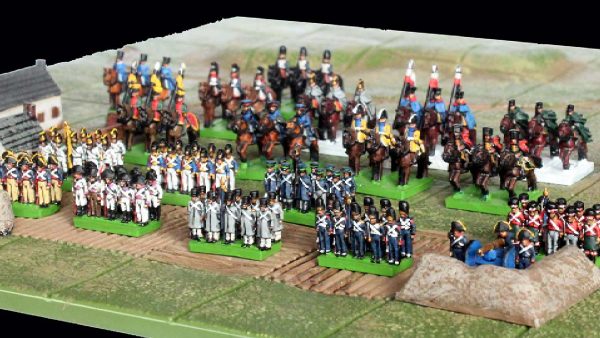
I now have enough painted miniatures to enjoy a few battles.
You’ll find below a pictures of the entire army.
I’ll update soon about my plans for the next steps (Milestone 4 of course, but also a campaign and scenery).
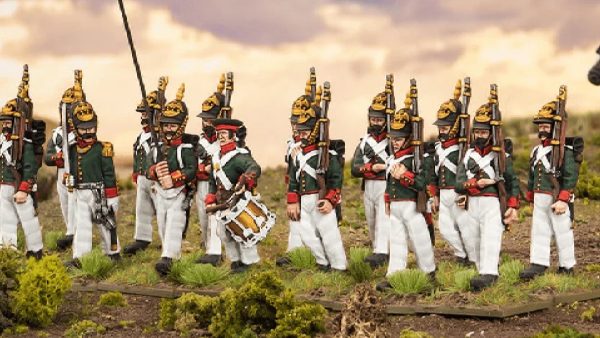
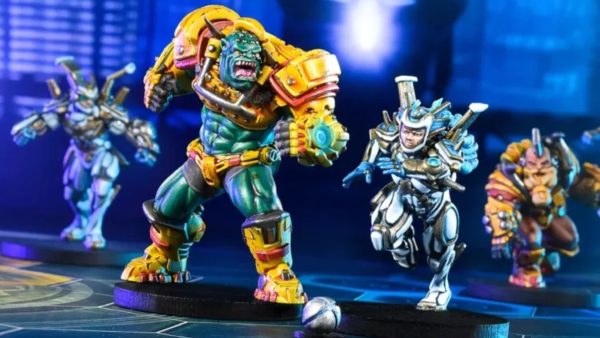
Painting the Steel Legion
The Steel Legion is one of the most impressive units of the 100 Kingdoms. They are surrounded with legends, and thus deserved a special treatment.
I used the very same painting scheme I had used on the Men at Arms, but since it was a heavy unit with full armour, I decided it was perfect to explain the technique I use to speed paint NMM.
Here is a step by step guide to how to do it.
I used the steps I outlined in my first post on this project (step by step below).
First I primed it in black with the Vallejo Black Primer. I had put some sand on the bases beforehand, to have them undercoated with the airbrush.
I then used a zenithal Highlight of the Vallejo White primer.
These two parts are KEY to the NMM : the zenithal highlight creates the reflection, but I couldn’t do NMM if the undercoat was grey, because NMM uses strong contrasts to create the illusion of the reflection of light on the metal.
That’s why I didn’t rush.
 Zenithal highlight is your friend...
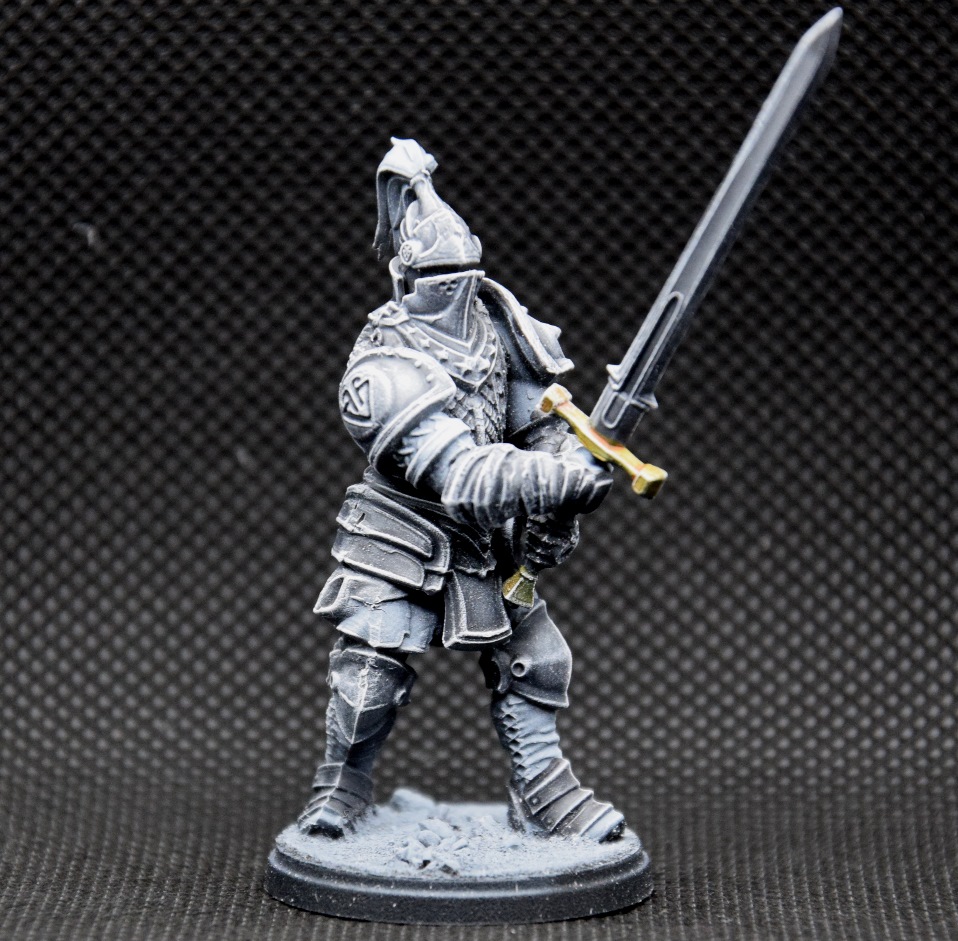
Citadel Contrast Basilicanum Grey is perfect for Steel armour. One of the first secrets is to use a thin coat. You still need some paint to go into the recesses, but not too much.
 Basilicanum grey is one of my favorite contrast paints.
For the gold parts, is used a thin coat of Iyanden Yellow.
It took me a long time to master drybrushing. If you want to make effective drybrush, here is a simple method:
– Use a paper sheet.
– Your brush has to have firm bristles, that will put some pressure one the minature and leave some paint, even when the paint is dry.
– Pick some paint with your brush and brush on your paper sheet until you hardly see paint goin on the sheet.
– THEN BRUSH SOME MORE one the paper sheet
This is when you are ready to drybrush your miniature. If you want to do it right, each stroke will leave an almost invisible layer of dried paint.
Do it again and always avoid rushing this step. Once done, all the edges will have been highlighted.
 The picture isn't as good as I wished...
 Next step is leather: Citadel Contrast Snakebite Leather
It’s now time for Agrax Earthshade. I put it on the gold parts to deepen the shadows, and on the Gambison, just to taint it.
I also paint Wood (banner pole and some others) in this step, but it’s not visible on this model: Citadel Contrast Wyldwood
 Washes are just another kind of contrast paint.
Clothes and shield: Citadel Contrast Flesh Tearers Red
Clothes and shield highlights : Citadel Base Mephiston Red
Flesh (not visible here) : Citadel Contrast Darkoath Flesh
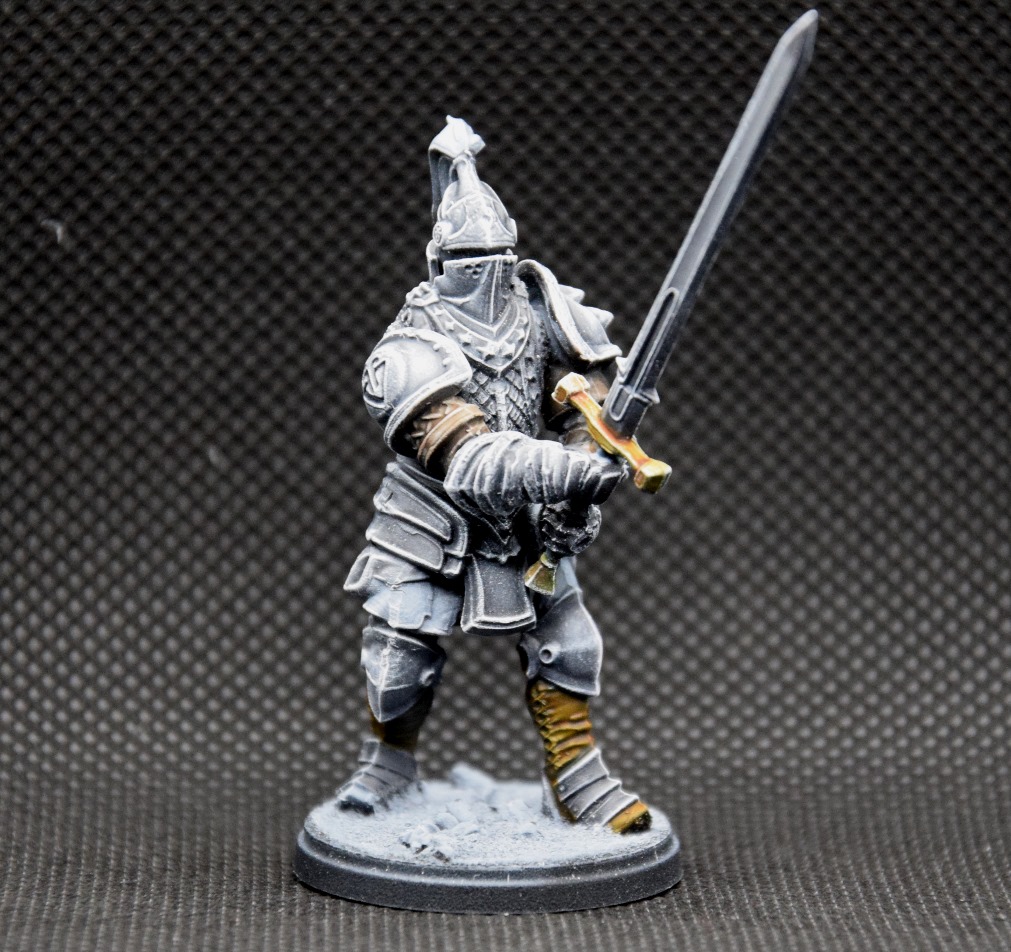
 It looks good enough for tabletop, and I like to keep it simple.
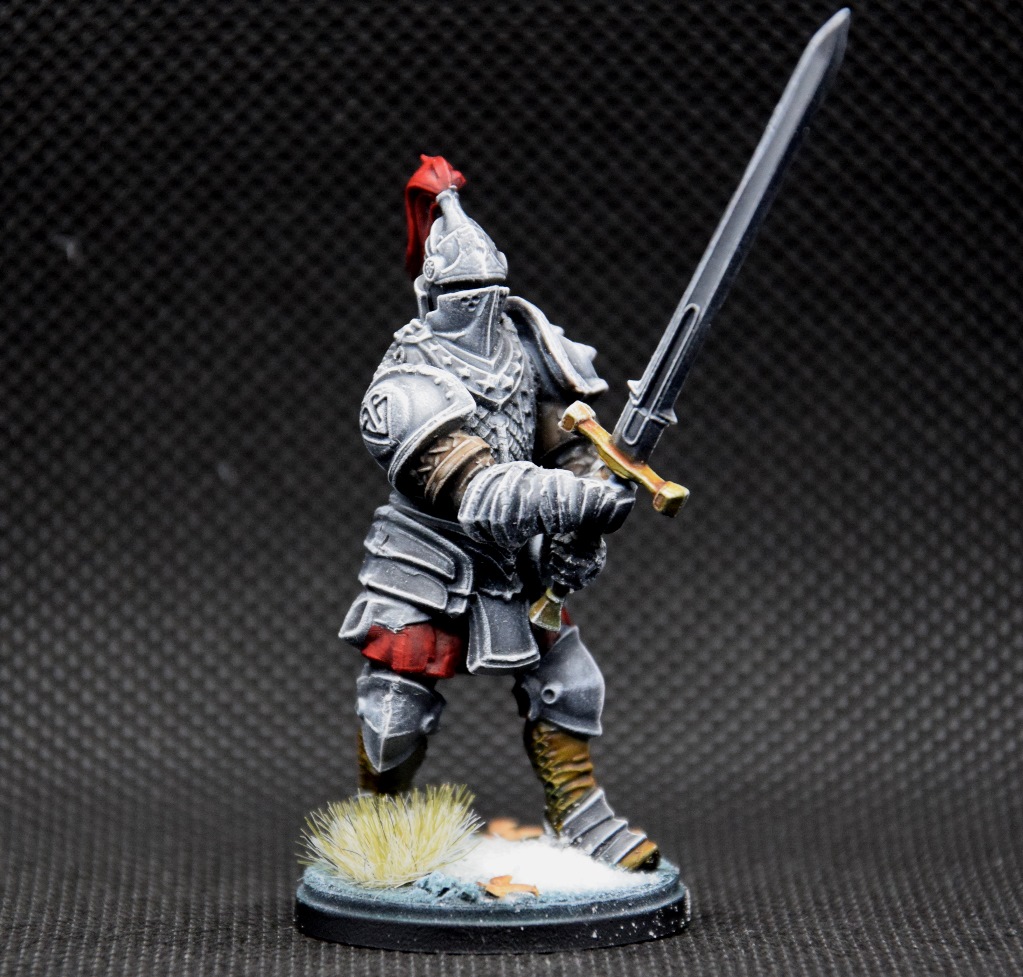 Finally the base (I still use the same steps as for the rest of the army)
Quick new year update
About Milestone 3, my goal was to finish it before the new year.
I will not reach it how I intended, since my order has been stuck at Roissy Airport (because COVId and Brexit says the French Post Service).
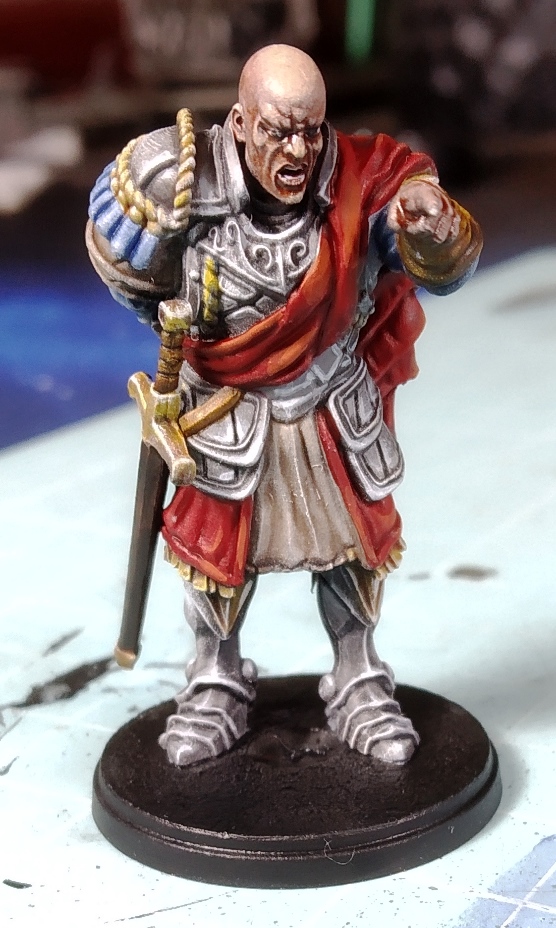
Thus, I’ll use the miniature I intended in the first place as my Imperial Officer, and he’ll be demoted to combat retinue when my real Imperial Officer will be in my hands.
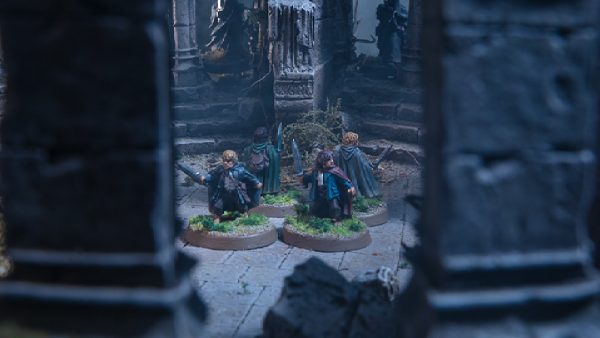
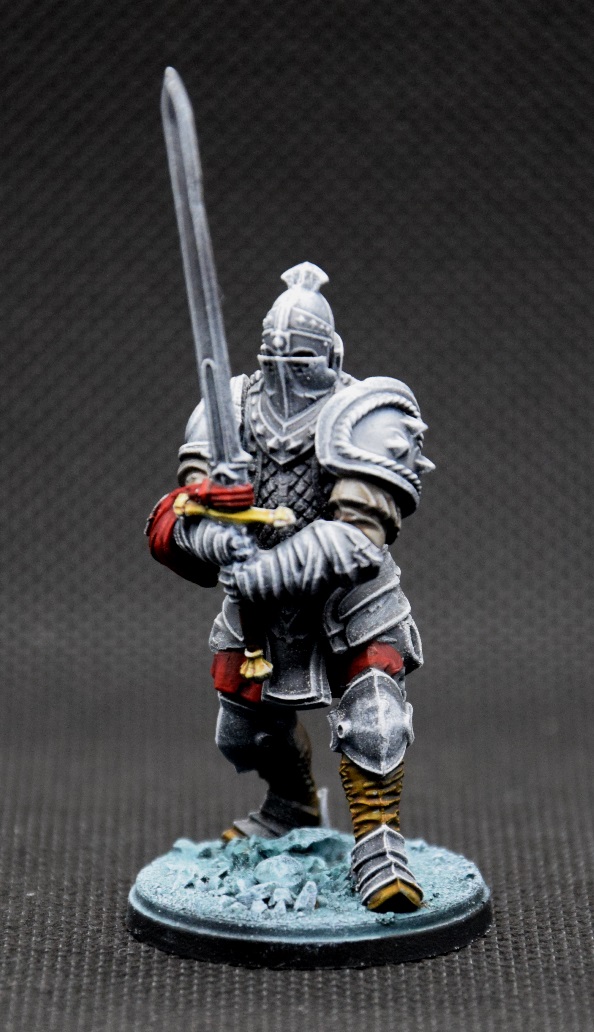
He’s painted and looks good enough (despite the speed painting)
 He'll look fine as a combat retinue. Thise picture helped me notice a few mistakes I need to fix.
I hope to finish painting Milestone 3 before Monday. I wanted to finish it before but problems got in the way and I am behind schedule.
Most of the job is done, but I still have some work to do.
 Steel legion is in progress, and approaching the battlefield.
I wish everyone a happy new year, with a good health and plenty of minis to paint!
Love story...
First, merry christmas to everyone !
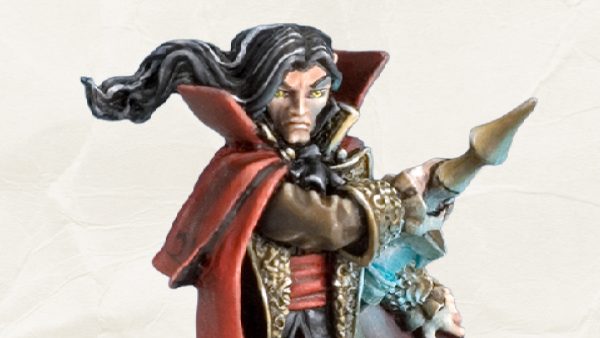
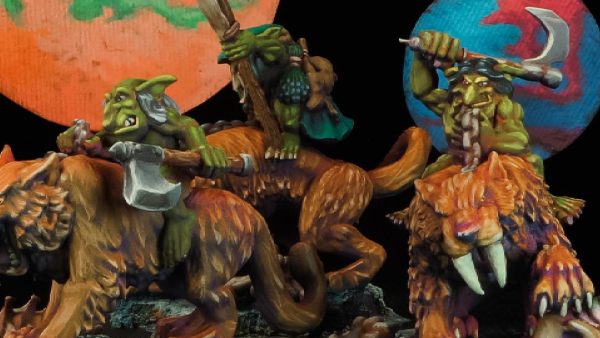
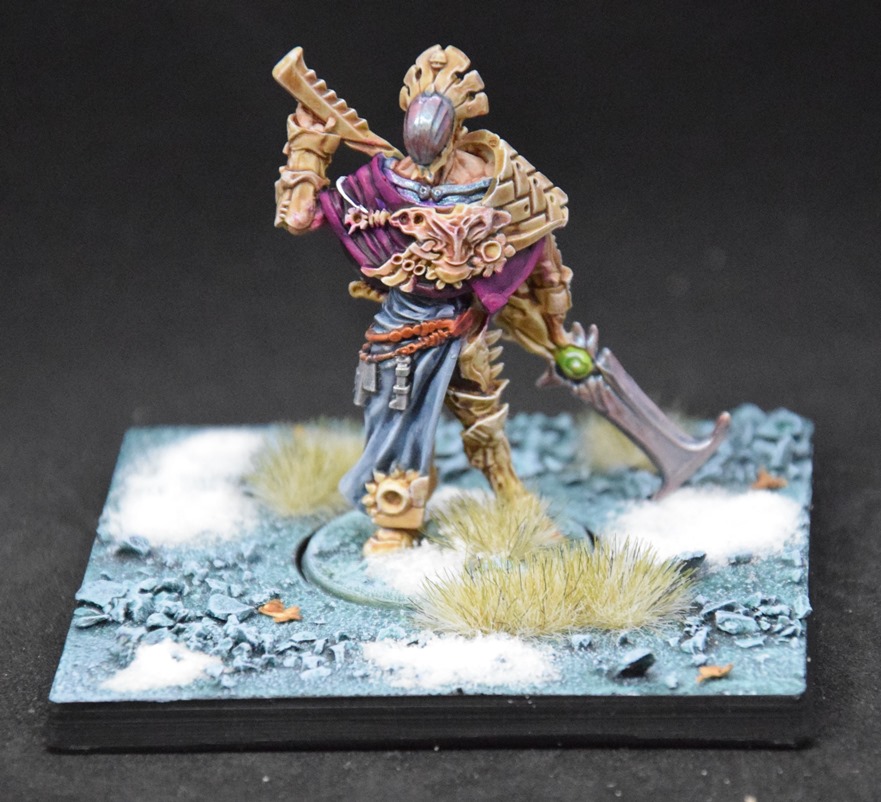
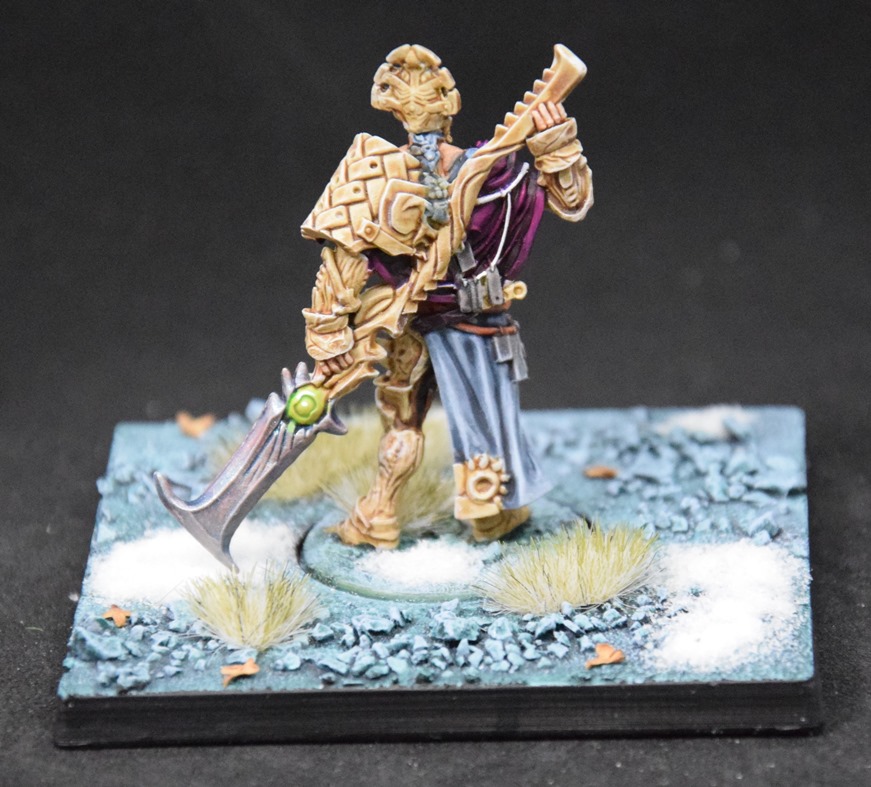
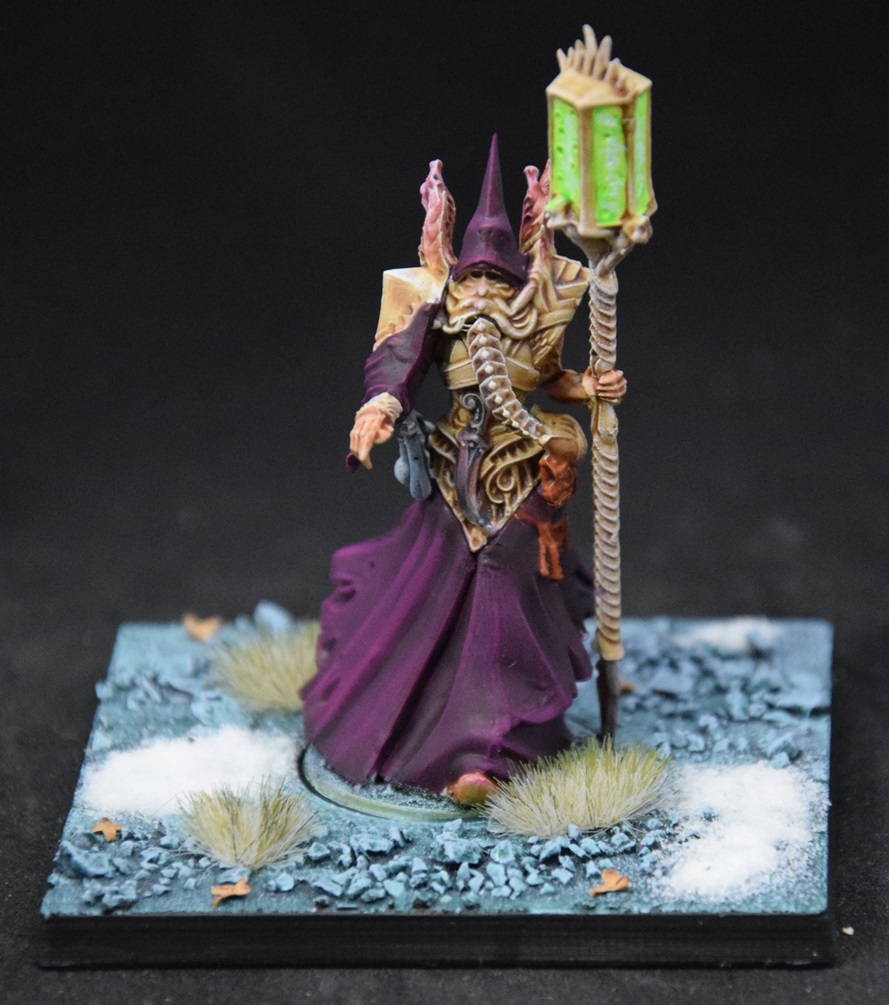
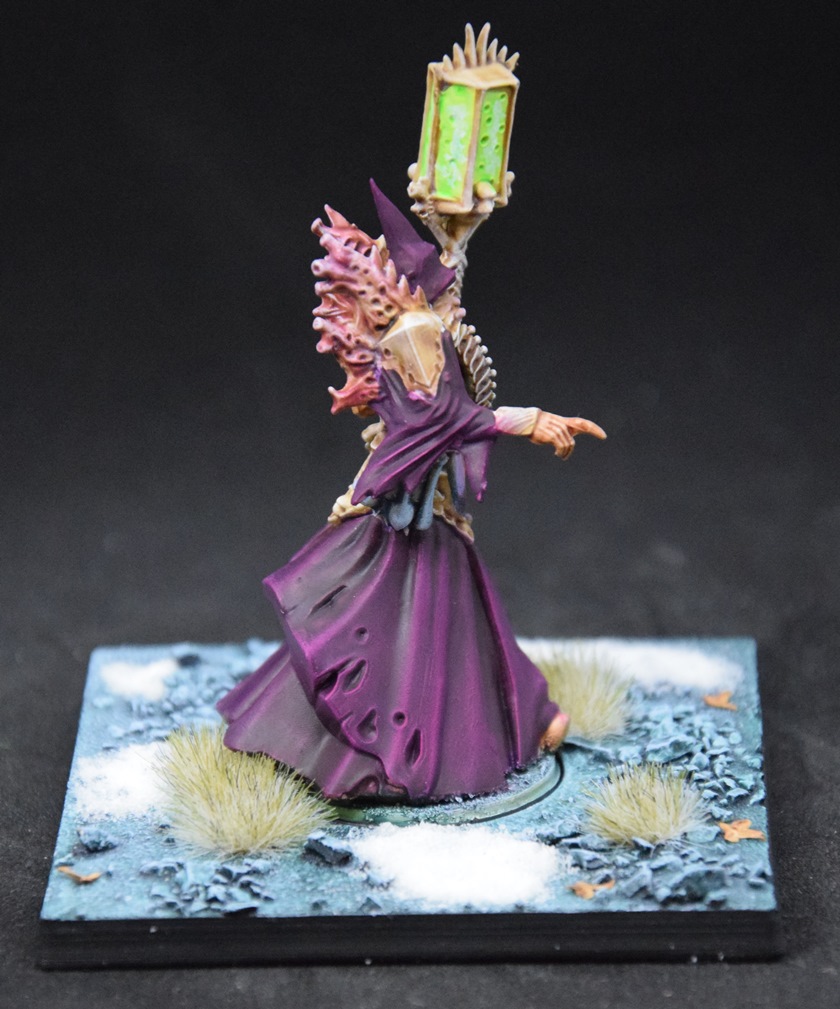
I fell in love with the Spires yesterday. I’ve had a complicated relationship with them, since I didn’t really knew how to paint them.
I found a color scheme that was quick and easy (and that worked) for the drones but ‘ve been with how to the high clone executor. And yesterday I decided to try to paint the characters of the spires I had (Pheromancer and High Clone Executor). My OTT order that contains a few characters for the Hundred Kingdoms and a contrast paint I wanted to use on the Spires characters, has been stuck for almost a week at Roissy airport. I just hope I’ll get it before the end of the holidays. Thus, I had to find another way, and I jumped in not really knowing how it would end…
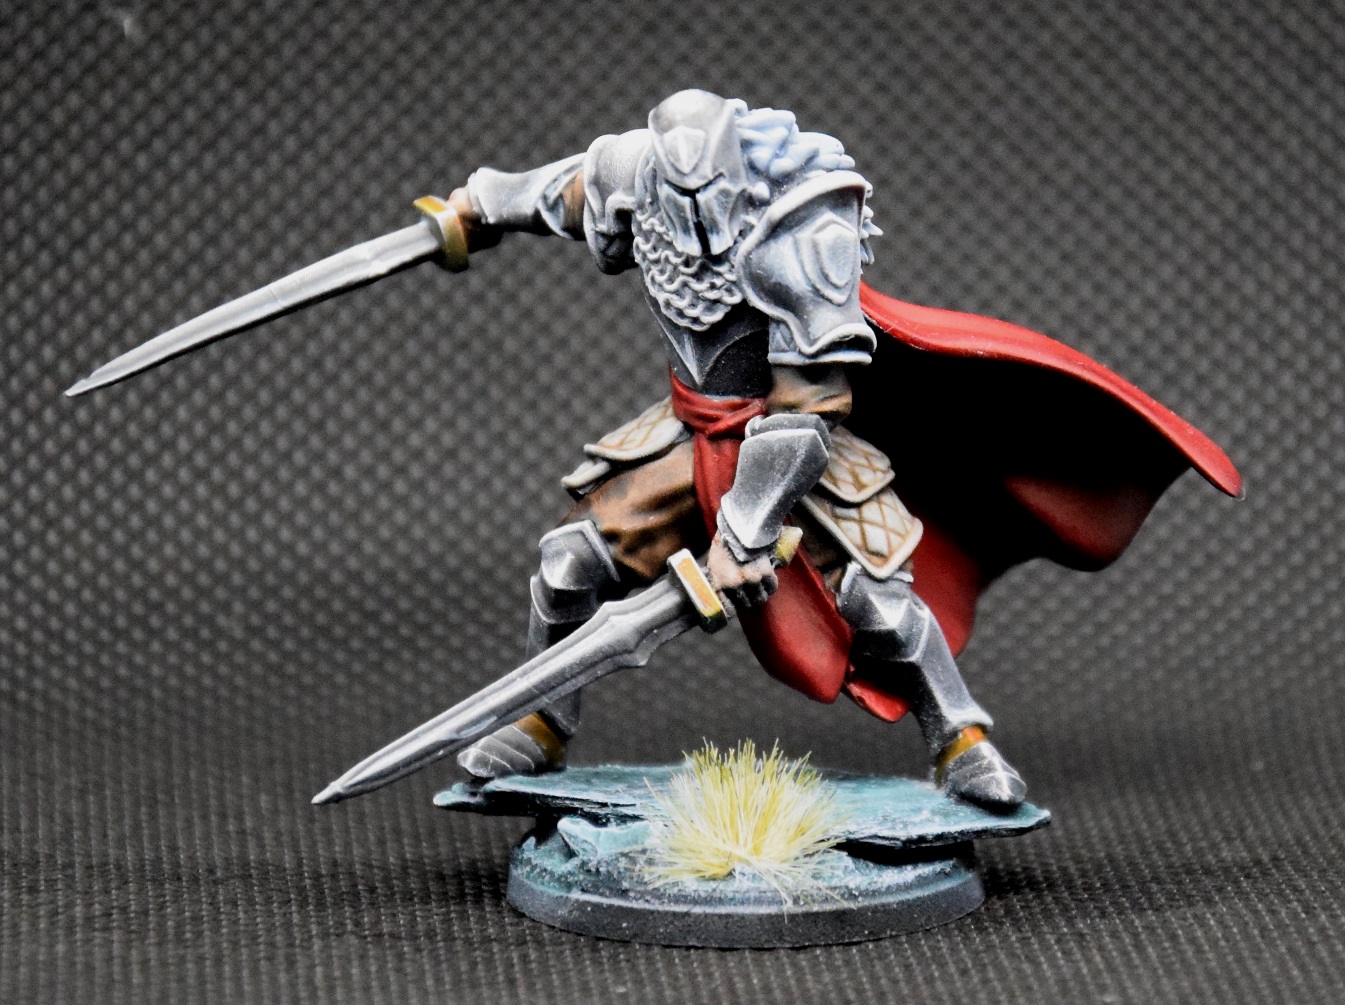
I wanted to recall the rest of the army and used the same color scheme, but I decided to make them stand out. I used various inks and a few contrast paints to get the purple I wanted and the bone/coral/flesh look I desired.
I also decided that the weapons and a few parts would be made of an otherworldly metal. For this one, I used the Colorshift Metal “Psychotic Illusions” from Green Stuff World on the mask and the blade of the High Clone Executor. It has a metallic blue/pink/weird touch, that fits the rest of the miniature and the Spires in general.
I’m very happy with how it turned out. I think my Spires army has now a worthy warlord.


![Zenit Miniatures’ Samurai Warlords Now Live On Kickstarter [Updated]](https://images.beastsofwar.com/2026/02/samurai-warlords-launch-main-600-338.jpg)