


![1918 Spring Offensive Wargame | Full Rules Overview with John & Gerry (WW1 Tabletop Game) [7 Days Early Access]](https://images.beastsofwar.com/2026/03/unboxing-warfulcrum-games-1918-spring-offensive-review-coverimage1-225-127.jpeg)


Delving back into Deadzone


Recommendations: 982
About the Project
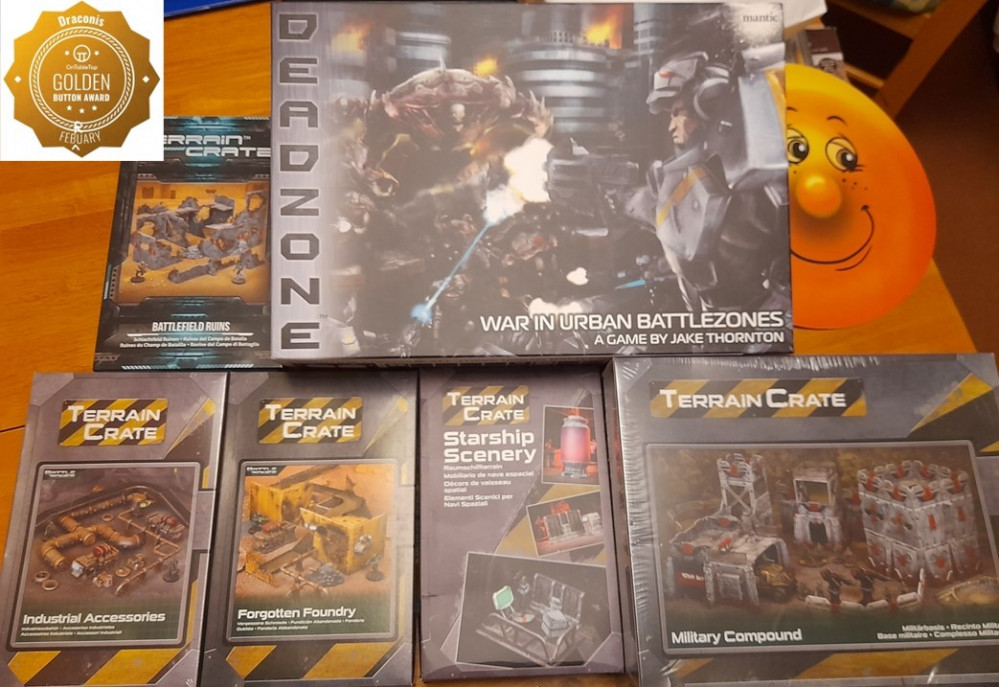
After recently finishing my Warcry Red Harvest project, and finding that process beneficial for my motivation, I decided to start on my next project – a return to Deadzone. I backed the first Kickstarter for Deadzone (from Mantic Games) many years back now, but only ever played a few games due to a lack of uptake in my area. Over the following years I have continued to pick up bits for it, buying more minis (to add to the original KS ones), plus purchasing the subsequent rule books and expansions since I had an interest in the setting and the aesthetic for the game. A friend from my local gaming club also has quite a bit of Deadzone product, and we keep threatening to roll it out; but with other distractions, limited gaming time, and then Covid – it just never came about. I picked up the third edition starter set soon after it came out, and did actually get around to running my wife through some demo games of it, which she enjoyed. So, having gained a little confidence in completing the Warcry box set I have chosen to make a push and return to Deadzone…… Scenery first, then a couple of Strike Teams
Related Game: Deadzone
Related Company: Mantic Games
Related Genre: Science Fiction
This Project is Completed
Weathering and colouring – closing in on the final base stages
12th January 2023
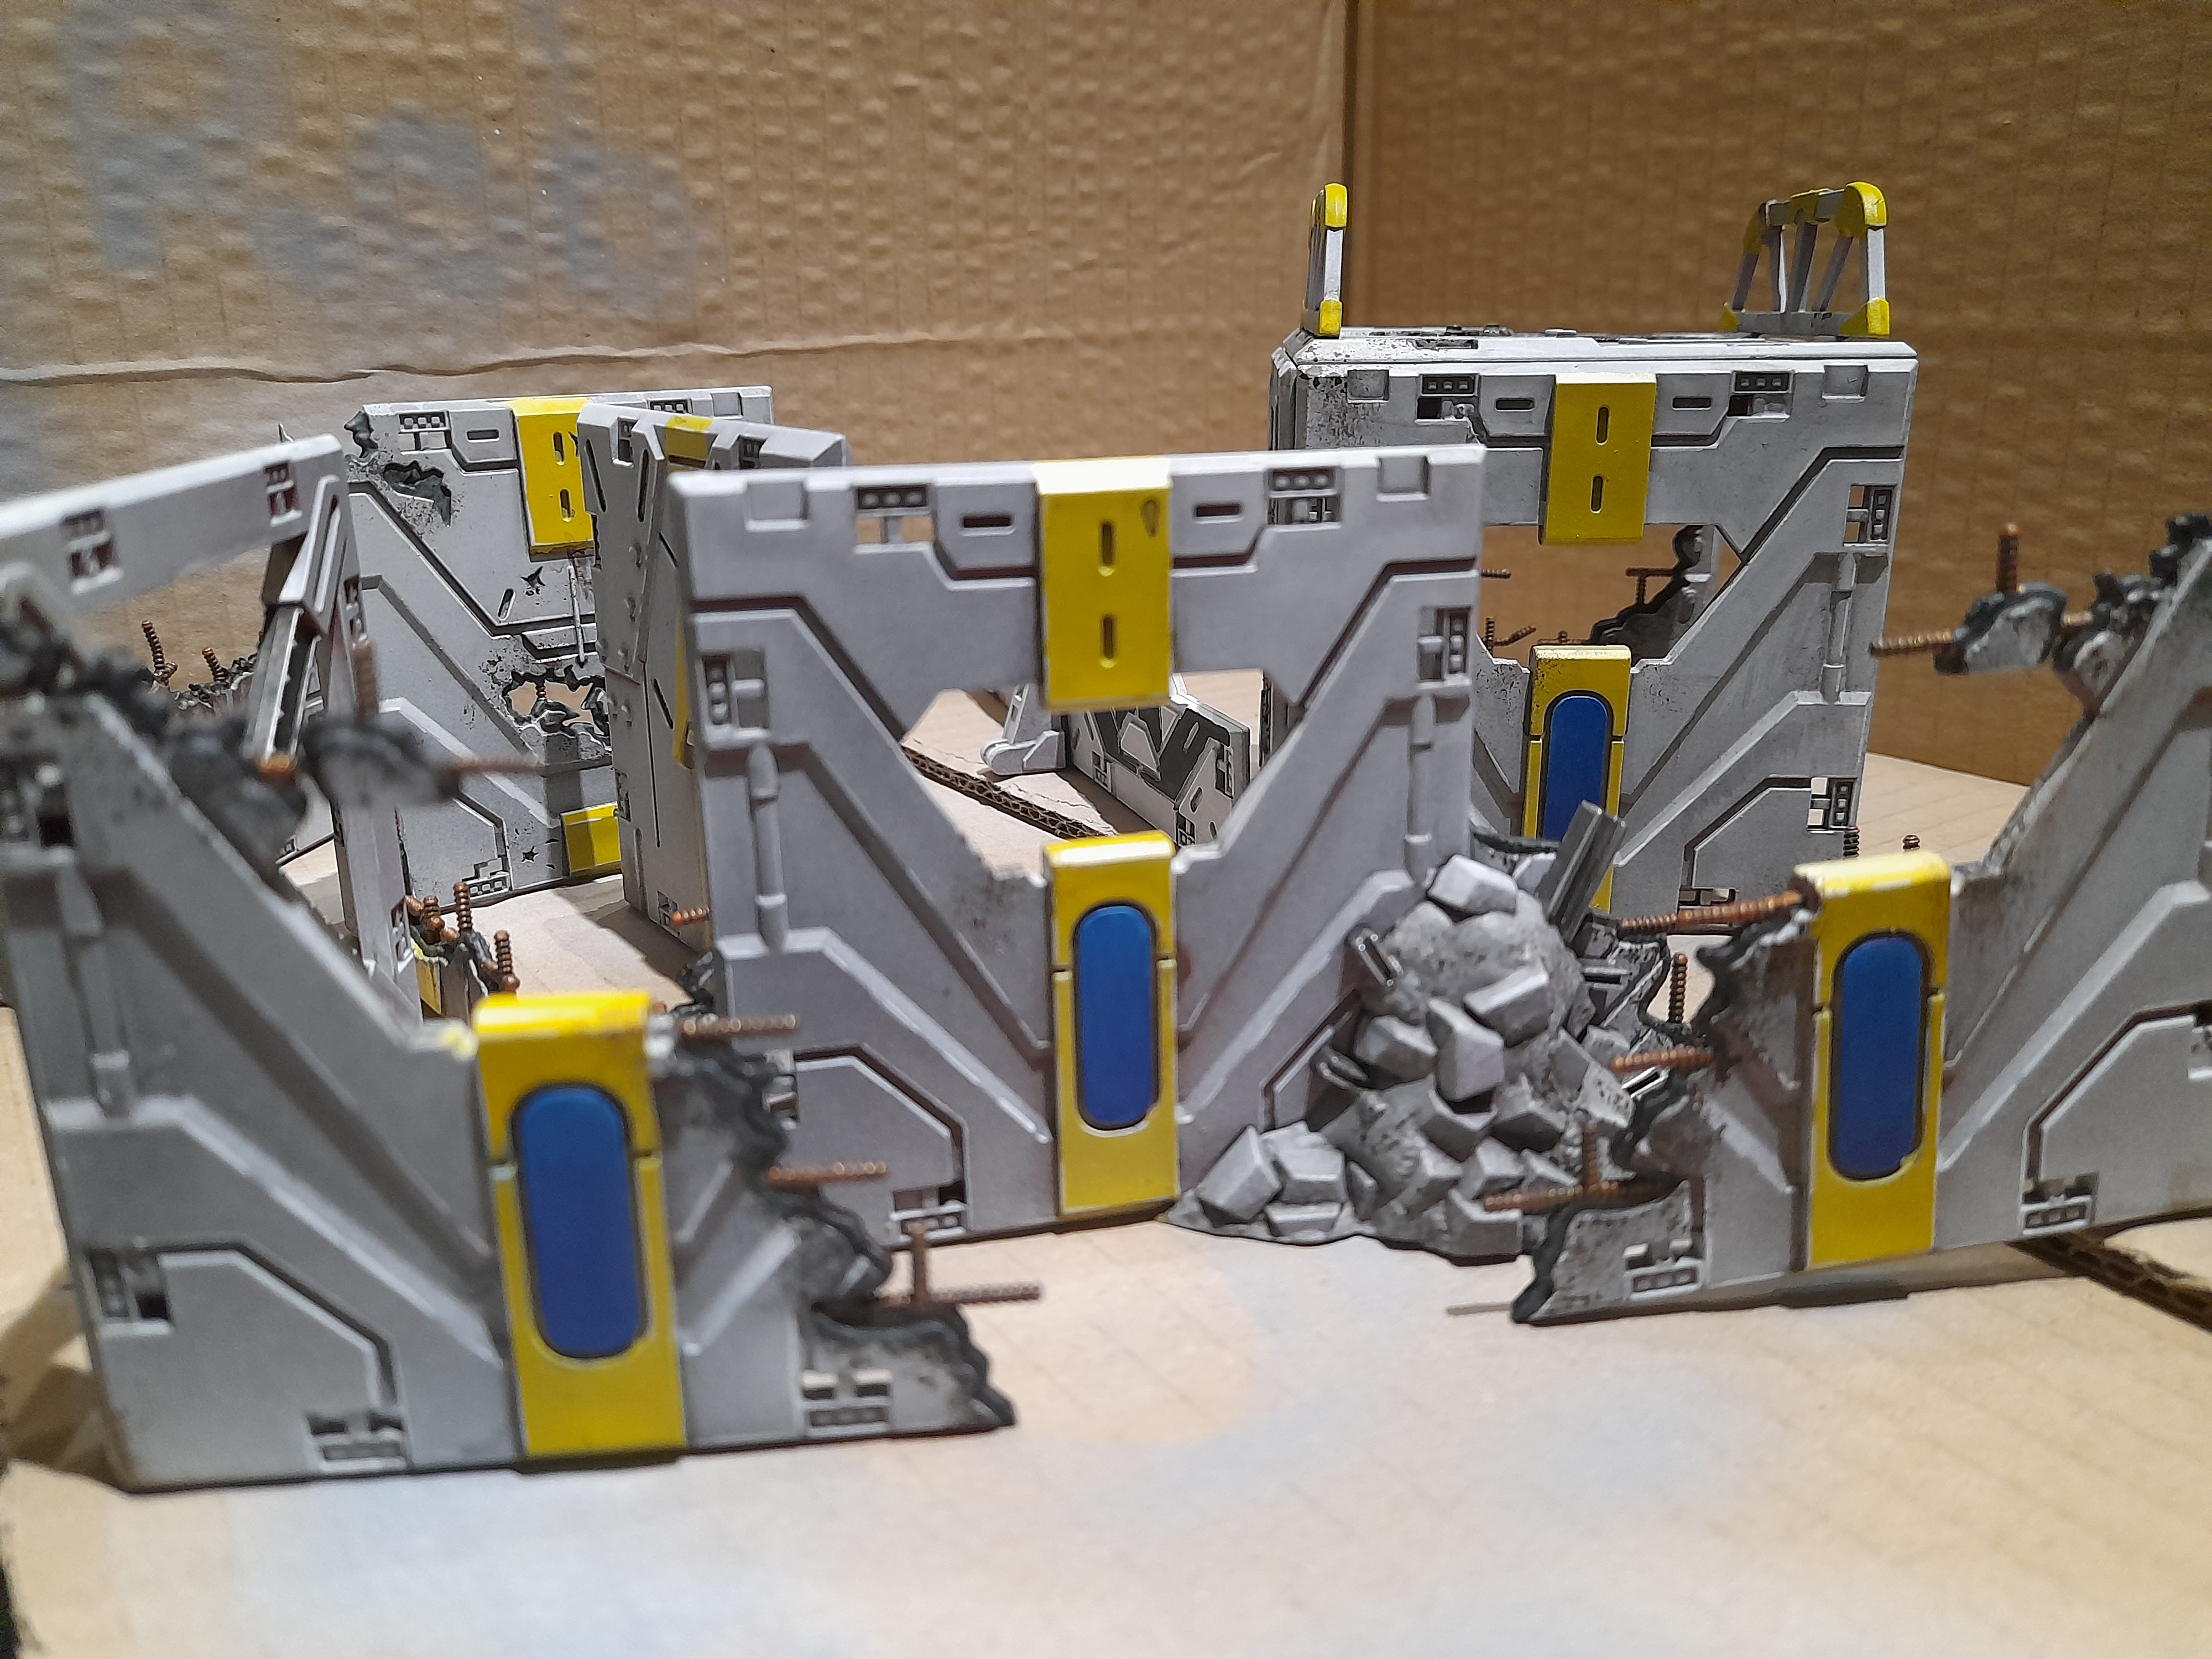
With the paint pen work complete, and washes carried out previously, its on to the sponge weathering and adding some more spot colours.
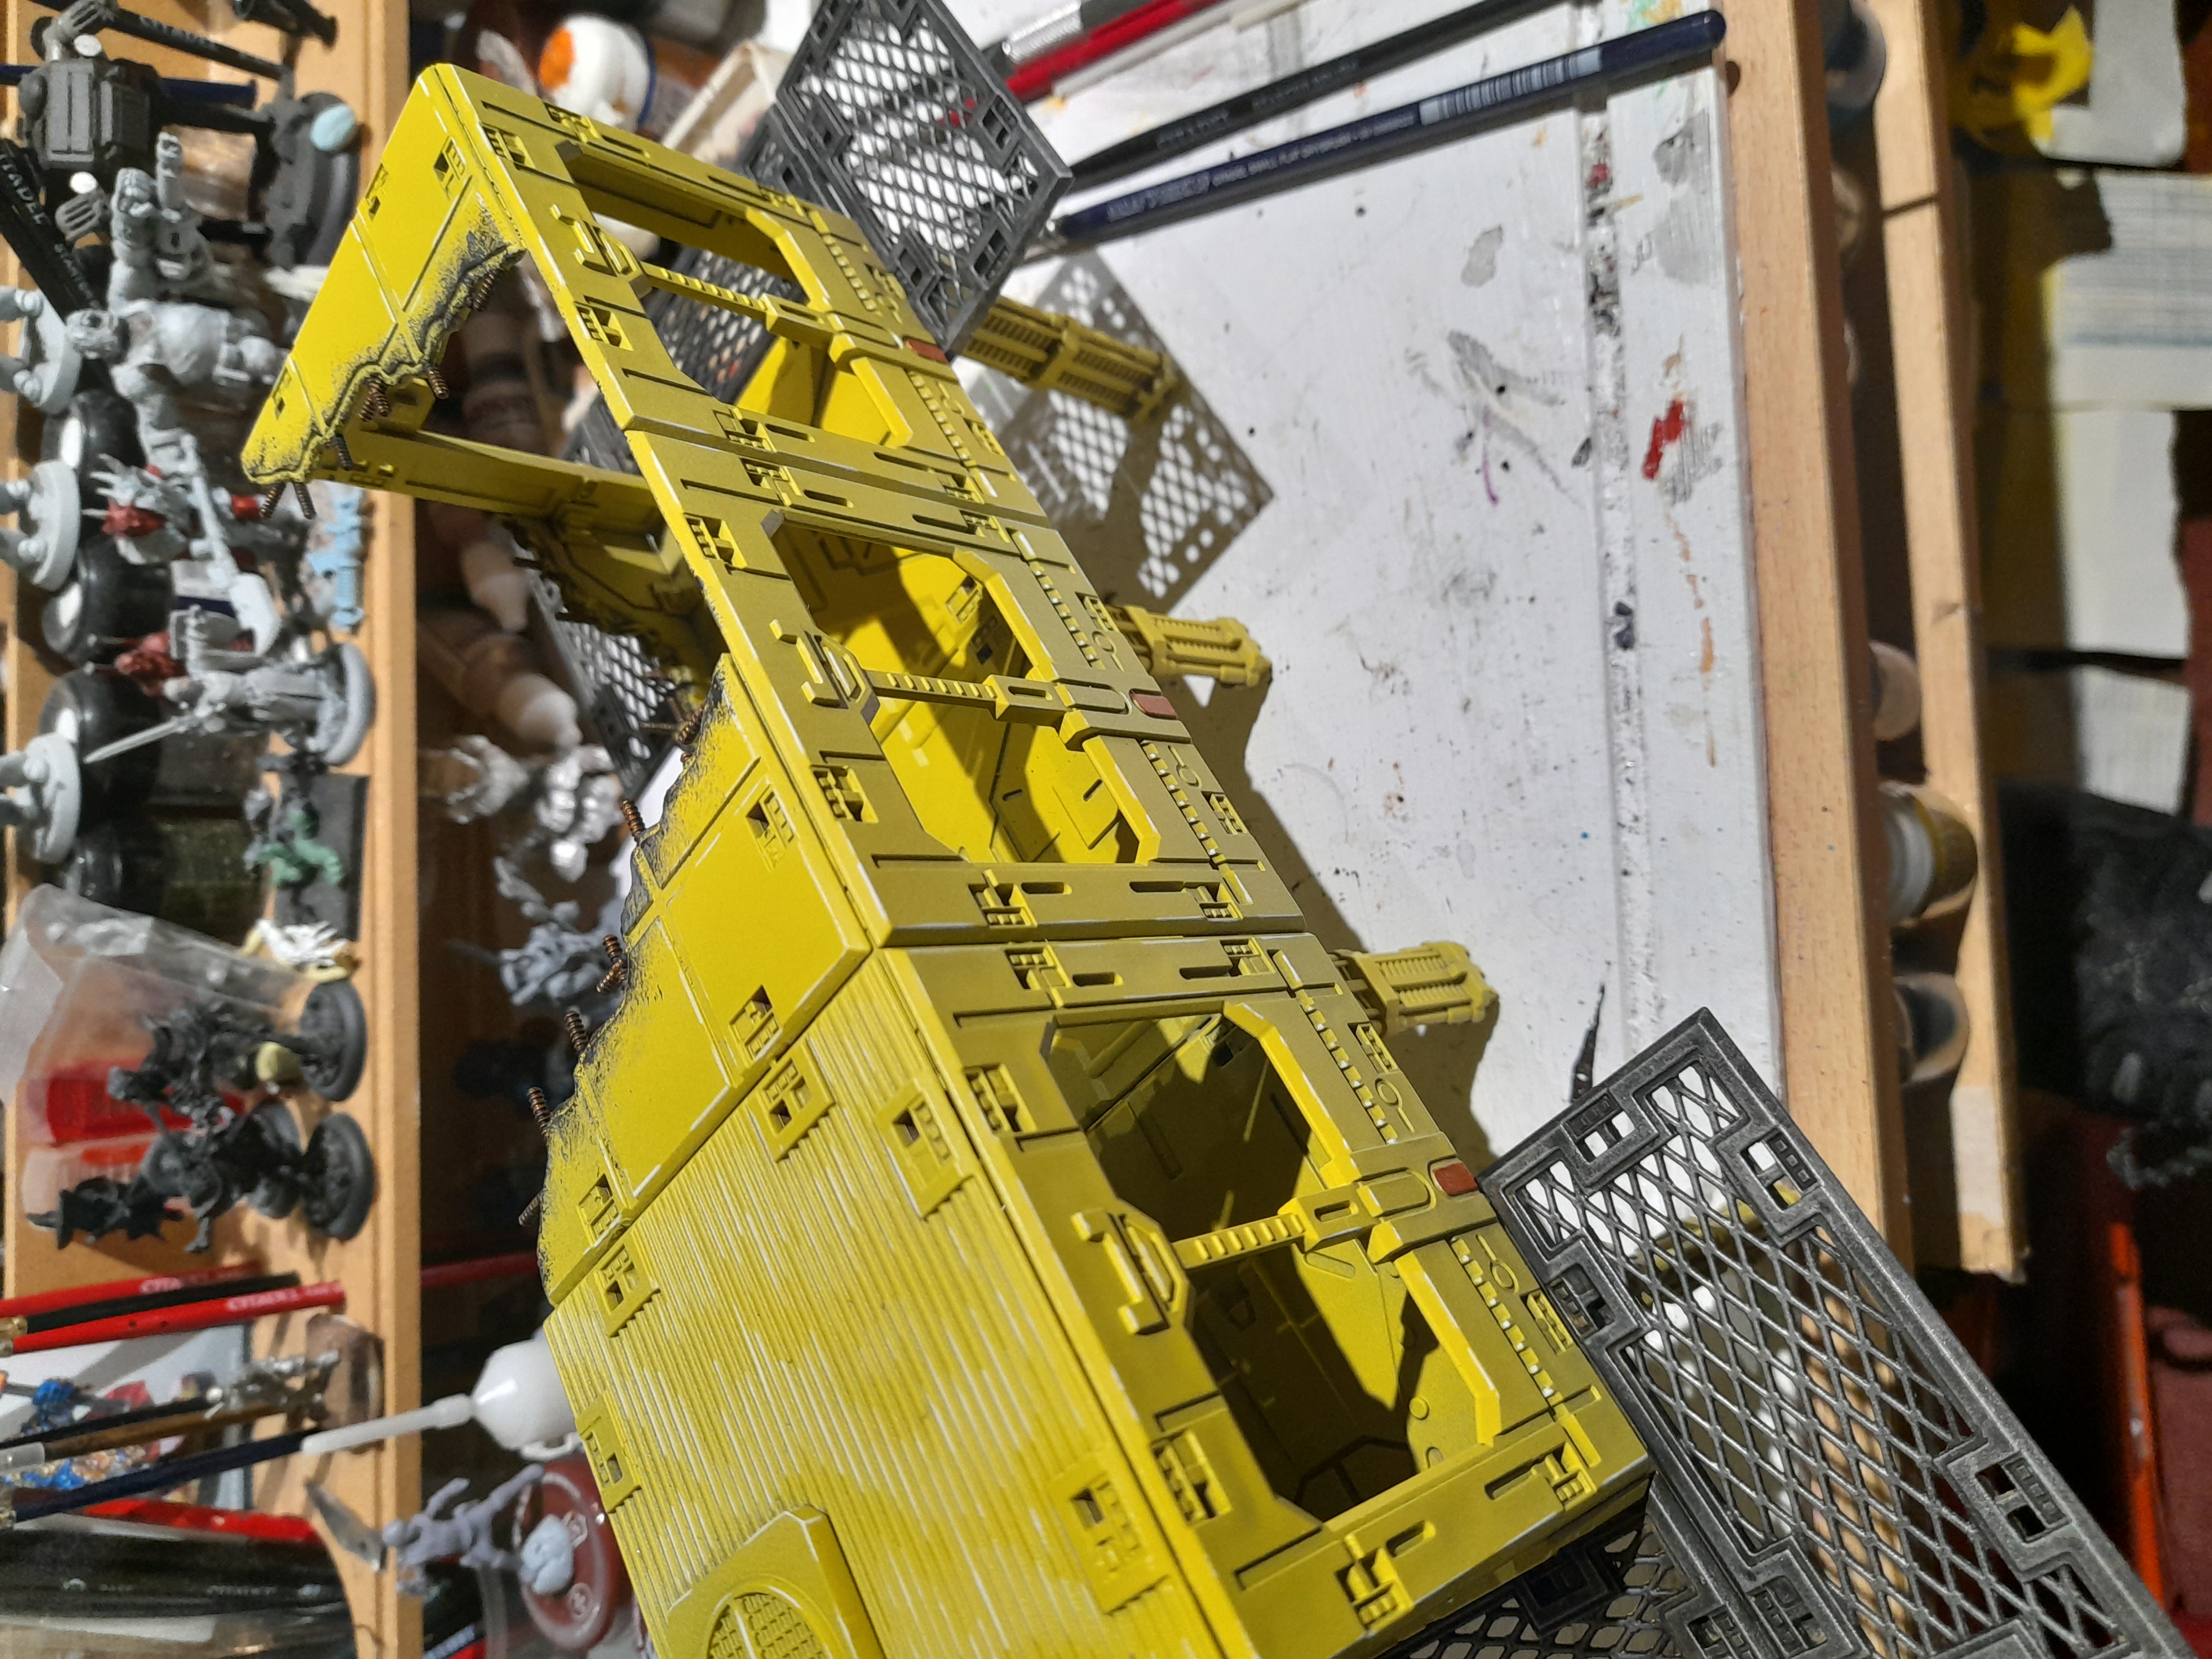
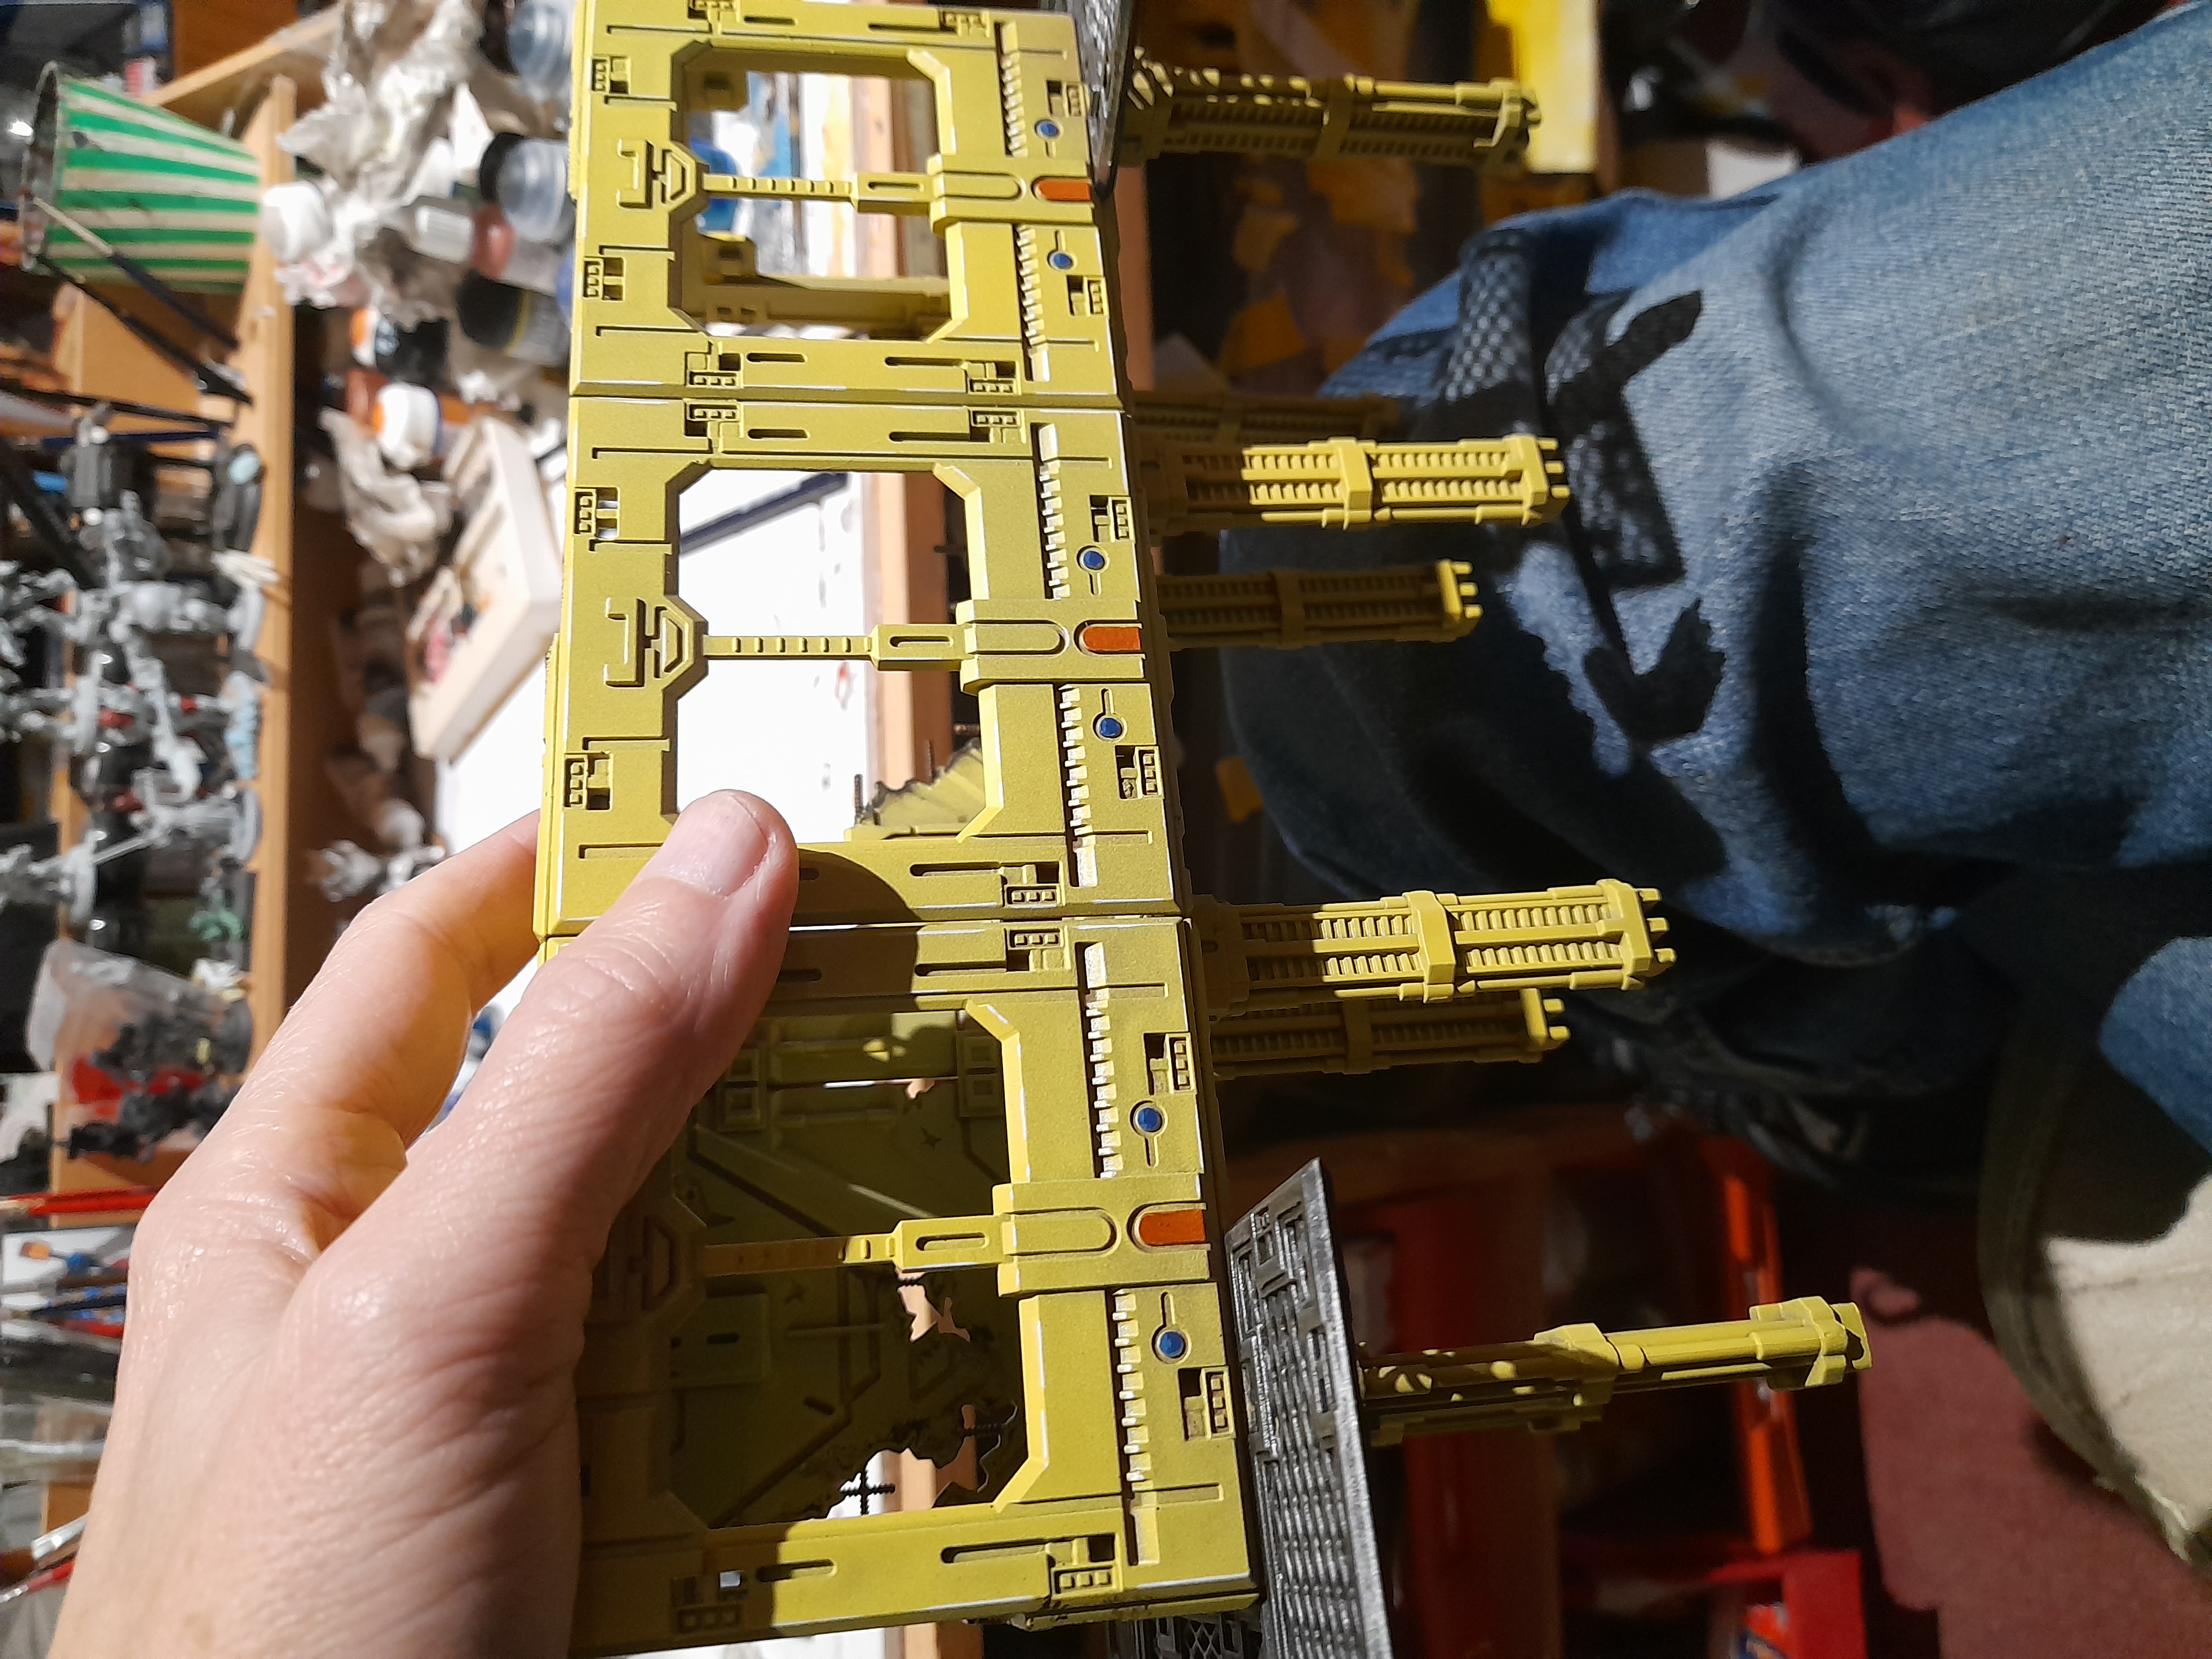
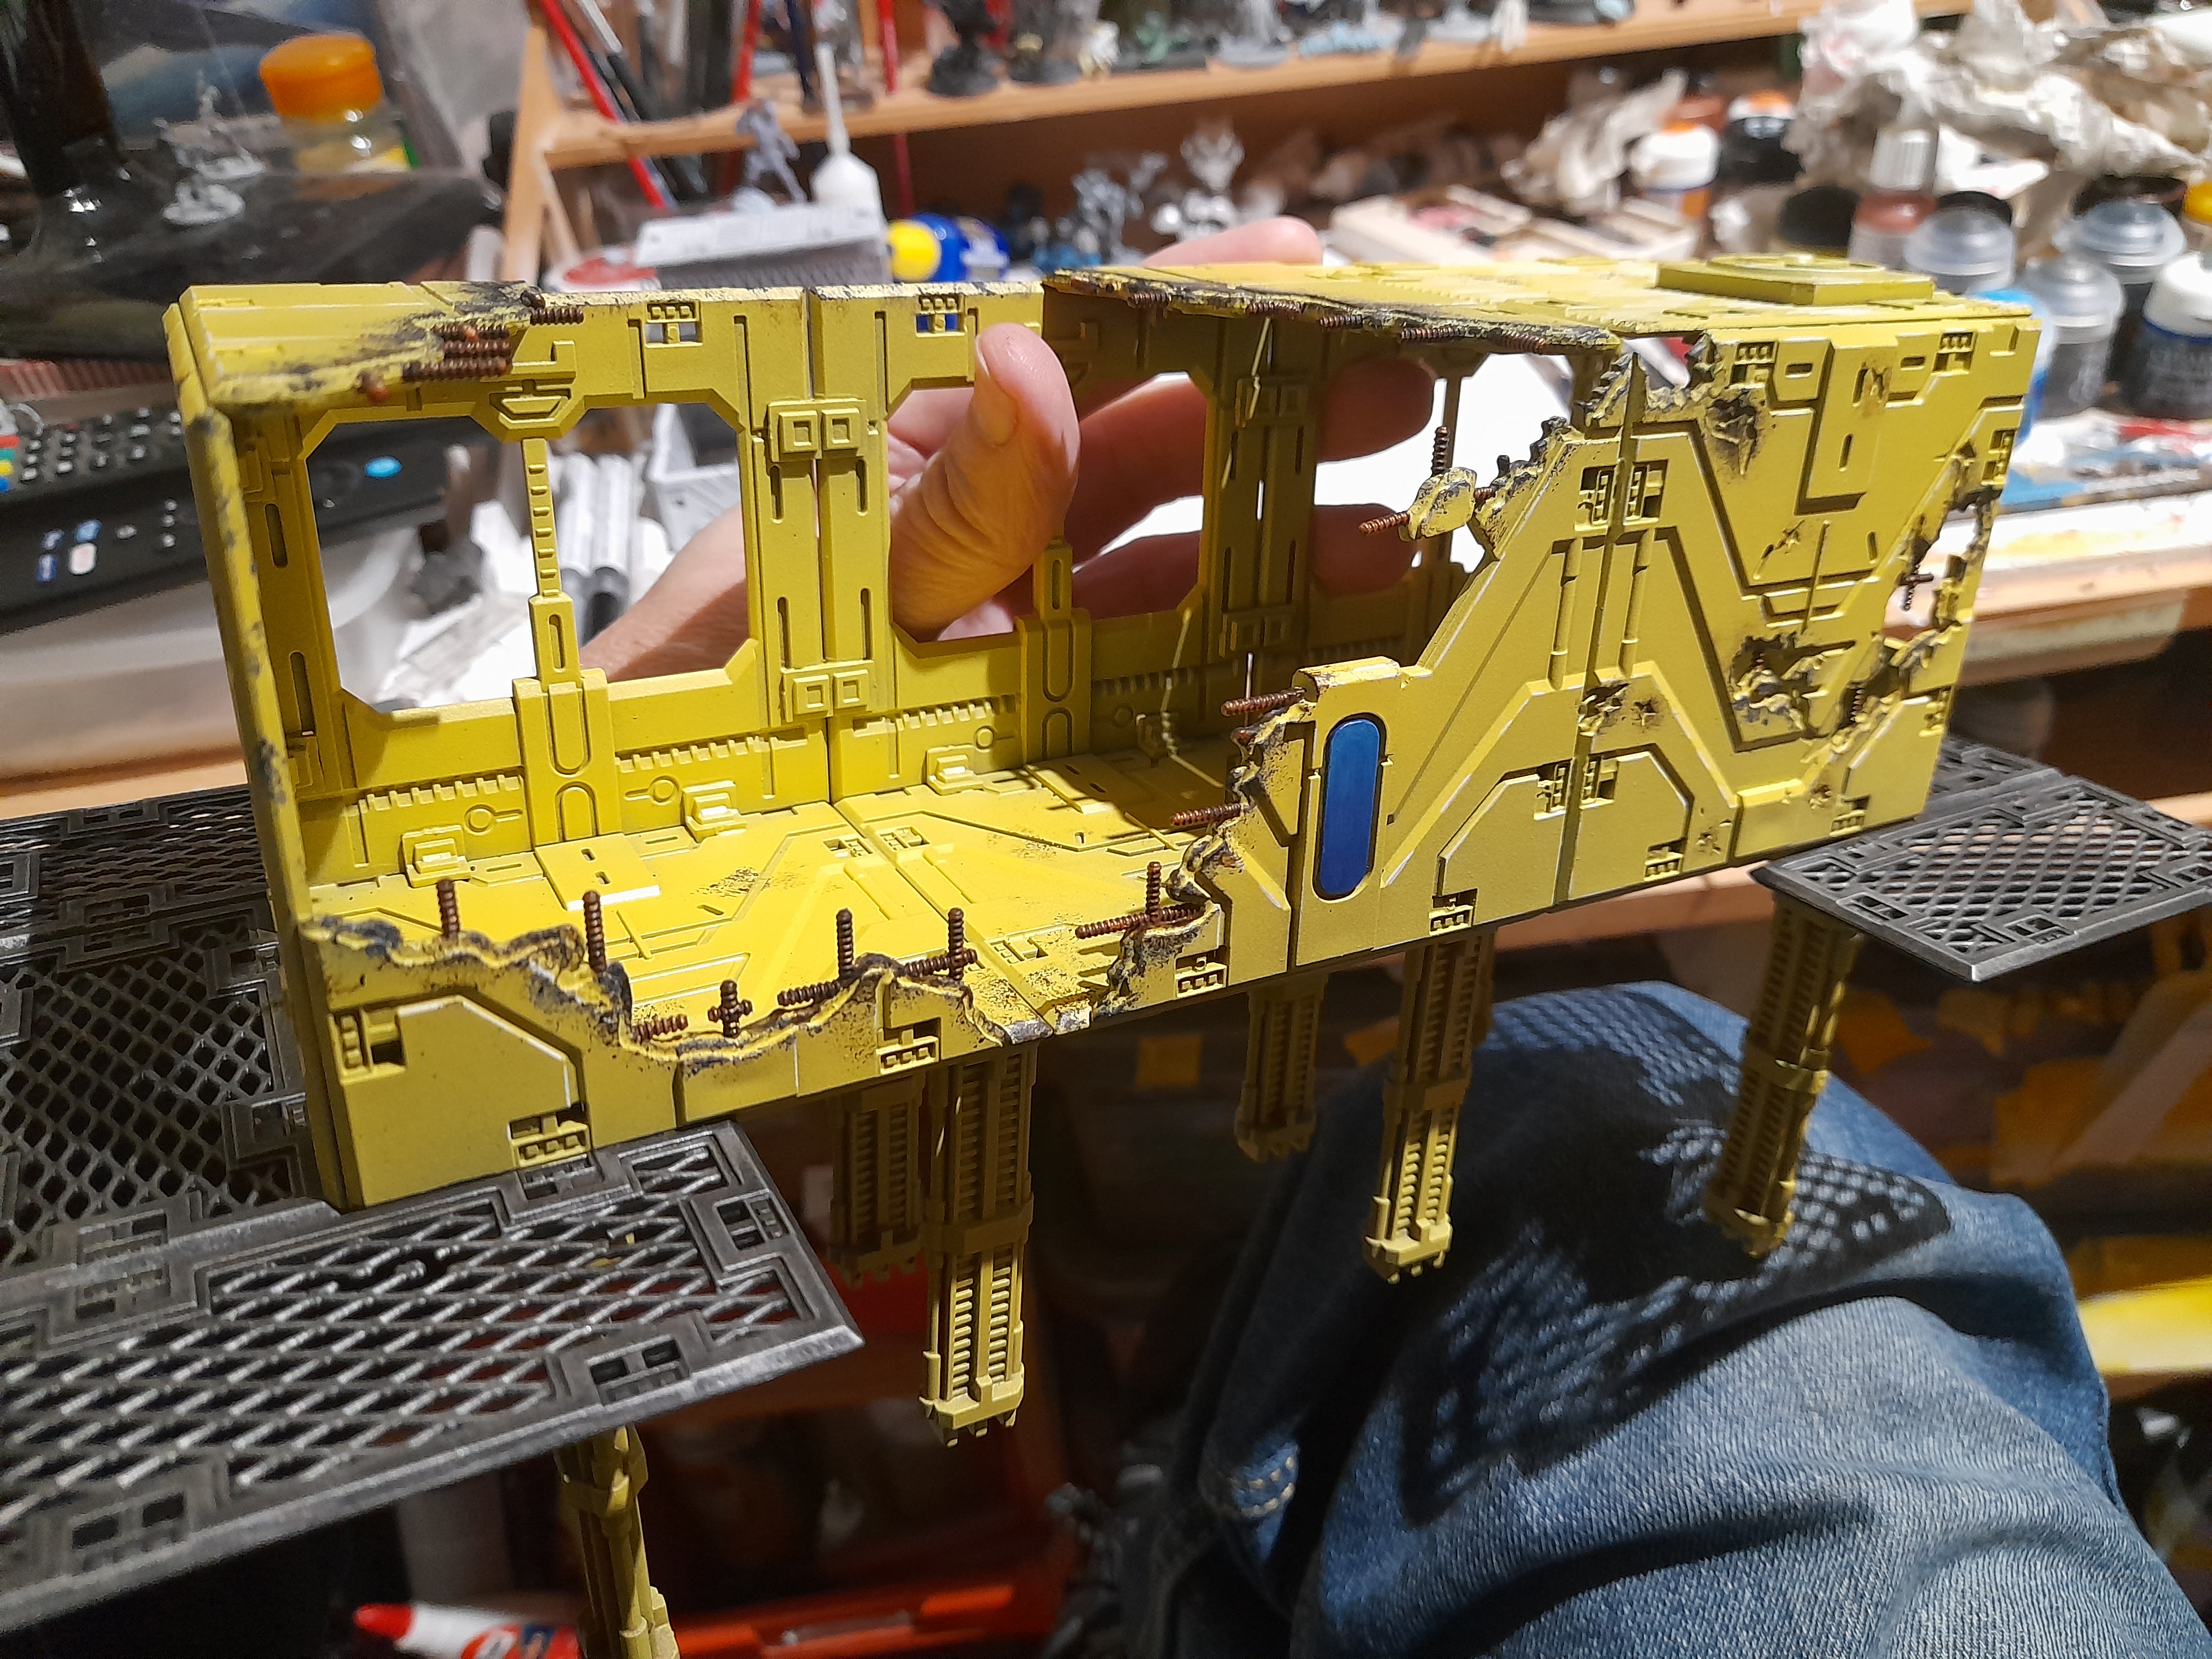
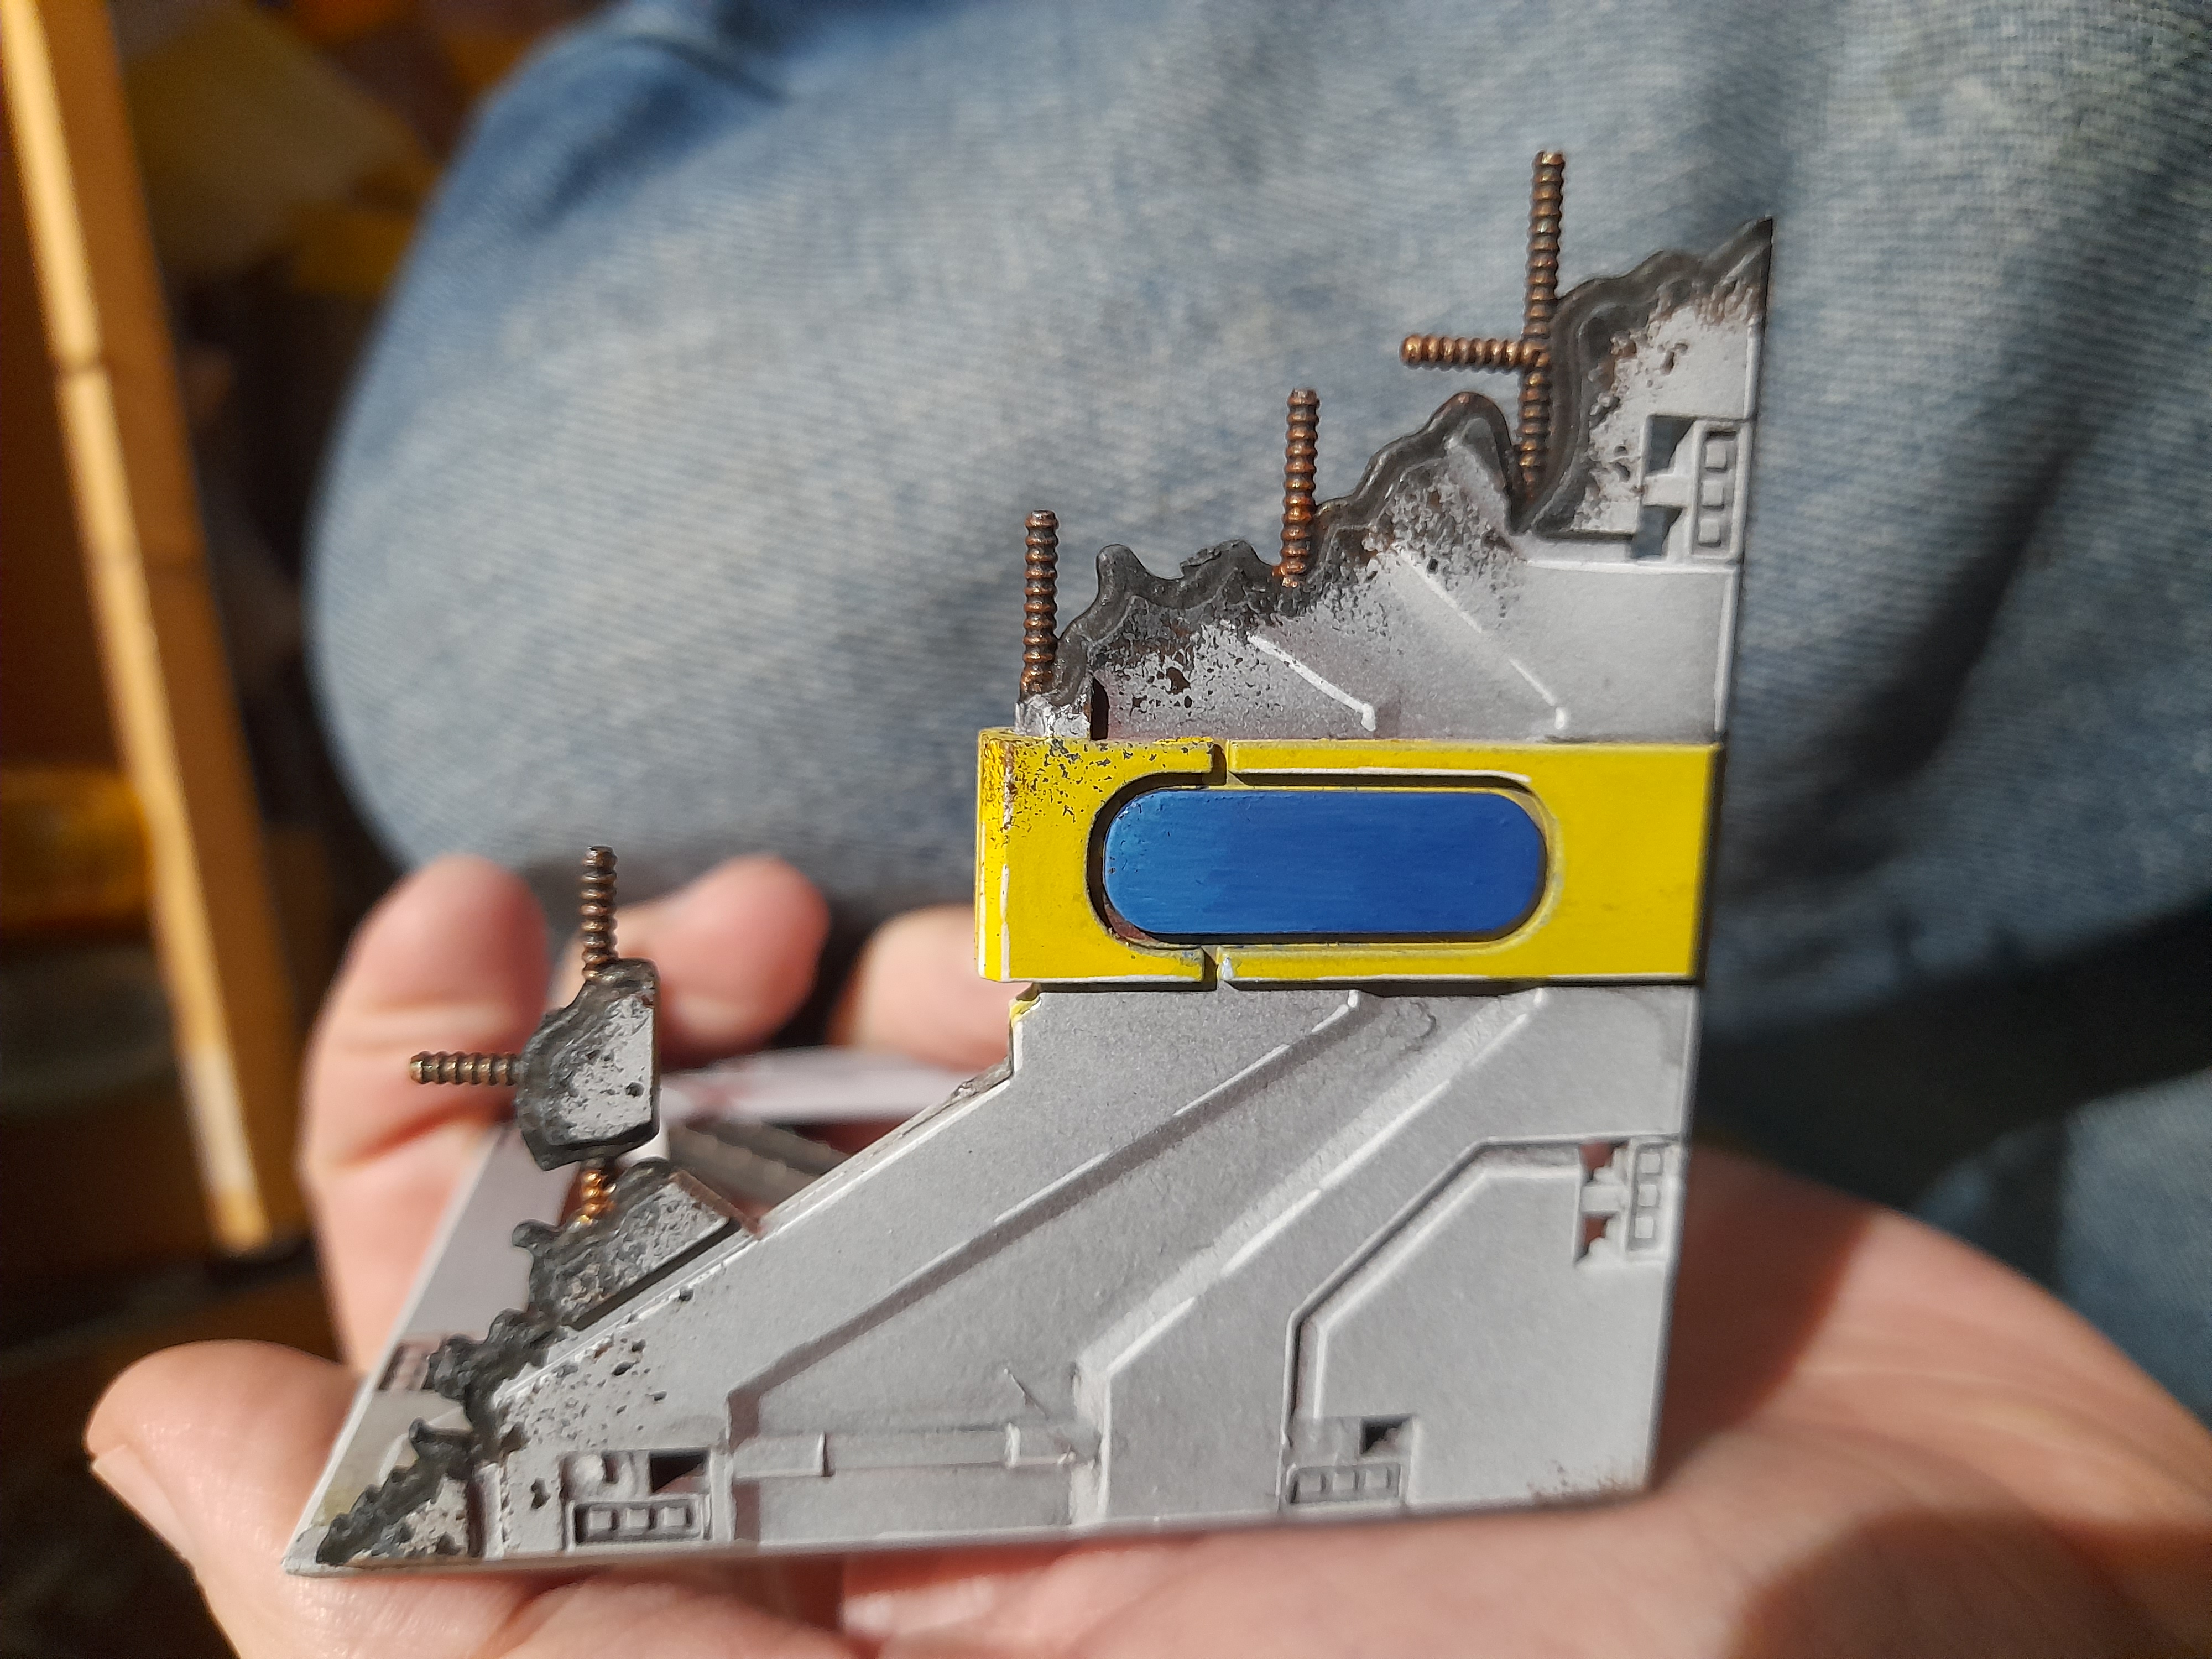
Started with my yellow ‘stilt’ building.
Added dirt/scorch marks around the damage area, picked the re-bars out in a copper colour to add some warmth (more effective on the grey buildings) and some other blue and copper areas.
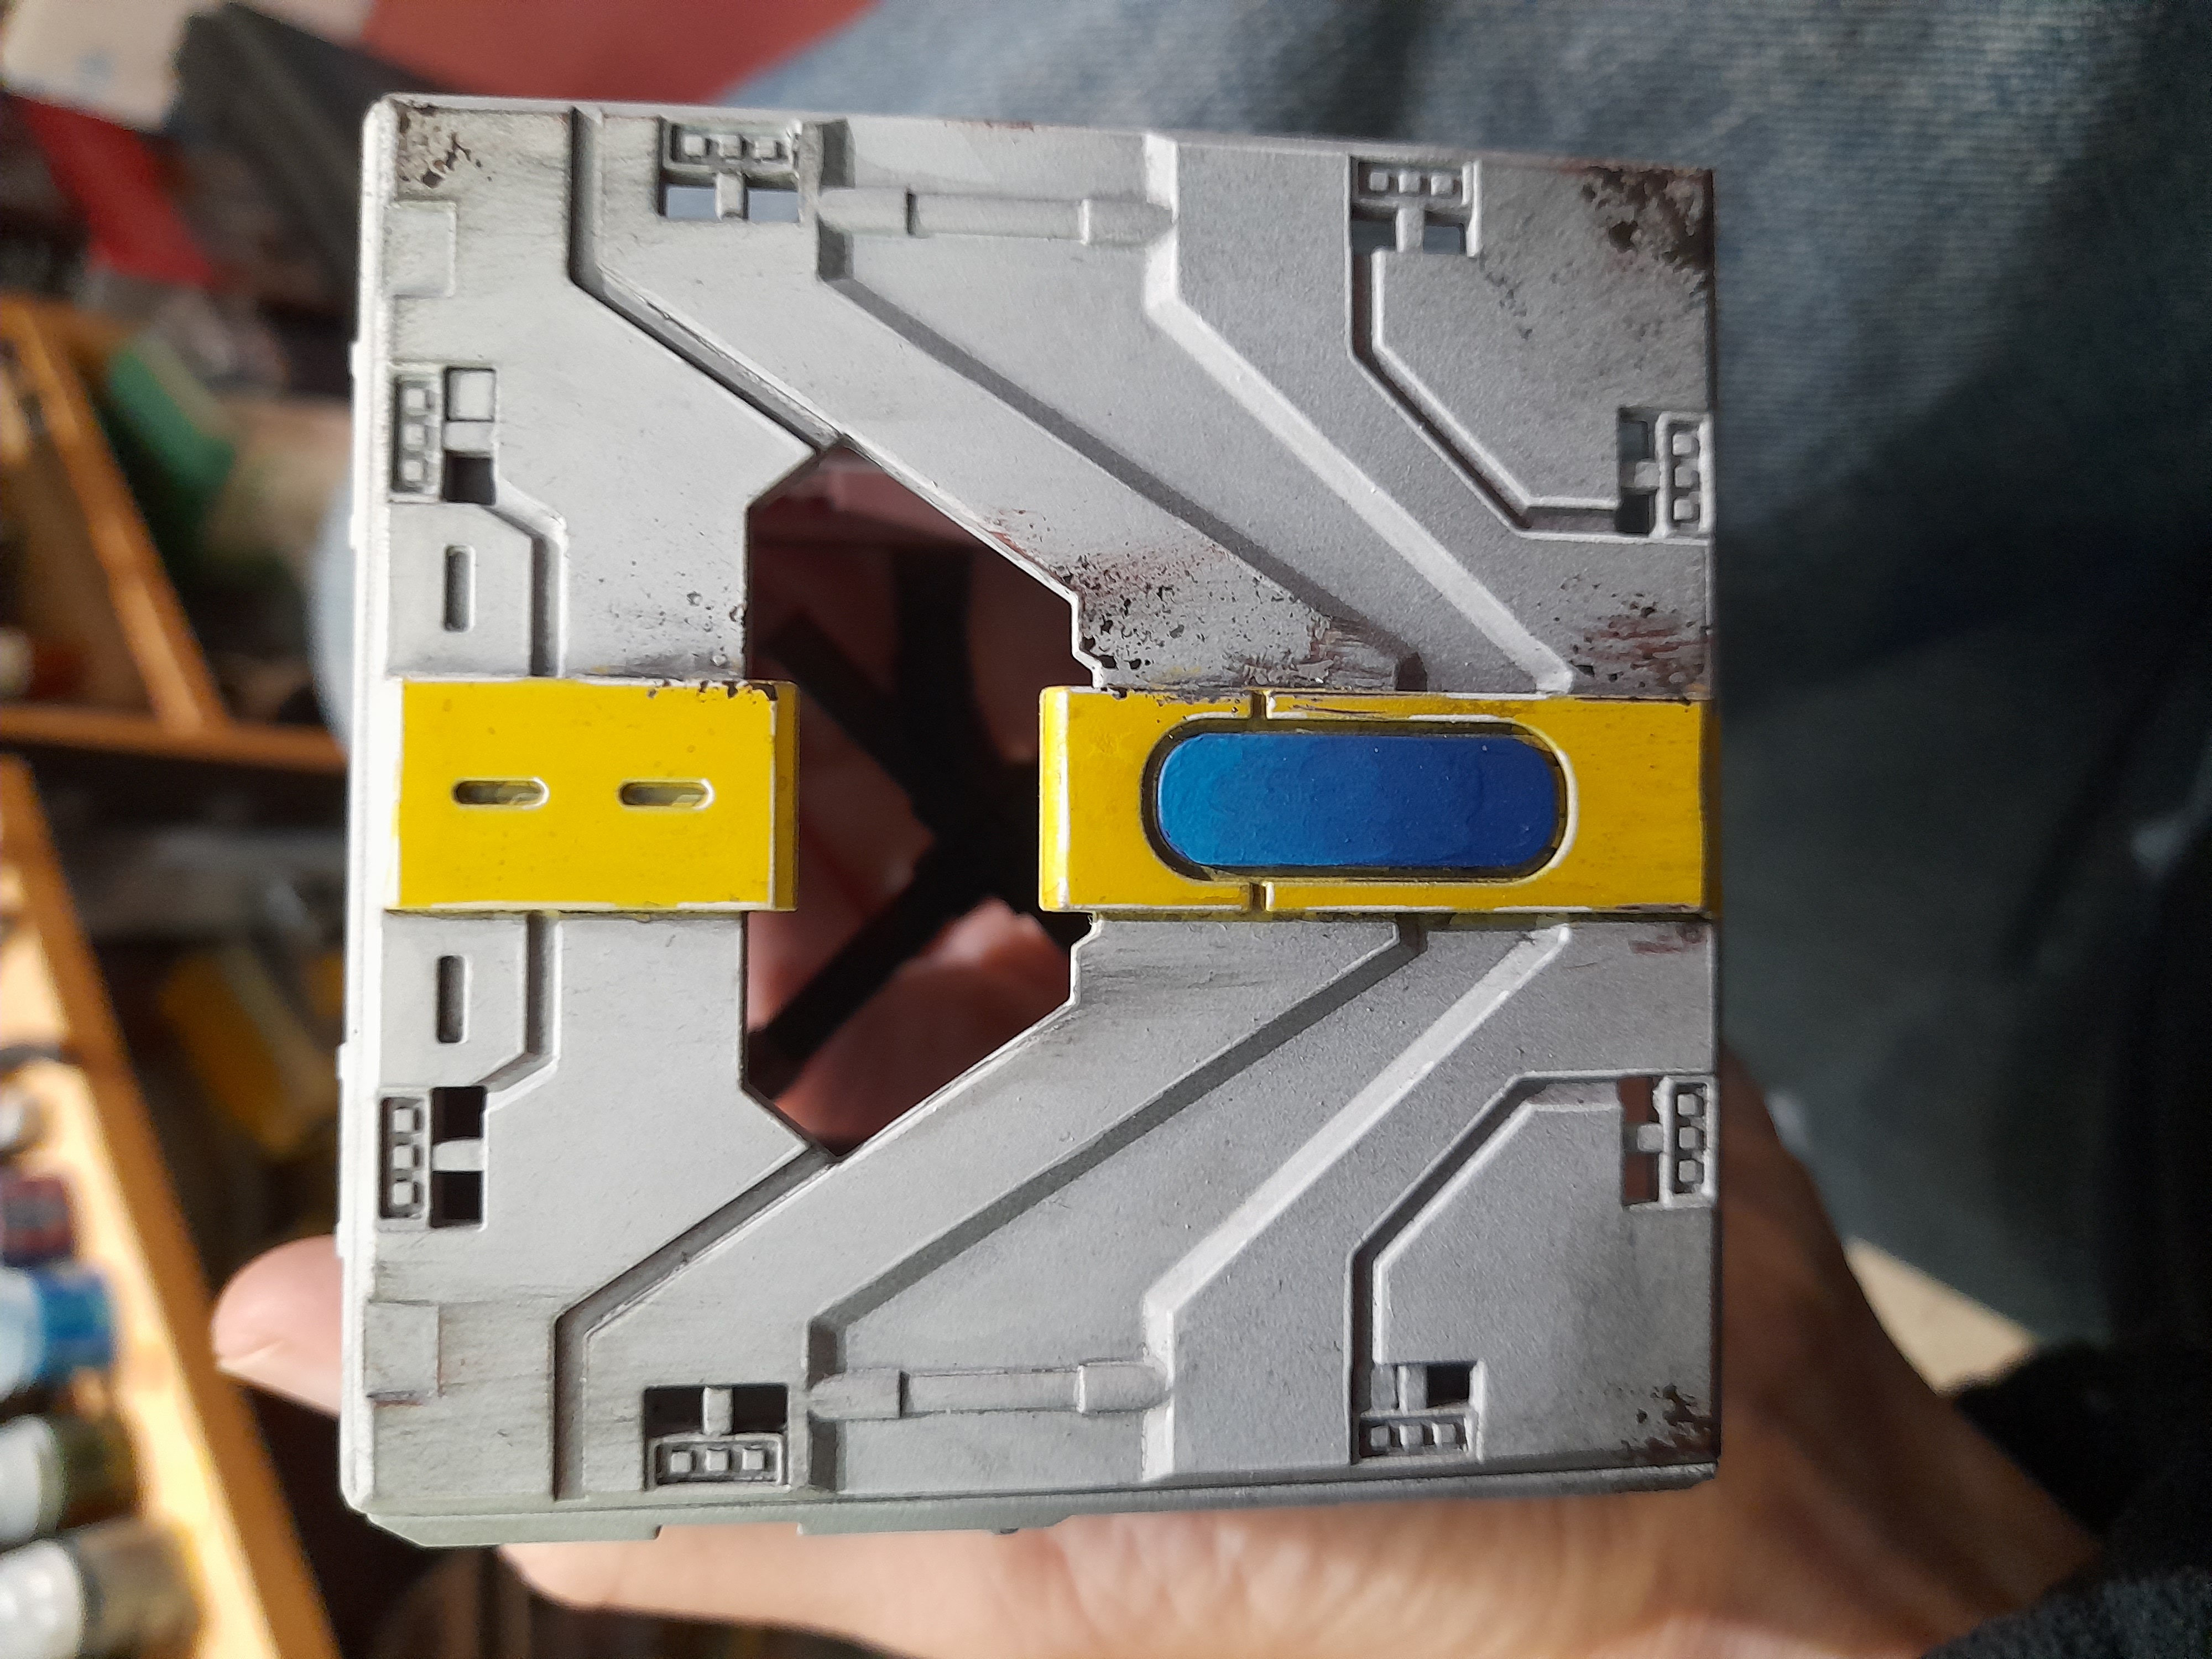
For some reason I decided that the lozenge panel parts would benefit from a colour gradient, from Lothern Blue to Macragge blue. Blending isn’t something I do much, but from play distance I think it looks good.
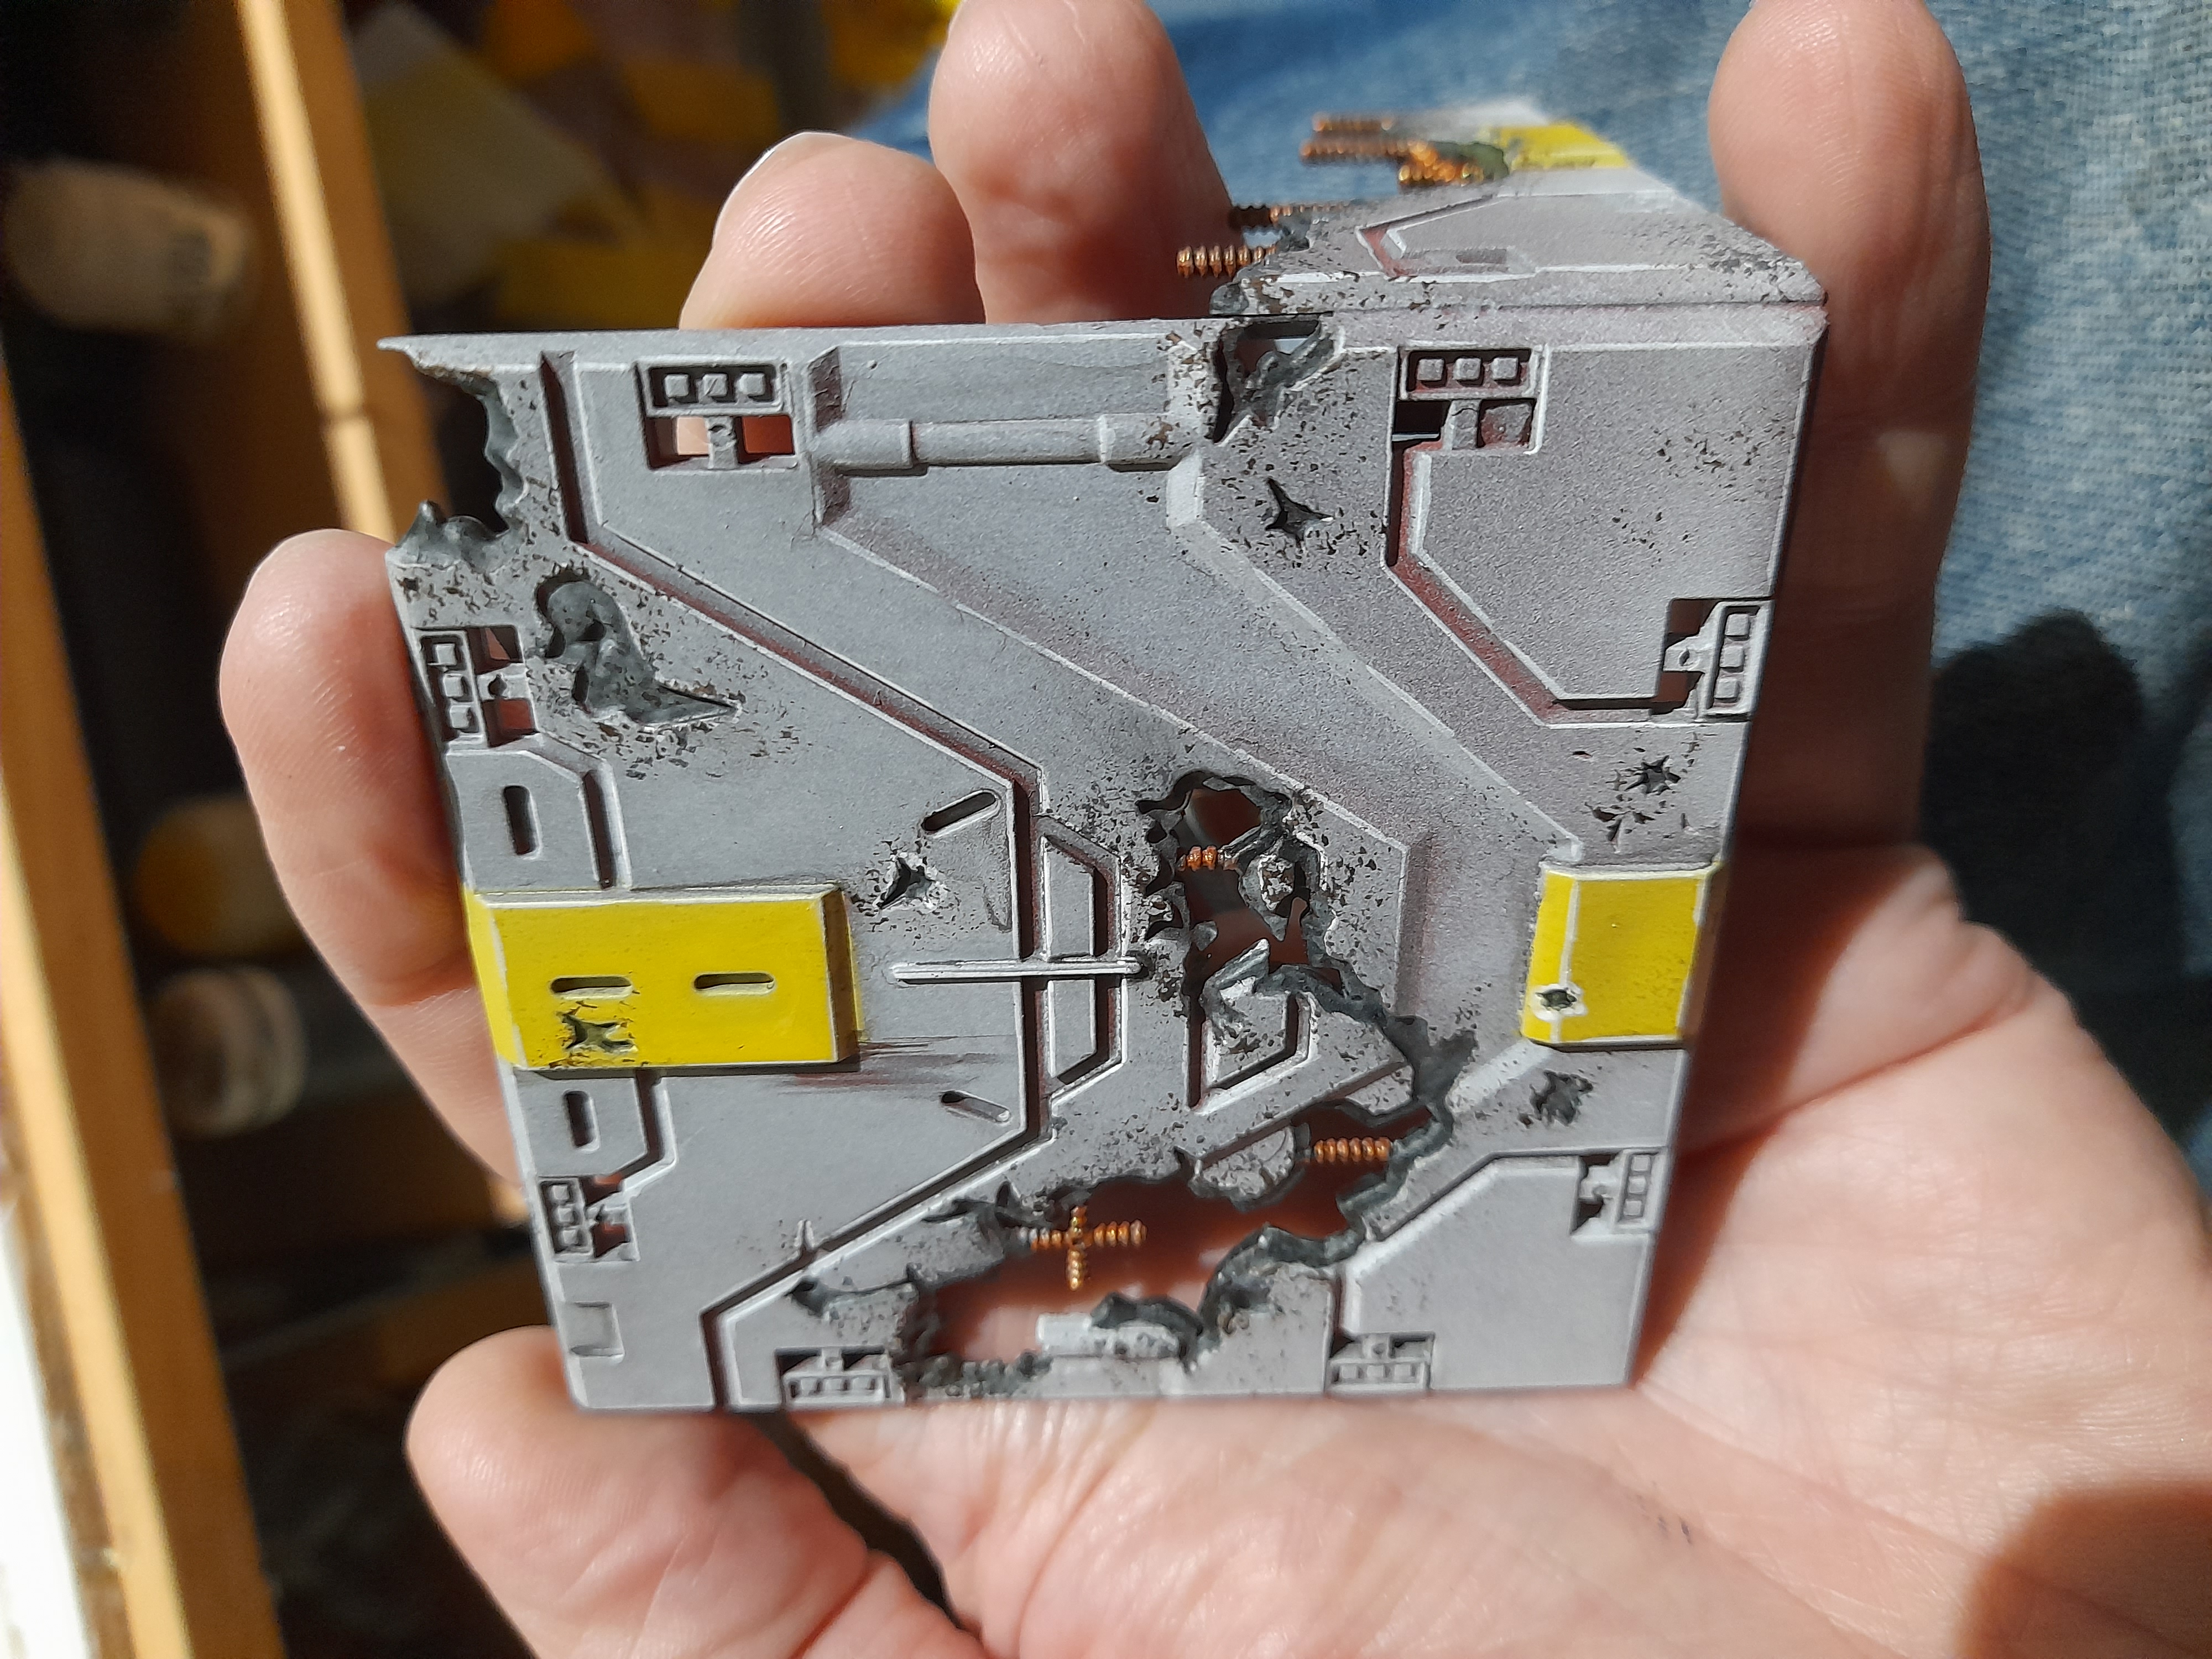
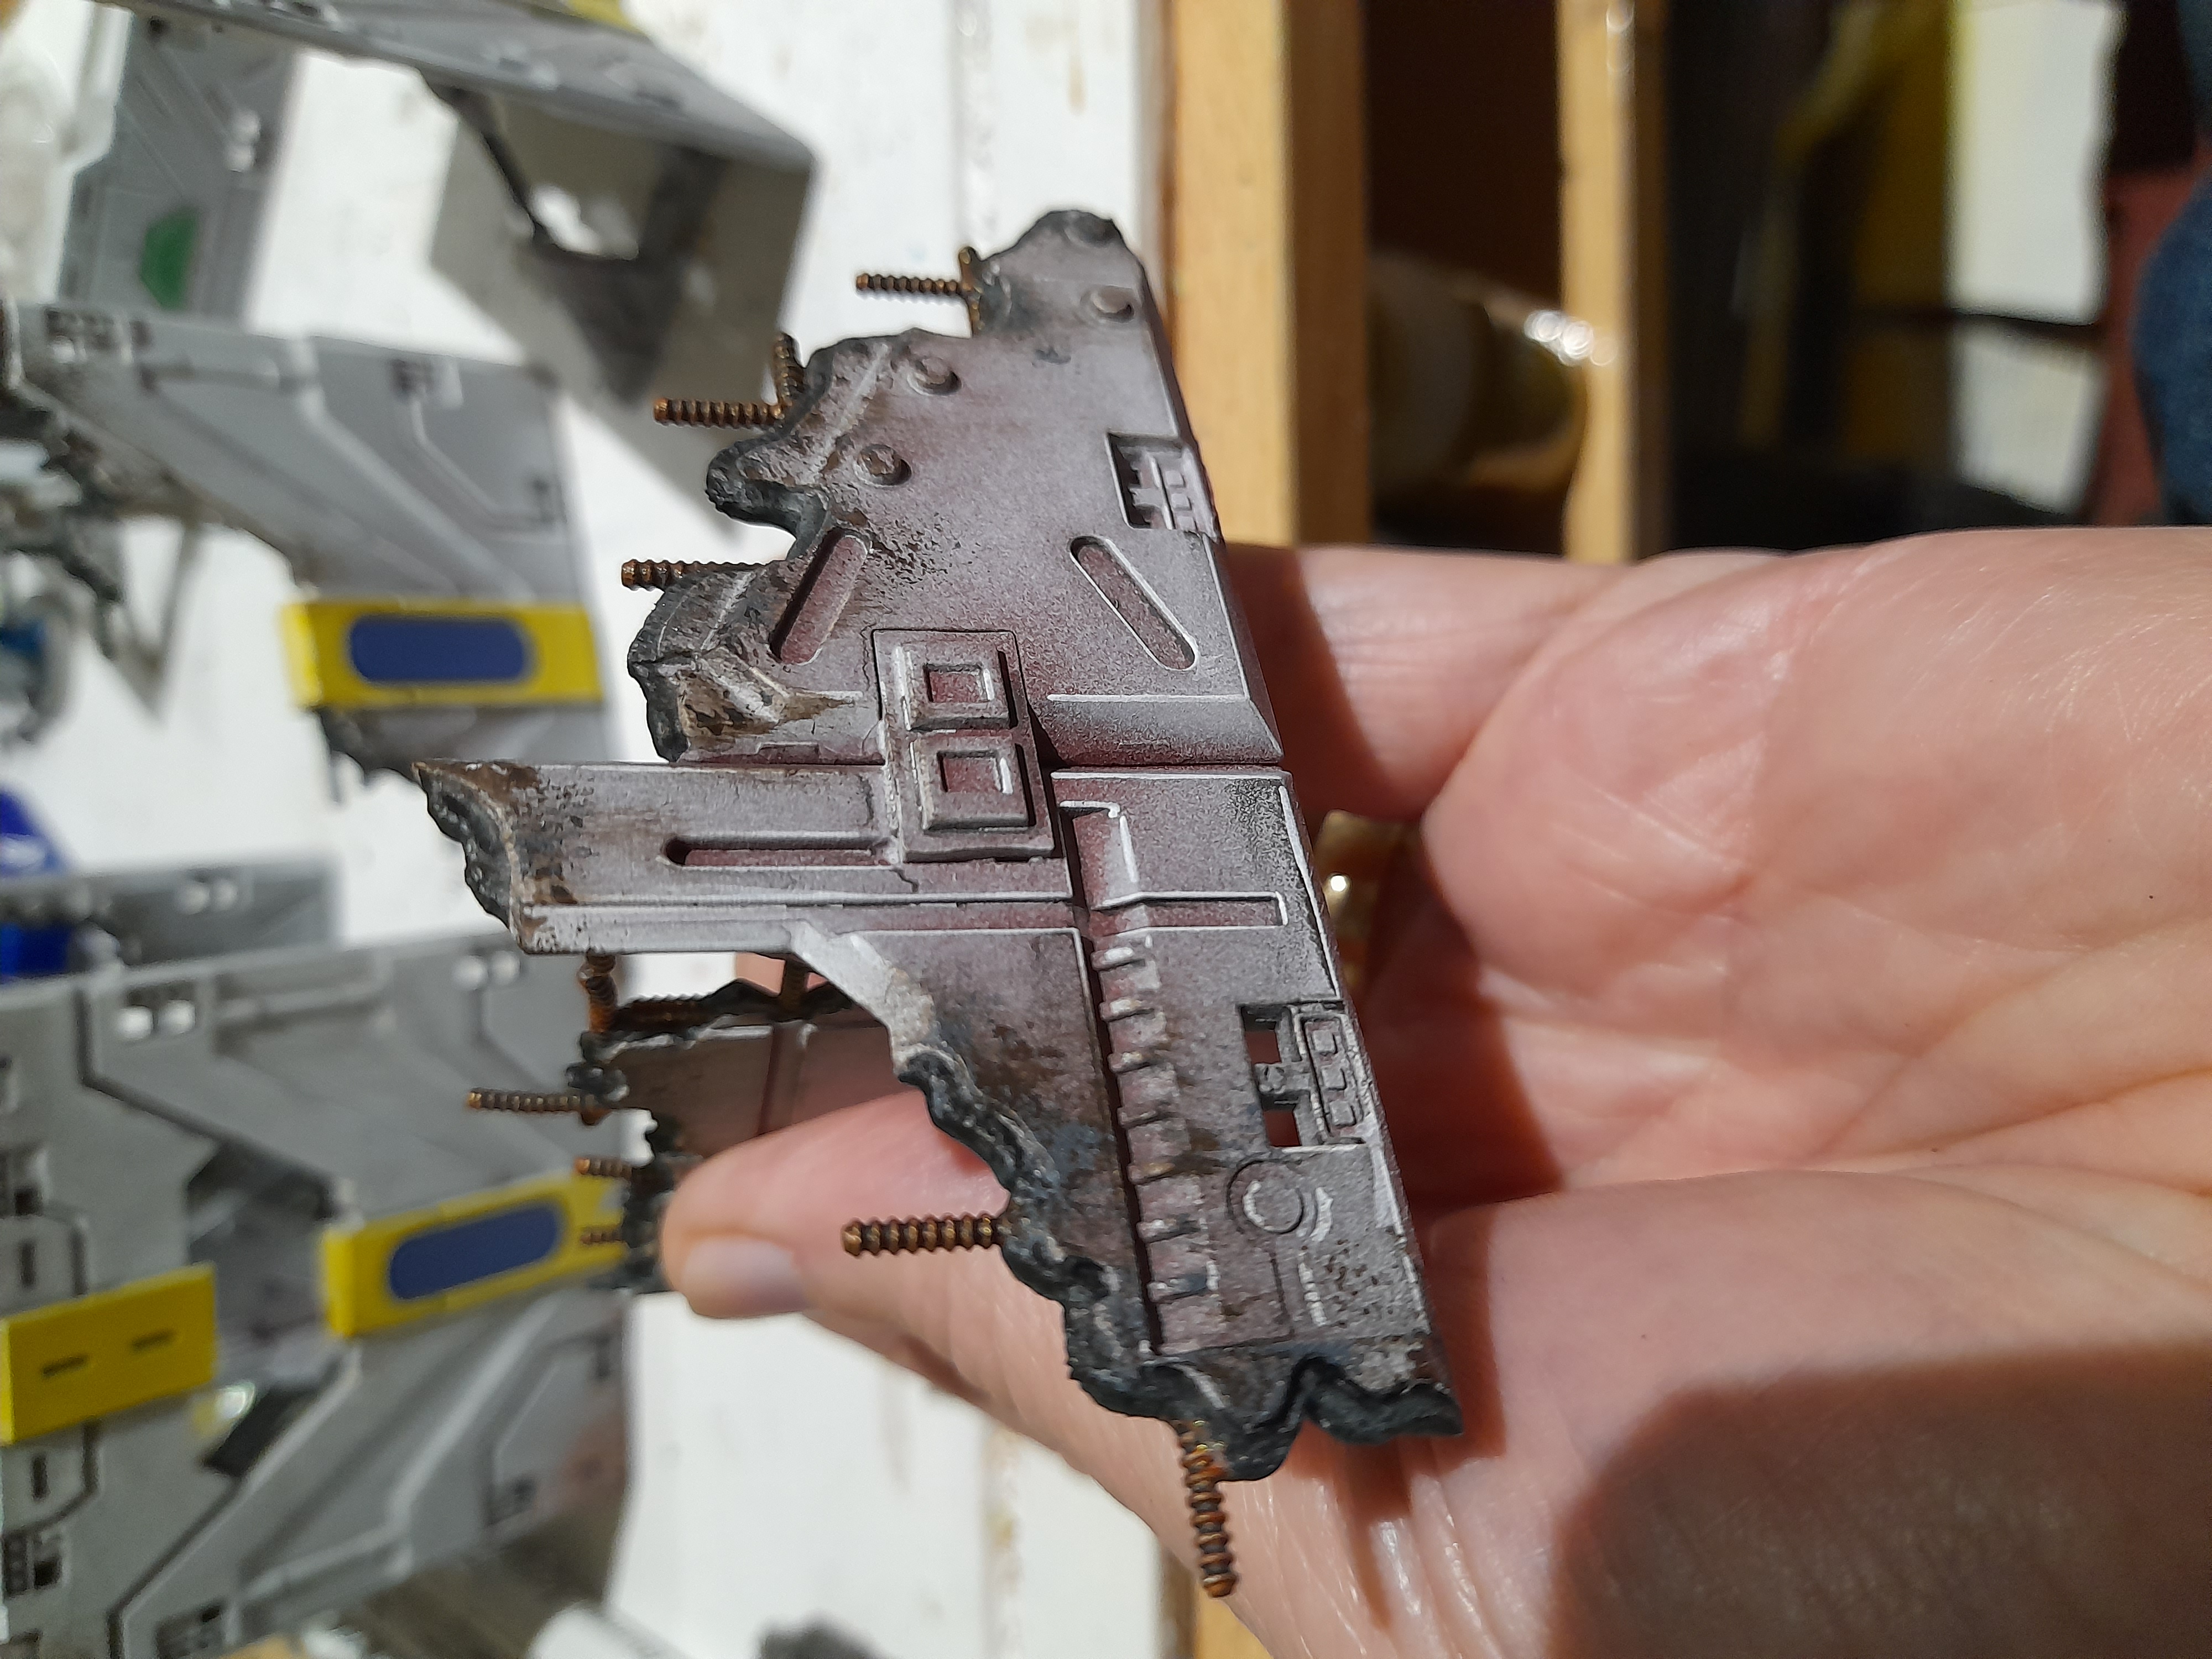
Next up were the buildings for the demo layout.
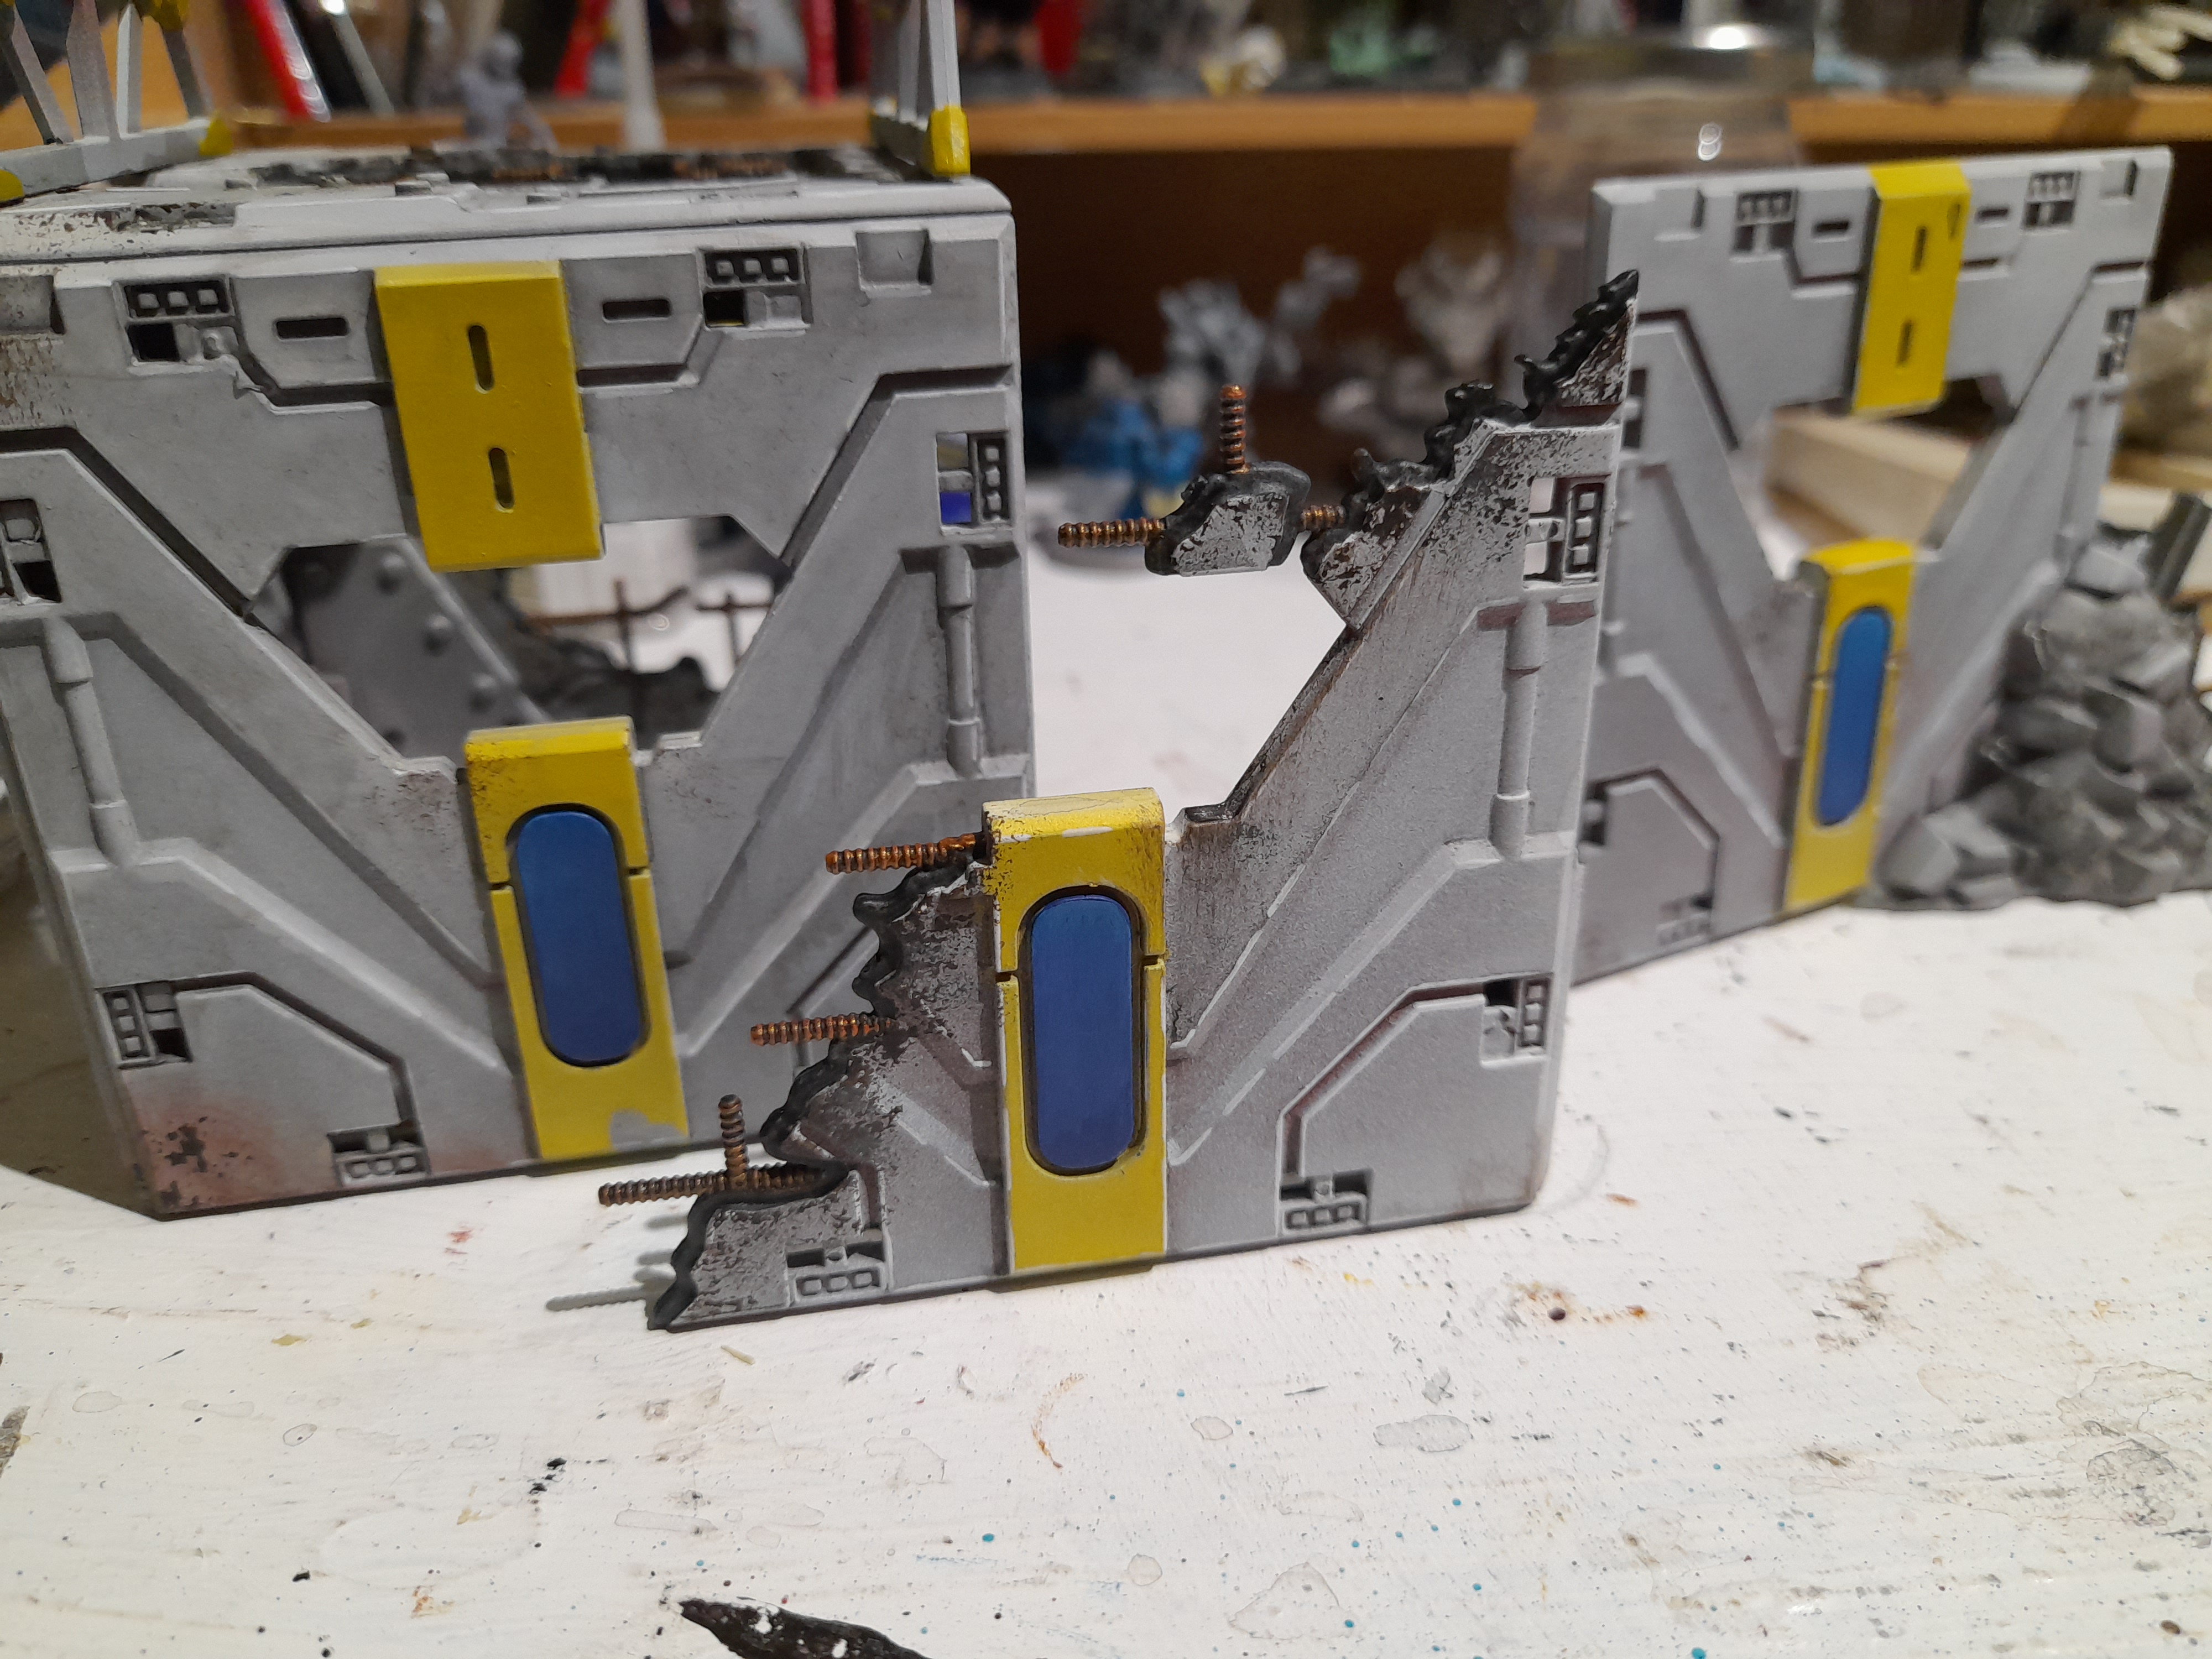
They had the same treatment (as all now will) of some sponge applied dirt areas in grey and brown, lozenge in blues, some black contrast around the damaged areas and copper re-bar for warmth.
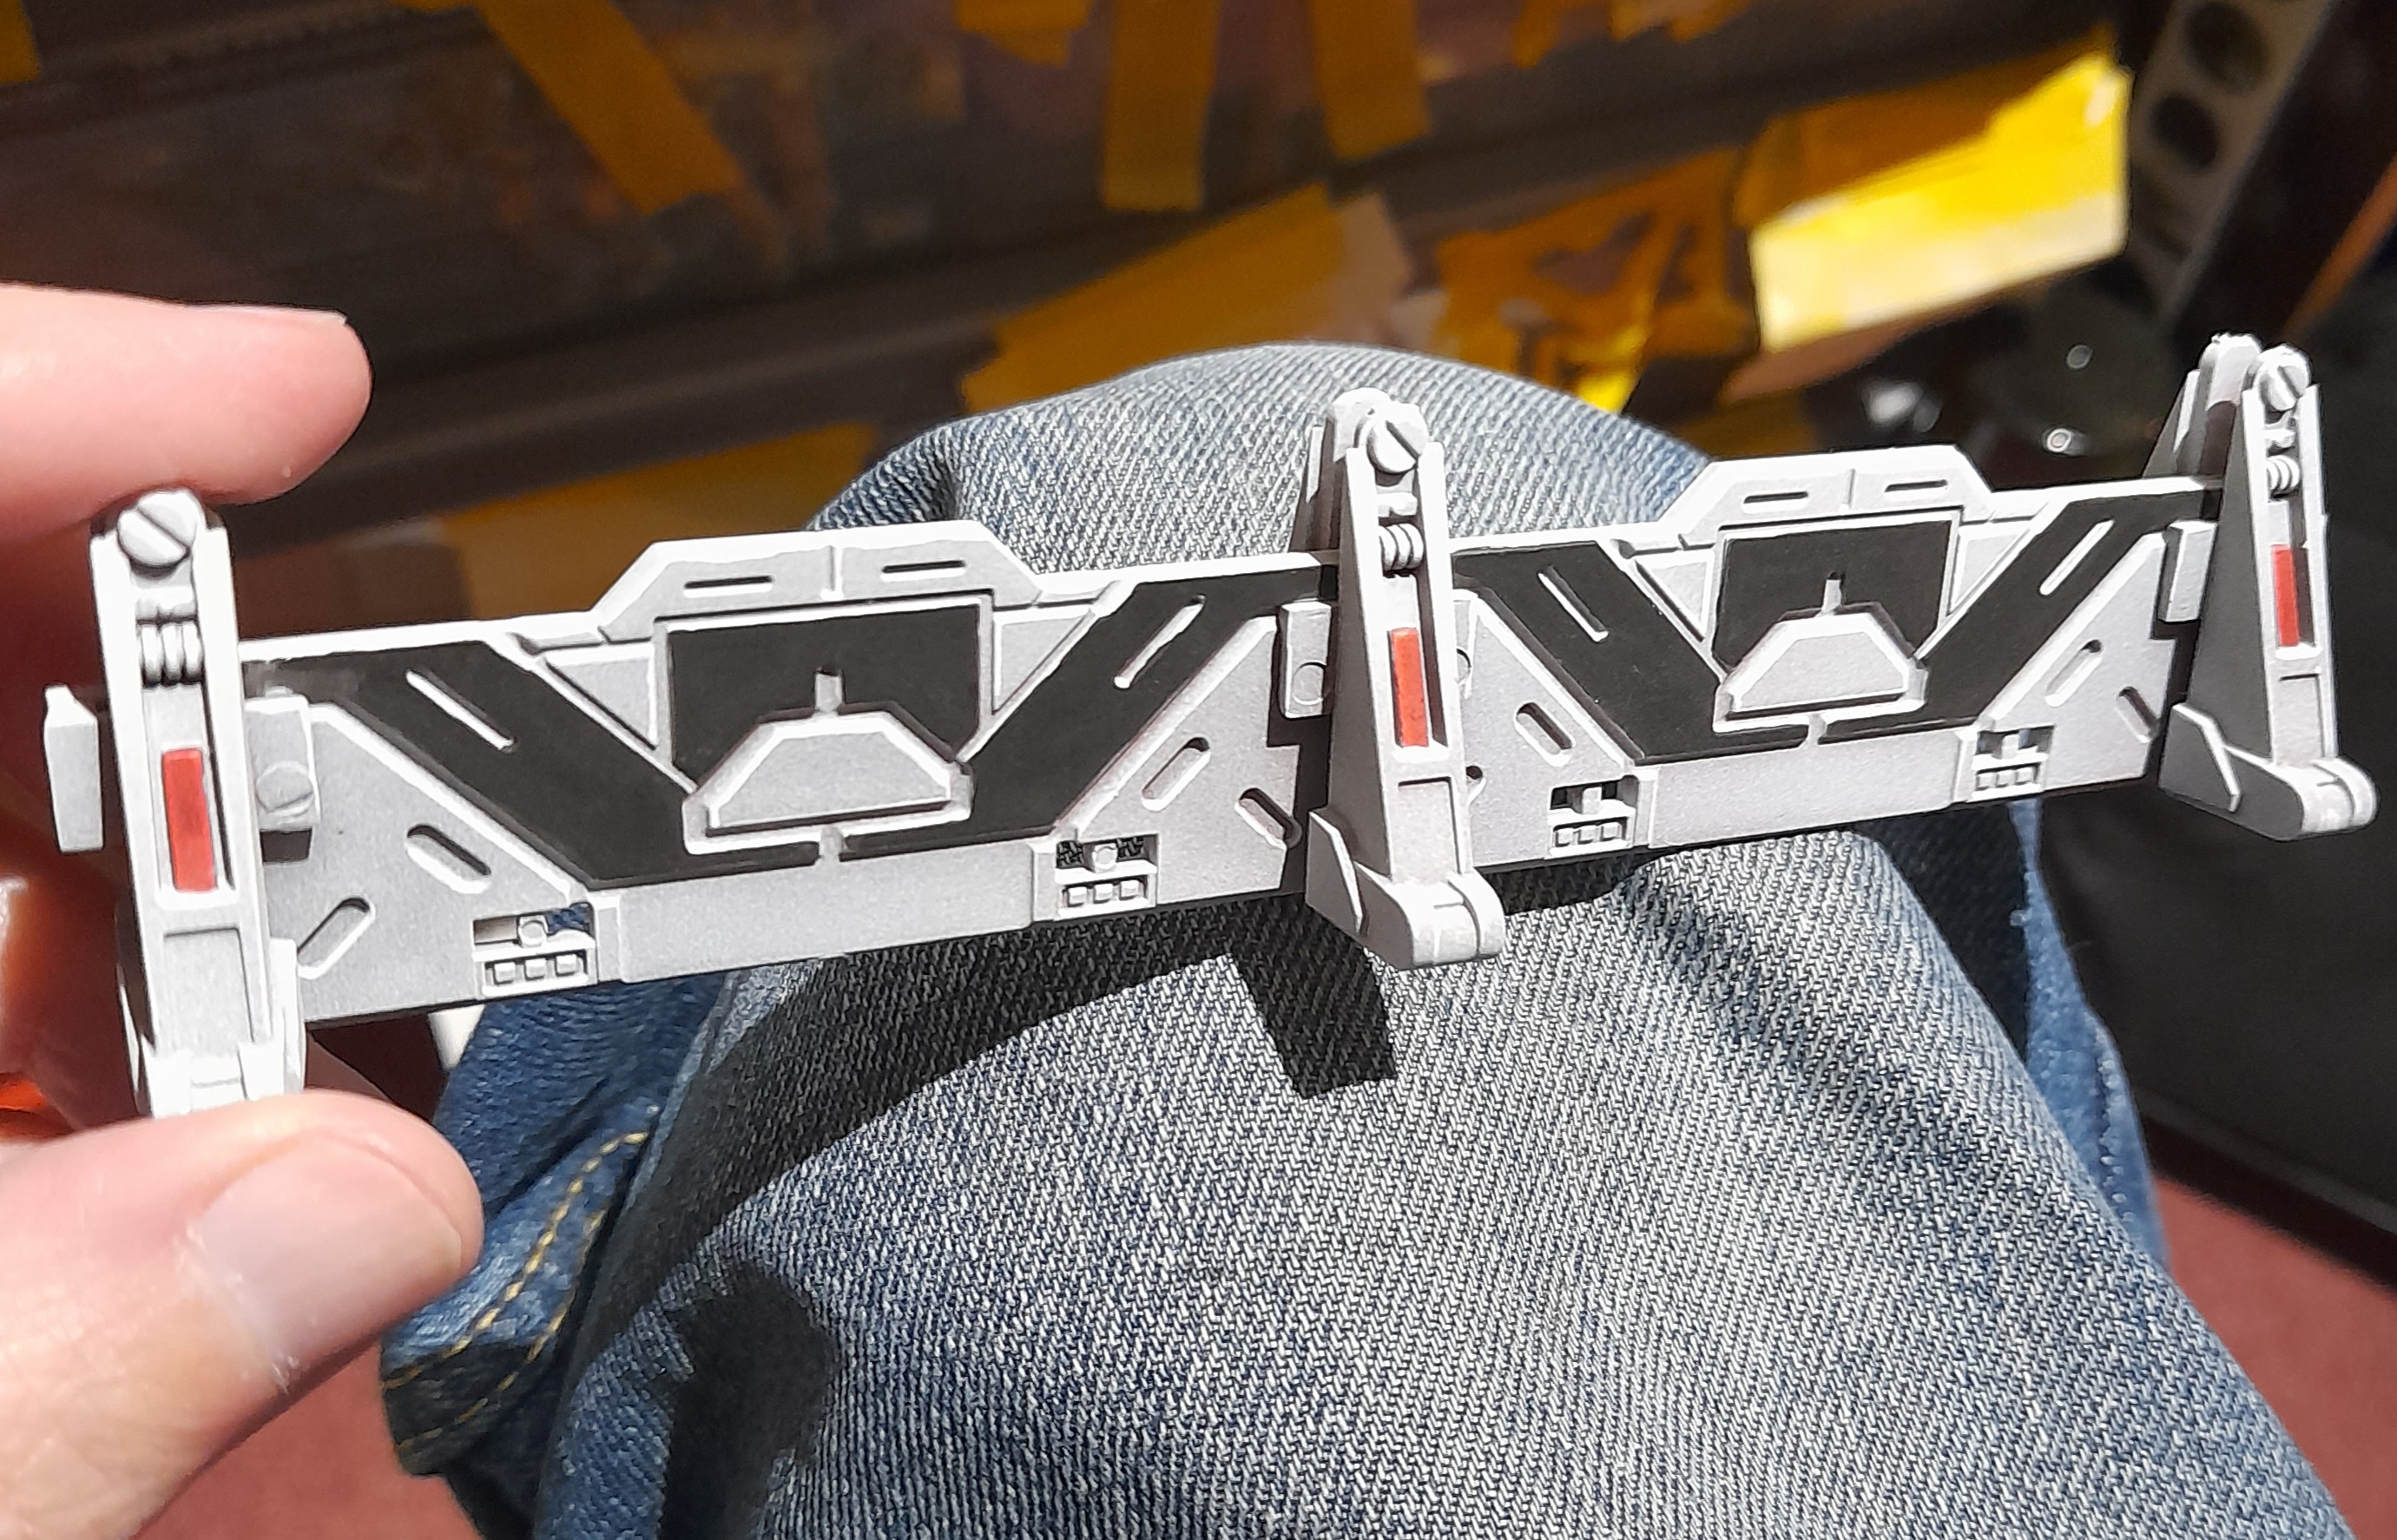
The linear ground barricades I applied a black contrast panel, to make it look different (as if deployed by police perhaps?) and added a colour to the vertical supports – one side has red, one side has green.
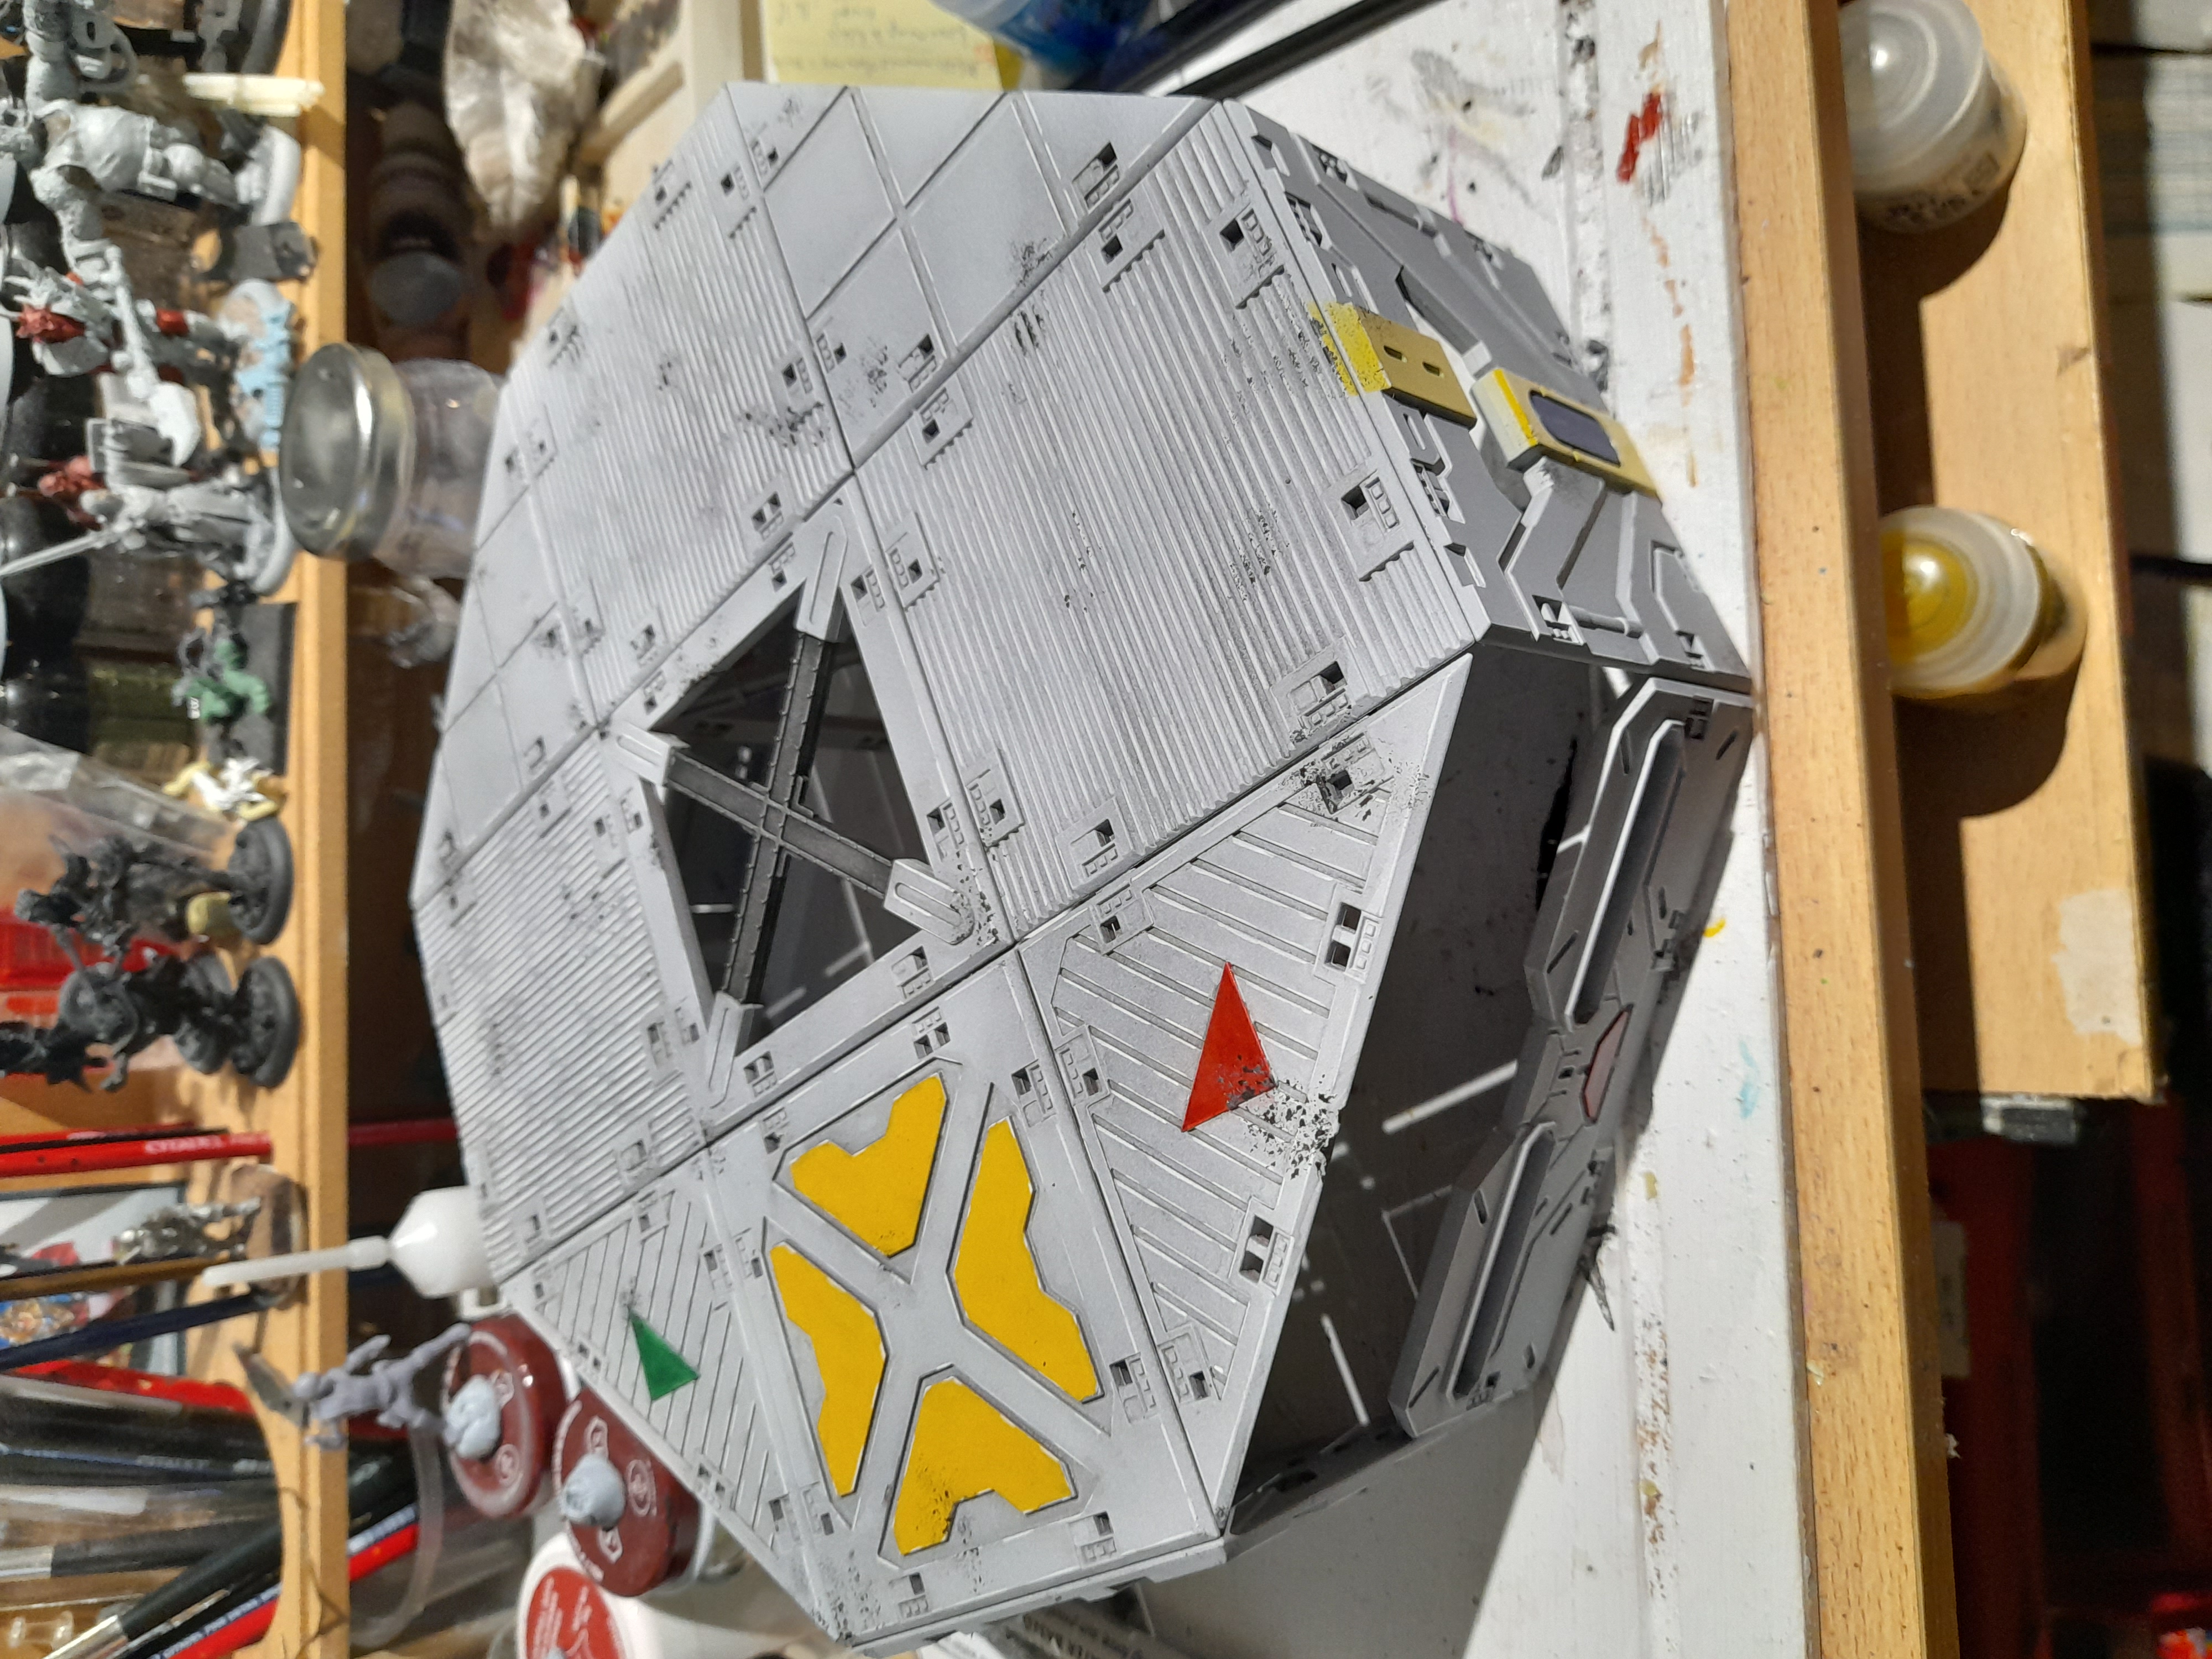
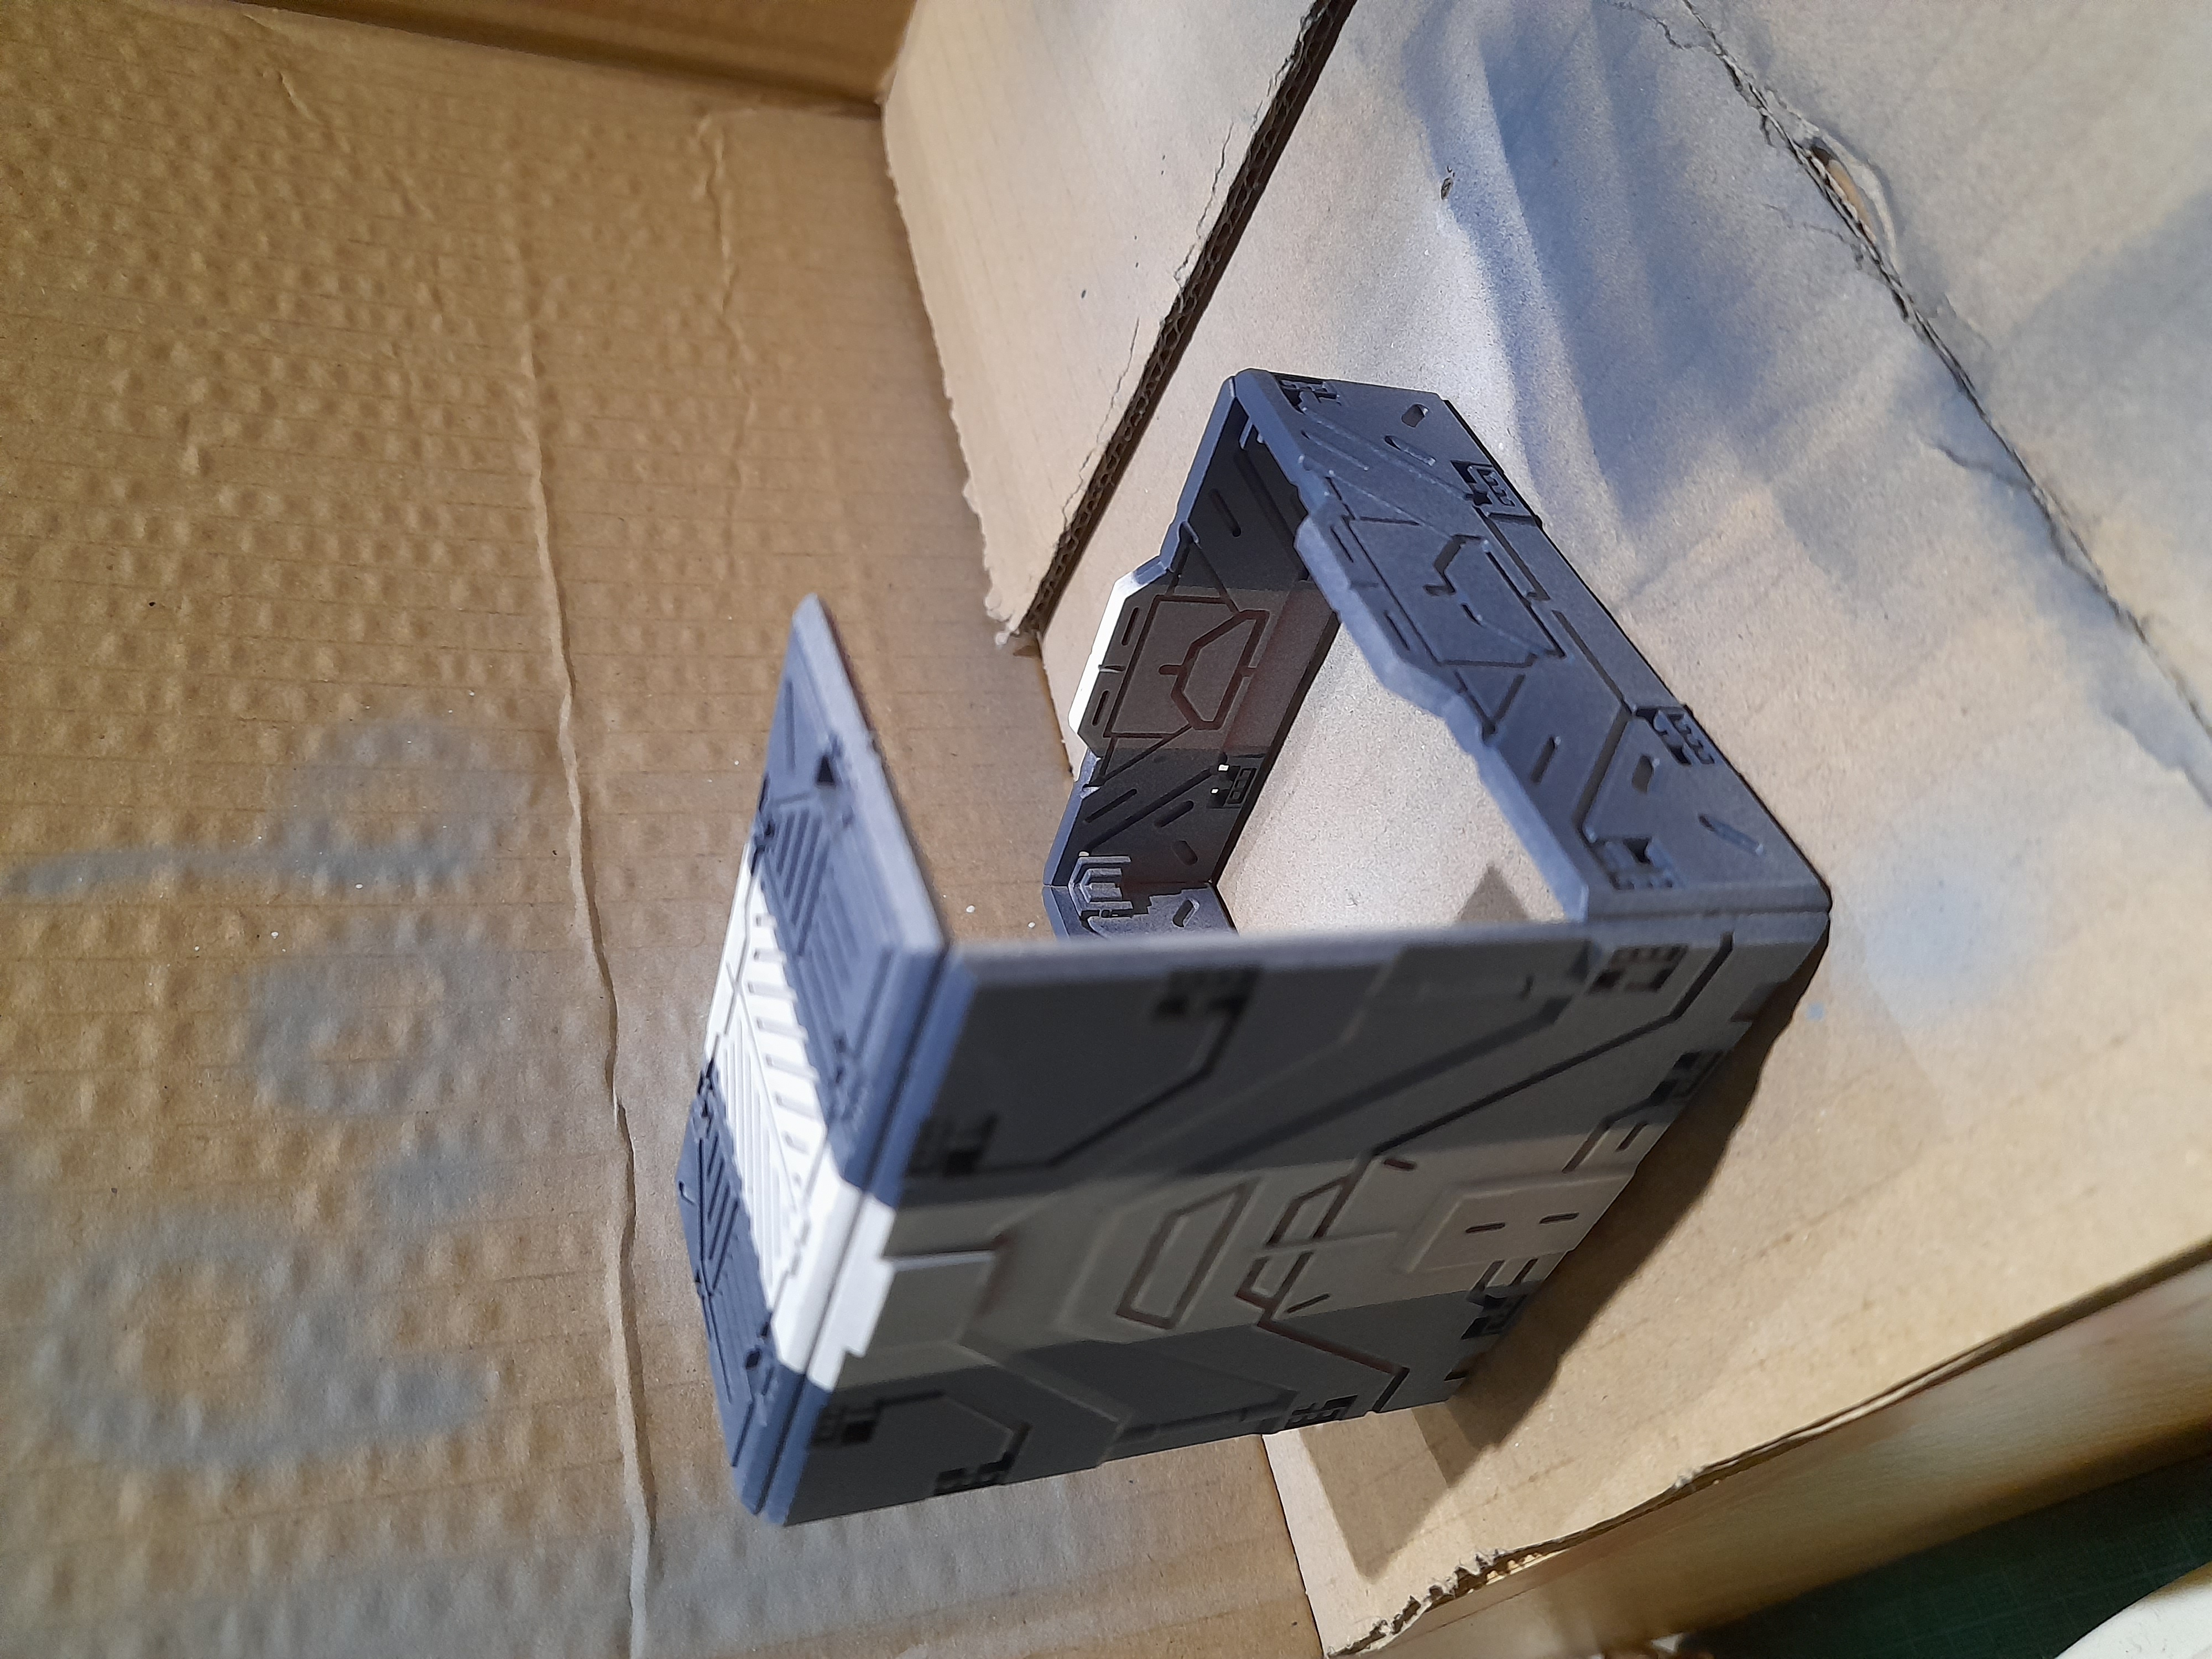
The final building that I have managed to ‘complete’ (I’m sure there will be things I revisit) is the quality street shaped octagonal structure.

Making more work for myself
20th January 2023
Bit late on the update this week, but work has been continuing on this project.
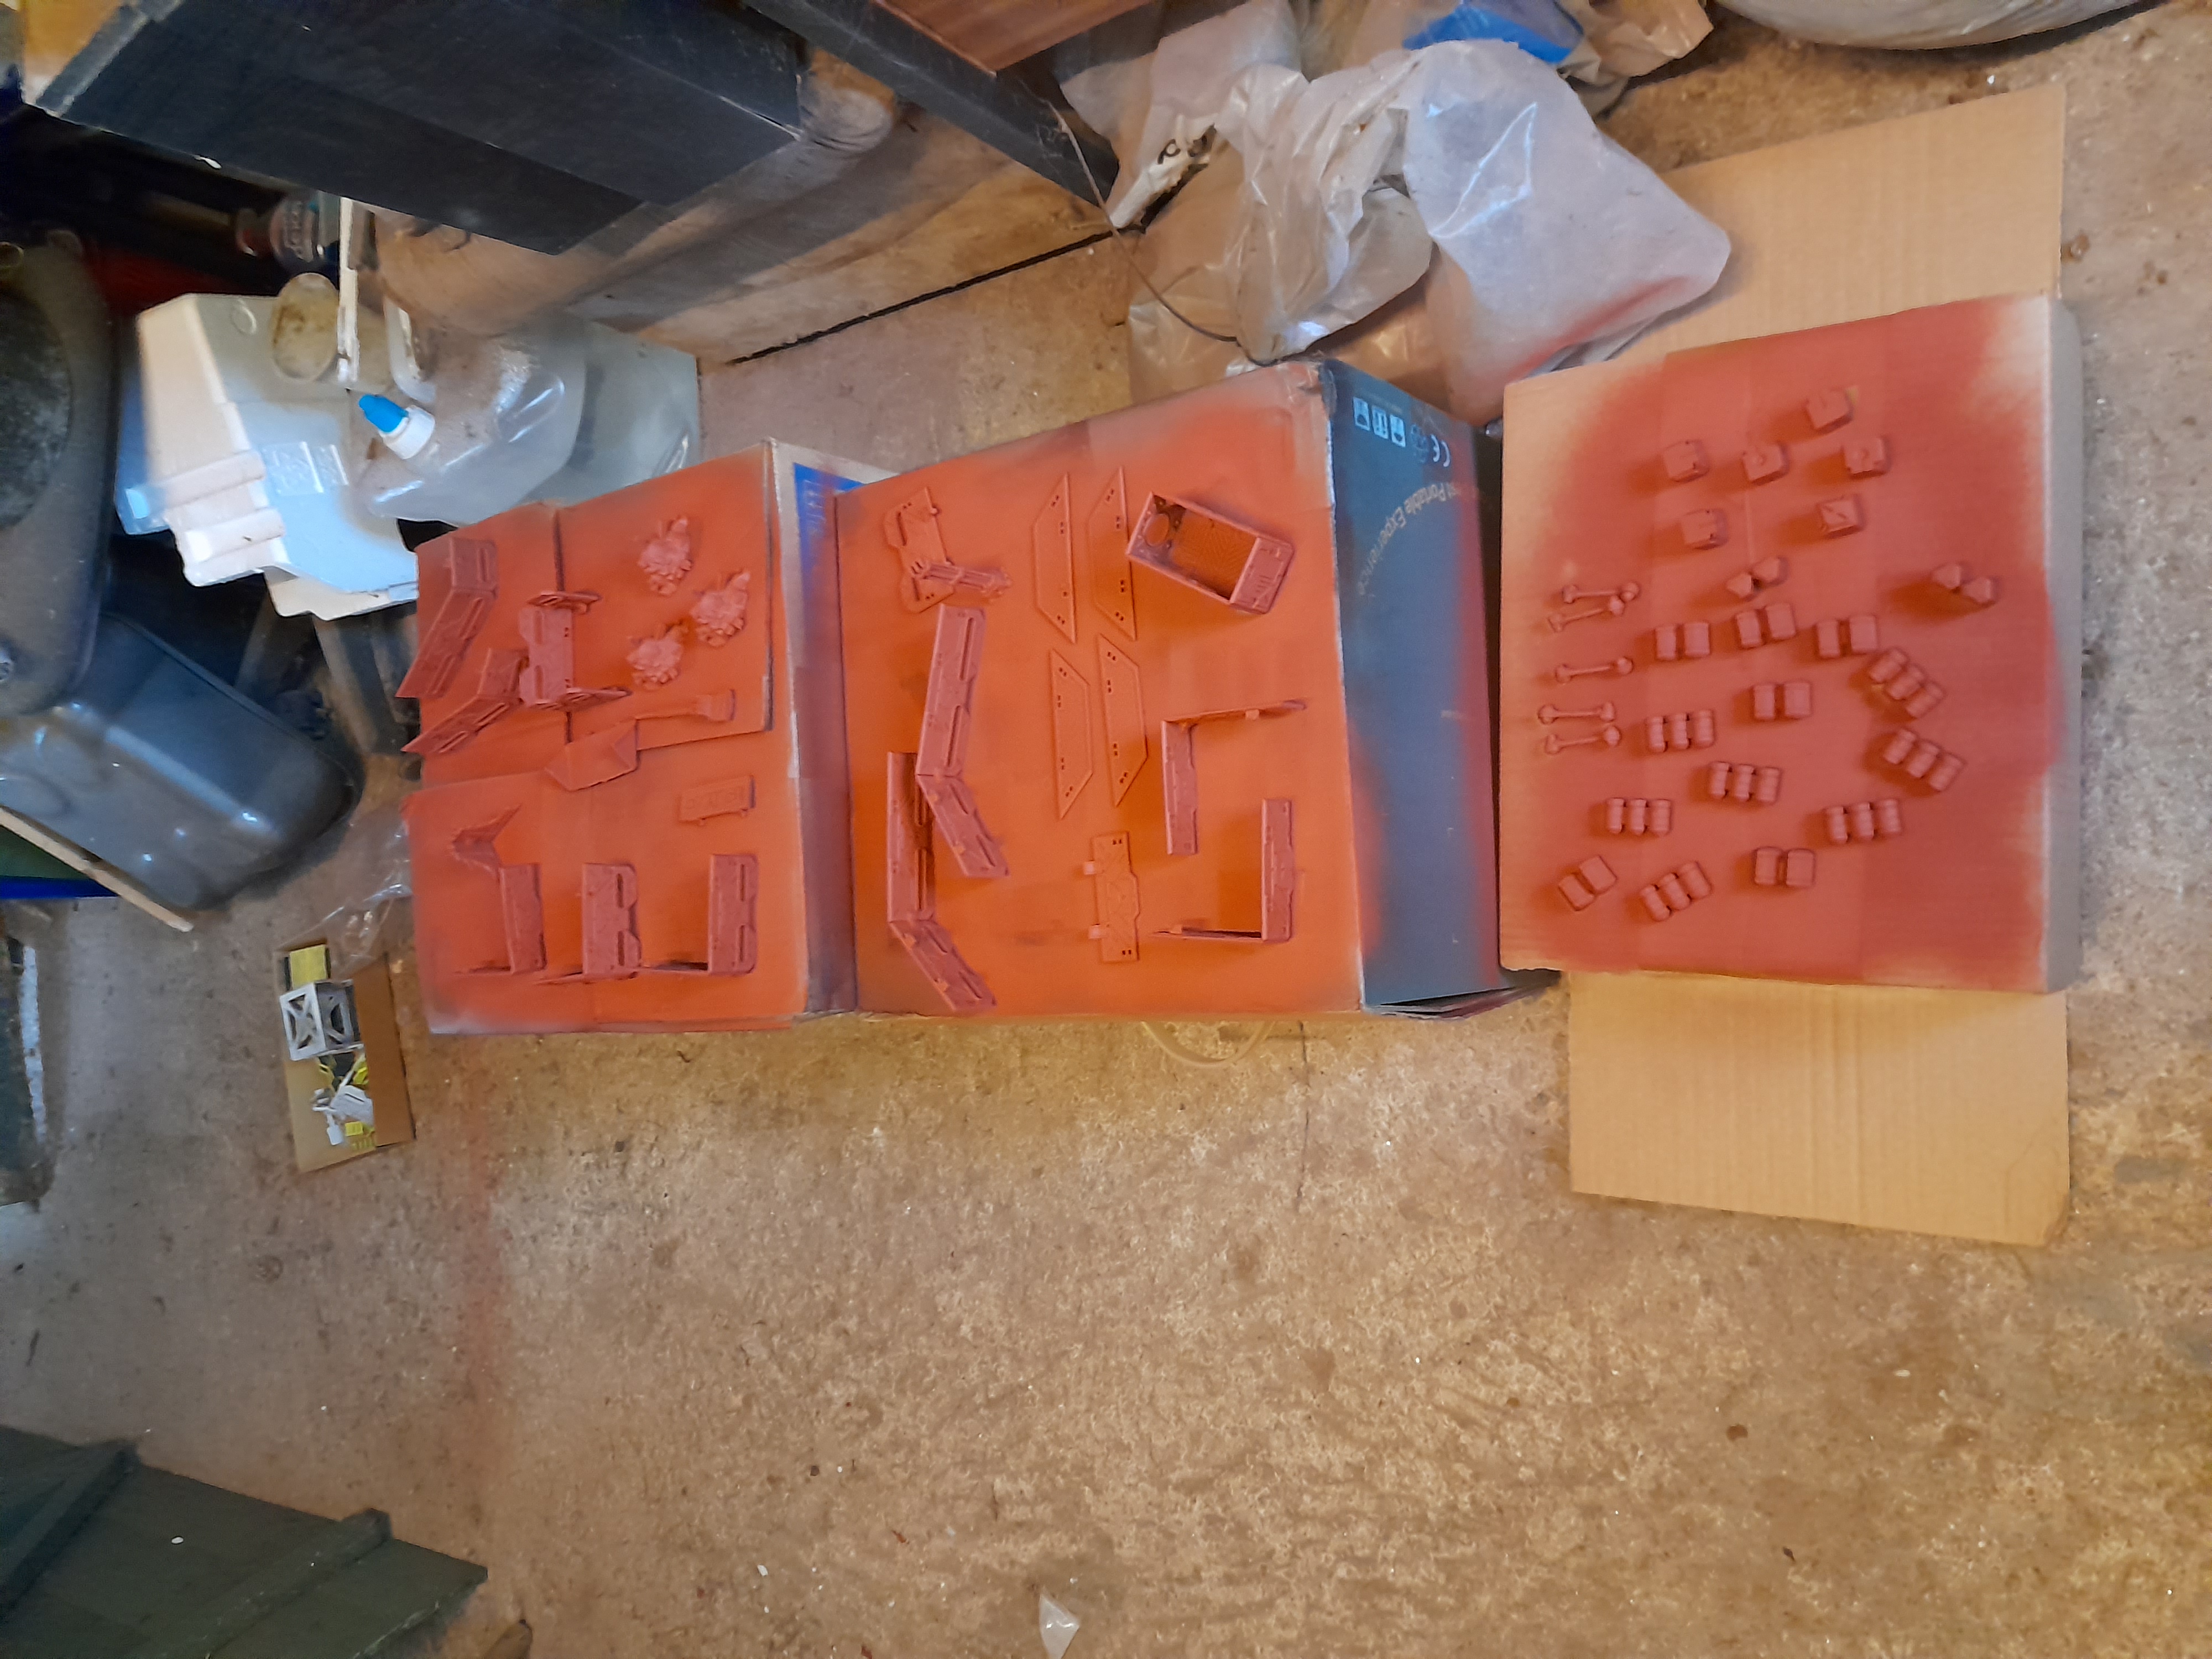
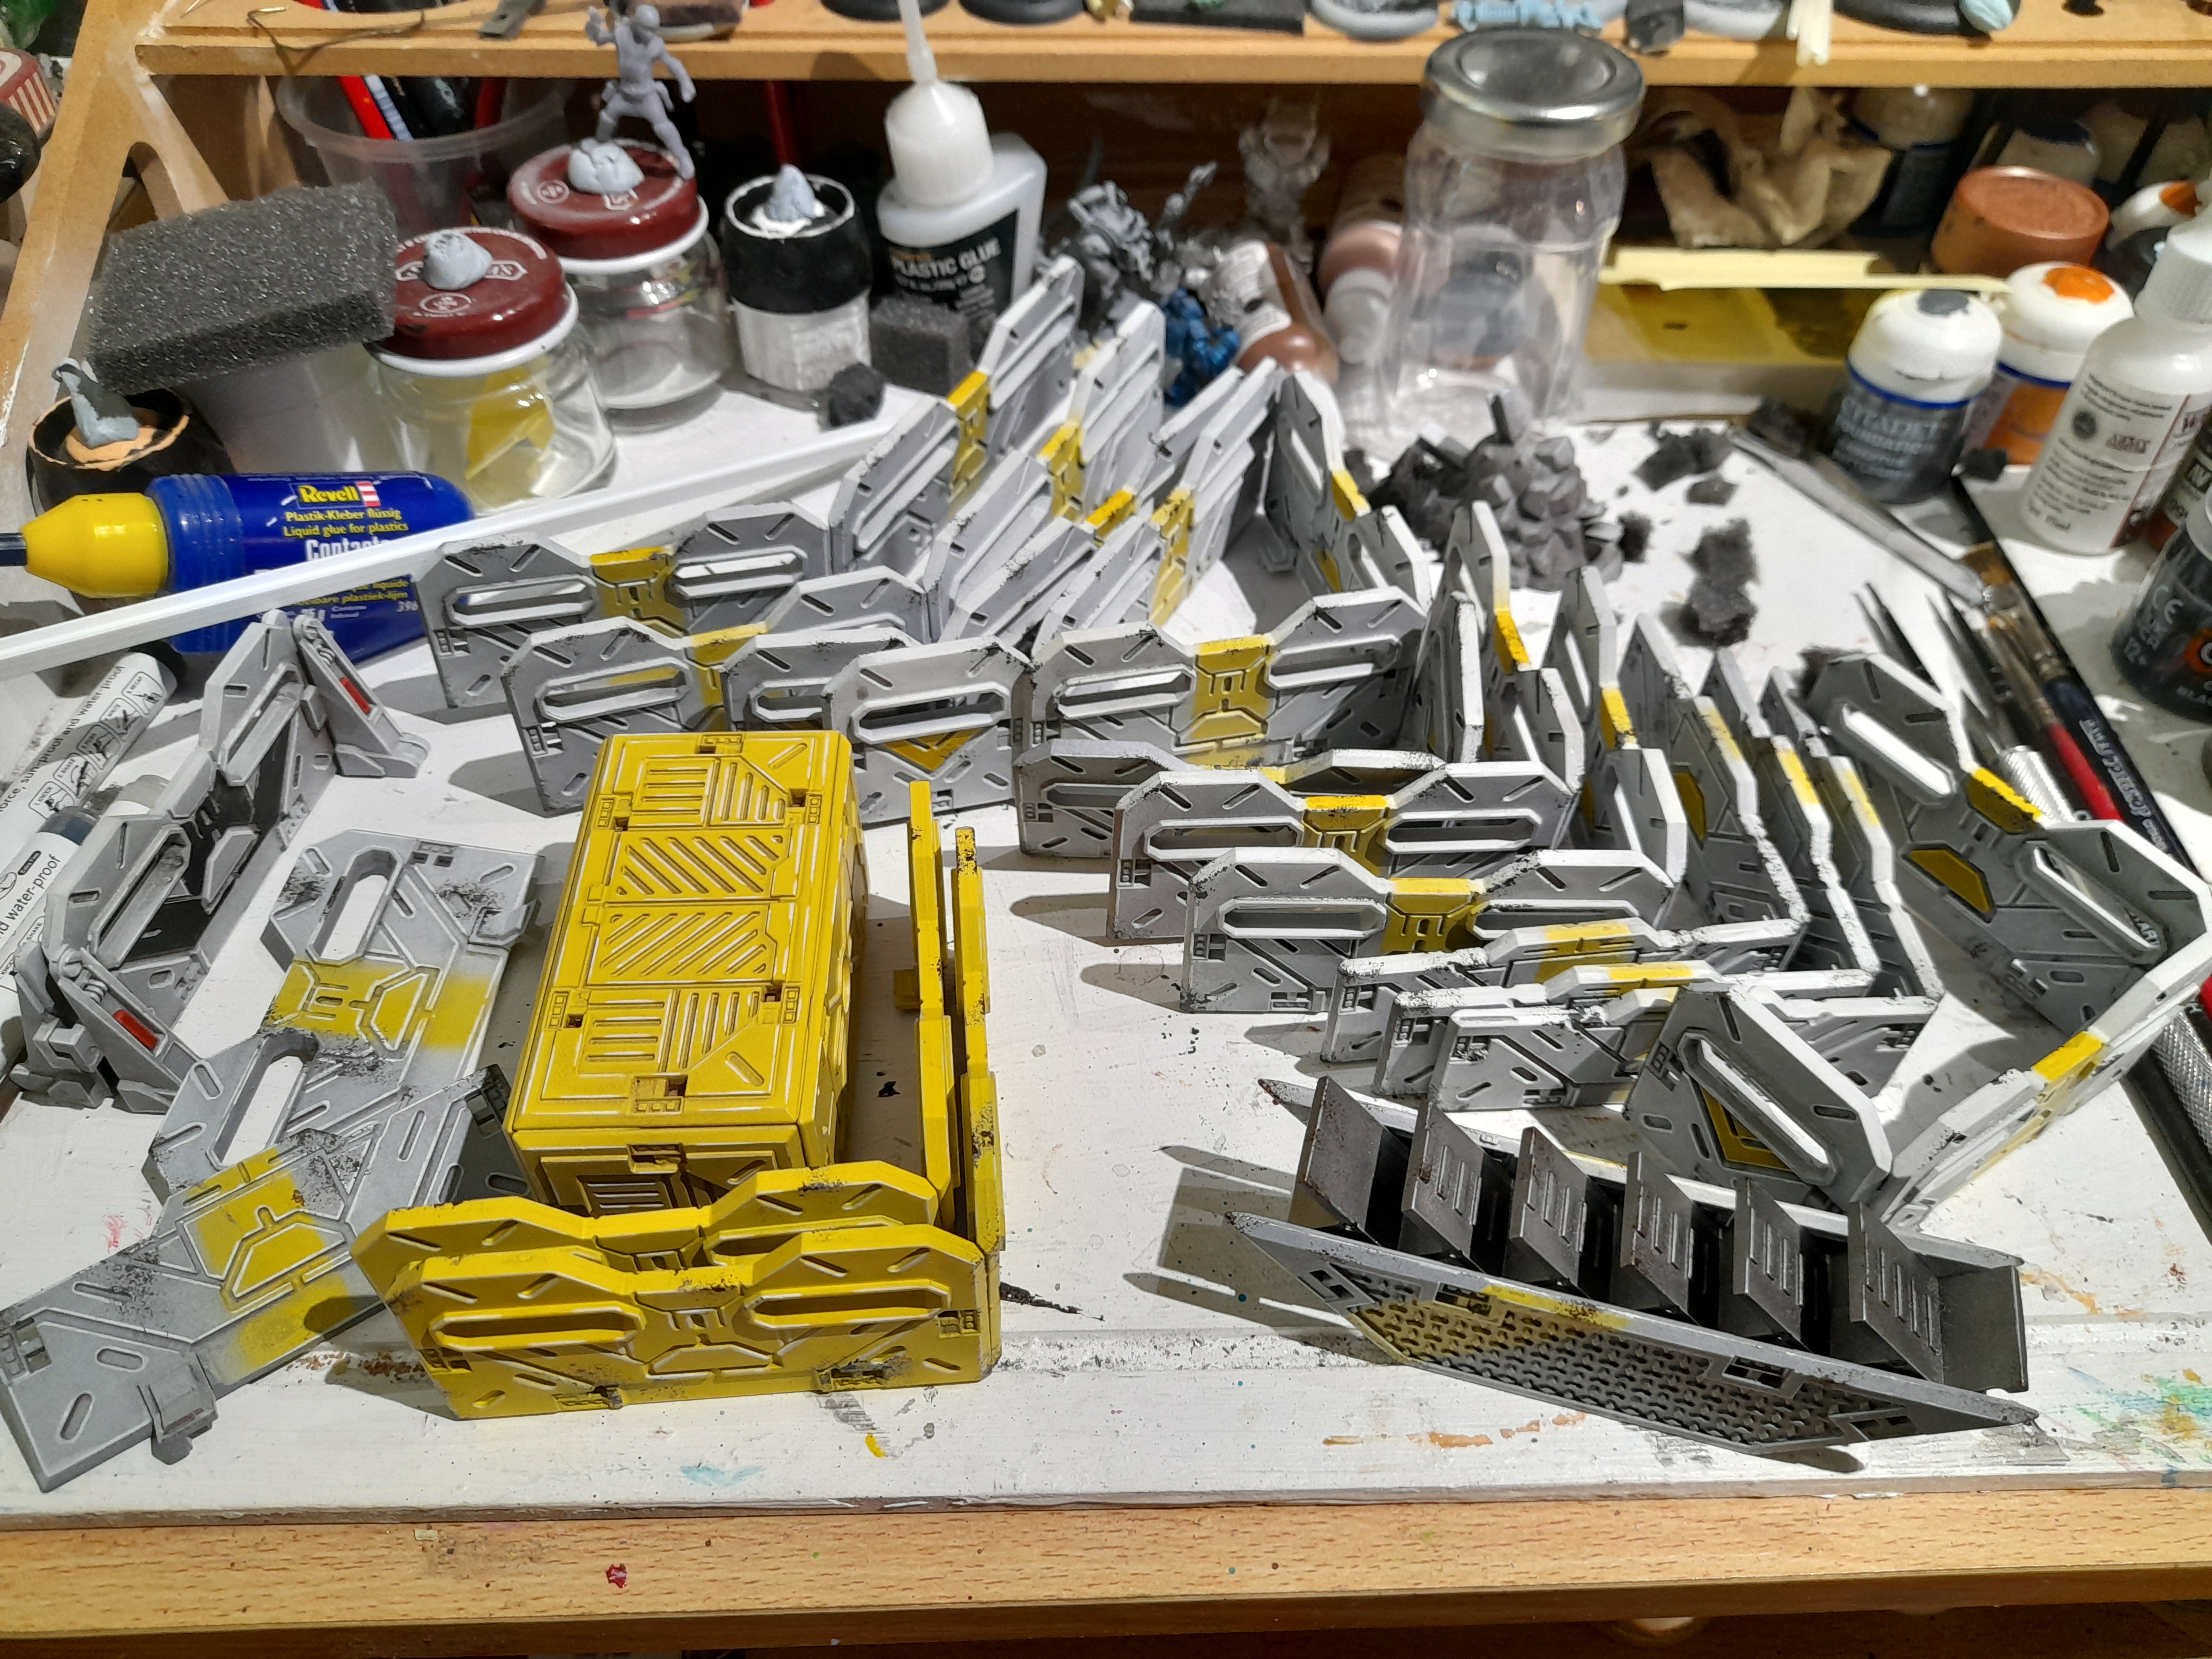
Alongside ongoing weathering, I decided to make some more work for myself by starting into some of the walls, barricades and scatter over the weekend.
The weekend gave me the opportunity to get some spraying in while it was slightly warmer, and more importantly, light!
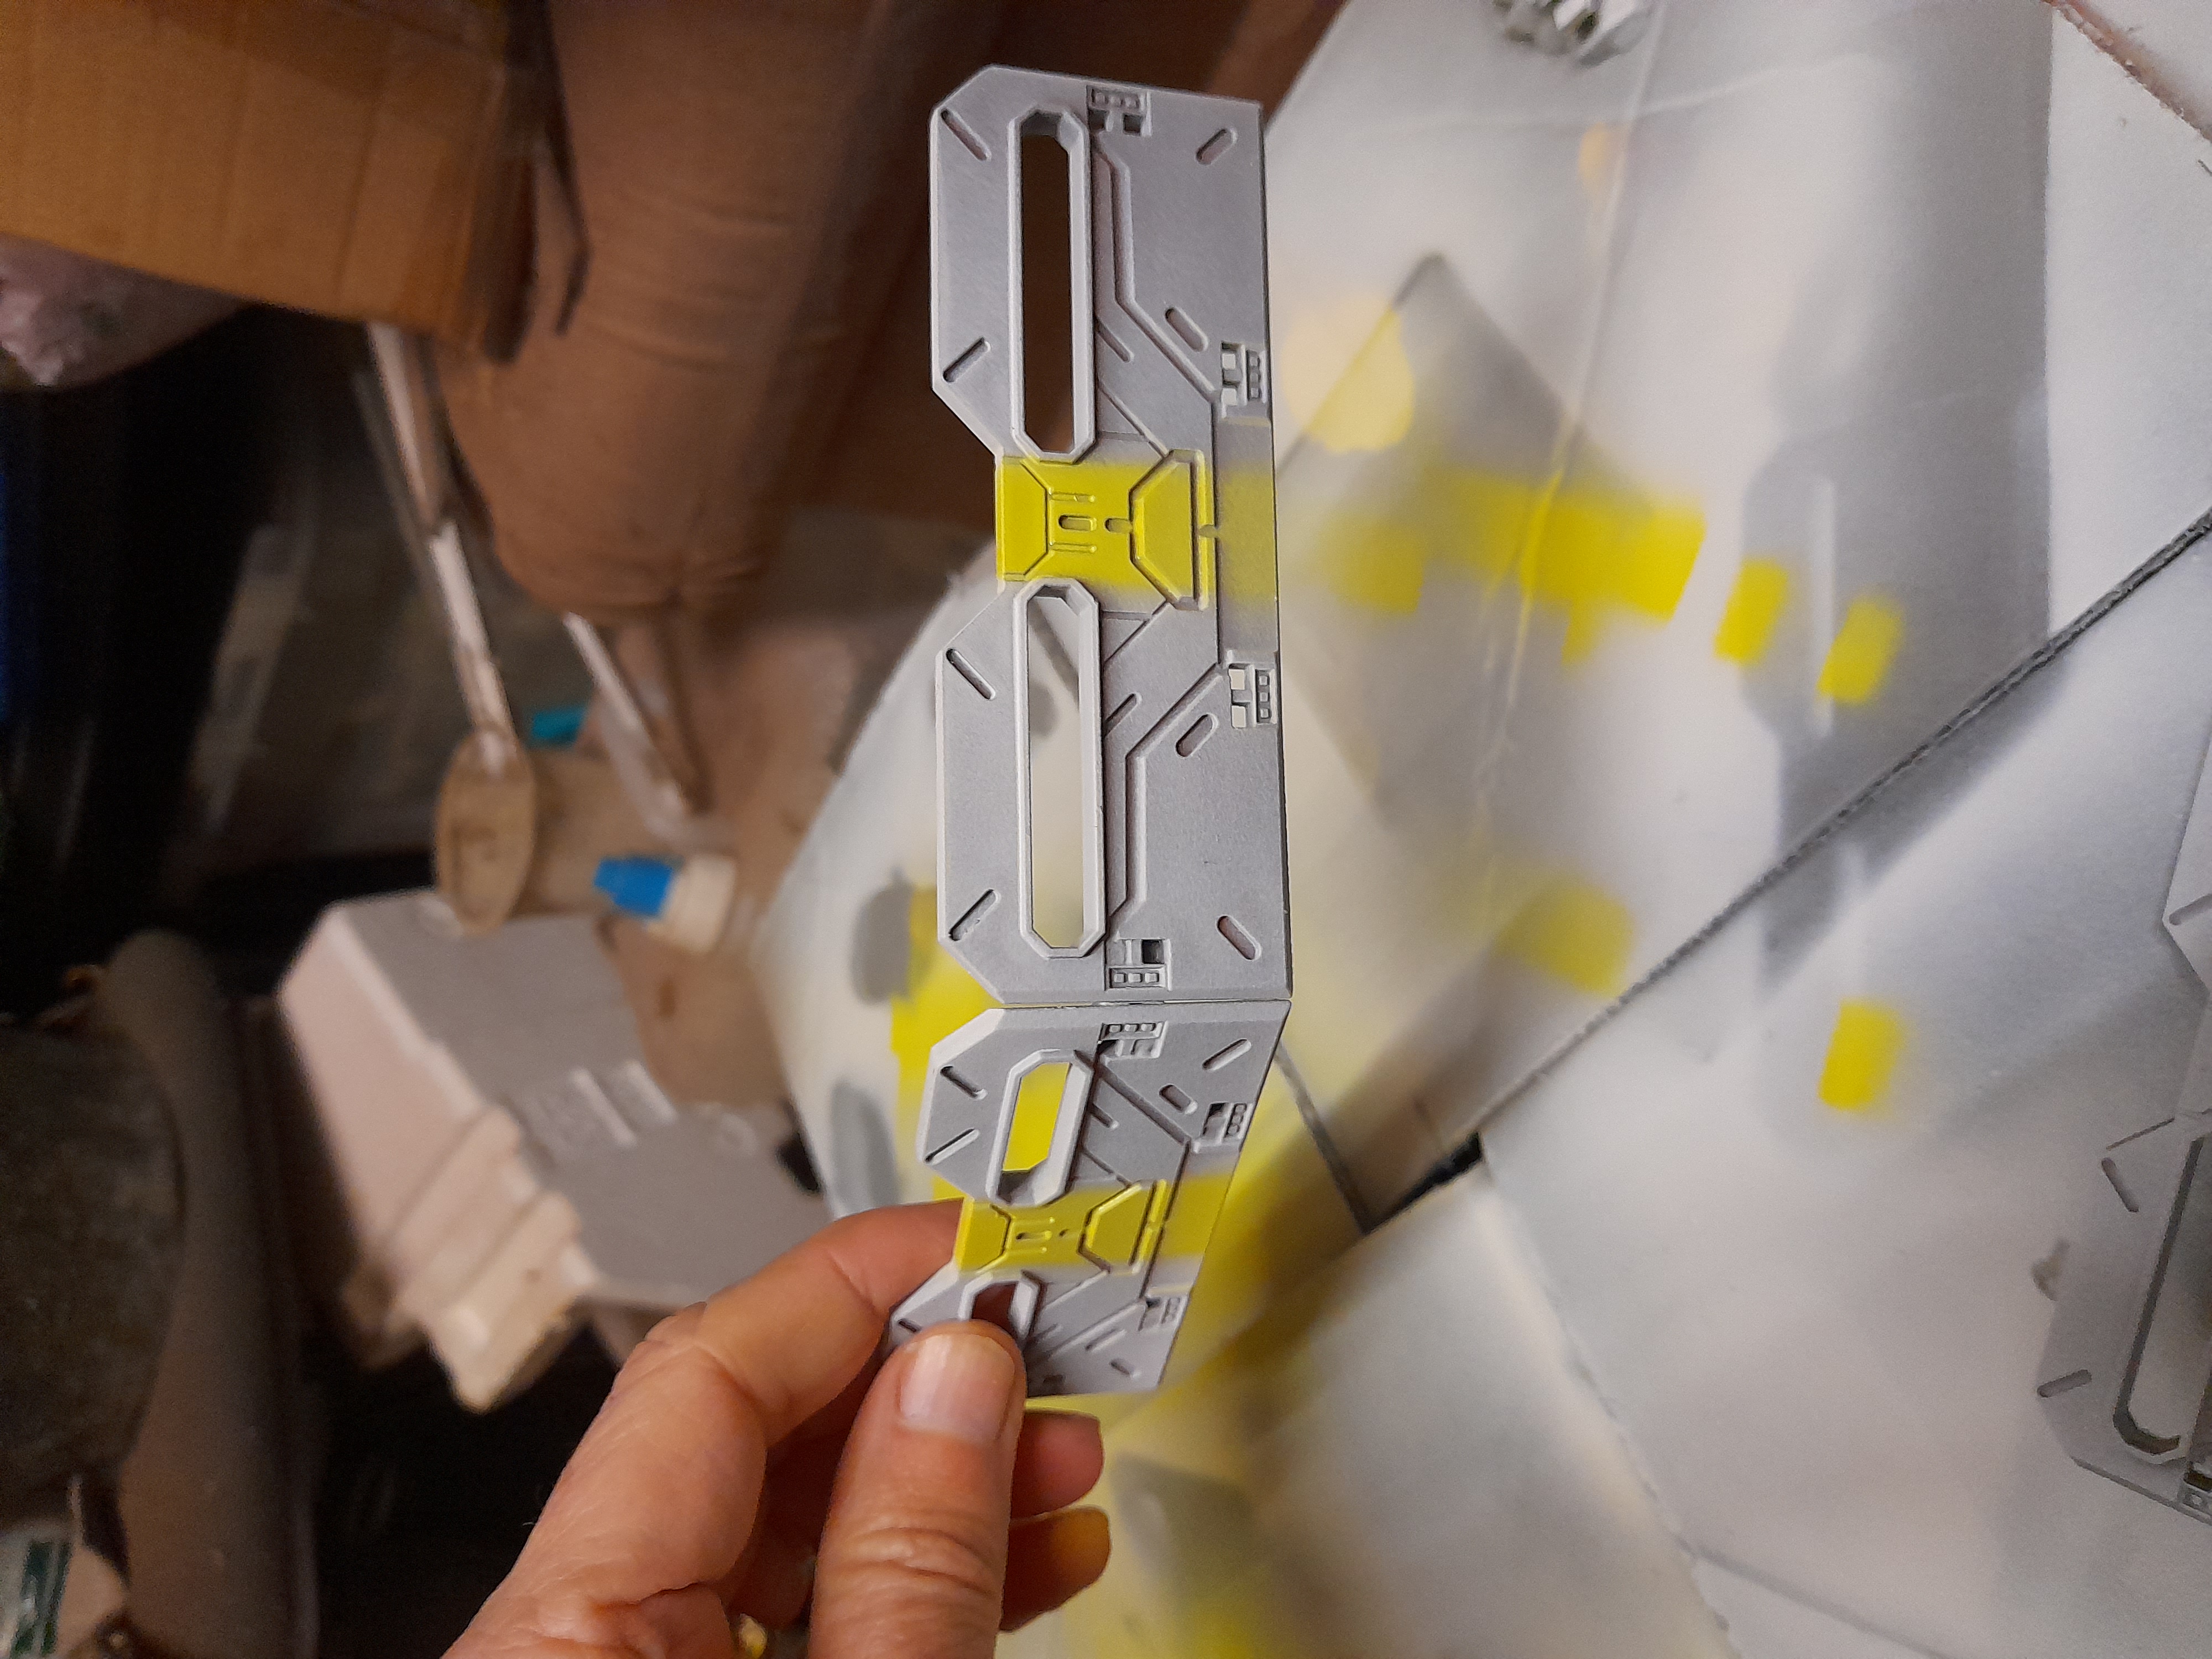
So I took some of the pieces I had already built (walkways mostly) alongside new ones that I put together this week (barricades and walls mostly) and laid into them with the primers.
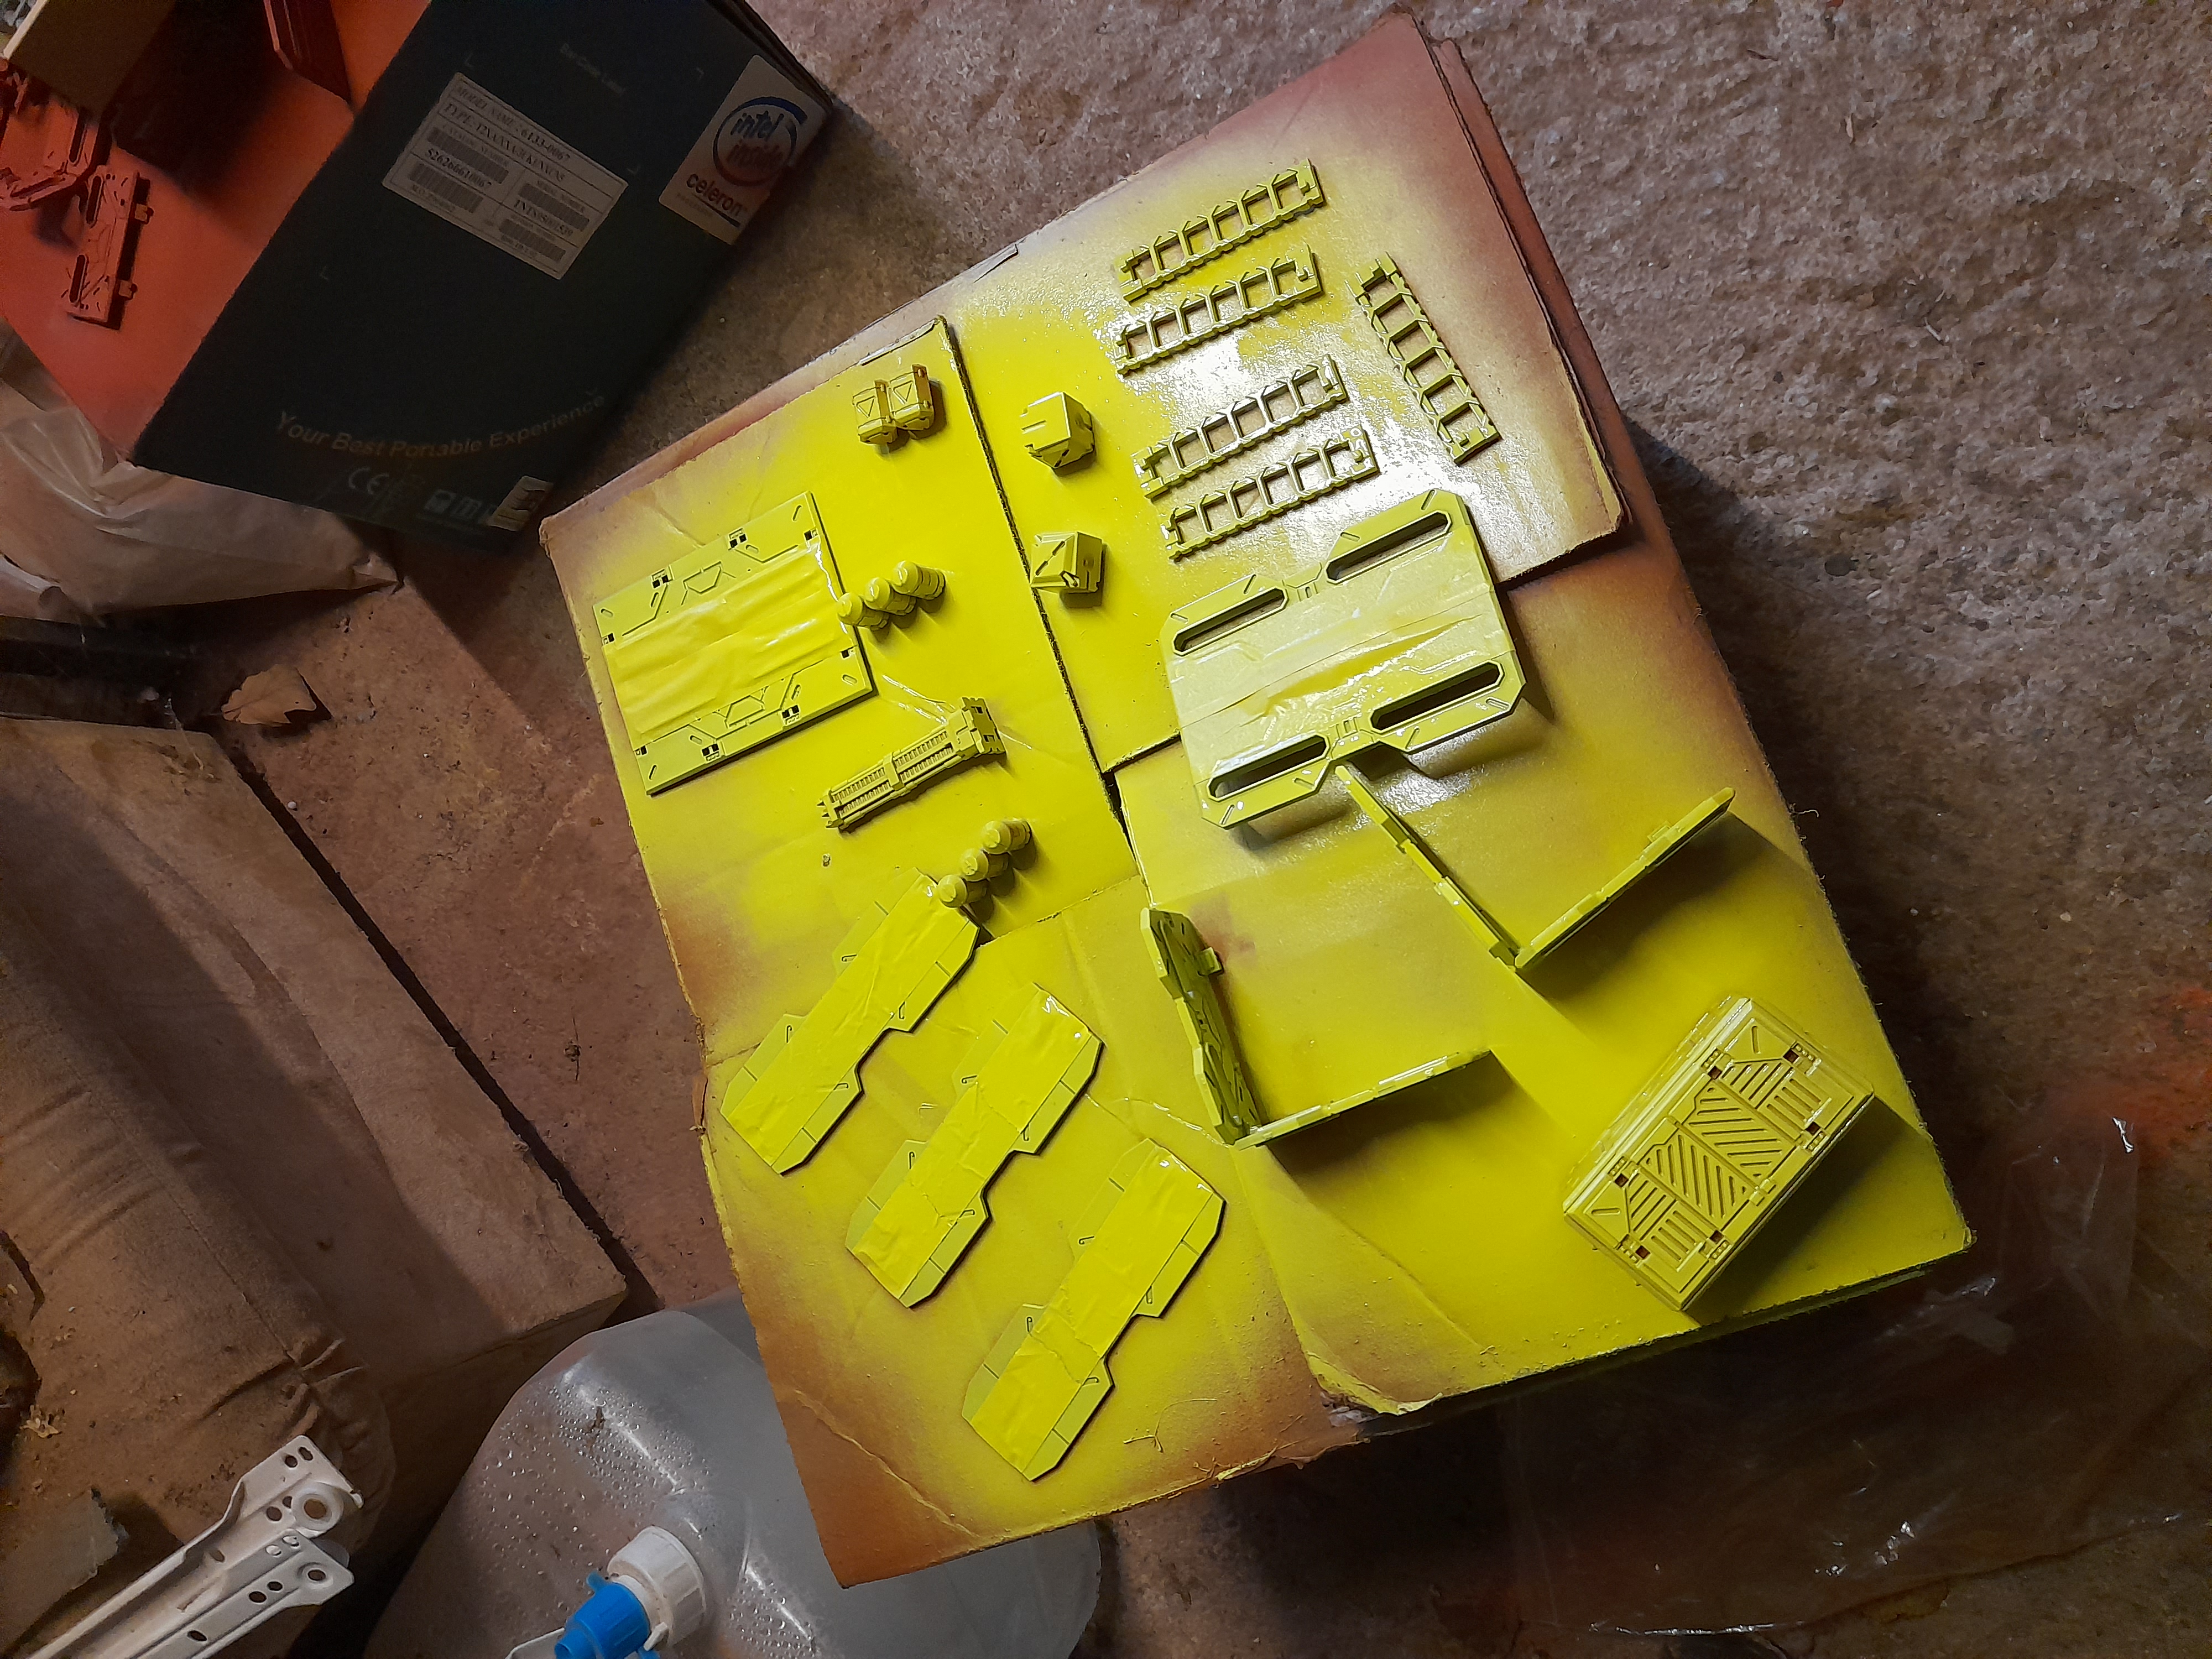
Some of the walkways I wanted to add hazard stripes to the edges of, so out came the masking tape again. For these smaller pieces I had to cut the masking tape down to thinner strips.
Then it was a case of masking them off slightly more at each stage, and spraying up again. I will do the reveal in reverse…..
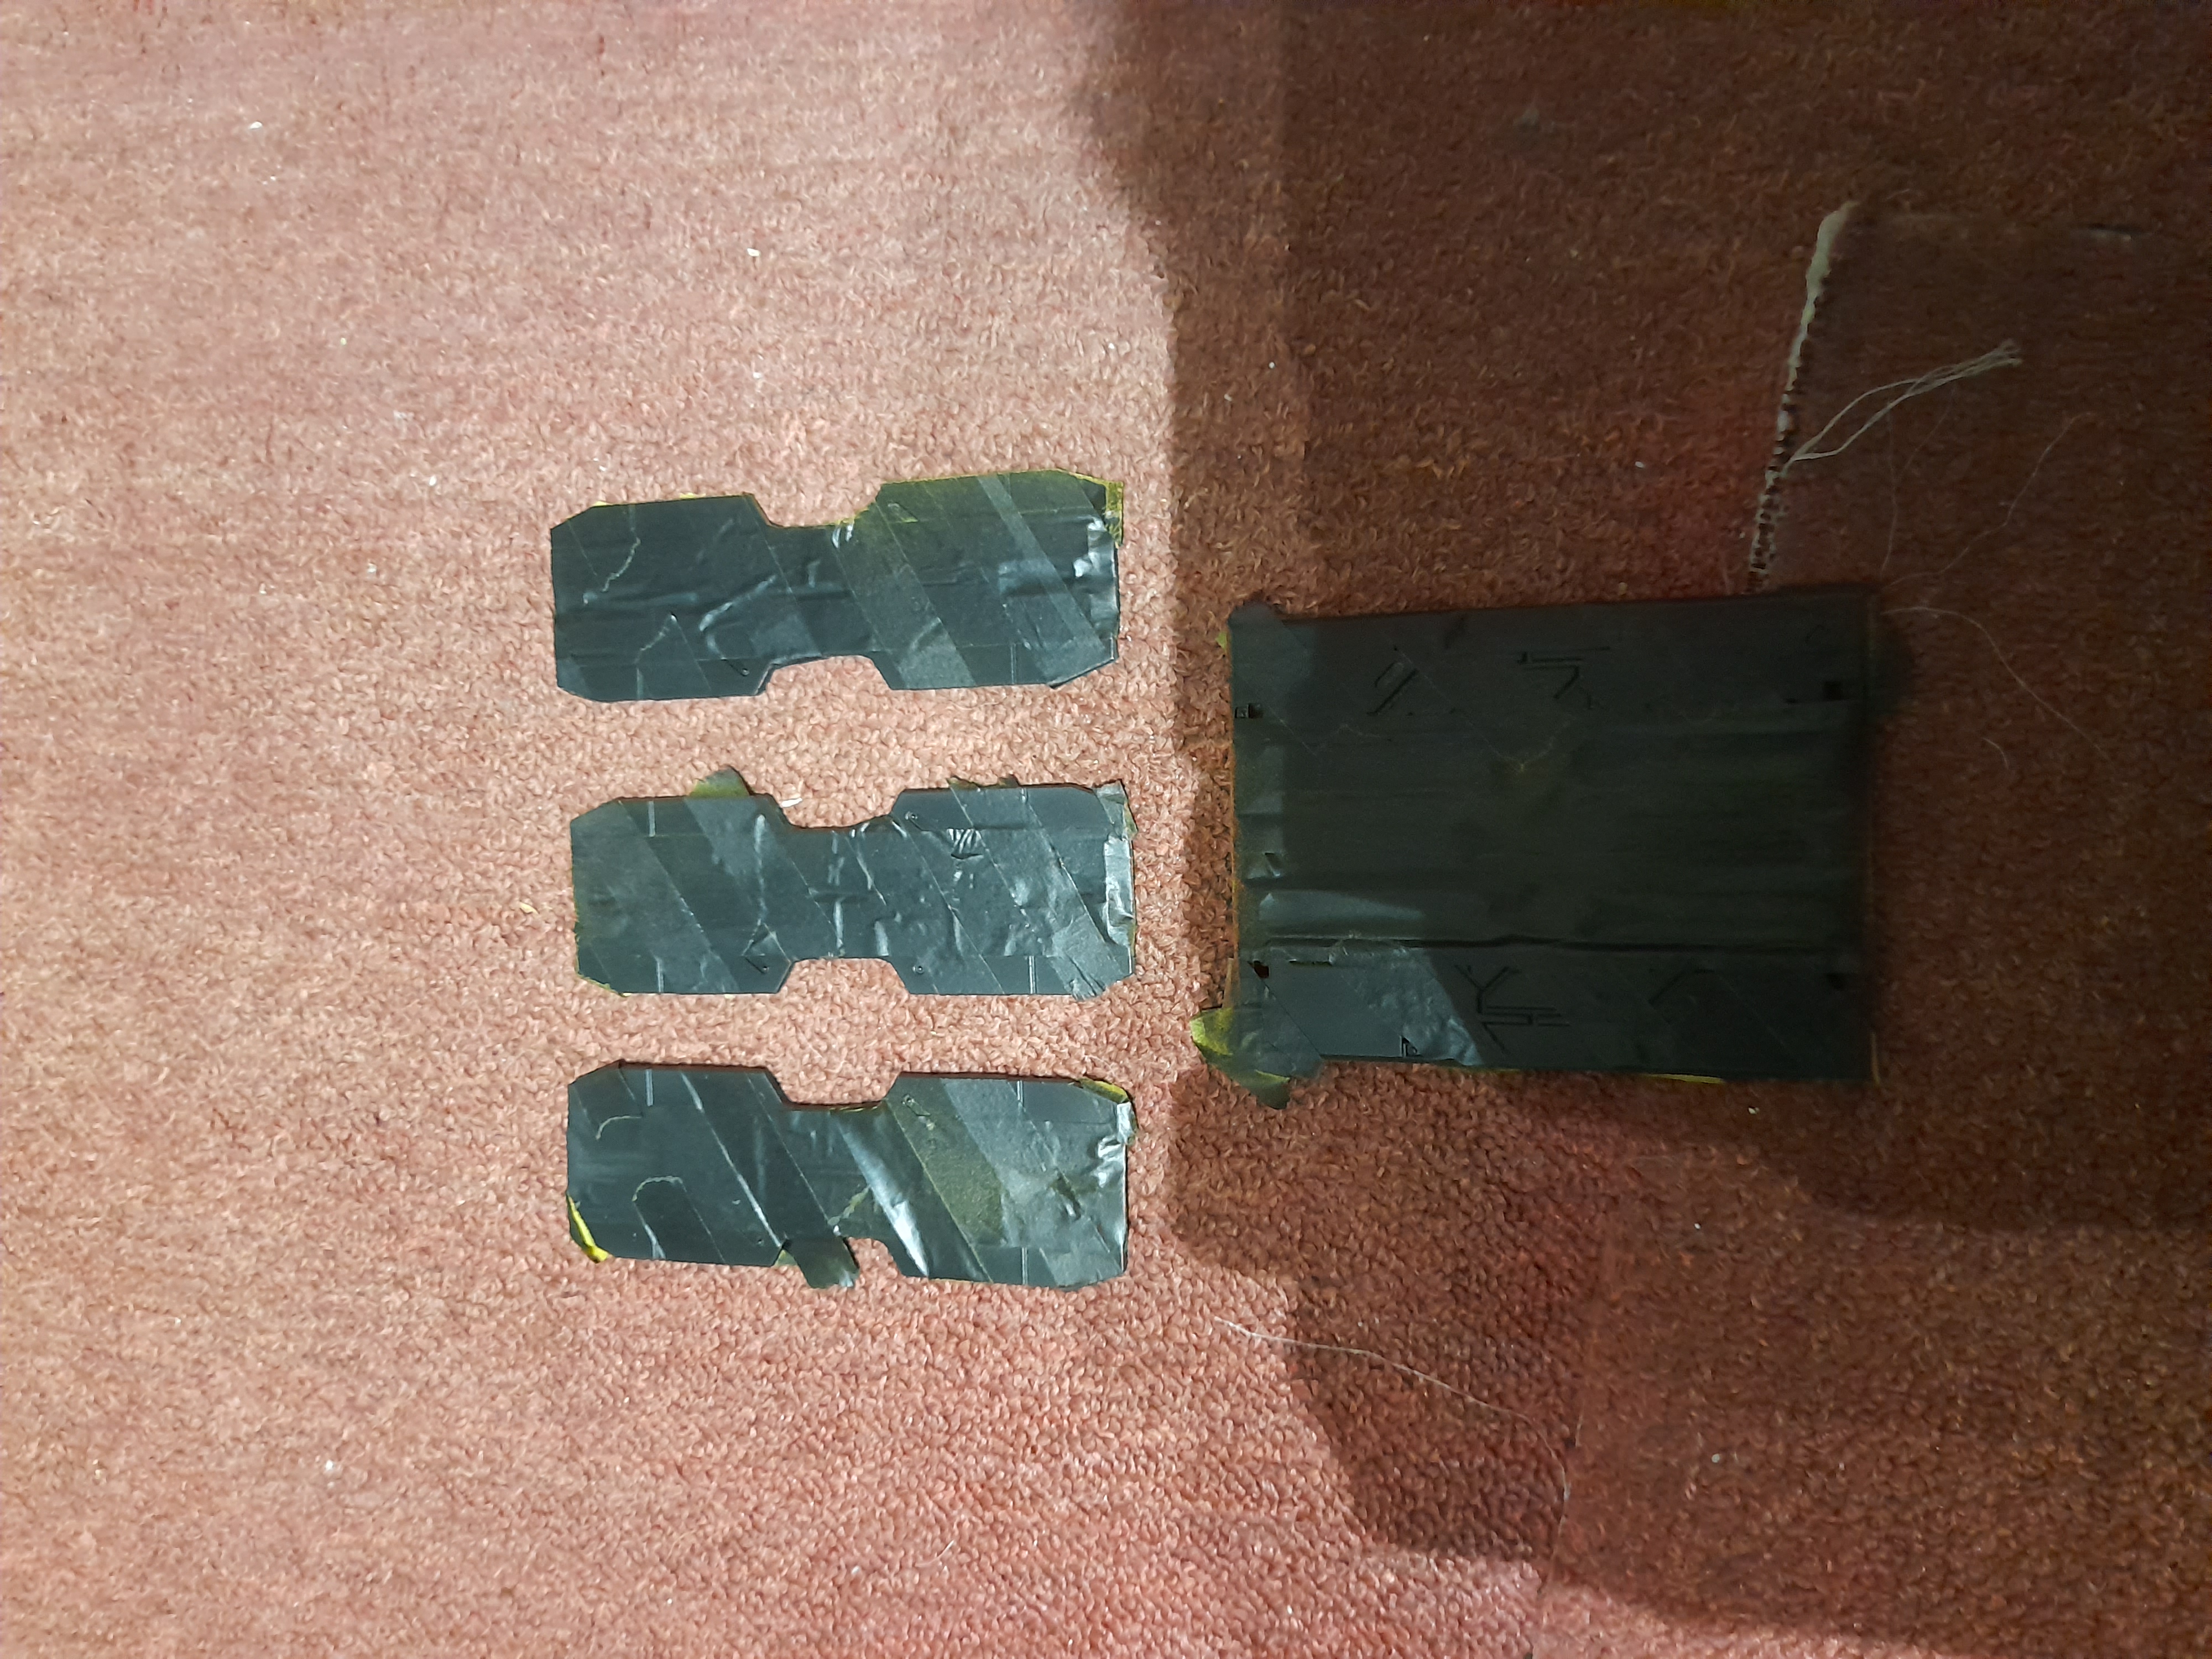 The final spray, all black
 Uncovering the top layer of masking
 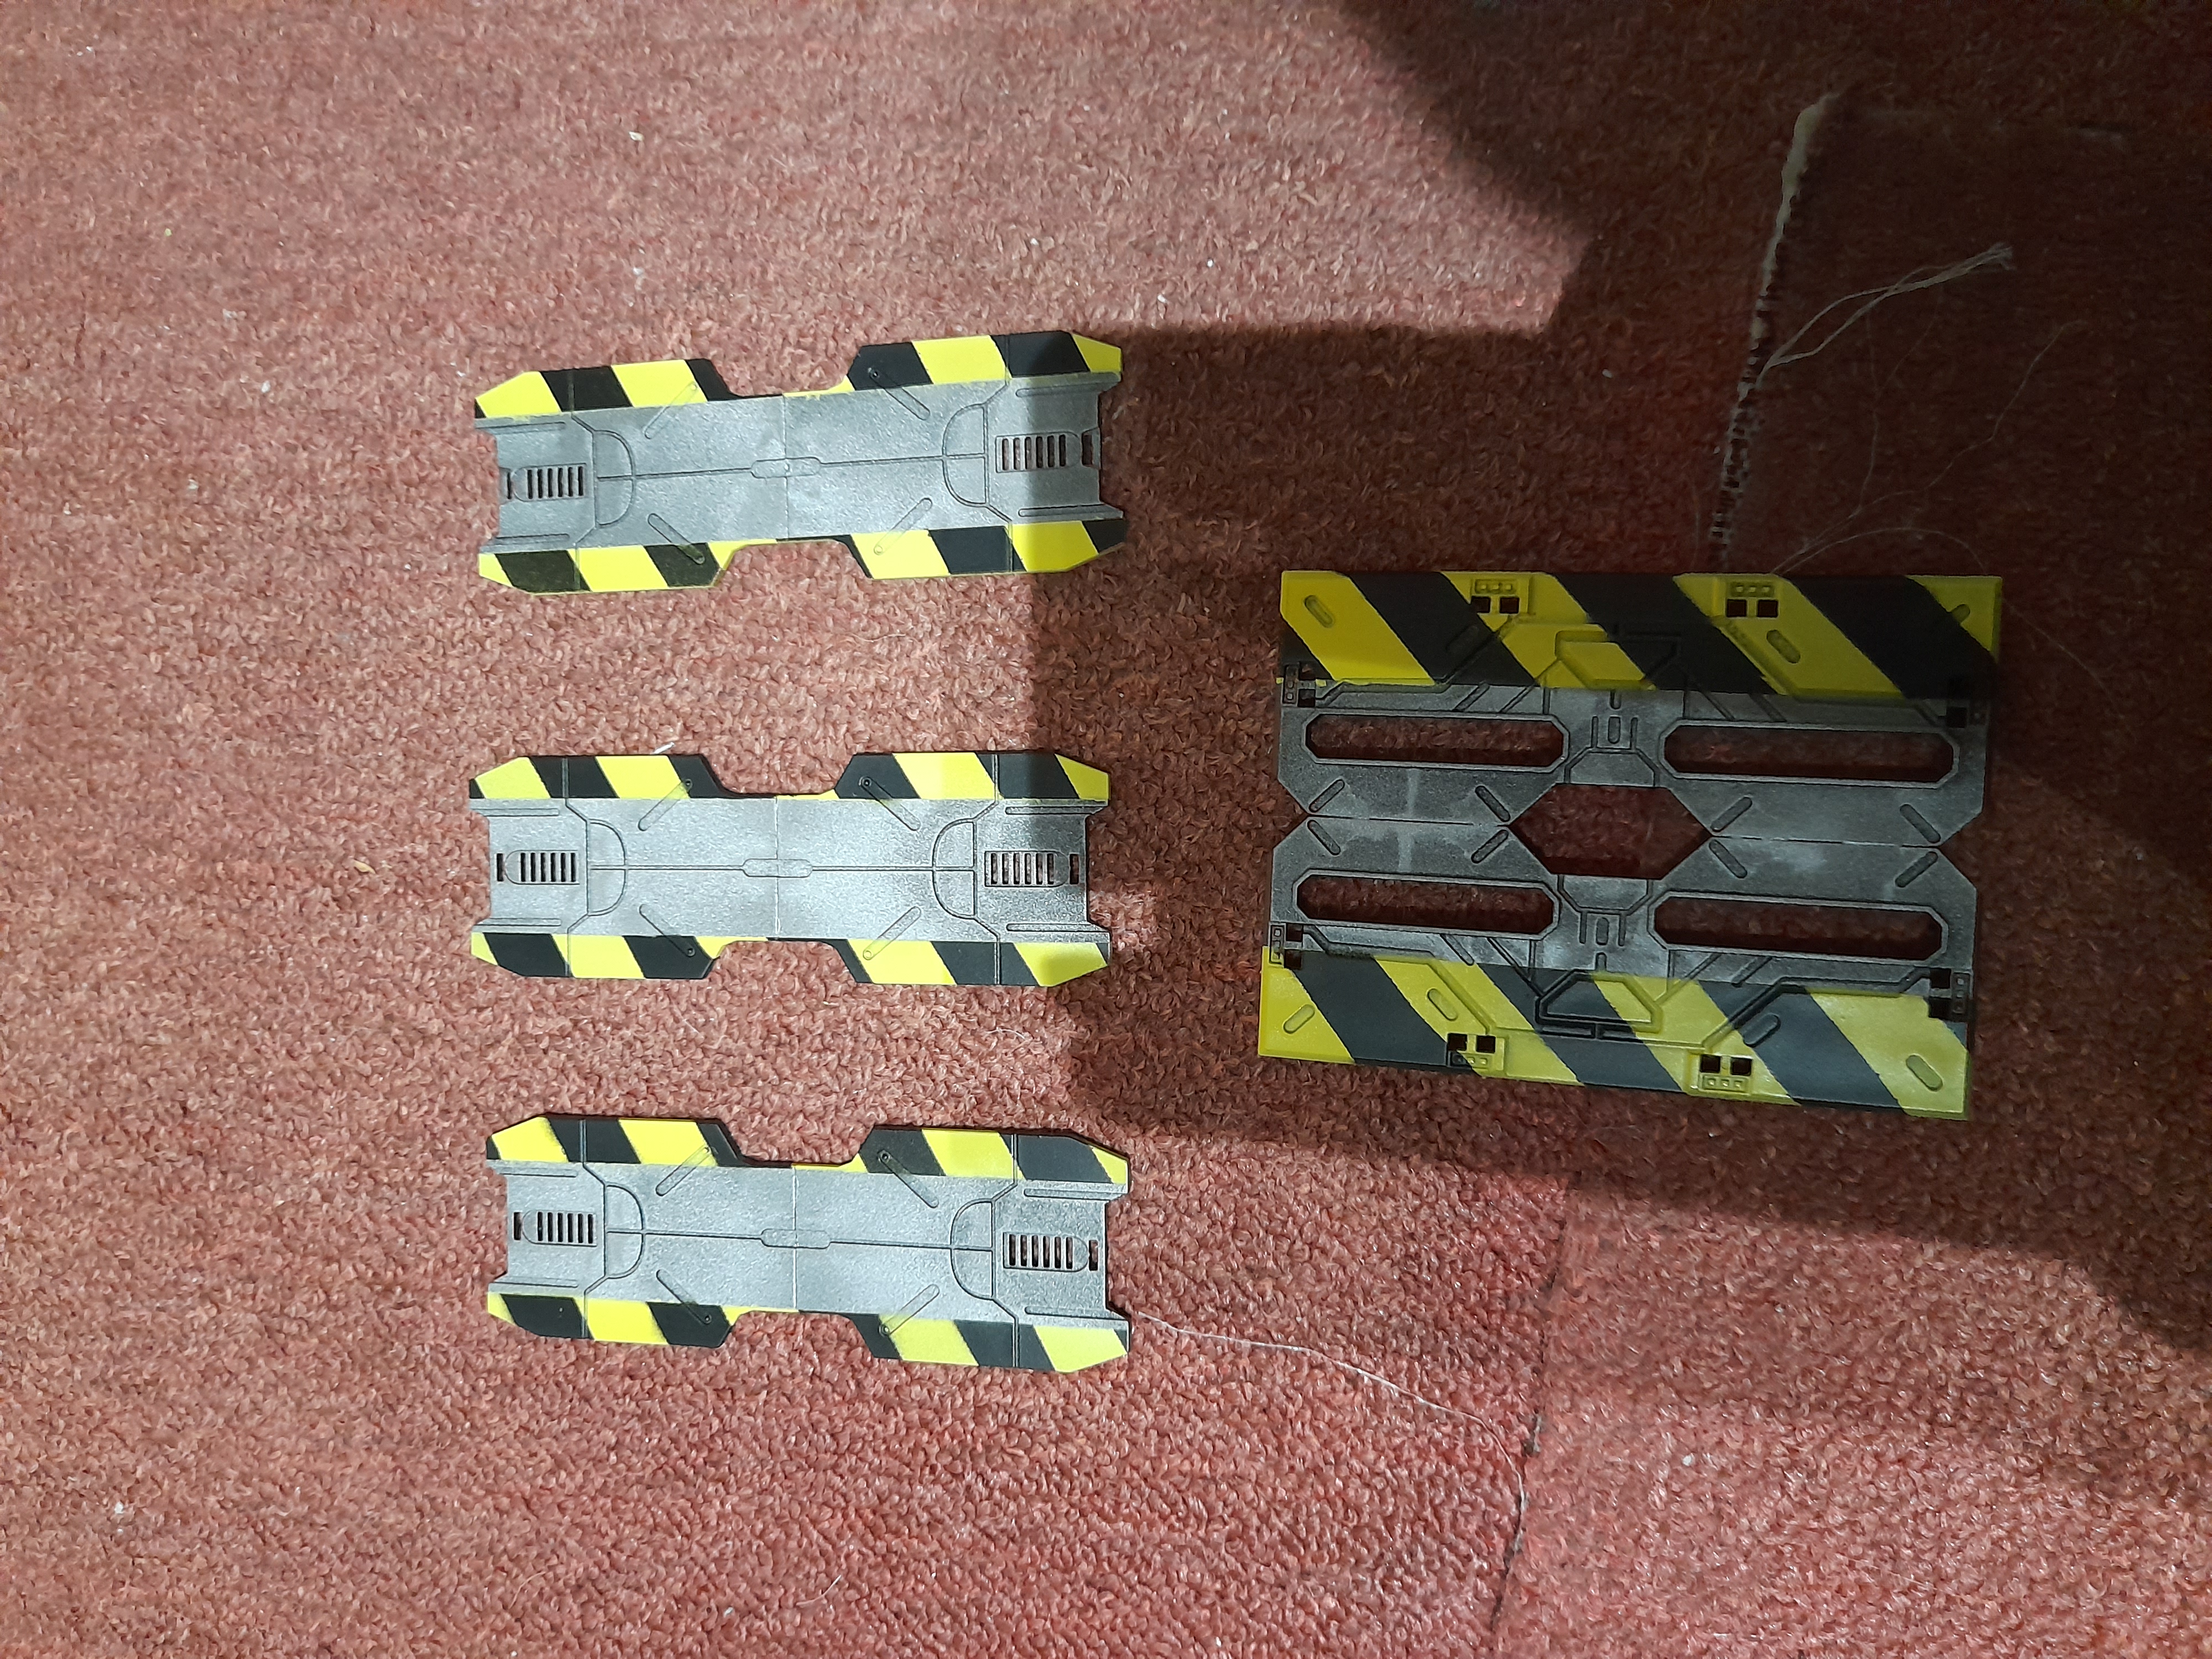 The final reveal
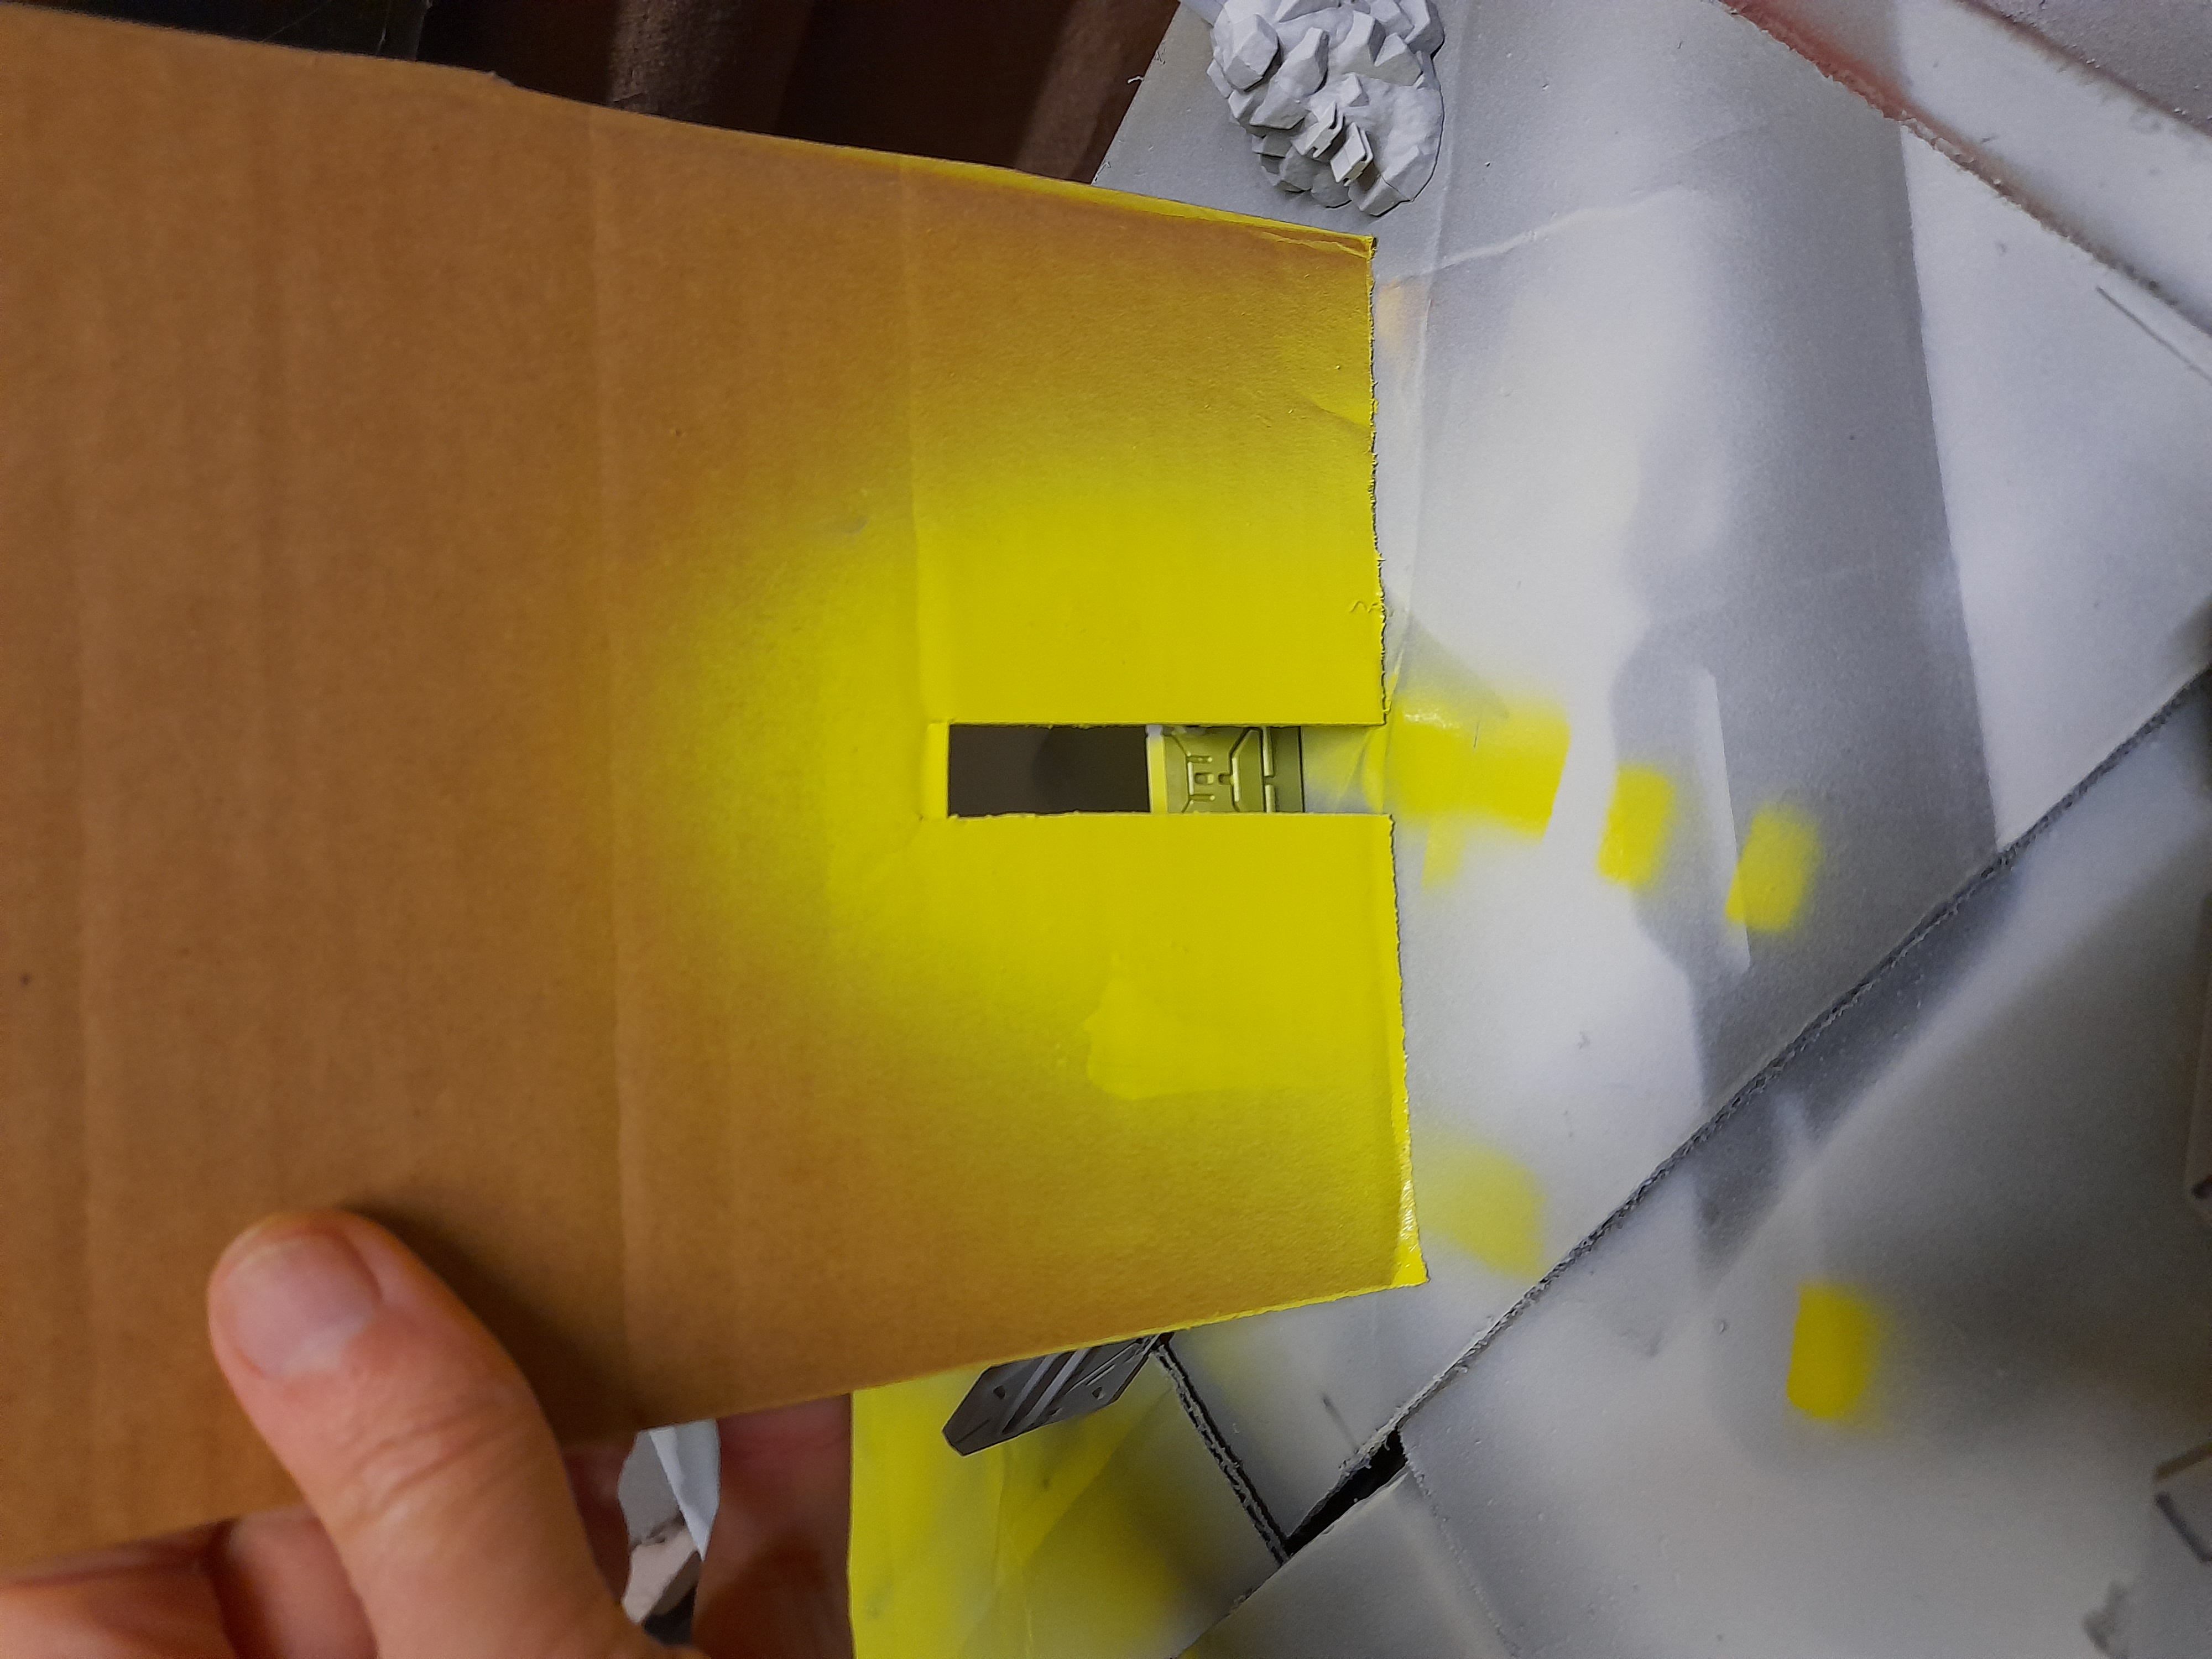
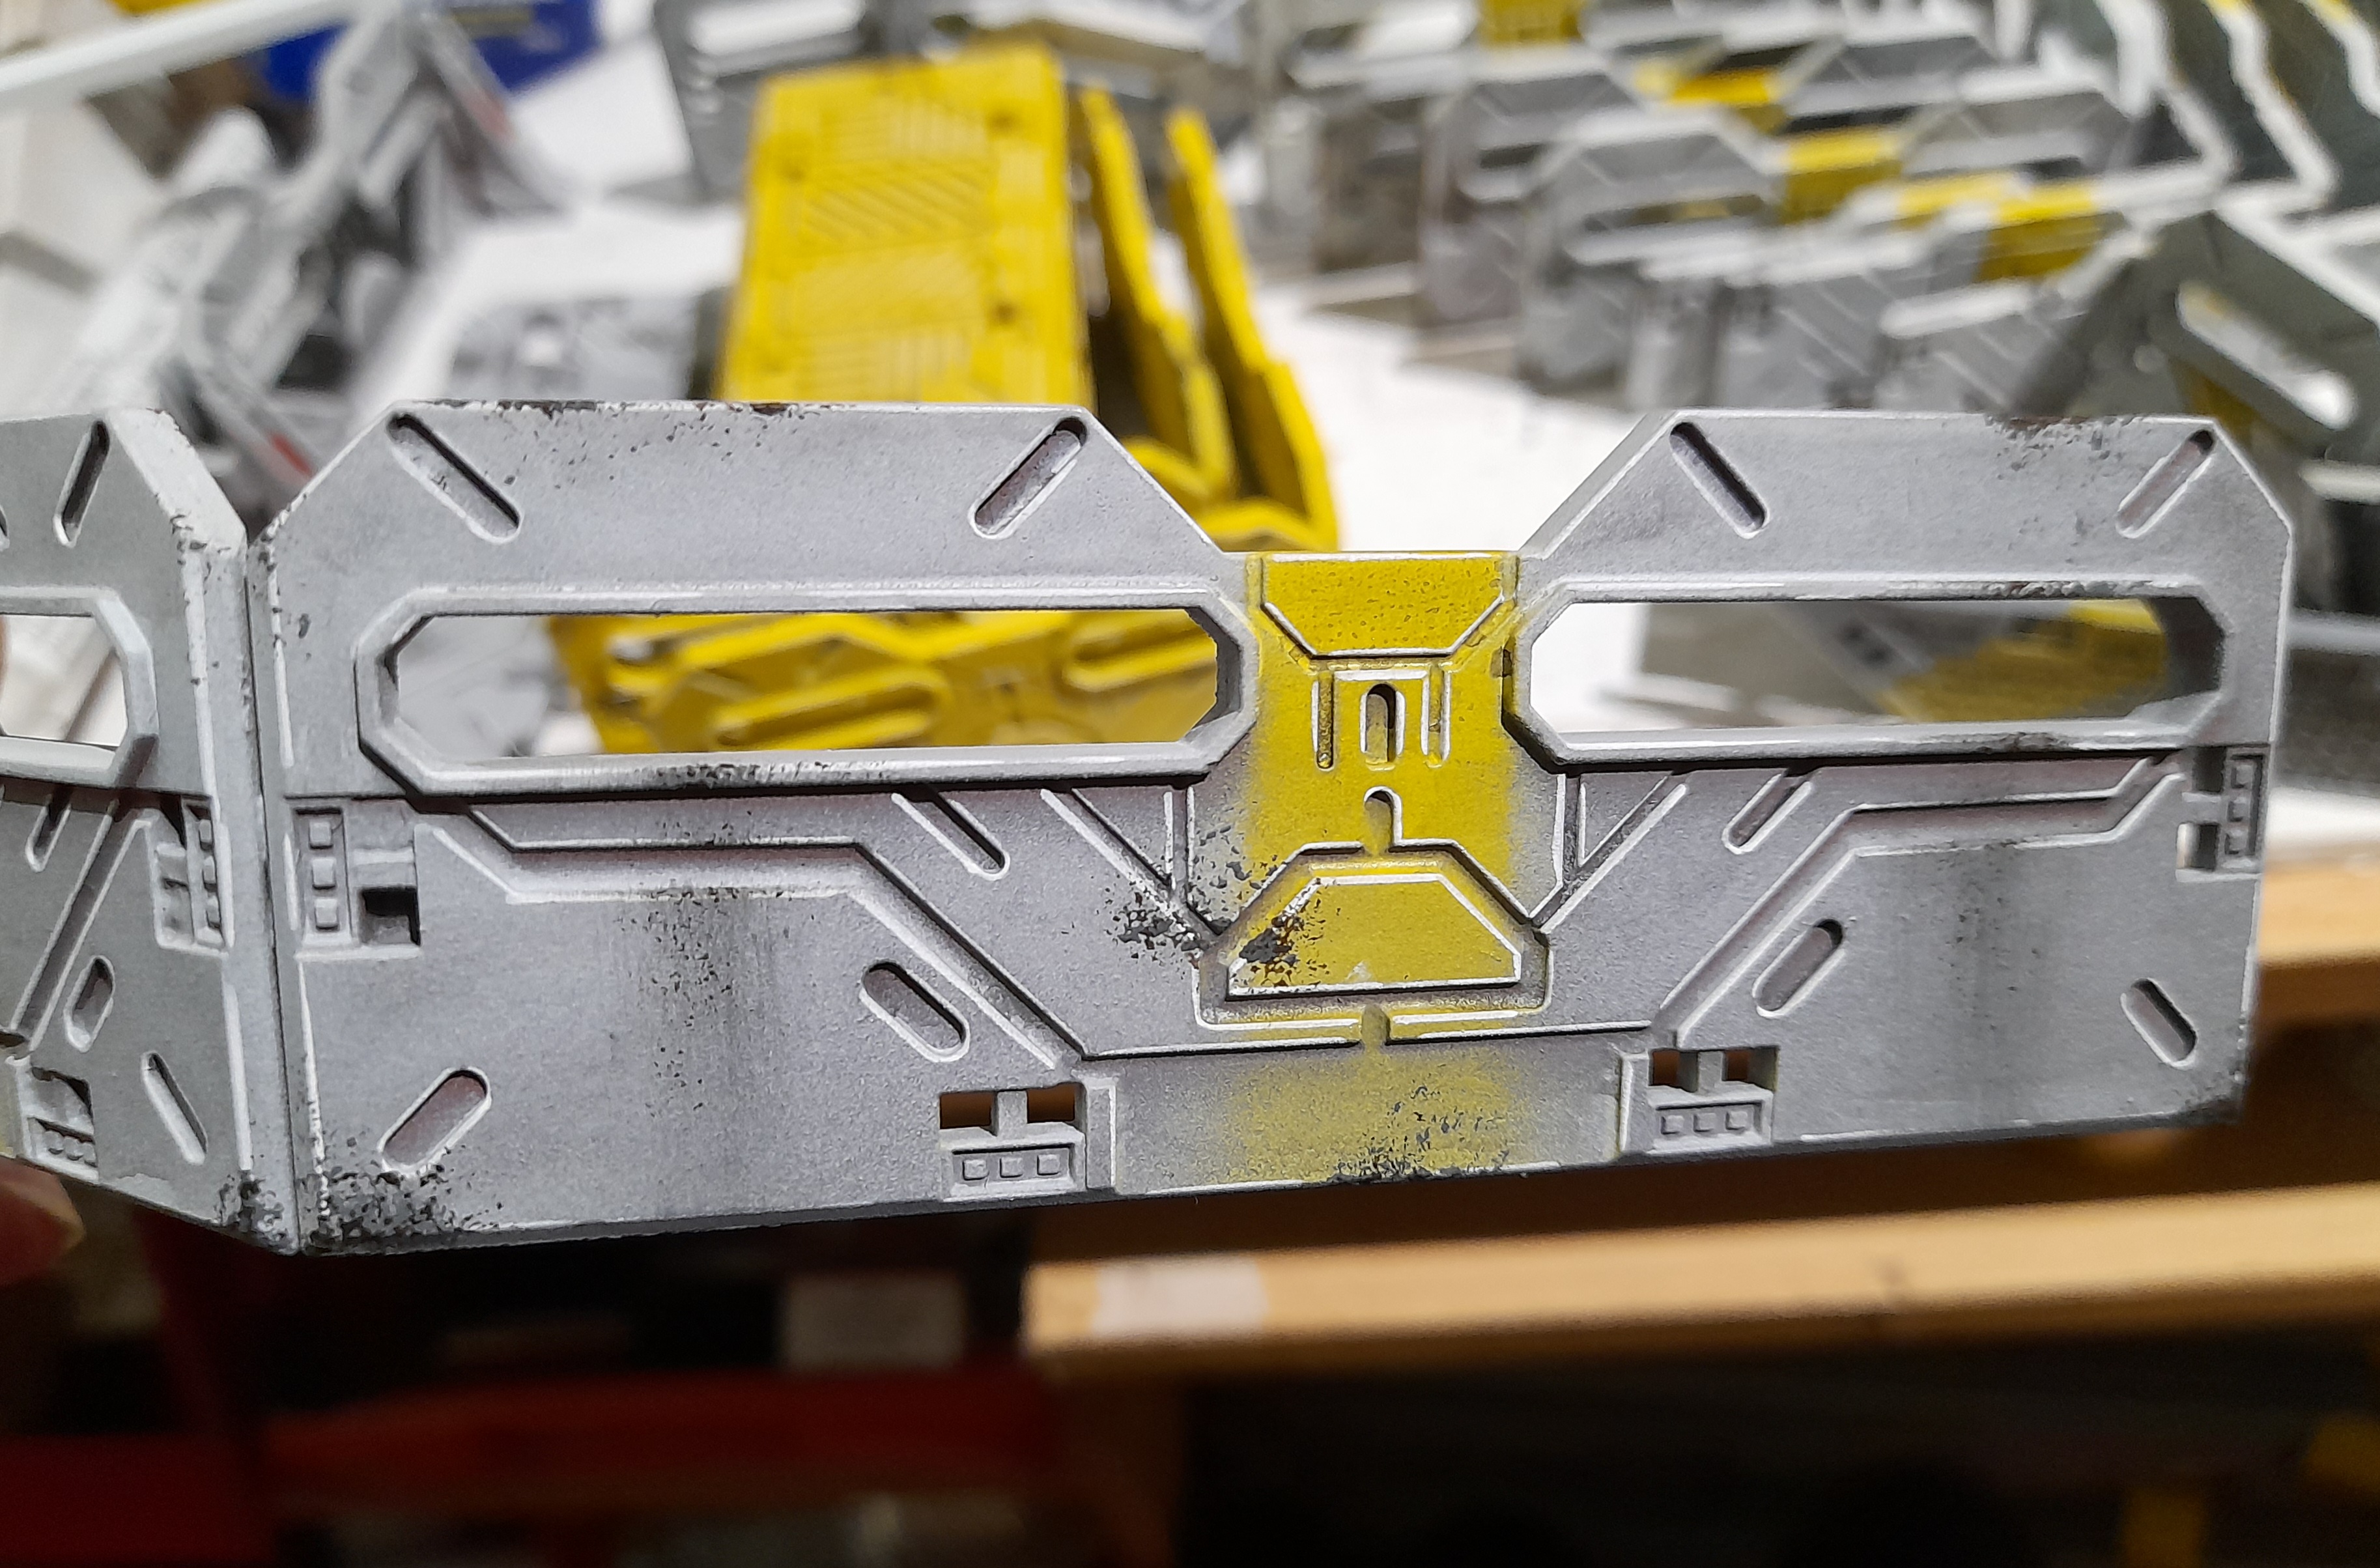
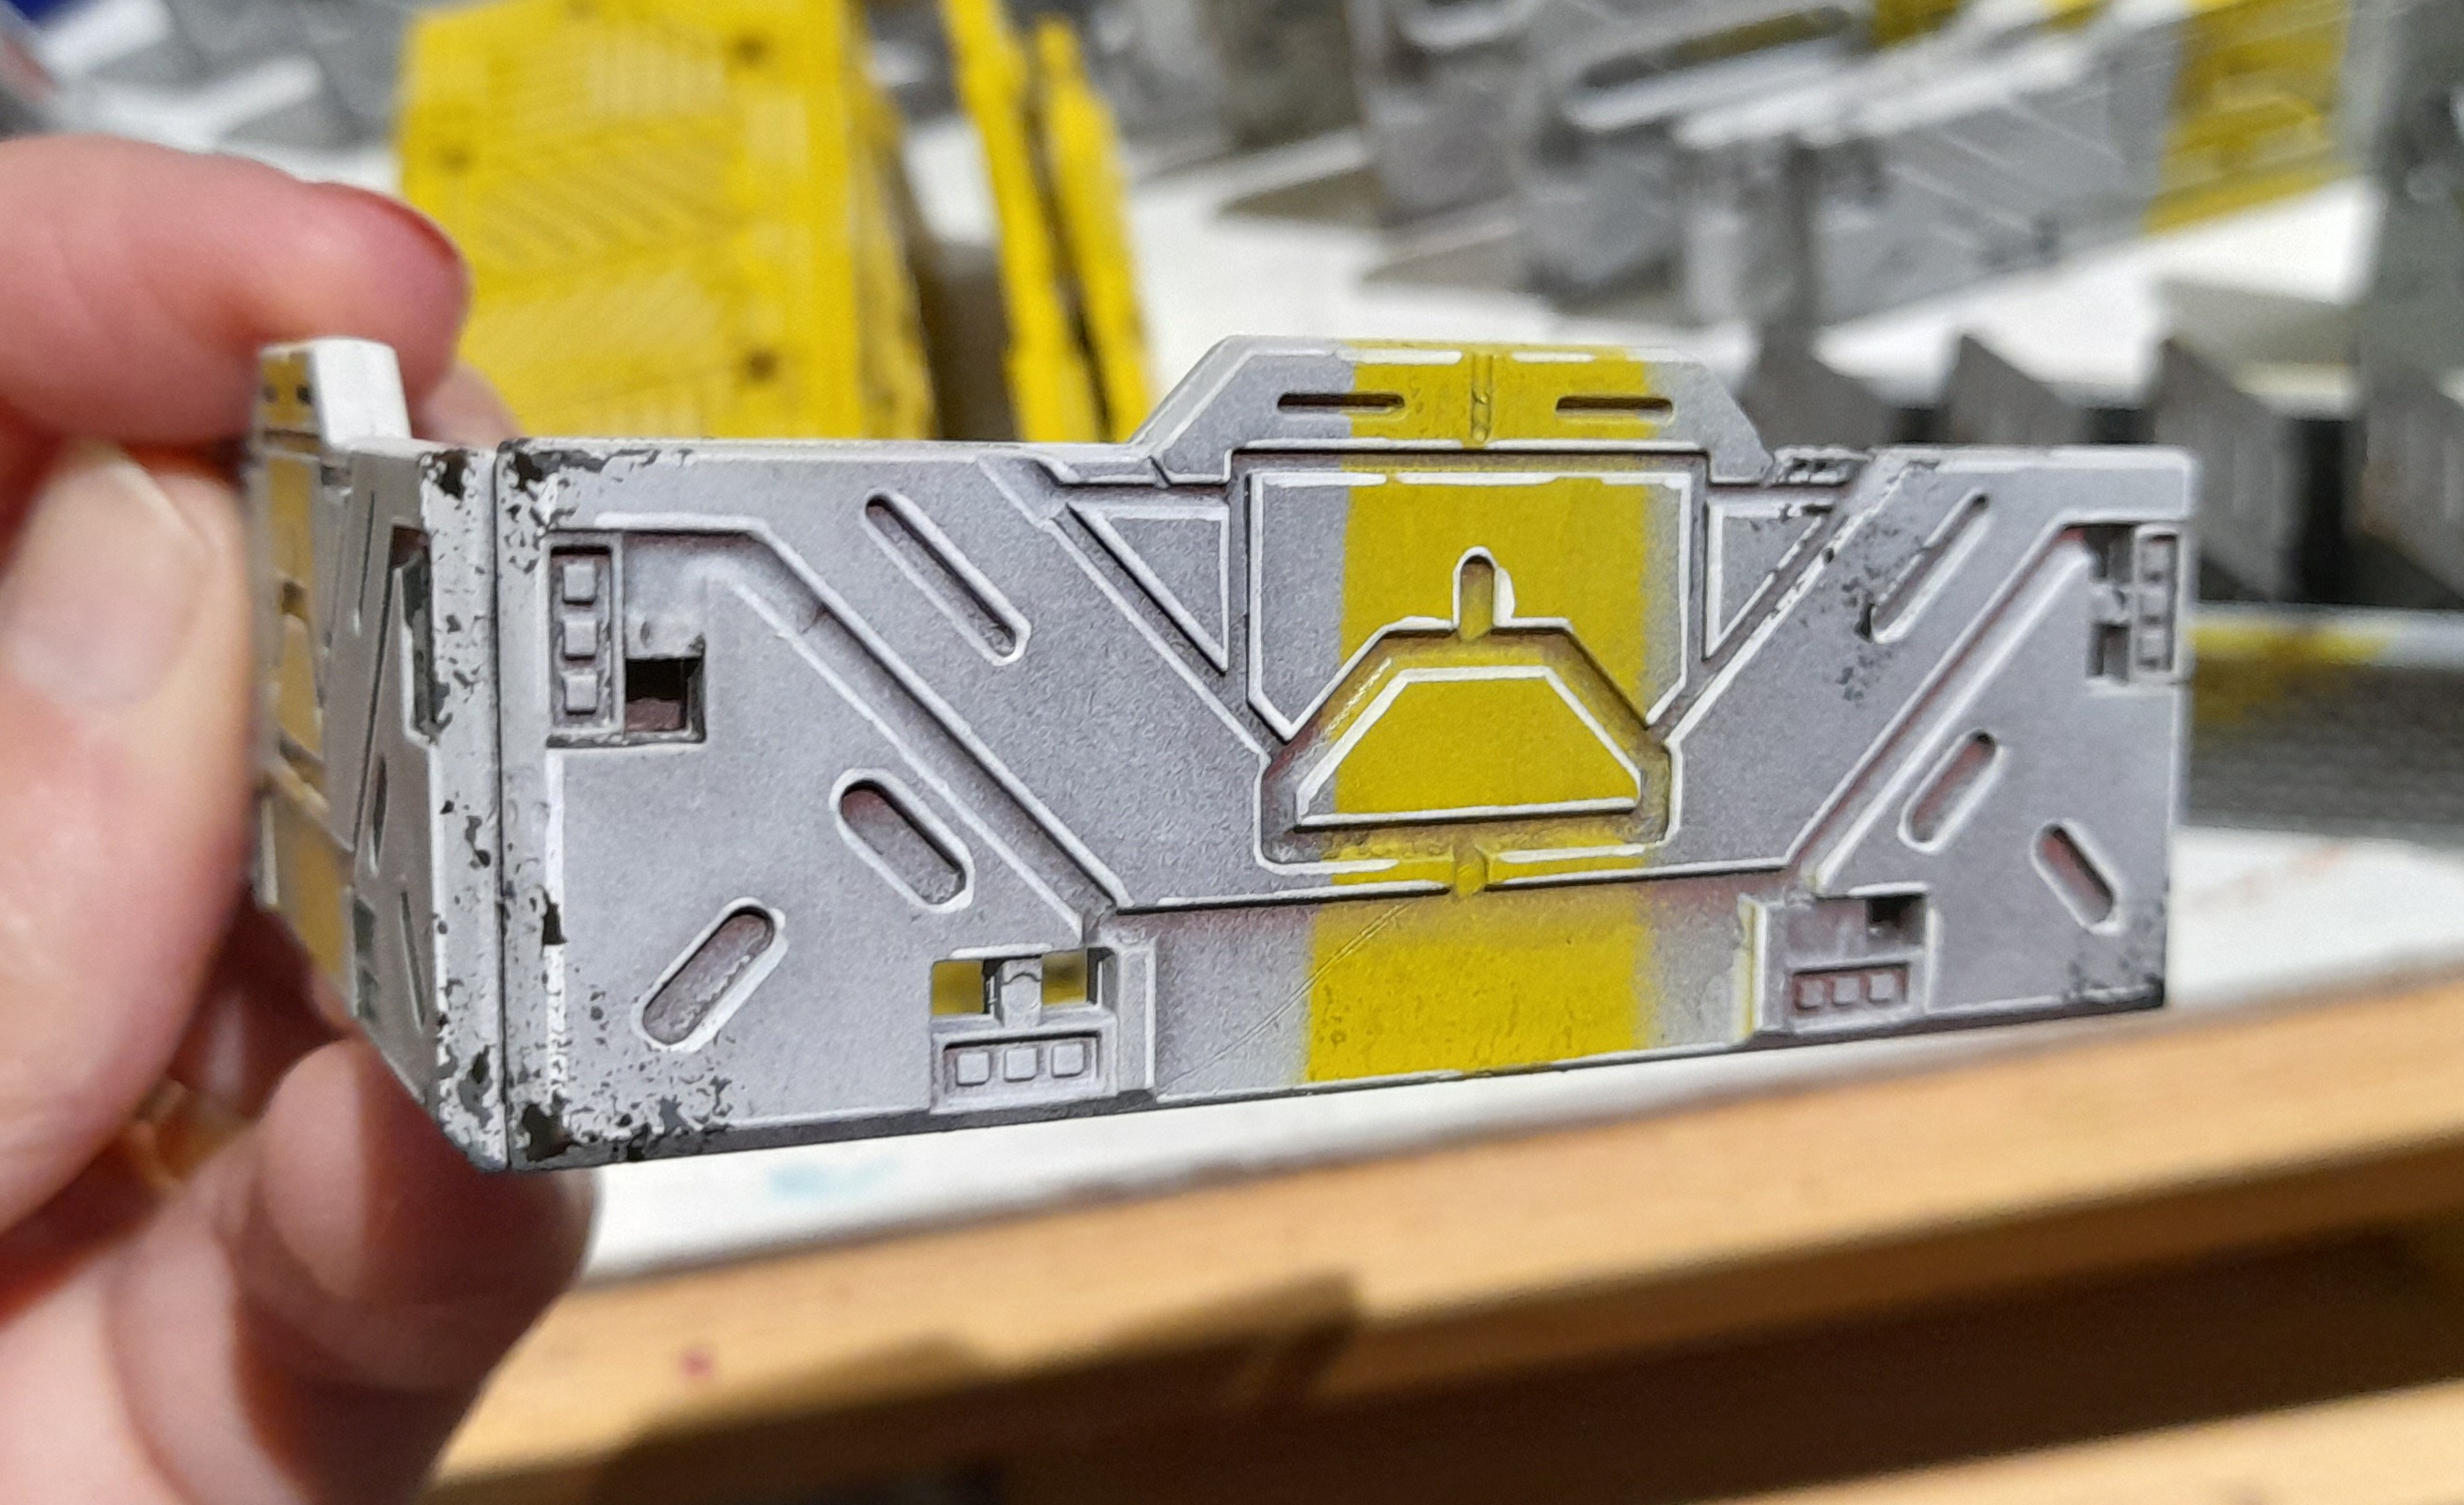
Once I had the walls and barricades sprayed up through red, grey to white I did a quick and dirty mask off by cutting a notch into a thick piece of box card and using that as a very basic stencil to spray the yellow through.
Then it was back to the weathering on the main buildings
The stack is building up…..
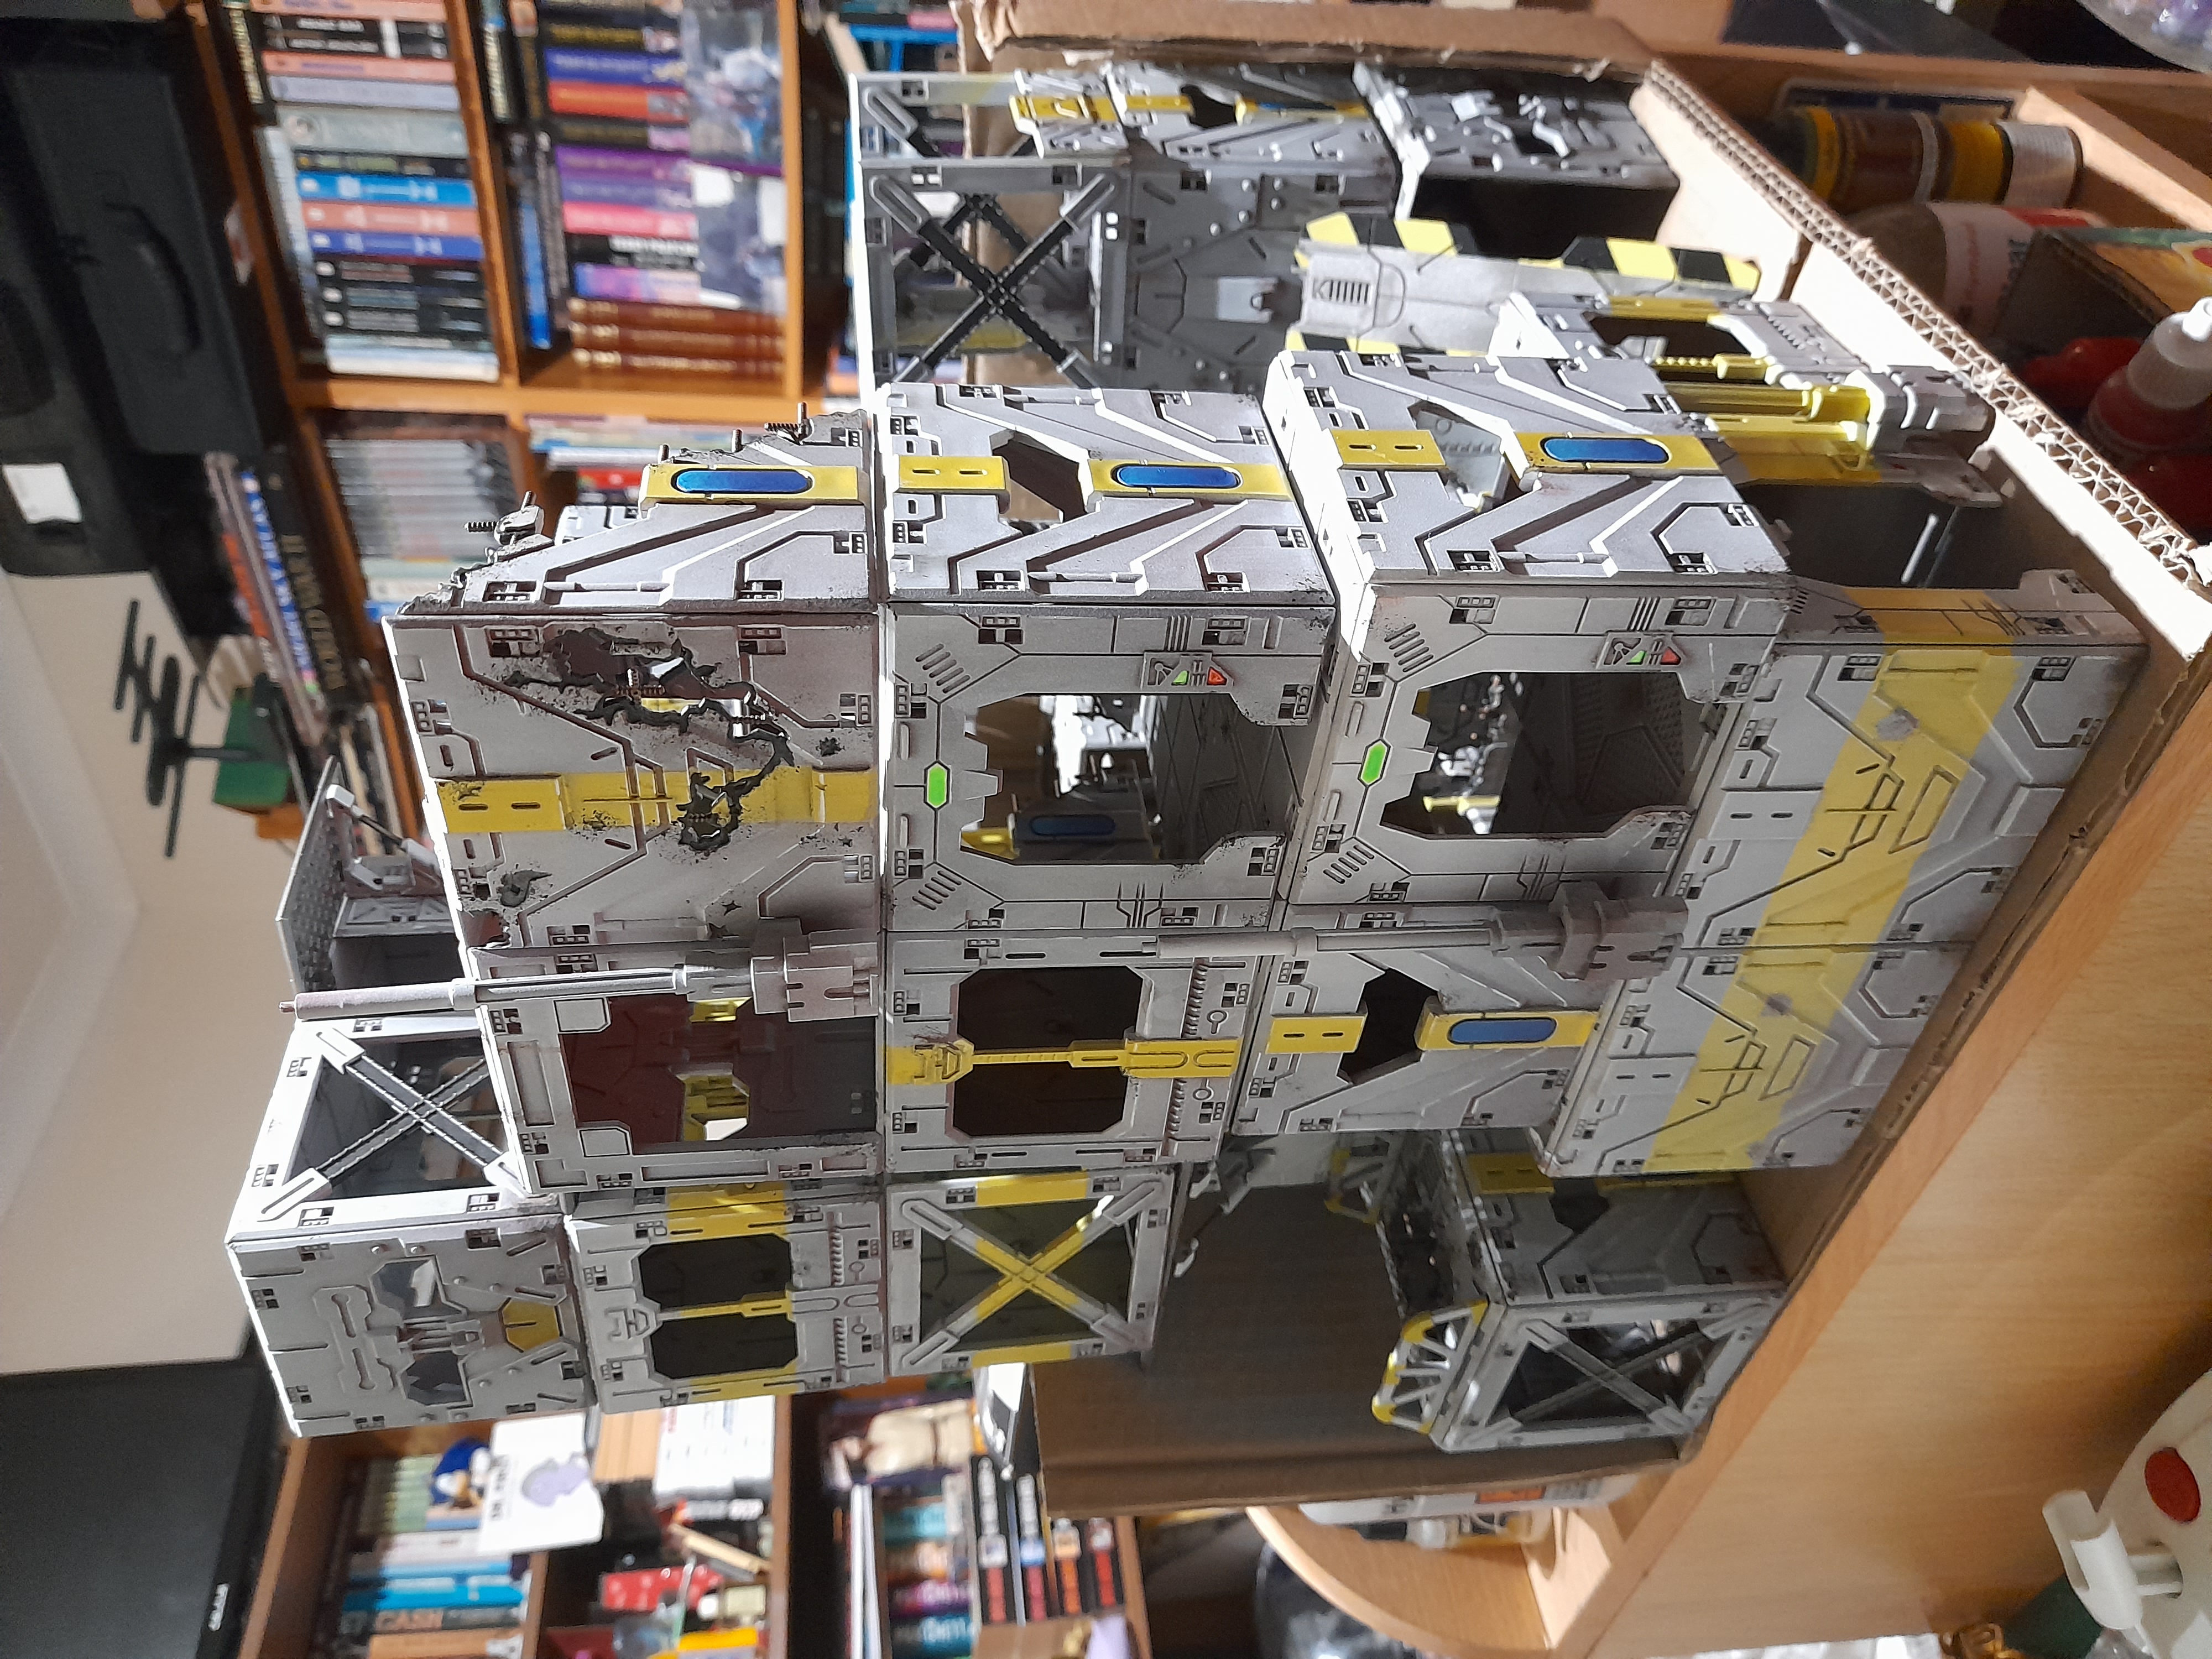 This isn't all of the buildings....
Back to the paint pen
20th January 2023 continued…
Then last night it was a wash on all of the barricade/wall parts and the start of further paint pen work on those while watching ‘Winter Watch’ with the wife ?

It’s surprising how long it takes to line every panel edge on these…..
A mixed bag....
28th January 2023
A bit of a mixed bag this week…
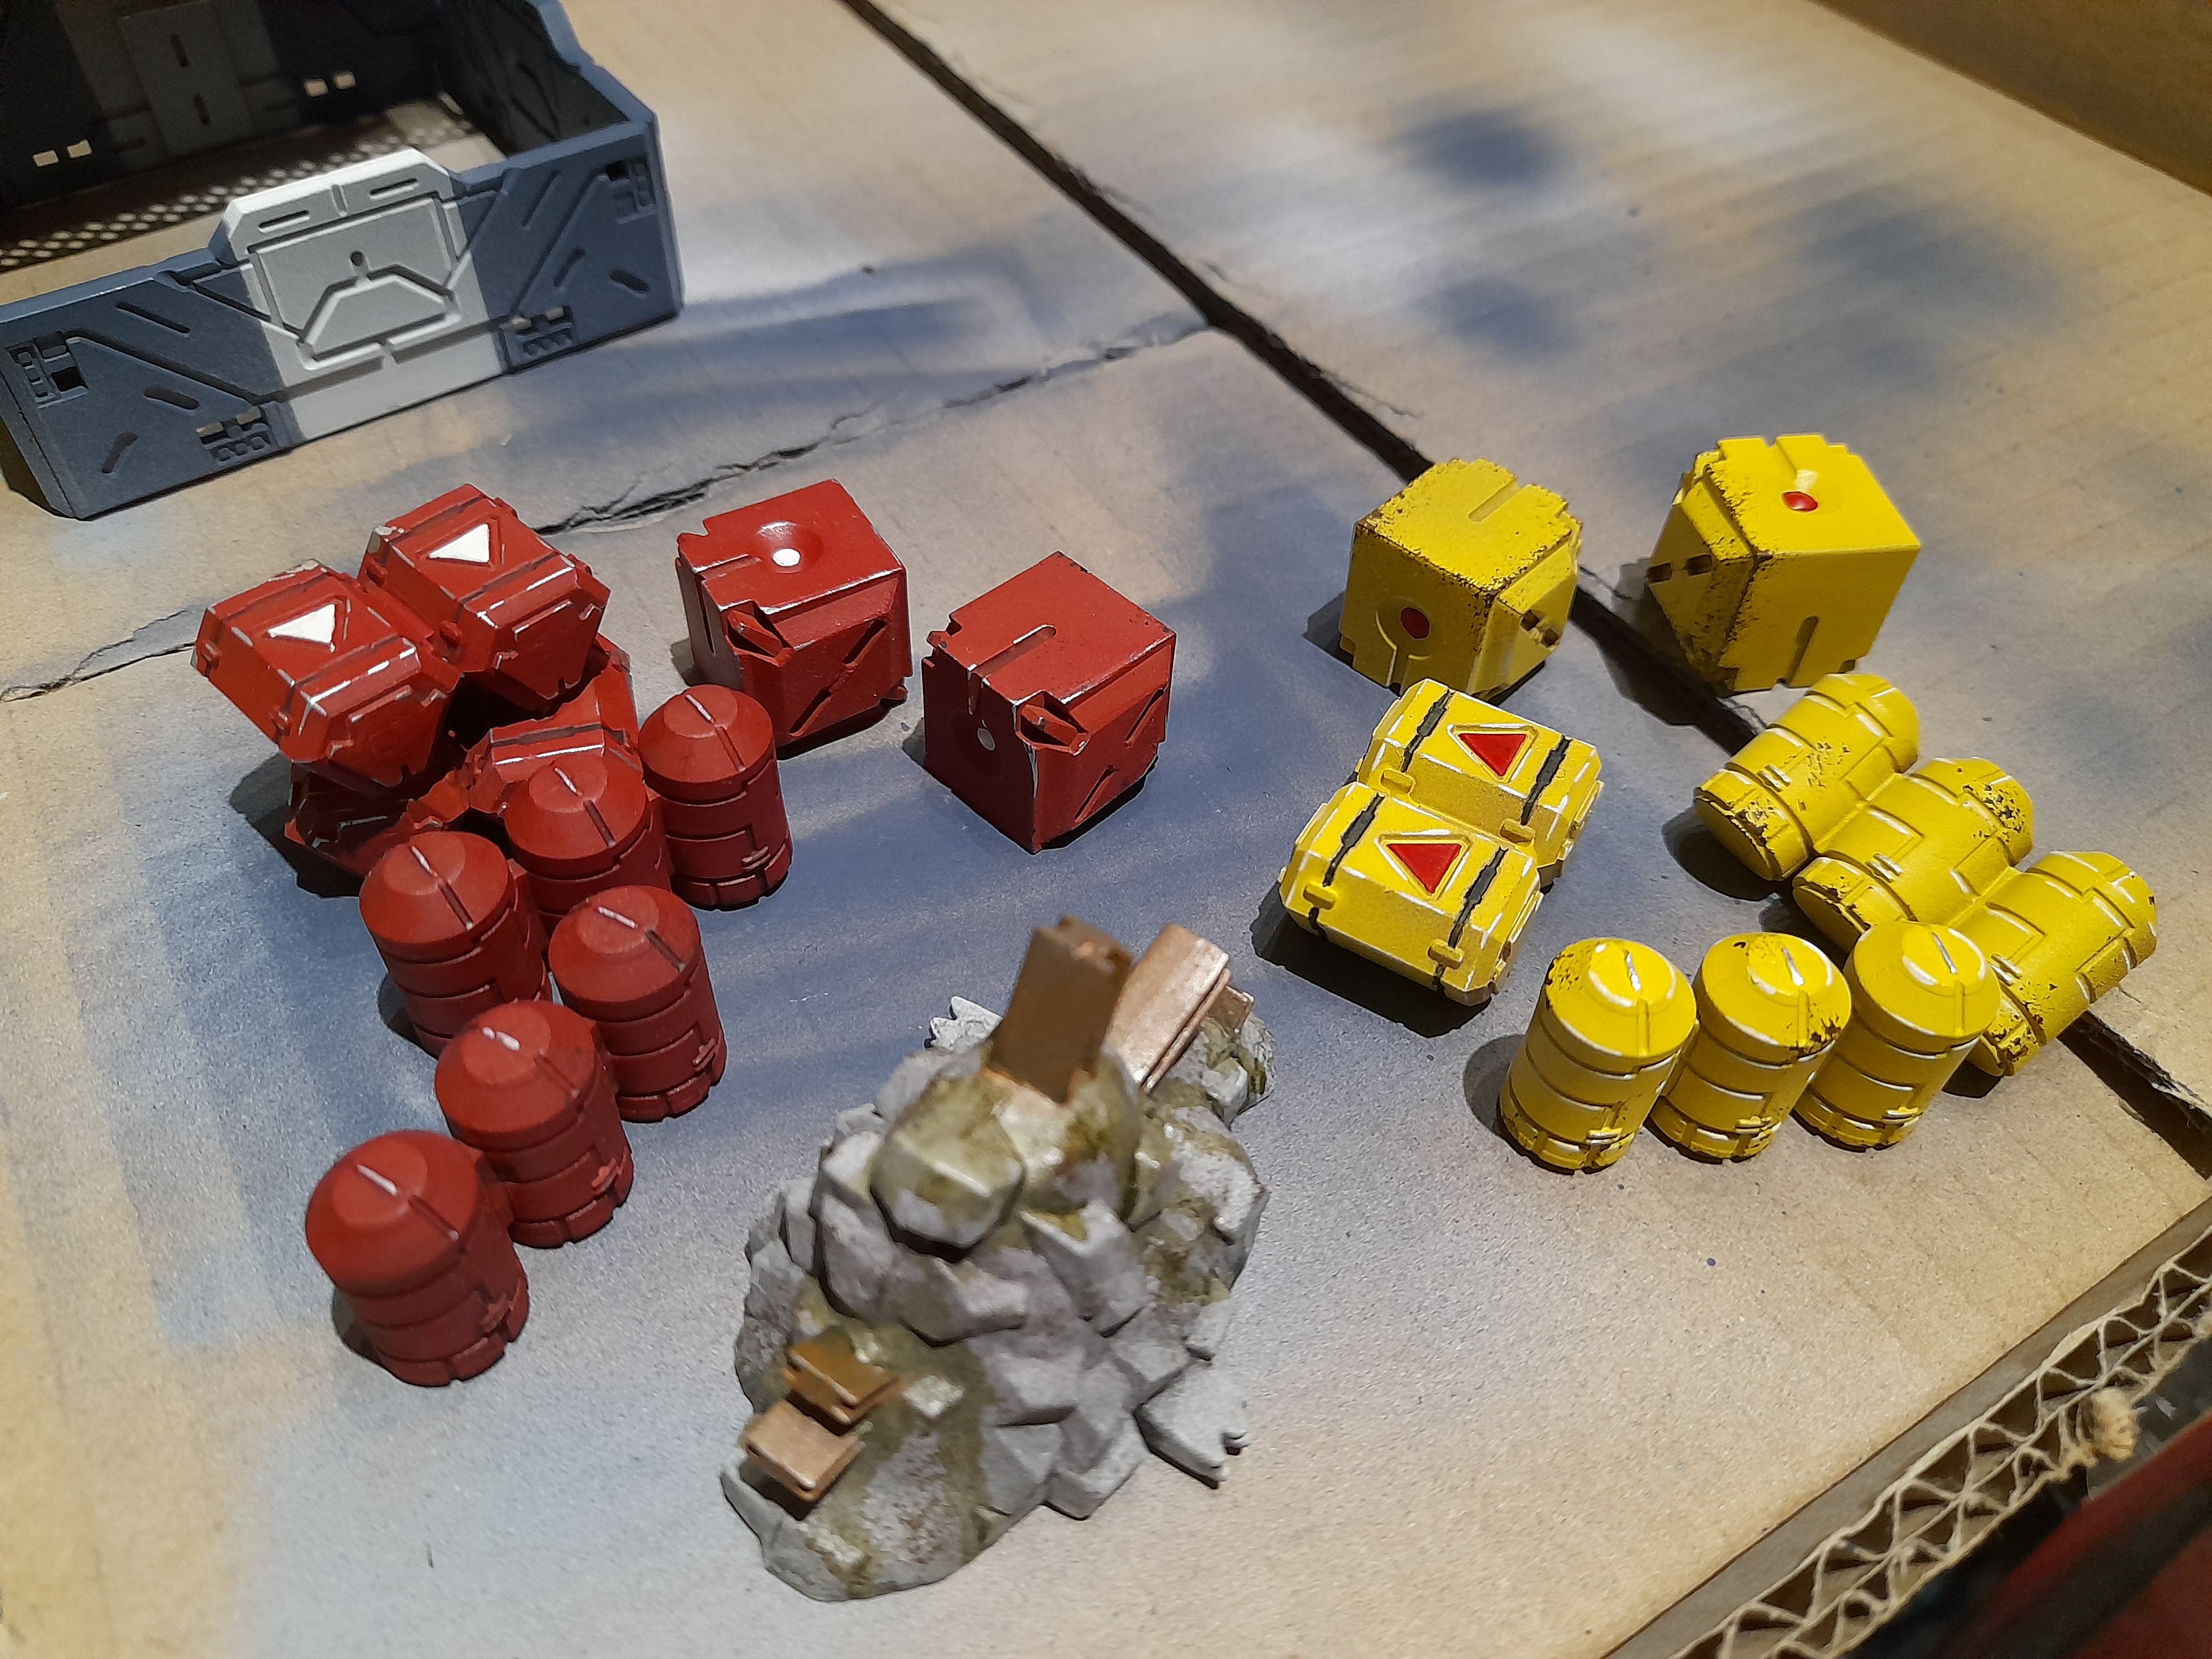
I completed the walls and barricades, with the paint pen edge highlighting work being finished off, and then the sponge weathering pass on all the pieces.
Next up I decided to add a different colour to the mix – the ‘food shack’ building was treated to a pass of blue/grey with my inexperienced airbrush skills.
I again used some masking tape to leave a white stripe down the middle, for ‘reasons’ ?
Then I tried painting up a sign for it. Not overly happy with the result, but I may return to it yet, as I still have a fair bit to do on it.
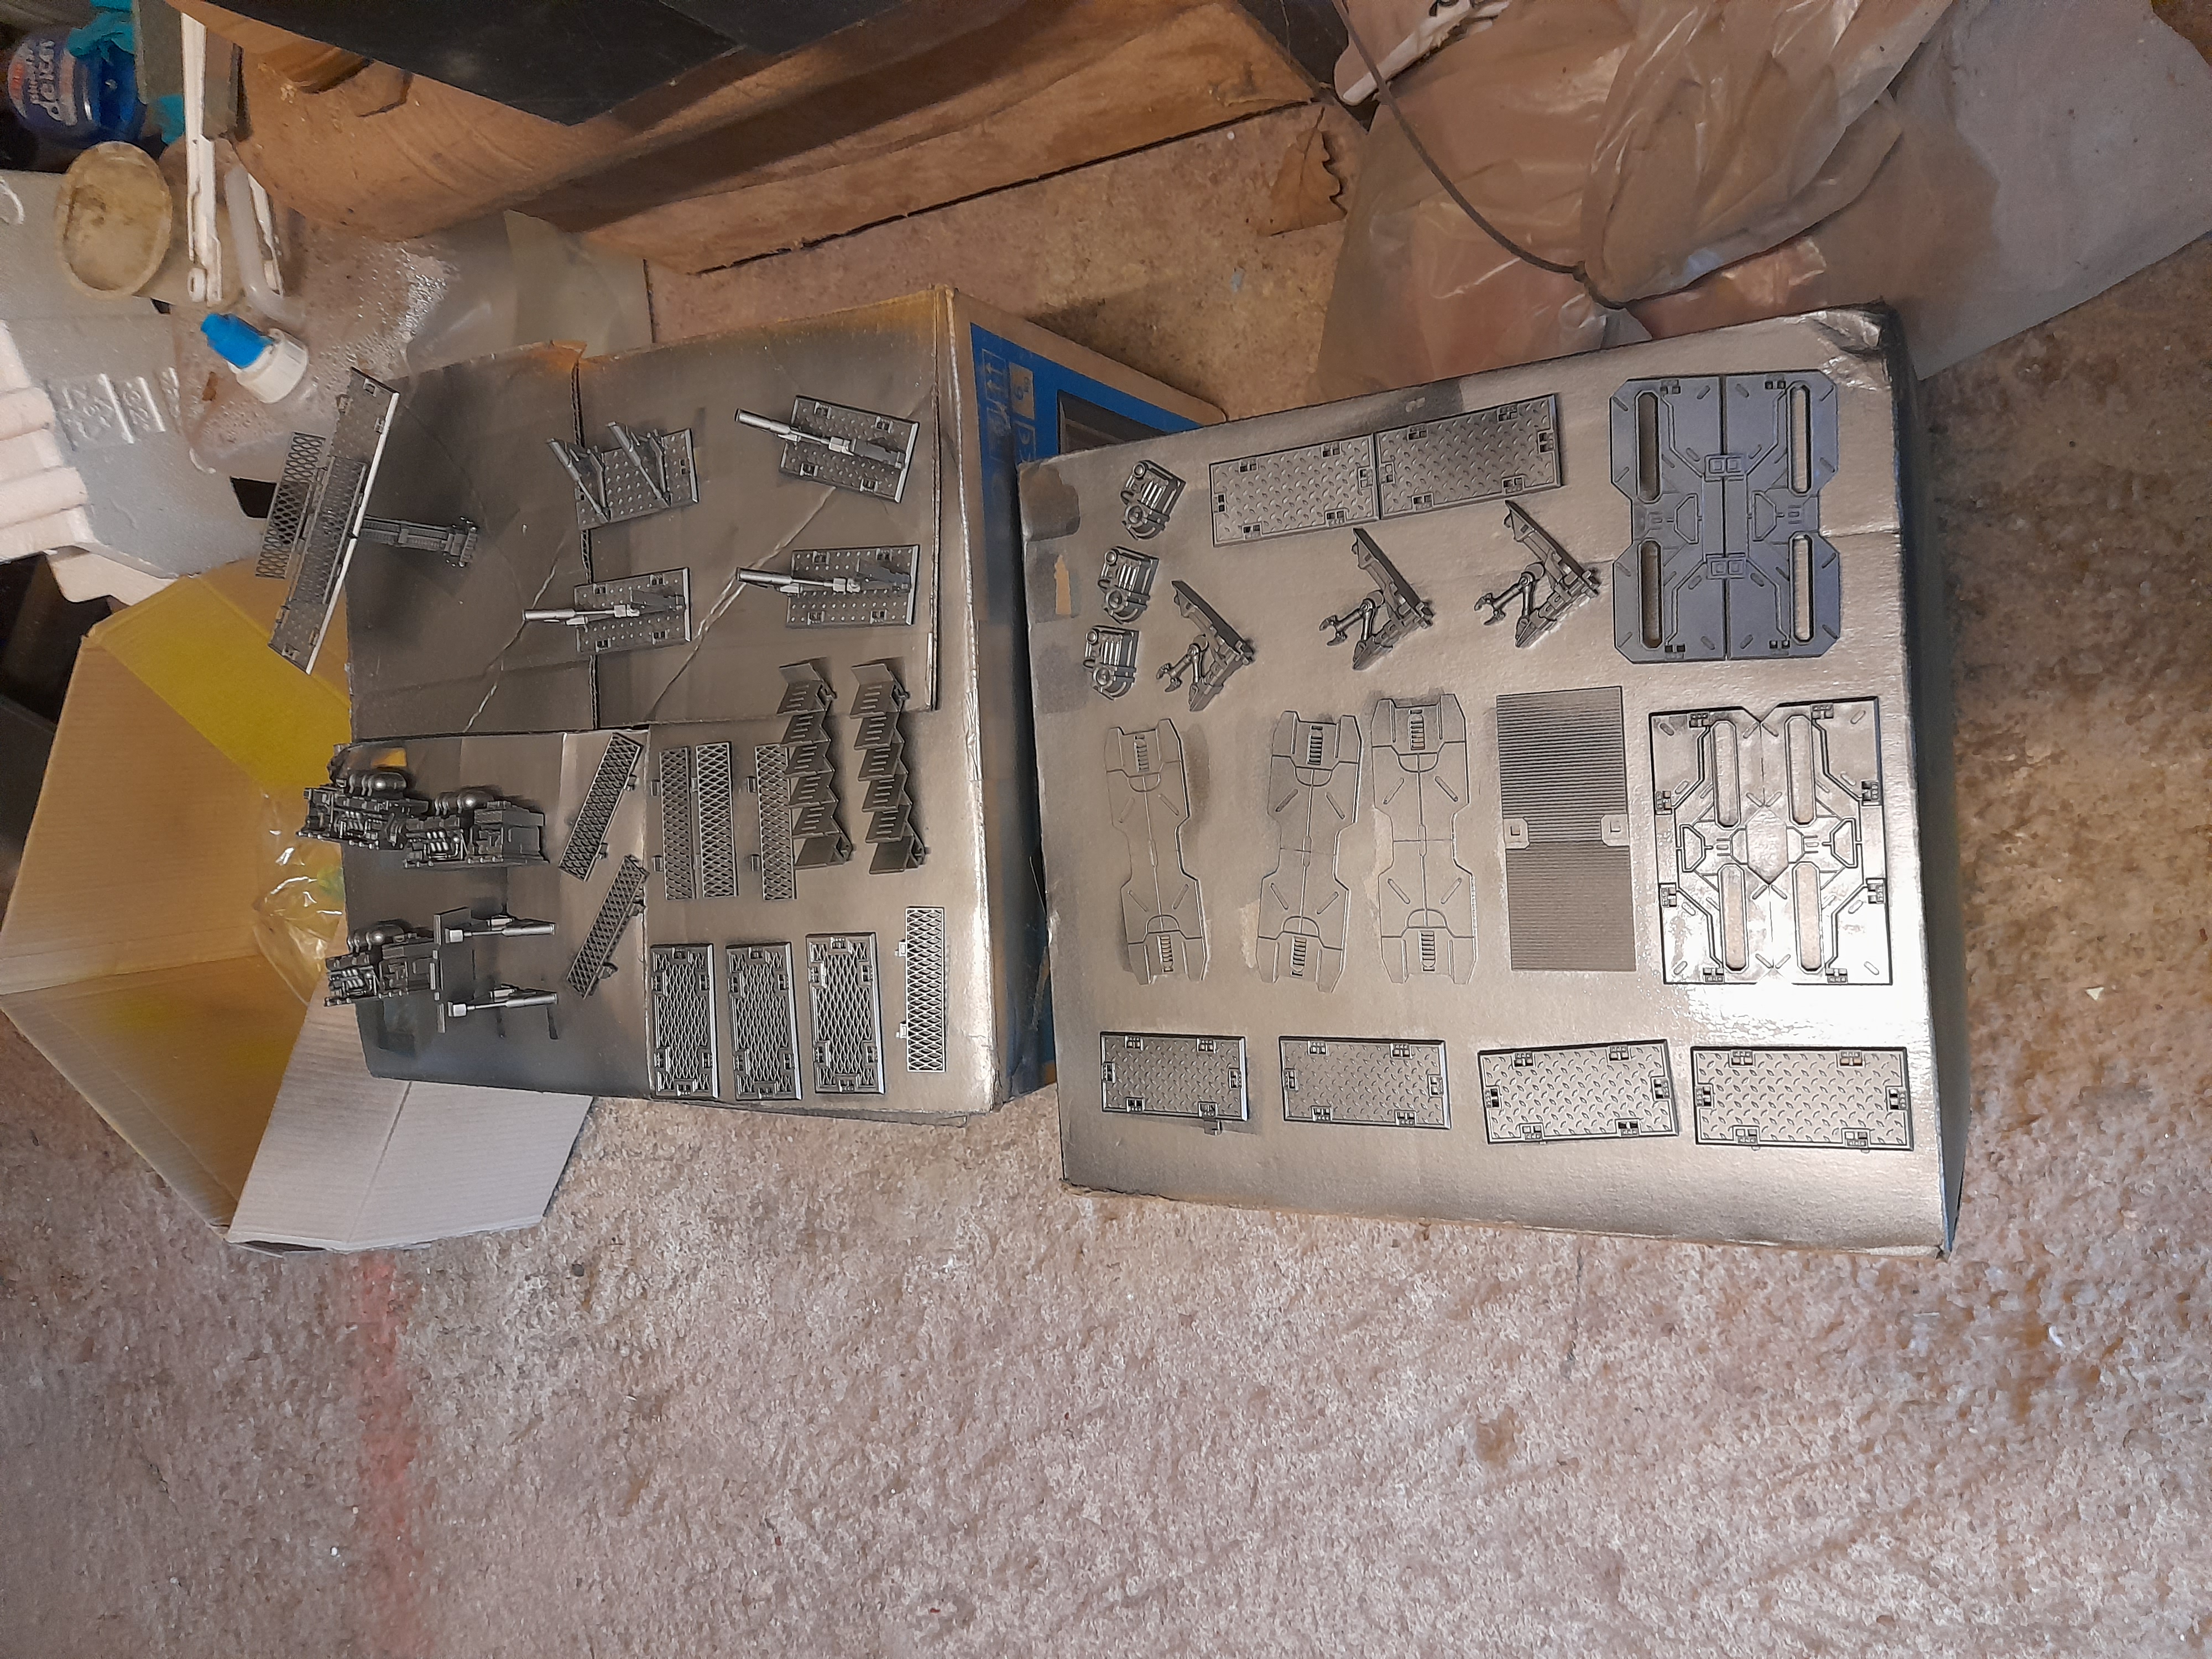
Then to make some room I dug out some under-bed boxes, and packed up what I could.

Next up it was work on the scatter pieces. I had already done a little on them, but I spent time edge highlighting, adding spot colour and again some sponge weathering to them. I also pulled out the airbrush again to spray the base blue colour on several pieces (It was slower than I thought).

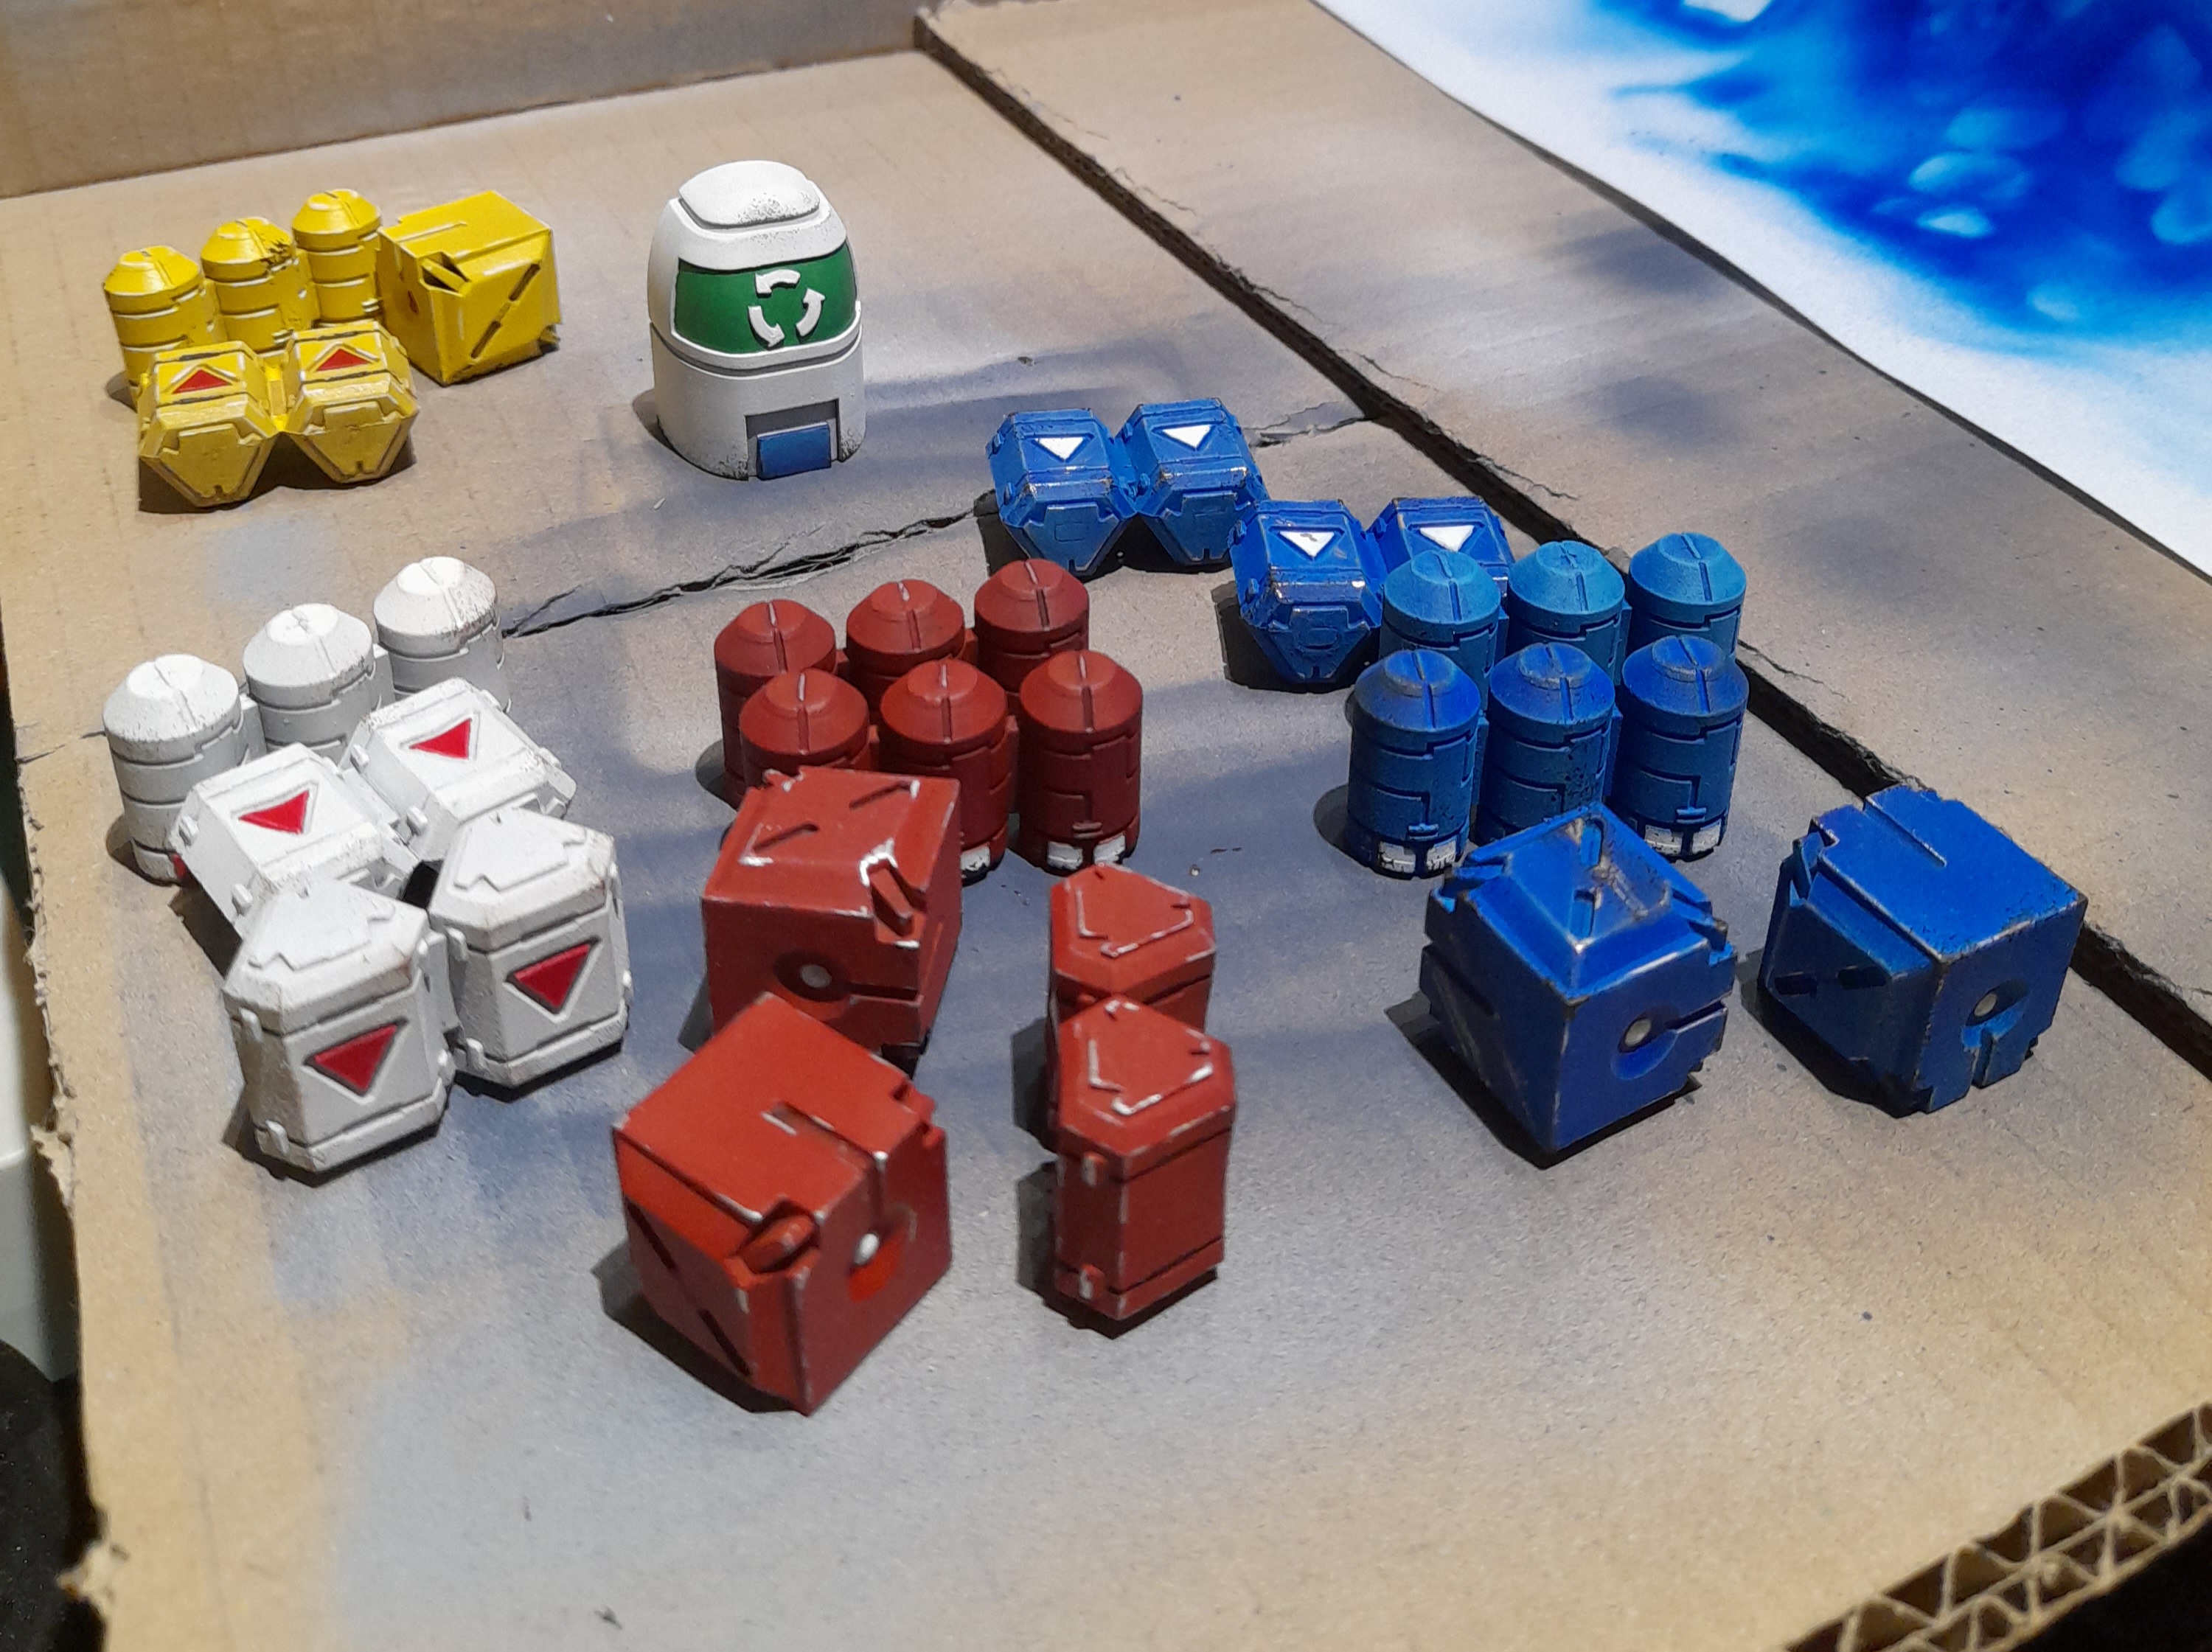
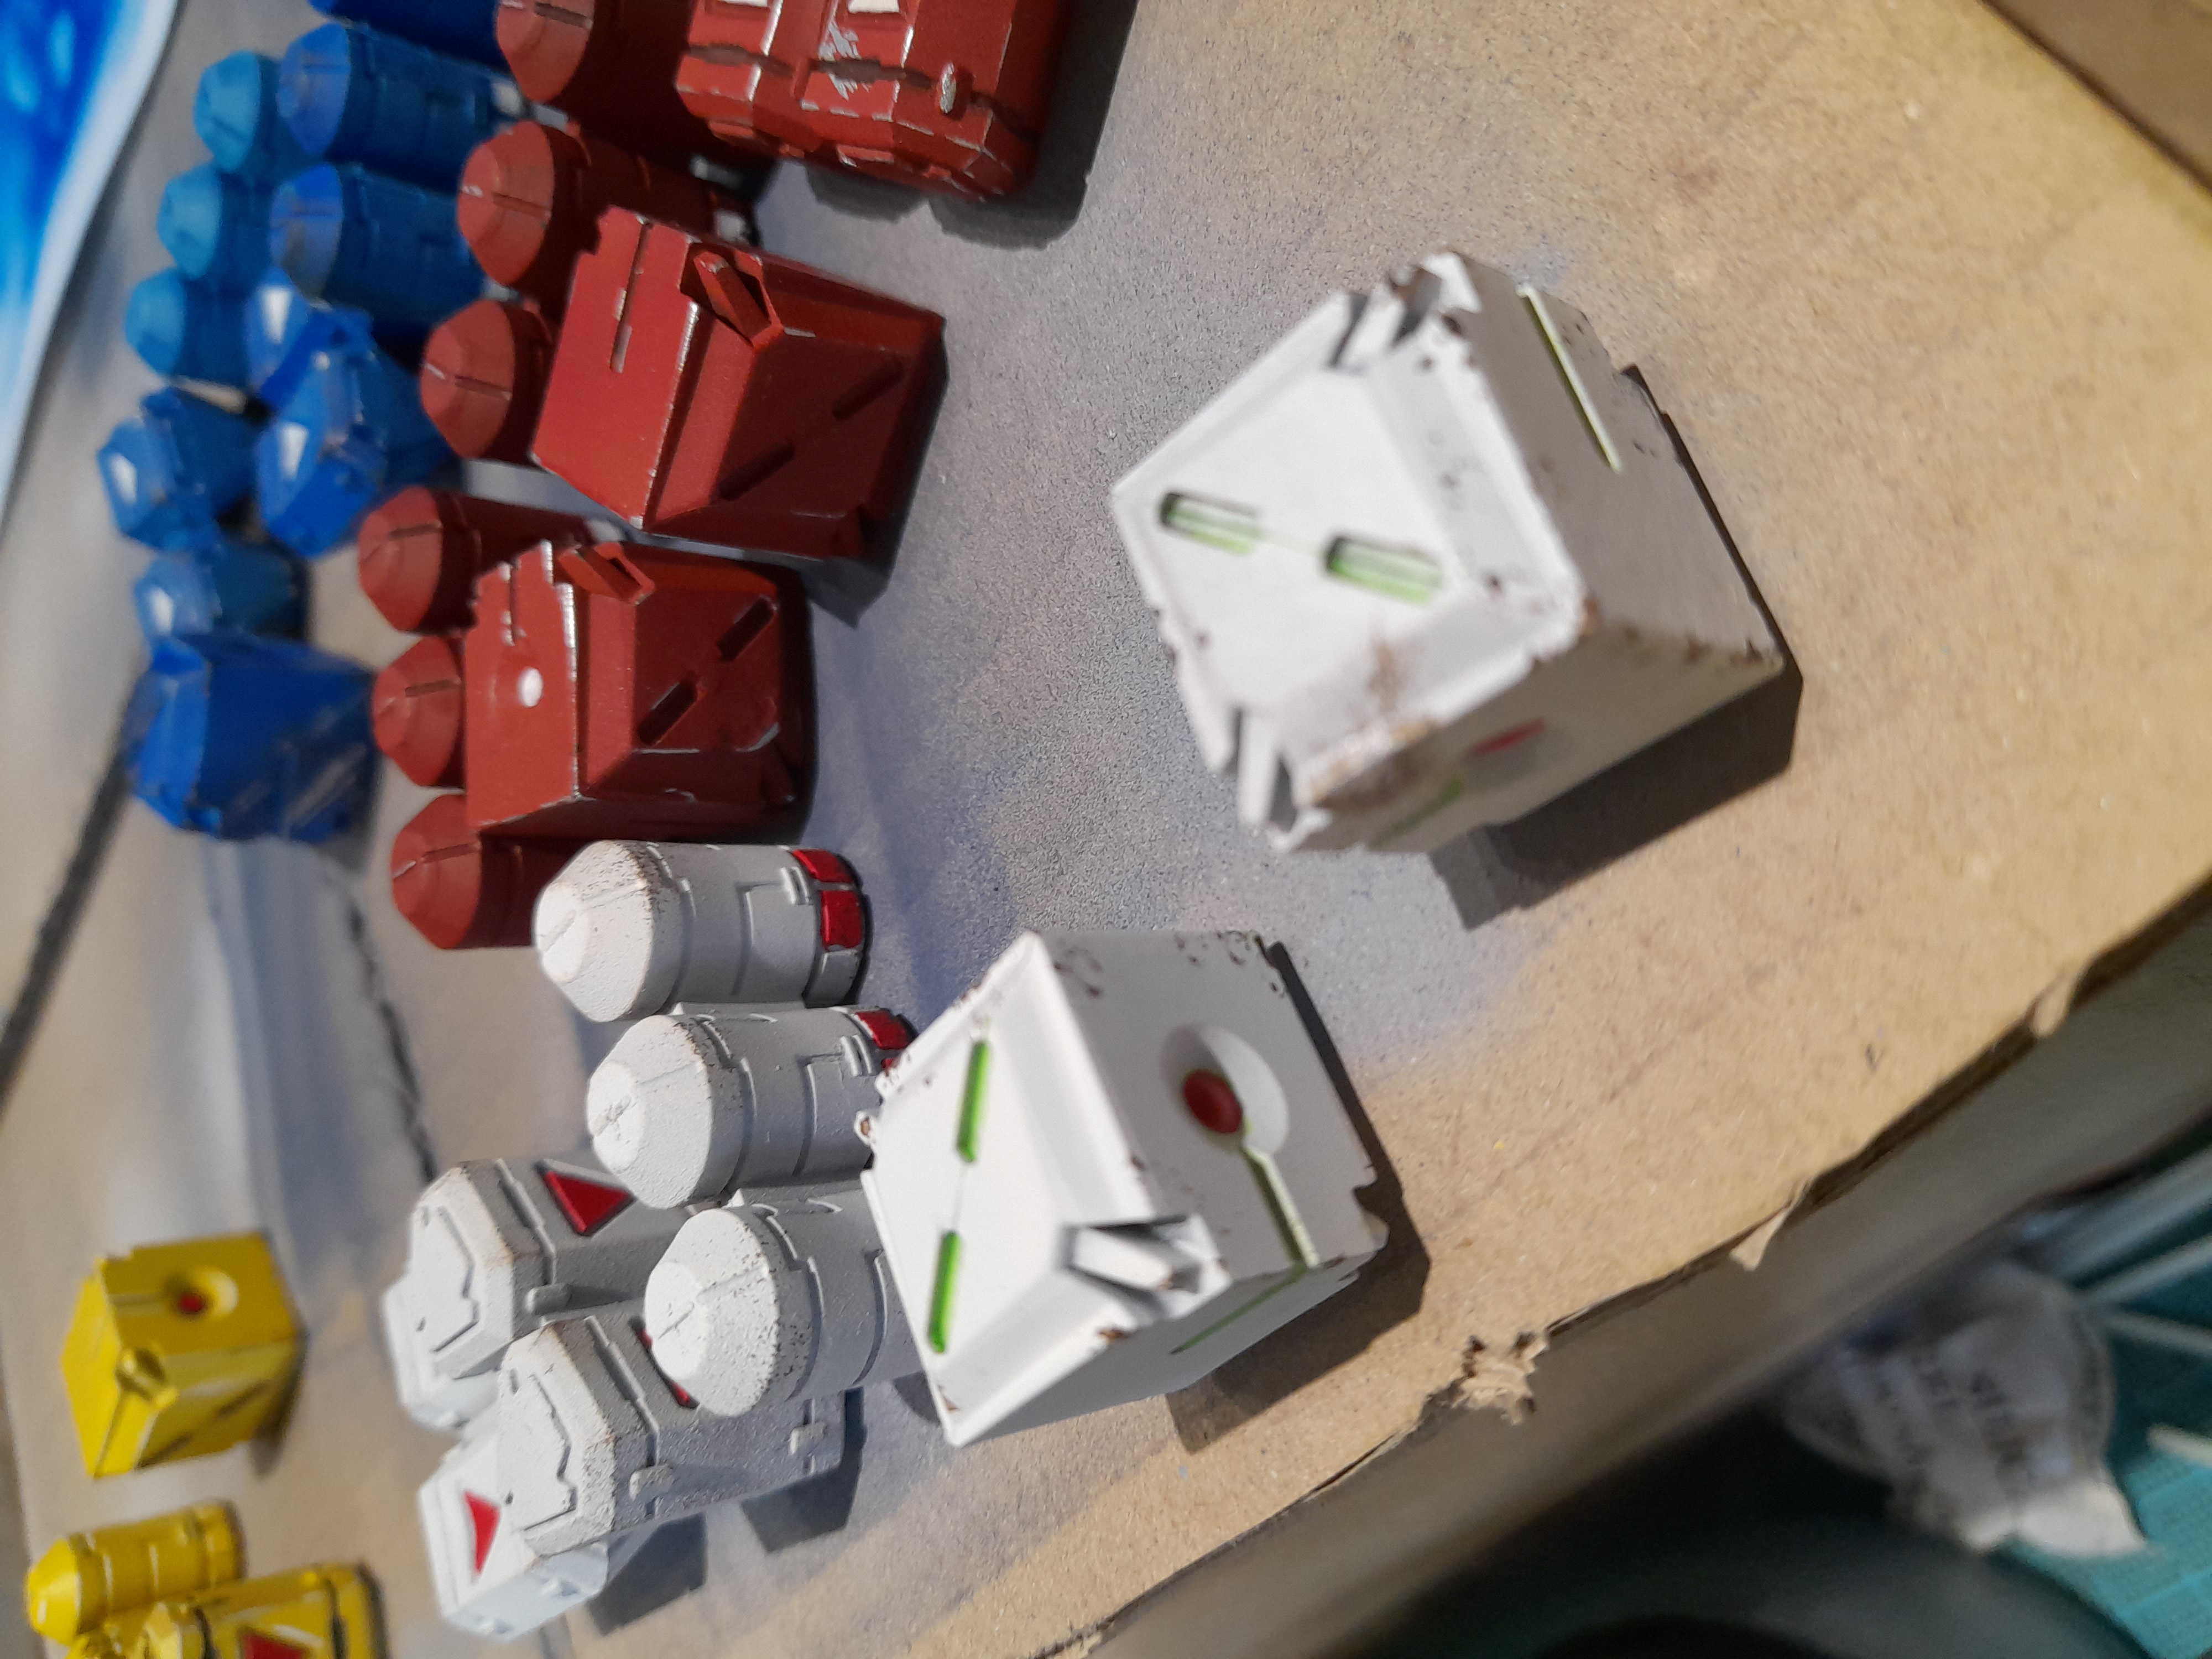
 I'm actually happy with how this came out
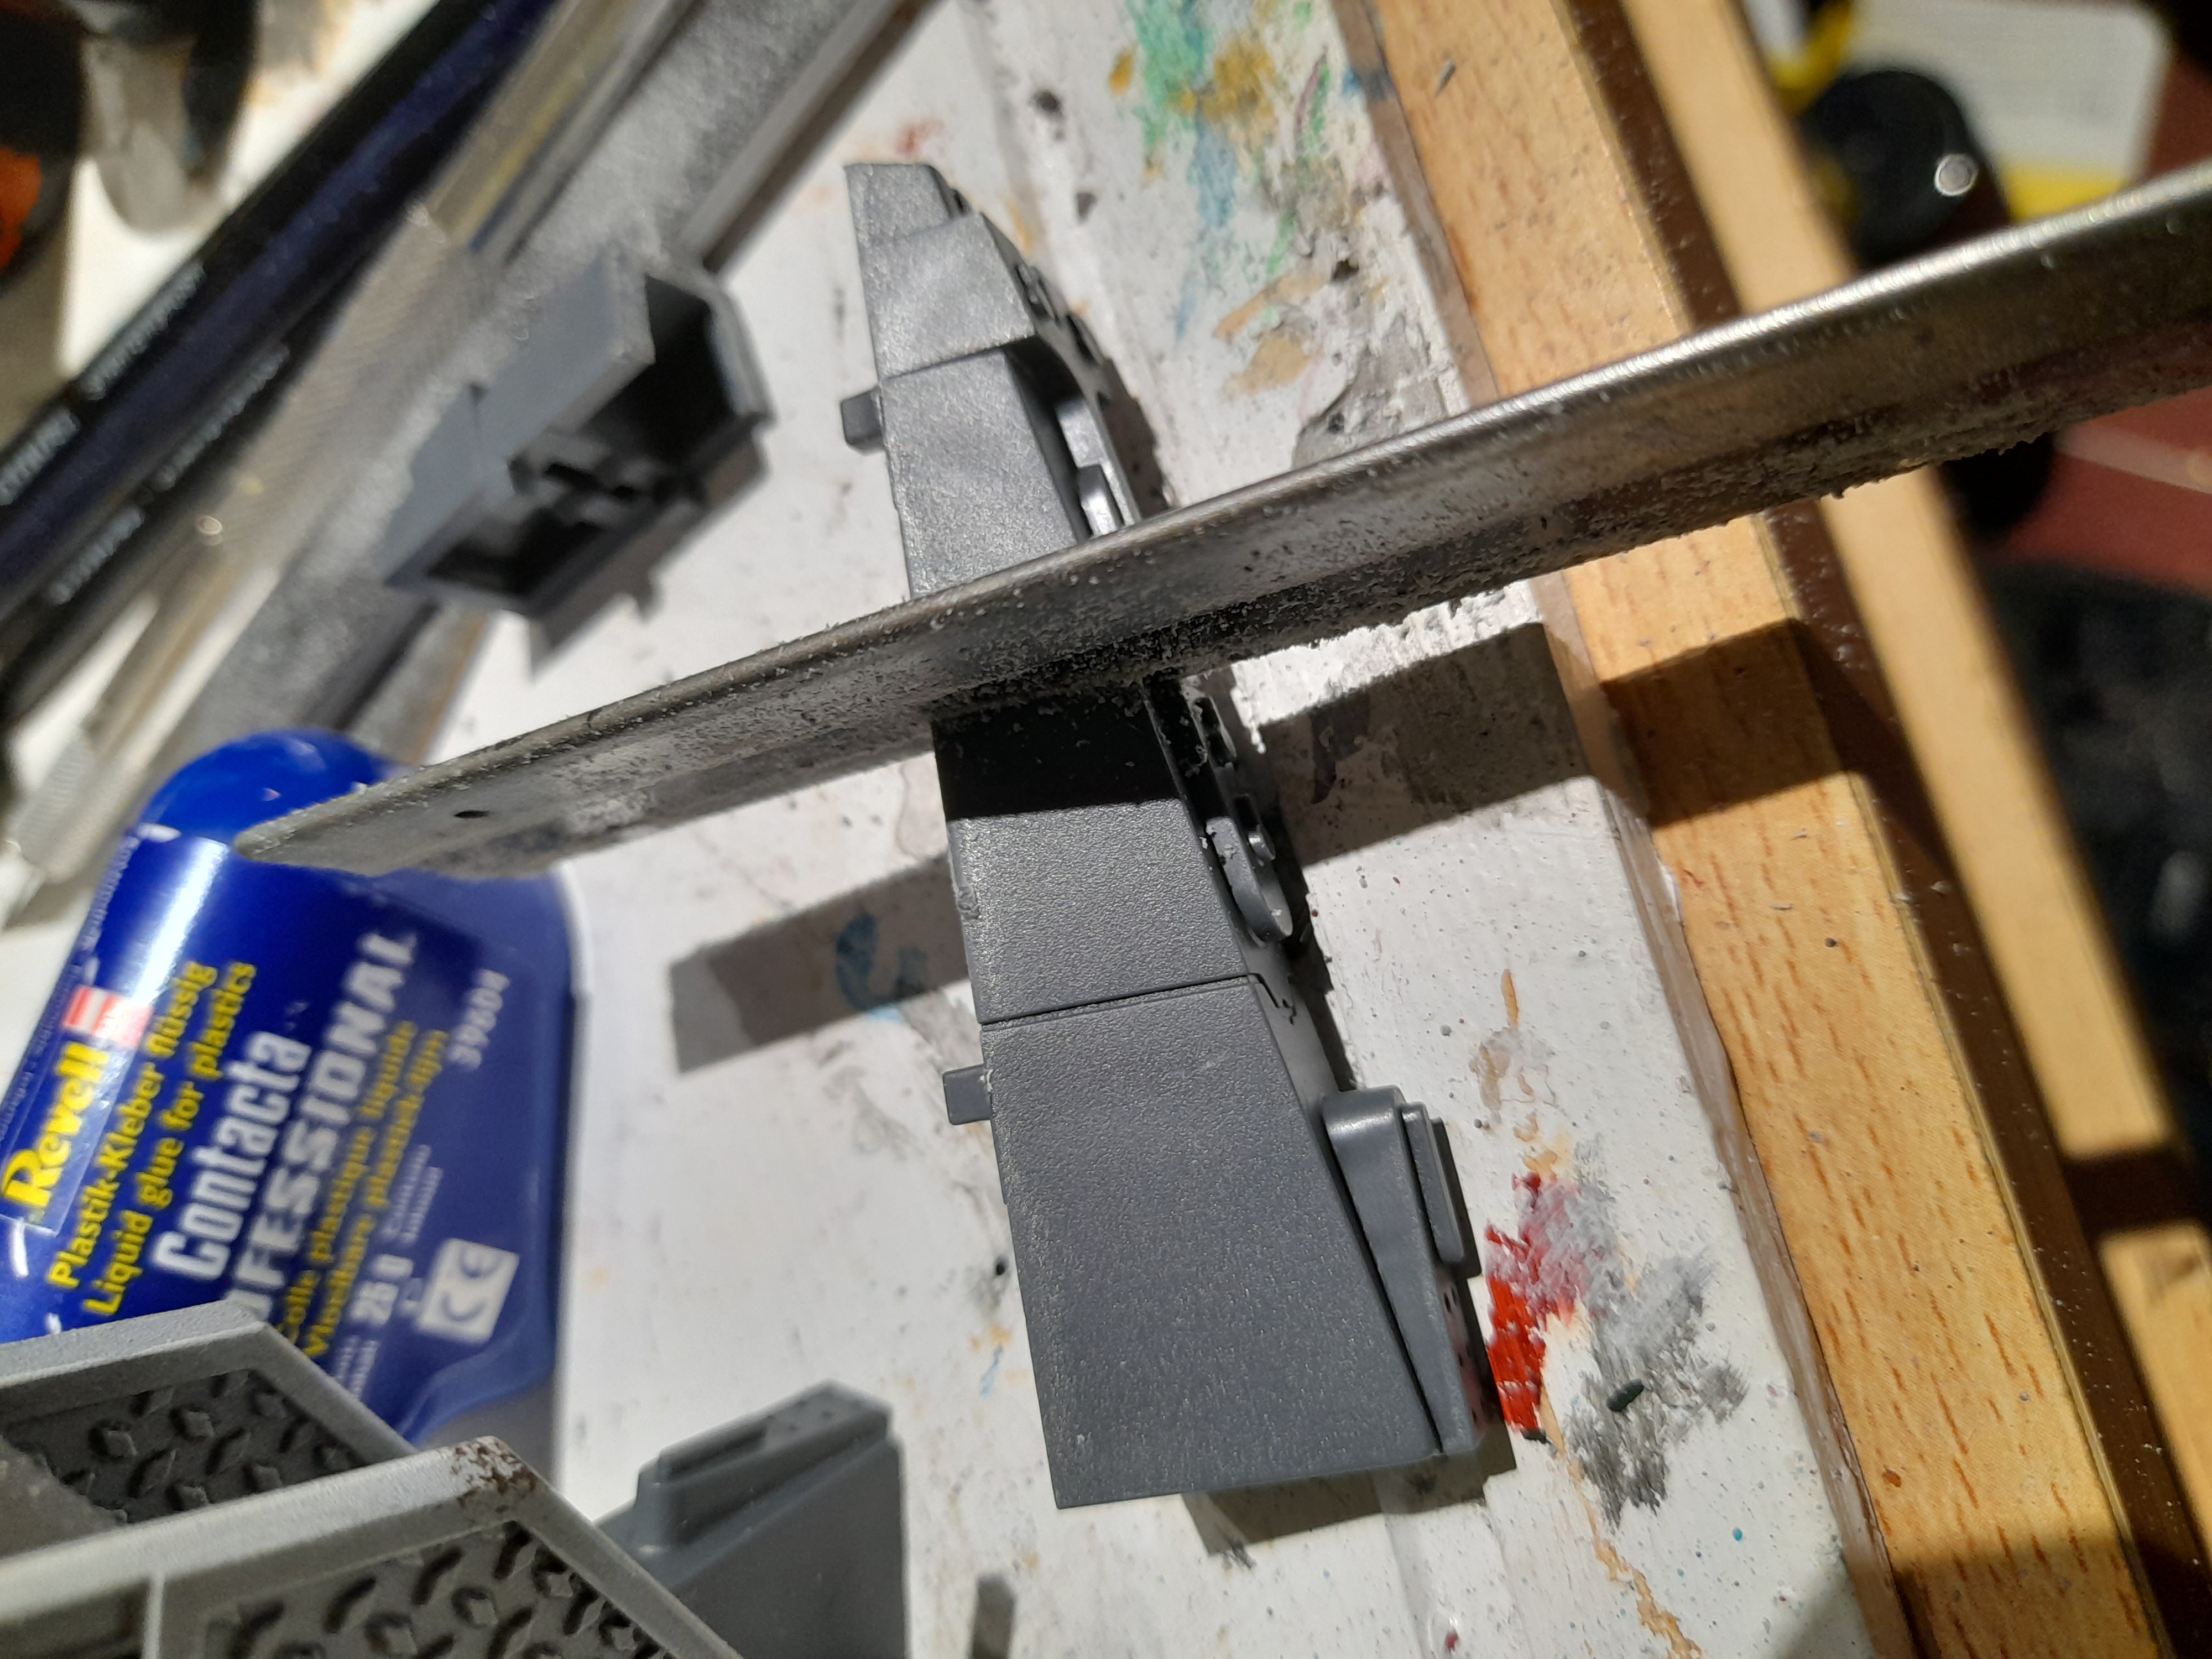
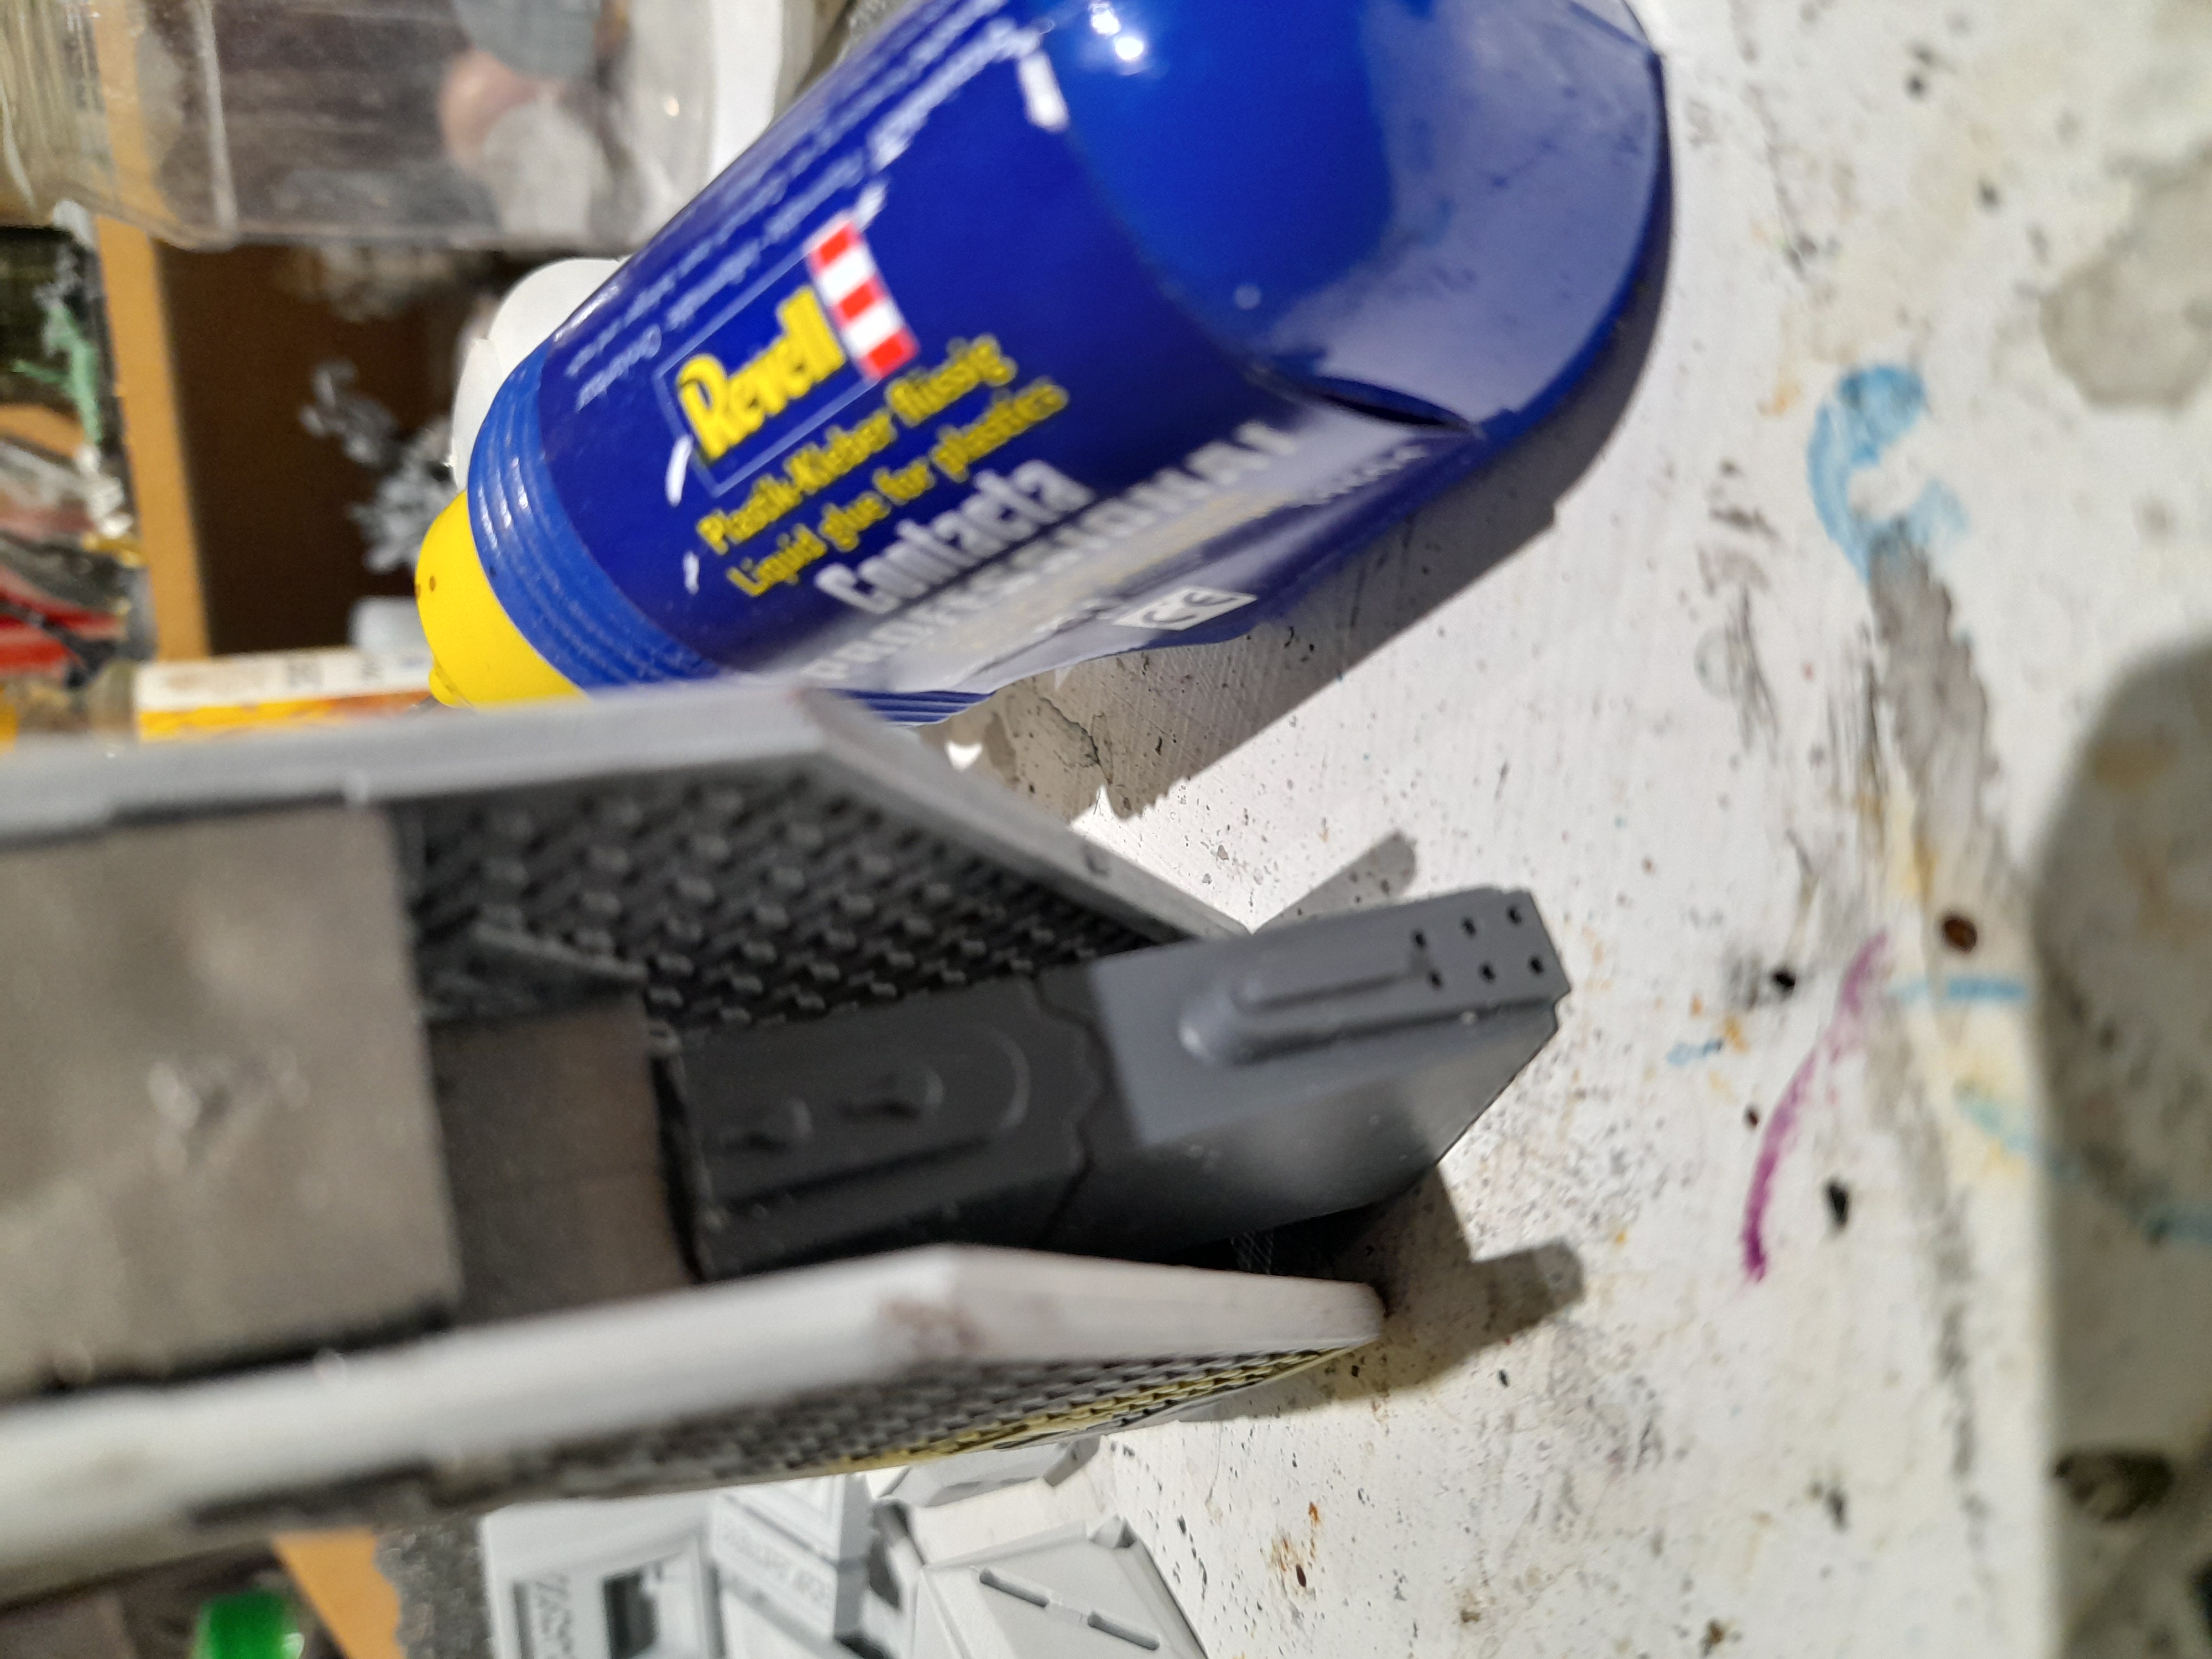
Finally, among the left over bits I purchased from my friend were a couple of stairs. Using some odd sized walkway parts I made these into freestanding stairs – but they wouldn’t stand on their own….
So, I took a couple of the buttress parts, cut them down to the right size and glued them underneath so that they can be truly free standing.

Mini update
31st January 2023
Just a quick mini update.
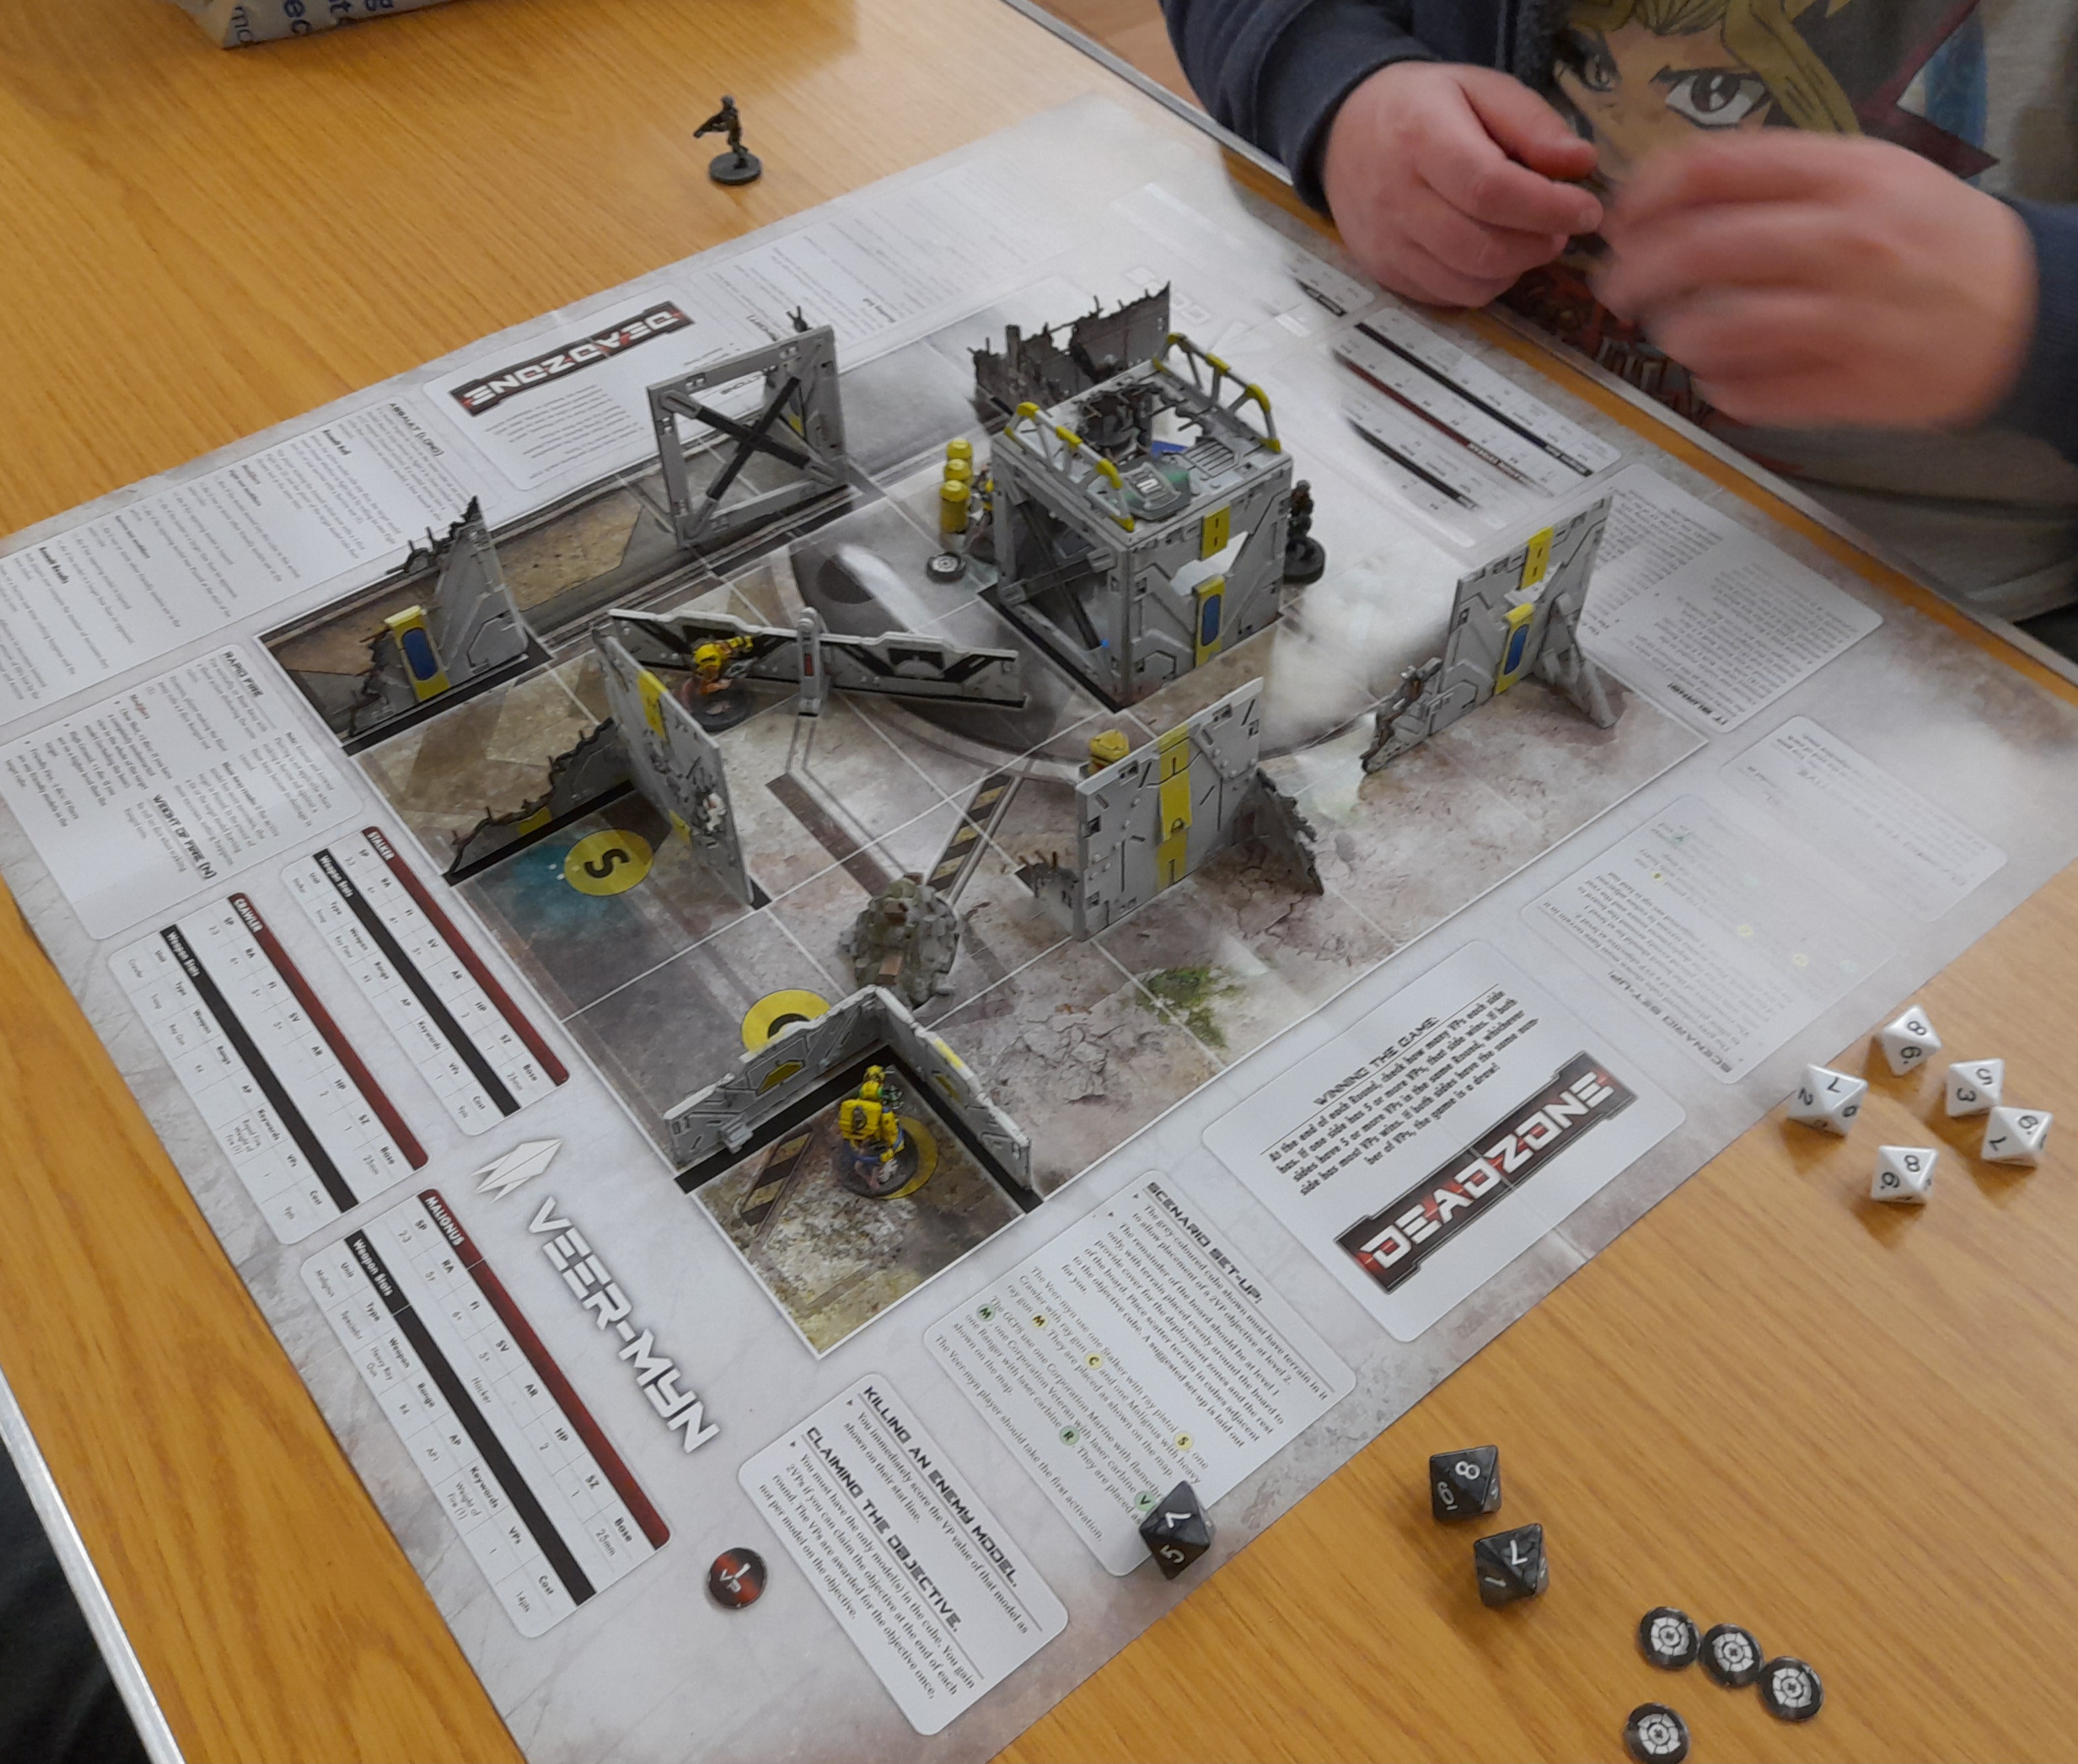
I’m hoping to run some demo games at a local club this weekend (all being well) using the 3rd ed starter layout.
I have the terrain ready for it, but not the minis.
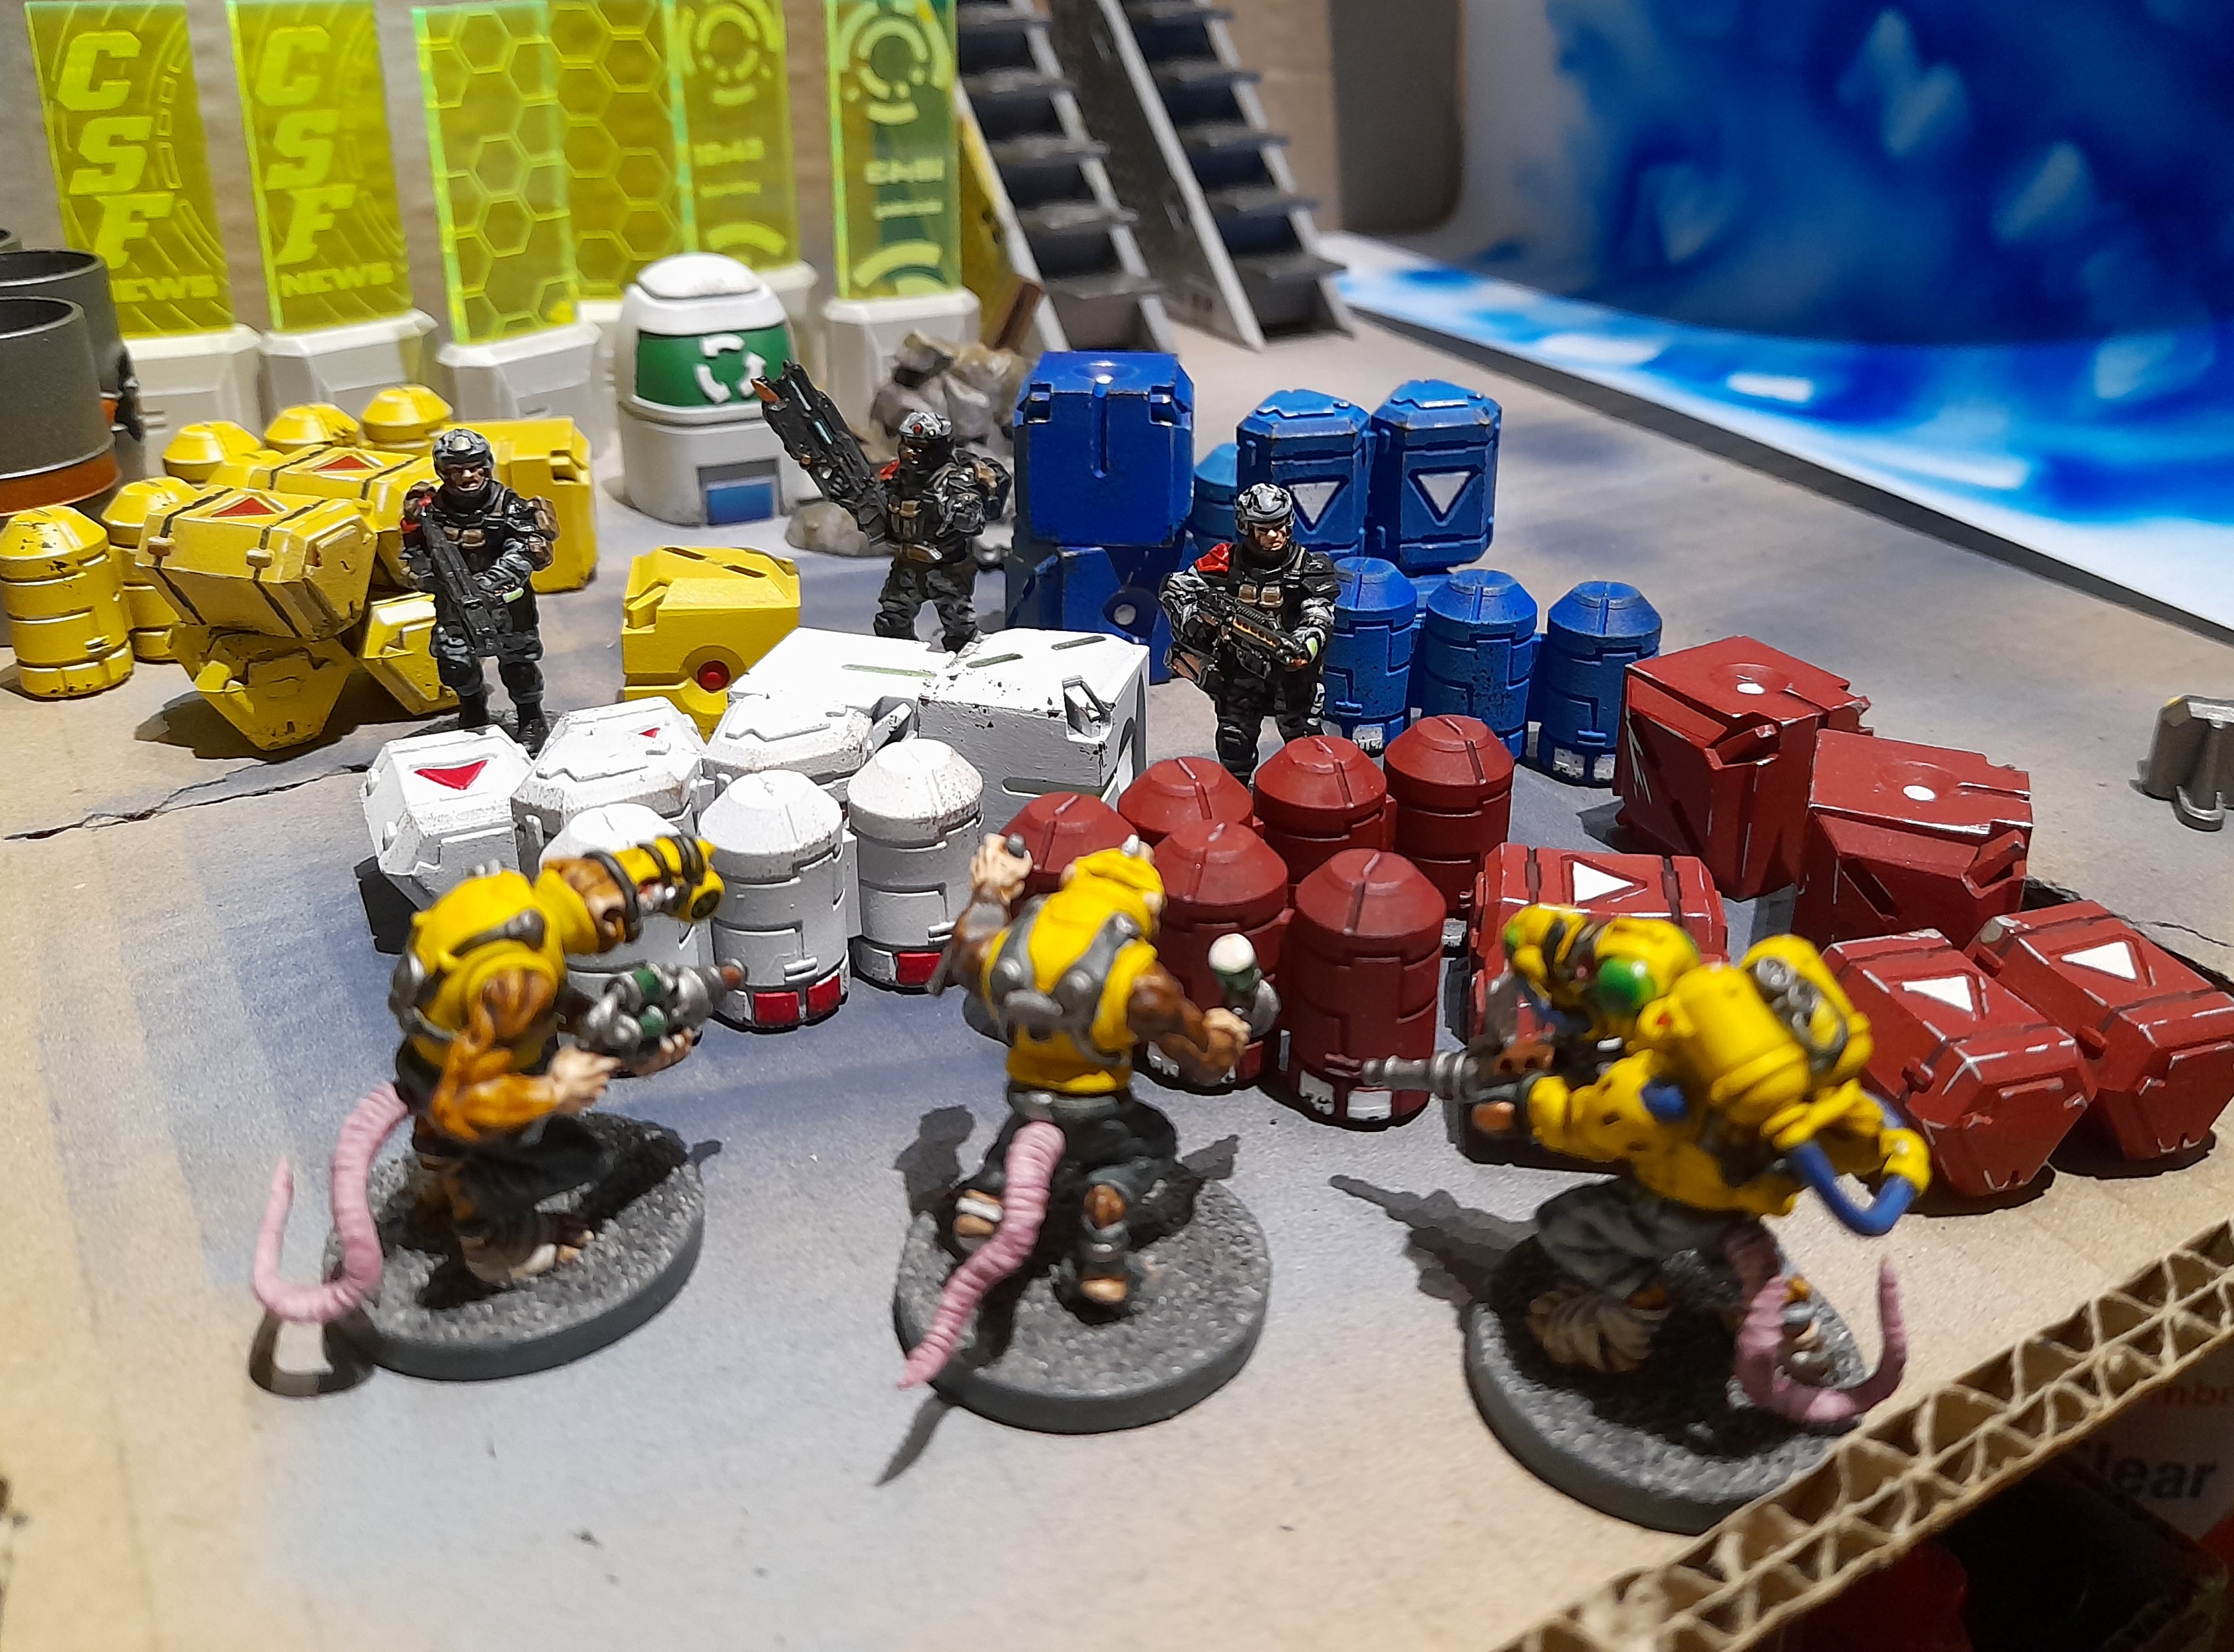
The minis were built on a previous ‘terrain interlude’, so now it was on to painting. I knew the rough colours I wanted for the Veer Myn, but not for the GCPS – so I started with the Veer Myn.

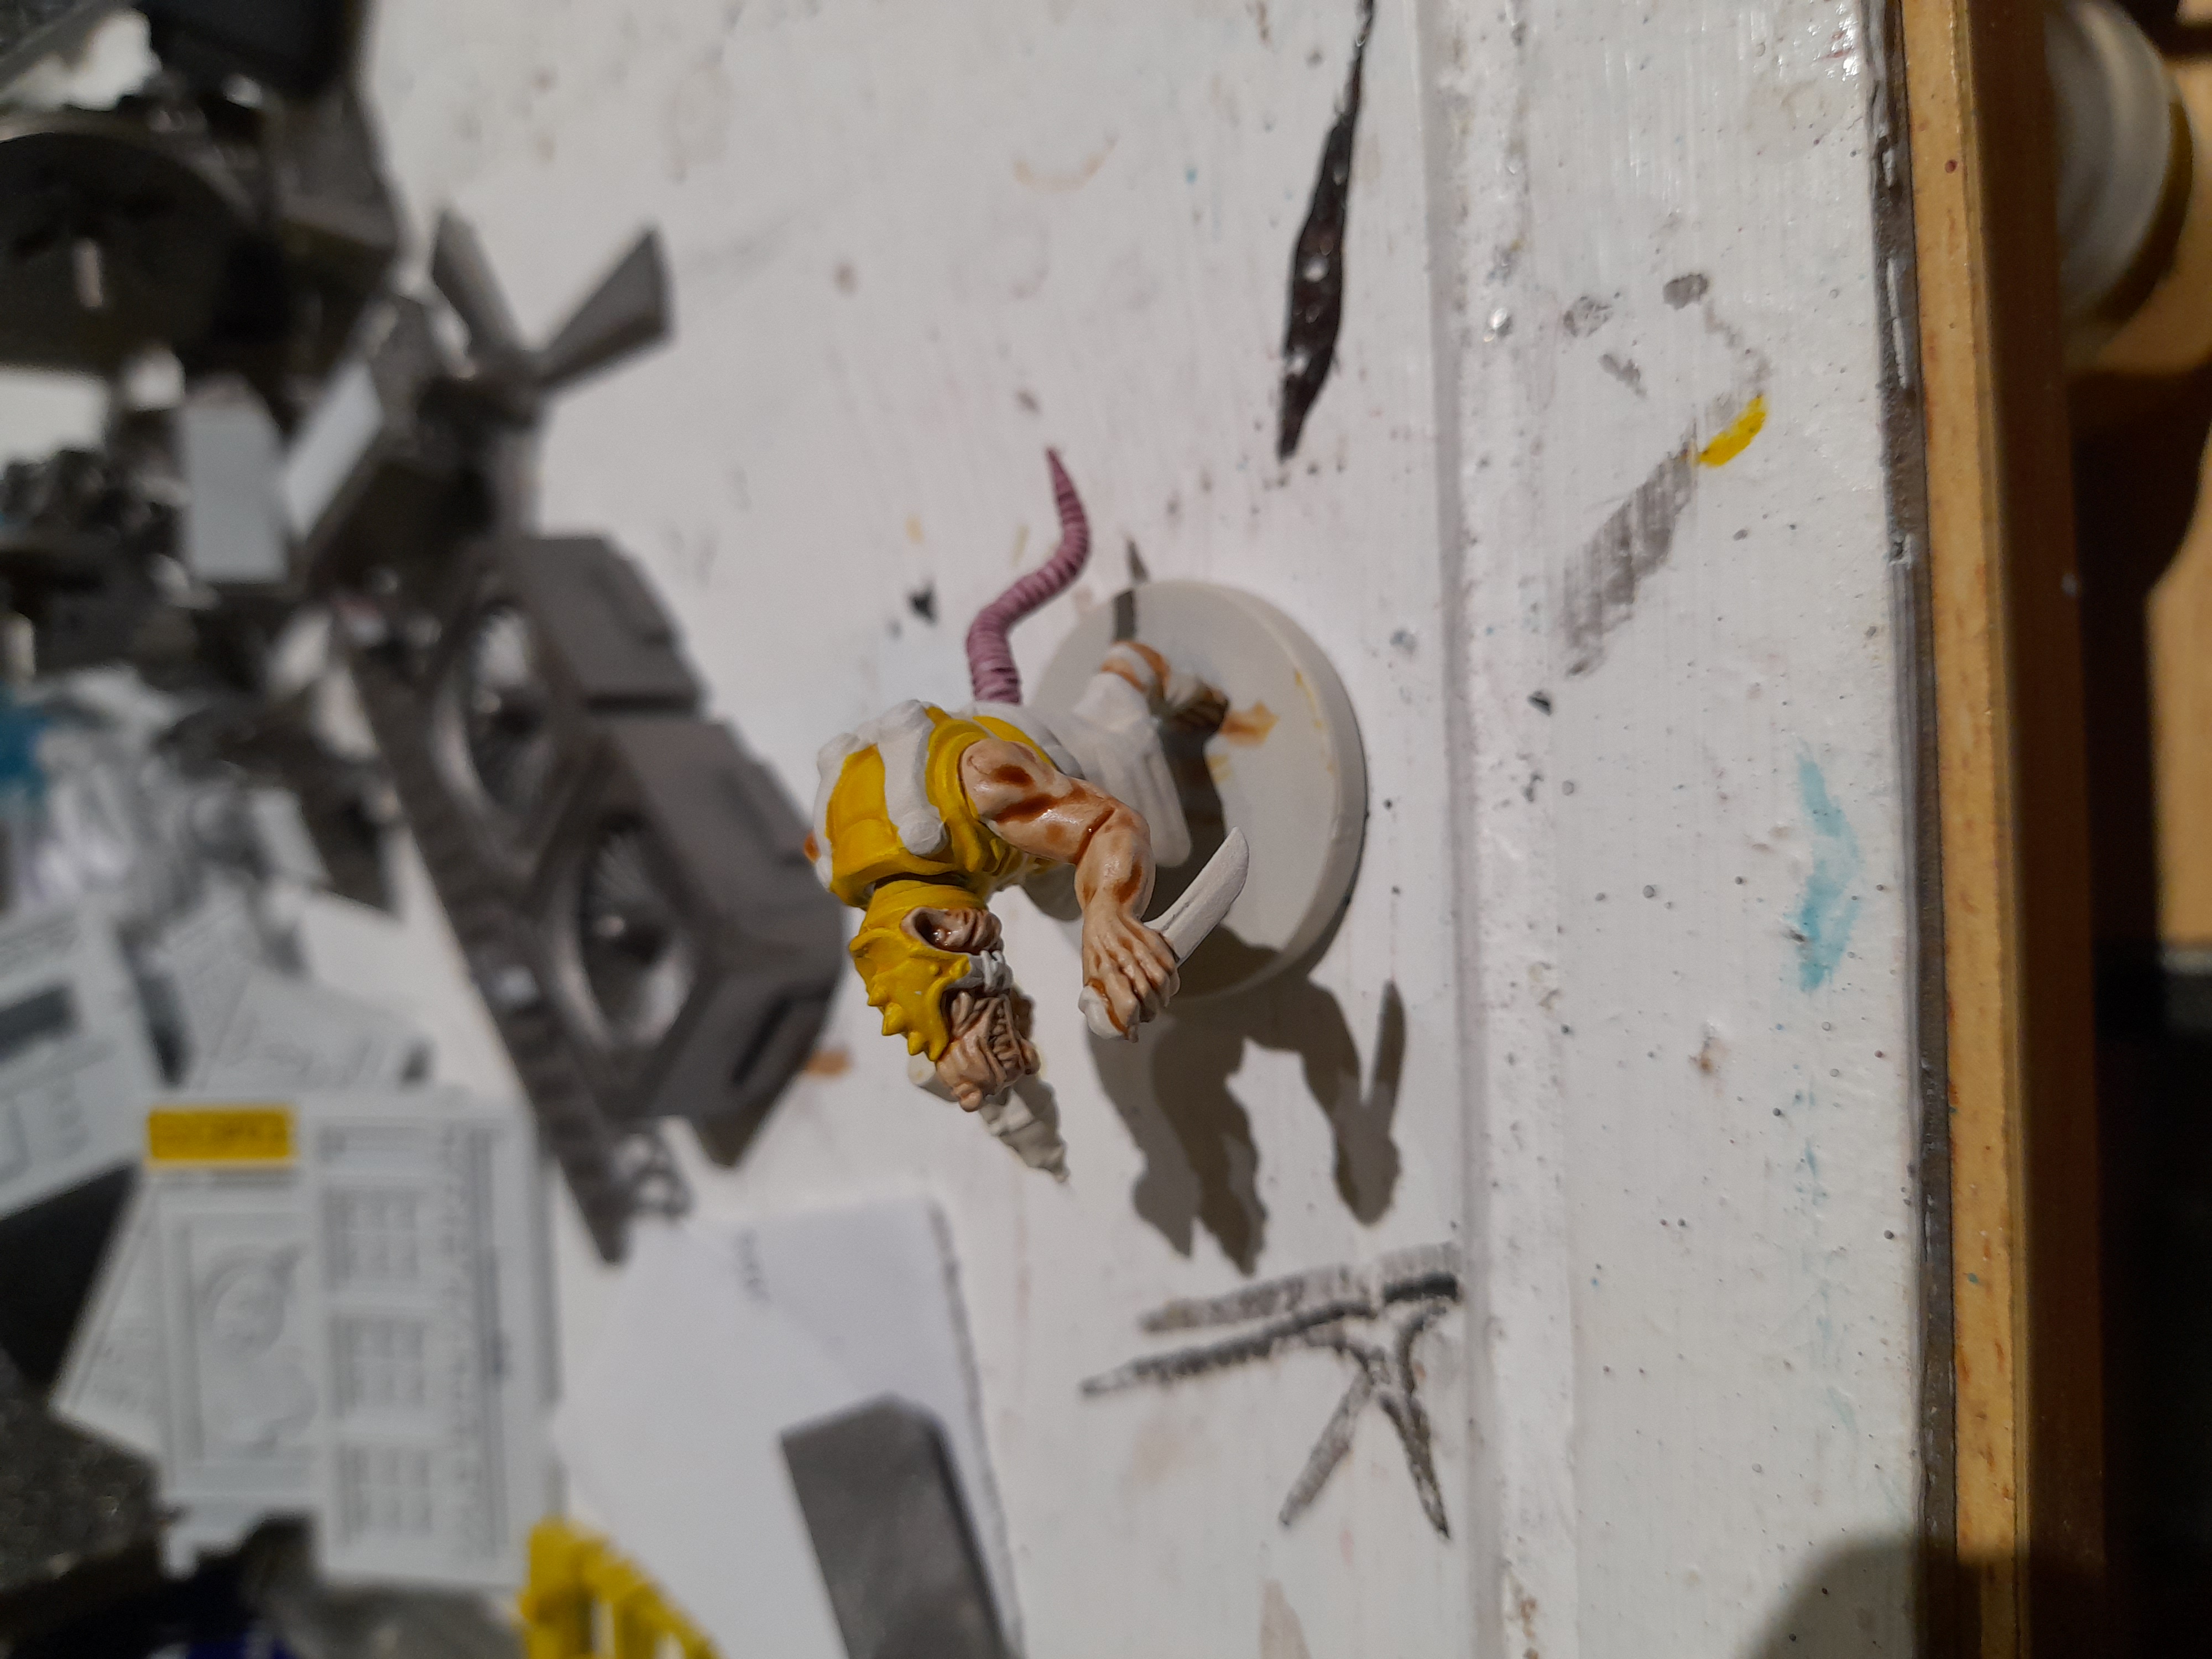
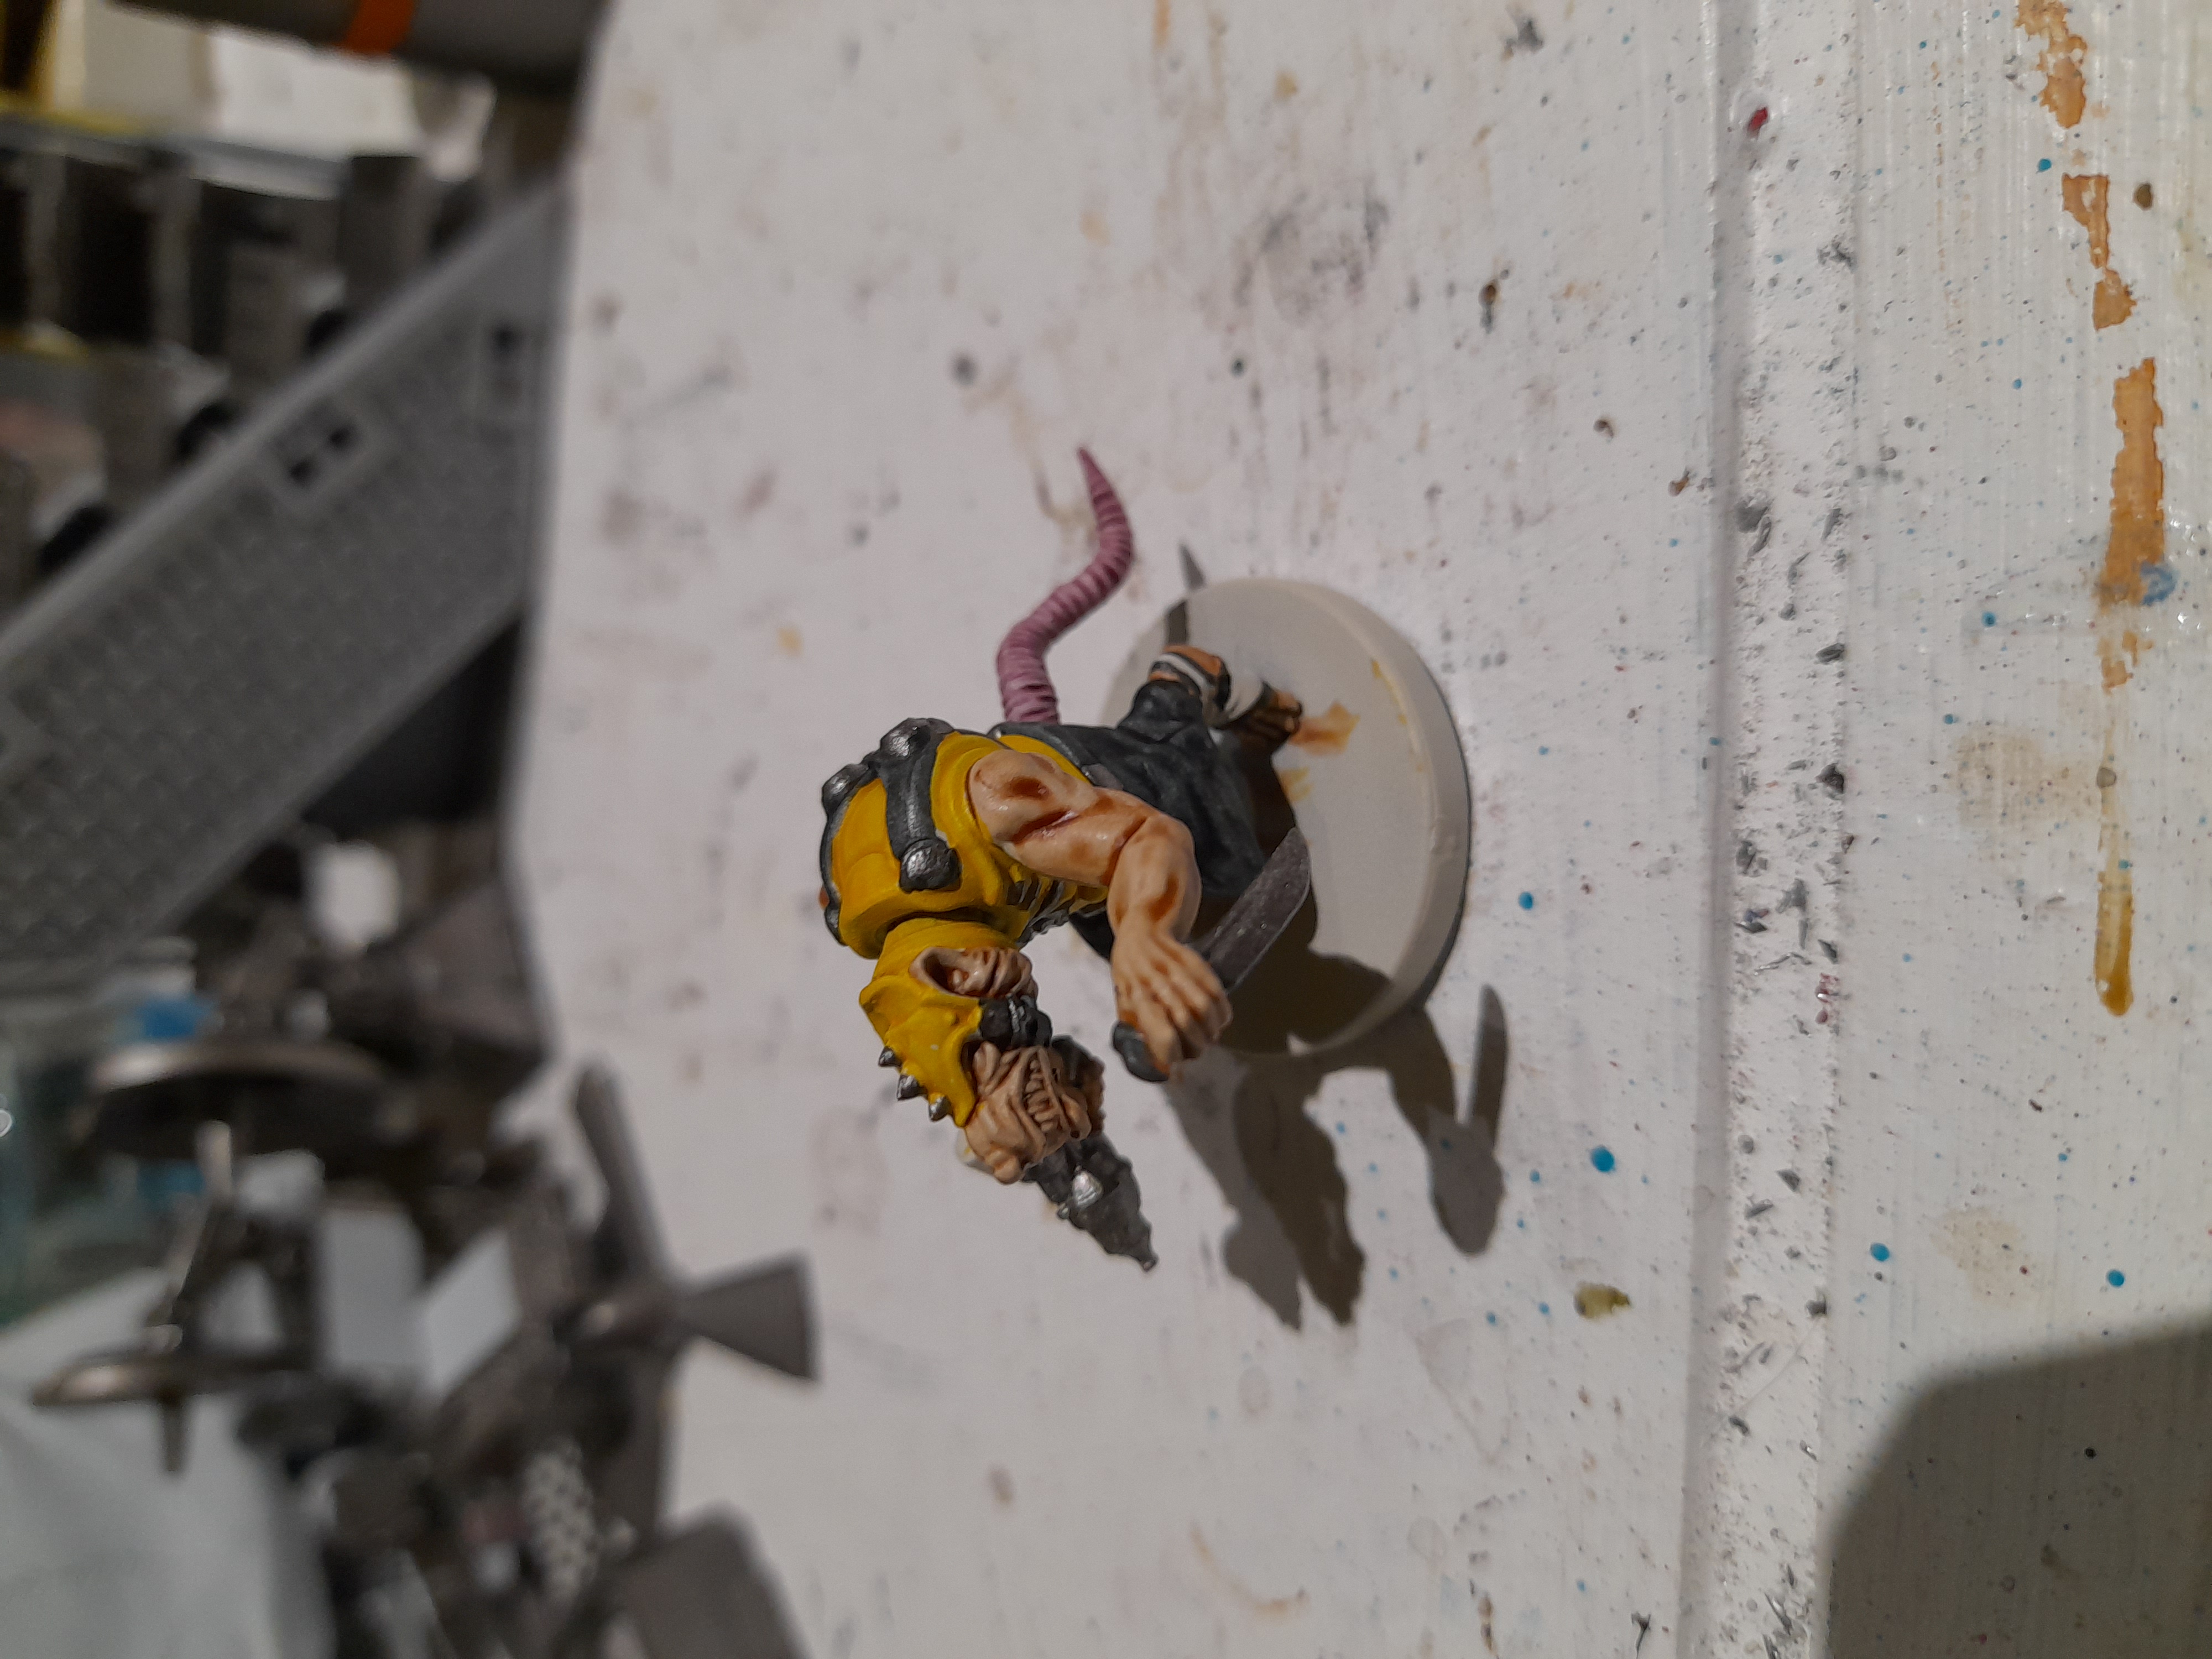
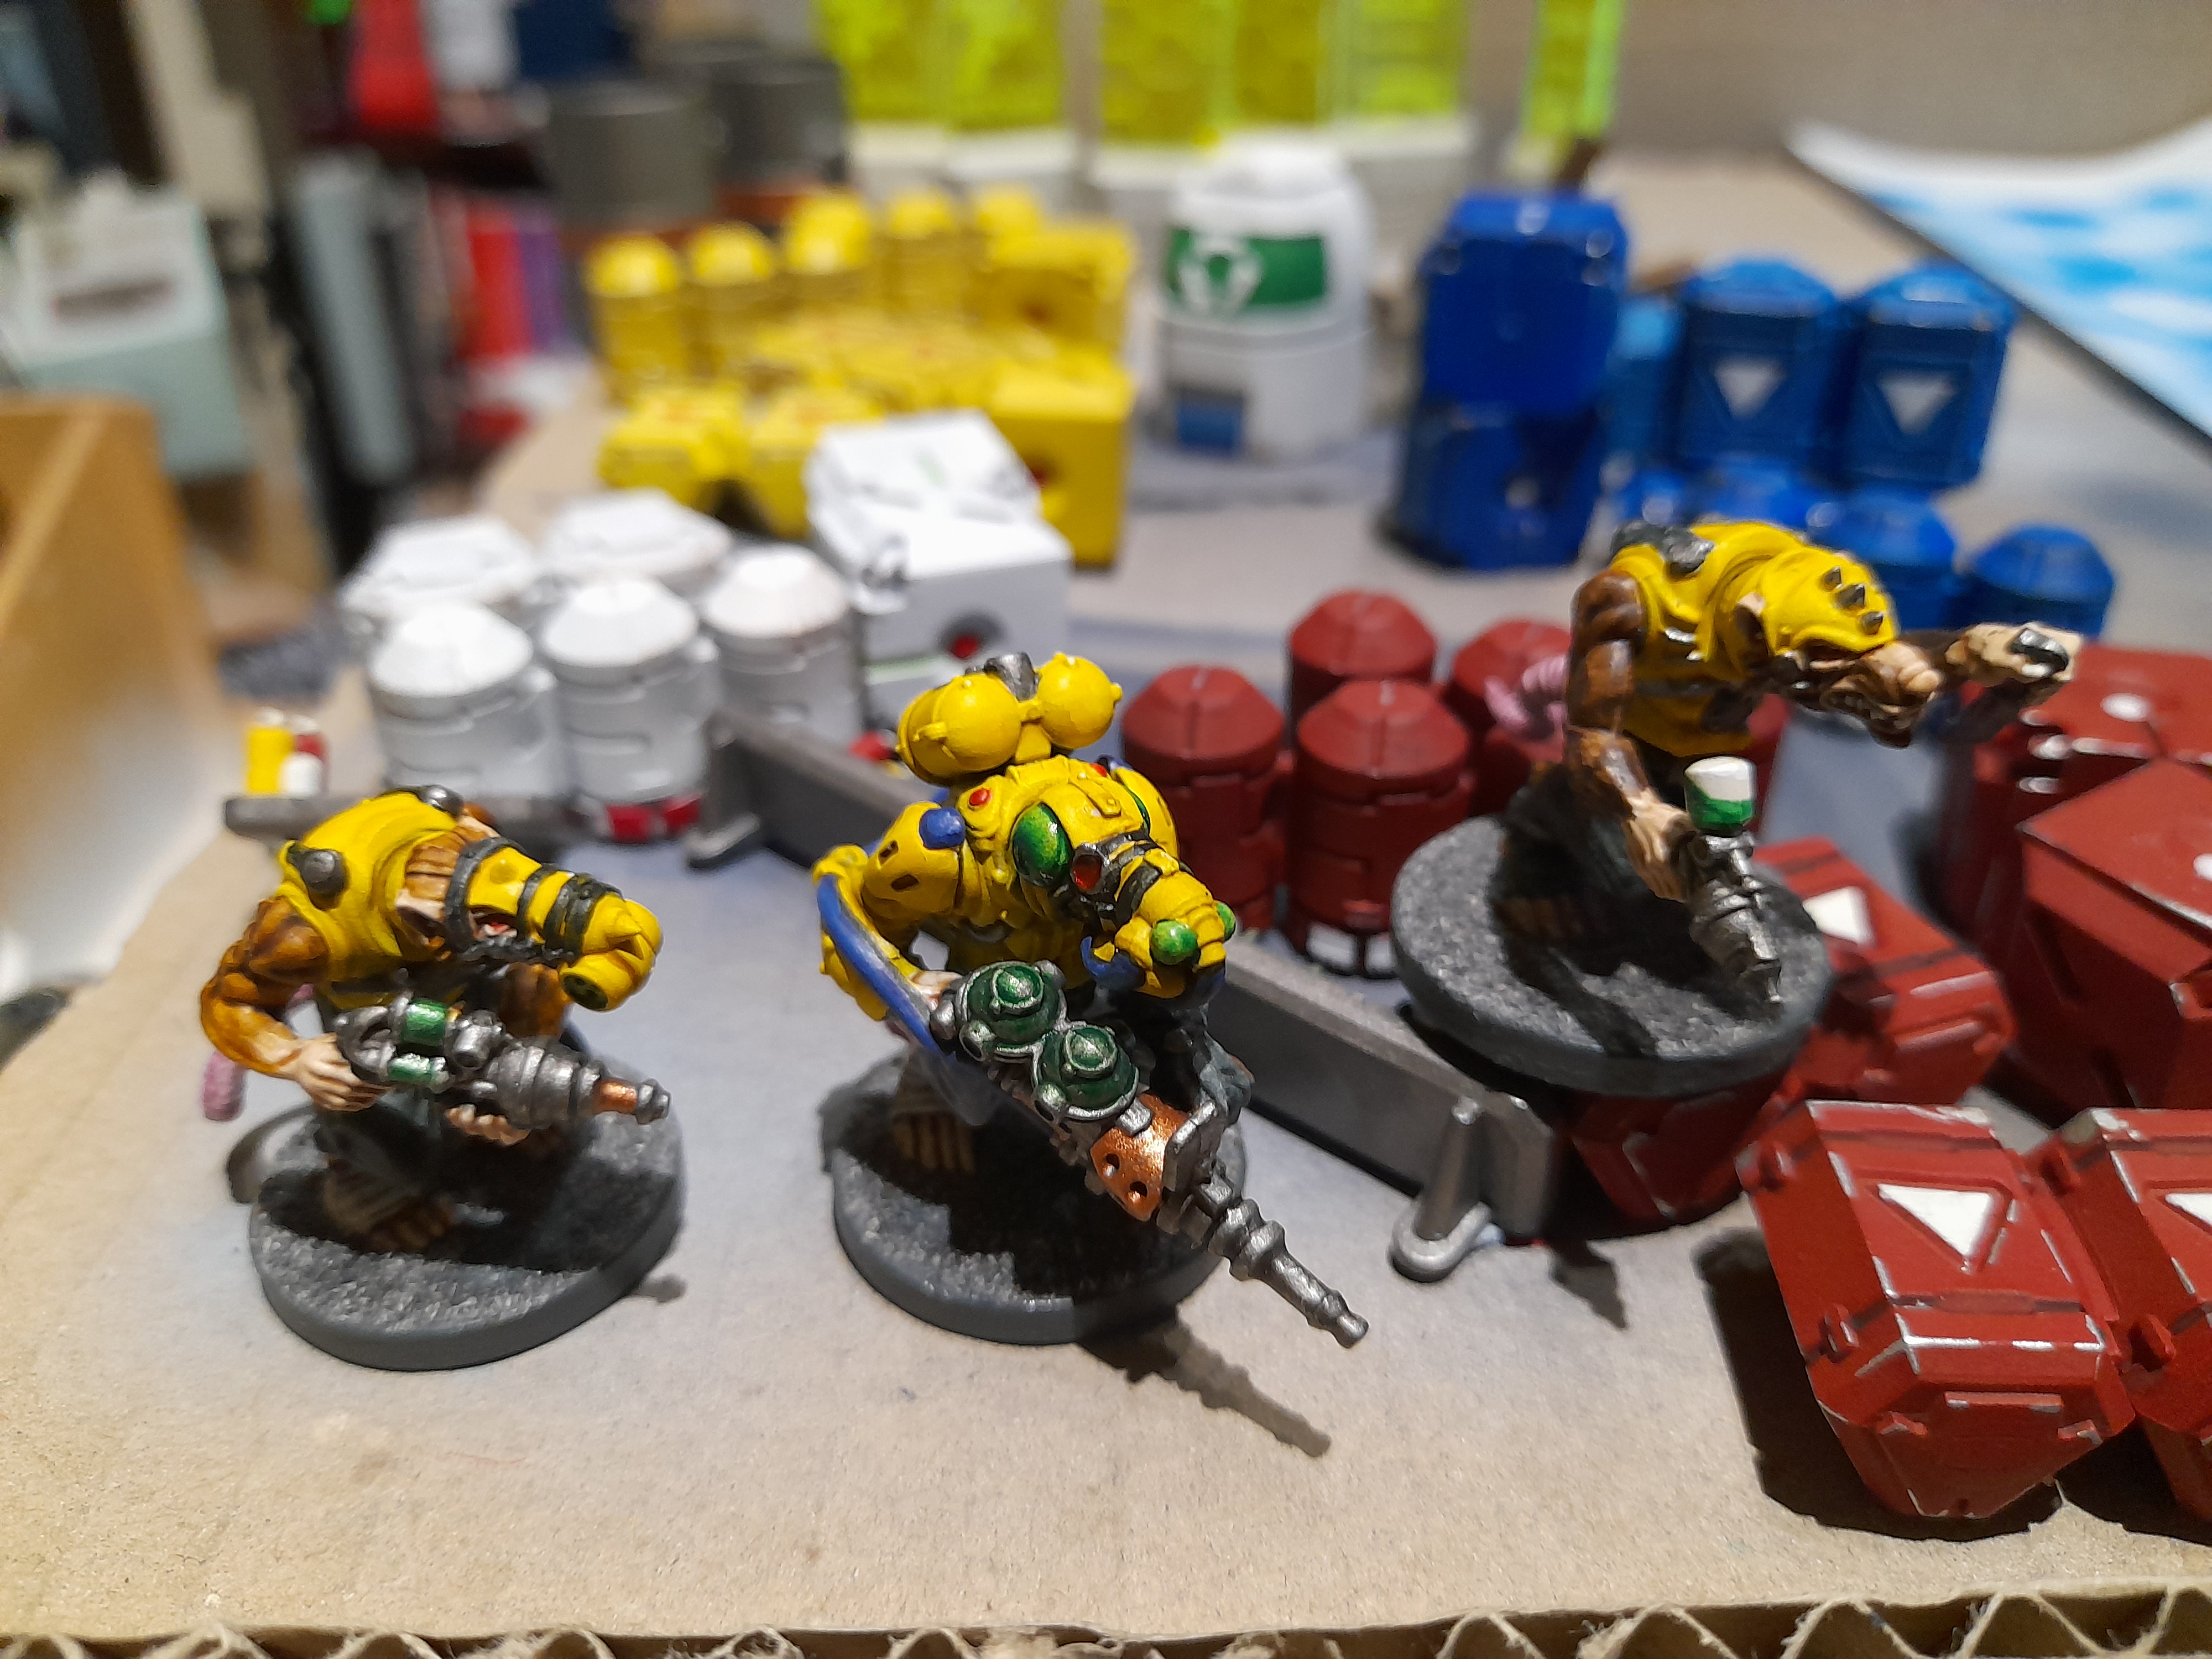 The Veer Myn are ready
Wraithbone prime, then liberal use of contrast paints, and finished off with normal paints. They aren’t amazing, but they do the job (and with my eyesight they seem ok ? )
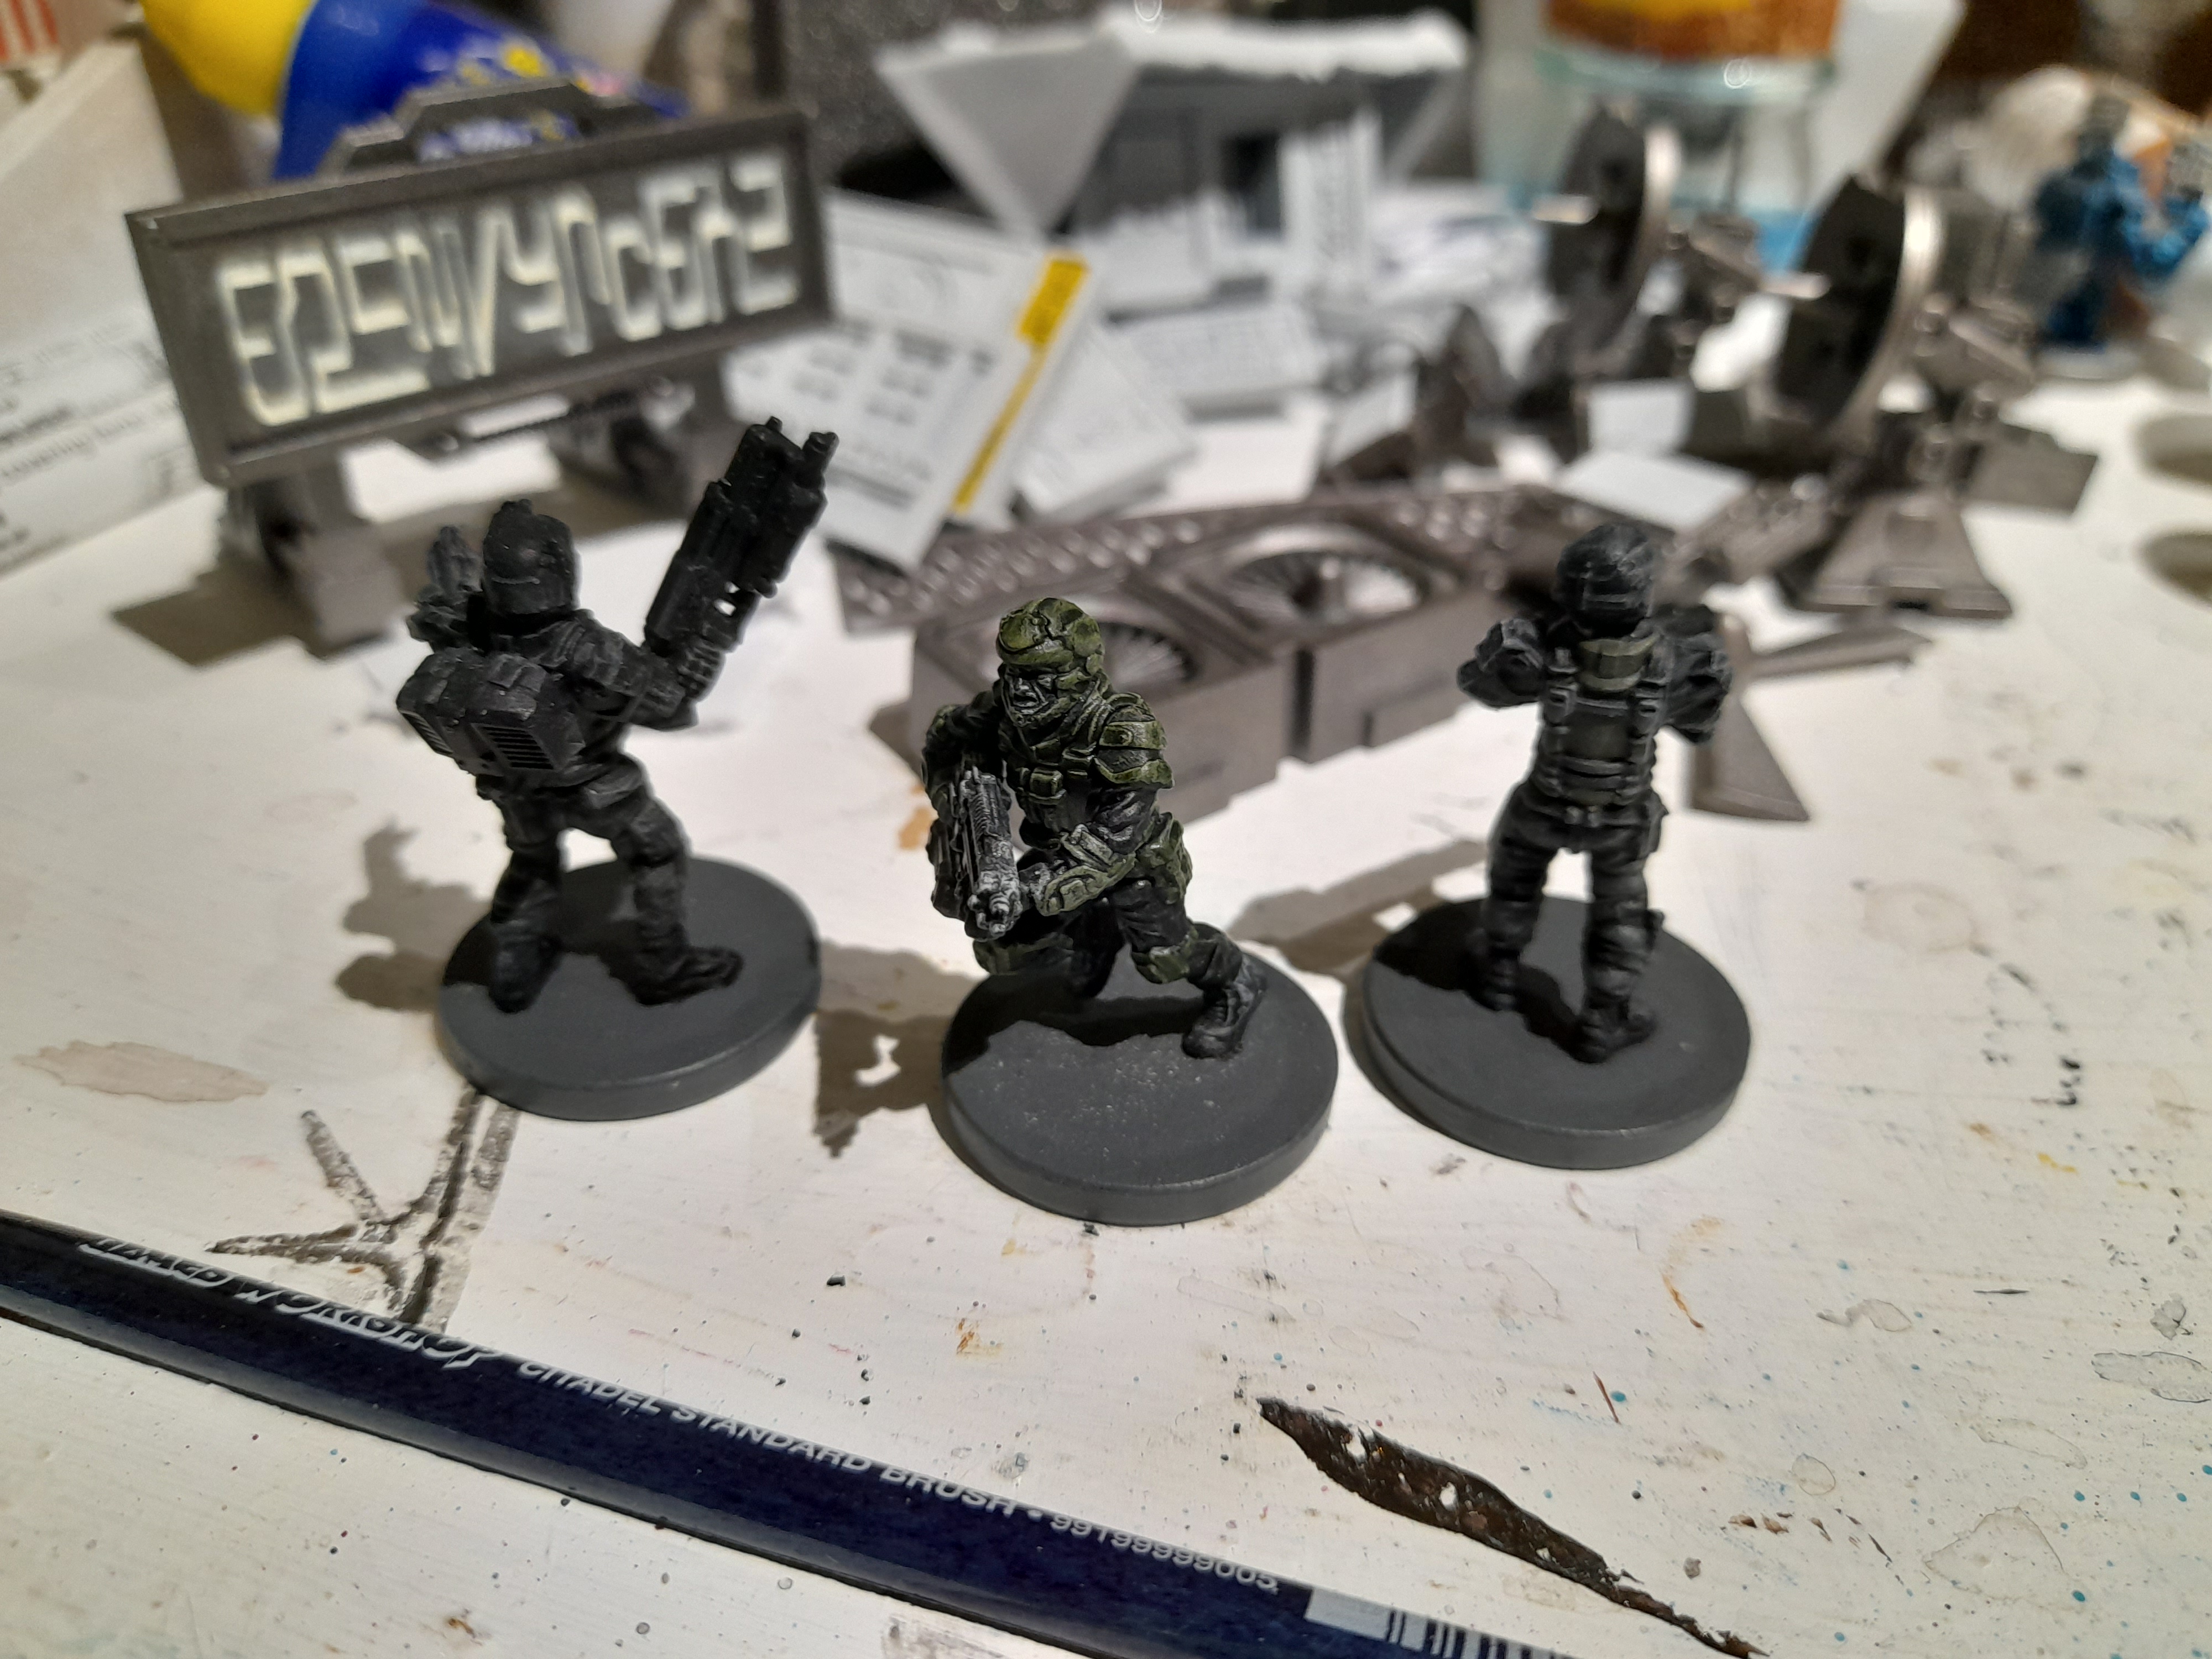
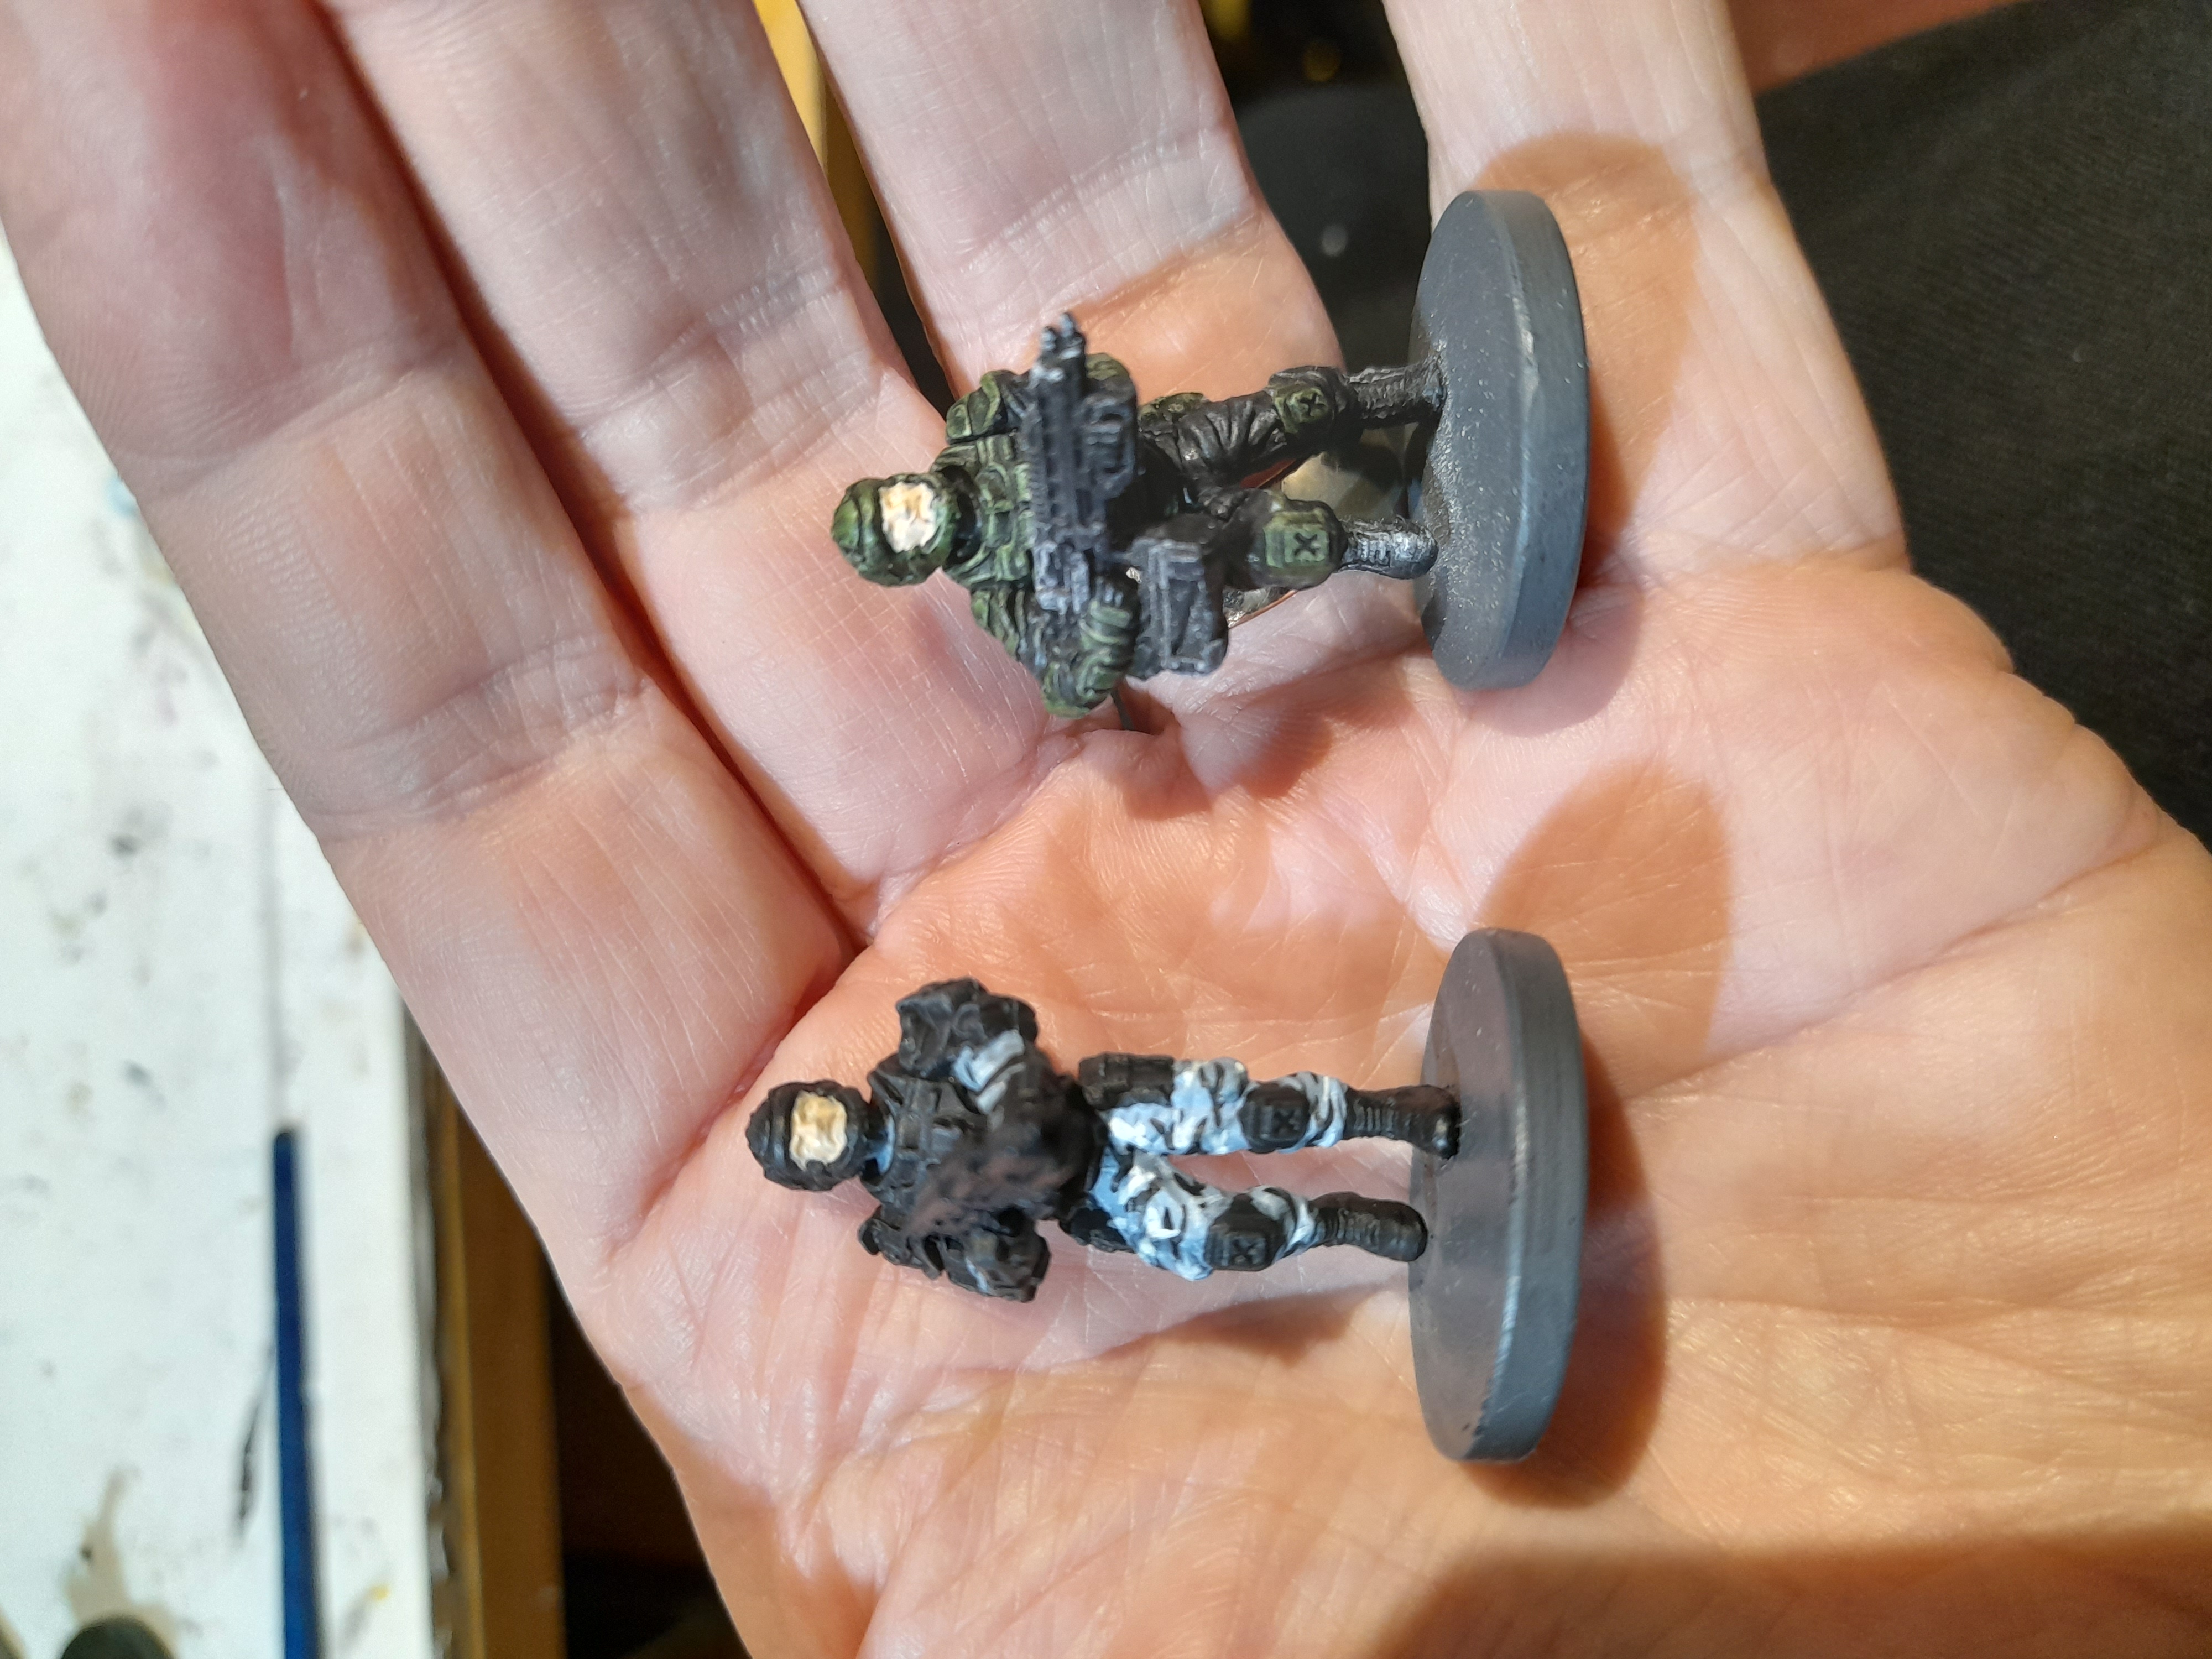
For the GCPS I was tempted by the green Mantic scheme. However, the green paint I bought (Castellan Green) just seemed too dark when on the model. Next I tried a heavy drybrush with ivory followed by Militarum green contrast.
This looked ok, but just didn’t grab me.
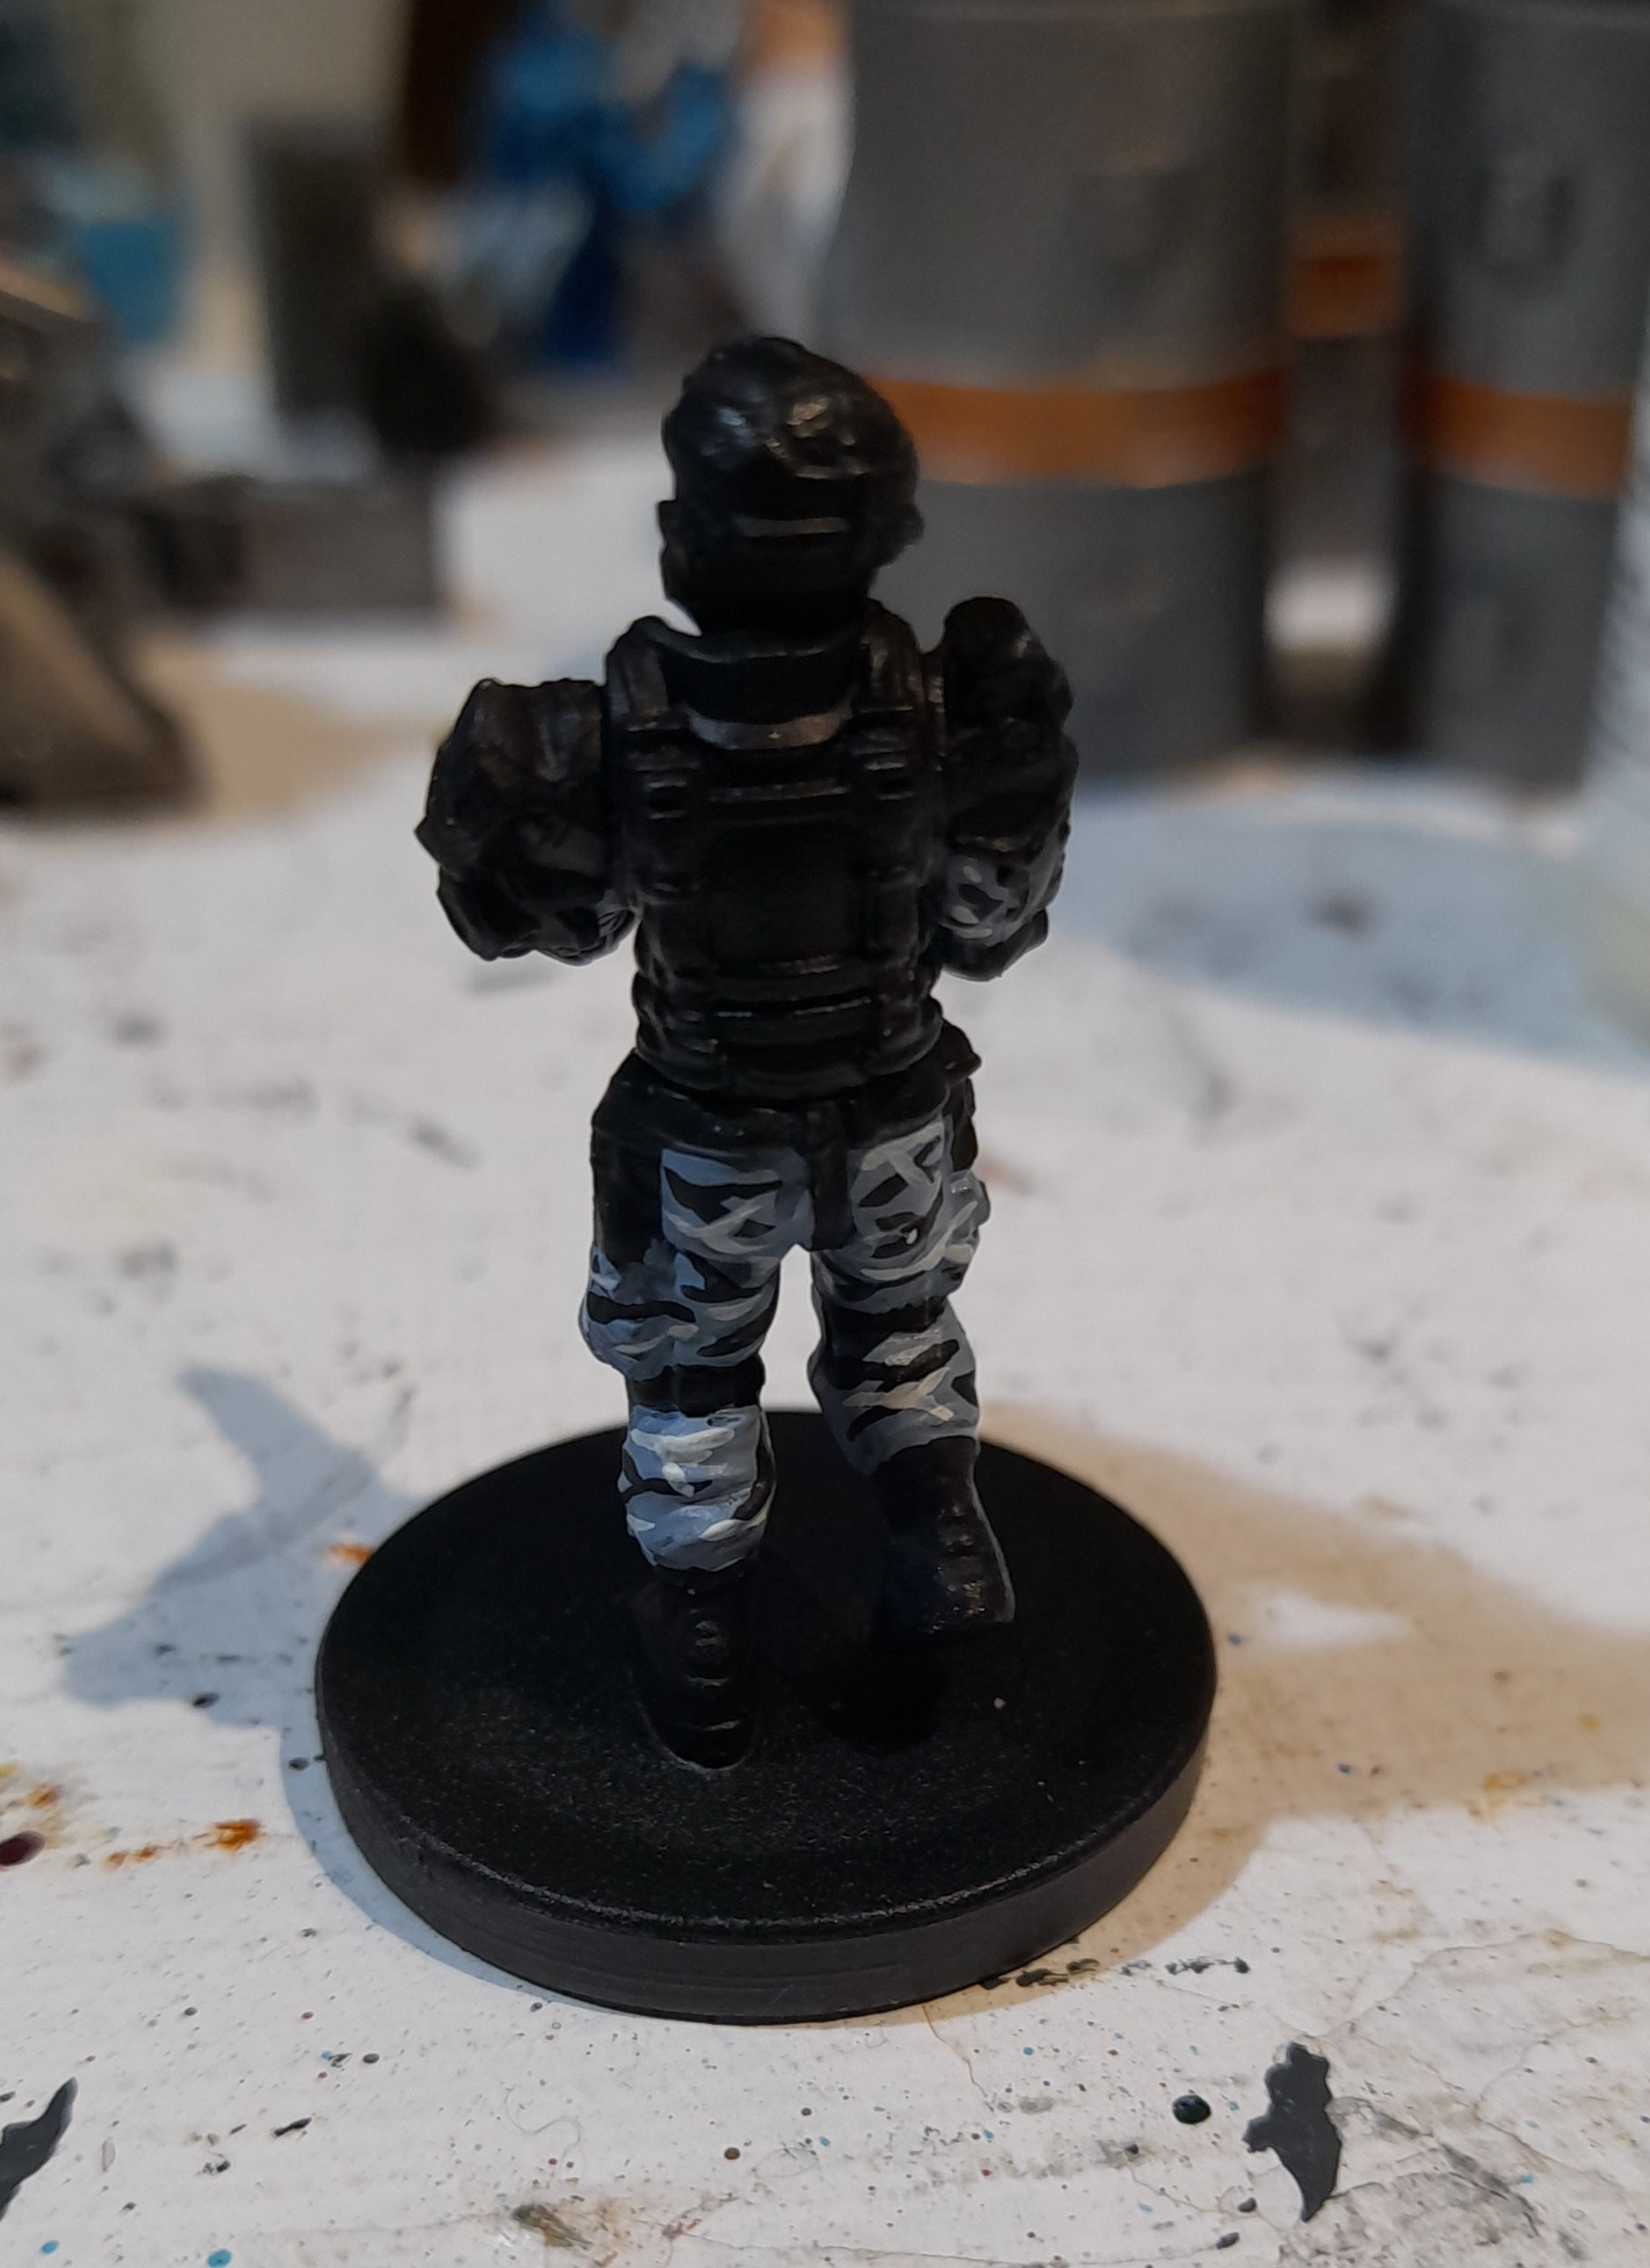
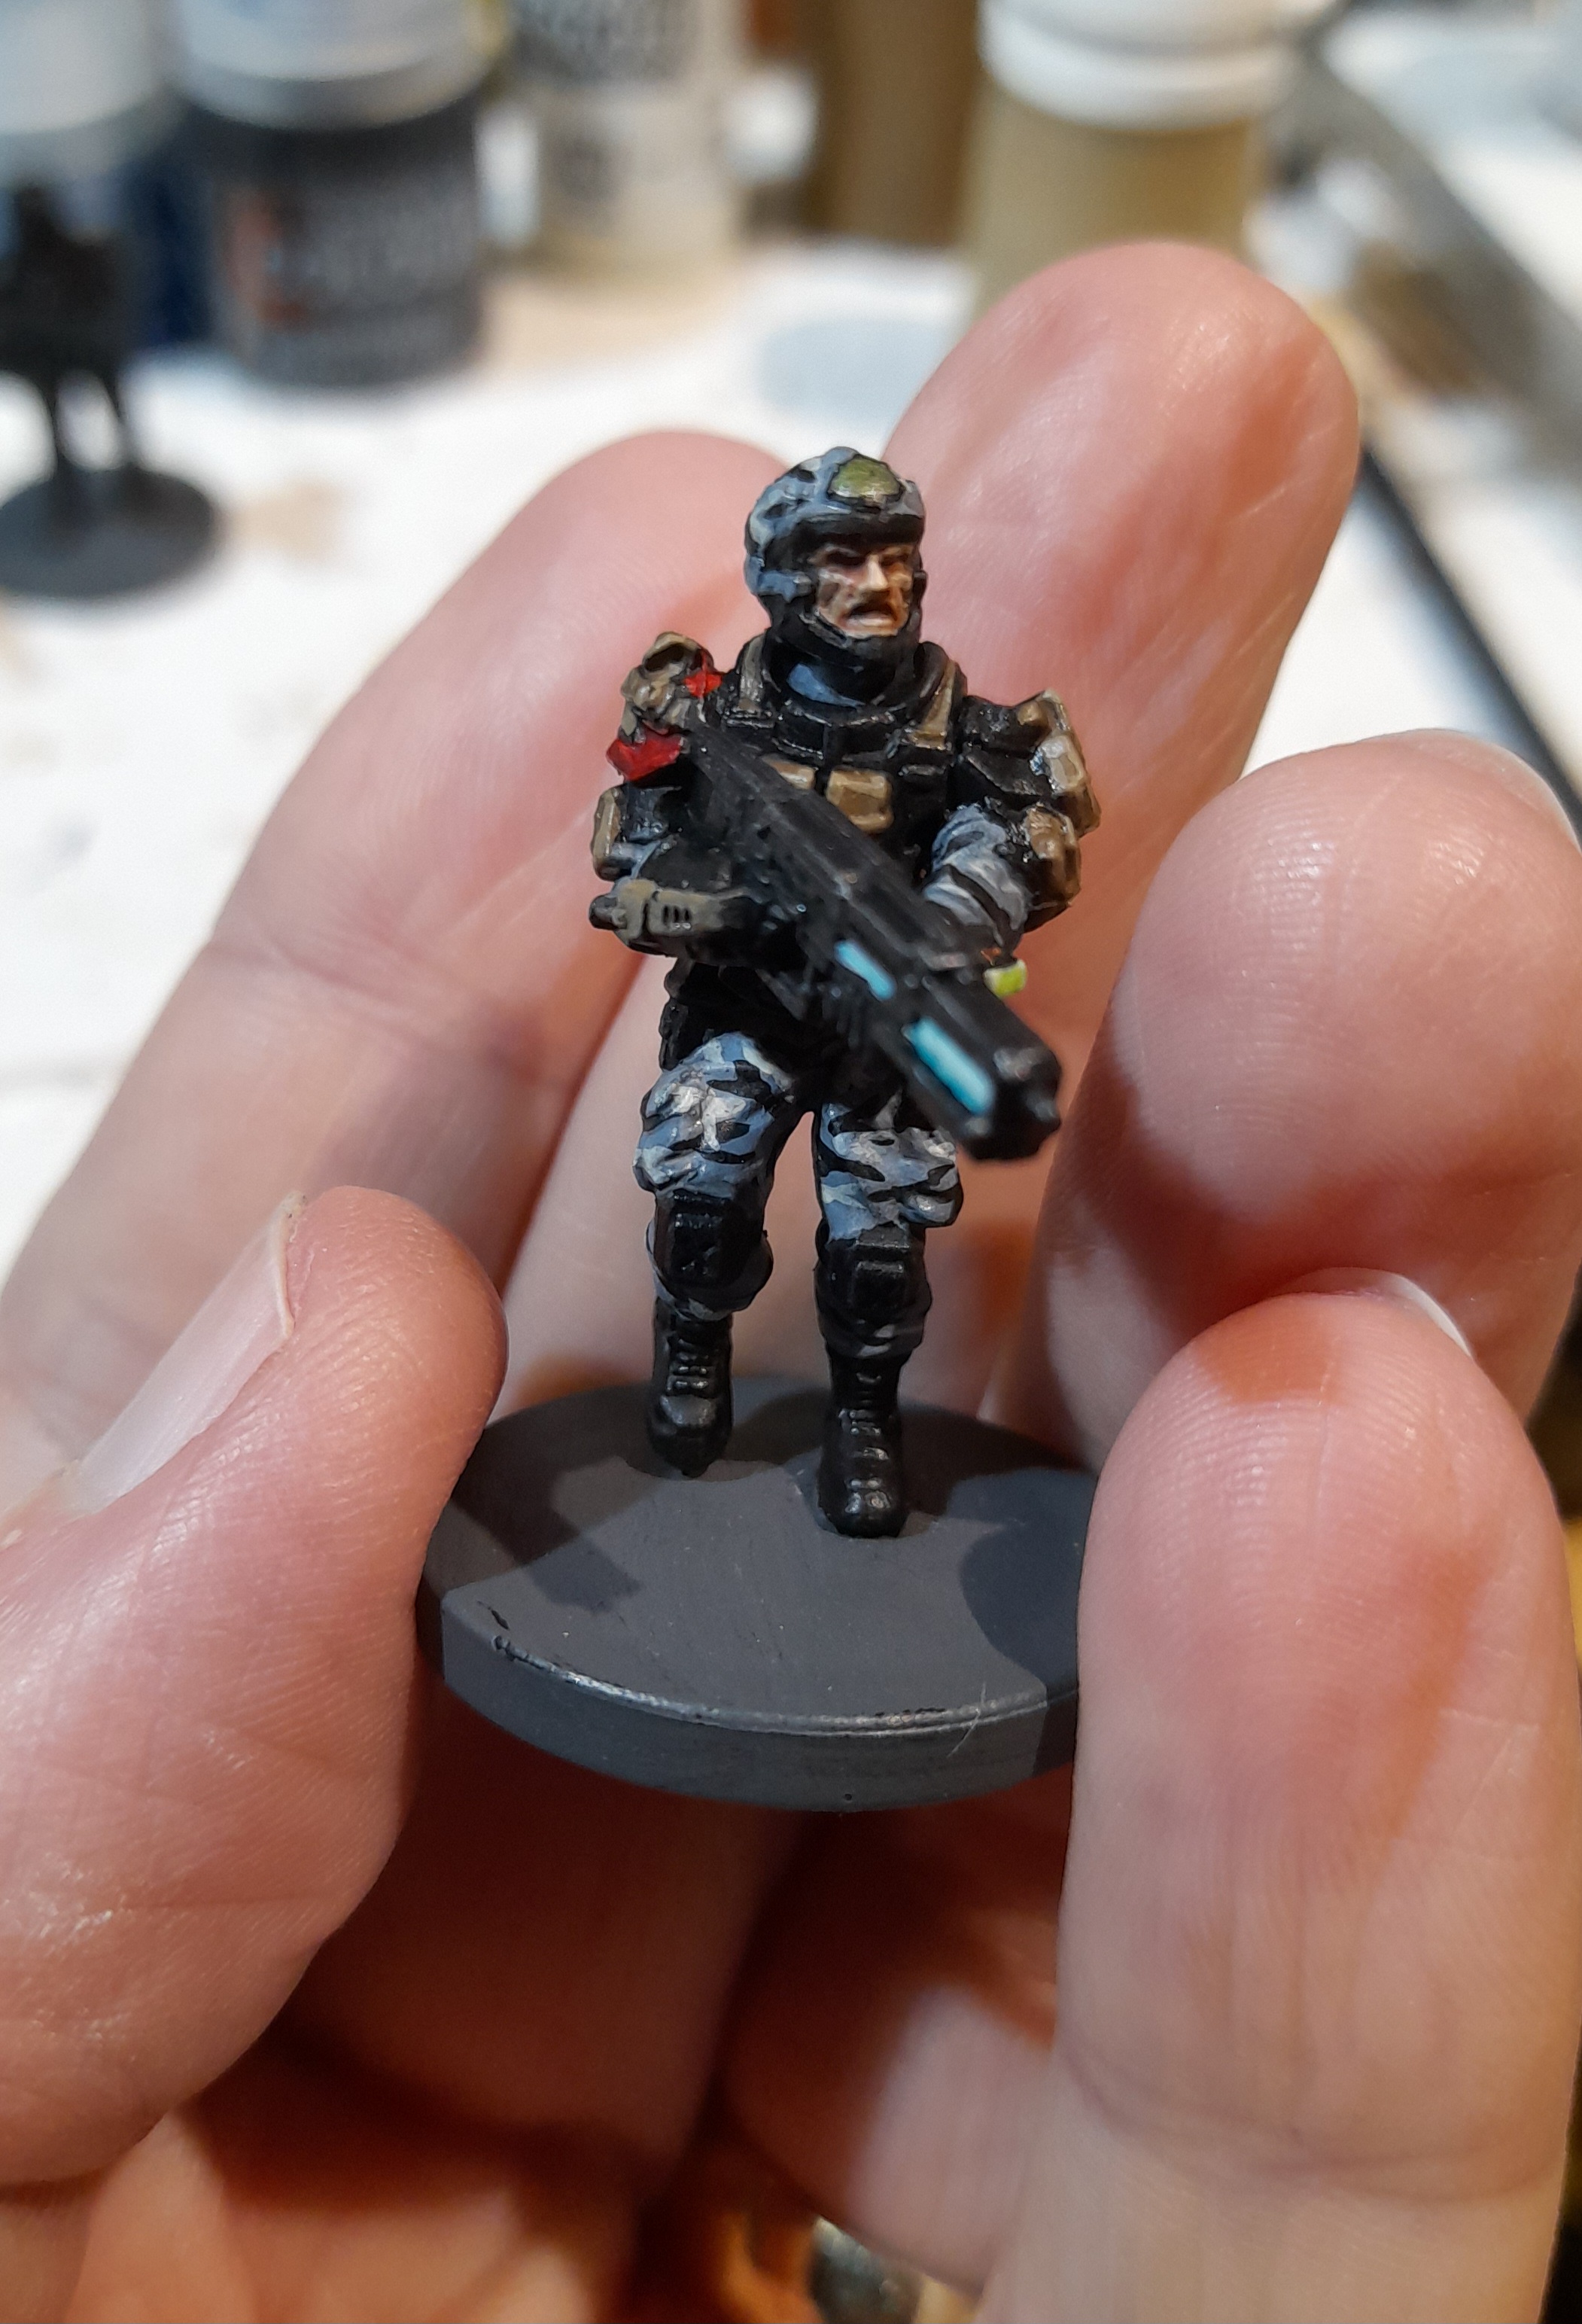
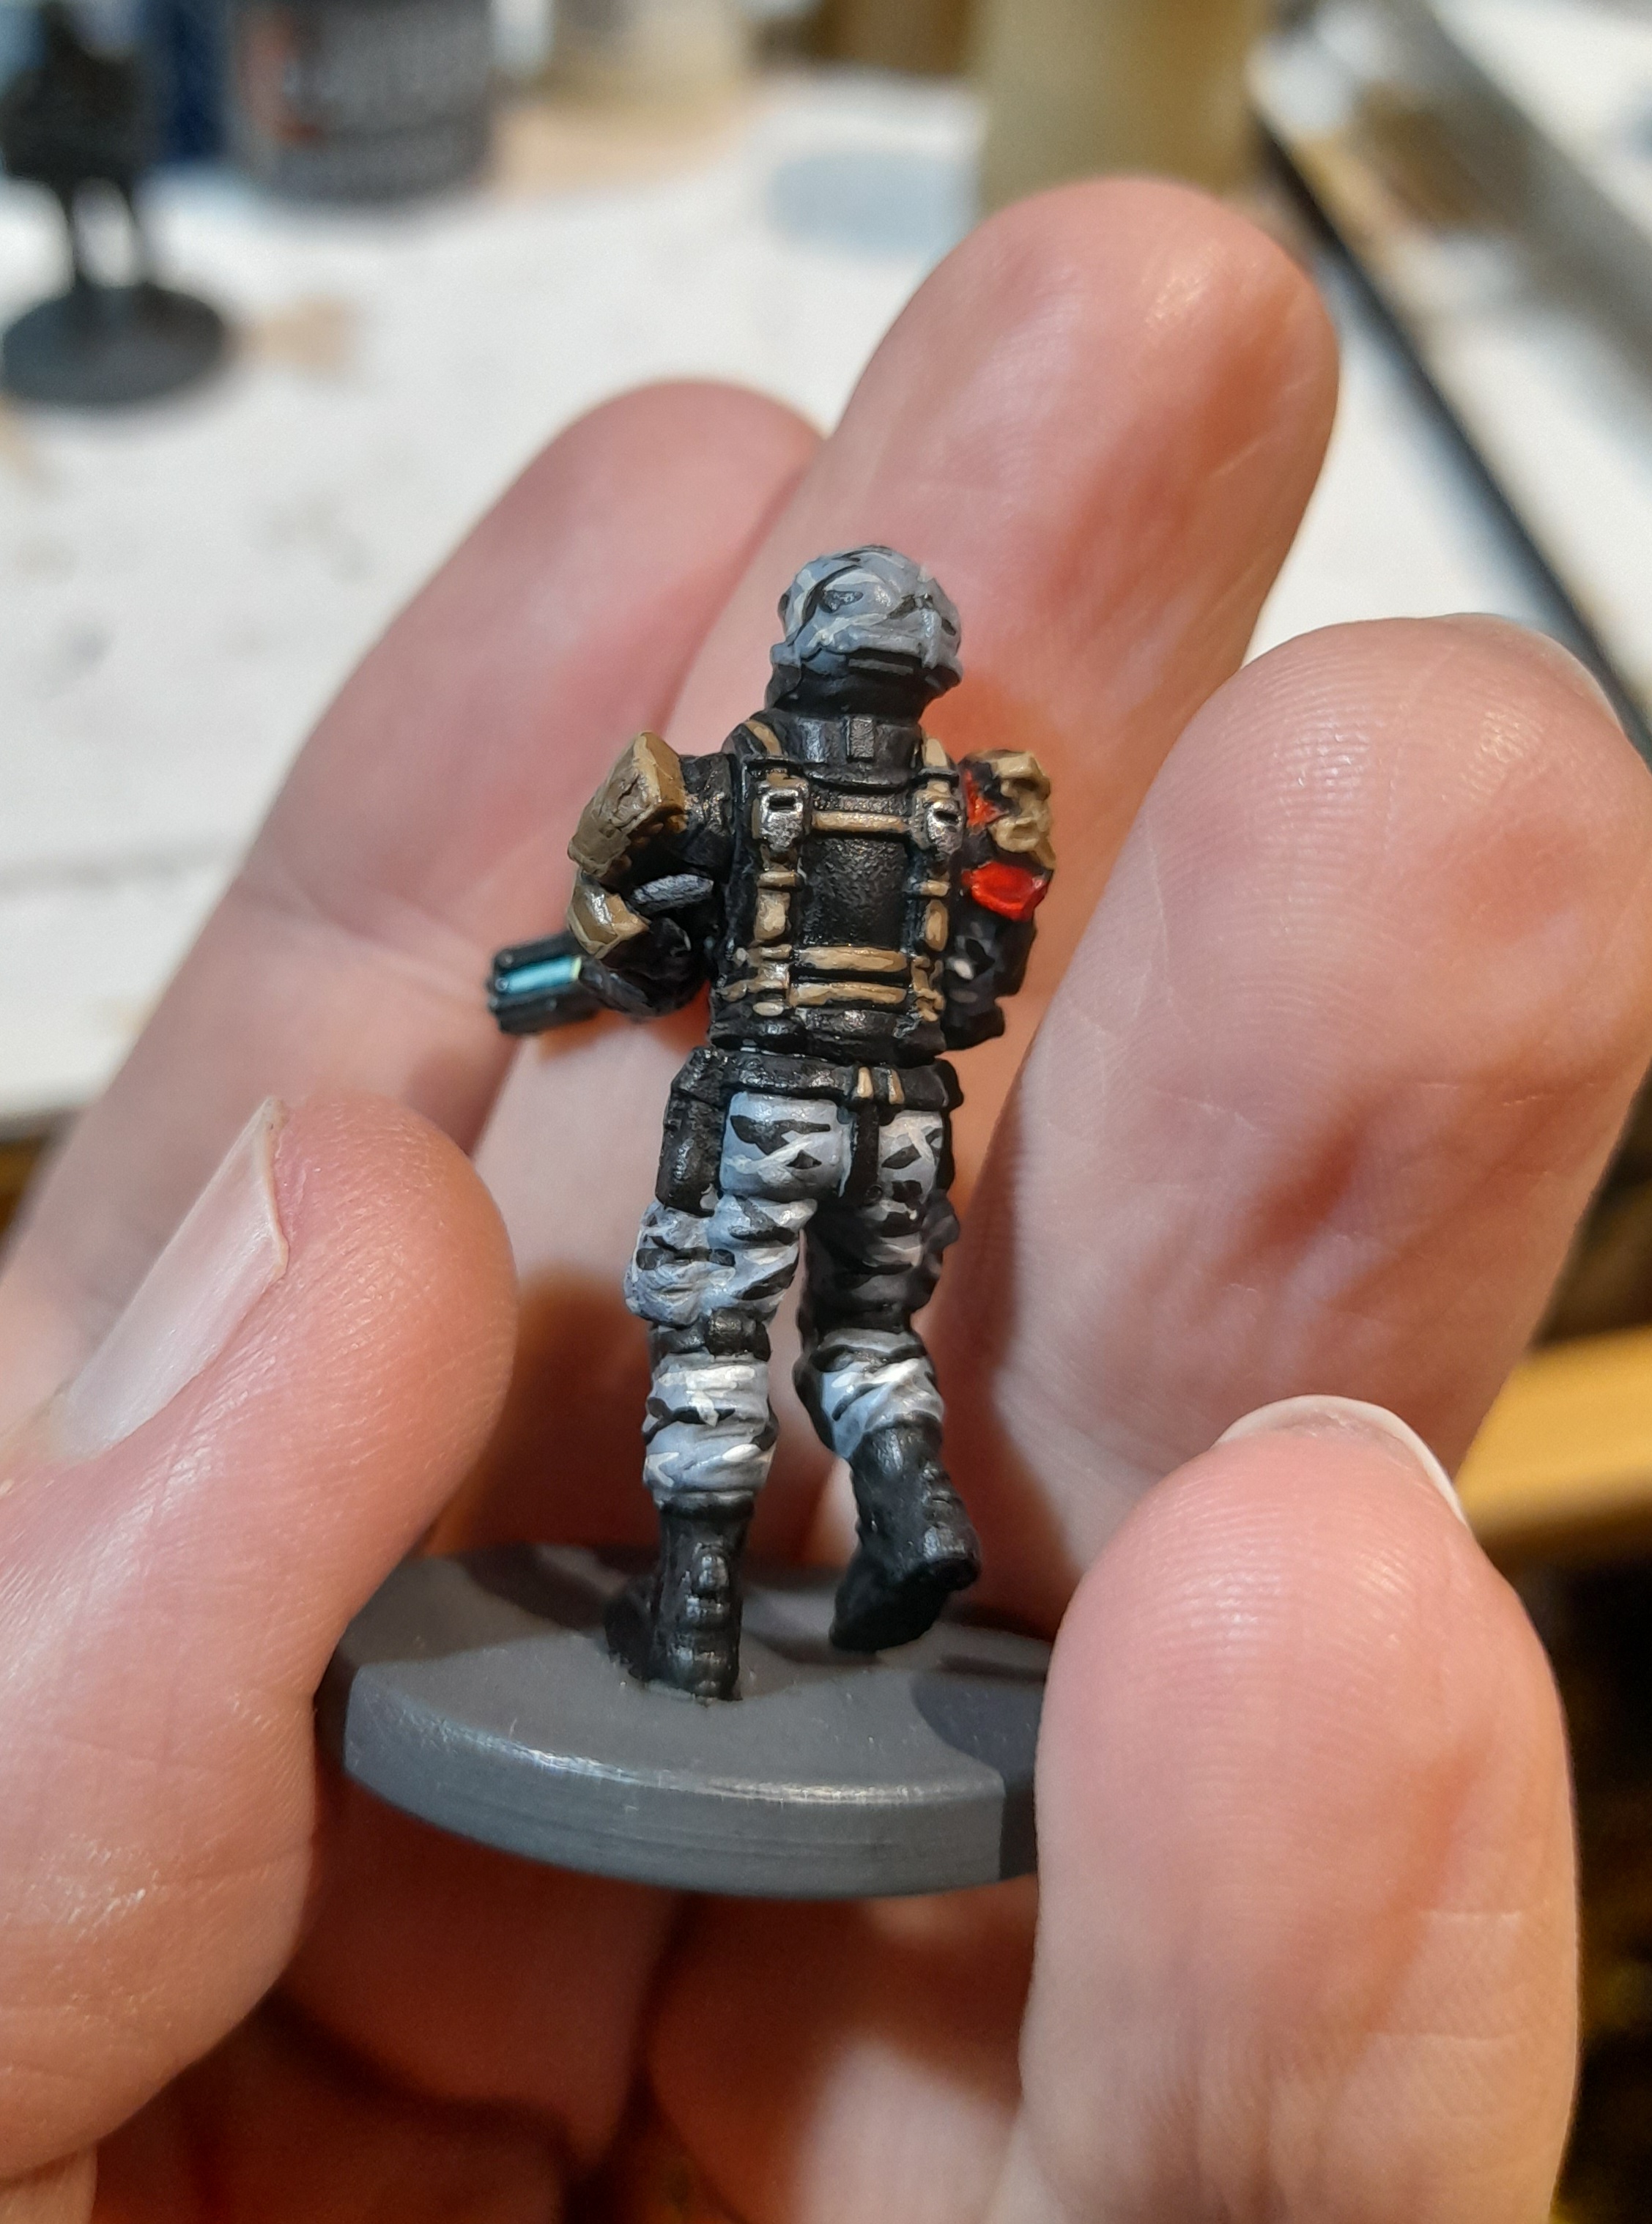
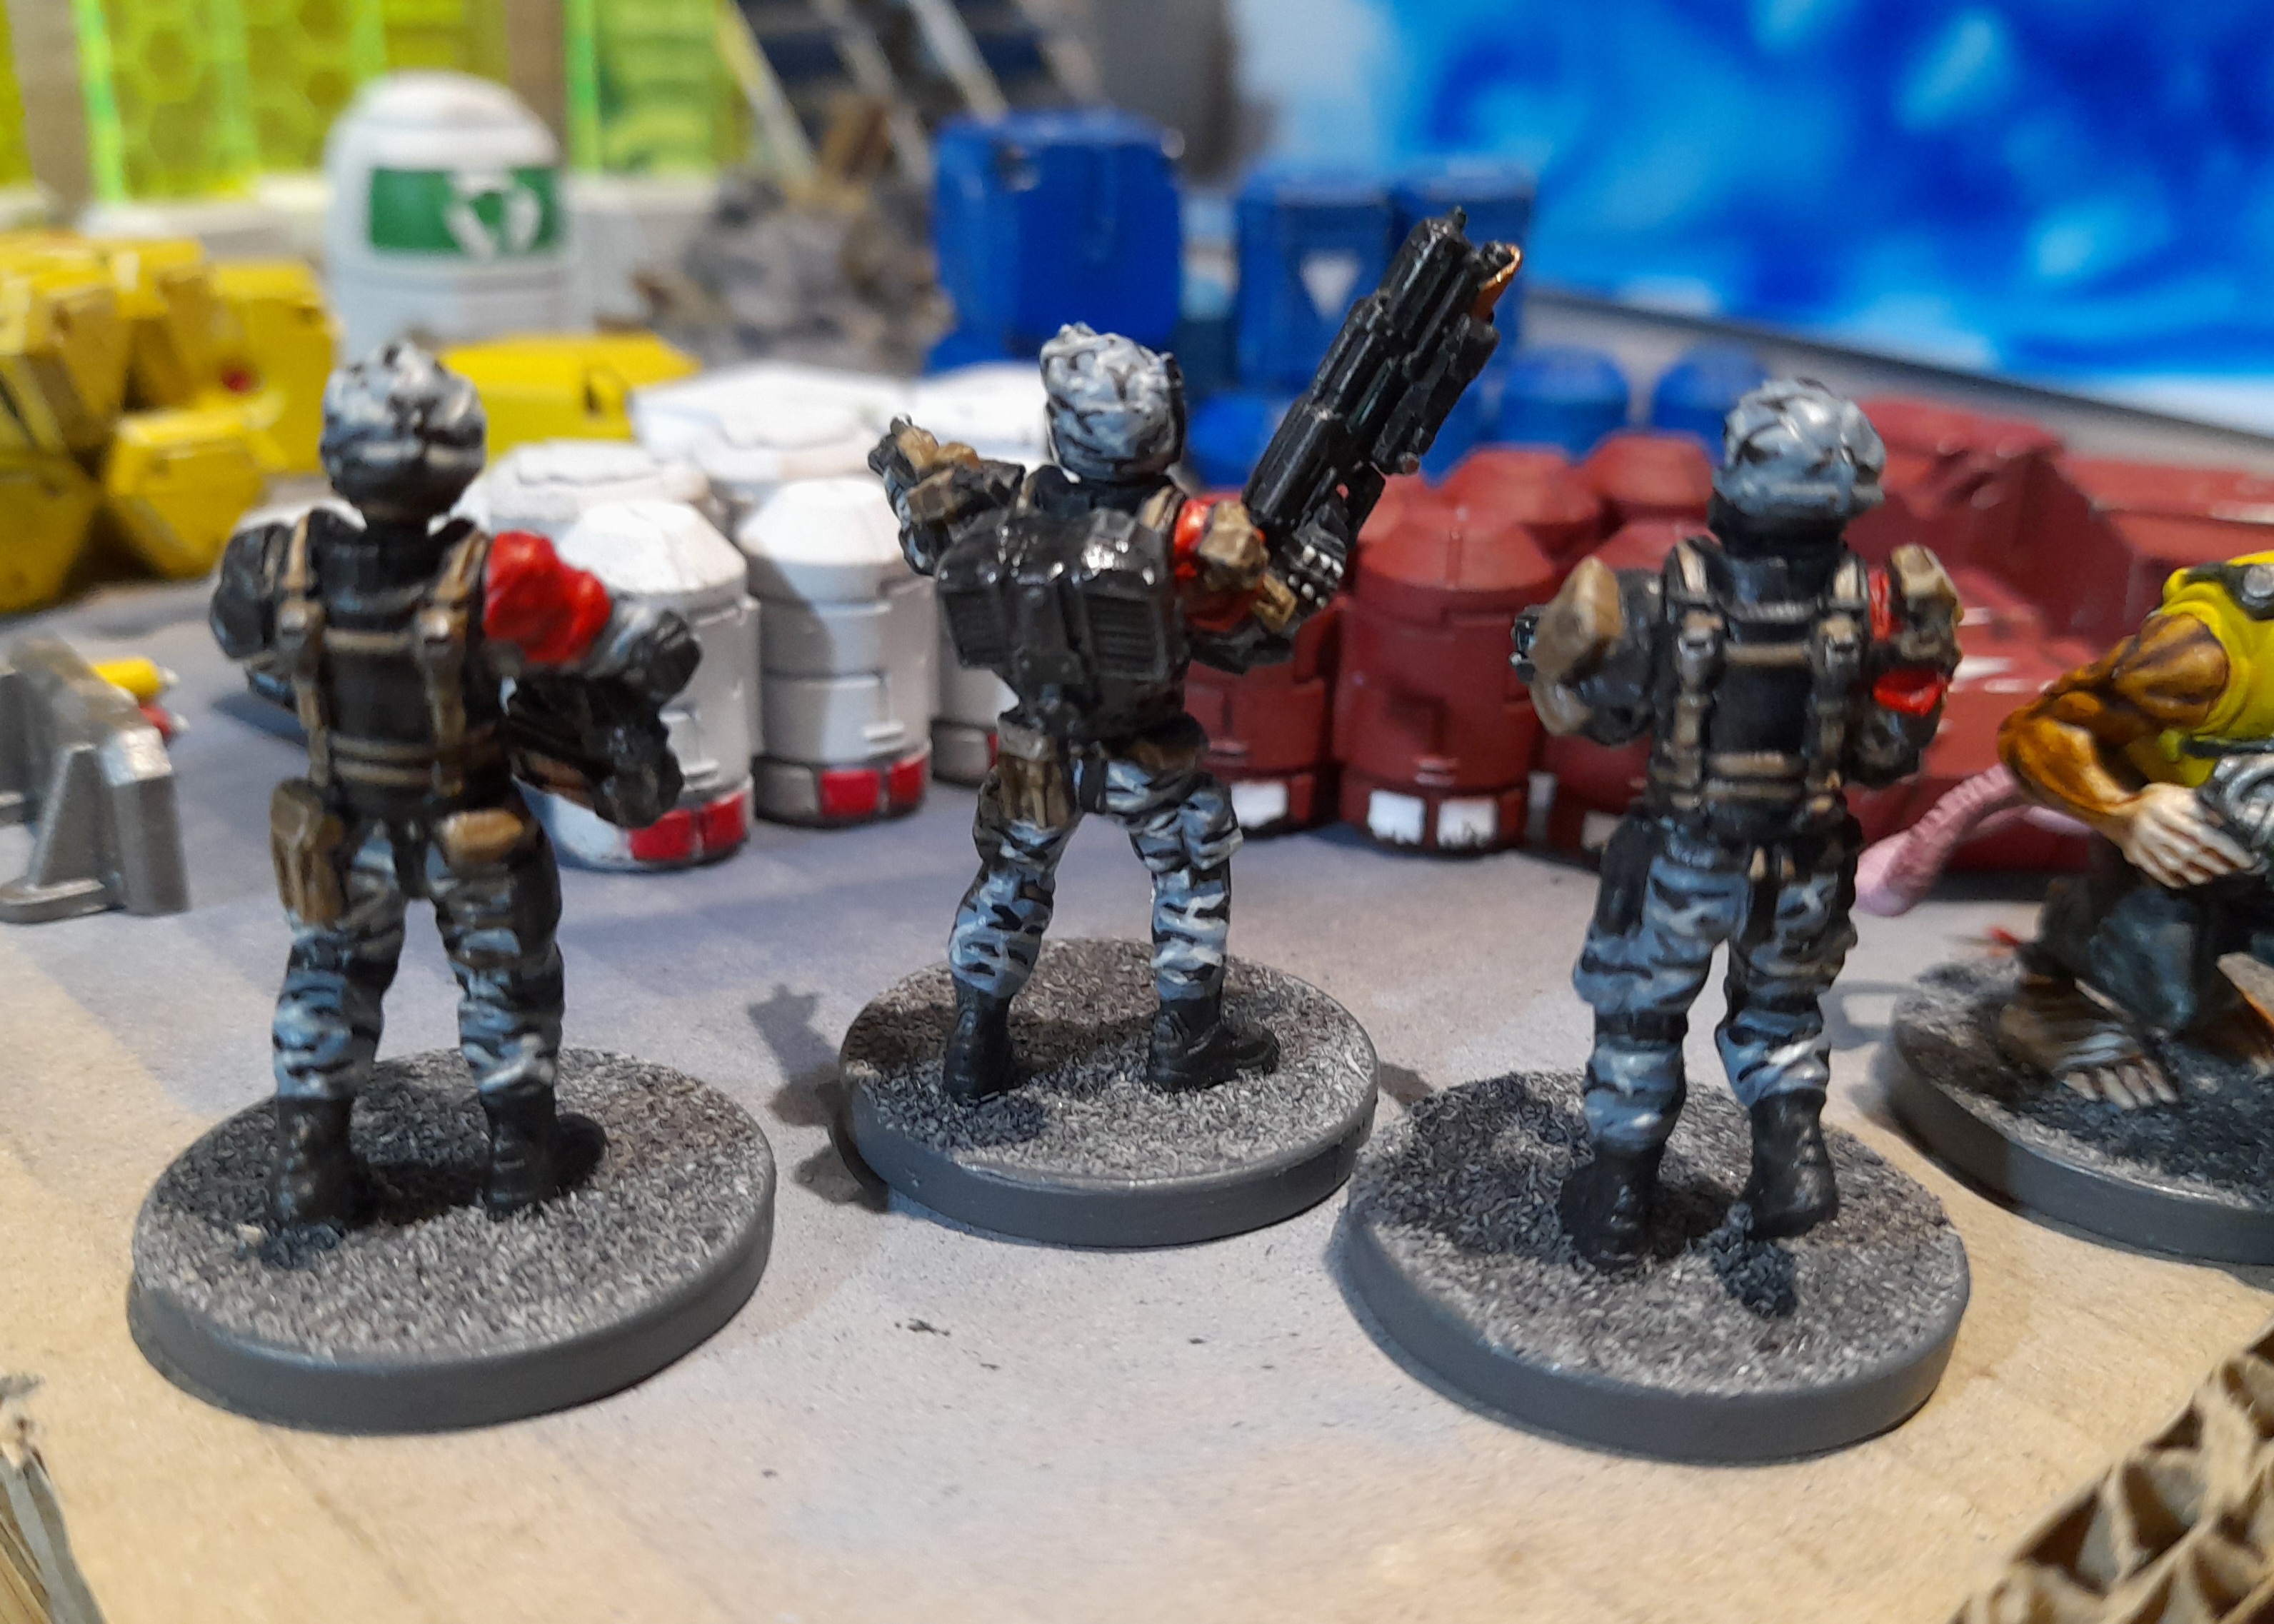
As such, I decided to try an ‘urban camo’ scheme on another test model. A blue grey, followed by horizontal stripes and forks in black then ivory. Initially it too seemed a bit dark, but I rolled out the camo onto the helm, added a very non camo spot colour to a shoulder pad, and picked out some of the webbing in a tan colour. Reasonably happy with how it came out – but it is a lot more work than drybrush and contrast ?
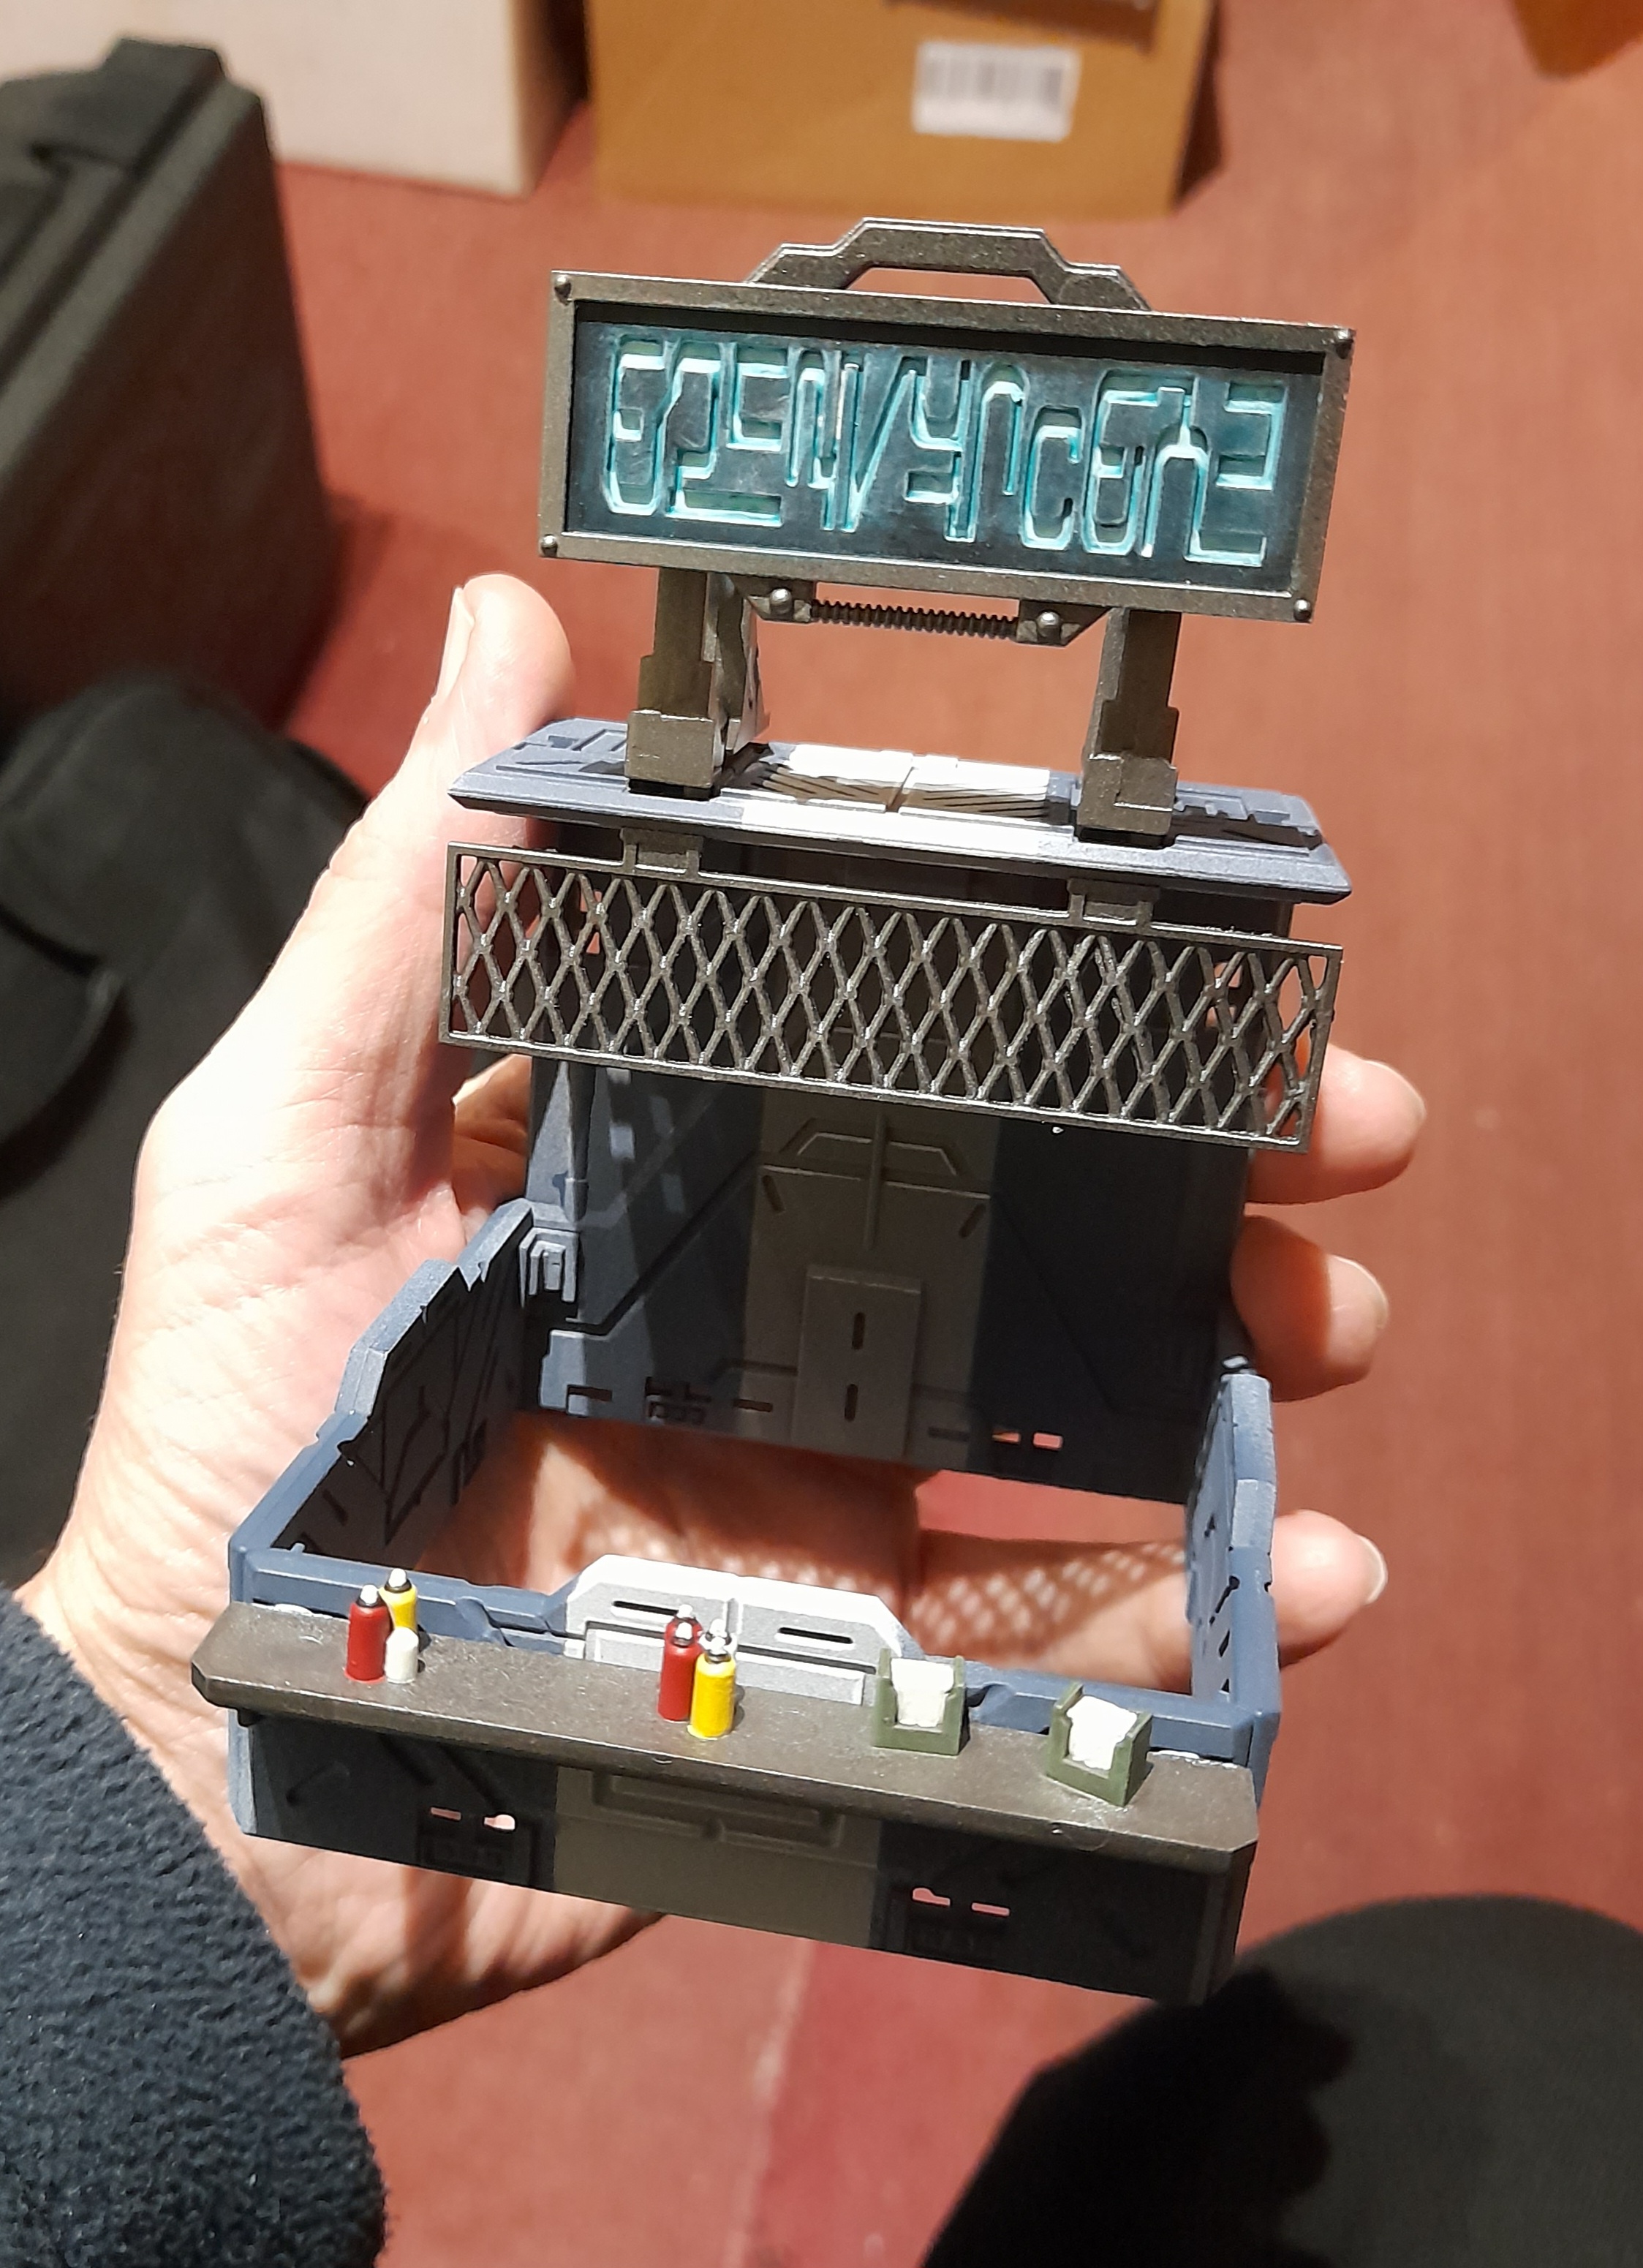 And the food shack, for GCPS lunch break!
Prepping for demo games
4th February 2023
Finished off the three GCPS minis for the starter demo set, so good to go for the weekend ?

I had also done a little work on some acrylic signs I picked up a while back. The existing colour of the resin bases worked pretty well with my overall scheme, so instead of repainting I went with it, and used the paint pen (again – making good use of the investment ? ) to pick out the edges and give them some more scale definition.
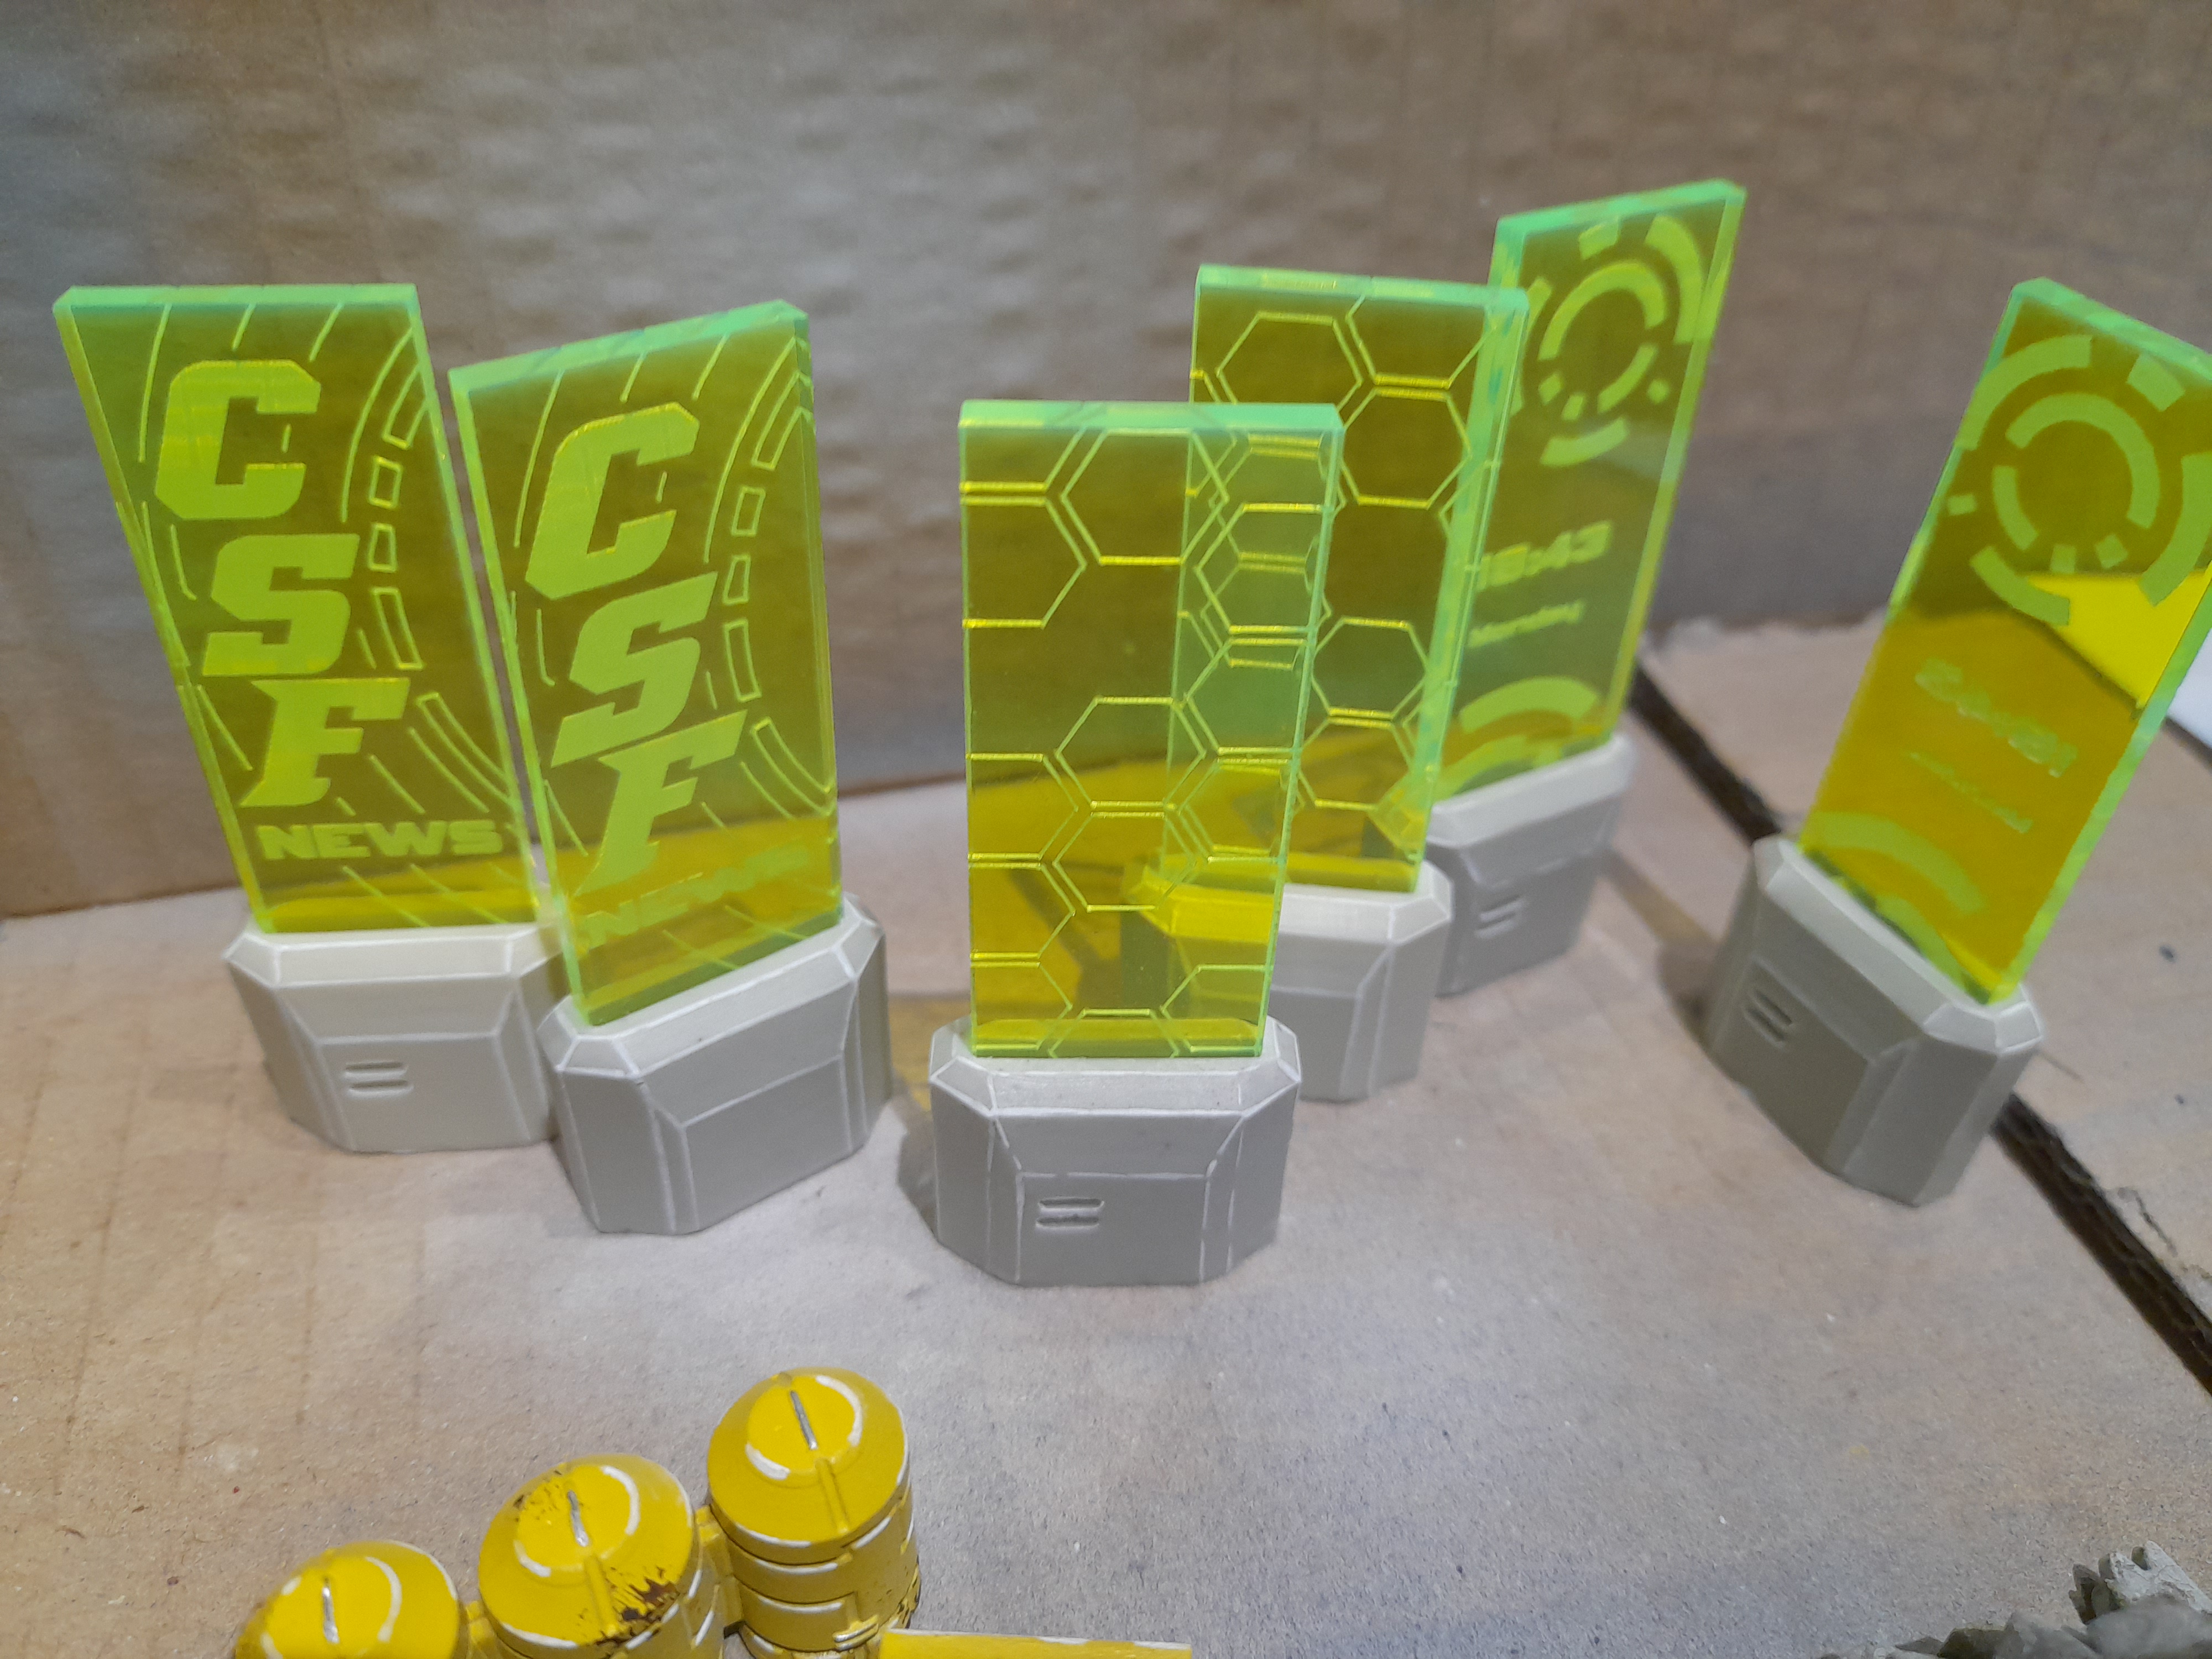
Plus I cracked on with some more of the signage from the starter box terrain. Pretty happy with how they came out – and the octo dude looks really happy!
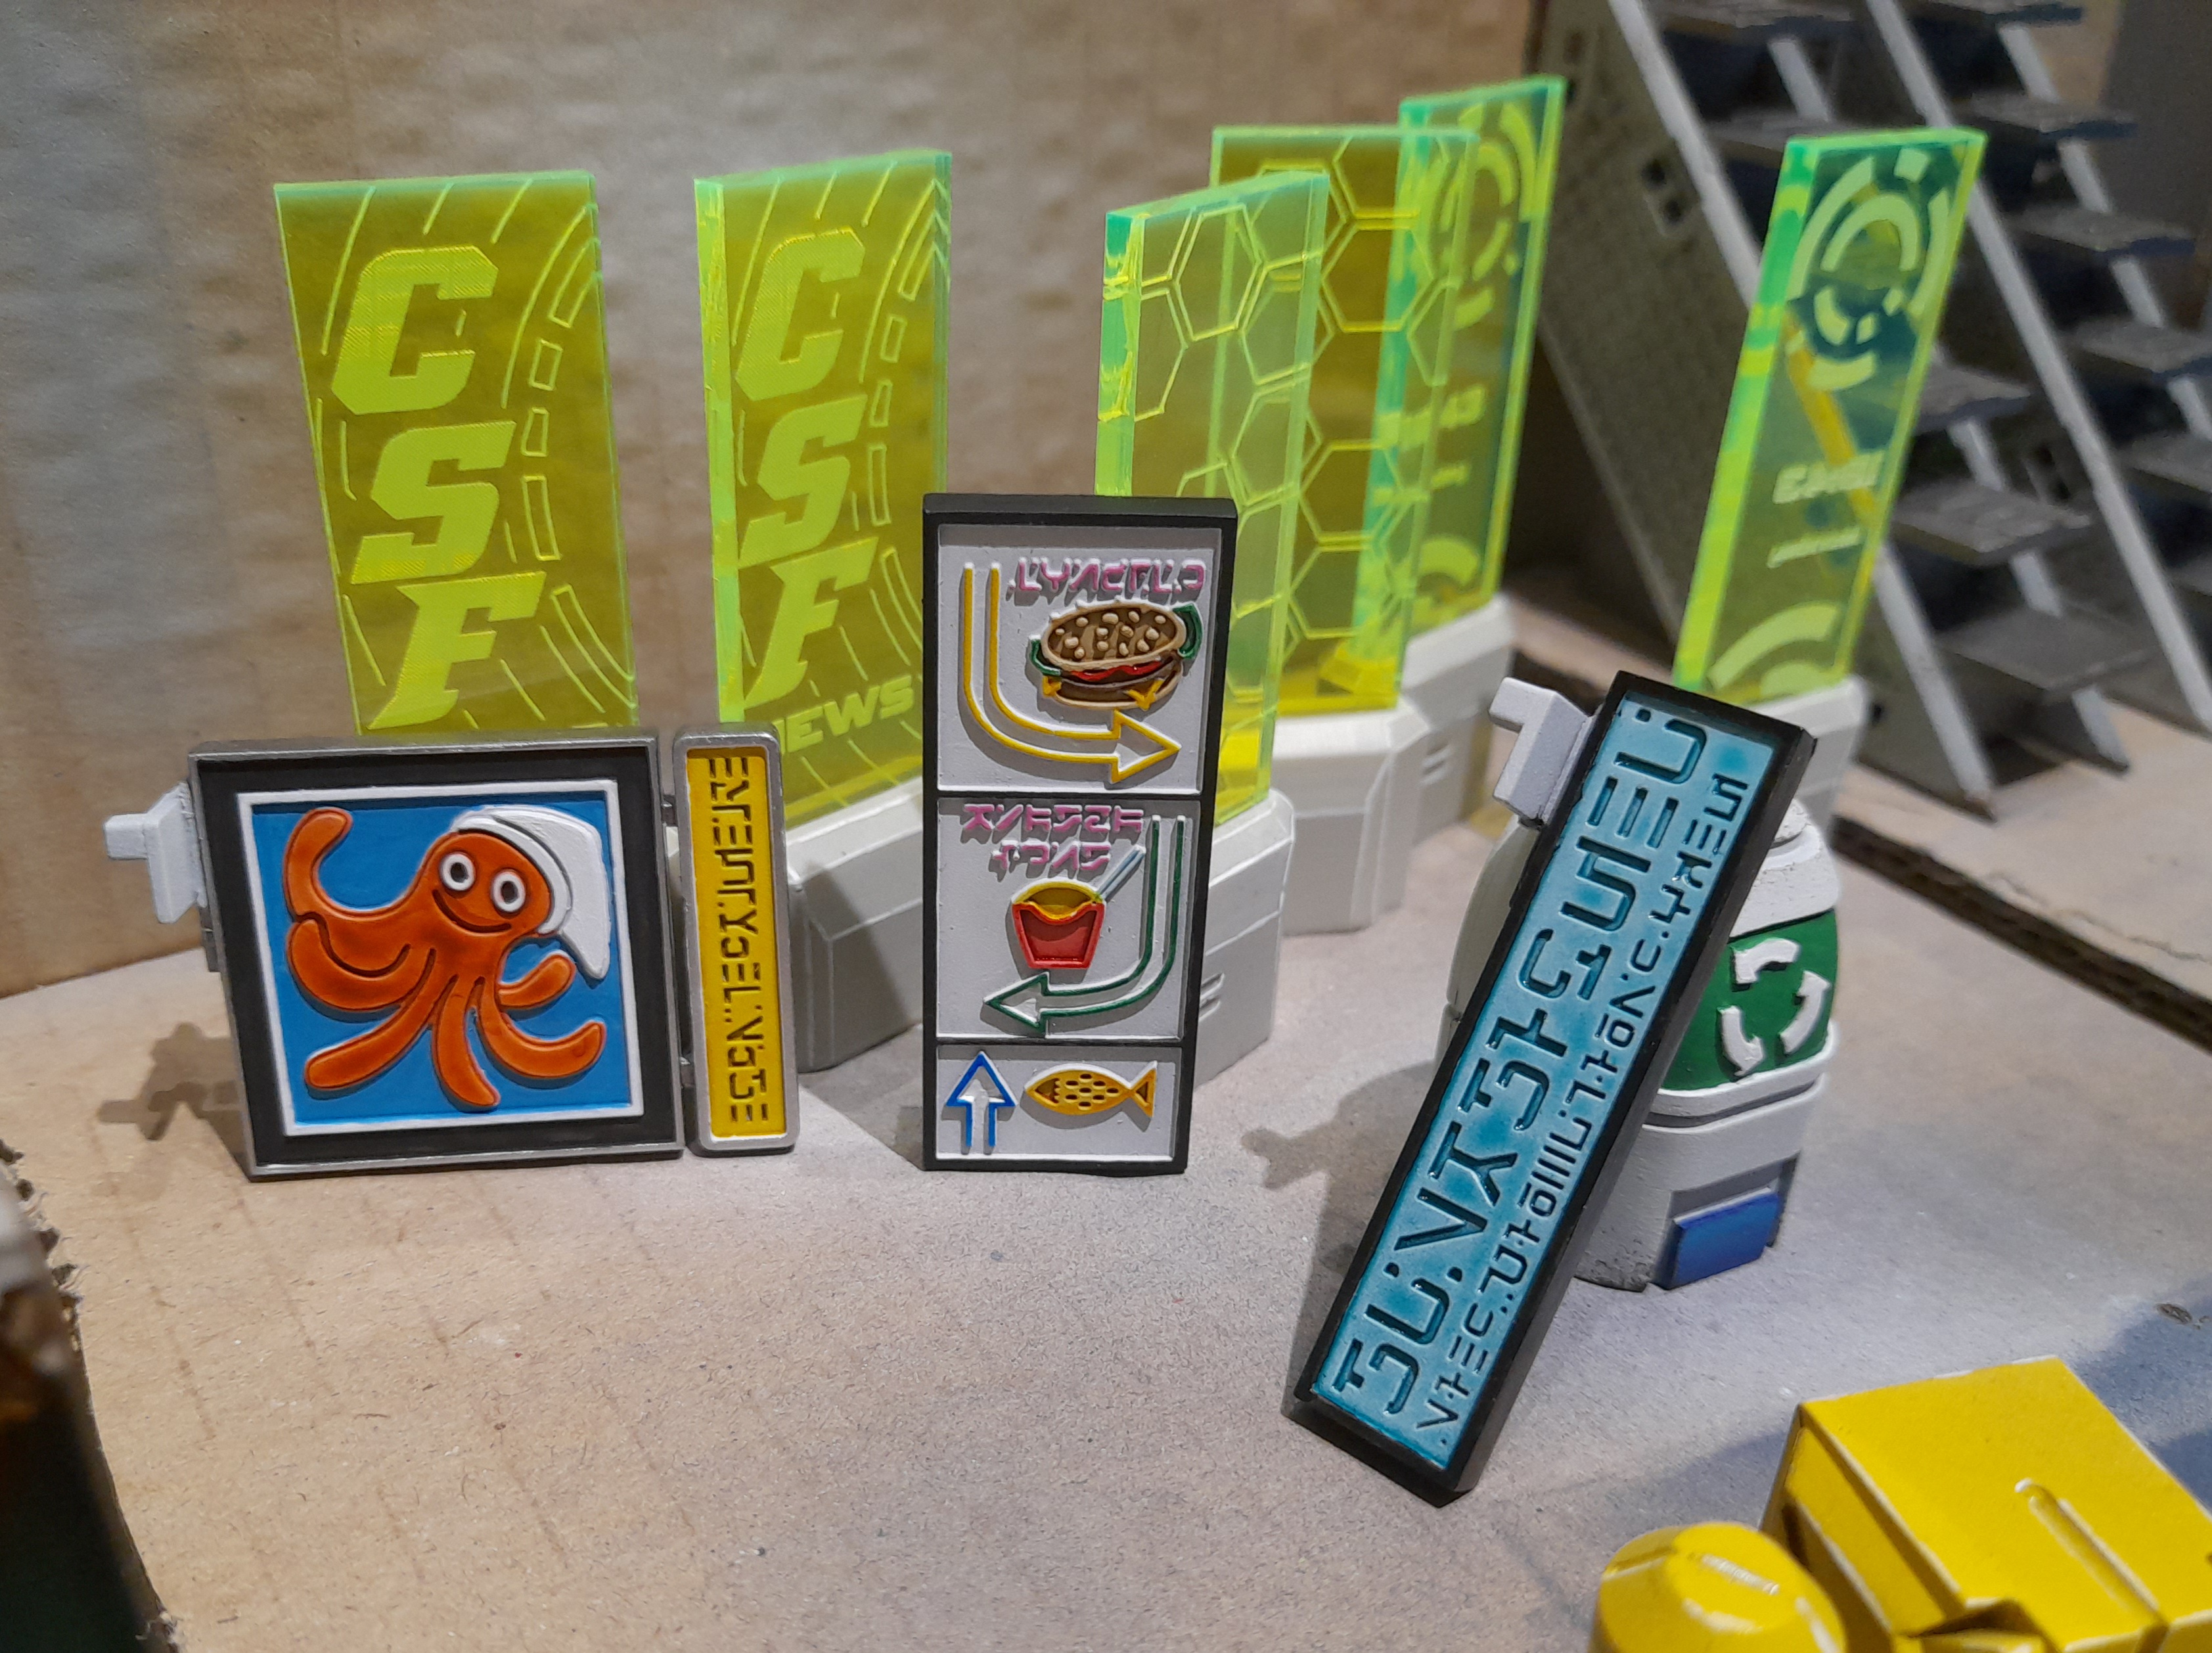 Happy octo-dude
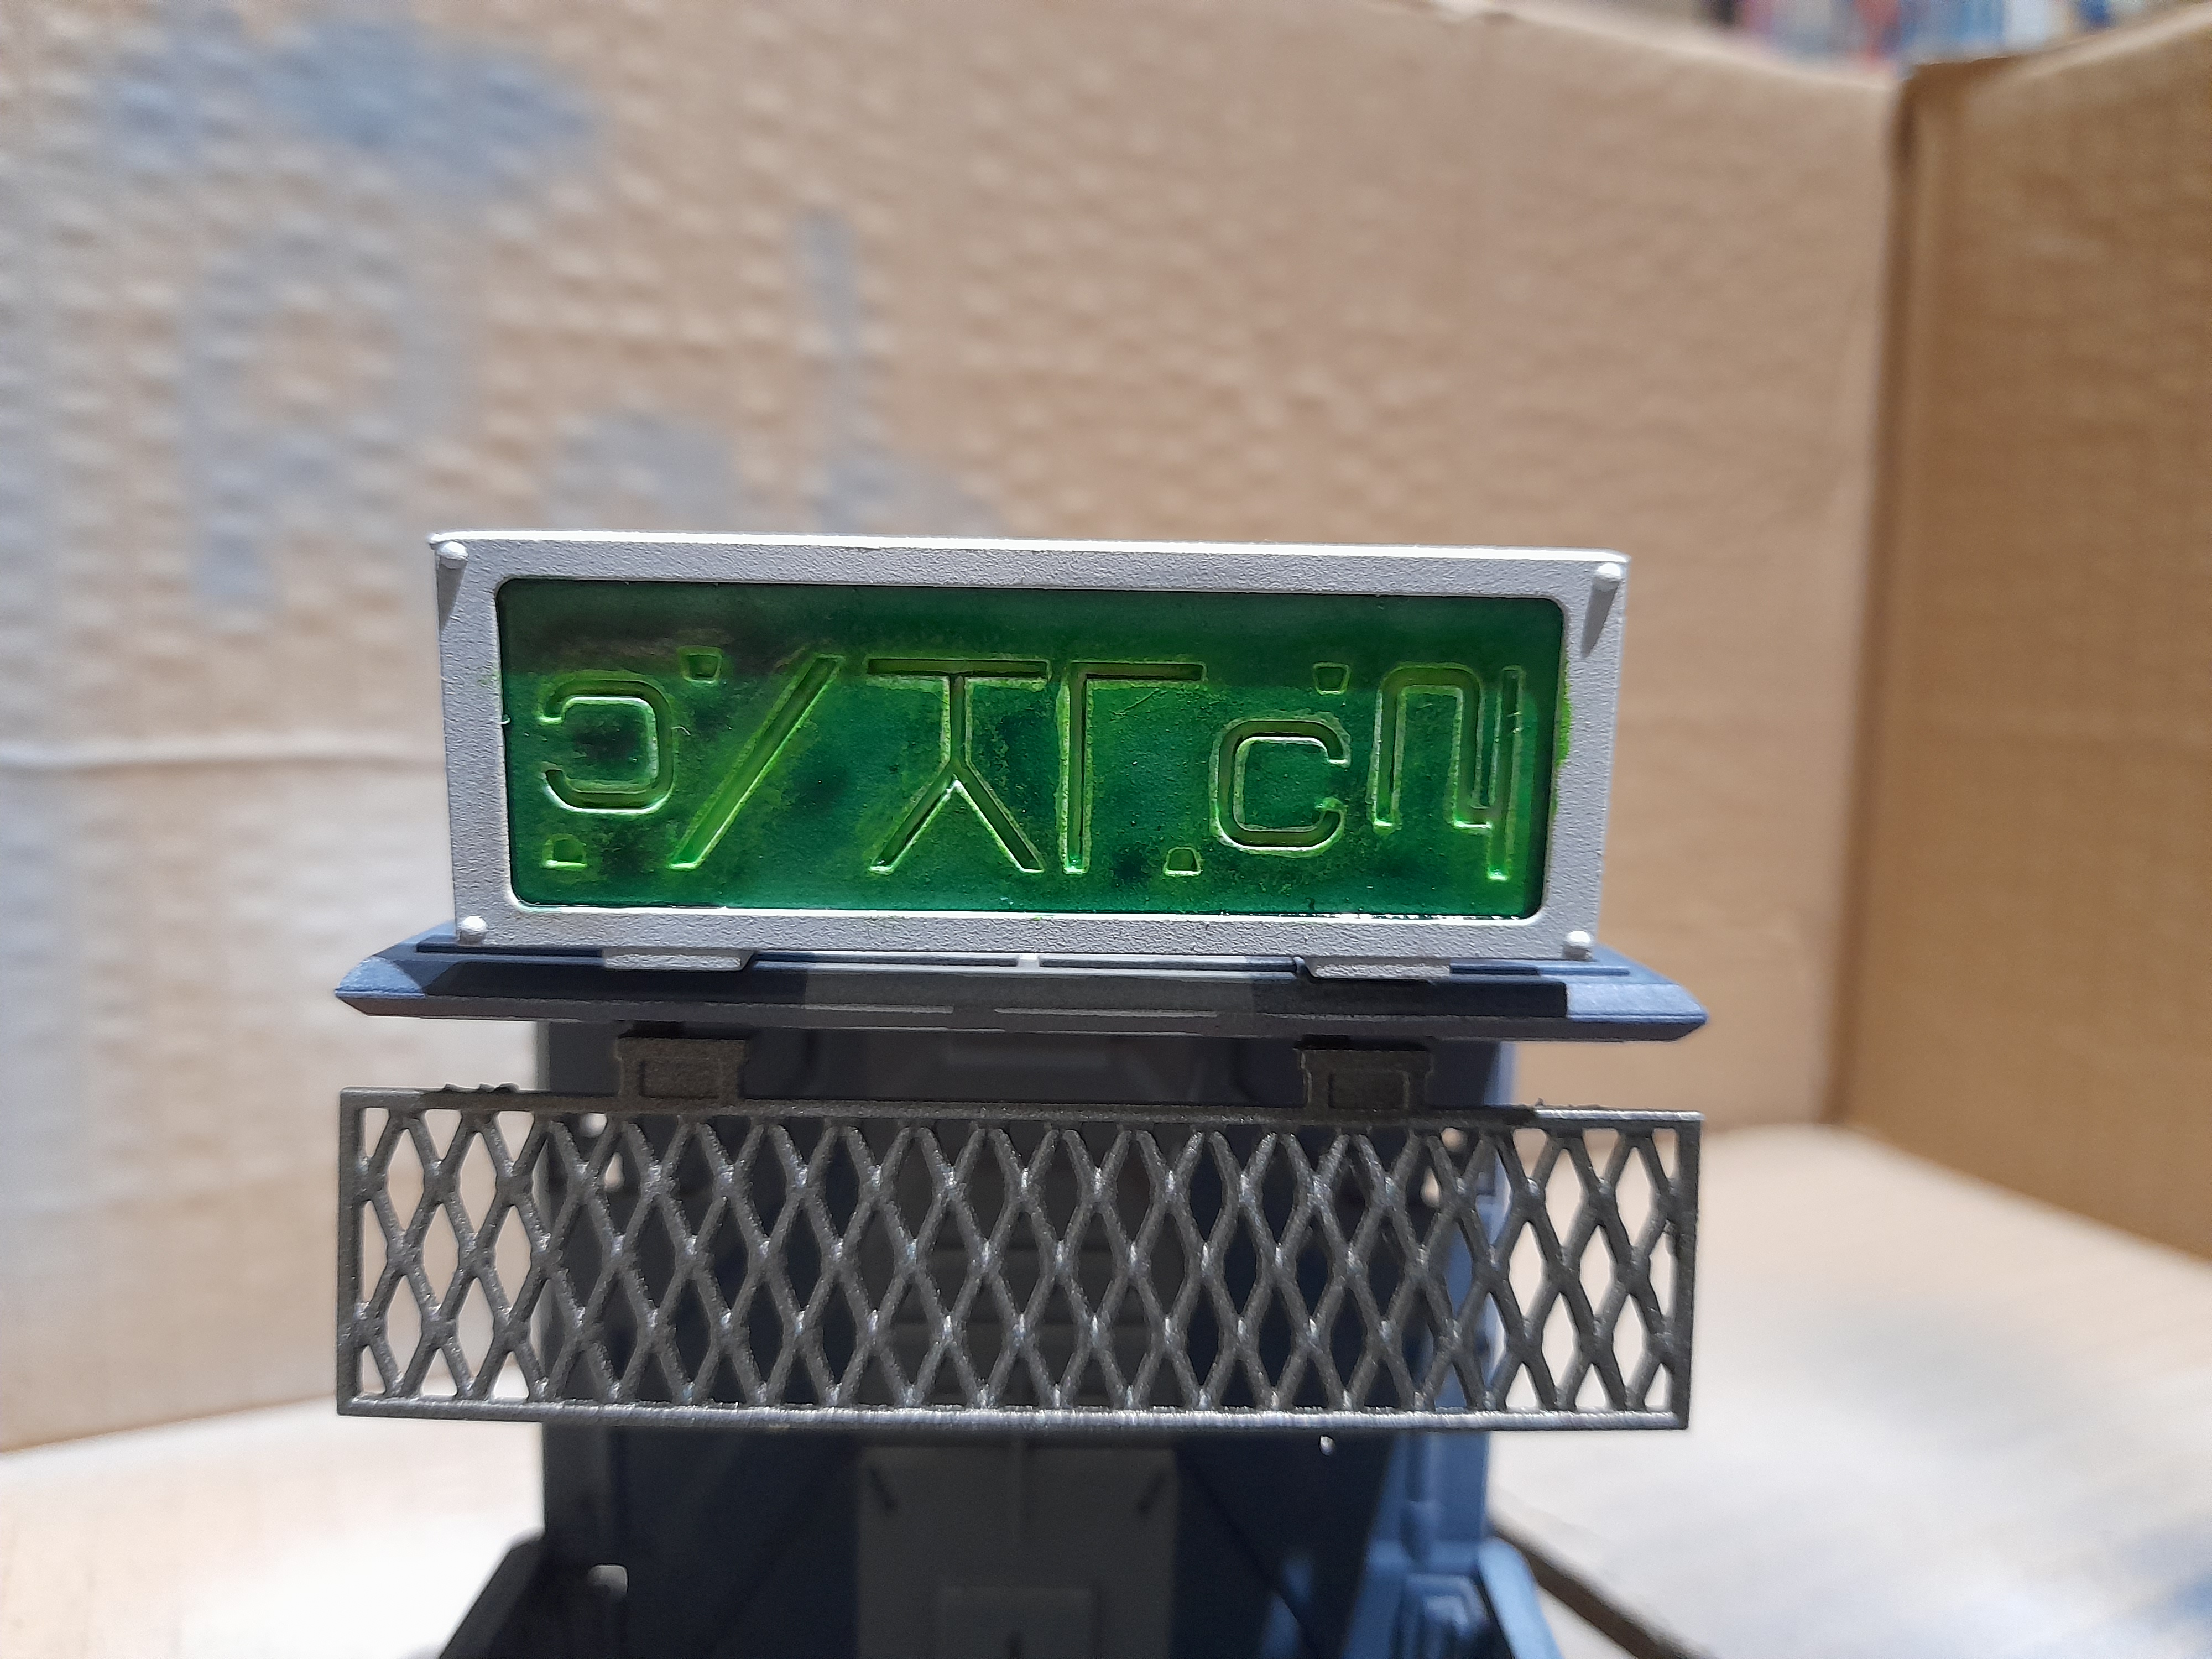
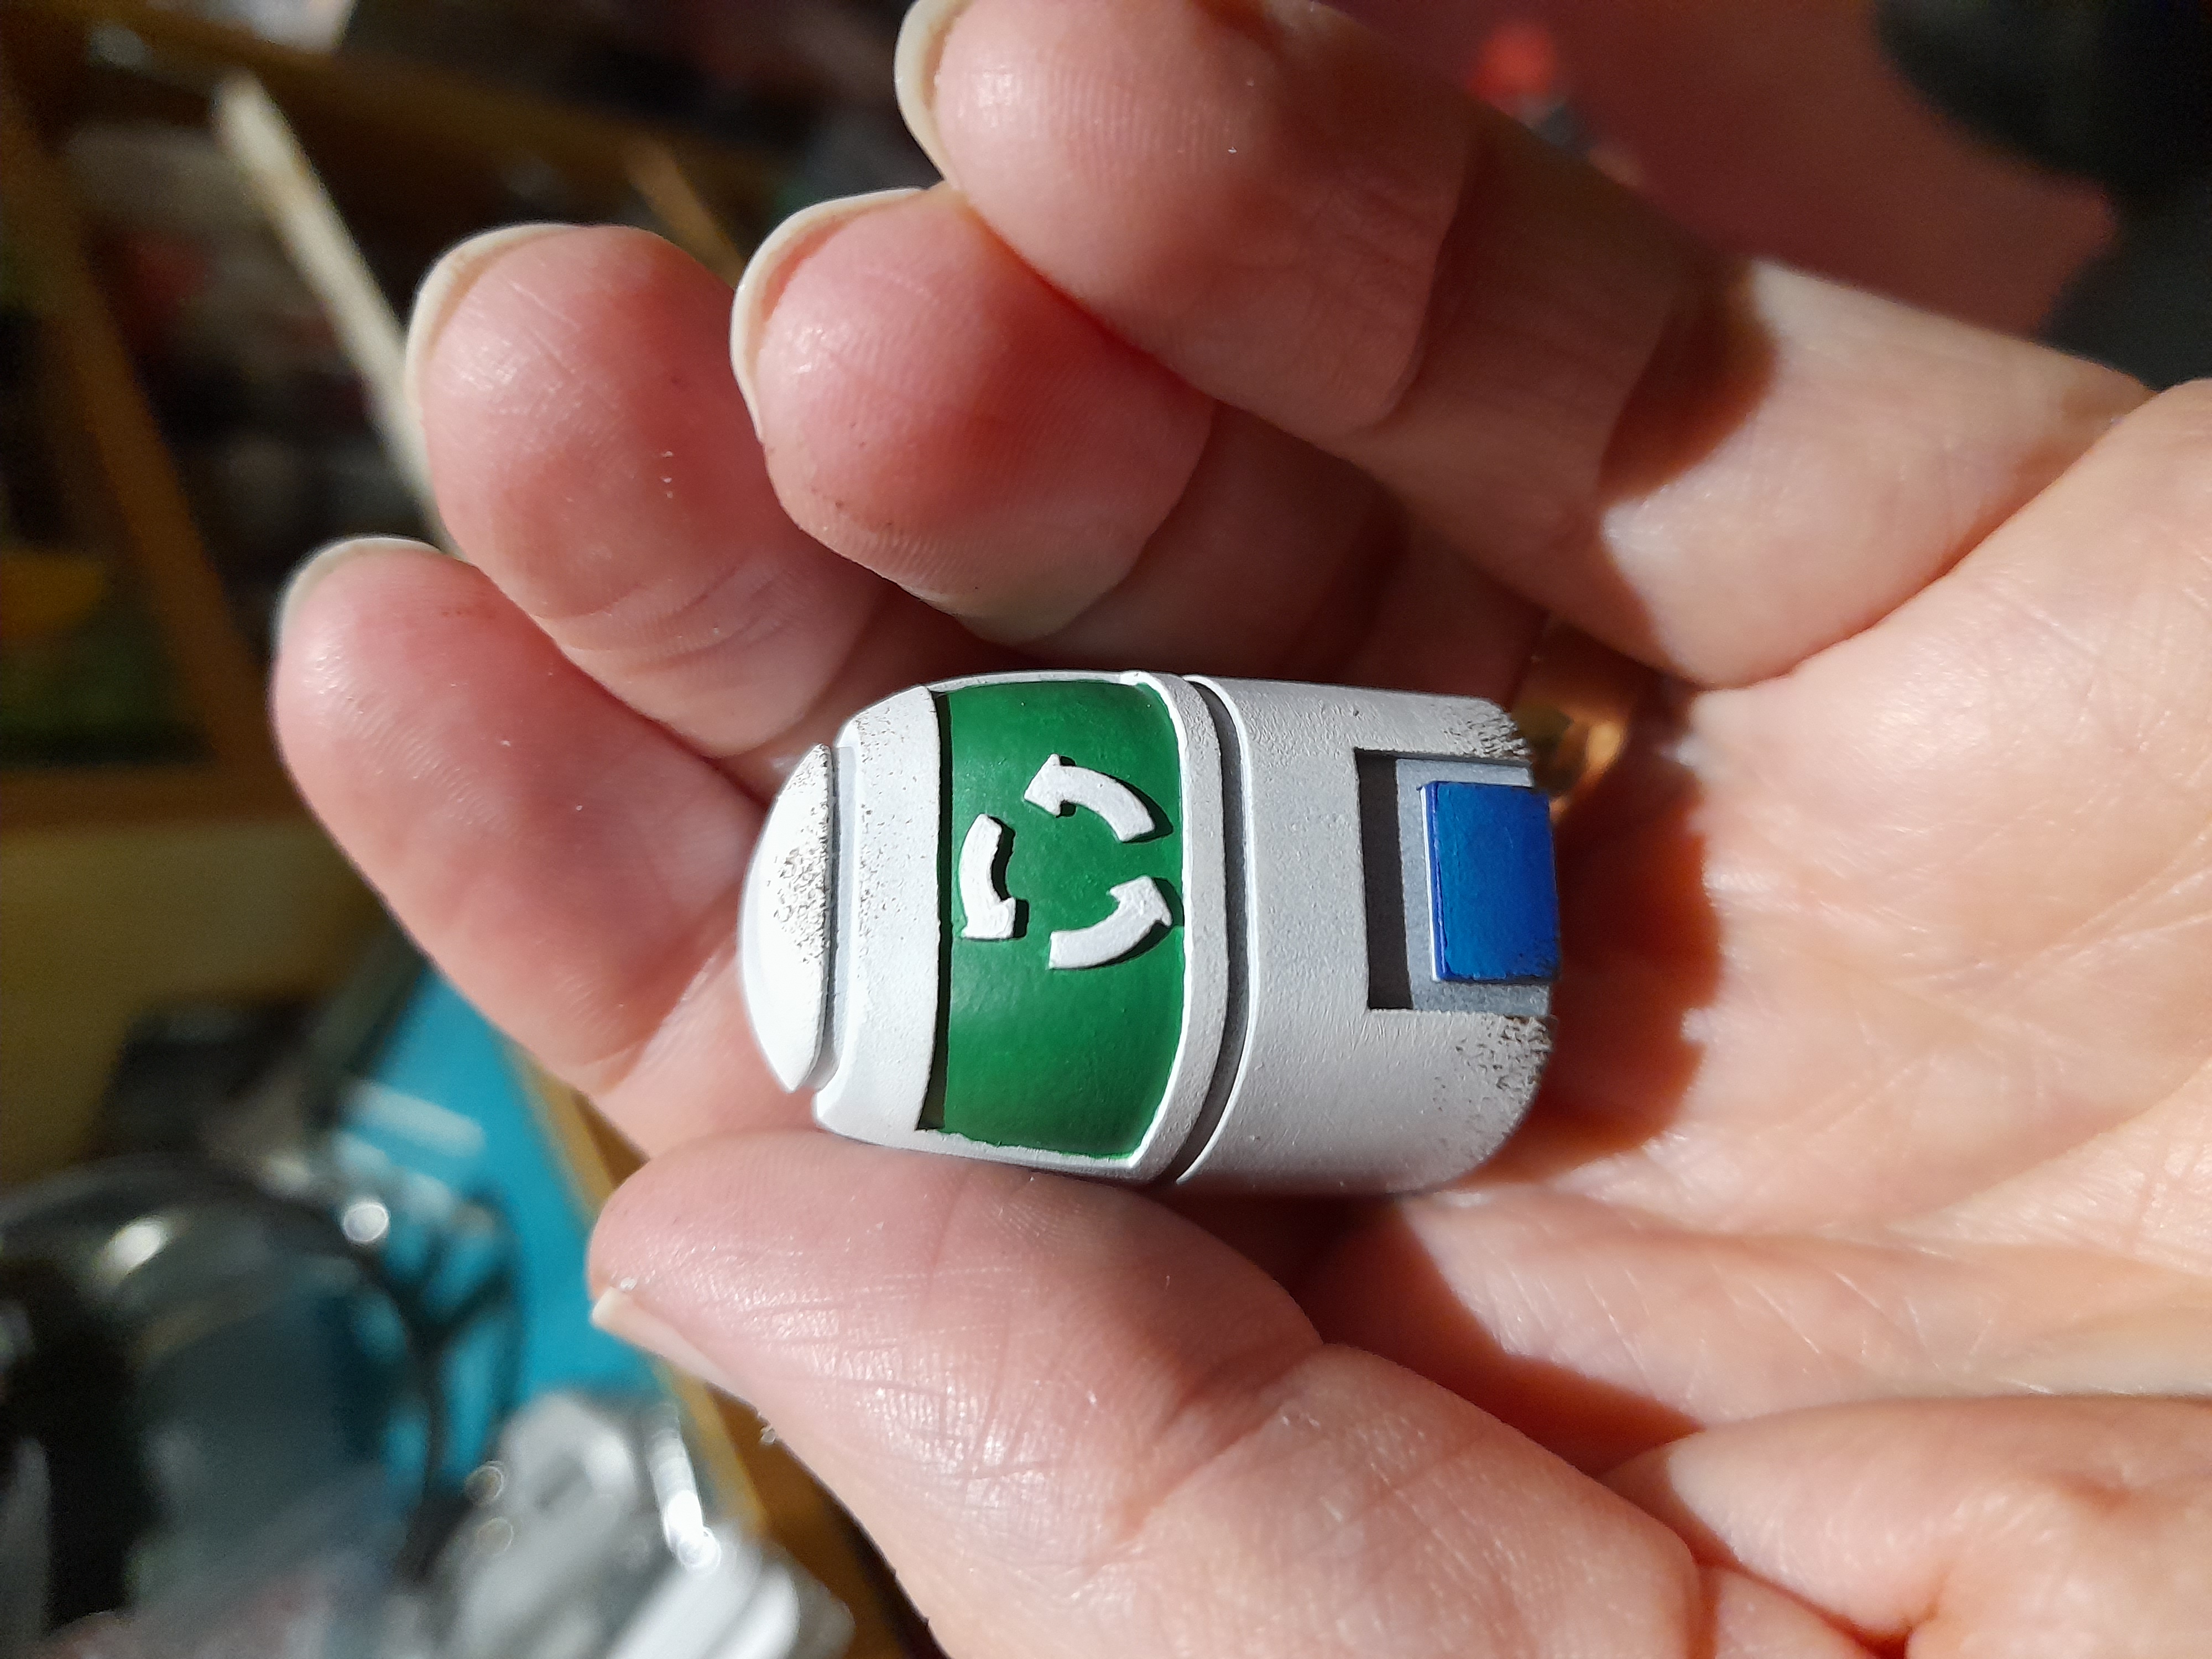
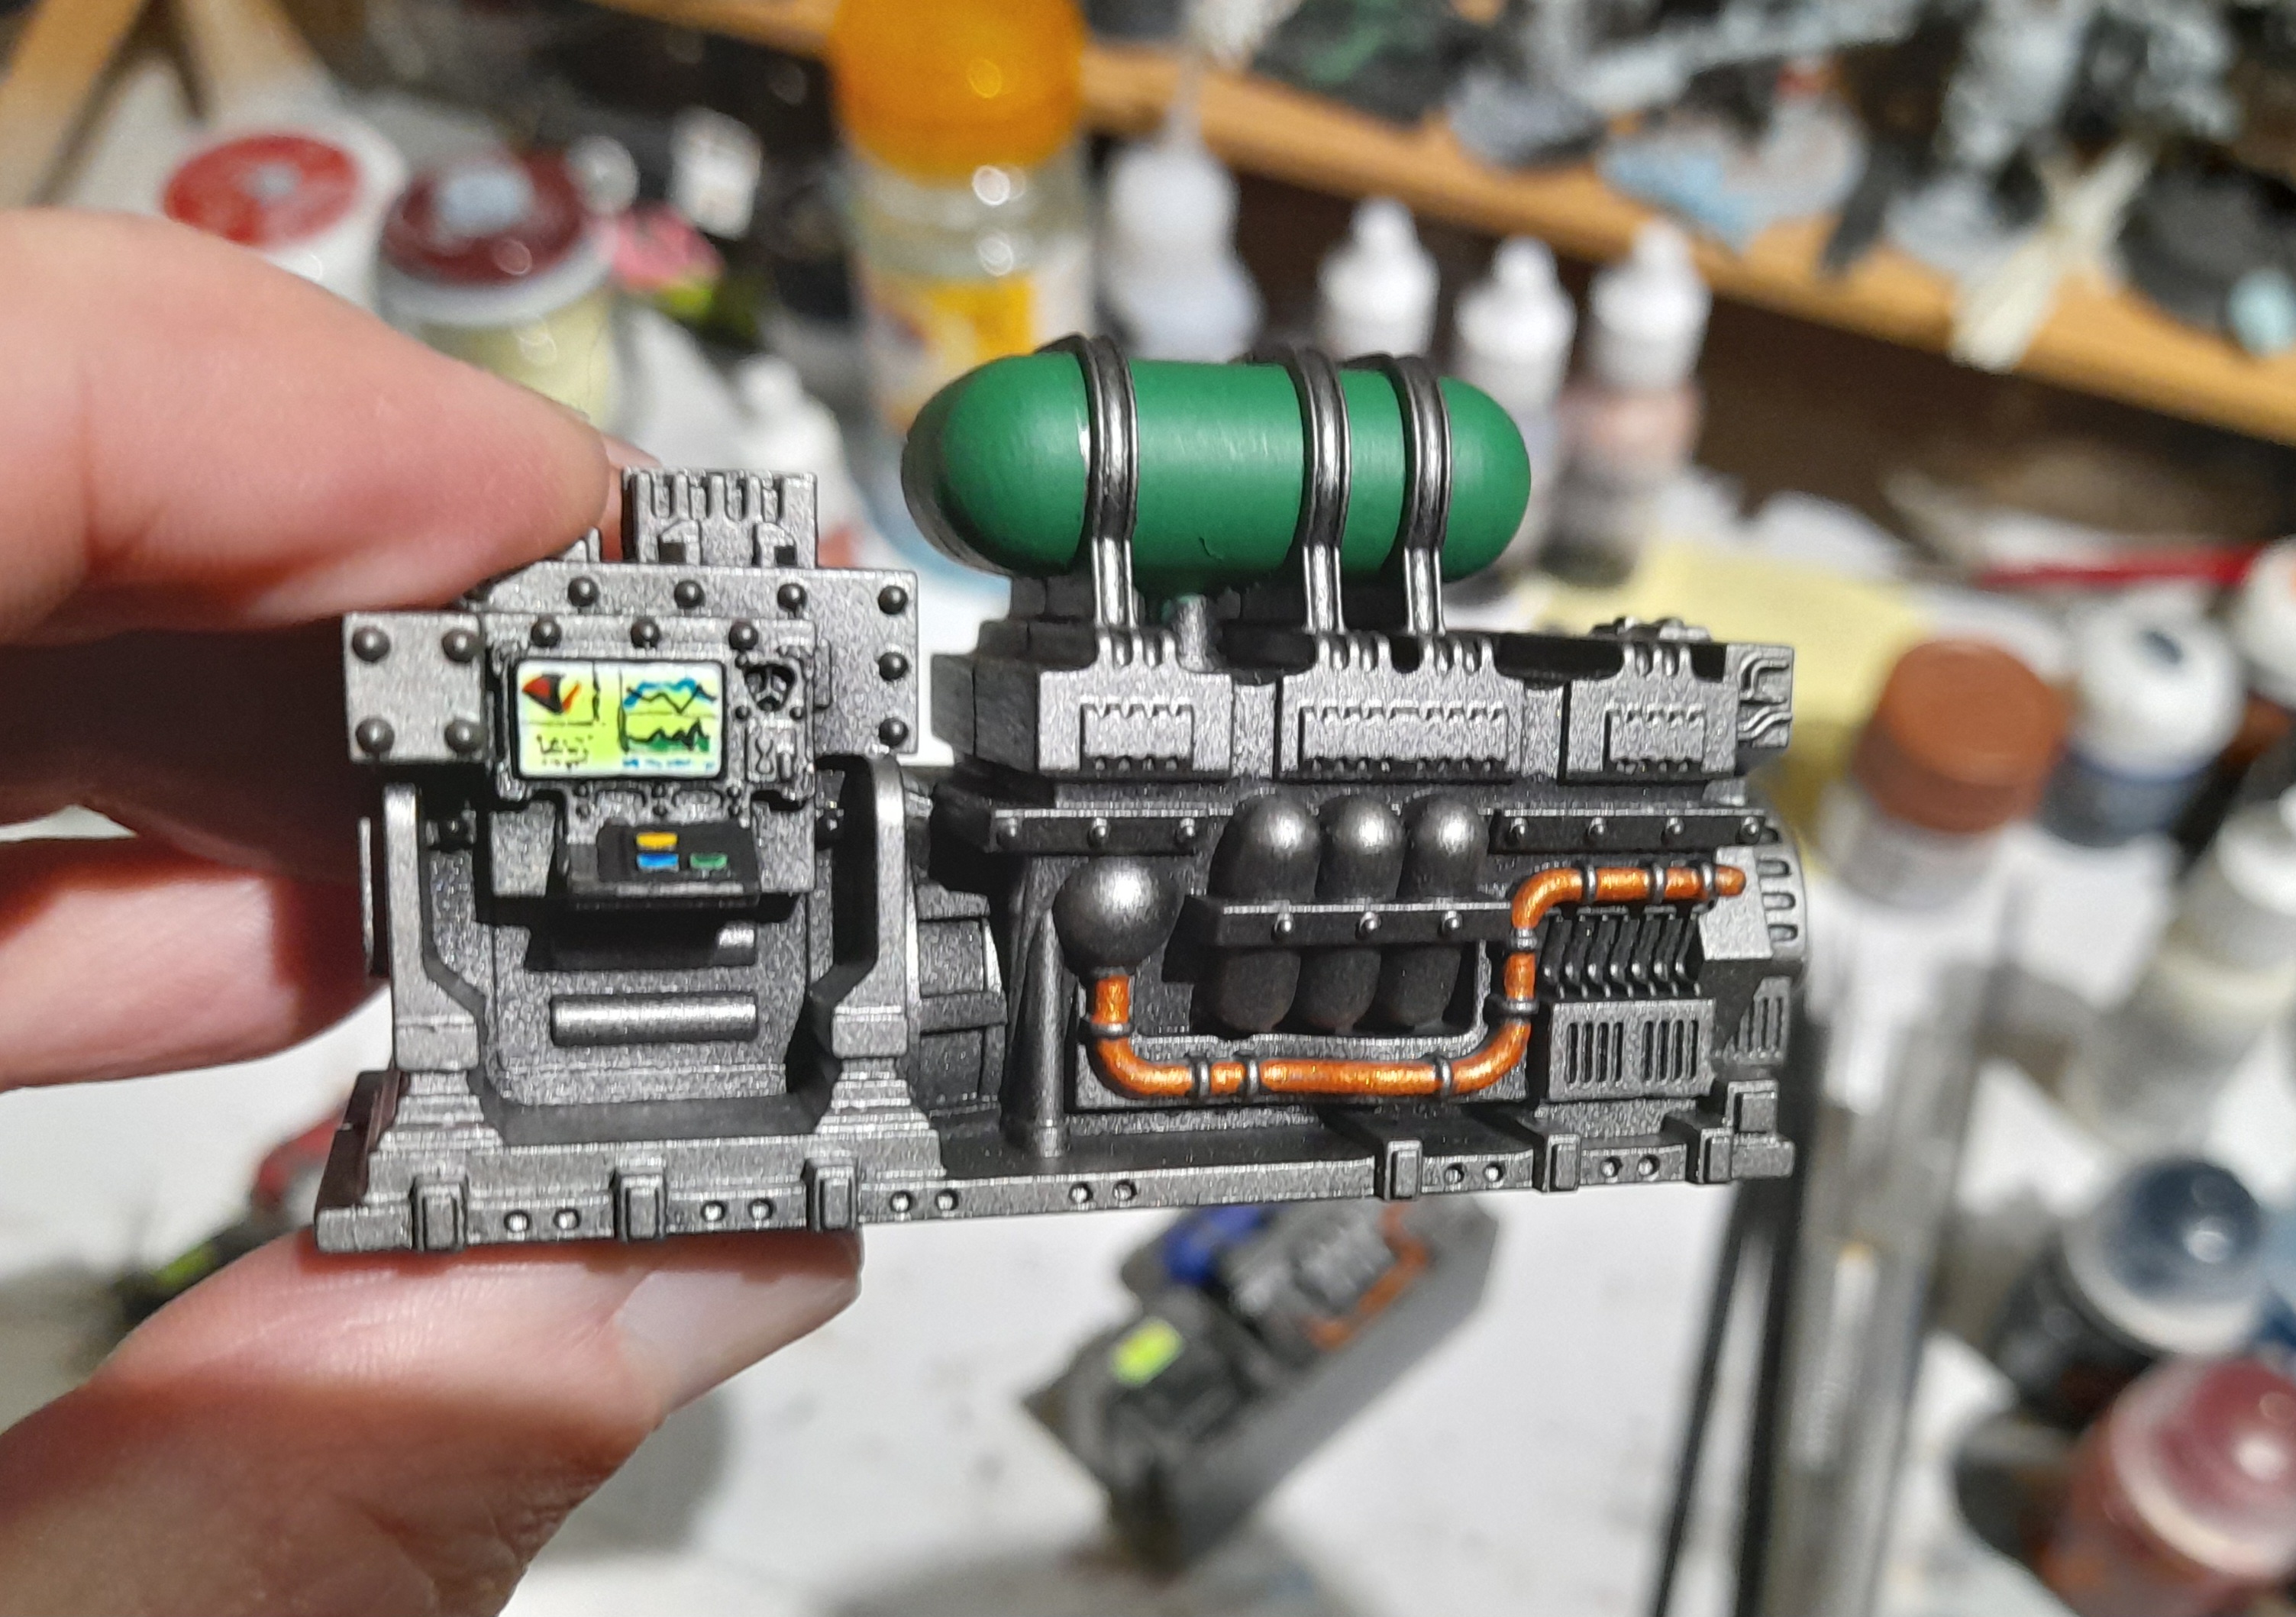
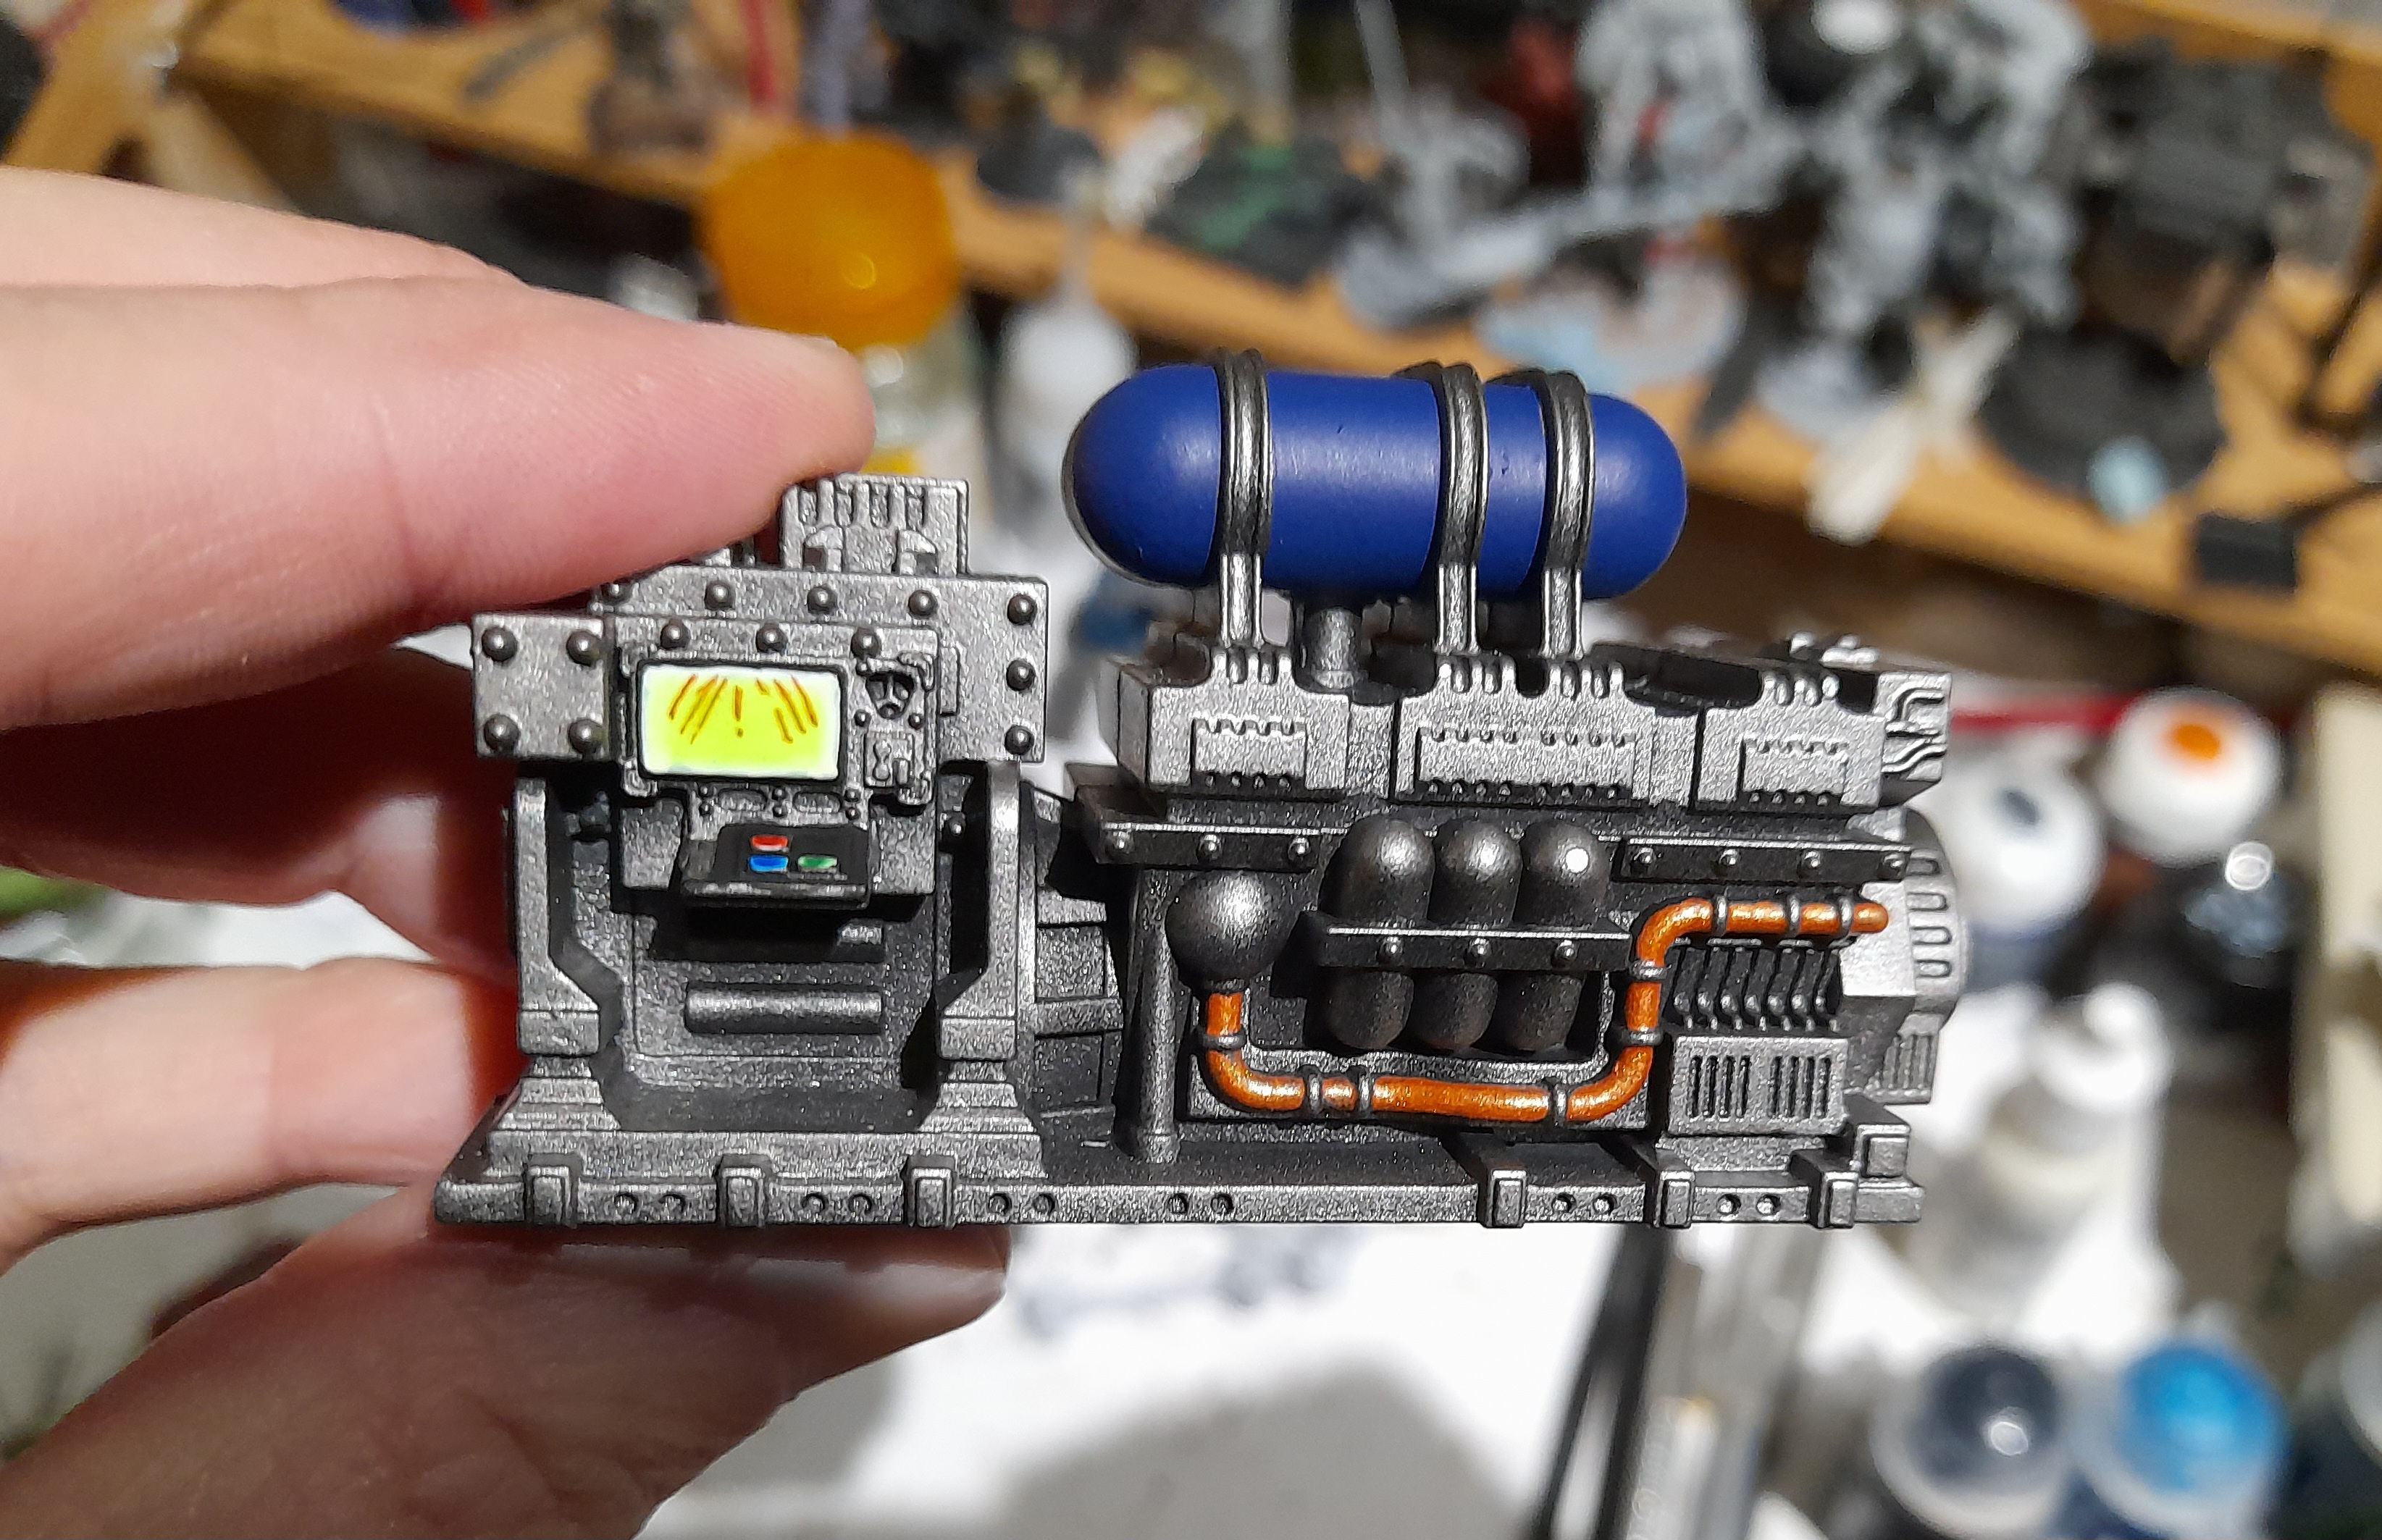
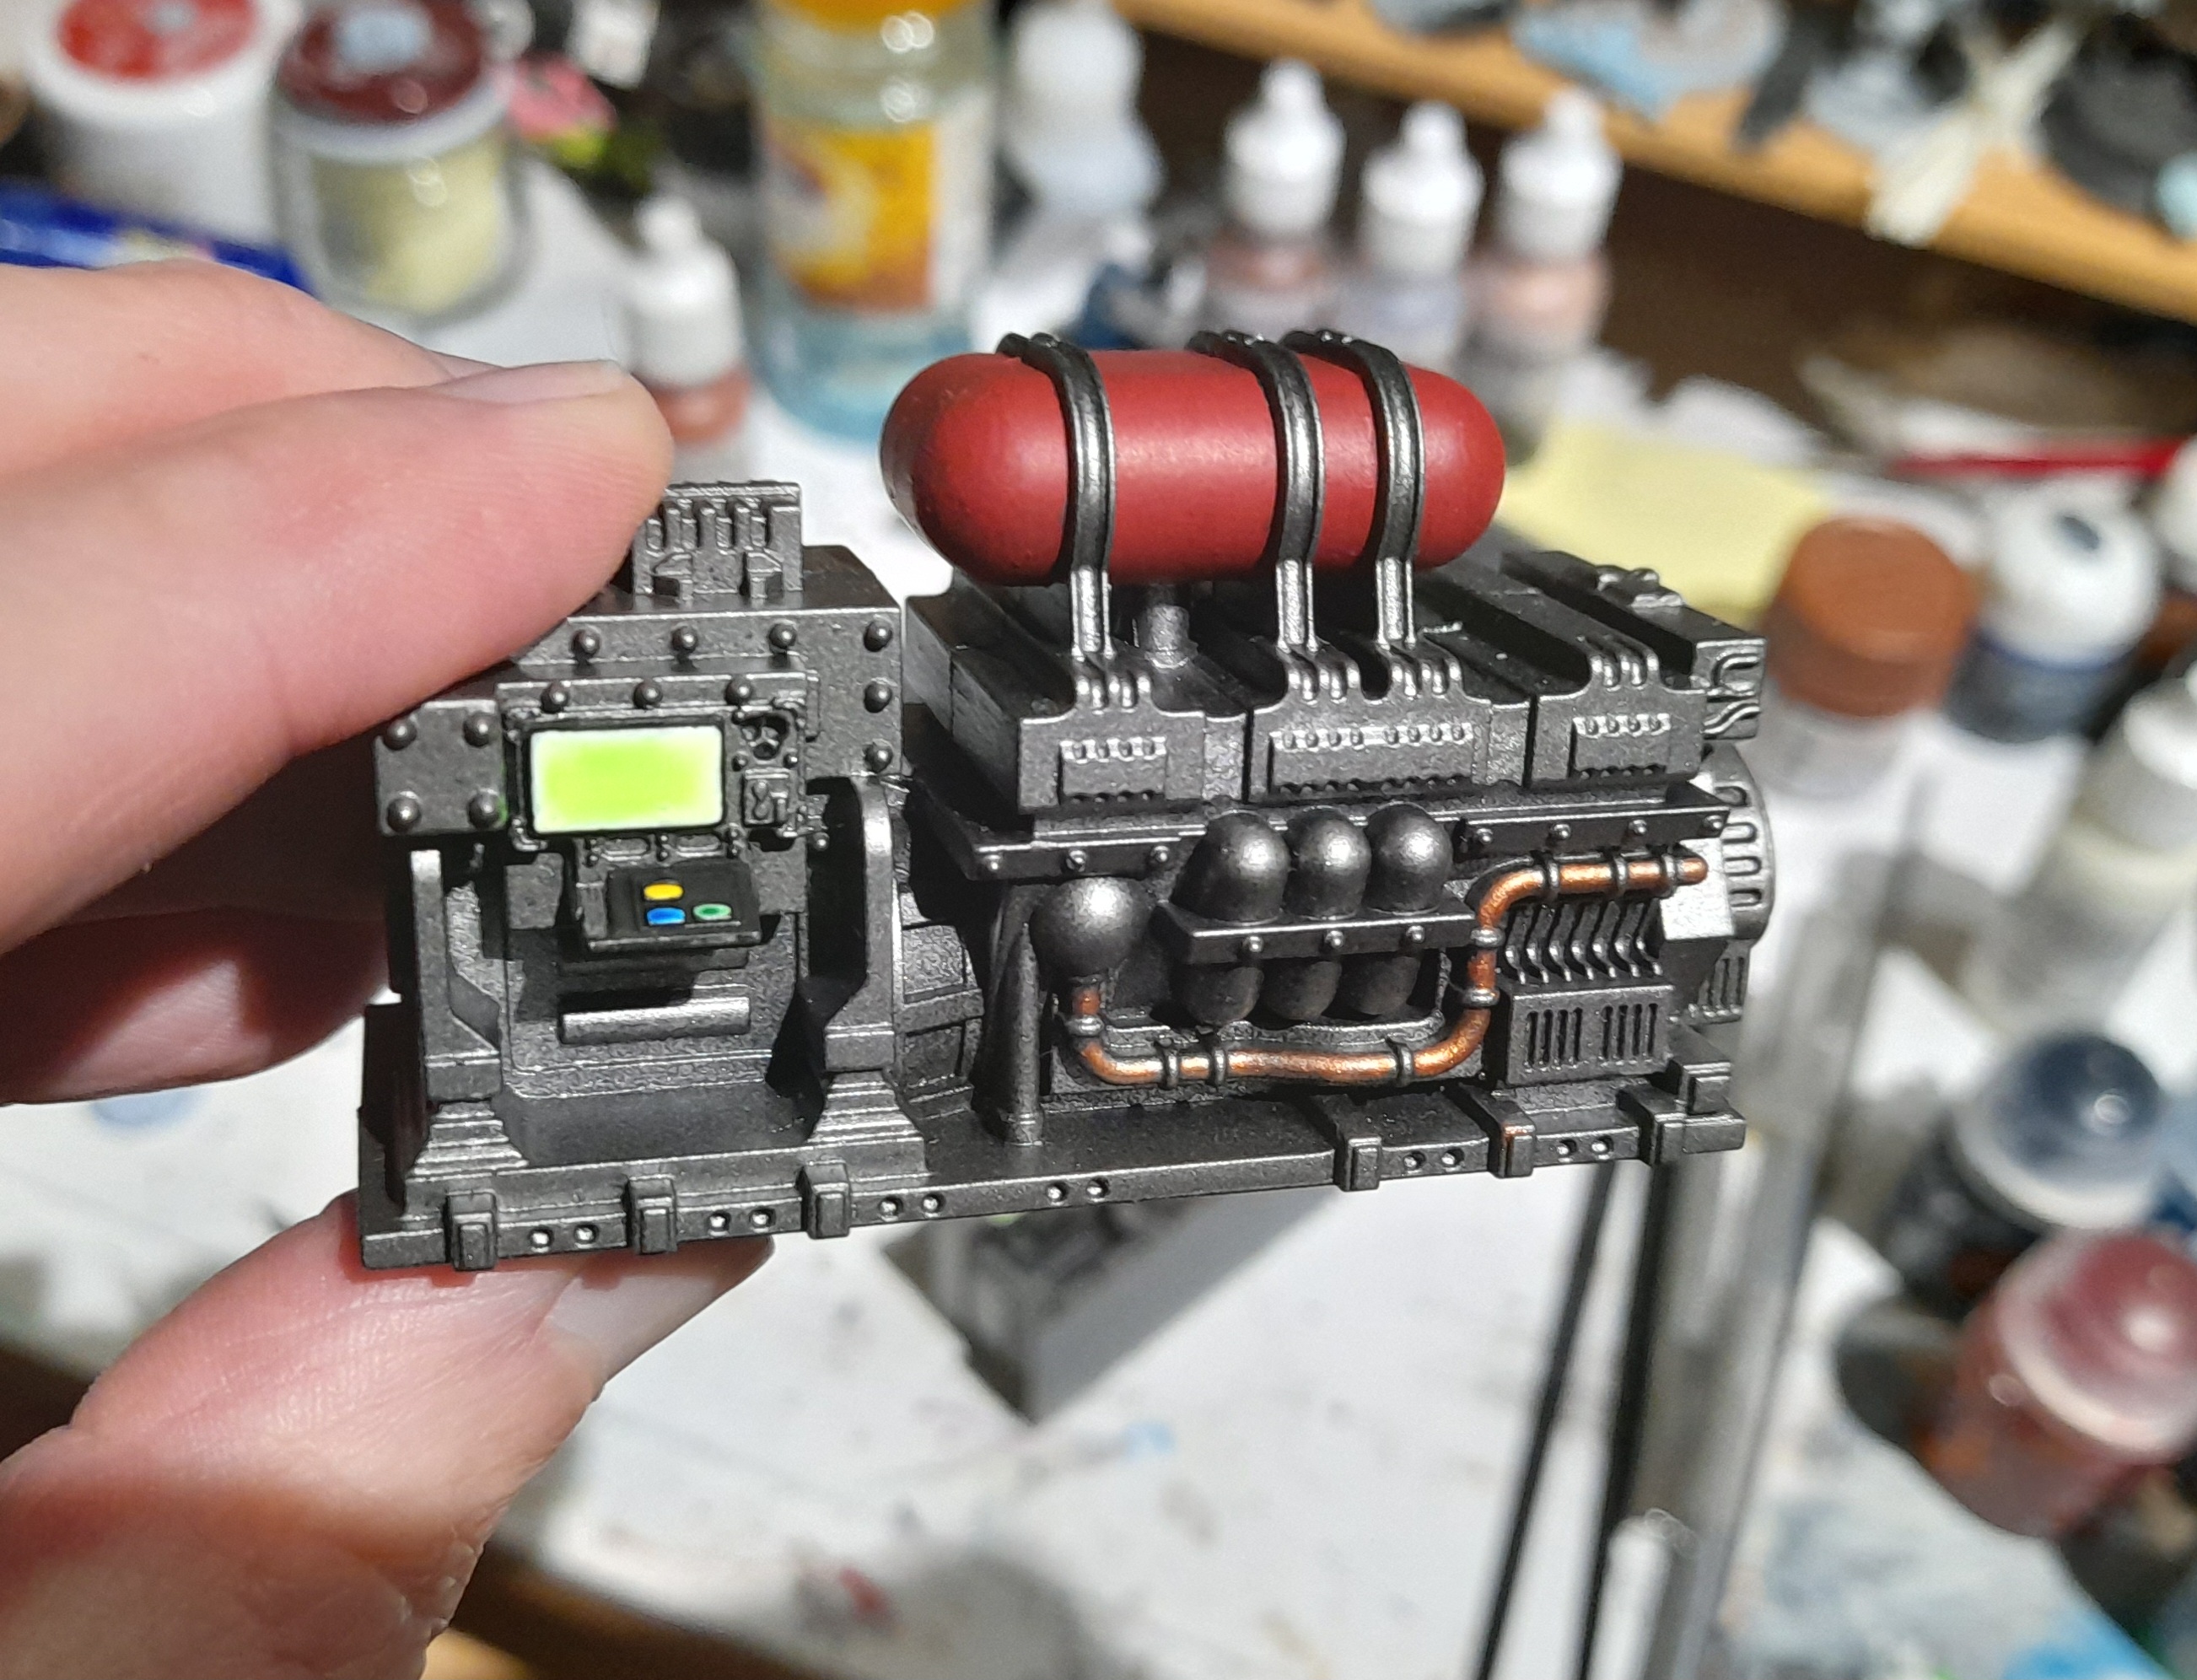
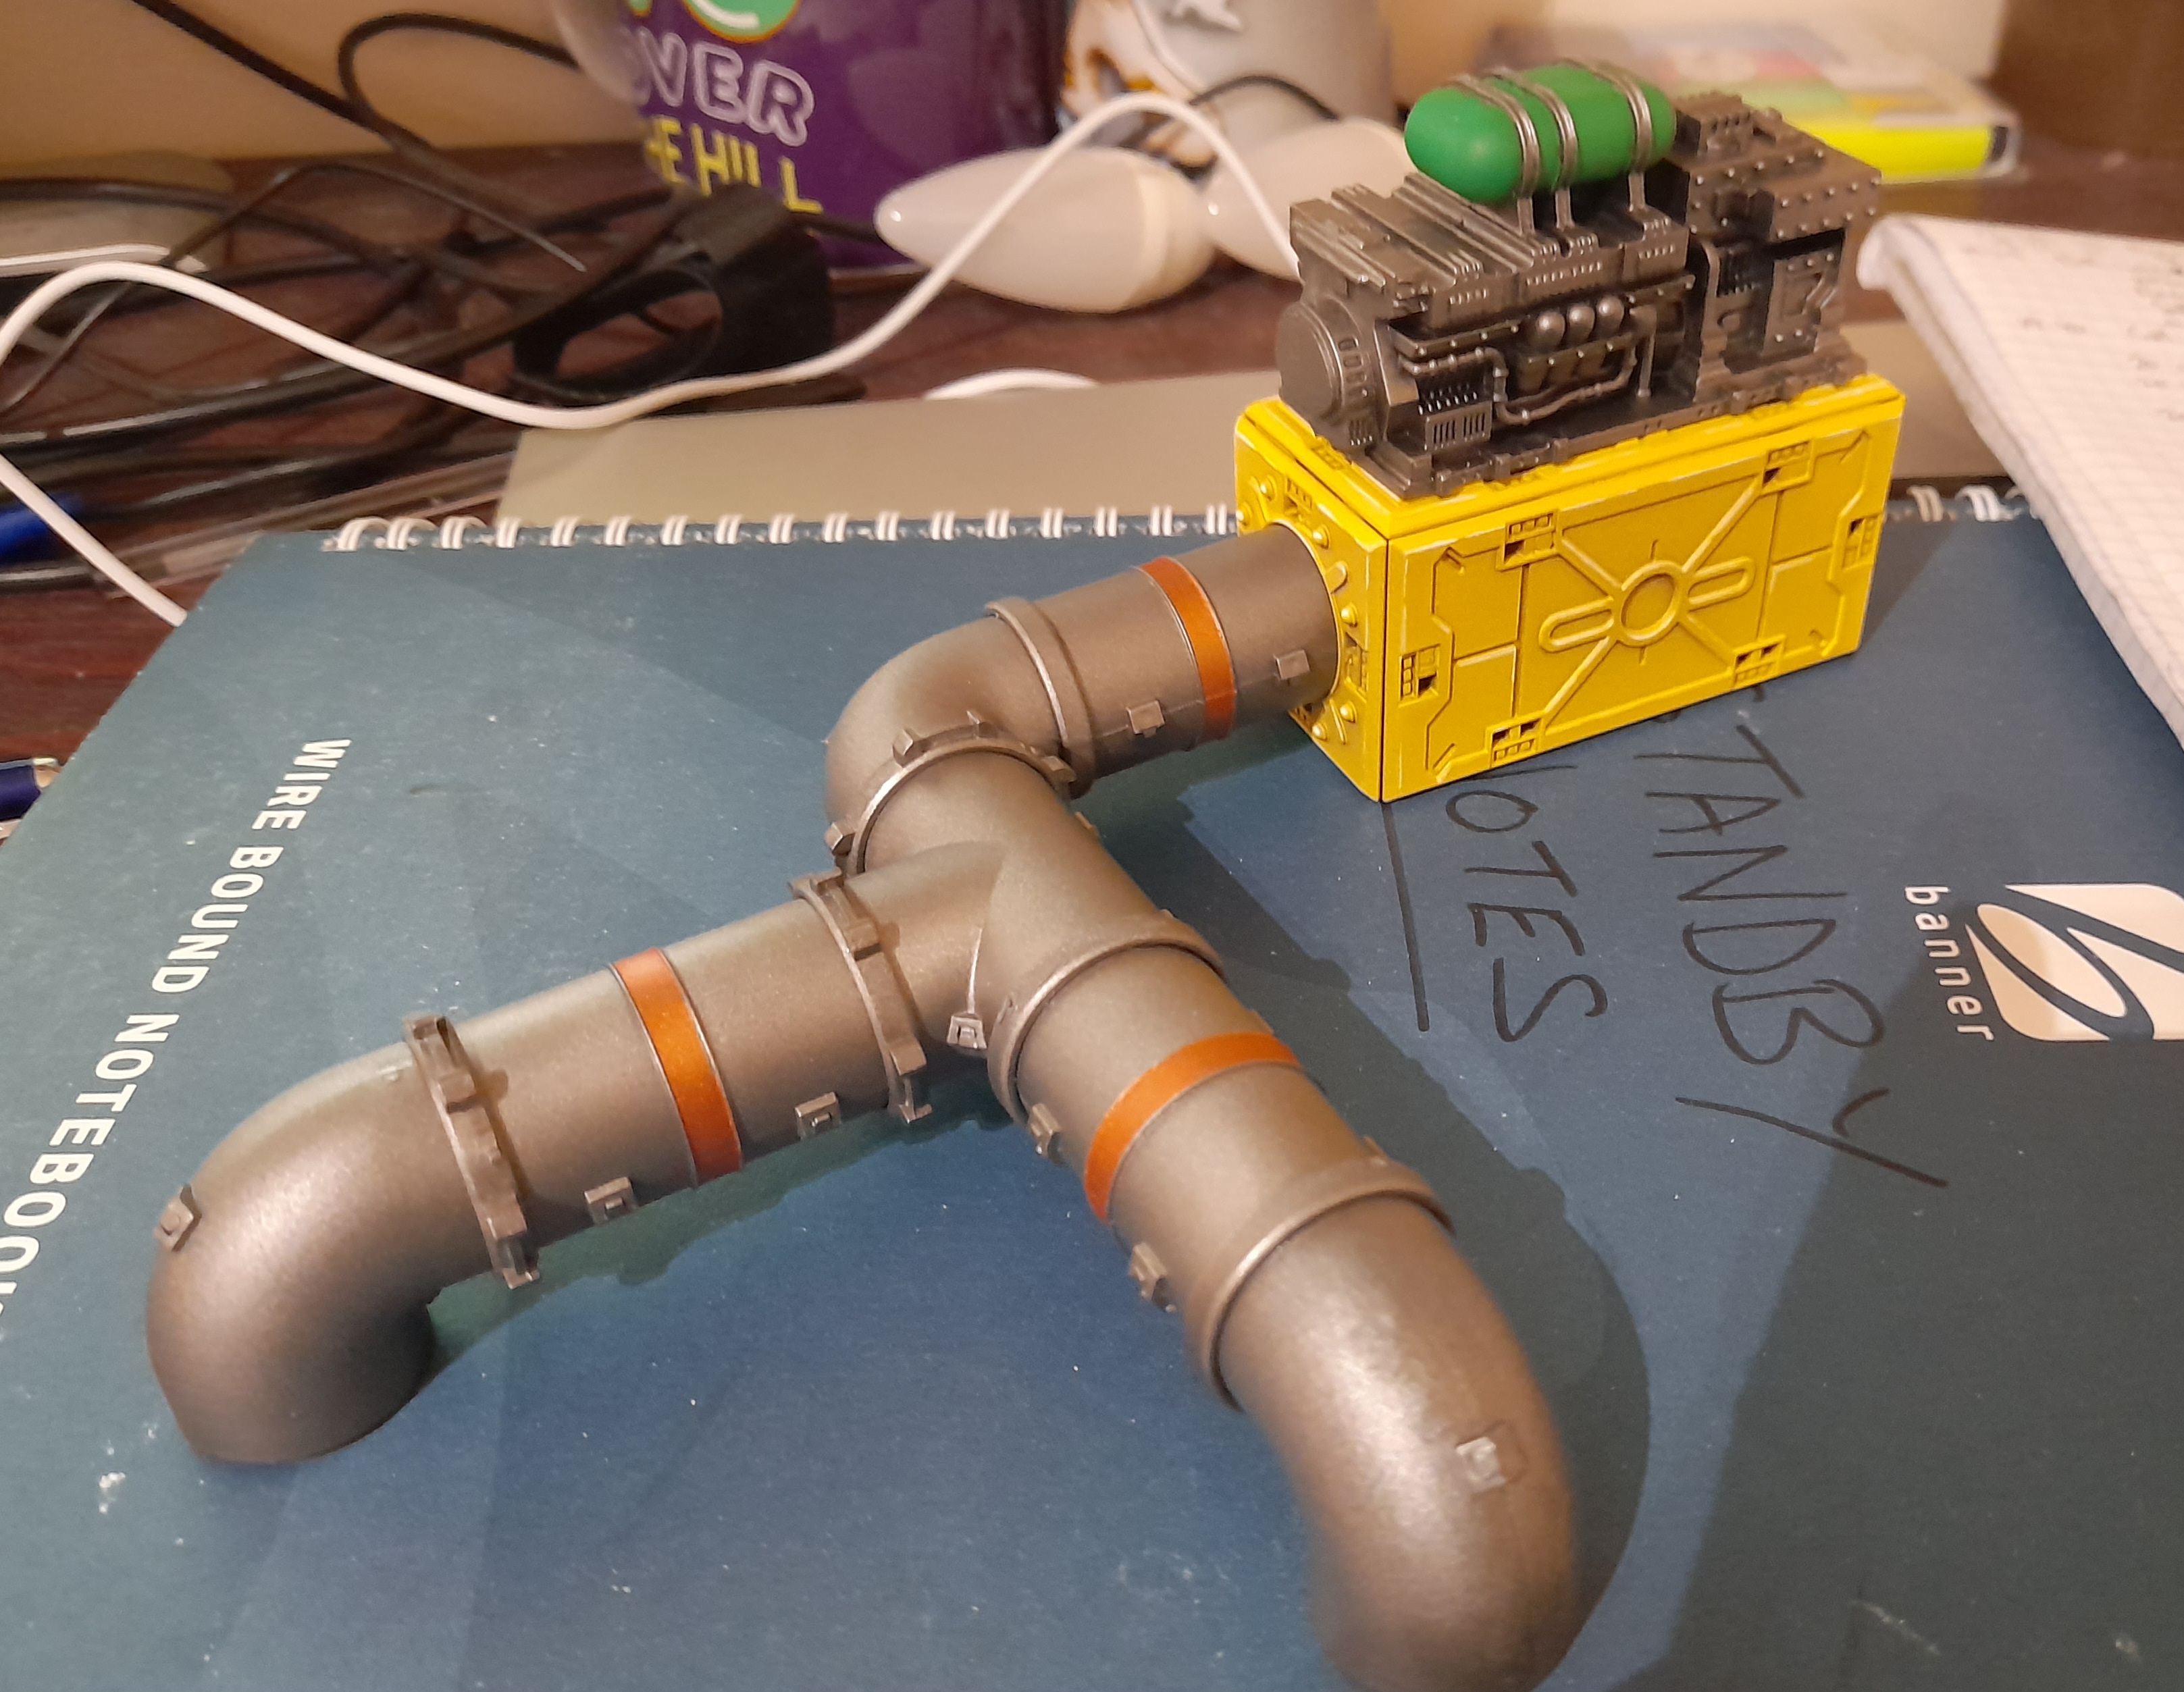
Finally there were some of the engine / pump type industrial features. For these I just went with a spot colour for the ‘pressure chamber’ (or whatever its meant to be) on top, picked out some of the piping with copper, and attempted to paint in some control panels. My brush control isn’t great for small writing, so I just went with some squiggles and fake graphs on one, an alert ‘!’ on another, and left the third blank.
Plus pipes…. Not glued together yet. I think I will glue short sections, so that I can maintain my planned versatility with the terrain.
Demo games evening
6th February 2023
On Saturday (4th) evening I took my starter demo set over to a local club, and ran through some small games there.
The players seemed to have fun with it, and learned the core concepts of the rules really quickly.
It was interesting to see how quickly they got into it. One of them even got the ‘eight train’ rolling ?
I got some positive feedback, and there were discussions about different factions etc.
So now I need to create some larger strike teams and hopefully go back and run some 150pt games soon.
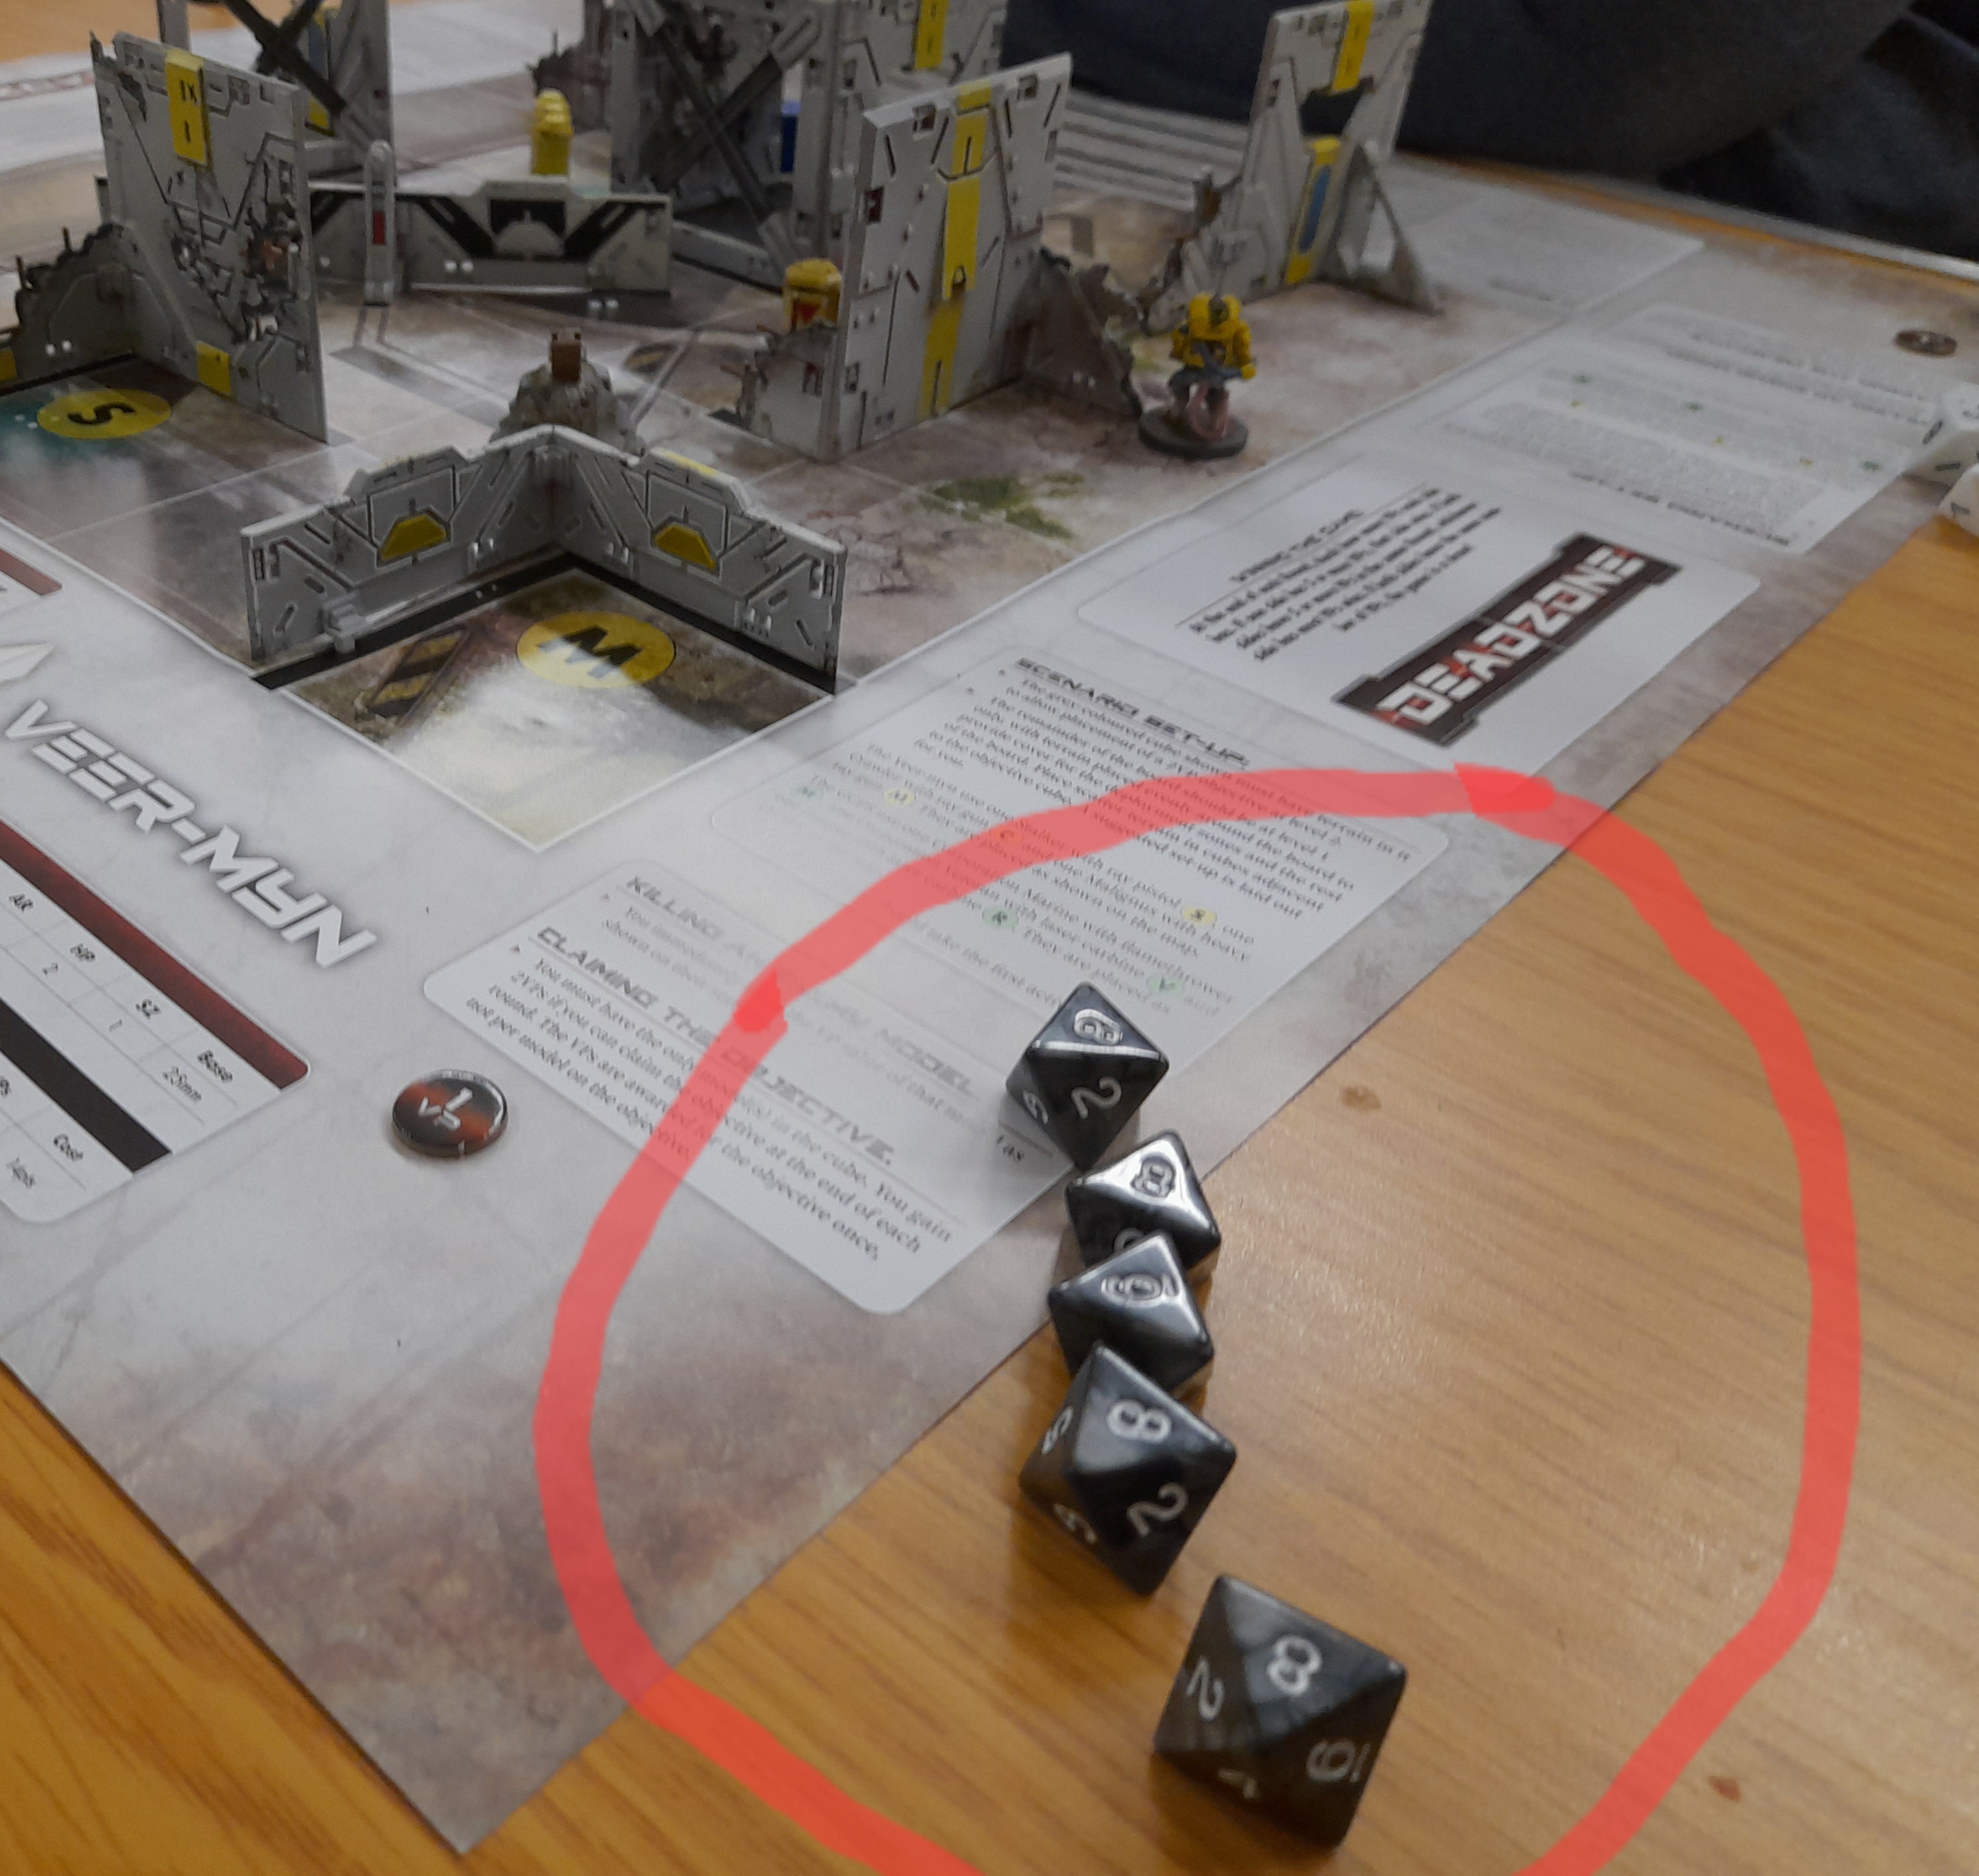 The 'eight train' rolling....
Building out the Strike Teams
10th February 2023
Thought I’d test out some of the accessory parts that came with the new starter, so added the awning (not happy with the finish, but it will do for now) sign and small serving bar onto a 3×1 building I made, alongside the street food shack.
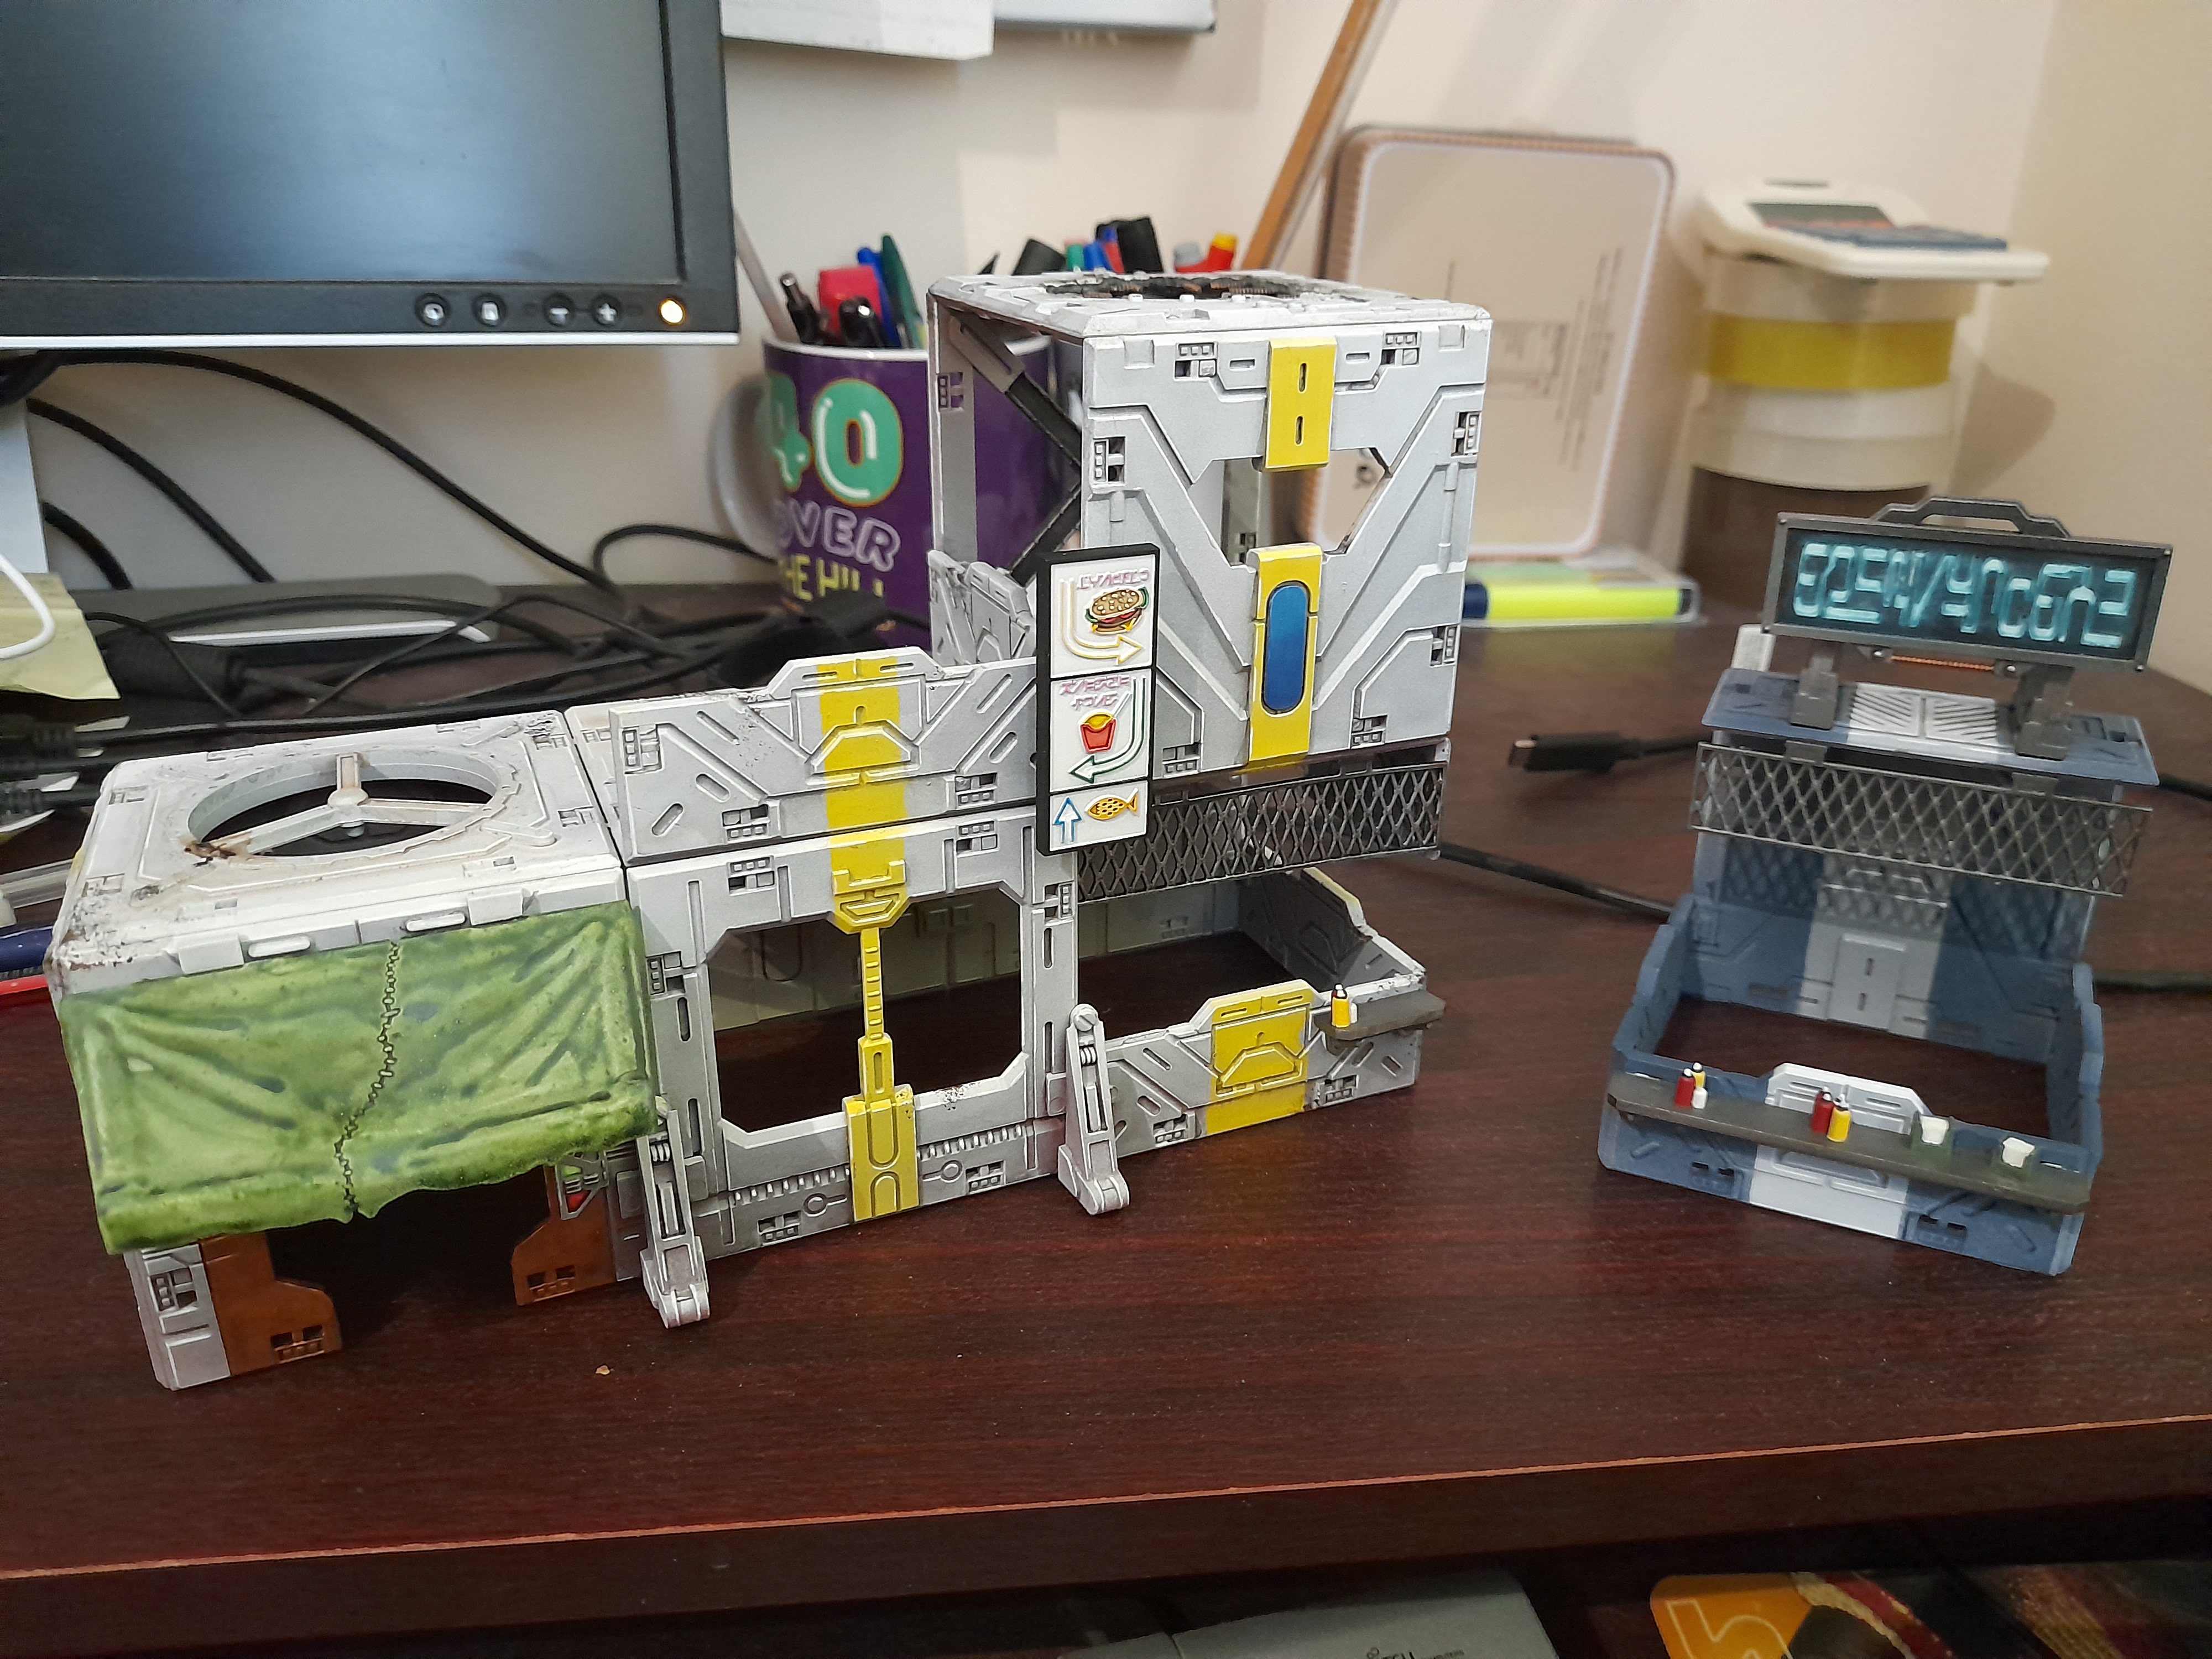 Not sure I'd trust the meat here...
Then it was onto building up the strike teams for potential larger demo games.
I already had the GCPS side built, so they got a black undercoat. However, I found picking out the details on them a bit awkward at first, so gave them a quick drybrush with a grey to hopefully make things a little clearer.
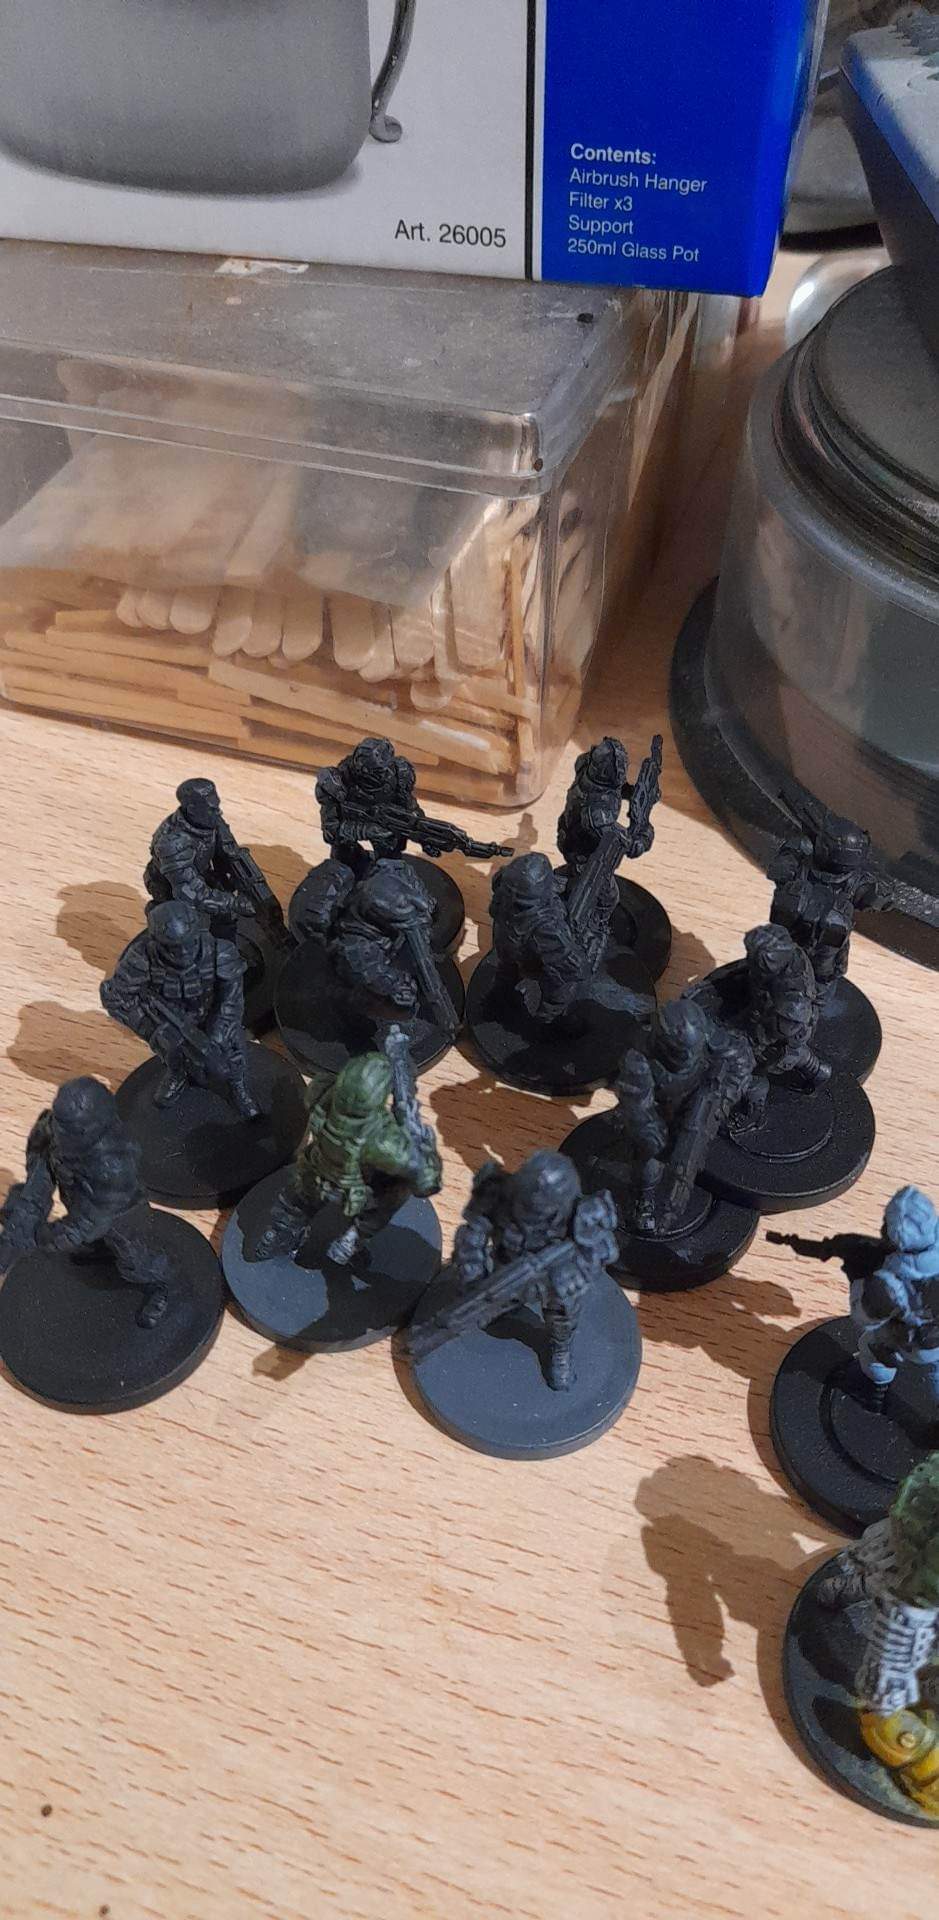 Have to re prime a couple from the green test scheme
 To save my eyes a bit, I went on to building up the Veer Myn side. I had a little trouble with the tail attachments for the Nightmares (ogre sized Veer Myn), being a little ‘vague’, but cracked on.
Then it was a wraithbone spray, and getting some basic colours on with contrast.


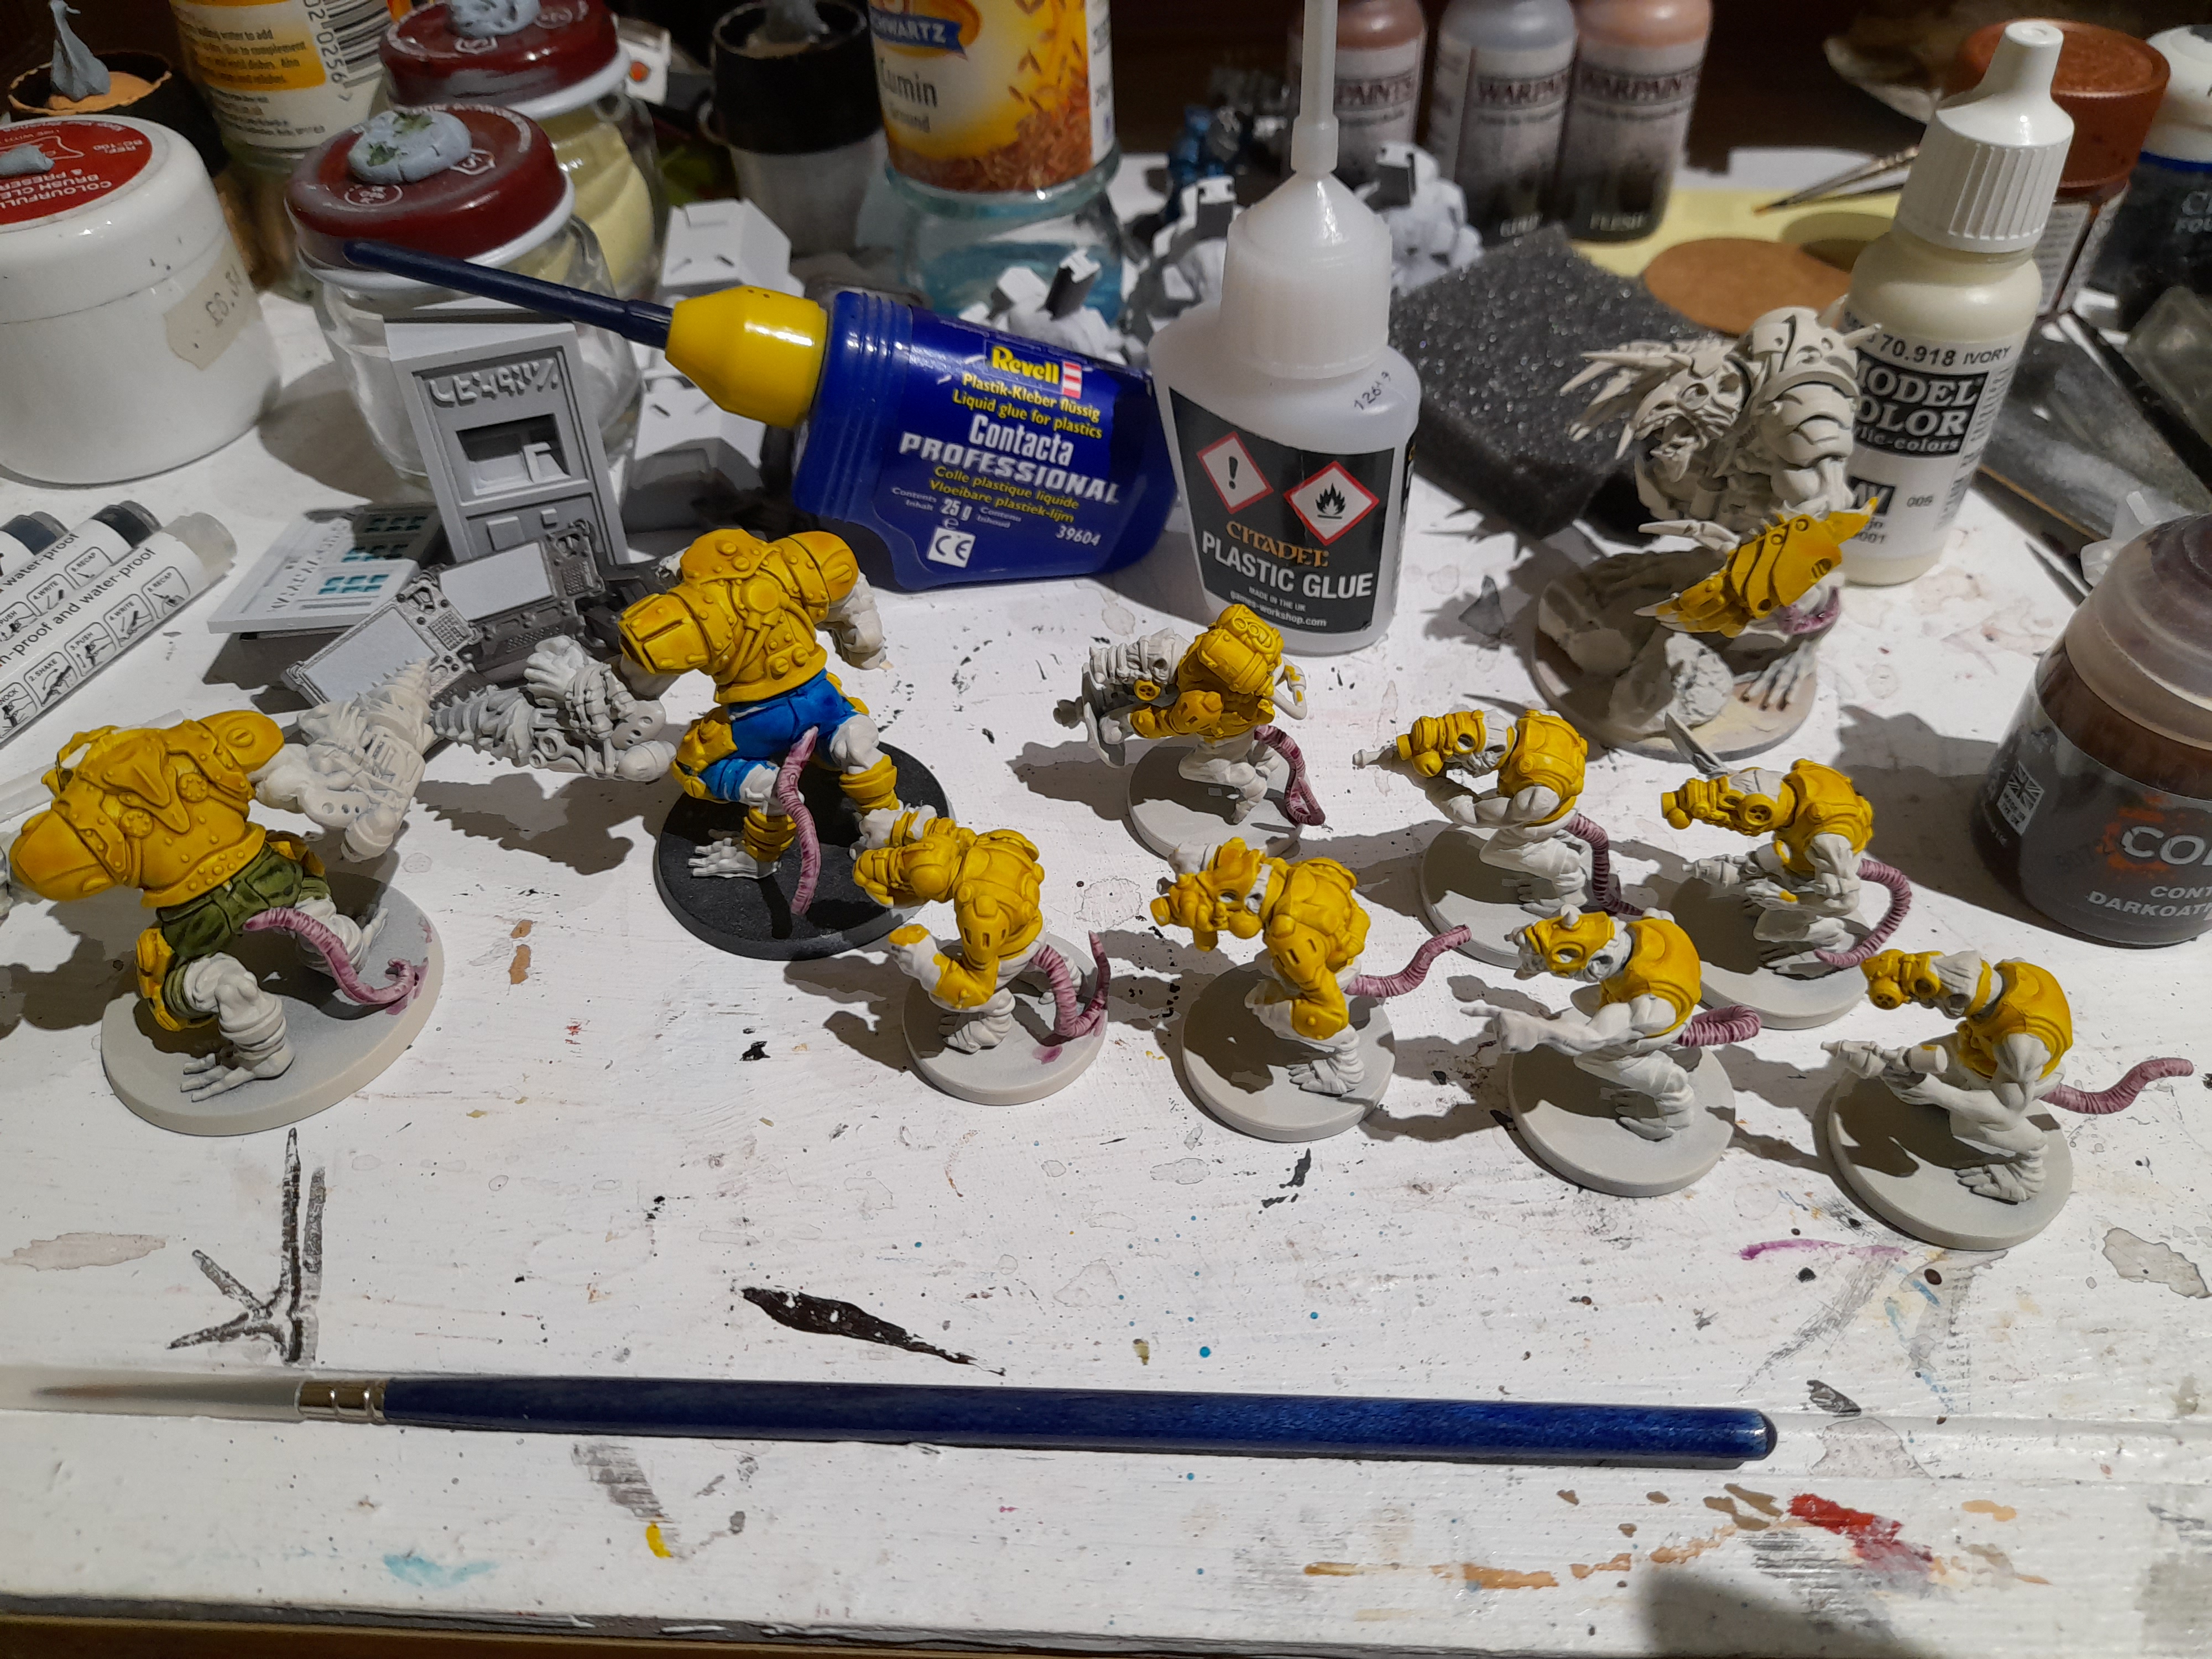


![StarCraft Tabletop Miniatures Game Pre-Orders Live Now [Updated]](https://images.beastsofwar.com/2026/03/starcraft-tmg-news-cover-600-338.jpg)


