


Draconis does…… Droids! Back to Star Wars Legion again.


Recommendations: 458
About the Project
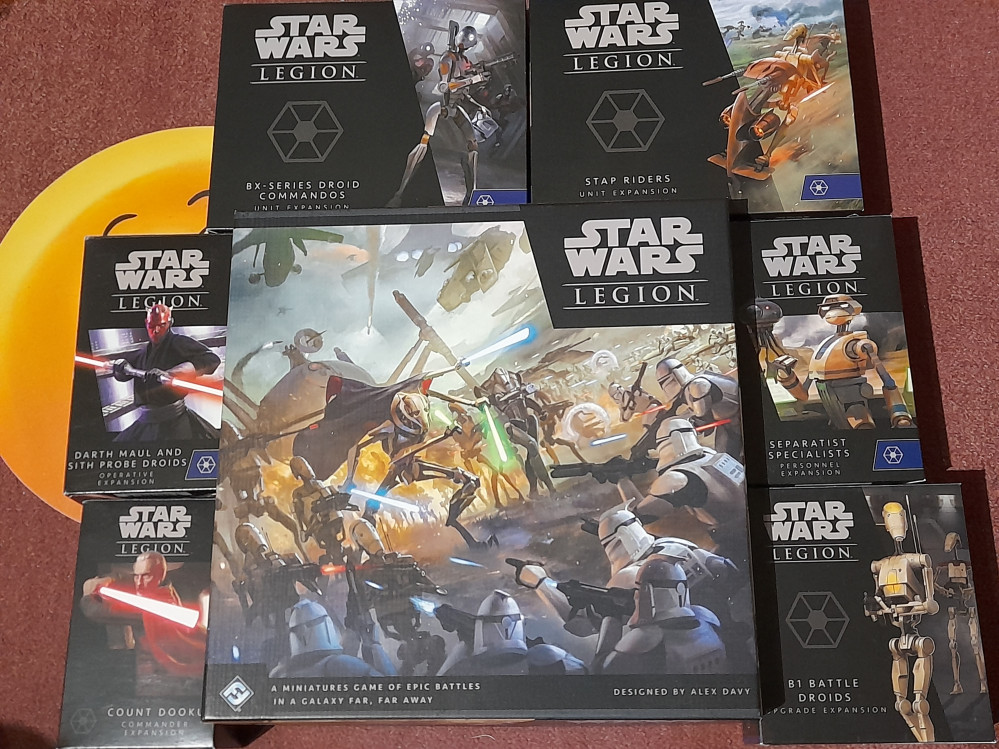
Starting out the year with a return to Star Wars Legion. I have to be honest, I haven’t really played it much since doing my Clone force. However, the Droid forces of the Separatists still need to be done. This will be the contents of two core boxes (Droid side) and a number of expansion packs.
Related Game: Star Wars: Legion
Related Company: Atomic Mass Games
Related Genre: Science Fiction
This Project is Active
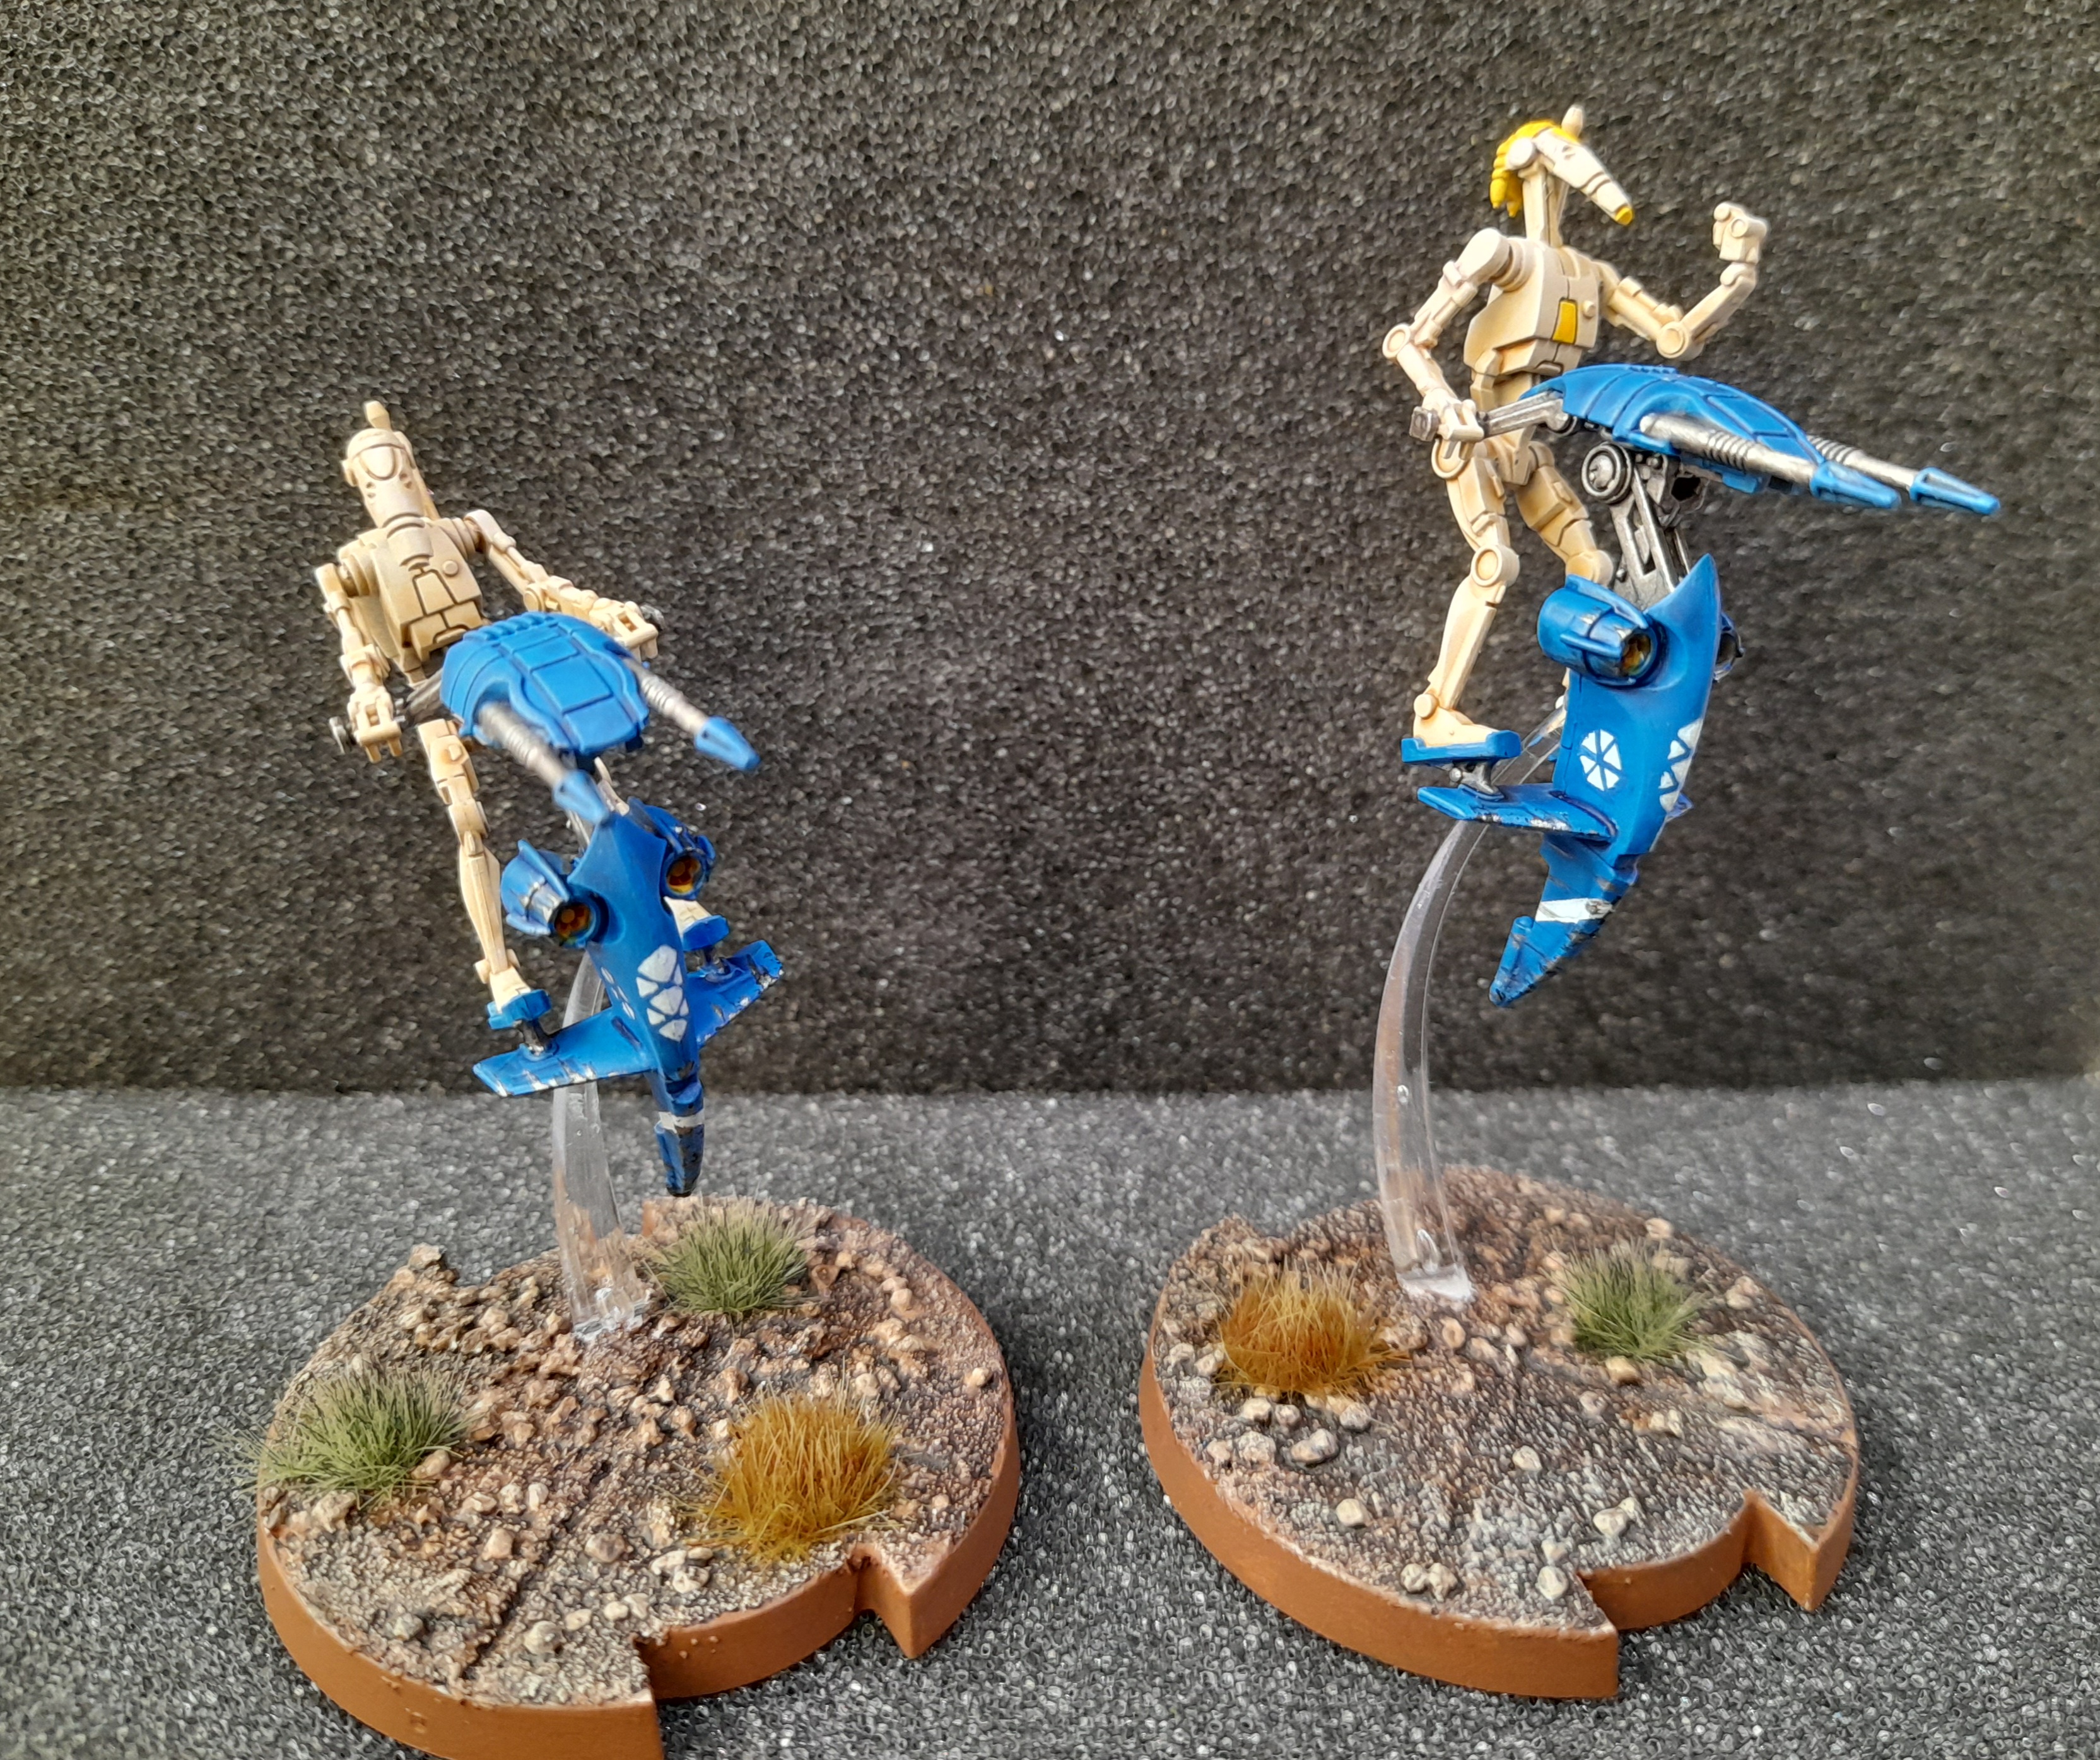
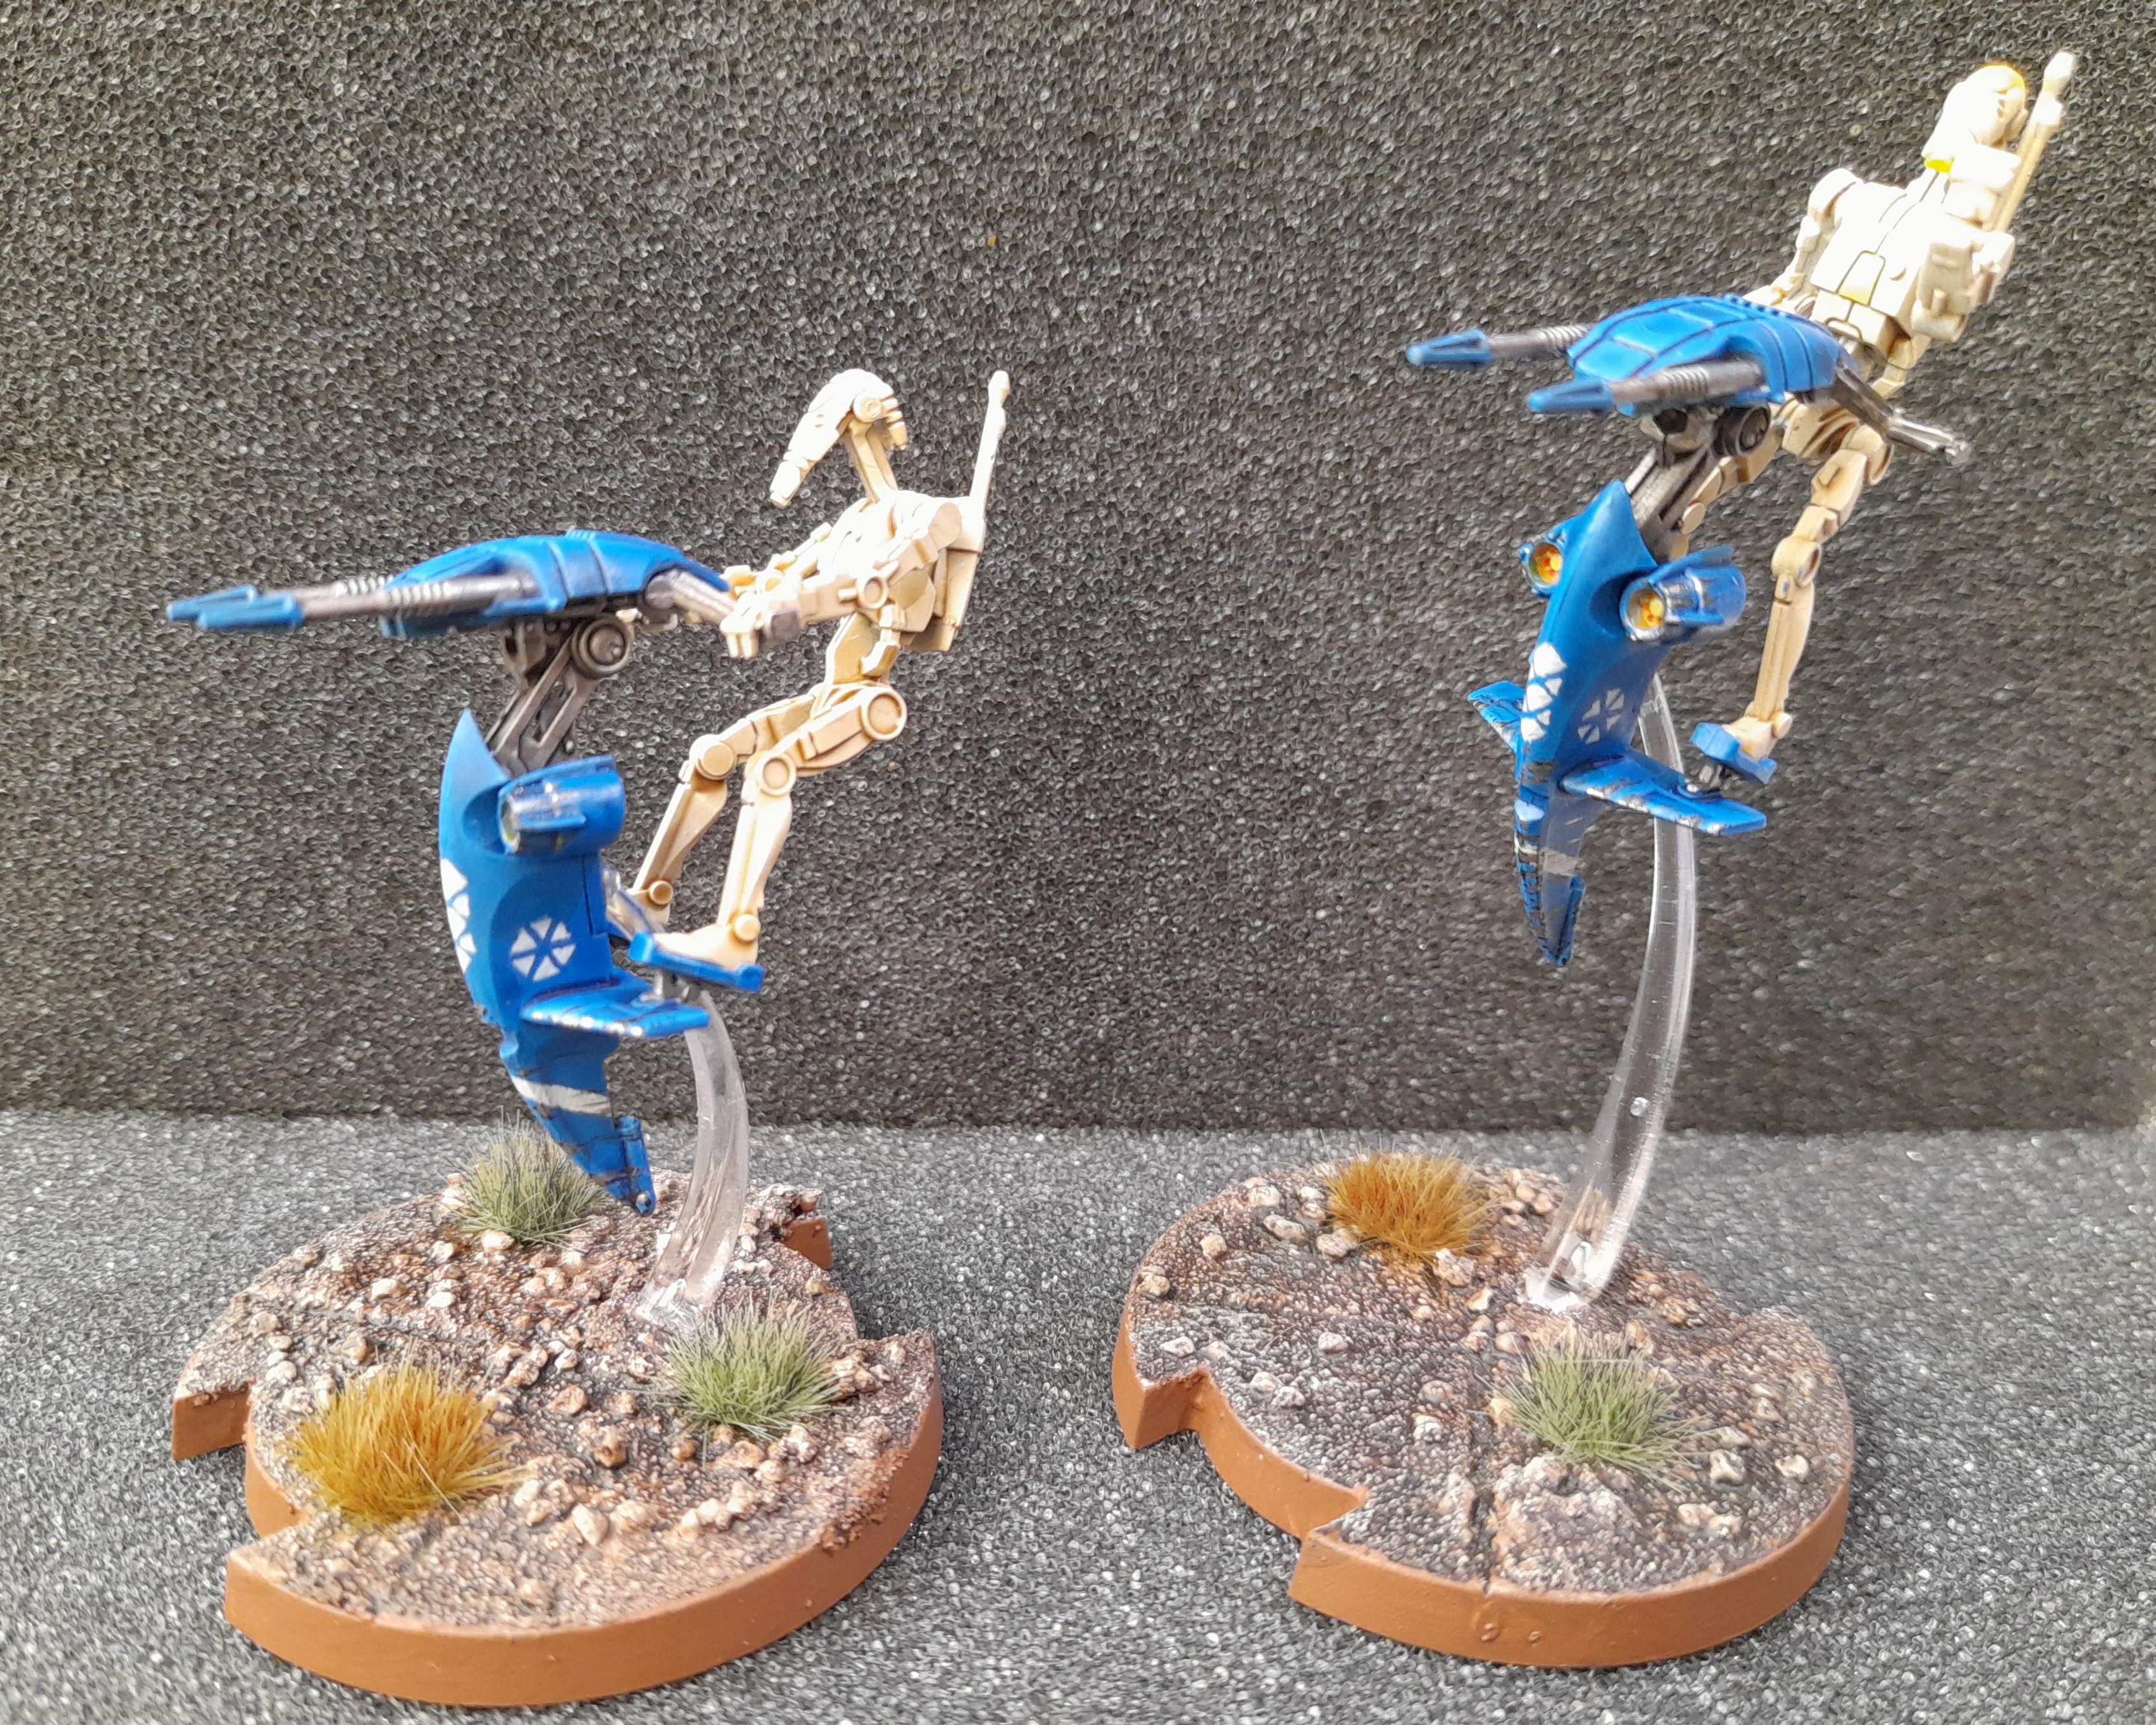
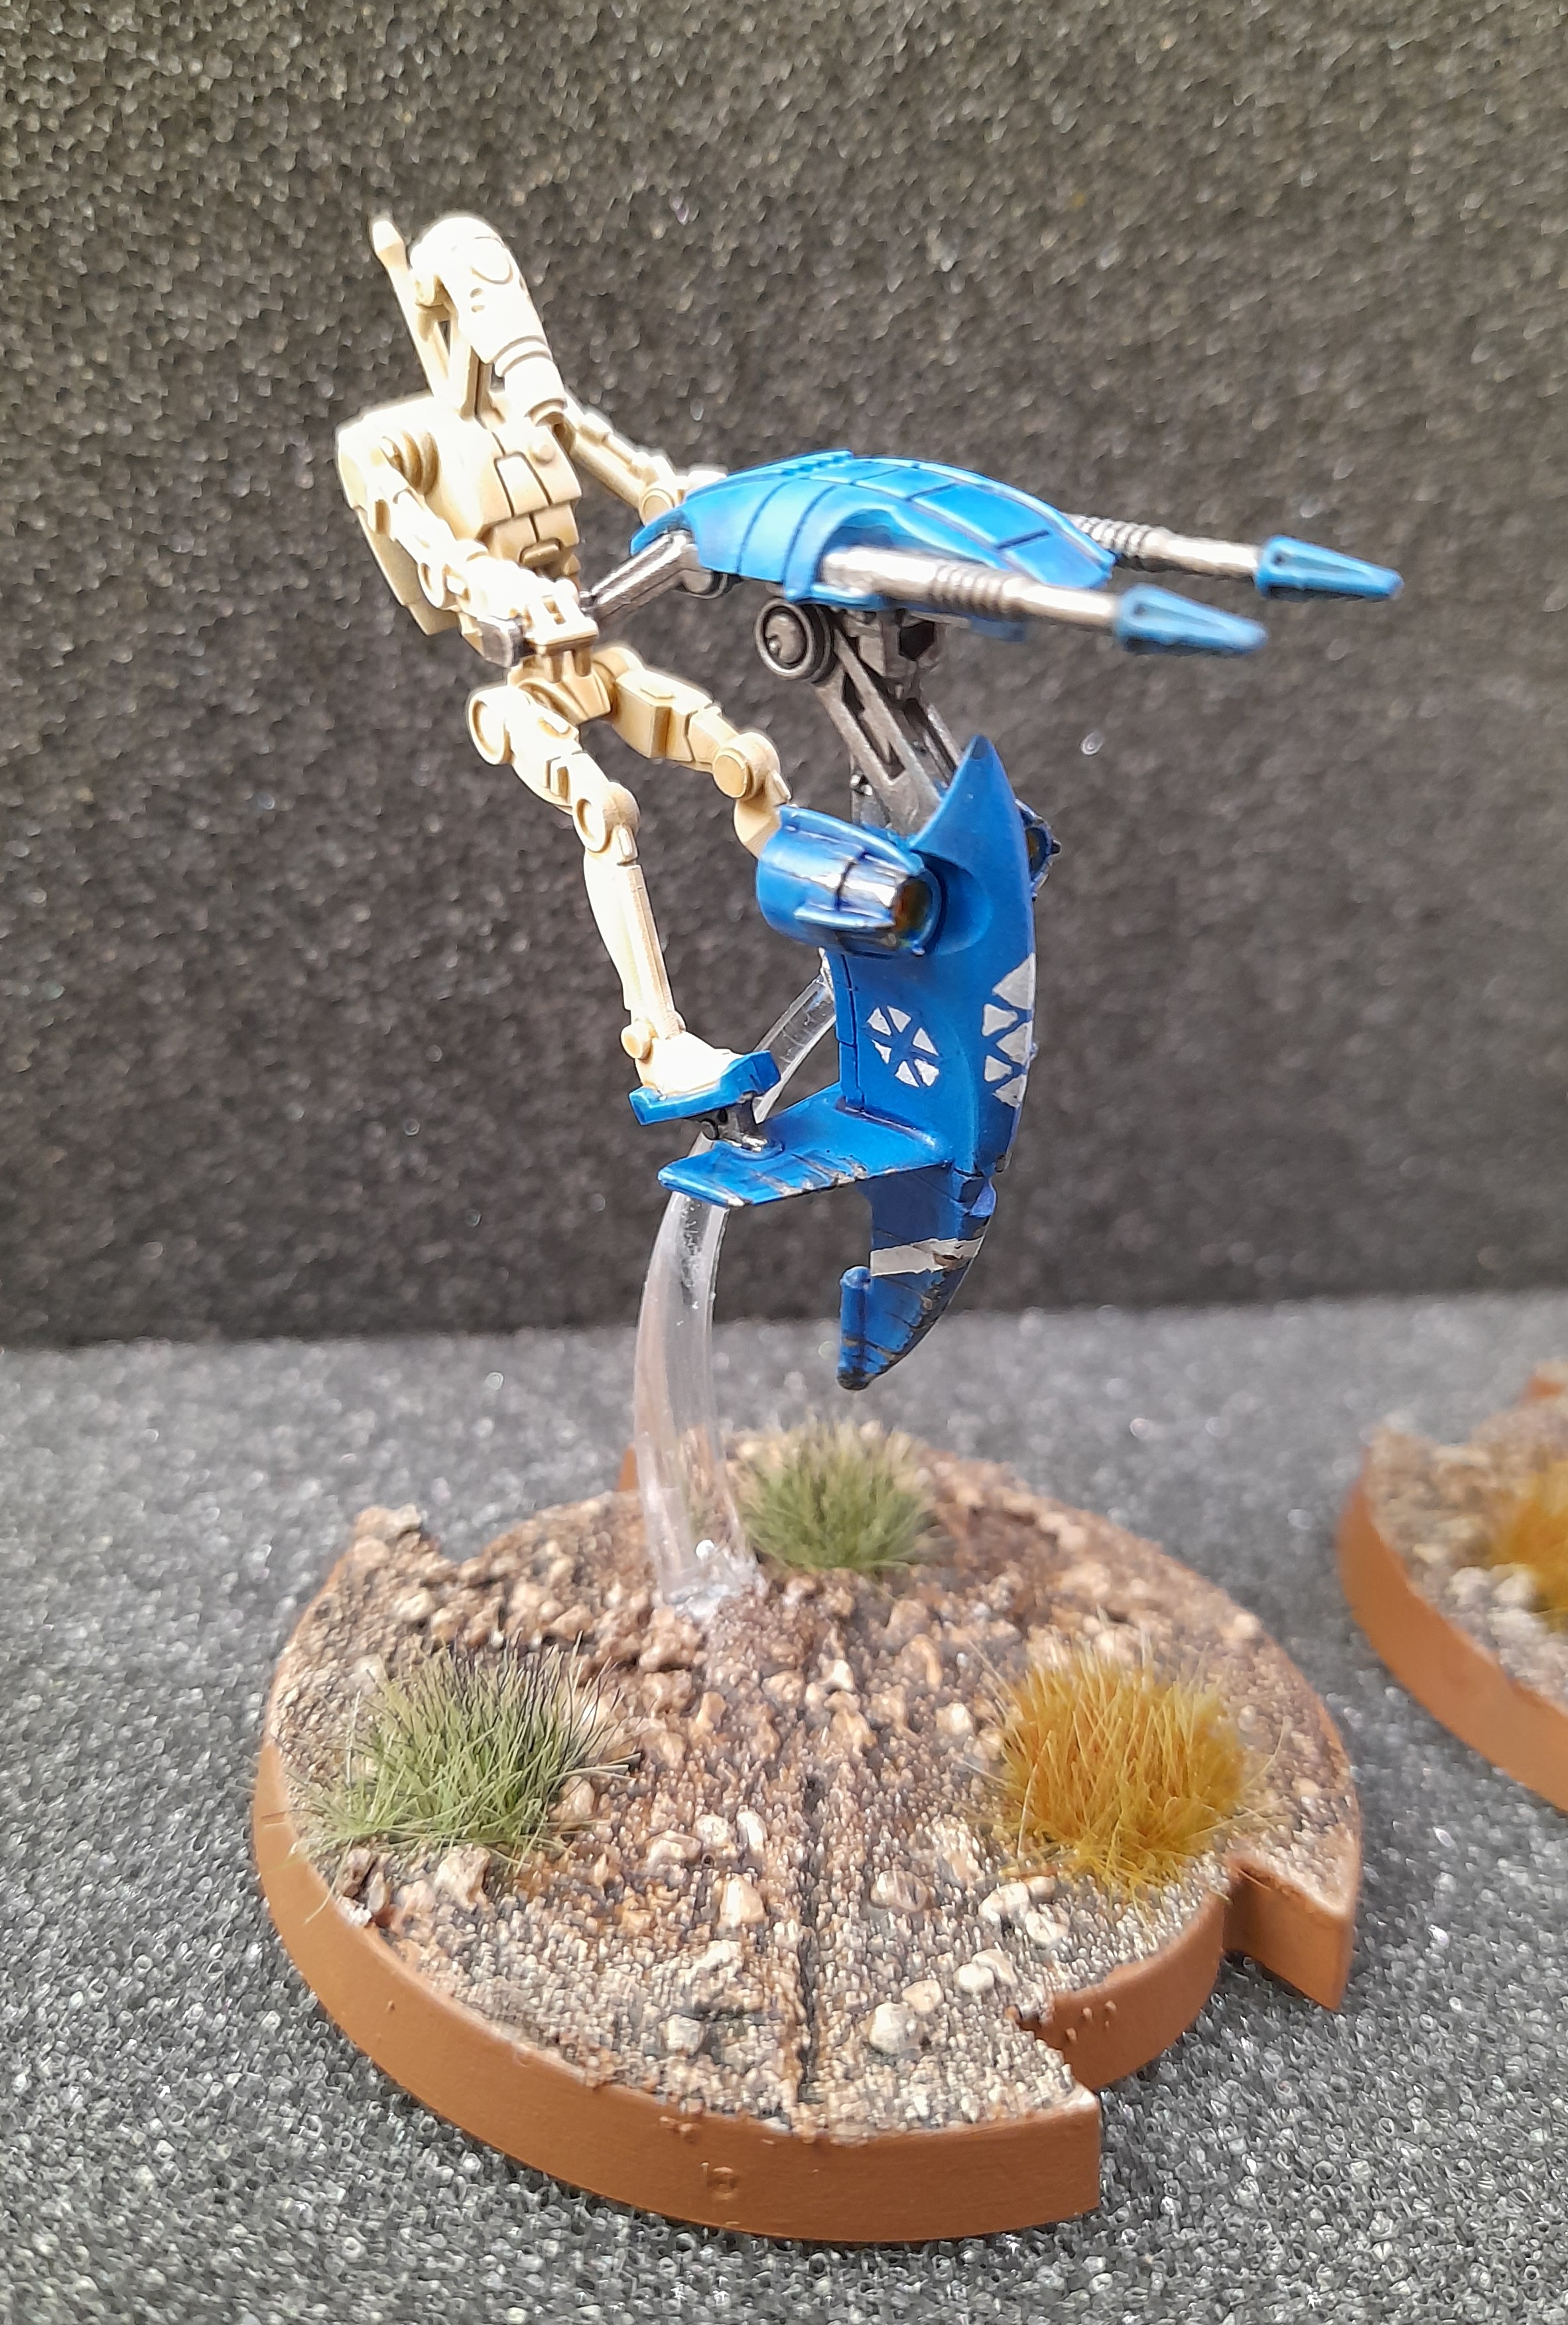
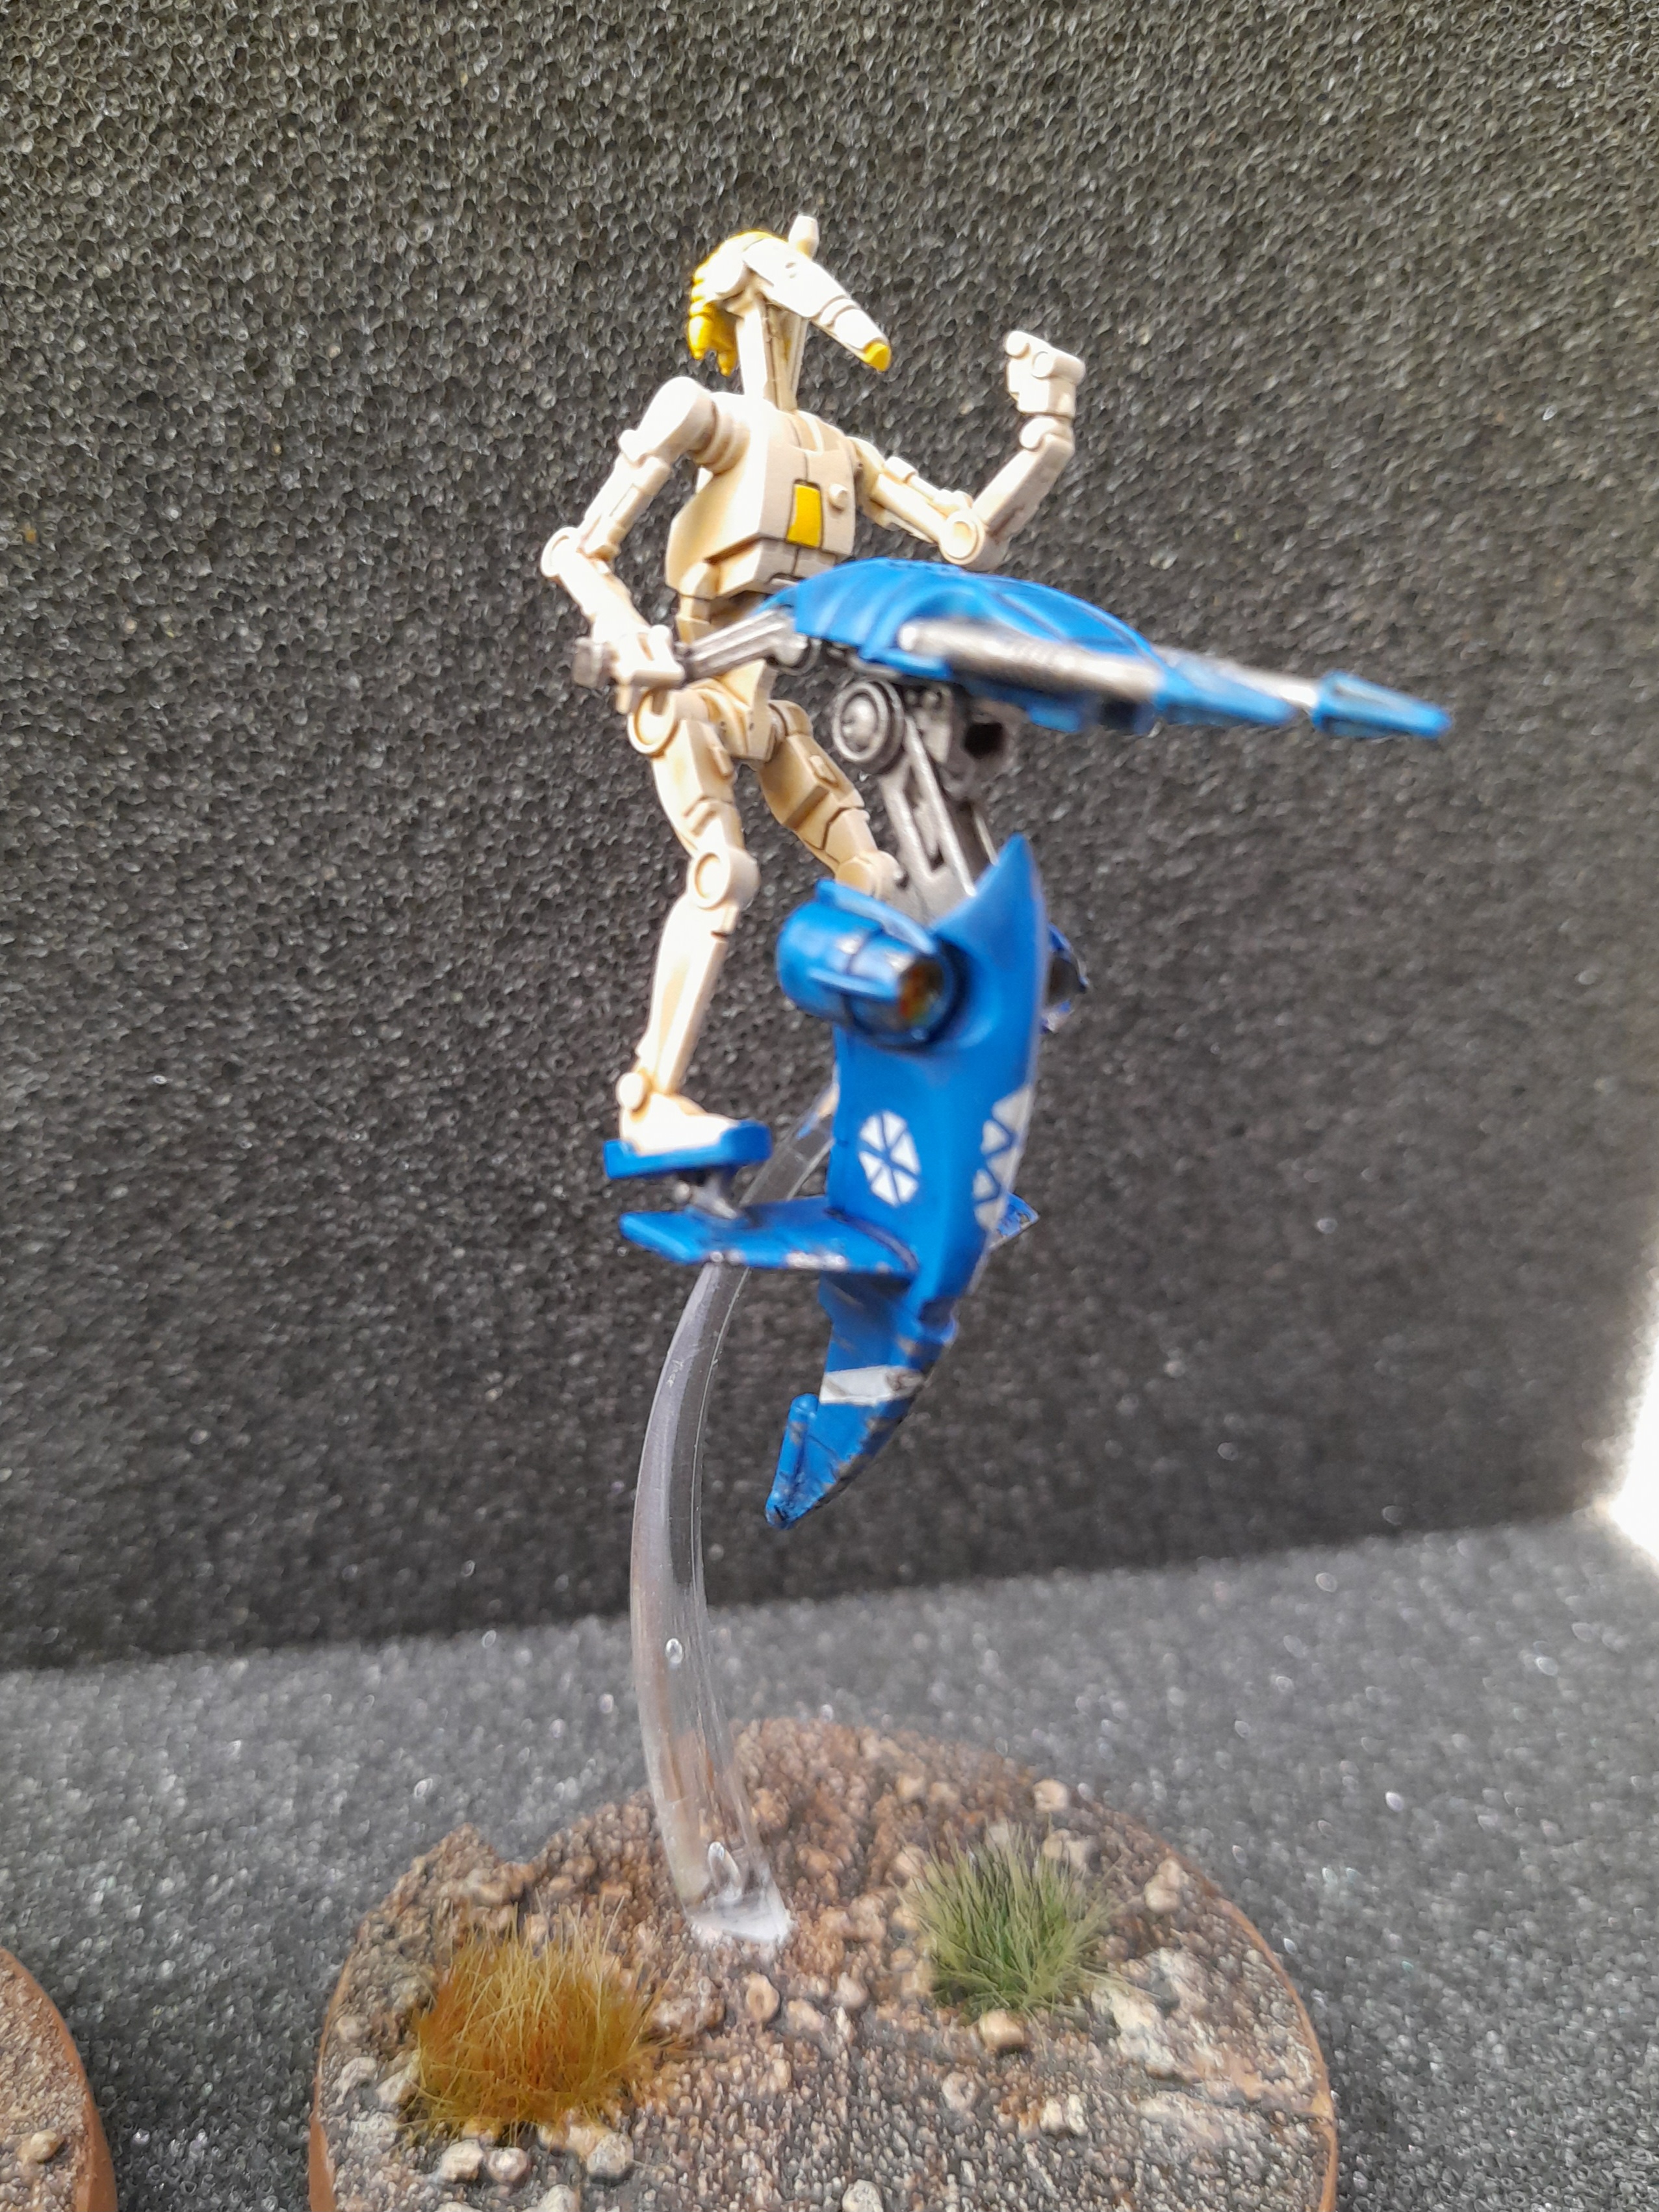
STAPs finished
7th March 2024
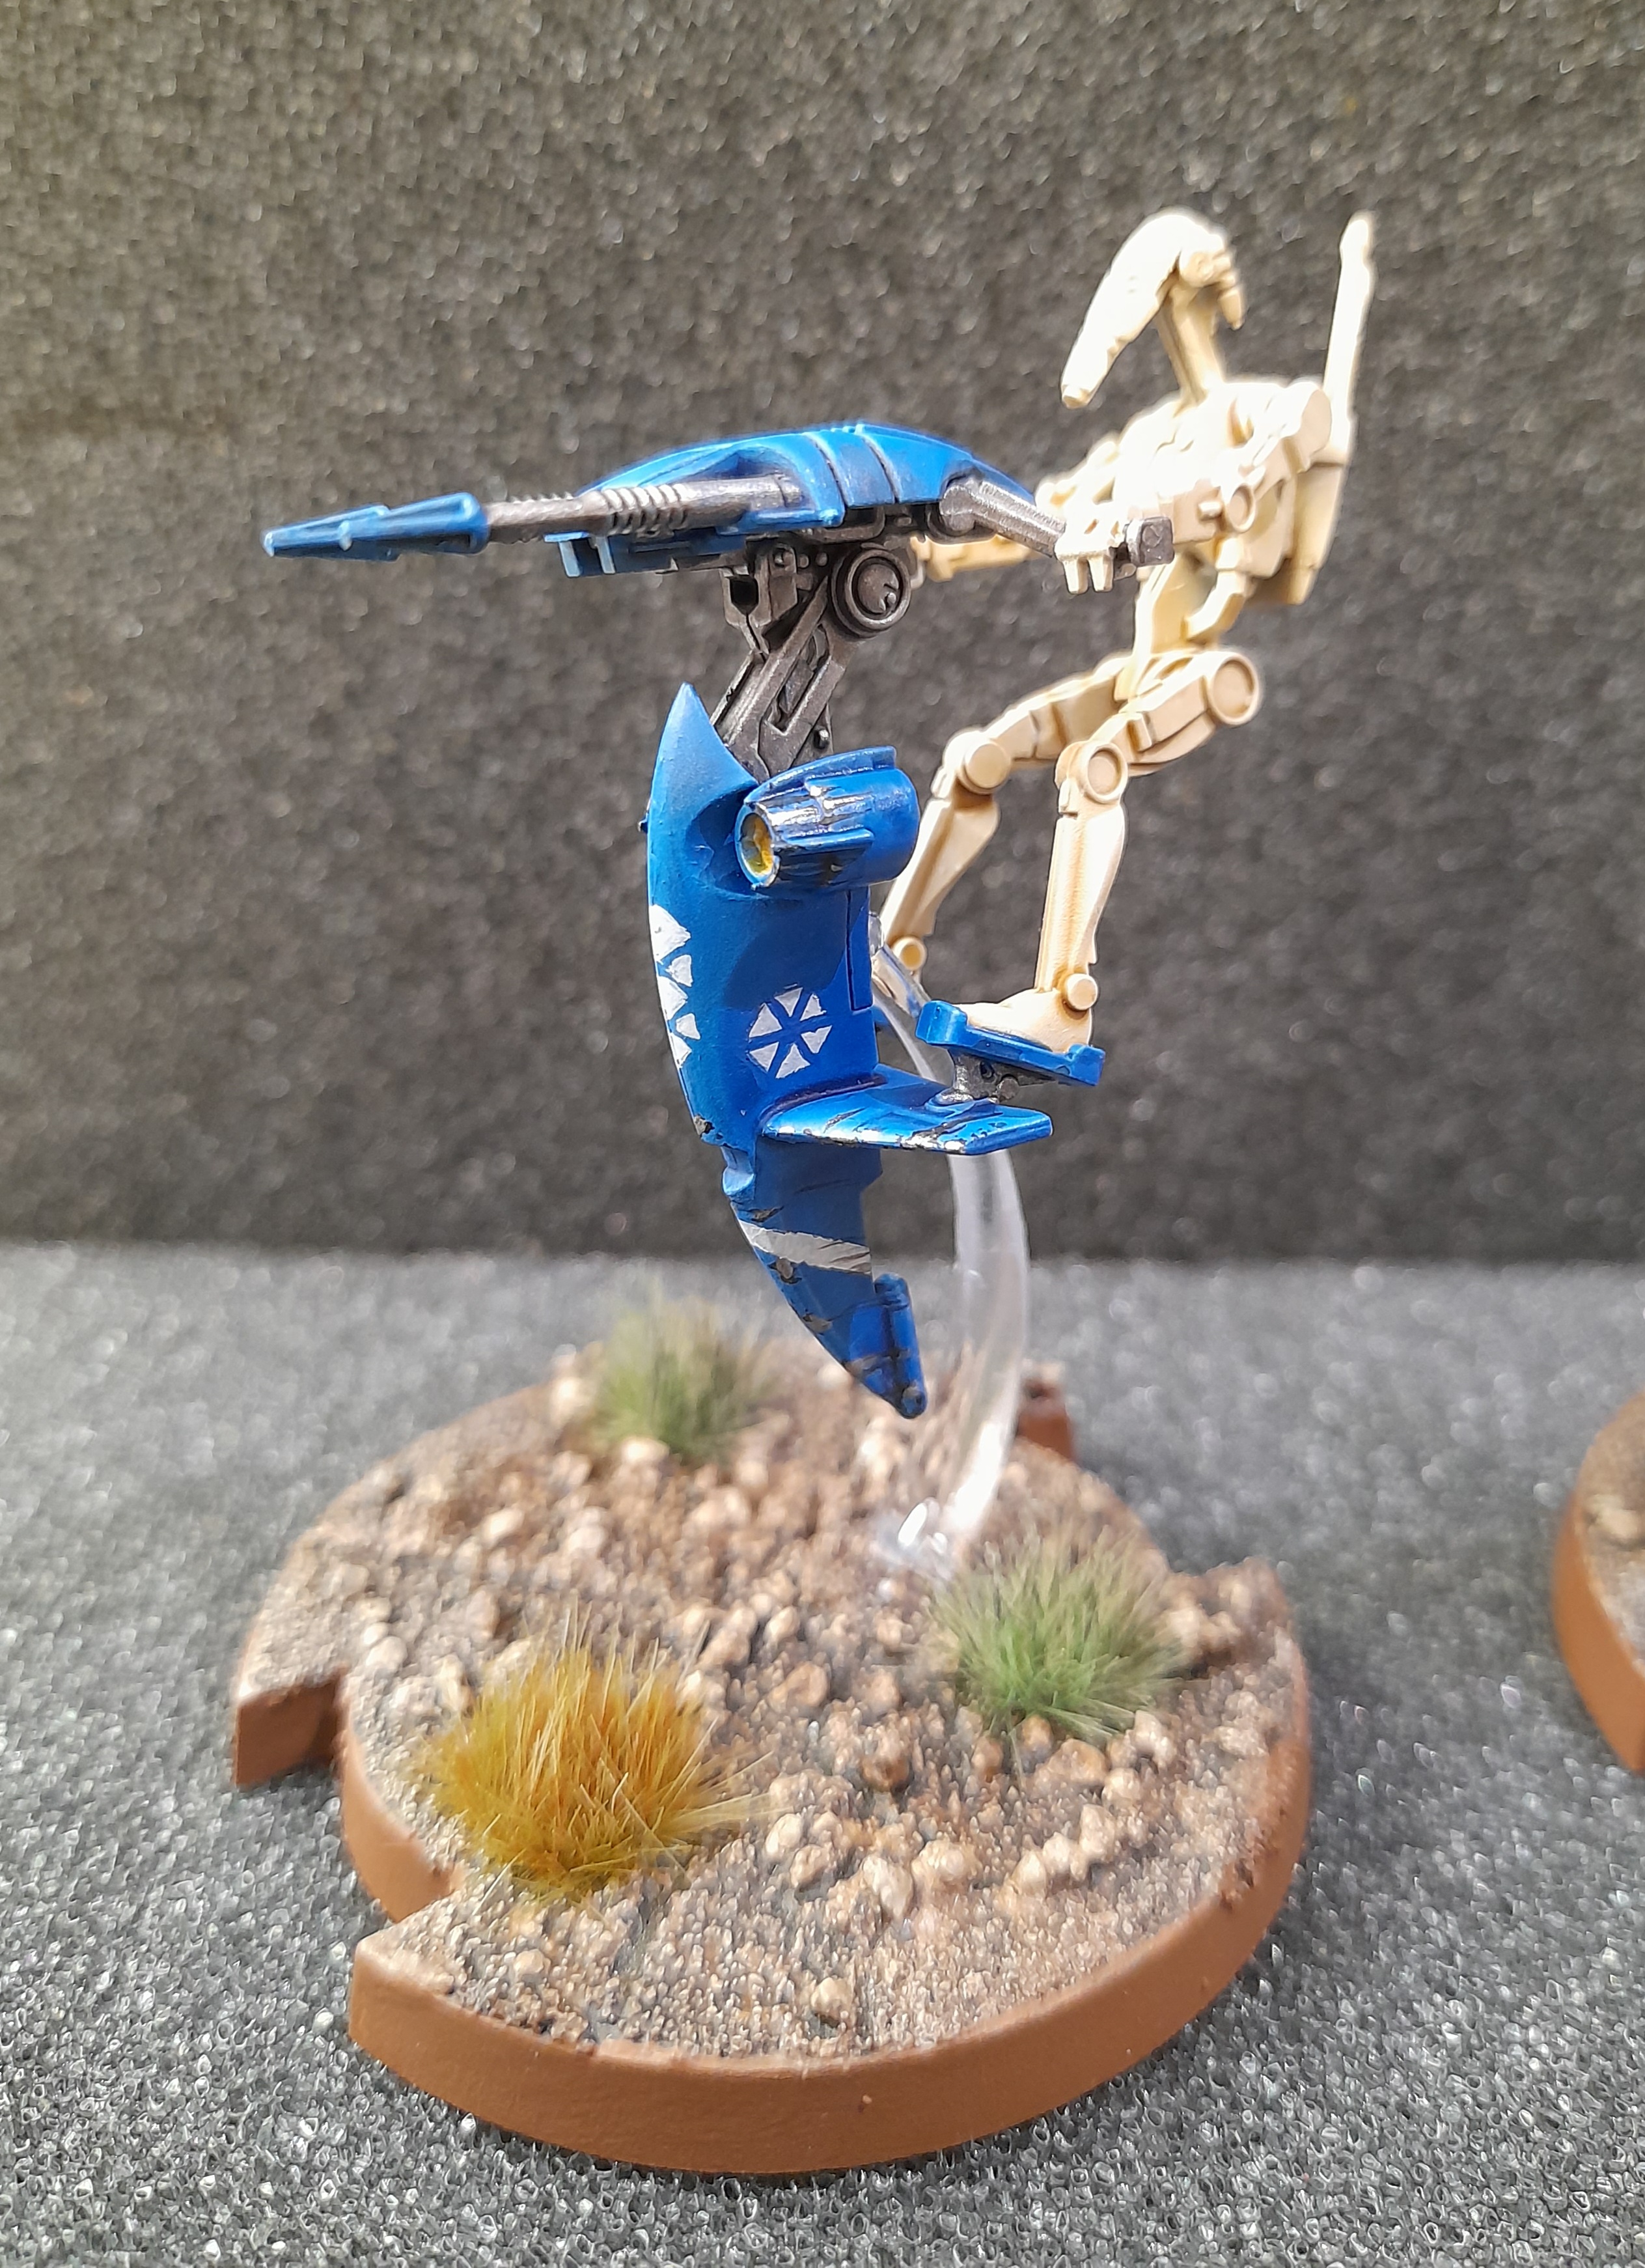
The STAP riding droids were painted in the same way as the rest of the B1s. For the STAPs themselves I knew that I didn’t want to paint the usual brown colour, and knew that clone war era STAPs should be blue. So that’s what I went for. A couple of thin coats of blue over all the bodywork.

After that it was a thinned down blue wash followed by a drybrush to pick out the details and panel edges. Followed by picking out the guns, struts, engines etc in metallic.
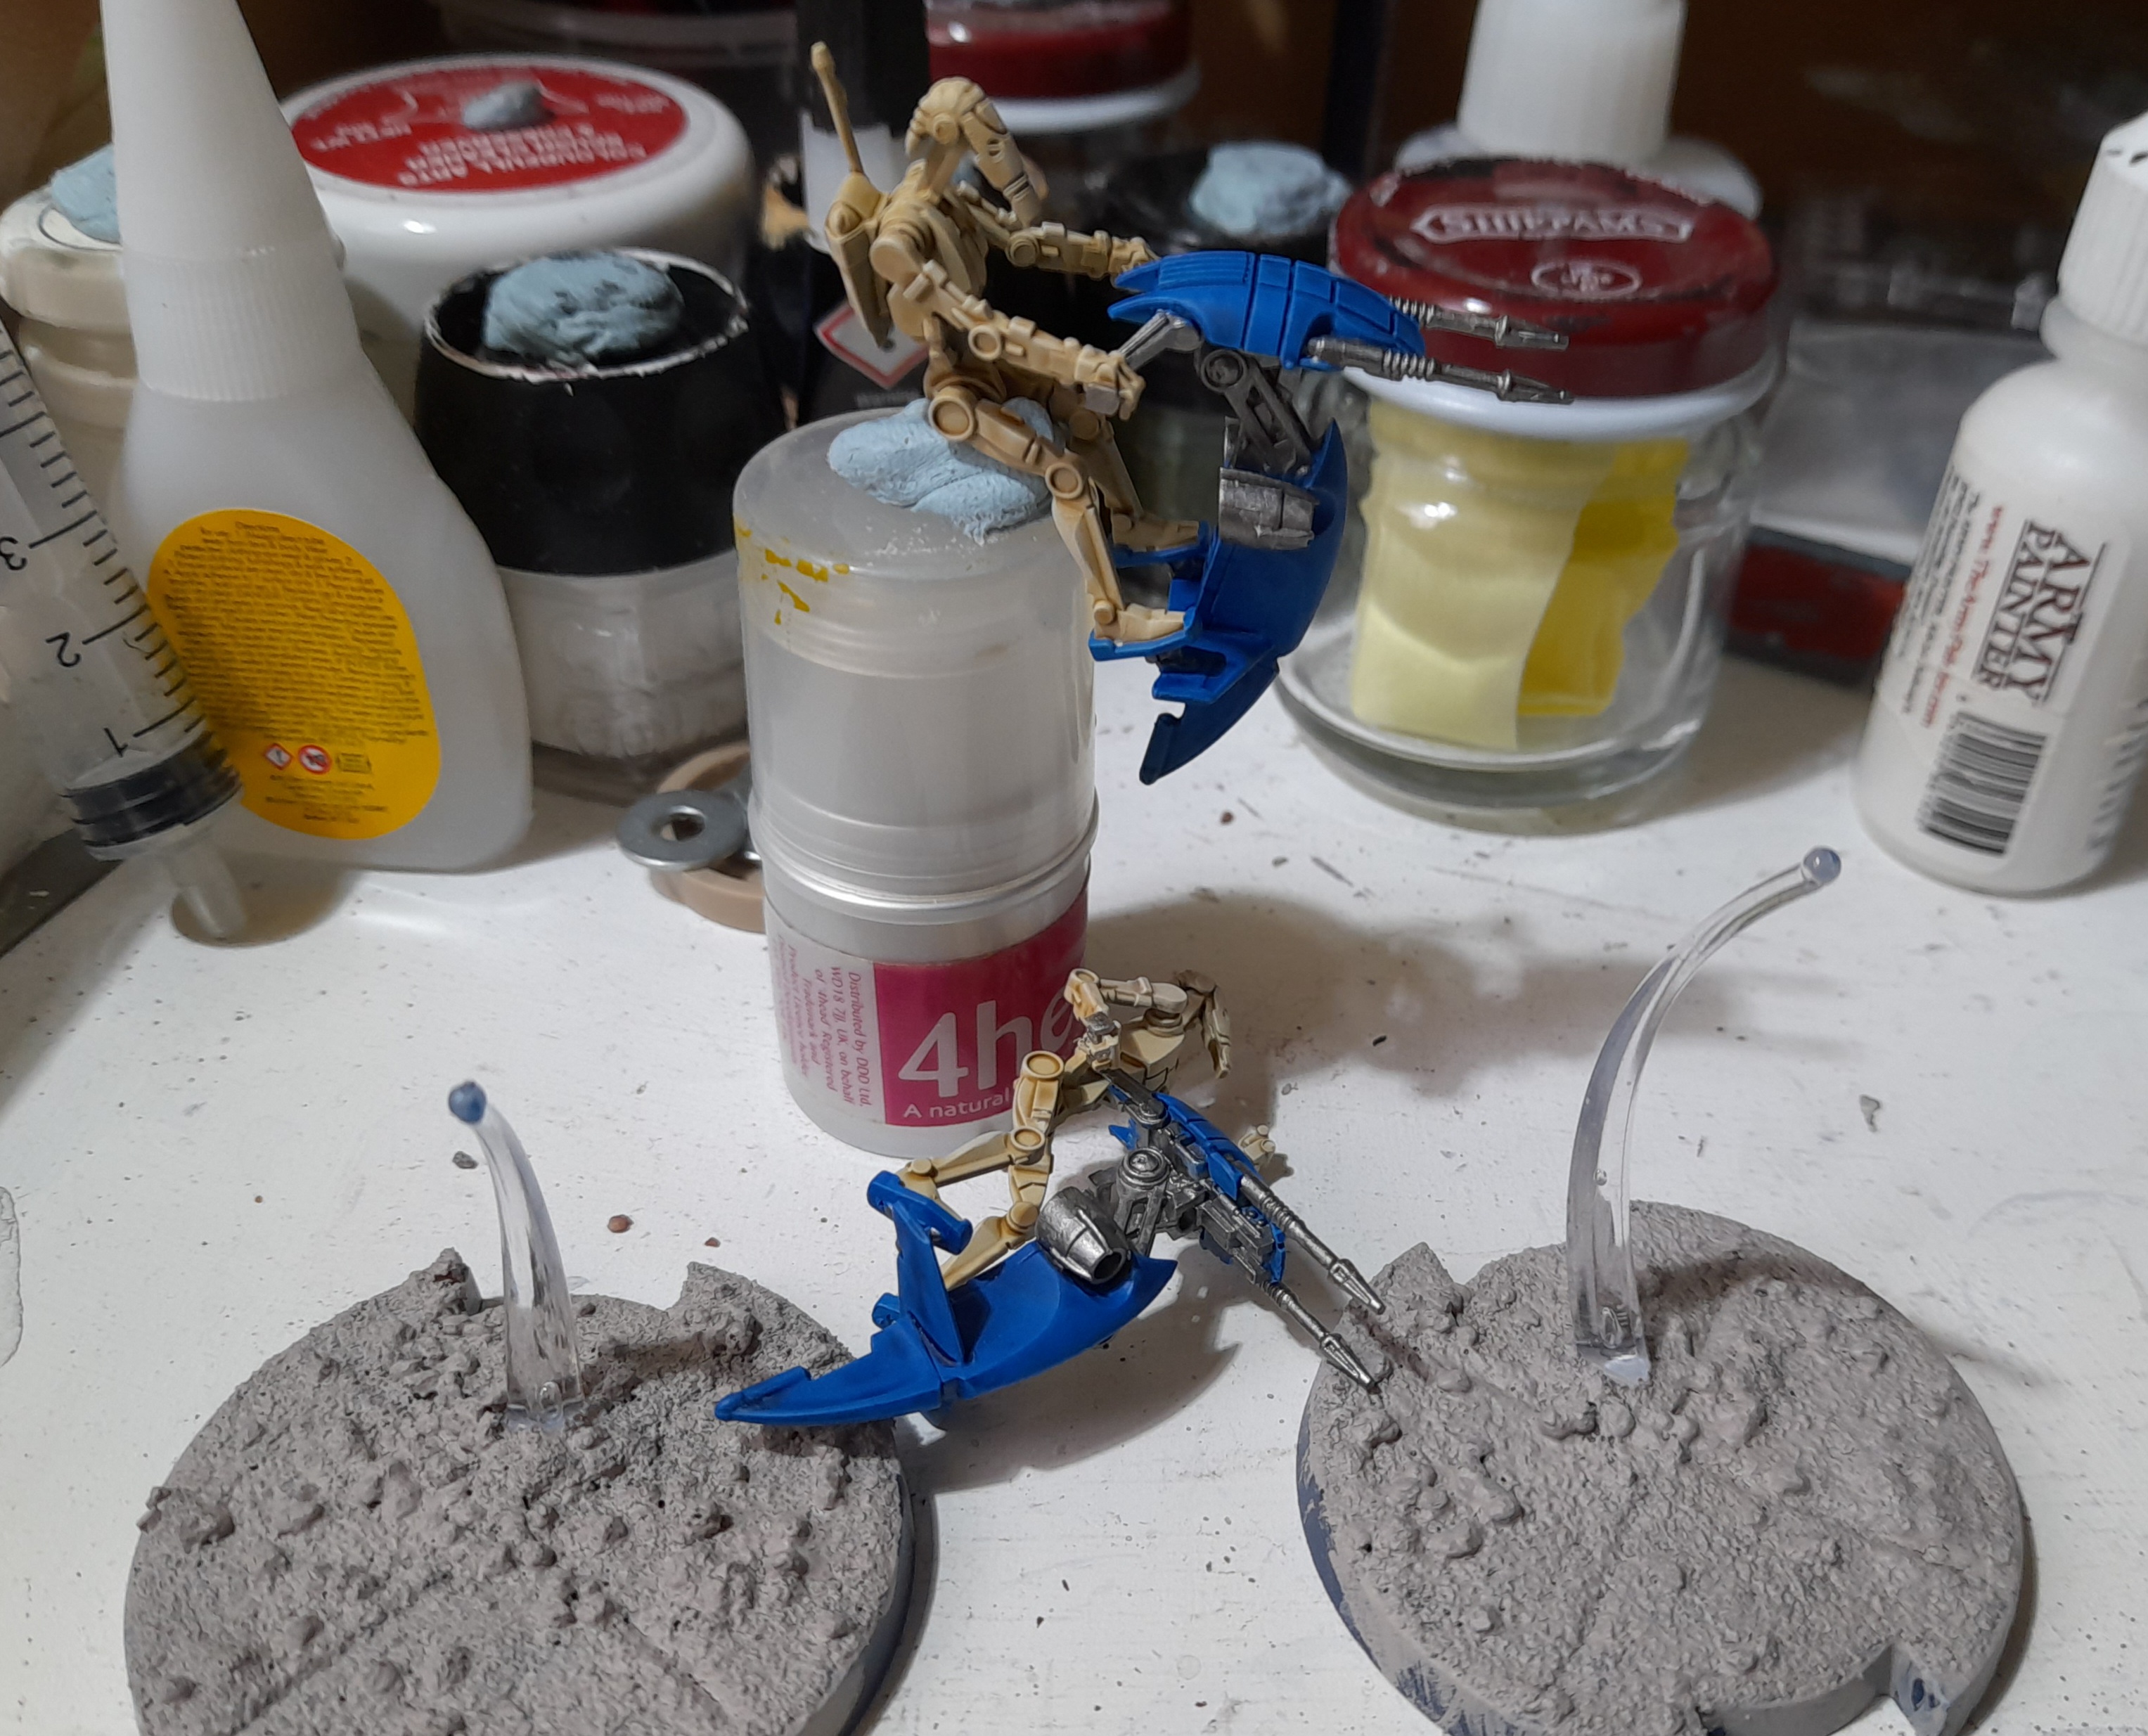
However, I wasn’t overly happy with the engines, so decided to go back in and paint them in blue.
Happy with that change I then went on to attempt adding some markings in a very light grey. At first some markings on the front (didn’t manage to get them the same size on both…) then some rough CIS markings on each side of the body. I also added some yellow to the inside of the engines, and a further ‘go faster’ stripe to the lower body of each of the STAPs.
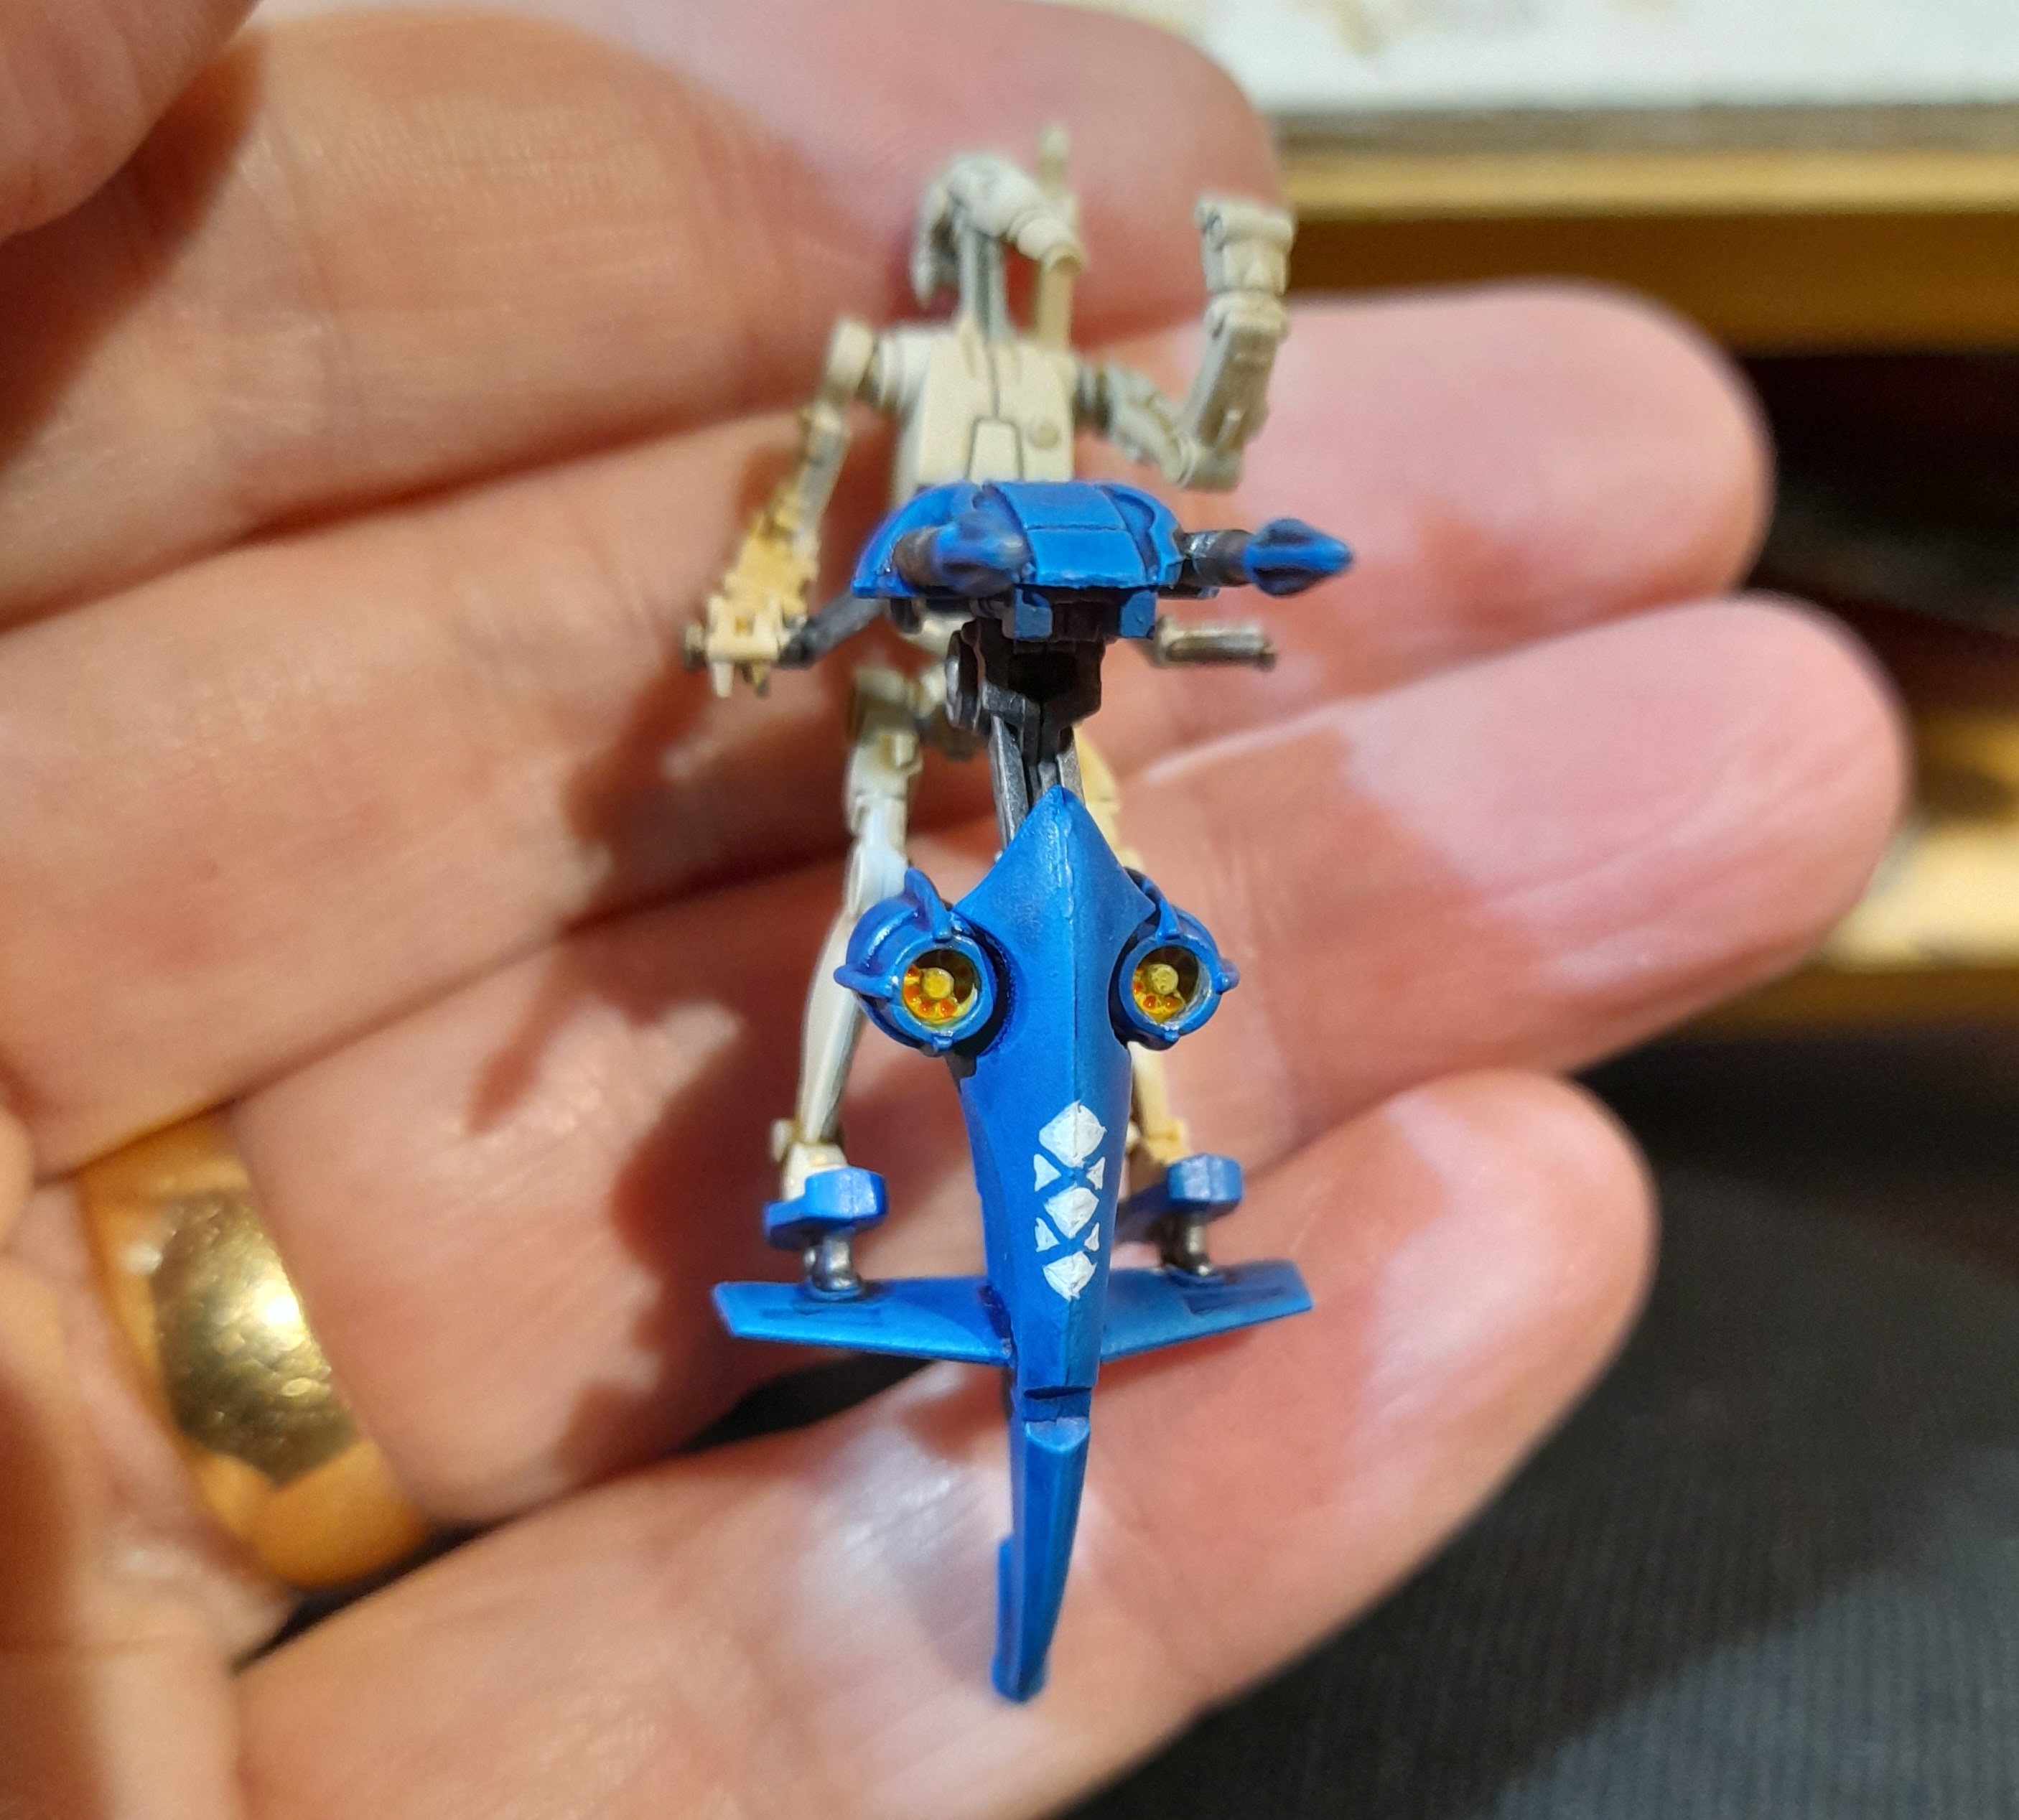
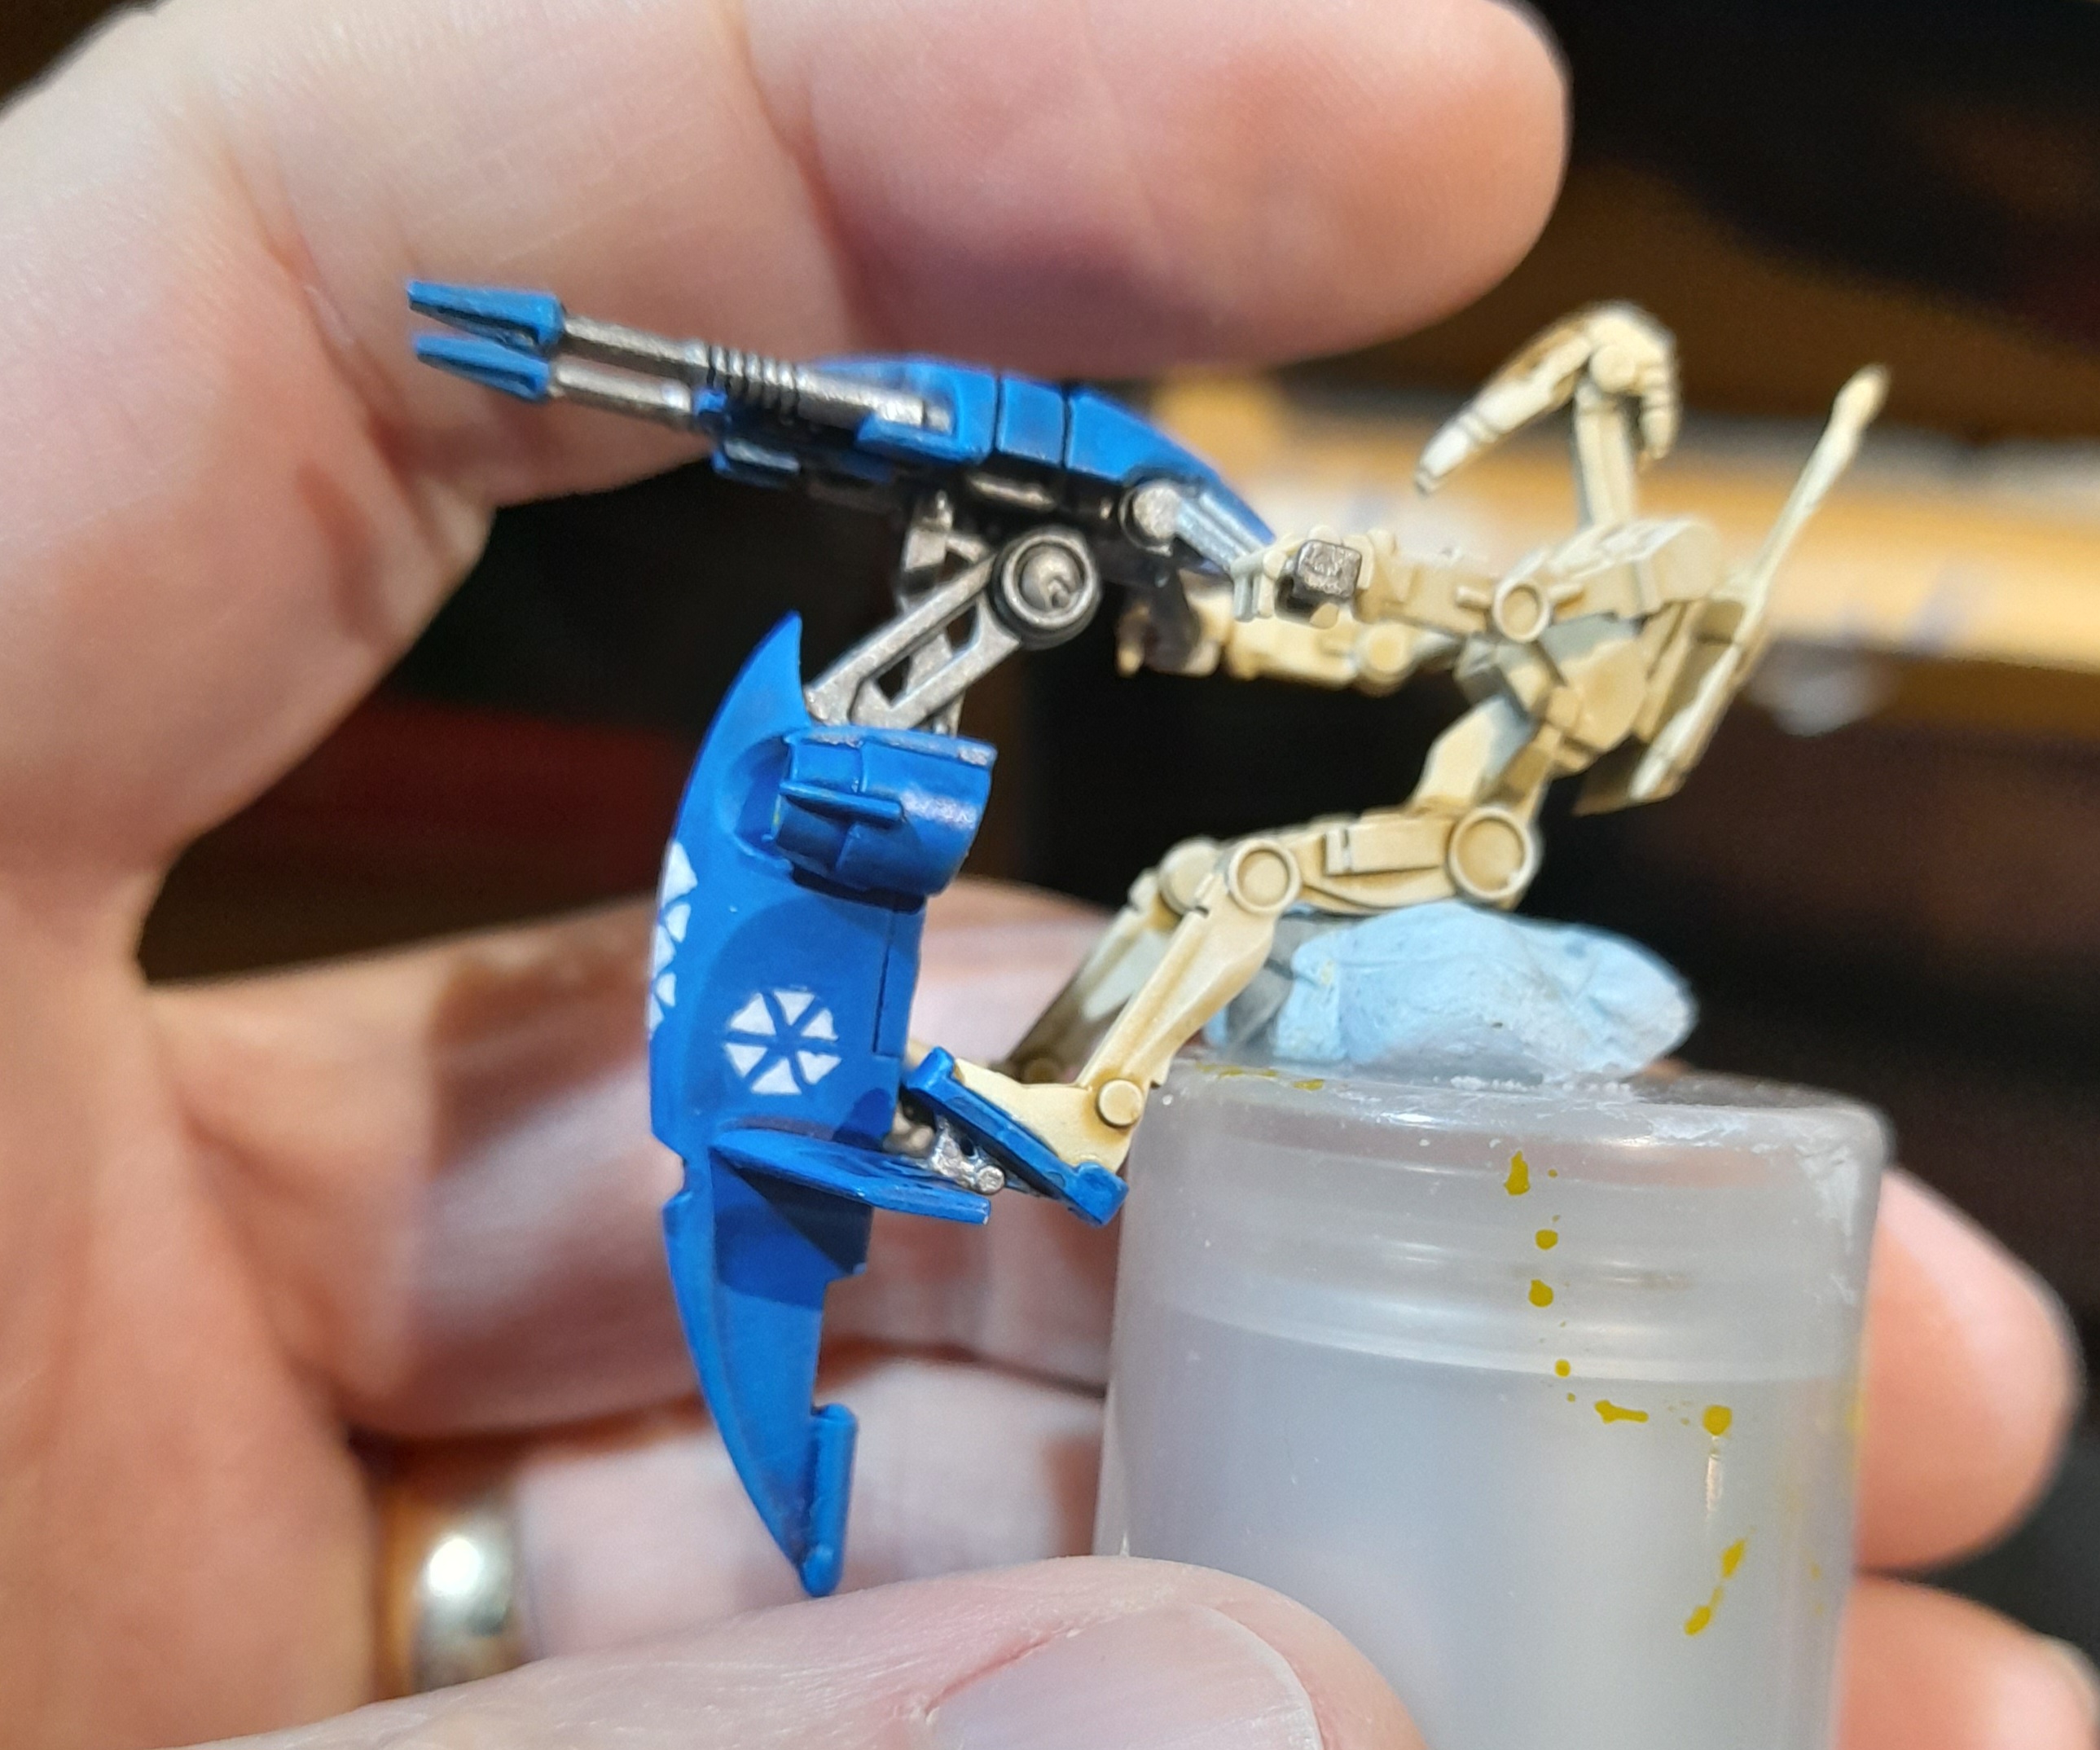
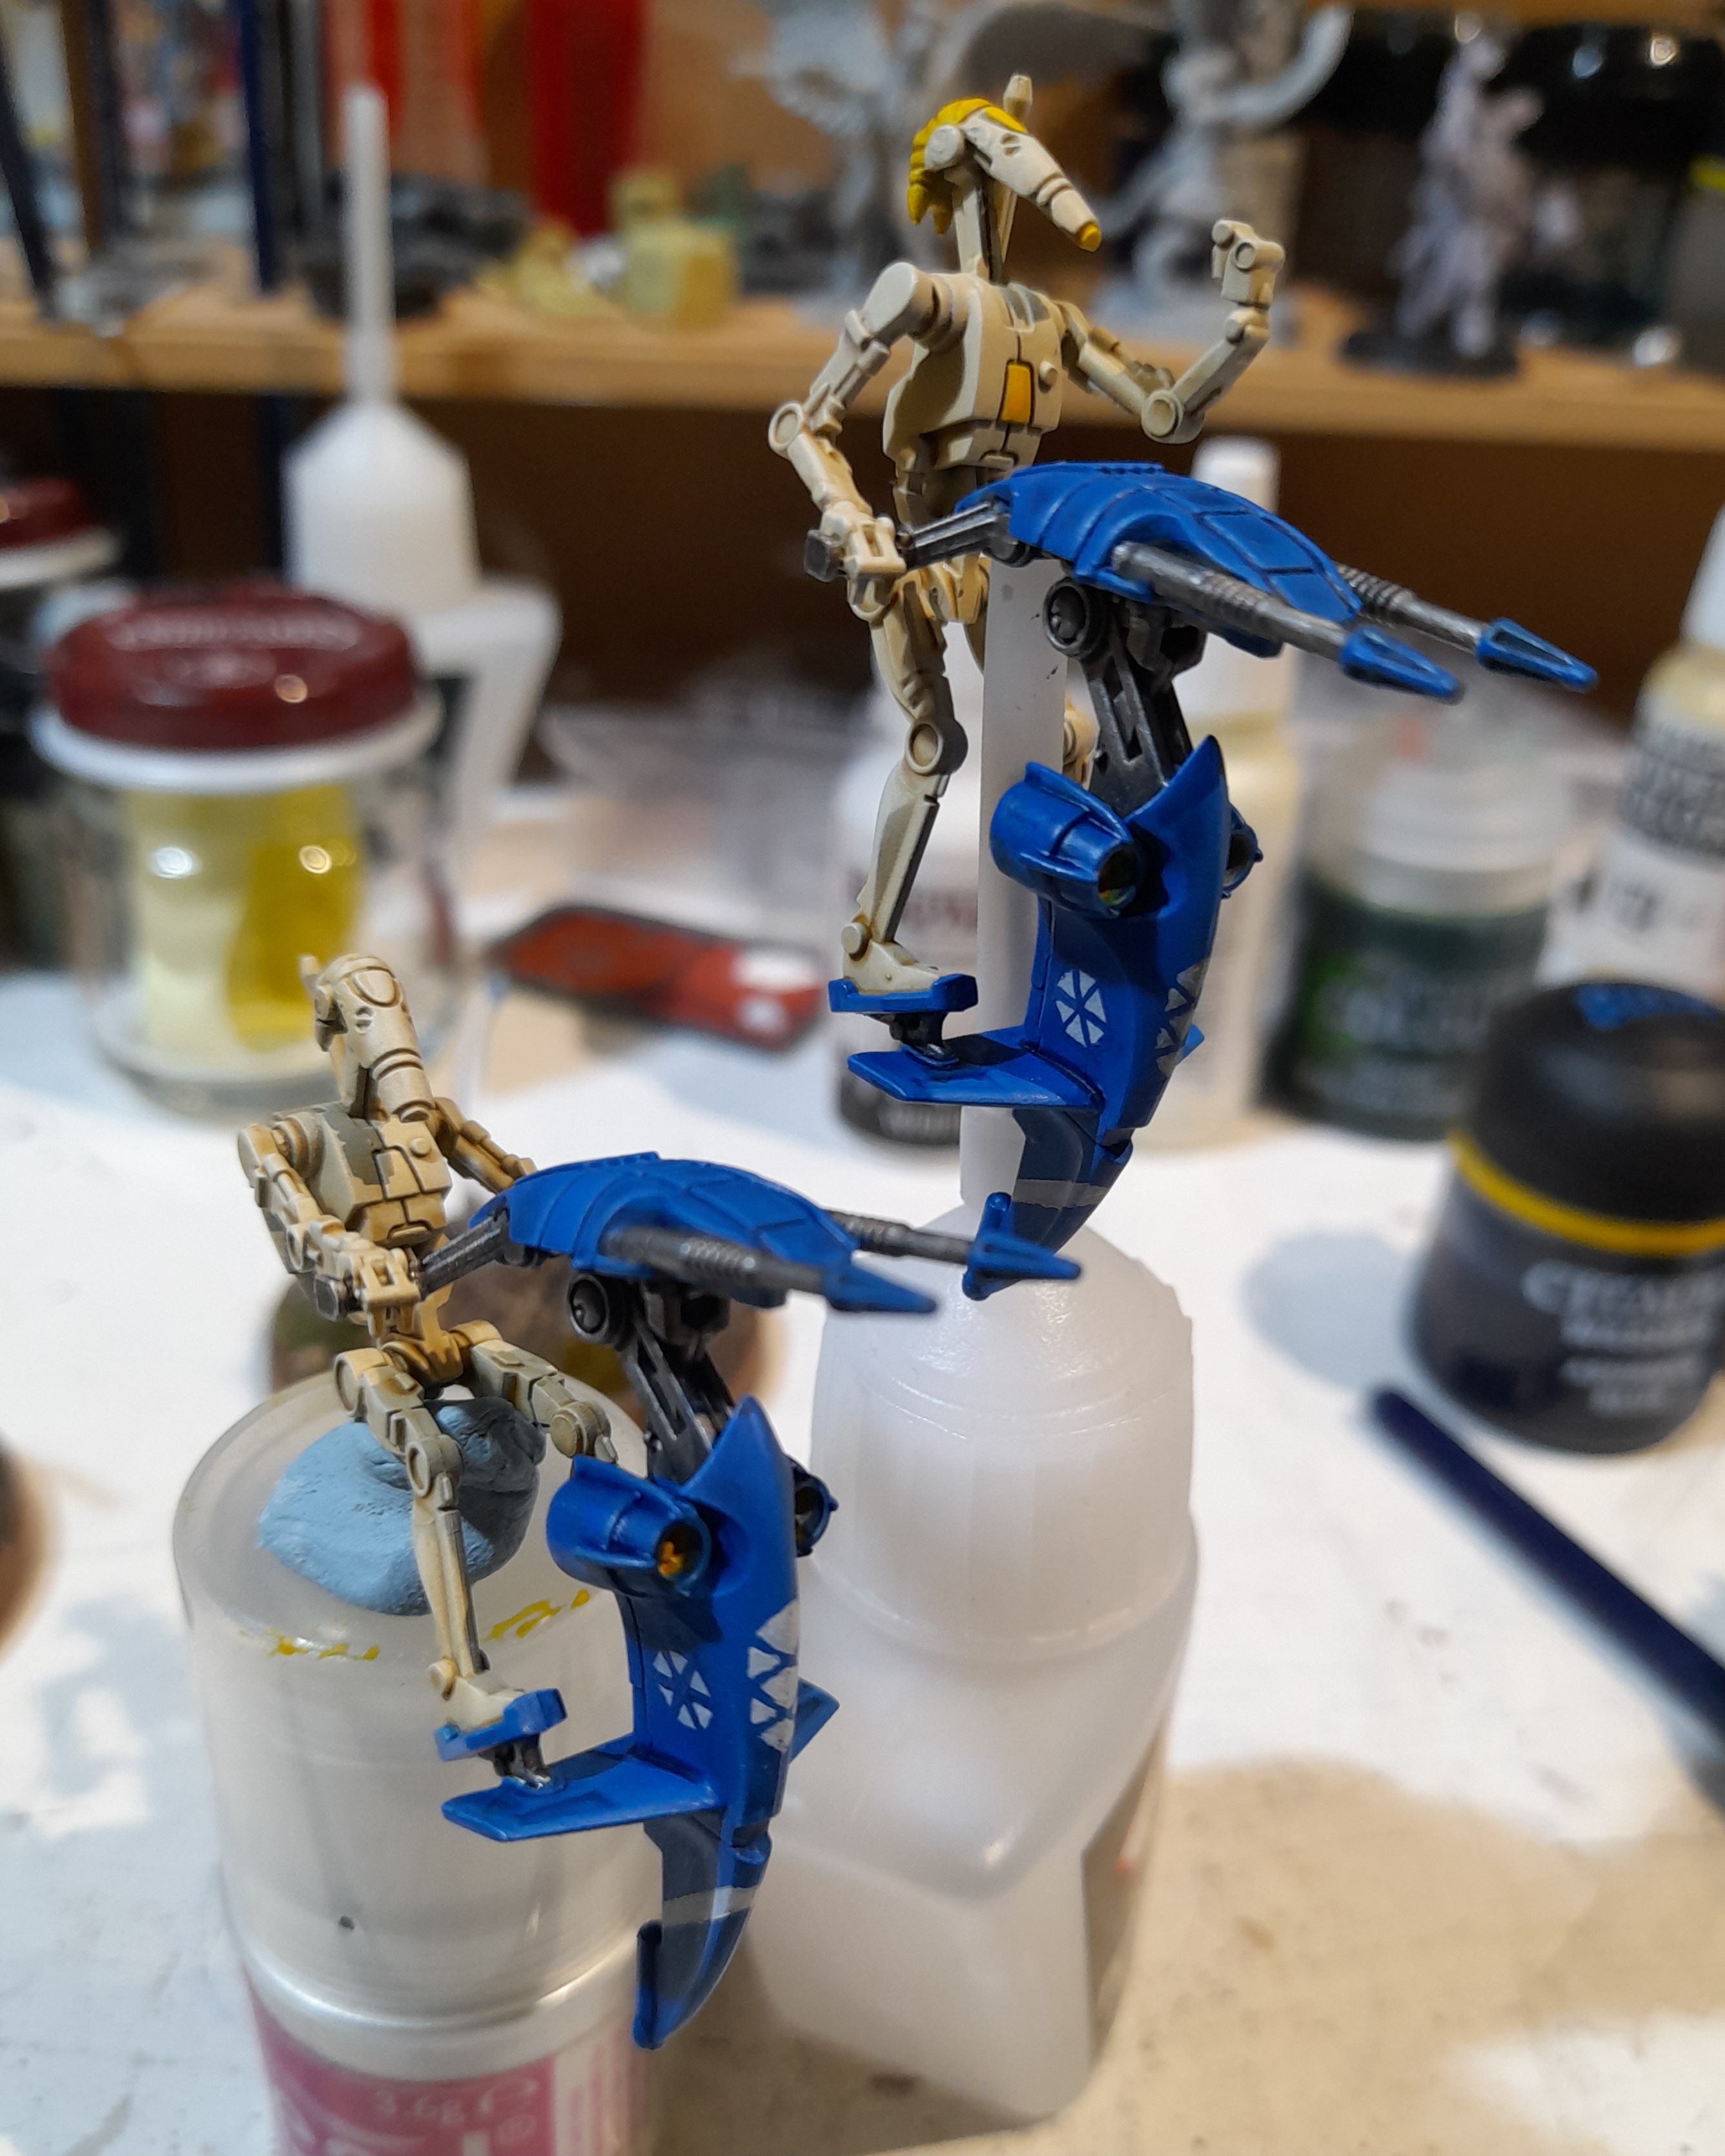
Finally it was a case of adding some battle damage and wear marks. I used wildwood contrast for some initial dark marks, scrapes and chips, then picked out some finer marks with silver metallic.
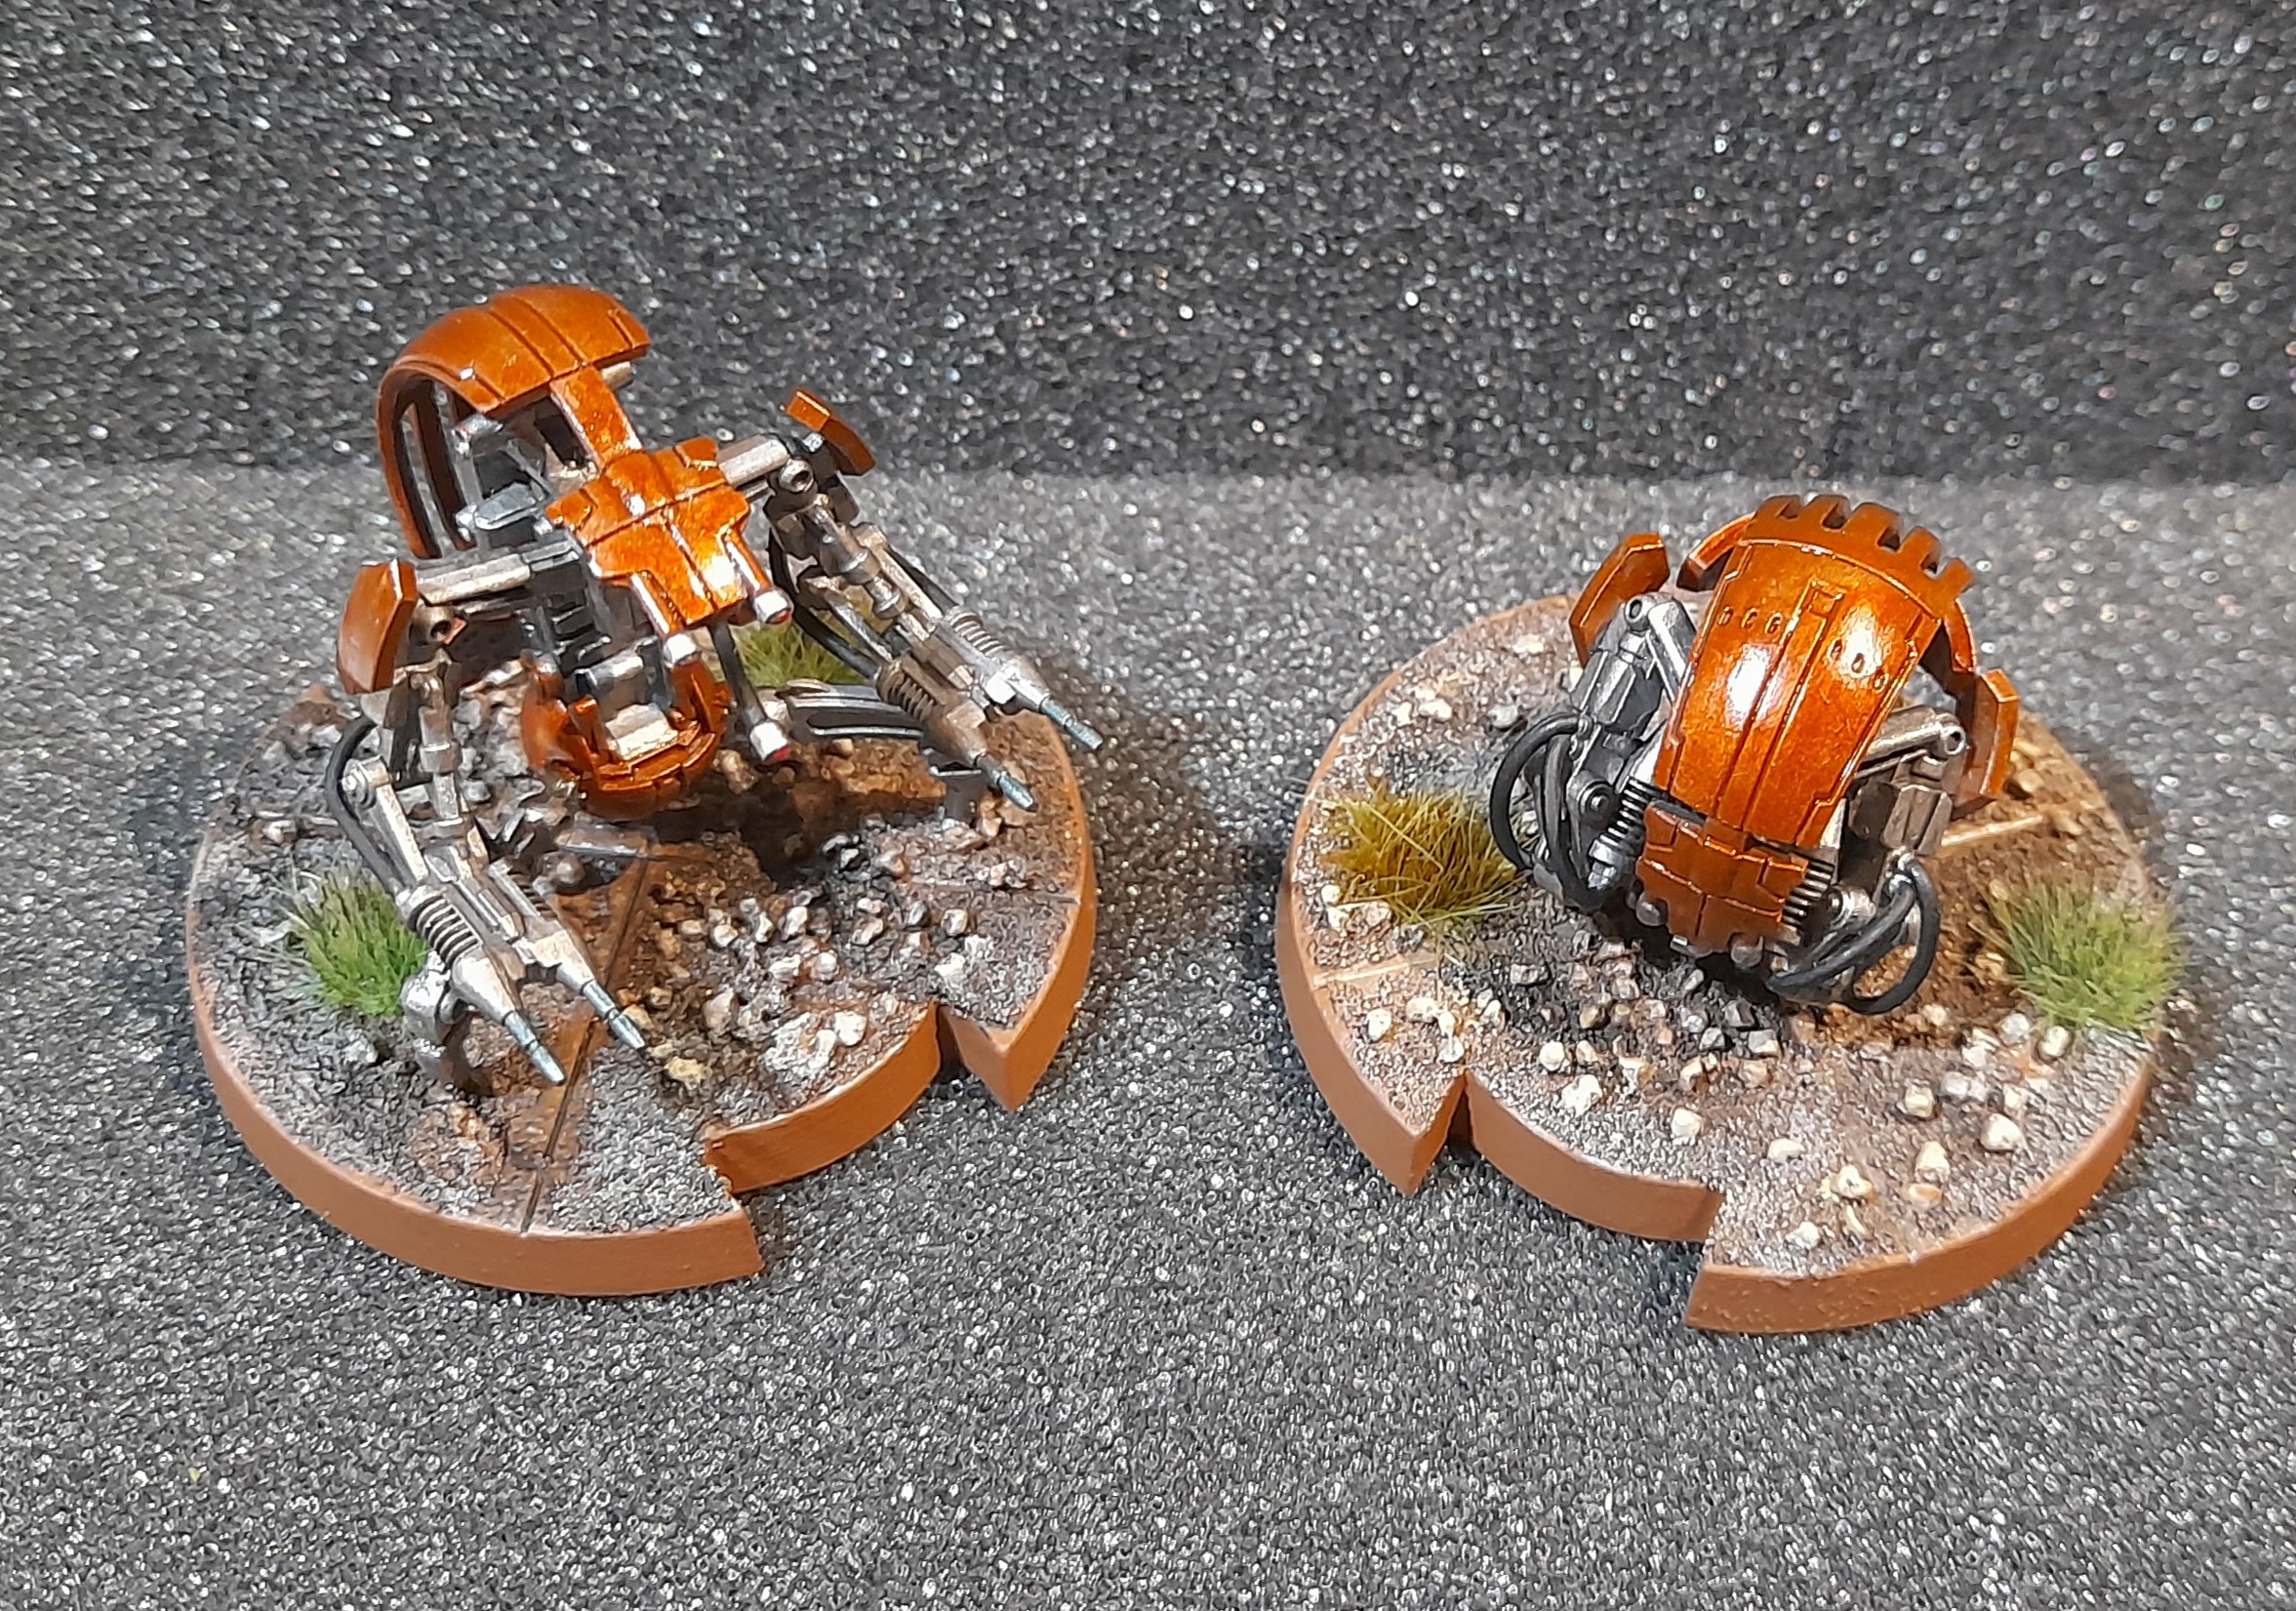
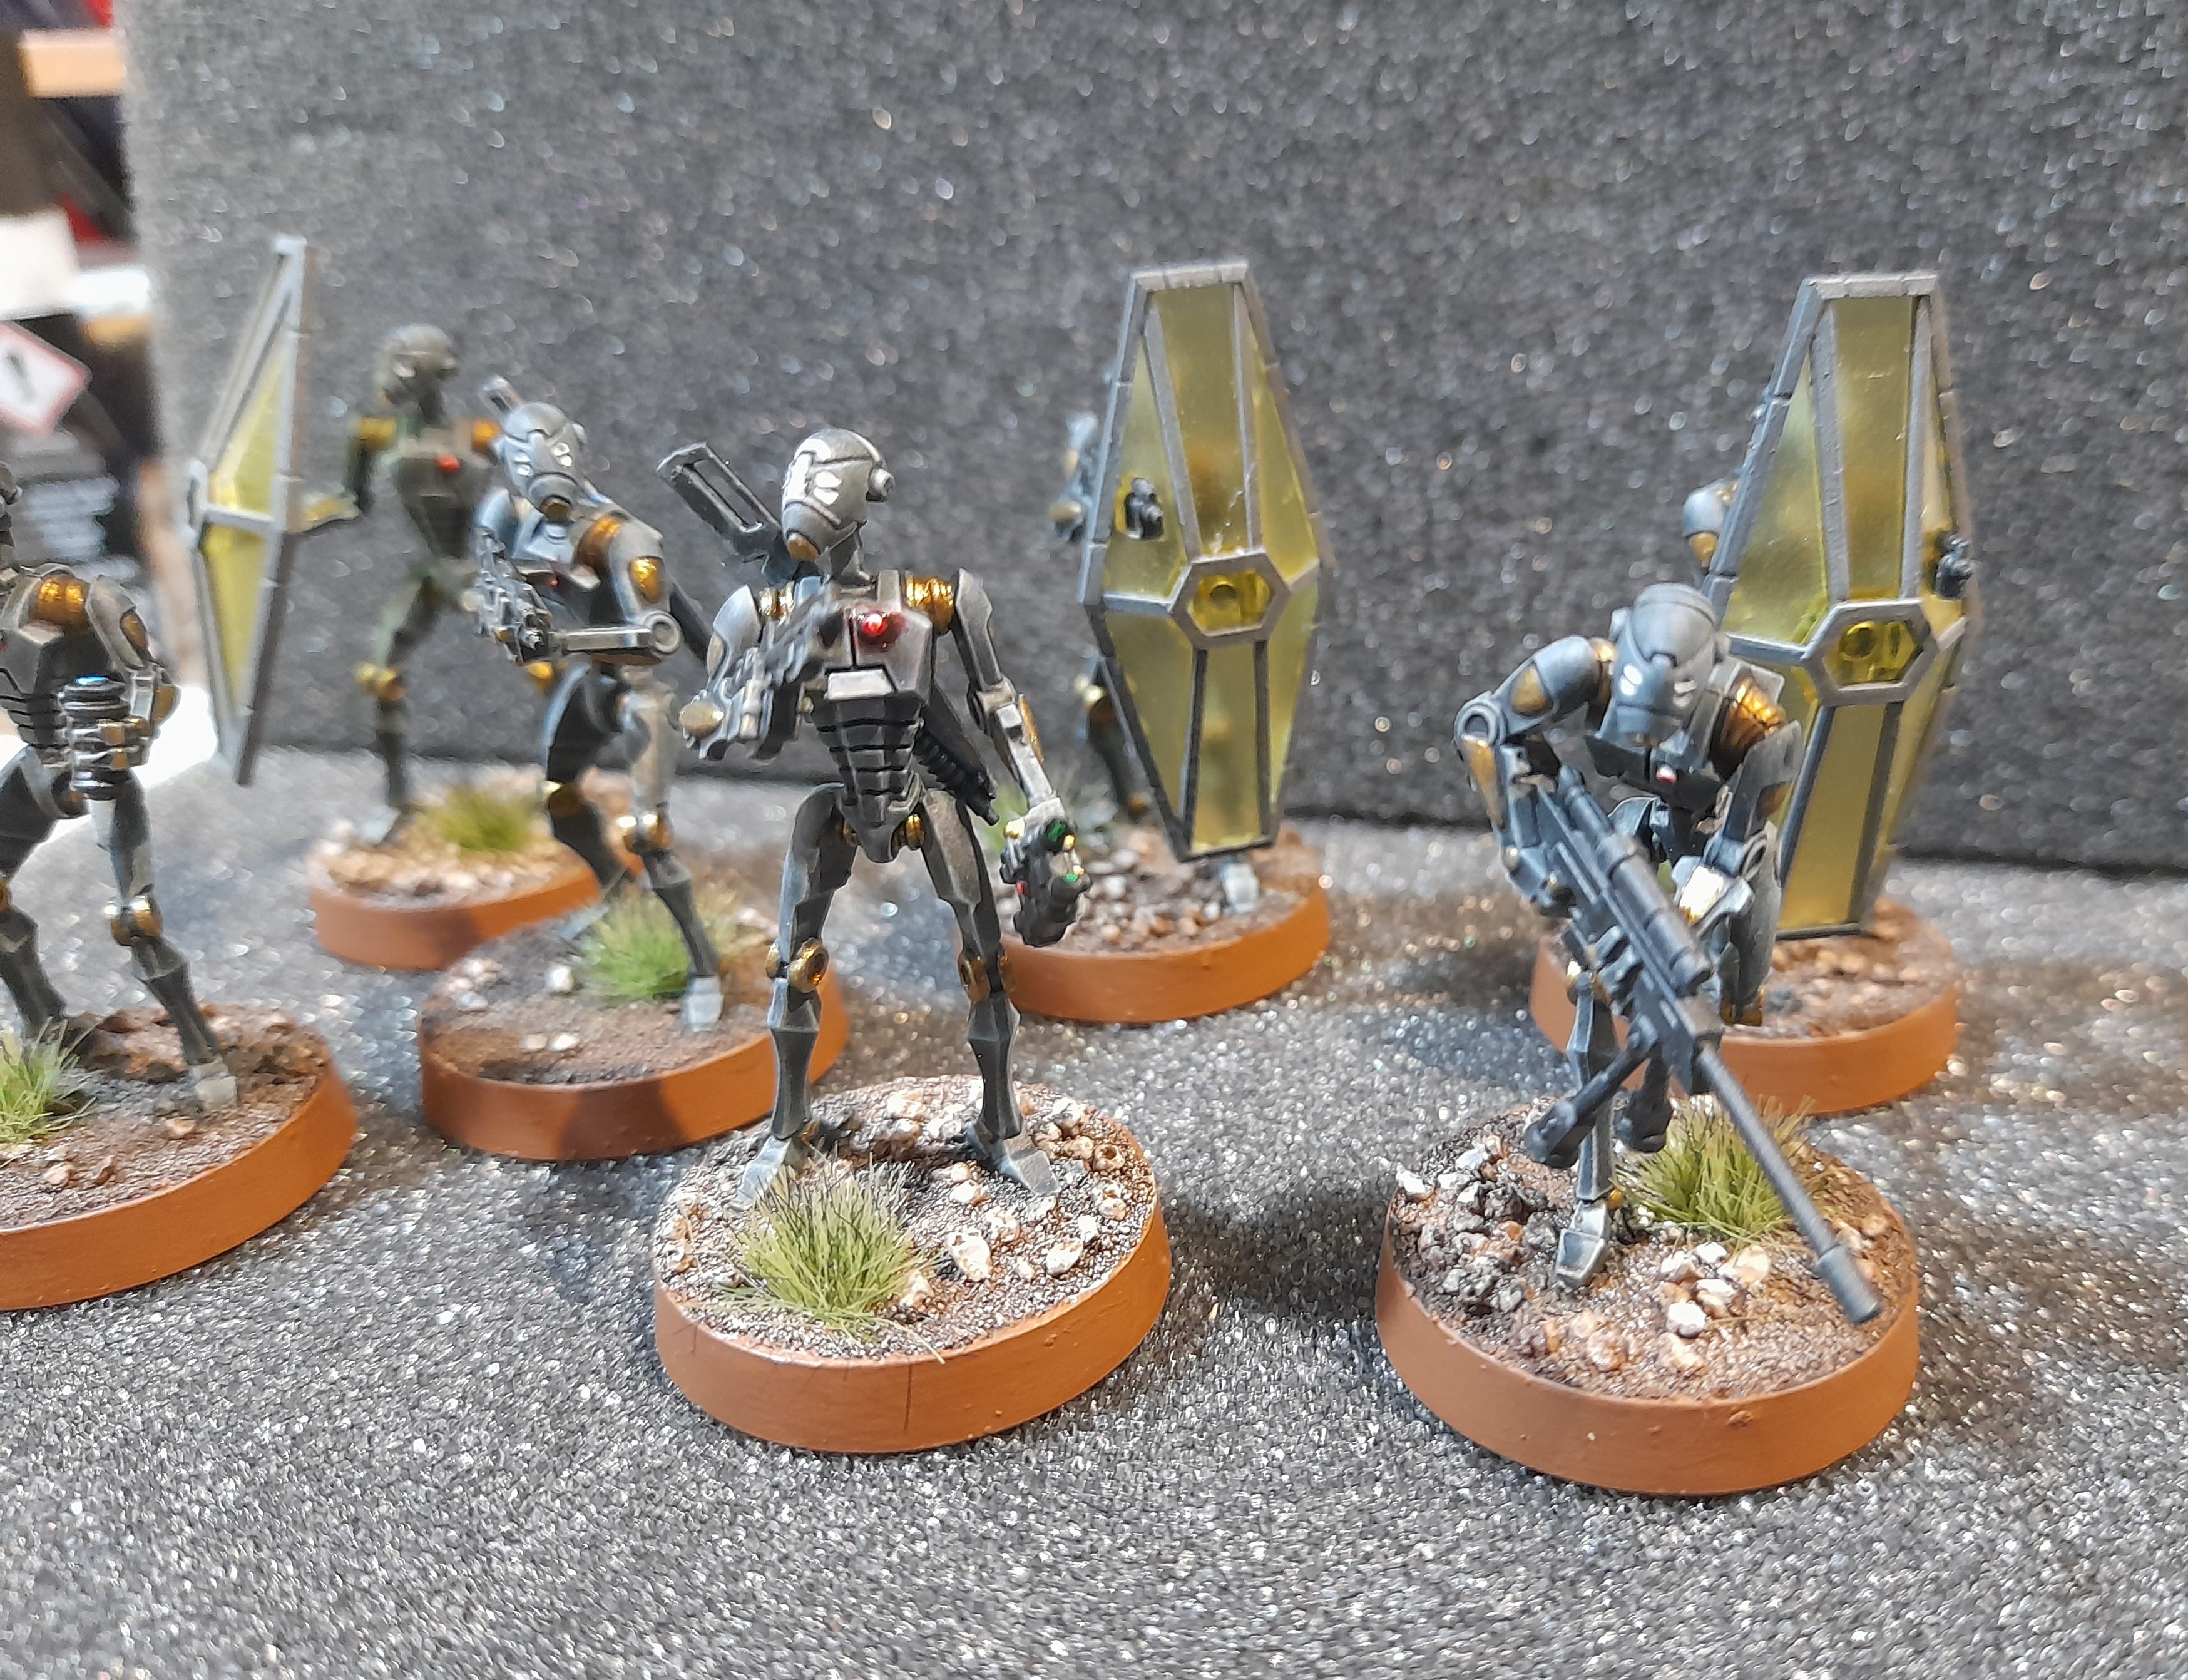
Droidekas roll out
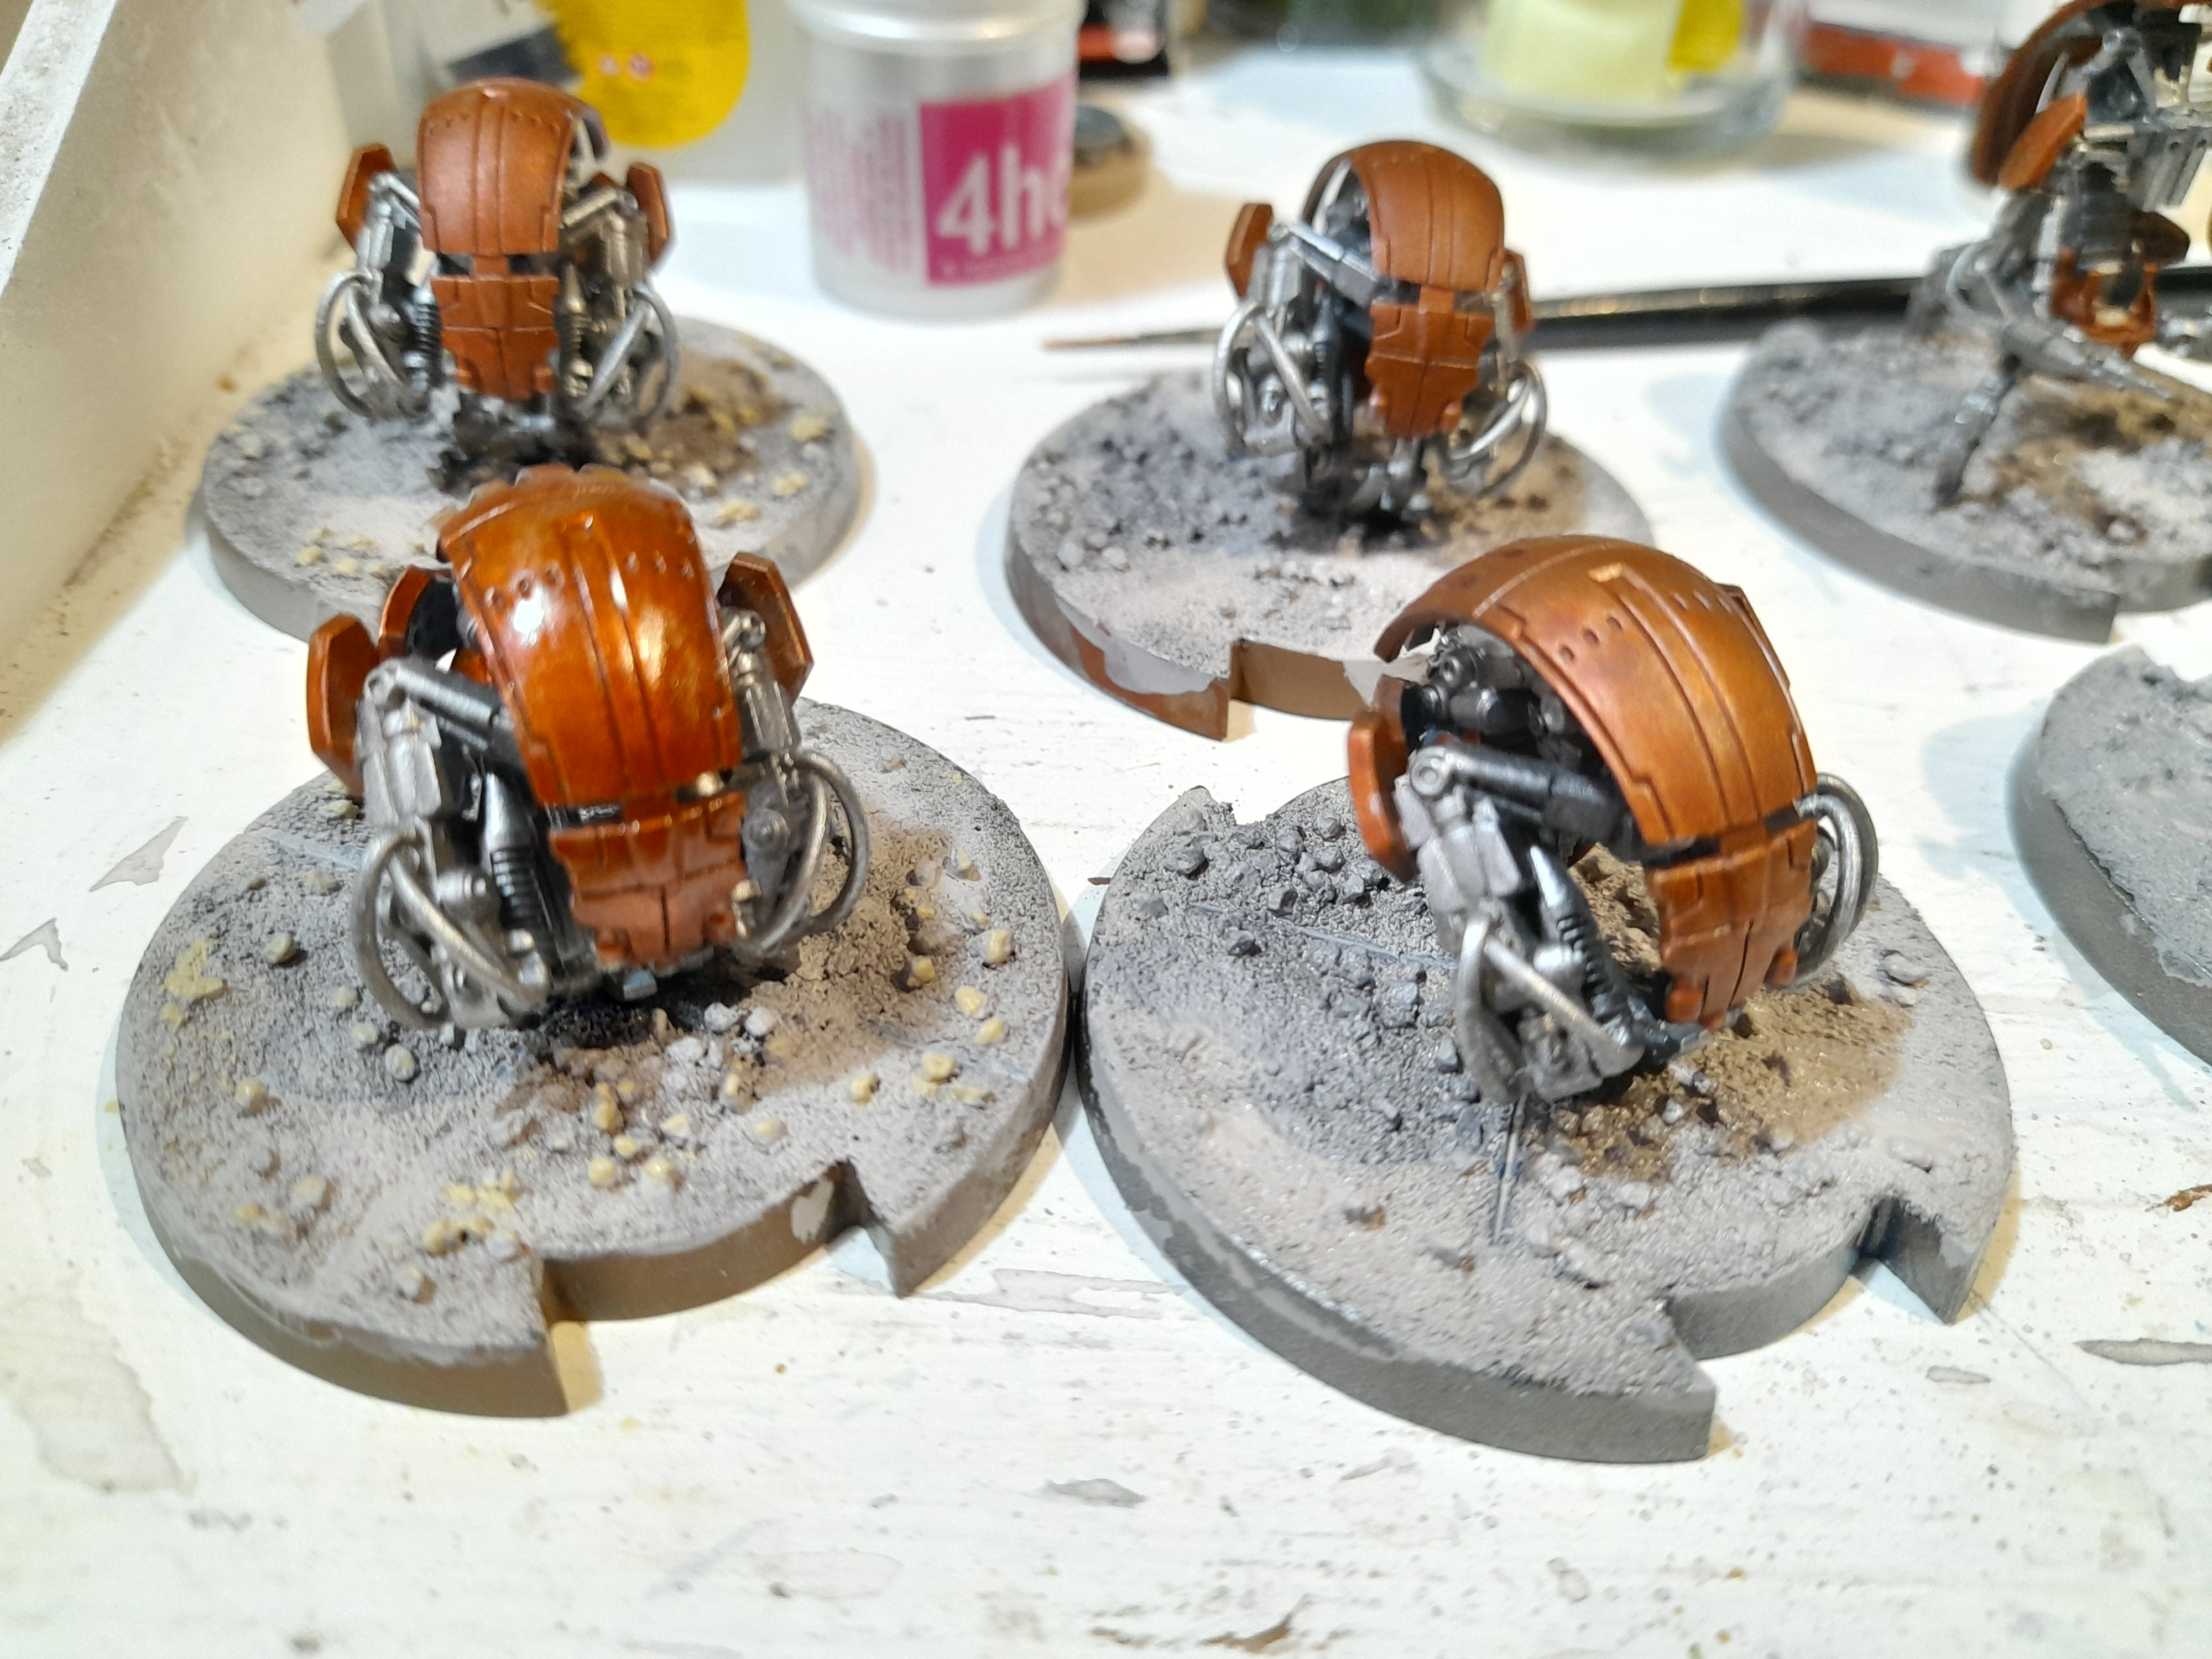
2nd March 2024
For quite some time I wasn’t sure how to paint the Droidekas. I tried out a few different colours on the sprayed base rims, trying to come up with a bronze that looked good – without going for a brush on metallic that I wouldn’t get a smooth finish on.
Ended up going with Gryph Hound orange over the leadbelcher prime.
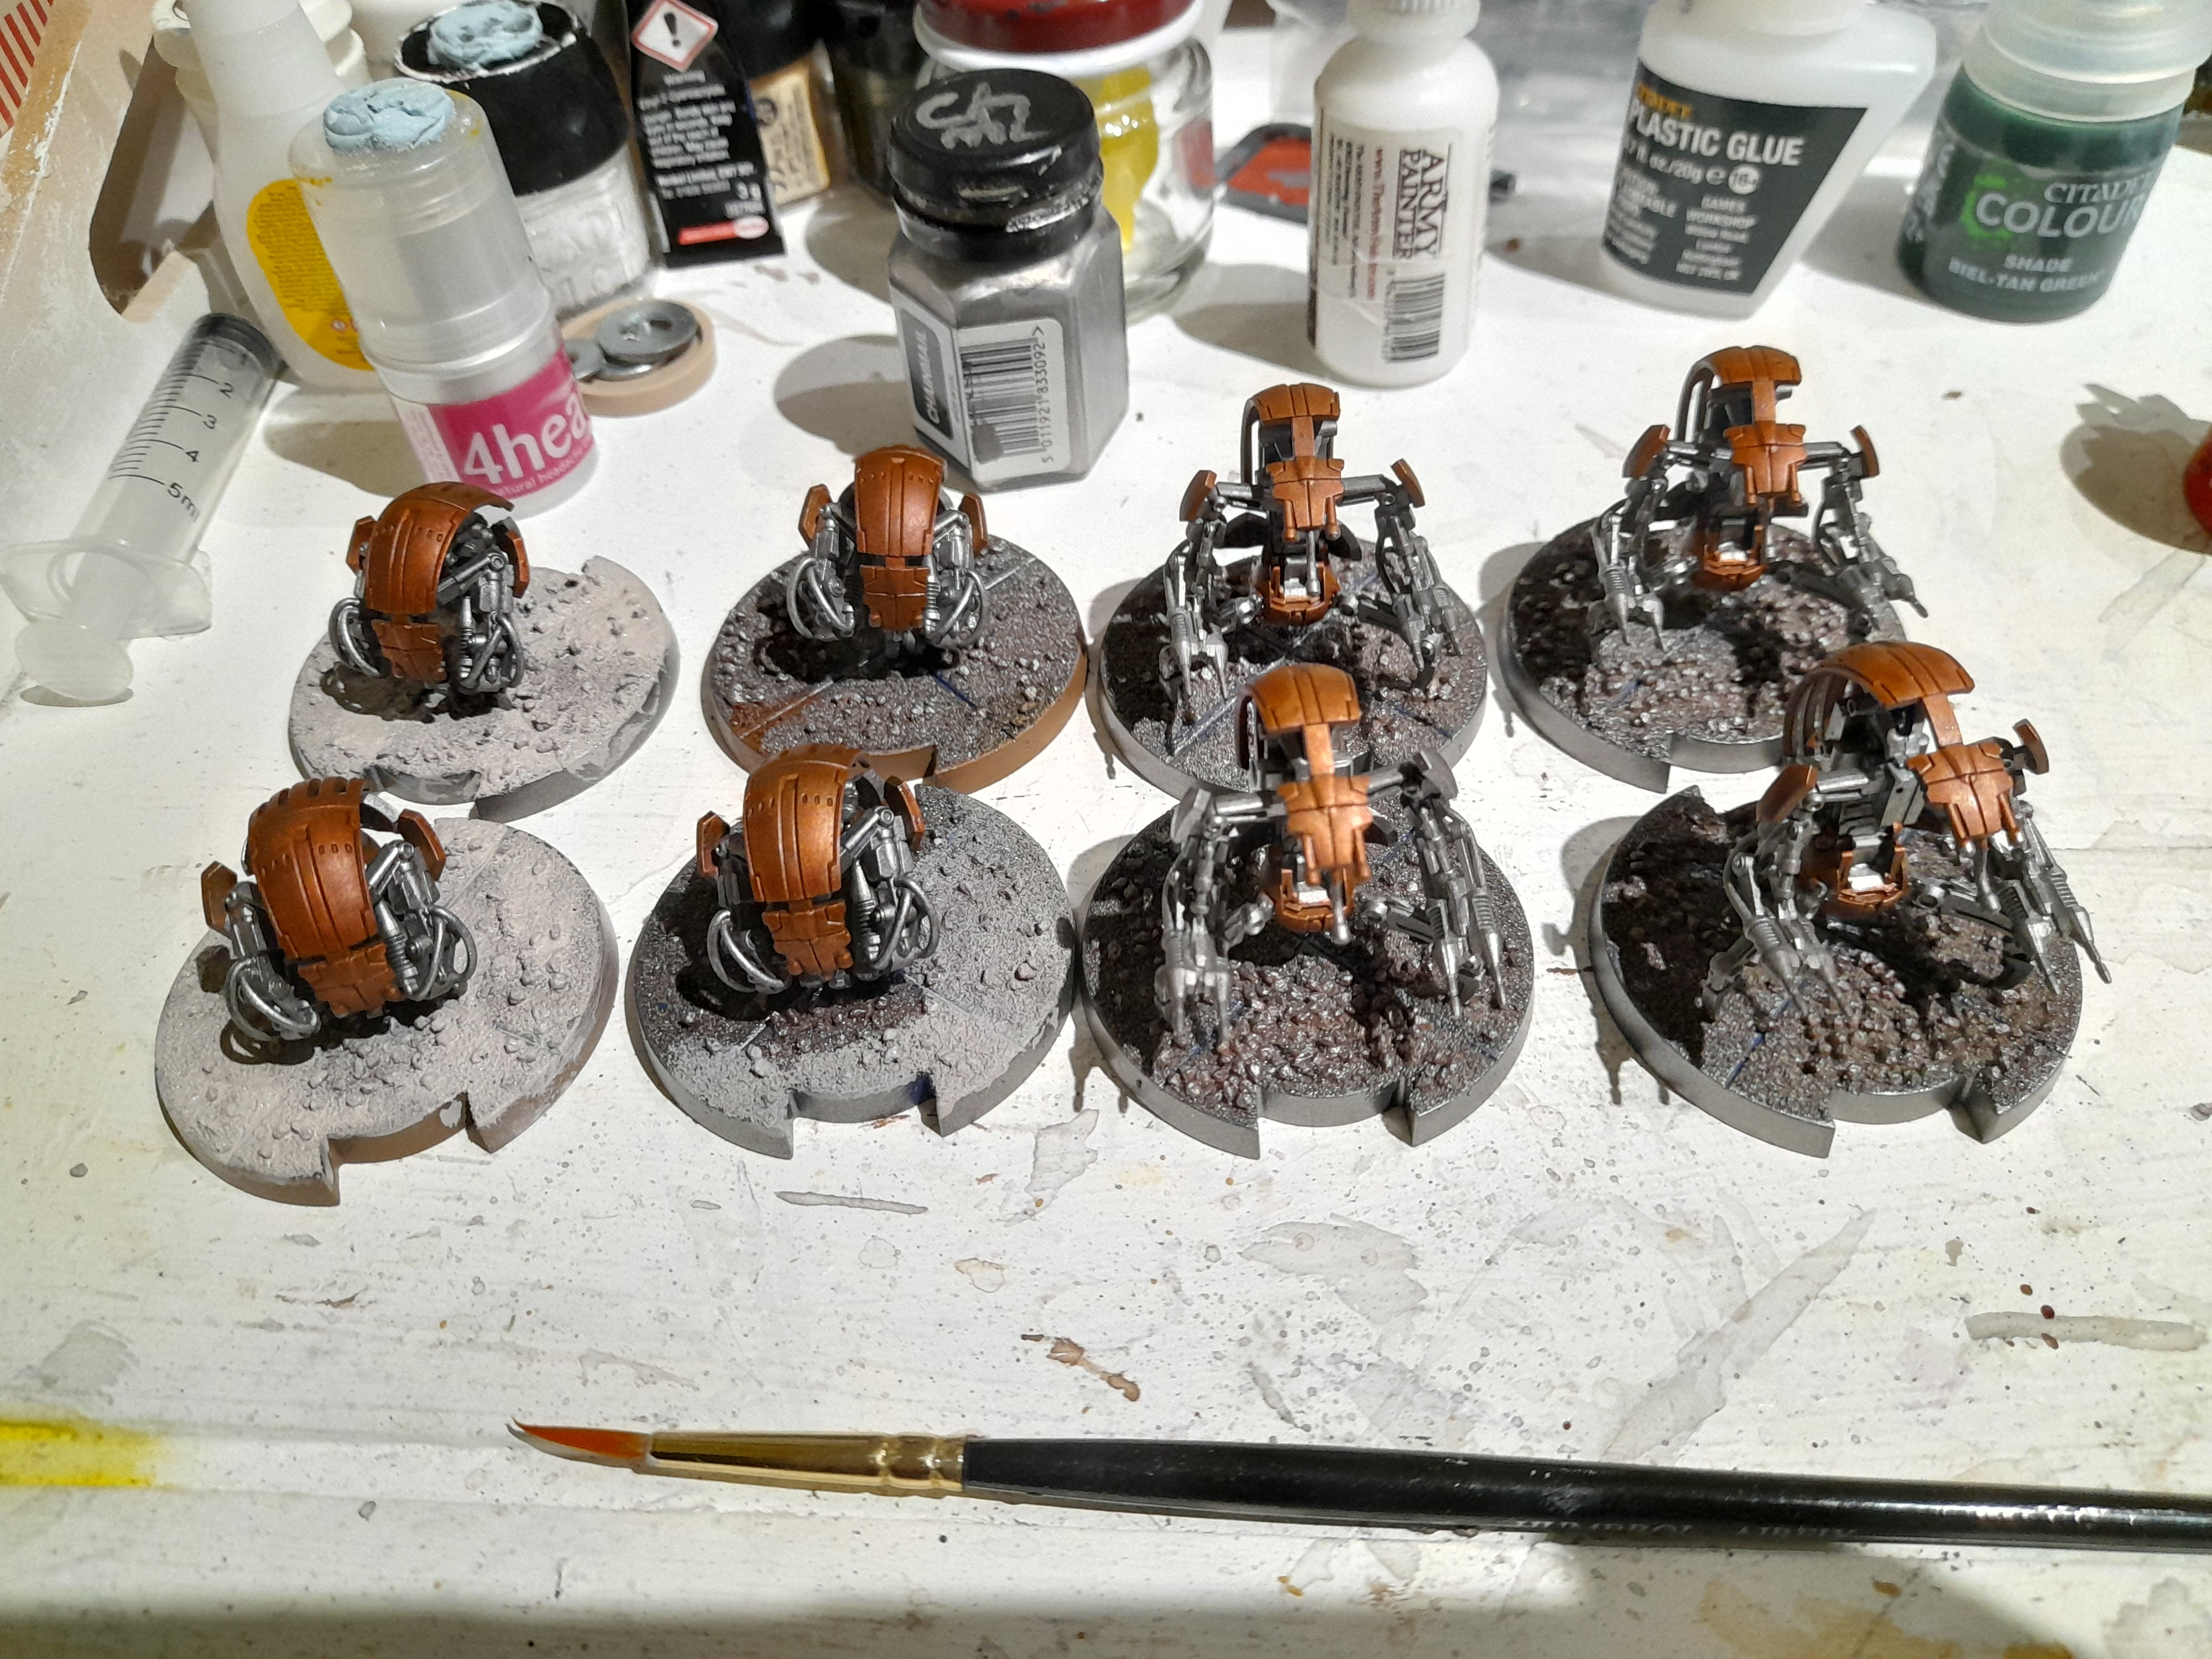
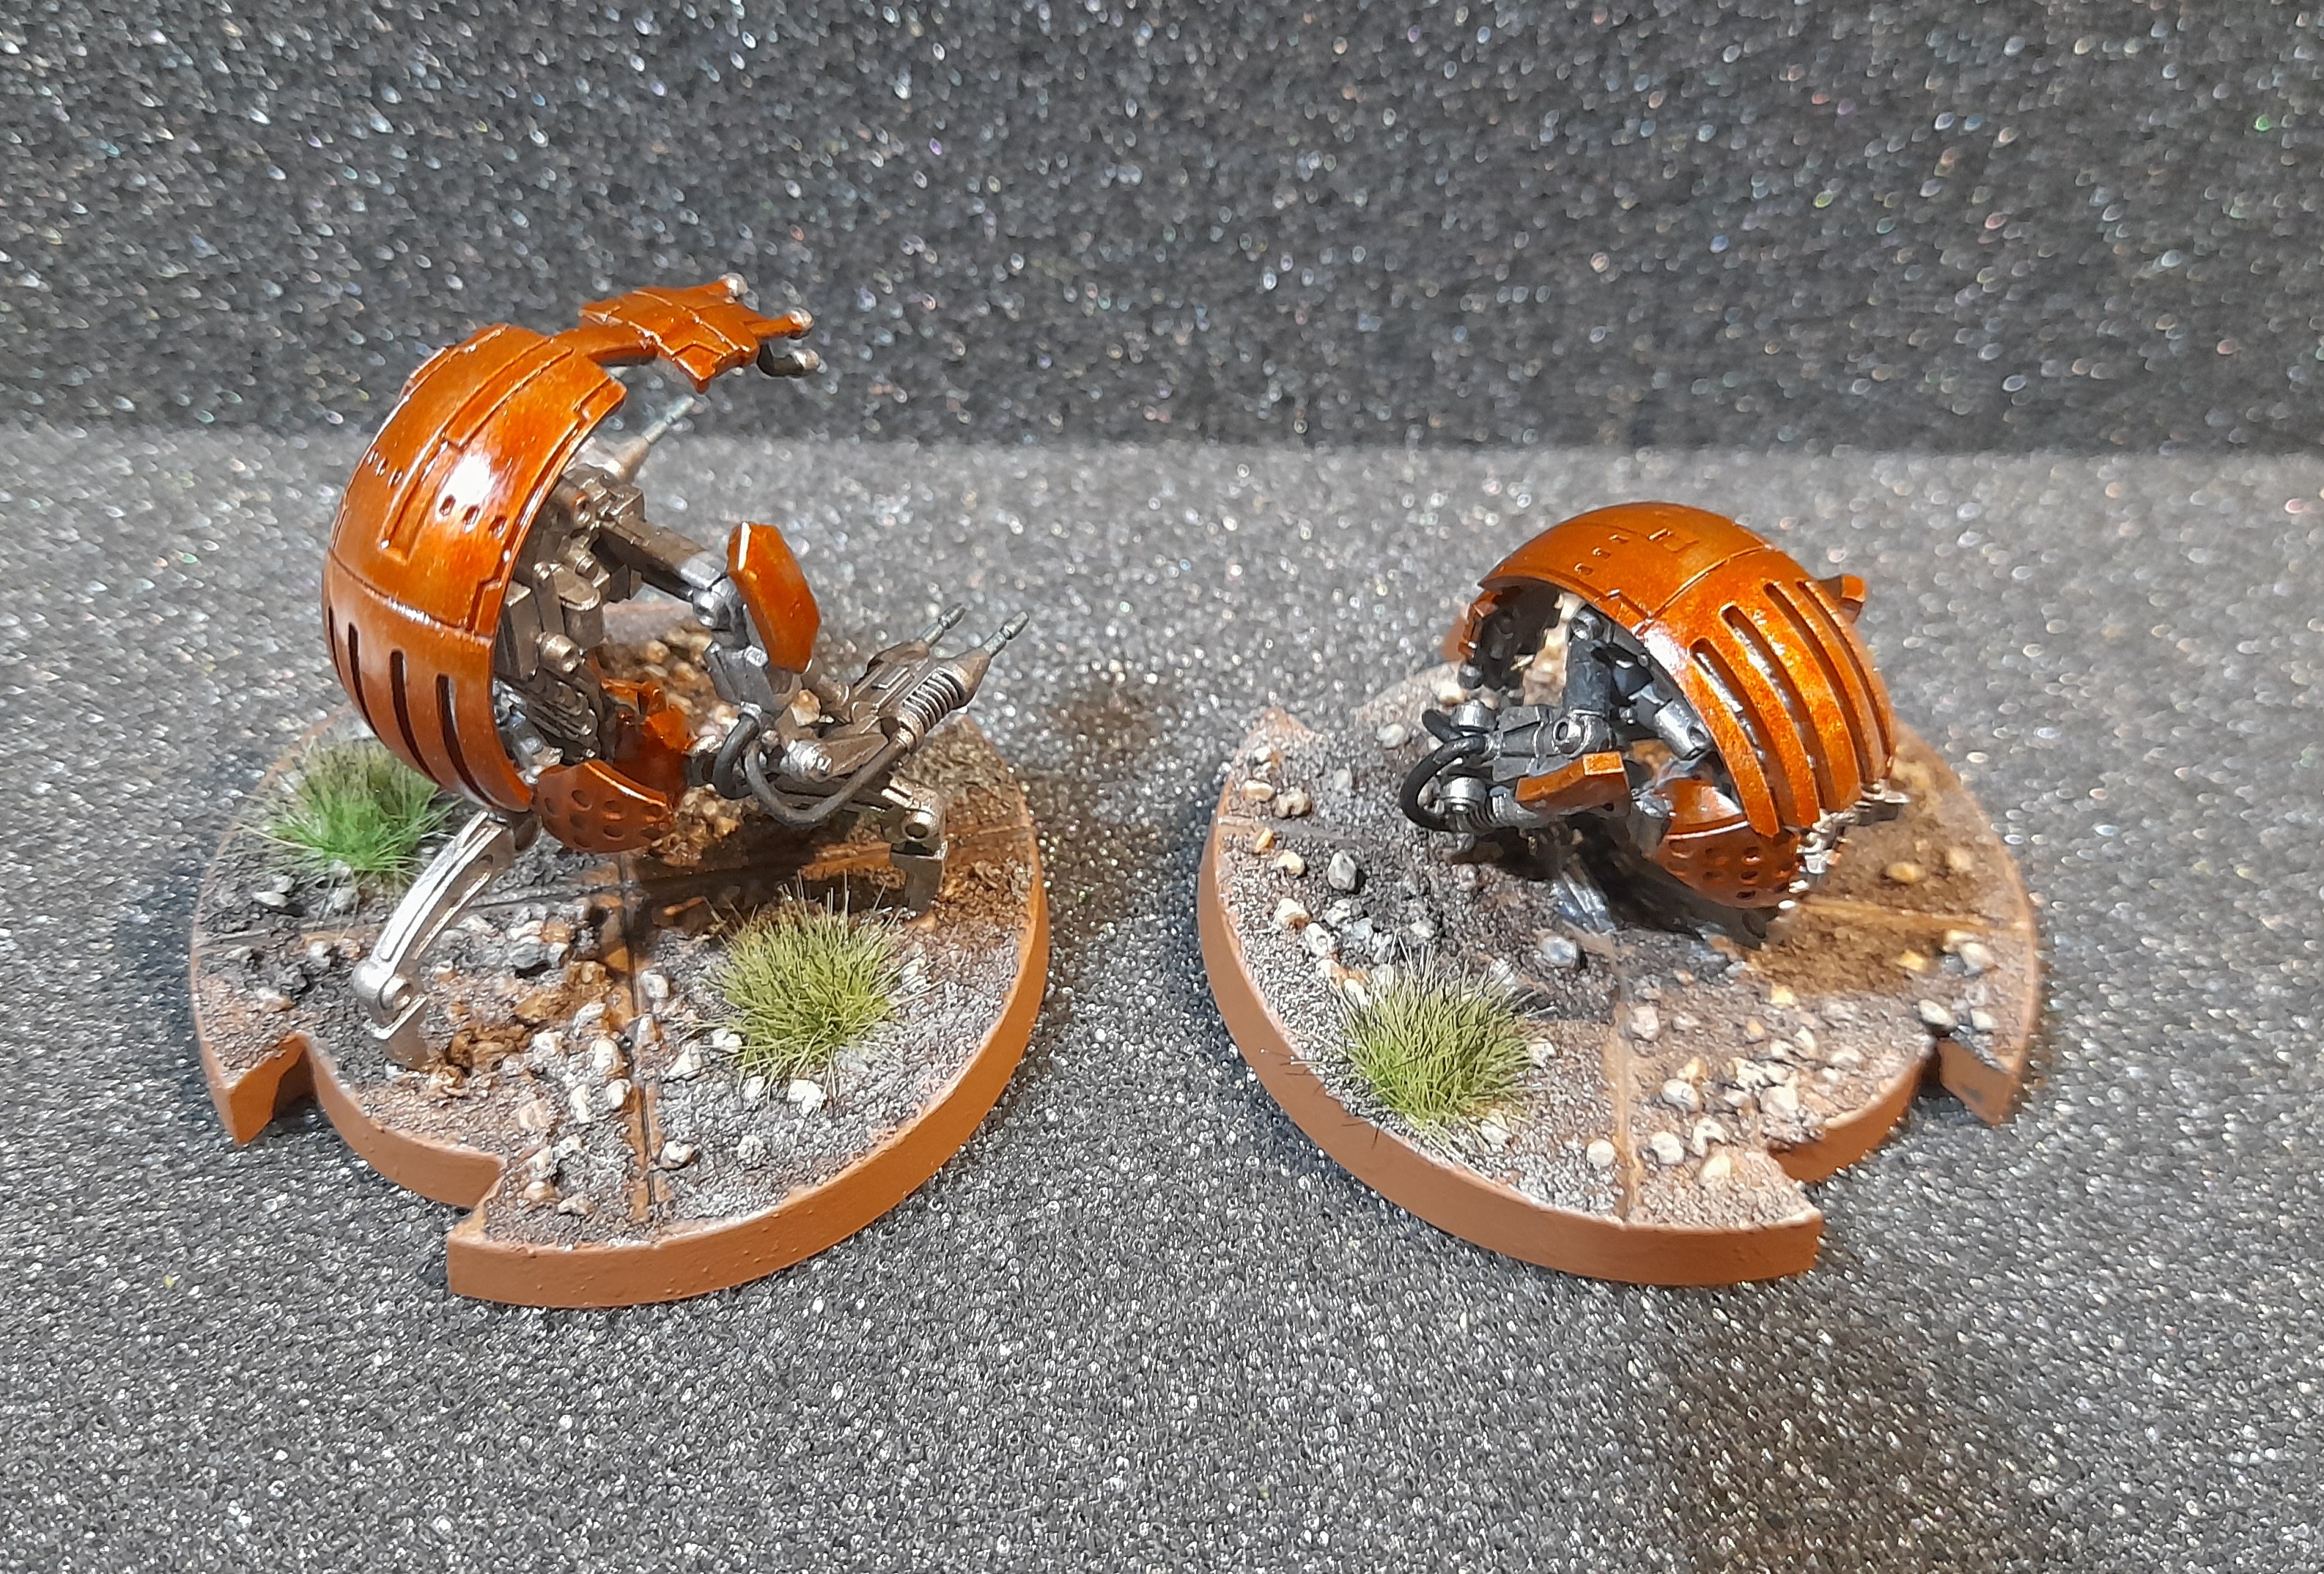
There was still something not grabbing me. So, while working on the bases a bit I decided to try a gloss coat over the carapace, hoping it would make them look more mechanical (or like a car with its coat of lacquer) – and I feel it worked.
 Gloss on the left
With that positive change achieved it was then:
Bases washed, drybrushed and tufts added.
Pipes picked out in black.
Metal washed, gun tips given a thin blue wash.
Eyes picked out in red.
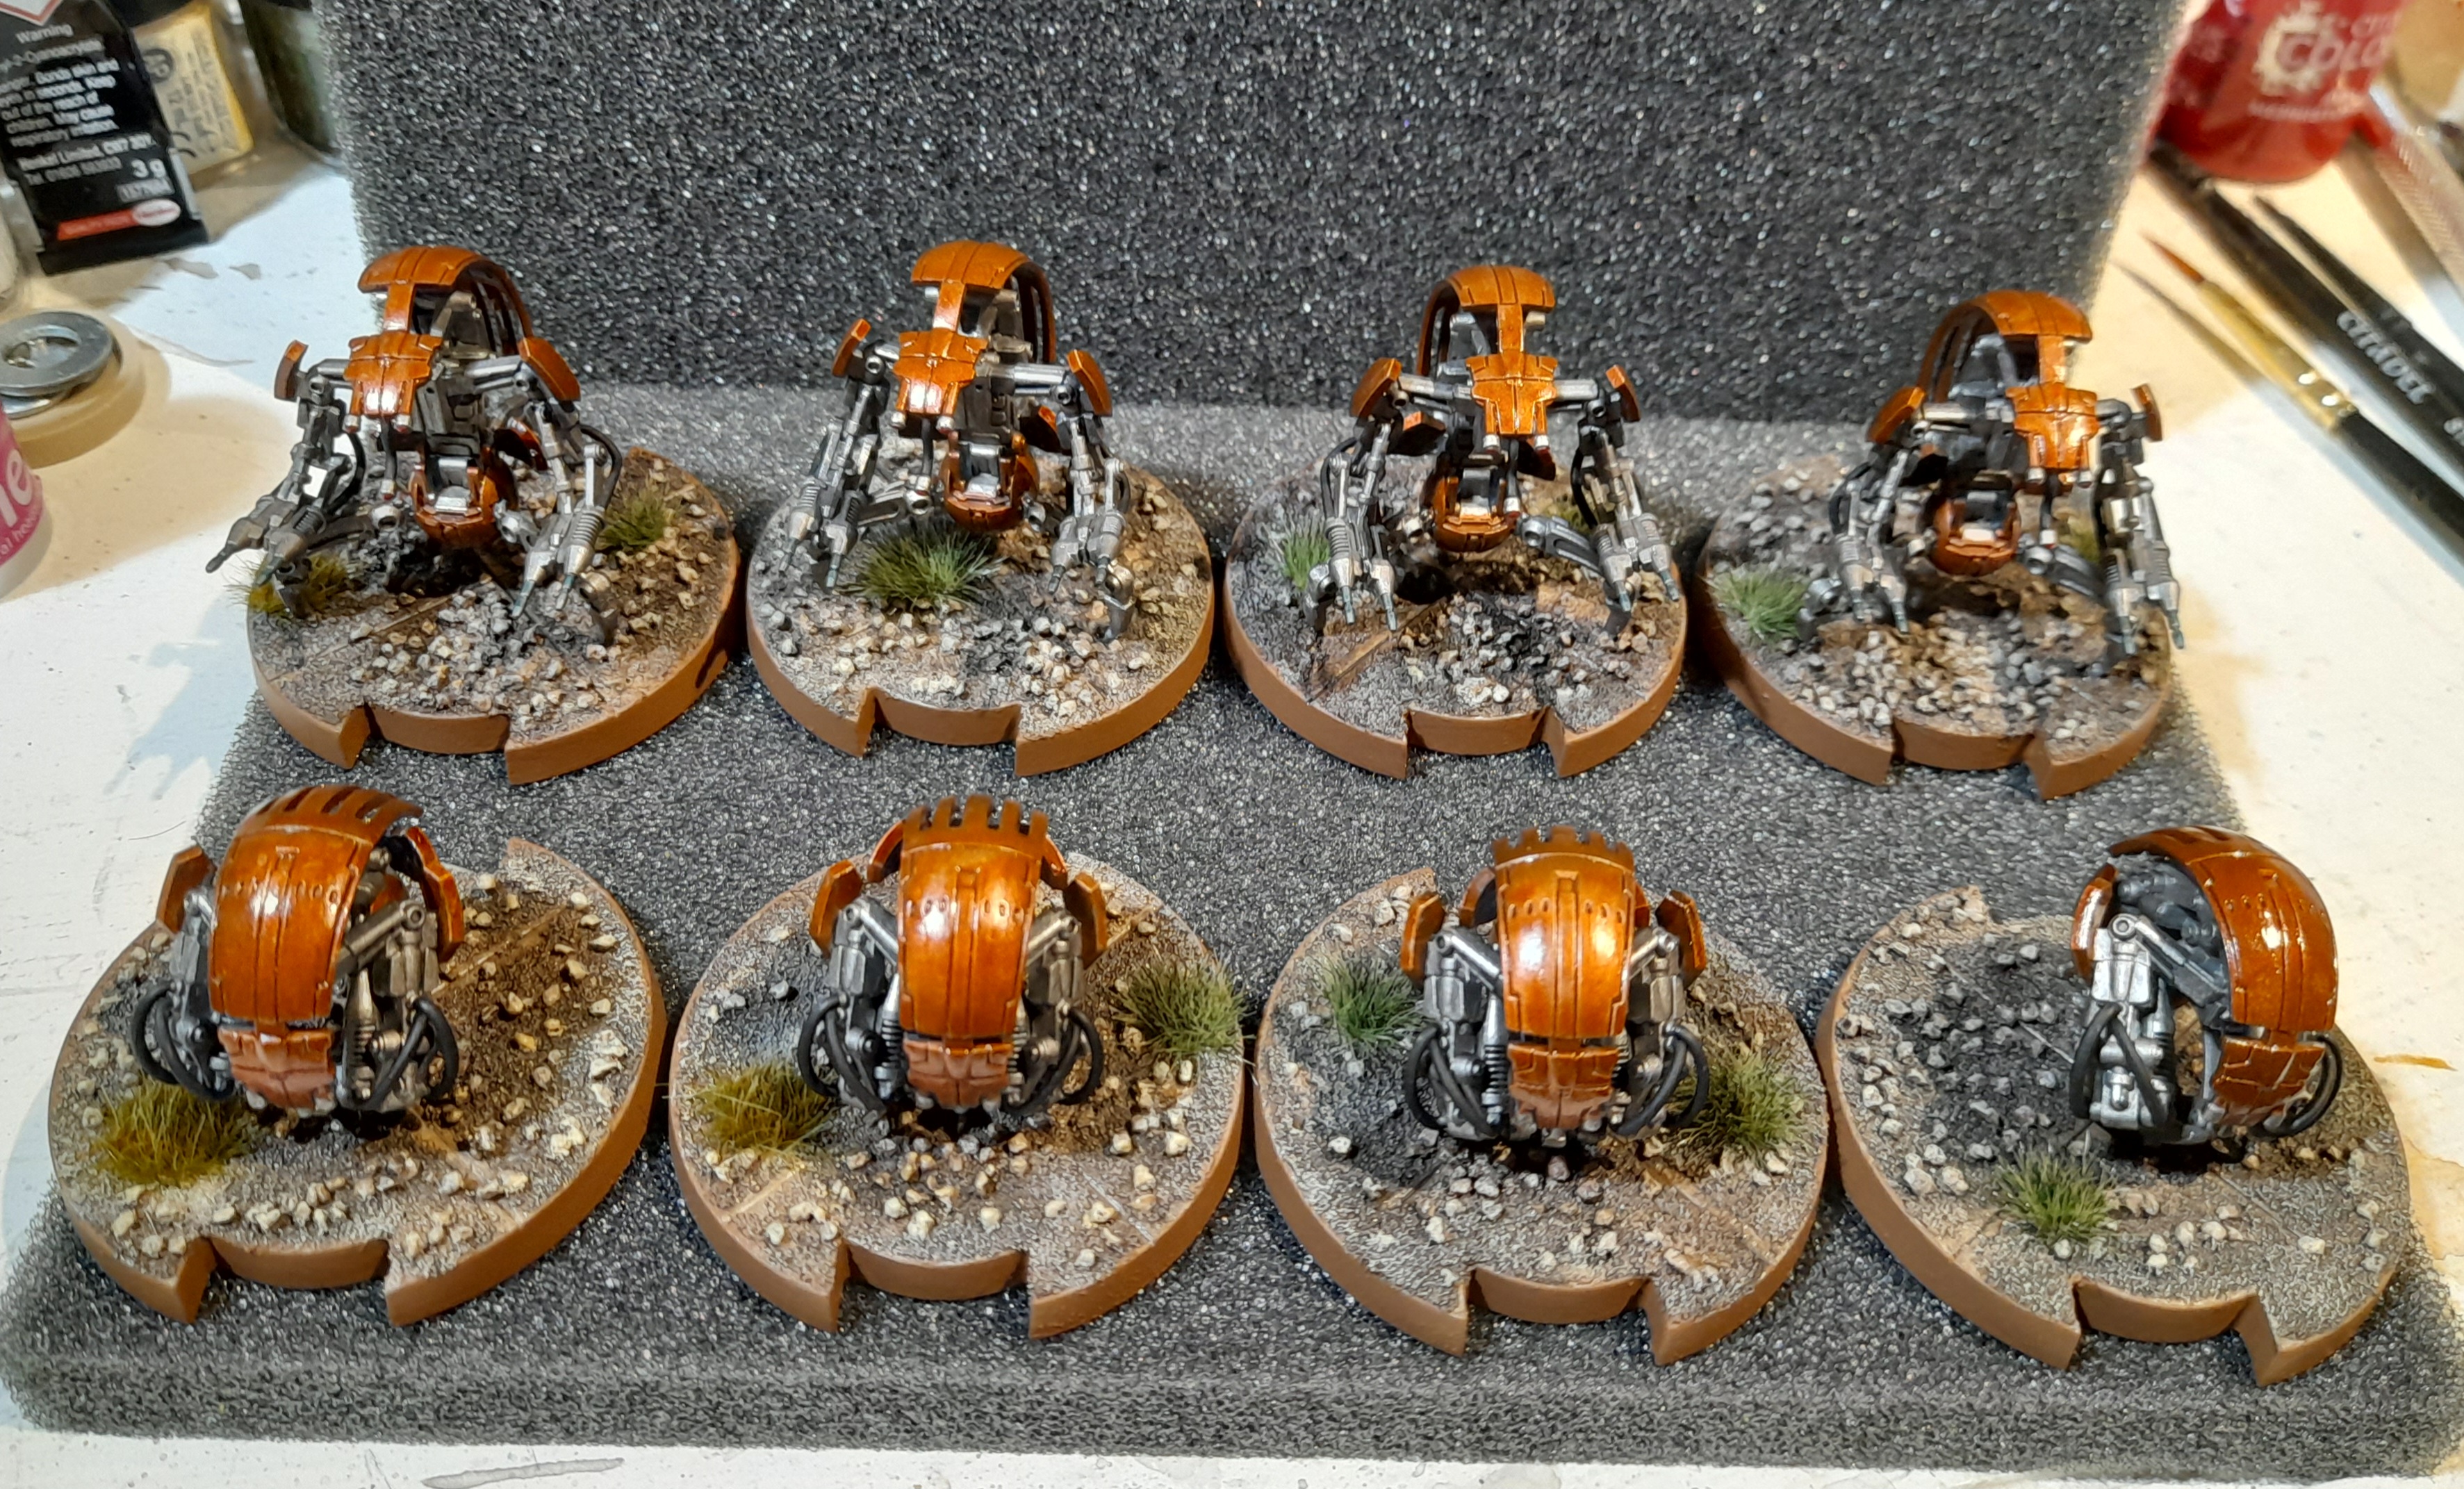
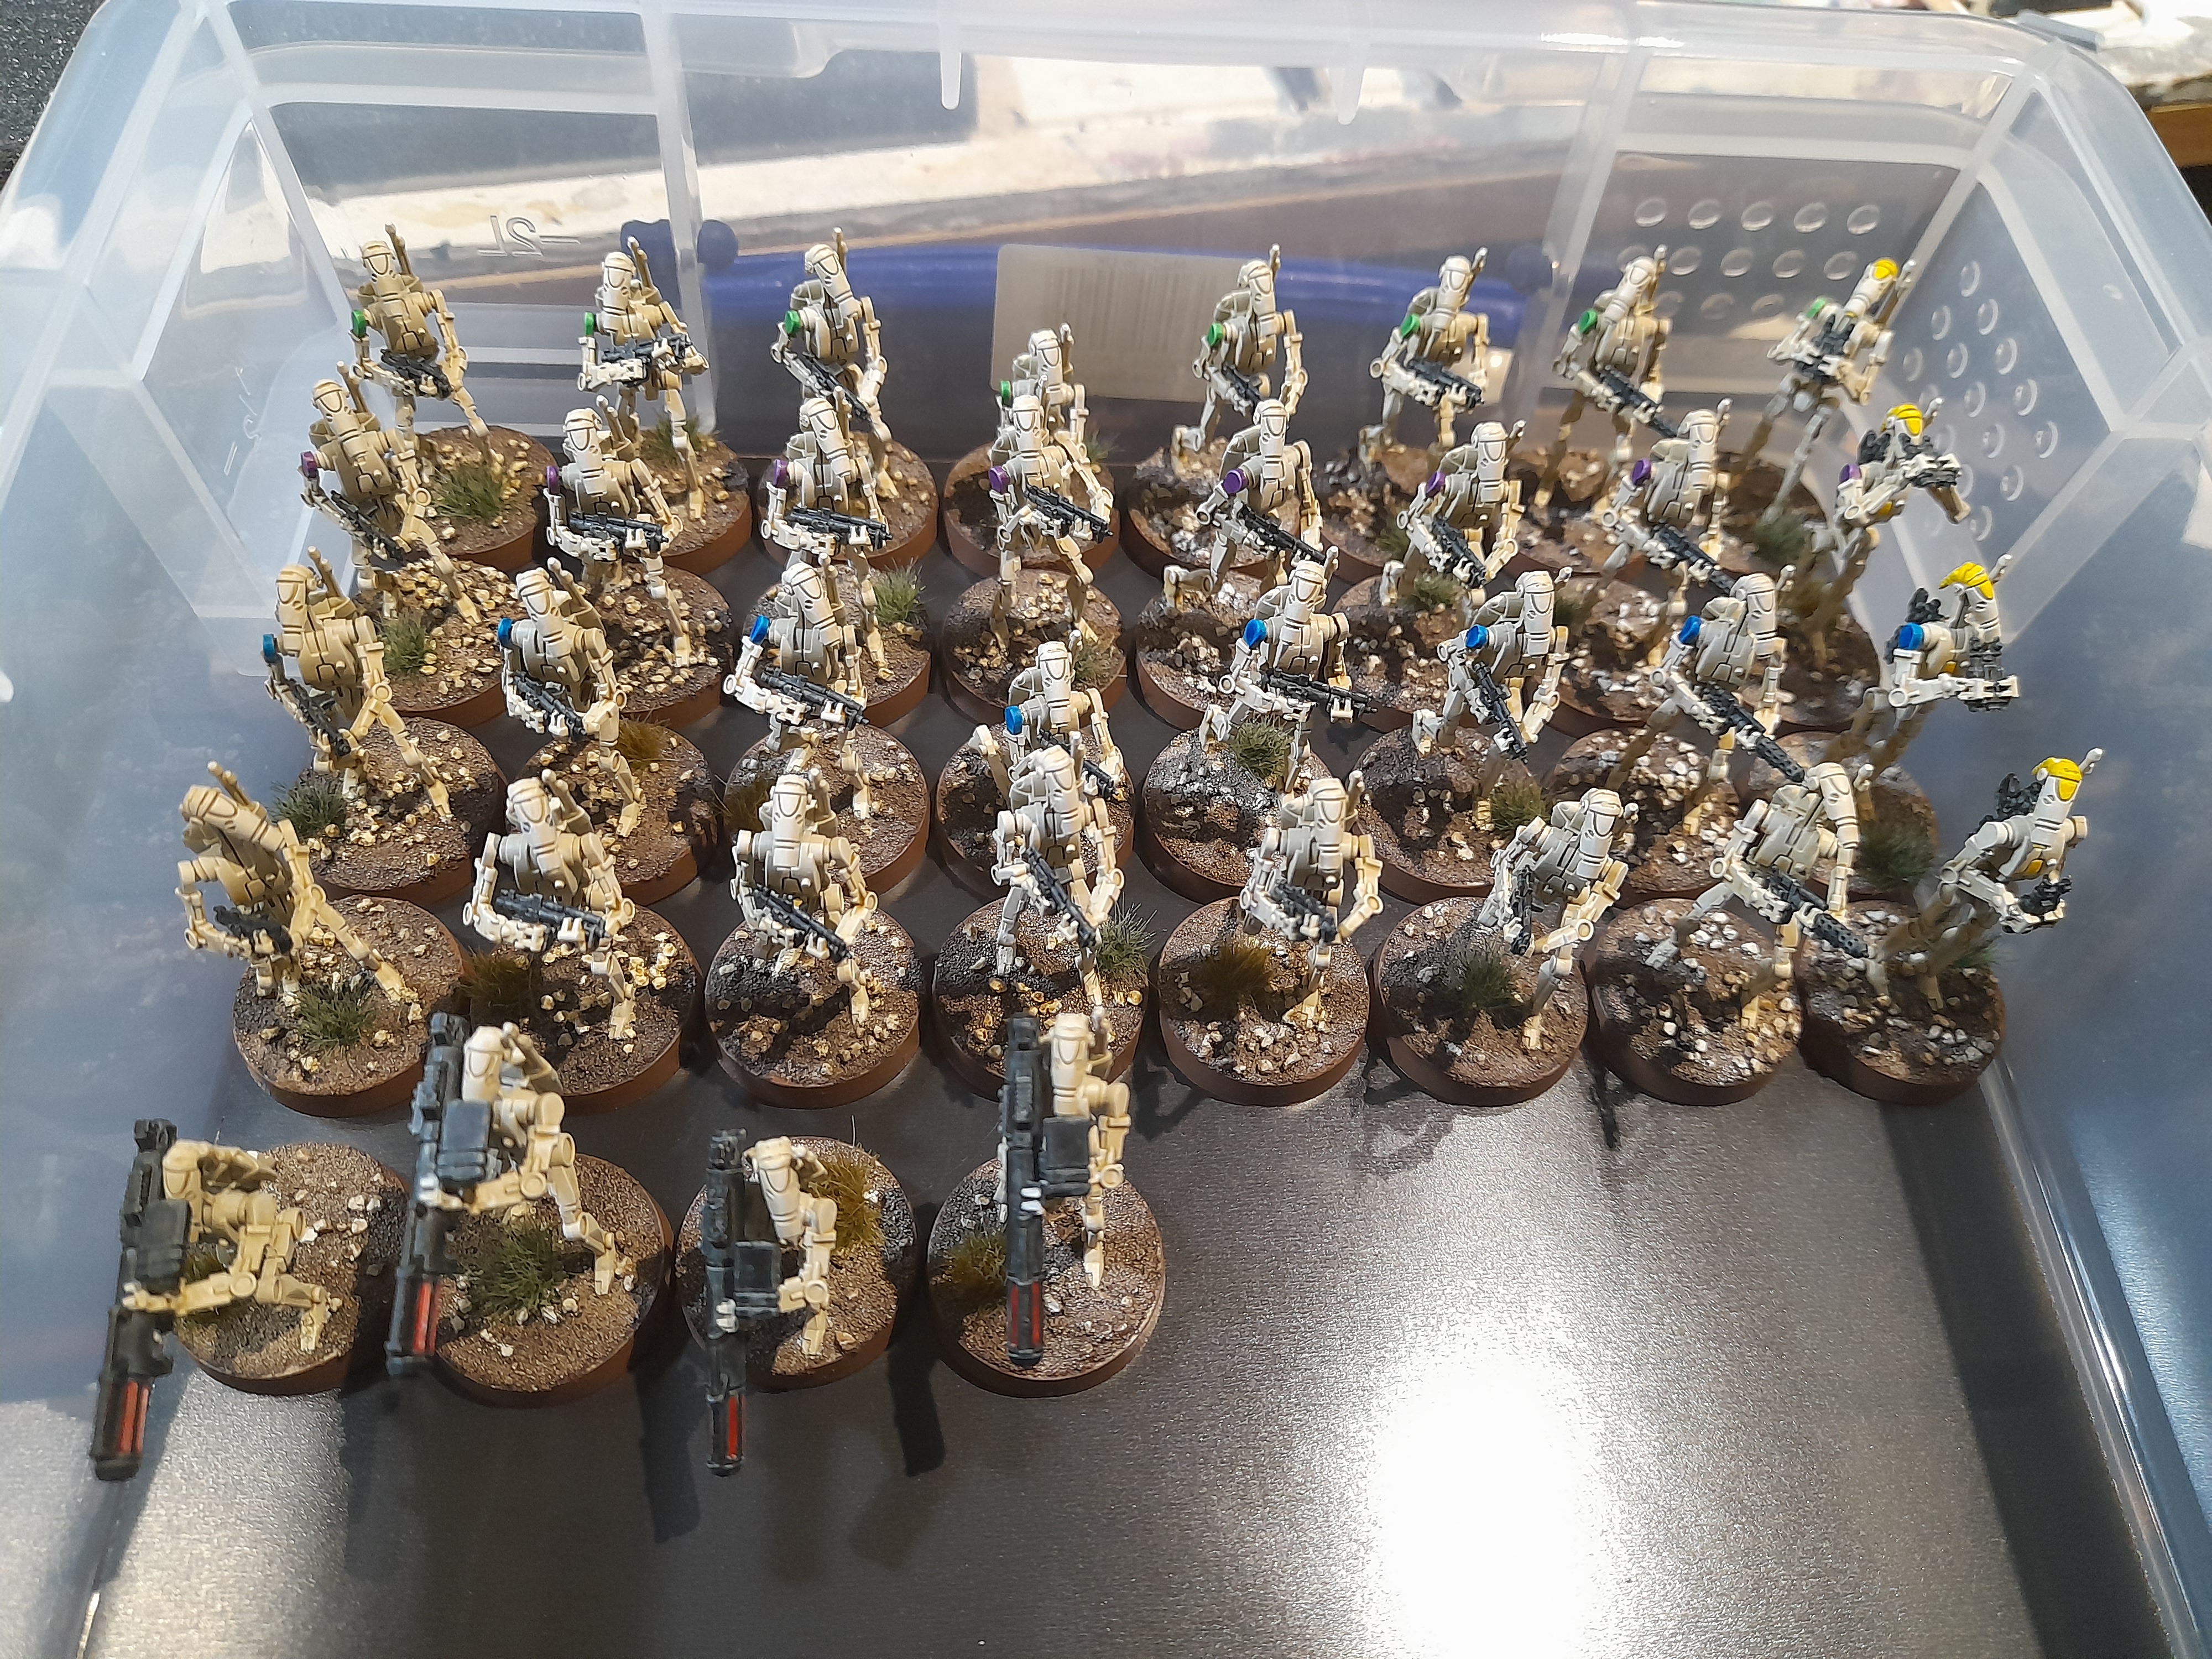
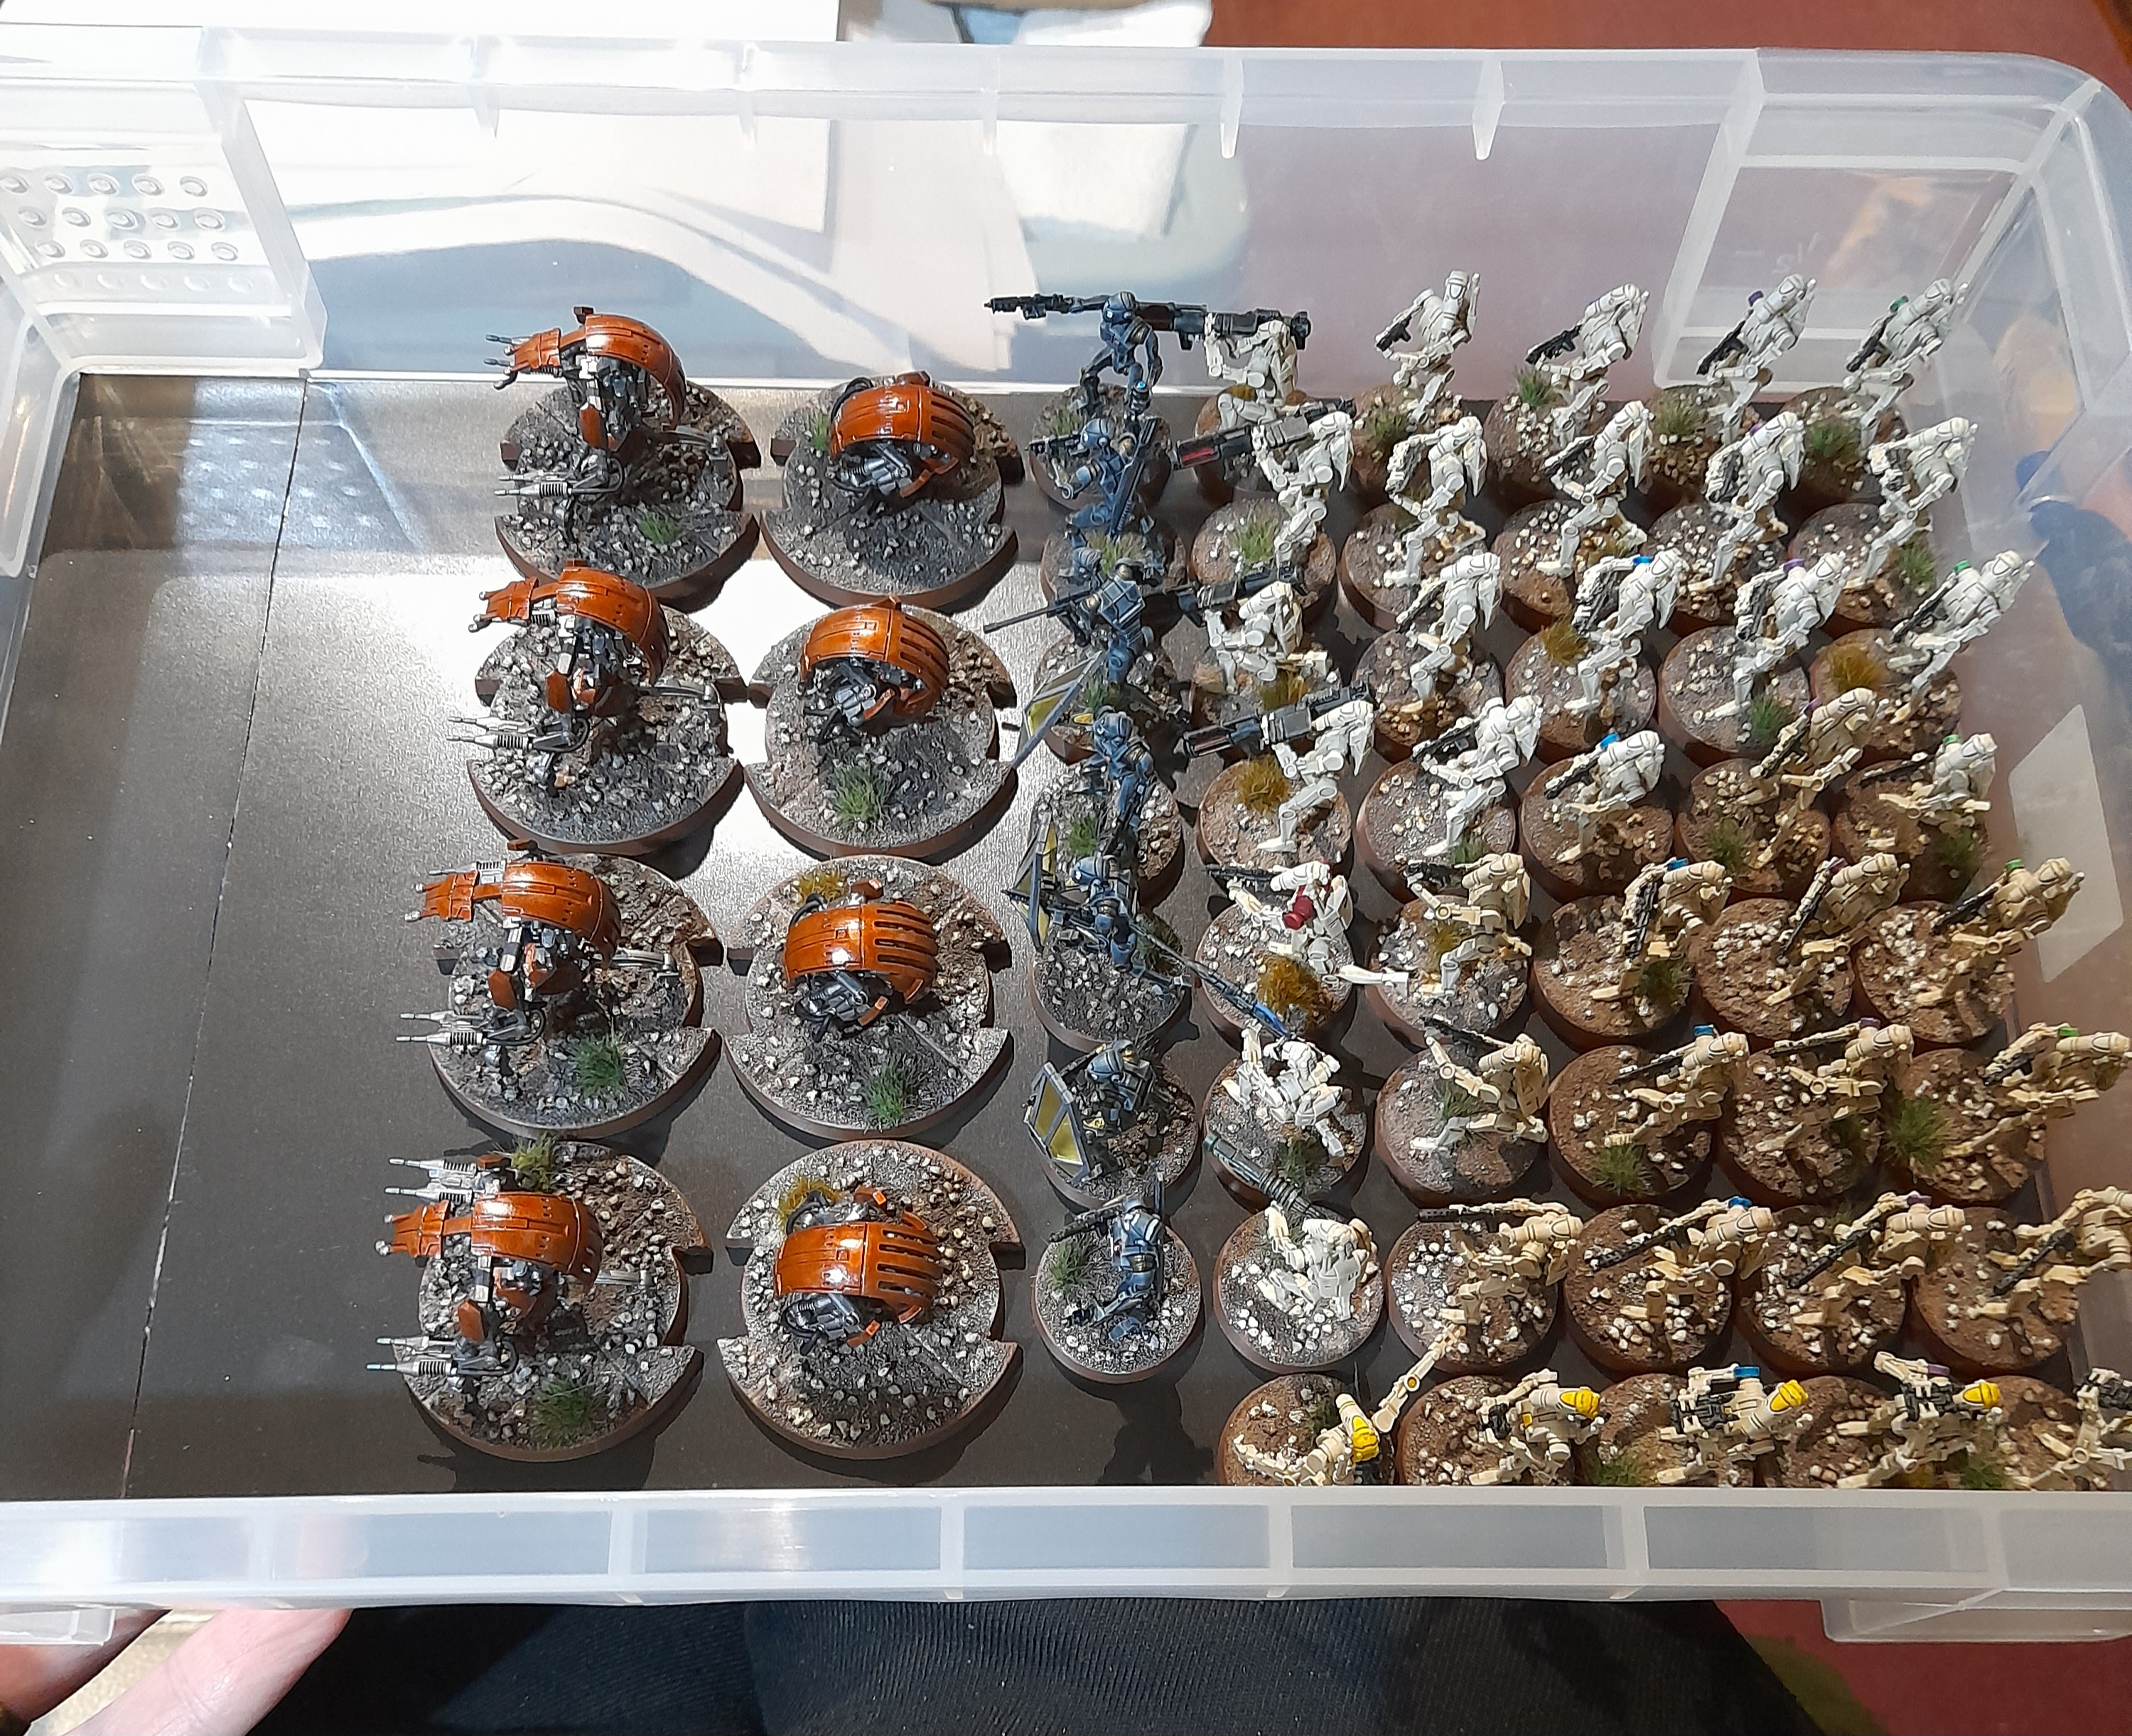 Case is filling up....
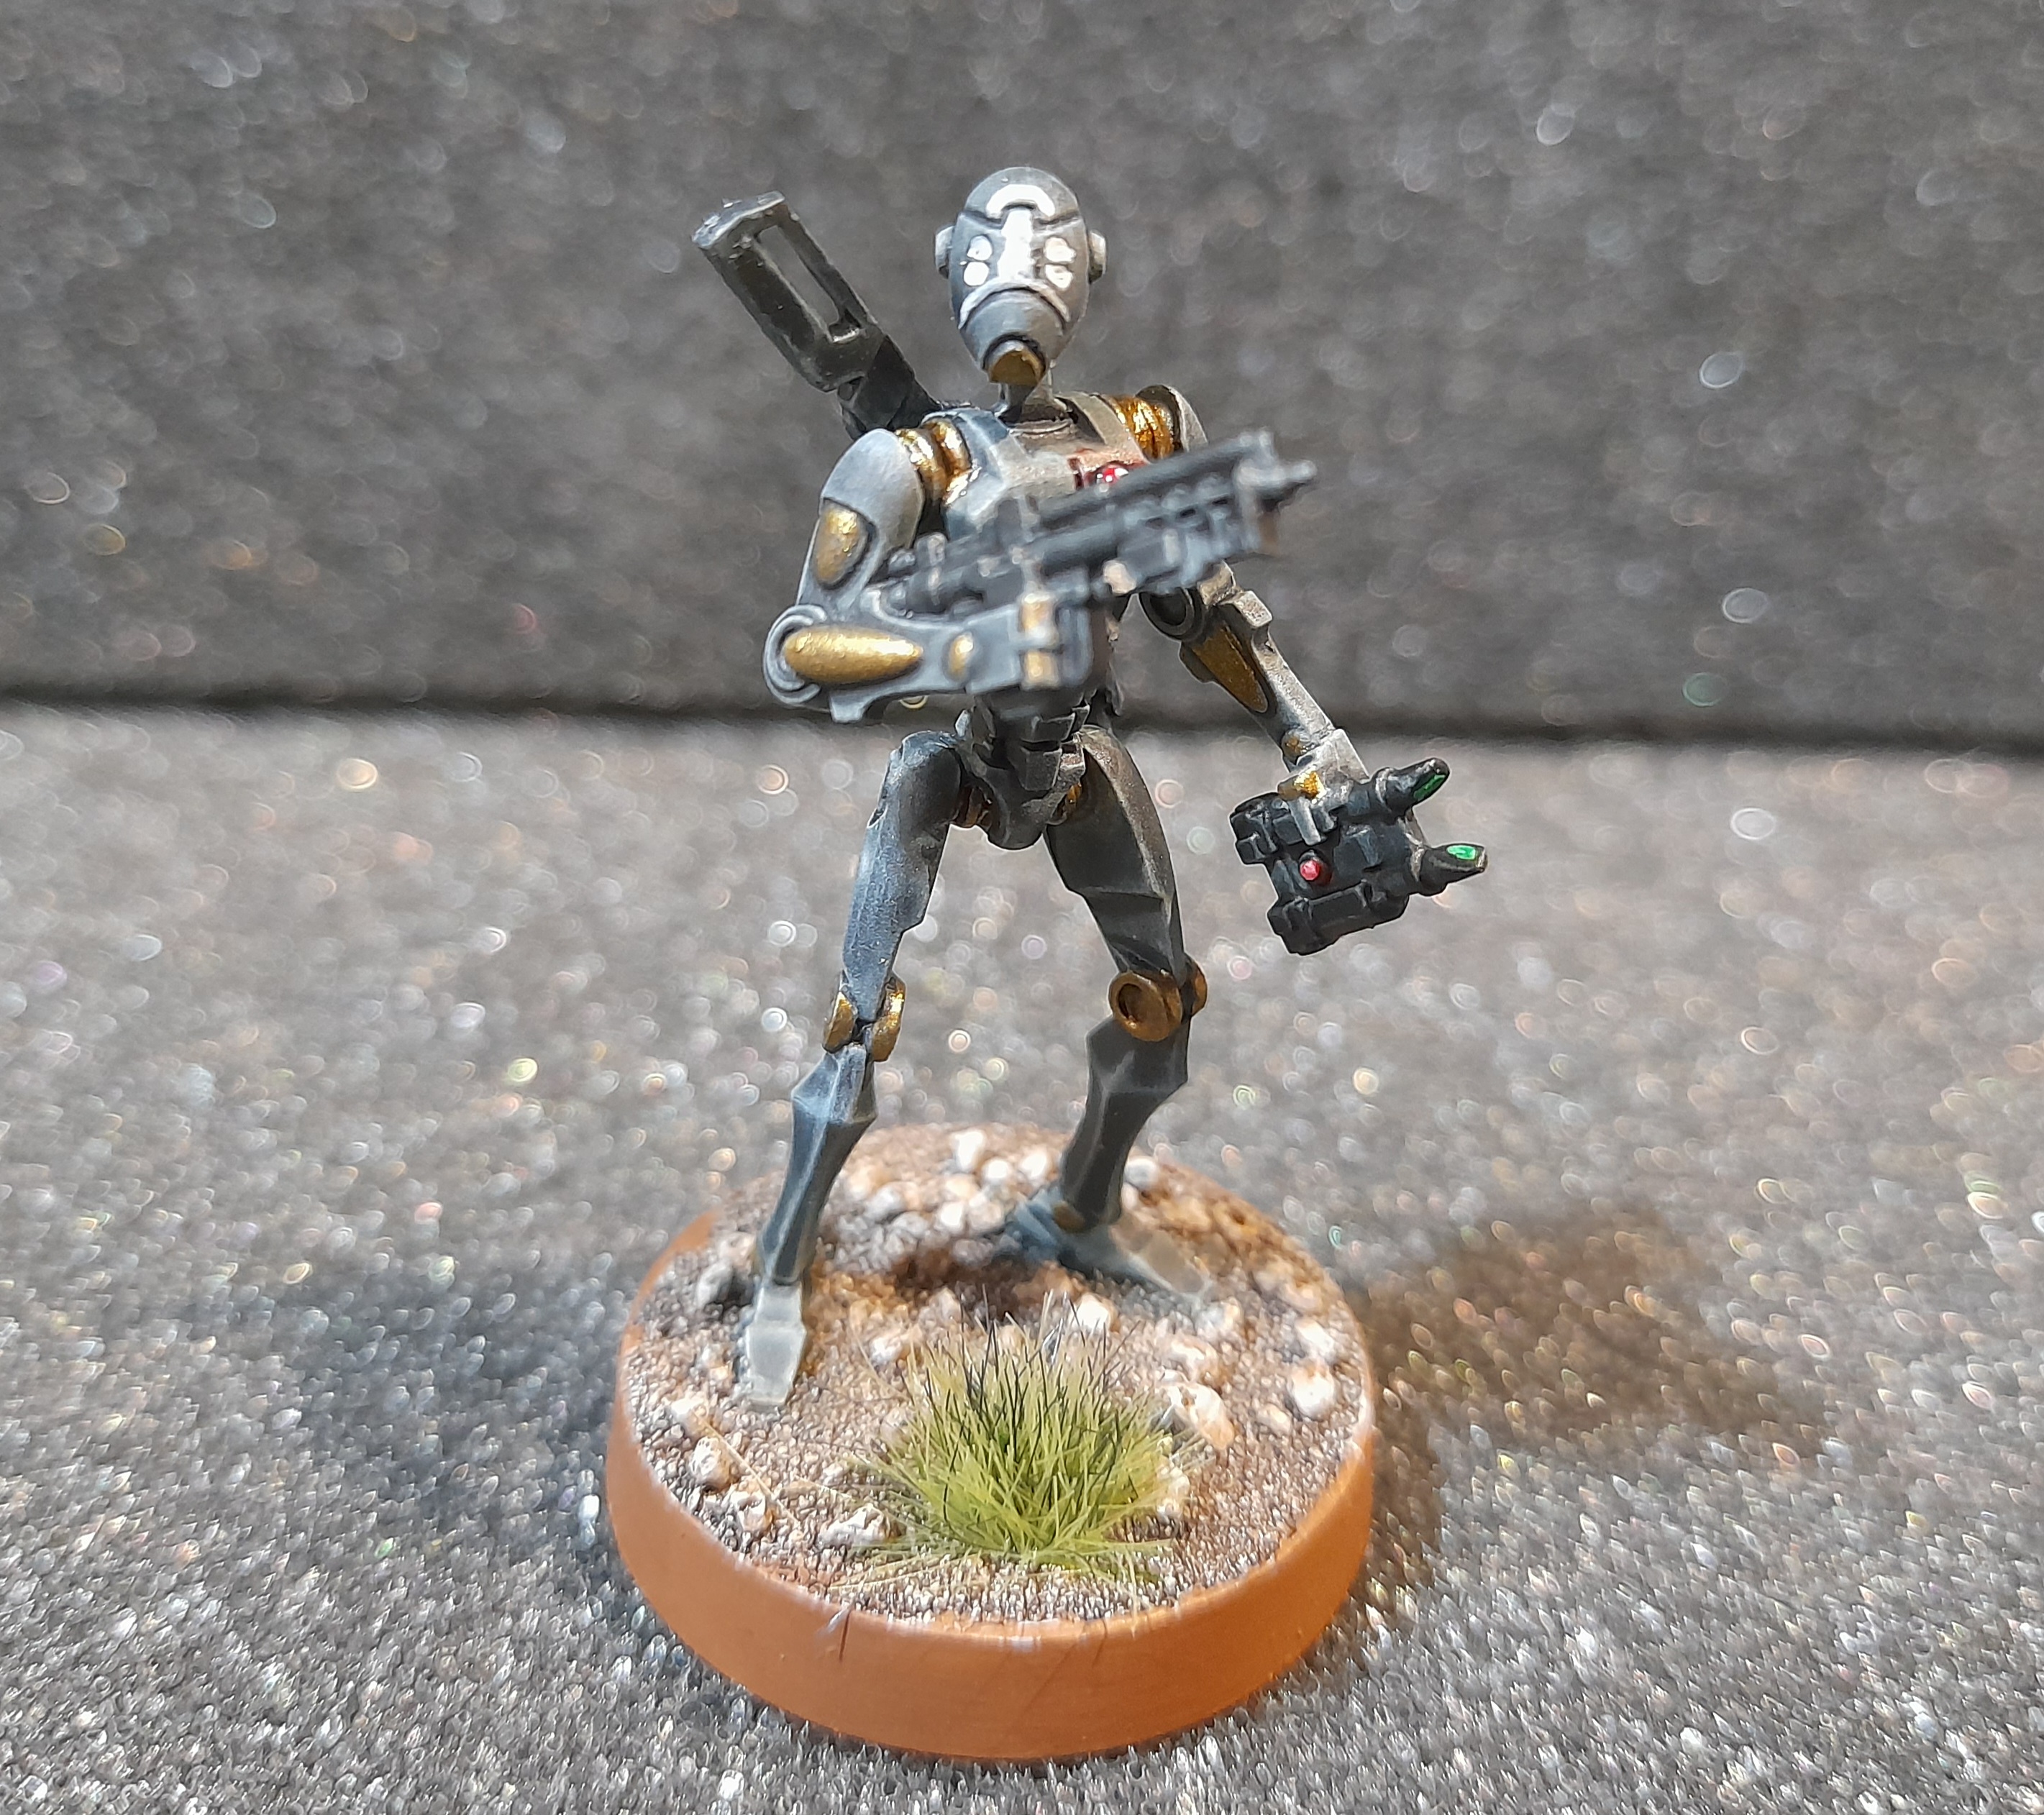
Commando Droids
29th February 2024
The Commando Droids had been primed in grey. I knew I wanted them to be a dark grey, so I made up a mix of Black Templar and Apothecary White (to give it a slight blue accent). When they were all done I gave them a light drybrush with Fenrisian Grey to emphasise the blue tint.
Next up it was picking out the various panels and joints in a Vallejo Model Colour Bronze, which has a more gold tinge I’d say.
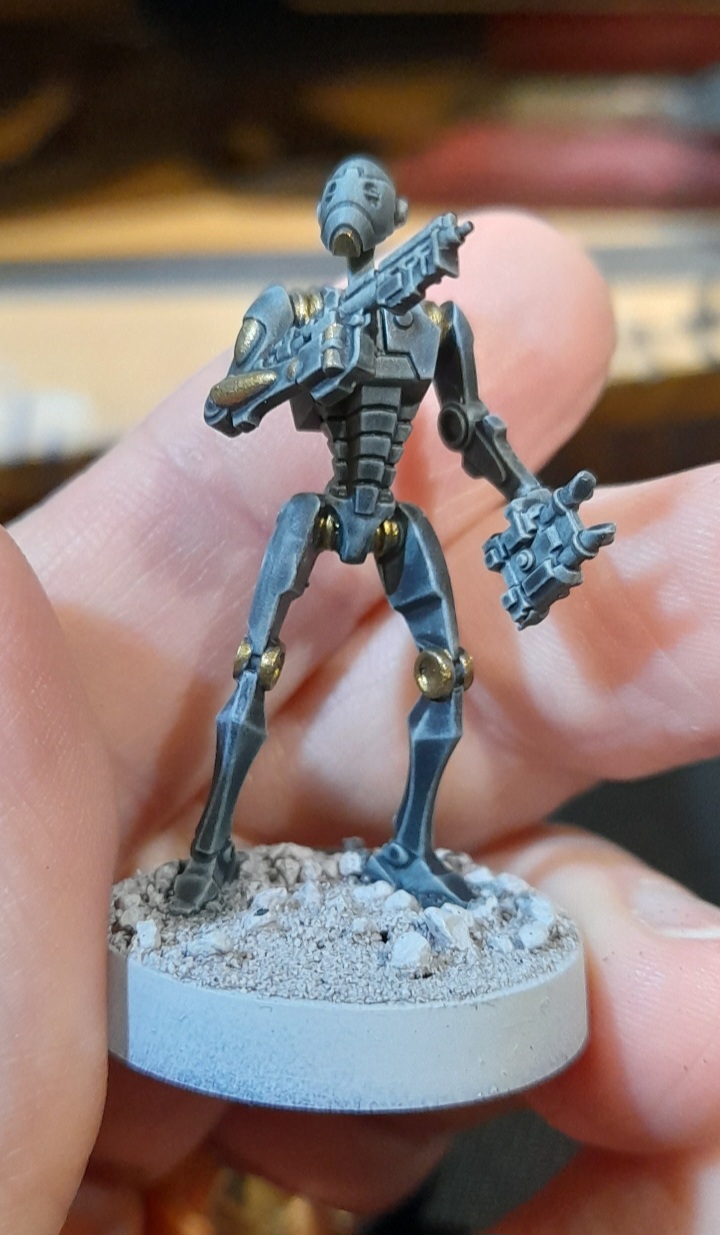
Finishing them off it was picking out the guns with black, followed by a light drybrush of grey. Then the chest light in red and the eyes in white. For the leader I also did some white markings on the head and chest. I did the leader first, then once happy I rolled out the steps on to all the rest.
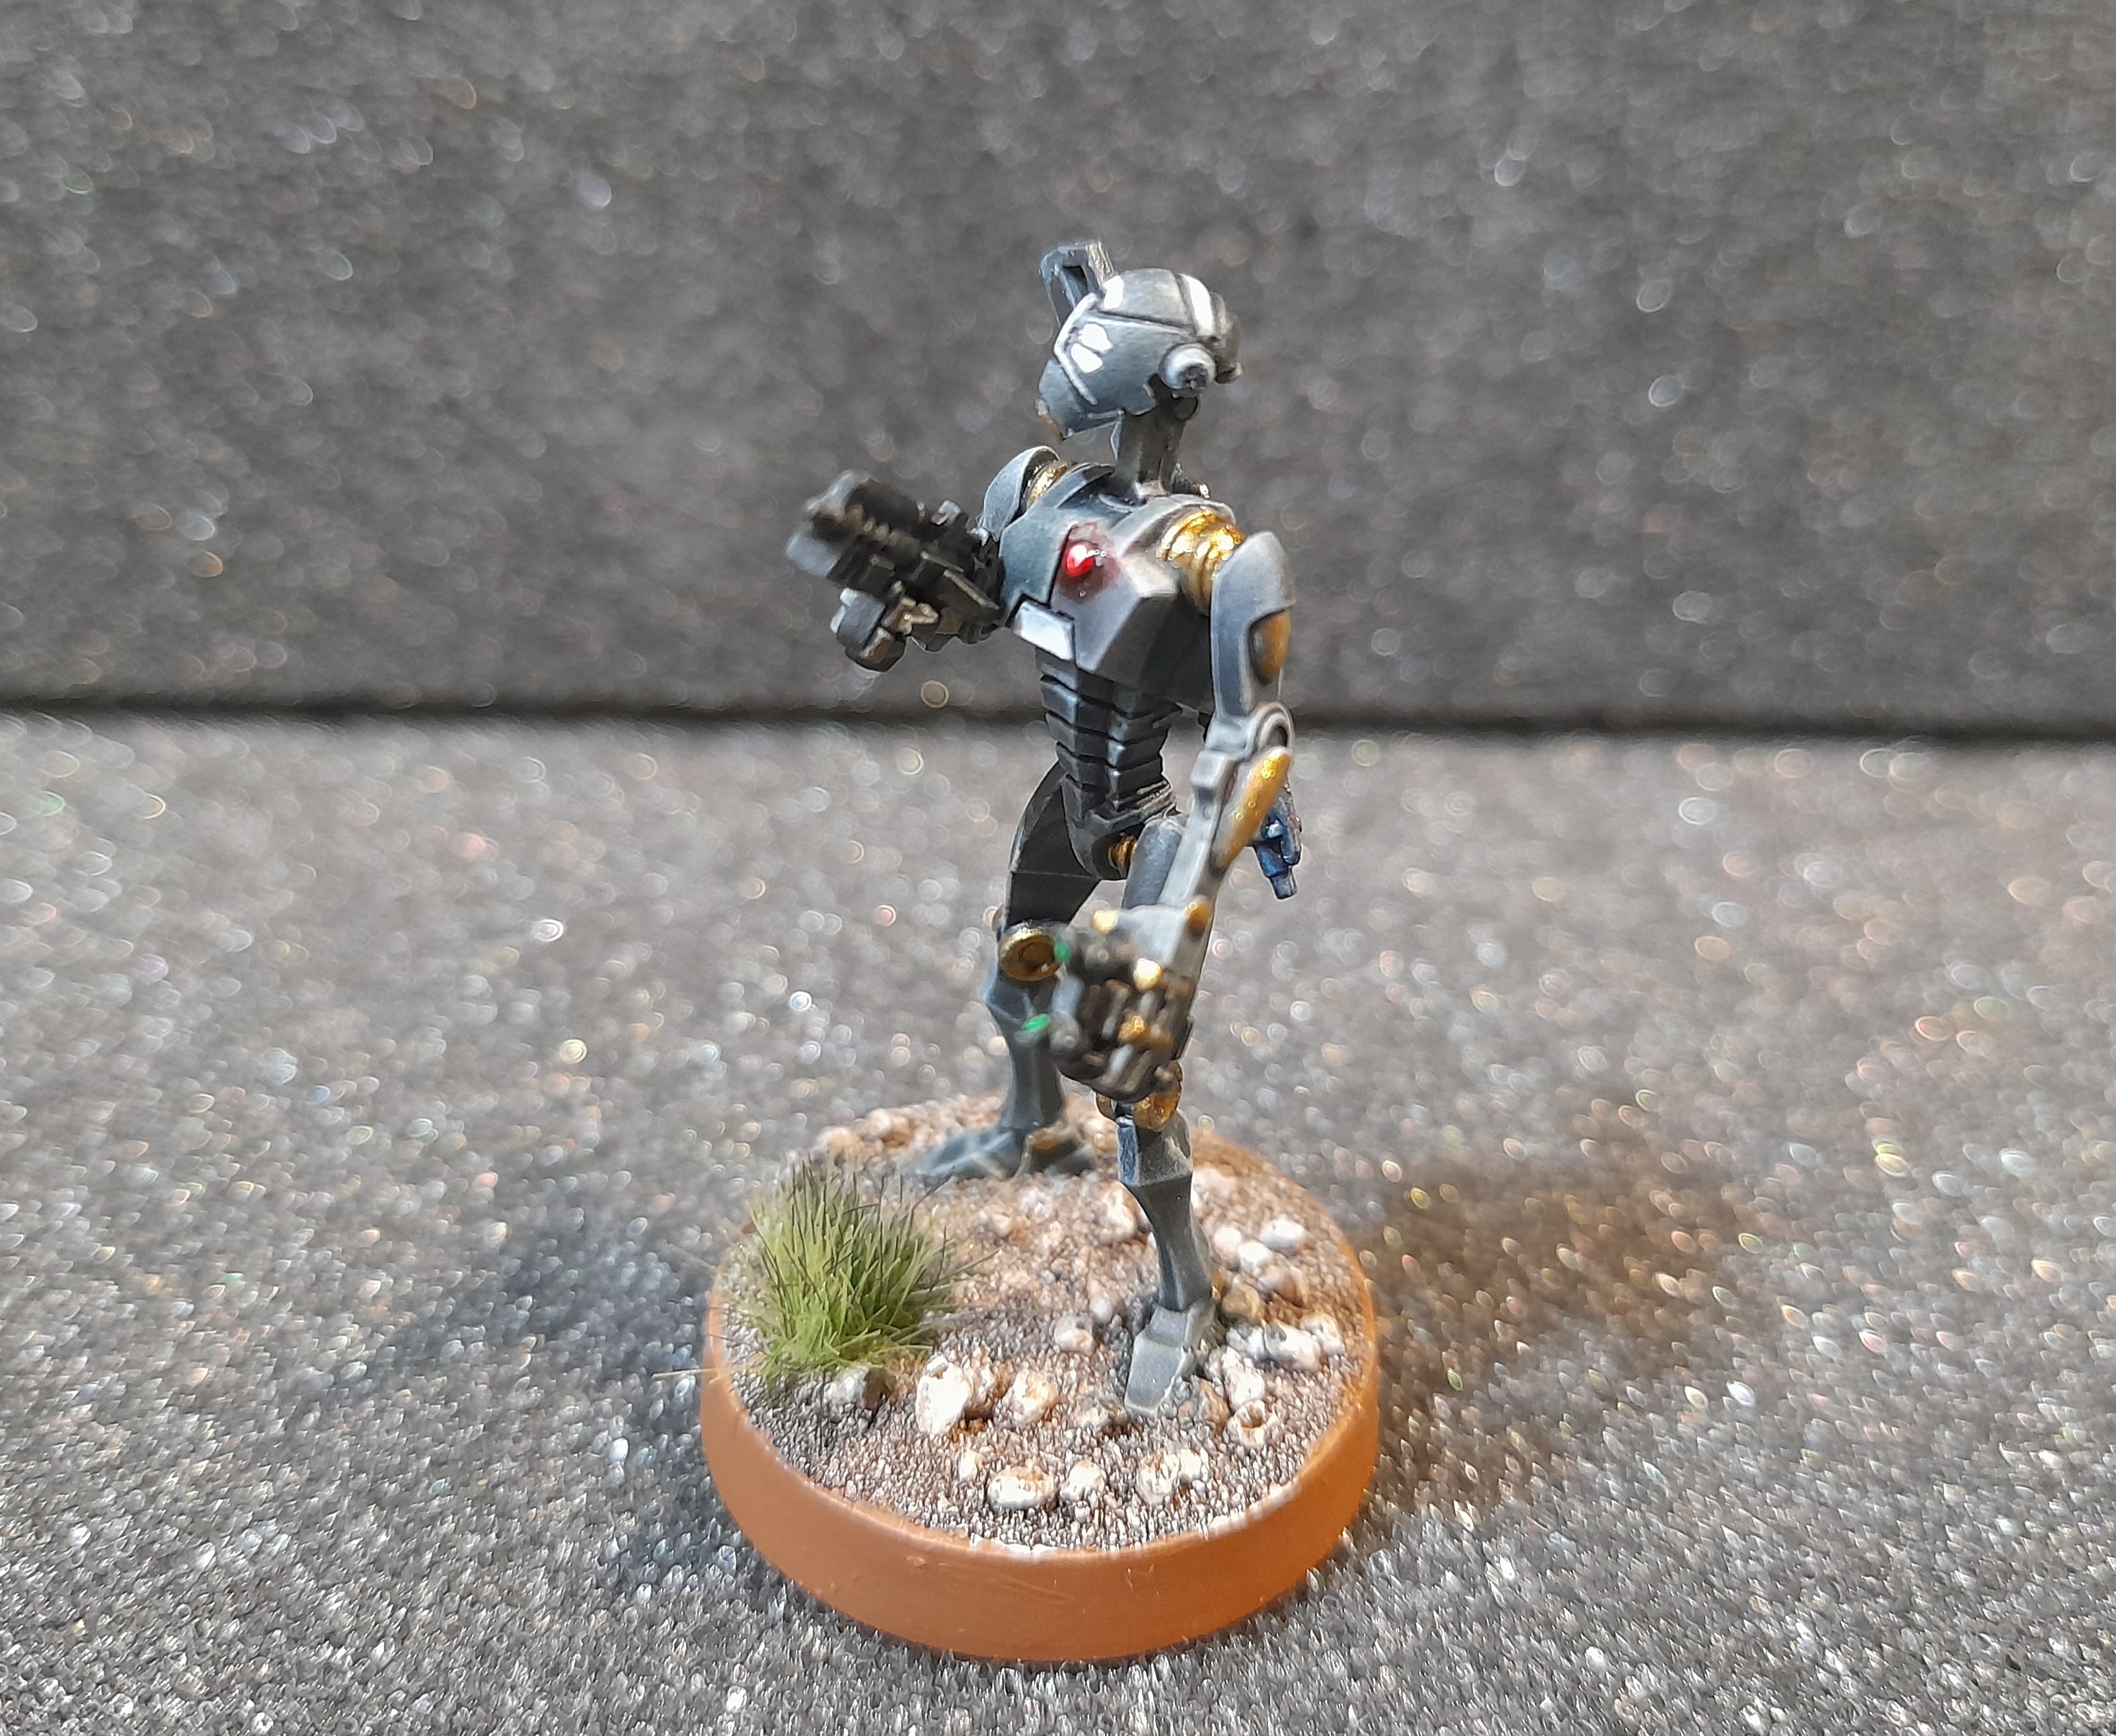
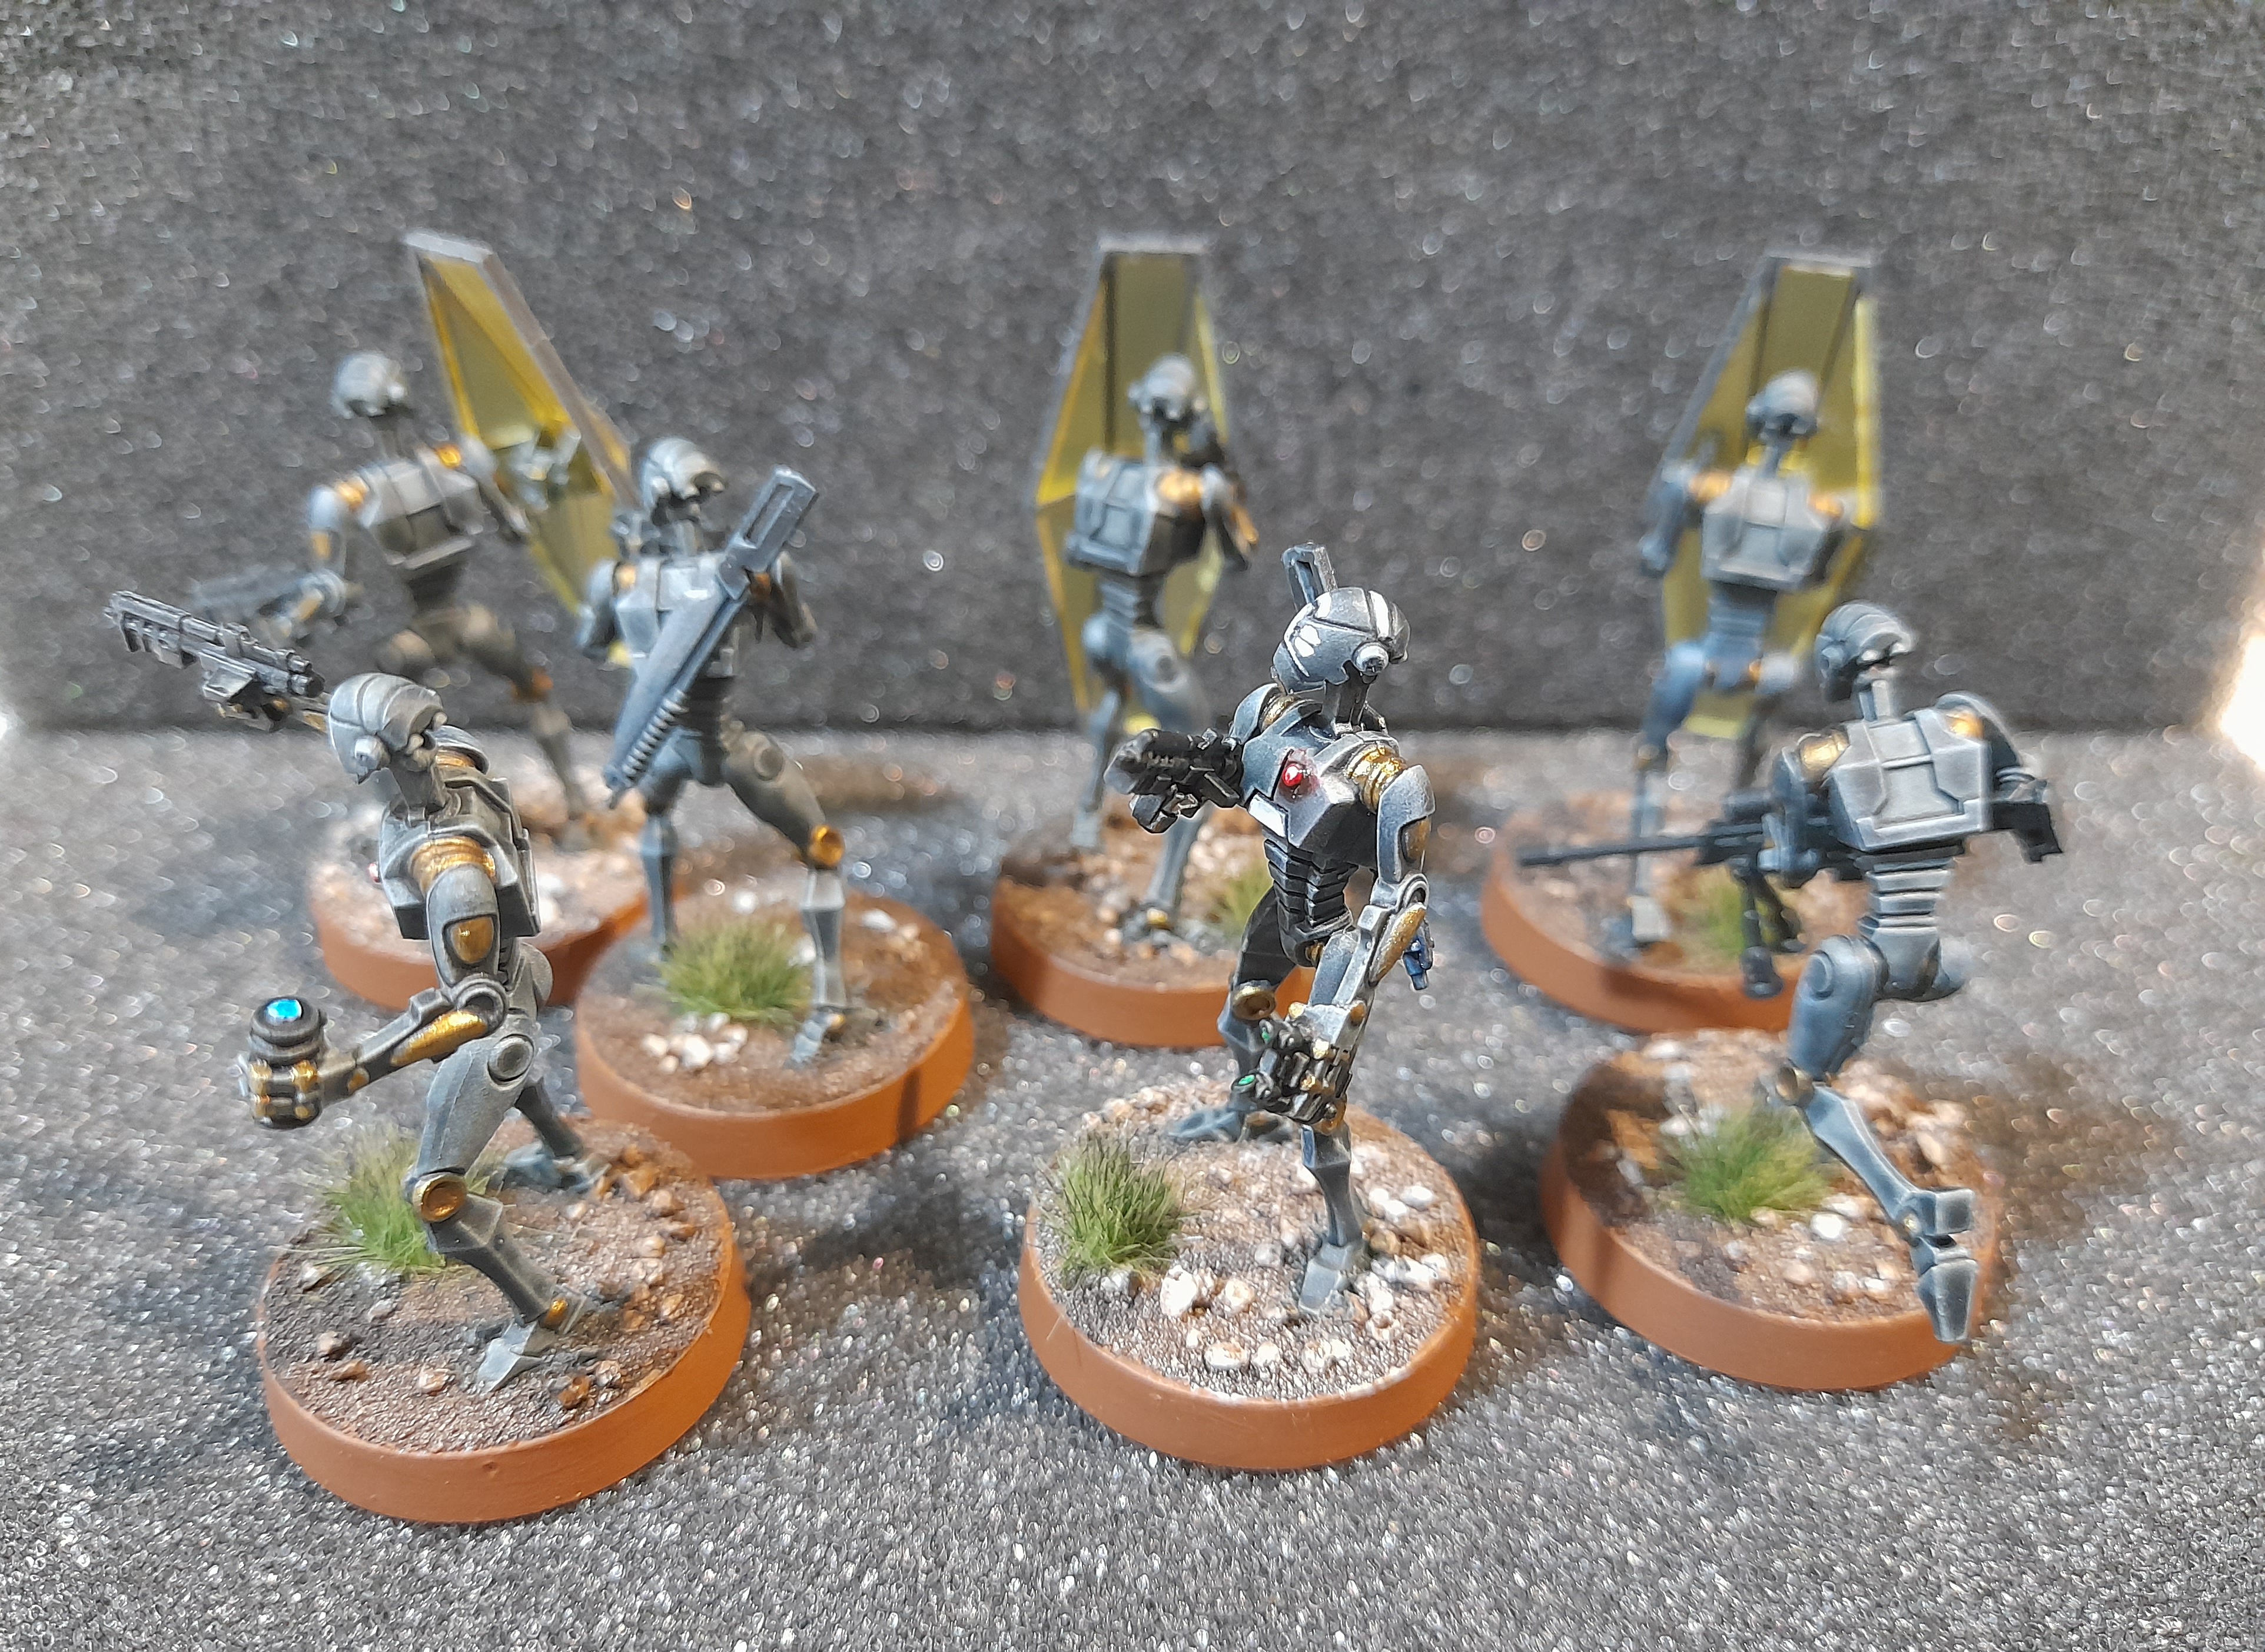
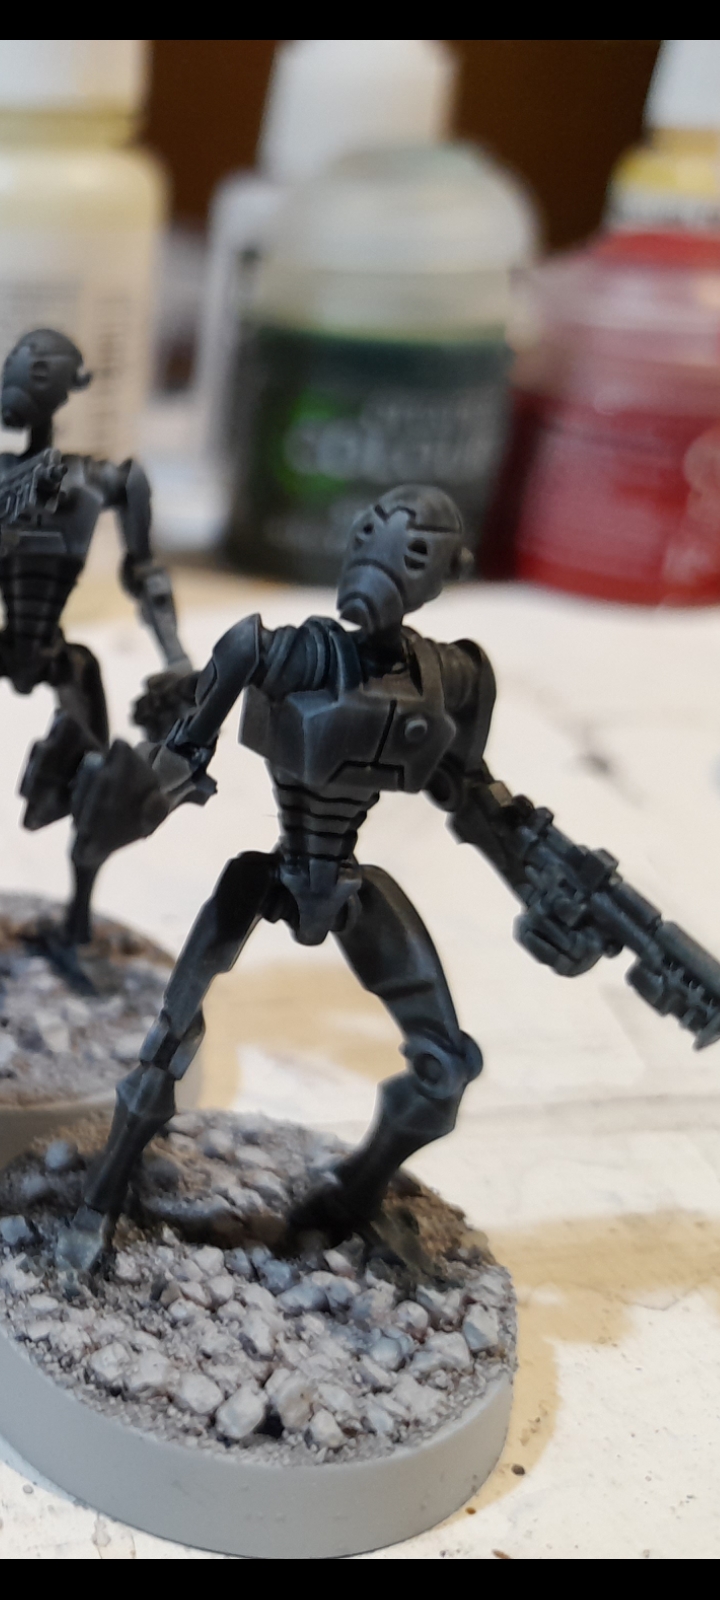
B1 Upgrade unit
24th February 2024
The four droids of the upgrade unit already had their base colour down. So, it was just a case of picking out the weapons and adding yellow marking for the command droid and red markings for the security droid.
For the radiation cannon I went for a fluo green wash over the business end of the gun.
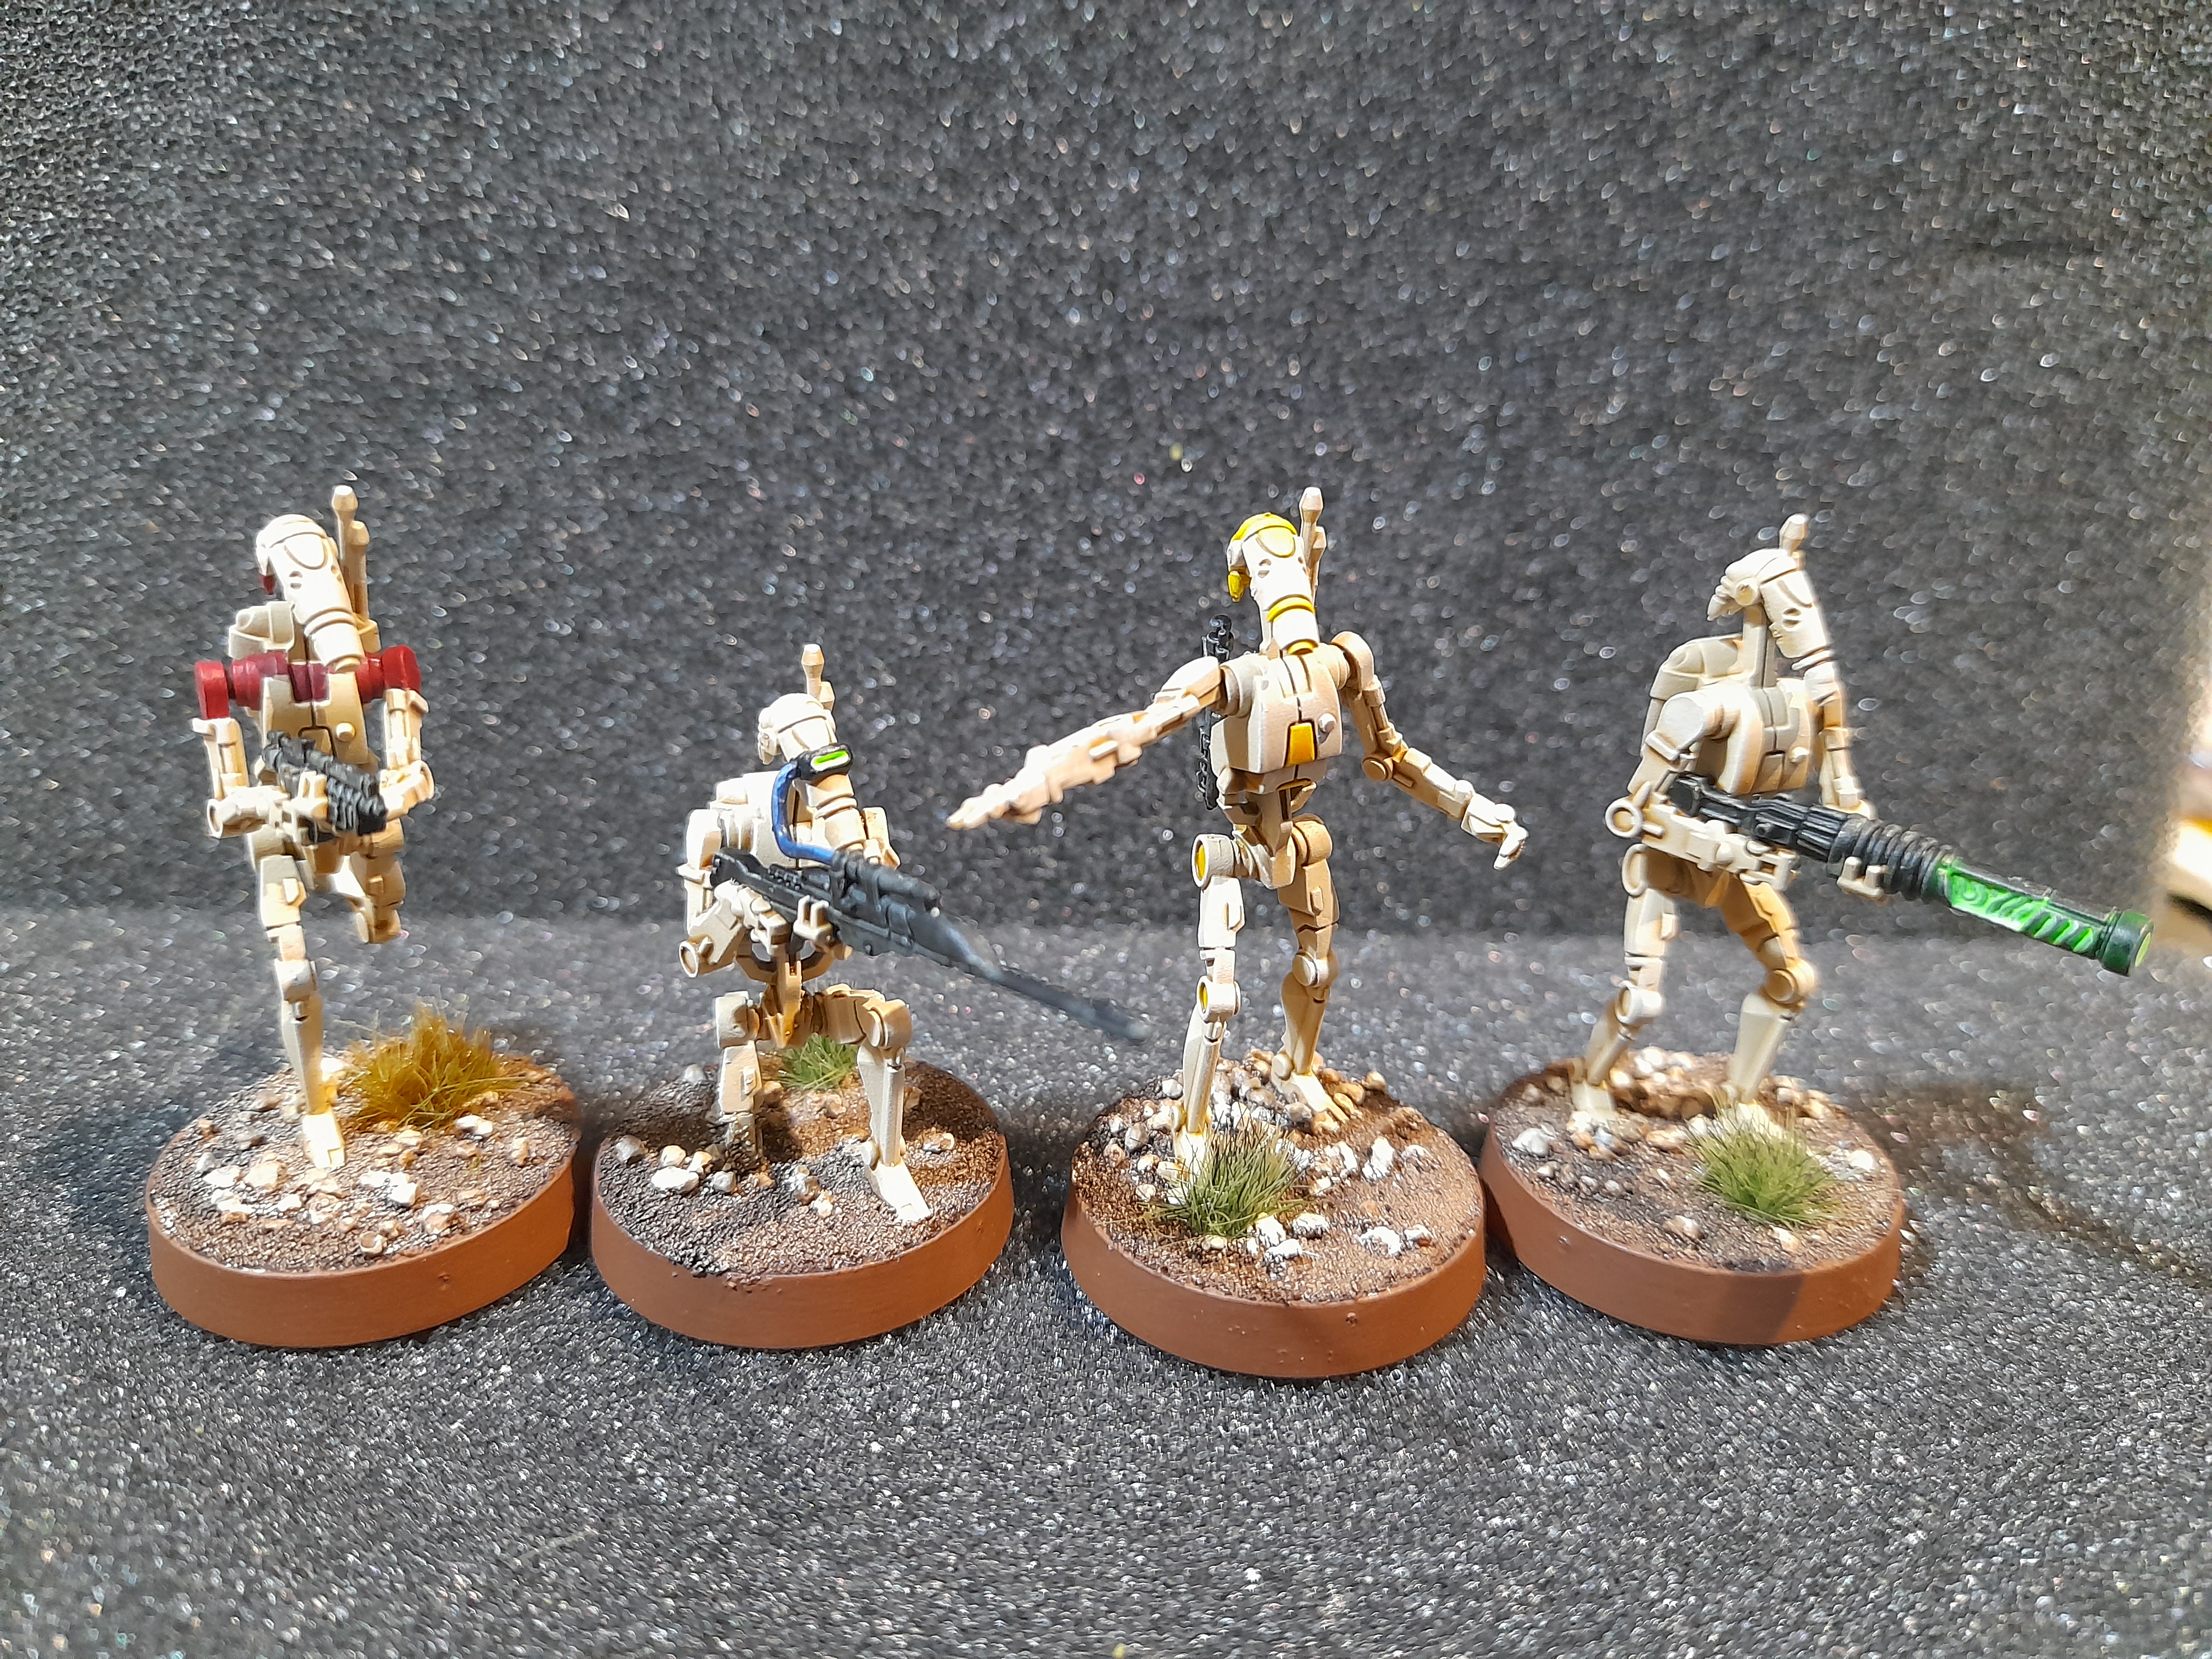
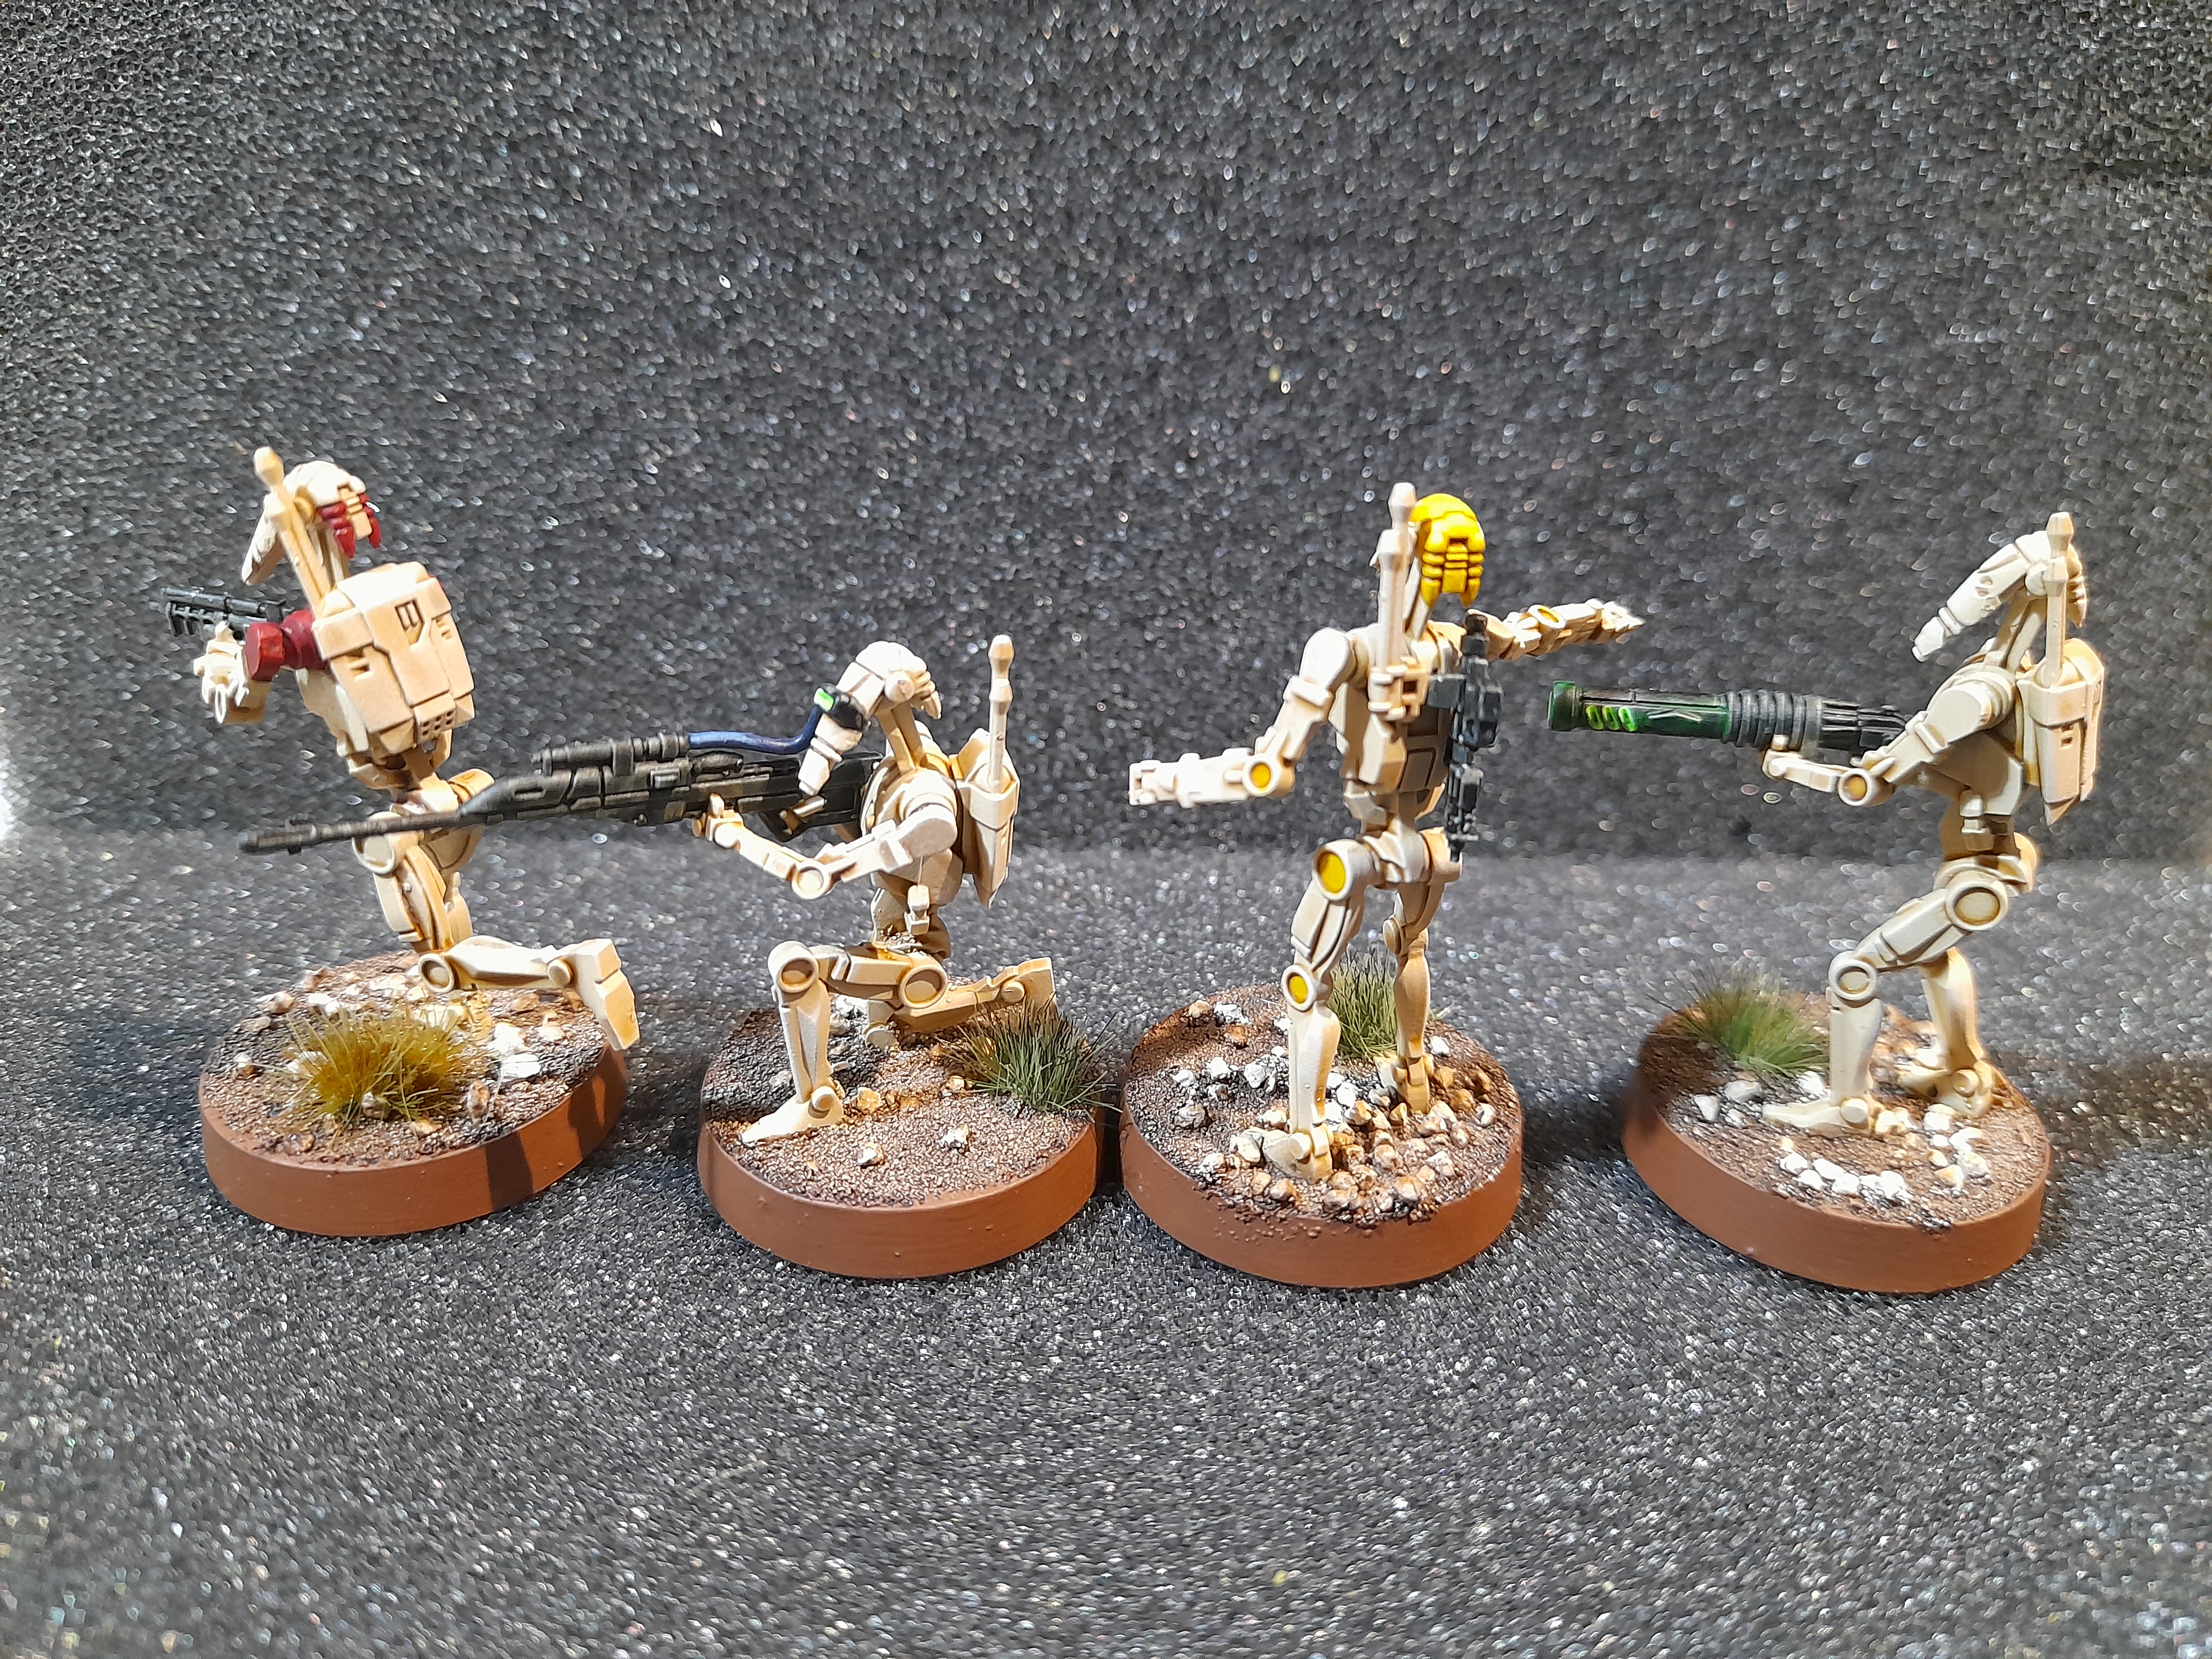
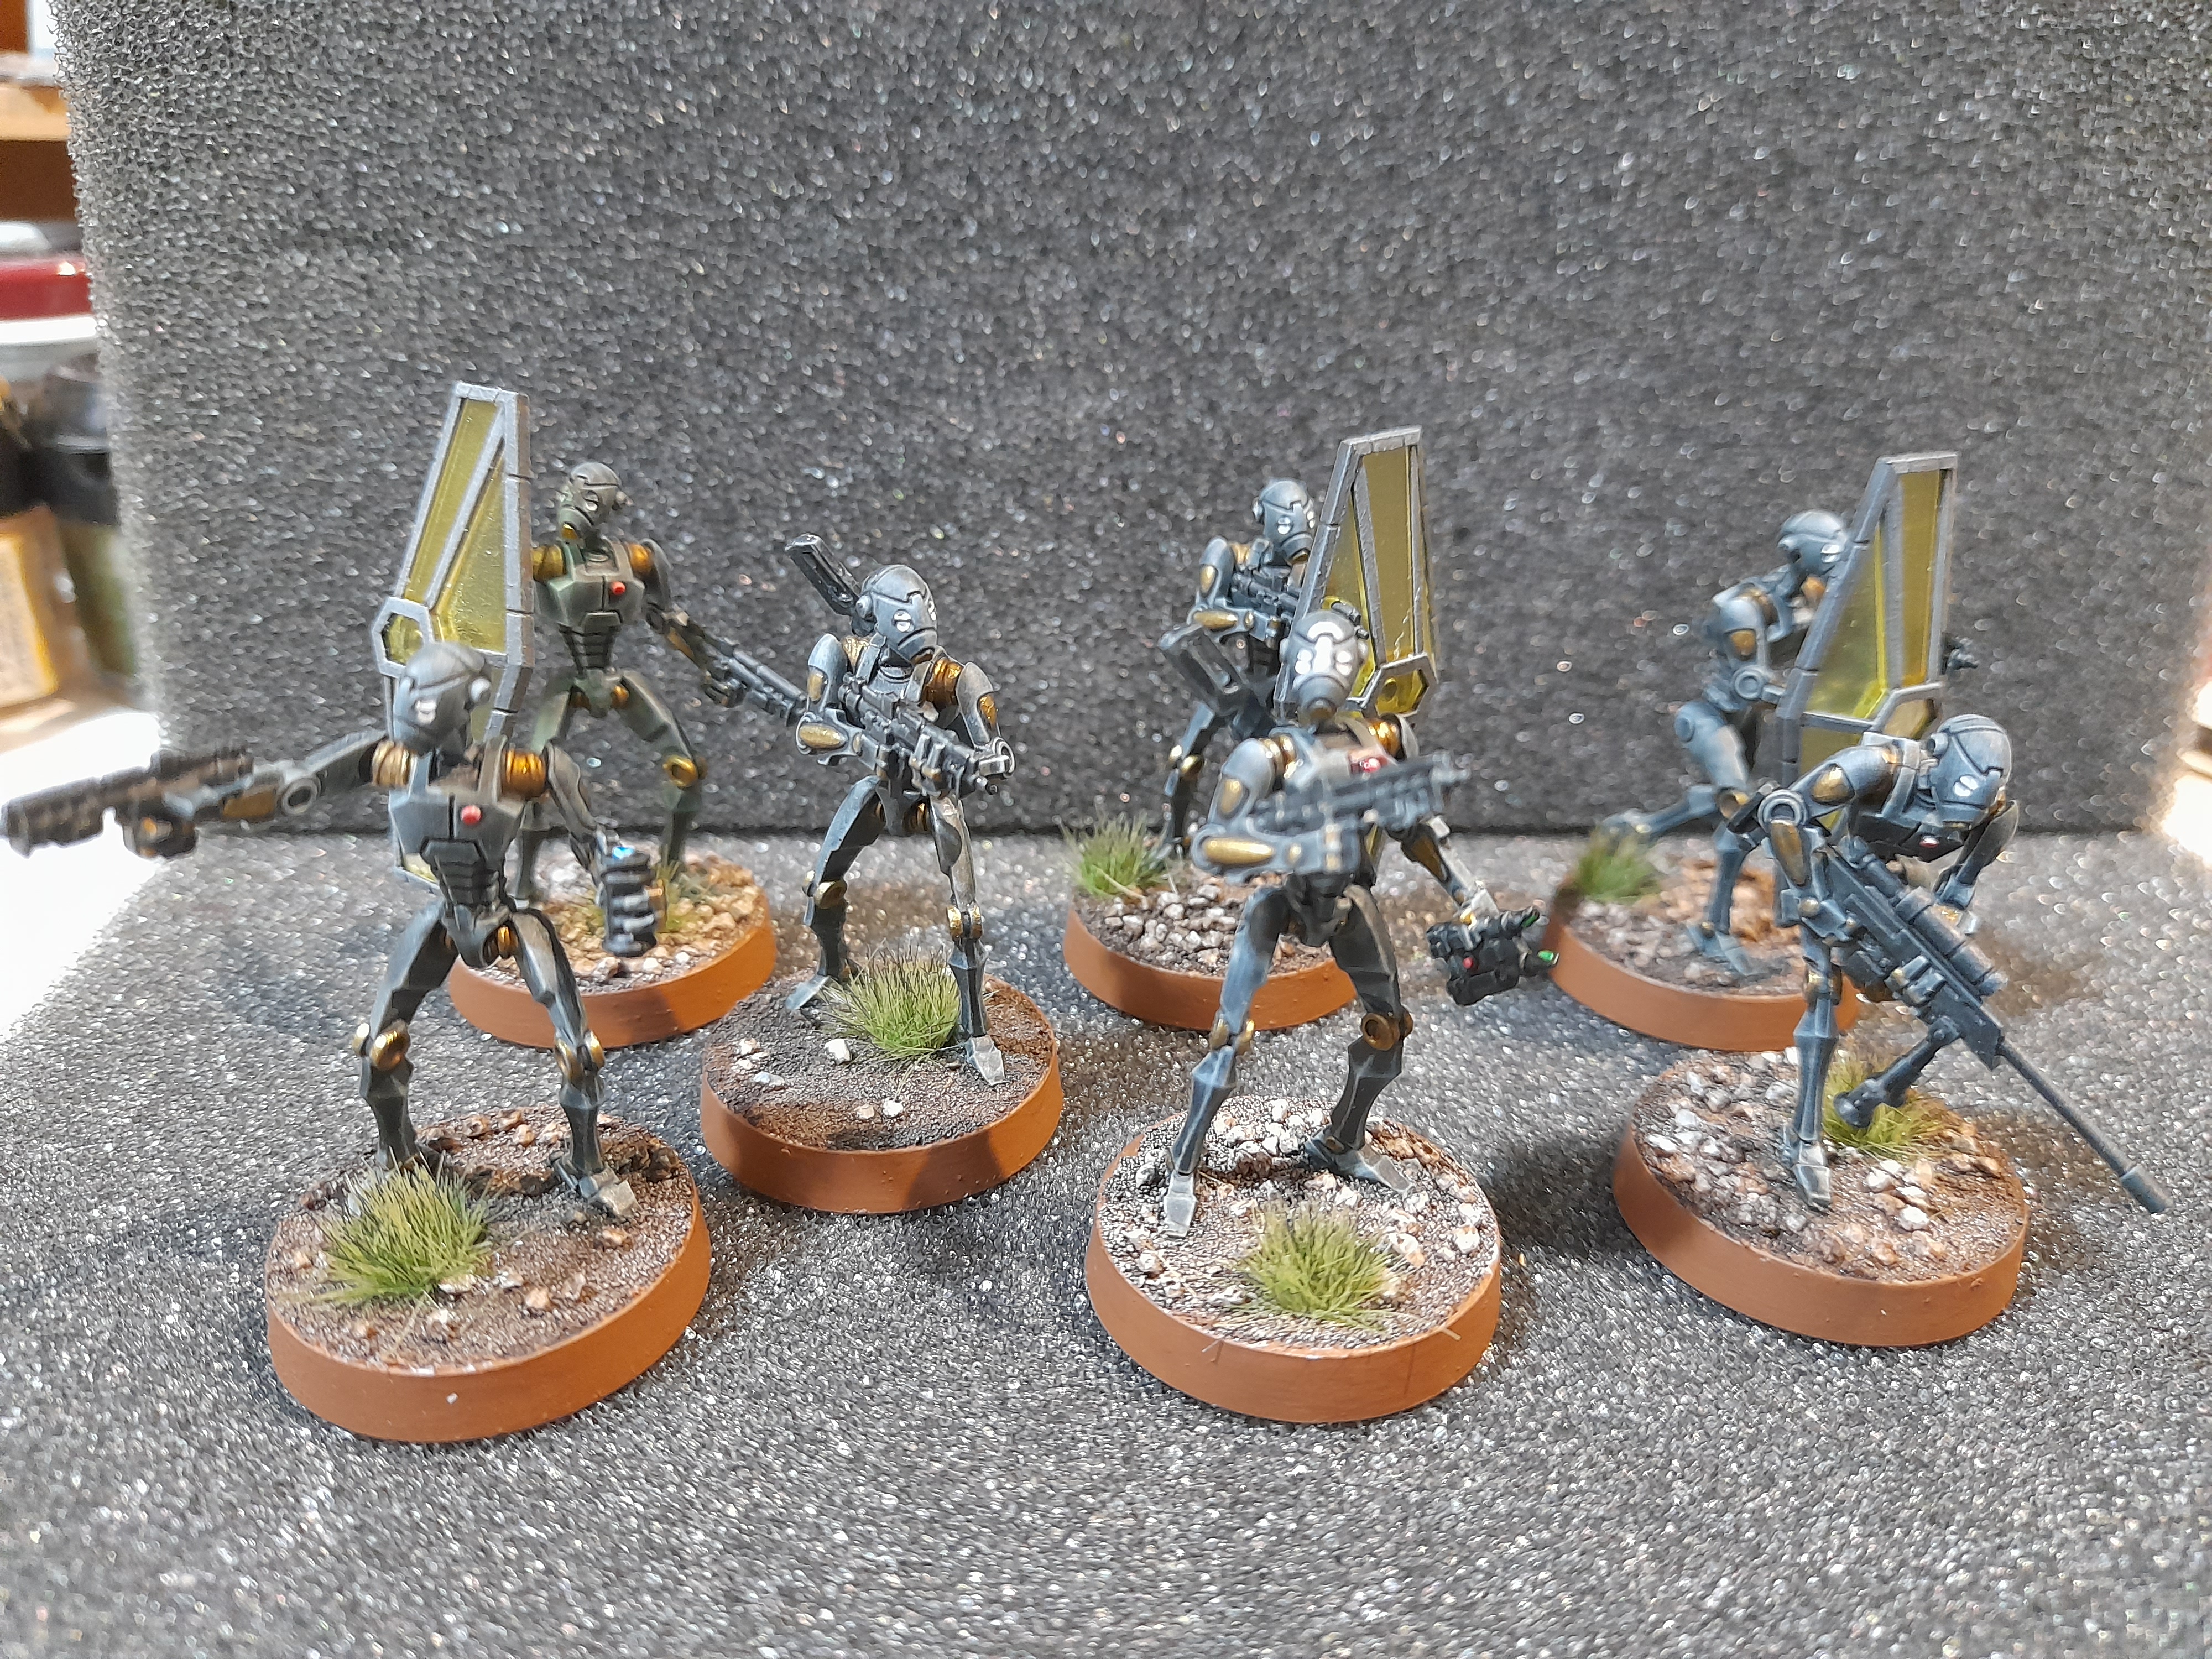
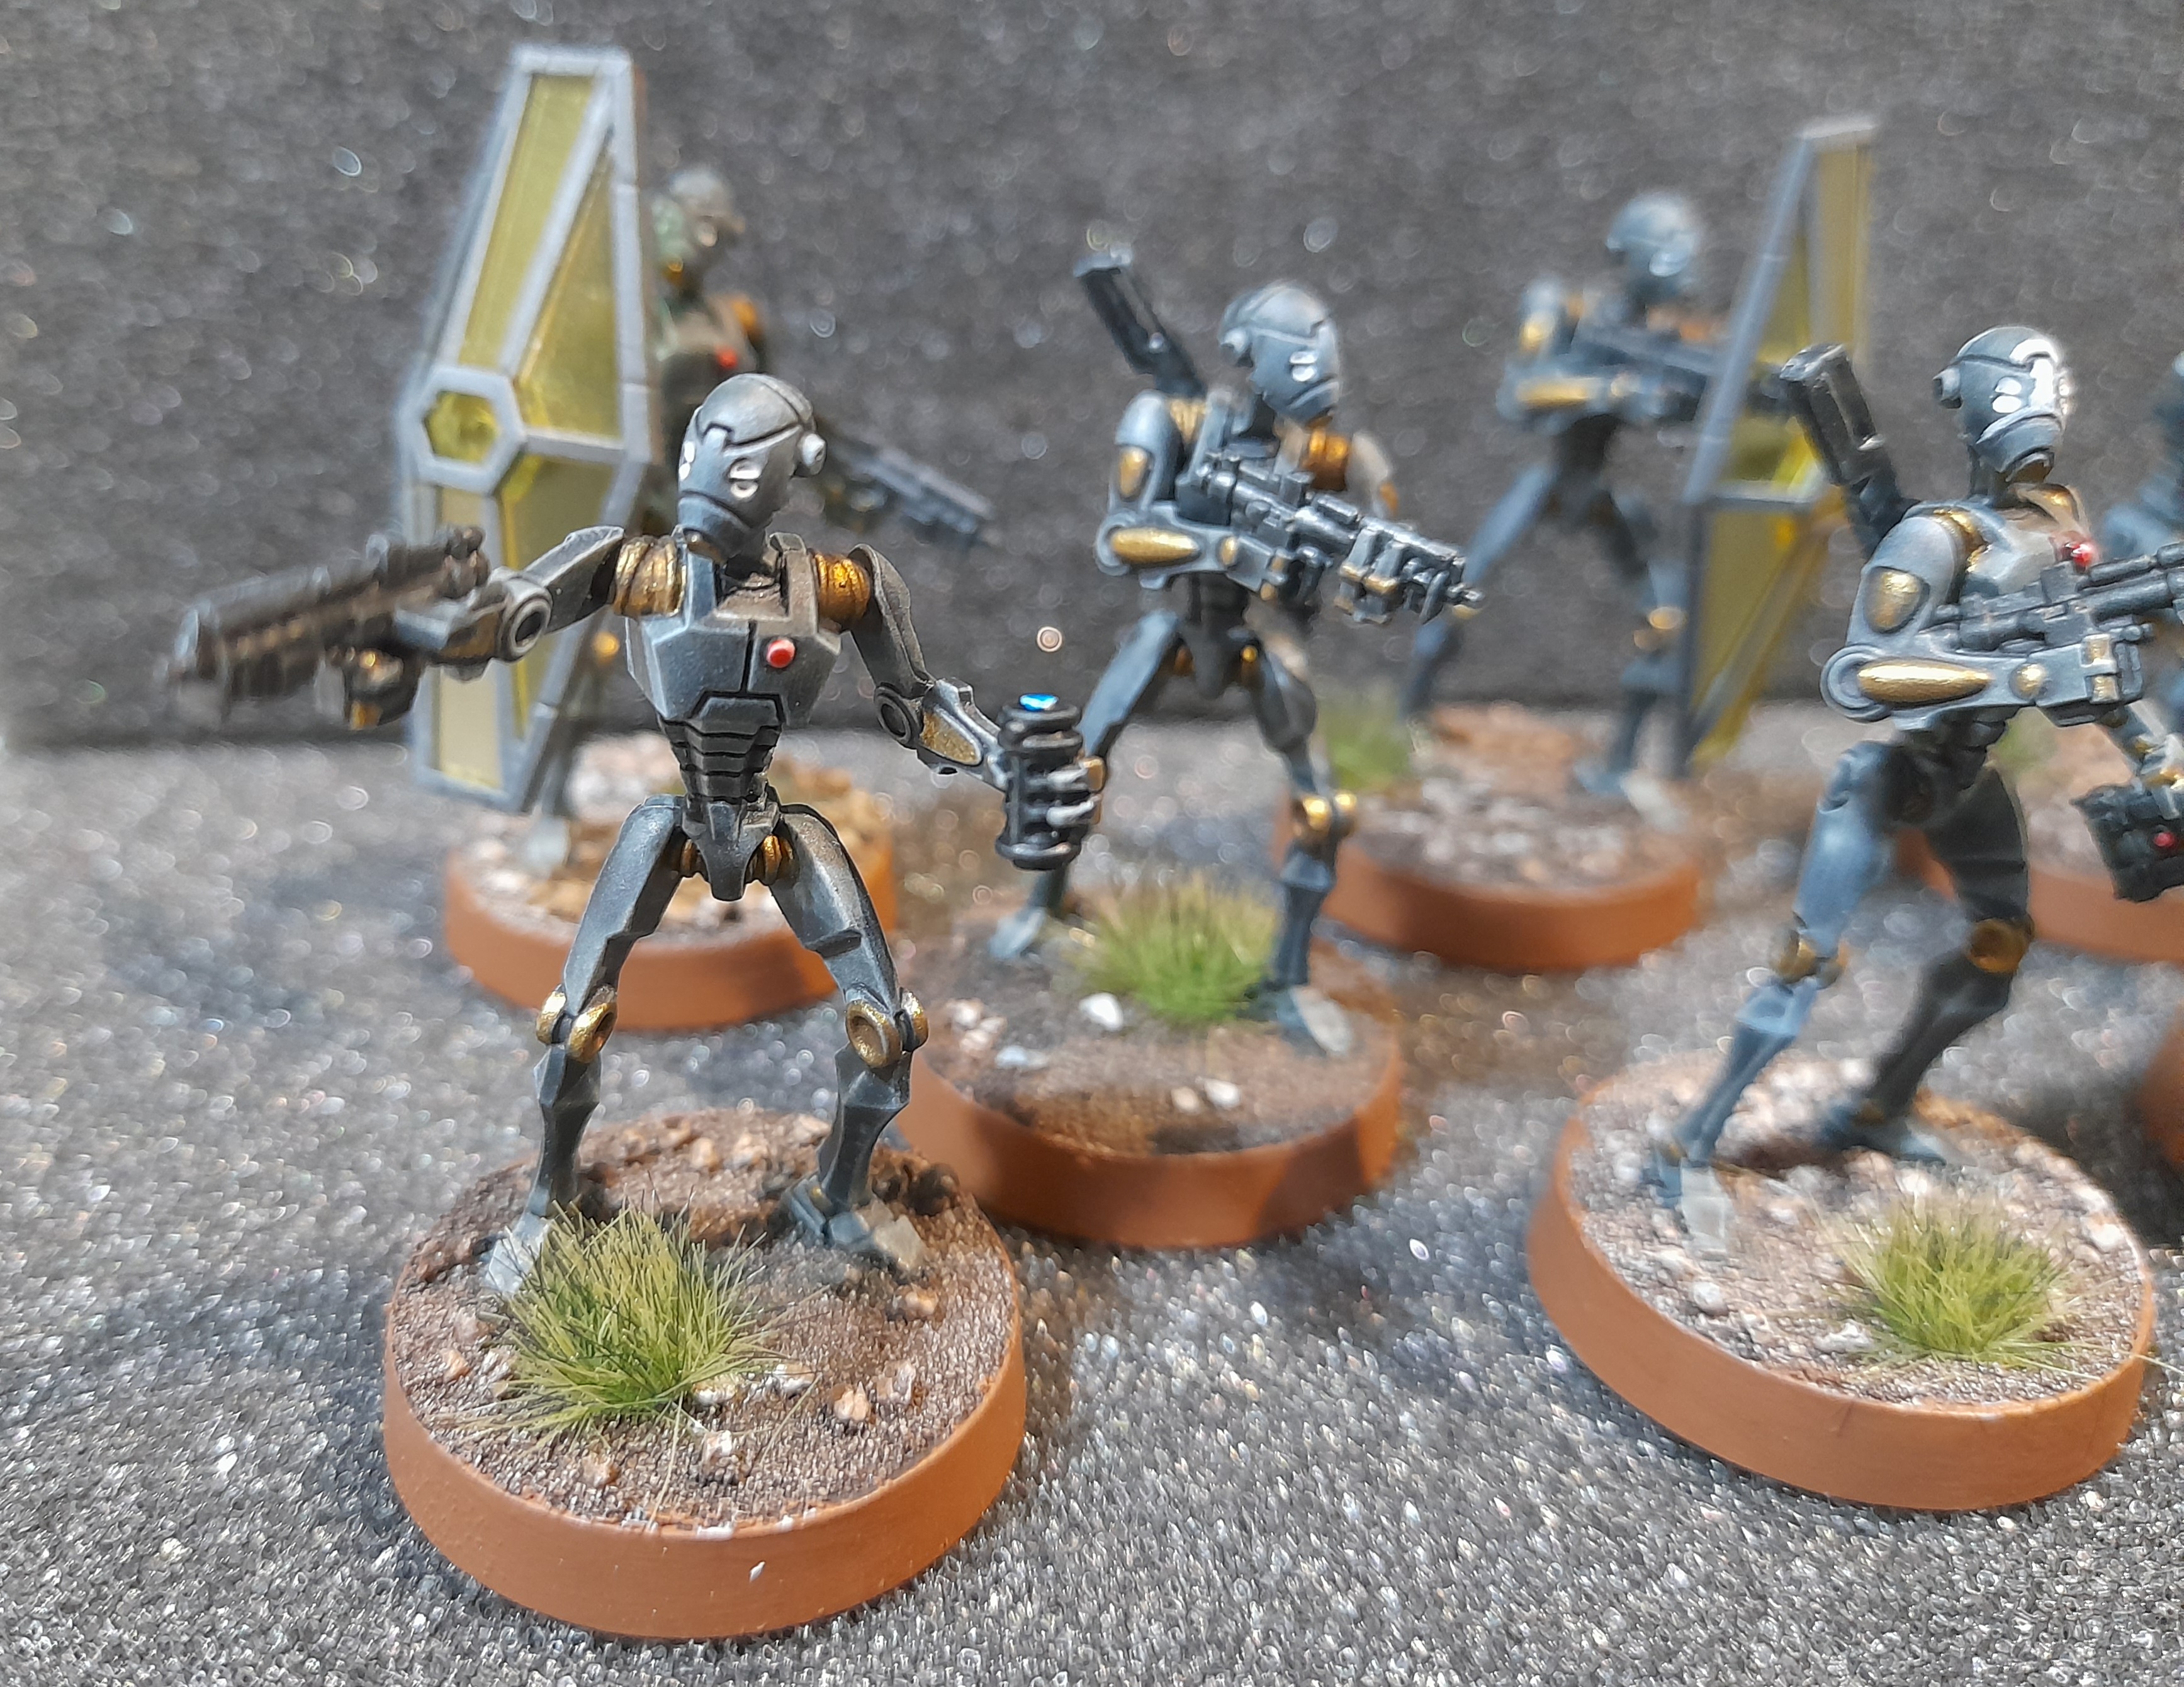
Roger! Roger!
23rd February 2024
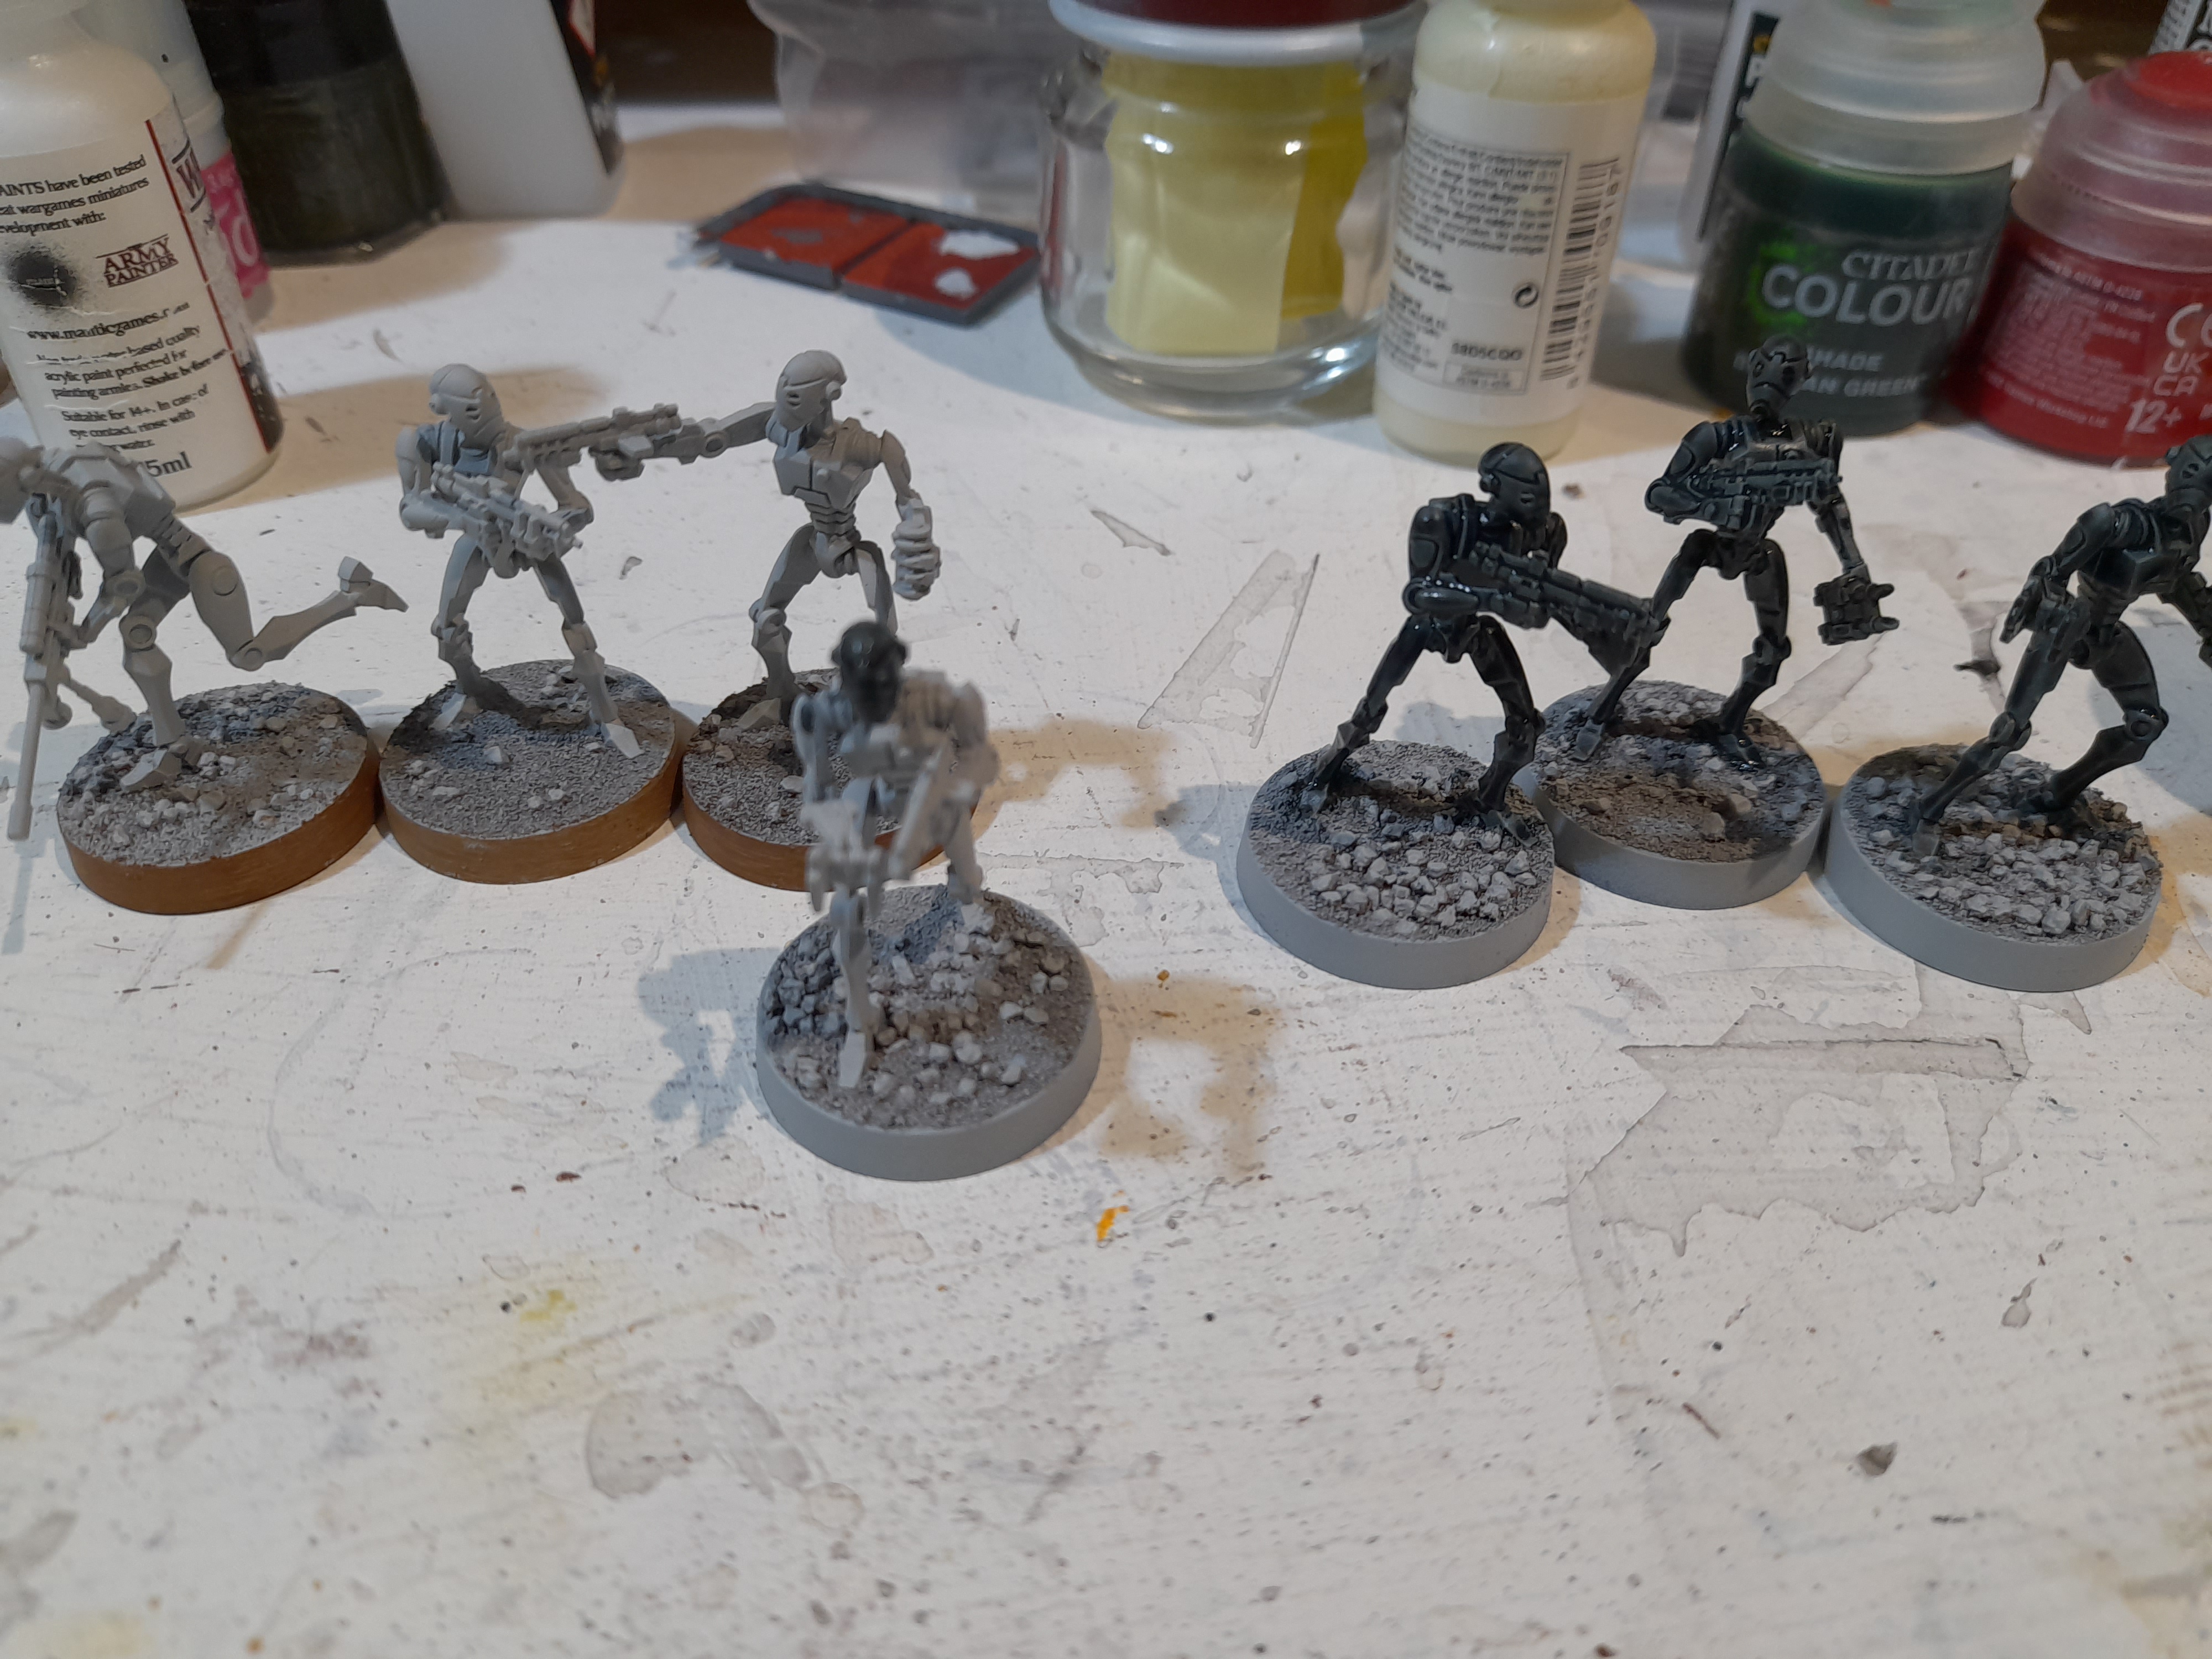
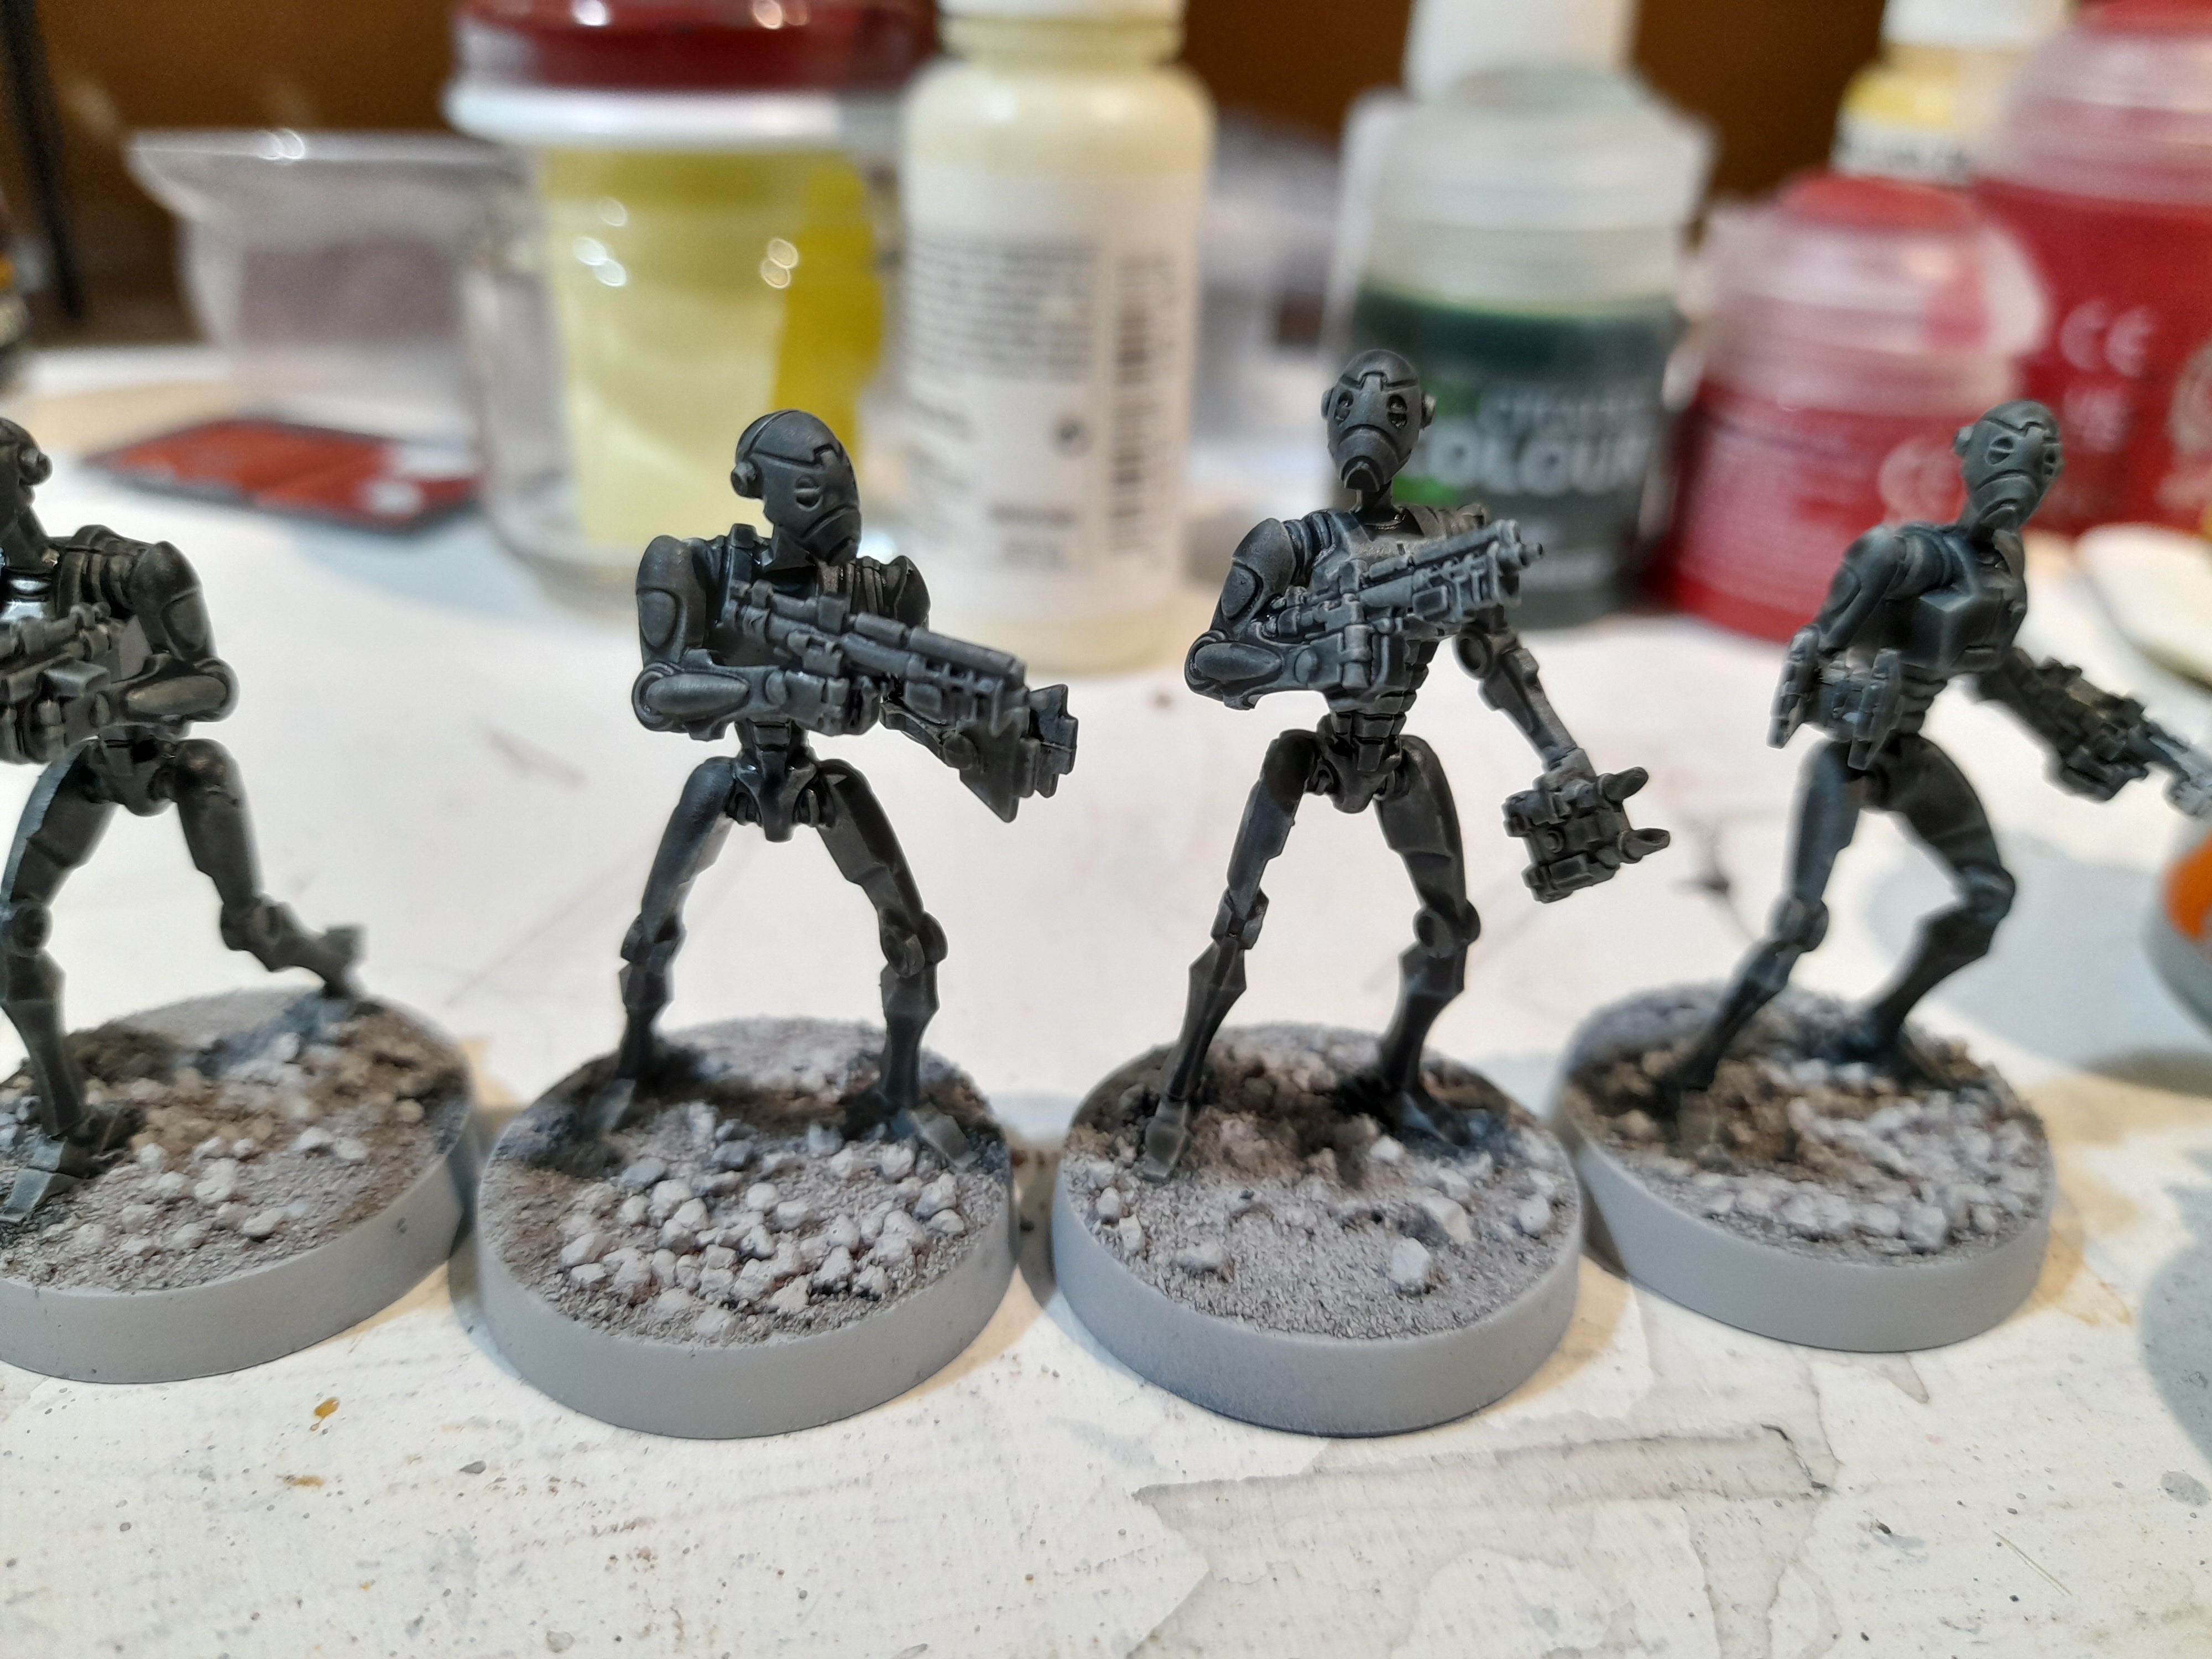
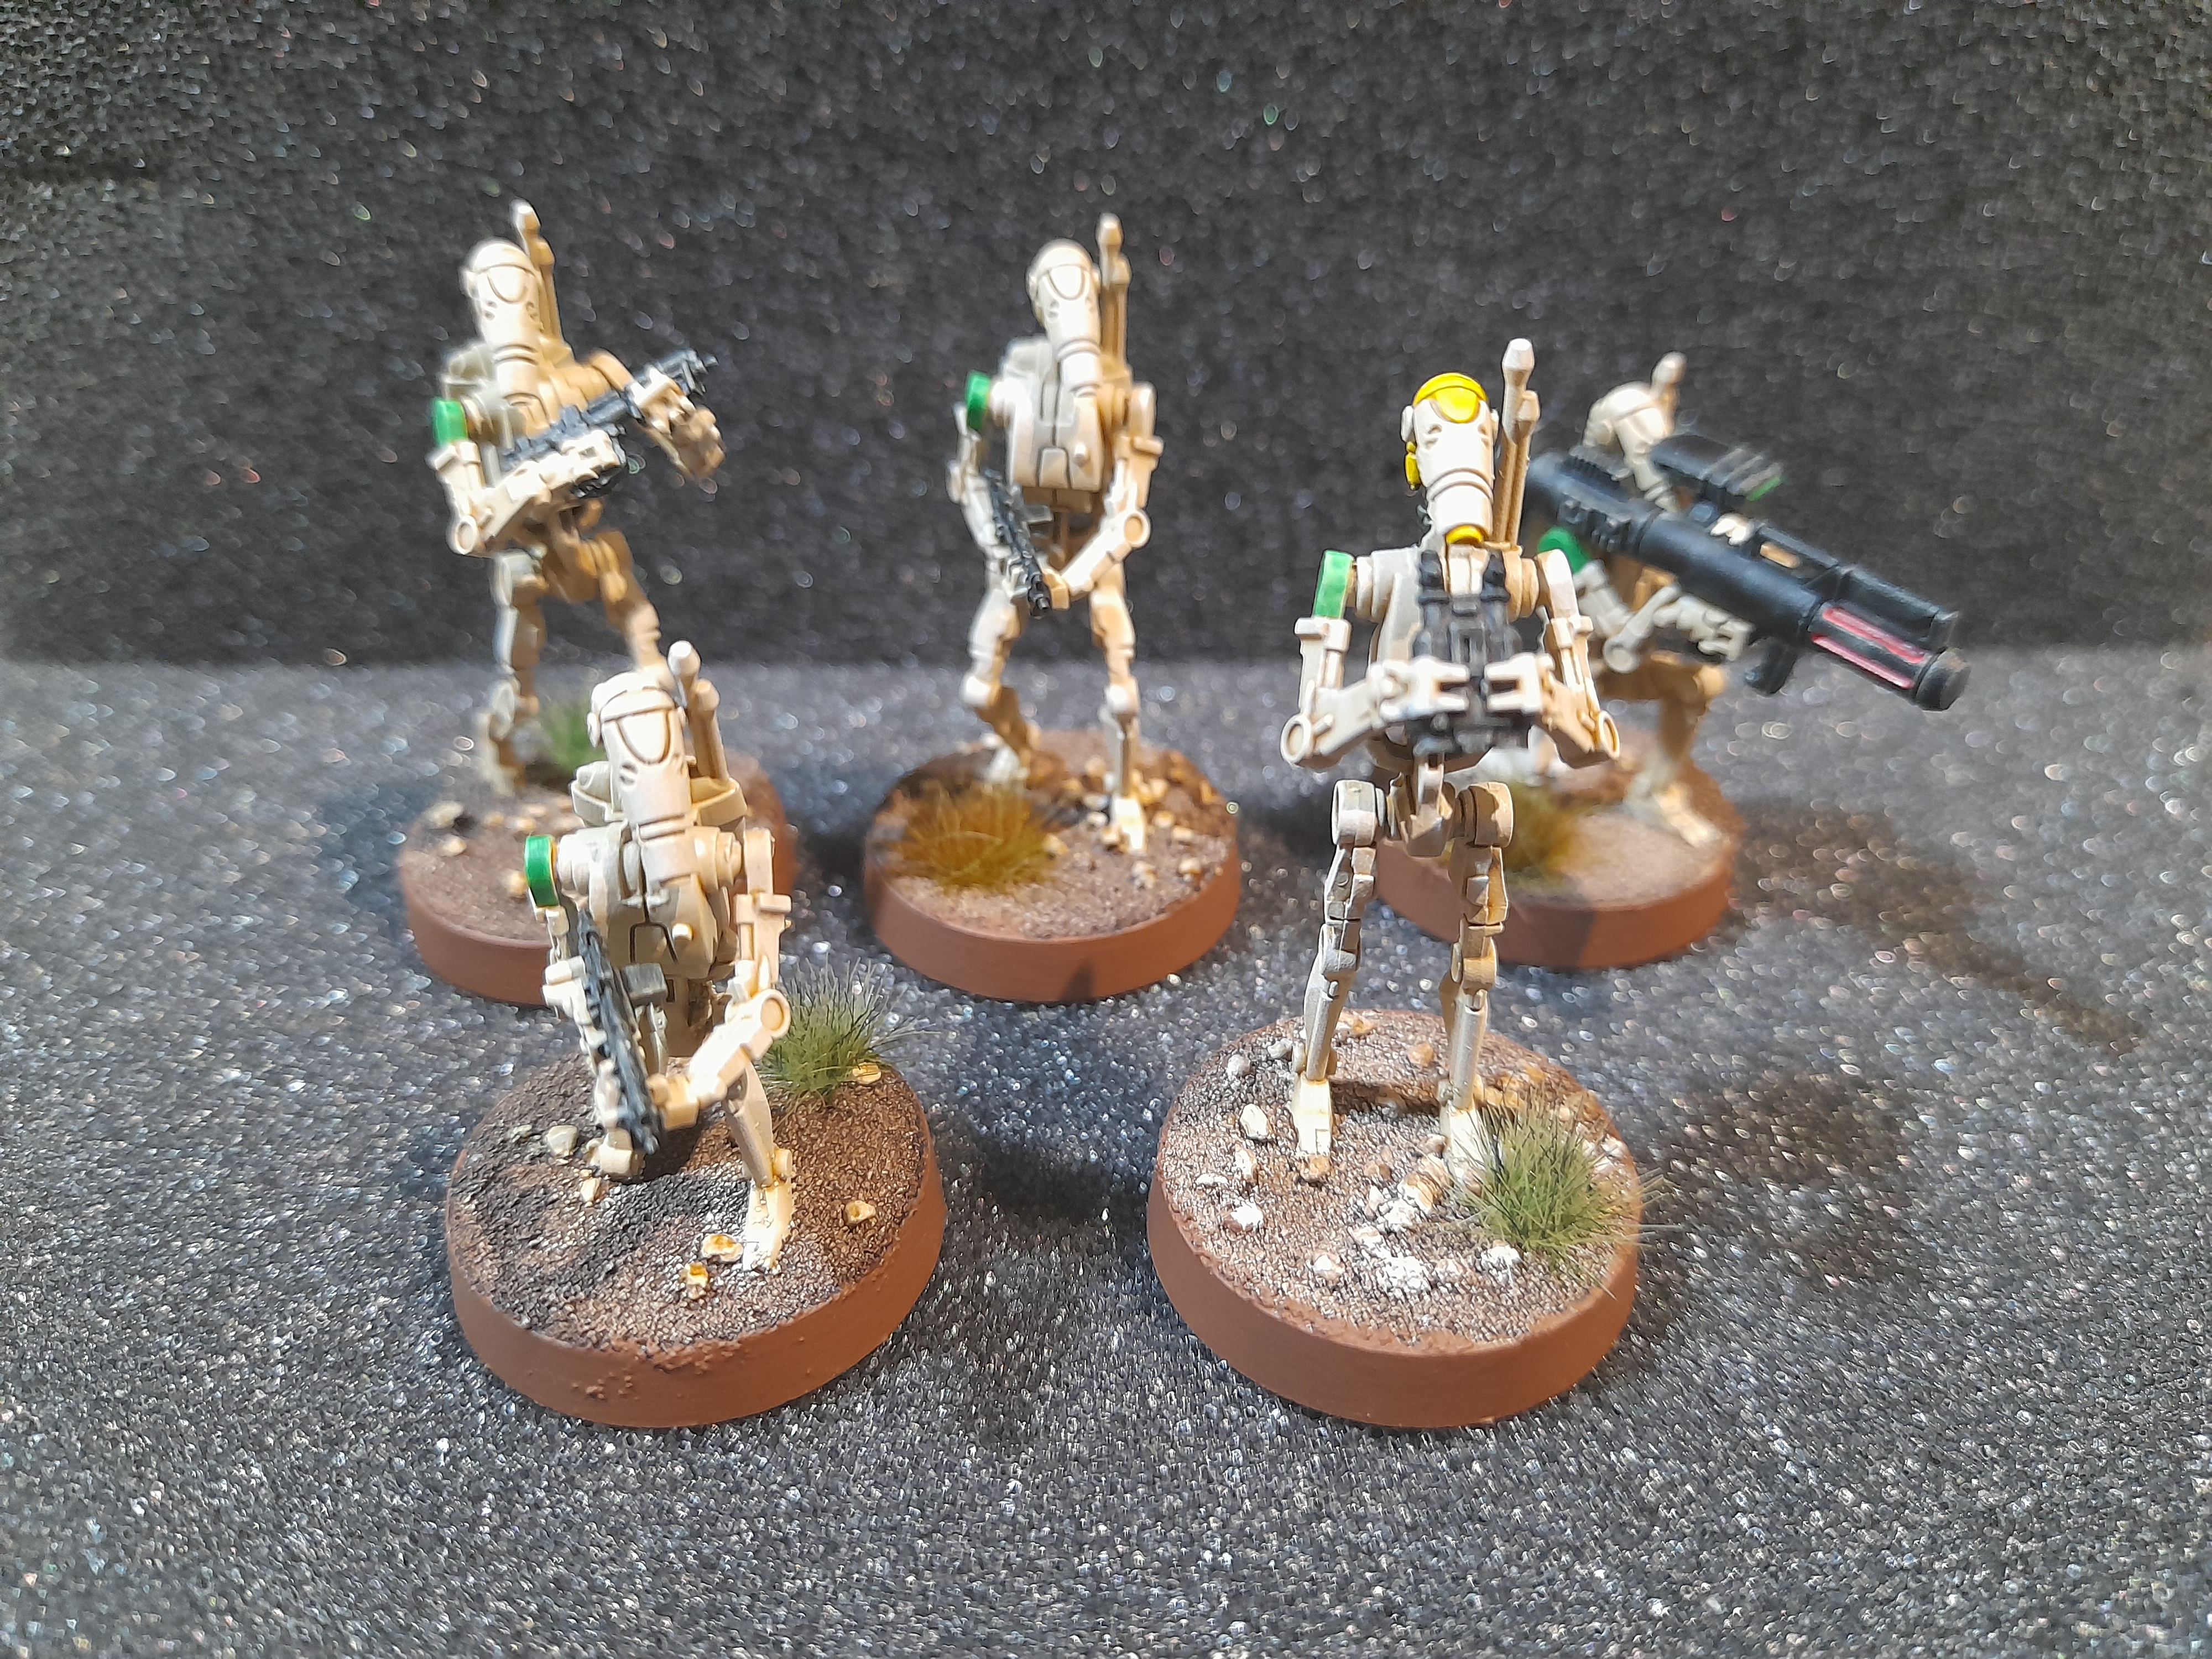
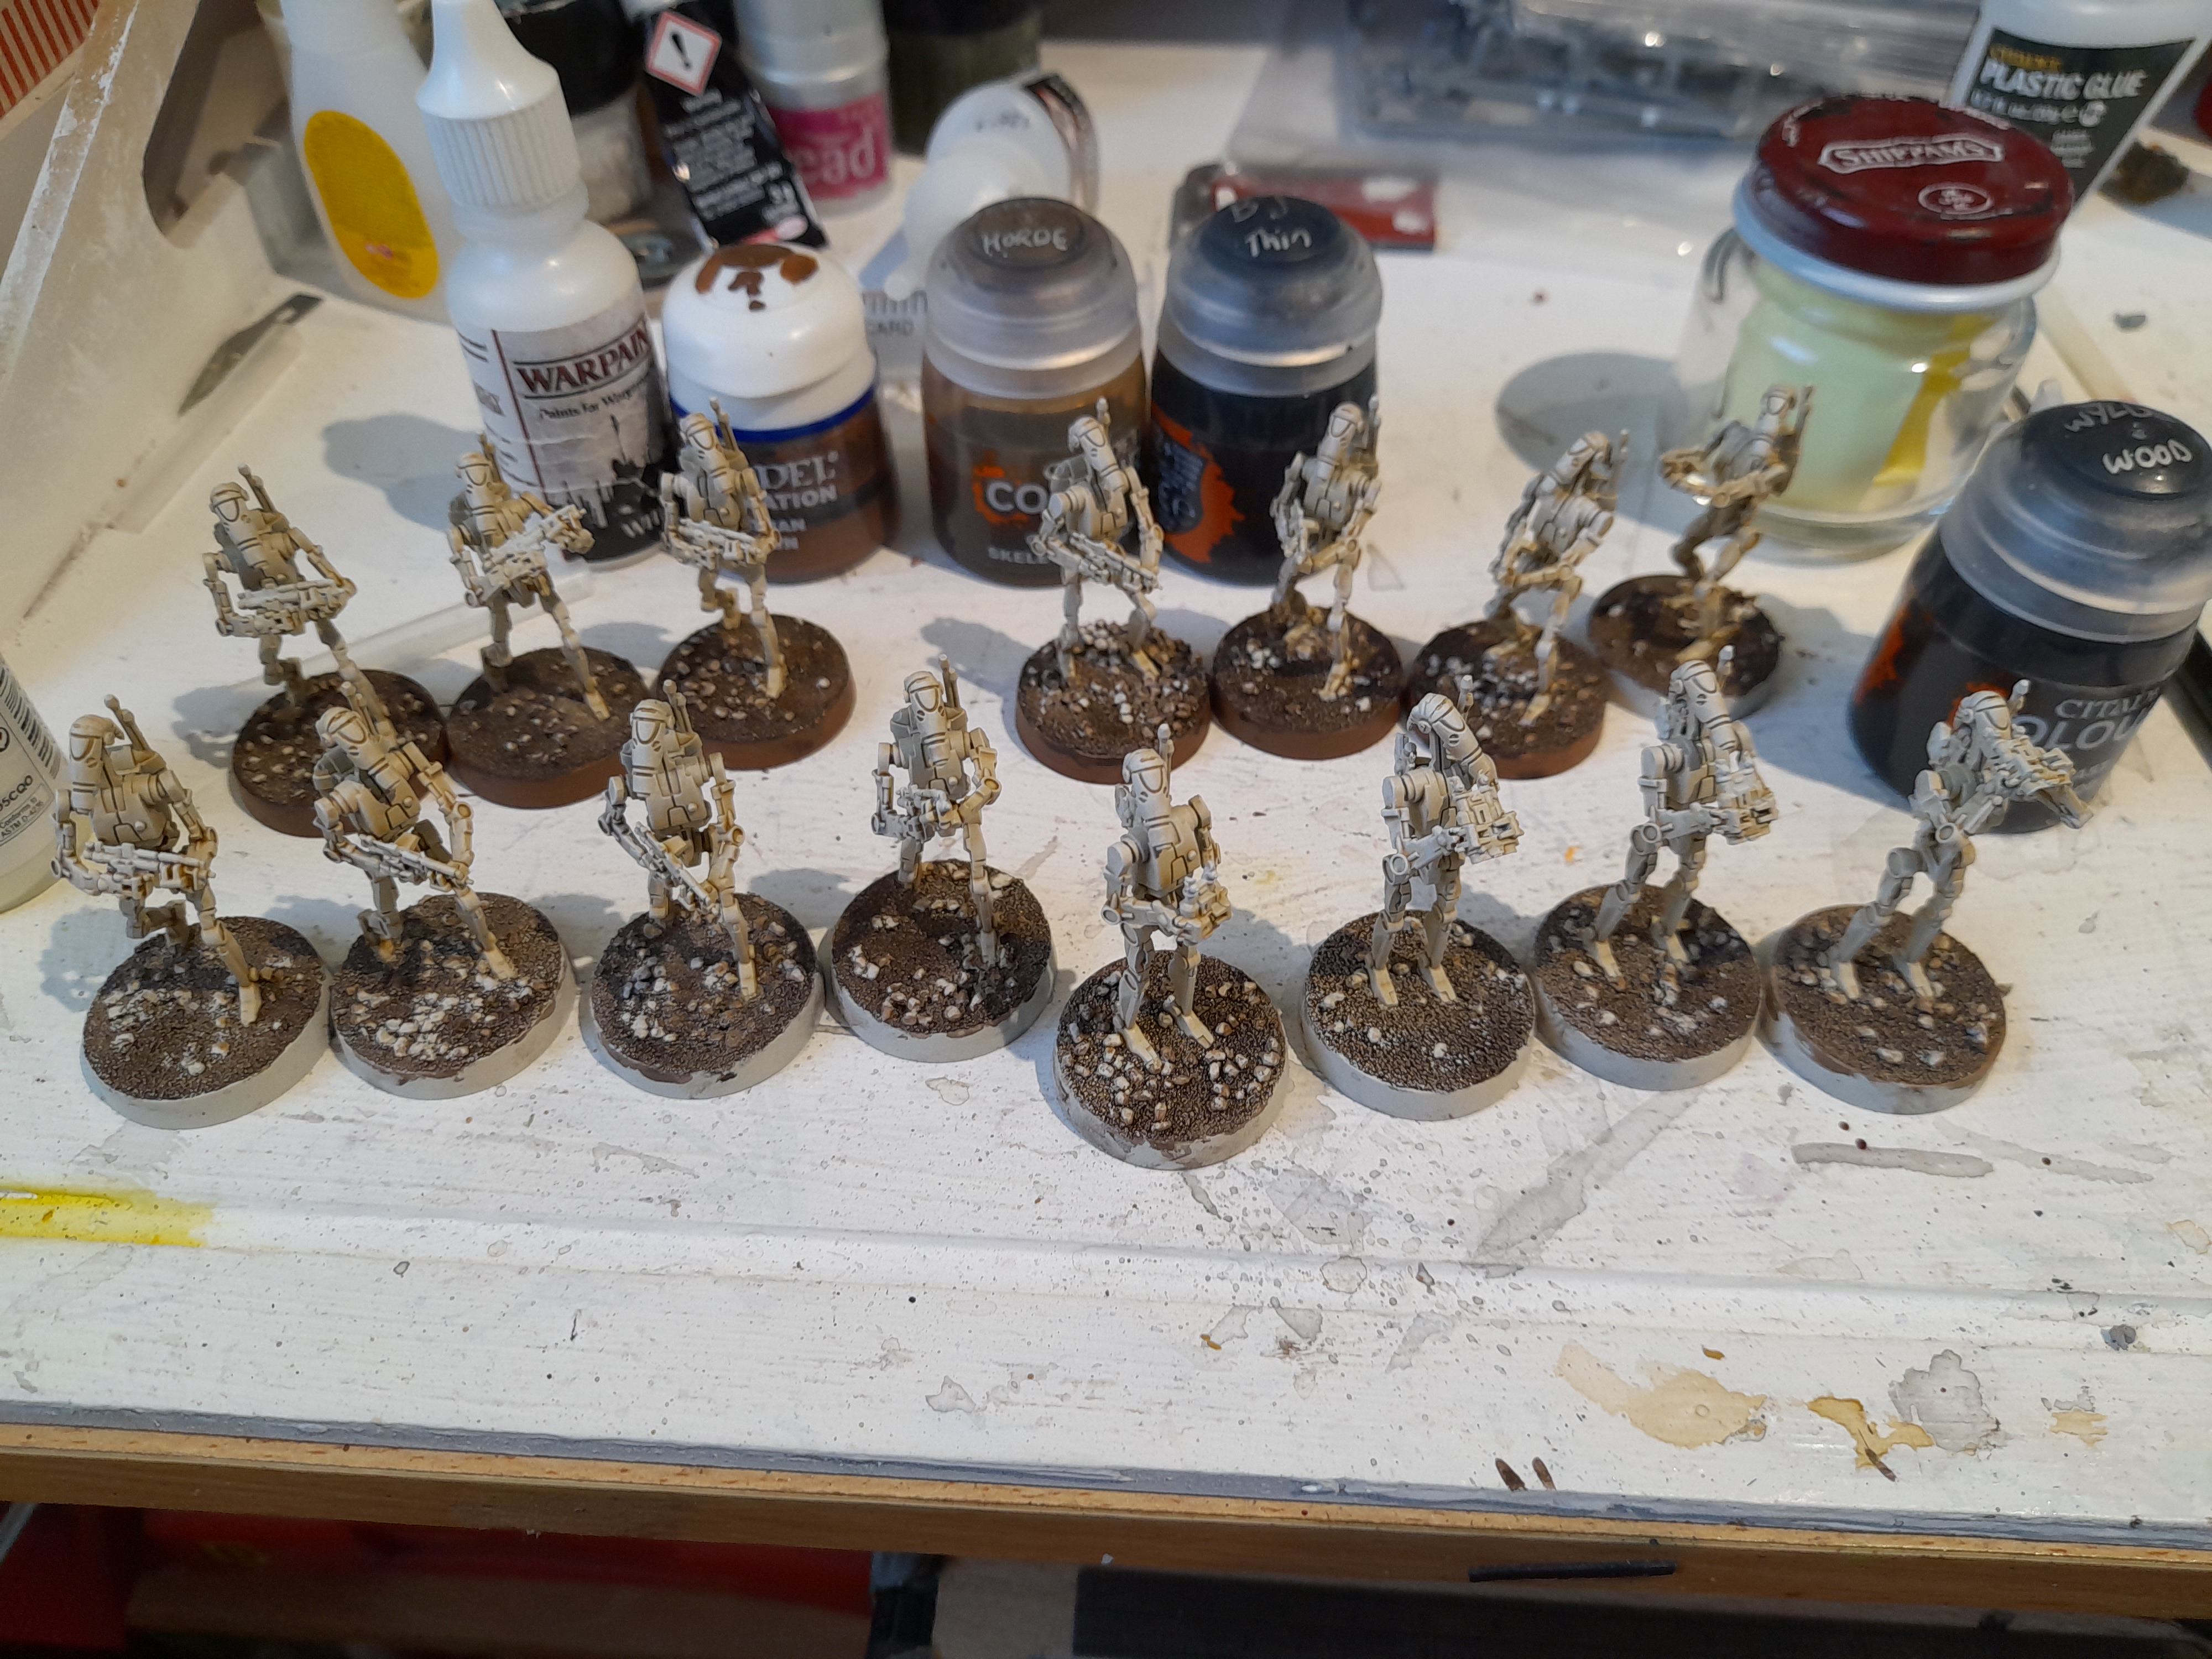
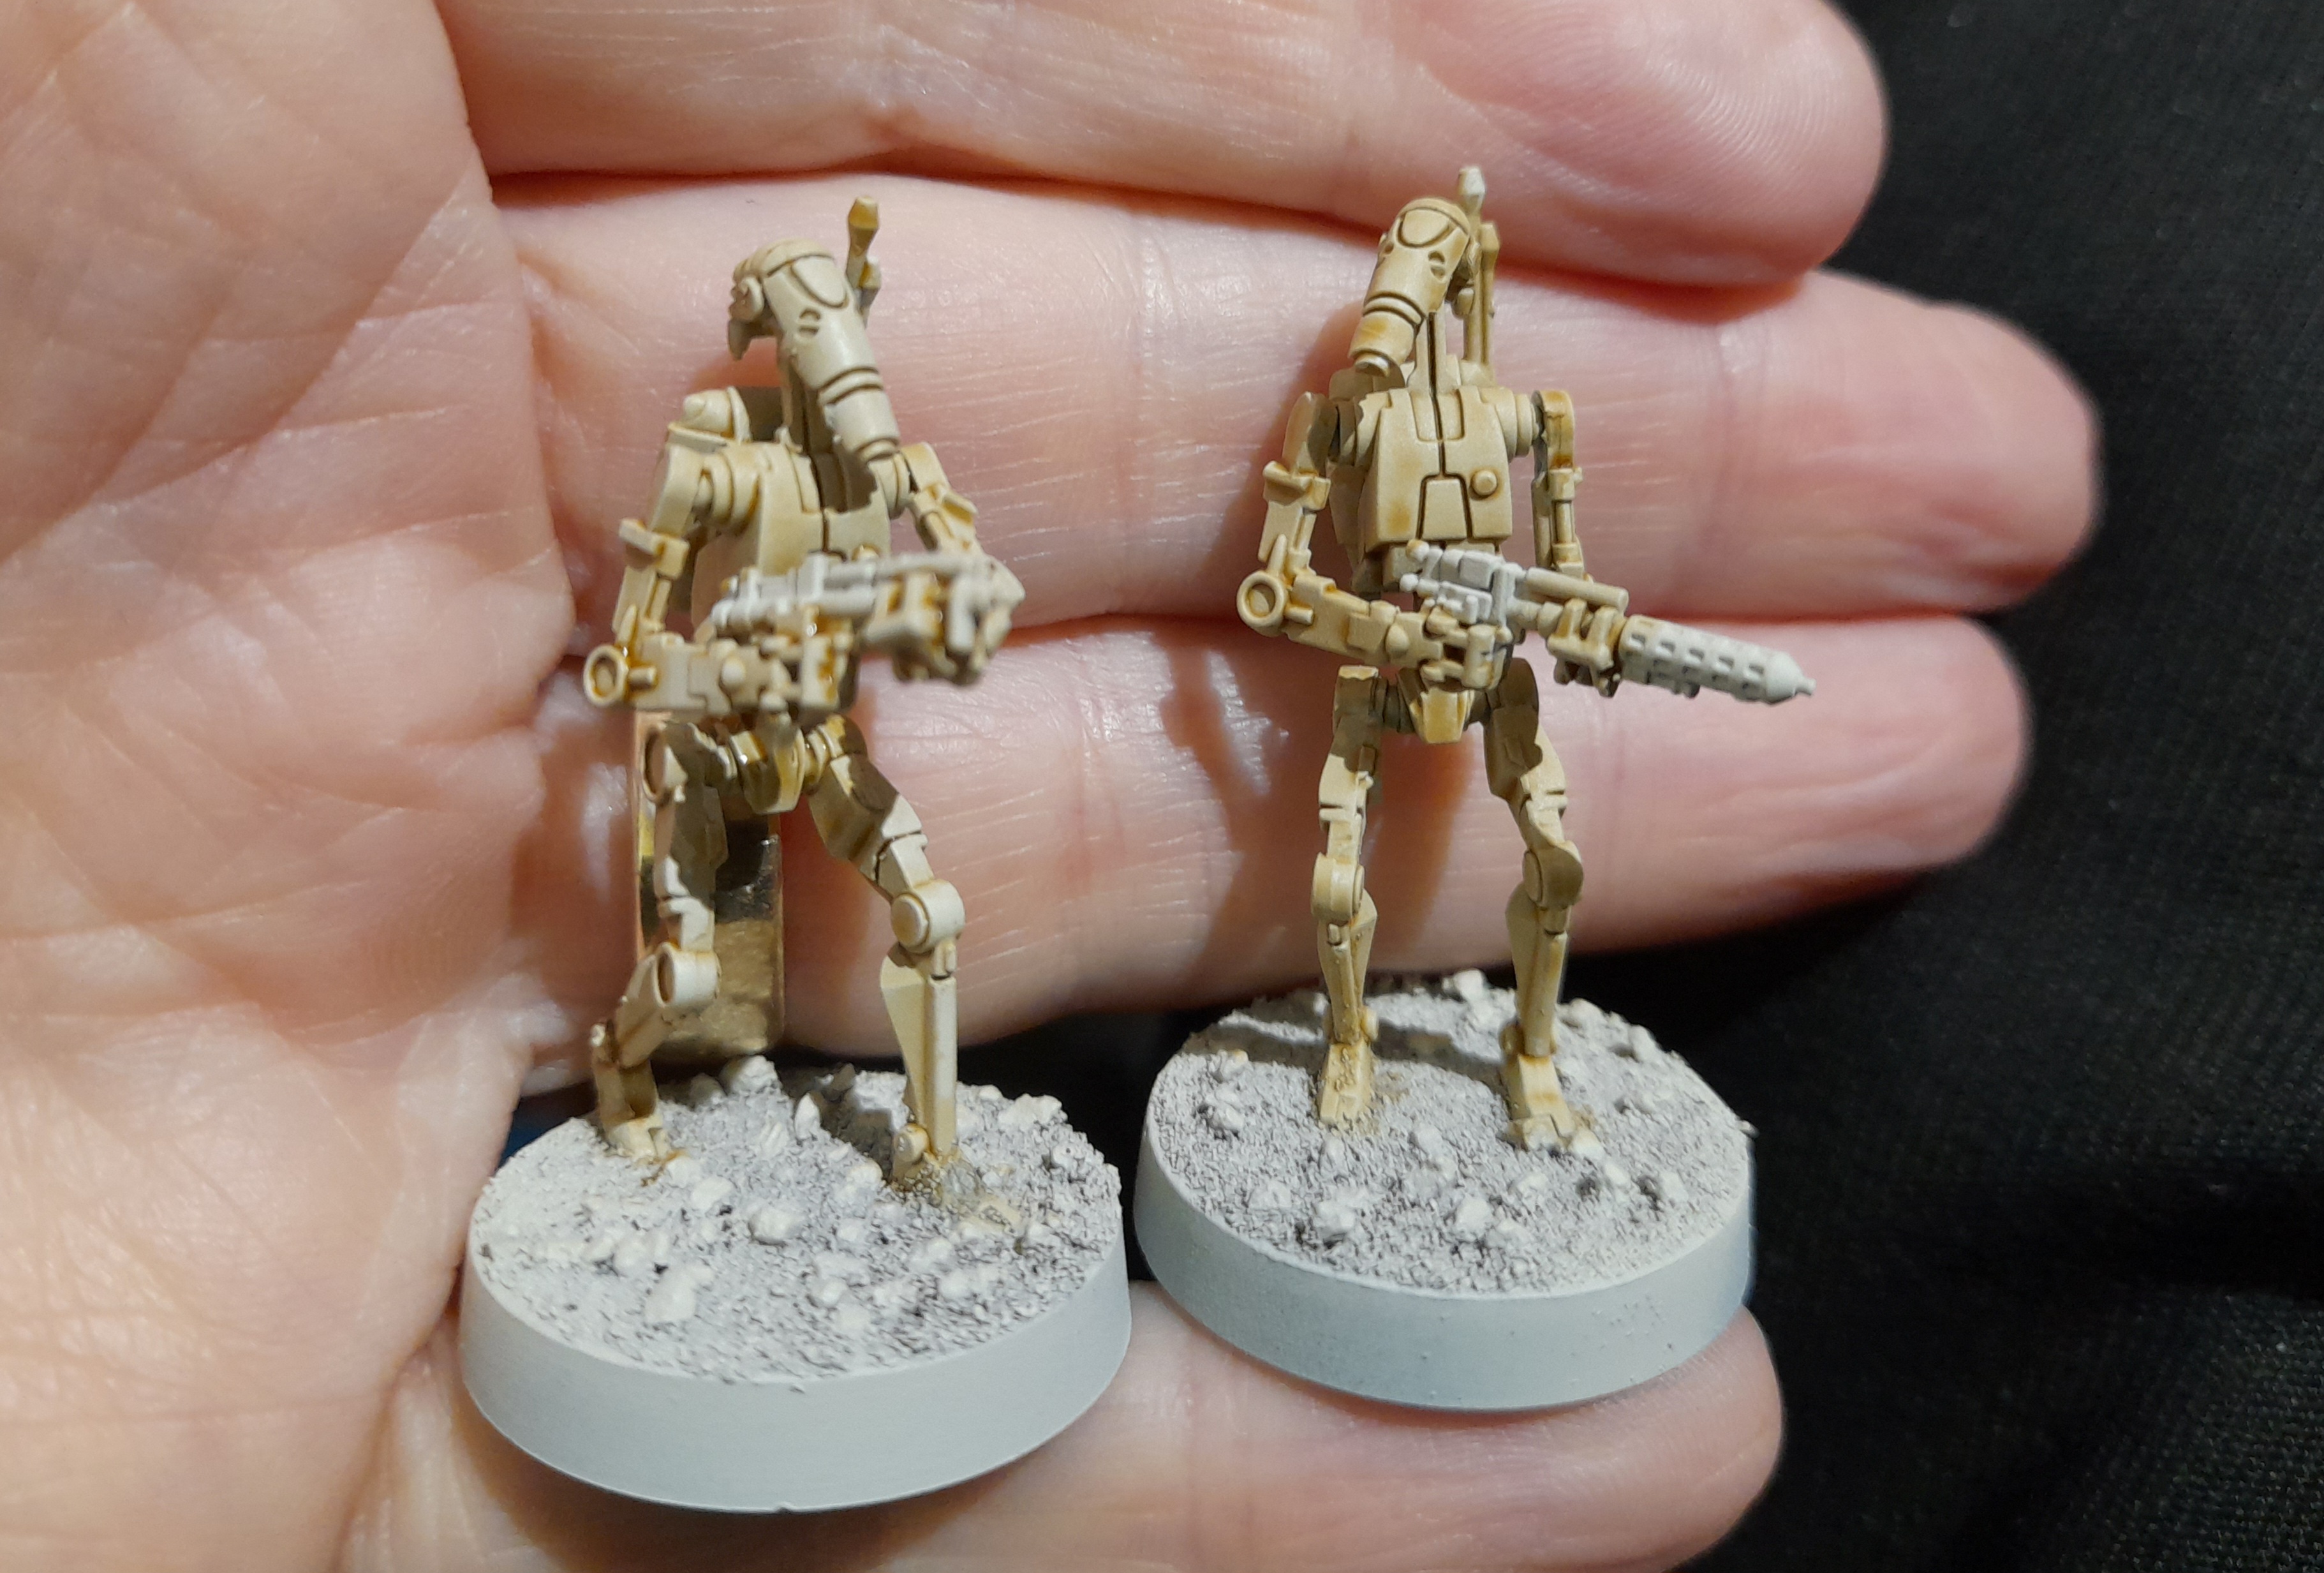
After finishing off one droid to a level I was satisfied with it was then on to the other 35 of the core B1’s.
Picking out the guns, painting the yellow markings on the squad leaders, adding squad colour to shoulder pads and then adding some base tufts for a bit of interest (and to fit in with my clones).
And here they are:
 Some of Green squad
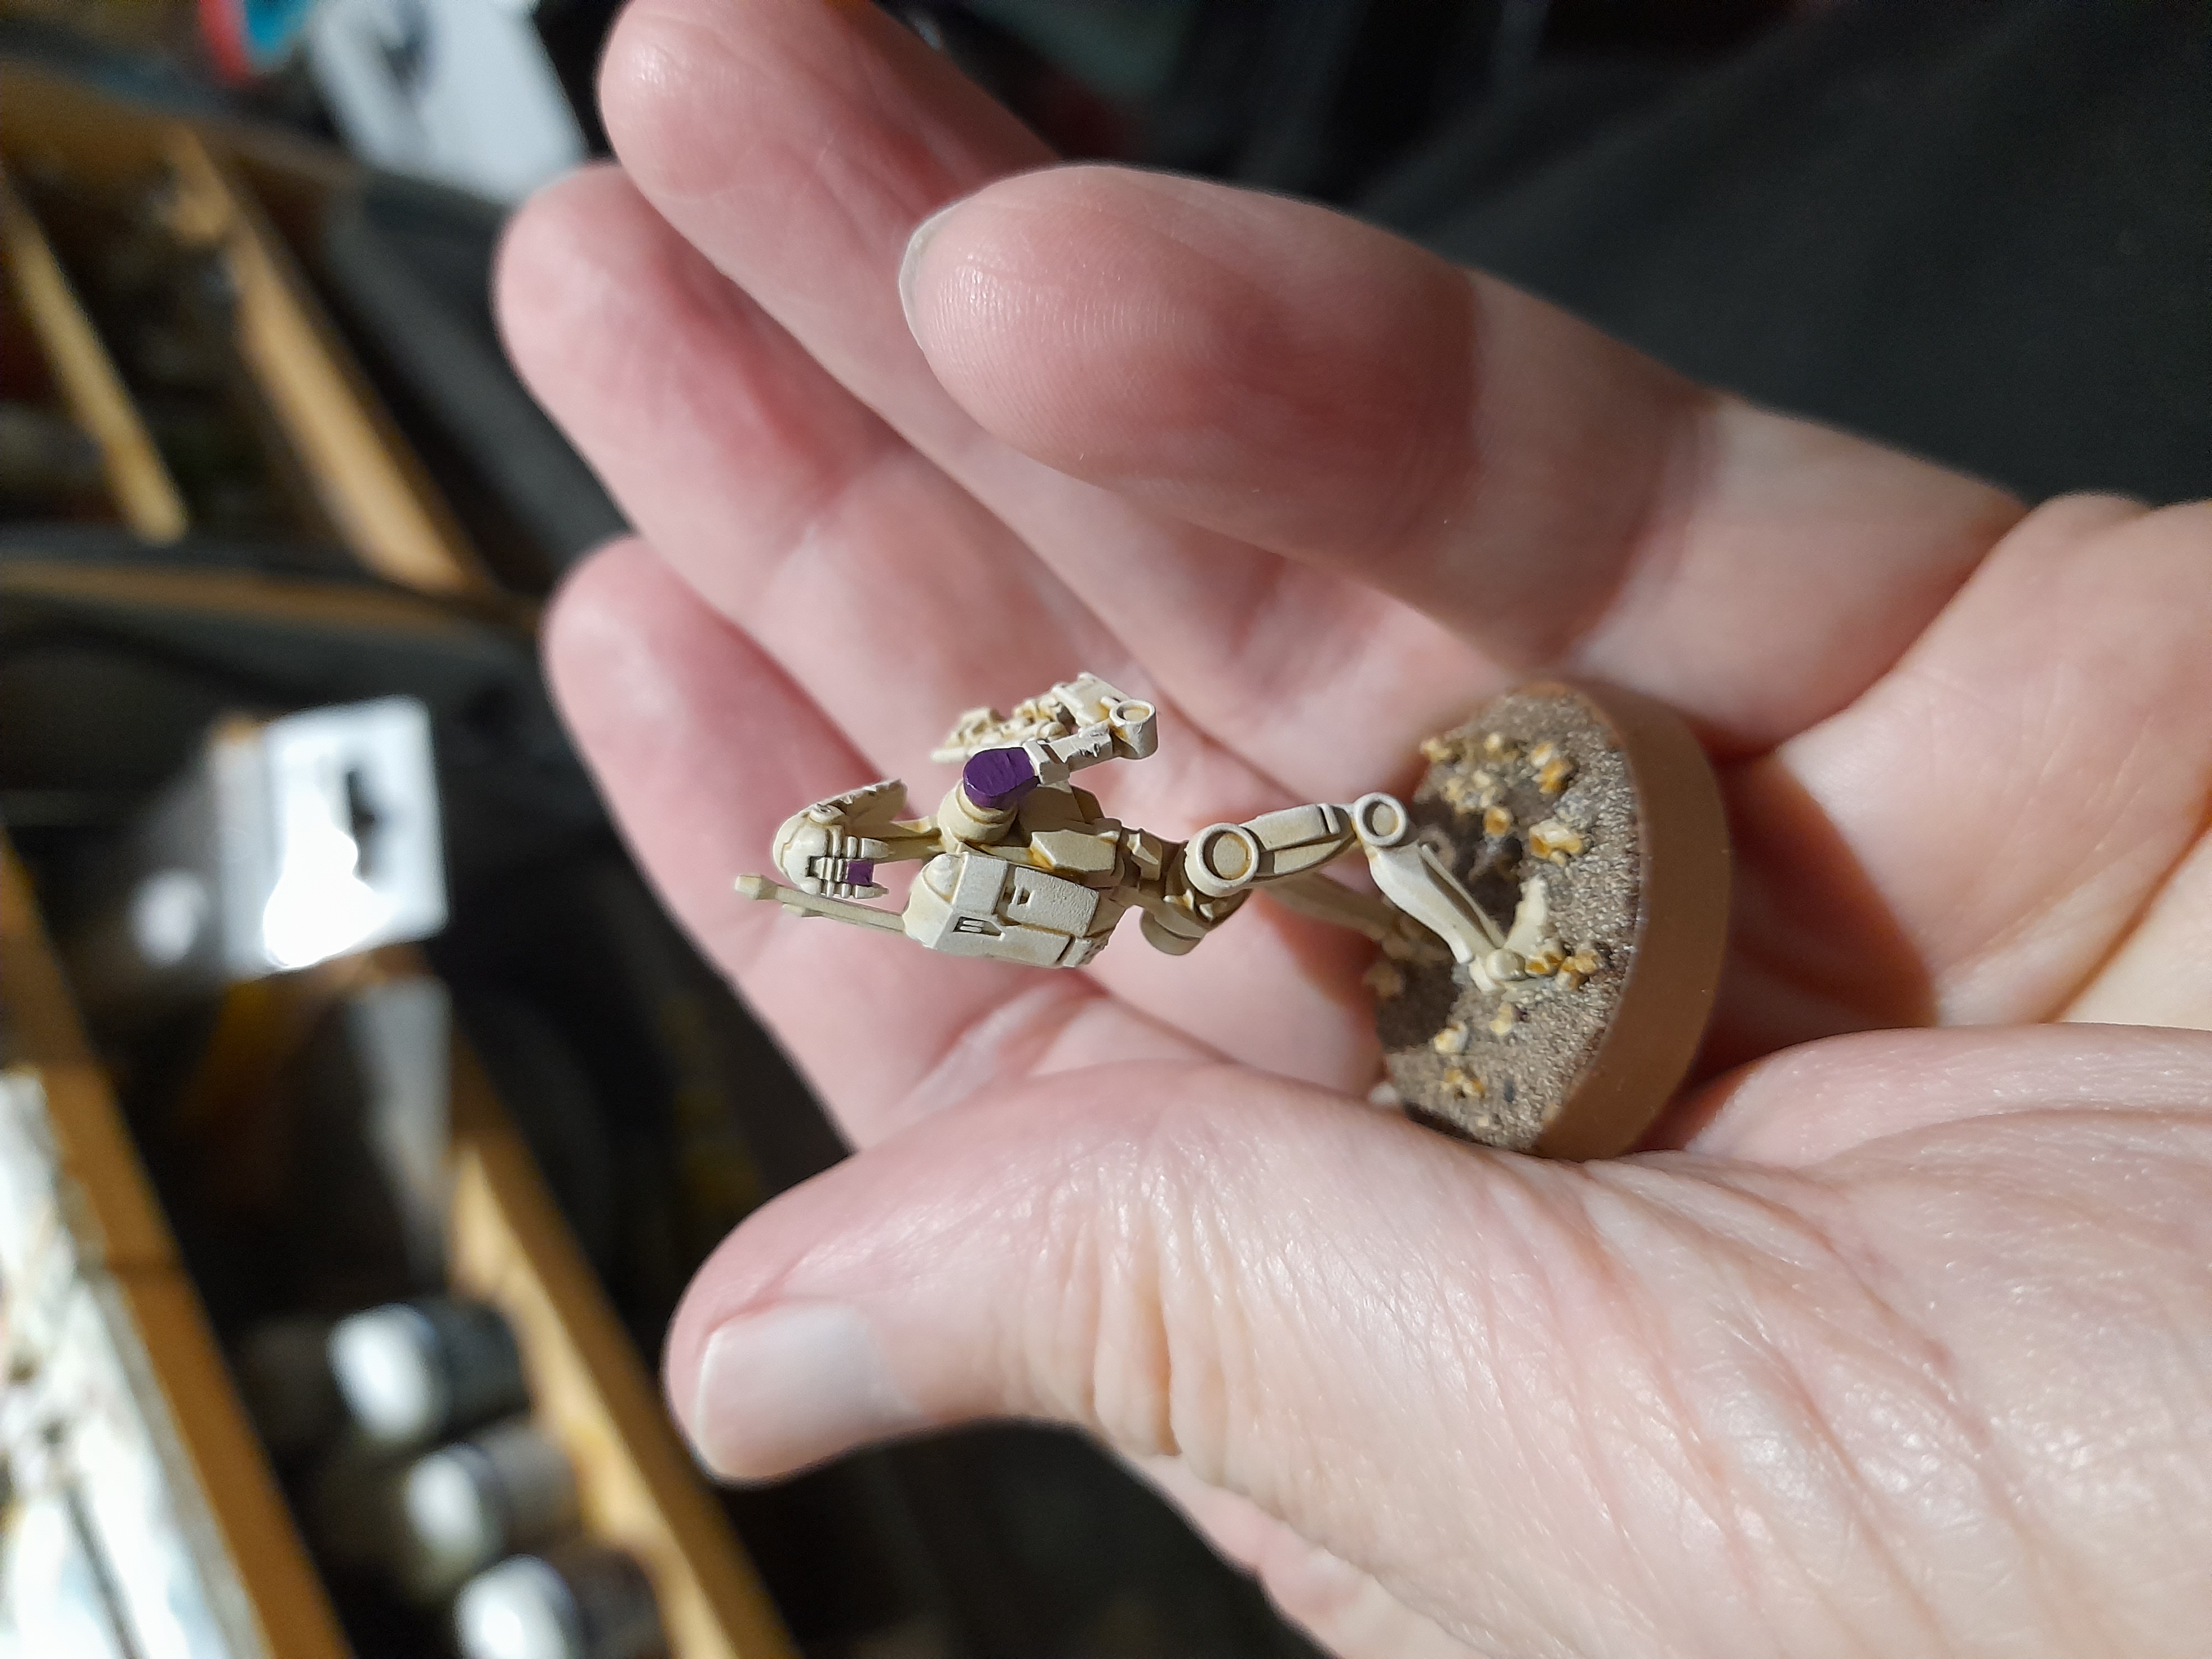
 Some of Purple squad
 Some of Blue squad
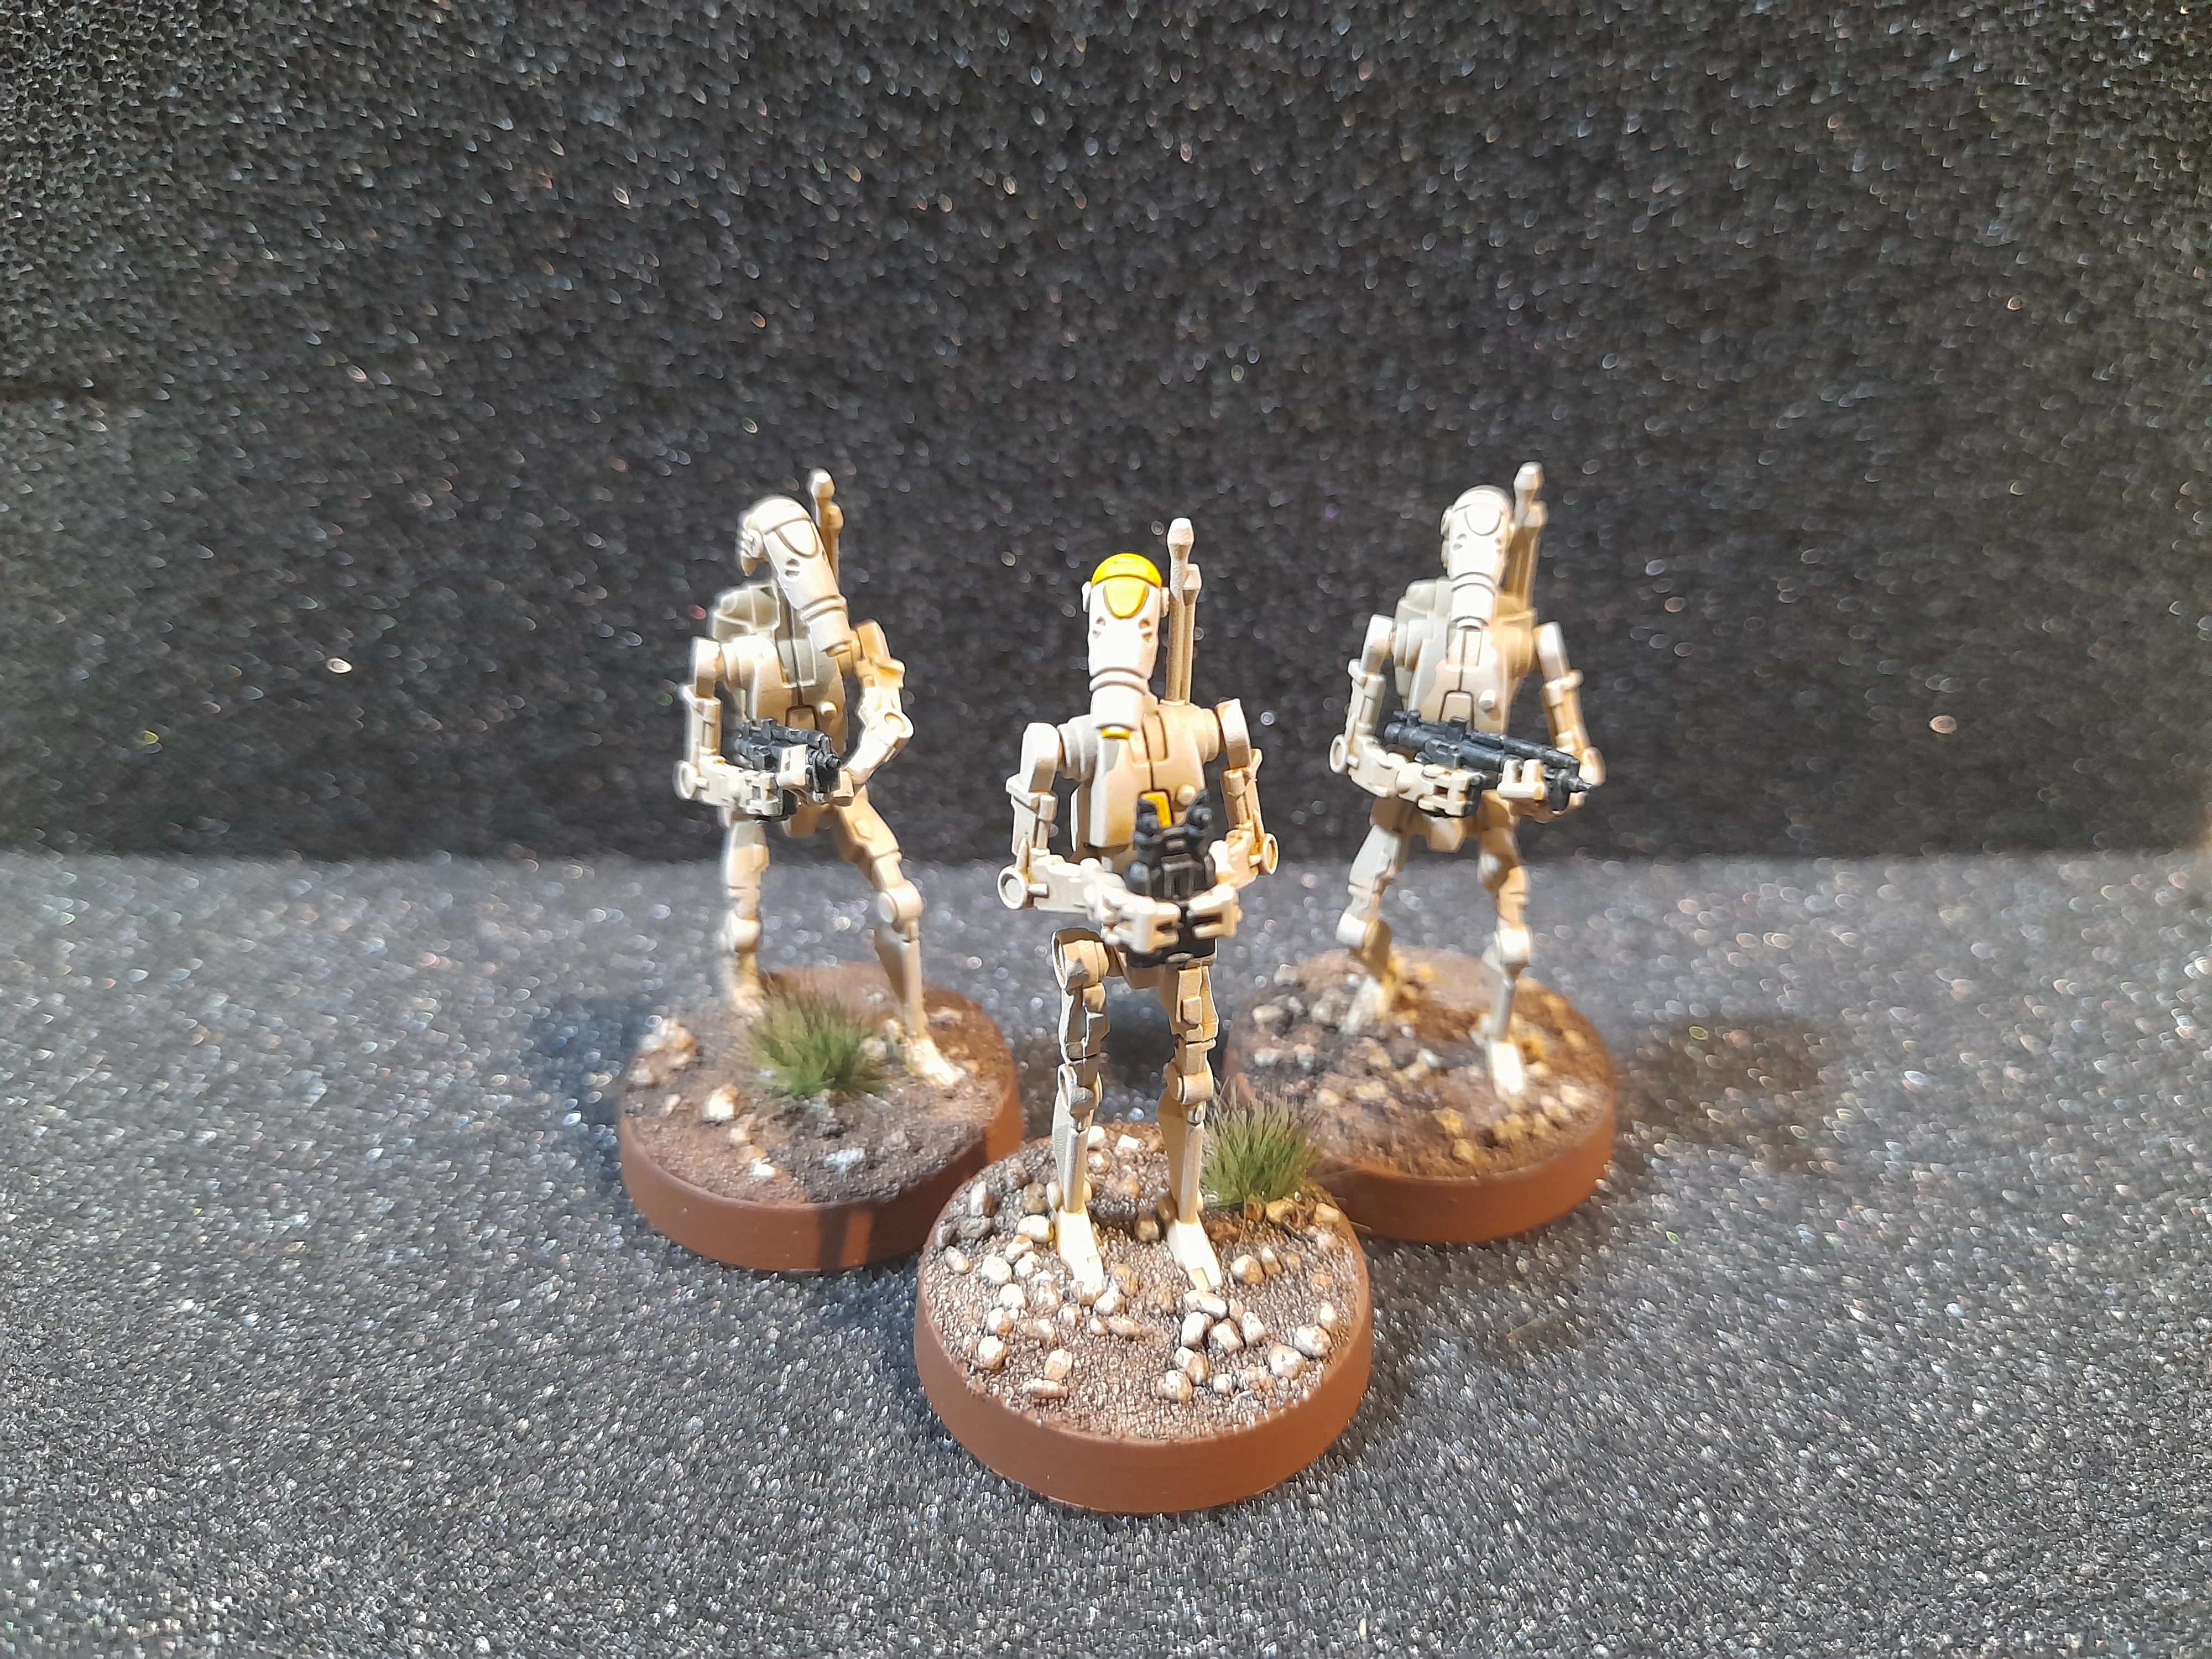 Some of base squad
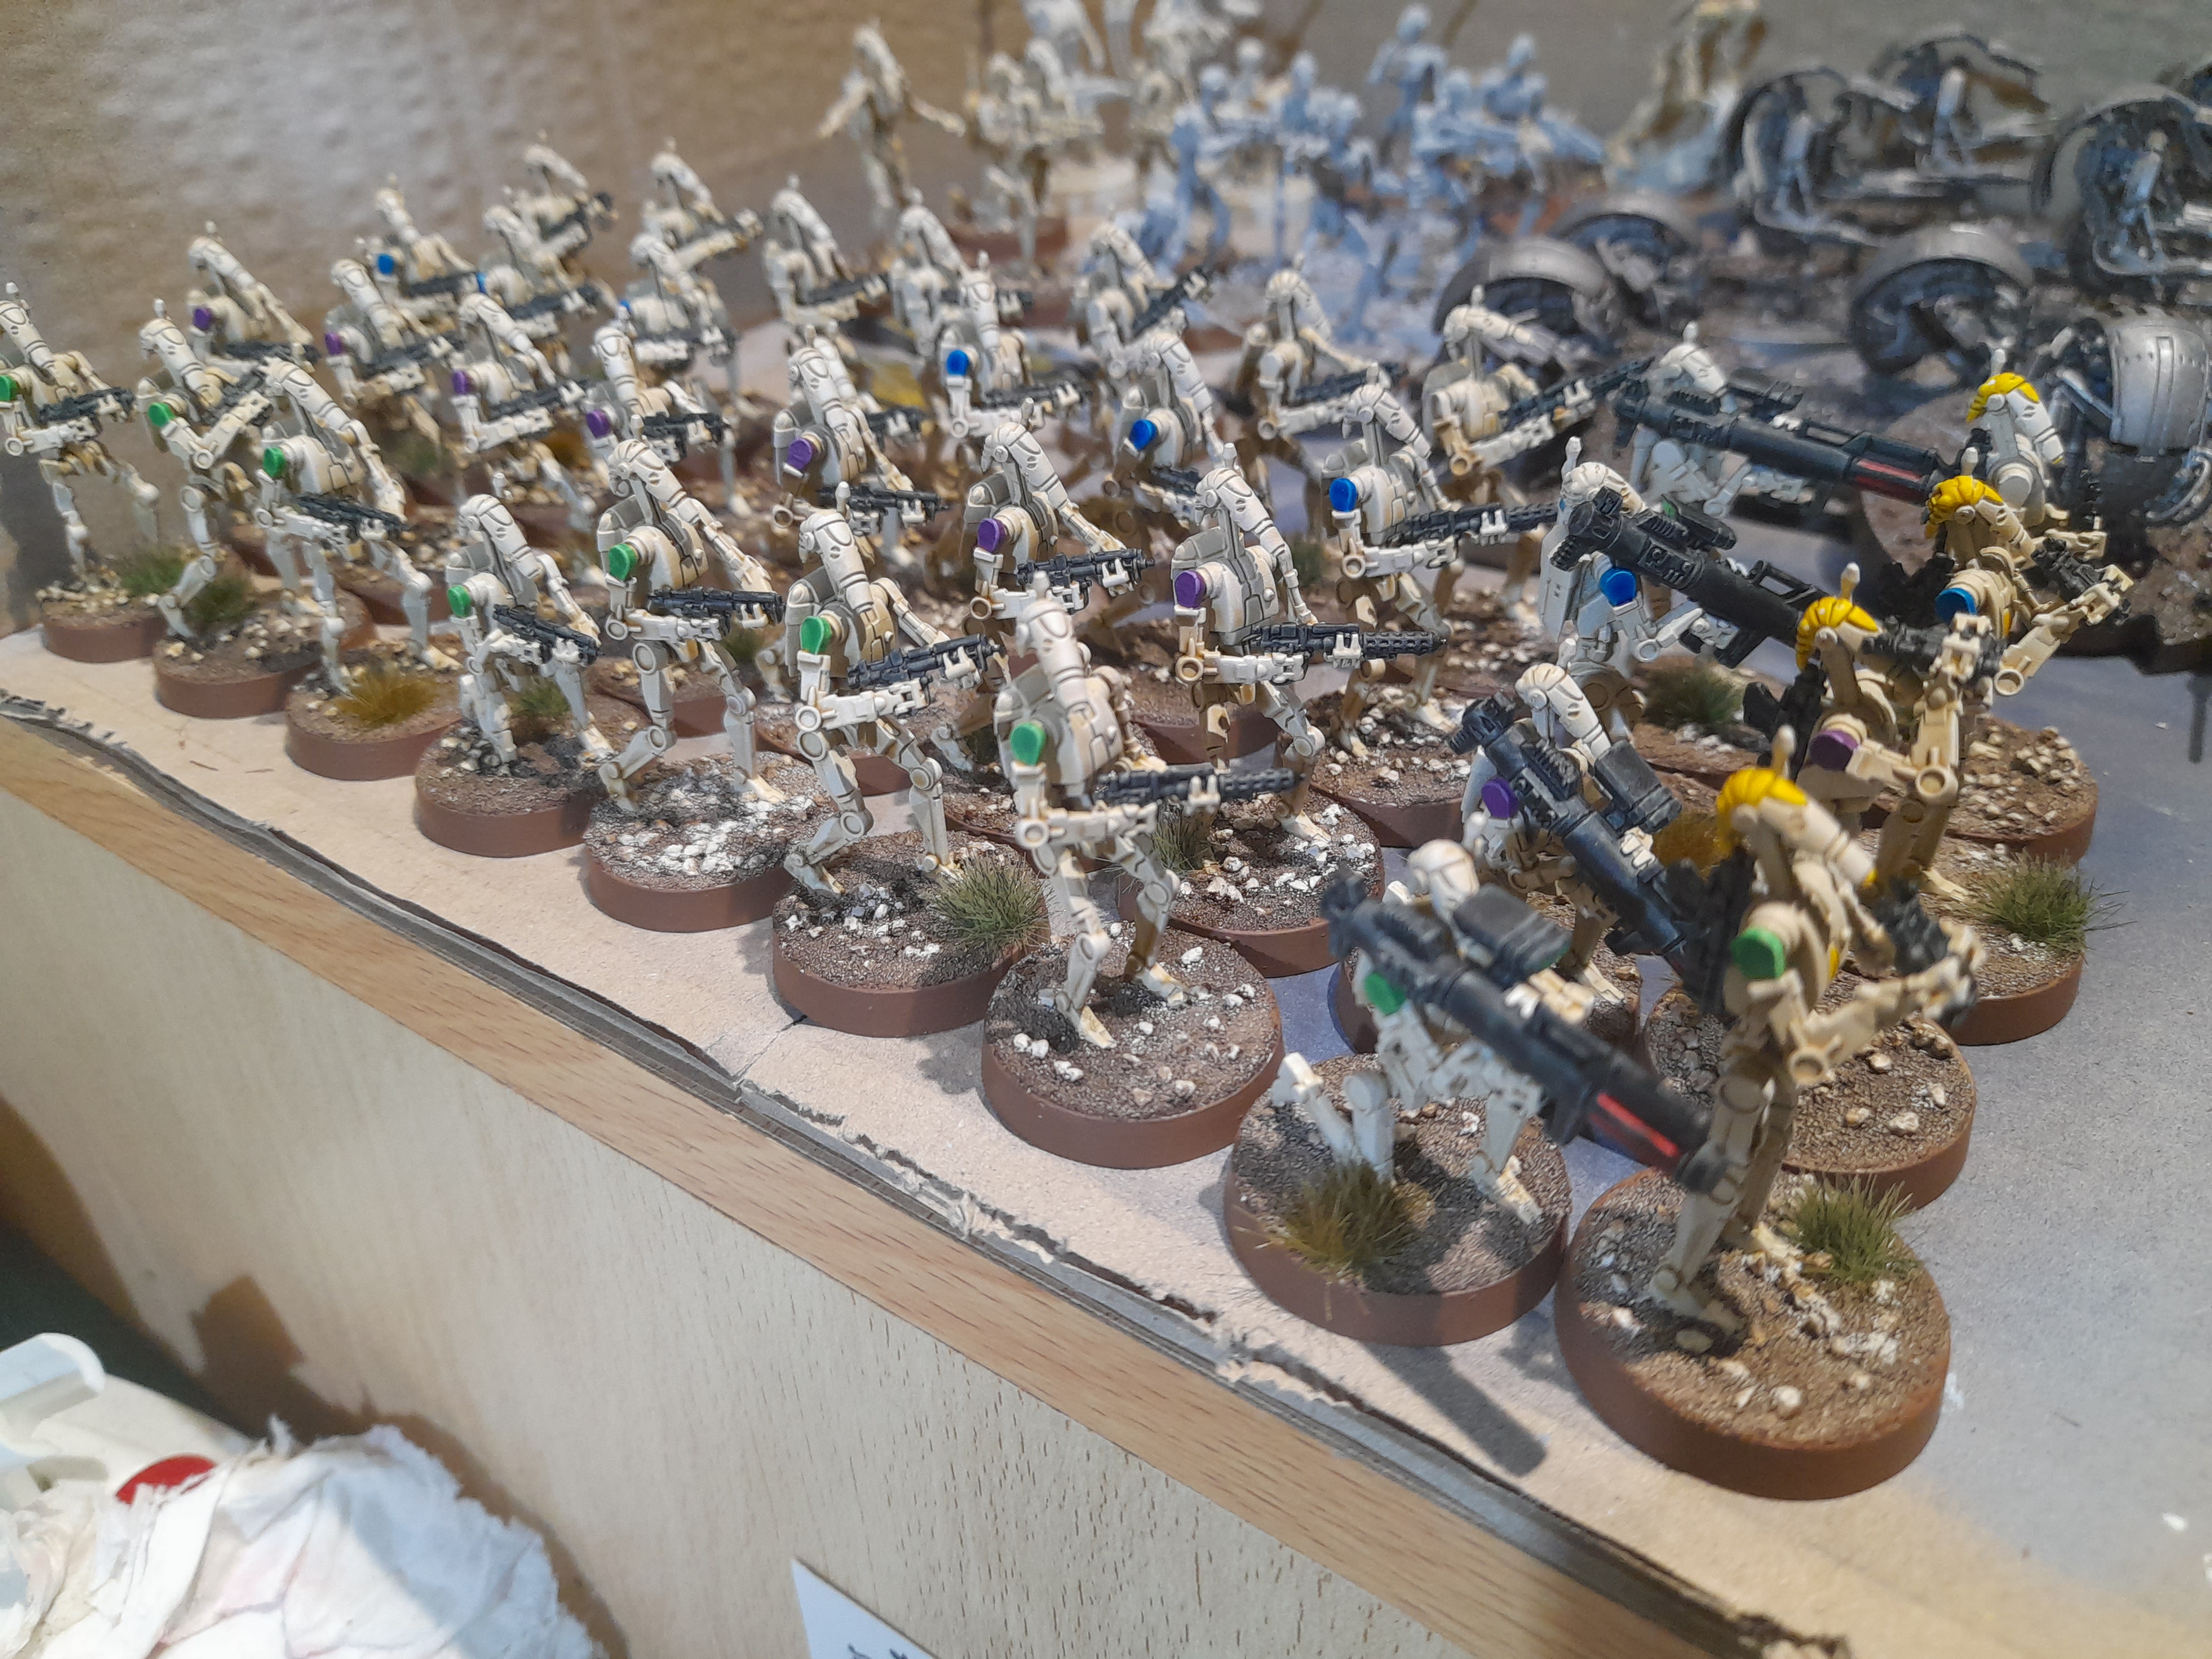
 Ready for deployment
 Next will be the B1 upgrade unit, who have the basic colour down already.
Basing and One droid down
22nd February 2024
Forgot to post this one up, so a bit late with it…
Since the last post I have worked on painting all of the bases for the 40 B1’s. I kept with the same basic basing design as I did for the clones. Although the mix for these seems to have a few more stoney bits. The bases were painted with Wyldwood contrast, then the stones were picked out and shaded.
 Working on bases
Next up I quickly finished off one battle droid, just to make sure that the pretty basic paint job would do the trick for them.
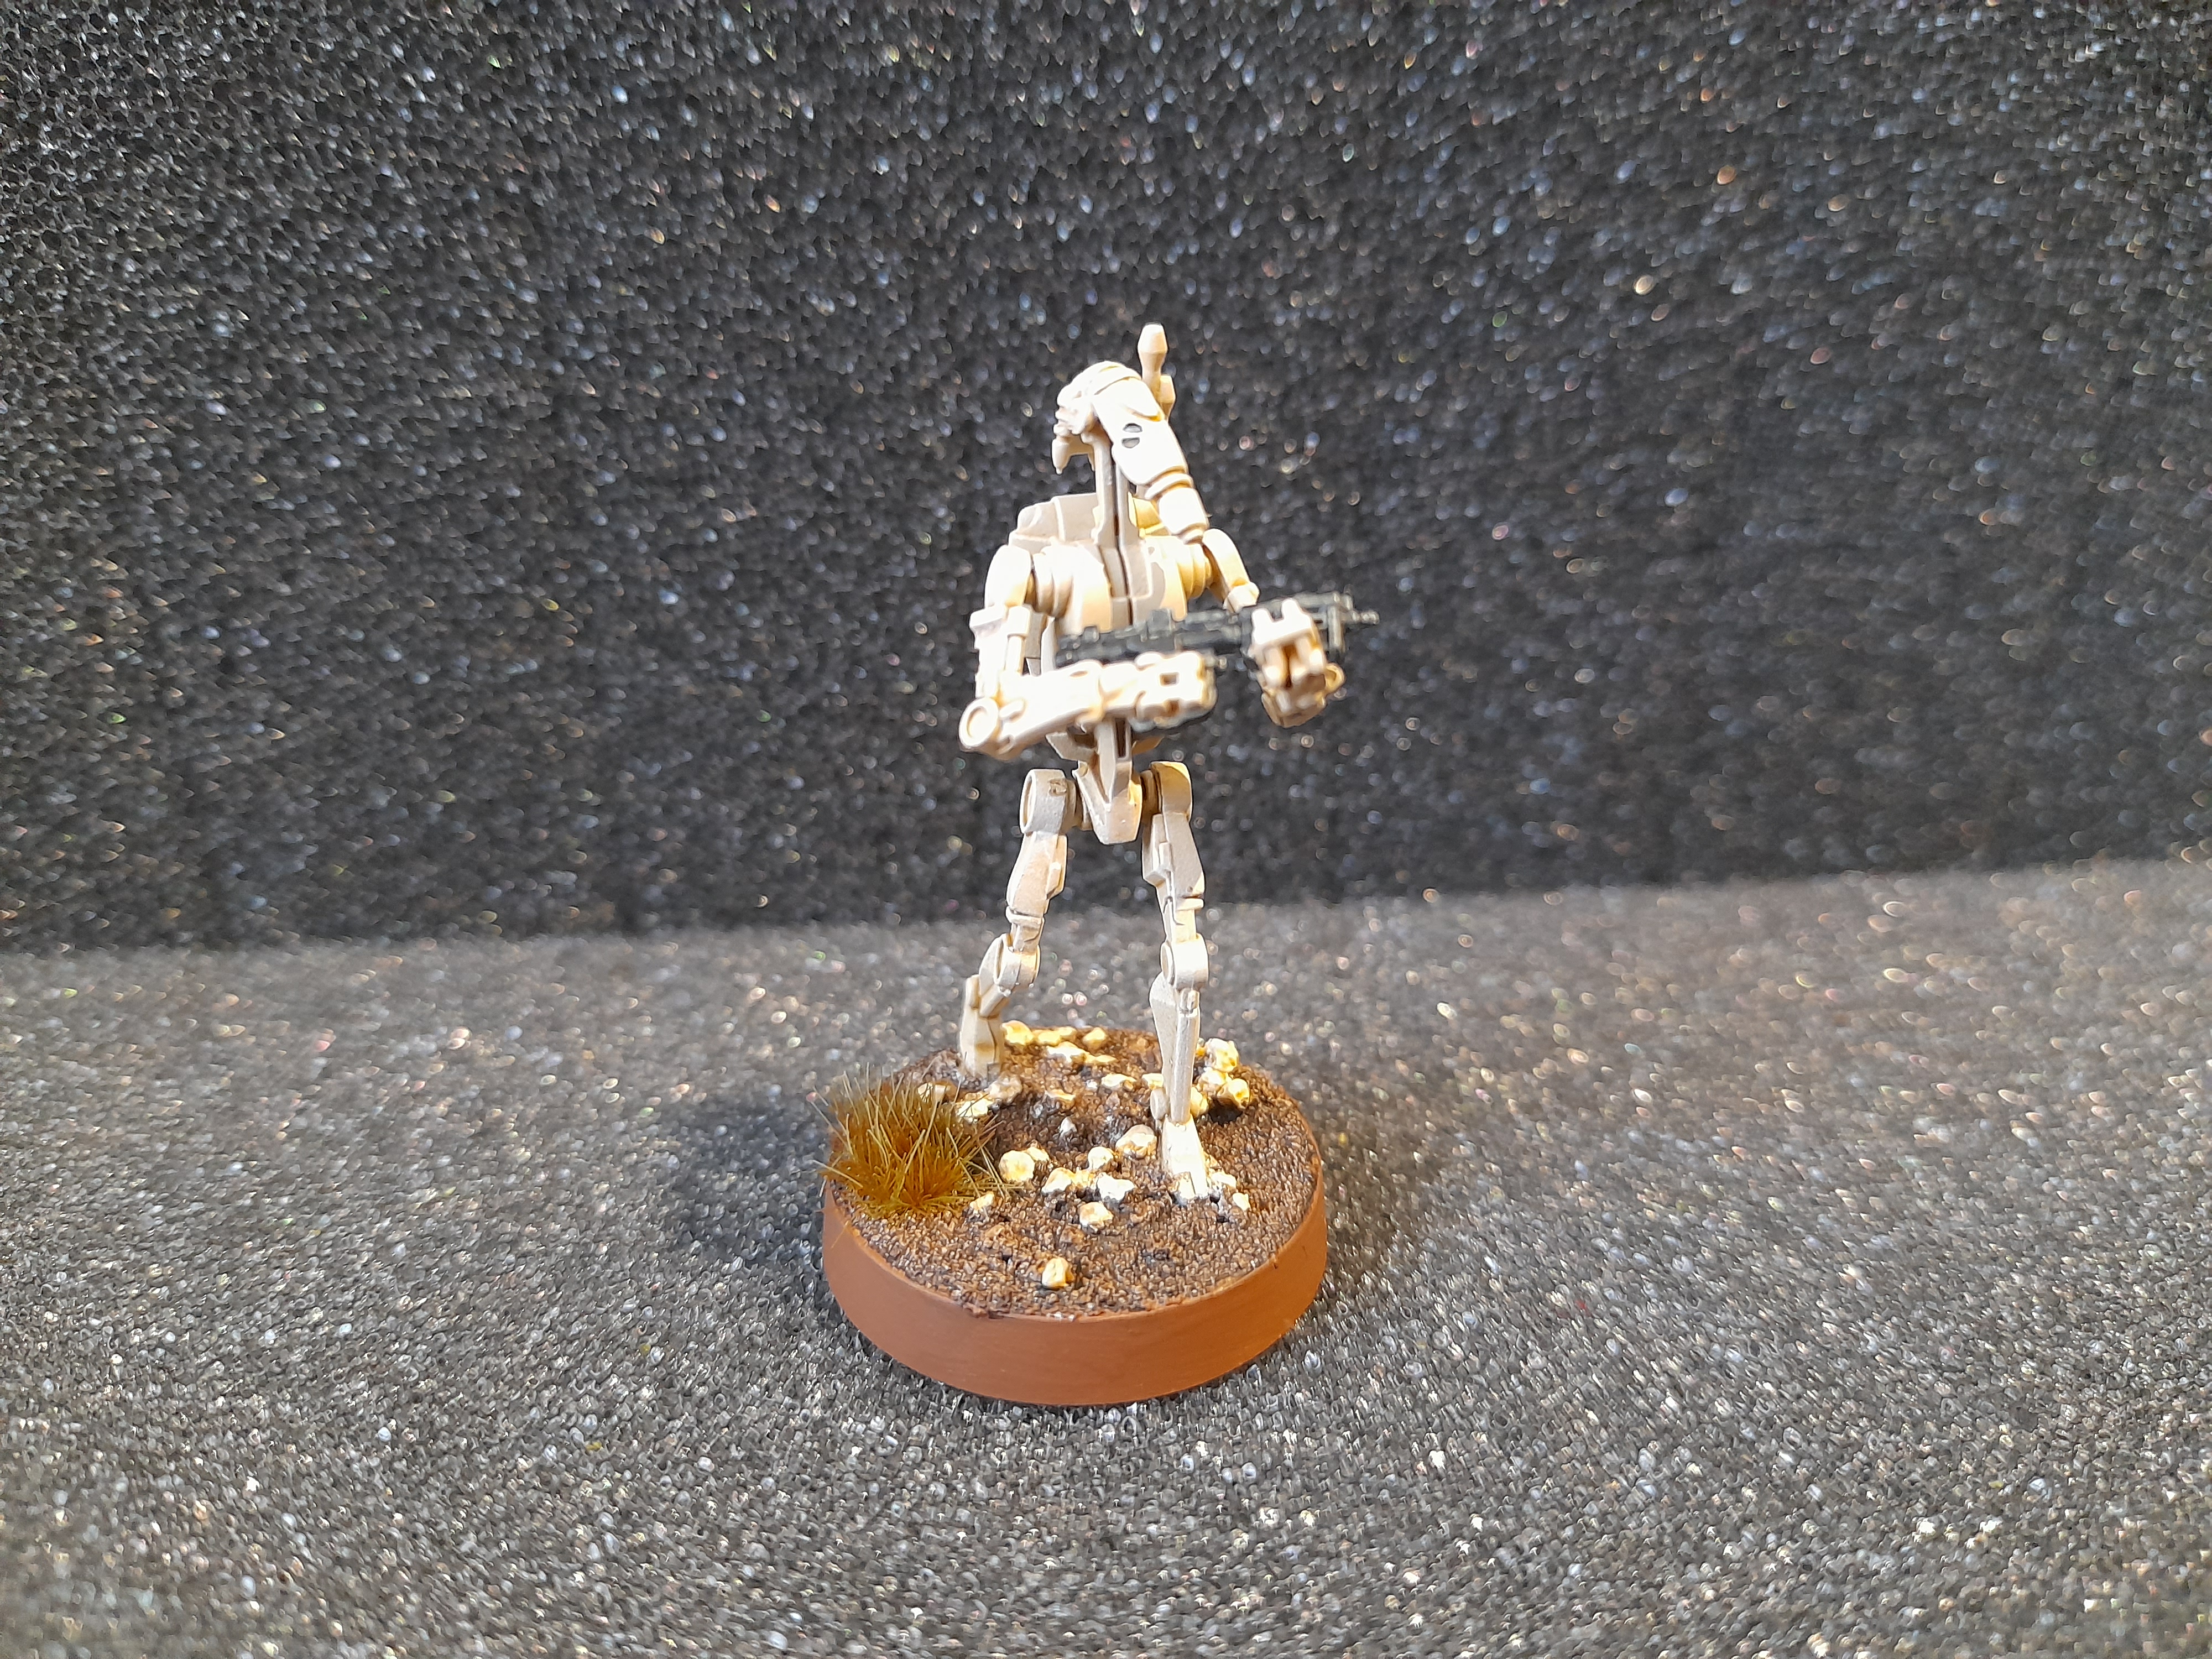
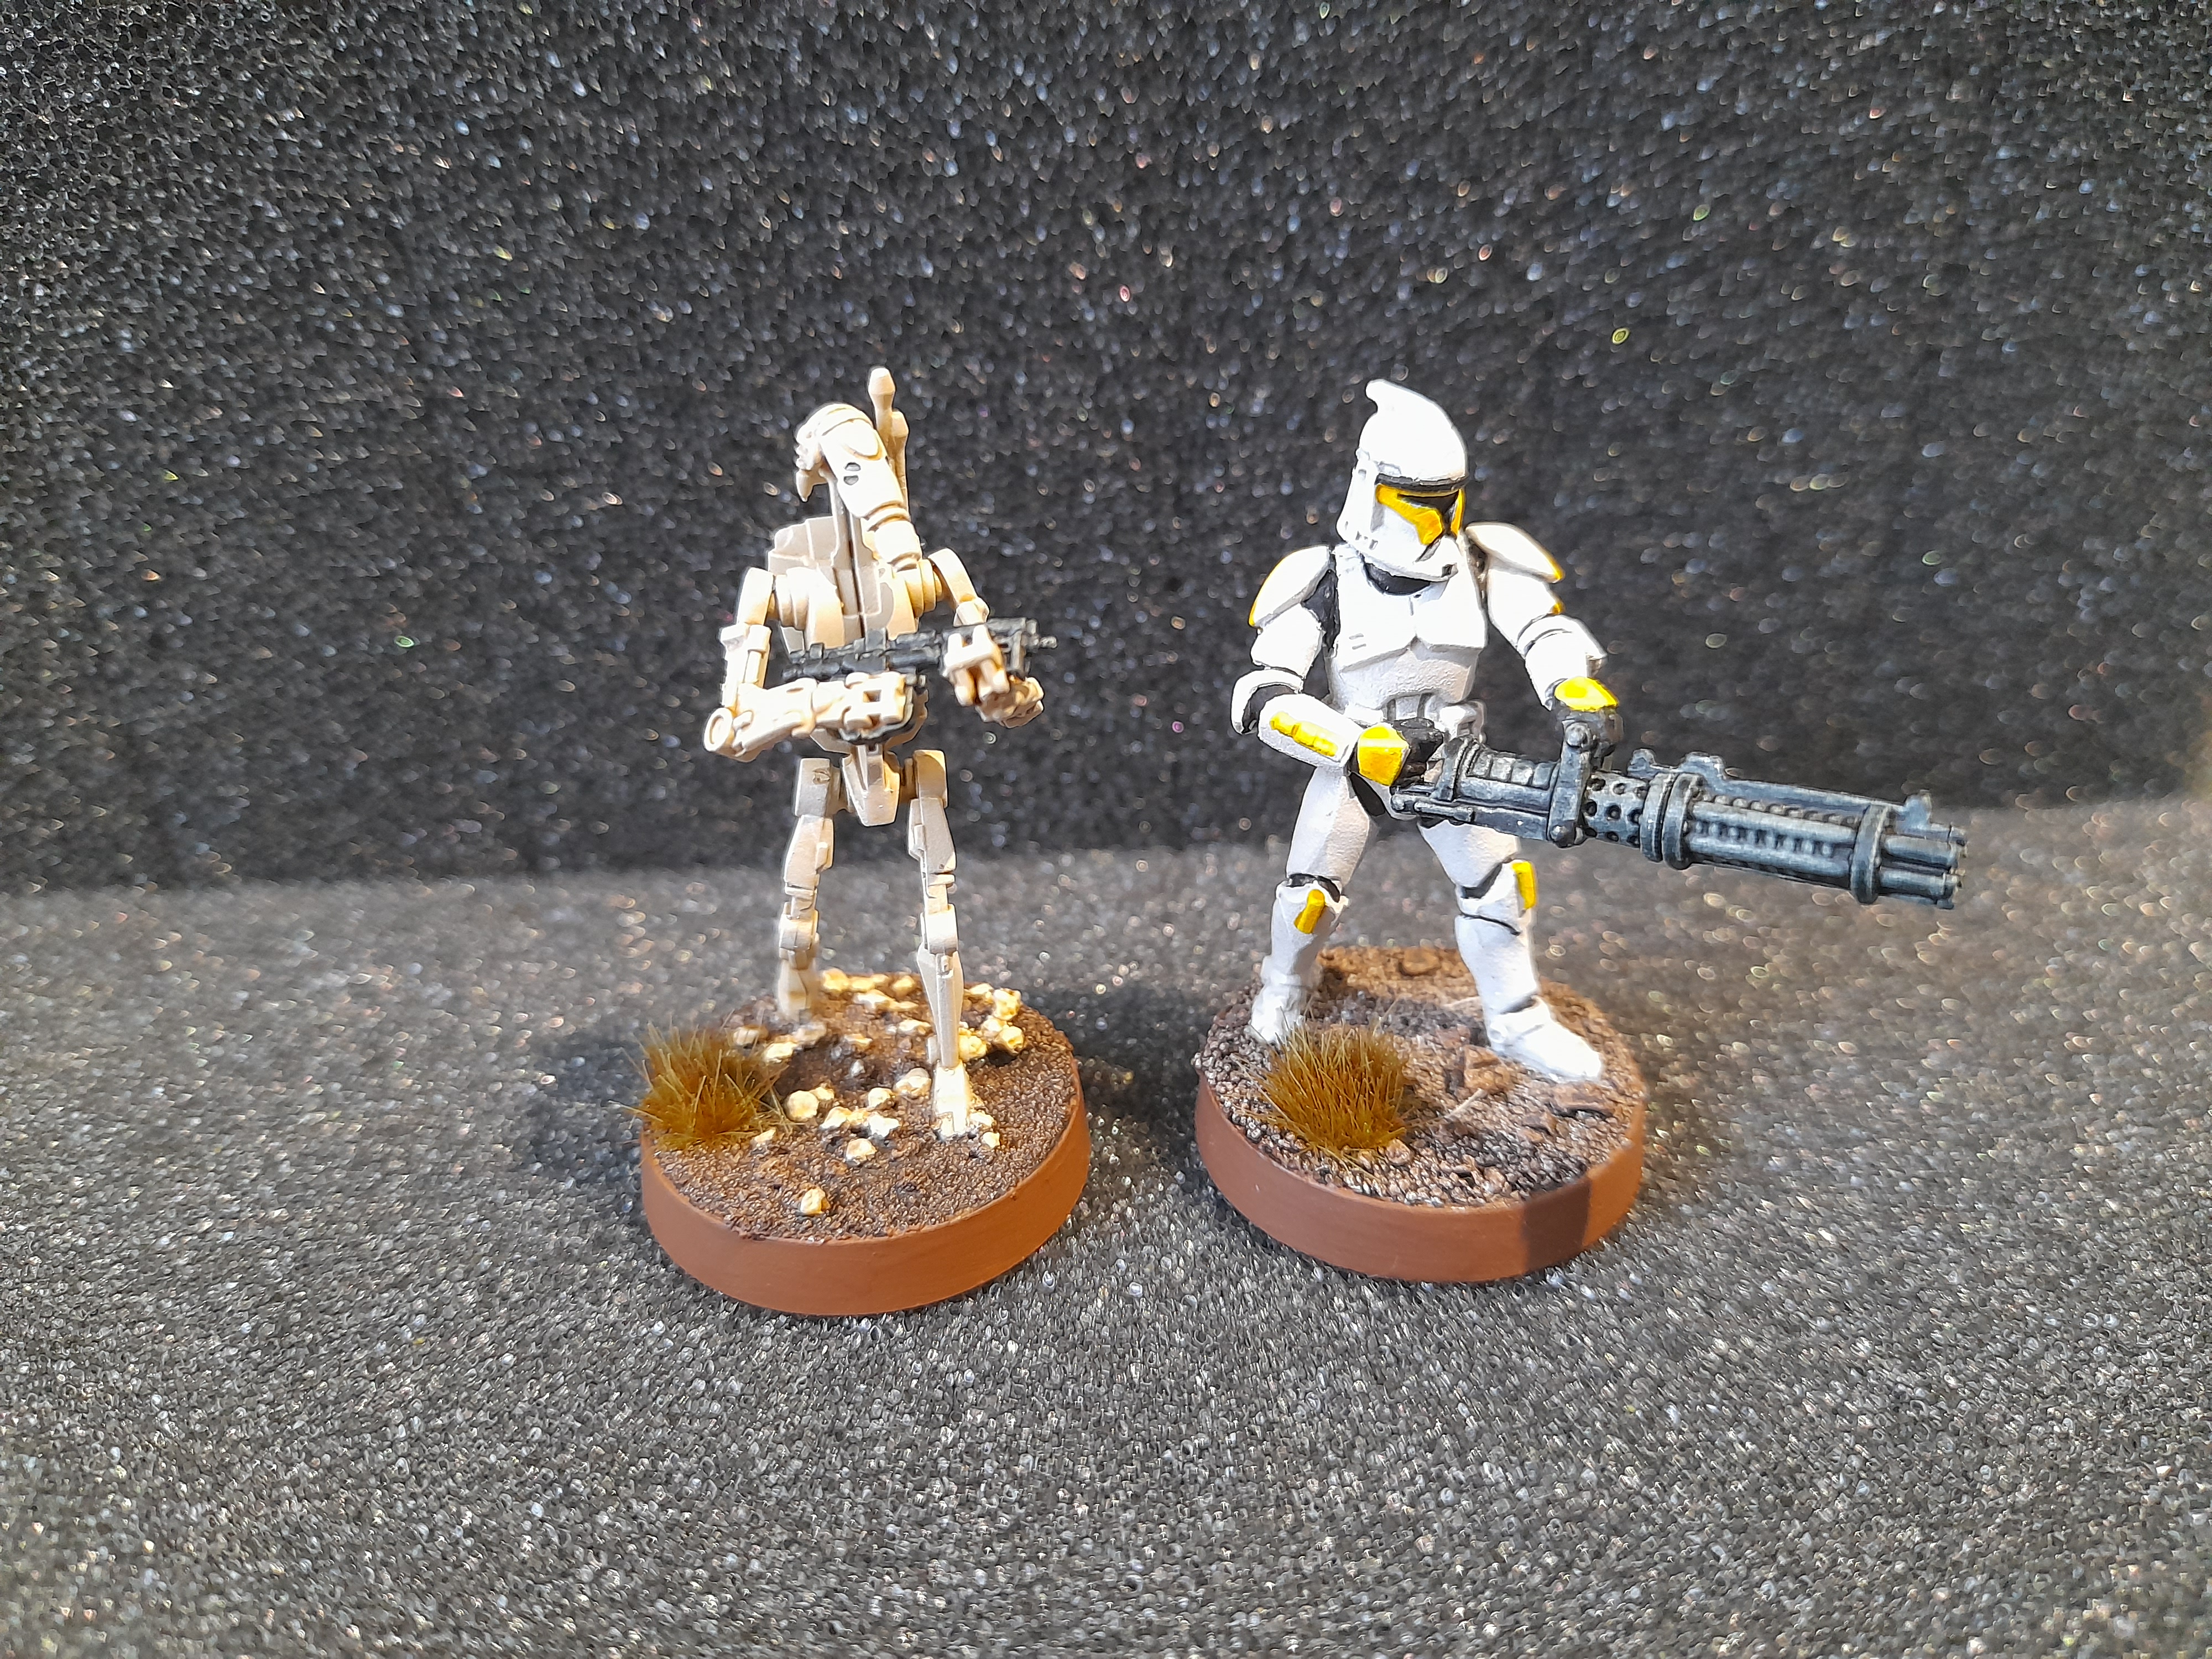
Looks reasonable overall, and works next to a clone.
As with the Clones I needed a way to differentiate the squads on the battlefield. However, the droid already have specific colour markings for command, security etc, so I needed to avoid those colours and designs. My choice was to go for one ‘as is’ squad, then the other three would use blue, green and purple as their colours. With the markings being on the right shoulder and one panel on the back of the head.

Time to roll out the rest of the droids……
Wash and Dry(brushed)
17th February 2024
The remaining 32 B1 Battle Droids had the same wash treatment, with me trying to wipe some of it away from the head and raised areas. They then were all treated to a drybrush with Vallejo Ivory.
 The picture makes it look a little washed out, but it isn’t as stark in real life.
I also washed and drybrushed the STAP riders, and the B1 droid head that the repair droid is carrying.
It seems that I made up too much of the wash mix for the droids….
I’m sure it will come in useful though.
Next up, basic painting for the bases.
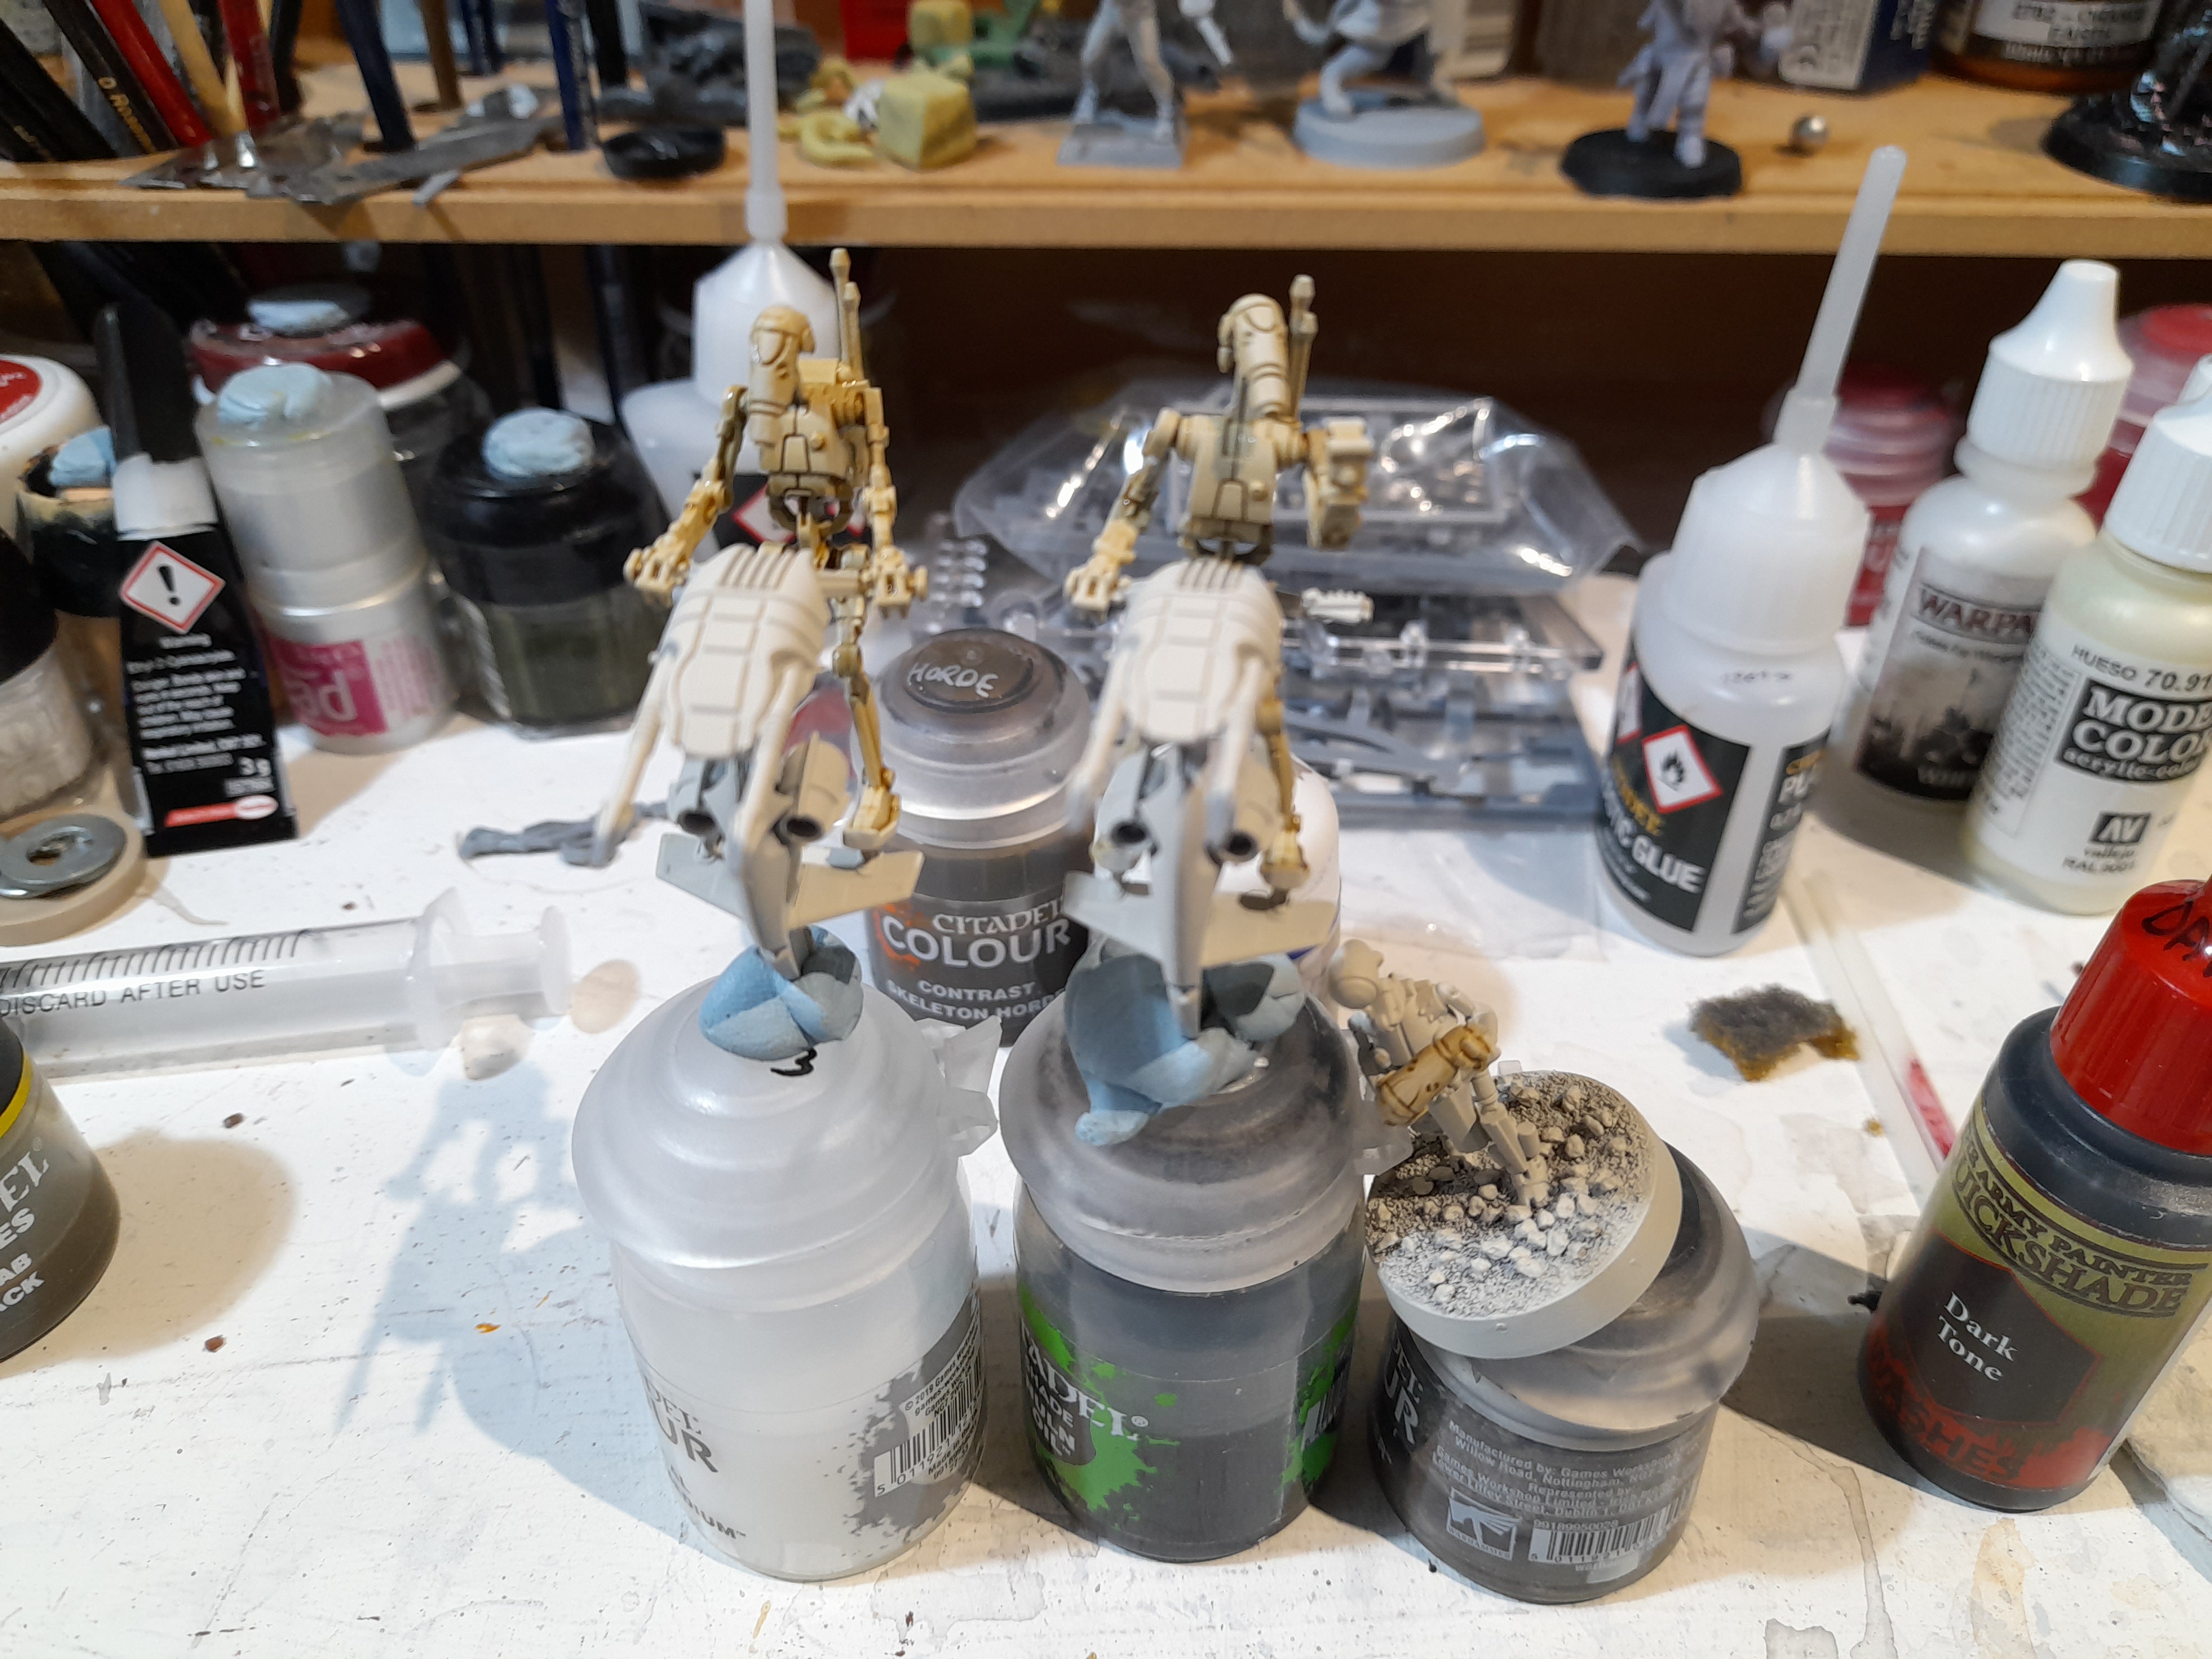
Starting on the B1’s
14th February 2024
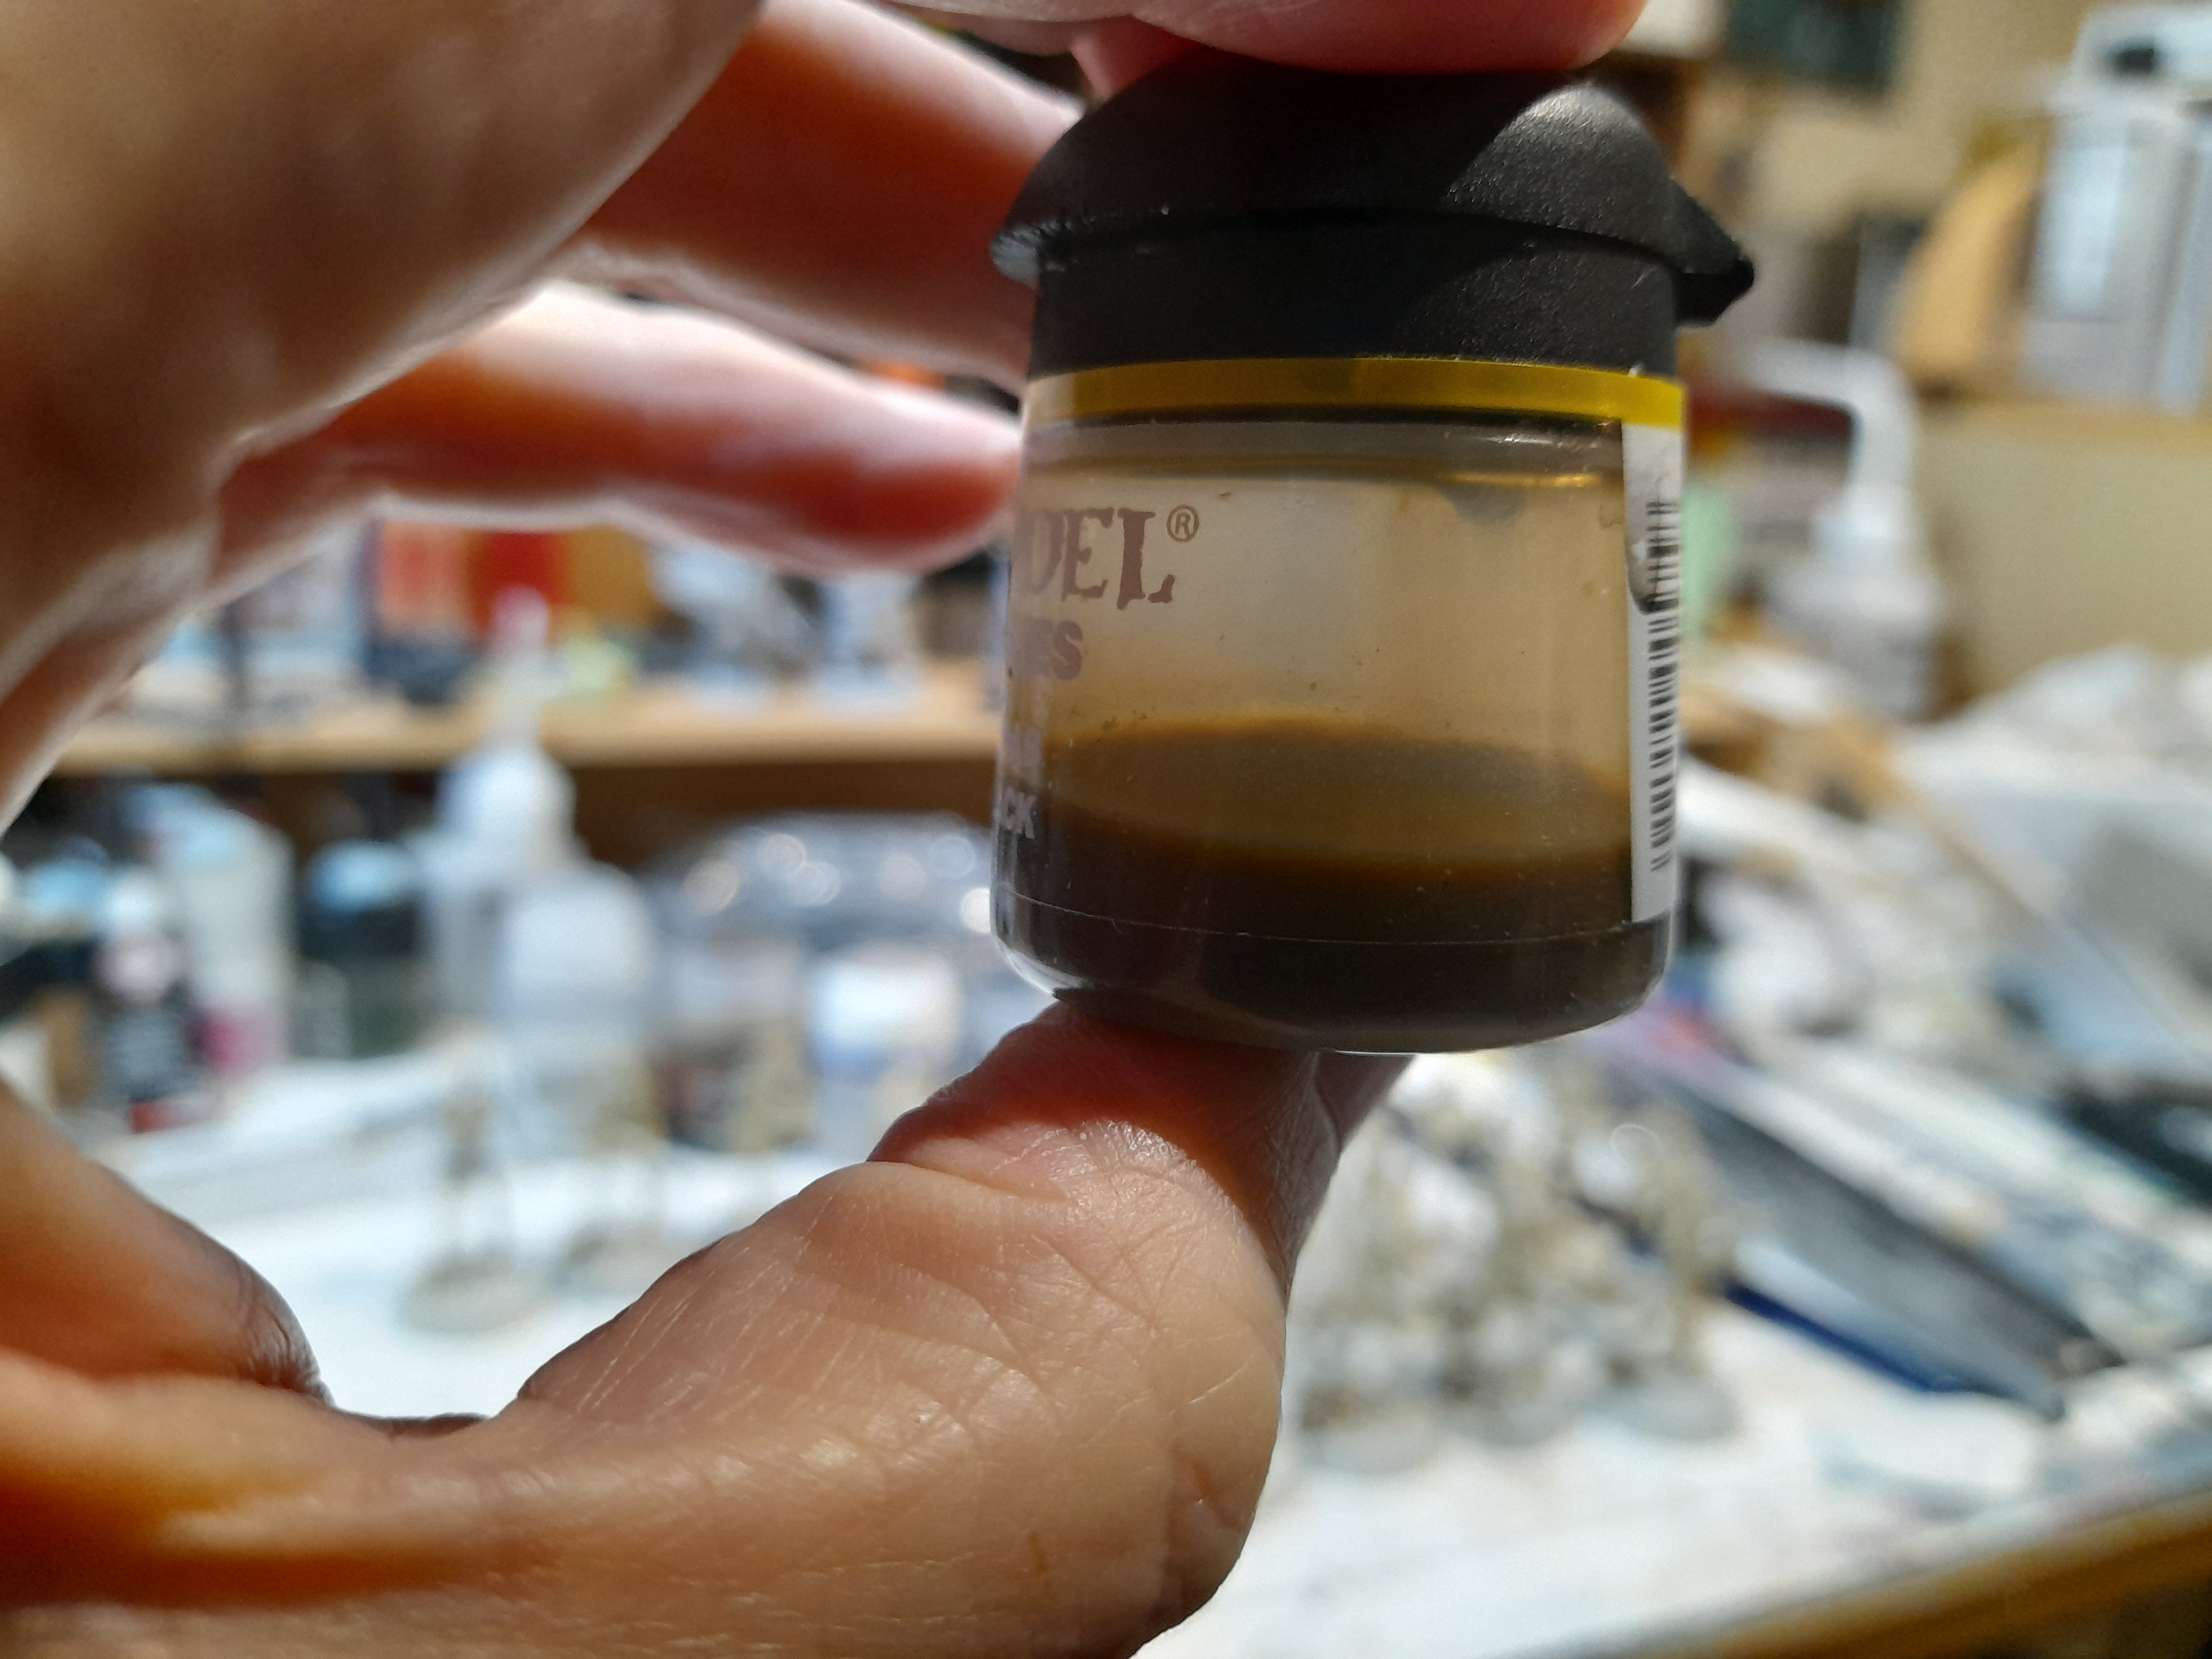
For the B1’s I knew that I wanted to try using contrast, in the hope that it would give an acceptable finish in reasonable time. However, I felt that using pure Skeleton Horde would be a bit too dark.
So, I planned to use a 50:50 mix of Skeleton Horde and Contrast Medium. Quick visit to an online retailer and some 5ml plastic syringes came in the post…
This allowed me to accurately measure out a mix of the paints, so that it would be repeatable for the future (in case I didn’t make enough to start with, or needed to paint more droids at a later date).
Started out on a test model, and it looked ok.
Rolled out to three more.
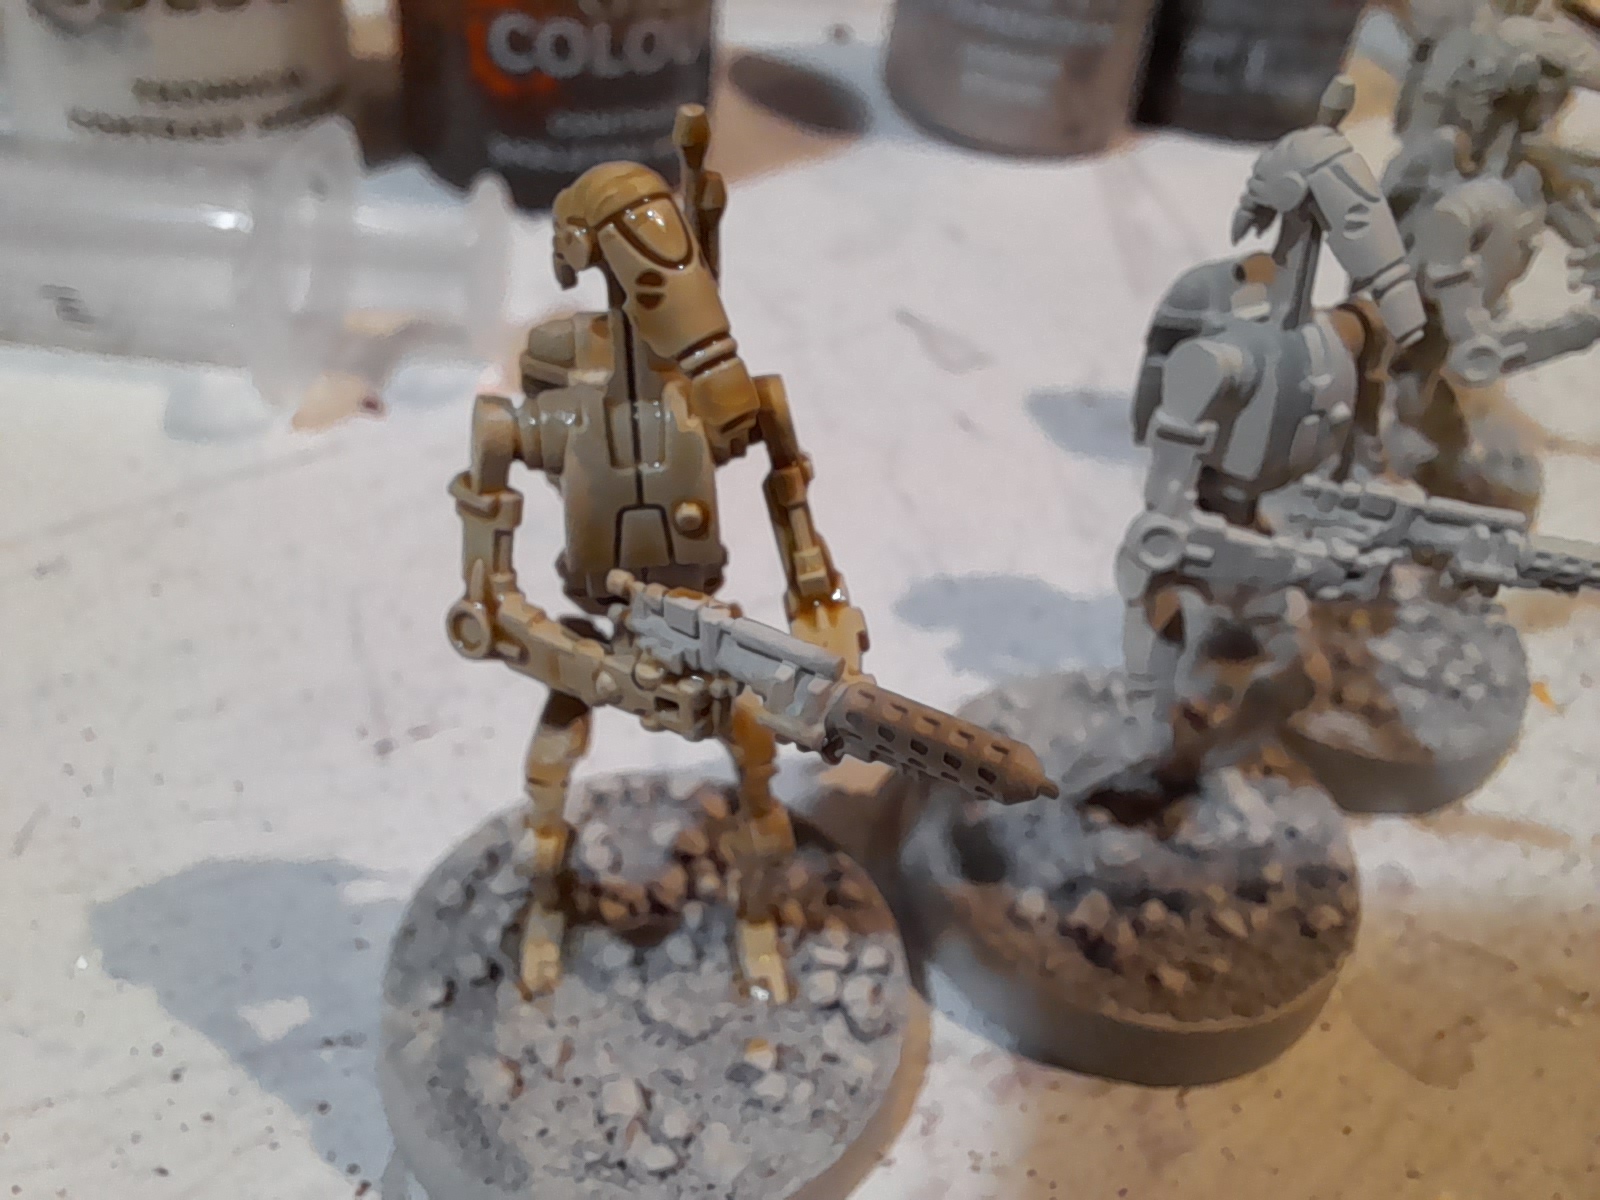
After they were dry I tried a quick drybrush with ivory, and I think it made an improvement.
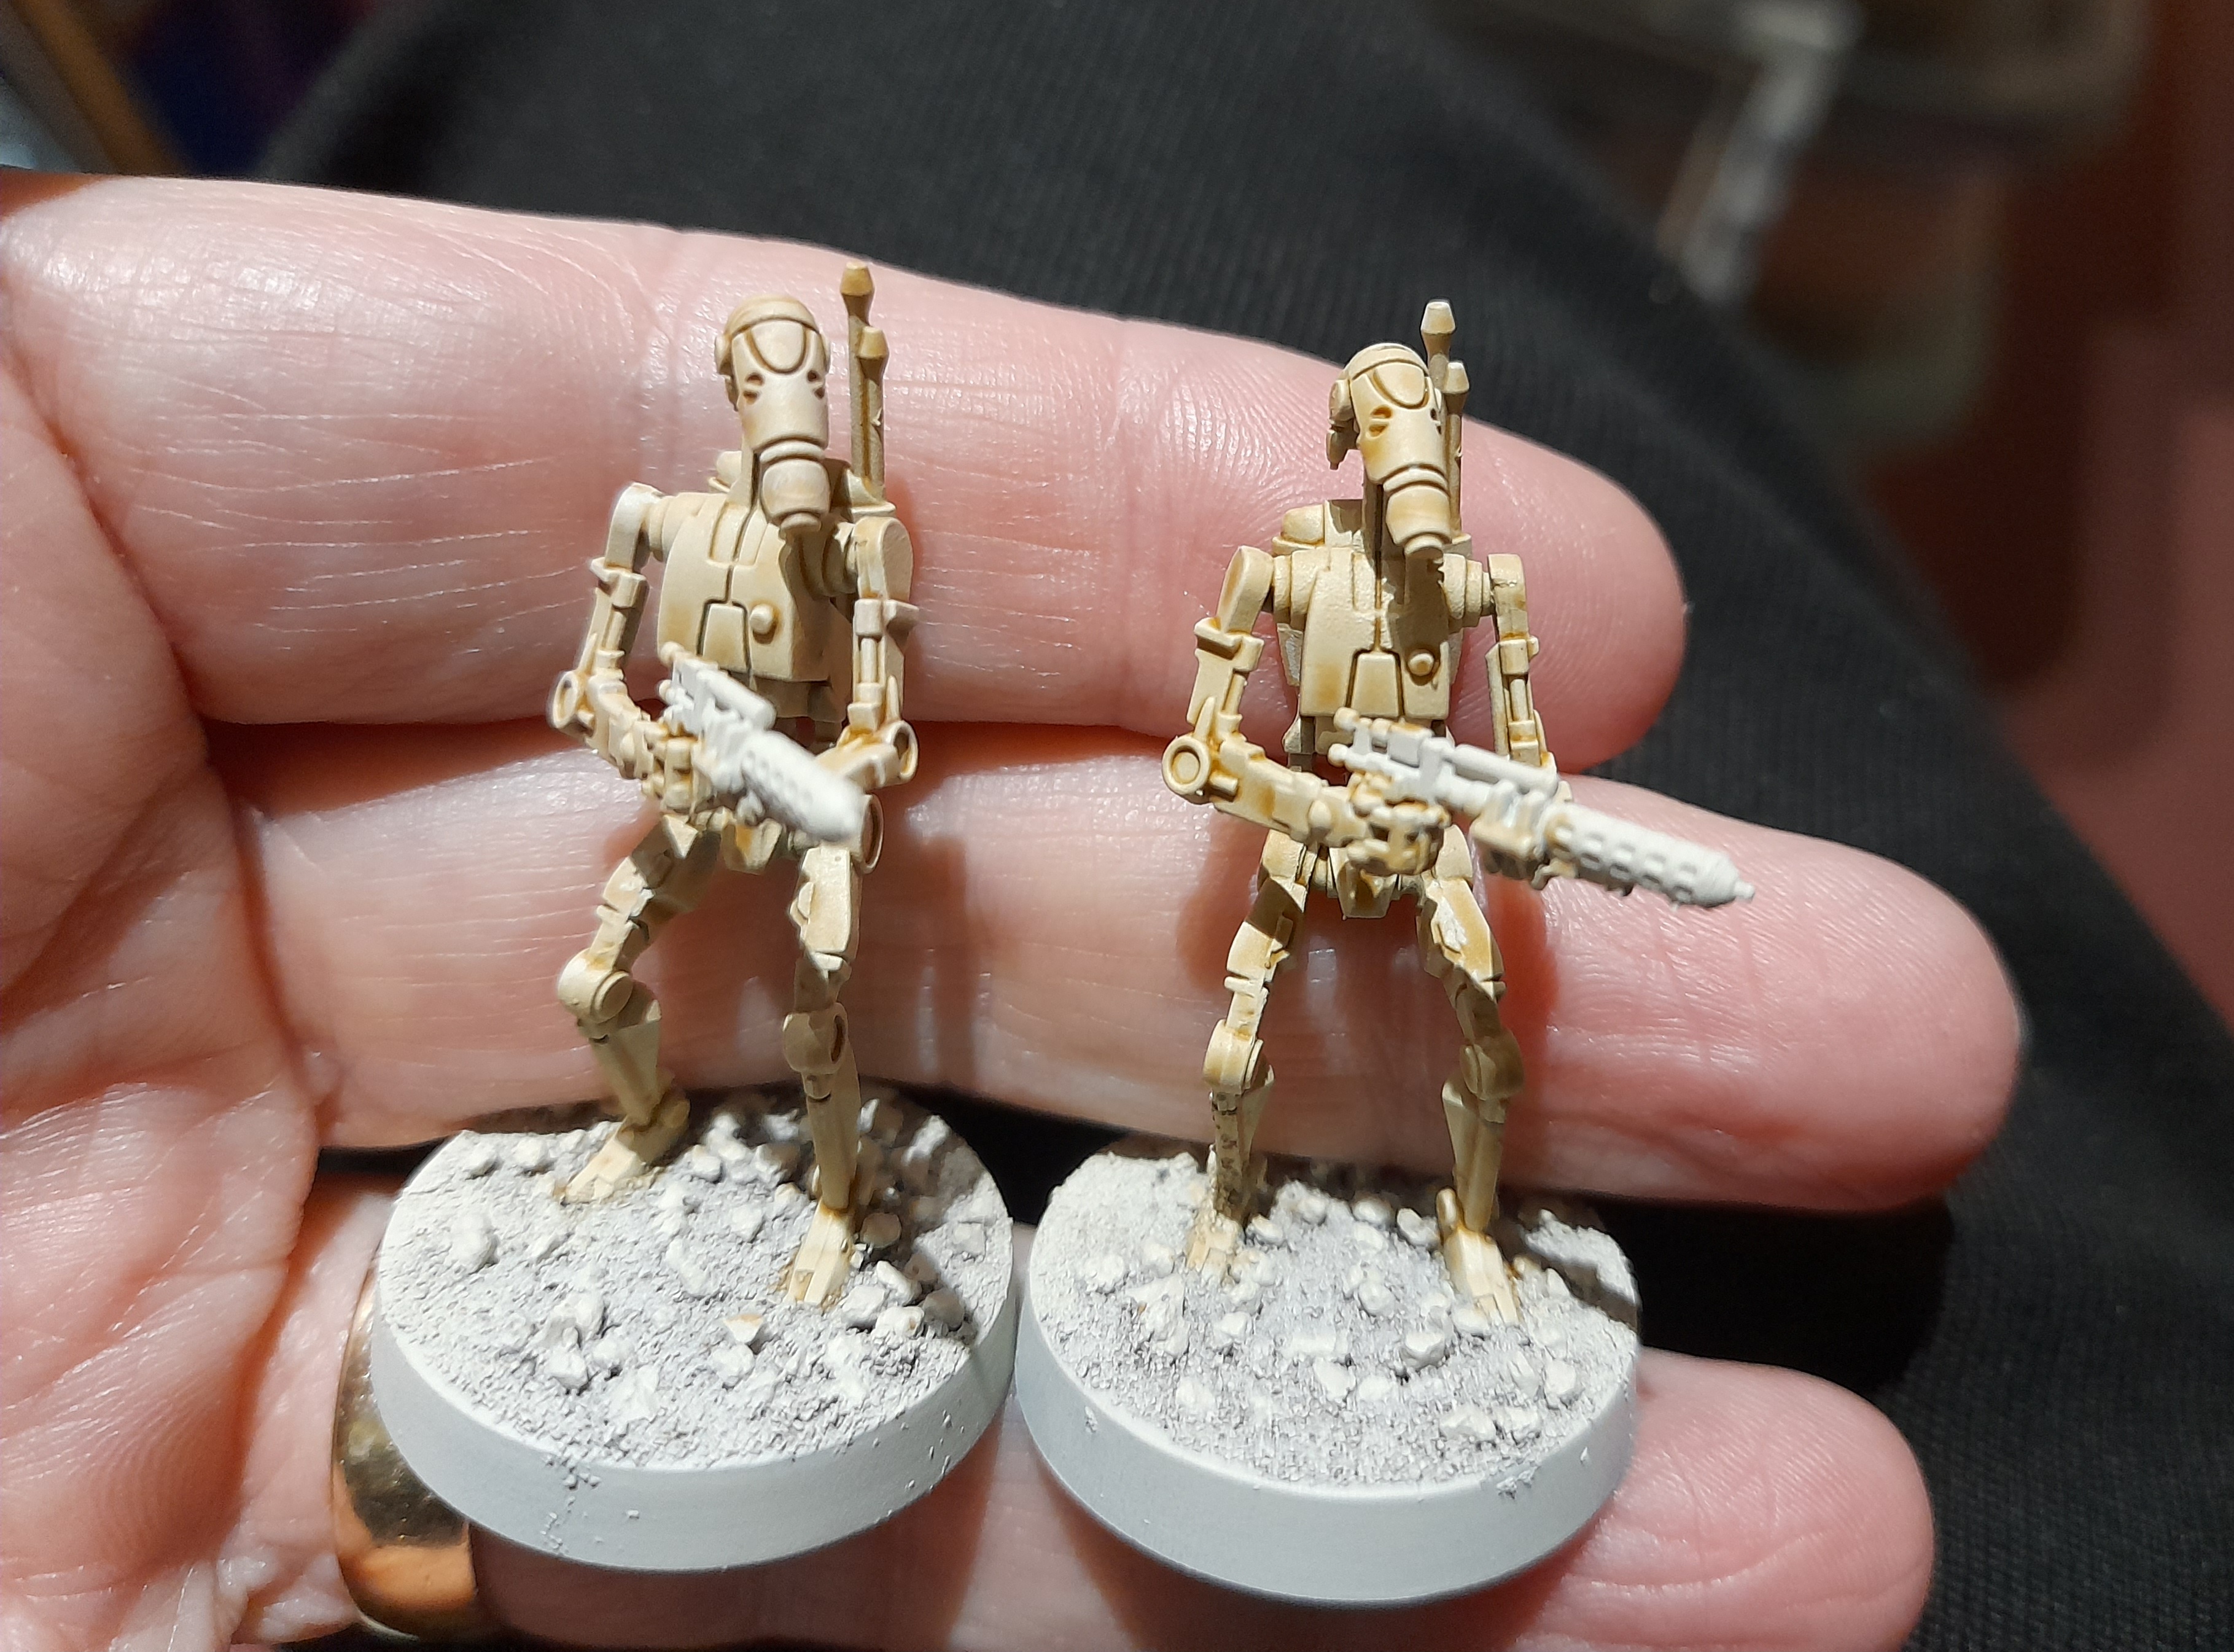 Drybrushed one on the left
For the next four I decided to try wiping some of the contrast mix off from the droid’s high points before it dried – as a rough highlight stage.
 'Wiped' one on the left
I feel that works quite well, so will go with that technique for the rest of the B1 droids, with some light drybrushing afterwards where needed. Interestingly they still take quite a while to do each one at this stage – I will try out some different brushes to see if any ‘load up’ better.


