


![NO Weekender Or Cult Of Games XLBS This Weekend [Updated]](https://images.beastsofwar.com/2026/03/No_Weekender_and_XLBS_this_Weekend-225-127.jpg)


A Quick Steel Rift


Recommendations: 18
About the Project
I was gifted a set of Steel Rift for Christmas from my son. He has come home for spring break and challenged(guilted) me into building them up and getting in a few games before he returns to school. Now mech minis and games aren't my thing. As close as I get is an Infinity TAG or GW Sentinel. So I thought I'd share my pain with you all as I get them on the table and try a few battle reports. I'll share my mistakes and thoughts throughout the process.
Related Game: Steel Rift
Related Company: Death Ray Designs
Related Genre: Science Fiction
This Project is Completed
Build em up Monday
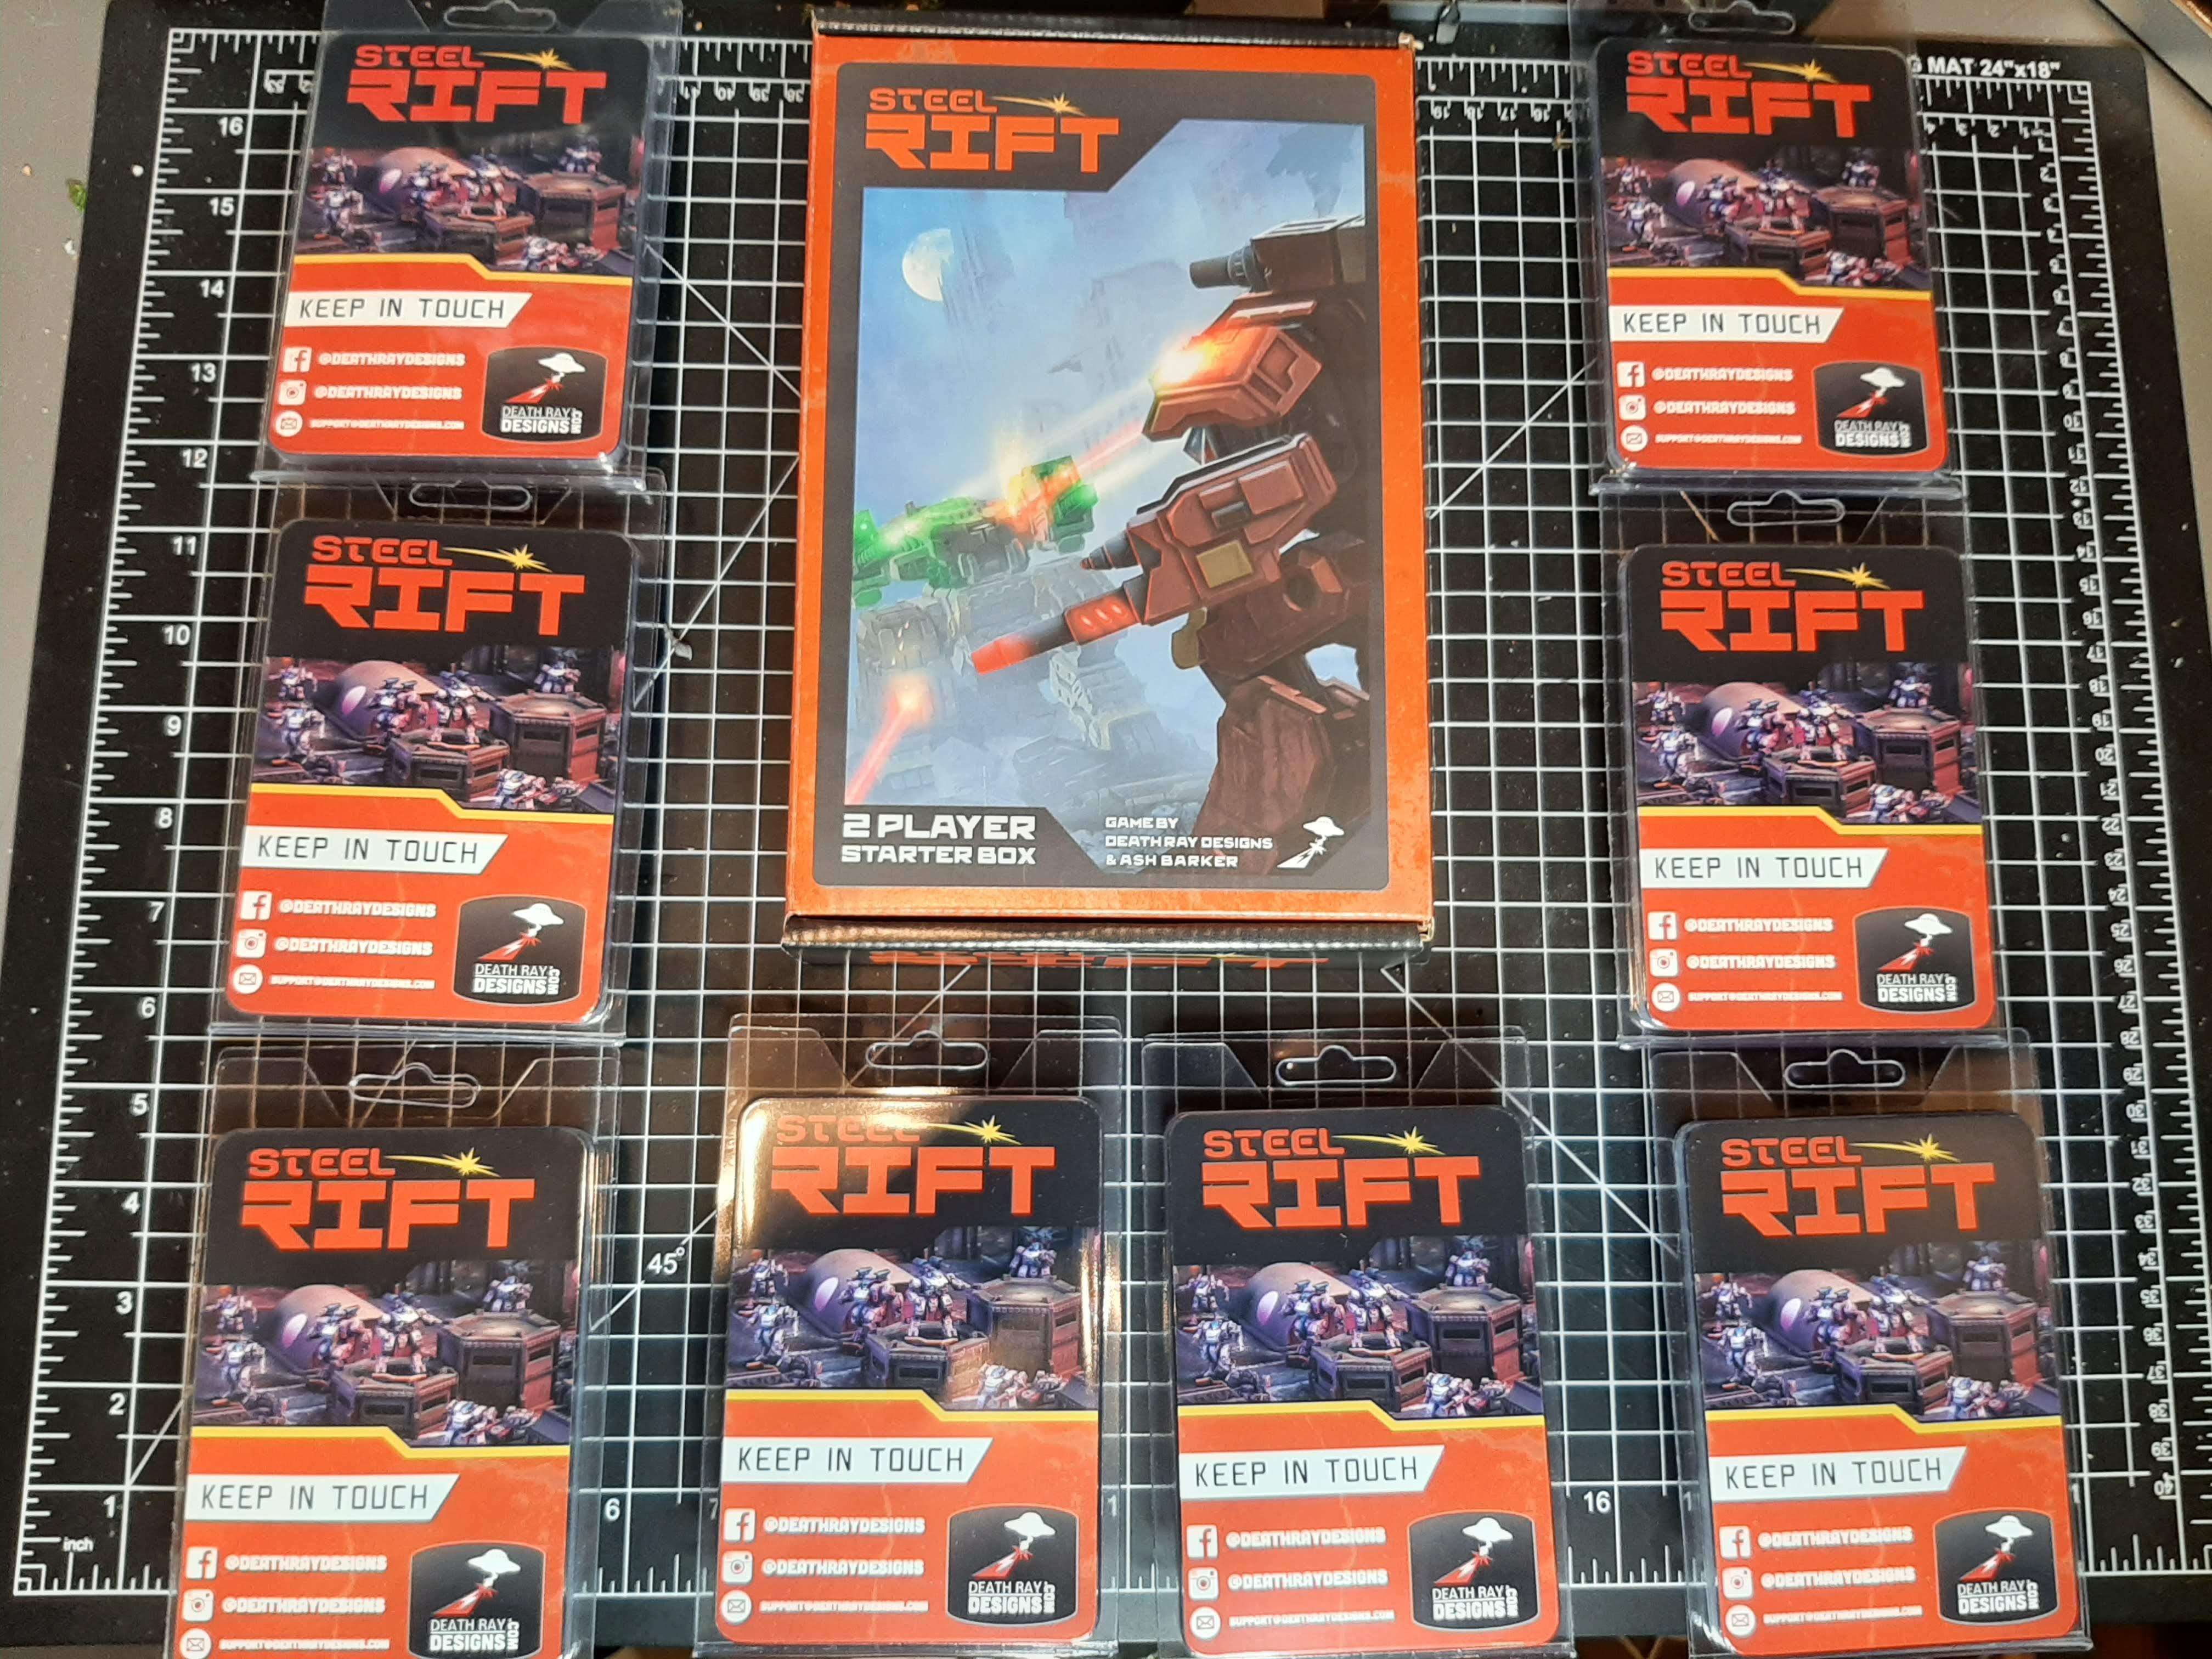 Laying them out, unmolested and organized for now. Packaging is good and attractive.
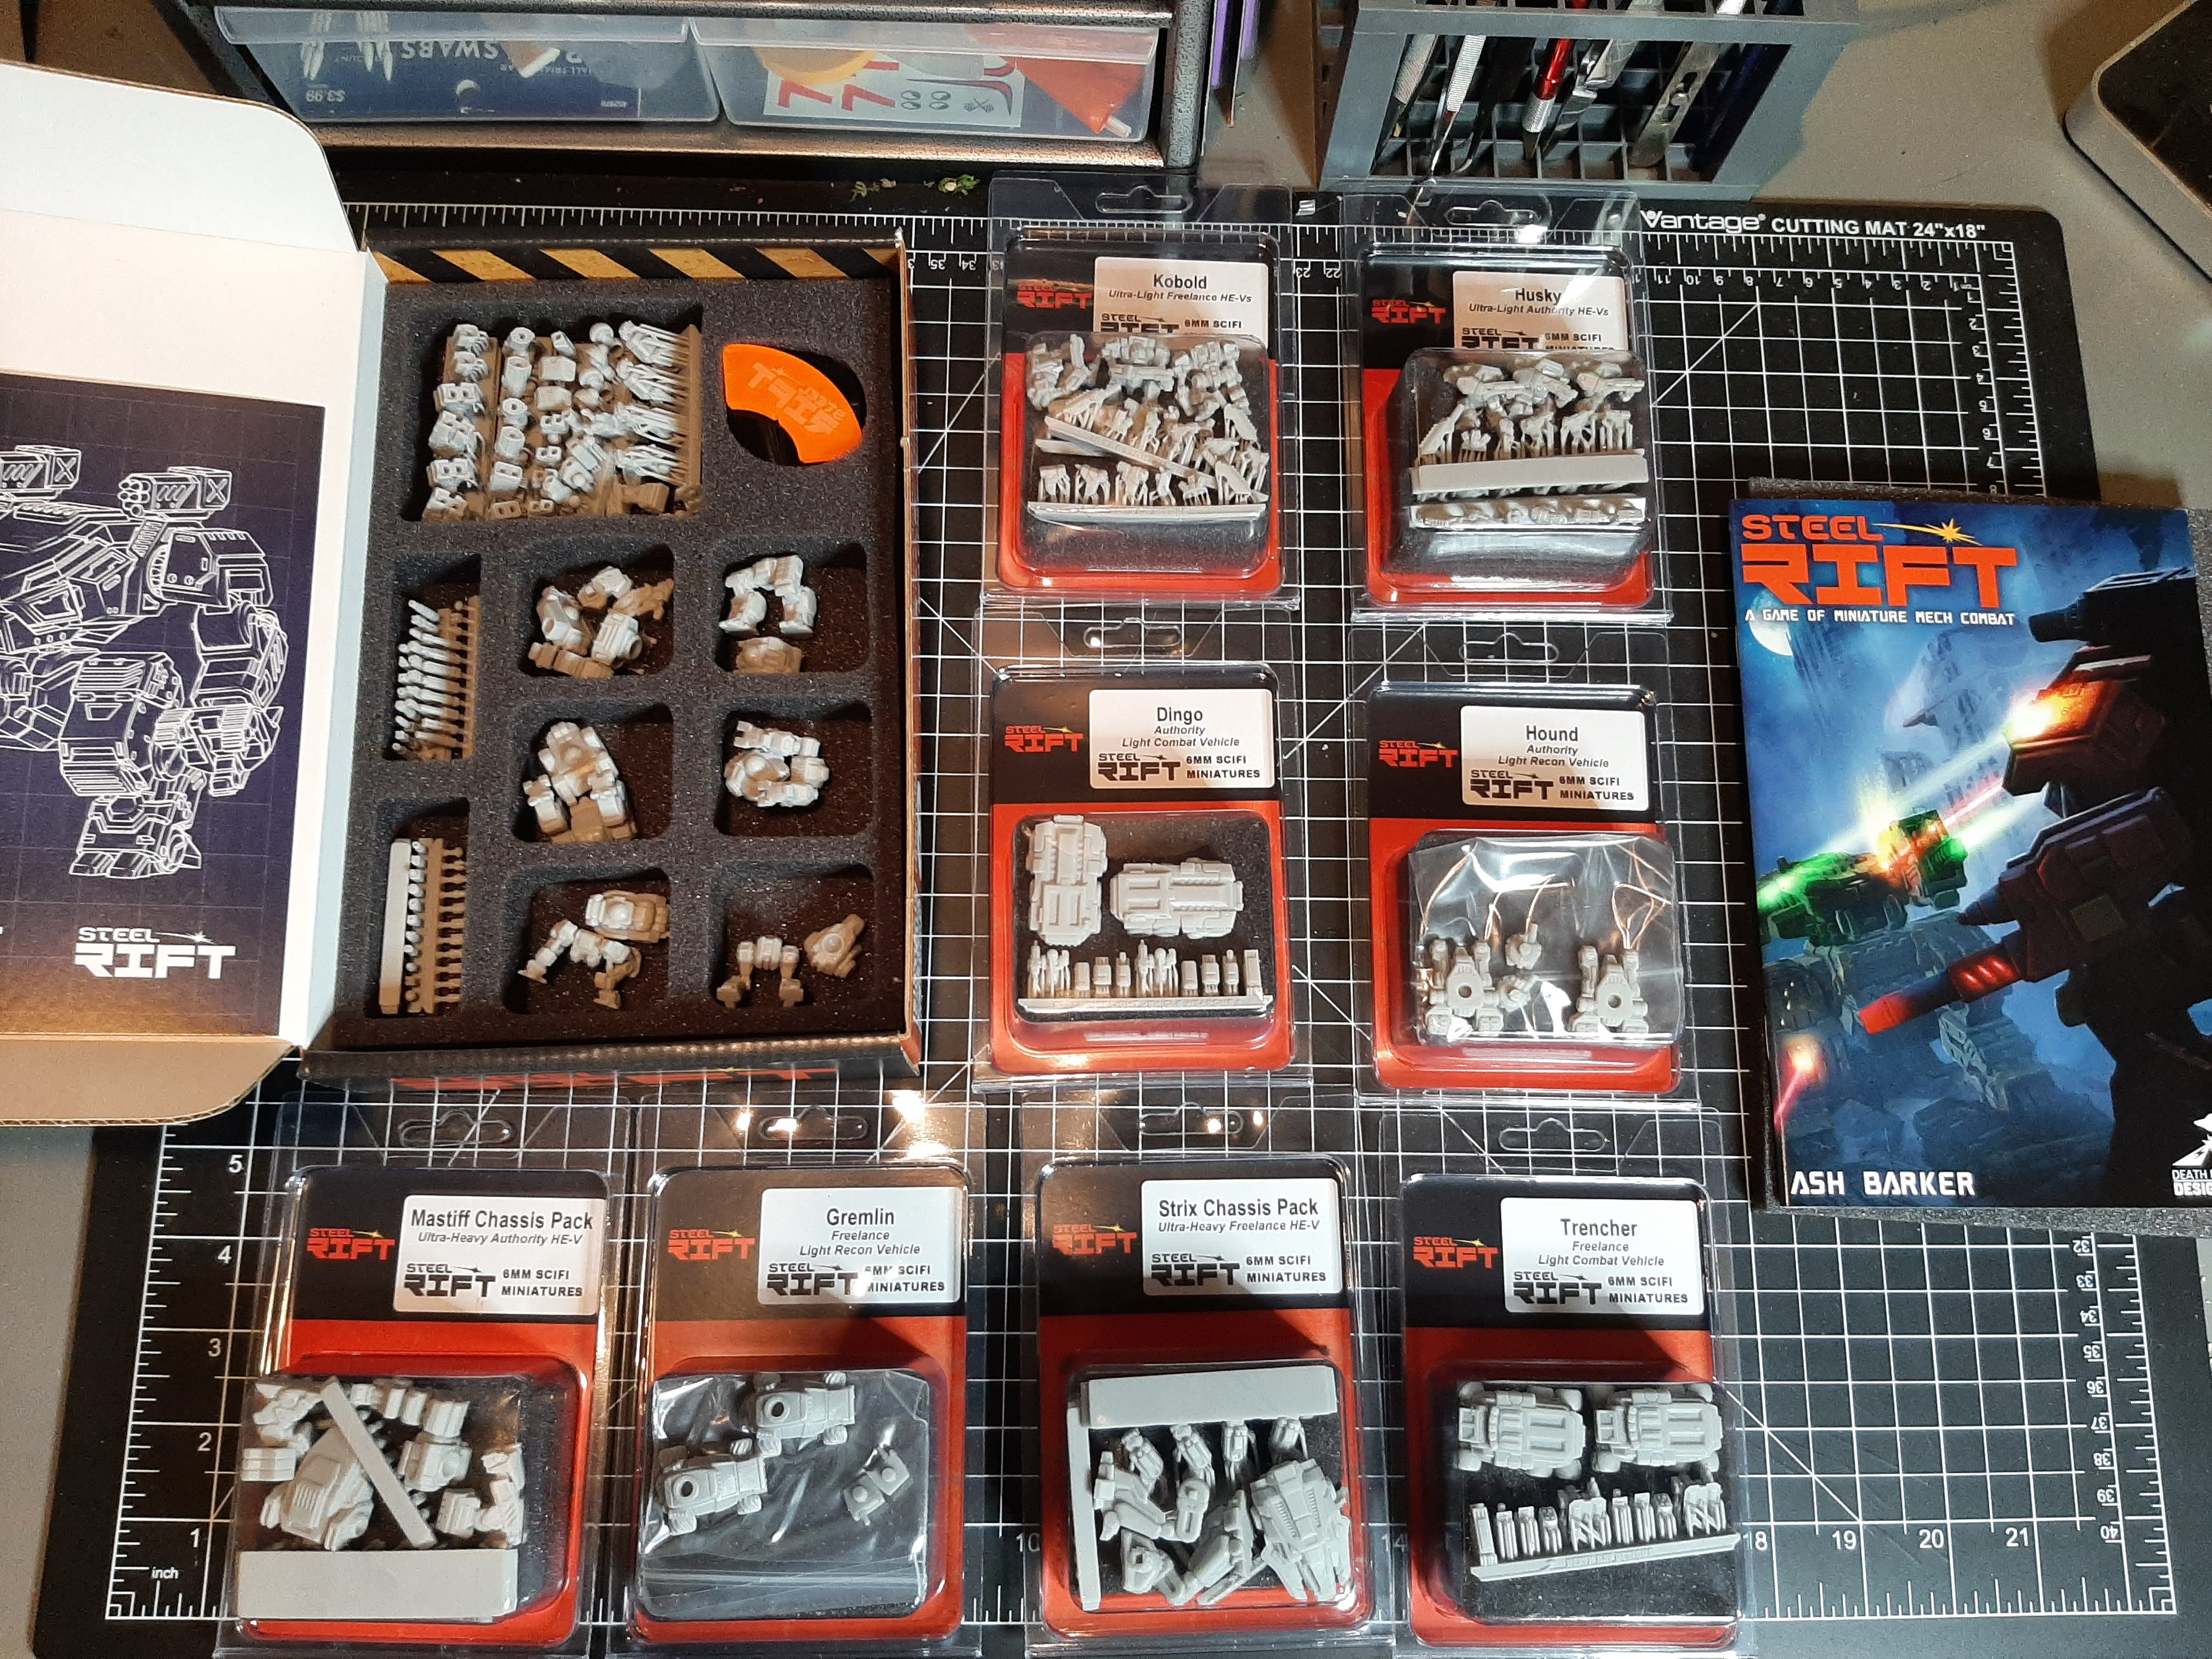 Lloyd shot of the boxes/packs, hopes dashed, it's all little resin.
 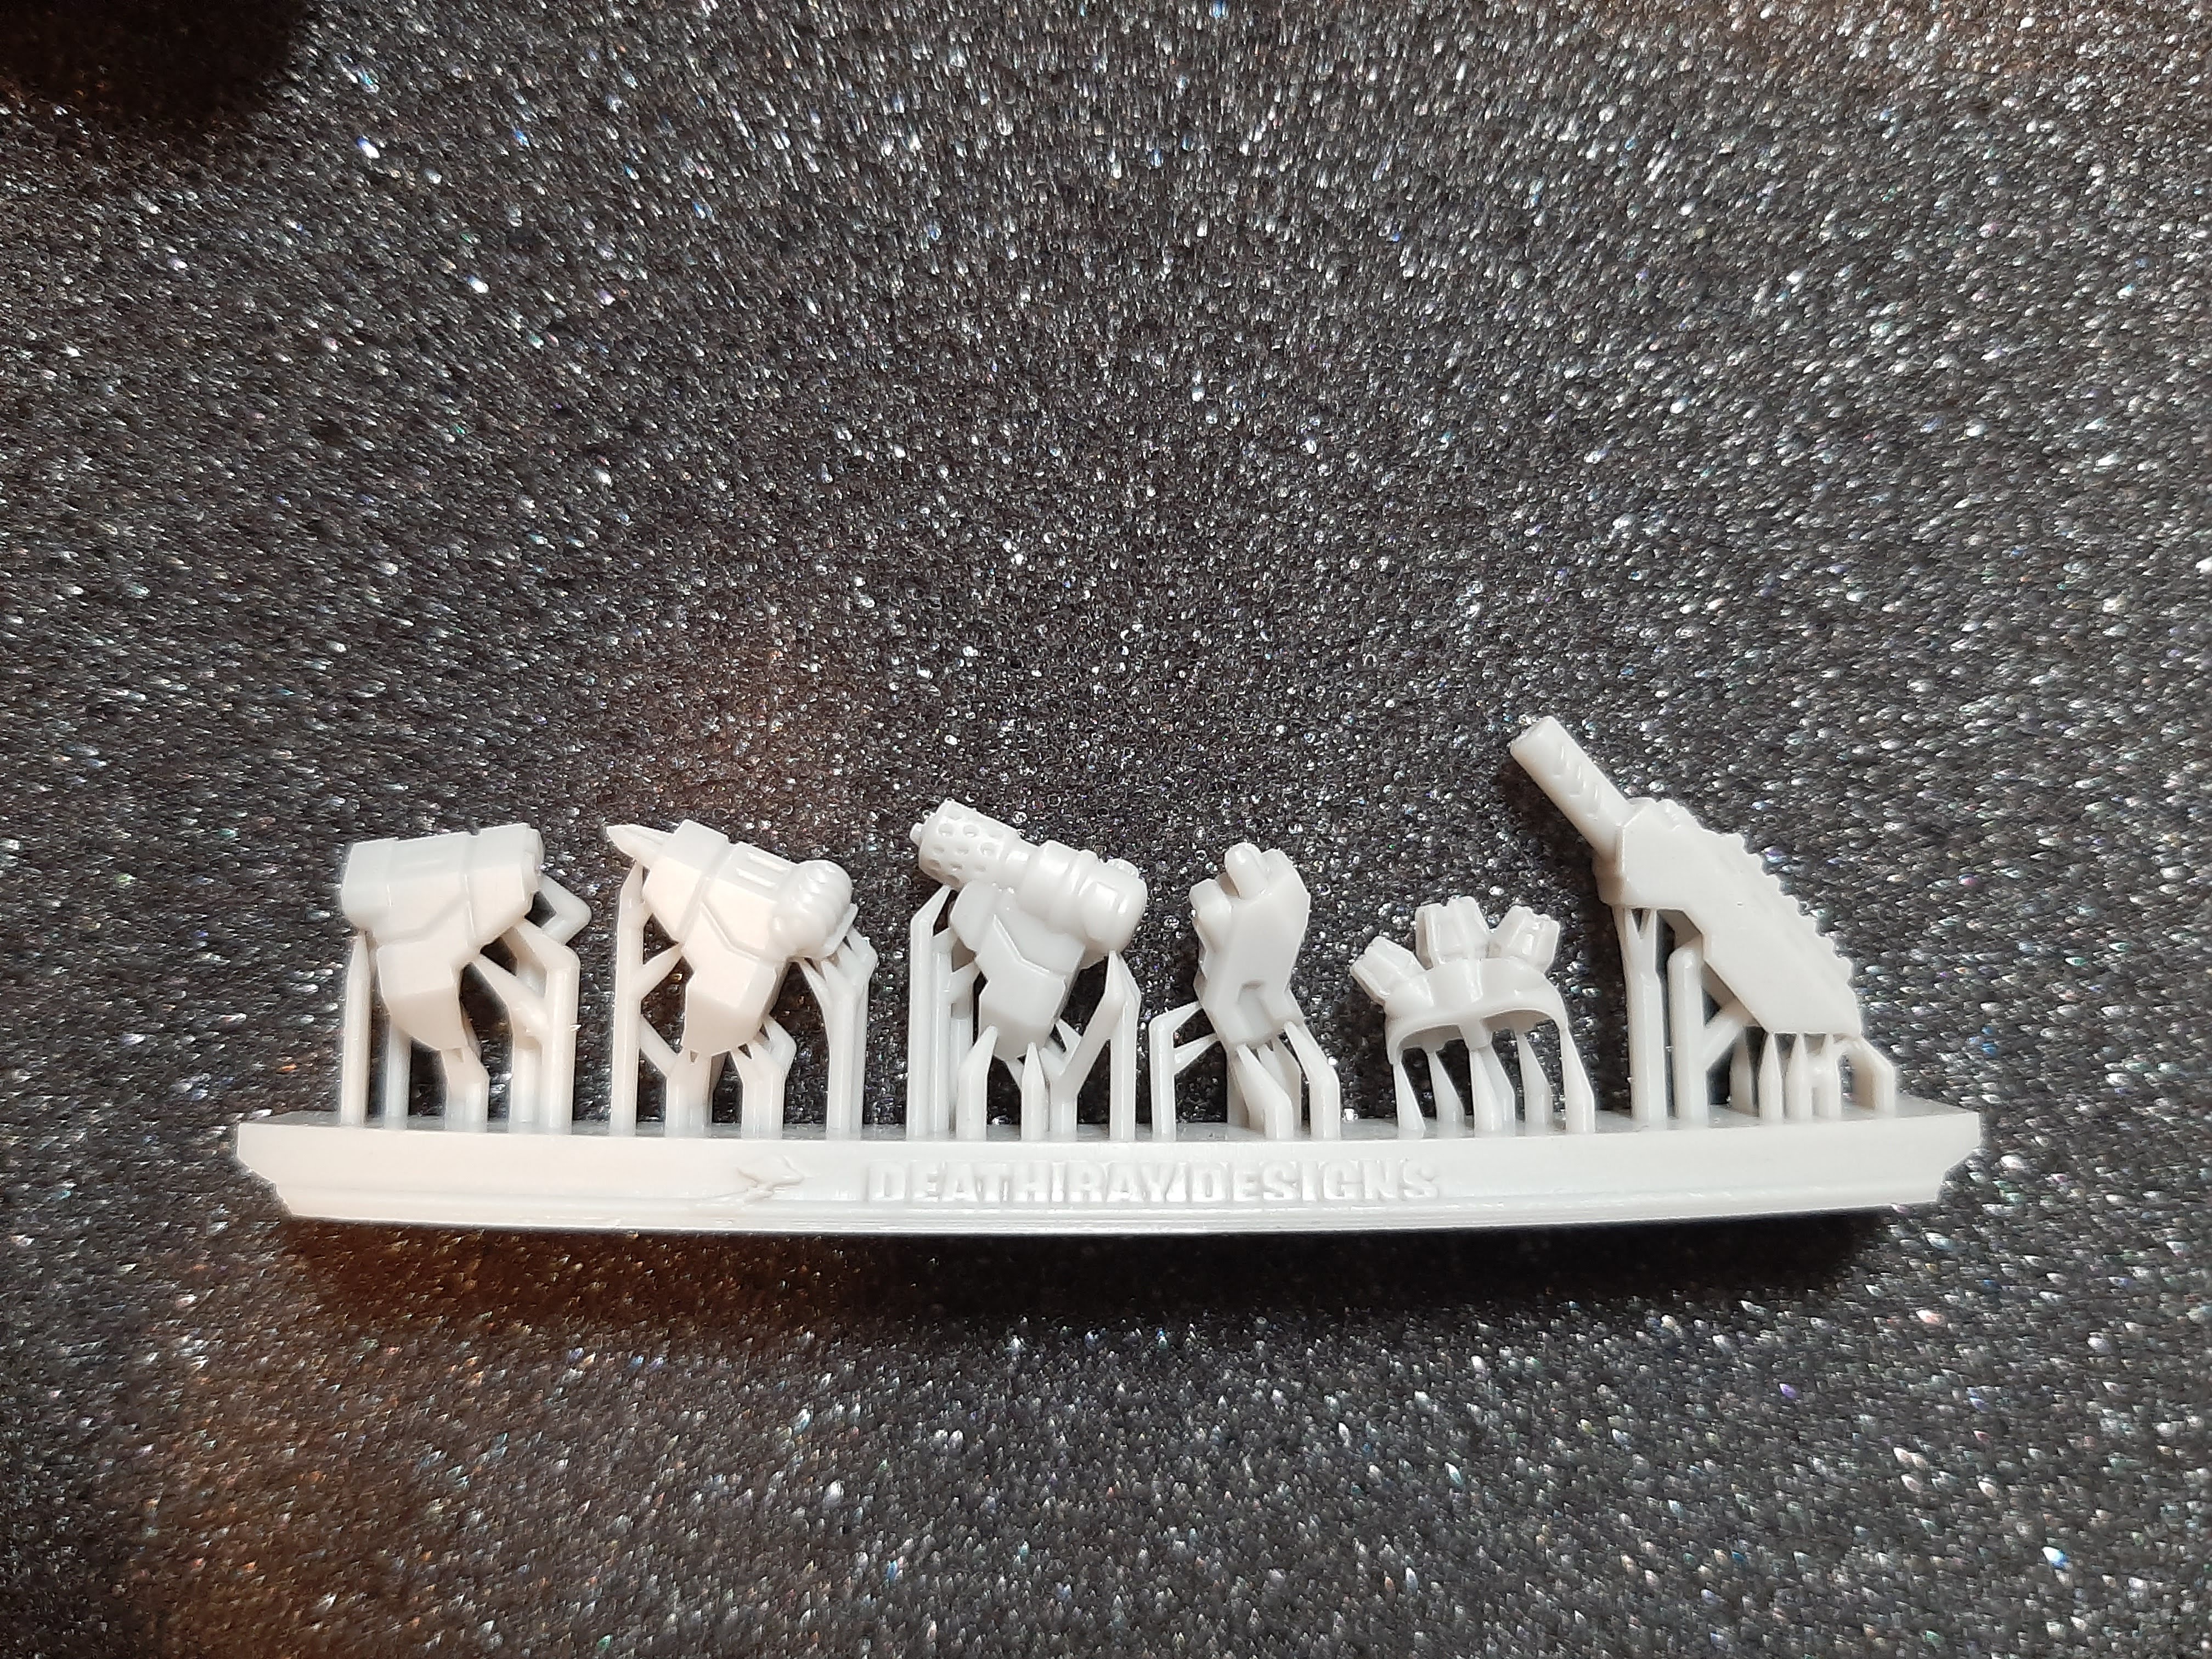 It's all on these resin "sprues"? They broke off easily but had some clean up. I got pissed off later as you don't need/use everything so for you all that haven't gone through these yet, take a look at what you need first. There are some mis-cast parts so give them a good look, luckily they have plenty of extra to make up for that.
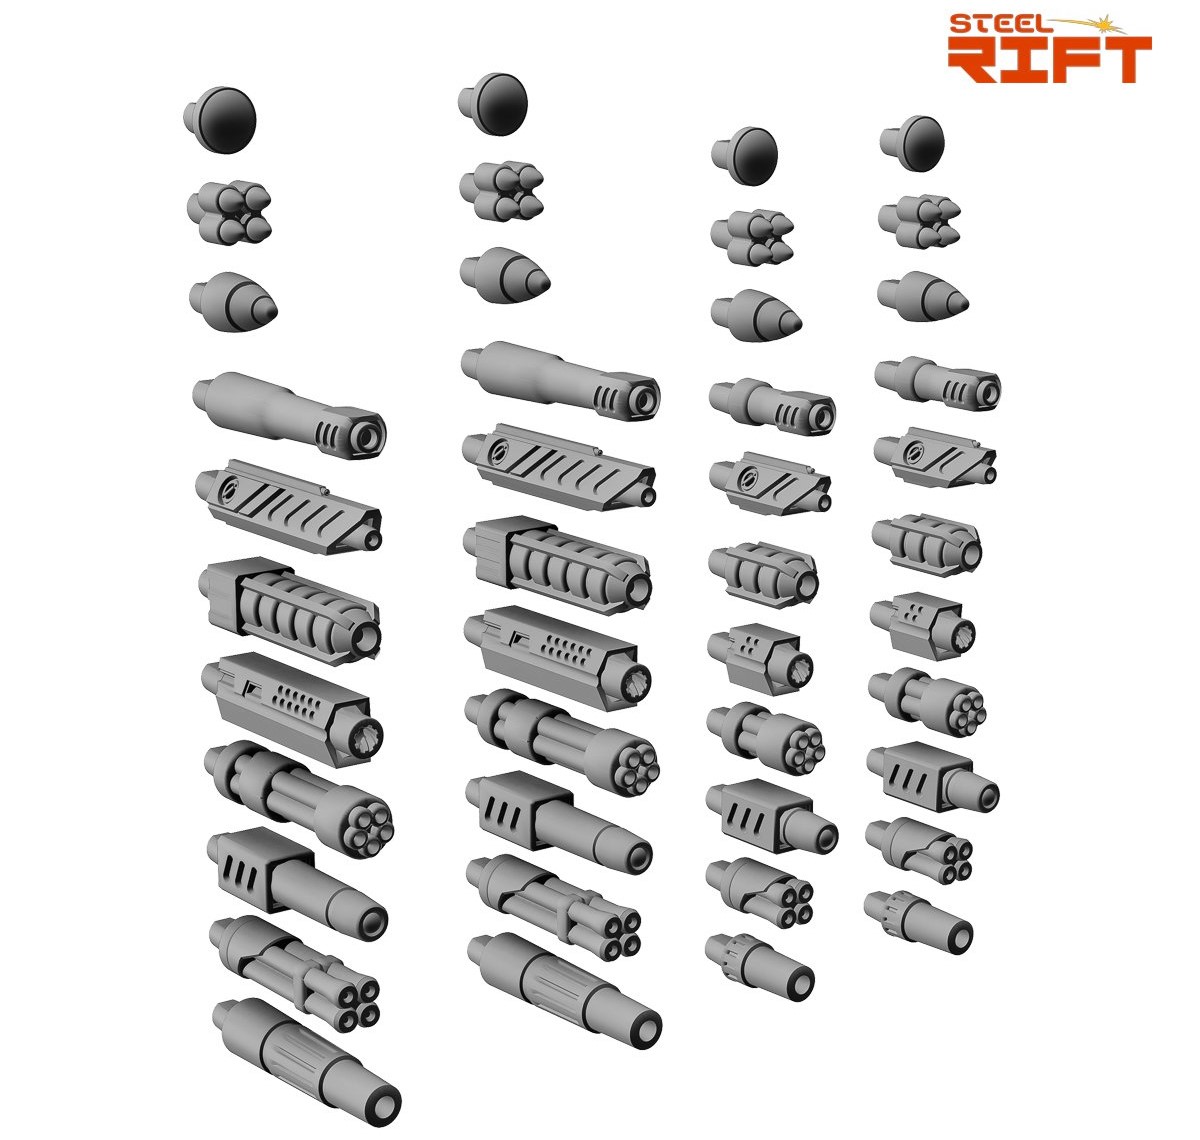 Options on what to build will make your head spin. I didn't read the book first, my fault, to see what load out I wanted/needed. So I made the decision that I thought Gerry would. Whats better than a gatling gun? Two gatling guns! Knowing this game came from Ash Barker, he would probably tell you to build what you like and then modify your load out for the game. I made sure to build both the forces with the same physical weapons just mounted differently. Also the parts are designed so that you can swap things in and out by pressing them into place. Yeah, I glued mine. I didn't want to paint all those little extras and knowing that if I dropped one and broke it that spot would be useless.
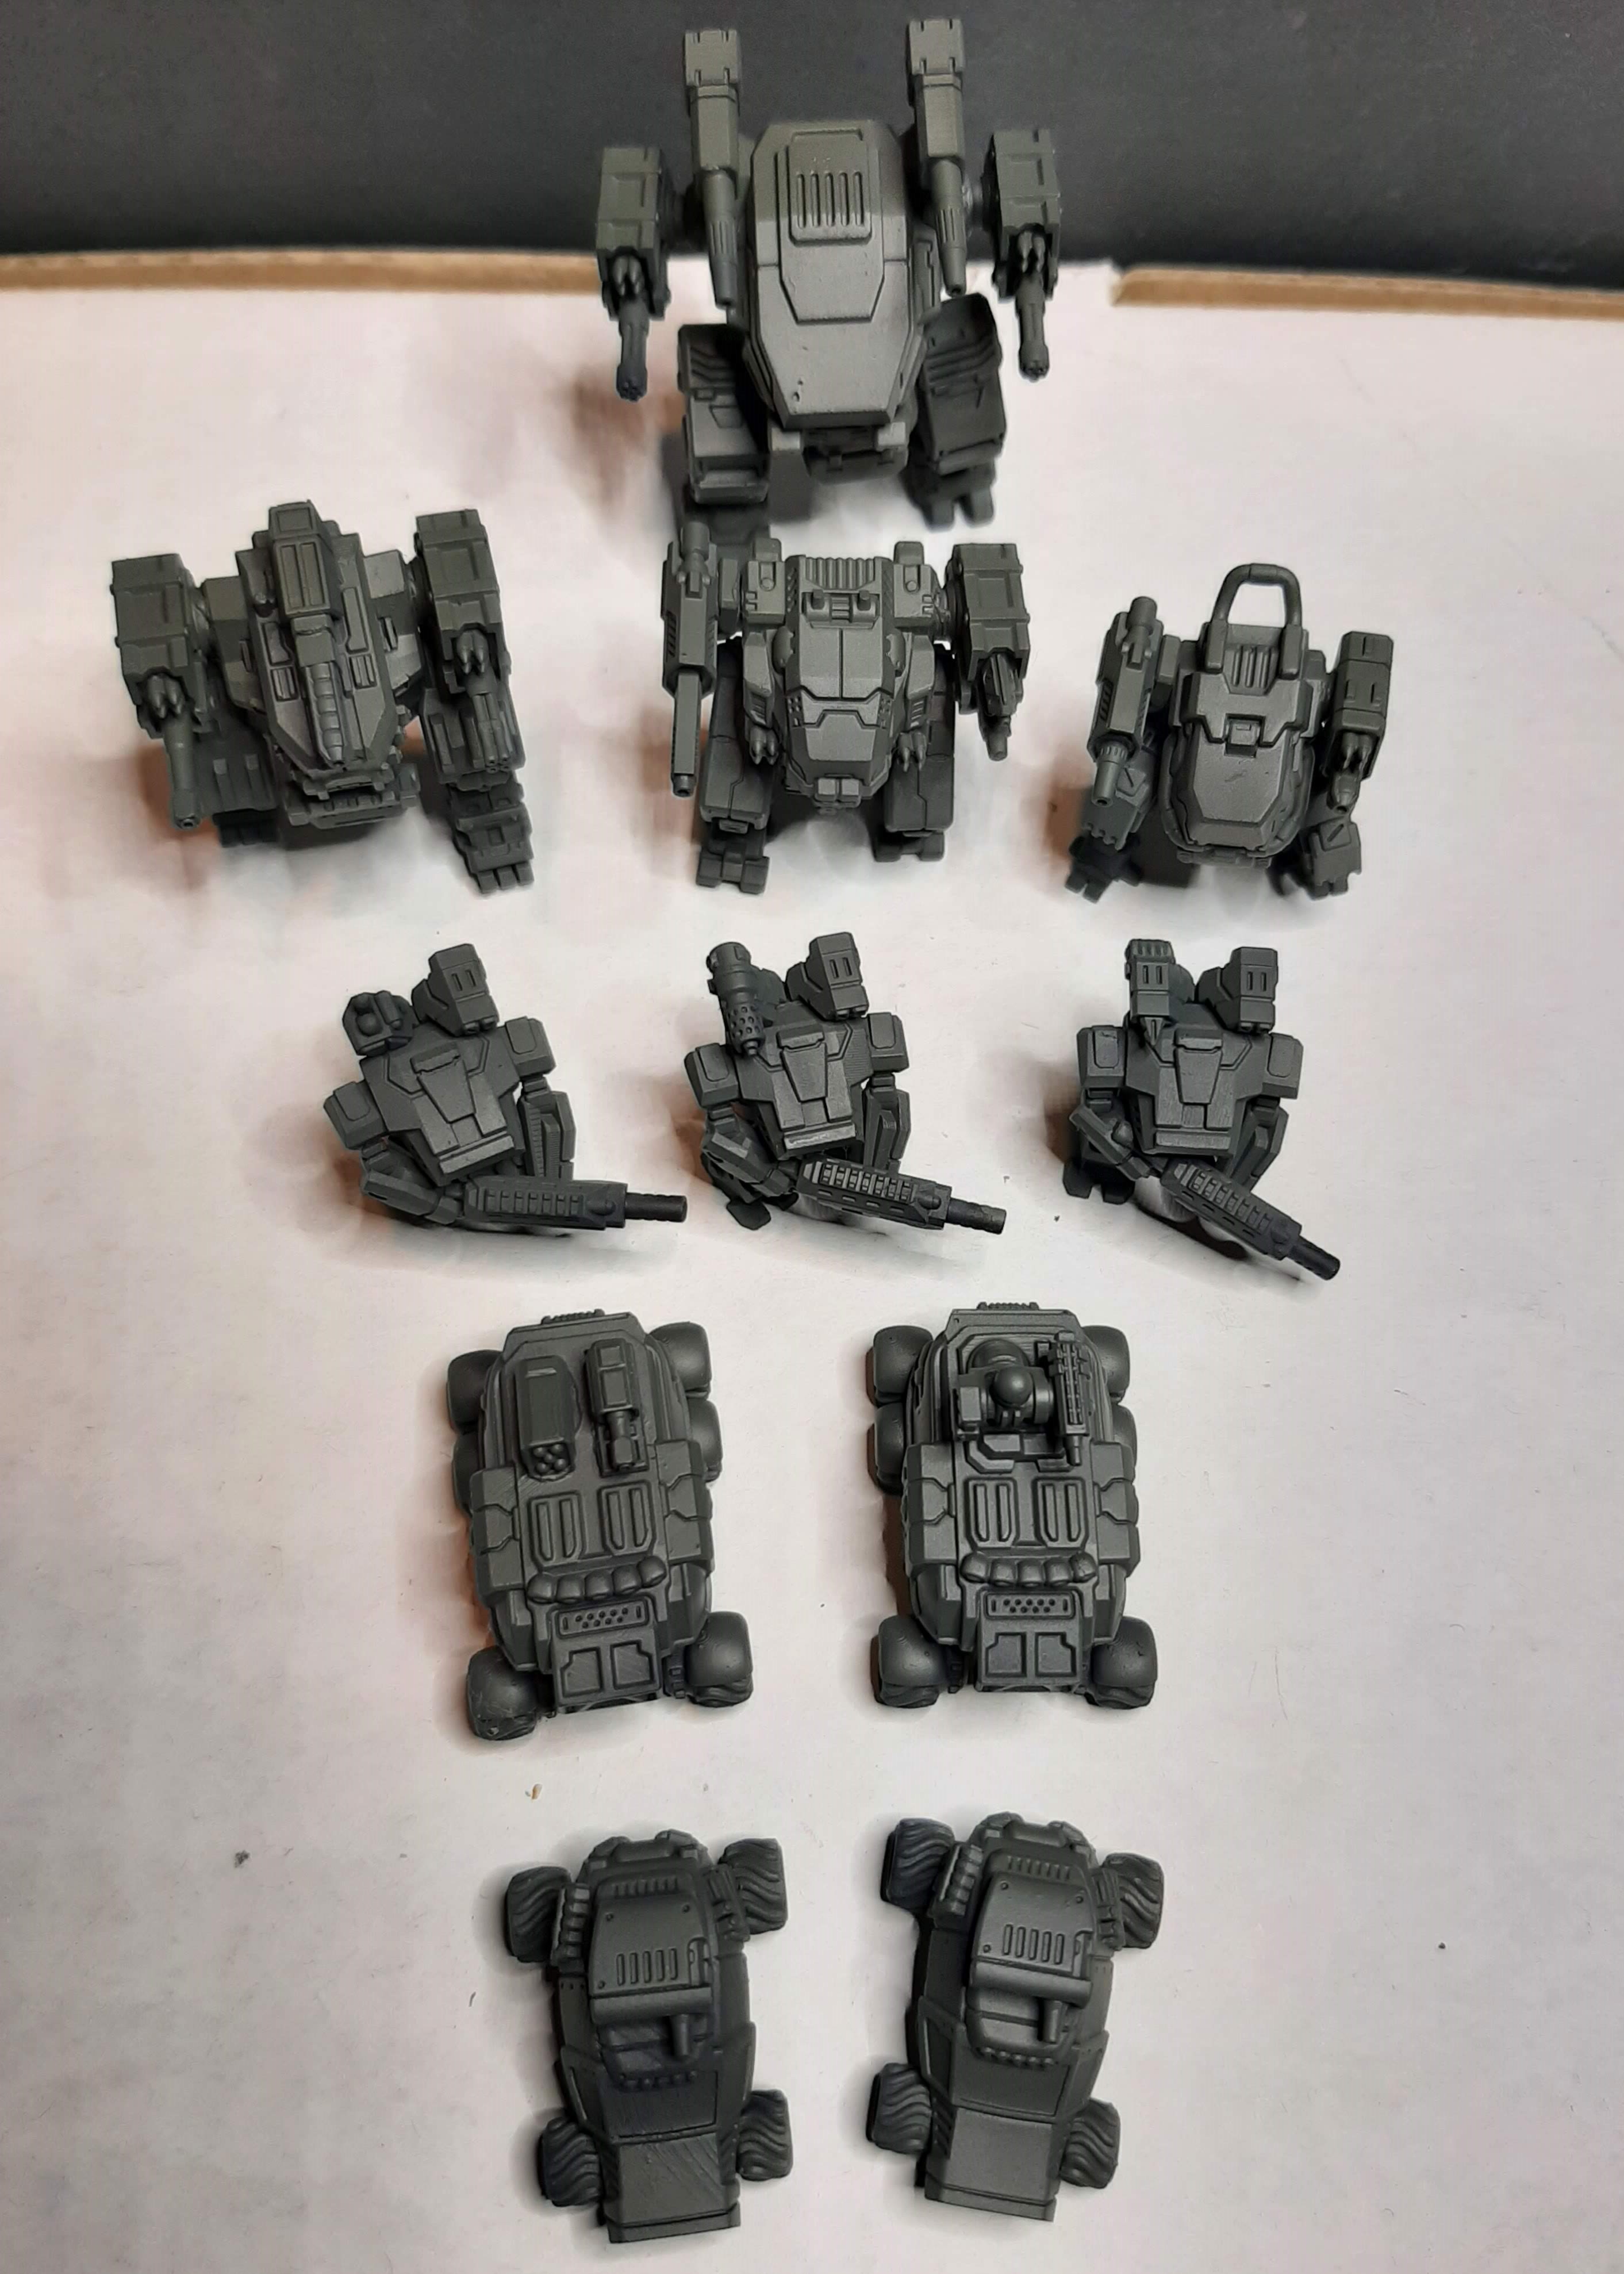
 I built this little guy first. About 5 parts. Pretty underwhelming. You can still see some resin flash/support that I haven't cleaned up yet. And yes it's on all of them.
 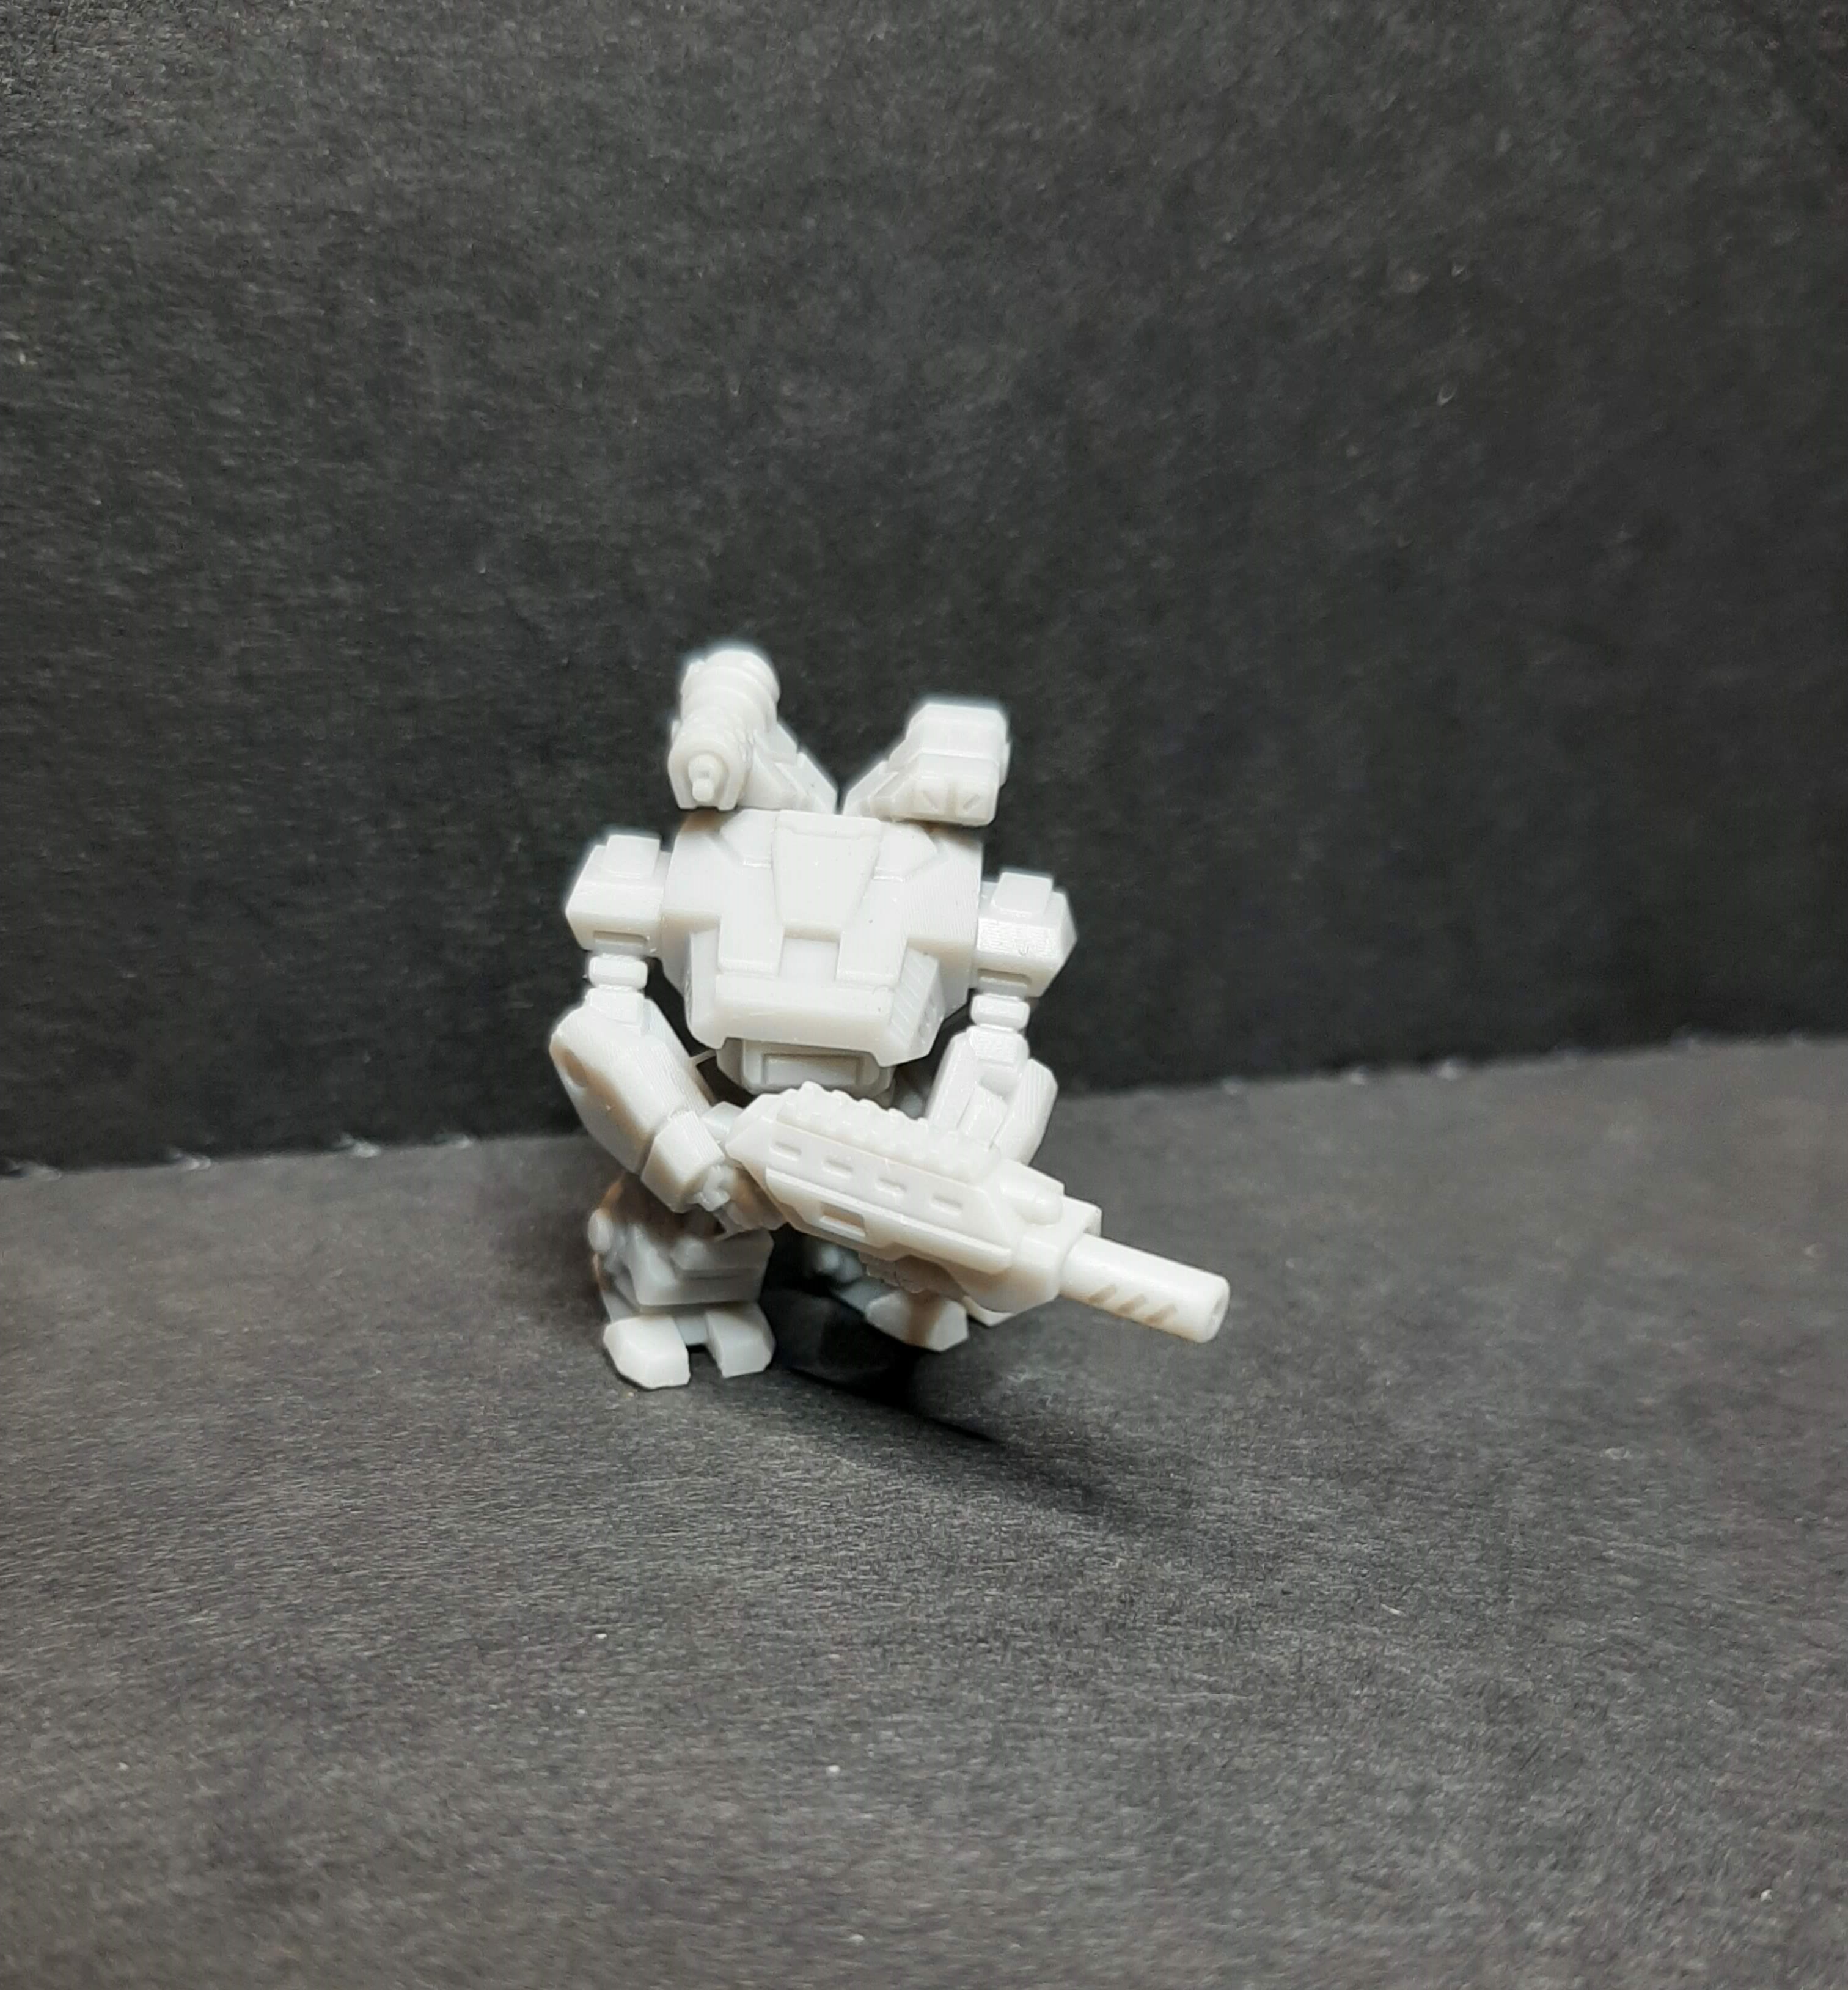 Ahh now we are talking. Looks more like a Jason now. I guess those added options are doing something for the asstetics.
 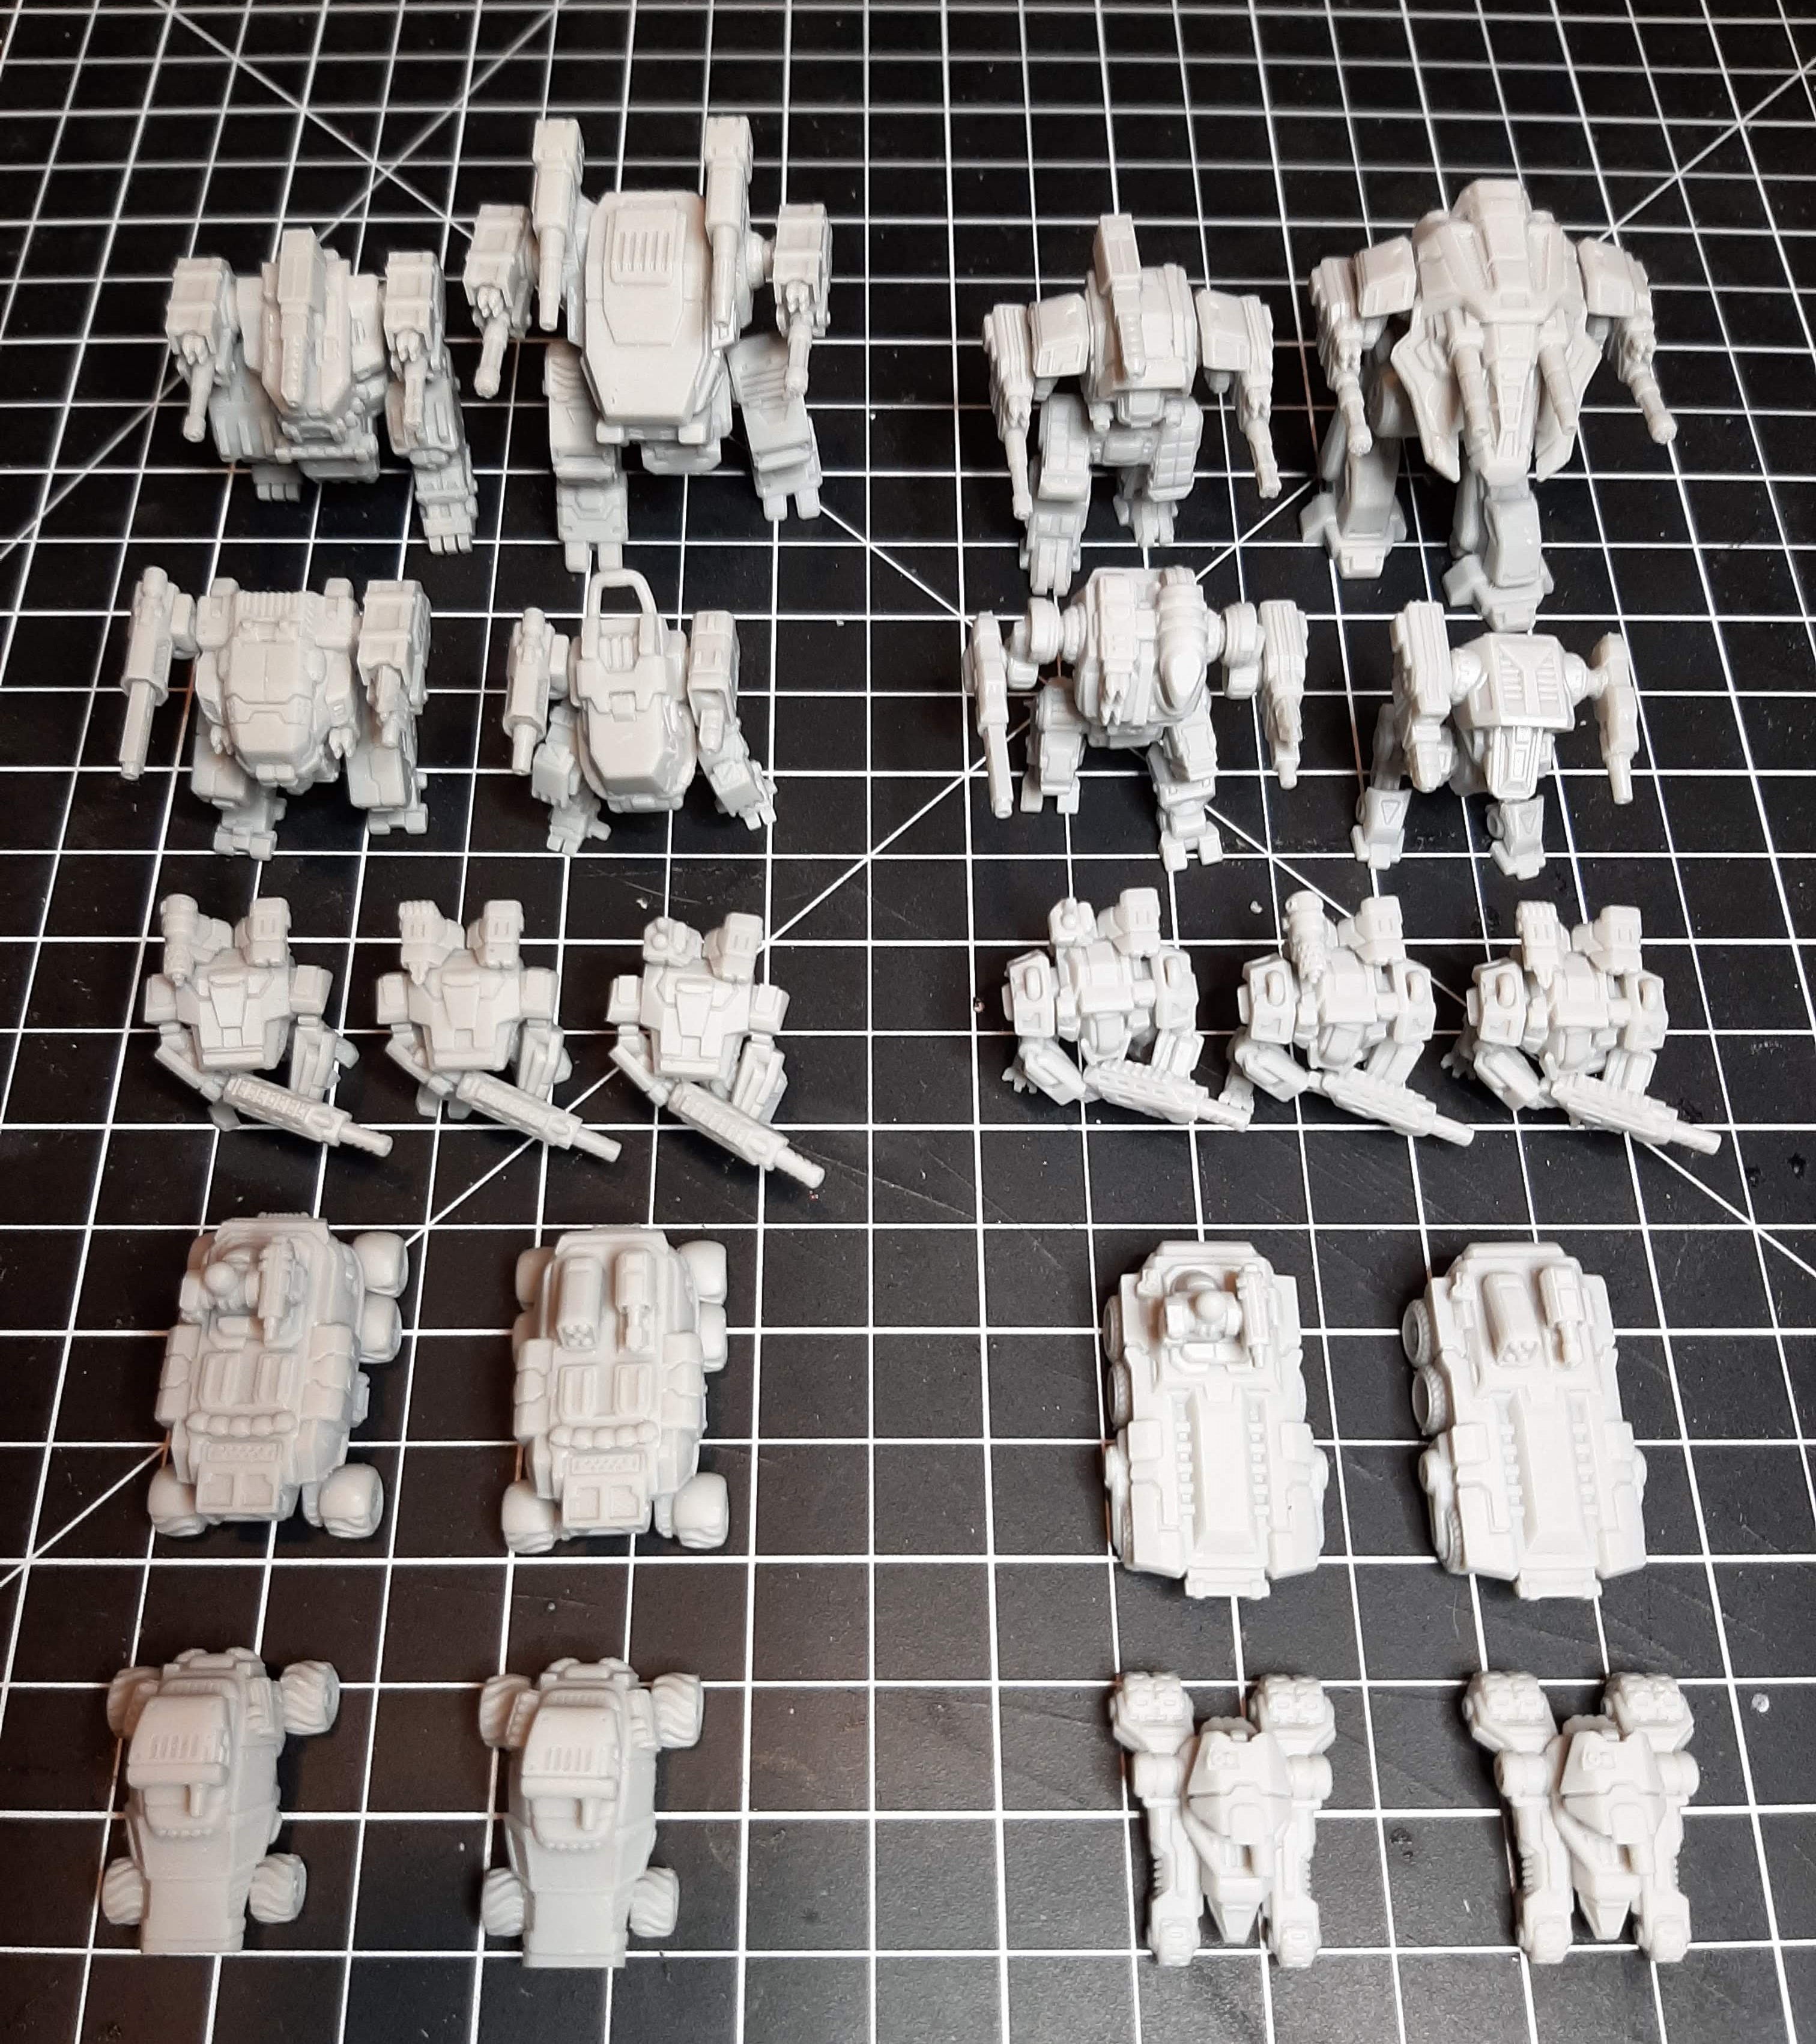 Two built forces. I cramed as much firepower on these things as I could. Missiles all around. I'll have to look up what to call them and let you know next time. I ownly broke one of the mechs. Sure enough, snapped the gun right at the connection point. Lining up a resin break is a pain in the arse.
 Paint up the Freelancers
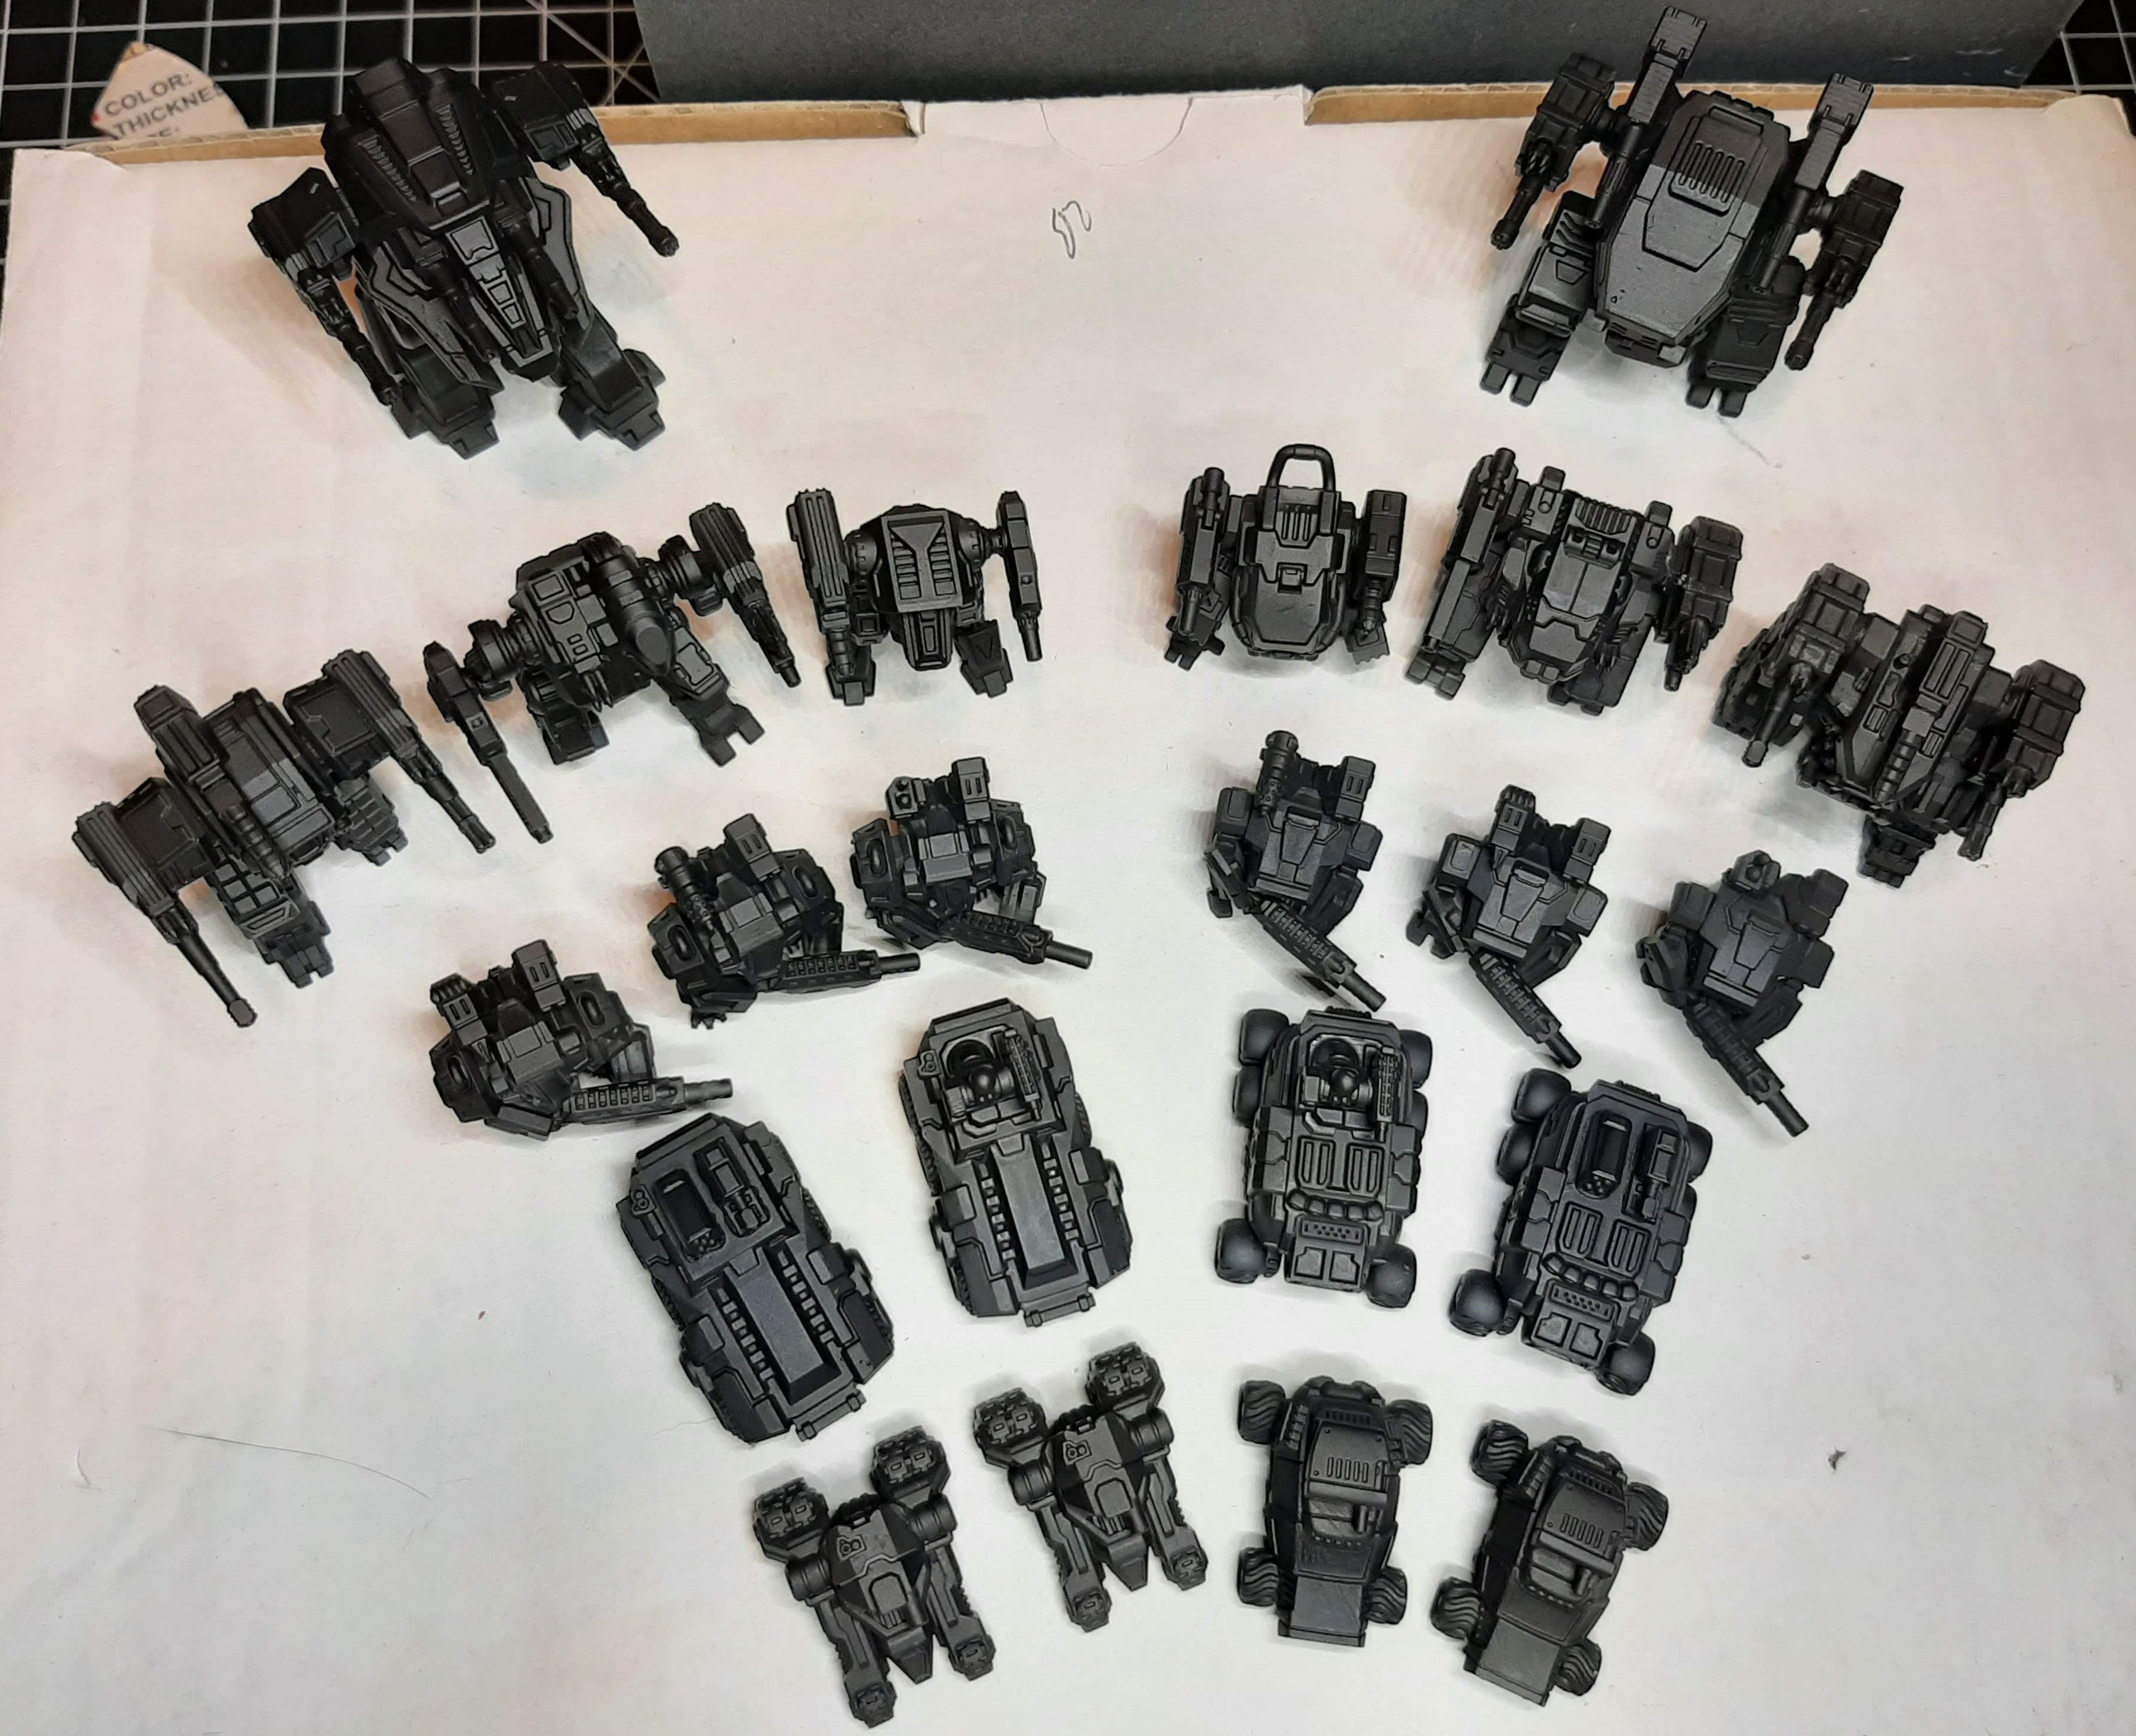 Primed em all black with the airbrush. Decided against the spray can to get into all the nooks and crannies without loading paint on other areas.
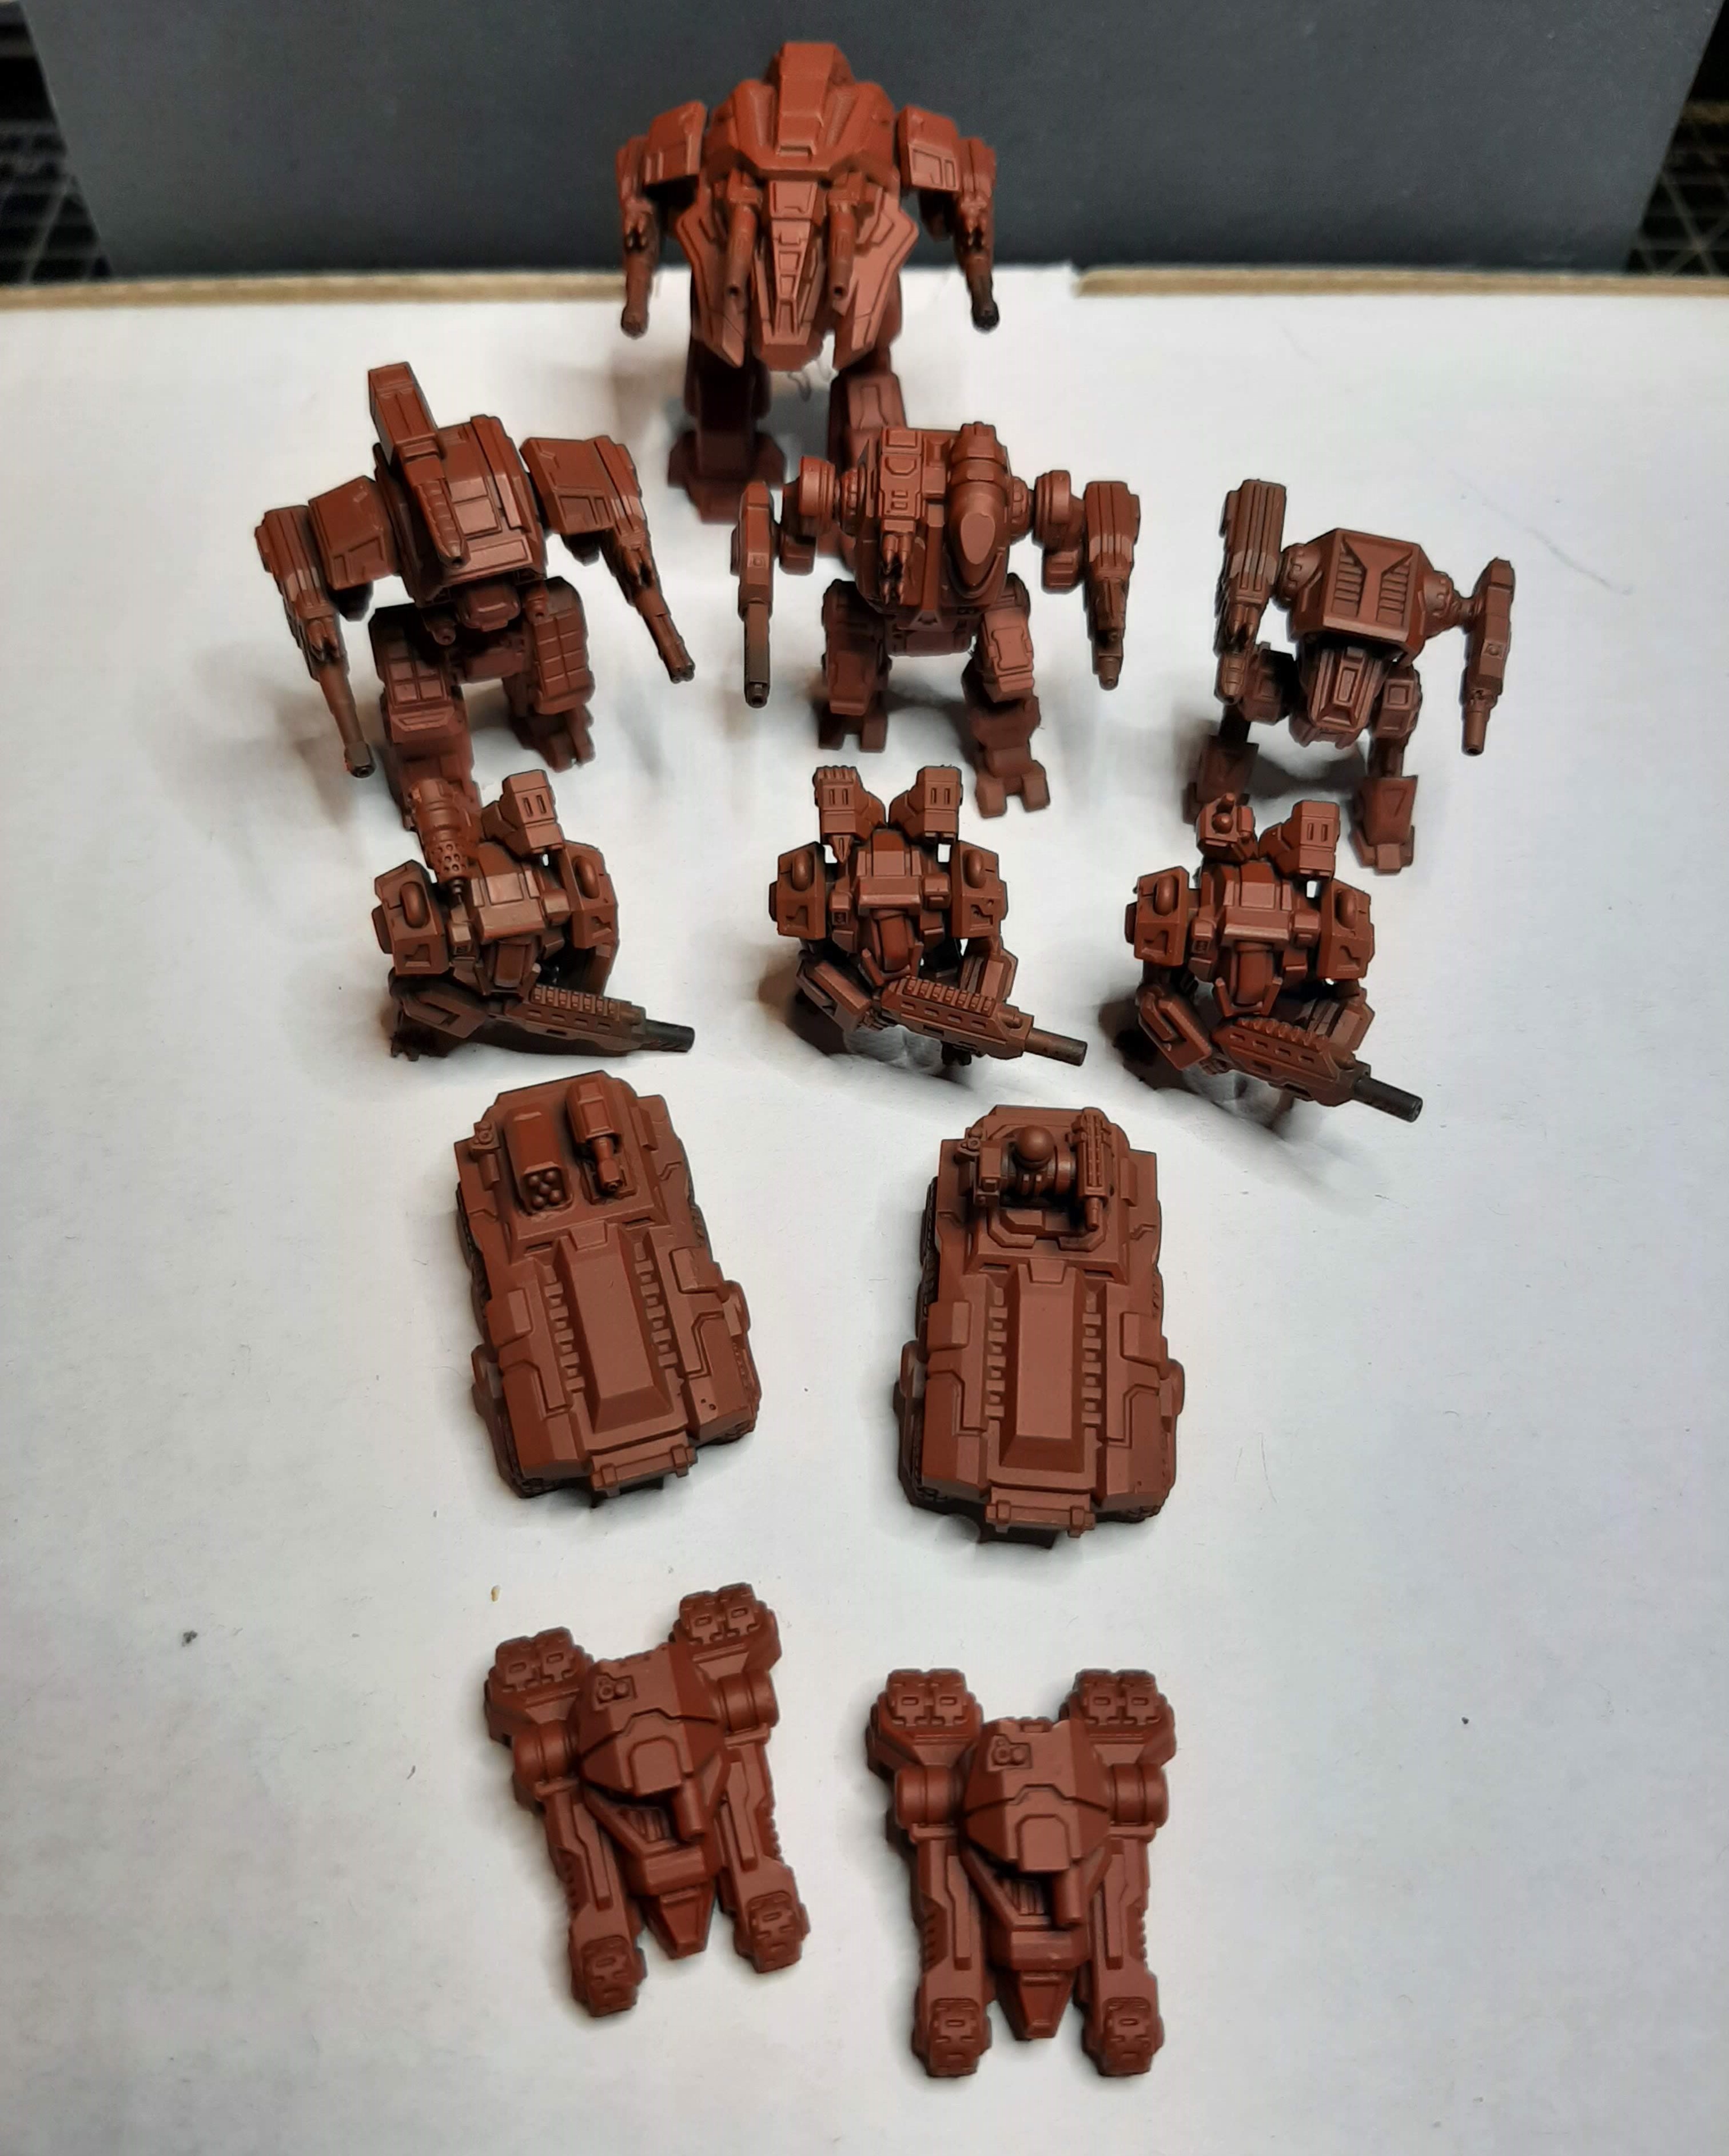 Deep red base. I'll follow up with two brighter reds with top down coverage.
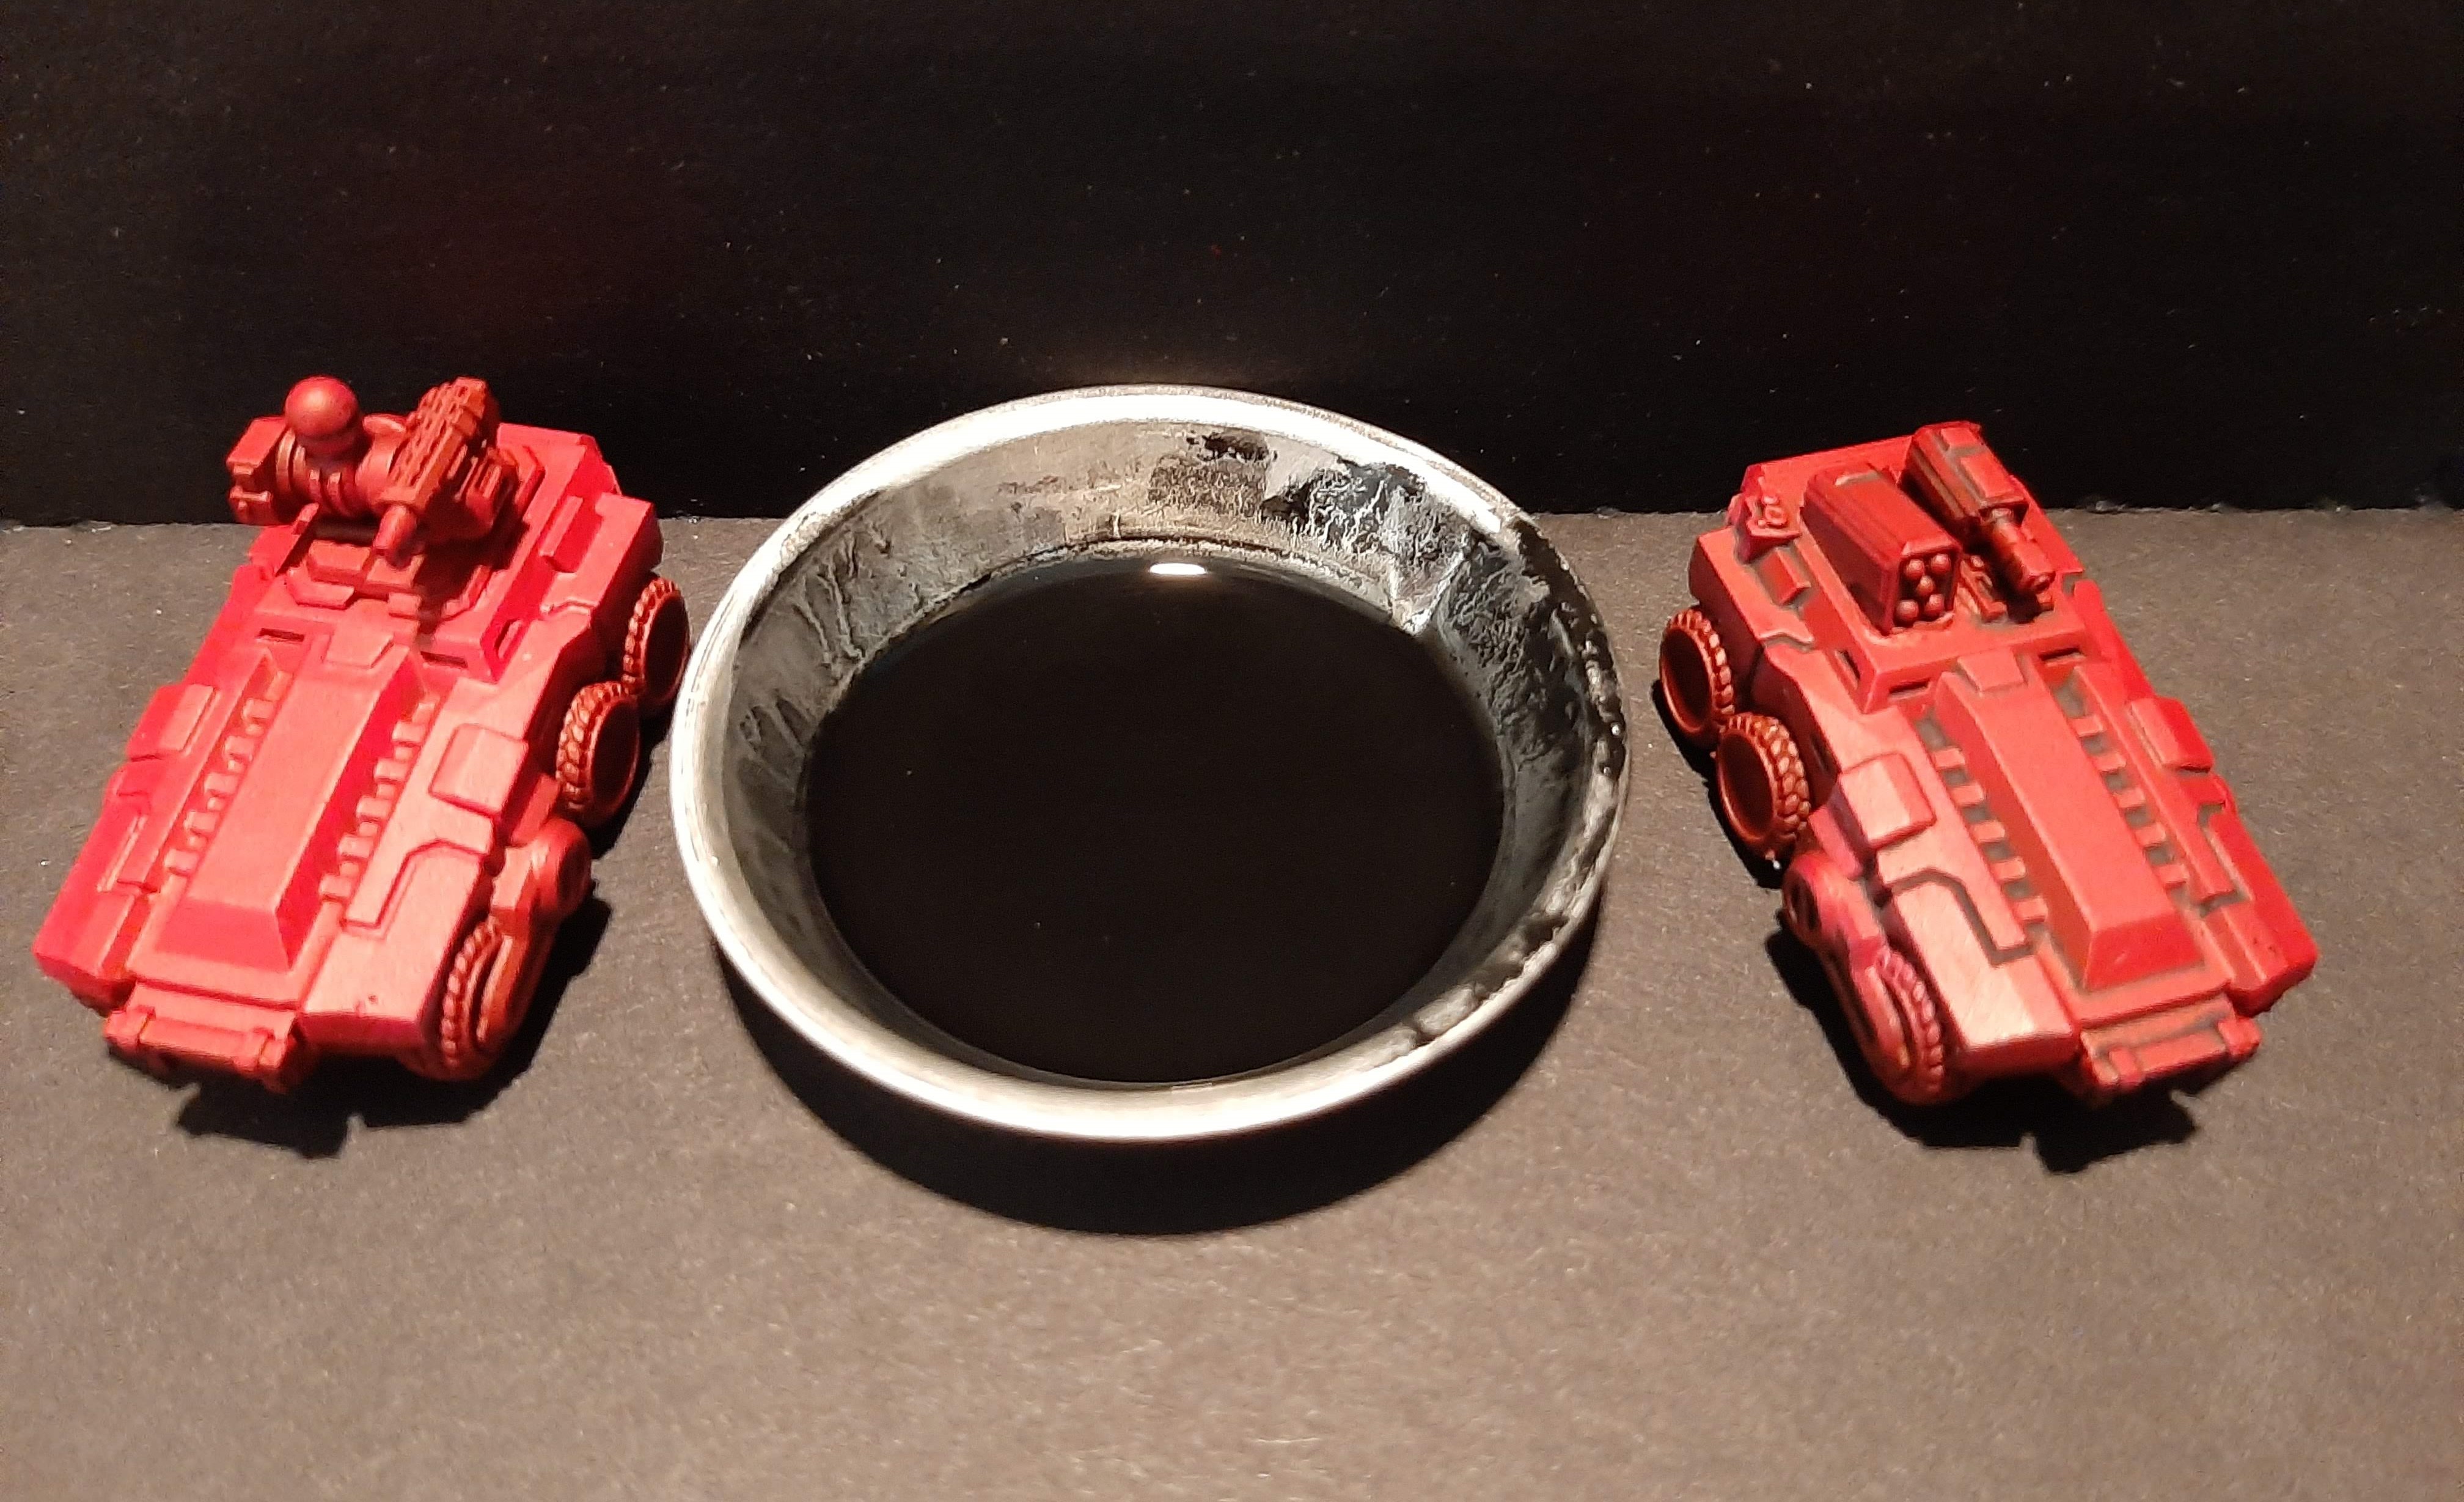 Oil "pin" wash the recesses and raised panels. No time or care for a gloss coat before the wash. If you believe in douching your mini in oil then wiping it off, you ought to try this. I believe it looks better and is faster because of the minimal to no cleanup.
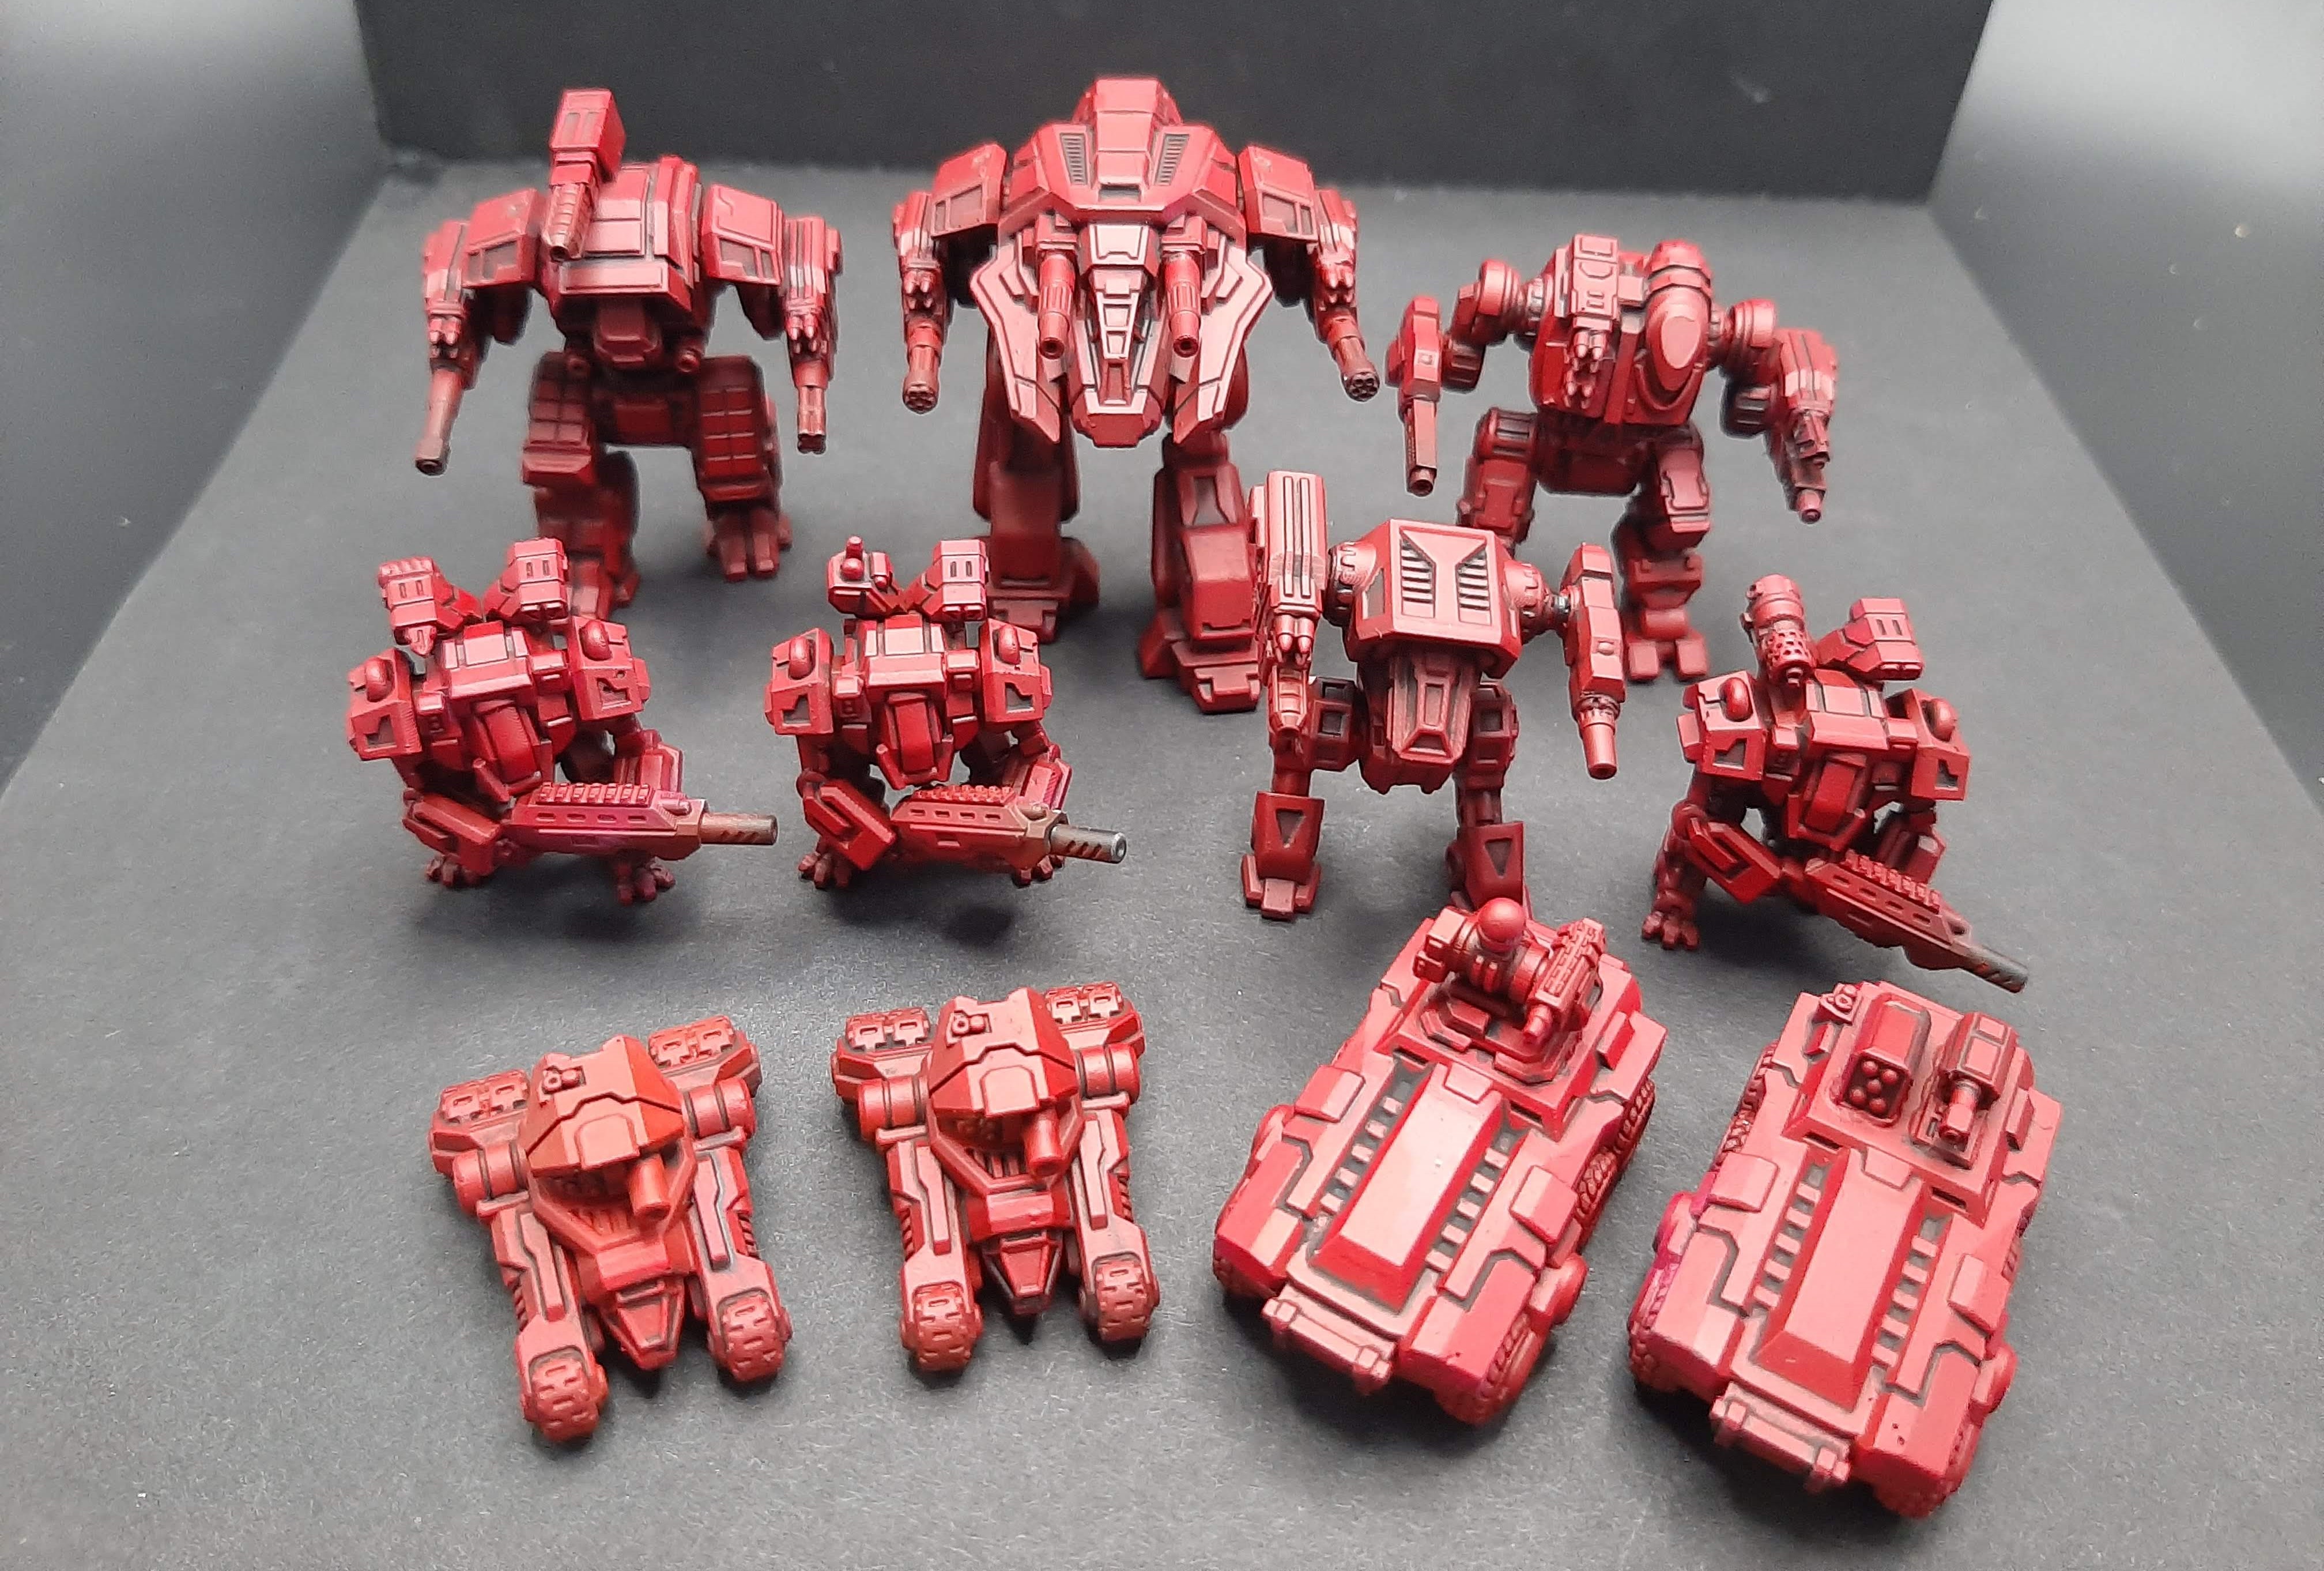 Highlighted red and wash done. Shiny. Now to pick out some highlight color.
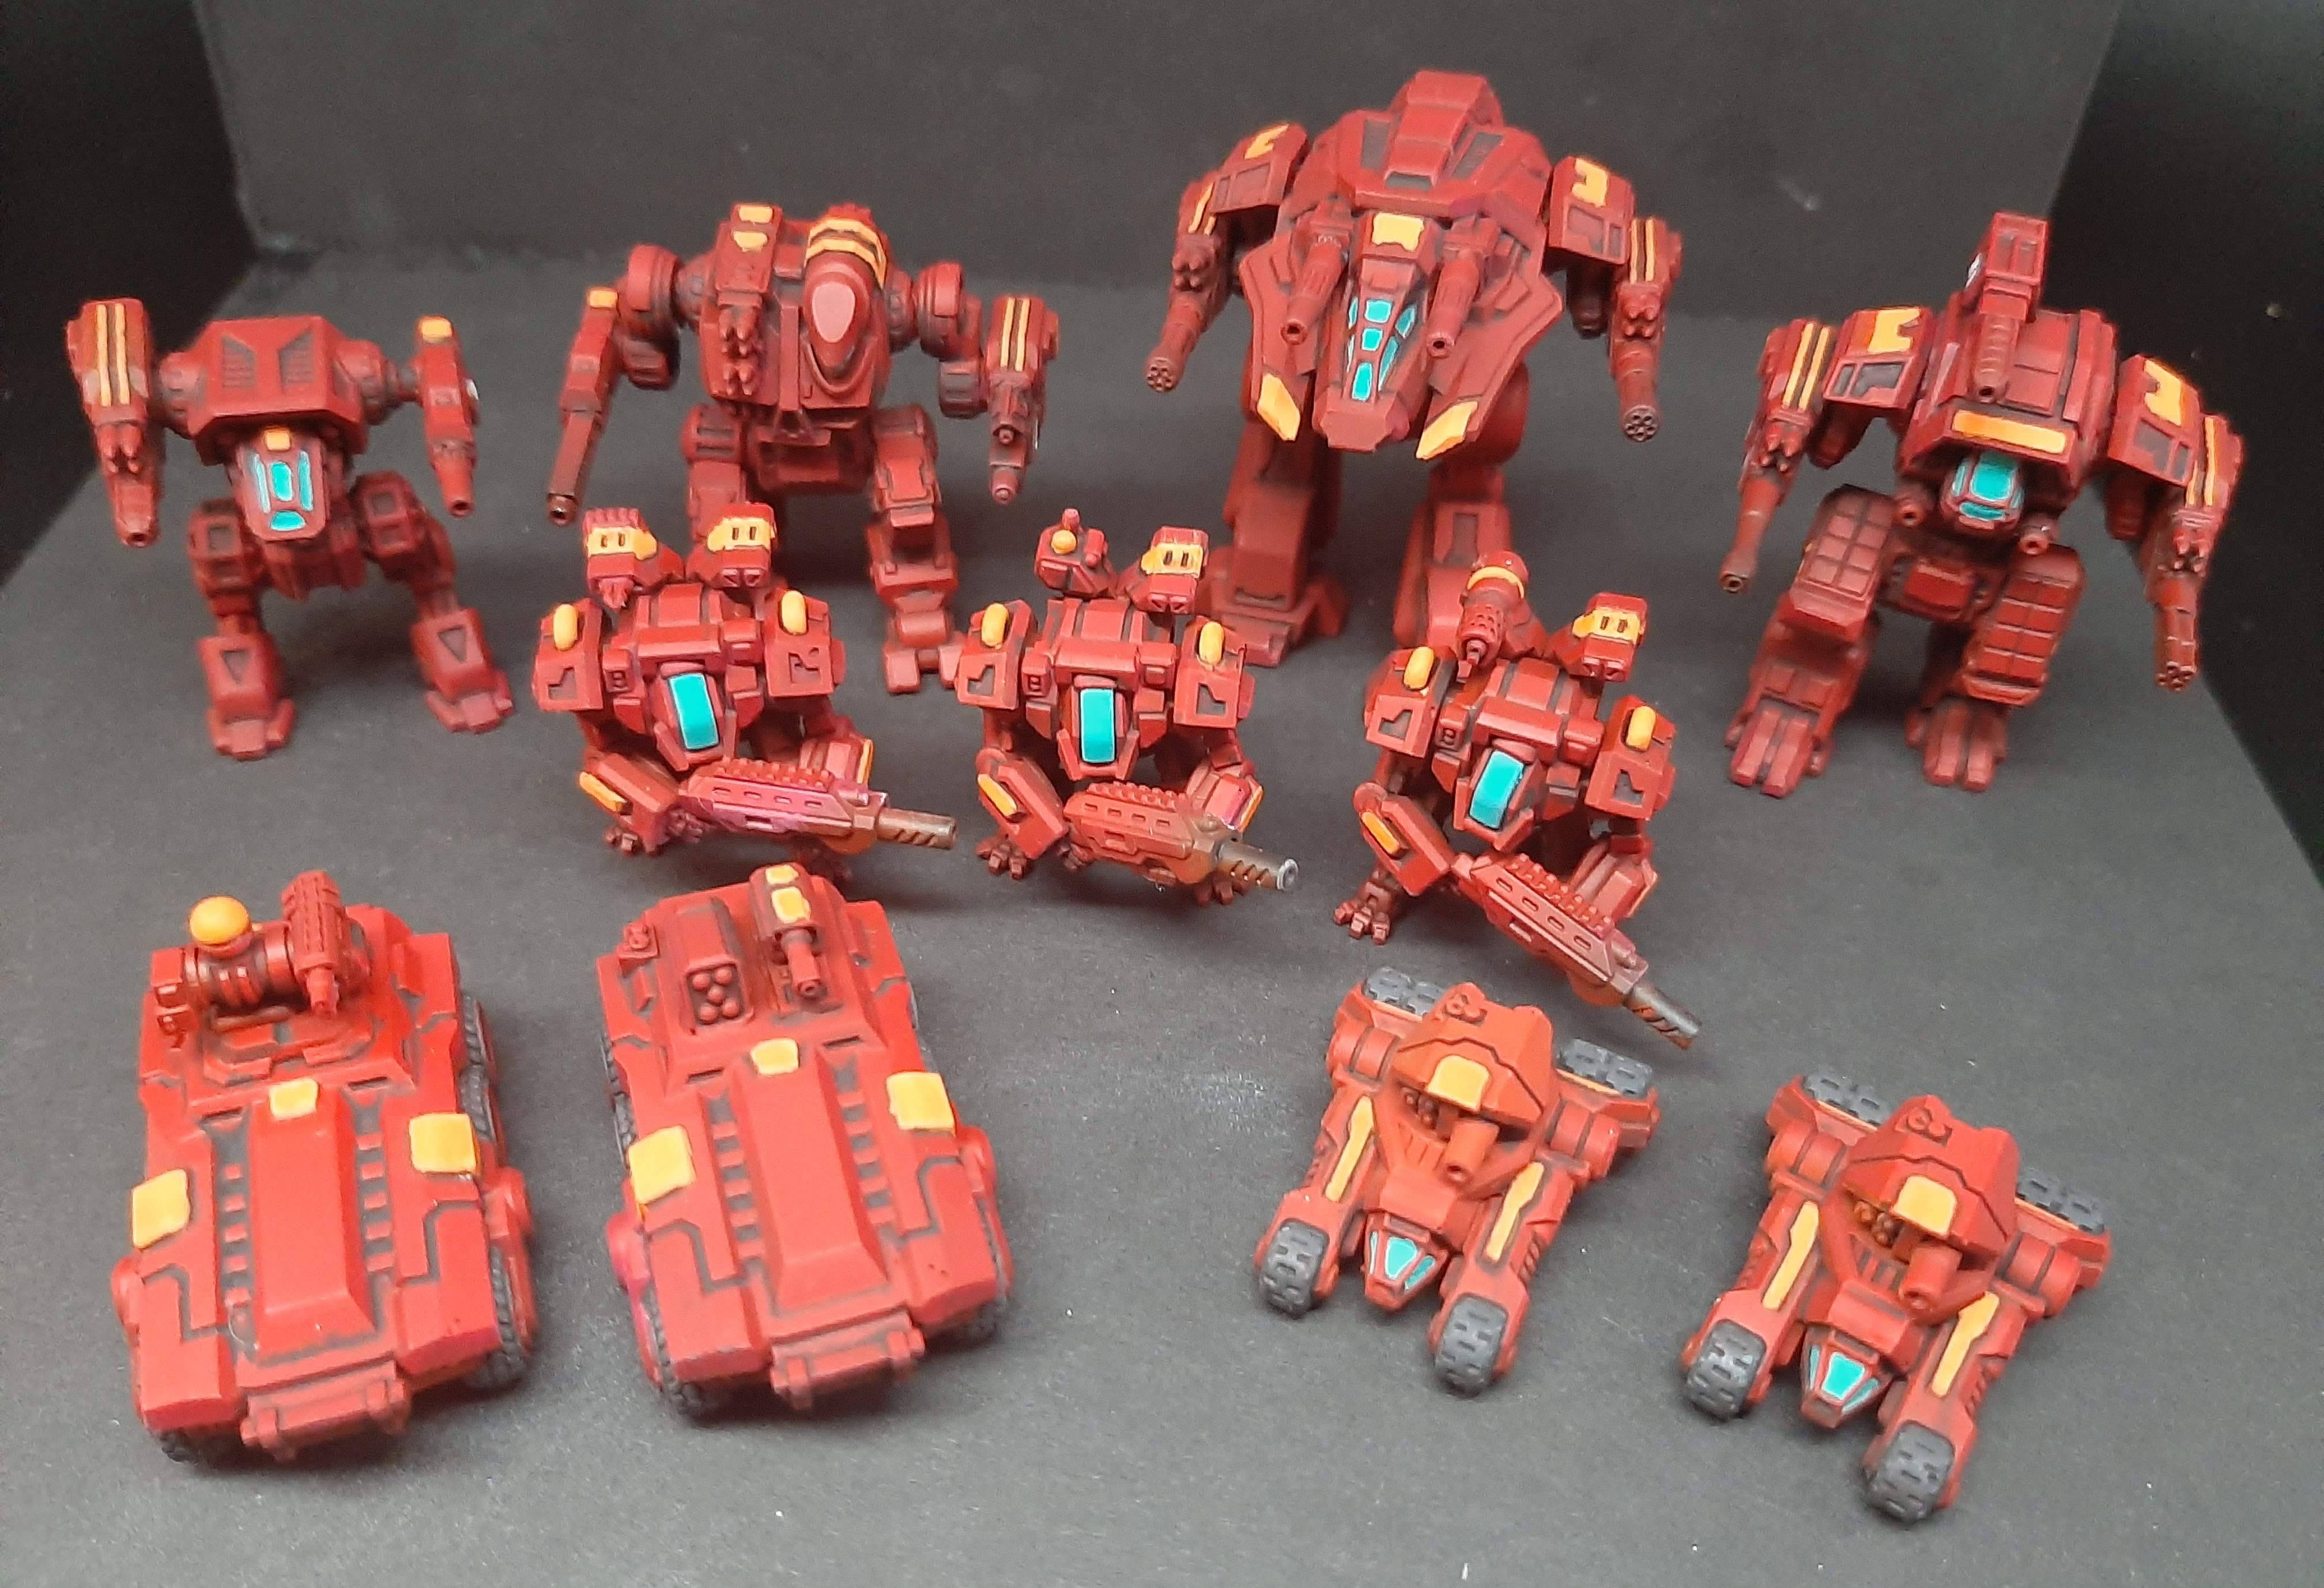 Put some orange on a few parts to break it up and painted the windows with some bright blue.
 Added some decals for kill markings.
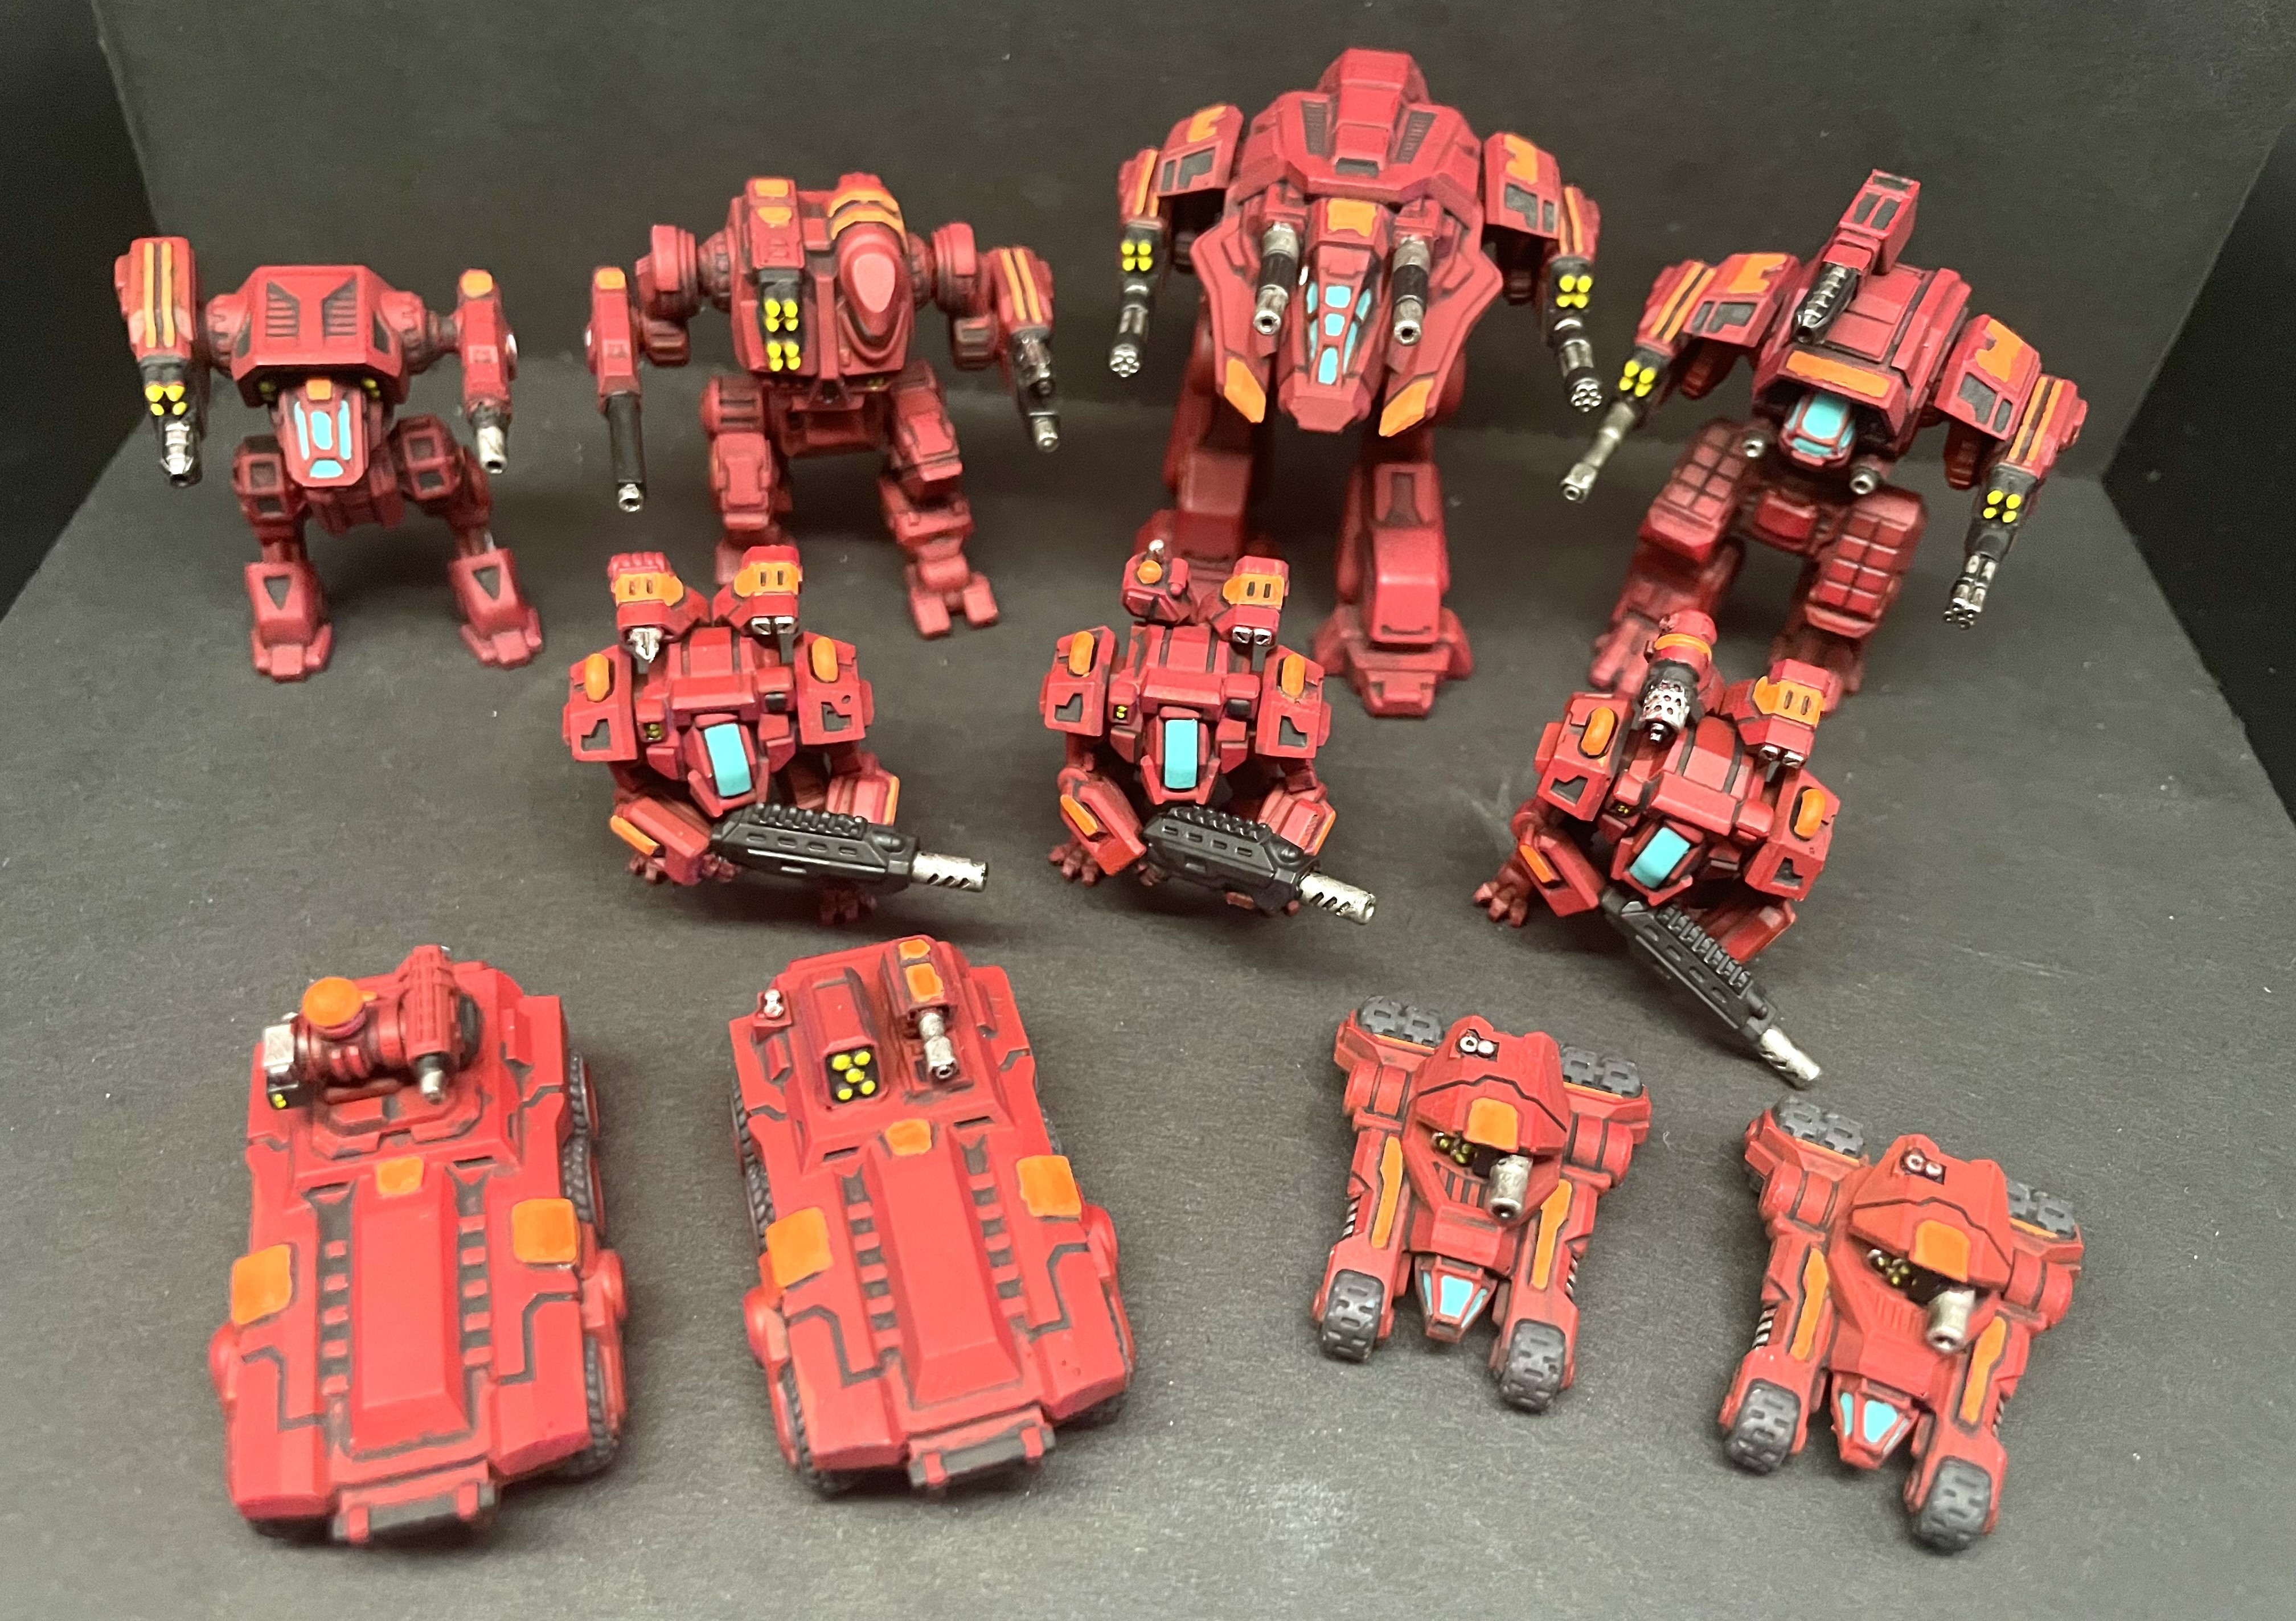 Matte varnish, metal on the guns/lasers and color to the missiles. These could be brought up another few levels by panel lining, edge highlighting and picking out parts of the joints and undercarriage. But only got a week to get this done and it is always something you can come back to. One force done.
Paint up the Authority
 Started with a dark green. Then will work up to a lighter military green.
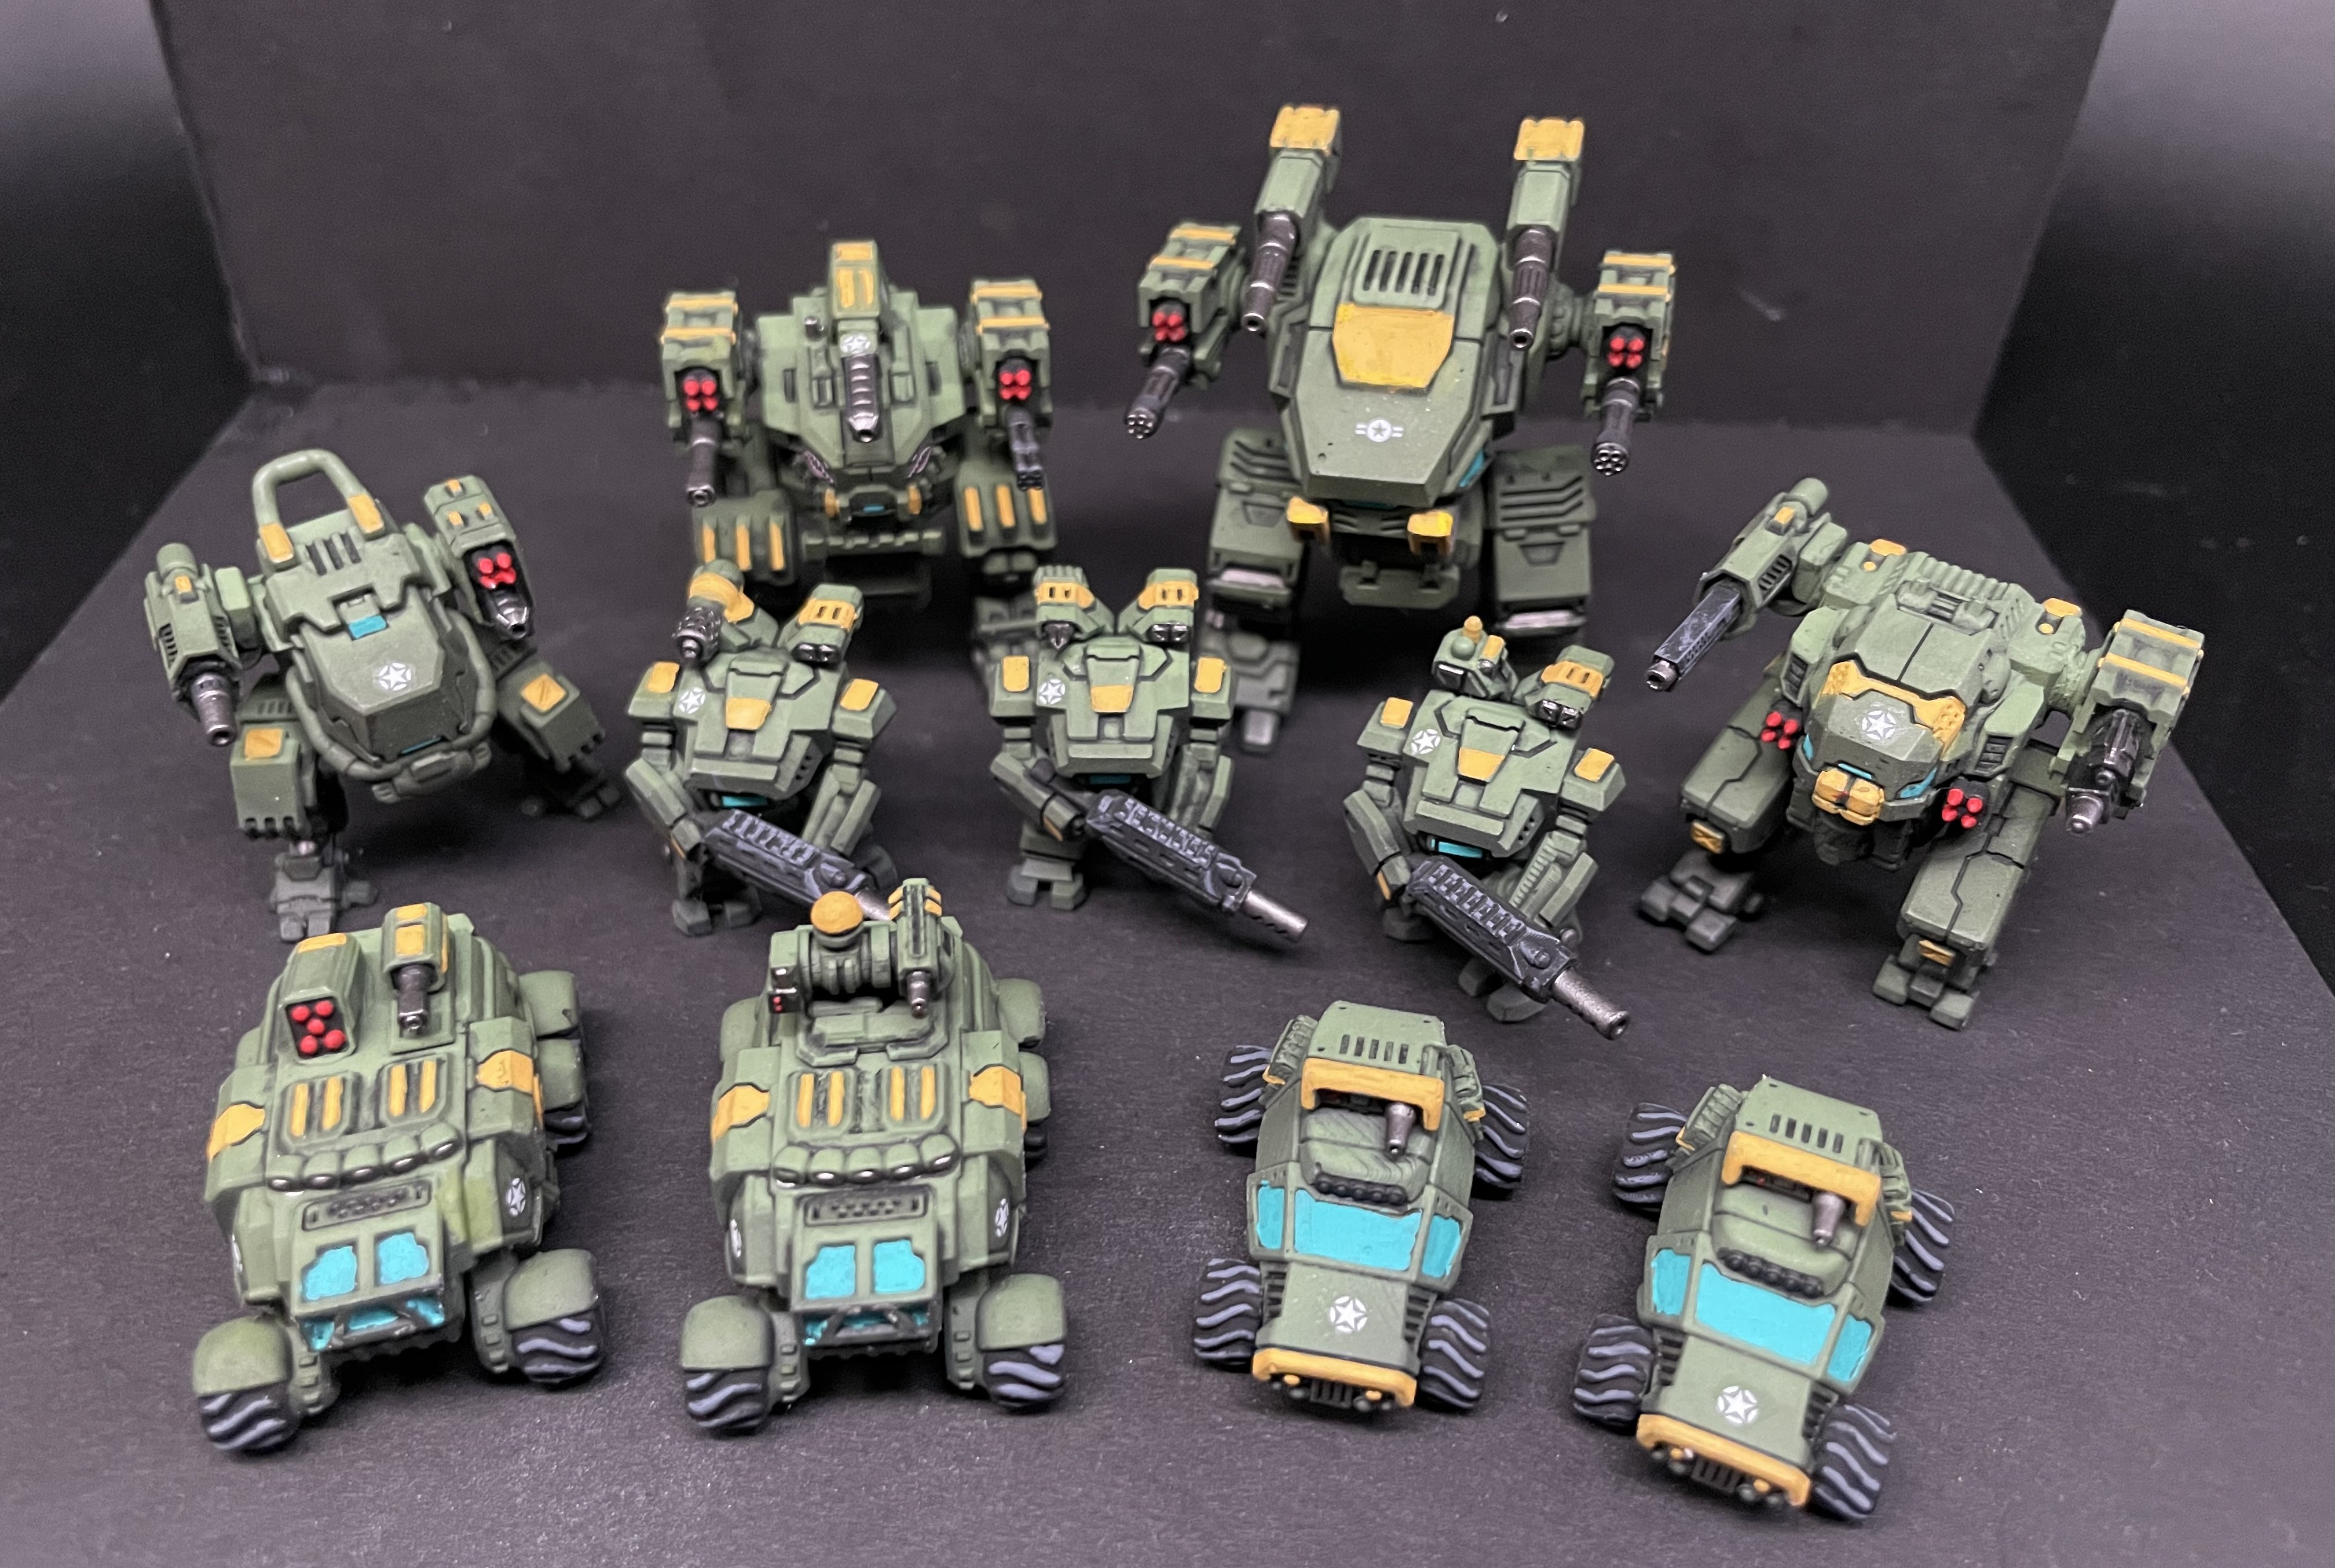 Pin washed with black oil. Added yellow highlight panels. Army star decals, Painted windows light blue. Matte varnish then finish the metallics on weapons.
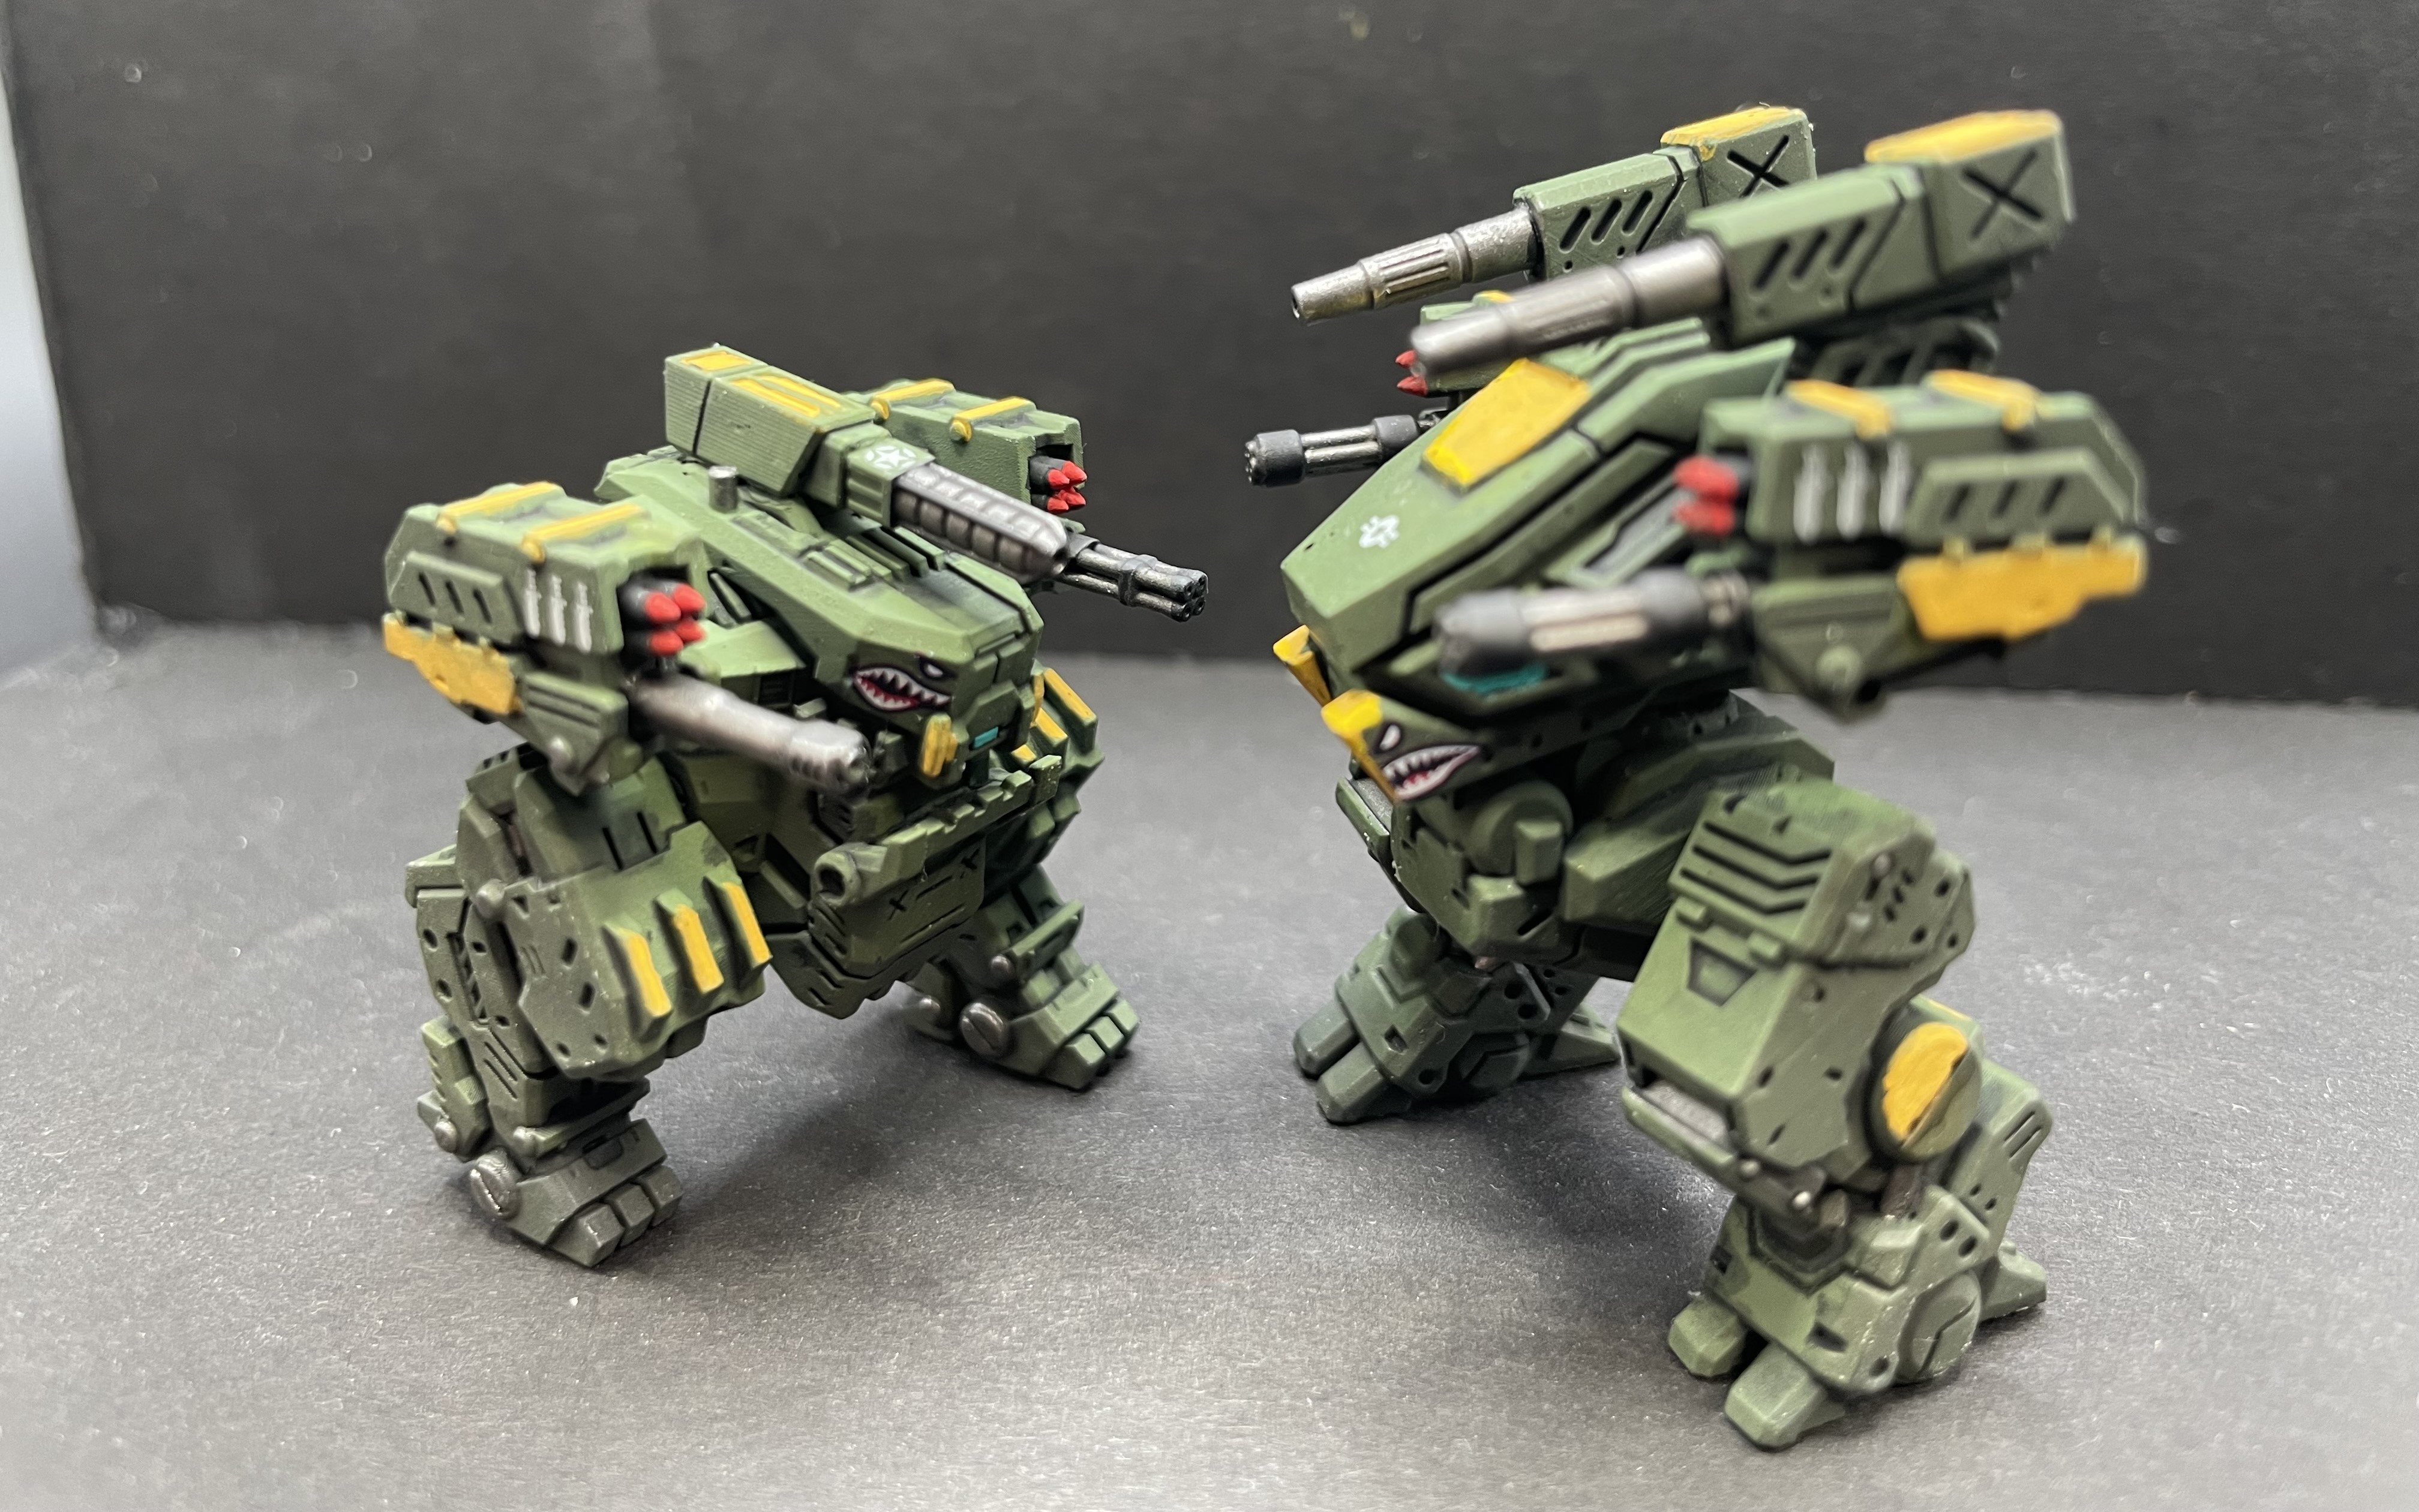 Not alot of room for the kill markings but was able to get on some shark mouths on the bigger guys. Second force done.
Basing
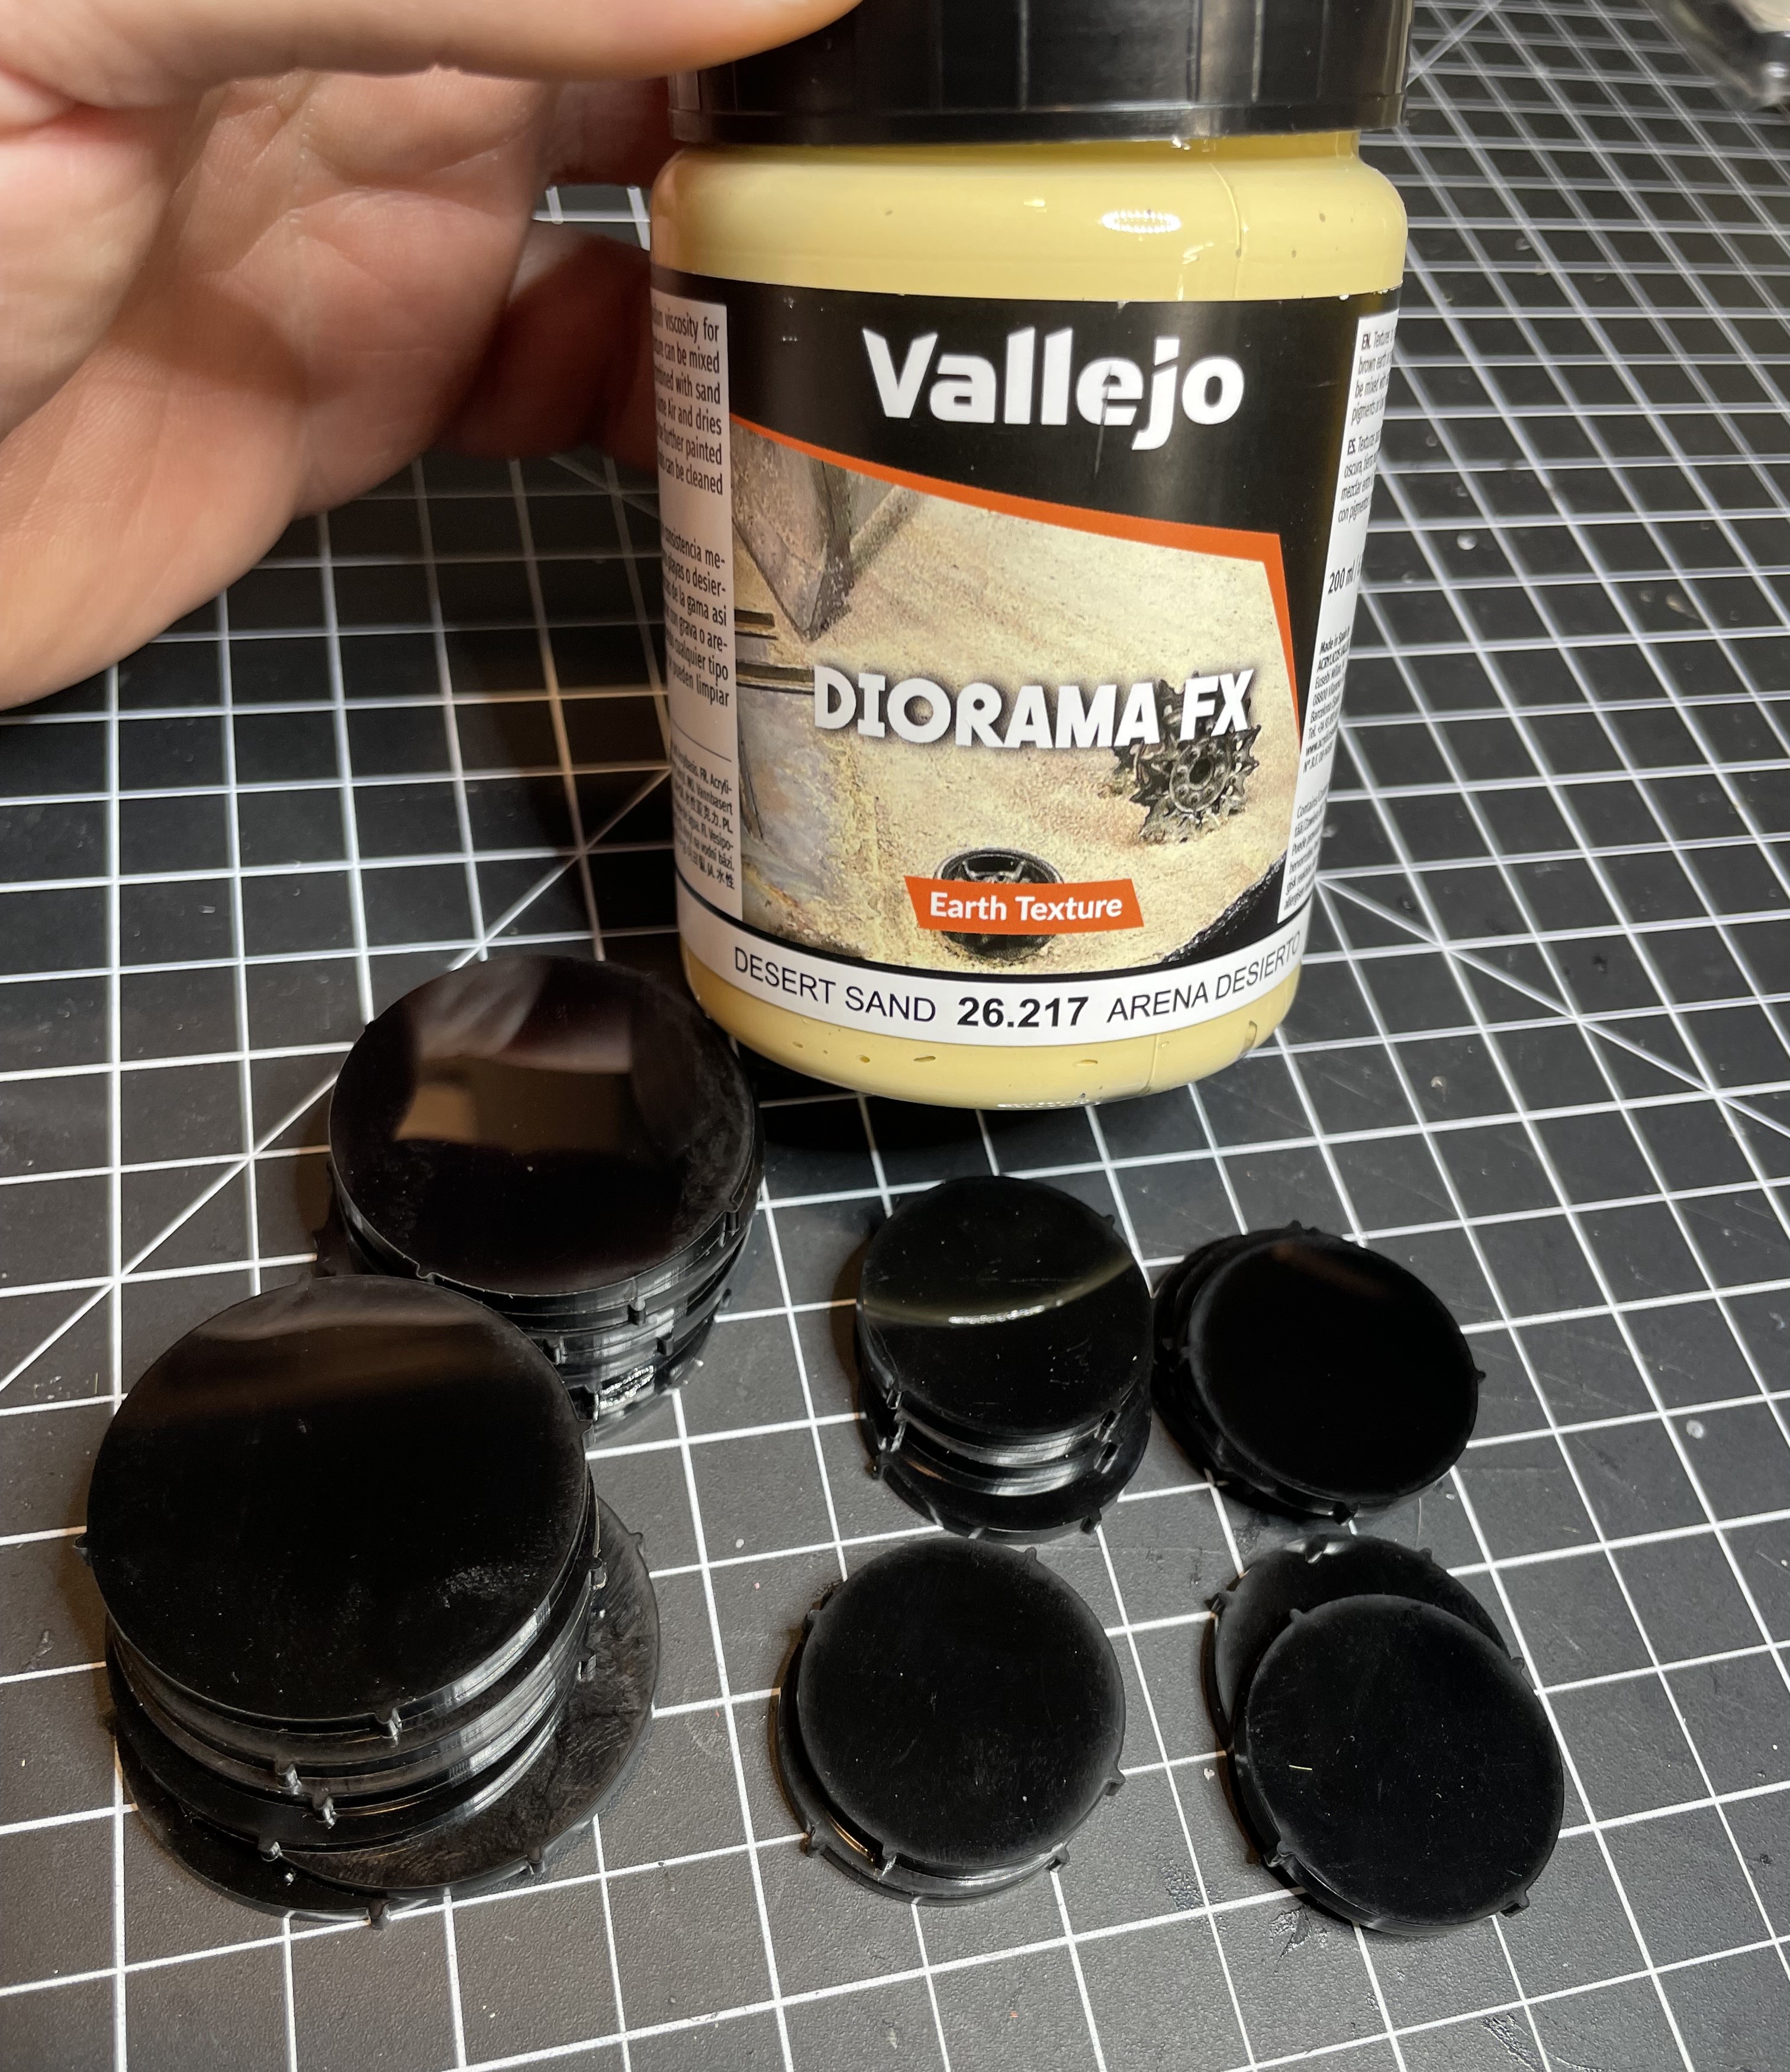 Bases provided are some kind of high gloss acrylic over wood material. I was concerned that they would not take paint and did not want to prime them. I went for a desert look and used Vallejo desert sand diorama fx.
 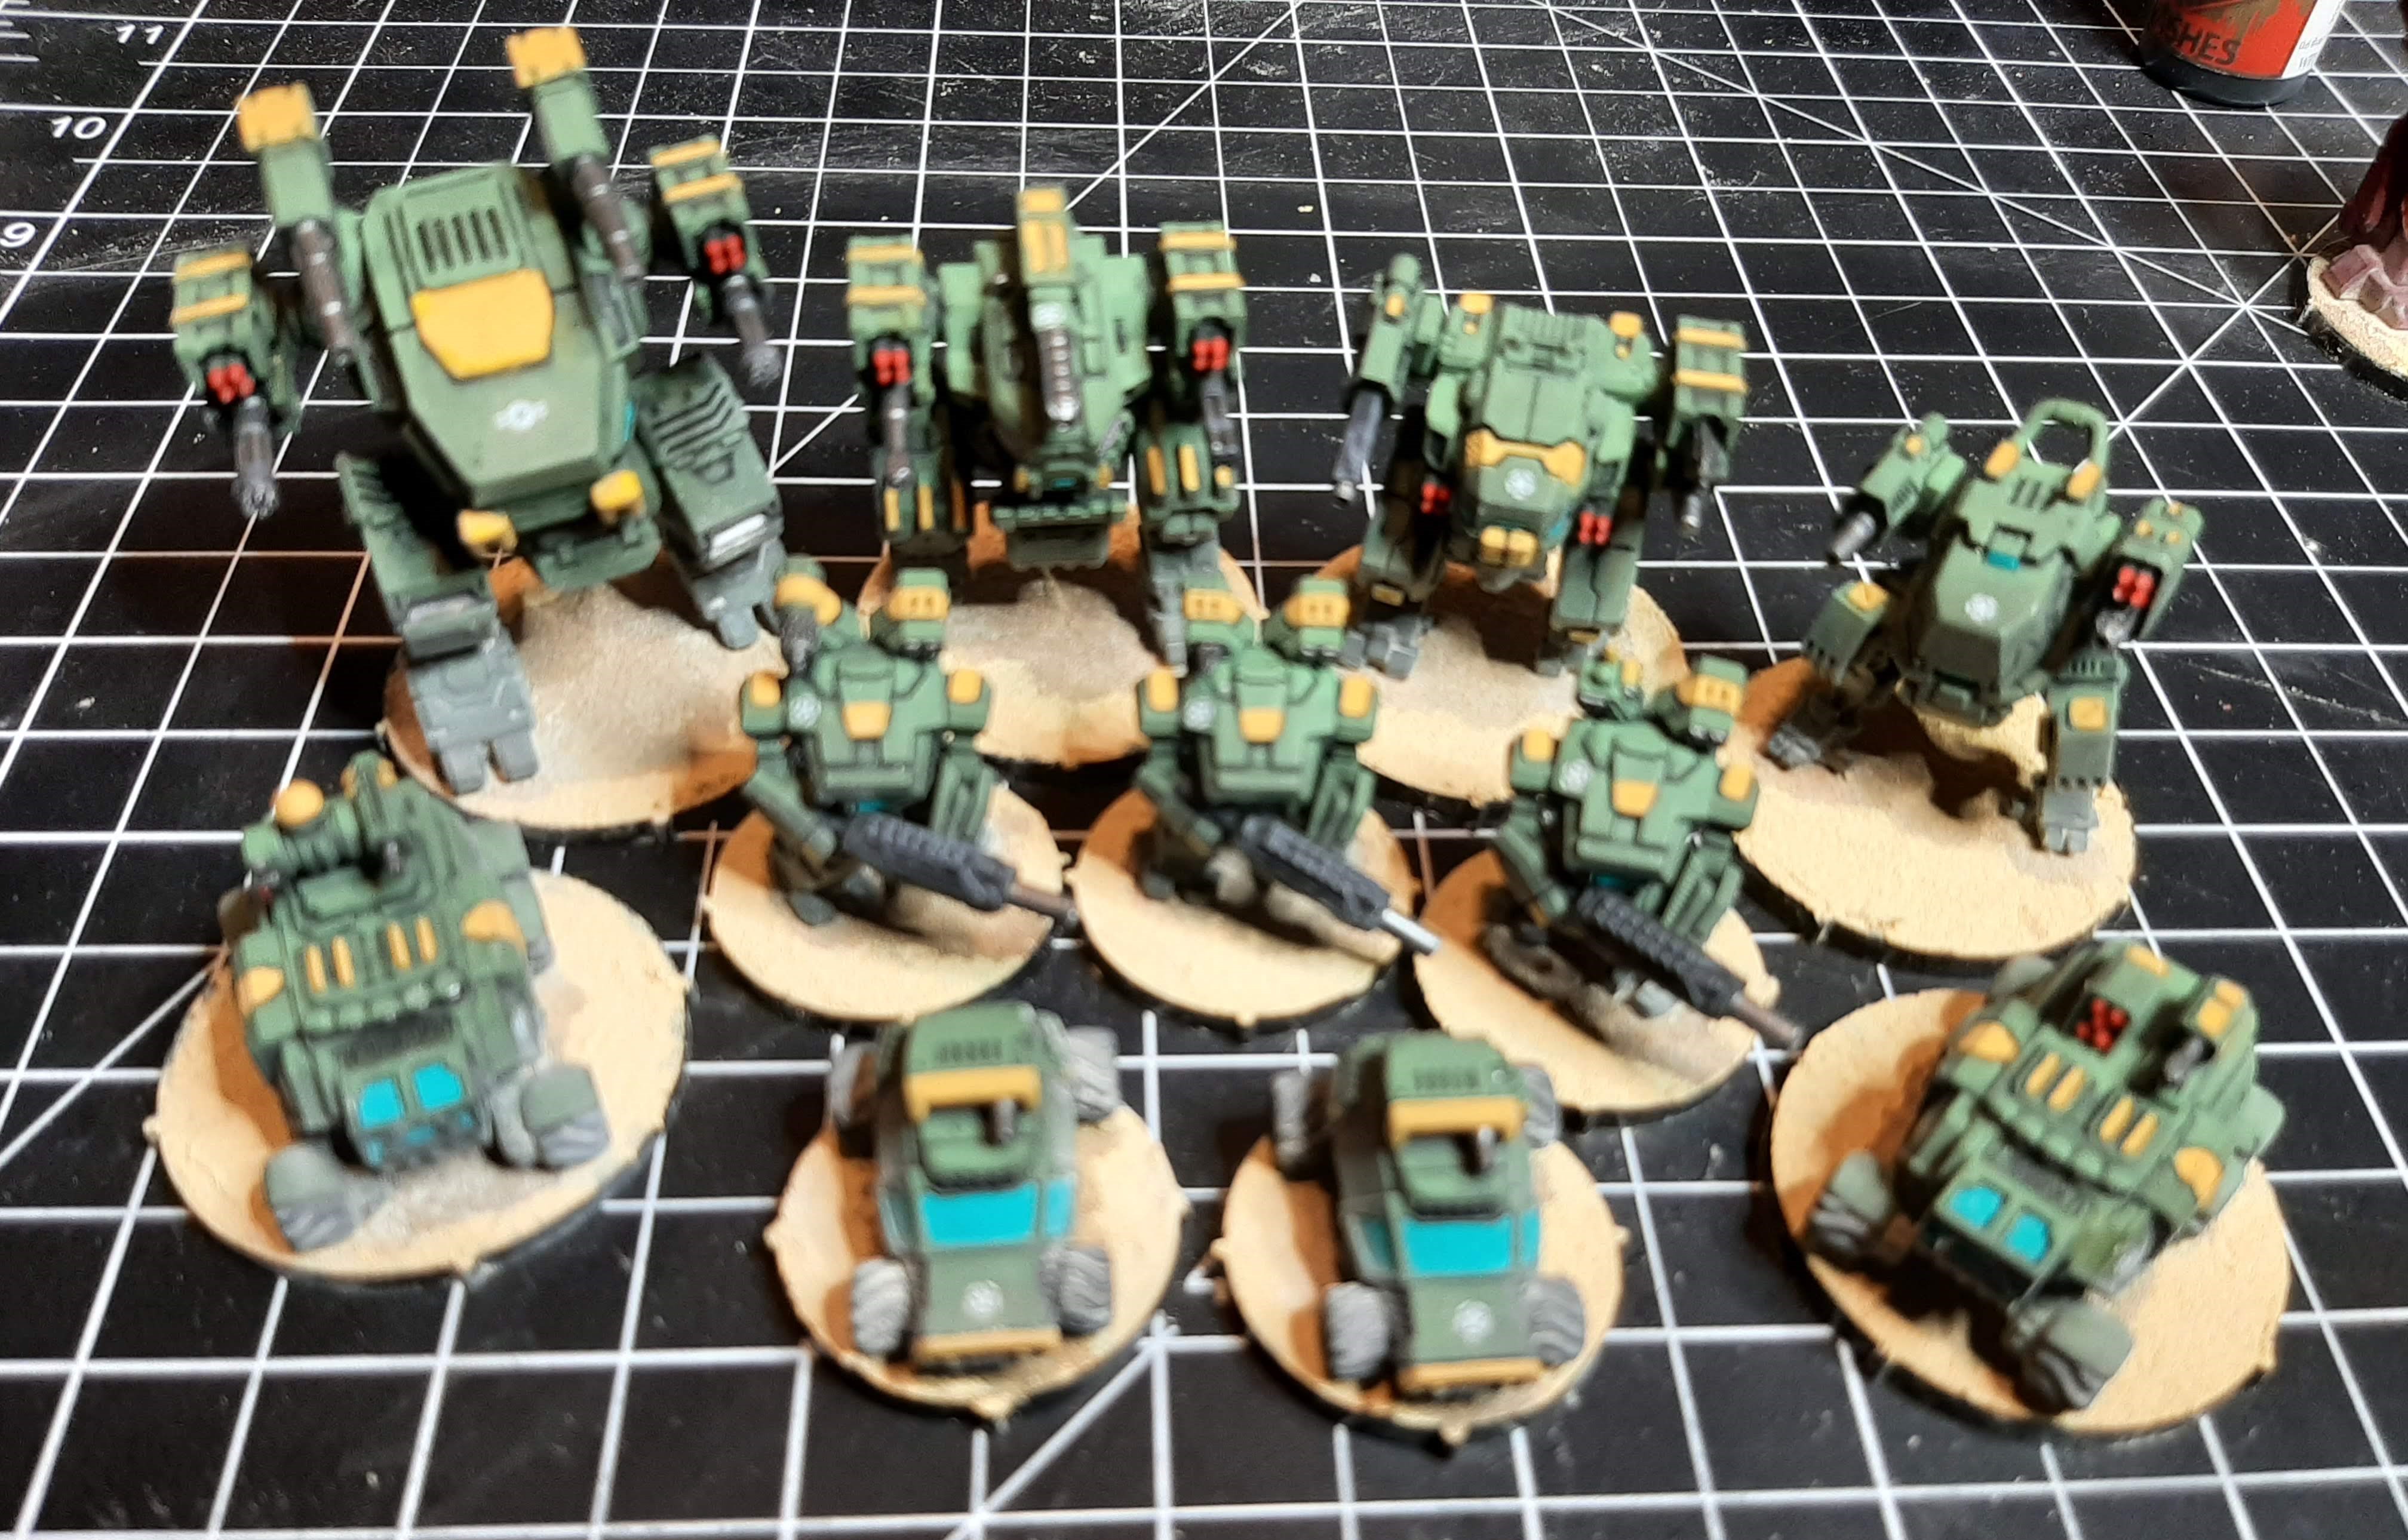 After attaching the first few to the bases, I wasn't sure if I had them positioned correctly. I thought the four points of the base wound be to each side but after looking into it I found conflicting information that they are supposed to mark the four quadrents of the model to allow easier determination if you are firing at the front, side or back of the unit. However the supplied firing arc template has a notch that clearly meets up against one of these points, so as long as you use that, you can clearly figure it out.
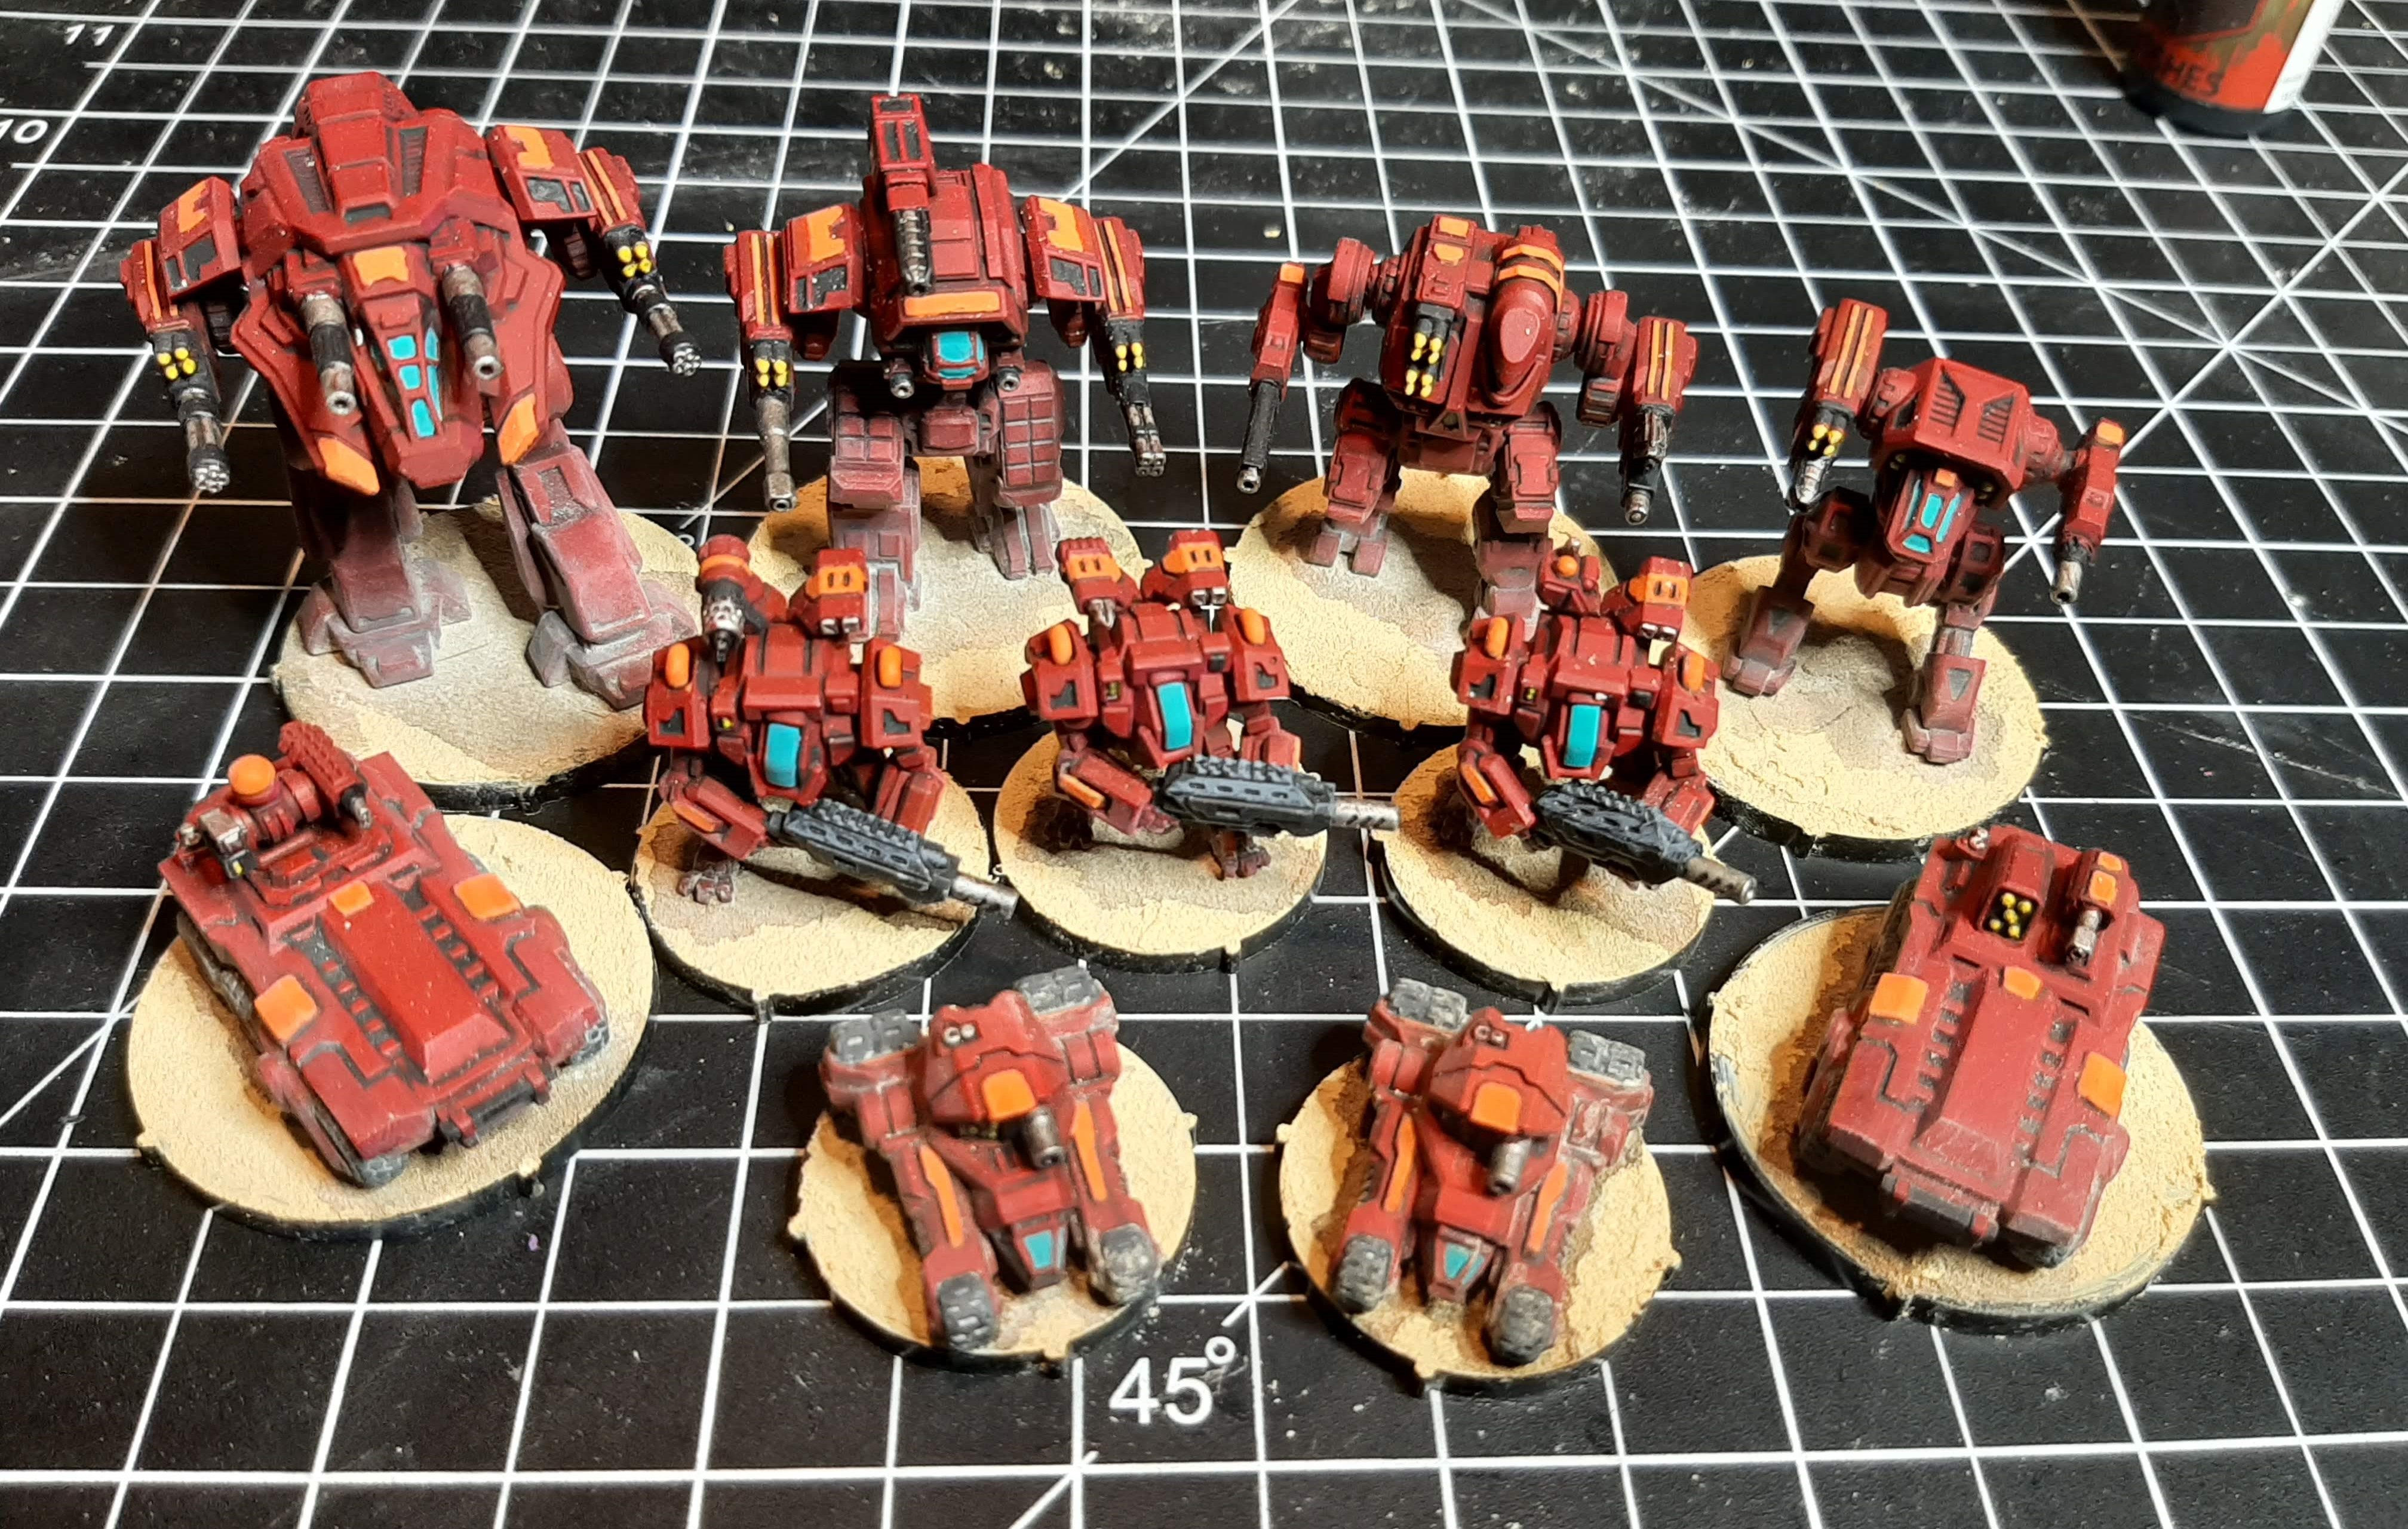 After glueing down I came back and put a strong tone wash under them to look like they are casting a shadow. Then hit them up with pigment power to spread around the dust/sand look.
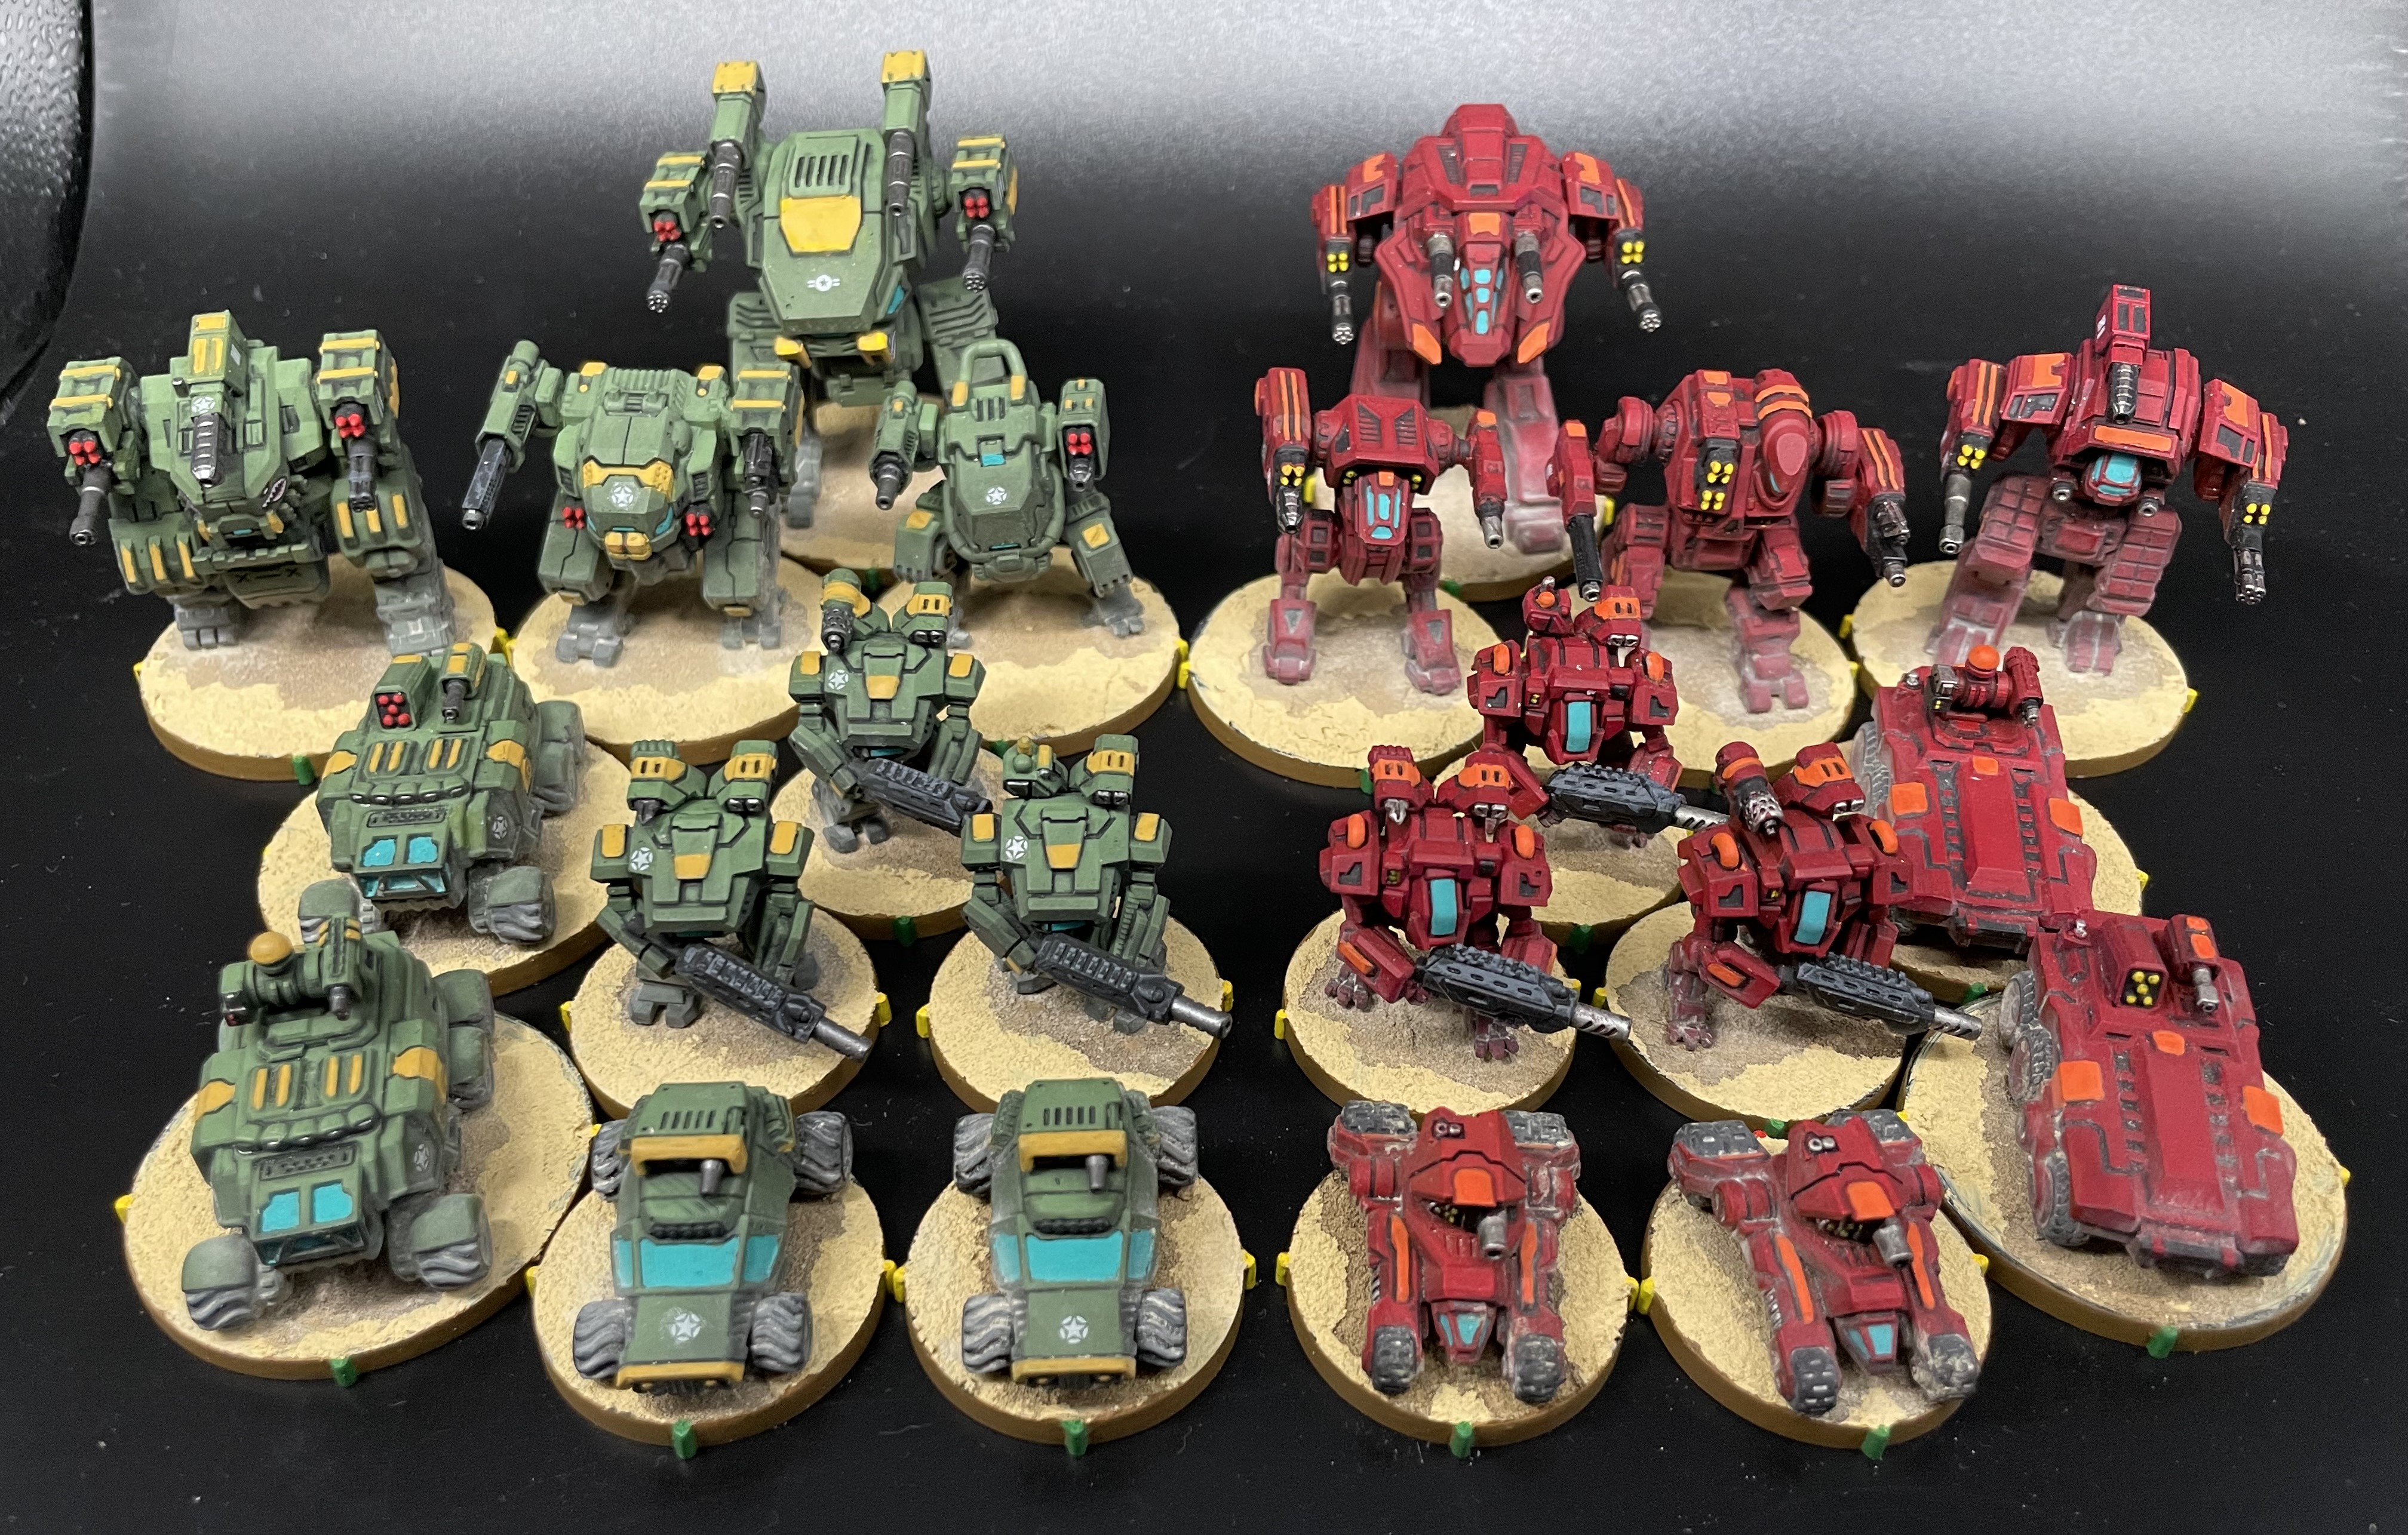 Completed with a brown base ring and highlighted the points with green(front), yellow(side) and red(rear).
Buildings for Battle
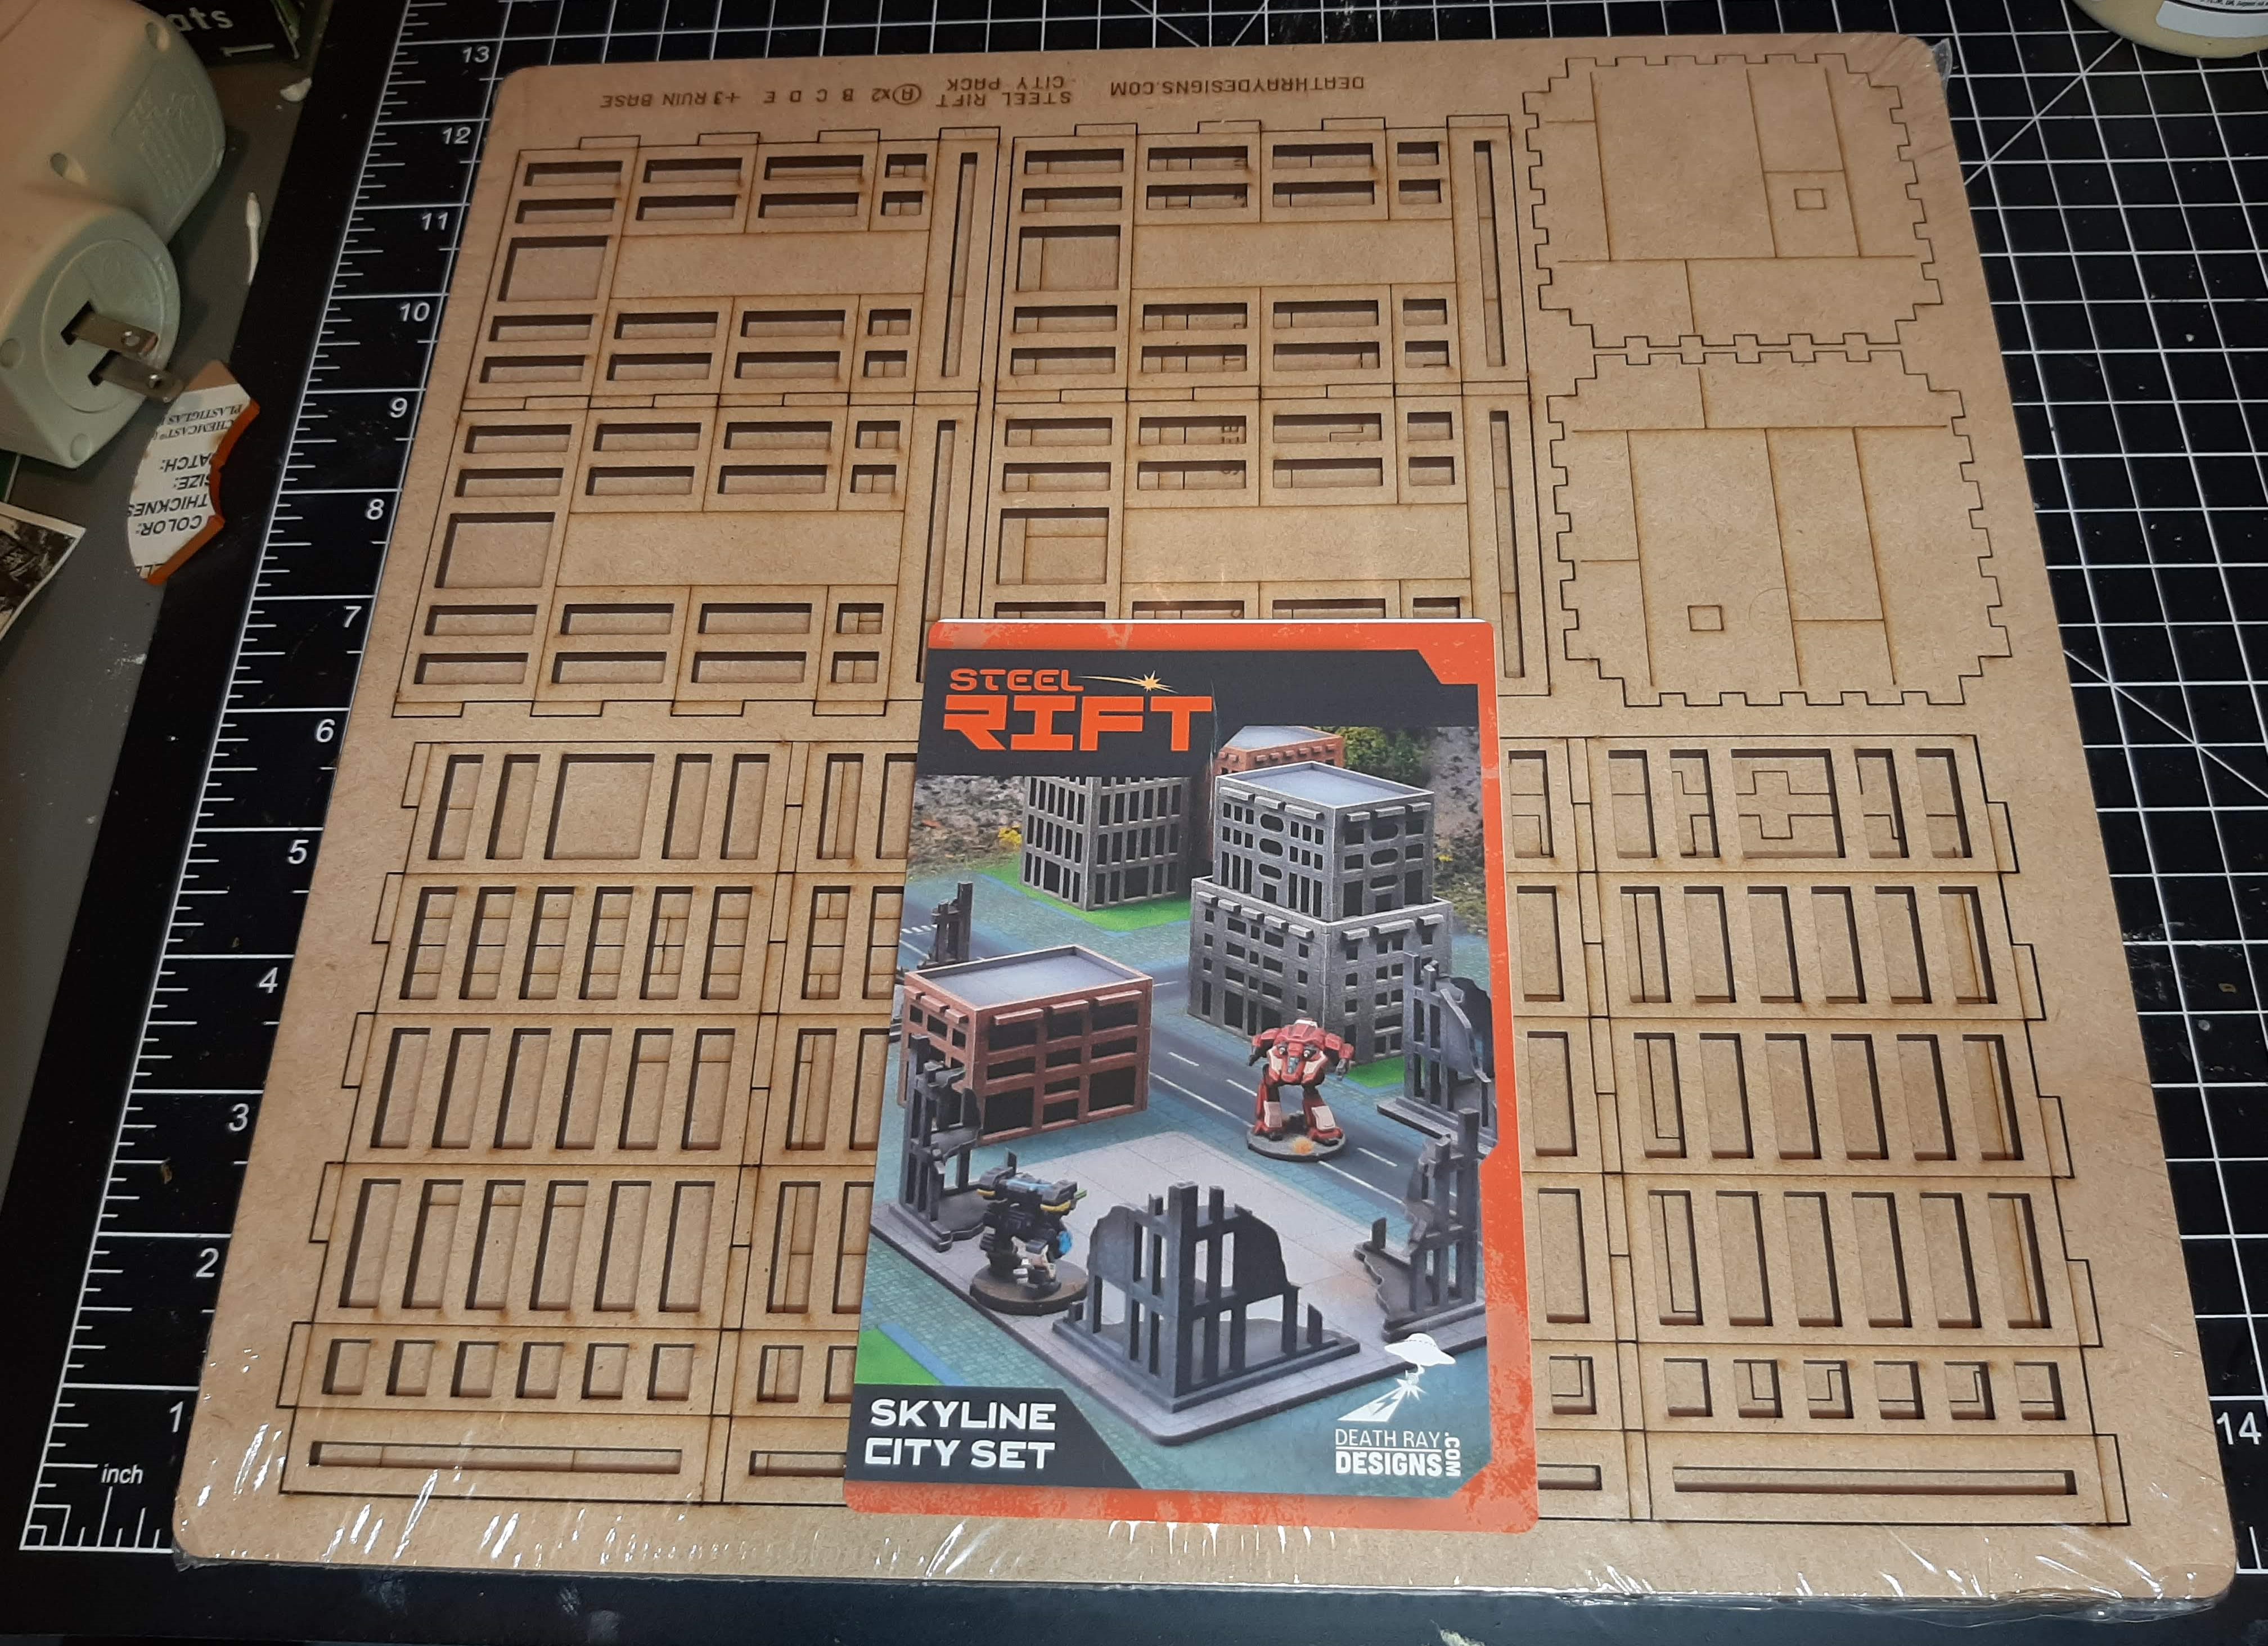 I don't have anything in terrain storage that would look right with a mech game so I had purchase the buildings set from Death Ray Designs.
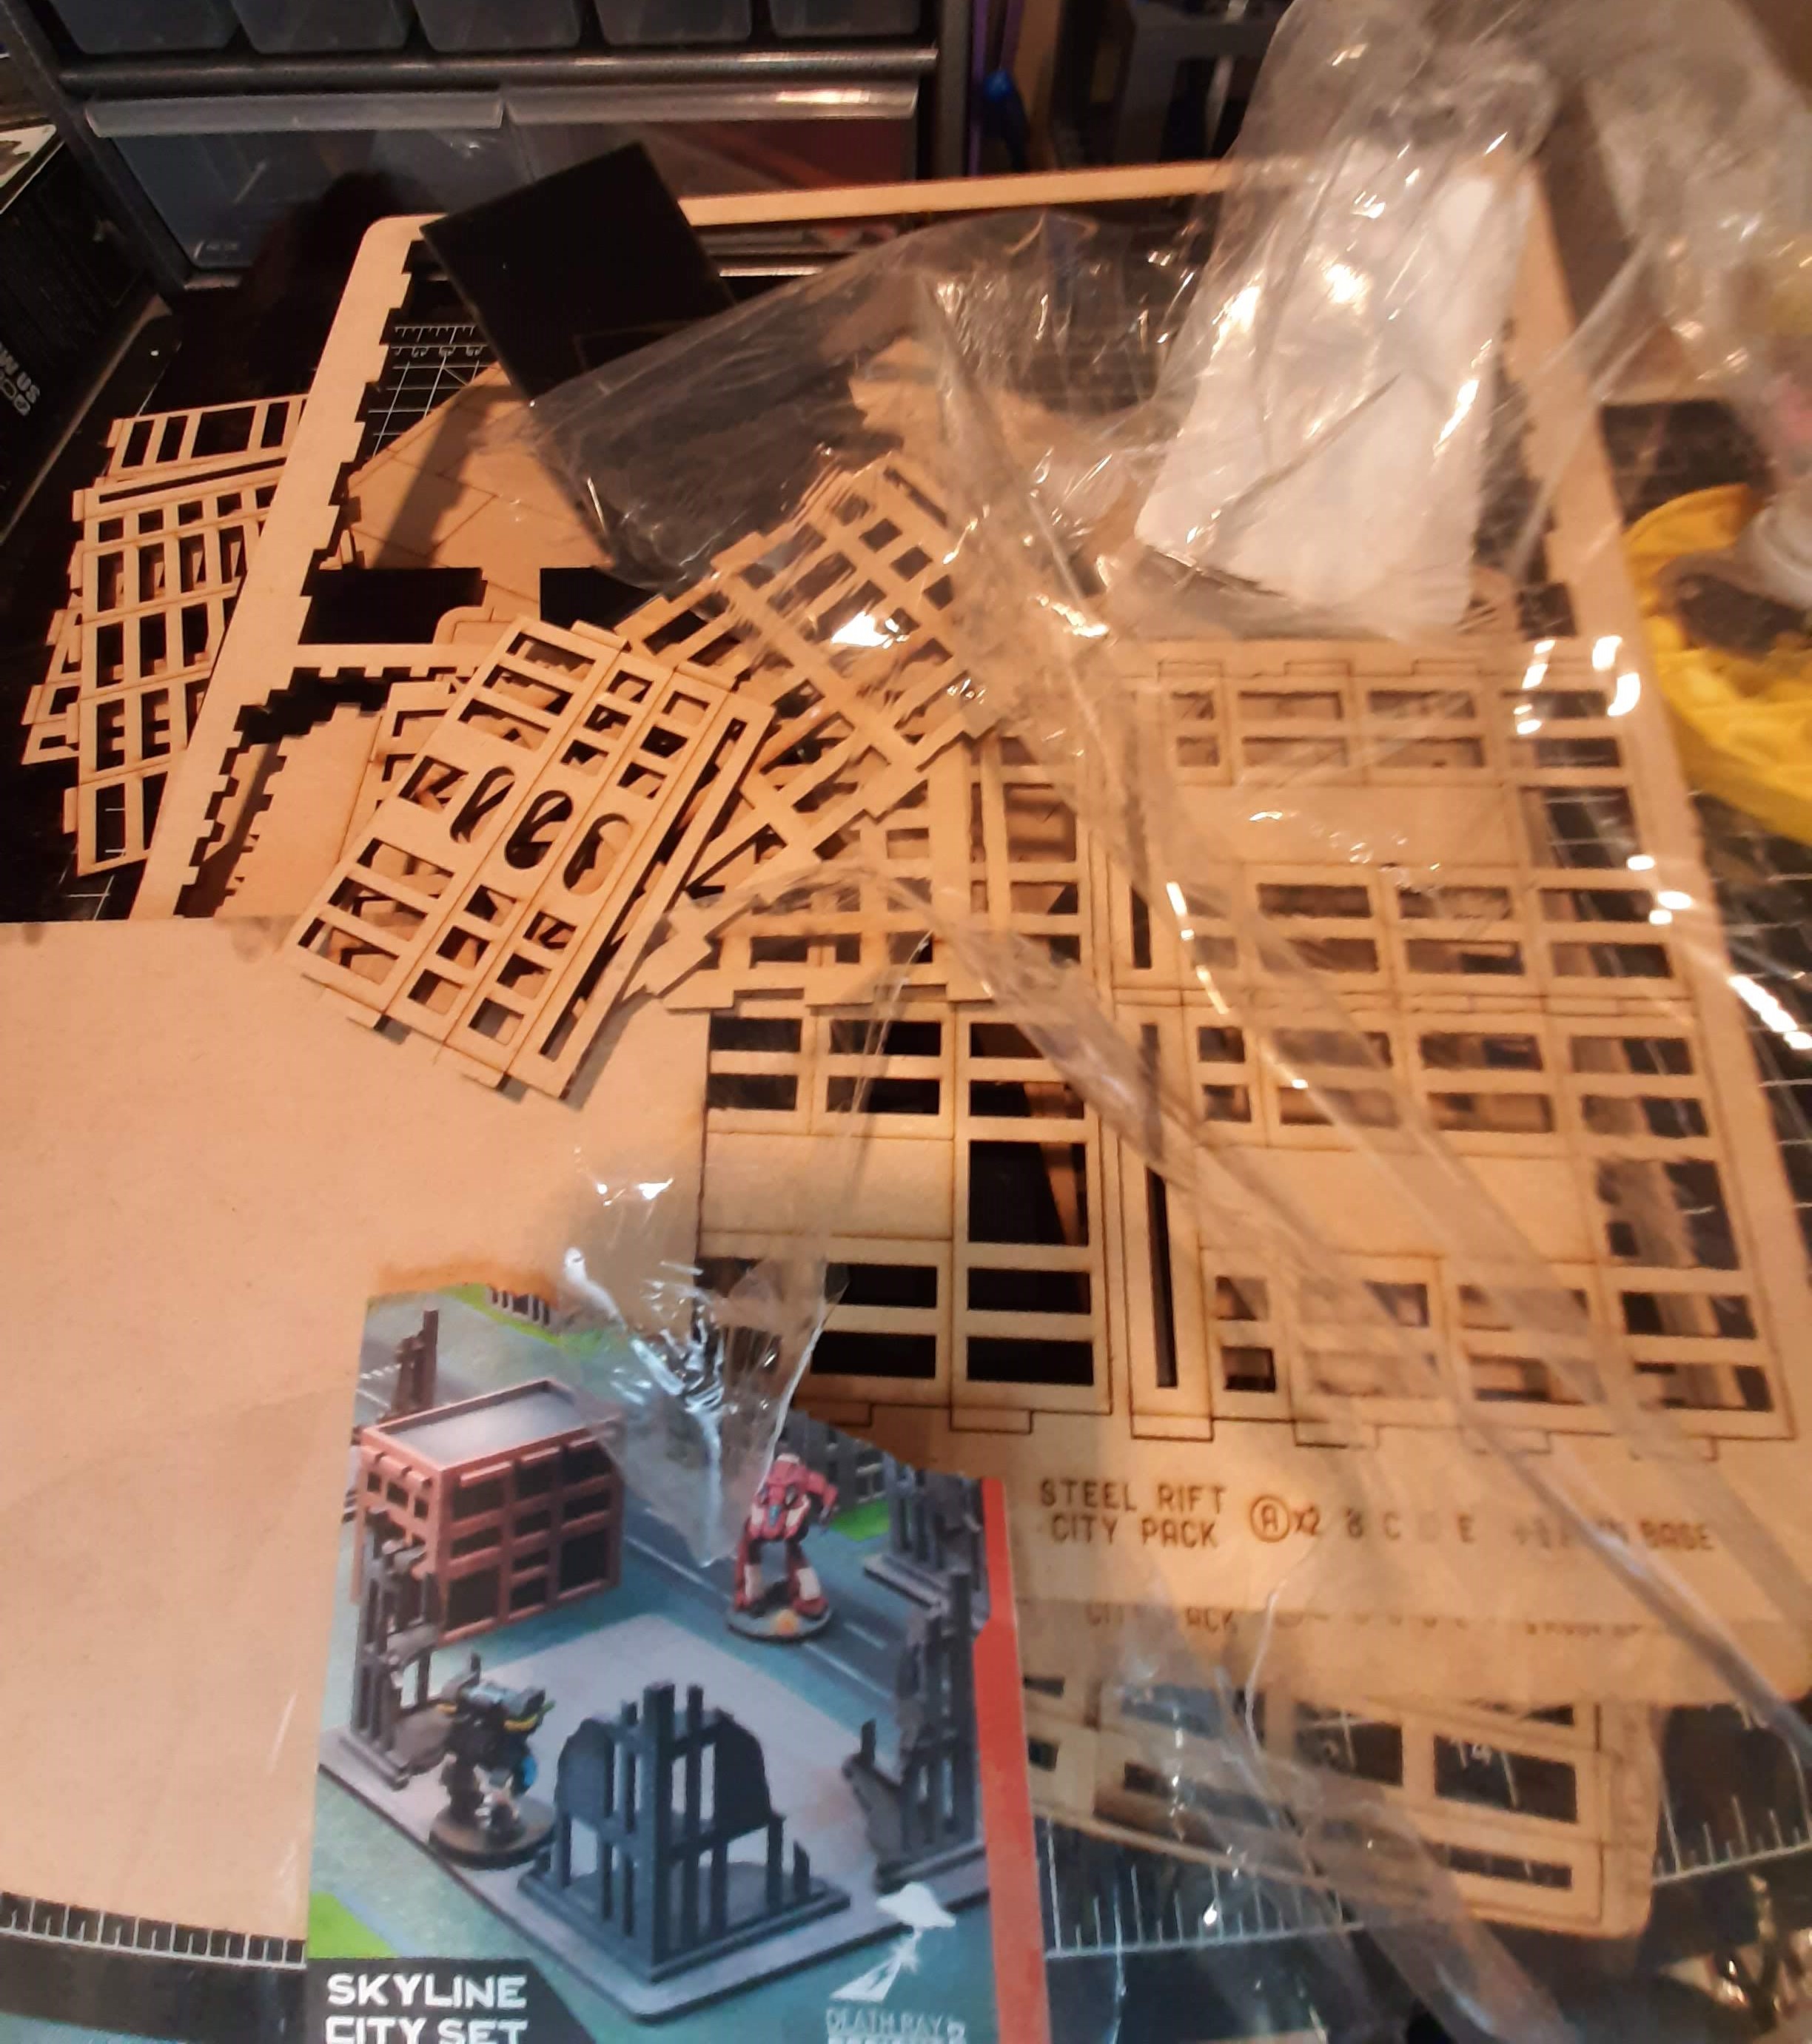 Caution. Open the package on a flat surface. I was holding it in my hands as I tore into it and the kit pretty much imploded.
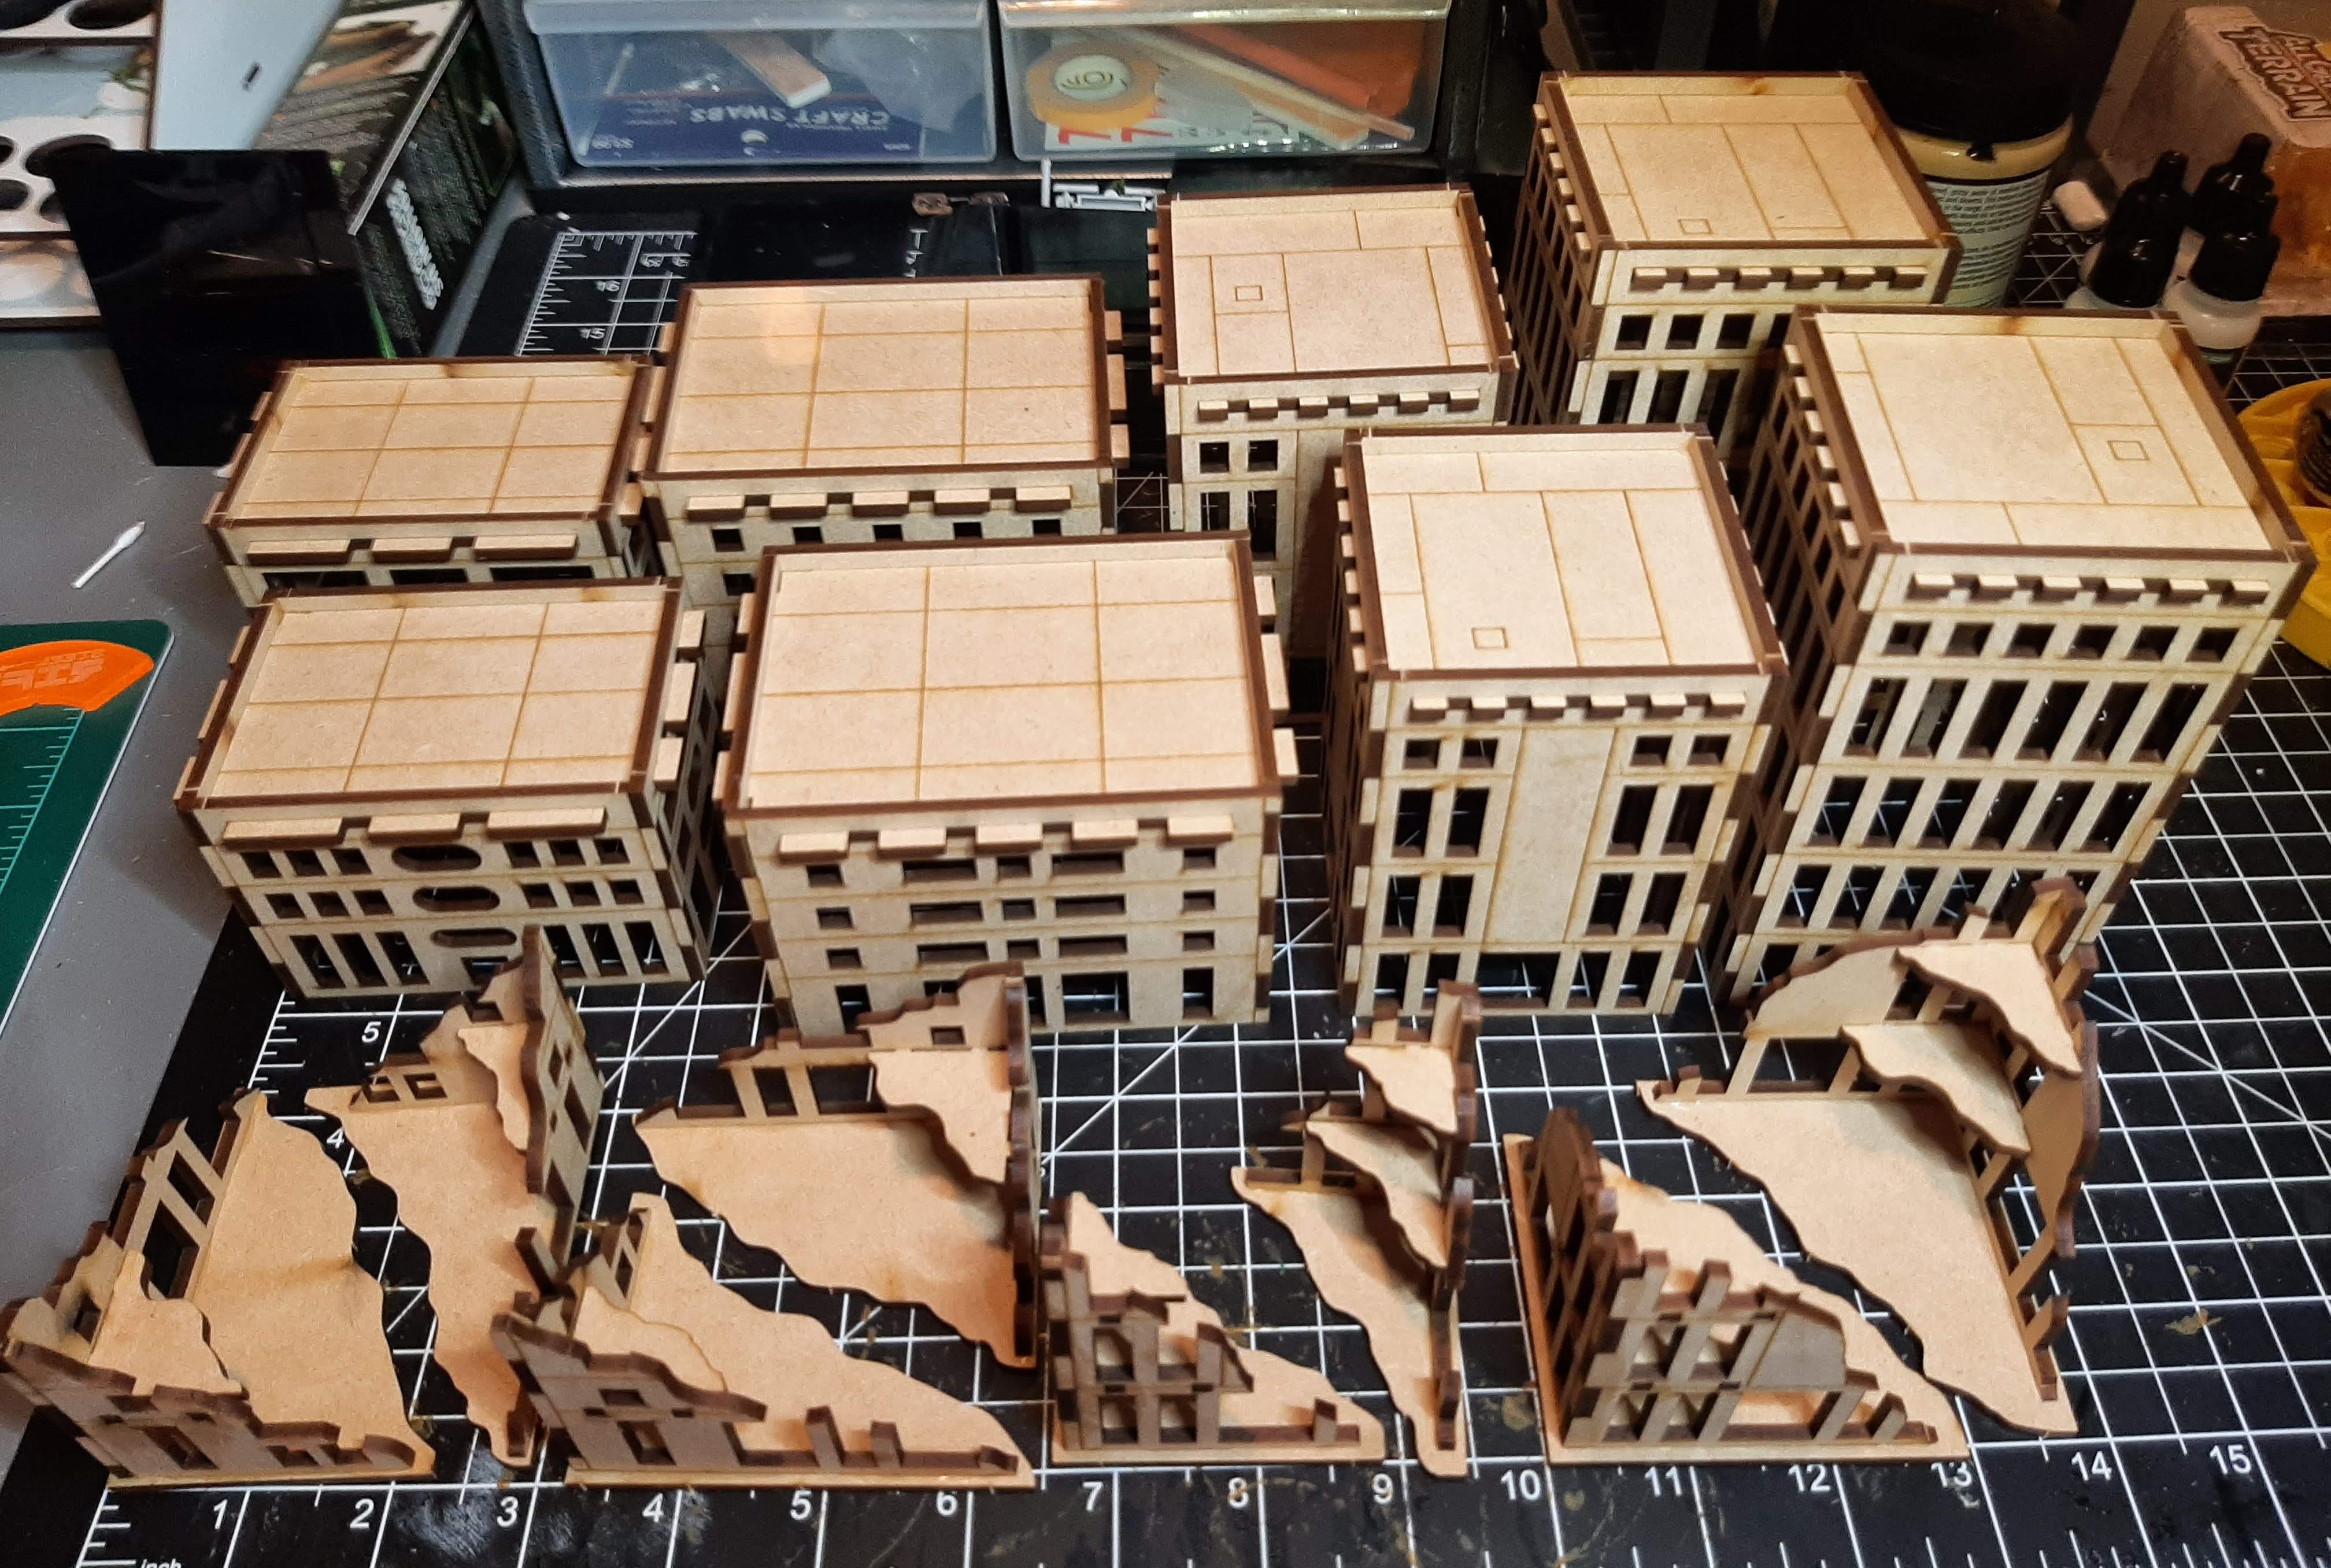 With some wood glue the kit builds up easily and fast. The kit also comes with acrylic inserts to black out or make the appreance of windows inside the building. I'm not using them.
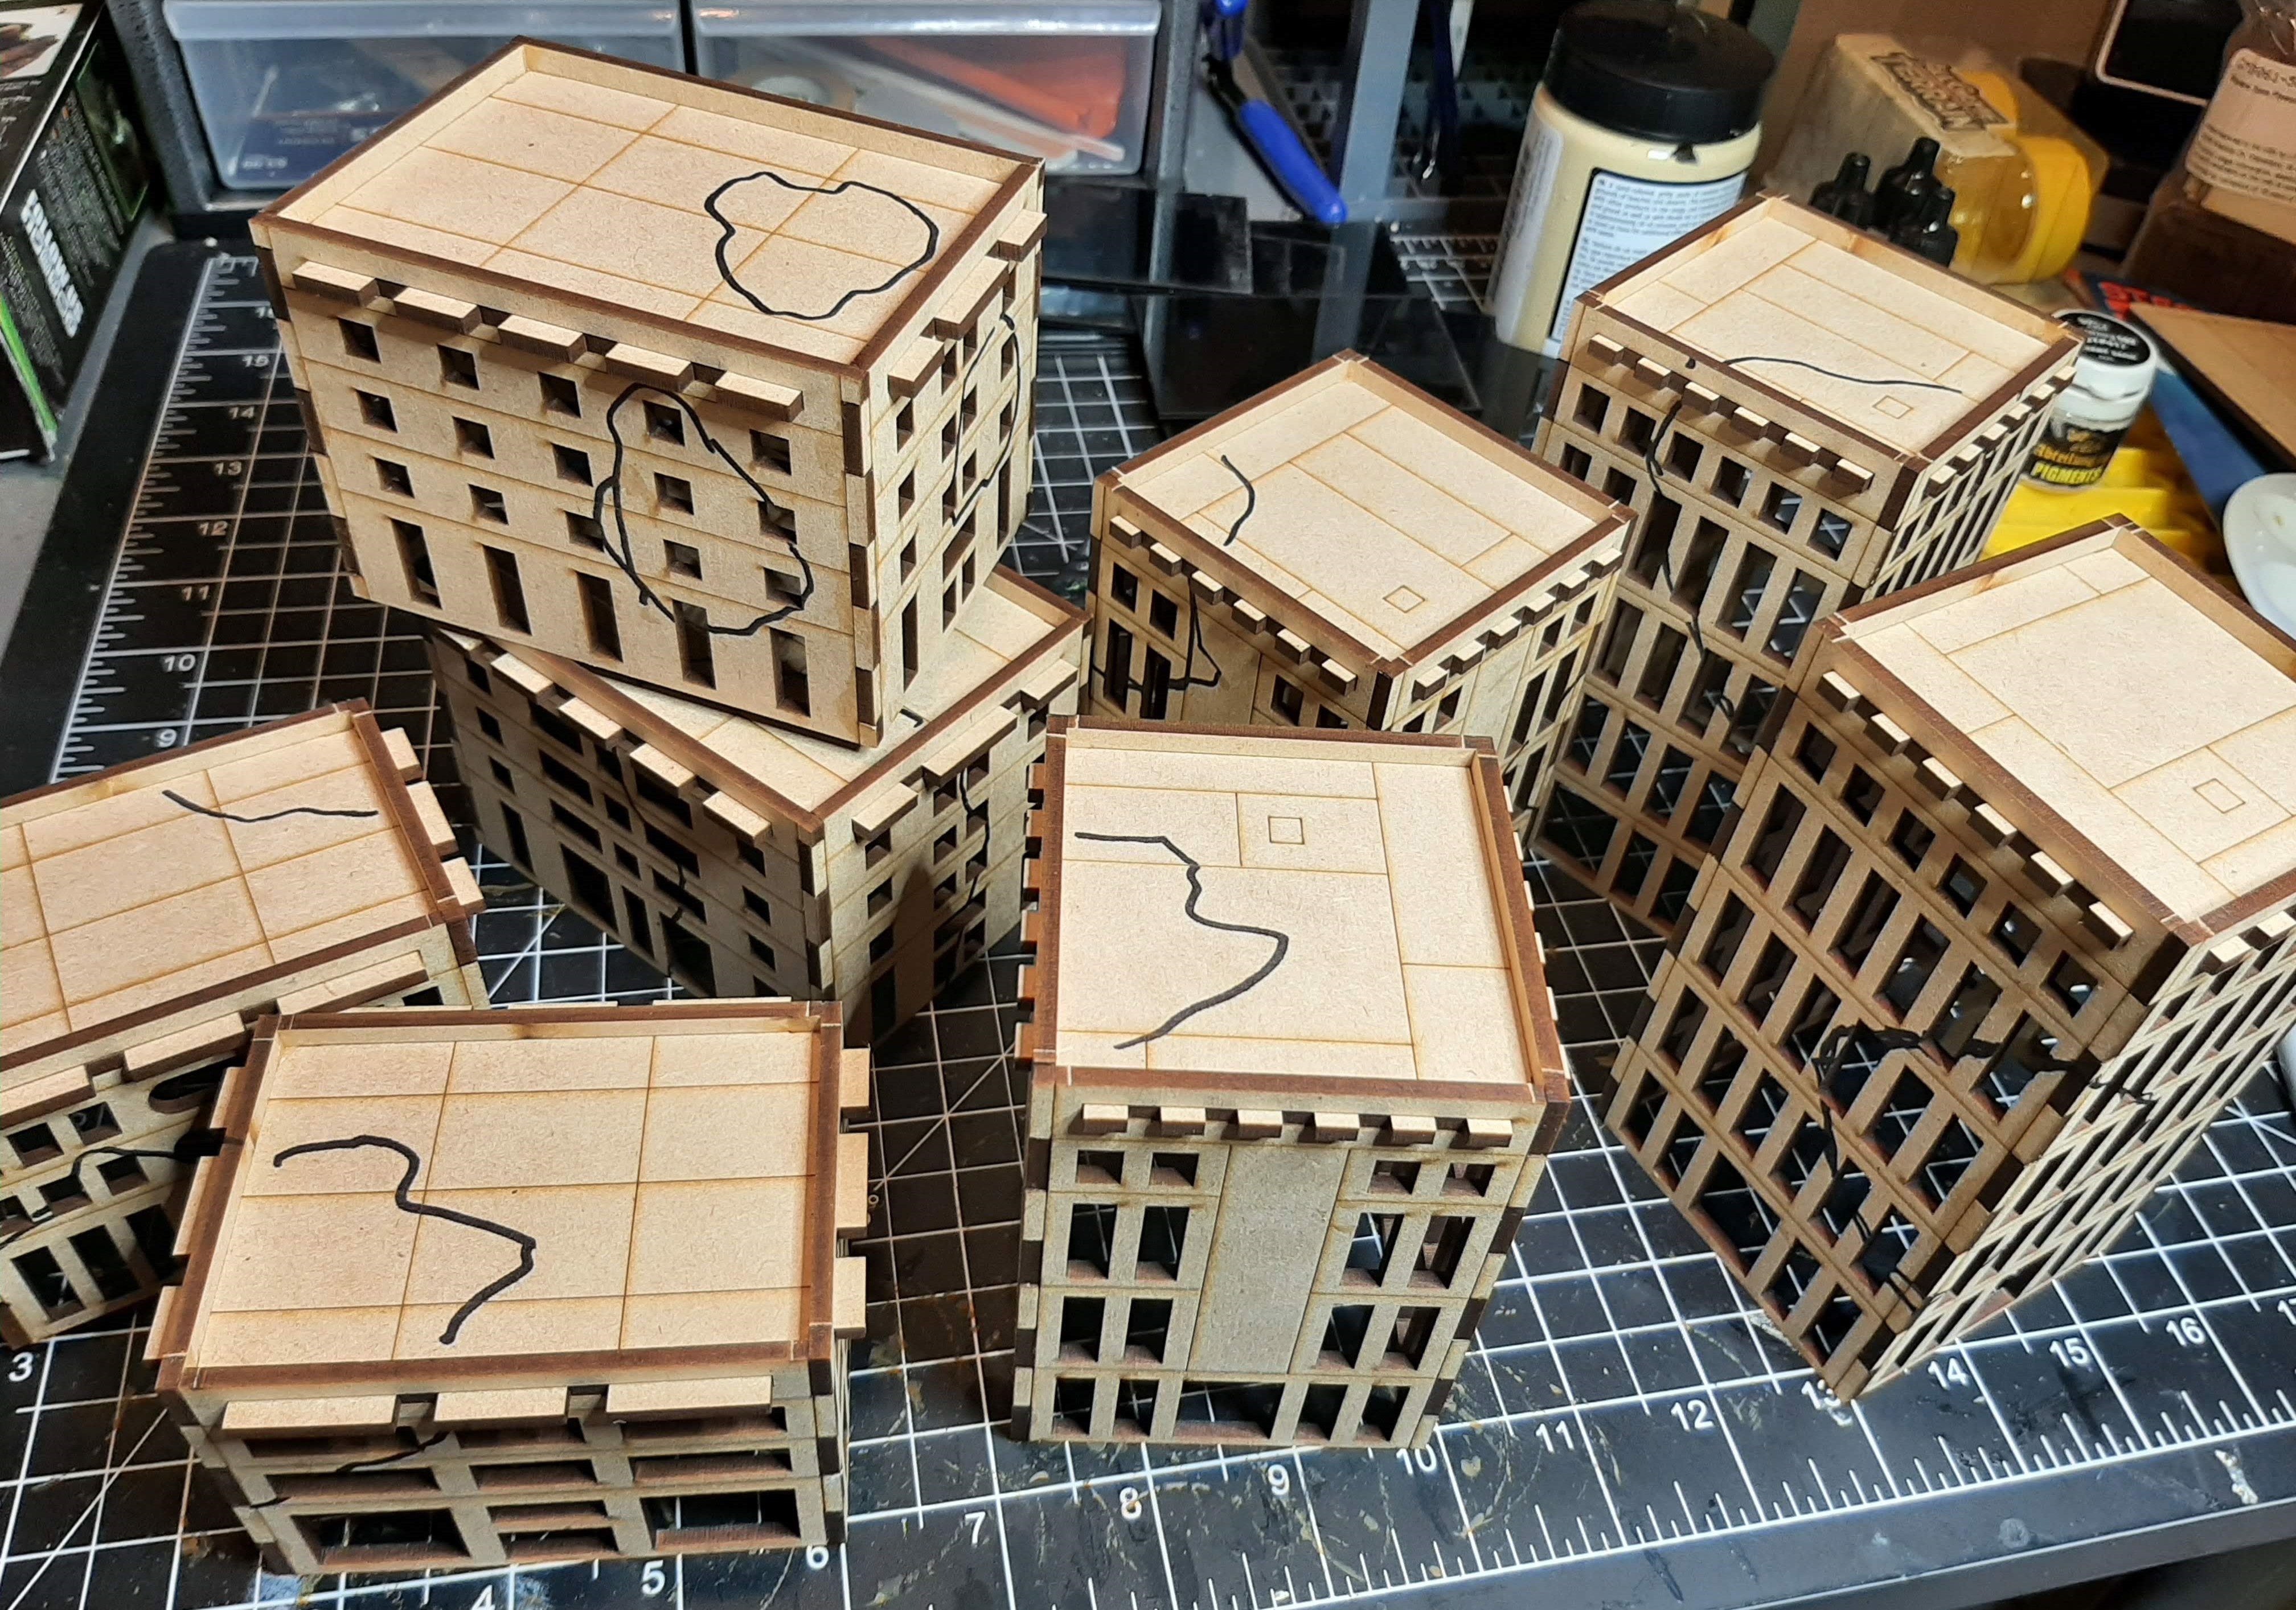 I have seen alot of mech games with nice city buildings, but it never sat well with me. I would think that with these machines with powerful weapons would be tearing things up. So I'm building mine as damaged and worn. I took a marker and drew some rough areas where I wanted the damage to be.
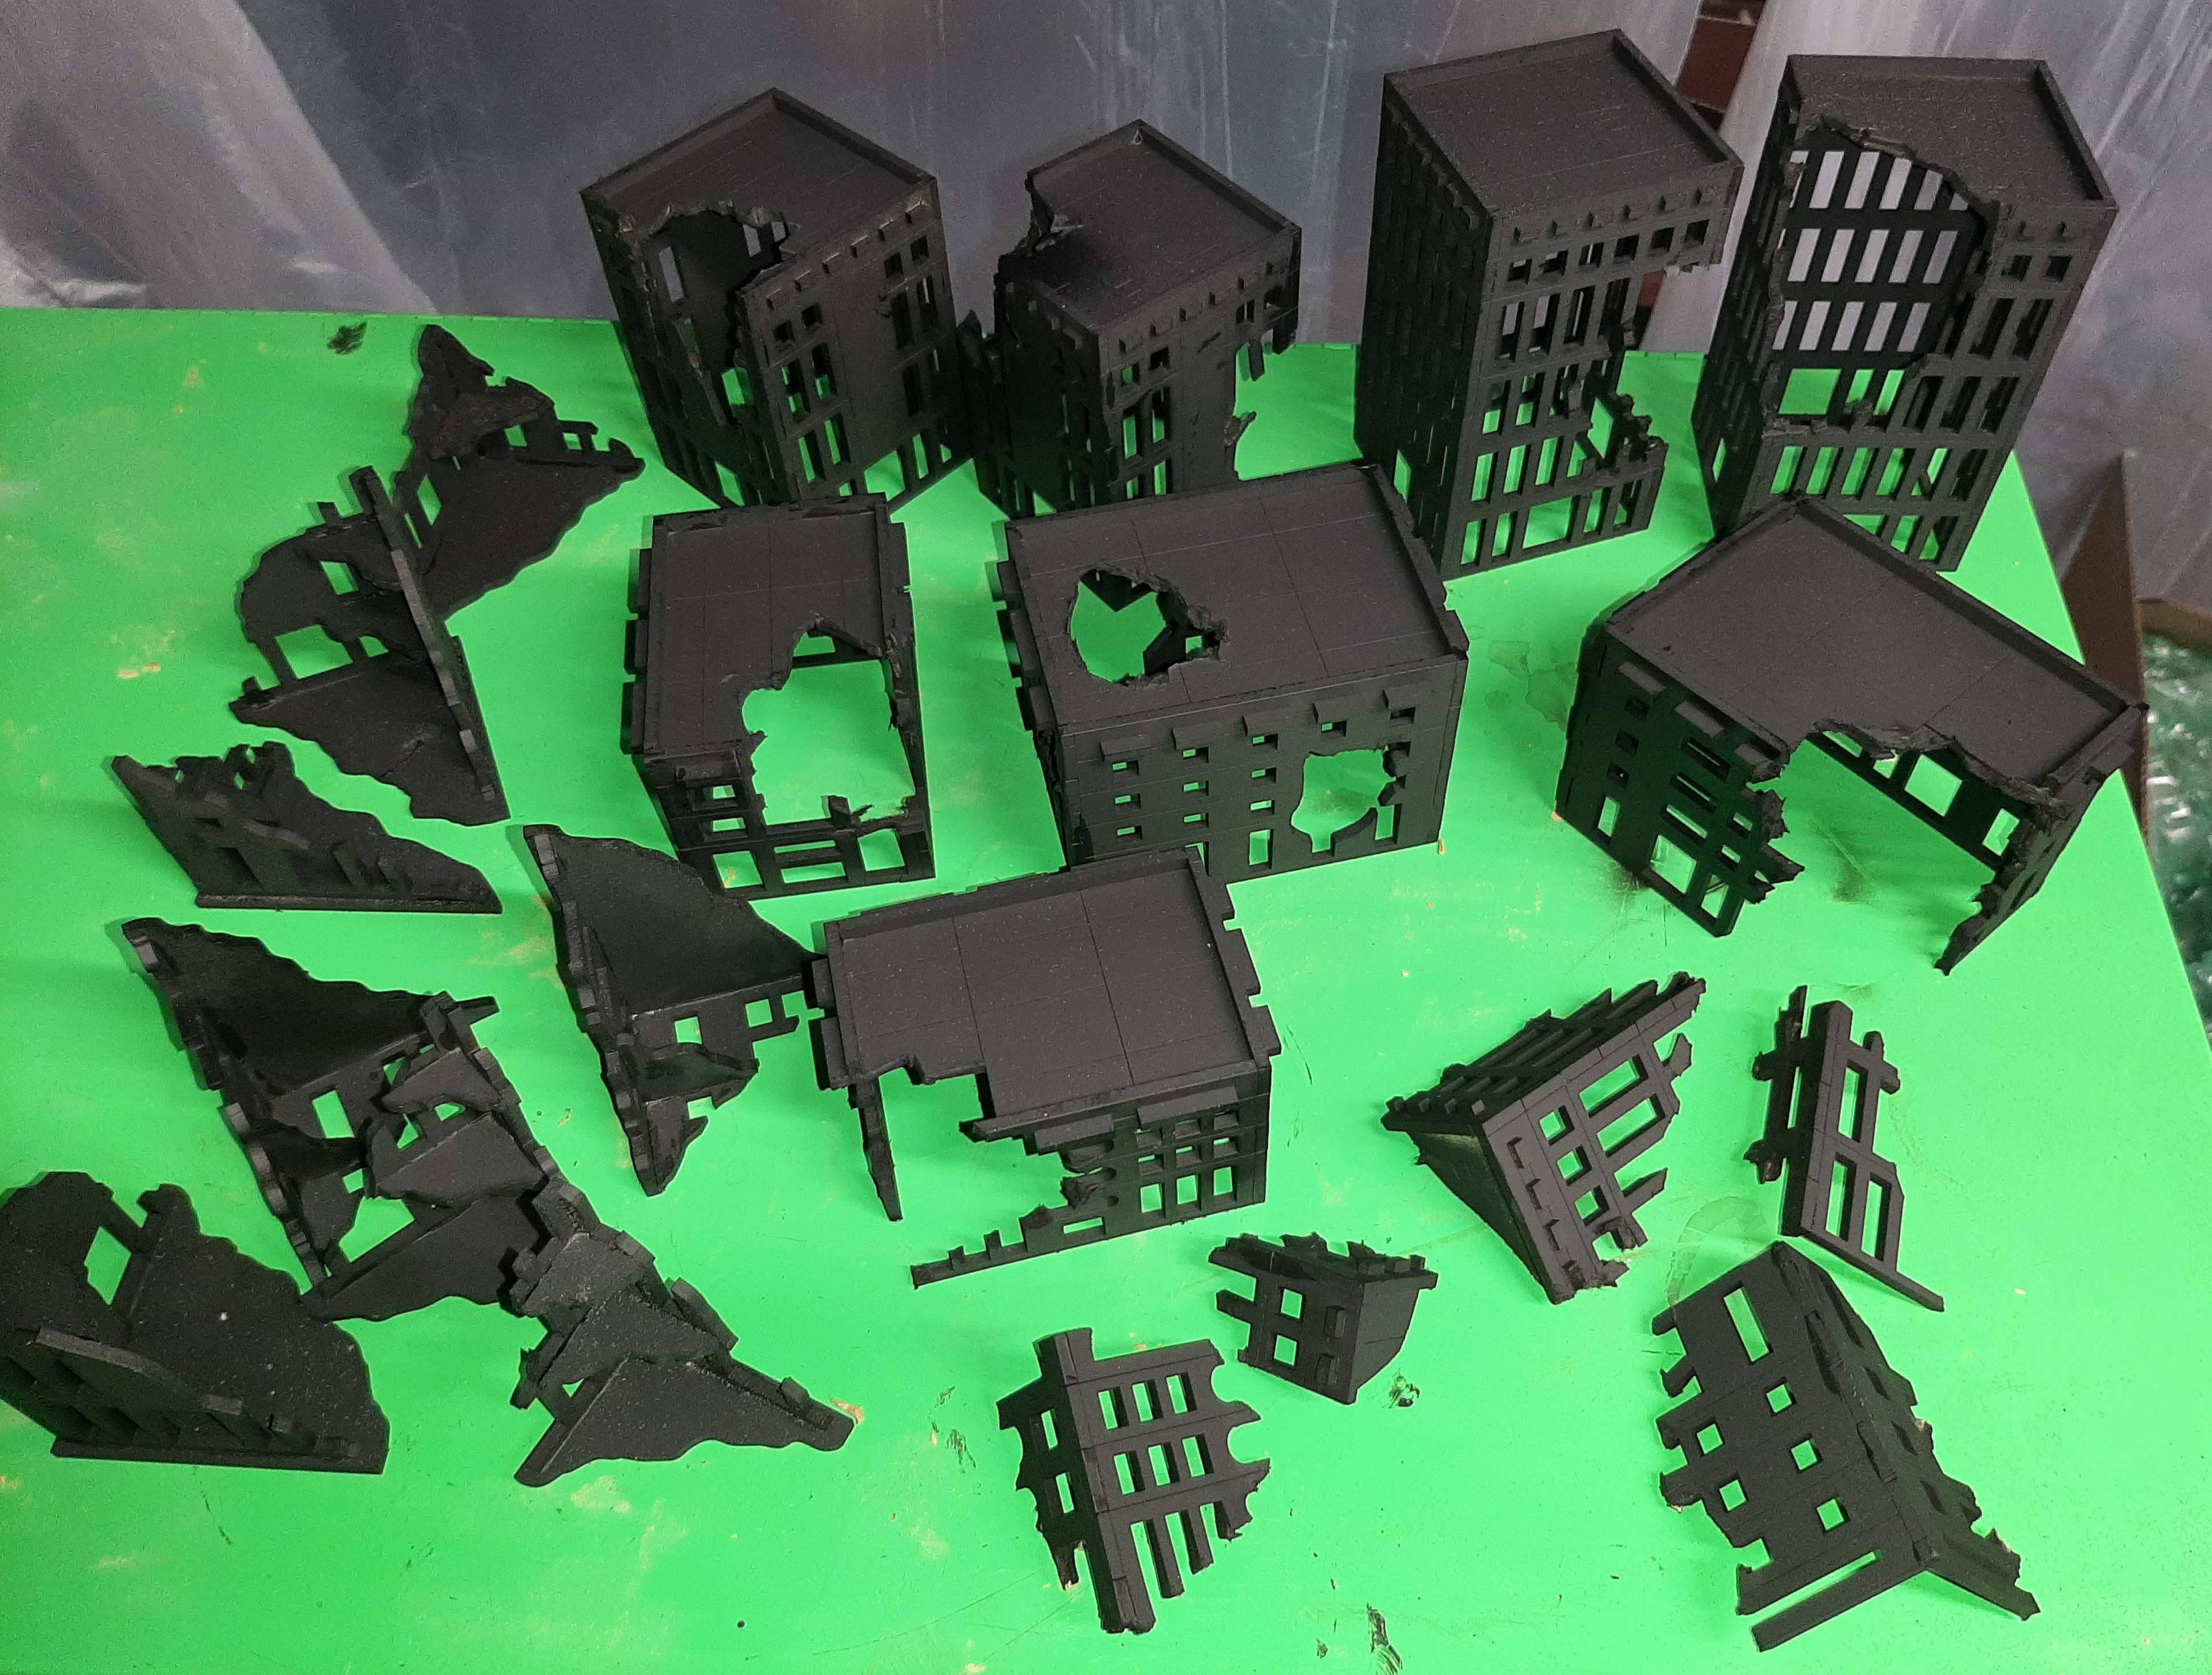 I cut most of the sides with nippers and the tops with a jig saw. Black spray can primer to seal it up.
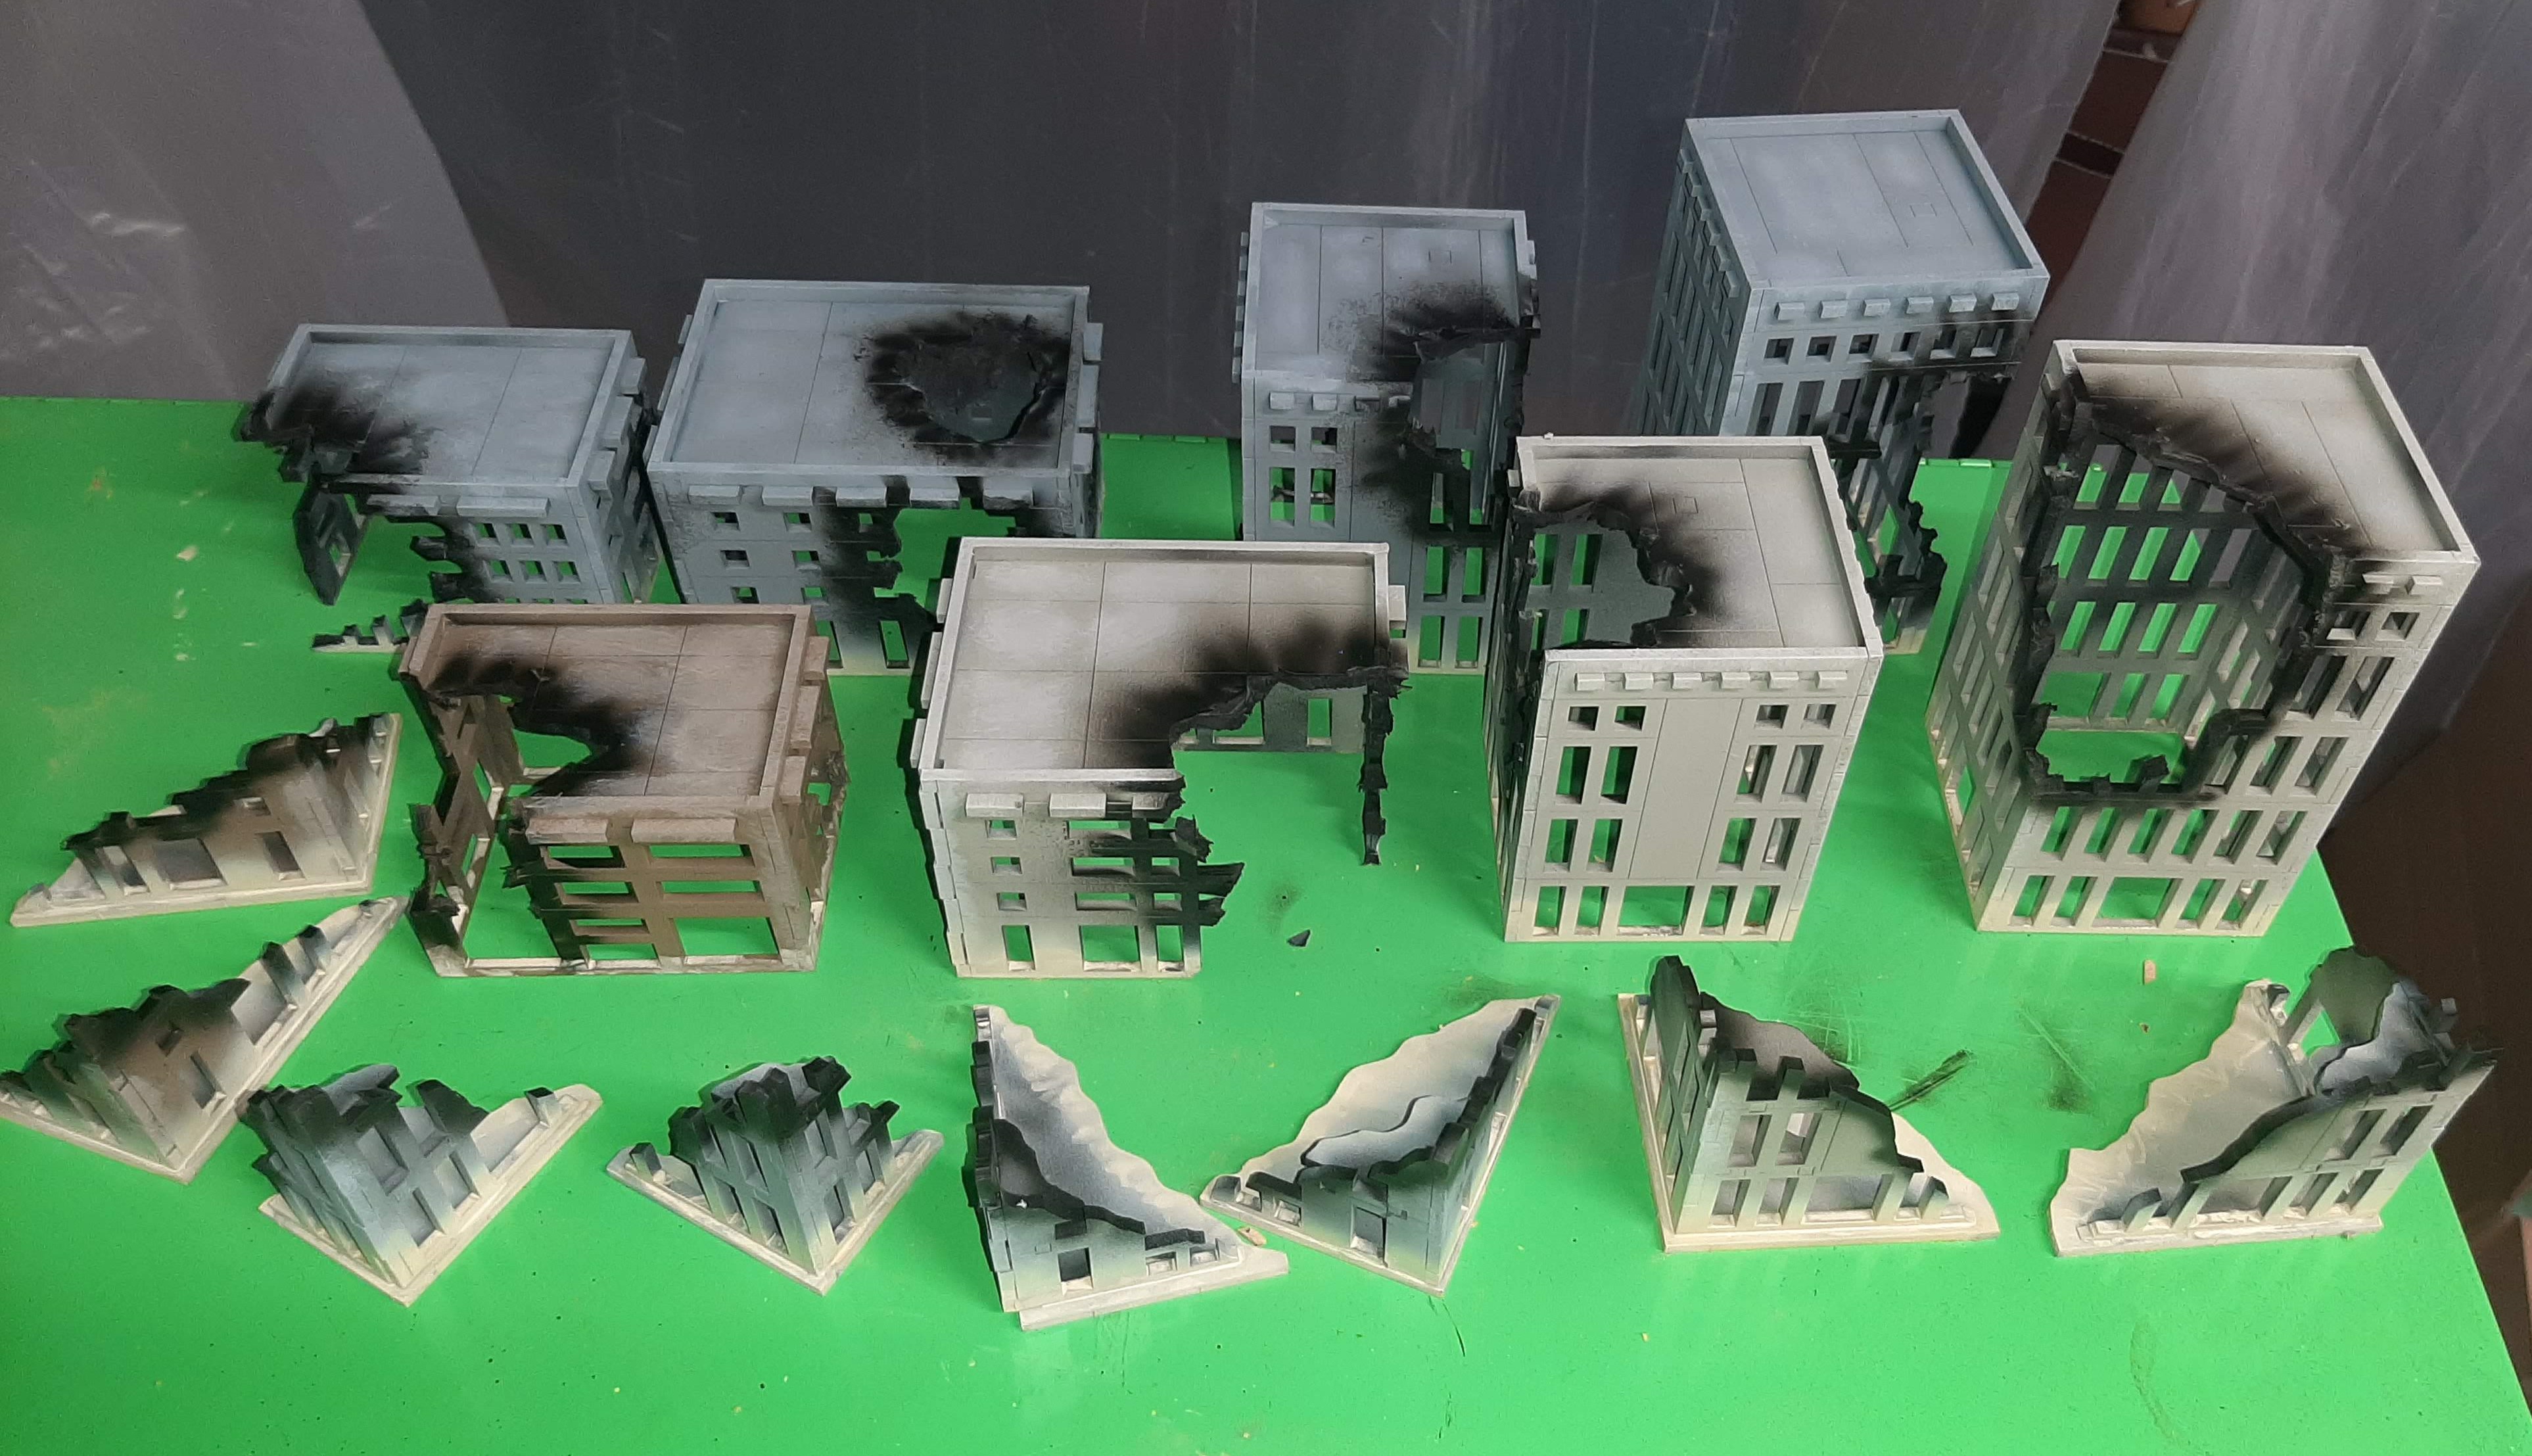 Using Vallejo model air I painted(airbrushed) the the buildings 3 different colors. I then used the colors mixing in some white for drybrush highlights of the roof and corners. I went back with black air paint in the airbrush to all the damaged areas. I used a desert sand color paint, thinned down in the airbrush to hit all of the bottoms to blend into the sand theme. Last touch was using liquid pigment from AK to make it look like sand had collected in the parts like the bottom windows.


