


![Perfect Historical Wargame Objectives! Victrix Treasures & More Reviewed [7 Days Early Access]](https://images.beastsofwar.com/2026/02/unboxing-victrix-treasures_-chests-_-market-stalls-coverimage-225-127.jpg)


Building the war room of my dreams


Recommendations: 297
About the Project
Got a new house and finally got some real space for my hobby. Time to build my war room. A place for tabletop hobby & games.
Related Genre: General
Related Contest: Spring Clean Hobby Challenge 2025
This Project is Active
One step back and two steps forward
 progress
Those I-beams ?
Yep .. they do work, but I think the tolerances are very very small.
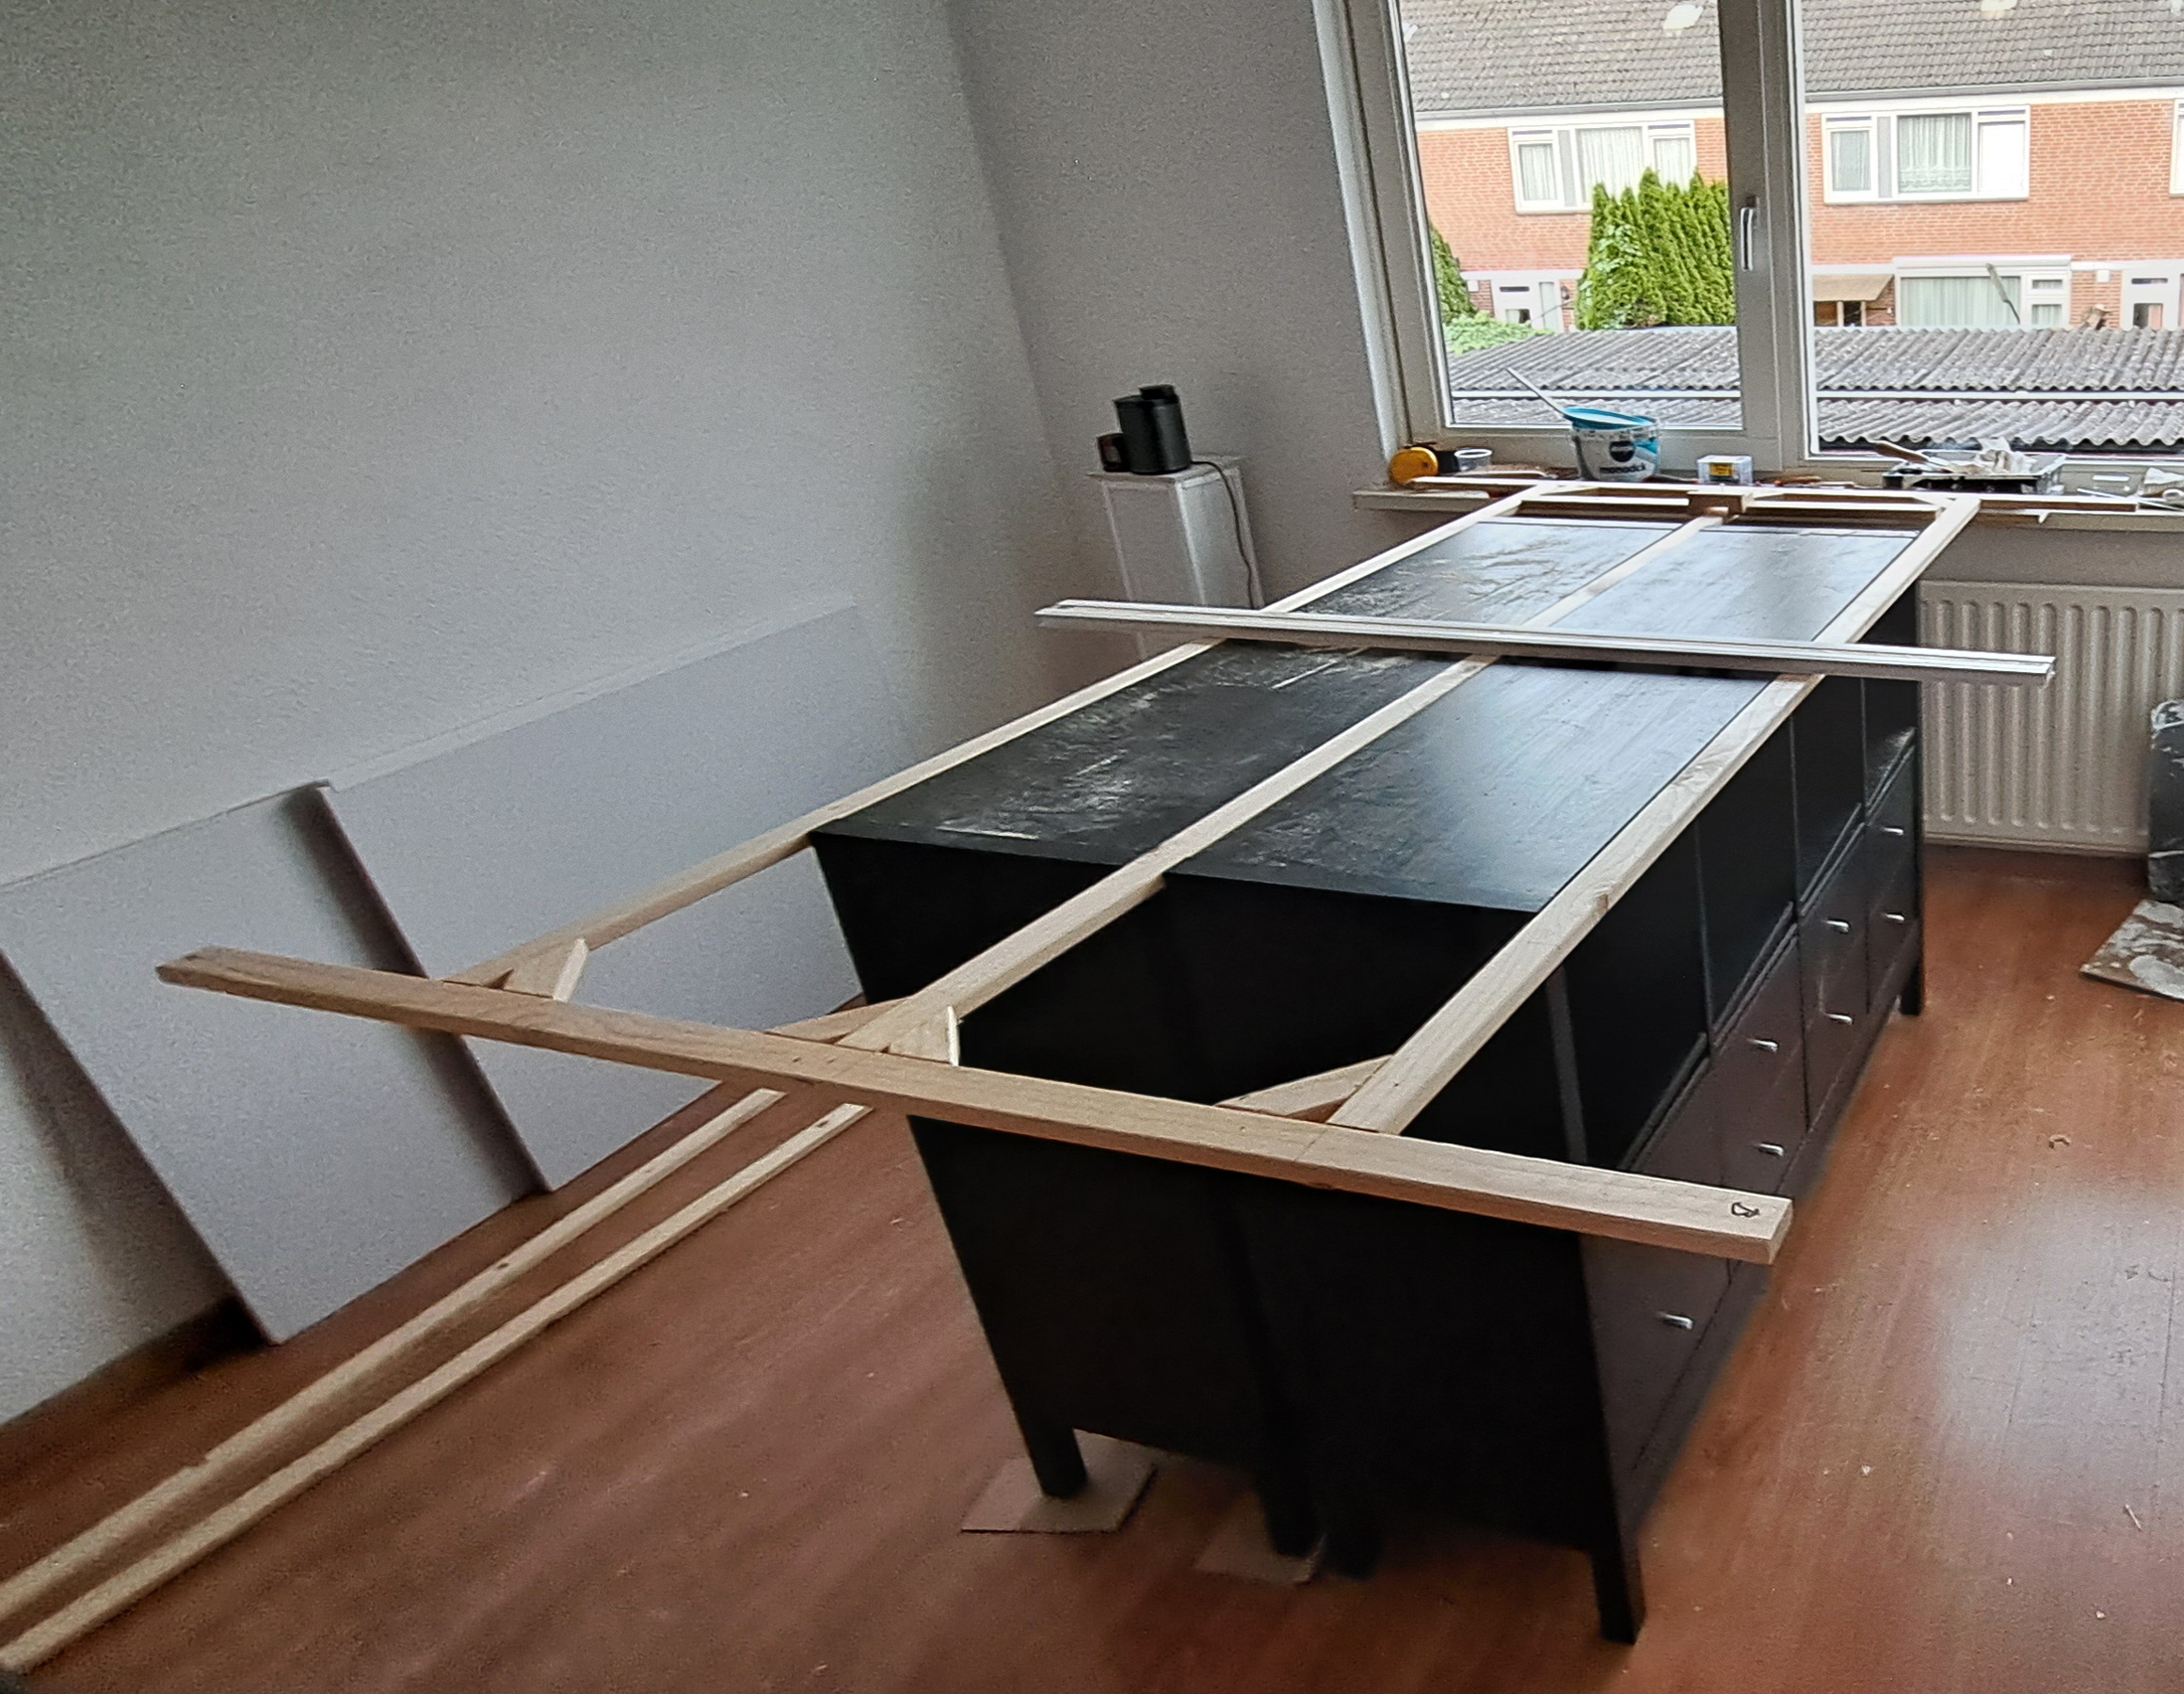
After a bit of struggling to get the things aligned I decided to move on to completing the table frame. I think I managed to get the thing within half a millimeter as I had a bit of trouble fitting it on top of the Kallax units I’m using as the base. However as you can see things do fit.
Next stage .. getting rid of the sawdust and adding the tabletops for reals.
I hope I got everything more or less where I want it, because the thing will be a real pain in the posterior to move once I get to the next stage.
The observant might notice that I got 4 sets of drawers on one side while the Kallax unit I had listed only had 2 of them. Let’s just say that this was by design and I totally wanted that 😉 As is I’ve got 8 cubicles open and 8 filled with either doors or drawers.
Did I mention I wanted to maximize storage space ?
I will be tinkering with storage for gaming mats, but table needs to be completed and ready for gaming first.
Redesign
With the tabletops as designed being too heavy and unwieldy for me I had to do a little redesign as well as a bit of cutting.
I had always wanted more tools … so with a bit of research and help of youtube I got myself a mini circular saw.
Things went *bzzzzzt* *bzzzzt* (well … with ear protection… ). and two boards were four.
 final design
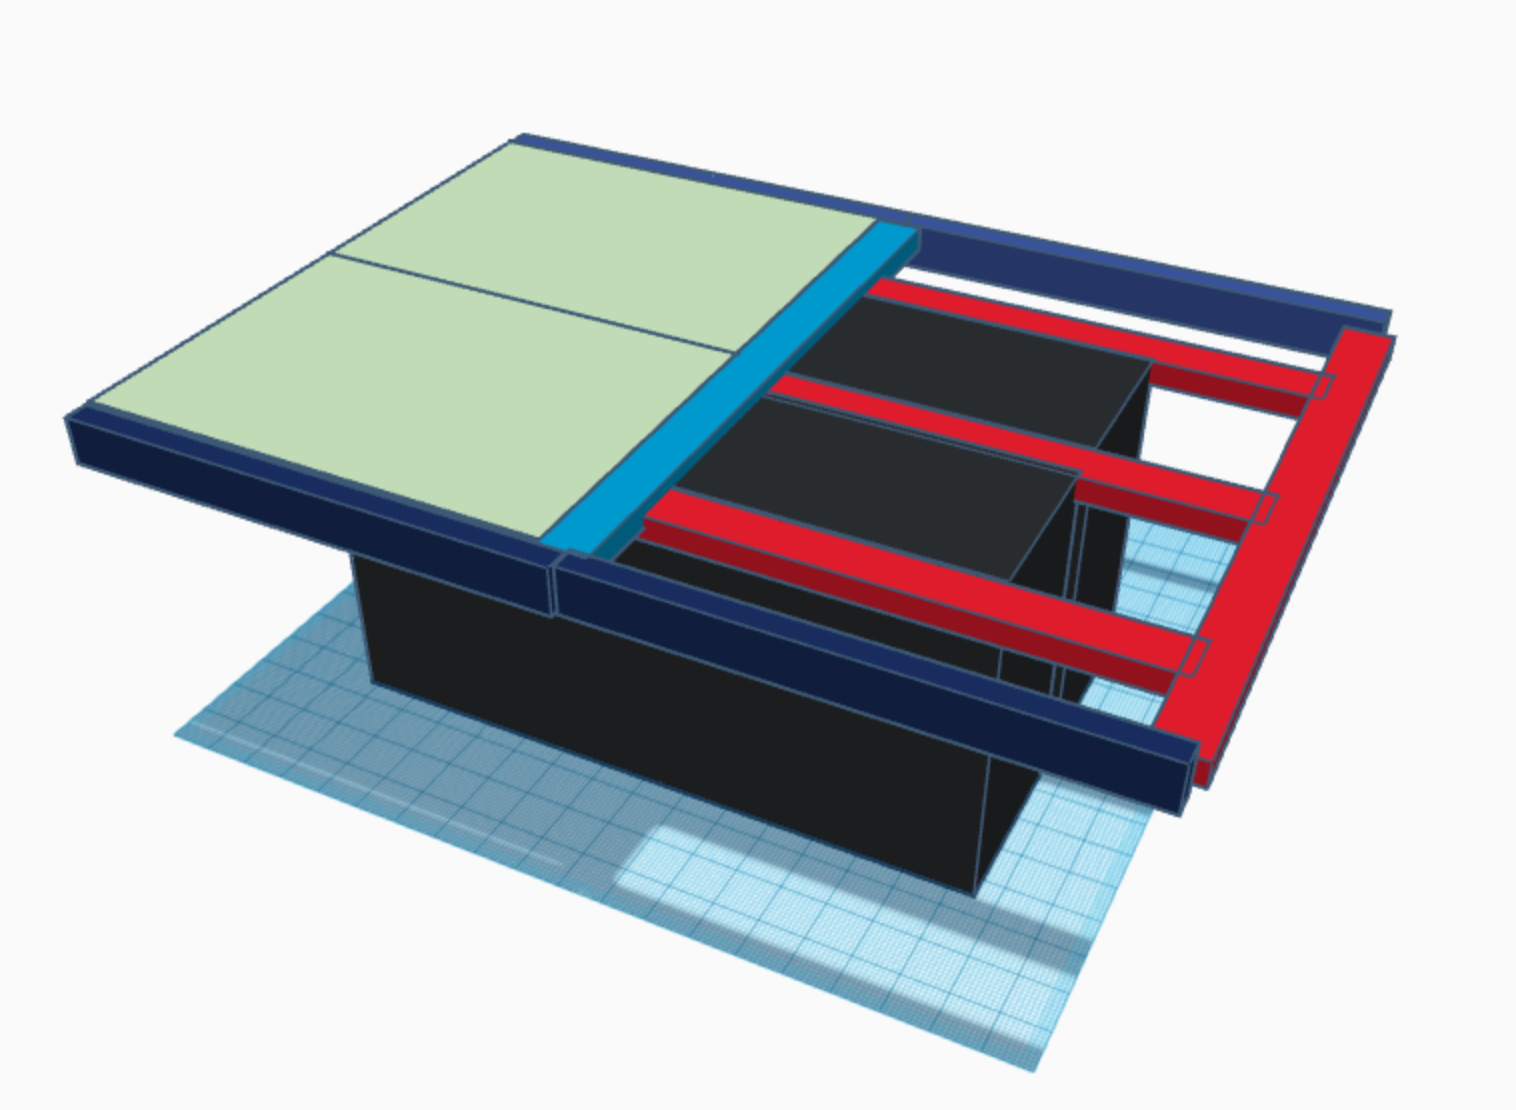 details
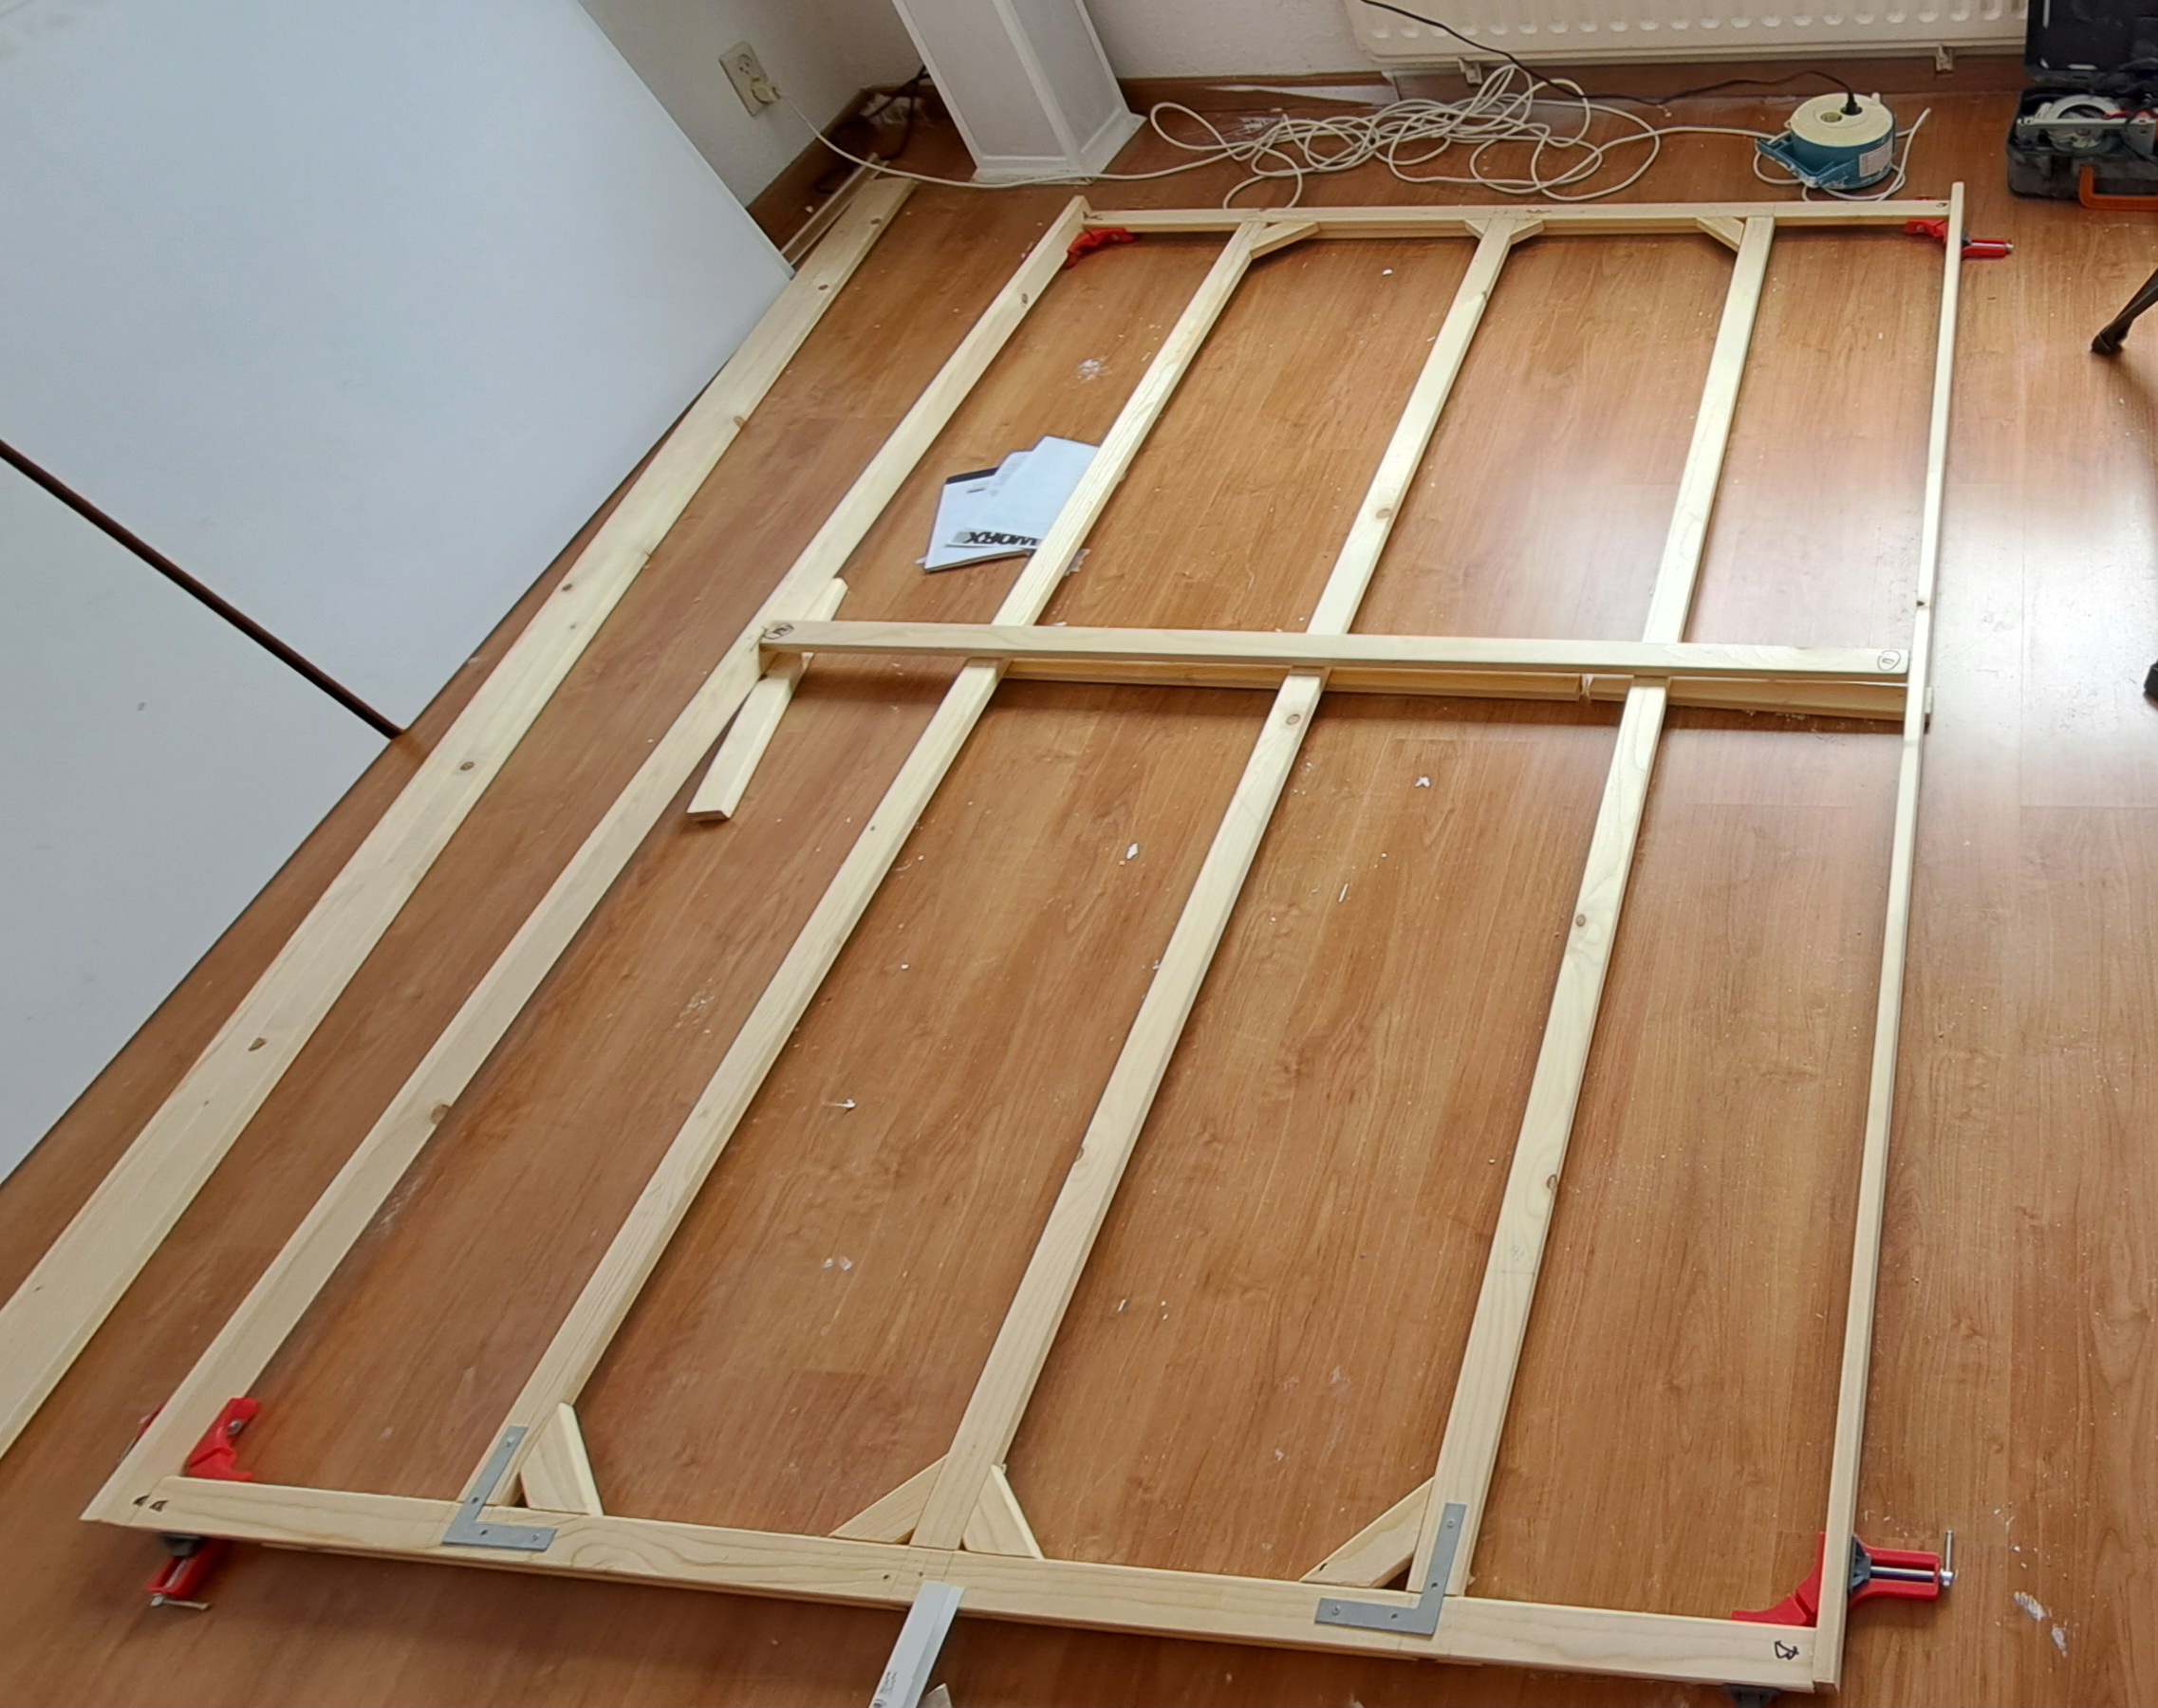
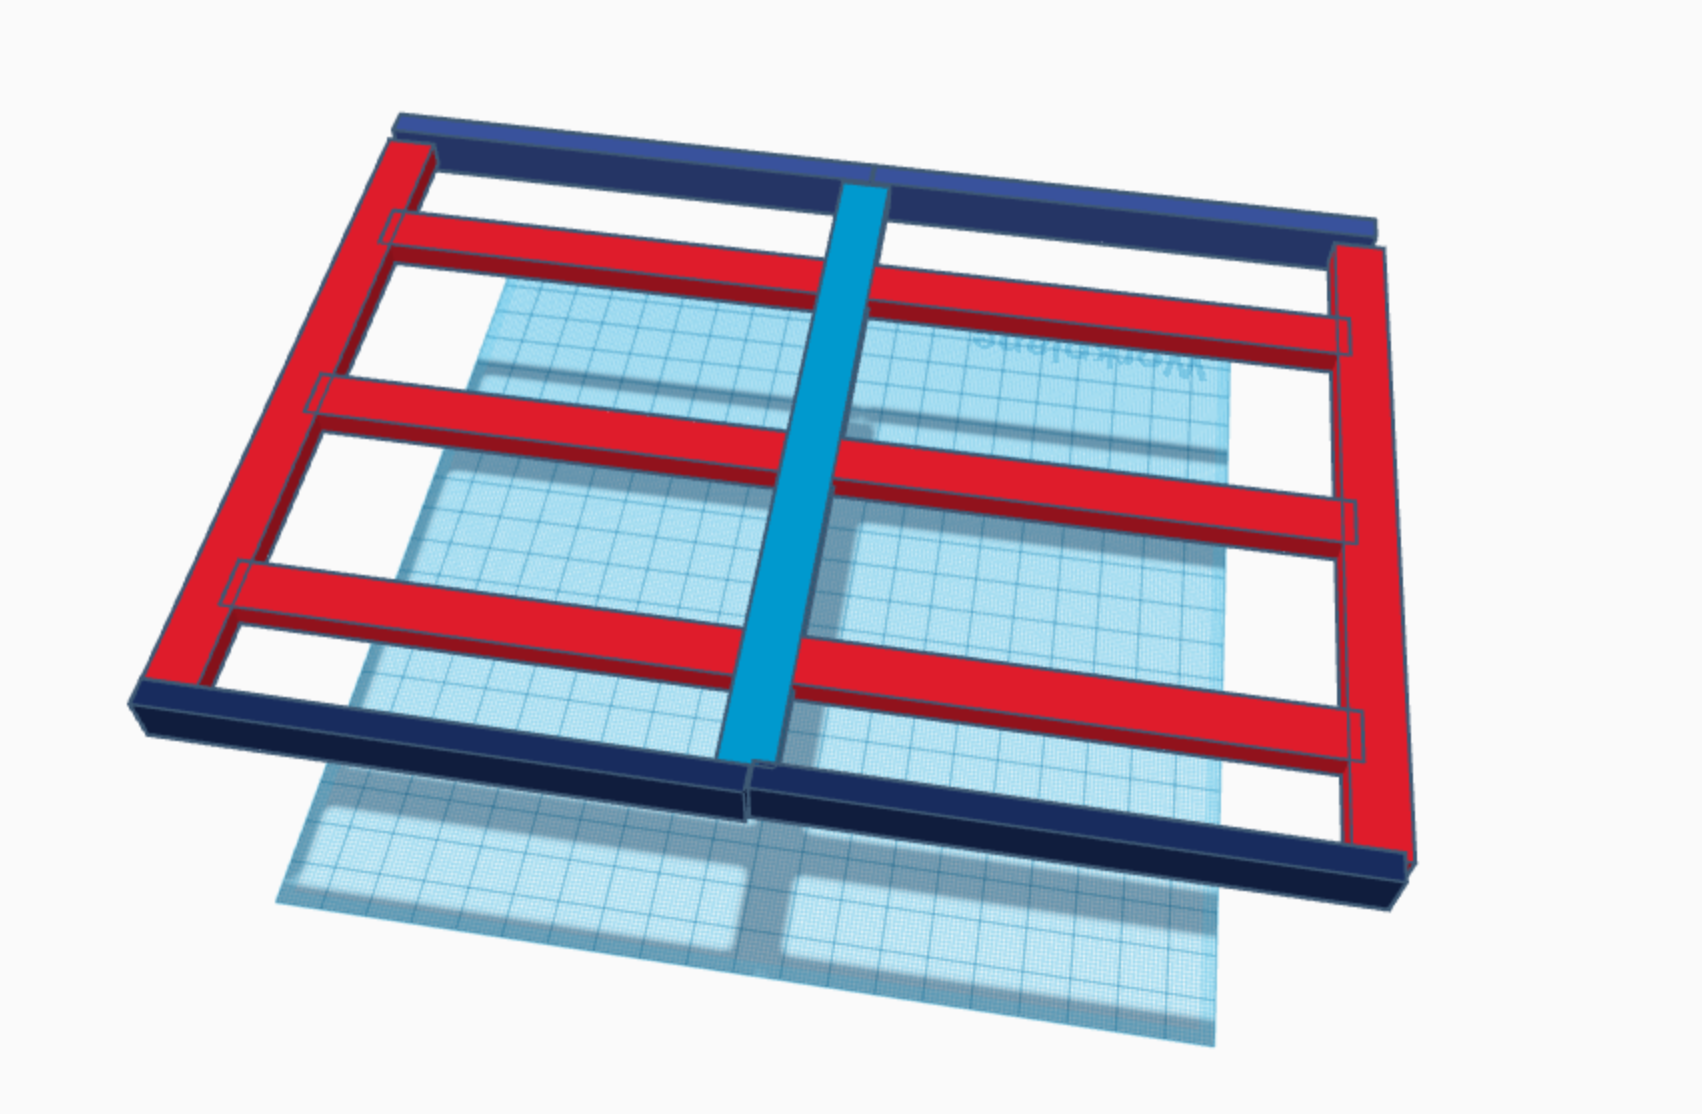 framework
Well … that is what I tell folk.
In reality I kind of ff-up the frame so it was a bit wider than the table was supposed to be.
To ‘fix’ it I added the new one light blue one in the center of the framework image.
Don’t forget to measure in the real world.
The two inner wooden planks were designed to hold the Kallax in place, which meant building the frame around the furniture made things a bit easier.
 framework v2 in progress
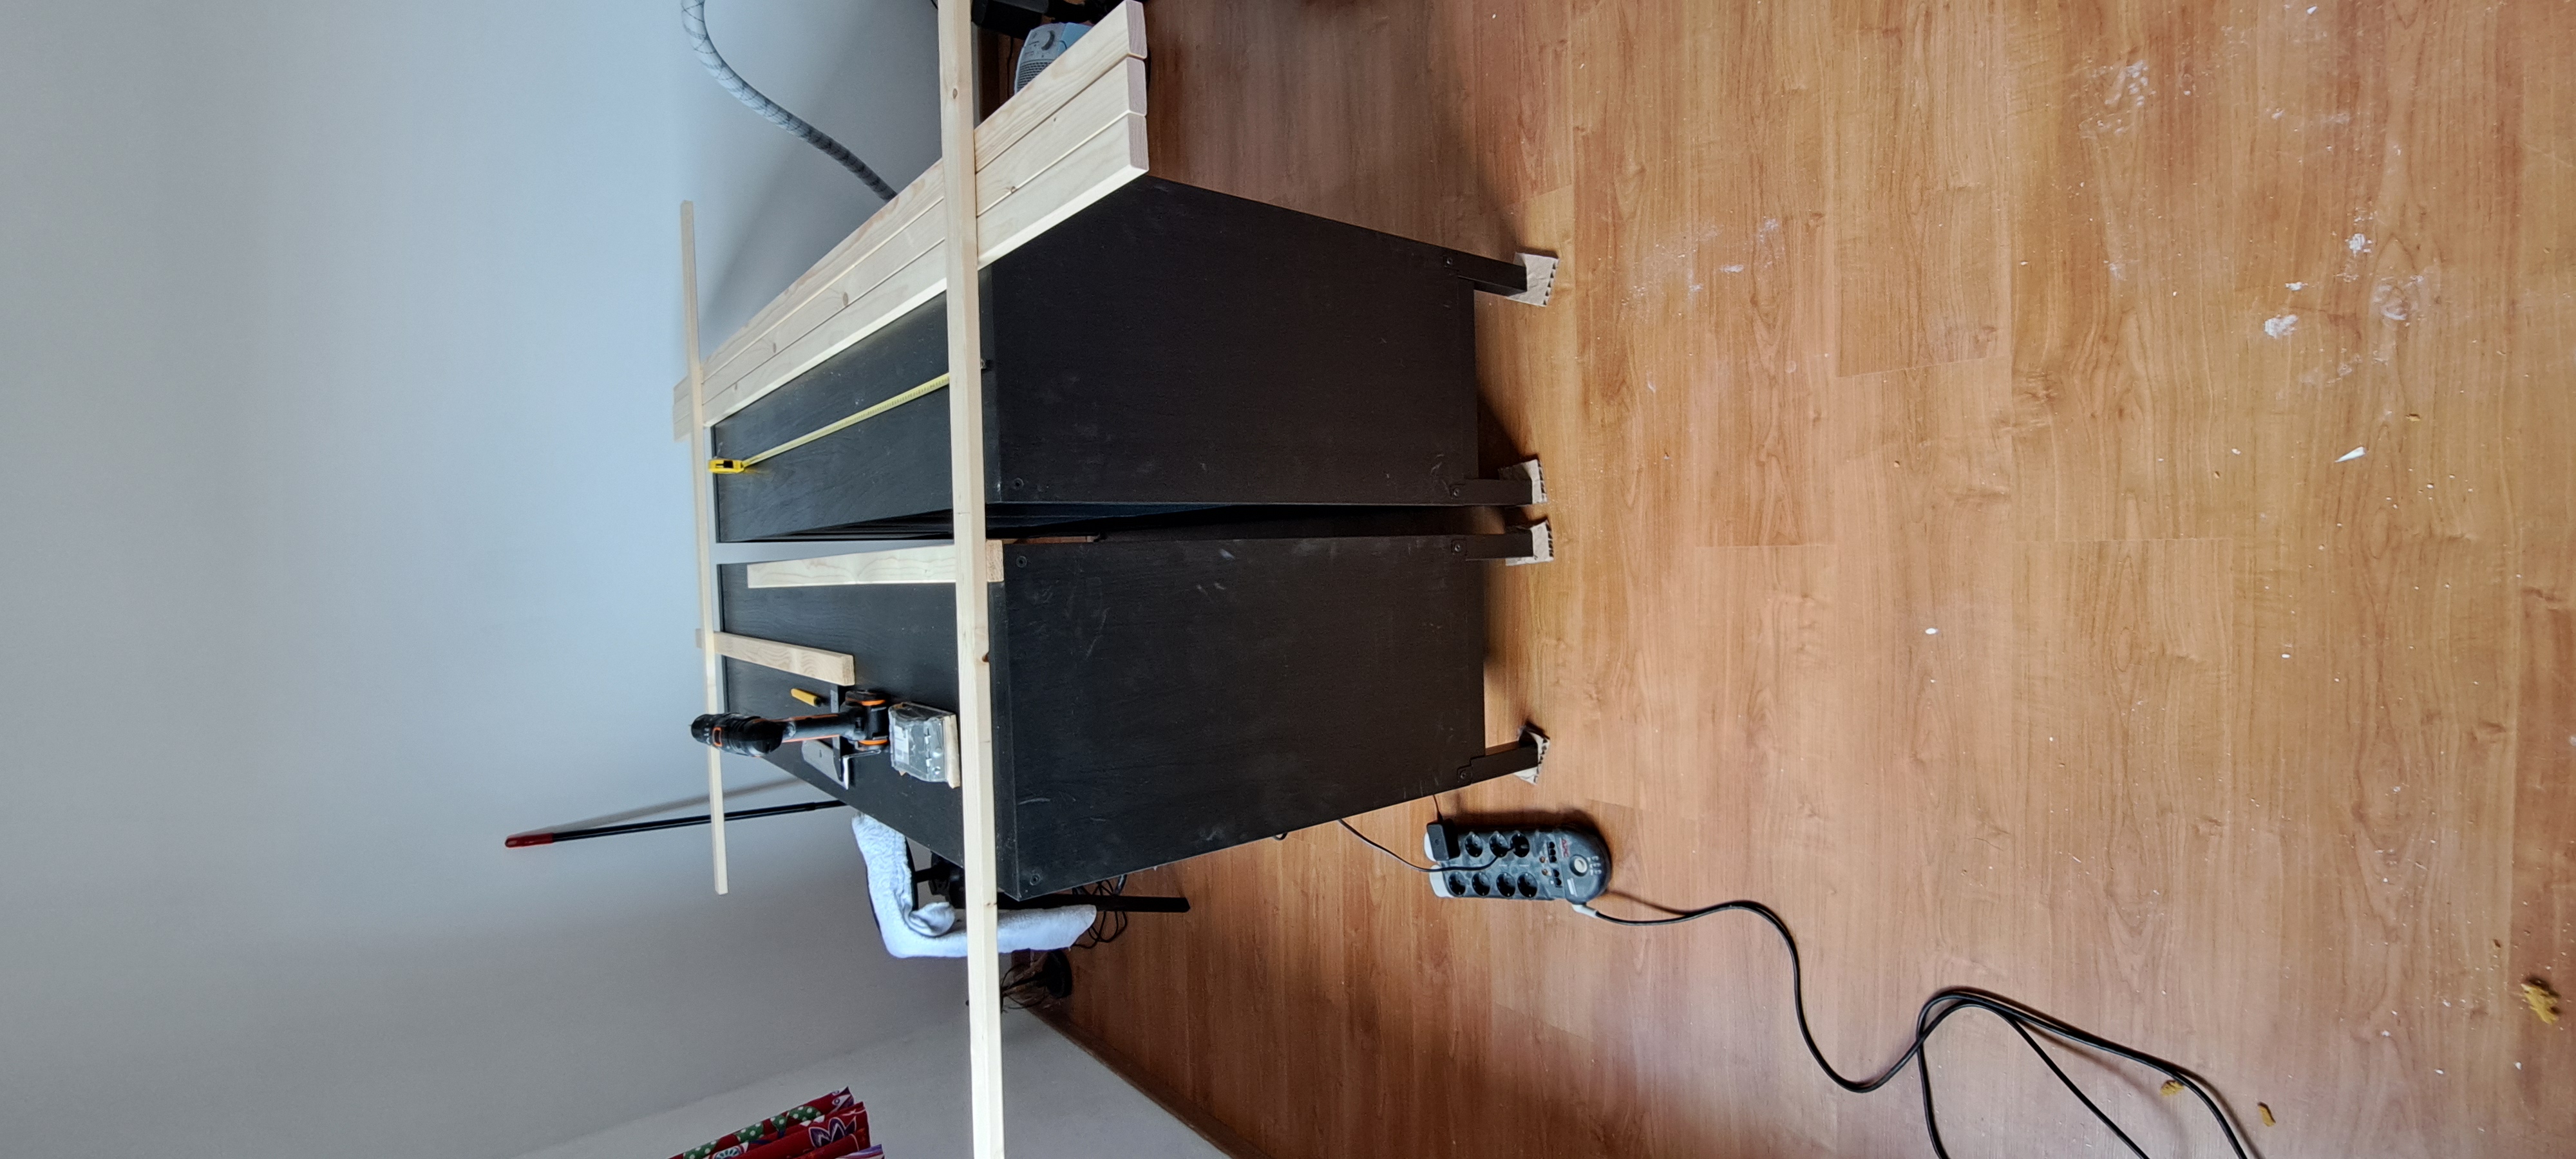
All of this kind of works, but the gaps between the plates had me thinking.
Can I cover them and fix them in place ?
Yes I can … the DIY shop had plastic I-shaped beams to do exactly that.
So that’s up next.
Reality hits home
Things get ordered
The swedish store made ordering the Kallax bits easy. They even had a pre-picked selection that came with a few of the storage options (drawers) included.
The wood for the tabletop was equally easy. The local DIY shop did offer pre-cut wood from their website with edges to specifications. However because it wouldn’t let me pick the things I wanted I had to do a bit of extra googling. And as luck would have it I found a webshop that would do anything I wanted with an interface that was super easy to use.
Ordered :
- 2x Ikea Kallax 2×4
- 2x tabletop :
18mm MDF, pre-primed, 150 cm x 105 cm, rounded edges on all sides except one
For those interested : https://www.opmaatzagen.nl/
It is a Dutch webshop specializing in wood cut to specifications.
Delivery & challenges
All items ordered arrived safe and sound. The additional wood I was able to haul from the local DIY shop.
The packages from the Swedish store were big, but unpacking them and then moving bits up stairs was easy. Assembly was not a big deal either (tip : drilling holes for the screws makes the job easy).
So far … so good, except for one thing.
I had not considered the size of the tabletops as well as the weight.
The things were heavy.
Initial attempt at carrying one of the tabletops meant that a few steps up I let one slip … and with a mighty crash it landed on the floor. I probably scared the neighbours too 😀
Table : concept
Tools
Initial design of the table was done using TinkerCad, which is free 3D design website.
https://www.tinkercad.com
Design constraints
Two things were essential
- tabletop size : big enough to play ‘all’ games
- storage space
- high enough to play the games standing or sitting
The first part was ‘easy’. The big games need a 6 foot x 4 foot table.
In proper metric this is about 180cm x 120 cm.
Adding a bit of extra space gave me dimensions of +/- 220 cm x 150 cm.
Storage wasn’t too difficult either. The Ikea Kallax 4×2 room dividers offer a decent height while also providing storage space.
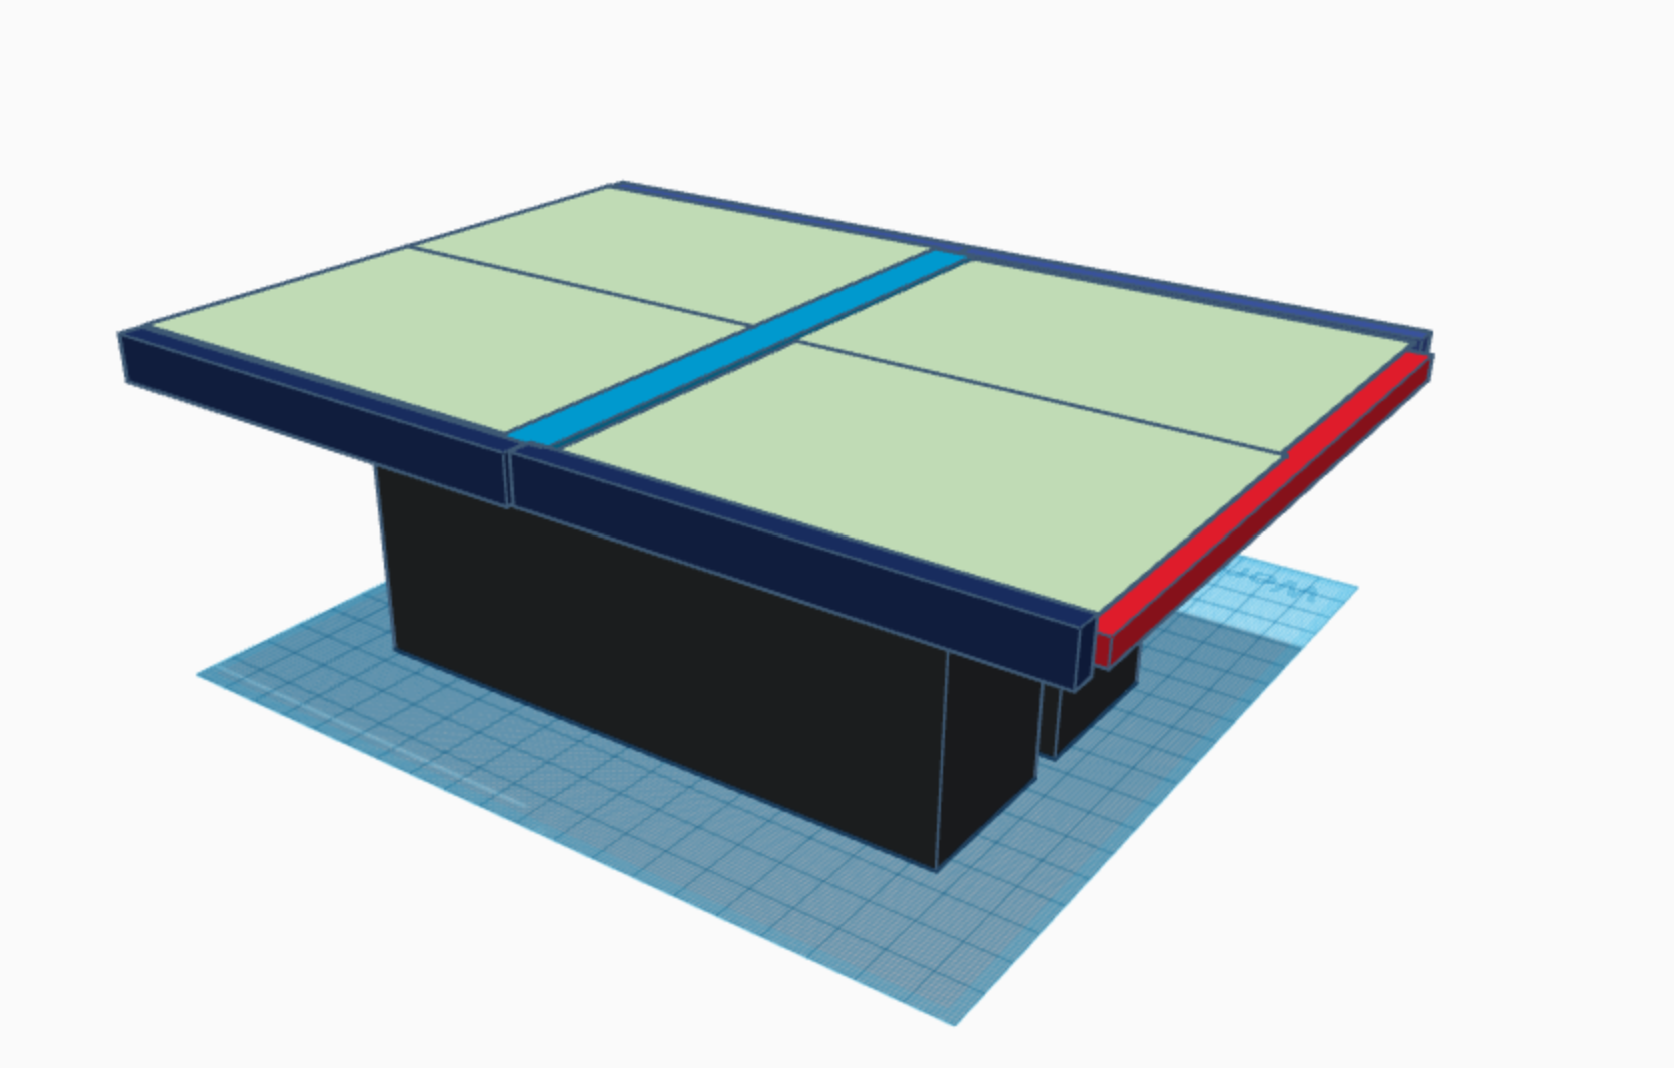
Blueprint & sketch v1
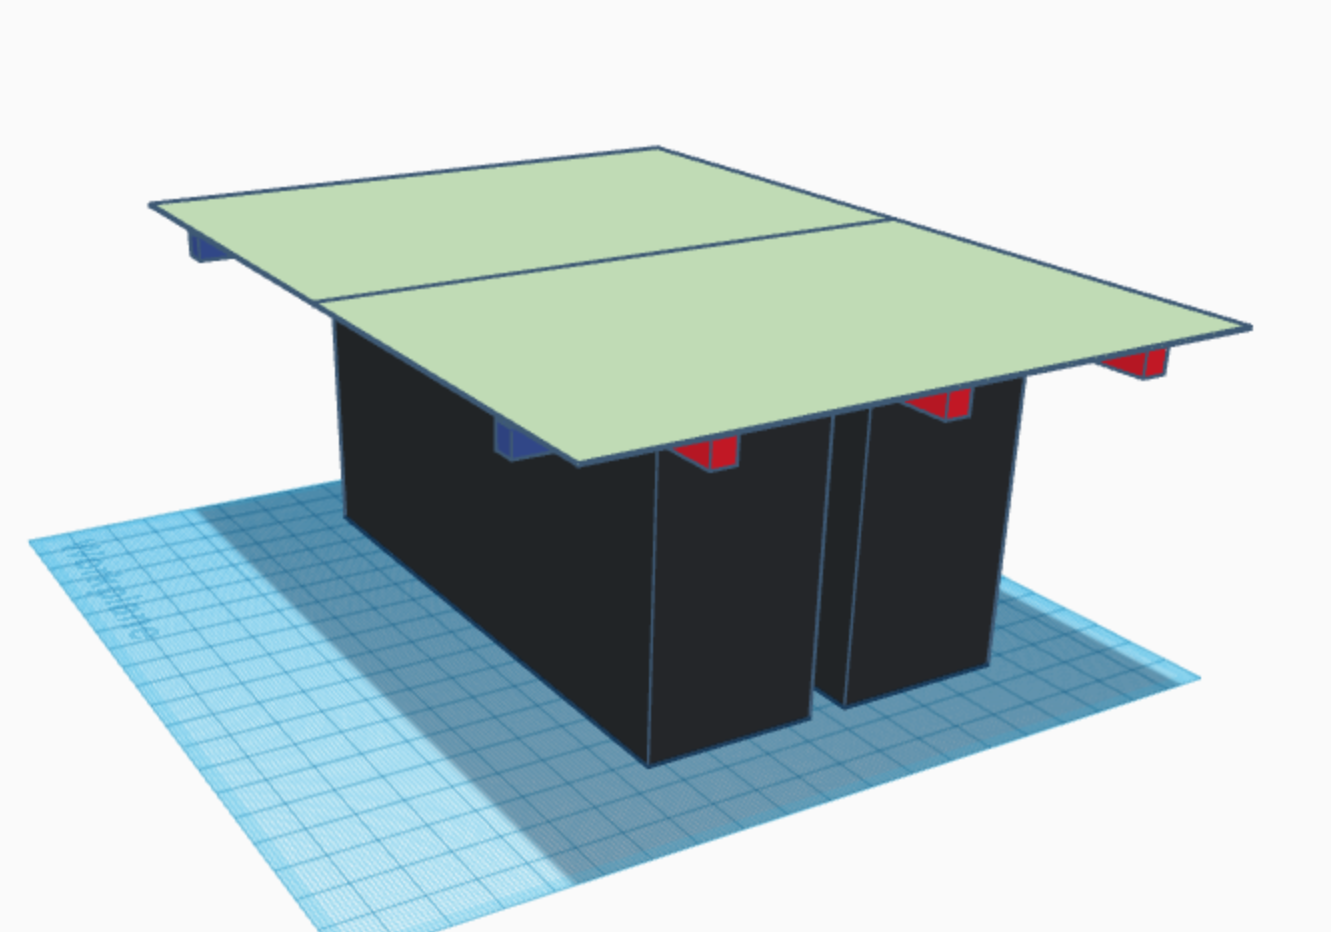 Initial design called for two MDF tabletops
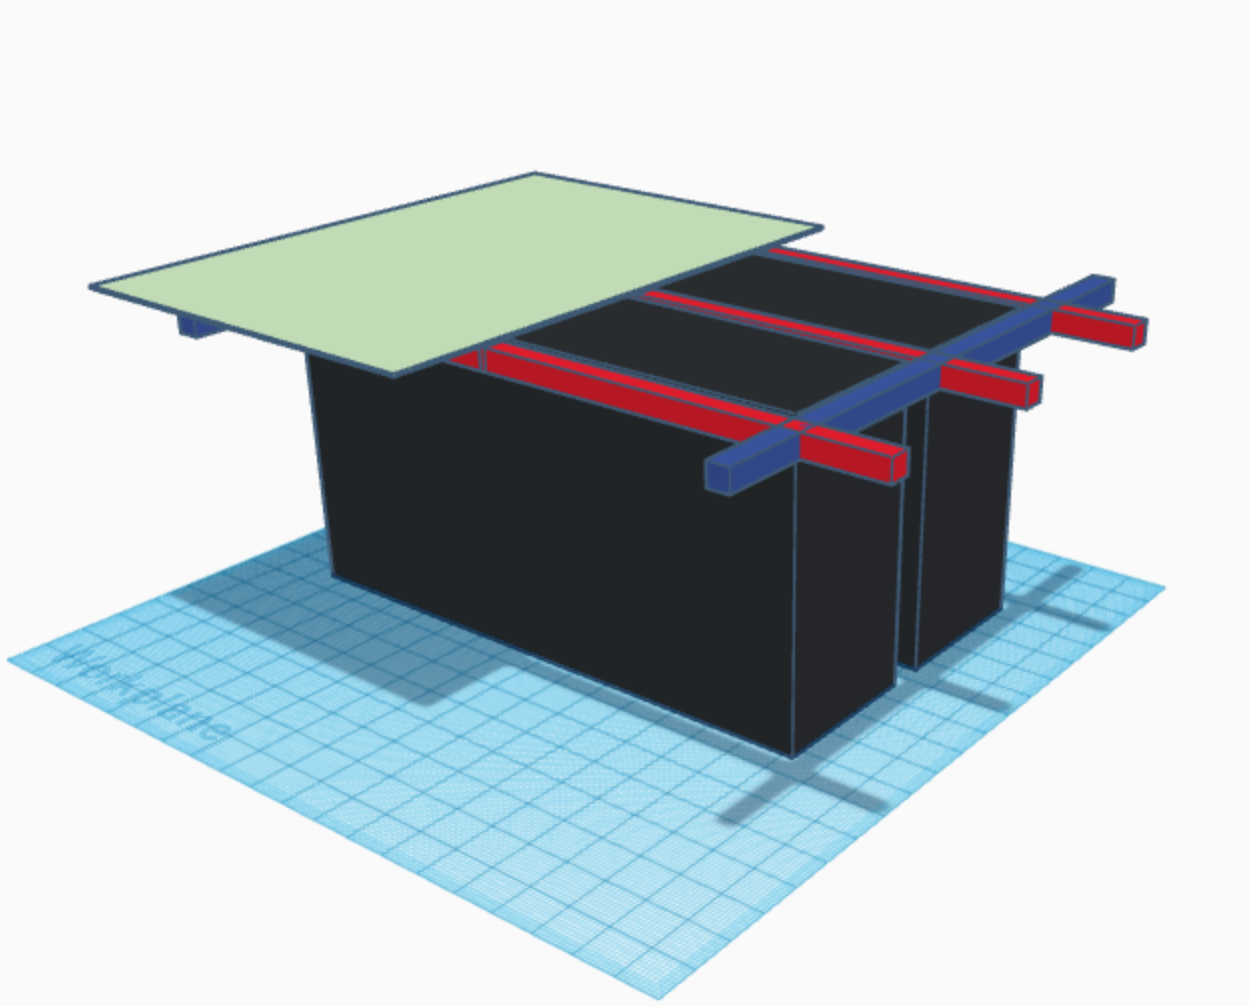 wooden frame designed to fix the tabletop in place
The idea
This is something I always wanted to do since getting into the hobby.
The reality of living in a one bedroom apartment meant that I never really had the space to execute the idea.
What do I want to achieve :
- a big enough table to play any game I want
- storage space (did I mention that)
- space to build & assemble miniatures
- more storage space
- space to use an airbrush & paint
- lights to play games
- lights to do hobby
- a space to photograph my minis
Did I mention I want to store as much hobby related material as well ? 😉
While I had space for a game table in my old apartment, that always meant having to clear the table whenever I needed to anything else.
All of this was solved when I bought a new house.
Now I can dedicate an entire room to my hobby (and another room to my computer&videogames), which meant that I can do what I wanted to do all along.
In this project I will document all the things I add to the room as and when they happen.