


Infinity Terrain


Landin pad, a new sanding game by soap dodger.
So I have been sanding… I mean building the landing pad. This was last weekend and this weekend. Turns out making lots of 3d printed and laser cut parts means Sanding if you don’t truly understand the chemistry and tolerances involved. It actually wasn’t that bad a result but it was uneven around the rim where the 3d printed parts met the laser cut.
This was further exacerbated by me printing directly on the printed without supports. meaning the flat sections are a little smaller than the curved which were printed with supports.
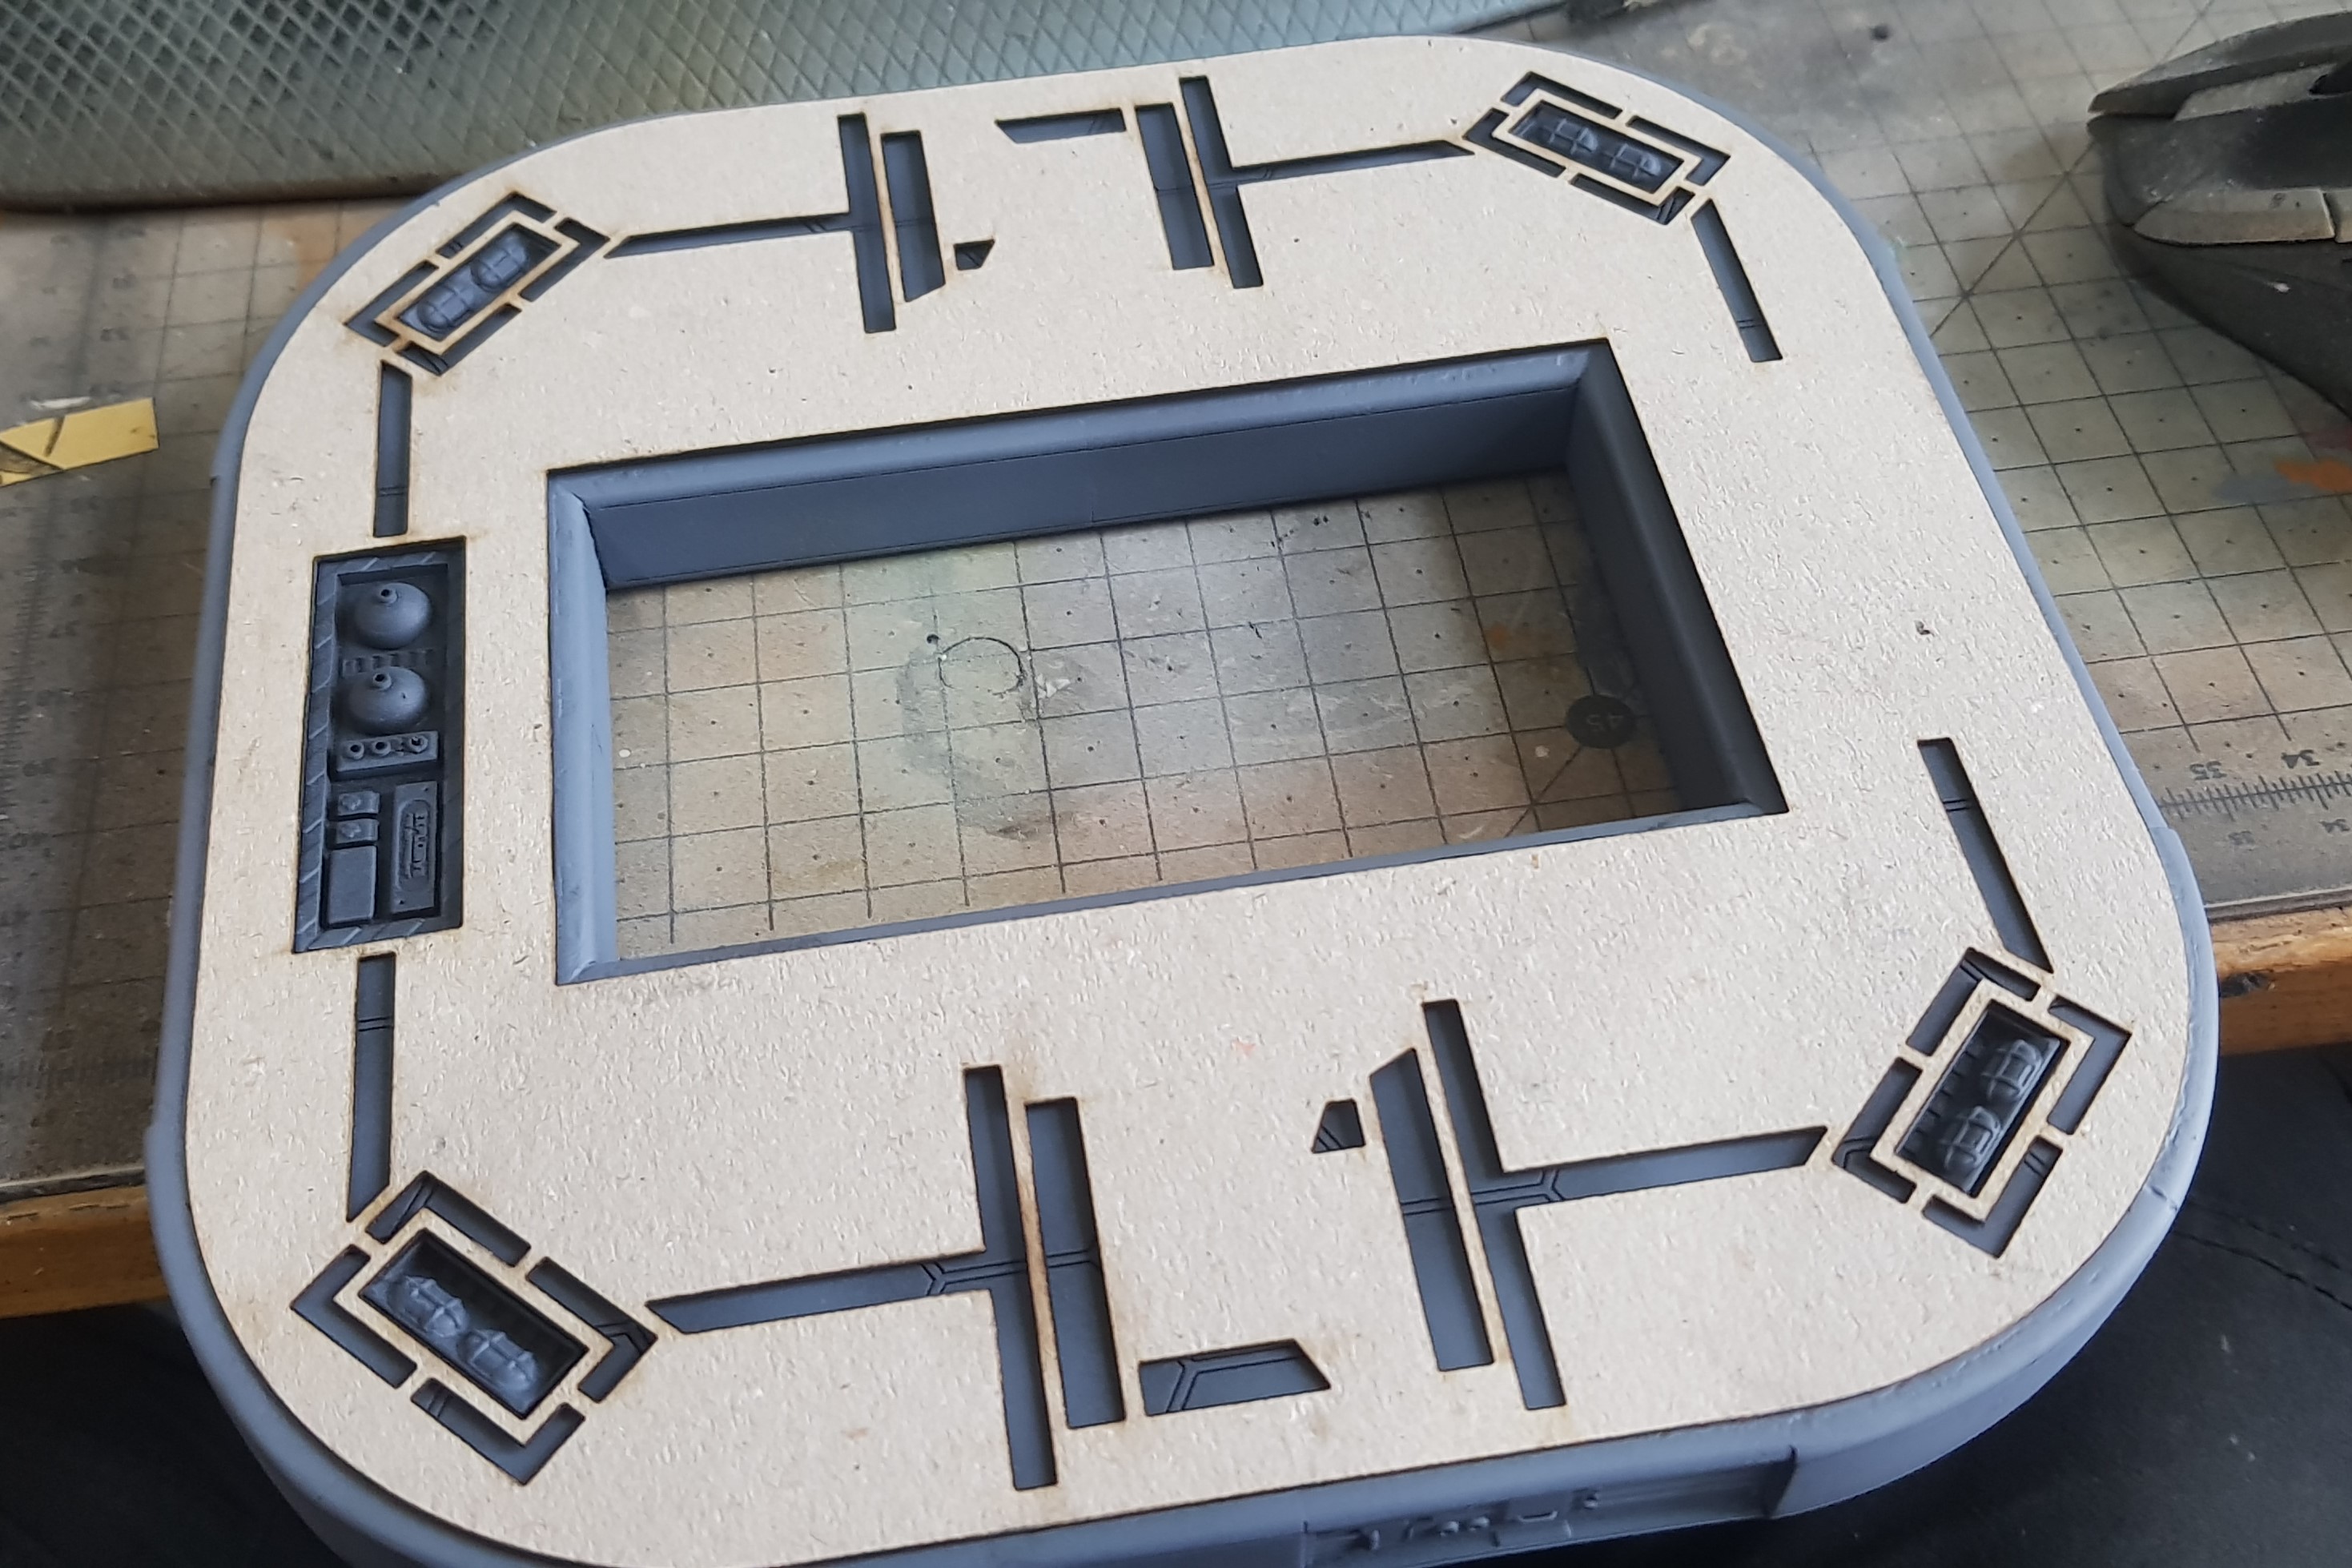
I didn’t take any pictures of the unpainted platform which is my bad. to be honest I didn’t see this as a stage I assembled everything by gluing it with superglue into slots. I filled in around the run and got to the point I couldn’t see what needed filling again. So I primed the platform and this also acted as a fine filler and filled again on top again sanding down each layer until I couldn’t be bothered anymore and started to paint.
A tip if I could give any would be to take your time sanding especially if you are using Vallejo plastic putty if you go to fast it tends to bead and roll up under the sand paper and rip it out from deeper sections.
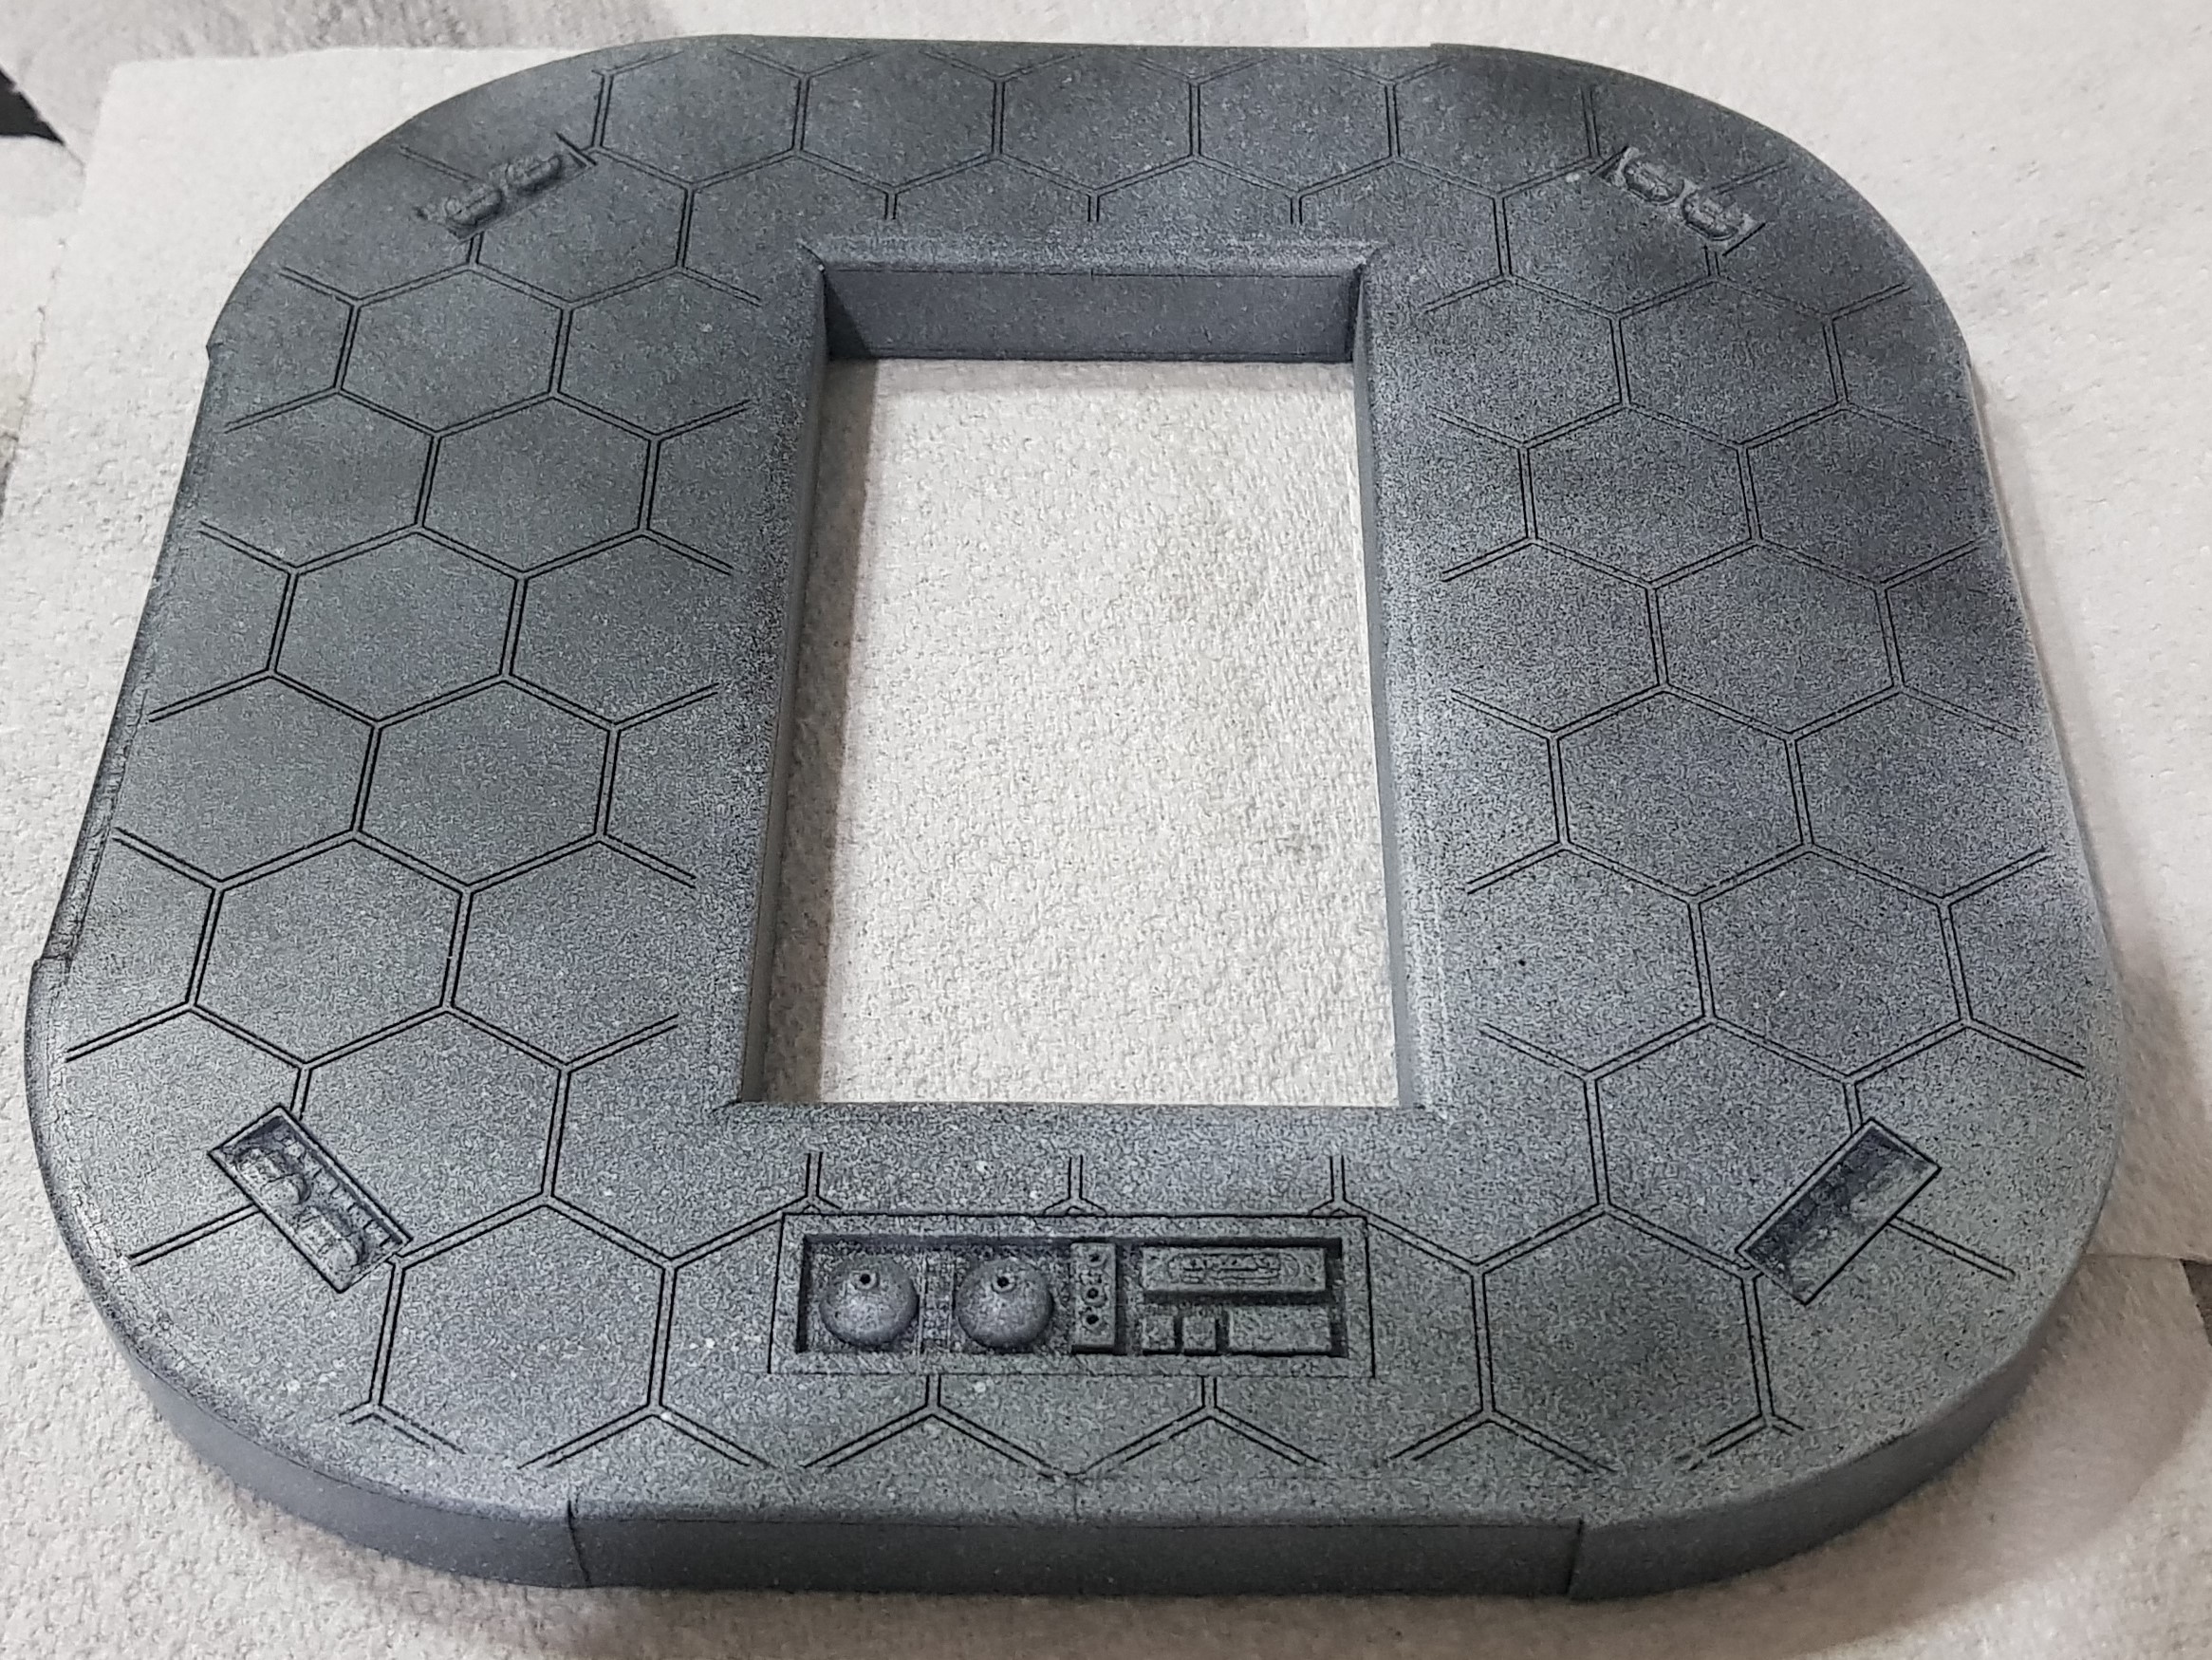 Platform assembled and first fill pass and primed as a filler as well using Poundland spray.
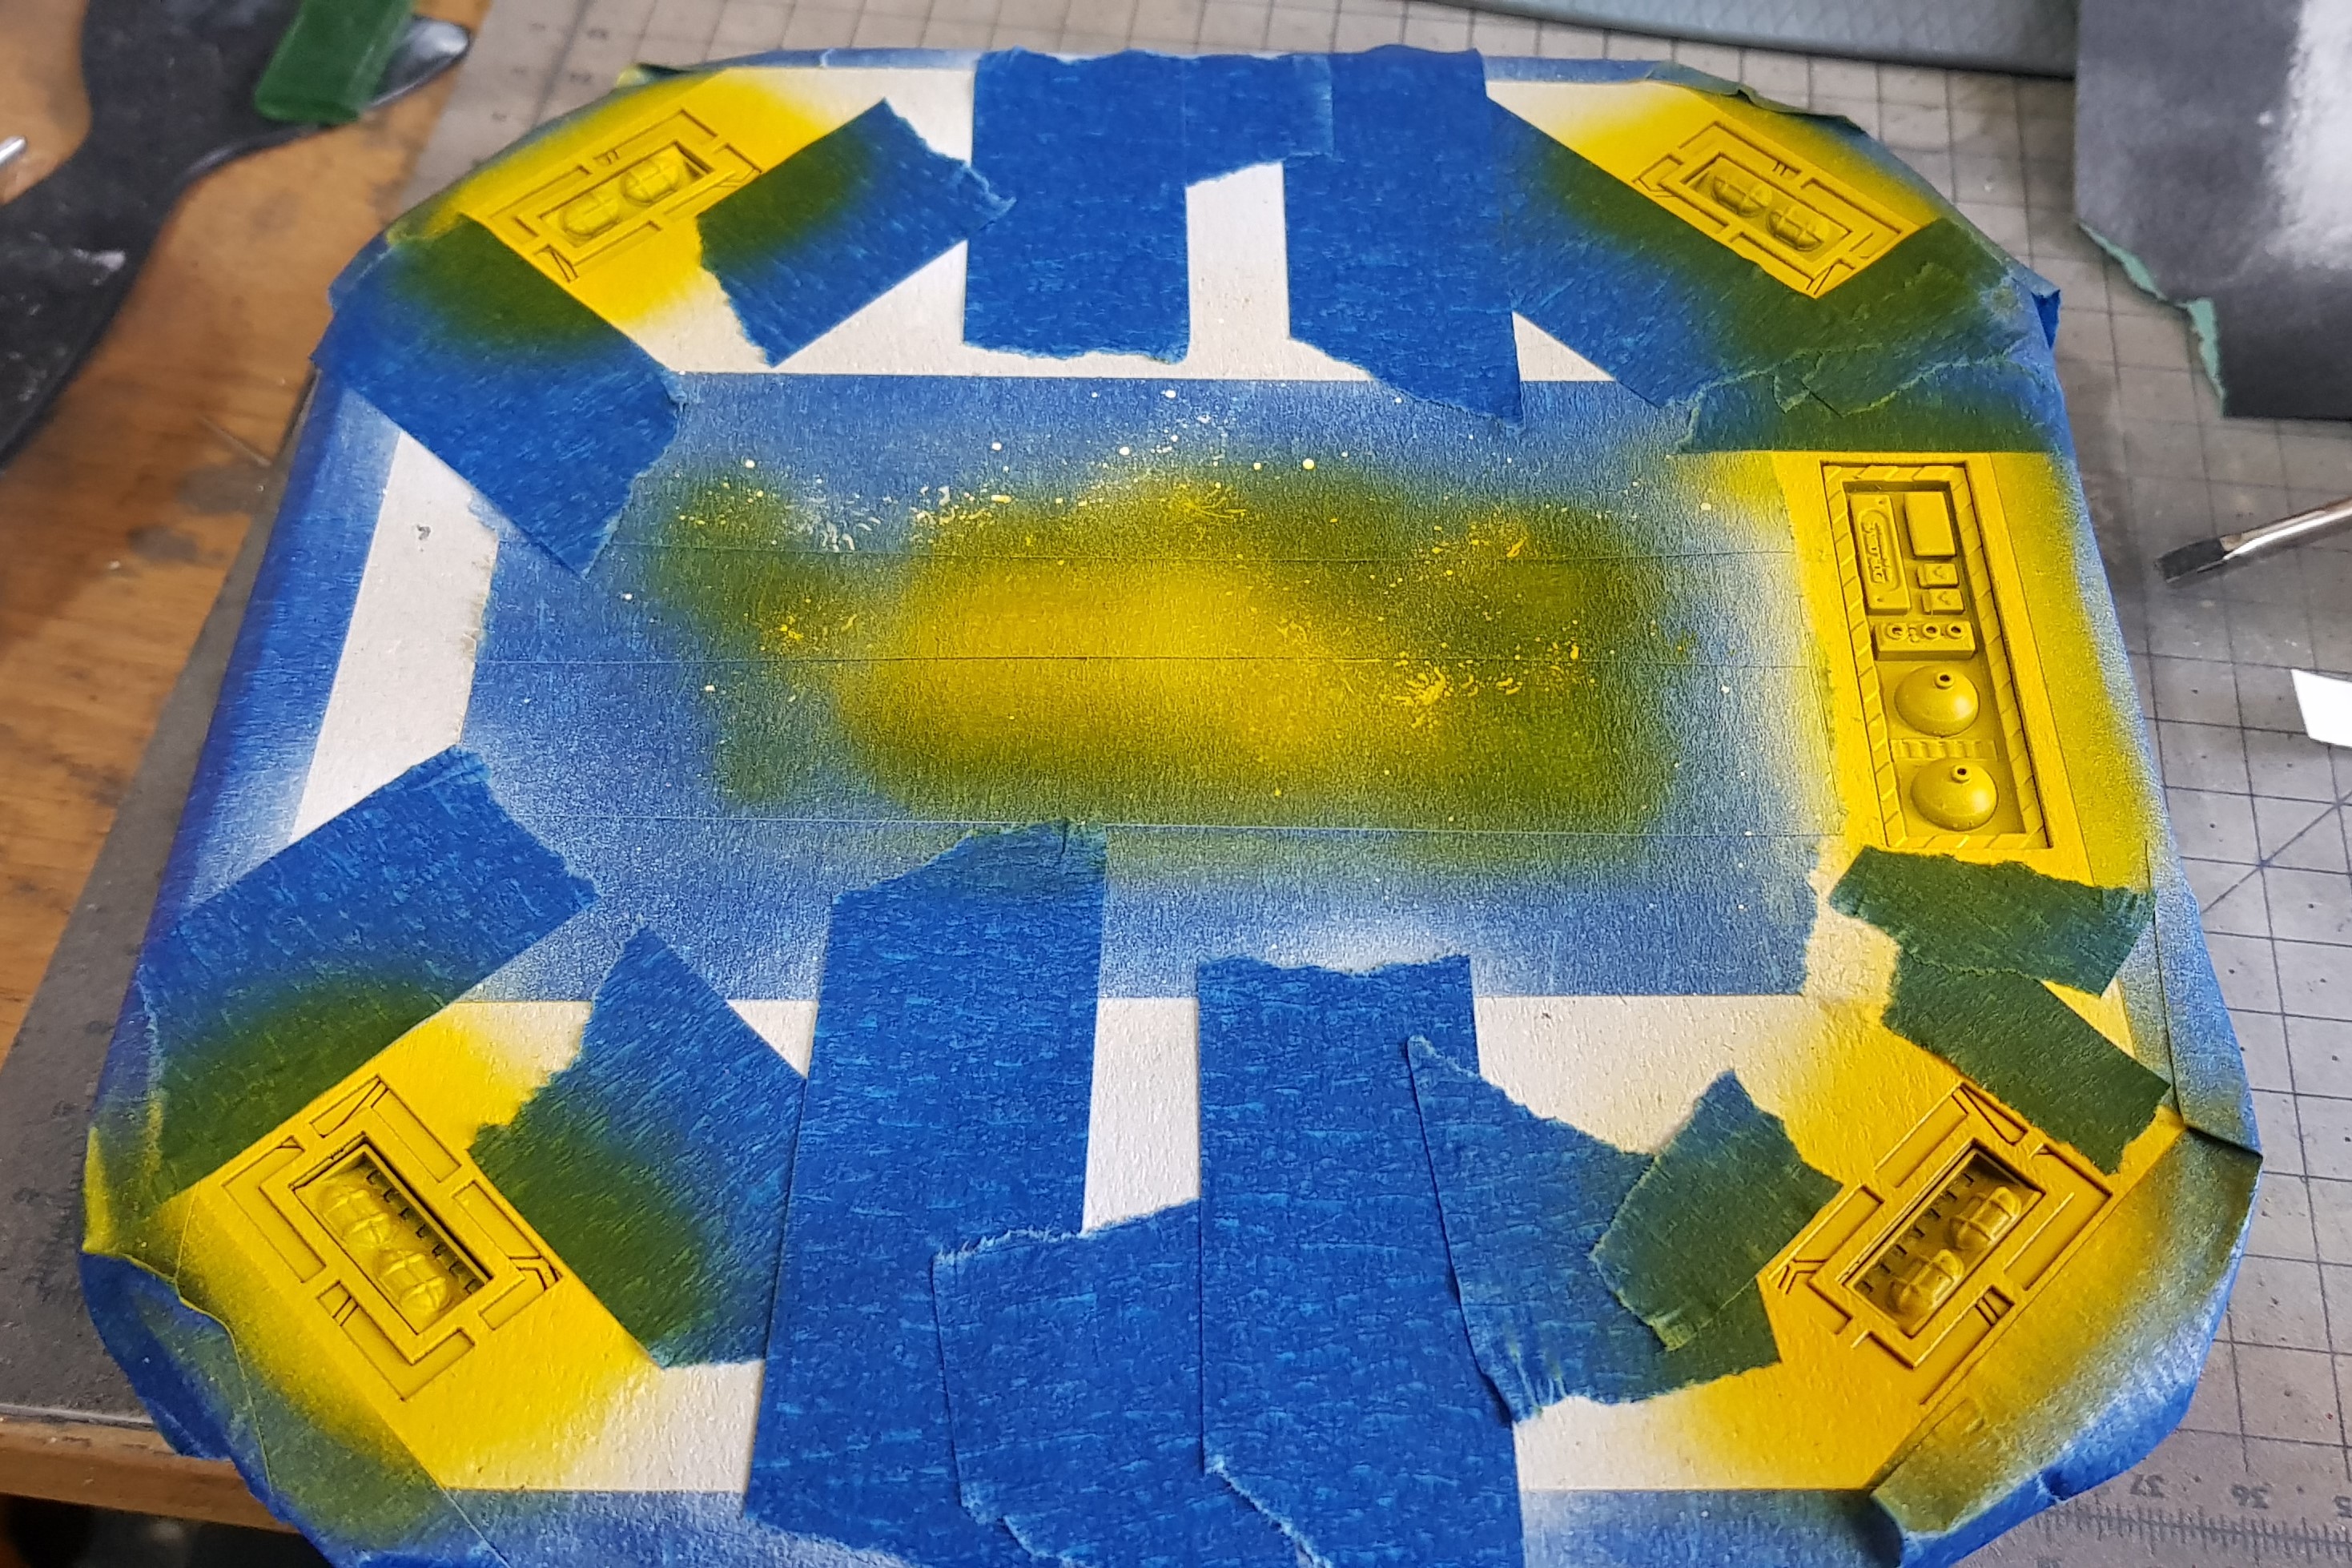
 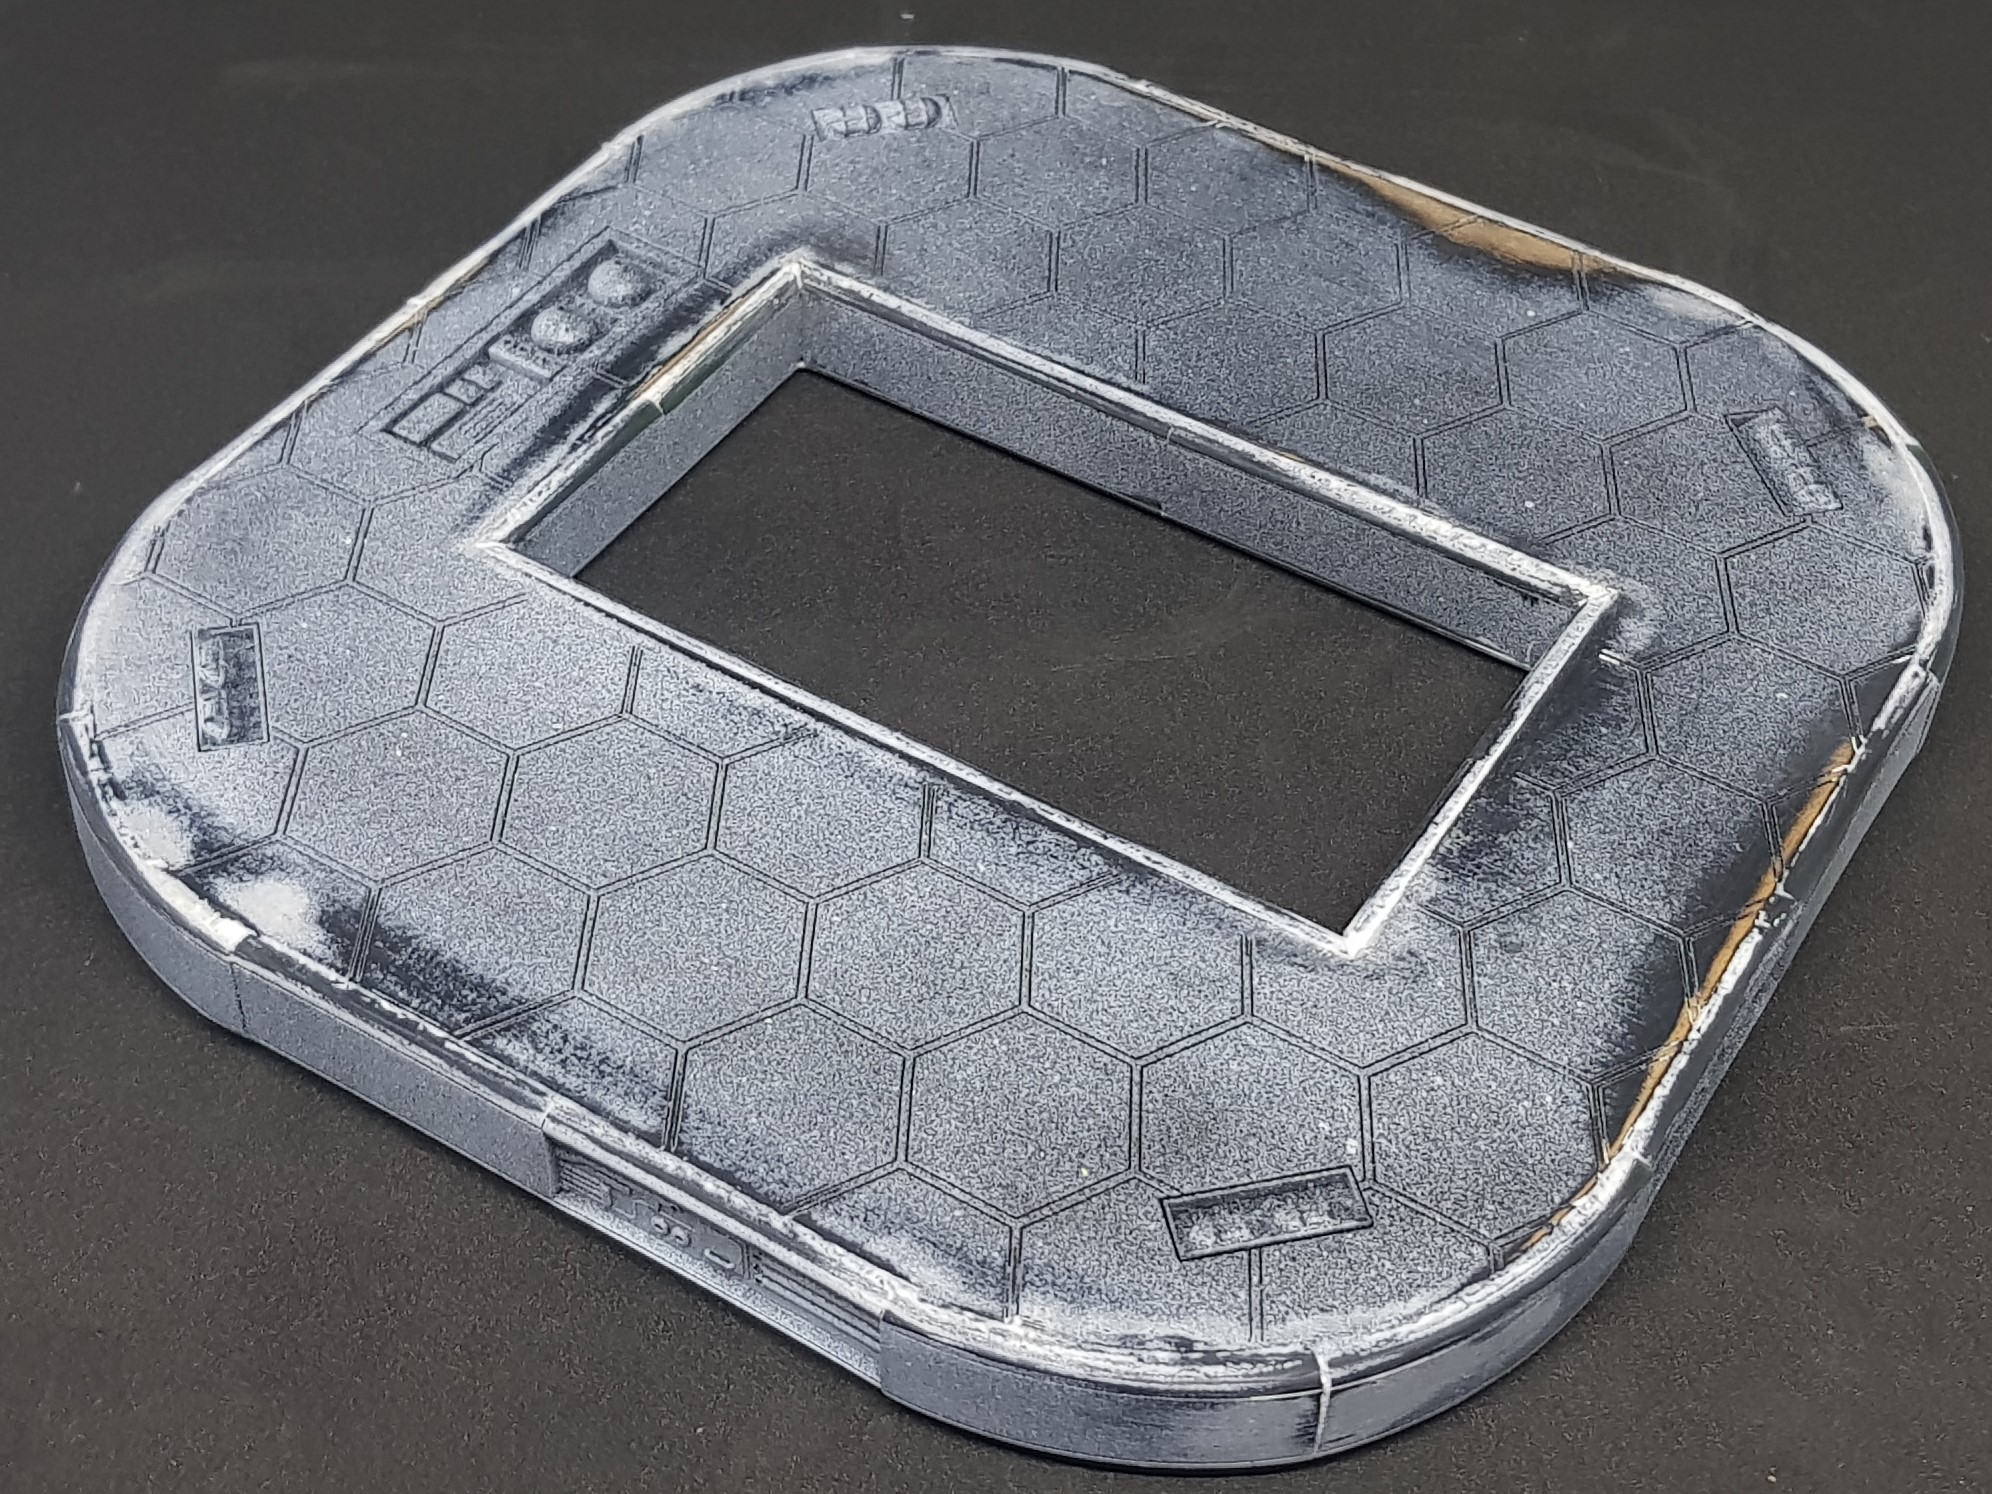 More sanding and this was the second fill pass. I gave up at this point it could have done with one more.
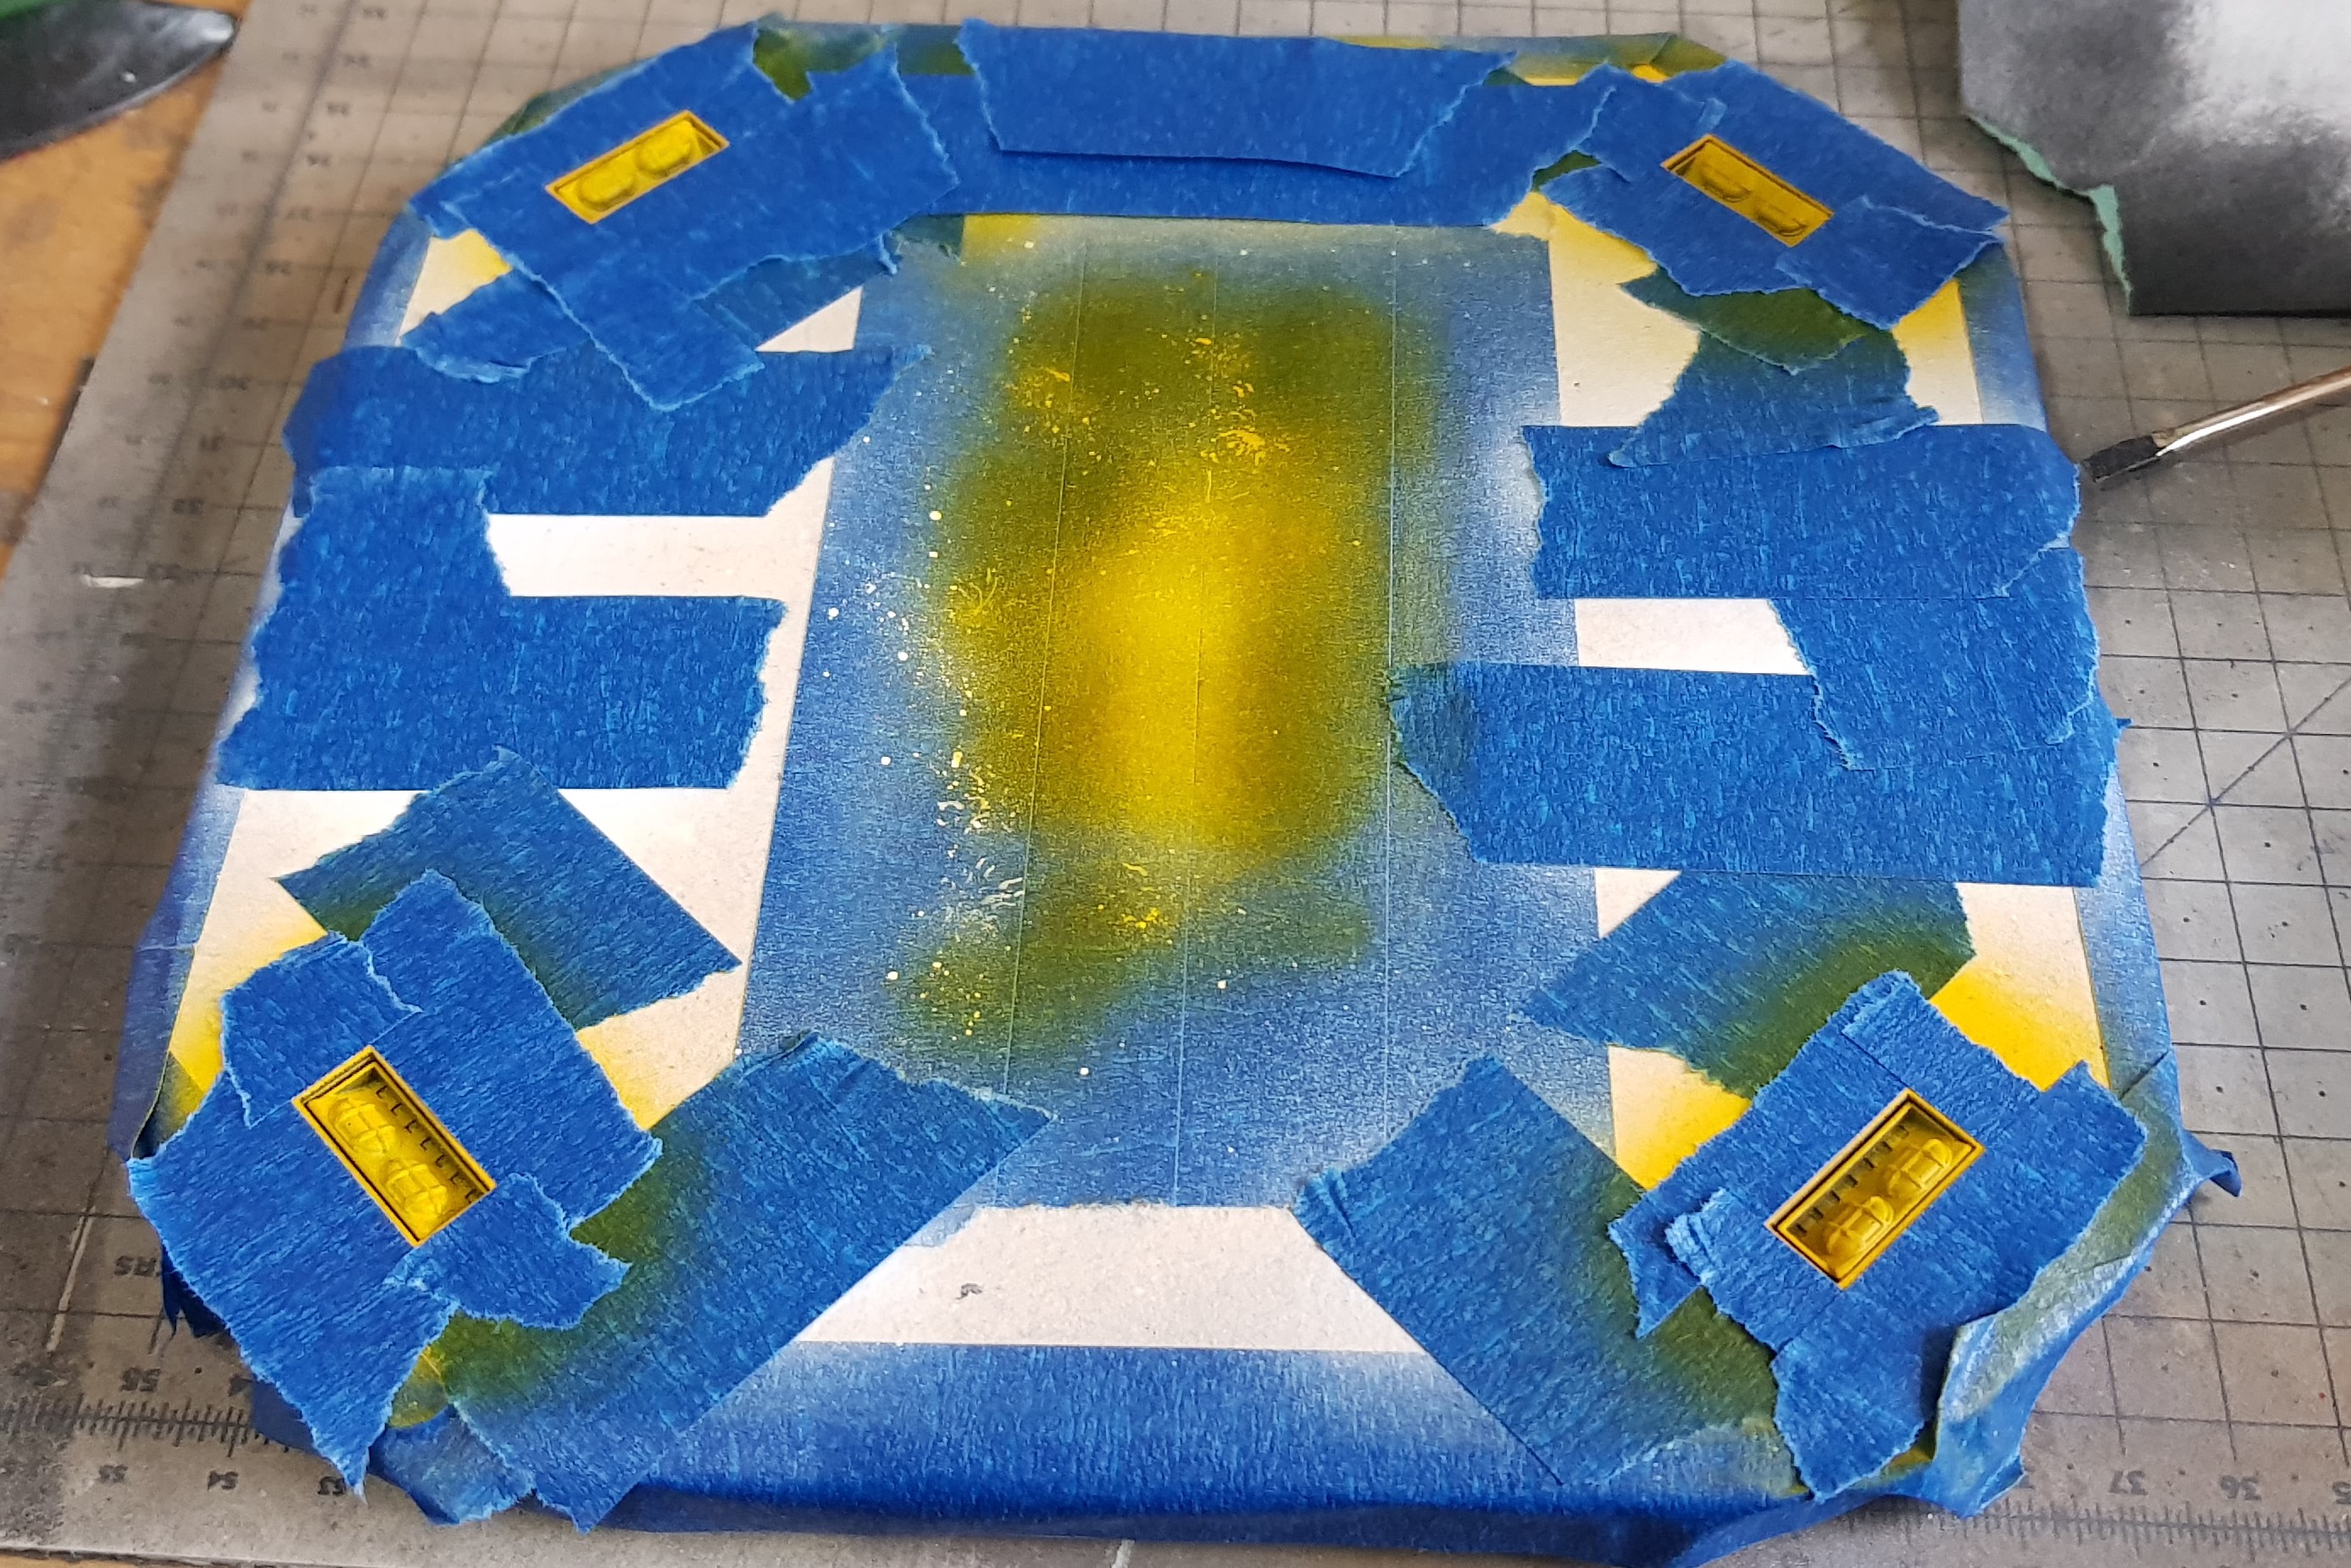
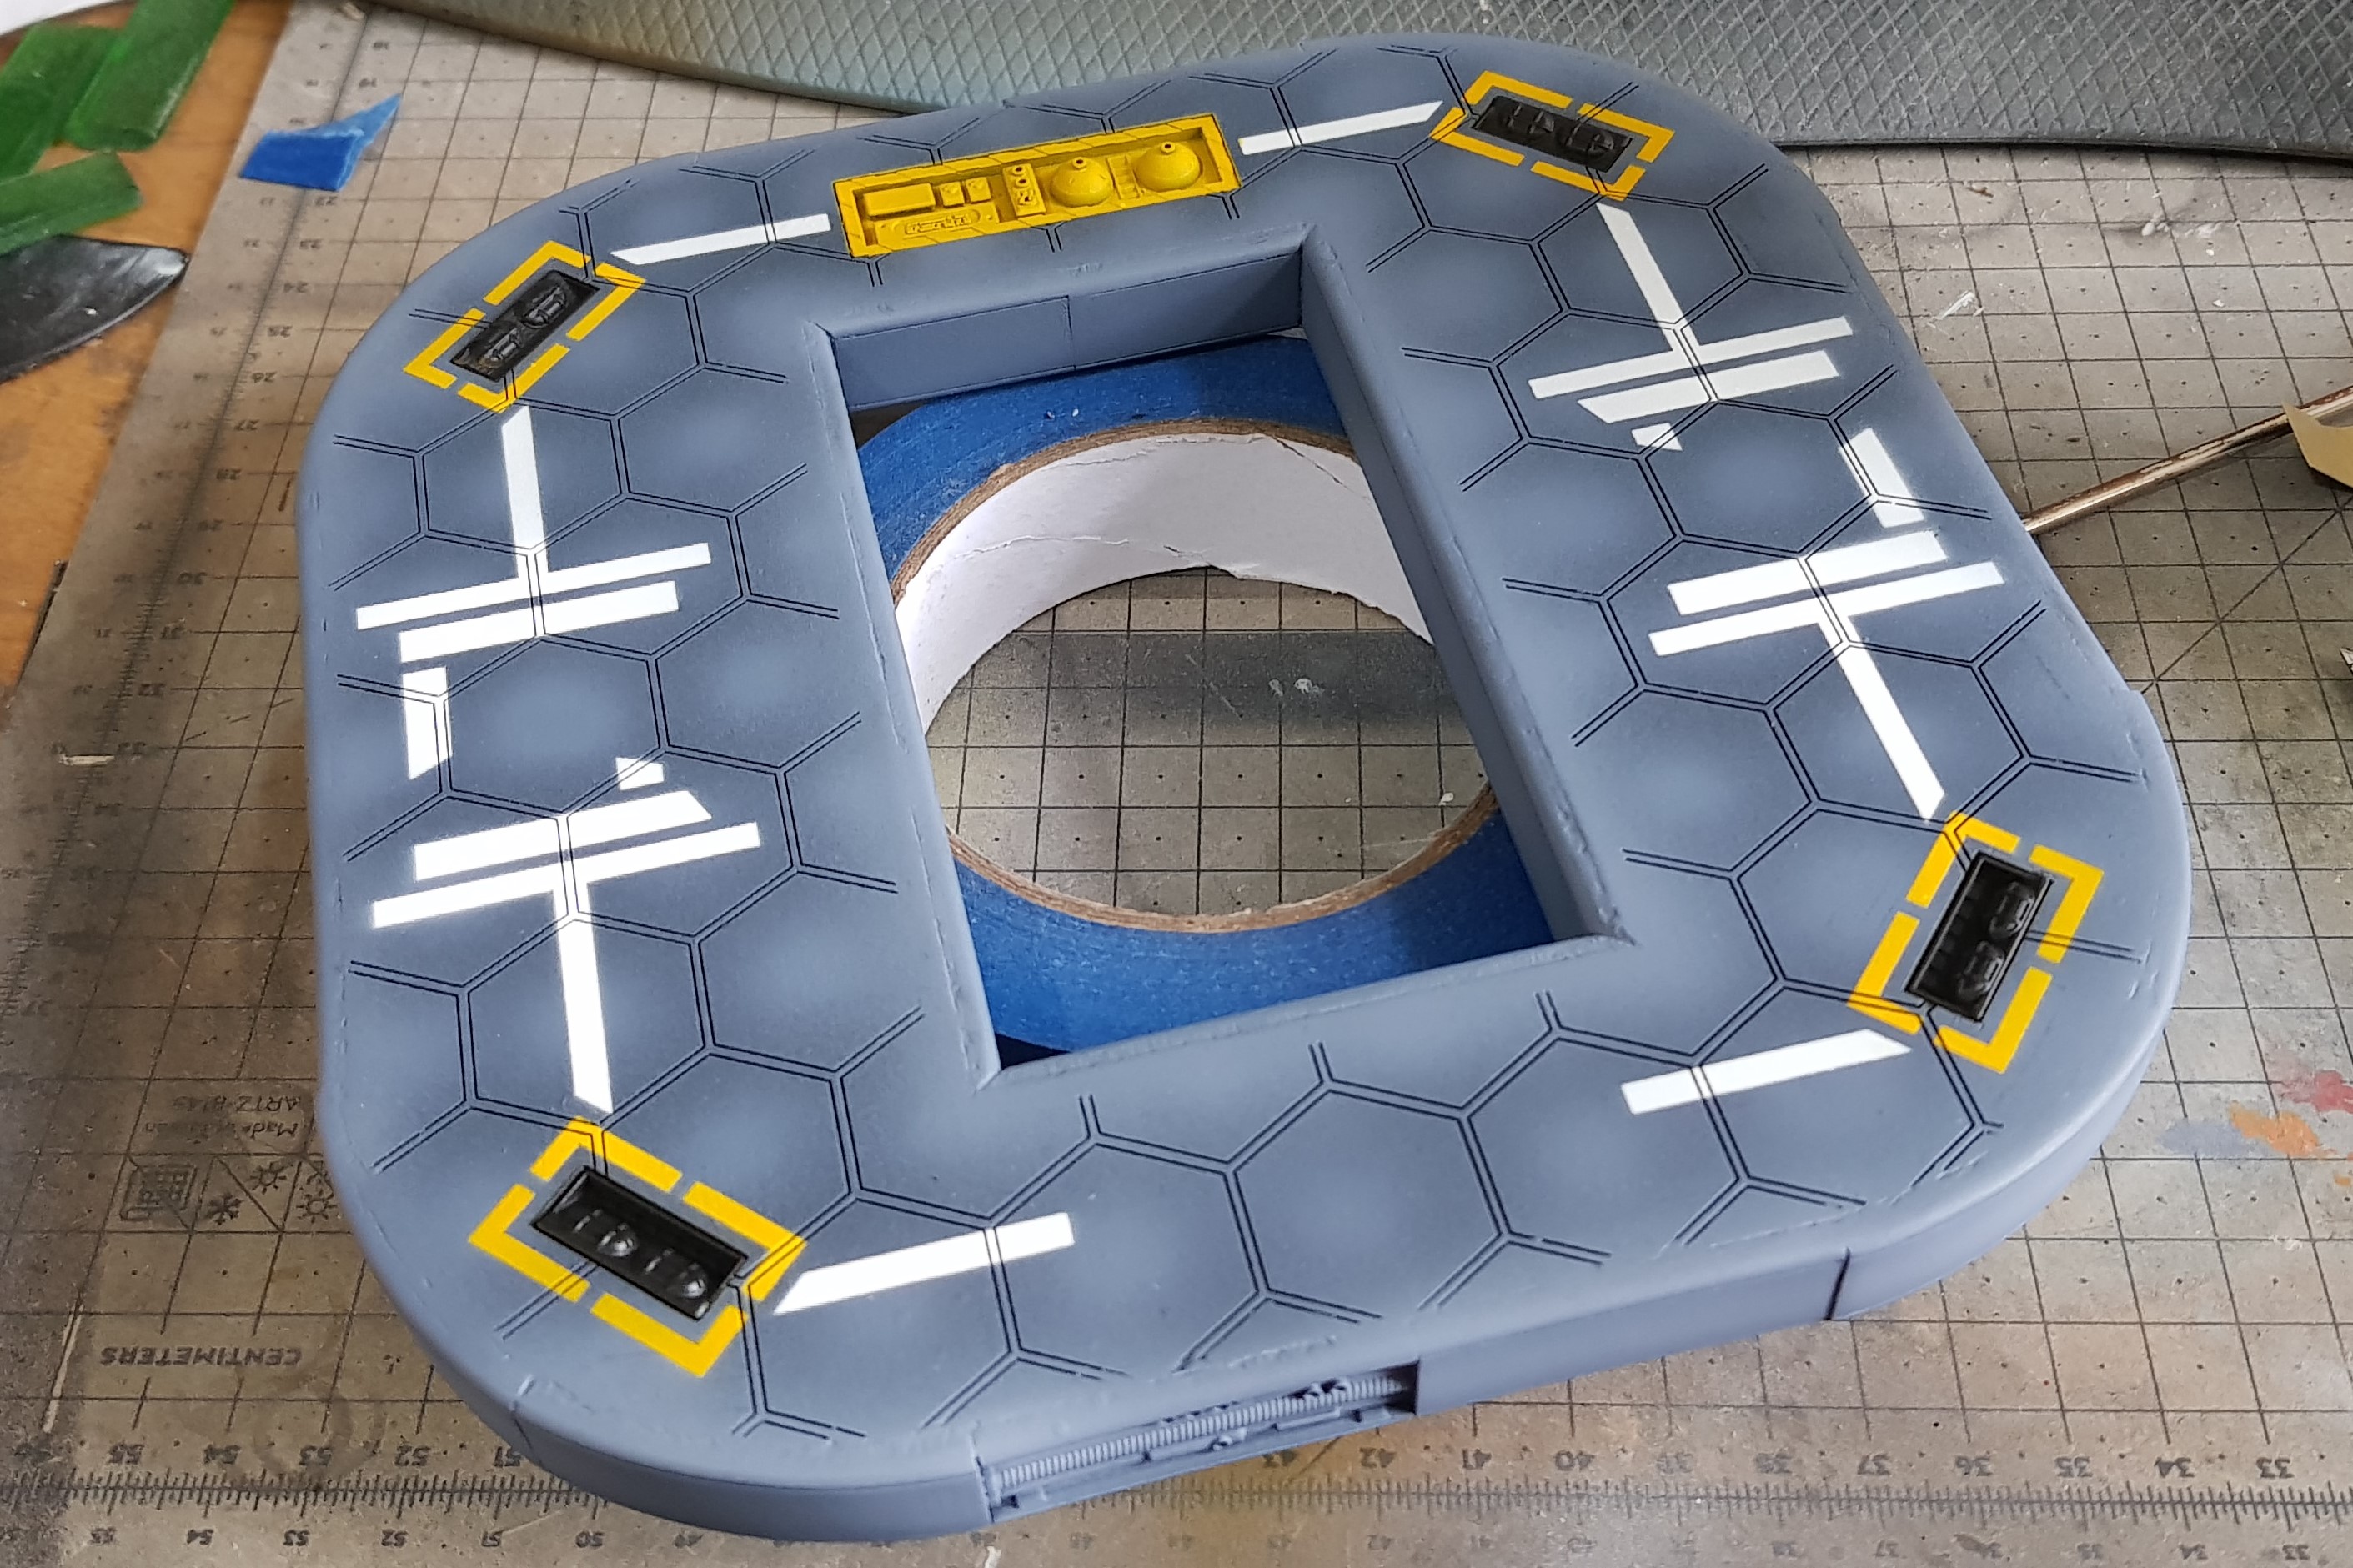
  Basic finish done after undercoating with airbrush primer and grey.
I turned my attention to the hazard lines around the loading opening. I tried 3 times to 3d print these. It didn’t go well. I tried unsupported each time and my bed while level enough to print off of is not level enough to print something so thin and flat.
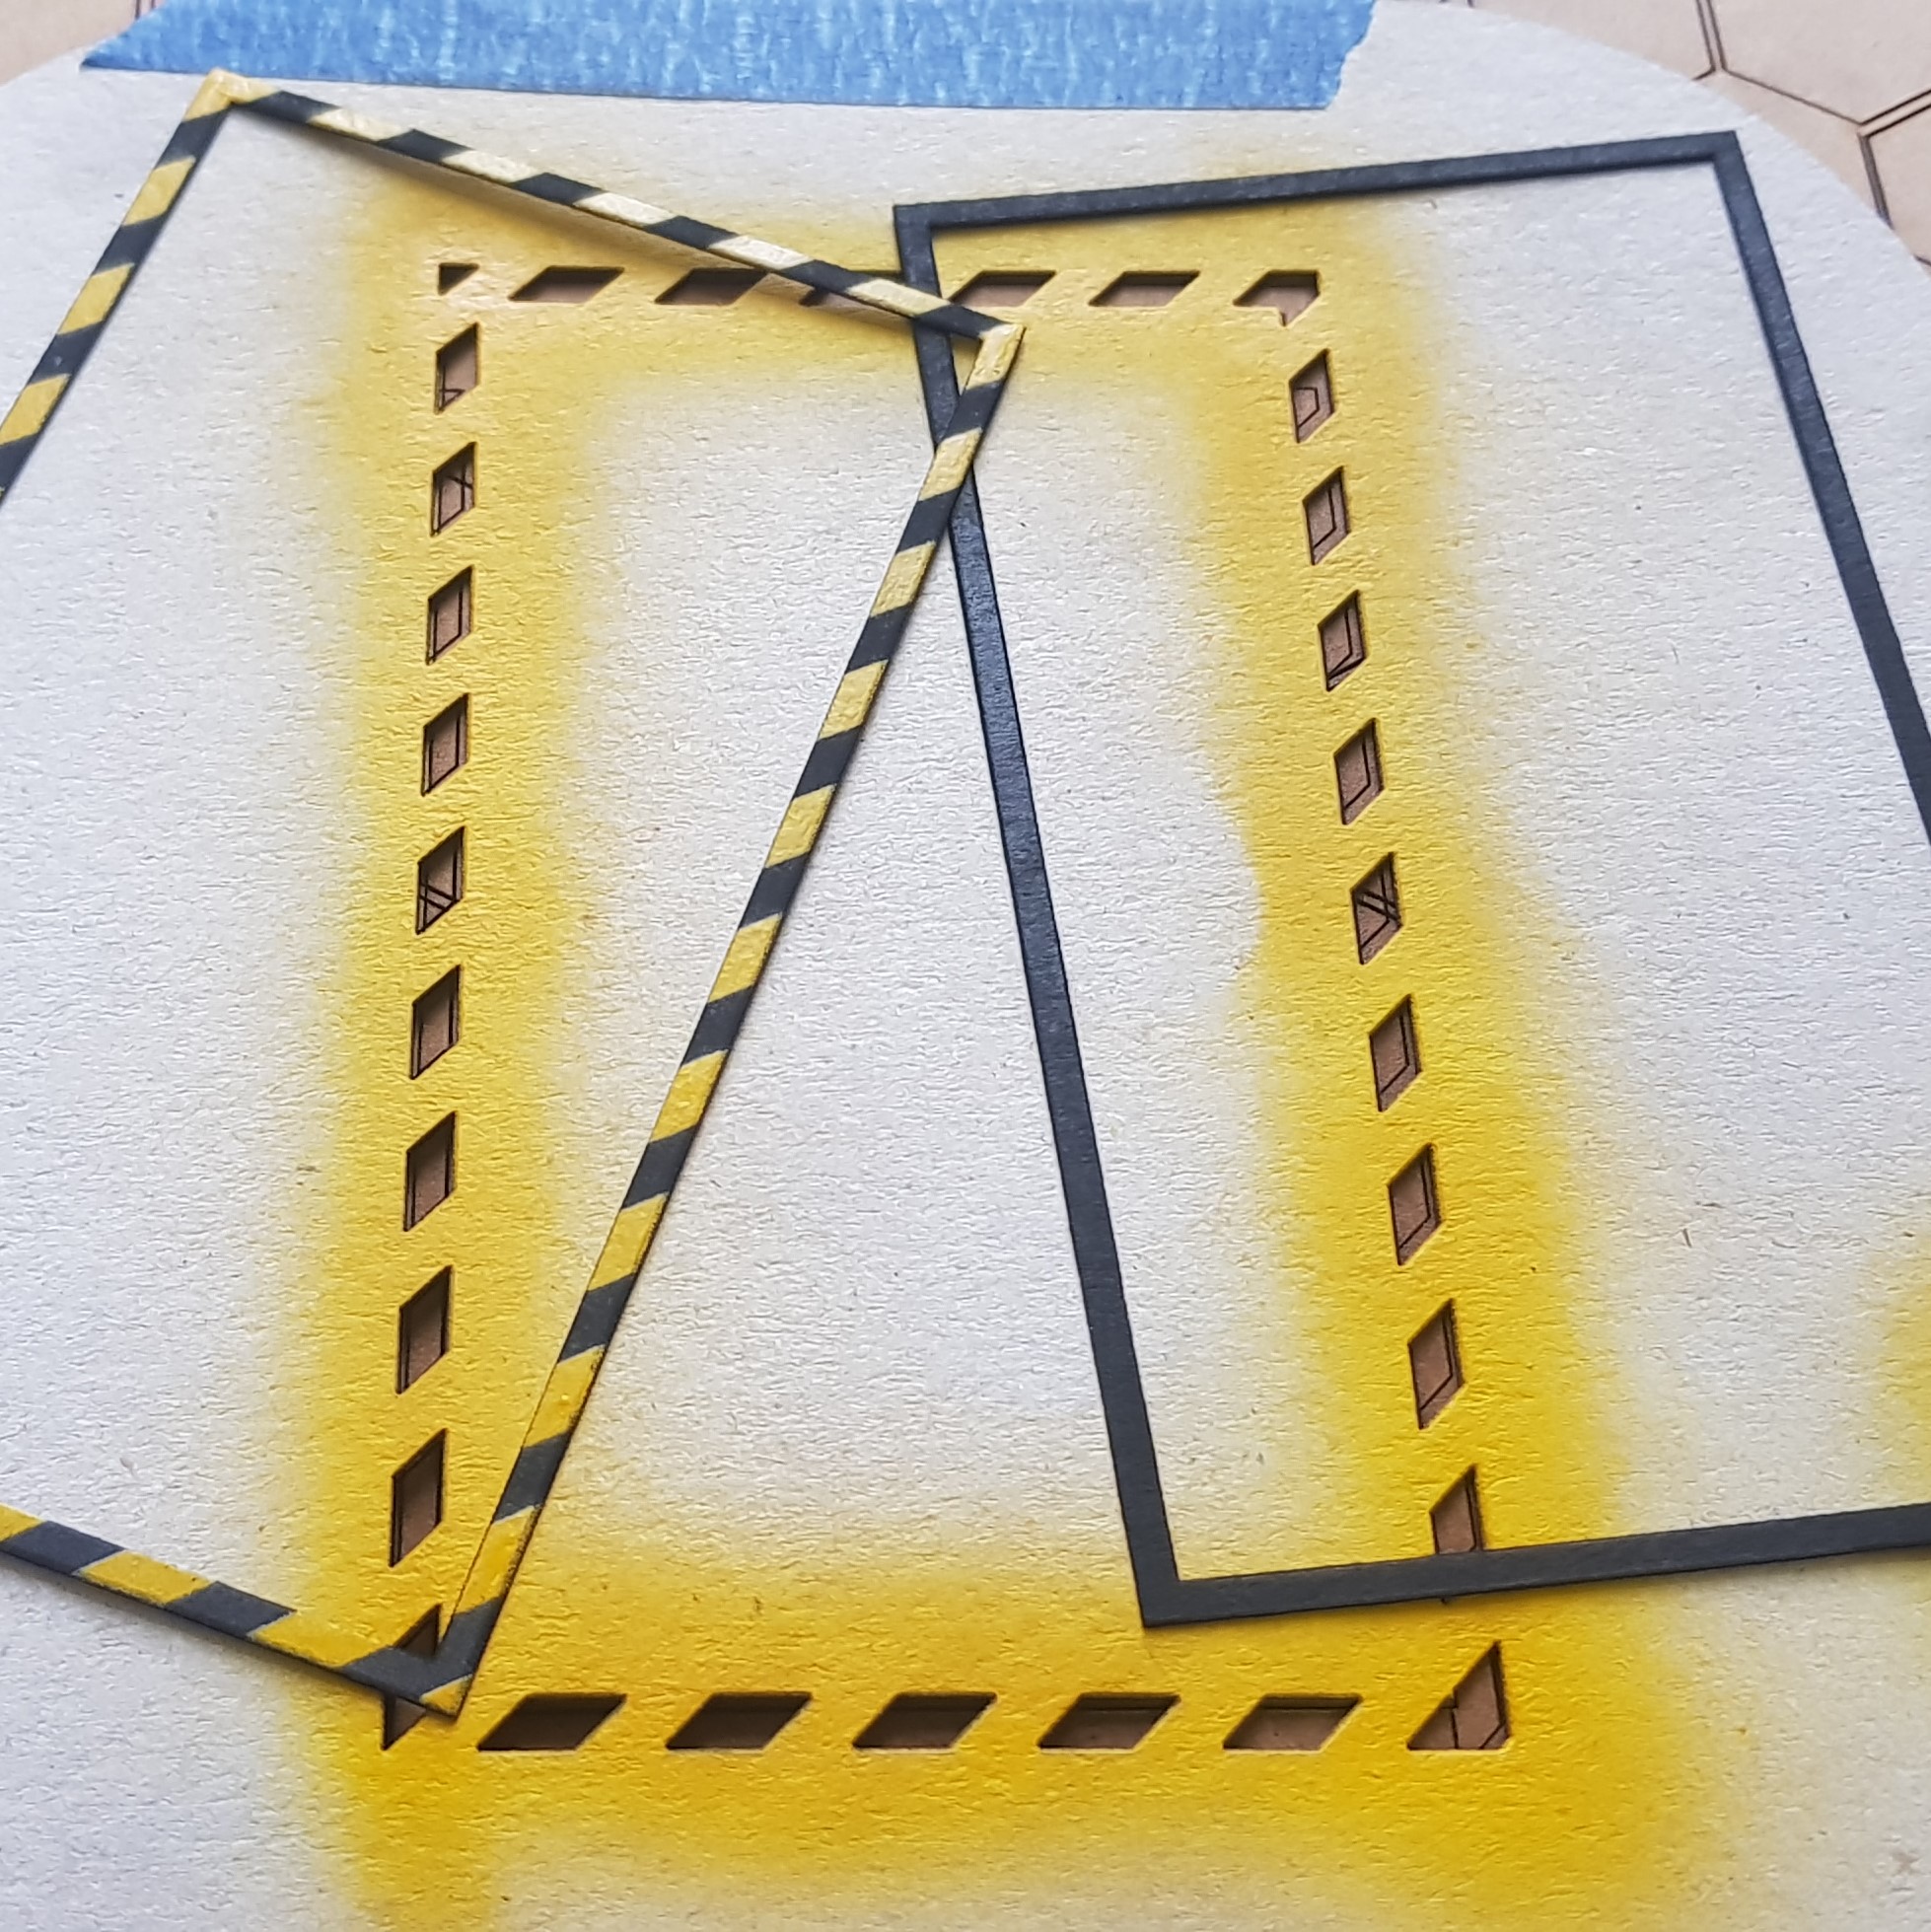
I turned back to the laser cutter. I am known for spending hours on hazard lines but I honestly couldn’t face anymore (for the moment). First plan was to make 3D ones. This would have used up most of my hobby time but would have looked cool.
I cut out a jig of sorts as I wanted two one for the bottom and one for the top. This was two pieces of card. One with the hole for the base of the hazard stripes and another for the yellow sections. these were half stuck with double sided tape. I then primed the two rectangles and slotted them into the jog and sprayed grey then yellow while holding the template down.

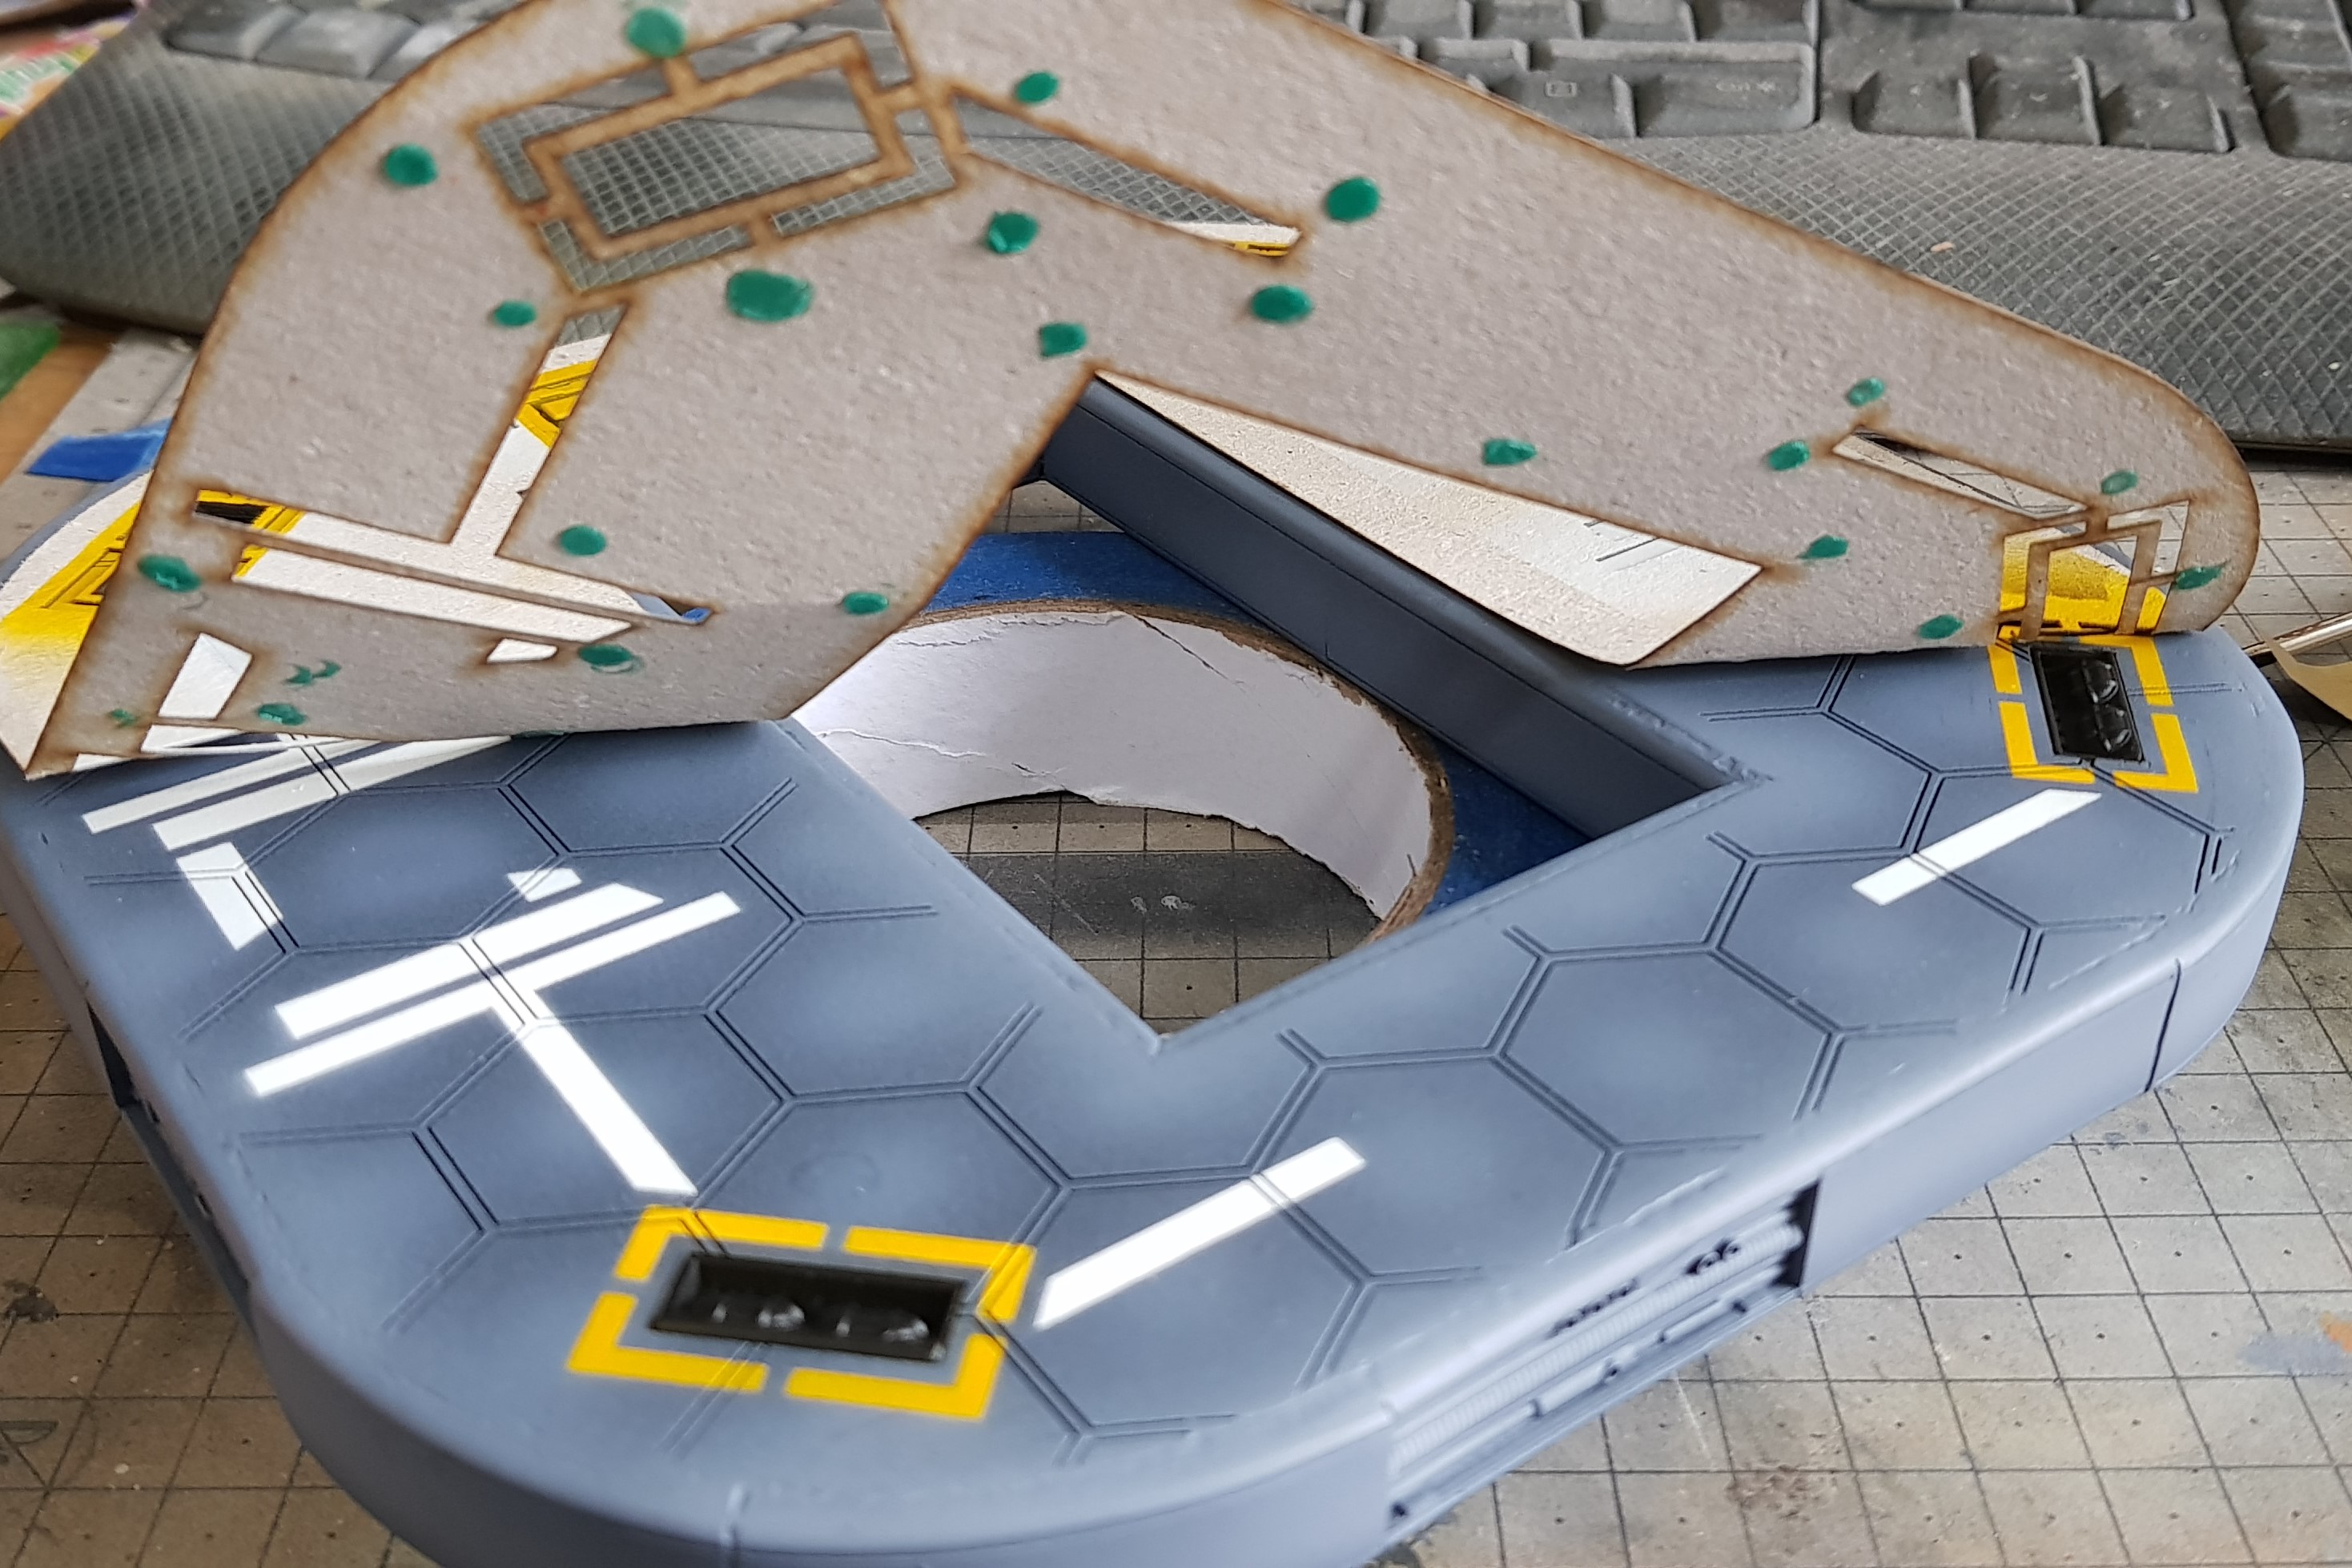
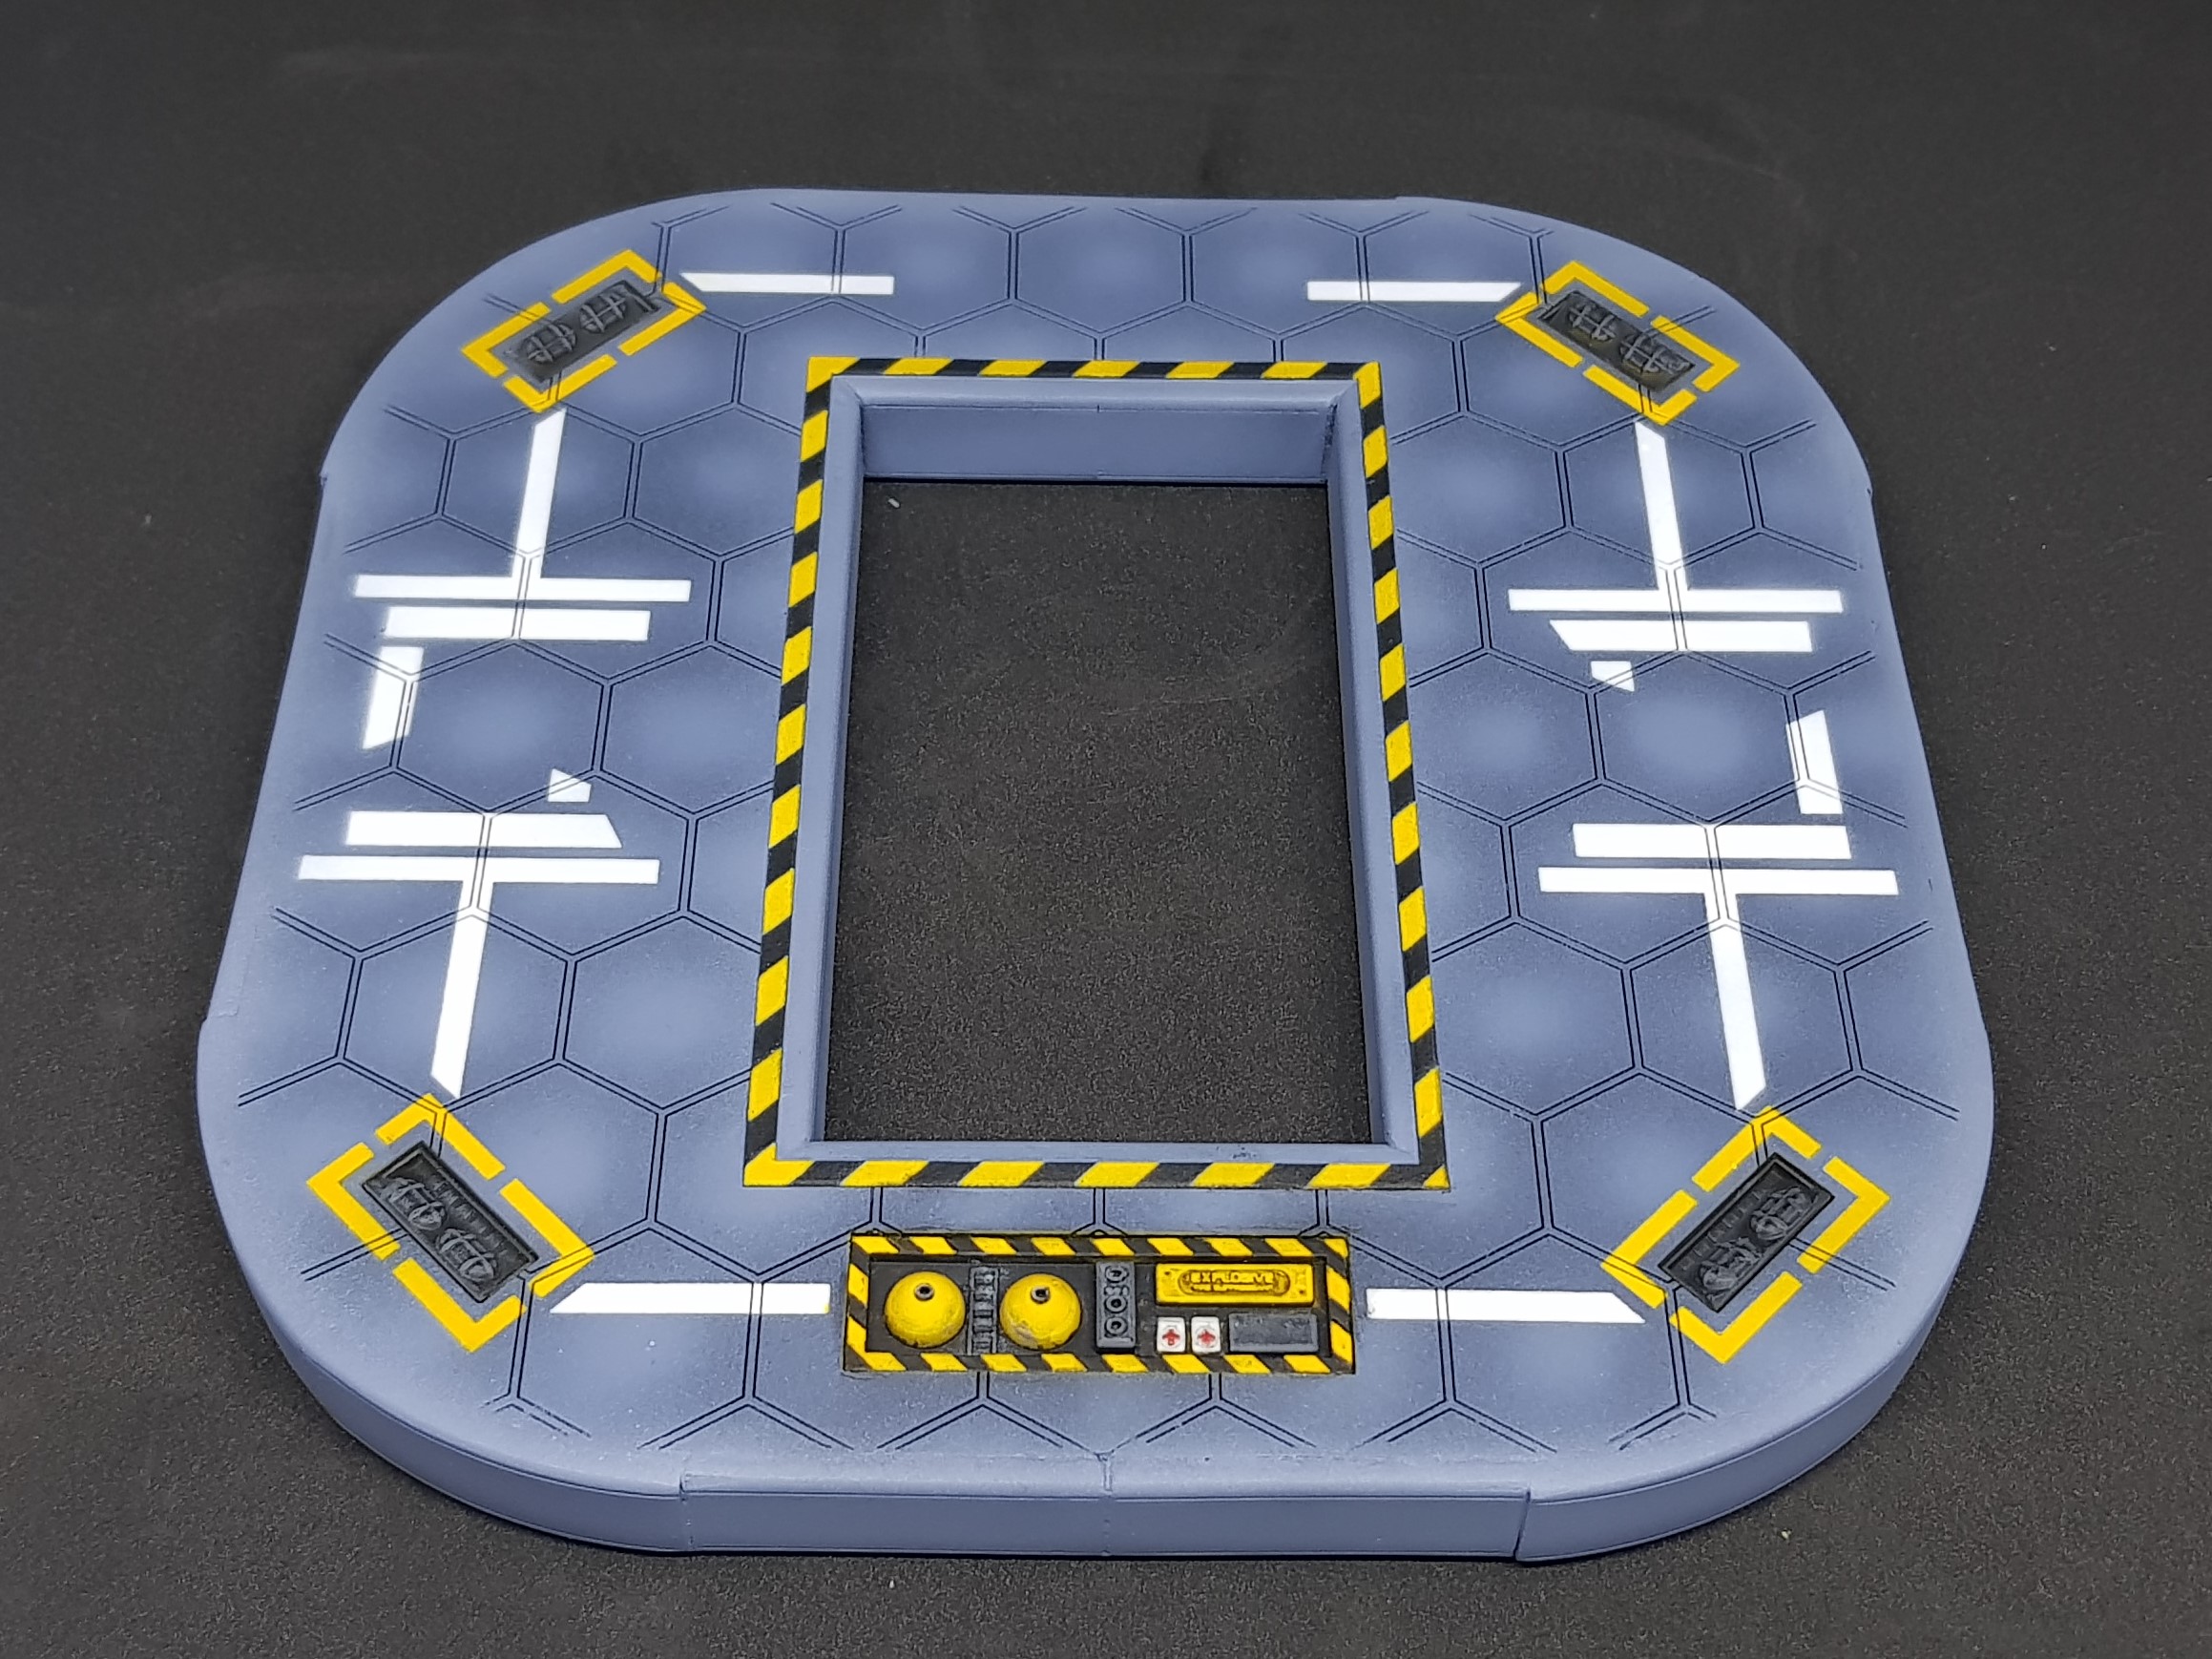
The next step was to start to fully paint the planform. I wanted to use more stencils so decided to keep it as flat as I could and didn’t glue down the hazard lines.
I wanted this to be quick. I cut out my mask. I used liquid mask to stick it down on the platform which is my favourite technique. I also wanted multiple colours but only one mask.
I prayed white then masked off the white over the stencil and the follow and again masked over than then went in with black.
The whole idea of this was to add colour and from a functional point of view give something for the automated drone to lock onto to land.
After this some hand painting was required to paint the emergency kit. I am very please the explosive text came out on the large box. This is an explosive foam that would envelope the landing pad in the event of a failure. along with first aid and a manual fulling station/ spares box.
So I am not finished yet but couldn’t resist putting everything together. So happy so far. Last section needs to be designed, everything weathered, pipes put in, more painting to be done, automated truck and aircraft. Lots to do.
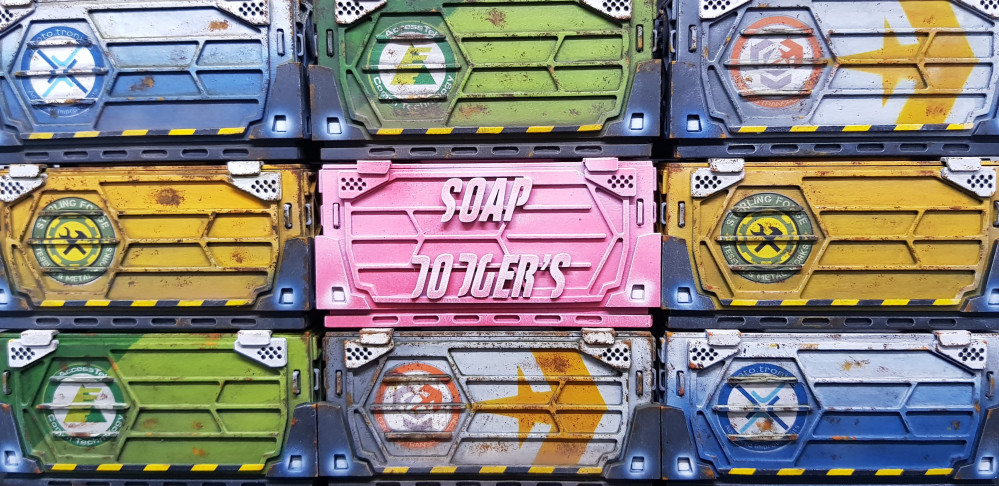
Closeup of the container. I will probably need to make one more of these for this model but this is just for the moment.
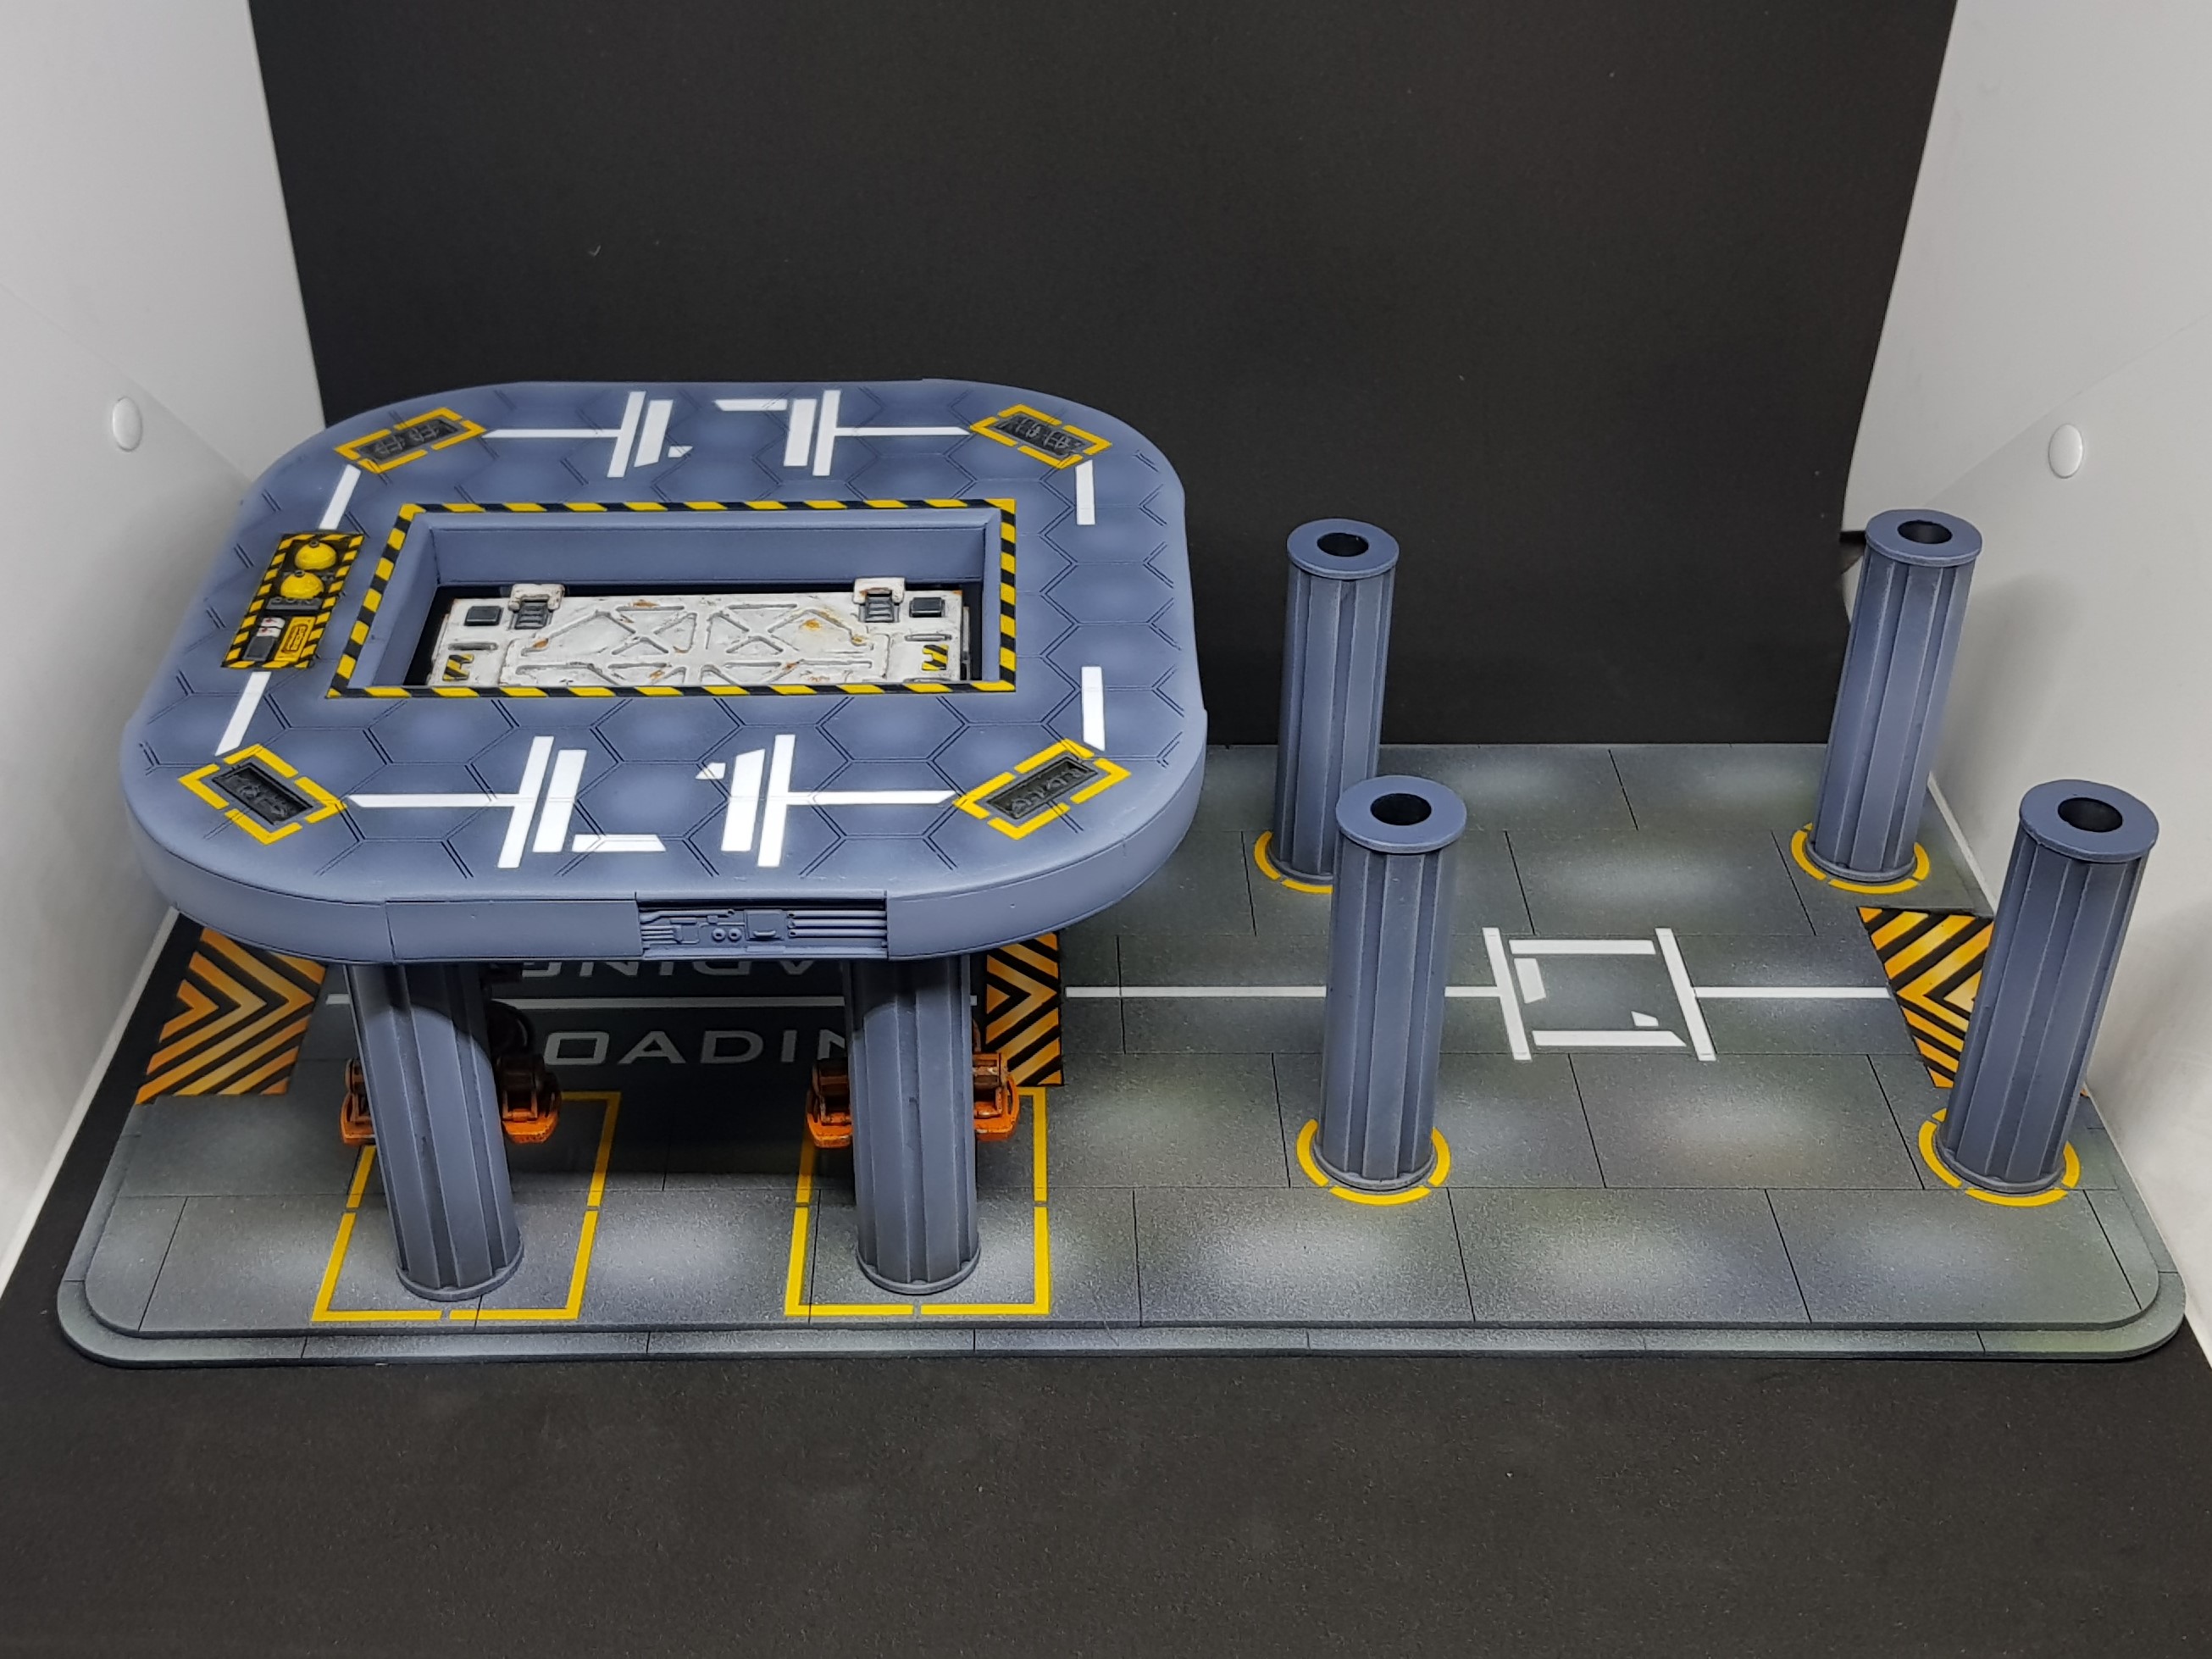 Progress so far on the landing pad. to big for photo booth.
 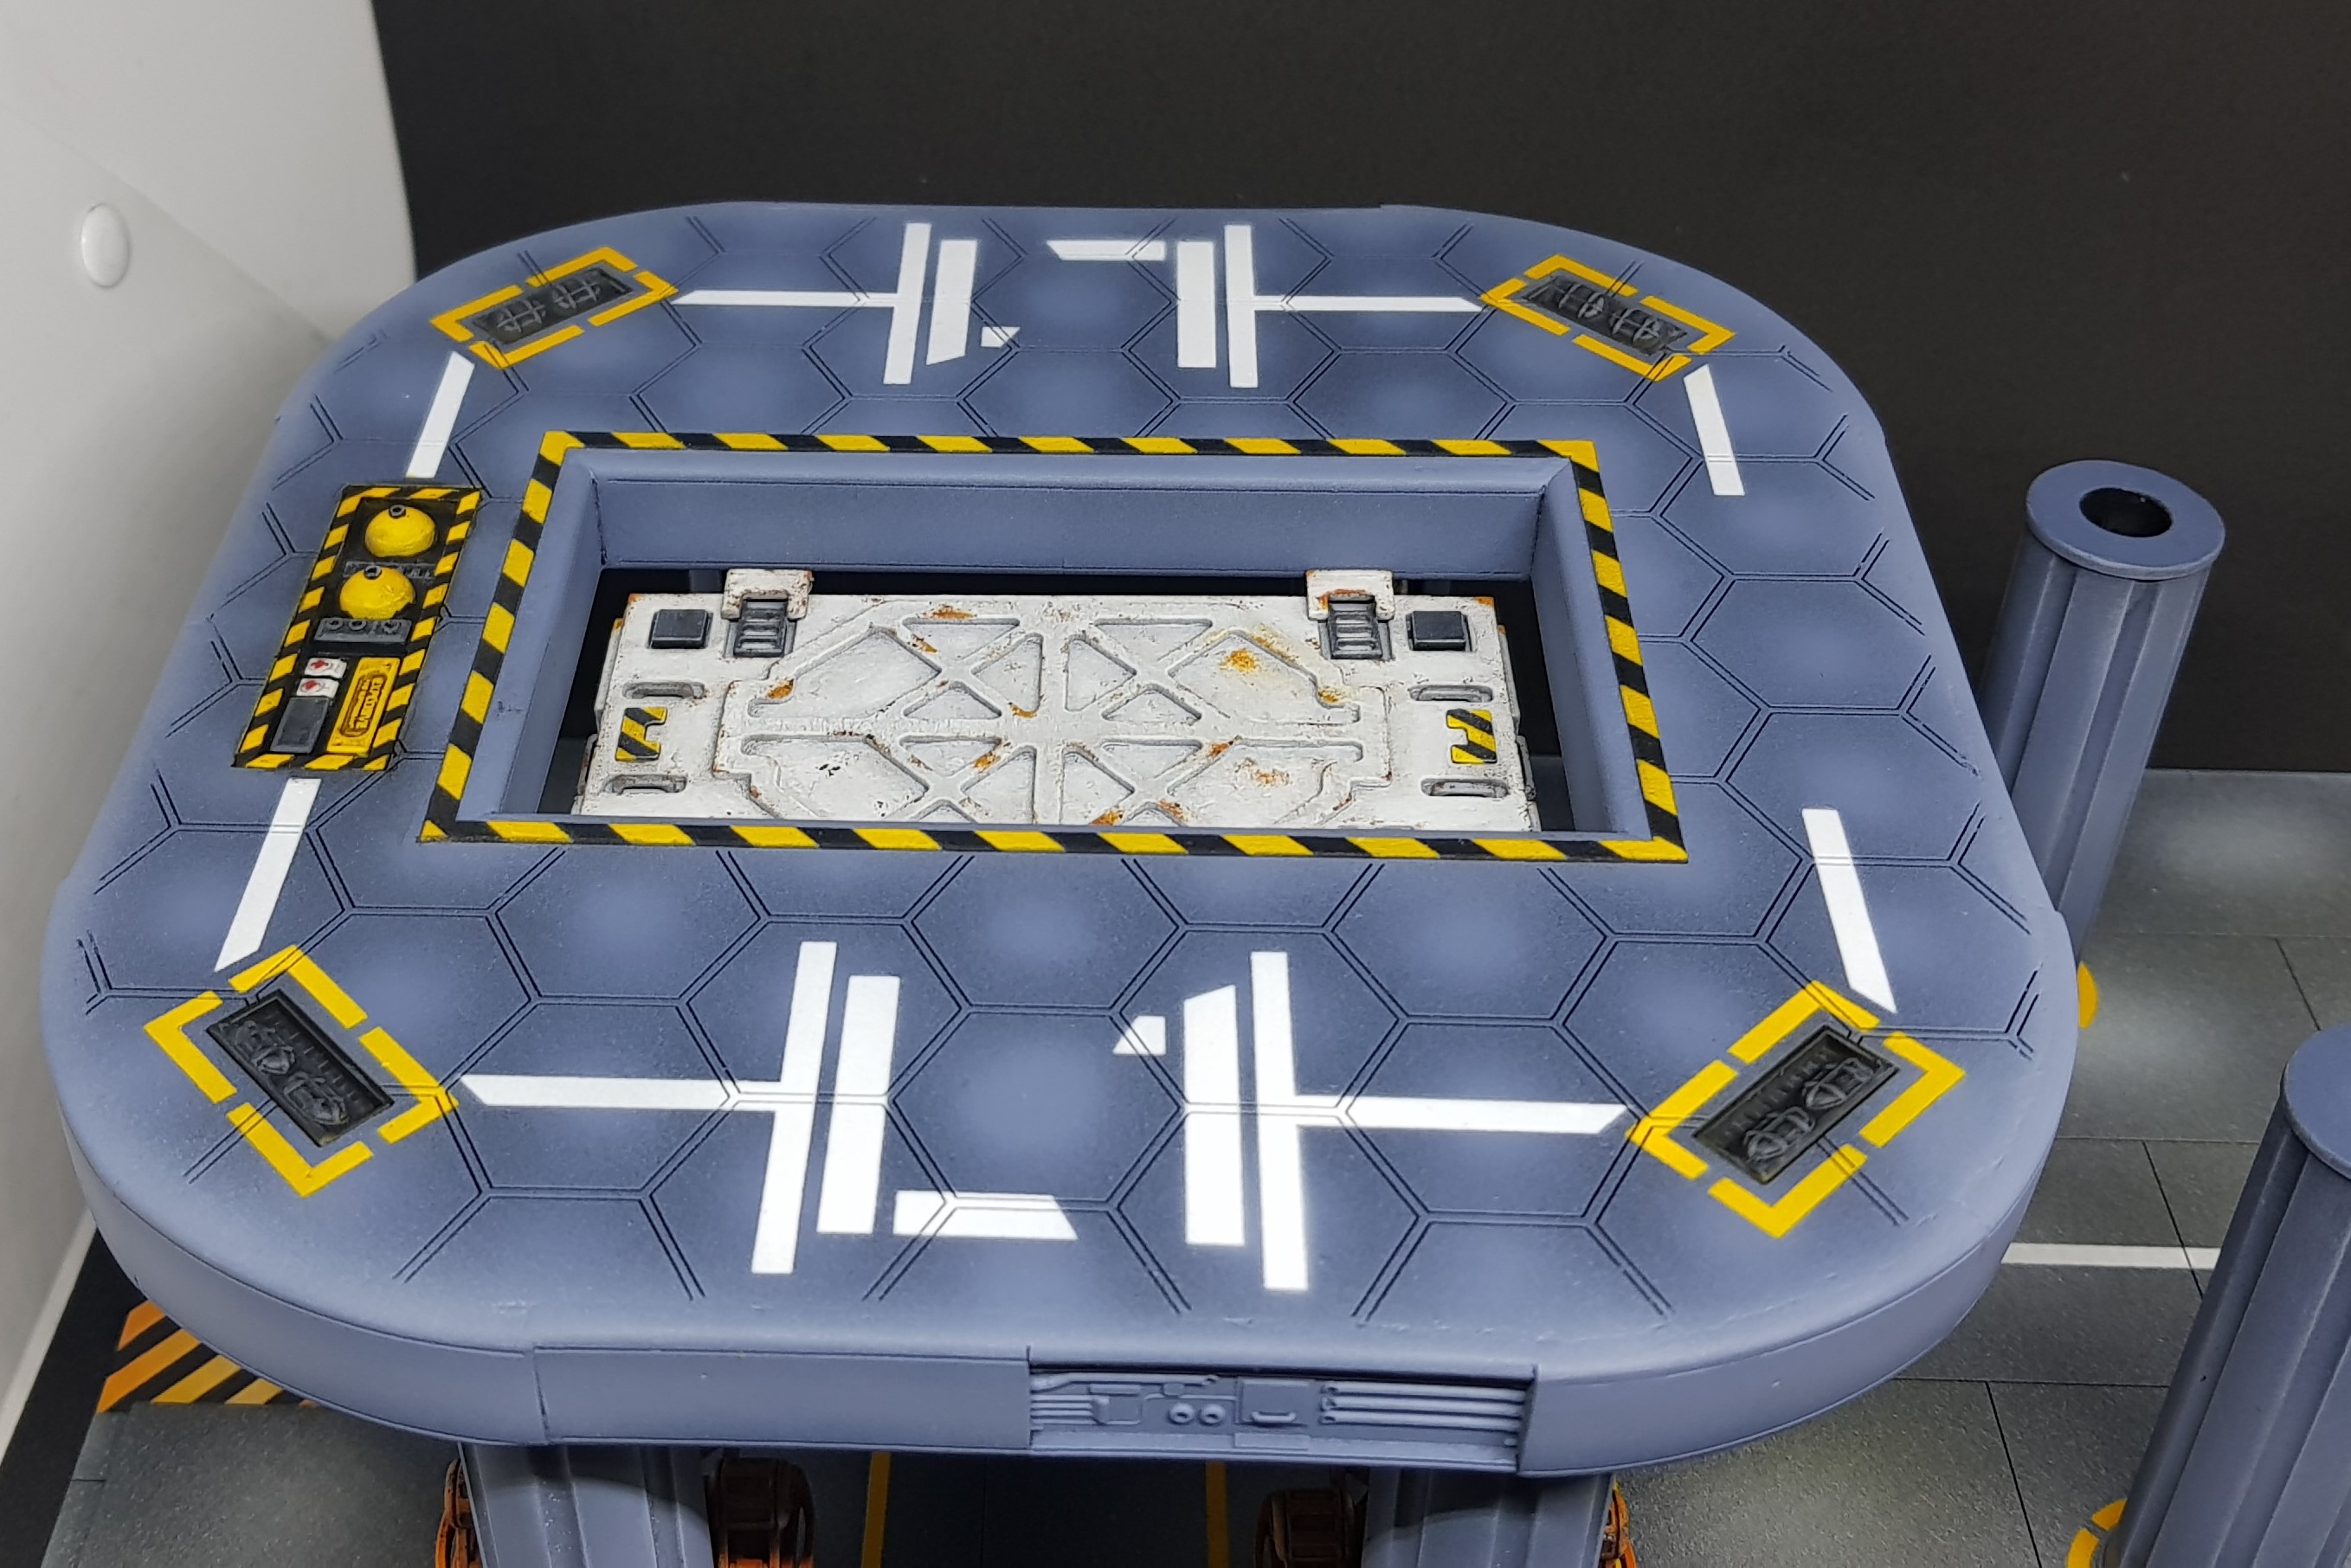 Closeup of the container. I will probably need to make one more of these for this model but this is just for the moment.
 That’s where I am at the moment. I hope to get more done this weekend but drinking is too alluring to keep going. I want to get to the design stage of the control tower next week which involves finishing the painting and adding dressing to the platform.
Much more to come.


Leave a Reply