


Painting models with oil paints


Painting Skin
Firstly, having inspected the model closer, I don’t think that the lumpy paint in the last update was entirely due to the oil. Other parts of the model have it as well which leads me to think that this was from the highlight I sprayed over as a first step. But, I still need to consider the thickness of the oils so will attempt to thin them more this time around.
For the skin, I’ll aim for a caucasian tone. I’m usually pretty poor at painting skin and usually have to rely on the correct tones coming from the bottles. This isn’t an option with the oil paints that I have, so I’ll actually have to mix the paint to achieve the correct tone. This is very daunting and not something I’ve ever really tried before. I actually have no real idea what paints to use to get close so I went back to YouTube. Fortunately, the video I posted at the start of this project provides some ideas, so I’ve tried to copy that.
The paints used
Pale Yellow
Lamp Black and White – I need a grey and I don’t have one so needed to mix this up separately
Yellow ochre
Cadmium red
Burnt sienna
Burnt Umber
I’ve then mixed up a series of tones as you can see in the picture below.
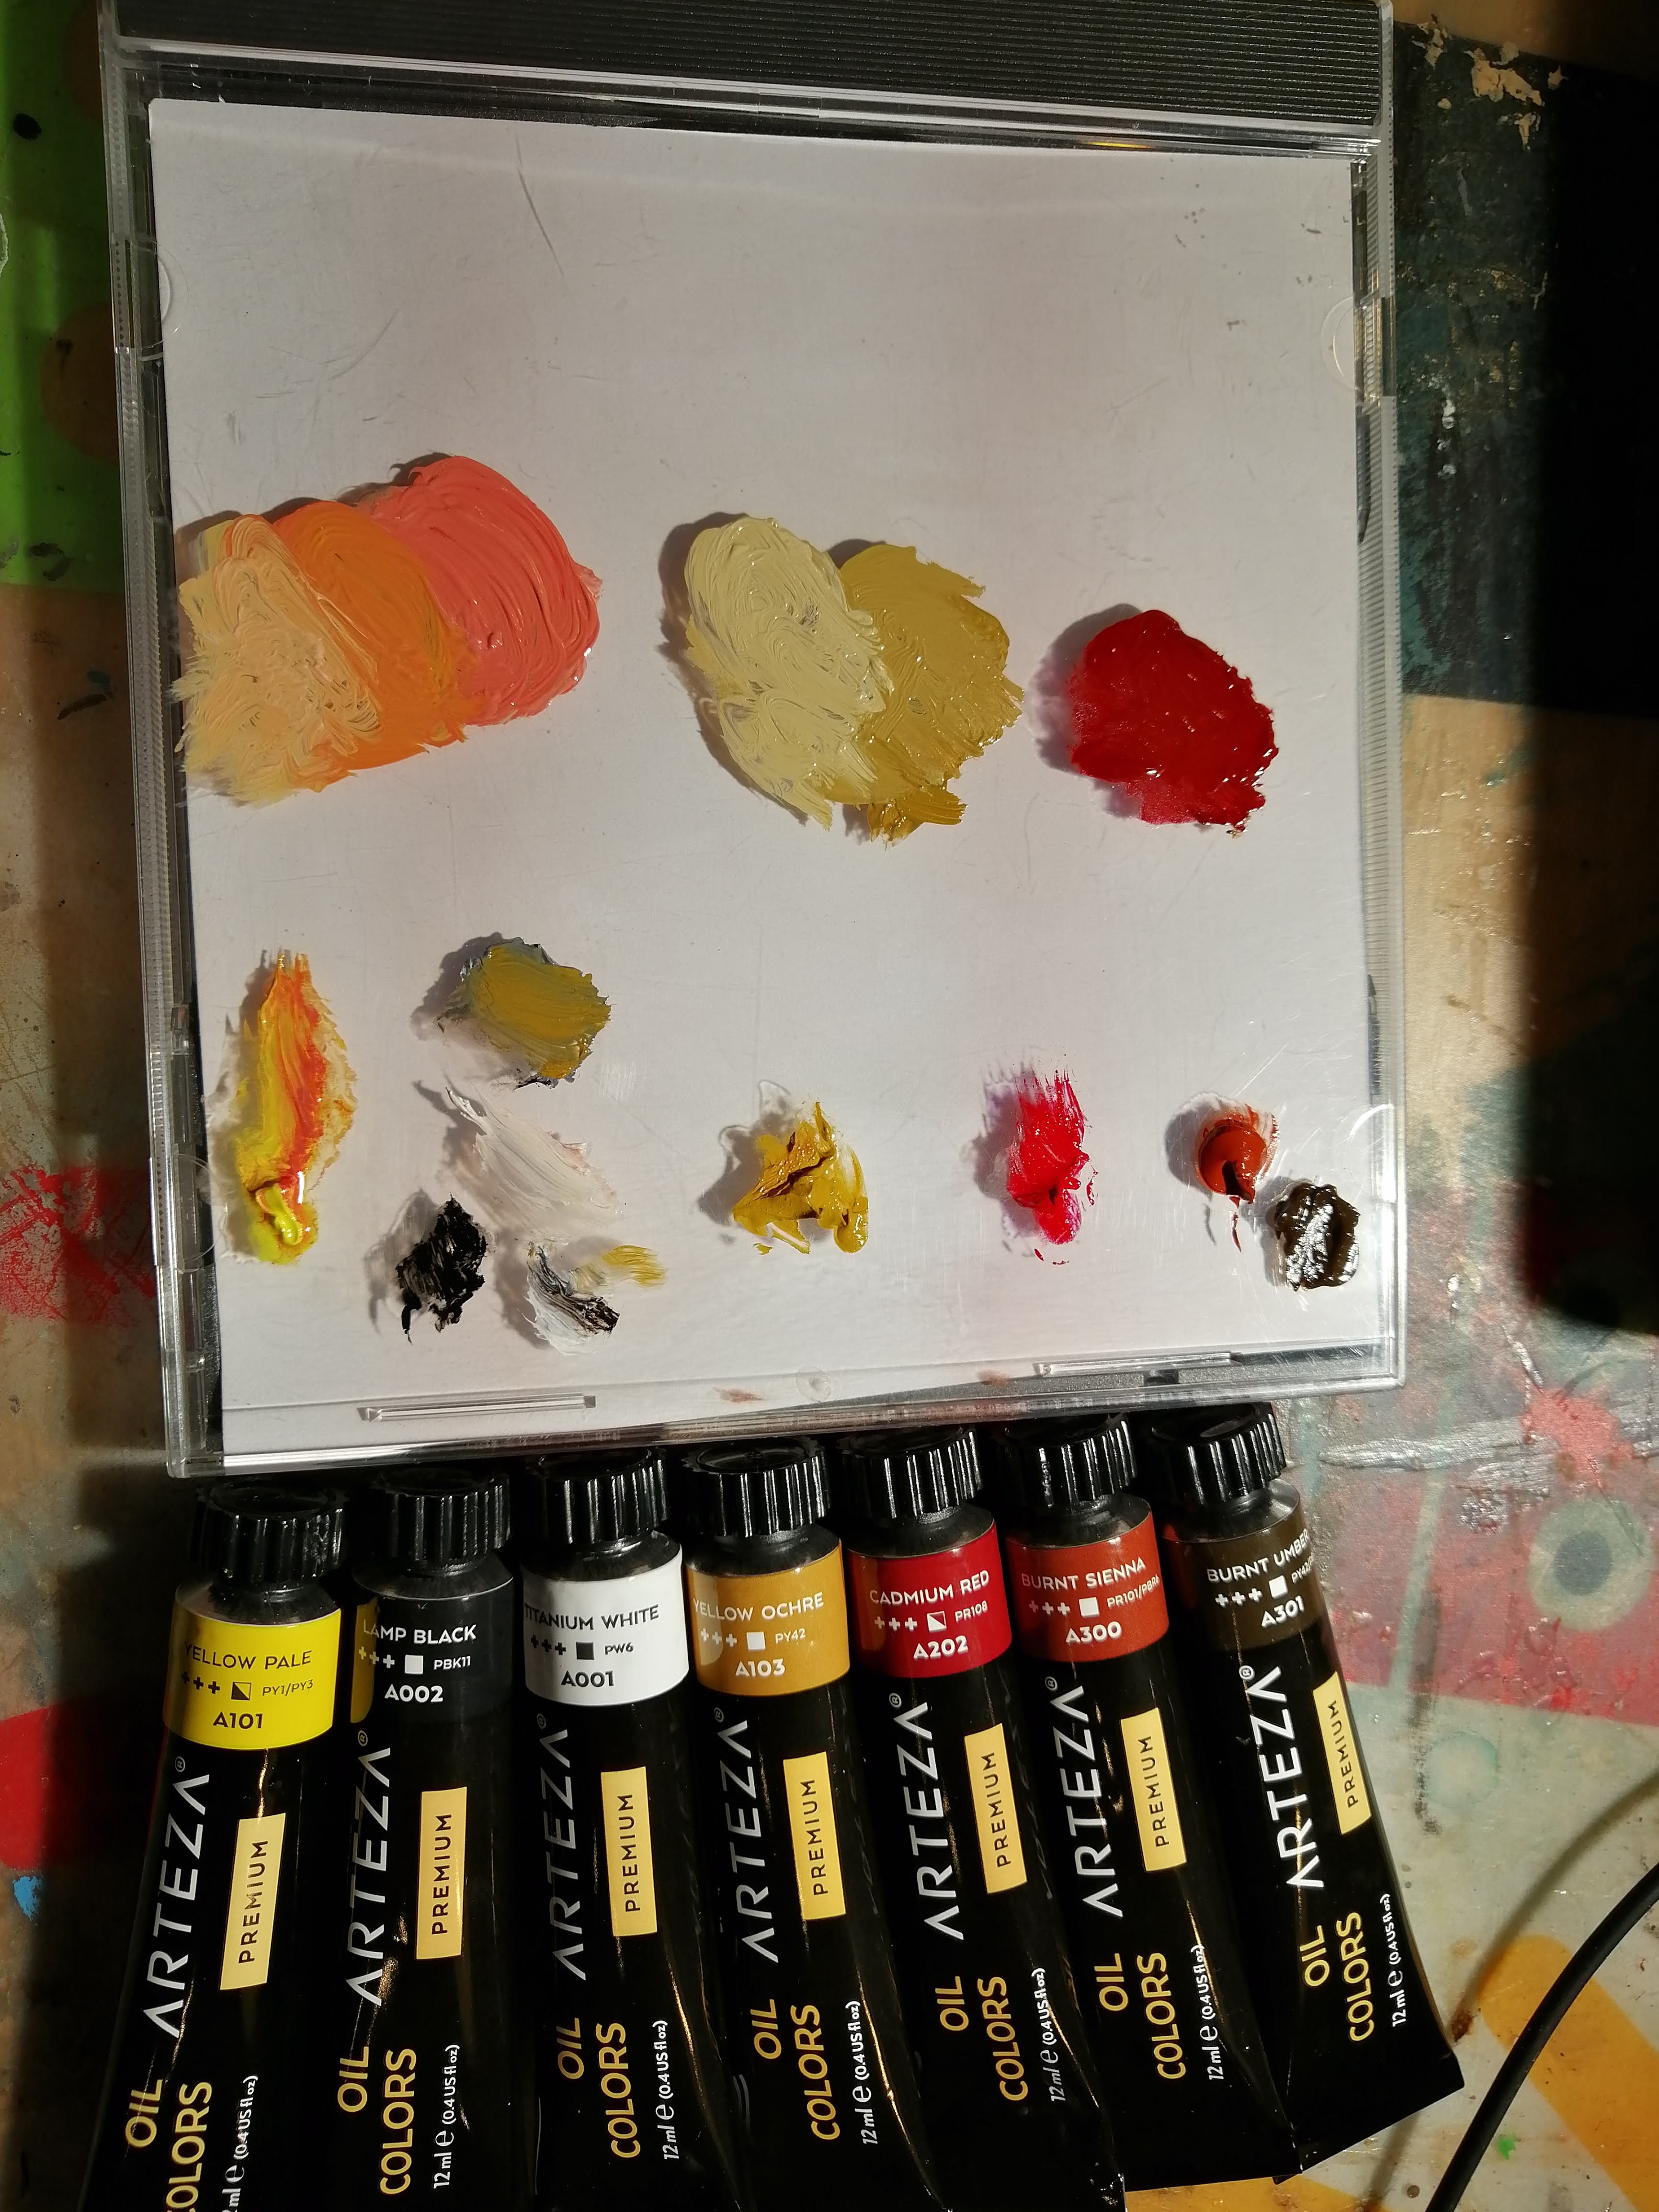 My Palette
I’m going to start by adding the red into the areas where I want the shadow. This will provide the shadow but also hopefully give the skin a reddish hue and provide some life and vibrancy. The below pictures show what I’m talking about. I’ll admit to this looking quite alarming.
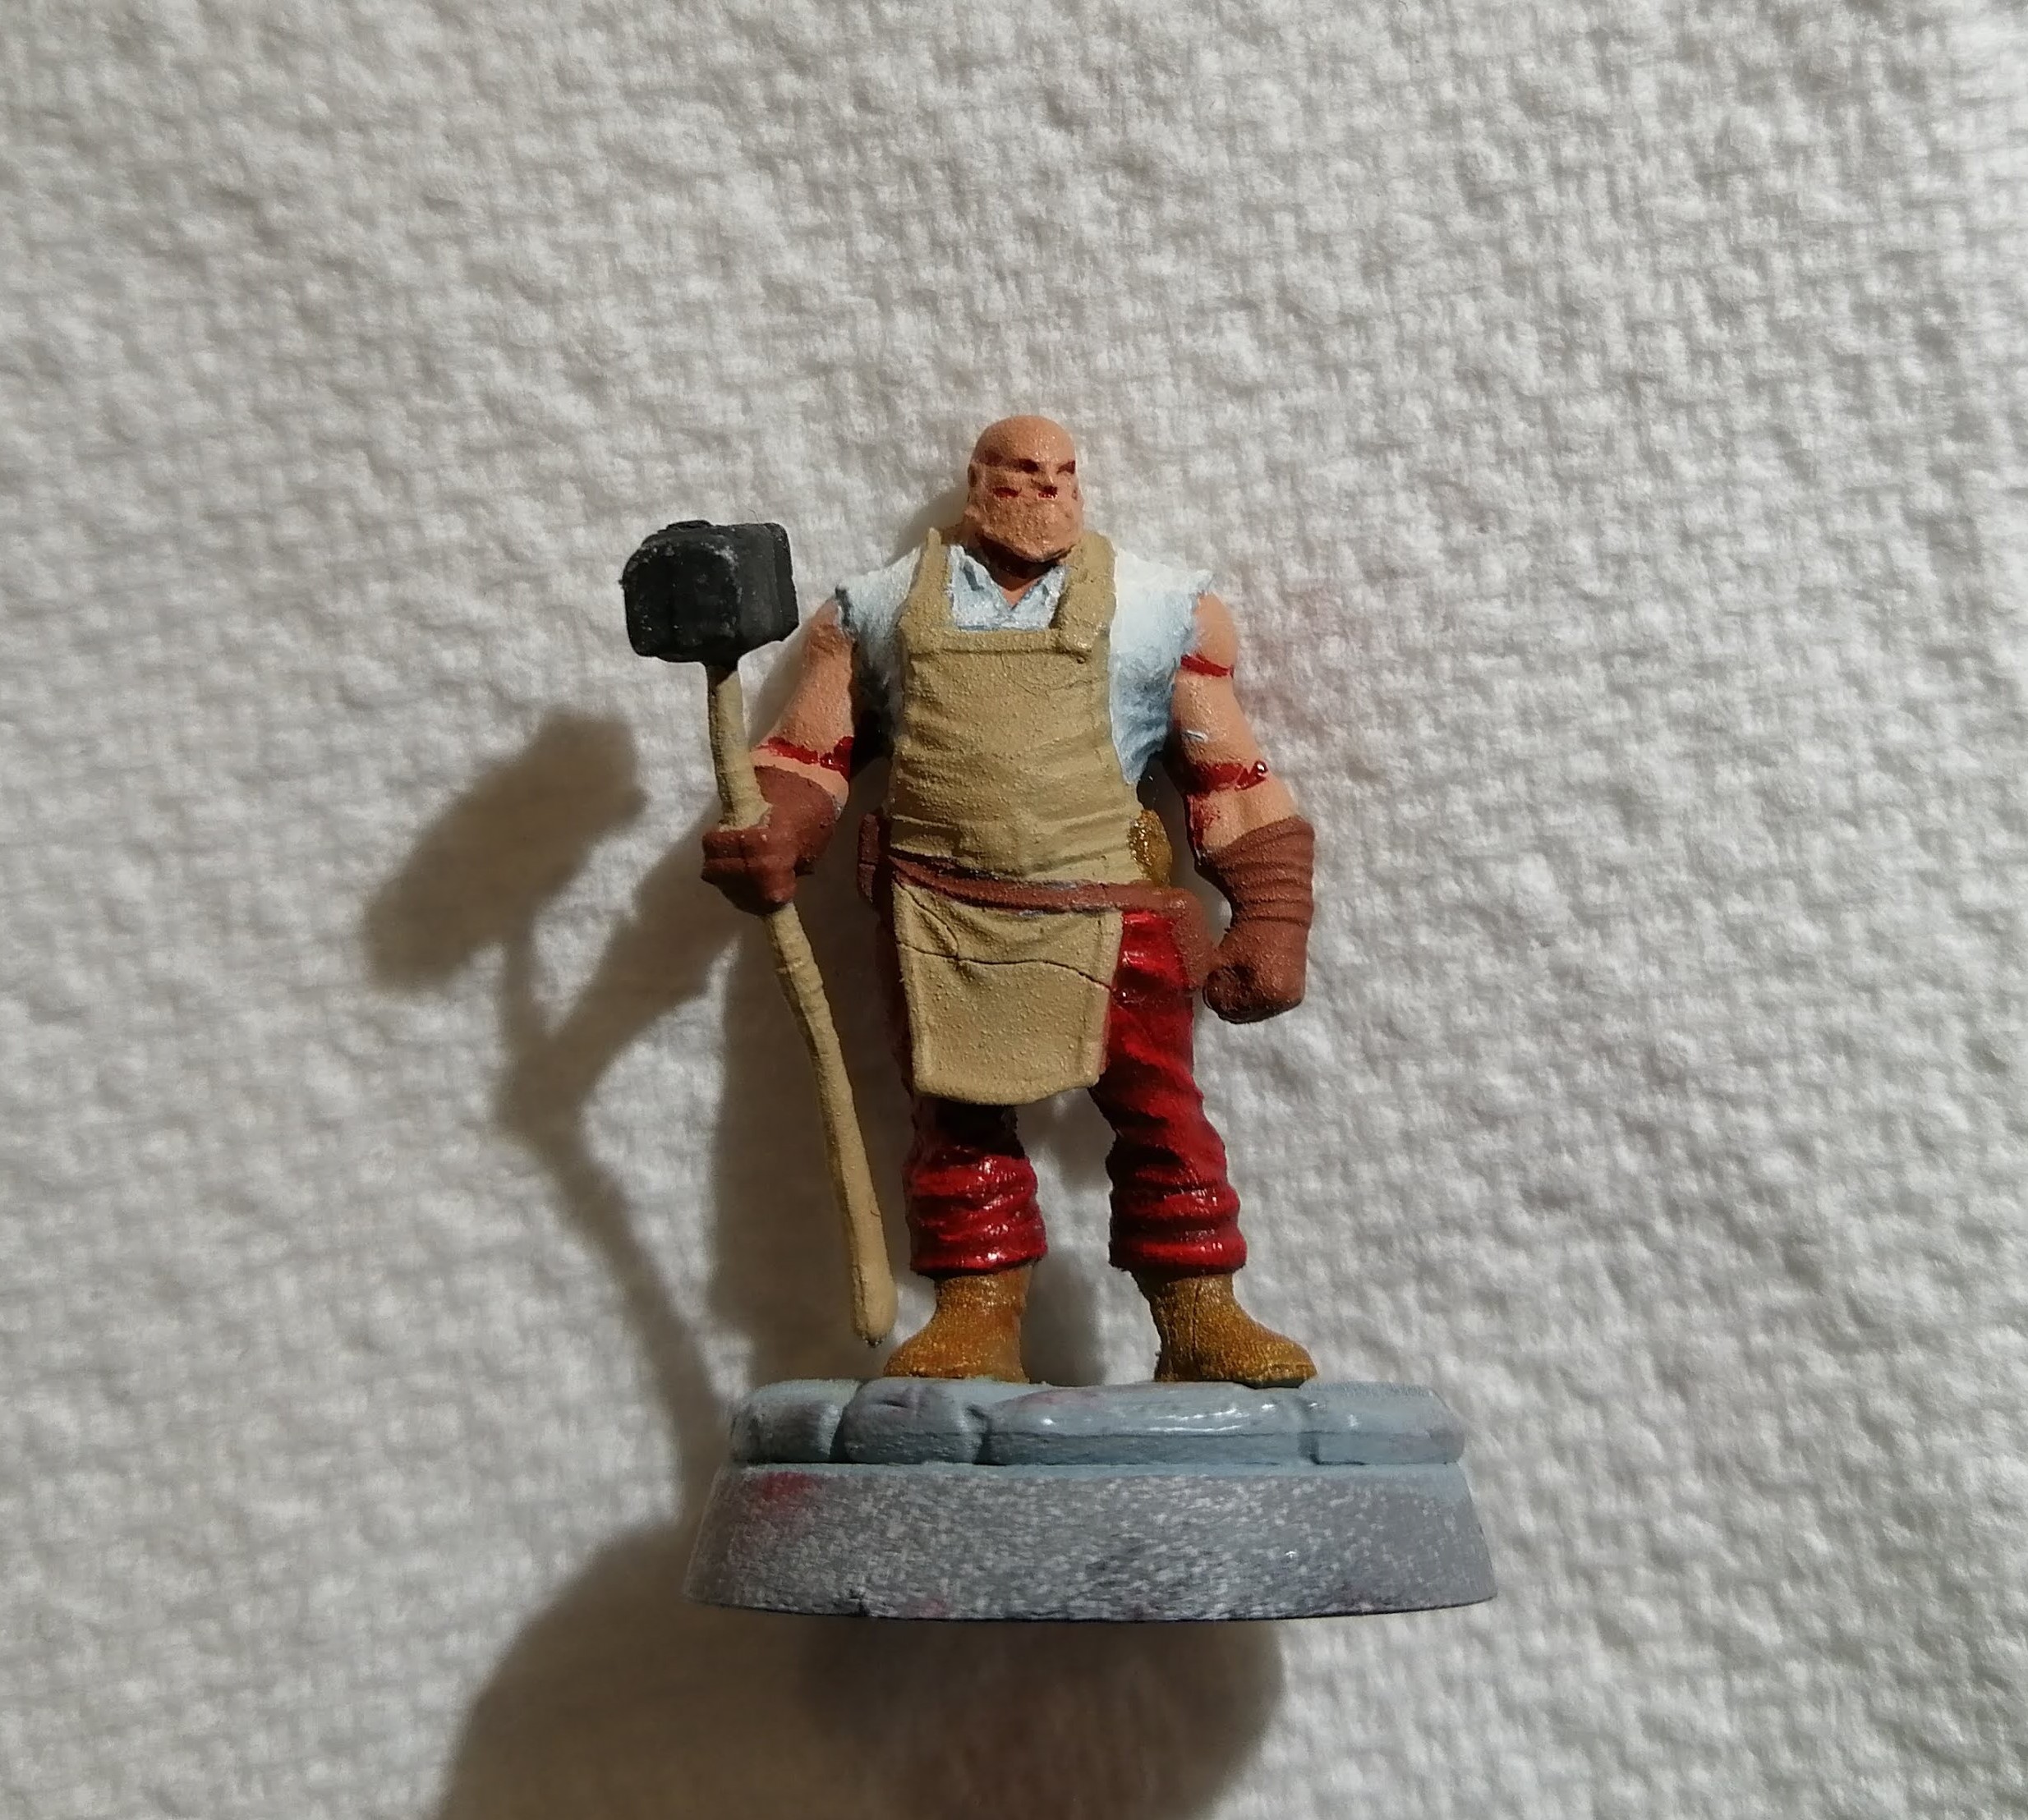

I’ve then added some of the ochre tone around the flatter areas and a lighter tone on the raised areas.

Now to get blending. Using a dry brush and some tissue to remove any excess paint, I began gently mixing the paint together and pushing the colours so that they followed the flow of the model. I realised I needed a darker tone for the shadow and so introduced some sienna into some places. Below is about half way through the blending process
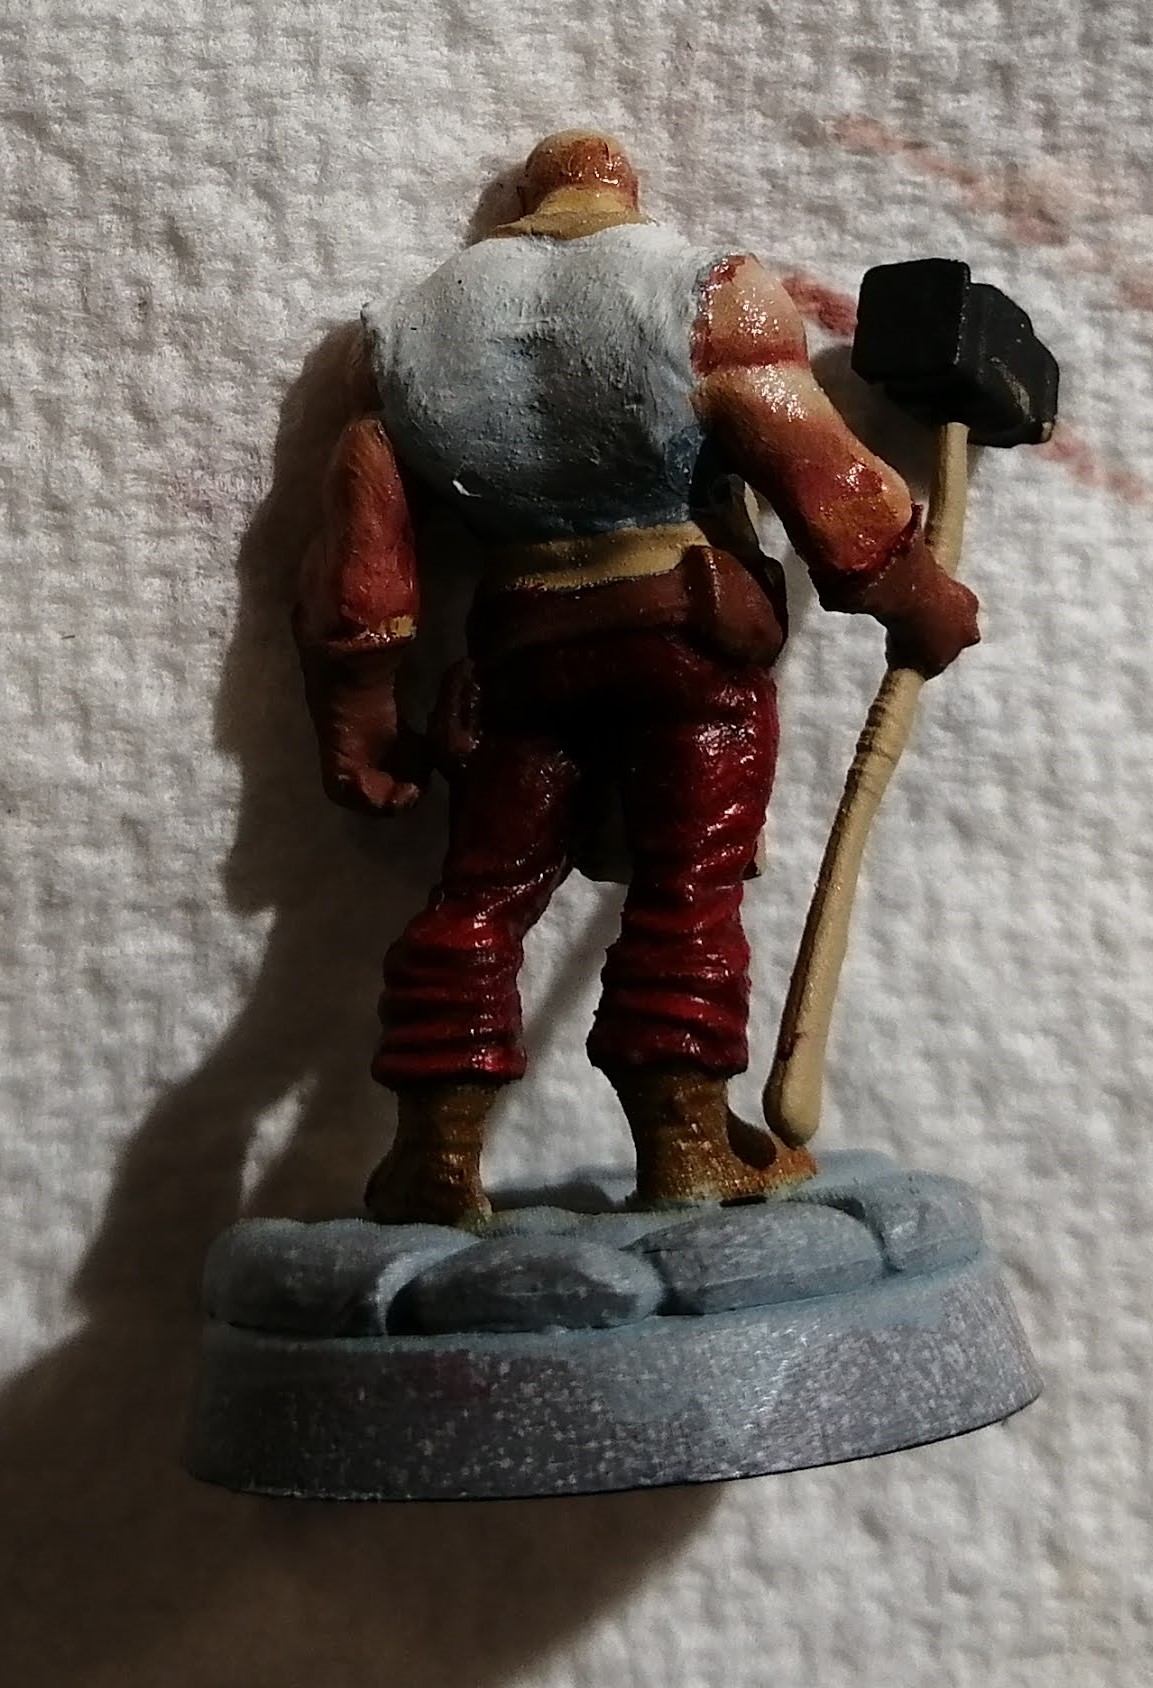
Overall, the blending took perhaps 10 to 15 minutes. I was really please with how the paint worked together and I definitely got a thinner mix this time. I’m also liking the amount of time I have to work with the paint and being able to add paint when and where I need it throughout the process.
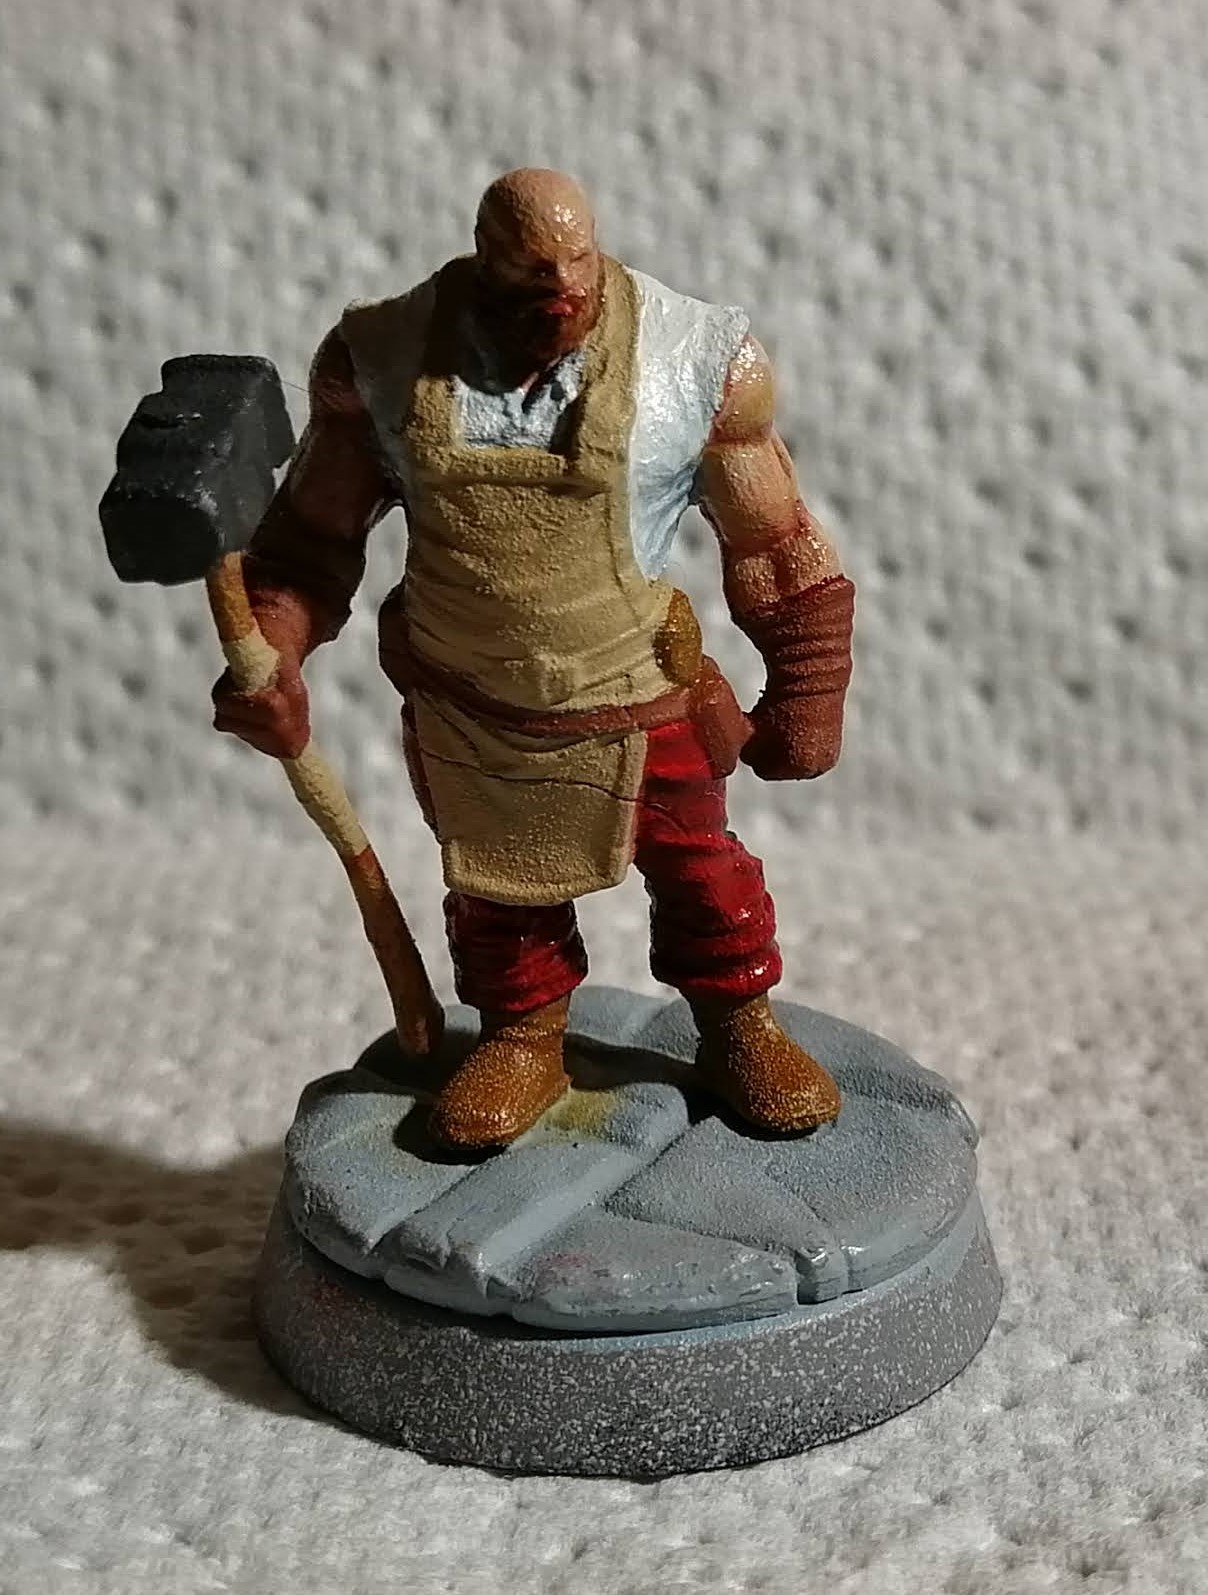
The model needs to dry but here’s how it looks.


Leave a Reply