


Odds, Sods n ......Stuffs. A Medley of Mayhem


Hamelin - The Bard Of Twilight 3 - Painting, sticking and progressing
We all have a ‘few’ of those stalled projects. The ones that were started in best faith and then. well……. got put on teh shelf one day and there they stayed for…… a while!! I have several of such projects and decided it was time to jump back in and bring them to finish. One of said projects is Hamelin, Bard of Twilight from Mindworks/Kimera.
Such a great piece that I decided on a more involved dioramatic base. Base got built and primed and there it all stalled!!
Time to get it off the shelf and on the desk~~ !!
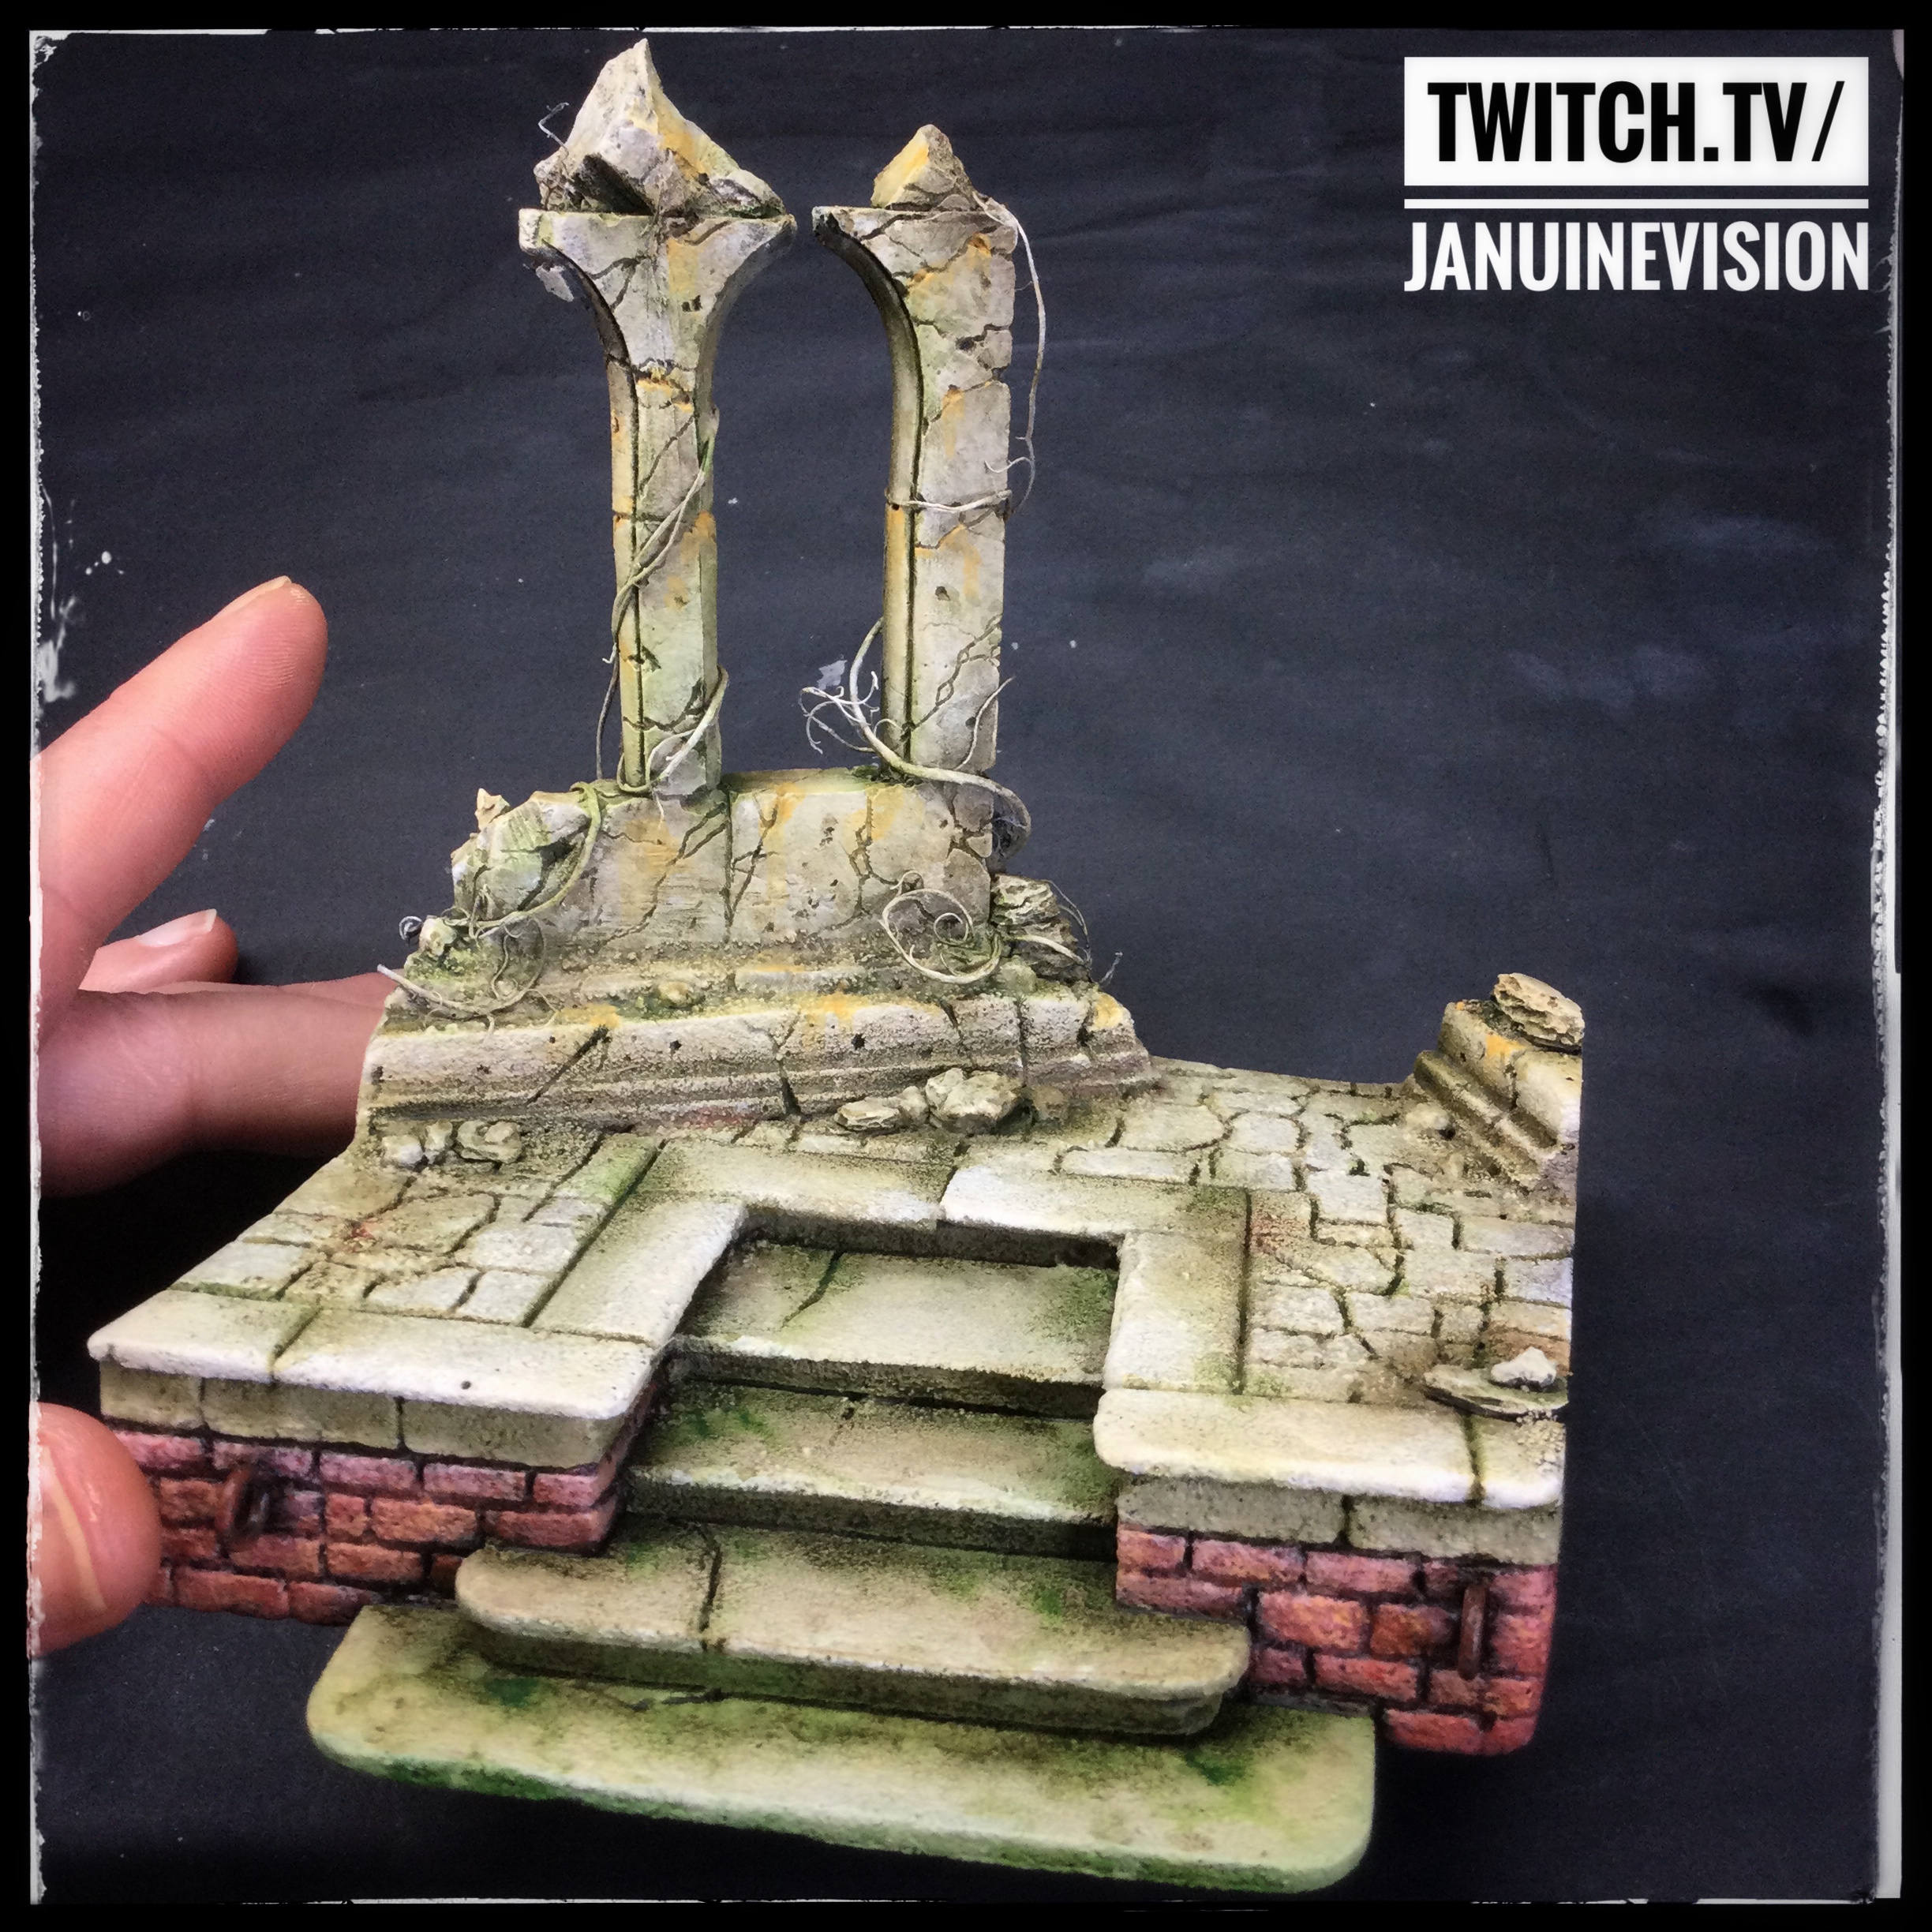
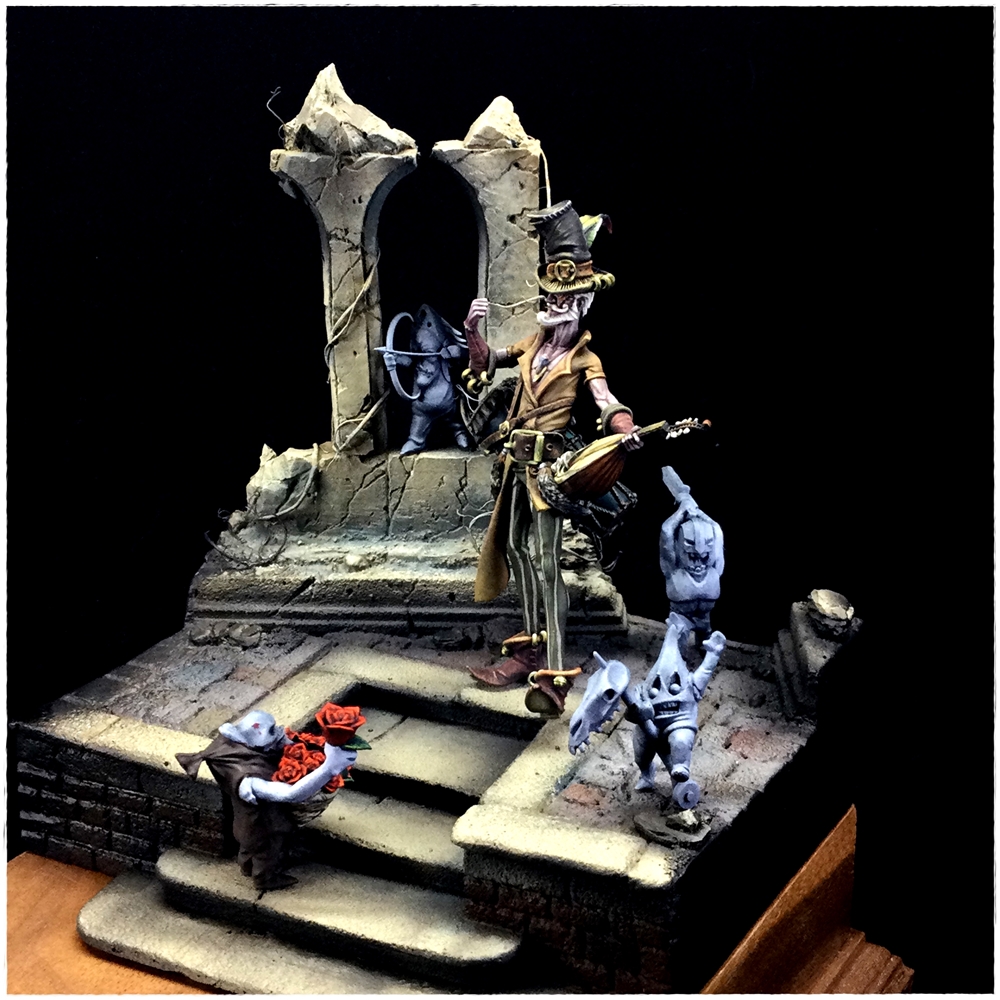 First thing was to decide on placement of the miniatures on the base and the overall composition
I wasnt too happy with the base colours I had laid down with an airbrush before so decided to paint over the whole thing again. Using a mixture of W&N Galleria tube acryllics and Scale75 artist paints I went for a warm cream buff/beige as the base hue
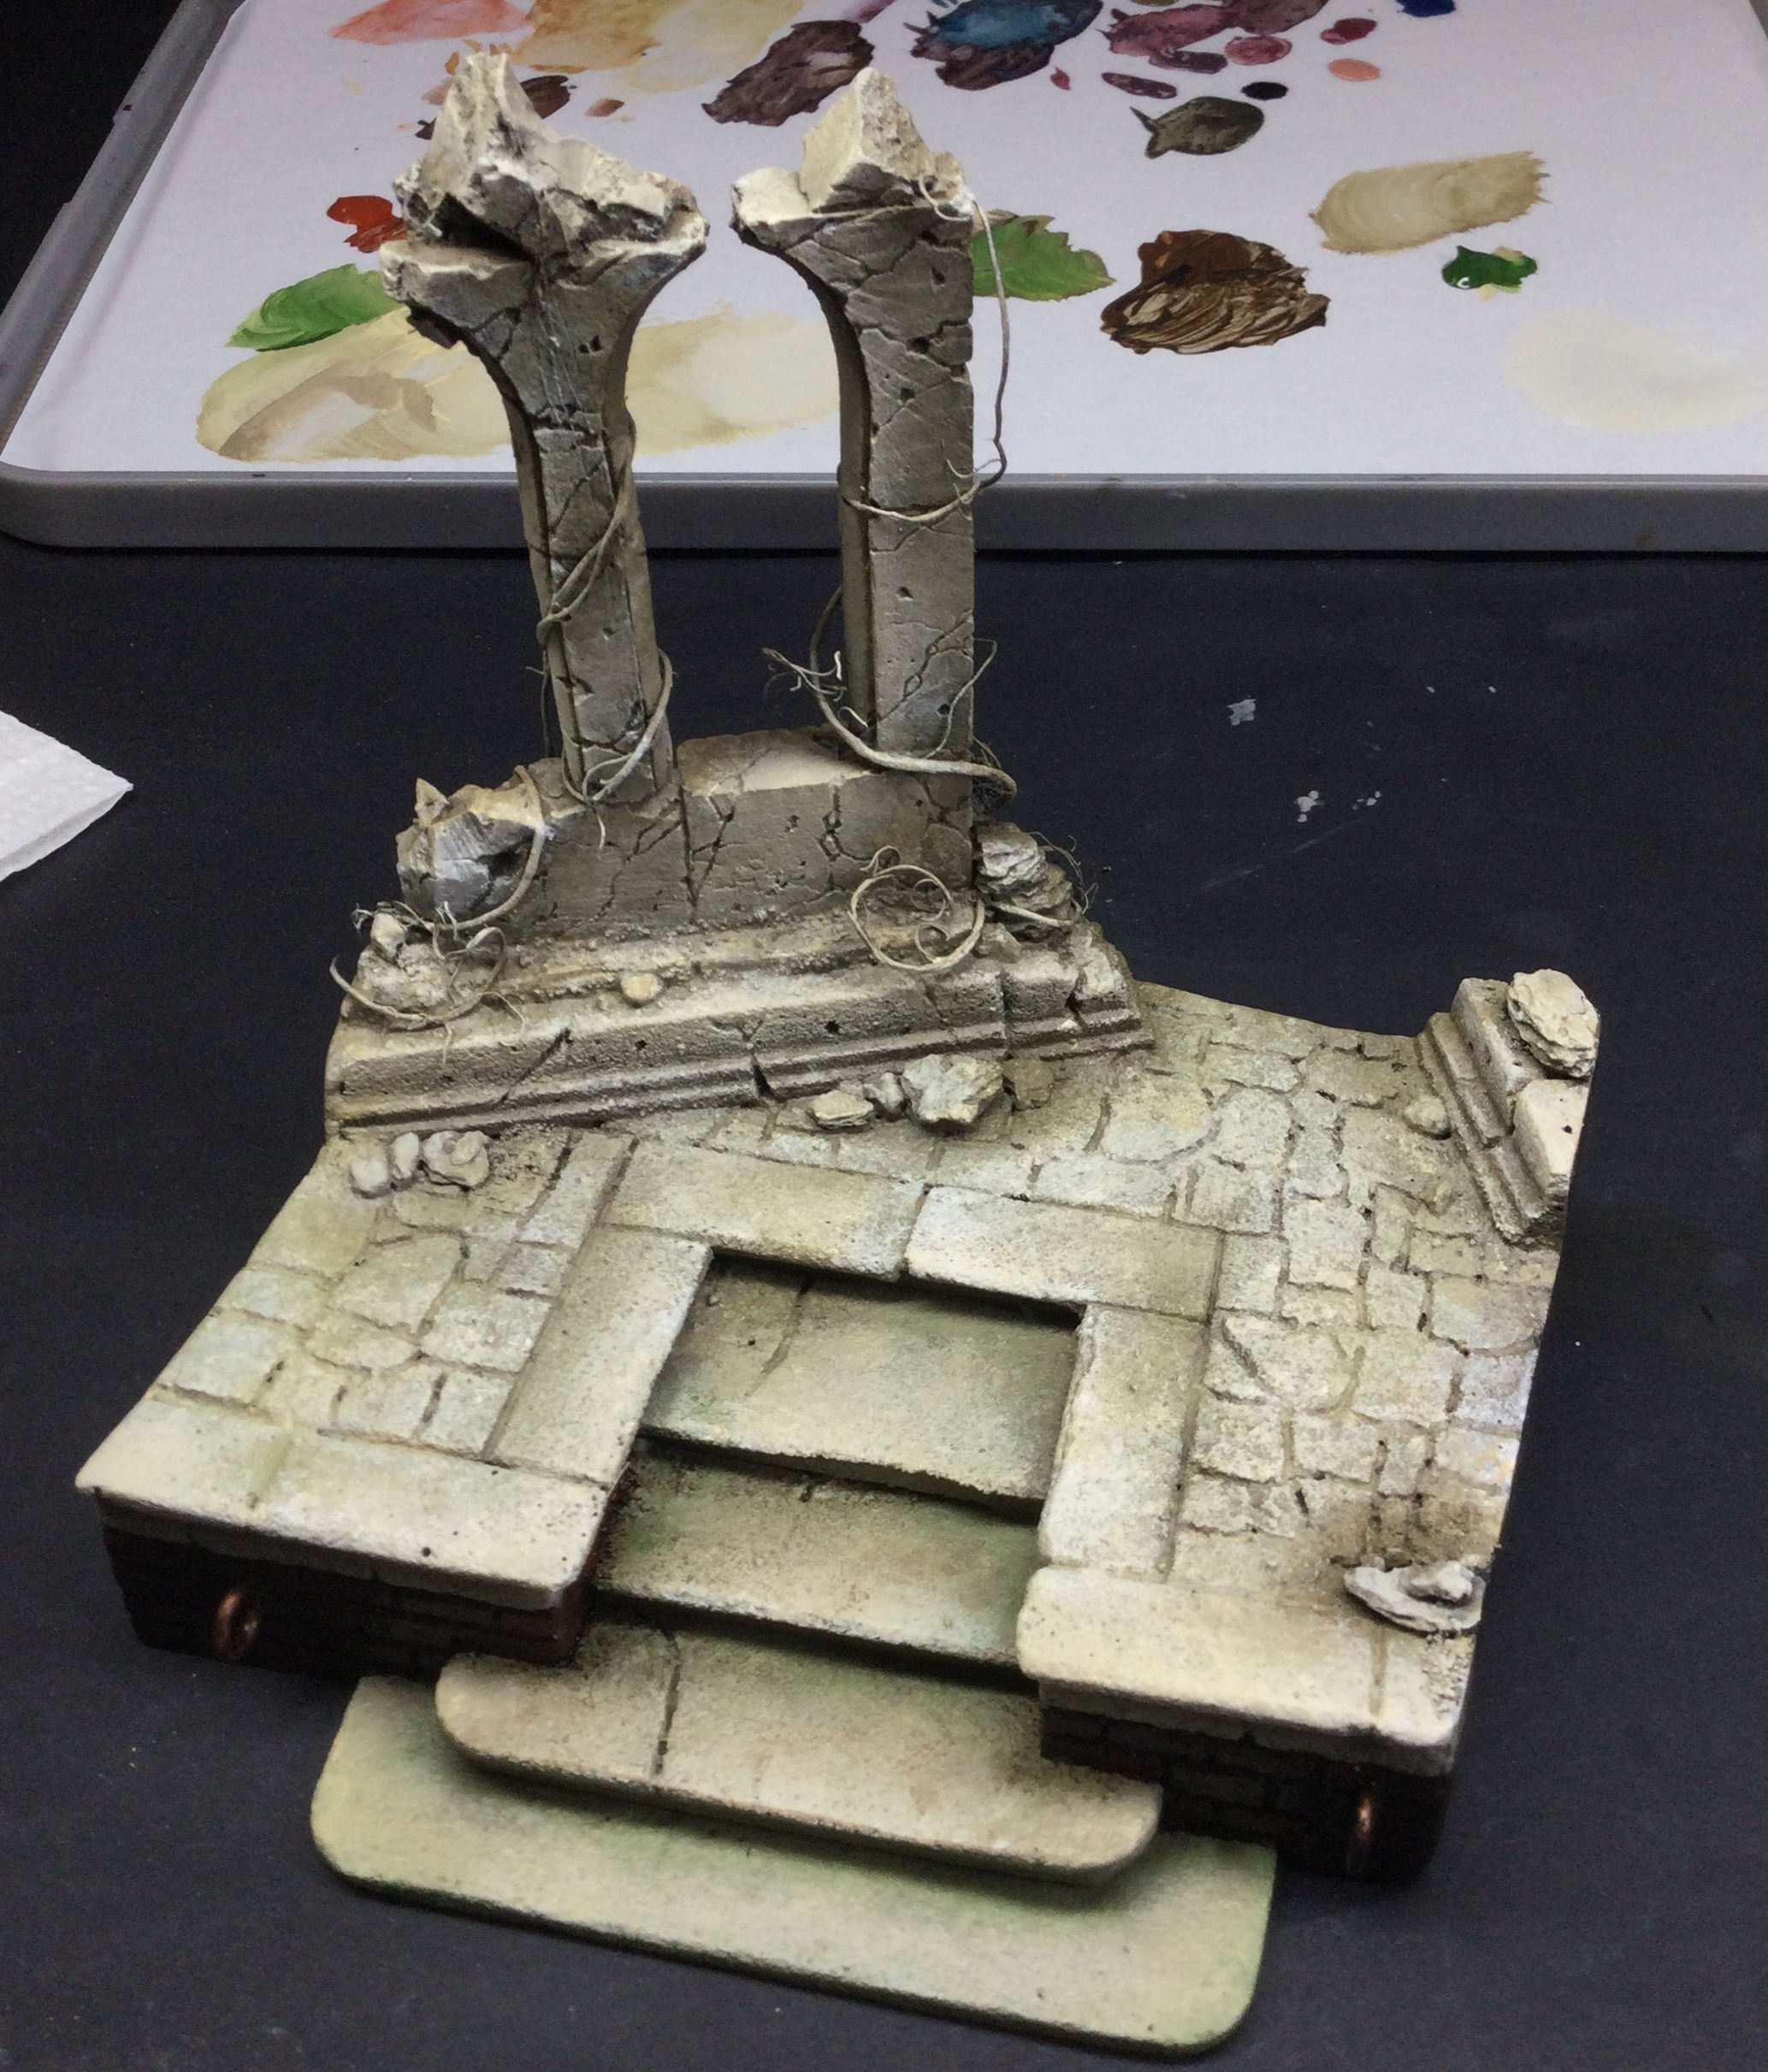 Start with a two tone buff and brown under colouring
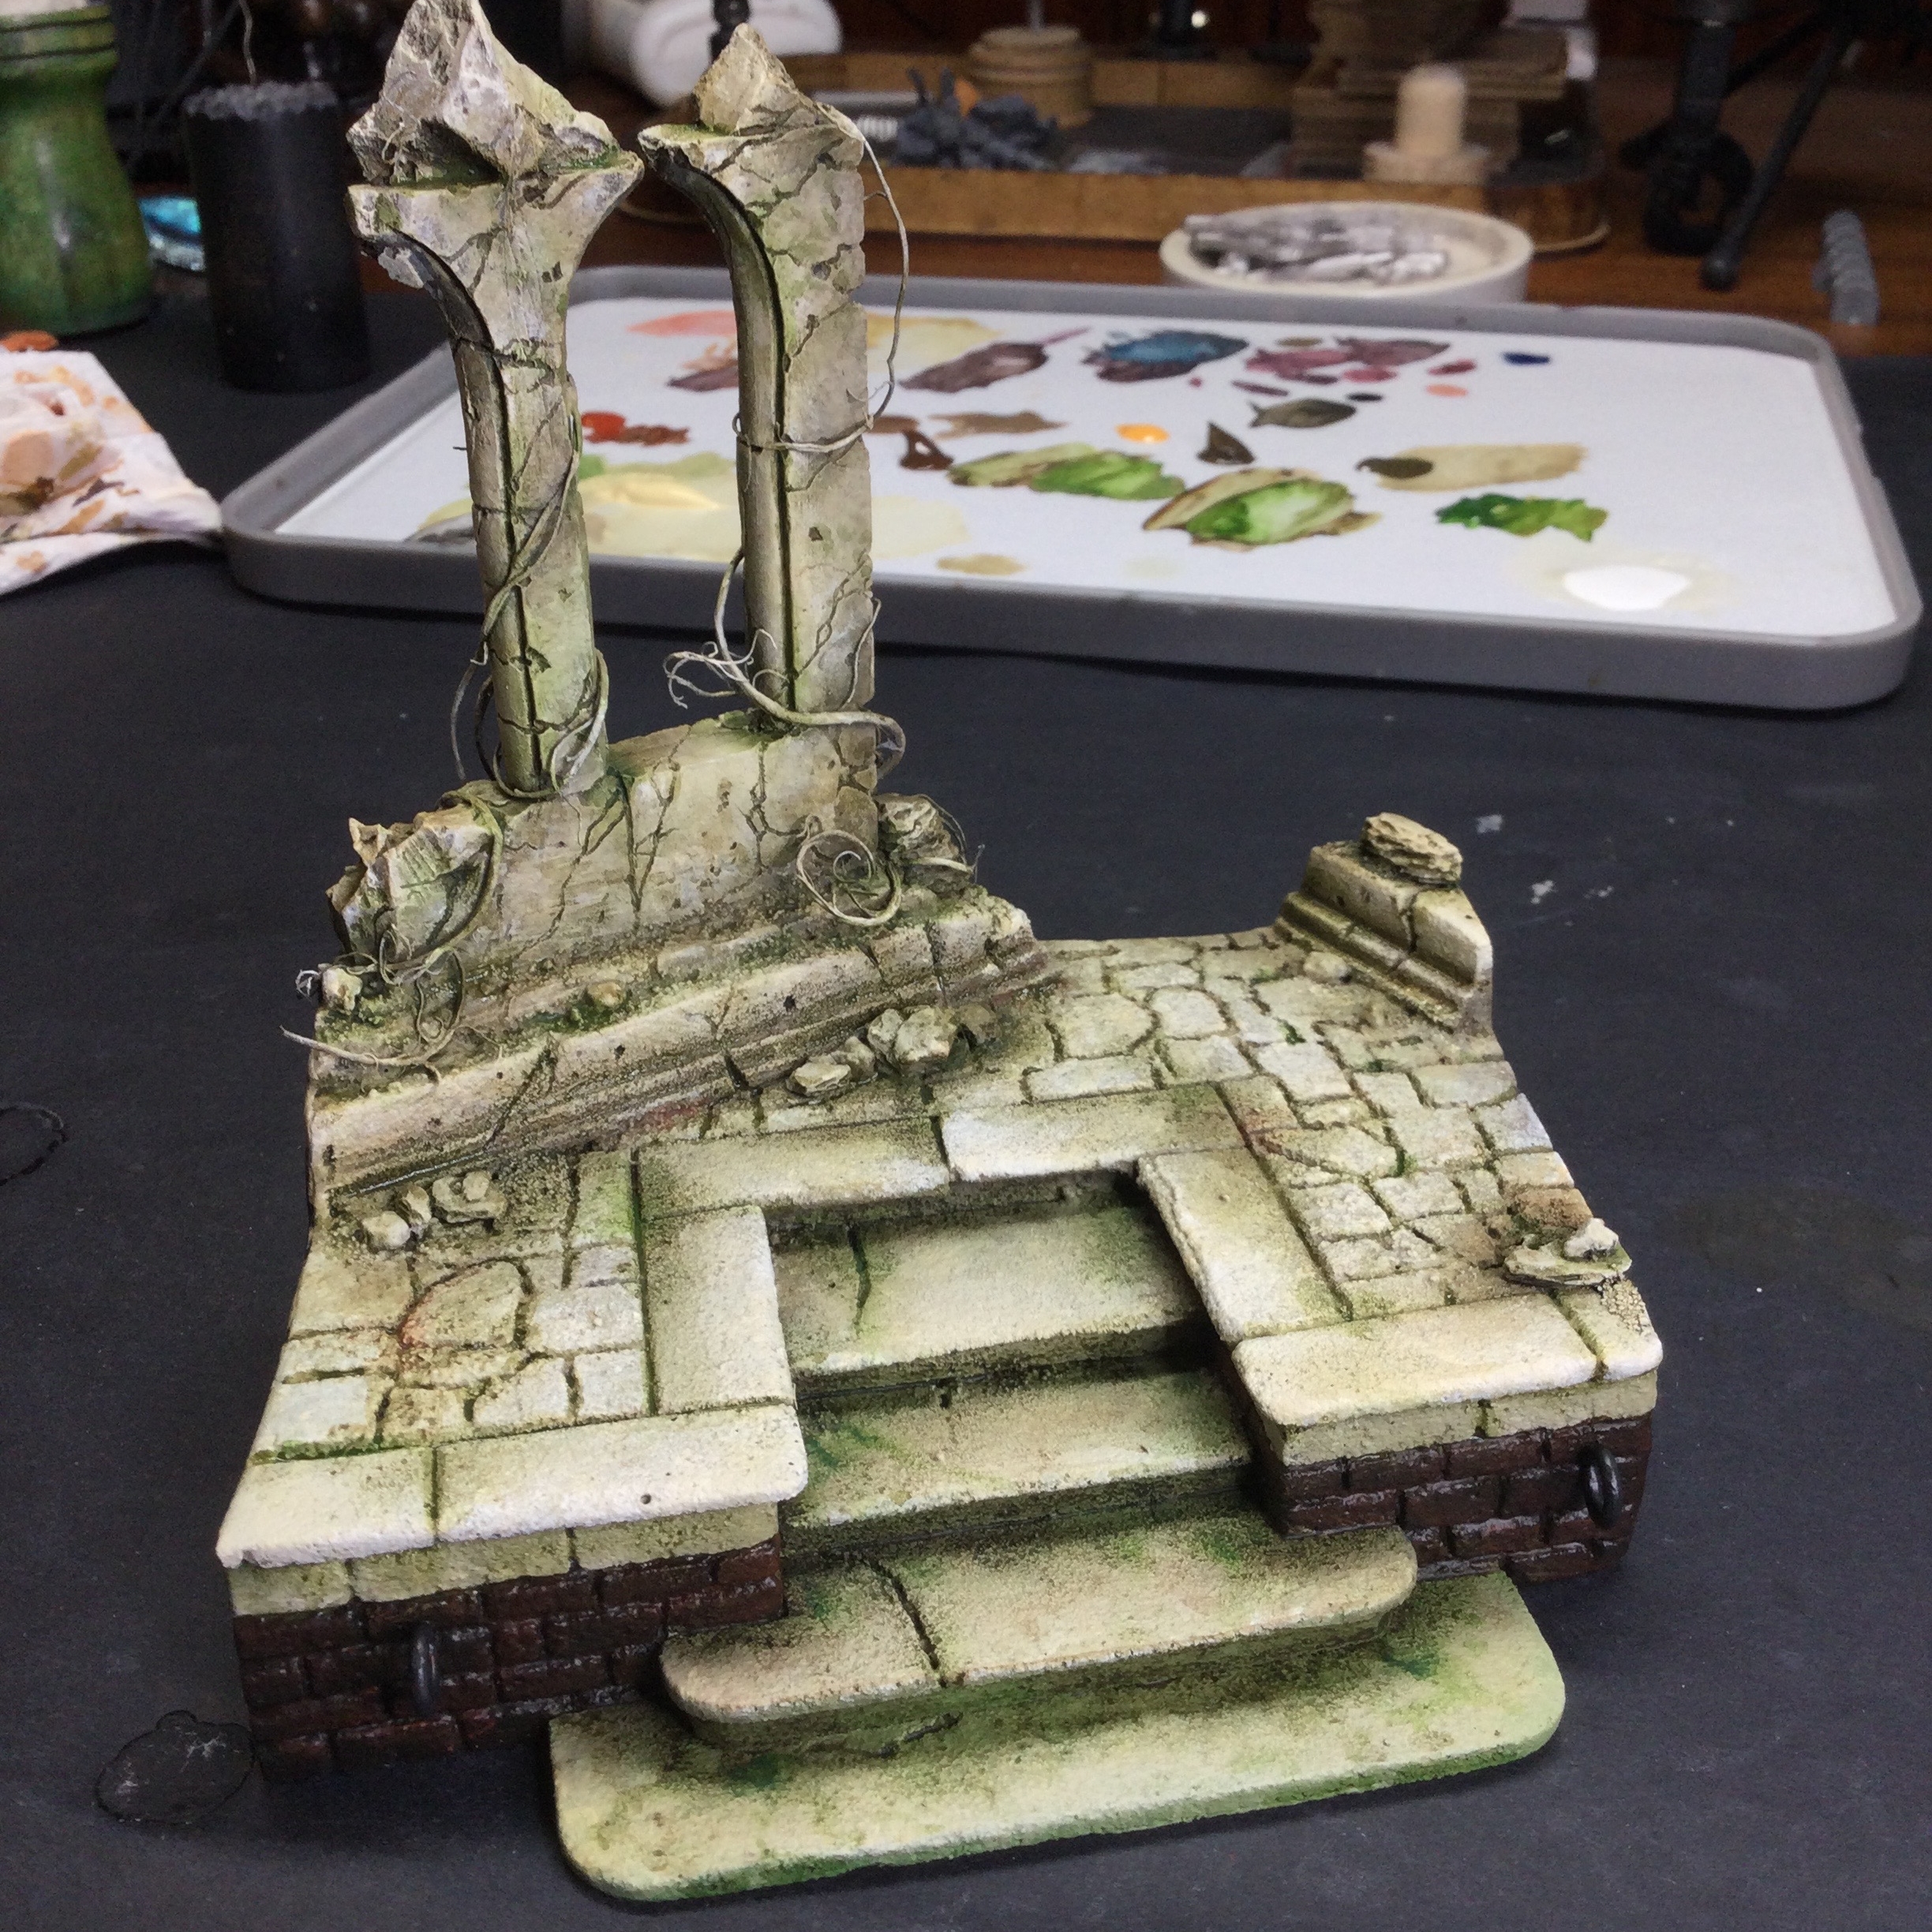
Then with thinned down browns and greens I added in some staining to the stone to show dirt, algae, lichens, mosses etc. Paying closer attention to the steps that would lead down to and be under the water line, I increased the green staining there, feathering out the strong filters.
For the brickwork, some of which would be under the waterline I started with a dark base and lightened it up to a pinkish terracotta hue and then added in some yellows to the beige/white stone for an extra layer of staining, age and interest
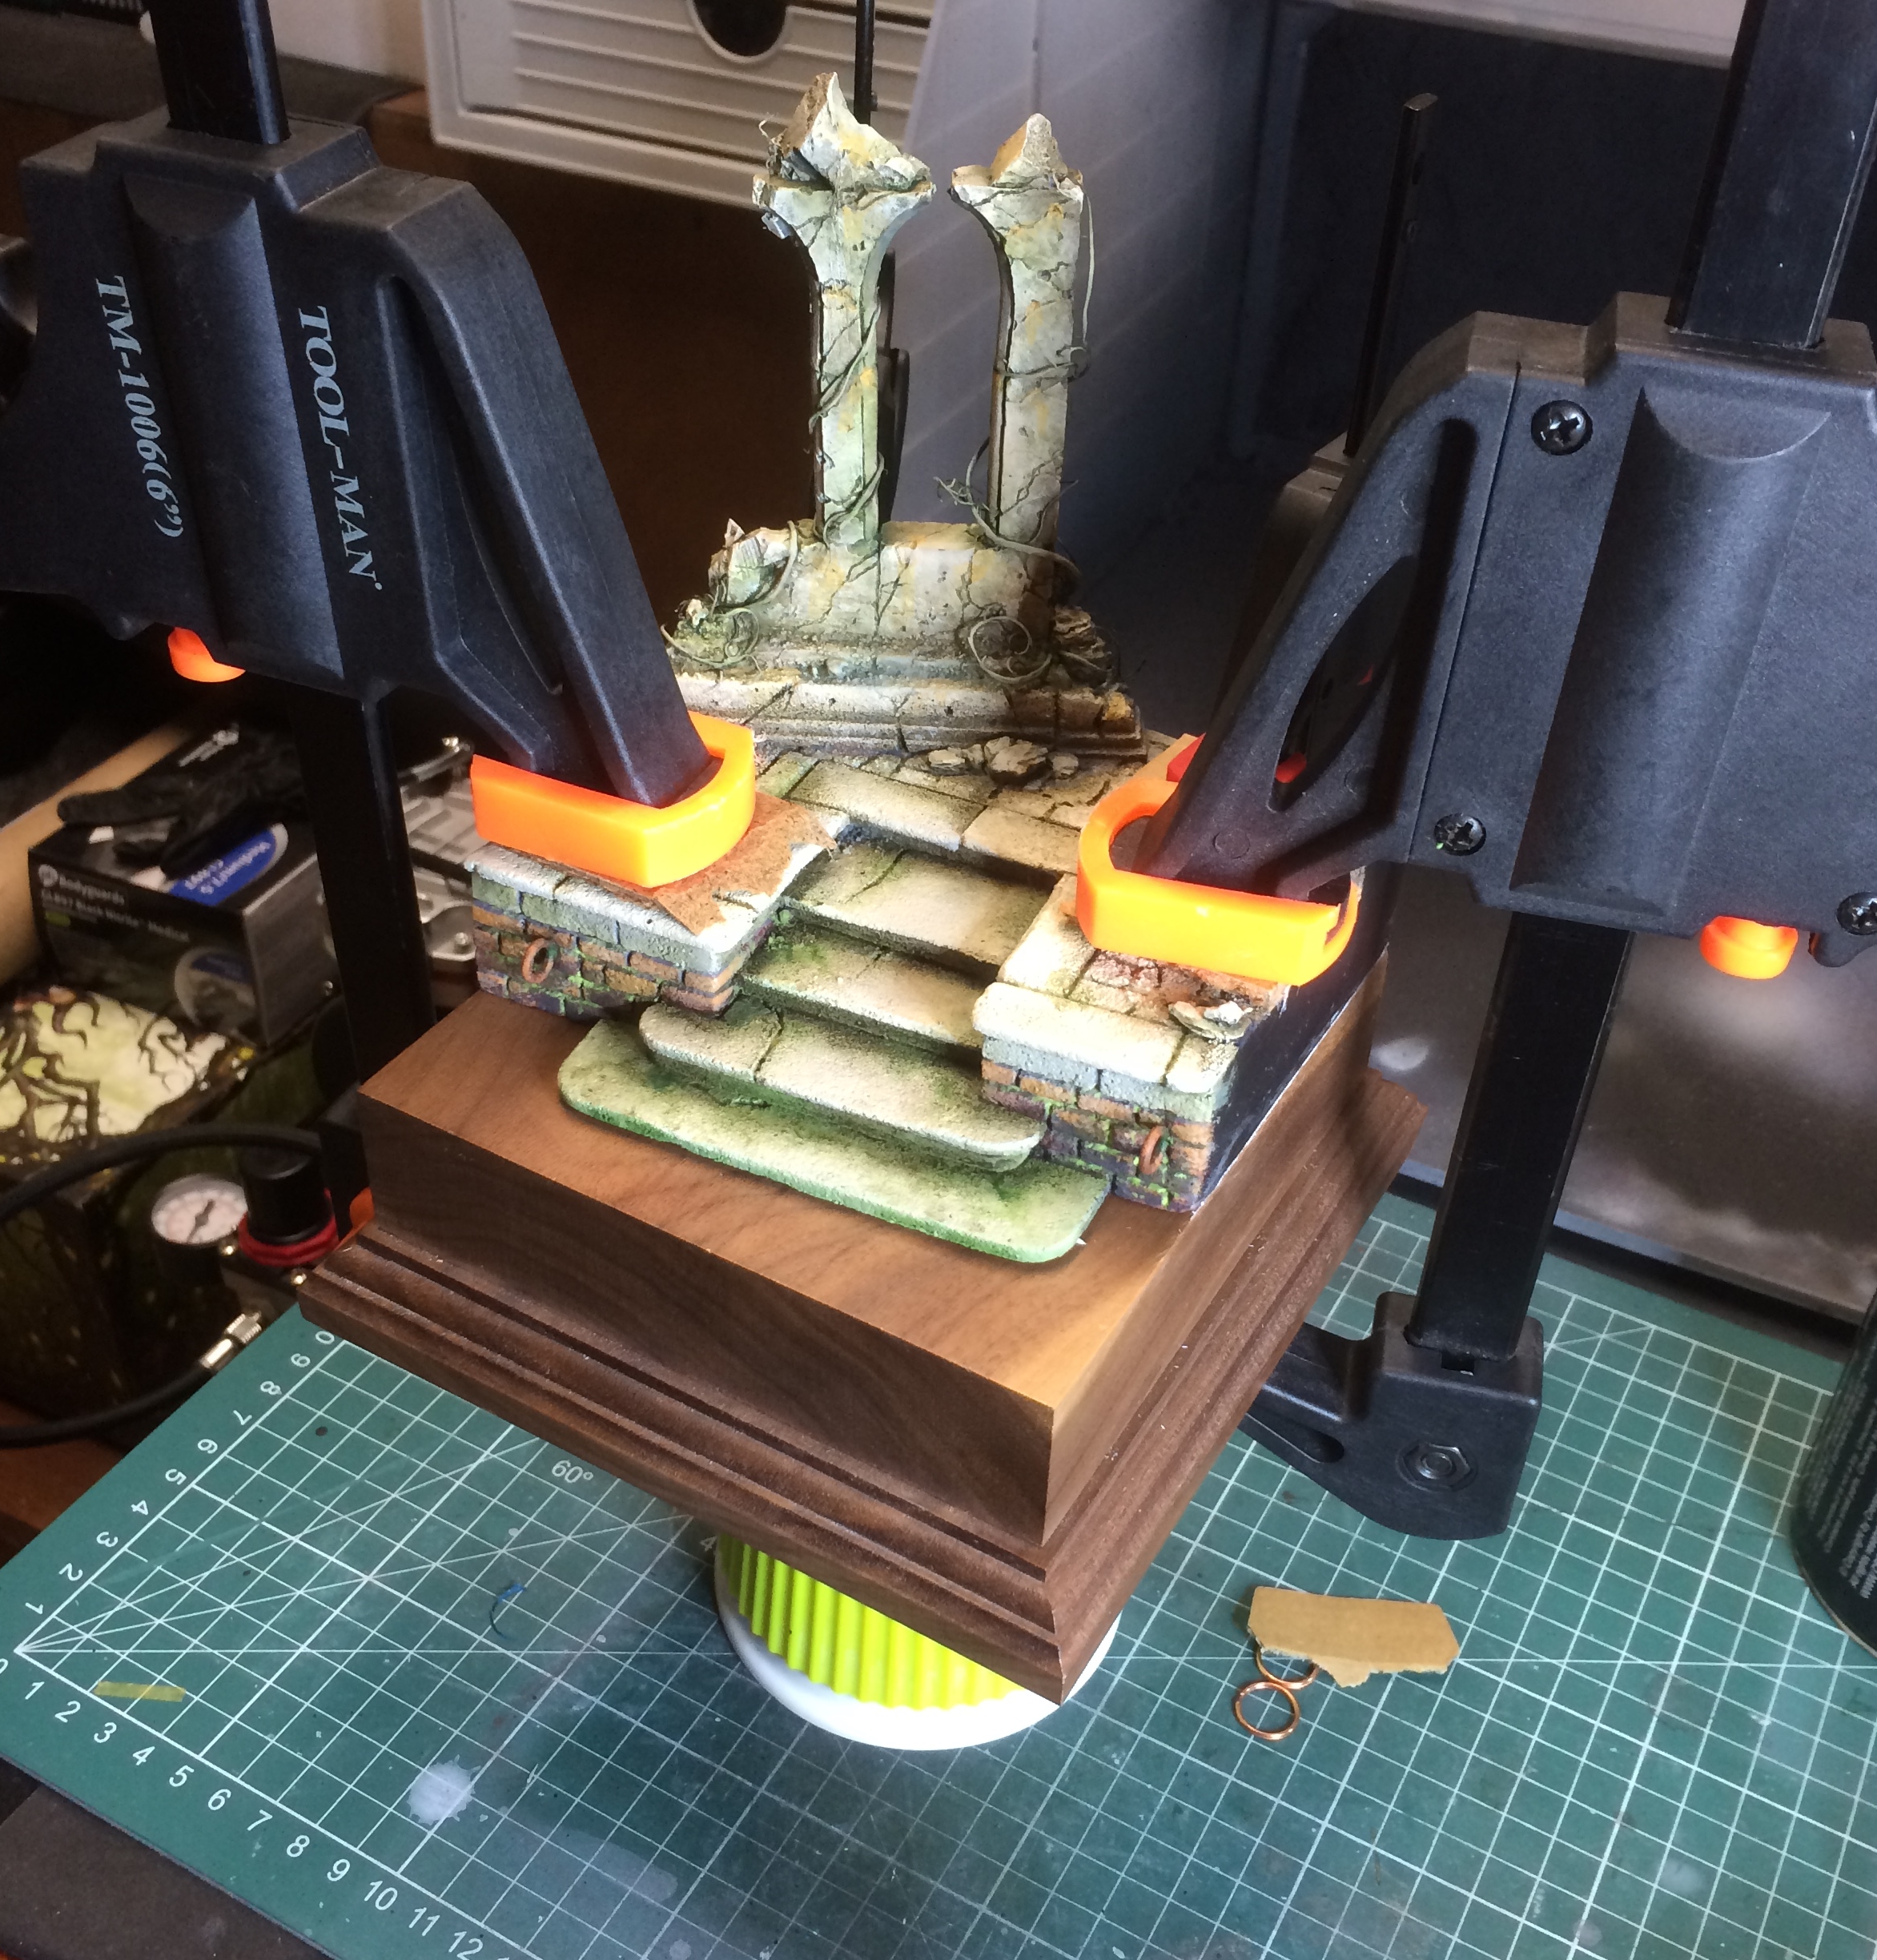 With the basic stone paintwork done on the base top it was time to affix it to the walnut plinth that I had had made for the piece by Richard over at Oakwood Studios (cannot rec/mnd his work enough). When the 'no more nails' had cured I sealed the front of the base where there would be a resin pour for the canal, with a line of UV cure resin
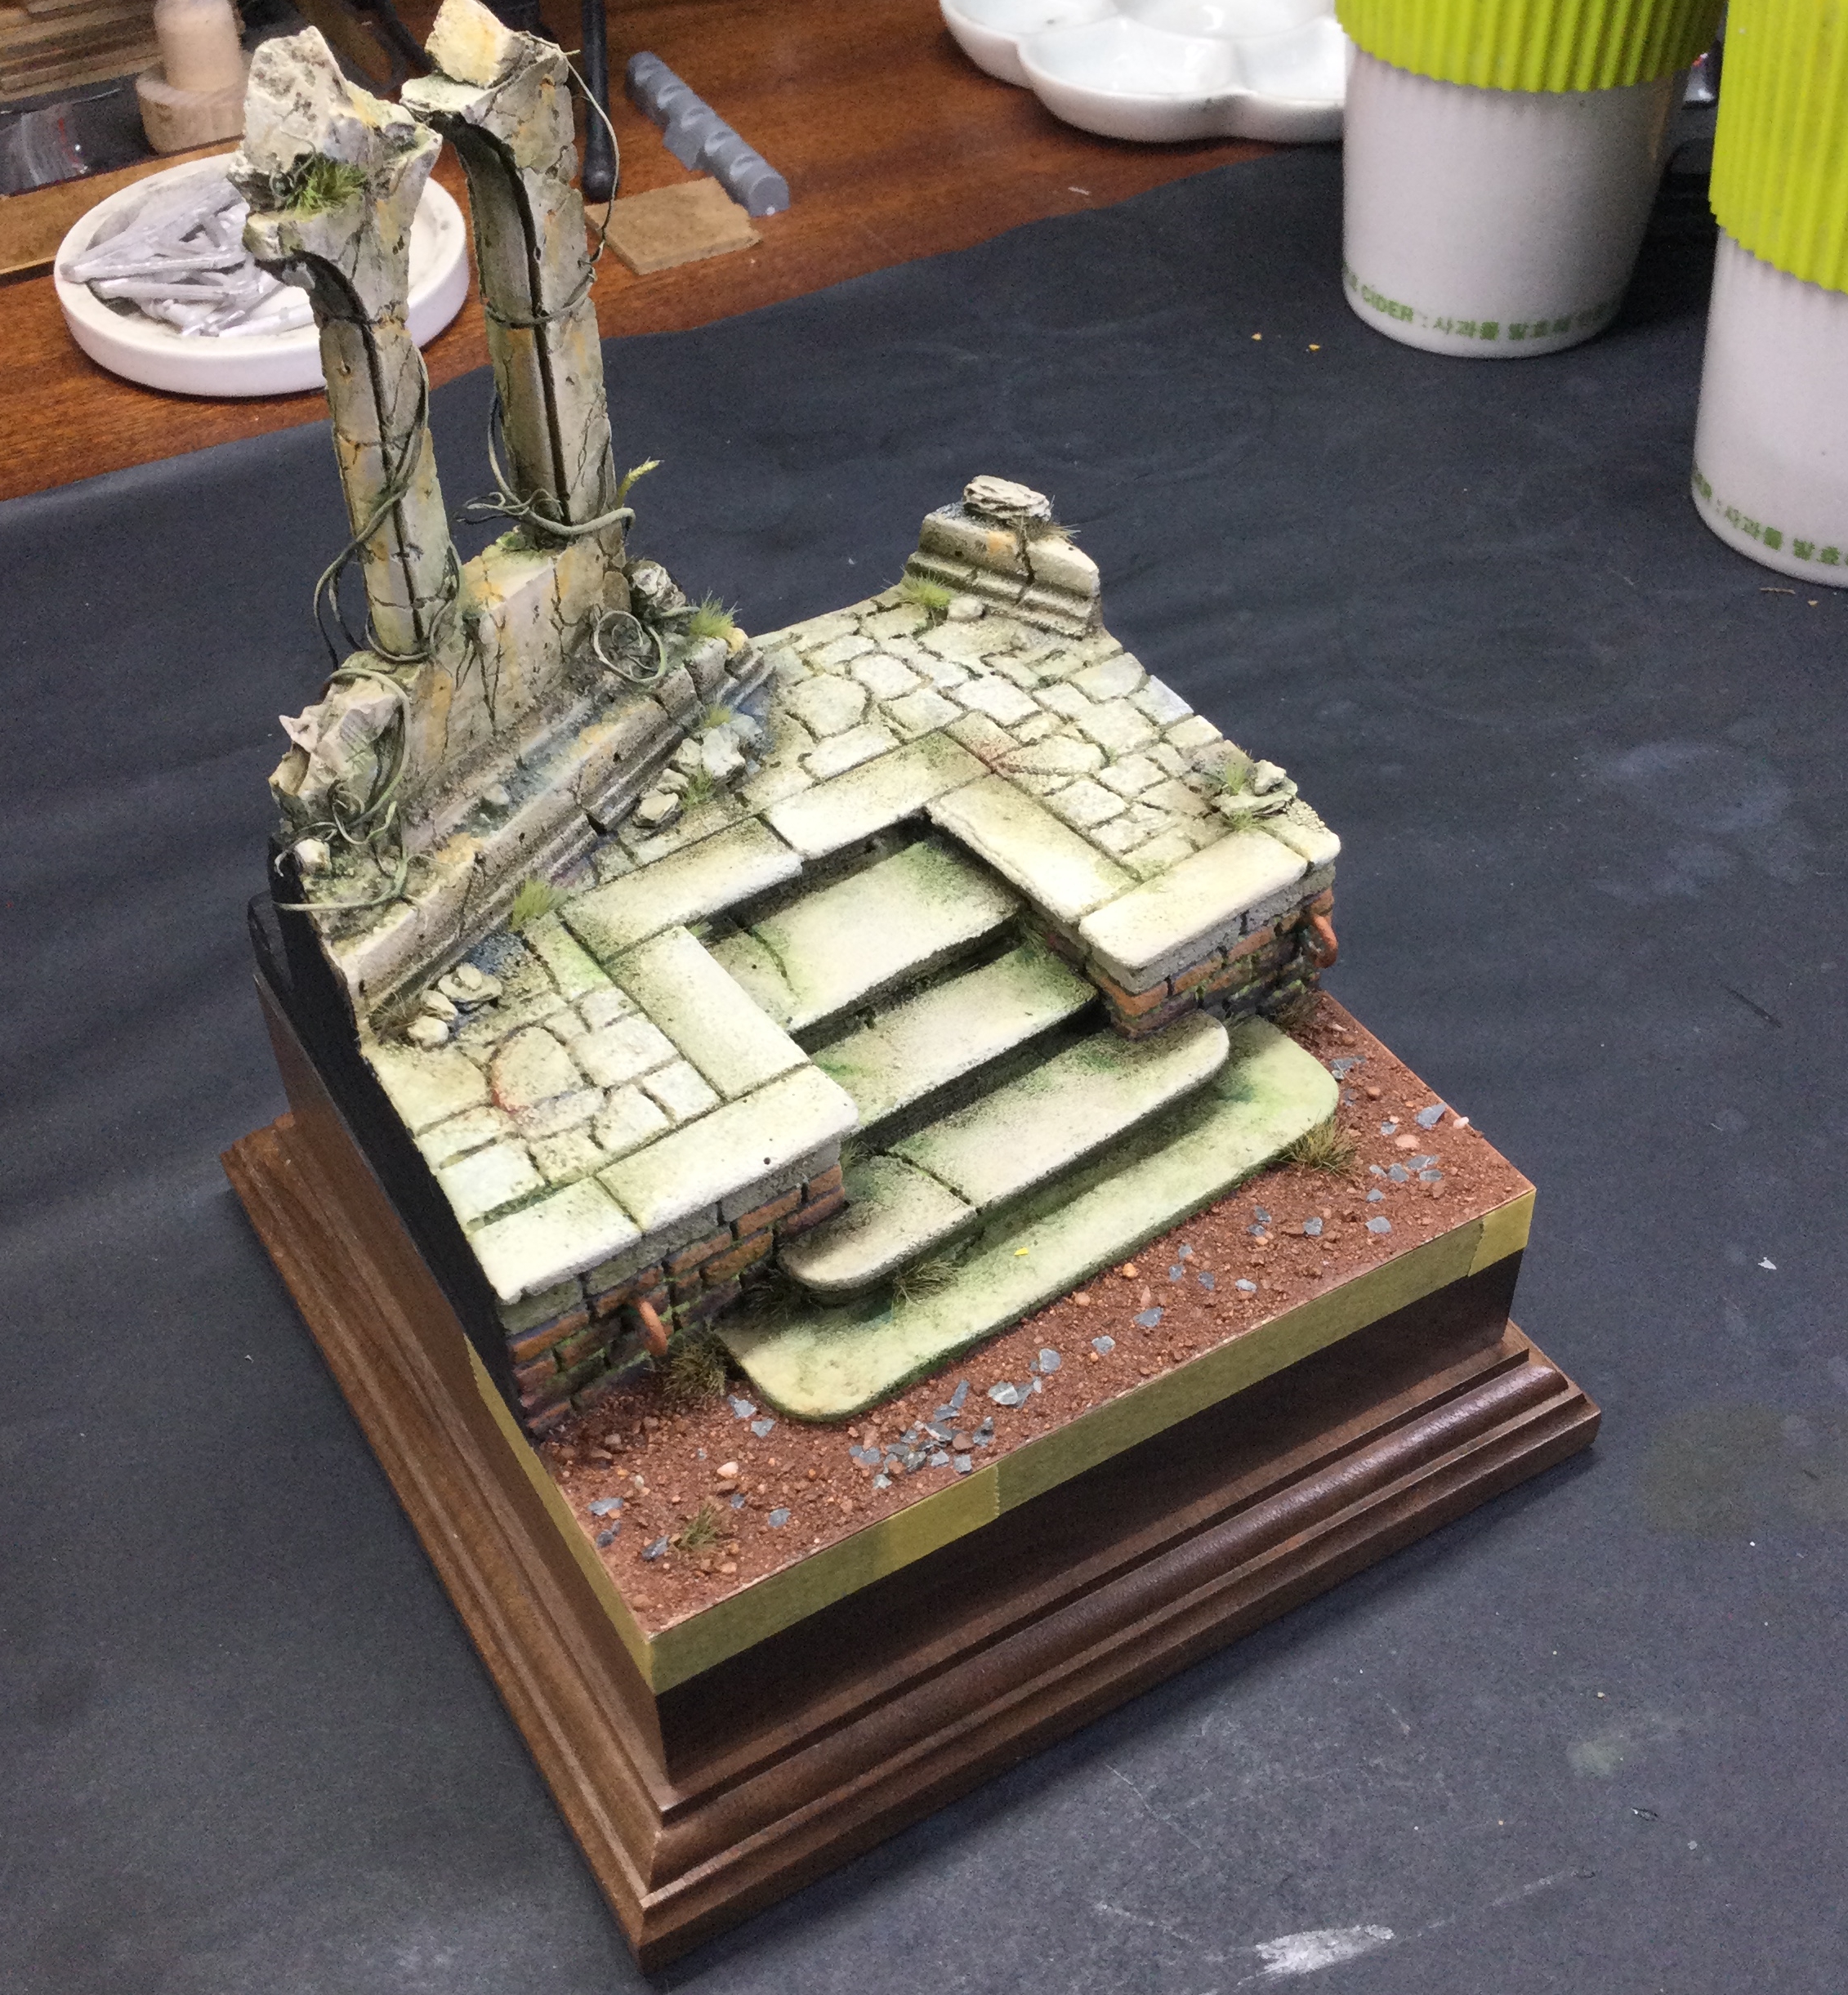
With the base top now fixed and sealed to the plinth, it was time to start adding in some detailing and elements. I darkened the bricks under the waterline, added in some grass tufts and weeds and then with thinned down wood glue (do NOT use PVA. It is crap and will reactivate when the resin is poured into canal leaving you with a ruined base under the resin water. PVA reactivates and turns back to white.) added the ‘silt’ for the canal bottom. A further coat of thinned down wood glue was added later on to seal the silt down.
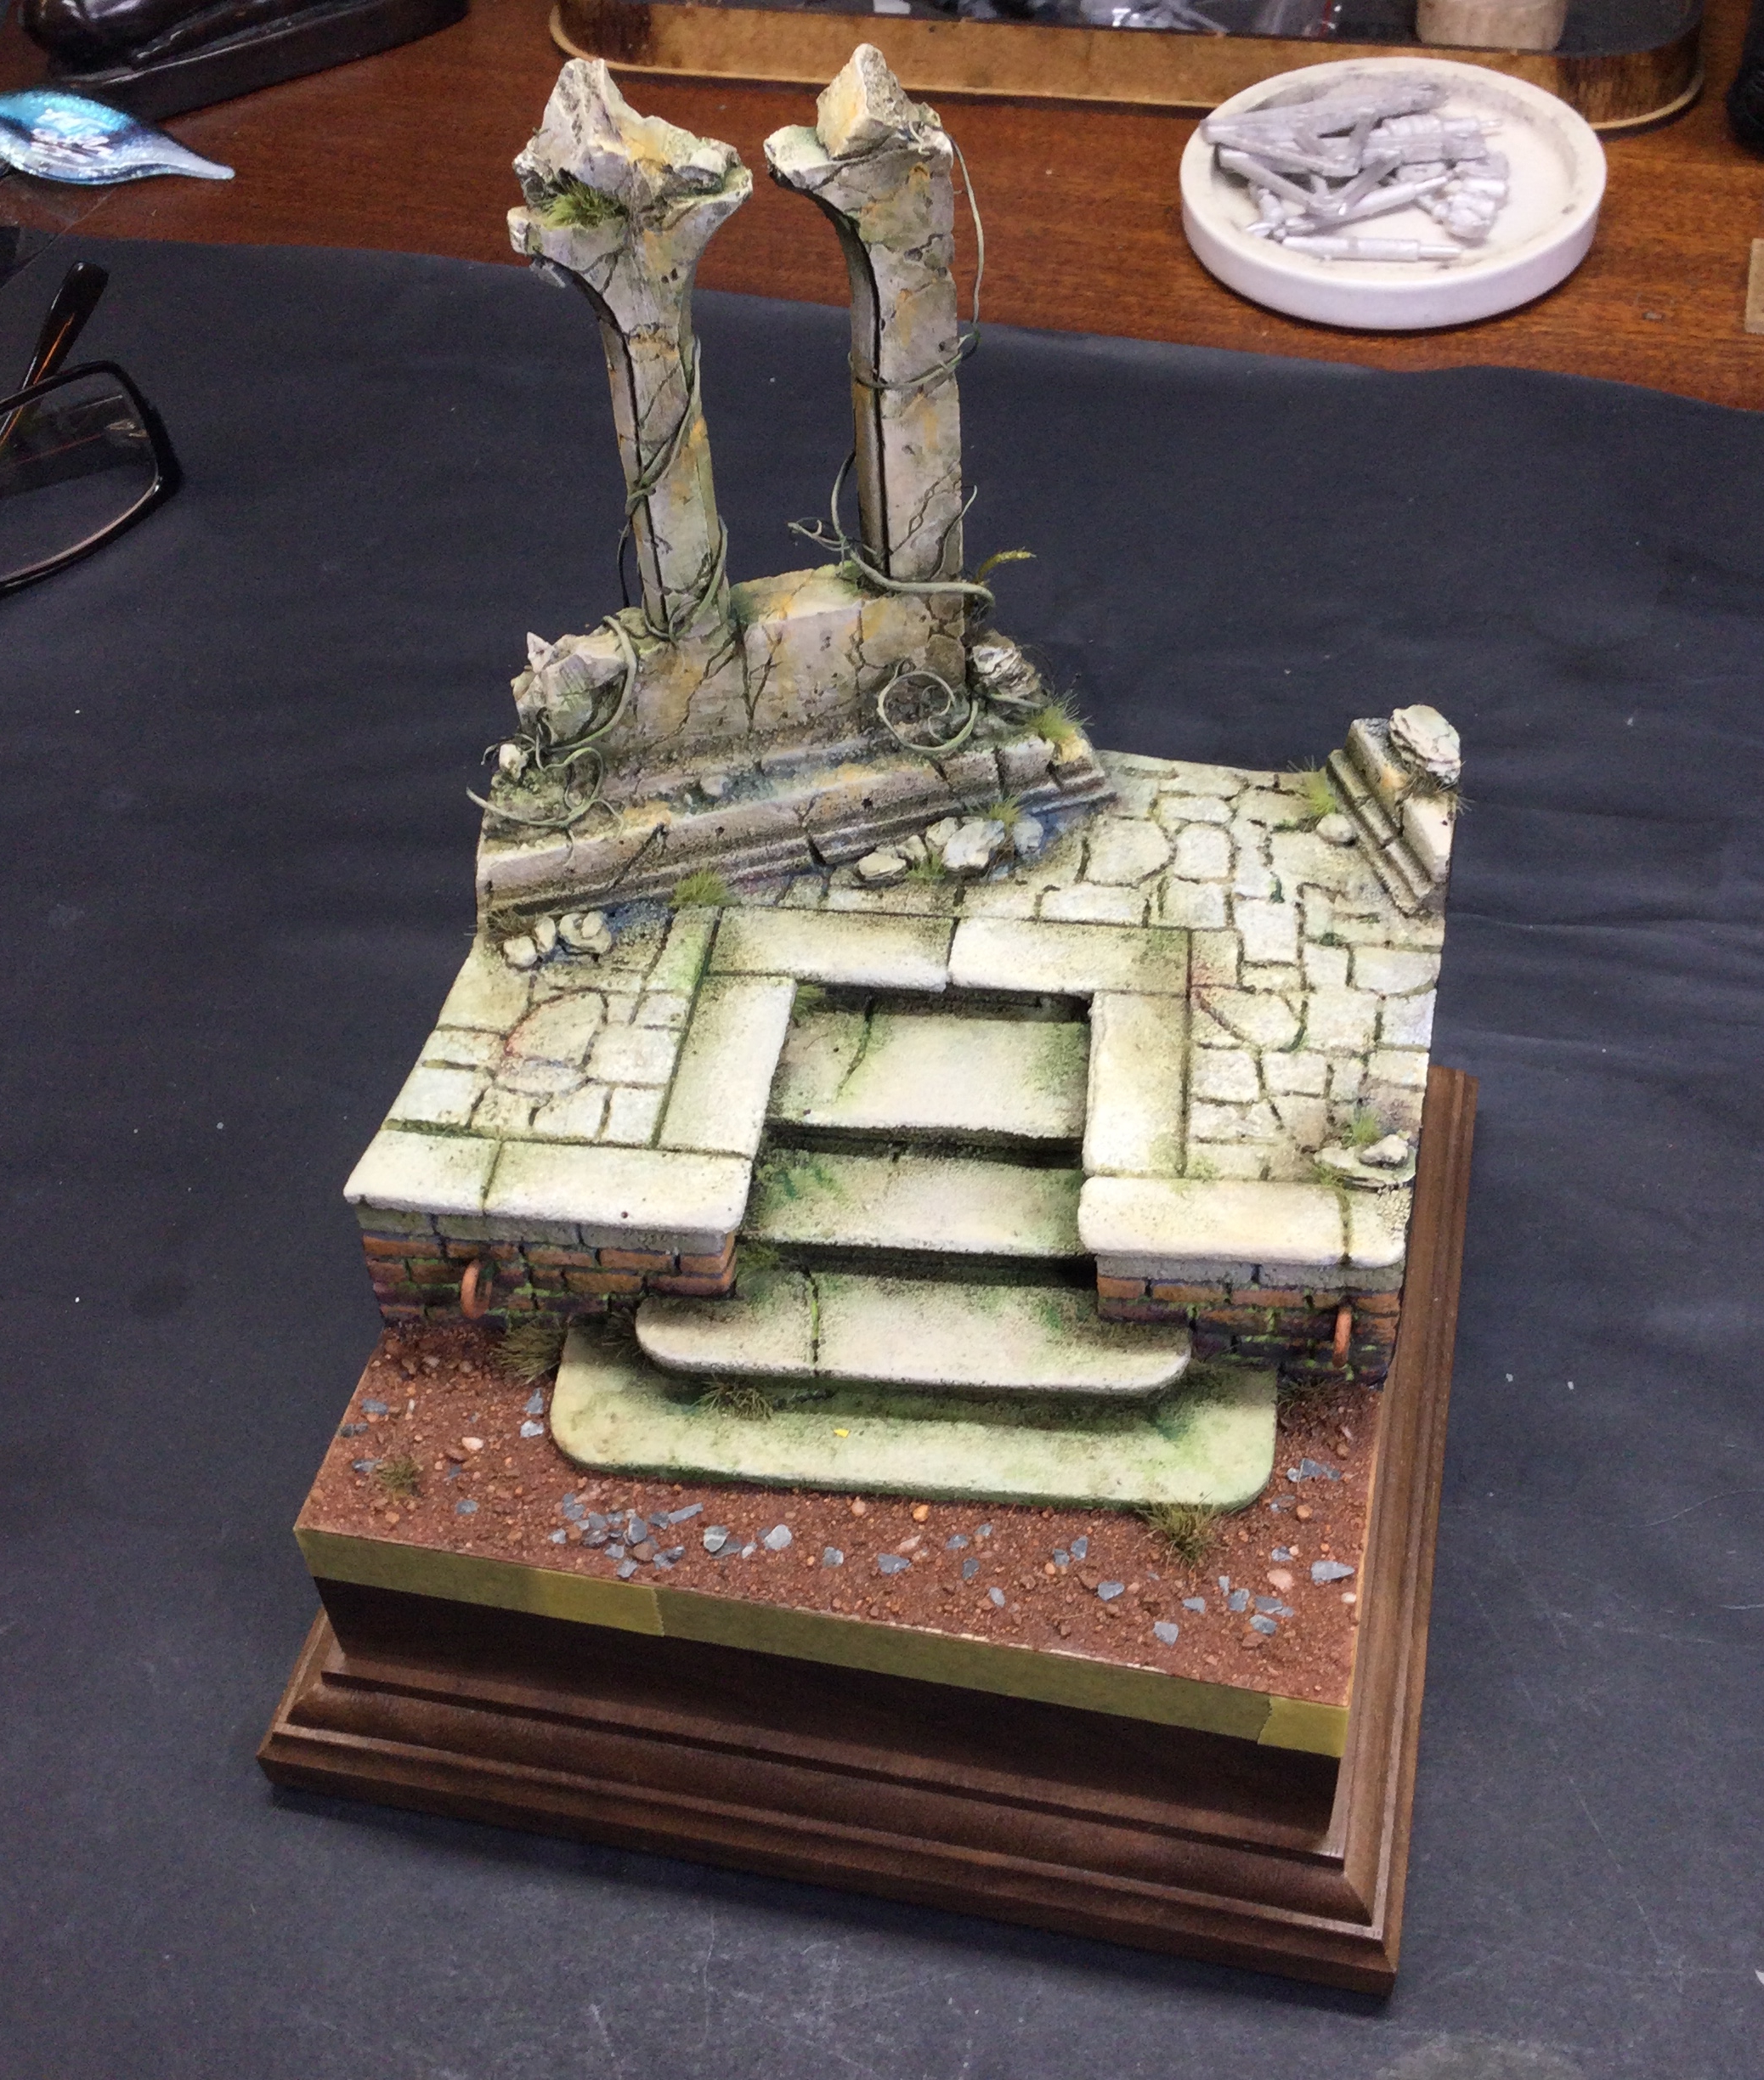
And this is where we are now!!!


Leave a Reply