


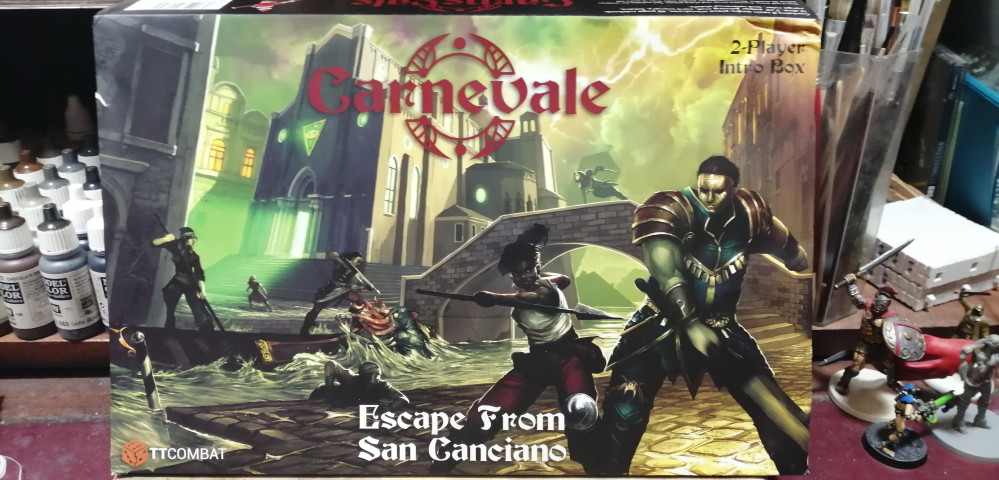
Carnevale - Escape from San Canciano


The buildings
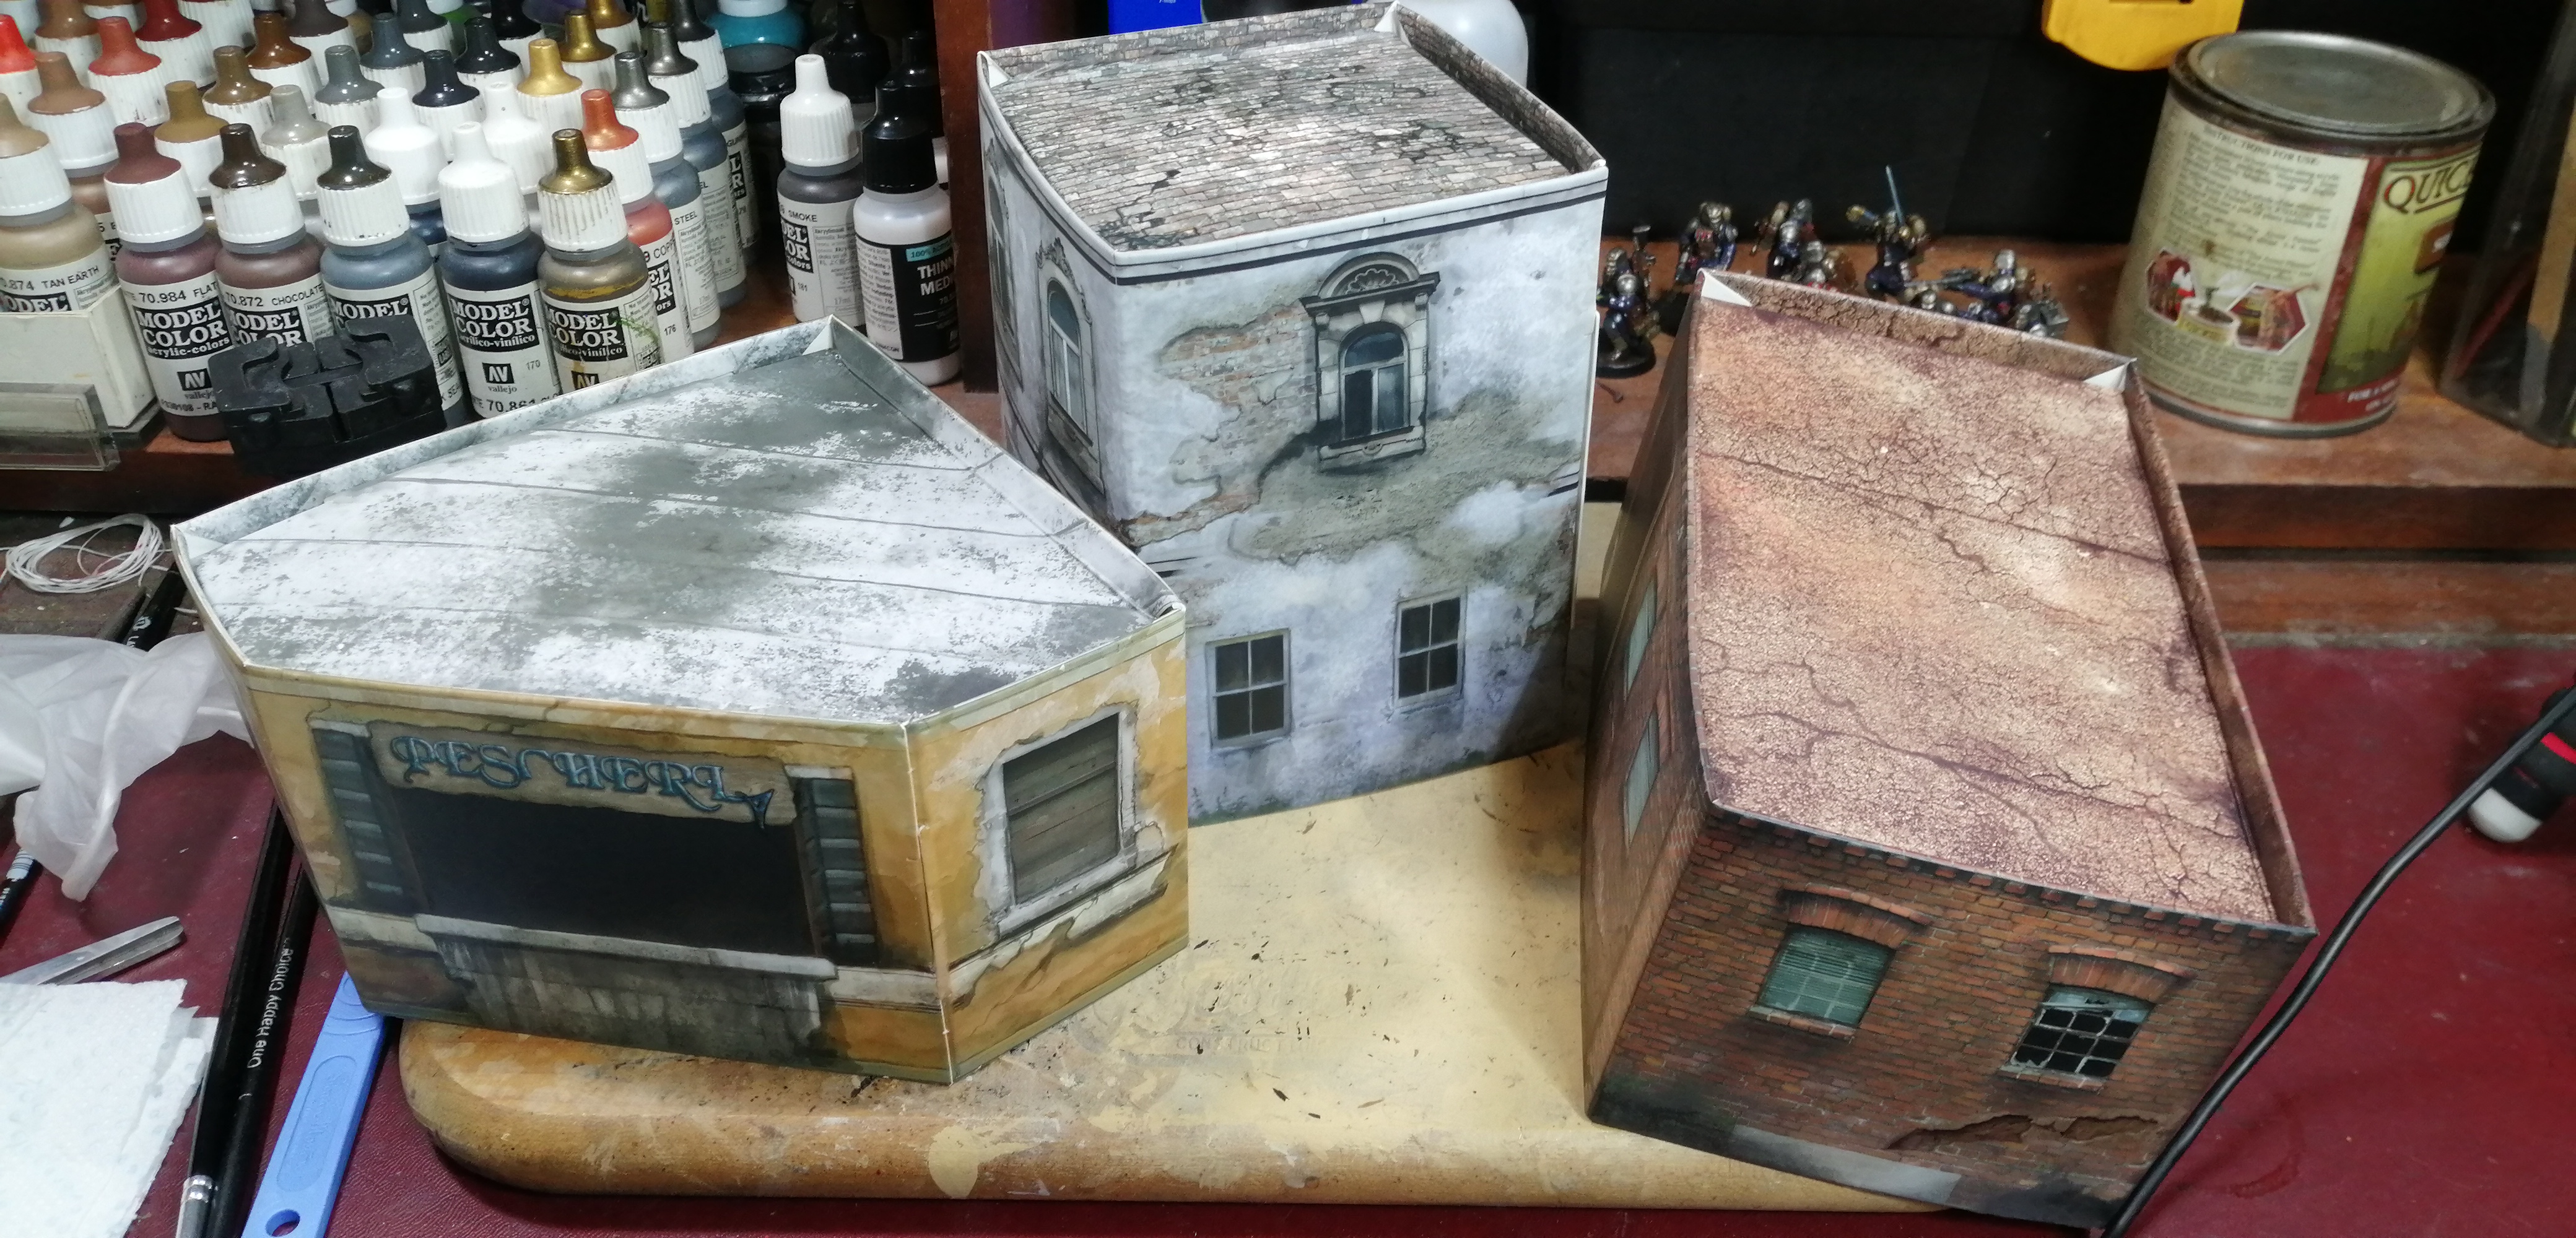
We are on the home stretch now and almost ready to get the game to the table.
The last job is to assemble the 3 cardboard buildings that come in the starter set.
There aren’t any instructions in the box so I’m going to give a brief step by step here as by the third building I realised that things could go a lot more smoothly if things were done in a particular way.
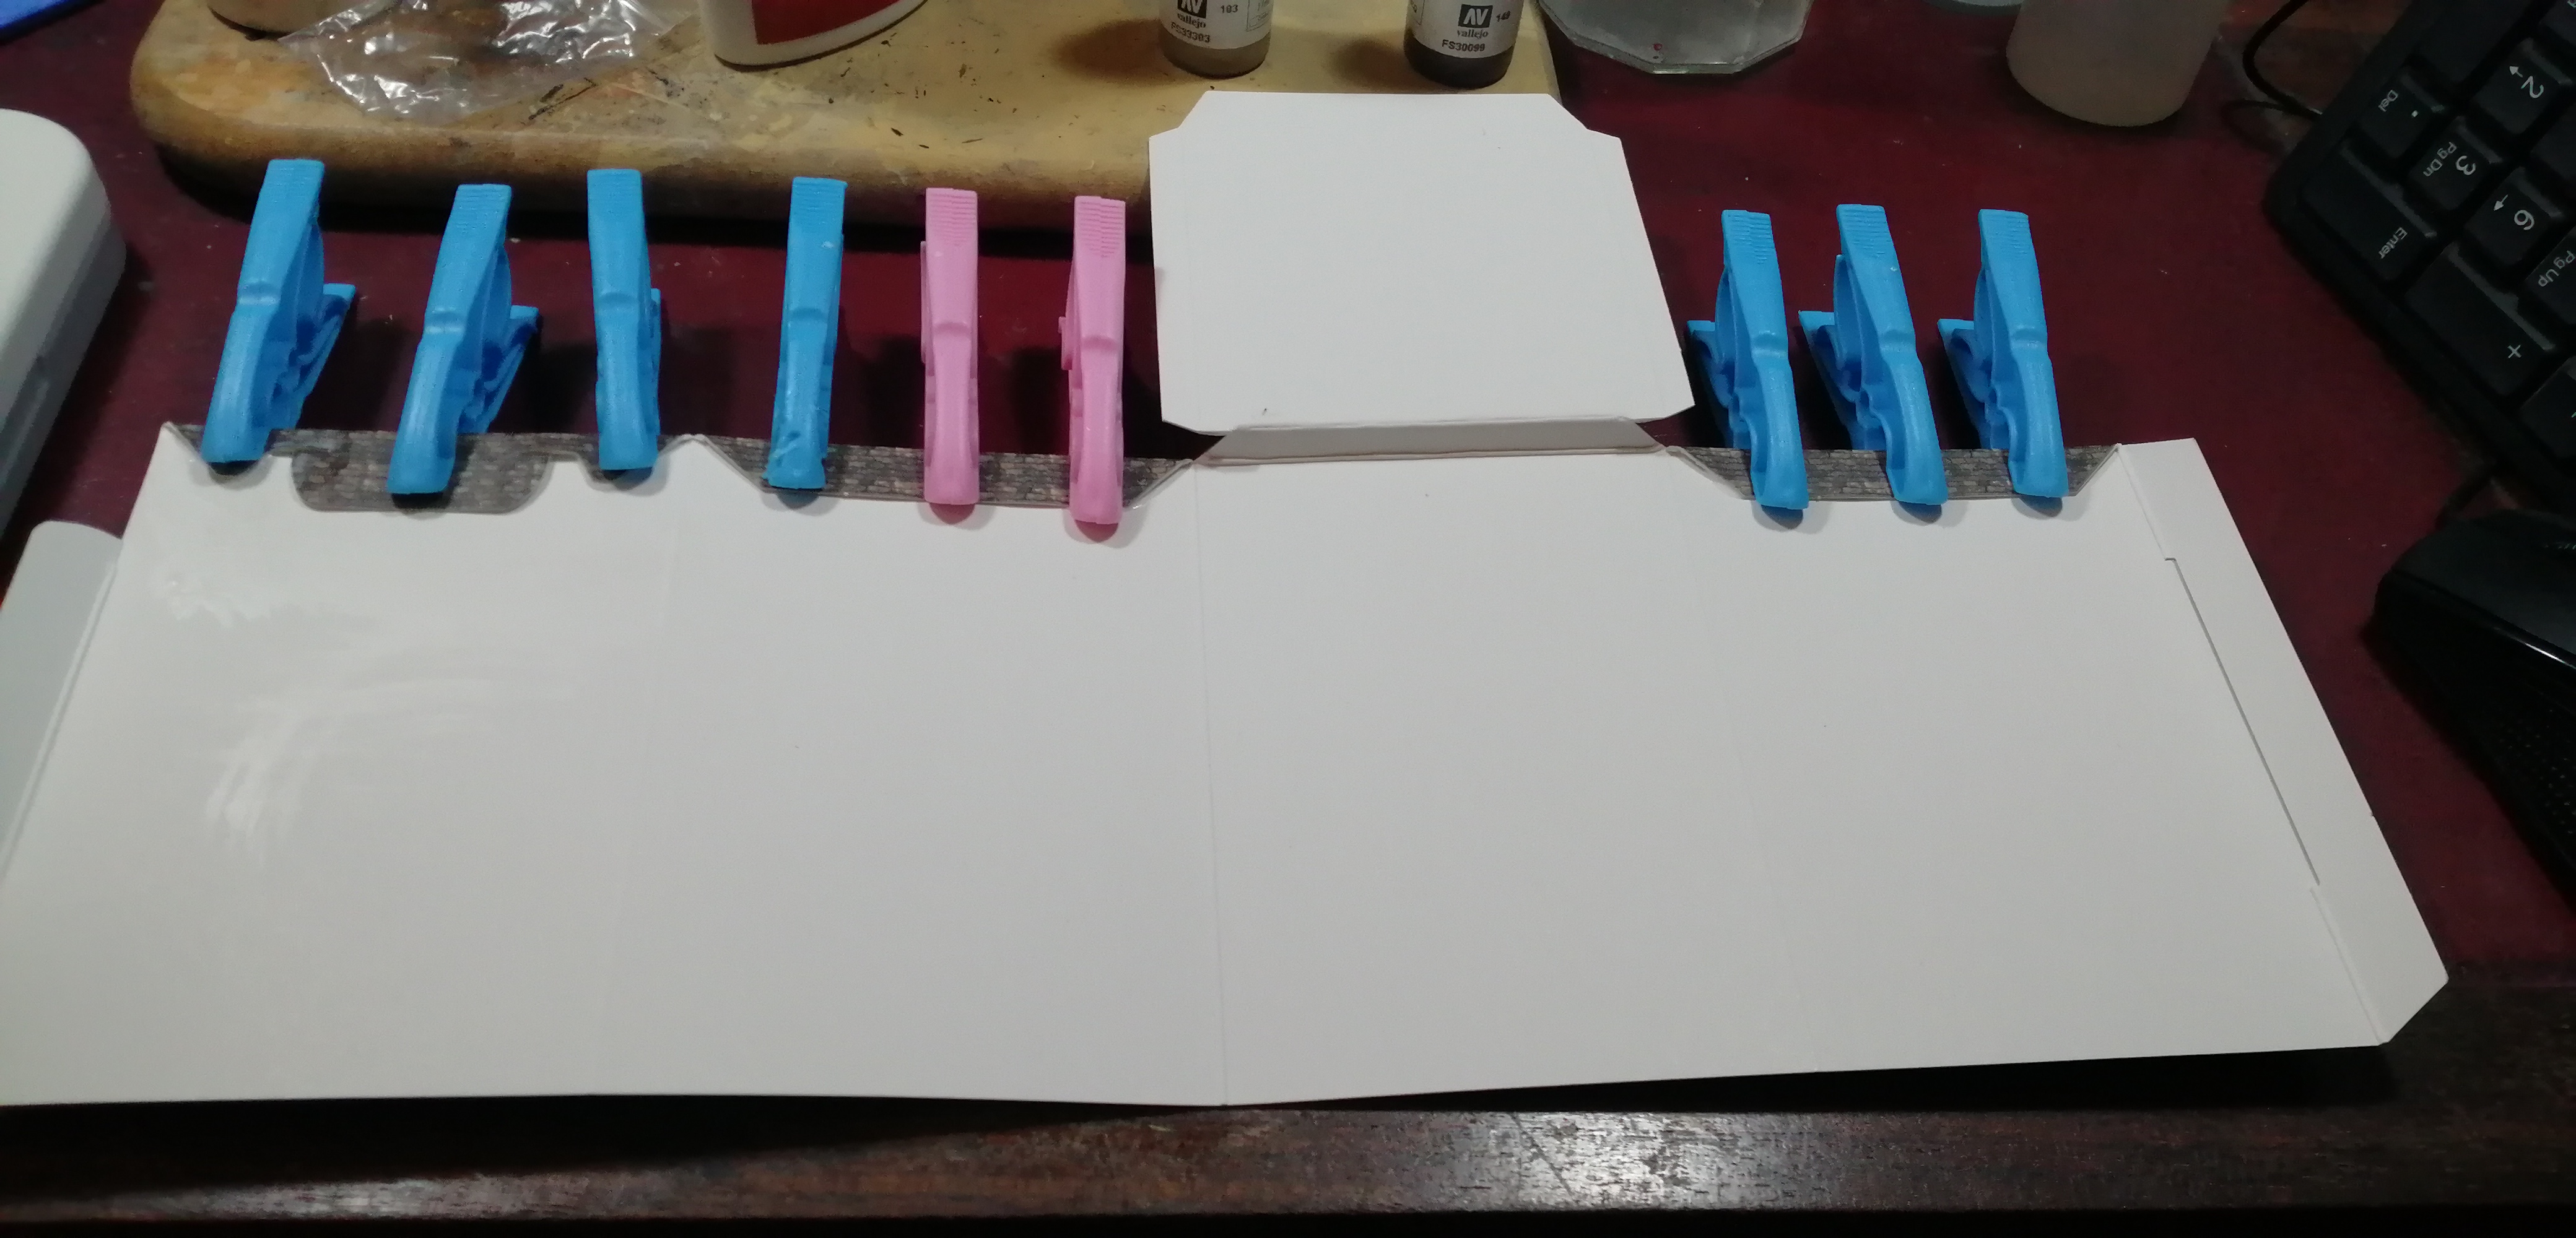
If like me you are using a PVA glue with a prolonged drying time clothes pegs will come in very handy.

Start by creasing all of the fold lines in the flattened building. Fold all of the flaps down and pressing them against a desk or table run the back of a finger nail or something similarly smooth but hard along the crease to make the card stay folded when you release it.
Repeat this with all of the corners between the walls and the fold between the roof and its attached wall.
If you don’t do this the card can crease along lines you don’t want later as start folding the building up.
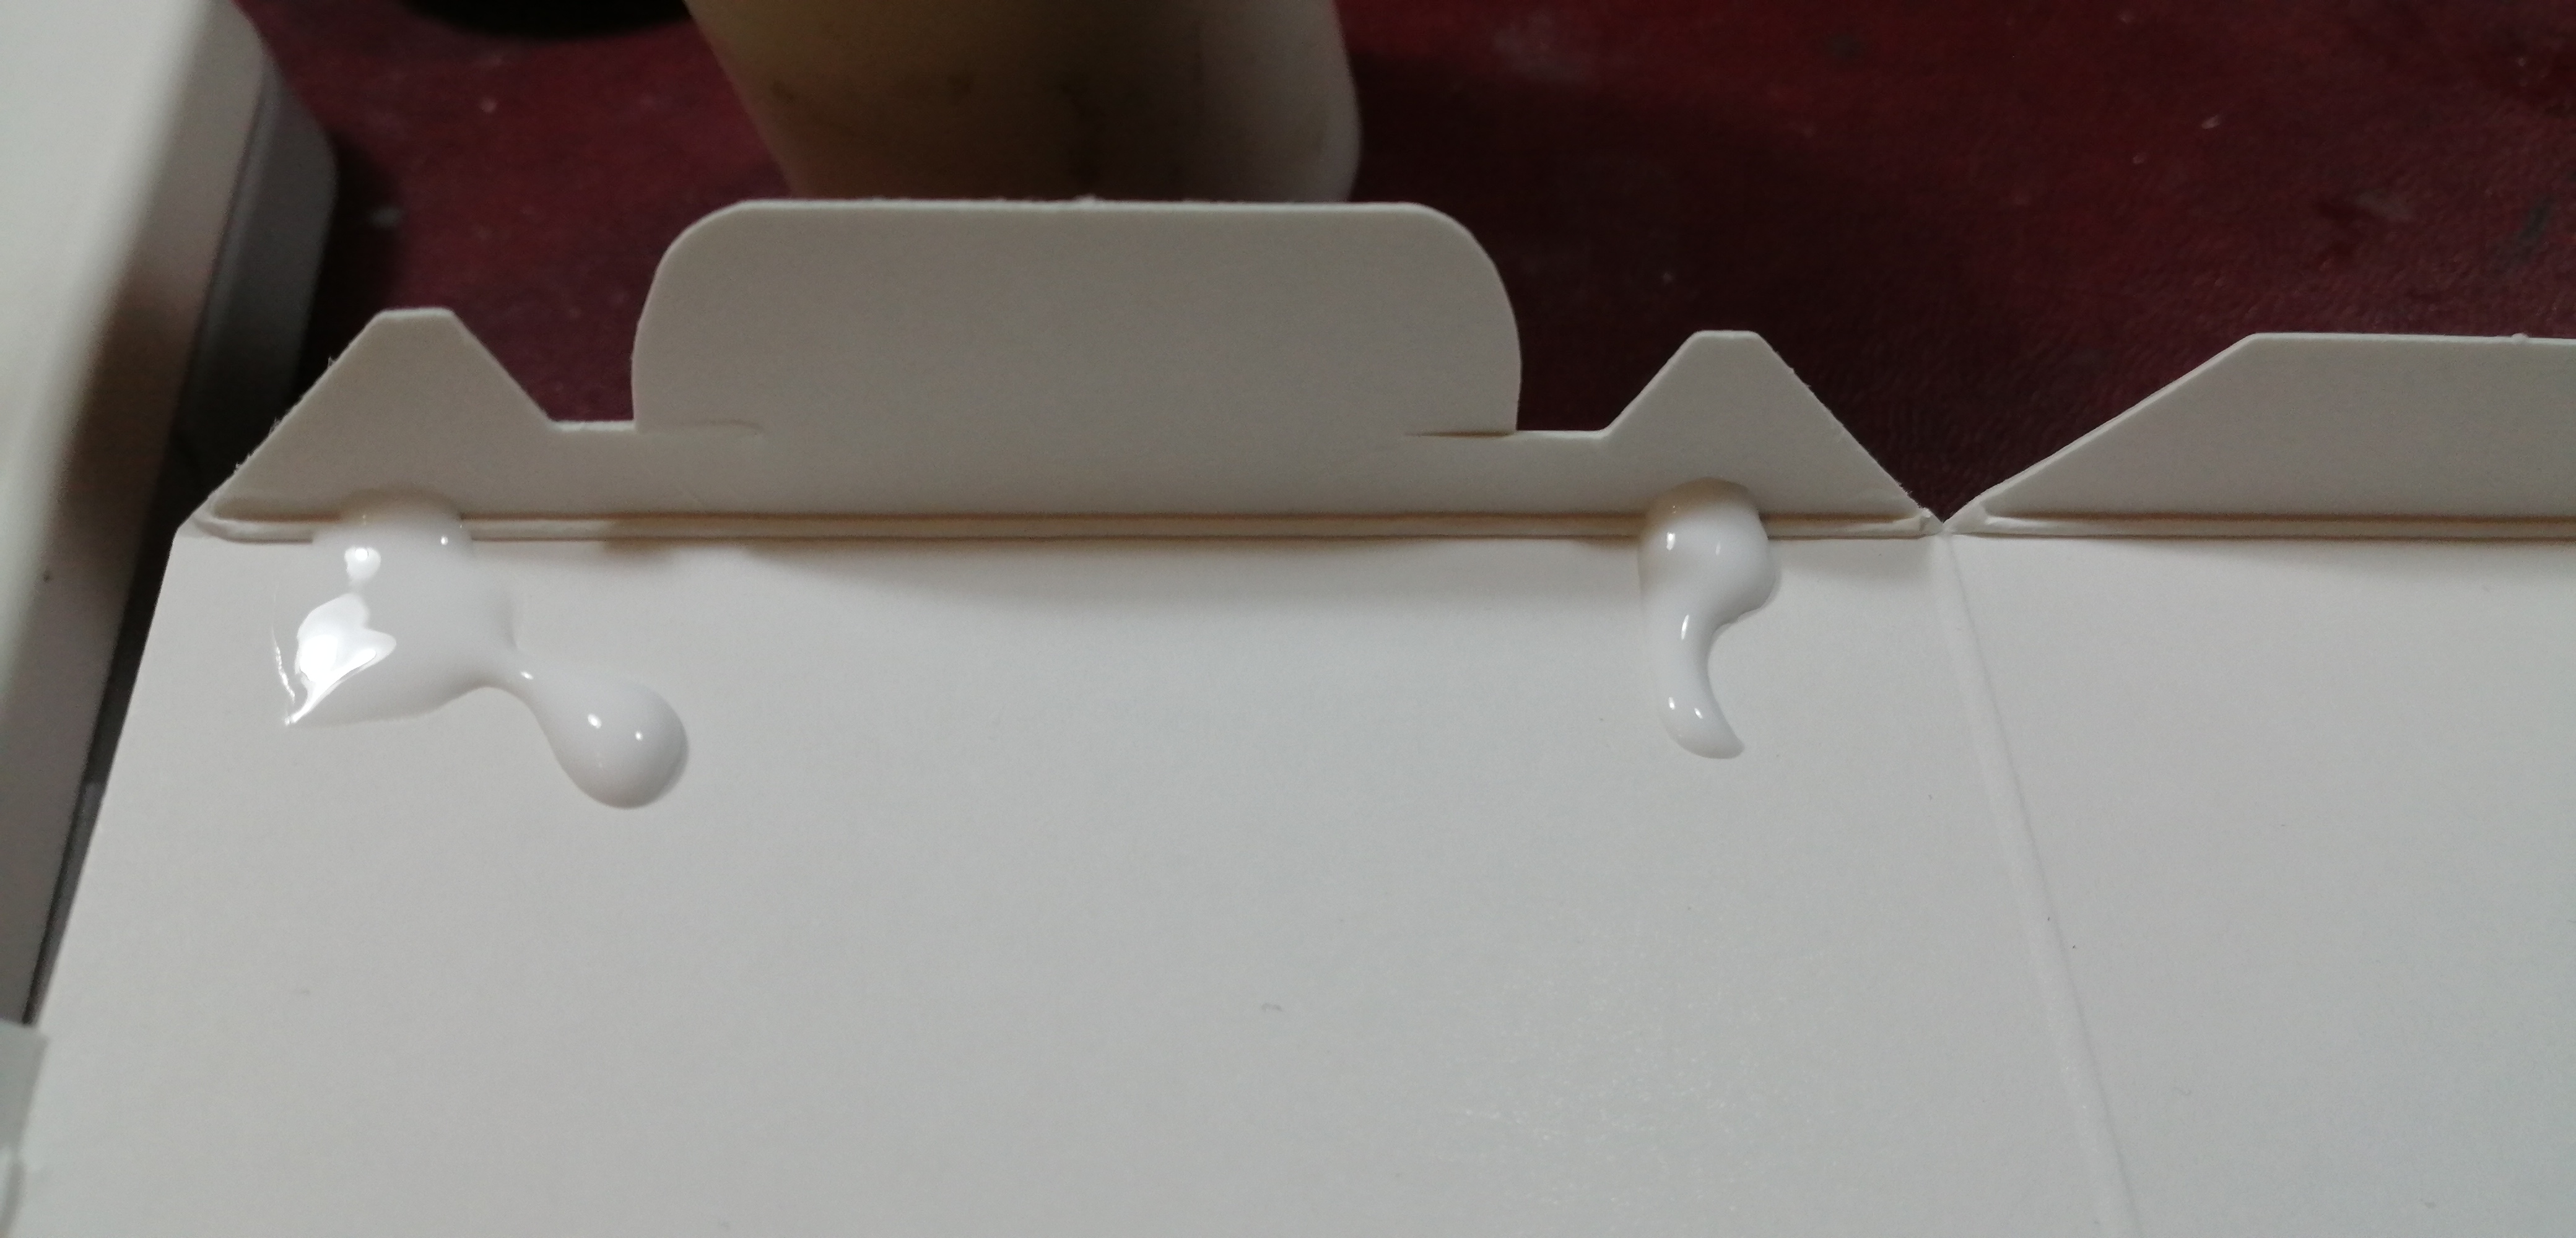
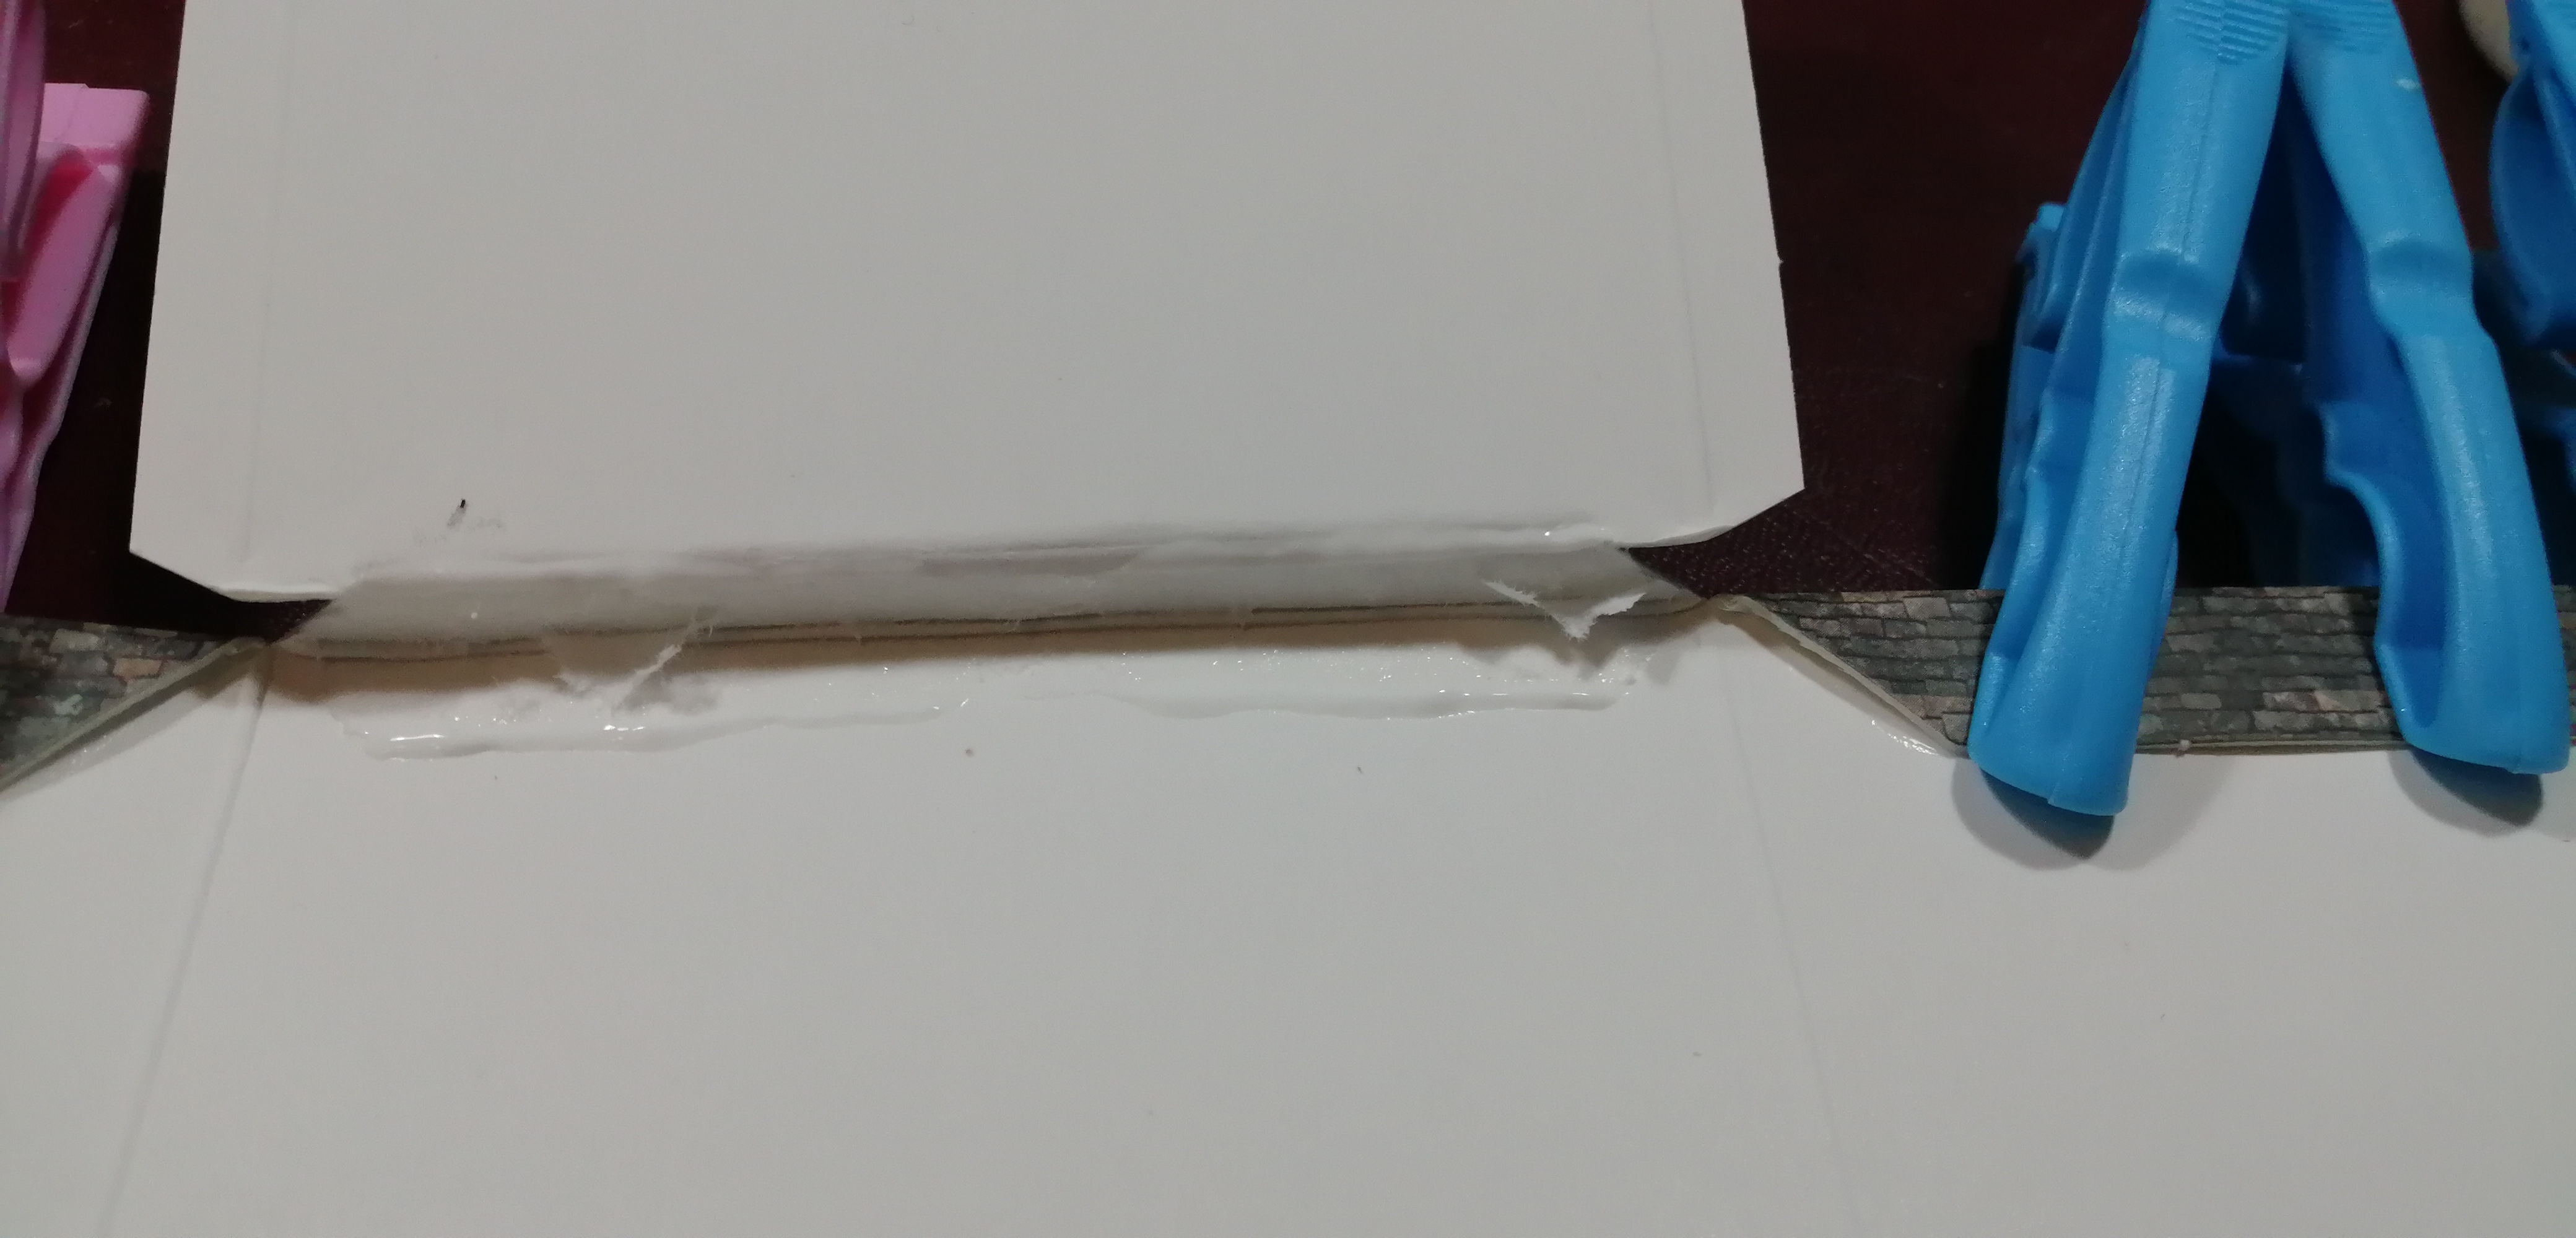
Each building has one or more of these special tabs that have notches in them. We need to glue then of the tab down to the wall it is attached to but leave the middle section without glue.
The remaining small flaps should be glued down along their whole length and stuck down to their attached wall.

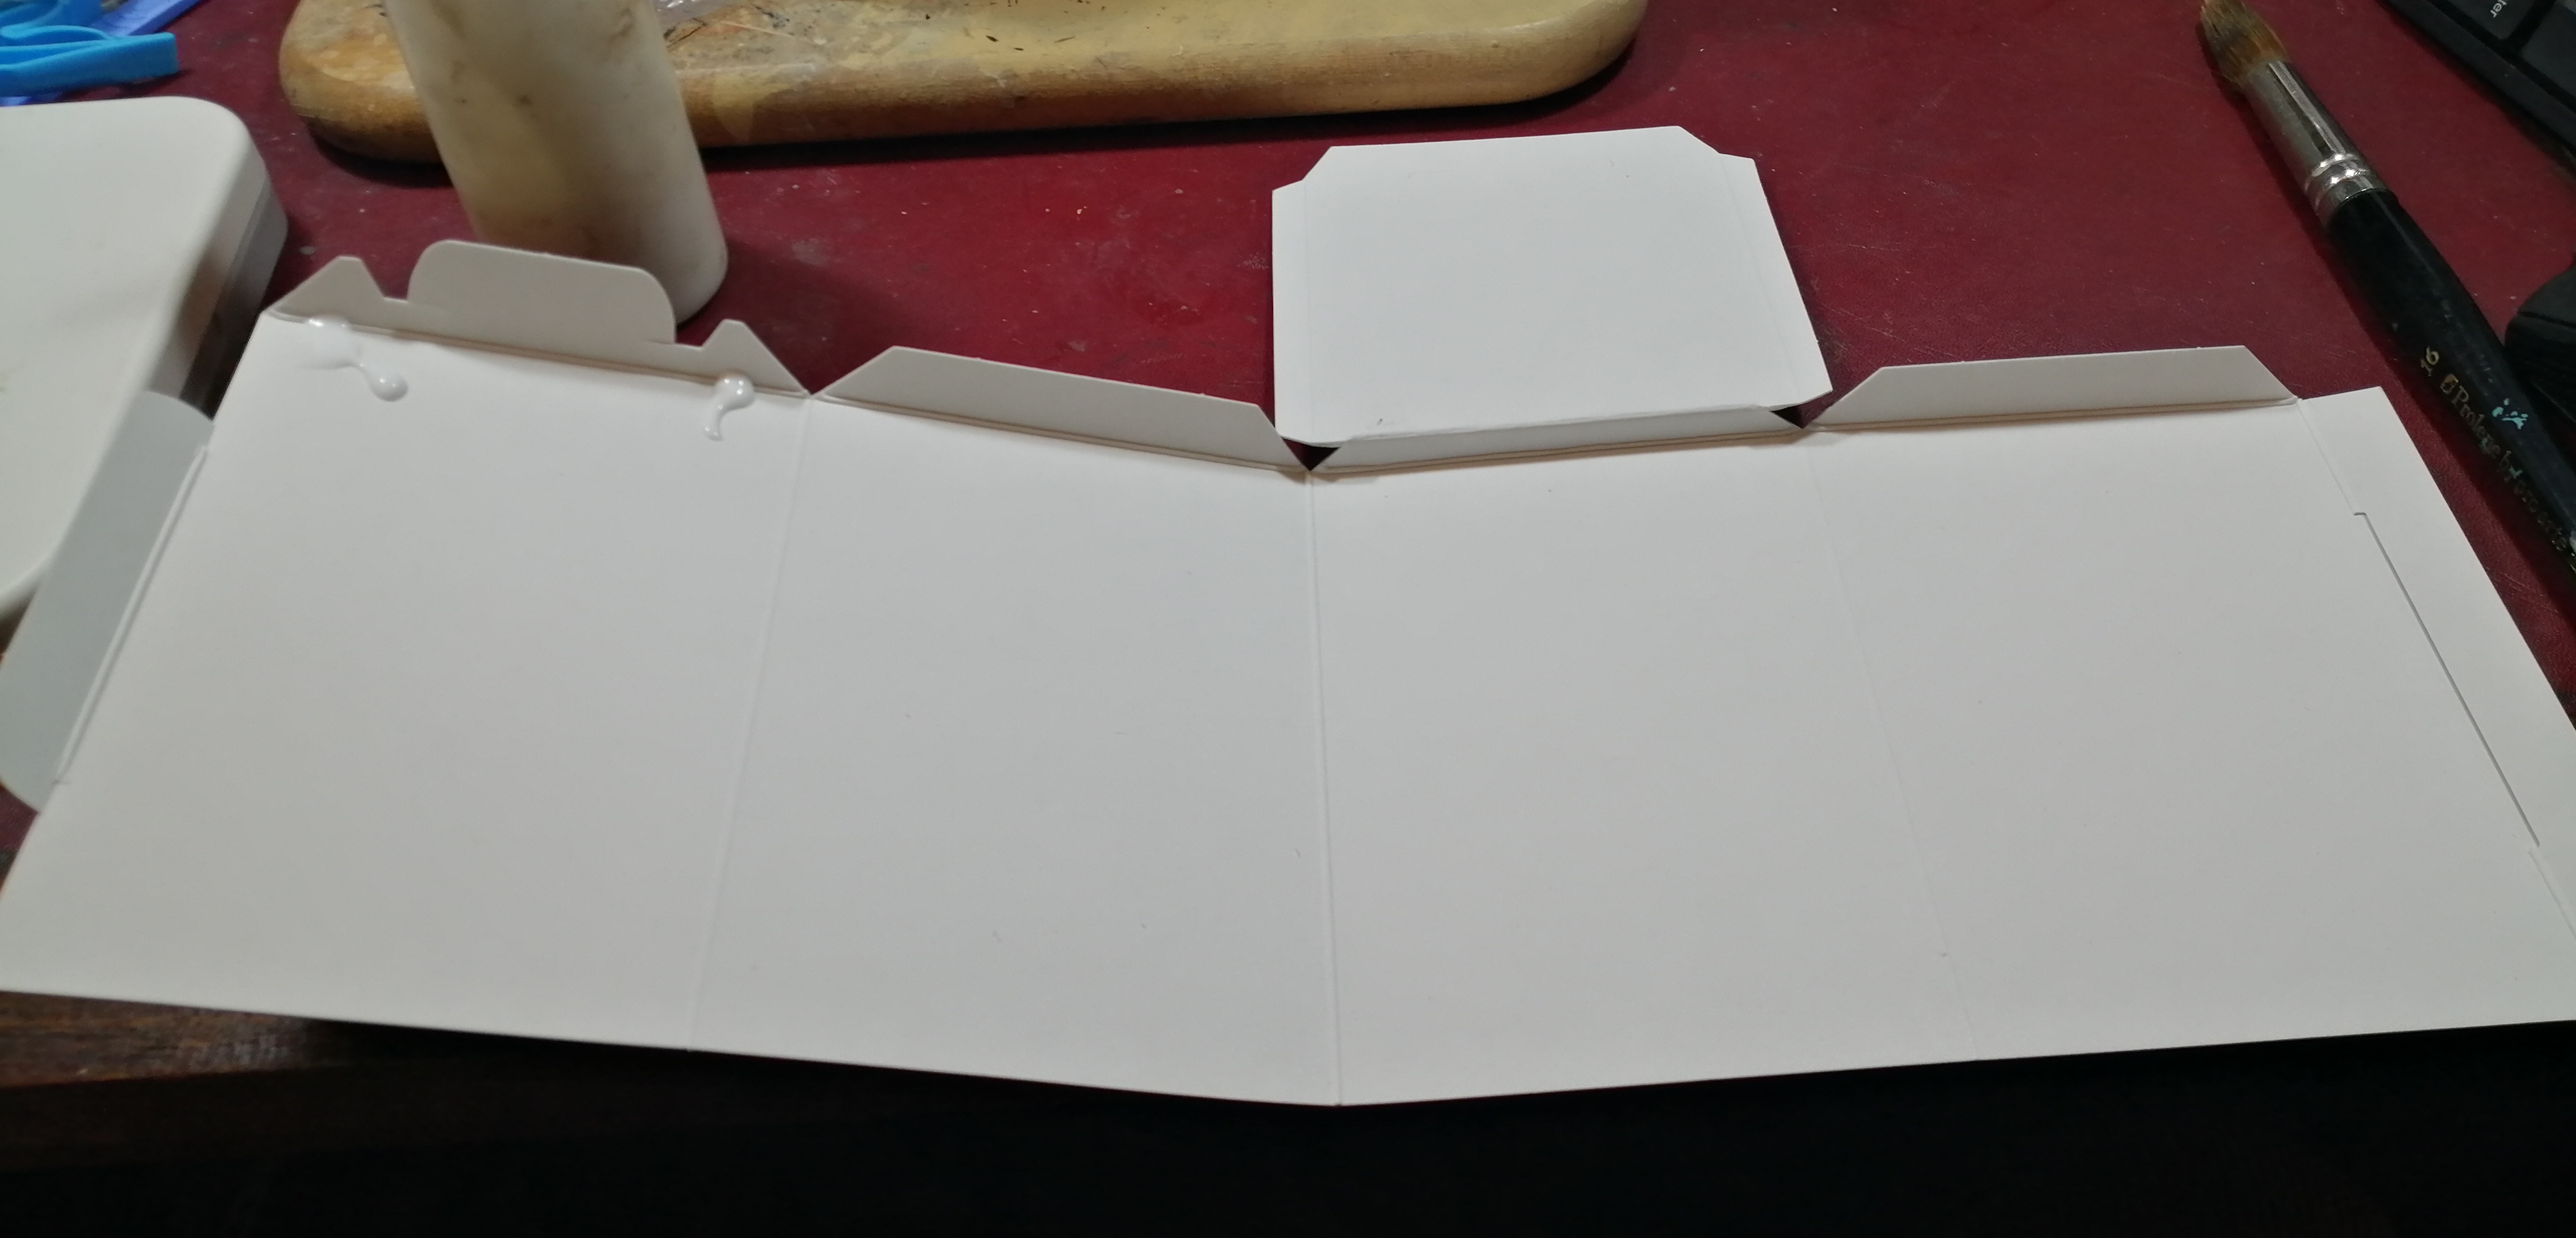
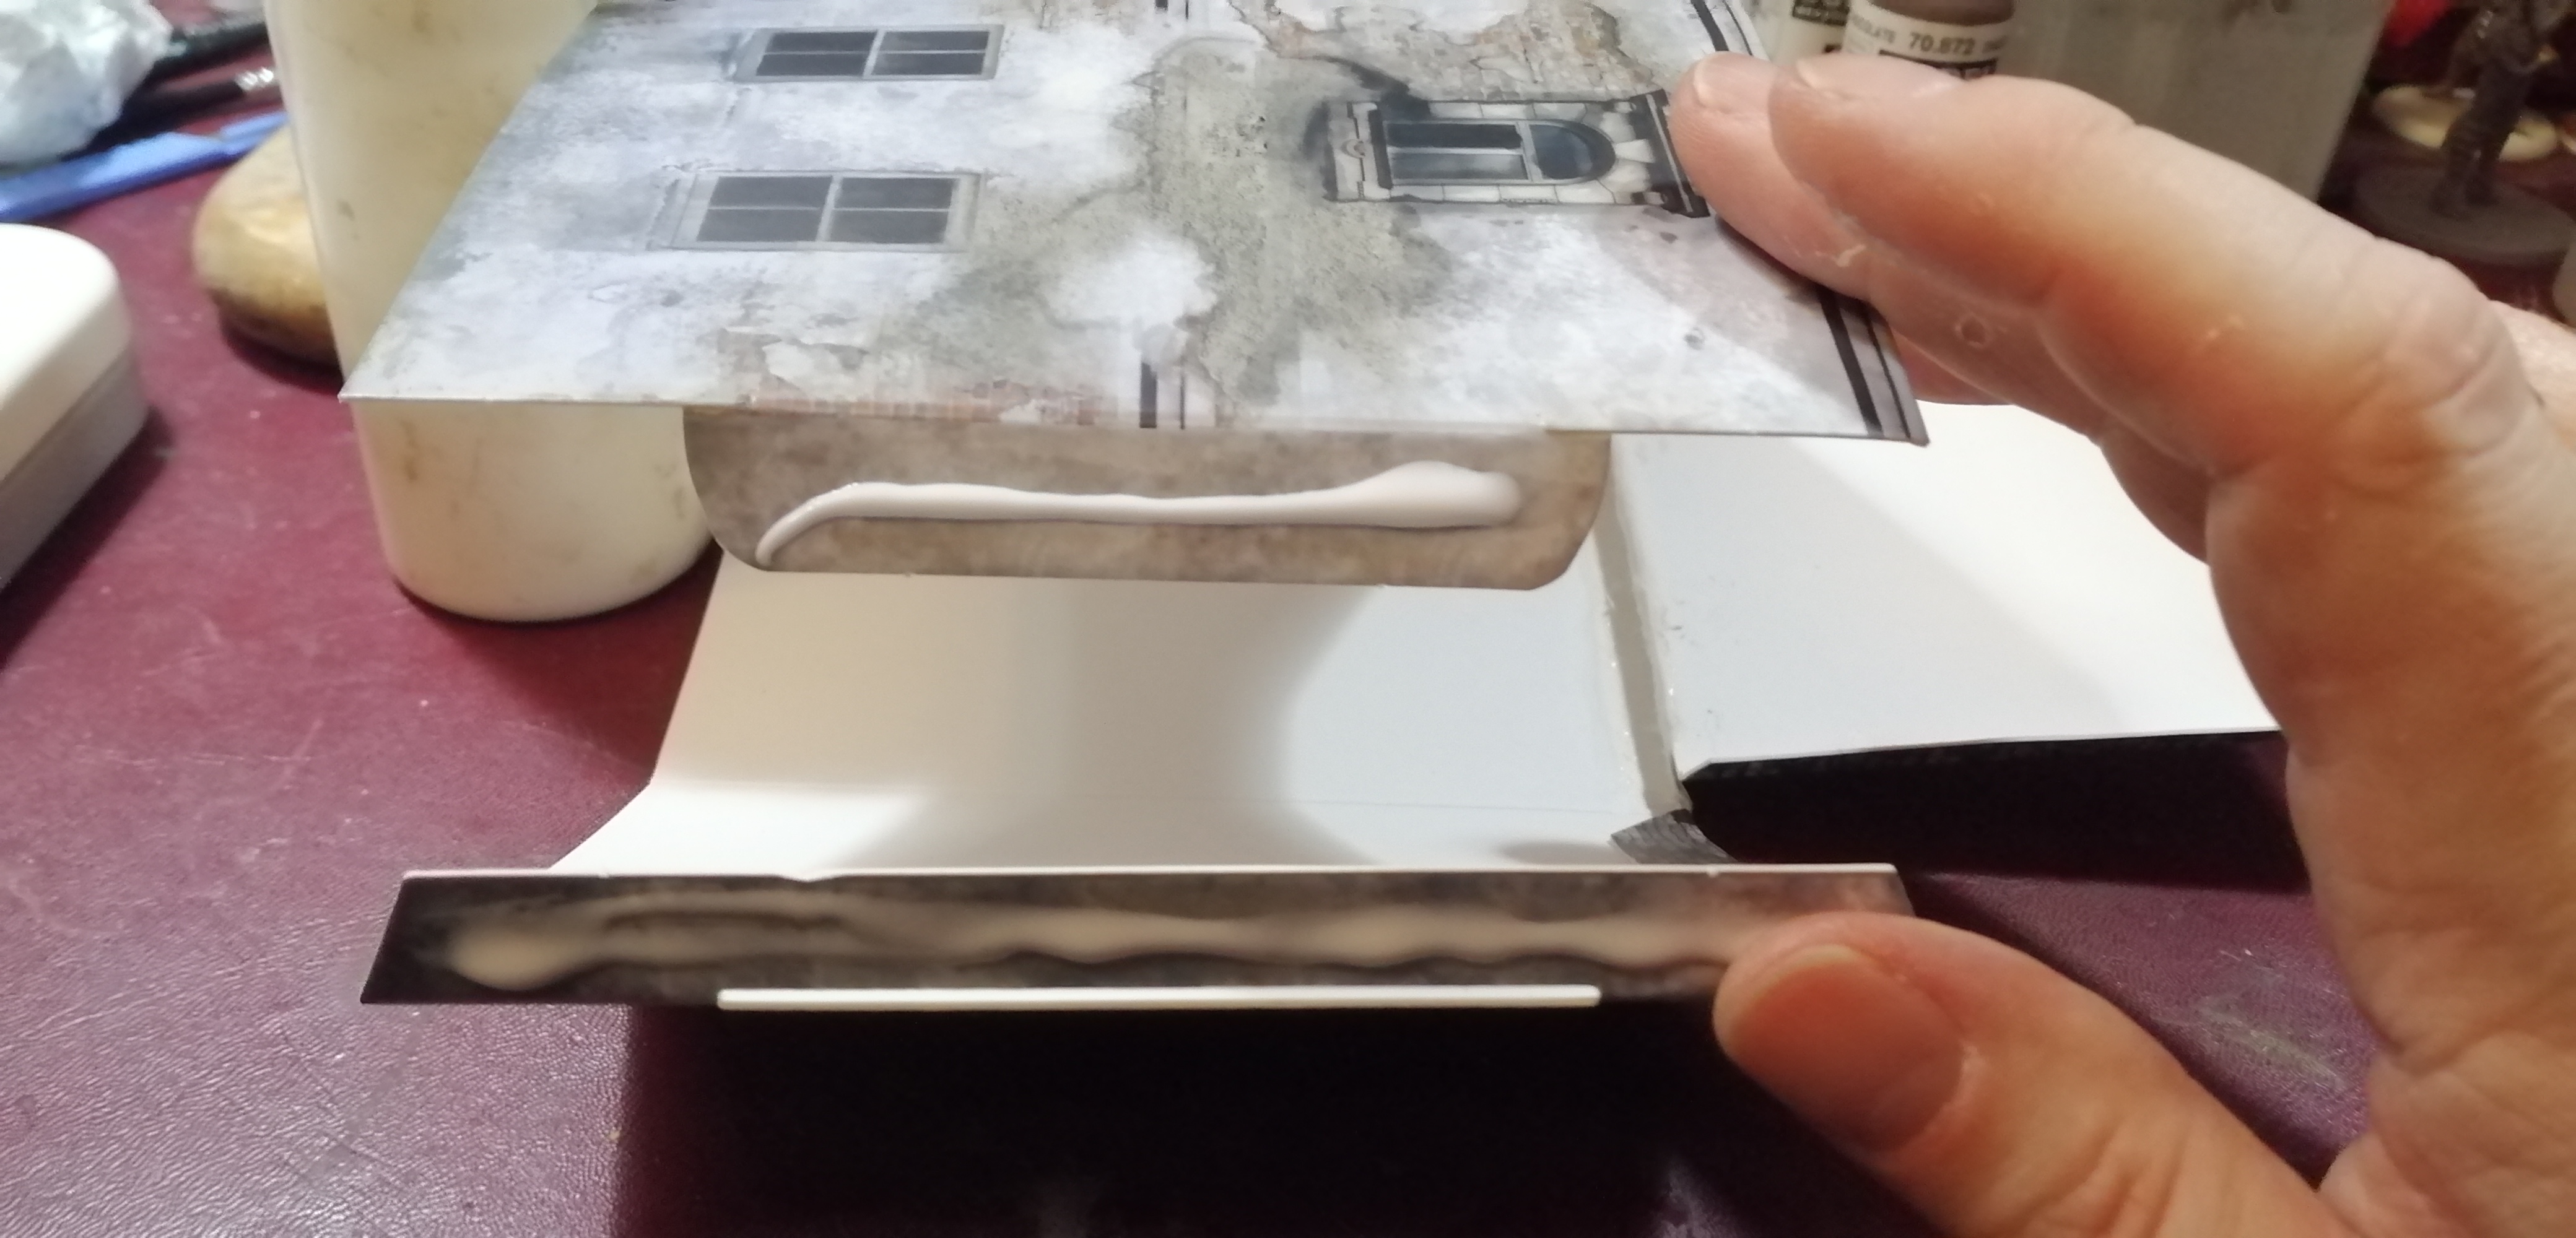
The roof section has a small ‘bridging’ piece that connects it to the walls of the building, this makes the roof drop down slightly inside the walls giving a low parapet around the roof edge.
This small section needs gluing down to the wall but make sure the roof section is NOT glued down and is free to move.
This bit is very fiddly to peg easily so super glue or some other rapid drying adhesive may work better for this piece.

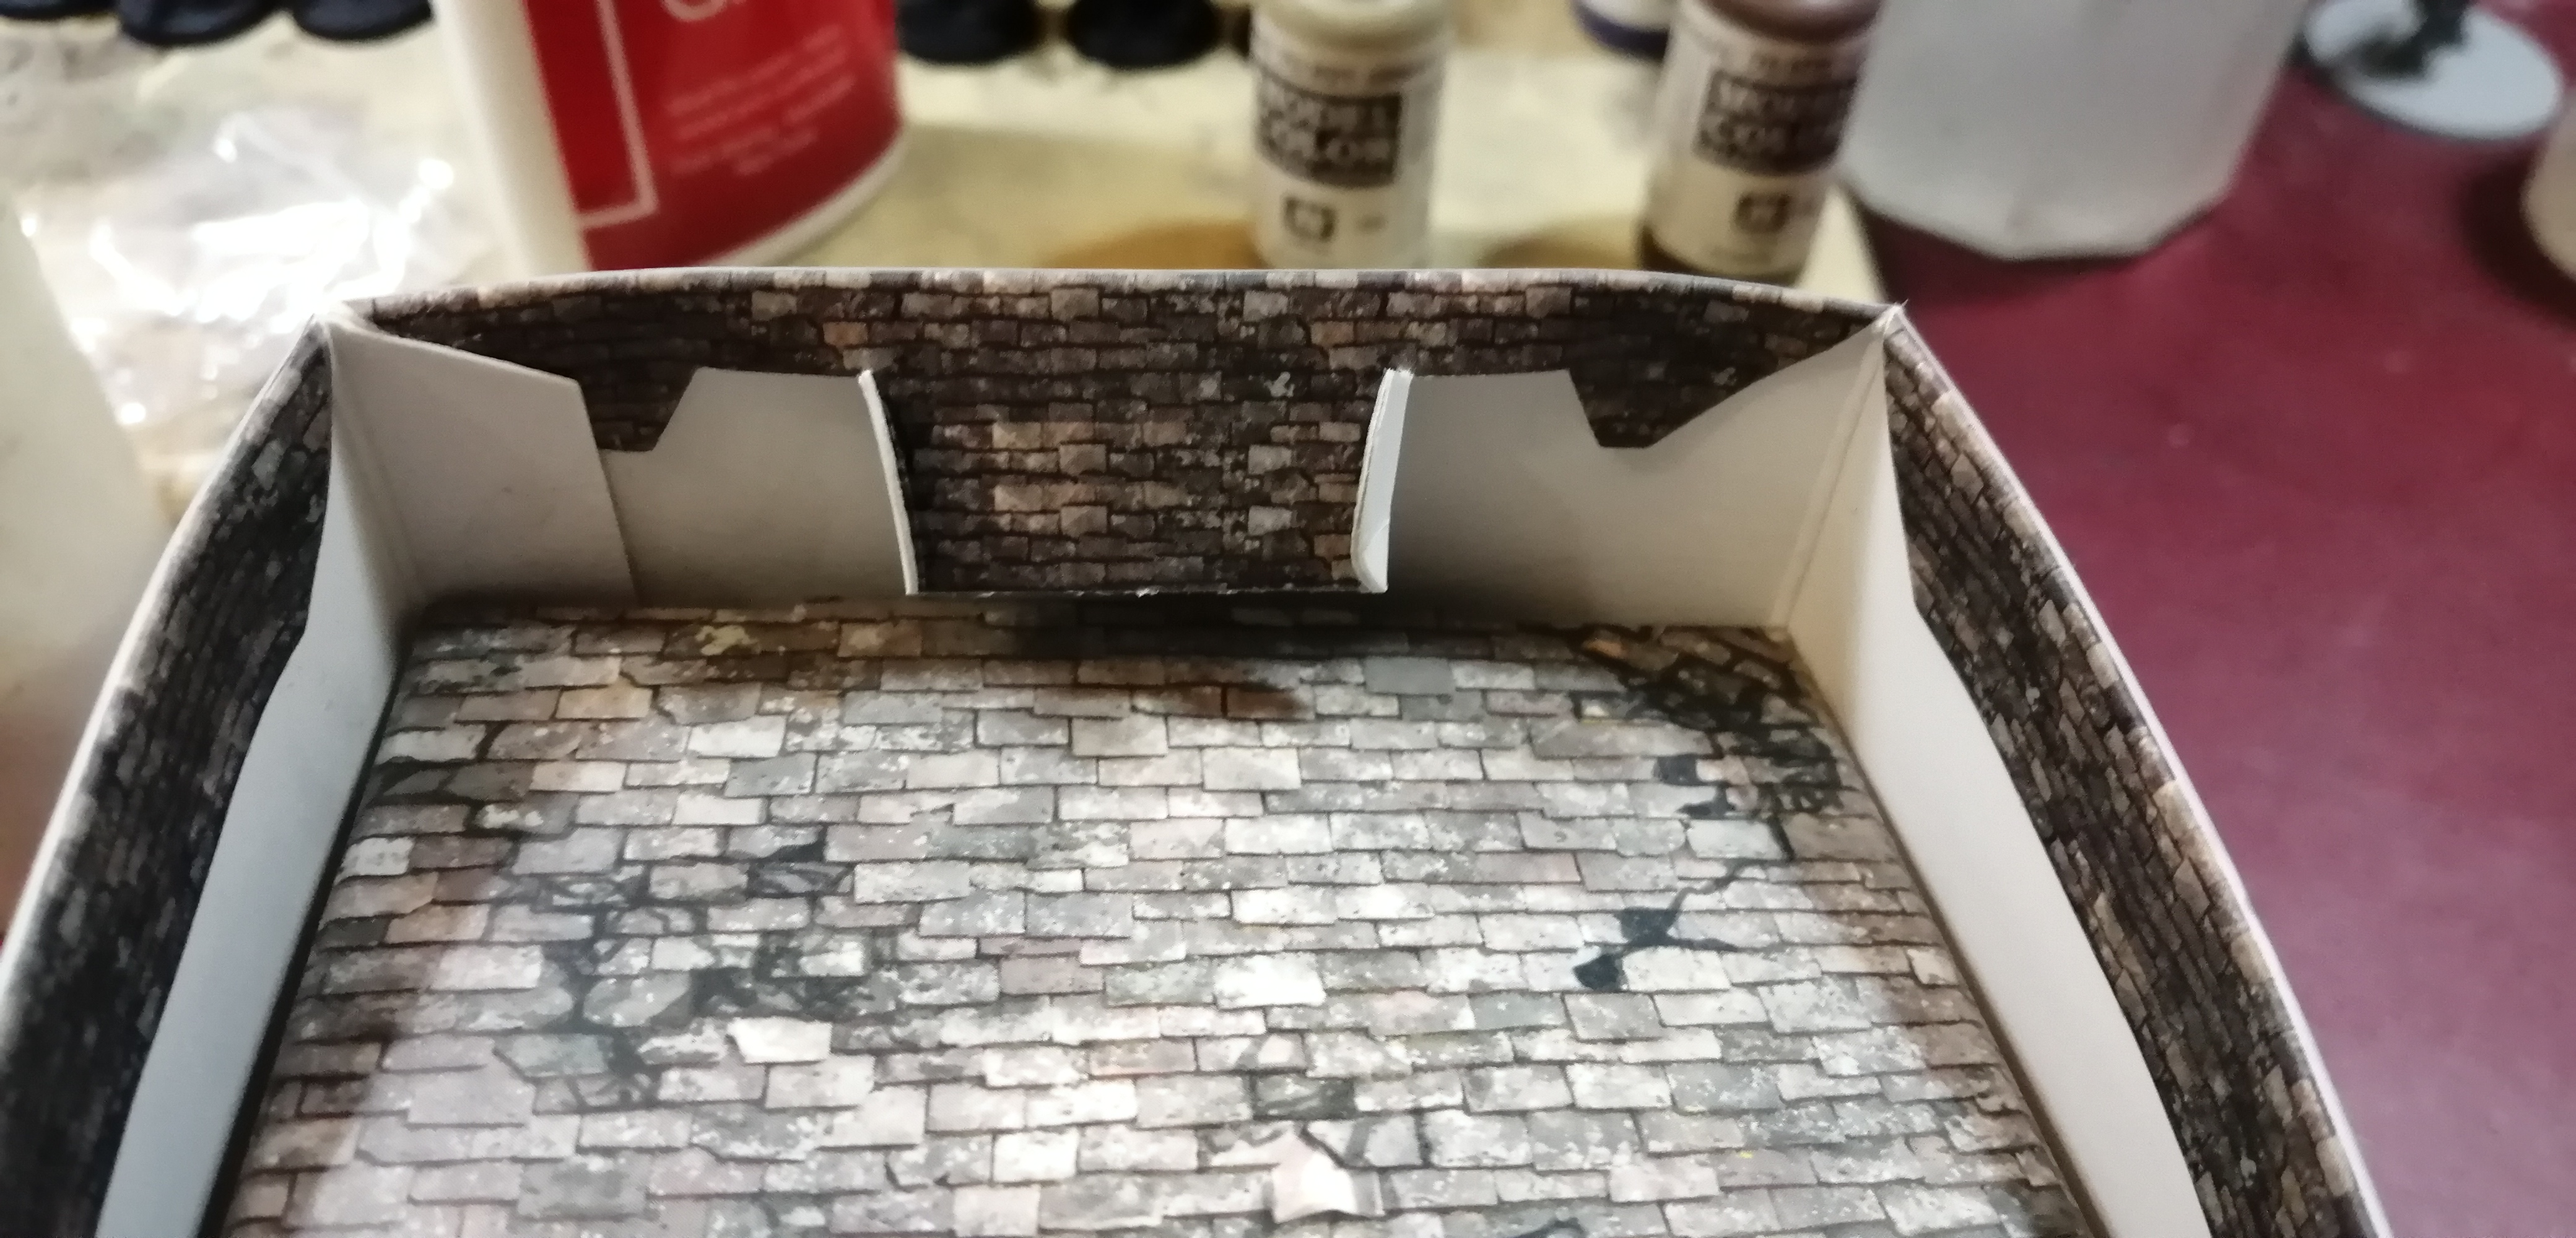
We are now ready to fold the building walls together and make the main shape of the building.
You will a short tab and a long tab with a slot cut between it and its attached wall.
Apply glue to both tabs and push the short tab into the slot next to the long tab.
When done correctly both tabs will be inside the building.
Wipe away any surplus PVA on trhe outside corner of the building with a fingertip.
This last step is the most fiddly of the process and involves securing the roof in place.
Remember that weird notched flap at the beginning, well that is what will secure the roof.
When you fold the roof into position at the top of the building there should be a slot in the edge of the roof next to this notched flap.
The slot is narrower than the flap’s middle section but you should see it flap is precut at the ends so it can be folded inwards by about 10mm at each end.
After folding these ends in it should fit neatly into the slot at the edge of the roof.
After pushing it through simply fold the edges back and the flap will not pull back trough the slot. If you like you can now add a bit of glue to the flap to make sure it is secure and stop it from pulling back through.
With that we are done and are ready to play.


Leave a Reply