


PanzerKaput Goes To Barons' War


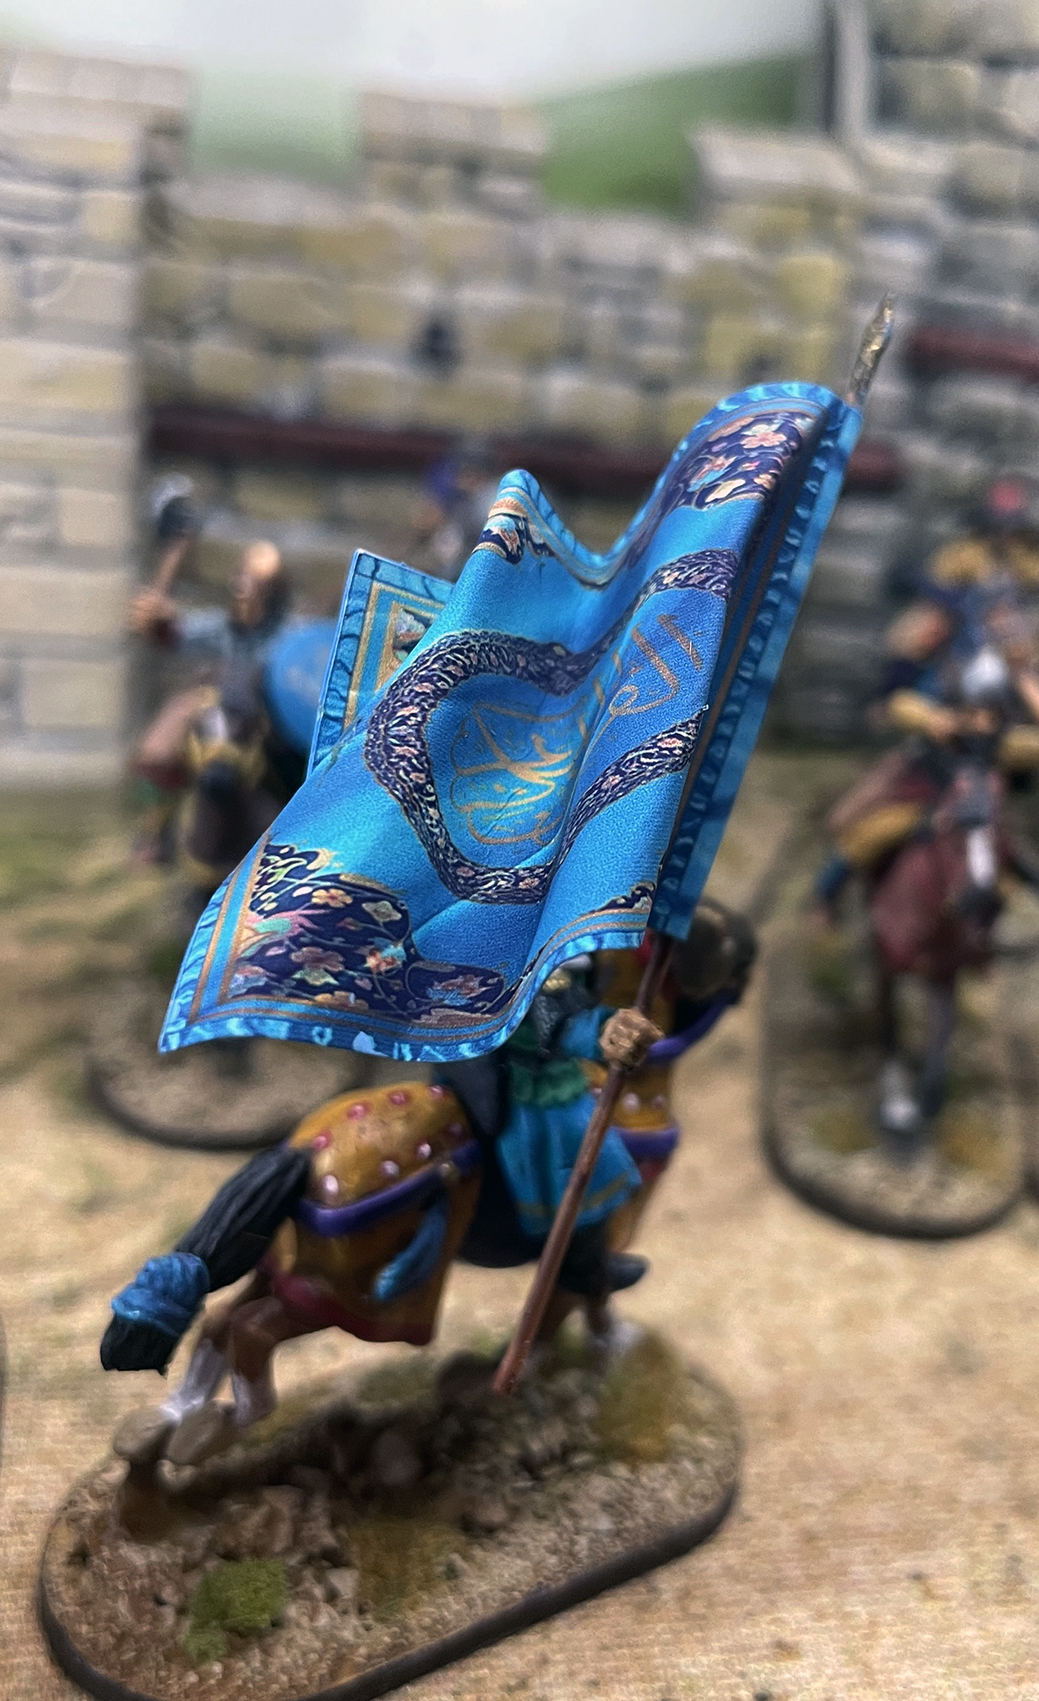
Flags for Outremer Muslims and how I make the flag
First this is not a tutorial on how I create flags, that’s would be another one and if this is interest in such a thing I would consider doing one, or rather how I create flags, I am sure are better ways than the way I create them though. This is actually how I make the flags and add them to my figures.
So the first this is you do not need an amazing laser printer, I have an old inkjet that I use, its really about getting the setting right. So I use Matt Photo paper at 130gsm weight for my flags. This means I can fold the paper and it is not too think. I have used 180gsm paper and it is good but not gone any heavier but I would say try it and see as if it works for you, all the better. You can sandwich tin/aluminium foil between the sides of paper to make it stiffer, but again I have found you don’t need to but if you using normal printing paper in 80gsm I guess it would work, I have never used 80gsm for a while as the colours are not rich enough for me.
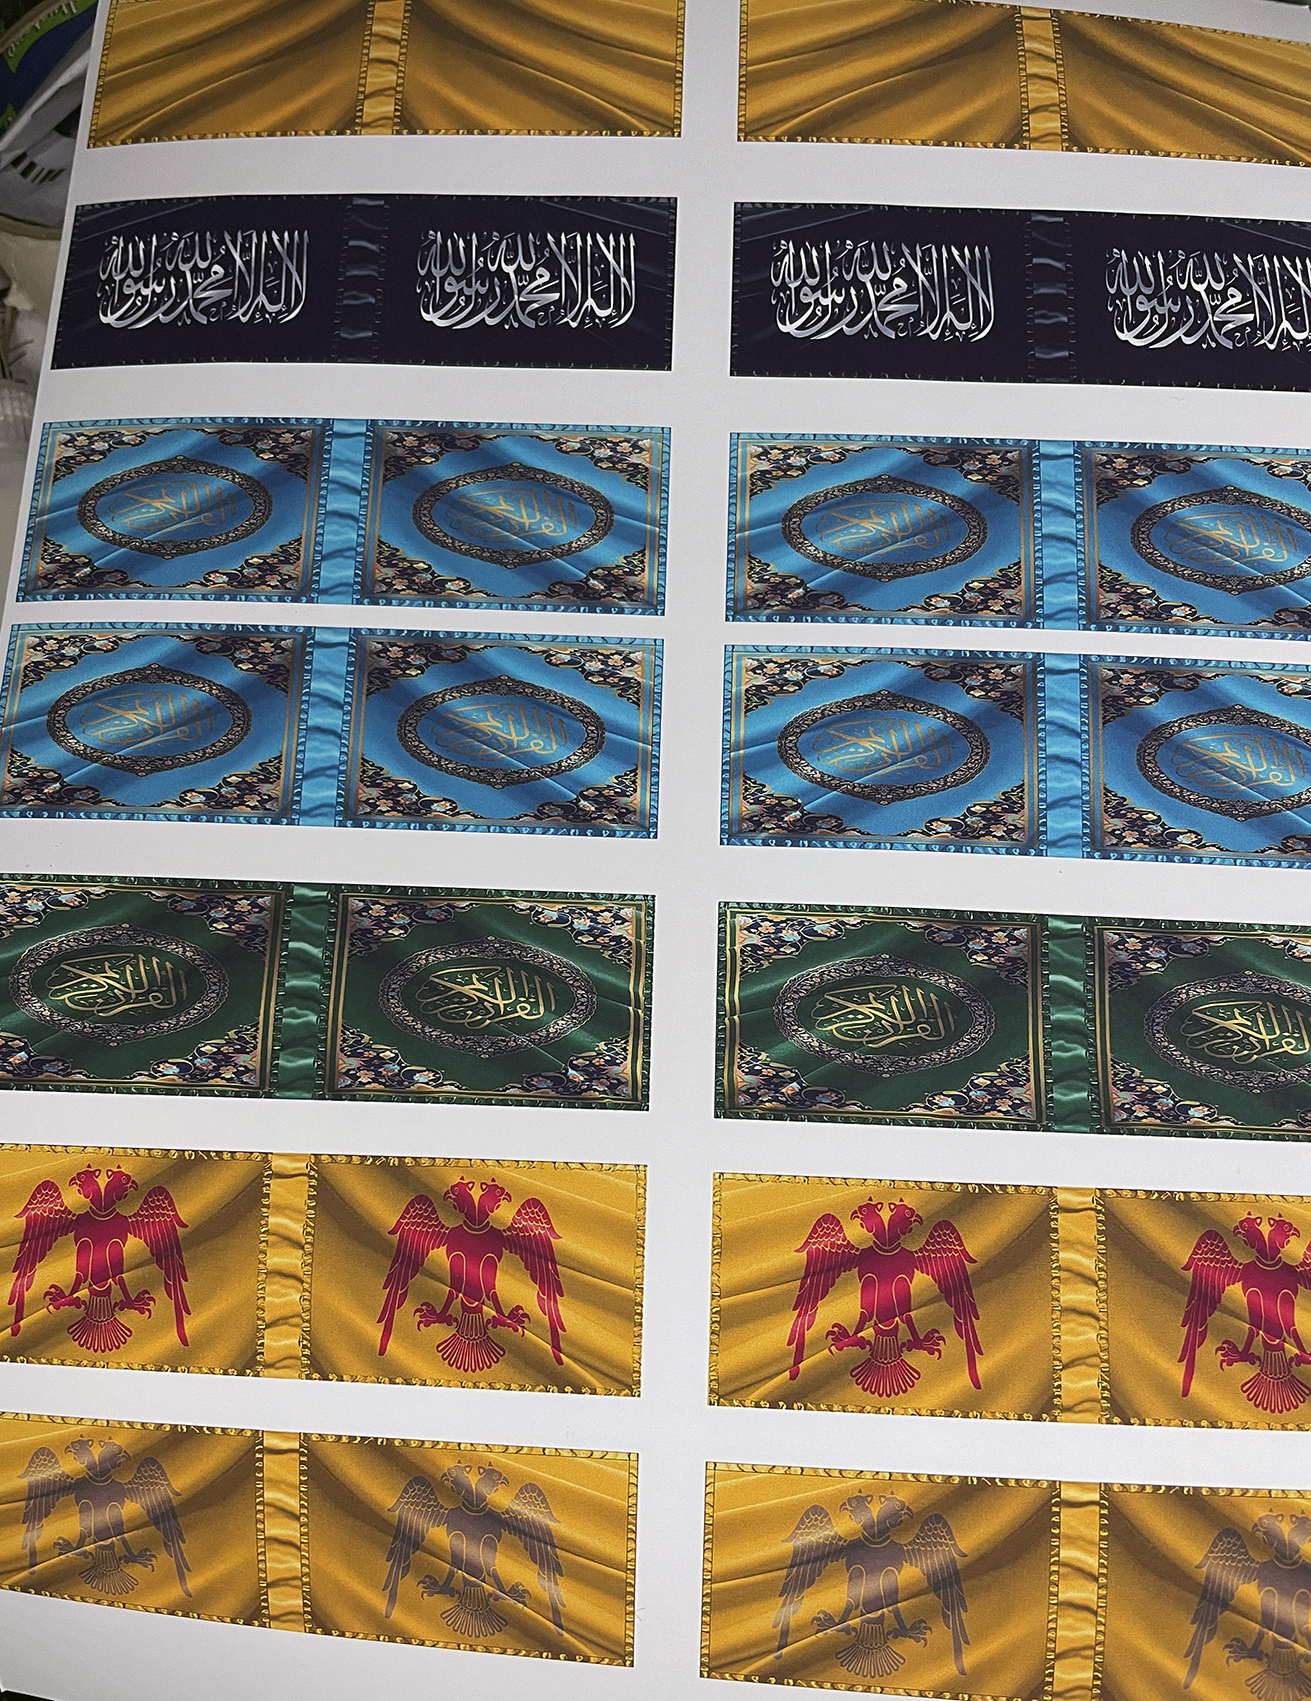
So I printed the flags on matt photo paper from a PNG image, this is really better for images, but instead of using the photo paper settings and best photo quality, I used the Matt Paper setting and Best Photo Quality. This just gives richer colour results, for me at least.
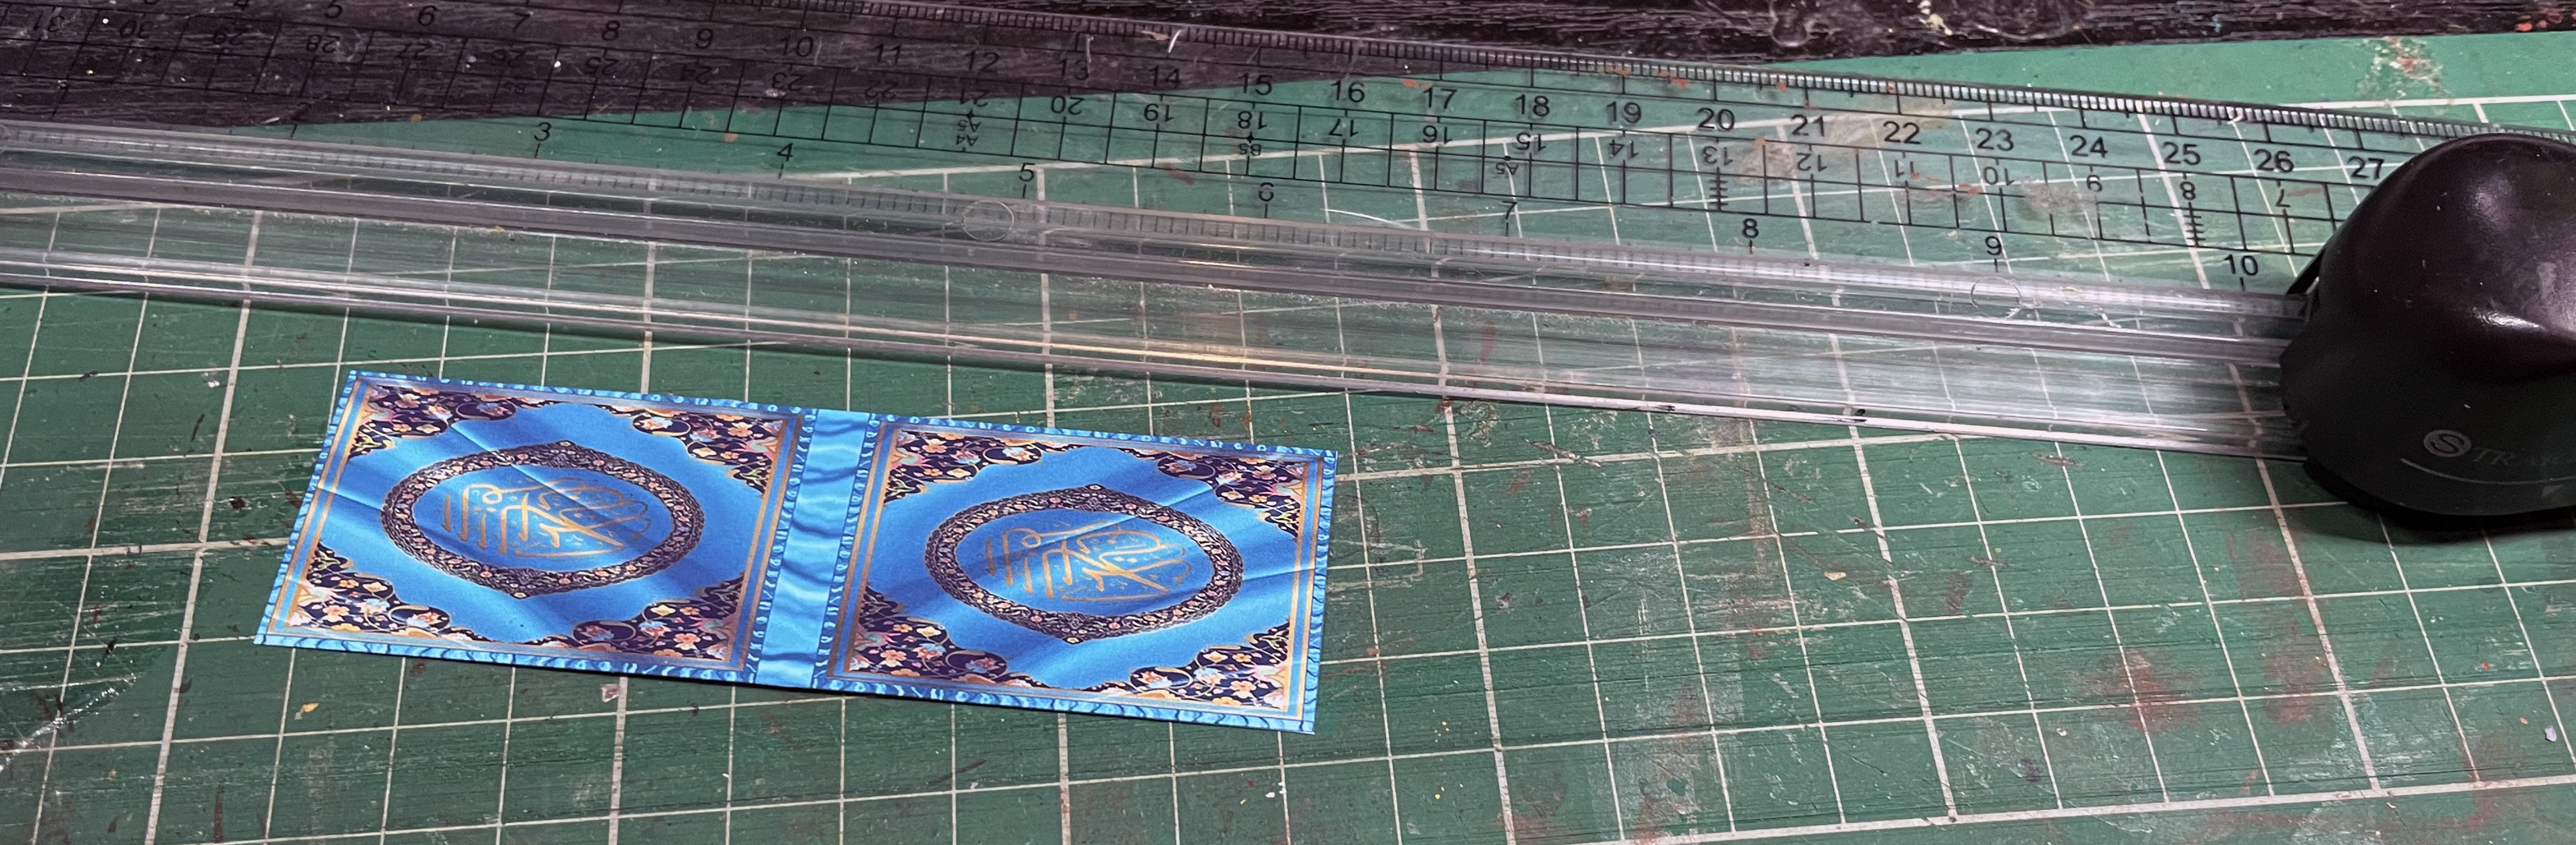
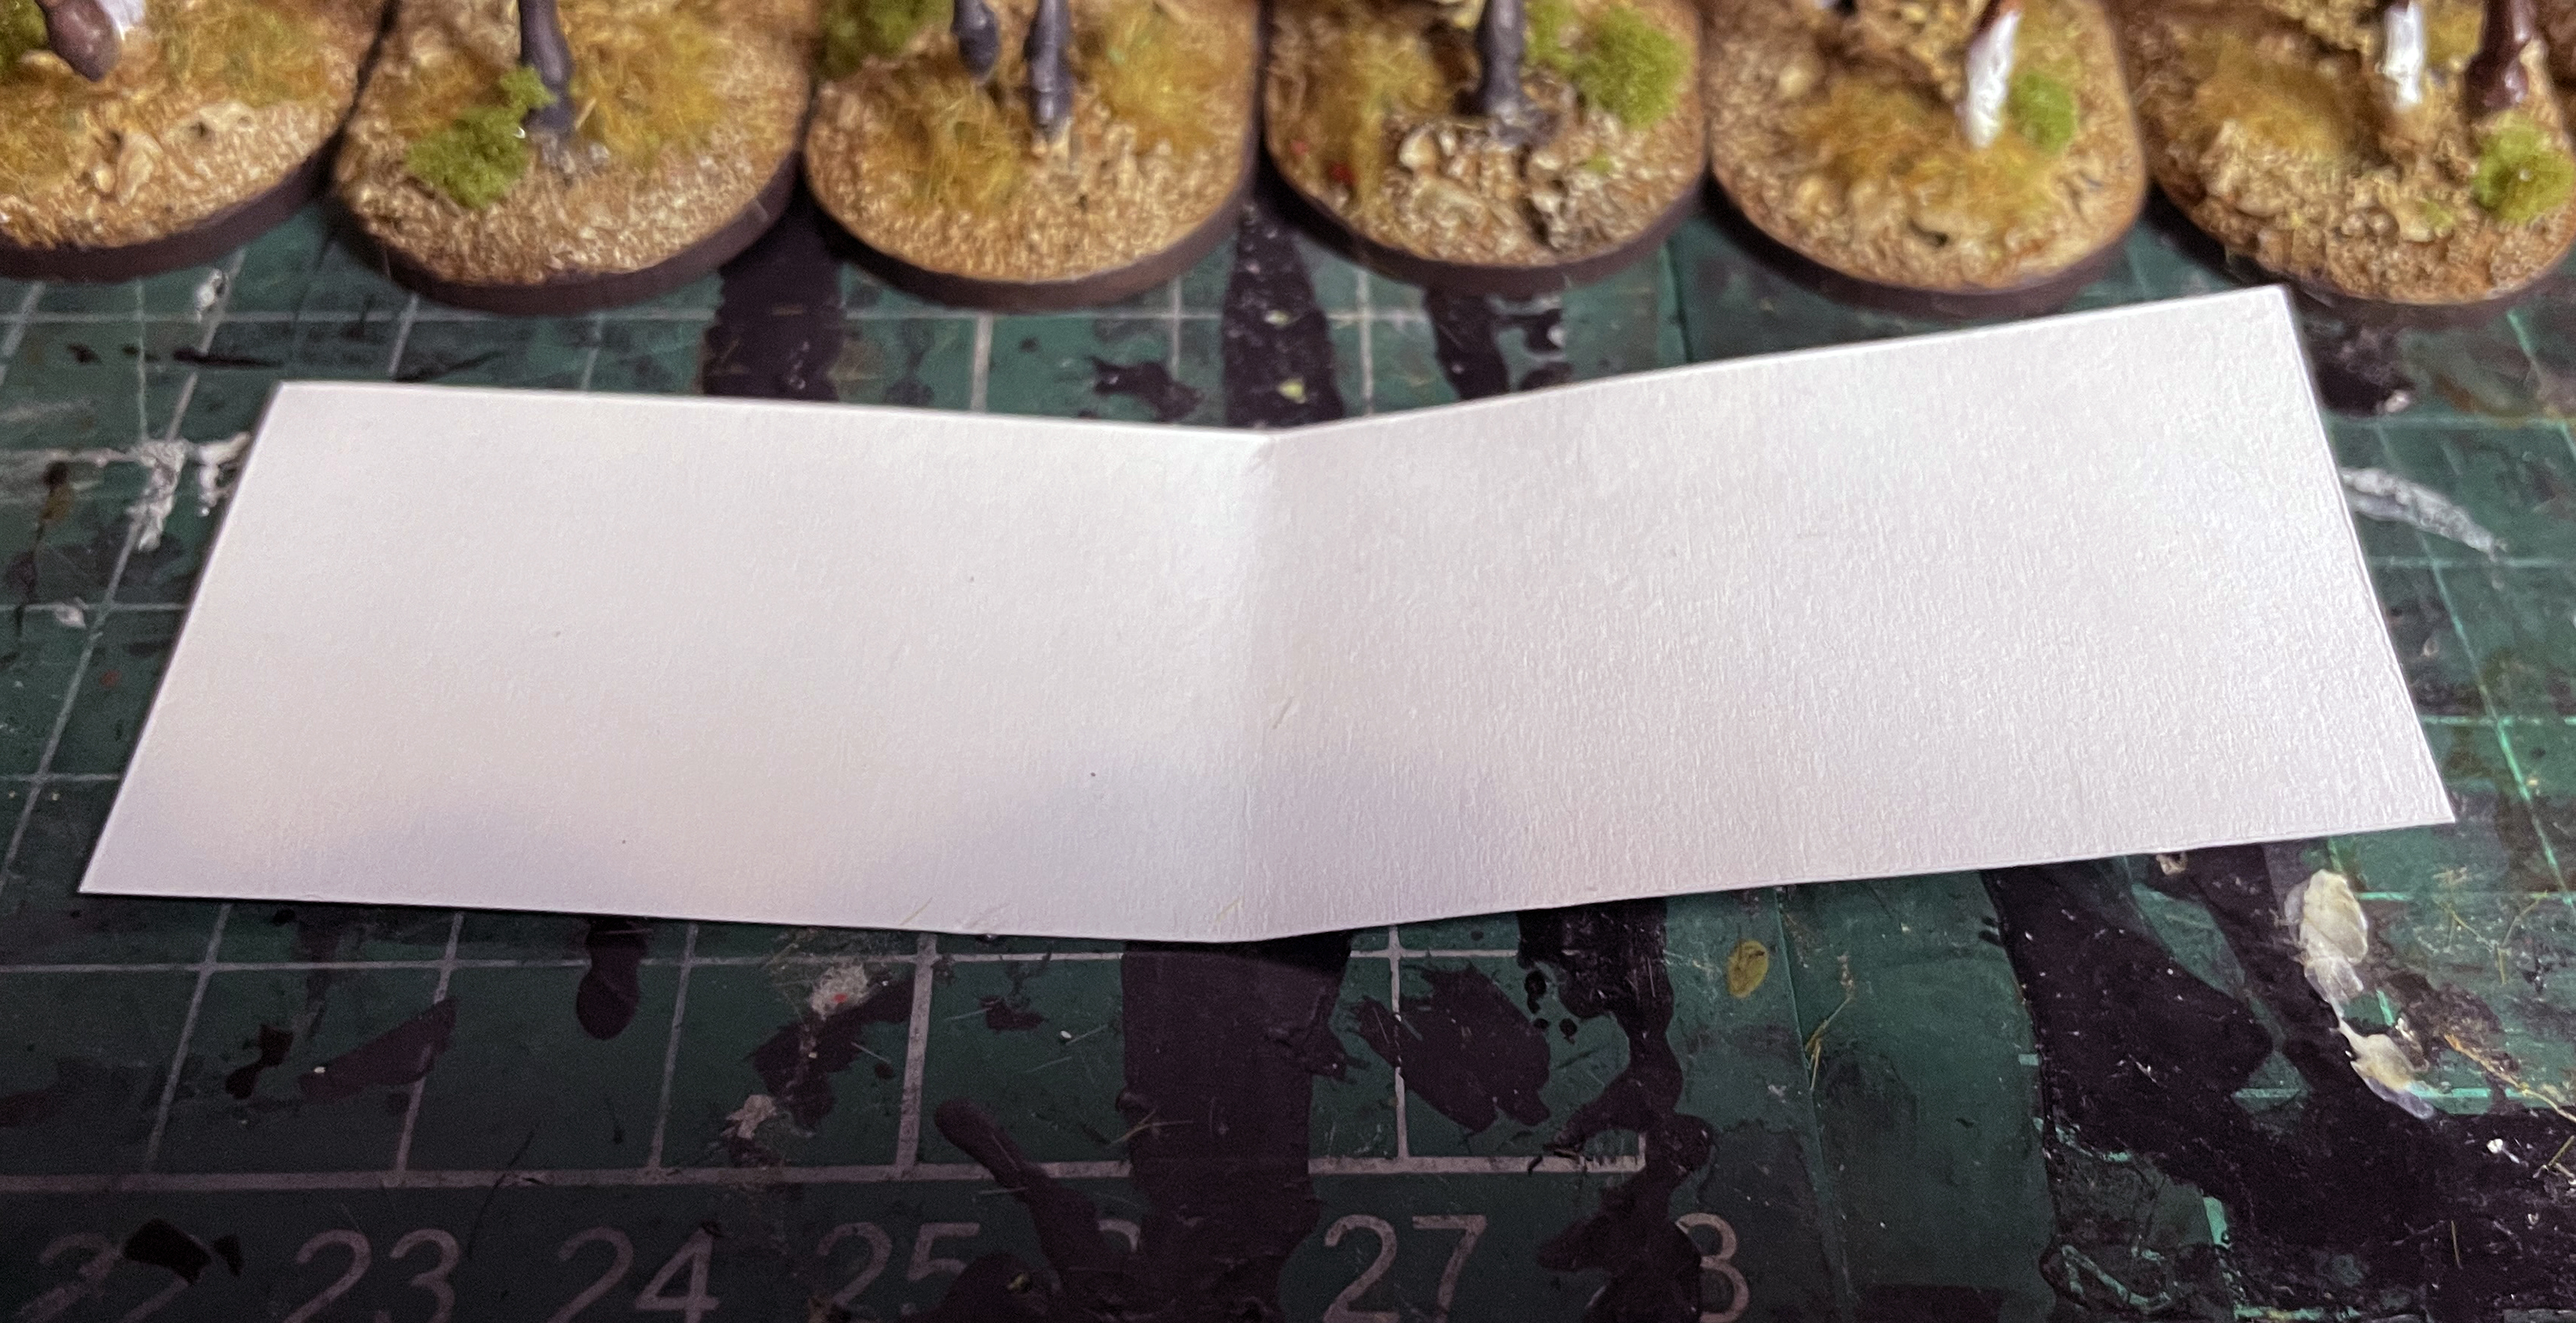
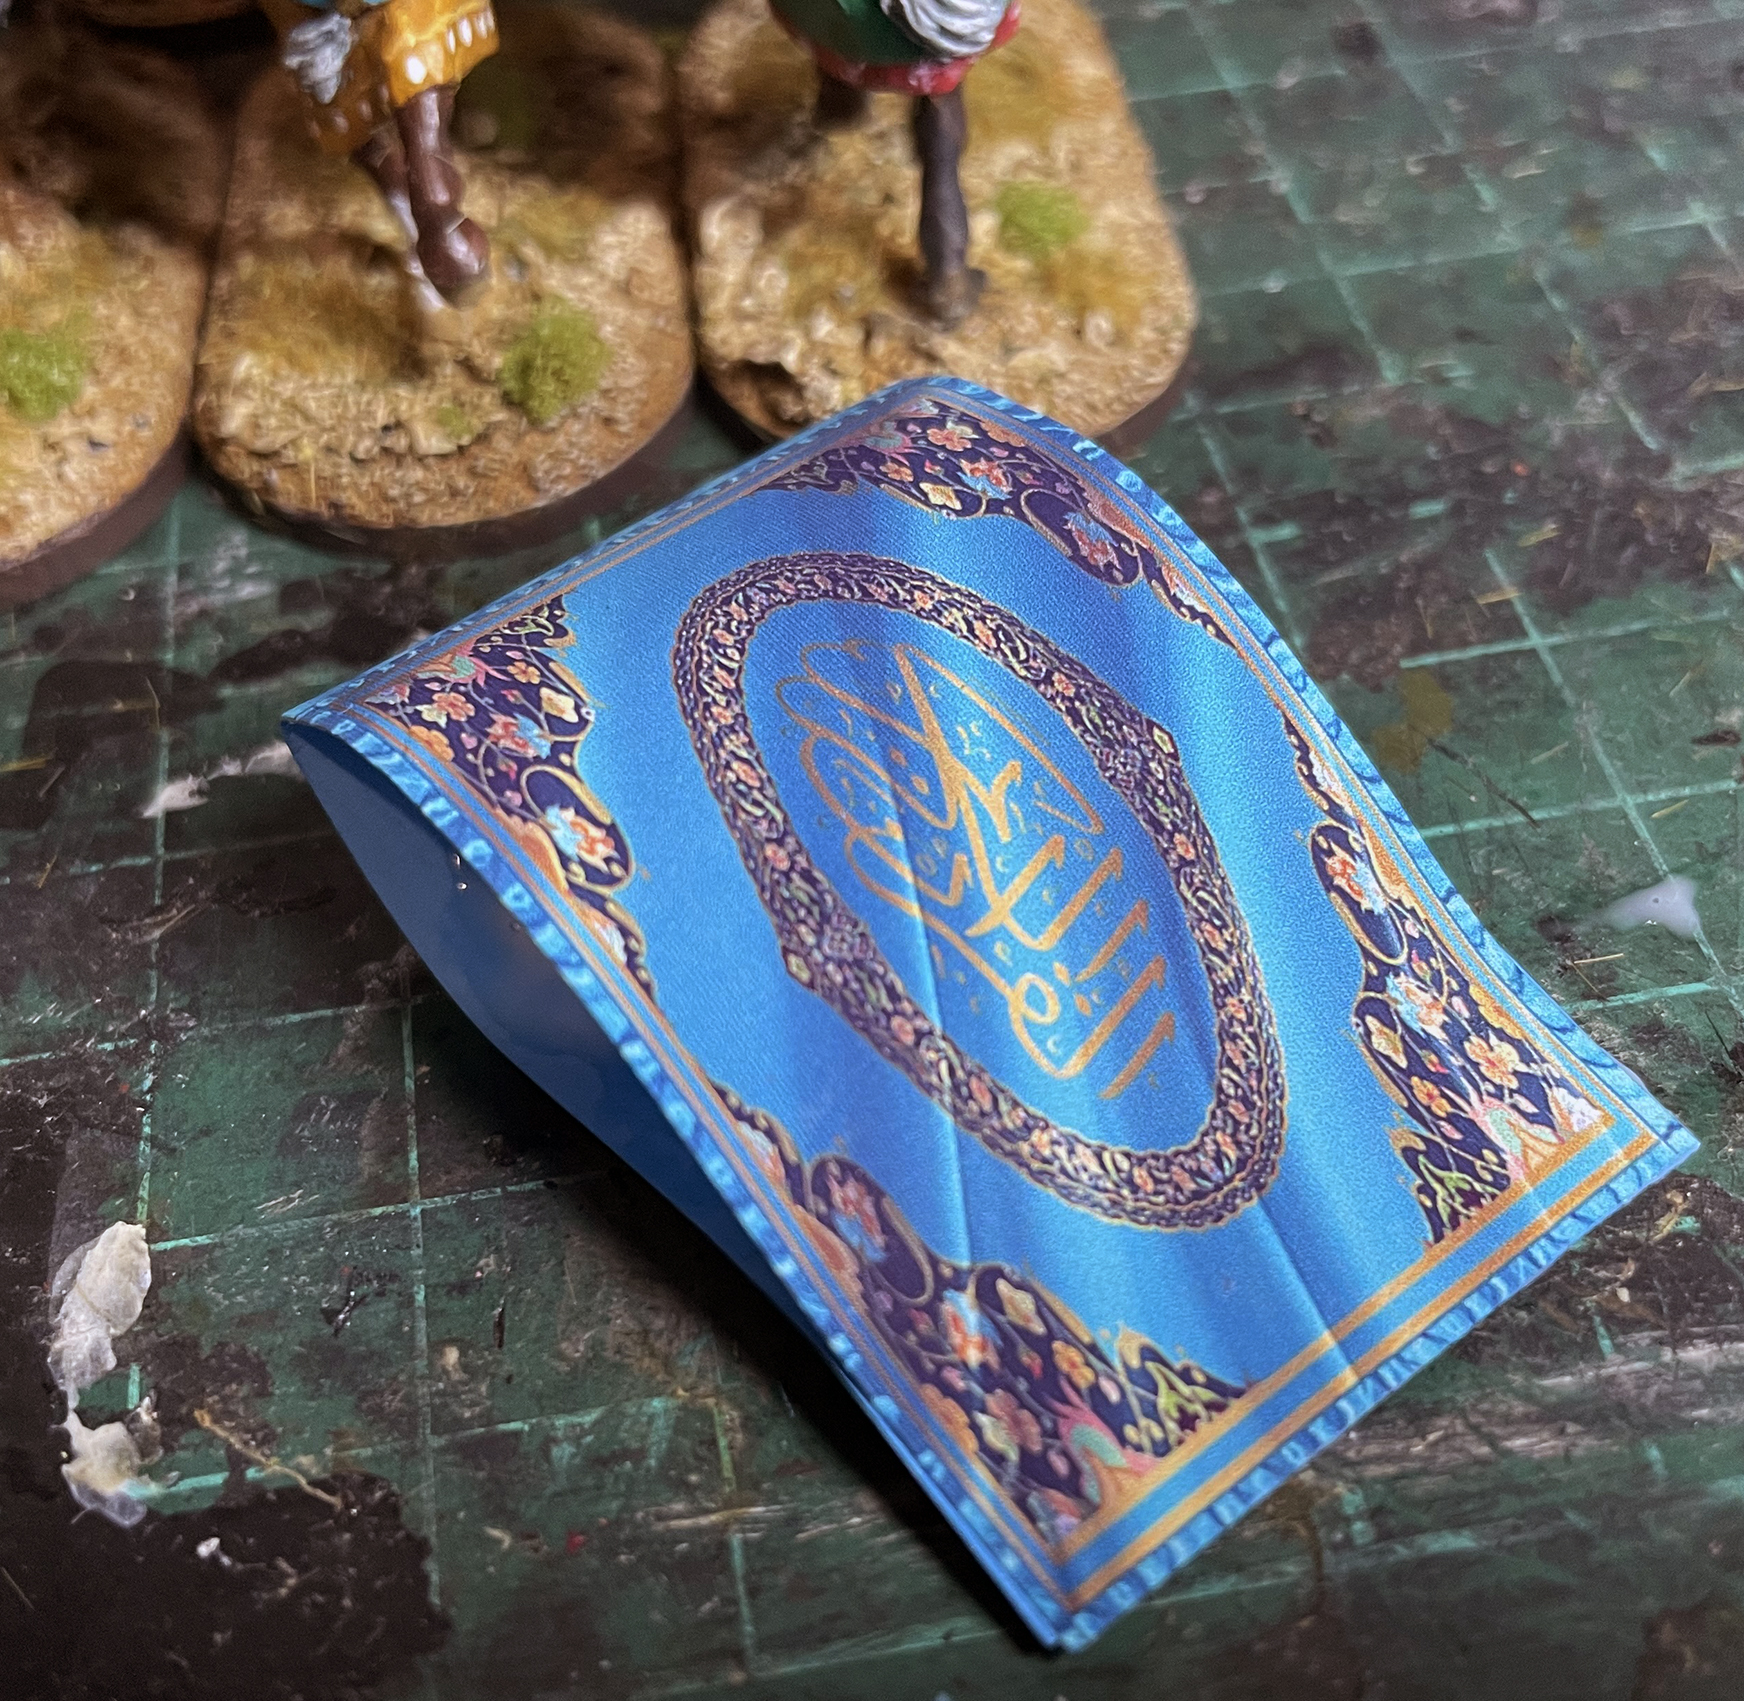
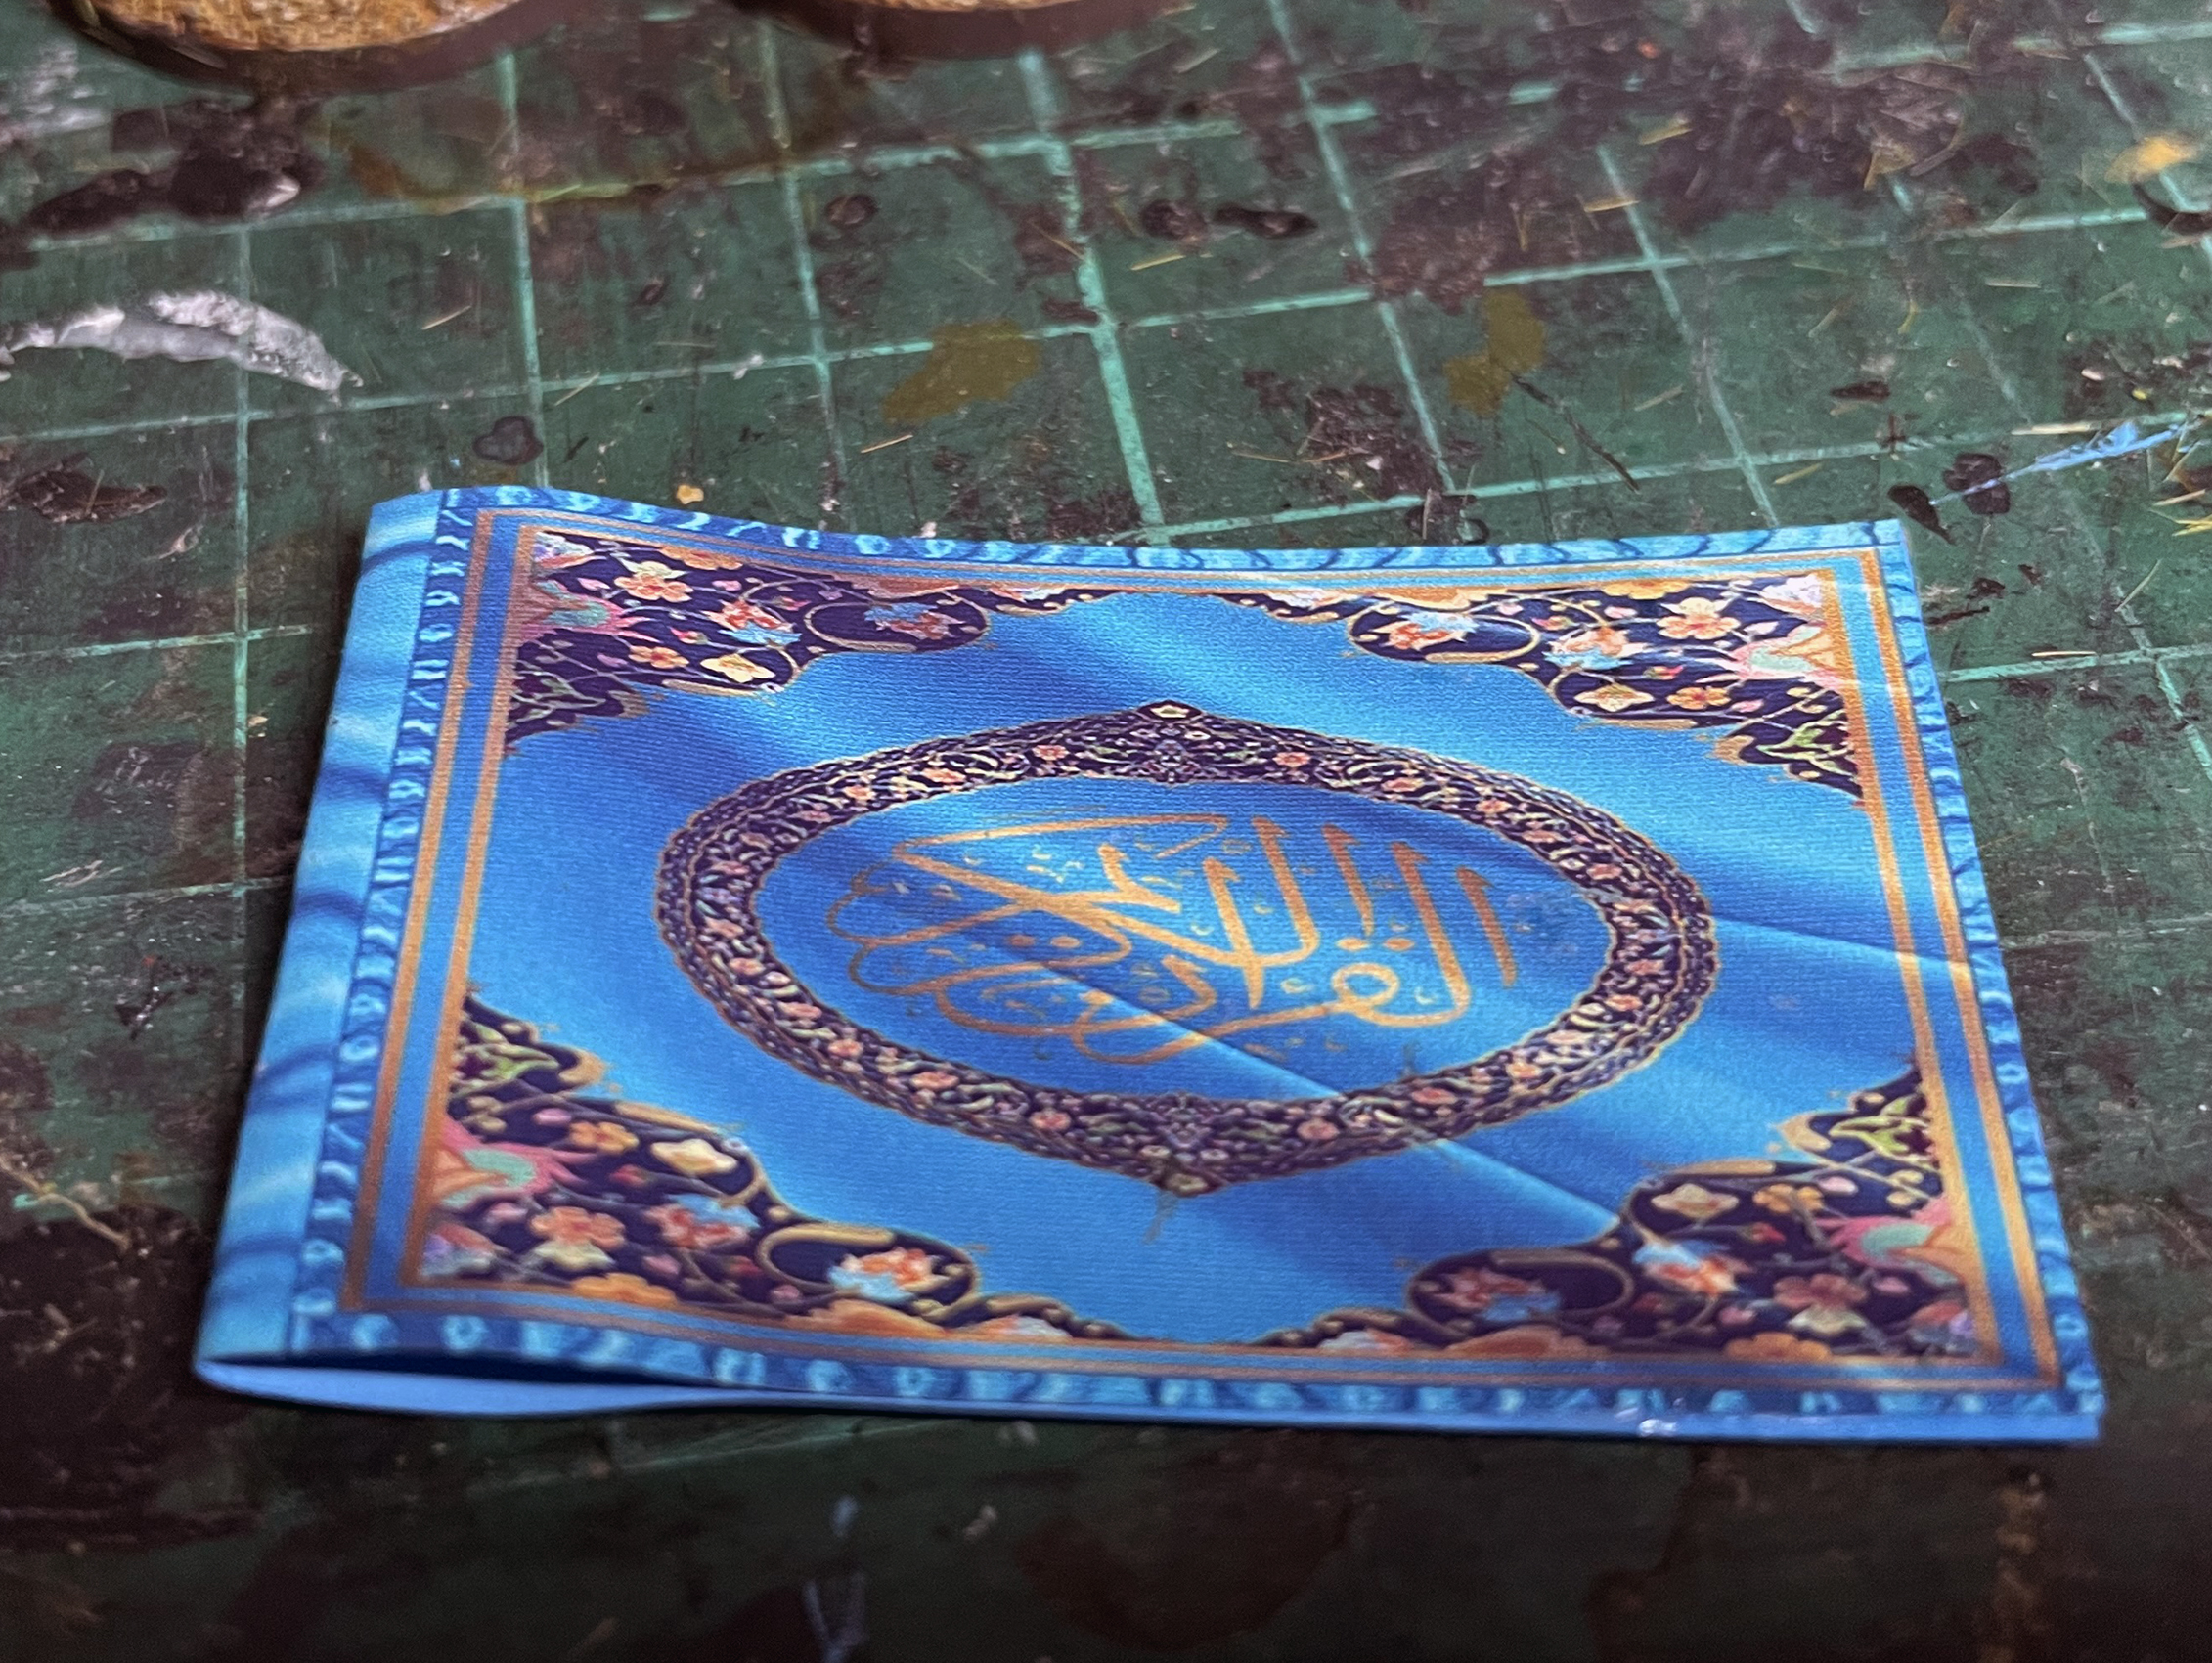
After printing the images I let them dry for a while, best use it at least half an hour, if not more, and them cut the flag out very carefully and as close to the flag as possible. I use a paper guillotine for this but there is no reason my you shouldn’t use scissors.
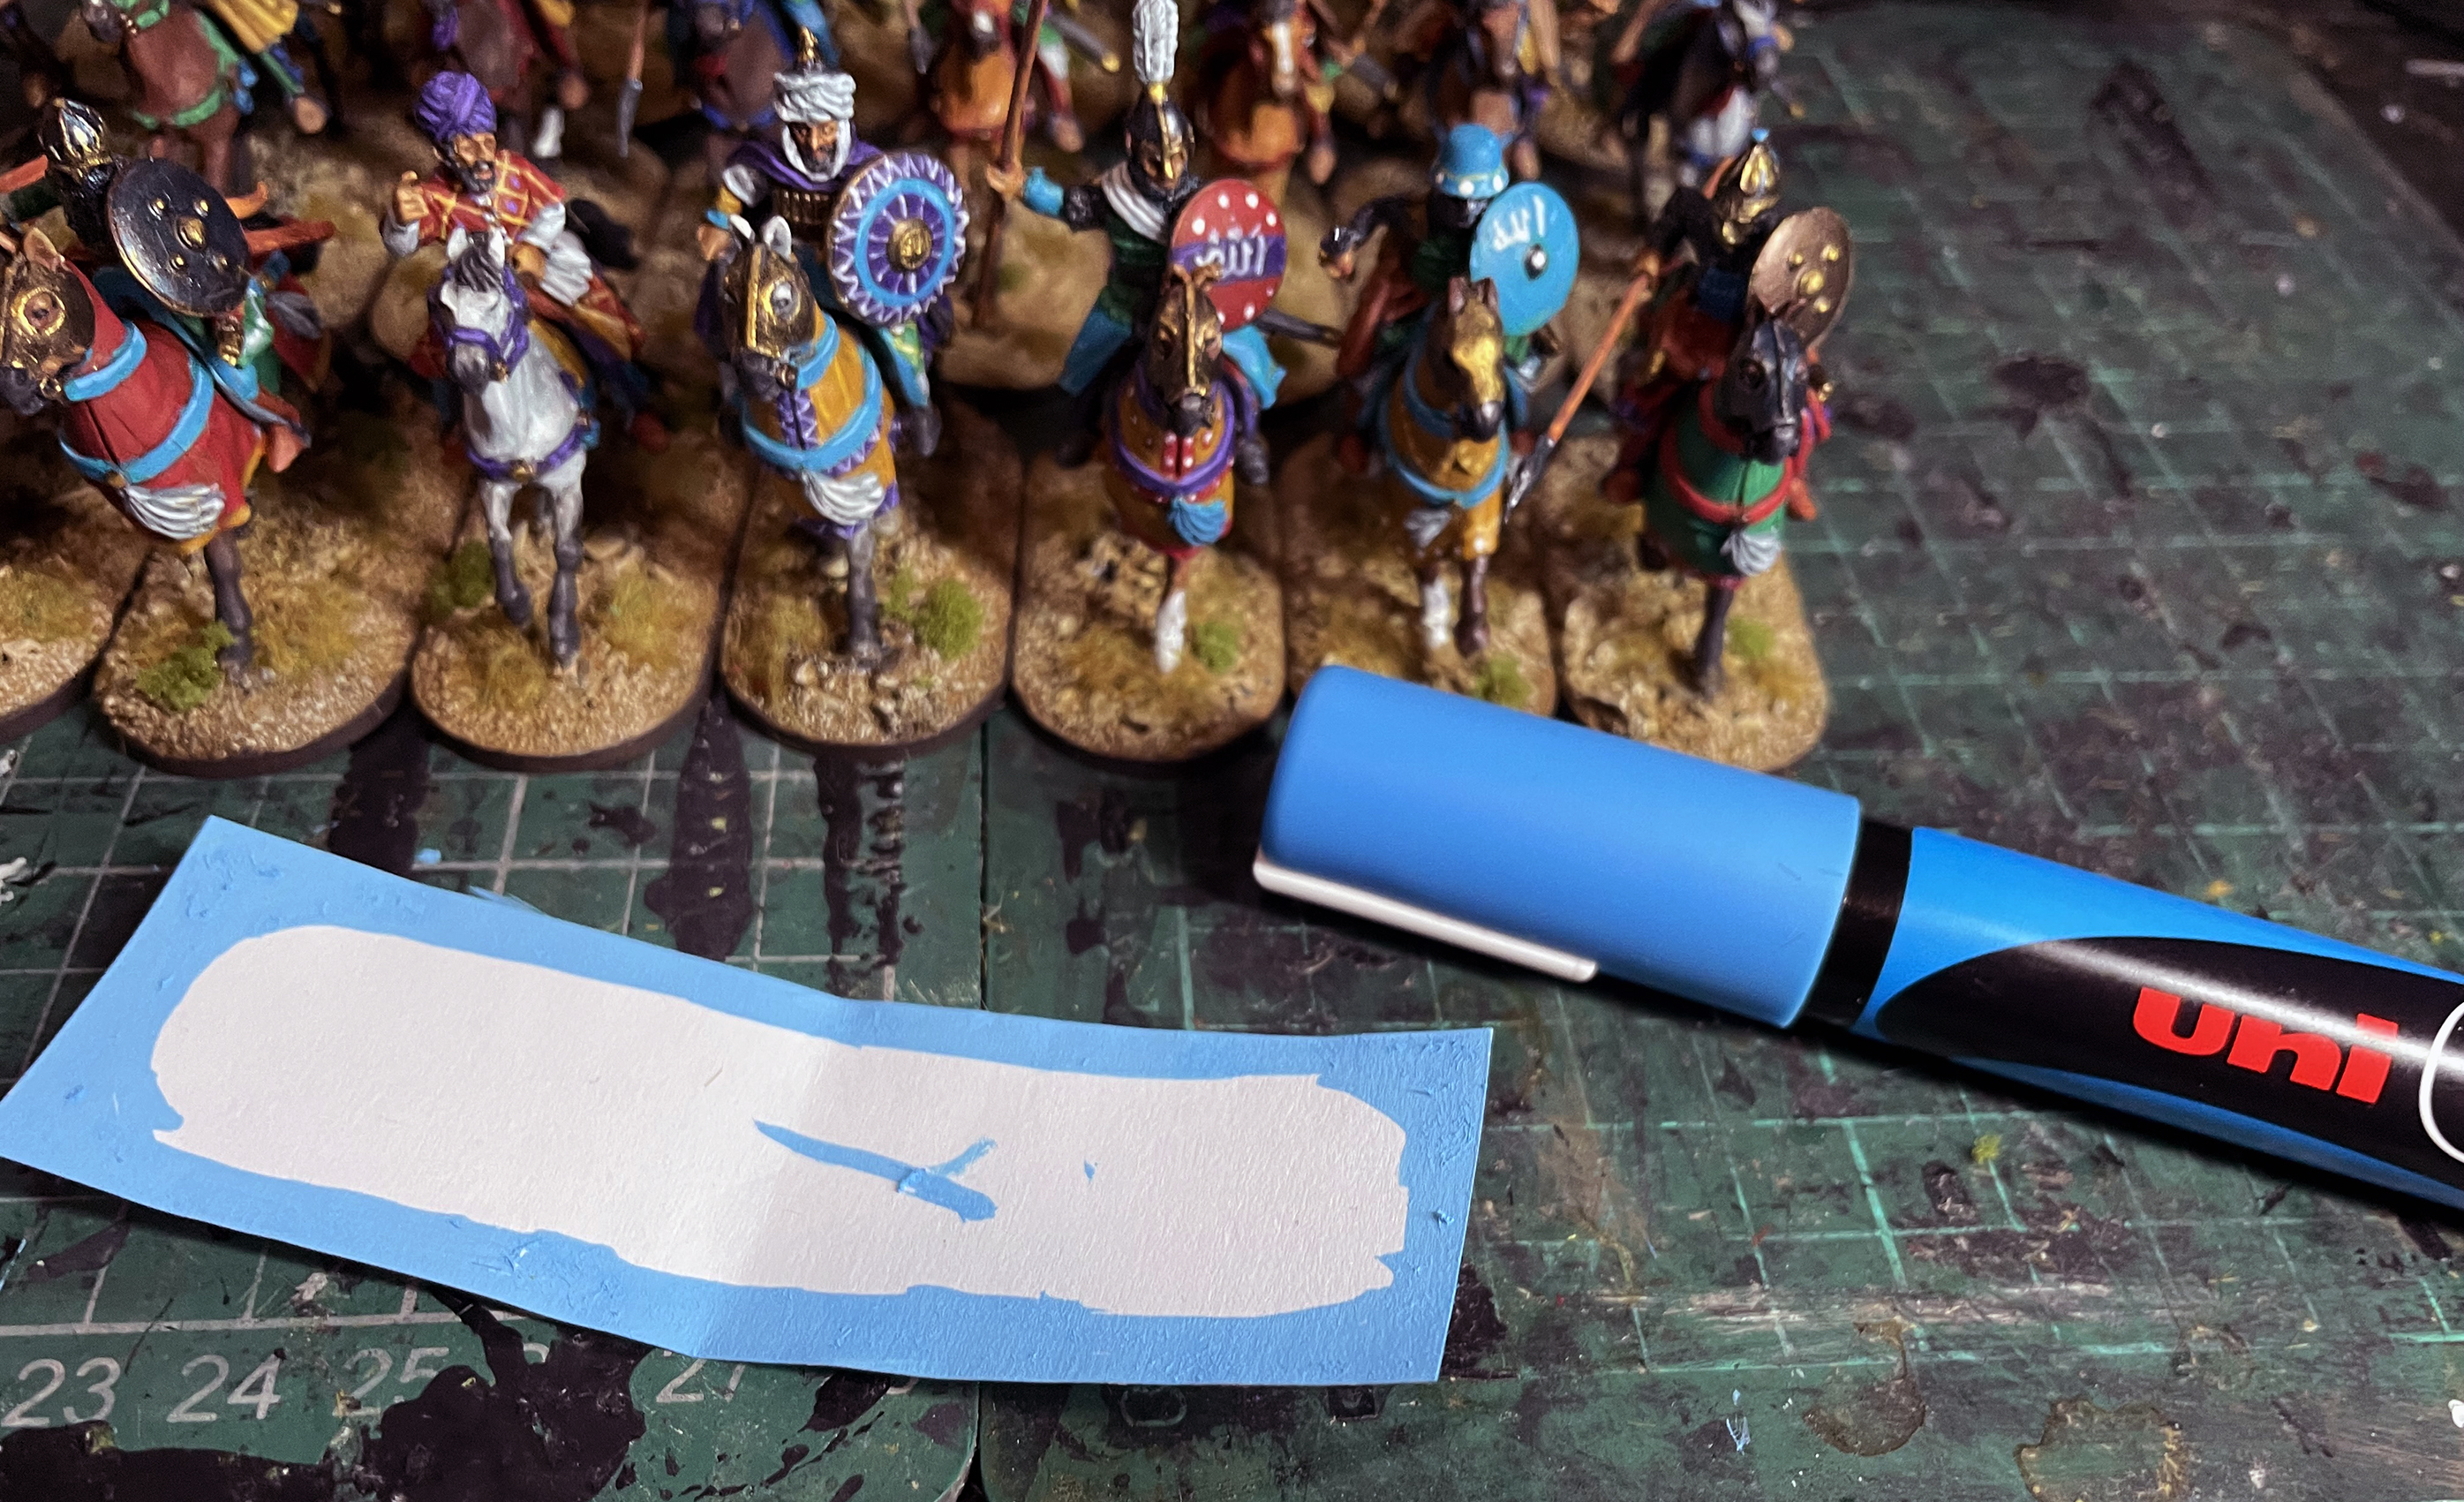
Once cut I fold the flag in half, gently, just to crease it so it can wrap around the flag pole easier. Then I turn the flag over so the white paper side is showing and the flag image is on the other side. This is because I want to colour the edges of the flag either black, or the dominate colour of the flag to hide the white and make it easier when hiding the white edges.
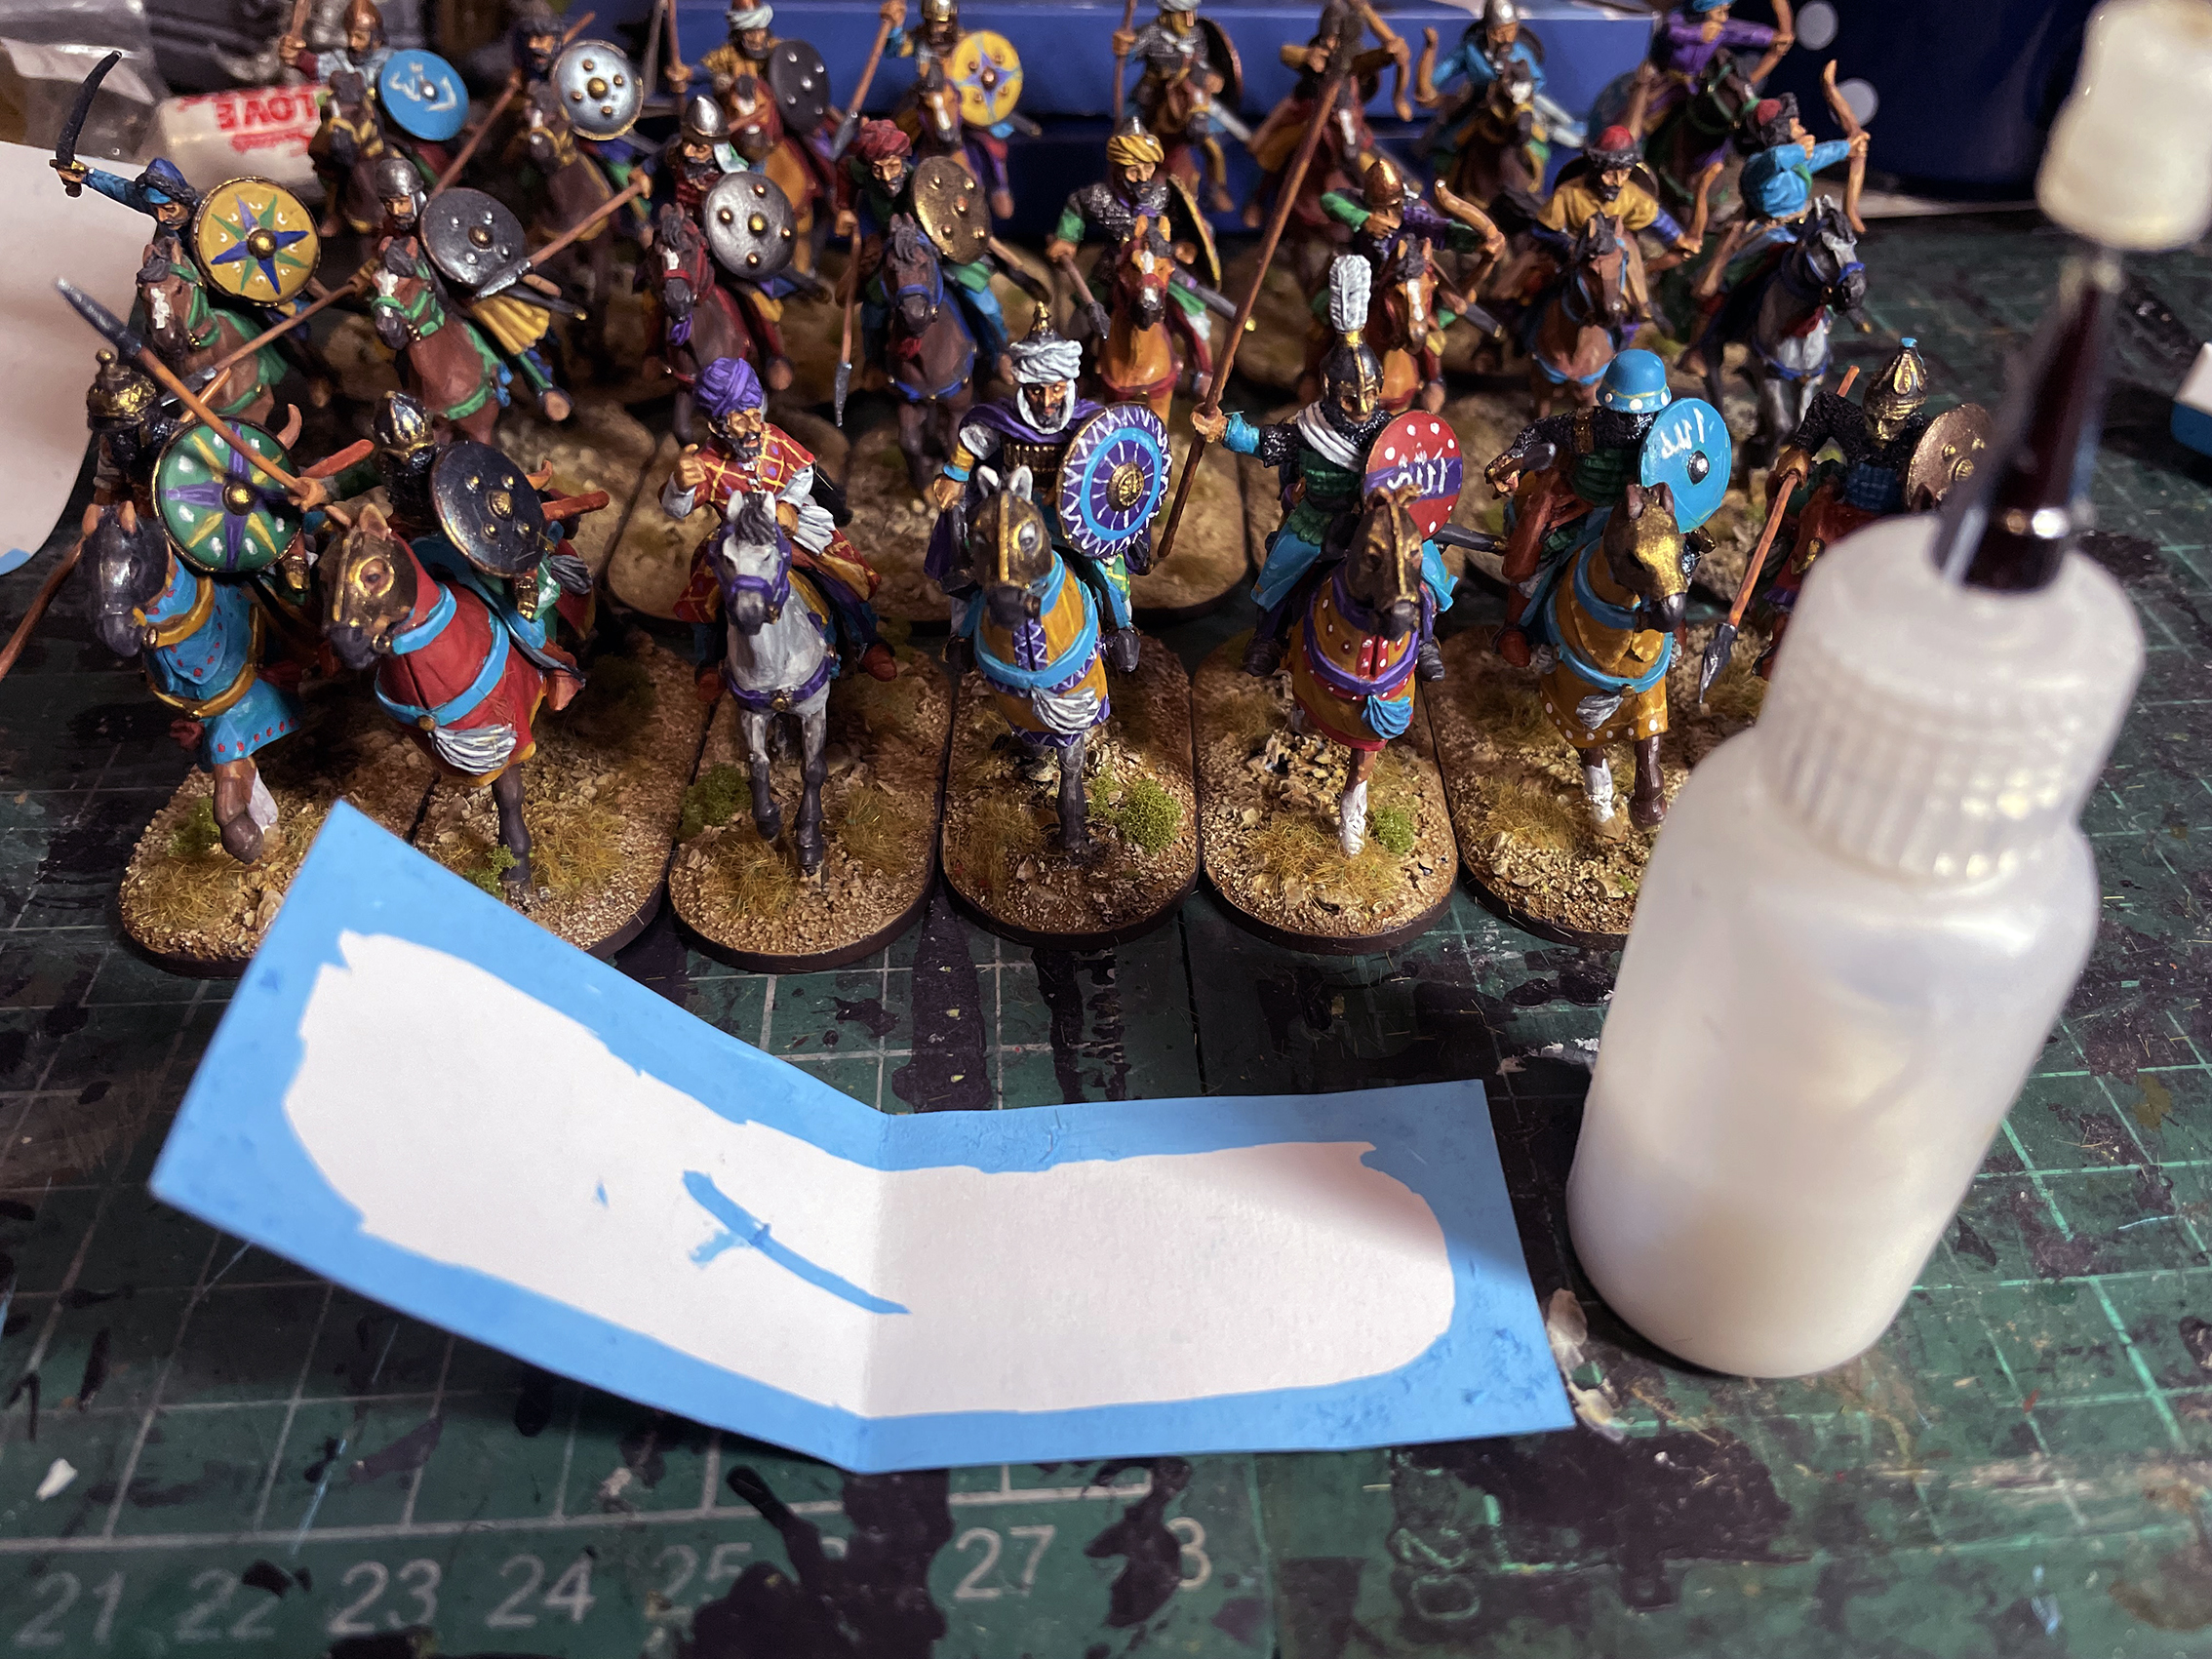
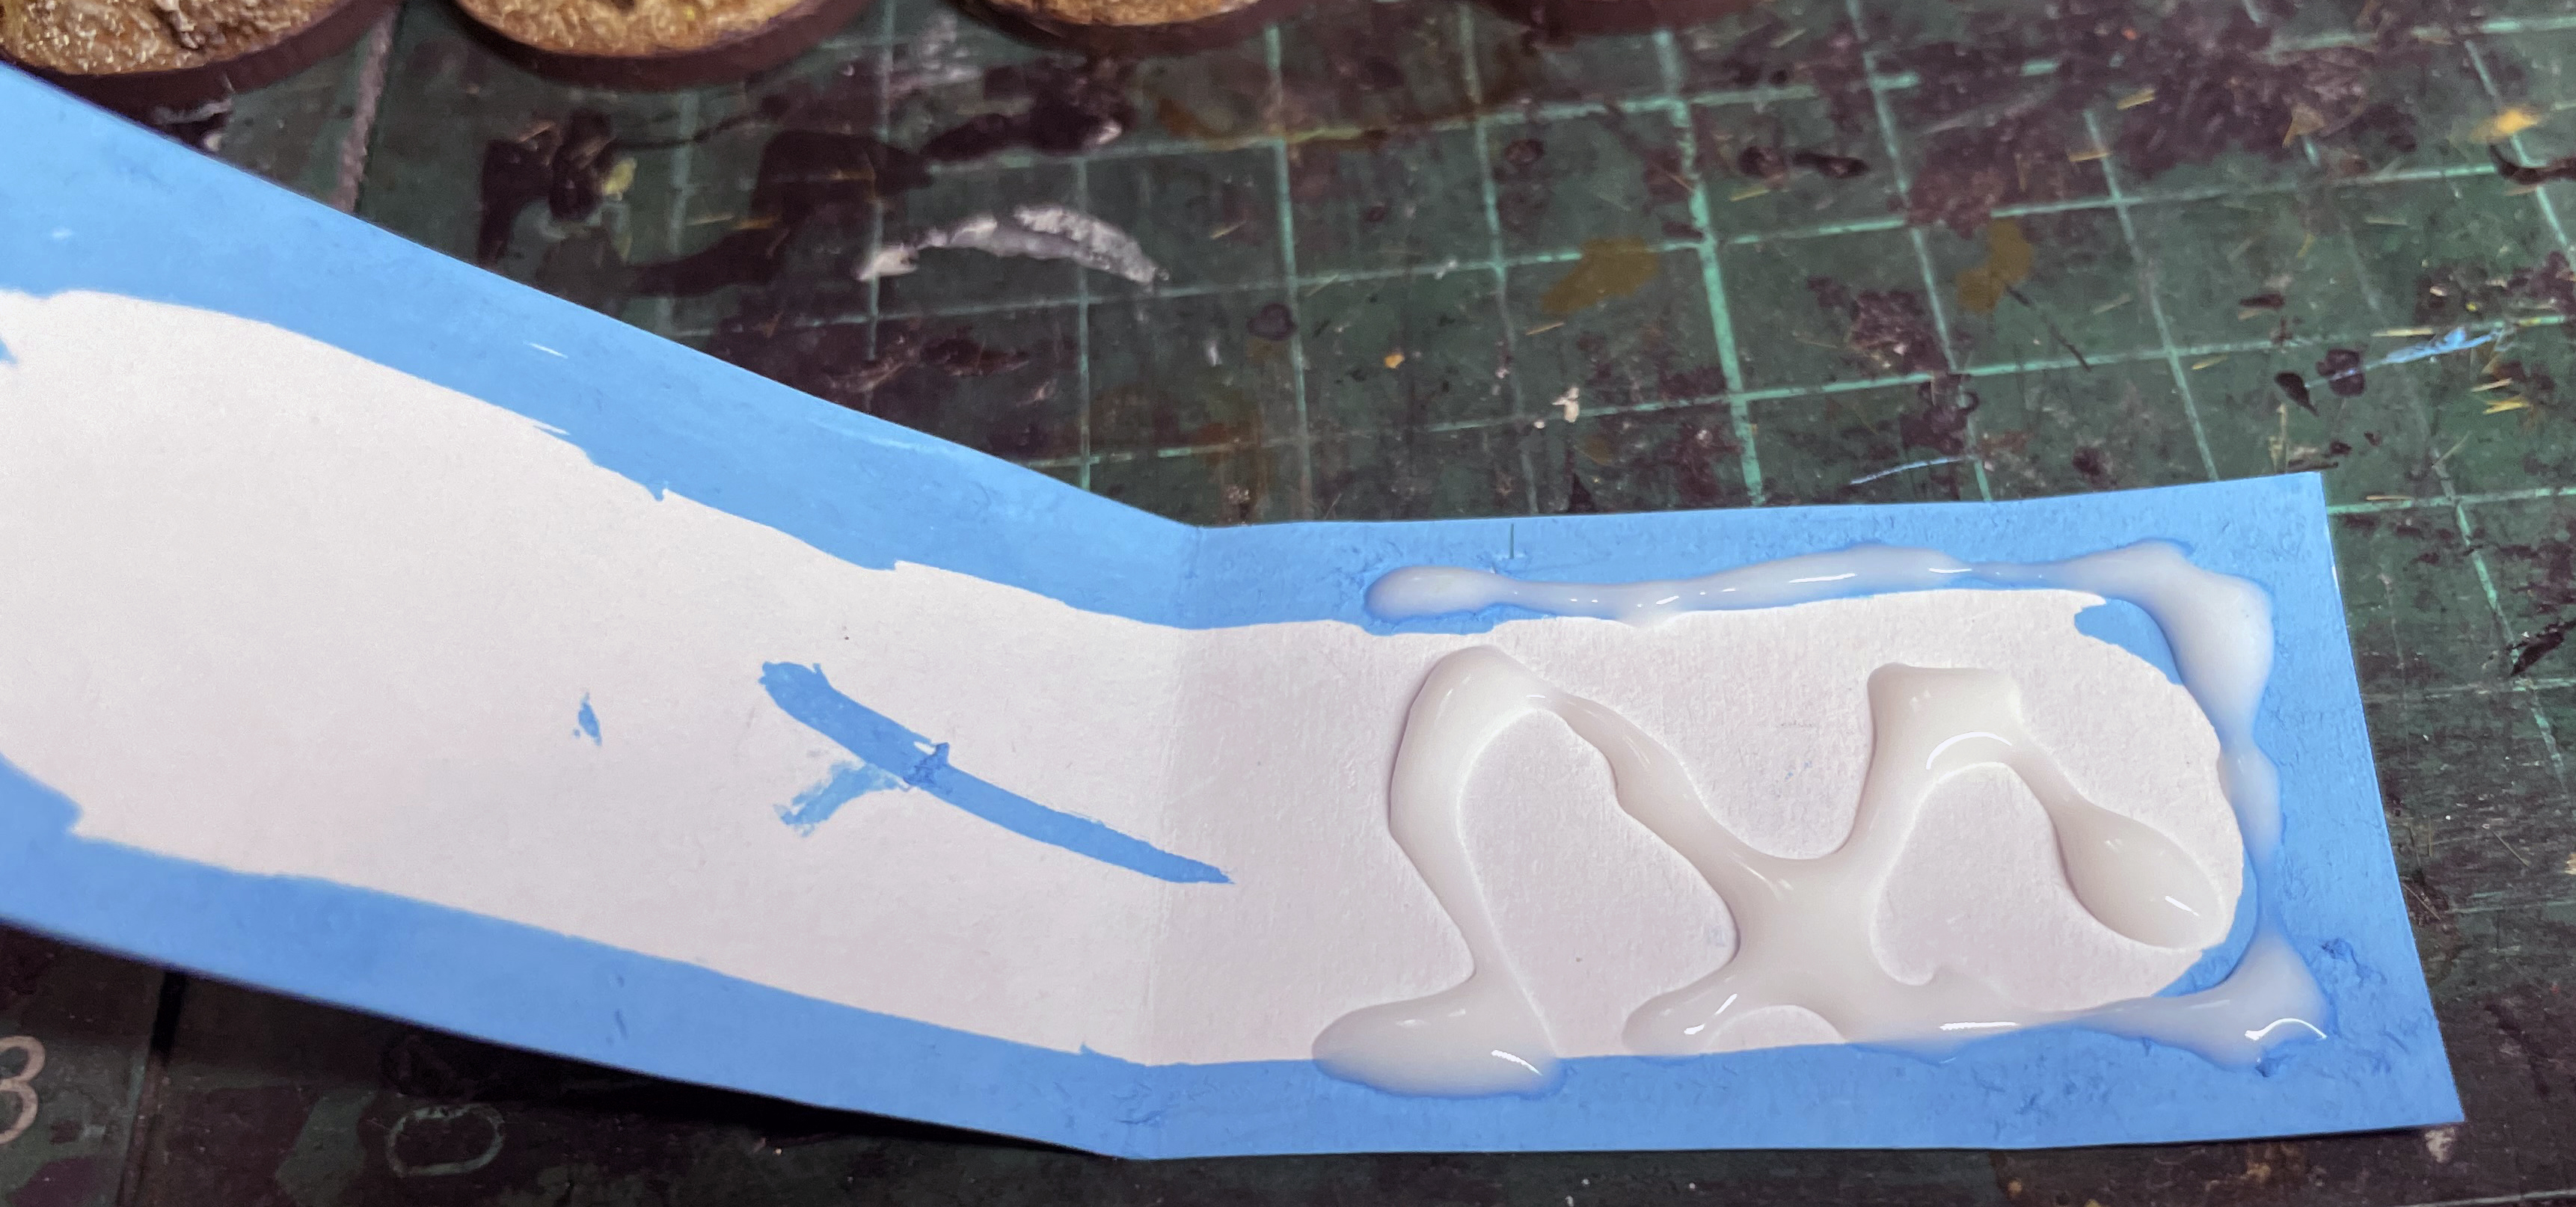
I use PVA or wood glue for this, please don’t use cheap school PVA as it is watery and can sink into the paper and ruin the image. This is another reason why I use thicker paper. I have a glue dispenser bottle with a thin precision cap to help get the glue only where you want it, there are fairly cheap on sites like Amazon. Now spread the glue on one side only and make sort it not in the centre part that wraps around the flag pole.
Now I gentle fold the flag and pinch the far edges together, taking care that the two corners align. Then I slowly moving back along the flag to where the flag pole will be, making sure the top and bottom edges align, but try and aim for no glue in the centre where the pole will be.
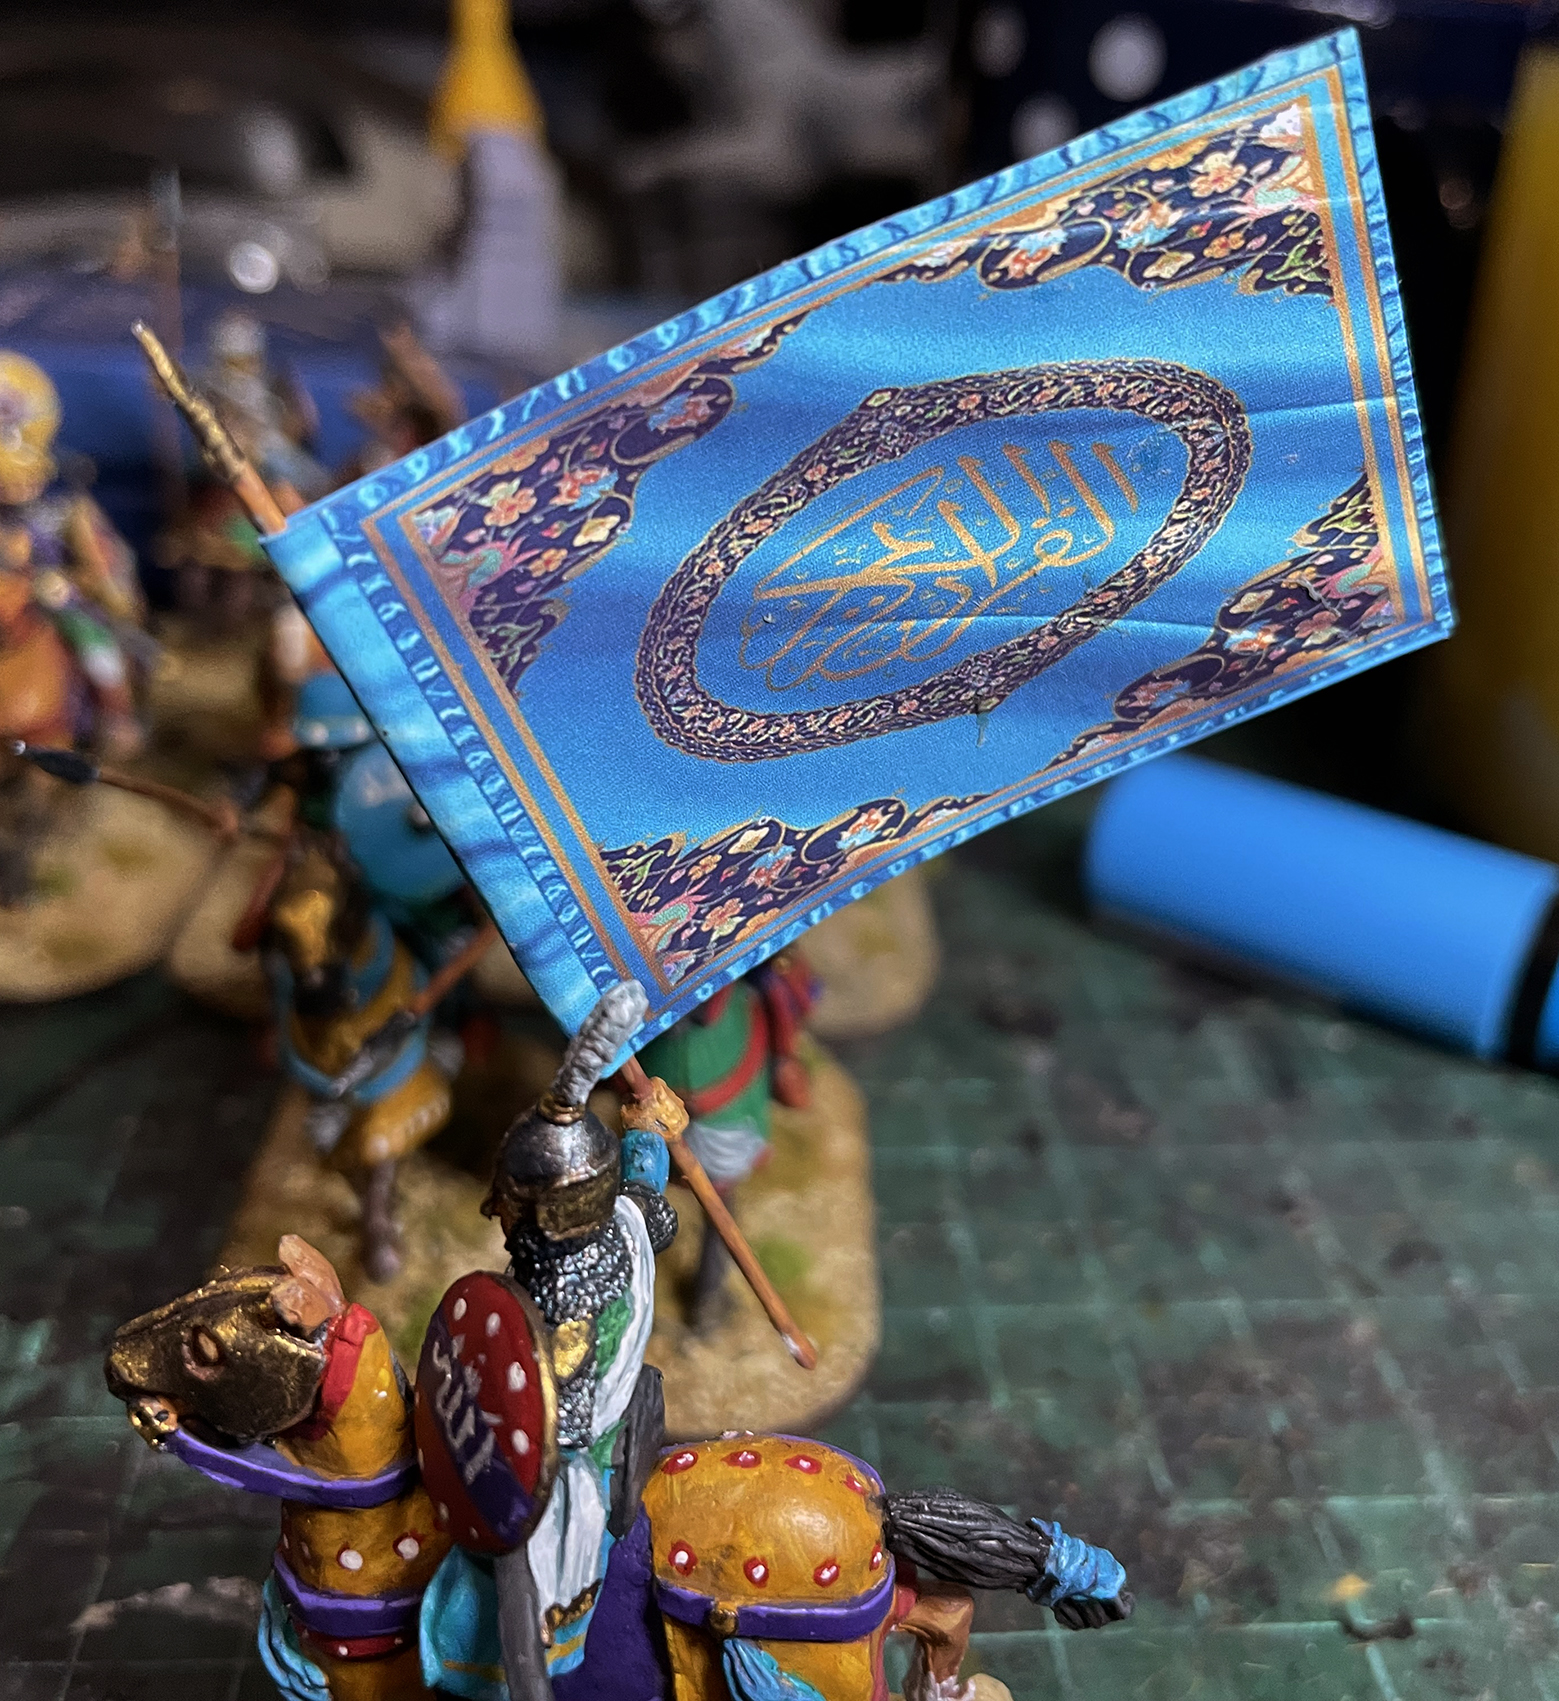
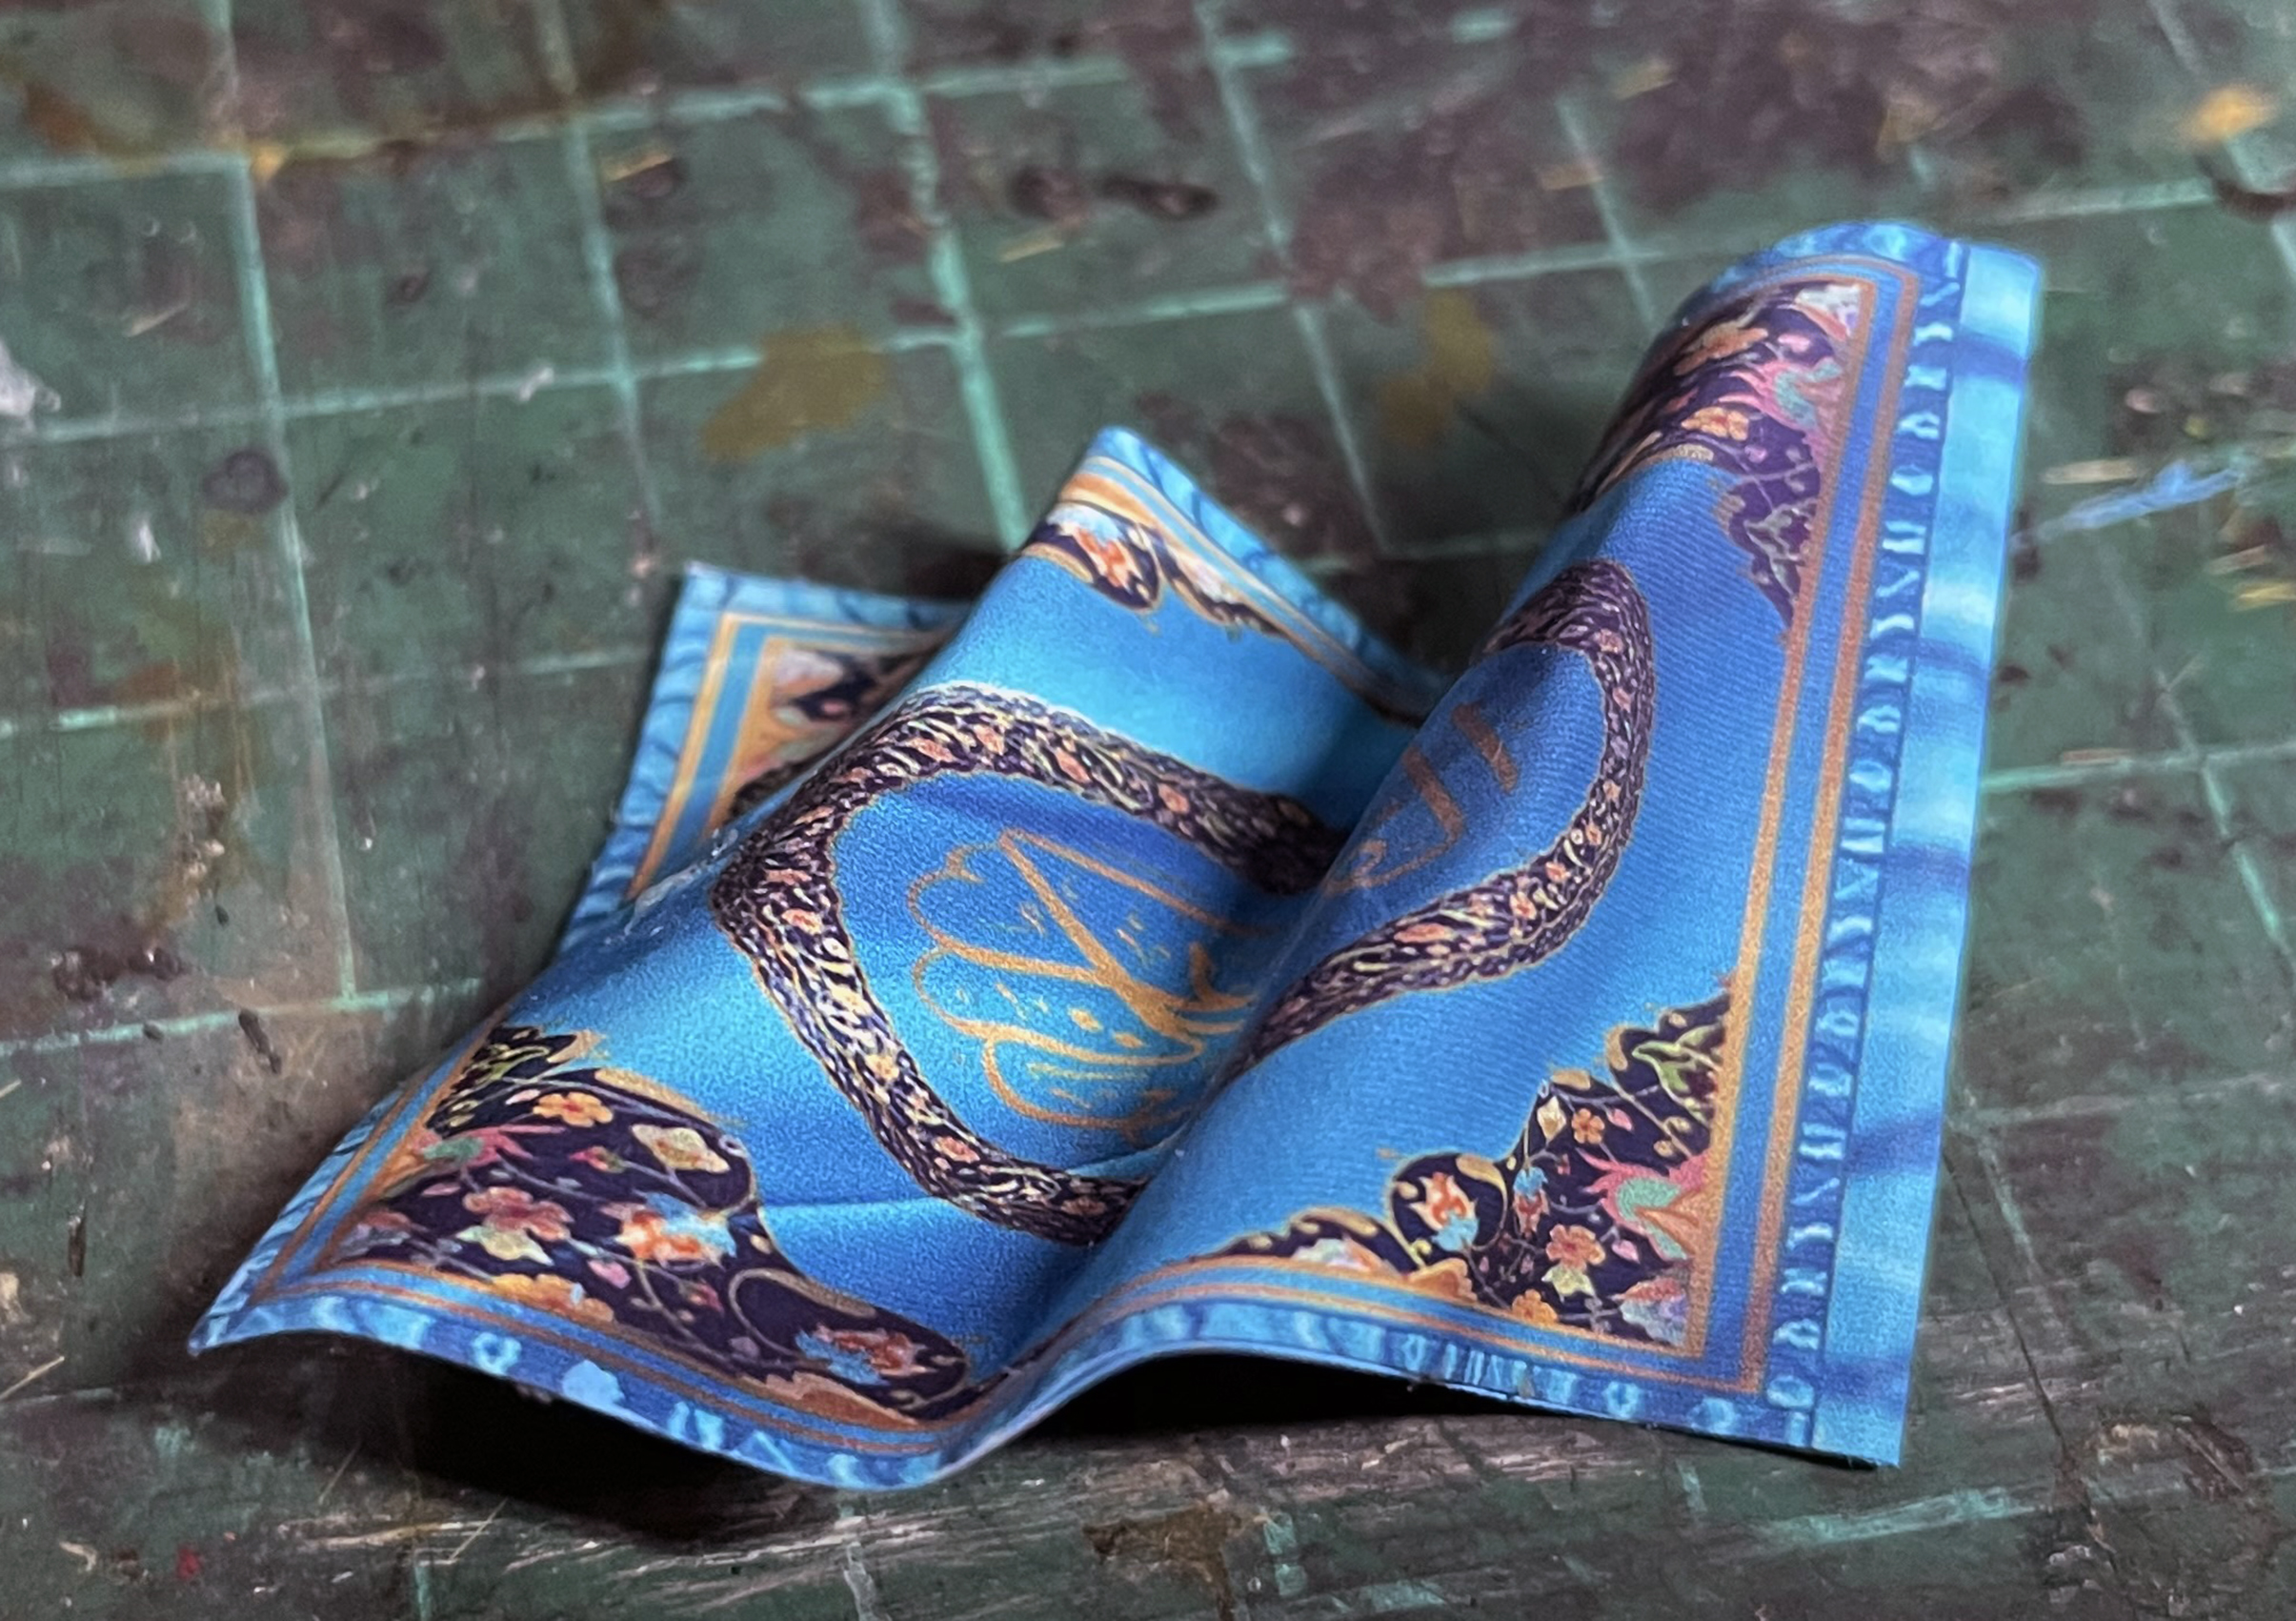
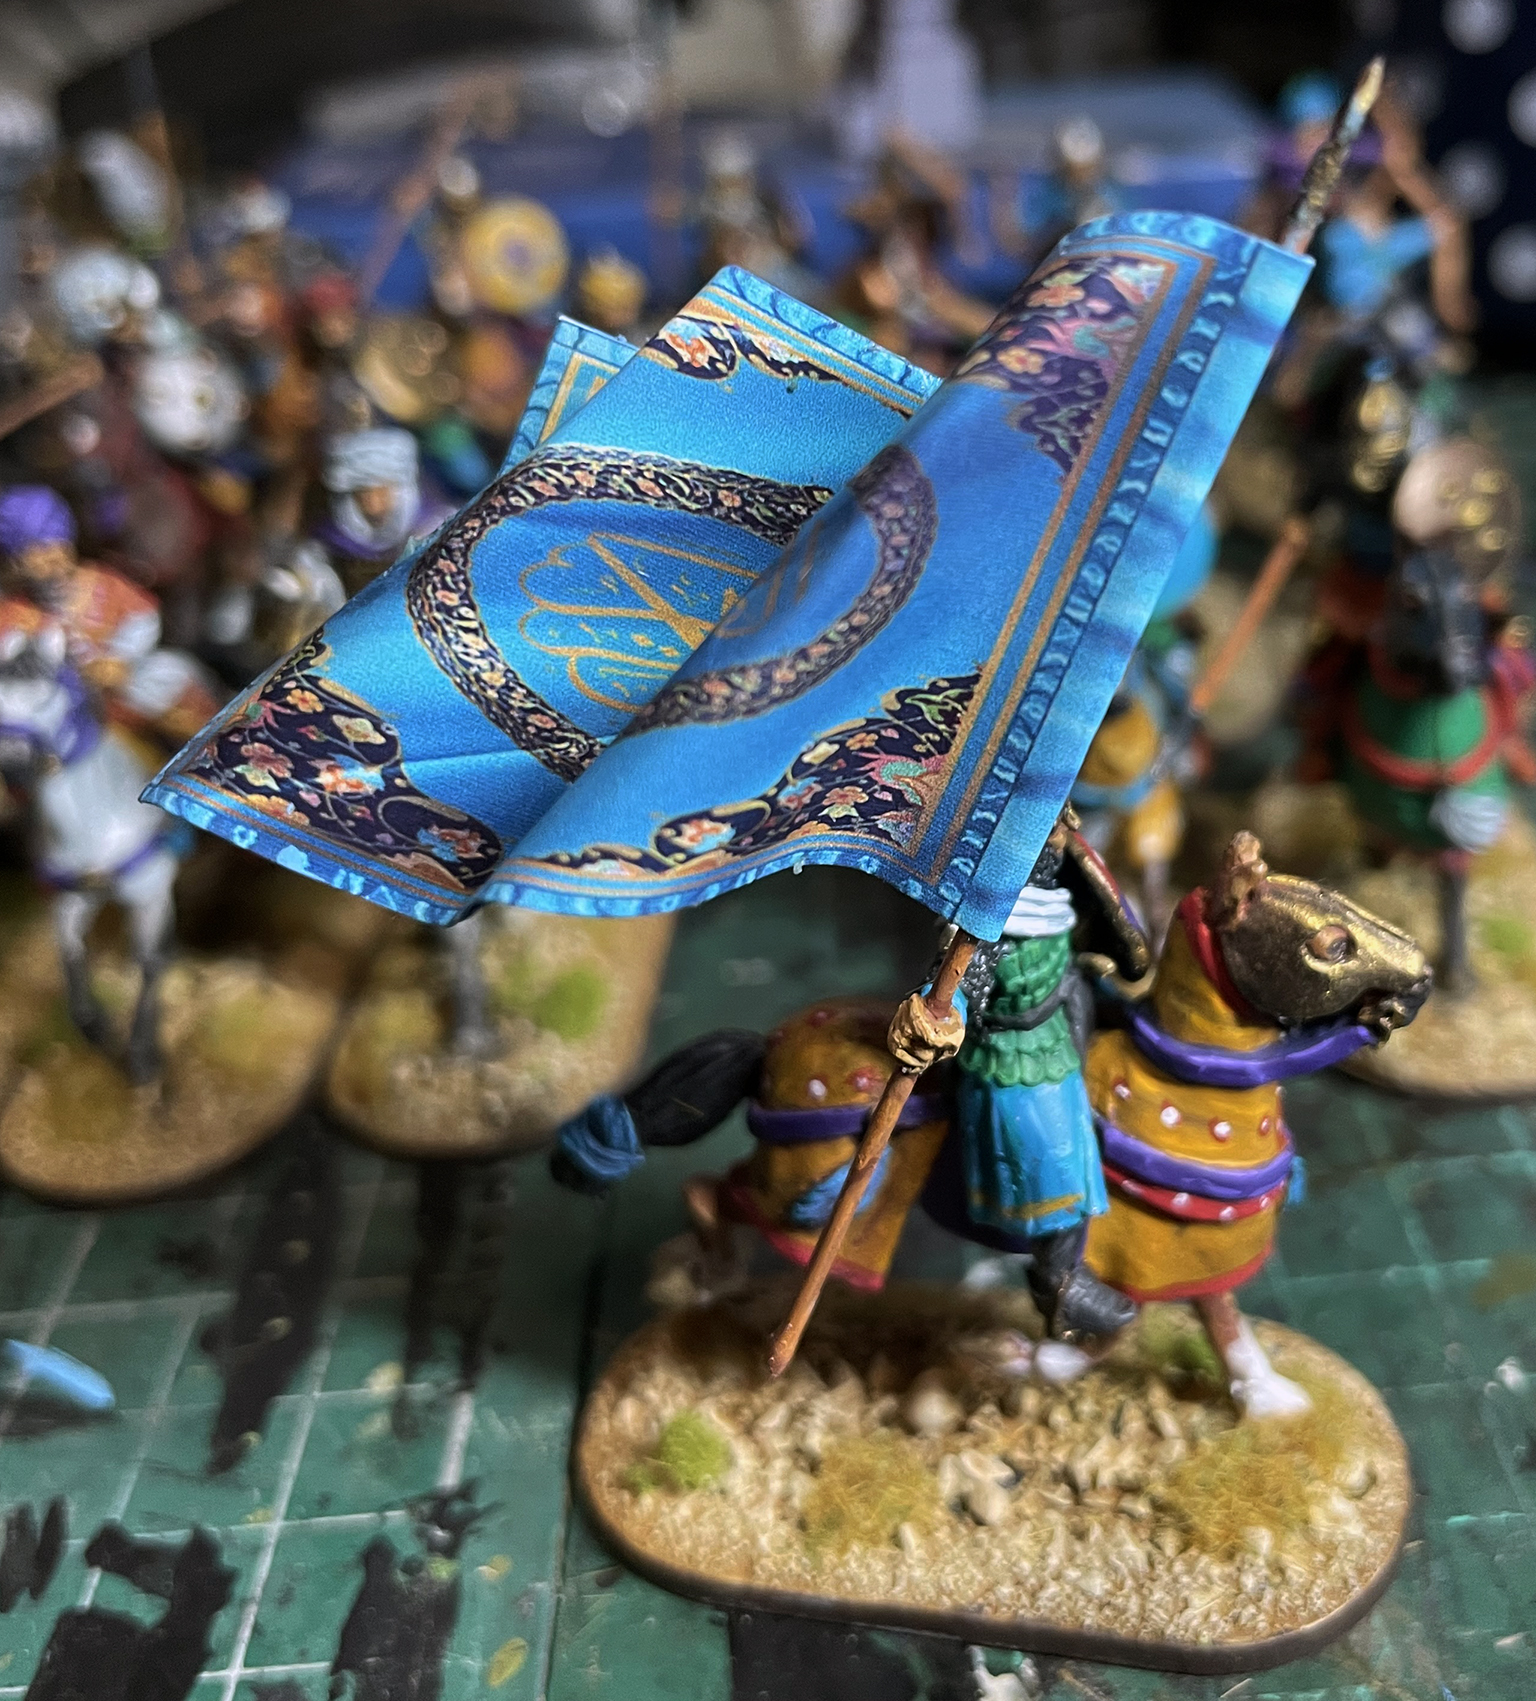
Now slowly slide the flag onto the pole and pinch the up to the poles shaft and then gentle remove the flag from it. Now we are going to make the folds in the flag and I prefer to this with the flag off the pole, but you can do this while it is attached, I just find it easier that’s all. I firstly put a gentle fold from the top corner closest to the pole. Then I put another fold in the flag in a sort of wavey manner. I find folding a thin paint brush handle is really good for this as it does put any creases in the paper.
Then I let the paper to dry and then attach it back to the flag pole.
All done


Leave a Reply