
![Perfect Historical Wargame Objectives! Victrix Treasures & More Reviewed [7 Days Early Access]](https://images.beastsofwar.com/2026/02/unboxing-victrix-treasures_-chests-_-market-stalls-coverimage-225-127.jpg)


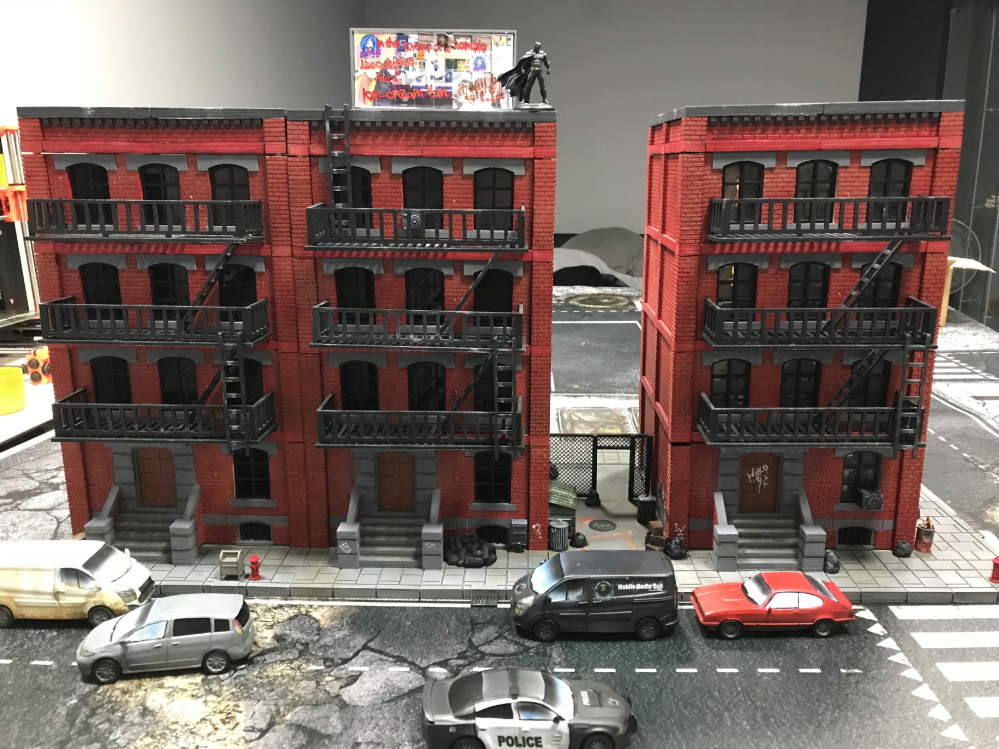
Appartmant Street ‘Terrain Challenge’


Recommendations: 643
About the Project
Due to a life getting in the way i never have time to enter any of the Terrain Challenges or even get involver in the forums as much as i like, and still don't have the time. so i thought for my Terrain Challenge why not let it build itself!! about two years ago i backed a Kickstarter by Z1Design whom had designed a modular modern day, 3D printable Buildings. I've only just got my 3D printer going and why not whits I'm at work have it build my Terrain Challenge for me HA HA HA. i hope to keep you all updater on my progress, troubles and successes as my work horse of a 3D printer churns through the filament and i can show what can be made. keeping it on topic. i will be making a tourist of American city style apartments t use in my games off Walking Dead, DC Universe and Fallout. the major thing i will need to contend with is time, for me to have time to keep up with the project and the time it takes to print everything to build this project. hope you all keep with me on my first ever Project, Terrain Challenge and first major forum posts.
Related Game: The Walking Dead: All Out War
Related Genre: Post-Apocalyptic
This Project is Active
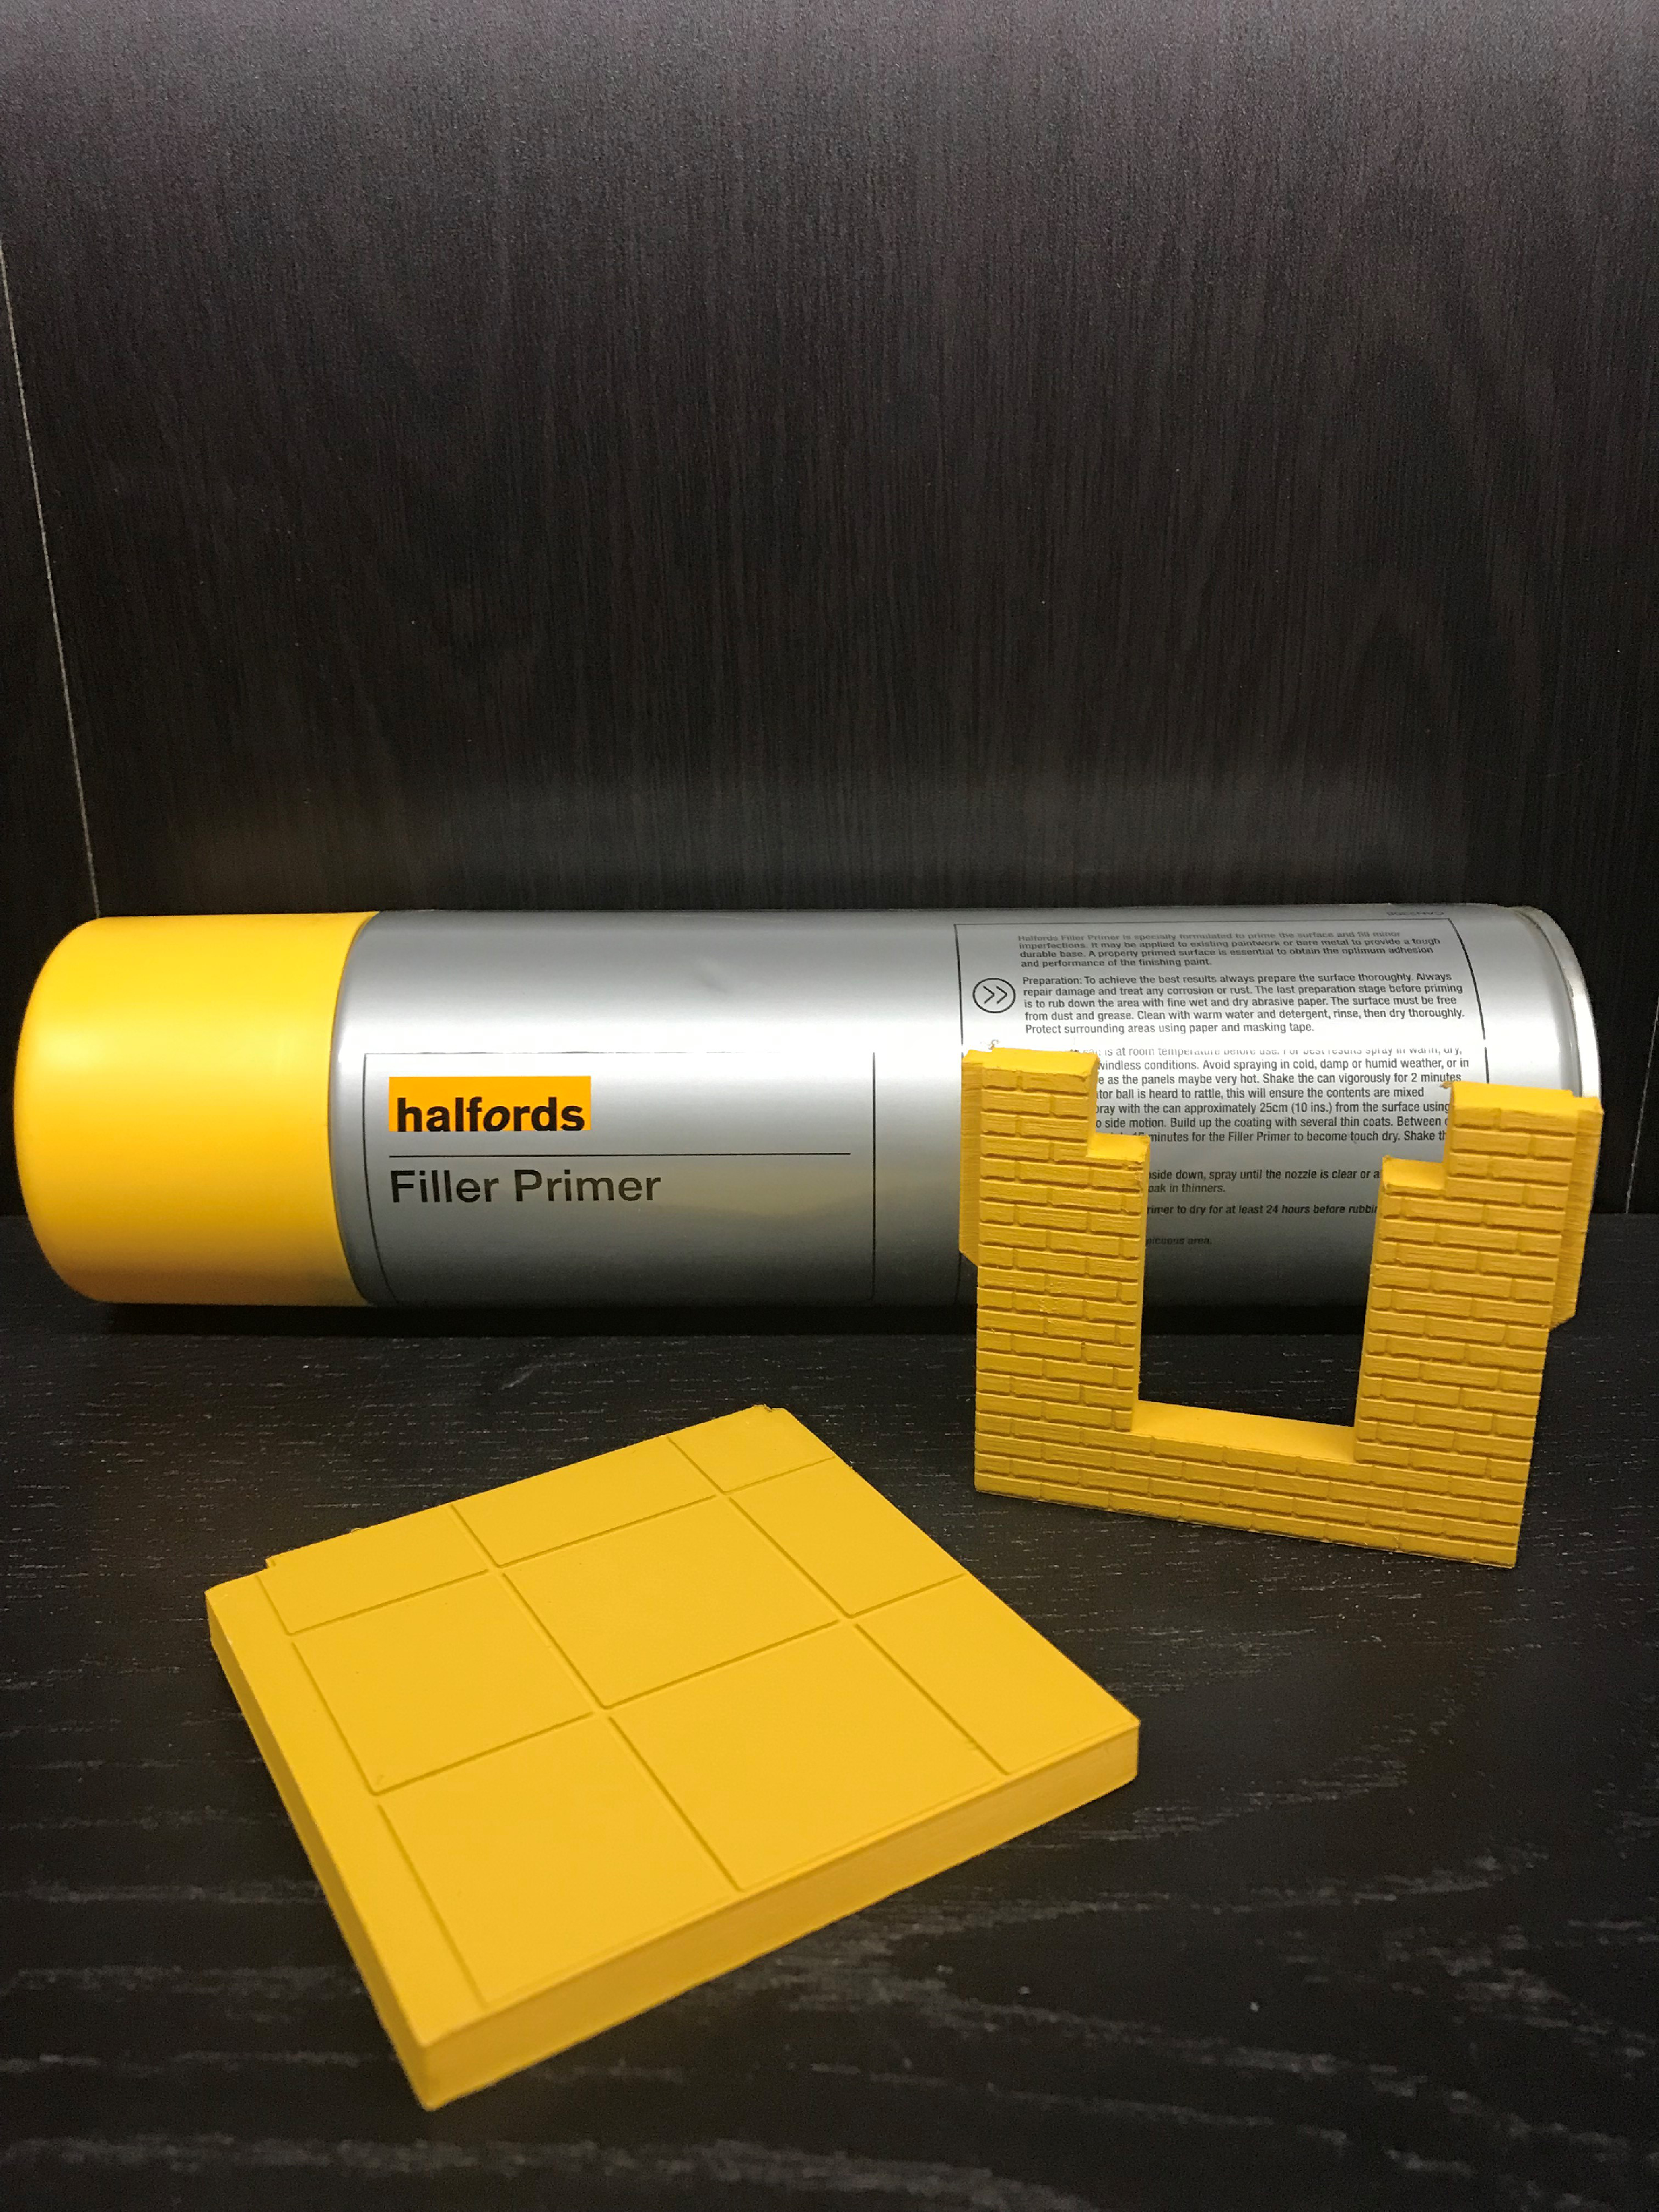
First Test Coats
Next on one of the wall and one of the floor panels i have primed using a Holfords Filler Primer, this i have seen BOW John use before as it helps cover over some imperfections such as some of the stepping after sanding.
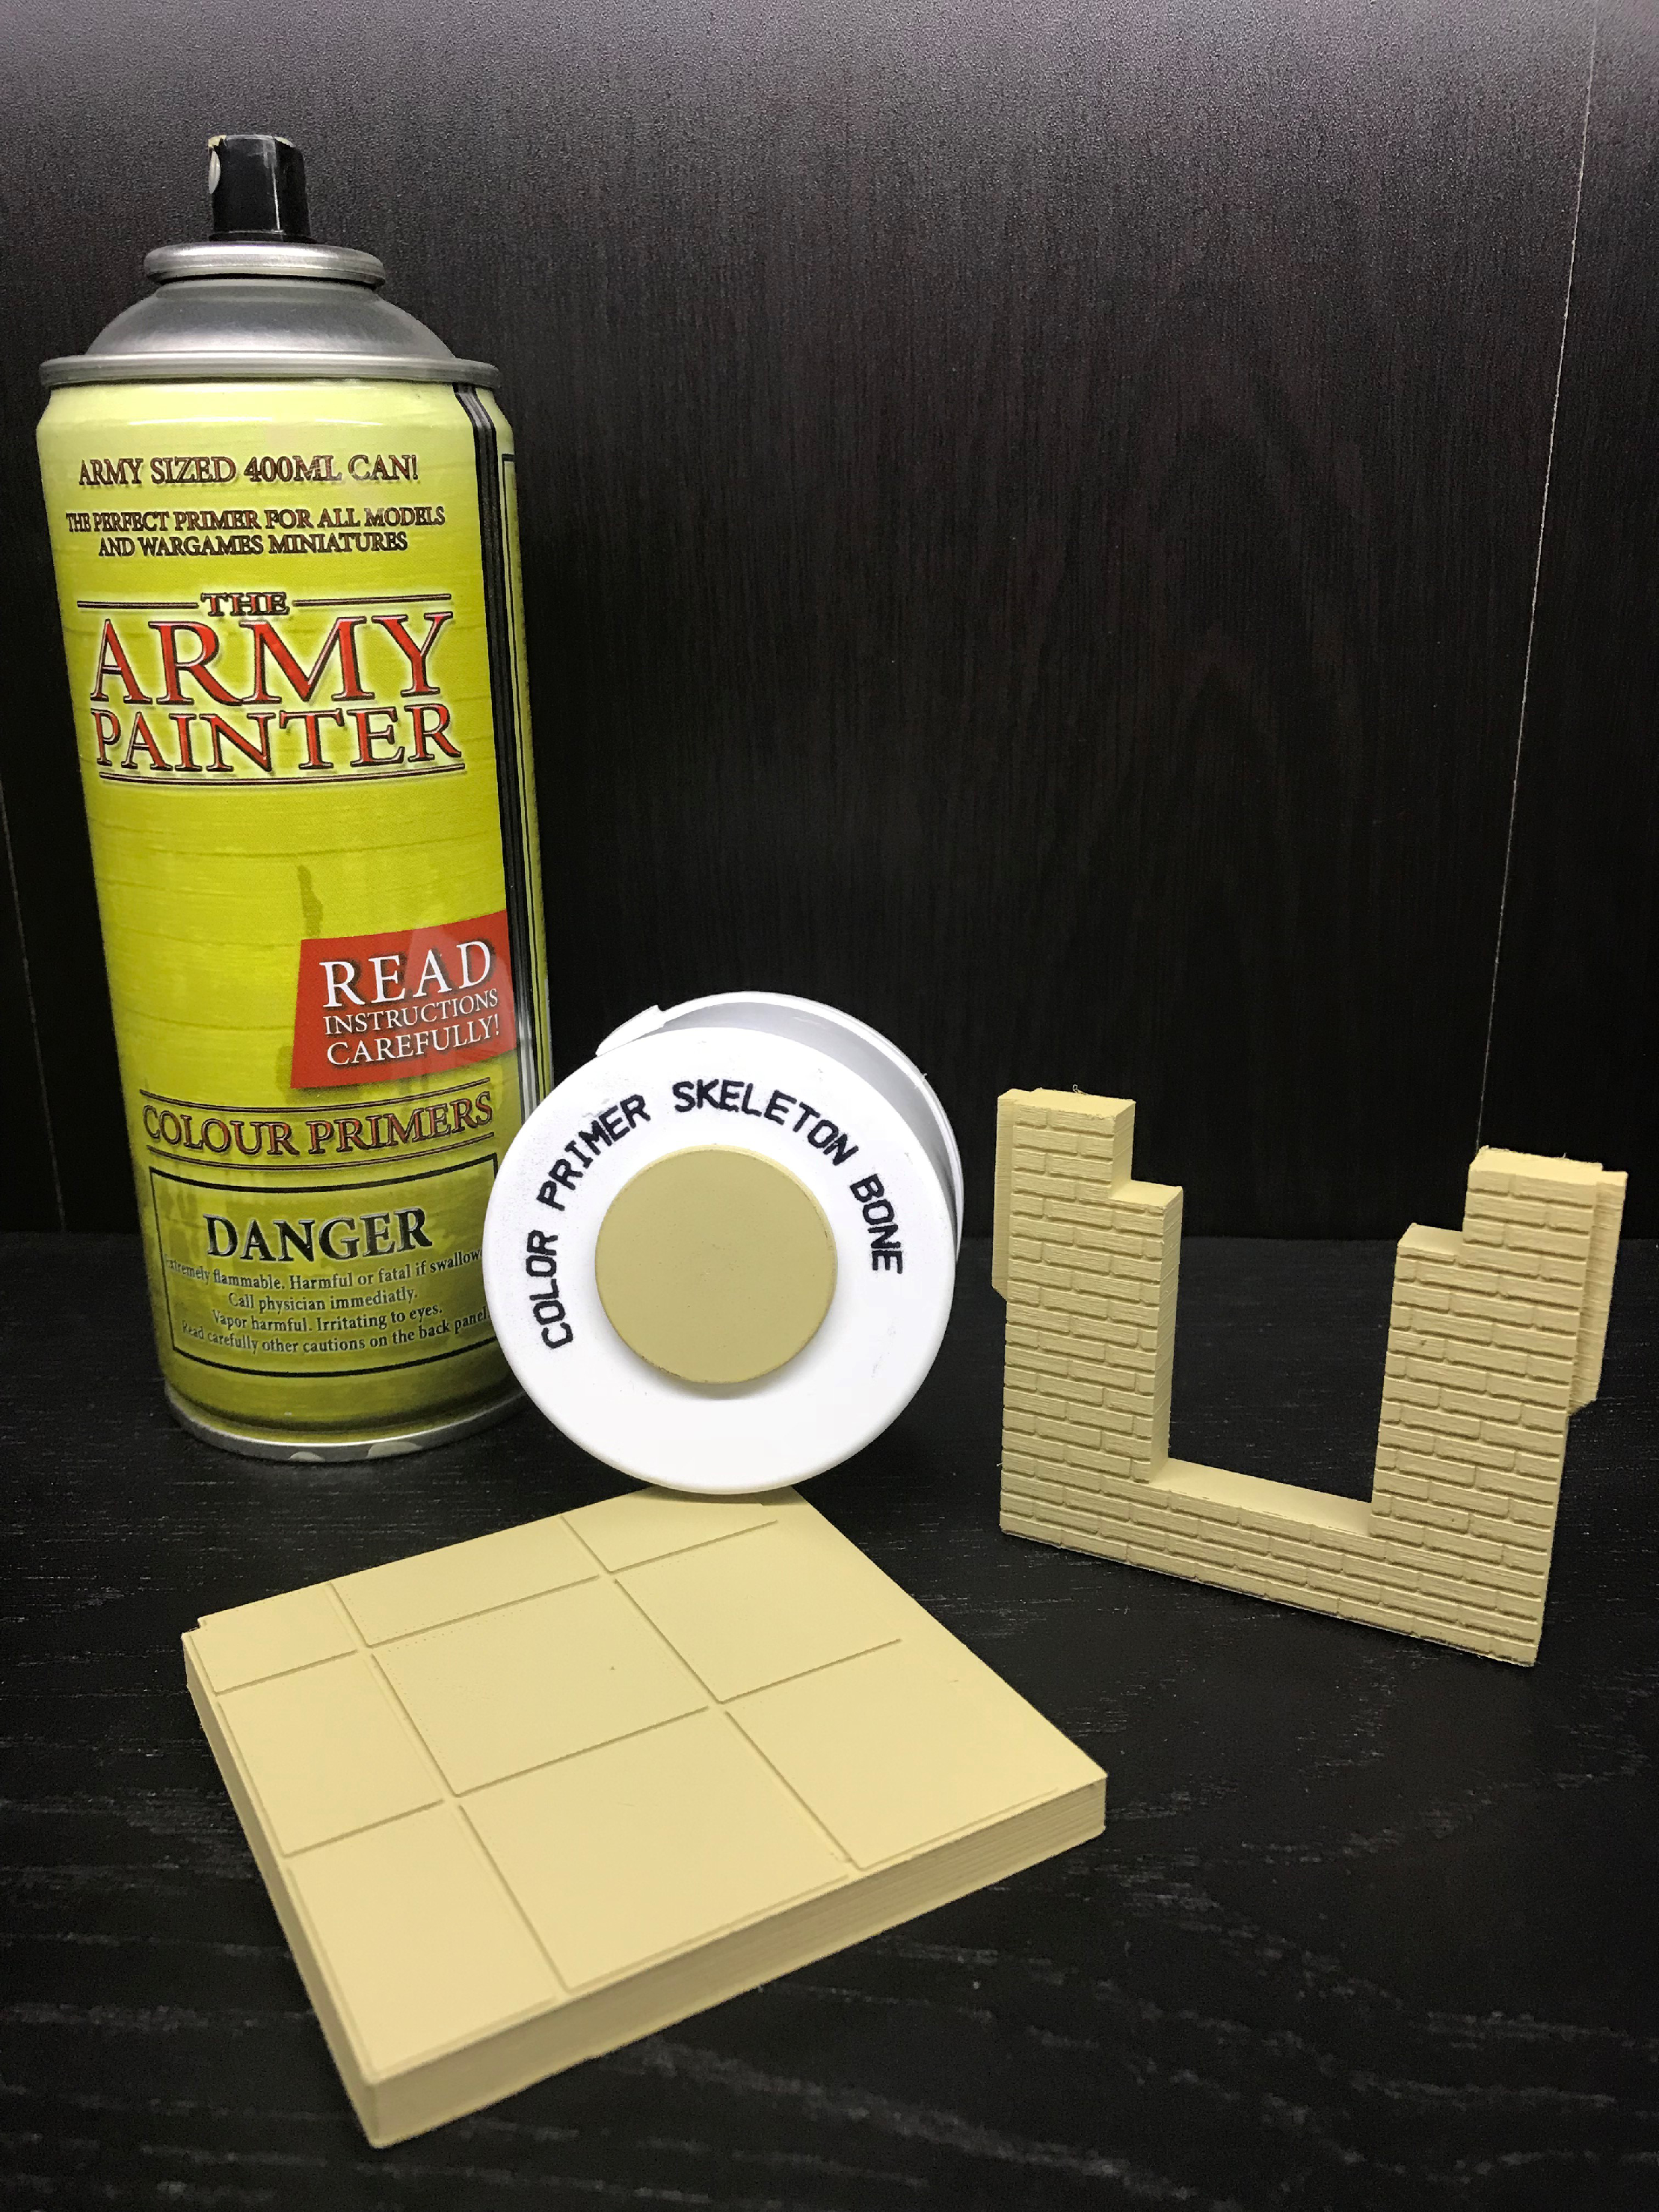
im also trying at the same time the same type of panels in a Army Painter Skeleton Bone Spray primer so i can compare once the first ones have dried and then over primes in skeleton bone too if there is a difference or not.
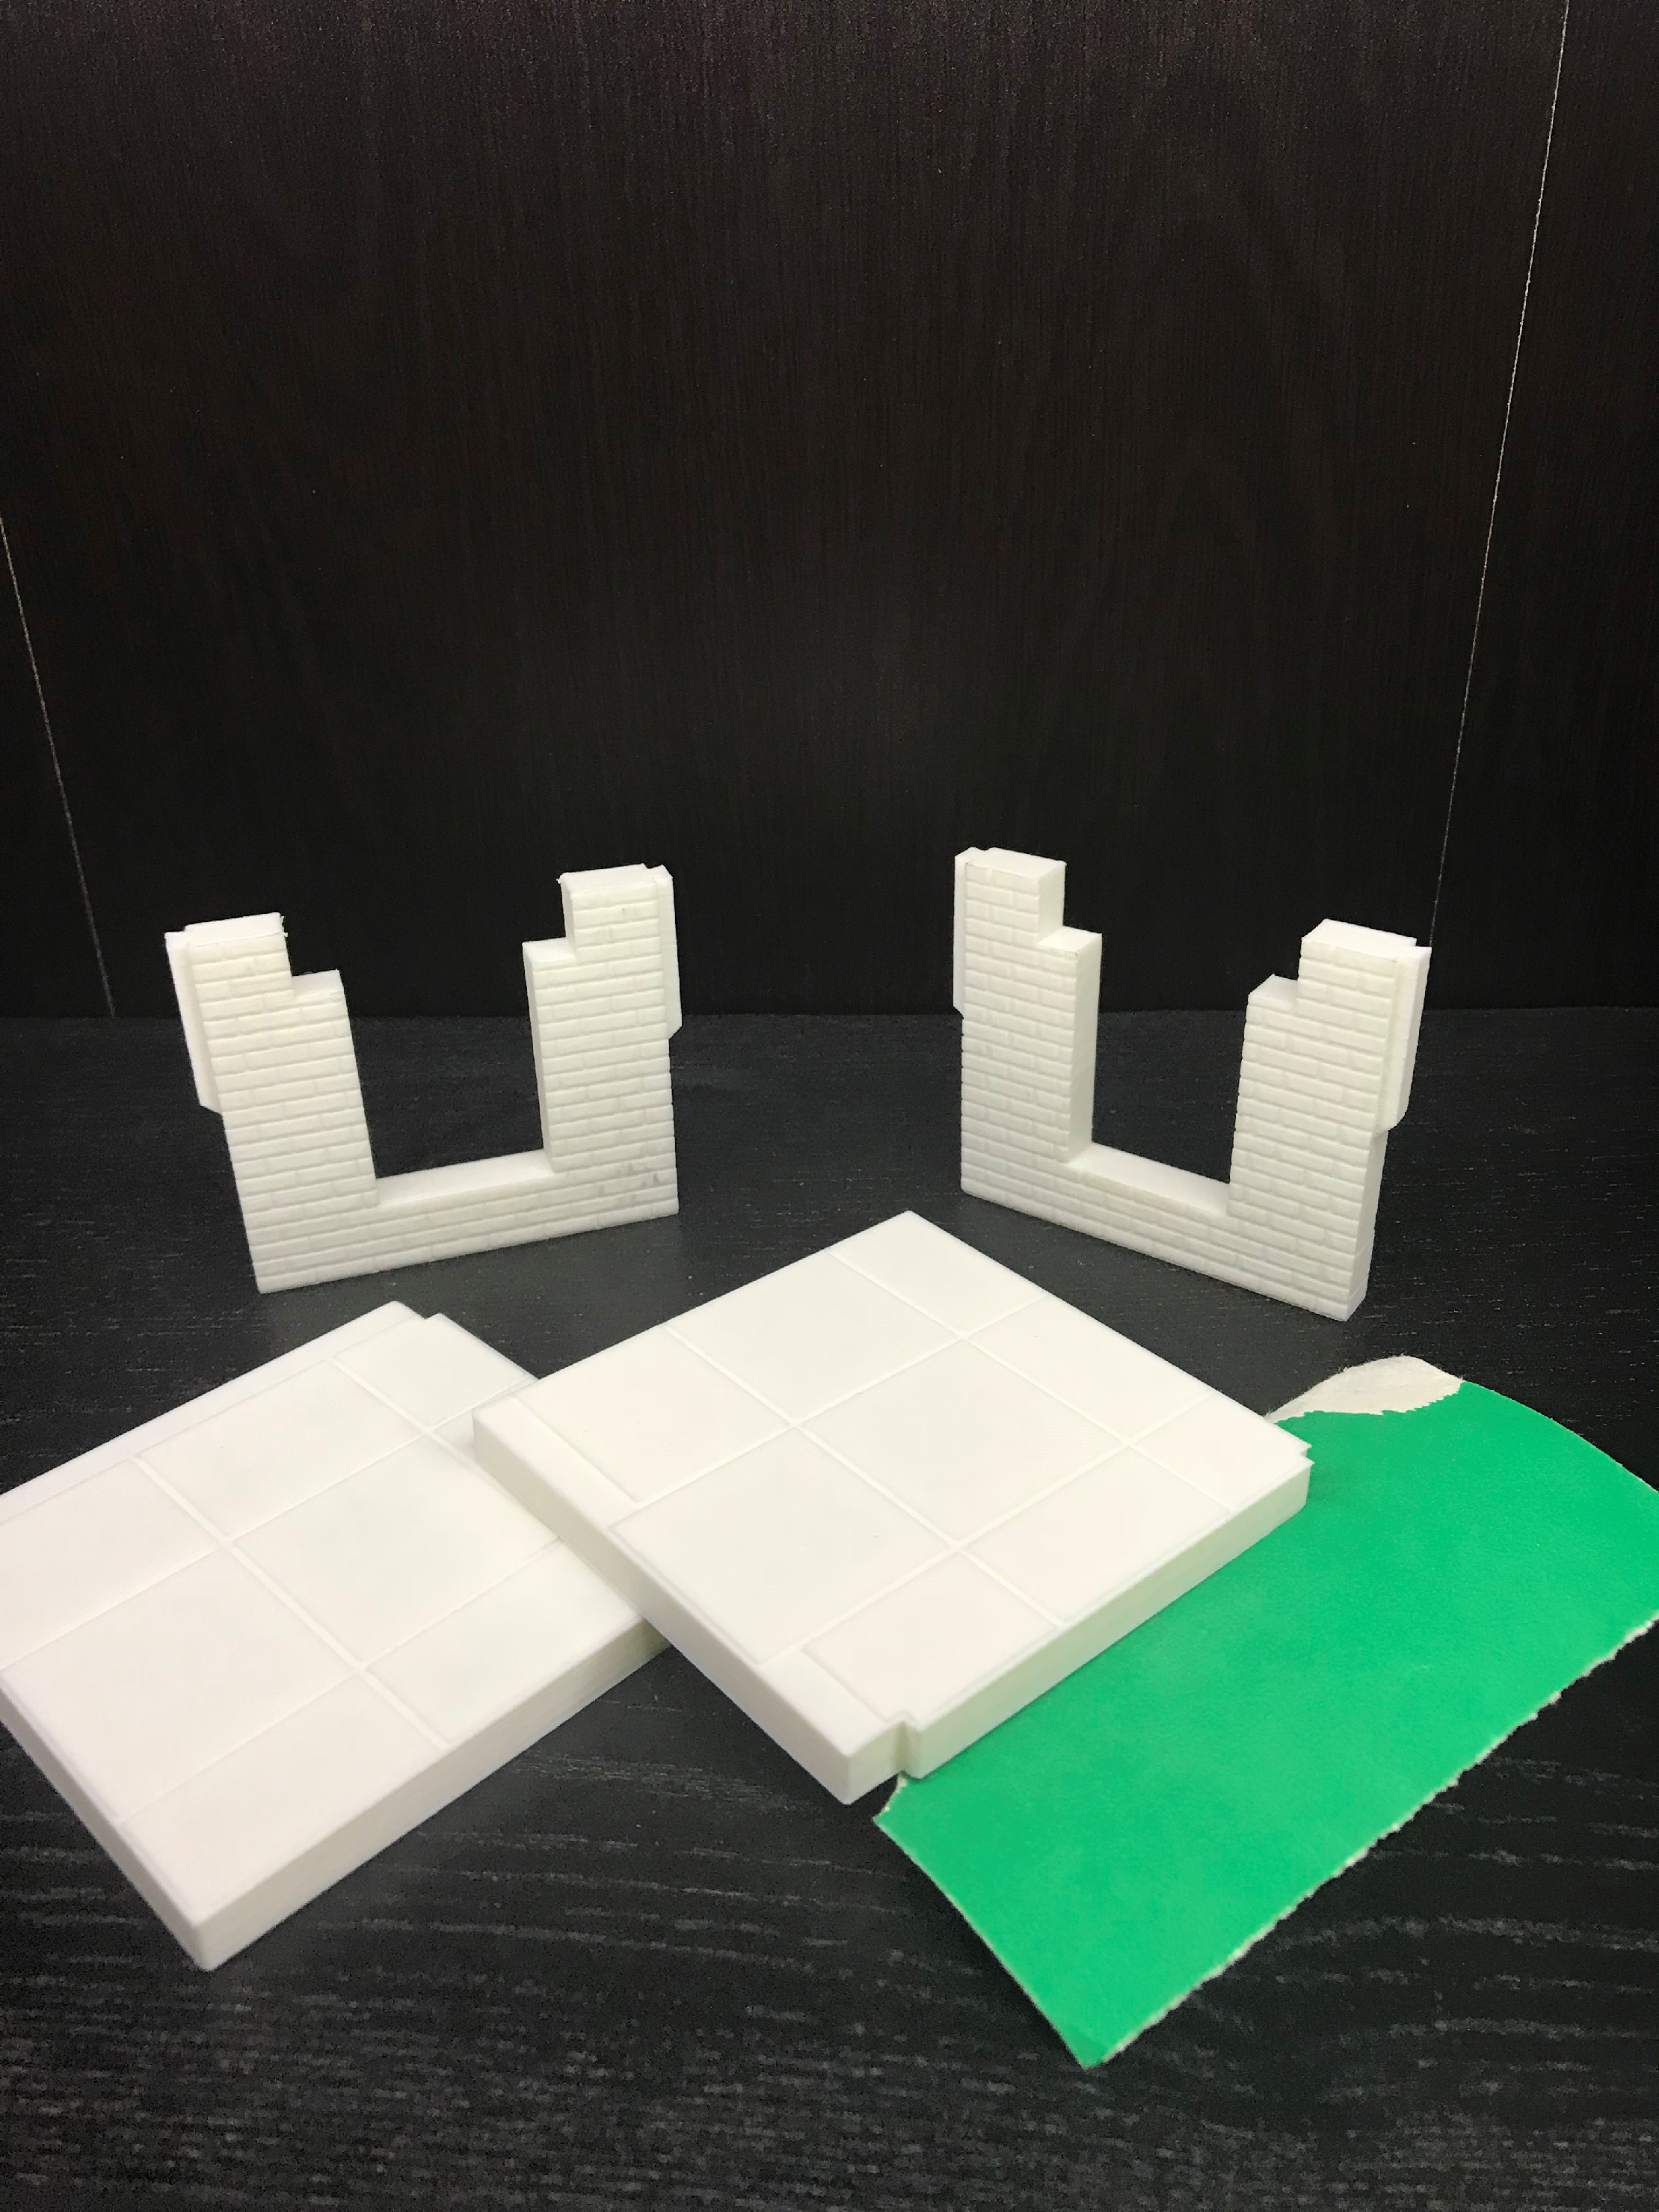
Testing the Foundations (Premiering)
one thing i want to test before going ahead is the right way to primer the 3D printed elements.
due to how the parts are printed in layers i feel a very light and fine sand of the merger surfaces should help to prevent the stepping becoming to apparent when painted. I’m using in this test a 180gram sand paper and very lightly sanding by had over the merger surfaces. i am also going to test primer an unsanded part to to compare.

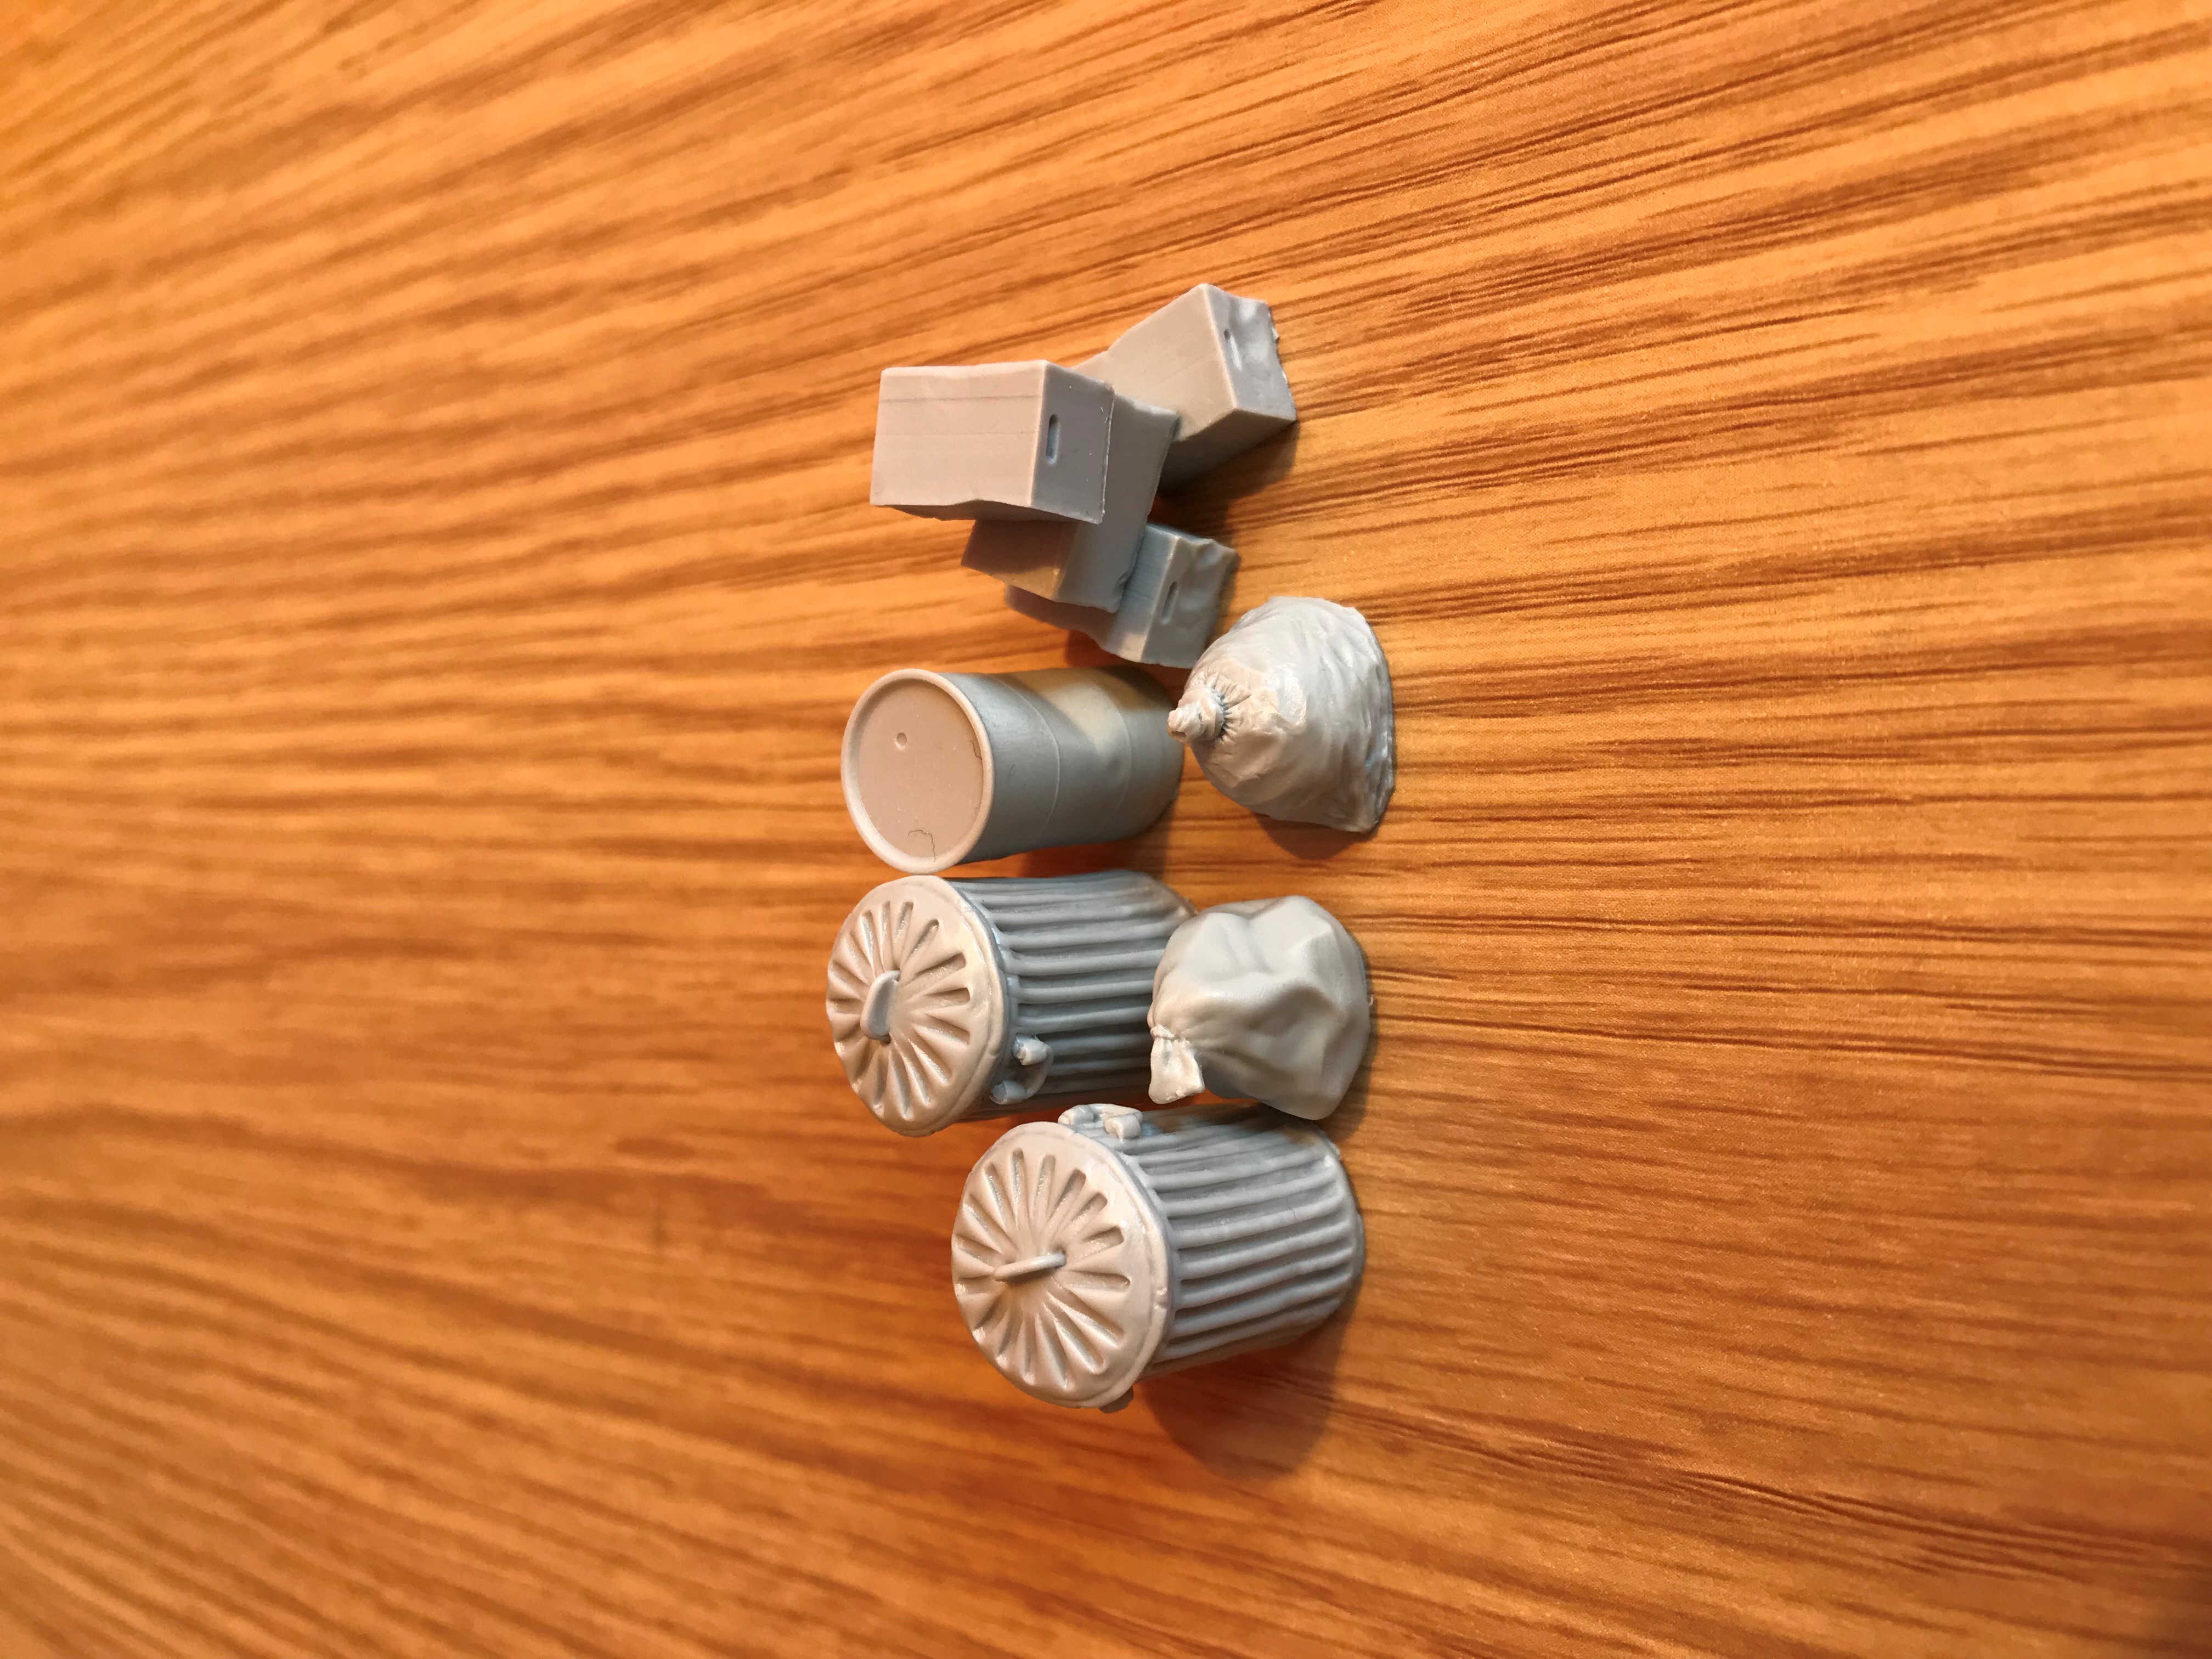
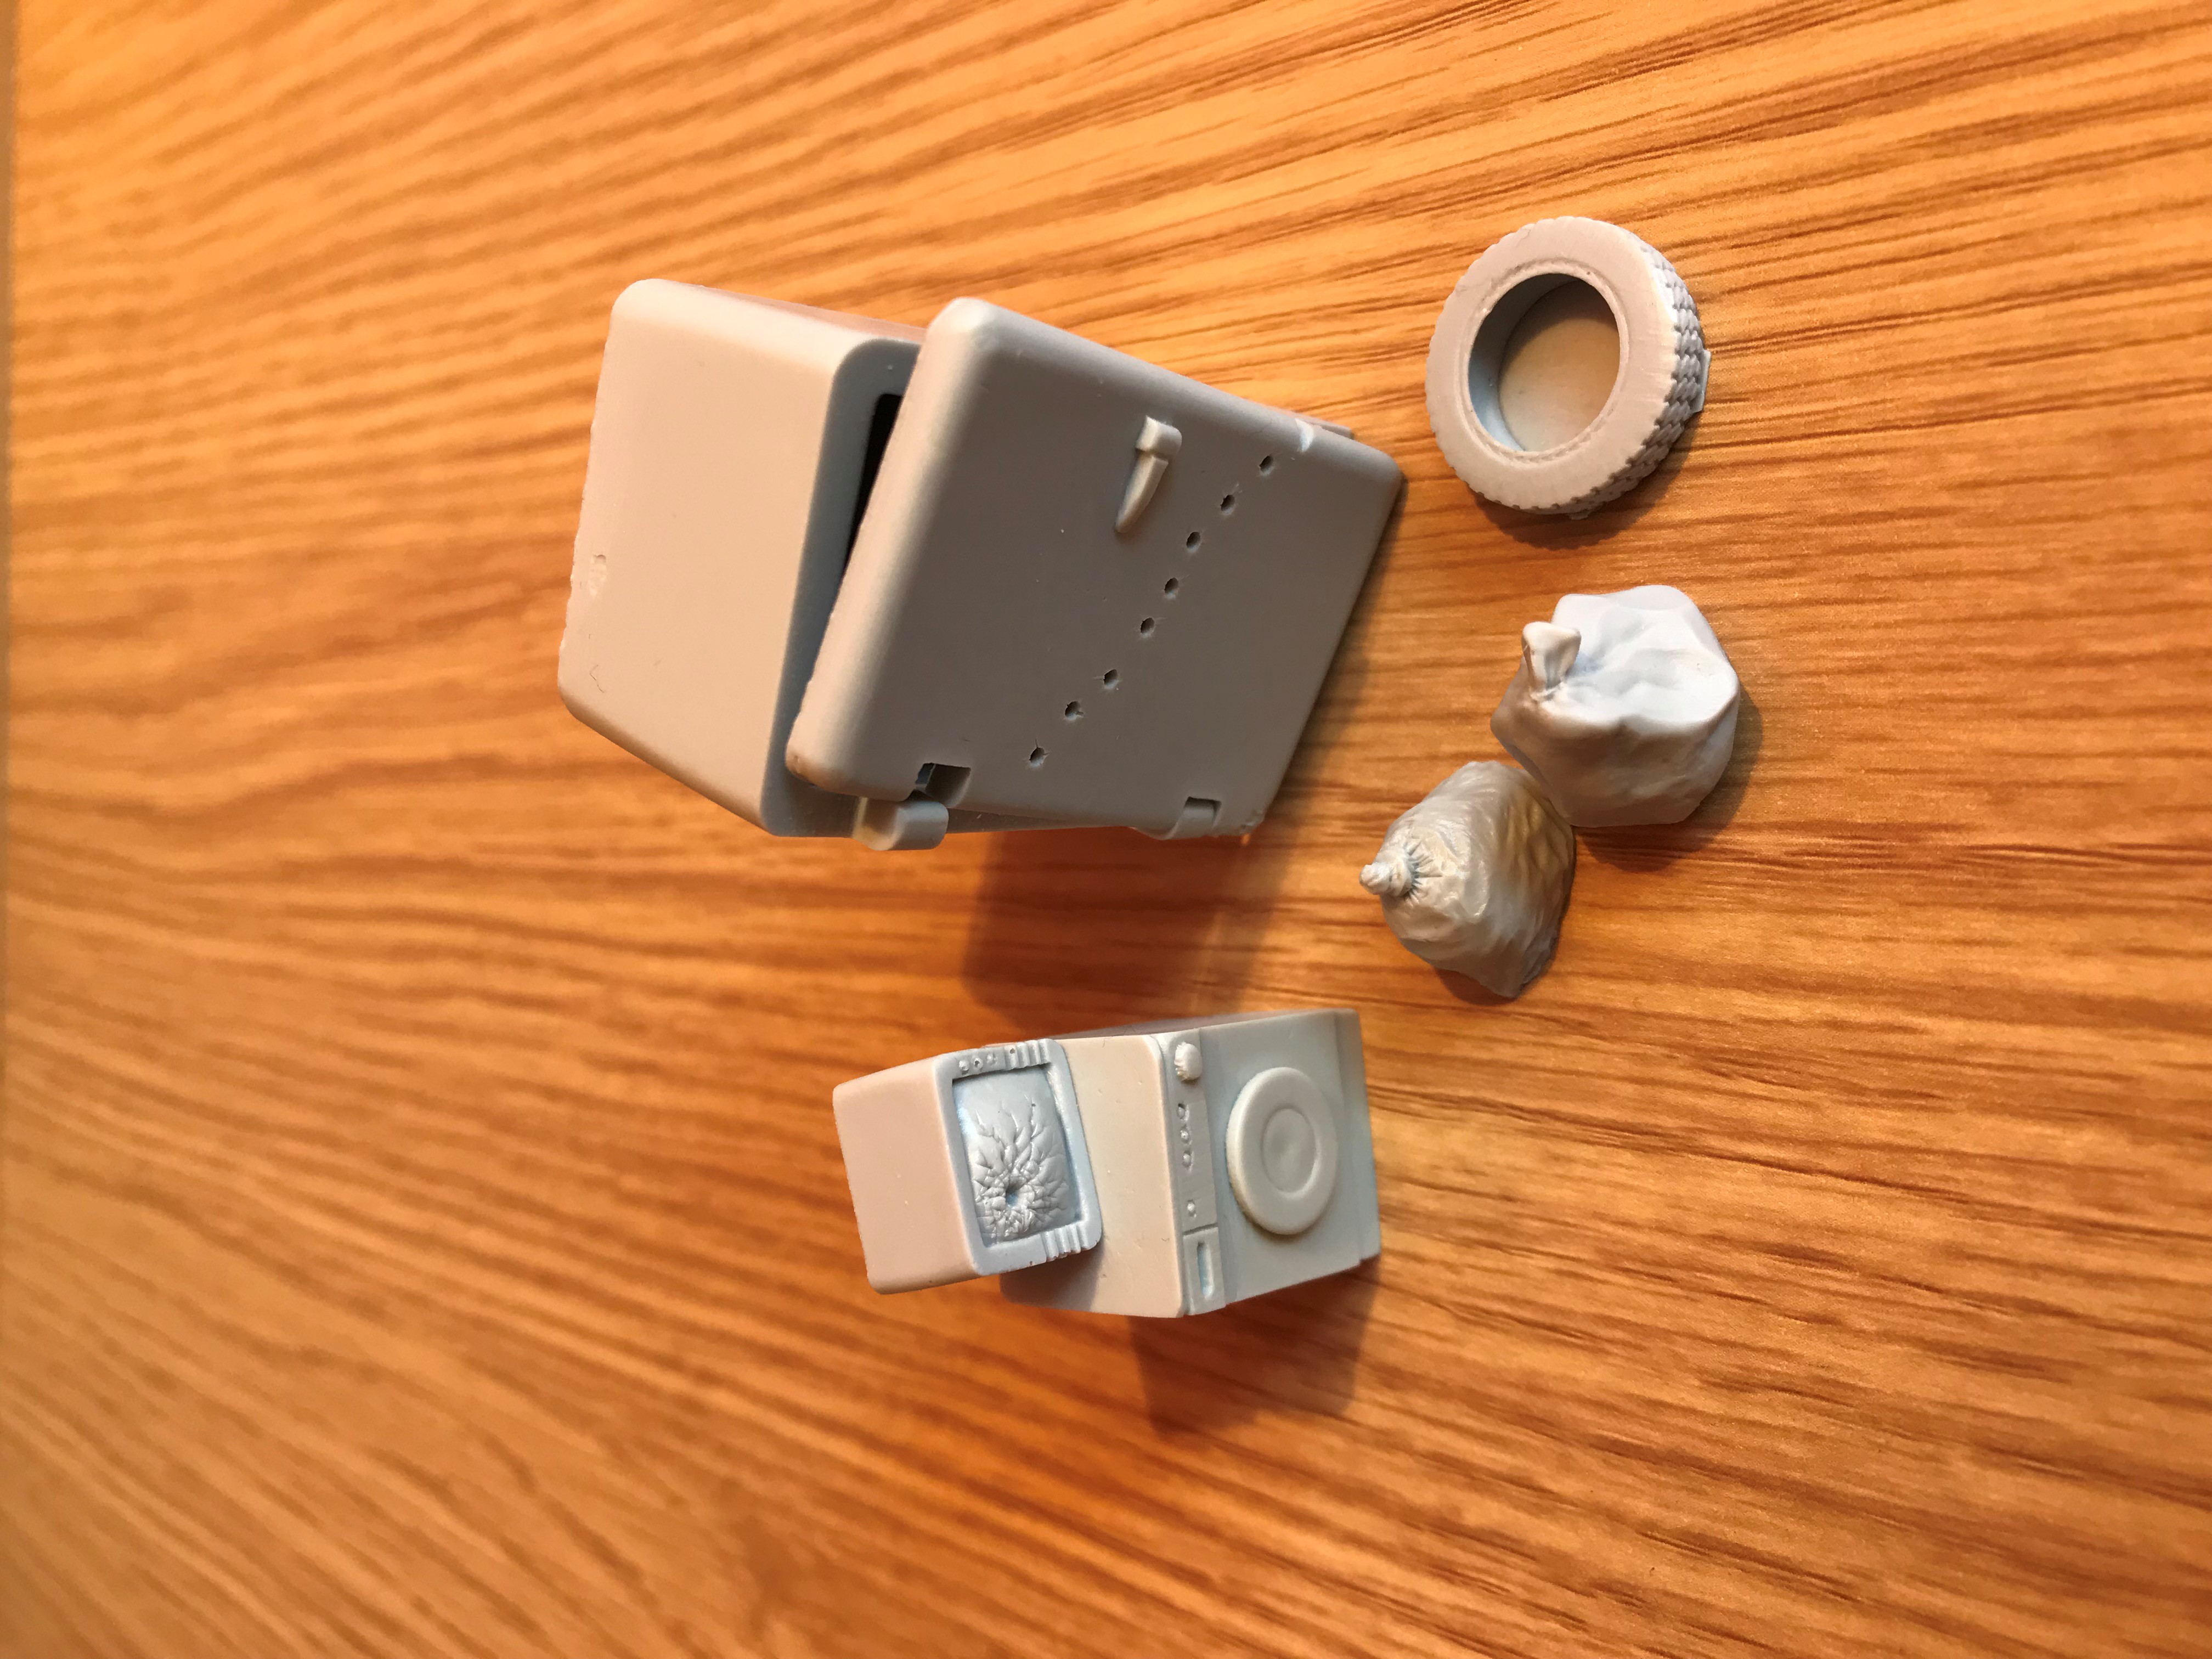
The Back Ally (NO WARRAN NOOO!)
Starting to look at some Scatter for the street and the ally i want to create between two of the buildings.
i plan to have dumpsters, trash cans, bin bags, old furniture as well as fire hydrants, lamp hosts and a parking meter on the side walk..
i have some scatter from the TT Combat range of ally terrain but as its very individual bits i feel i need to combine some to make more substantial terrain segments.

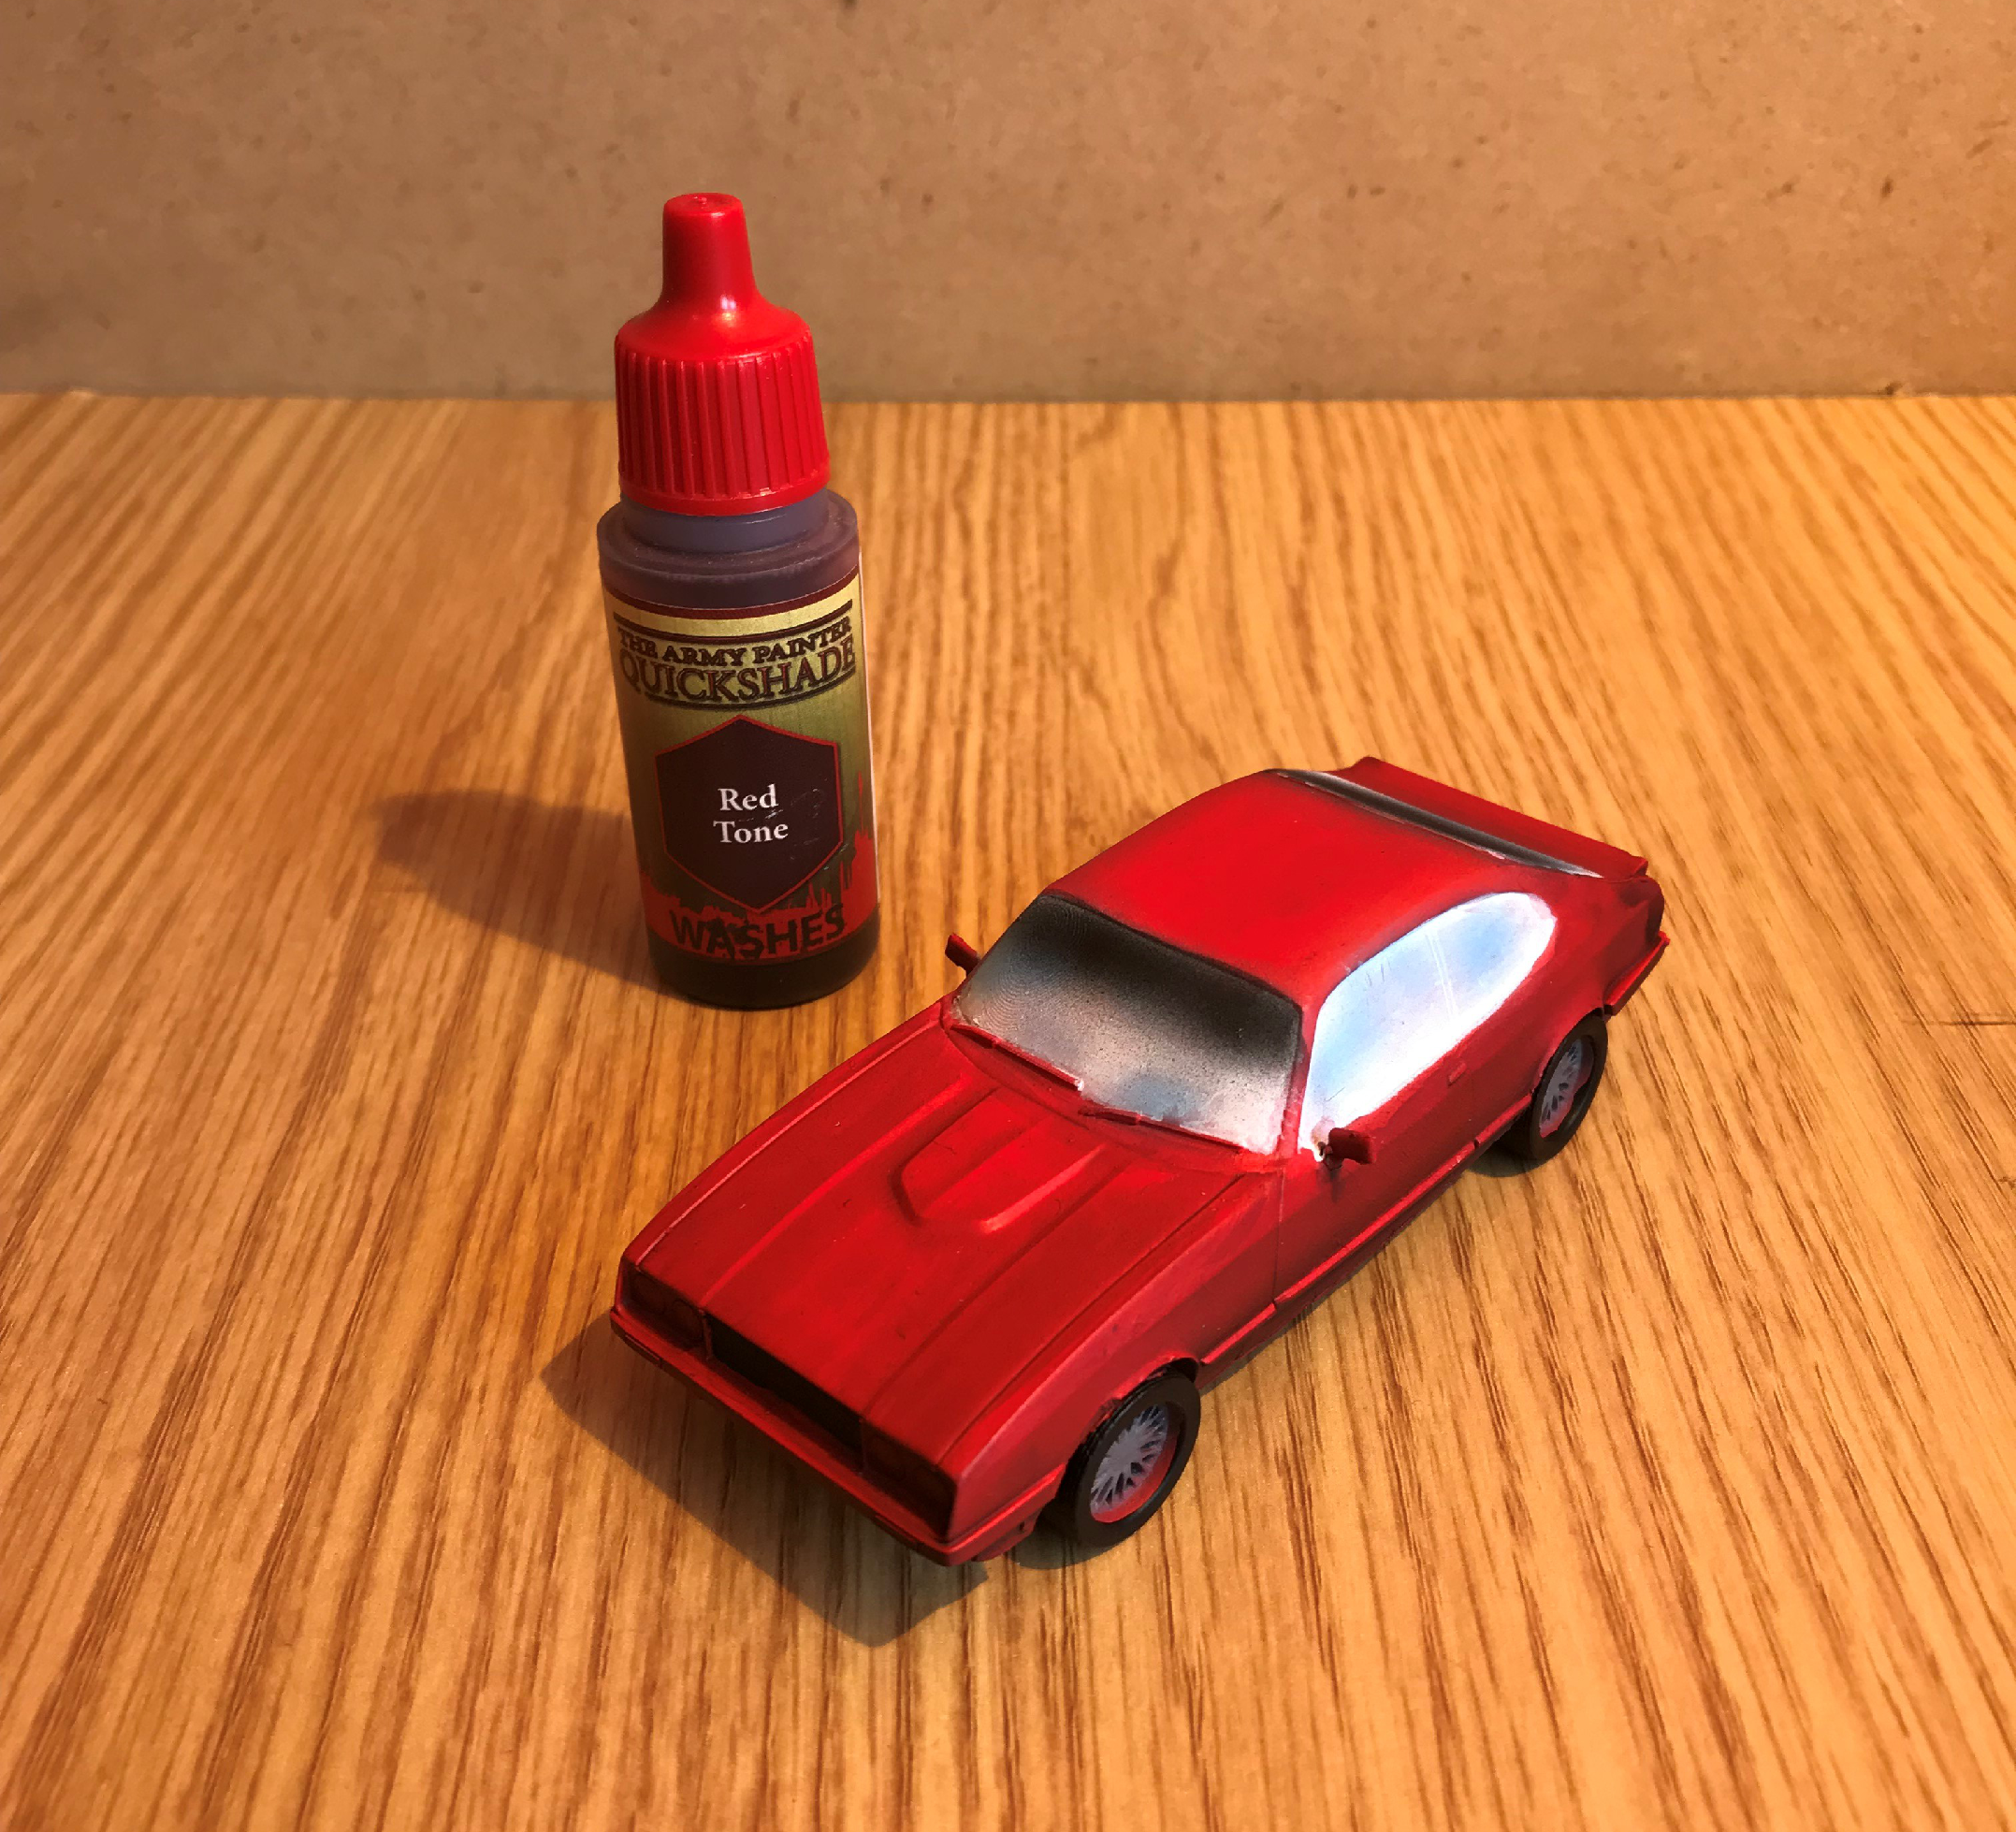
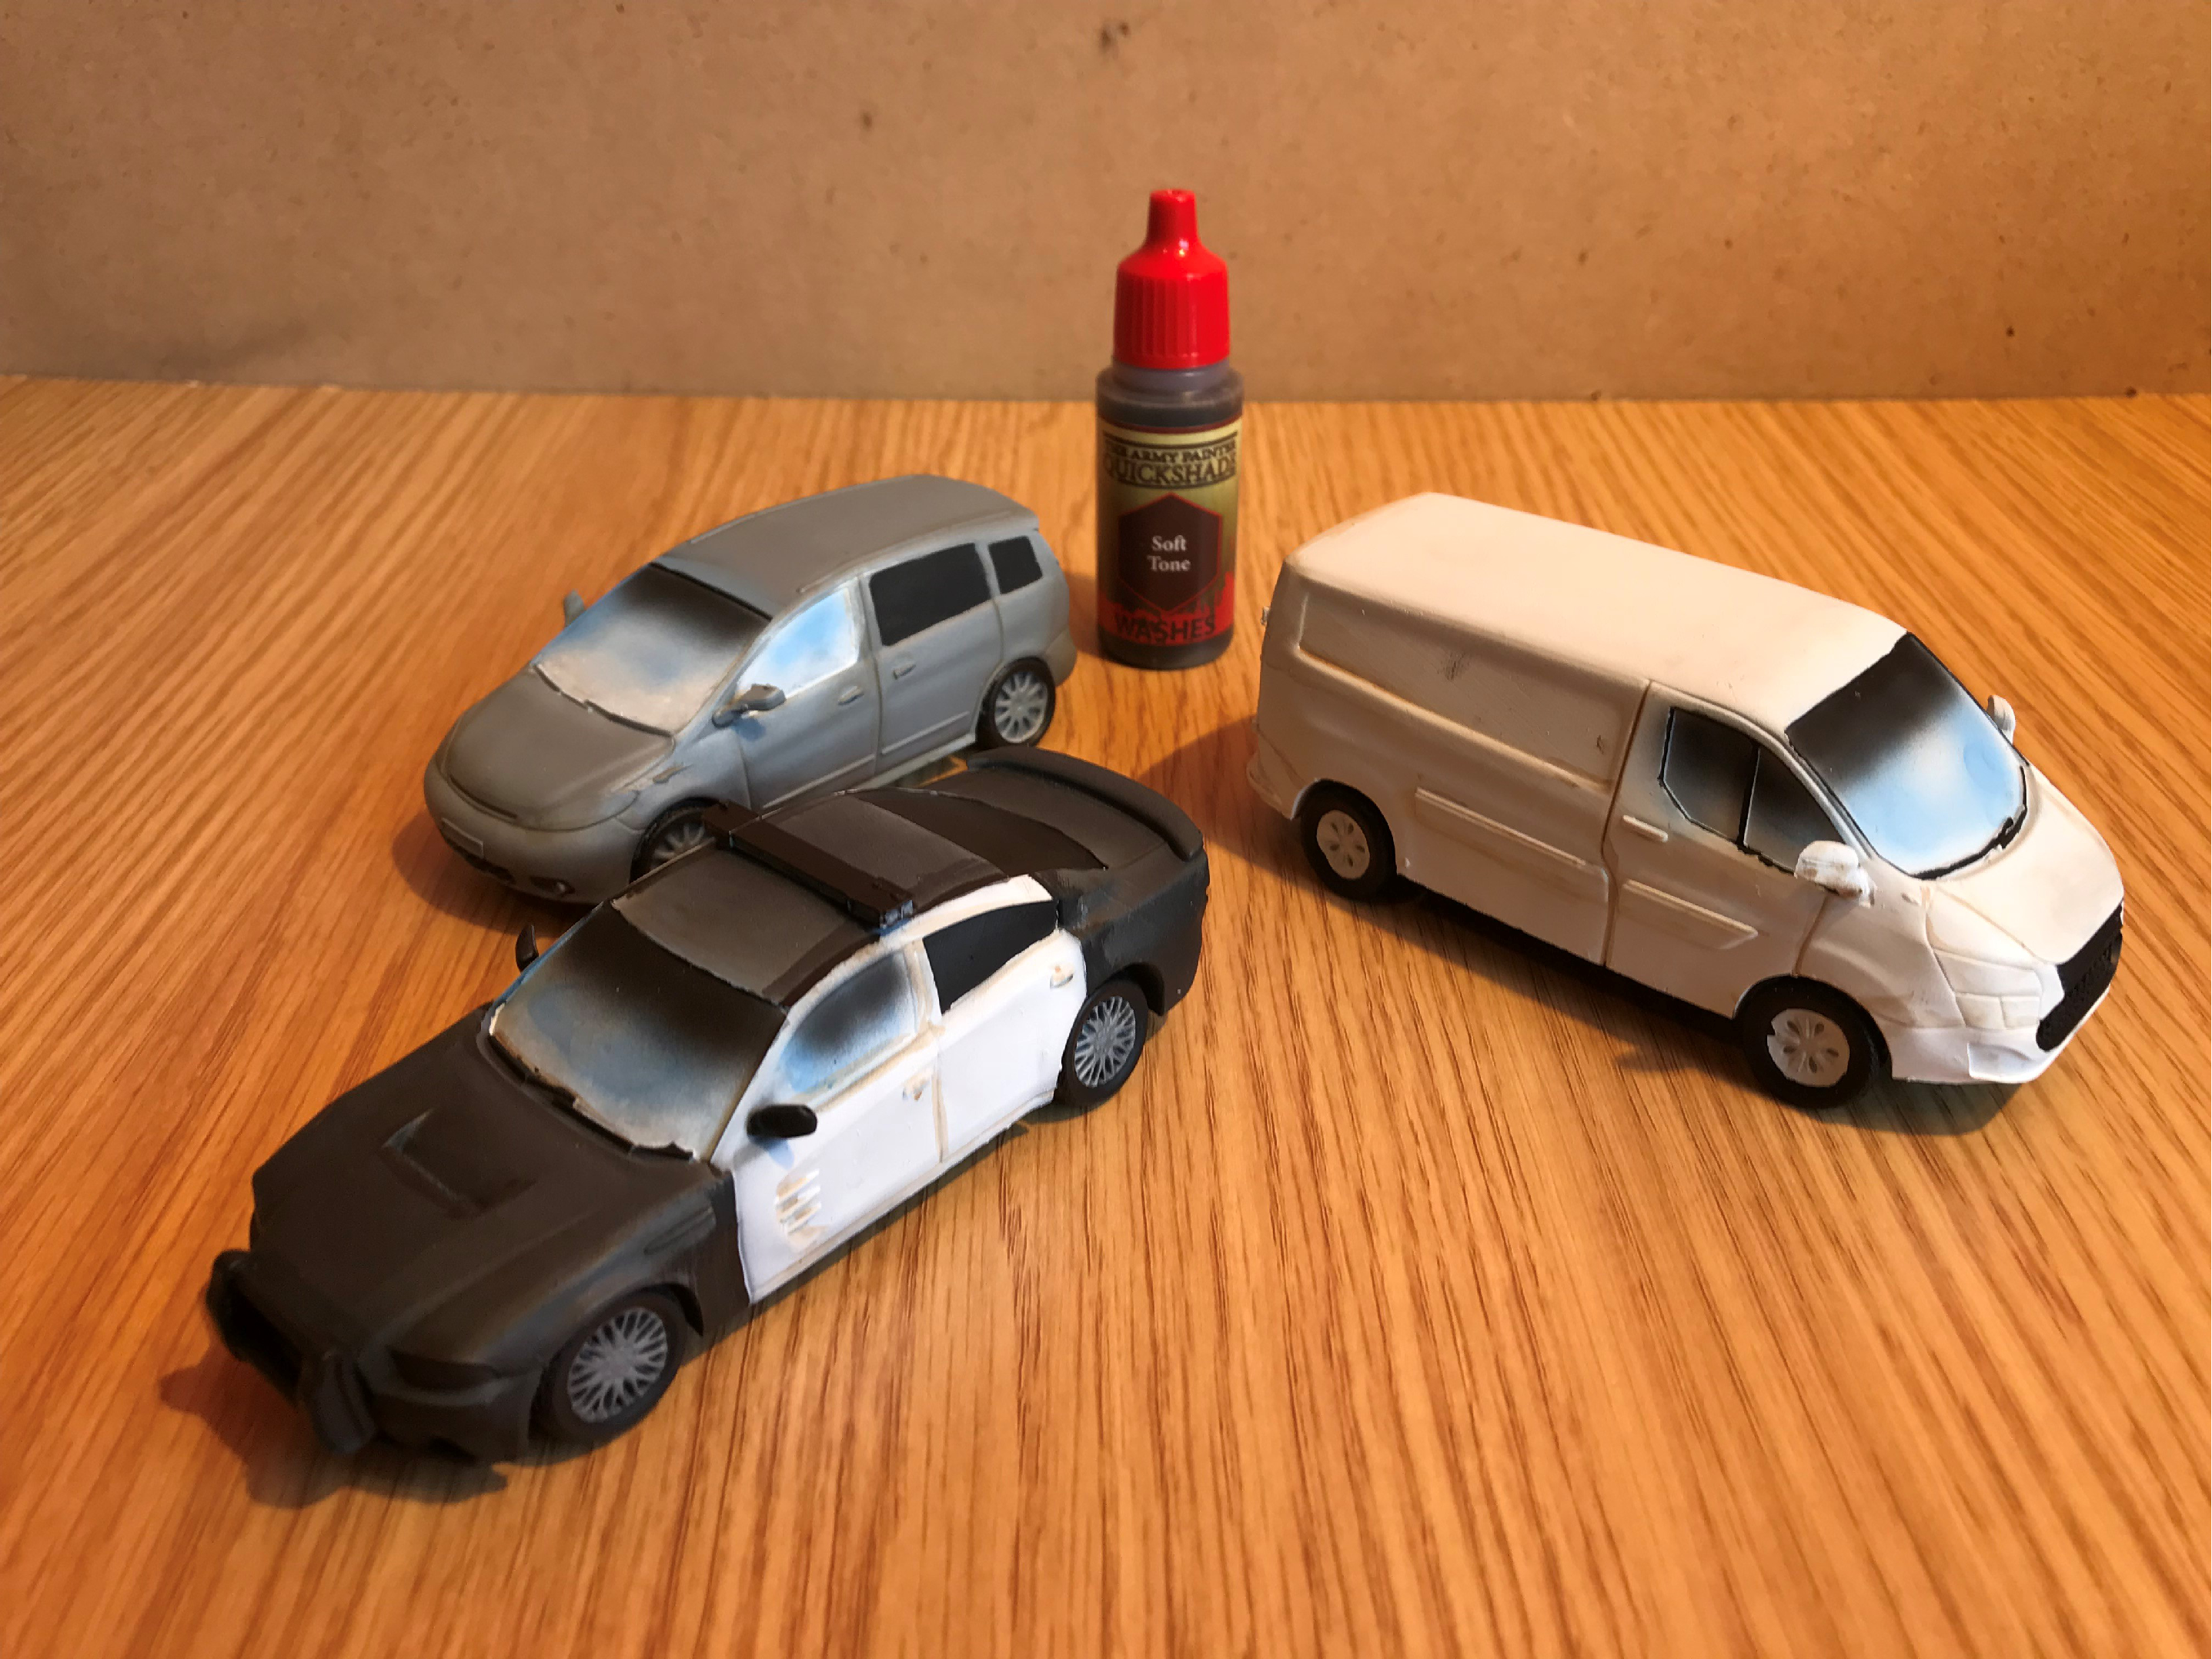
A Little Bit of Shade.
Befor i shaded the cars i blacked out all the Tyers;
Back to shading now. for the red car i used the army painter red tone and am very happy withe the result to help it dry without to many streaks i added a touch of flow improver.
on all the others i used army painter soft town to help give all the panel lines some definition.
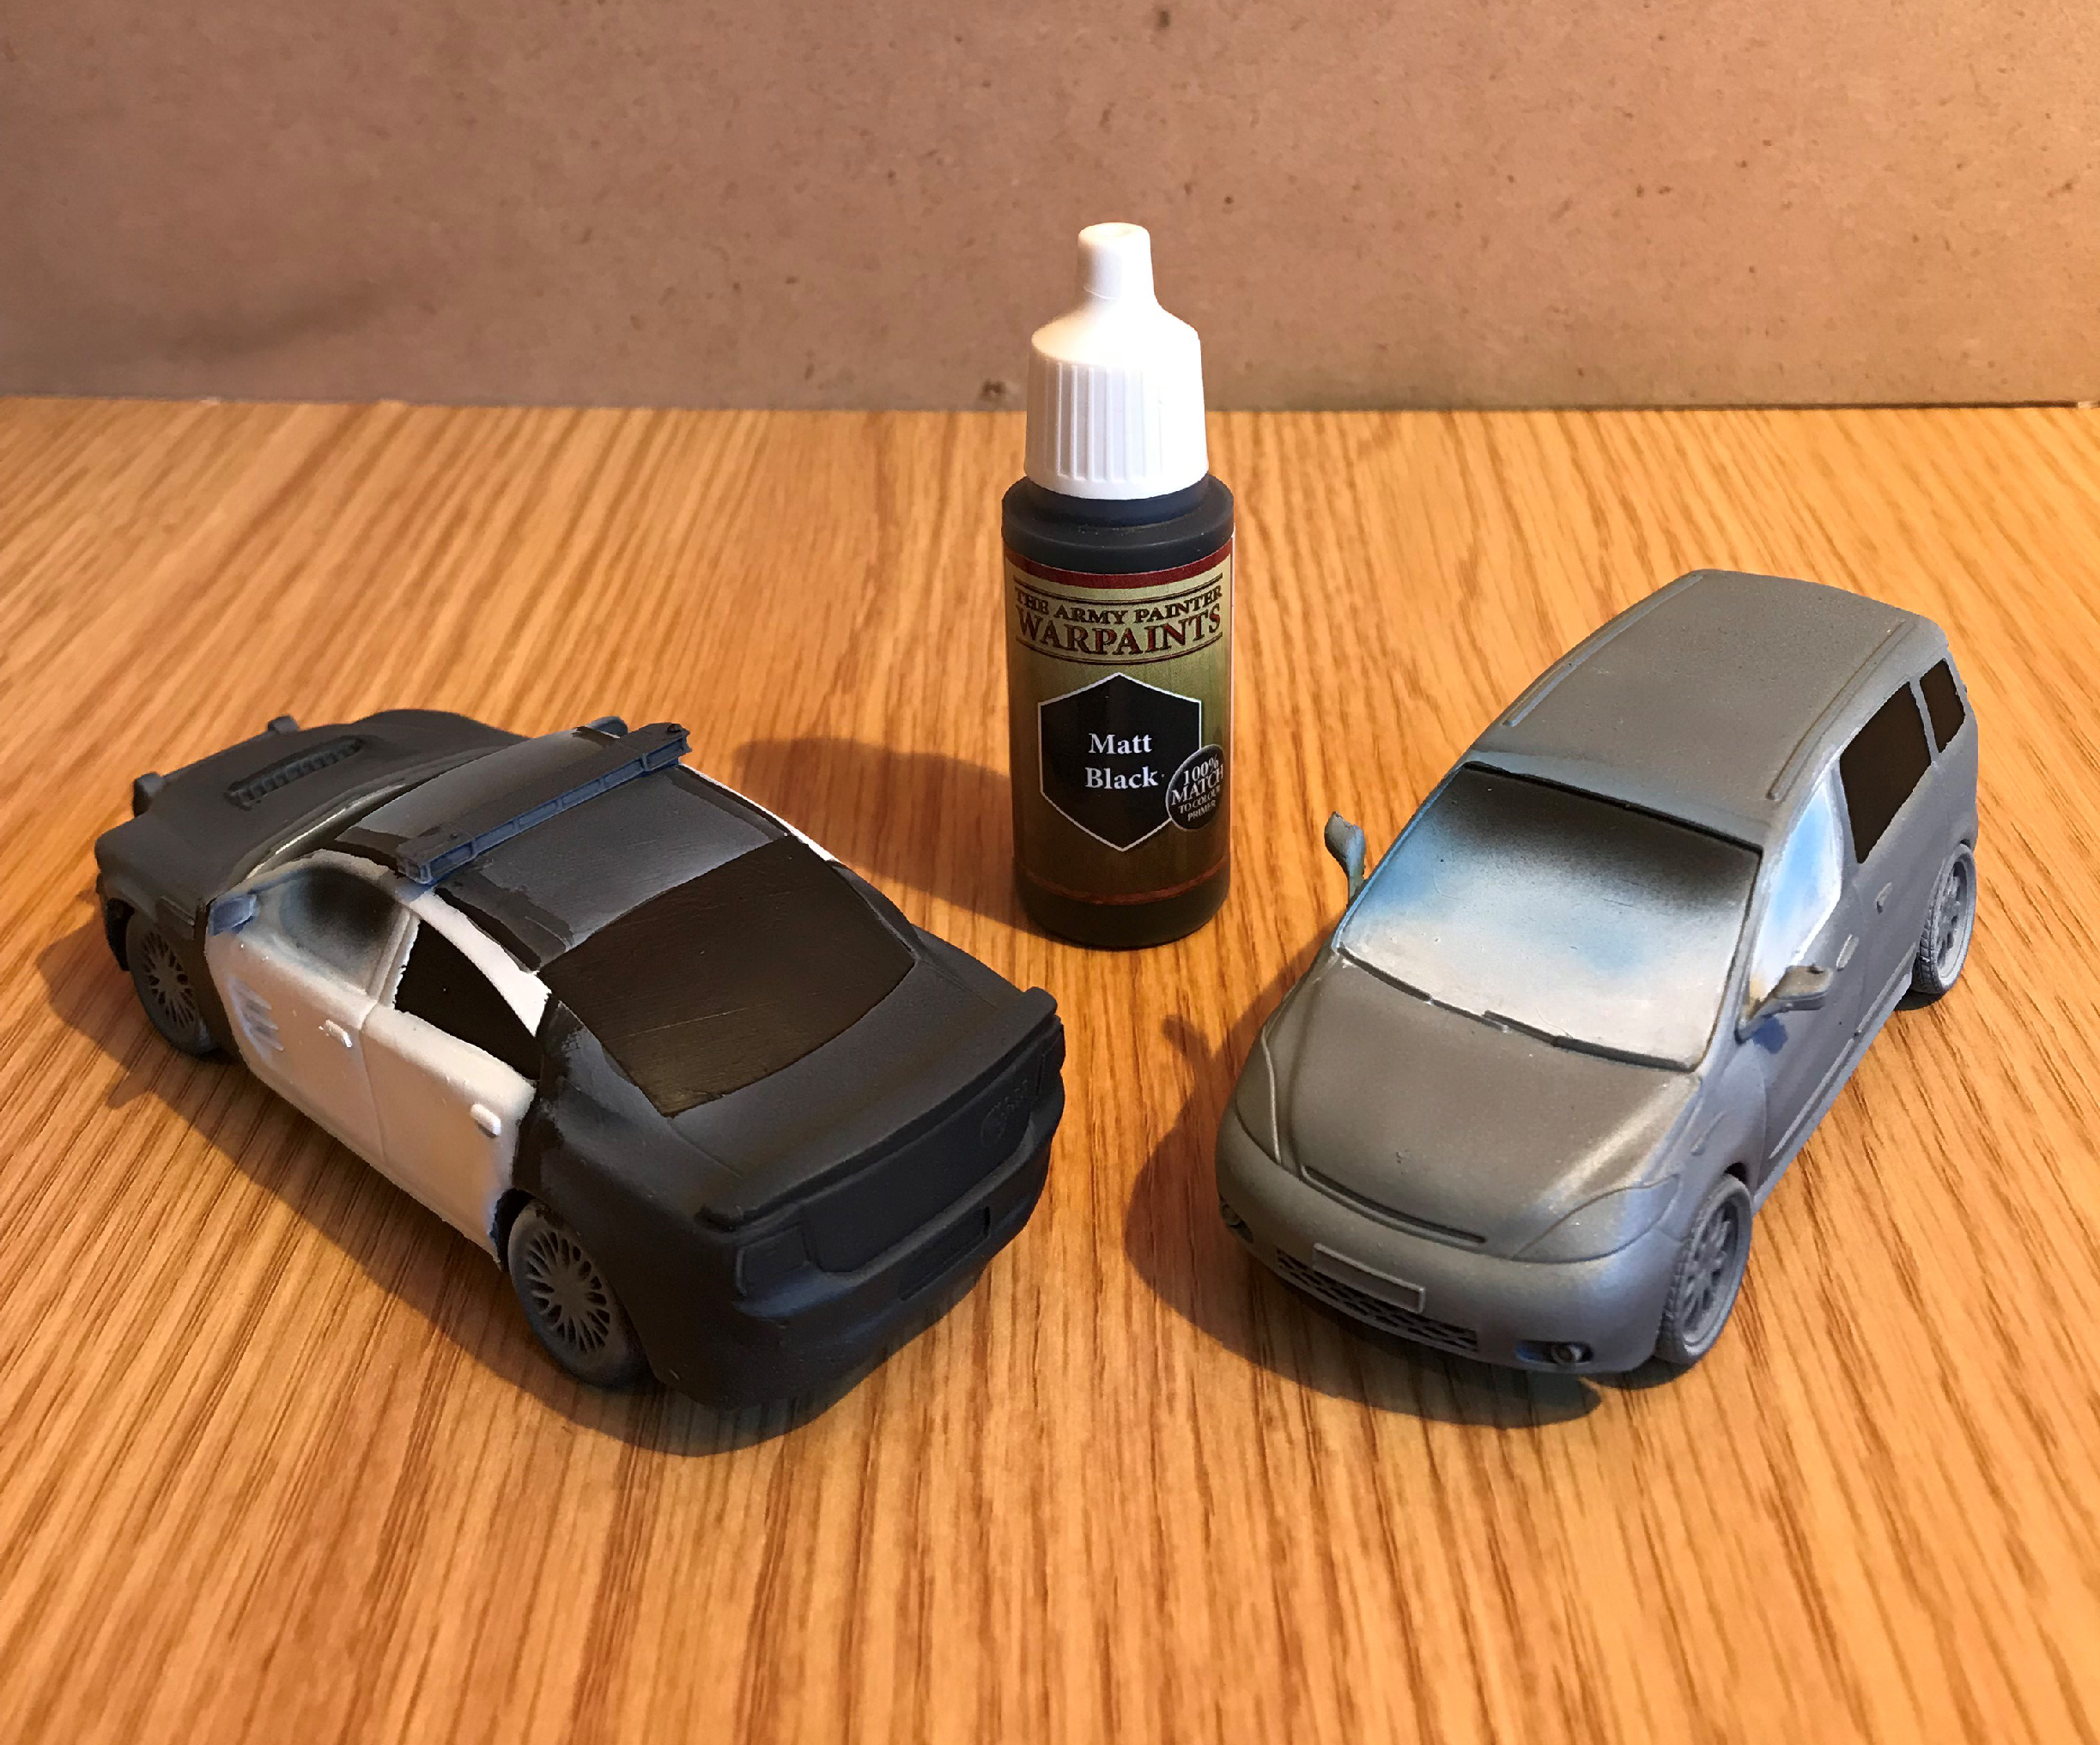
Window Painting Tim
I Painted the car and vans windows in four steps.
First: White them out using white primer this took a couple of coats but i kept it not looking to even to distort the reflective look on them.
Second: Add some Sky. Using some army painter electric blue with a touch of white and flow improver i air brushed some blue on to the windows to imitate the reflection of the sky and used the uneven whit to show like closed effects.
Third: Sun Shade. Using a Valejo Air Black and flow improver to thin it i attempted to give the effect of a sun screen shade at the top of the wind screens.
Fourth: i blacked out any rear windows that i wanted to have fully blacked out windows using army painter mat black.


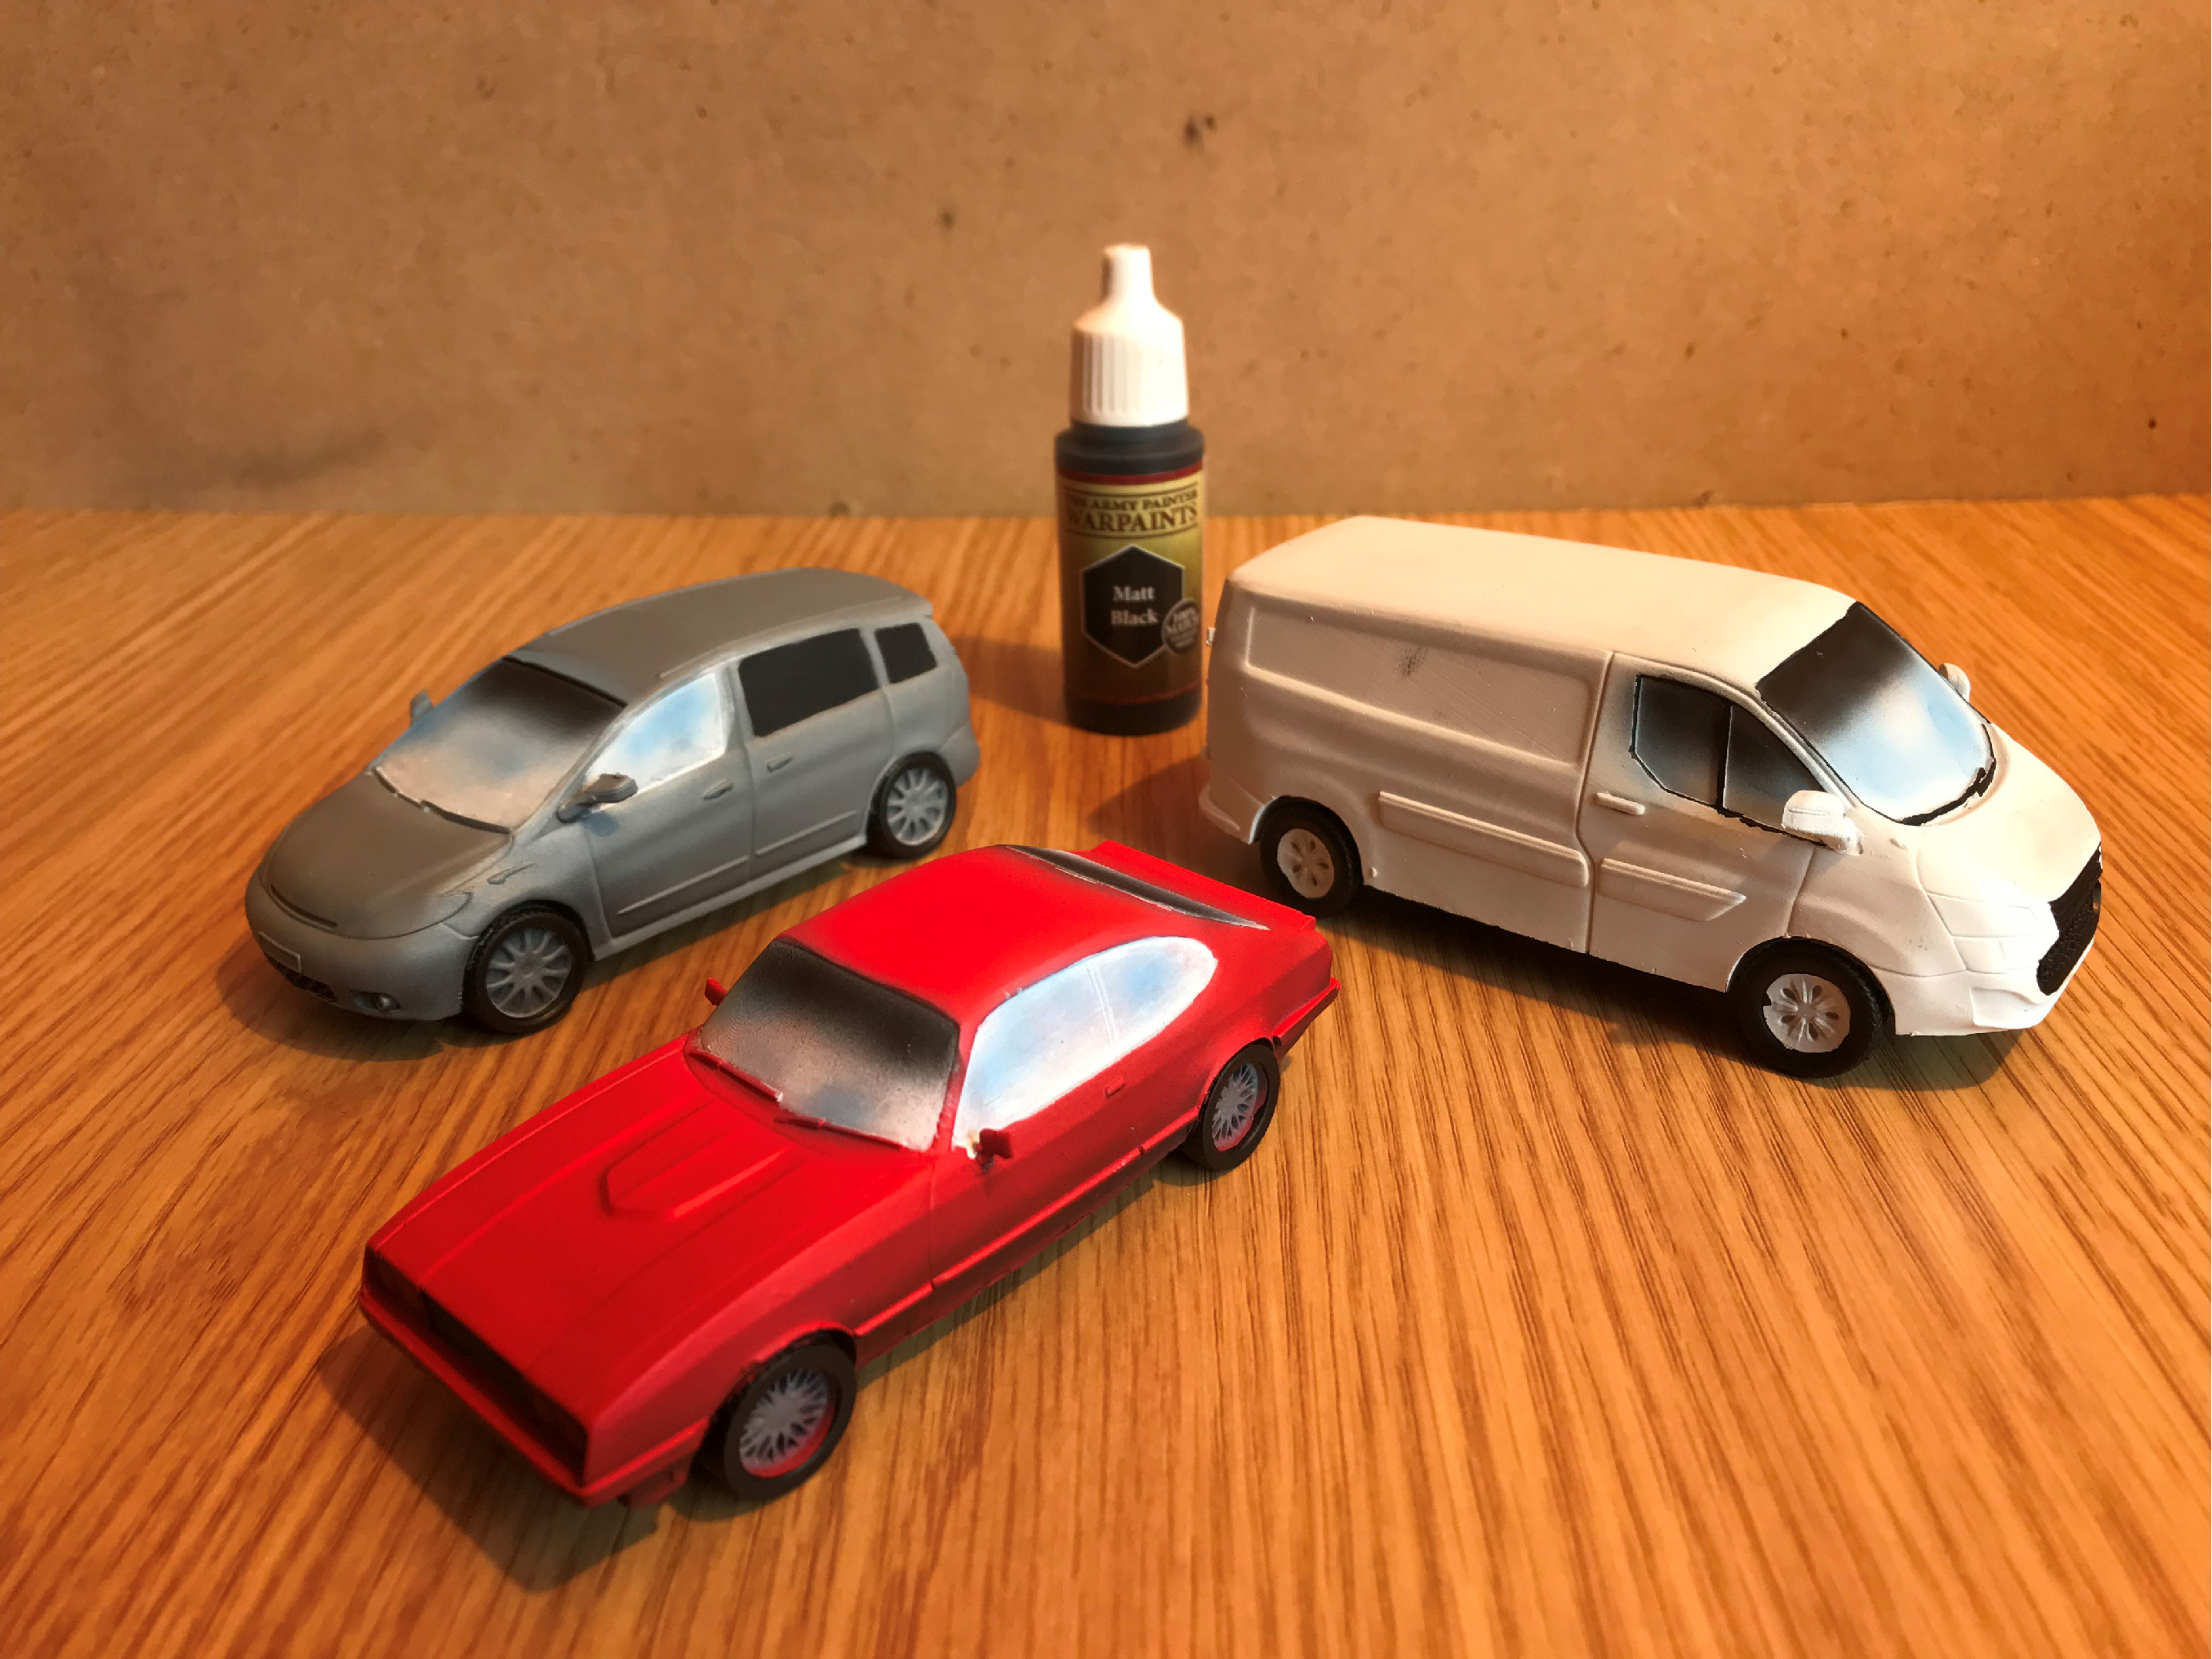
Adding Colour to my Wheels!
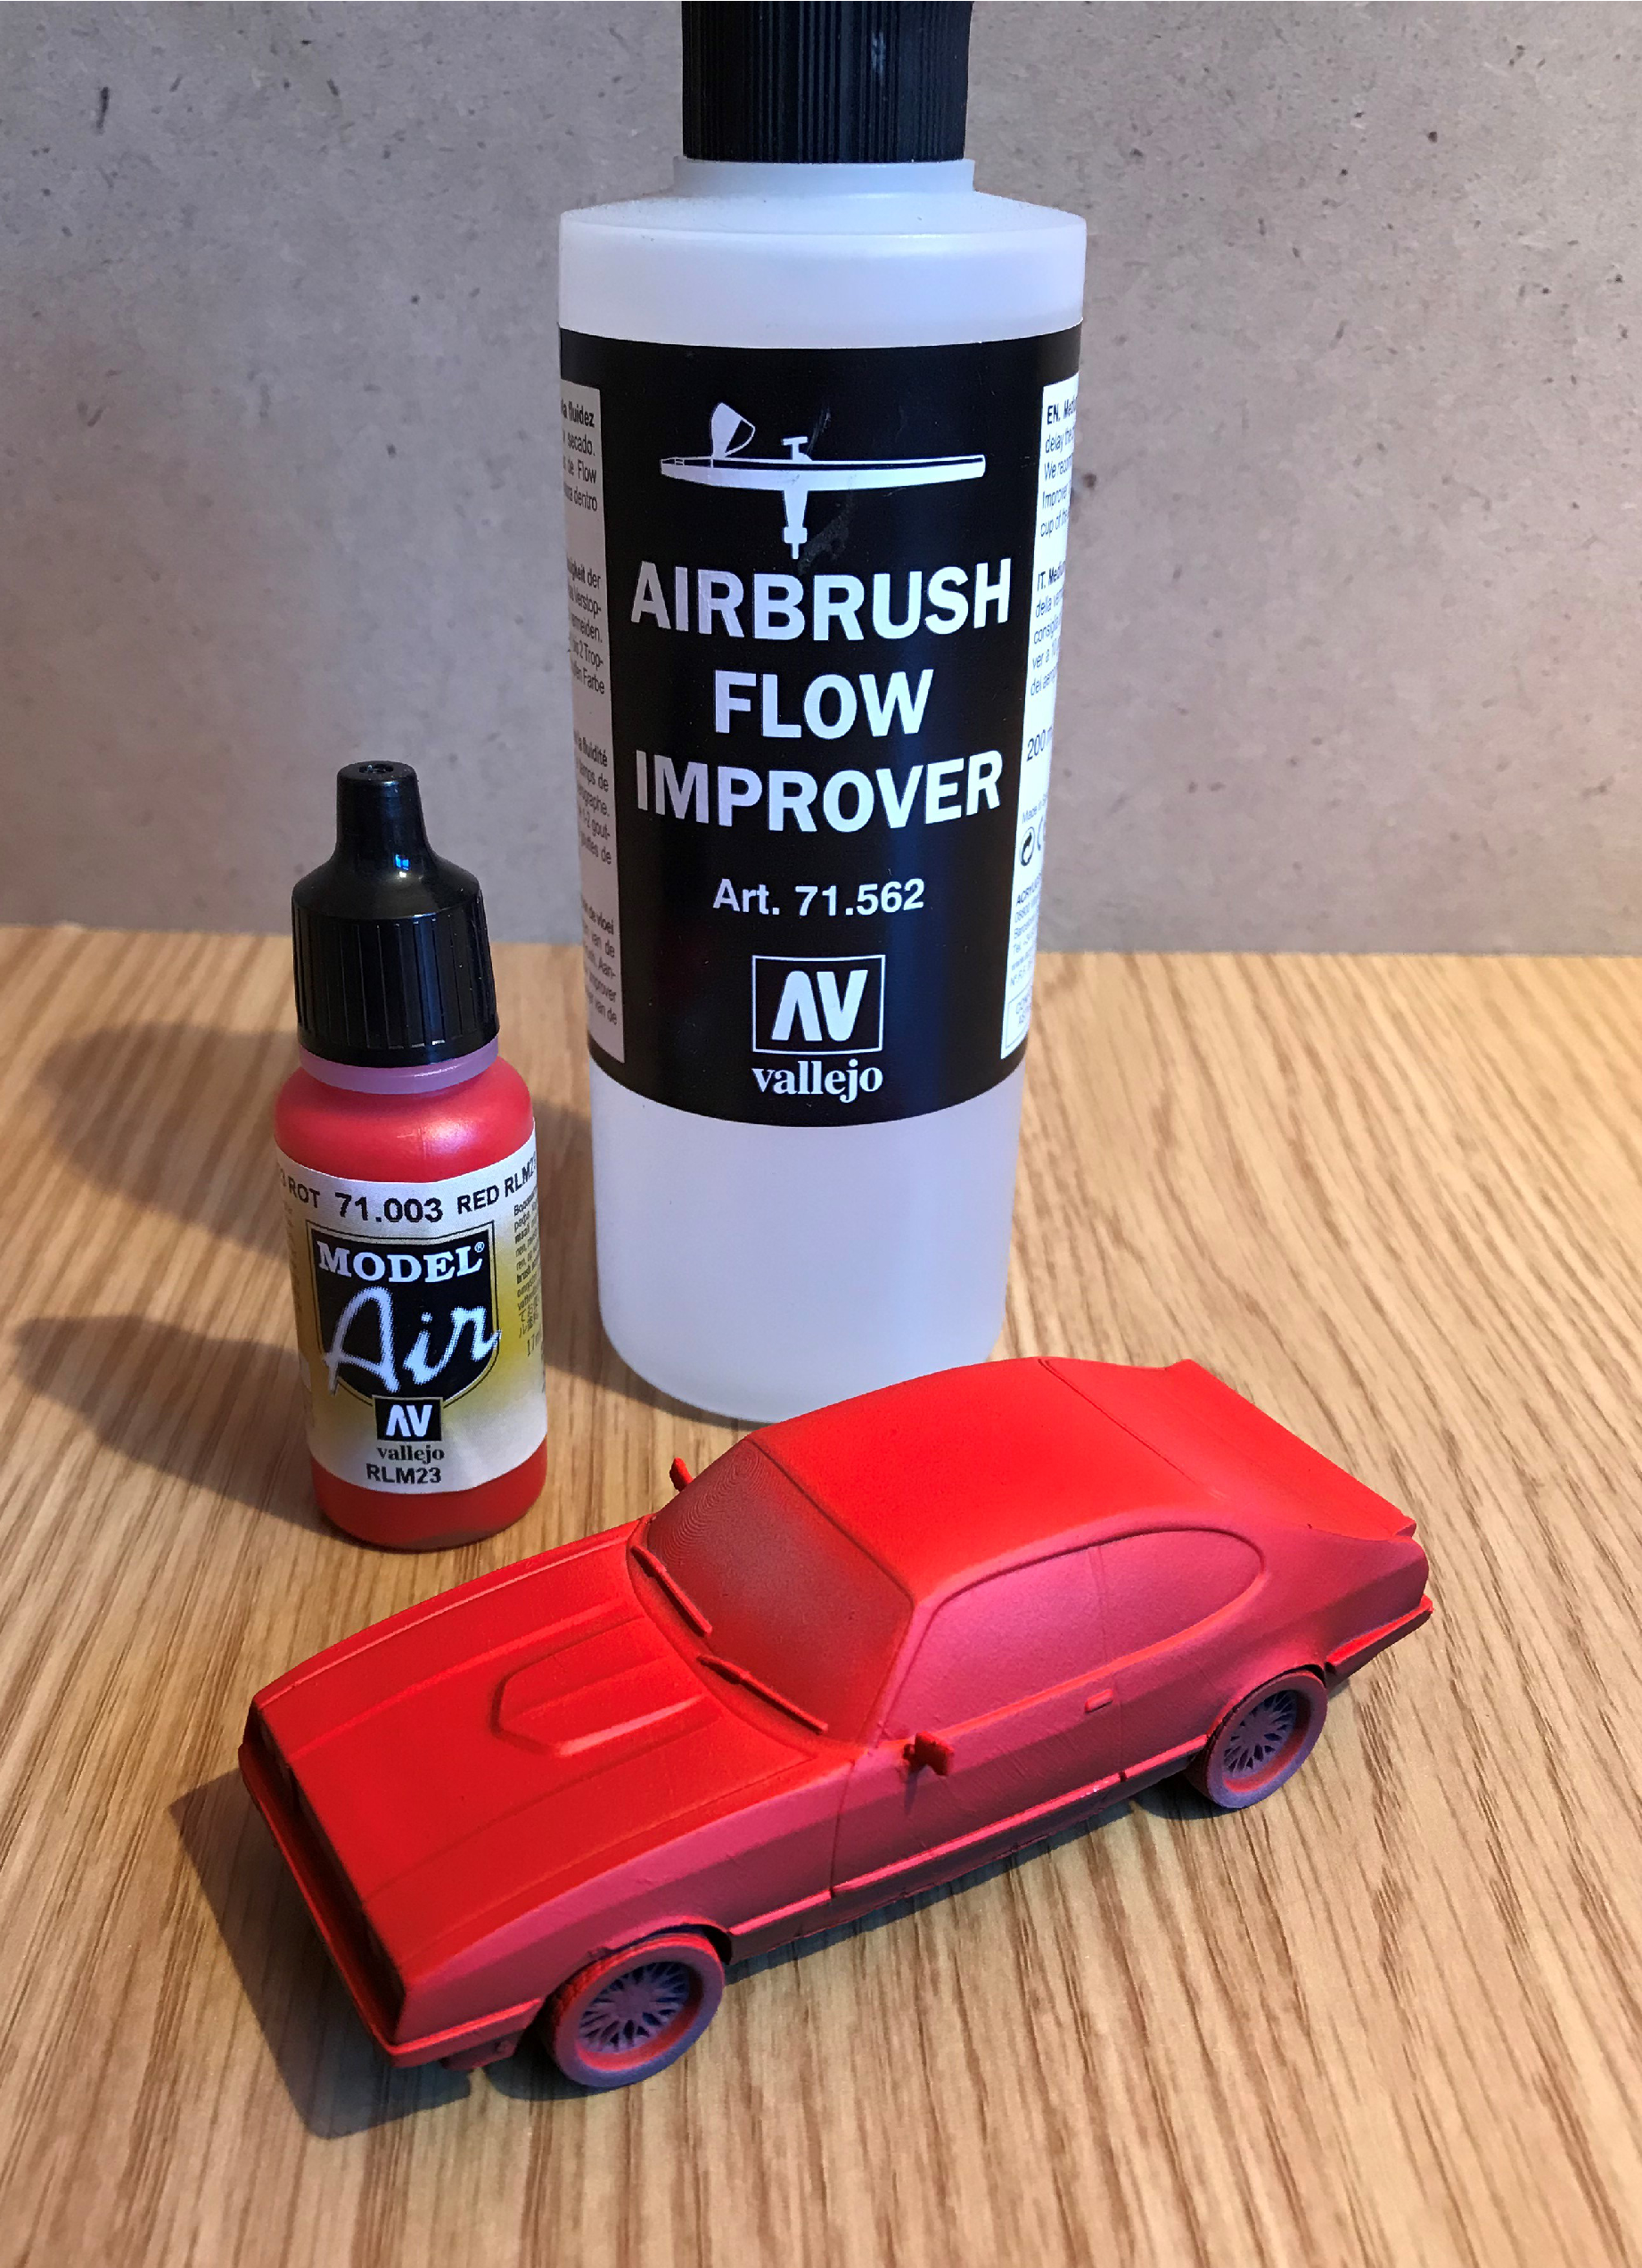
Adding my bace colours to the cars using my Vallejo Air range of air brush paints and a couple of others.
The Red Muscle Car:
Vallejo Air Red 2-1 of Vallejo Airbrush Flow Improver
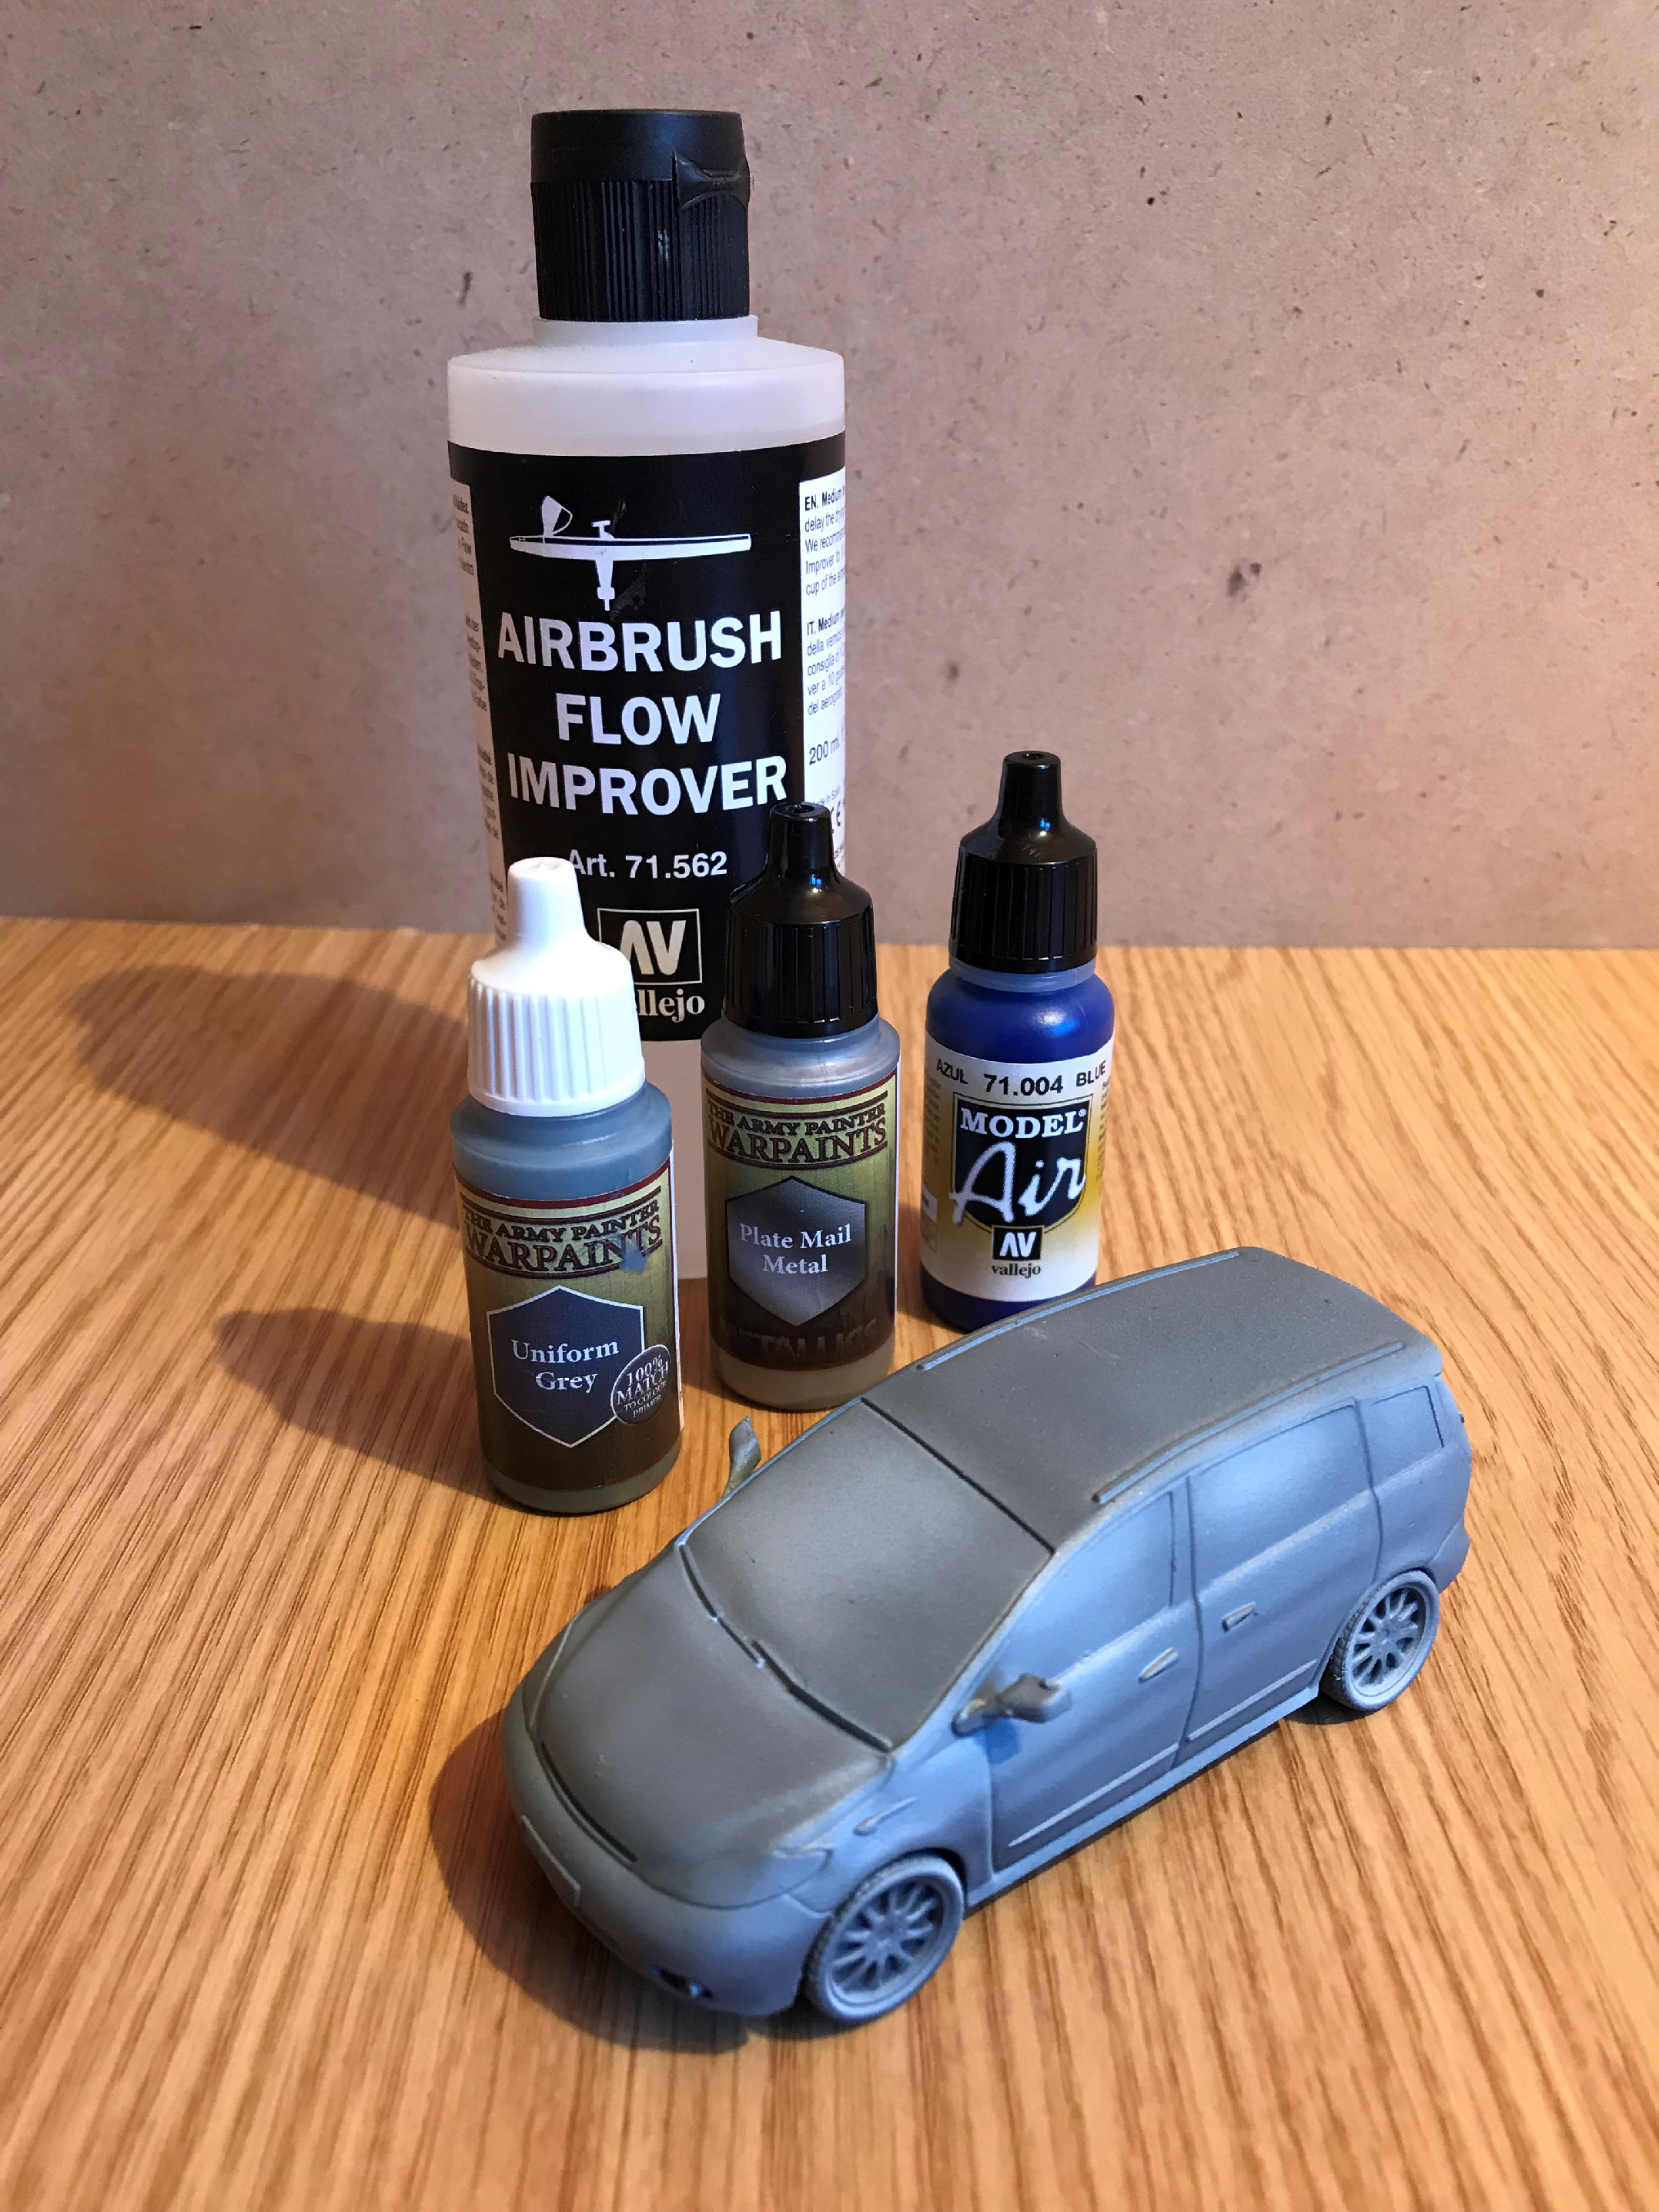
The Silver People Carrier:
50-50 Army Painter Uniform Grey and Plate Mail Metal and a couple of drops of Vallejo Air Blue warred down 2-1 with Vallejo Airbrush Flow Improver
The Police Car:
Air Bushed the side panels White using the Primer i used before. will be cleaning this up later.
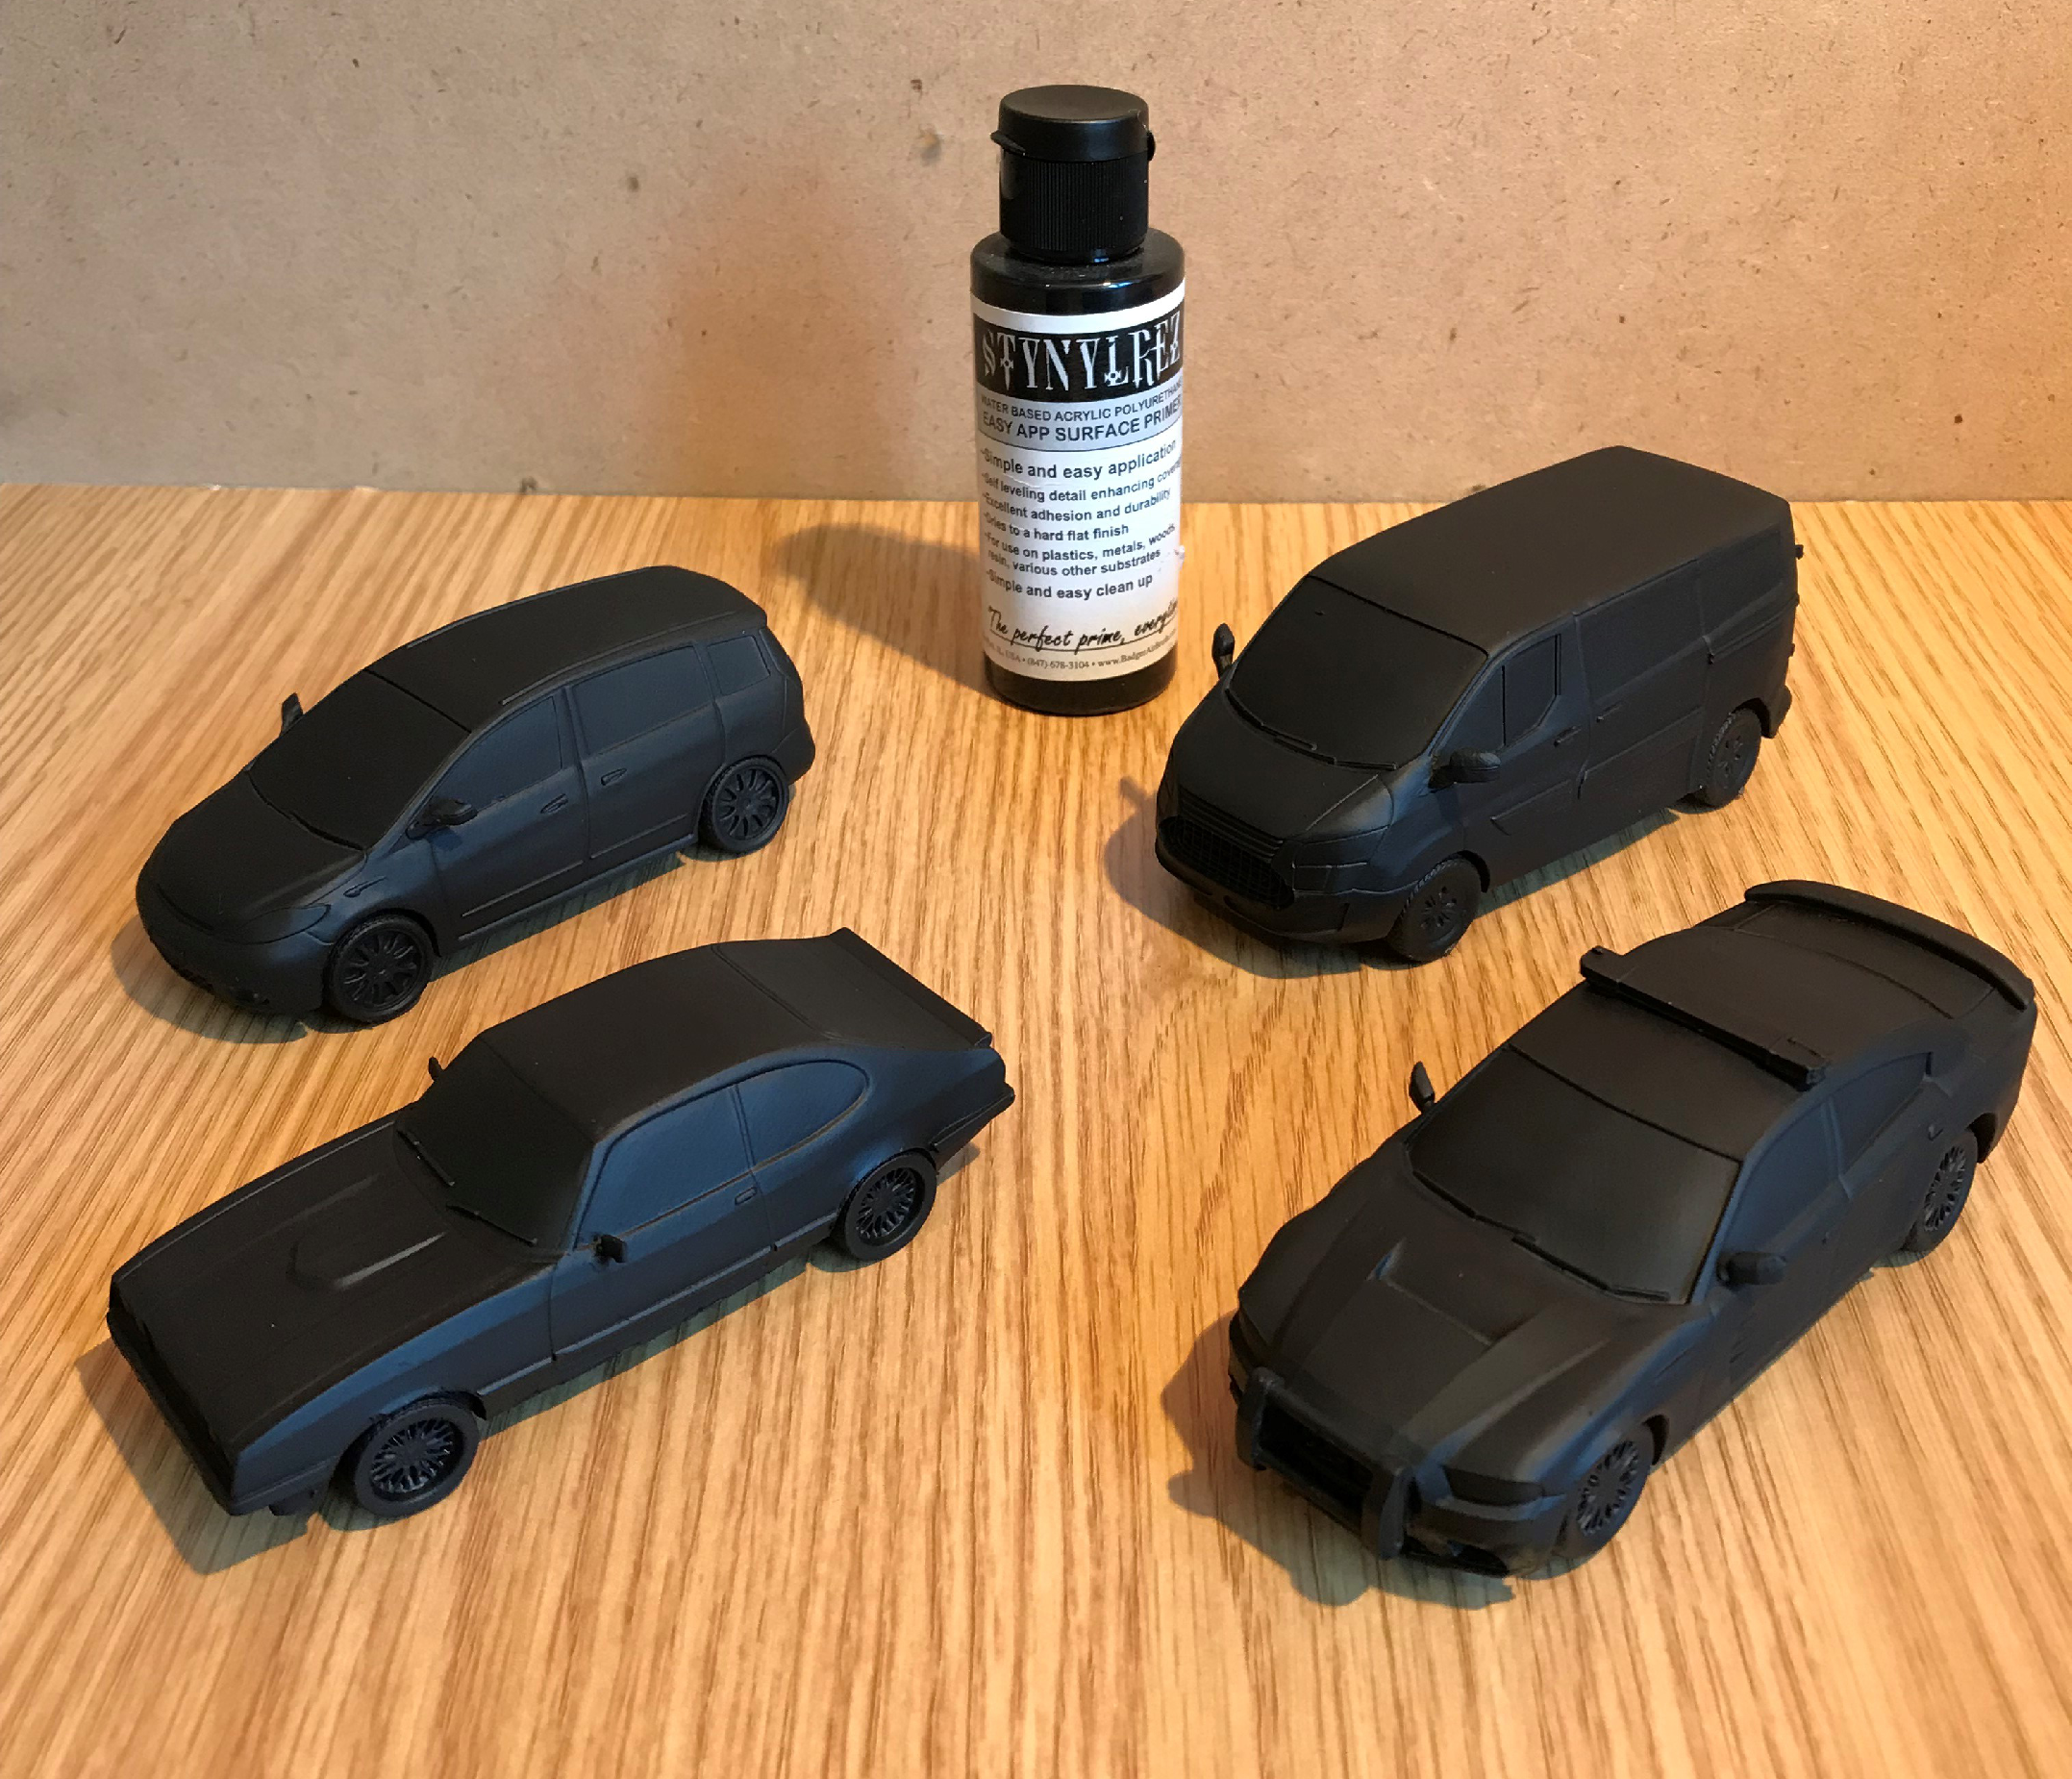
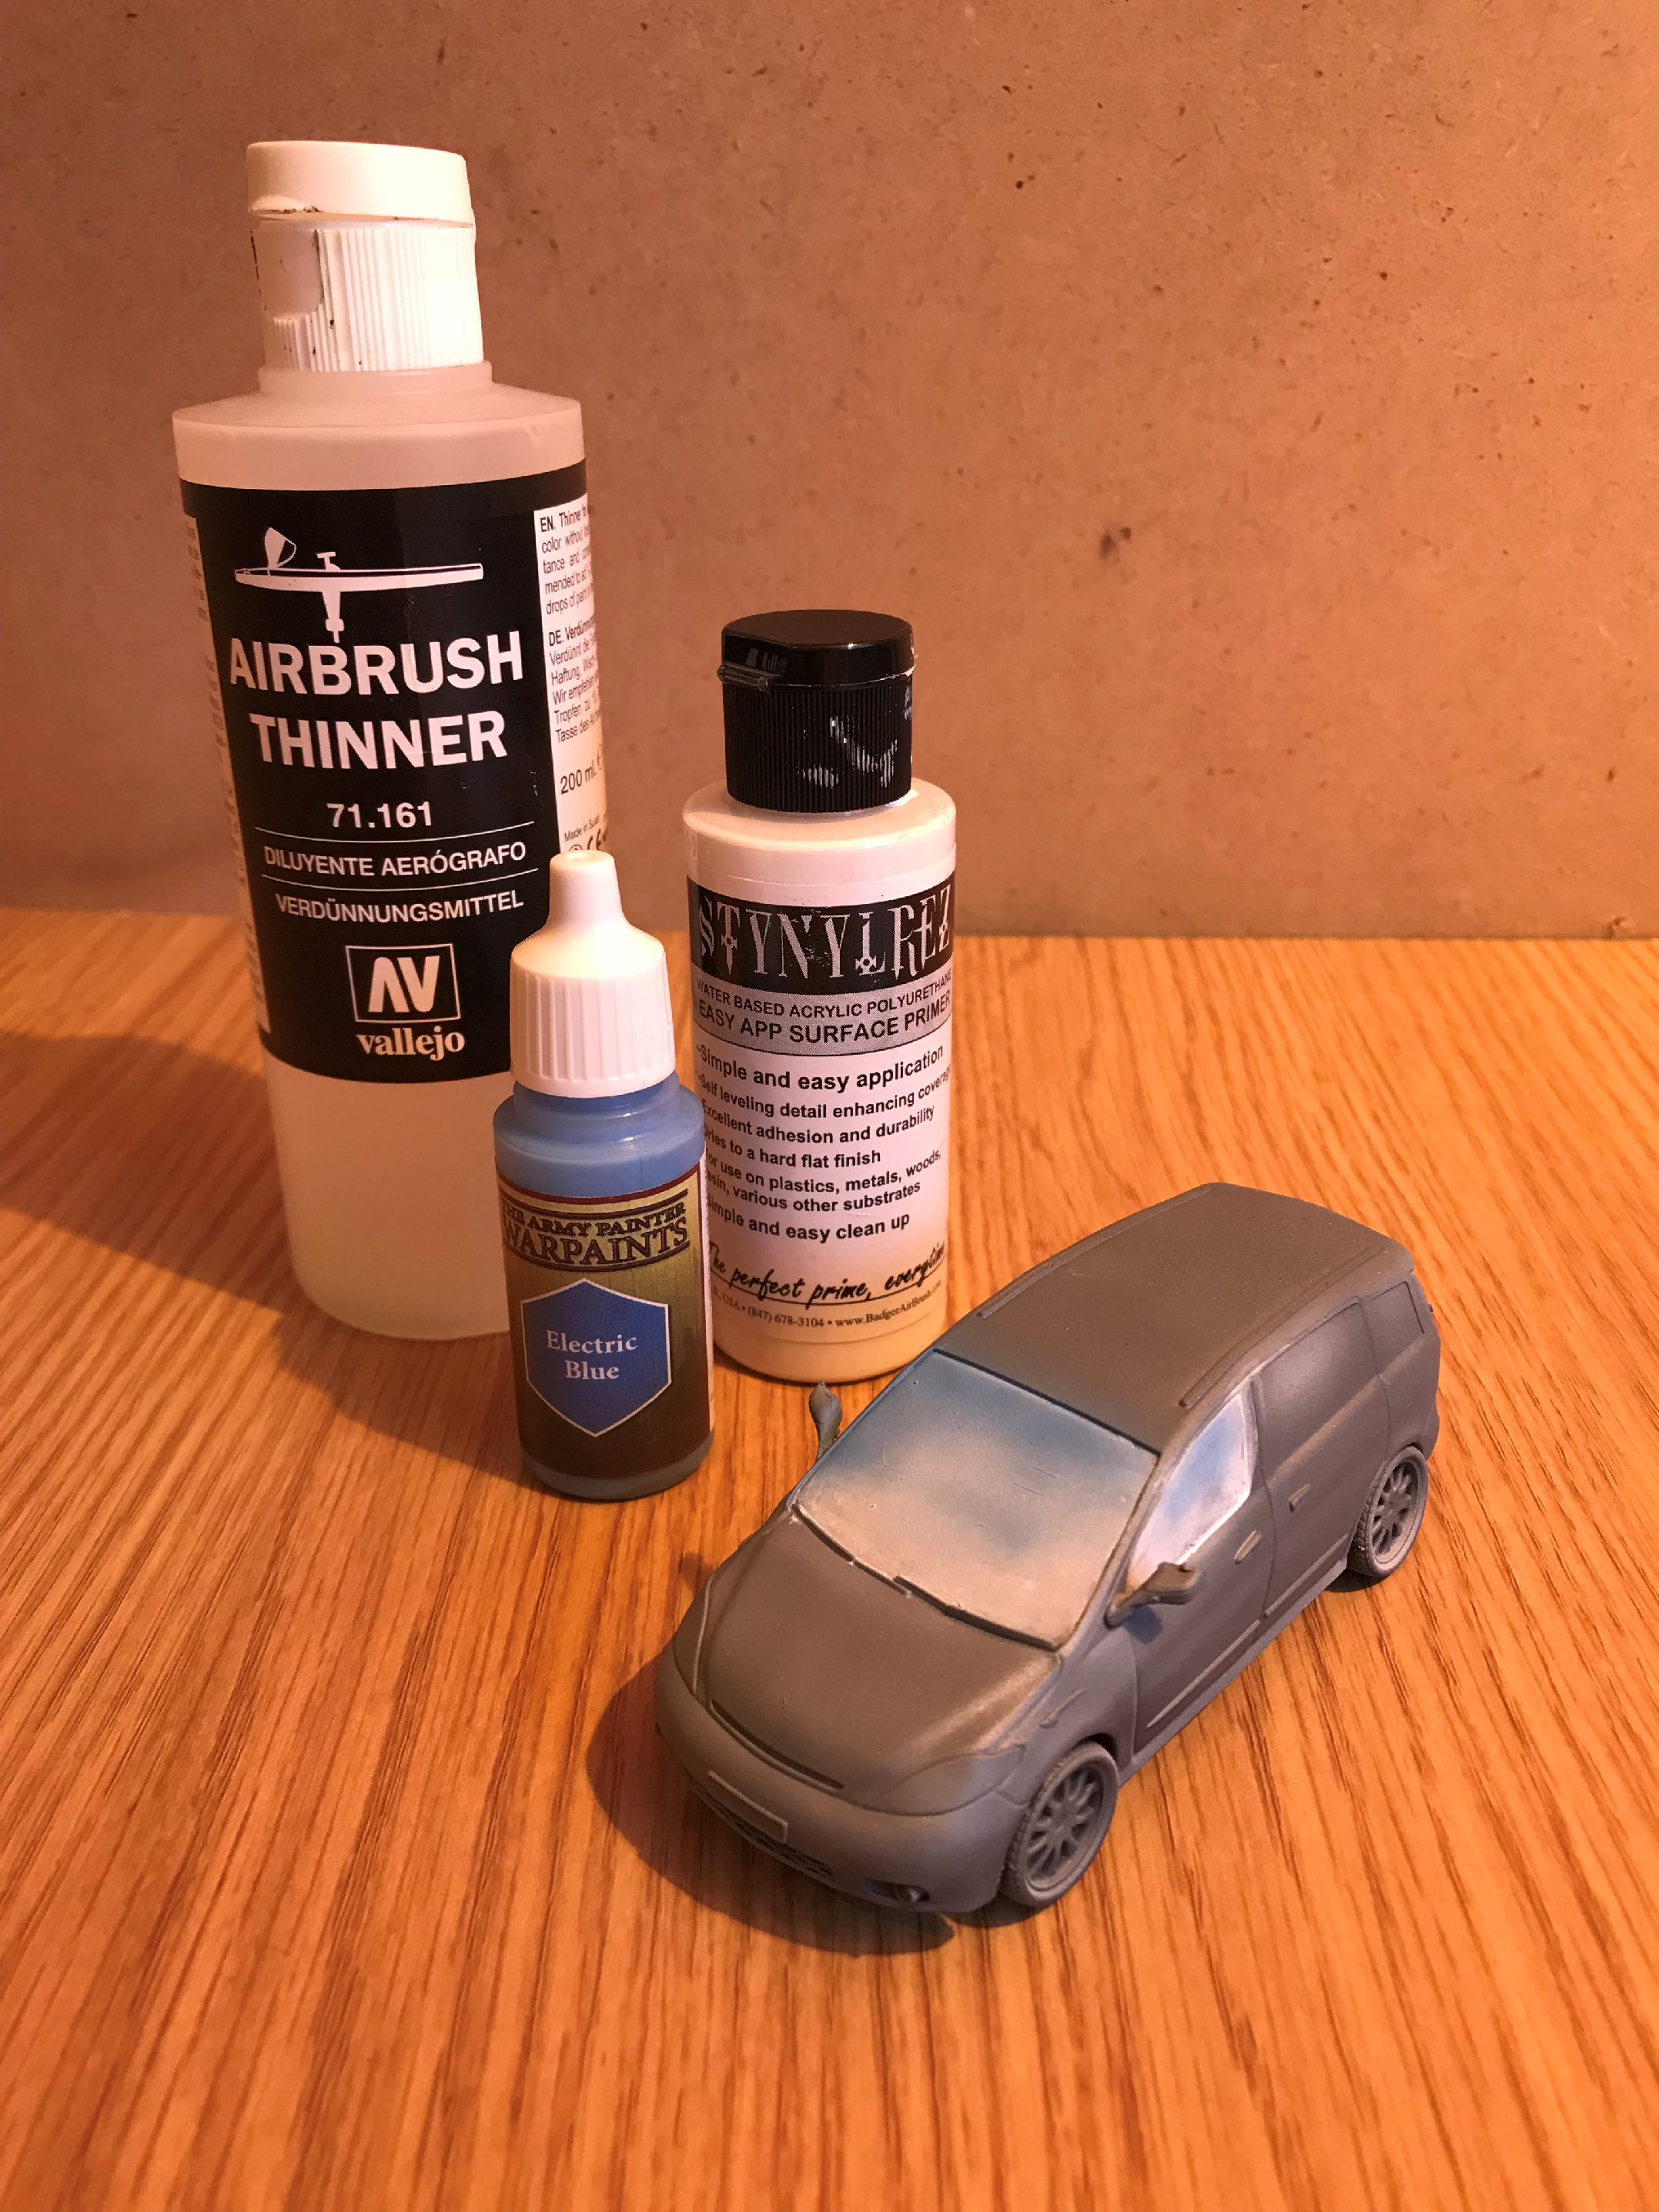
Primer in the paint shop!
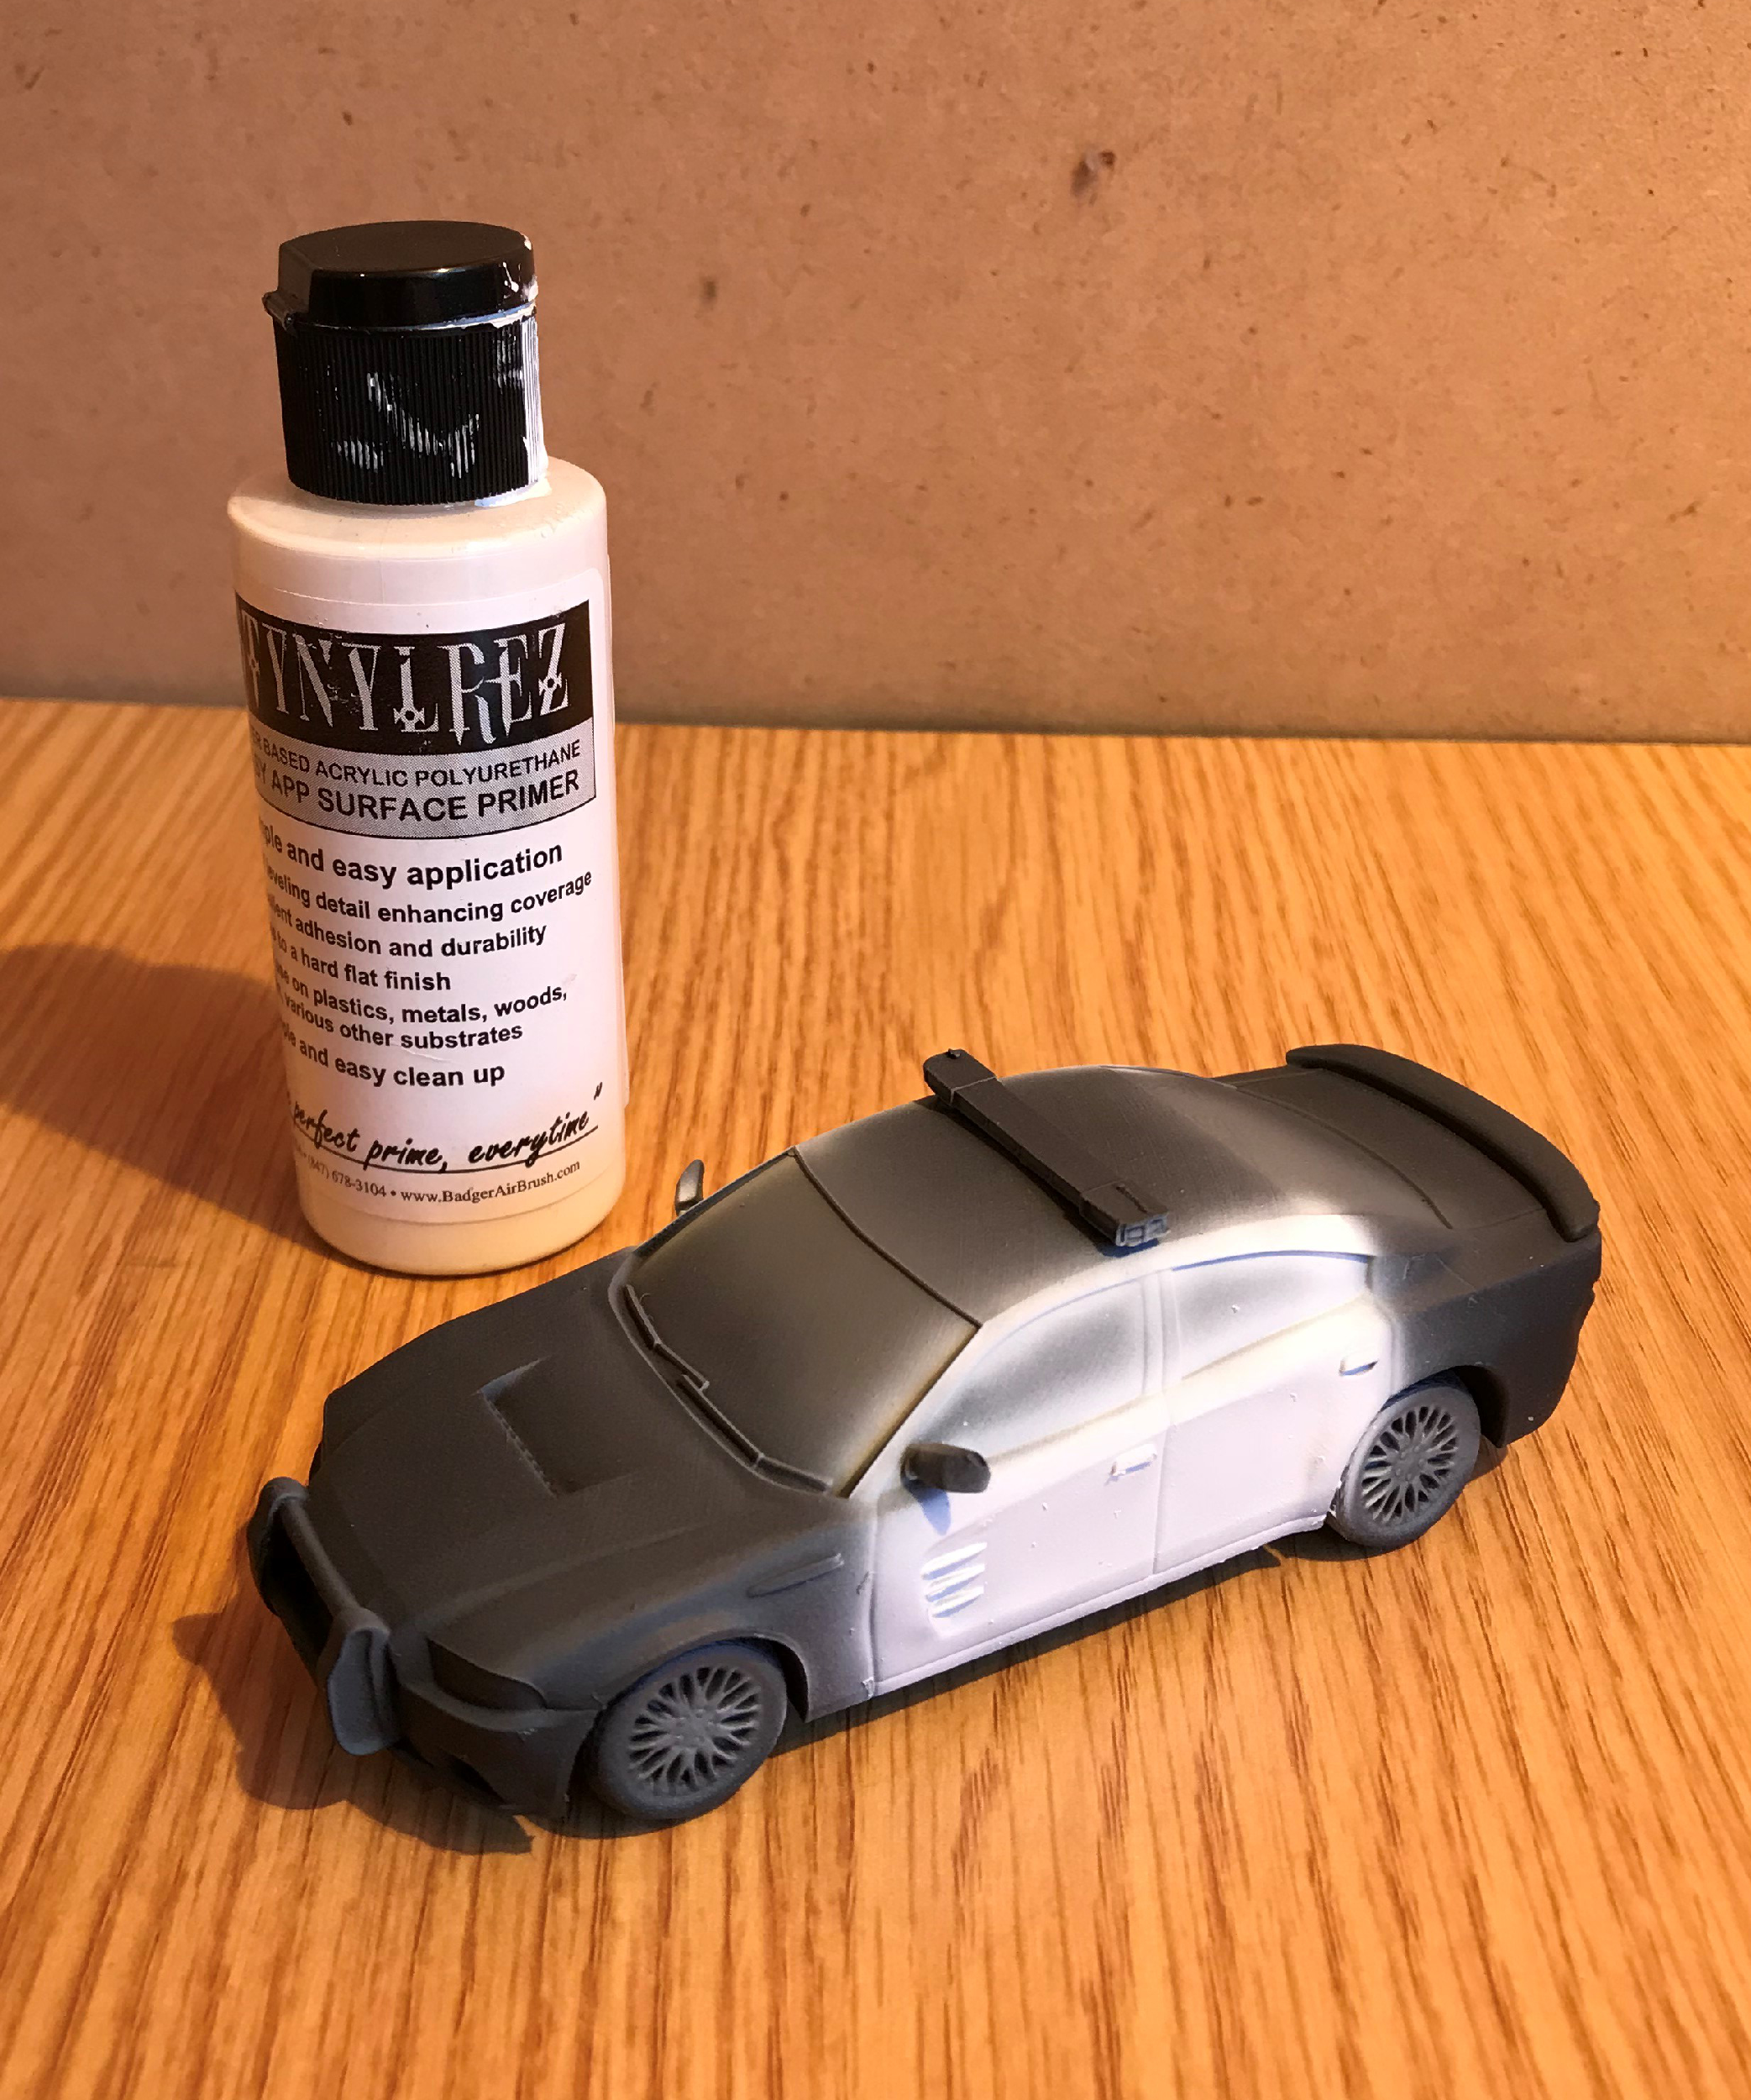
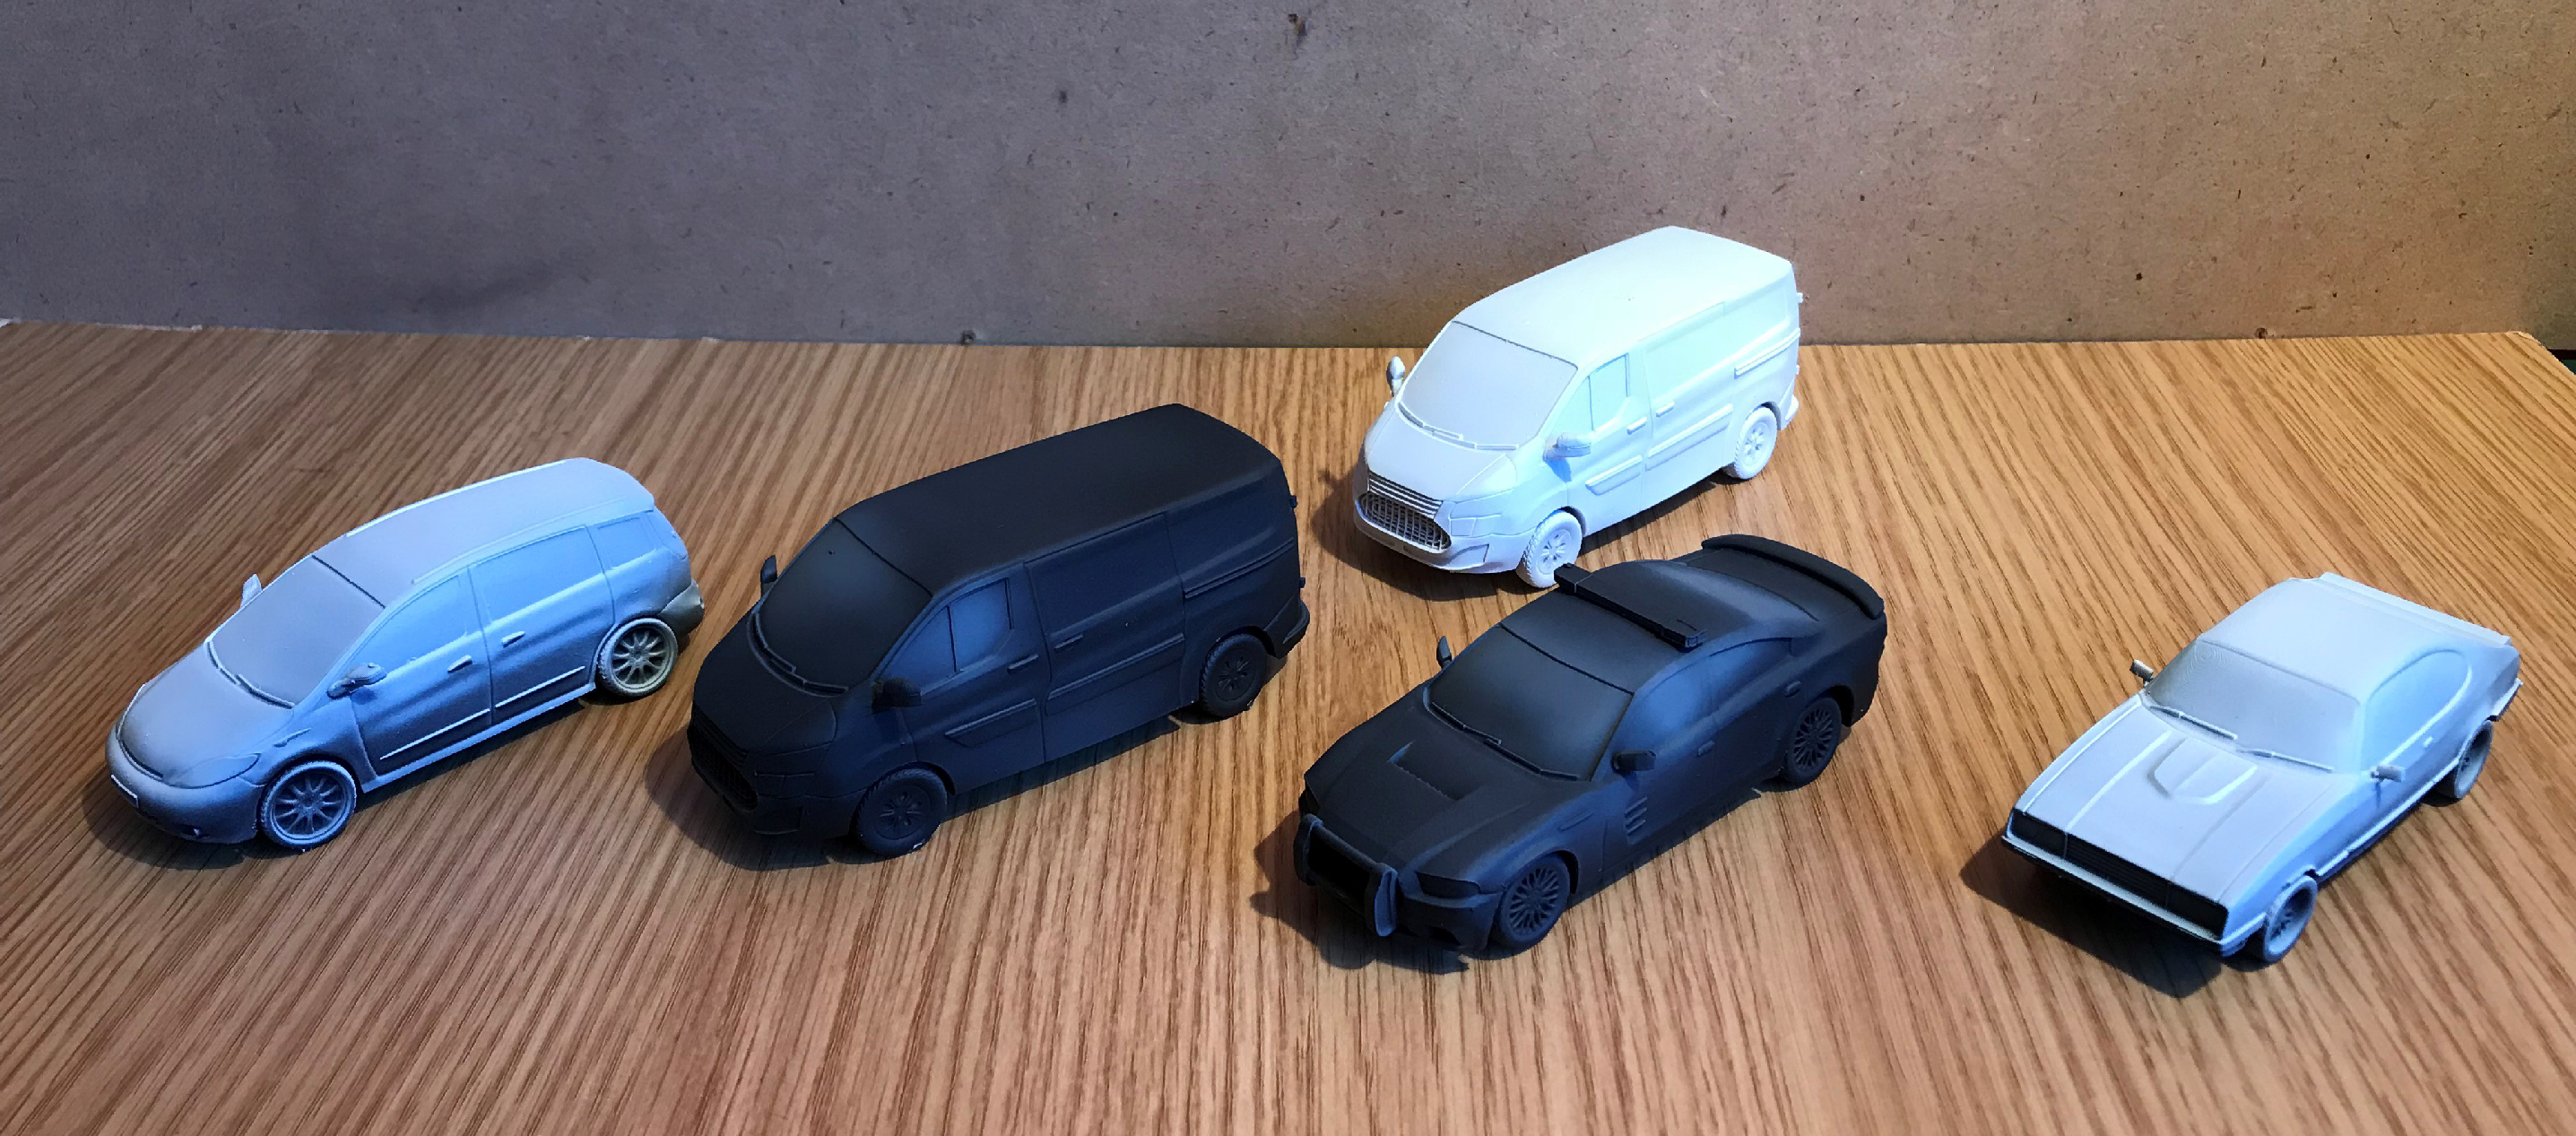
PRIMER.
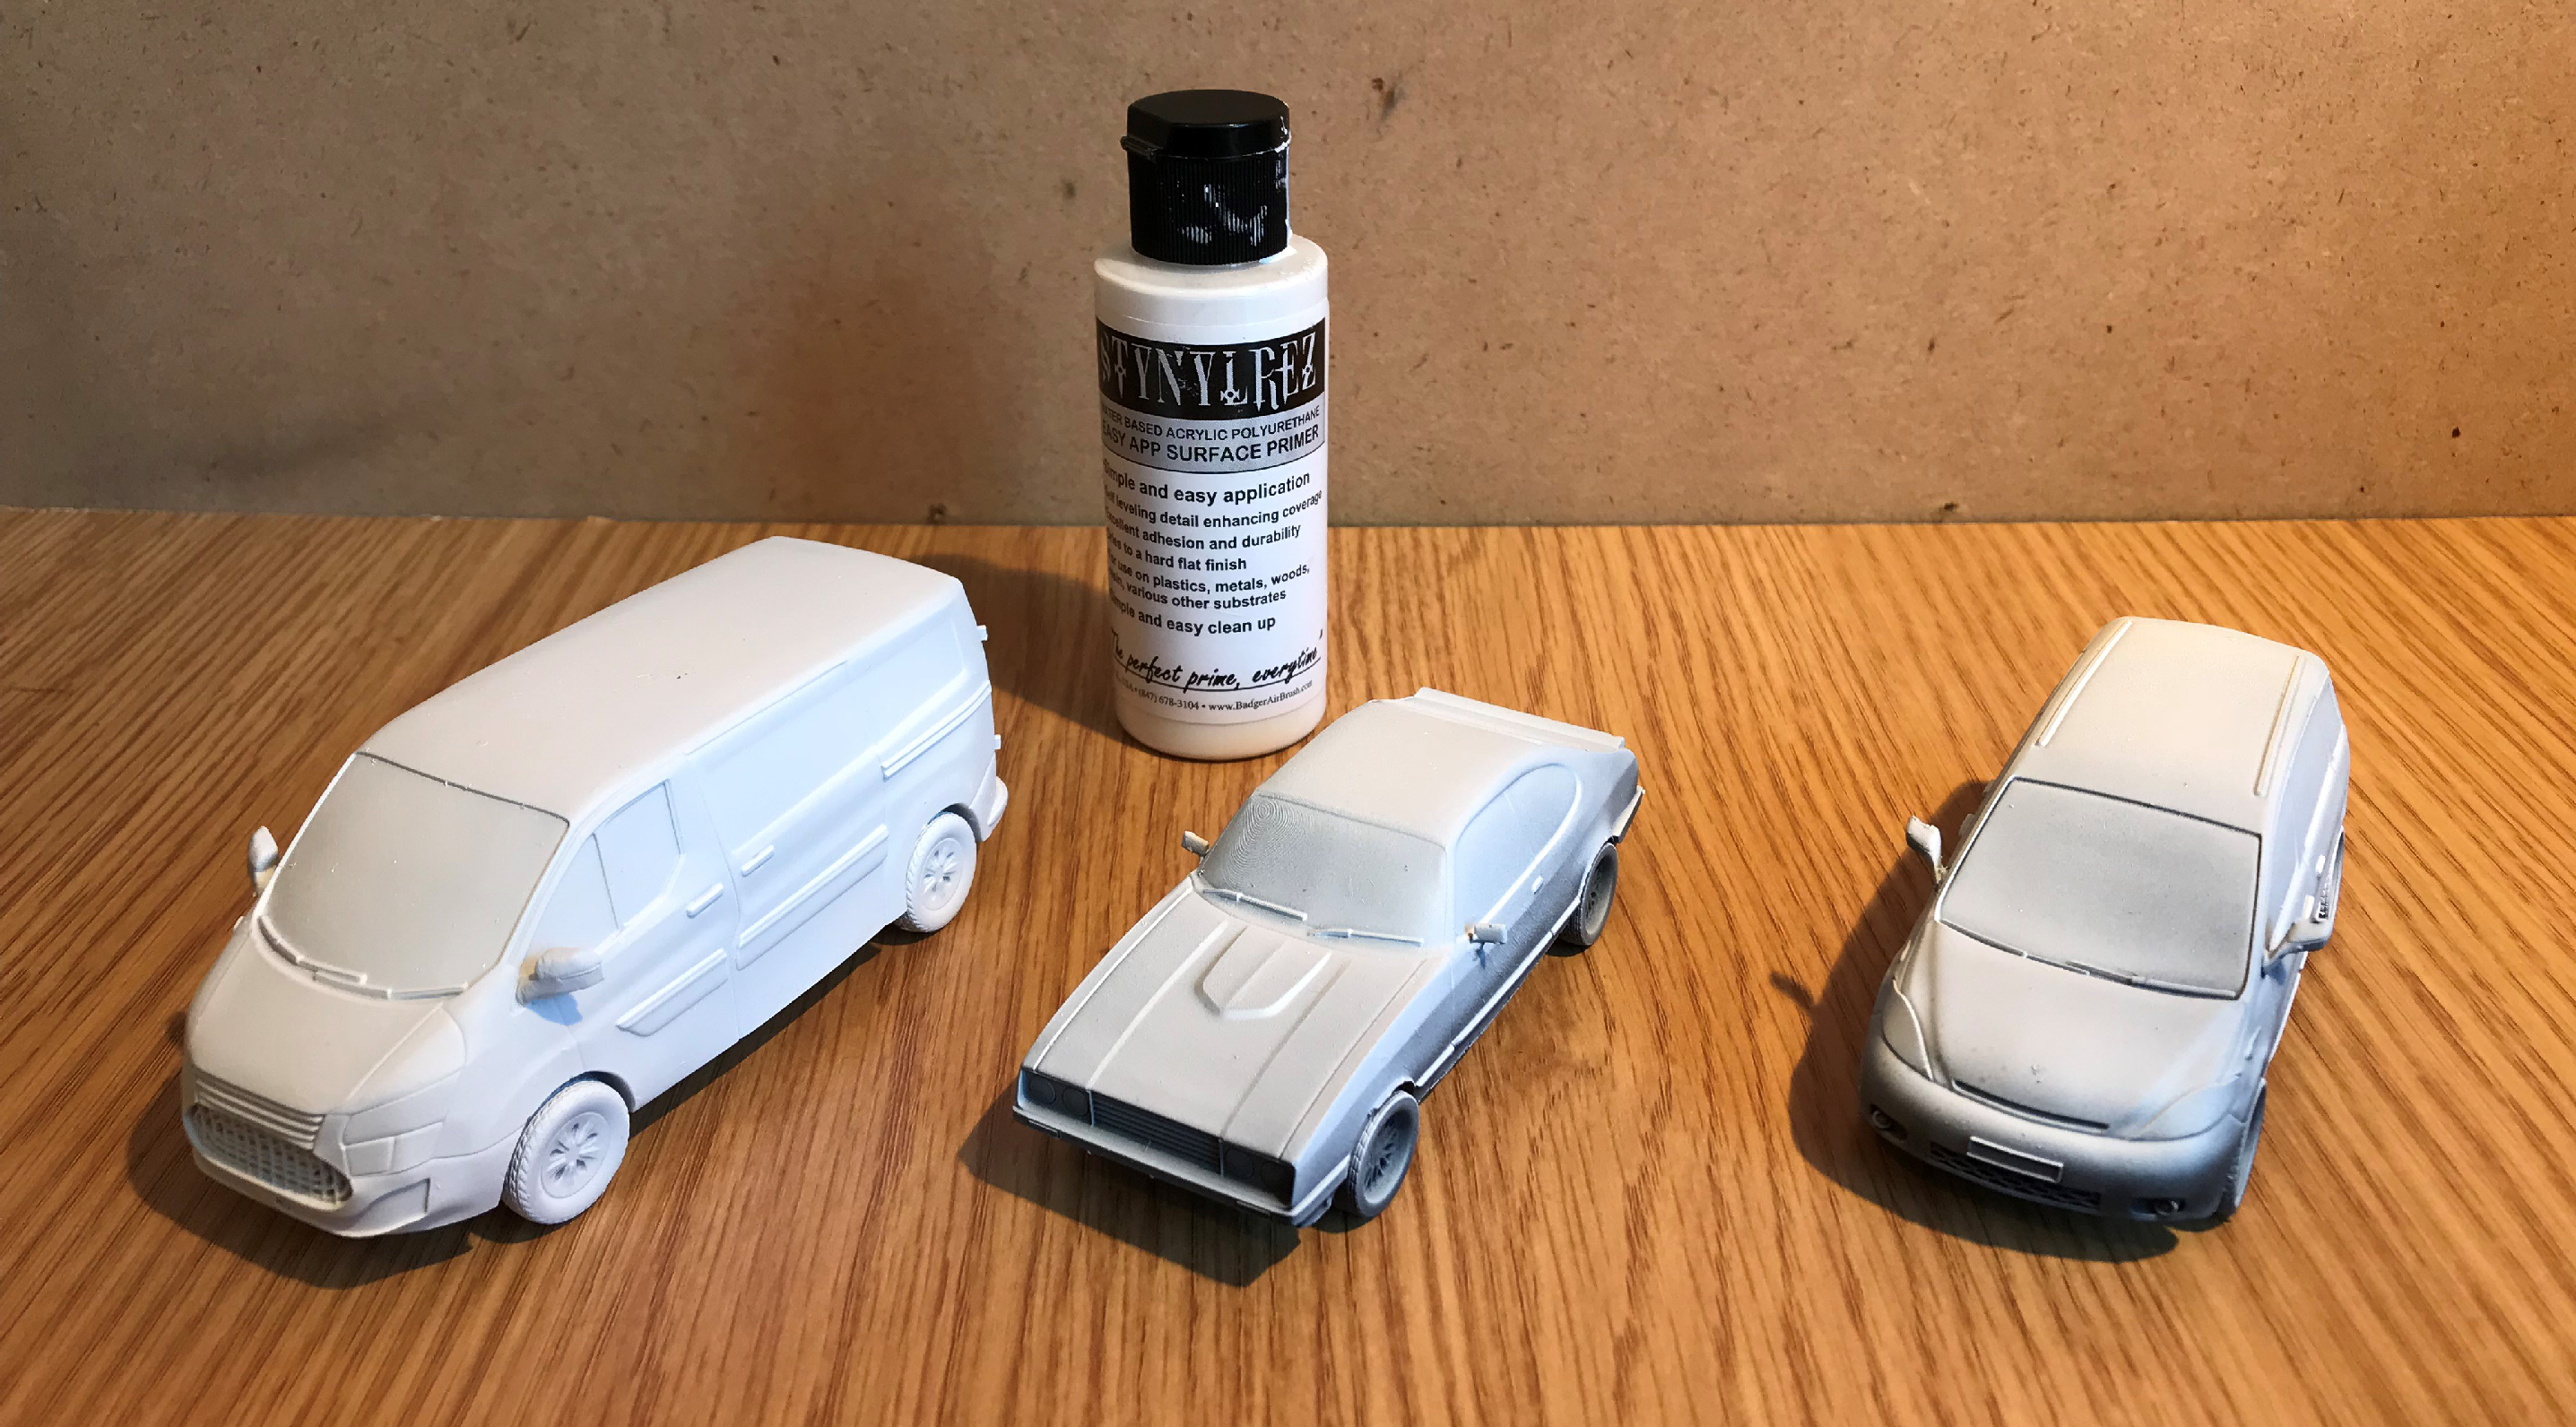
I’m using Stynylrez Black Primer by Badger Air Bruchs as it is a great primer, self levels very well and dosn’t need thinking in the air brush. I’m also using Stynylrez White Primer on one of the vans (Need a White Van Man).
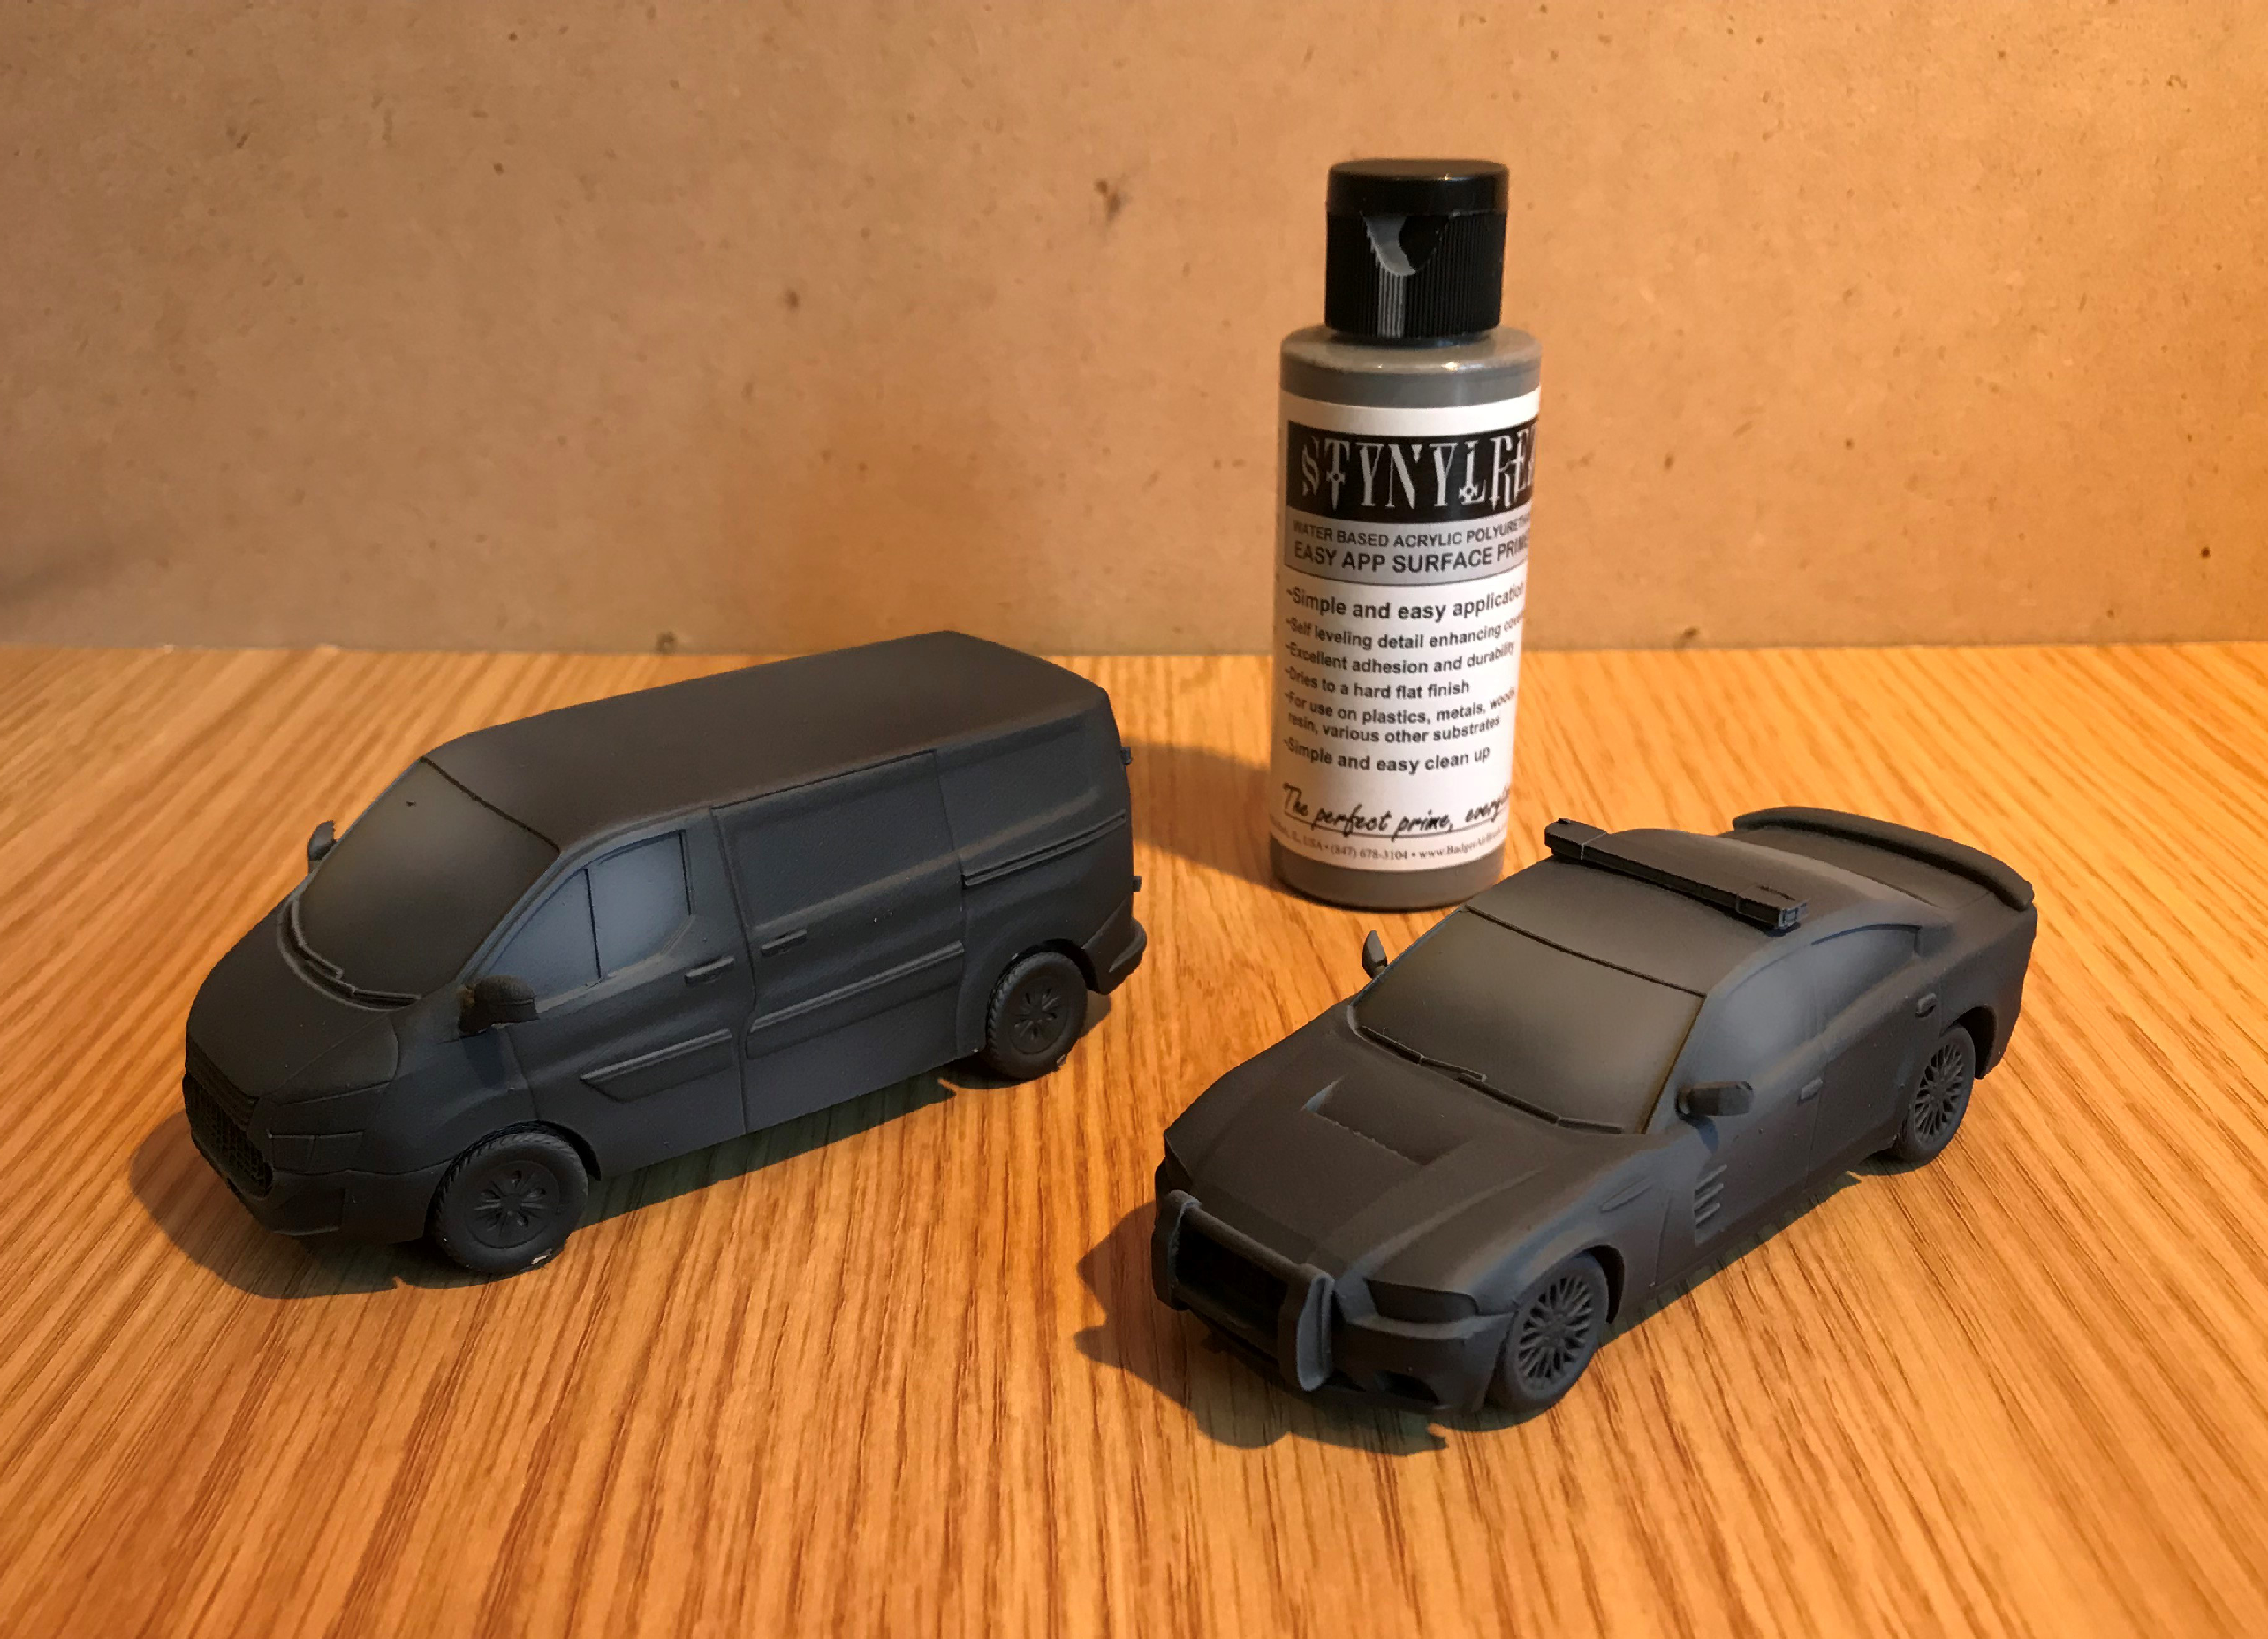
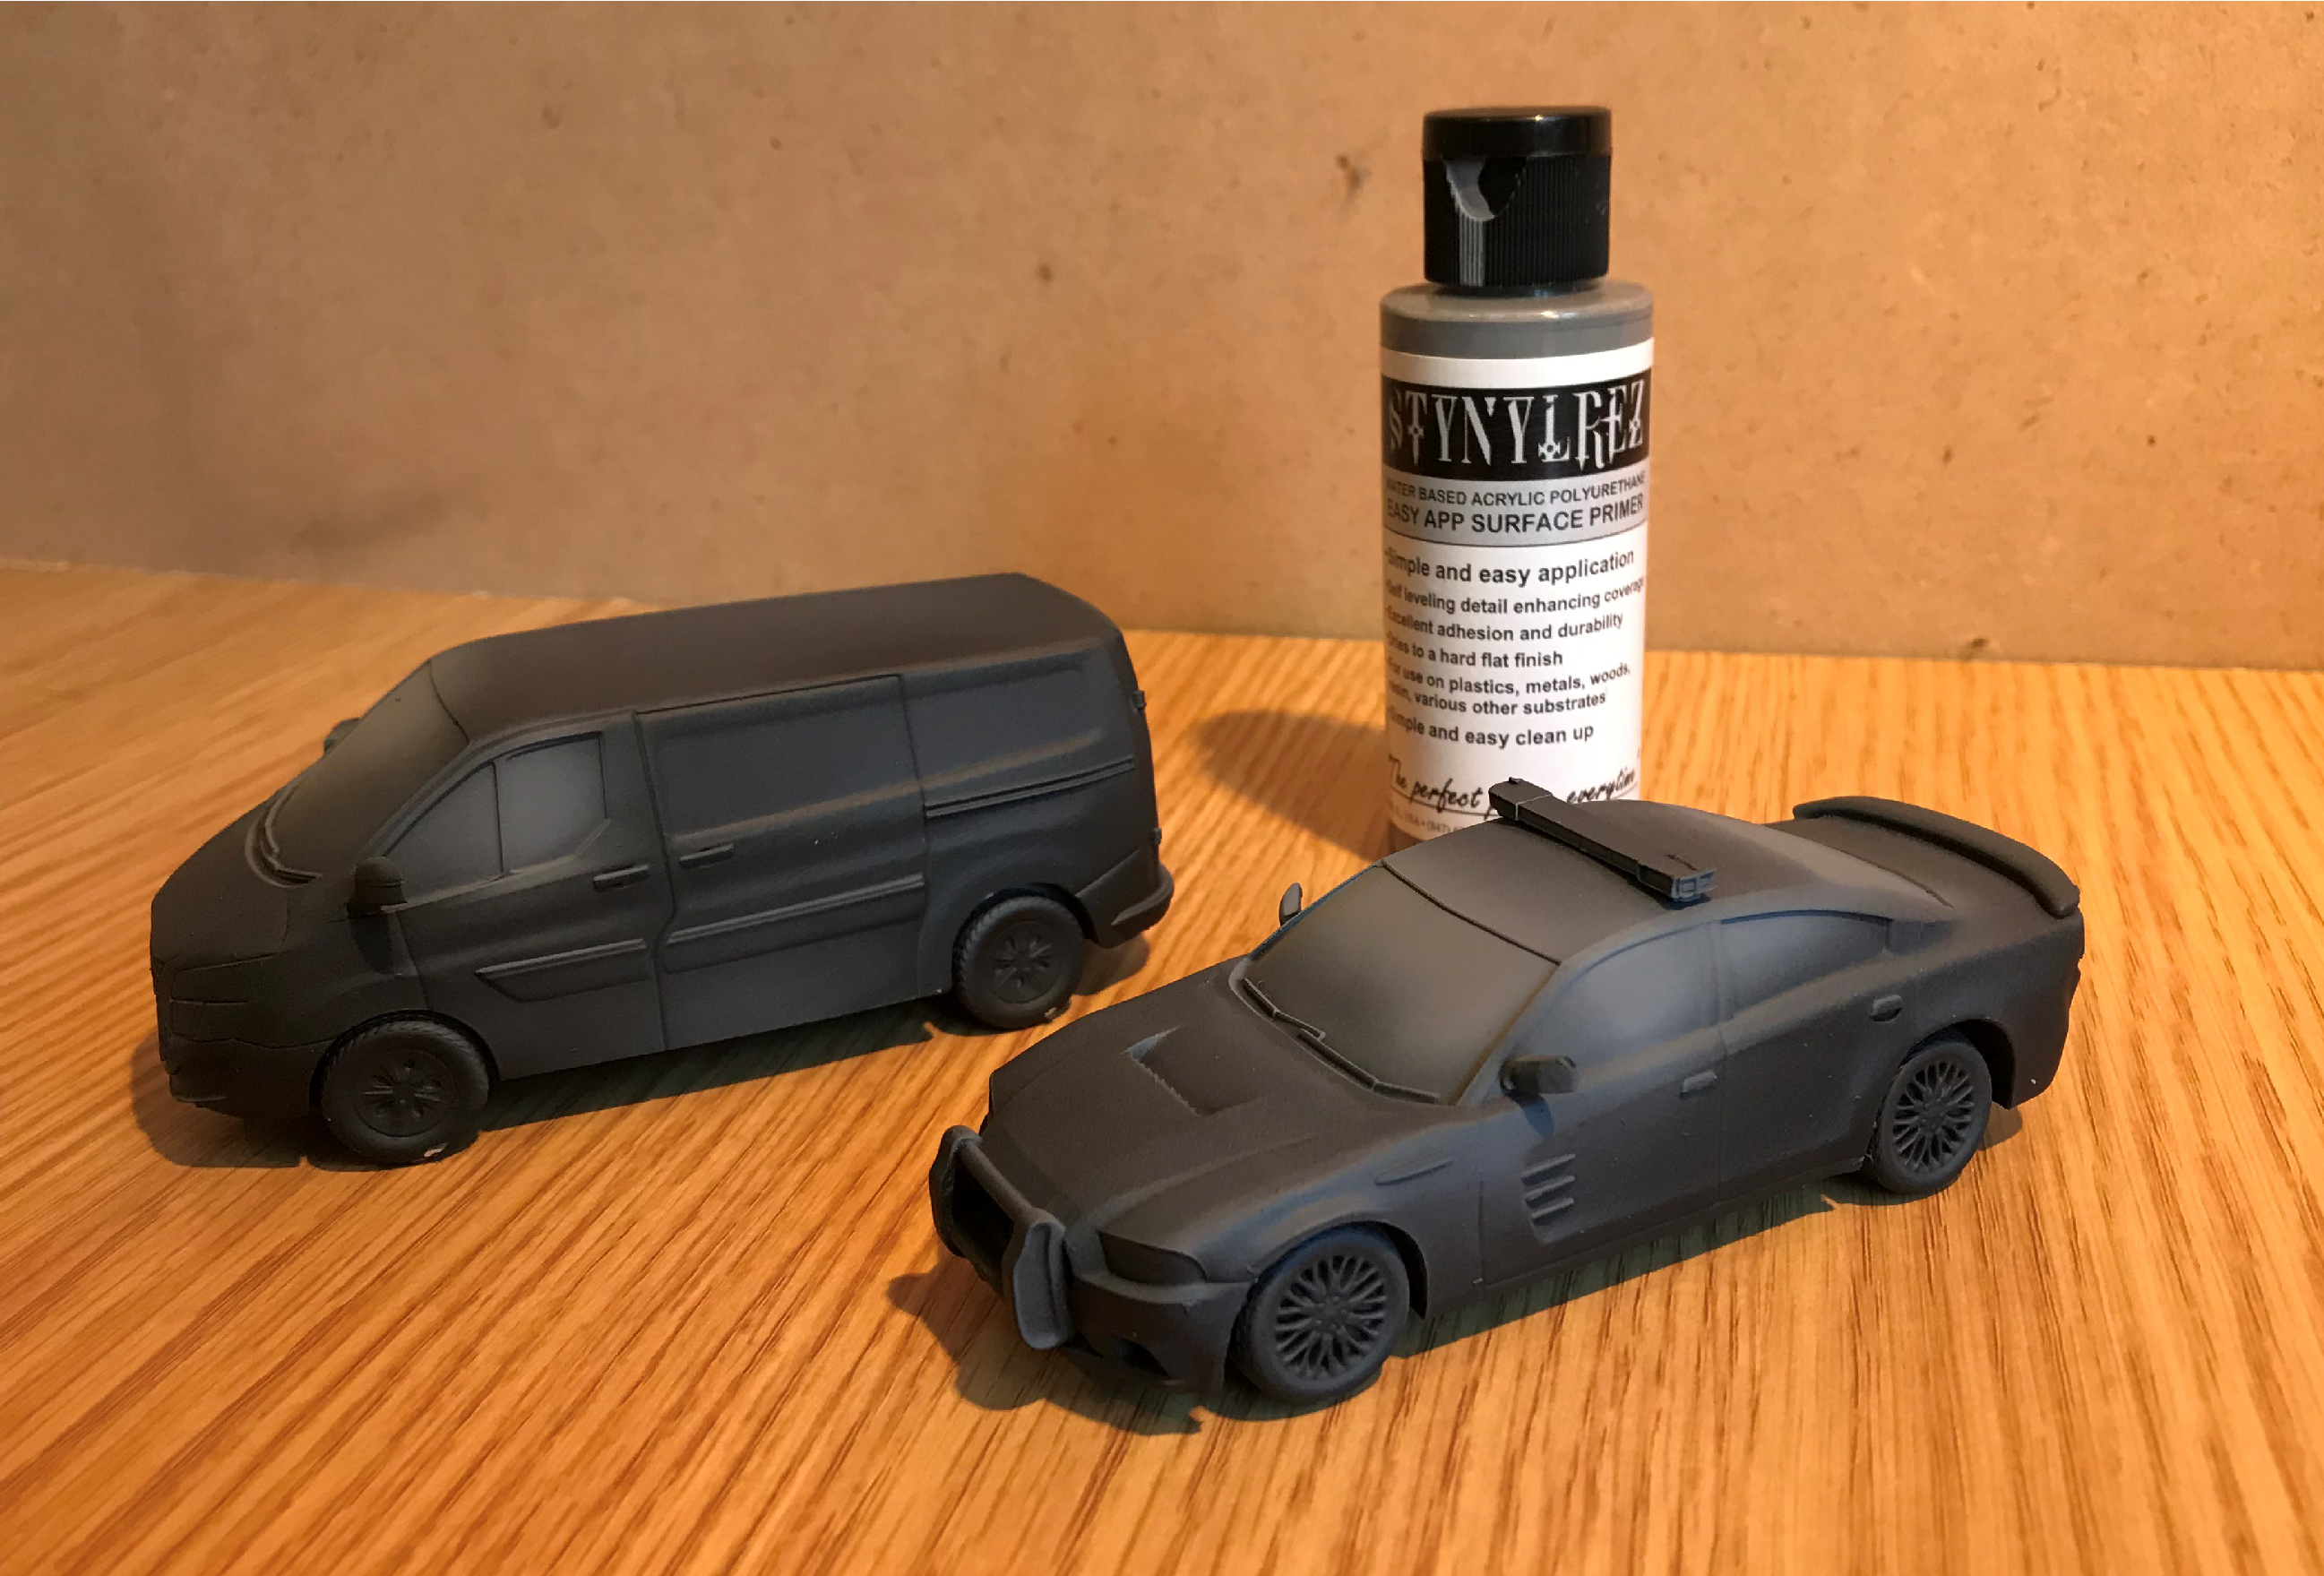
PRE SHADE.
Using the Stynylrez White Primer I’m zenithing the cars that i want to pain a distinct colour to so the shade shows up in the body work. on the white van I’m not pre-shading. on the police car and one van i want to keep black I’ve decide to use a Stynylrez Grey Primer to give it a off black colour that i can work on later.