Klorophil’s Star Wars Legion Imperial Army


Recommendations: 151
About the Project
This is me beginning to paint my imperials for Star Wars Legion. Enjoy!!
Related Game: Star Wars: Legion
Related Company: Fantasy Flight Games
Related Genre: Science Fiction
This Project is Active
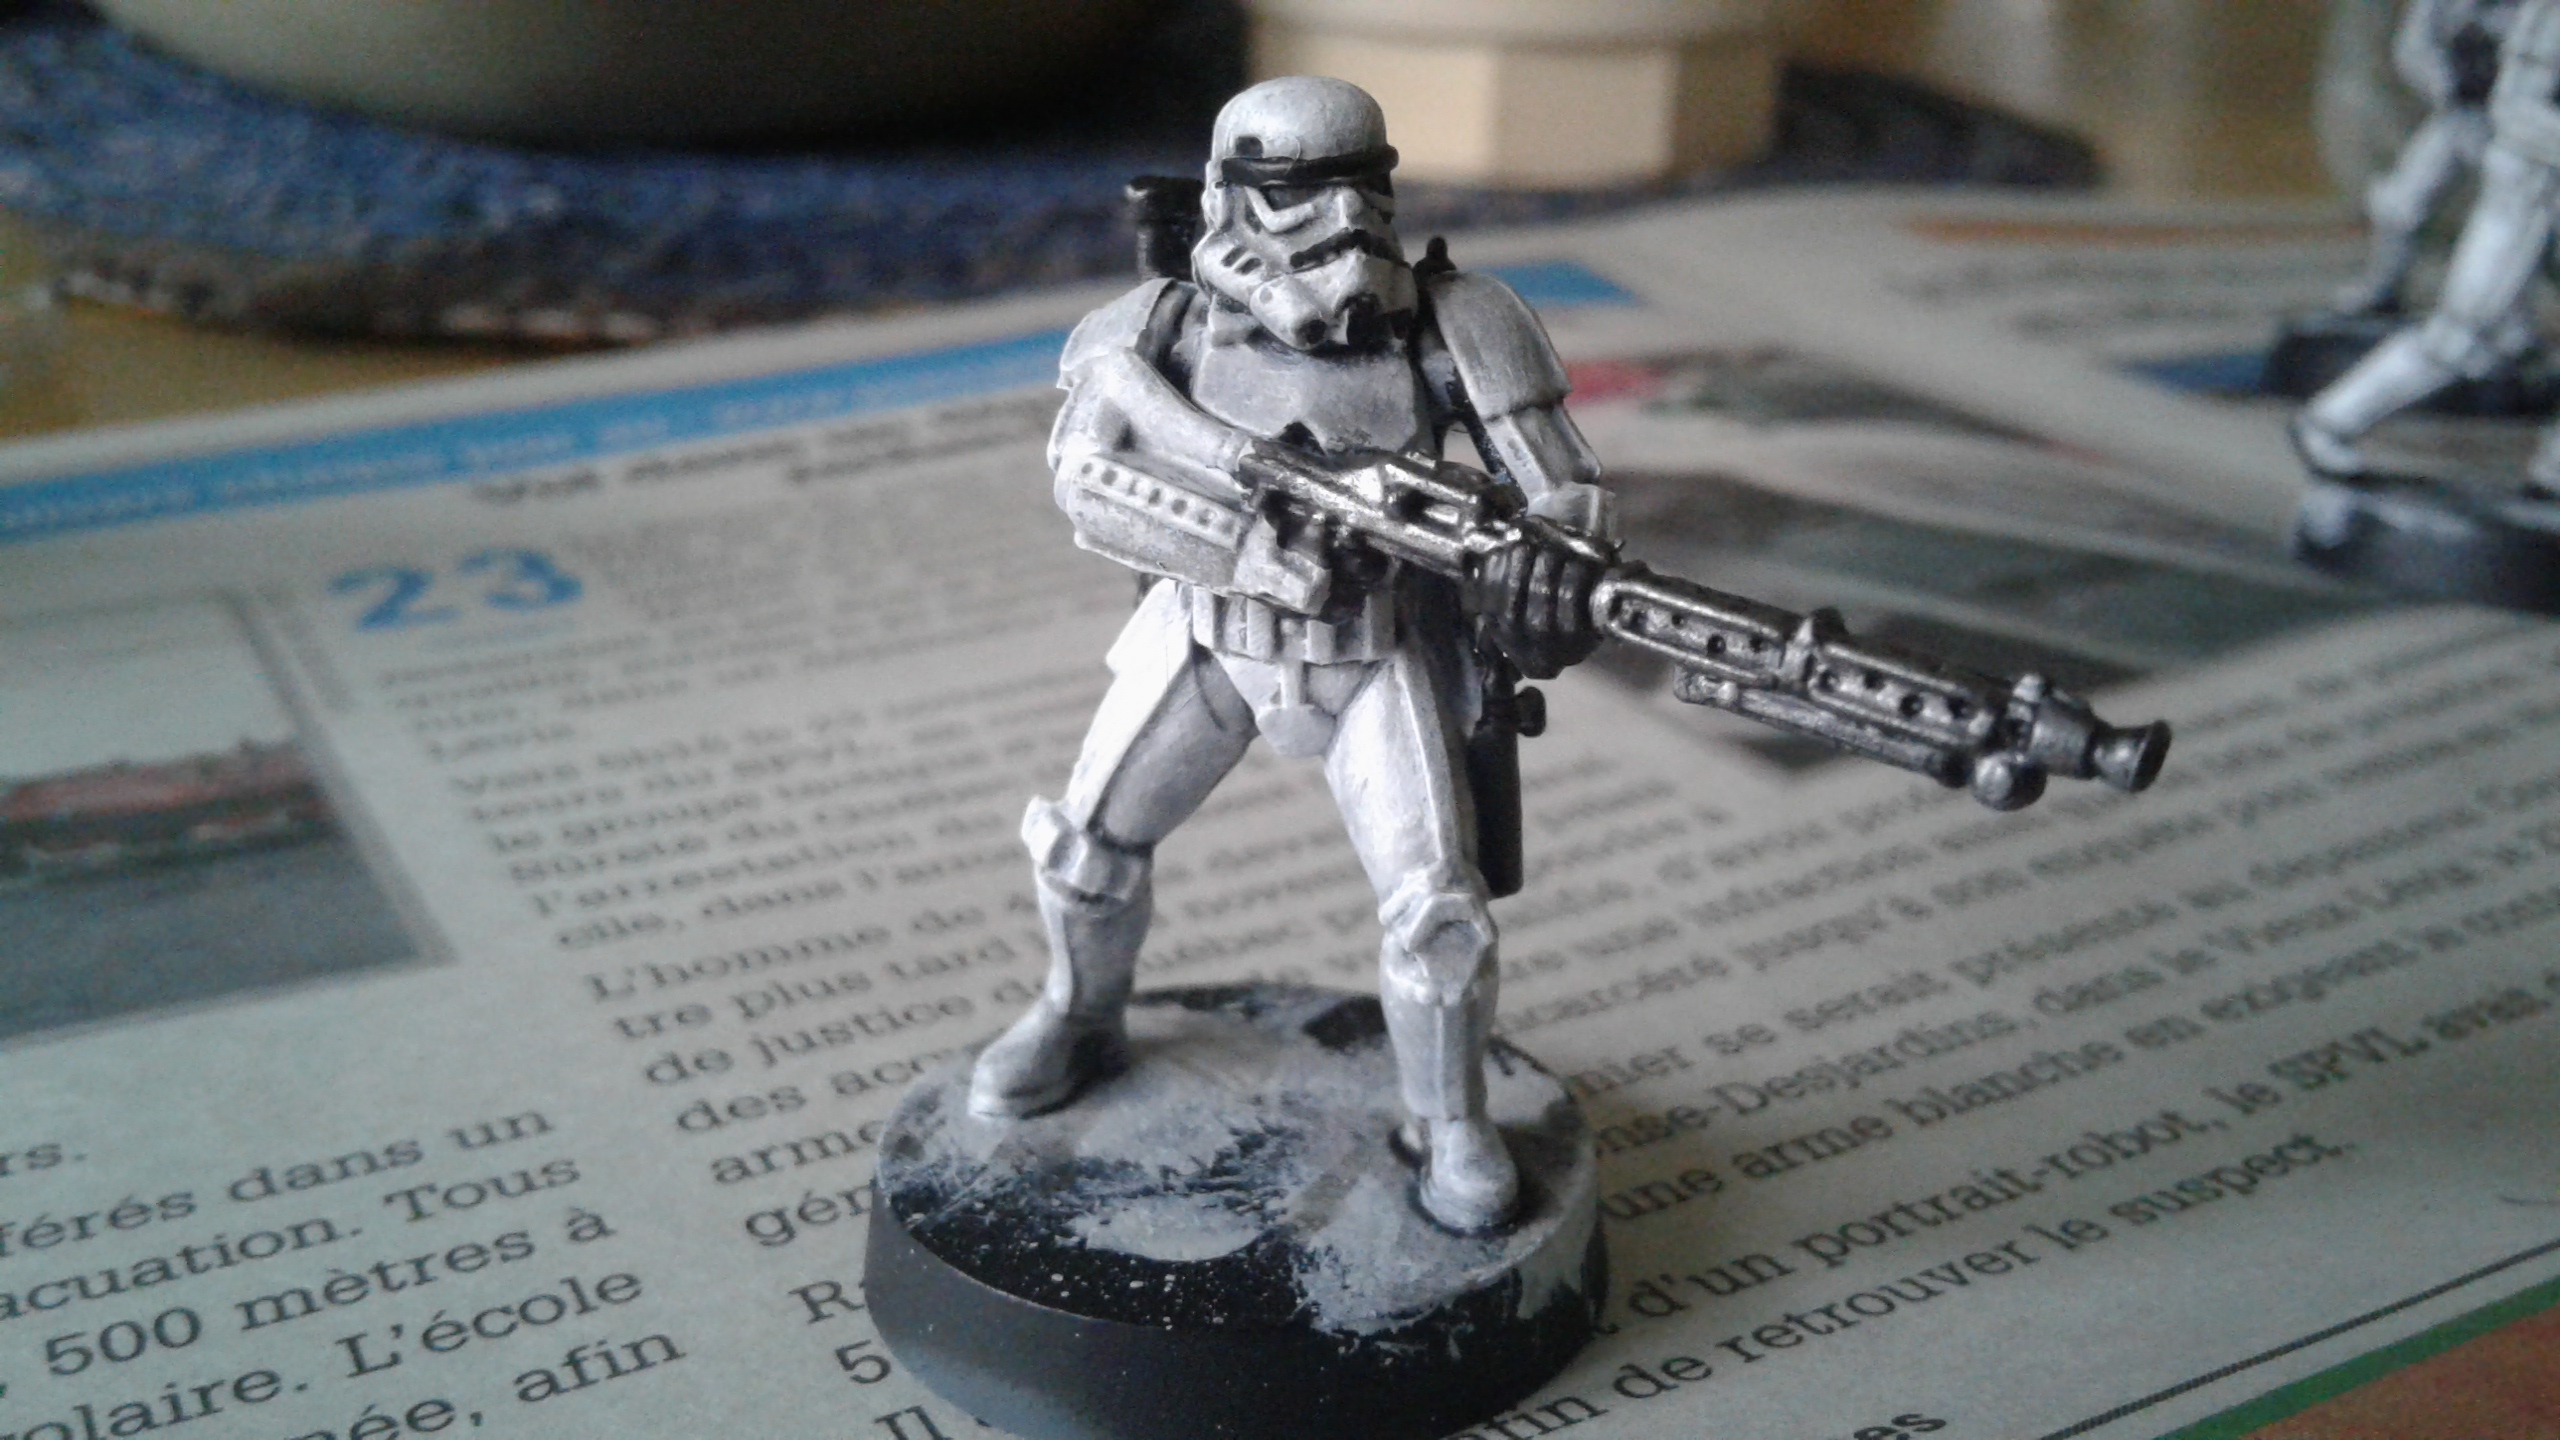
Step nine. 7-14-2018
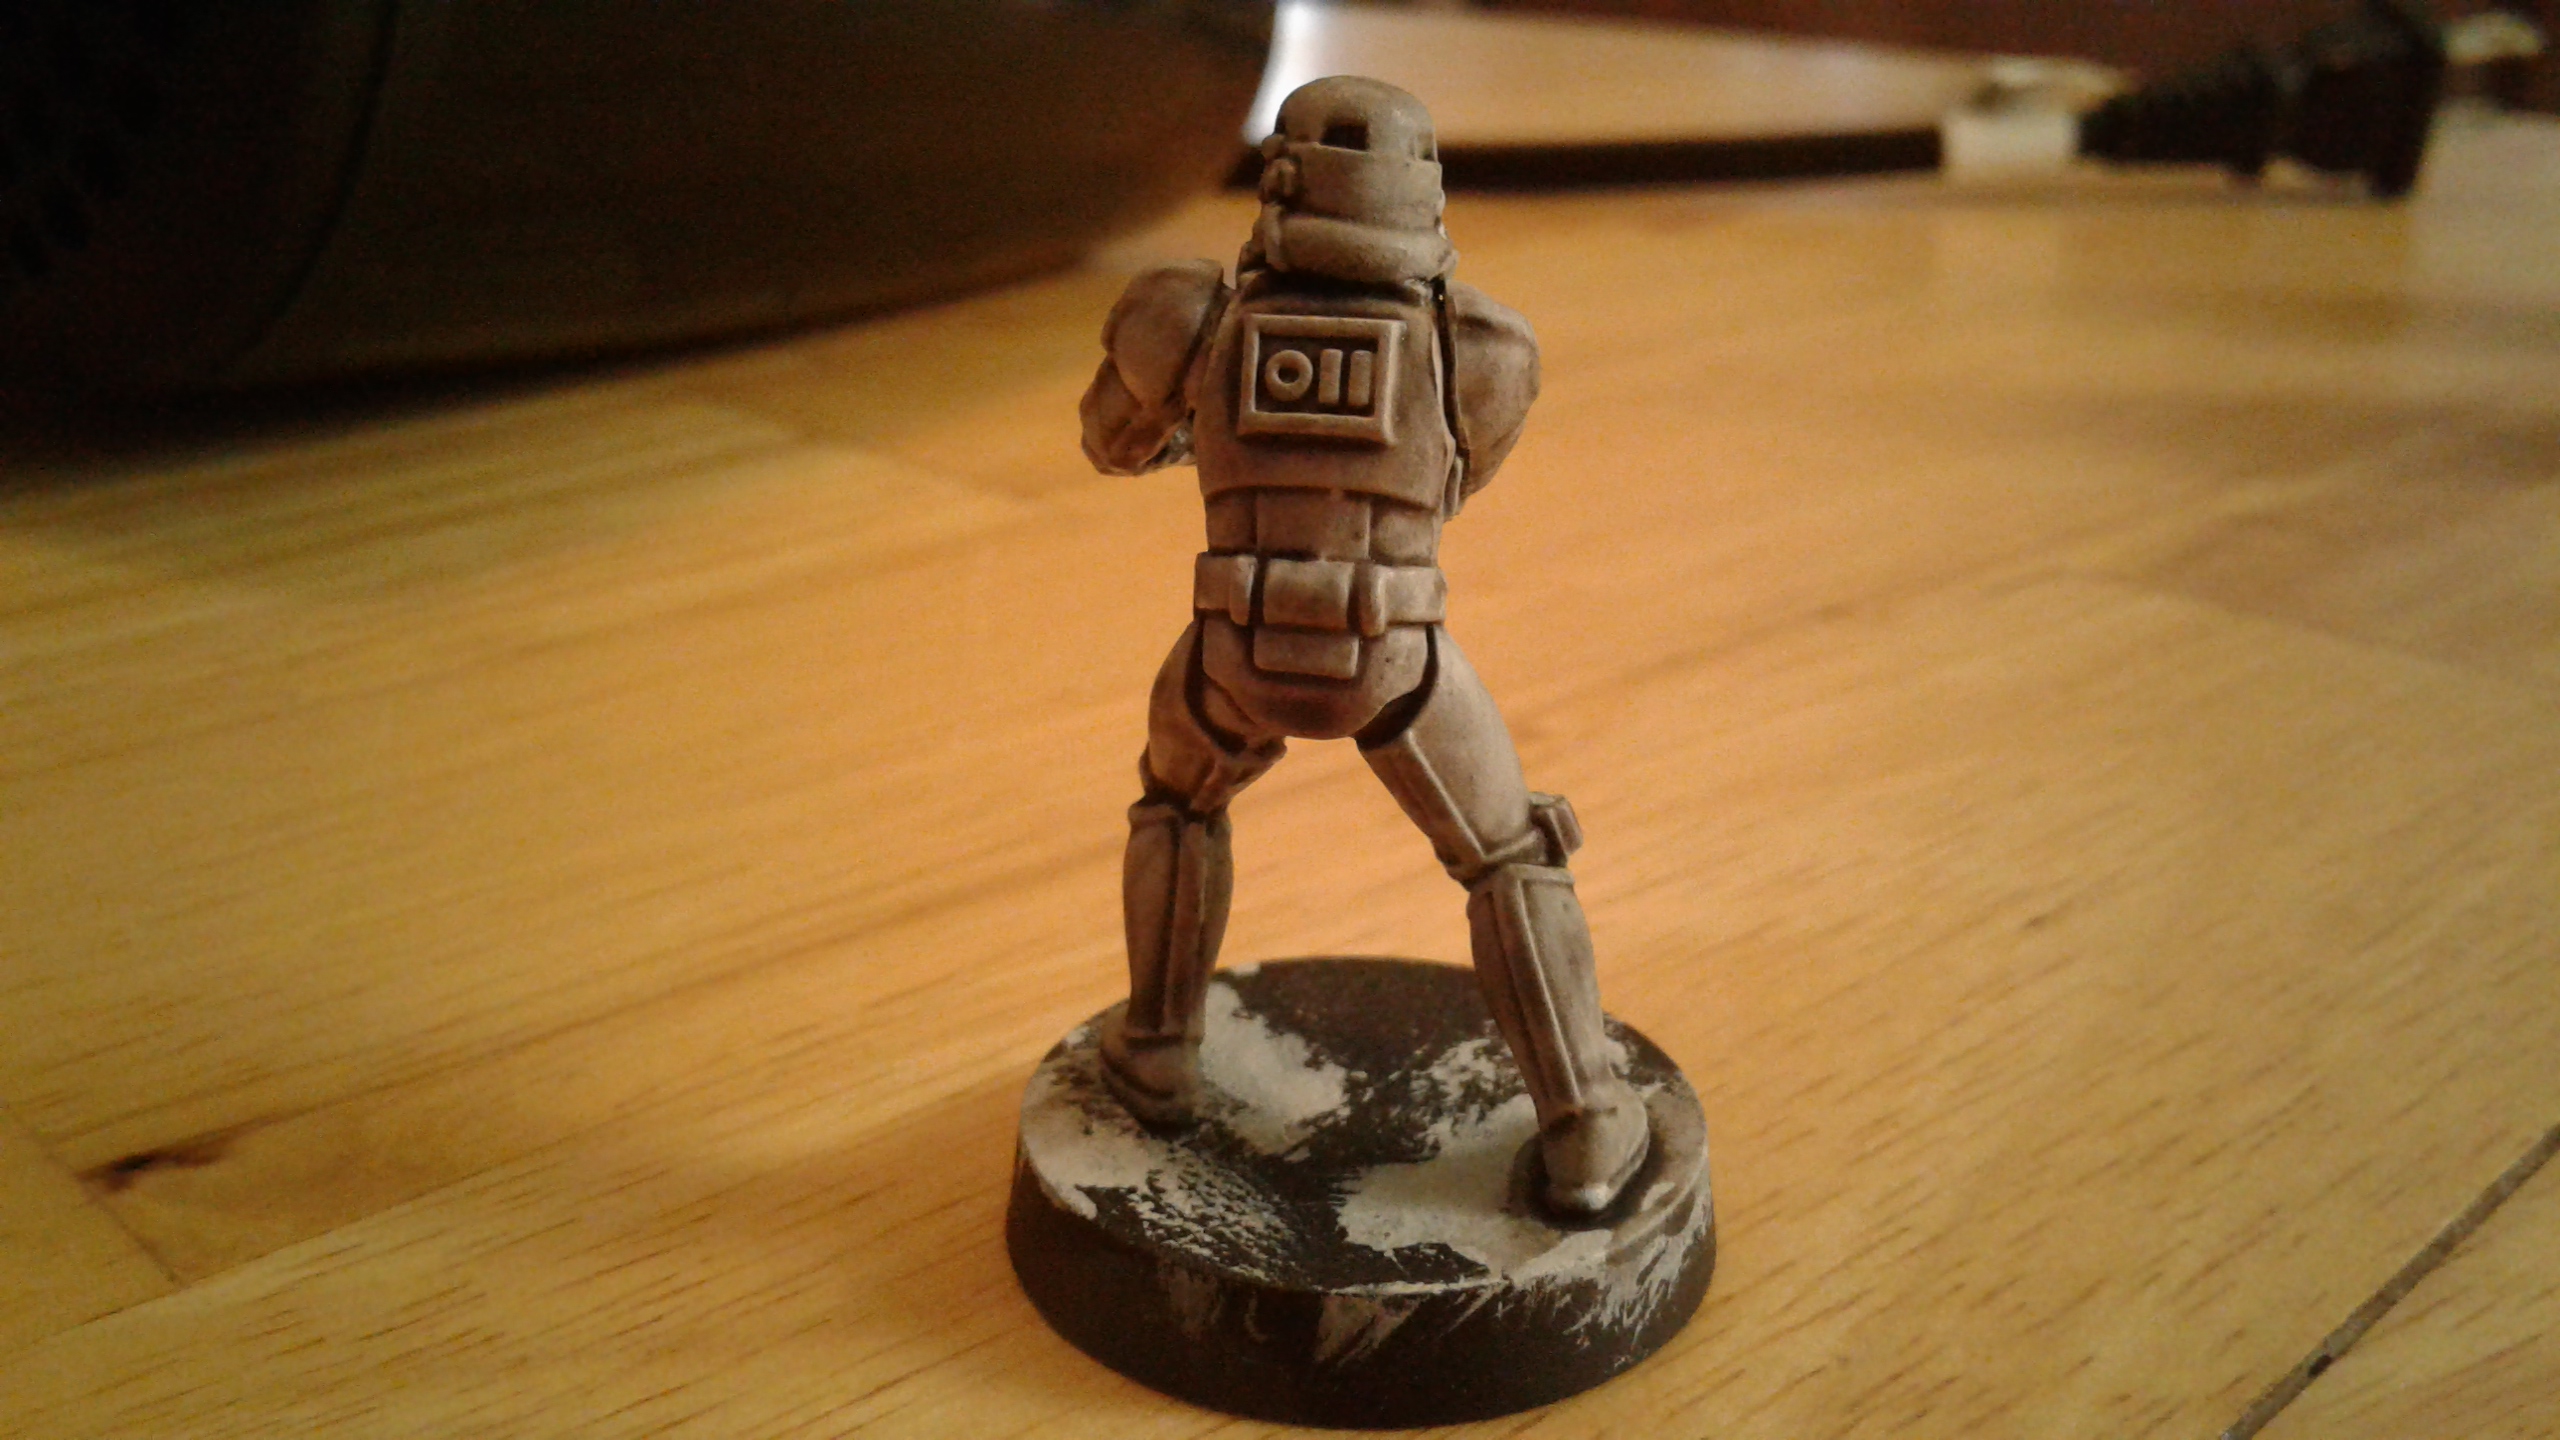
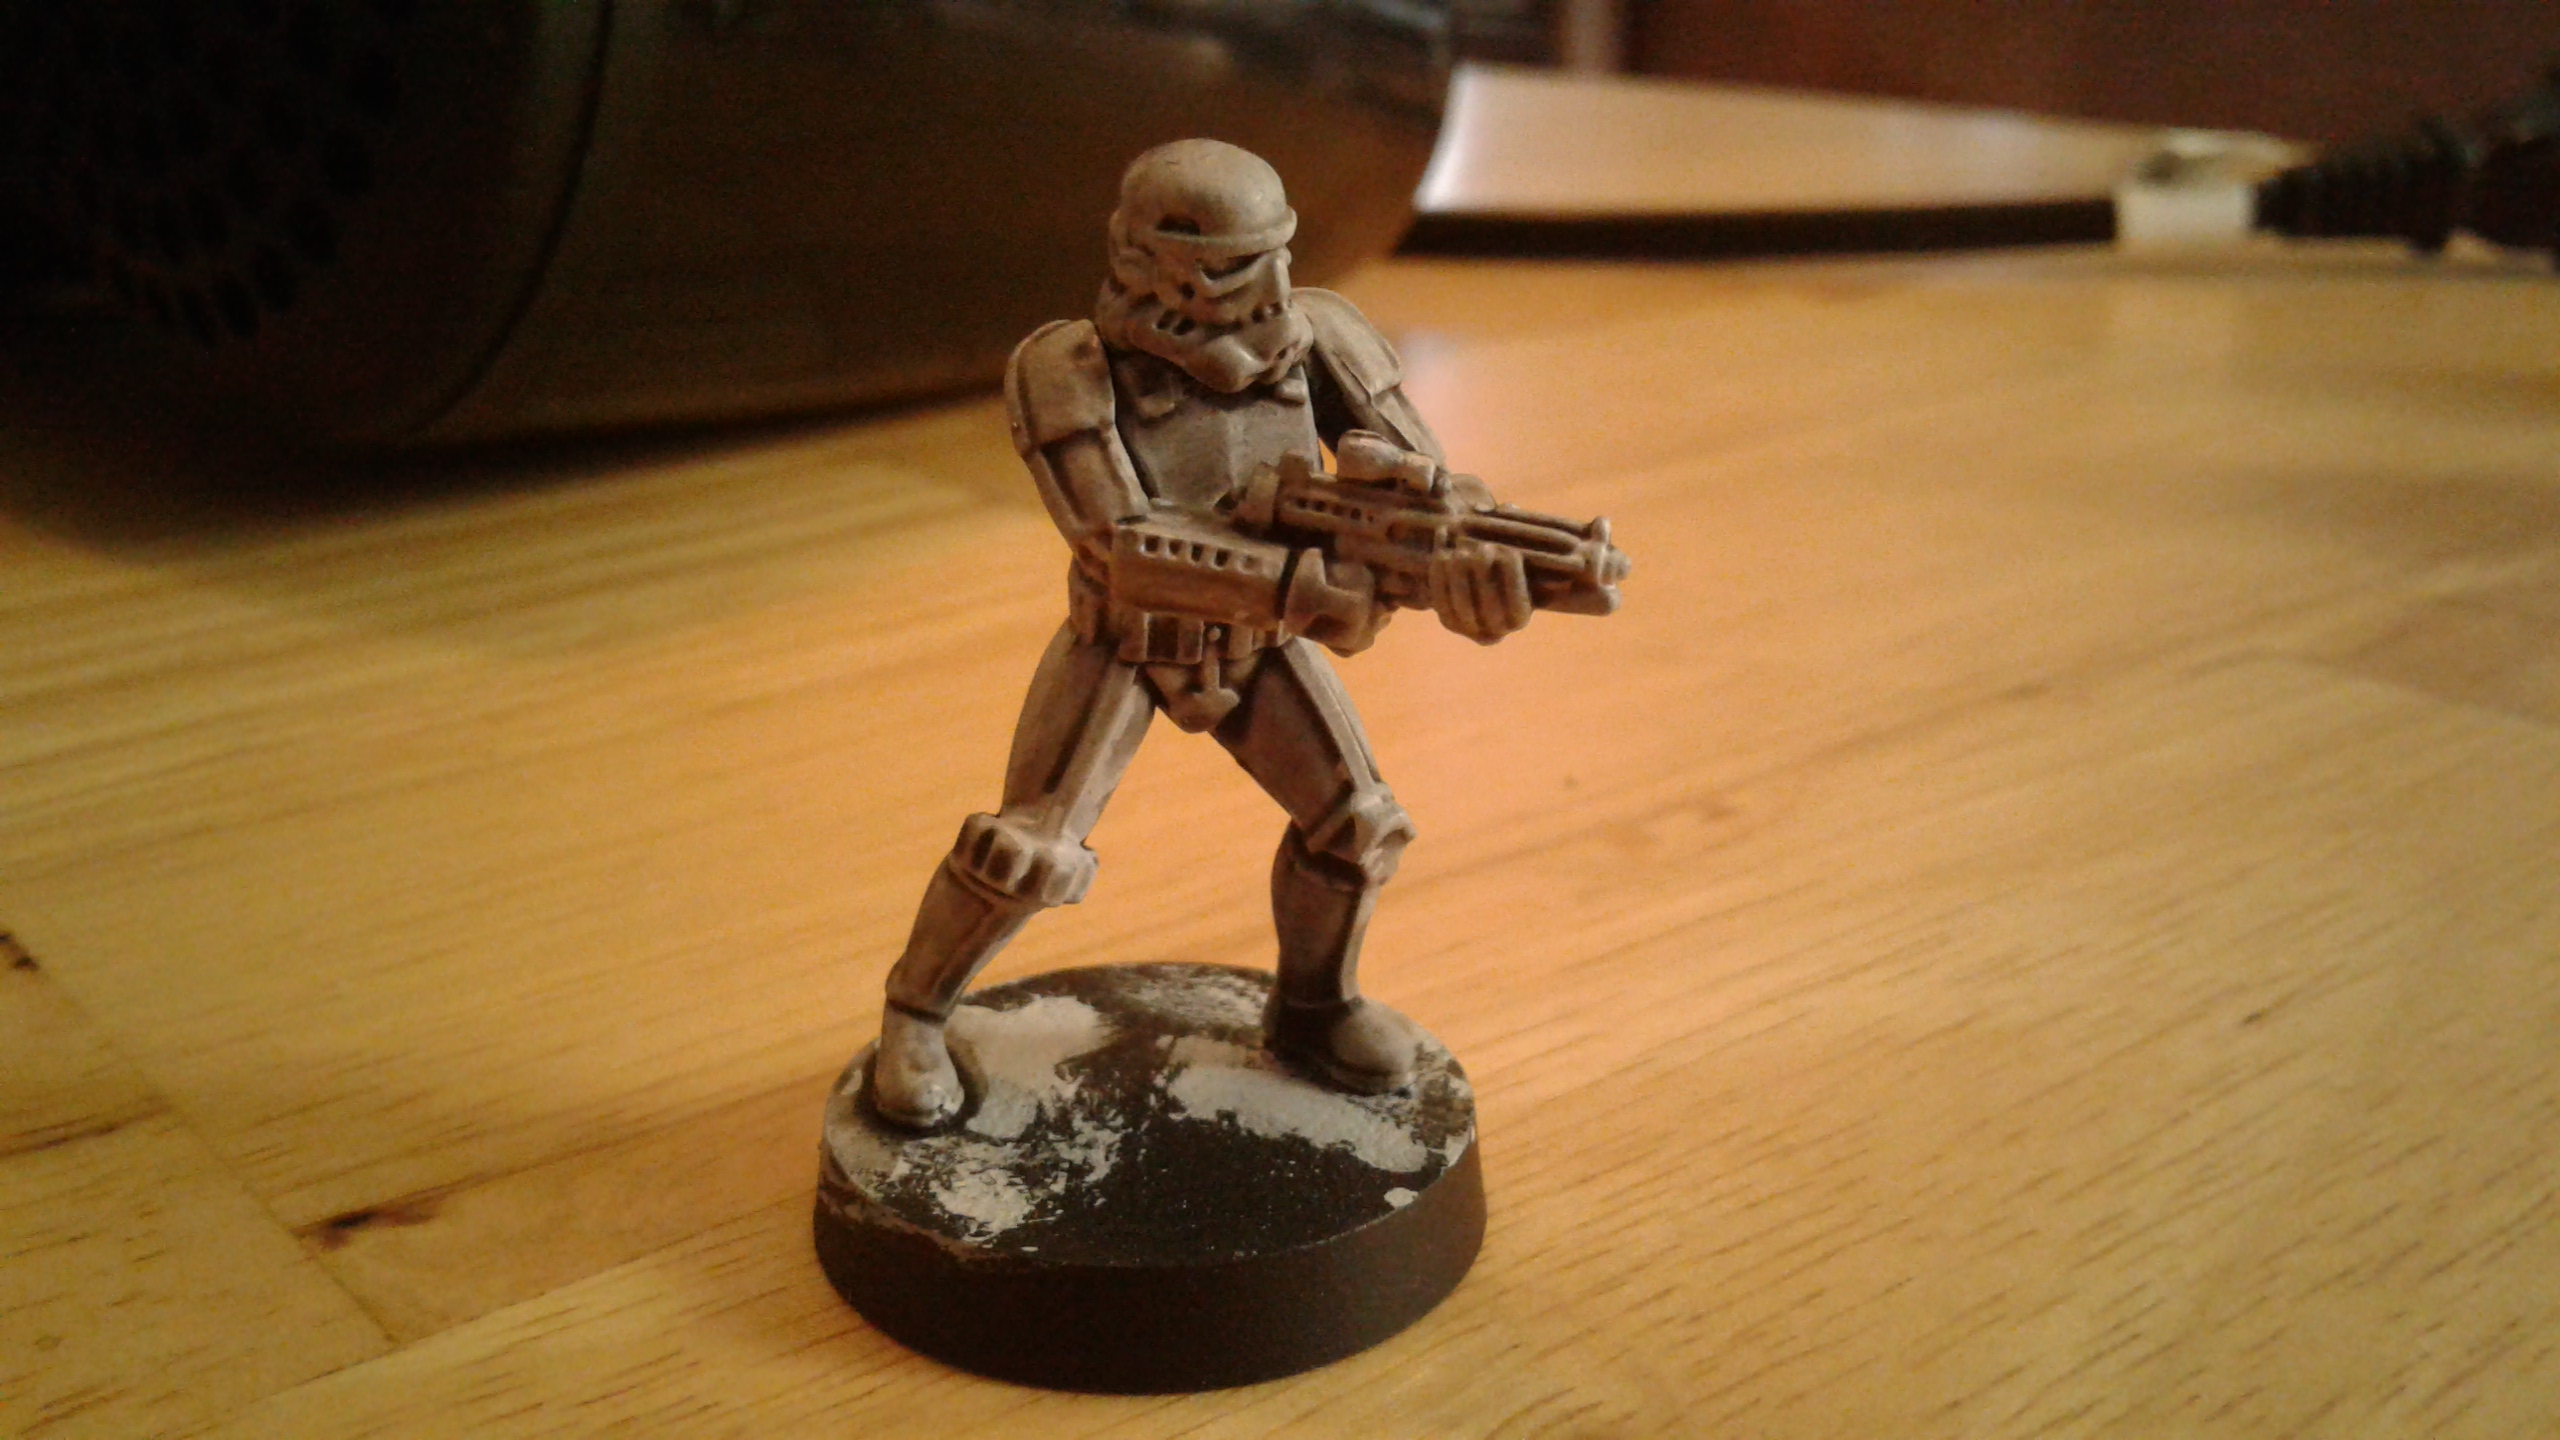
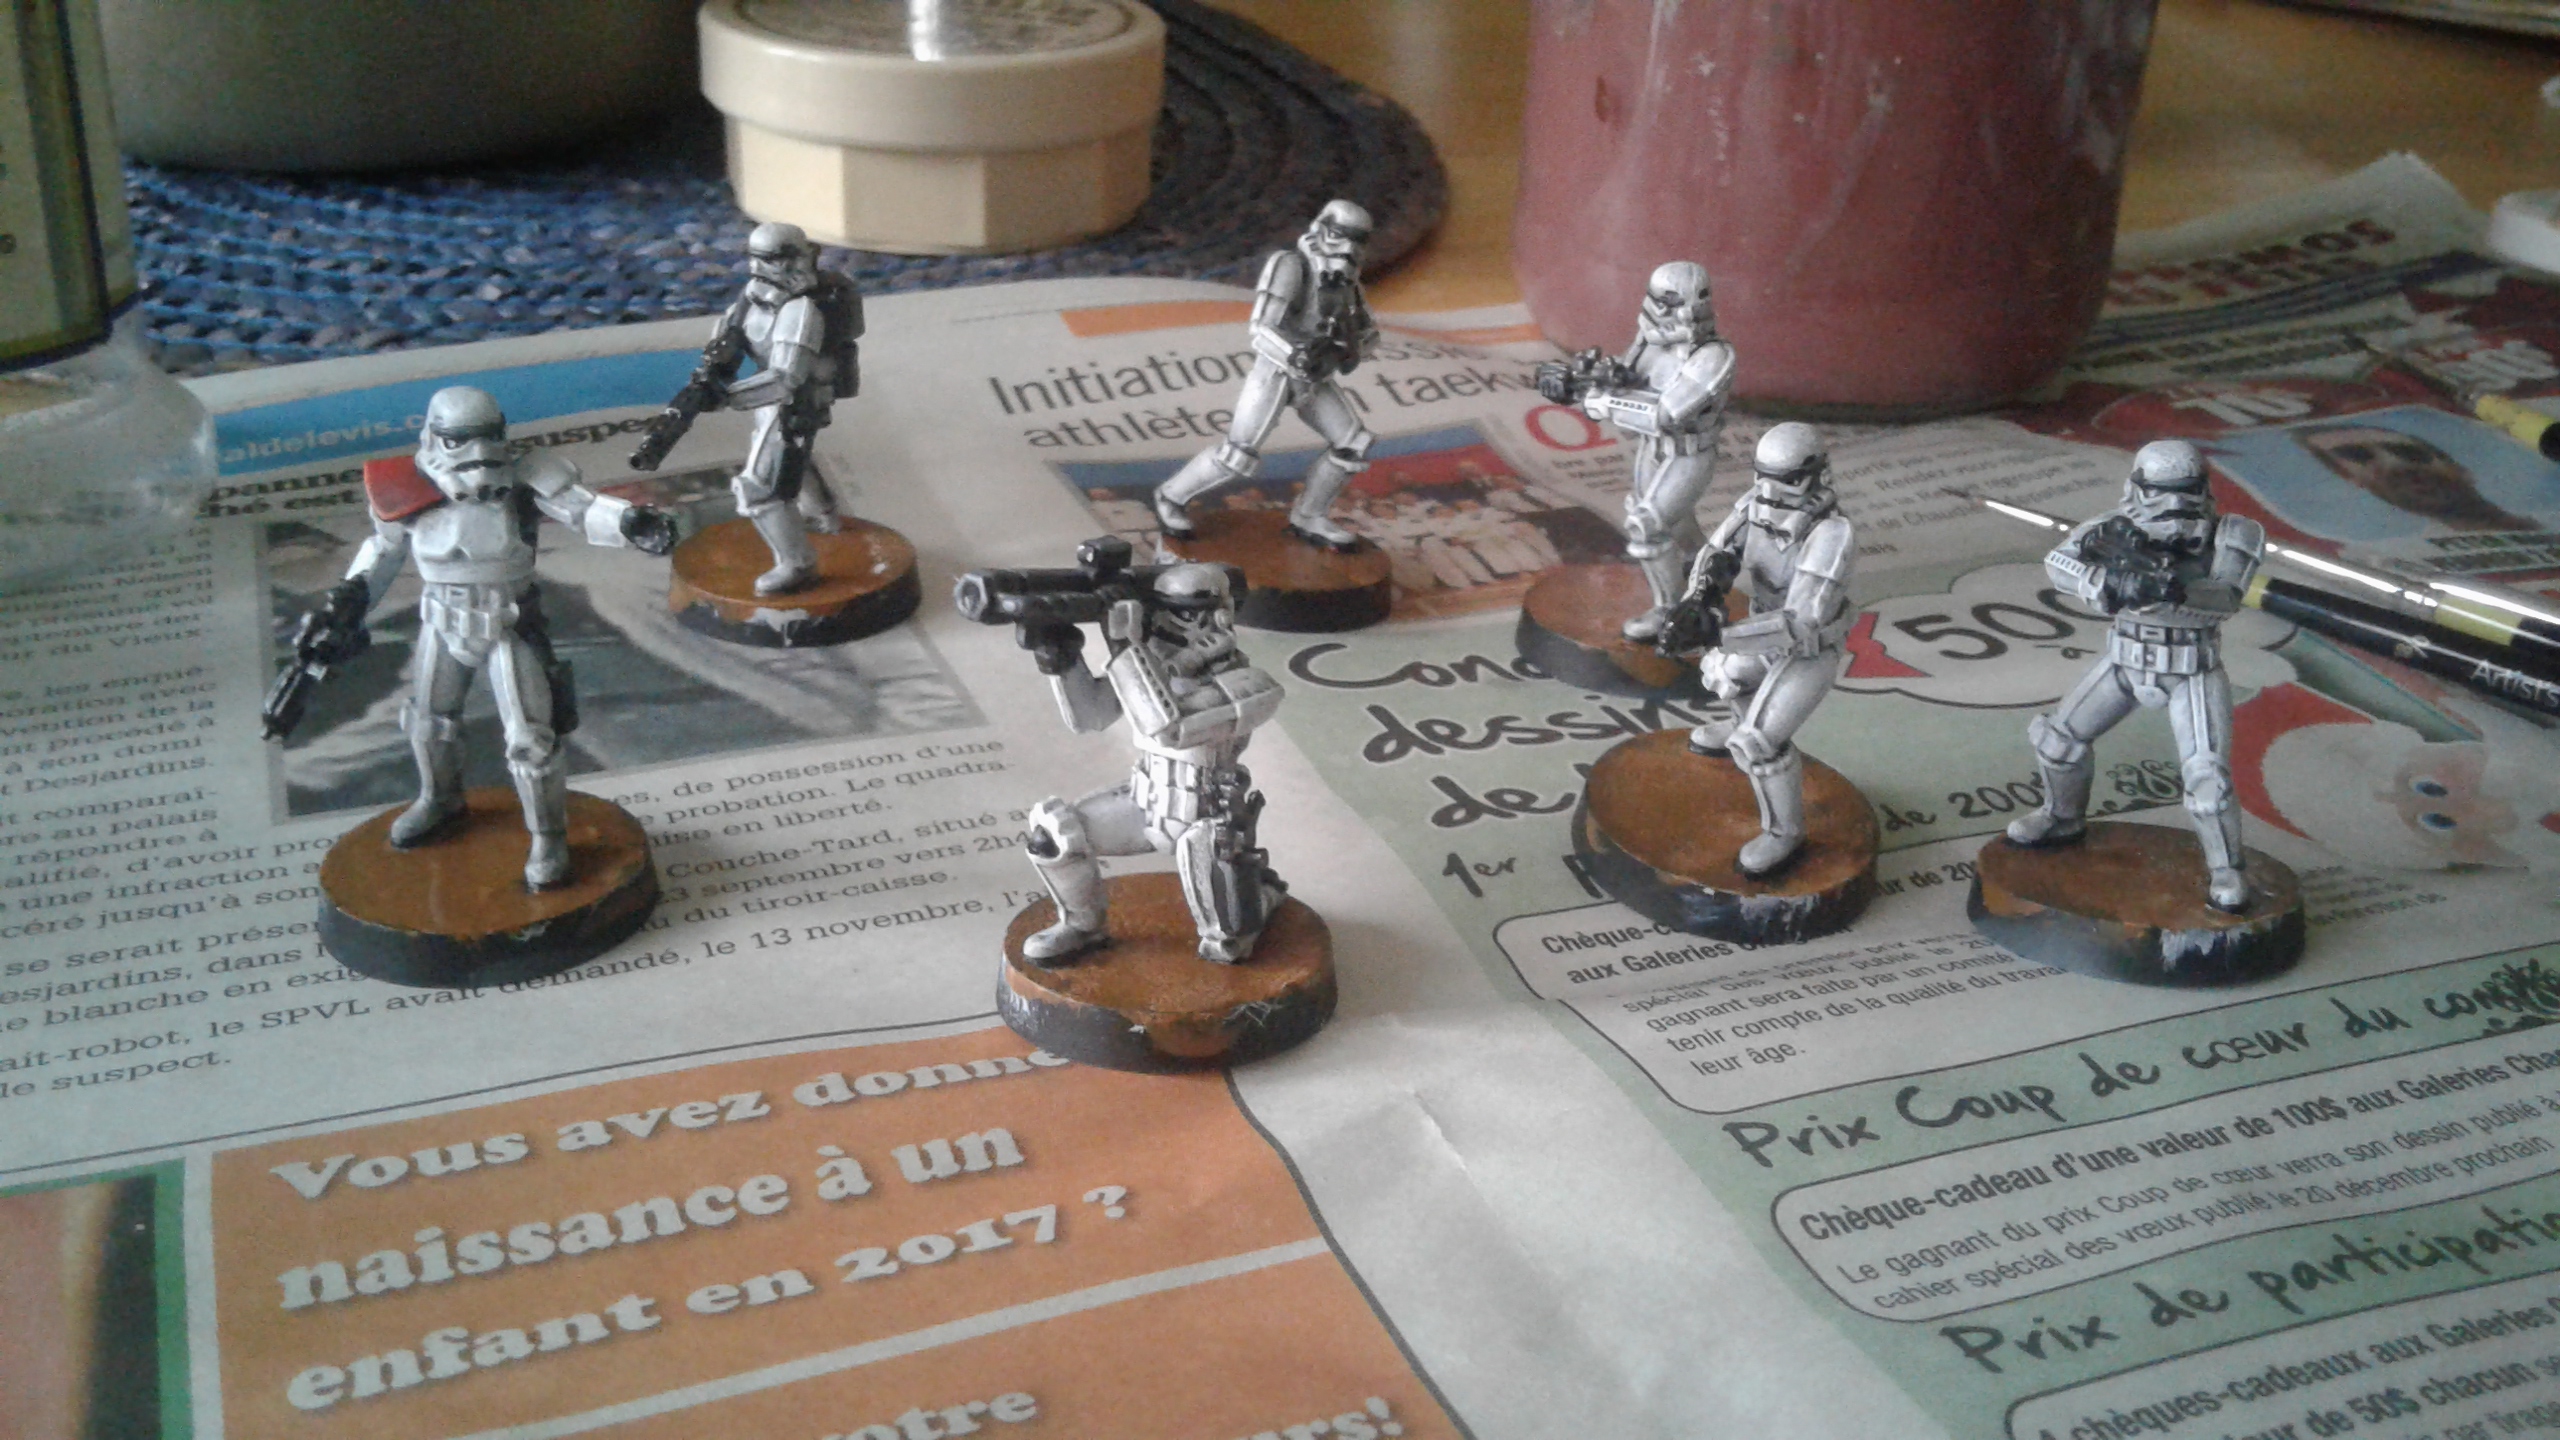
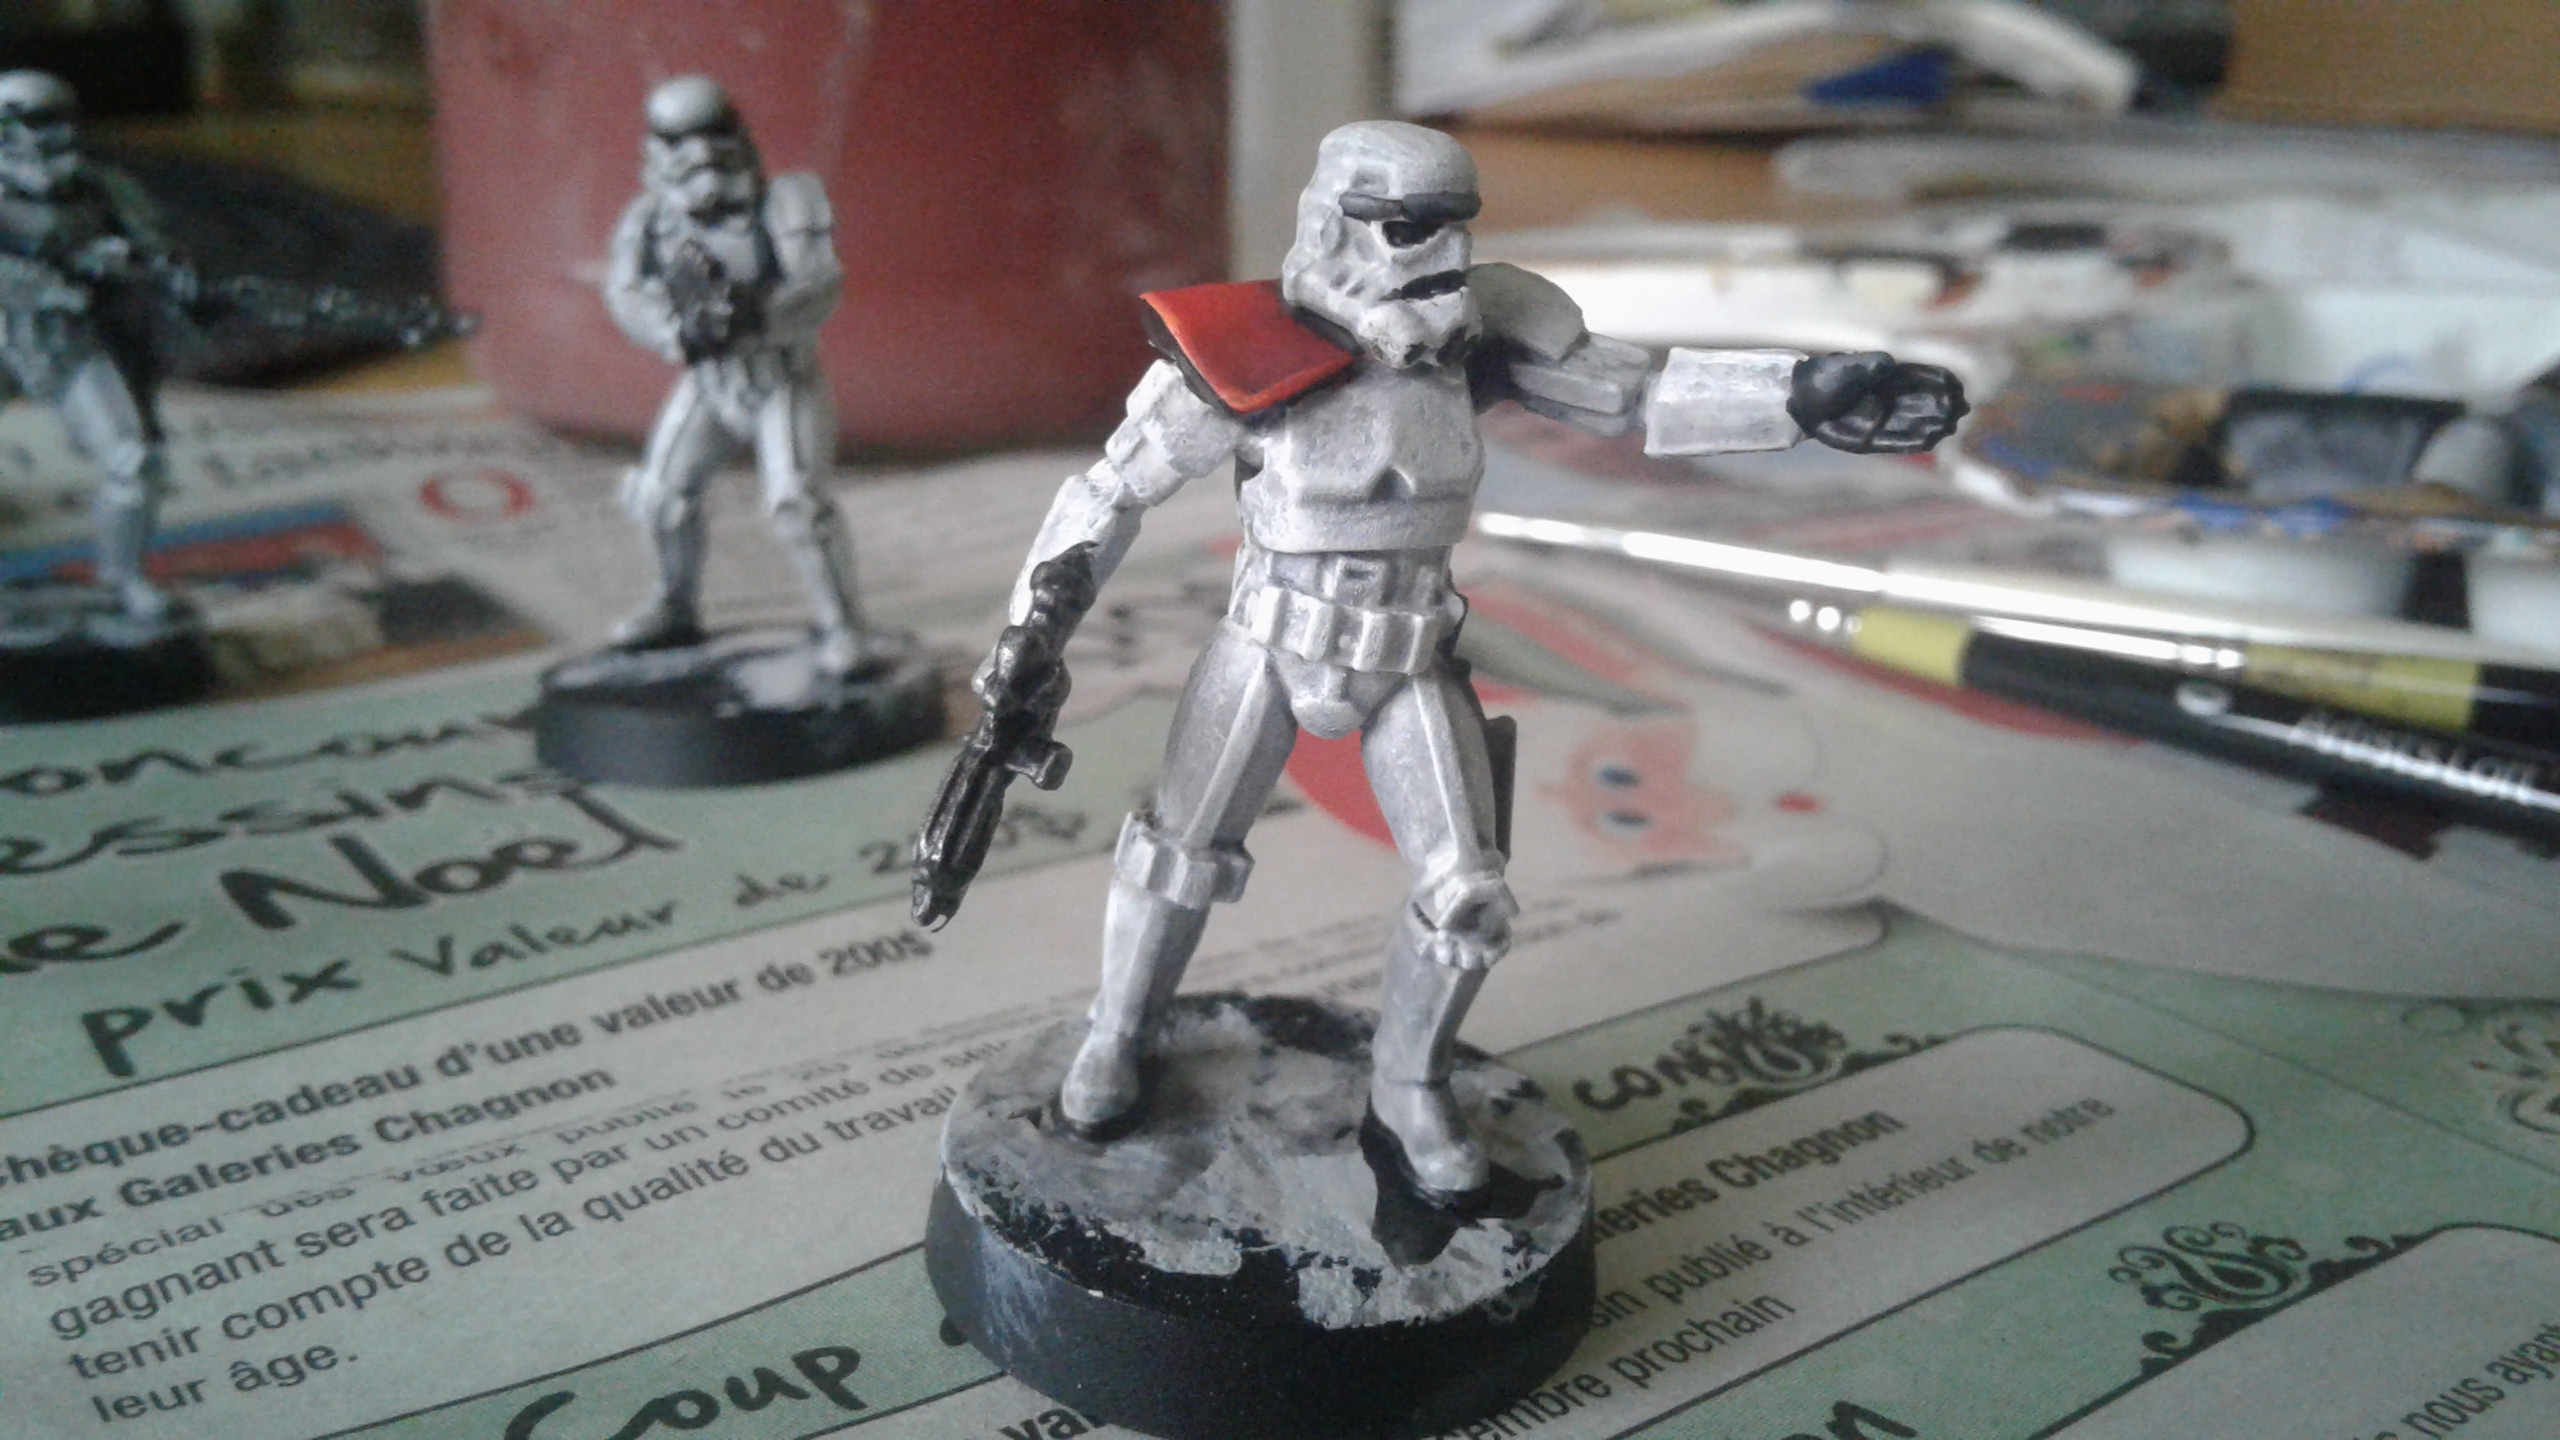
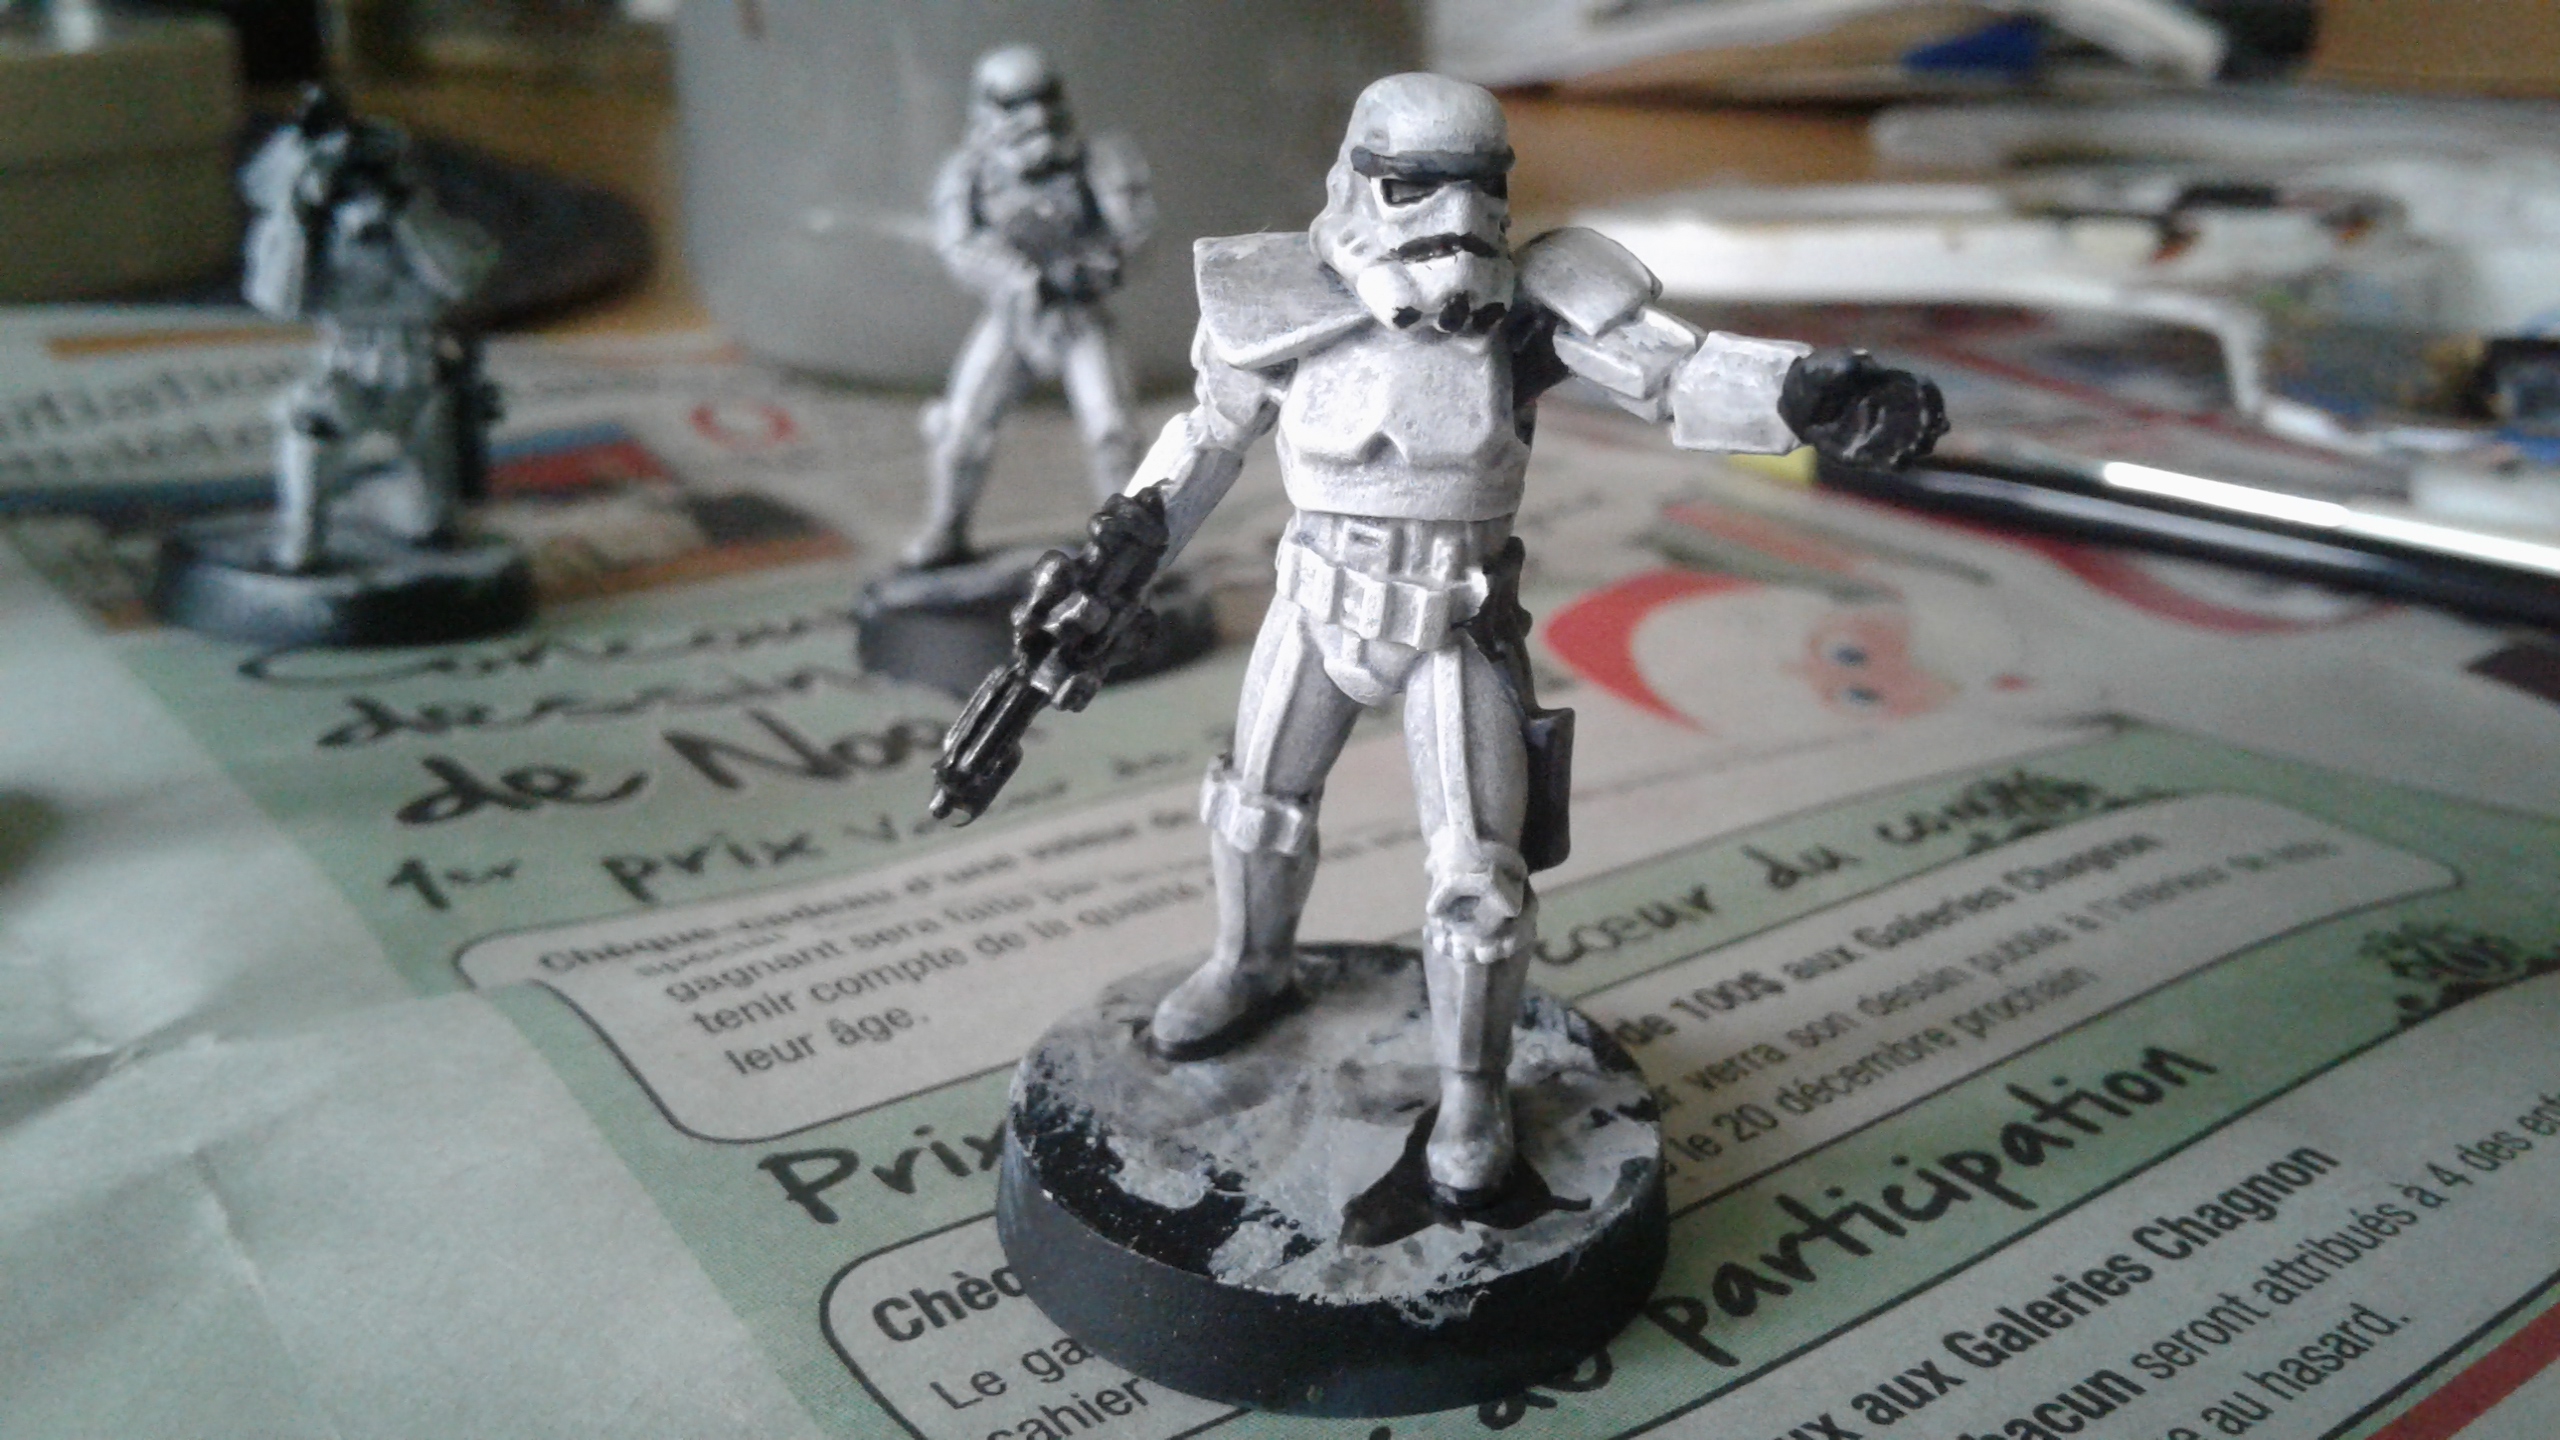
And so they are bascially done. I added some tiny drops of white in the eye sockets and cleaned up some things.
I then added a layer of P3 Bloodtracker Brown on the bases. I did this to prepare for the flocking. By adding a layer of colour on the bases, anything that is not covered by the flocking will show as brown which makes for a nice soil effect. Just remember to let that coat dry thoroughly as it will be covered with PVA glue.
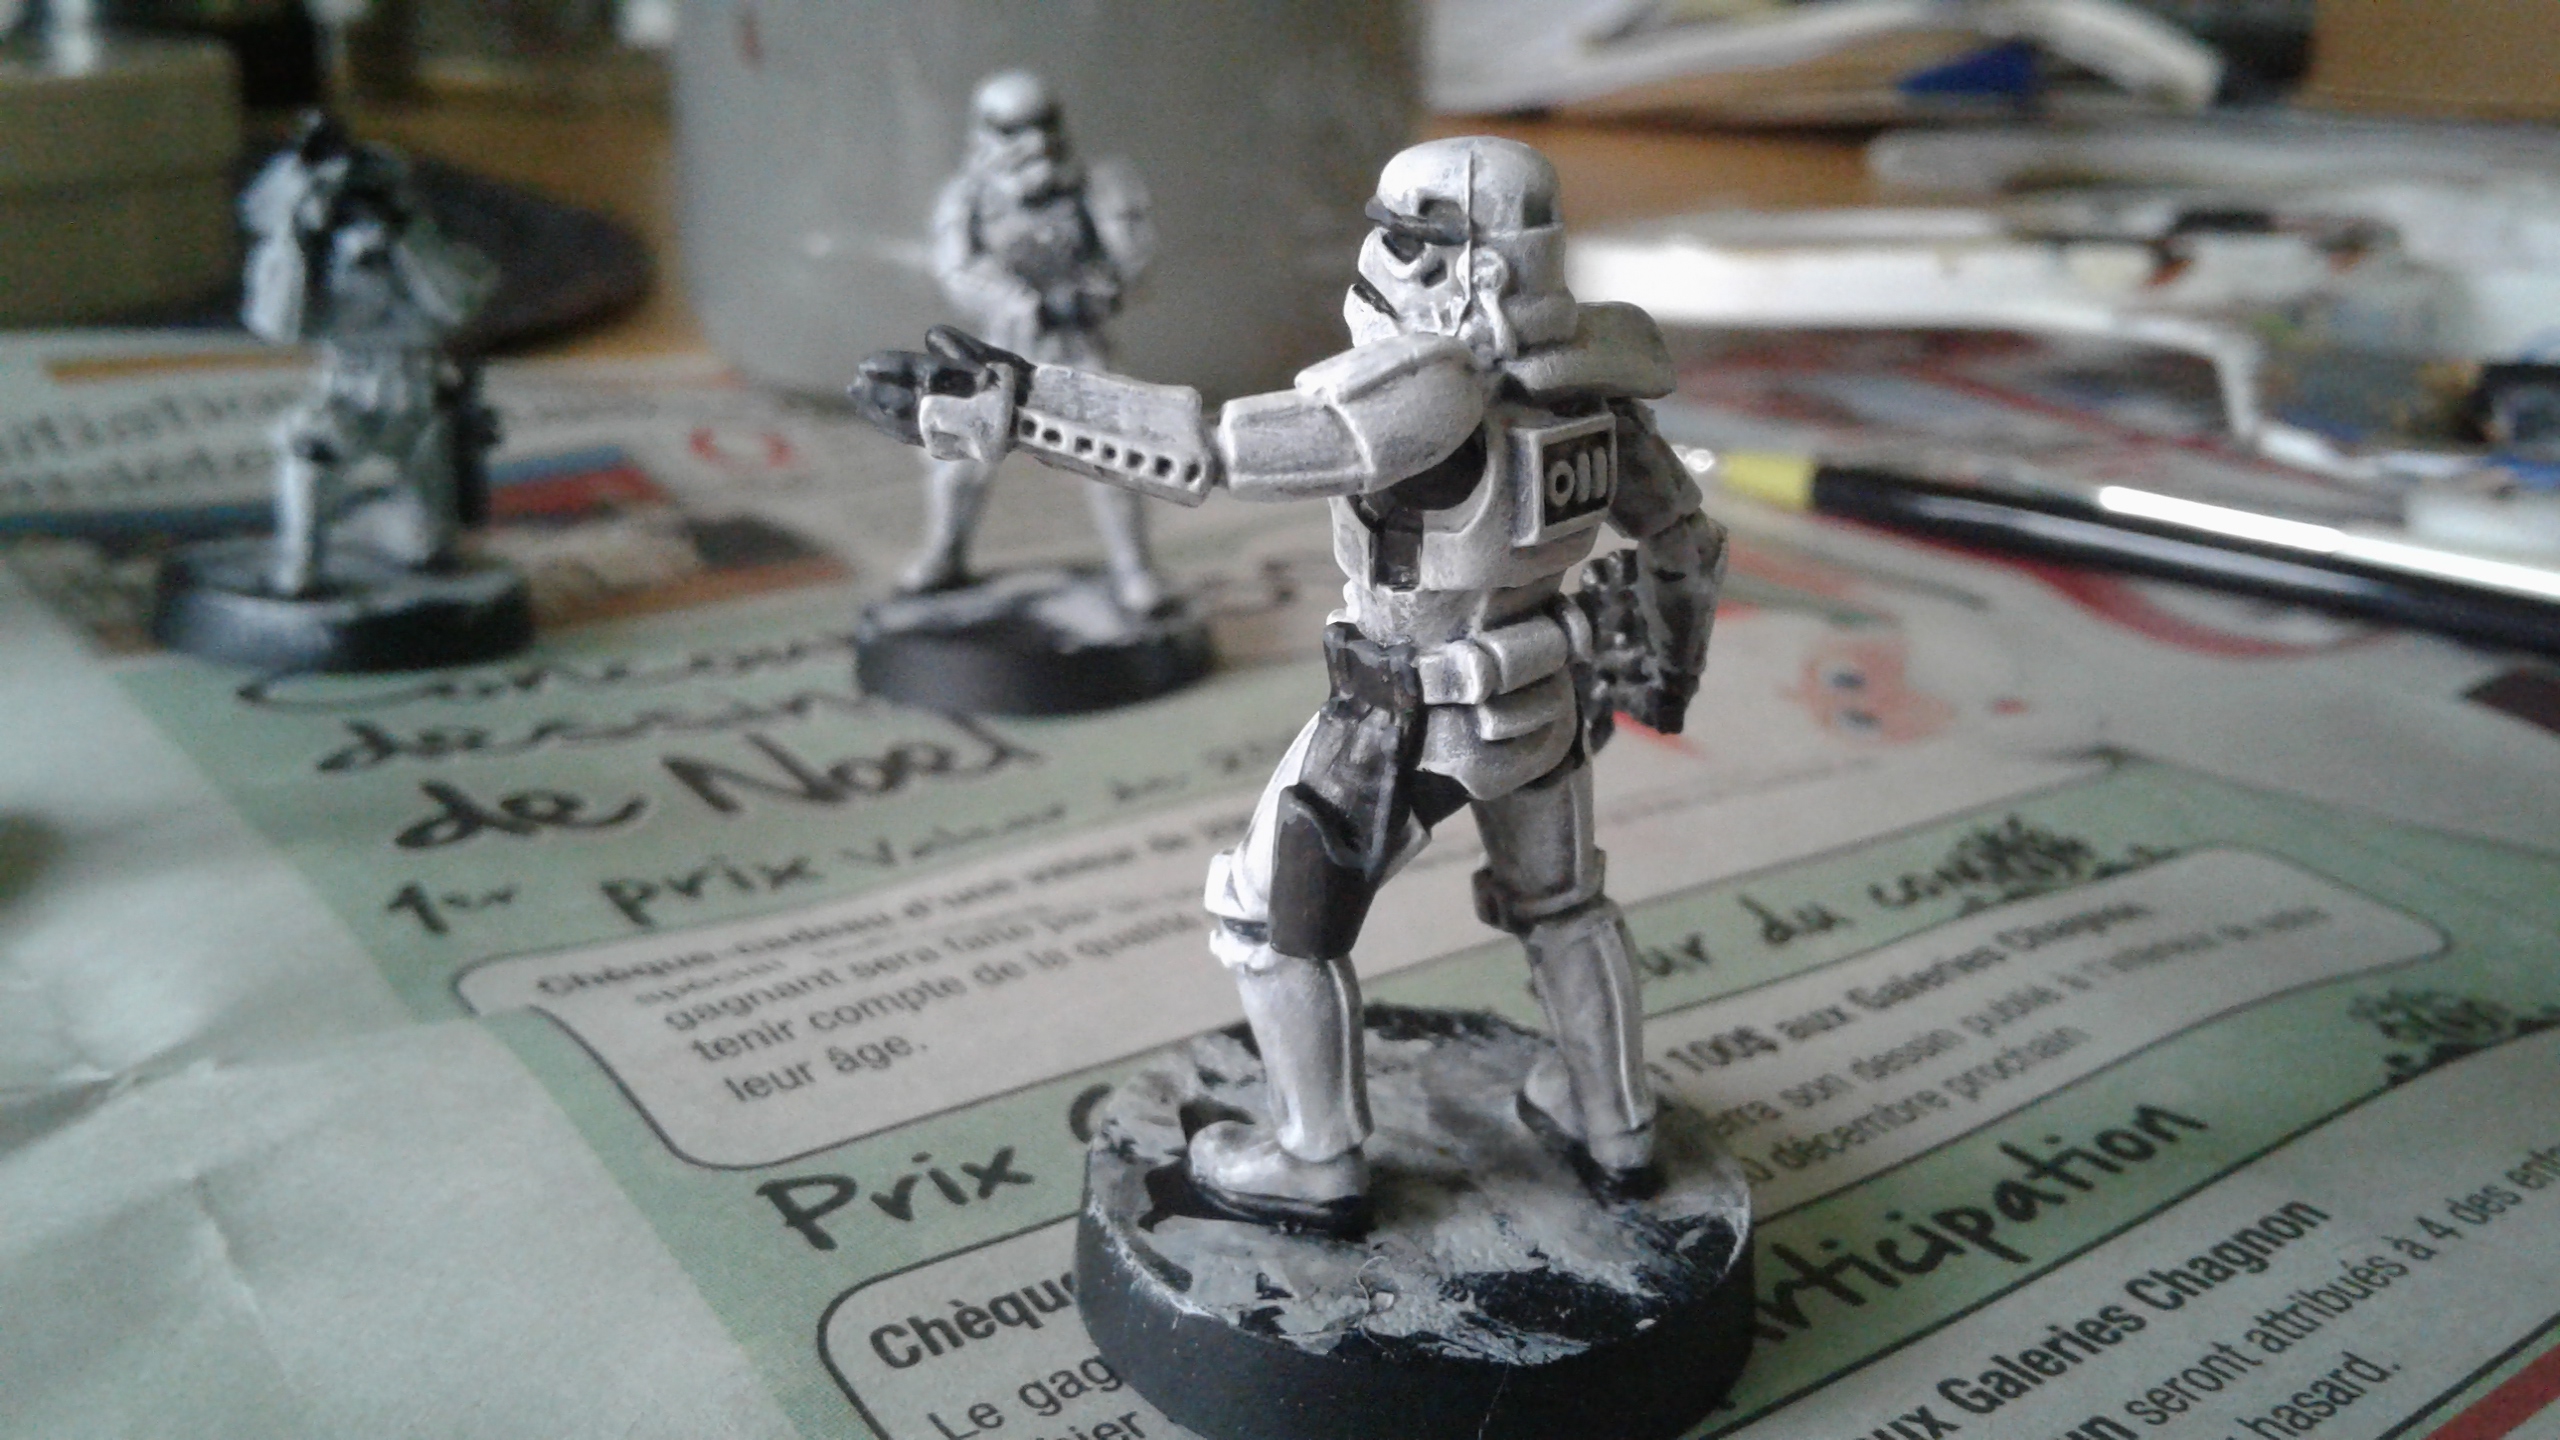
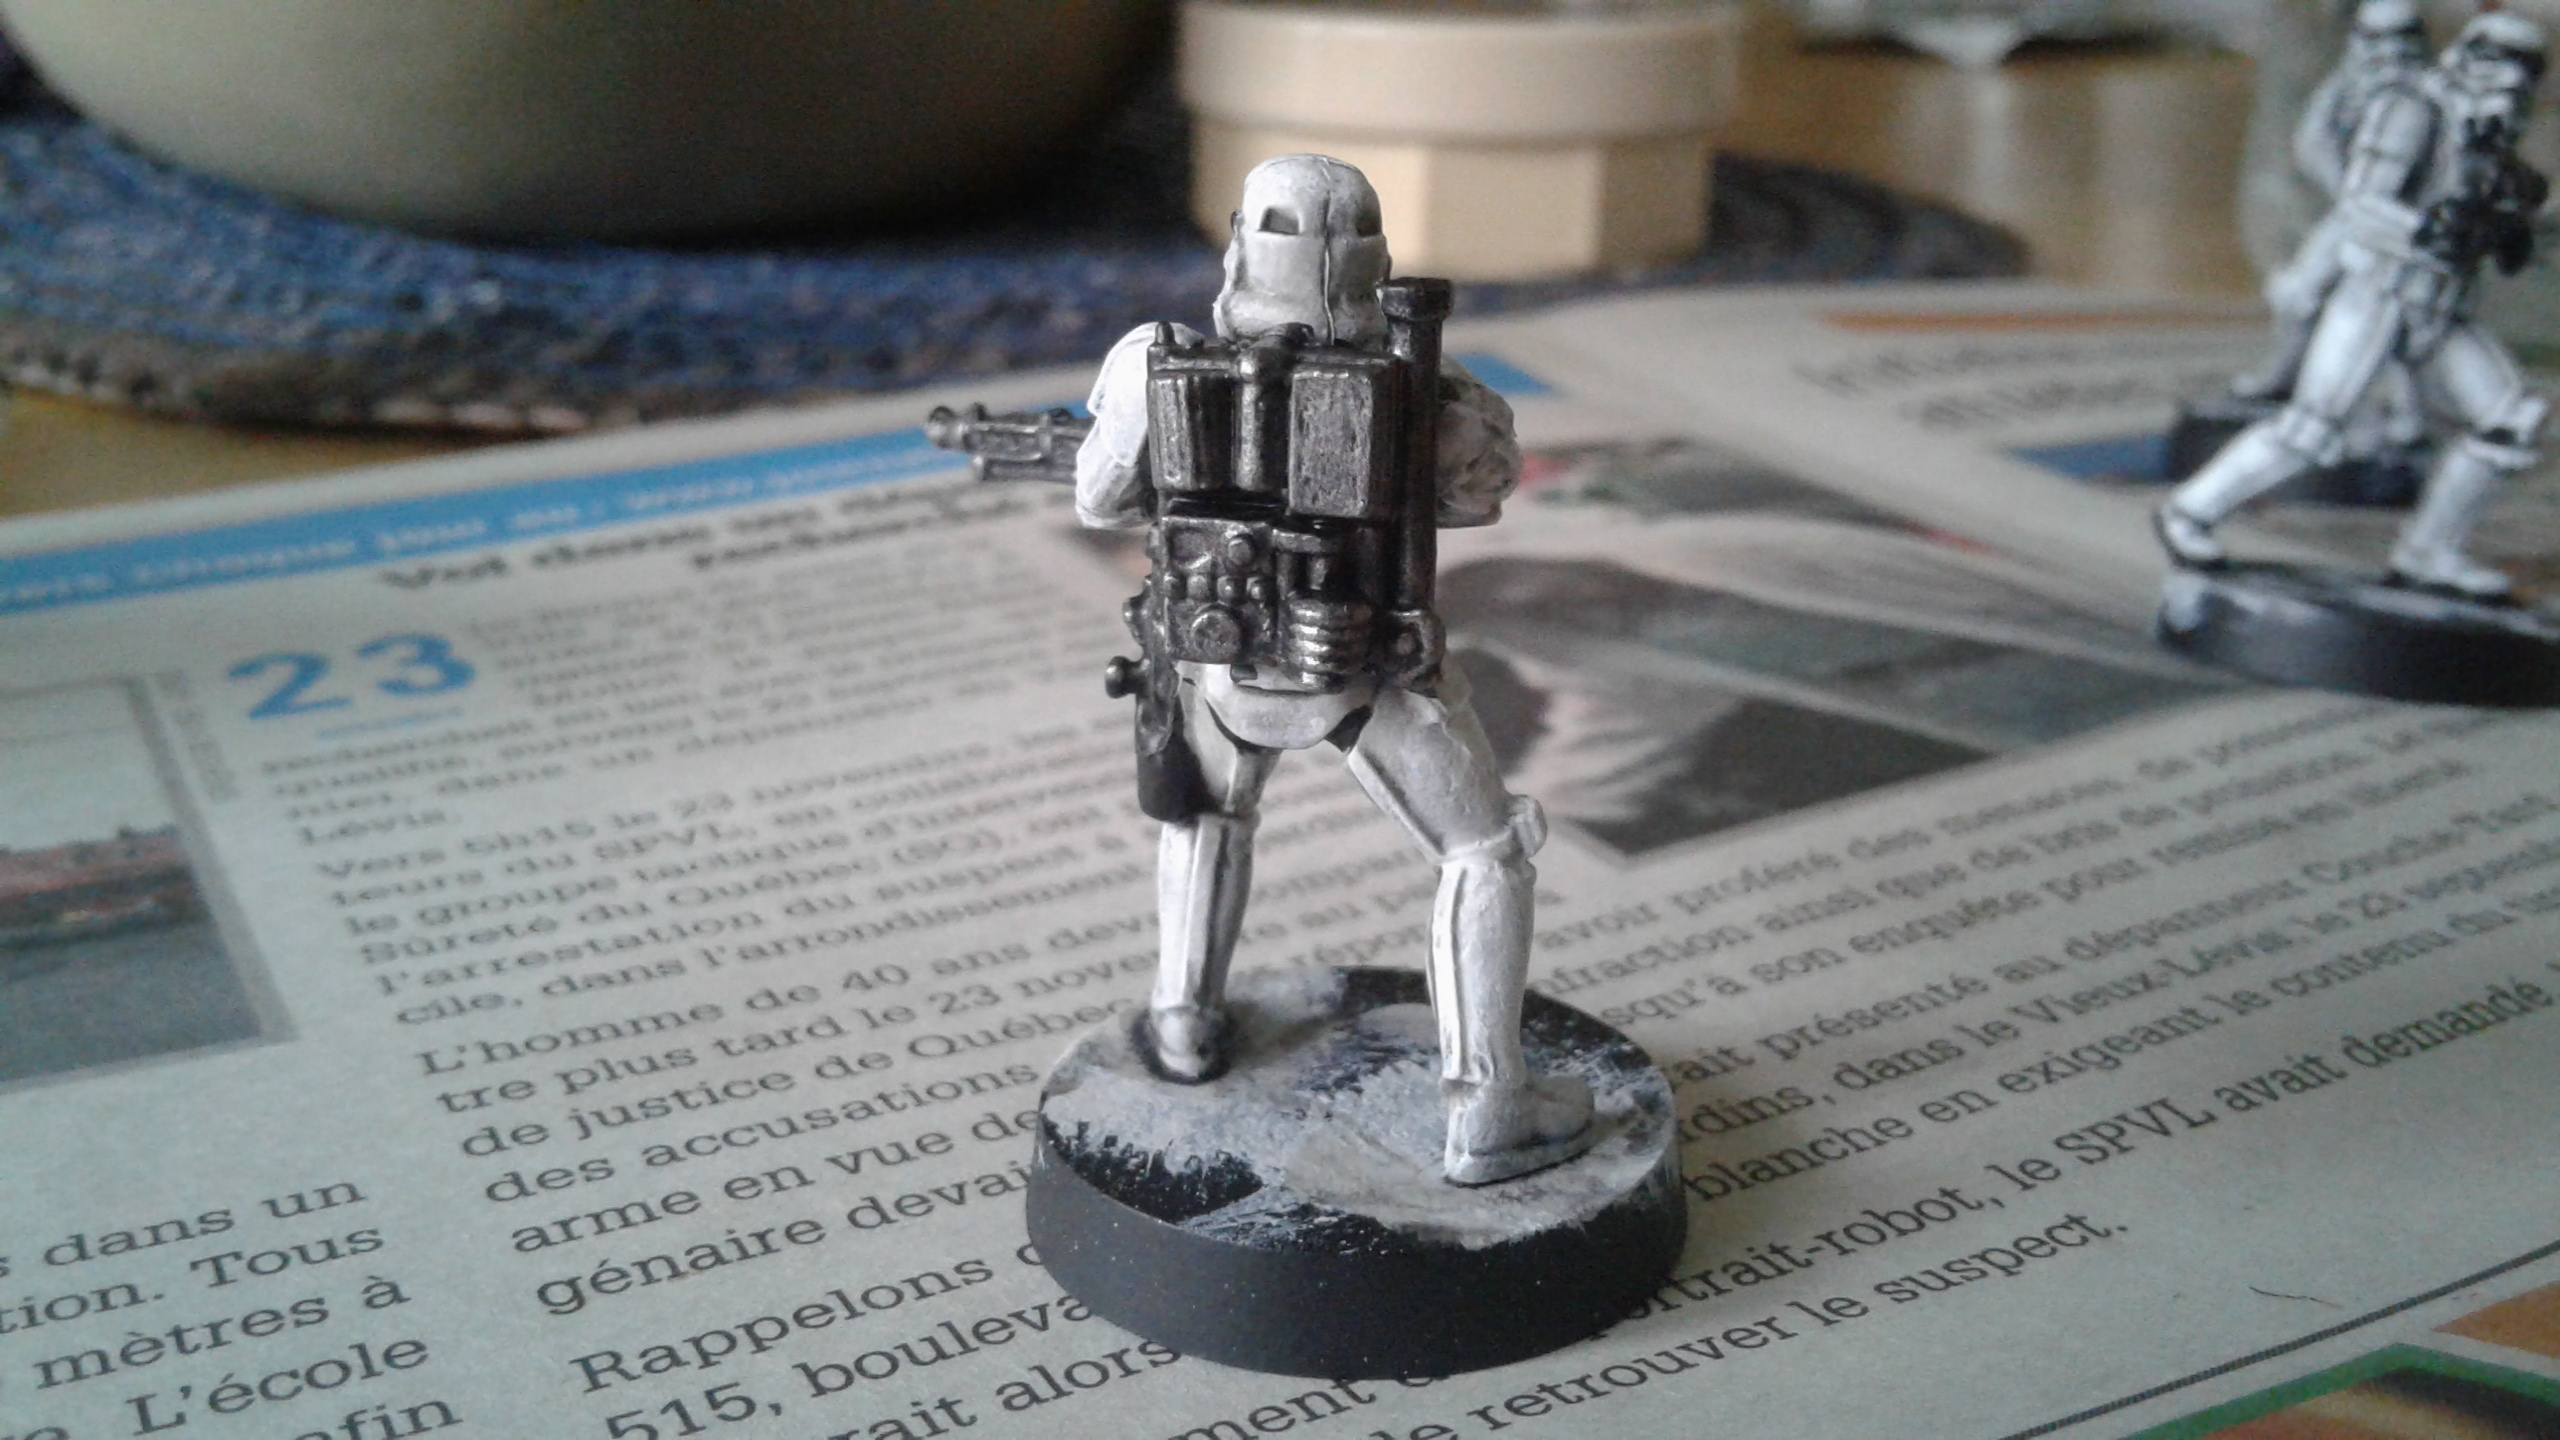
Step eight. 7-14-2018
I used the exact same technique as Step seven for the rocket launcher and also the stock of the DL-44 blaster. So I won’t repeat myself. Here are the paints I used:
Basecoat: P3 Greatcoat Grey
Shadow: 25-75 P3 Thamar Black-Greatcoat Grey
Wash: Citadel Nuln Oil
Midtones: Greatcoat Grey
Highlights: 25-75 AP Matt White-Greacoat Grey
Edge highlights: previous mixture with more Matt White added


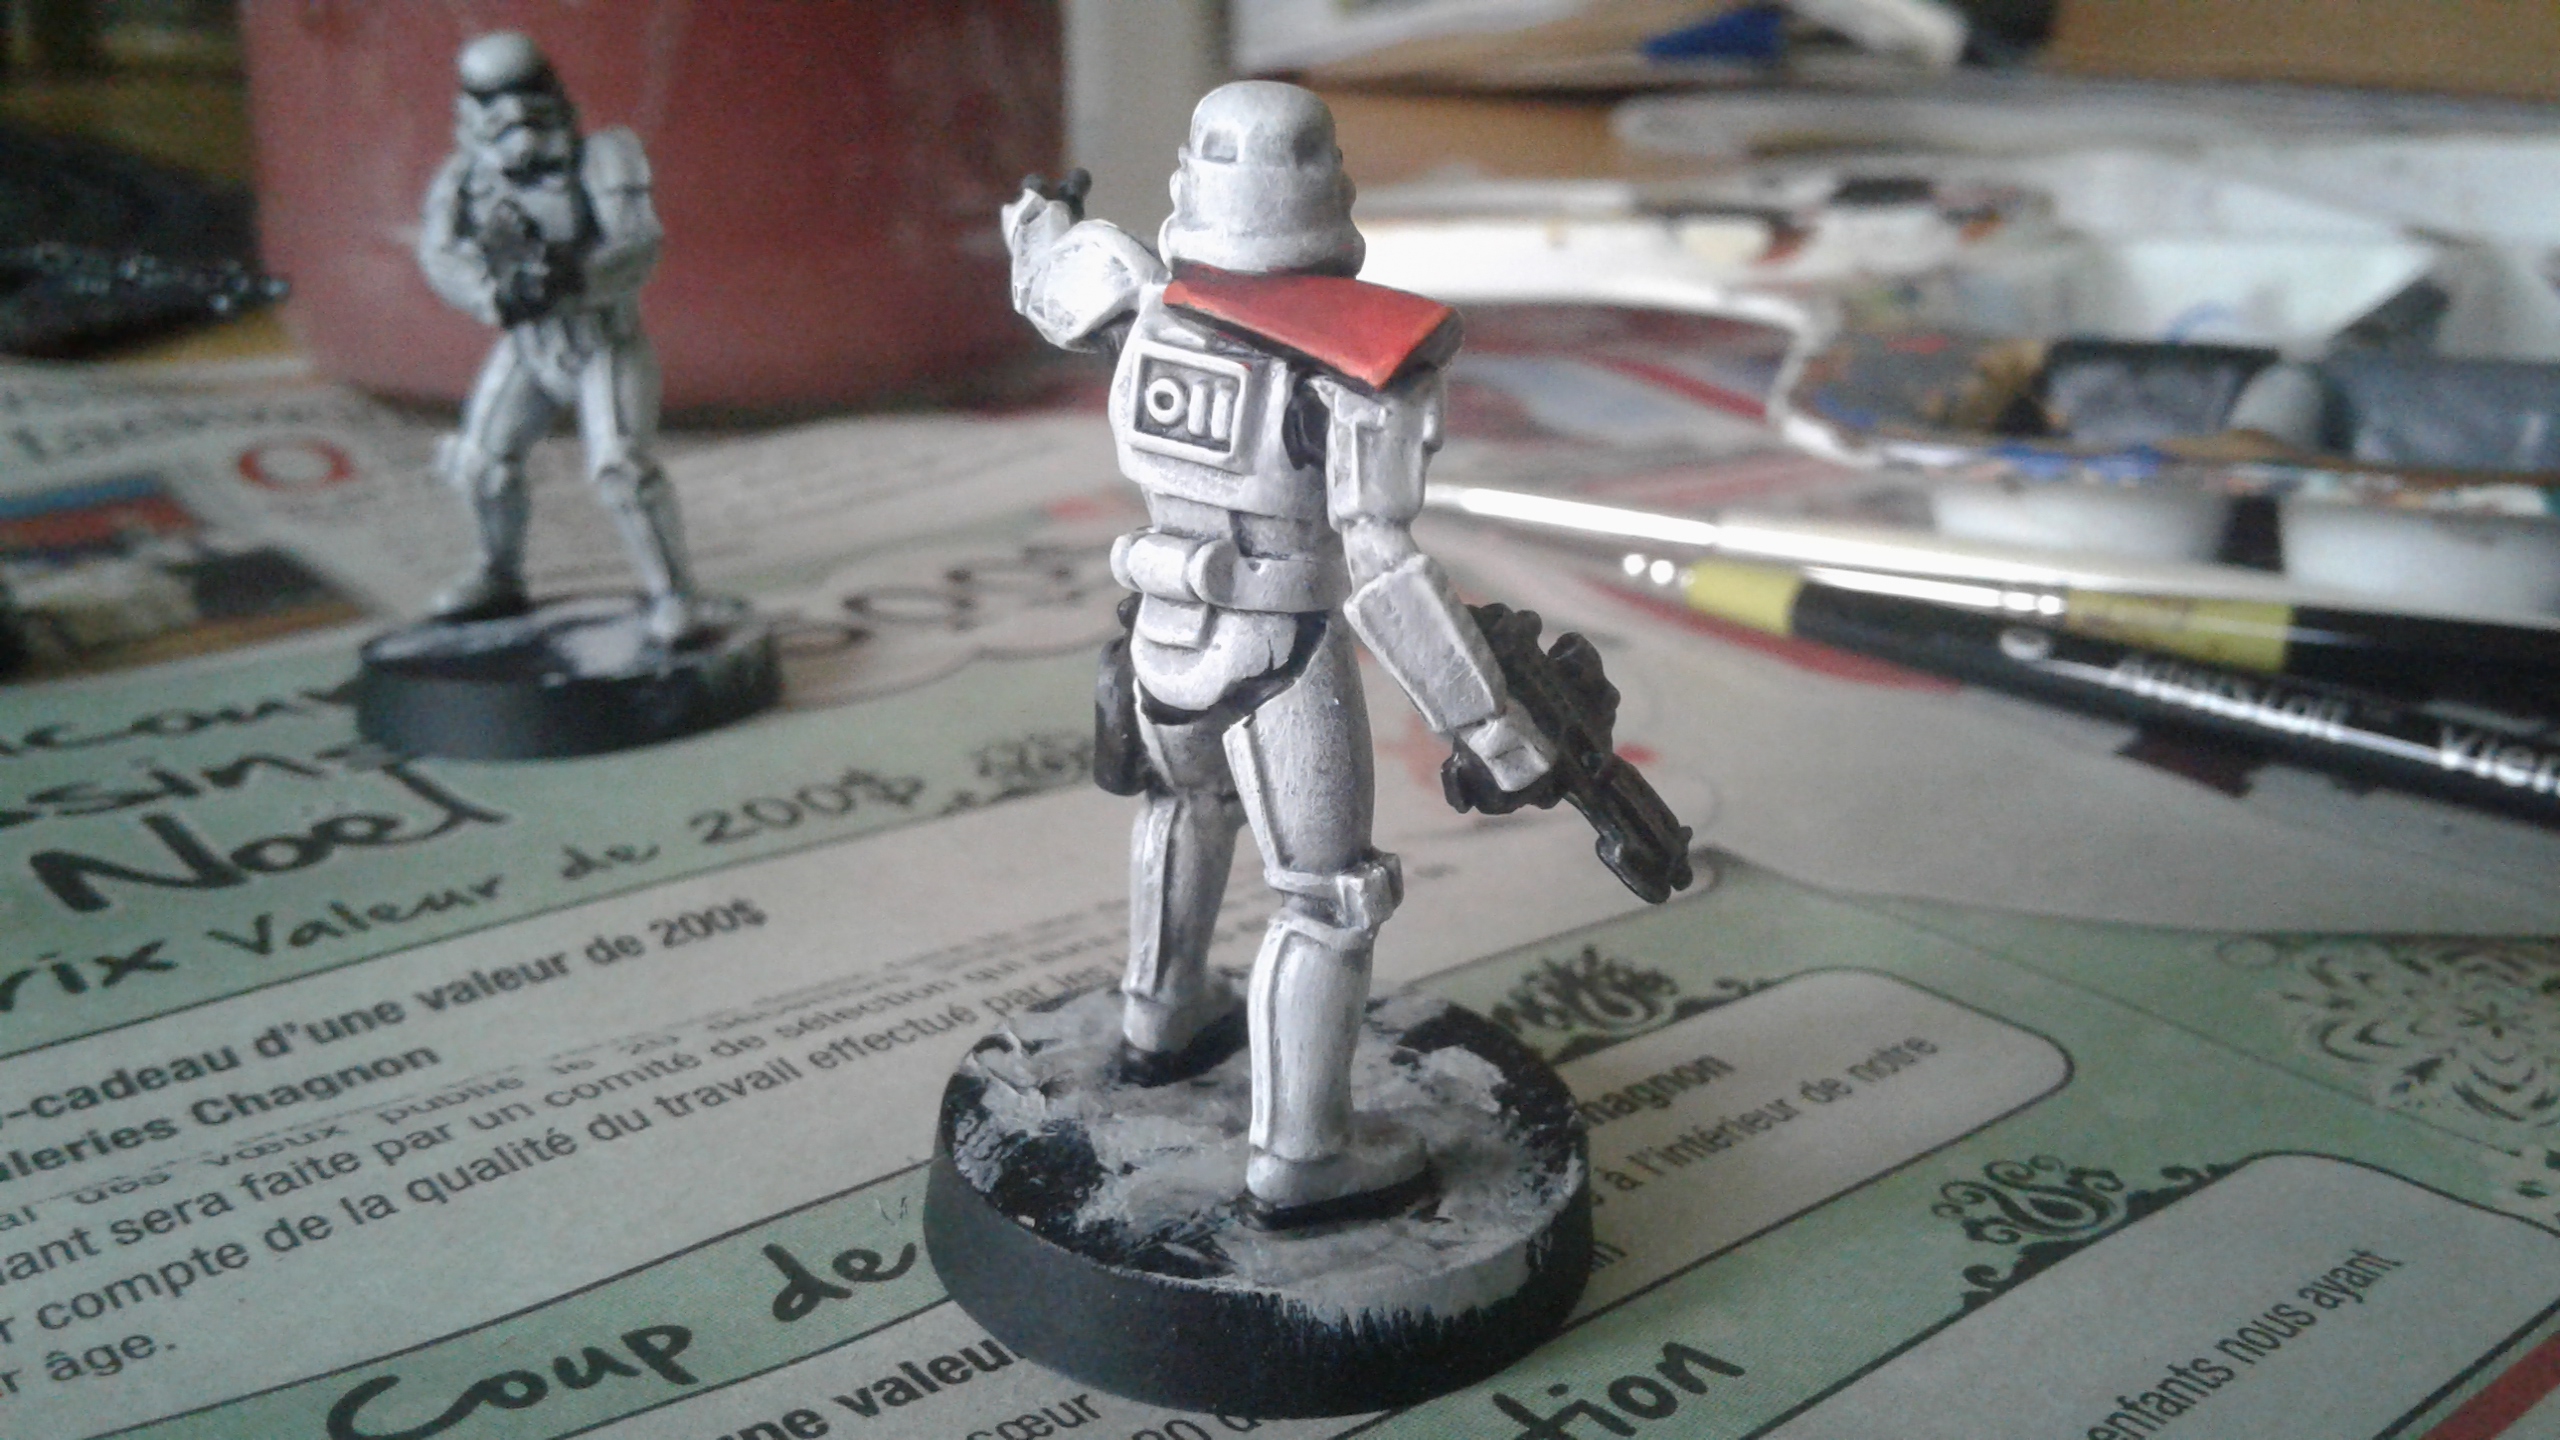
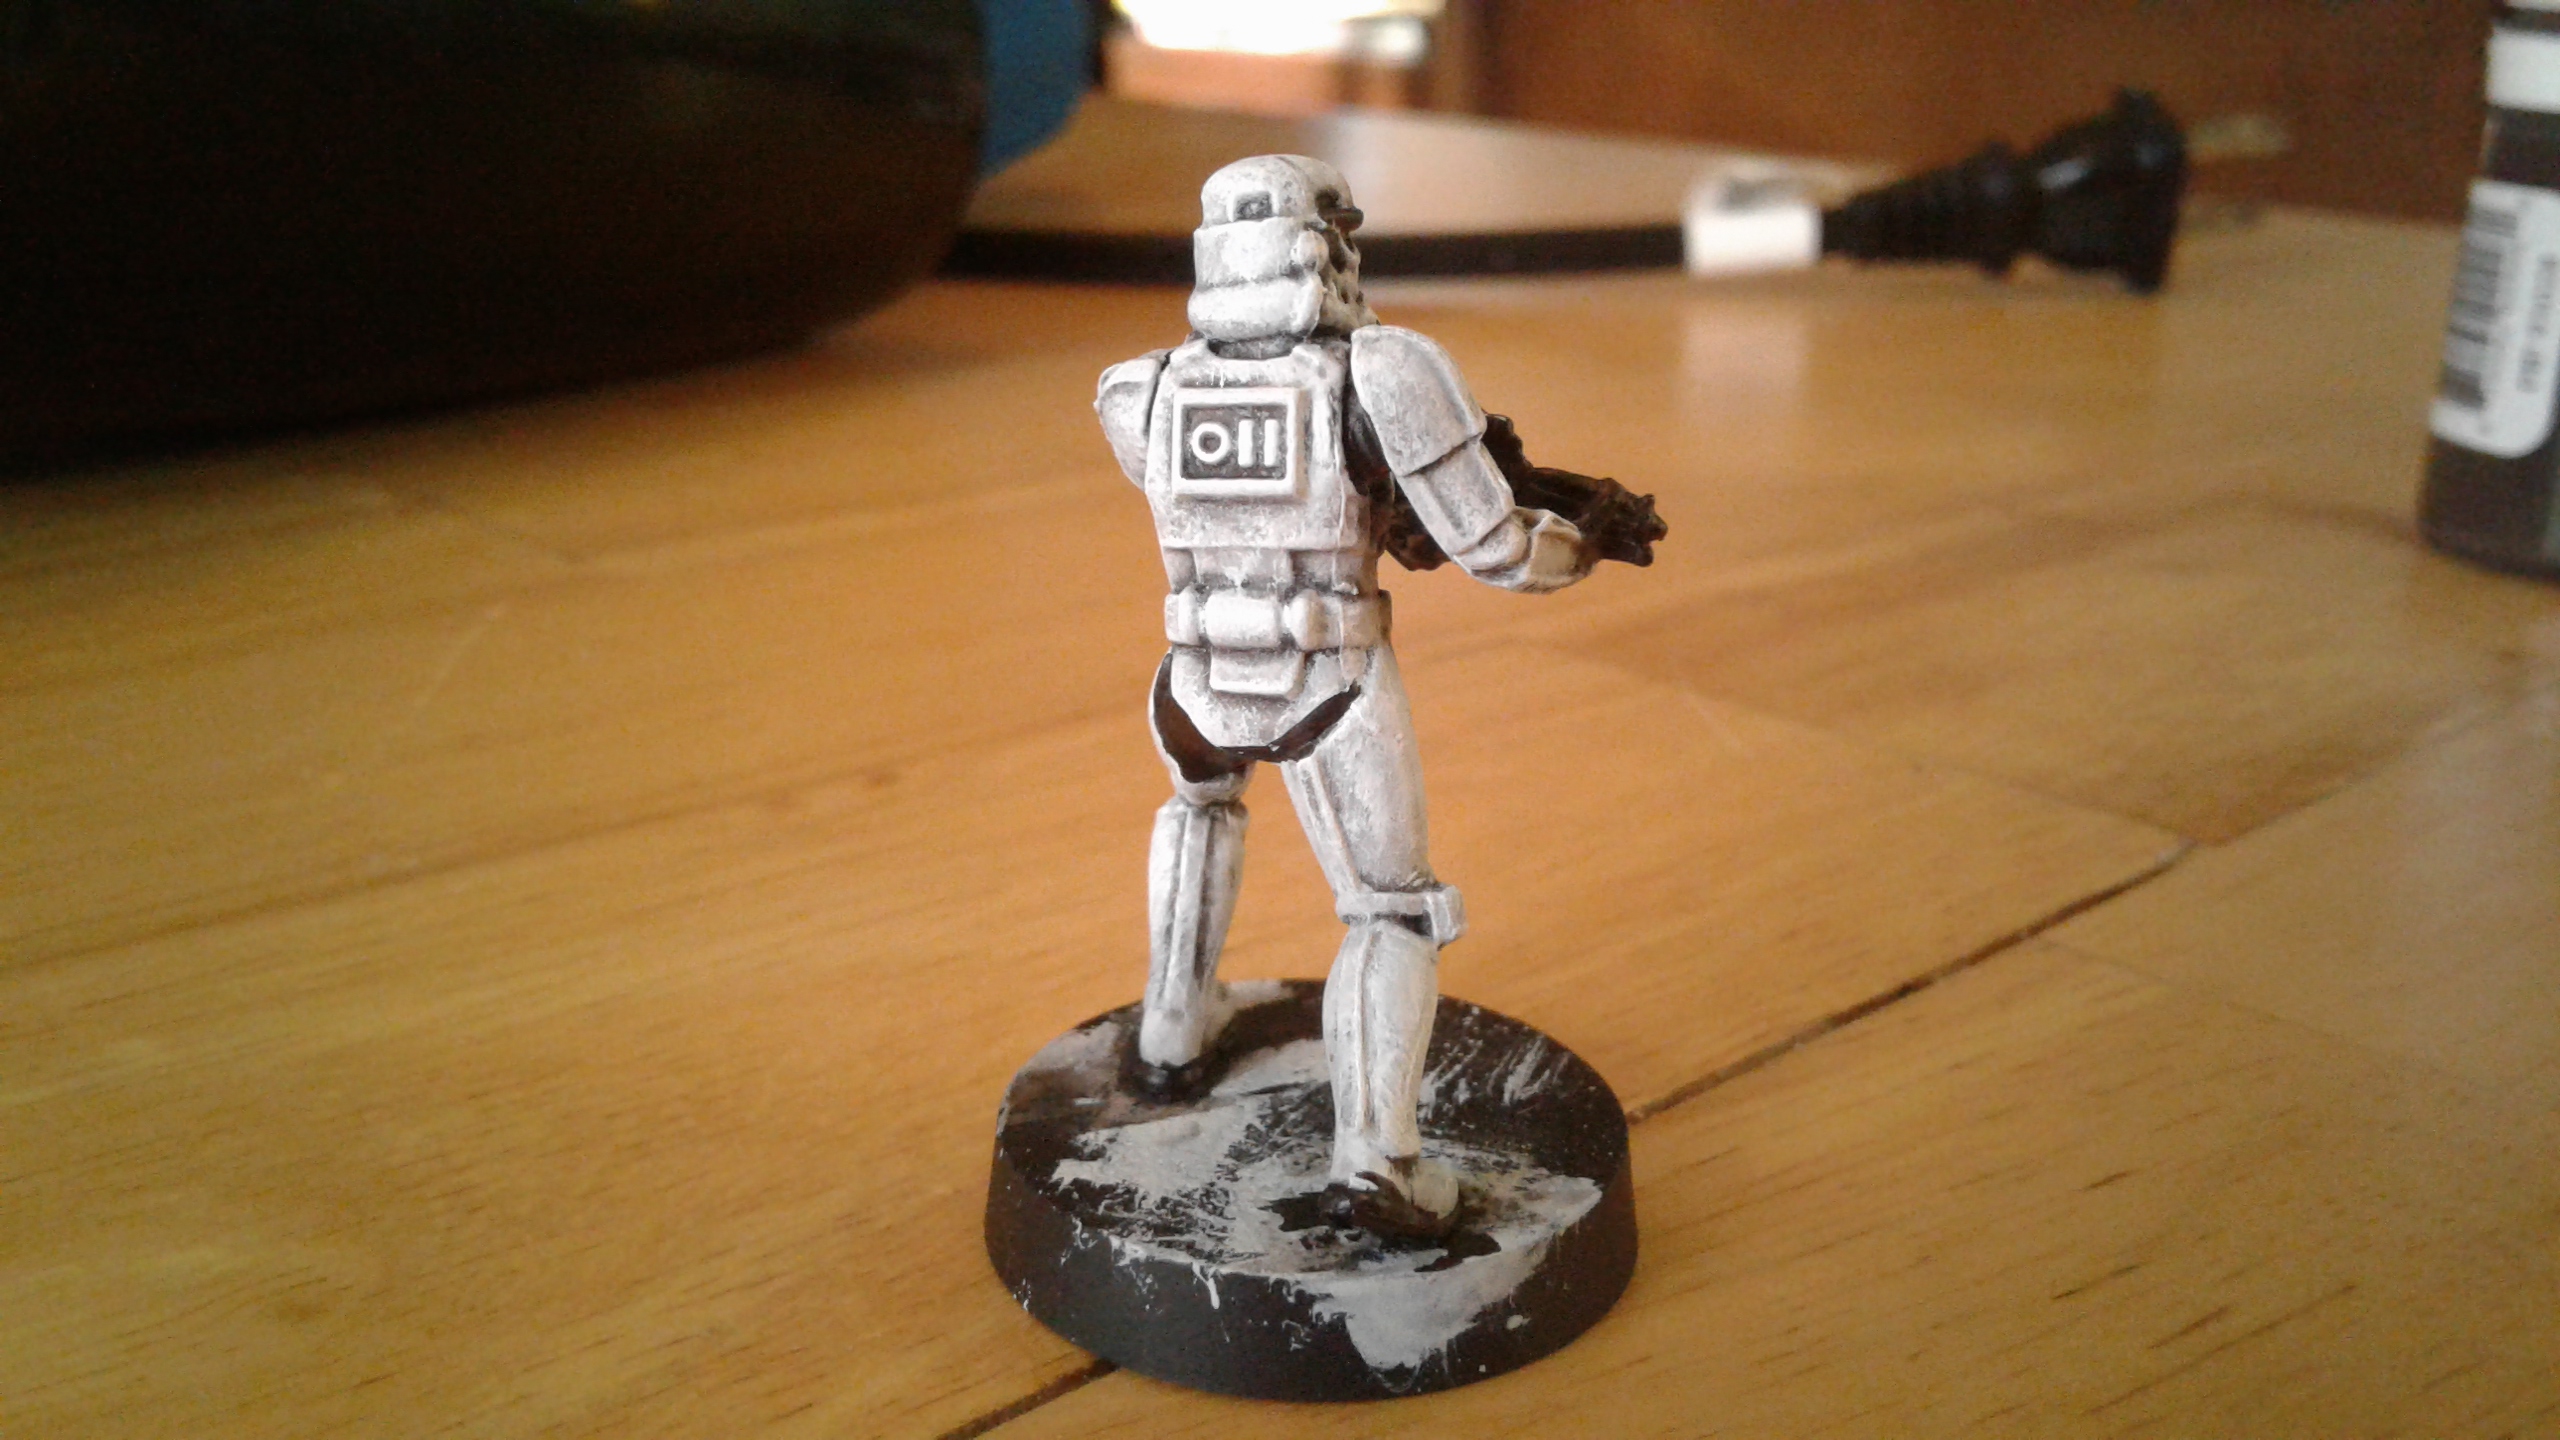
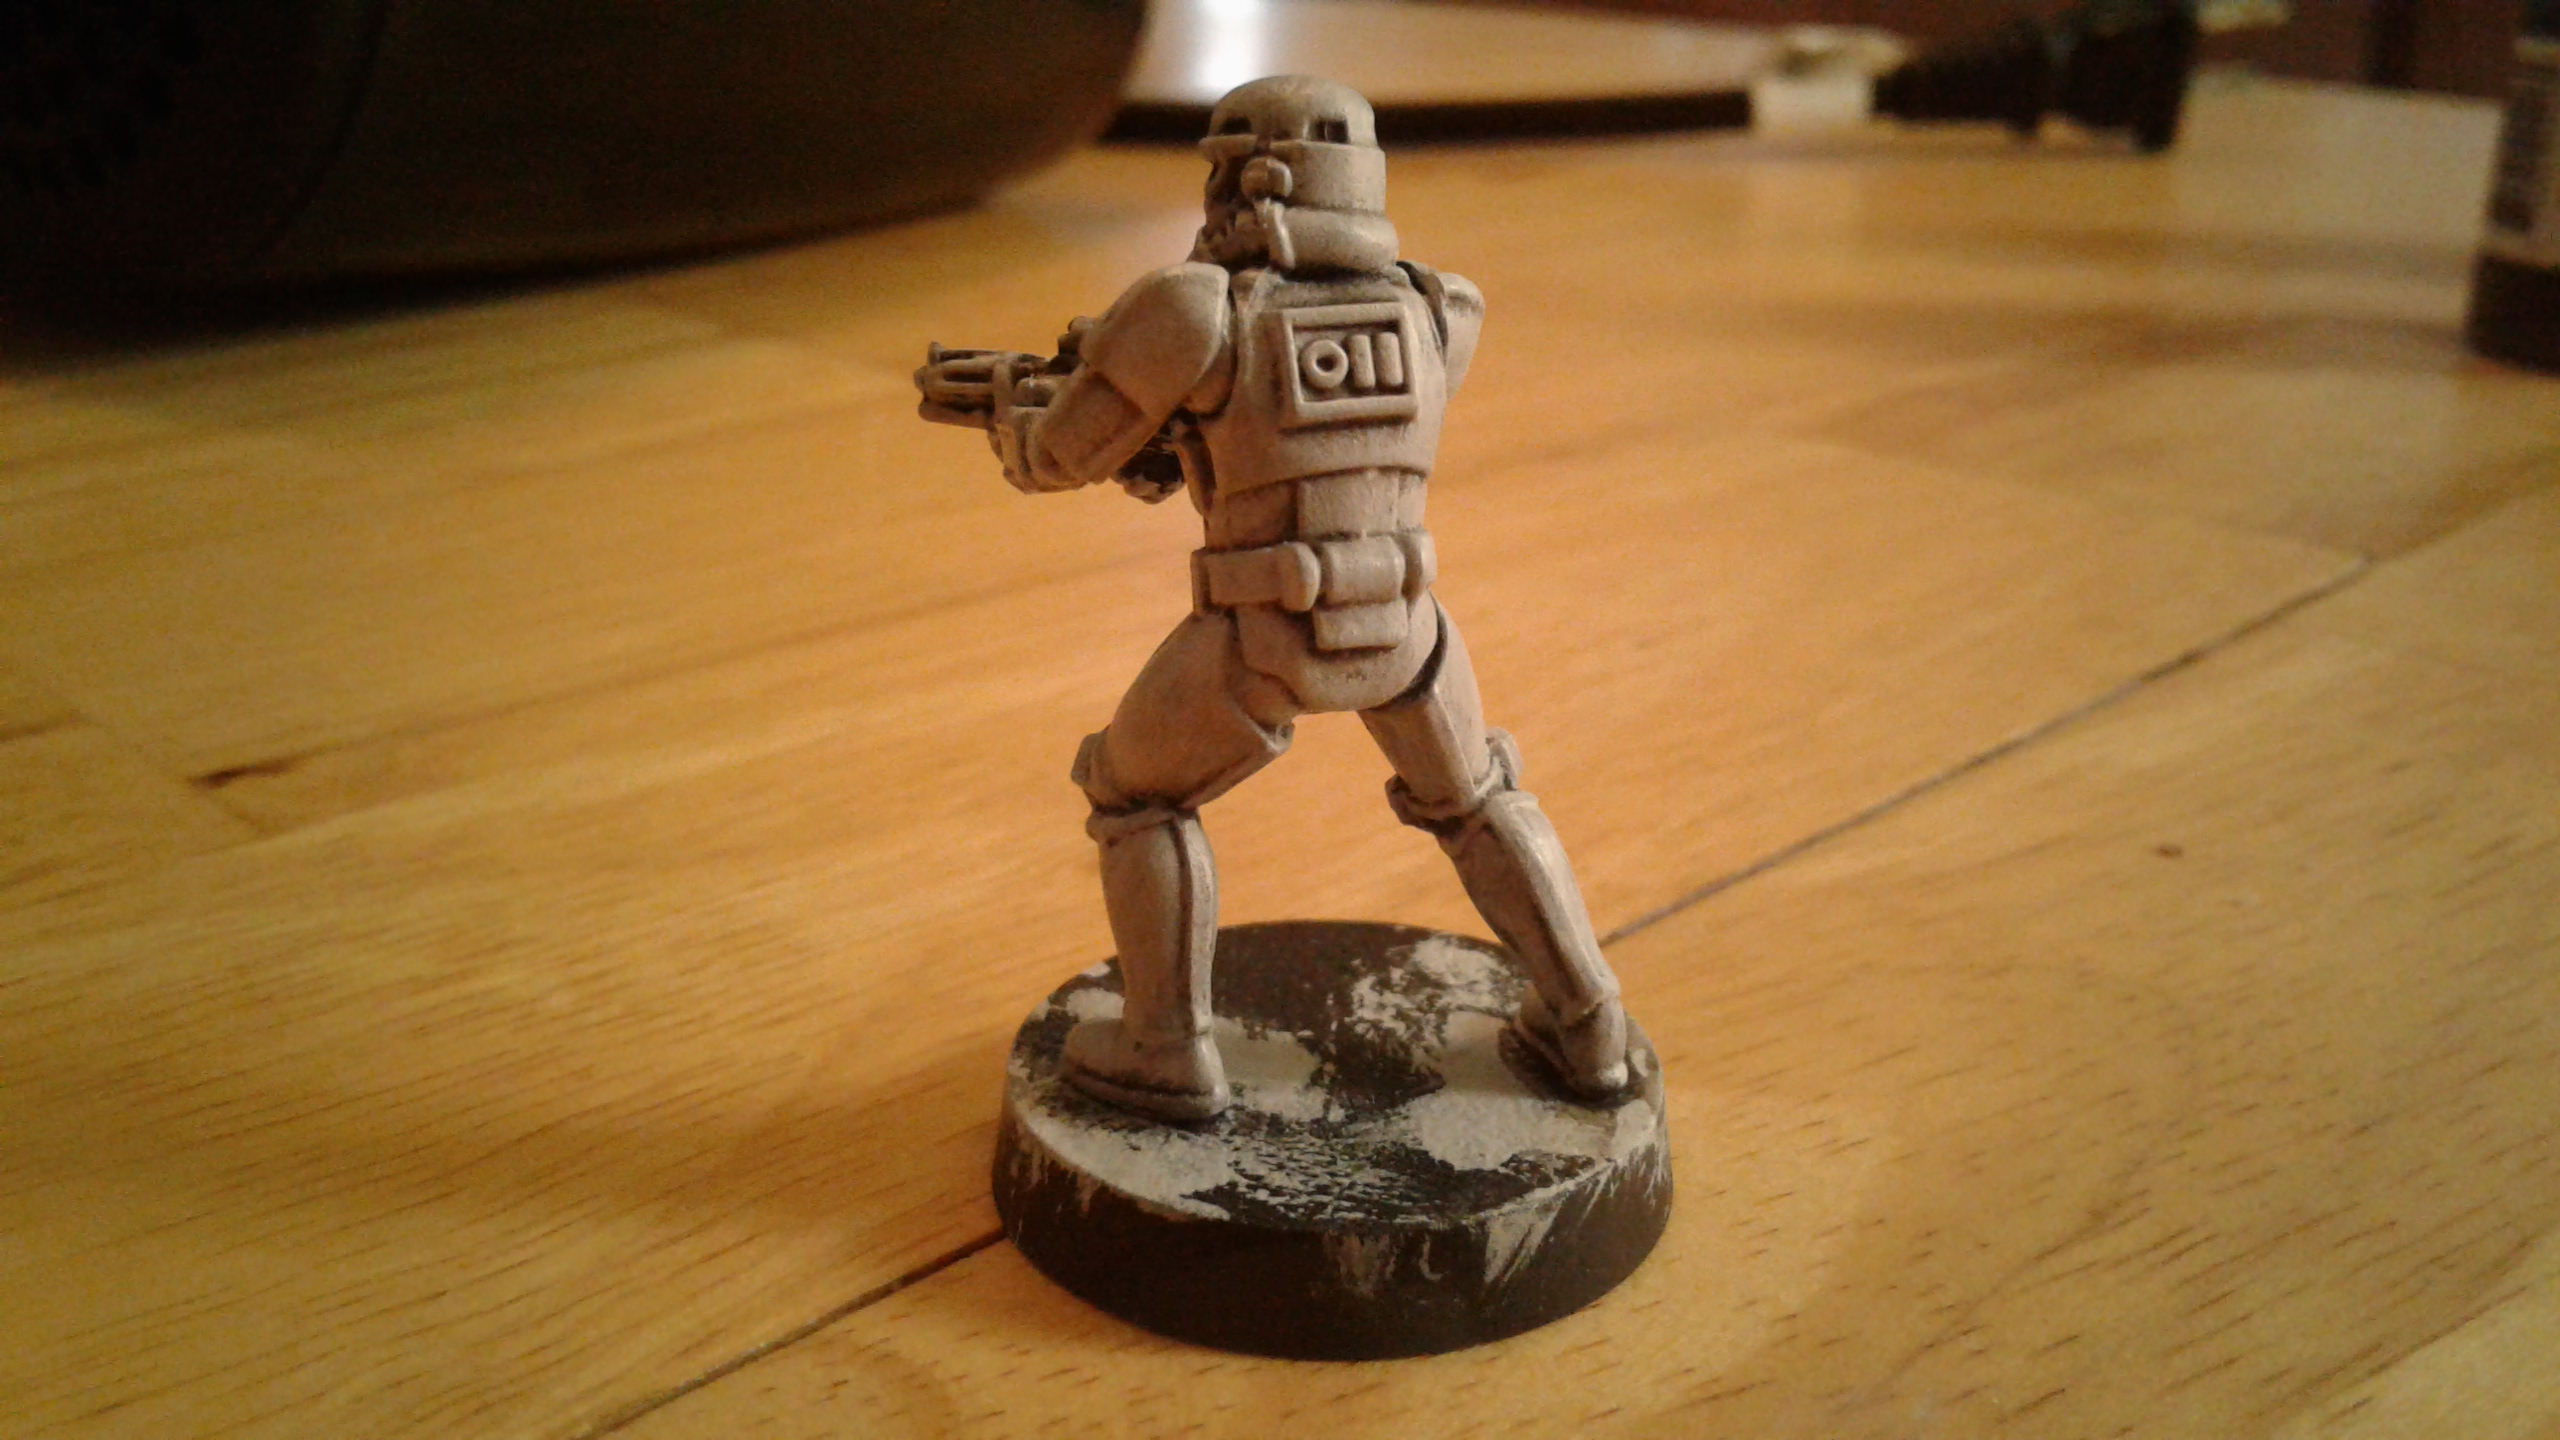
Step seven. 7-14-2018
I painted the pauldron with P3 Khador Red Base. Then made a shadow by 2-brush blending a 50-50 mix of Khador Red Base with P3 Sanguine Base. I let it dry and then put a coat of Citadel Nuln Oil. Once that was dry I redid the midtone with Khador Red Base again 2-brush blending everything.
Highlights were a 50-50 mix of Khador Red Base and P3 Khador Red Highlight. I only did an edge highlight with this mix. I then used straight Khador Red Highlight to further highlight the edges.
The underside of the pauldron was simply painted P3 Thamar Black. Didn’t want to attract much attention there.
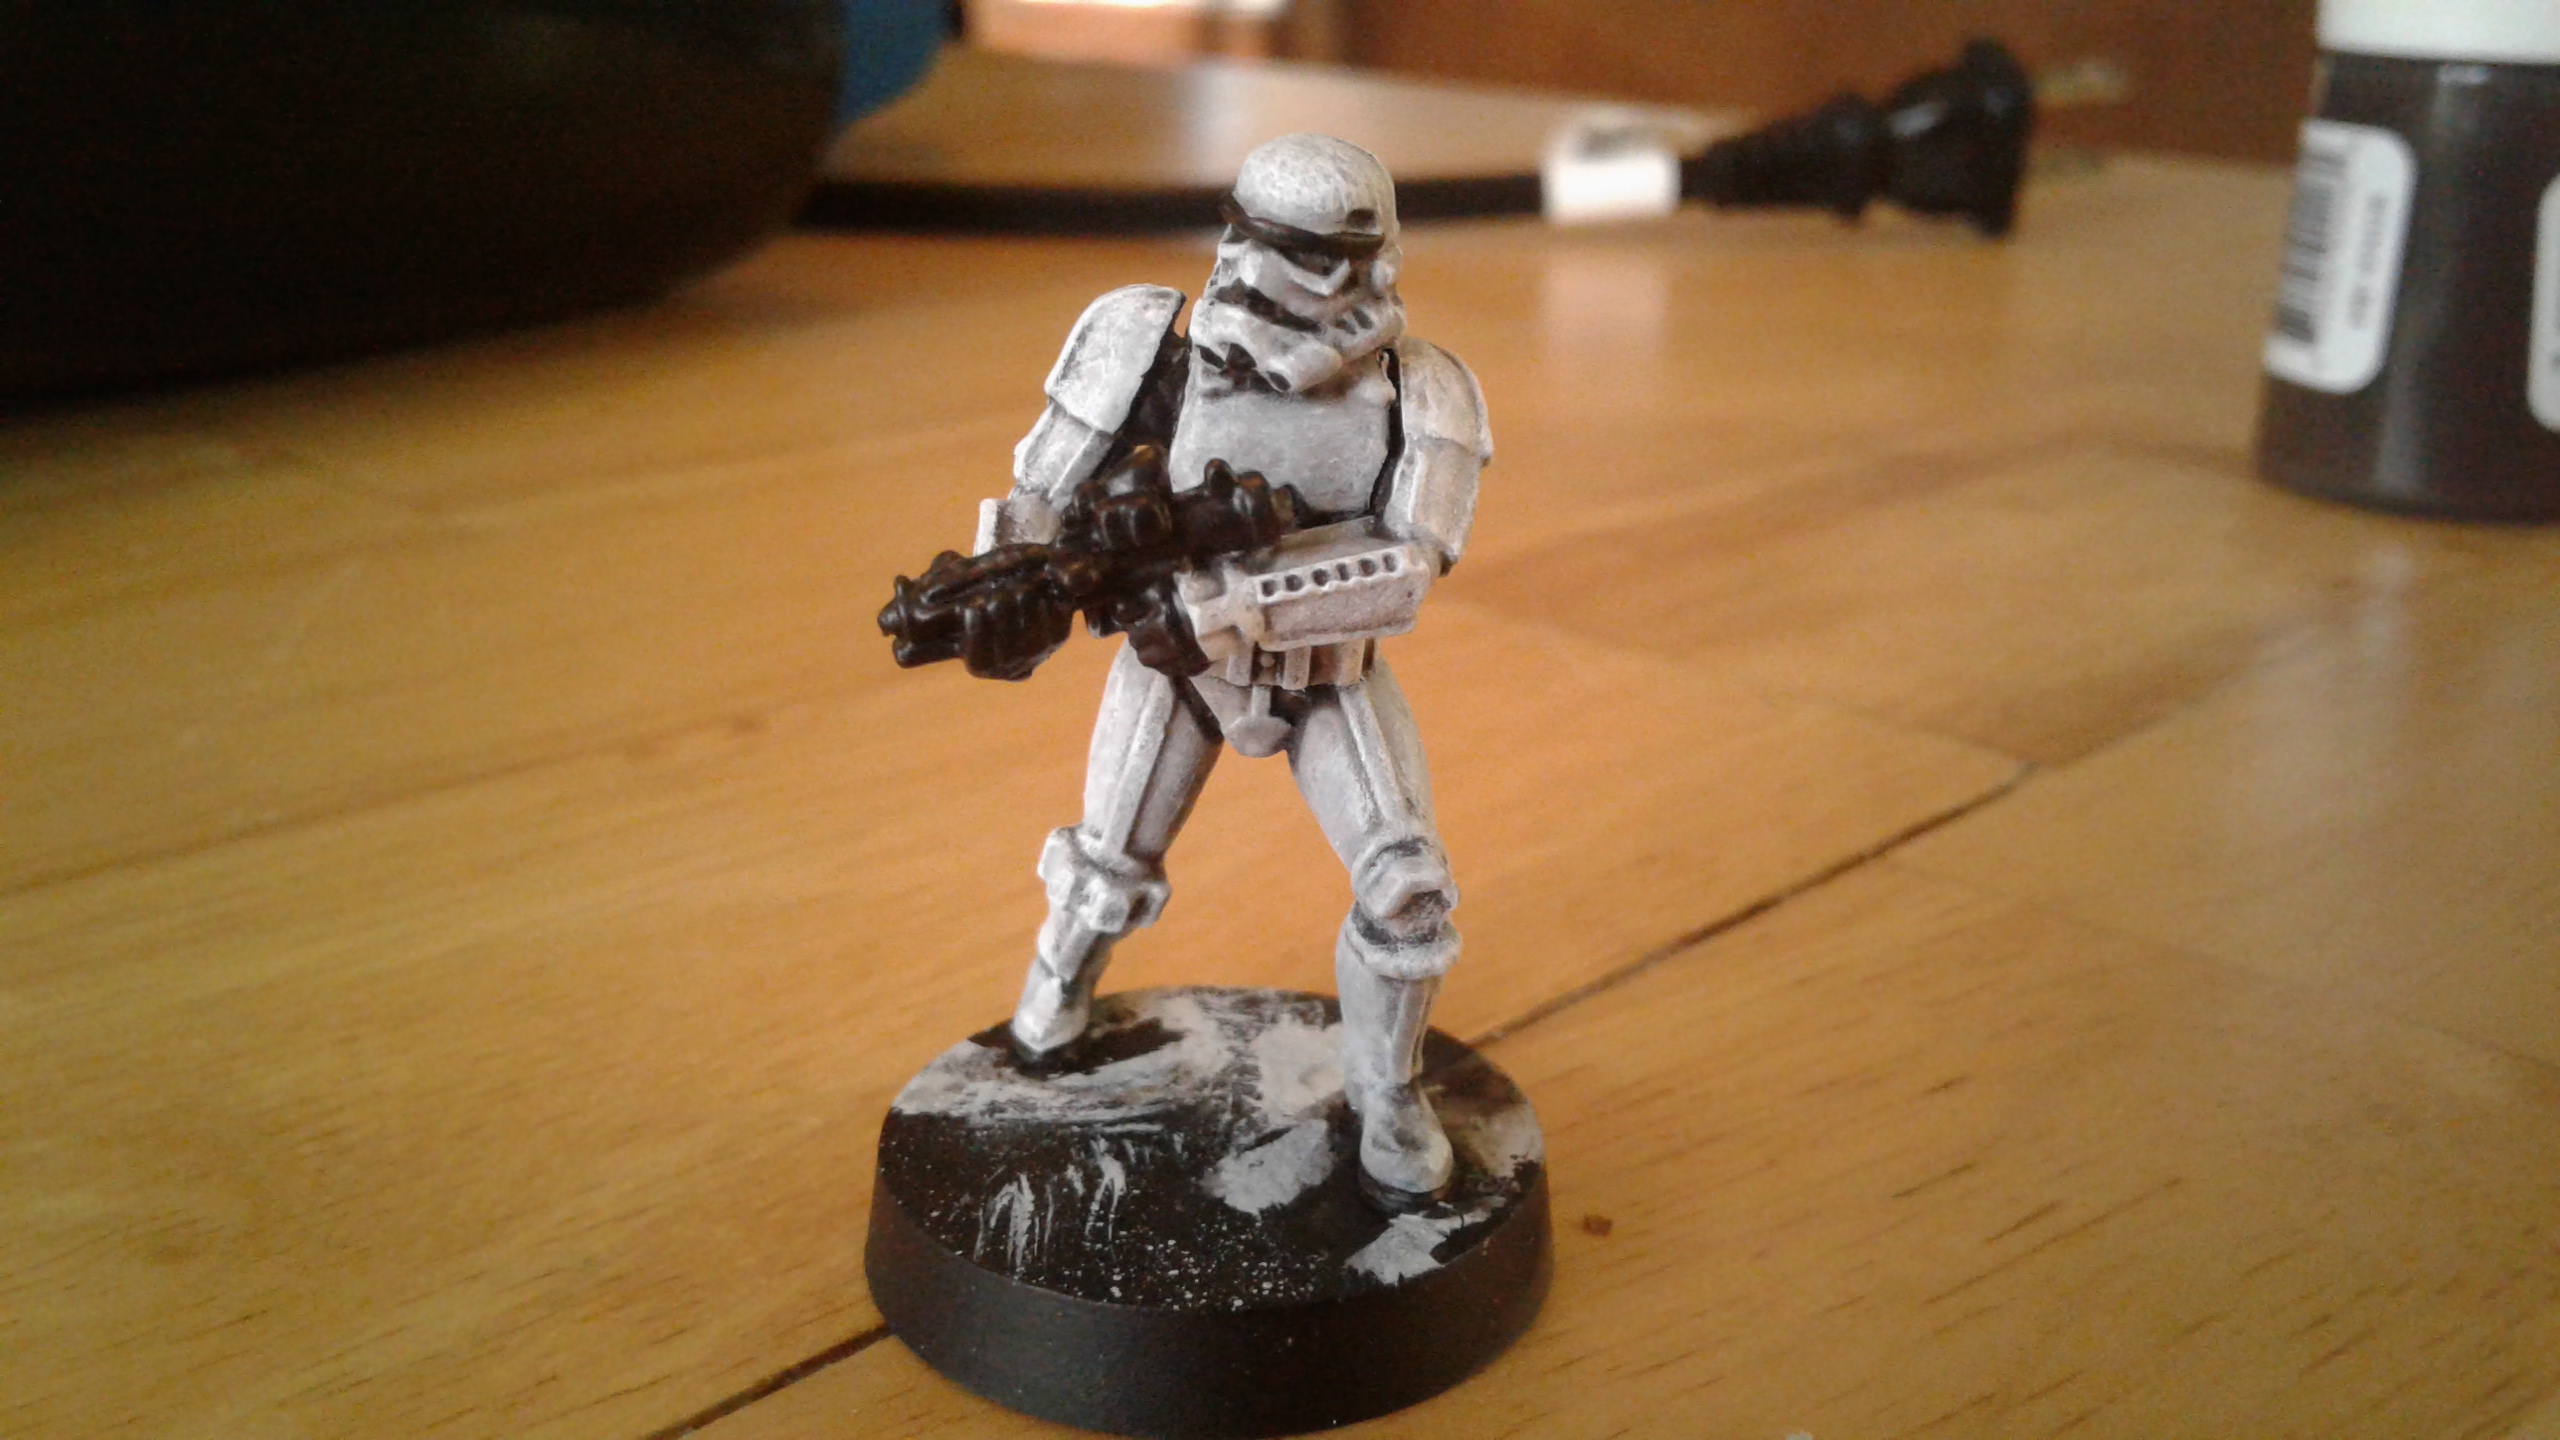
Step six. 7-14-2018
Here I basically cleaned up any Gunmetal that might have strayed on the black parts. I then added a highlight of P3 Ironhull Grey. Eventhough, it doesn’t show much on this picture, I then highlighted the black further by adding a small drop of AP Matt White in my previous Ironhull Grey.
Step five. 7-14-2018
And so I’m back.
Here you can see I added a medium drybrush of AP Gunmetal to all the weapons parts. I decided against painting them completely in Gunmetal because I wanted them to appear pretty much black as they do in the movies. However, just black appears too flat and dull so adding a little highlight of Gunmetal brings everything up. I often use this technique for my Bolt Action also and I like the results.
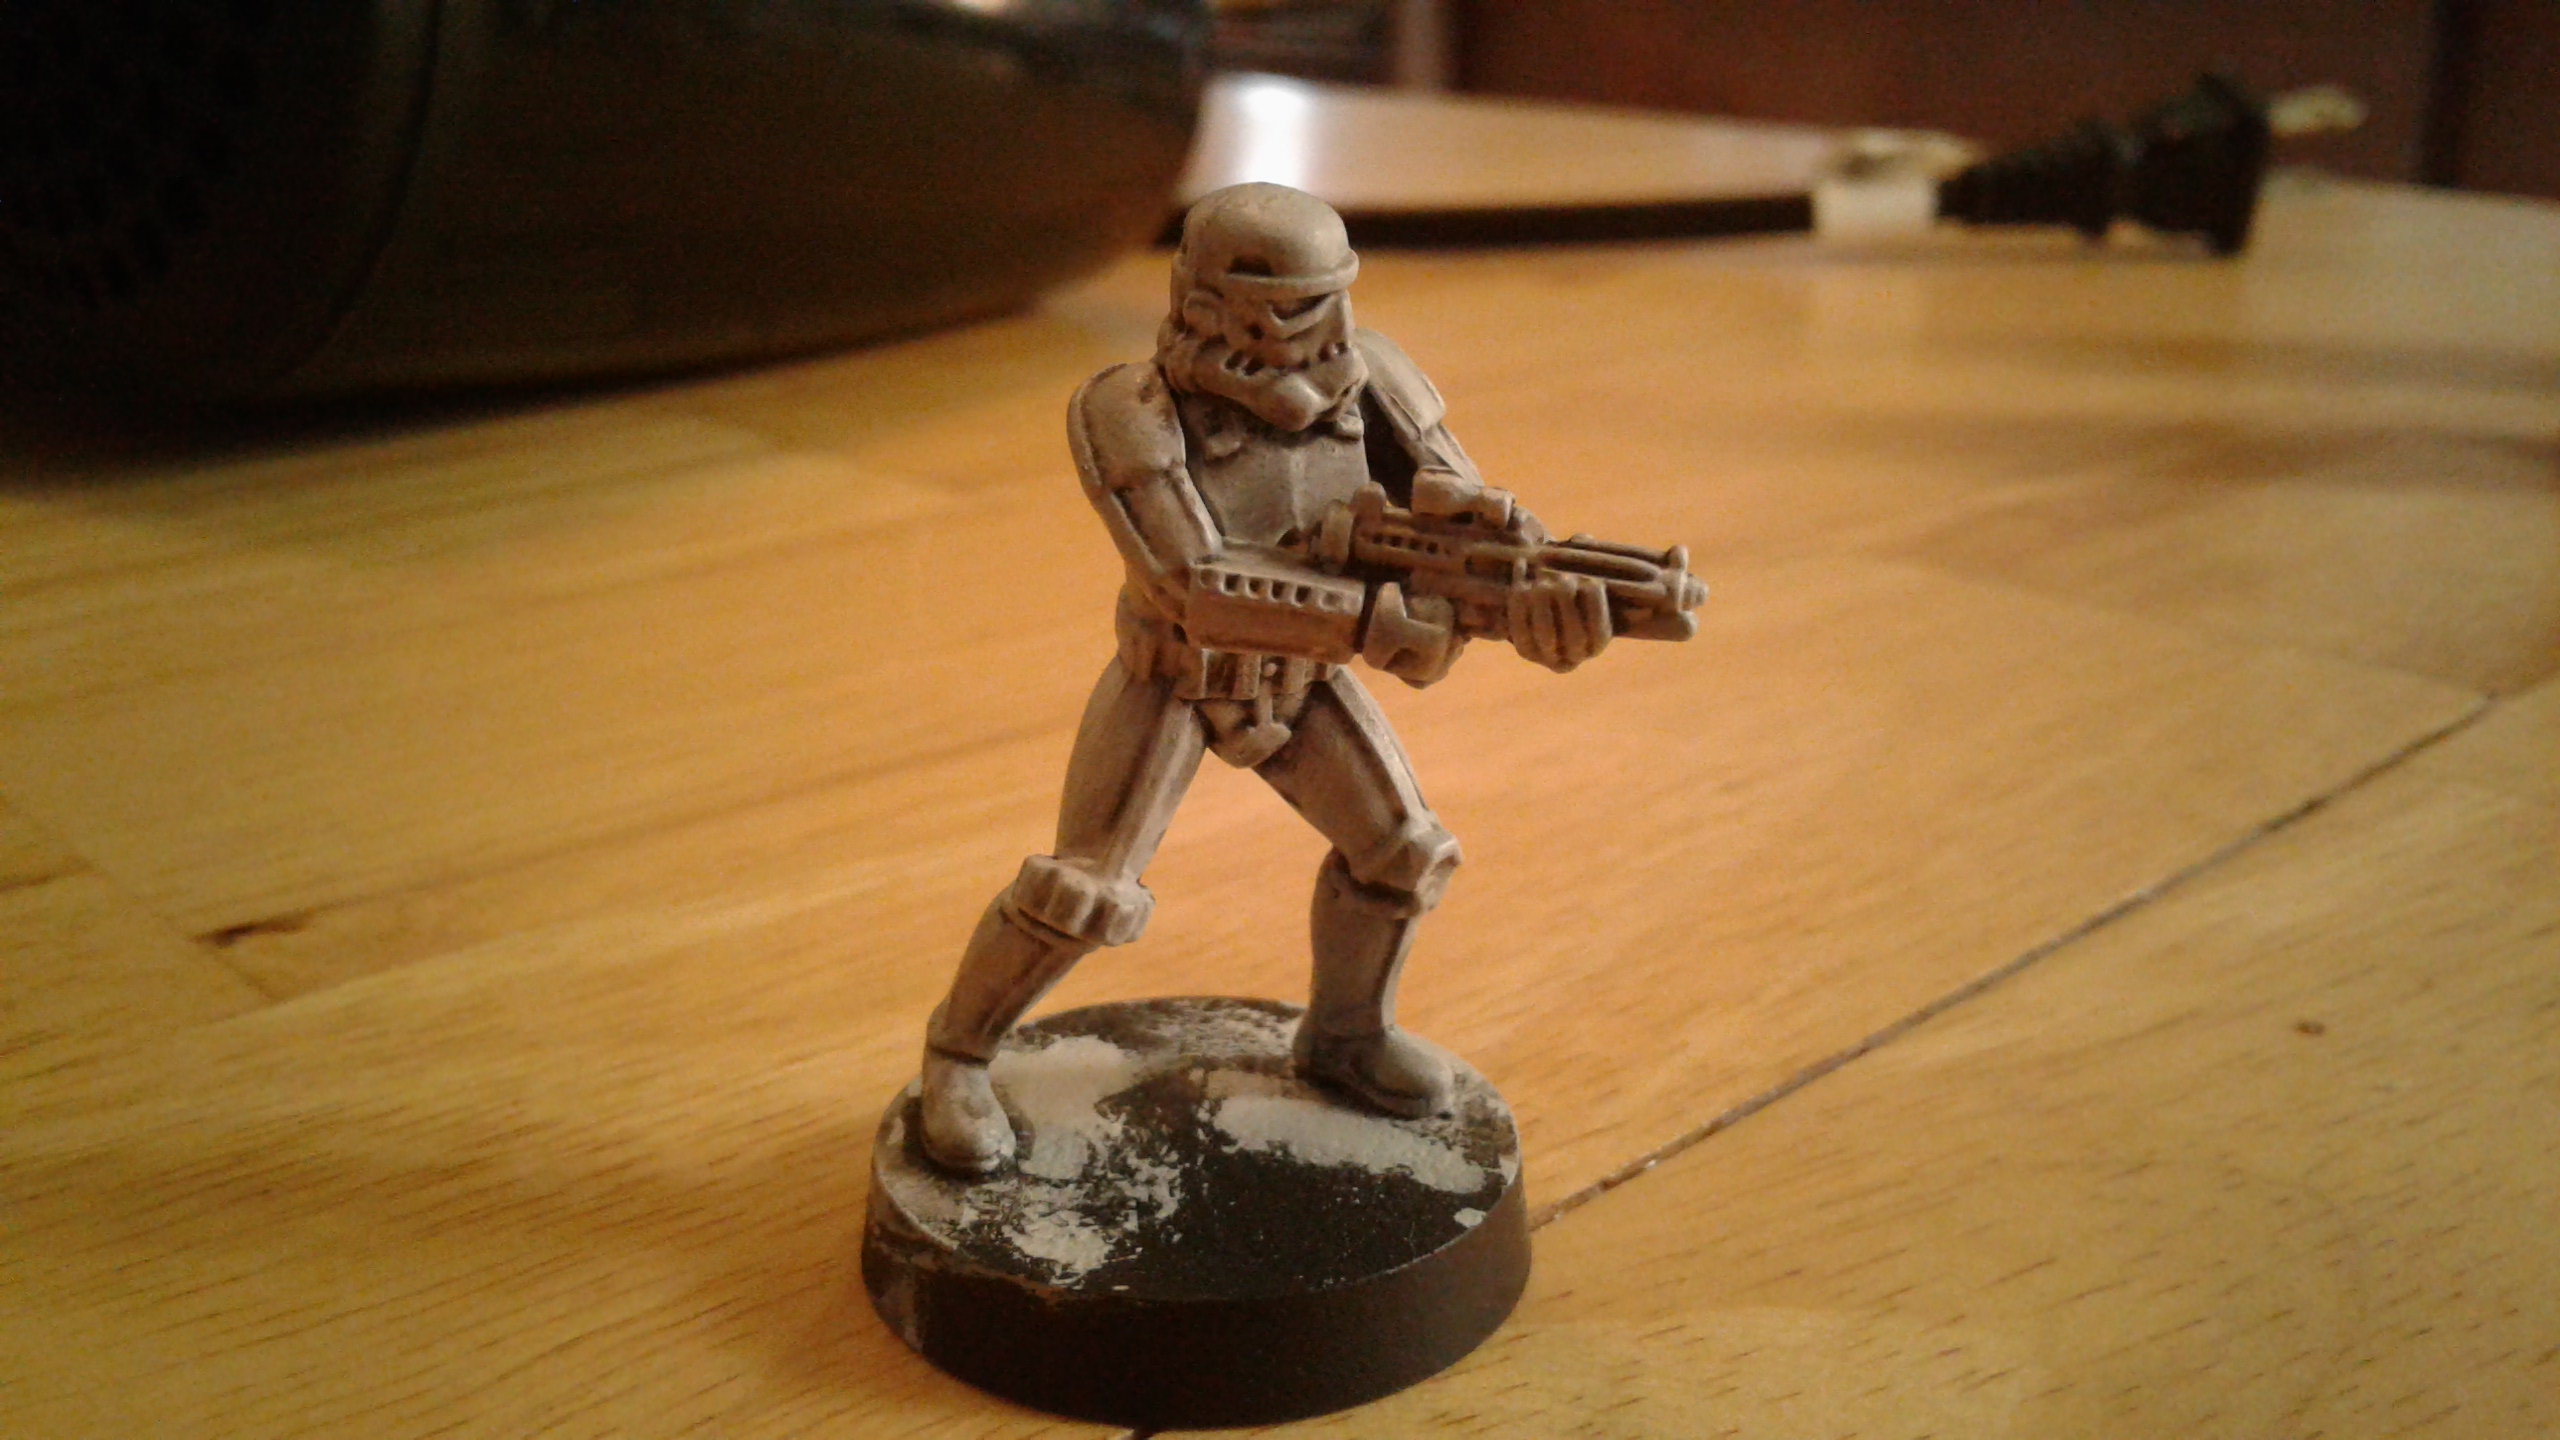
Step four. 7-08-2018
Once the light grey was dry I applied a second much lighter drybrush of pure Matt White. I then proceeded with blocking in all the black parts, especially the weapons and black bodysuit which all Stormtroopers wear under their plates. I used Formula P3 Thamar Black.
This is what it looks like. The grainy texture is less apparent in real life but still present. I guess only an airbrush could achieve a good blending. Still I think it will be enough for the tabletop. I don’t plan on winning any painting competition with these.
Cheers.
Step three. 7-08-2018
Now my minis were way too dark and «dirty». So I did another drybrush pass with the basecoat light grey. This is what I was trying to achieve on the first try. For my next squad I think I will prime everything white and go straight to Nuln Oil and then this light grey. Unfortunately, all of that doesn’t show very well on these two photos.
By the way if anyone has any pointers on how to take good pictures of your minis, I’m all ears.
Step two. 7-08-2018
So my so called drybrush didn’t achieve the desired results, which is letting the black take care of all the recesses and shadows, thus I added a single coat of undiluted Citadel’s Nuln Oil.