Fallout Wasteland Warfare Red Rocket Scenic Set


Recommendations: 38
About the Project
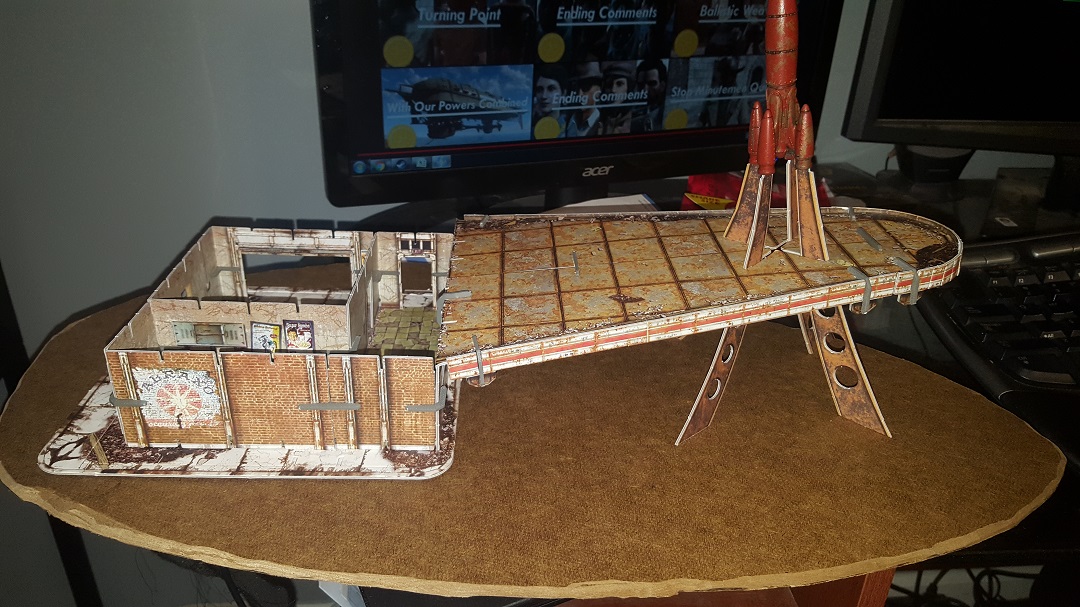
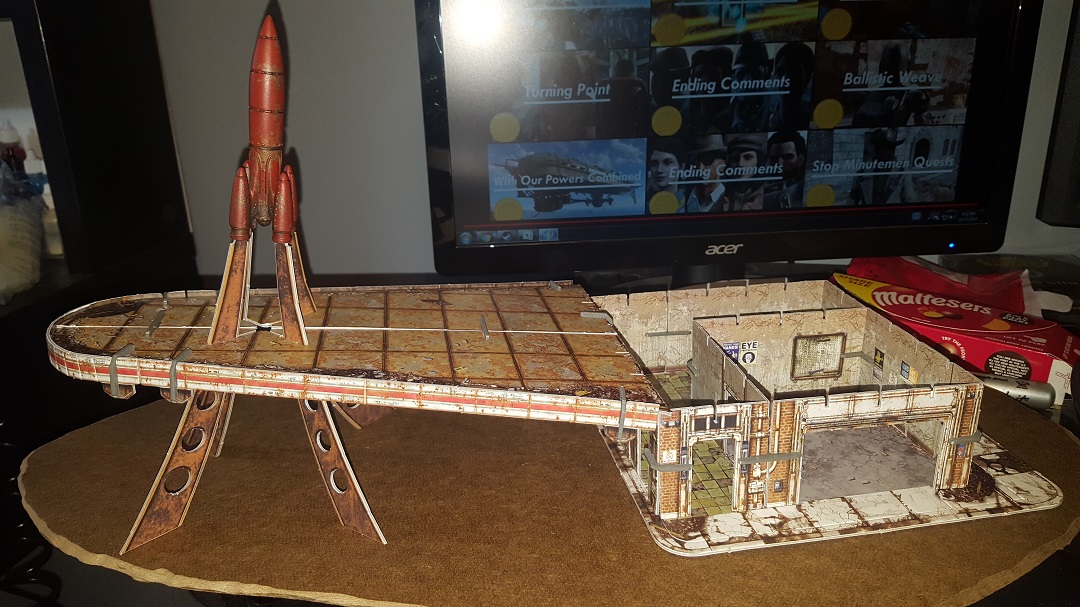
Taking the Red Rocket scenic set from Modiphius from parts to painted and mounting it to a board with some improvements.
Related Game: Fallout: Wasteland Warfare
Related Company: Modiphius Entertainment
Related Genre: Post-Apocalyptic
This Project is Completed
Unboxing and initial assembly
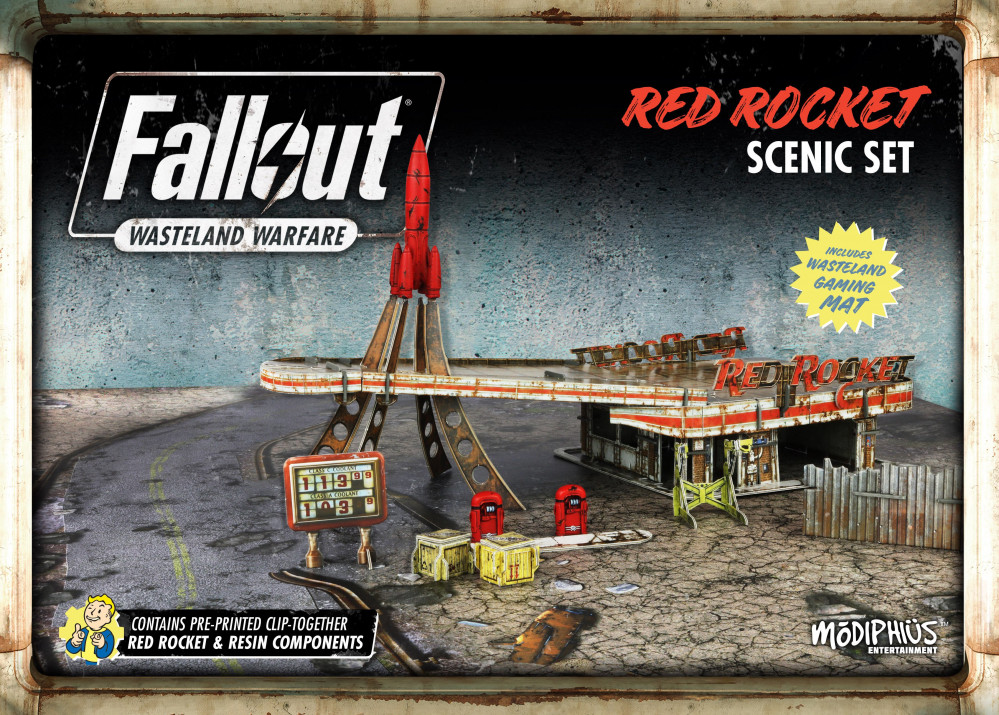
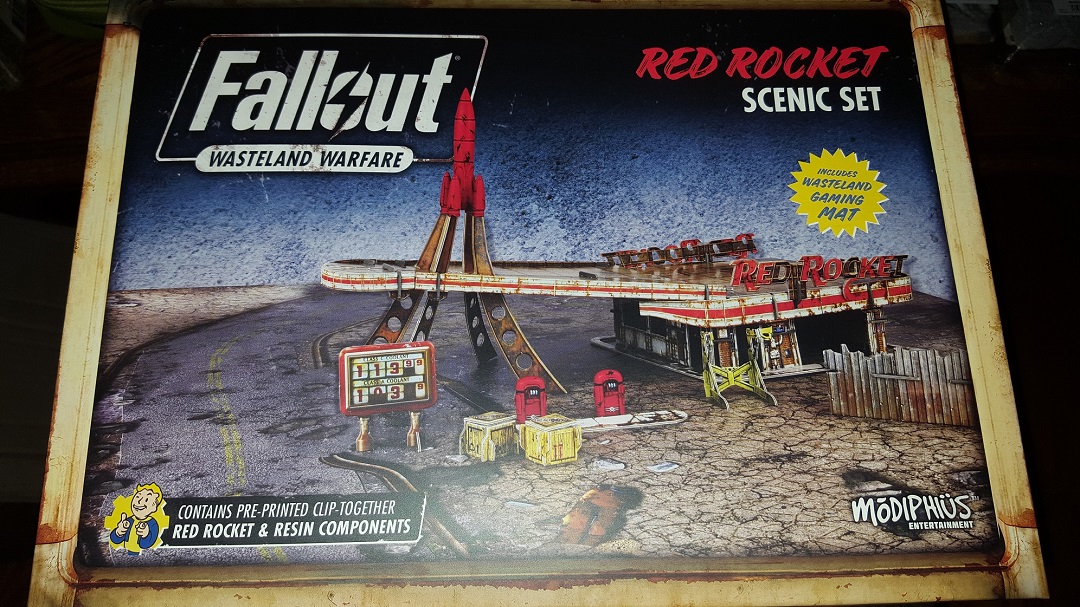
As part of my preorder for the Fallout Wasteland Warfare I received the Red Rocket Scenic set, I had seen the pictures for it and was excited to build and improve on it.
Unpacking it I was pleased with the quality of the neoprene mat, it’s the standard play size, 3′ x 3′, and has the same graphic printed on it that the 2 part paper mats from the core set. As it is folded into the box it was creased but simply leaving it in my car on a warm day while I was at work was enough to get them out, I then bought a poster tube and now keep it rolled in that.
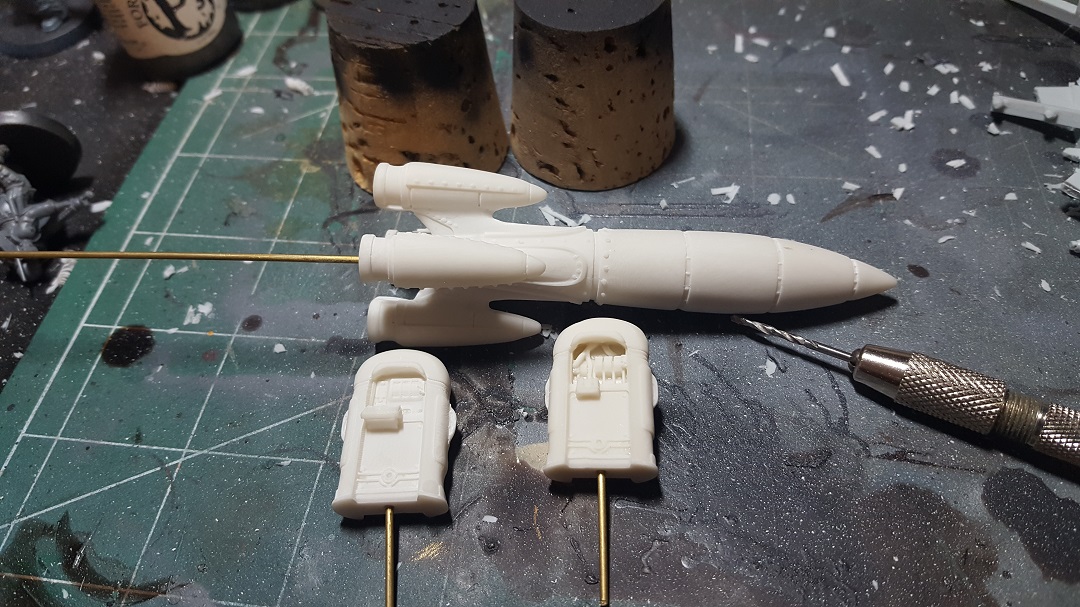
The Resin pieces for the set (the rocket itself, and the 2 pumps) are very carefully packaged in a foam block and nicely detailed.

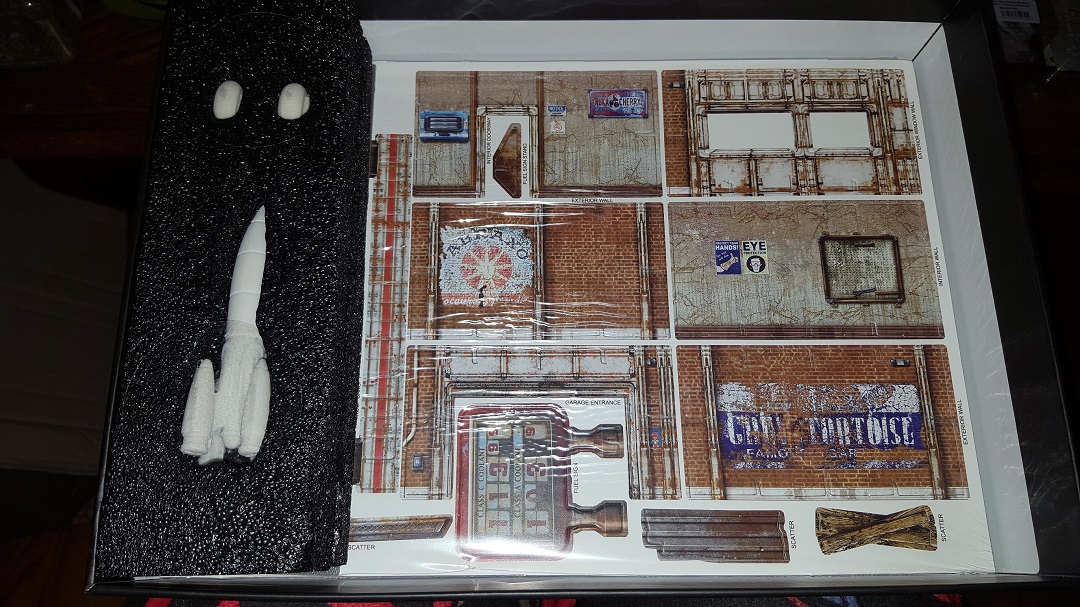
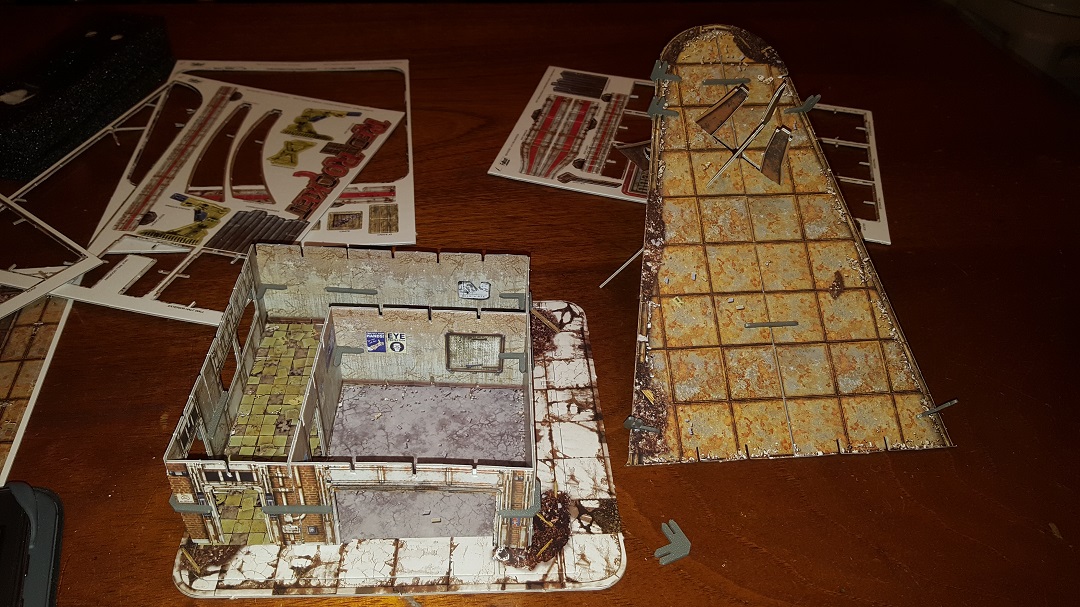
The station itself is on 2 sided color printed card stock of a decent thickness. This set is made in conjunction with Battle Systems so if you have used any of their card terrain you will be familiar with it. The card is held together using plastic joiners that create a fairly tight connection. 2 of the 3 cards are identical with the 3rd holding the large overhang. This means that in addition to the station itself you get some nice scatter pieces, 2 Power Armor frames, 2 crates, a few random pieces of scrap, and a scrap wall.

I’m not going to much into detail on the build, the Modiphius website has the instructions for assembly and they are very comprehensive and easy to follow.
https://www.modiphius.com/fallout-downloads.html
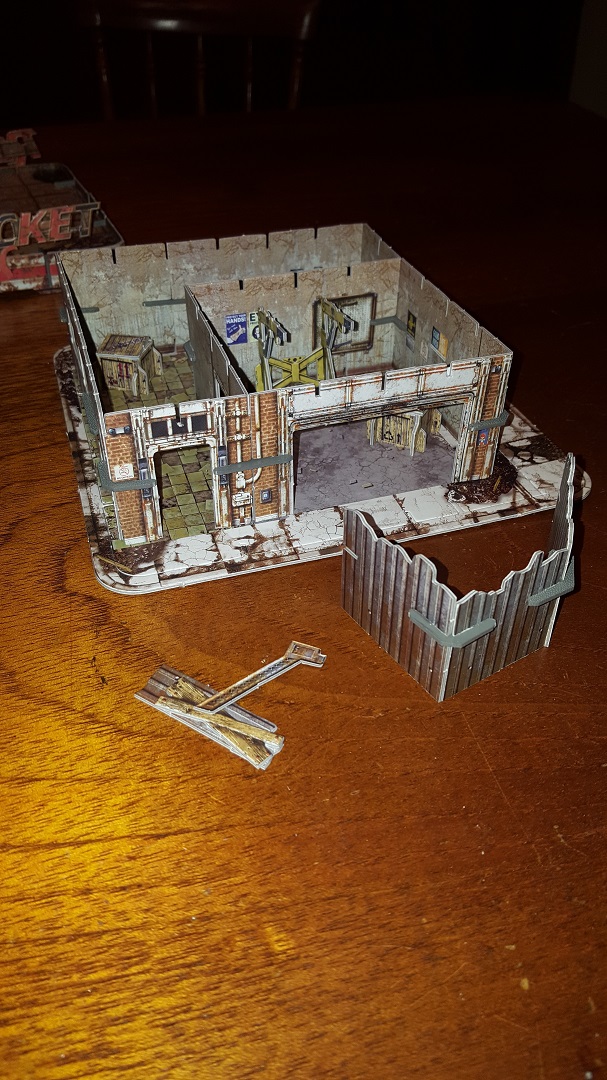
The build is nice and clean and has some nice printed graphics and weathering, the only real issue I had with it is that the mounting points for the Rocket itself are too shallow and tight (easily fixed later in this project), and the base it sits on does not mount in any secure way to the walls (also easily fixed later).
Due to the double printing method used you will have an outer “frame” that you punched the roof of the station out of, make sure to keep this as you can trim out the wider side and use it later as I do for the pumps.

Part 2: Painting!
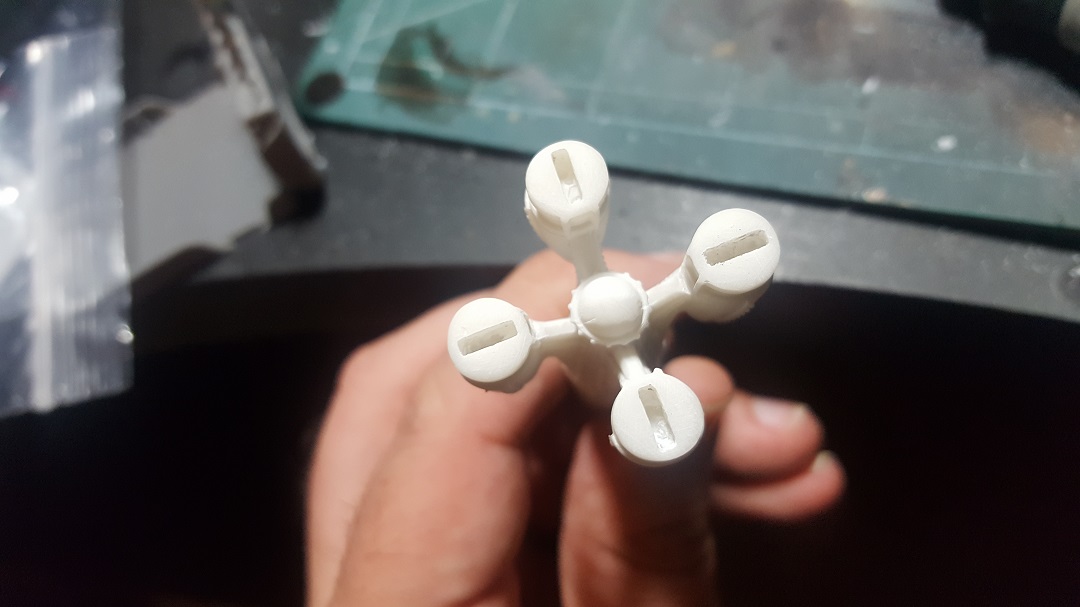
While the card for the Station is colored the resin is not so I decided as my first official Fallout painting job I wanted to try some new weathering techniques. In the past I’ve used the hairspray technique but not been 100% happy with the results, so this time I decided to try the salt method. Note that this is really only doable with an airbrush. First I test fitted the pylons the rocket sits on, I found they were a bit tight and not deep enough so I used my Dremel with an engravers bit to deepen them, I didn’t widen them any as I did not want to have to glue it in. Note that you should use proper safety equipment when sanding/grinding Resin a breath mask to prevent inhaling the fine particles and eye protection.

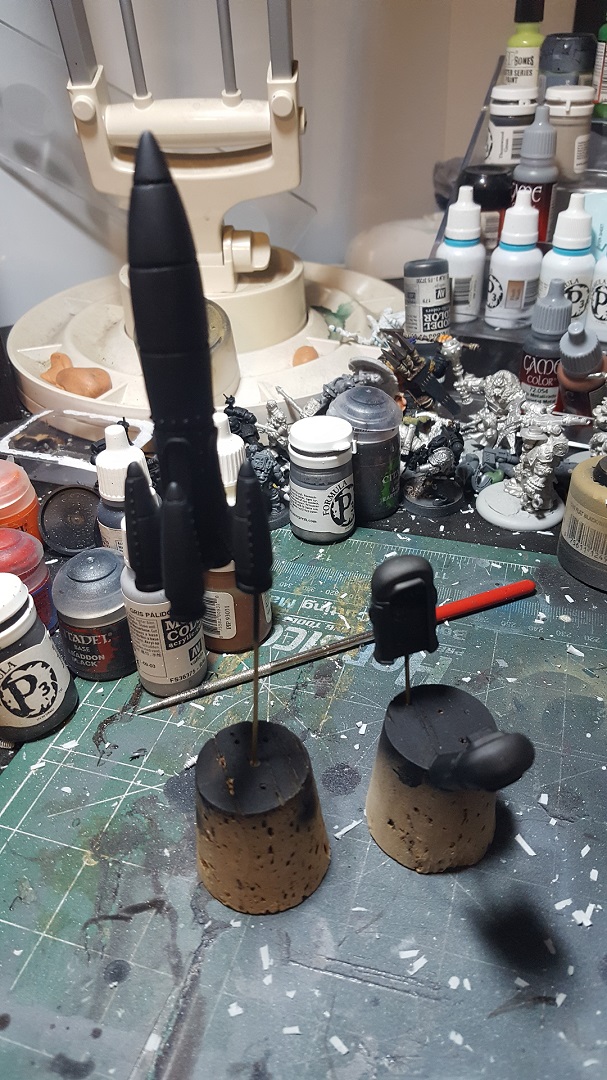
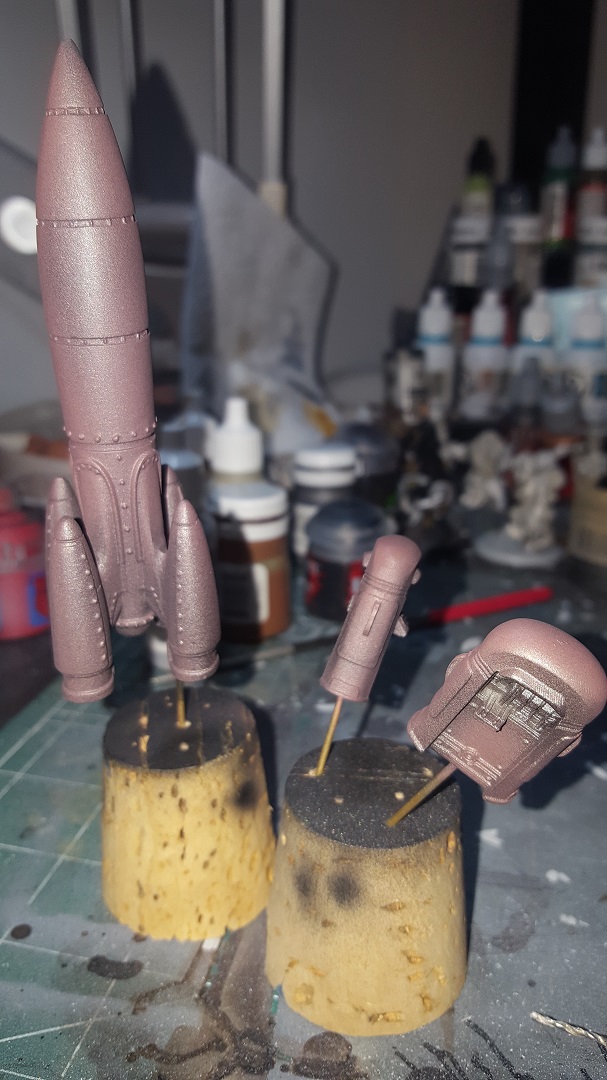
With the fit correct I cleaned the Resin with some soap and water and left them overnight to dry, this can be necessary to remove any residual release agents left by the molding process. With the parts ready I primed them black and then applied initial rust coloration with a rust wash over.
Next I took a couple shades of rust wash and a toothbrush and flicked the wash onto the pieces, this creates a mottled effect that should provide alternating shades once revealed thru the top coat of paint.


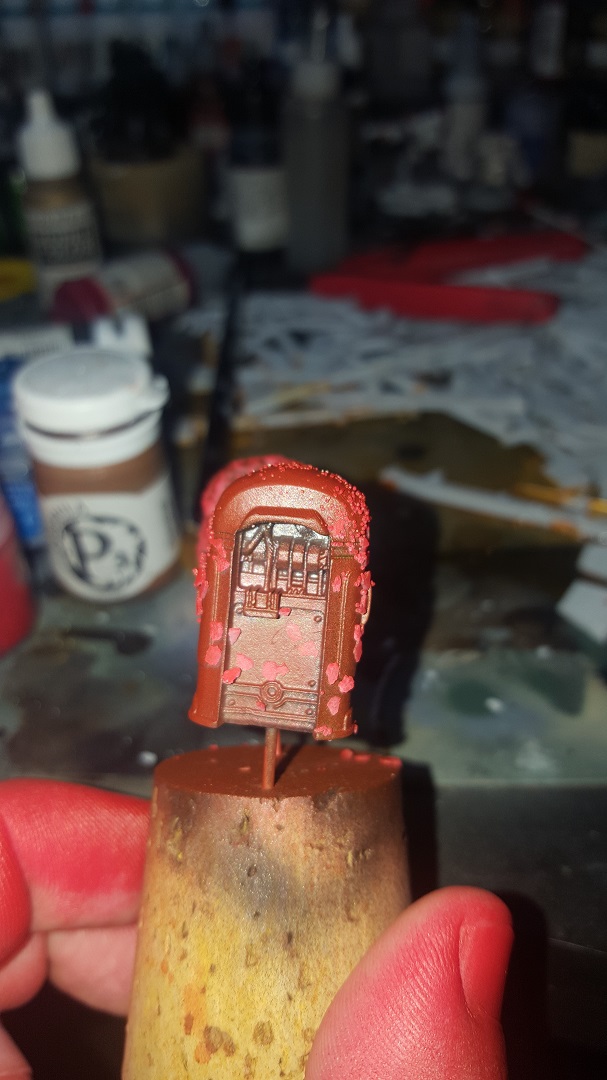
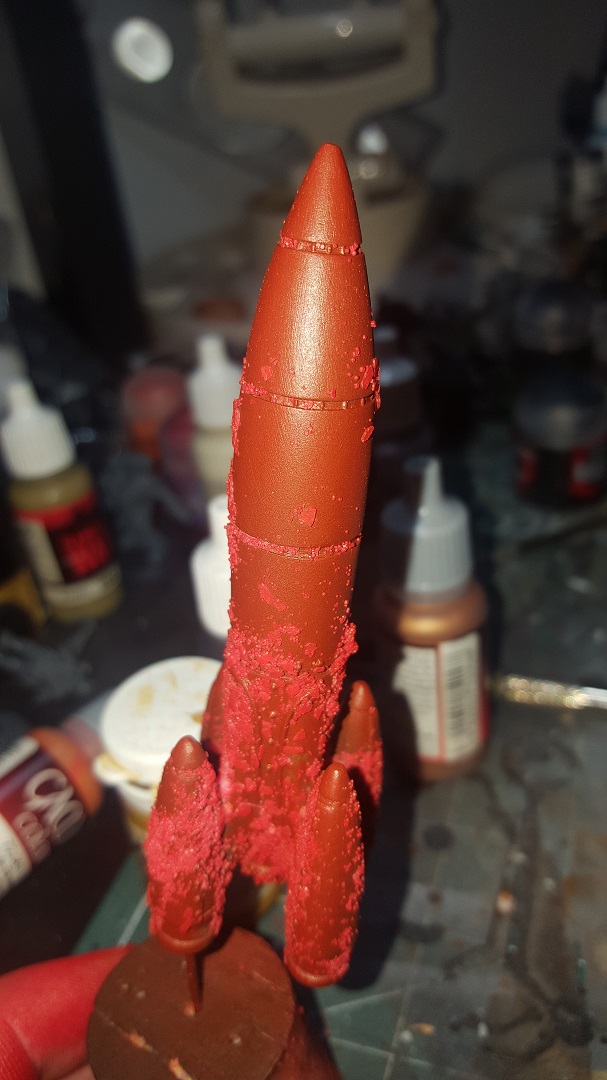
After all the paint has dried I prepared a zip lock bag with 2 types of salt, regular fine grain as well as a coarser blend to have varying sizes. Then I brushed water onto specific spots I wanted rust to show, put the part in the bag, and rolled it around in the salt to adhere it. Once all parts had salt where I wanted it I set them aside to dry again. With the salt dried in patches I then reviewed the patches to be sure there are the size and shape I want, and flaked away any excess I didn’t with a brush.

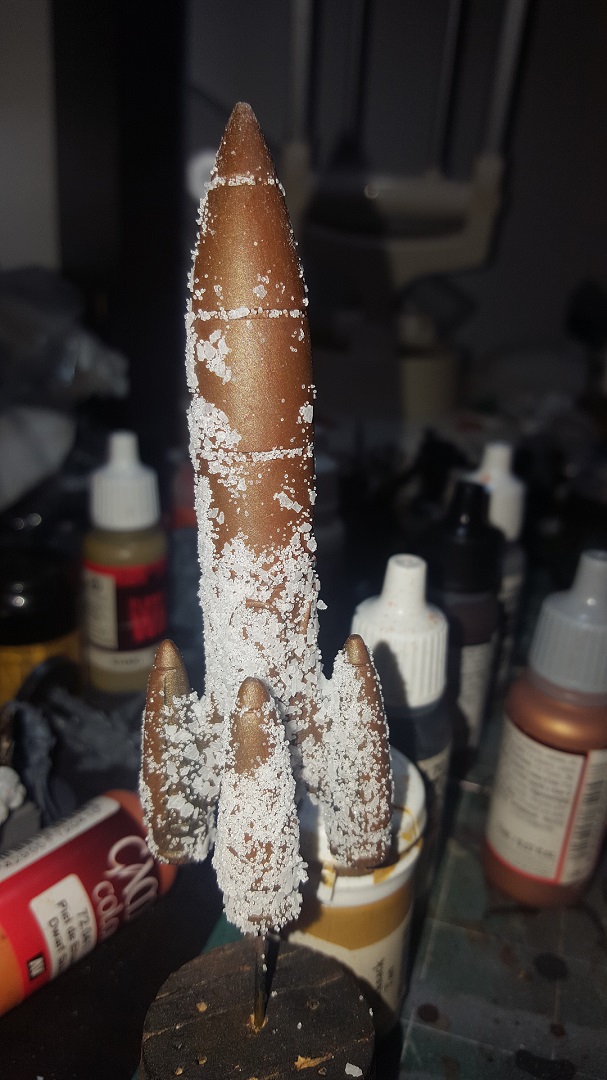
I then started to airbrush on my red basecoat, starting with a darker color then I wanted to end with. Don’t worry if any salt comes off now due to the airbrush this can happen and is not an issue.
With the initial coat of red on I then started bringing up the shade and highlights as I wanted until I had the final shading I wanted.
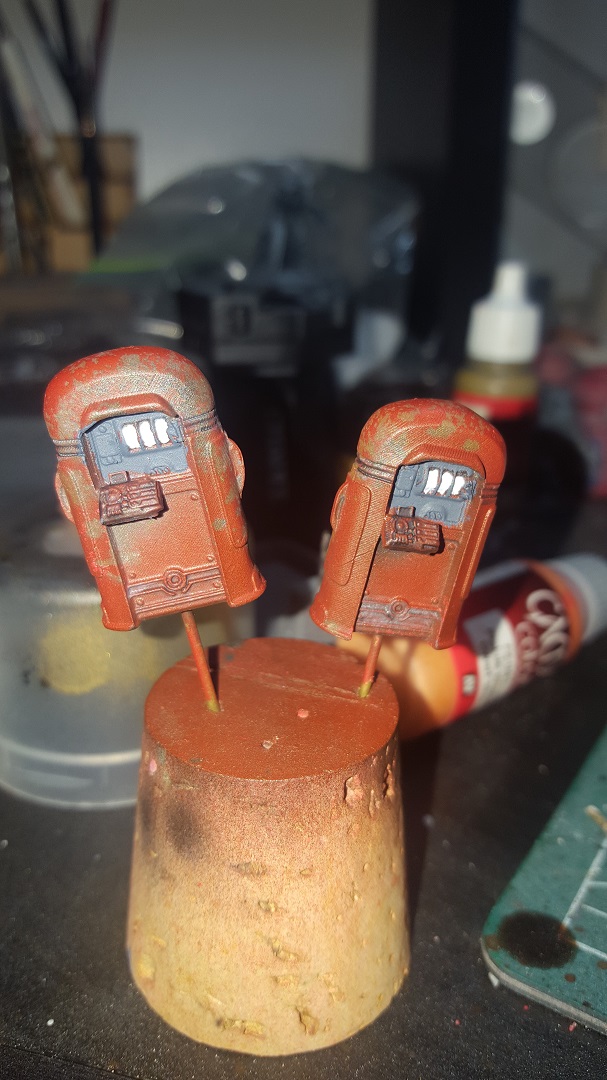
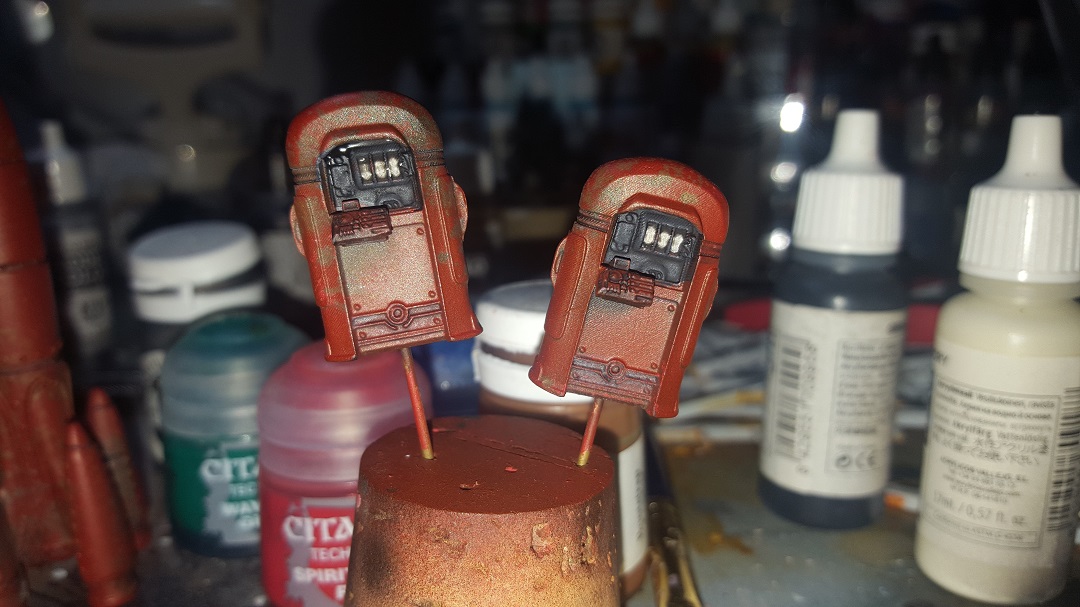
After letting the paint dry you then just take a brush and flake off all the sand, this produces a very nice weathered appearance.
I will note that I was not 100% happy with how dark the rust underneath came out but for my first attempt I am very happy with the results. I then proceeded to apply some black wash into the seams and called it done.

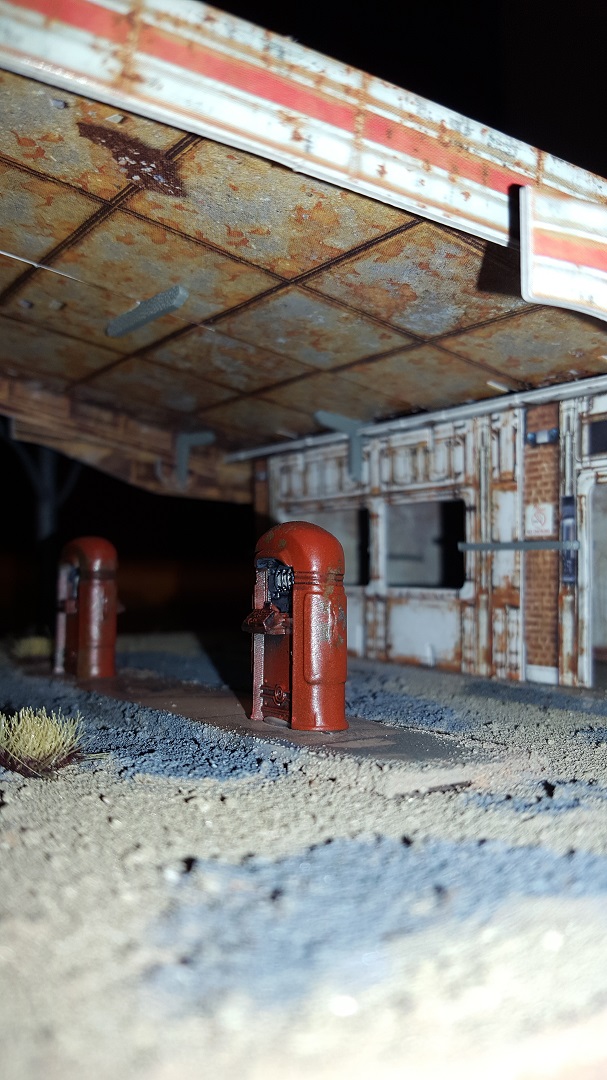
For the pumps I detailed in the inner segments and Next I applied white to the number wheels, then applied some black wash to them and the details on the bottom of the pumps.
I then sealed all the parts using gloss coat for strength, followed by dull coat to take away the shine once it dried.
Part 3: Customization/Final touches!
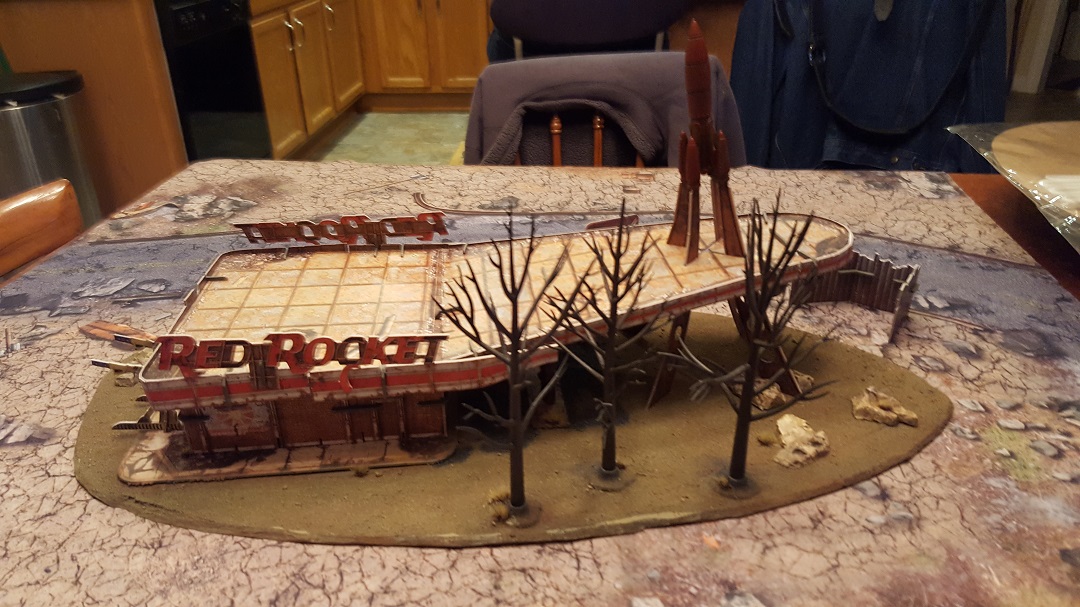
With the station built I immediately started to think of ways to improve on it, mostly to firm up some of the wobble it has and add more details. To this end I decided to mount the building frame directly to its base and the entire thing to a larger scenic base. I took some basic measurements and cut out a roughly tear drop board from some MDF. Once this was cut I took my dremel and angled the edges a bit for cosmetic looks. I then used hot glue to mount the Rockets base and the part of the frame I cut out to use as the island for the pumps.


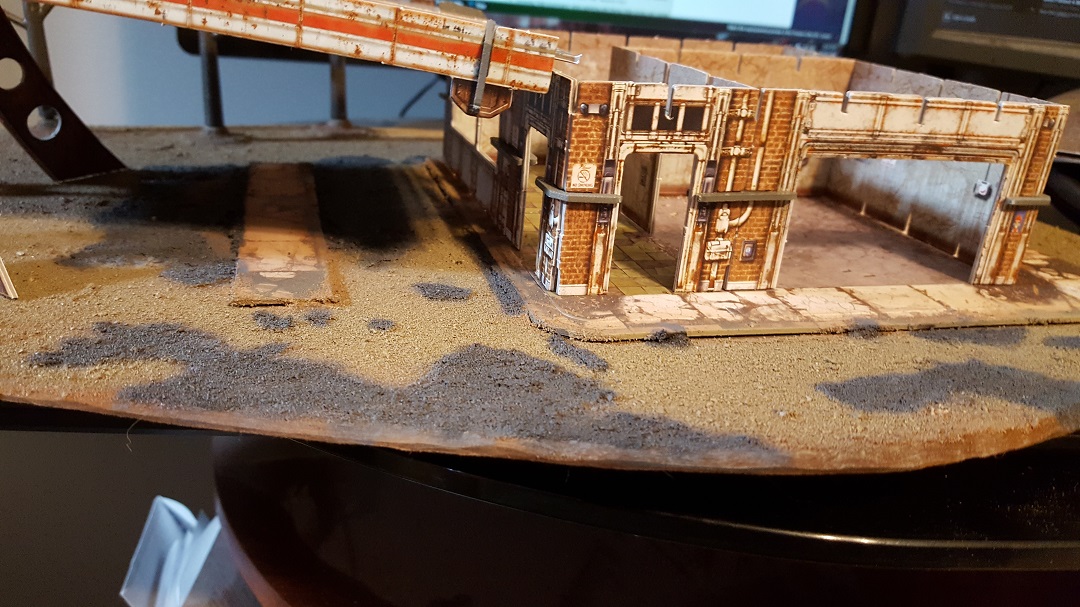
Once these were secured I used PVA glue to attach some sand to the base for texture. For this I took some regular PVA and watered it down (about a 2 to 1 glue to water ratio) this allows good coverage and adhesion. Be sure when applying it to get right up to and under the base of the station/island. For the sand I have a large bag of sand from my local hardware store that I have removed any moisture from. To do so just take an old baking tray and put them in the oven for an hour or so to remove any residual moisture, this gives better hold with the glue. I liberally poured sand over the entire base and set it out to dry.
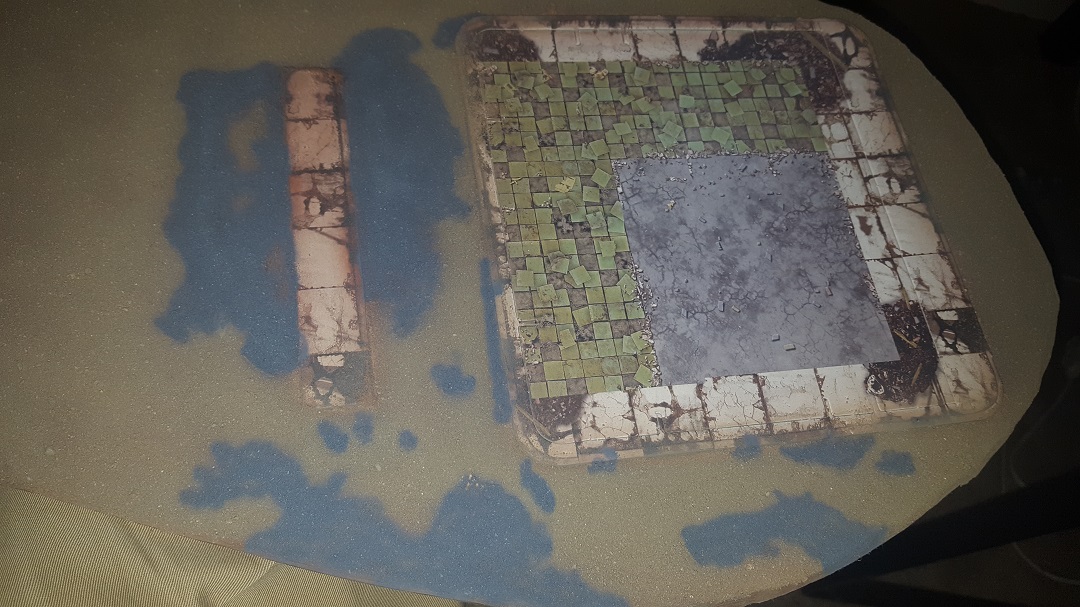
Once the glue dried I shook off all the excess sand, I then sprayed some sealant onto it removing any extra sand at the same time. This leaves some clumping but that is easily worked into the build later. I then used my airbrush to start coloring the base to blend it in with the mat colors, starting with a dark brown and then a lighter coating of sand over it. Note that while airbrushing not to get the color onto the card parts, rotating the piece to get color at all angles. Don’t worry if you get some overpray onto the card, this is the wasteland after all so it should not be perfect

Now I used some additional scenic parts to cover up some of the mistakes I made. When mounting the card to the board I got the angle wrong so it was off center, to compensate for this I added some trees and rocks on one side to balance it out. When the sand was applied some of it is more raised, almost like a 2nd level, and some patches of the board are visible after the airbrush work. To fix I airbrushed the raised parts gray as if residual concrete/tarmac and I placed rocks/scrub grass to cover any bare patches. In this way it is important to note that mistakes are not to be worried about, they can easily be corrected with additional details.


With everything mounted I did a final coat of sealant and it’s now ready to host my settlement!