Quick 2 well 3 actually 4 part 10mm painting tutorial
Recommendations: 107
About the Project
So how to paint figures and what is right and wrong way to do it probably accounts for more posts about wargaming and gaming than any other. So this is my way. It's quick and simple which is what you need for smaller scales
Related Genre: General
This Project is Completed
Part 1 ...Snappy title huh
Ok so for this I’m going to paint a single strip of Old Glory 10mm ancient Egyptian spearmen.
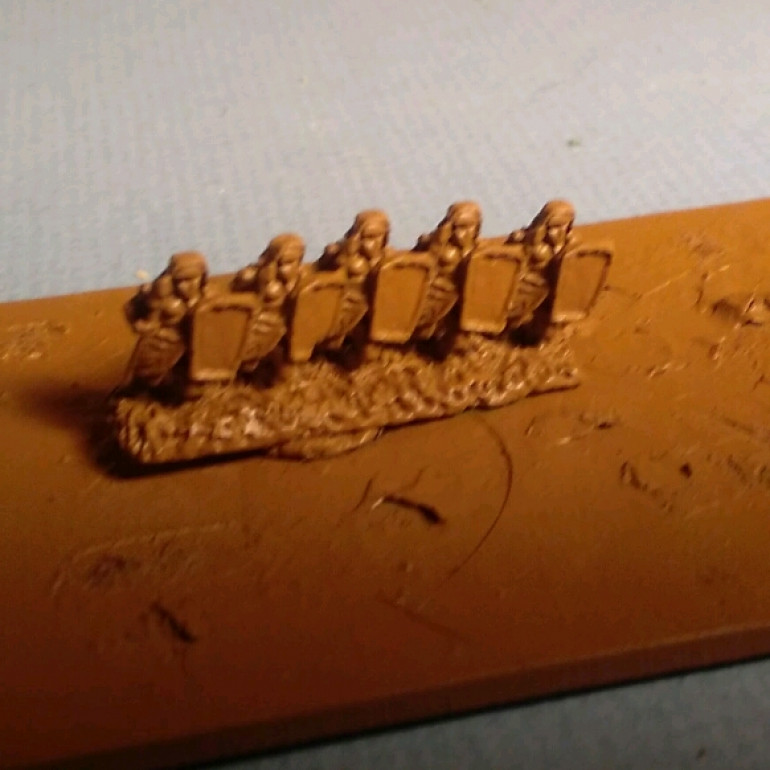
First up as per usual I’ve primed them . This time I’ve used an army painter brown. To be honest I’m not sure which one and it’s too cold to go outside again and look.
But after priming it looks like this
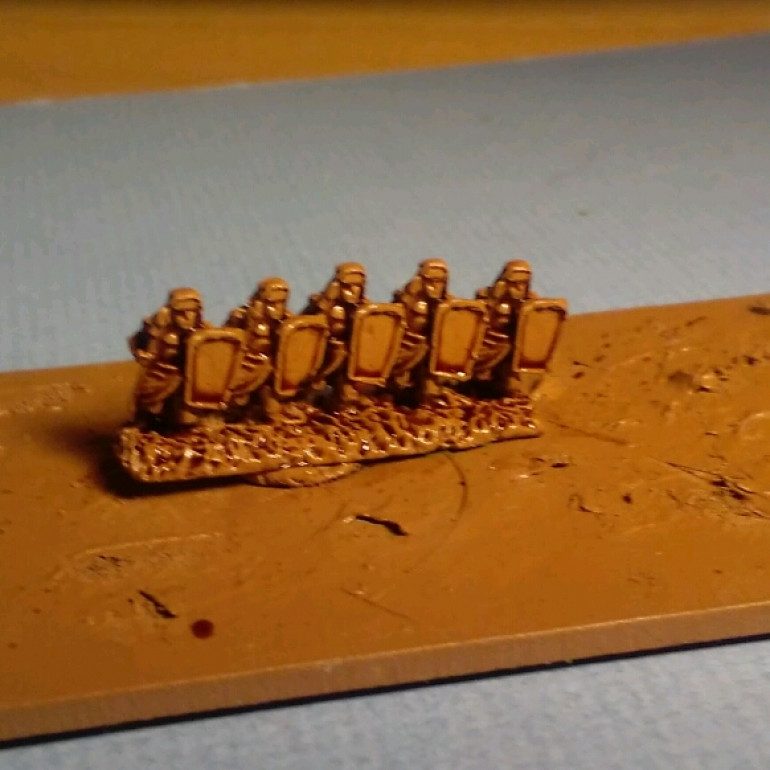
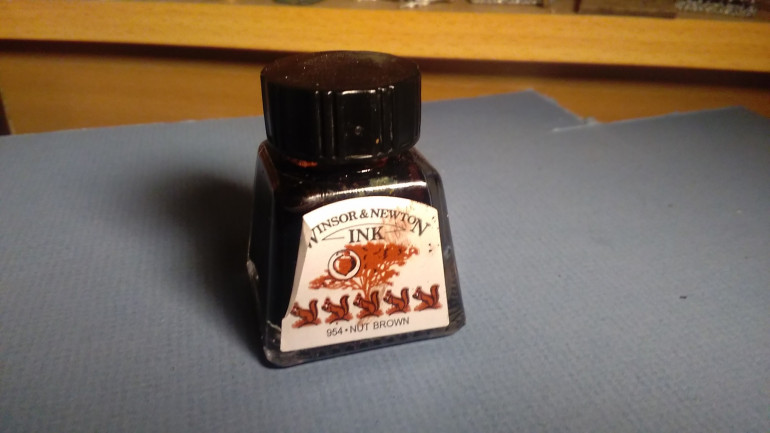
Once it’s dry we give it a wash to bring out the detail. I usually use Vallejo Shade black but I’ve run out and as the figure is sprayed brown I’ve used a Winsor and Newton Nut brown drawing ink and the figures should now look like this
And the product itself
For those of you who don’t like spoilers look away now
For the rest of you who don’t care there will be more exciting use of this product in Part 2
So that Part 1 finished while we wait for things to dry and then we get to the exciting colouring in stage
Part 2
Ok so due to time constraints this is going to be 3 parts
So today I painted the flesh and the linen
When I’m painting figures like these I would batch paint 3 strips at a time once I’ve primed and washed about 20. Doing three strips equals one base and stops me getting bored
For the linen and anything I want to be white I use Vallejo Deck Tan. I like the colour as it’s a little more muted than ordinary white which I think is a little stark. It will dry white though
For the flesh I usually use Dwarven flesh from GW but I ran out so went and got Barbarian flesh from AP. I think it’s the same colour and tone and looks fine
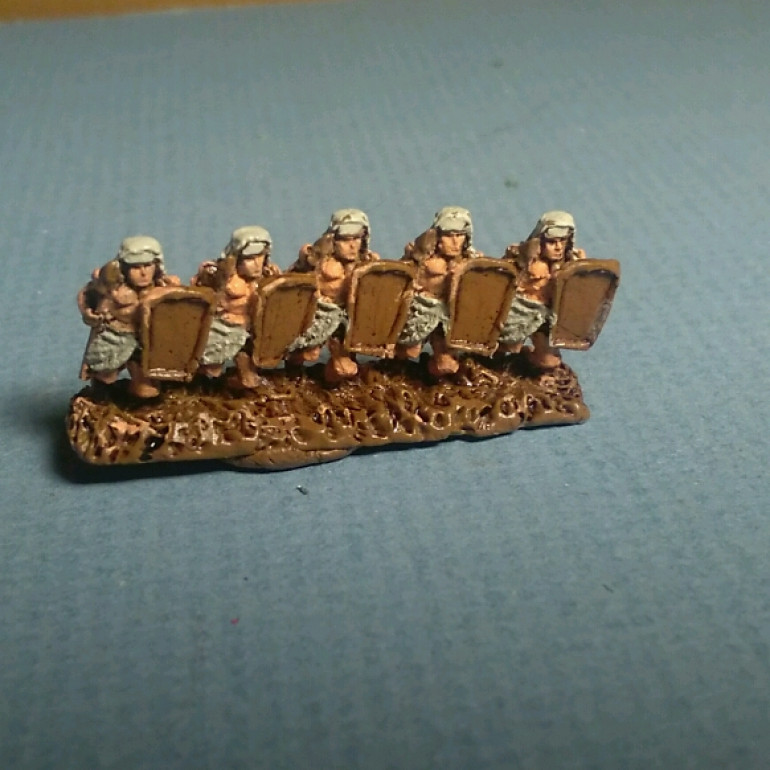
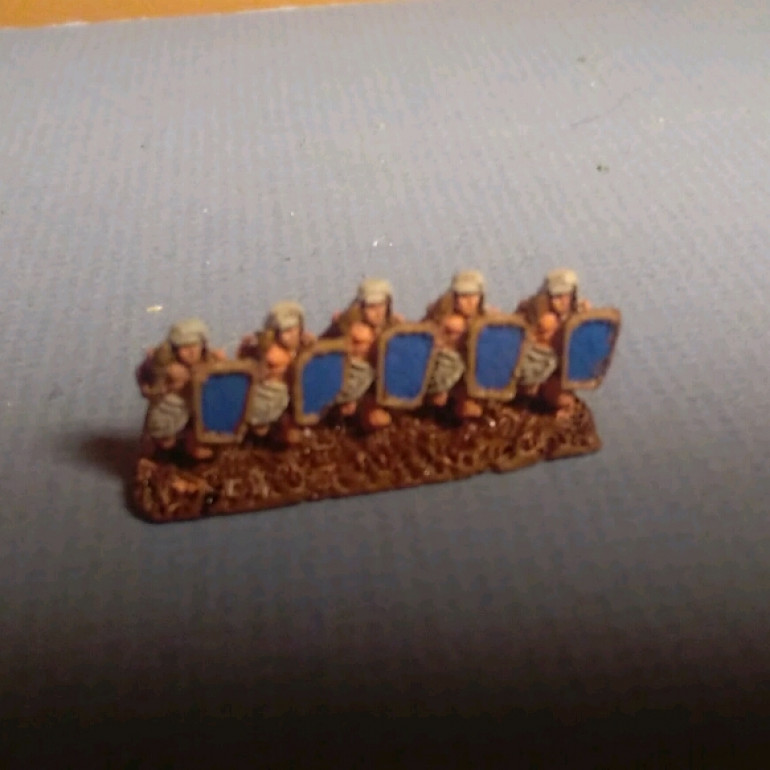
So here’s the progress so far .
So little bit more done
The light got a bit crap but I’ve basically finished the base colours
You probably can’t see it too well but the other painting colours were
Spear shaft Vallejo German Camo pale brown
Spear tip Vallejo Brass
Shield surround Vallejo Tan Earth
Shield Centre Vallejo Pale Blue
so tomorrow it’s wash ,highlight and the kilt and headpiece trimmed in red
Parte the third
So it’s time for the all important wash. I feel at this scale this is what makes or breaks the figures
Over the years I’ve found the W&N drawing inks the best. They dilute really well and don’t dirty the figure. If anyone wants to try these out be careful of the black as it’s very very black and will need diluted a lot
I find these inks work well if your making up future washes
I find when I wash figures it’s very easy to make the inks to dark. My advice for what it’s worth is dilute the ink try it out on something white then dilute it some more. It a lot easier to darken again later if required than to try and lighten it.
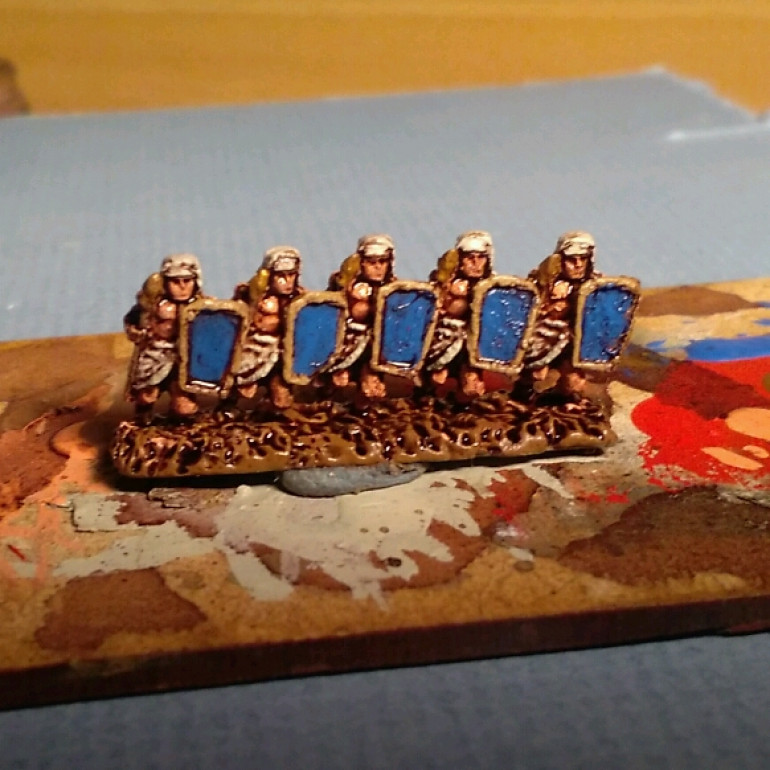
Without further to do here’s the finished models. Once it’s dry I will do some minimal highlights. After that I’ll add some red to the bottom of the kilt. Doing these after the wash helps them stand out a little more on the tabletop
The End
And we’re done.
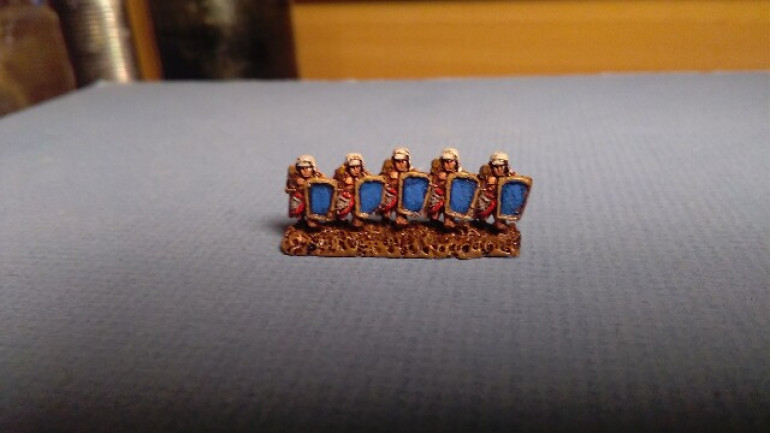
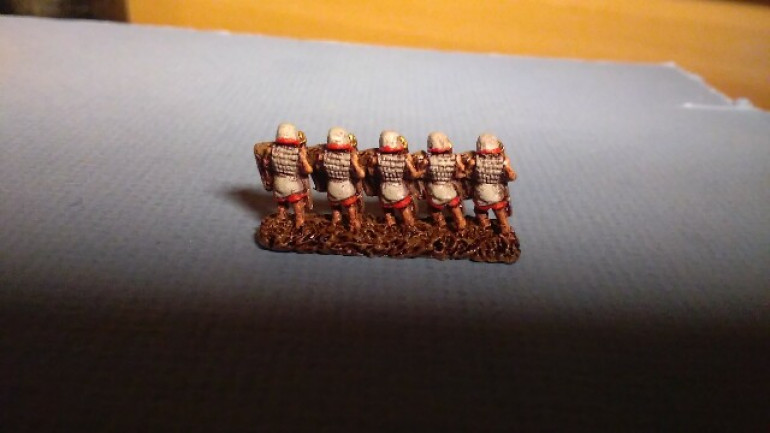
Some highlights were added to the linen and the blue of the shield and some red added in the form of Dark Vermilion
All that needs done now is some Matt varnish
I guess actual painting time not counting drying time was about 10-15 minutes. This of course reduces when you paint in batches
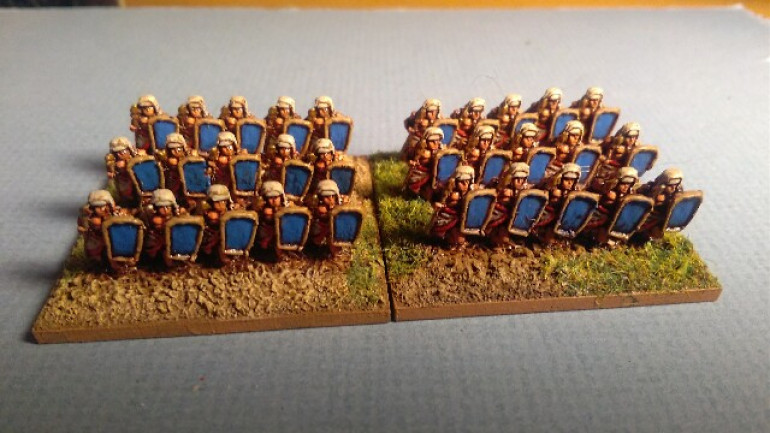
So the finished result
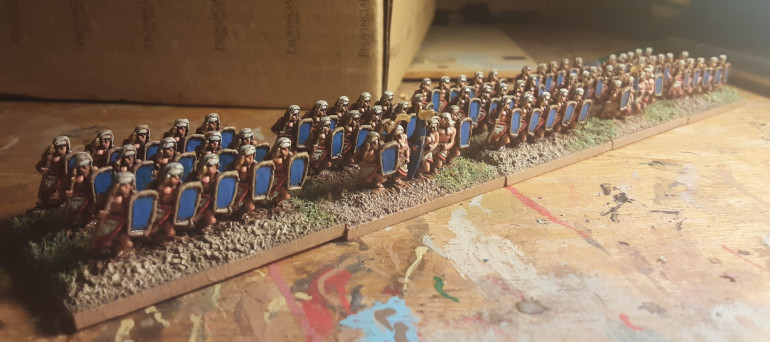
And once you’ve done a few they end up like this
Hopefully it might encourage some to have a go at some smaller scales


