


![How To Paint Moonstone’s Nanny | Goblin King Games [7 Days Early Access]](https://images.beastsofwar.com/2024/12/3CU-Gobin-King-Games-Moonstone-Shades-Nanny-coverimage-225-127.jpg)


Darkstar Battle Report


Recommendations: 90
About the Project
With Oriskany publishing Darkstar I decided to play some games. After the first game I decided to write up a Battle Report for OTT. Check out the Darkstar project here https://www.beastsofwar.com/project/1185947/ Donate to Oriskany here https://www.paypal.com/pools/c/8a4bNfihFE to support this fantastic project.
Related Company: OnTableTop
Related Genre: Science Fiction
This Project is Completed
A Nice Surprise
@oriskany has finished his Darkstar book and as one of the people who backed it I got a brand new copy of Darkstar in my inbox this morning at 9 am.
I didn’t want to waste any time and it just happened that my friend who was interested in Darkstar was free so we played a game using the Steam game “Tabletop Simulator”. I mixed and mashed a few different mods together and we quickly played our first game.
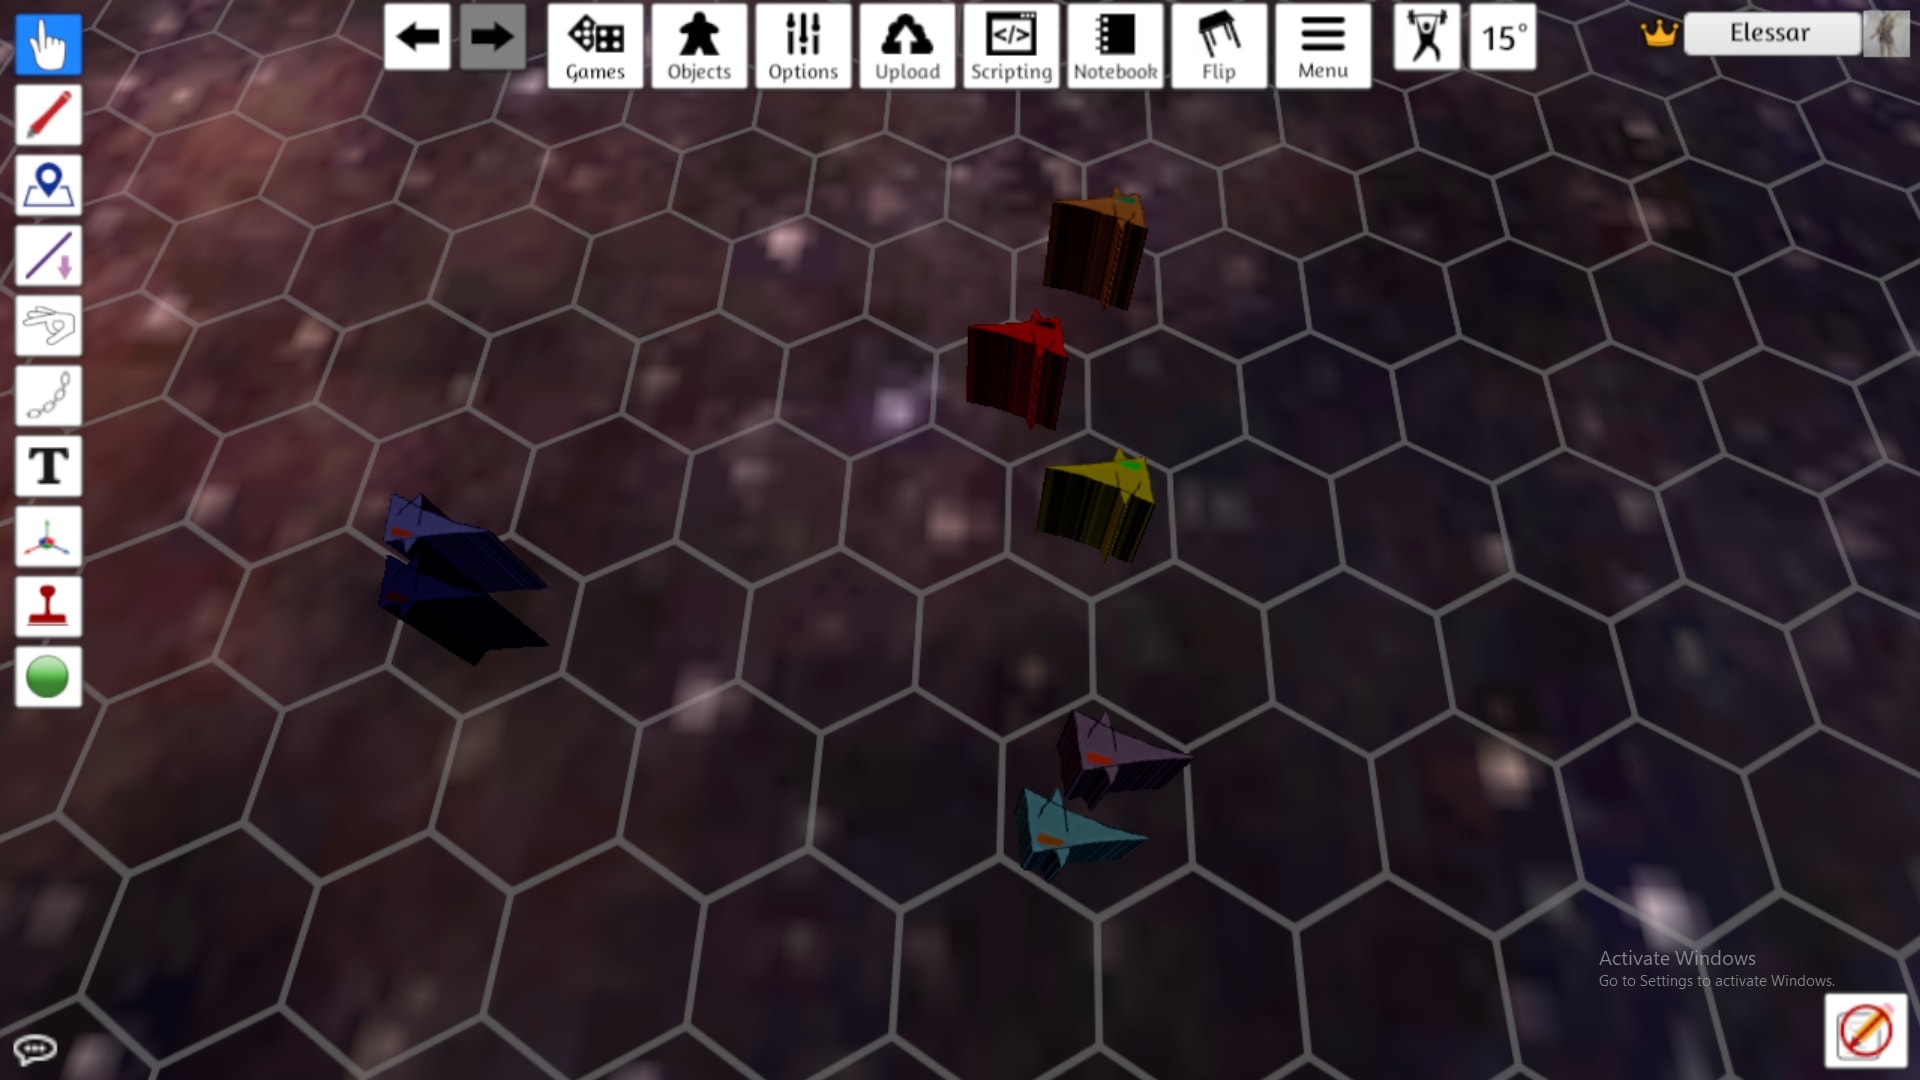
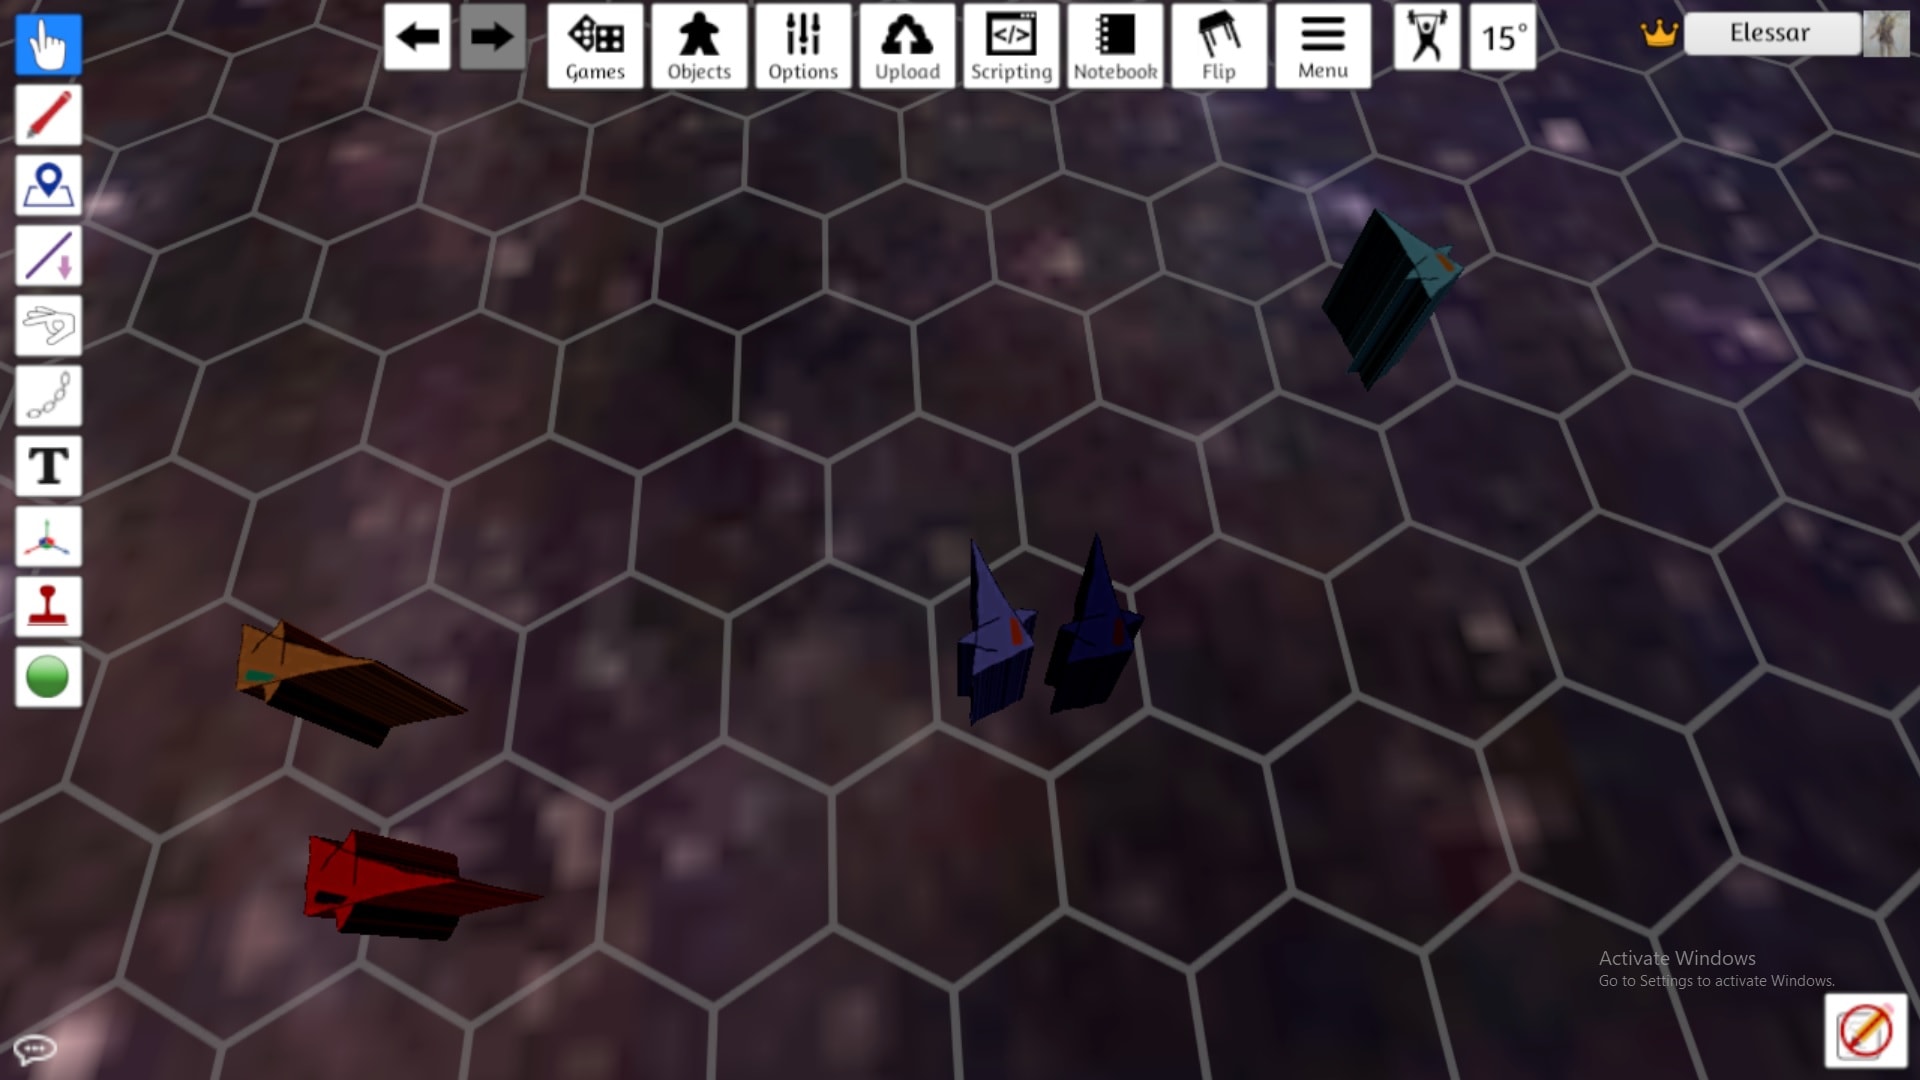
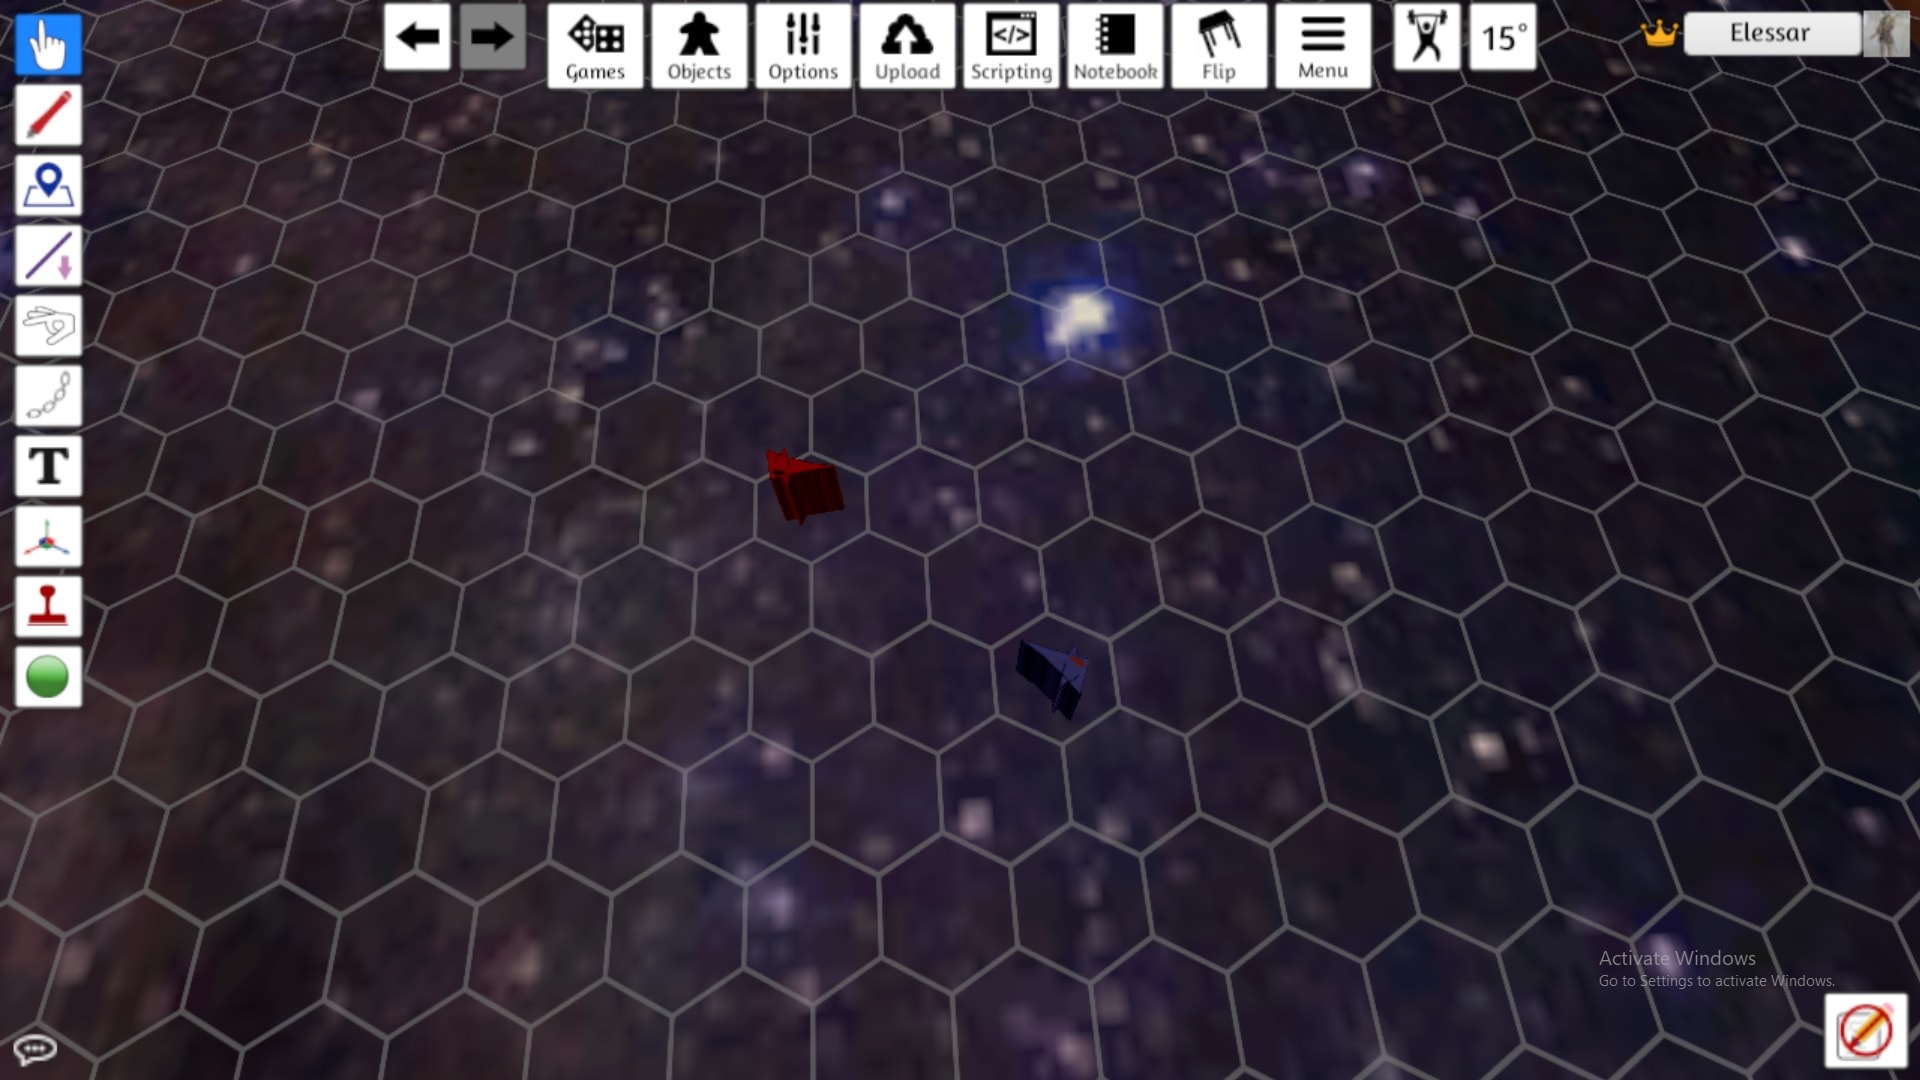
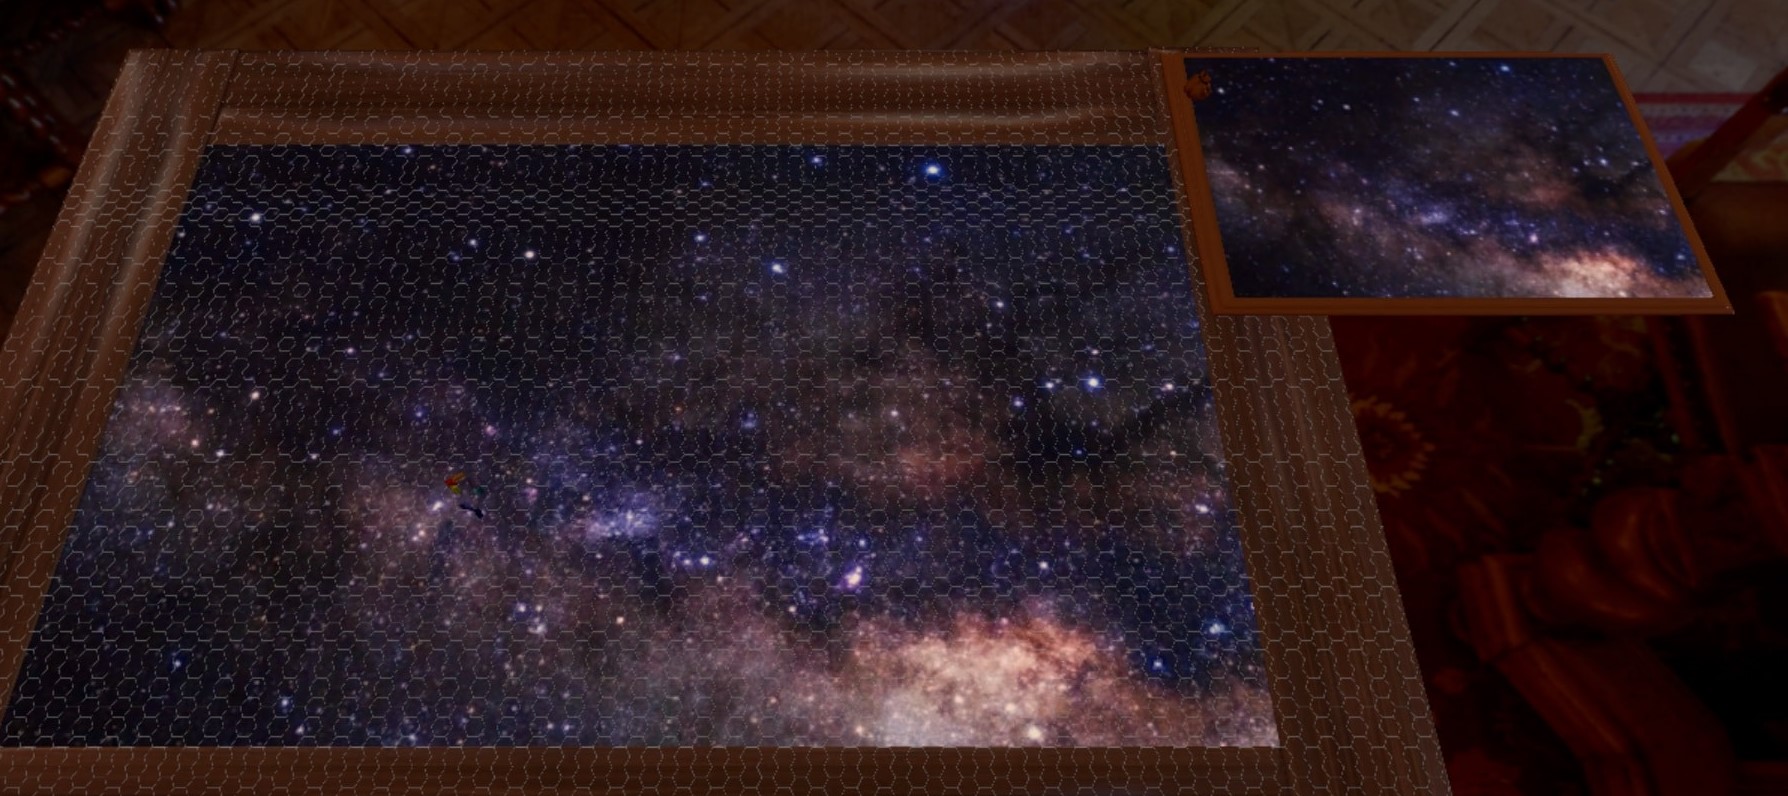 Look closely to the left and you can see the ships. This was a big board.
We decided to play the first scenario named: Cruiser Clash At Contested Gas Giant Moon.
We only took out all the extra rules but kept the ships the same.
The USA is attempting to land Marines on the moon while the Prussian’s are trying to stop them. Your classic “Kill the other guy” Scenario and in my opinion the best way to learn Darkstar.
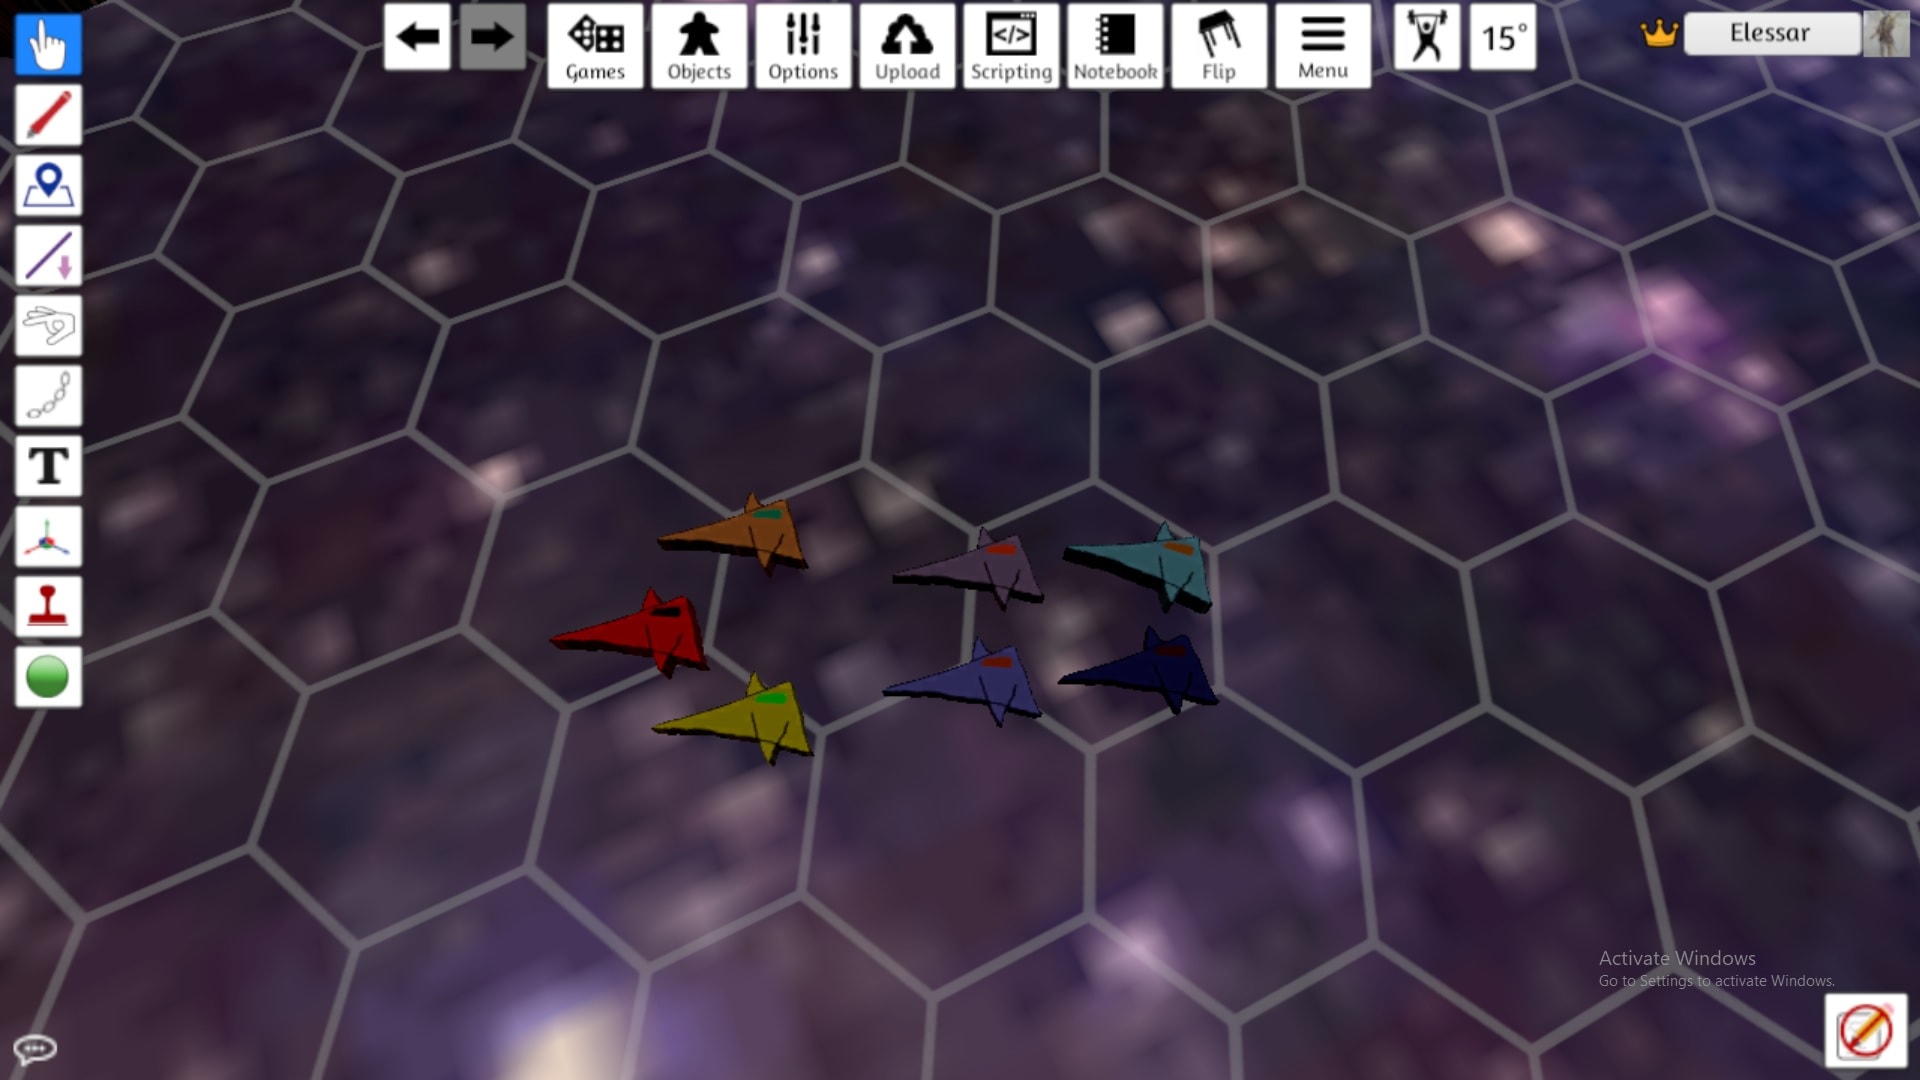
In Red we have the Squadron Leader the USS Nashville Light Cruiser
In Orange we have the USS Walsh the Destroyer
In Yellow we have the USS Trenton the Destroyer
In Dark Blue we have the Squadron Leader KMS Königgratz the Light Cruiser
In Medium Purple we have the KMS Leuthen the Light Cruiser
In Light Blue we have the KMS Koblenz the Frigate
In Light Purple we have U-103 a Corvette
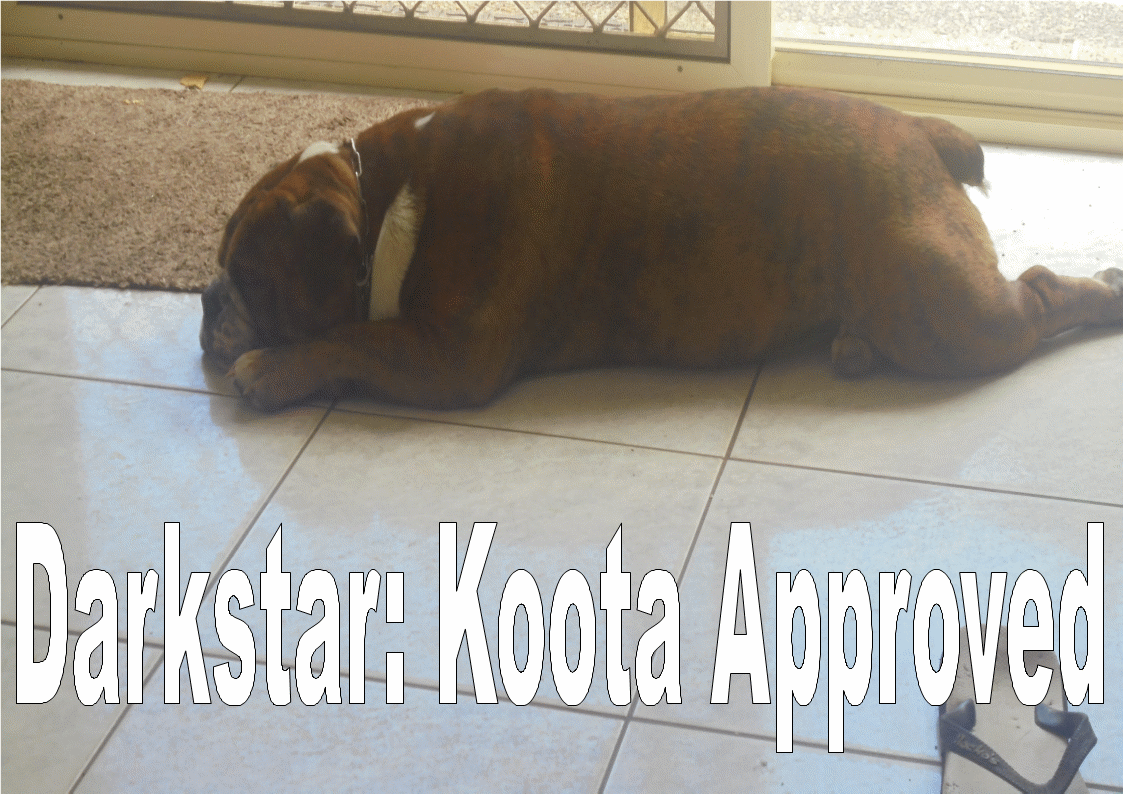
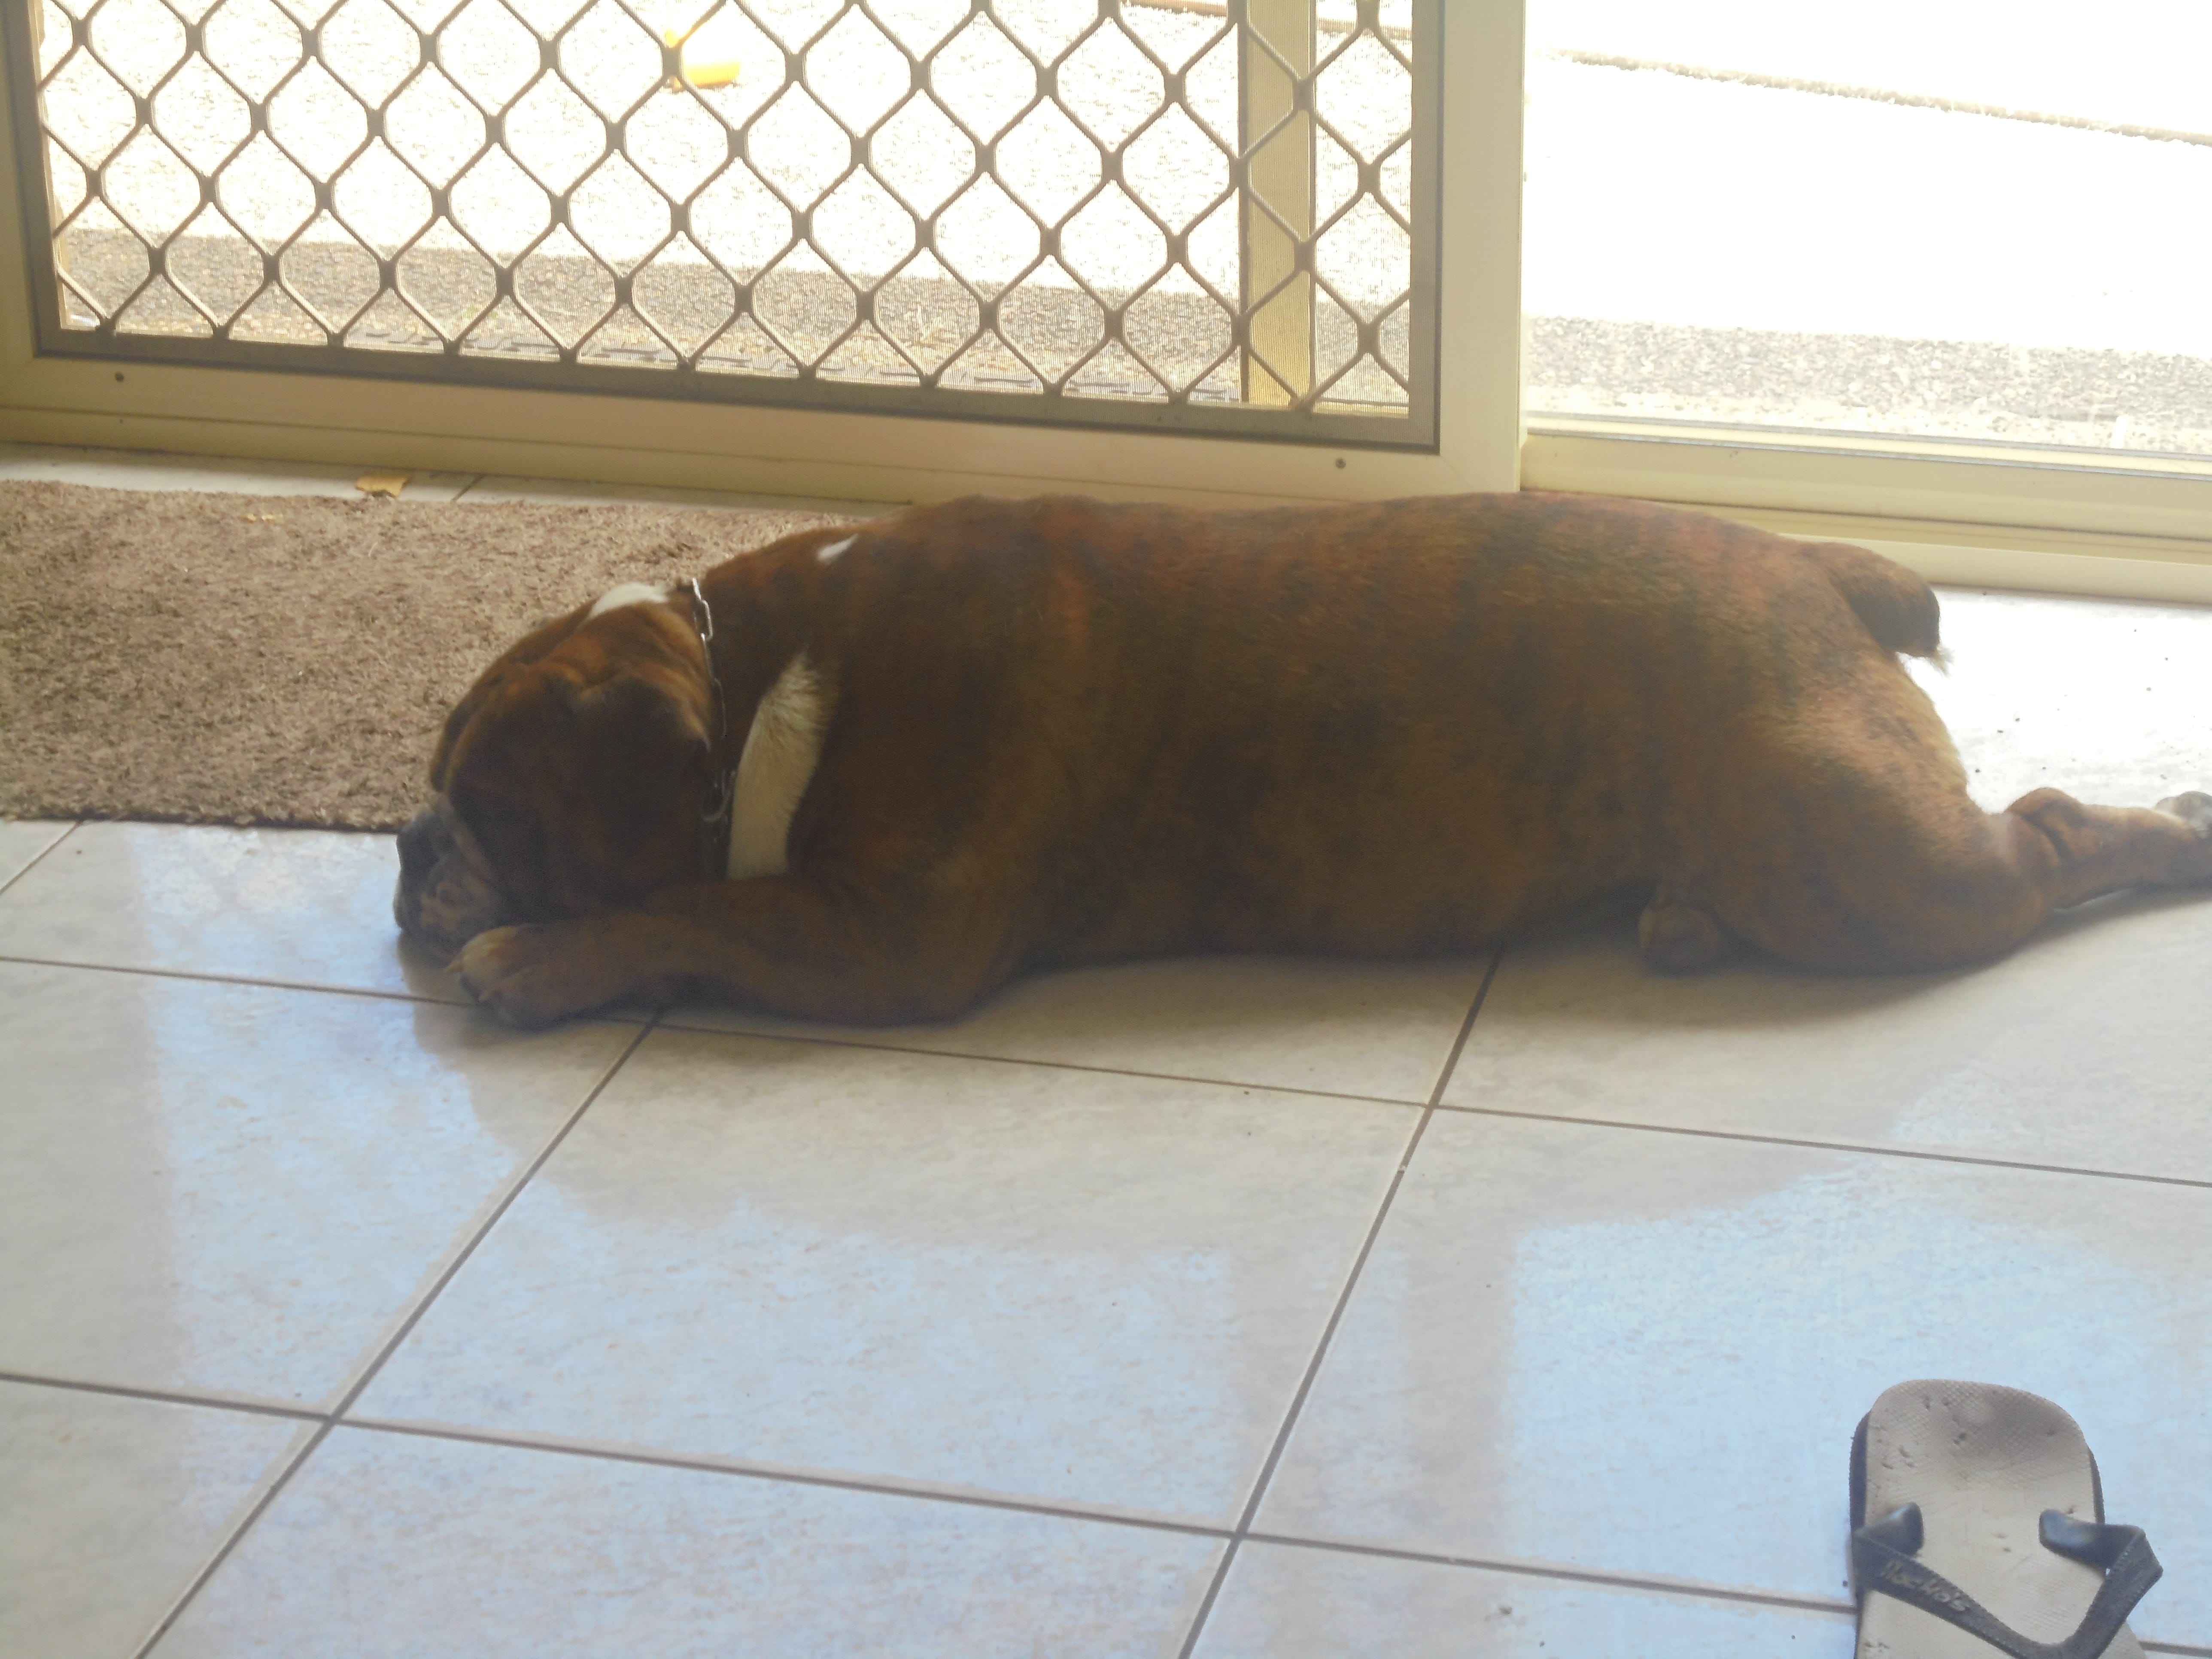 My English Bulldog Koota heard us so came in to see what was going on but when he found out the Royal Navy was nowhere in sight he decided to have a sleep.
The First Turn
The US (Me) decided to deploy his ships in an arrow head formation with the USS Nashville as the tip.
The US moved onto the board at Velocity 12 which I’ve decided is my utmost limit for a starting Velocity on my virtual table.
The Prussians decided to split her ships into two groups with the KMS Königgratz and KMS Leuthen on he left flank and the KMS Koblenz and U-103 on her right.
The Prussian’s came screaming onto the board at a blistering Velocity 14.
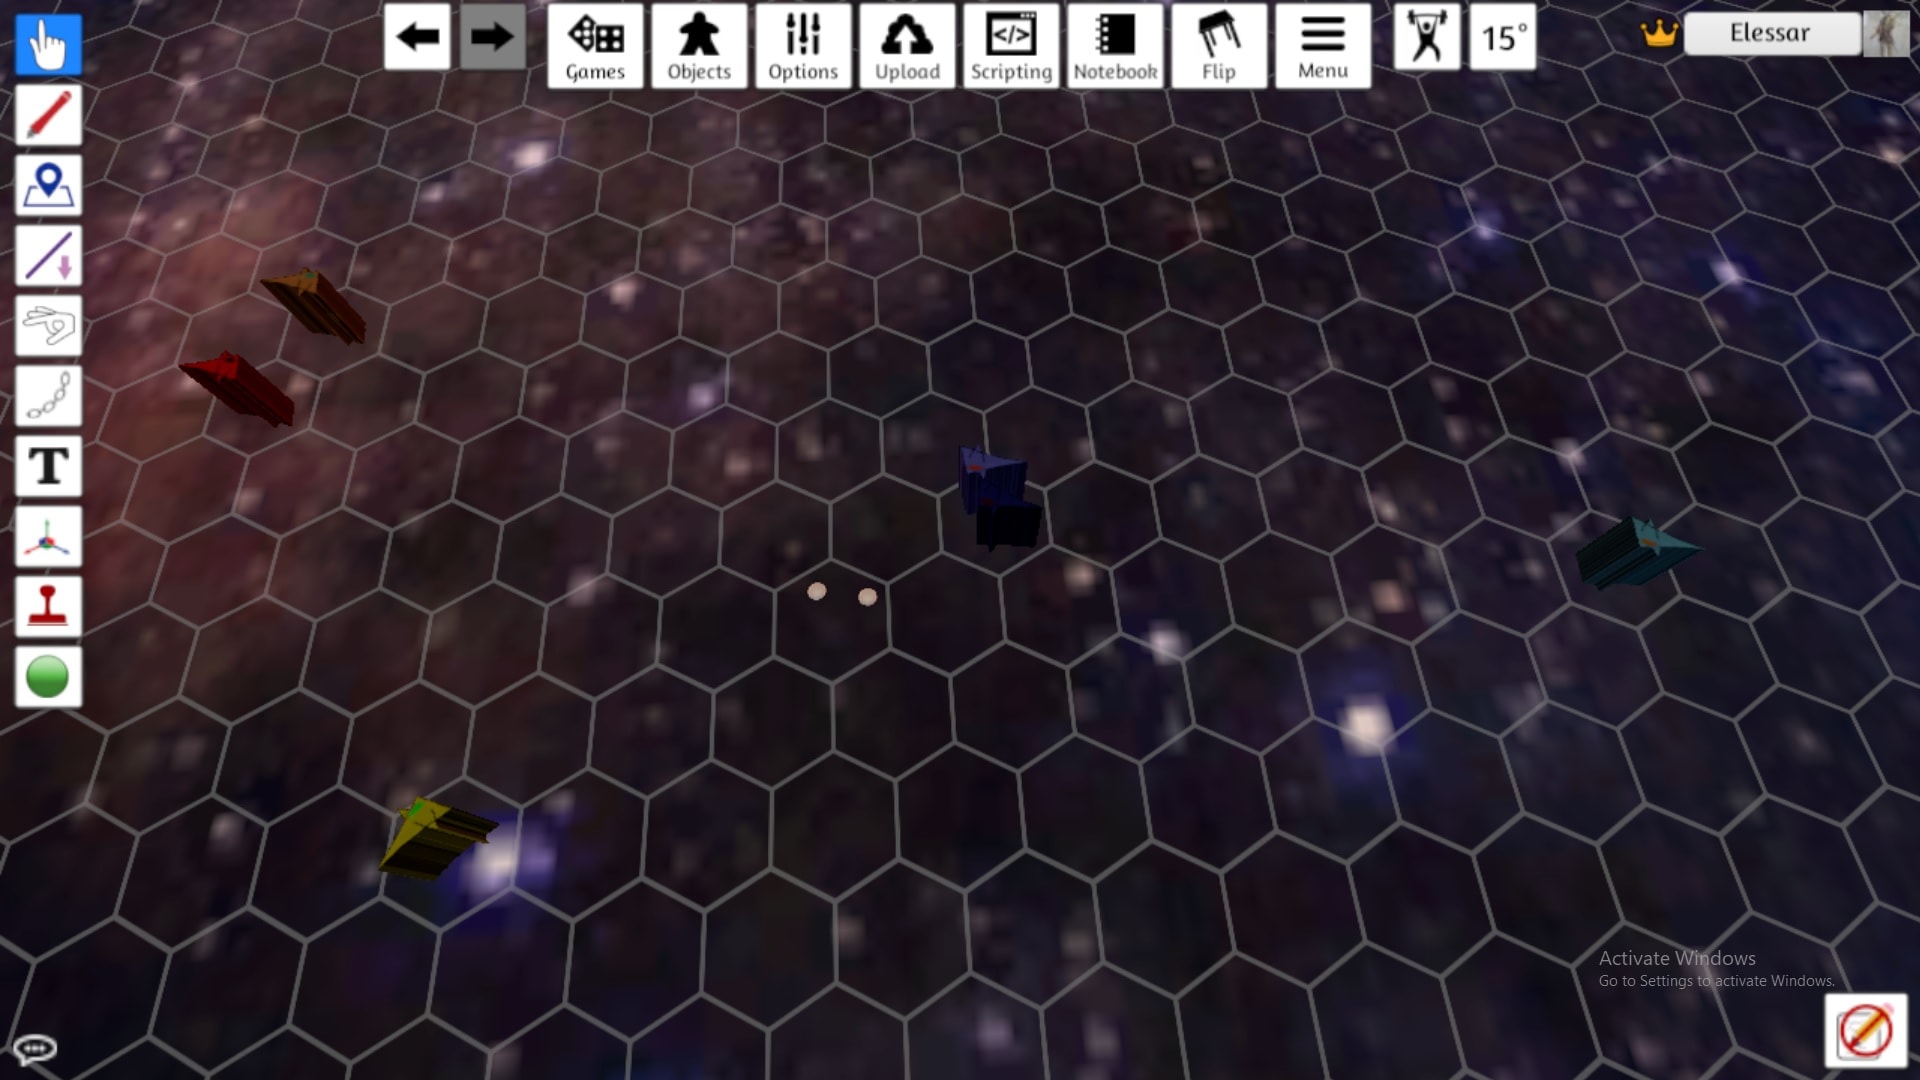
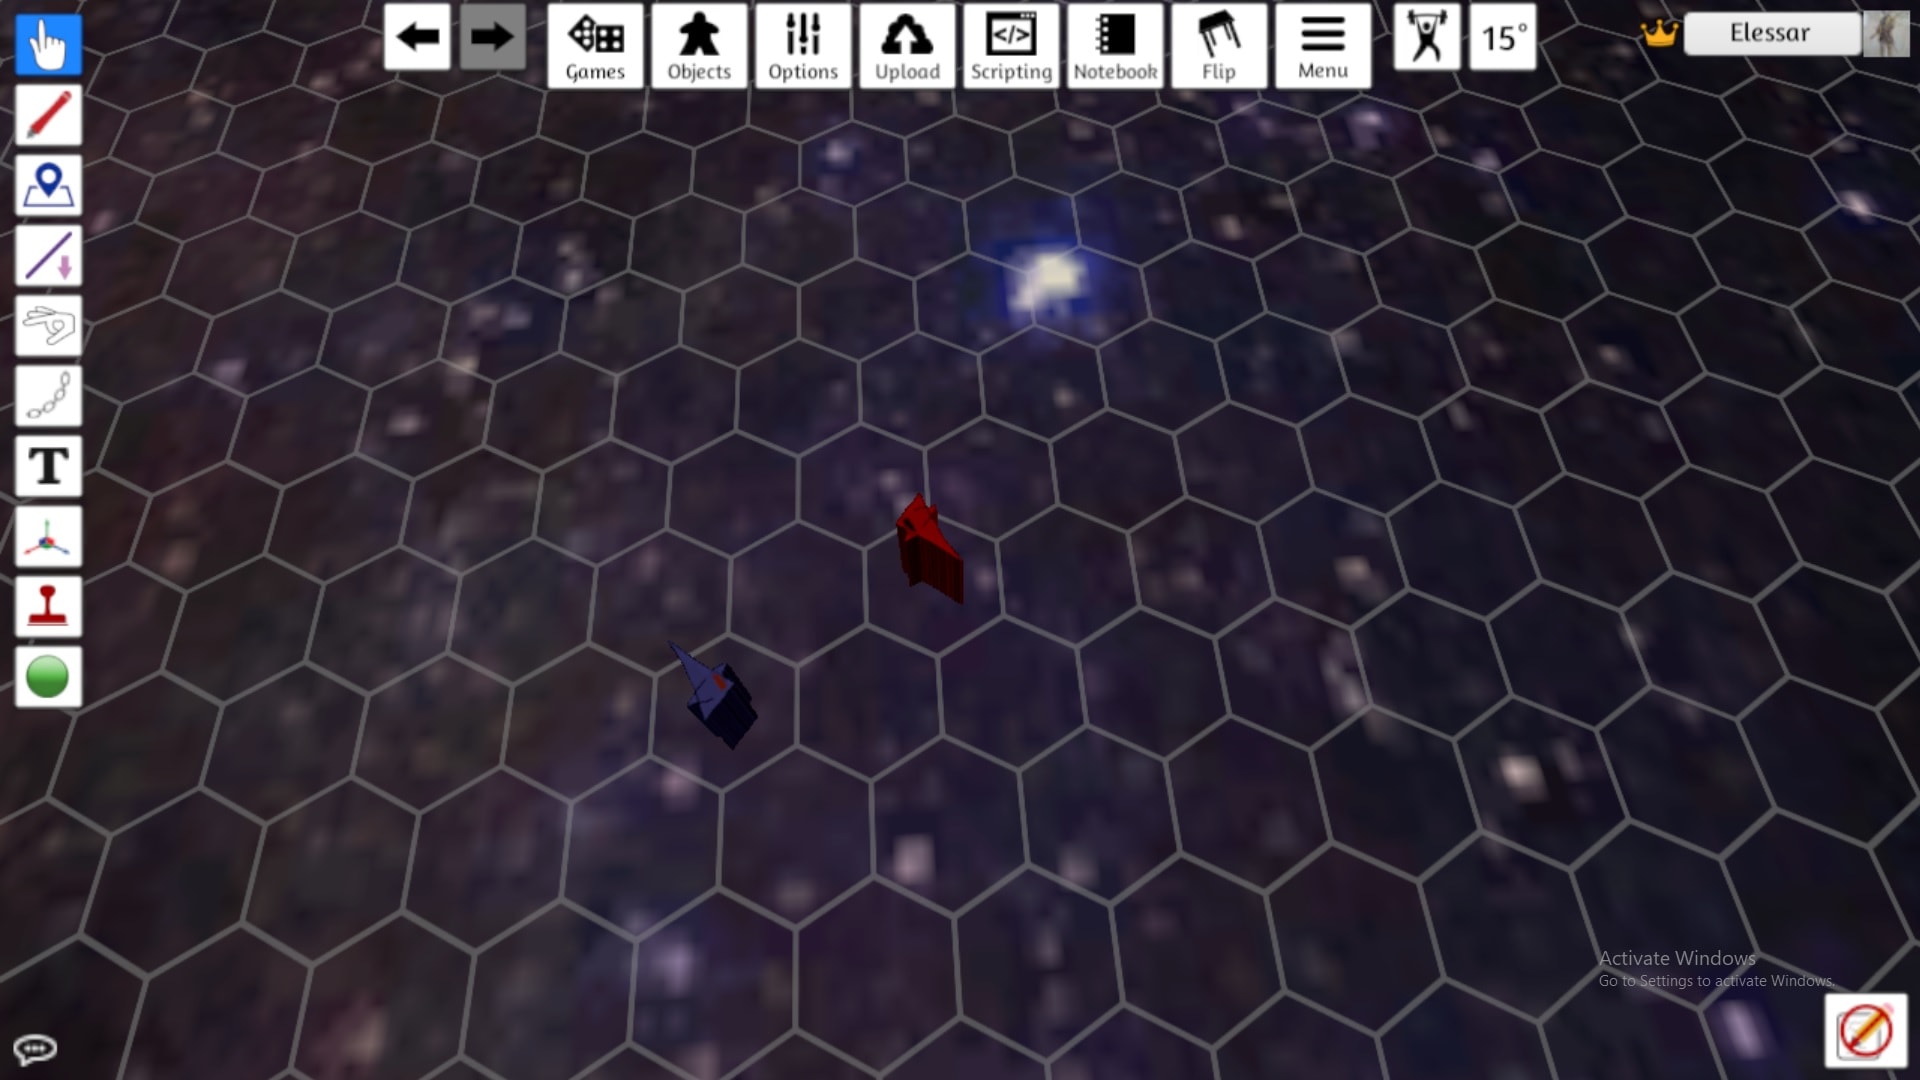
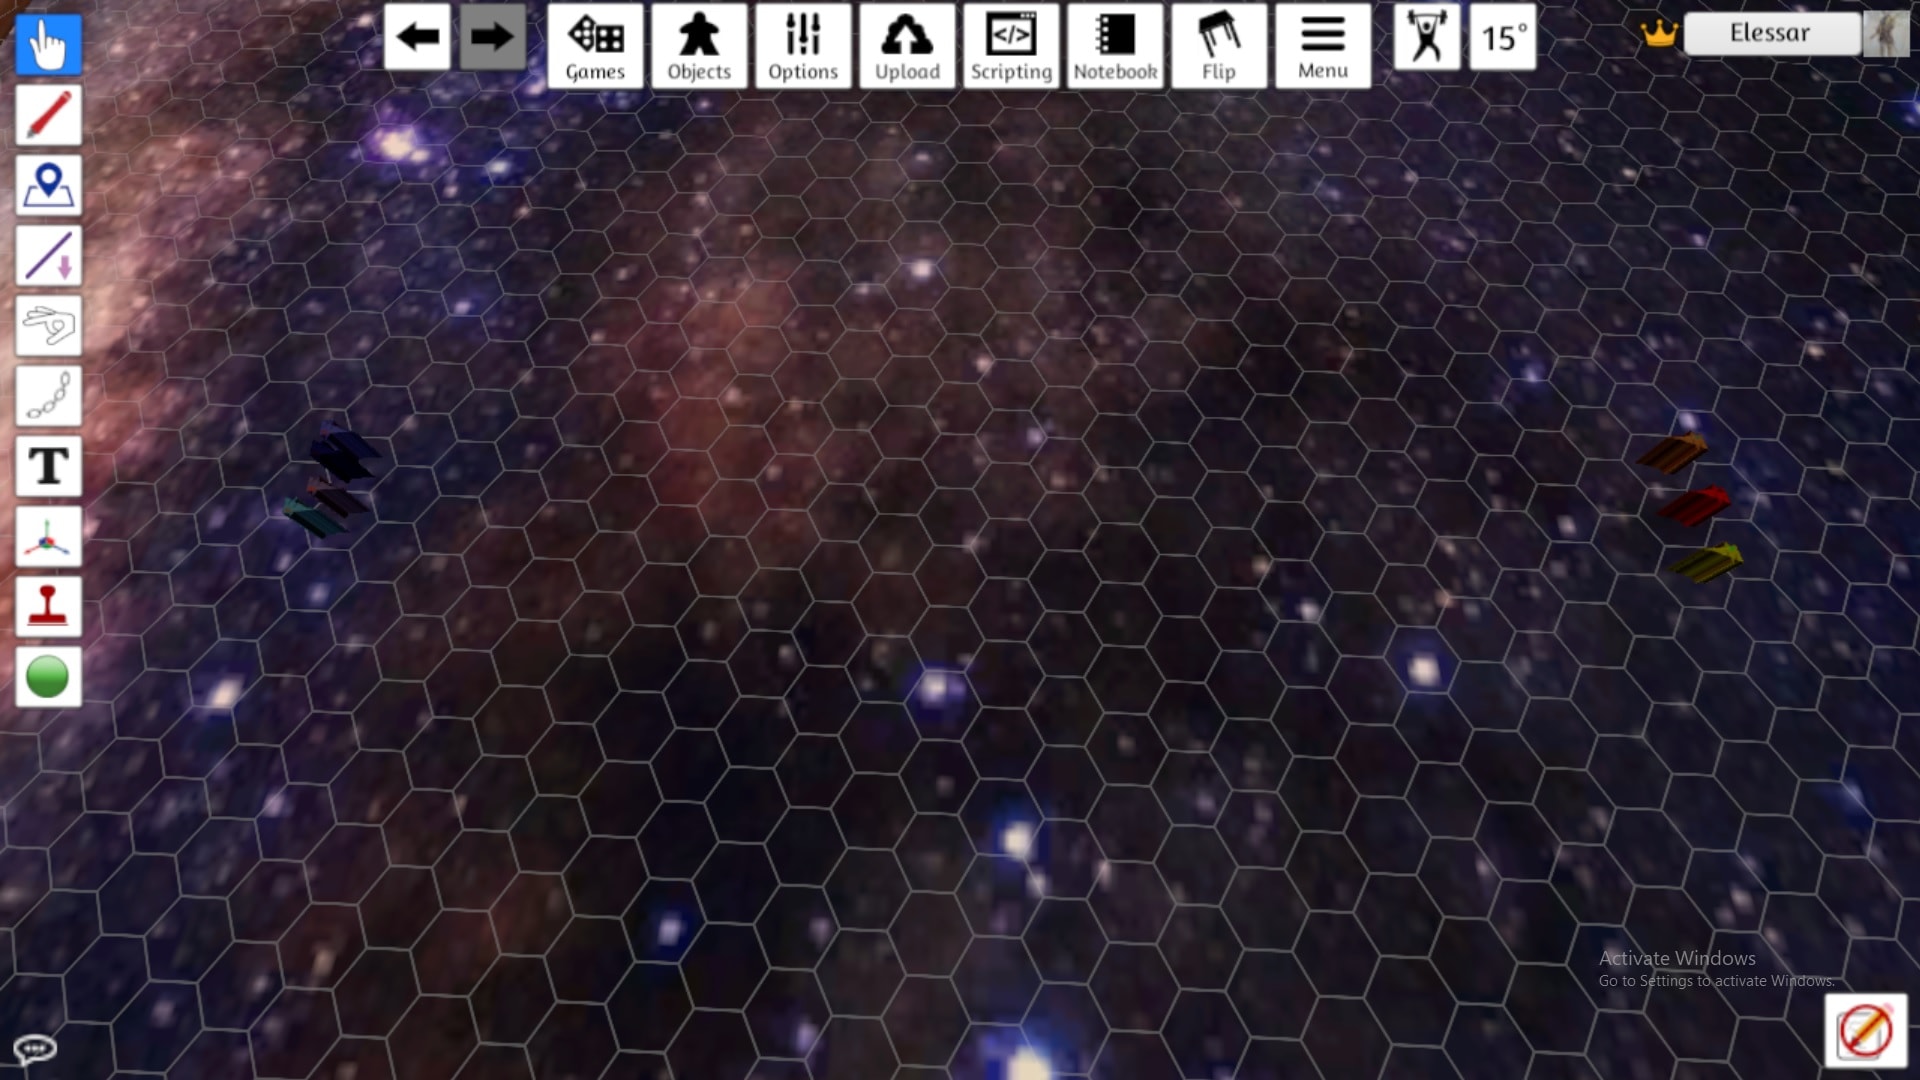 Excuse the Hexes we realised they were wrong and changed them during turn 2
All the Weapons were out of range so there was no firing and no one wanted to use their torpedo’s.
I’ll post the Turn order and Velocity of the ships here for completeness.
Turn Order
1. U-103 (12)
2. Nashville (12)
3. Koblenz (11)
4. Koiniggratz (10)
5. Walsh (9)
6. Trenton (8)
7. Leuthen (6)
Starting Velocity
1. Koiniggratz = 14
2. Leuthen = 14
3. Koblenz = 14
4. U-103 = 14
5. Trenton = 12
6. Nashville = 12
7. Walsh = 12
The Second Turn
The US advanced steadily but the Prussian’s managed to pull off a daring maneuver. they slowed their main force while U-103 and KMS Koblenz flanked the USS Trenton.
Turn Order
1. U-103 (16)
2. Koblenz (13)
3. Trenton (10)
4. Nashville (10)
5. Walsh (9)
6. Leuthen (8)
7. Koiniggratz (6)
Velcoity
1. Koiniggratz = 10
2. Leuthen = 10
3. Koblenz = 14
4. U-103 = 14
5. Trenton = 10
6. Nashville = 10
7. Walsh = 10
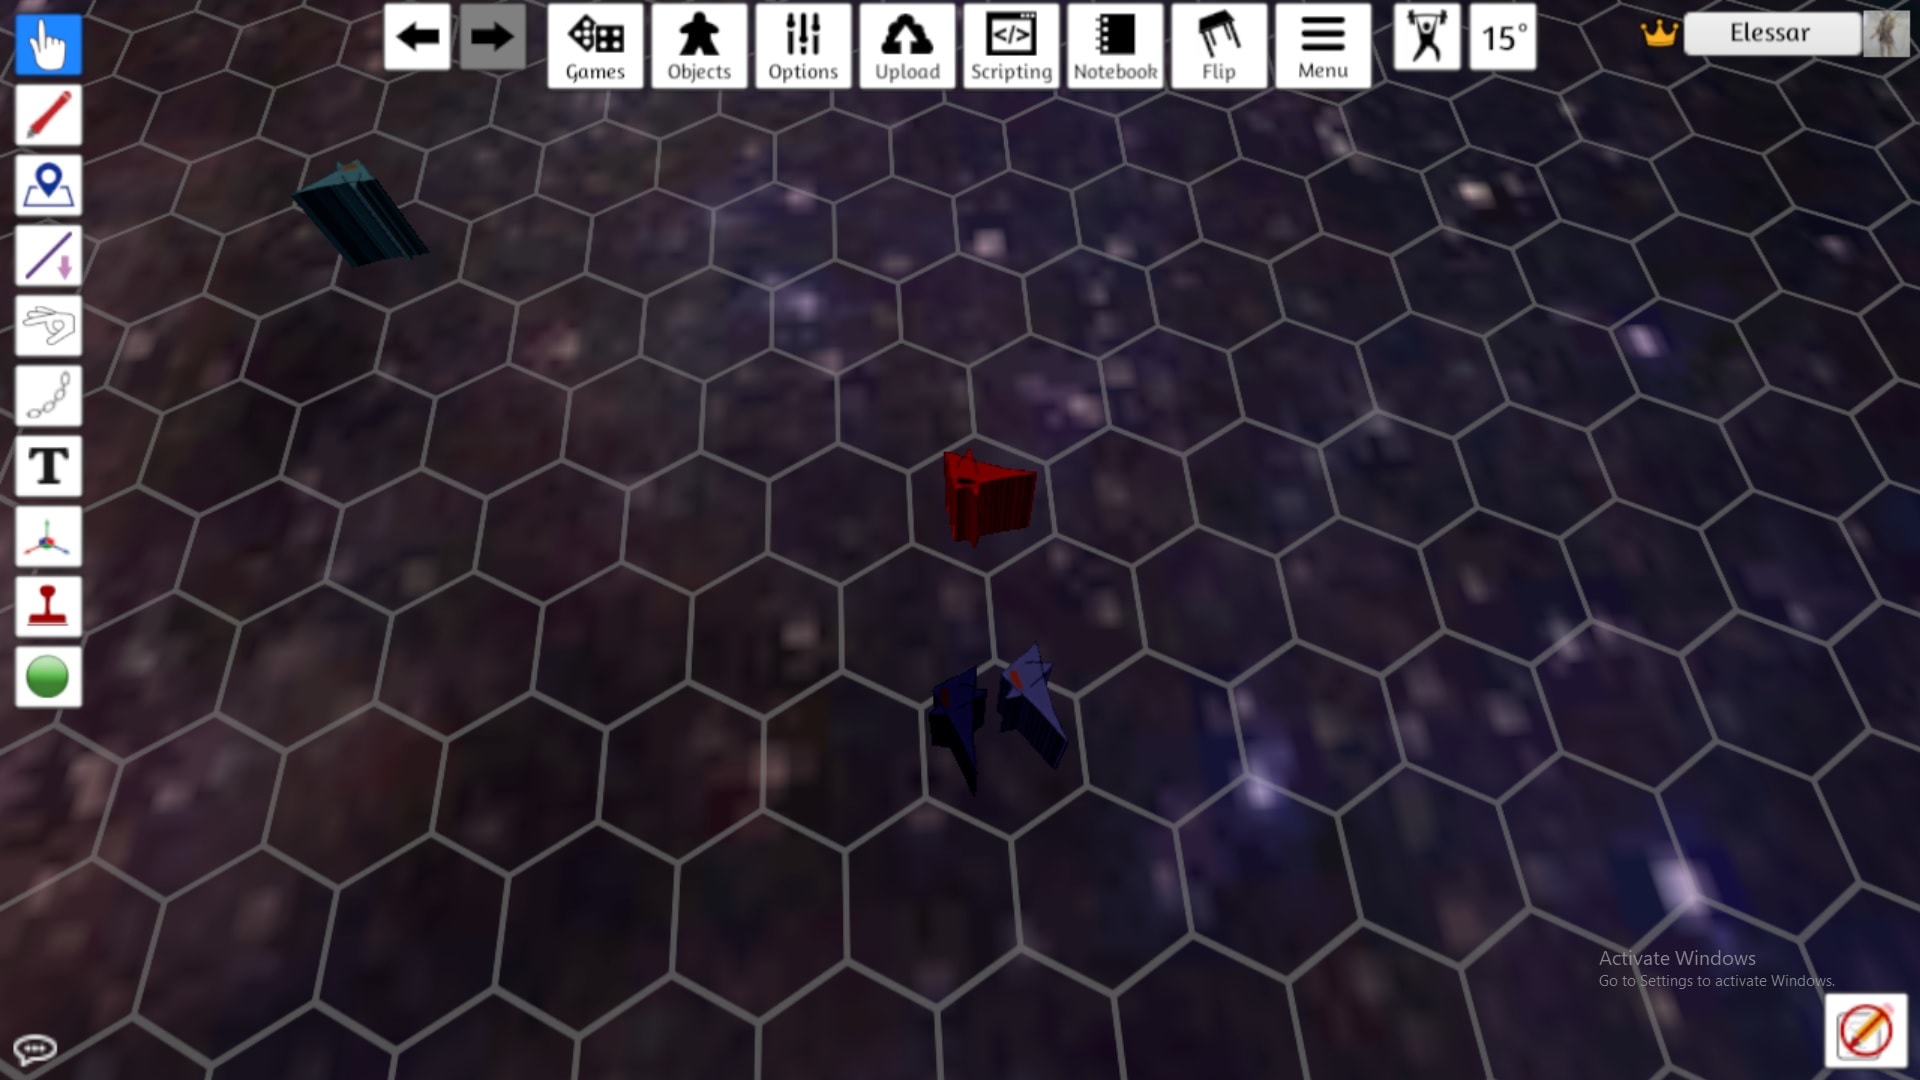
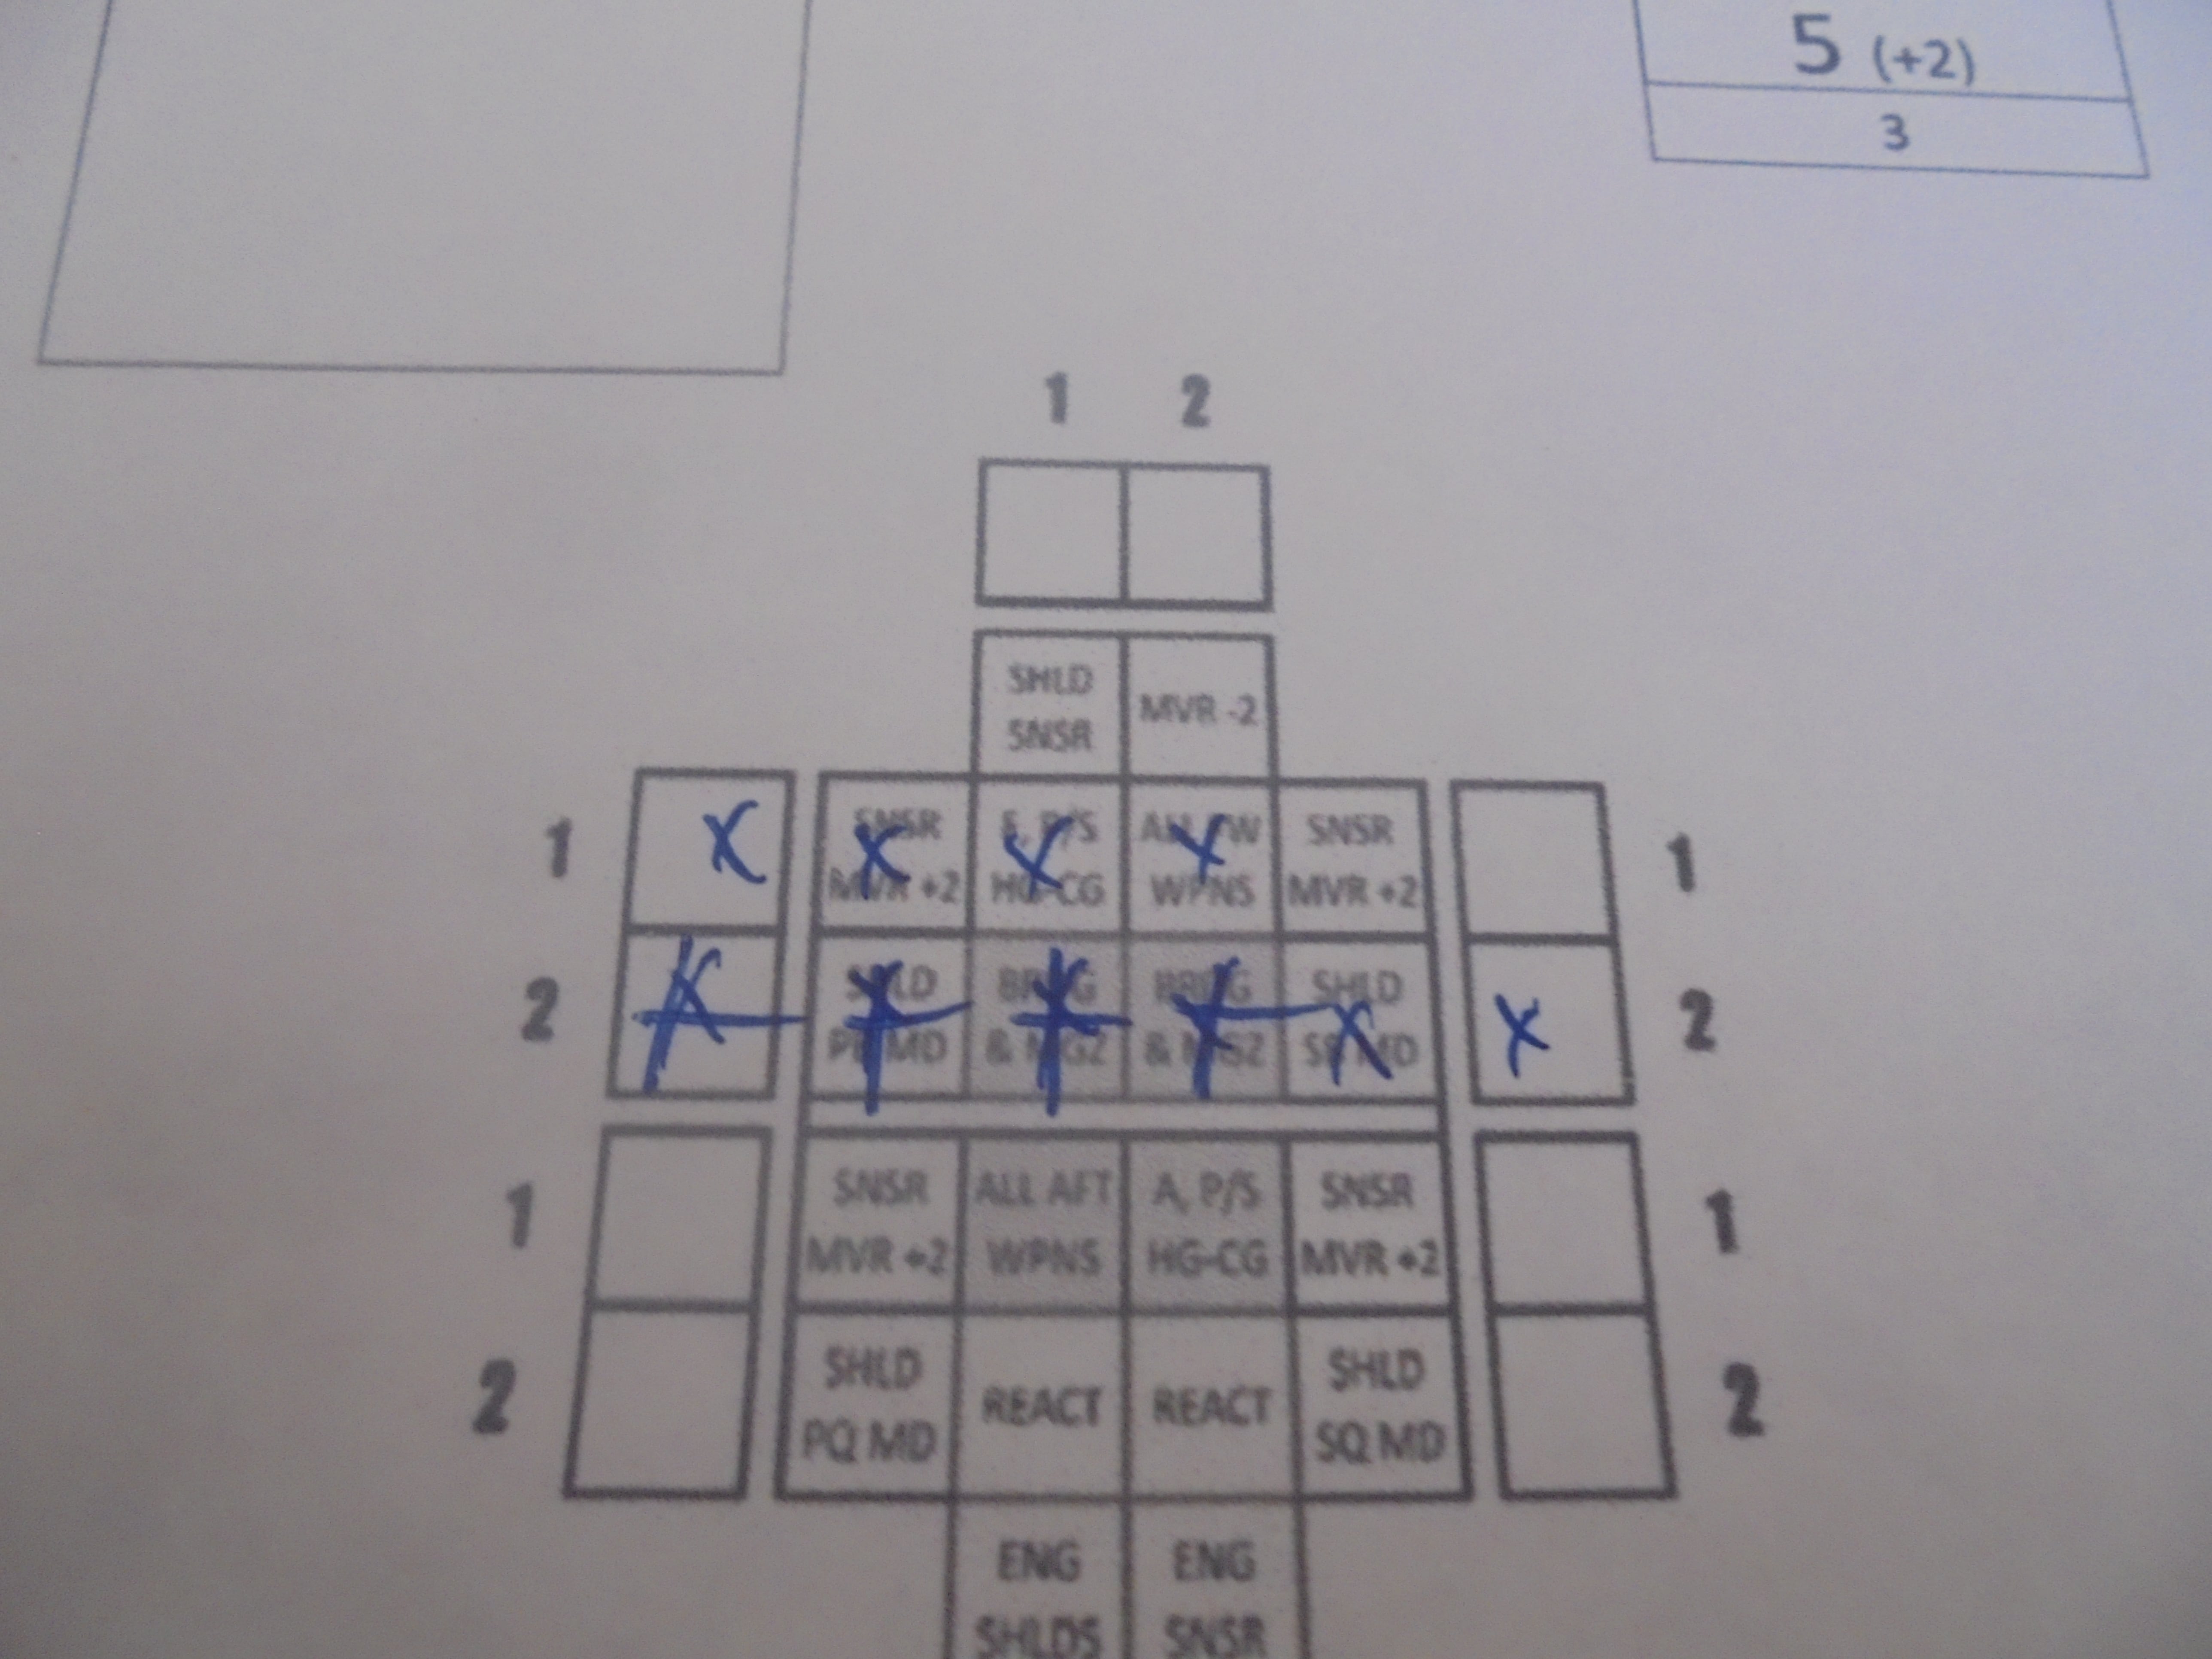 Poor U-103. Ignore the X they are from an earlier game we used + in this game. We could not find a single marker in the house.
Trenton fires Railguns at the Koblenz and lasers at U-103. Koblenz is almost cut in half. All hits in number 1. U-103 takes both hits in number 2 and loses it’s bridge/magazine. The U-Boat was cut in half and destroyed. All souls lost.
Nashville fired at the Koiniggratz with Terravolt EPC’s. Both hits get to within 1 box of both the bridge and magazine.
Koiniggratz fired at the Nashville with Railguns. The Nashville’s Port Hanger is destroyed but nothing major.
Walsh fired at the Koiniggratz with Railguns and Lasers. Very little damage is done and all to the forward armour.
The Luthern fired at the Walsh with Railguns. Minor damage was done due to a lot of misses.
KMS Koblenz fired two torpedos.
 True to Form the German U-Boat was the first to go
The Third Turn
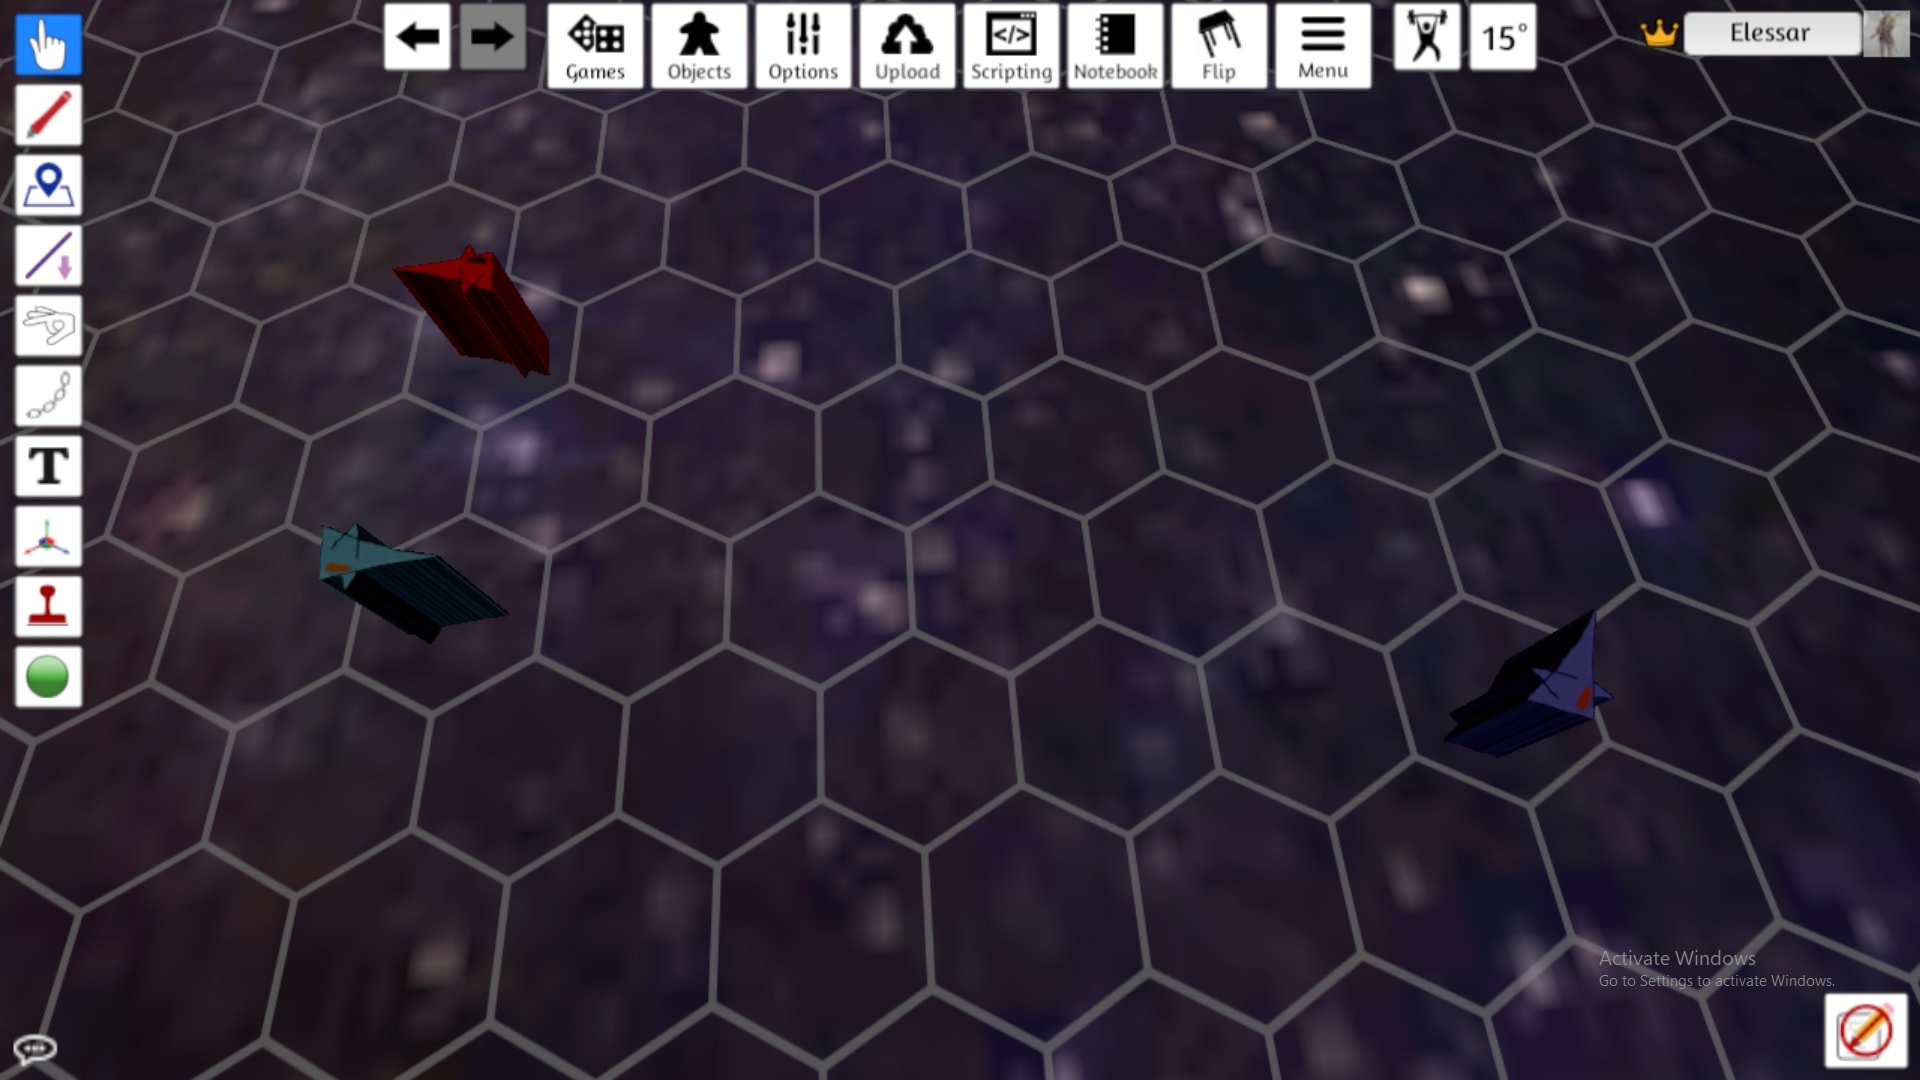
 Woops
WoopsTurn Order
1. Trenton (13)
2. Nashville (12)
3. Walsh (12)
4. Leuthen (10)
5. Koblenz (10)
6. Koiniggratz (7)
Velcoity
1. Koiniggratz = 5
2. Leuthen = 5
3. Koblenz = 10
5. Trenton = 5
6. Nashville = 5
7. Walsh = 5
 Launch Torpedoes!!!
The USA rolled extremely well and slammed on the brakes. The Prussian’s did the same thing only with worse dice rolls.
The two fleets only fired a few Stern Weapons this turn.
Trenton fired at Koiniggratz with Railguns and Lasers. Minor Damage.
Walsh fired at Koiniggratz with Railguns and Lasers. Minor Damage.
Nashville fired at Koiniggratz with Travolt’s and Lasers. Almost cripples and engine.
Luthern fired at Trenton with Railguns. Both engines very close to destroyed.
Koblenz is out of range.
Koiniggratz fired at Trenton with Railguns. The Trenton’s Engines and Reactors are both destroyed.
Trenton fails to shoot down any of the torpedo’s and is hit twice. The bridge was damaged but not destroyed and the Trenton now has no rear armour.
The Fourth Turn
Turn Order
1. Trenton (13)
2. Nashville (12)
3. Koblenz (11)
4. Walsh (11)
5. Koiniggratz (10)
6. Leuthen (9)
Velcoity
1. Koiniggratz = 5
2. Leuthen = 5
3. Koblenz = 9
5. Trenton = 5
6. Nashville = 7
7. Walsh = 5
By now we had the basics of the game. Very enjoyable and easy to pick up
The Trenton was crippled and drifted off the board over the next few turns. For all purposes it’s destroyed.
The Nashville and Walsh both made a very tight turn and did a 180 then accelerated.
The Koblenz made some turn but didn’t really decelerate.
The Luthern and Koiniggratz managed to get themselves in a position to “cross the T” on the USS Walsh.
The Nashville and Walsh both fired at the Koiniggratz. Both the Bridge and Magazine were destroyed.
The Koiniggratz and Leuthen both fired at the Walsh. Both ships fired a combined whopping 20 Railguns at Range 3 doing 4 damage each.
The Walsh was totally destroyed, cut in half length ways and losing all but one critical system.
The Fifth Turn
Turn Order
1. Koiniggratz (11)
2. Leuthen (11)
3. Koblenz (8)
6. Nashville (7)
Velcoity
1. Koiniggratz = 5
2. Leuthen = 5
3. Koblenz = 9
6. Nashville = 7
he Prussian Fleet made some very conservative and clever maneuvers.
The US Fleet on the other hand went “LEEEROY JENKINSSS” and managed to get the USS Nashville directly to the rear of the Koiniggratz and Leuthen.
The Koblenz fired but missed all it’s shots.
The Koiniggratz and Leuthen both fired their Stern railguns at the Nashville and did almost no real damage.
The Nashville fired it’s Lasers at the Koiniggratz and managed to knock out the medbay which caused the ship to be destroyed. Then the Nashville fired it’s Railguns at the Leuthen and did some impressive damage.
The Nashville then launched it’s torpedo’s.
The Sixth Turn
Turn Order
1. Koblenz (12)
2. Leuthen (9)
3. Nashville (8)
Velocity
2. Leuthen = 5
3. Koblenz = 6
6. Nashville = 5

The Prussian’s scrambled to try and trap the US but the Nashville managed to slip around the flank and got into a position to trade broadsides with the Koblenz at range 2.
The Leuthen is out of Range. The Koblenz fired it’s broadside at the Nashville and did moderate damage but nothing that could serious hurt the Nashville.
The return broadside however not only crippled the Koblenz but cut it in half not once not twice but three times totally destroying the front half of the ship.
The Nashville launched another two torpedo’s meaning four were on the table now.
The Seventh Turn
Turn Order
1. Leuthen (11)
2. Nashville (9)
Velcoity
2. Leuthen = 5
6. Nashville = 5
Both ships maneuverd so that their Bow were head on.
The Leuthen fired first. It did a lot of damage and essentially crippled the front of the Nashville.
The Nashville then returned fire. It did a lot of damage “on paper” but very little actual damage.
The Final Turn
Both ships moved into a mutual broadside and the Nashville opened fire first.
Once again a lot of damage but nothing was really destroyed.
The Leuthen fired back and managed to miss almost all the critical systems.
The Nashville’s torpedo’s made contact and the Leuthen failed to shoot any of them down. They all hit the ship’s Bow. The torpedo’s destroyed the Bridge and magazine which destroyed the ship and that means……
Victory to the Good Old US of A
Order of Viewing
Make Sure to View the Project from Oldest to Newest
 Although I Better Make the Next Game with the Royal Navy


