


Brush With Death 2019 Entry


Recommendations: 265
About the Project
I view competitions as a way of pushing myself. When Mantic Games announced their 2019 Brush With Death painting competition, I decided to try building a diorama. Here goes!
Related Company: Mantic Games
Related Genre: Fantasy
This Project is Completed
Ready to Prime and Paint

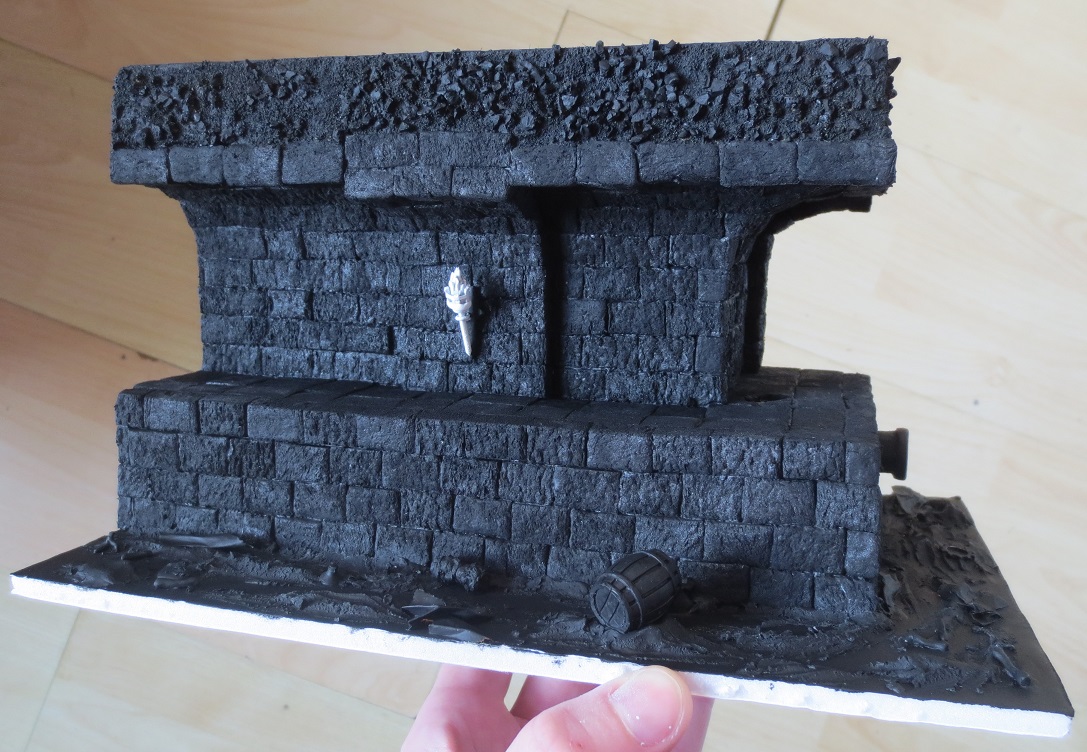
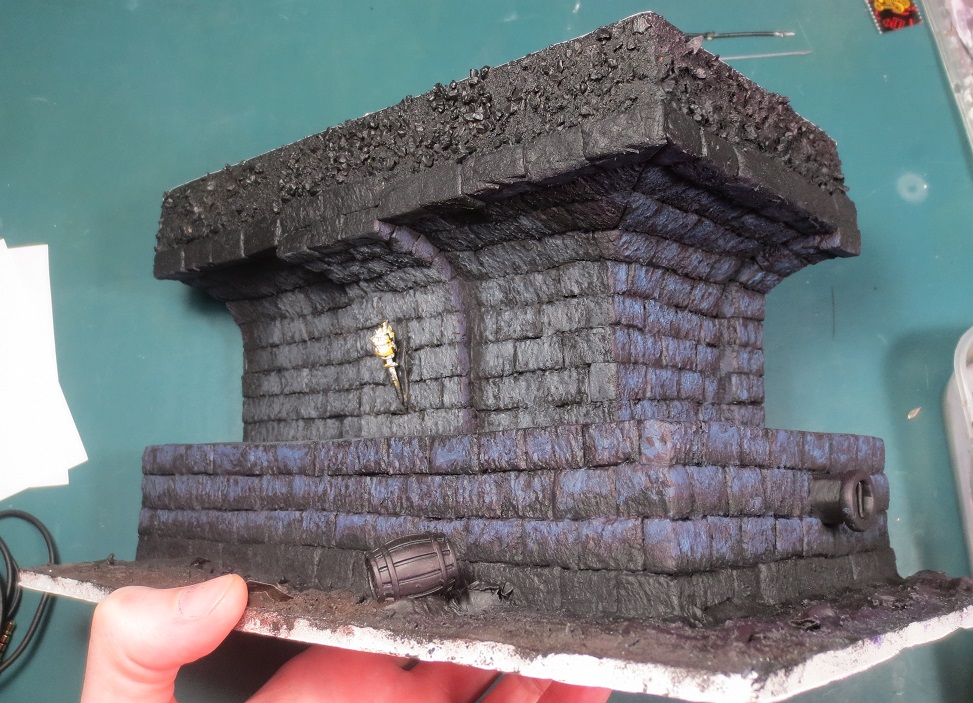
About to prime the entire piece using black paint (I’ve been told a spraycan primer might melt the foam bricks) and then it’s ready for paint. I decided to prime the wall torch before mounting it with PVA – I wasn’t sure I’d be able to reach all of it after it was up.
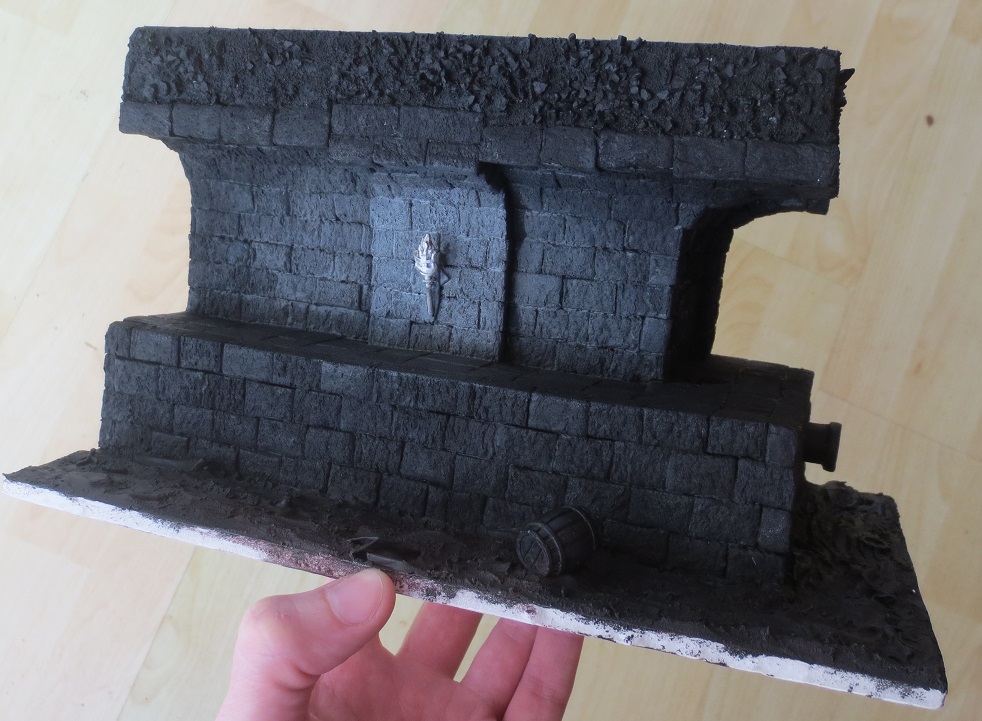
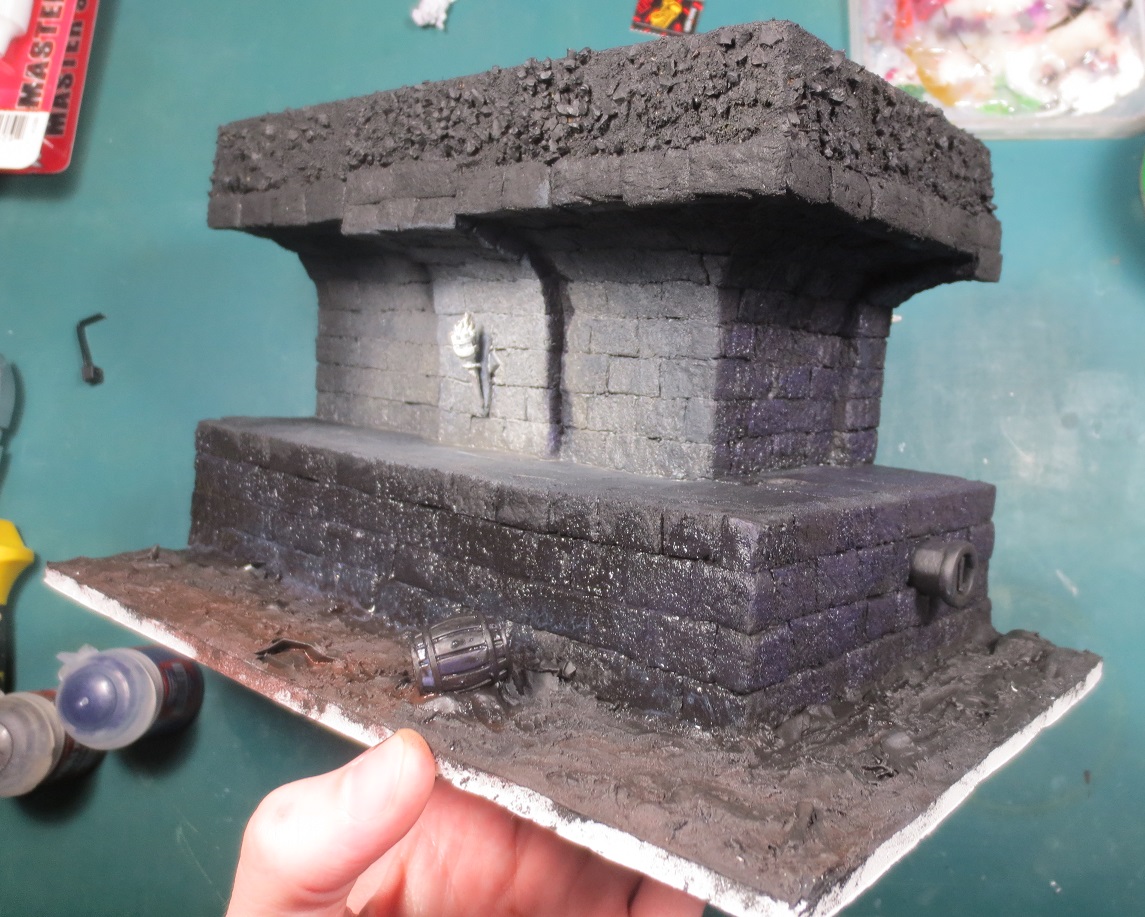
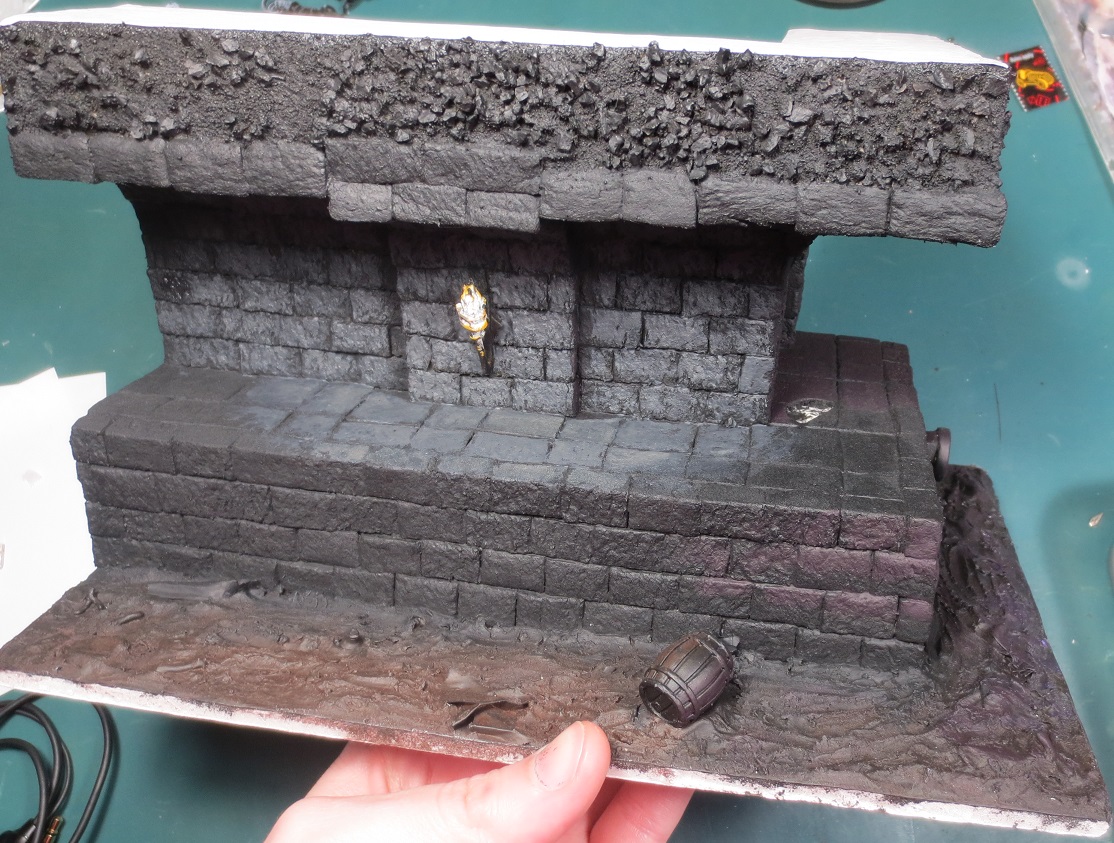
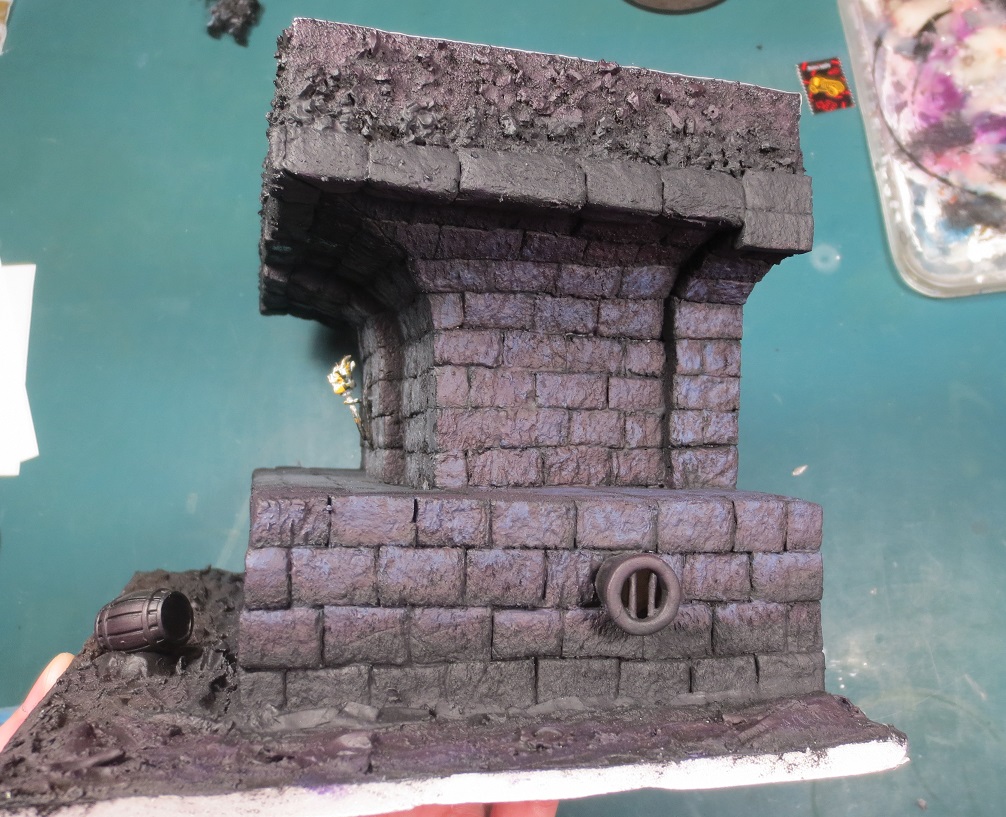
Primed!
After about two hours of going at it with a too-small brush (new item to buy: large brush), the diorama is primed and ready to start receiving paint. This is about where I hoped to be in terms of timeline: I have a month and a few days to paint up two minis, paint their surroundings, pour resin, and finish edges.

I’ve been so focussed on building that it might be a little difficult to switch gears. Paint, paint, paint!
A Week of Missteps
As the title suggests, the week was largely a bunch of mis-steps. Between other things, I tried several times to lay down the beginning OSL work, so as to be ready for more detailed jobs during the weekend.
Each attempt felt worse than the last.
I was quite happy with the first attempt, but after looking at it I wasn’t confident in my ability to convey the idea of graffiti on the walls in such low lighting conditions. The second picture is my attempt to brighten everything up. However, the paint wasn’t acting how I wanted or expected on the foam, an impression that was confirmed when I went in and added yellow.
I wasn’t able to get the kind of control I wanted over the paint – I couldn’t drybrush and whenever I added a little water, it seemed to soak into the foam.
After a few days of this, I took a break from the diorama and primed the minis.


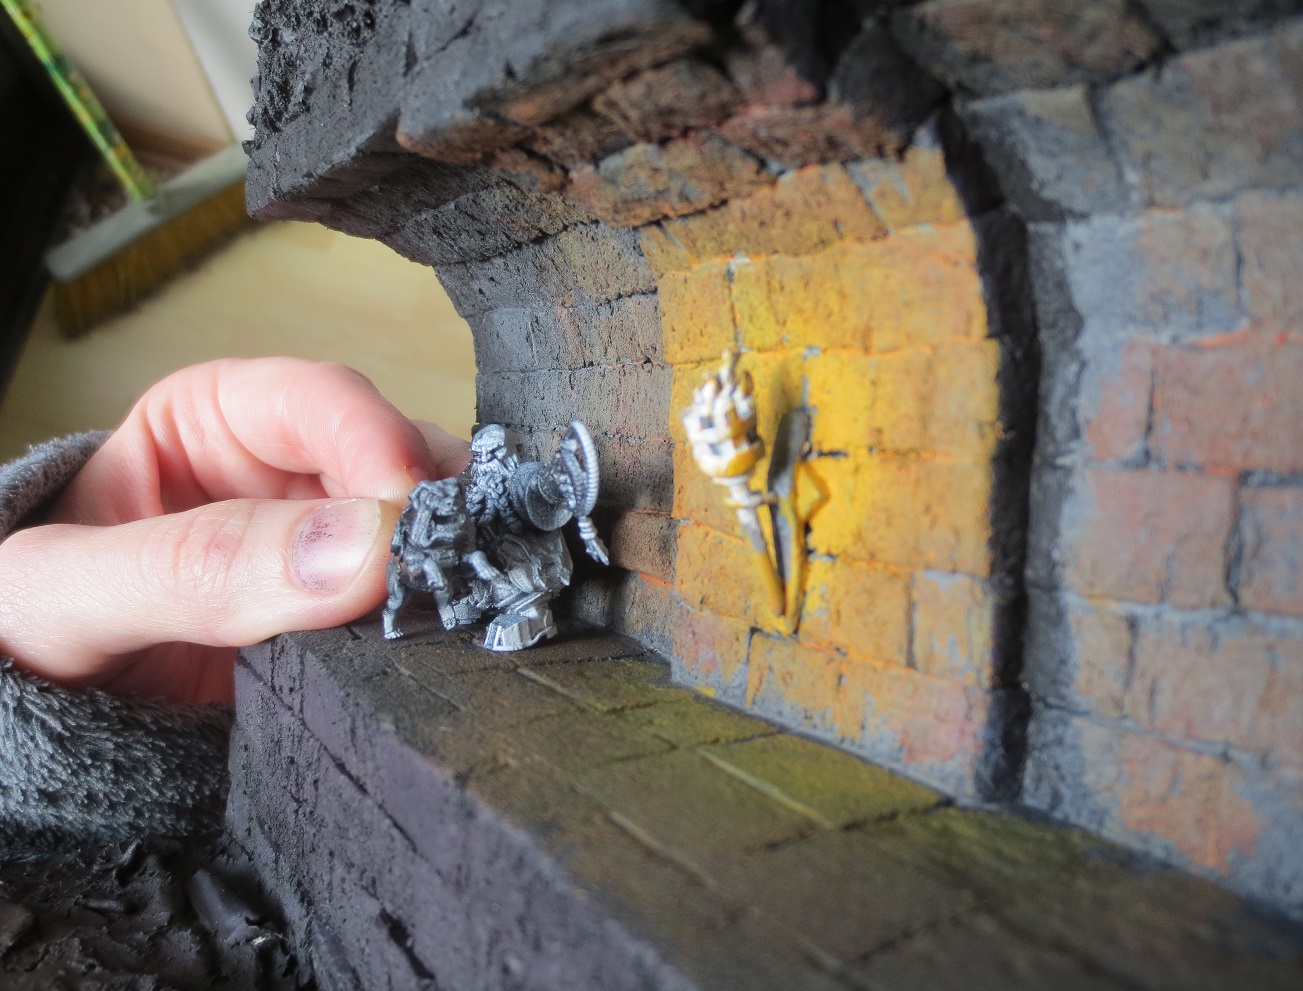
The OSL priming was looking good, but holding the dwarf in the diorama only confirmed how unhappy I was with the lighting I’d done so far.
After some poking around the internet, I decided the foam probably wasn’t prepped correctly. So, I added a few layers of a cheap acrylic paint over the work I’d done previously, then varnished it using Army Painter Anti-Shine. To my relief, the spray propellant didn’t melt any of the foam.
Painting (At Last)
The moment I applied paint on top of the varnish, I could feel the difference. The paint stayed where I put it without spreading across the foam or disappearing into it. I set about applying layers of Reaper’s Regal Purple to the darkened areas and a mix of black and Citadel’s Stormvermin Fur to the areas around the torch. I gradually layered this latter portion up using increasing amounts of Citadel’s Administratum Grey.


After I’d brought up the lit portions of brick, I went back to work on the dark parts. I highlighted the Regal Purple using a mix of Regal Purple with Citadel’s Lothern Blue, then unmixed Lothern Blue.

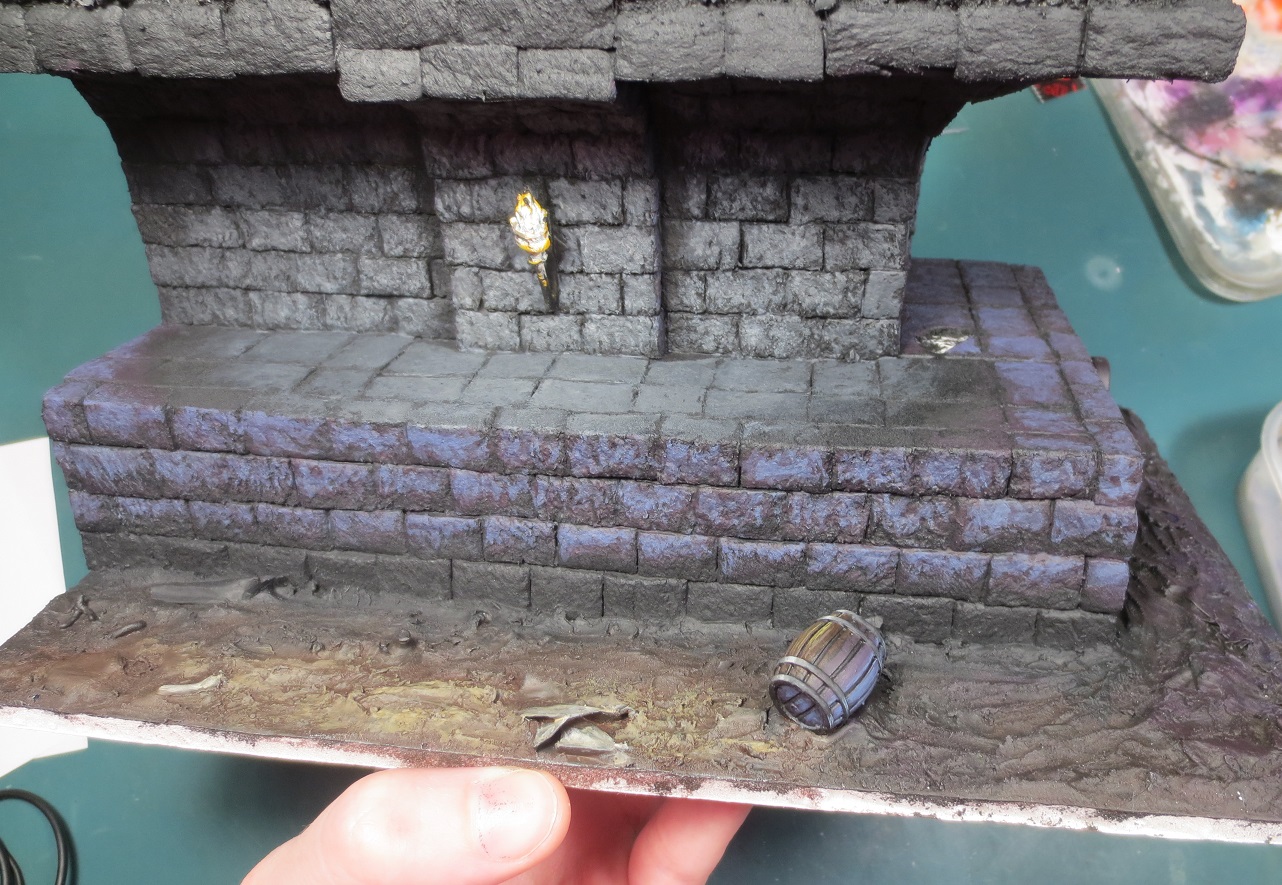

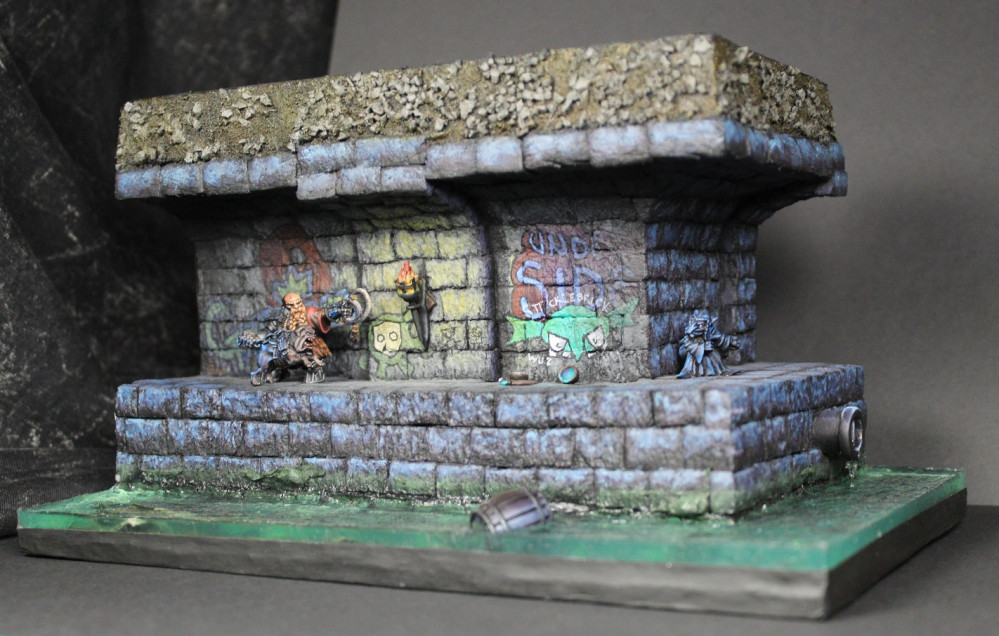
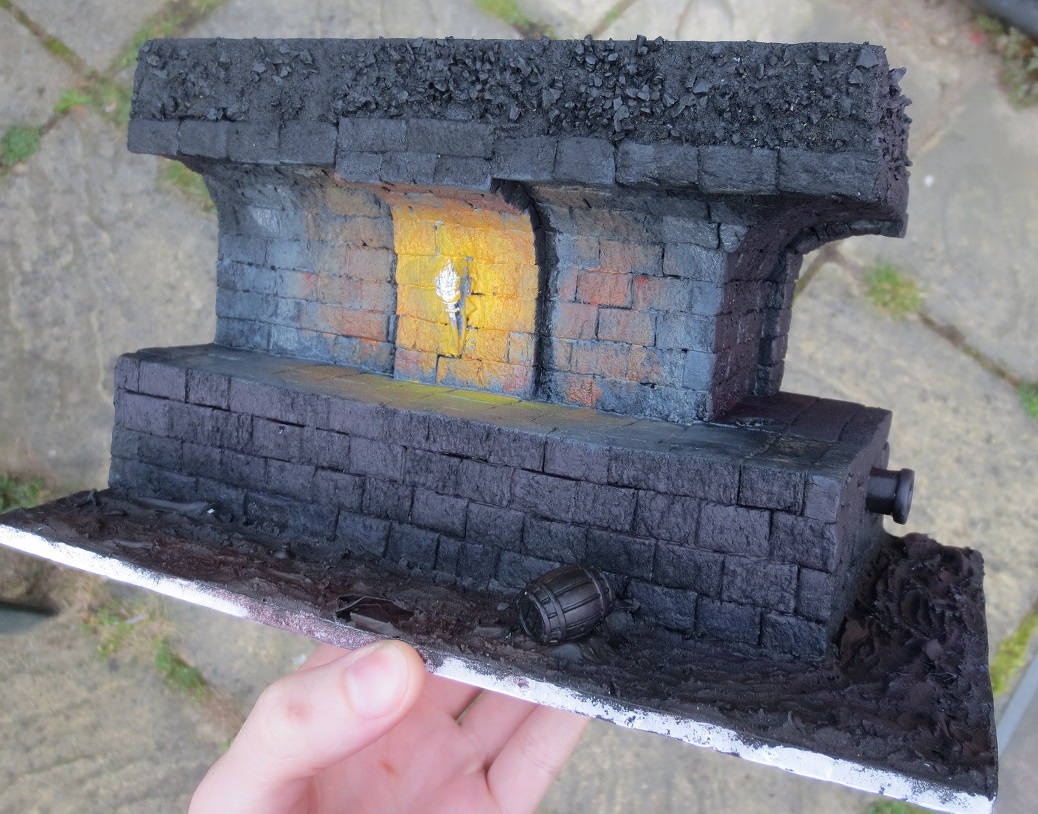
The final effect outside, in natural daylight.
Adding Graffiti and Some OSL
The next part I wasn’t so sure about, but when my SO suggested I have the goblin doing a little sewer defacement, I knew I couldn’t resist trying. I set about adding a little colour to the diorama walls – if I didn’t like what came out, I could re-do the walls without much difficulty (albeit for an unexpected FOURTH time).

So far so good – not hating what I see. The process for graffiti was basically:
- Draw some things on paper
- Decide I hate them
- Ask my SO to draw some things on paper
- Begin with an outline, then fill them in with block colour
- Highlight toward the torch, shade further away
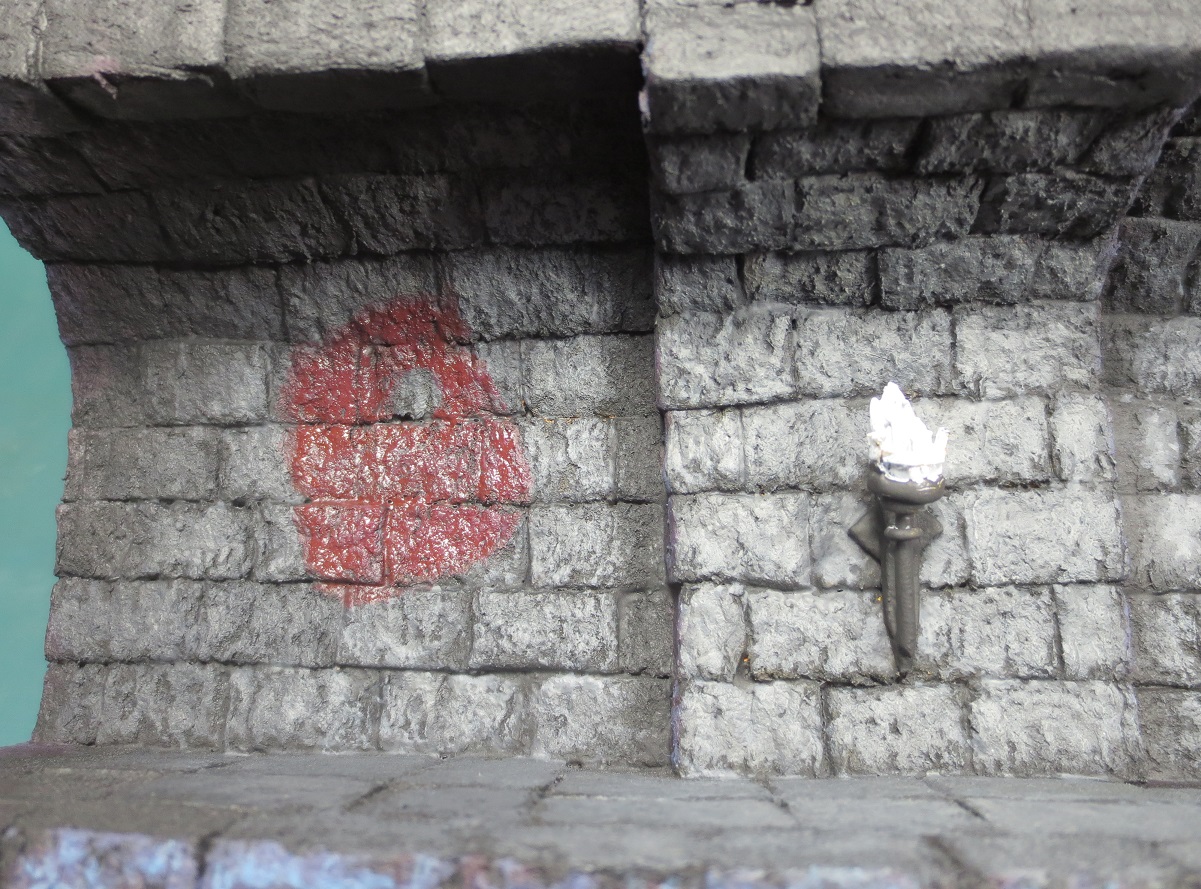
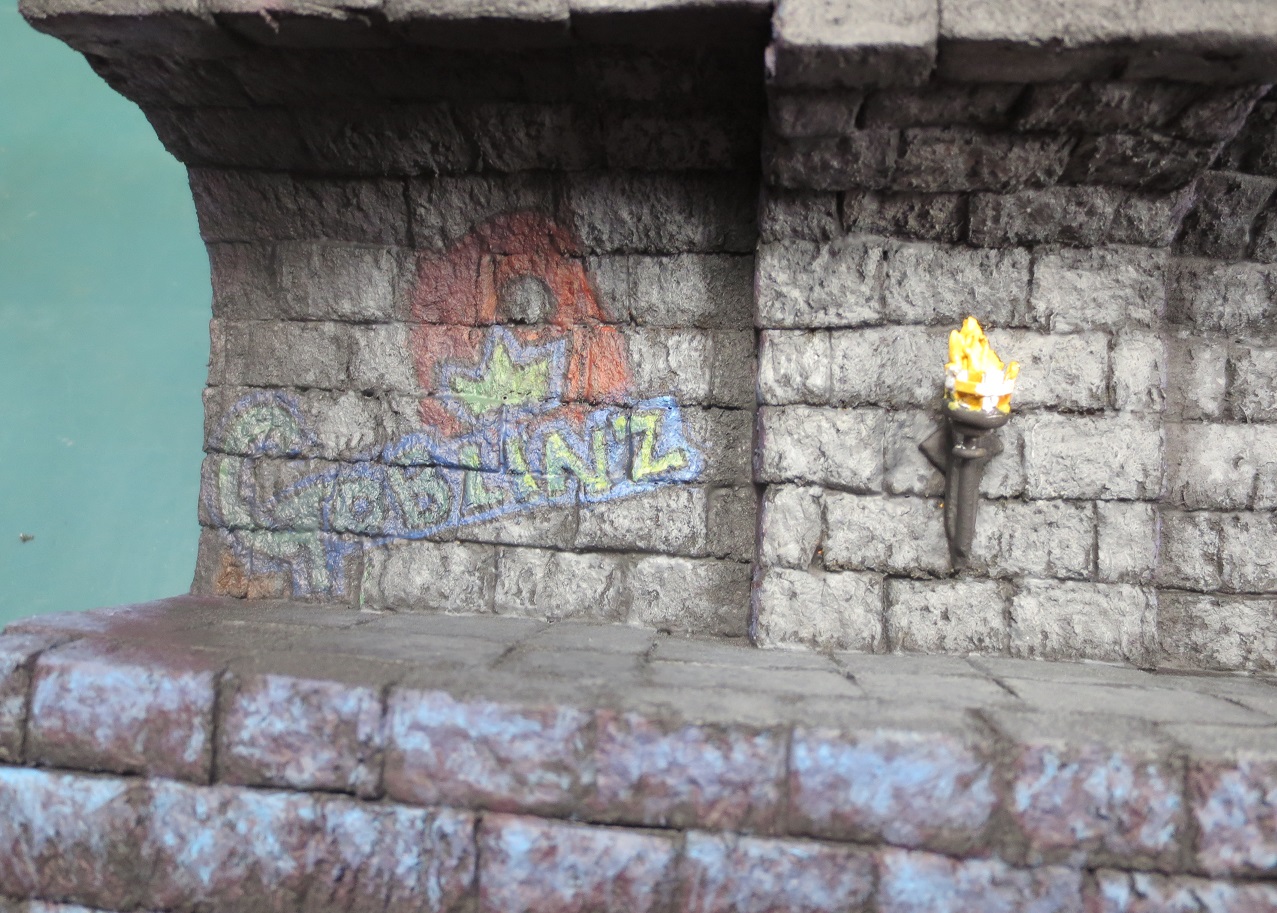
After finished the first wall, I decided to add the OSL from the torch. This was partly to keep colour balance in mind – I want it to look like a very yellowy light, which will affect which colours I pick for the graffiti and how I highlight it.
This was achieved by adding thin layers of Citadel’s Averland Sunset in a rough circle. I added multiple layers on the portions of wall closest to the torch, in order to increase colour saturation.
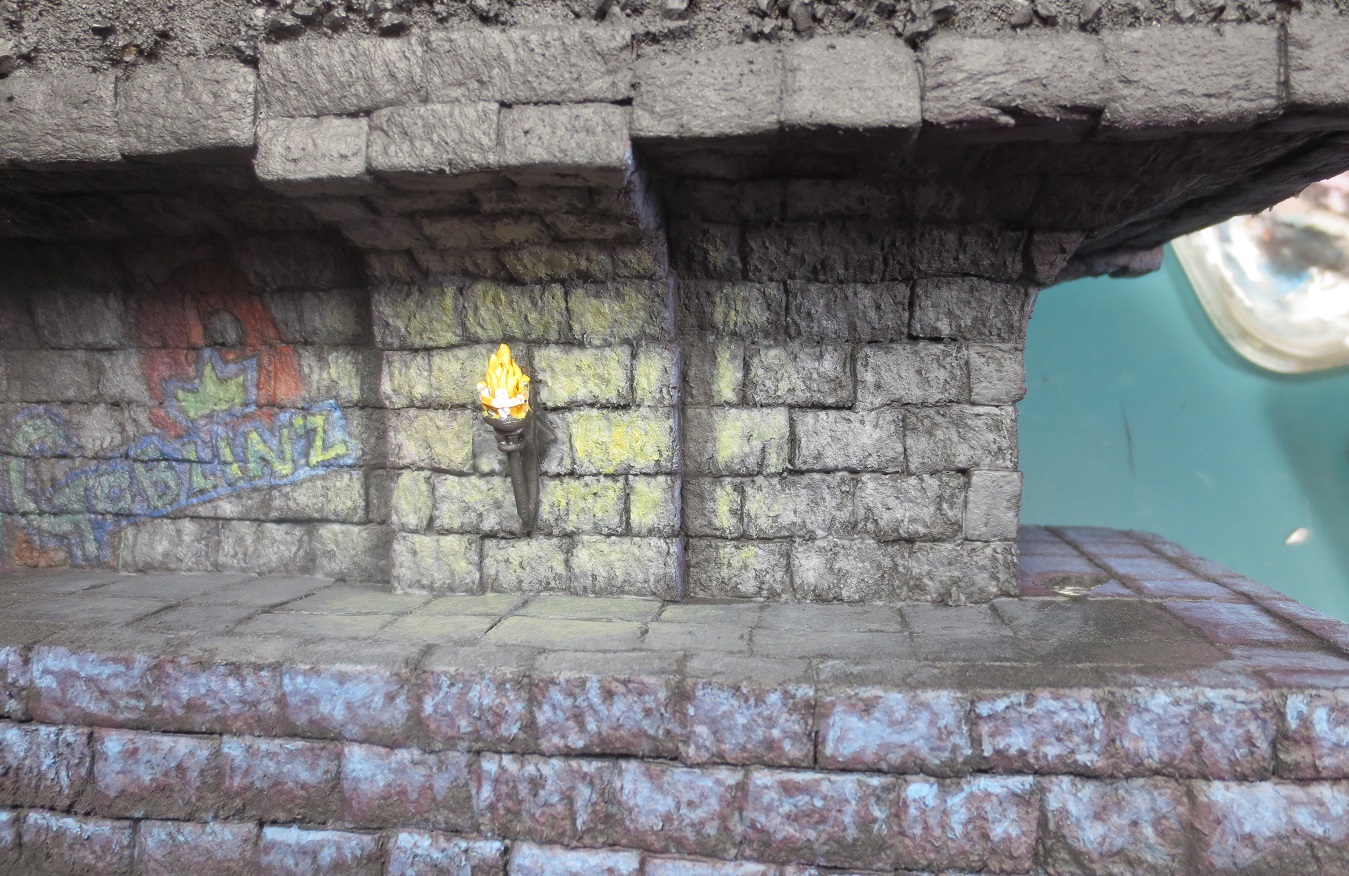
That’s about where I ended it Saturday evening. Sunday was spent adding more graffiti. You’ll see some portions come and go as I decide I don’t like them.


The last picture is where I ended on Sunday afternoon. I think I’ll change the pink colour used for the ‘UnderSide’ tag – I think the warm colour pulls too much away from the picture of the goblin.
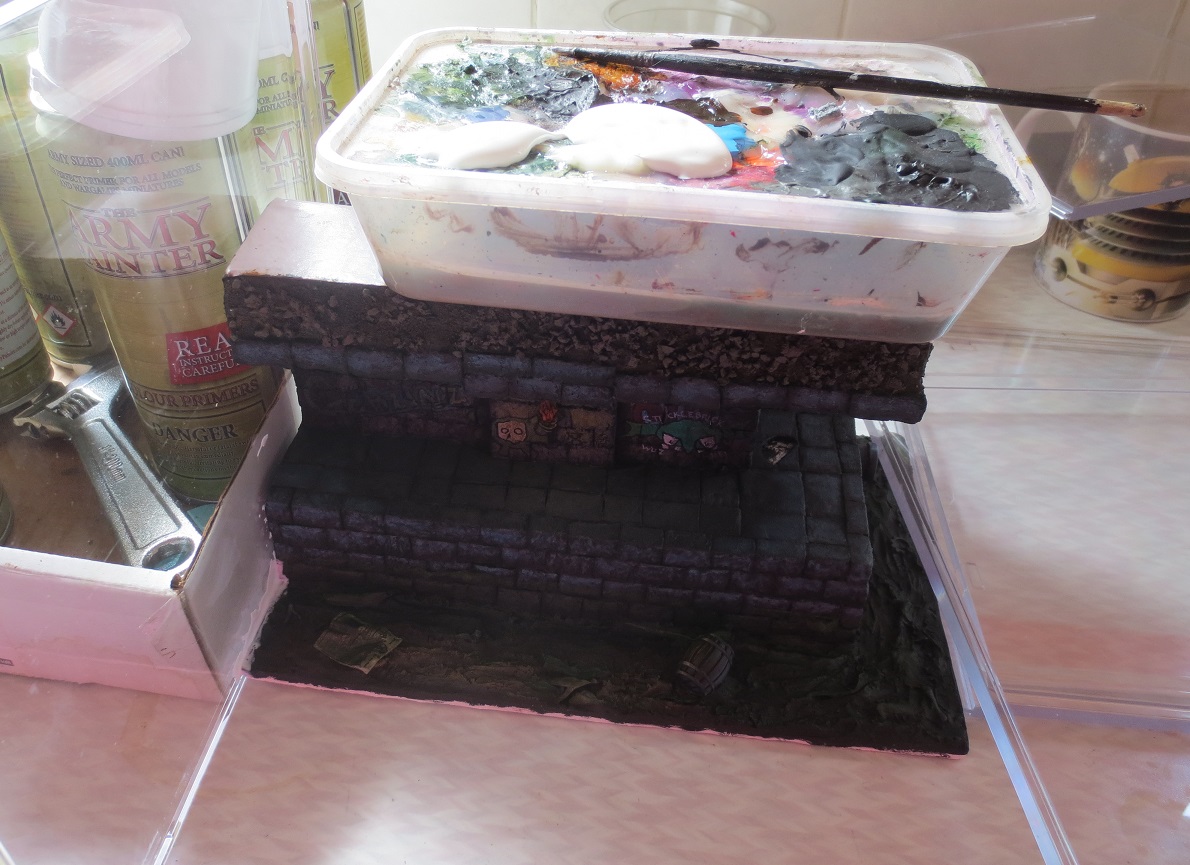
Mid-Week Update
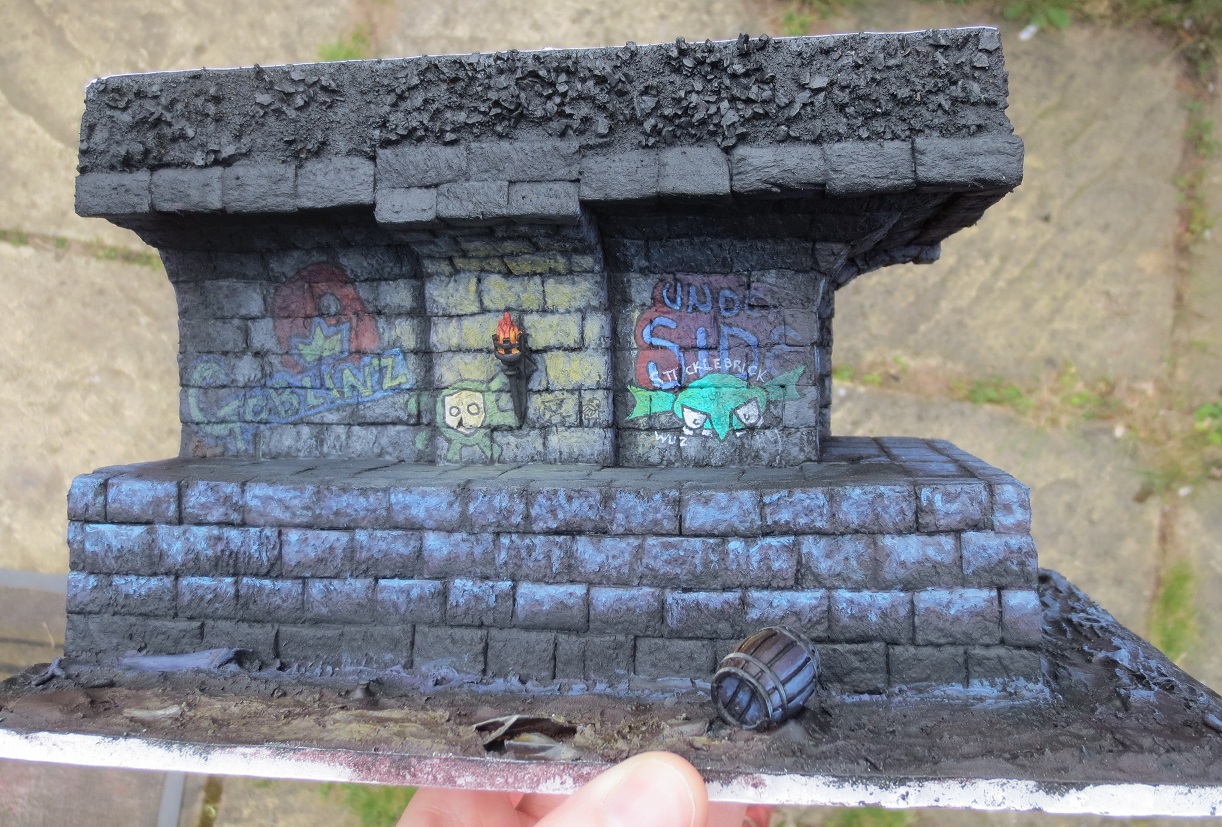
Not much progress this week – although I have managed to swap the pink graffiti colour for a blue. I think it works a lot better. Still visible and obvious, but not quite so attention-grabby.
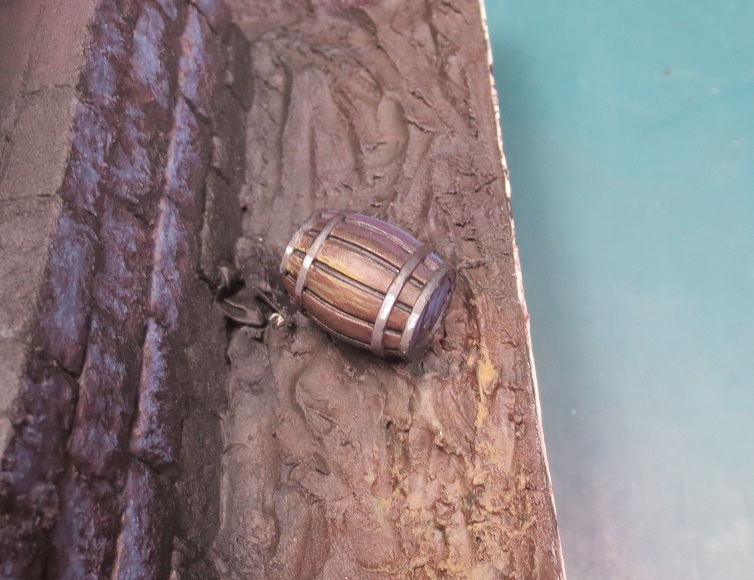
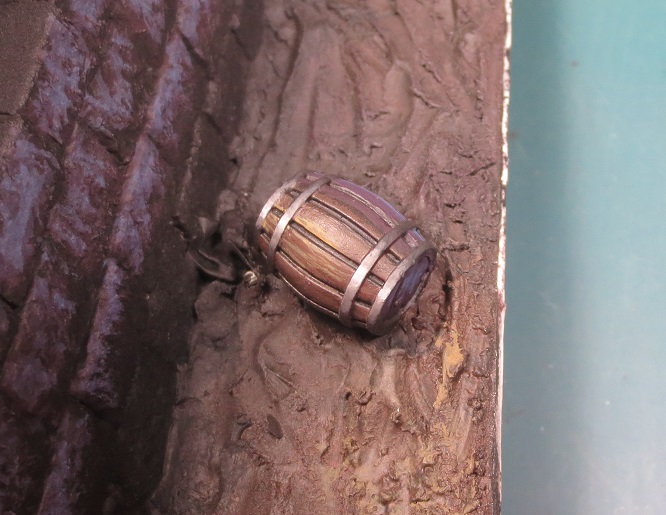
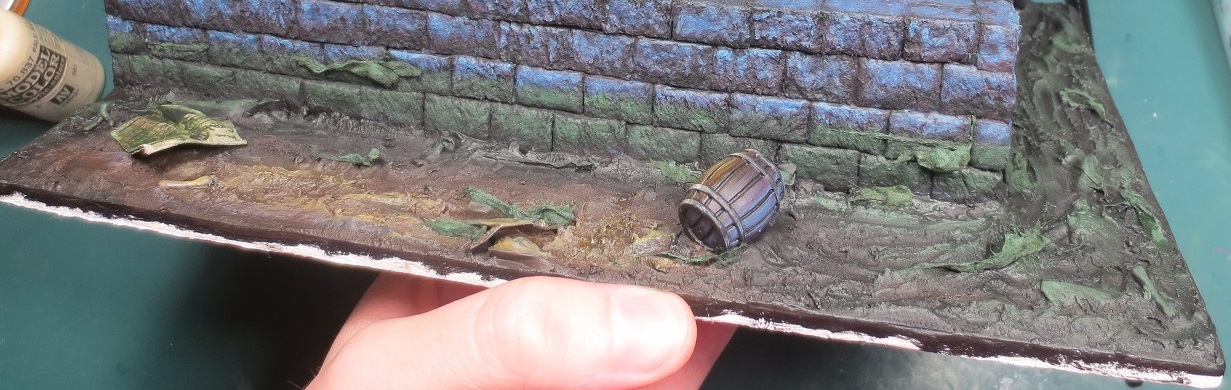
Also, three NMM progress pics on the barrel I didn’t post with last week’s update.

Next it will be time to start on the actual miniatures – exciting stuff!
Long Time No Update! - The Minis
I had a schedule for this diorama. One item not on the schedule was a nasty case of tonsillitis, but it forced itself in there anyways. Bye bye, Week 2 of April. About the only progress I managed was the post below (switching pink graffiti paint to blue).
However, after a week of bedrest, 10 days nomming penicillin, and a few days eating solid food, I was back at it in a big way!
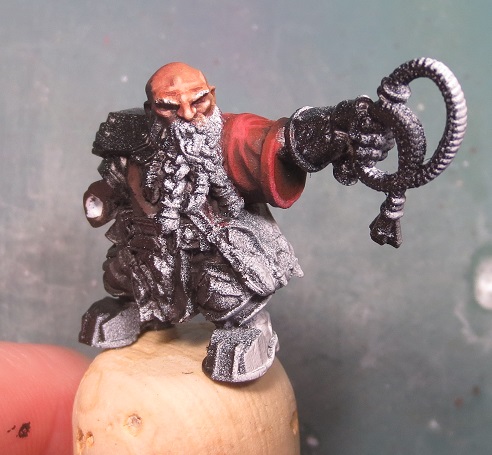
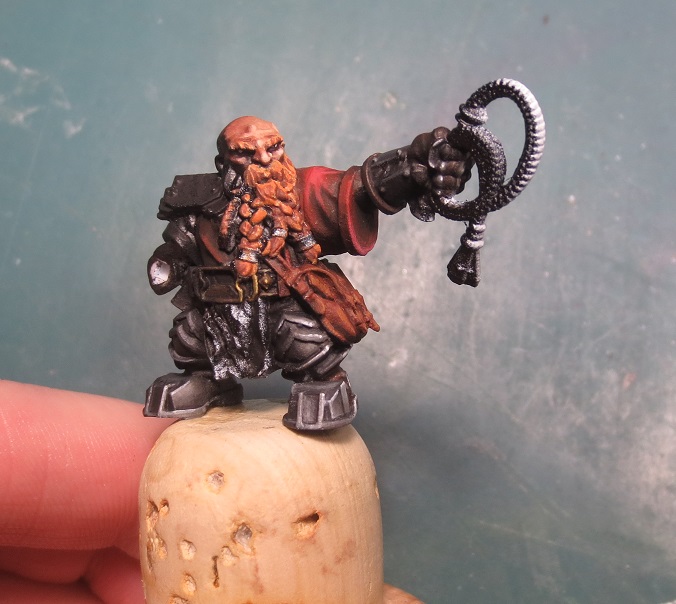
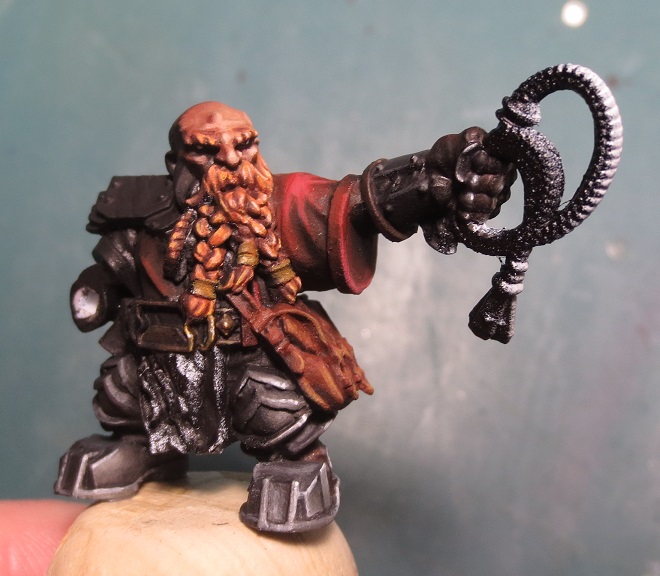


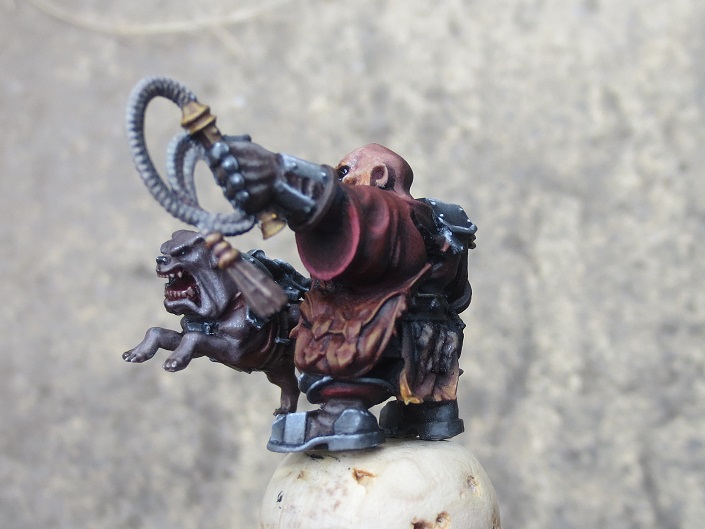
I planned to have the dwarf in strong OSL, so I started with the face and worked my way down onto the arm extending into the light. Colours used include the Reaper Fair Skin paint triad as well as Reaper Carnage Red.
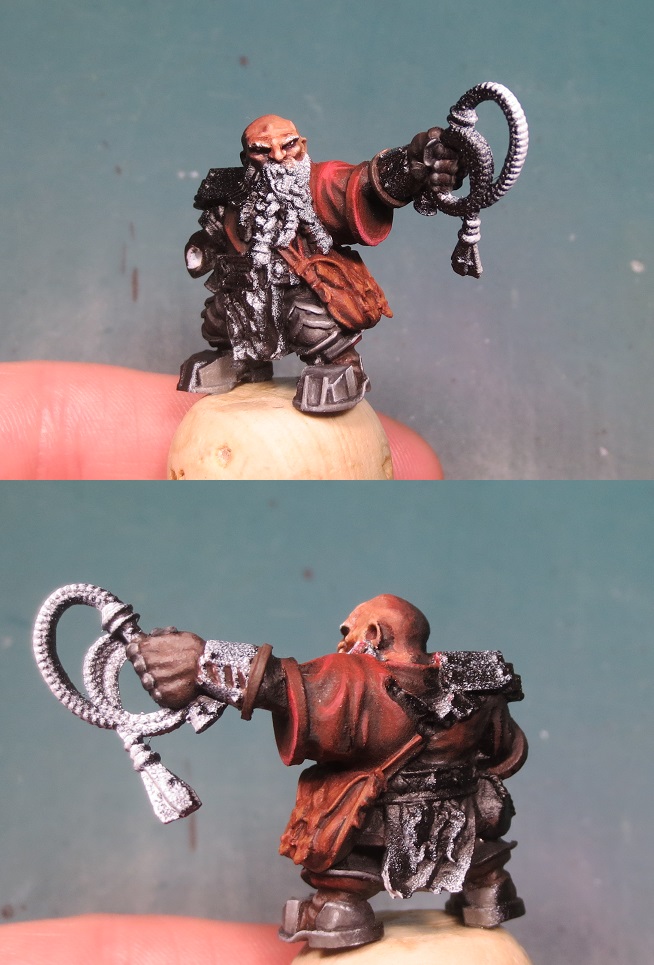
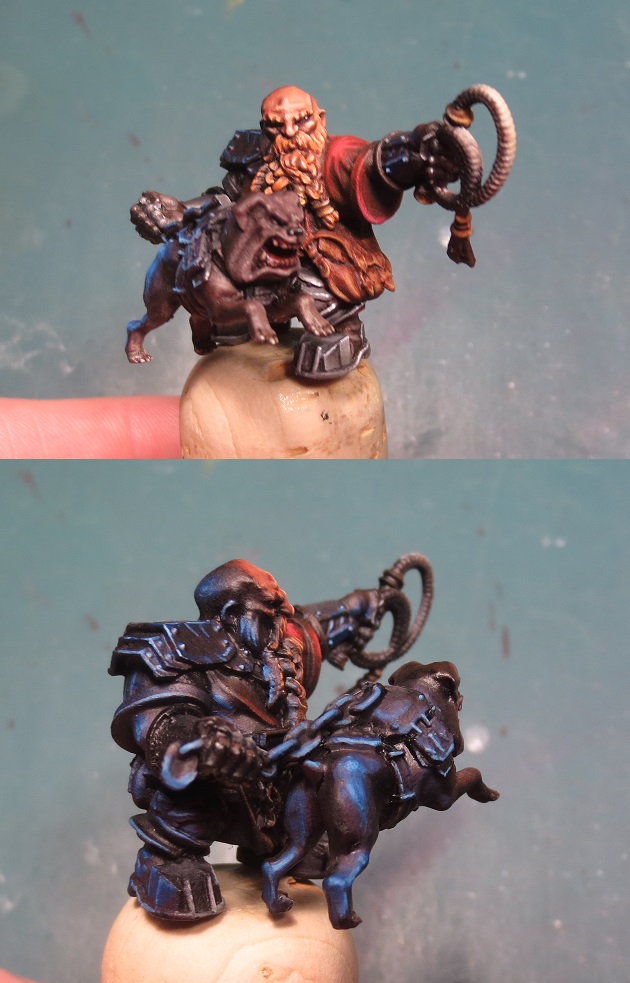
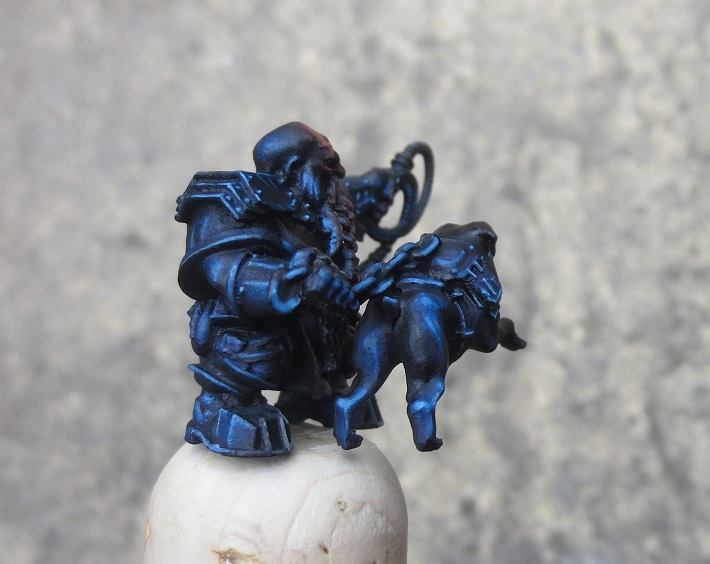
I essentially followed the lines laid out by my zenithal priming by blending everything down into dark browns, then black. Then I began painting the dwarf and his faithful hound from the opposite direction, using Reaper Regal Purple, Vallejo Prussian Blue (my newest paint), and Citadel Lothern Blue to achieve the glowing shadow effect above.
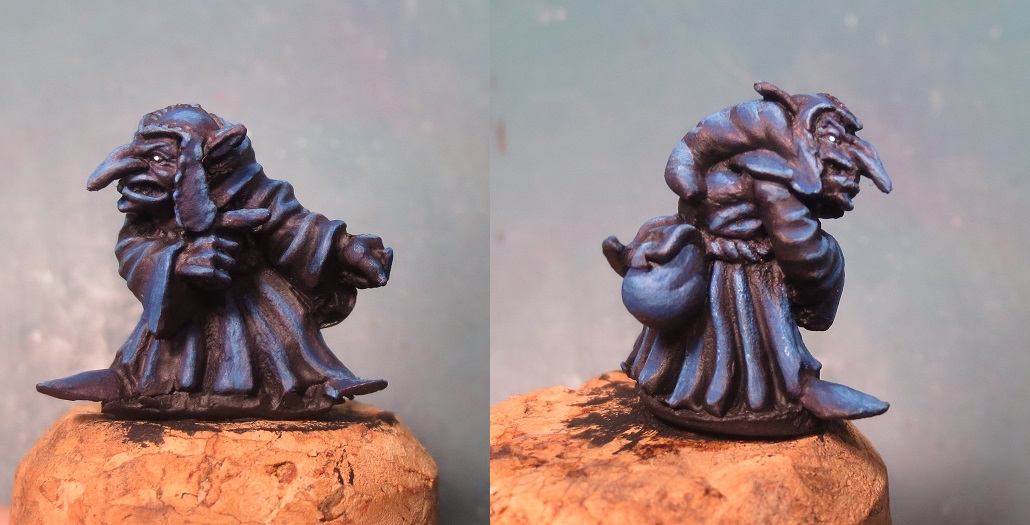
While the dwarf took me around three painting sessions (plus numerous adjustments – you’ll notice the highlight on the dog’s right hip shift between this post and the next), the goblin was done in two hours! By far my fastest paint job so far. I love this glowing shadow effect – it’s fast and gives a nice effect.
With the miniatures done, it was now time to face the great unknown: resin water effects.
The Resin Pour
This was my first water effects resin pour. After a lot of research, I settled on polyester clear casting resin from Swindon Watersports, as well as green and black dye from the same company.
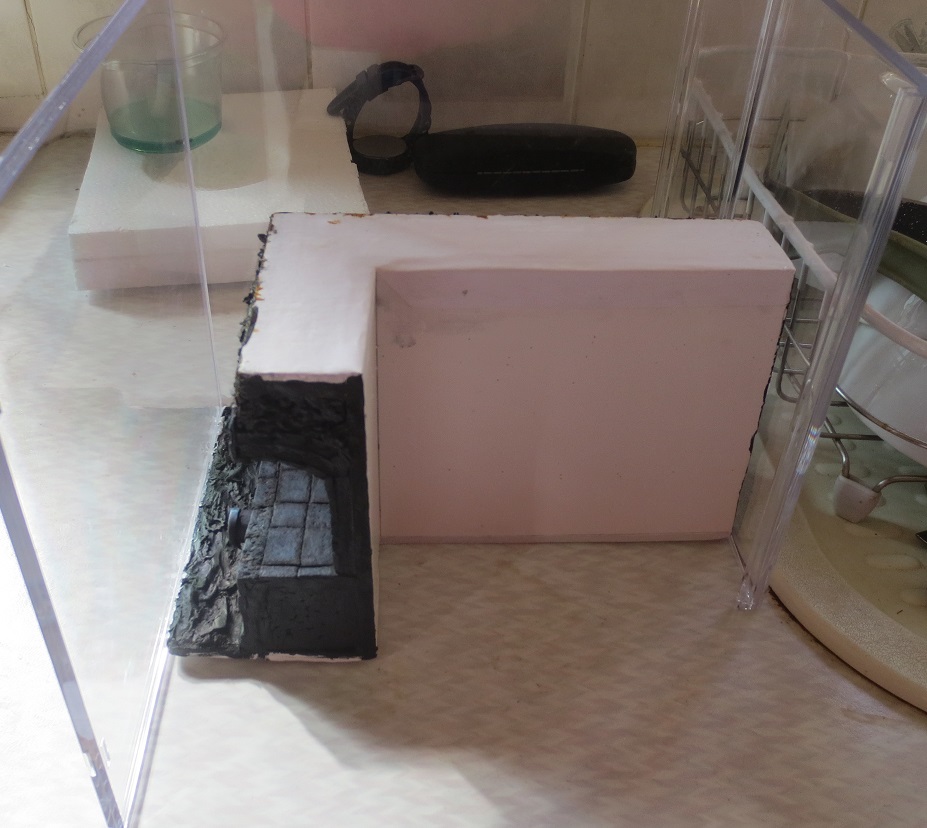
By complete coincidence, I’d recently decided to throw out a lightbox that wasn’t doing it’s job properly. For whatever reason I decided to keep the plastic panels. They turned out to be large enough for my purposes (yay hoarding!).
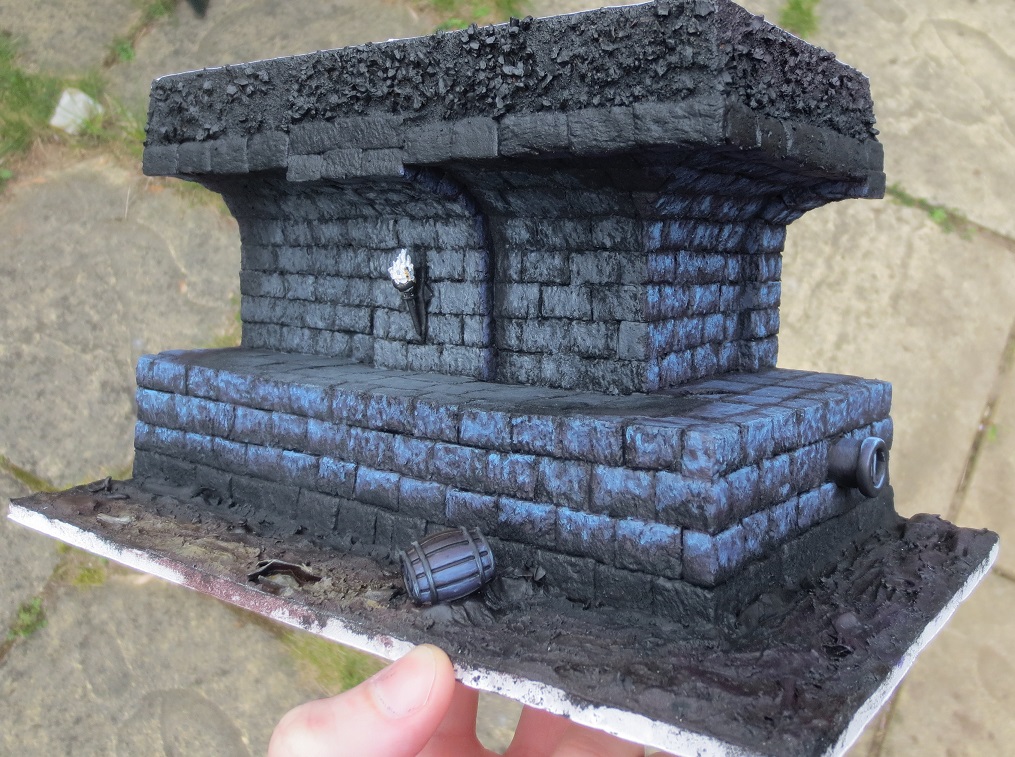
I lined the edges of the foam base using Milliput, waited for it to cure, and then repainted the bottom of the sewer. I also switched the blue for green along the bottom.
 The seaweed clumps were made by dragging cotton through a mix of PVA and Reaper Green Shadow.
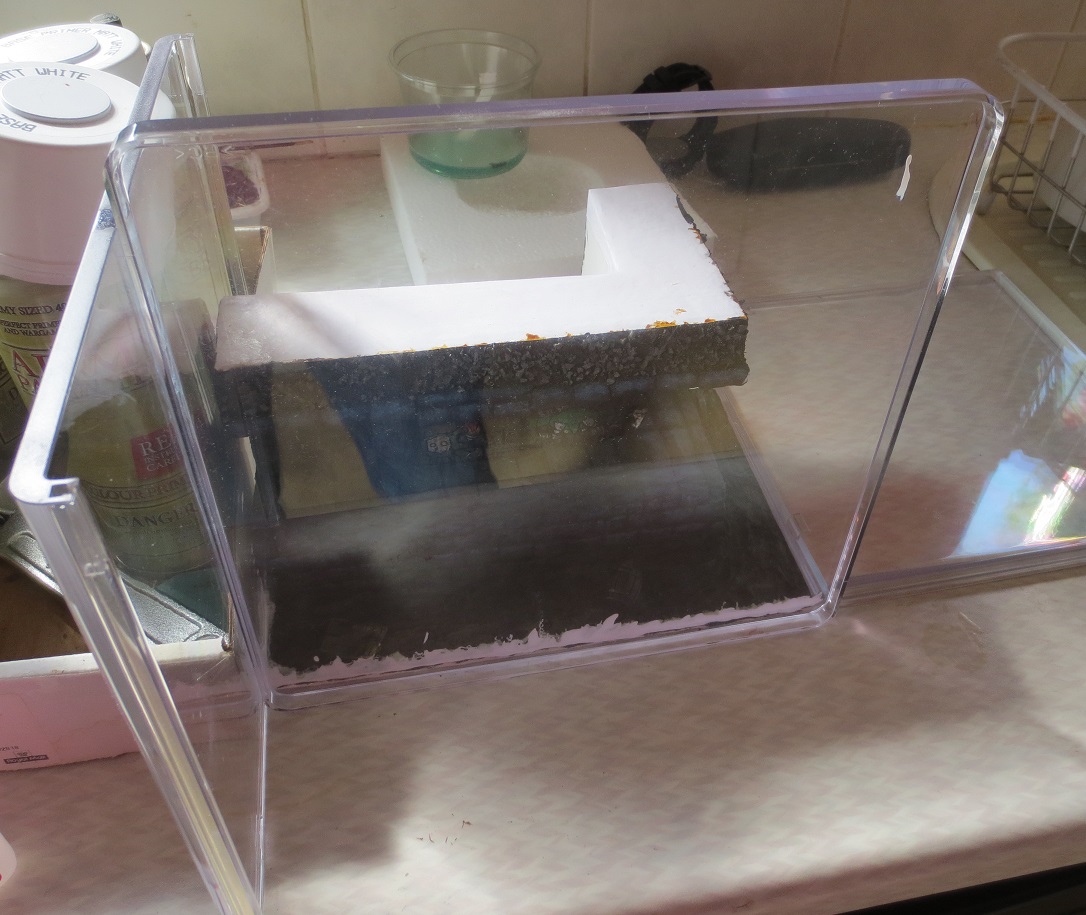
The next day, I started setting up the plastic (this was Tuesday, three days before the entry was due. I was sweating a little). It turned out to be a much longer process then I anticipated. Each side needed to dry separately before adding the next. Similarly, I used two kinds of glue: PVA/Elmer’s Glue along the edges of the diorama, and superglue on the plastic itself.
Much of the construction took place using the edge of my sink and a box of spray paints for support.
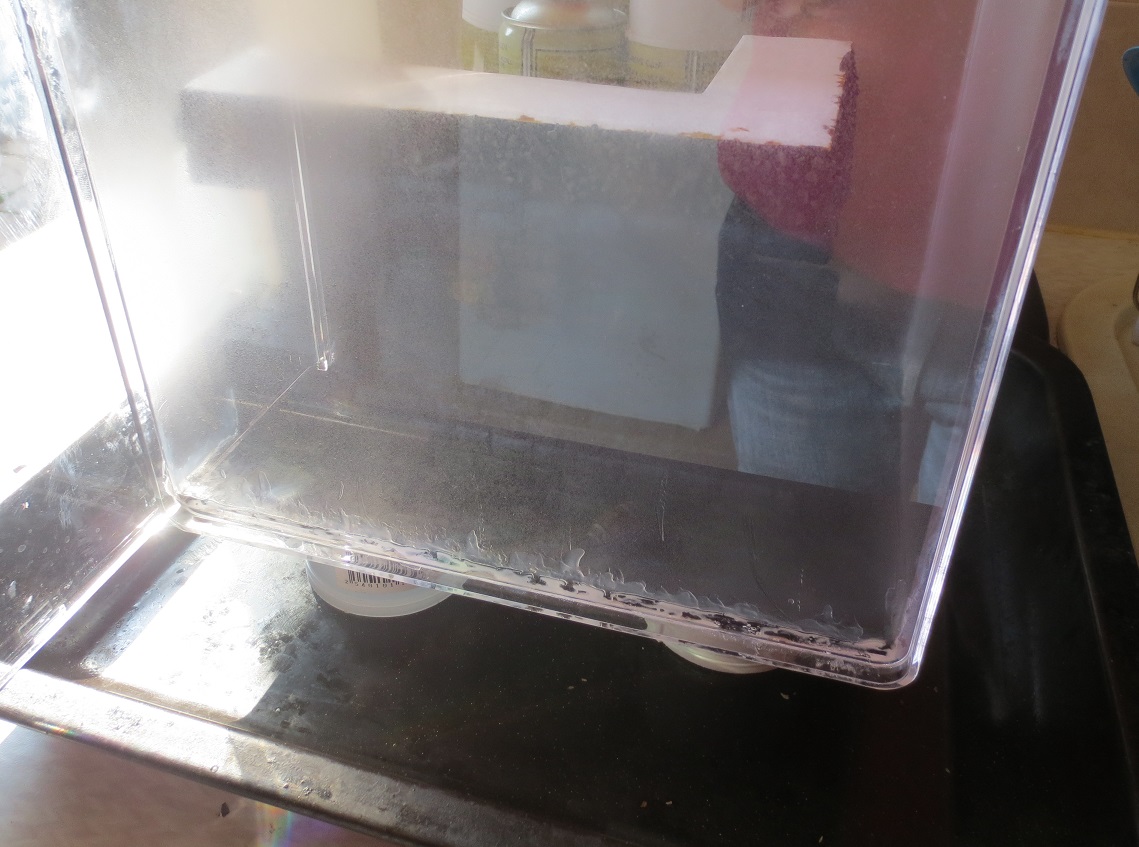
Before moving on to the actual pour, I re-upped the PVA along the inside so that the resin wouldn’t leak. This turned out to be the first of two mistakes I made during this pour. I should have dammed on the outside of the diorama. As it was, the glue created gaps between the bottom of the resin and the top of the diorama.
As you can see in the above picture, I balanced the entire thing on top of a baking tray. It was the only thing I had on hand to catch the resin if it leaked.
And, roughly twenty-fours later…
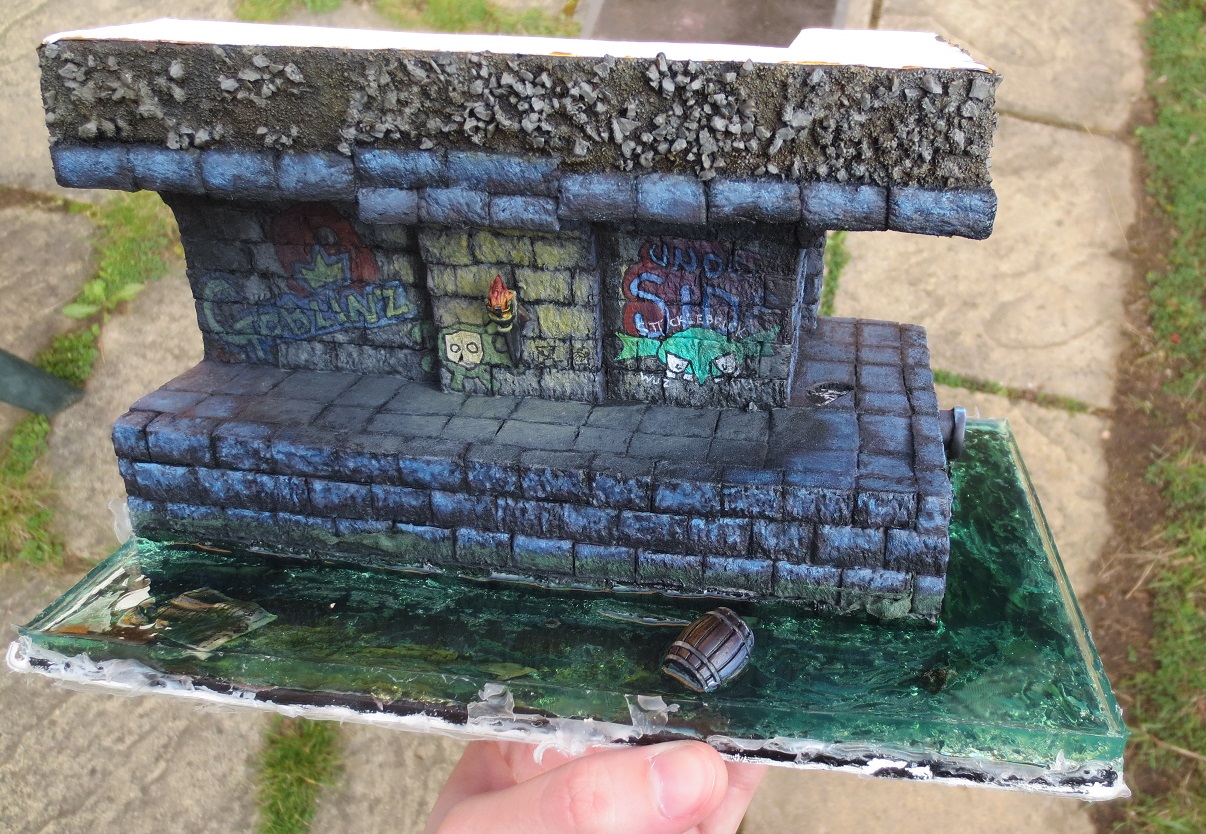
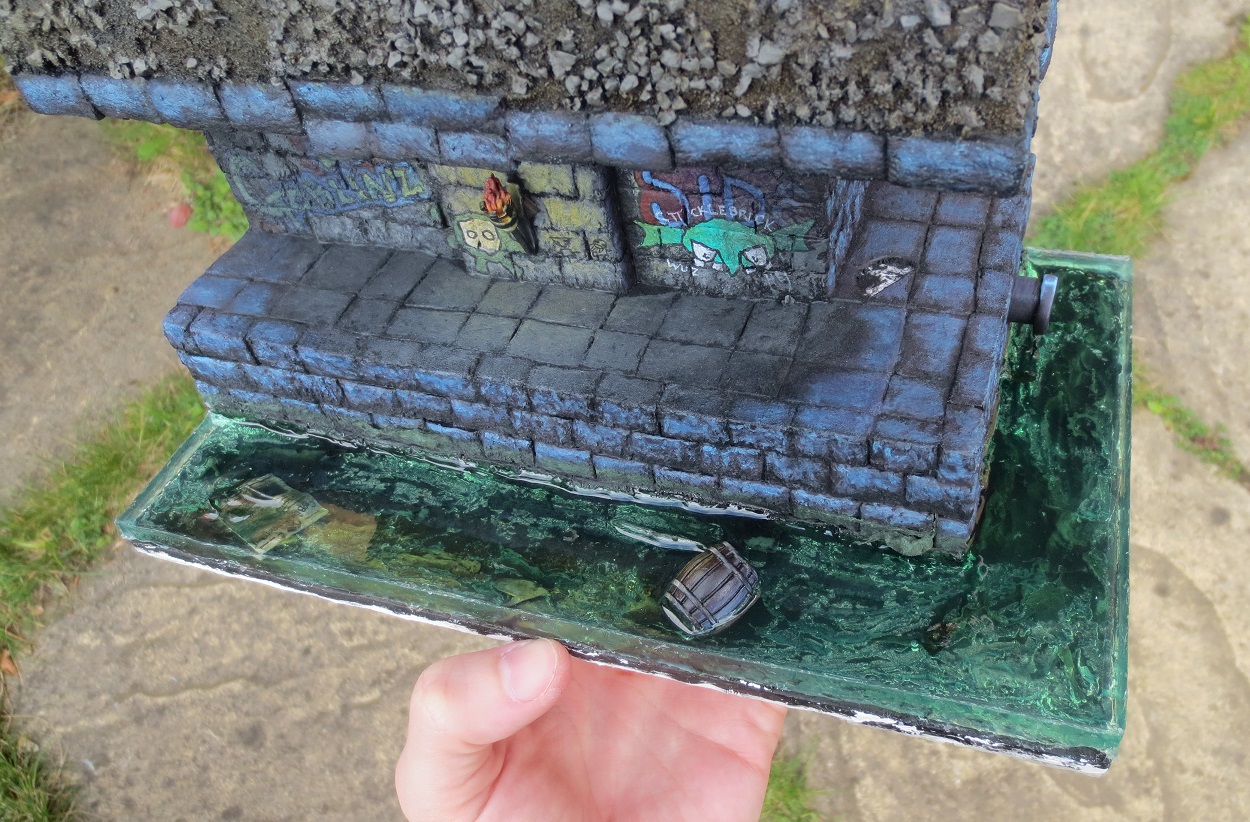 After the pour but before covering it up to cure, I used tweezers to drop 'seaweed' clumps into the water flow
All in all, not bad for a first resin pour. Here, I made the second mistake: I poked the resin. Bam: fingerprint. After I’d cleaned up the edges, my SO and brother in law each proceeded to do the same thing. What is it about fake water that’s so alluring?
My third mistake took place the previous day. I’d forgotten that the rough texture sculpted into the sewer bed would create bubble problems – I should have used an awful paintbrush to scoop and smooth resin onto the base before proceeding to the actual pour. I think I was just too excited. Also, I performed my practise pour into a smooth, round receptacle, which didn’t give me any bubble problems to think about.
No worries, though: learning all of these things will make my next diorama better.


