


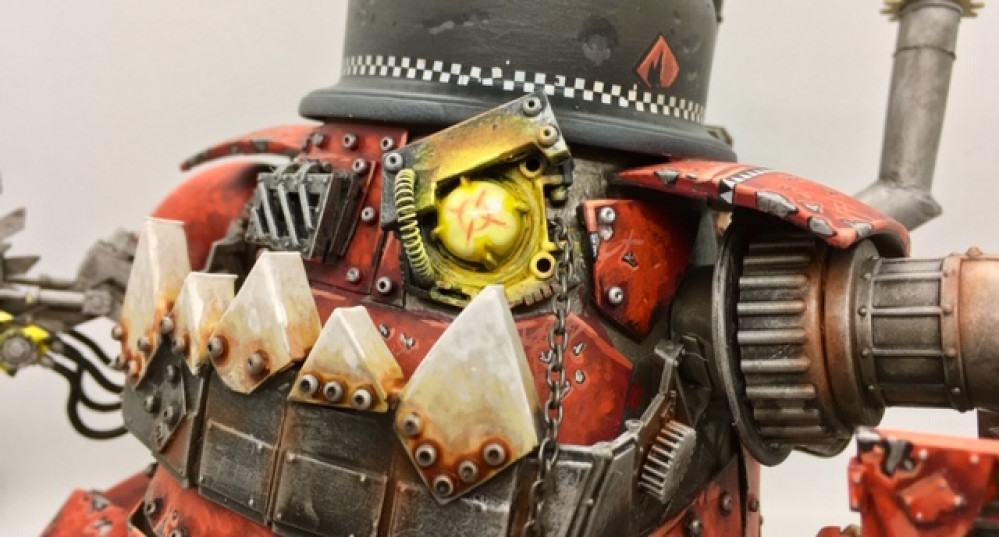
Spring cleaning a Stompa! CLEANED!


Recommendations: 357
About the Project
Taking up the Spring Cleaning Hobby challenge, I am going to finish building, painting and basing the Mr Potato Head Stompa I started over a decade ago! He's been languishing in a box for 10 years, so it's time to get this bad-boy built!


