Building a pub interior by Jo from Oathsworn


Recommendations: 513
About the Project
Hi, I'm Jo from Oathsworn and I'm having a go at building a playable pub interior for a Burrows & Badgers scenario
Related Game: Burrows & Badgers
Related Company: Oathsworn Miniatures
Related Genre: Fantasy
This Project is Active
Part 21
 Dodgy dealings...
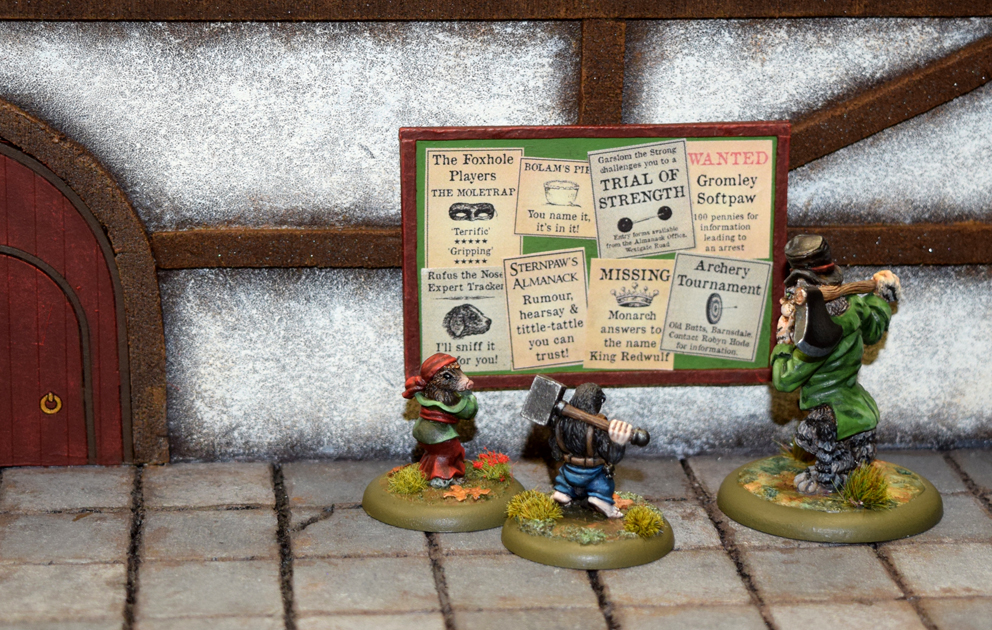 Catching up with the local news.
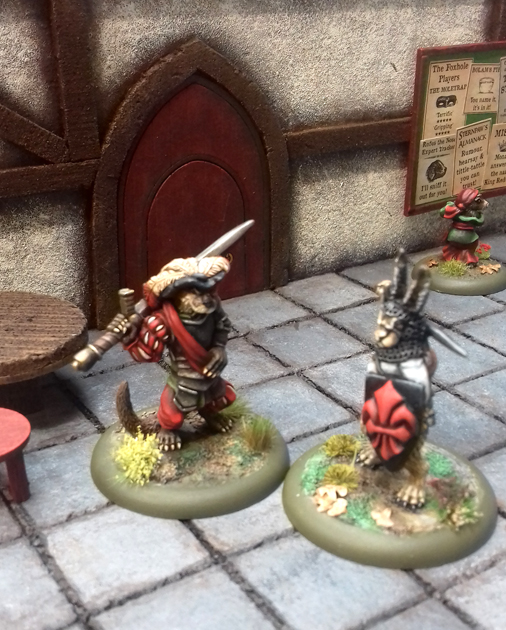 Discussing business...
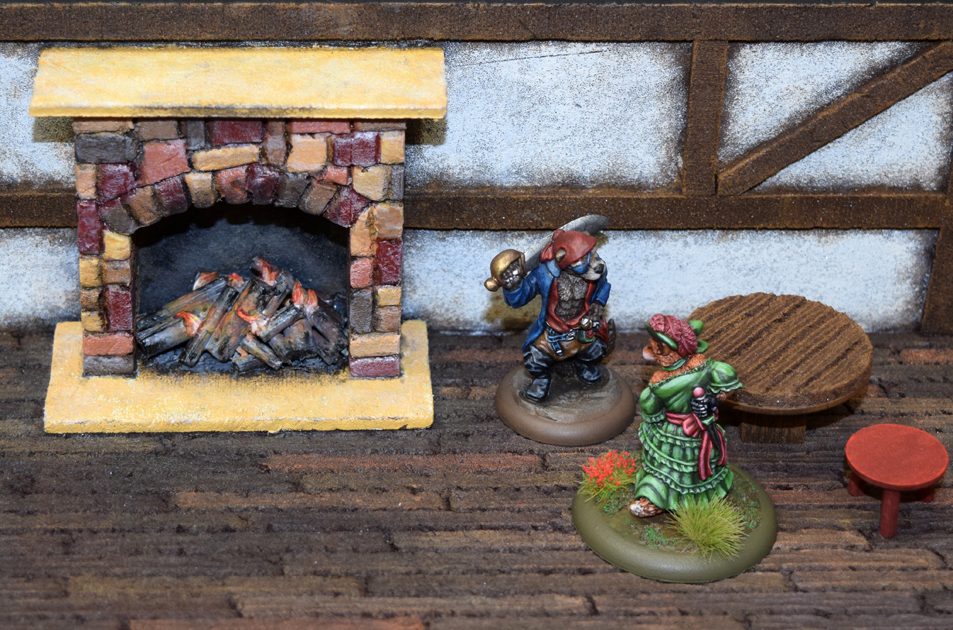 Fancy a drink?
 One hundred and eighty!
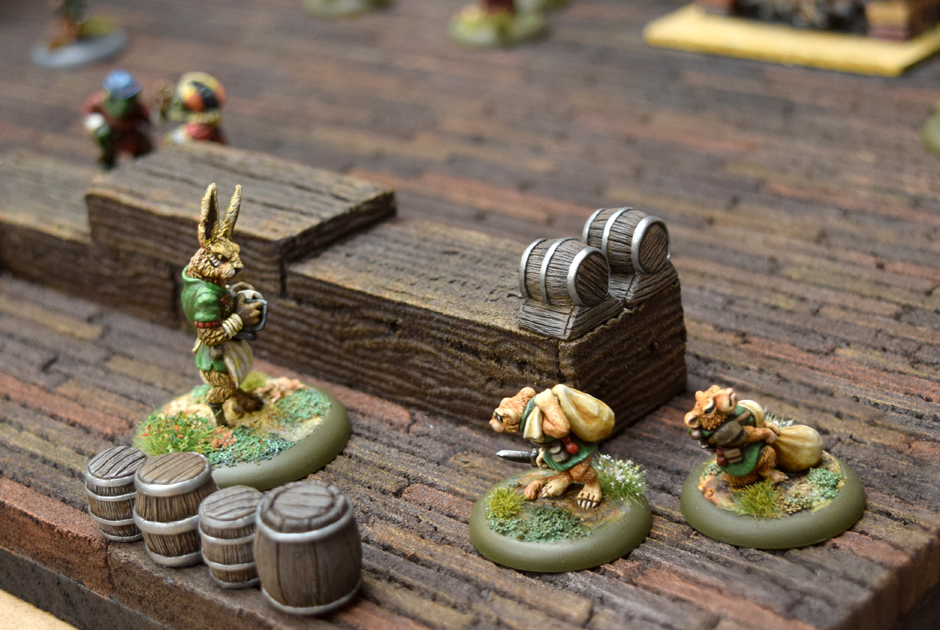 Delivery time.
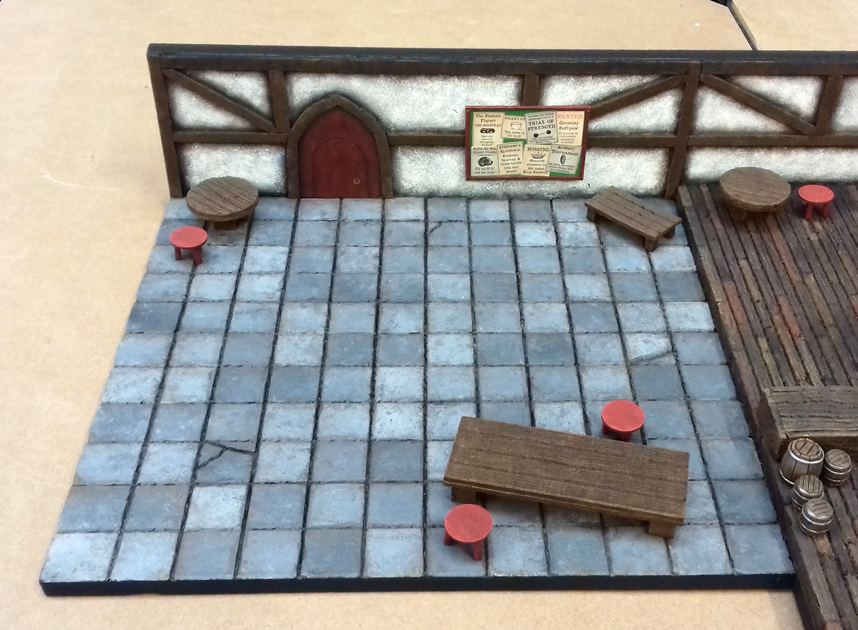
Part 19
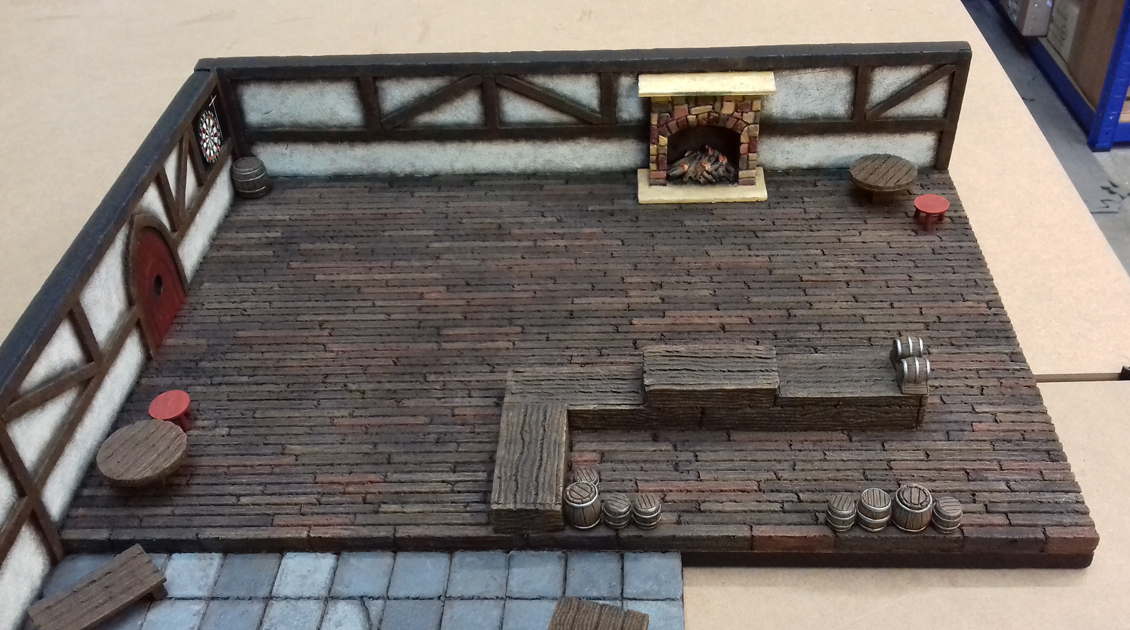
I realised there was a vital element missing from the bar-room…barrels! So I had a rummage in our ‘spare resin from old projects’ tub and discovered some barrels in various sizes that would do the job nicely. I gave them a wash and then filled in any air bubbles and imperfections with green-stuff and left them over night.

I sprayed the barrels all over with black and then gave them a light spray with brown. They were then dry-brushed with ‘Chocolate Brown’, ‘Light Brown’ and some of them with a touch of grey. The banding was then painted with ‘Natural Steel’.
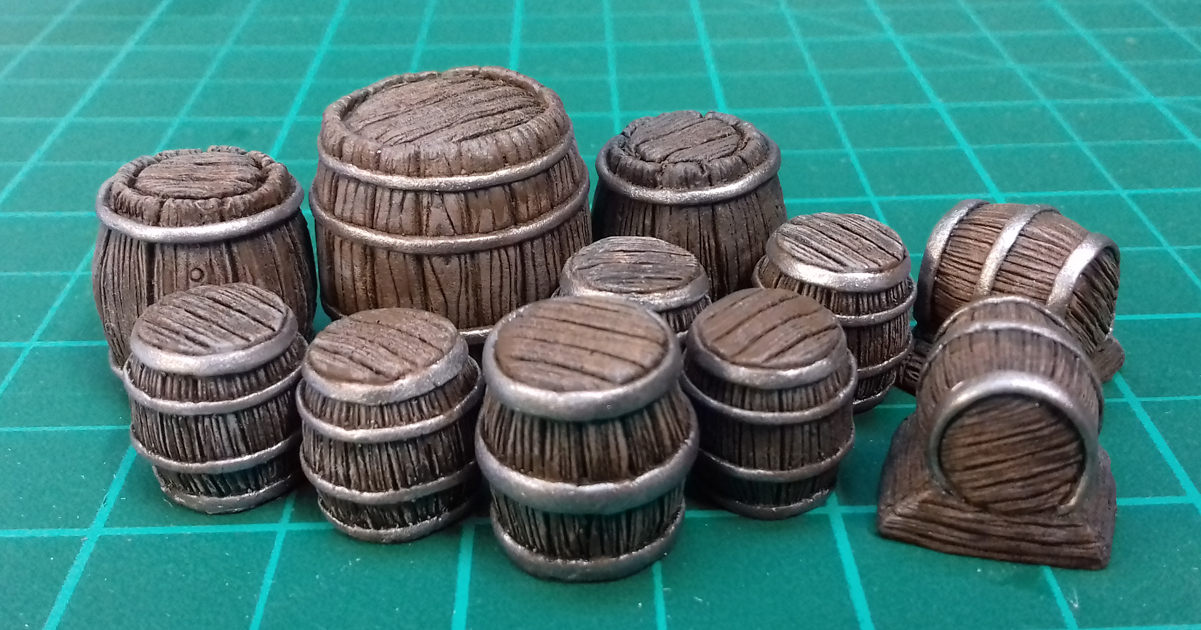
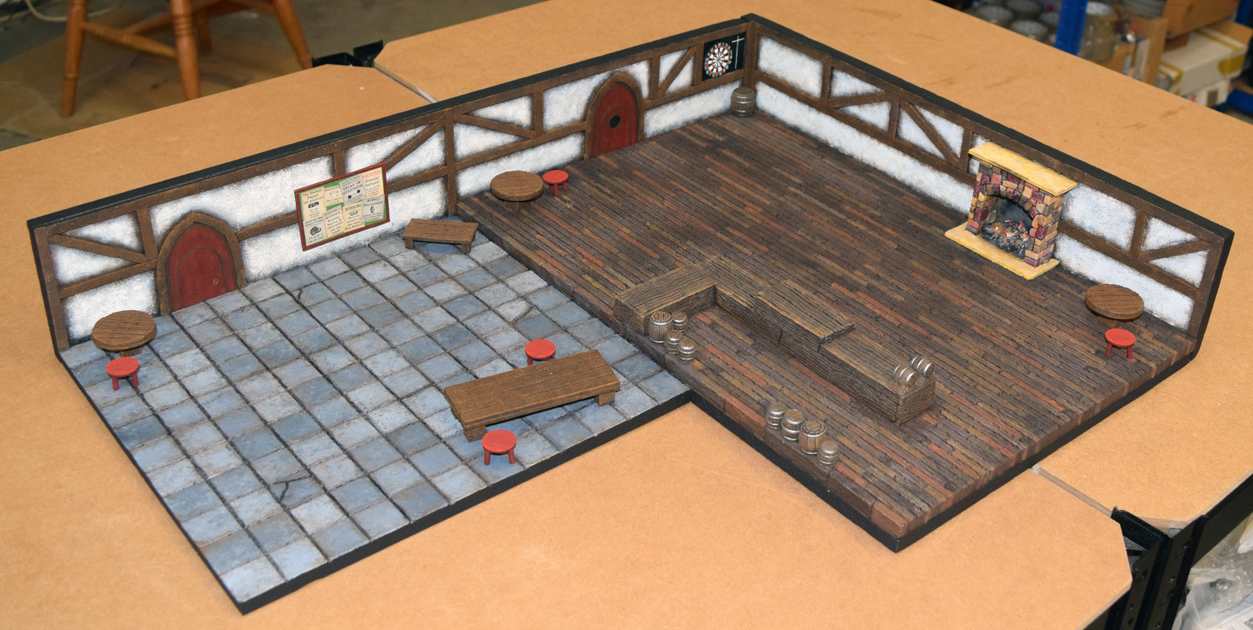
I placed most of the barrels around the bar area.

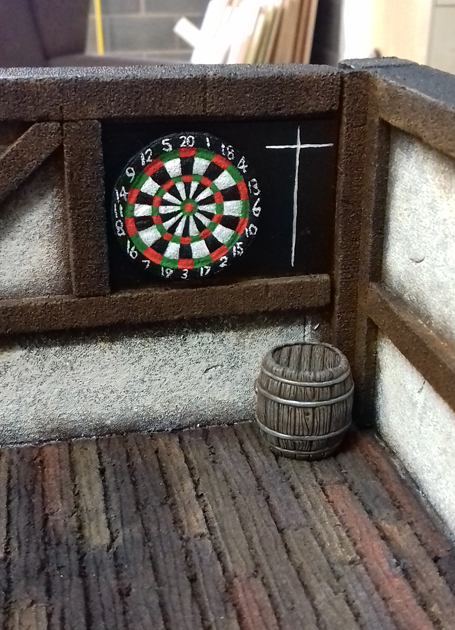
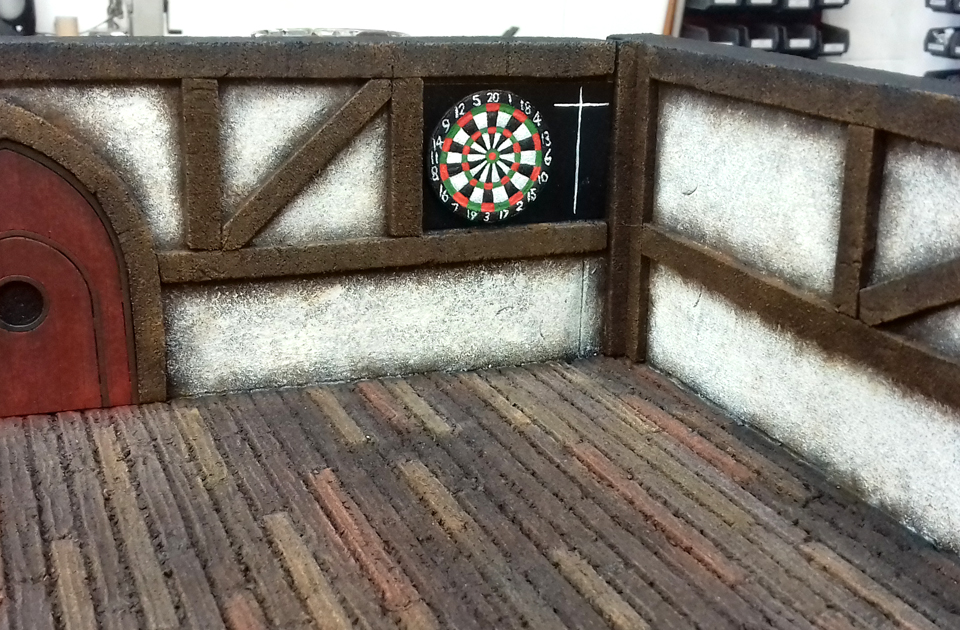
…and saved the largest one for under the blackboard part of the darts area so that the smaller players can climb on it to write the scores or retrieve their darts.
All done ‘n’ dusted and ready to play with.
Part 18
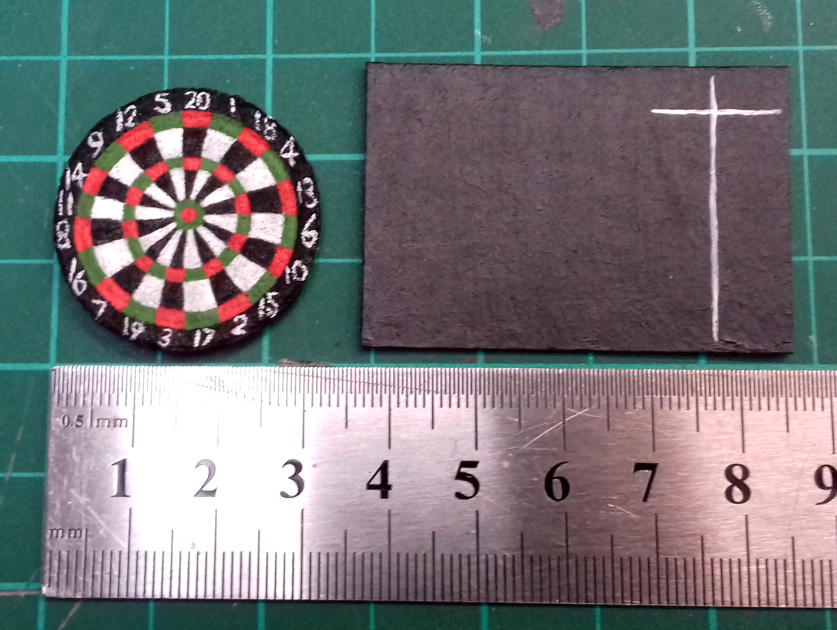
Next I painted the main body of the board with ‘German Cam. Light Green’ and dry-brushed it with ‘German Cam. Dark Green’. The frame was painted with ‘Red Black’ and then dry-brushed with ‘Scarlet’.
Once it was dry I gathered everything together ready for assembly.
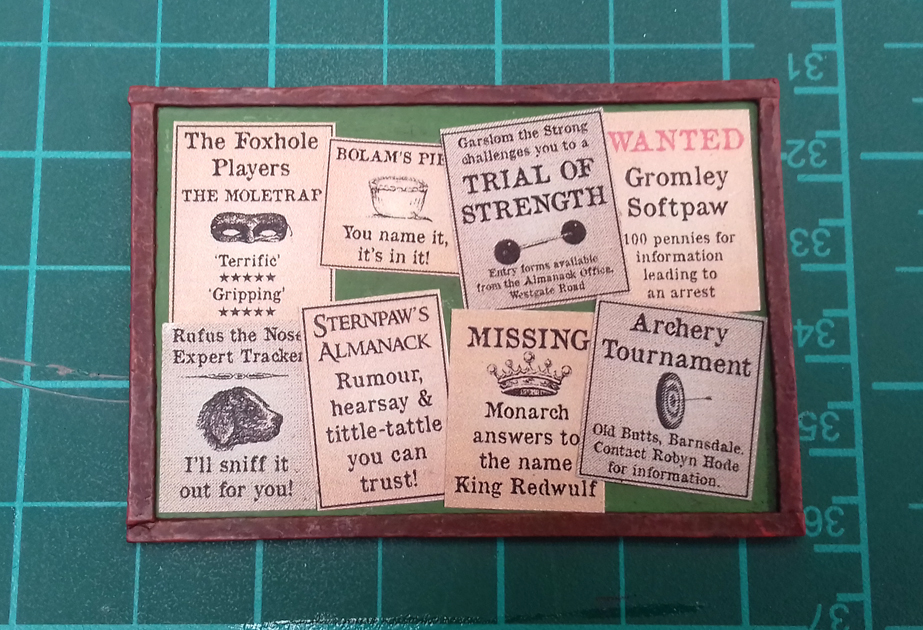
Posters all stuck in place with my trusty glue-stick.
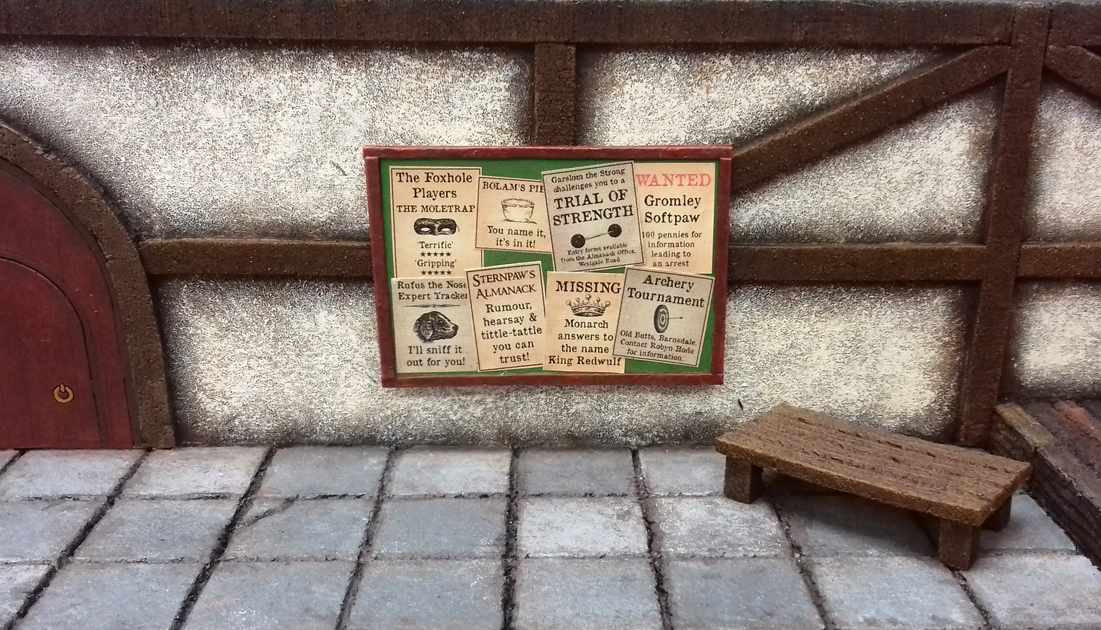
Attached to the wall with PVA.
Part 17
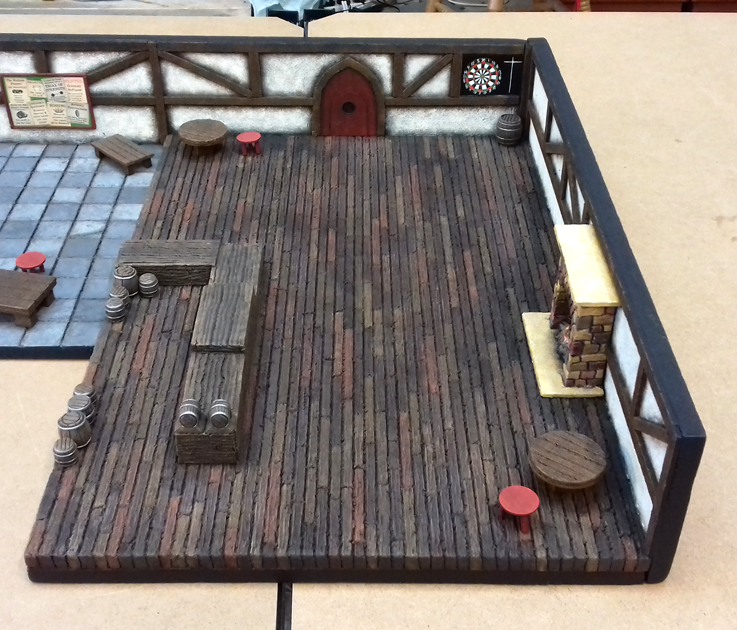
I then glued the dartboard onto the blackboard with some PVA and left it to dry.
Again using PVA it was then glued into place onto the pubs wall.
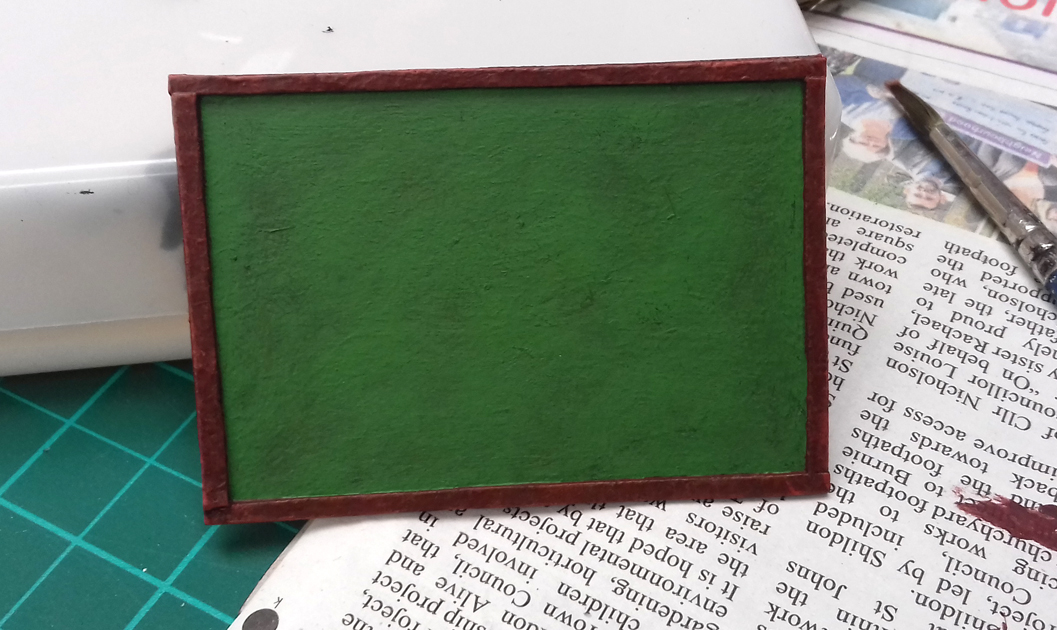
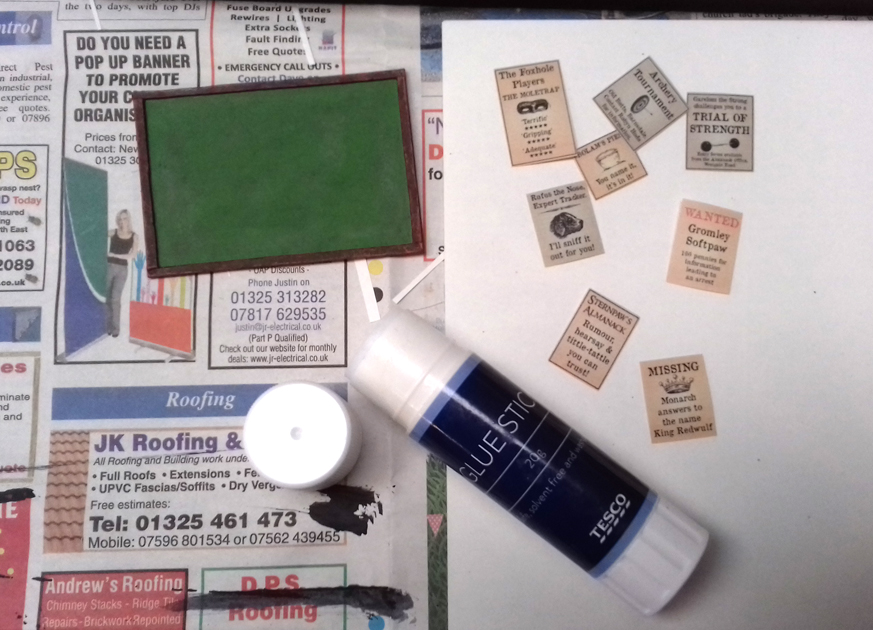
Next up was the noticeboard – Albert Peppercorn, one of our brilliant members from the Burrows & Badgers facebook group had made a PDF of a variety of small posters/signs etc for the Burrows & Badgers world. Saving me loads of time designing my own posters, I just printed out a copy to use instead.
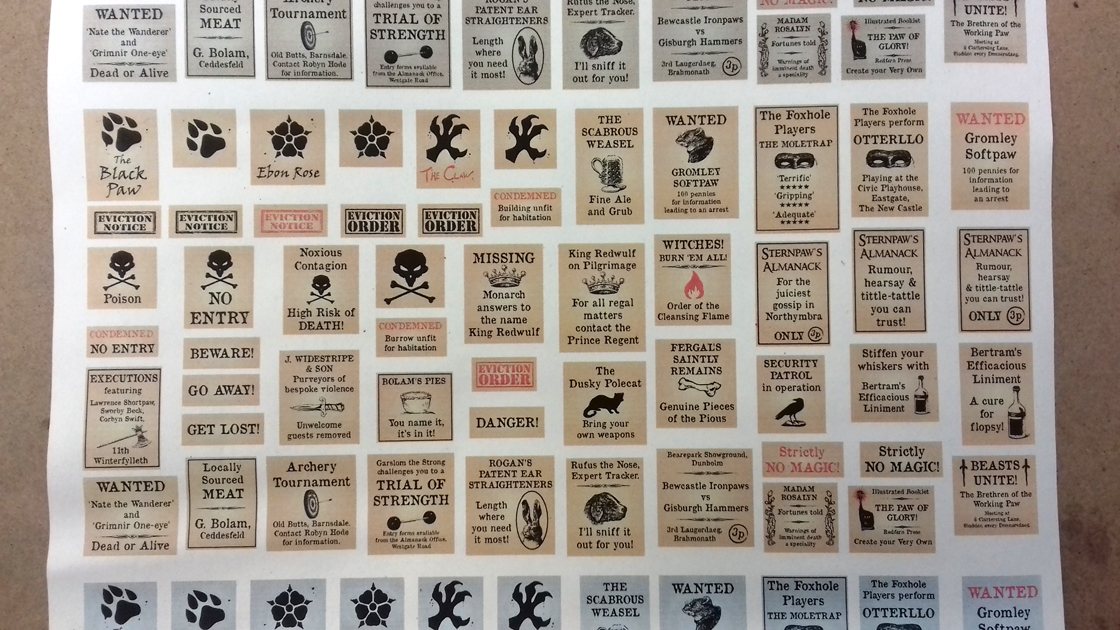
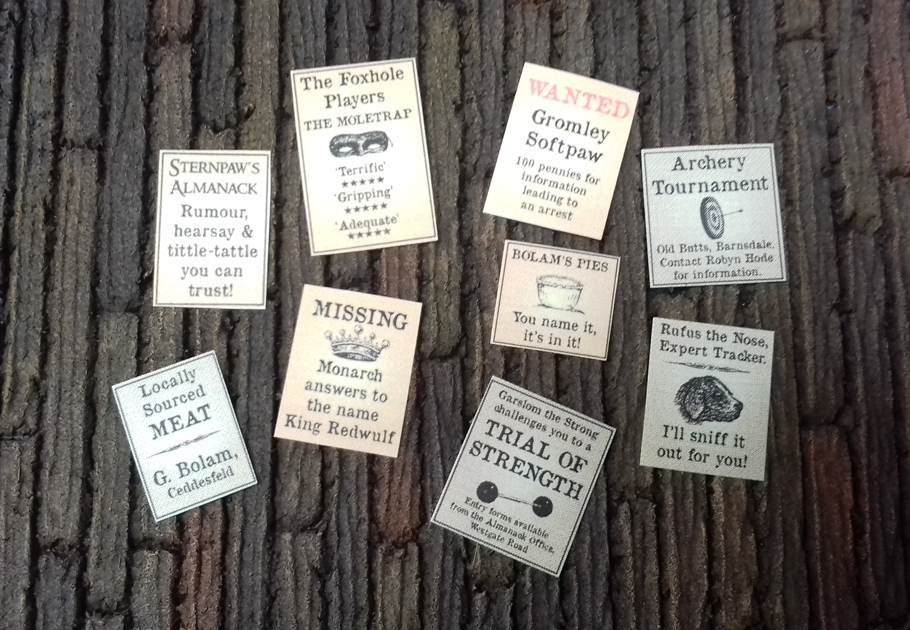
I then chose which posters/notices to use and cut them out.
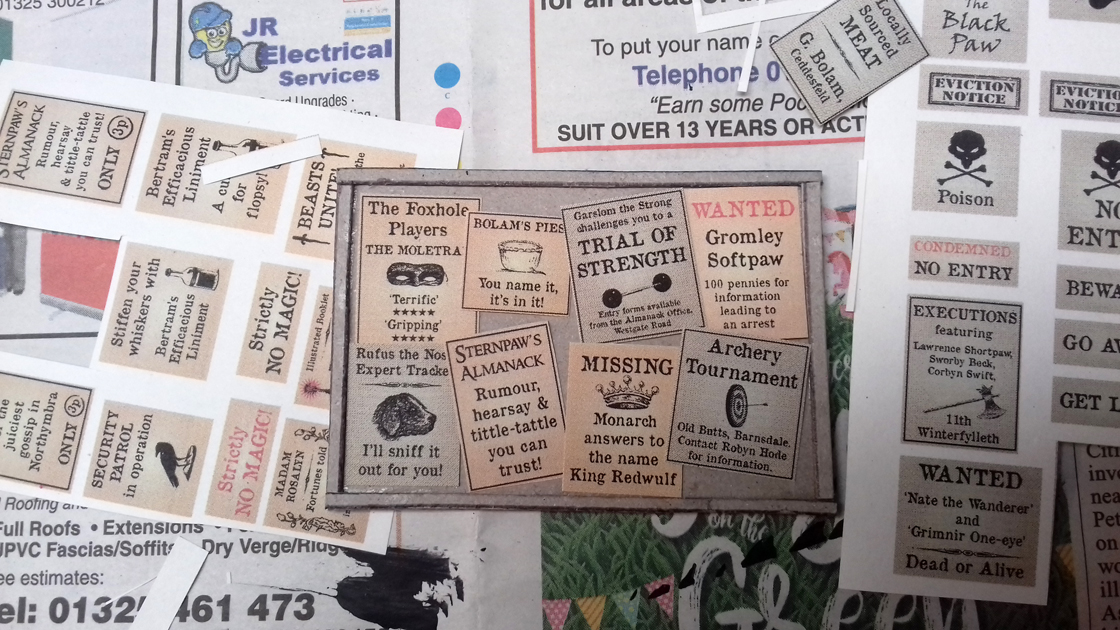
Next I constructed the notice board from a piece of cardboard. I cut a 7cm x 5cm rectangle for the main body and then four 2mm wide strips for the frame which I glued around the edge.

I then placed the posters on the board & played about with them until I was happy with where they would look best. I took a photo for reference so that I’d know where to glue them once the board is painted.
Part 16
Trying out the painted furniture…I felt it still looked a bit bare and really needed a couple of pieces to bring it to life. So I decided to make a dartboard (coz what’s a pub without a dartboard), and a noticeboard so everyone can catch up with the latest news while they’re enjoying a pint.

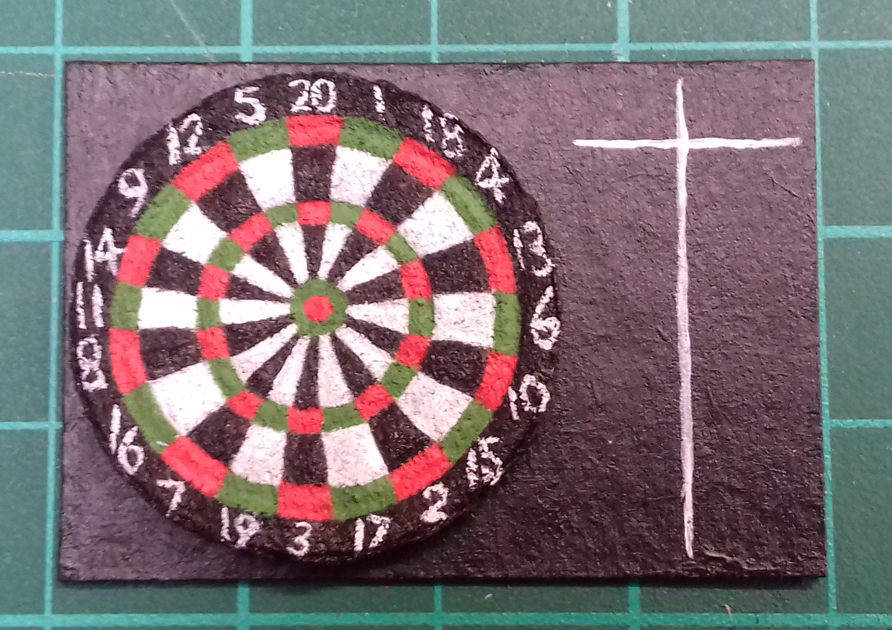
First up is the dartboard. I gathered scrap pieces of cardboard and 3mm foam, together with a cardboard tube that was the right size to use as a template, a knife, pen & ruler.
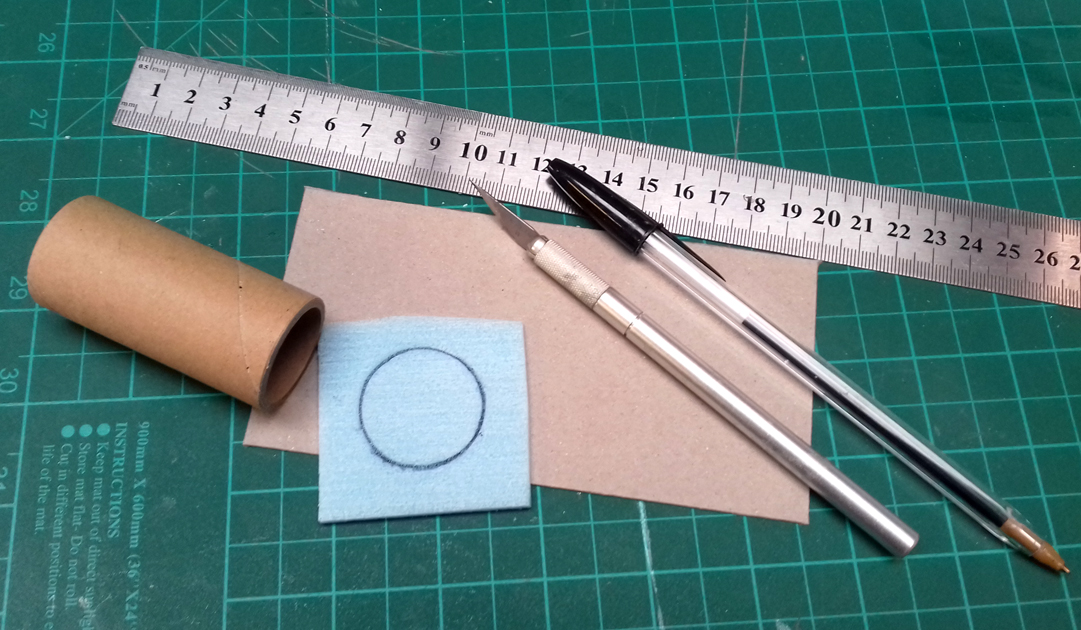
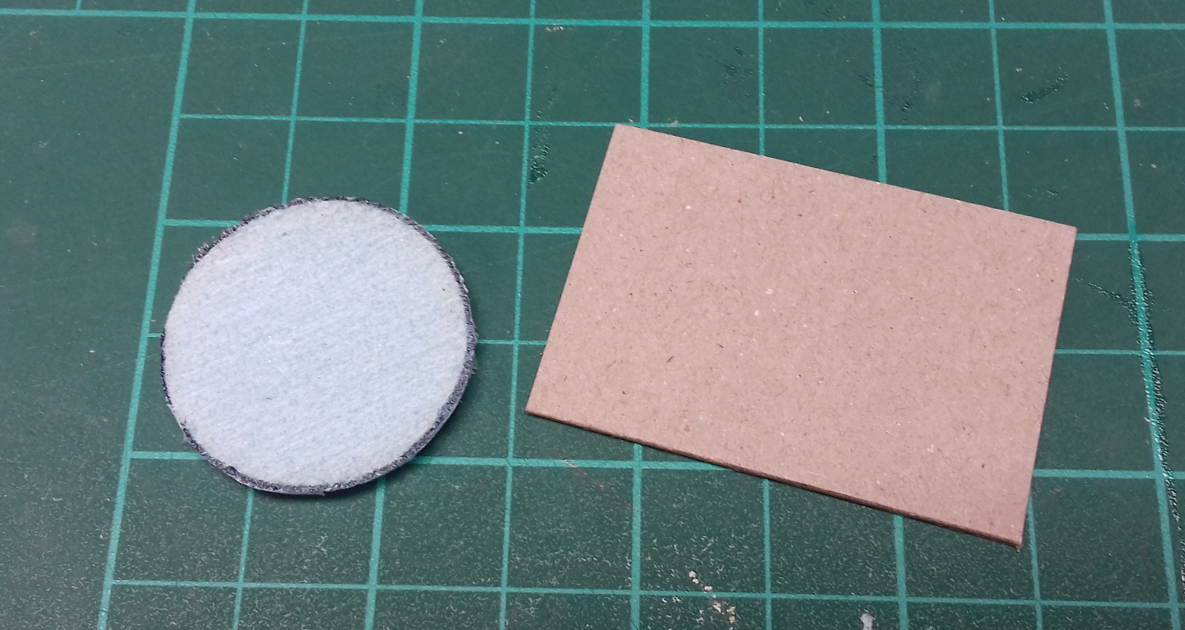
Pieces cut out – the foam dartboard is a 3cm circle and the cardboard (blackboard) is just under 5cm x 4cm so that it fits between the wooden beams in the corner of the room.
I then Googled a dartboard template. I re-sized the image to fit the size of the foam circle and printed it out. After placing the cut out template on top of the foam I carefully traced the design with my pen so that it would leave an impression of it on the foam for me to work from.
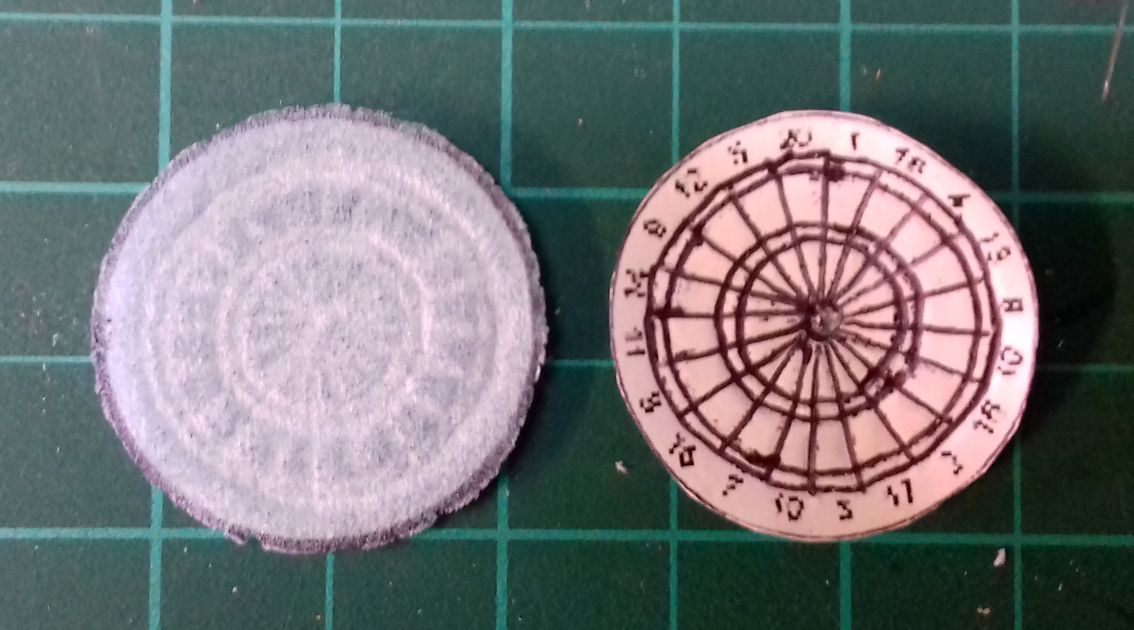
Wearing my head-magnifier I got to work painting the dartboard.

All painted & left to dry…The blackboard was painted black with a couple of white lines added as the scoring section. I was really pleased to have managed to paint the numbers around the outside of the dartboard, the foam is textured so it wasn’t easy to get a smooth line.
Part 15
I then painted the two doors, first with ‘Black Red’, then a dry-brush with ‘Scarlet’ and a wash with the Citadel shade ‘Reikland Fleshshade’. I then painted the handles with ‘Brass’, the inside of the window section black and the door frames with a ‘Chocolate Brown & Black’ mix

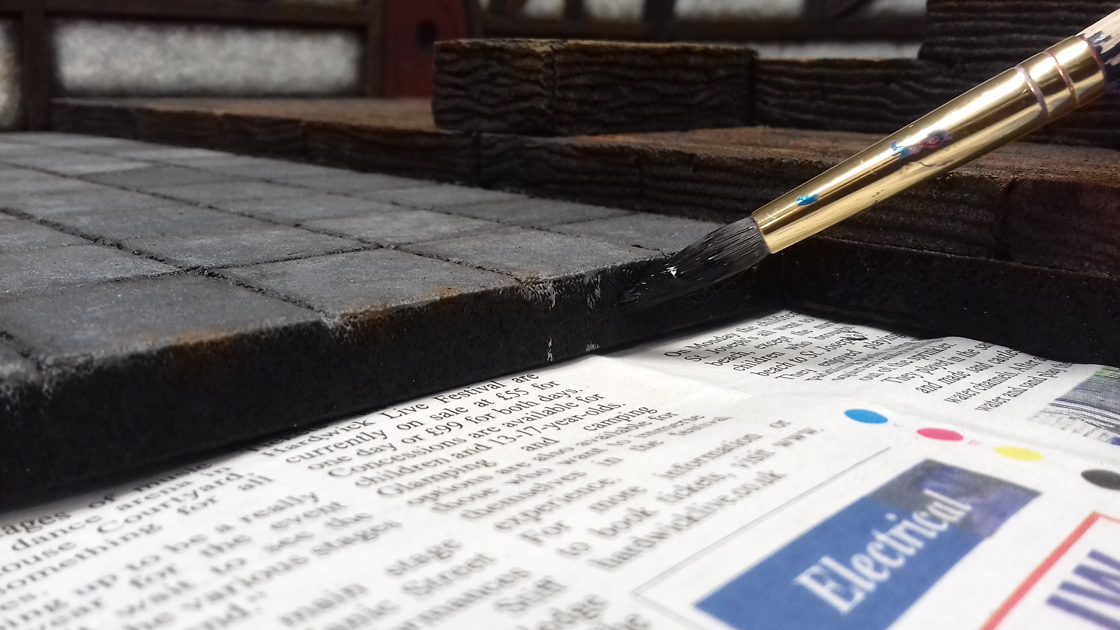
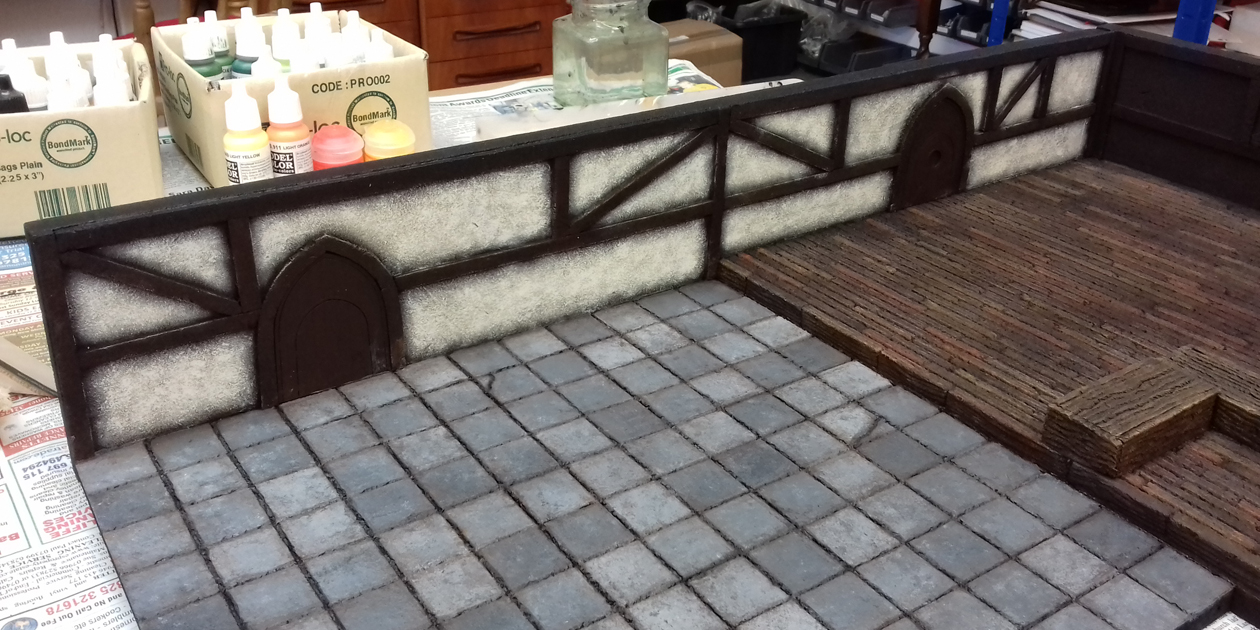
I then tidied up all the edges of the pub with ‘Payne’s Grey’.
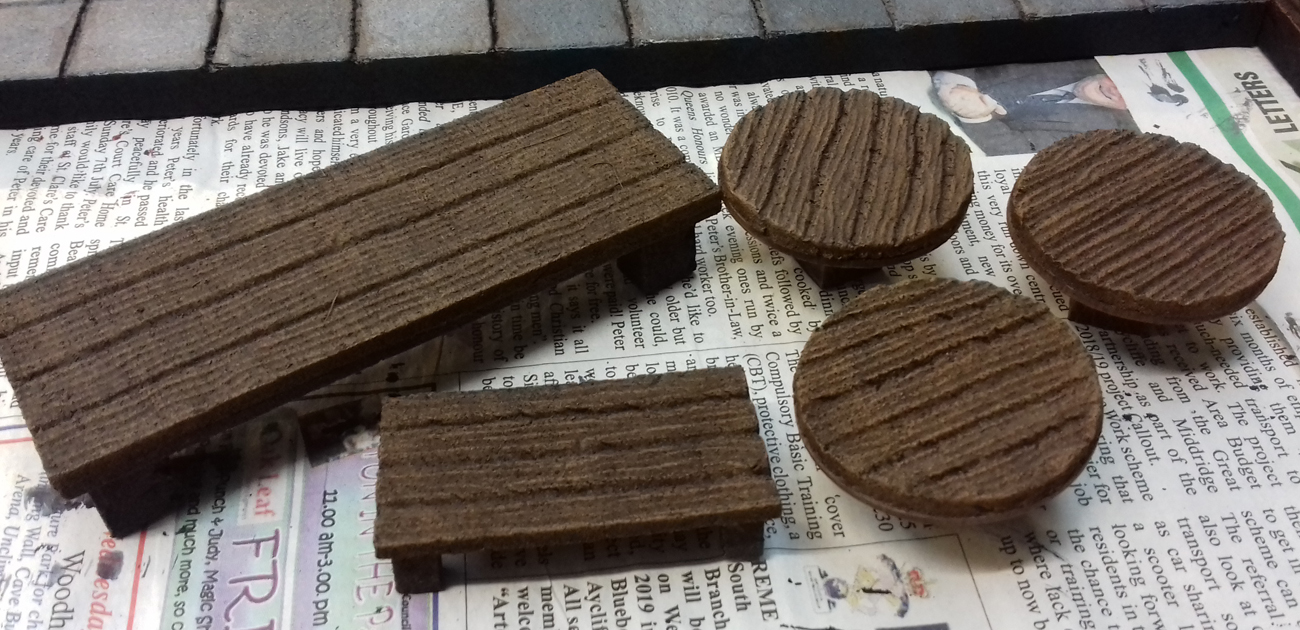
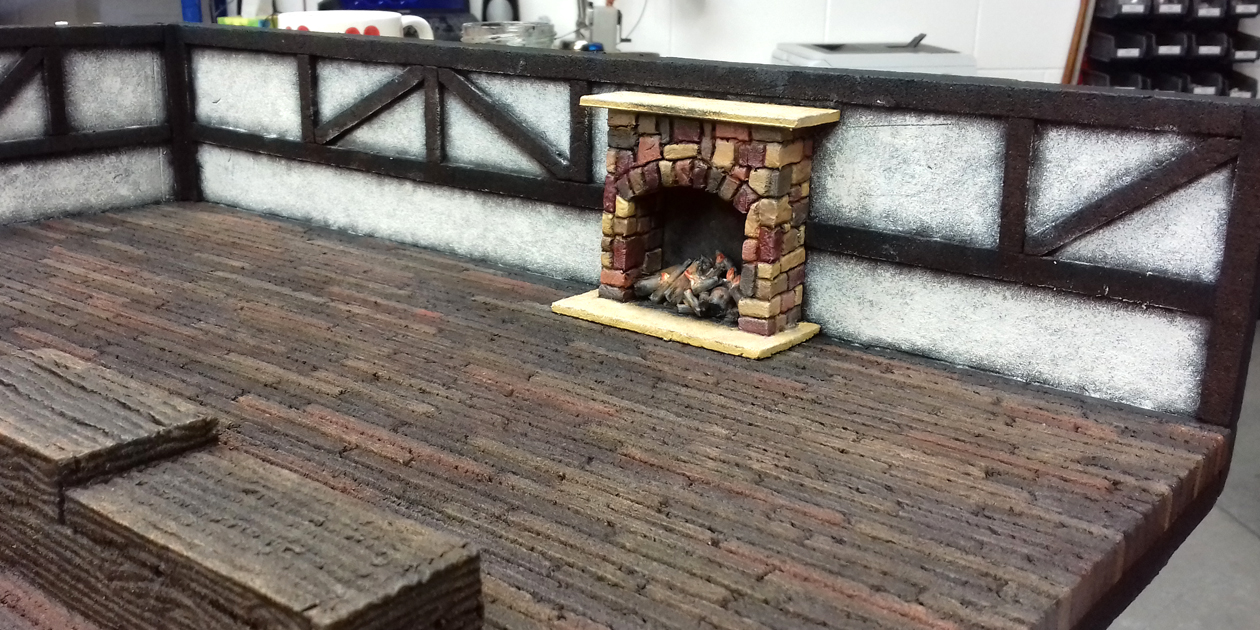
Now that the basic pub’s finished I turned my attention back to the furniture…I wasn’t happy with the round tables, so using the tabletop as a template I drew some new tabletops from 3mm foam. I then detailed them to look wooden using my trusty bic pen.

I then glued them onto the original tables with PVA and when they were dry I painted them with a mix of Burnt Umber & Black and left them to dry.
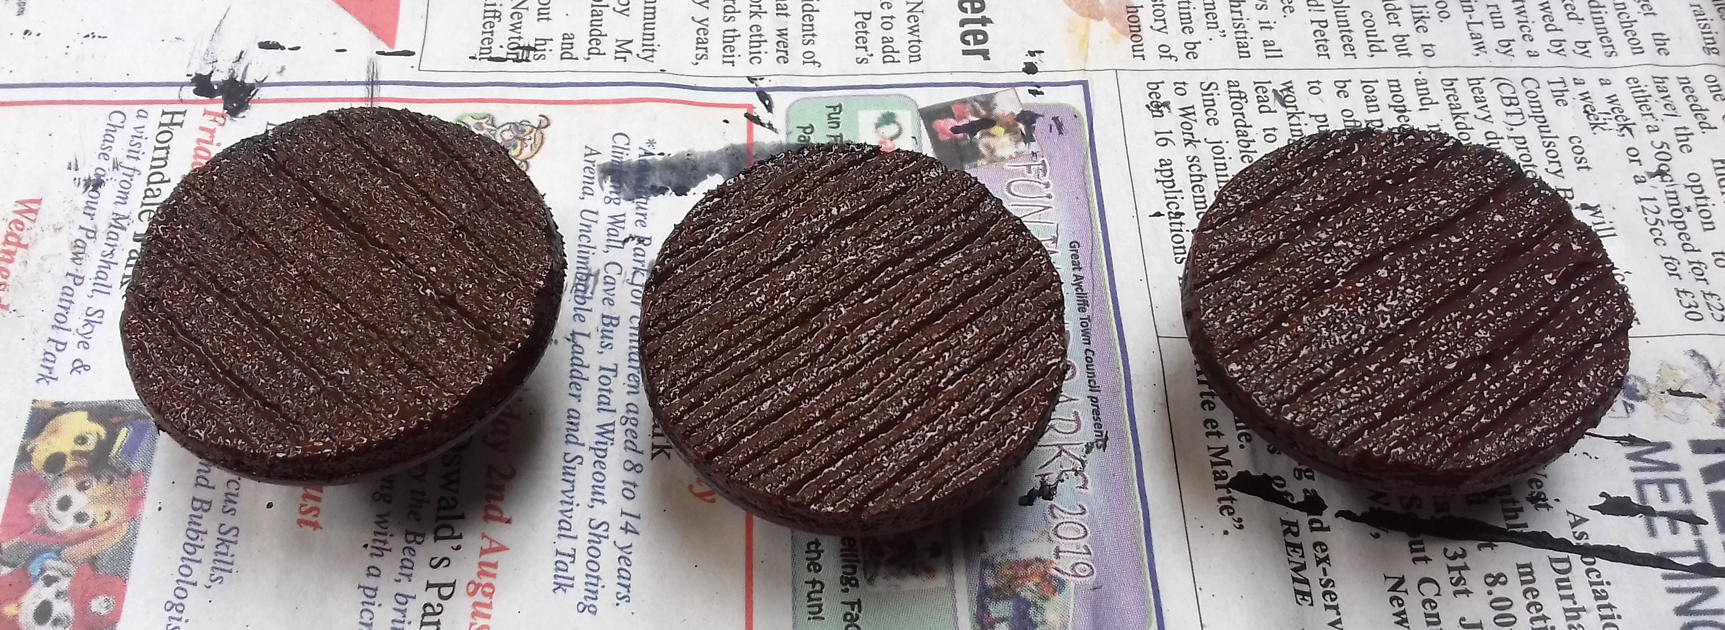
I then dry-brushed all the wooden tables with ‘Light Brown’ to hi-light the wood-grain.
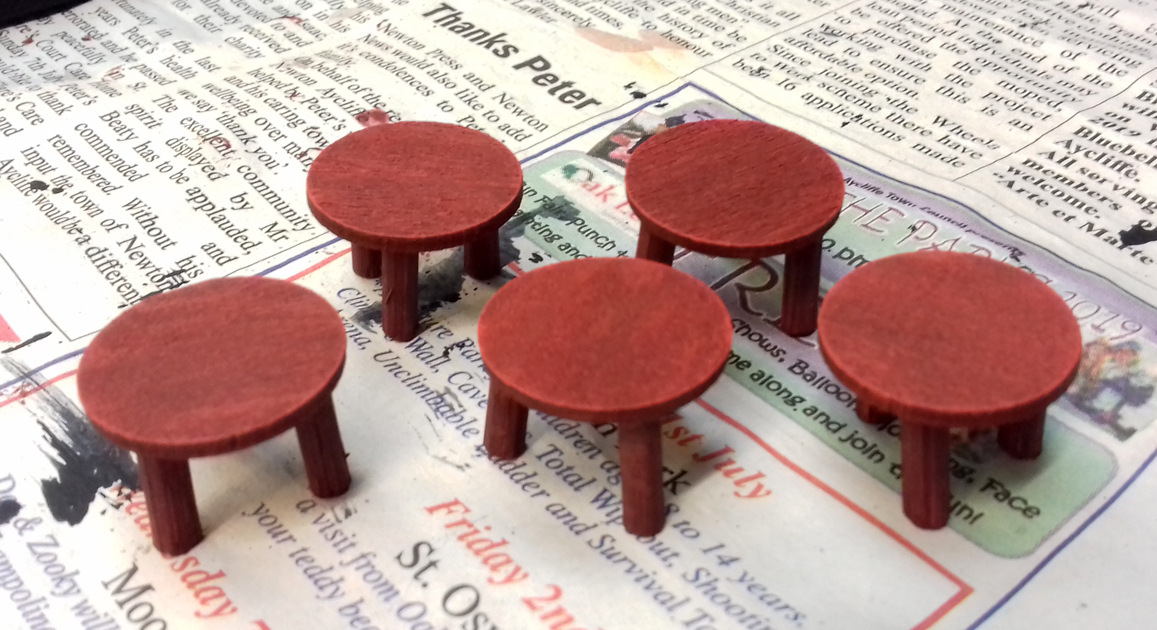
Next I painted the stools with ‘Black Red’ and then dry-brushed them with ‘Scarlet’.
Part 14
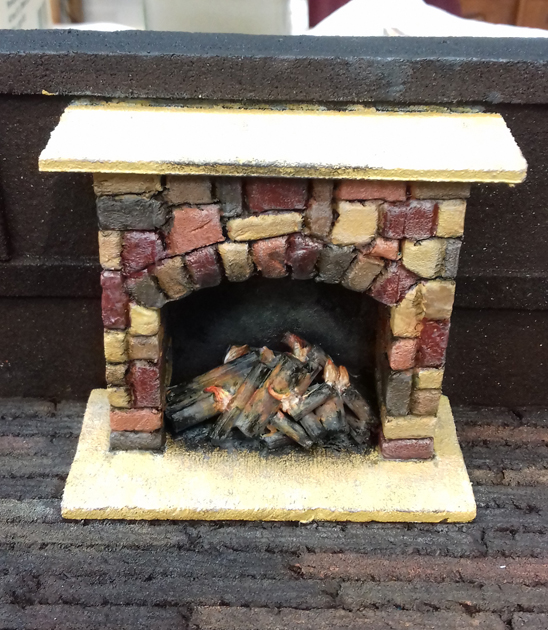
Next I painted the inside of the fireplace with black and dry-brushed the centre section with grey. The logs were then painted black on the outer edges working towards light brown on the middle sections. The edges were dry-brushed with grey. The flames were painted with ‘Light Orange’, ‘Light Yellow’ and ‘White’, and then painted with two Citadel glazes, ‘Bloodletter’ and ‘Lamenters Yellow’.
So far, so good. Next onto the walls…

I loosely painted the wall sections between the wooden beams with ‘Ivory’.
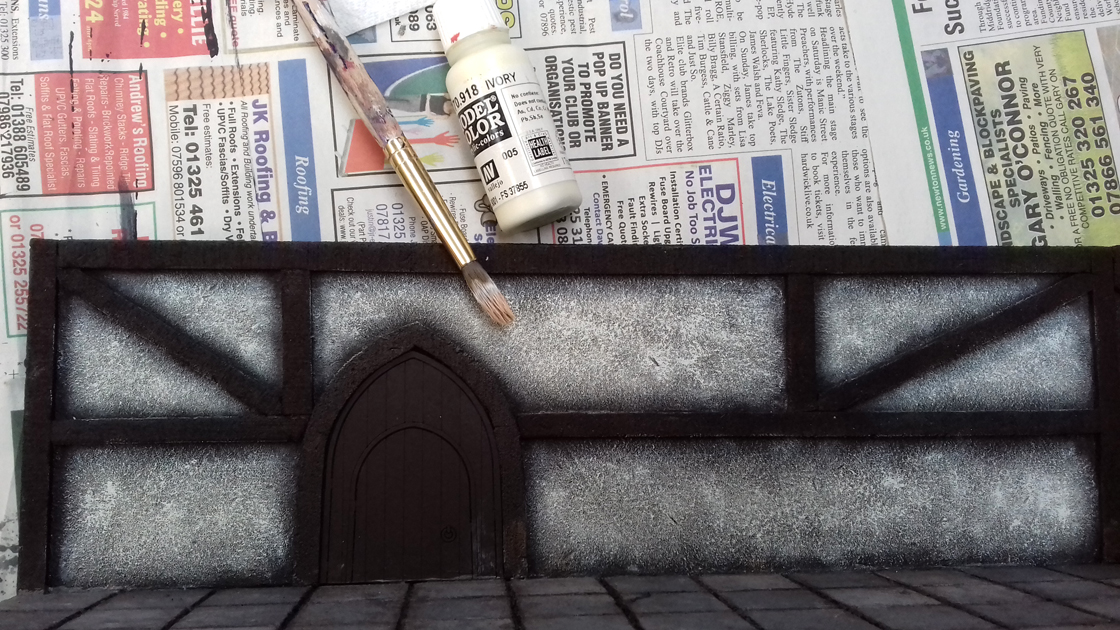
One side done.
Second side done.
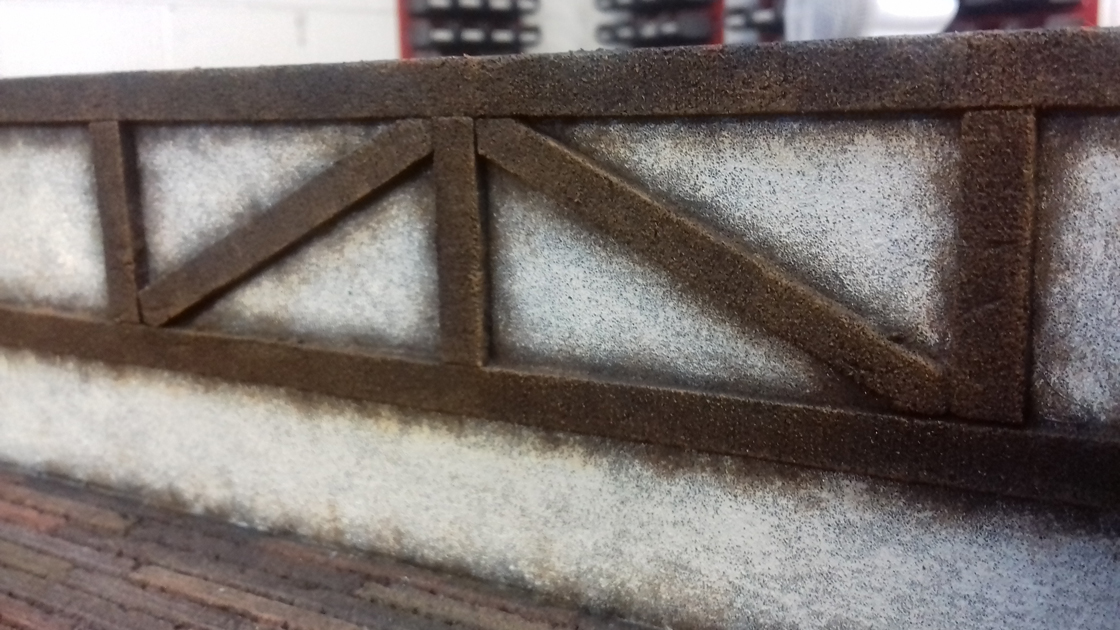
Next I painted the wooden beams with ‘Chocolate Brown’ and dry-brushed them with ‘Light Brown’. I also dabbed the paints along the edge of the ‘Ivory’ painted sections.