Adeptus Mechanicus at the Warhammer 40k Hobby Weekend
Recommendations: 241
About the Project
I didn't create a project while I was at the Warhammer 40k Hobby Weekend, but now that I'm back home I thought it would be nice to document everything. I'm also going to cover travelling to OTT and staying in Coleraine as it may be useful for anyone else who ever decides to visit an OTT event.
Related Game: Warhammer 40,000
Related Company: Games Workshop
Related Genre: Science Fiction
This Project is Completed
Planning the project
Why Adeptus Mechanicus?
Up until now my go-to army for Warhammer 40k has been the Blood Angels. This dates back to the ’90s when GW painted all of their space marines red for the box art. So I basically started a Blood Angels army without really consciously choosing to do so. I also painted a small Dark Eldar force for my Duke of Edinburgh bronze award, but I never played with them.
Now that I have an opportunity to pick a new army I was torn between picking one of the daemon forces (because I’d actually be painting them for Age of Sigmar) or going with the Adeptus Mechanicus. In the end I chose to go with the Adeptus Mechanicus and embrace Warhammer 40k. This was because ever since the Adeptus Mechanicus range was released a few years ago I have really enjoyed the aesthetic of the range.
Colour scheme
Since I have a large Blood Angels force I didn’t want to do another red army. I also wanted to try out the contrast paints as I hoped to finish all the models in the starter box up to a “gaming standard” before the end of the weekend.
I also gave the basing some thought. I currently have a great lava gaming matt but none of my armies have lava bases. I therefore decided to have orange and black lava bases.
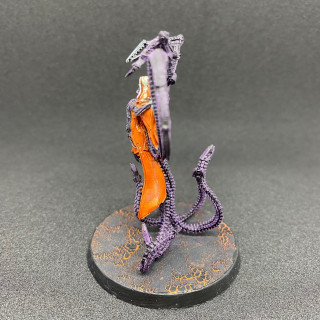
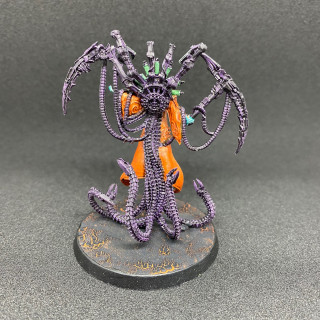
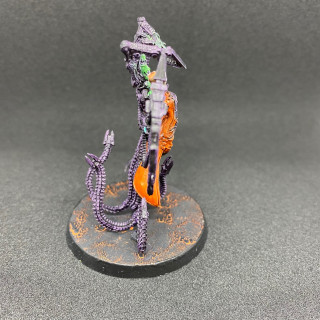
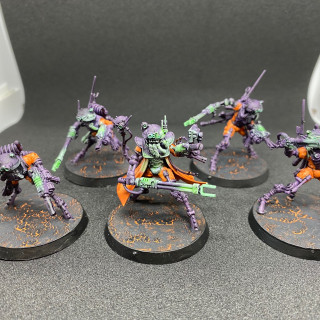
This led me to decide to have orange as the robe colour to tie them in to the lava. Referring to the colour wheel and deciding a triadic colour wheel would be fairly quick and easy, my other colours became purple and green. I toyed with the idea of purple armour and green weapons but decided it would slow things down having to decide what to paint purple and what to paint green. Therefore I relegated the green to a spot colour on lenses and as a glow effect on weapons.
Getting to and staying in Coleraine
Flying to Ireland
I live in England so had to fly to Northern Ireland. I flew in to George Best Belfast City Airport. There are trains every 30 minutes in to Belfast and the station is within walking distance of the terminal, but you are not allowed to walk! You need to ask the staff at the parking help desk to radio their shuttle bus who will drive you to a footbridge that you can use to cross the motorway and get to the train station.
Trains to Coleraine
The train from the airport (Sydenham station) to Belfast city centre runs every 30 minutes. You need to go two stops and change at Belfast Central for a train to Londonderry. The trains to Londonderry run every hour and take about two hours to get to Coleraine. Northern Ireland Rail don’t seem to do open return tickets so I had to buy a single for the journey to Coleraine and then another single ticket for the return journey after the weekend. The tickets cost £13 each way.
Staying in the Premier Inn
The Premier Inn may not be a luxury hotel but I was a safe bet that it would be of decent quality so I decided to stay there rather than in a B&B that would be cheaper but more of a gamble. The Premier Inn didn’t disappoint and this particular one has a pub built in to it which served a decent breakfast and dinner.
The Premier Inn is located on the edge of a retail park so it gives you the option of walking to Sainsbury’s if you want to buy some food at supermarket prices, or there is a 24 hour McDonalds right next door too if you get back to the hotel too late for the pub’s food.
Finally the Premier Inn is a 20 minute walk down the river from OTT. If it’s too dark for the walk by the river you can follow the footpath by the road instead which is well lit.
Eating near OTT
I ate my breakfasts in the Premier Inn, but I tried out several venues for my lunches and dinners.
Just round the corner from OTT there are several takeaways (they back on to the alley where the team do their spray painting). I bought a burger from Turf ‘n’ surf. It was decent and the portion was big giving good value for money. I also ate a pizza from the pizza takeaway a couple of doors up the hill from Turf ‘n’ surf. It was made to order and again decent quality.
Across the road from the takeaways I’ve already mentioned and further up the hill, across the junction, there is a very nice sandwich shop. They had a nice selection of home made cakes and they prepare nice sandwiches to order so this makes for a nice less greasy option than the takeaways.
Finally on one day I walked towards the city centre and came across Rocca, which is a restaurant across the bridge and opposite sports direct. That’s only about a 5 minute walk from OTT. It has a nice selection of healthier options like salads, as well as home made cakes and other meals.
Tech-Priest Dominus
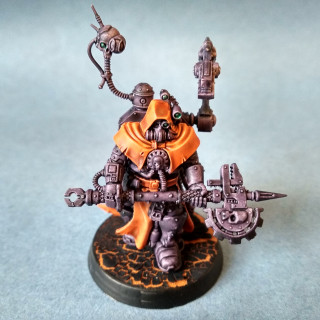
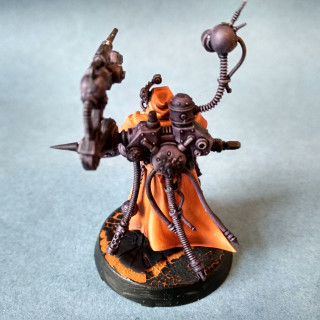
The first model I worked on was the Tech-Priest Dominus. The model had a few options – a head swap and a choice of alternative secondary weapons.
Bases
For all the models I built at the WH40k hobby weekend I assembled them first being careful to use superglue to glue the models to their bases. After undercoating the models with wraithbone spray I gently snapped the models off their bases. I could then paint the bases separately and could see where I needed to leave the bases unpainted in order to glue the models back on again.
The bases were painted mecharius solar orange and once that was dry I applied a thick layer of mordant earth technical paint. This took several hours to dry but as it did so it cracked to reveal the orange underneath. Once dry the base rims were painted abaddon black.
The bases that I painted on the first day had a thin layer of mordant earth applied and this dried with very small cracks. On the second day I scooped it on thickly (about 2 to 3 mm thick) and the results are much better with bigger cracks.
TIP: ensure mordant earth is applied very thickly for best results.
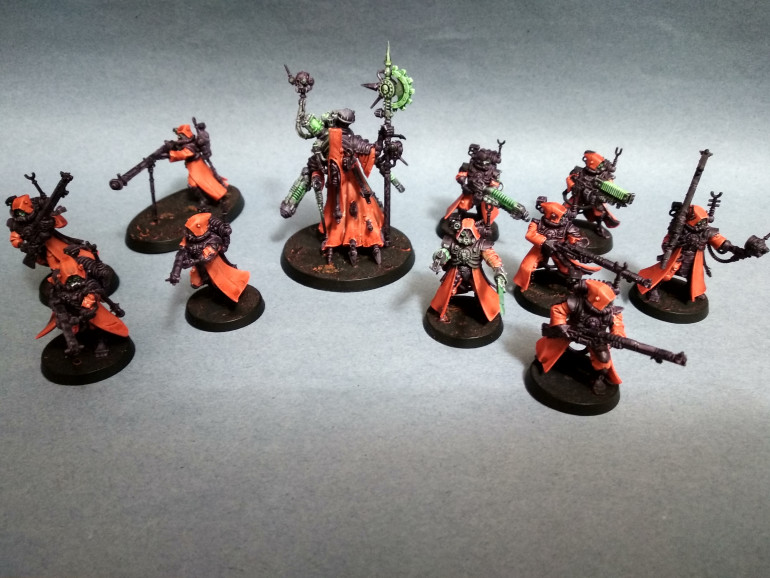
Skitarii Rangers
The Skitarii ranger kit is easy to work with as long as you realise that certain legs and torso’s are designed to work together. Another thing to note is that the unit can have up to three special weapons but there are only one of each on the sprue. If you want to have focused units (i.e. each unit has the same weapon) you will have to plan ahead.
Basic colour scheme
As mentioned in my last post, the models were undercoated wraithbone spray. I then painted the robes with gryph-hound orange contrast paint and the rest of the models shyish purple contrast paint. My thinking was any mistakes made with the orange would easily be covered by the darker purple colour. It turned out I was incorrect – the translucent nature of contrast paints meant I could still see the orange mistakes underneath the purple. Mistakes have to be covered up be re-applying wraithbone base paint before using the second contrast colour.
I did encounter a little bit of contrast paint pooling on the bottom of the robes but in general it worked well on these models which are very detailed.
TIP: If you make a mistake with a contrast paint you need to paint over it with your base colour before using a second contrast paint.
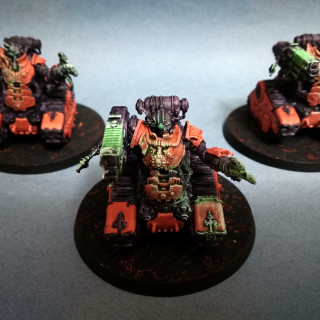
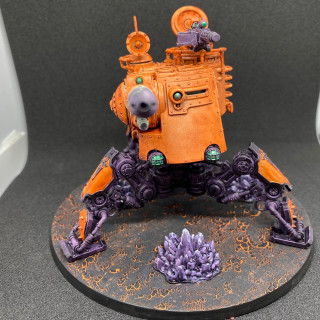
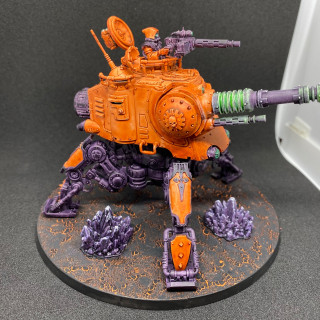
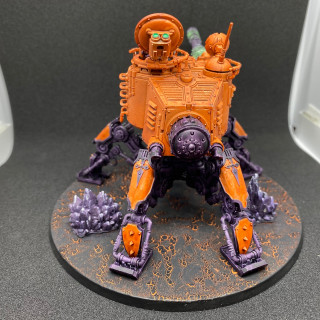
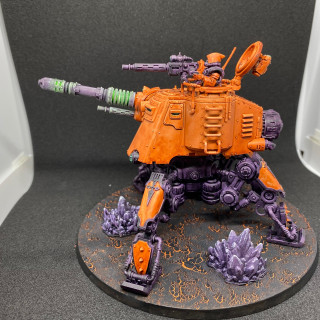
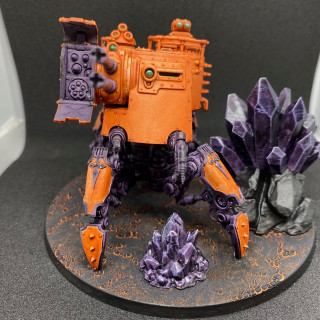
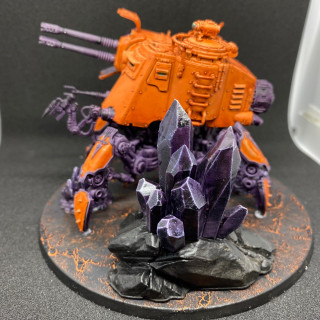
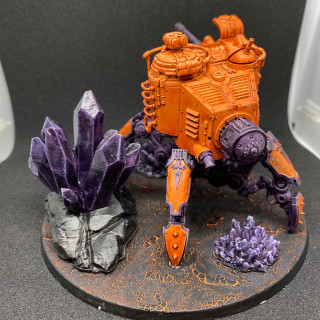
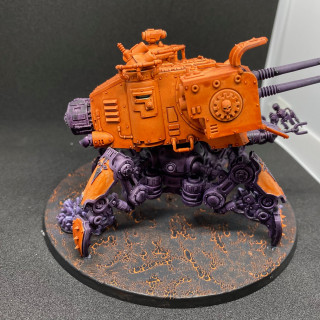
Onager Dunecrawler
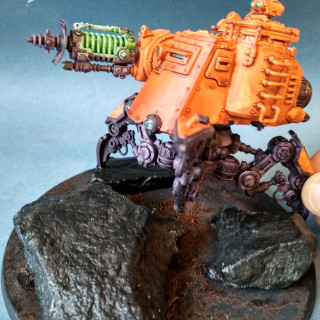
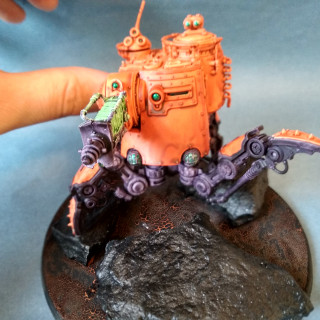
There are two main observations to make with this kit. The first is that if you use the feet without the pads then the connection points with your base are very small. The model will keep breaking off the base unless you pin it. This is why you can see my hand holding the model in place in my photos – its not pinned yet.
Also the legs are all the same, so your model can only be built in a standing position. Thomas Mennes suggested I re-model one or two of the legs to show the dunecrawler climbing over a rock. I achieved this by cutting the leg at the knee and also extending the piston using a spare weapon barrel. The conversion itself is crude as I didn’t have my bits box or tools with me at the WH40k hobby weekend, but the end result looks good.
I added more detail to the larger base by using stones from outside OTT that I washed and painted abaddon black.
The large flat panel on the front of the model had worse contrast paint pooling than on the Skitarii Rangers, but I’ll fix that later by covering it with a transfer.
Lenses
All the lenses were painted leadbelcher and then with waystone green technical paint.
TIP: pin the dunecrawler to its base.
TIP: contrast paint tends to pool on large flat areas.
Ironstrider Ballistarius
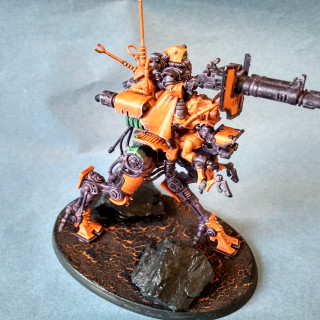
With this kit I noticed a few mis-numbered parts in the instructions. I also noticed that the servitors legs are supposed to match up with the main models legs but there are two possible combinations. First time round I put the wrong legs on the servitor. Luckily I spotted it before the glue had dried so I was able to correct it easily.
Green object source lighting
These is my quick and easy way to achieve object source lighting. First paint the rest of the model, including any weathering you might choose to do. Then paint the areas that is the light source ceramite white. Then drybrush ceramite white around the area of the light source, ensuring your brush strokes always move from the light source directly away. Drybrush heavily close to the light source and get progressively lighter as you get further from the light source. The idea here is that the areas drybrushed are where the light would be falling. You can see in the picture above that I have drybrushed the top of the leg when the light is being emitted by the engine cylinder.
The light source is then coloured using a wash, in this case biel-tan green. The areas that were drybrushed are glazed, in this case waywatcher green.
TIP: watch out for mis-numbered parts and be careful with leg positioning on the servitor.
Tech-Priest Enginseer
Not much to say here. The plastic Tech-Priest kit didn’t have any options that I can recall and was easy to put together.
First battle report
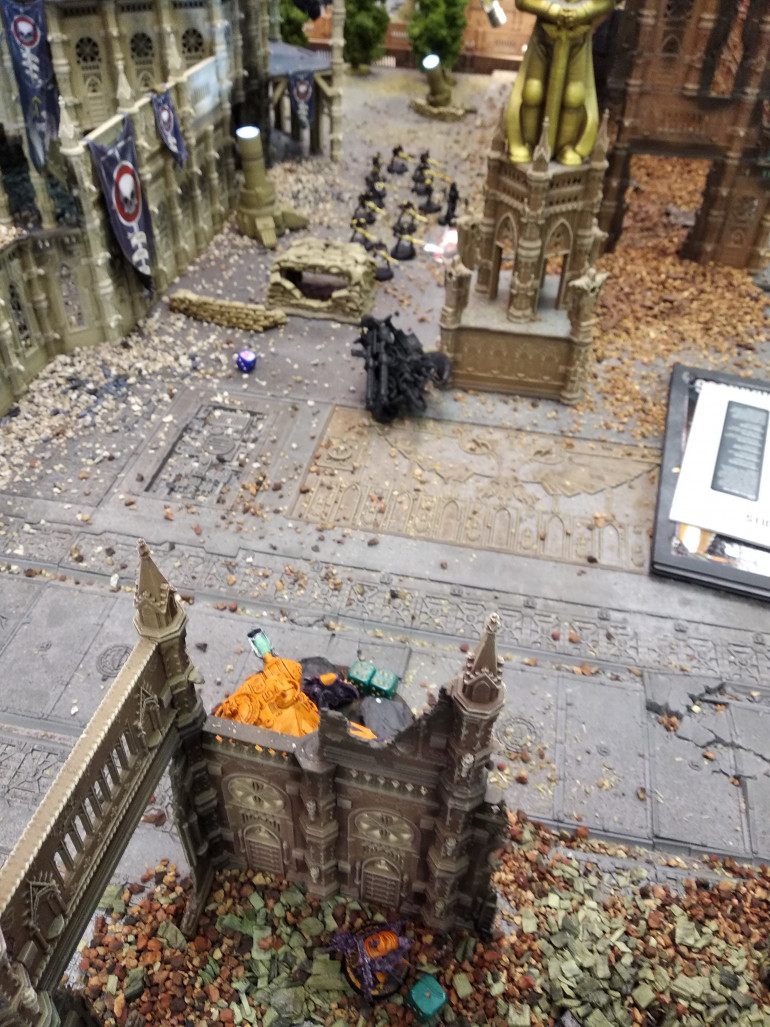
On Sunday evening four of us played a free-for-all game on the end of the massive 40k table. We were roughly balanced in points and didn’t use any extra’s like command points or artefacts.
Apologies to my opponents but I don’t remember their names.
In the corner opposite me there was a Necron force. To my left was a solitary Tyranid, the rest of his army could turn up anywhere in his second turn. To my right there were some Tau but a number of his units were able to deploy in the very centre of the table on top of the tower with the zeplin.
The Tau player though he was safe up the tower but once he found he was in range for my dunecrawler and ironstrider and took a few wounds he jumped down the far side to engage the Necrons. He split his forces between engaging me and the Necrons and was eventually worn down until his last couple of Tau hid up the tower and took no further part in the battle.
The Tyranid player threw everything he had at me, which included Genestealers, Broodlord and Trygon. Ad Mech solid shooting, including some very lucky overwatch shots from the dunecrawler against the charging Trygon, eventually shot them all off.
Once the Tyranids were dead and the Tau were in hiding the Necrons were almost on top of me. By now I only had the dunecrawler and the tech-priest hiding behind it and continually repairing it. The dunecrawler was really struggling to get through the Necron quantum shielding while the Necrons were only doing the odd wound to the dunecrawler which I could easily repair. The Necrons would win eventually as their entire force would get into shooting position eventually and potentially get to the tech-priest.
We called it there but all agreed it had been a fun game.
Future plans
My local club has a 75 power point tournament in February which I will aim to attend with my Ad Mech.
To finish the models I already have I will need to add some more green object source lighting. I think I need this on the character axes and also on the infantry on their rifles somewhere.
I will also add transfers to get some quick iconography.
For new models I think a second army box set for more infantry, another dominus and duecrawler is a bargain. After that I’m not sure what I’ll add but every model in the range appeals to me.
Fulgurite Electro-Priests and Kataphron Breachers
Skin and blindfolds
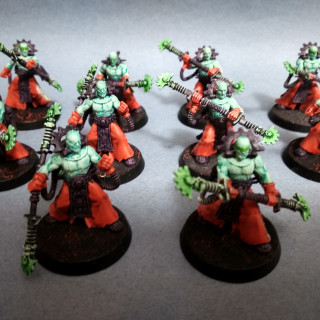
The skin was painted aethermatic blue over a wraithbone undercoat. The blindfolds were painted moot green.
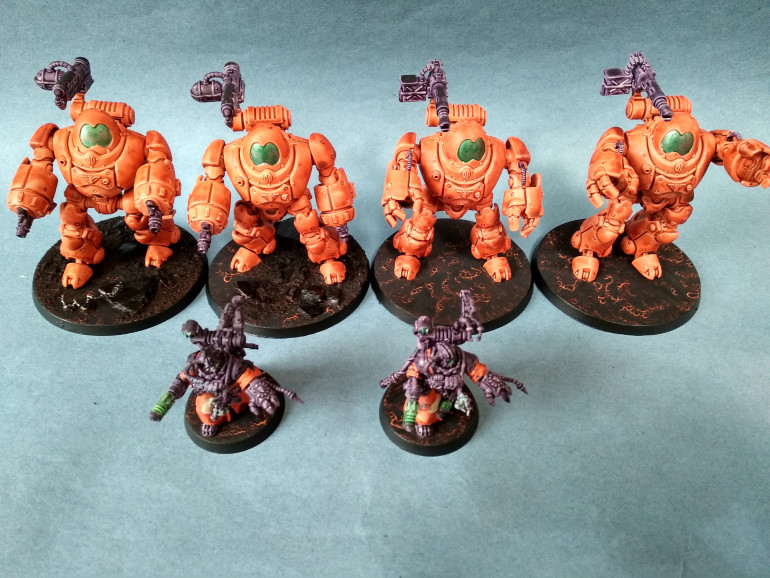
Kastelan Robots and Cybernetica Datasmiths
These were painted using my usual method for this army.
Half the models were bought second hand off a friend. He had already assembled them and as I built the other models I noticed that the fists had been assembled upside down. In general it is very easy to build the Kastelan Robots with parts the wrong way round or back to front. If you ever build these kits, pay careful attention to arms, fists and waist pieces.
Second Tech-Priest Dominus and squad of Skitarii
These were painted in the usual way for this project.
One of the Skitarii was built as a Vanguard rather than a Ranger. This is because the sprue only has one of each special weapon. As I intend my eventual Vanguard squad to have all the plasma caliver’s, I’ve built one up now in advance. The Vanguard with plasma caliver from the first unit will get a head swap when it is time to build the third unit.
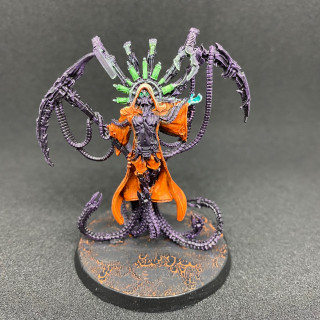
Raging Heroes Tech-Priest Dominus and squad of Sicarian Infiltrators
I picked up the raging heroes model after watching John’s painting videos of their models. It was a bit fiddly to assemble her mandrakes but I really like the model.
I’ve always liked the background of the Sicarian Infiltrators. They don’t sneak up on you using stealth – they use white noise technology to render you blind, deaf and numb so that you can’t find them.
The models were painted using the scheme I established in my previous posts.
Two more Onager Dunecrawlers
Both models were painted in the same way as all my other models in this army.
To add detail to the large bases I printed off some crystal clusters on my 3D printer. In the background for the army they are fighting over a planet where these mineral deposits can be found. They incorporate it into their metal alloys which is why I paint the metal of the models purple.
To paint the crystals they were updercoated with wraithbone spray and then painted with shyish purple. They were then drybrushed with lucius lilac followed by praxeti white. Finally they were varnished with ardcoat.
Archaeopter Stratoraptor
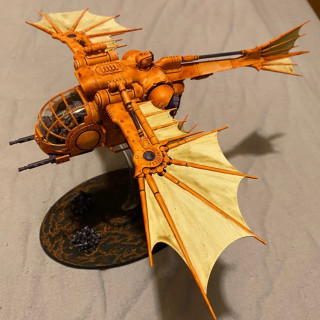
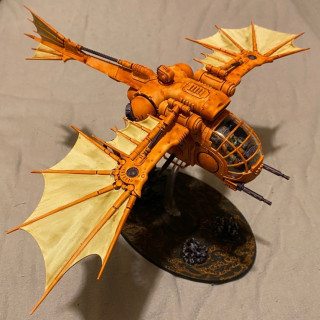
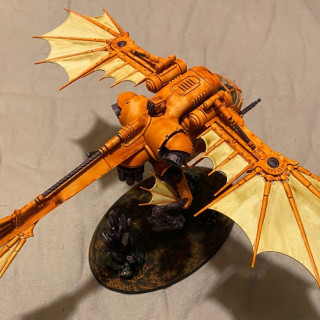
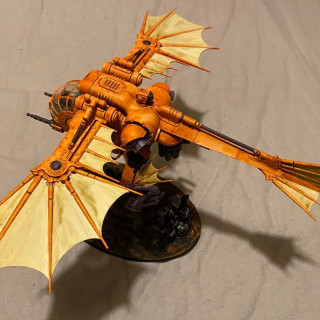
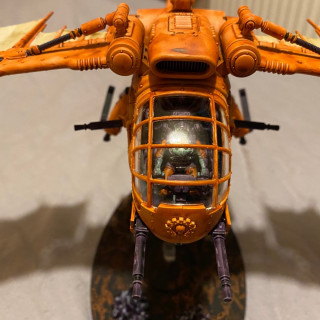
Now we are in lockdown again my gaming club has resumed their lockdown painting competitions. This one’s theme is “boom” so I went with a flyer with a bomb rack.
The paint scheme is exactly as described in my previous entries on this project. The only new colour is skeleton horde used for the wing membranes.
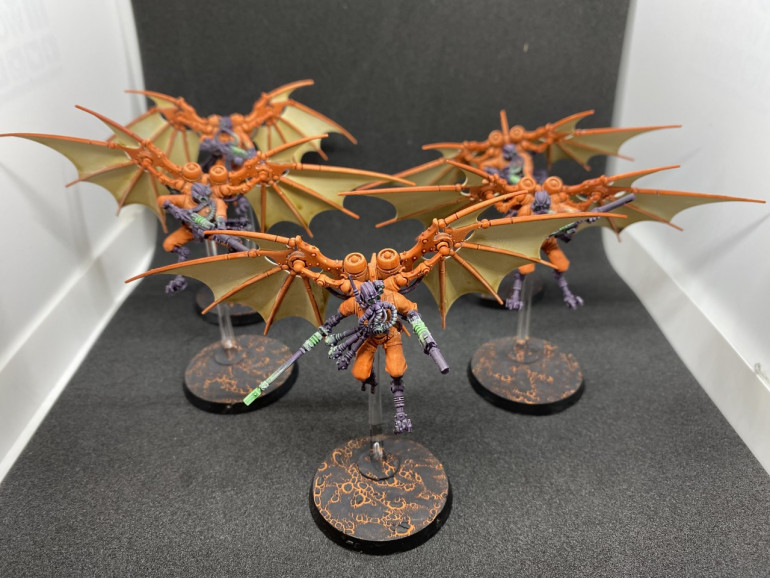
Pteraxii Skystalkers
The bases were painted mecharius solar orange and once that was dry I applied a thick layer of mordant earth technical paint. This took several hours to dry but as it did so it cracked to reveal the orange underneath. Once dry the base rims were painted abaddon black.
I then painted the clothes and wing frames with gryph-hound orange contrast paint, skeleton horde for the wing membranes and the rest of the models shyish purple contrast paint. Mistakes have to be covered up by re-applying wraithbone base paint before using the next contrast colour.
Then I painted the areas that are light sources white scar. Then drybrushed praxeti white around the area of the light sources, ensuring my brush strokes always move from the light source directly away.
The light sources were then coloured biel-tan green. The areas that were drybrushed were glazed waywatcher green.
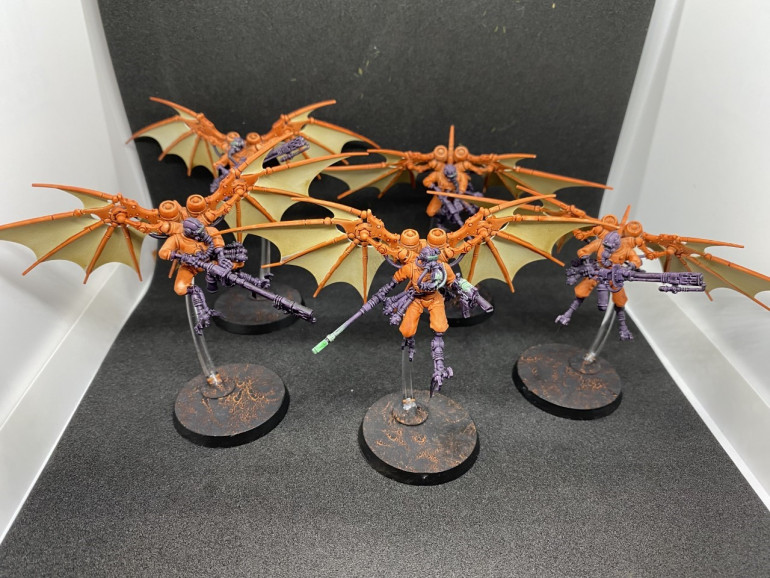
Pteraxii Sterylizors
Painted in exactly the same way as my previous unit (painted six months ago – yikes!).
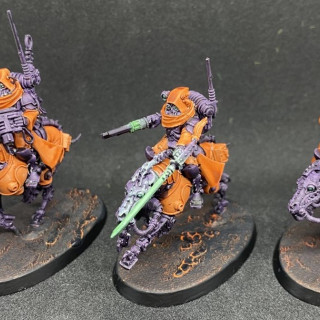
Serberys Raiders and and Serberys Sulphurhounds
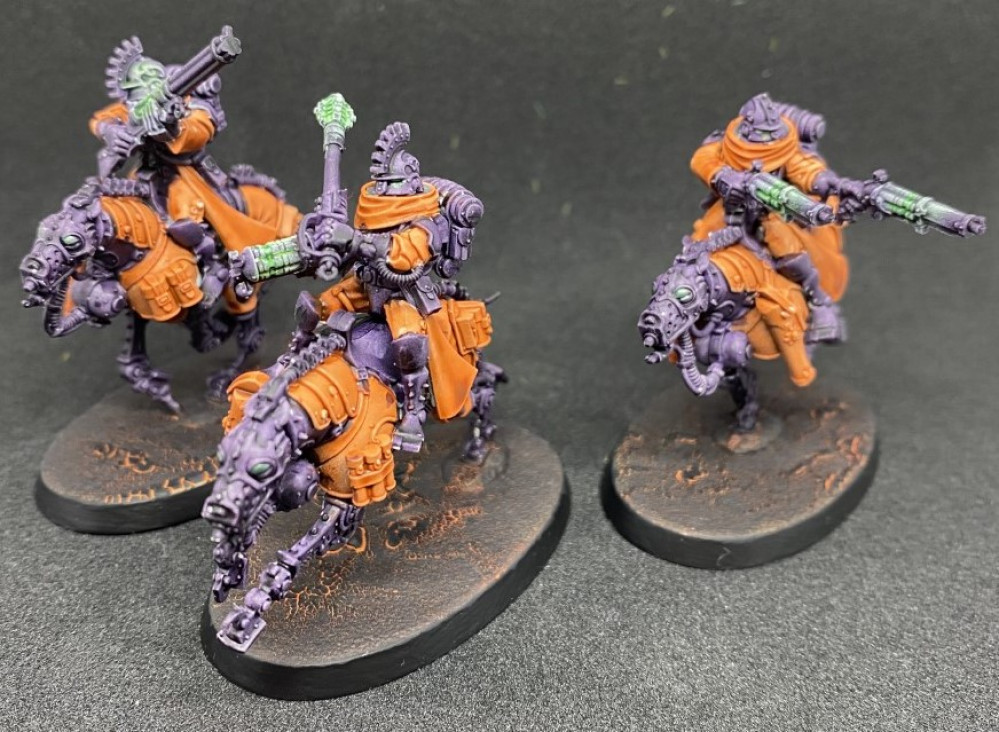
And with these six models my Adeptus Mechanicus army is finished (for the time being).
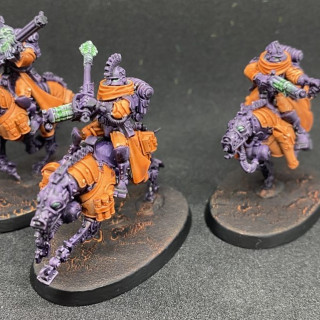
I might add to it in the future if a particular model takes my fancy or if I start actually playing 40k again. But for now I’ve painted everything I bought and my storage box is full.


