24 Hour Paintathon for a Seraphon / Lizardmen Start Collecting box
Recommendations: 238
About the Project
So after a very long pause and not doing much in the hobby. I painted like 30 minis between 2012-2018 after I moved to Ireland from Germany and was very busy with work. In 2018 I built & painted the Forgebane half from the Necron Box for a friend's birthday. This again was followed by basically only painting about 20 minis until early this year. I got back a bit into the hobby with Aeronautica Imperialis but was still busy with work, so did not get much done and then Corona hit, and suddenly had more time, and a HUGE pile of Hoppy prep :P So what was the sane thing to do? Right start painting. But what about motivation? I used to paint with friends, and we'd shoot the shit and have a blast of a time doing this. But A) all the people I used to do this were back in Continental Europe and B) moved on for a considerable part with their lives. Also, no travelling and local lockdown did not help either. However, a few years back, I started watching painters on Twitch, and I'm very technical and had cameras and microphones for Business and Hobby reasons on hand. So the sensible solution was to get a Community and paint with other people via Discord. And why not stream this myself? And thus in mid-March, I started streaming myself after starting to paint a bit in January. So we did build up a shared Discord for a bunch of German twitch mini painters. We soon started talking about Projects, and one of our earliest ideas was, oh, let's do a 24-hour challenge? That ought to be fun! All the gaming streamers are doing this. So imagine a bunch of mid-30s to late-40s guys suddenly want to do a 24-hour long paint session. So we've set the premise and yesterday I did this with a bunch of the lads, and it was great fun. Spoiler, I did not finish the Start Collecting box, and I did a lot of prepping before. but I did take pictures, to share on Instagram on the way and I thought now lets document this here :) If you want to watch the stream, you can see on twitch in the archive and Youtube, it is mainly in German, but there is English in-between. My nick there is the same as it is here: StorminWolf. If you have any questions, do let me know, and I would love to have constructive Feedback as well. If you've read this far: Thanks for doing that & I hope you enjoy the posts here :)
Related Game: Warhammer Age of Sigmar
Related Company: Games Workshop
Related Genre: Fantasy
This Project is Active
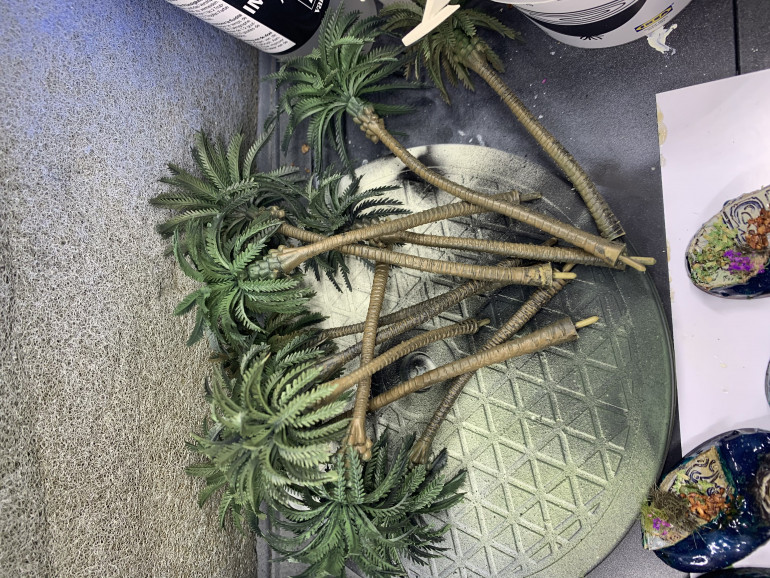
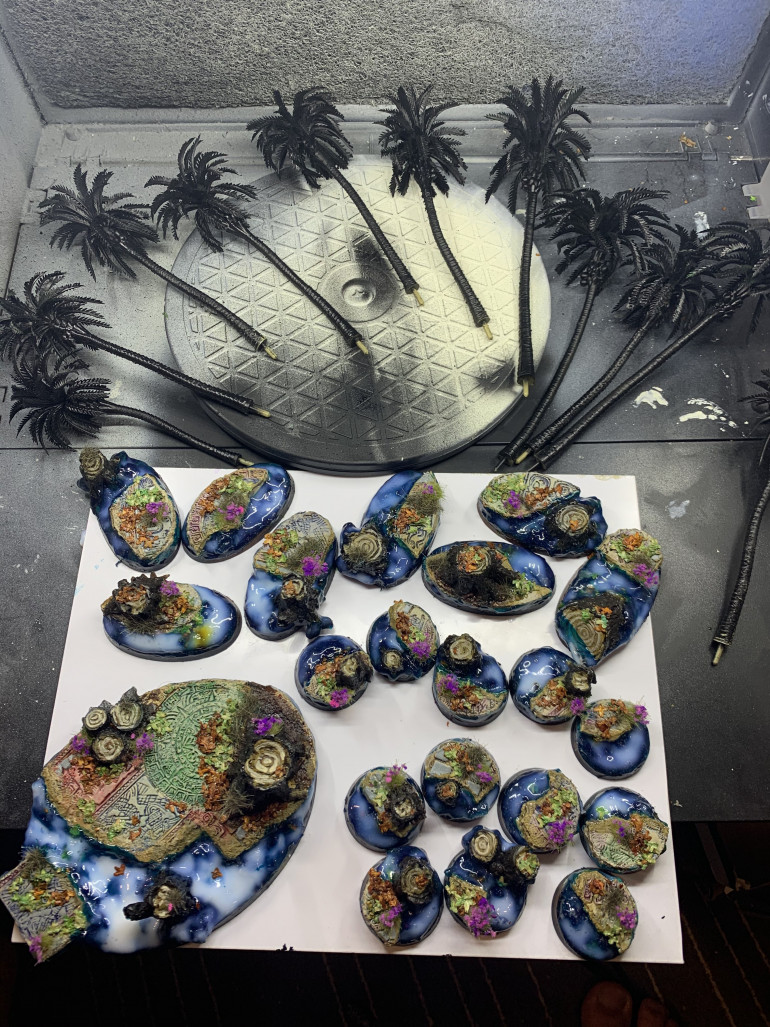
About Palm trees and Bamboo
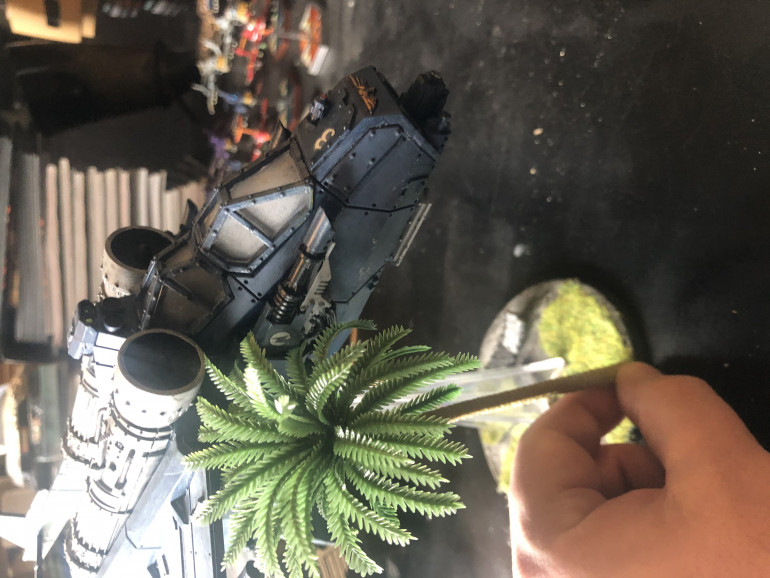
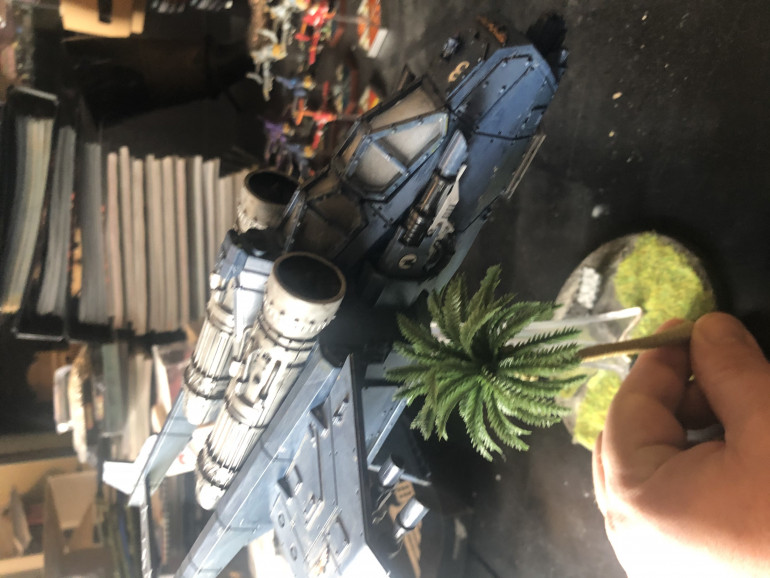
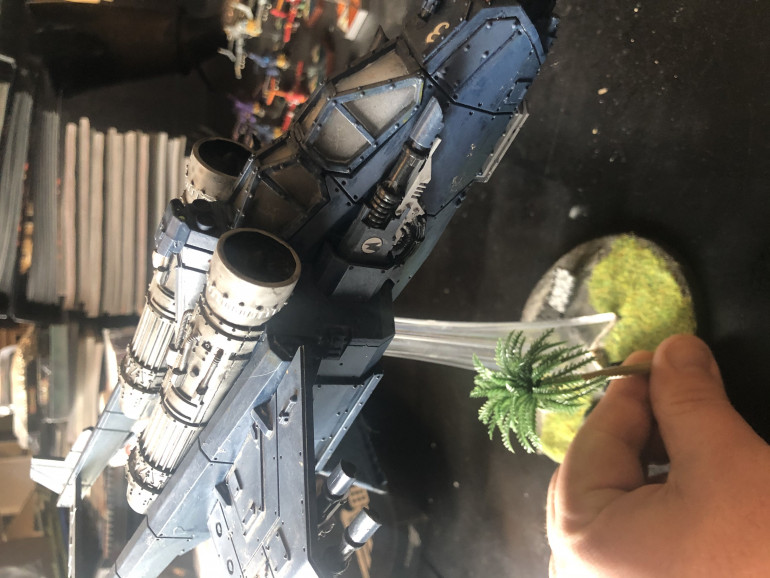
Since people were interested in the palm trees, here are some before repaint size comparison pictures with a Vendetta.
large >mid >small
The large and middle ones are good for 28-35 mm, the middle ones for 10-15 mm and the small ones for 10mm and smaller
They are quite bendable and with the hot/ice water method able to keep other forms. I would highly recommend repainting them as well. the leaves are removable as well if you want, and they do have some big mould lines, but its very soft material so easily rectified with a decent hobby knife
I’m sure these are available in the US etc as well, but if anyone has issues obtaining them lmk and I’ll be happy to see what I can do to help.
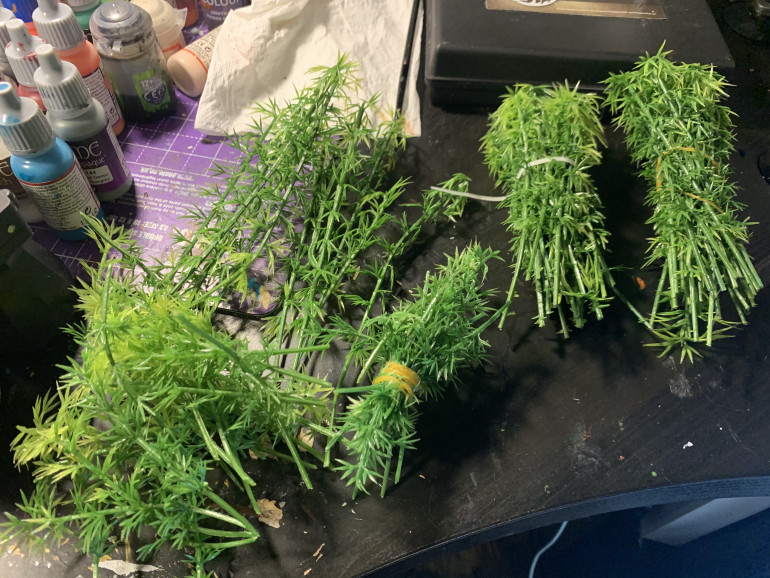
Another thing I can recommend is plastic bamboo:
I have however not been idle and did start on (re)painting the palm trees. They need a lighter layer of brown, and the coconut part will get a bright green layer, and so will the inner fresher leaves as well. But here is the current state of them. They’ve been done with an Airbrush and Vallejo Mecha Colors.
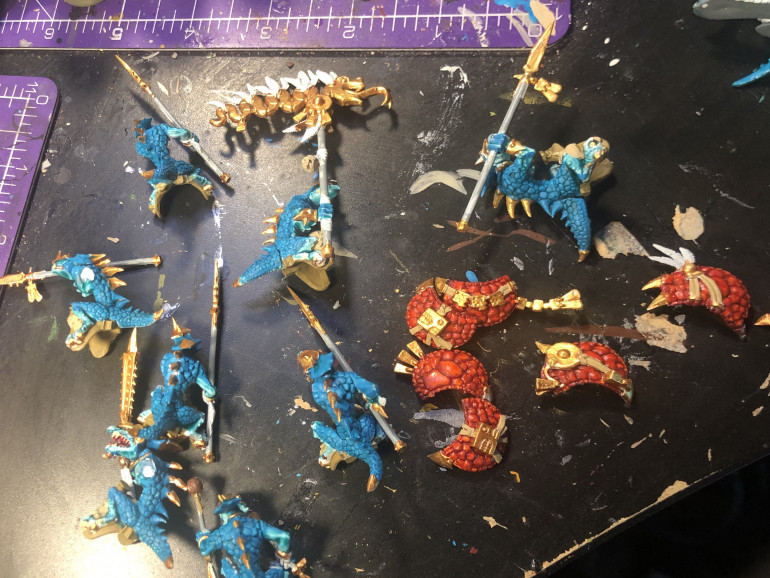
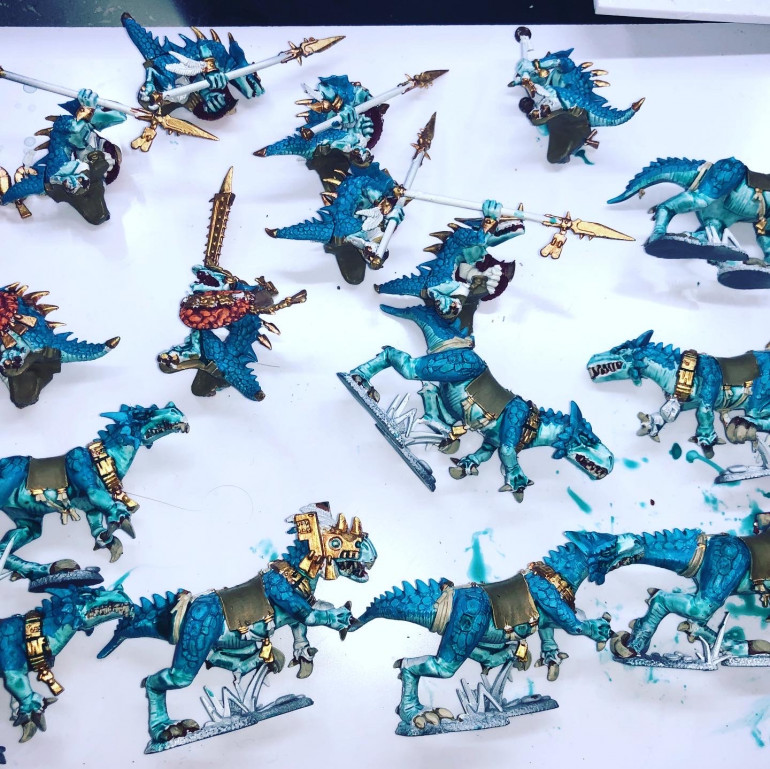
Almost done with the Paint job on the Saurusknights/ Saurusriders
So we had a beautiful 2-hour stream tonight, with a lovely chat and I did get a lot of paint done, corrected some details, added some details, and got further with the washes and contrast paints which I use as washes and glazes. So only left to paint are the feathers and the washes & glazes for the leather, claws & bones and gold to do.
I’ll probably later tonight airbrush the palm trees, so those should be in principle then be ready as well.
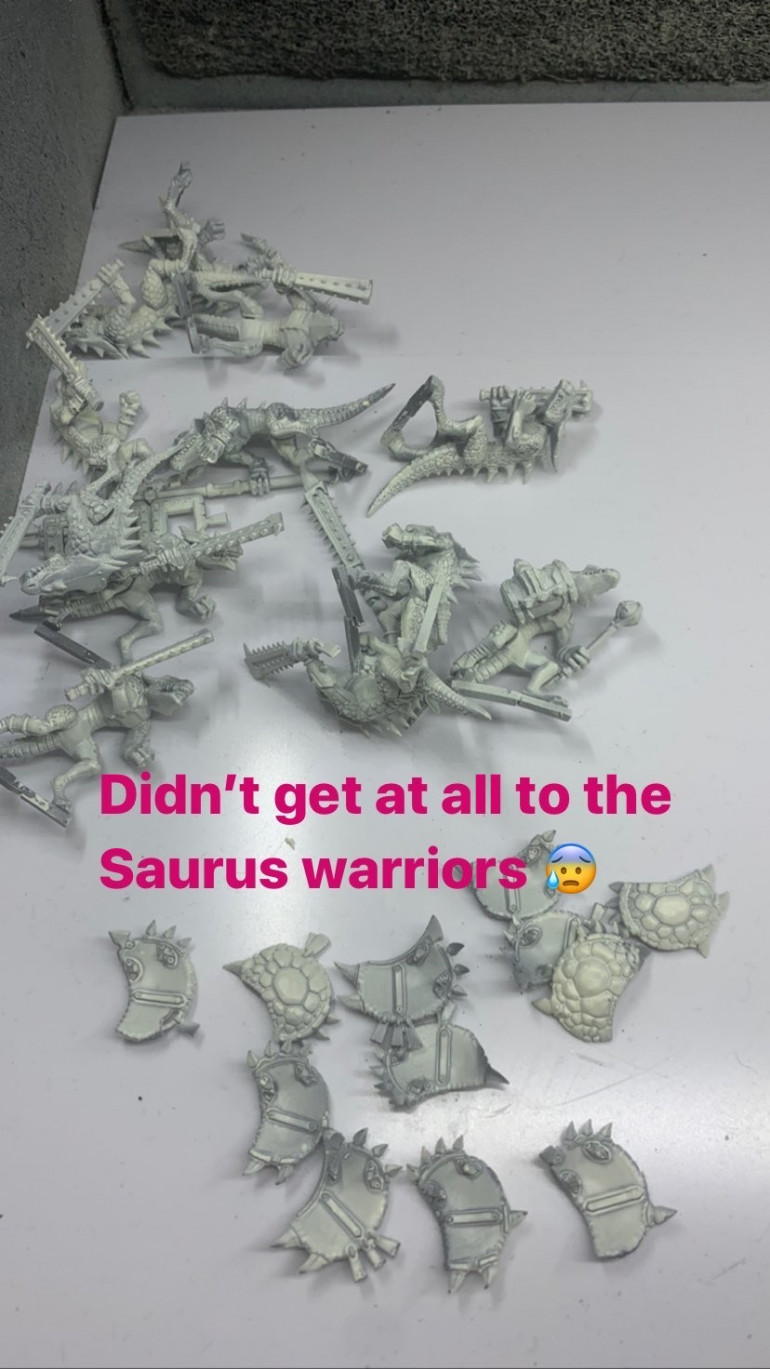
Still to do are the whole Sauruswarriors so I may do those tomorrow and may or may not do another out of order stream when doing that.
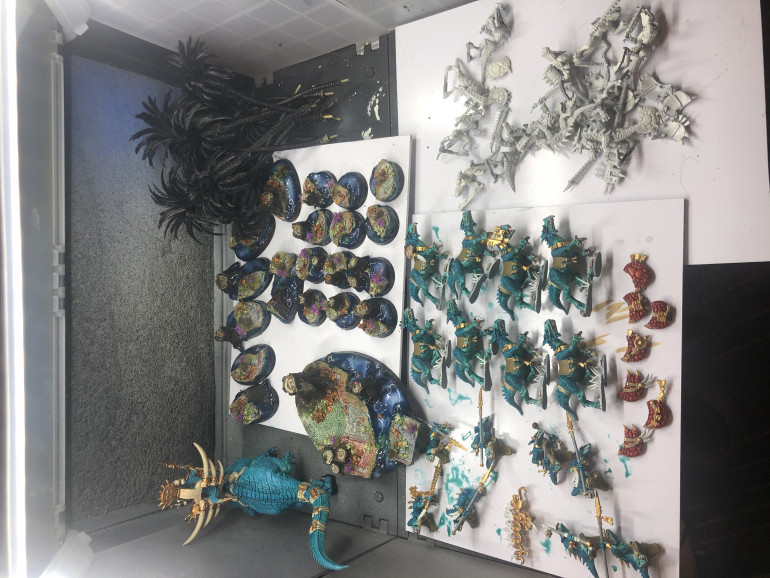
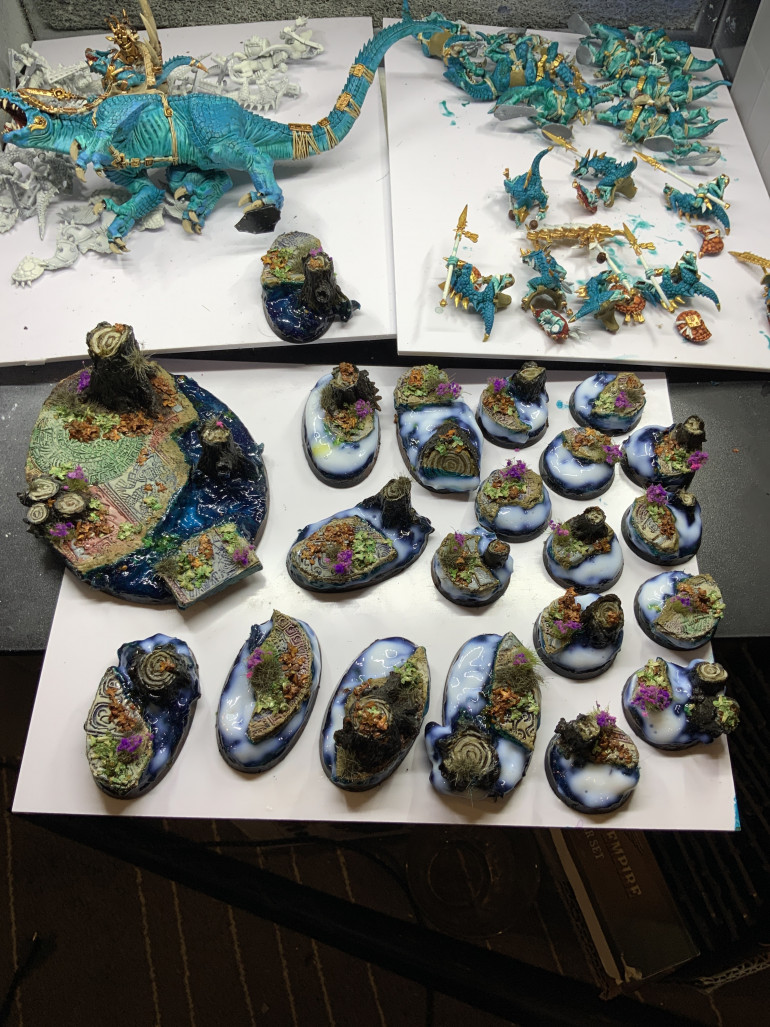
And a current total state picture:
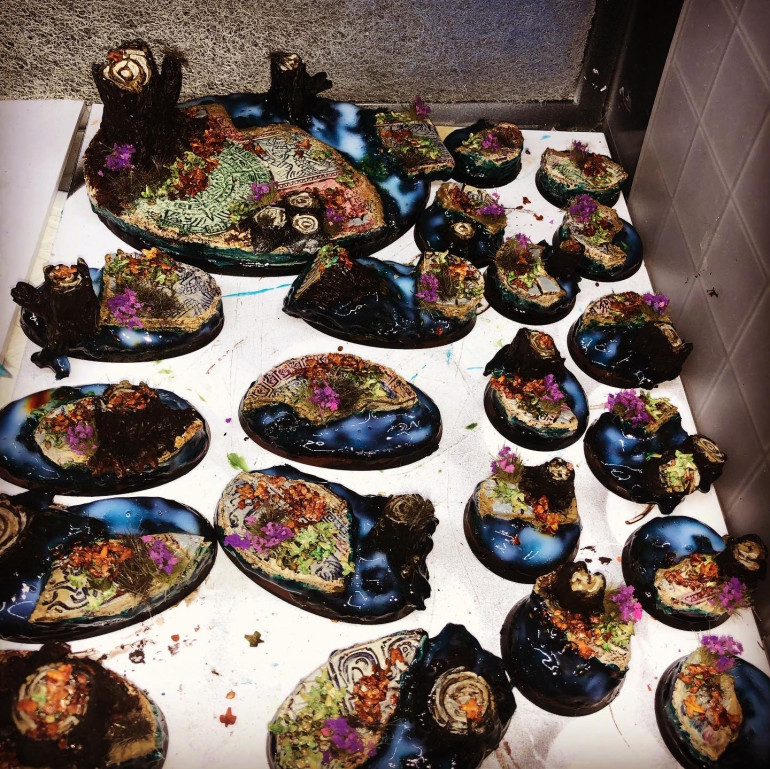
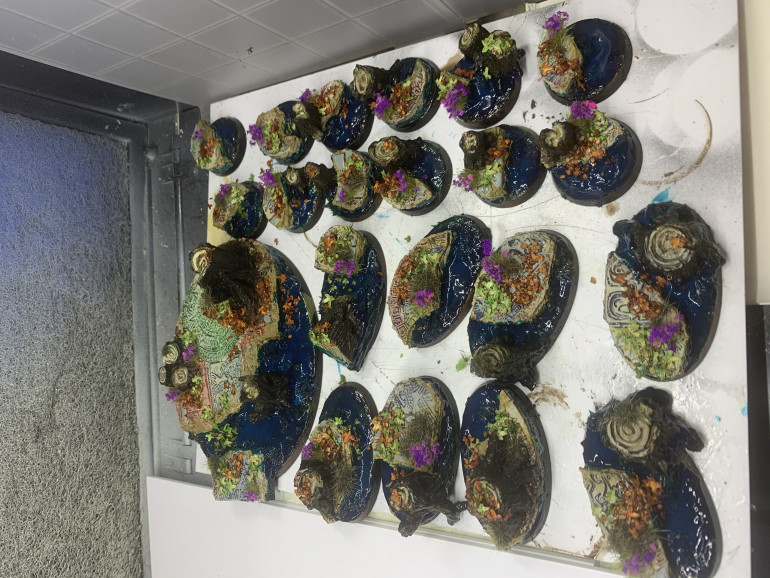
Foliage and another layer of Water Effect
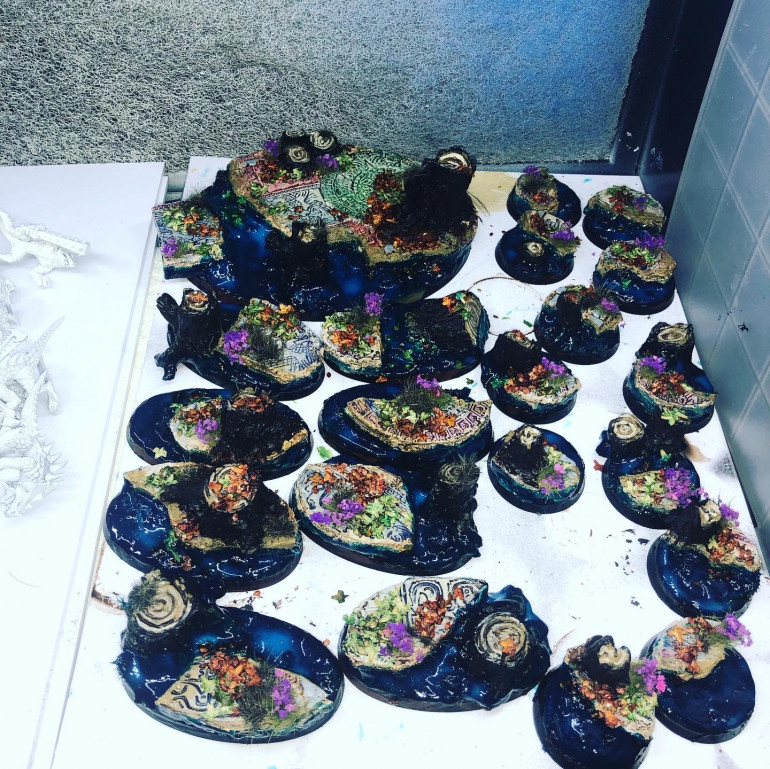
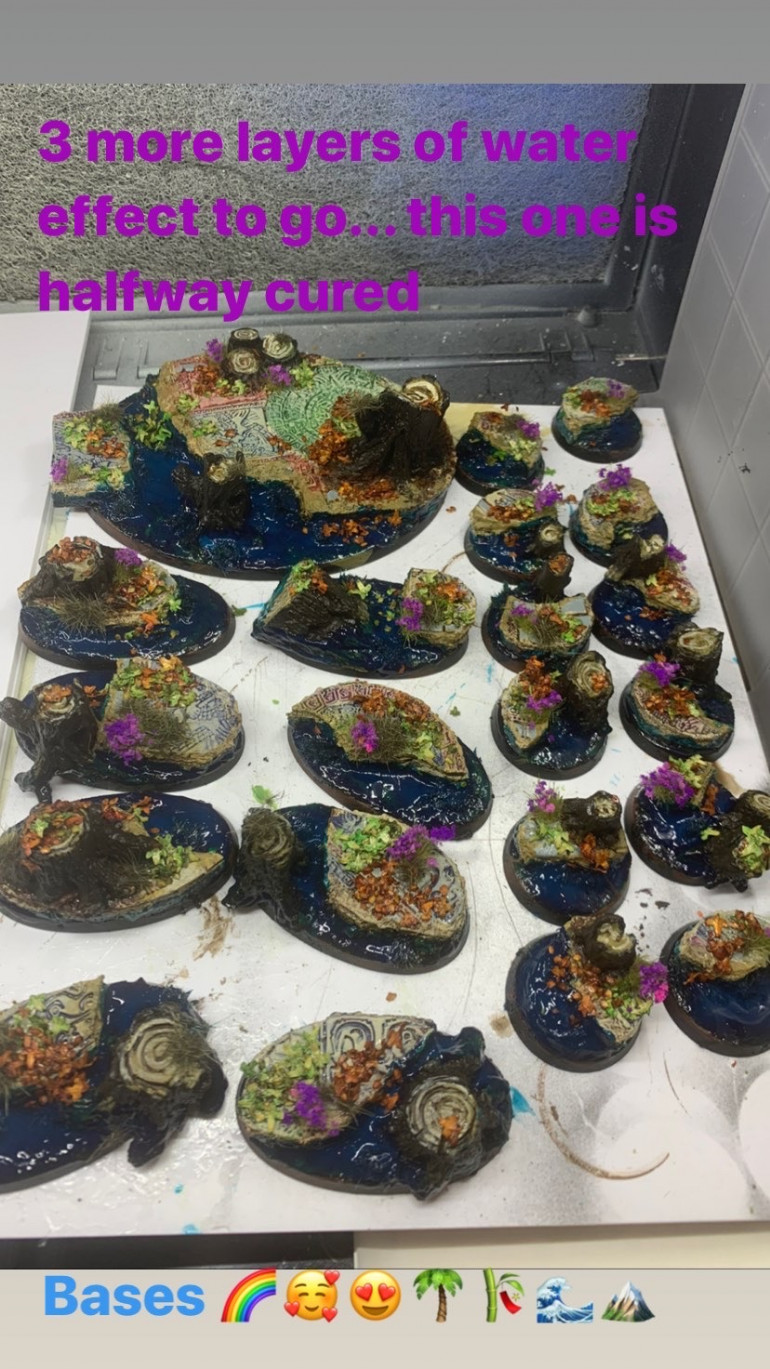
So not much happened, just another layer today (and yesterday) of the water effect. Some bases will need another one before I can add the Wave effects and then another day till I can do the Foam. So at least three more days for the water effect.
Again I used the AK Interactive Water Gel, but this time the complete Translucent one. I added some leaves here and there into the layers as well to get the impression of wild water running through a forest taking debris with it.
I did a bit of painting on Tuesday night but needed something different, so except another layer of Contrast paint, I did not work on the Lizards, but I did finish finally the Ork fliers from the Wings of Vengeance box for Aeronautica Imperialis.
However, I managed to find my Foliage collection and started preparing the palm trees, ferns, and jungle plants to follow. I primed those, as they would look very tacky and glossy plastic, and had to remove some heavy mould lines. They’re of the very cheap variant from Amazon, but with a bit of work, they look lovely.
So these will be added shortly, and then once they are painted and on the bases, we’ll add the Dust and weathering powders.
I still need to get a good amount of painting done, but the riders are coming along well, and the Warriors should not be that much work, and as I have the colour scheme for them, that should go quick enough.
The Goal, for now, is to finish this by the end of the weekend.
if you want to tune in live, tonight 20:30 GMT Adeptus Titanicus https://www.twitch.tv I’d love to see you there 🙂
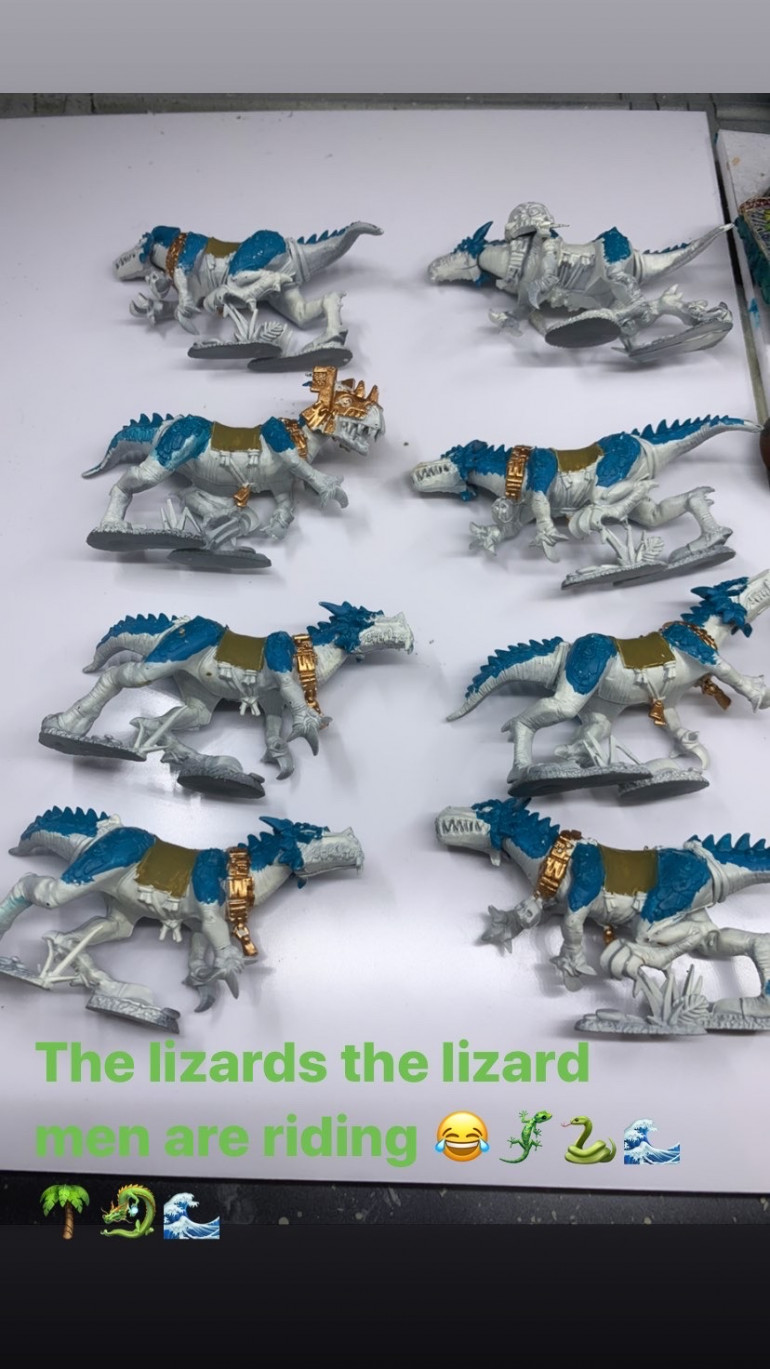
As I said not much happened on Tuesday regarding the Lizards, but for the sake of completeness here is a picture.
Todays Progress: 1.5 hours stream = one layer of Contrast and the next layer of water effect
So today we added another layer of water effect from AK-Interactive, namely the translucent onto the bases. There will be more layers, guessing here at least two, maybe even 4 of the translucent before we can start using the wave effect one and on top of that the foam one.
So patience is a virtue, I guess. Each layer will be 24 hours of drying. So a day per layer leaves us to Sunday for the water. With a bit of luck, I manage to either find or obtain or build plants and foliage by then. I have the palm trees ready, and I need to work on those with the airbrush not to have them look like tacky plastic.
In other news, we managed to get the first of several layers of Contrast on the Saurus Knights/Riders. So the look for them is starting to match that of the Carnosaur (check out previous posts to see him).
If you’re interested In the progress and process or have any questions join the stream on Twitch tomorrow at 7:30 pm GMT
https://www.twitch.tv/storminwolf
The Continuation, or another 5 hour stream :P
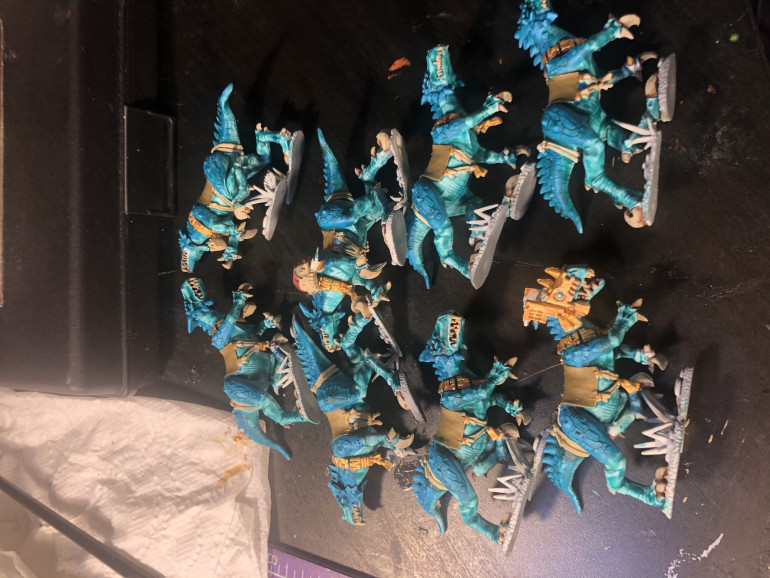
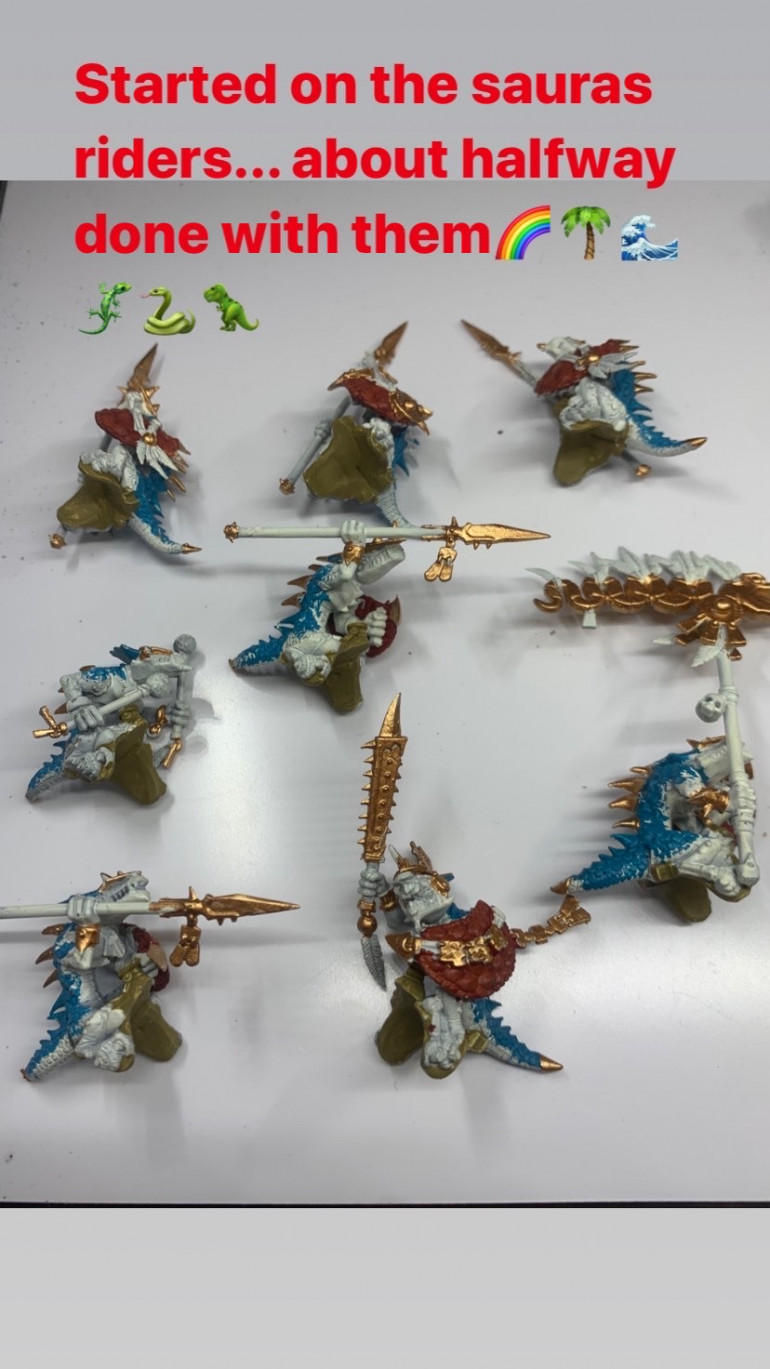
So after tonight’s regular stream, thanks to anyone who may have joined, I almost finished the Saurus Riders; they need a few touch-ups but are ready for contrast glazing and washes.
So this may happen tomorrow on an extra stream.
I did not yet start on the Saurus Warriors, but I did to the second layer of water effects, which was a mix of about 1:8 of the Deep Atlantic Blue with the translucent, and I’m pleased with the outcome so far.
However, I noticed that some of the leaves started to give of the dye a bit into the surrounding Water…
This is not as bad as it sounds but a bit disappointing, so I would advise caution if you use those leaves.
Anyways here are pictures of the current state after tonight’s 5-hour stream
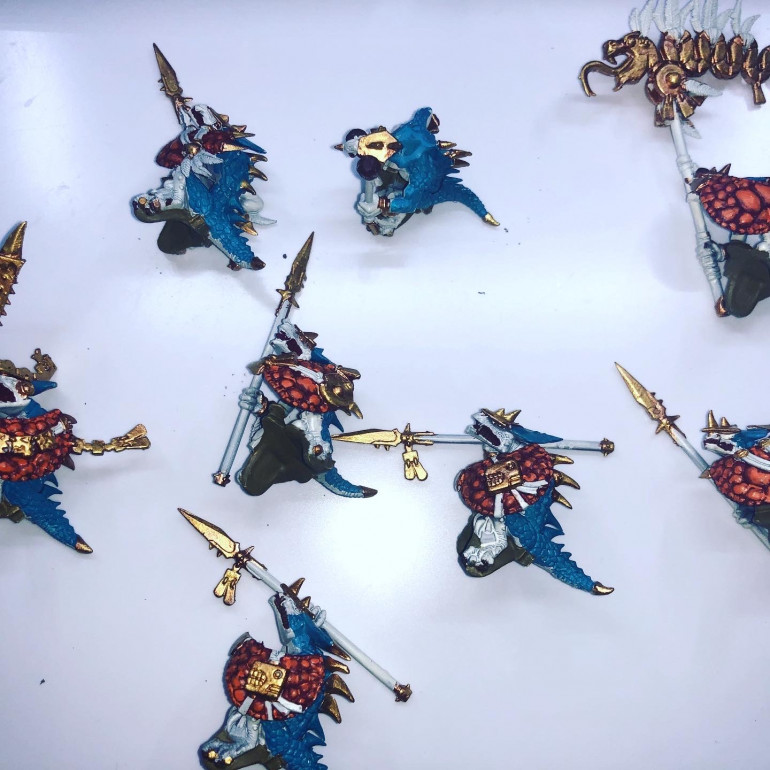
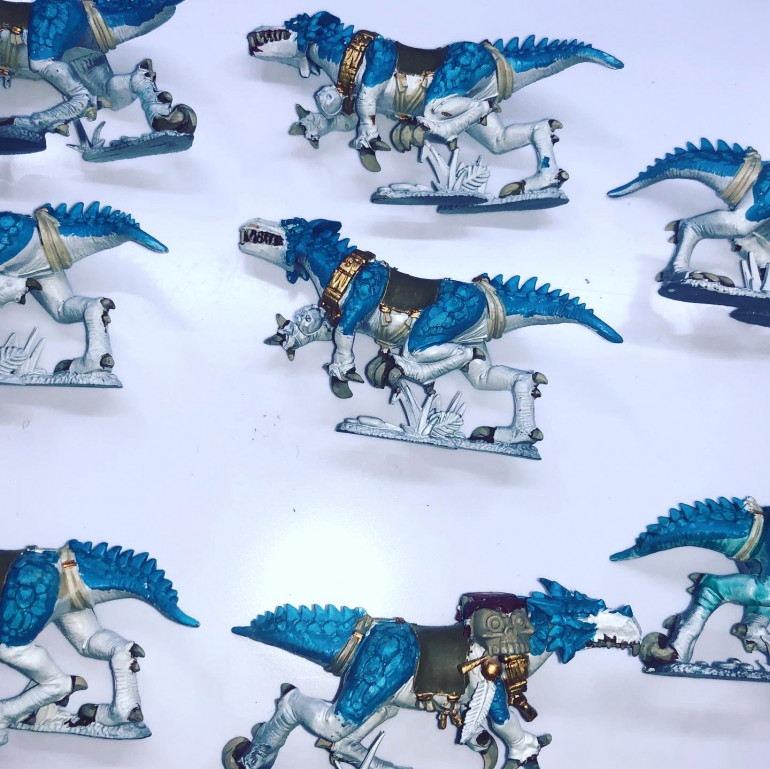
Saurus riders... Where I had to stop after 21+ hours of painting in one go.
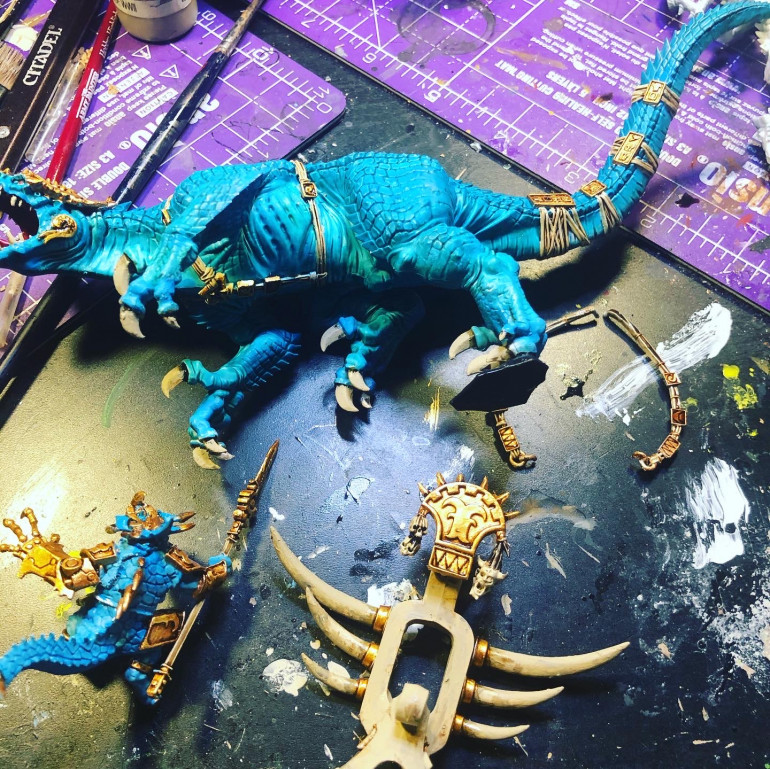
So this is where I did wave the white flag after streaming for 23 hours. I did get halfway through and used the same method as for the Carnosaur, and I did get about halfway on them.
I will continue tonight on my regular stream time with them (7:30 pm GMT0).
As they’re my second favourite models in the box (who cannot like lizardmen riding Lizards?), I decided I would go with these guys next.
However, as I lost a significant amount of time, due to not being able to use the Airbrush as it would not have been visible on the stream on Twitch, I was way behind my time plan. About an hour before the end of the 24 hours, I noticed that the second wind had left me and I about so started just slapping paint on it for the sake of it. This was the time to stop, as I would have hated myself later on for ruining models.
Sometimes you have to know when to stop and take a step back.
This was definitely the right decision, and I will try to finish them tonight, and then do the Saurus warriors on Tuesday on the next stream.
I decided on this so everyone can watch the whole process and I will after tonight and after Thursday update this Blog with the results and my final thoughts.
If you missed the stream, you can watch it the archive on Twitch, or Youtube, both can be found searching for my nick: StorminWolf.
I would love to hear your thoughts and feedback, and if you want to follow my continued efforts on Instagram and Twitch and here as well.
However, as it took me a good few hours to do this blog so far, I will probably only do blogs here for smaller projects which have a set start and end.
Kind regards from Dublin and thanks for reading. Here are pictures of the current state where I left of Sunday night.
Back to bases...
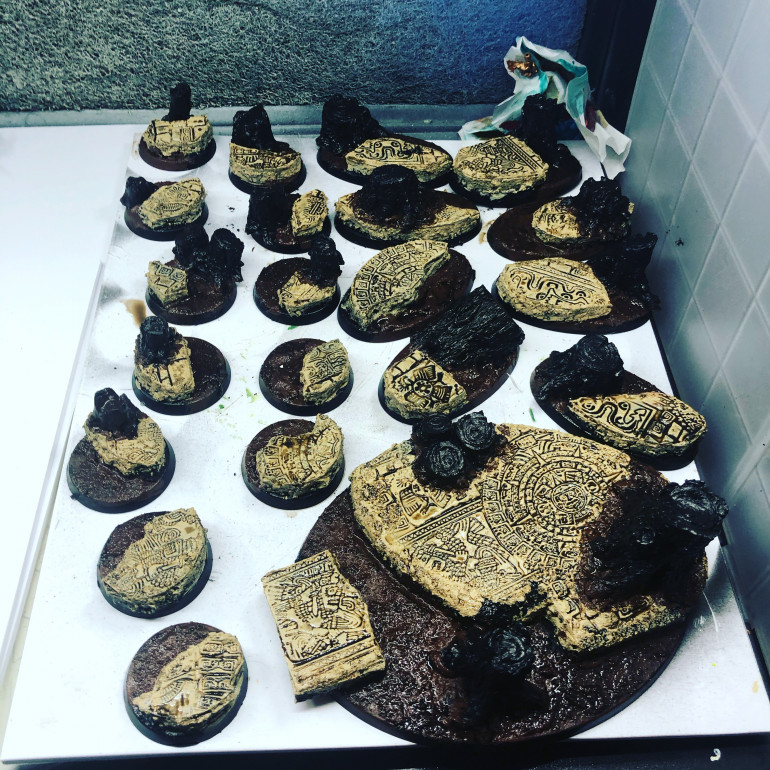
So we left the bases primed black, and I said I would do them in between as a treat and to have to do things during Curing times.
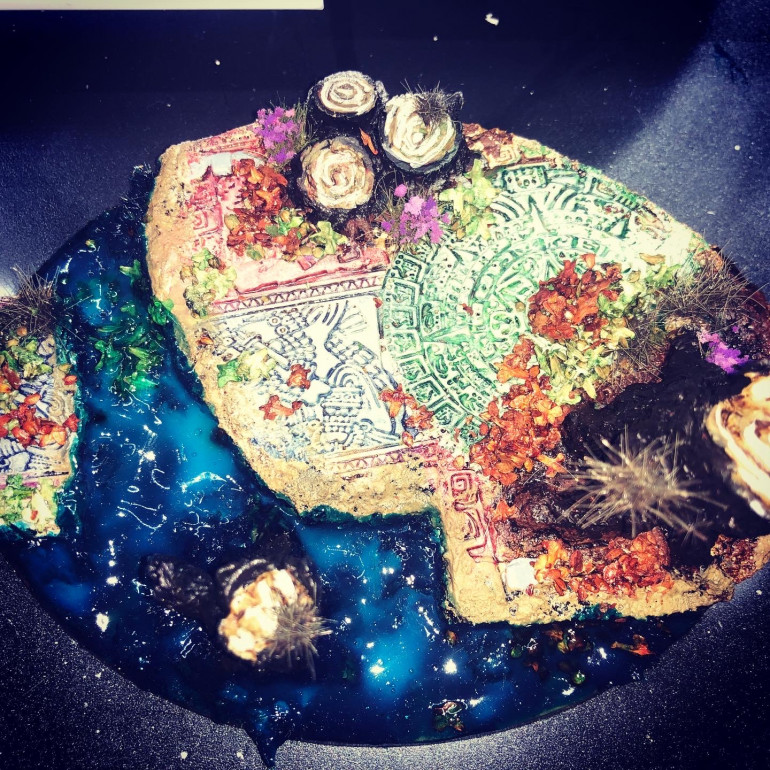
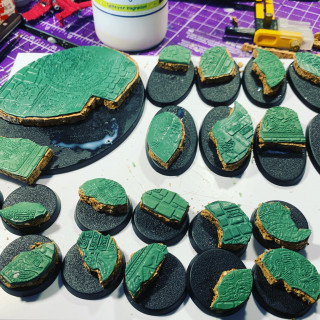
So The first steps are taken where to slap beige sand-like the colour on to the parts which were supposed to be stone. I used a Vallejo Model Color for this. You might need 2-3 layers when doing a light colour on top of a dark primer. Especially as thin layers where needed in order to keep all these details visible.
Another paint taken at this point was a brown from Vallejos Game colour Opaque ranges to slap onto the river bed parts.
And don’t forget Mother Nature, for the trees, I mixed the Vallejo Game Color Heavy Opaque Dark Brown with the Charcoal from the same range to get a very dark grey-brown on to them.
Again you may want to thin down the paints and do a few layers here to keep the details crisp.
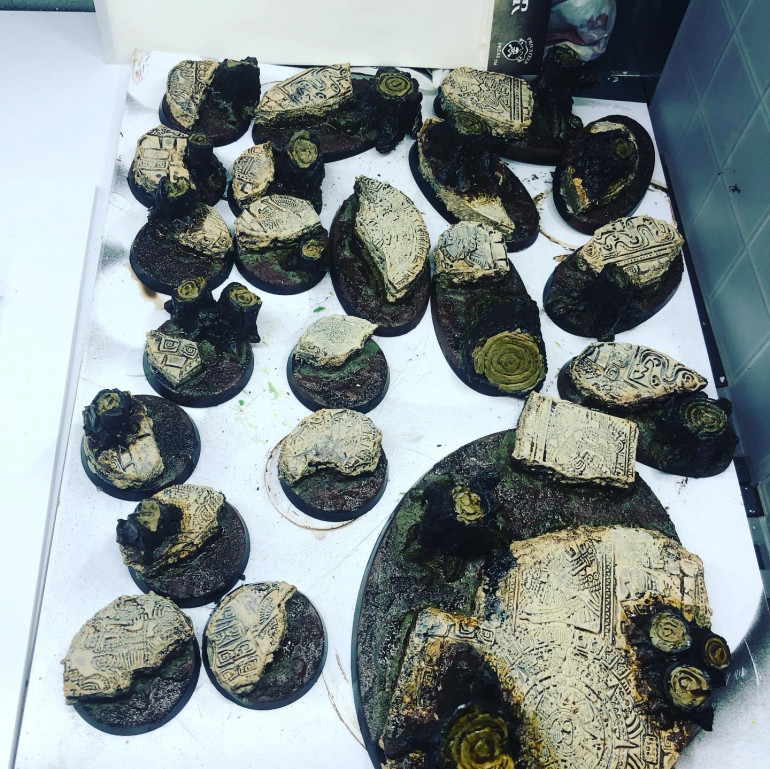
Lastly, the right amount of Agrax Earthshade was slapped onto the river bed and stone slabs
After letting the paint settle I dry brushed the stone slabs with Bleachy Bone from the Vallejo Game Color assortment (Same as the old Bleached bone from Citadel). I also used a very light greenish-brown on the visible wood parts of the trees.
I also washed the trees heavily in a green brownish colour from the Contrast range from Citadel.
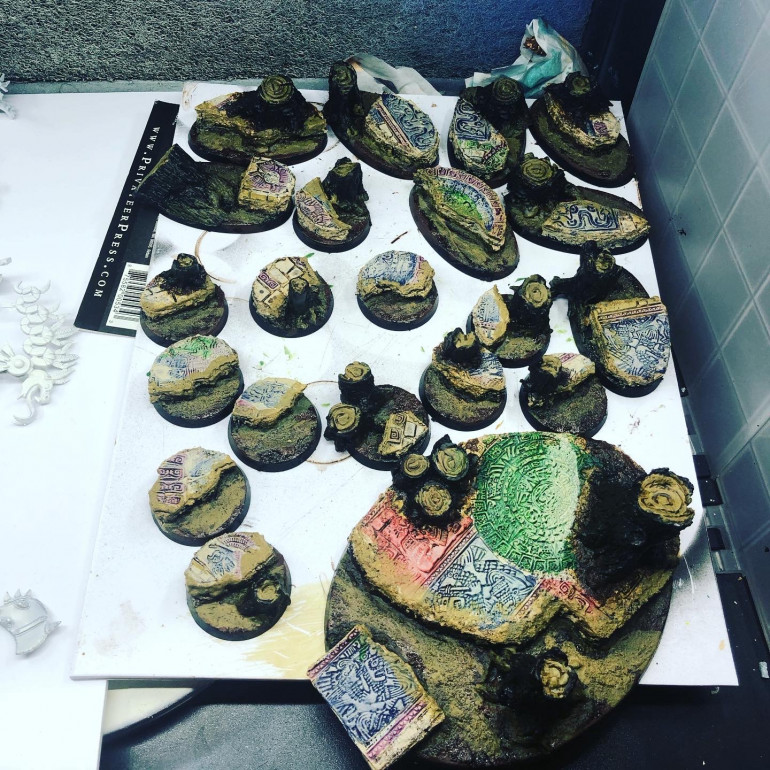
So the next step was to start to bring colour in, I used a brown, greenish Model Color to slab on to the sides of the slab to get a river bed look.
I then did green and brown washes on the riverbed sides and floor, followed by a green-yellow-brown dry brush from the middle, to blend this in.
After that, it was time to get rabbit more of an Aztec look, and luckily enough I had a friend on the stream who suggested doing washes into the stone areas and then using a kitchen towel to get the colour off except the recesses.
I did just that and used different red, purple, green and blue Contrast Paints from Citadel, followed by another Drybrush with bleached bone.
The next steps involved several brown and green and bone colours to get rings into the wood parts, but this is lacking a bit of the required texture, so if I had the time I would model tree rings with Greenstuff into those areas, but no biggy we’ll just cover this with tufts leaves and dirt later on 🙂
Speaking of which, we start adding tufts now as well, I used purple flowers from Greenstuffworld (store.ontabeltop.comn has them). Mini-Natur winter tufts (Please start selling the Mini-Natur range guys!) which I glued using Revell Plastic glue, the reason for this is it doesn’t crystallise out like superglues. It also does not melt anything but plastic and as the materials we used are resin, Greenstuff and cork we’re right here.
Unfortunately, I forgot to take a picture of this particular step of the process 🙁
The next step was adding the first layer of water effect, and as I wanted a deep looking river, I decided to use a deep blue-tinted one. Namely, the Ak-Interactive Deep Atlantic Gel for Dioramas. This one has a distinct advantage not flowing of bases, so I did not need to build a form and thus saved a lot of time with a great result.
I use a mix of AK-Interactive Water effects and the Vallejo ones, (@ store.ontabletop.com here is another range I would like to buy from you 😉 ) and this will take curing time, so the other step we could make here is starting adding leaves, and what contrasts well with Turquoise? Right, an orange-red, bright green goes well as well, and both are bright colours that fit the jungle theme we’re aiming here.
I used the Greenstuffworld Orange and green leaves (they’re tinted seeds) (you can get those at store.ontabletop.com), and I used for the earlier mentioned reasons the Revell Glue, which has the advantage on making the leaves settle down a bit. Make sure you drip the glue with the needle onto the leafs es and floors here without touching the leaves, they will stick to the needle and clog it up as well.
The exact method I used is as follows:
Glue onto the base, place the leaves by dropping them with tweezers. Then drop more glue onto the leaves, and then ad leaves, you can repeat and add a different colour, so you can build small piles of leaves.
I also dropped a few leaves onto the curing river parts, as I want to have leaves floating in the water, to add to the impression of a flowing and wild stream, and what does more say this is a wild river then stuff floating around wildly in the water?
So at this point, we have to leave the Bases as we need curing time before we add the next layer, which will be a mix of Translucent and the Deep Atlantic water effects.
The Stream starts! Or the first Miniature to paint and why I chose that one.
So before I started the stream, I had a plan on my mind which colours and techniques I wanted to use. And also about in which order I wanted to paint the minis. The bases where to be done in between, to allow me to let the minis settle and cure, and also as a treat in between. Did I mention I love doing bases and tend to turn them into mini dioramas and even develop small stories in my head about them?
But I digress, I wanted to talk about selecting the first mini to be painted and why, and which order to do them.
So on this topic, I know that a lot of people do test minis and start with small and mass minis because they re to be done quickly, fast and you can strip or overpaint them (don’t do that, always strip, for those delicious thin layers 😉 ). My thought process for this is different, a character or centrepiece defines the army, it stands out and draws the eye, so all other parts of that army should support this, and into so especially with paint schemes etc. we need to know precisely how it will look. So I *always* start with the centrepiece, you can just as easily strip that, if necessary. If you know a bit about colour theory, it is quite easy to select colours that correlate and work well together or contrast well to each other, so that is not a real danger unless you make it one. If you don’t, there are apps that can help you select colours matching or contrasting well together.
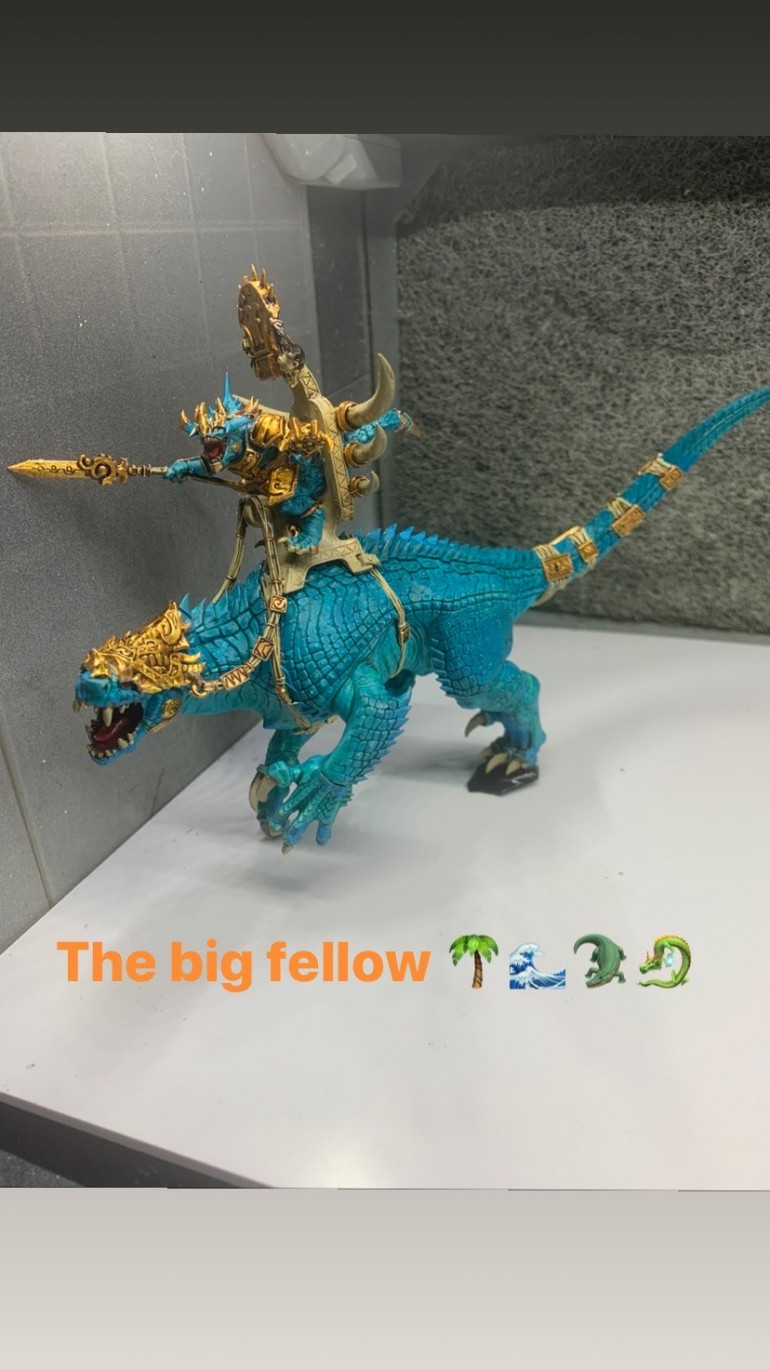
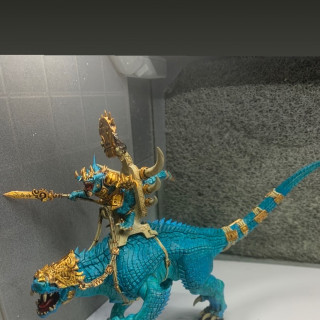
So my decision was obvious to start with the Carnosaur.
So my initial plan was to use the airbrush, makes smooth overlays and layering easy to do…
I then noticed, I did not have a third camera, and my face cam could not reach this far with its short cable.
Well crap. So this was not going to work, and if I wanted to stream this whole shebang, I needed to hand paint all those layers and smooth transitions.
Which is exactly what I started to do:
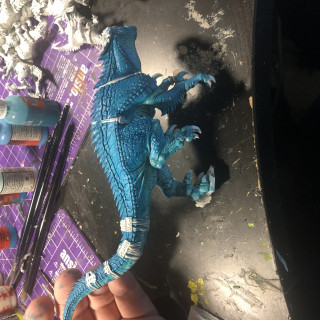
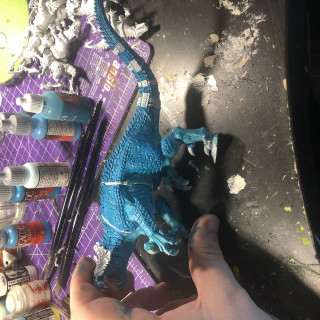
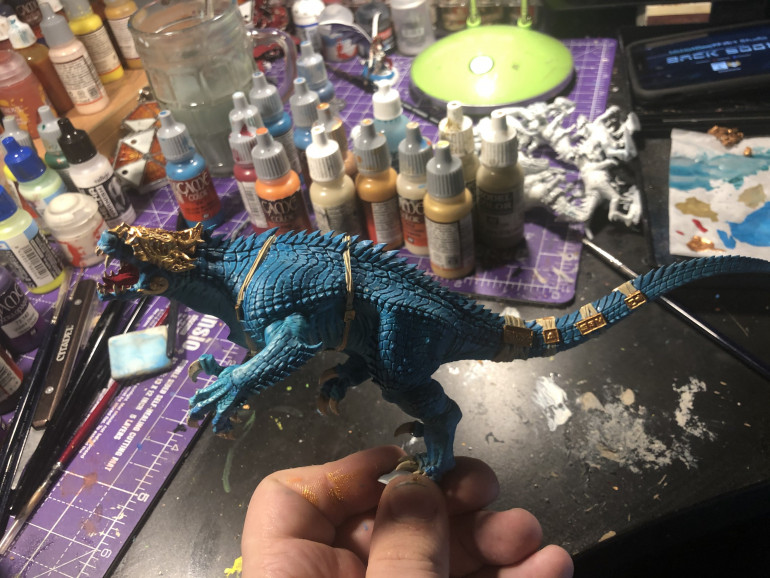
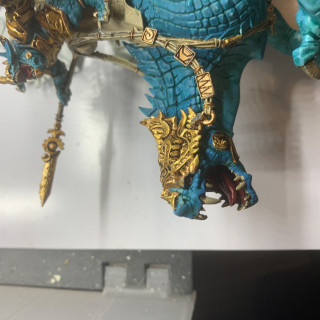
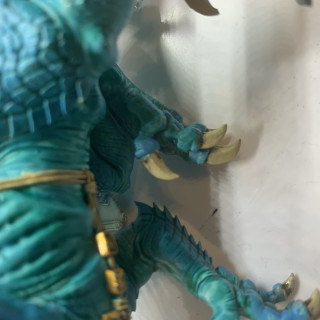
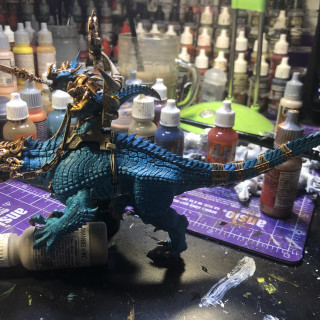
I started with Vallejos Game Color Hawk Turquoise (@ store.ontabletop.com, please start selling me Vallejo products !) which I brightened up with Lightning blue/electric blue and painted onto the scales. This was working out. Great, but to do the smooth blend to the belly I was planning to do in a beige skin tone was not going to work. So to get a blend and to get the belly at least done in some colour, and quickly, I decided to get out Games Workshops Citadel Contrast paints. I do love those paints, I don’t use them as intended, but I do refill them into dripper bottles, use the medium to get the paint out of the pots and add a small glass ball for shaking though!
So this worked it took much longer to do, but it worked! We were on our way!
So the next step was layering up the gold, the mouth, the claws and the belts.
All of those were done with a base layer of various paints form Vallejos High Opaque range which then was layered up with normal paints from the Game Color, Mecha Color and Modell Color range.
They each then got a wash with Agrax earthshade as a red-brown wash was needed.
They all got between 4-6 layers of brighter tones on top of dark tones. This gave them depth and the shade did blend and smoothed the paints over into each other. A classic and time tested method.
I then painted the rider and the throne with the same methods and once finished glued them together.
I am happy with the result, and although it is different from what I intended, both in method and outcome, I am pleased with it, and I was ready to continue working on the minis that would surround him and support him as a centrepiece.
But as I said I was doing the bases in between, and the next post will deal with those as they are the other part of the Project that got finished as far as possible due to the curing times involved when using Water effects.
Cutting and gluing the Bases
After I had let the Greenstuff cure for a day (a bit more than 24 hours actually), I was able to get it off quite quickly with the help of a very sharp blade to lift the sides and was left with three giant pizzas of Green Stuff. So the next thing to do was to cut the greenstuff to fit the bases roughly. To do this, I just took the Bases placed them on the Greenstuff, and then cut around them with the scalpel with a fresh blade.
Note:
Always have a few hundred blades on hand, these are only good sharp and tend to get dull quickly than cutting materials they are not intended for.
After I had cut the greenstuff parts, I just took the cork, placed the greenstuff pieces on to that and used the scalpel again to cut around them.
At this step, it was not necessary to be detailed, so I left a bit more cork on the edges.
I then glued the greenstuff with PVA onto the cork, glued the Cork onto the bases and used small clamps (iI have a load from the Poundland/euro store) to press it together.
If you use glue, it’s important to keep in mind, the corks suck any liquid into itself so be generous with the glue.
I then cut the cork to fit the edges of the greenstuff and let this cure for a few hours. This depends on what kind of glue you’re using. I have a quickly (read 1-3 hours) curing PVA in 500ml bottle of the big A for about 3.50 monies per bottle (pre corona ).
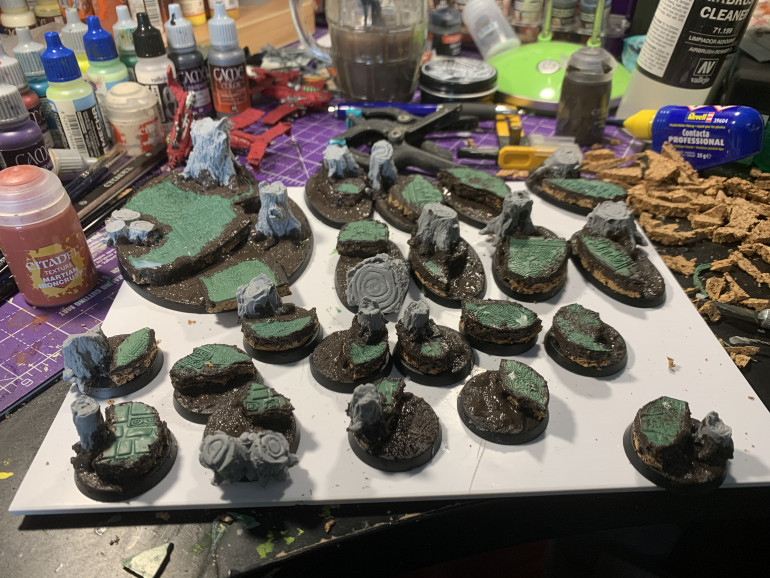
I then glued a bunch of Greenstuffworlds Tree Stumps (One blister of small and one of large, if you want these make sure you get the normal ones as they have haunted ones as well), which I got from store.ontabletop.com using the Army Painter superglue and activator (pretty much the only AP product that is good 😛 ) onto the bases.
After the curing, I slapped very generous the Stirland mud onto the edges to get rid of the “mould line” between the cork and the Greesntuff plates, and also to form the river bed.
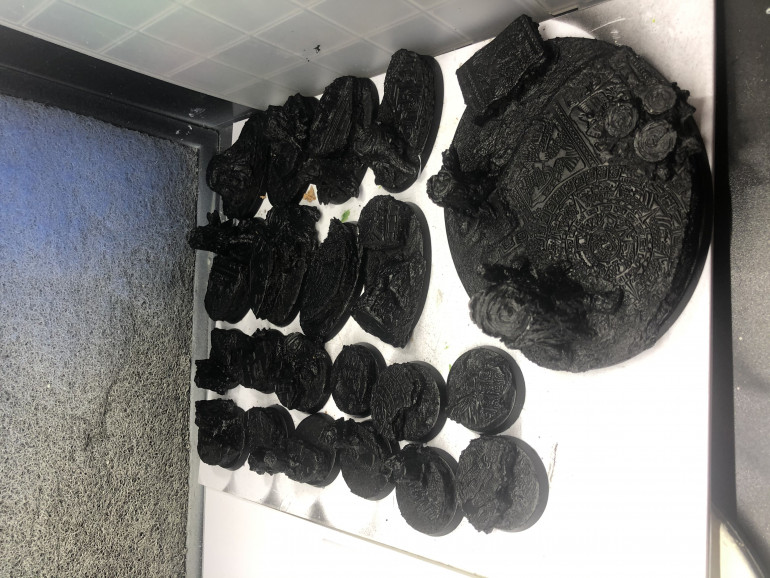
This, again, was let to be to settle for a few hours. After which I just primed it with Vallejo’s Mecha Color Airbrush Primer Black.
Building a load of bases using GreenstuffWorlds' rolling pin and Cork
So this happened before building the miniatures because of the involved curing times. But I do think it makes more sense posted in this way.
Materials I used are:
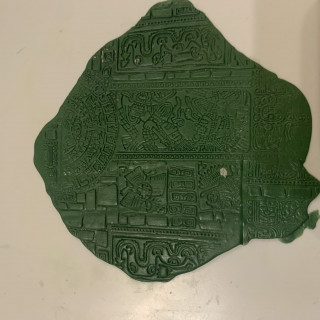
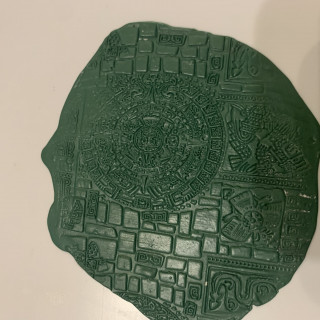
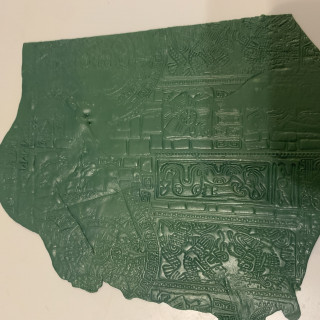
– The Aztec Rolling Pin from Greenstuff World, you can buy from store.ontabeltop.com,
– A smooth-rolling pin (GSTW do make one, but I just use one from baking),
– A sharp scalpel,
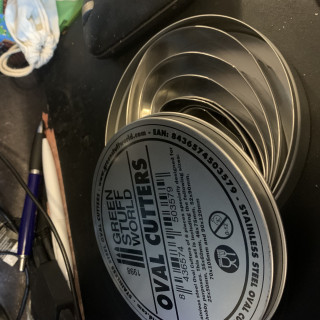
– I did get the stencils in base sizes from GSTW as well, but those only work before the Greenstuff is cured,
– Greenstuff,
– A 6mm Cork roll,
– PVA glue
– Stirland Mud Technical paint.
So I first rolled out the Greenstuff flat, I need those silicon rings to get it more easily into one thickness. I used a lot of water and 3mm plasticard sheets to roll the greenstuff onto, so it would not glue itself to the surface and also get a smooth as possible underside. Once I had done that I just rolled with a lot of force the Aztec pin over it. Don’t worry too much if you do not get the ornaments everywhere, you’ll see later on why.
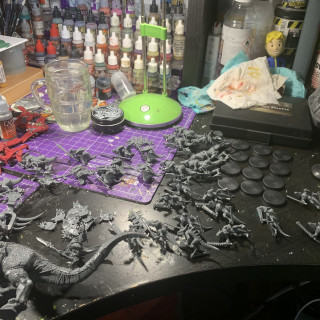
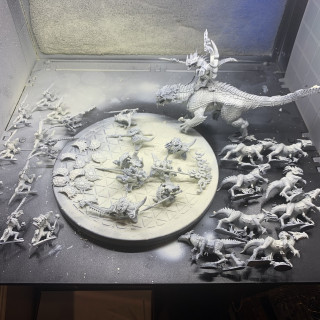
Preparation of the Miniatures: Building and Priming :)
So due to Corona, there is a certain lack of things like a primer. Especially if you’re like me and swear on GamesWorkshops spray can primers.
I tried a load of other primers form several brands and did not find one acceptable to me. However, there is the Mecha Color Range from Vallejo.
And they do make special primers for the Airbrush for this range, which are available on the big A. So a when I ran out of my stash of cans I did start using this, and I’m more than happy. In fact, I’m so happy I’m pretty much switching to this primer. However I do not recommend the usual air primer or the spray cans from Vallejo, but the Mecha Color Primer is fantastic.
So have a look at the pictures of the build and primed minis, which took me about 2-3 hours total plus the curing times. Always let glued minis settle, and also always (!) give a primed mini cure for at least a day before you start painting it.


