


Getting roads to just ruddy lay flat


Recommendations: 552
About the Project
I'd really like to have roads for my war games that actually sit on the contours of the board. It's just more immersive. This project looks at my mistakes in getting to a solution that's cheap and simple
Related Genre: Historical
This Project is Completed
Attempt 4a
While working on the wallpaper and rubber version of the flexible road, I also tried applying caulk to rubber to see if that would work.
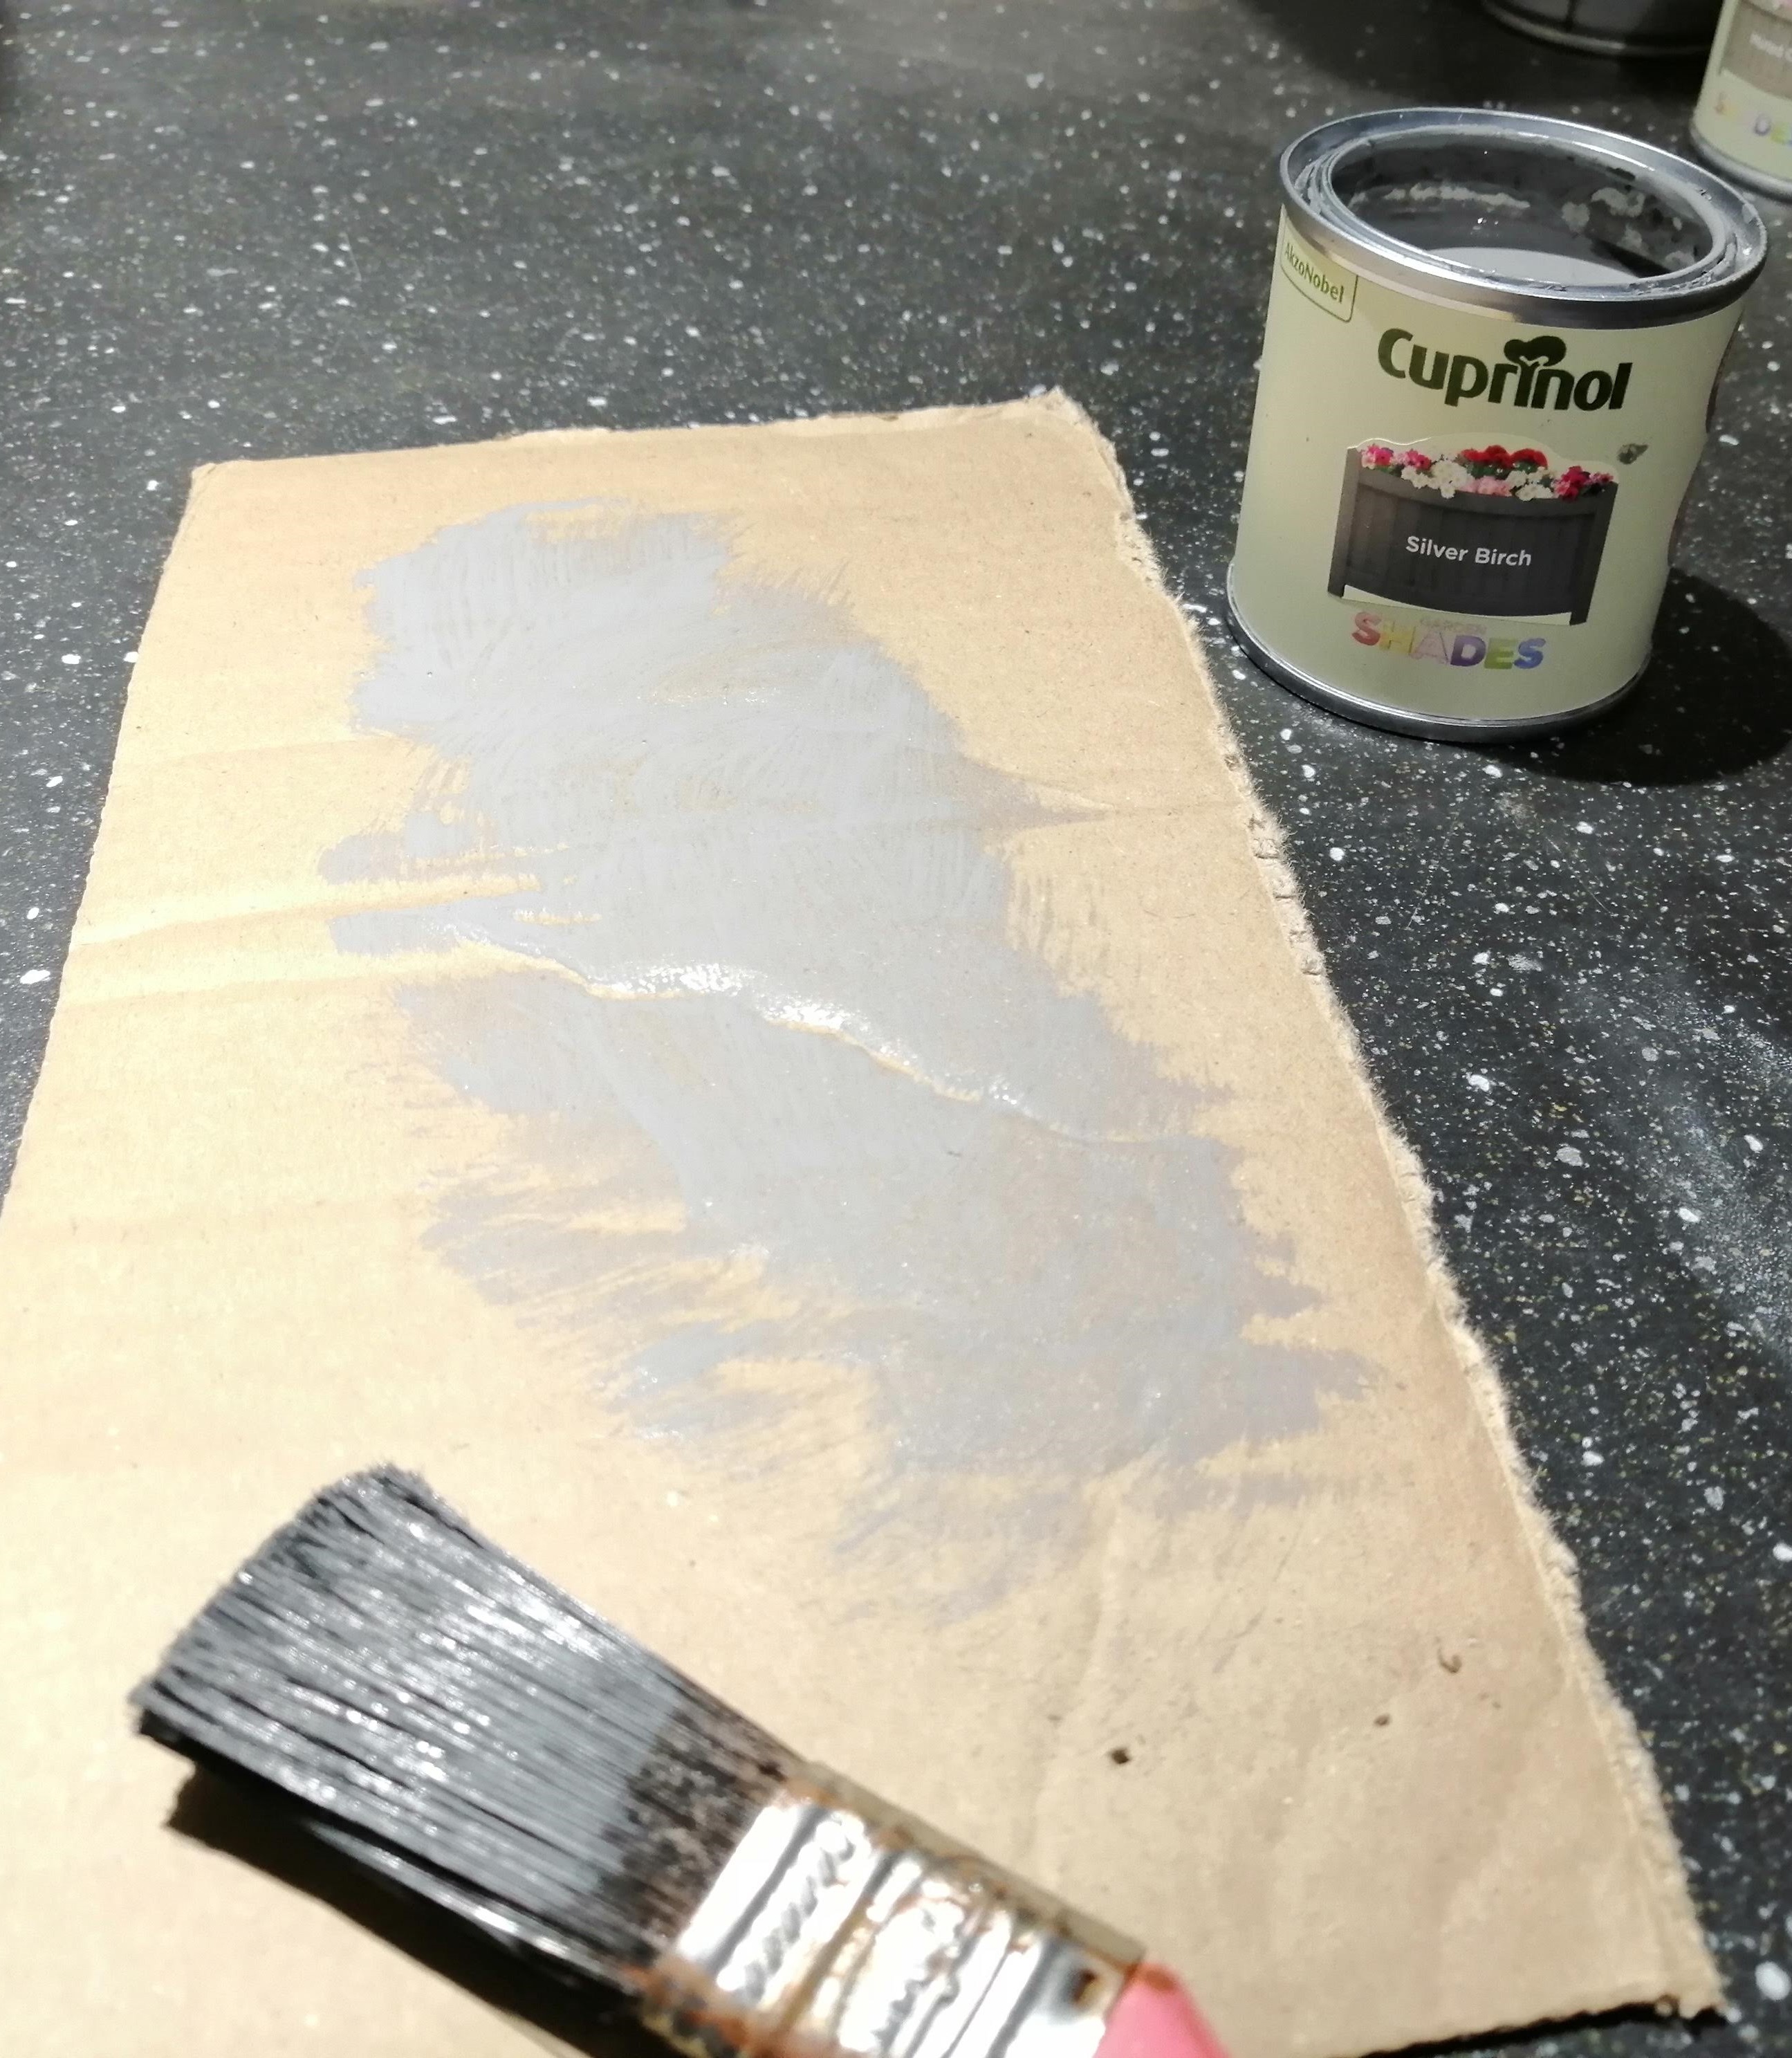
The caulk mix was as below, some white acrylic decorators caulk and brown acrylic paint
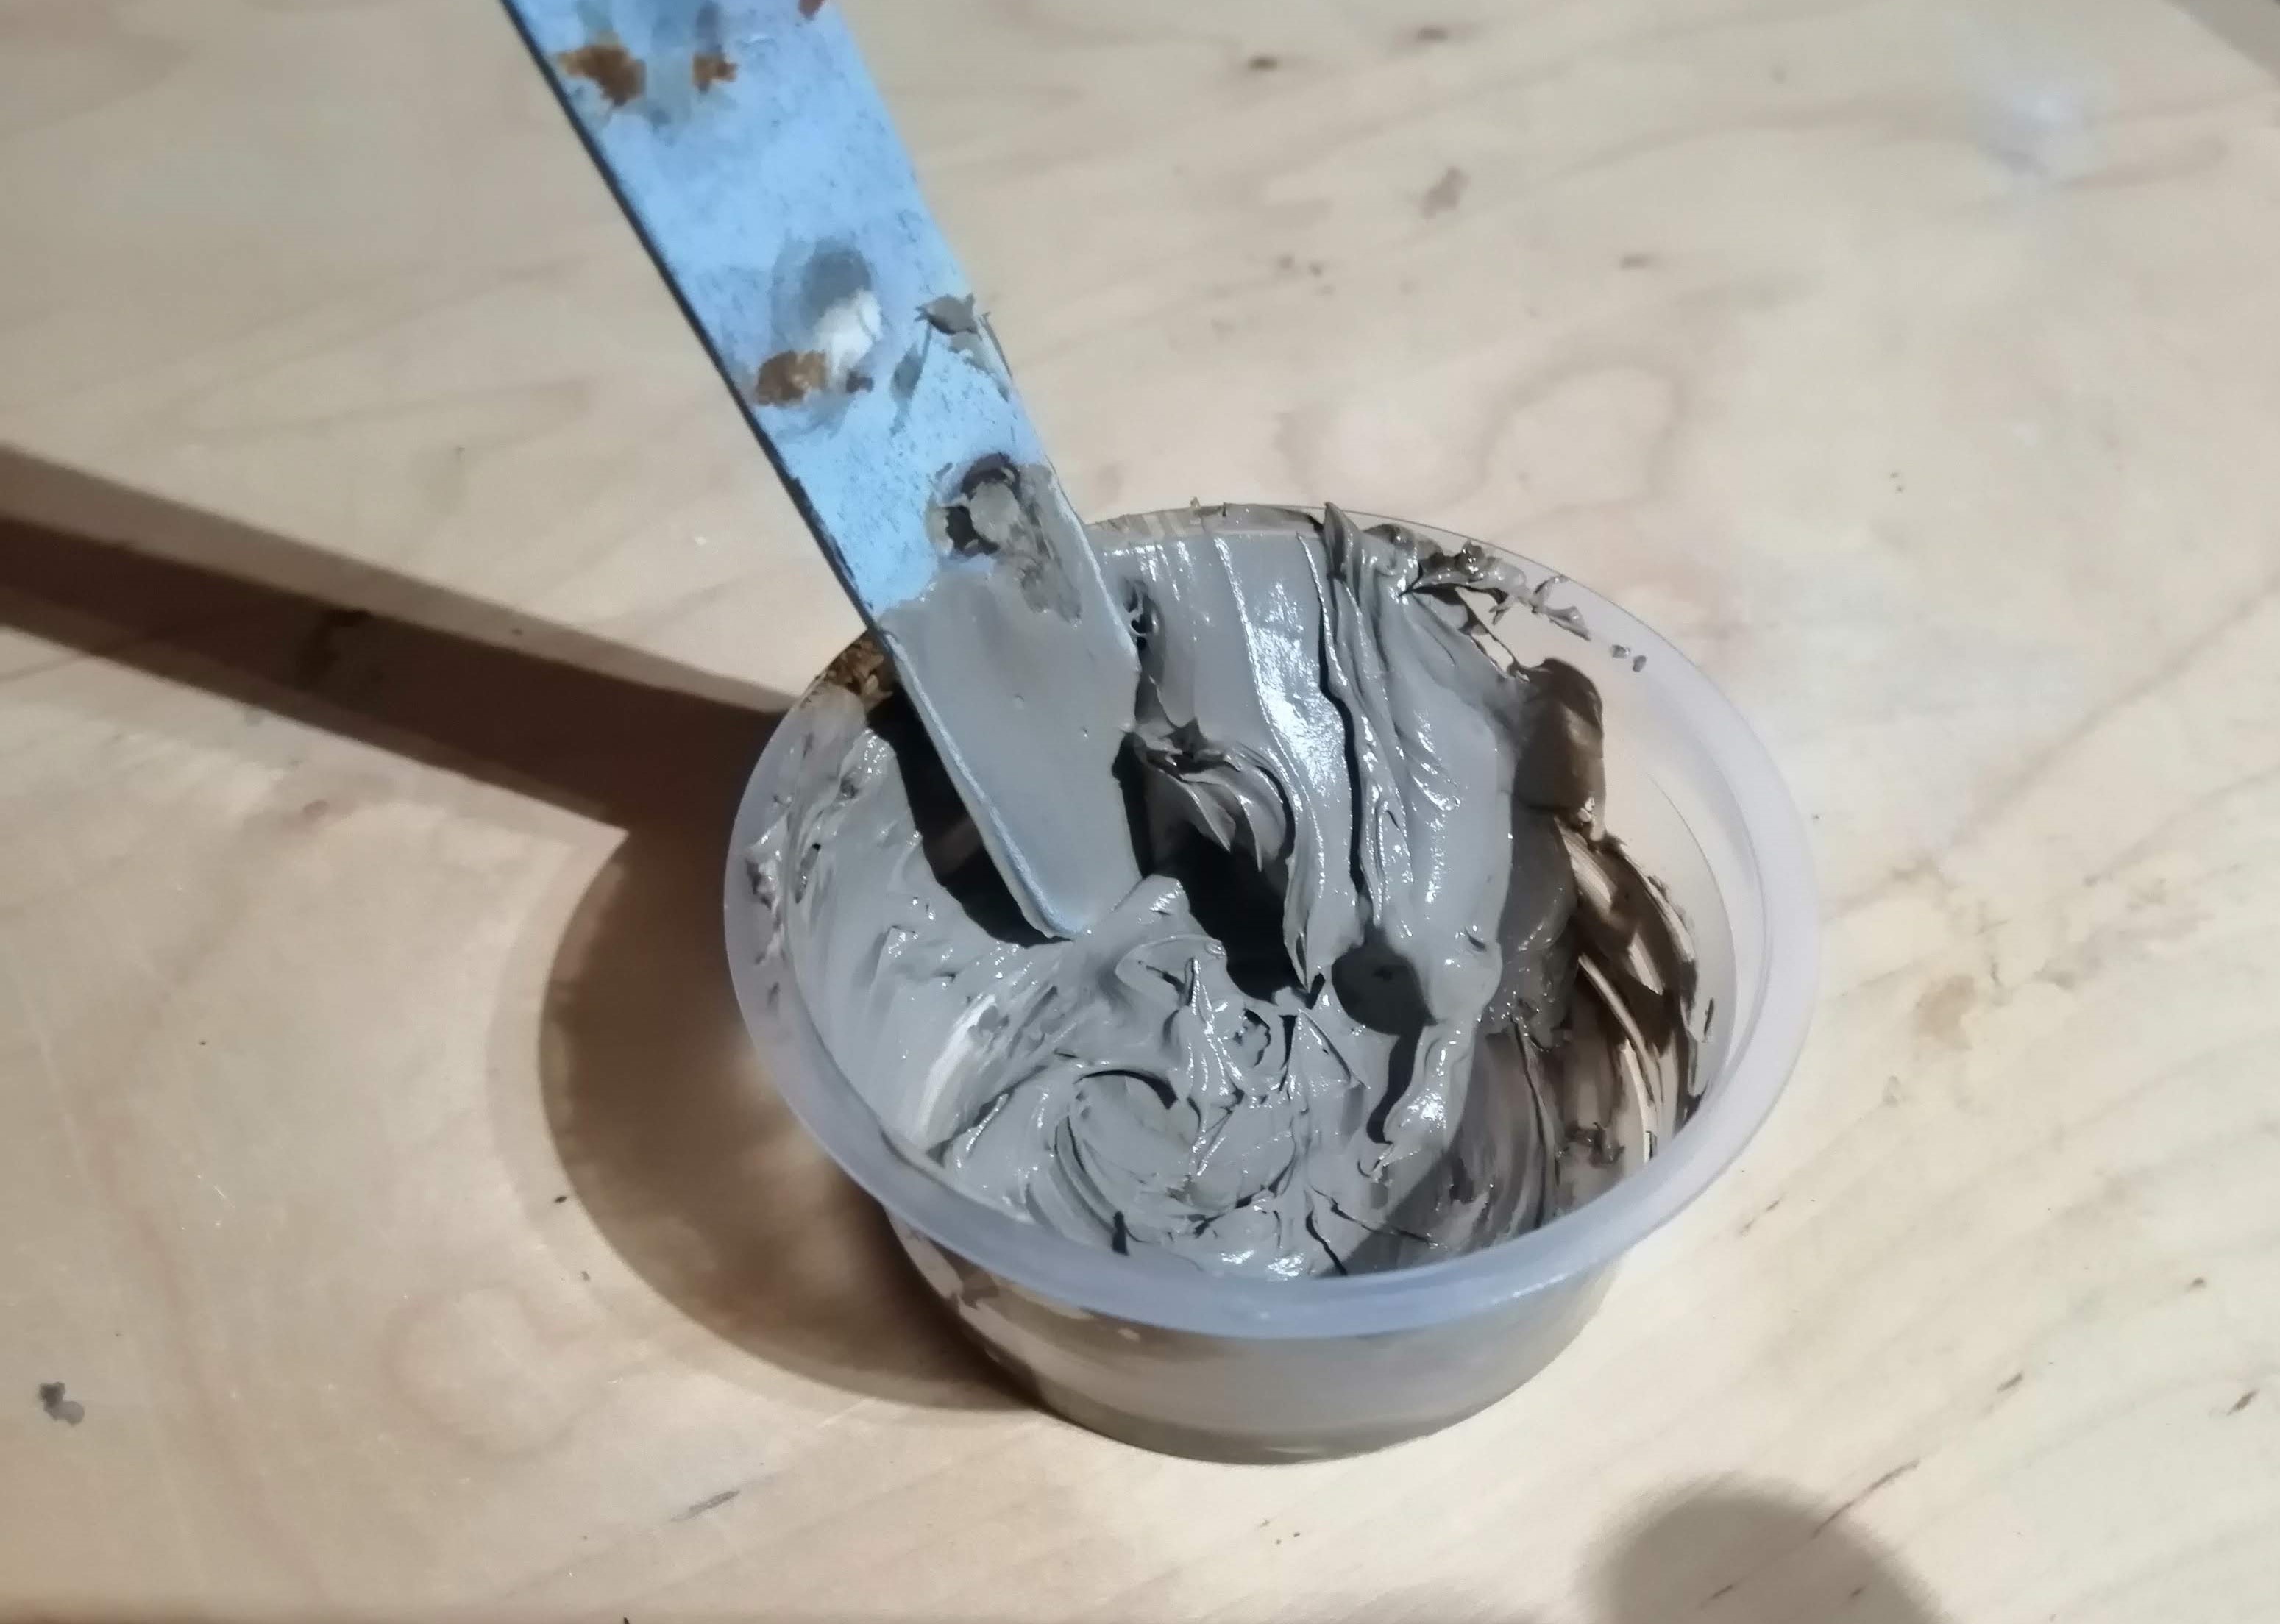
It looks a bit grey in the above pictures, might be the light, but it dries a little darker.
I applied the caulk with a wooden tongue depressor thinly across the rubber strip and left to dry. I would have taken some pictures but it was quite messy and I didn’t fancy getting caulk on my phone.
Once dry, I gave it a quick wash and dry brush before adding some static grass to get an idea as to whether this will work. This was the result
I think this looks fine. Granted it’s not top quality but this is certainly good enough.
On the down side, there is a little bit of warping around the edges as you see in the picture below. It’s not a lot and probably won’t be particularly noticeable on the tabletop but may cause the roads to not quite sit flush with each other.
It’s also damn messy to make, gets everywhere and is sticky. I have a lot of caulk splodges all over the garage bench I used to make it.

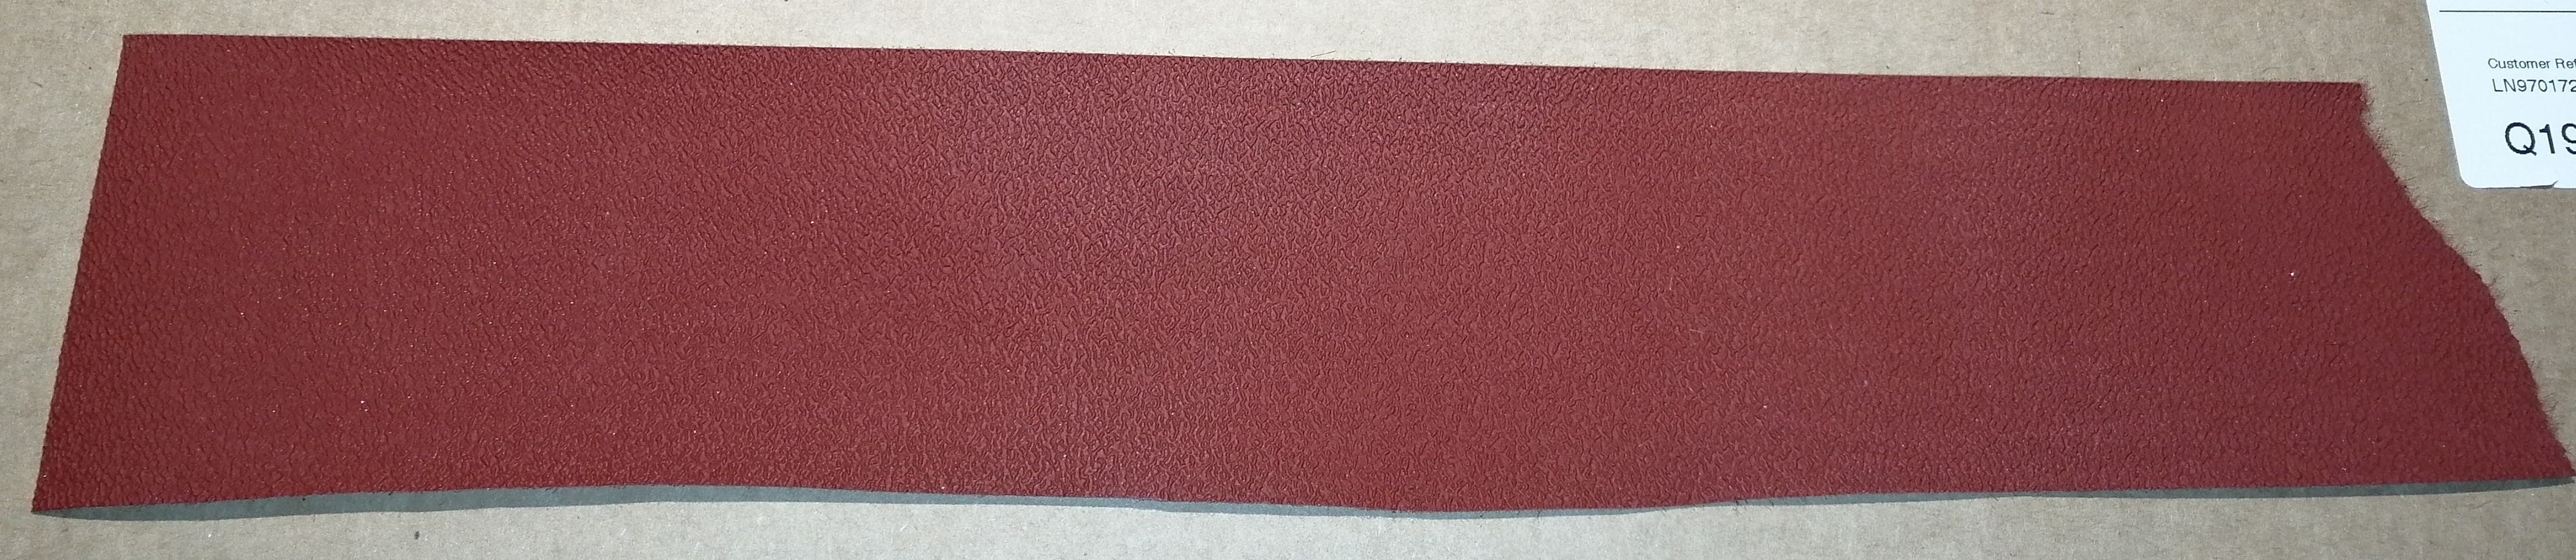
On the positive side, this is cheap to make. The A4 rubber sheet I used cost £2.67 and I got three roads out of it, each about 30cm by 9cm. The caulk only costs about a £1.50 and covers far more than a single road.
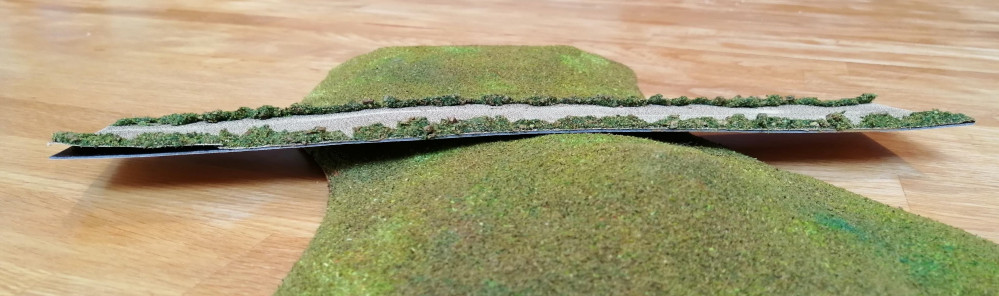
It’s also flexible. Below, I’ve used the same hill as in the header. You can see that while the road doesn’t hug the hill, it does at least conform to the contours and certainly improves the immersion.

So this certainly looks like a reasonable solution to creating flexible roads. While I like the static grass edge, it does cause storage problems in that if the roads are stacked they don’t lie flat, which may add to the slight warping.
I’ll revisit the wallpaper versions in the next few days to see if we can improve the look at feel of these. But so far, I’m happy with progress here 🙂
Attempt 4b
So I decided to re-organise the garage and packed everything up. This project got lost in the boxes and I’ve only now just finished the unpacking, so time to pick things up again.
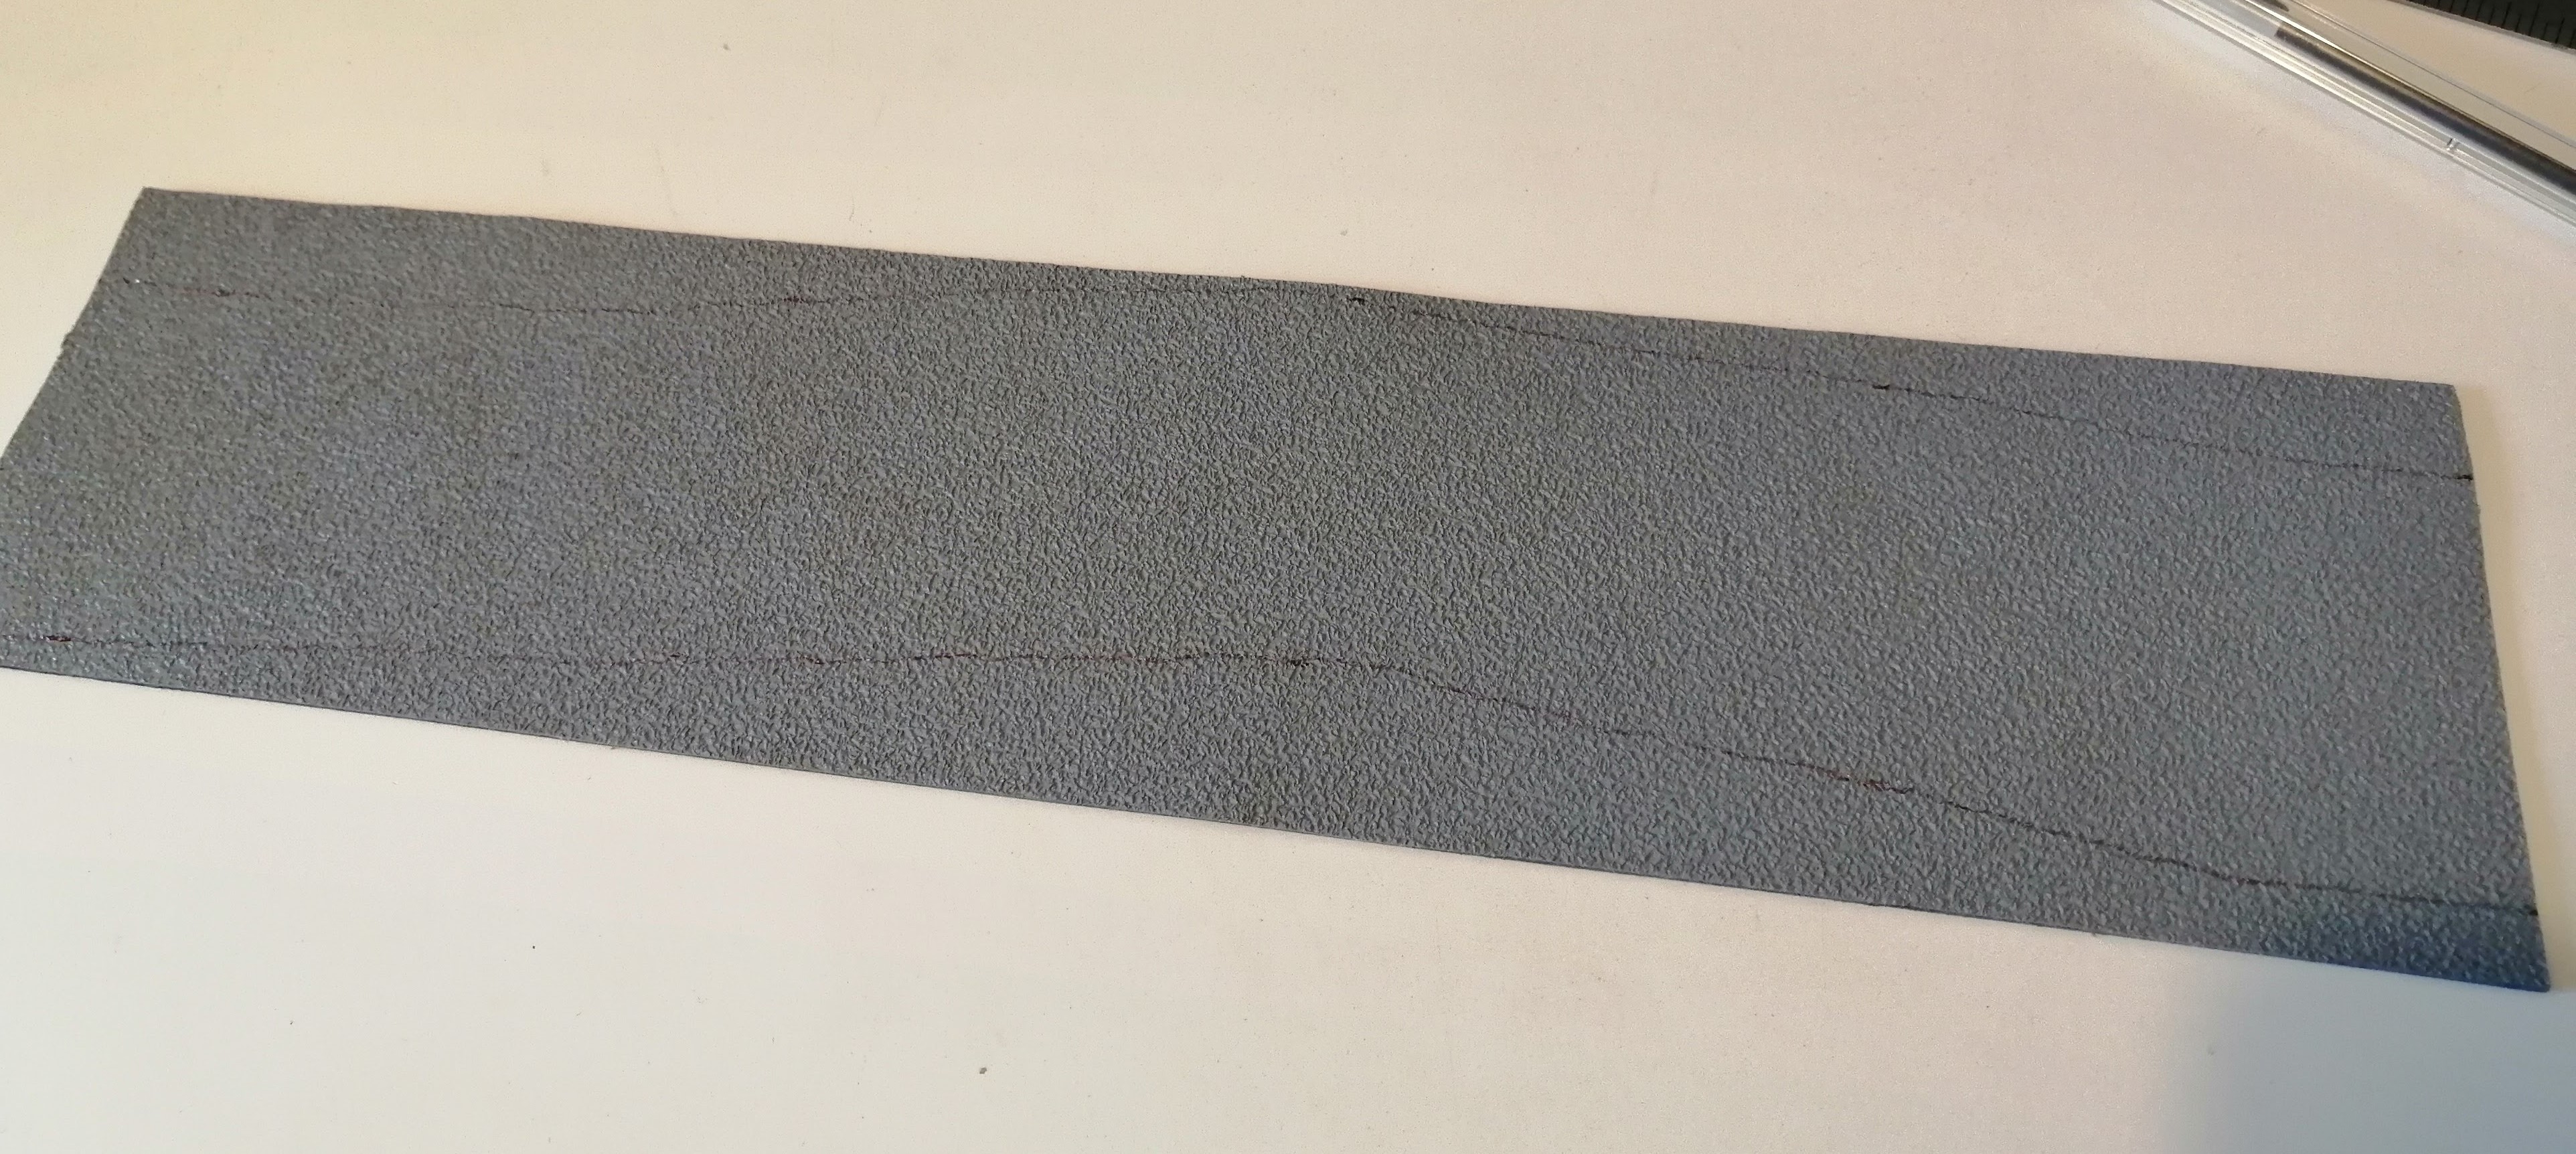
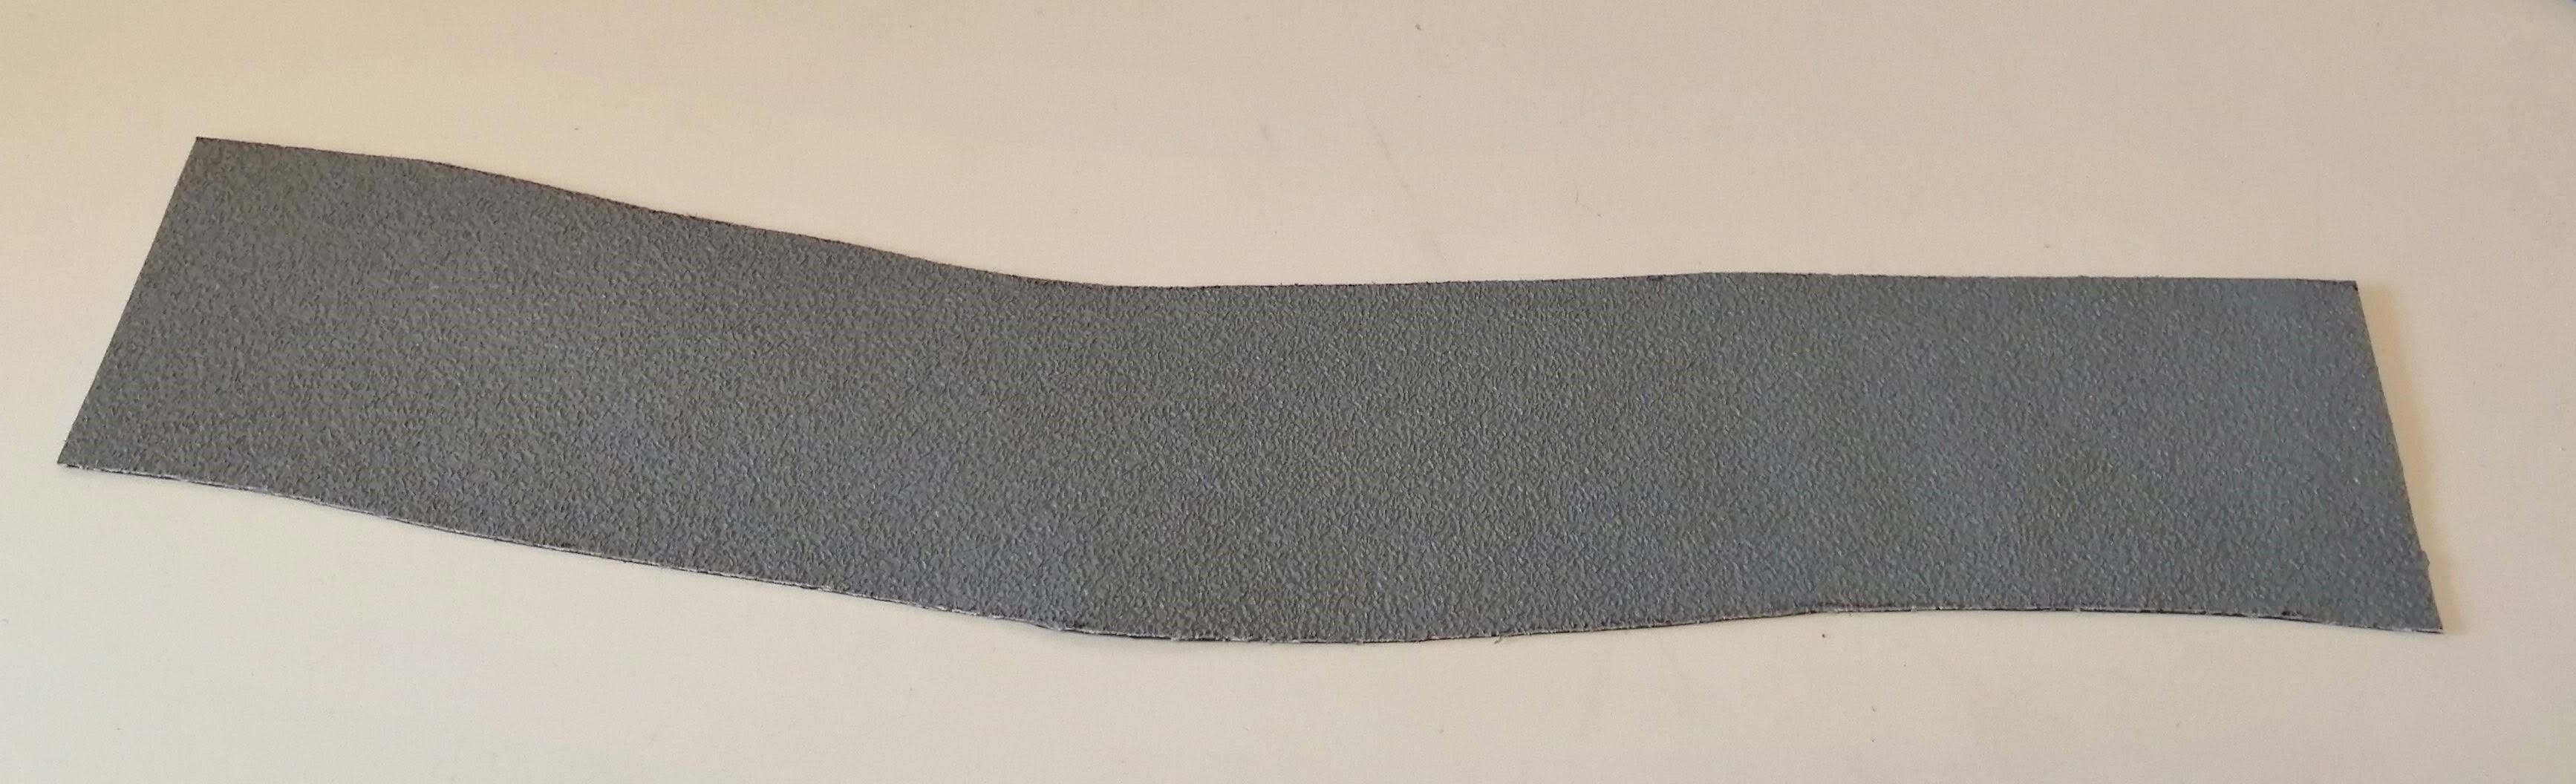
In my last update, I’d found some textured wallpaper and mounted it on some thin rubber sheets. To paint it up, I’ve primed it and then cut it down to size. No dirt road is straight, so in the below pictures, you can see that I’ve created a ‘meandering’ road.
Just painting the wallpaper would be easy and based upon the last entry for this project, would work quite well. Time to experiment!
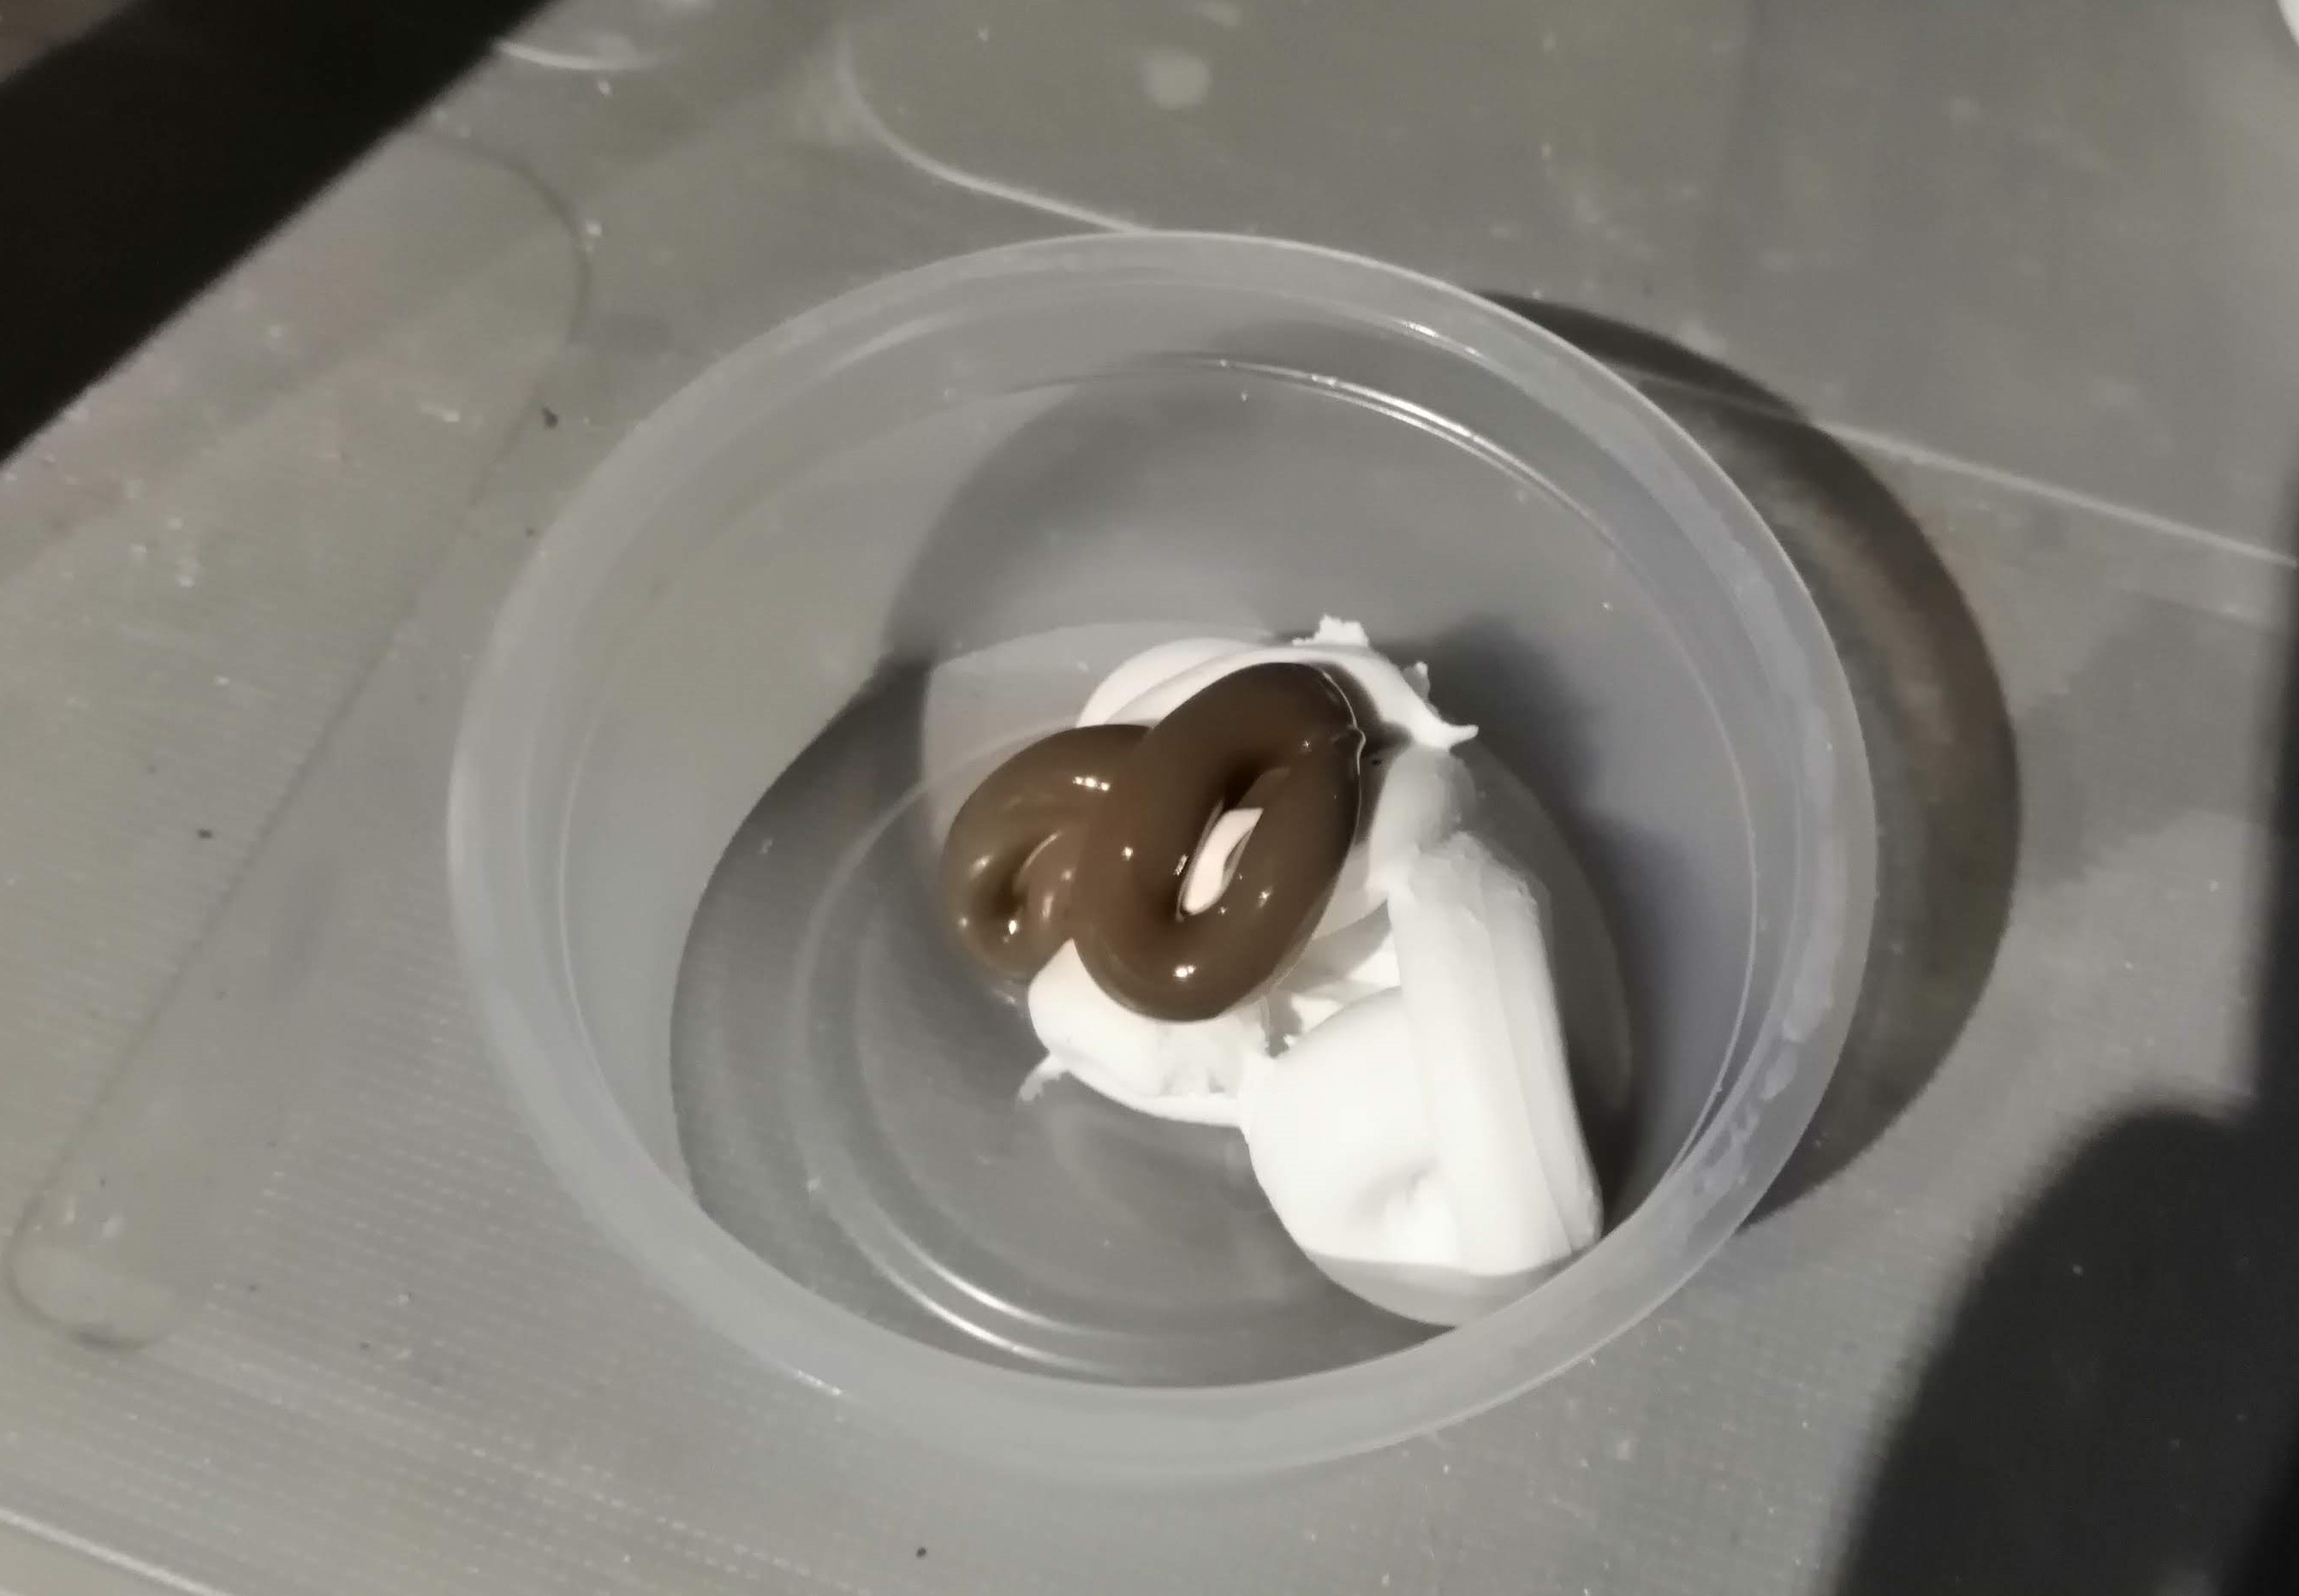
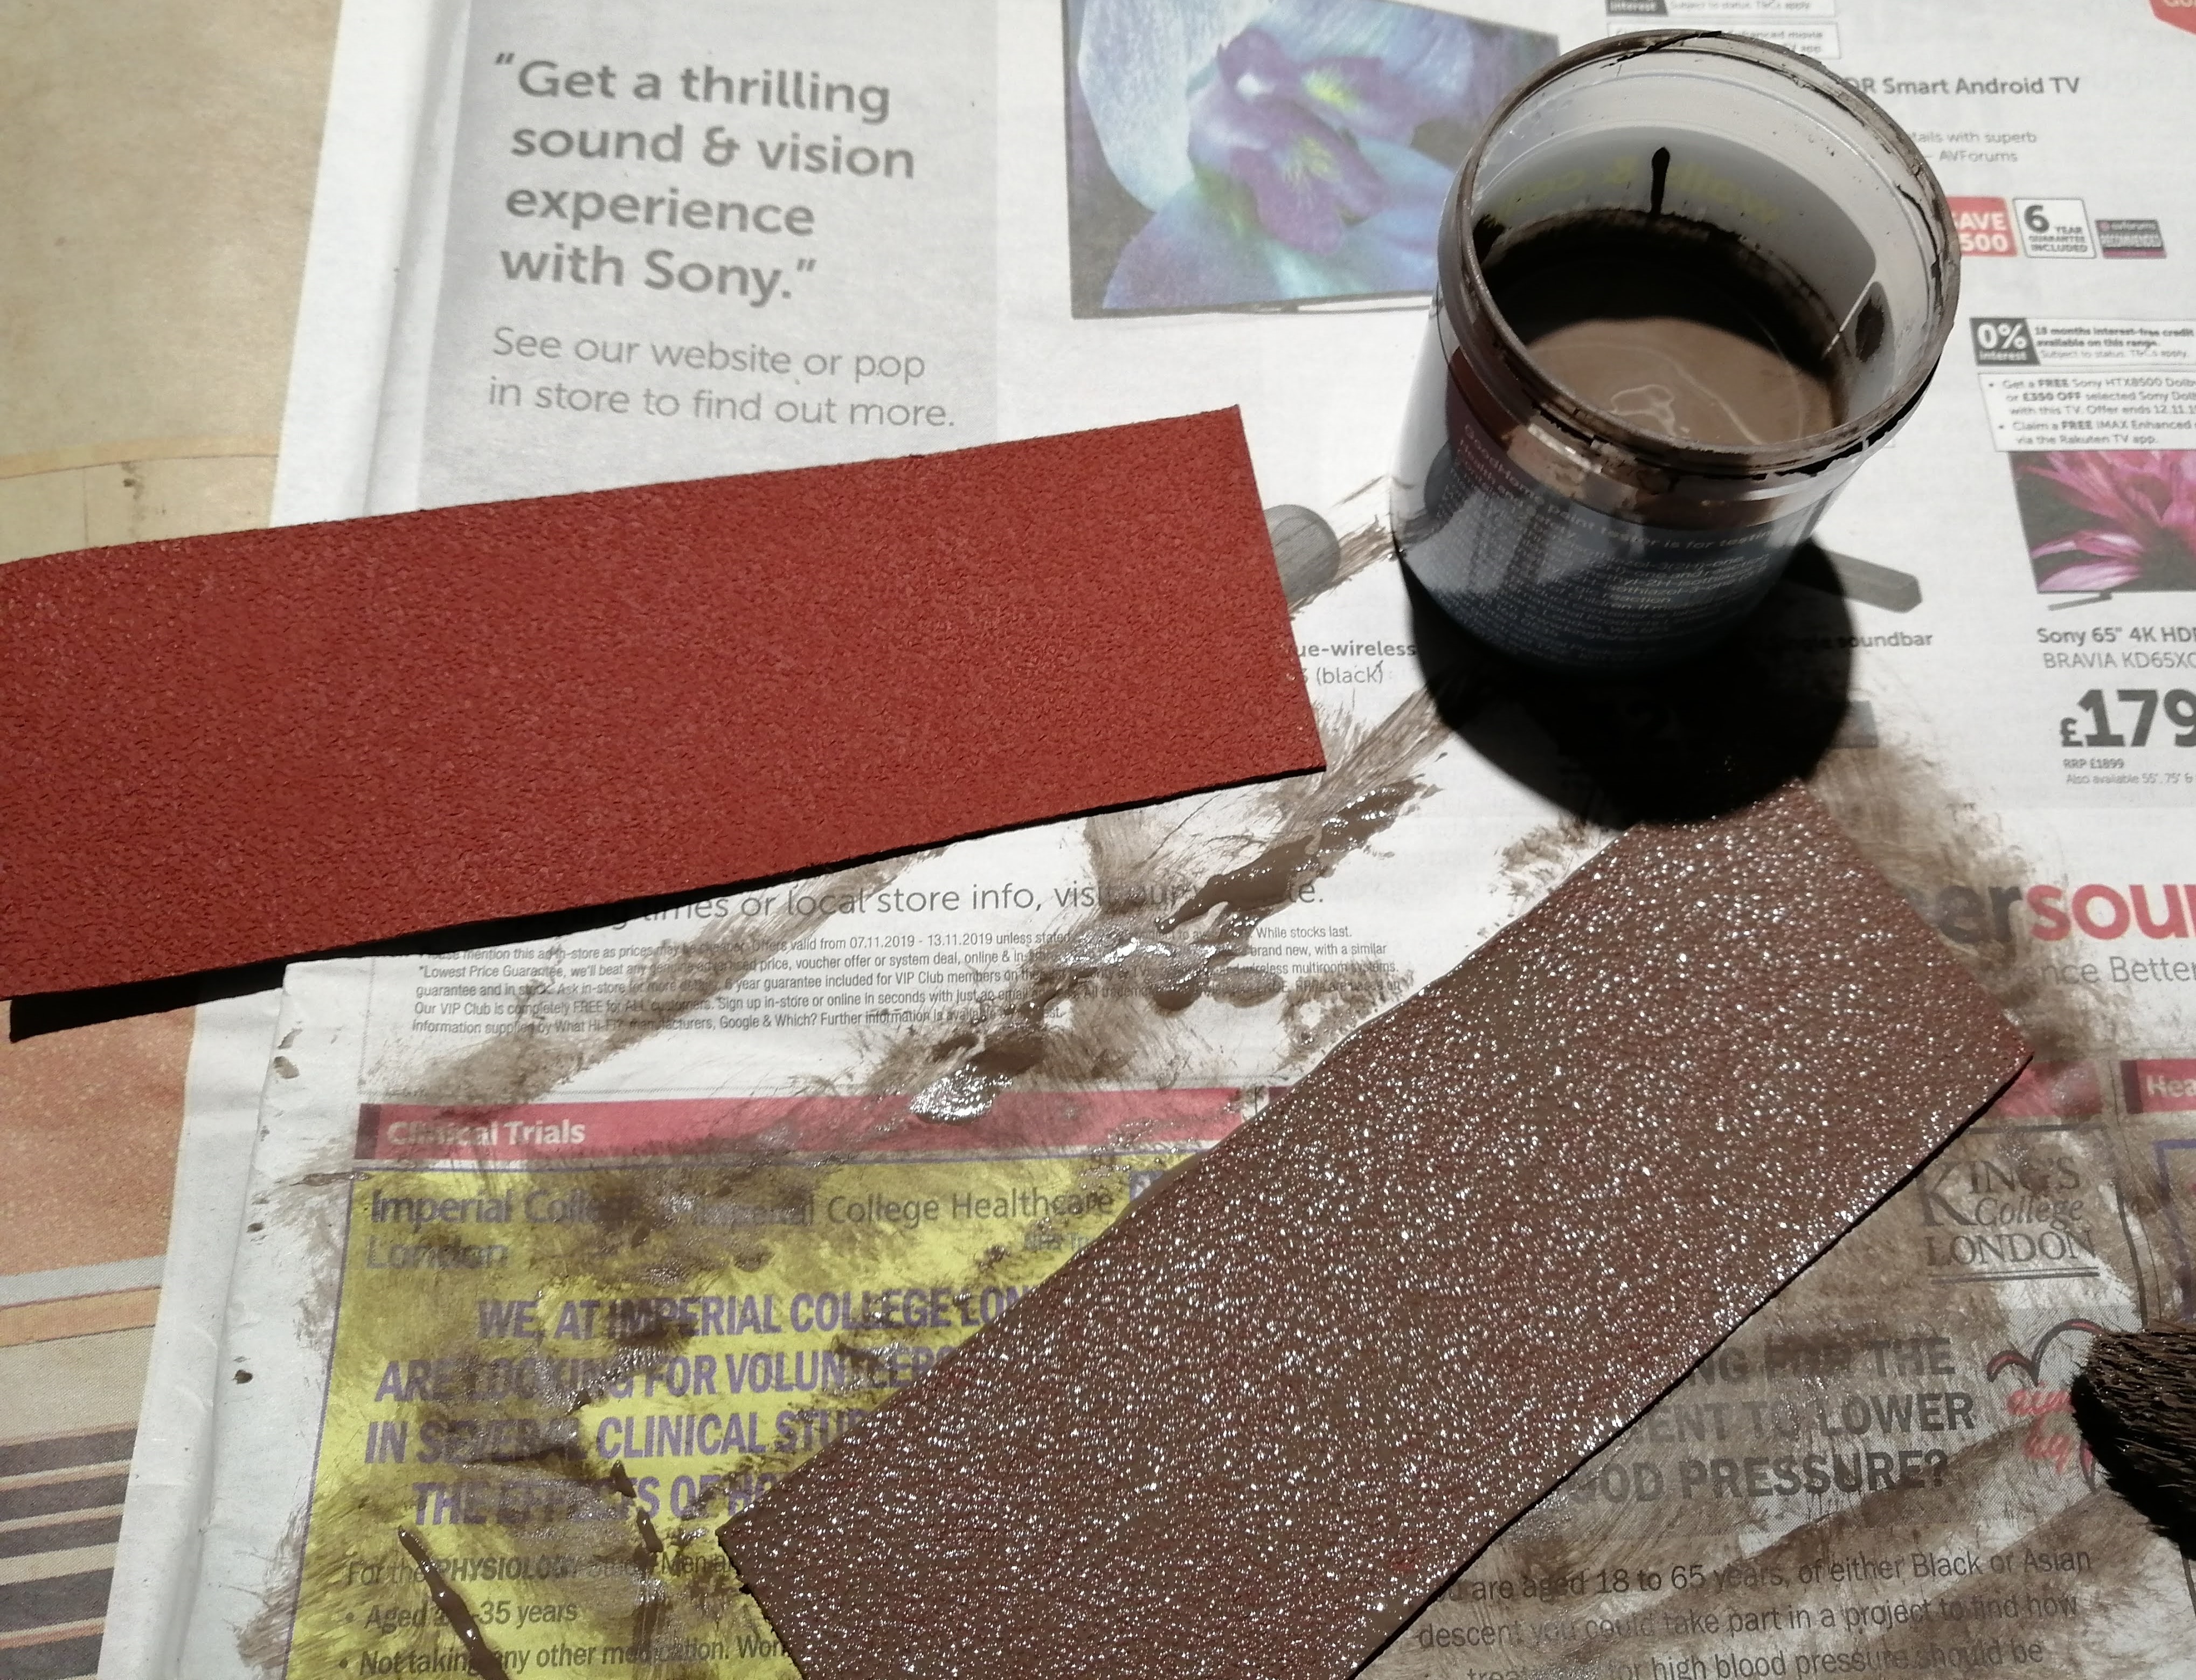
For this attempt, I’m going to try to add some definition to create tyre ruts. To do this, I will mix decorator’s caulk and acrylic paint. I plan to smear this onto the road.
To create the ruts, I have ‘crafted’ a scraper out of plasticard. By carefully cutting the indents, I hope to drag this down the road and the indents will leave behind the caulk mix to create ruts.
You can see the approach in the below pictures.


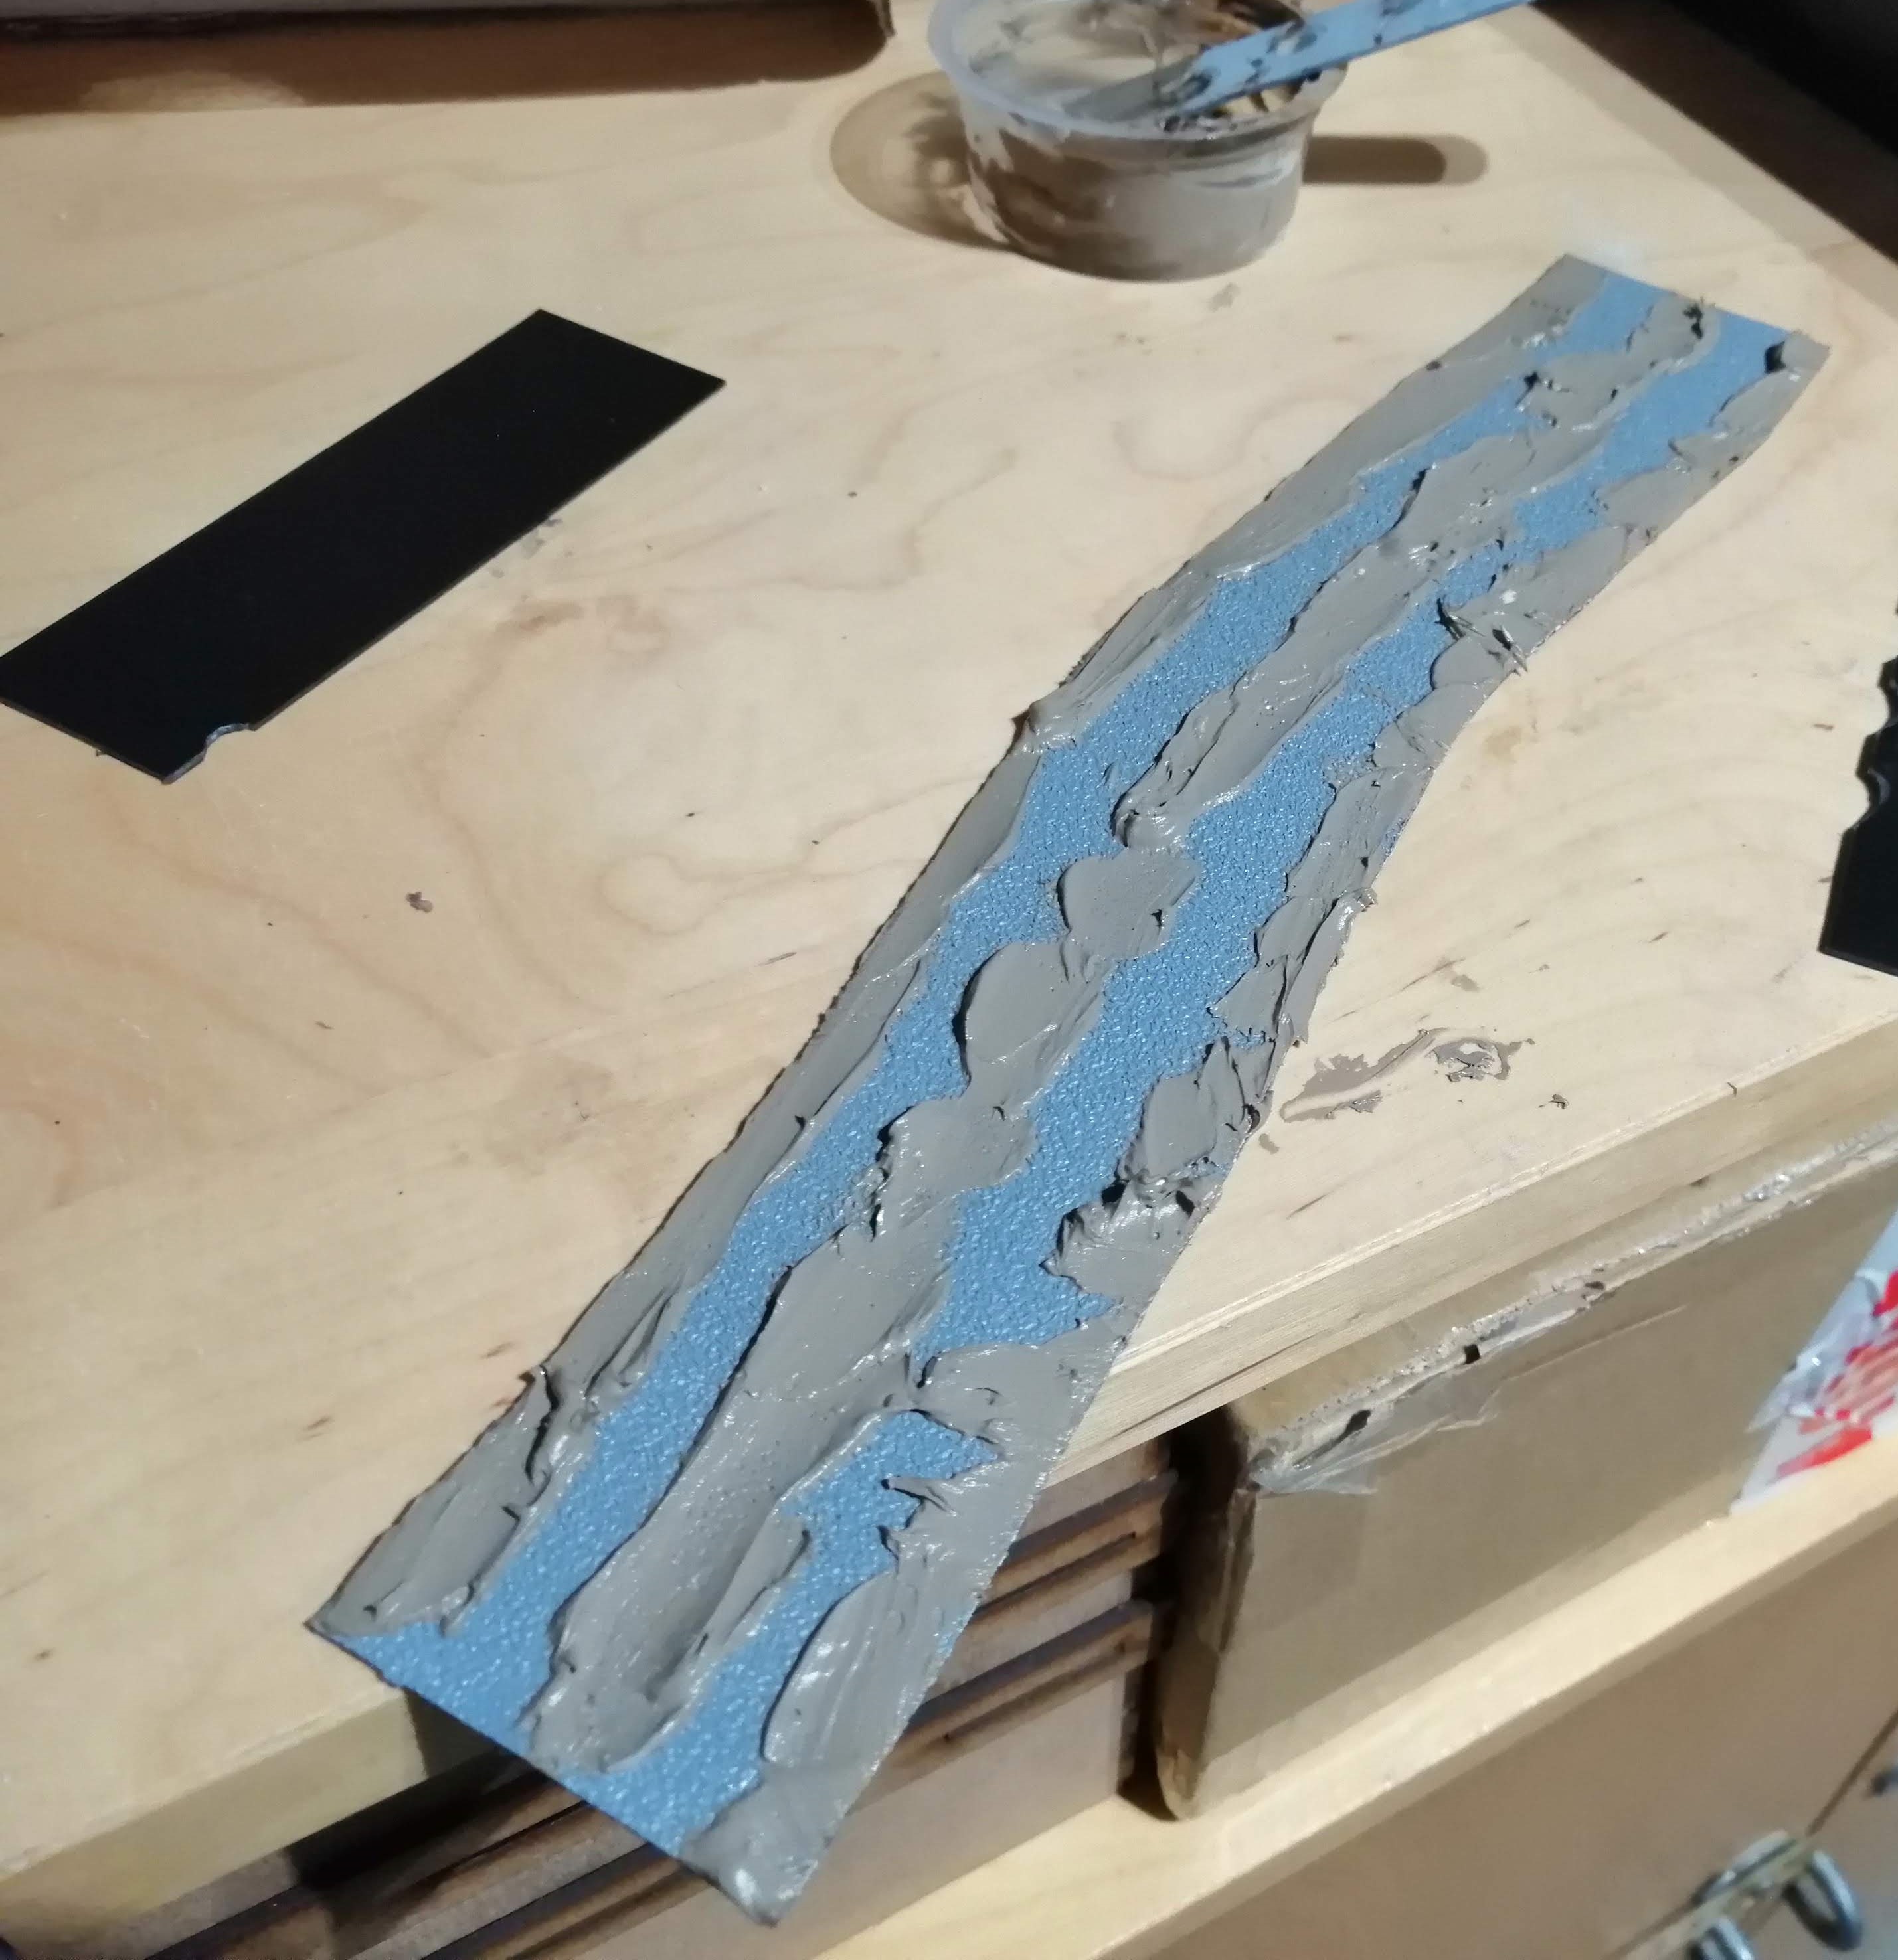
It’s messy. Really messy and unfortunately, I wasn’t able to take any pictures showing the effect the scrapper had on the caulk. At least not without getting caulk all over my phone.
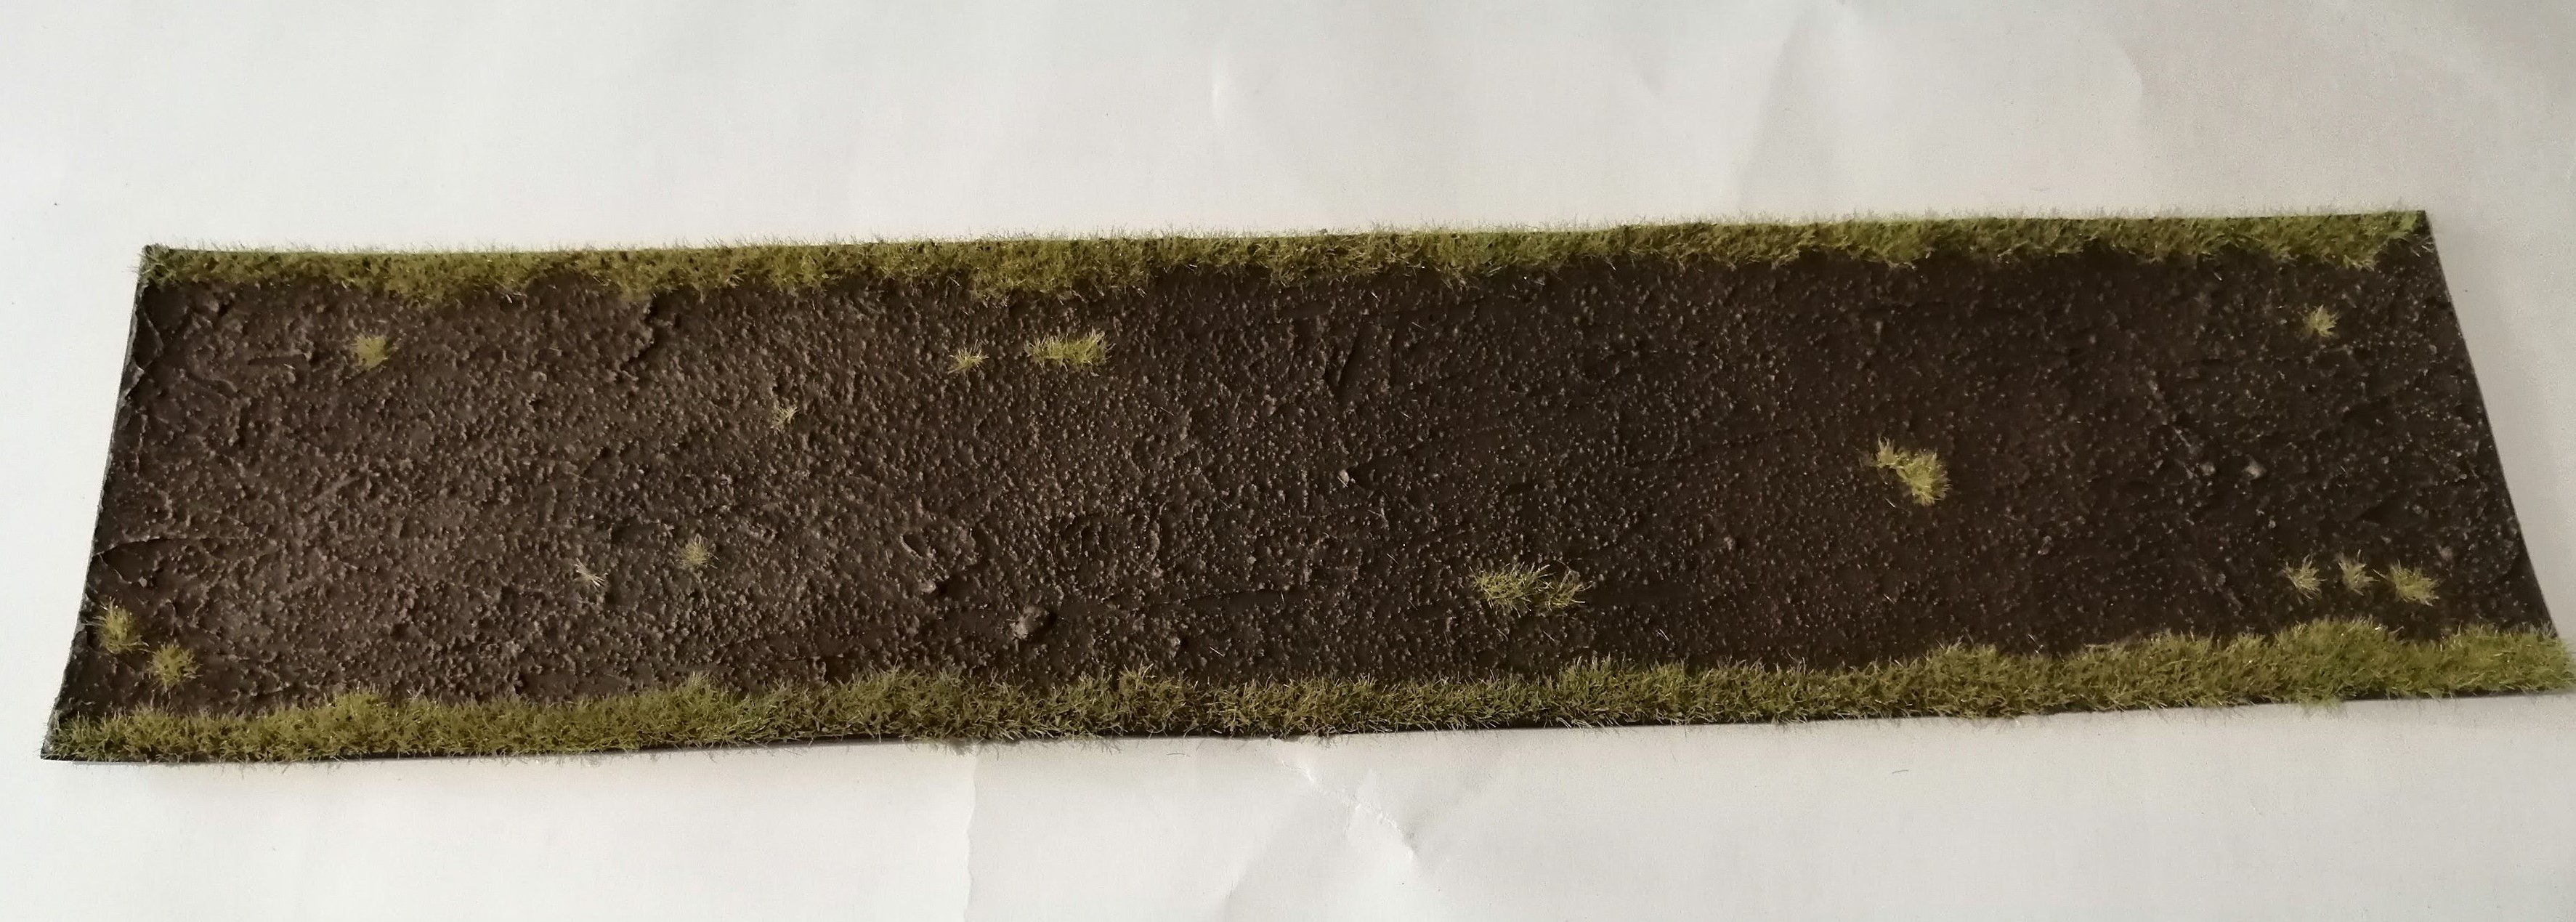
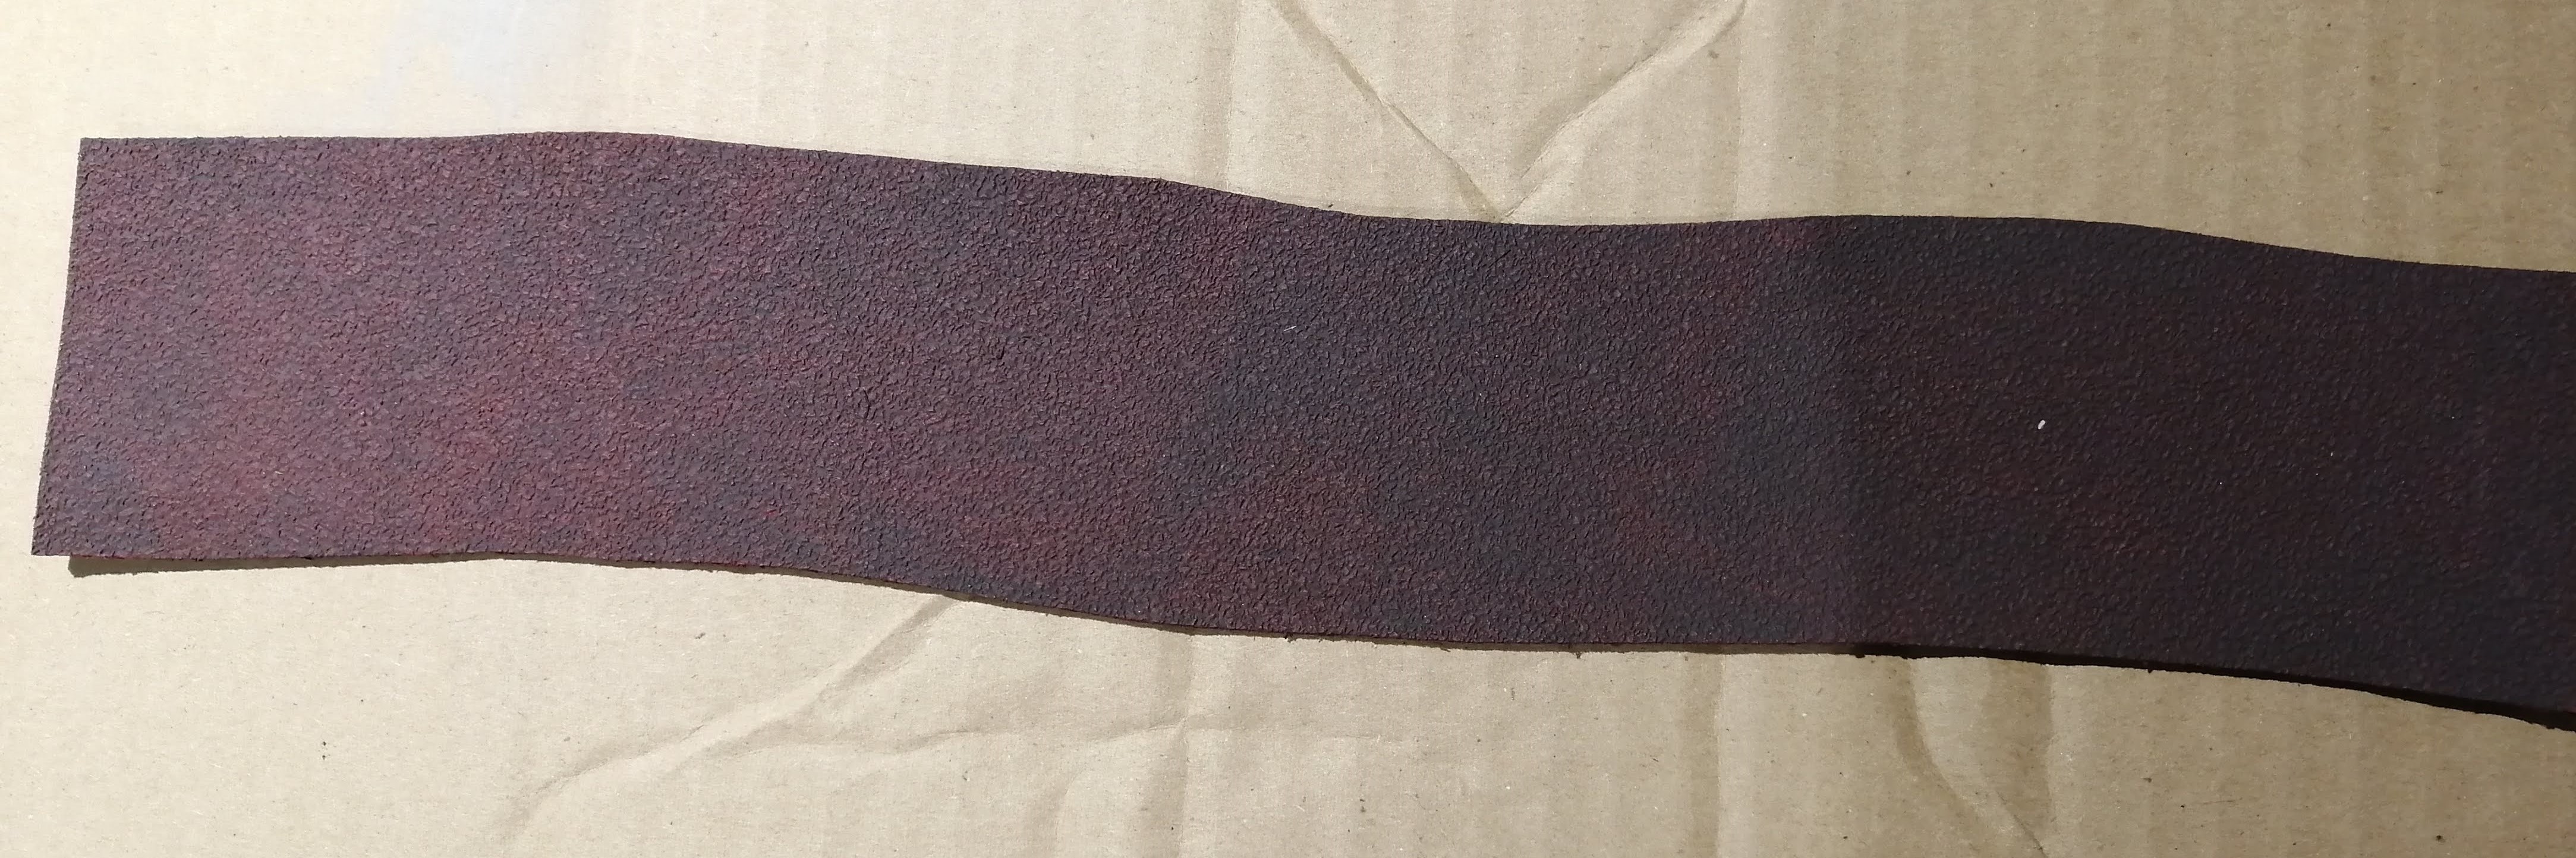
Once the caulk dried, I was left with the following:
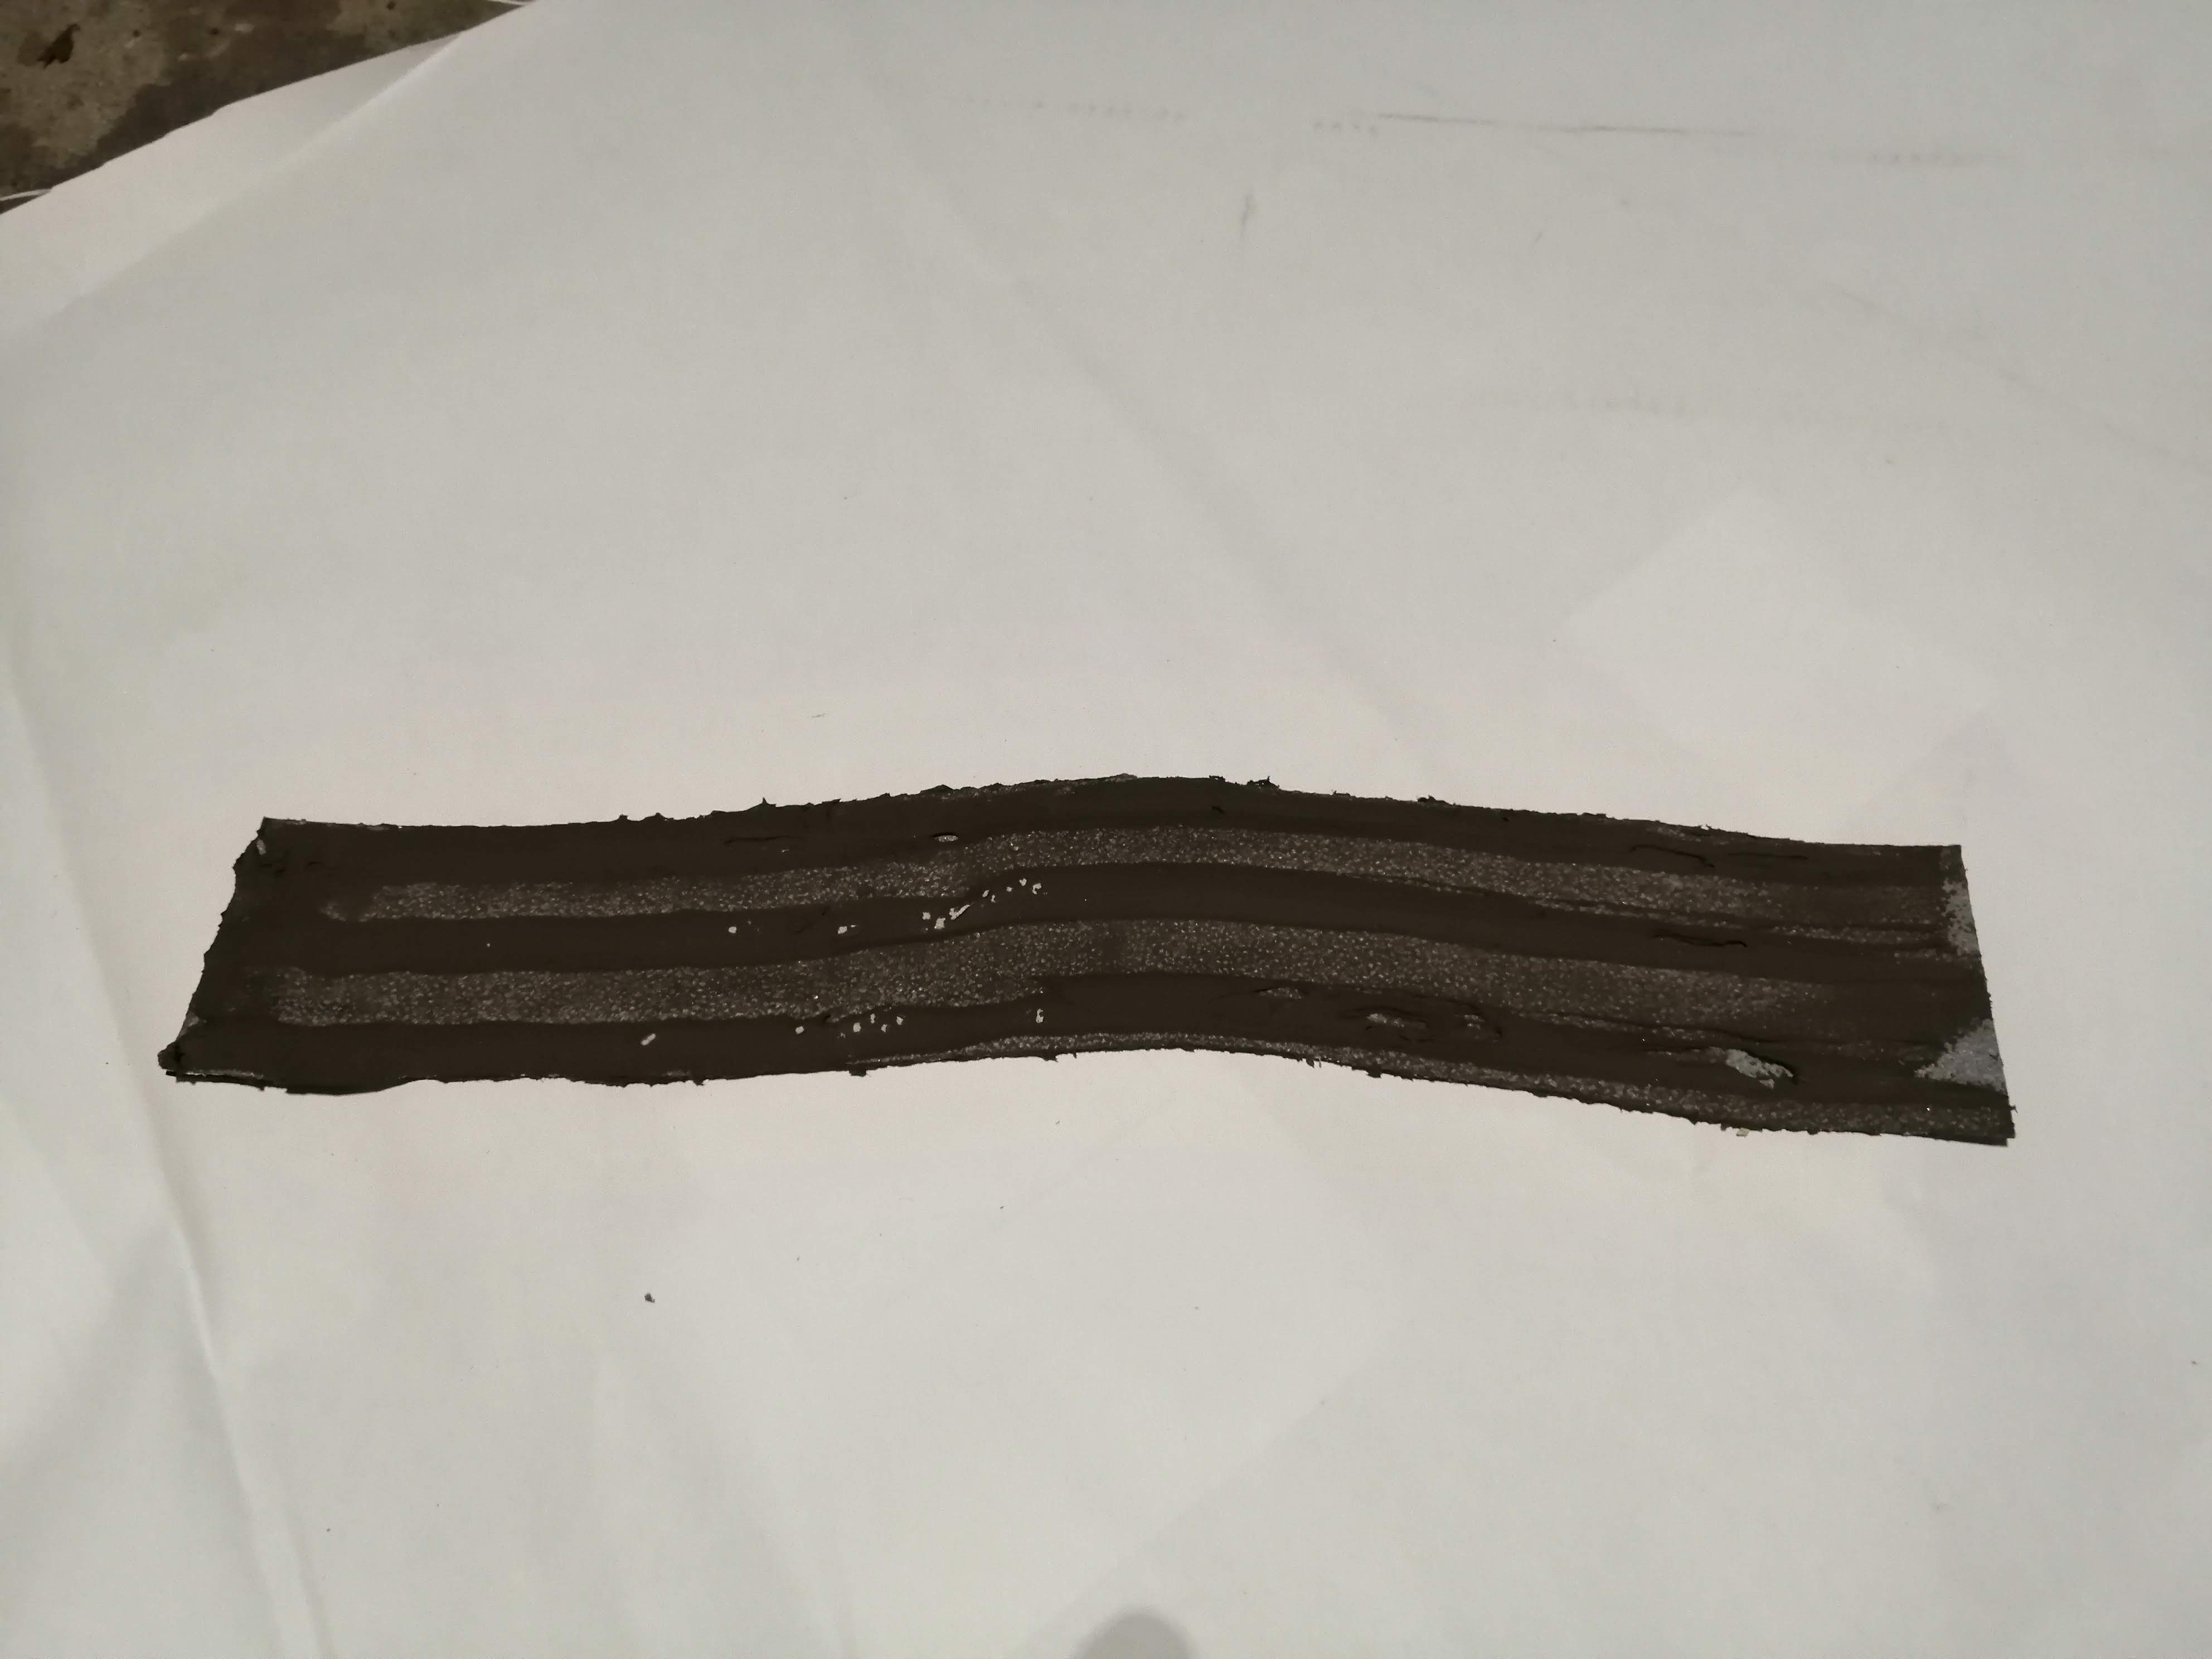
Conclusion on this attempt:
It’s flexible, so it works. But it’s messy. Perhaps with more time and more patience, I might have been able to get a better result.
Next, I think I’ll try to create a cobbled road.
Batch making dirt roads
If the unofficial hobby hang out asks for cobbled roads, then I’m not going to bow to peer pressure. I’m going to complete my dirt roads first.
I reviewed the previous attempts and I’m going for a low complexity solution. This will deliver what I want without too much faff.
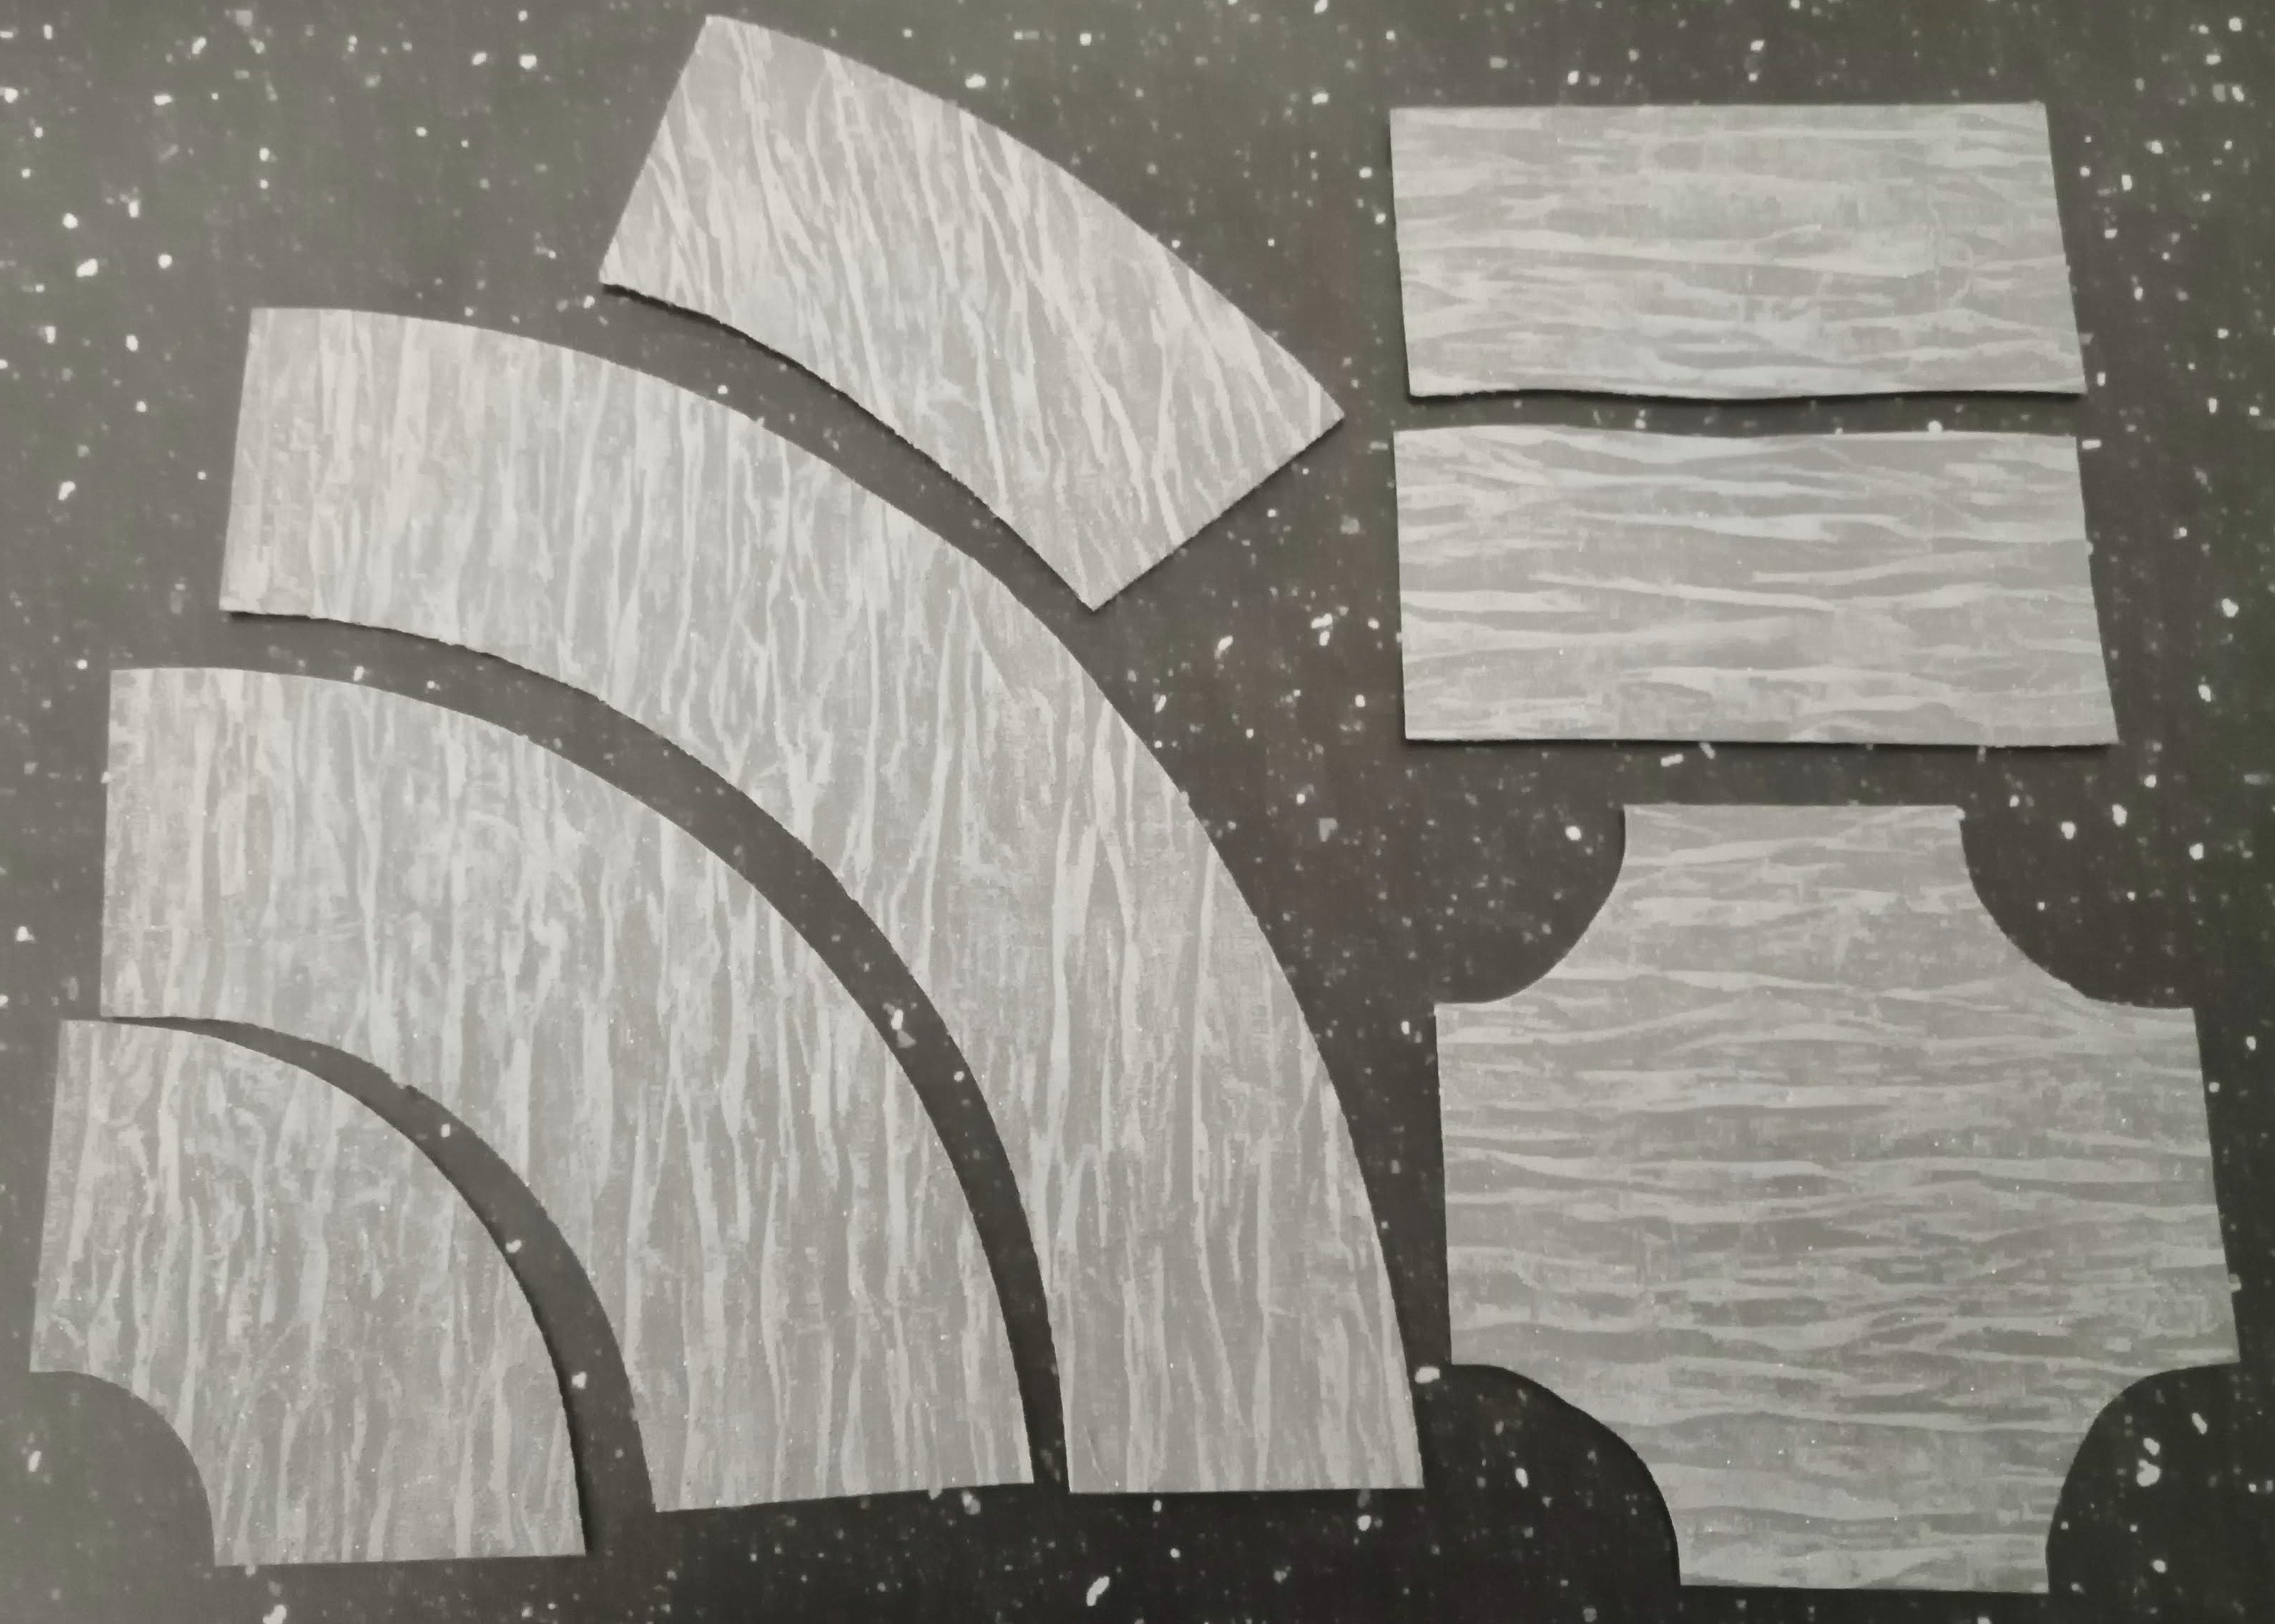
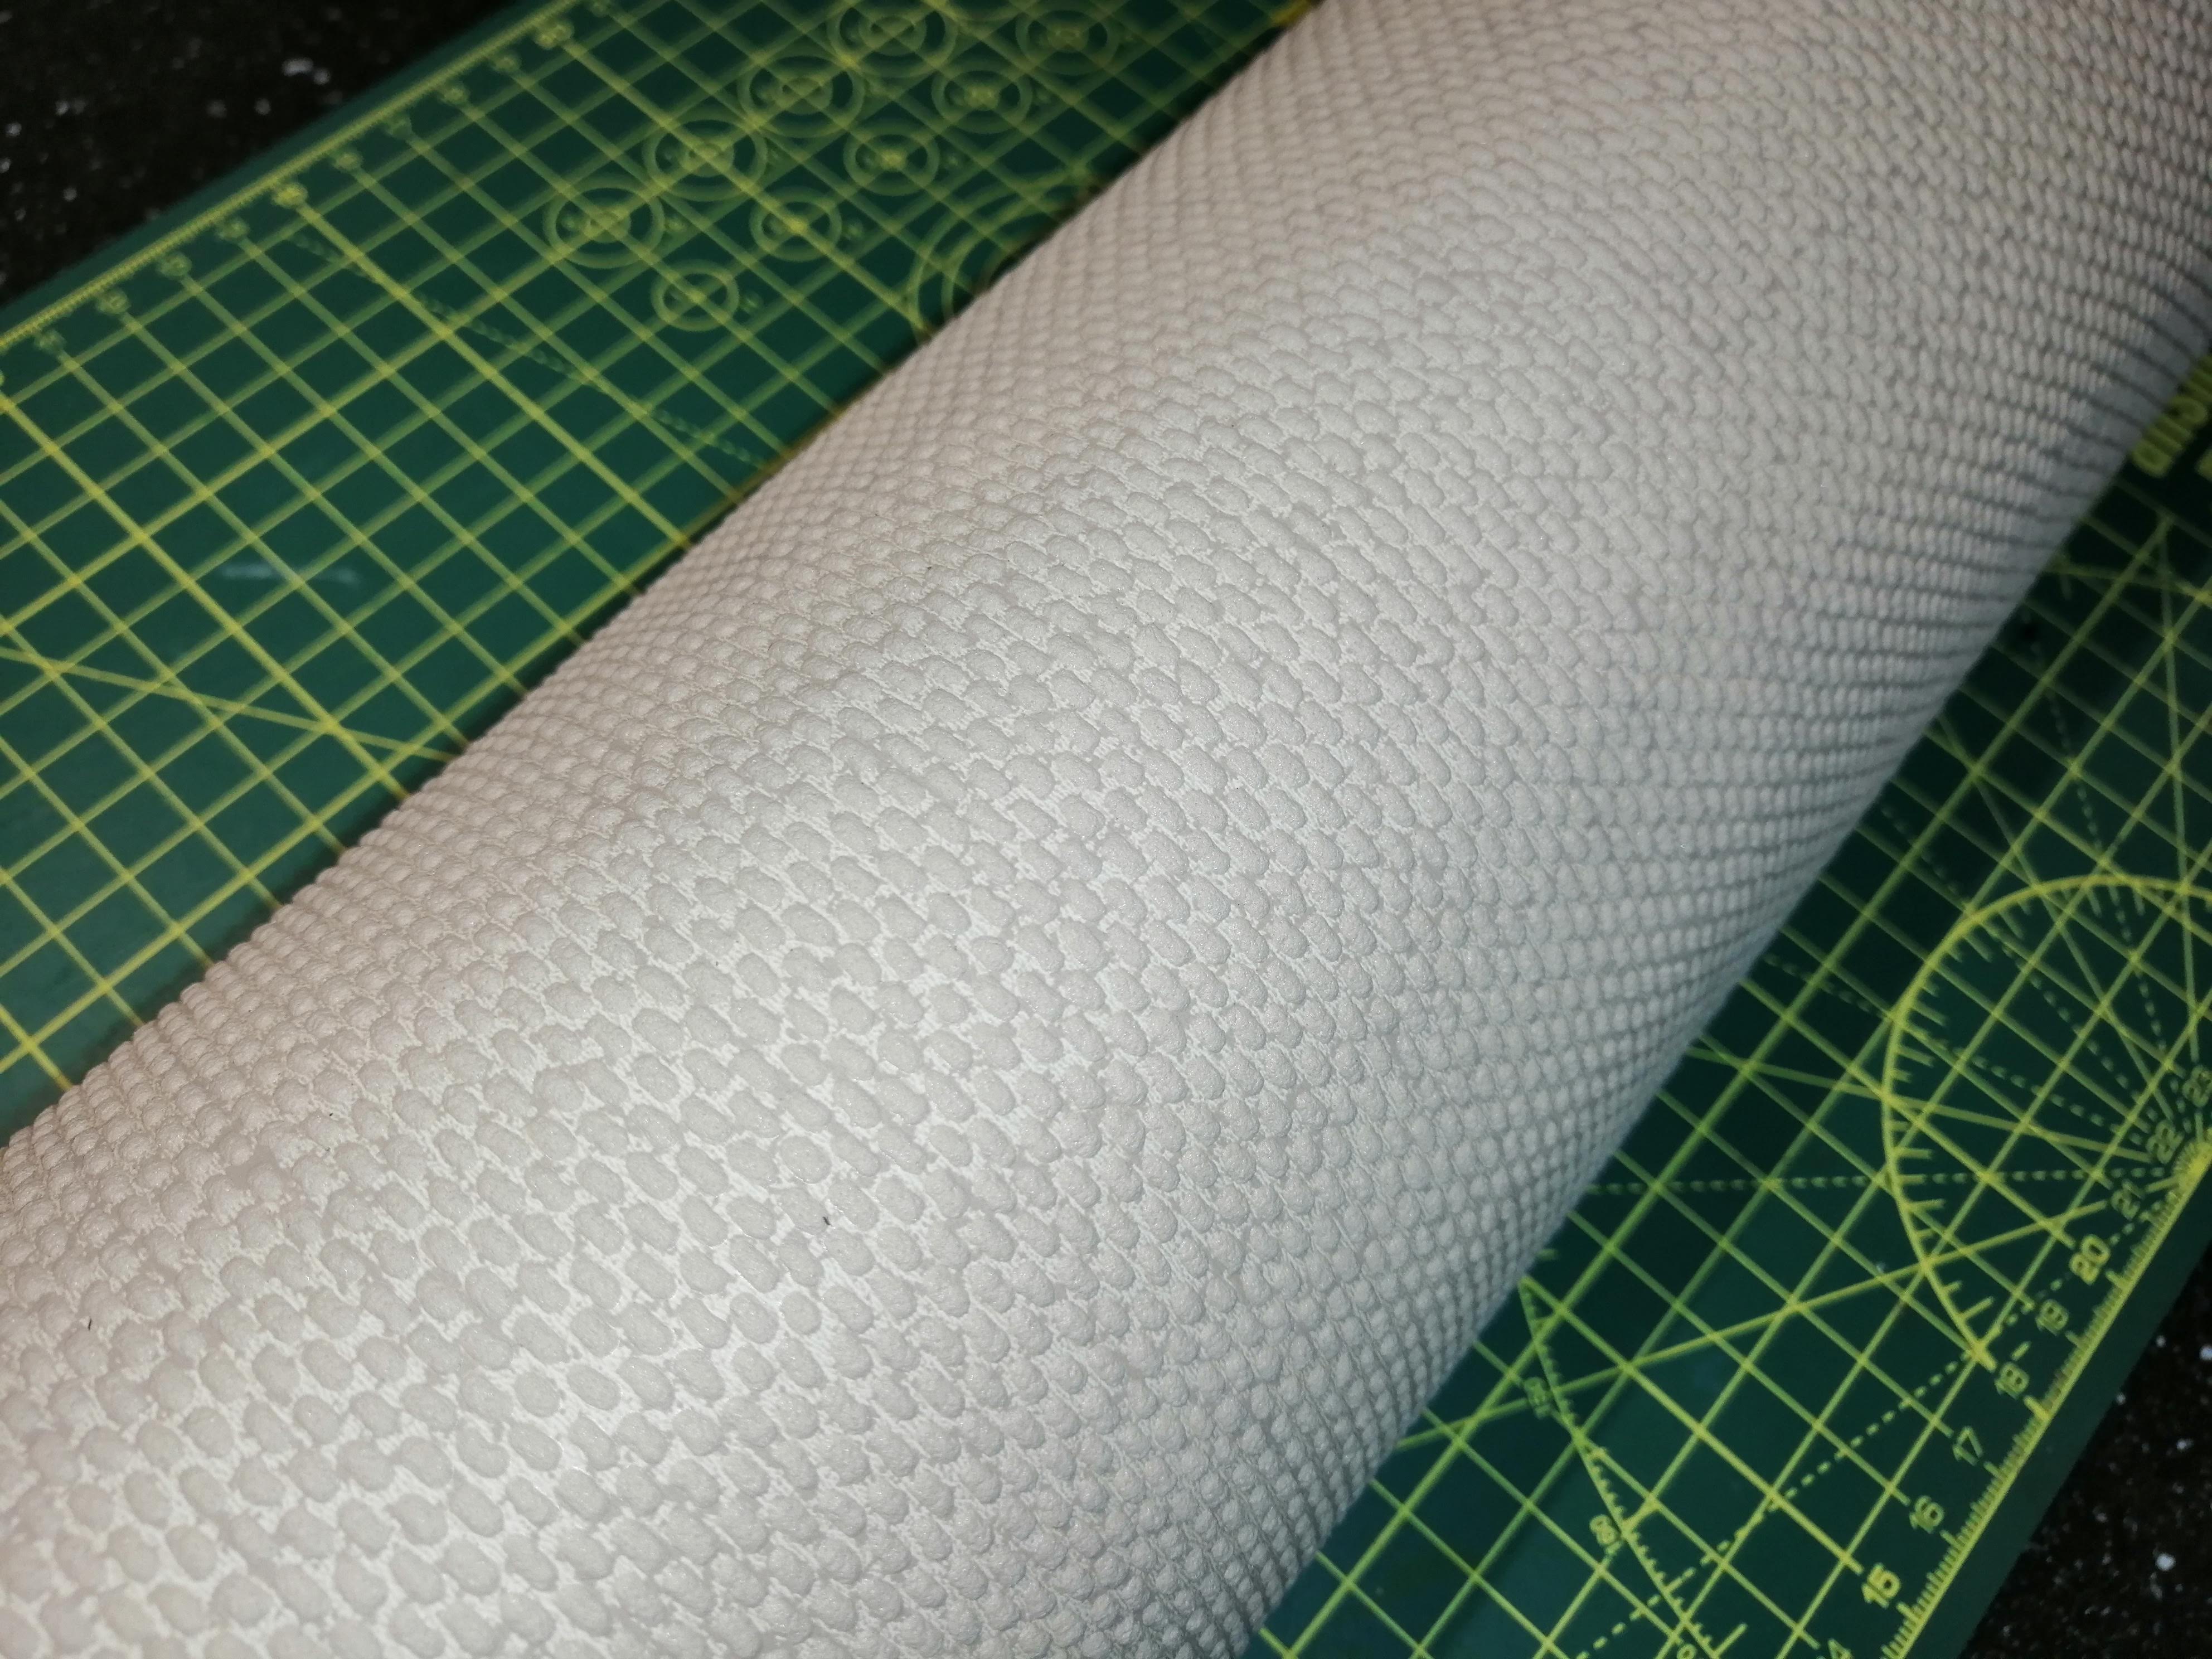
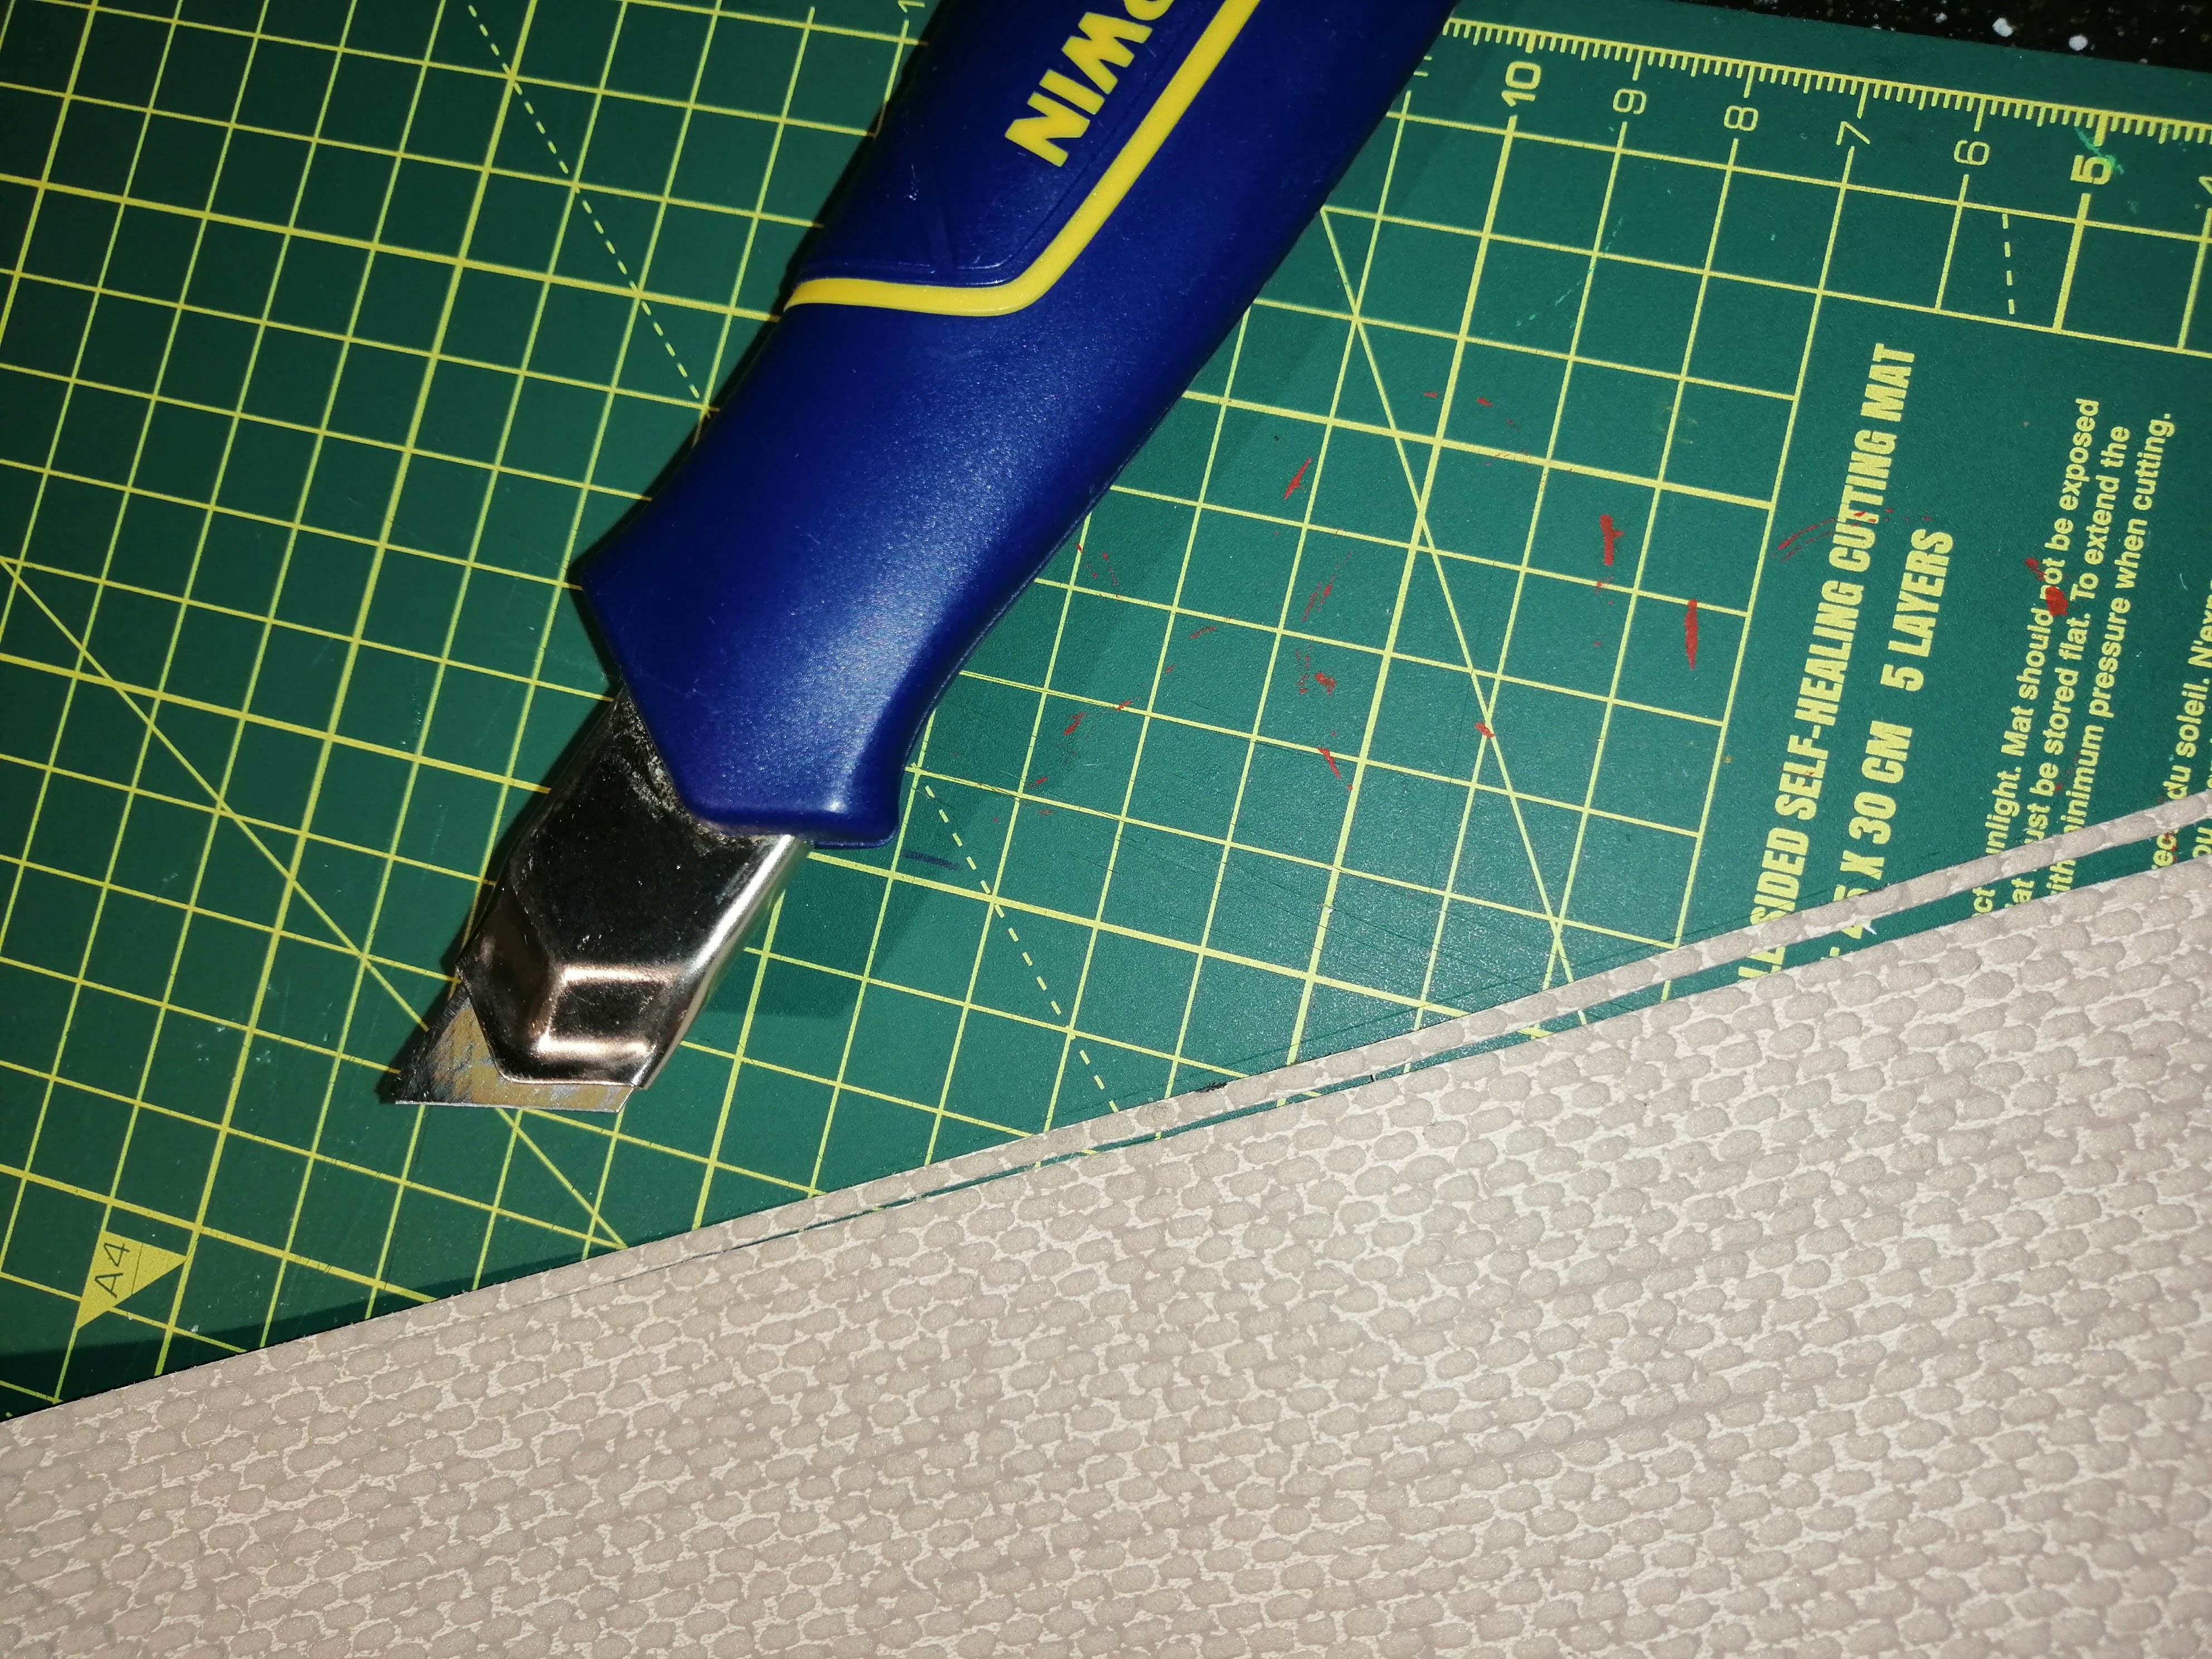
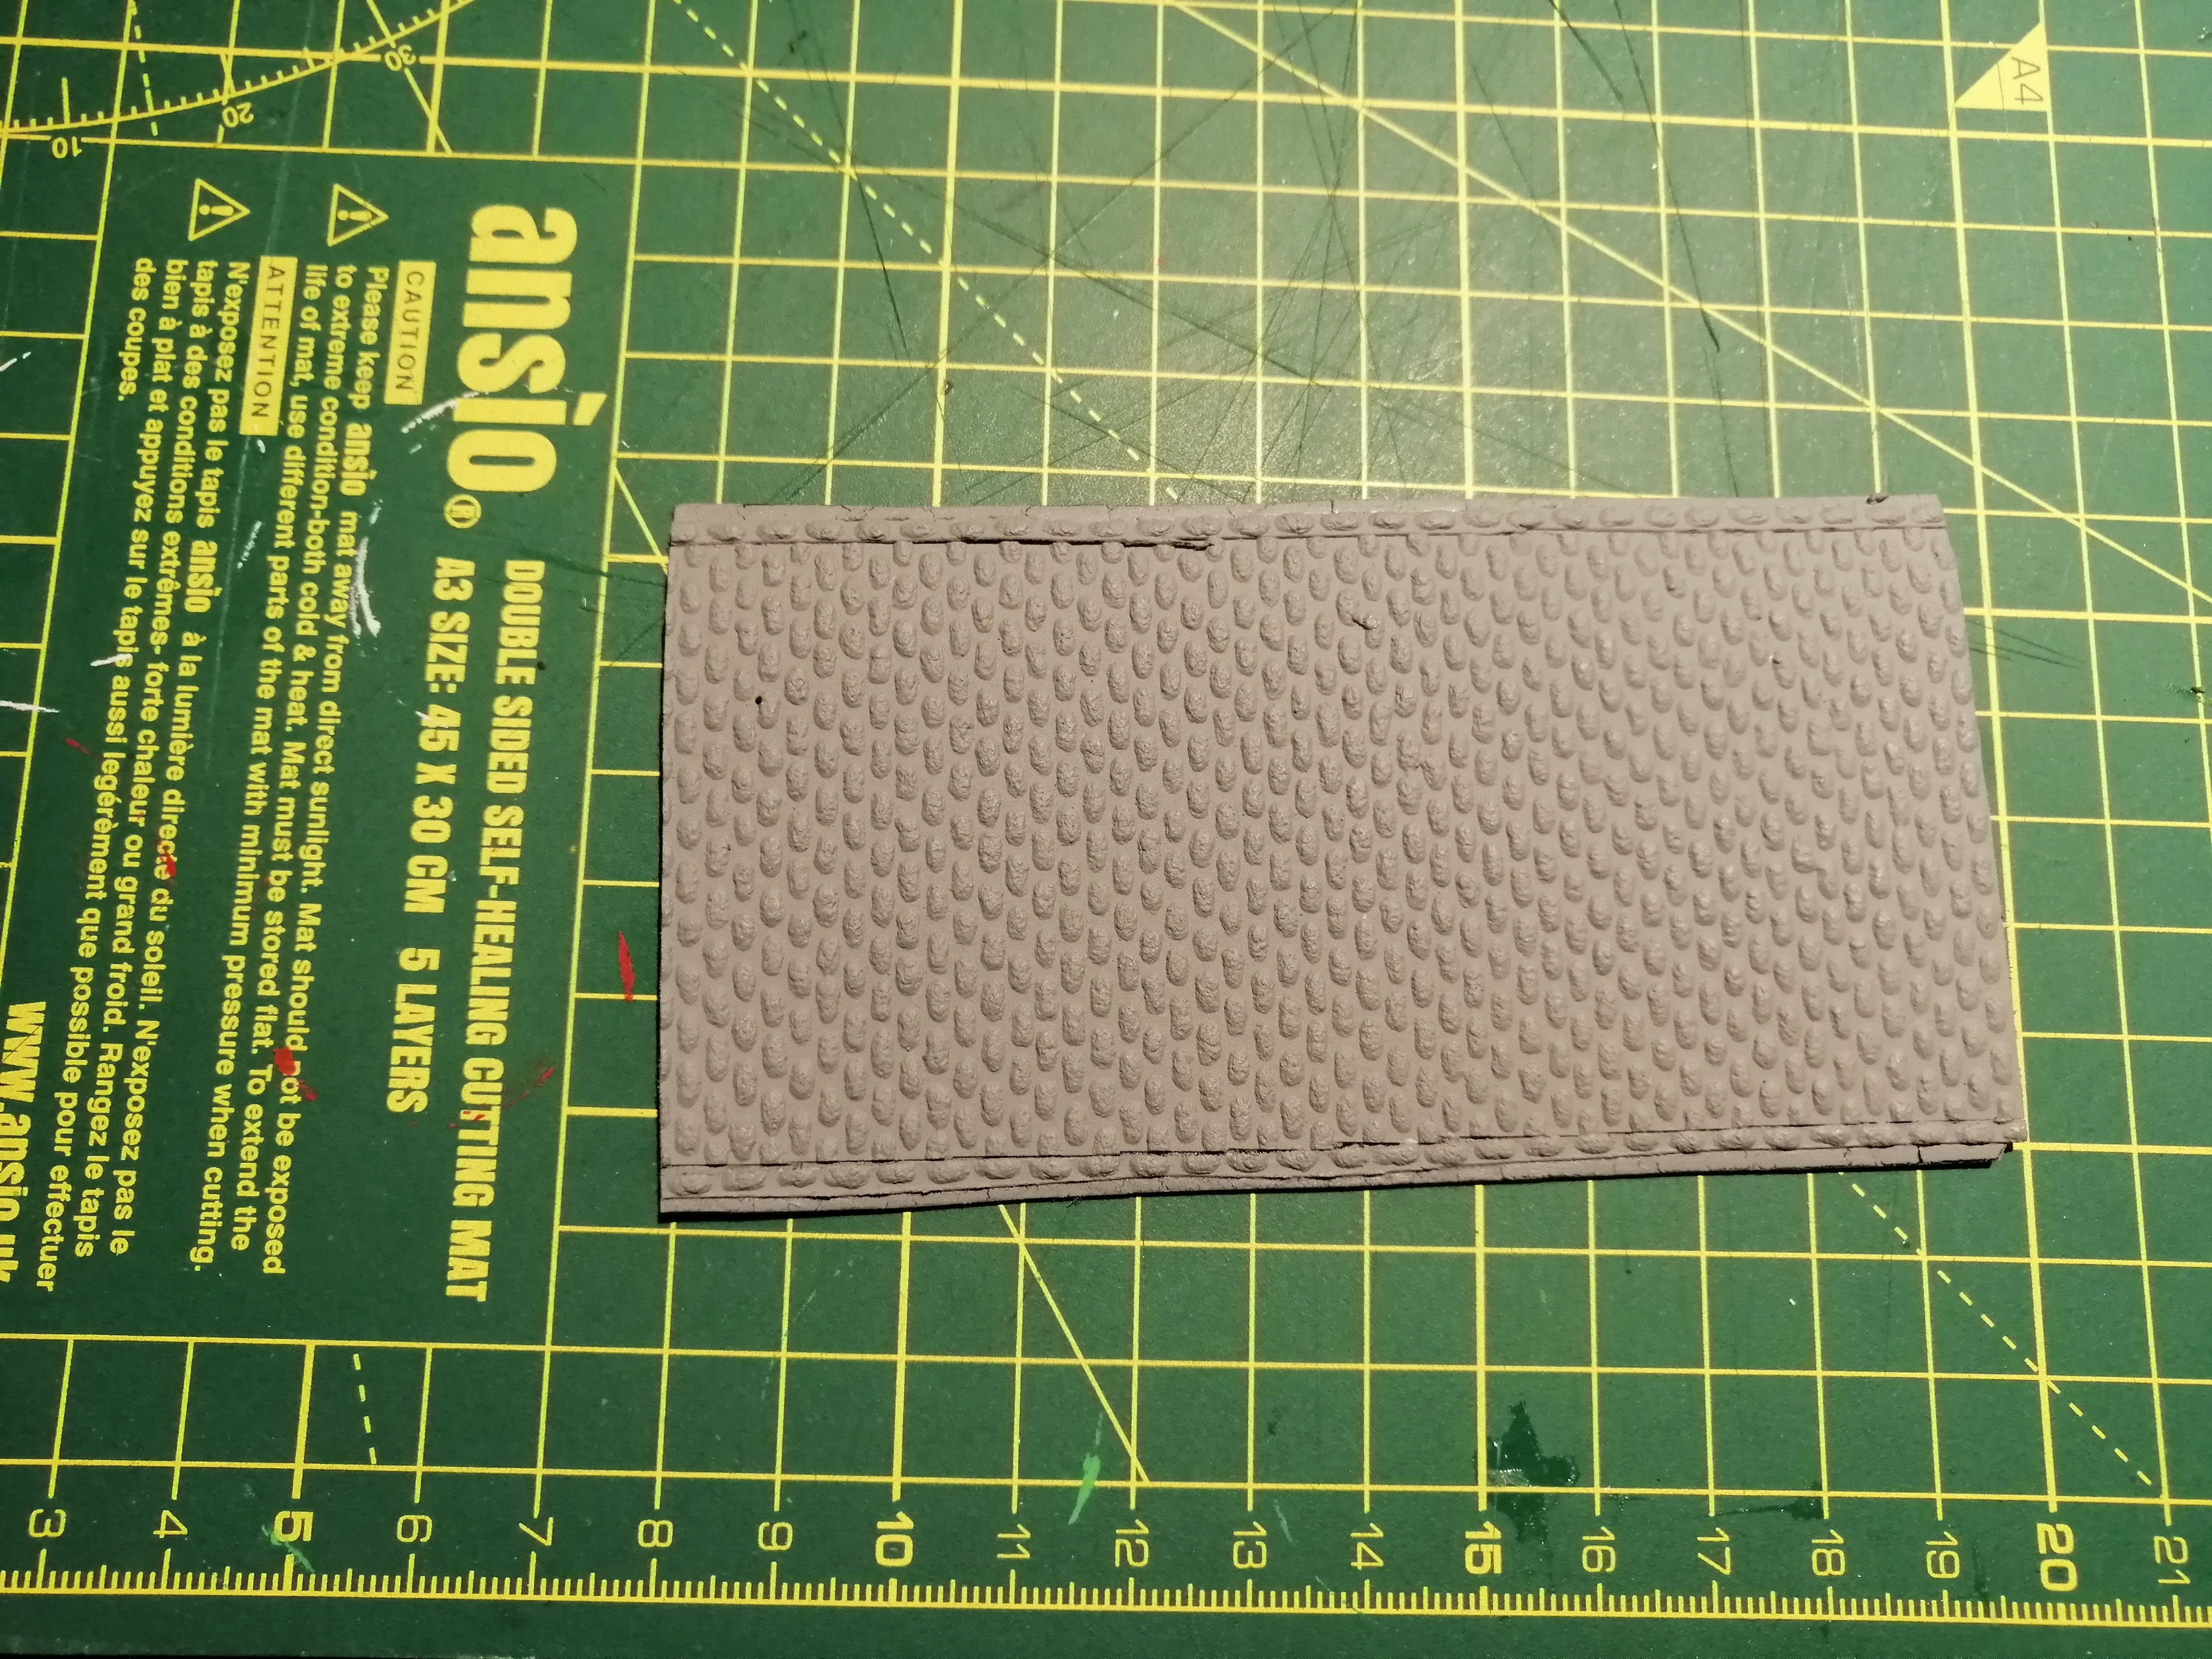
First up, I’ve selected the below wallpaper. It has a good texture that should be enough to dry brush up nicely. Next step is to cut the rubber sheeting to the correct lengths. This includes various curves and junctions so that I can create a good layout on the table top. I’ve used a spray carpet glue to then attach the wallpaper. Once dry, everything gets a prime with a reddish brown primer from Halfords.

With the primer dry, time to start painting things up. I’ve picked up some cheap tester pots of paint from the hardware store. These were only a couple of pounds each and a much cheaper way of painting all roads!
Firstly, I’ve given everything a heavy wash of a dark brown paint. Once dry, I’ve lightly dry brushed everything with a lighter paint.


It looks OK so far and it is flexible, but to add a little more realism, I’ll try to add some tyre tracks. I’ve started by painting on some of the brown paint I used in the first step. This removes the drybrush highlights. To try to add more depth, I’ve then gone back in and painted a thinner black line in the middle of each brown line.
This gives me the below, which, while not brilliant, is good enough for me. It’s also cheap, I’m guessing at about a £3 per metre and fairly quick to produce. All in, this probably took about 10 hours of work and I now have enough dirt road to create a good road layout for a 6×4 table.
Next, I’ll start work on the cobbled roads.
Batch making dirt roads
If the unofficial hobby hang out asks for cobbled roads, then I’m not going to bow to peer pressure. I’m going to complete my dirt roads first.
I reviewed the previous attempts and I’m going for a low complexity solution. This will deliver what I want without too much faff.
First up, I’ve selected the below wallpaper. It has a good texture that should be enough to dry brush up nicely. Next step is to cut the rubber sheeting to the correct lengths. This includes various curves and junctions so that I can create a good layout on the table top. I’ve used a spray carpet glue to then attach the wallpaper. Once dry, everything gets a prime with a reddish brown primer from Halfords.


With the primer dry, time to start painting things up. I’ve picked up some cheap tester pots of paint from the hardware store. These were only a couple of pounds each and a much cheaper way of painting all roads!
Firstly, I’ve given everything a heavy wash of a dark brown paint. Once dry, I’ve lightly dry brushed everything with a lighter paint.

Cobblers
With the dirt roads done, time to take a look at cobbled roads.
I’ve found some rather attractive beige wallpaper with a texture that looks cobble-like. The gaps between the bumps are a little too bog and, for 15mm, the stones are too large but it’s good enough and, as ‘samples’ of wallpaper are free, there’s no cost! Happy Days 🙂
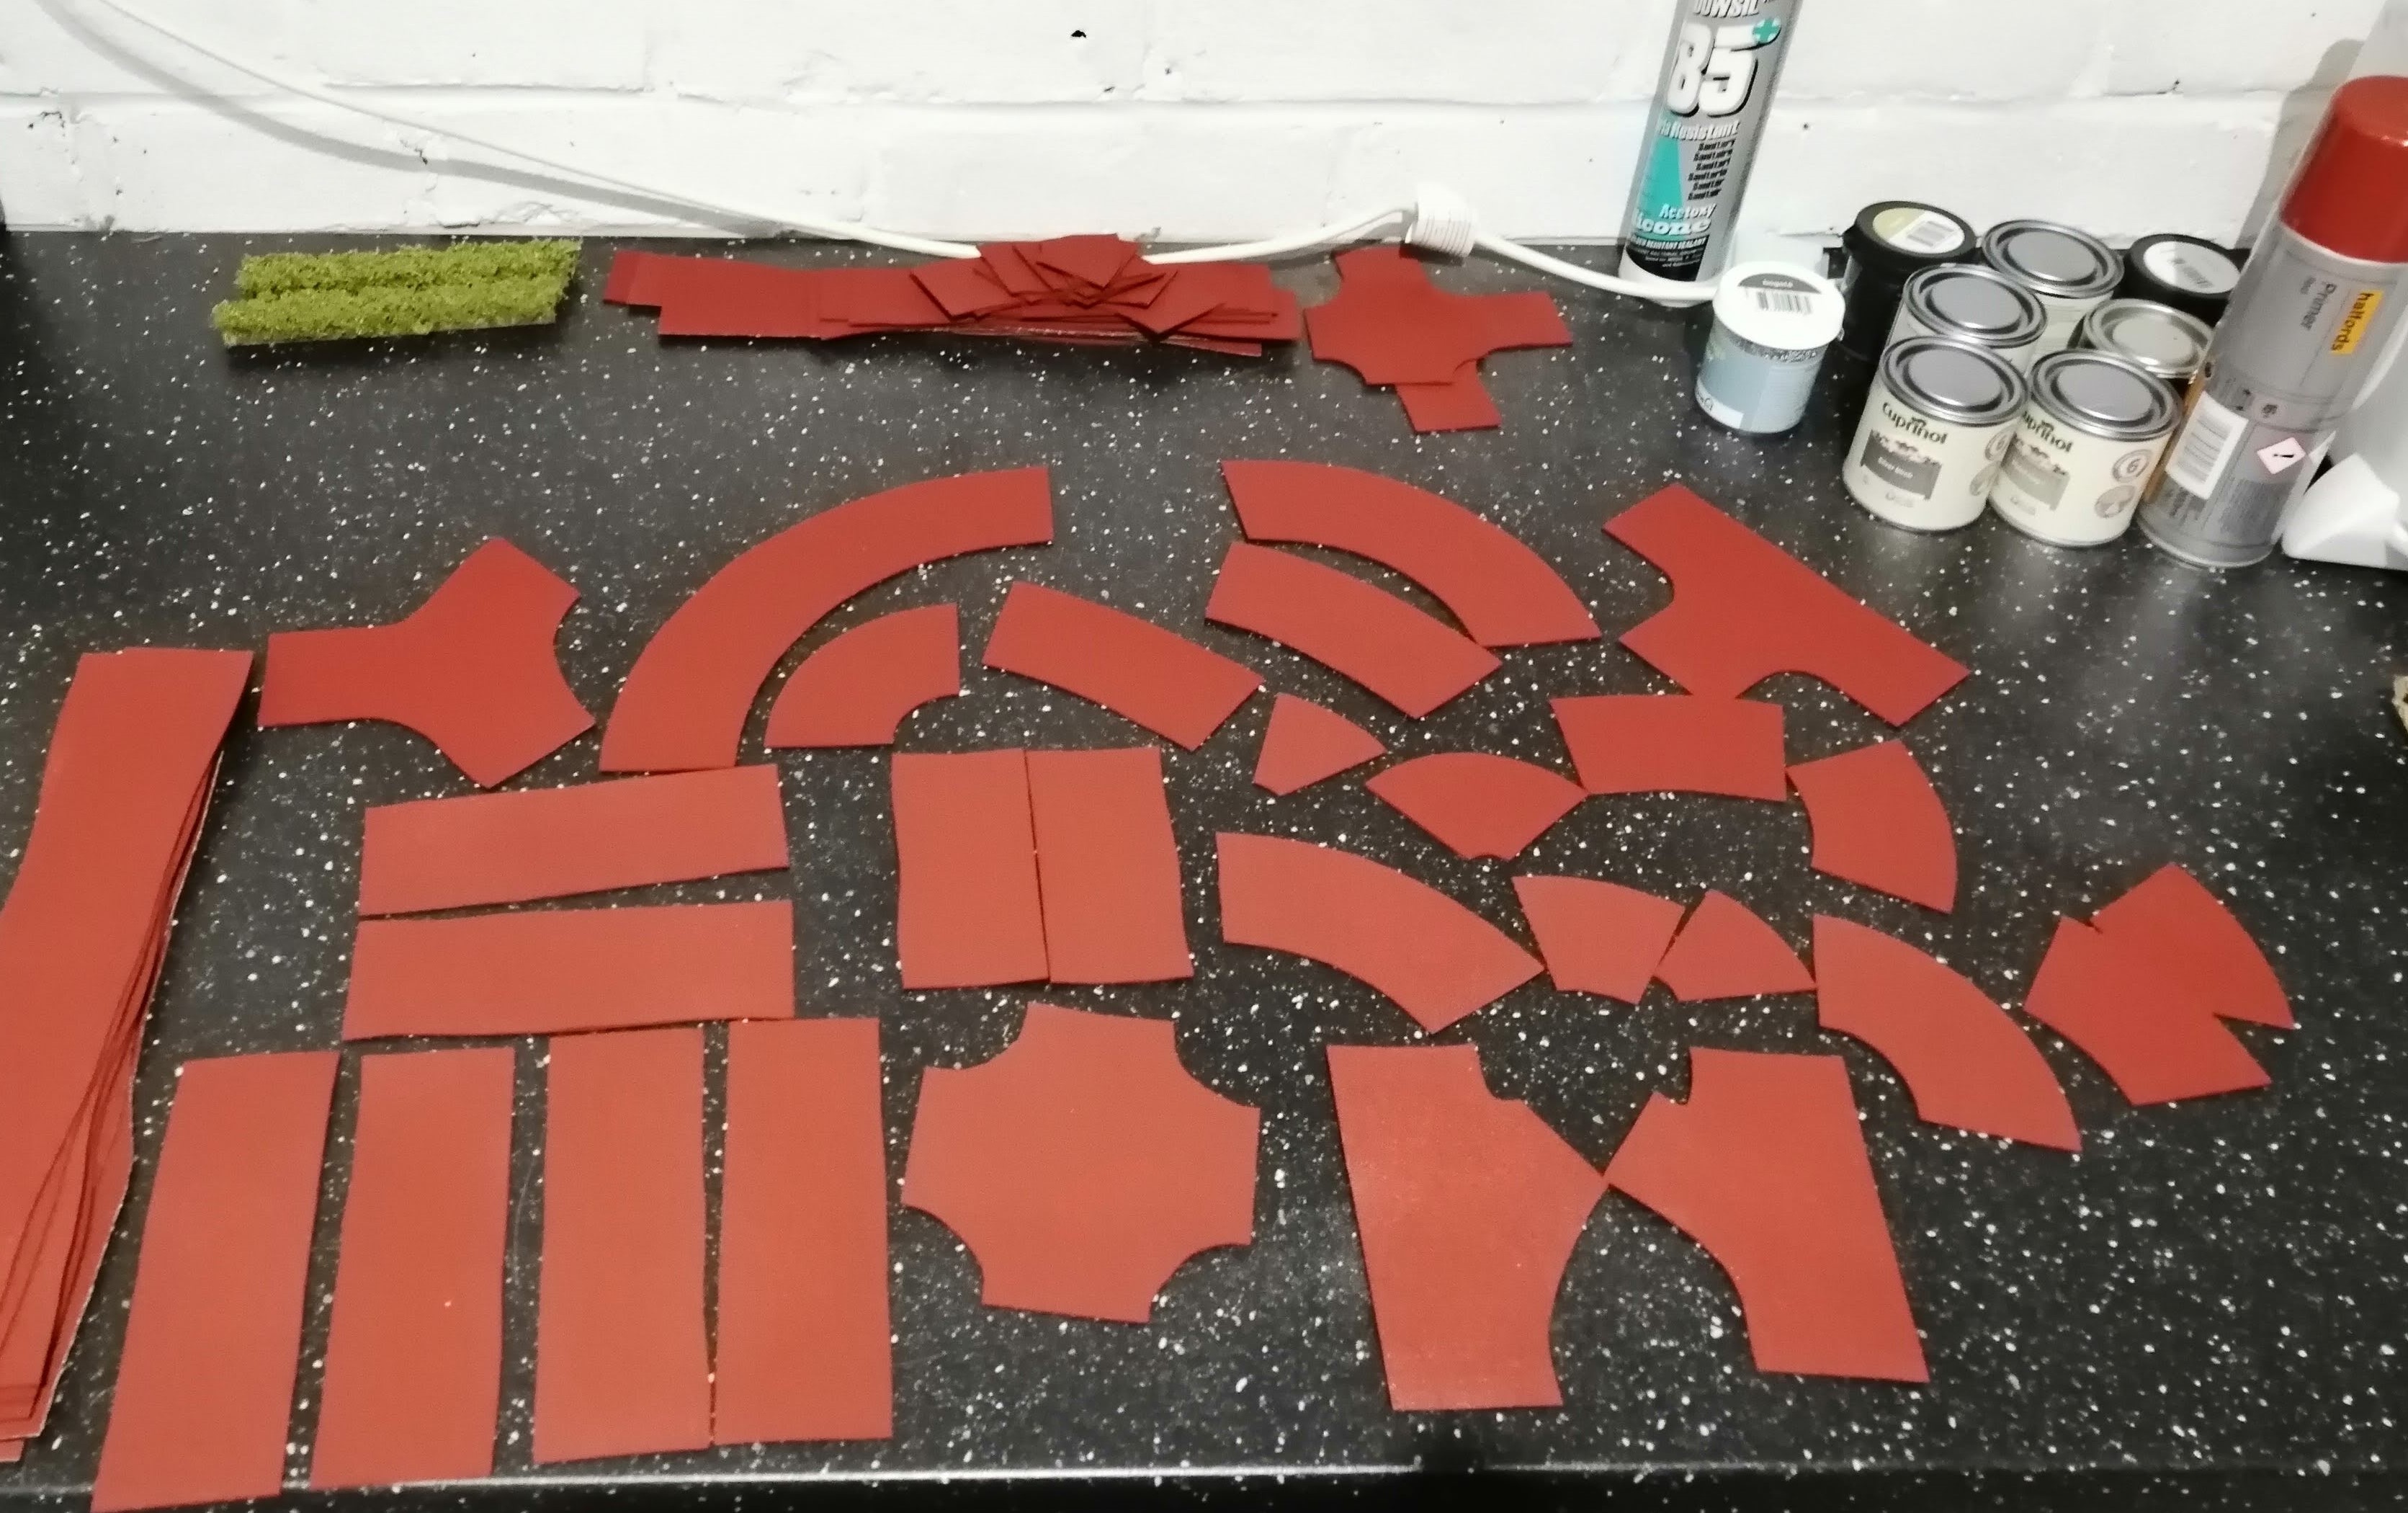
To reinforce a road look and feel, I want to create a gutter. I’ll do this by laying a thin strip of the wallpaper down each side of the main section. Cutting out these strips took a while….
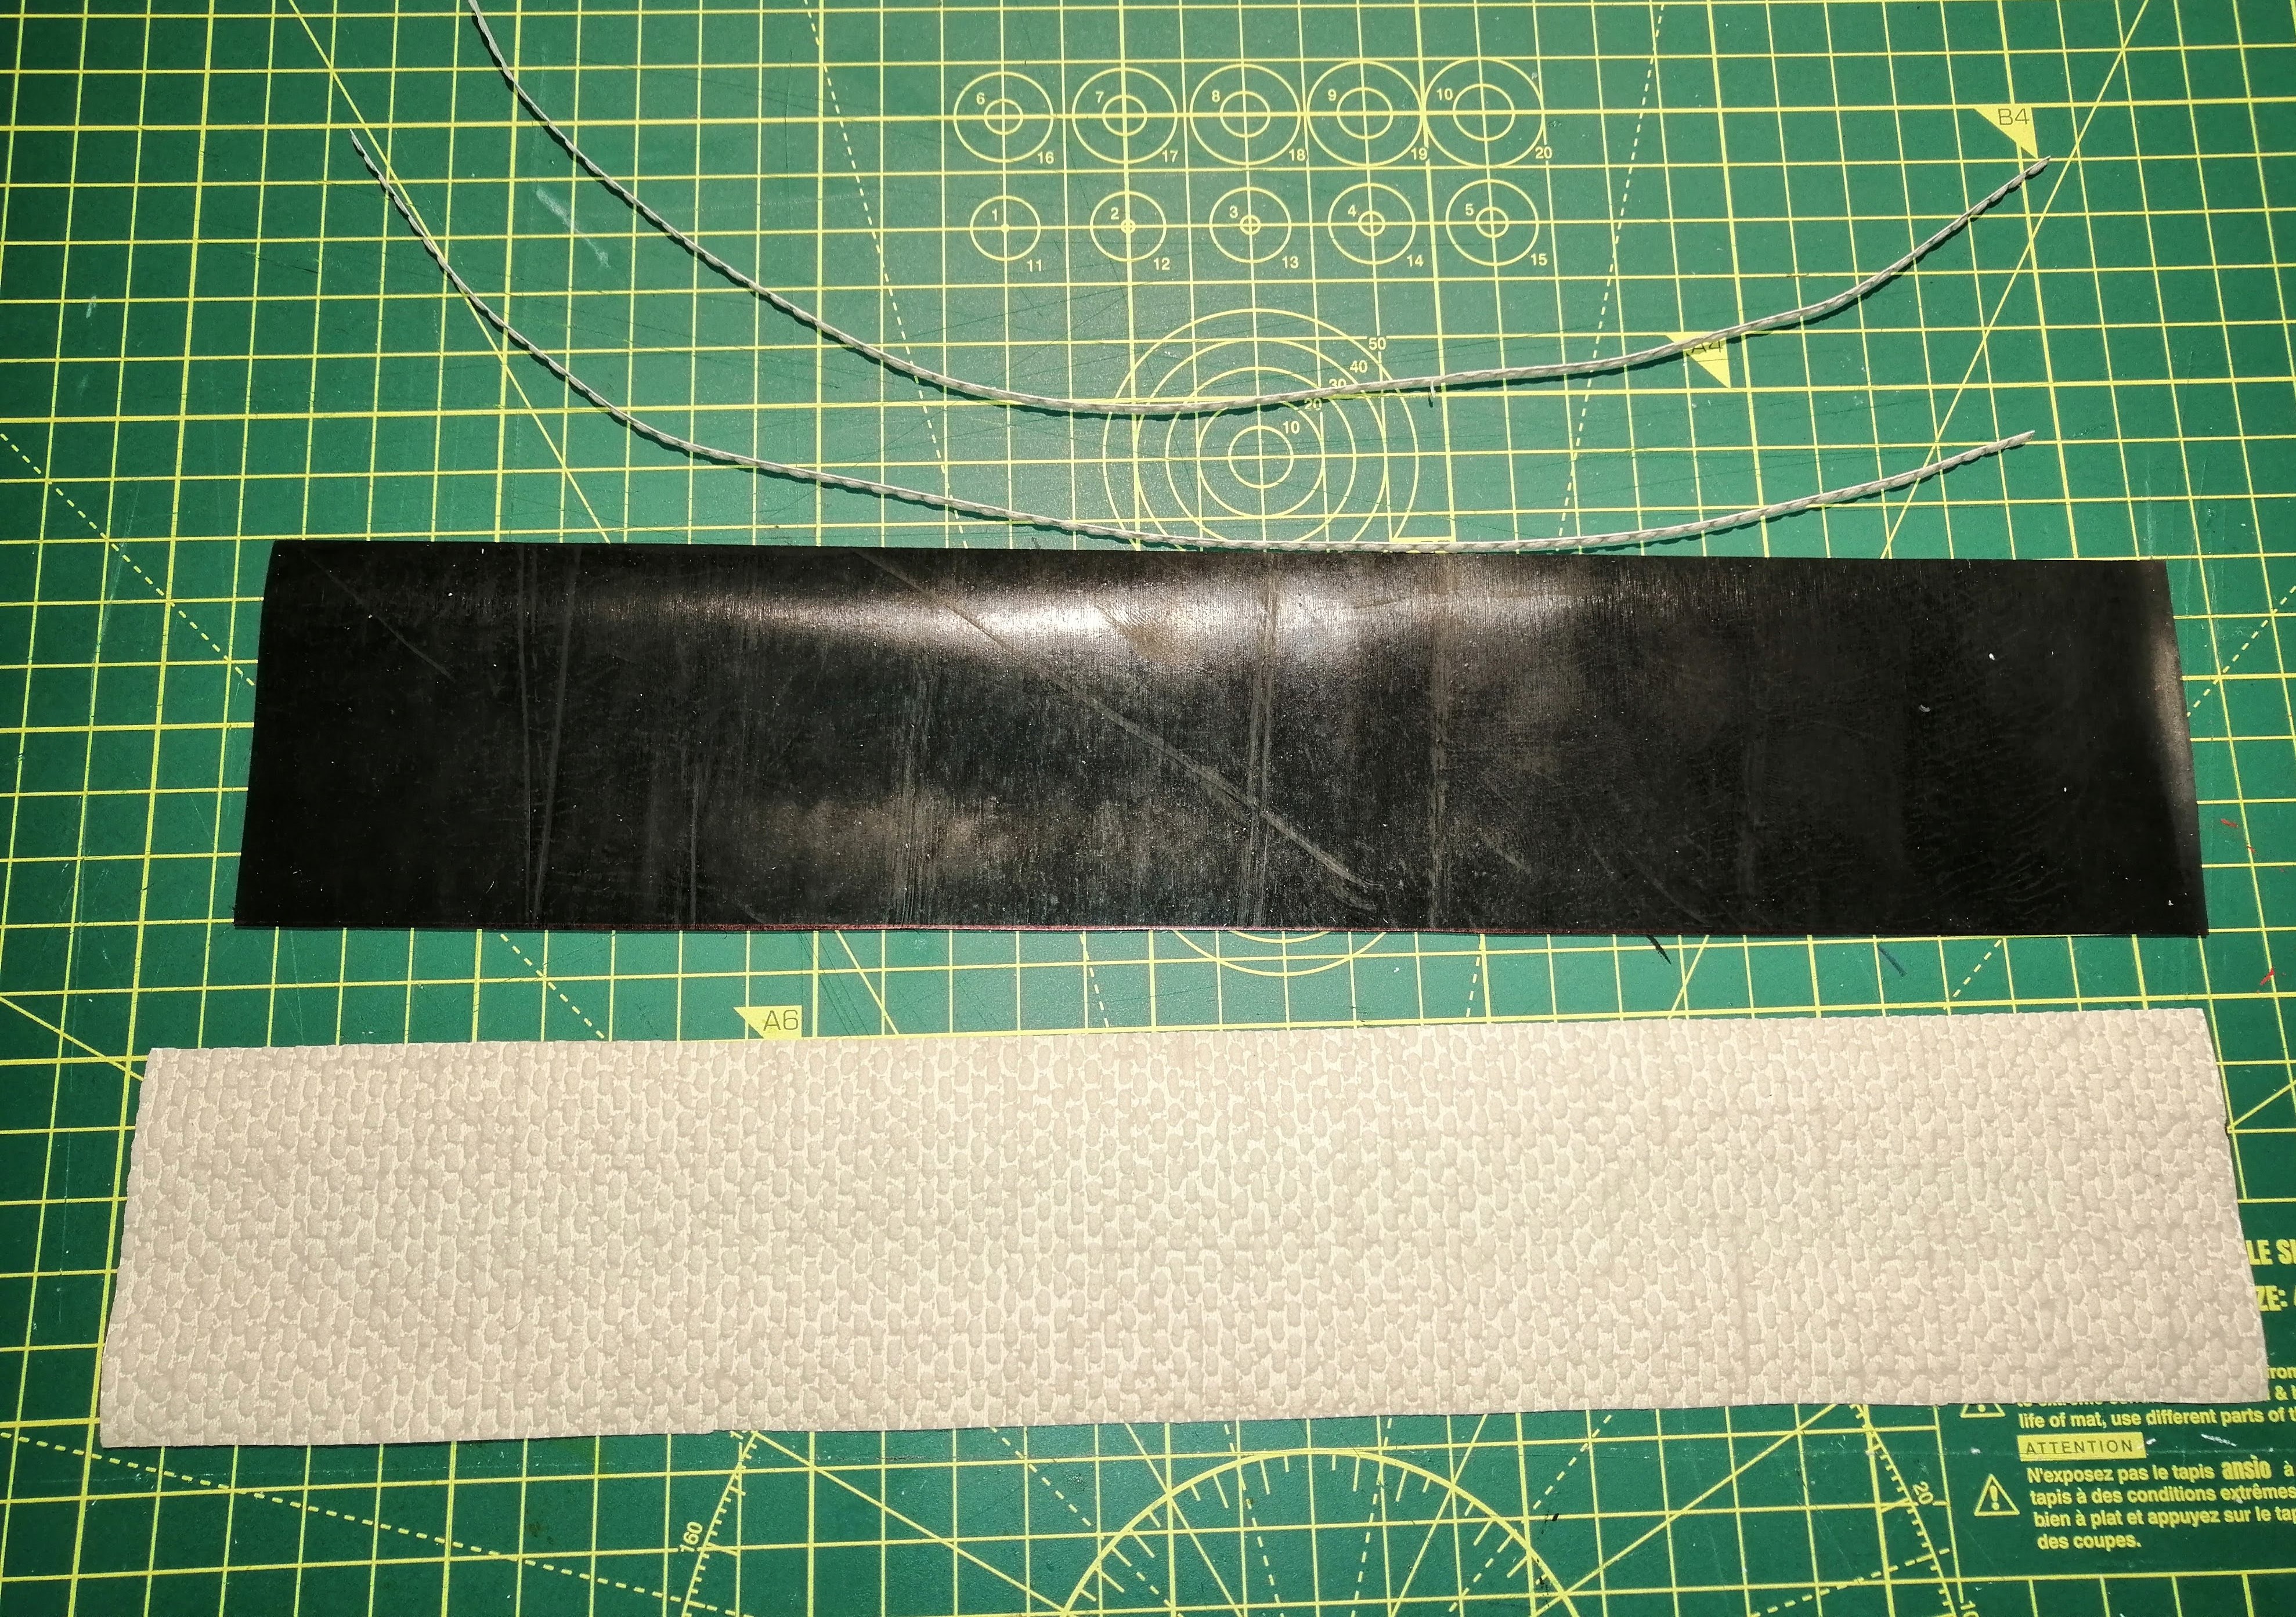
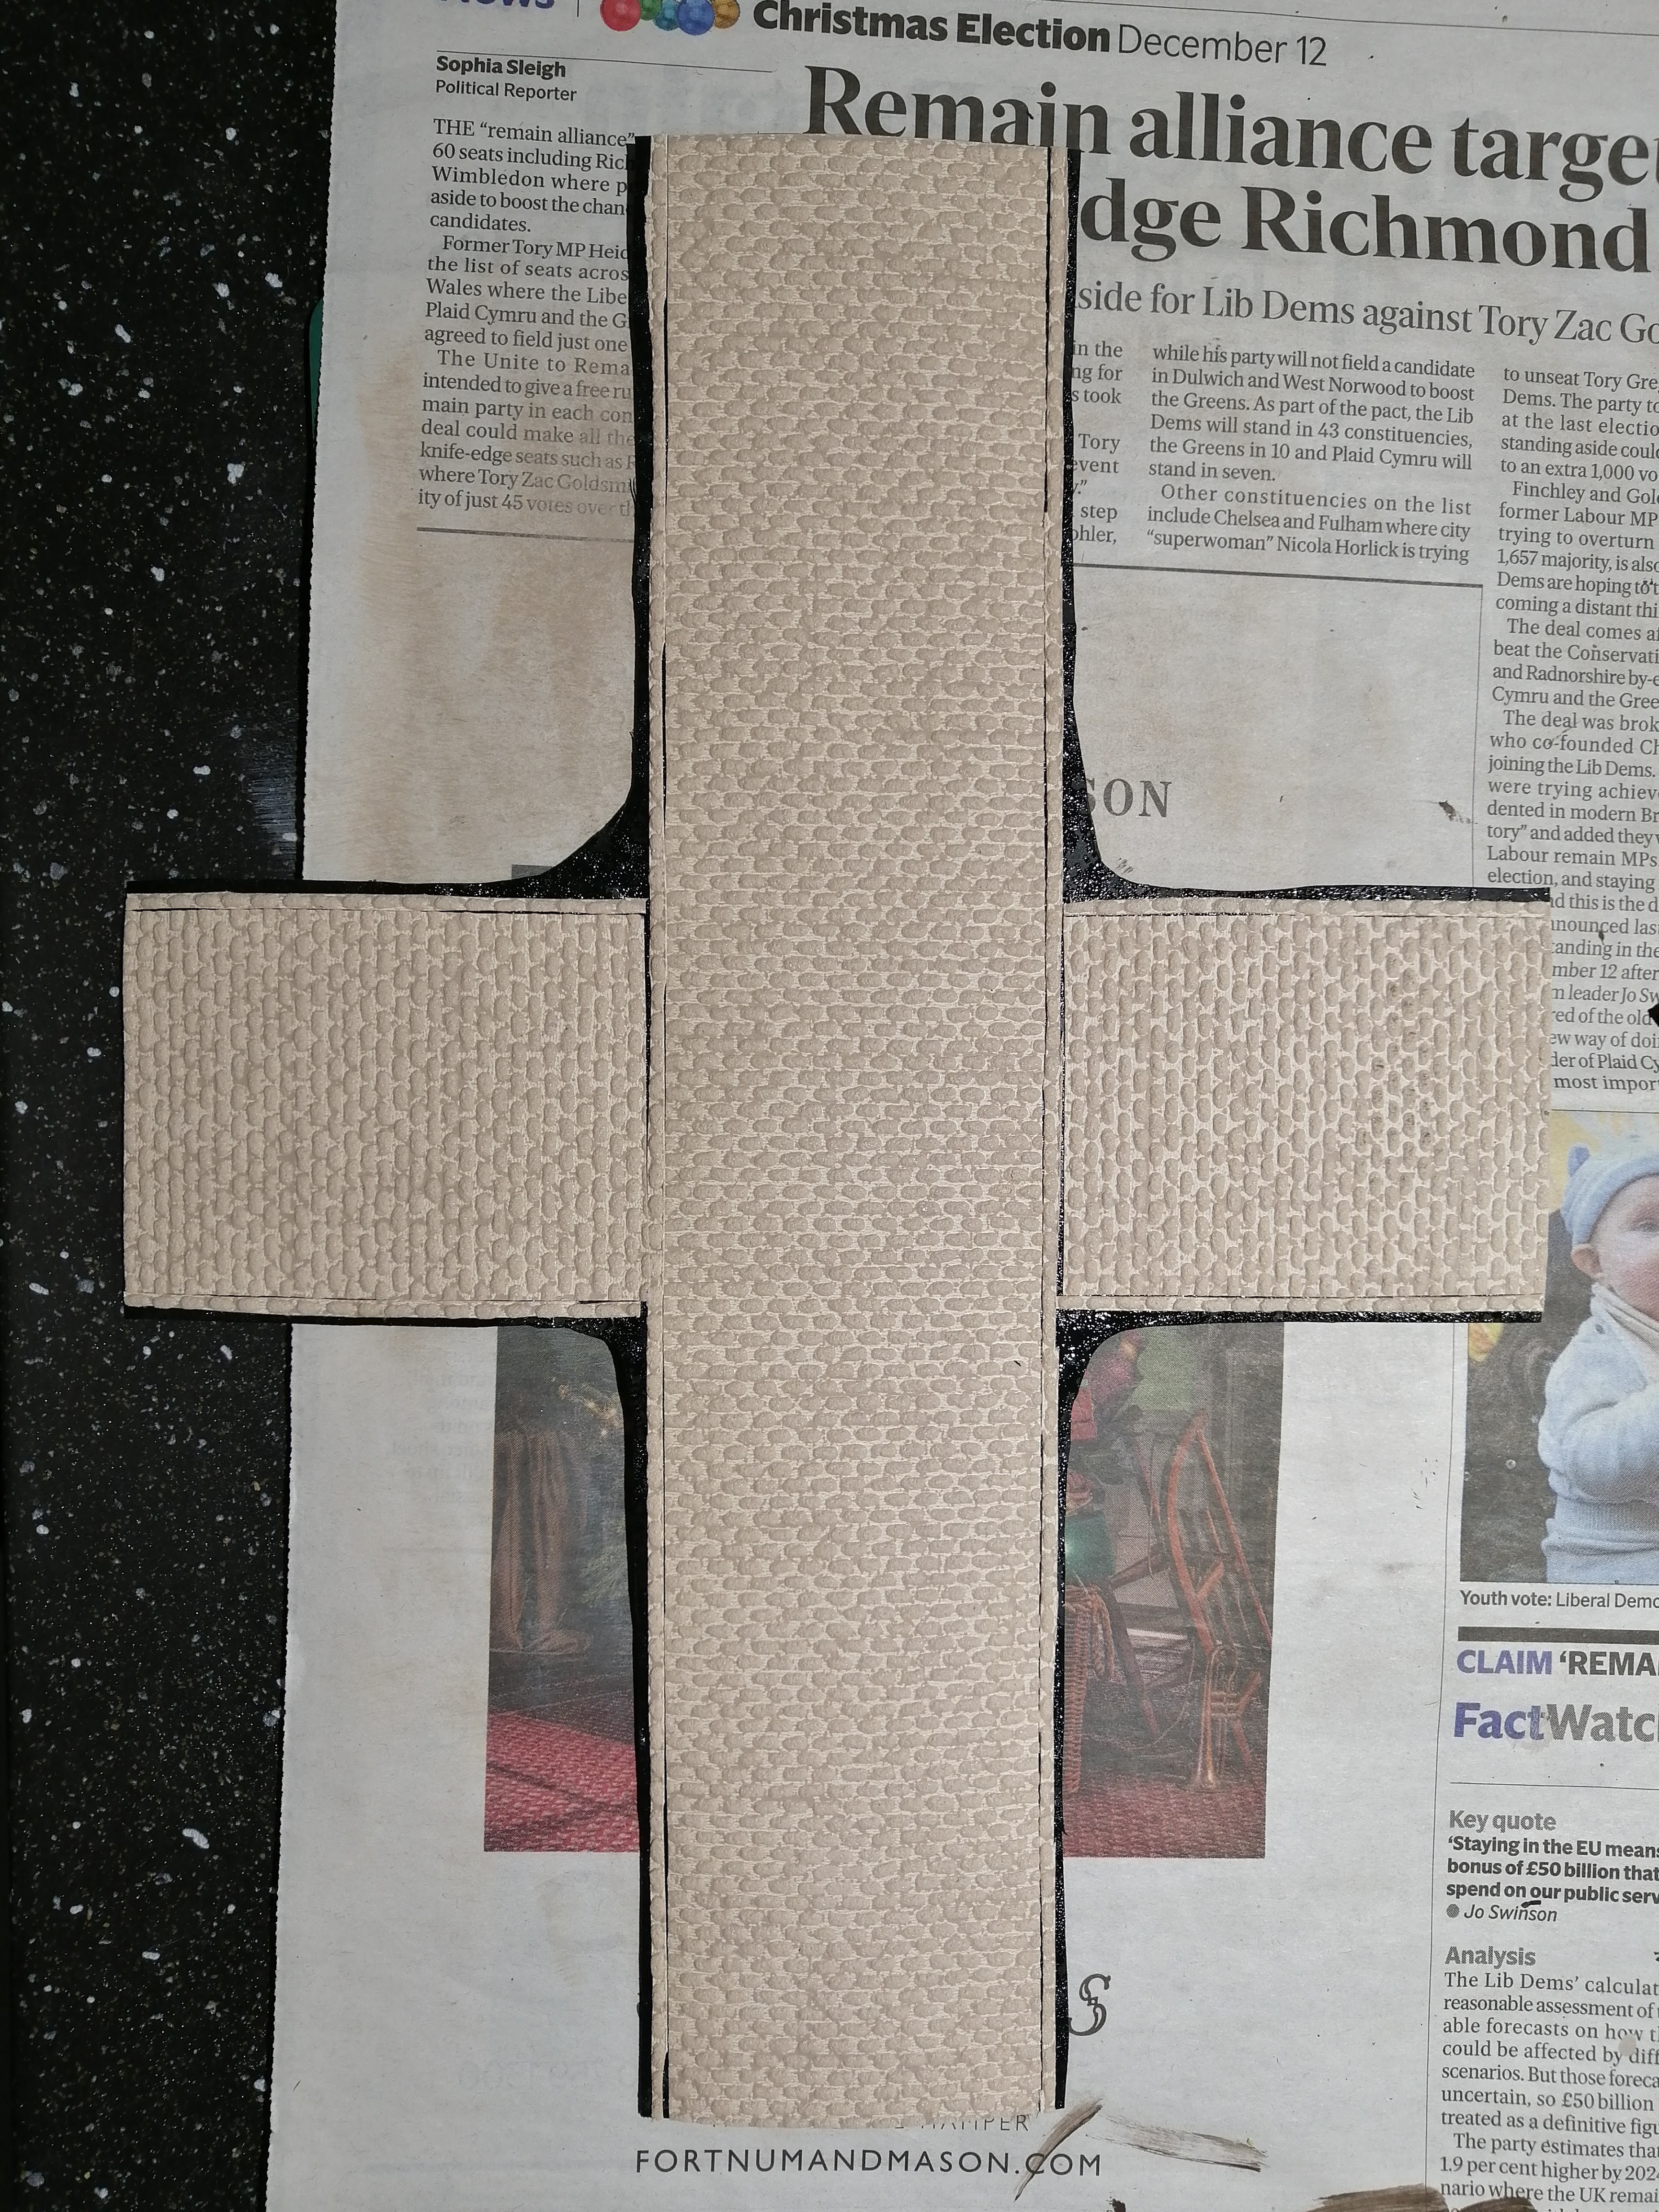
I’m using rubber for the backing to create strength and flexibility. I’ve also cut a strip of the wallpaper to create the road. You can see all of the materials below and how I intend to put them together.
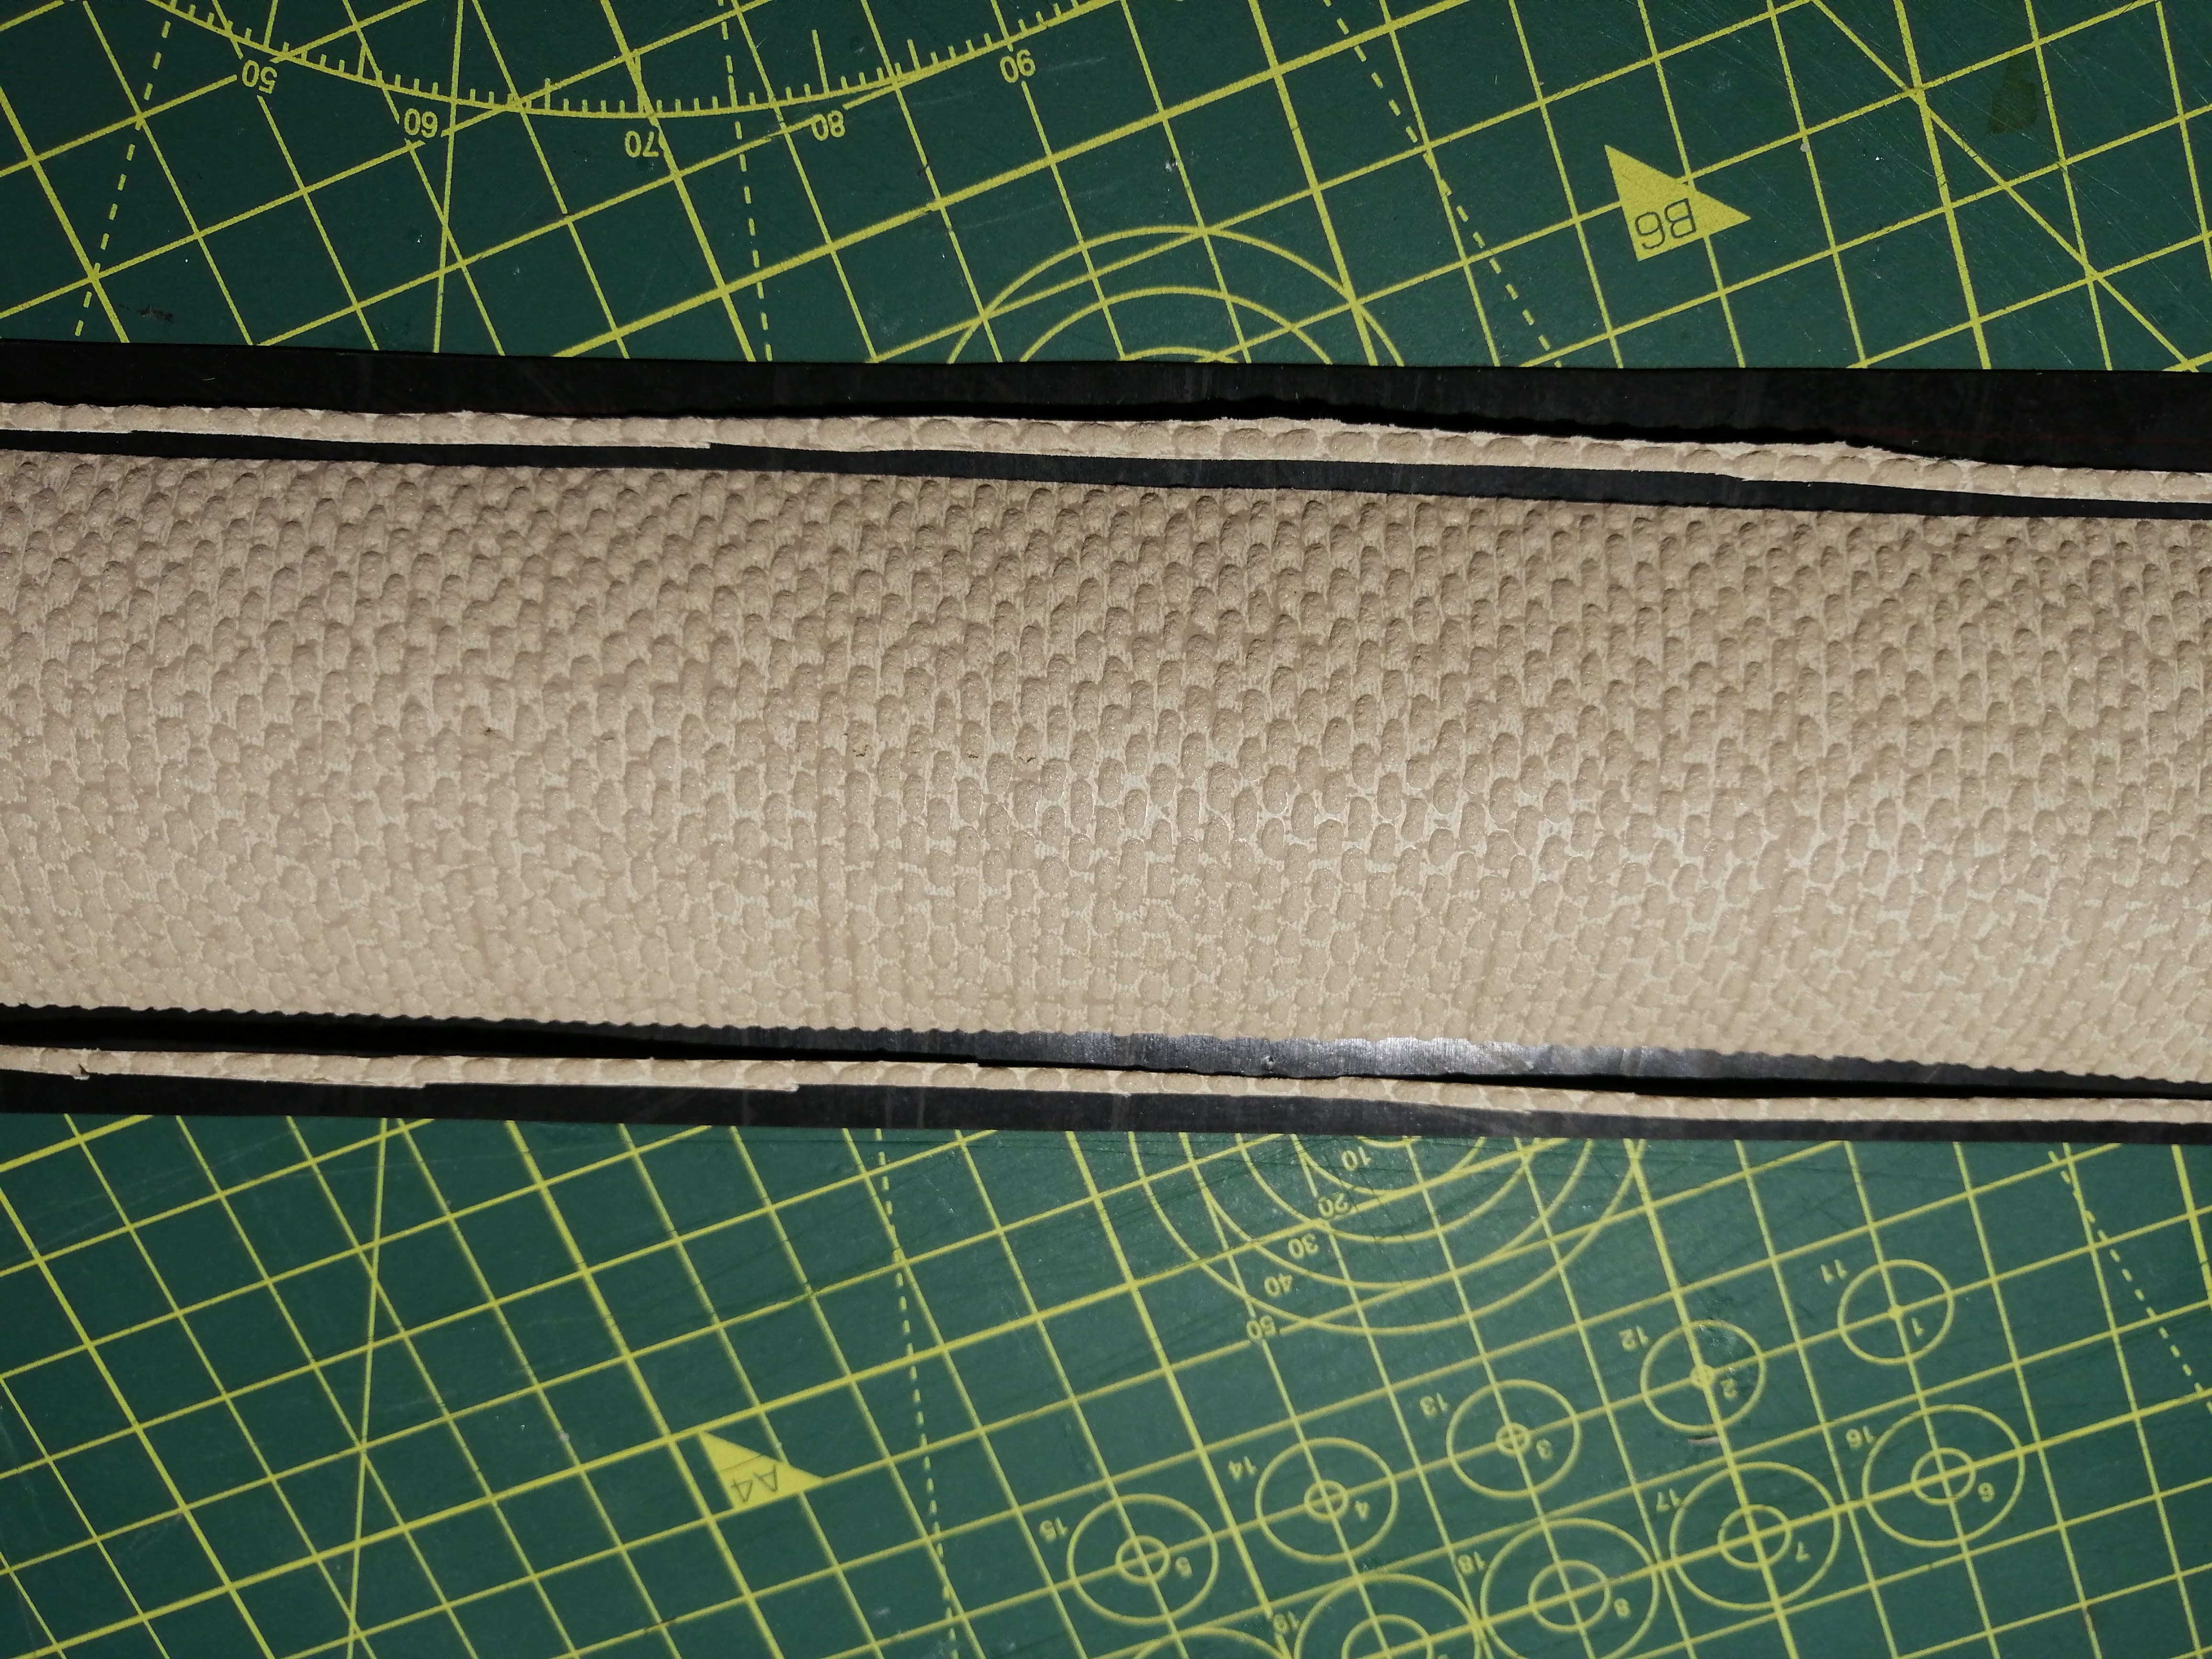
I’m using a spray carpet glue to attach everything to the rubber. It dries fairly quickly but I leave it over night compressed under a heavy object just to make sure it sticks and lays flat.
I’ve also made a couple of road junctions and a ‘town square’.
This gives a good base. Now I need to figure out how to paint this up. I have two options, a basic approach just using washes and dry brush and another using acrylic sealant and a dry brush.
To test the two approaches, I’ve created a couple of small sample pieces, as below. And we can see what Statler and Waldorf, the hobby fairies have to say about it given that they’ve looked in here before.
Cobbled Roads - the easy option
As discussed in the last entry, I’ll be trying two options to paint this up. A straight up paint over the wall paper and a second option using acrylic caulk and then paint.
This is the easy option where I won’t use the caulk.
Taking my trial piece, I’ve hit it with a grey primer straight onto the wallpaper and any of the exposed rubber. Once again, I am using Halfords trusty grey primer.
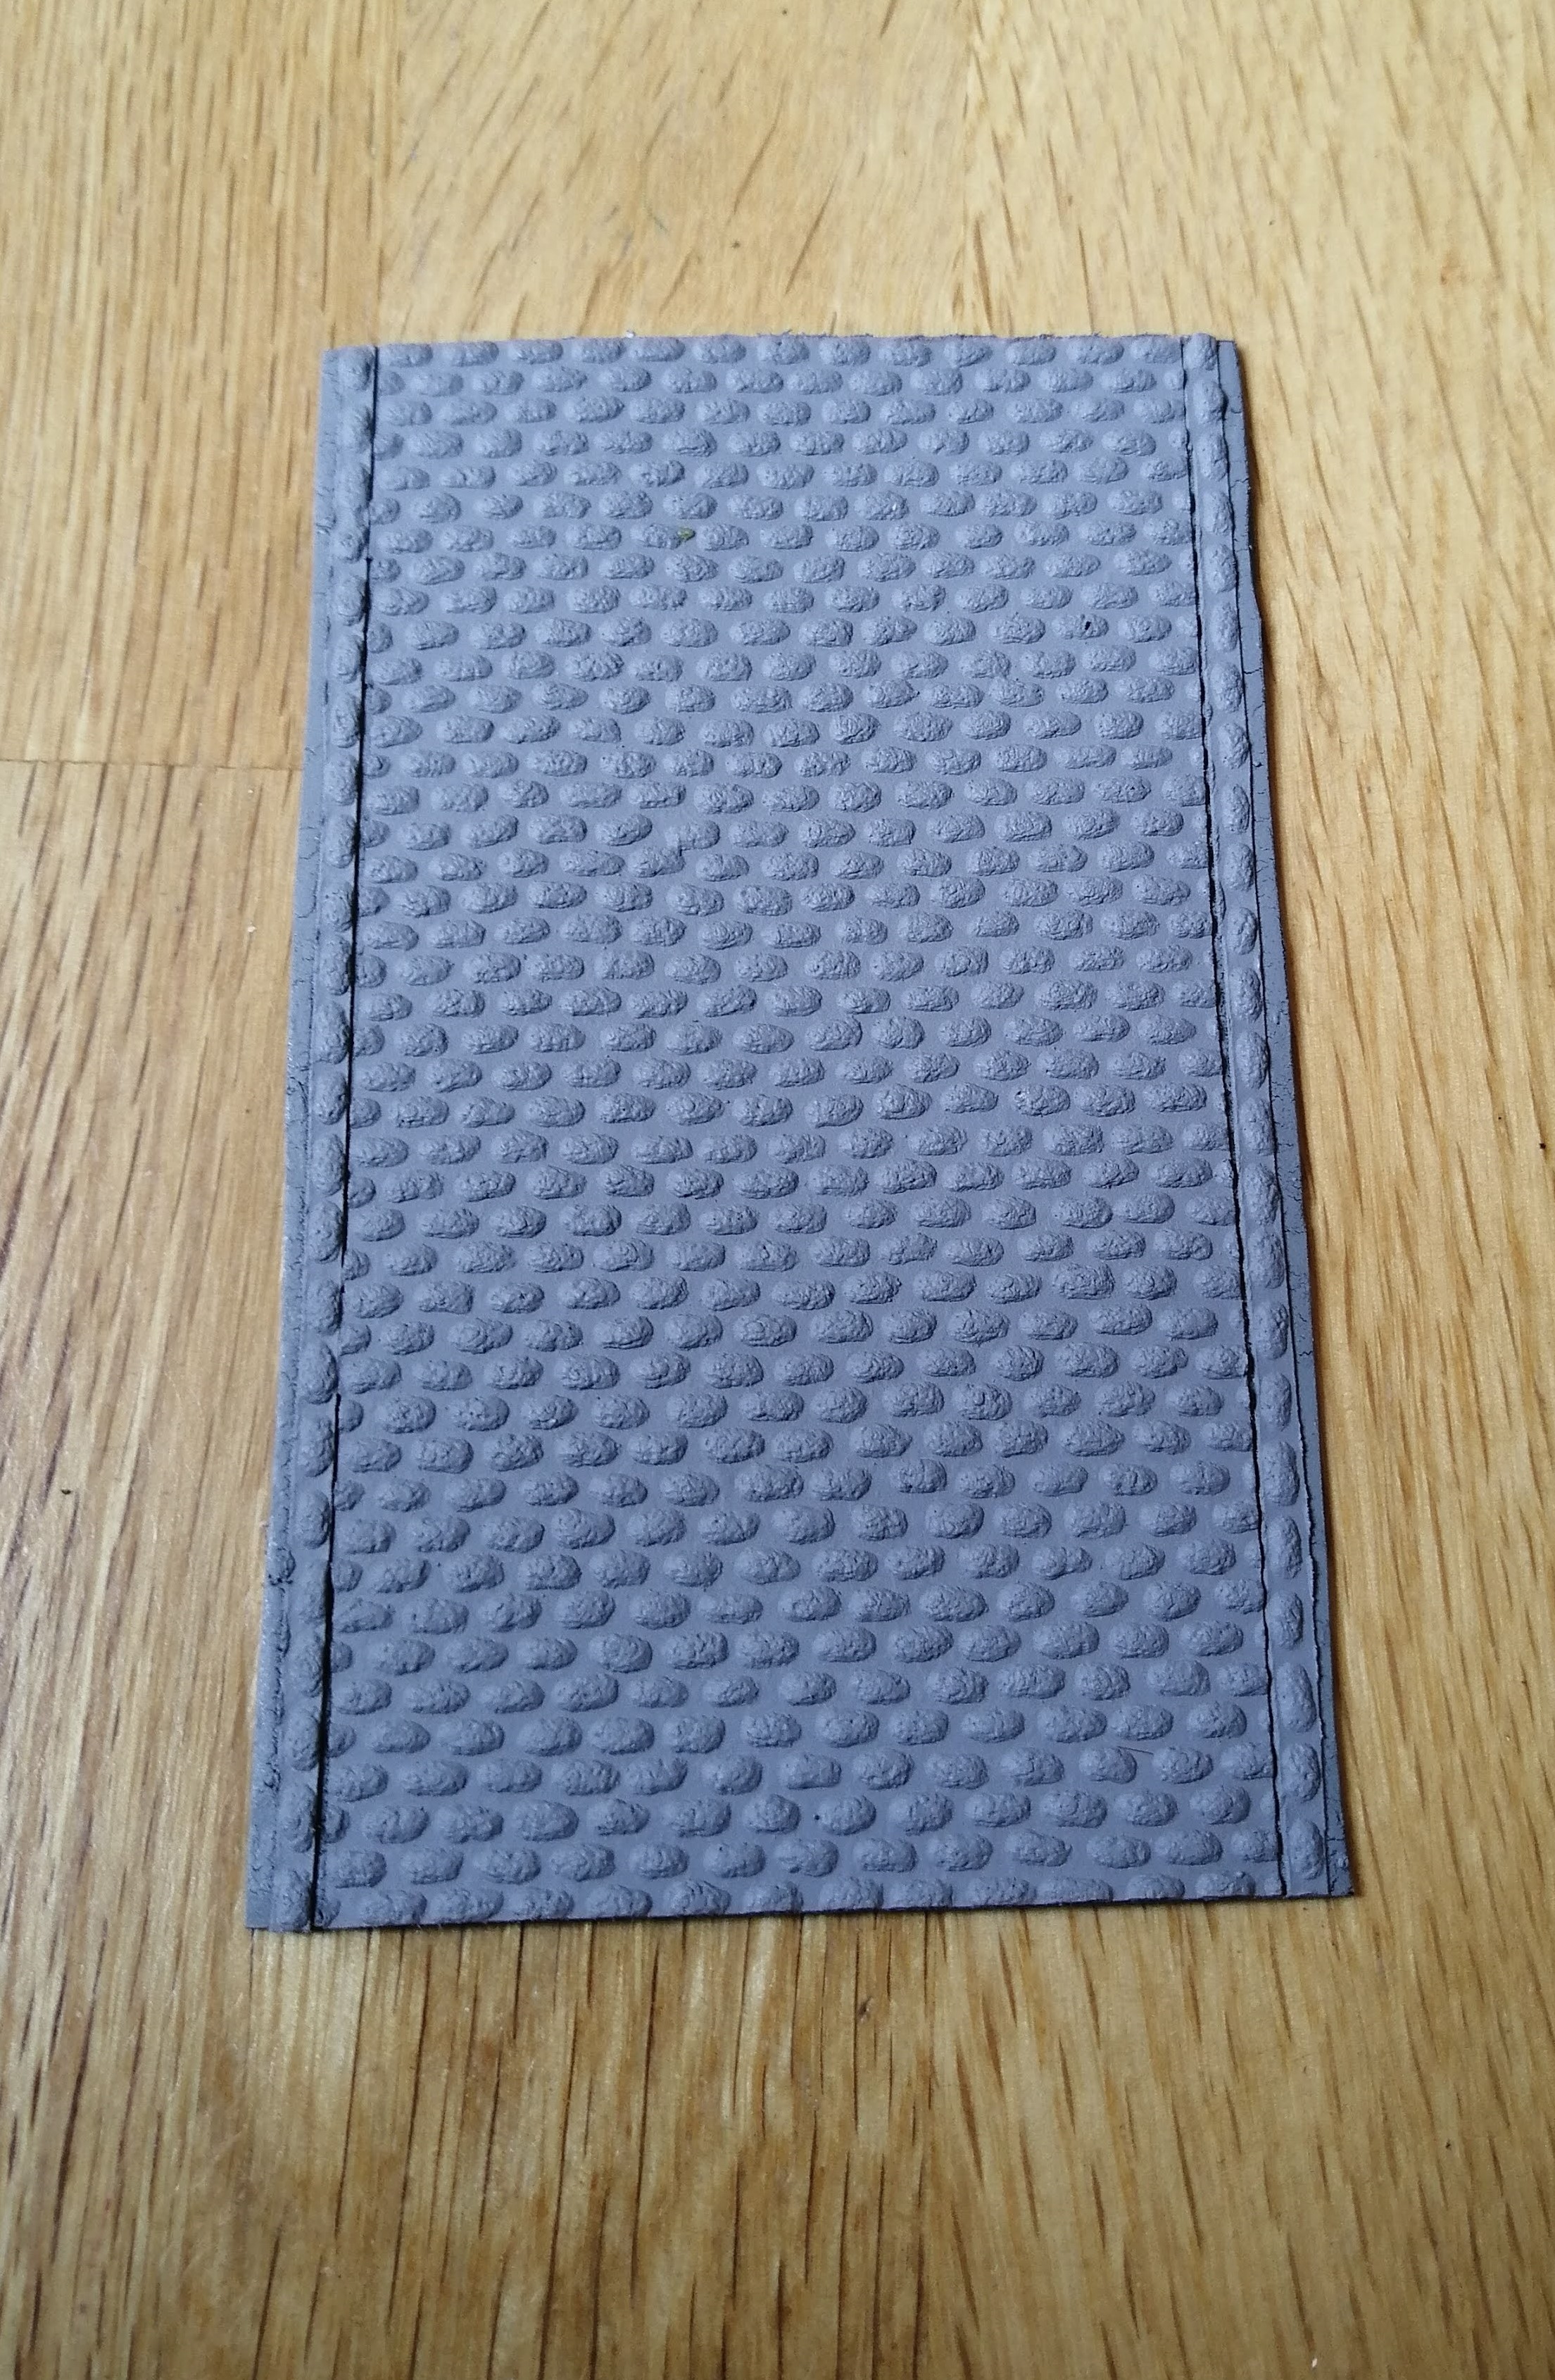
I want to keep this simple and quick to produce, so I mixed up a wash of dark brown and black and liberally applied this. After drying, I wasn’t convinced that the shading was enough, so I gave it a second coat. The below picture is after the first coat.
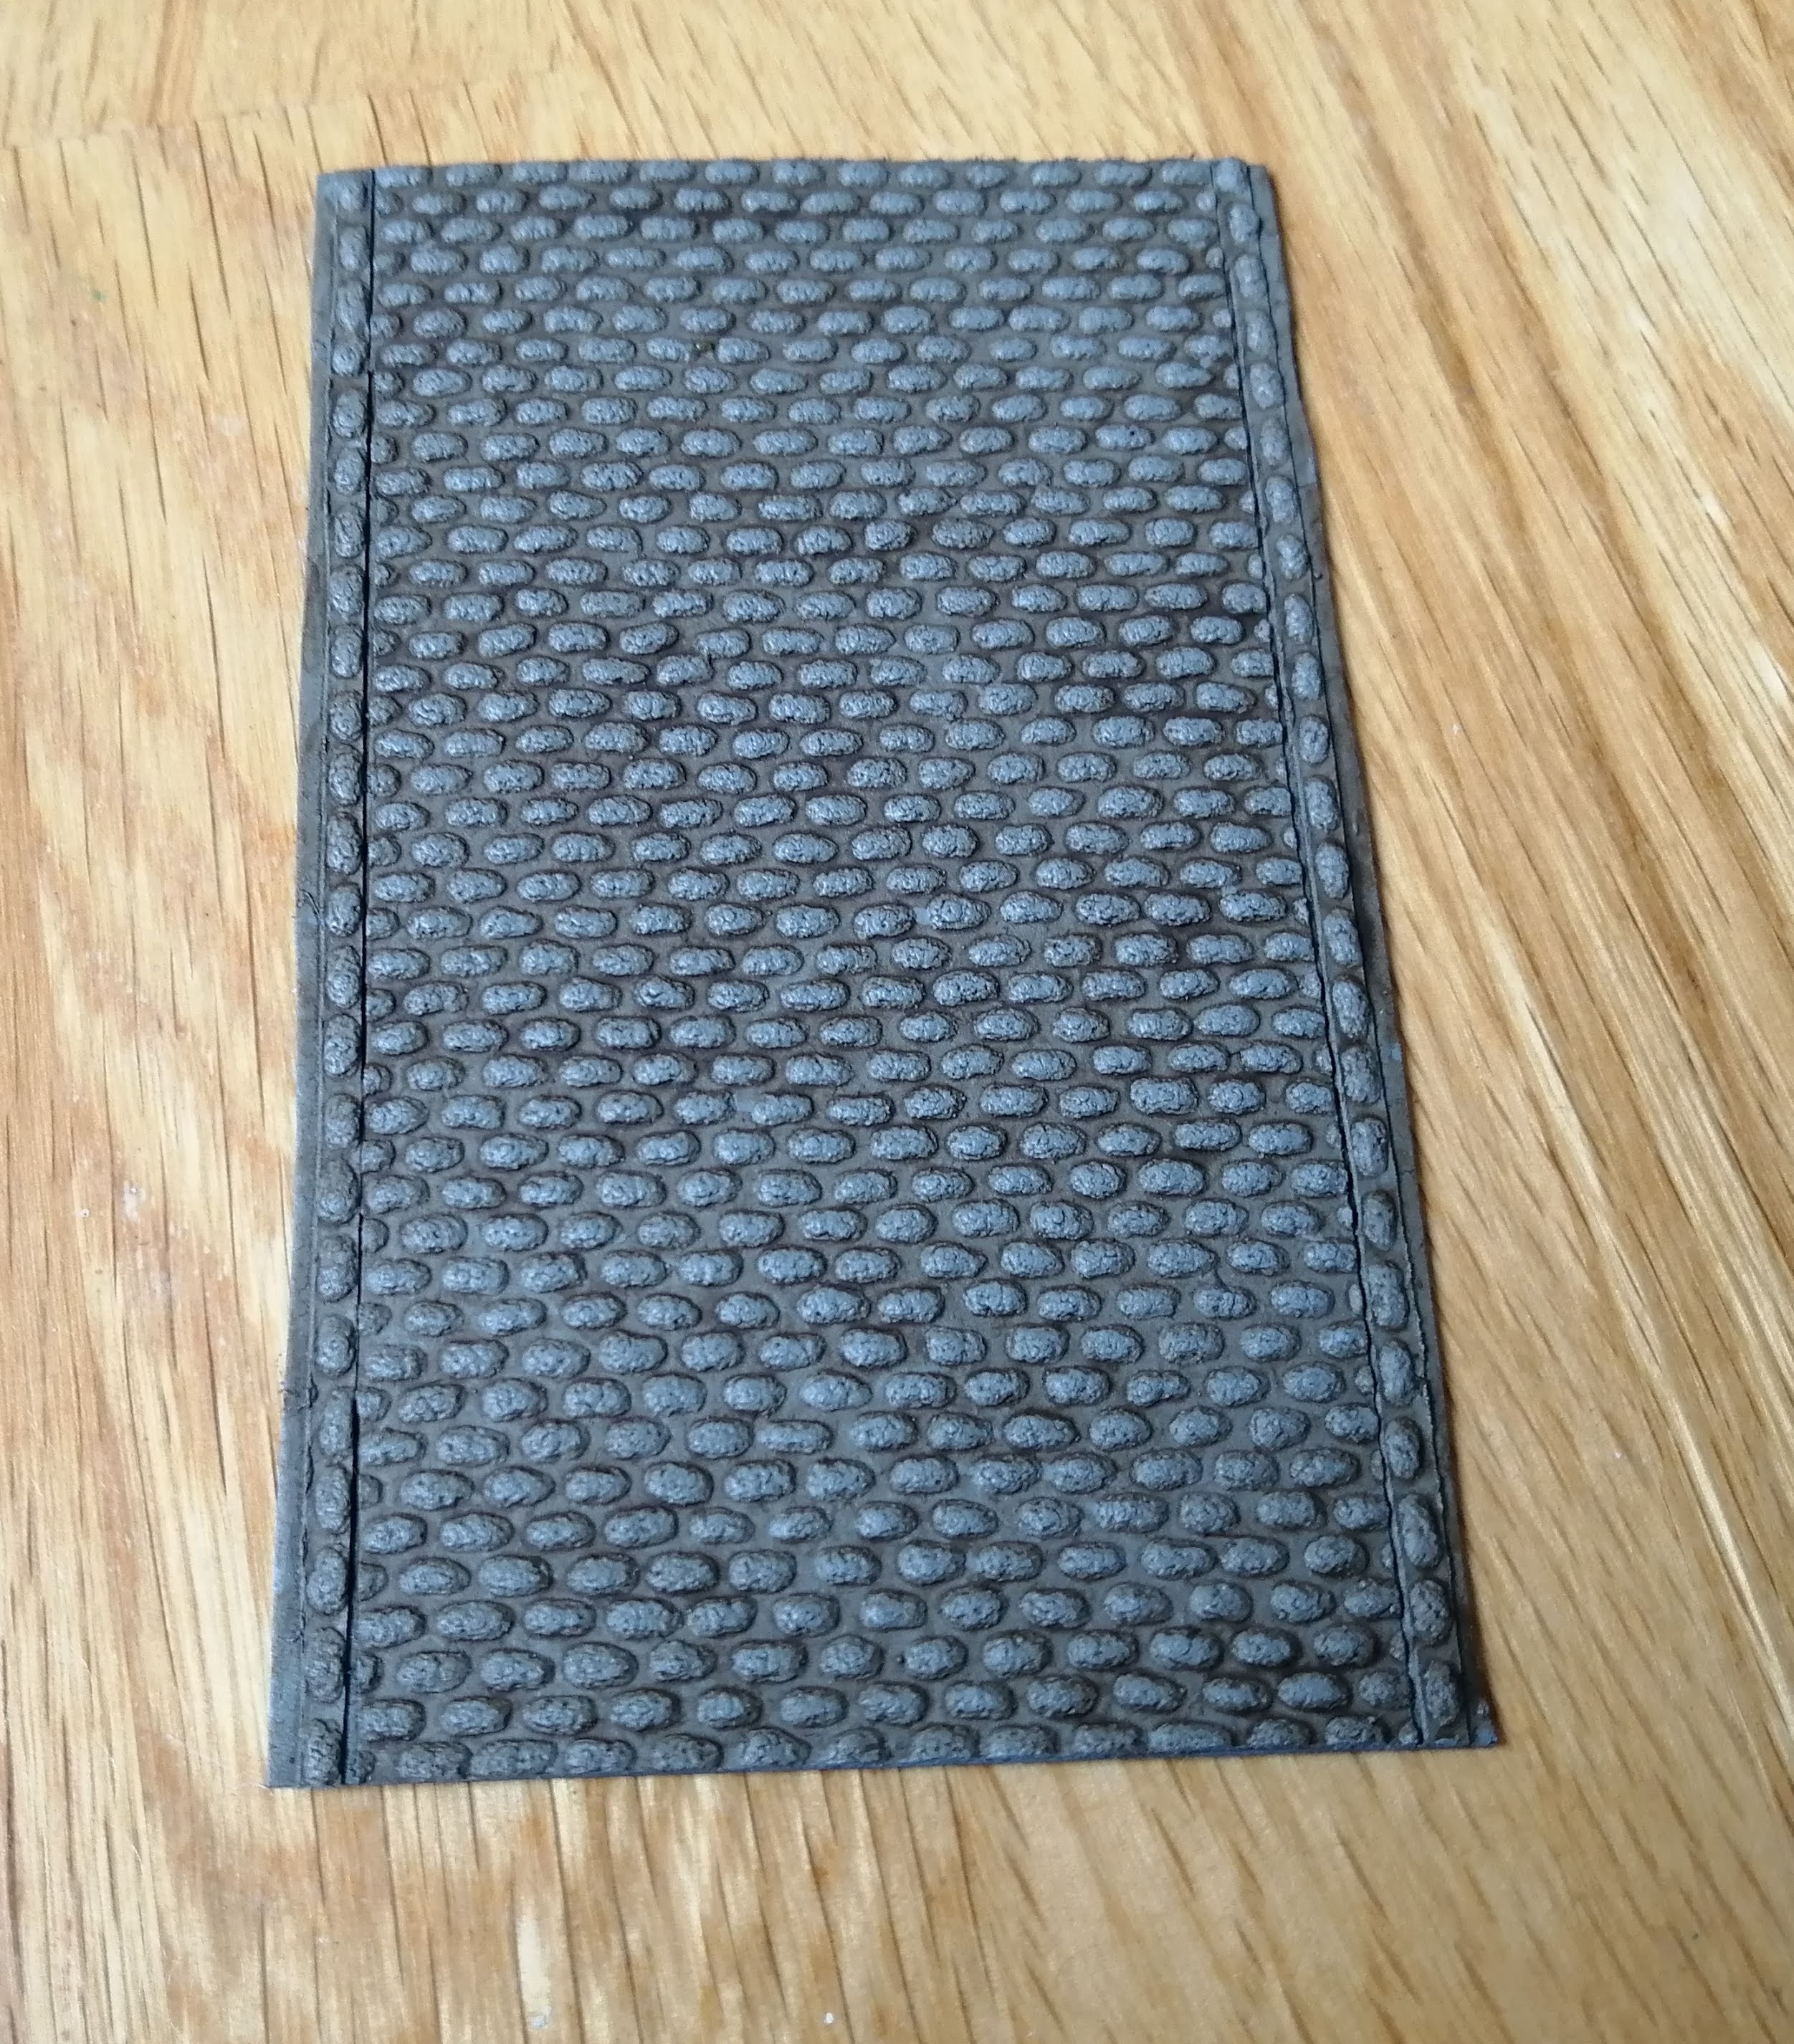
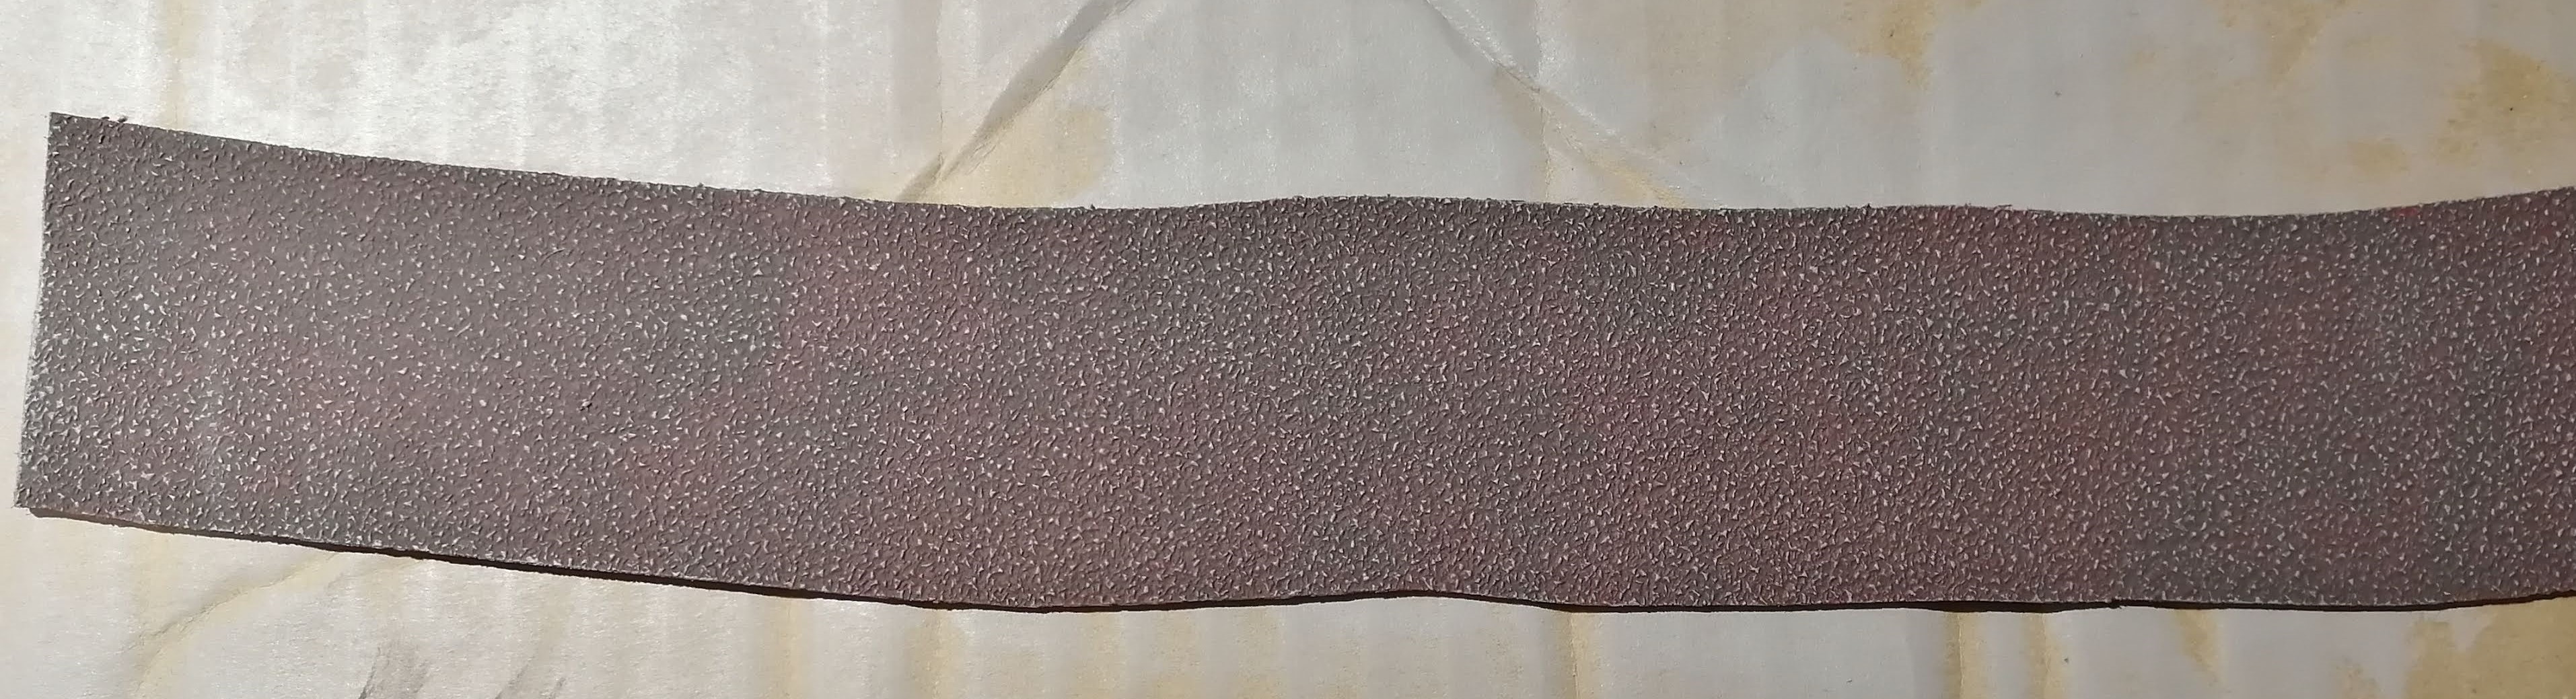
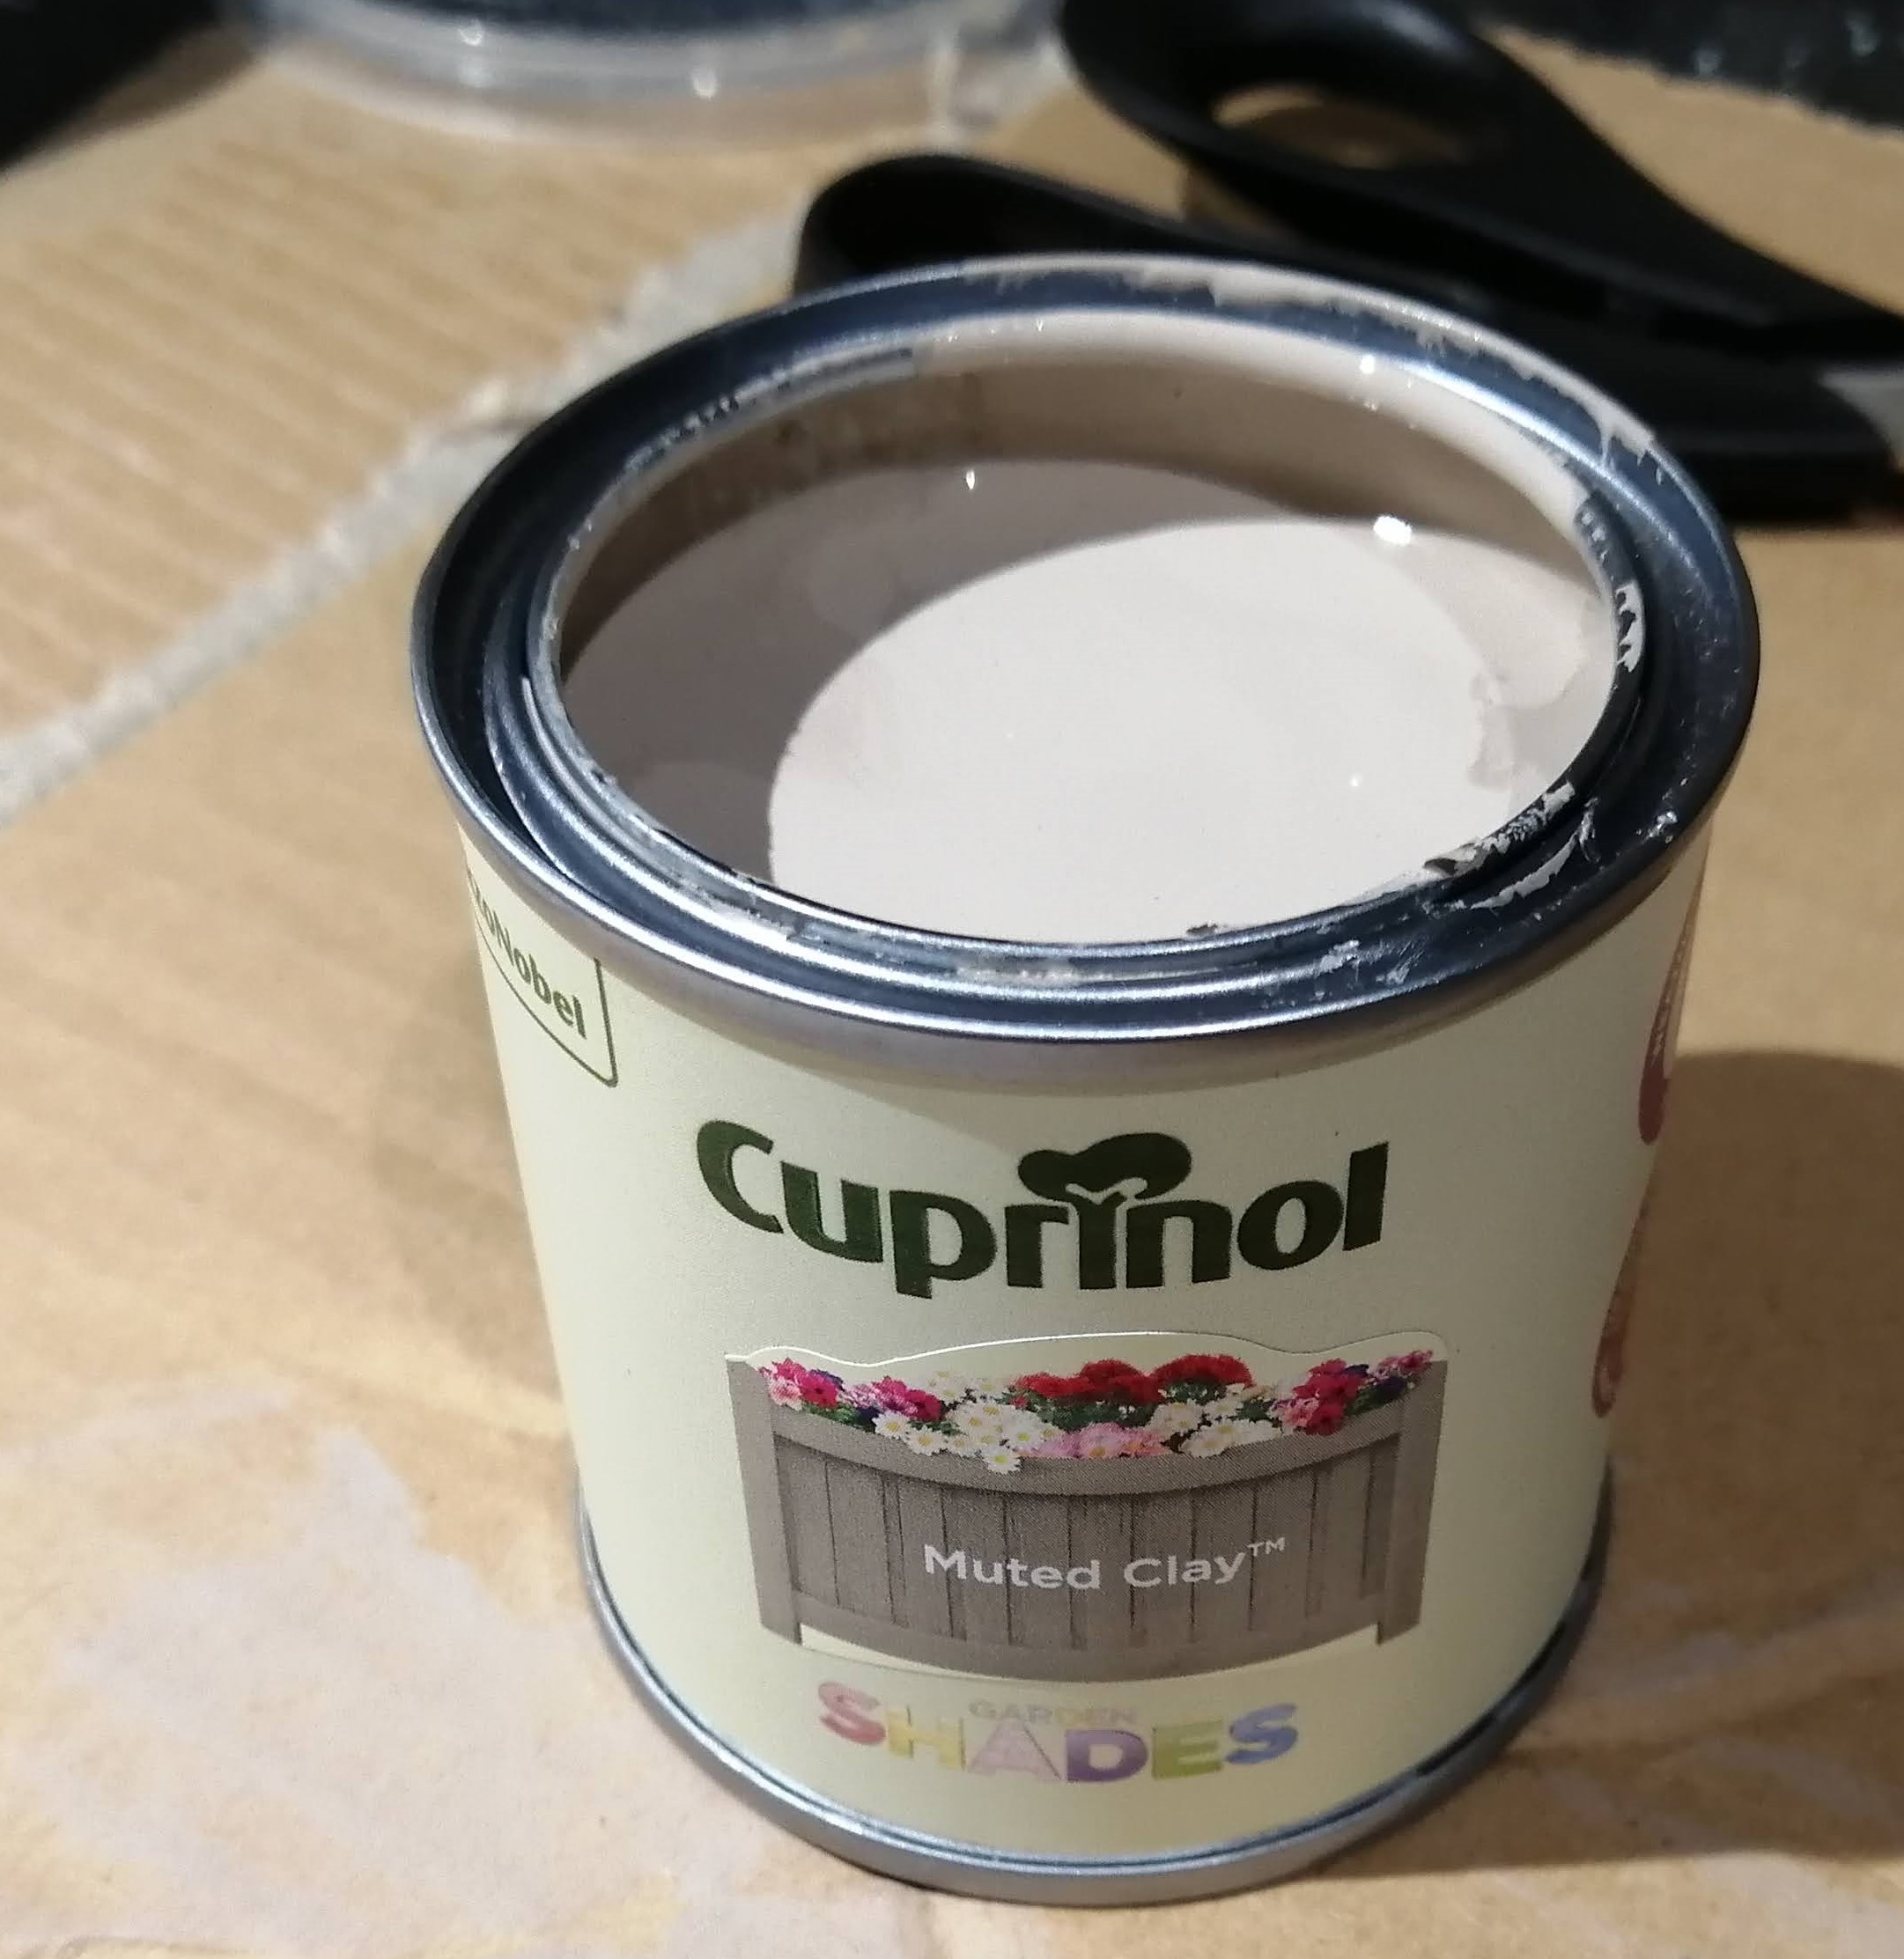
With the shading looking OK, I’ve opted for a simple dry brush. To keep costs down, I have opted for some decorating tester pots. In this case, Cuprinol Silver Birch
 Finished Test piece
This looks fine however I’m not convinced with the gaps between the stones – they look a little large and big when compared to the size of the stones. I can also see that this option may not be that robust. As I have made the road out of a single large strip of wallpaper and then two smaller strips to created the curb, I can see this starting to come apart. I’m thinking that the acrylic version may provide more strength and longevity. I’ll test that next.
Cobbled Roads - the messy option
As mentioned in the last update, I wasn’t overly convinced with the ‘gaps’ between the cobbles. I’m looking to improve the look slightly and need a flexible filler that will continue to allow the road to flex while doing the job of a filler. I’ve turned to acrylic decorator’s caulk. I’ve even managed to find one that comes in brown – I’ve no idea why it comes in brown and I can’t think why anyone would want a brown caulk used in their decorating but then perhaps I’m just very set in my ways.
Regardless, it should do the job nicely. It is however incredibly messy and sticks to everything, so make sure you have some paper towel handy before you start otherwise you’ll be wiping caulk from every surface you touch (this is the voice of experience talking!)
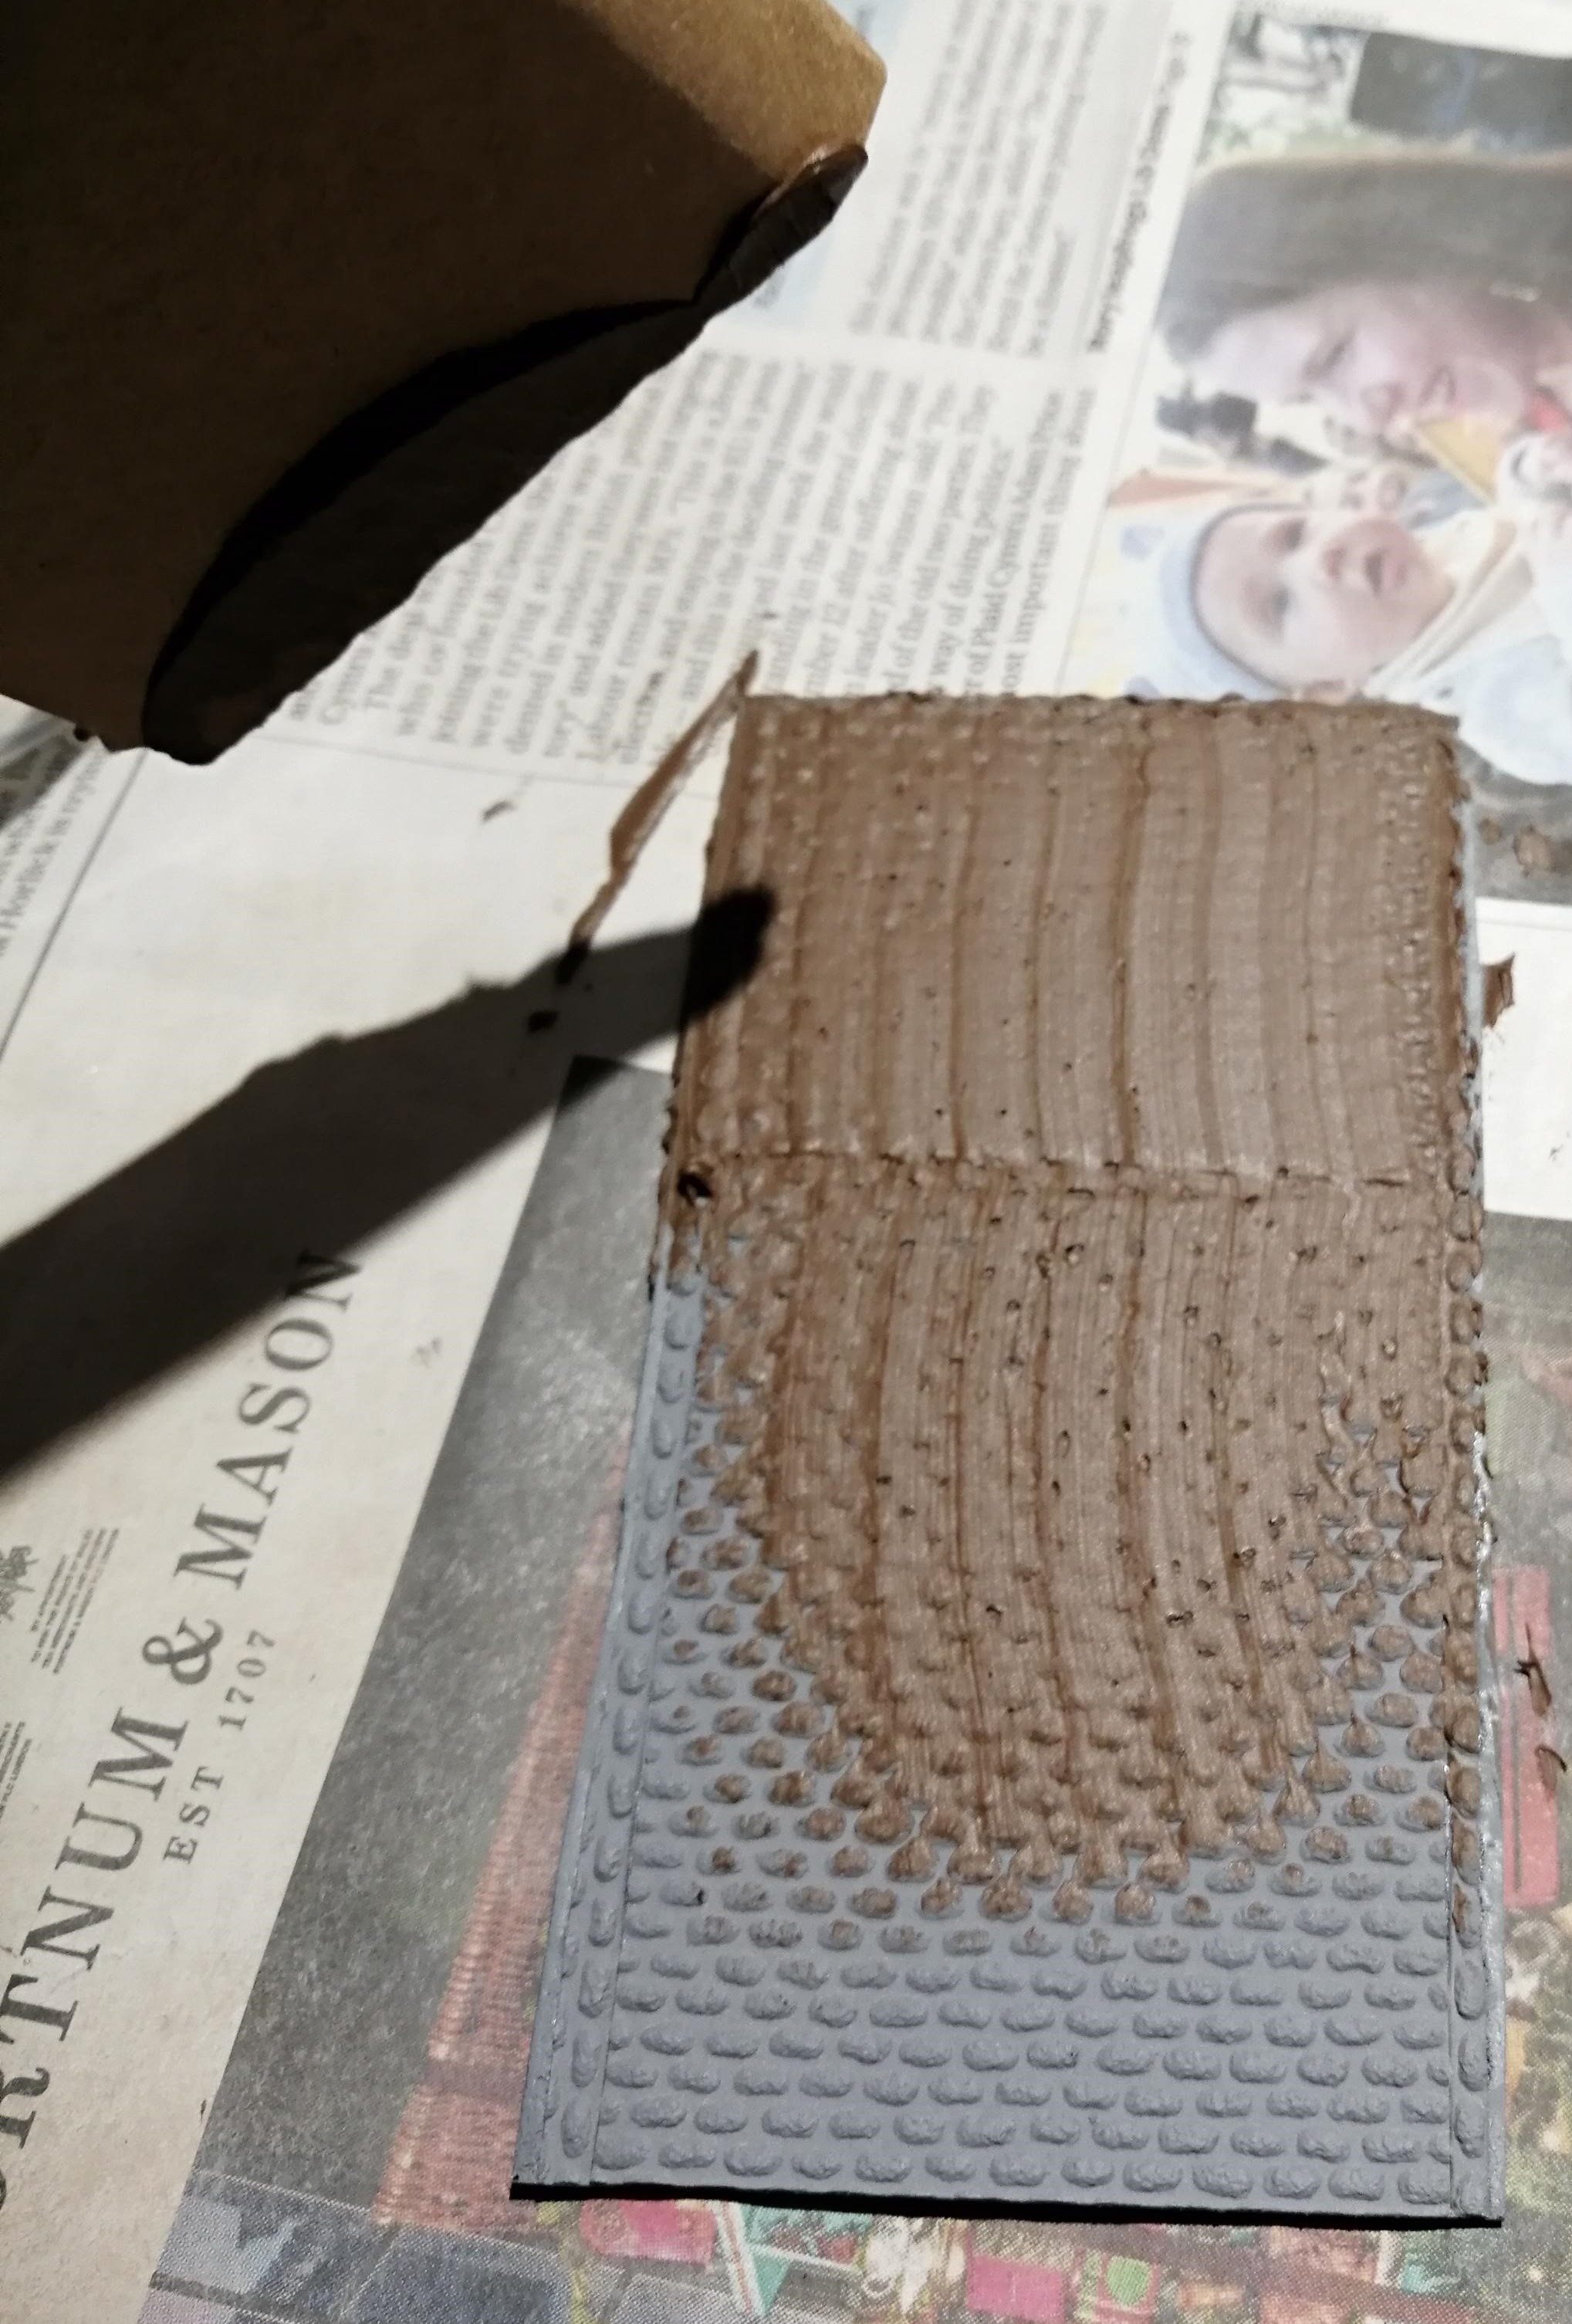
The wallpaper is fairly robust but spreading the caulk using a traditional metal decorating tool is likely to be too harsh, so as you can see in the picture, I’ve used cardboard. This seemed to work well.
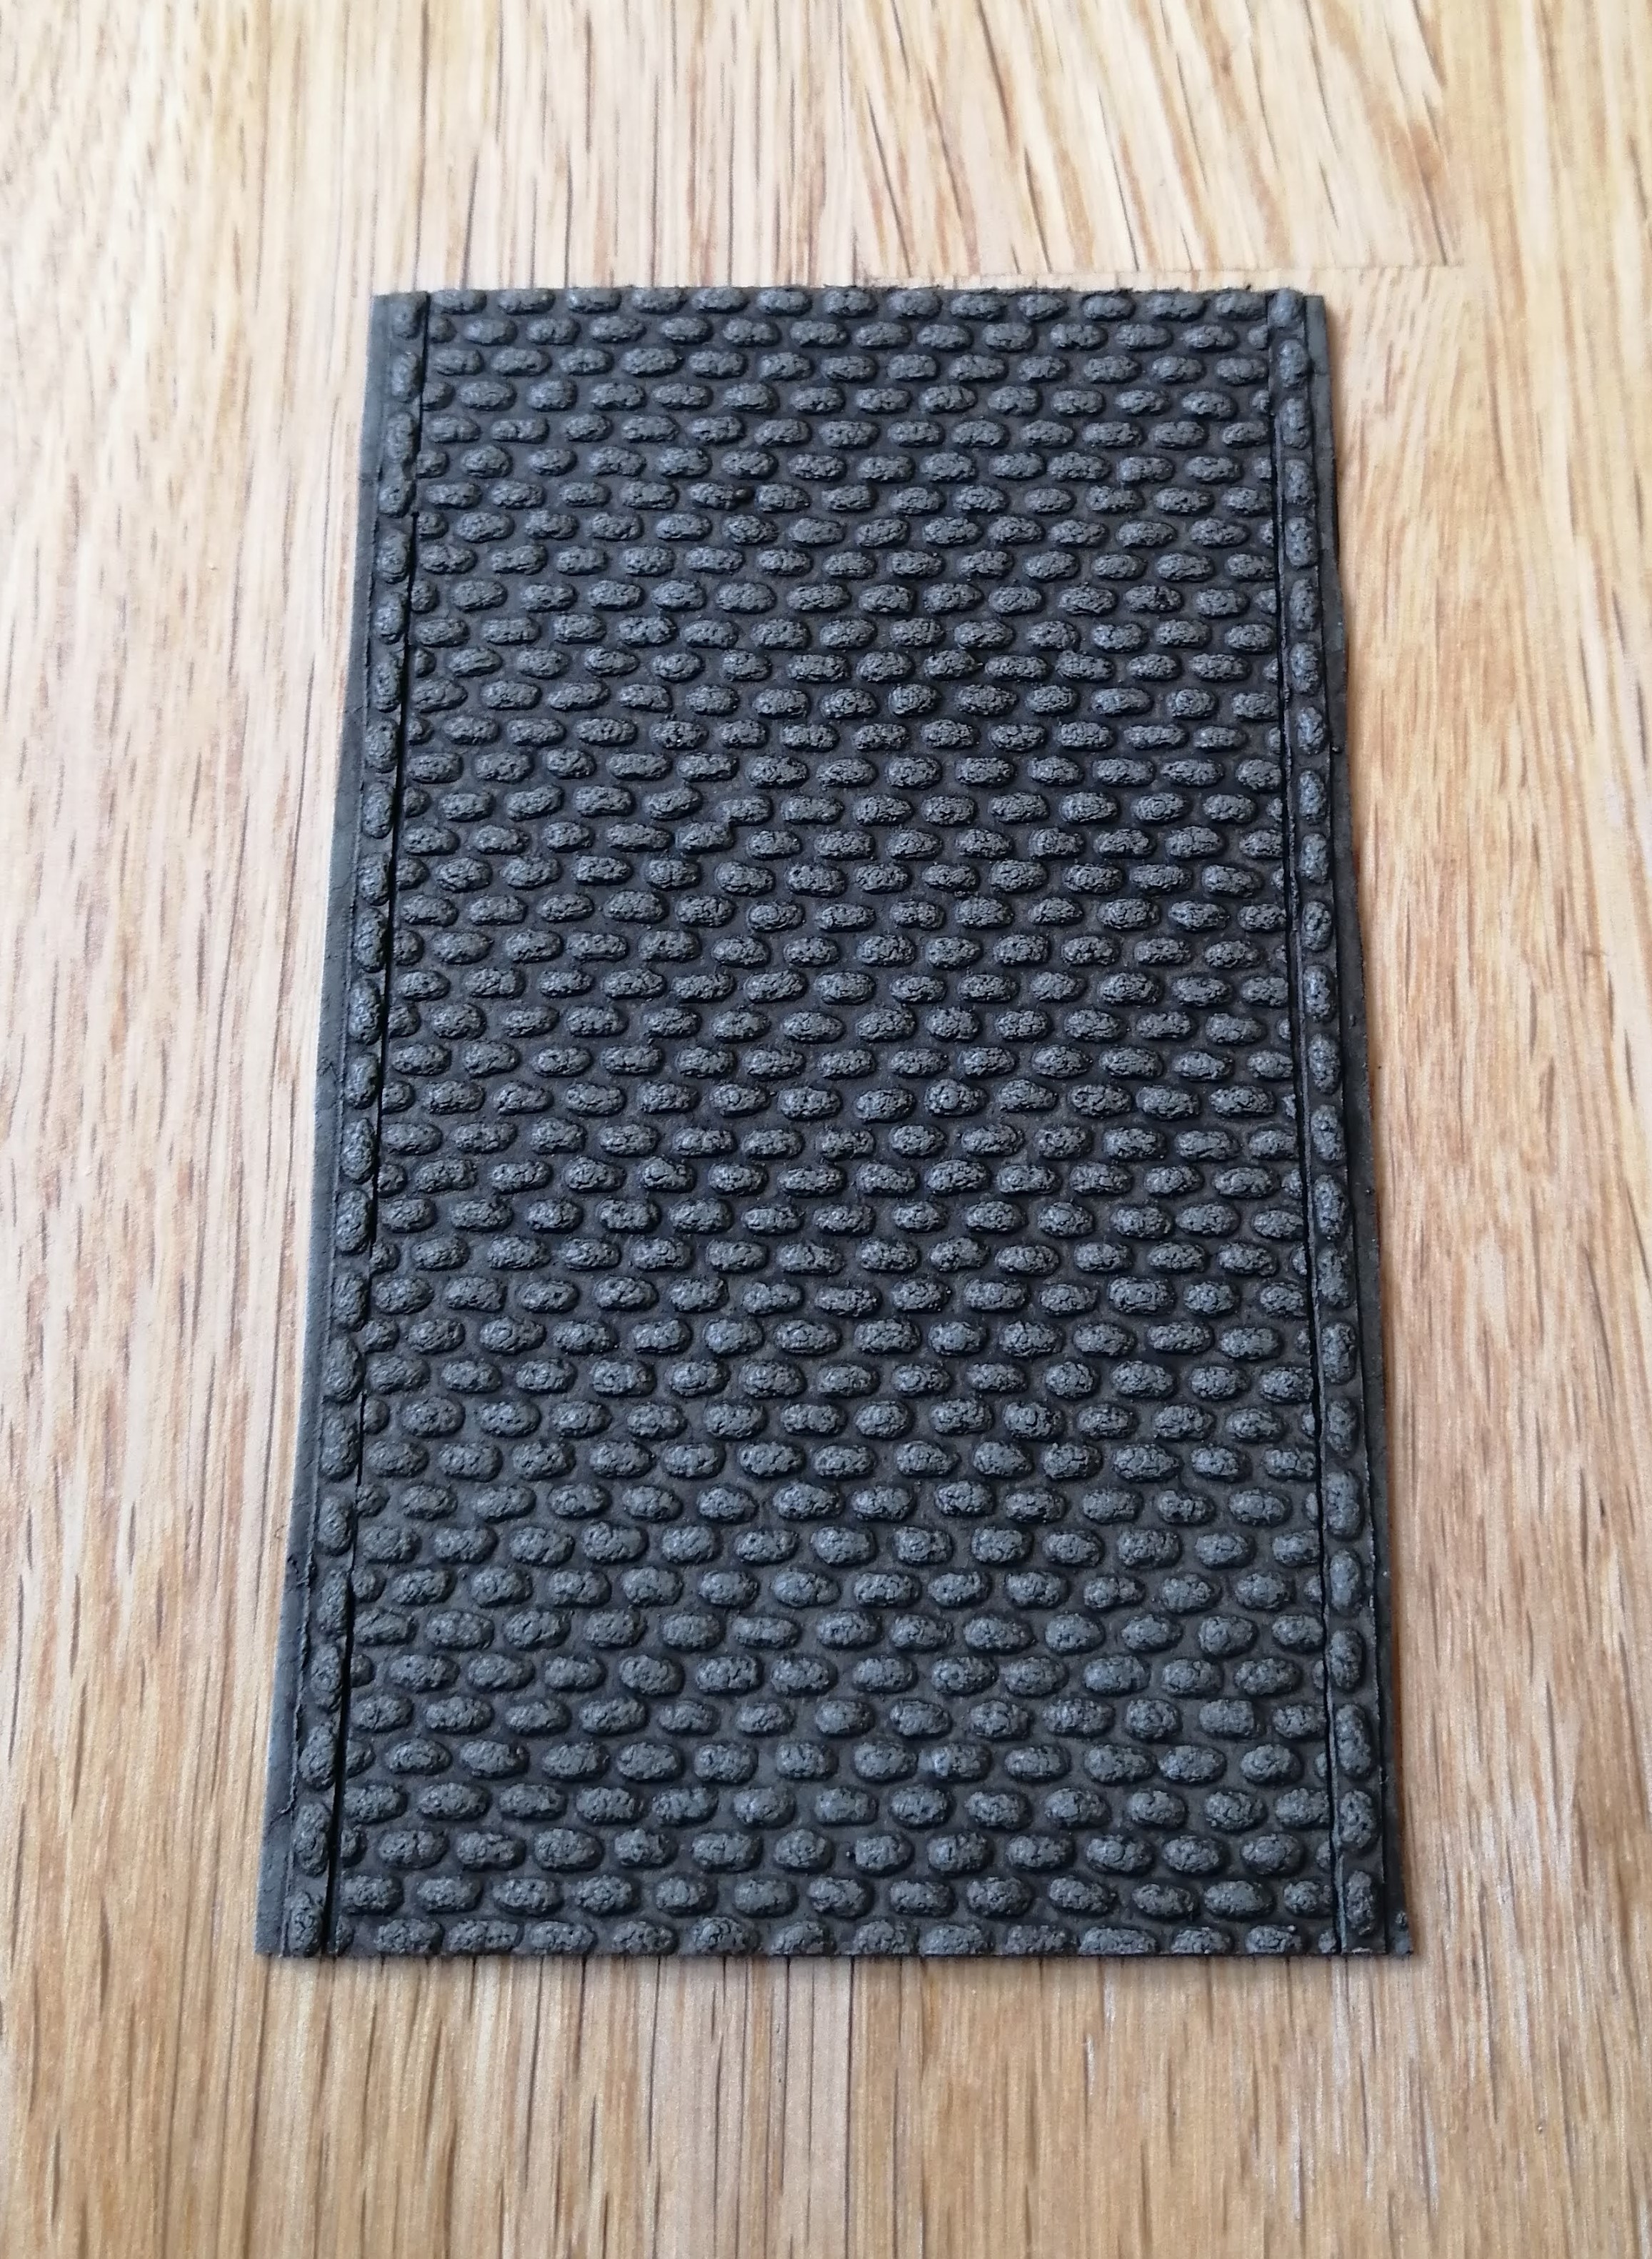
The next steps were the same as the un-caulked version – a heavy wash and then, when dry, a dry brush with a grey. You can see the steps below.


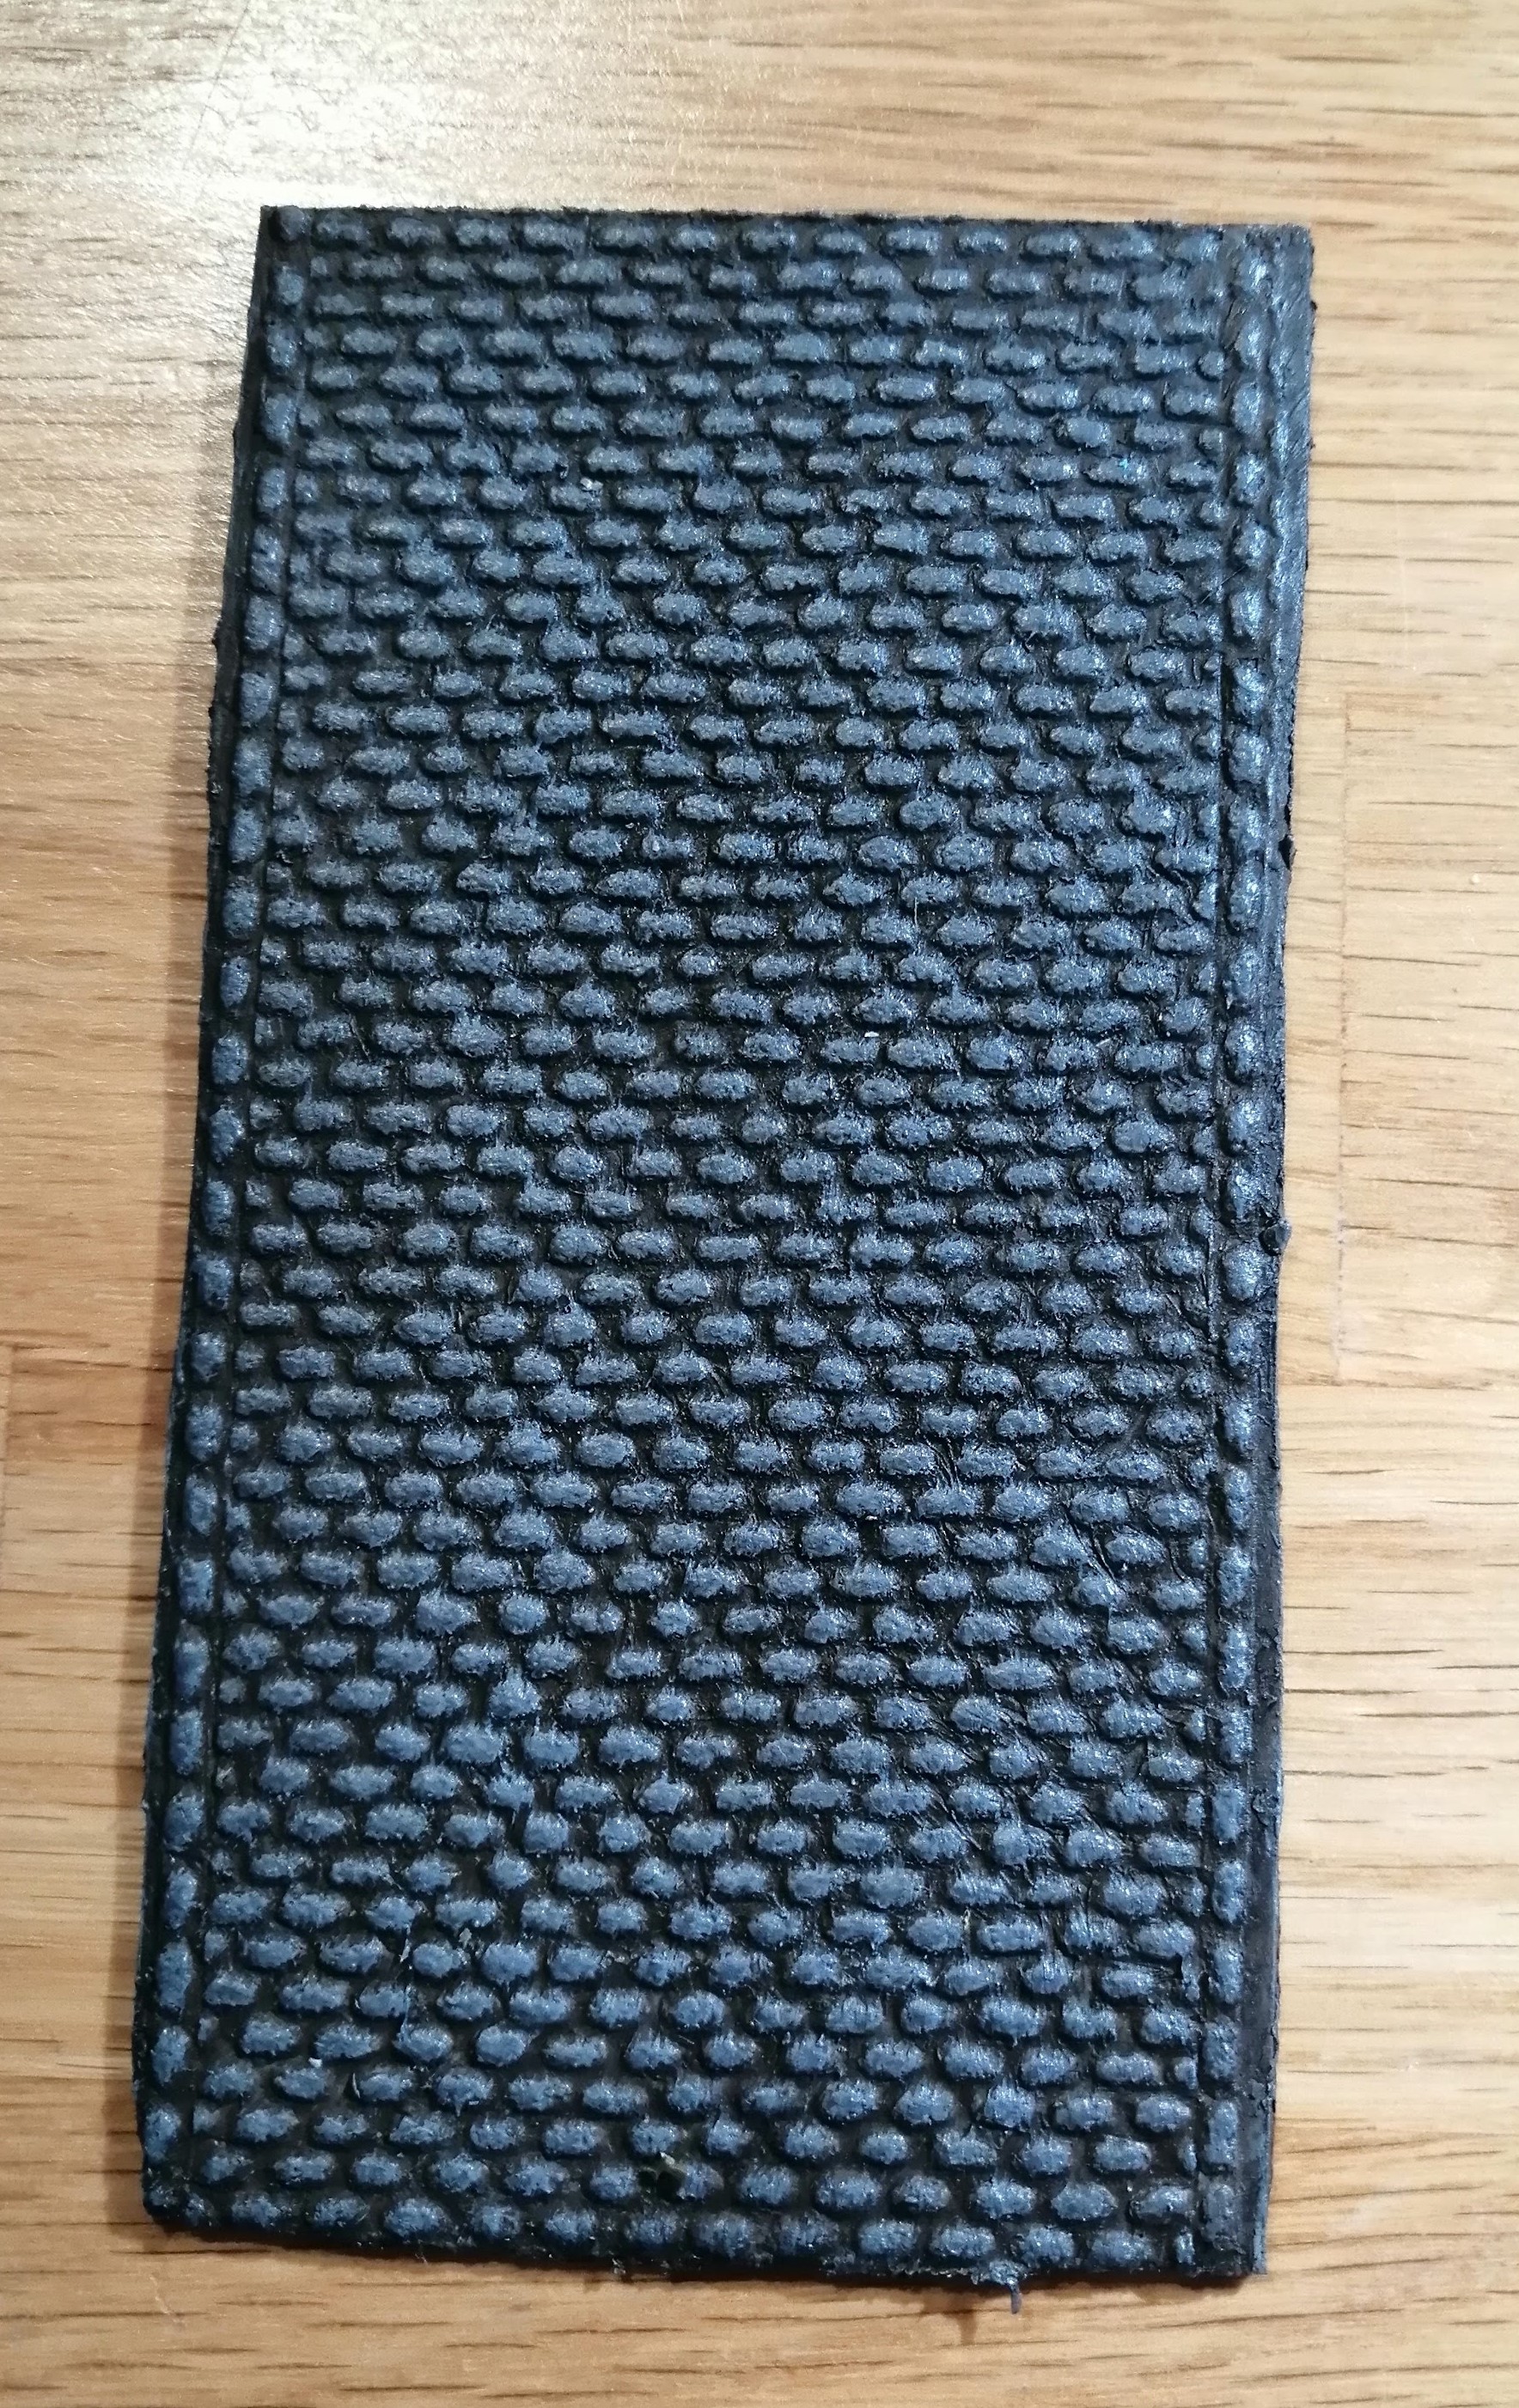
This to me looks a lot better as an approach. While it is not quite as flexible, it is a lot more robust and should help protect the wallpaper from any damage. The ‘stones’ also look as if they are set into the road as well with much less pronounced gaps. So this is the way forward and I’ll get cracking on producing a lot more to enable a table top of roads.
A lot more cobbles
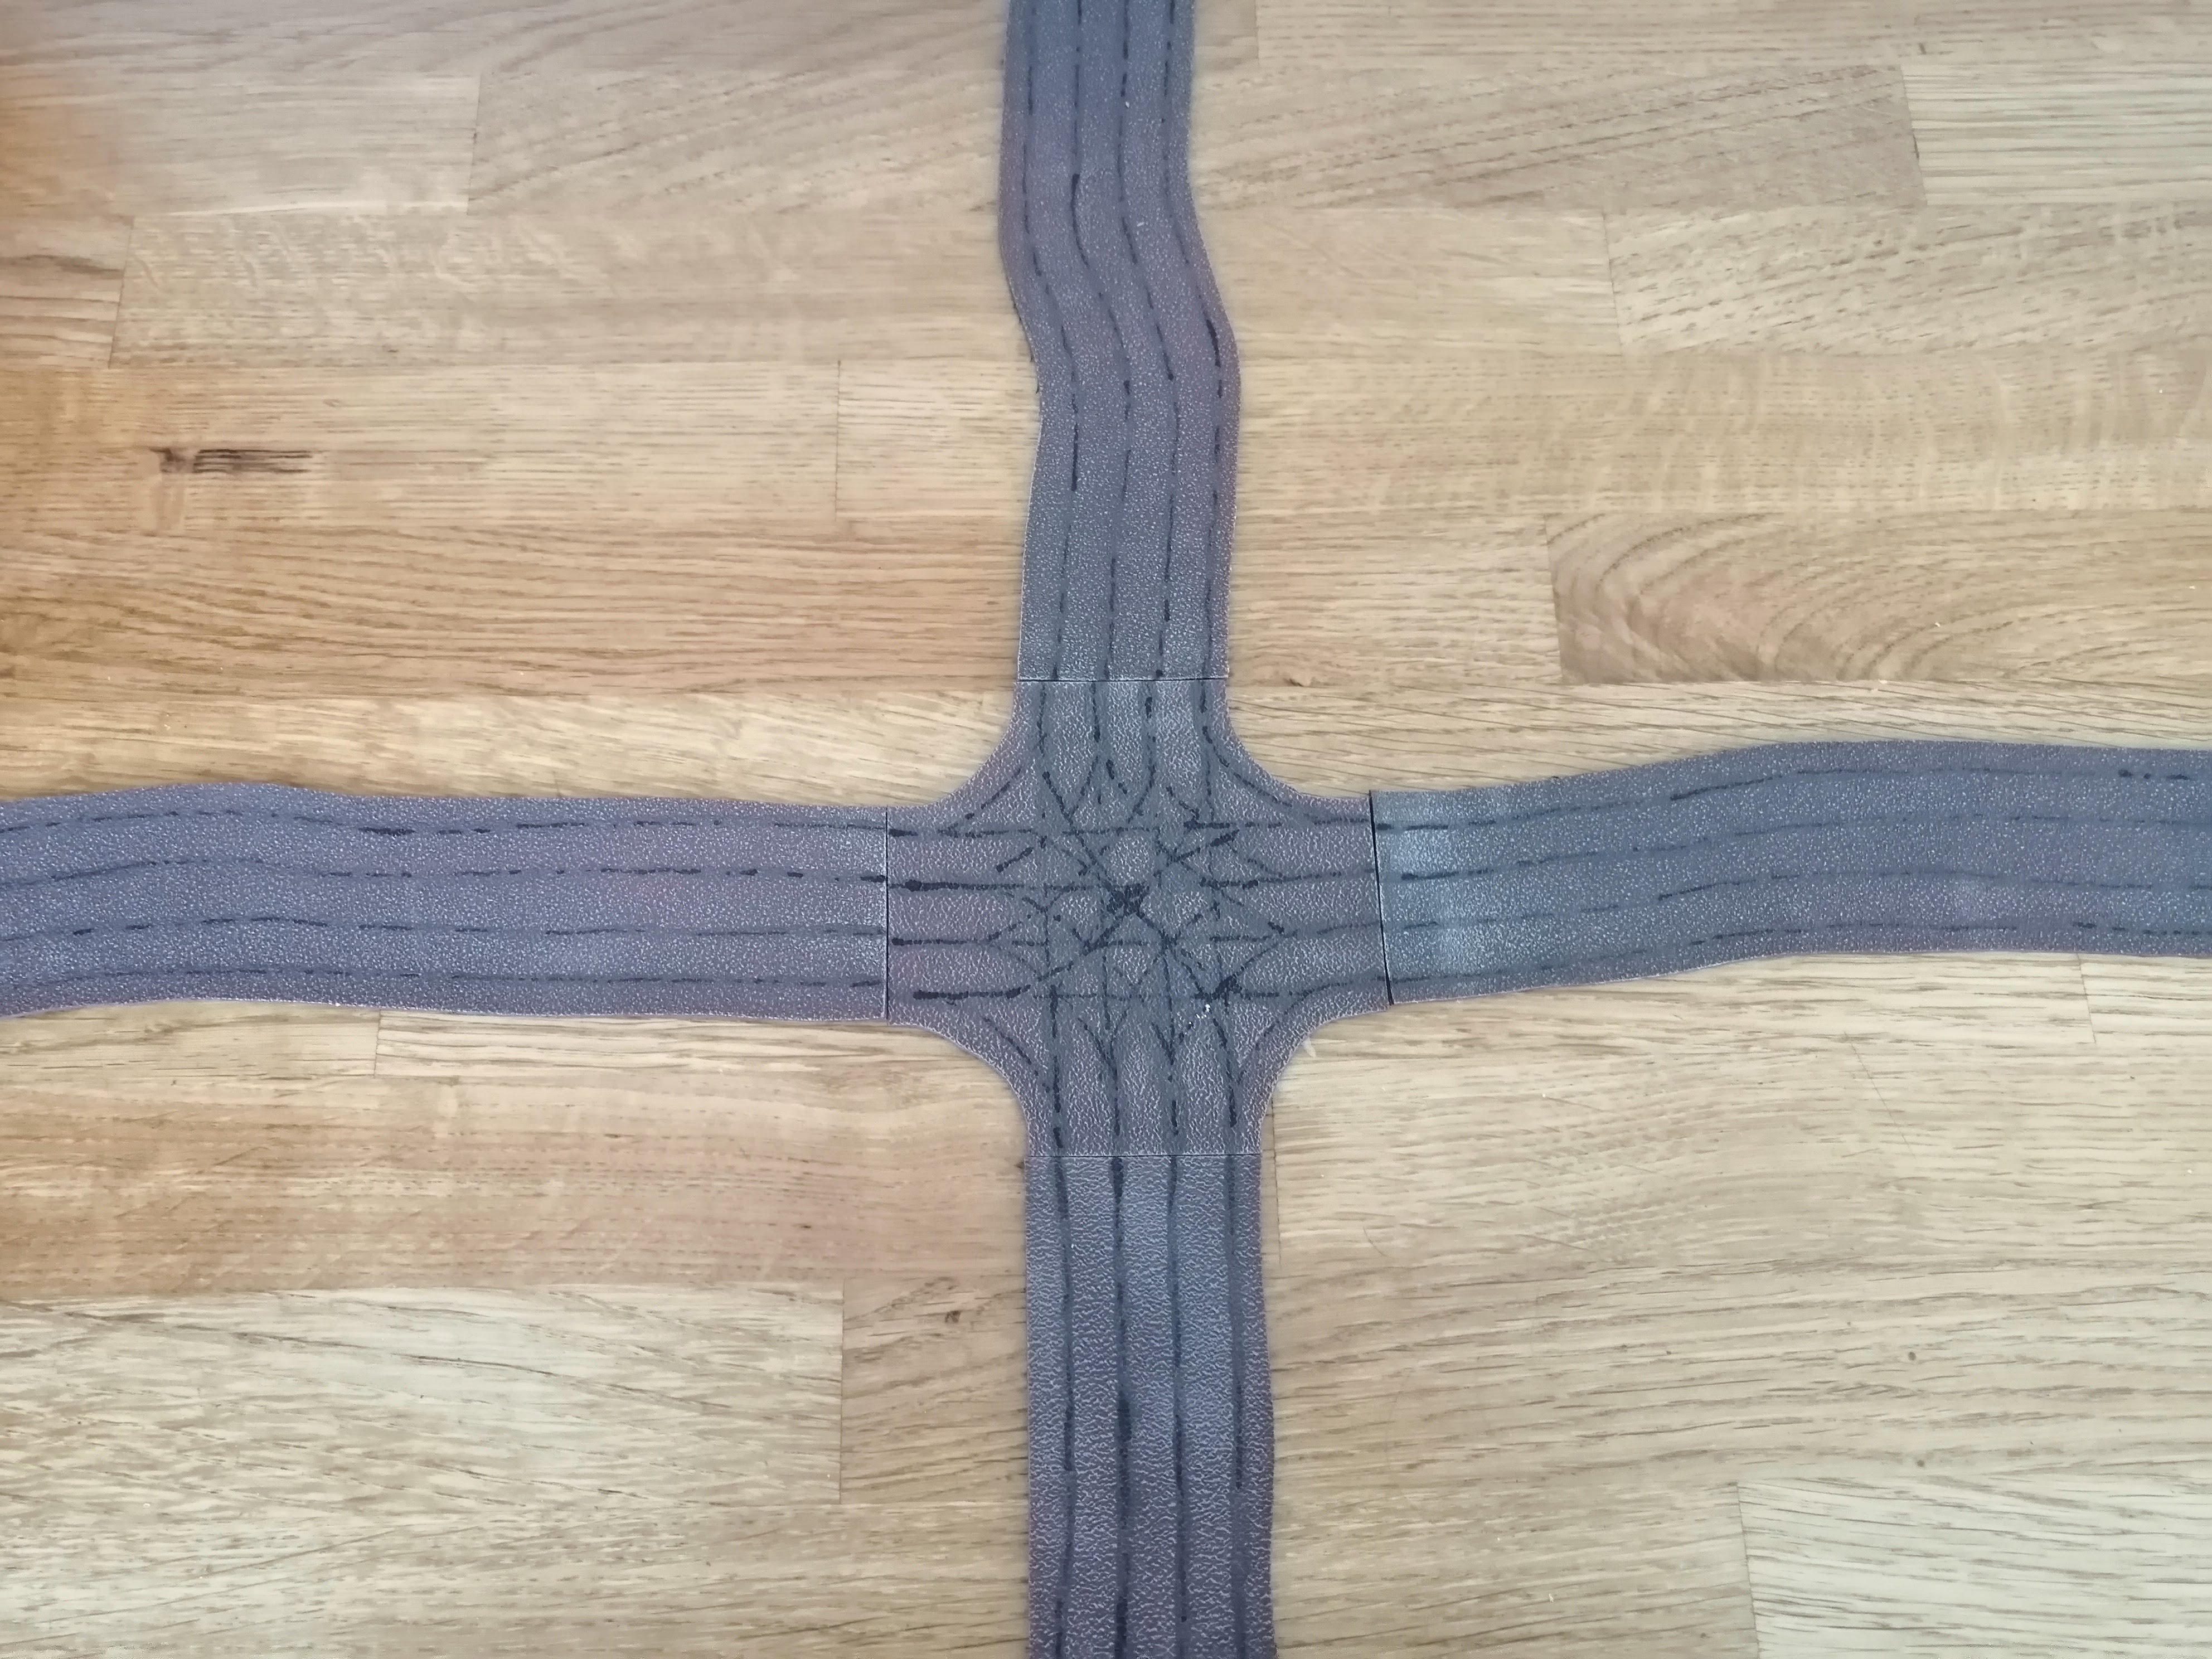
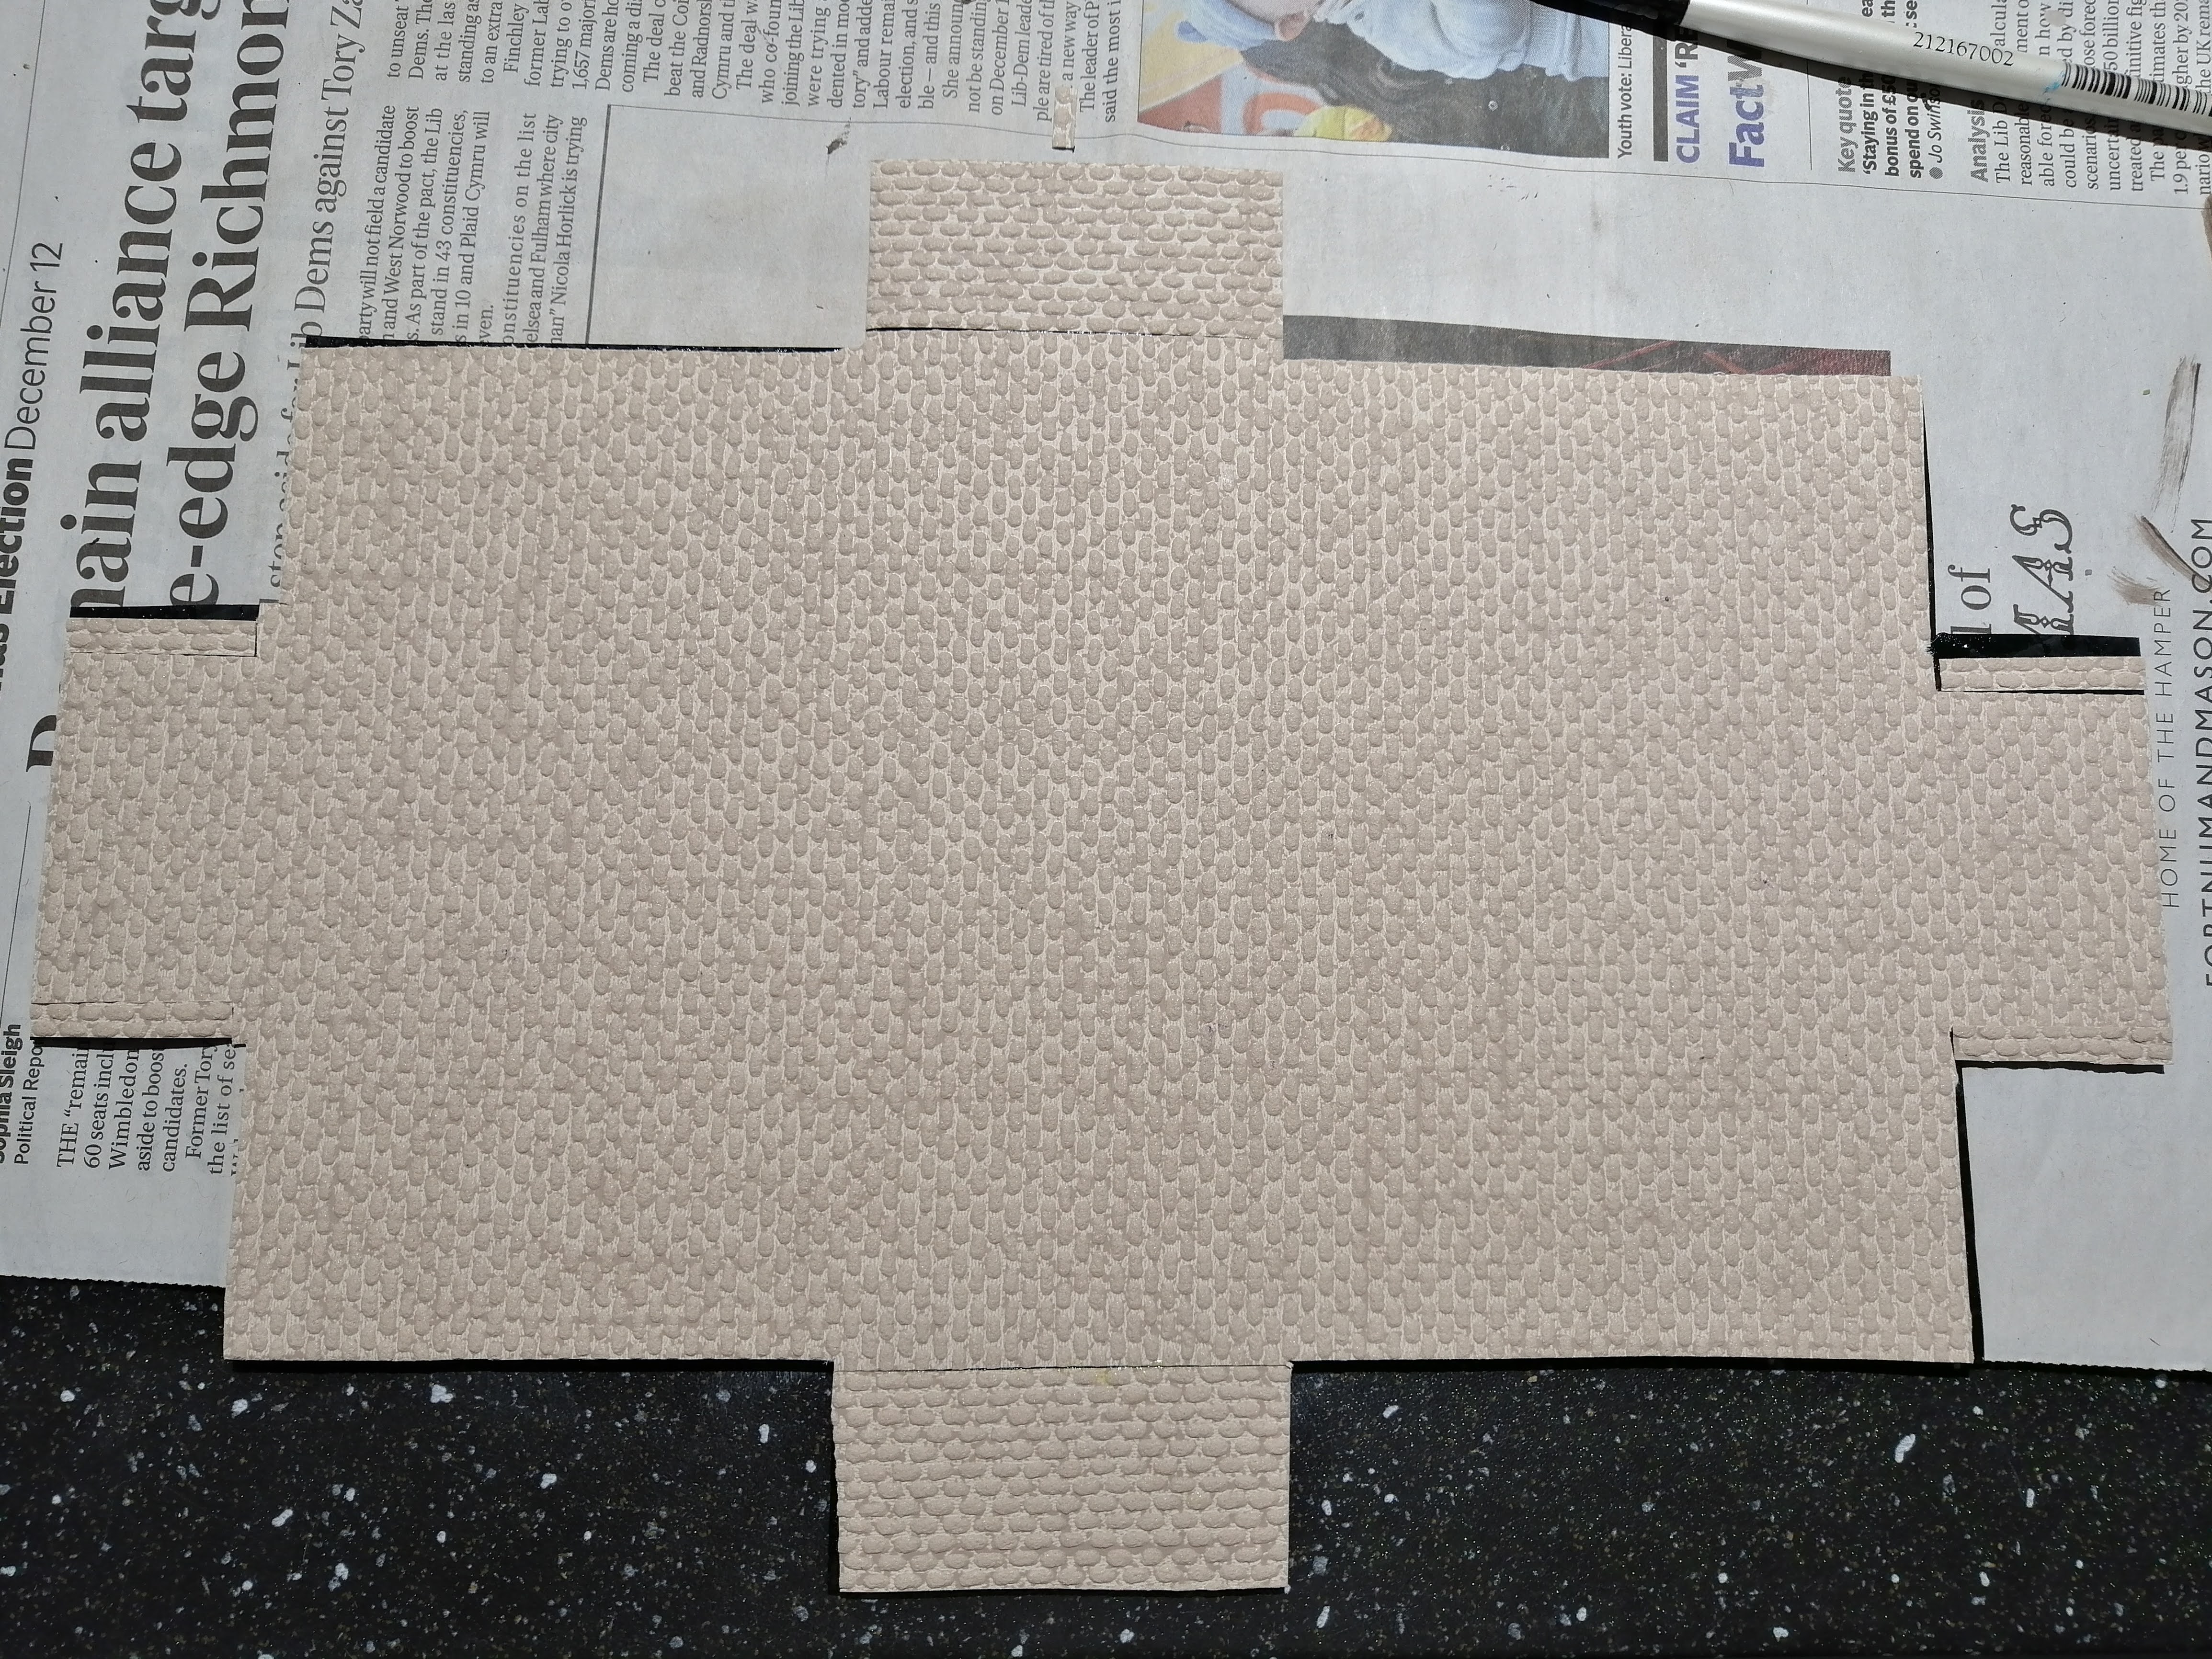
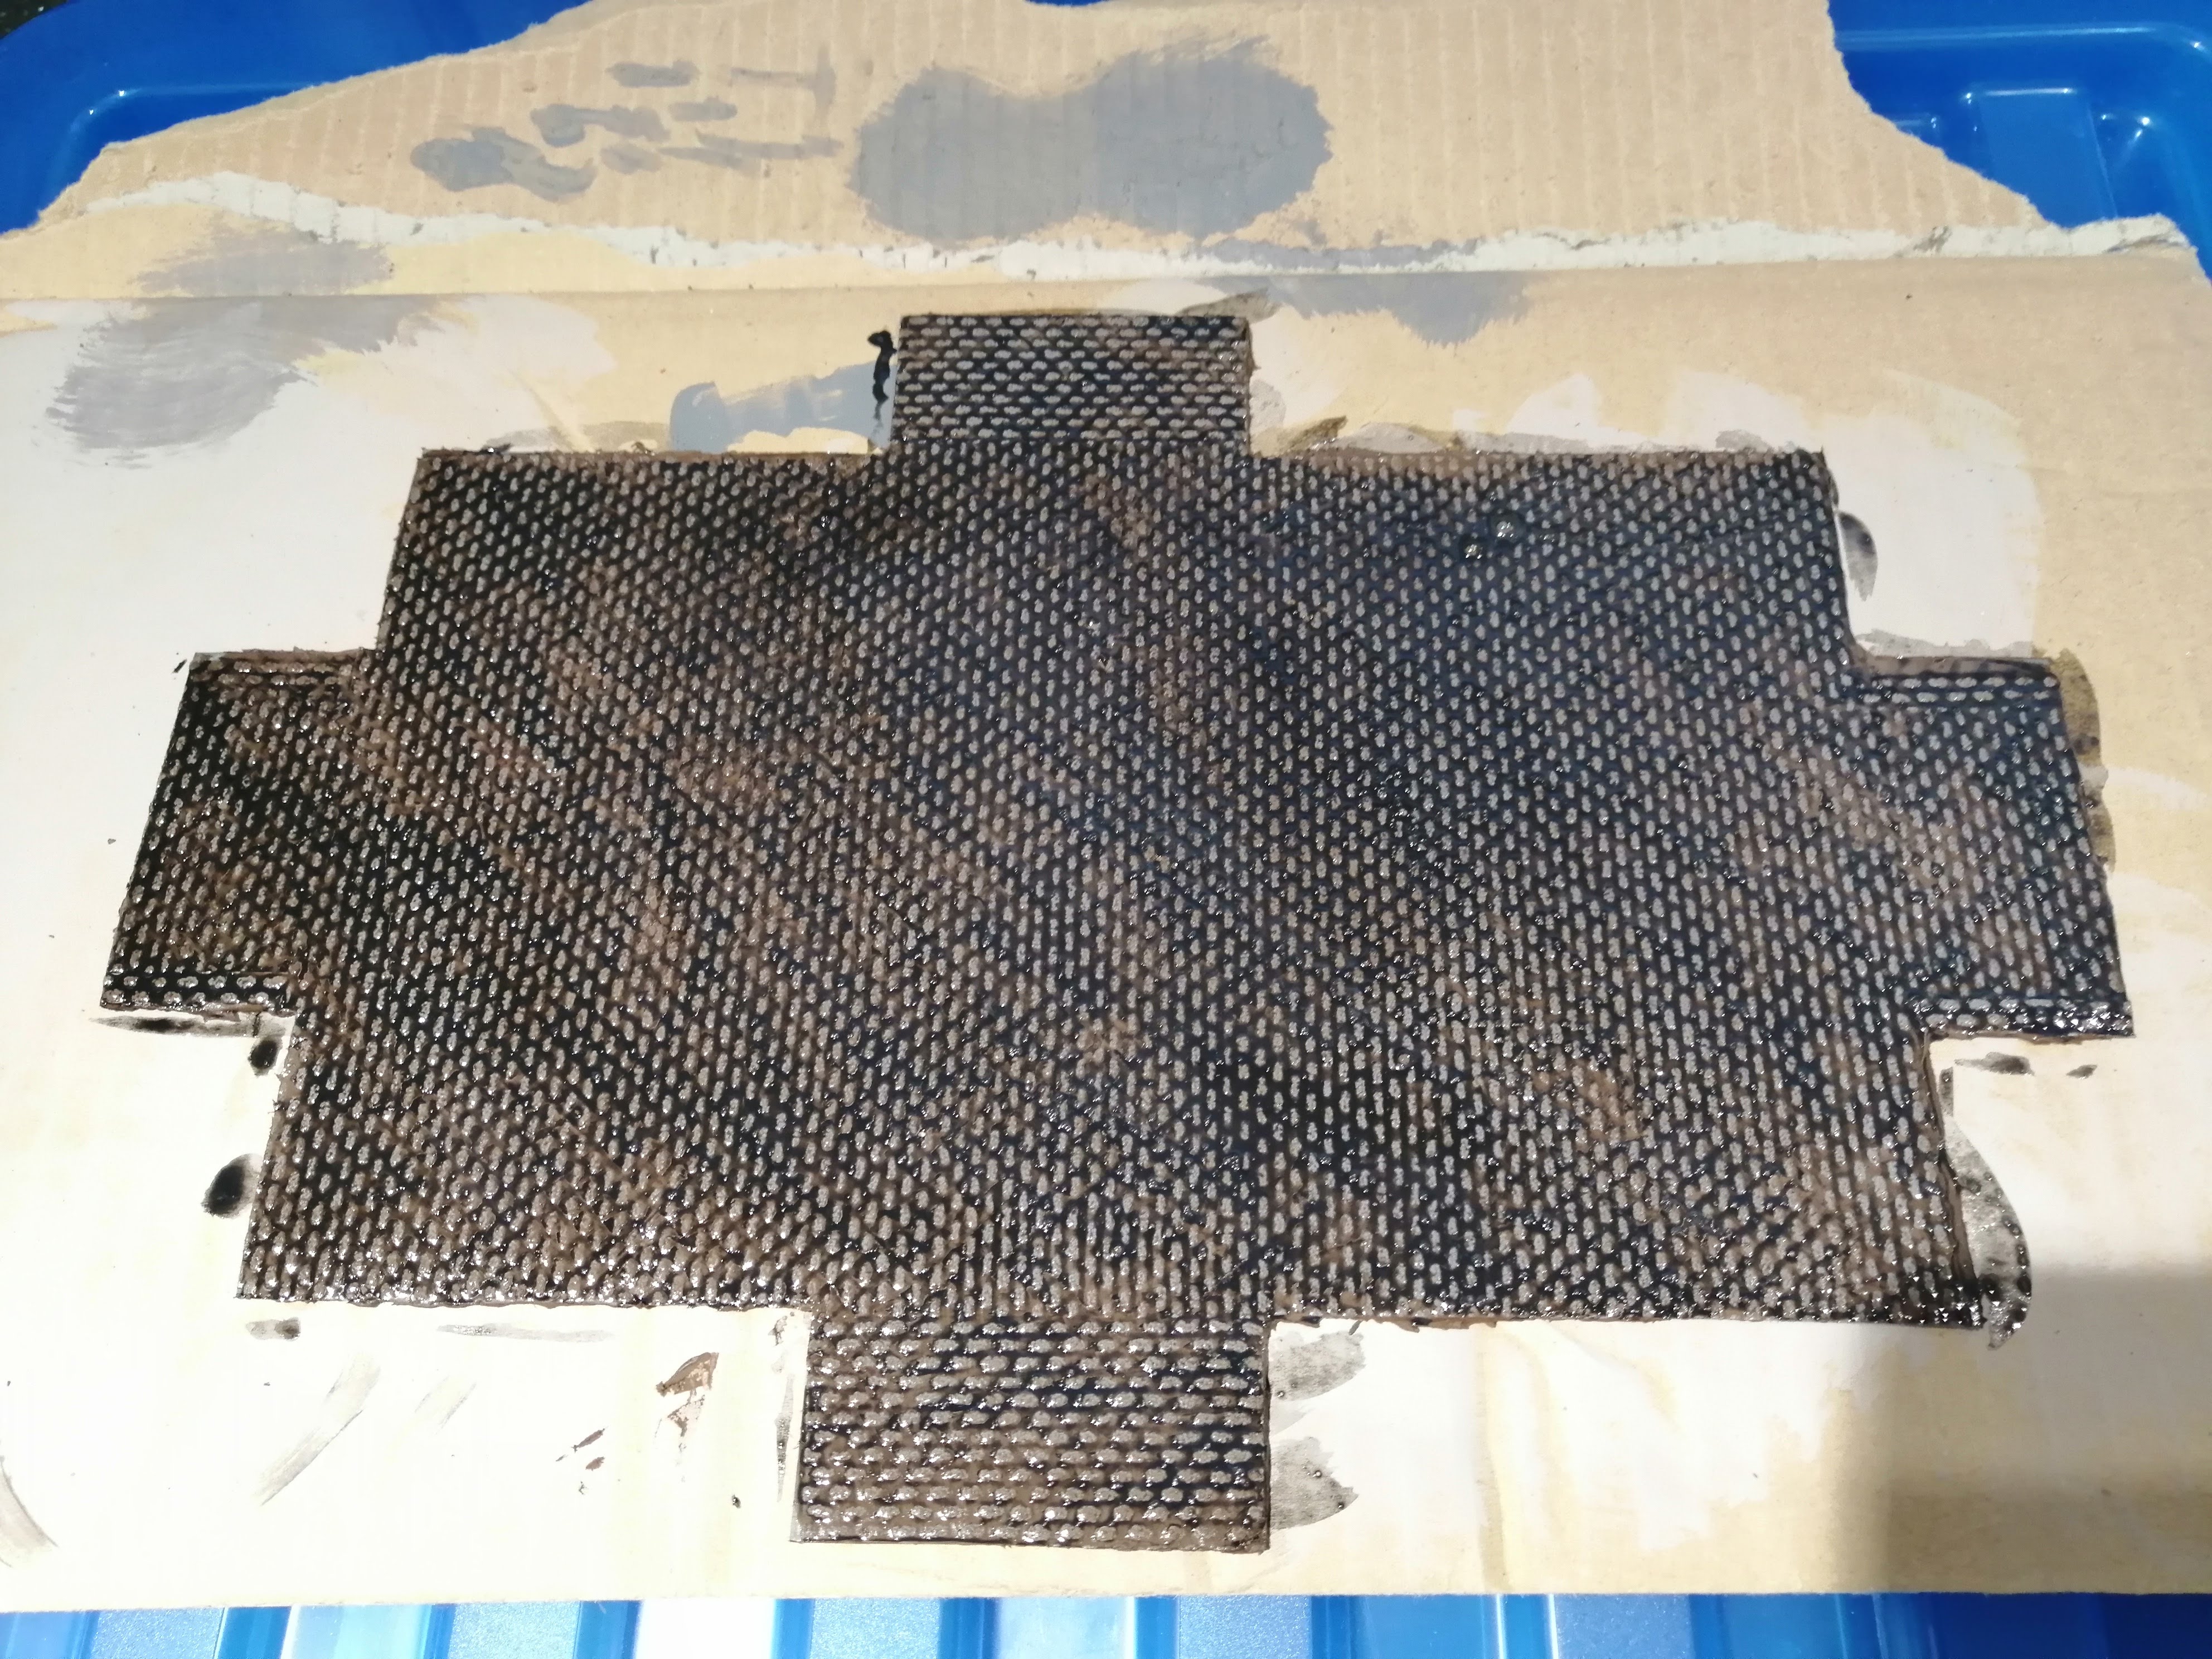
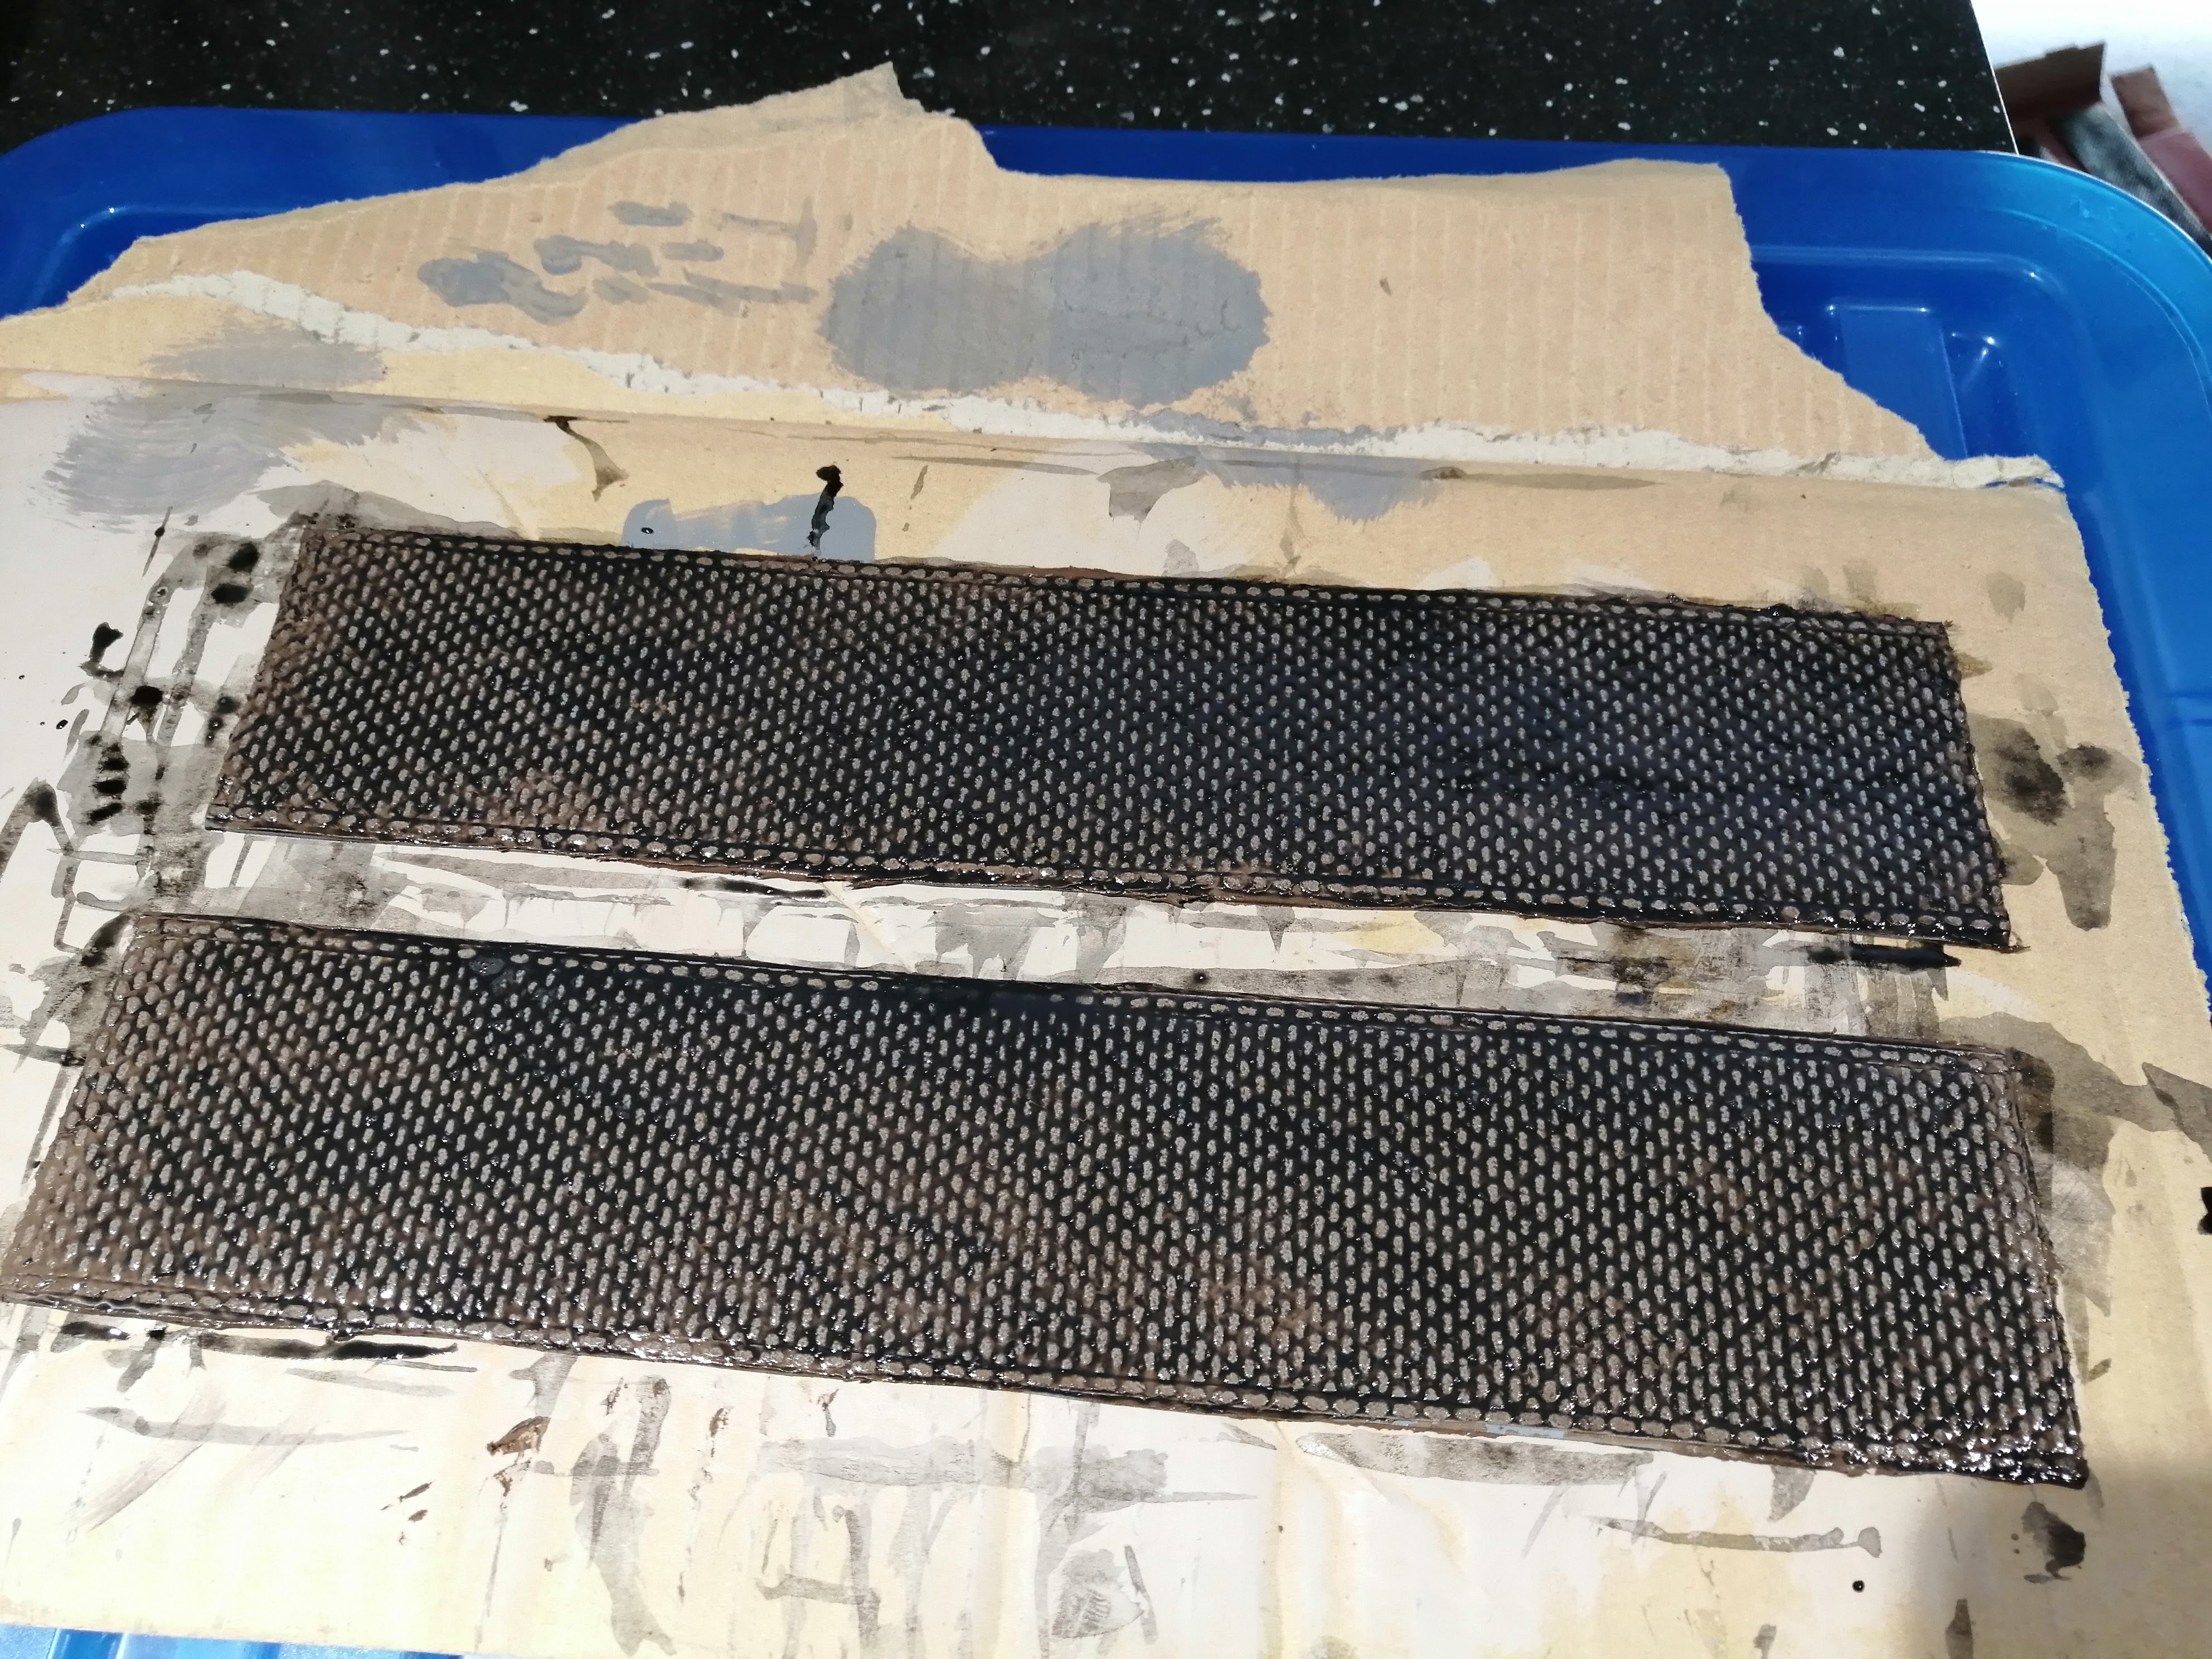
Having settled on the caulk cobbled option as per the previous tests, time to knock out a lot of roads. This is just about mass production and, while it is a process that needs to be run over a few days, mainly due to the drying time at each step, each step was less than an hour in total. I’ve managed to produce about 3 metres of road in total plus a couple of junctions and a ‘town square’.
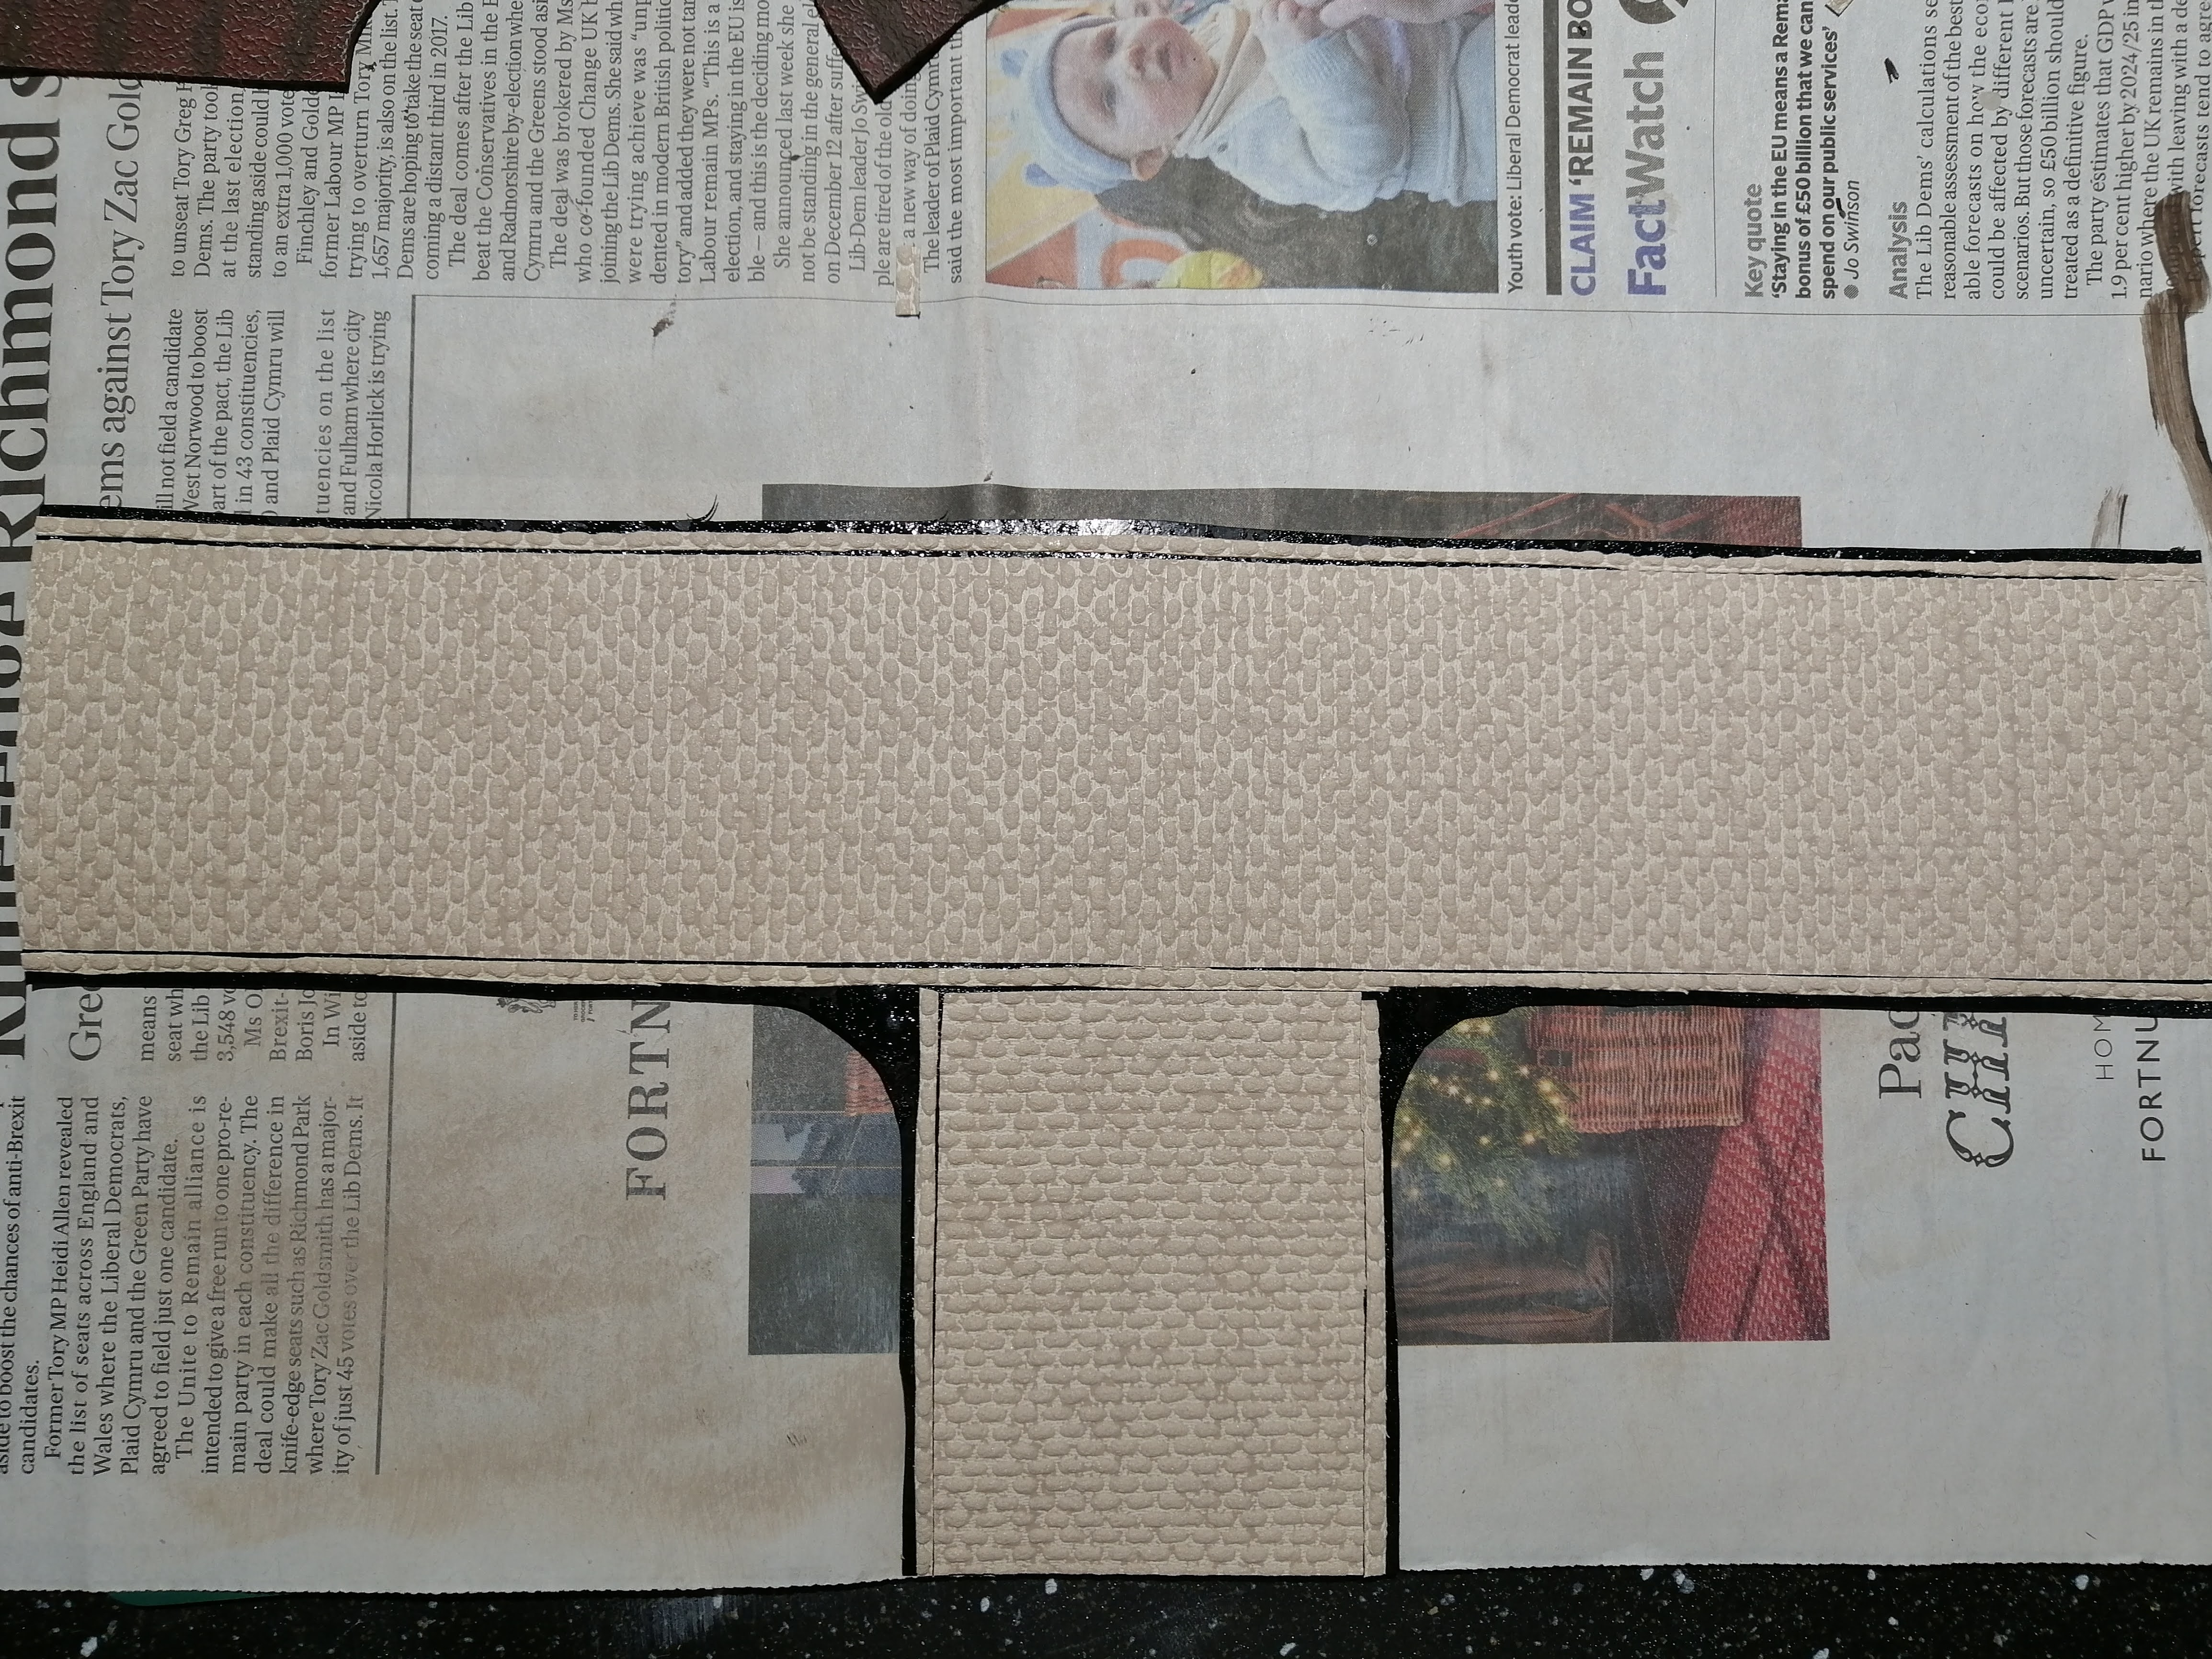
As previously, I’ve started with the strips of rubber and sprayed with carpet tile adhesive. The wallpaper is stuck straight to it and then left under compression while it dries to ensure a good contact. For the junctions and town square, I’ve had to cut the curbing and roads accordingly to make the cobbles look right.
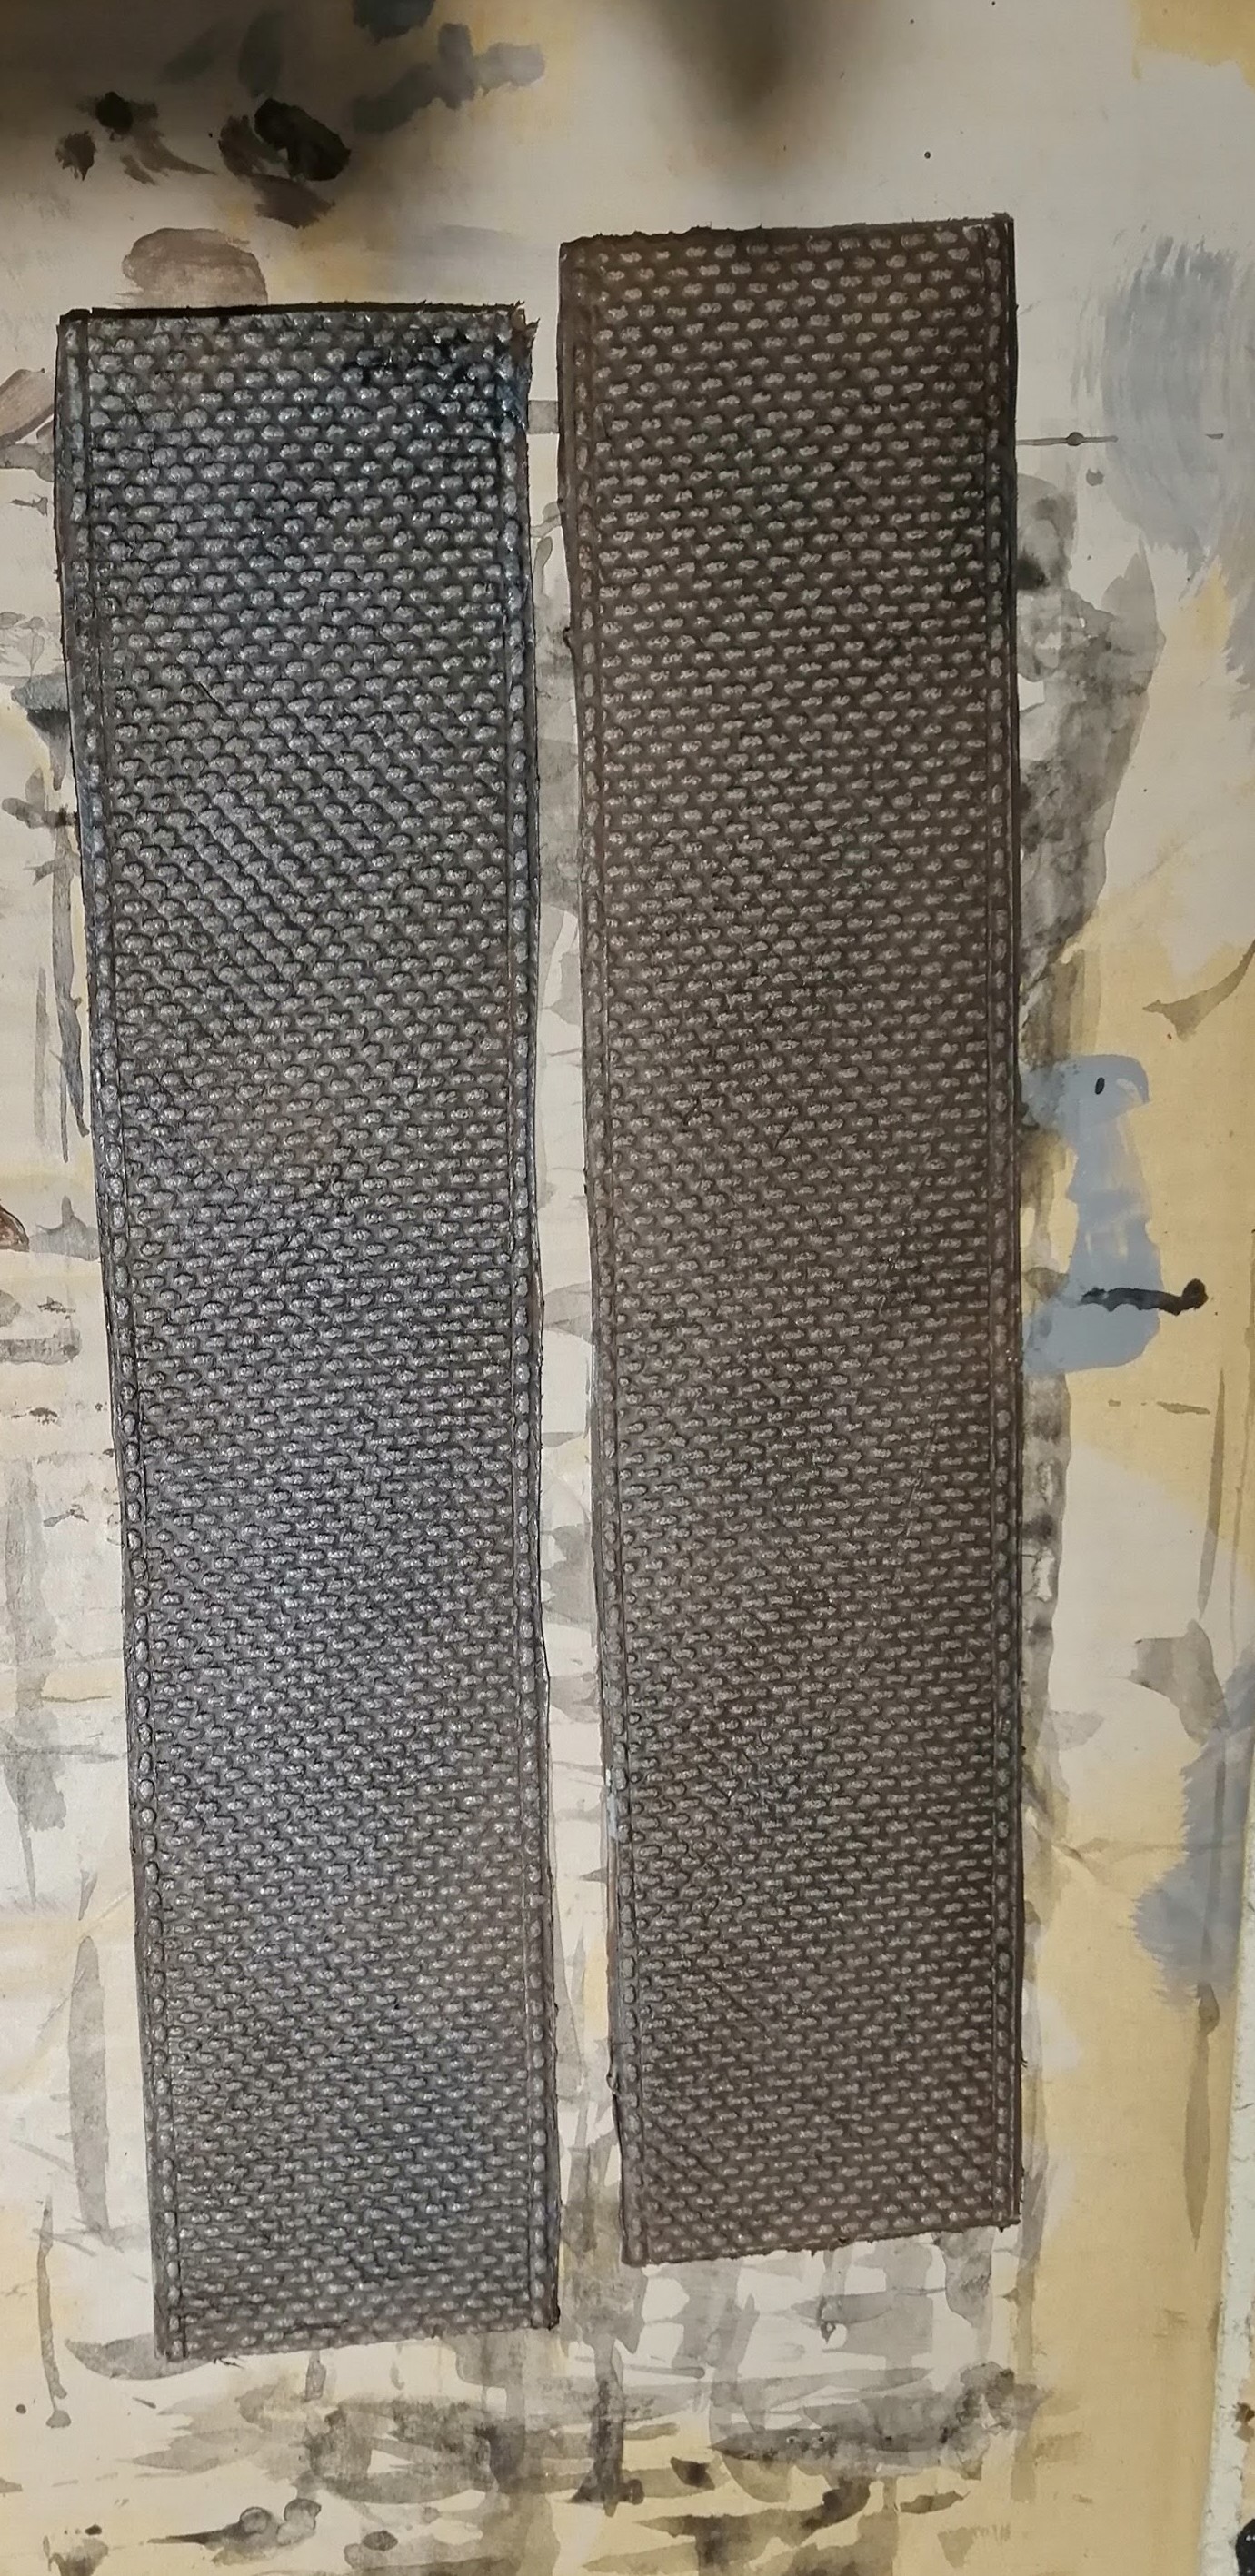
Once dry, using a piece of cardboard (to avoid ripping the wallpaper) I’ve spread the brown caulk over every piece.

I’ve left the caulk overnight to dry but apparently it can take paint within one to two hours – not worth the risk though.
Next step is a black/brown wash. Two coats to really accentuate the cobbles.
Then a quick dry brush using a grey to really pick out the tops of the cobbles. You can see the difference between the painted version on the left and the unpainted version with the caulk (which also looks ok, so you could stop there for simplicity).
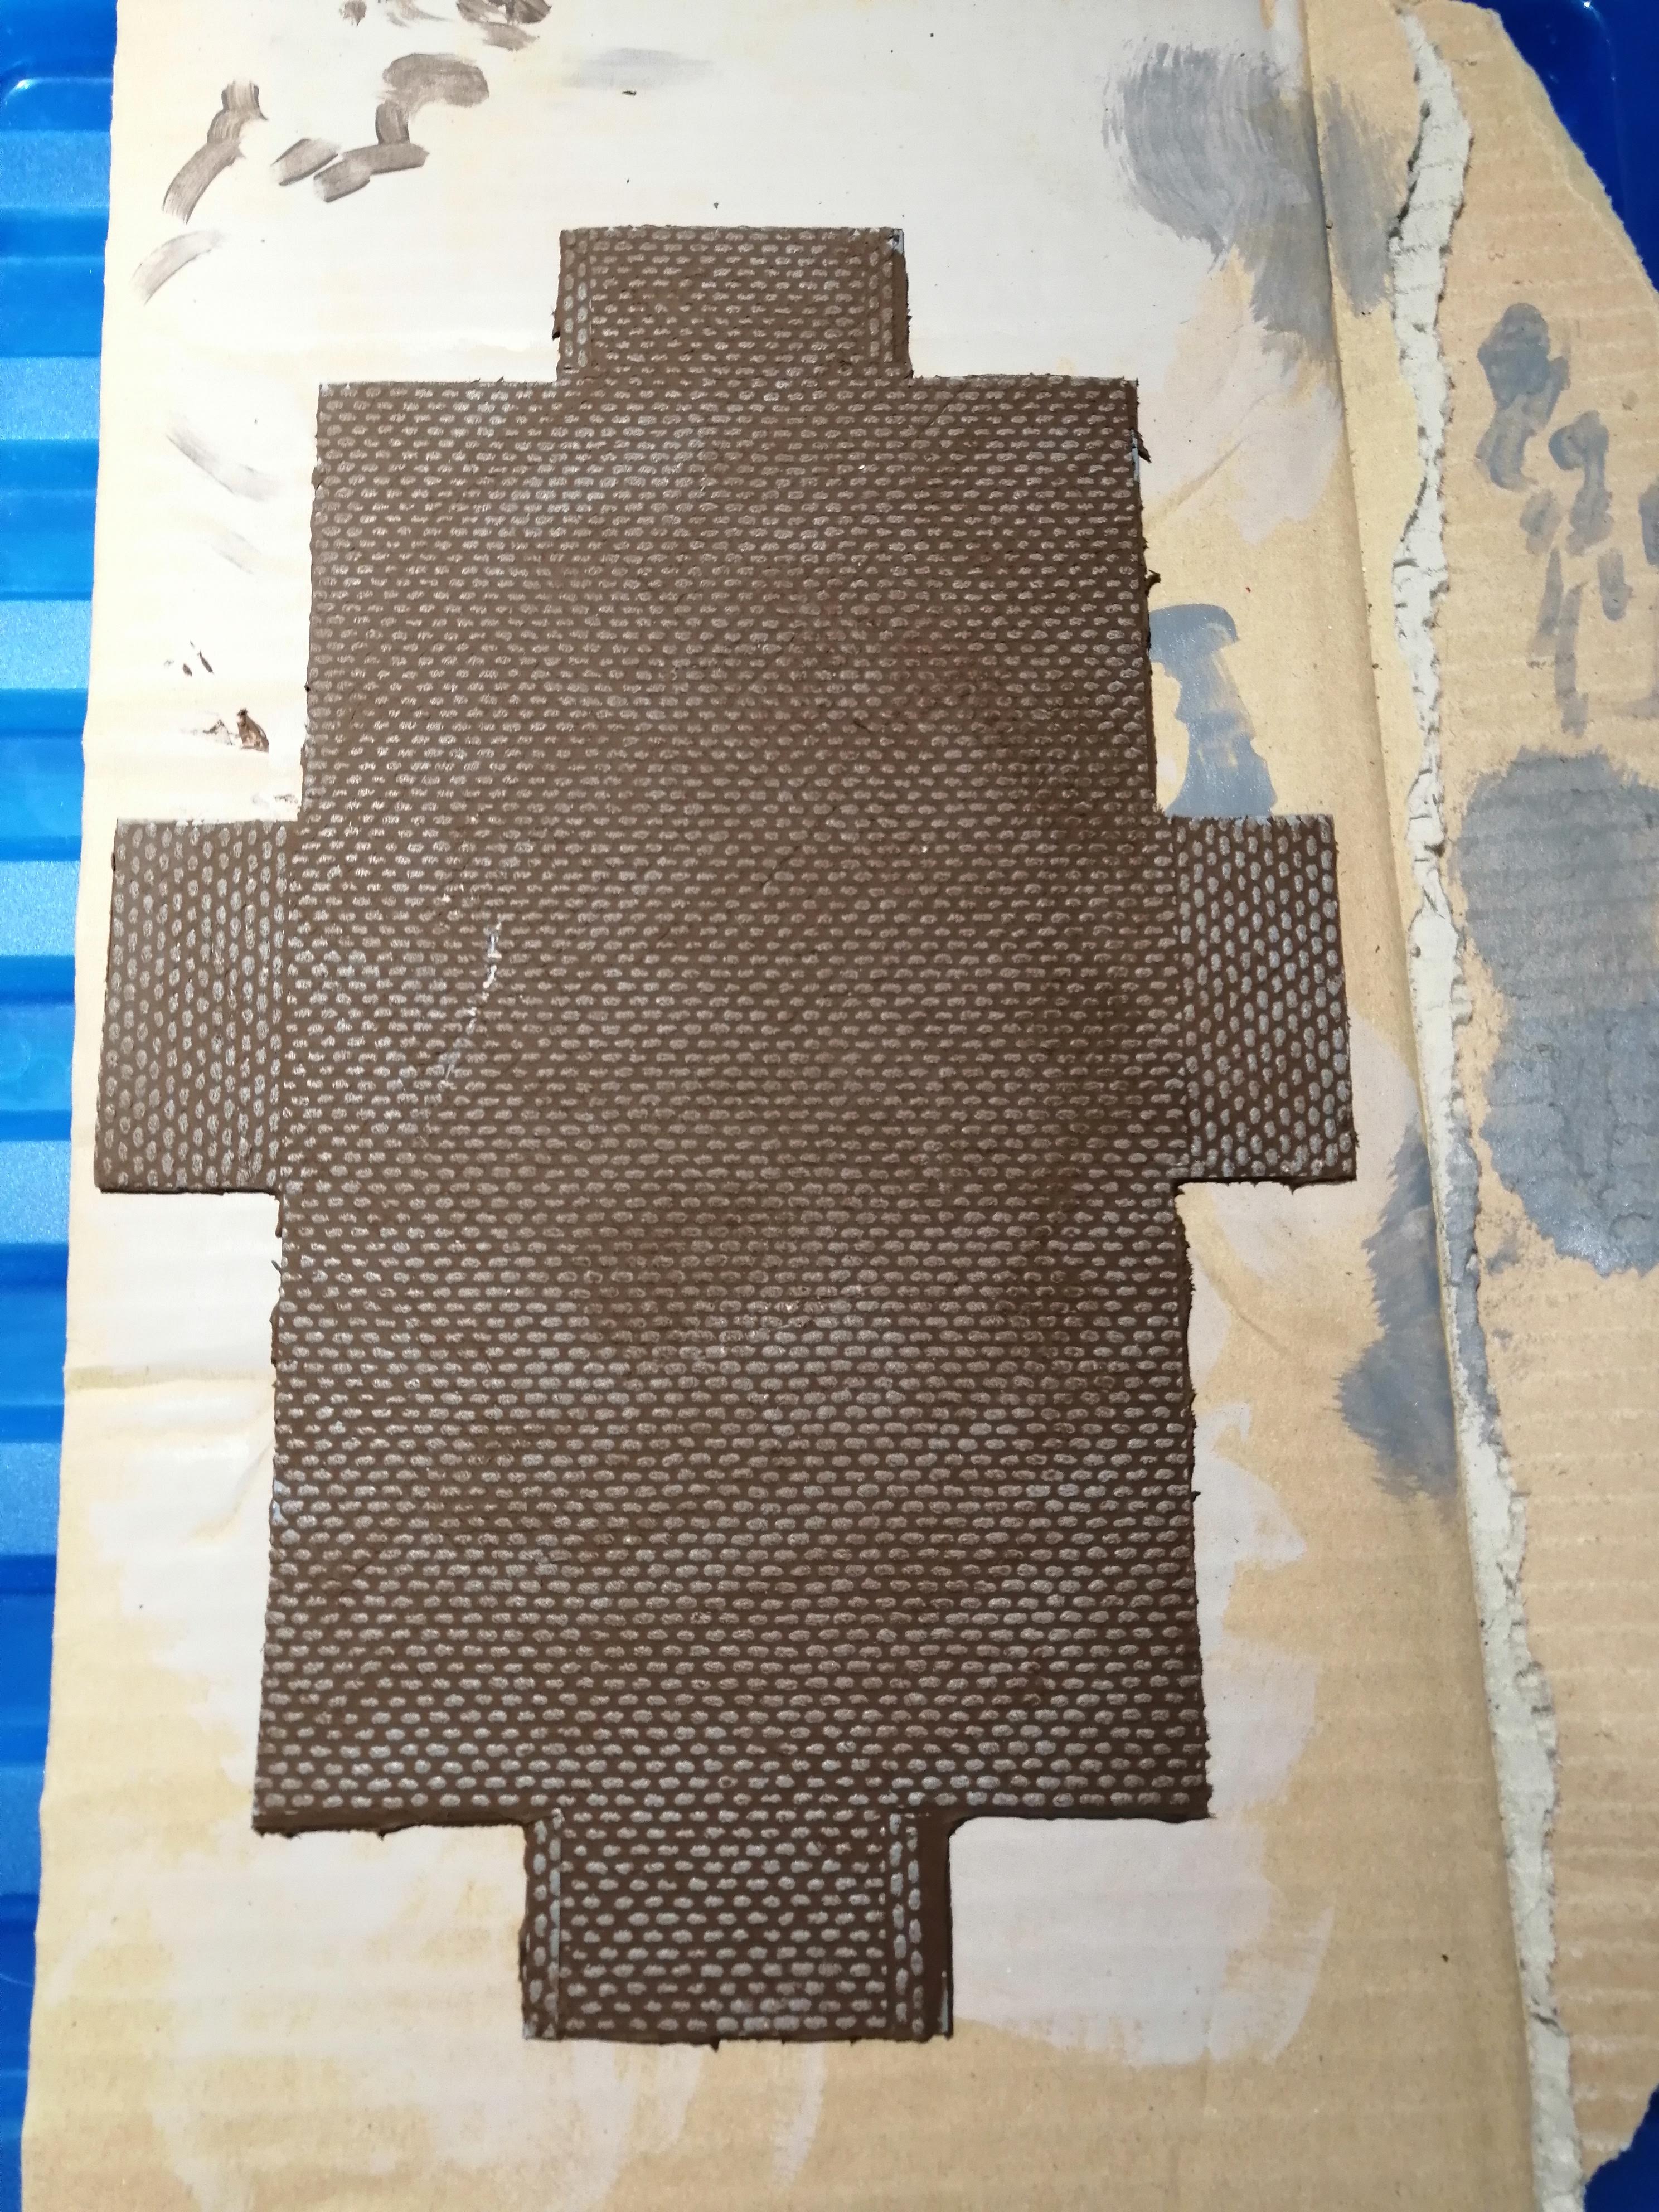
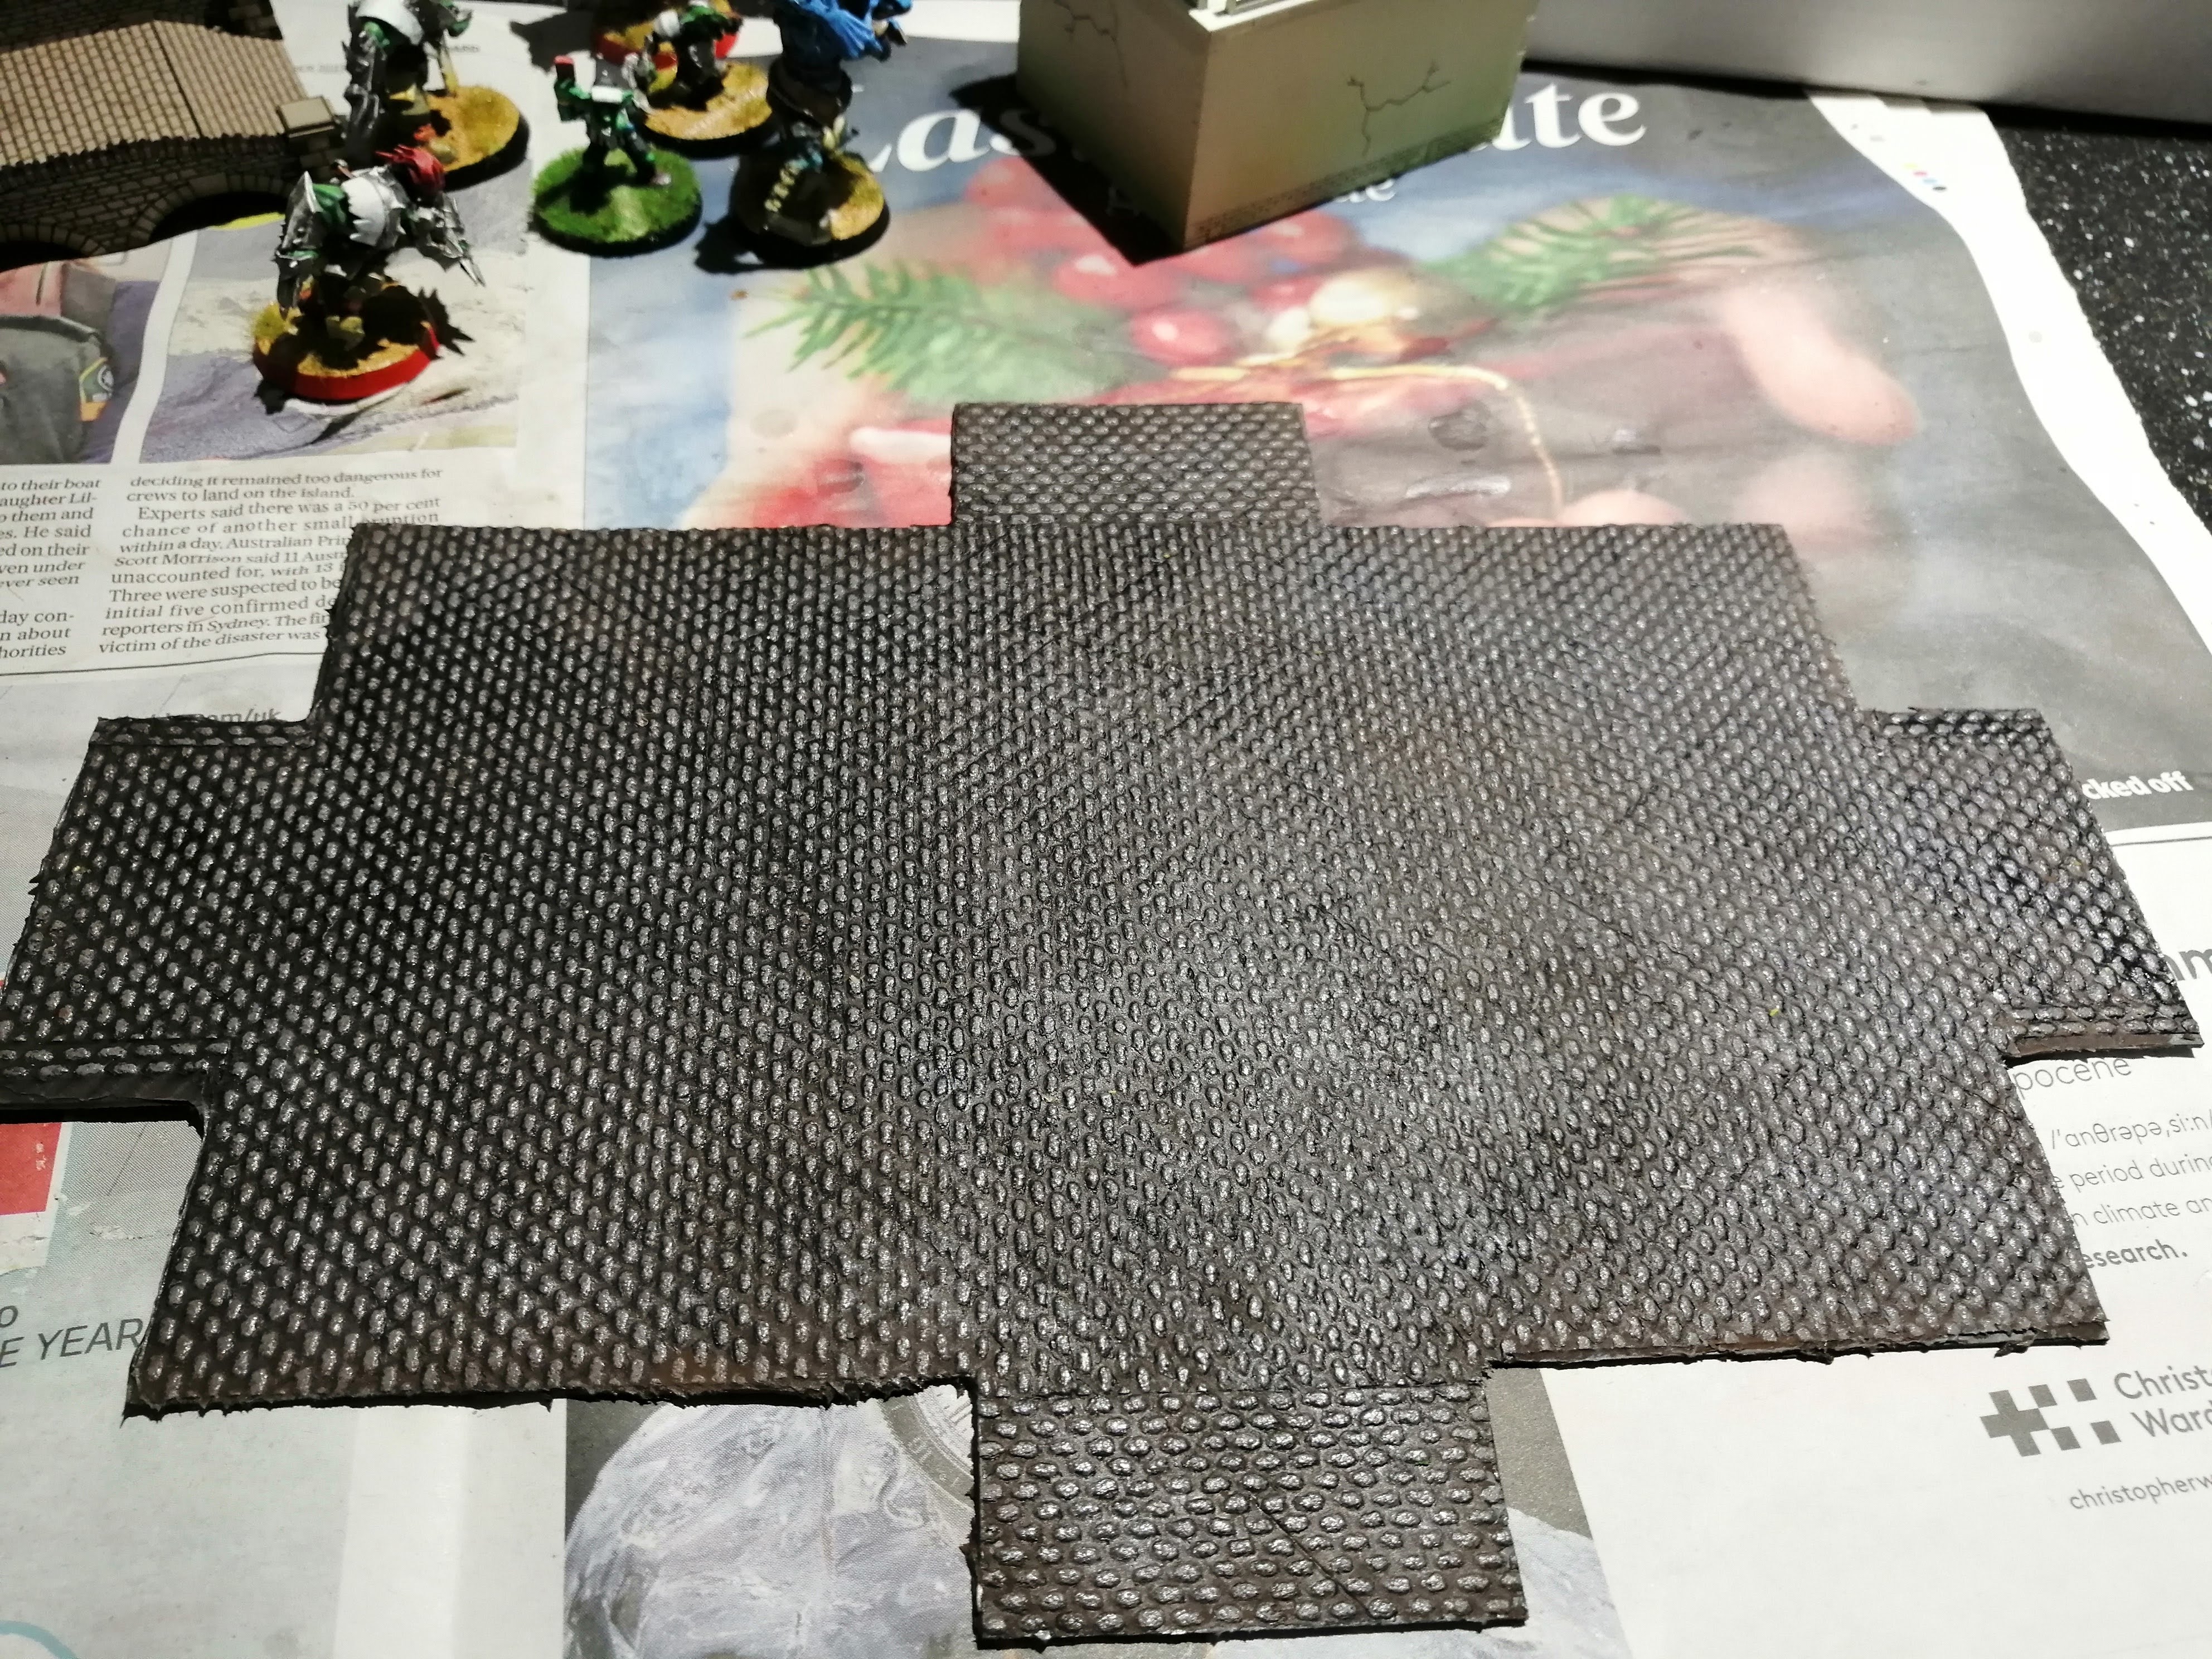 Completed town square
And that’s about it. This looks about a simple a solution that I can get to and is also dirt cheap. My rough calculation is less than £1 per 30cm of road and I still have quite a lot left over if I want to make more.
I’ll set some road up for the ‘money shot’ just to round this project off.
Oh, and this was a surprise. Never thought I would win a golden button just for sticking wall paper to rubber sheeting! 🙂


