Kit Bash 15mm 1/100 Scale Cargo Ship – TT Combat – Team Yankee


Recommendations: 245
About the Project
15mm Cargo Ships for Modern Wargaming are very difficult to find, so I had to quickly kit bash one together. This is how it panned out.
Related Game: Team Yankee
Related Company: TTCombat
Related Genre: Historical
This Project is Completed
What am I up to?
I’m working on a rule set for a Modern Special Forces game. And I’ve been thinking about some of the standout locations and missions that spring to mind when thinking about this genre and working through how the ruleset might accommodate them.
One of the scenarios pretty much top of my list is a raid on a cargo ship. Here are a couple of vids to get you in the mood!
So I embarked on a hunt for models and terrain I could use to recreate this at 15mm.
The Ship
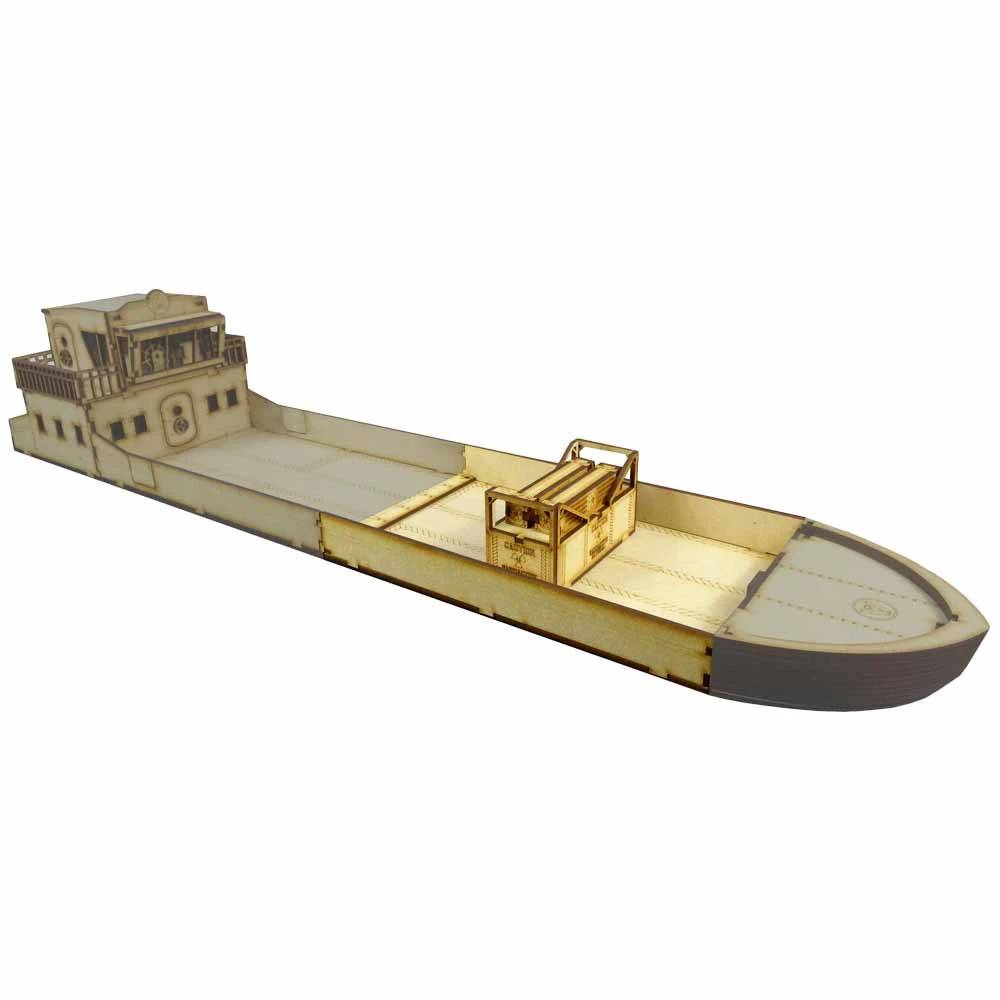
15mm Cargo Ships, just don’t seem to exist, after a long hunt I decided I’d have to use the TTCombat Cargo Ship as the base for a quick and dirty Kit Bash.
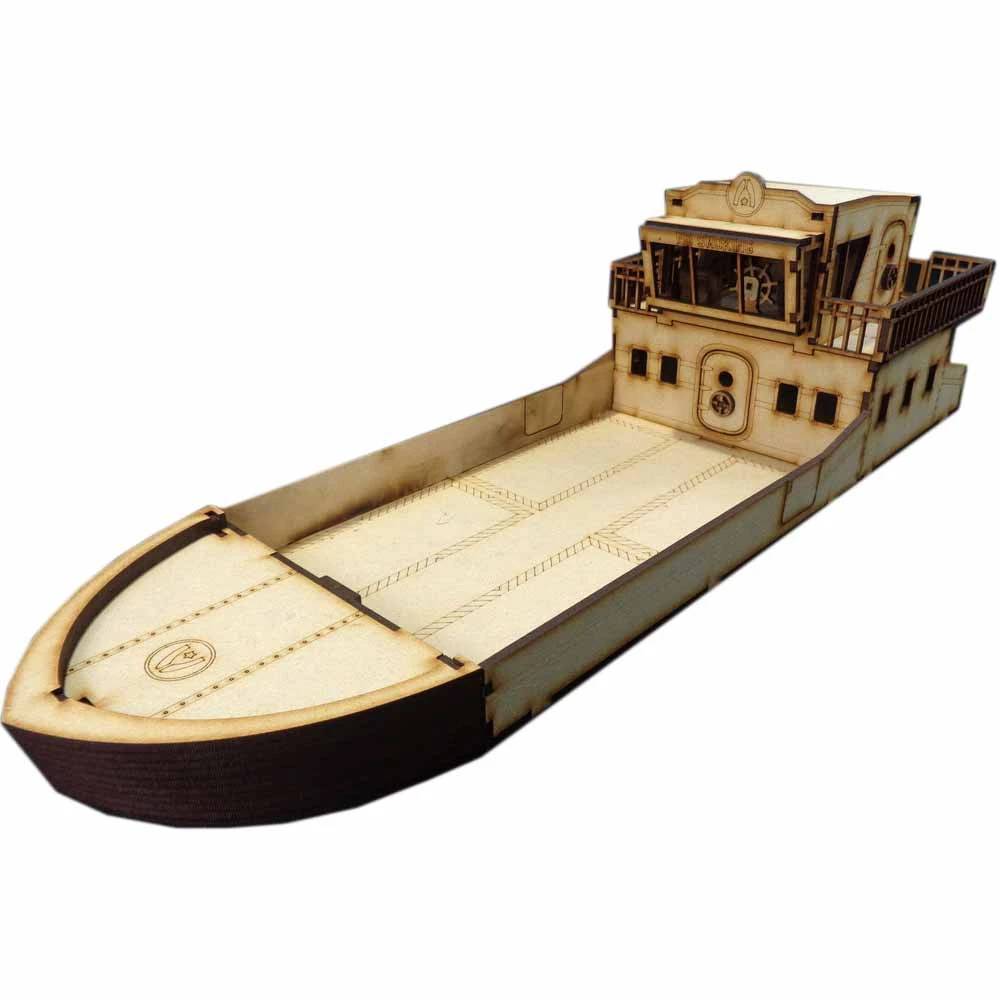
This is the basic Cargo Ship MDF model that can be found here: https://ttcombat.com/products/cargo-ship
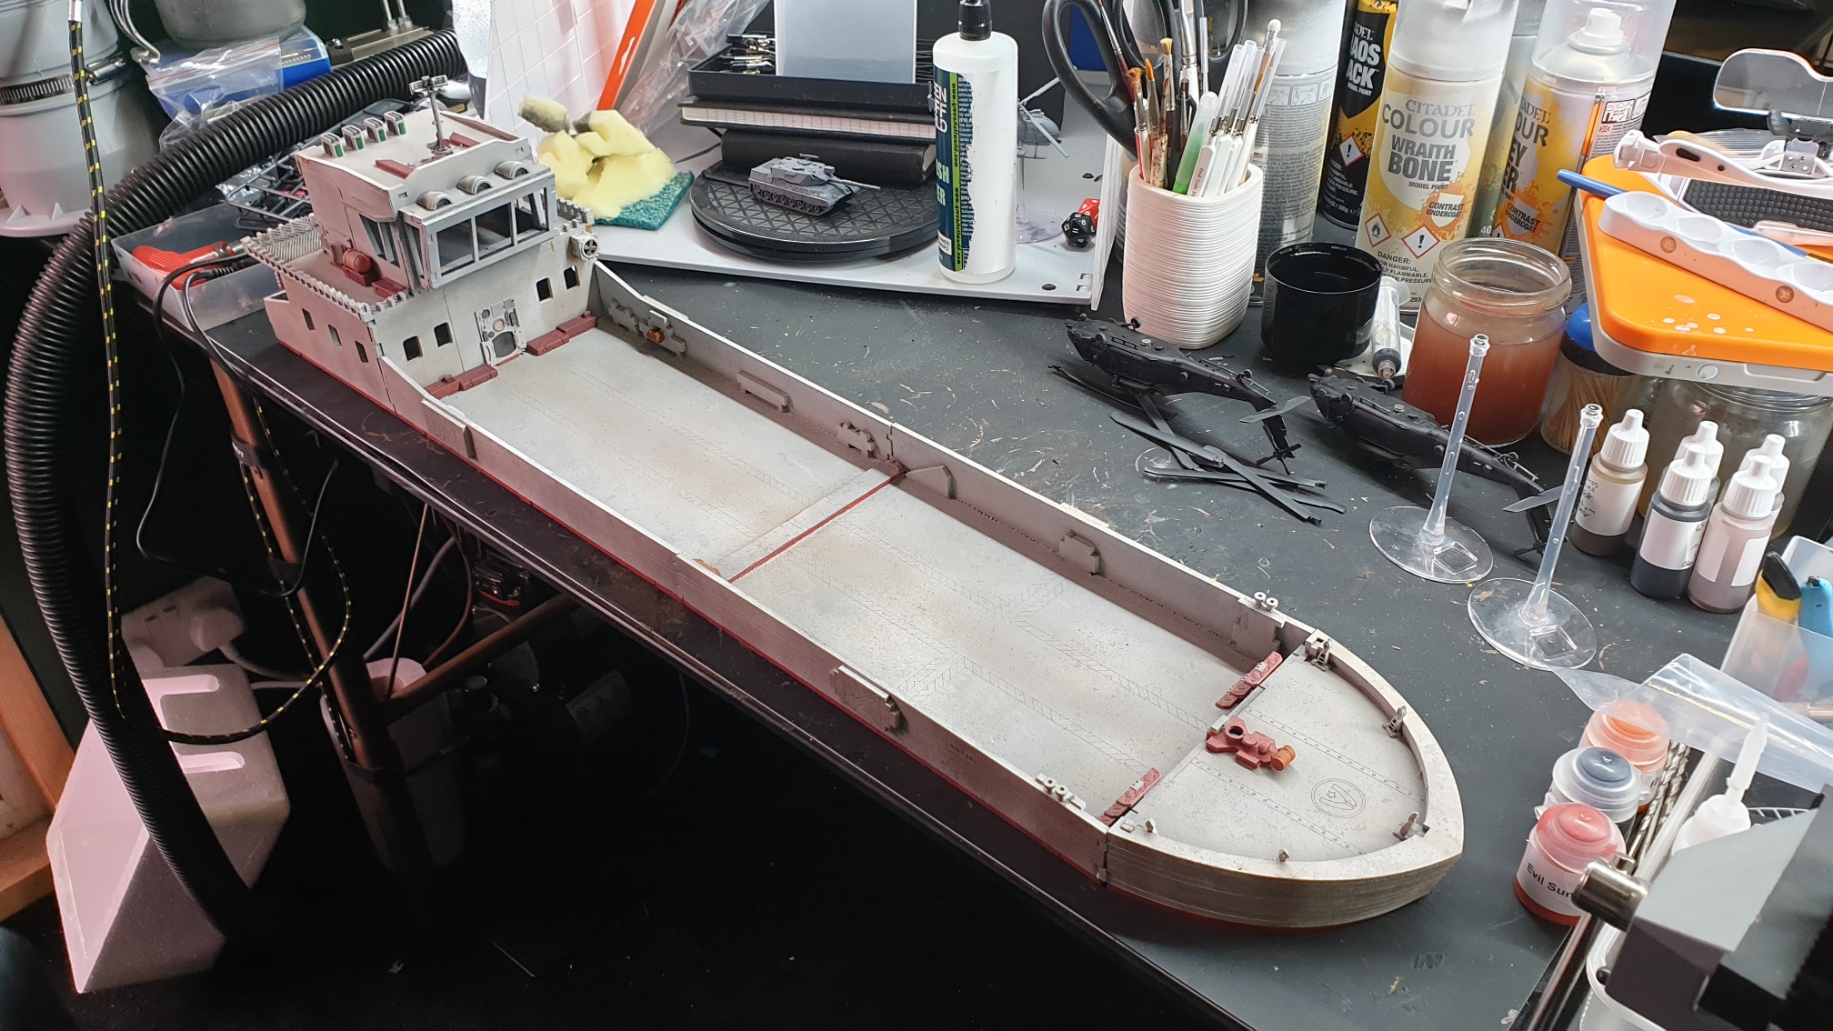
It’s fairly simple to put together and it’s possible to keep it in modules Bow, Midship and Stern. This is not only useful for storage but also allows an extra option to be added.
This Add On, the Cargo Ship Extension can be found here: https://ttcombat.com/products/cargo-ship-extension
It substantially increases the length of the midship and brings the cargo ship a little more in line with the kind of proportions I have in mind.
In the future when I tackle this project again in more detail I’m very tempted to see what happens when I add two of these!
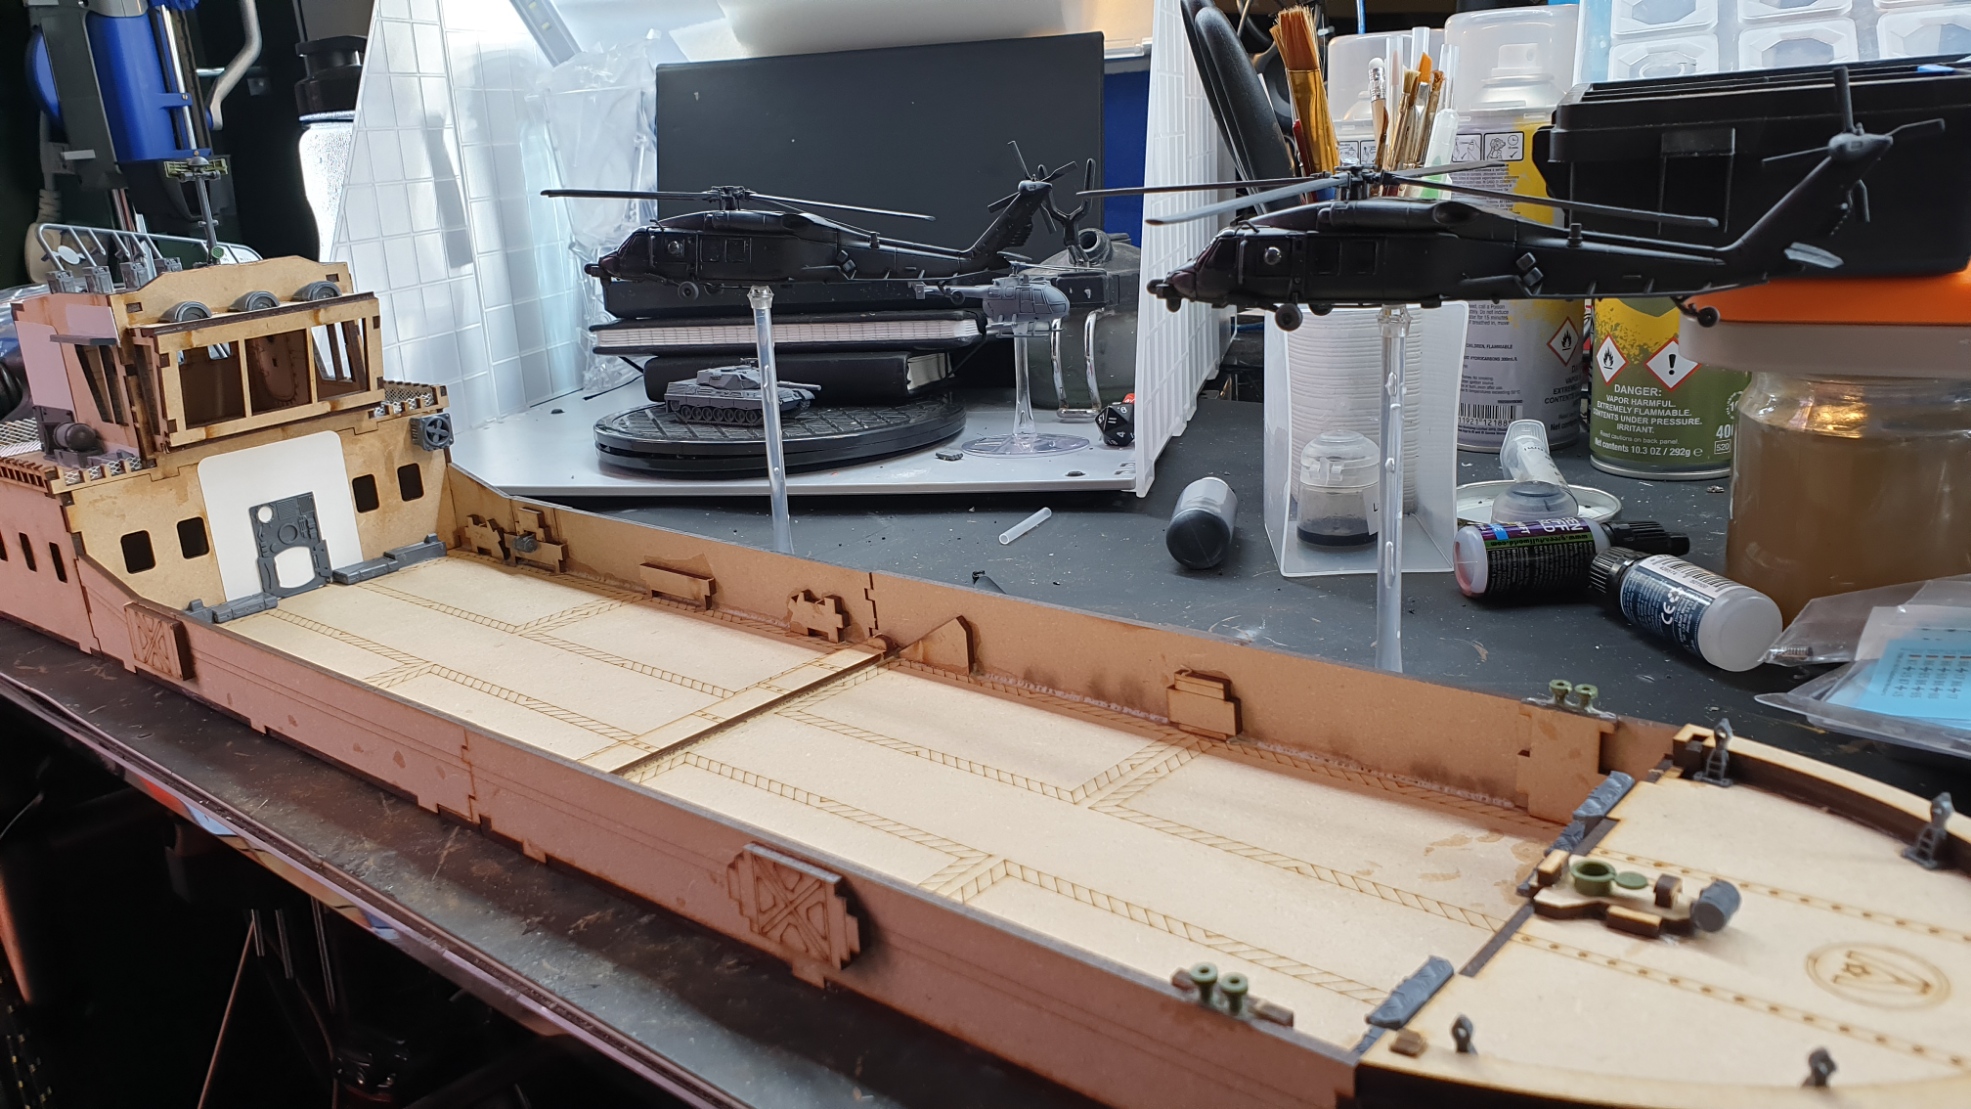
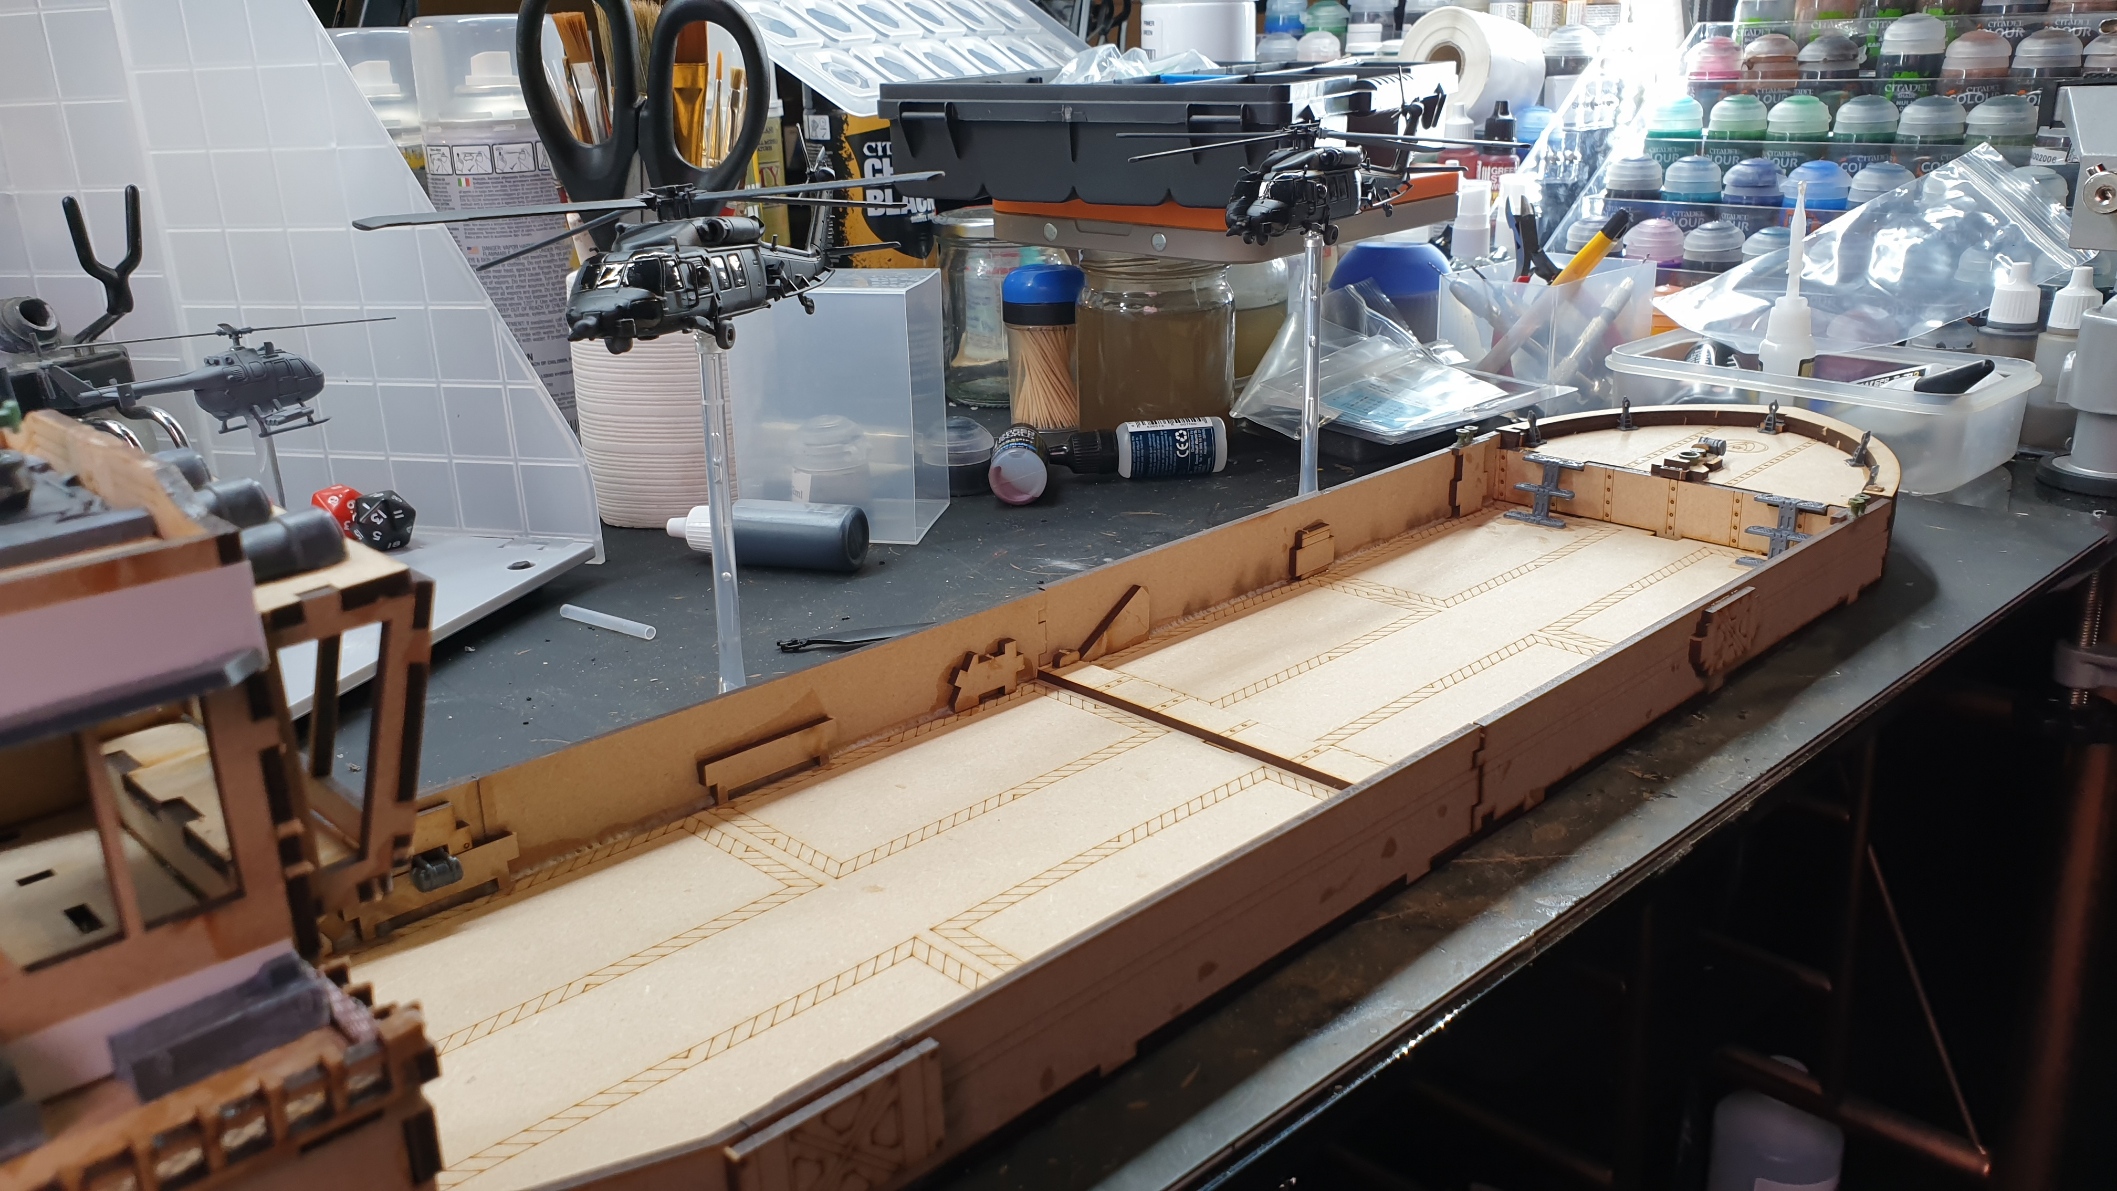
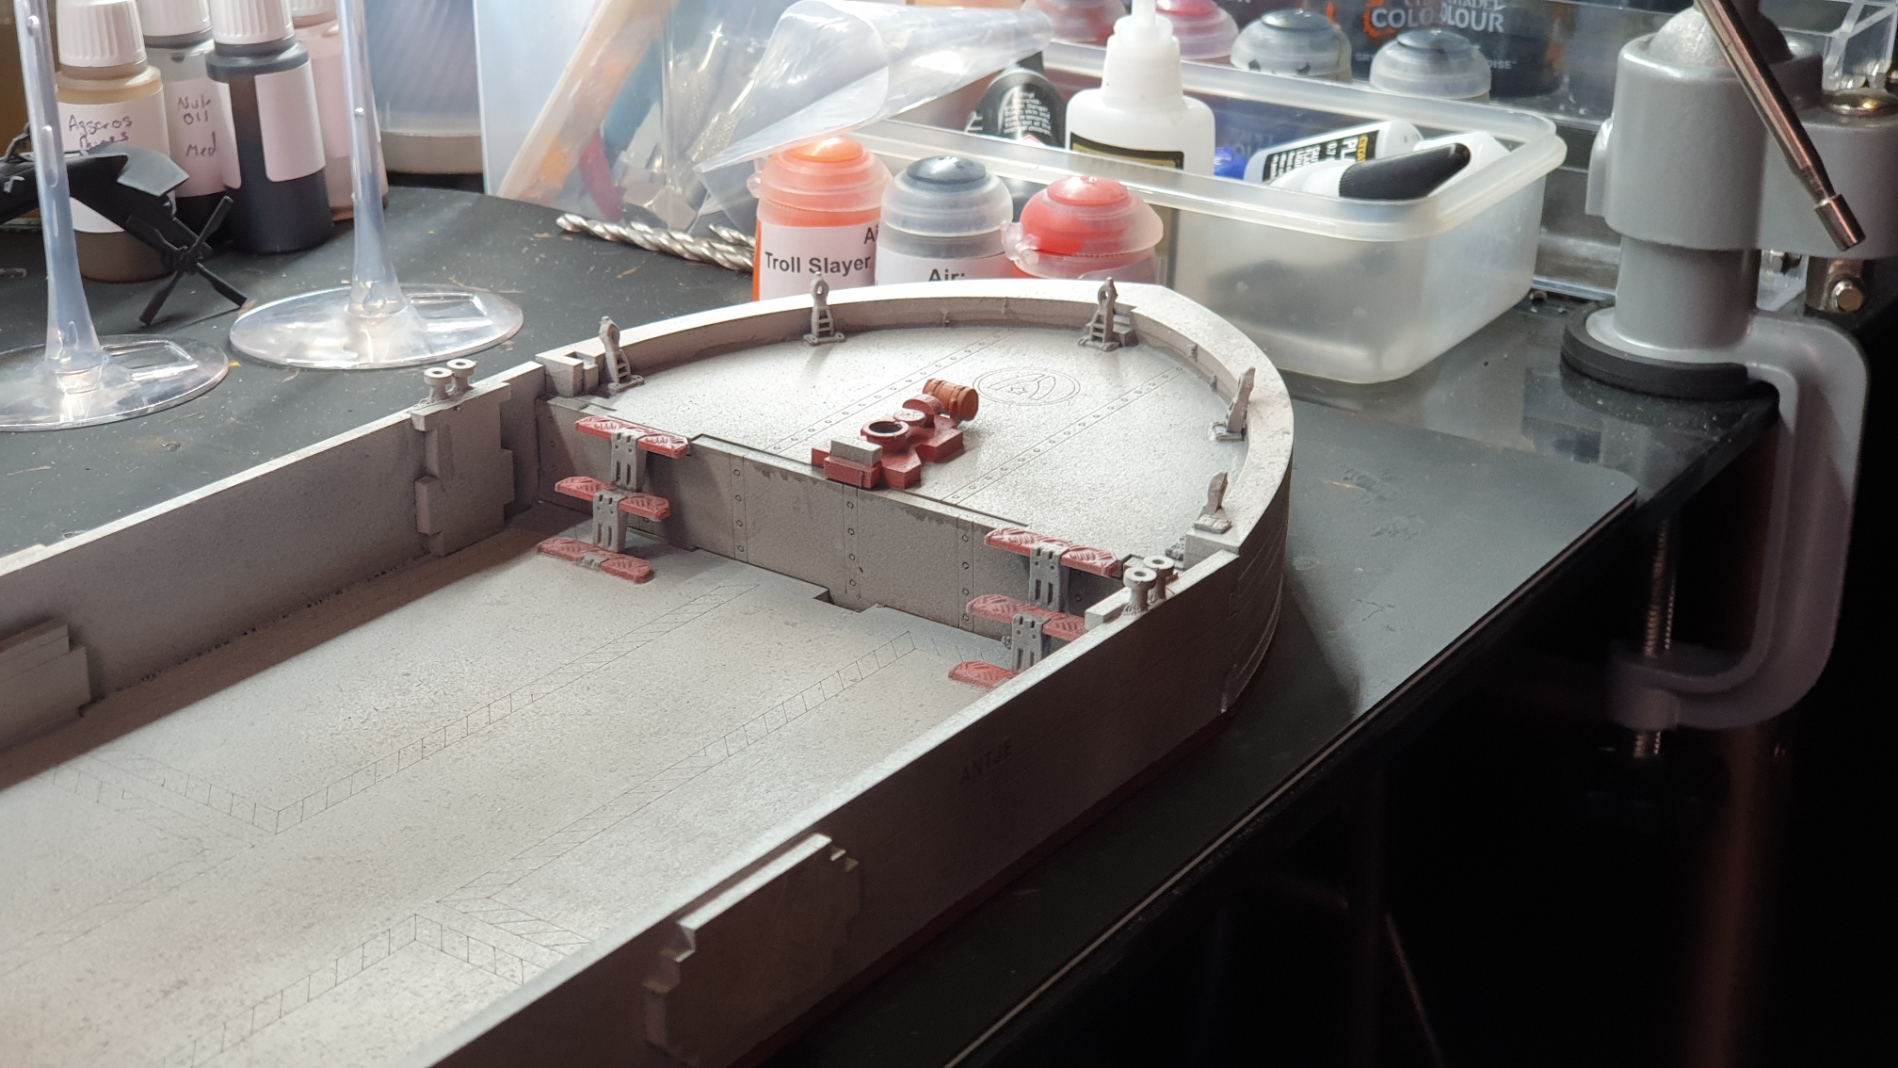
Put it together and roll it in bits!
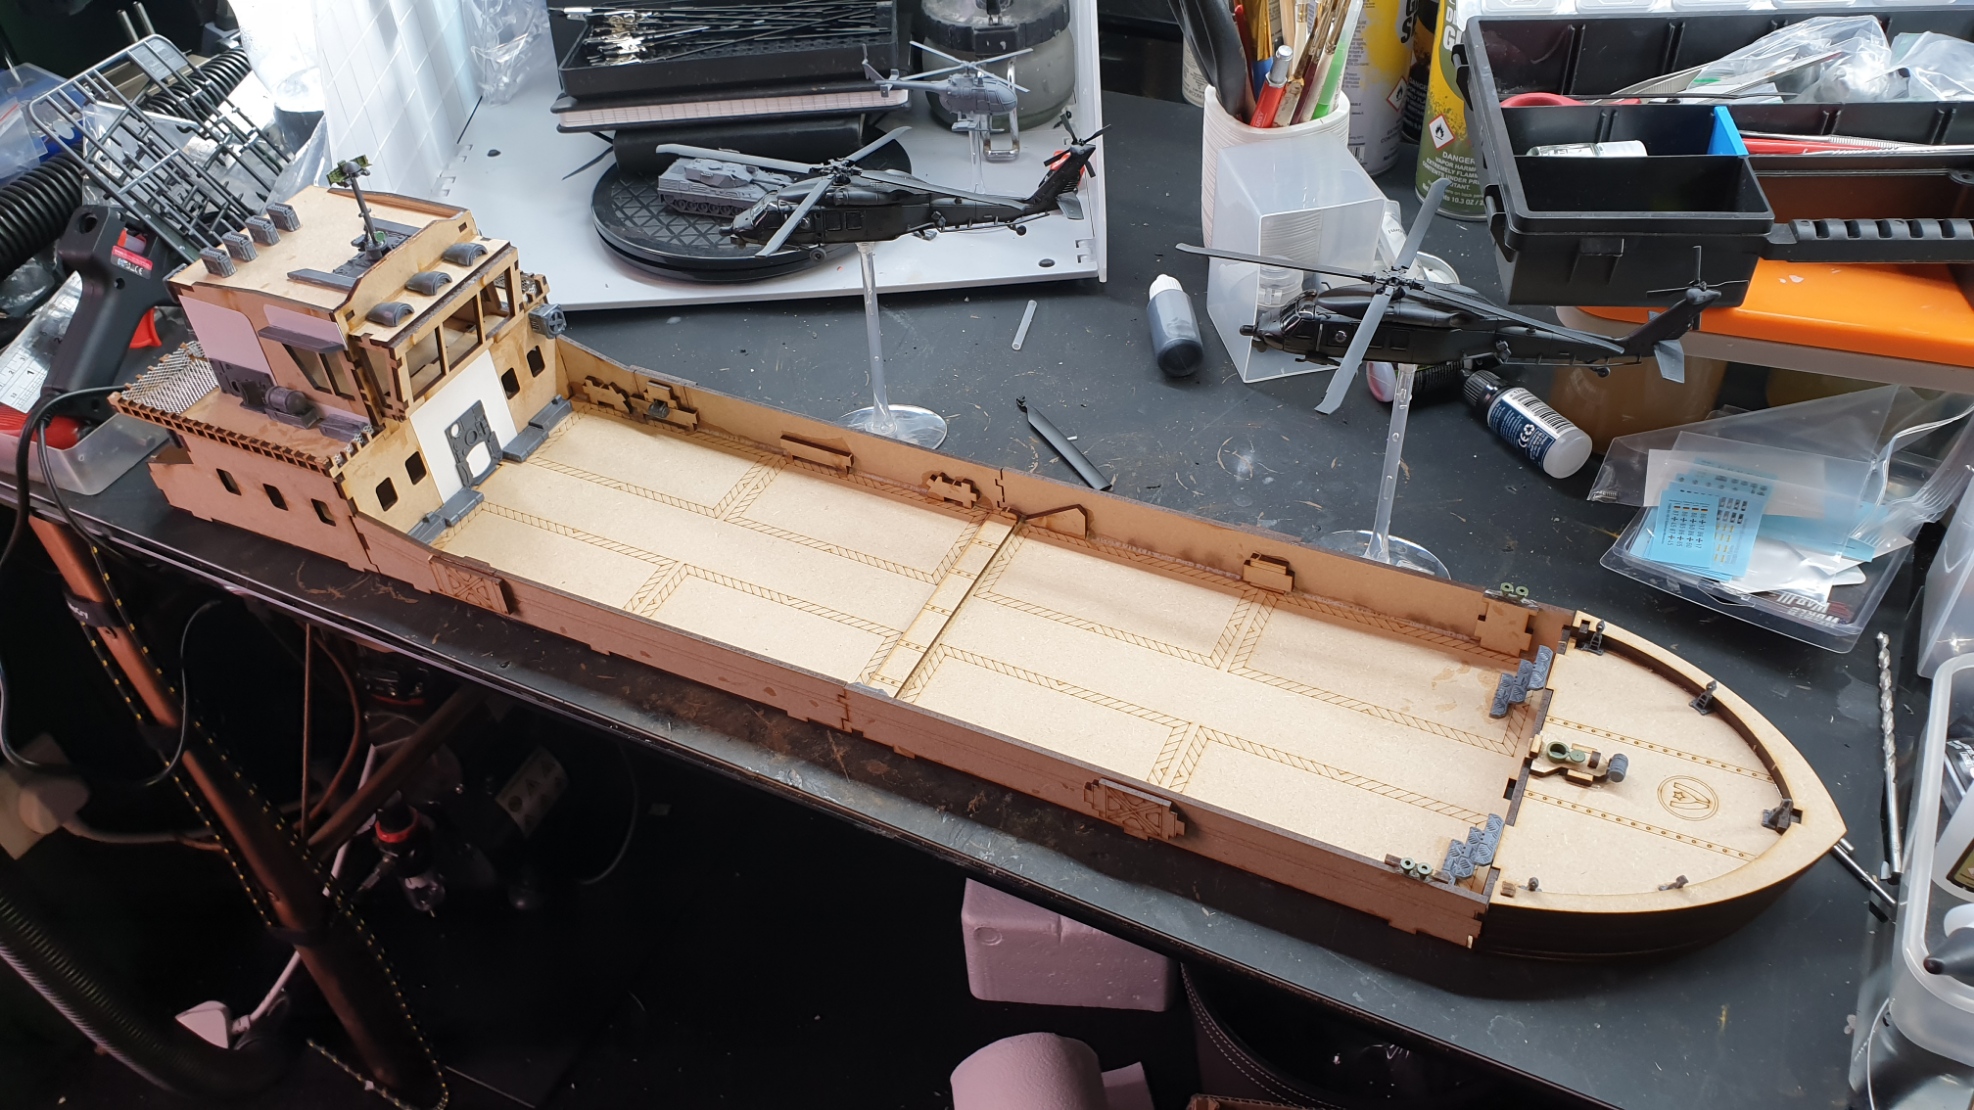
The ship goes together quite well. It suffers a little from the usual MDF issues of parts just not fitting quite as nicely as you might like, but for this exercise, it will do very nicely.
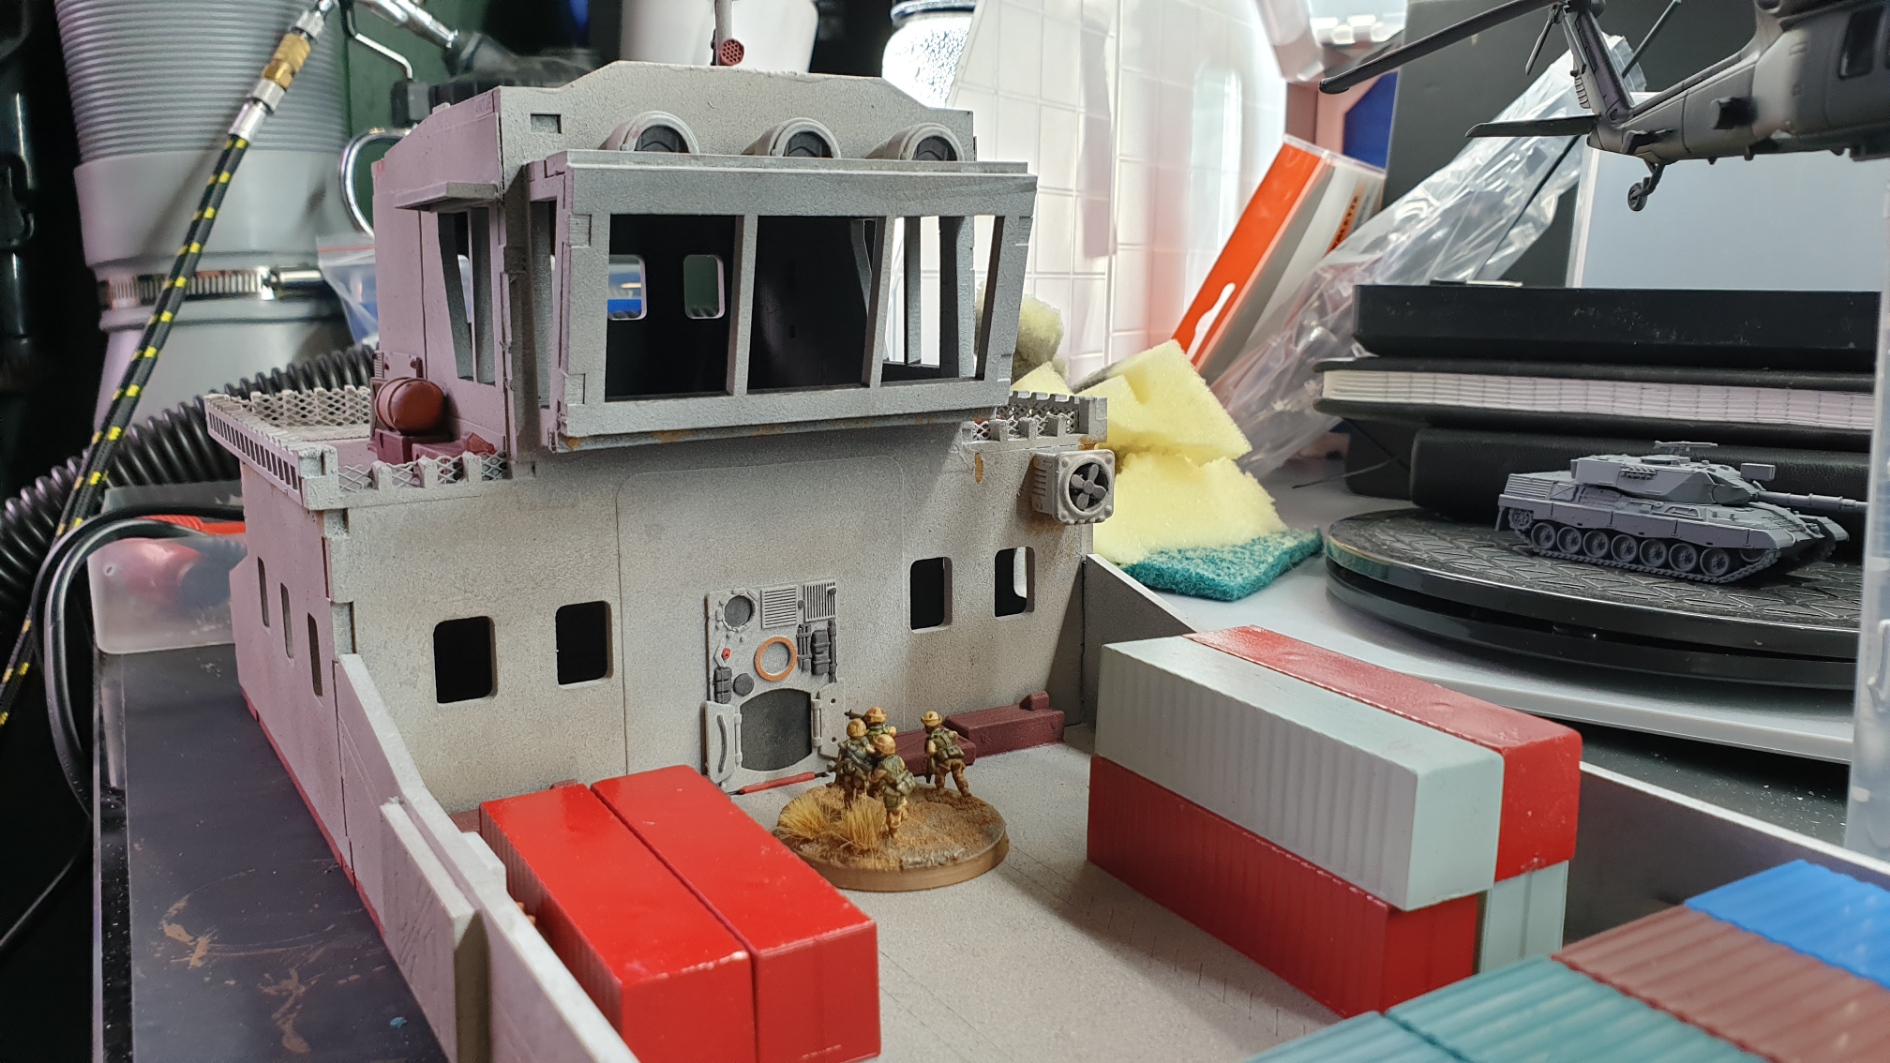
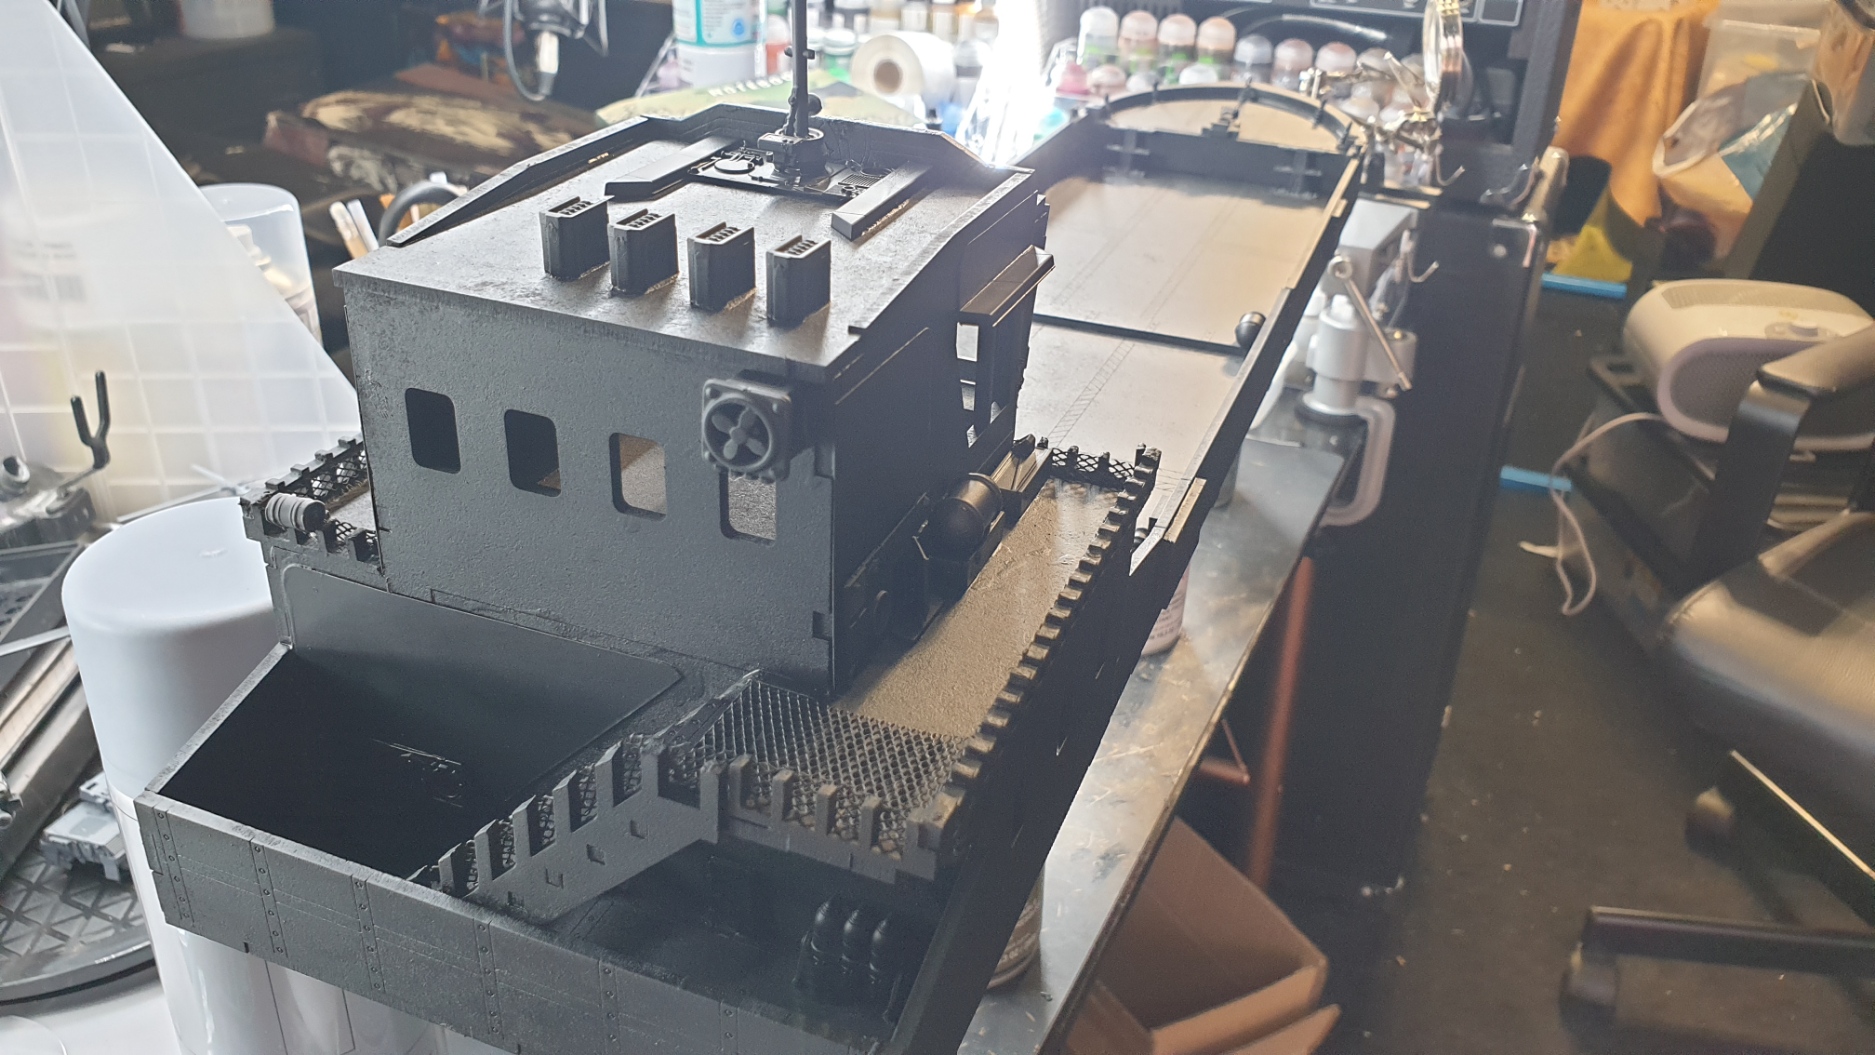
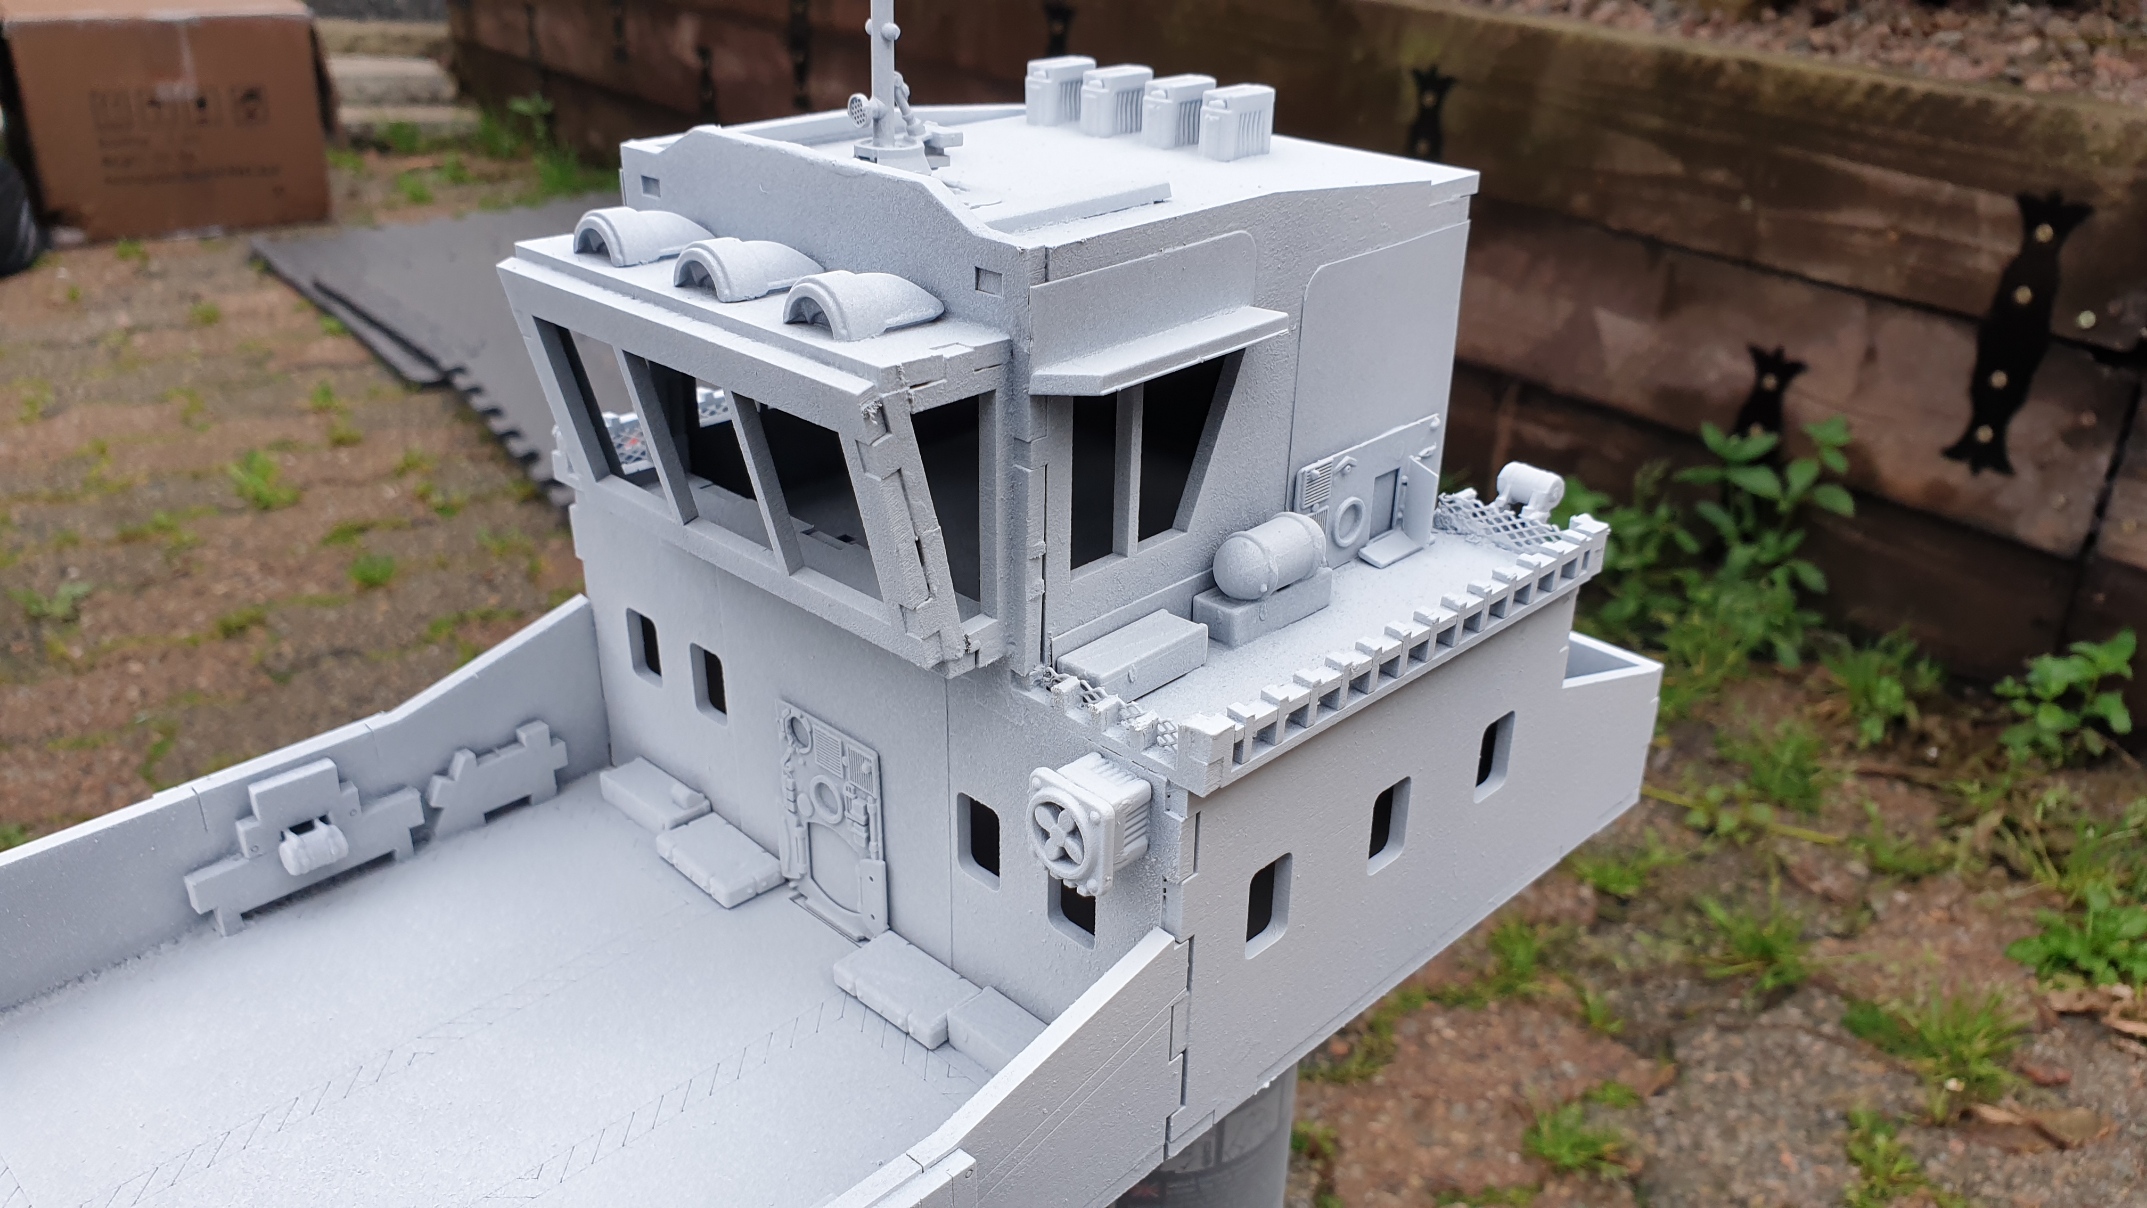
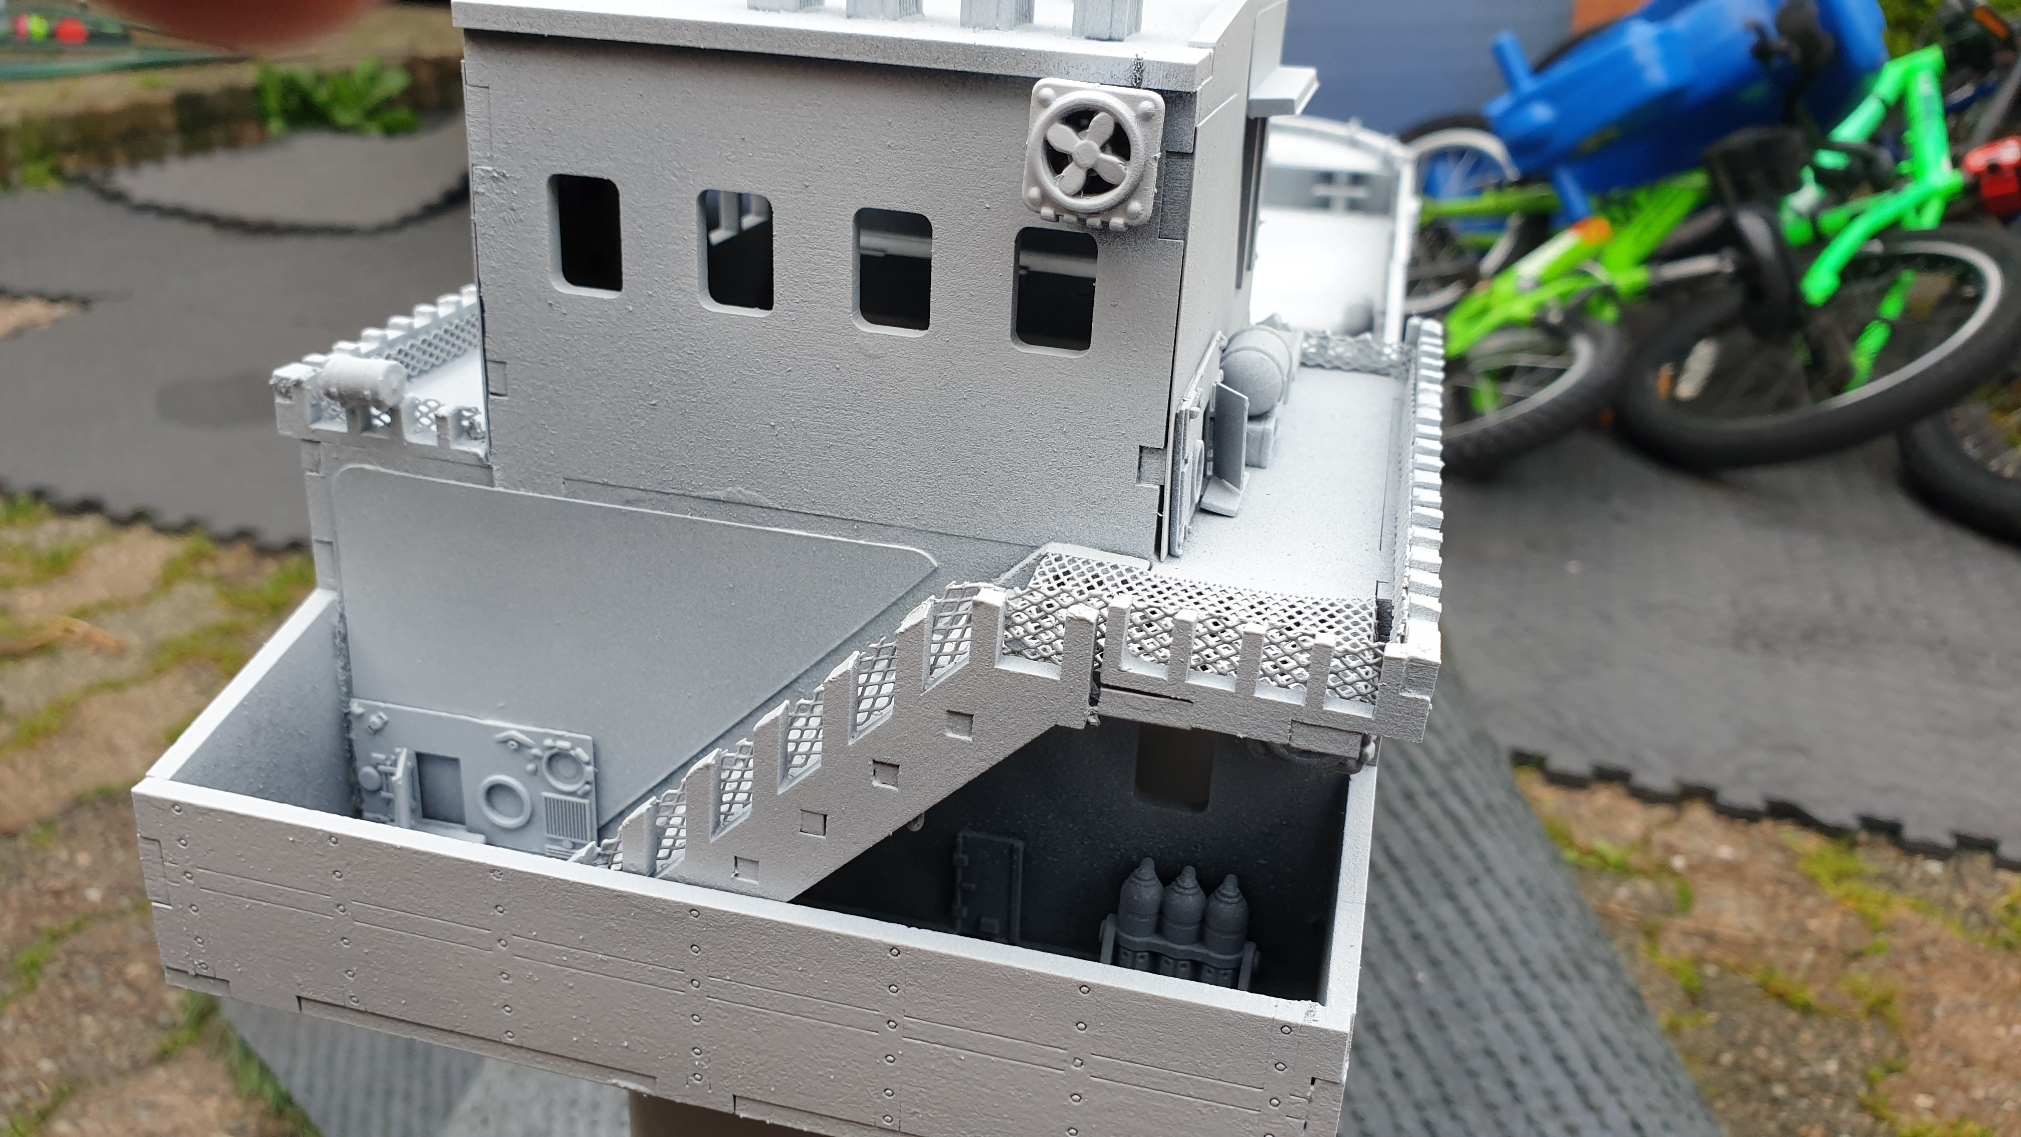
The entire bridge section I built inside out, this was to hide all the laser etching that would give away the scale difference on the inside of the ship.
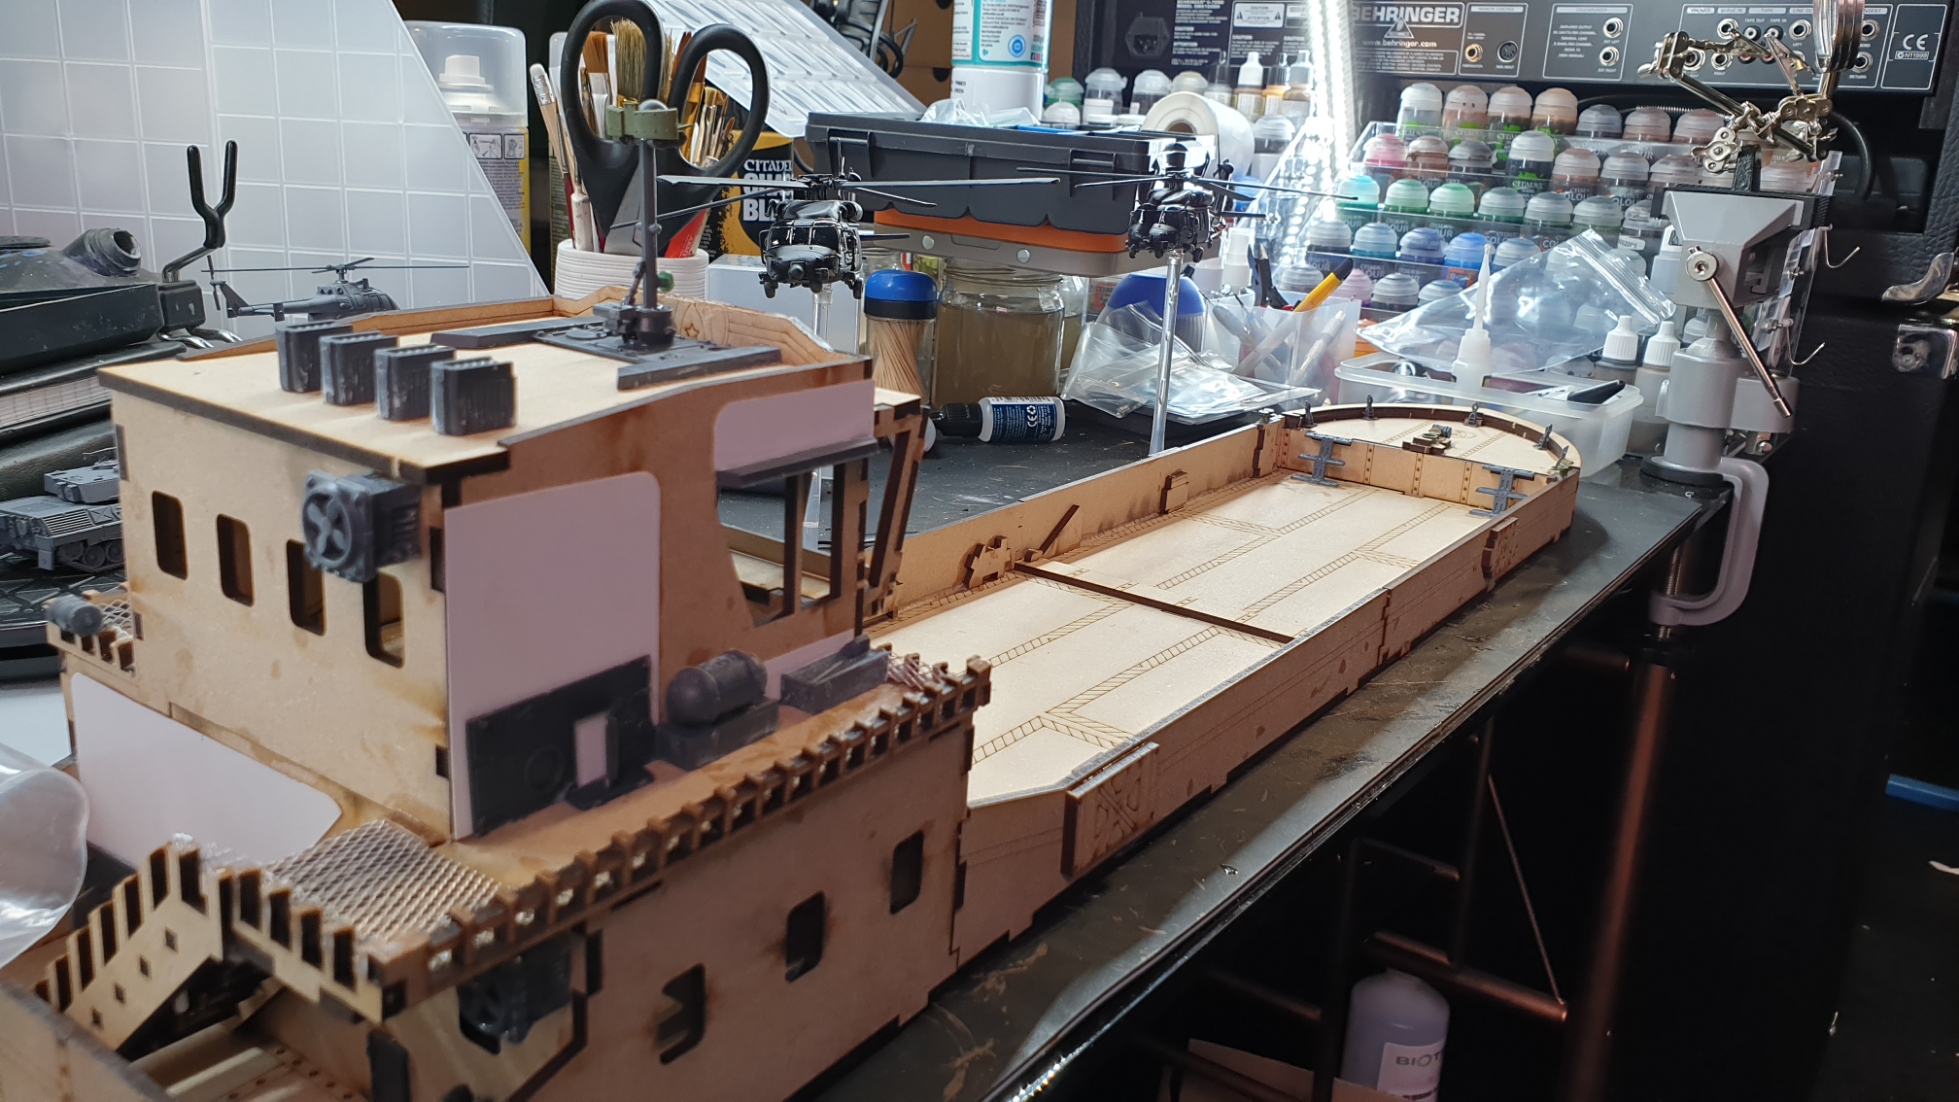
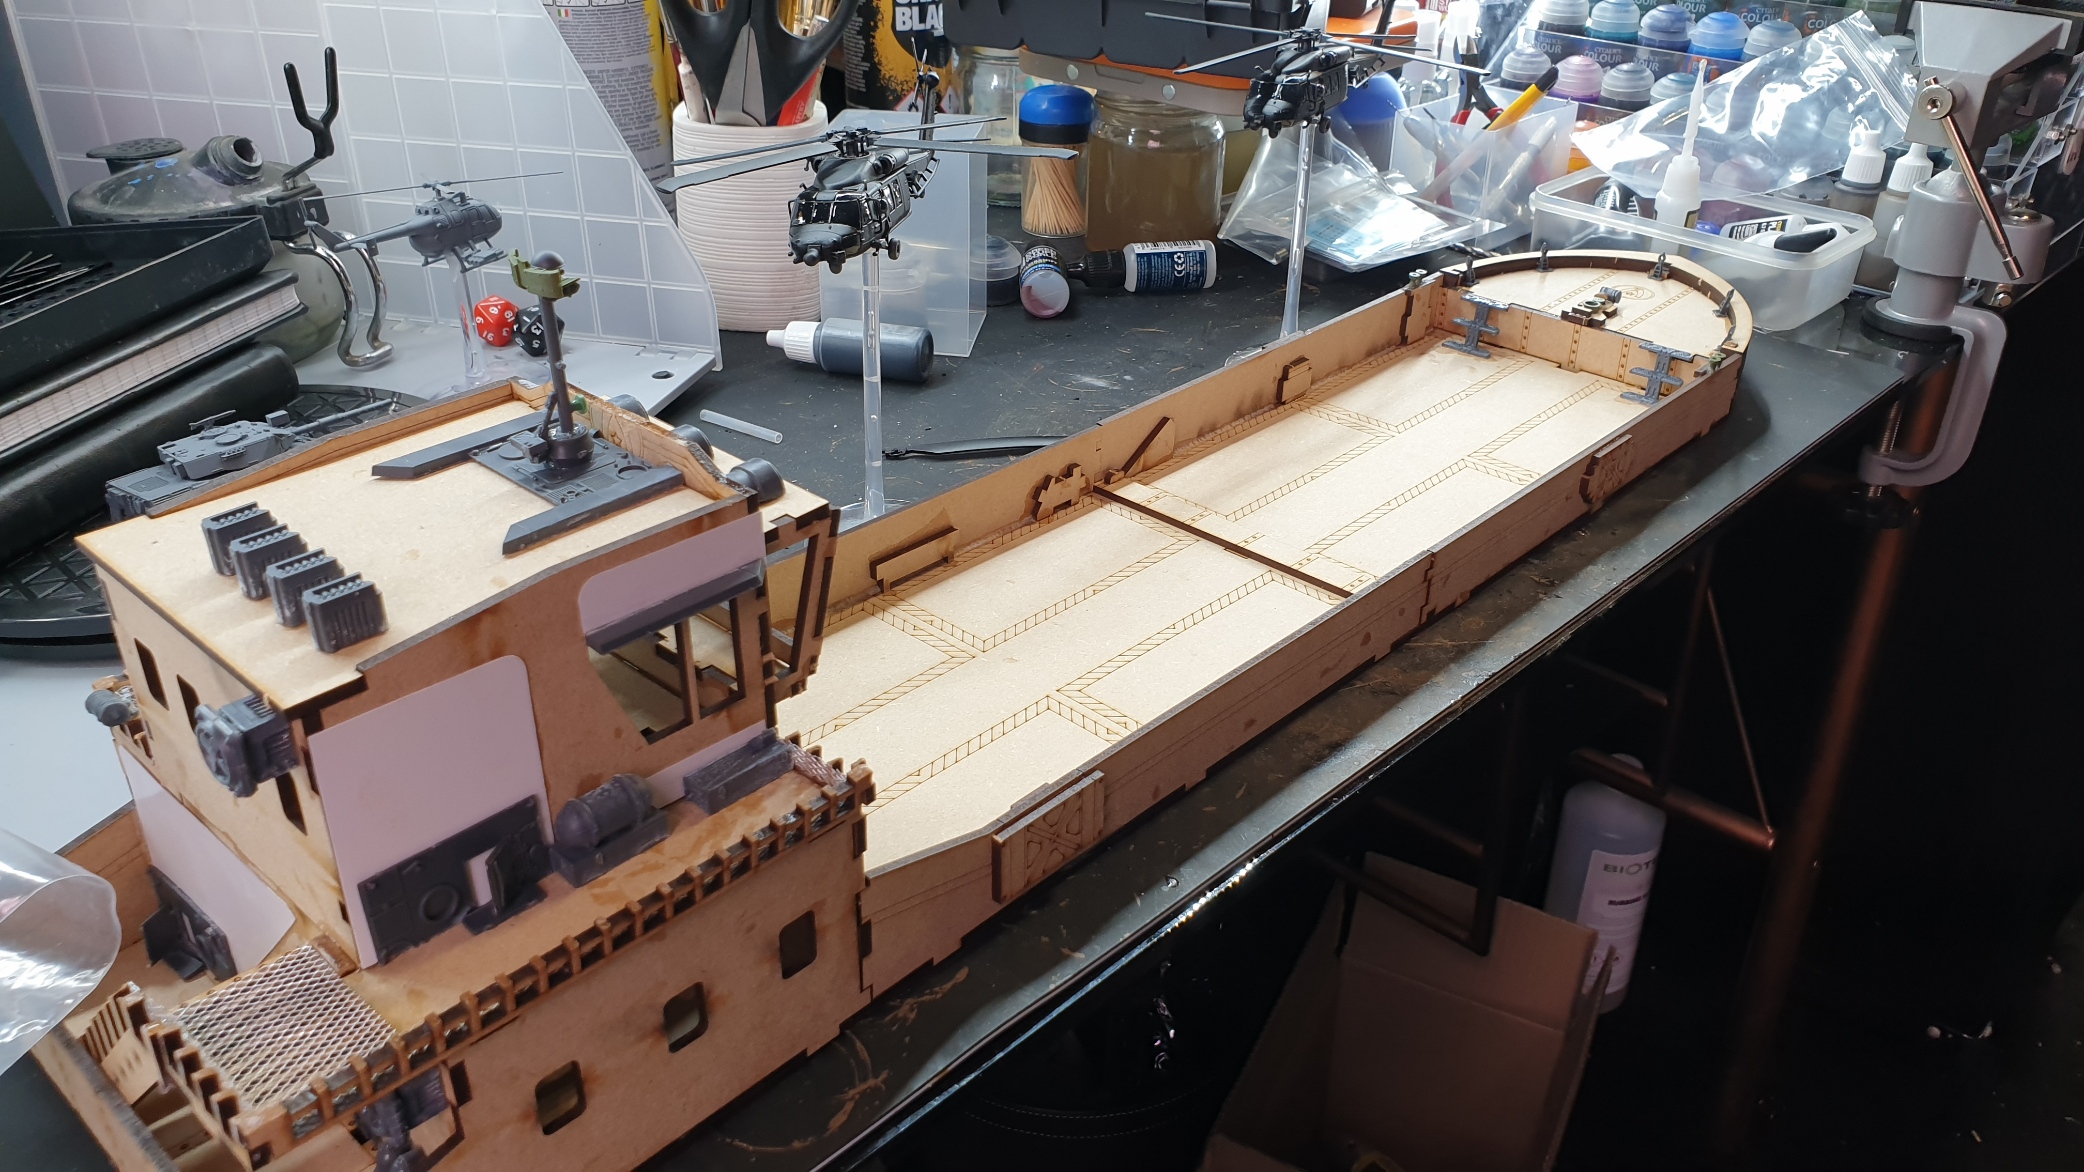
There is an opportunity here to keep roof sections separate to allow for models to go inside the two levels of the bridge. I glued them for speed’s sake but when I do it again I’m pretty sure I will try to keep the levels separate.
I then set to work on an old fashioned Kit Bash! Yes I could have gone down the road of 3D printing panels and conversion parts, and it’s almost certainly either something I might add to this model or do on the next version of it, but to get a model down on a table for testing quickly, the old fashioned methods are still the best – and let’s be honest a lot of fun too!
Retaining a bits box for historical and modern gaming can feel a little redundant some times, A tank hull is a tank hull, and kitbashing stuff together is more of a sci-fi exercise as historical and moderns components are often very recognizable to fans of the genre and can break the immersion a little.
But I’m a hobby hoarder by nature so I do indeed maintain a Team Yankee bits box… because you never know!
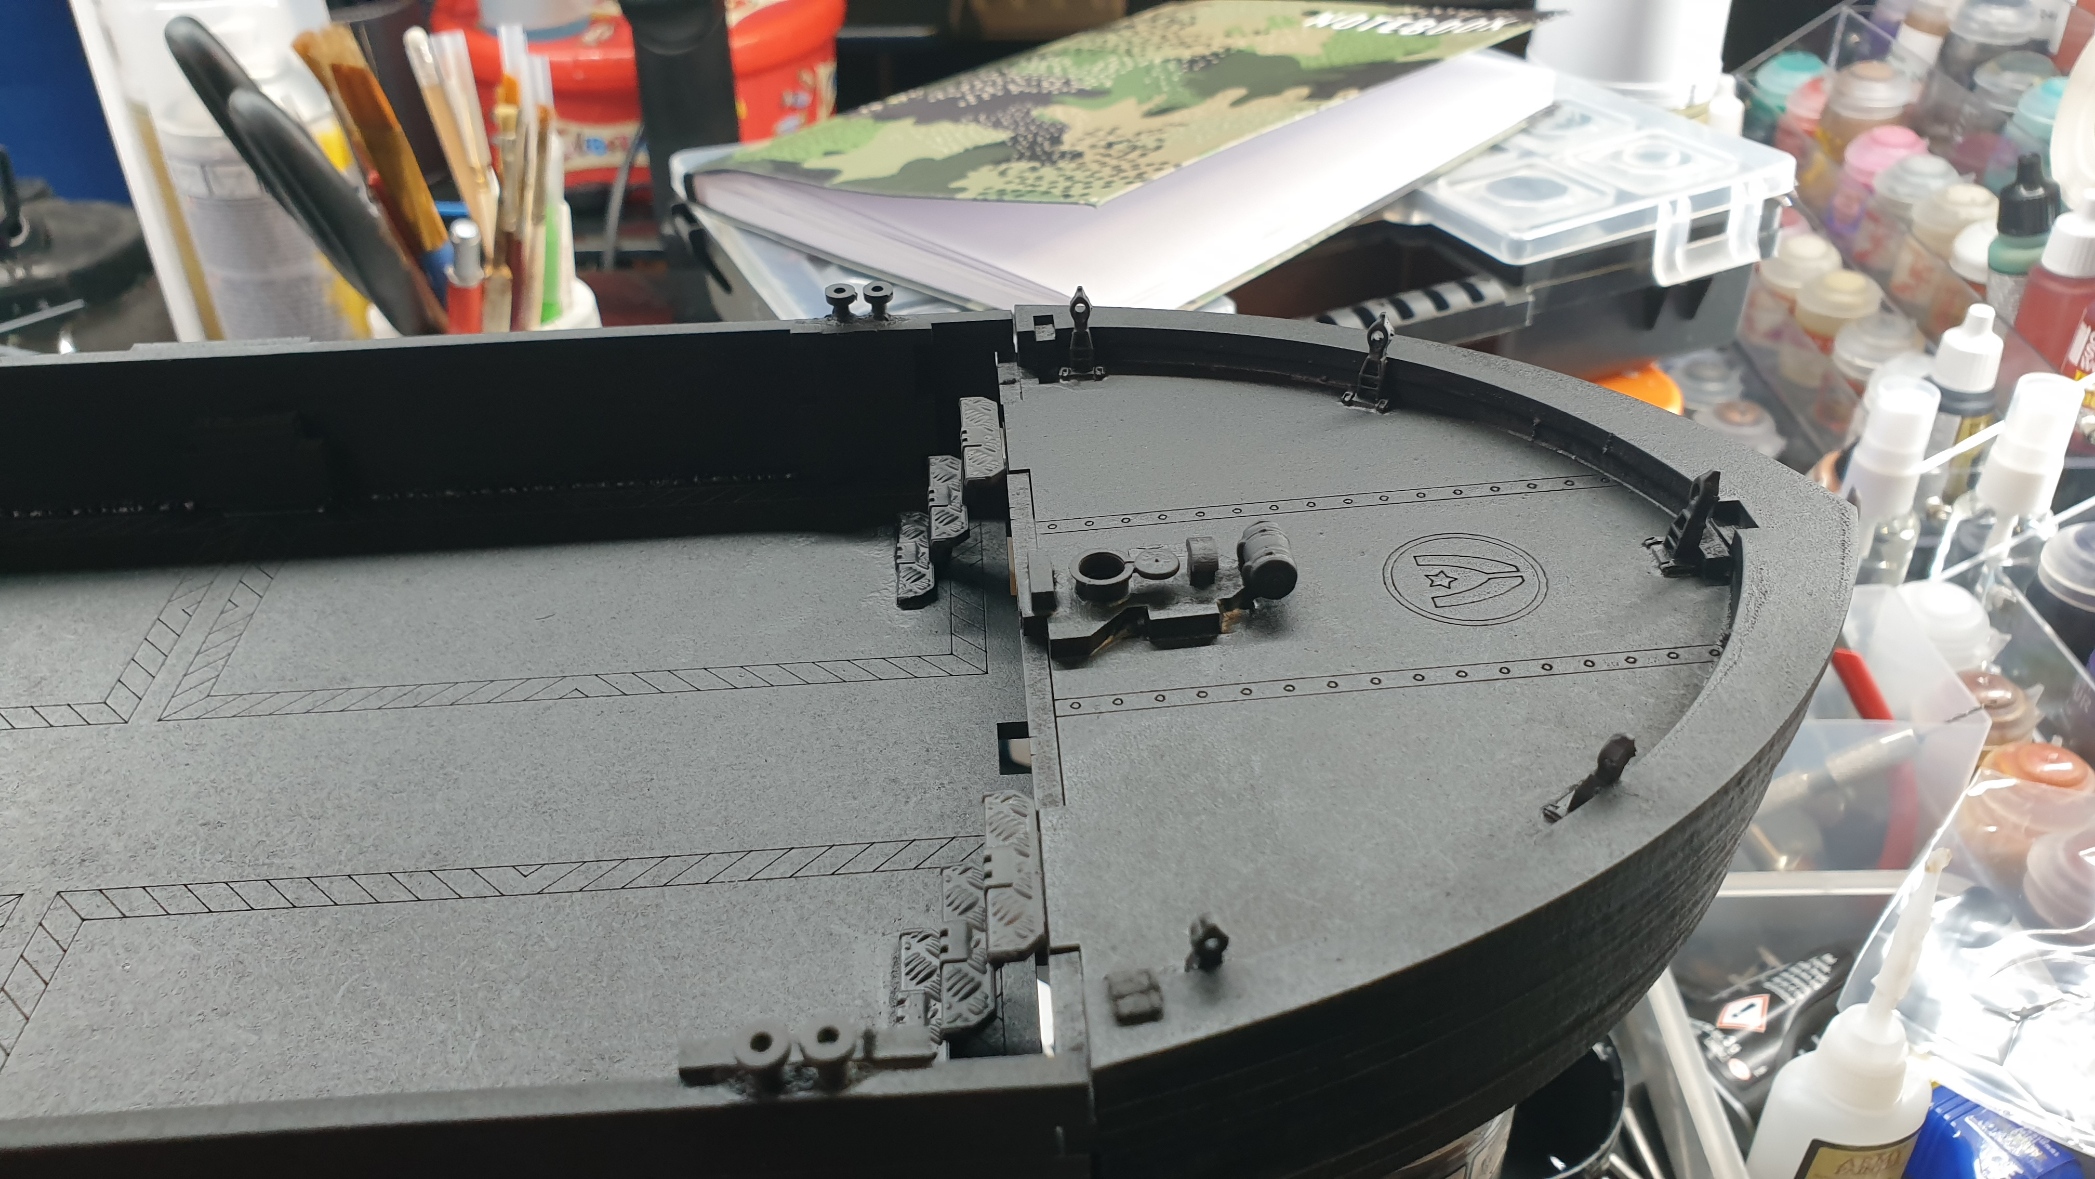
So I raided the bits box of team yankee for various parts and started to glue them into place. I also had some sci-fi accessory sprues from Dungeons and Lasers https://www.dungeonsandlasers.com/ that also came in very handy for some seaworthy boxes and life raft containers.
I used cut up pieces of card to roughly hide where the 28mm doors are on the bridge and was generally pleased enough with the outcome.
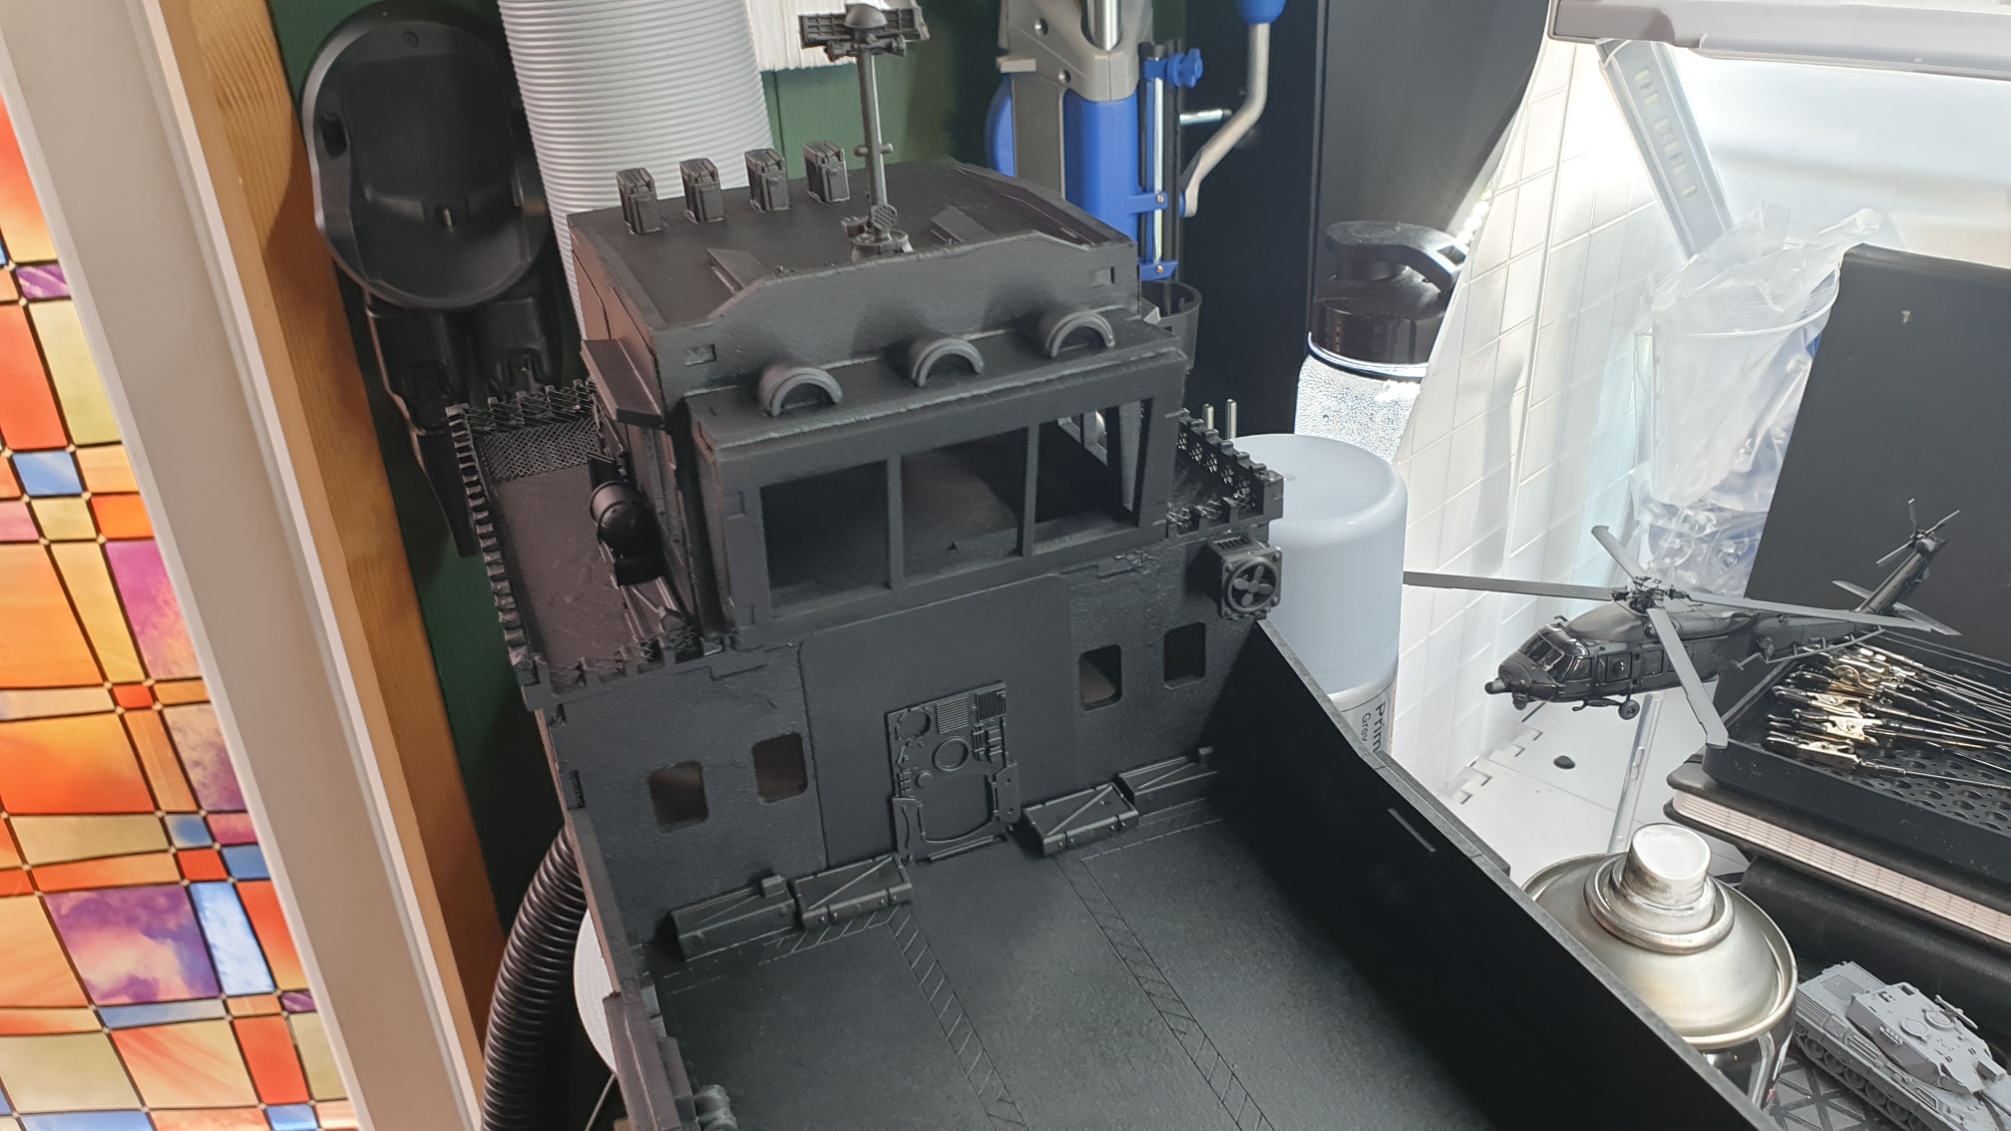
Prime Time!
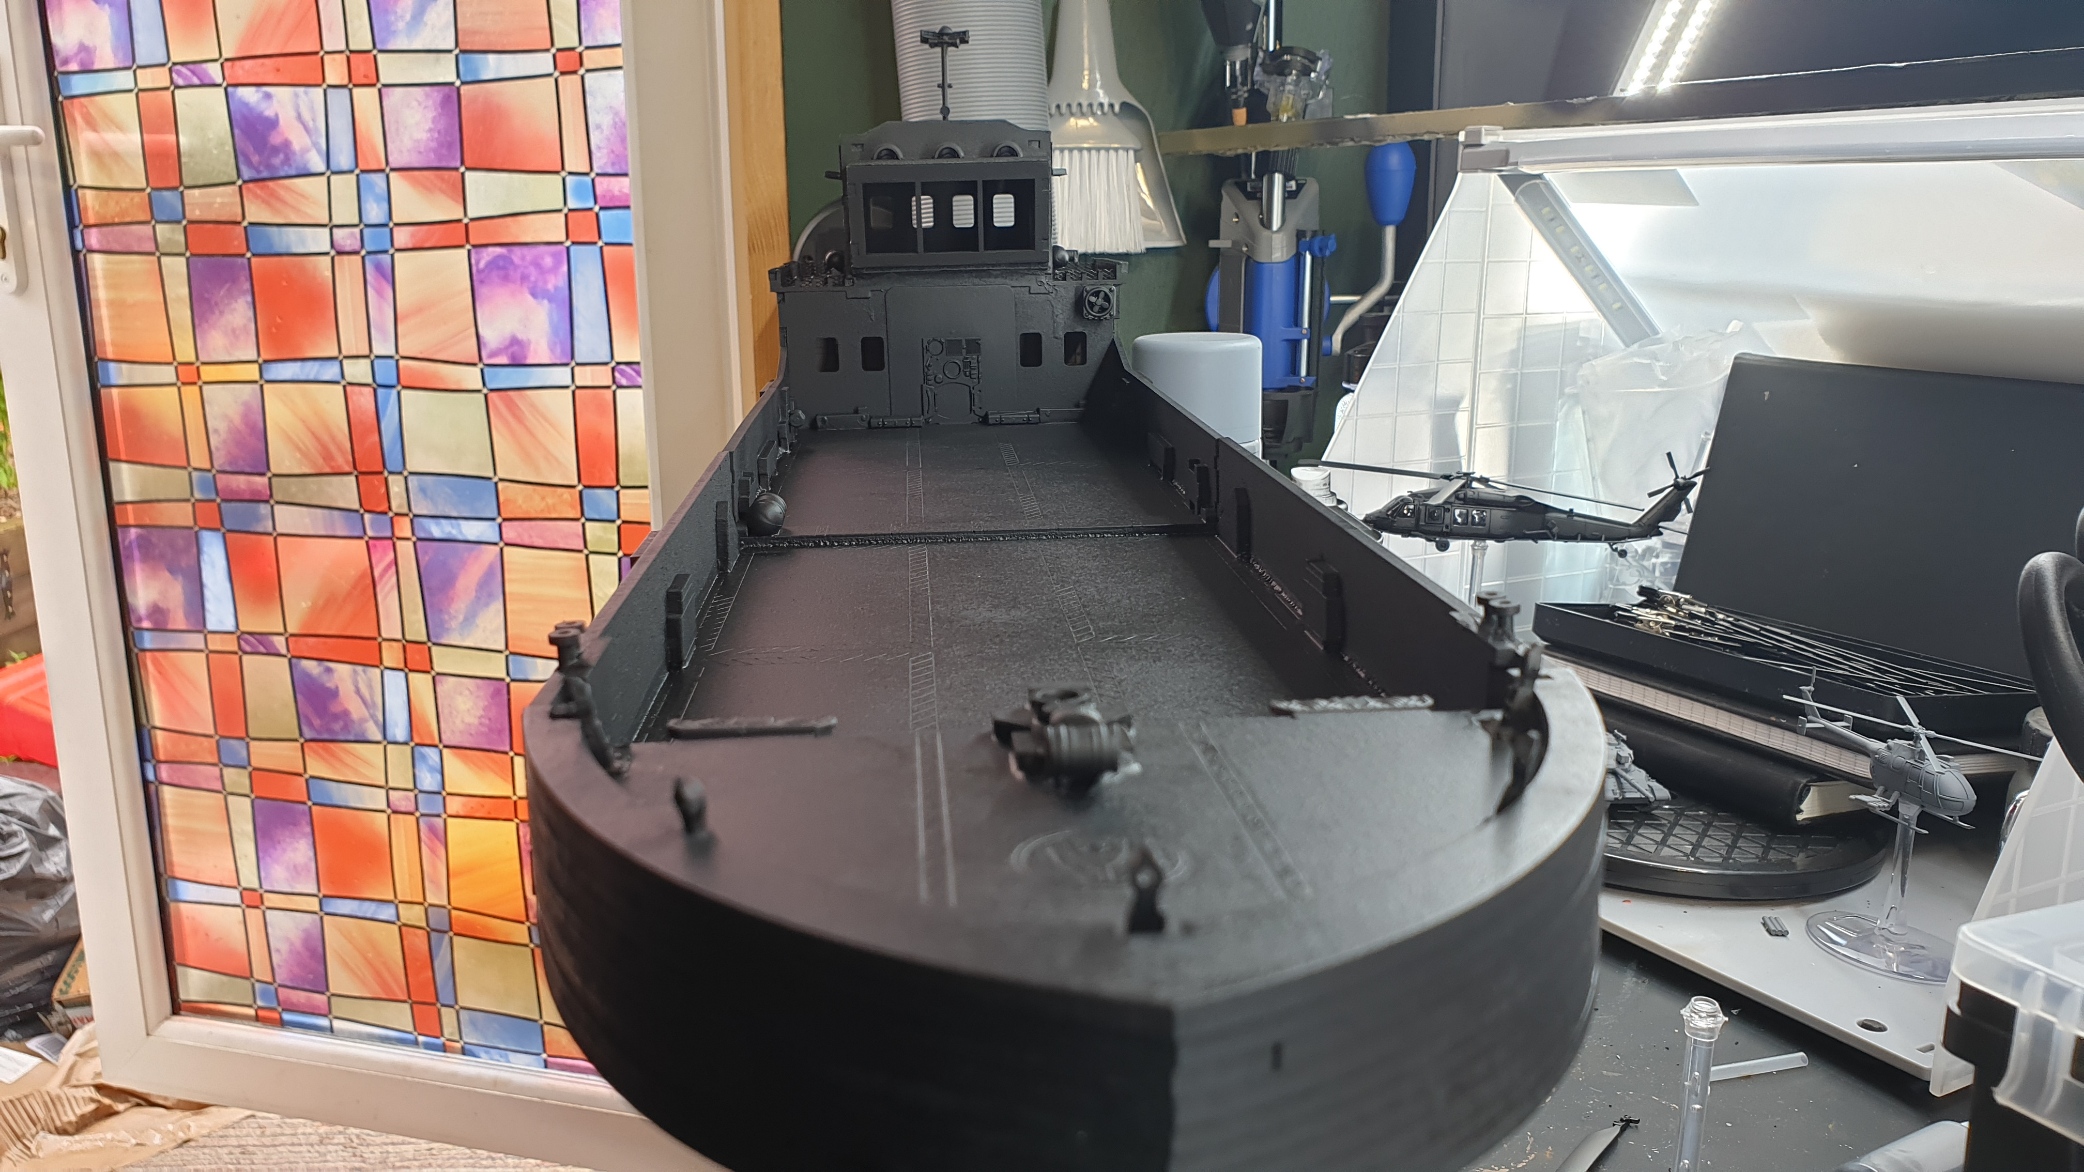
I always enjoy putting that first coat of primer down onto a kitbashed project, its the first time all the components actually get a chance to blend with one another and you start to get a feel for the piece as a complete model.
In this case, I put down two coats of Chaos Black primer (MDF loves to suck in primer so these kinds of kits require a couple of coats to get a similar level of primer coverage on the wood vs the plastic parts.
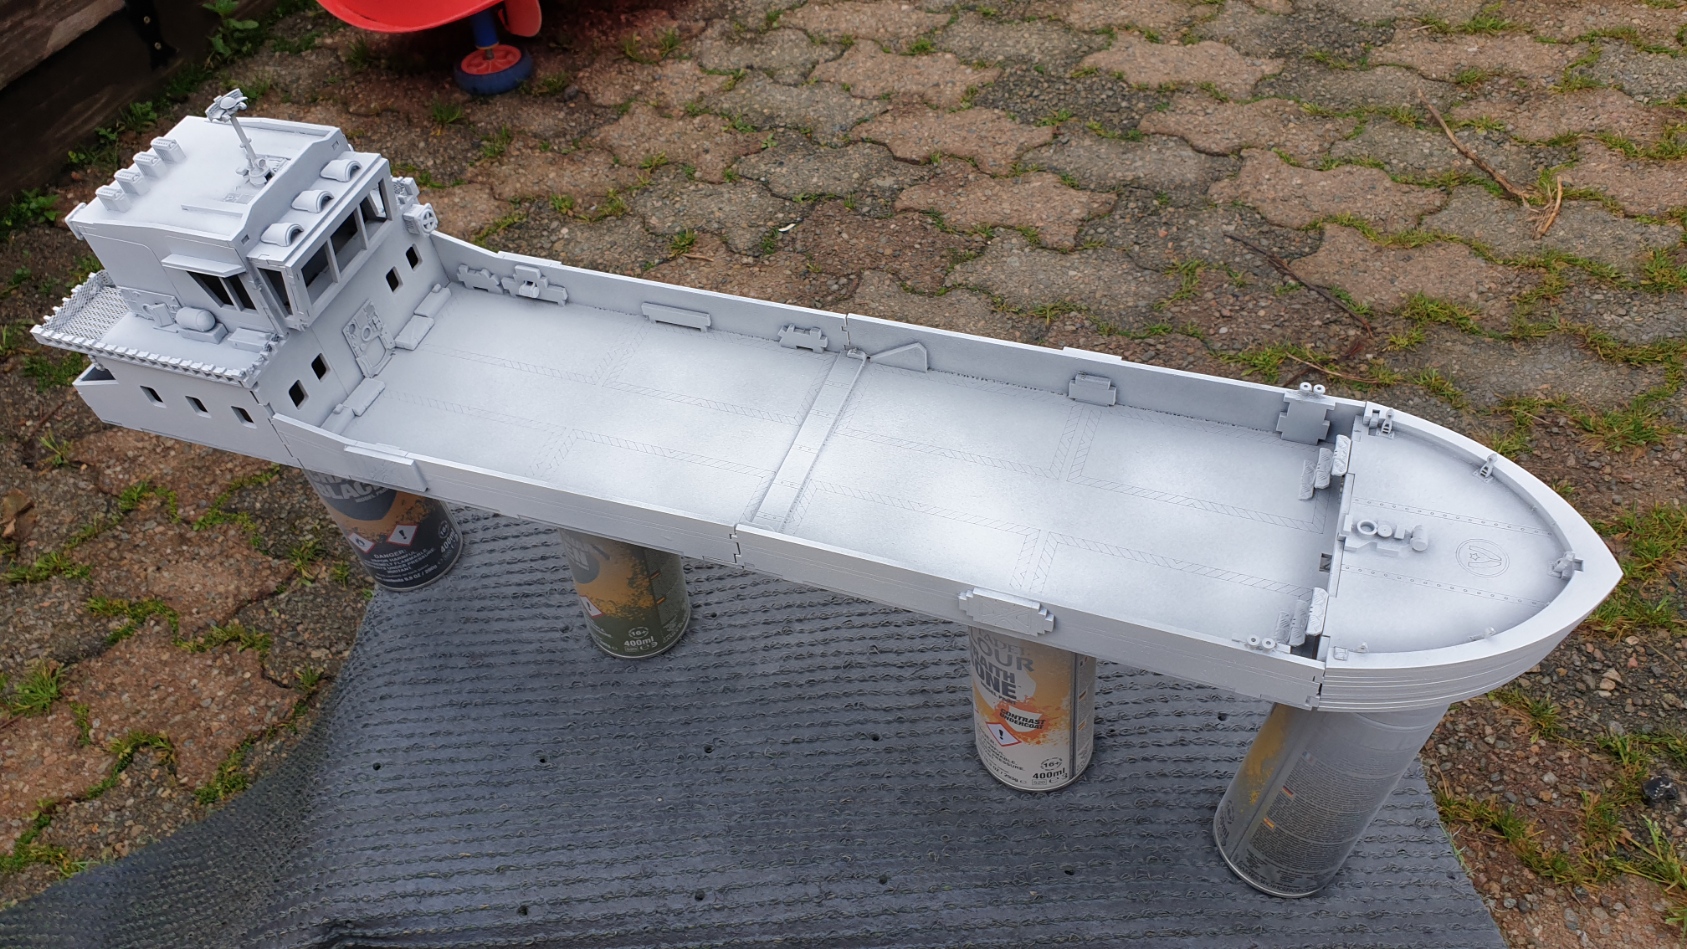
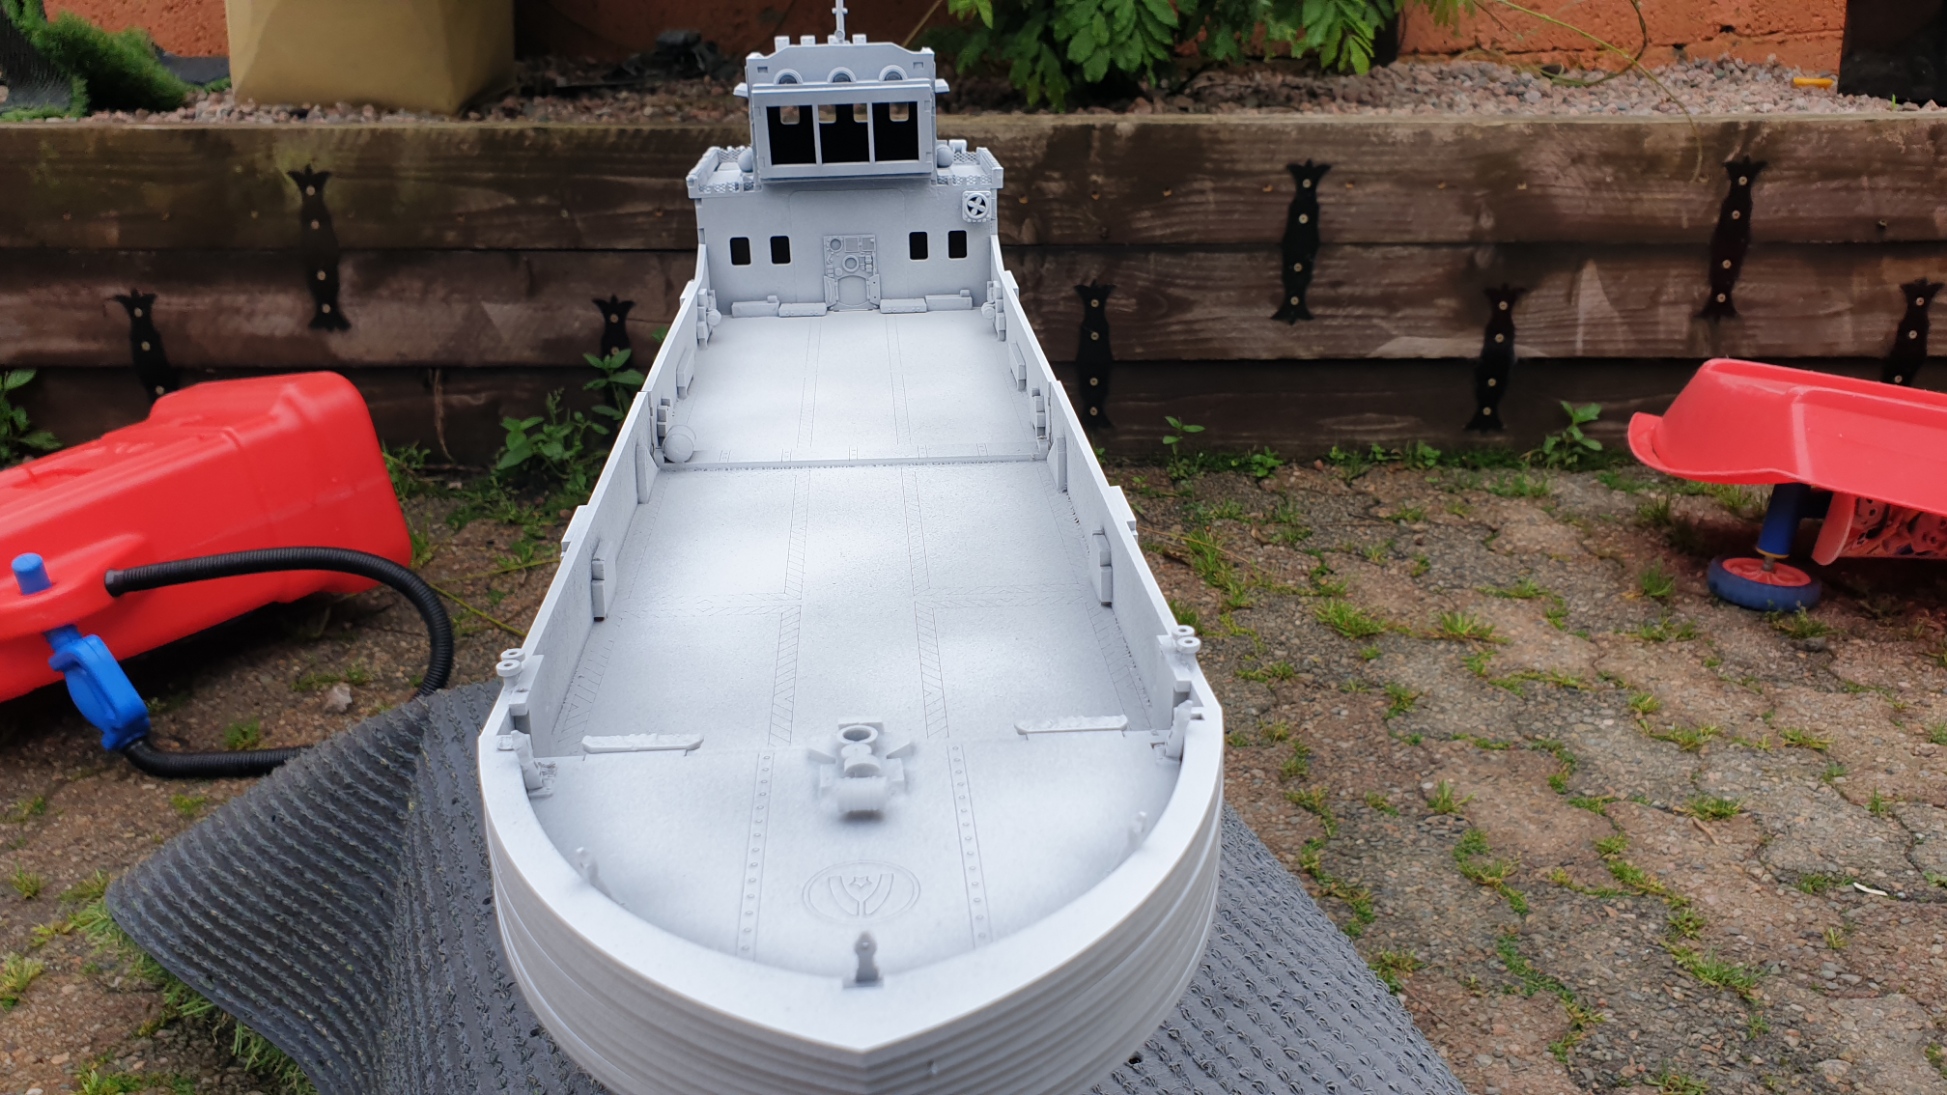
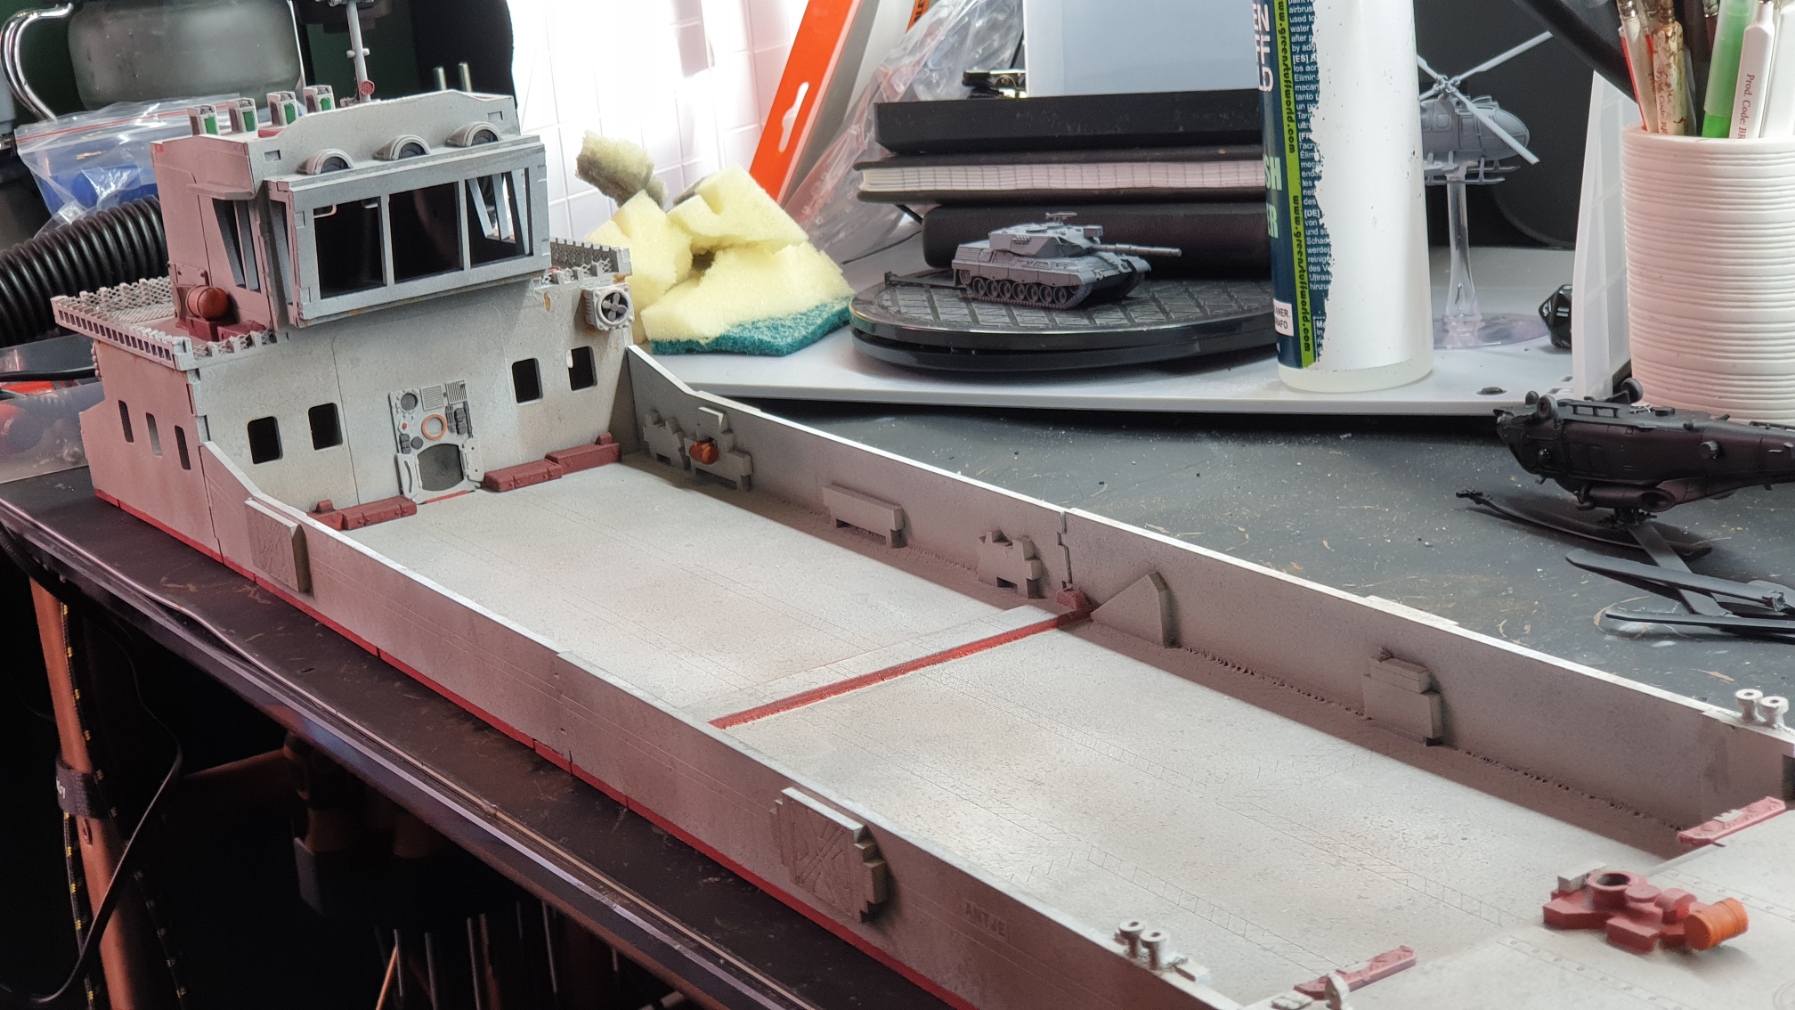
With the black in place and allowed to cure completely it was now time to zenith the model while bringing it up to the near-white colour I wanted as the base.
So this time the model was hit with primers while assembled to ensure the paint job looked consistent.
It was worked up from a dark grey, to white. Basically dusting the model from a higher angle.
NOTE!: This type of use with spray cans will add a bit of texture to a model a kind of dusty mottled texture. Which is fine on a steel-hulled ship, but if you don’t want that effect, then airbrushing the zenith will give a flatter and smoother finish.
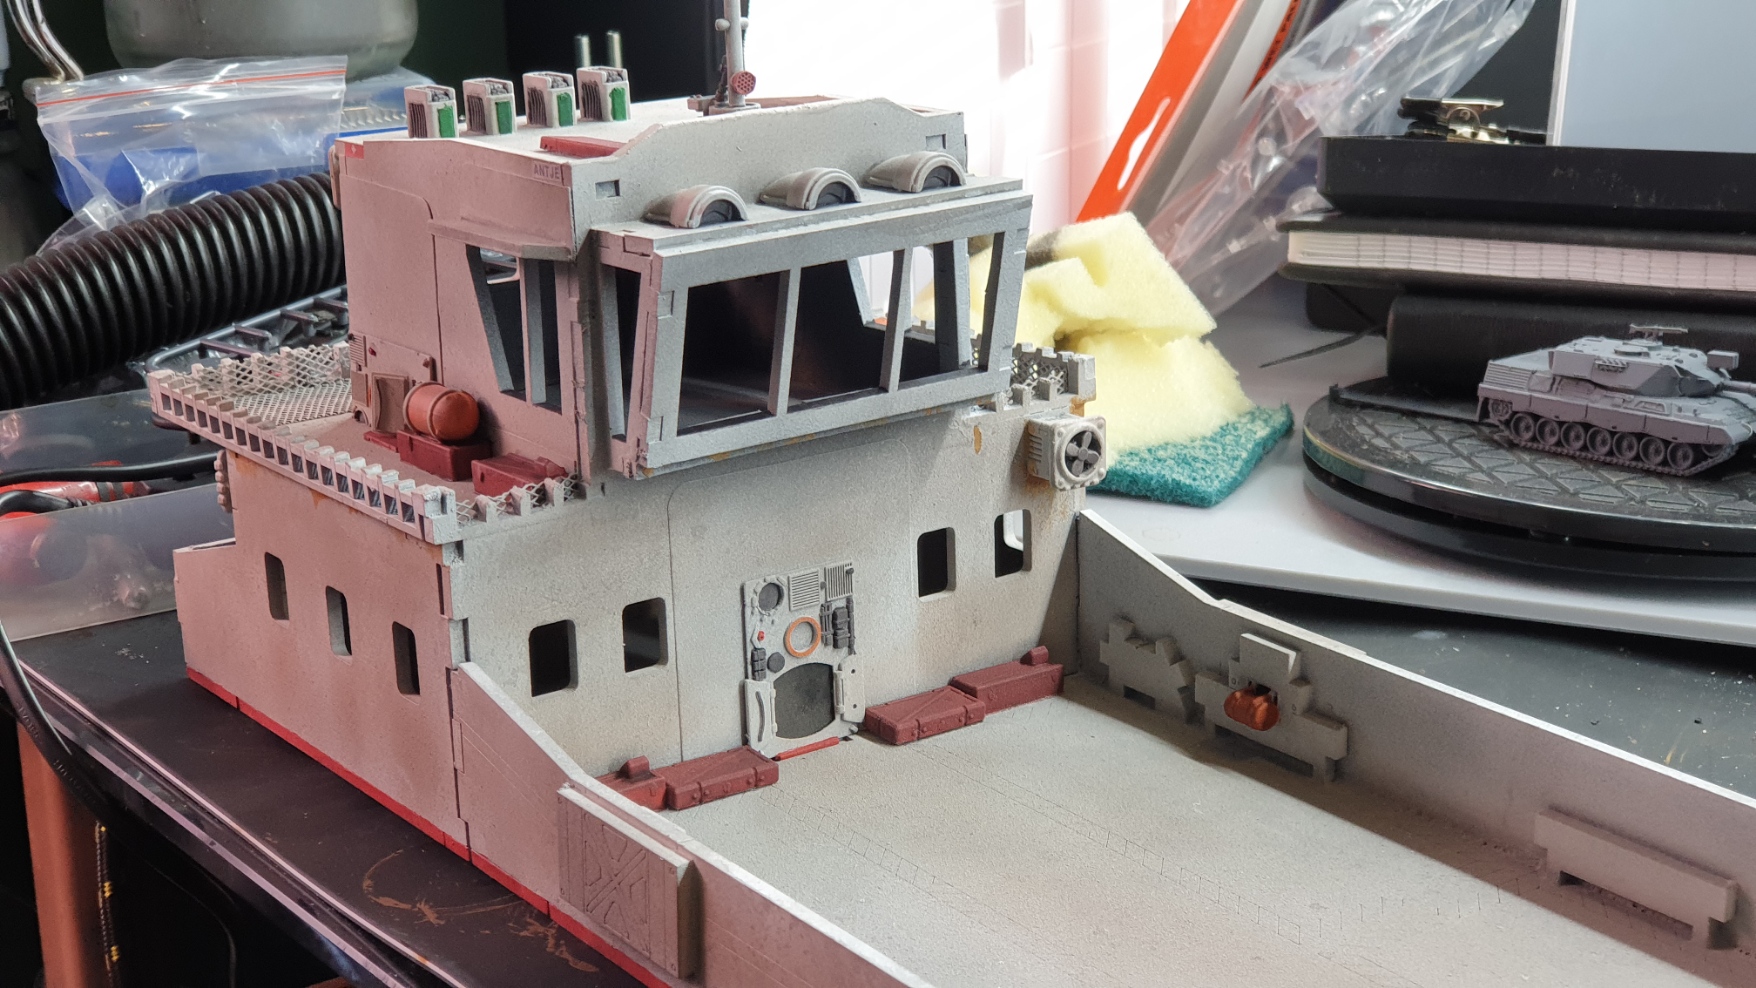
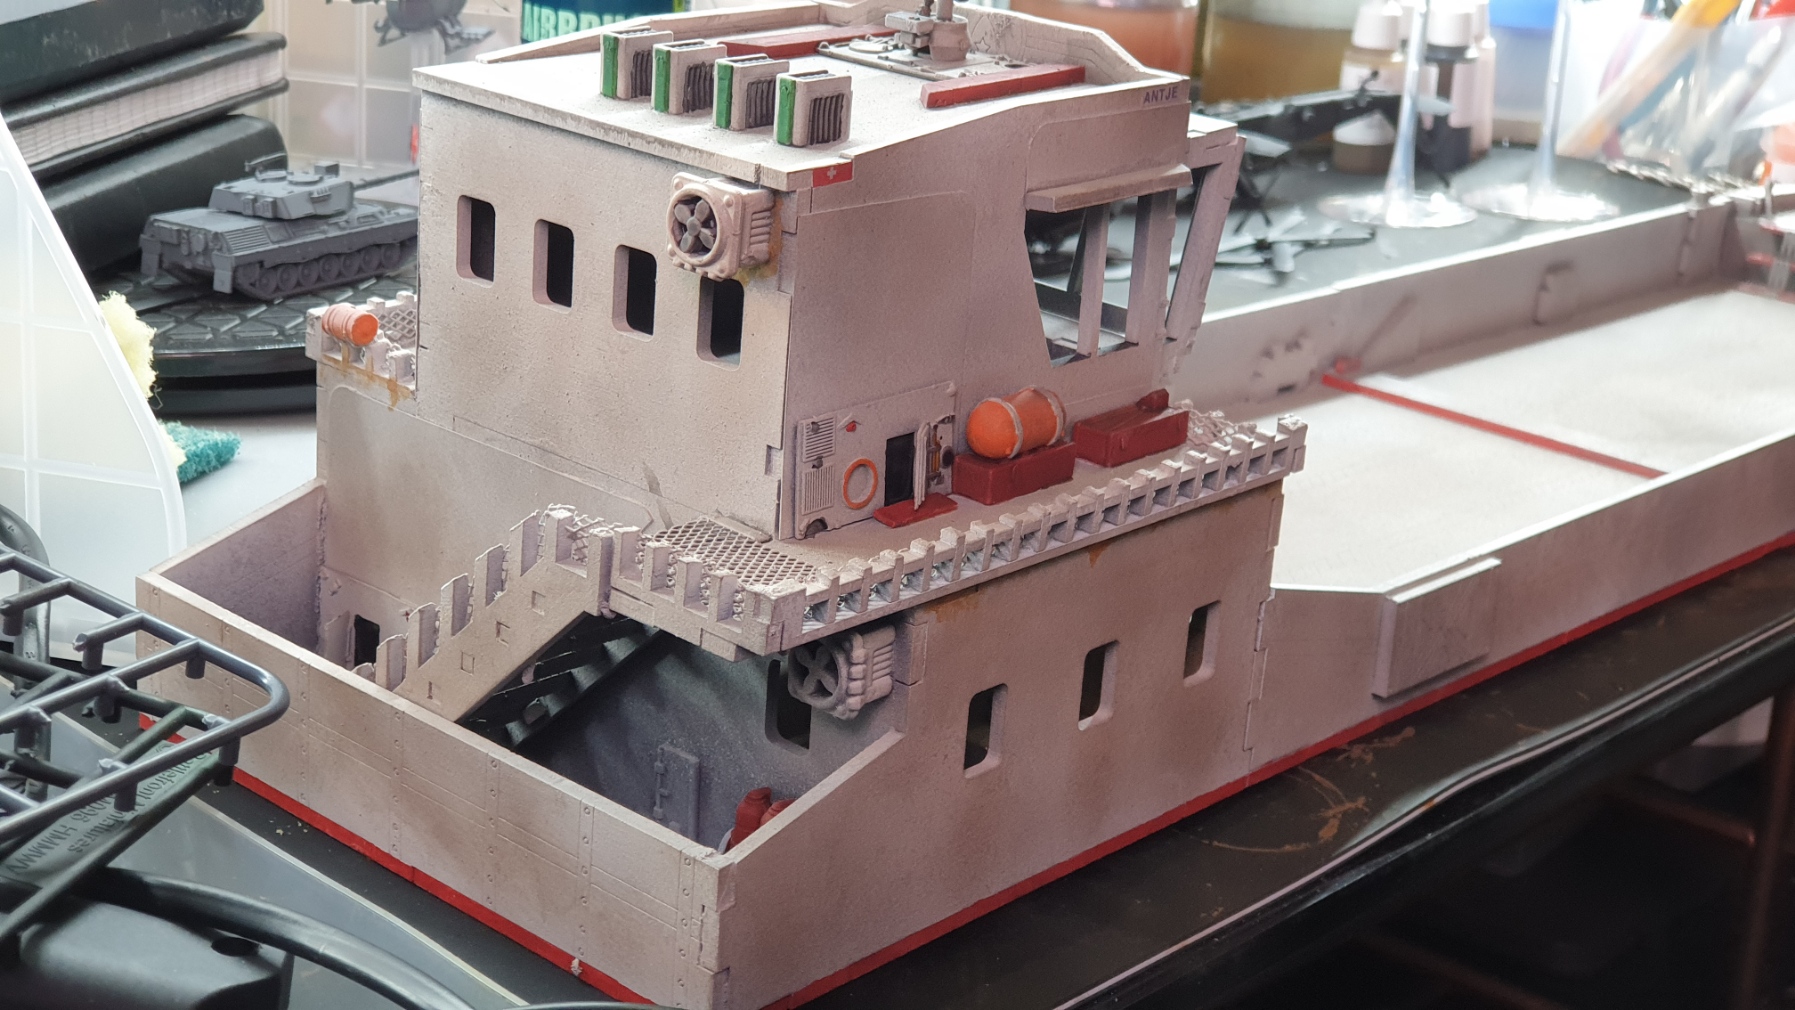
Splashes of Colour!
The next step was to add some splashes of colour to the model. Not a massive colour pallet for this mostly Red (for the storage boxes) and Orange (for life raft type stuff).
The weathering was achieved just using washes (Nuln Oil and Agrax Earth Shade) partly thinned (airbrush thinner) and airbrushed, just to give a bit of shade to the model in the recesses and add some dirt streaks, and then nuln oil (thinned with medium) sponged onto the model to stipple it a little and again add a little extra grime to the whole thing.
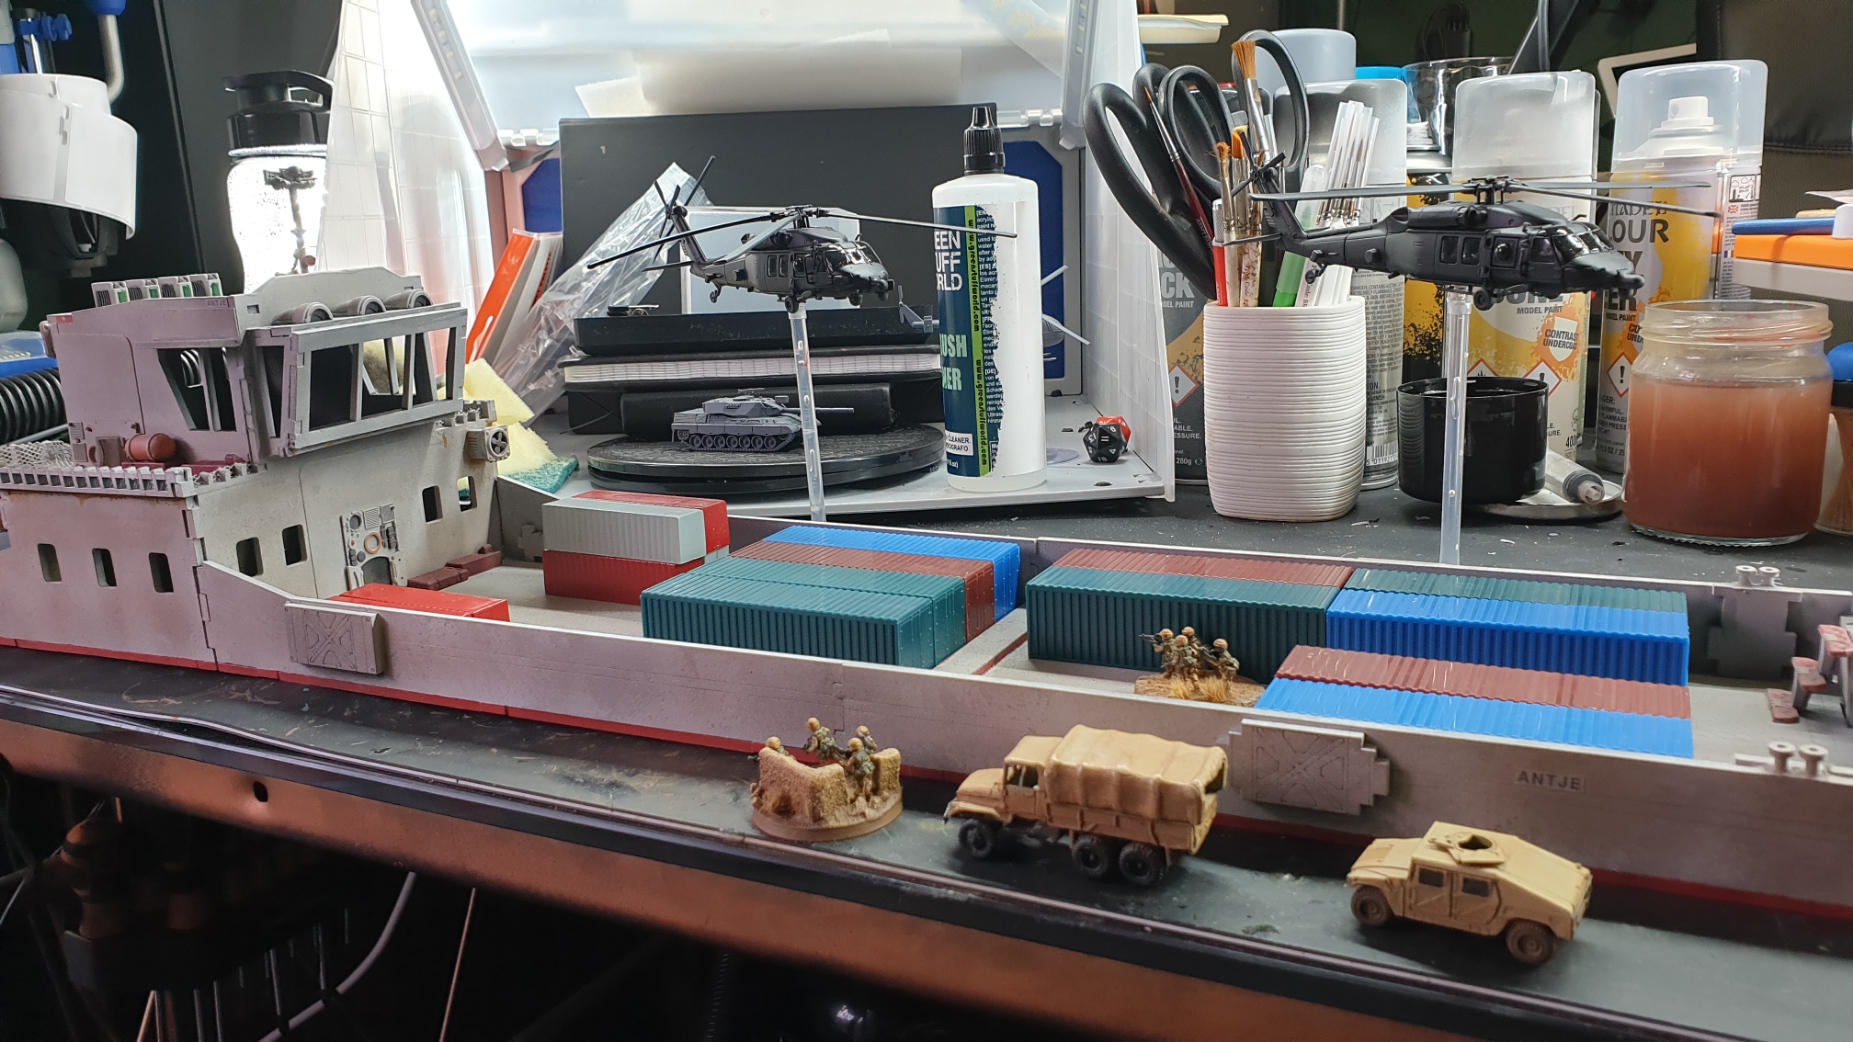
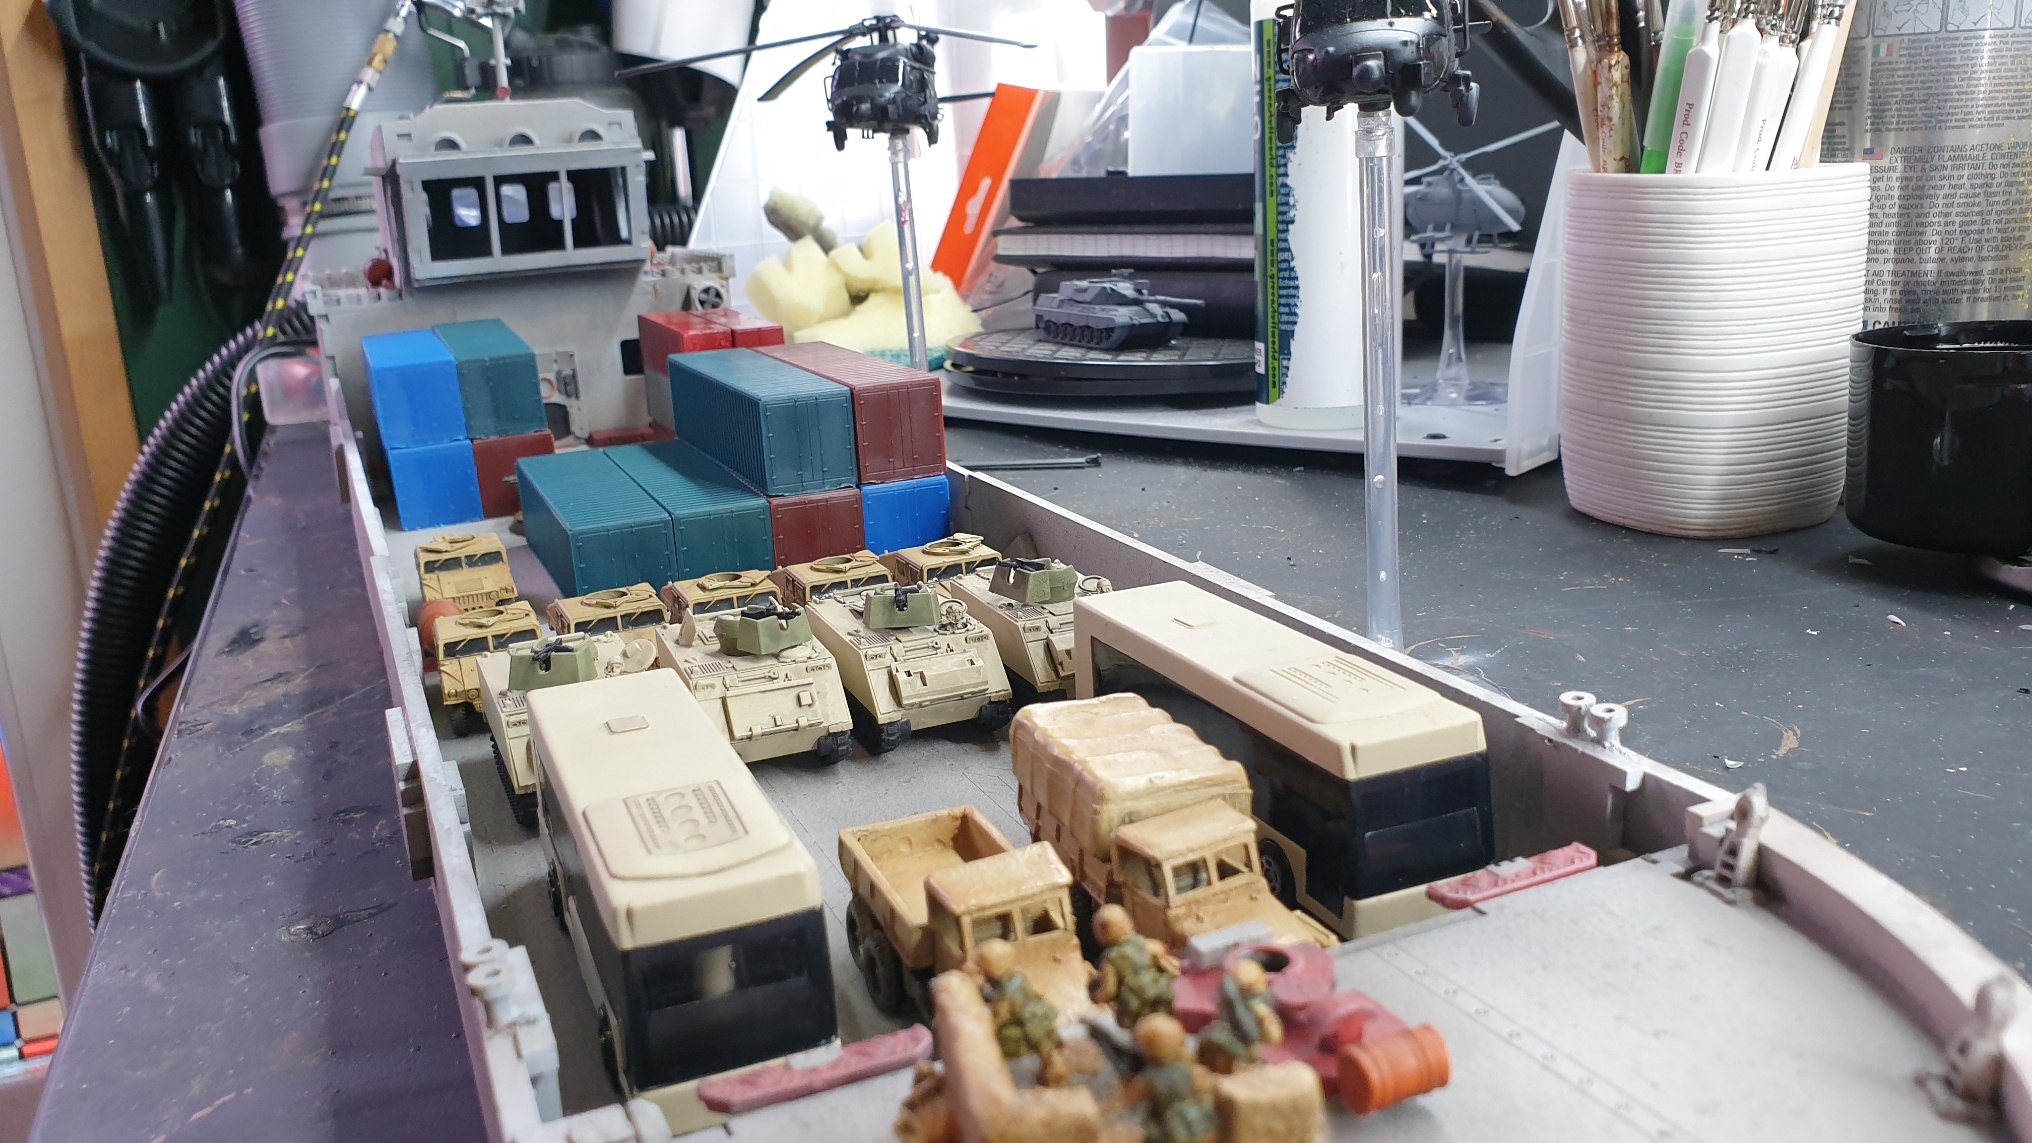
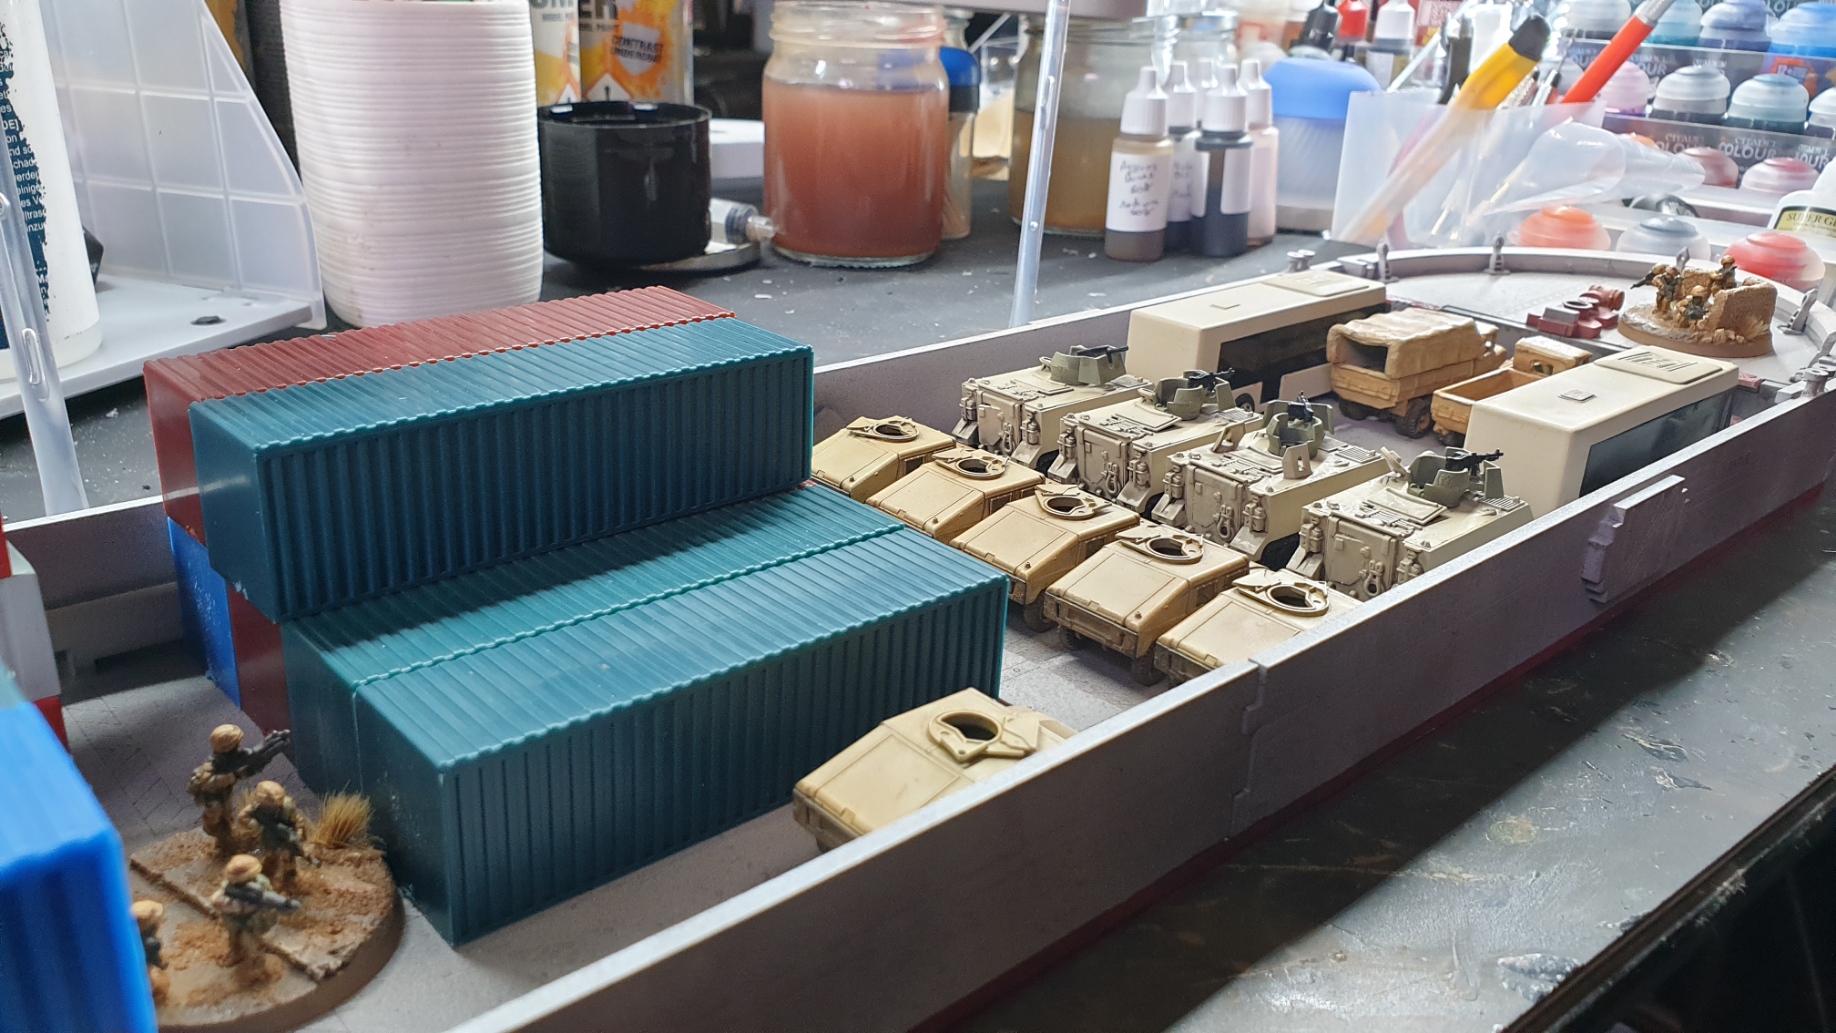
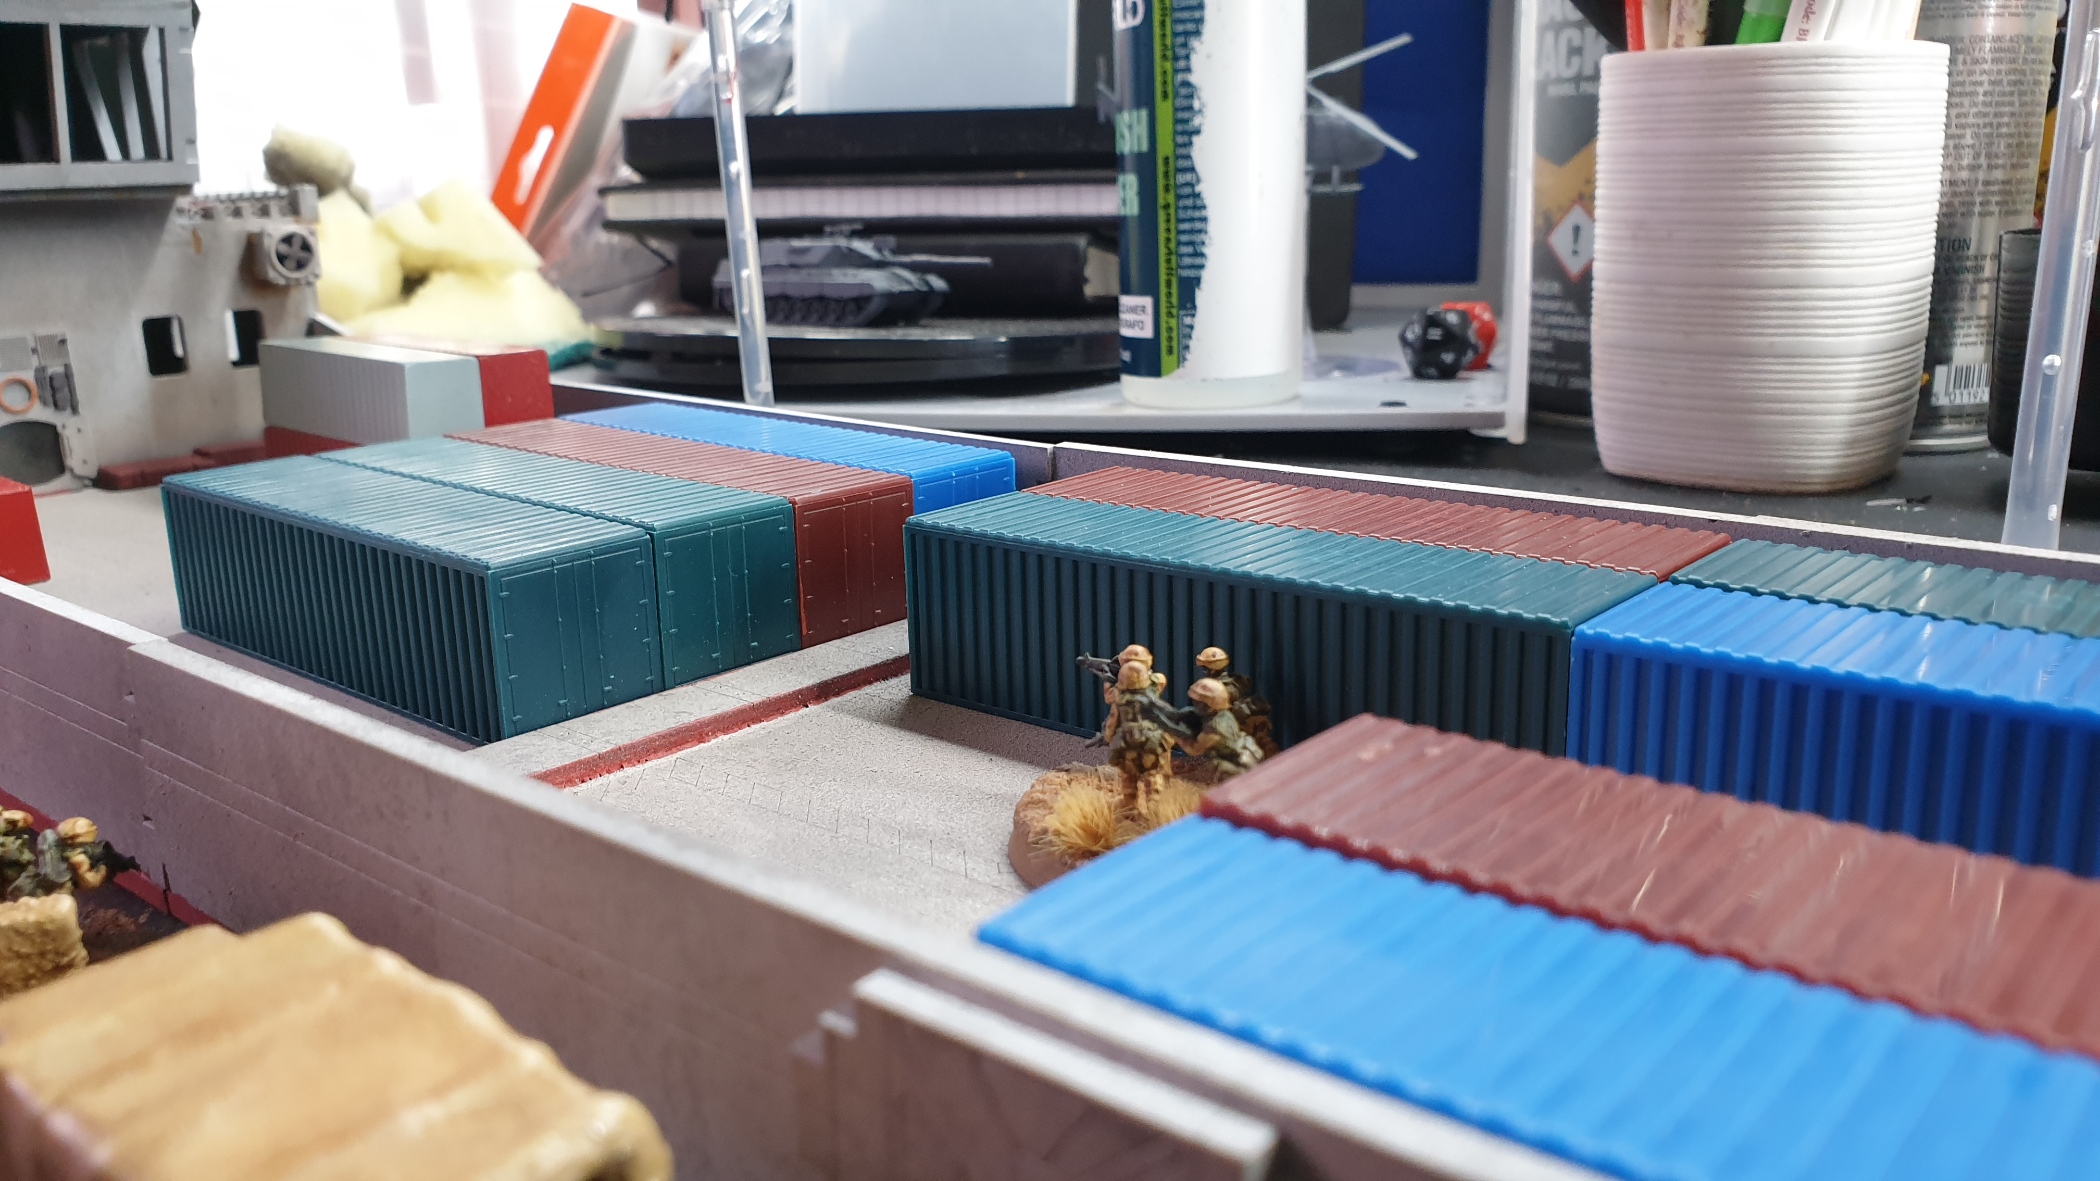
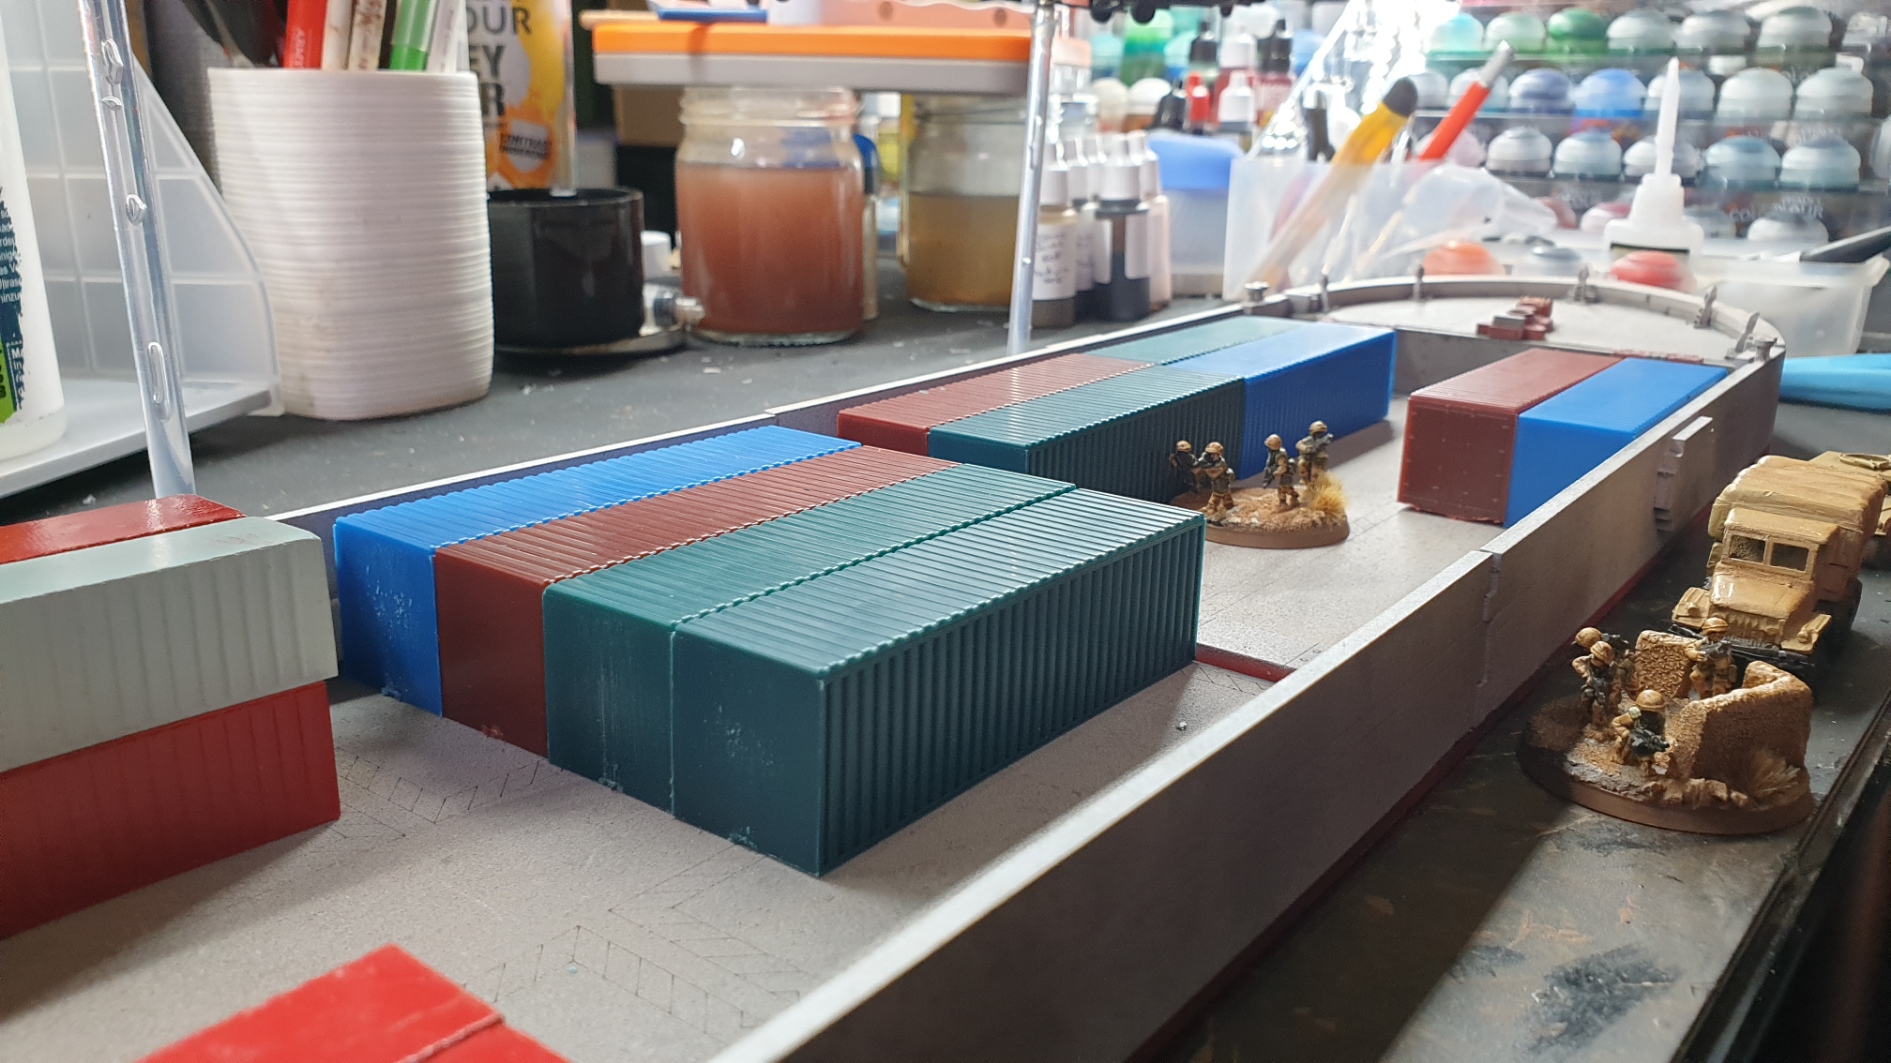
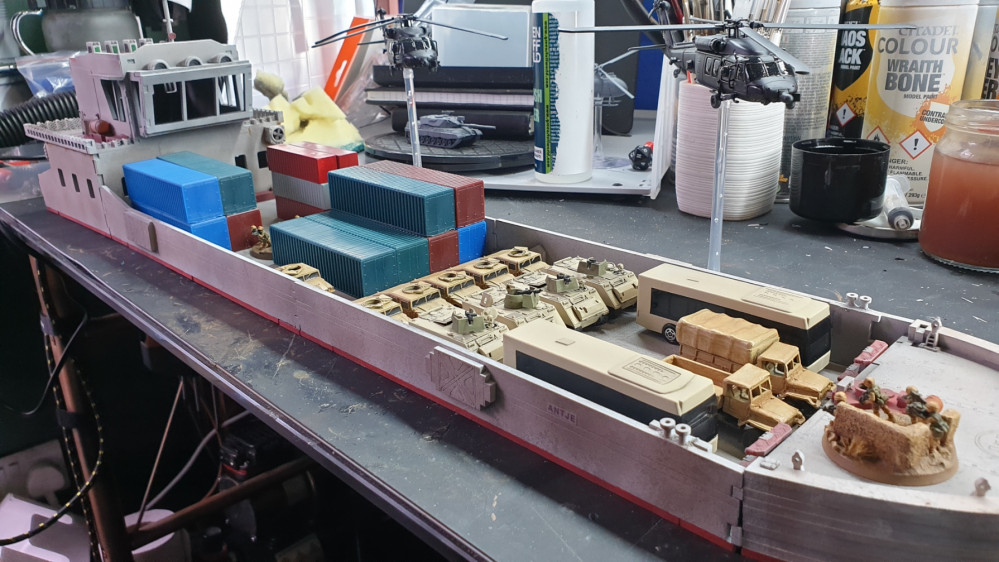
Adding Containers - And having a play!
I’m such a big kid at times lol So with it pretty much there at least for my playtest purposes it was time to chuck on a few containers and other bits to see how it all might look.
The containers are unpainted and represent 40′ containers for the purposes of 15mm. They will get a paint job soon enough!