Dipping a Toe into Black Seas


Recommendations: 341
About the Project
A short project looking at painting up a pair of plastic brigs from Warlord Games Black Seas range.
Related Game: Black Seas
Related Company: Warlord Games
Related Genre: Historical
This Project is Completed
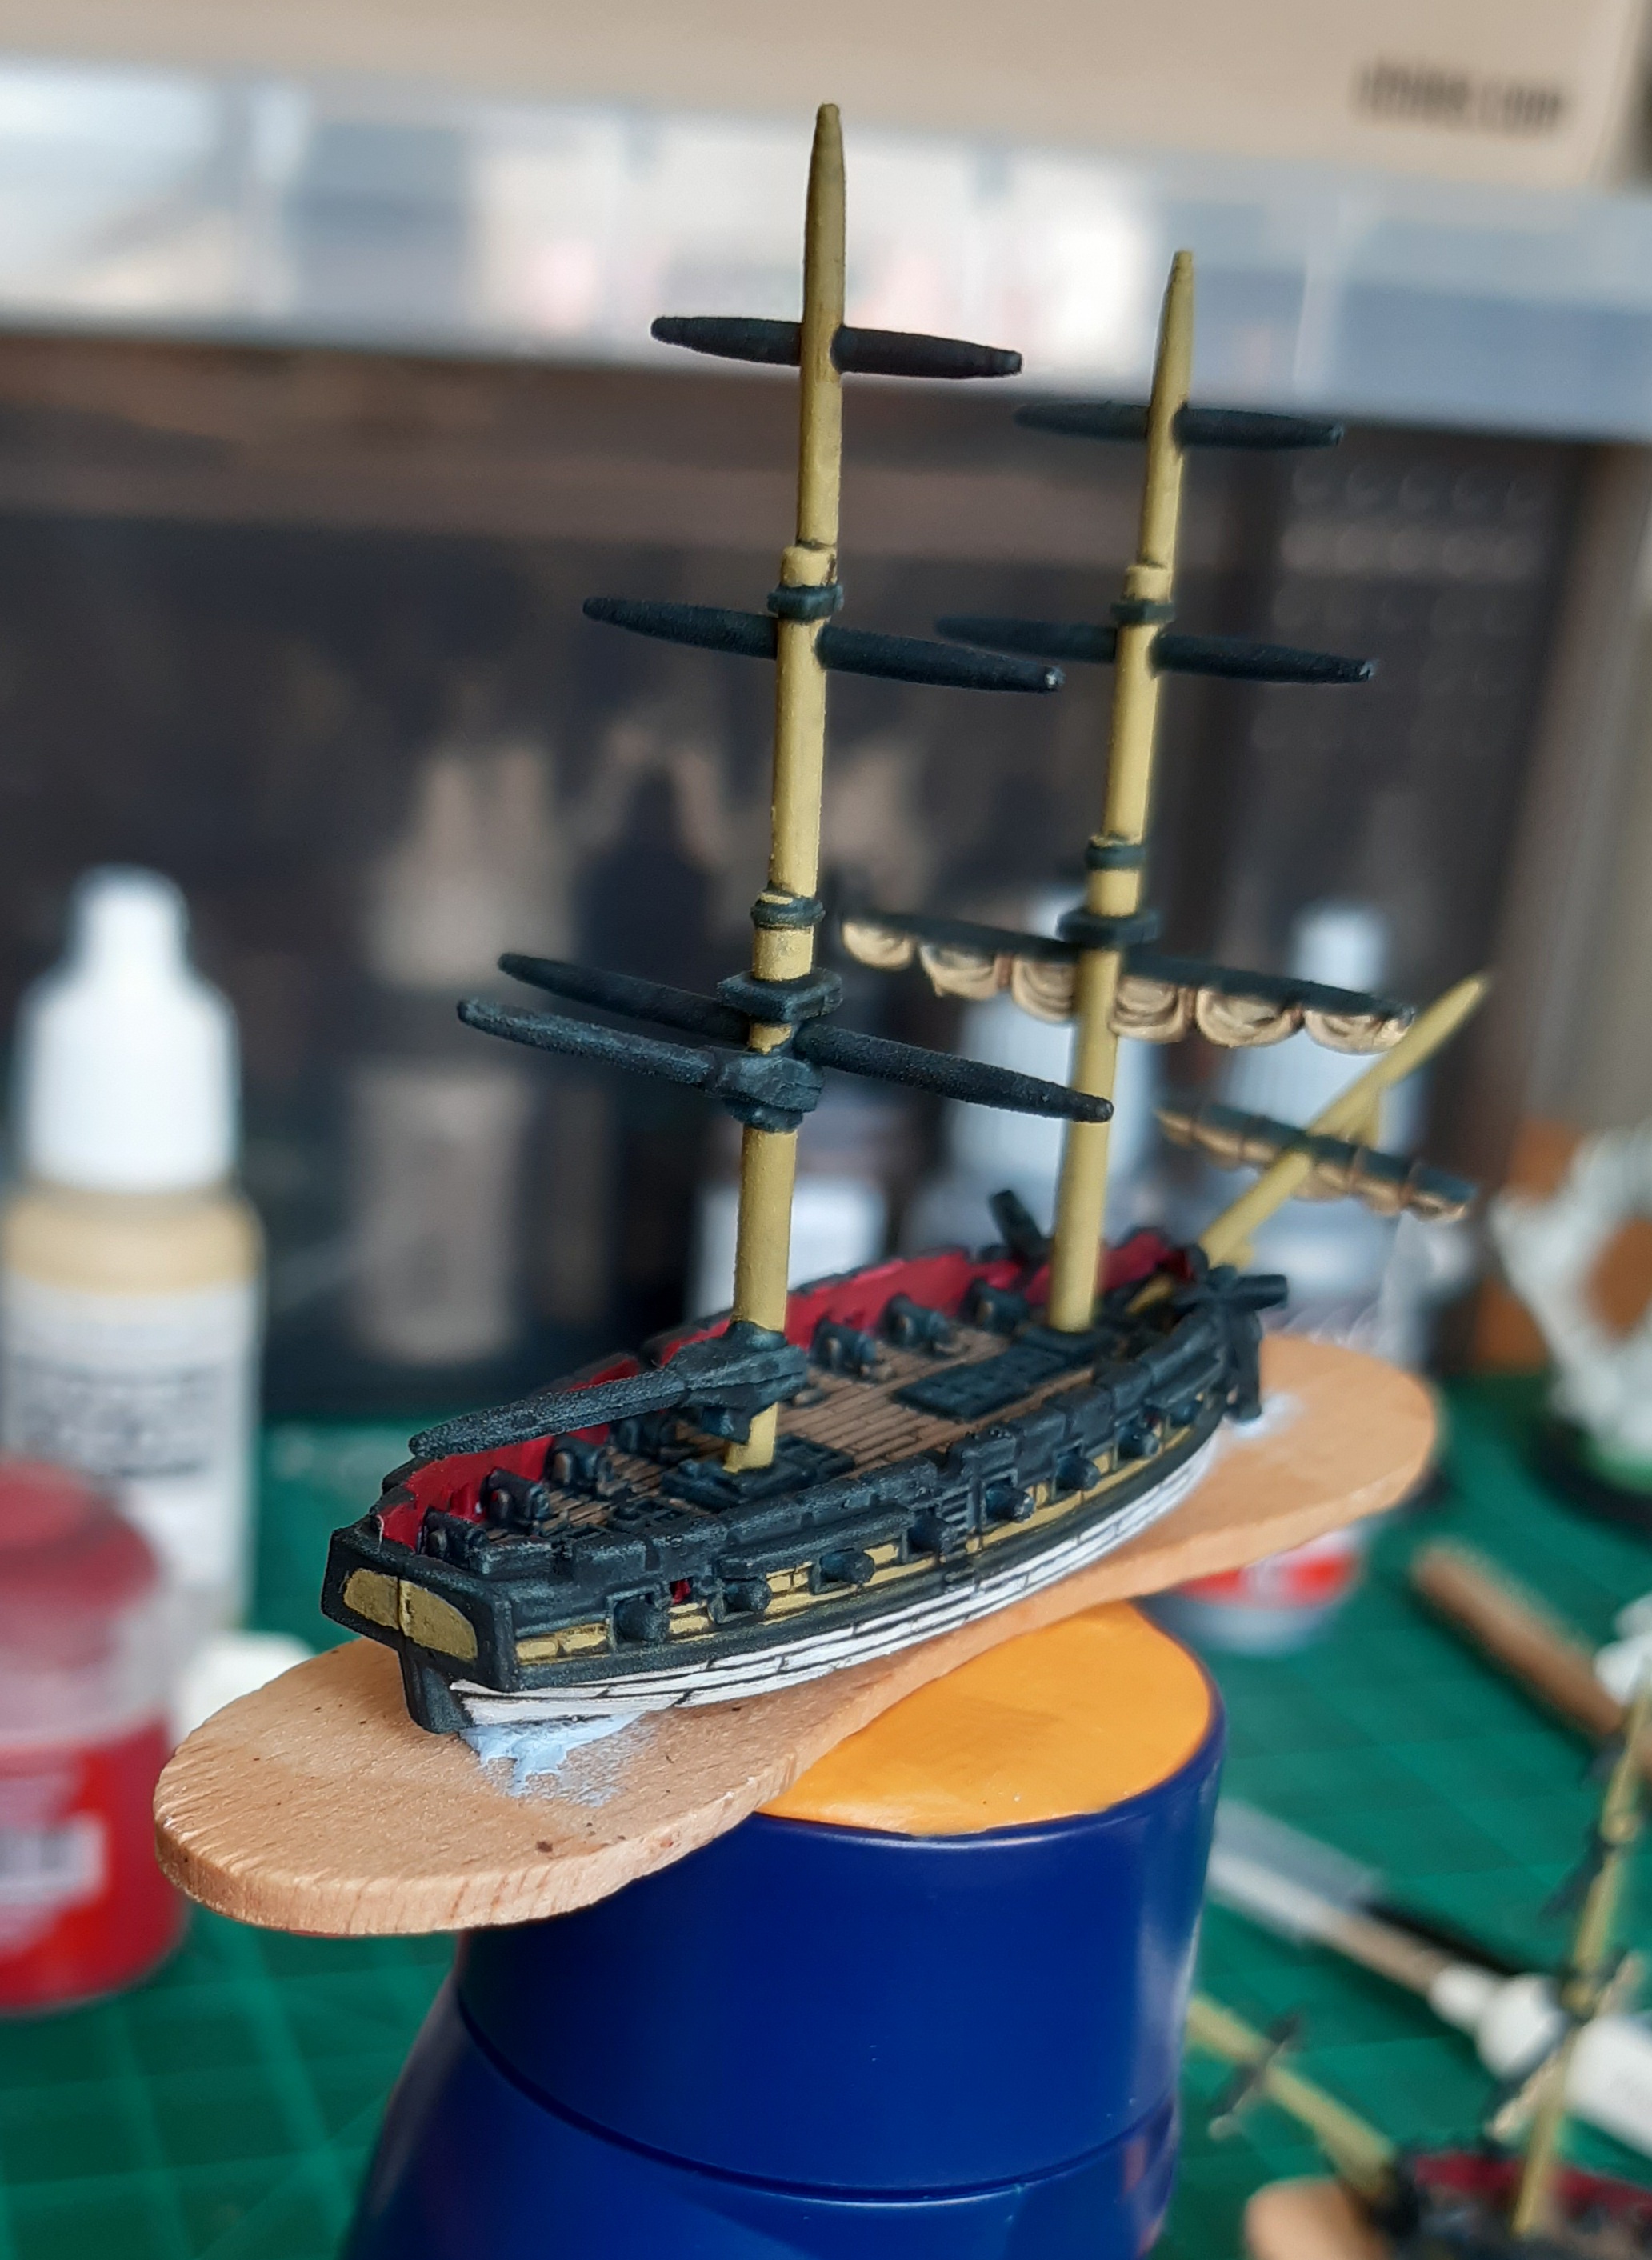
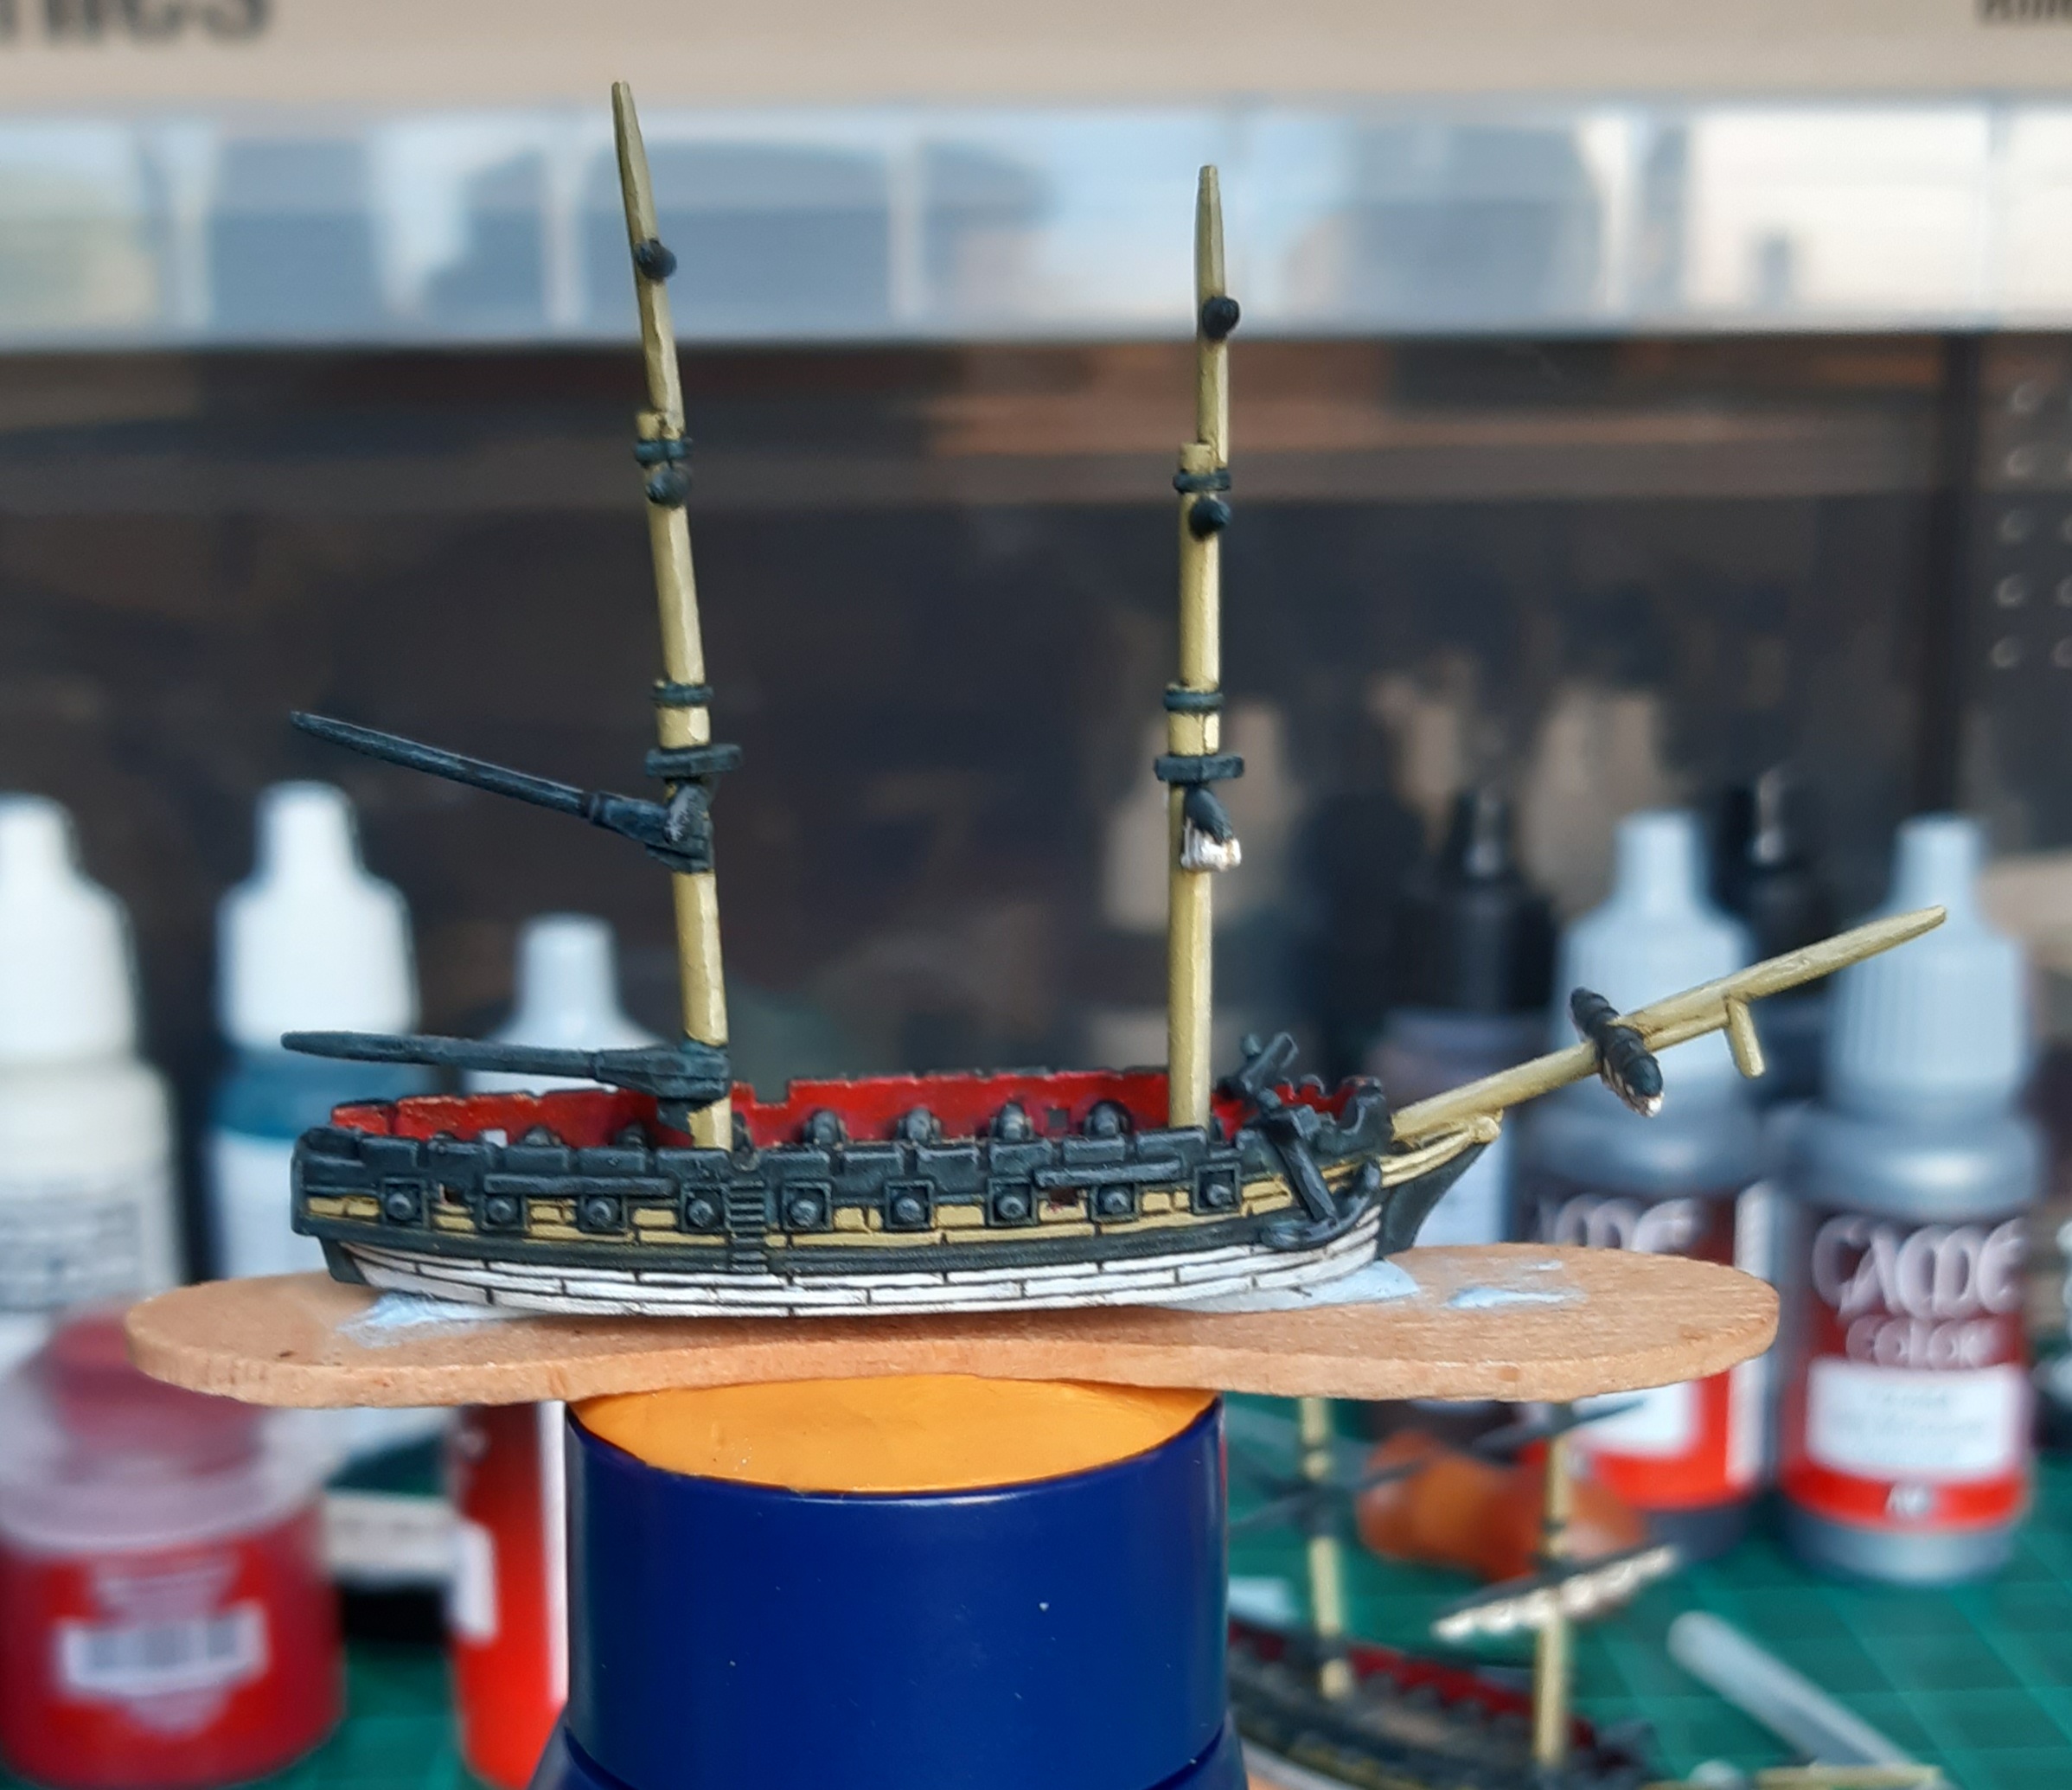
Base Colours
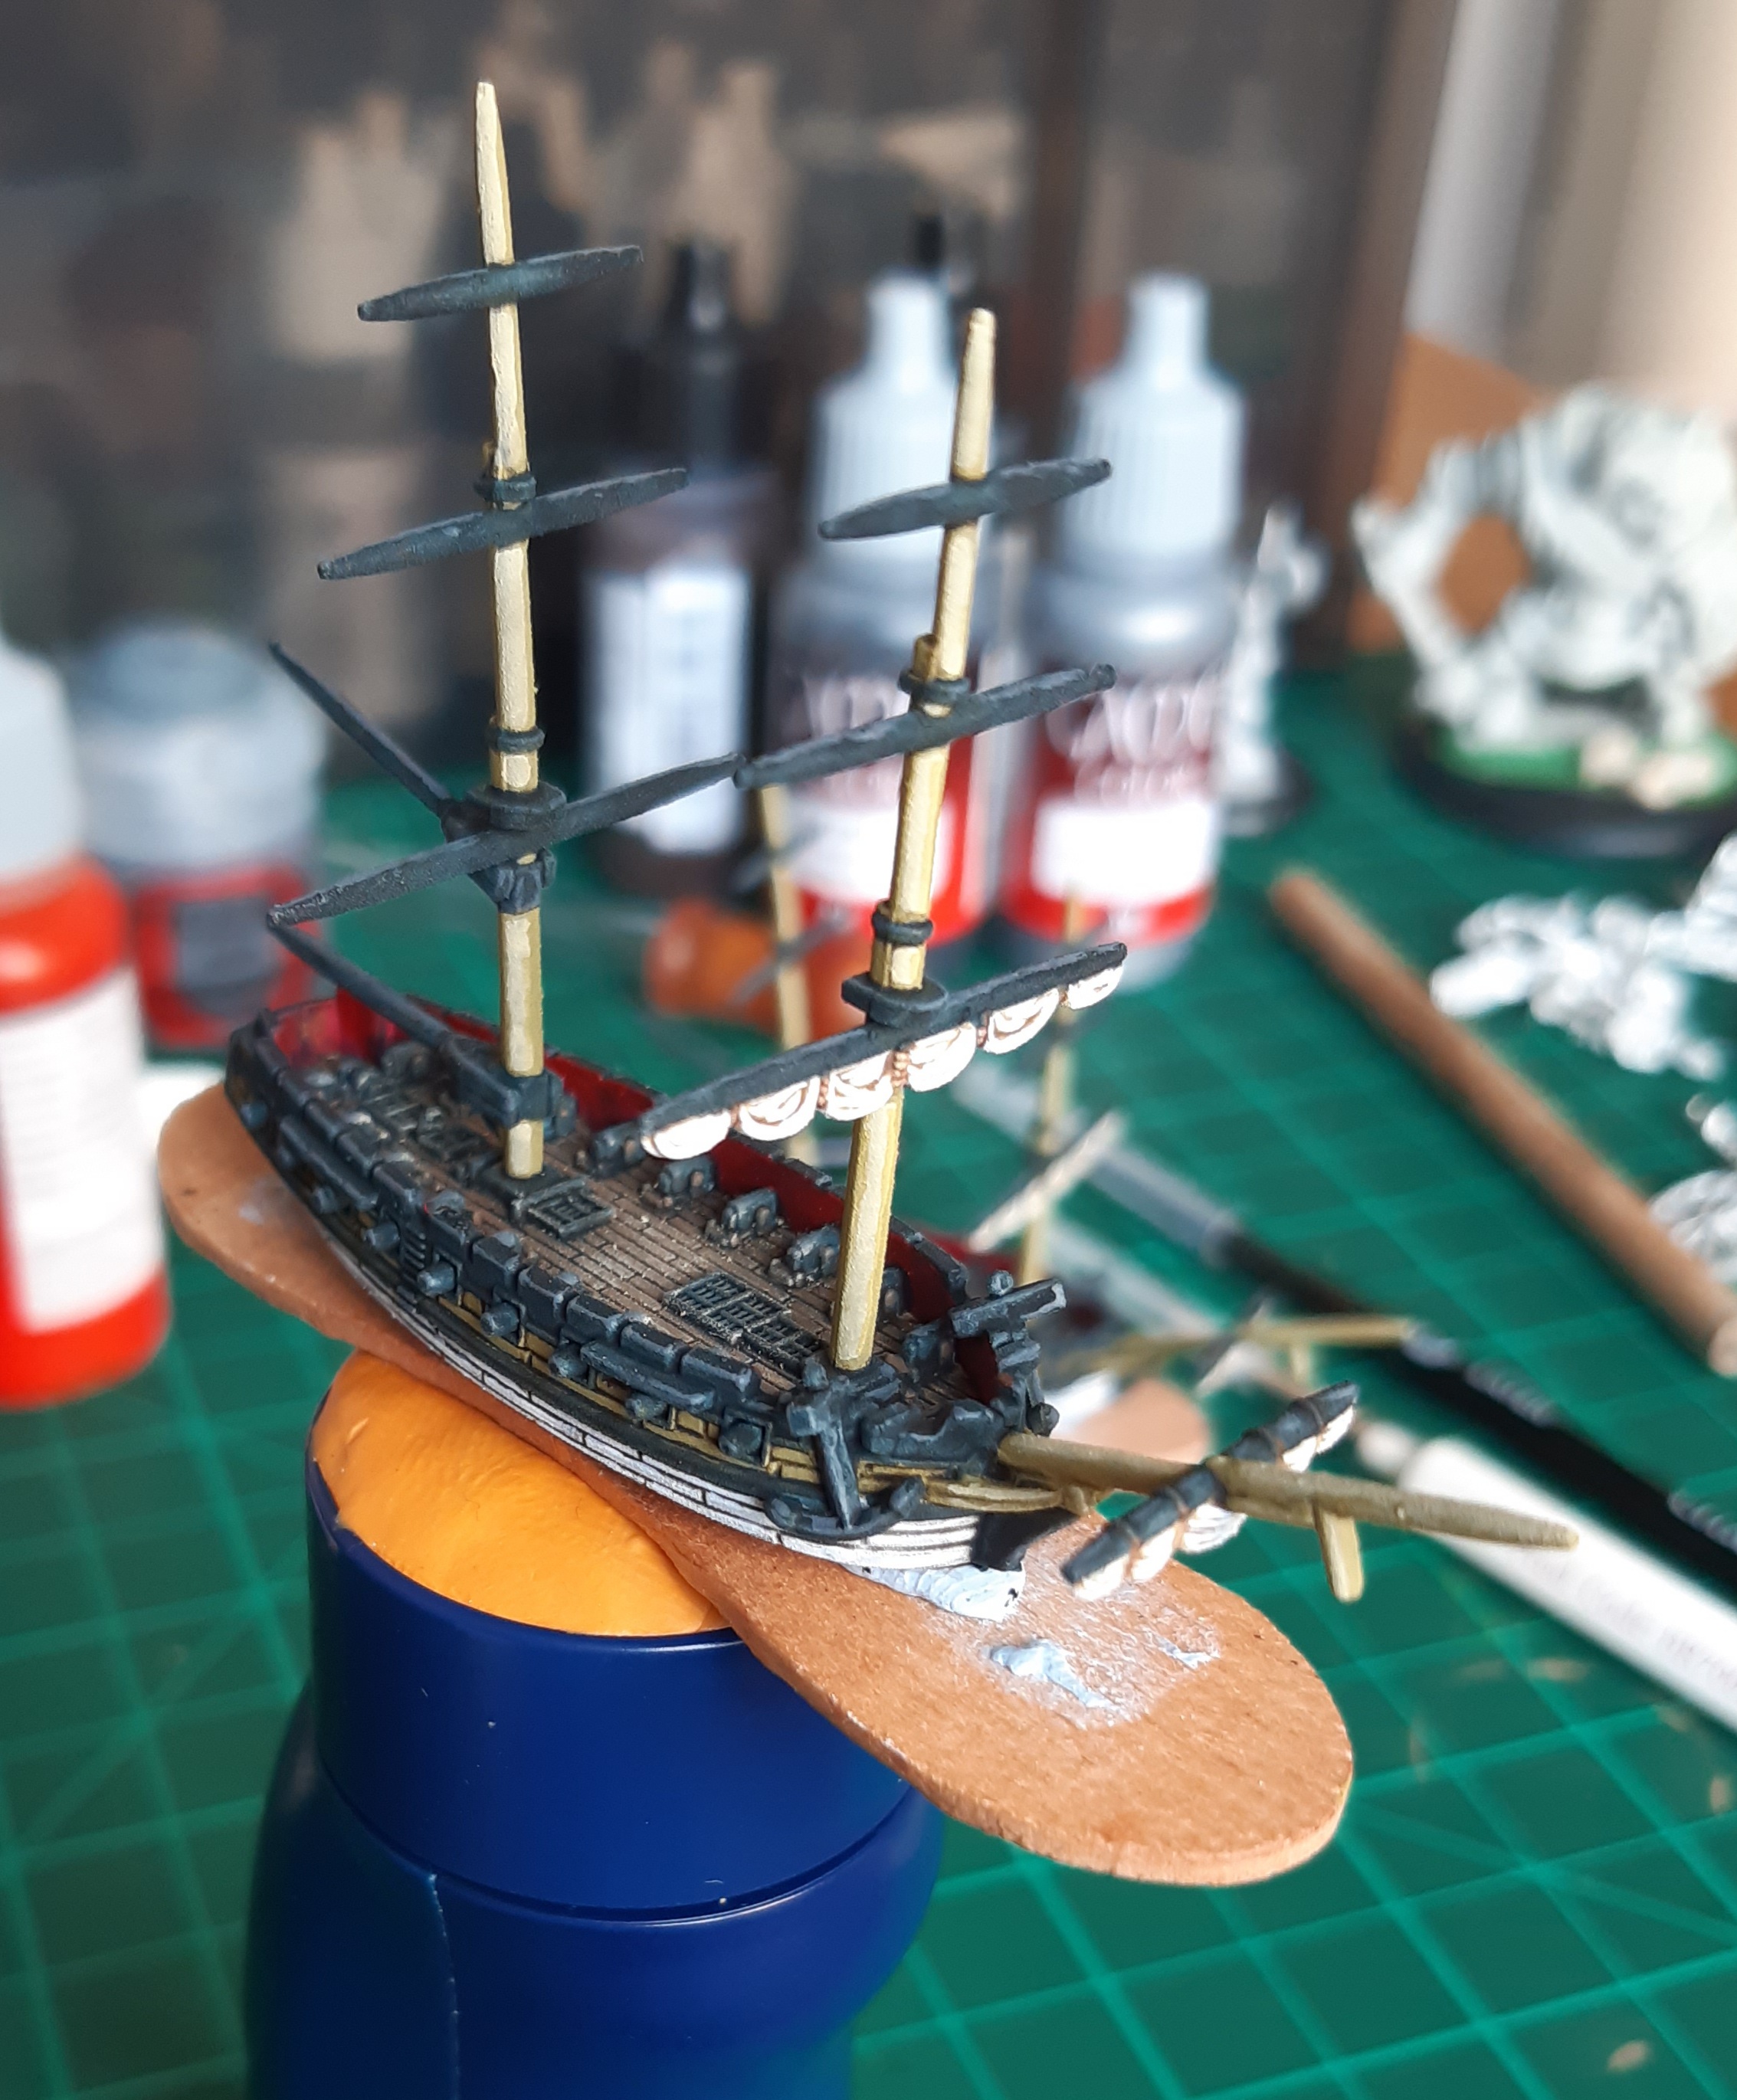
I had a couple of Warlord’s plastic brig models sitting around that caught my eye when deciding what to paint next. No idea if this will prompt me into a deeper dive into Black Seas, I guess that depends on how much I enjoy painting these two.
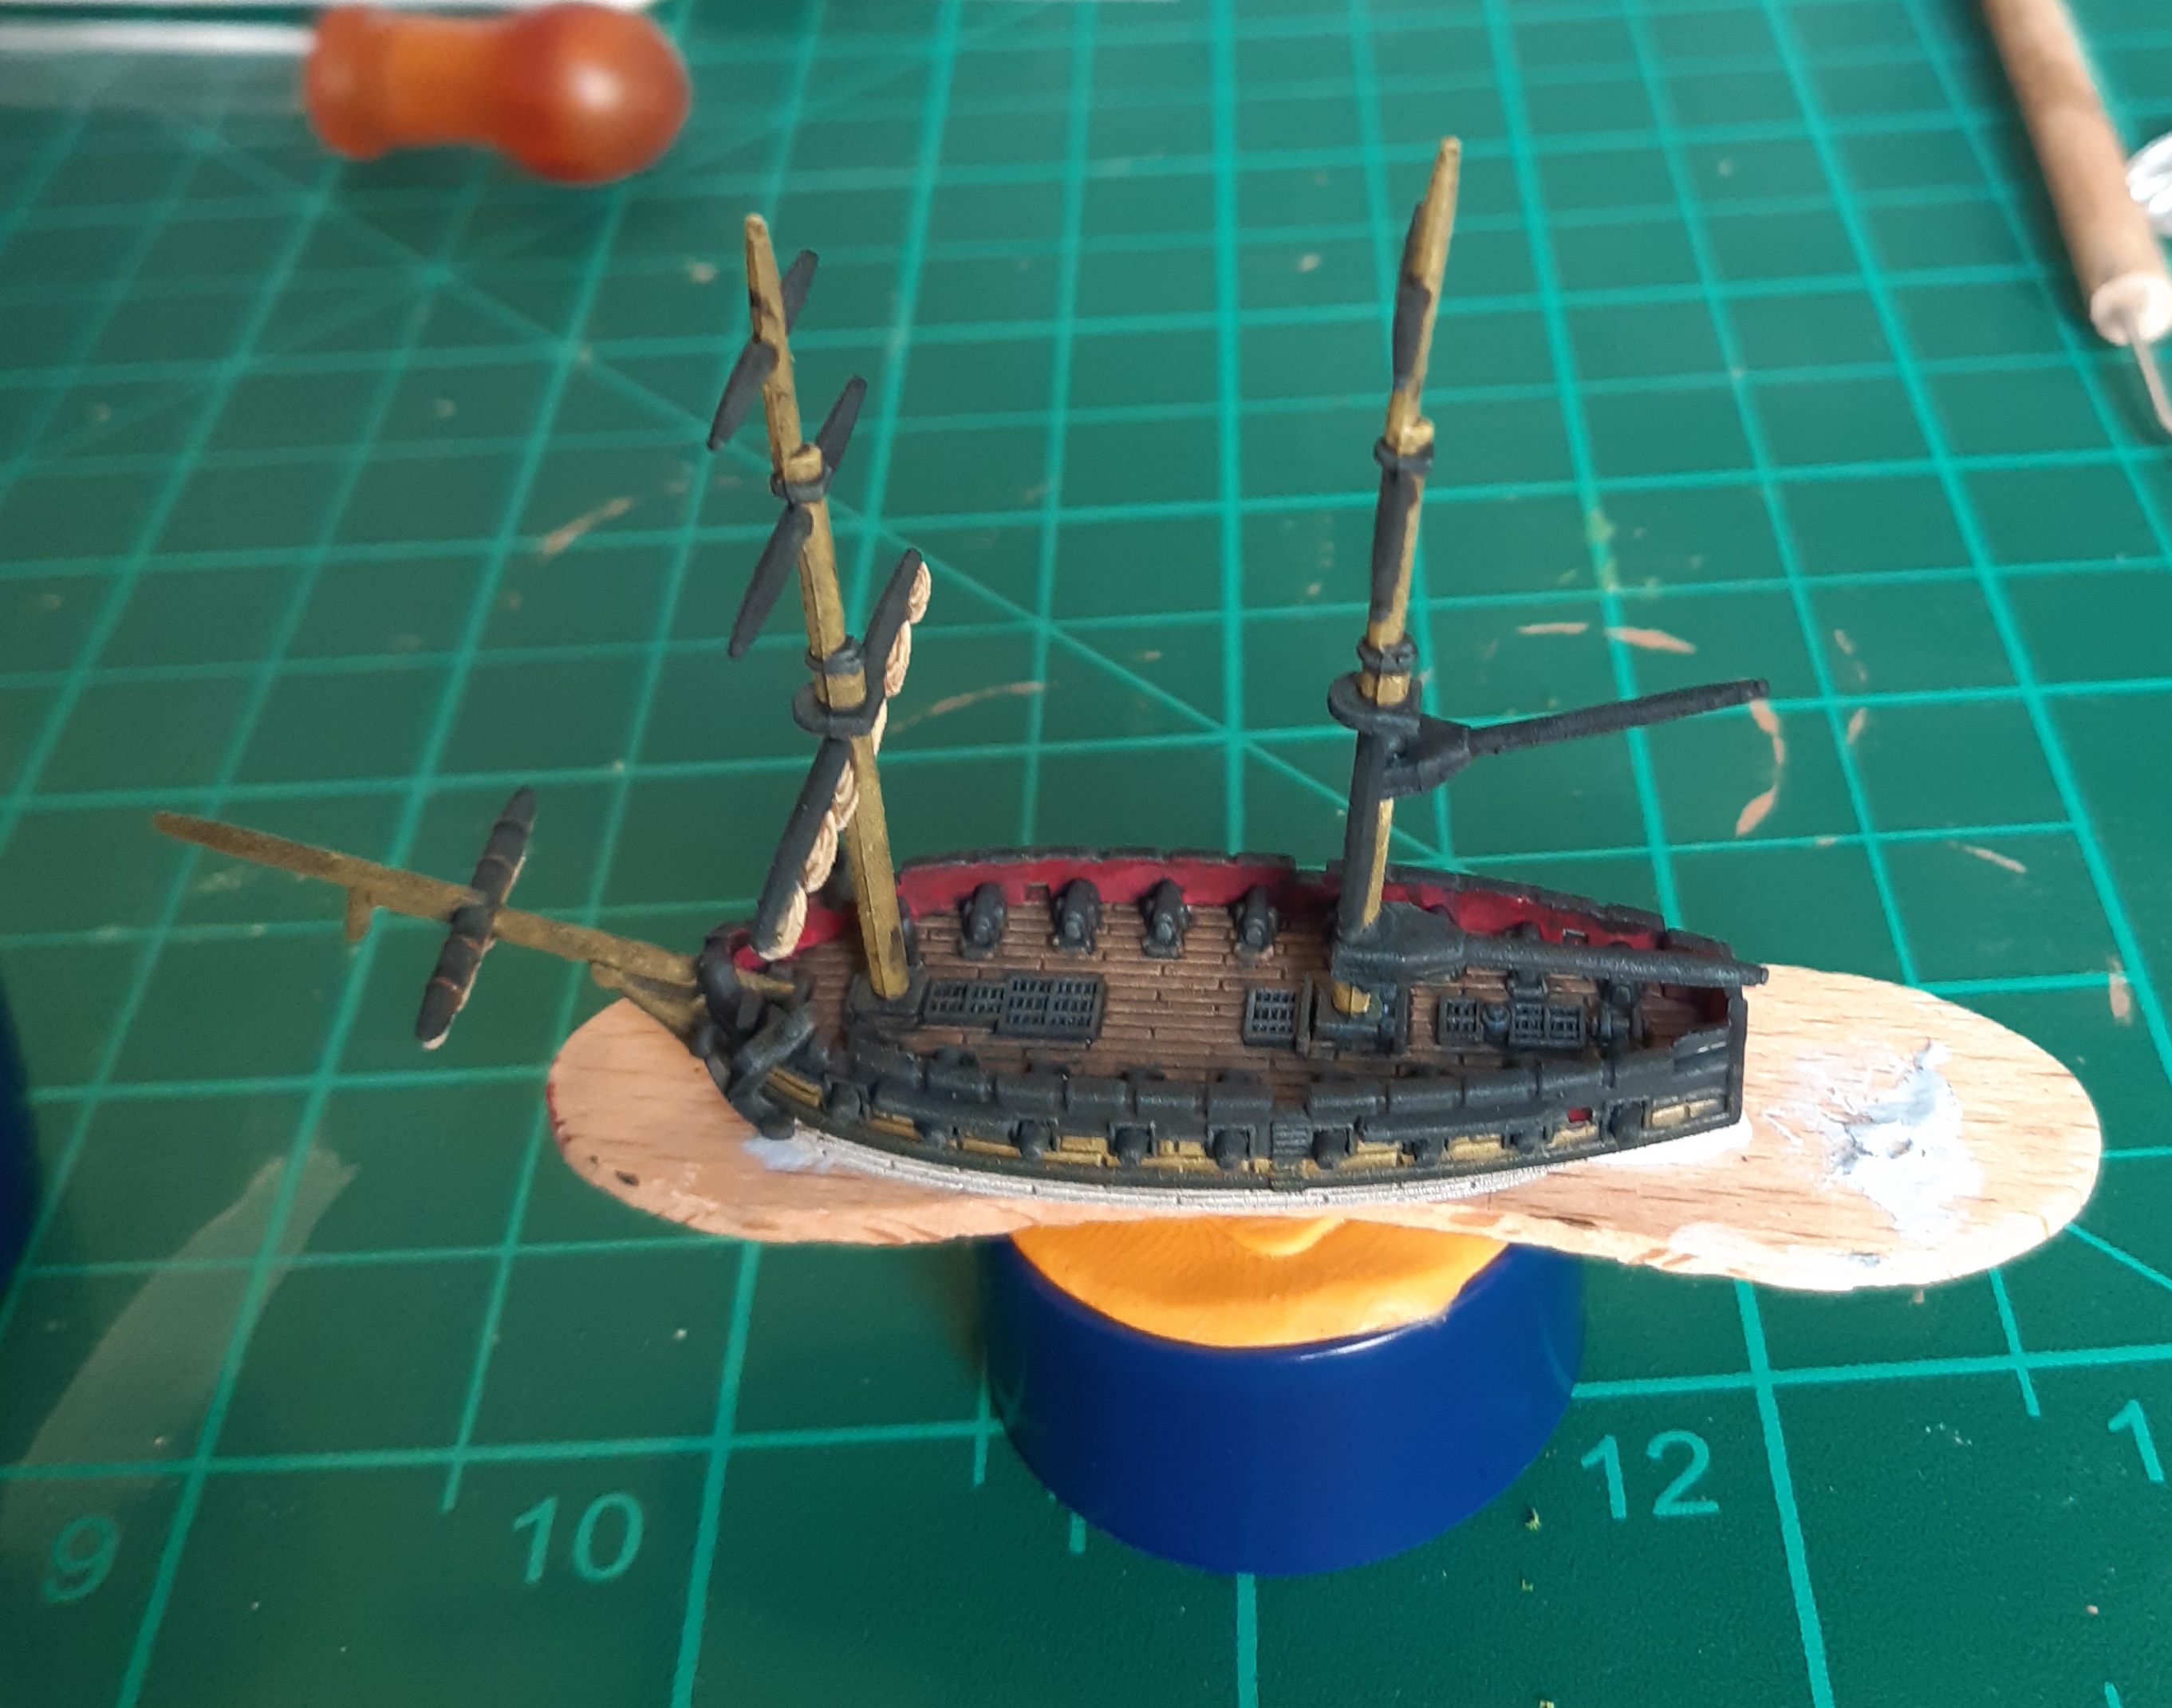
There’s been no research into historically appropriate colours, but I’ve been reliably infomed that ship’s captain had leeway to choose their own schemes. I’ve gone for something pretty fast and easy. The models were primed in white, and then base colours blocked in. Colours used were as follows (VJ – Vallejo, CT – Citadel):
- VJ Middlestone for the masts and part of the hull.
- VJ Dark Sea Blue mixed roughly 3:1 with VJ Black for the spars, cannon and deck details, and hull.
- CT Khorne Red for the inside of the deck
- VJ Off-White for the bottom of the hull.
- CT Steel Legion Drab for the deck.
- VJ Buff for the furled sails.
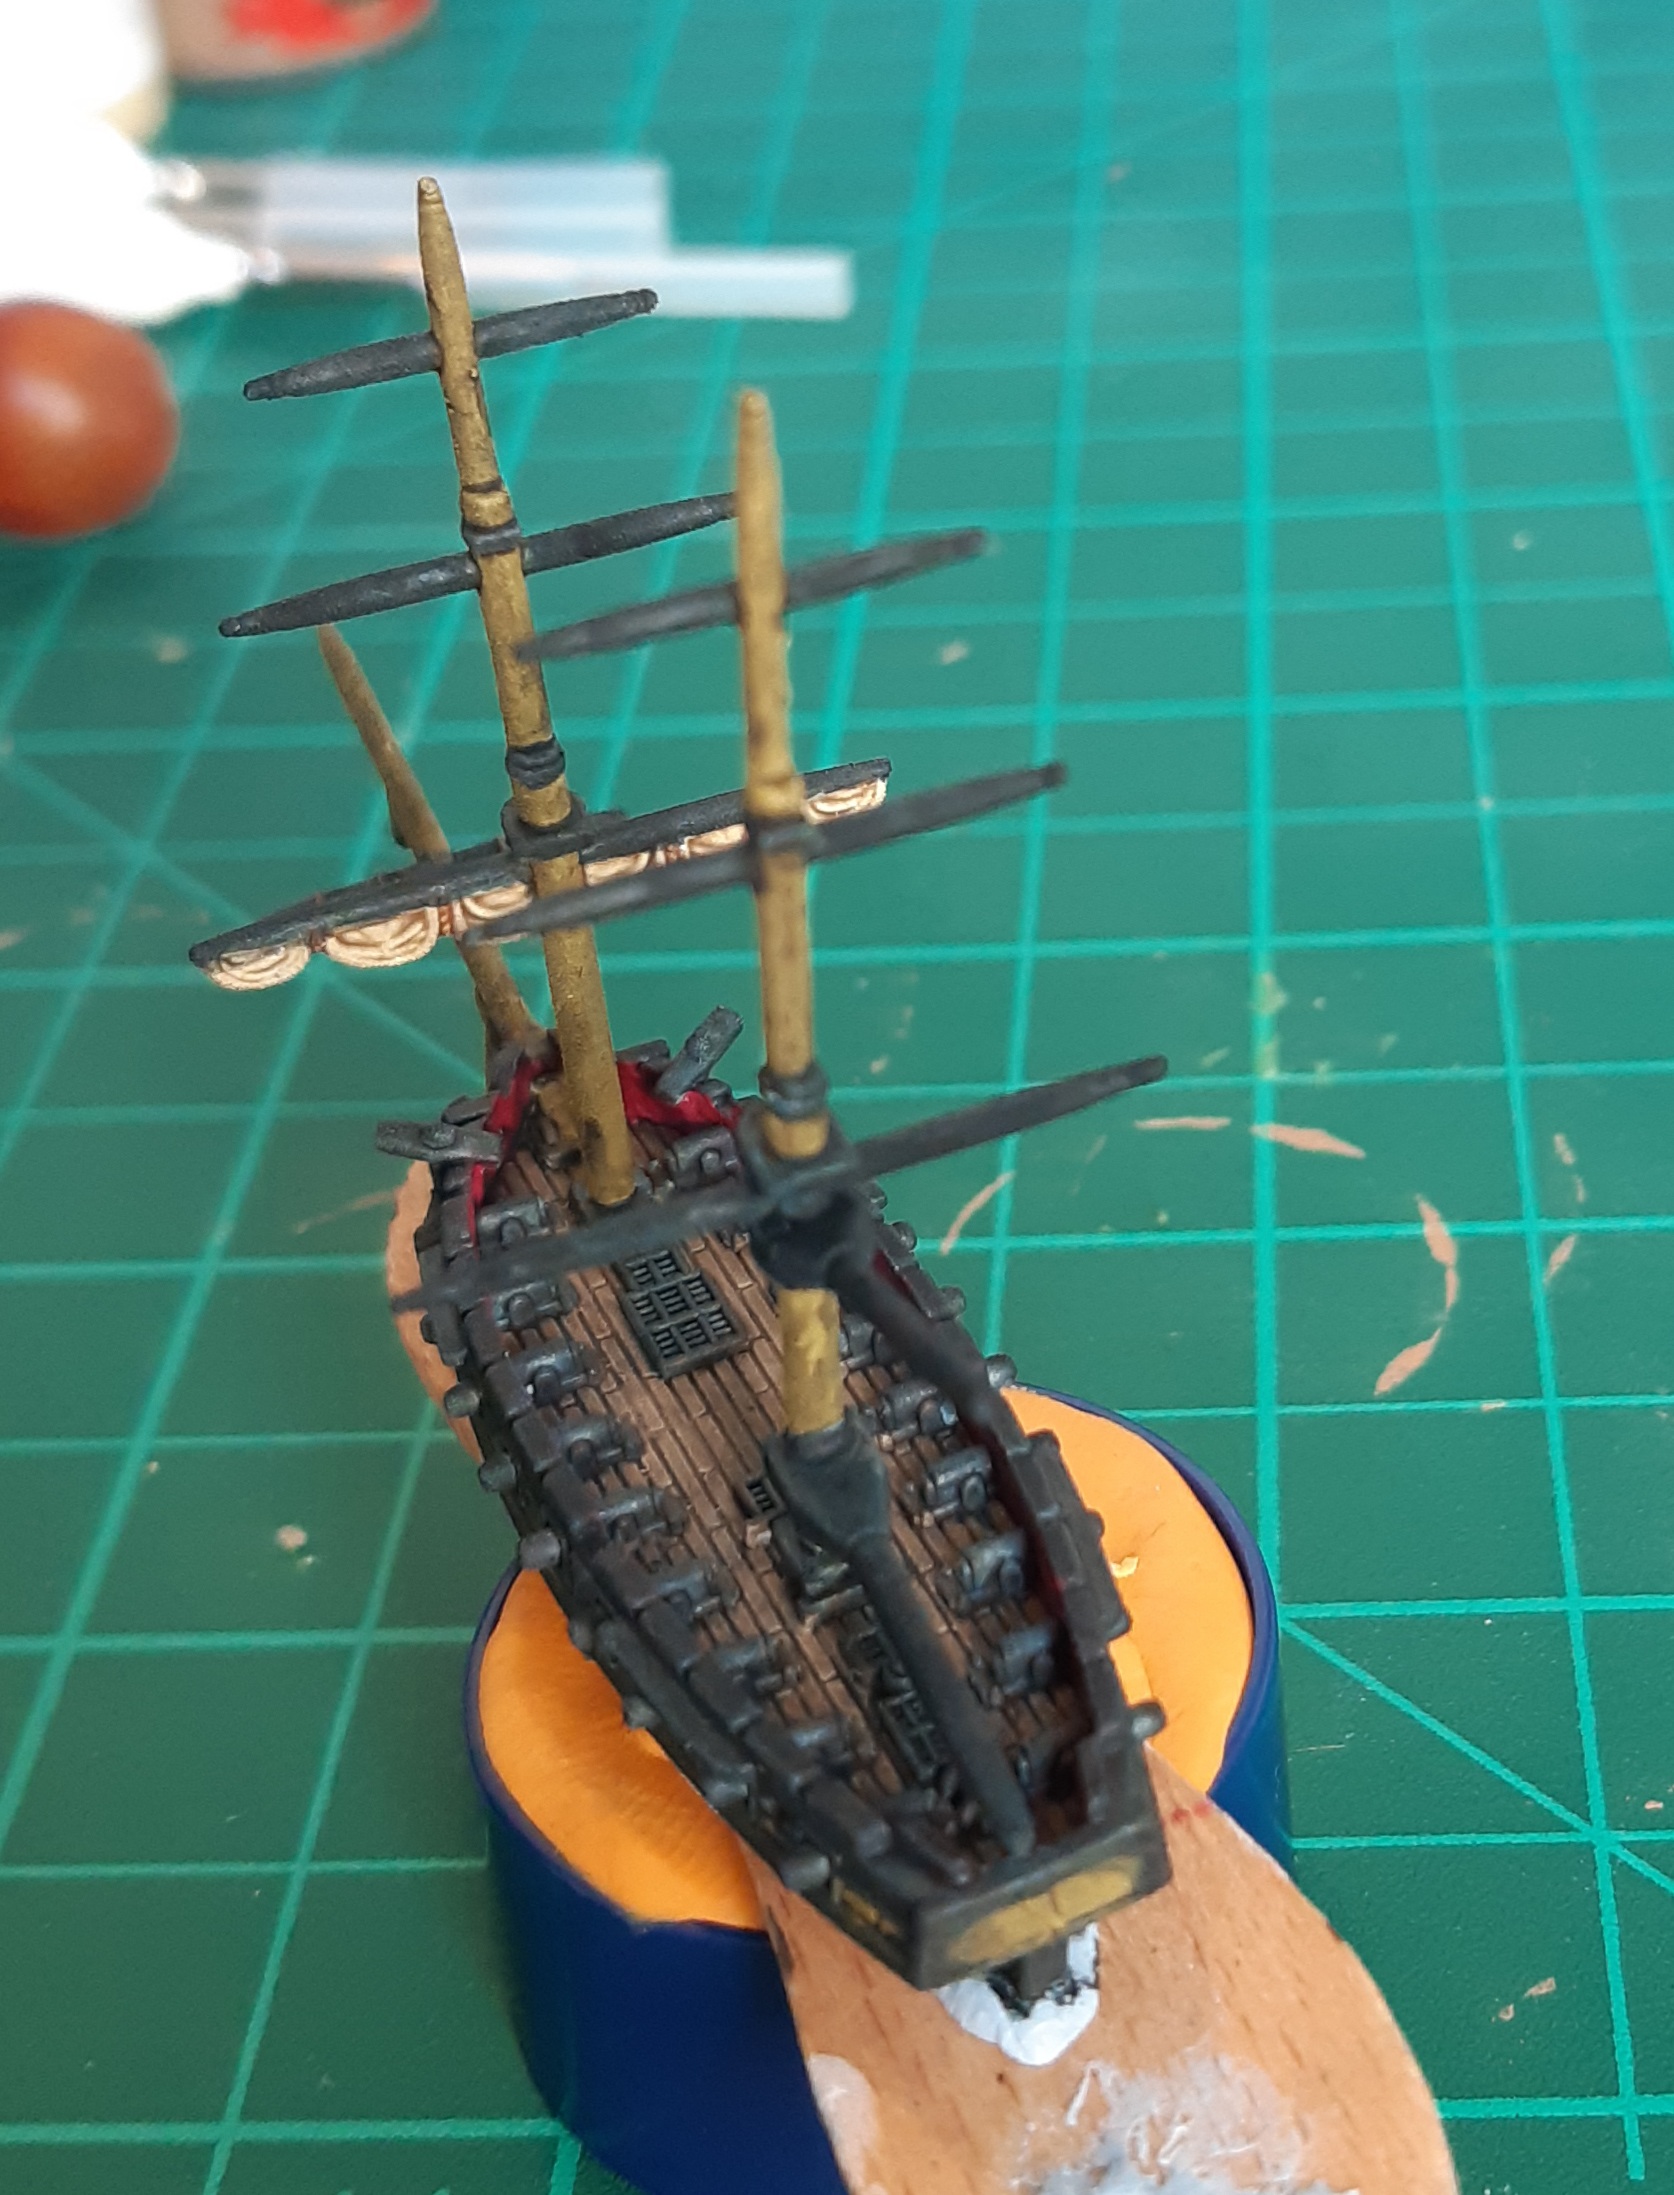
 Need to be more thorough in removing mould lines!
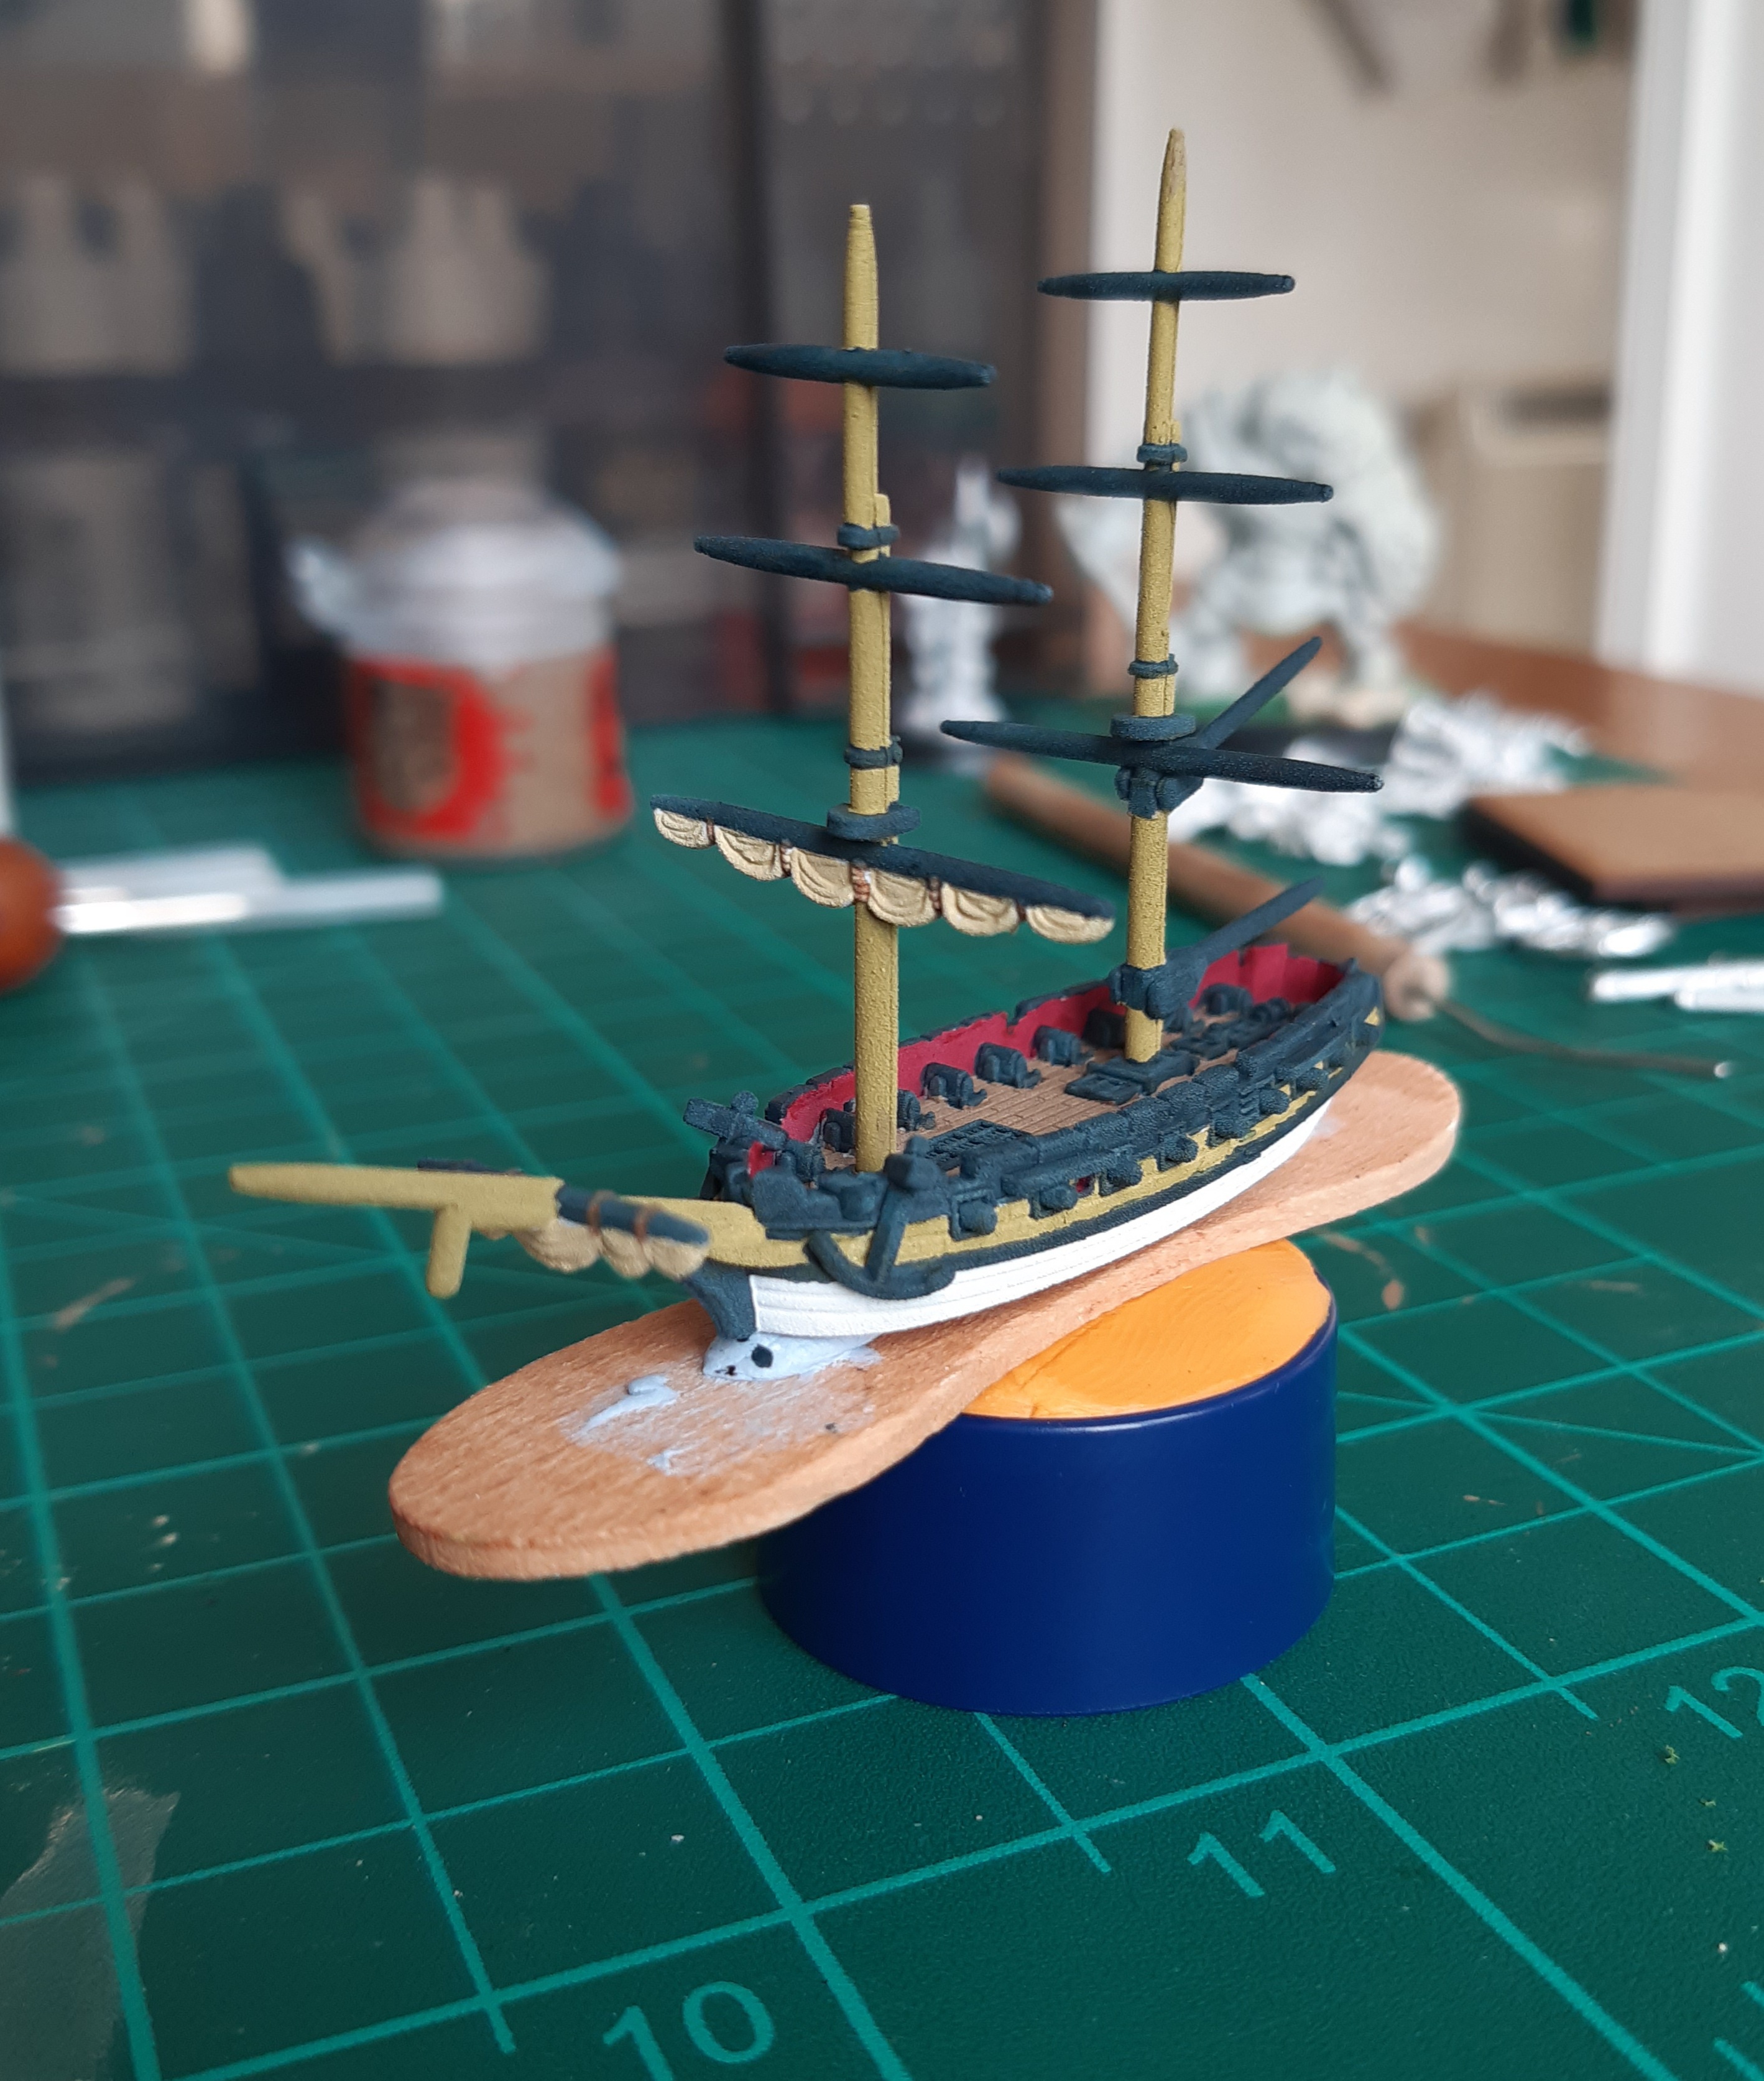
First lesson learnt – I cursed my past self for being over enthusiastic when assembling the models, as it would have been much easier to paint the hulls and main masts separately.
Washes
Two washes used, Vallejo Black and Umber. The latter was used just for the sails, whilst the black was used for everything else.
The black wash over the dark sea blue/black base coat is intended to leave a slightly blue sheen to the black areas, and to shortcut some of the highlights for those areas. It works better than comes out in the photos.
First Highlights
Once the wash has dried, all the areas apart from the black are highlighted with a thin coat of the base colour. I also did the gun trucks in Steel Legion Drab.

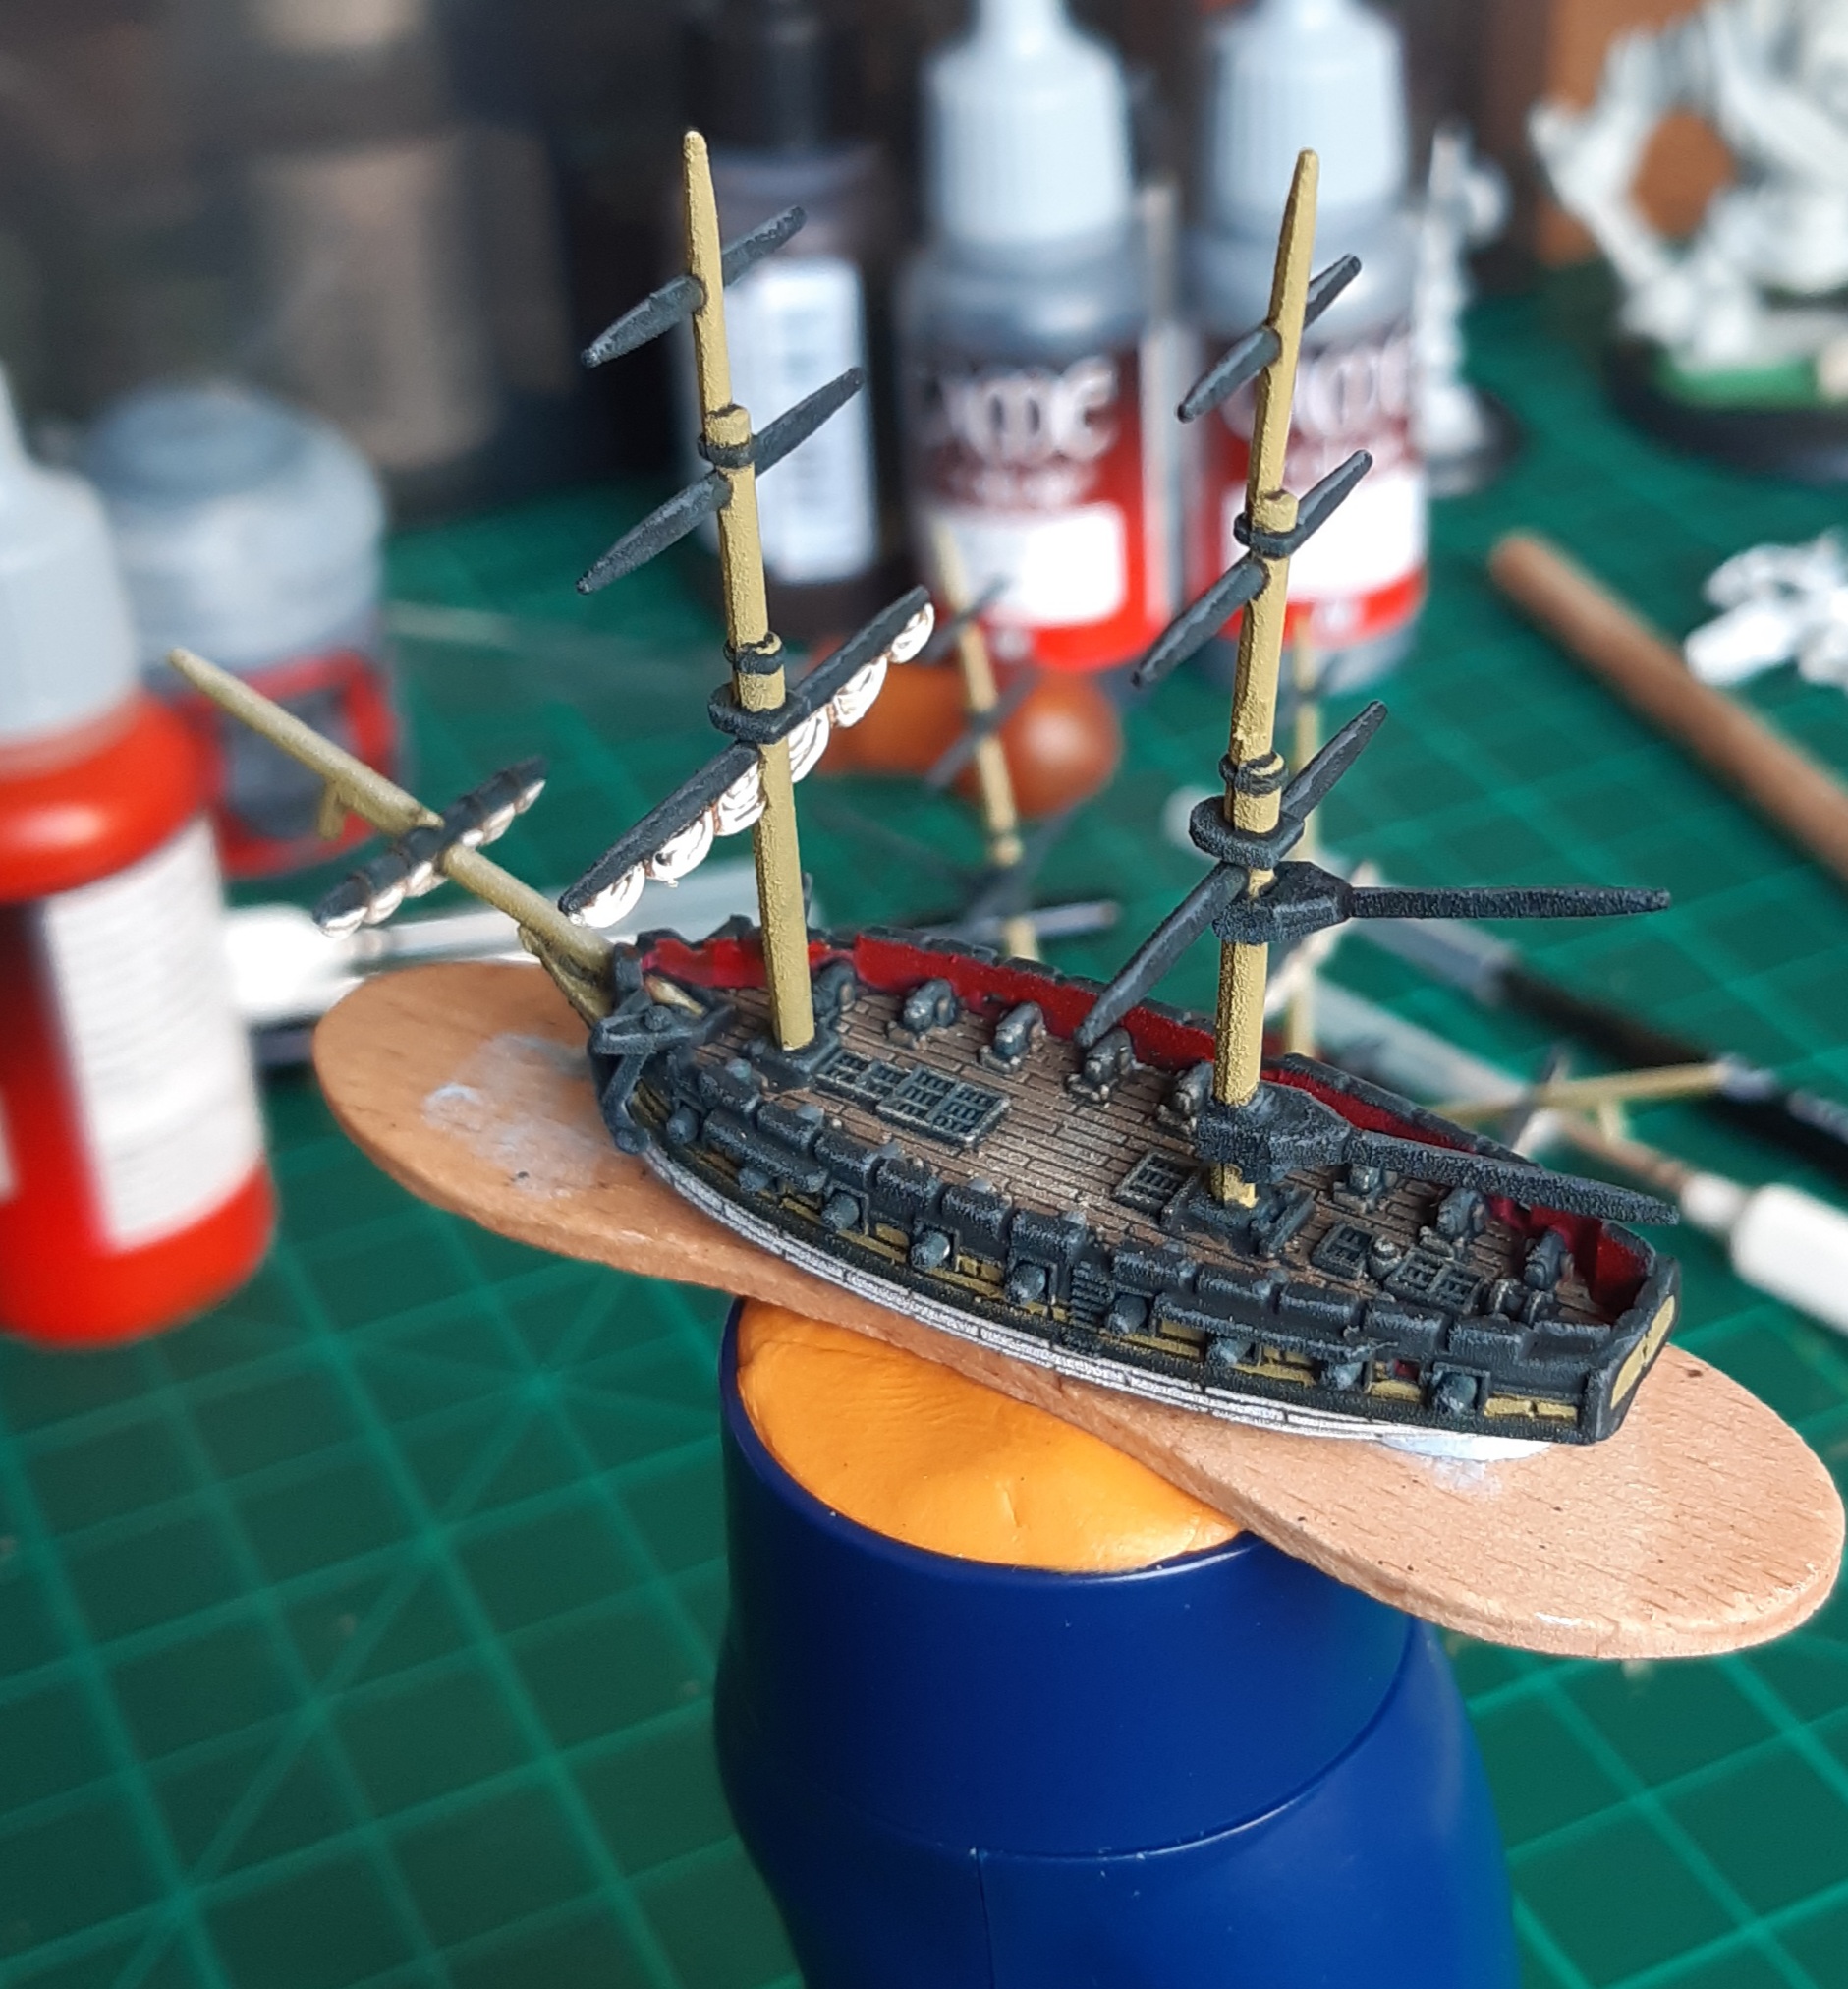
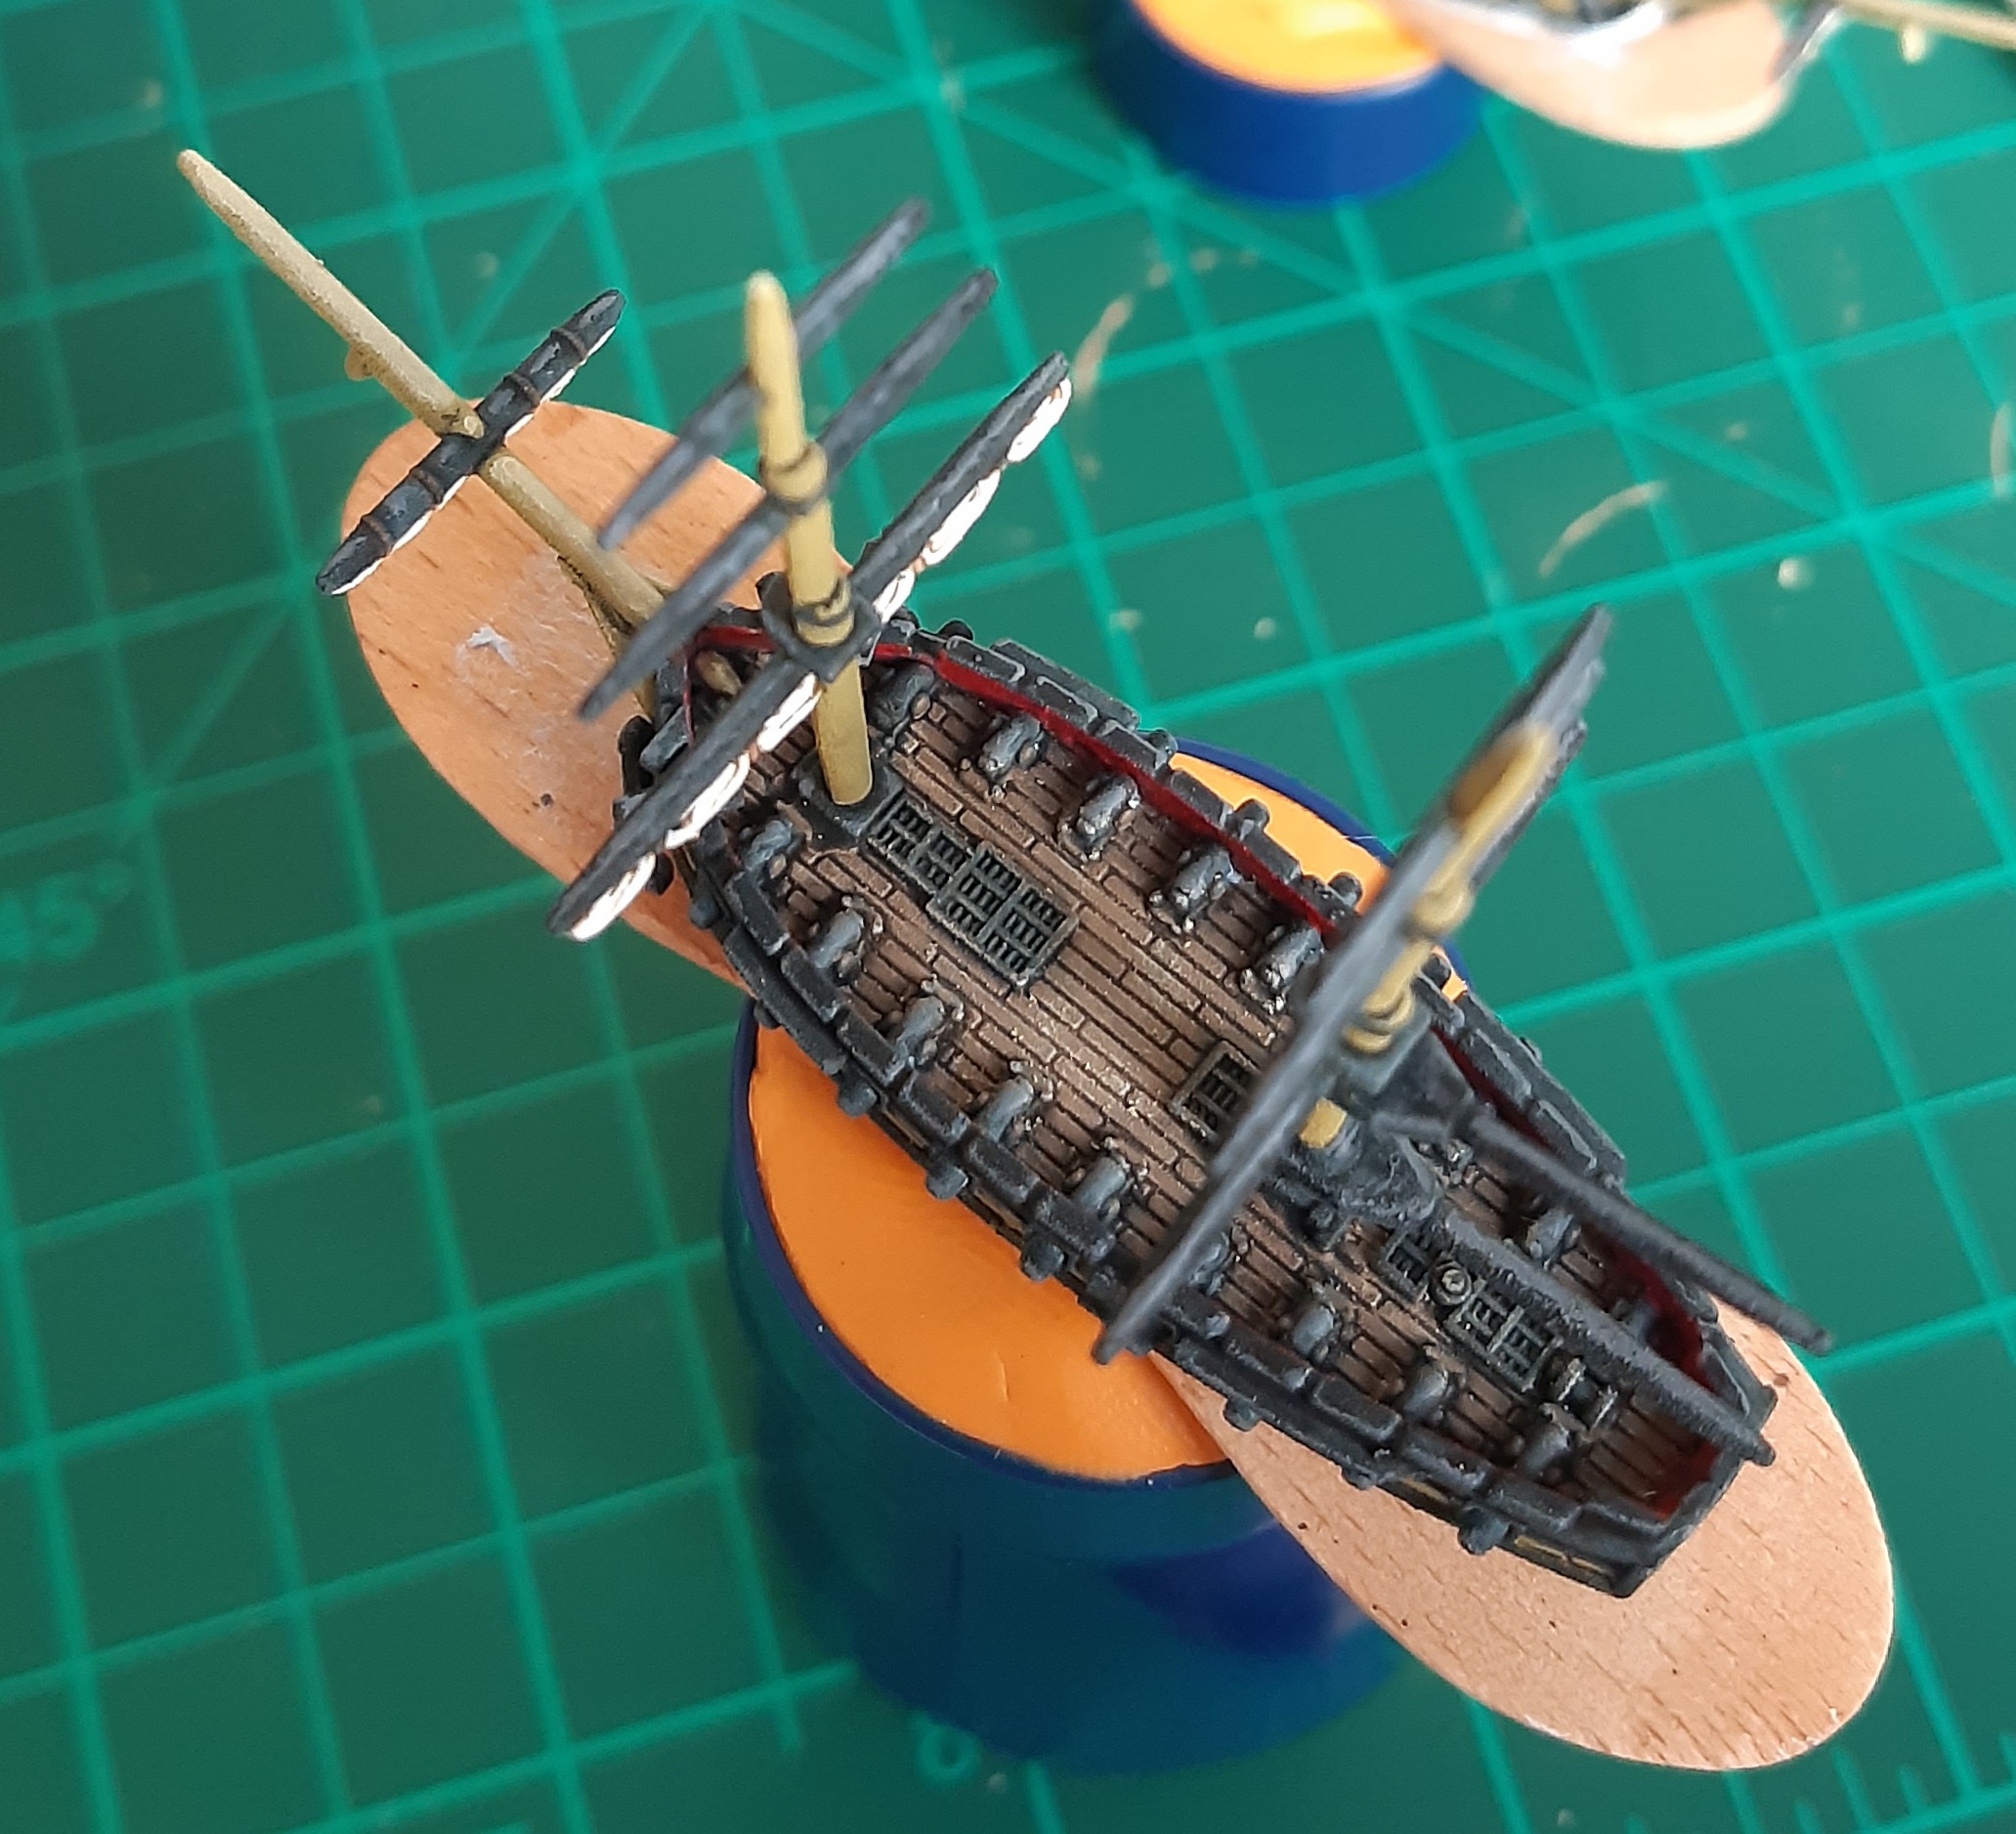
Final Highlights
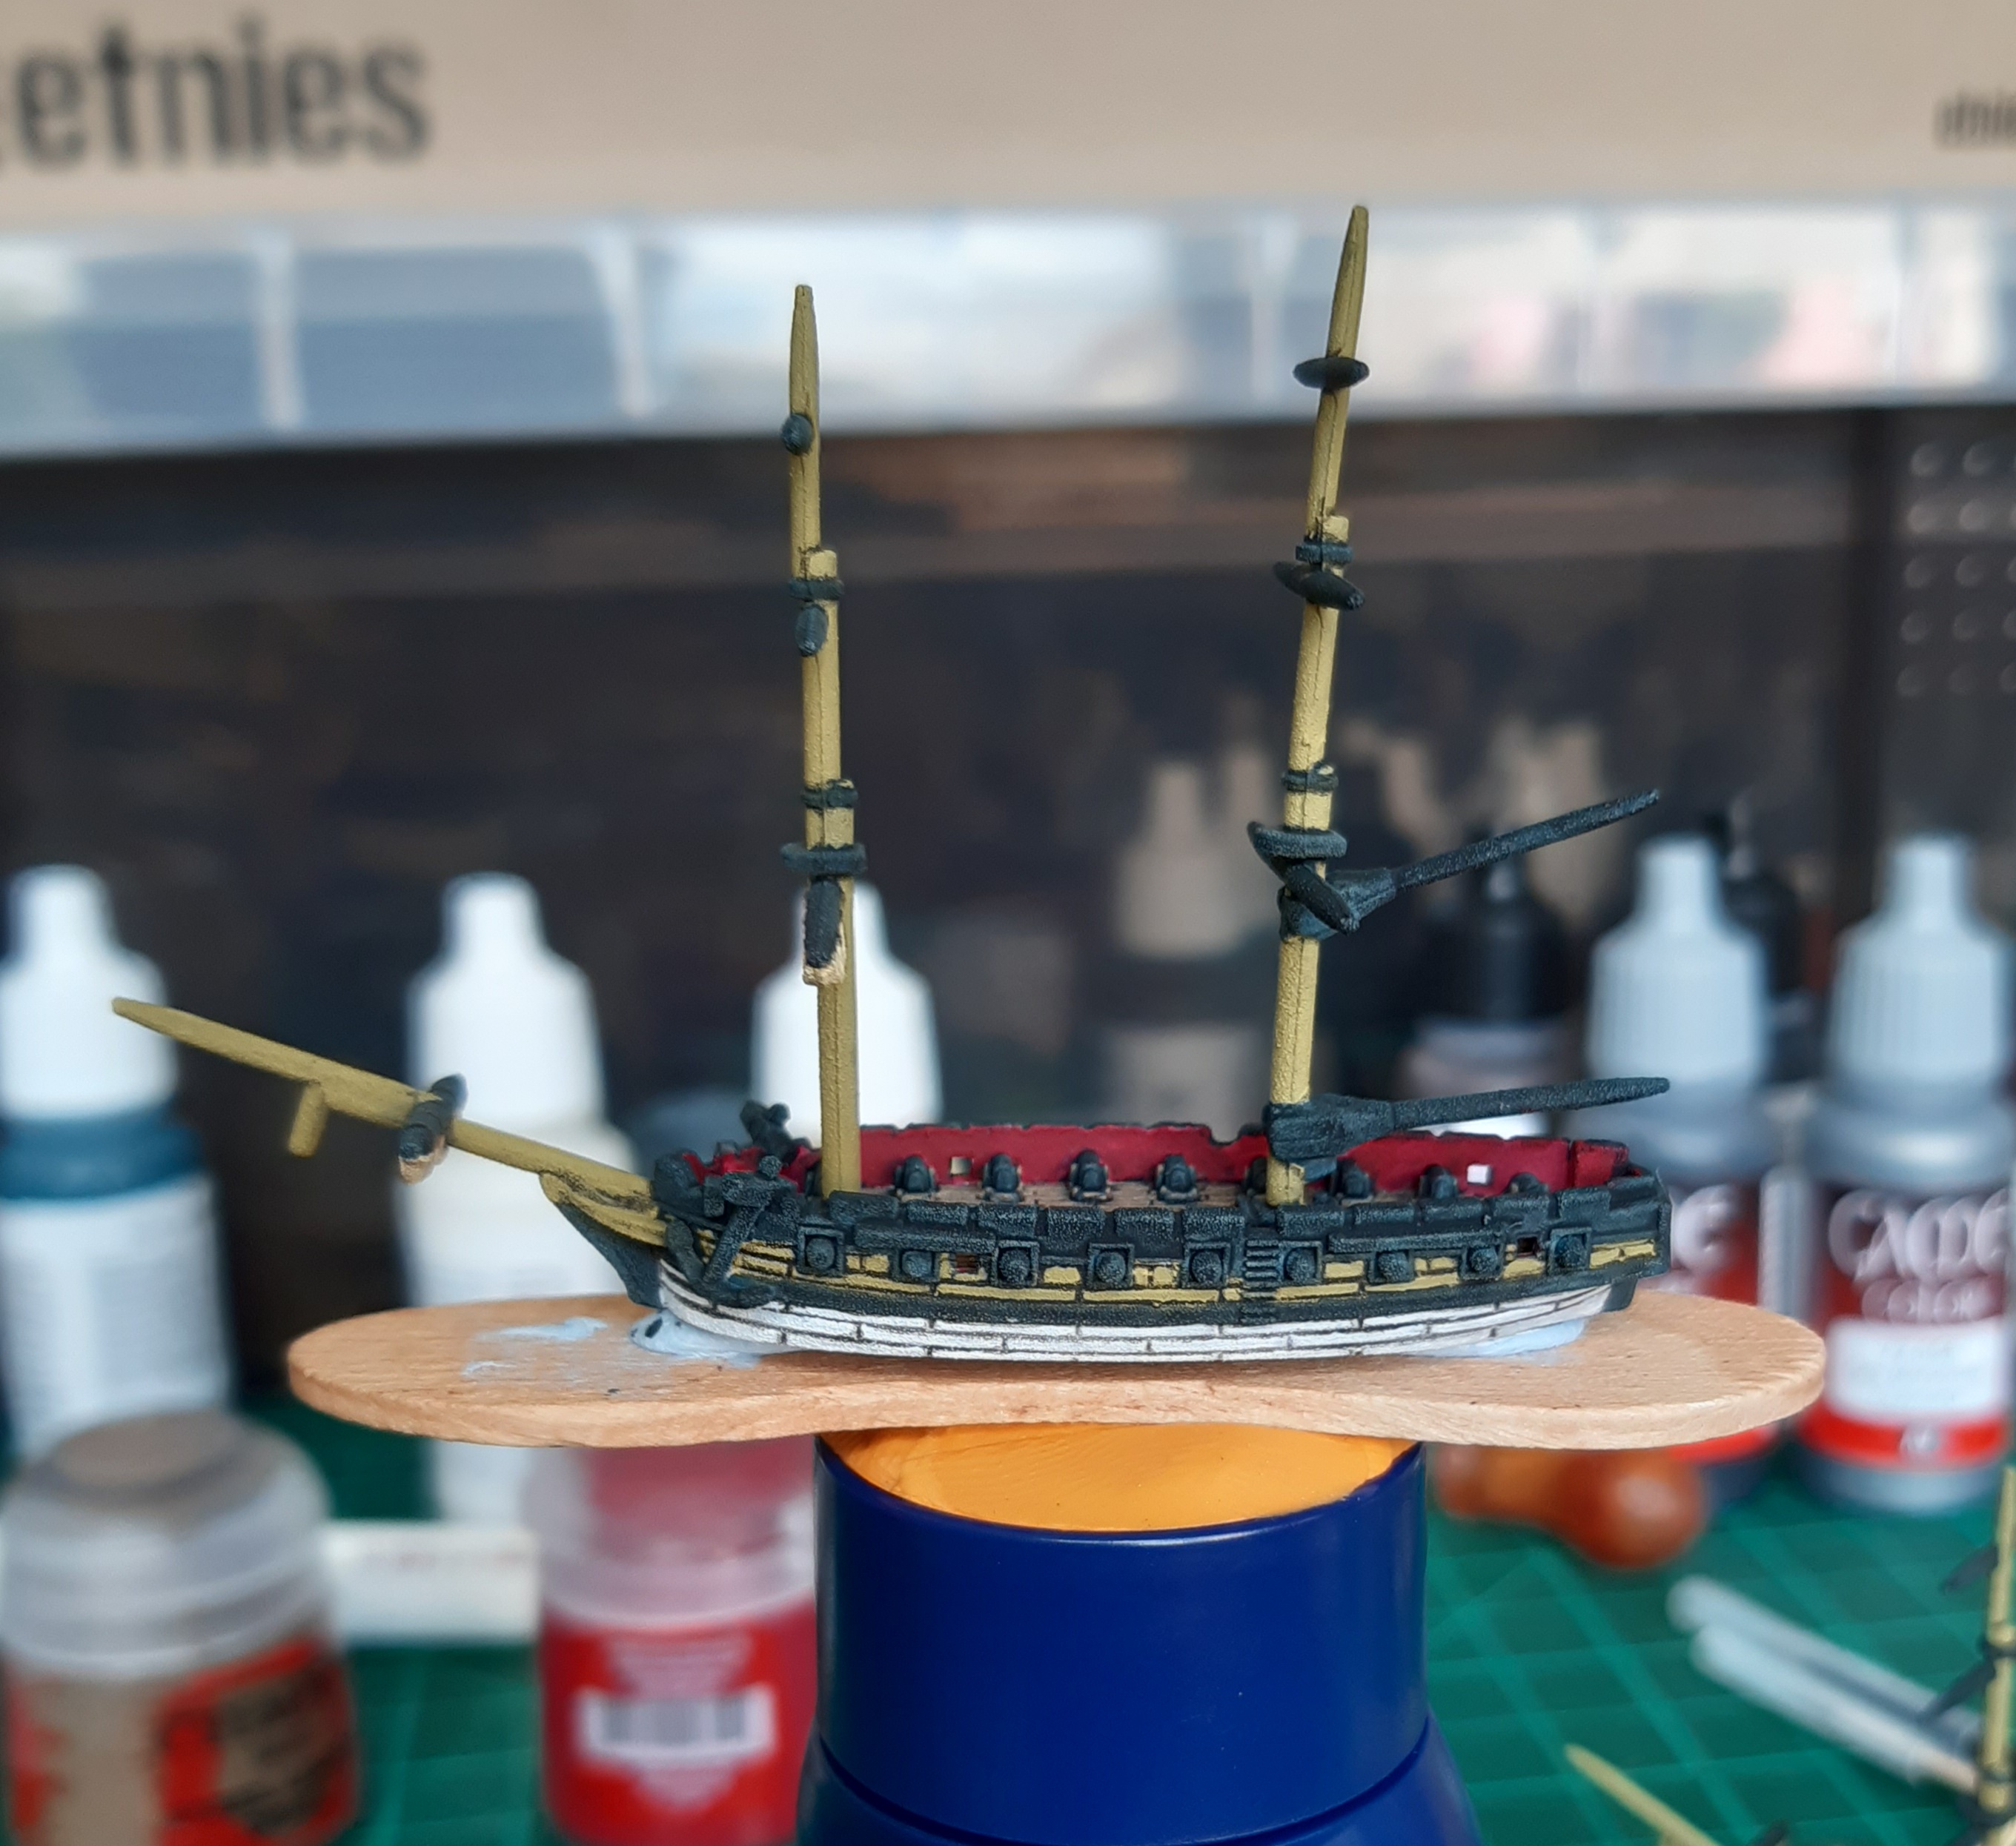
The deck was very lightly dry brushed with Citadel Tyrant Skull. I also did the deck grates too. There was some inevitable spill over onto the cannon.
Next, a very thin coat of Citadel Mechanicus Standard Grey was used to highlight the top of the cannon (which also rectified the spill over from above), and to edge the top of the barrels. The top of the spars, the outside edge of the deck and the anchors were also done. This was a very light touch highlight, as the wash over the dark sea blue had done most the work already.
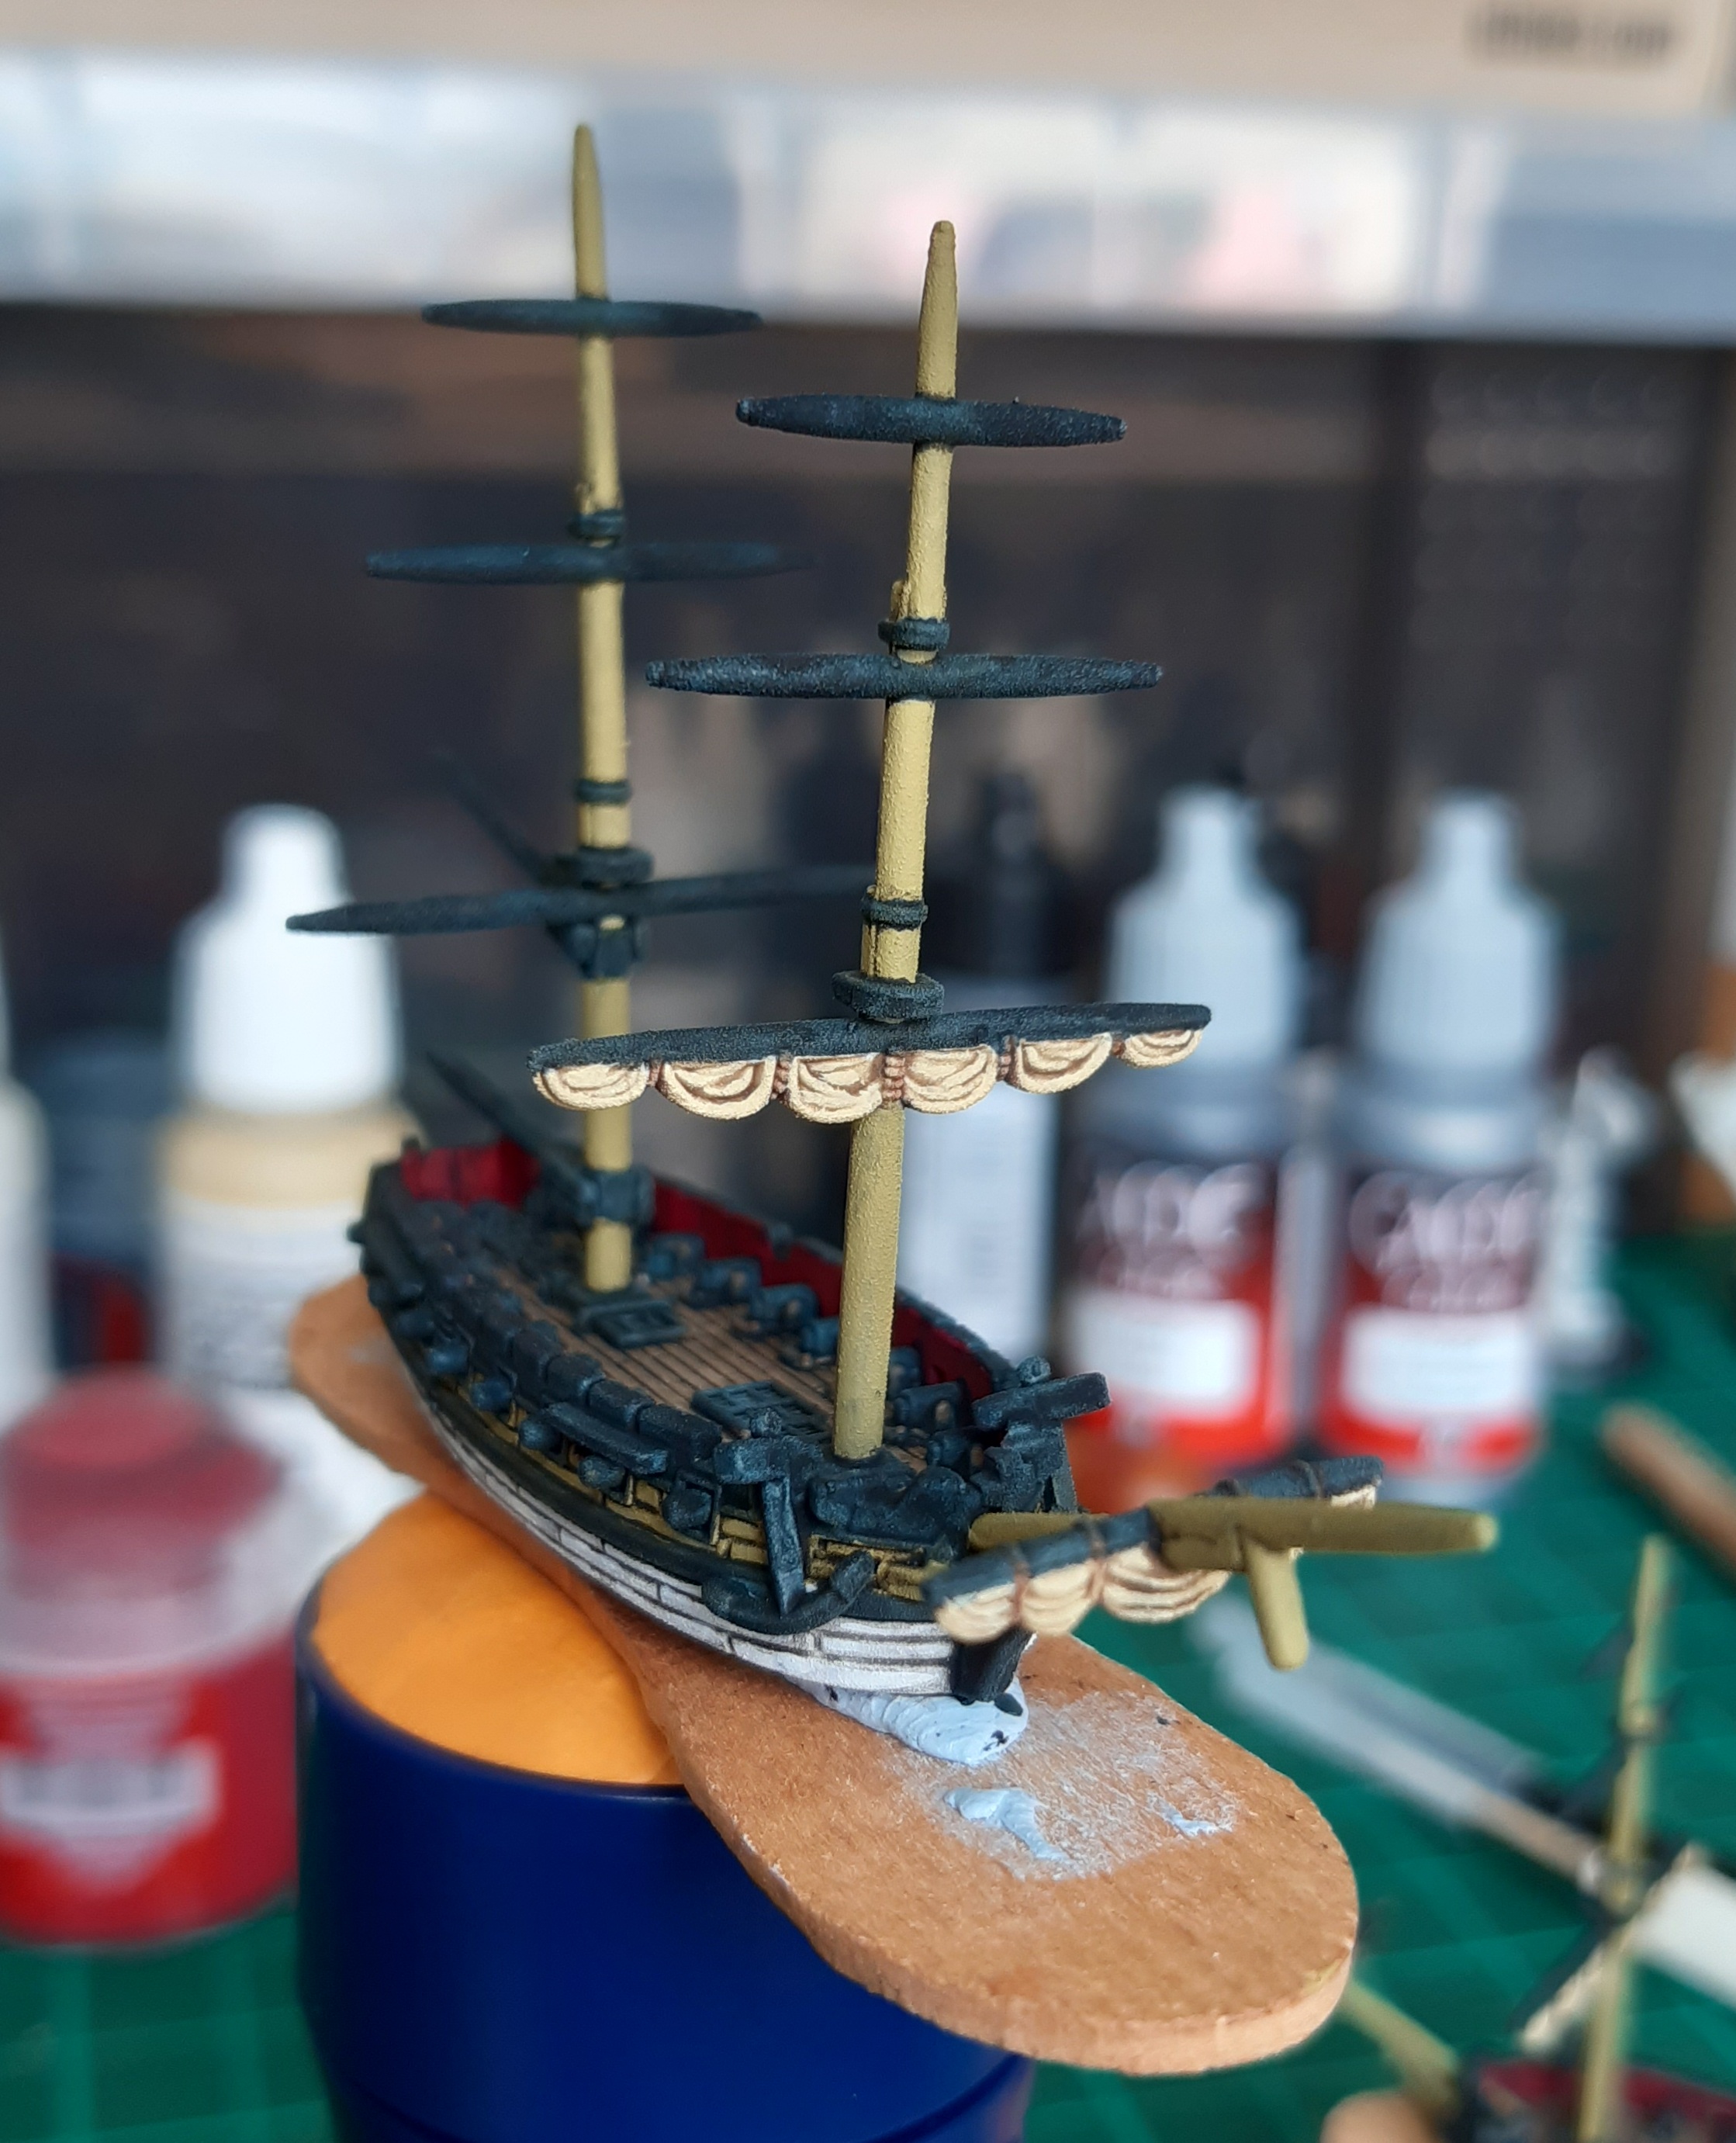
The sails were highlighted with Vallejo Off-White, whilst the masts had a little Vallejo Buff added. The inside of the deck walls had some Vallejo Bloody Red applied around the top.
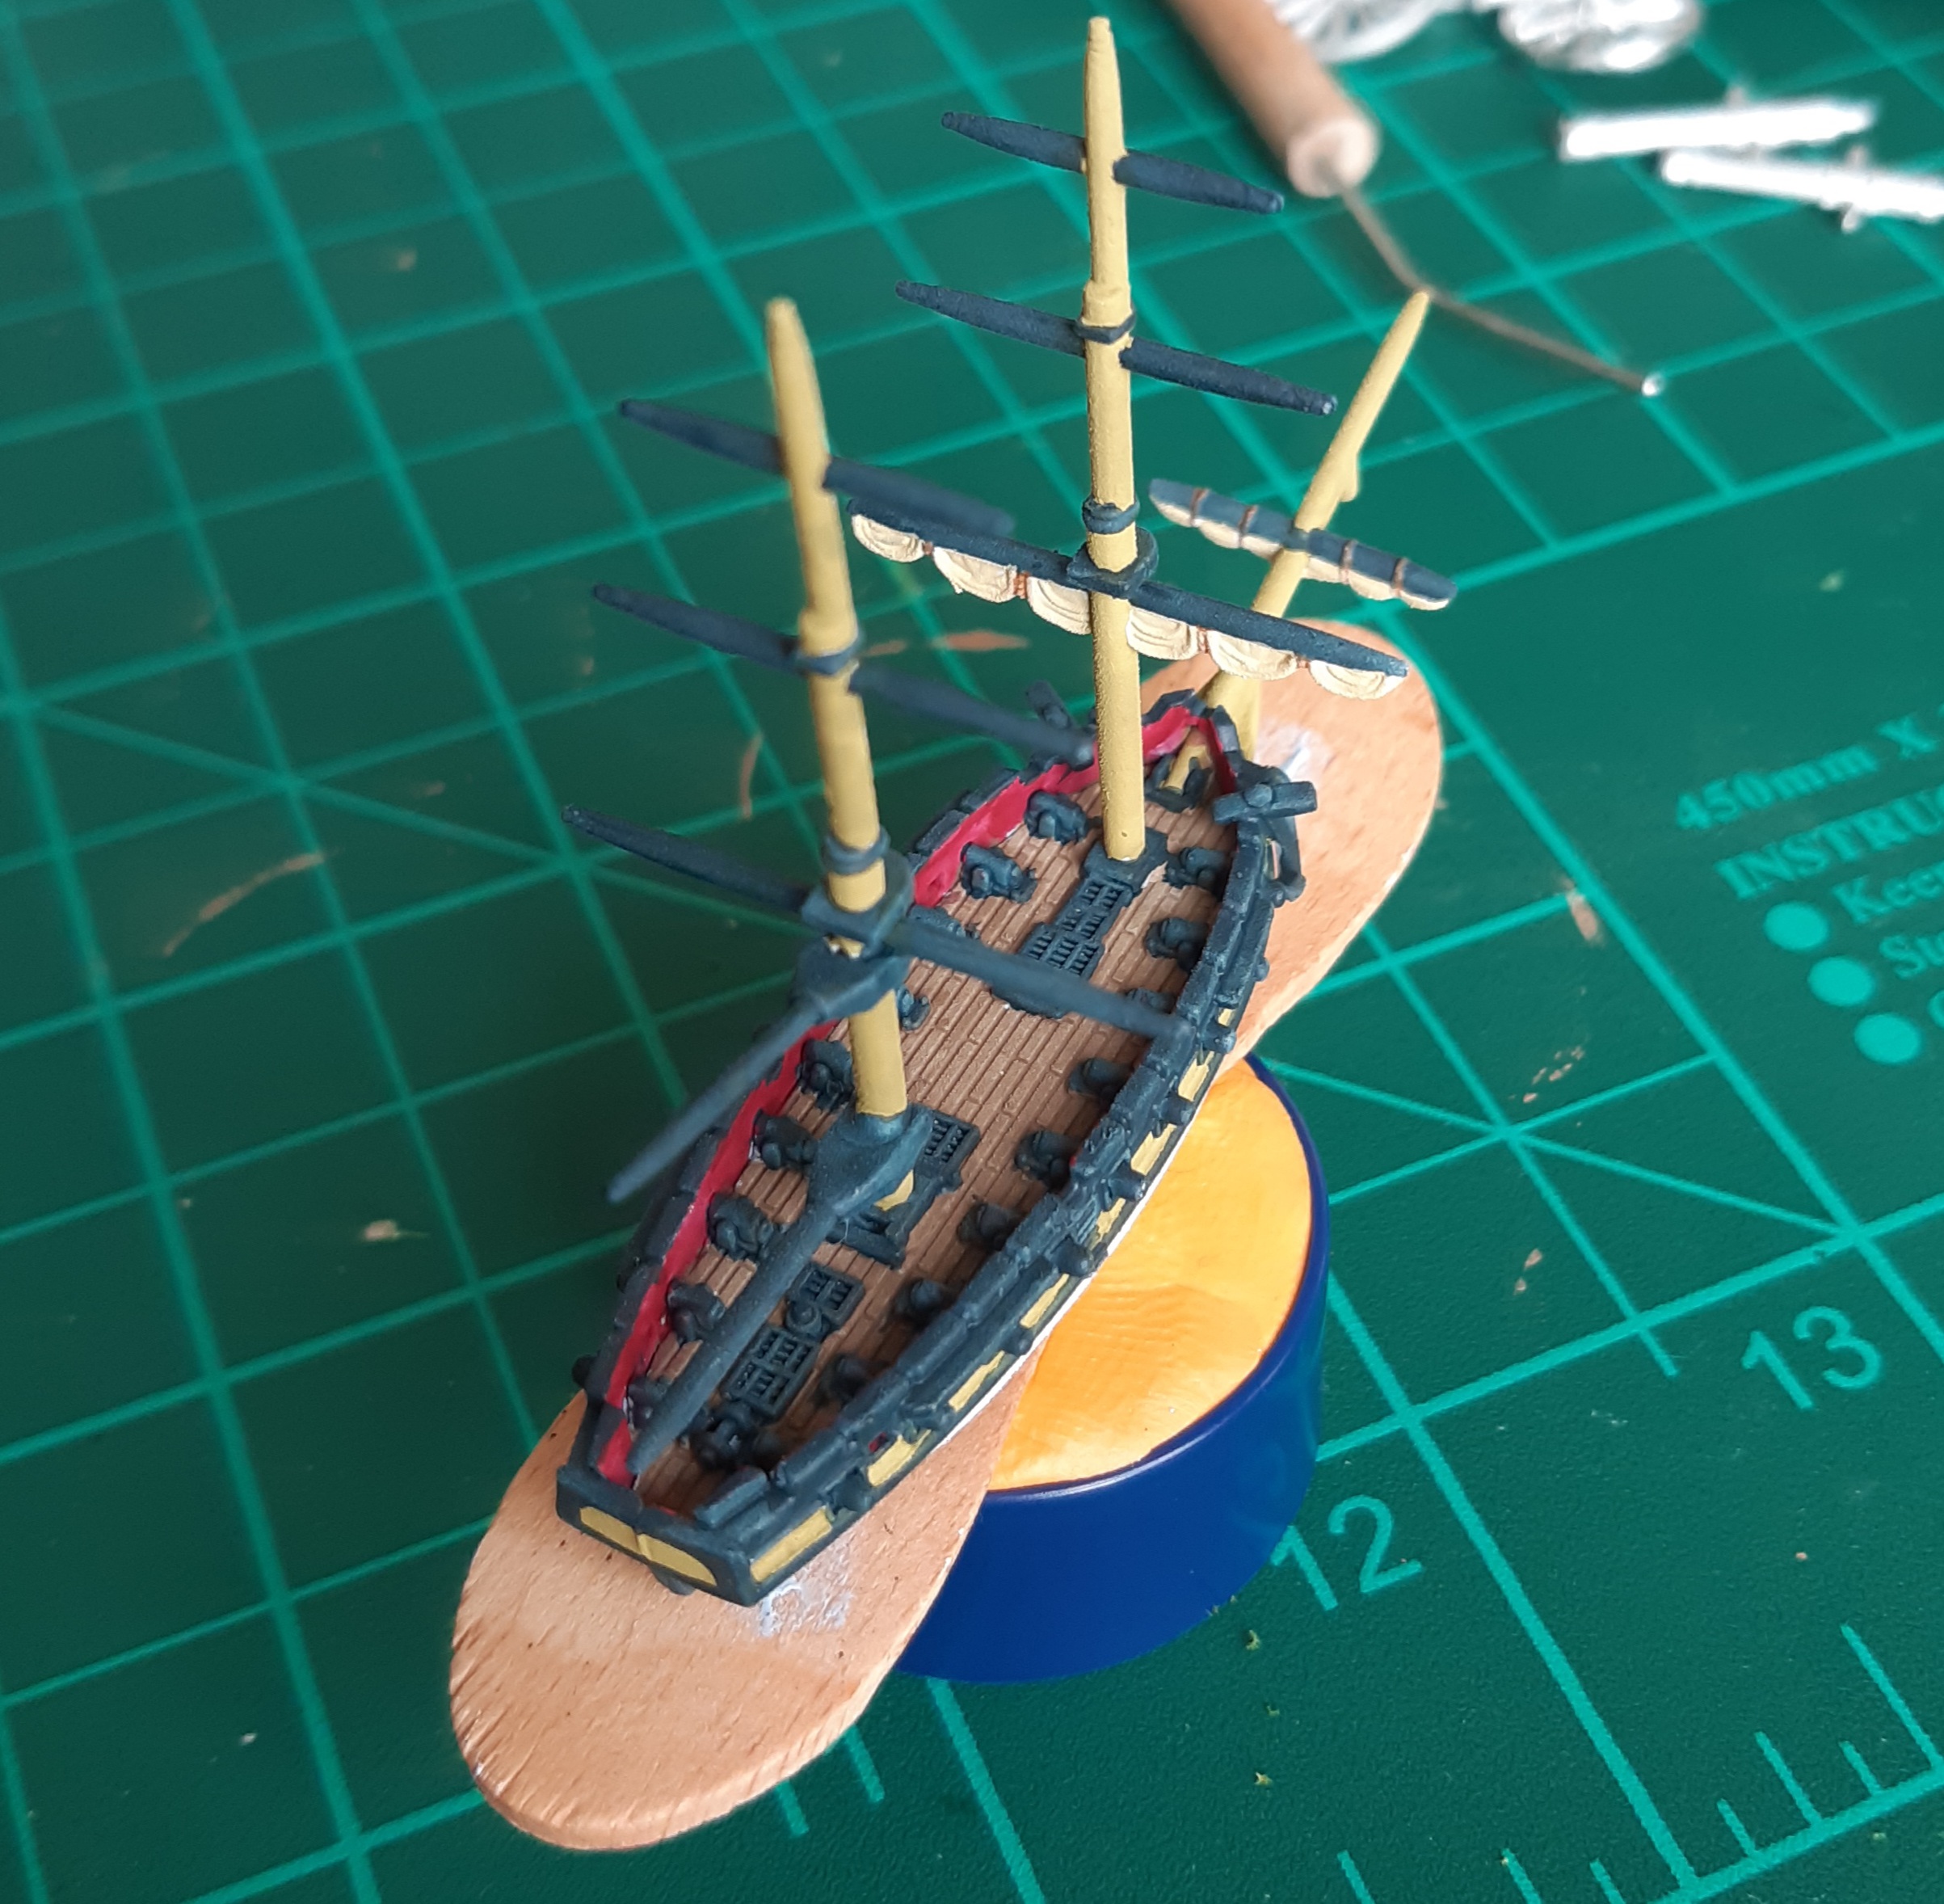
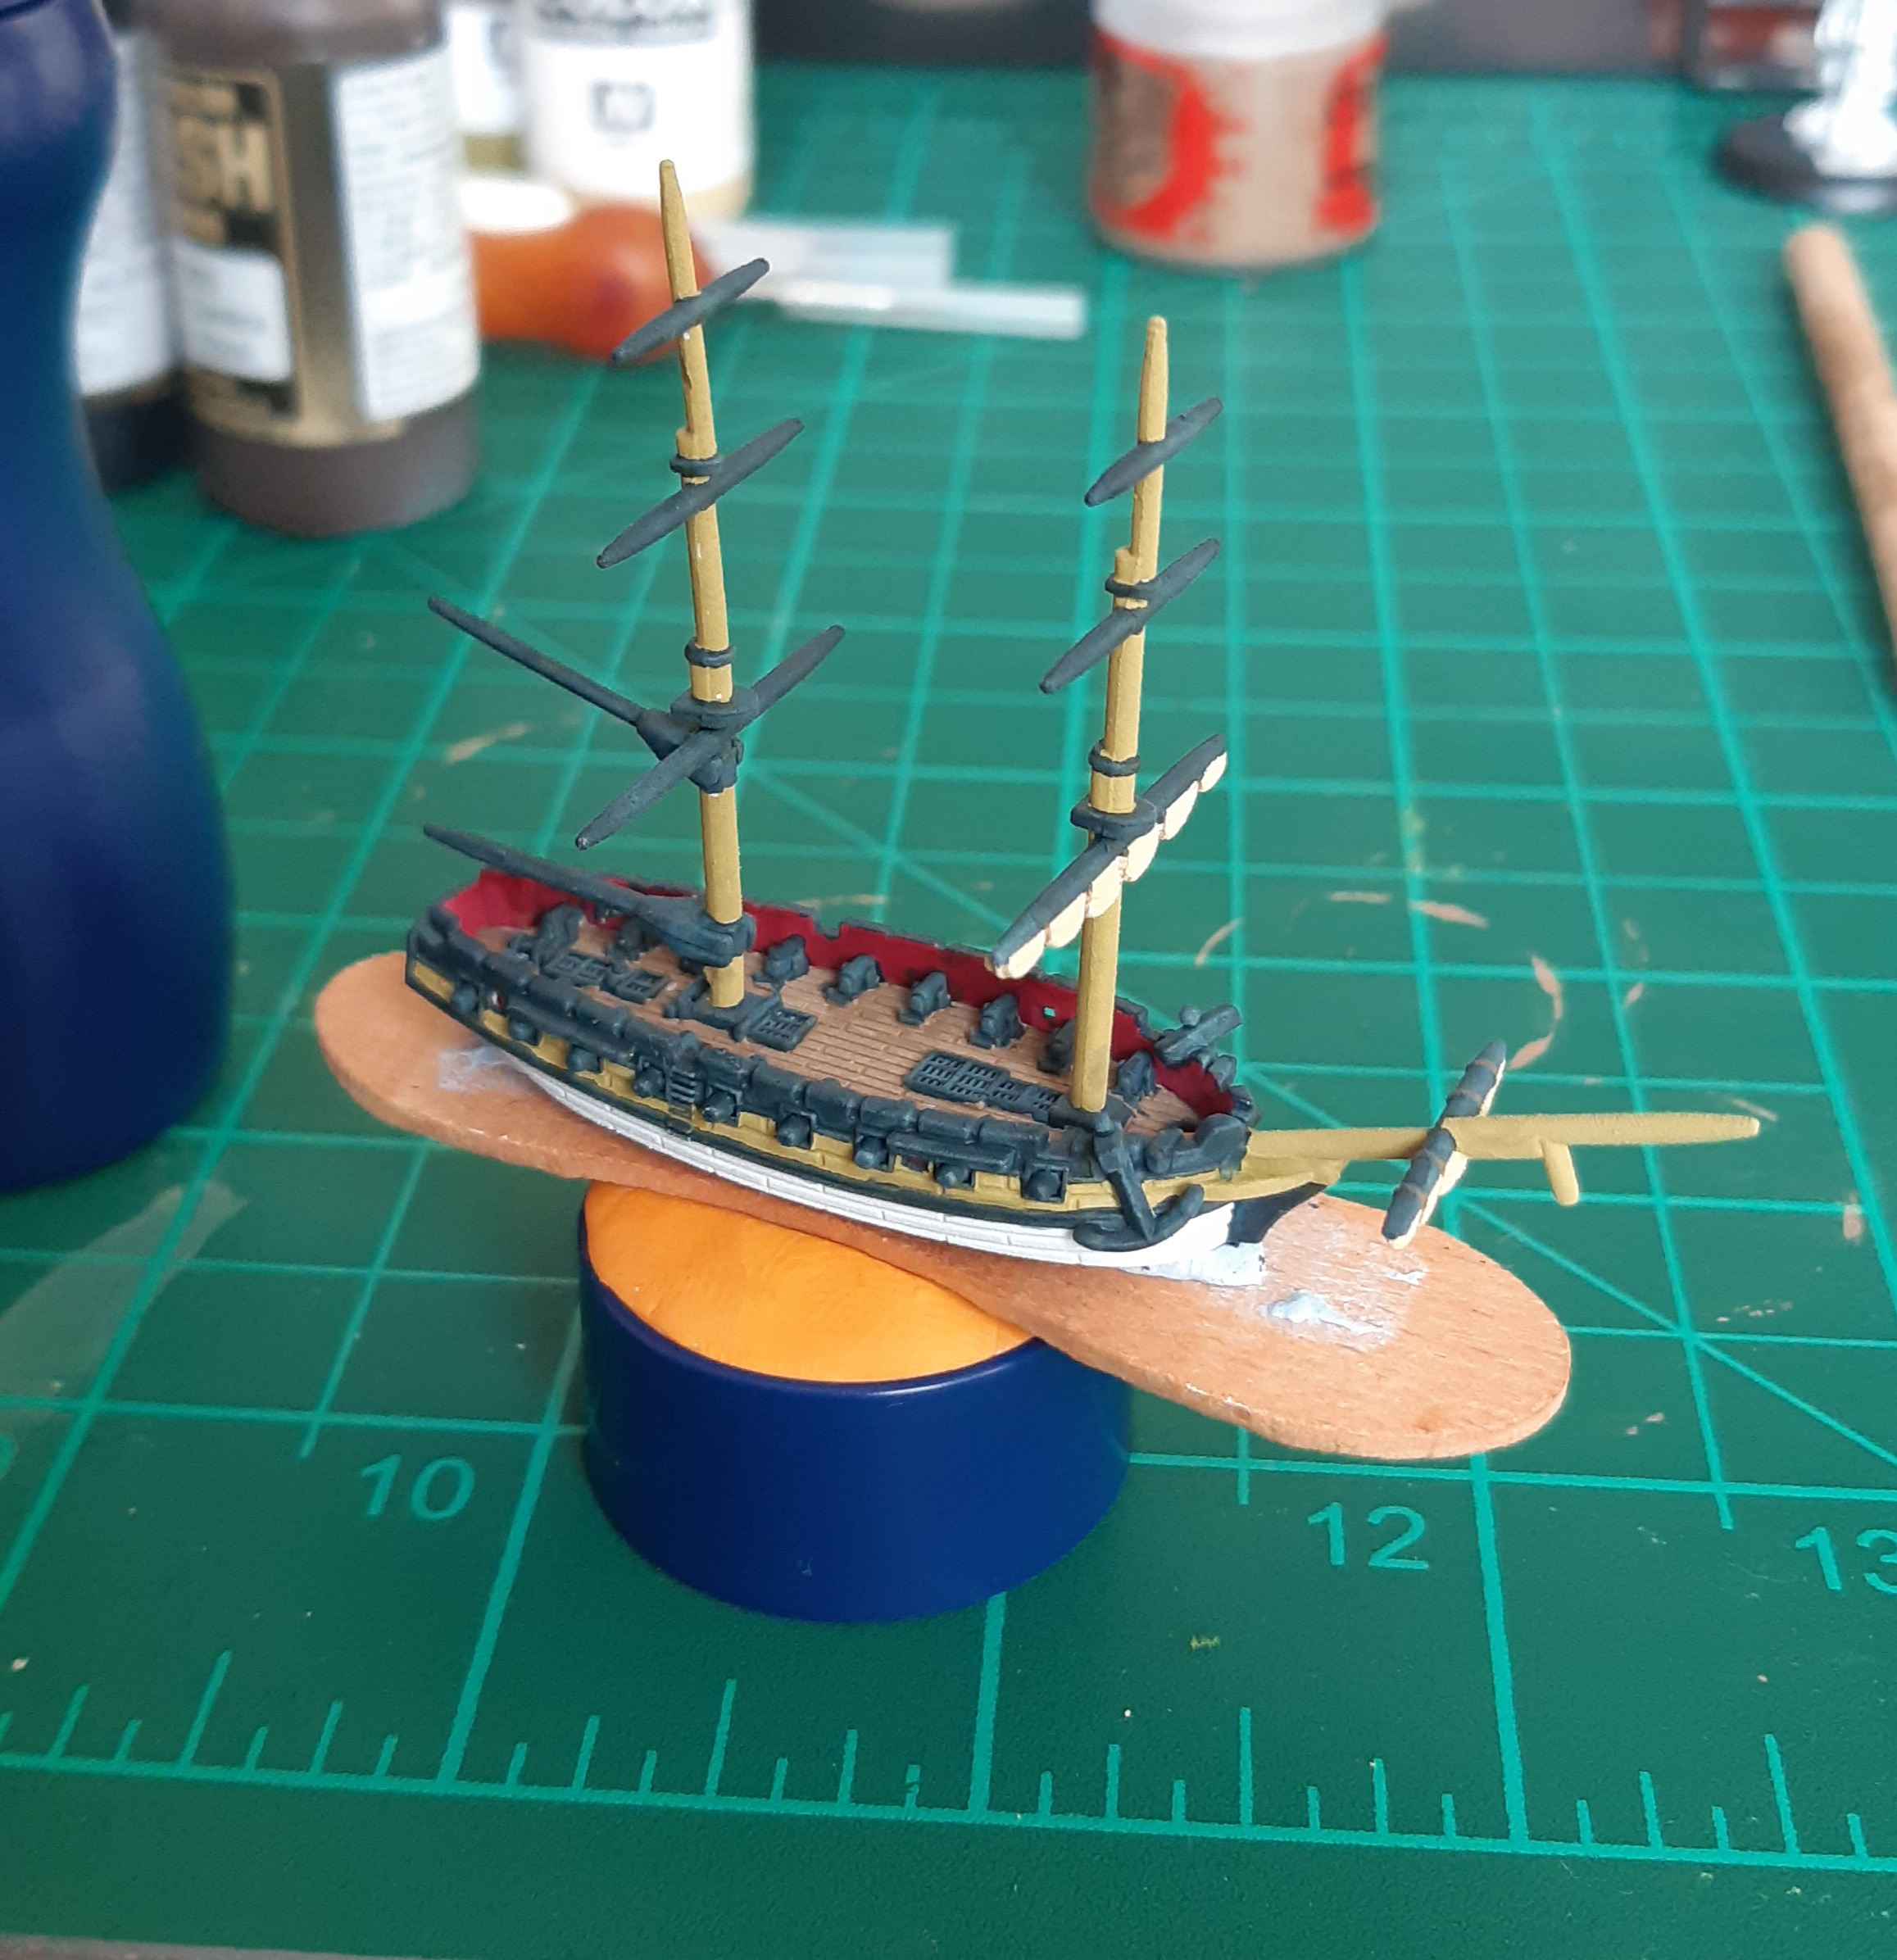
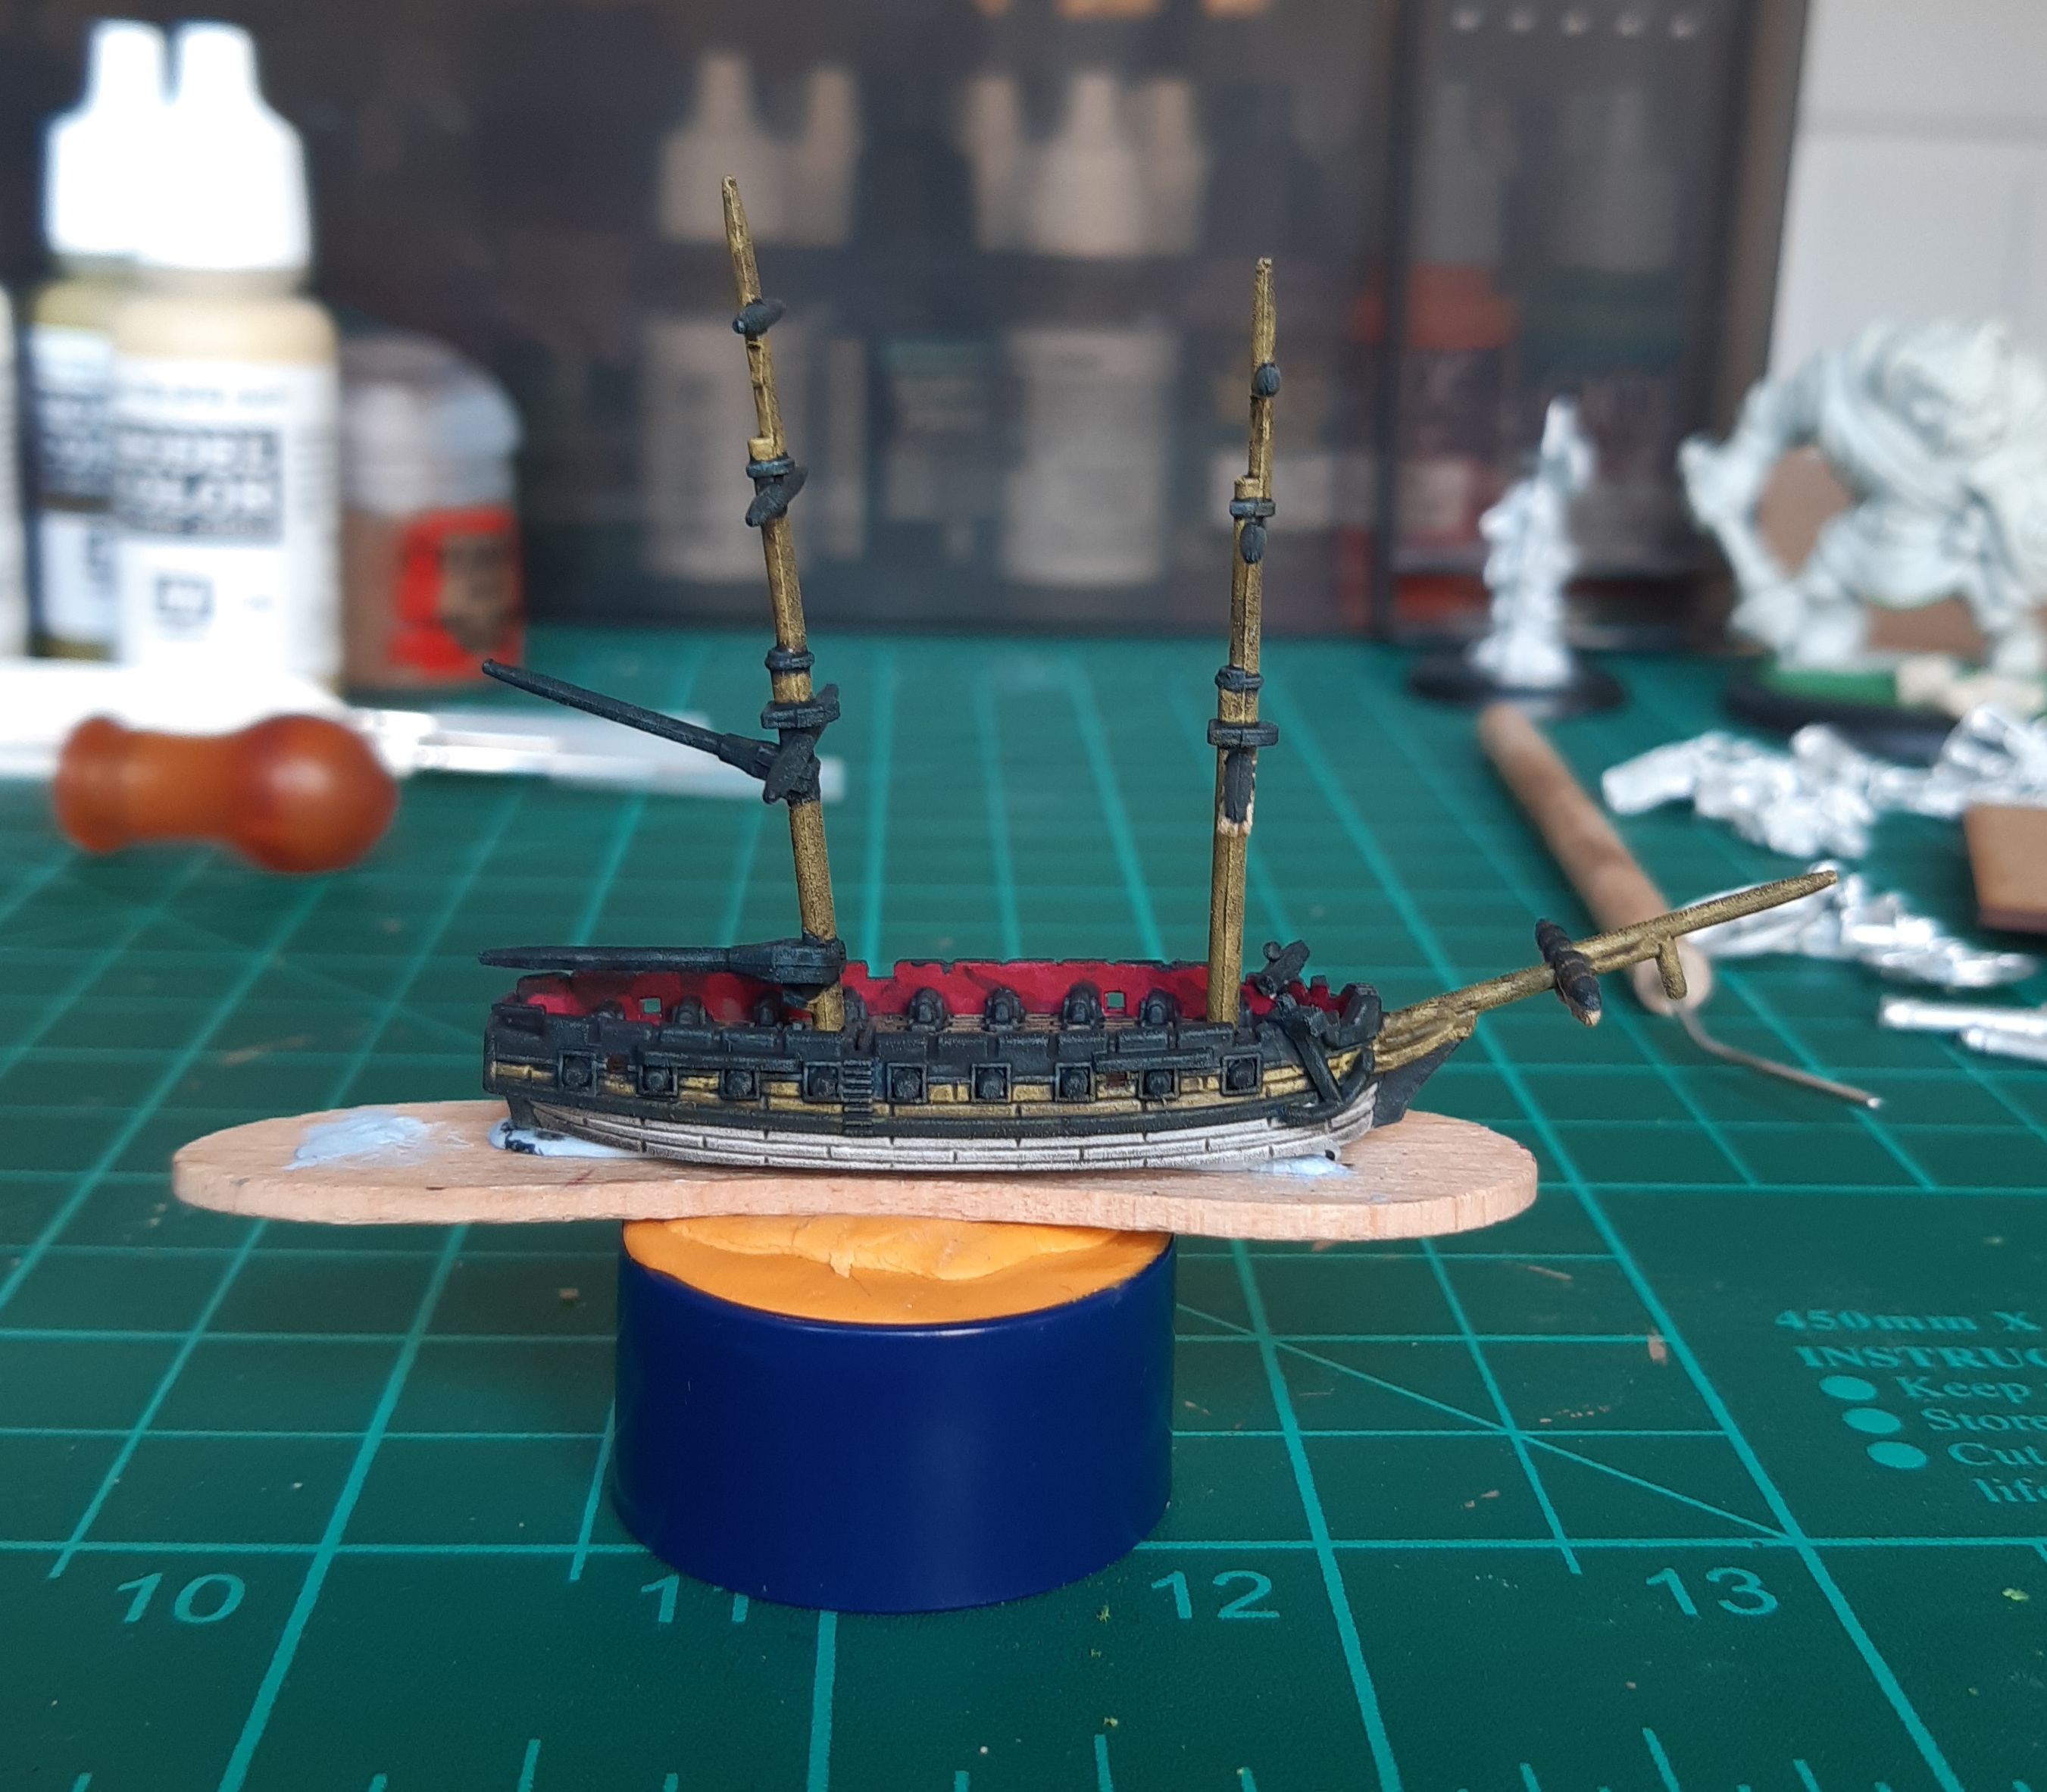
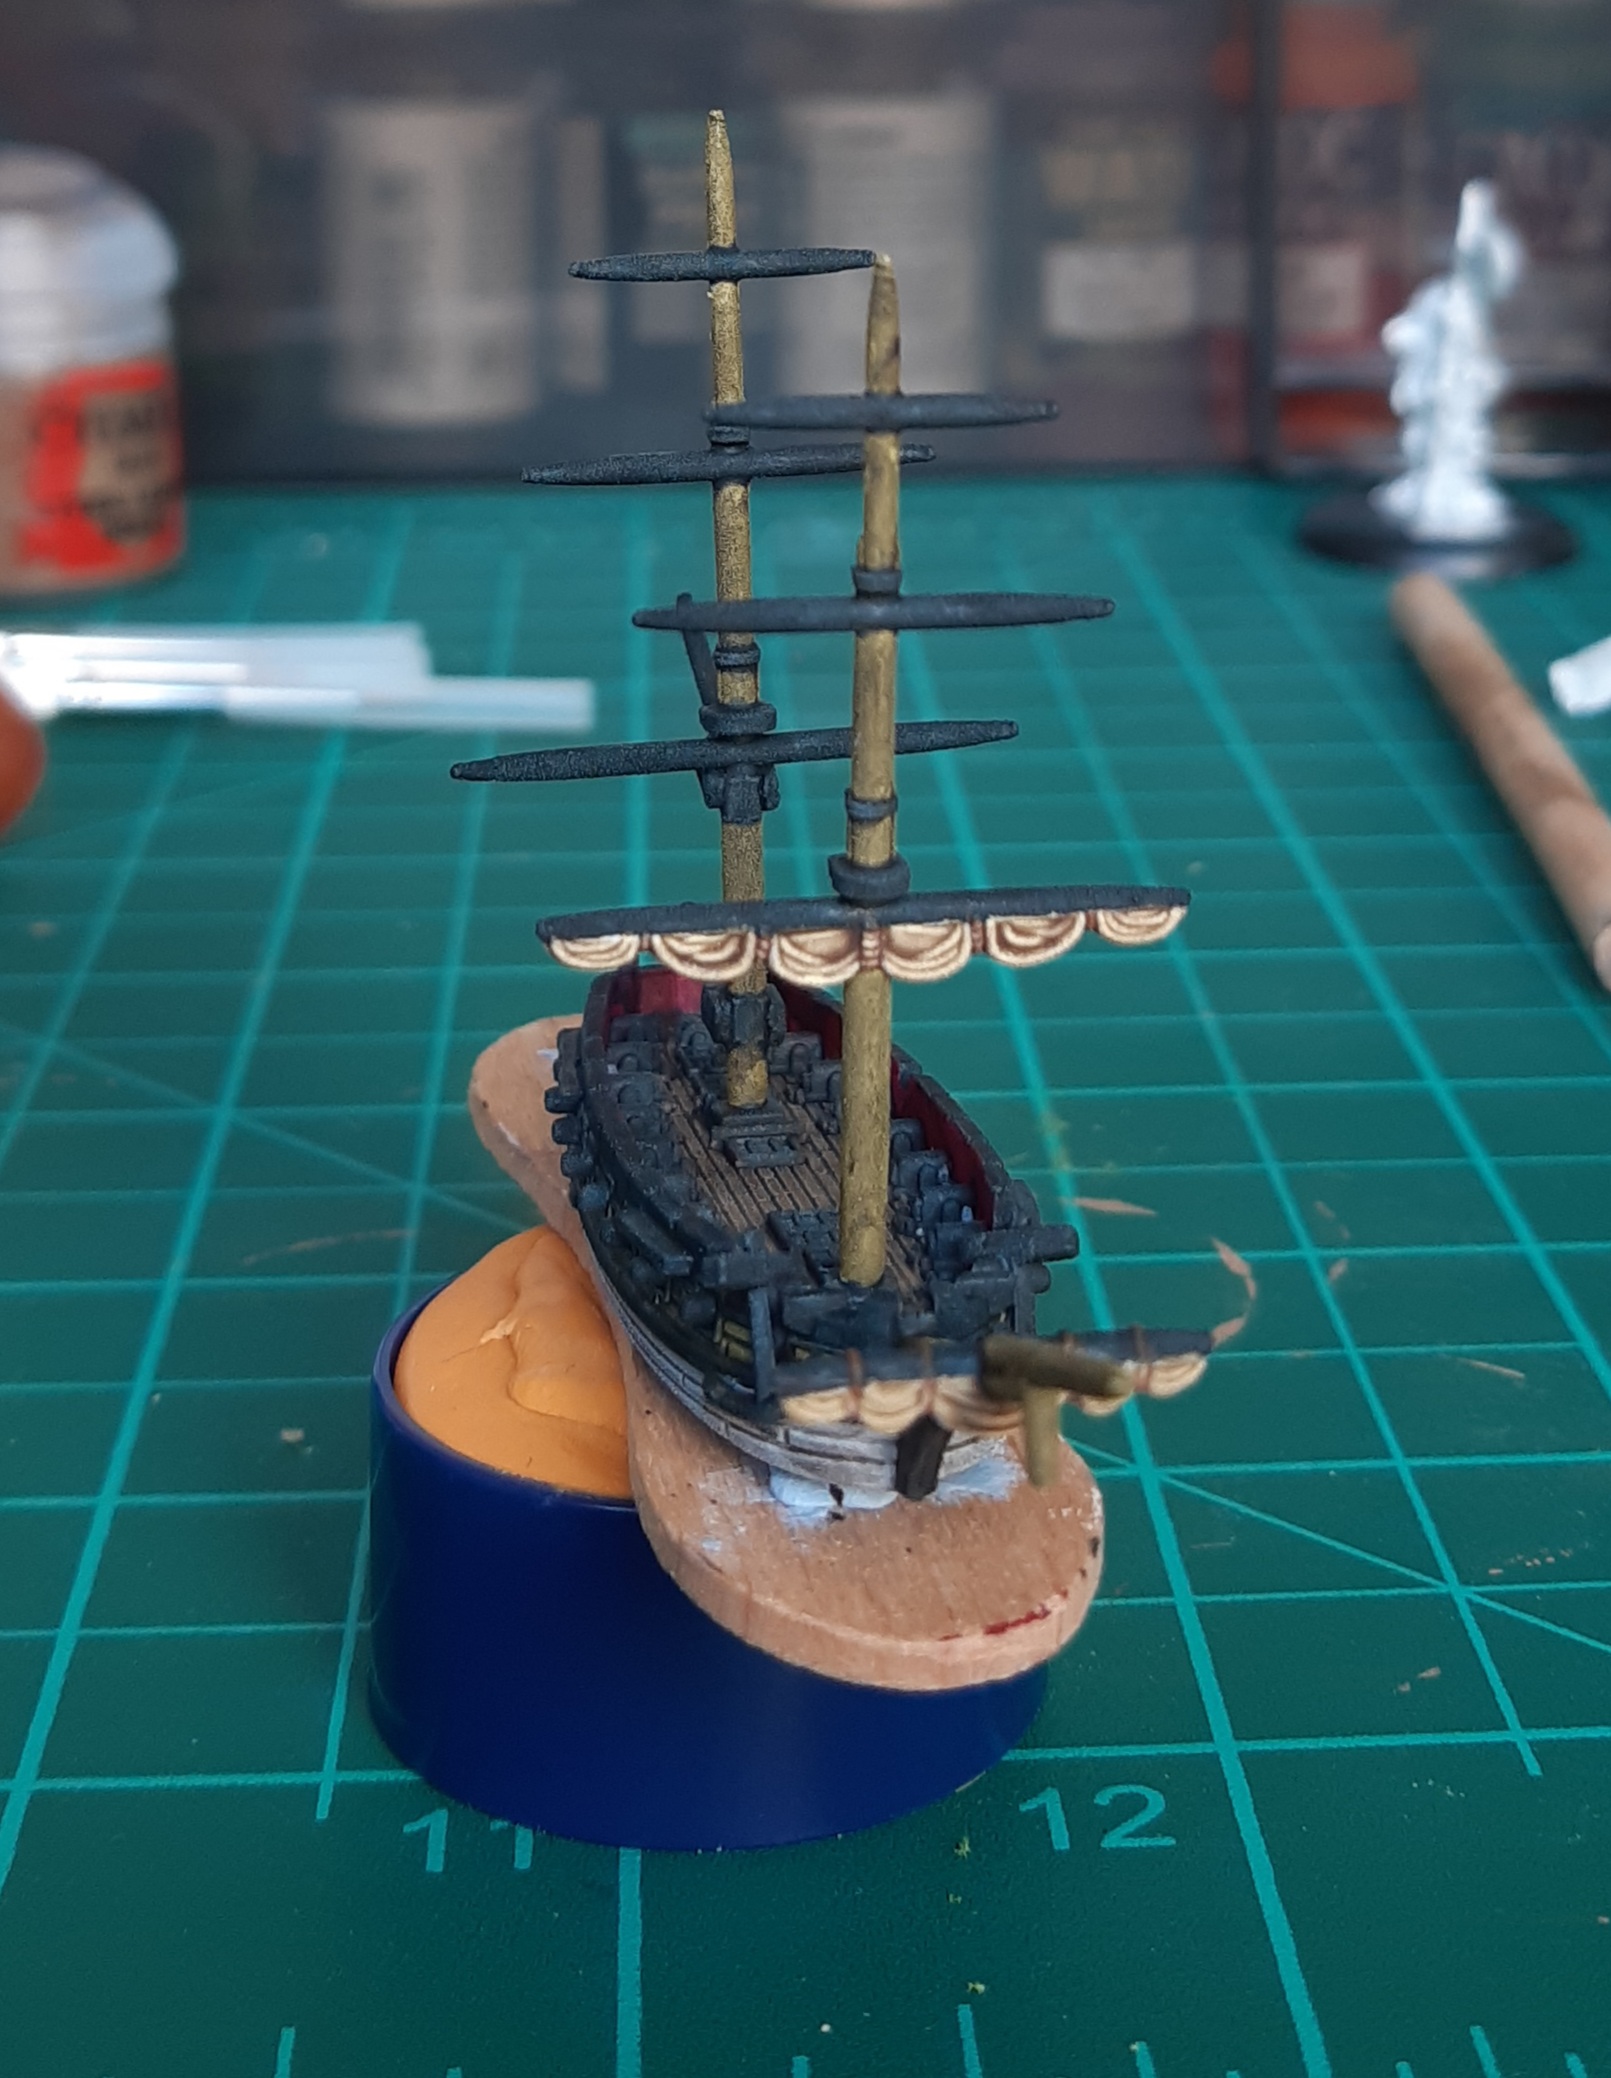
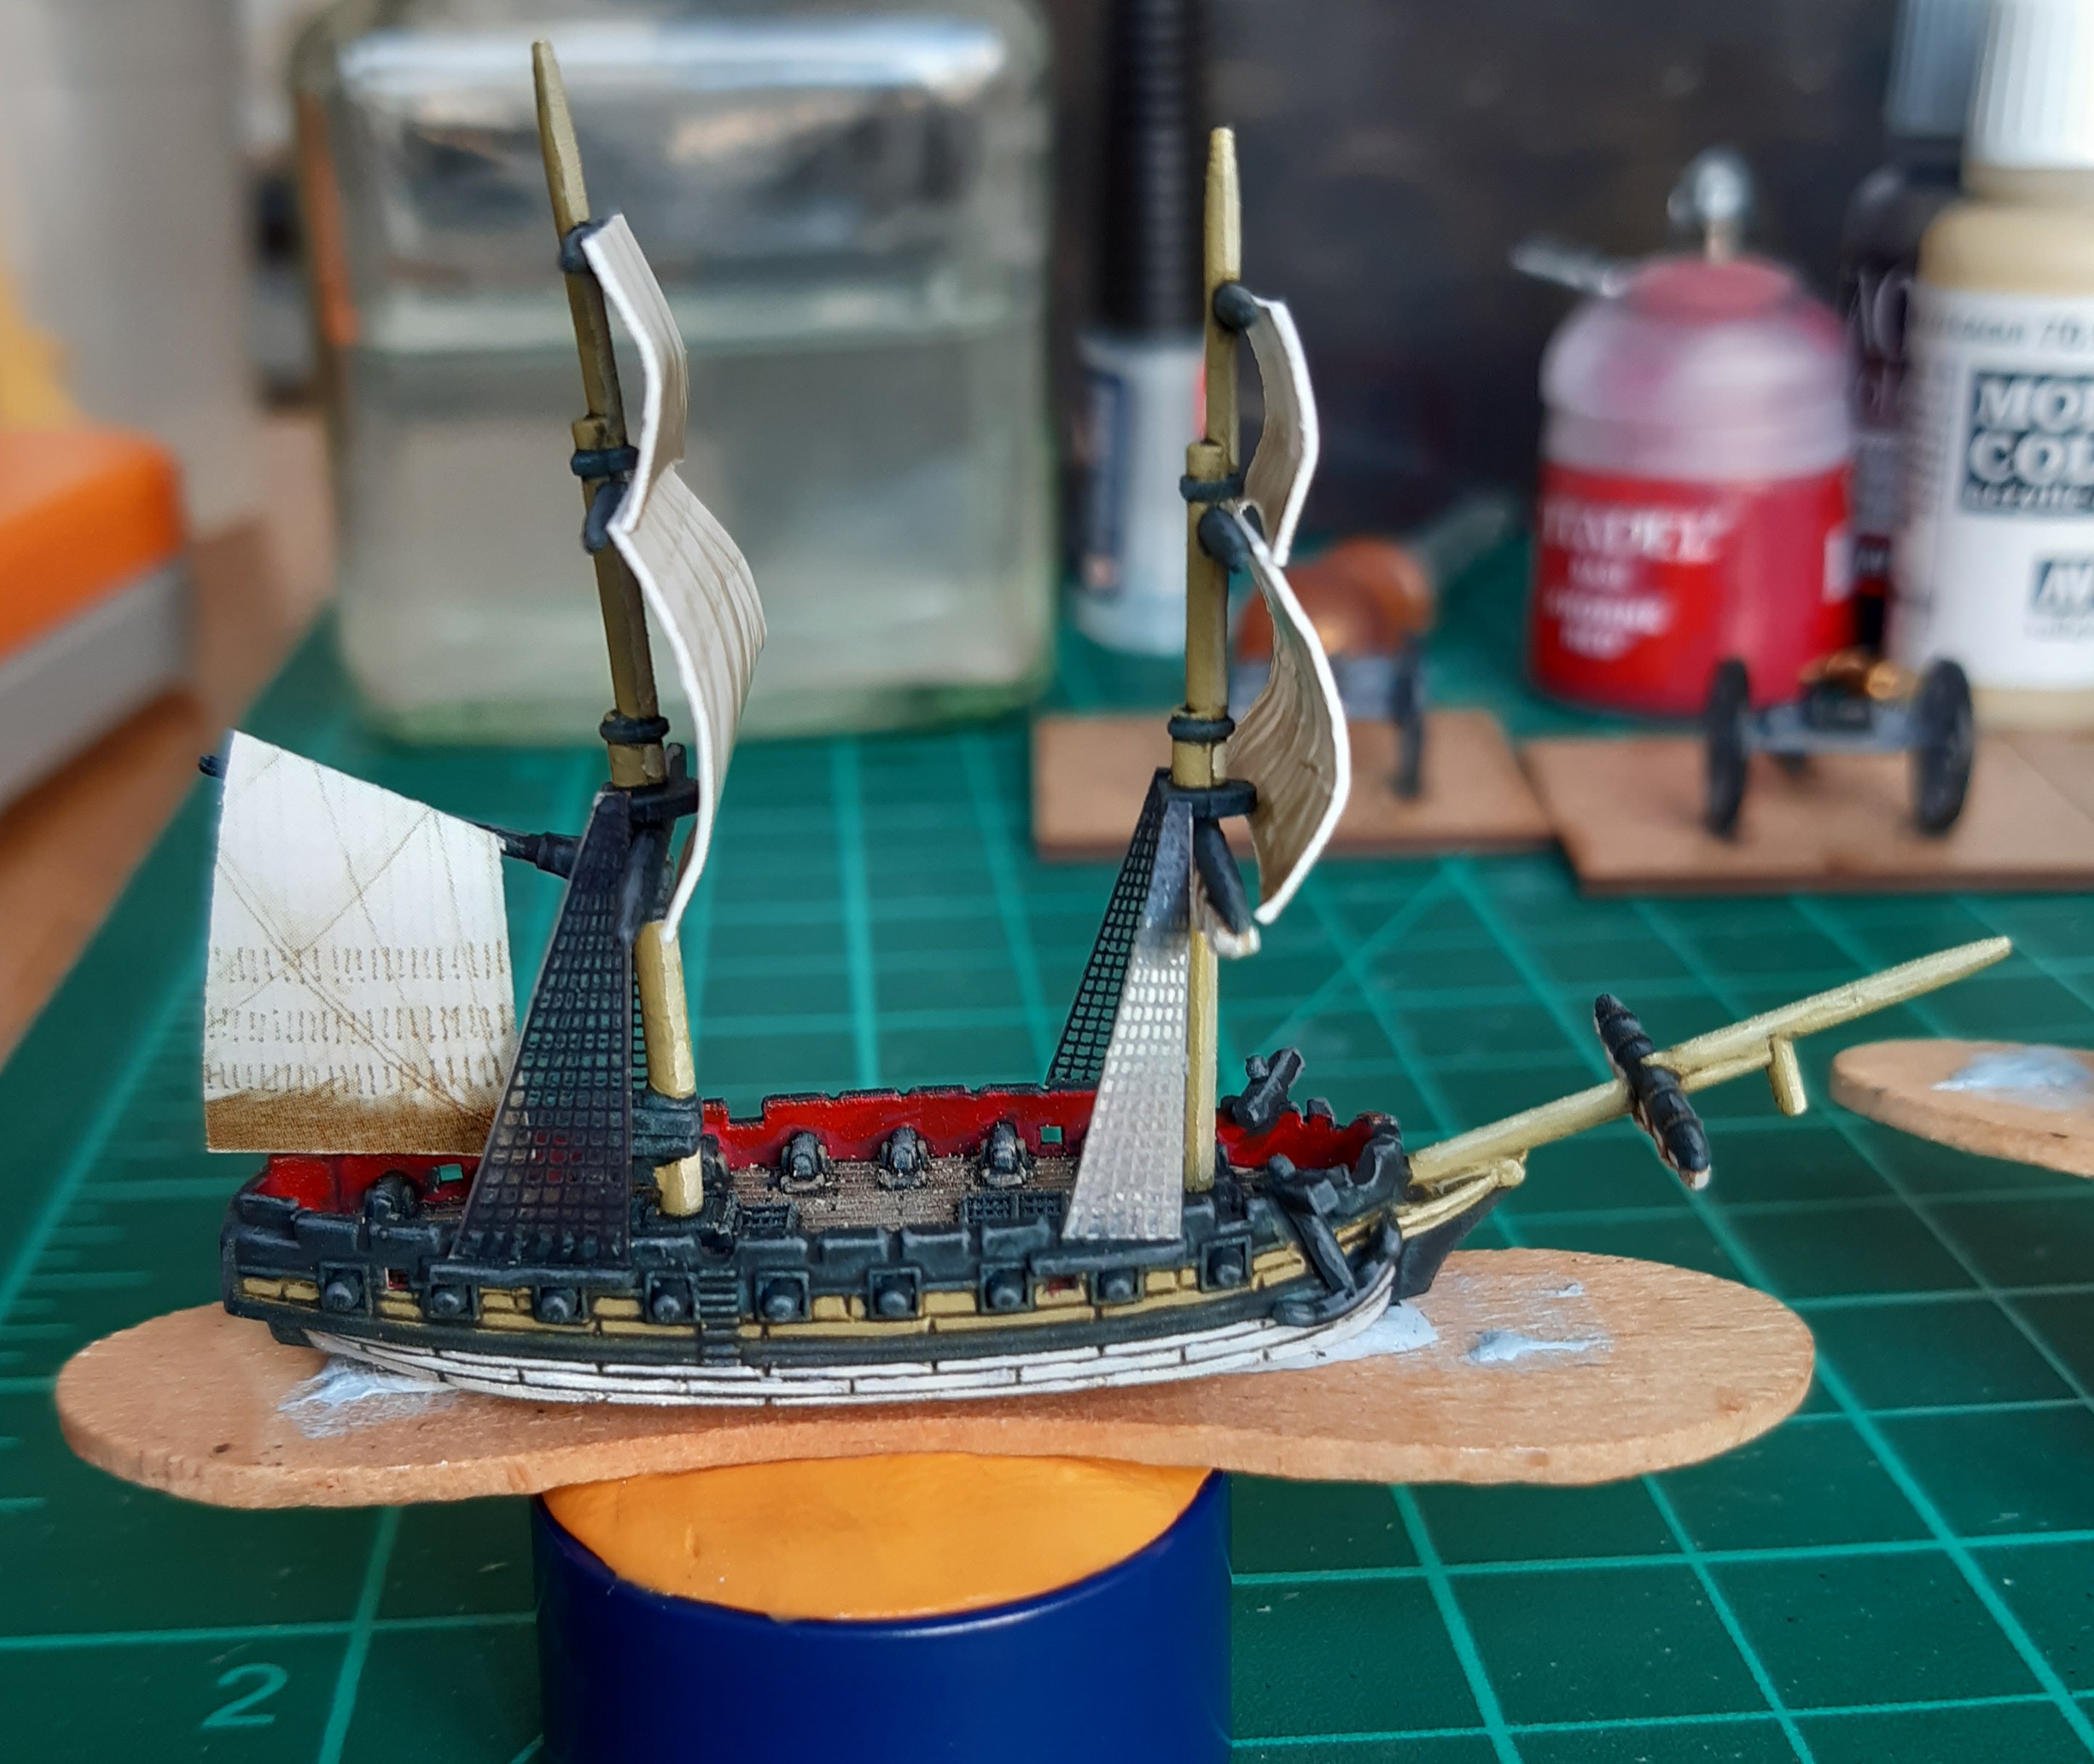
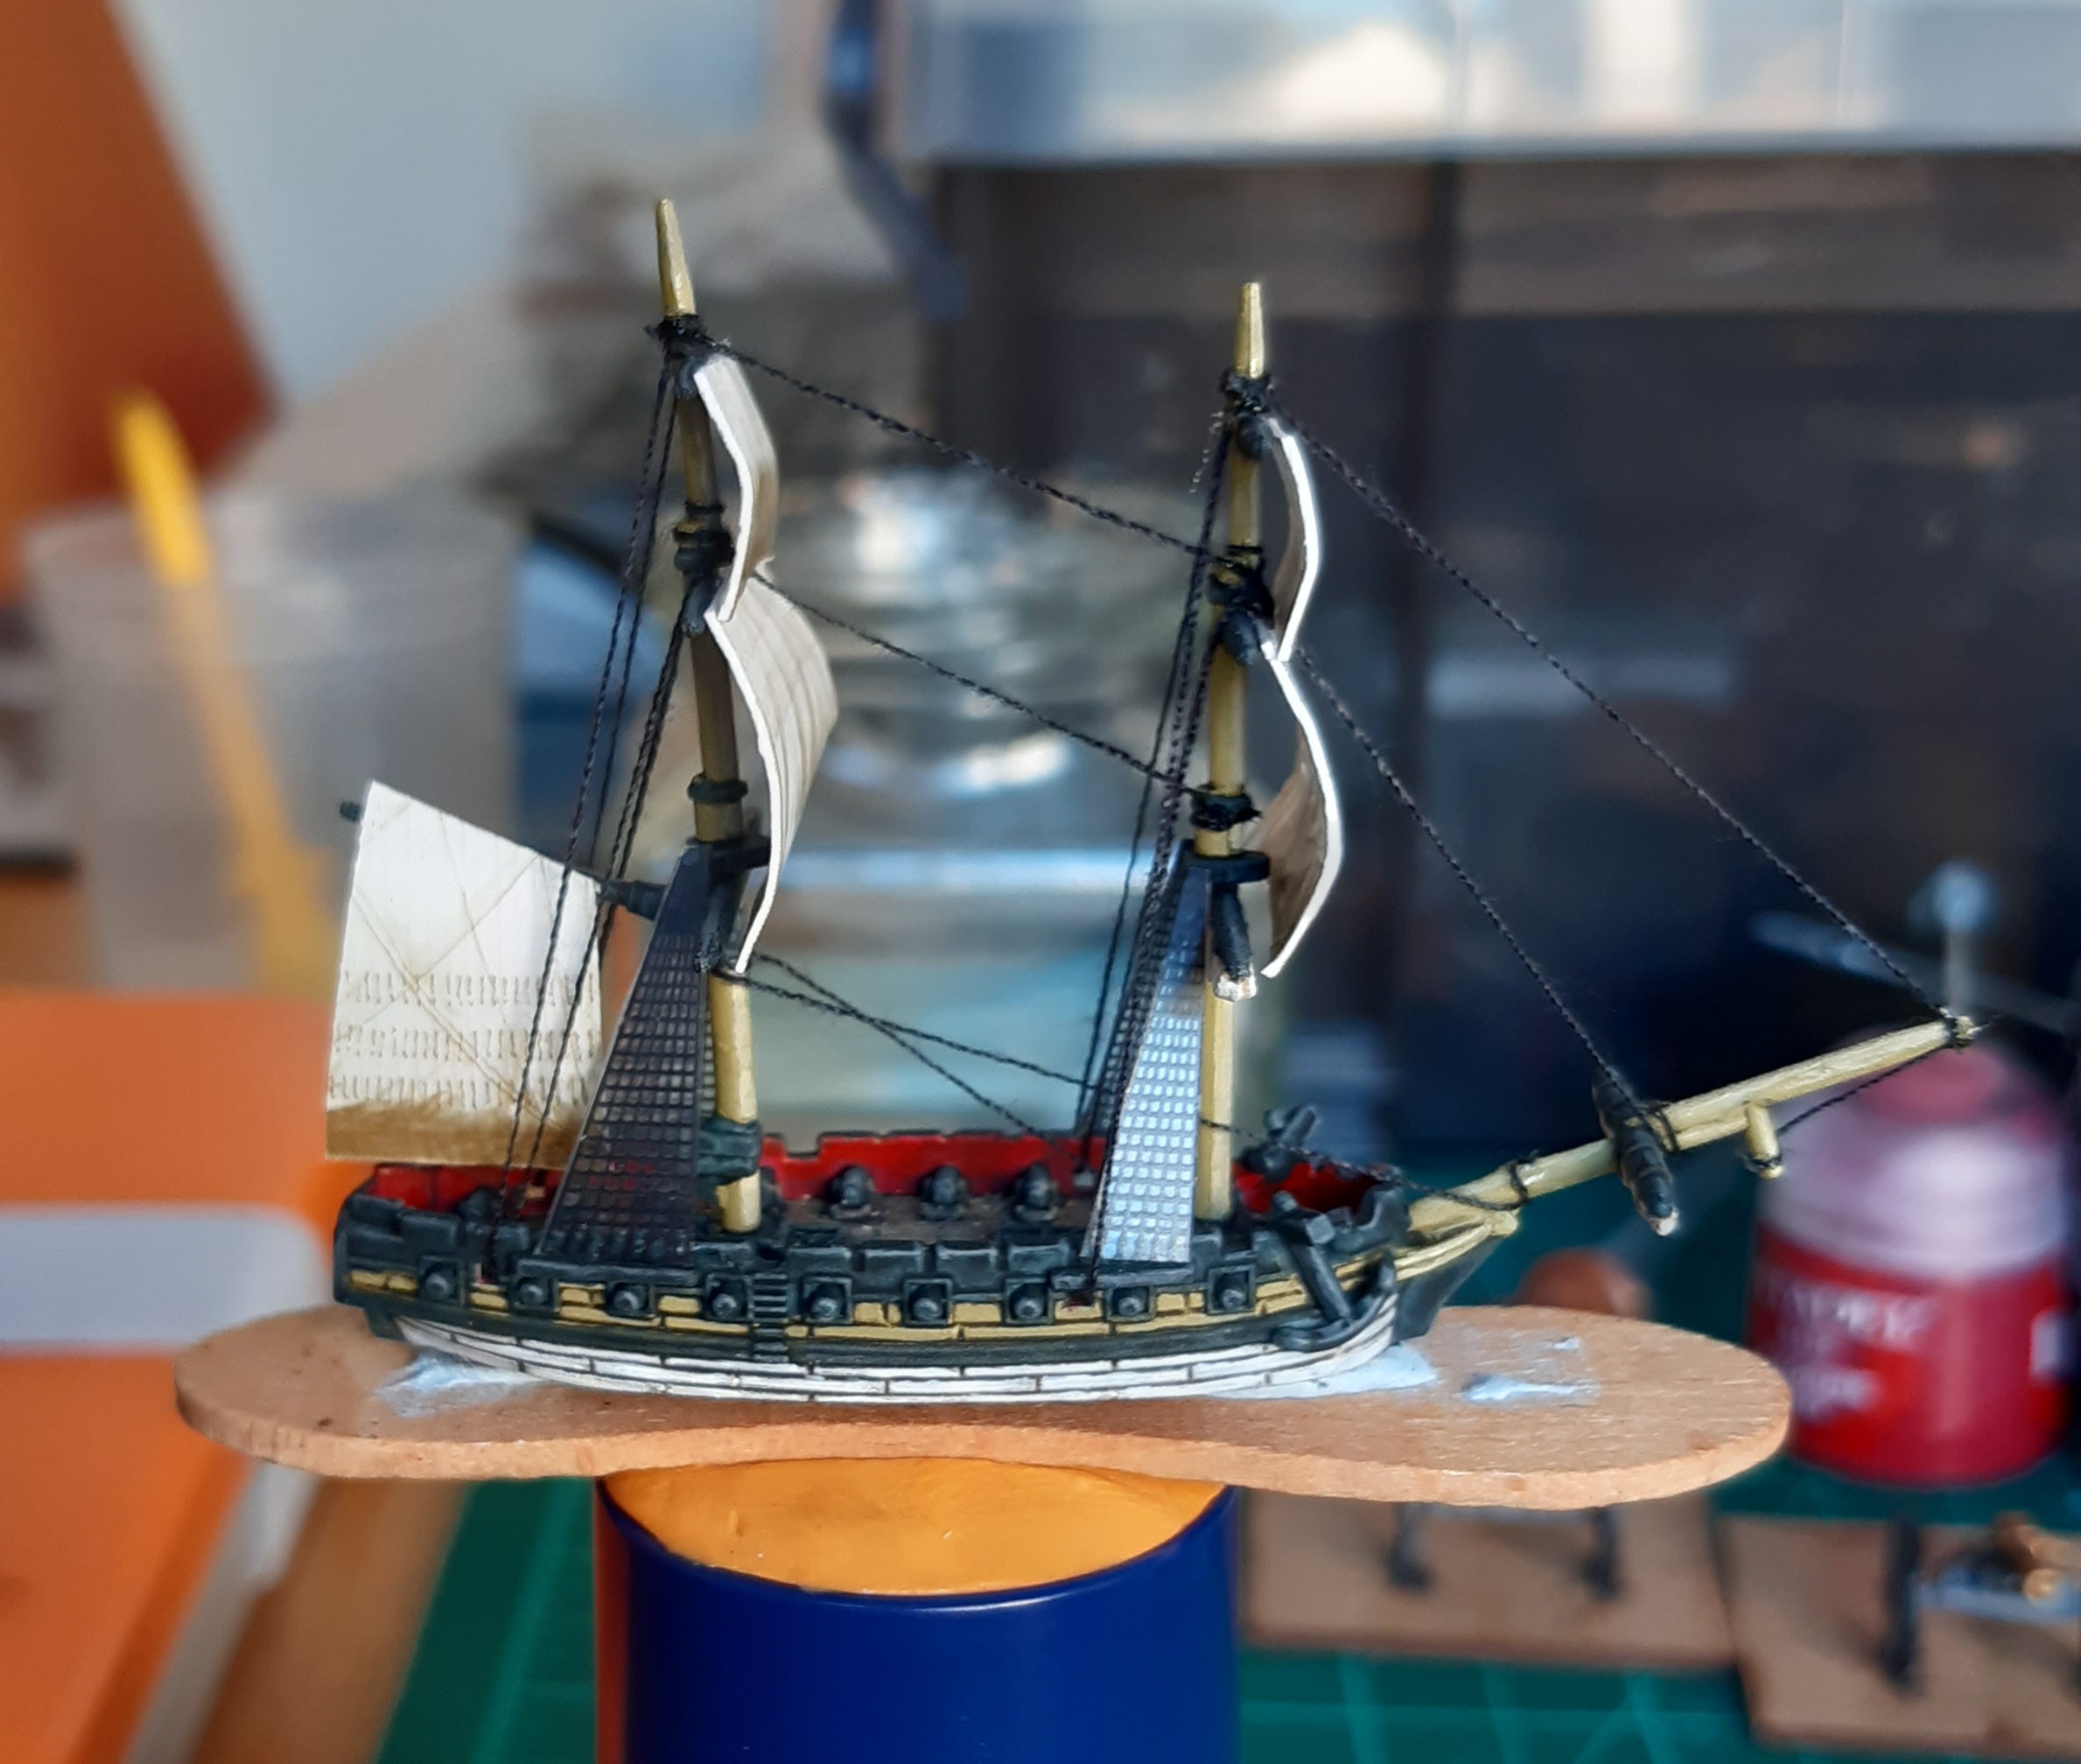
That was a pretty fast paint job, but looks fairly reasonable. However, painting the ships is really only the first step, and probably the easiest. We need to add sails, ratlines and the rigging.
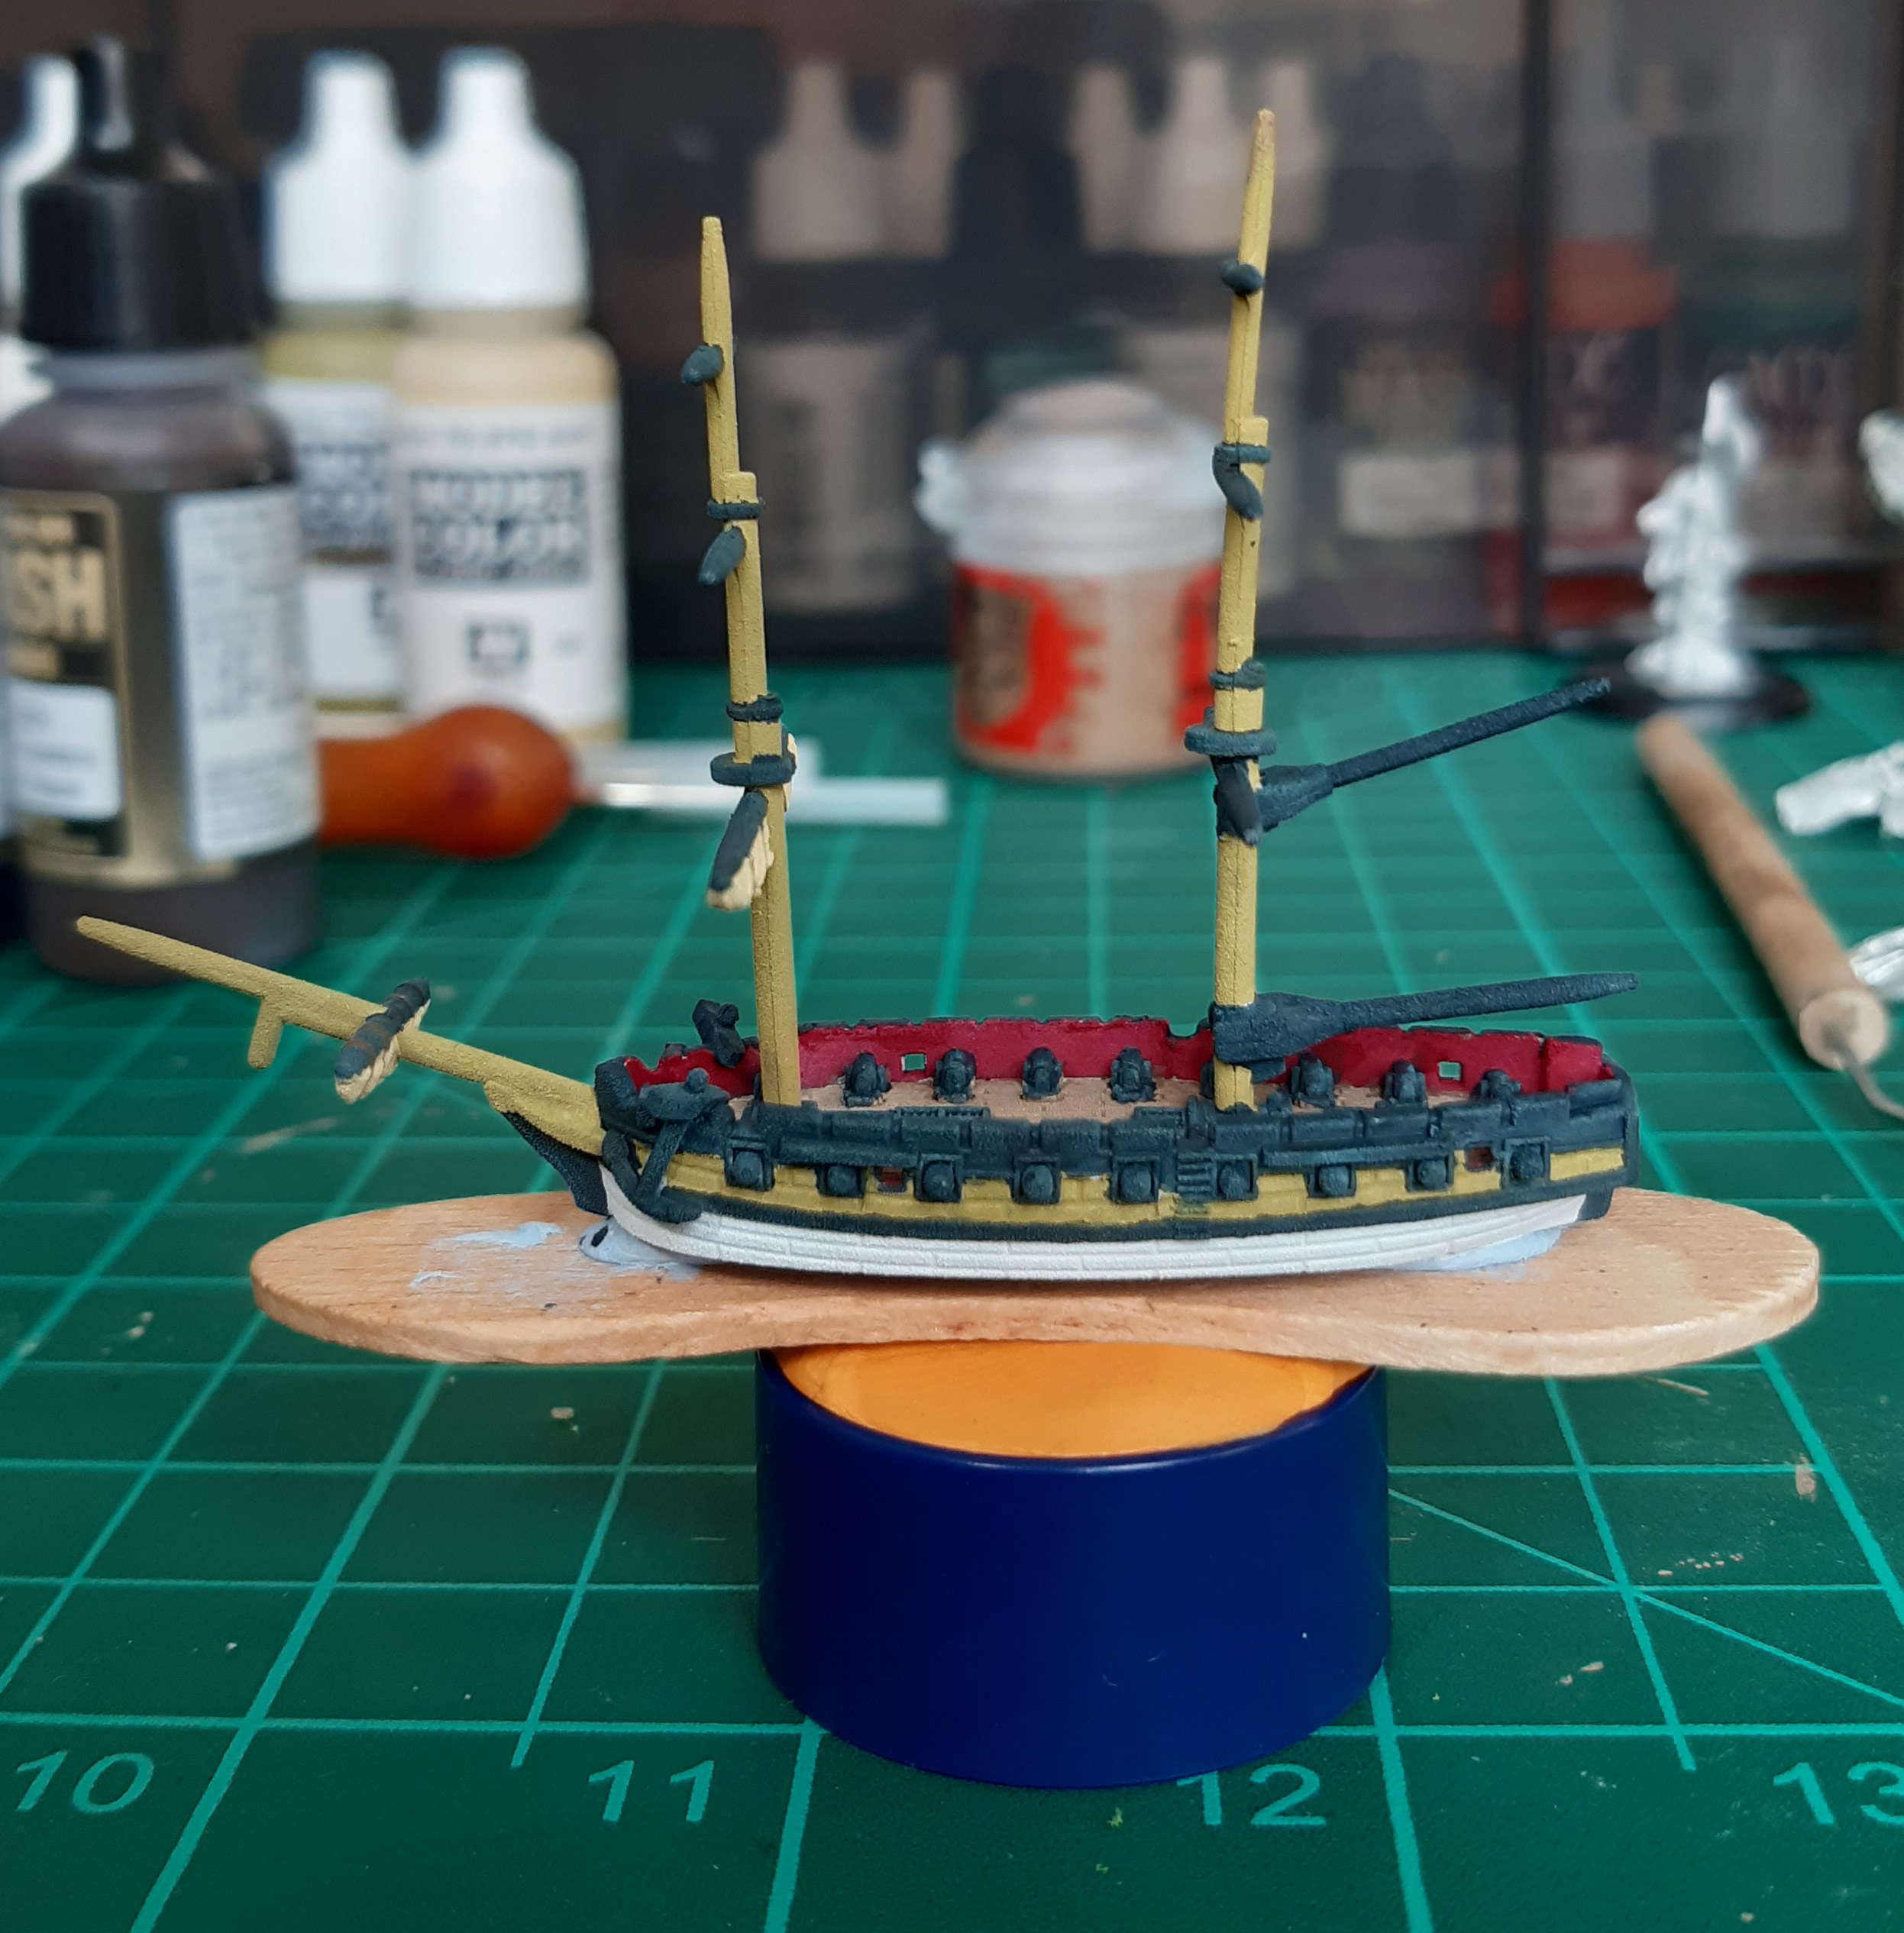
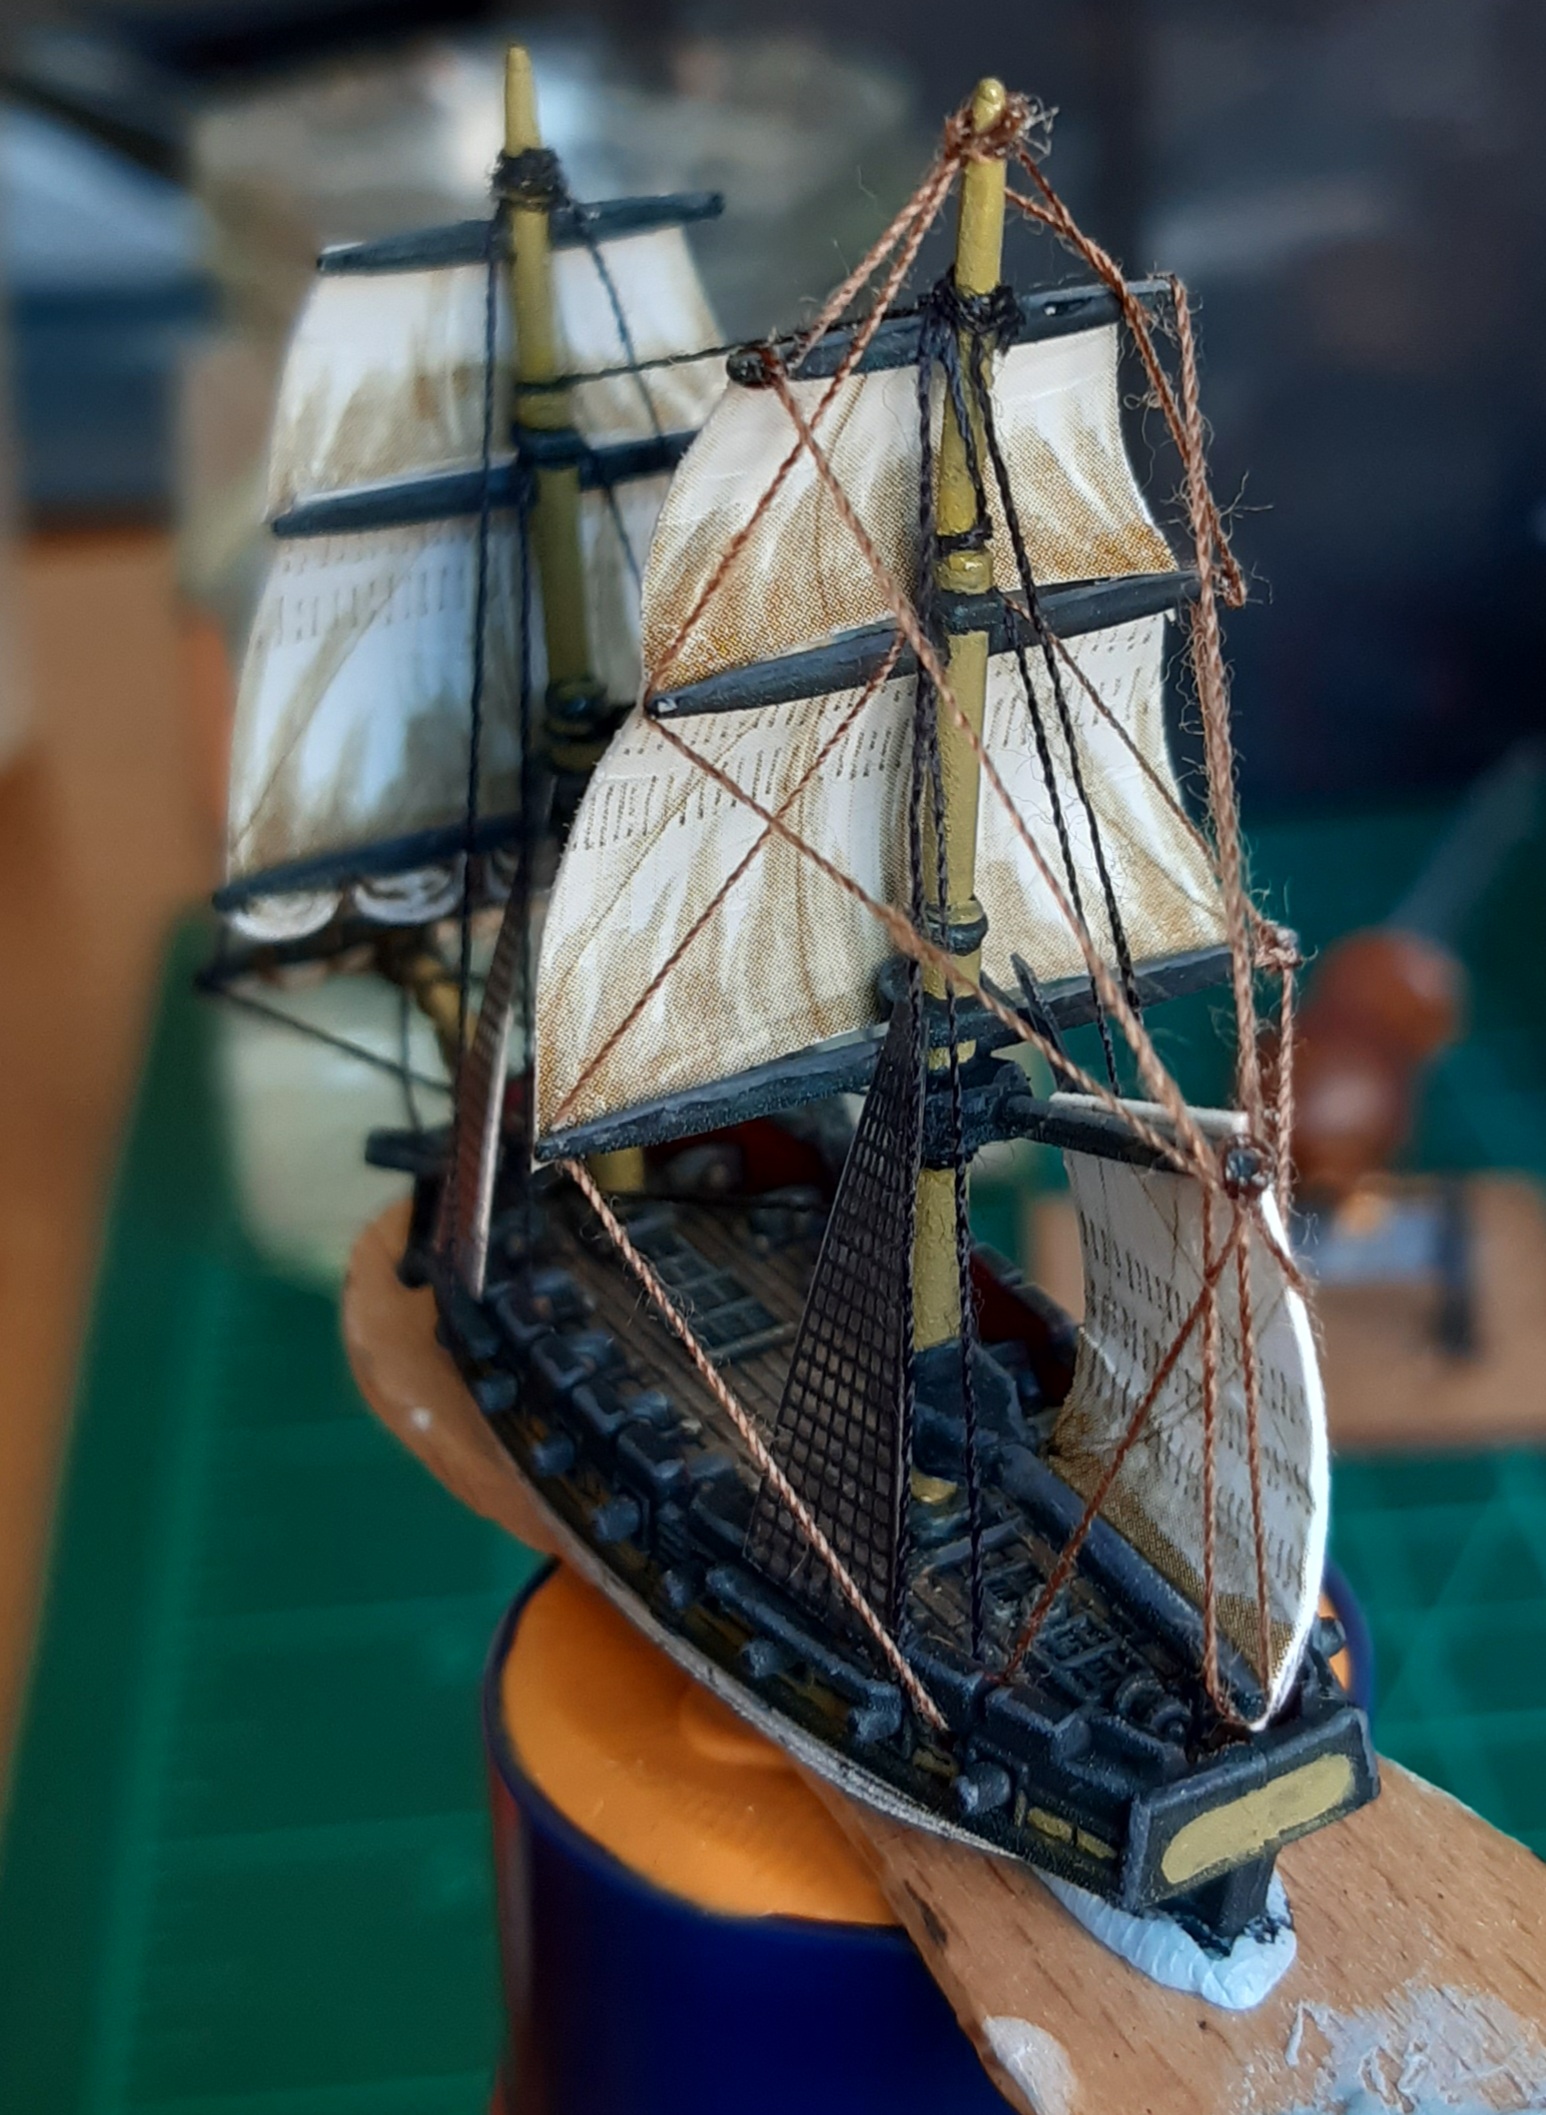
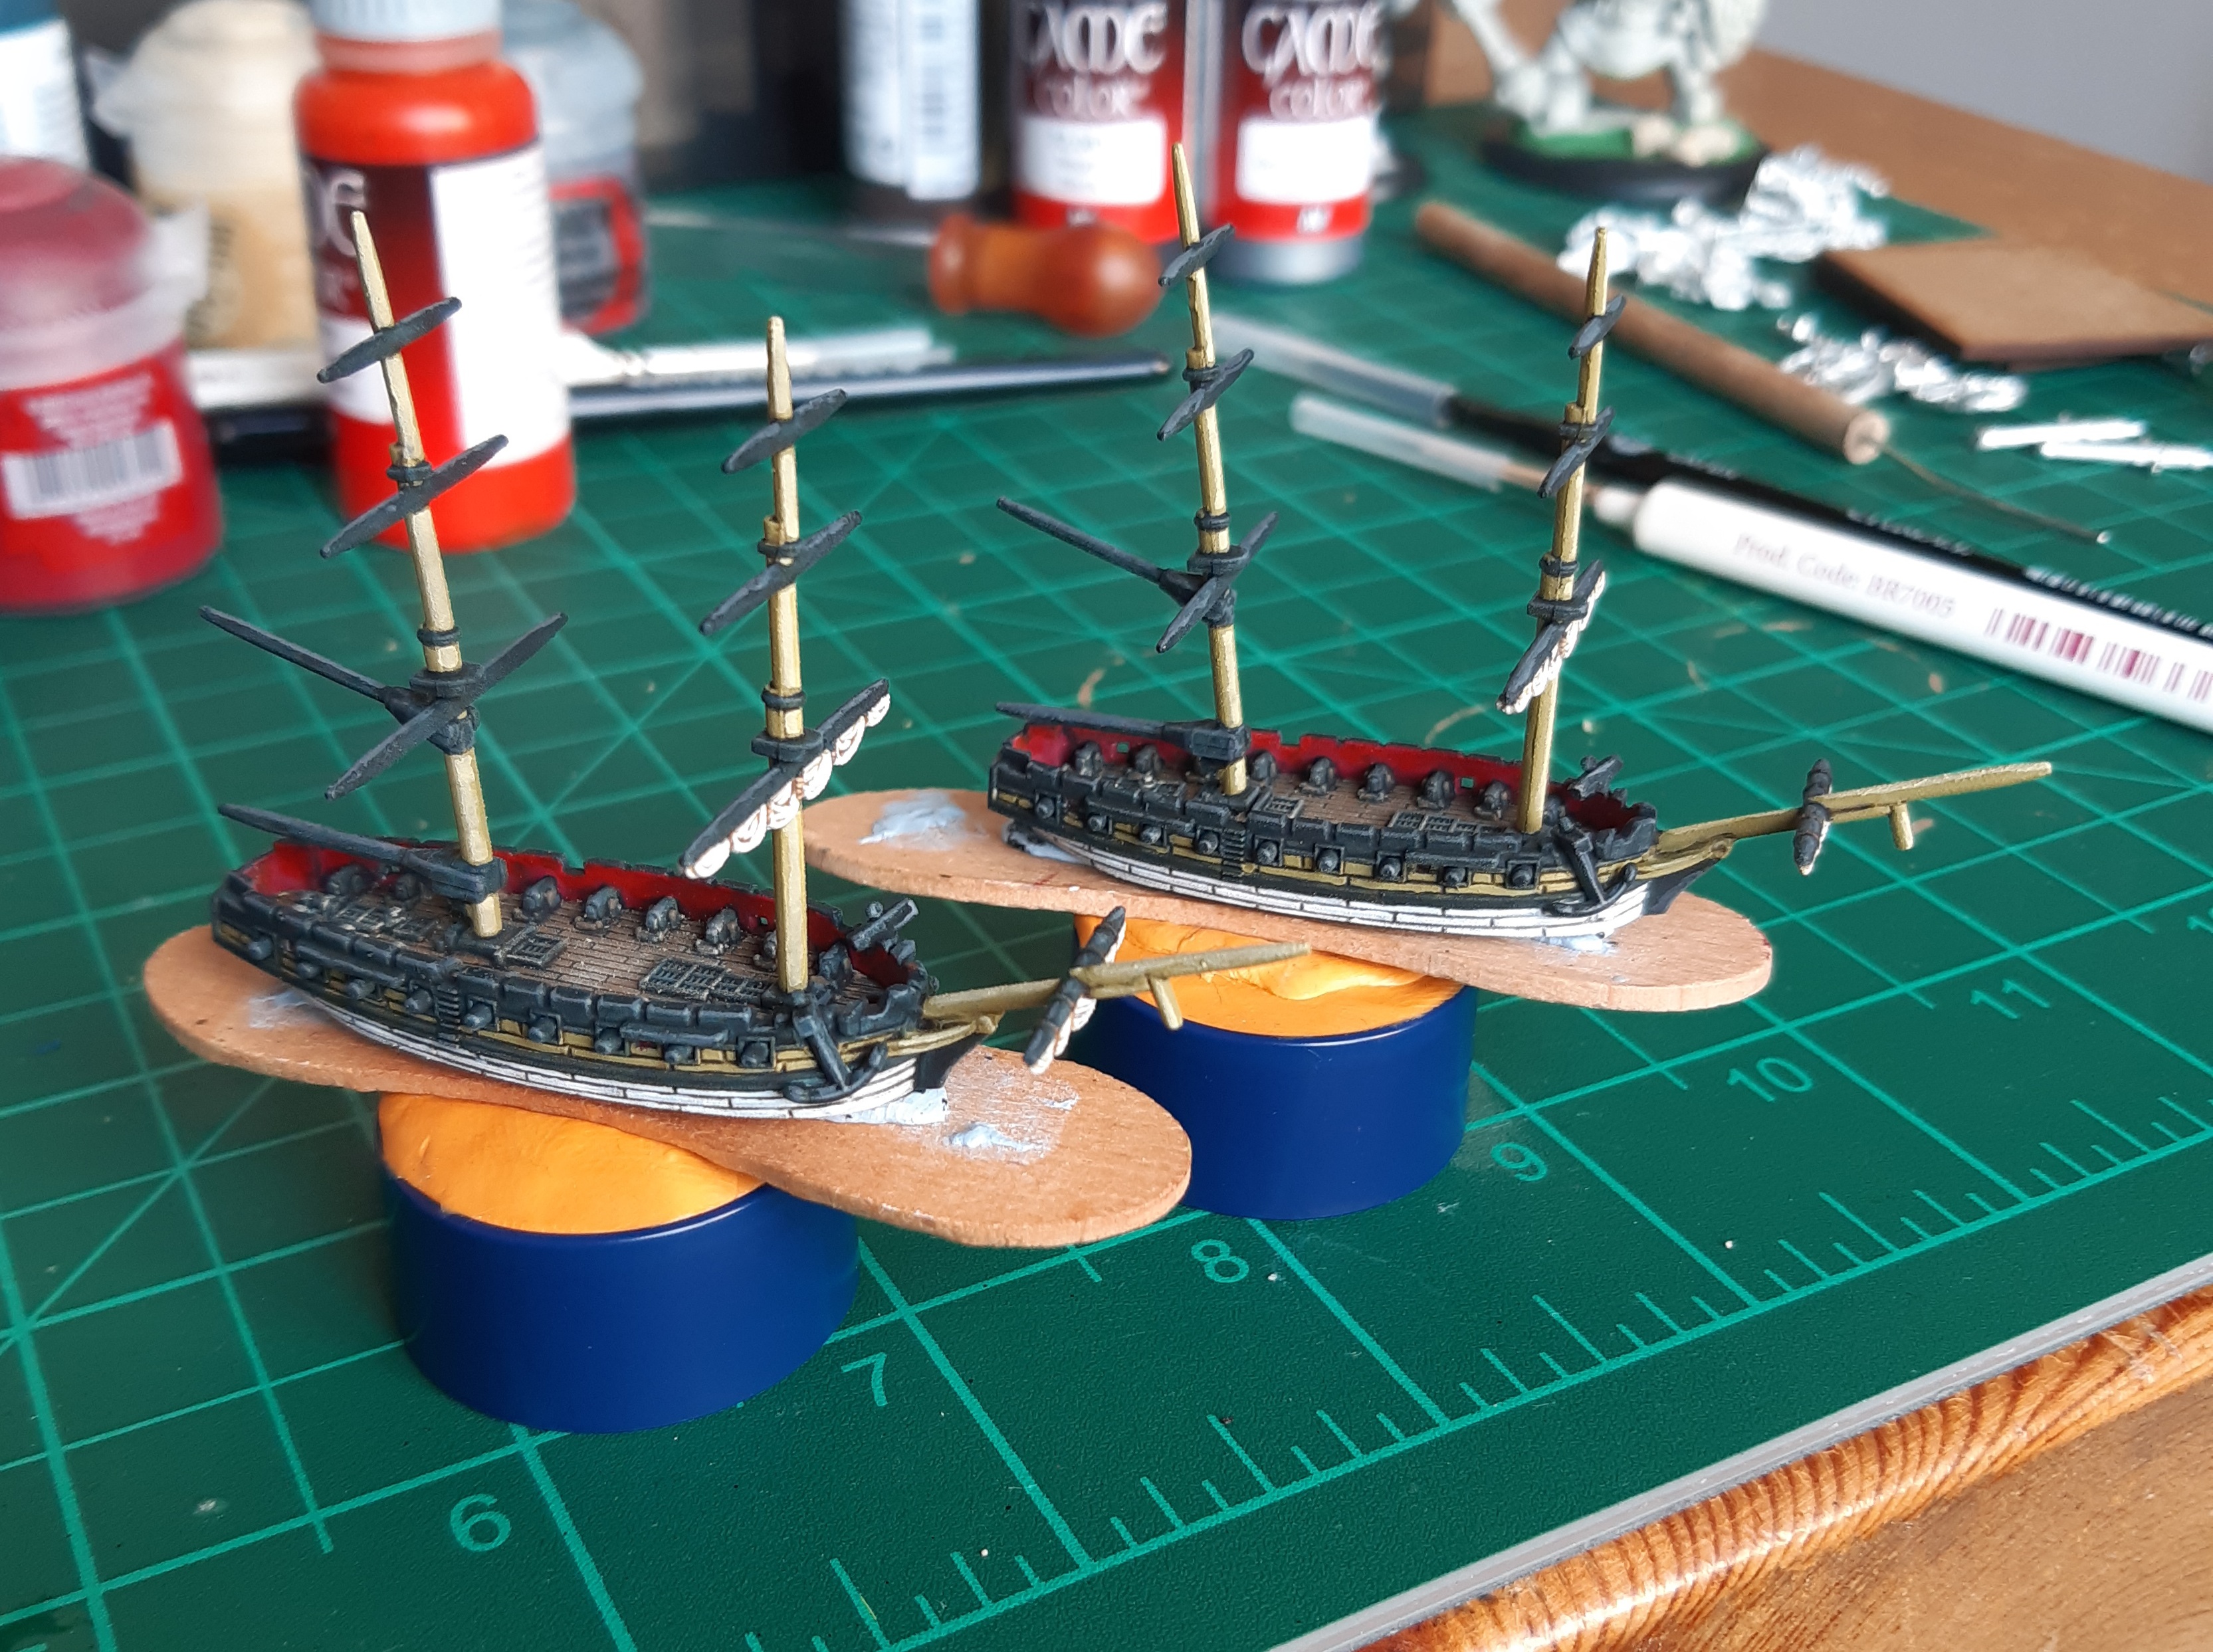 Pair of brigs freshly painted, awaiting sails, ratlines and rigging.
Sail Ho!
With the painting done, it was time for the more modelling side of getting these two brigs seaworthy.
First step was getting the sails and ratlines added. I used the kits sold by Warlord Games. The ratlines are printed on an acetate sheet, with enough for three frigates and six brigs on a sheet. The sails come as a set of ‘light’ and ‘dark’ sails, each sheet with enough for one frigate and two brigs. The dark sails were the best colour match for the furled sails I had painted on the ships, so were the ones I used.
I collected a few tools for the job – a sharp knife, steel ruler, super glue, tweezers and some cocktail sticks.
I started with the ratlines, cutting them out with a sharp knife and steel ruler, before dry fitting. I found giving them a very slight bend at the top helped with getting them in place. Then super glue was applied top and bottom, using the cocktail stick to help dab glue in the right places to prevent drowning the pieces with glue. Tweezers were essential to get them onto the models without ending up with tacked together fingers.
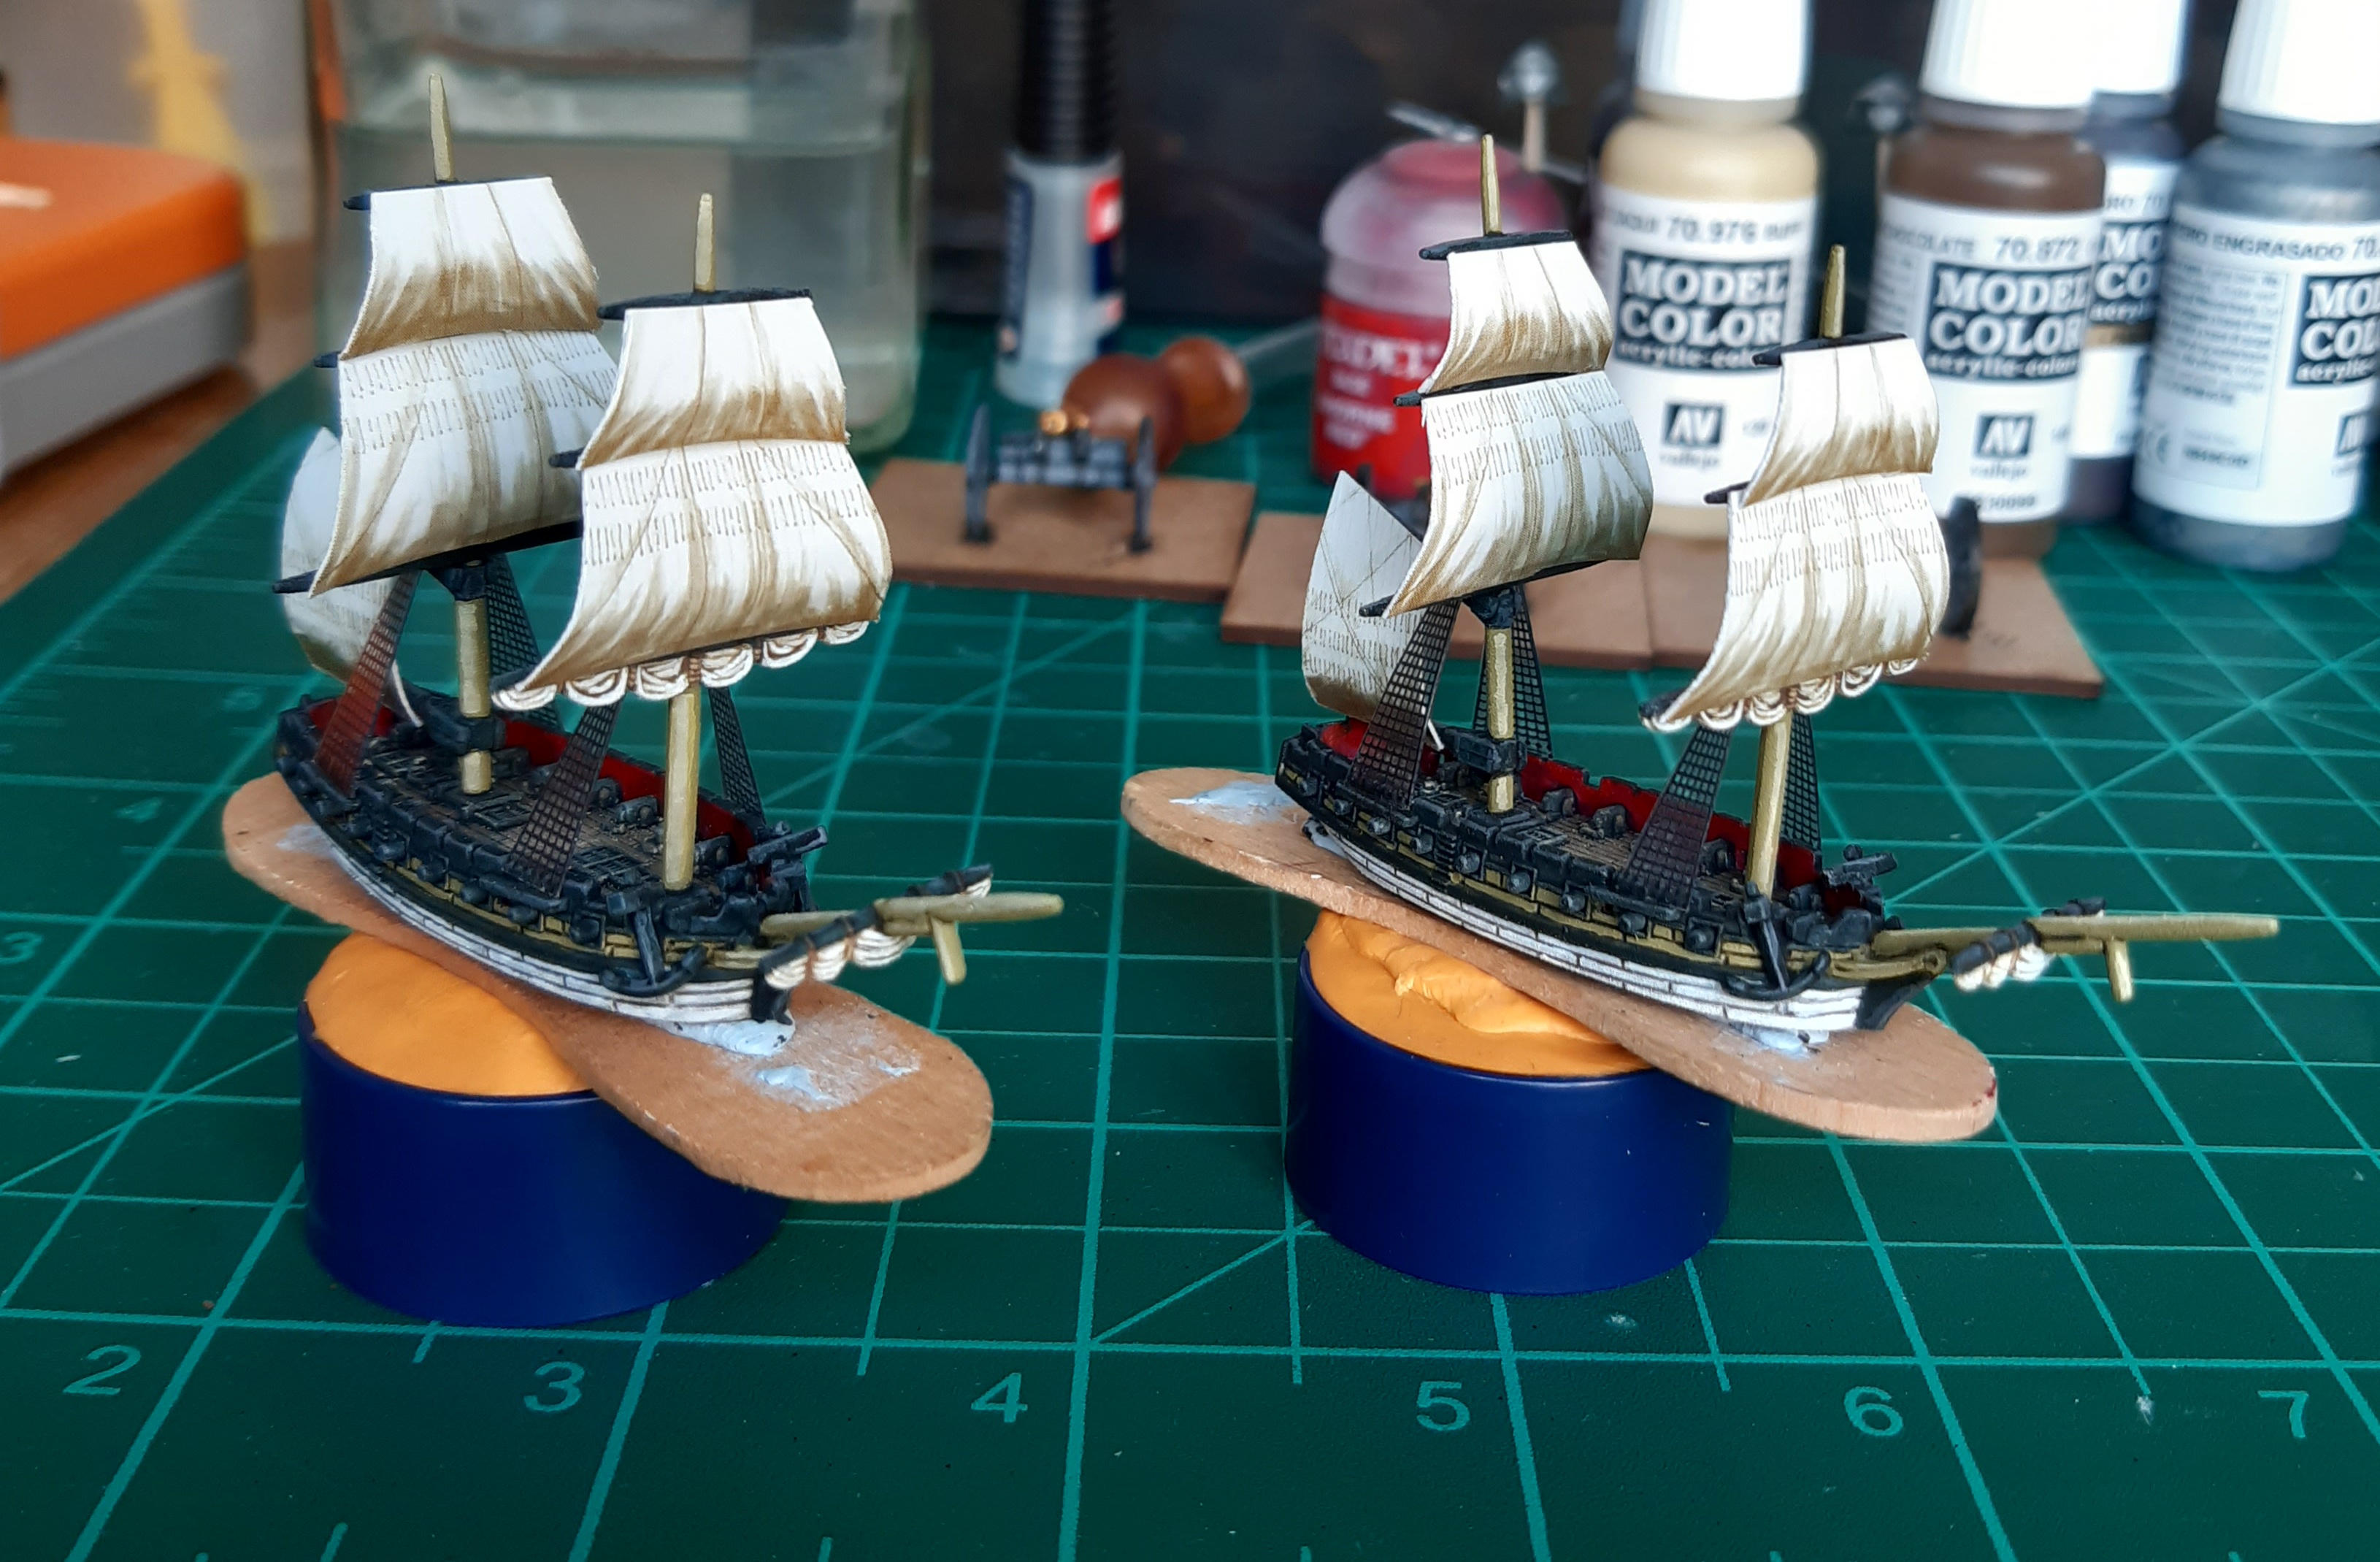
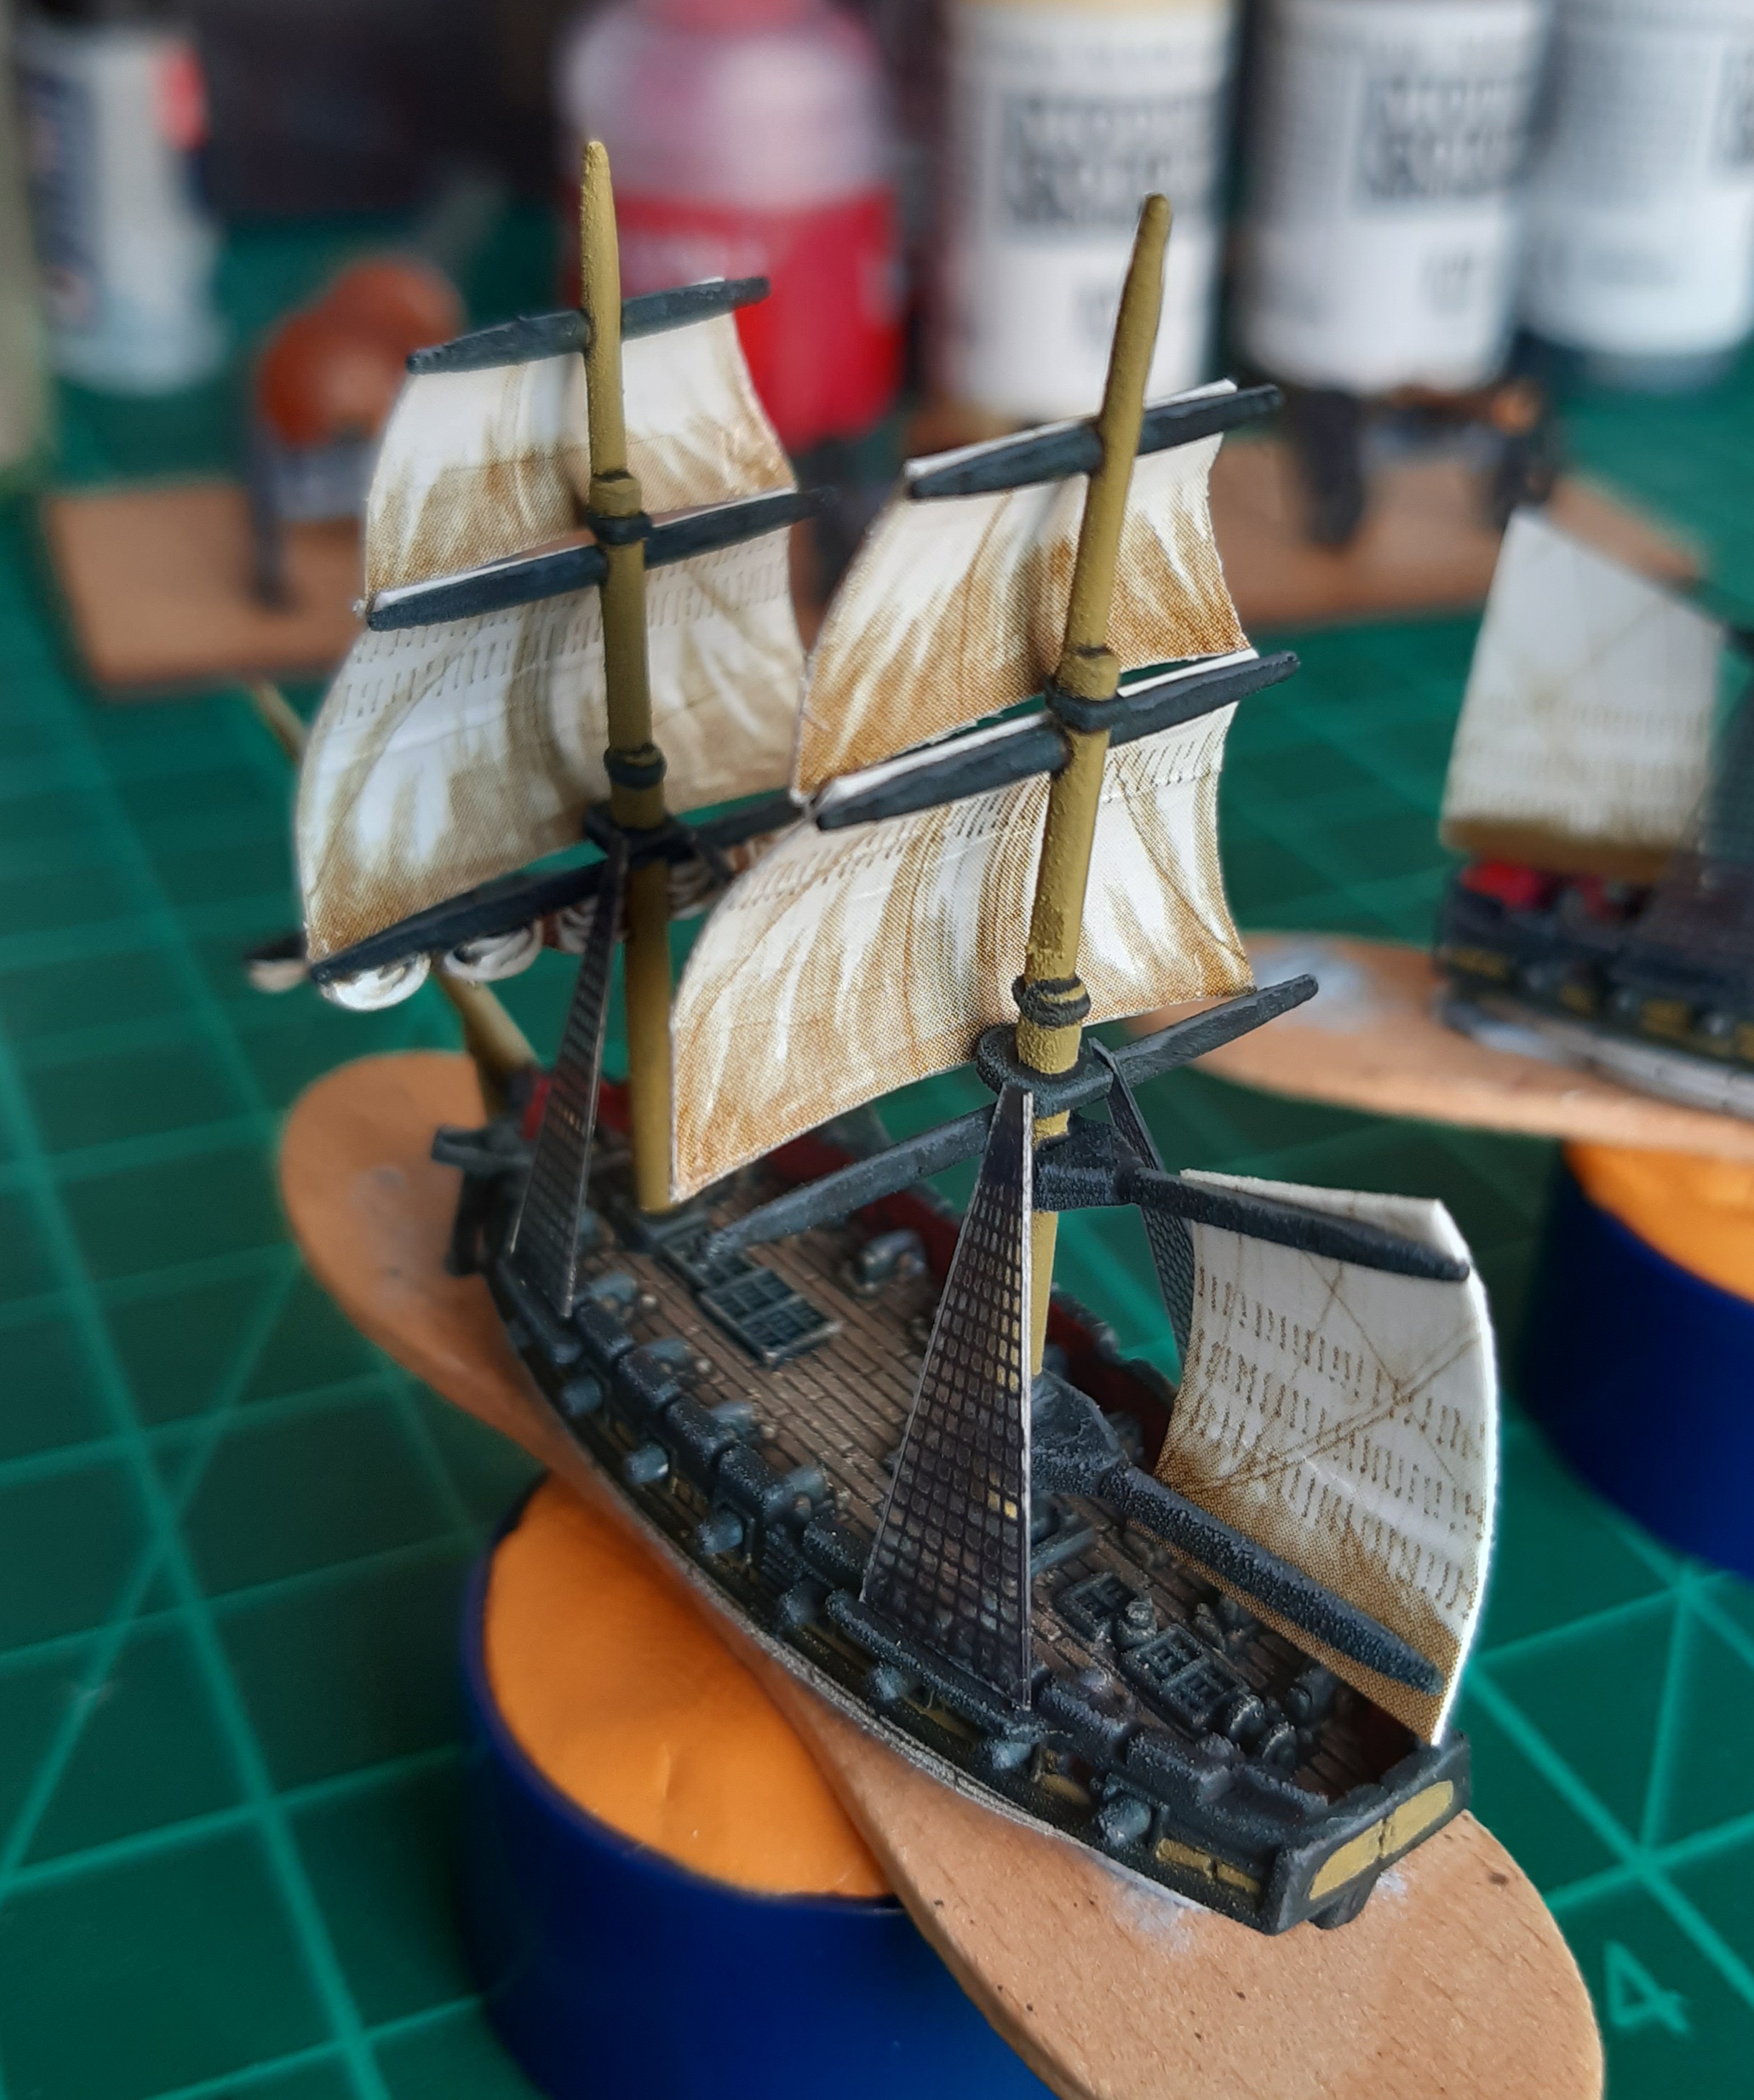
After the ratlines, it was time for the sails. The sheets come pre-scored, but still need a little cutting to free the edges. The sails need a little bending to give some shape. Most sailing positions have the wind billowing in the bottom half of the sails, so I tried to replicate that. The easiest way to get a nice curve was to hold the sails within the arms of tweezers and to gently curl them.
I started with the foremast and worked aft, although I don’t think it would make much difference either way. First was the bottom sail on each mast. Each sail was dry fitted to see if it roughly spanned the space between each spar, and that the billowing of the sail looked reasonable. A line of glue was applied to the top edge, and a dab on each bottom corner, before being held in place with the tweezers. The process was then repeated for the next sail, and then the mizzen mast.
All in all, a fairly easy job. You can use PVA rather than super glue if you don’t mind the waiting time; PVA does have the advantage of being more generous if you make a mistake with positioning.
Hindsight again, but I really should have looked at the colours of the printed sails before painting to get a better match with the furled sails.
I should really touch up the edges of the sails to tone down the fresh white colour of the cut card, but the weather is sapping my energy.
The acetate ratlines might not be to everyone’s taste, but I think that they look fairly effective, and I honestly can’t think of a better method that doesn’t involve a lot more hassle.
If I paint more ships in the future, I’ll definitely paint the masts separately to the hulls. I didn’t find adding the sails very hard at all, but it might be potentially easier to add the sails on before gluing the painted masts to the hulls.
Just the rigging left now.
Standing Rigging
I’ve never attempted to rig a model ship before, so I hunted out a few tutorials to get an idea of what I was supposed to be doing. The two most useful were:
- A guide written by Warlord Games (https://www.warlordgames.com/black-seas-rigging-your-ships/) (which I think is same as that printed in the Black Seas rulebook?)
- A tutorial on JJ’s Wargames (https://jjwargames.blogspot.com/?m=1), a great blog which also has fantastic tutorials on painting Napoleonic miniatures
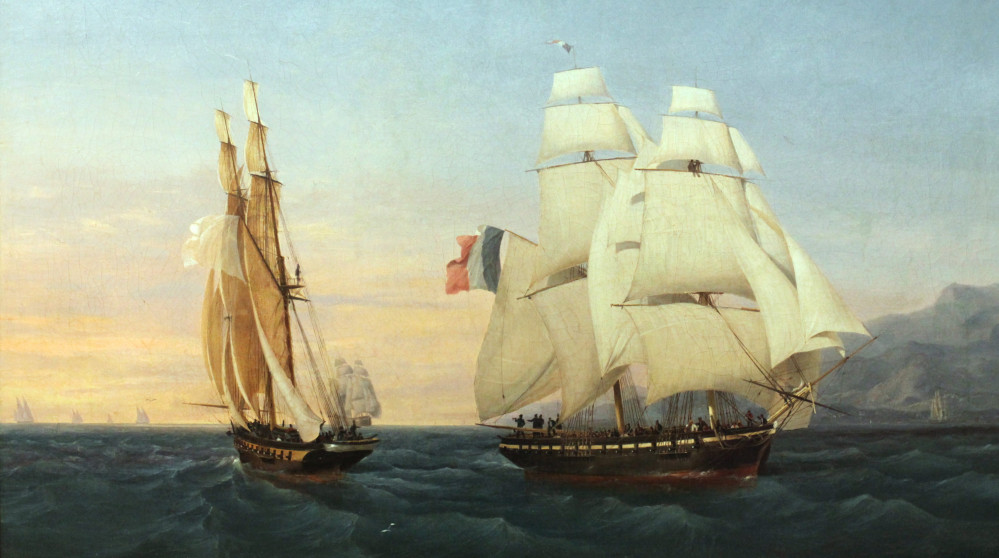
Both guides are based on three masted vessels, so I needed to do a little bit of interpretation and muddling my way through to work out what should be included on the two masted brigs. However, I managed to muddle through it helped by some great images of a fully rigged brig on JJ’s blog.
Tools needed were very similar to tackling the sails – tweezers, superglue, sharp scissors to cut excess thread, cocktail sticks to apply the glue and a reel of fine black thread.
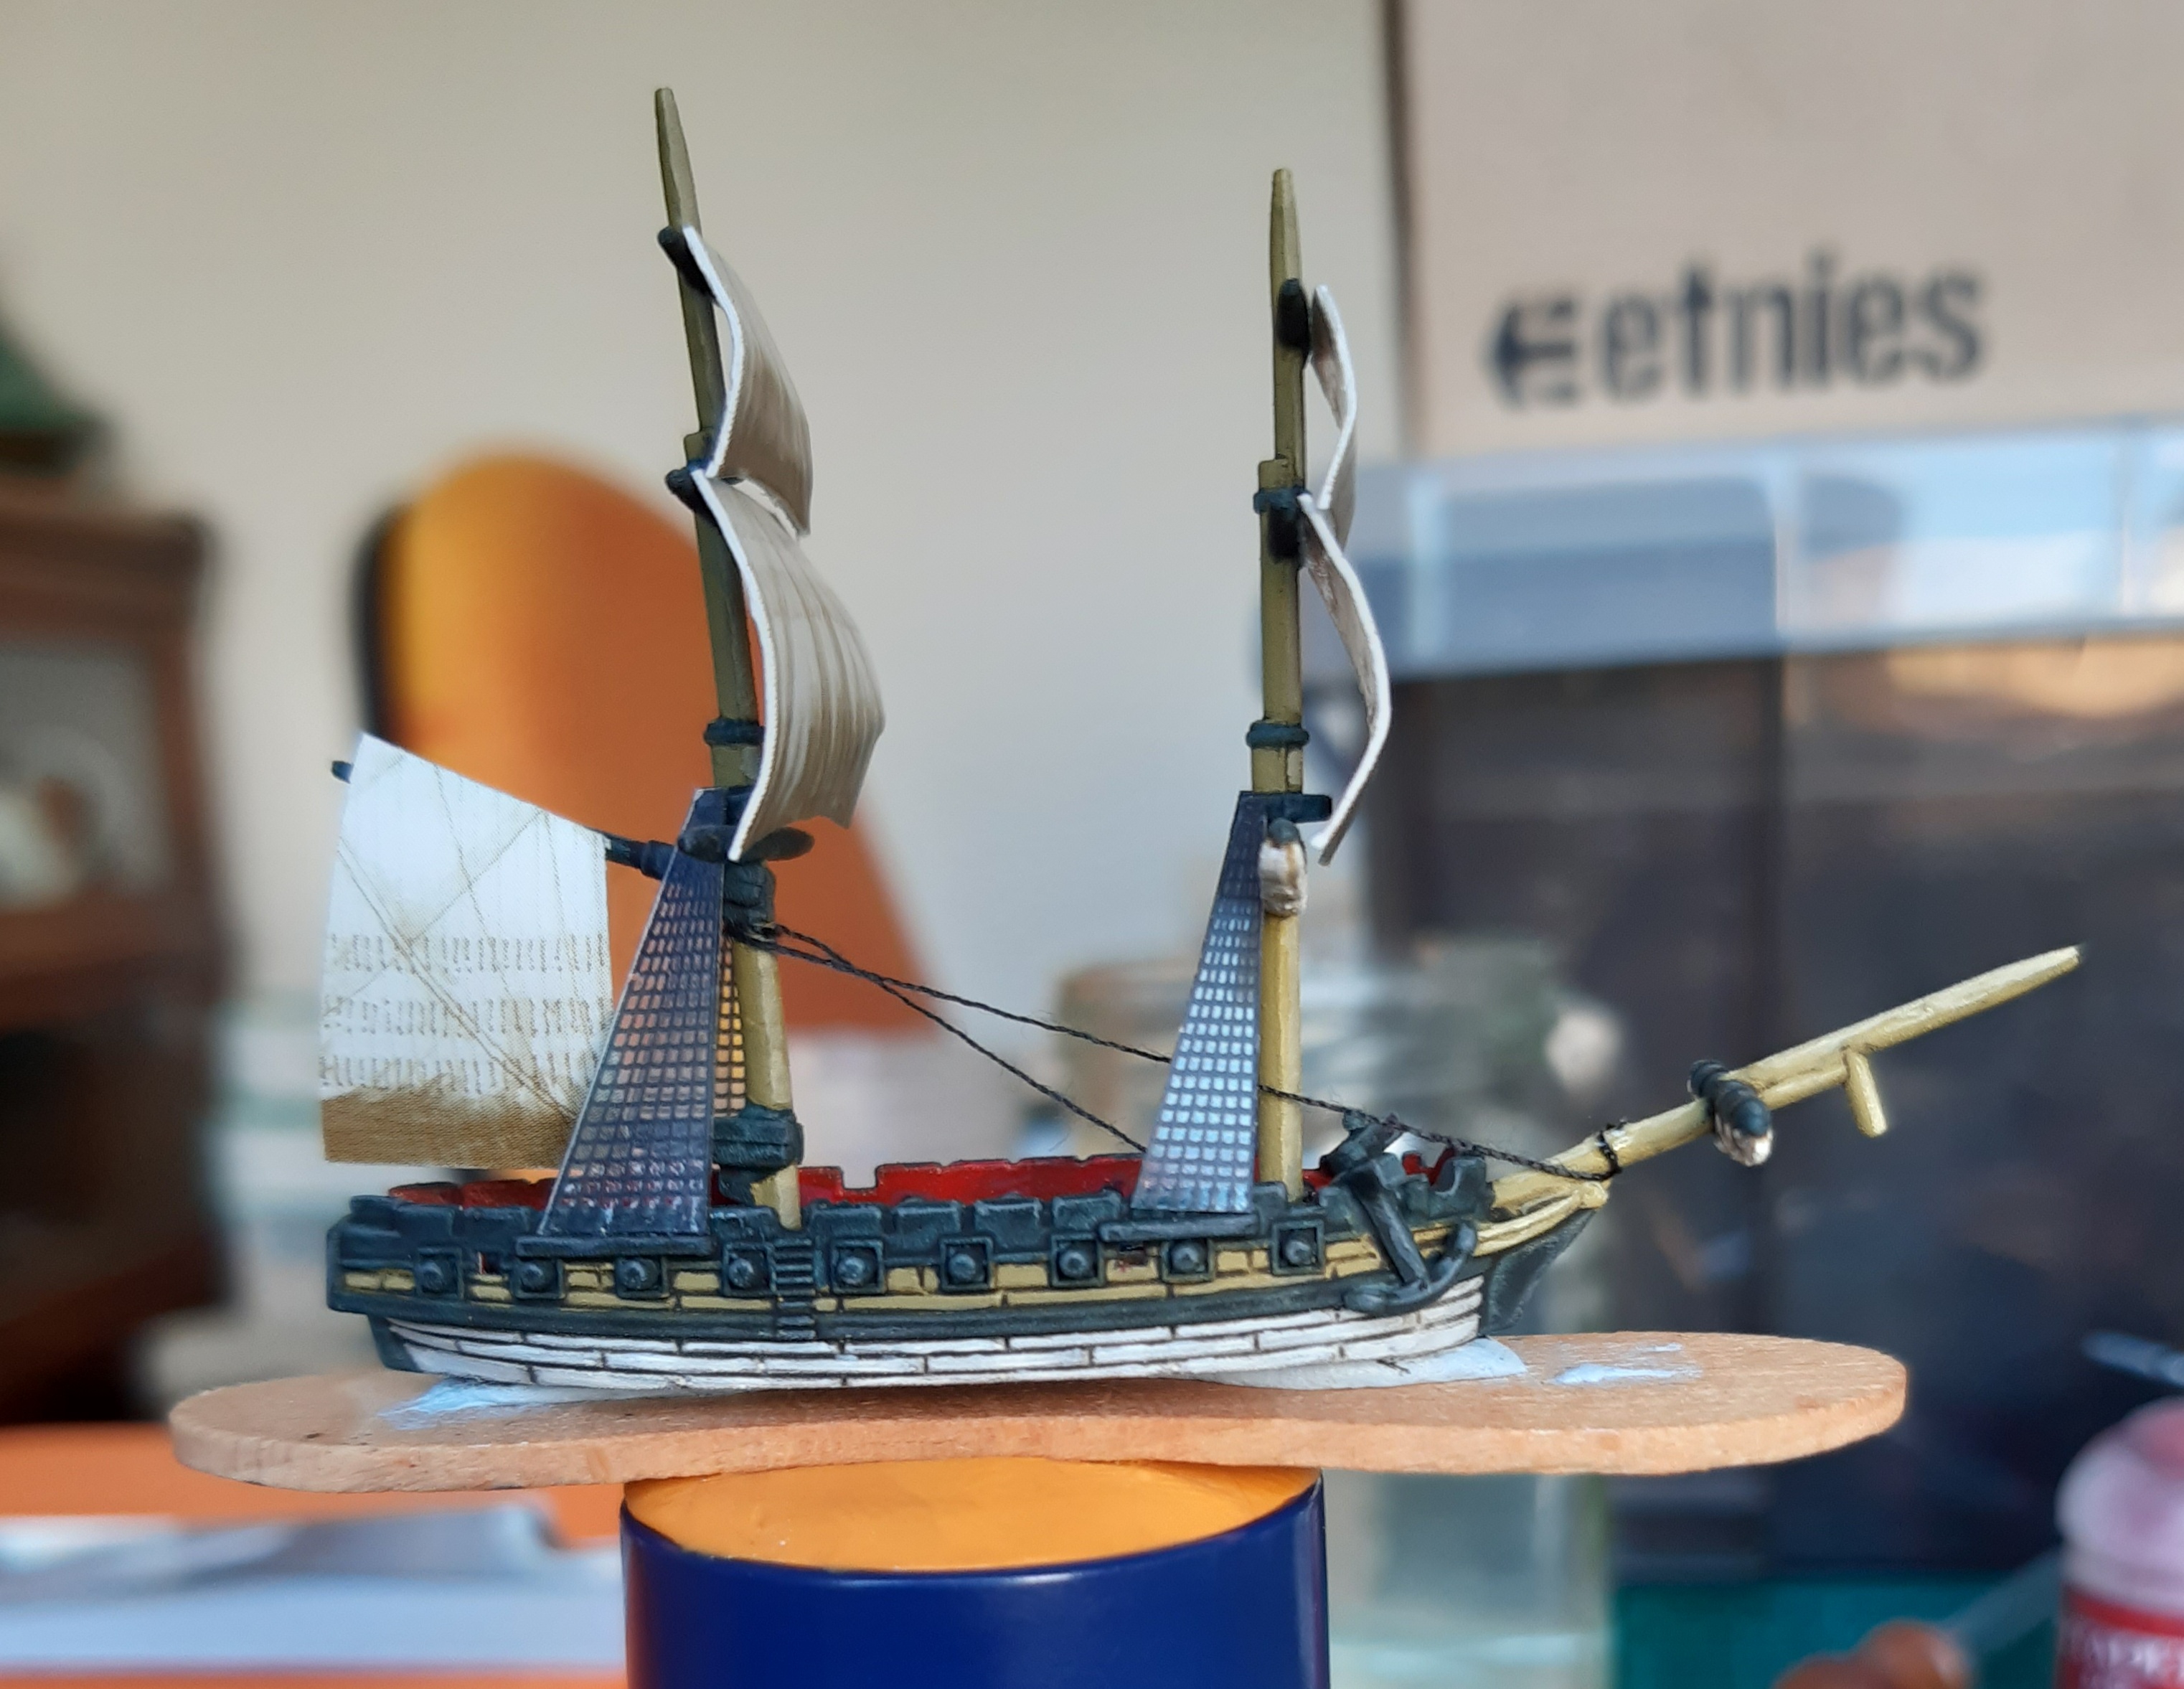
Both the guides linked above are very good at explaining the step by step process of getting the standing rigging wired up. Standing rigging is the set of lines that support the masts and bowspirit on a ship, and it is consistant in appearance whatever nationality a vessel hails from.
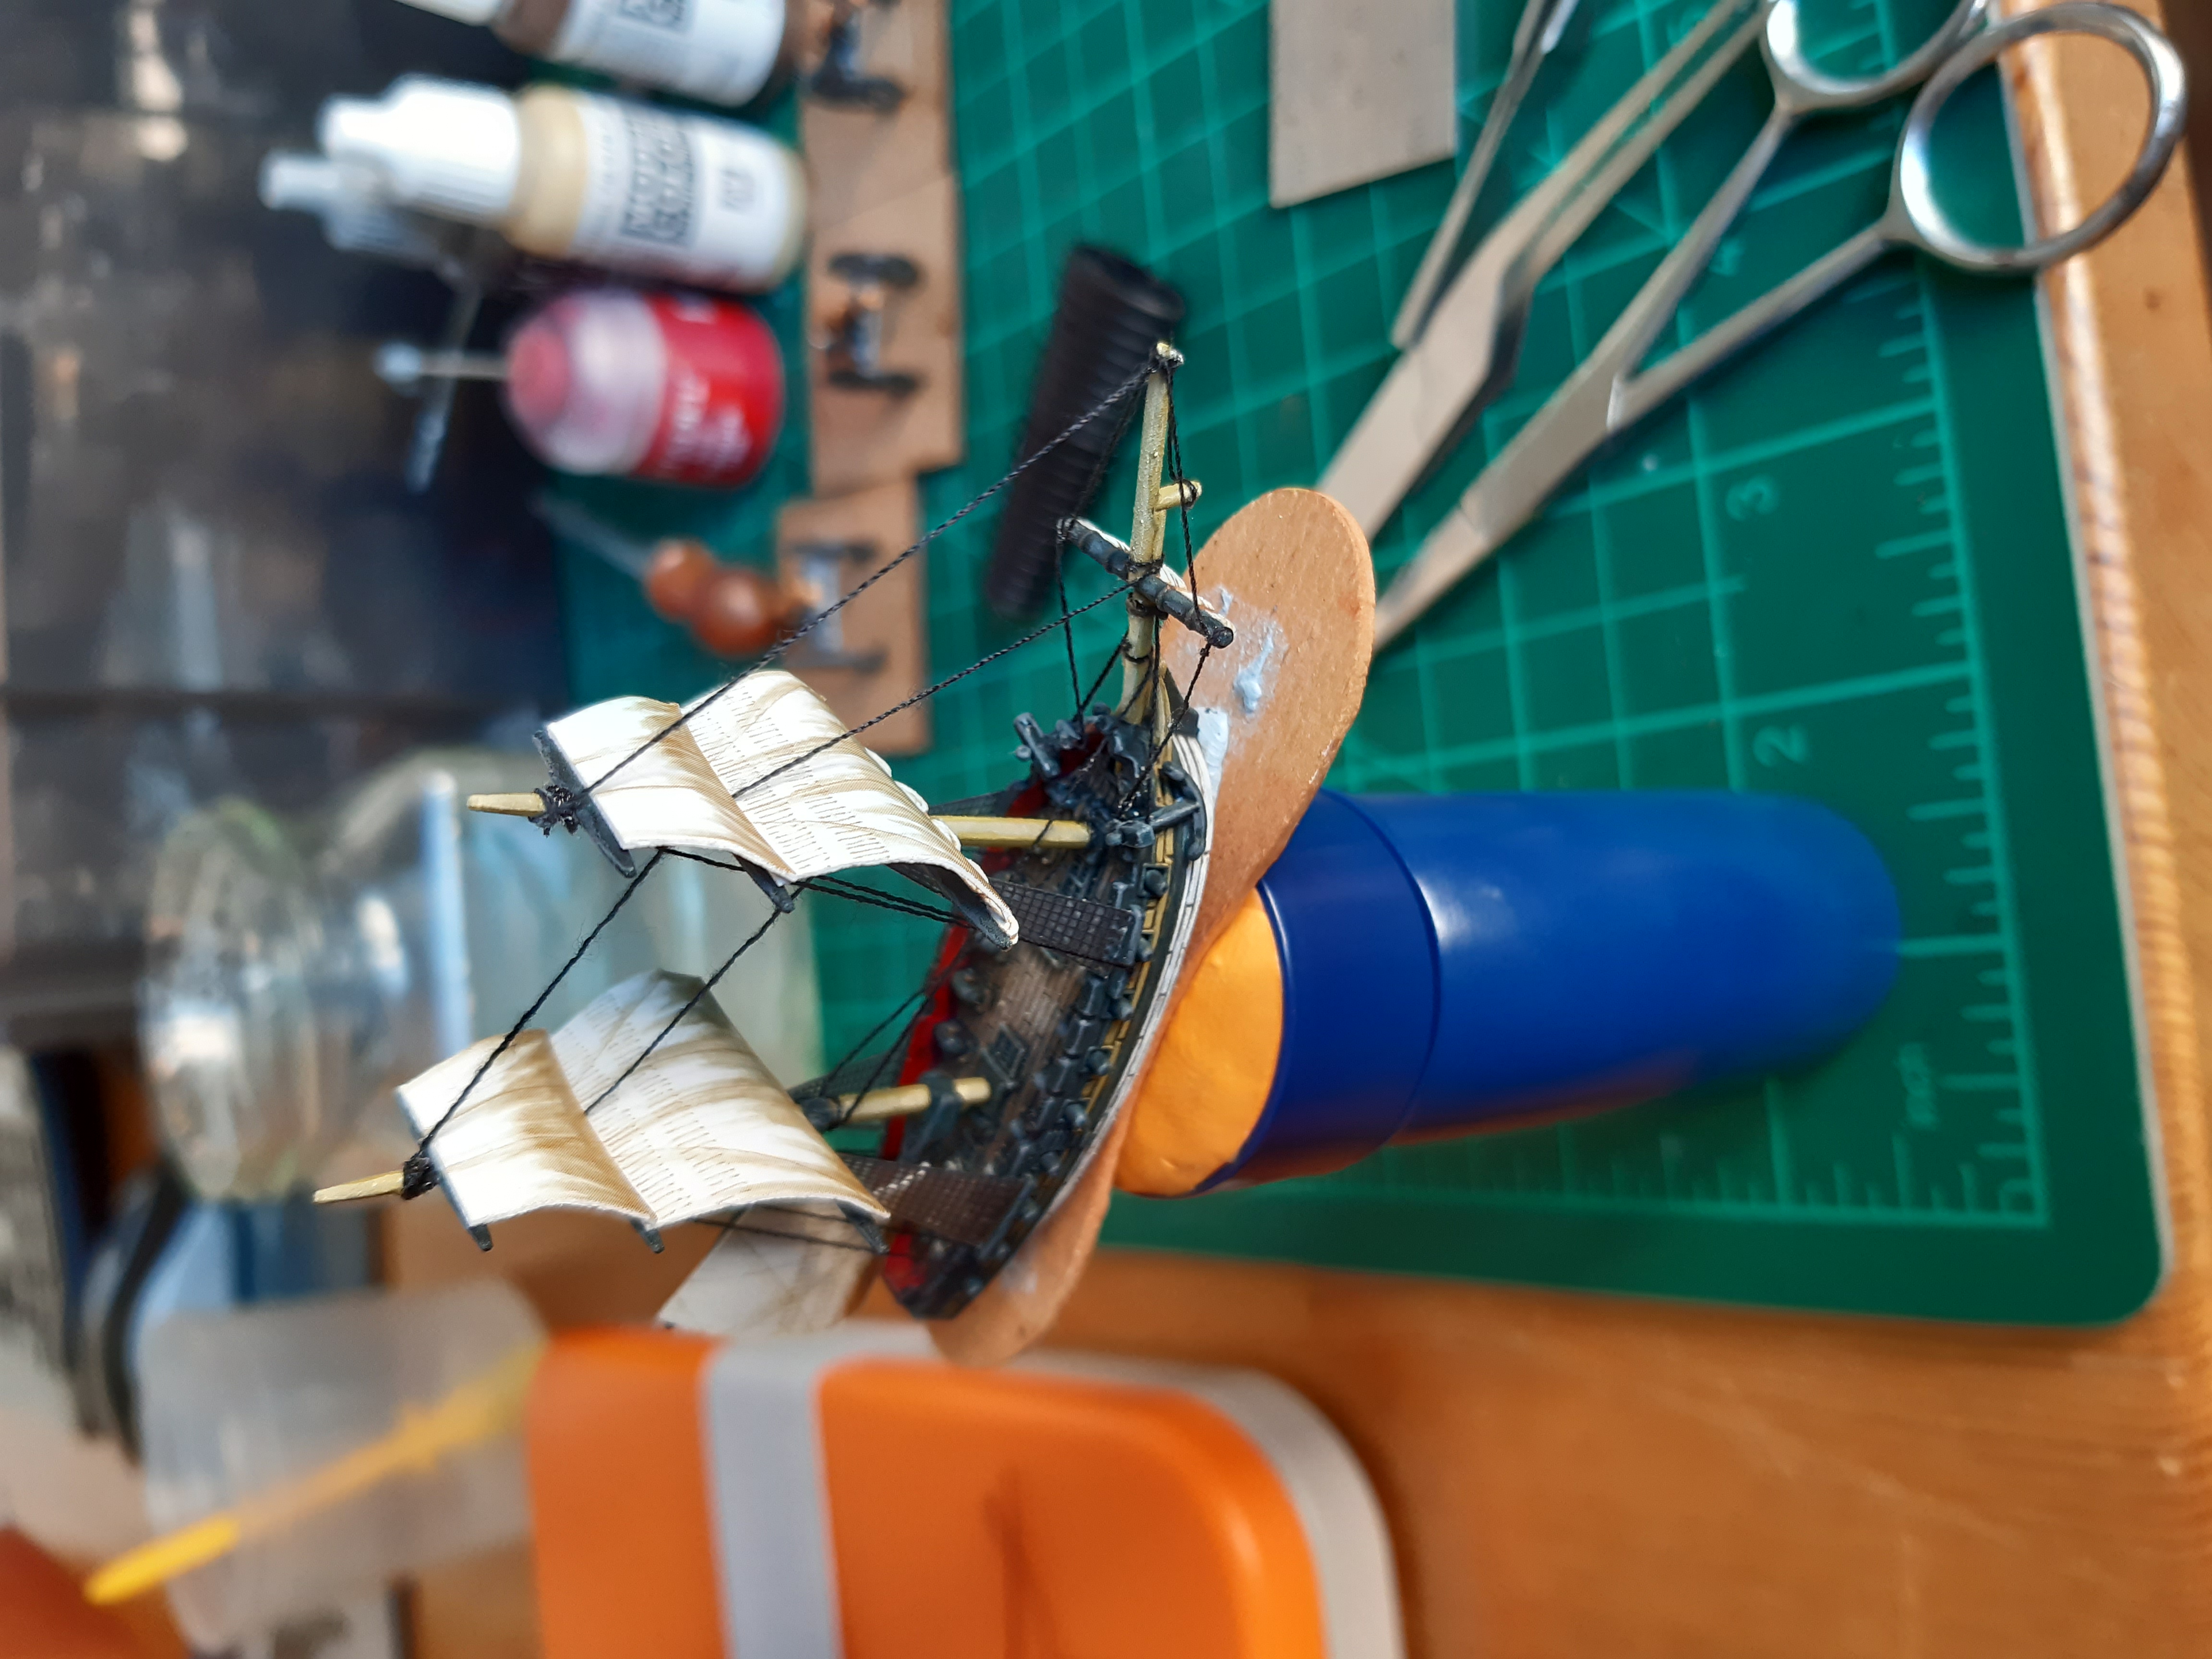
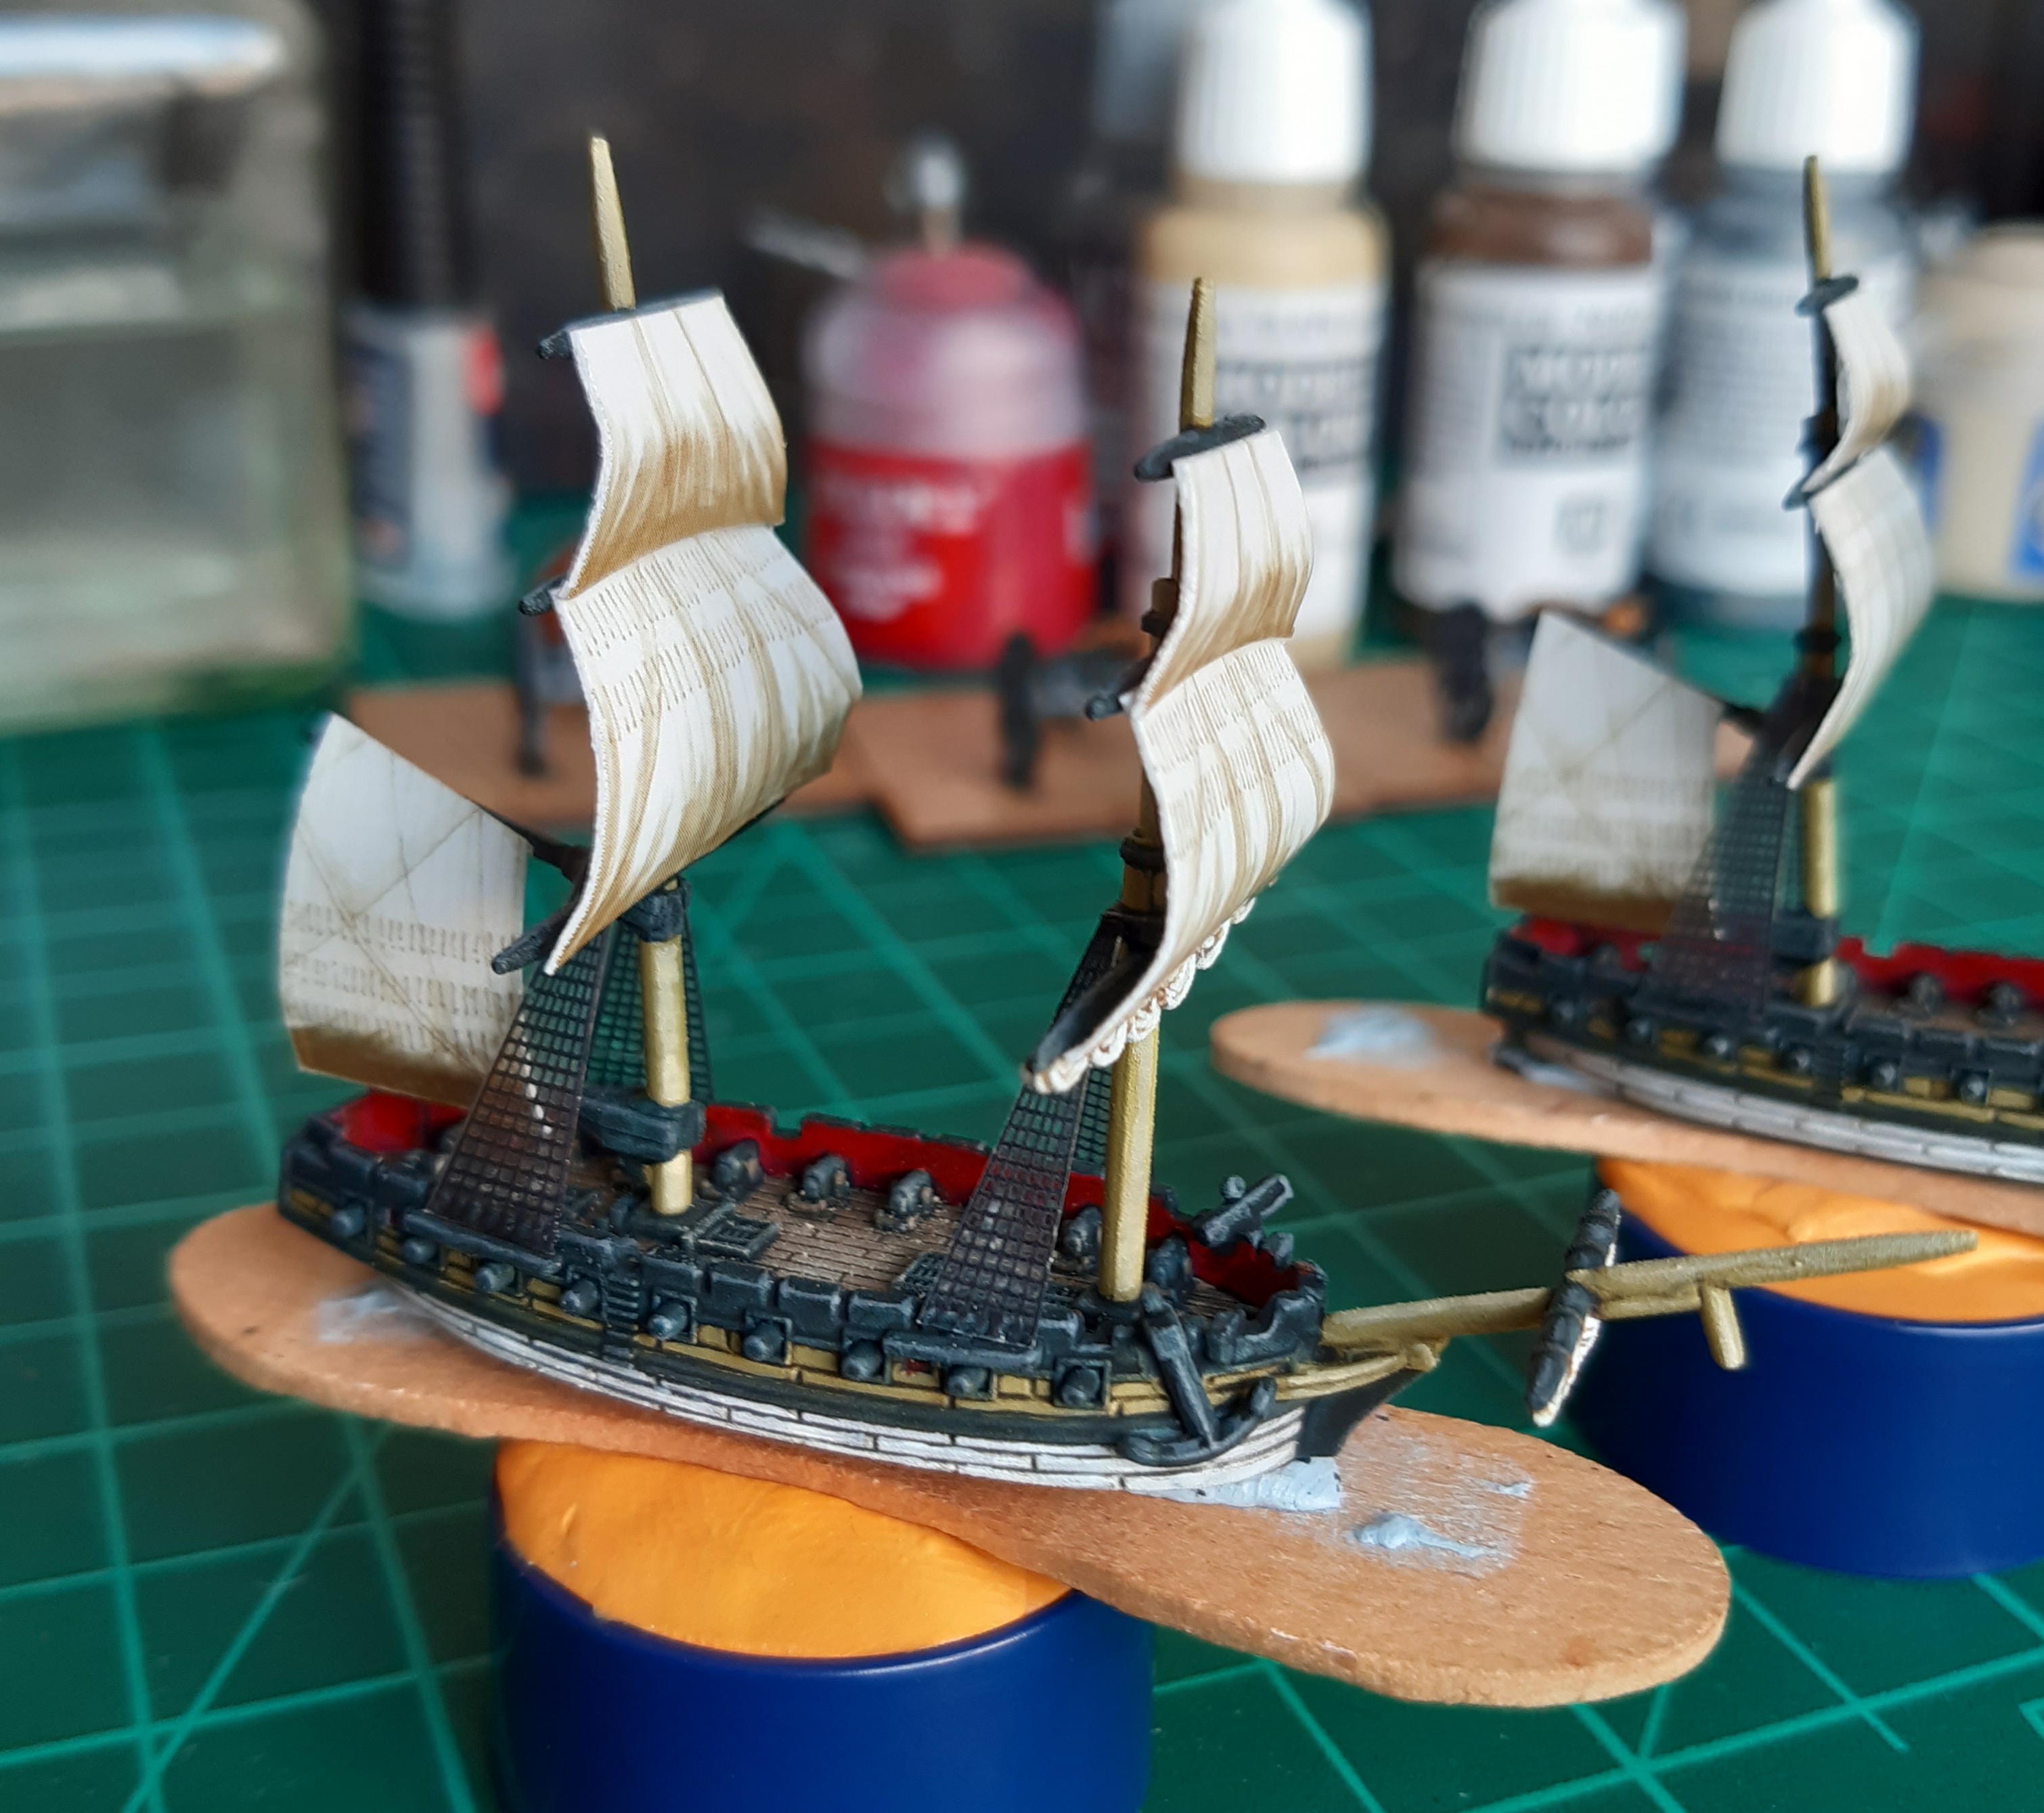
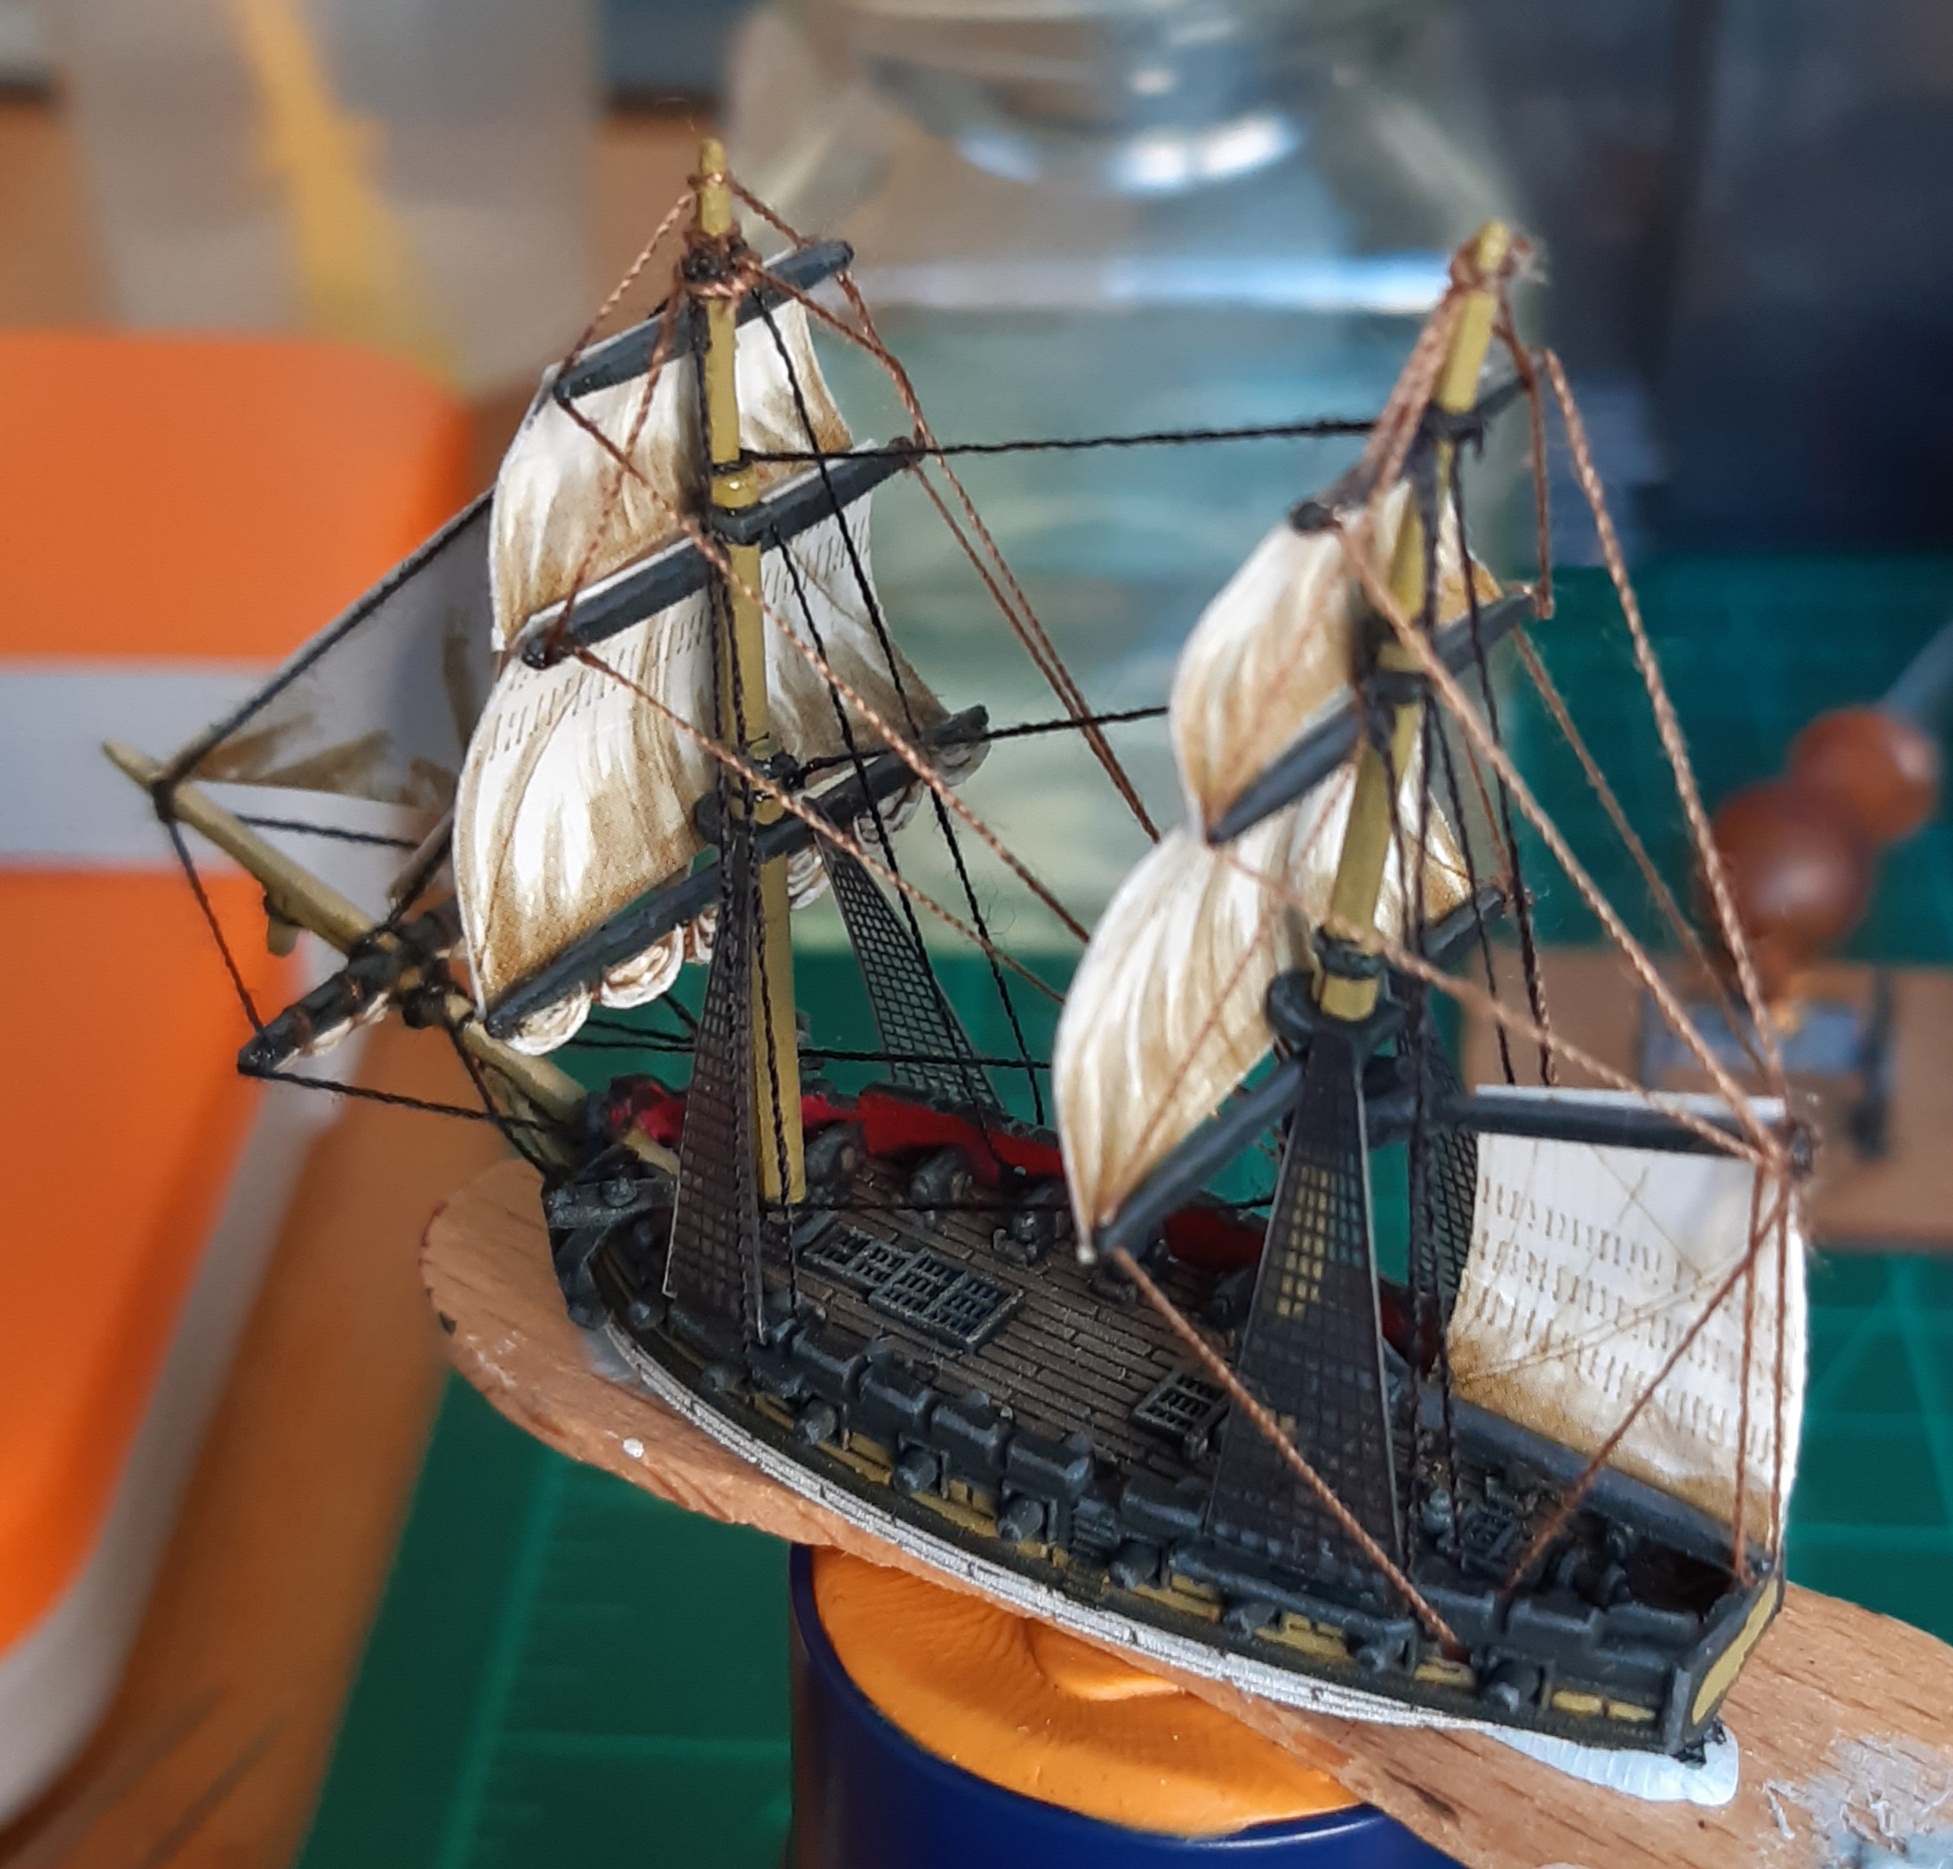
 Once fully rigged, you can add the last couple of sails
The process was a bit fiddly in places, mostly trying to get the lines on the bowspirit wrapped around the cats. To explain in layman’s terms, there’s a small grove just in front of where the anchors are attached for the lines to wrap around. Unfortunately, I had managed to clog them on one side of both ships with plastic glue when attaching the anchors. I cheated by wrapping the line around the anchor instead. Inelegant, but a passable bodge job.
Using superglue means that you don’t have to tie lines in place, you can just wrap a turn or two and stick it fast.
I’m undecided whether it would be easier to rig without sails in place, versus the difficulty of adding the sails once the rigging is done. It wasn’t too much effort to manipulate the thread around the sails, and I think trying to get the sails in place around set lines would be much more frustrating.
Amazingly, no bouts of naval-like cursing occurred whilst attempting the rigging. I suspect that it will come when I try to sort out the running rigging. Oh yes, I’m not done yet – I could stop here and have a pair of very nice ships, but there’s another set of rigging to add.
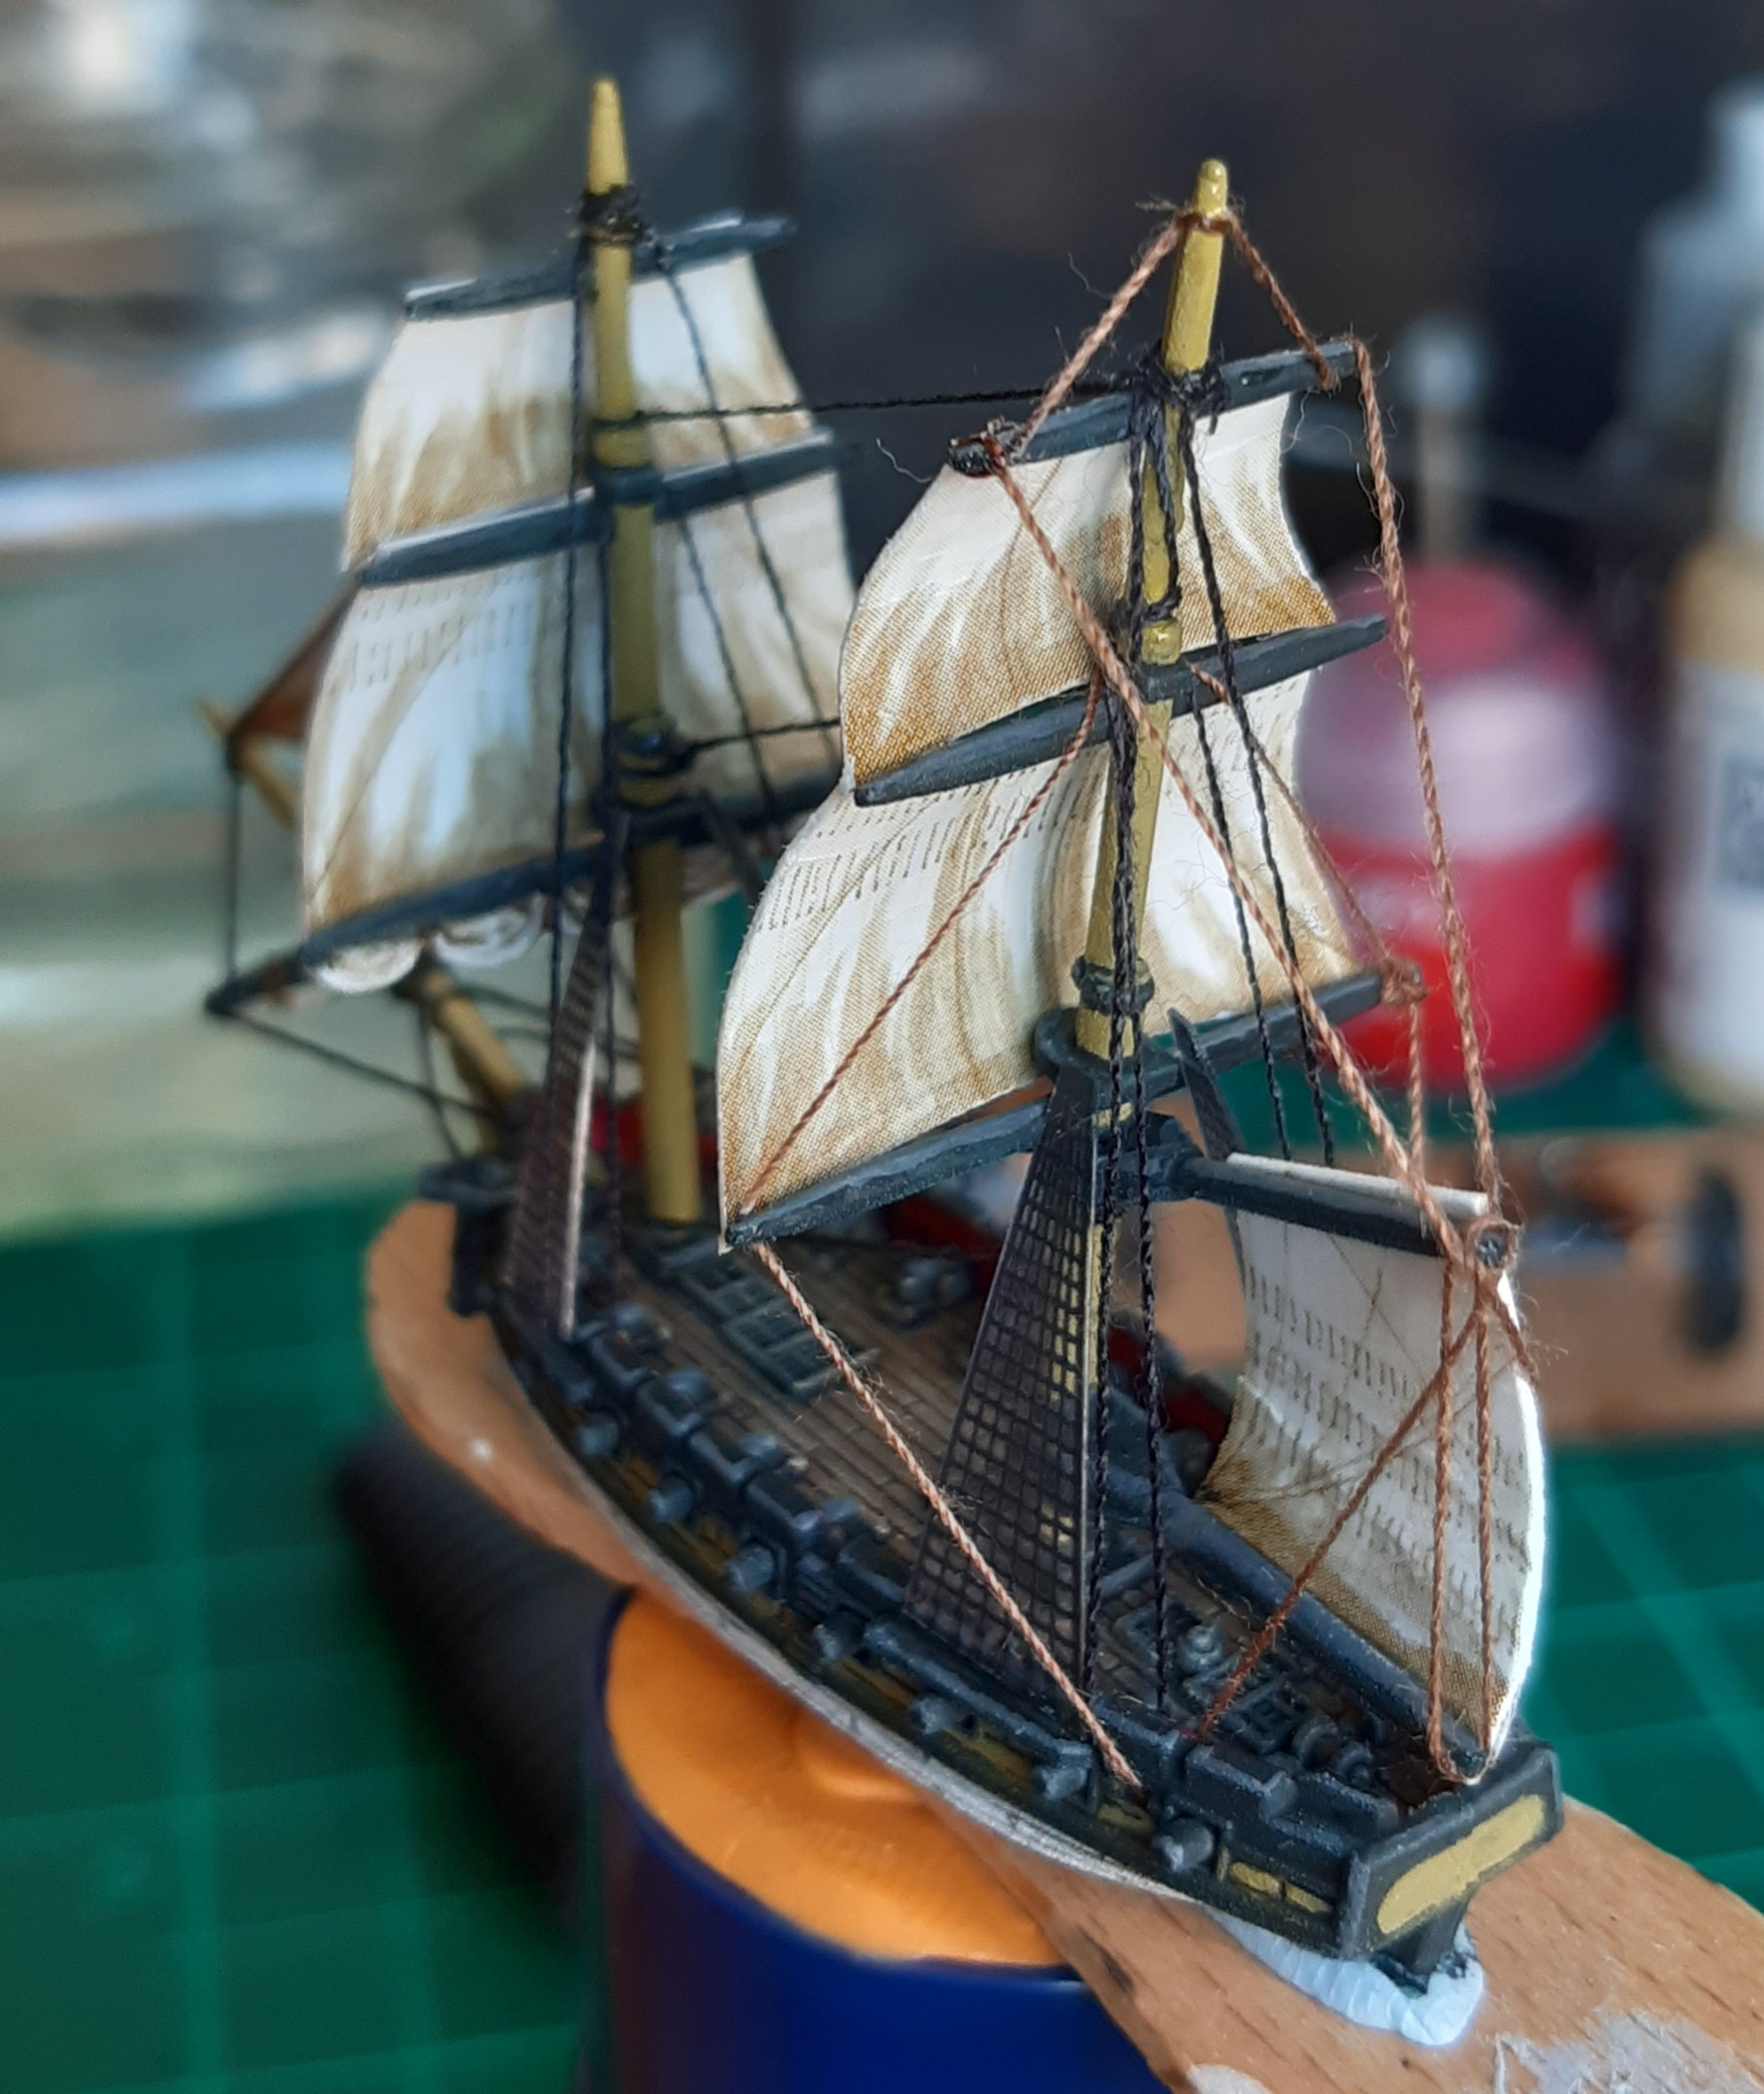
Running Rigging
Running rigging is the set of lines used to raise, set and control the sails. Unlike the standing rigging, there are differences between how different nations set their running rigging.
The guide written by Warlord Games that was used for the standing rigging doesn’t continue to detail how to set up running rigging. Luckily, the tutorial from JJ’s Wargames has a guide to running rigging, including variations for vessels hailing from different nationalities.
I decided to rig my two brigs in the British style. The tools used were exactly the same as for the standing rigging, except I switched to a brown thread rather than black.
Step by step progression of adding the rigging is below.
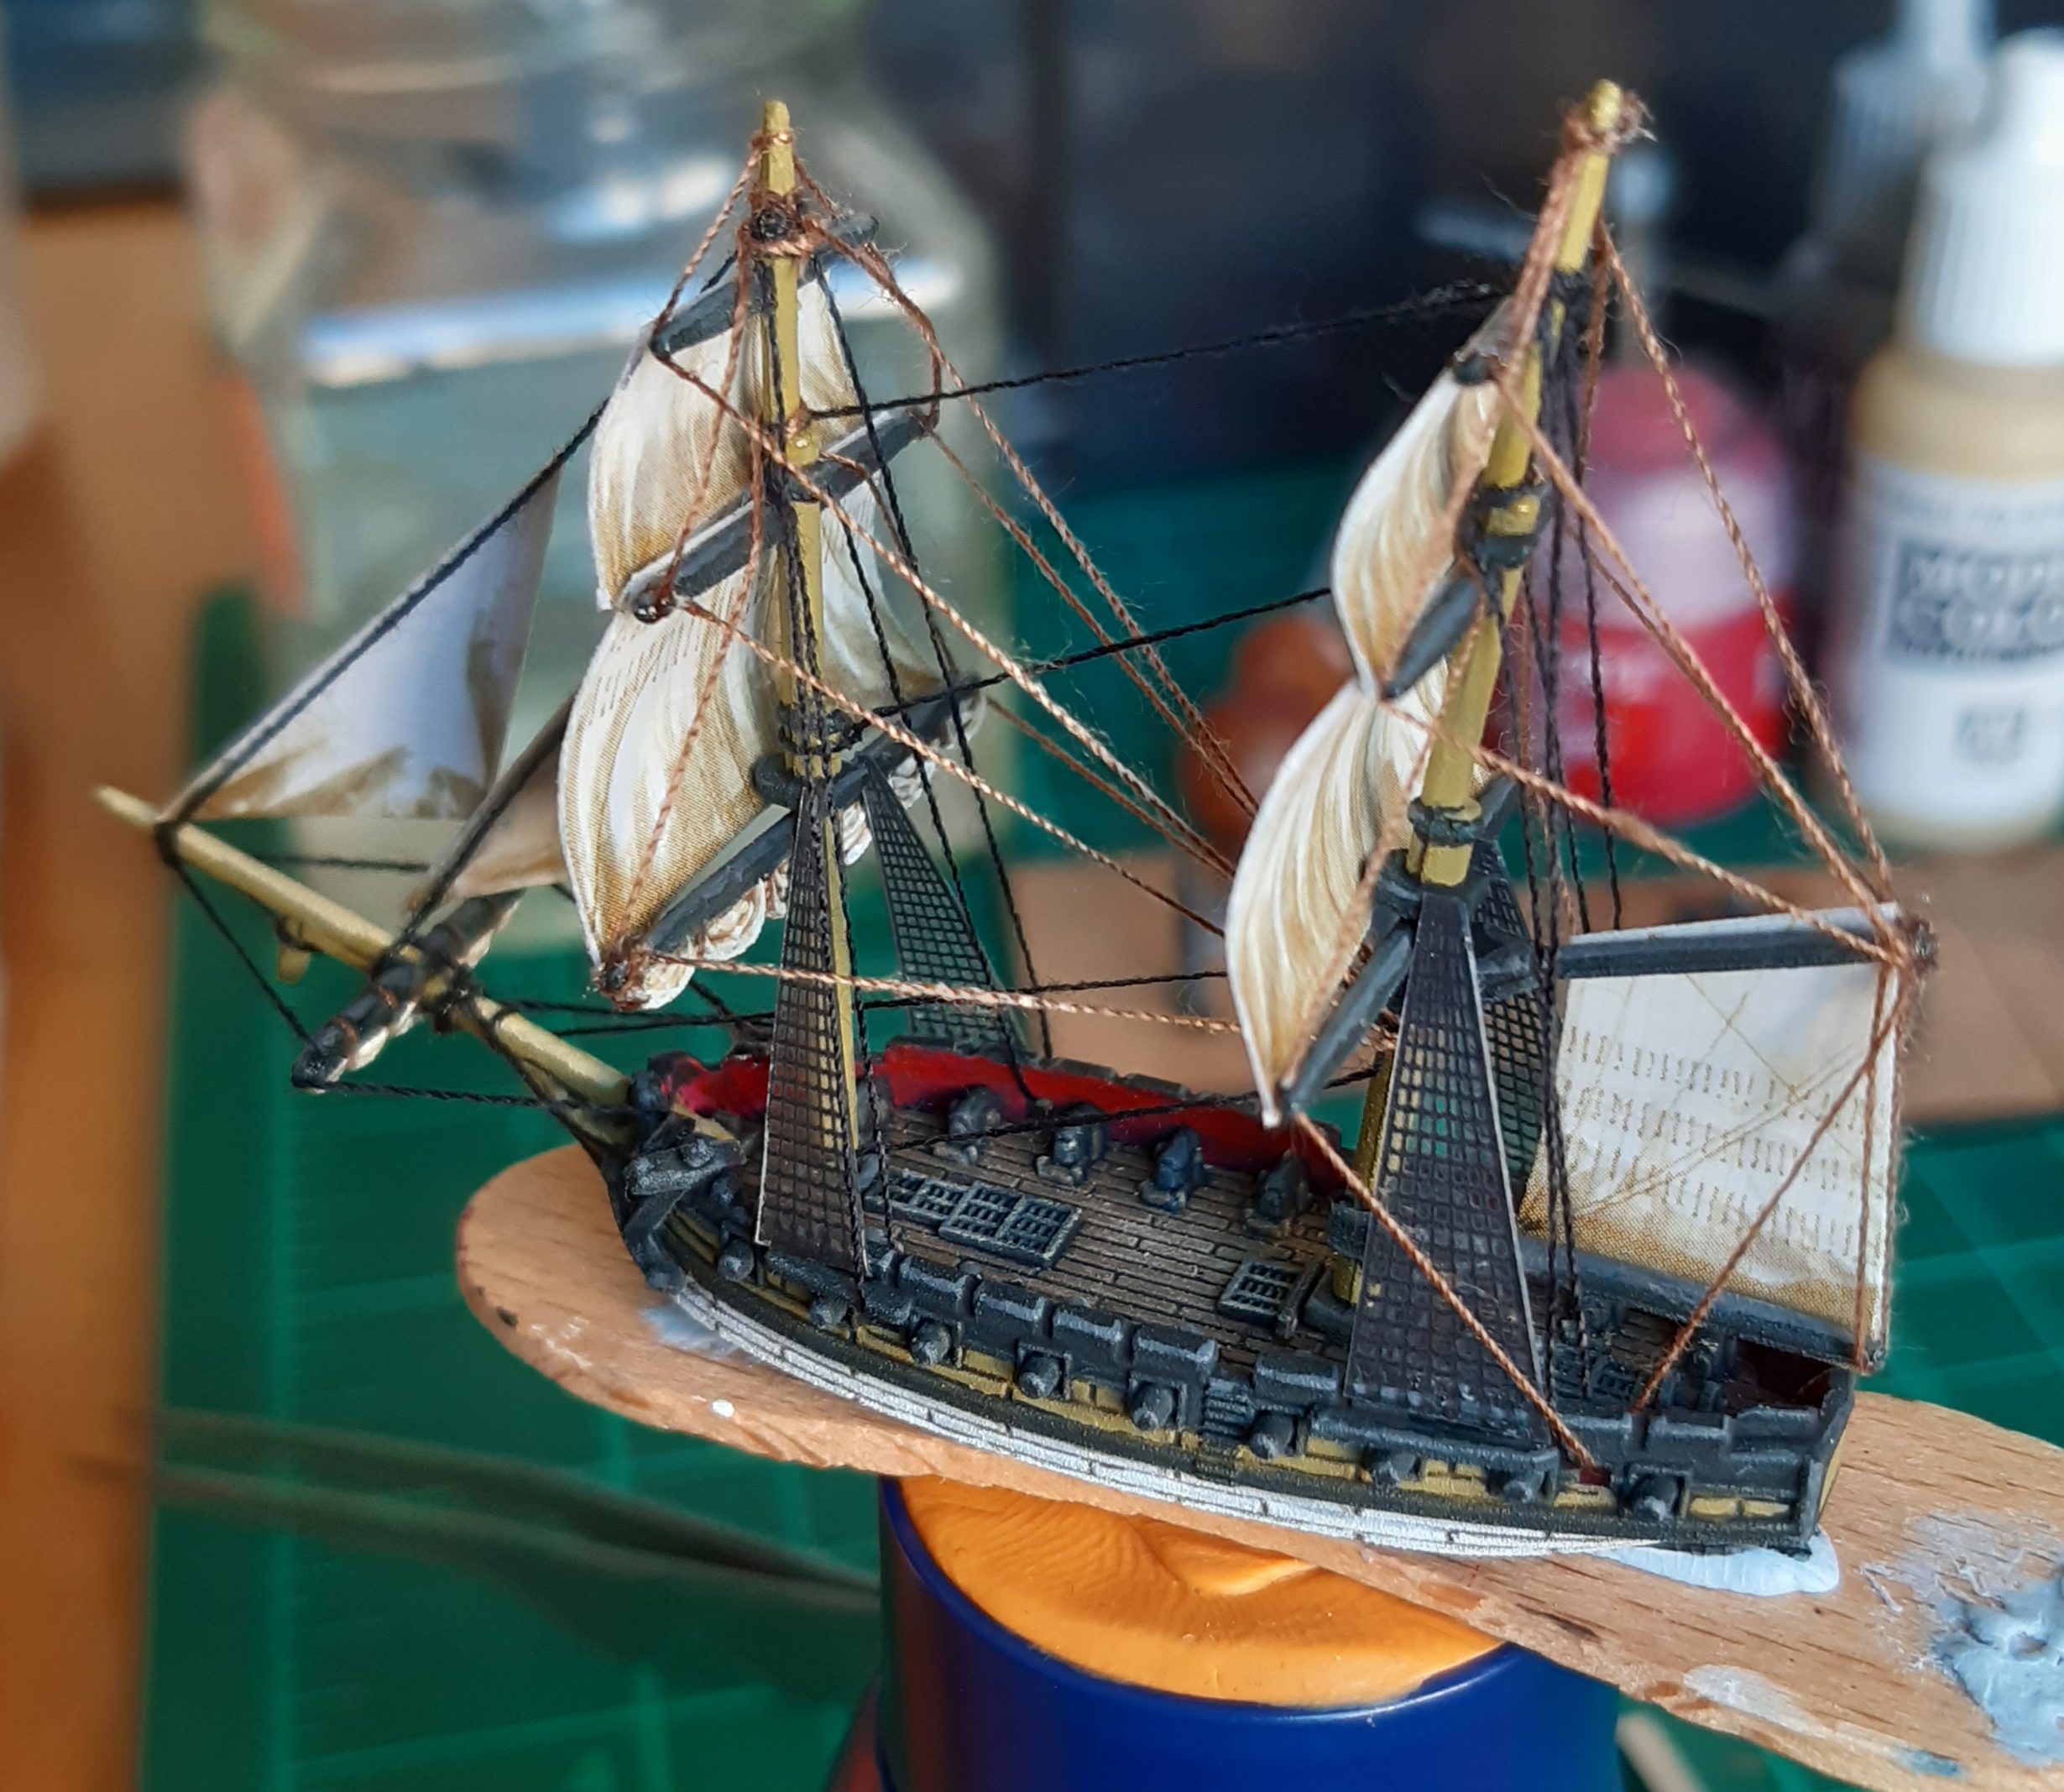
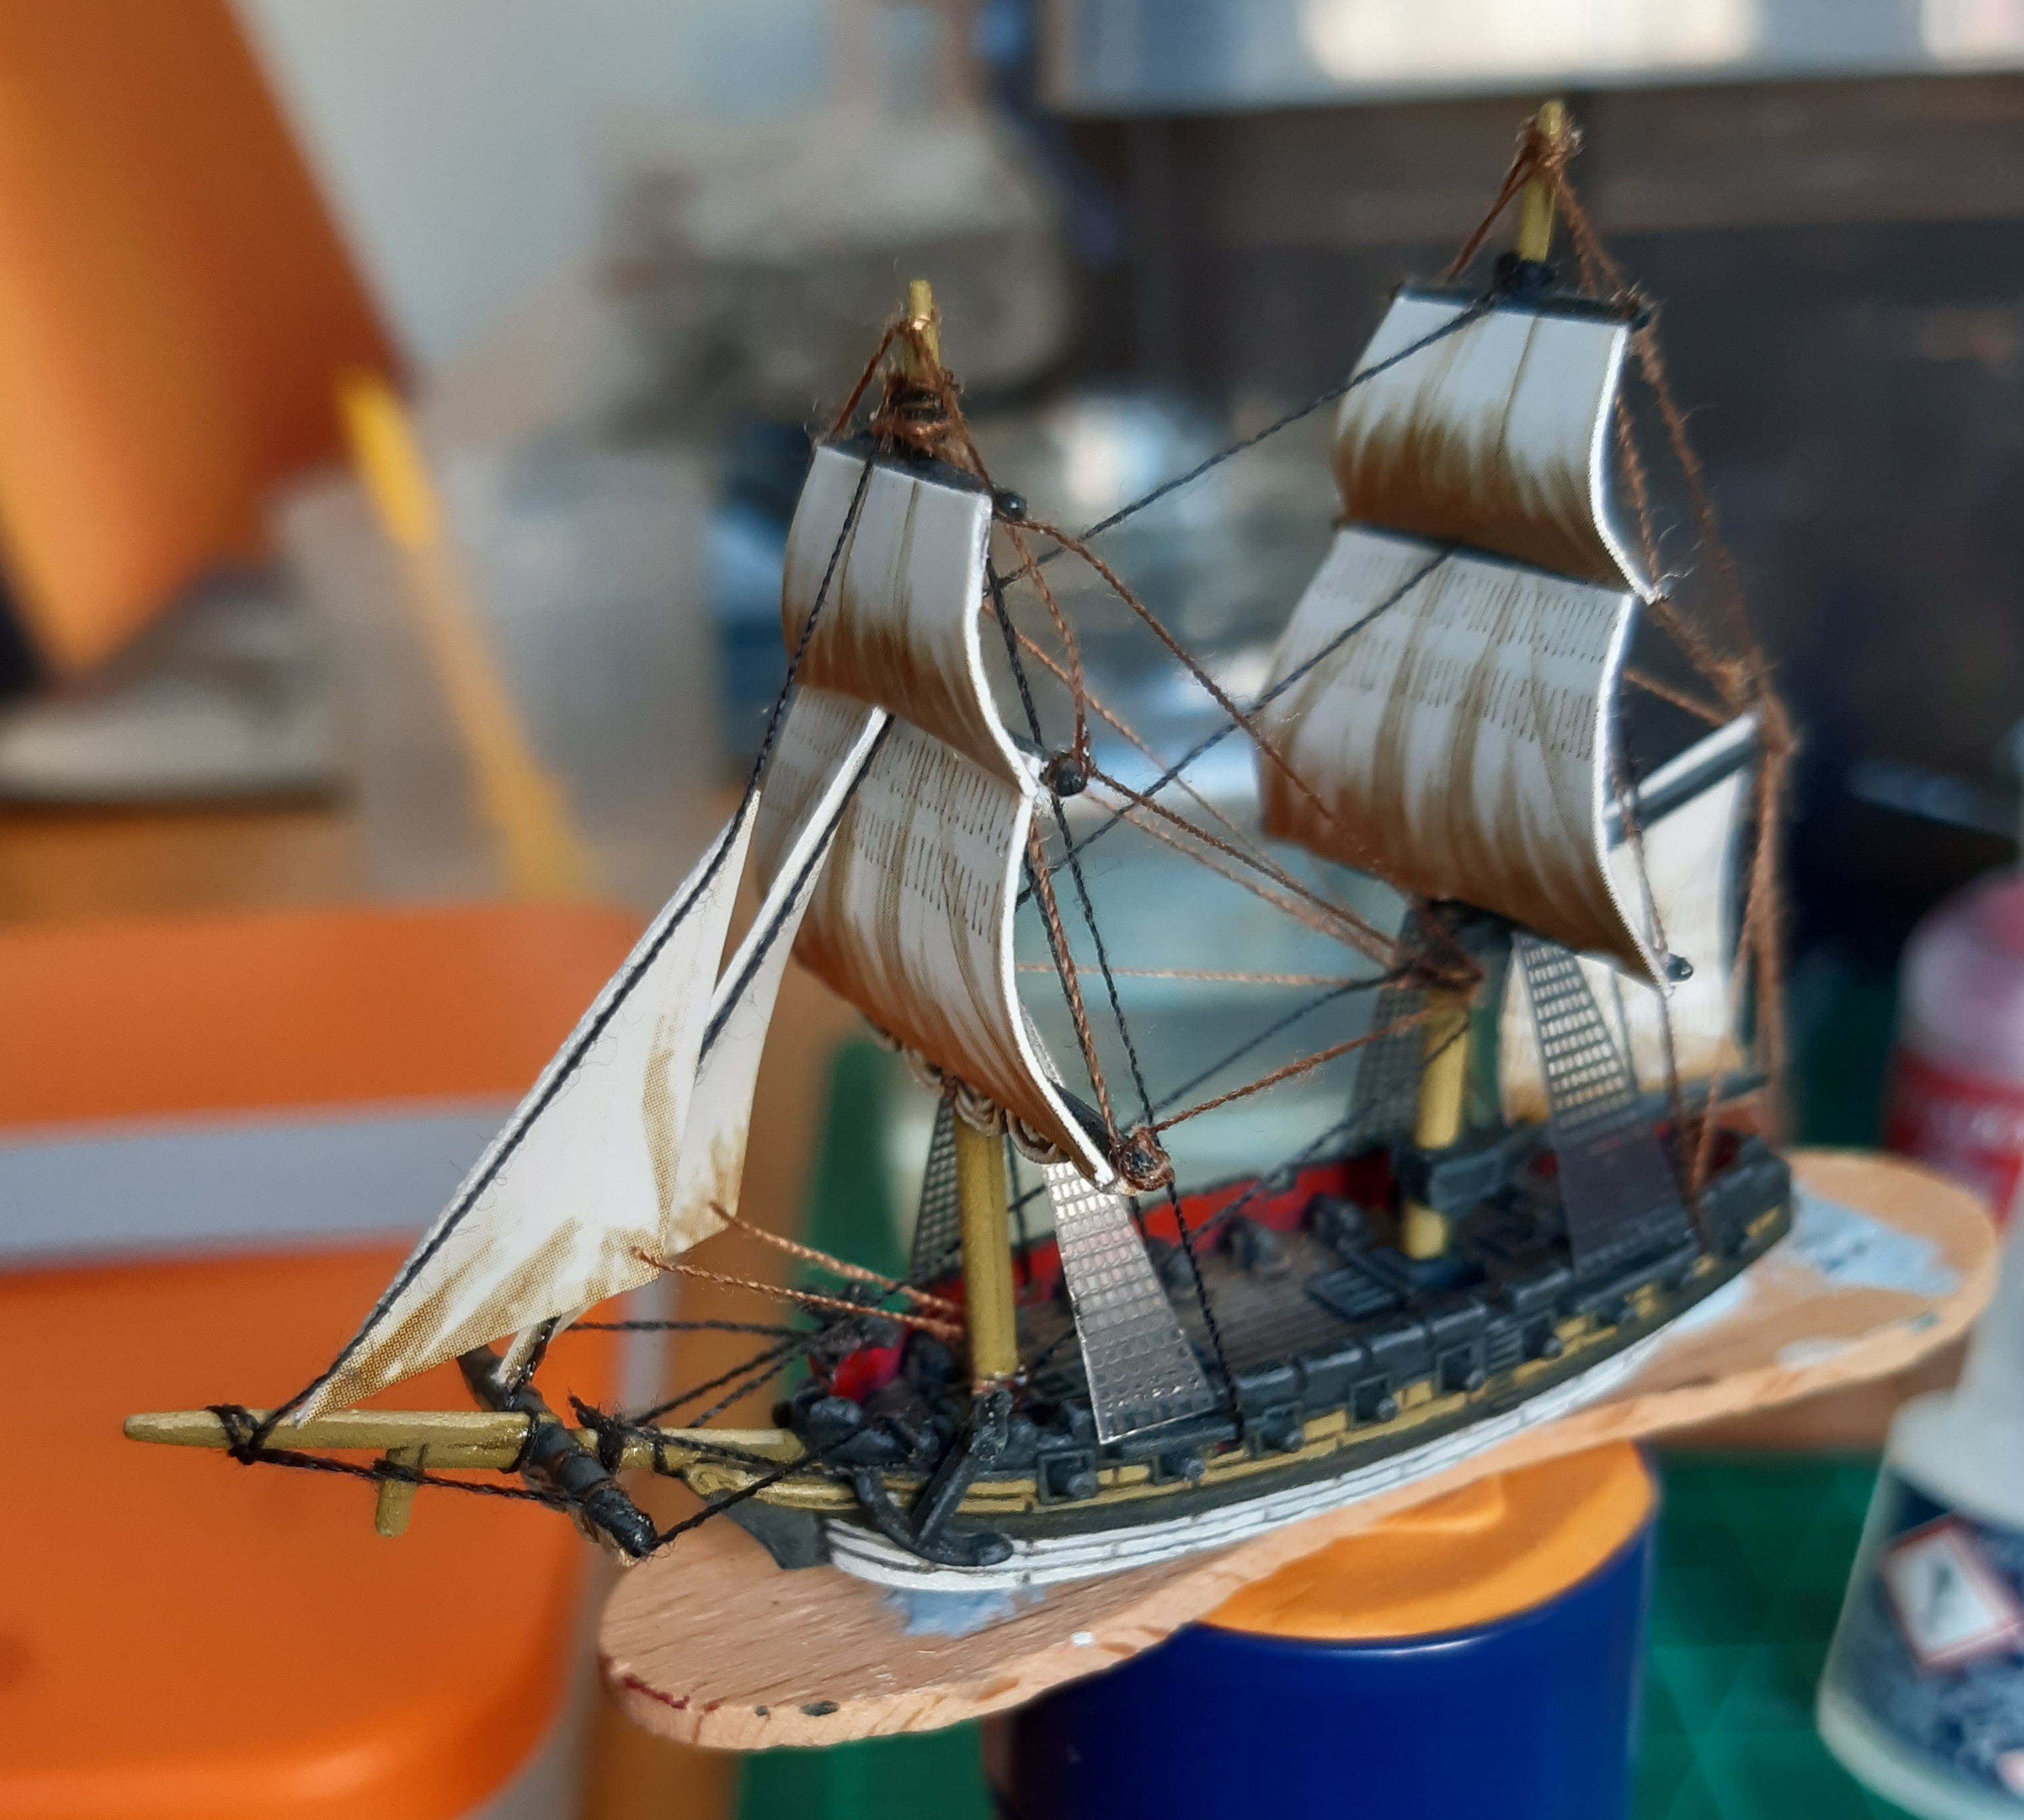
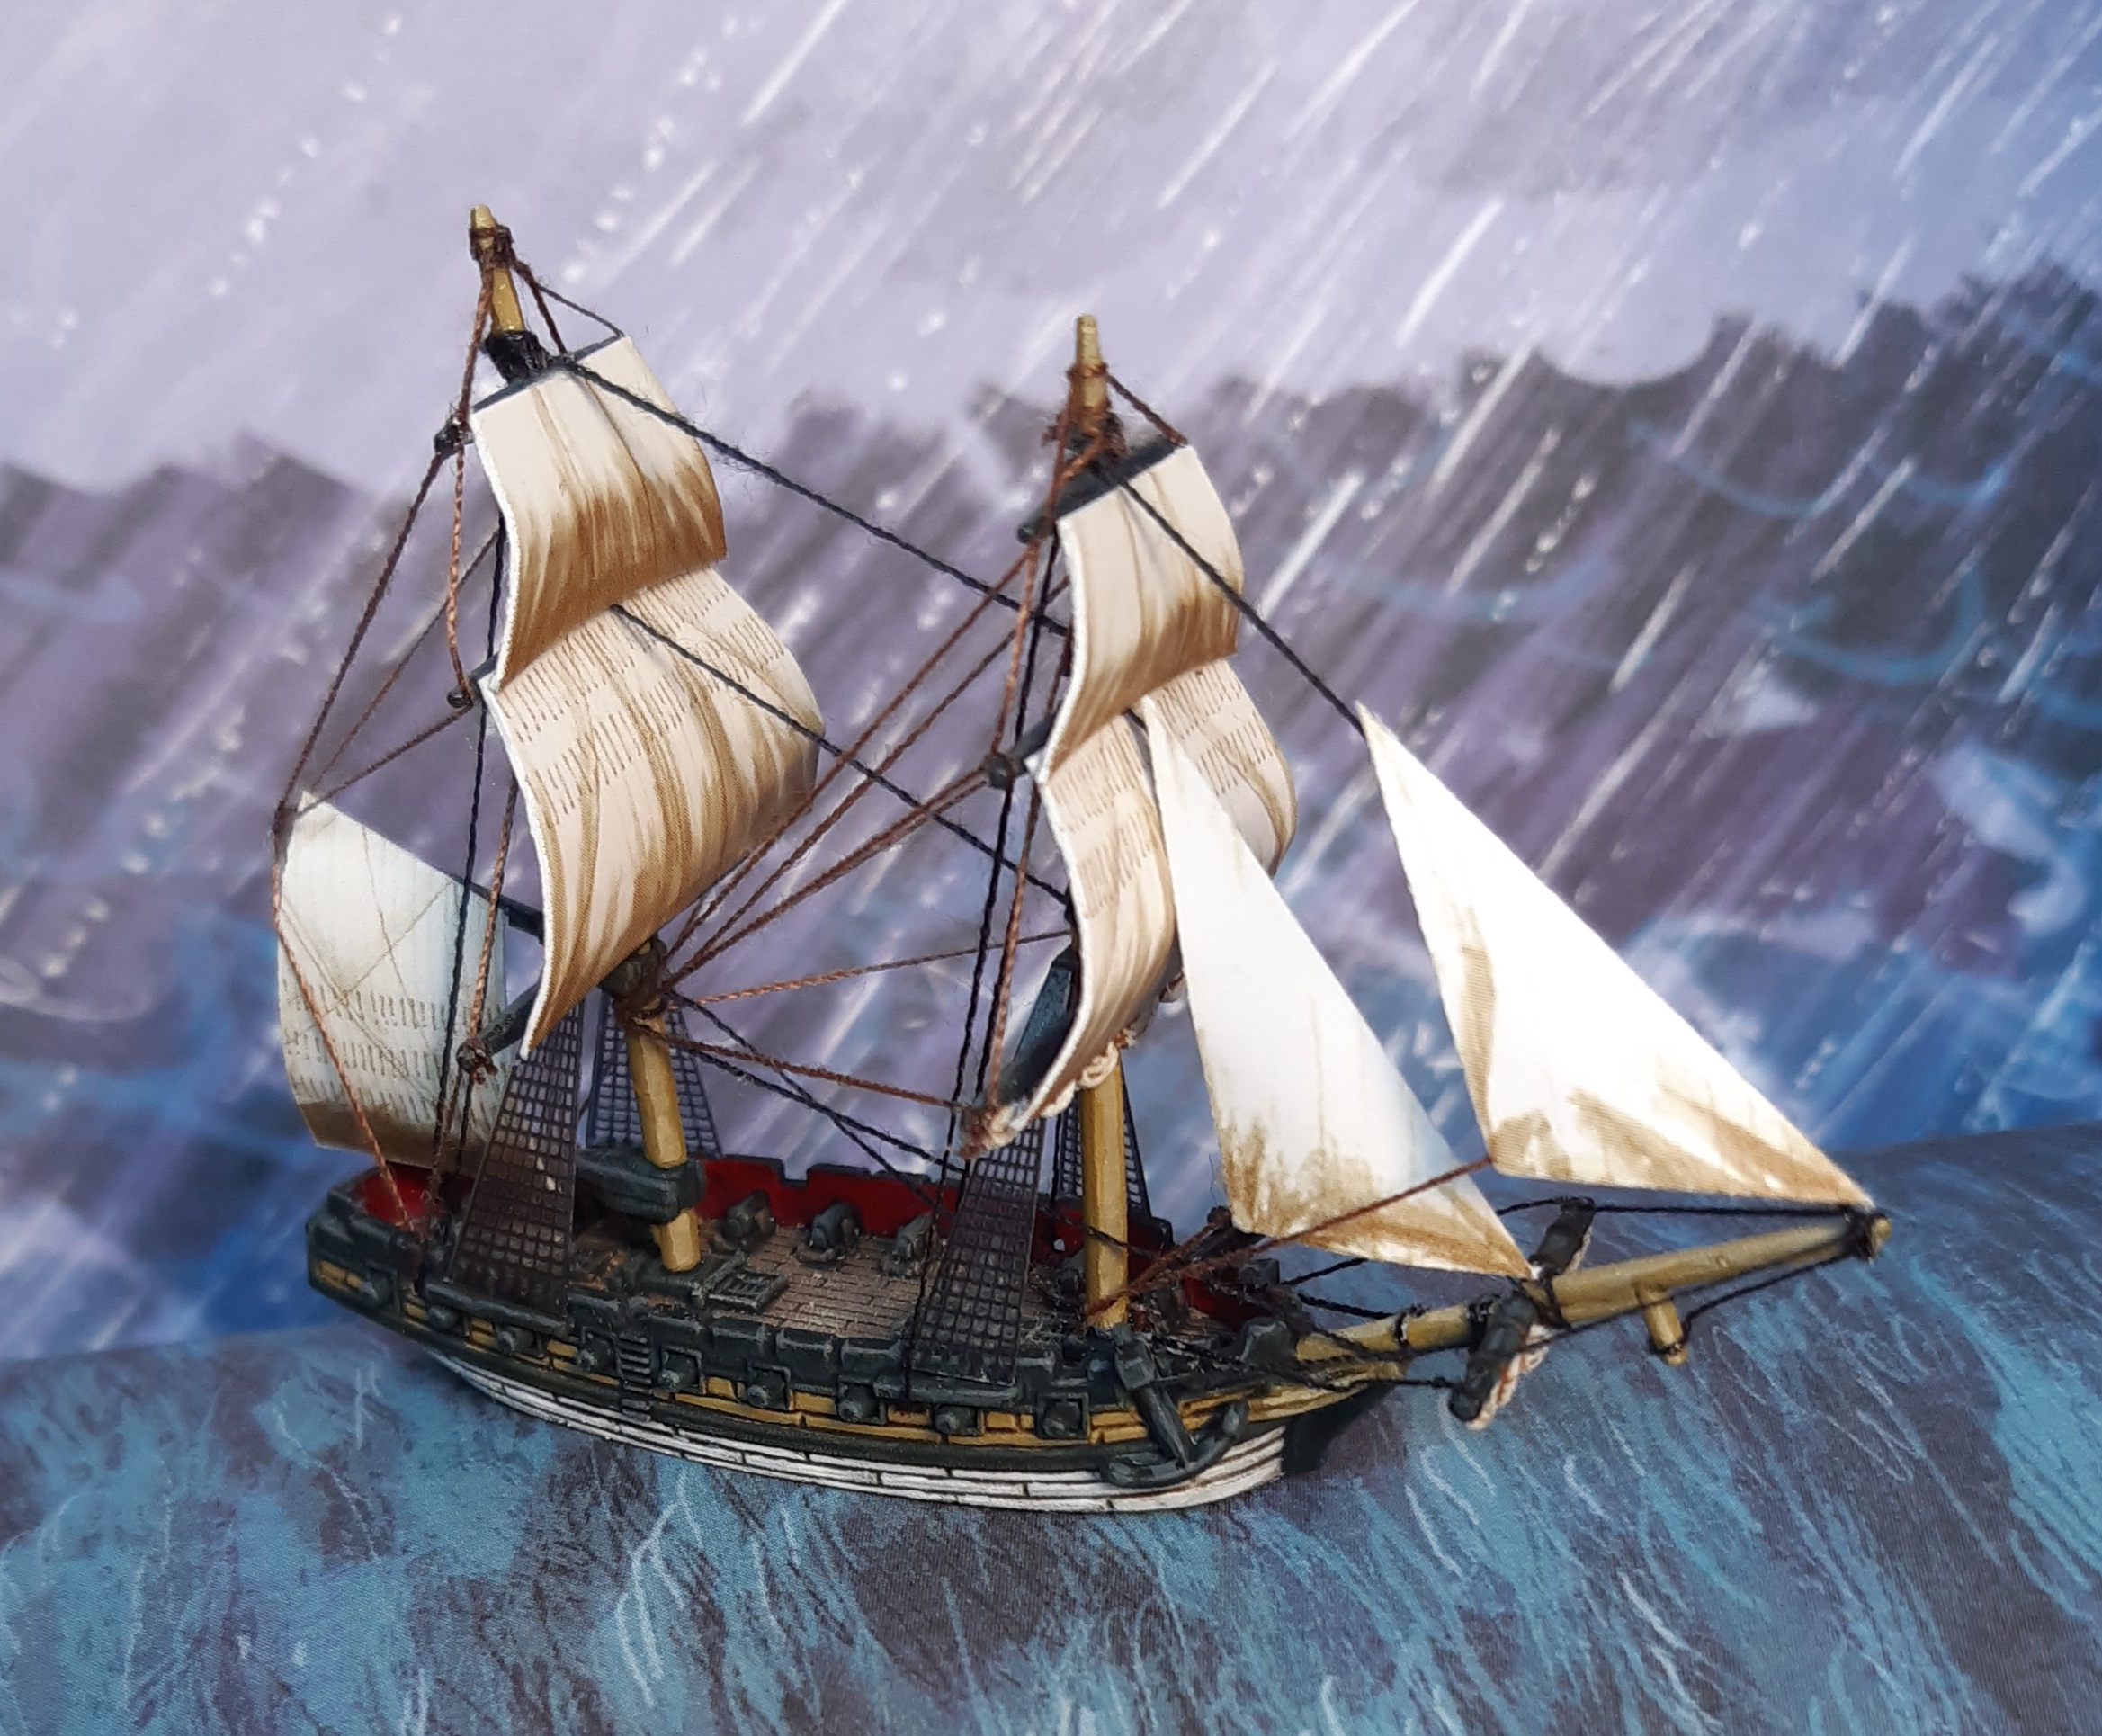
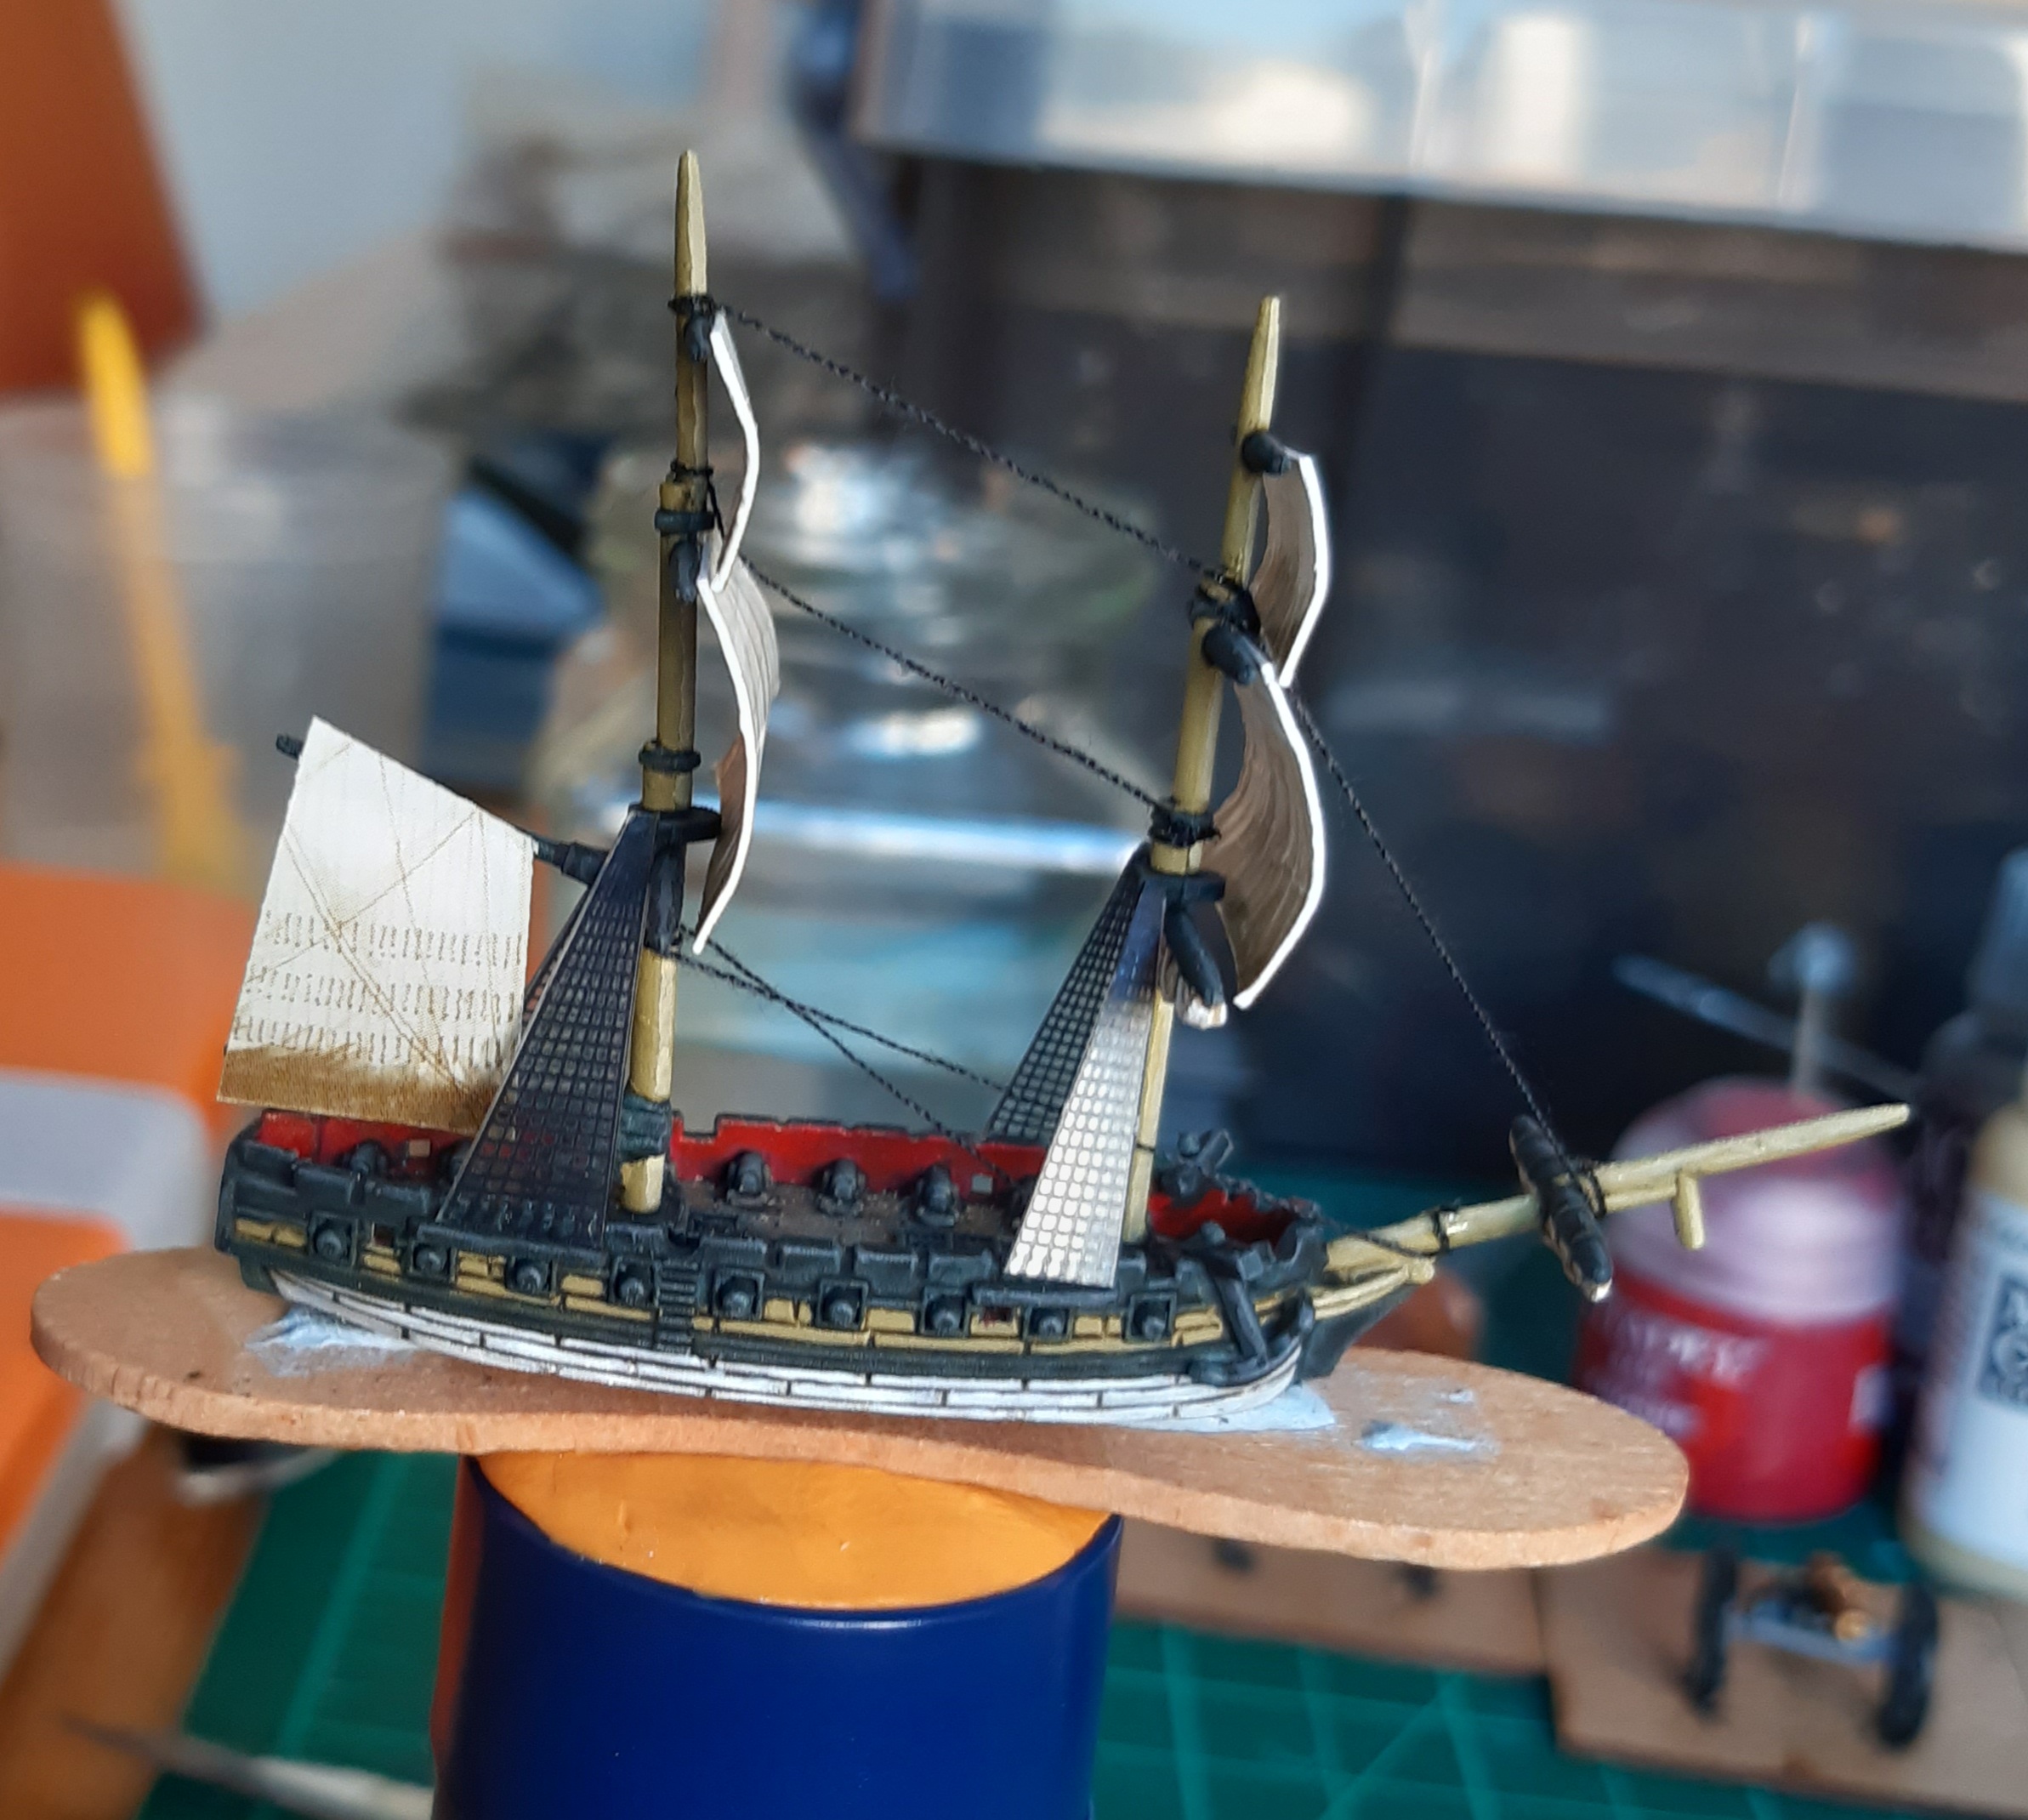
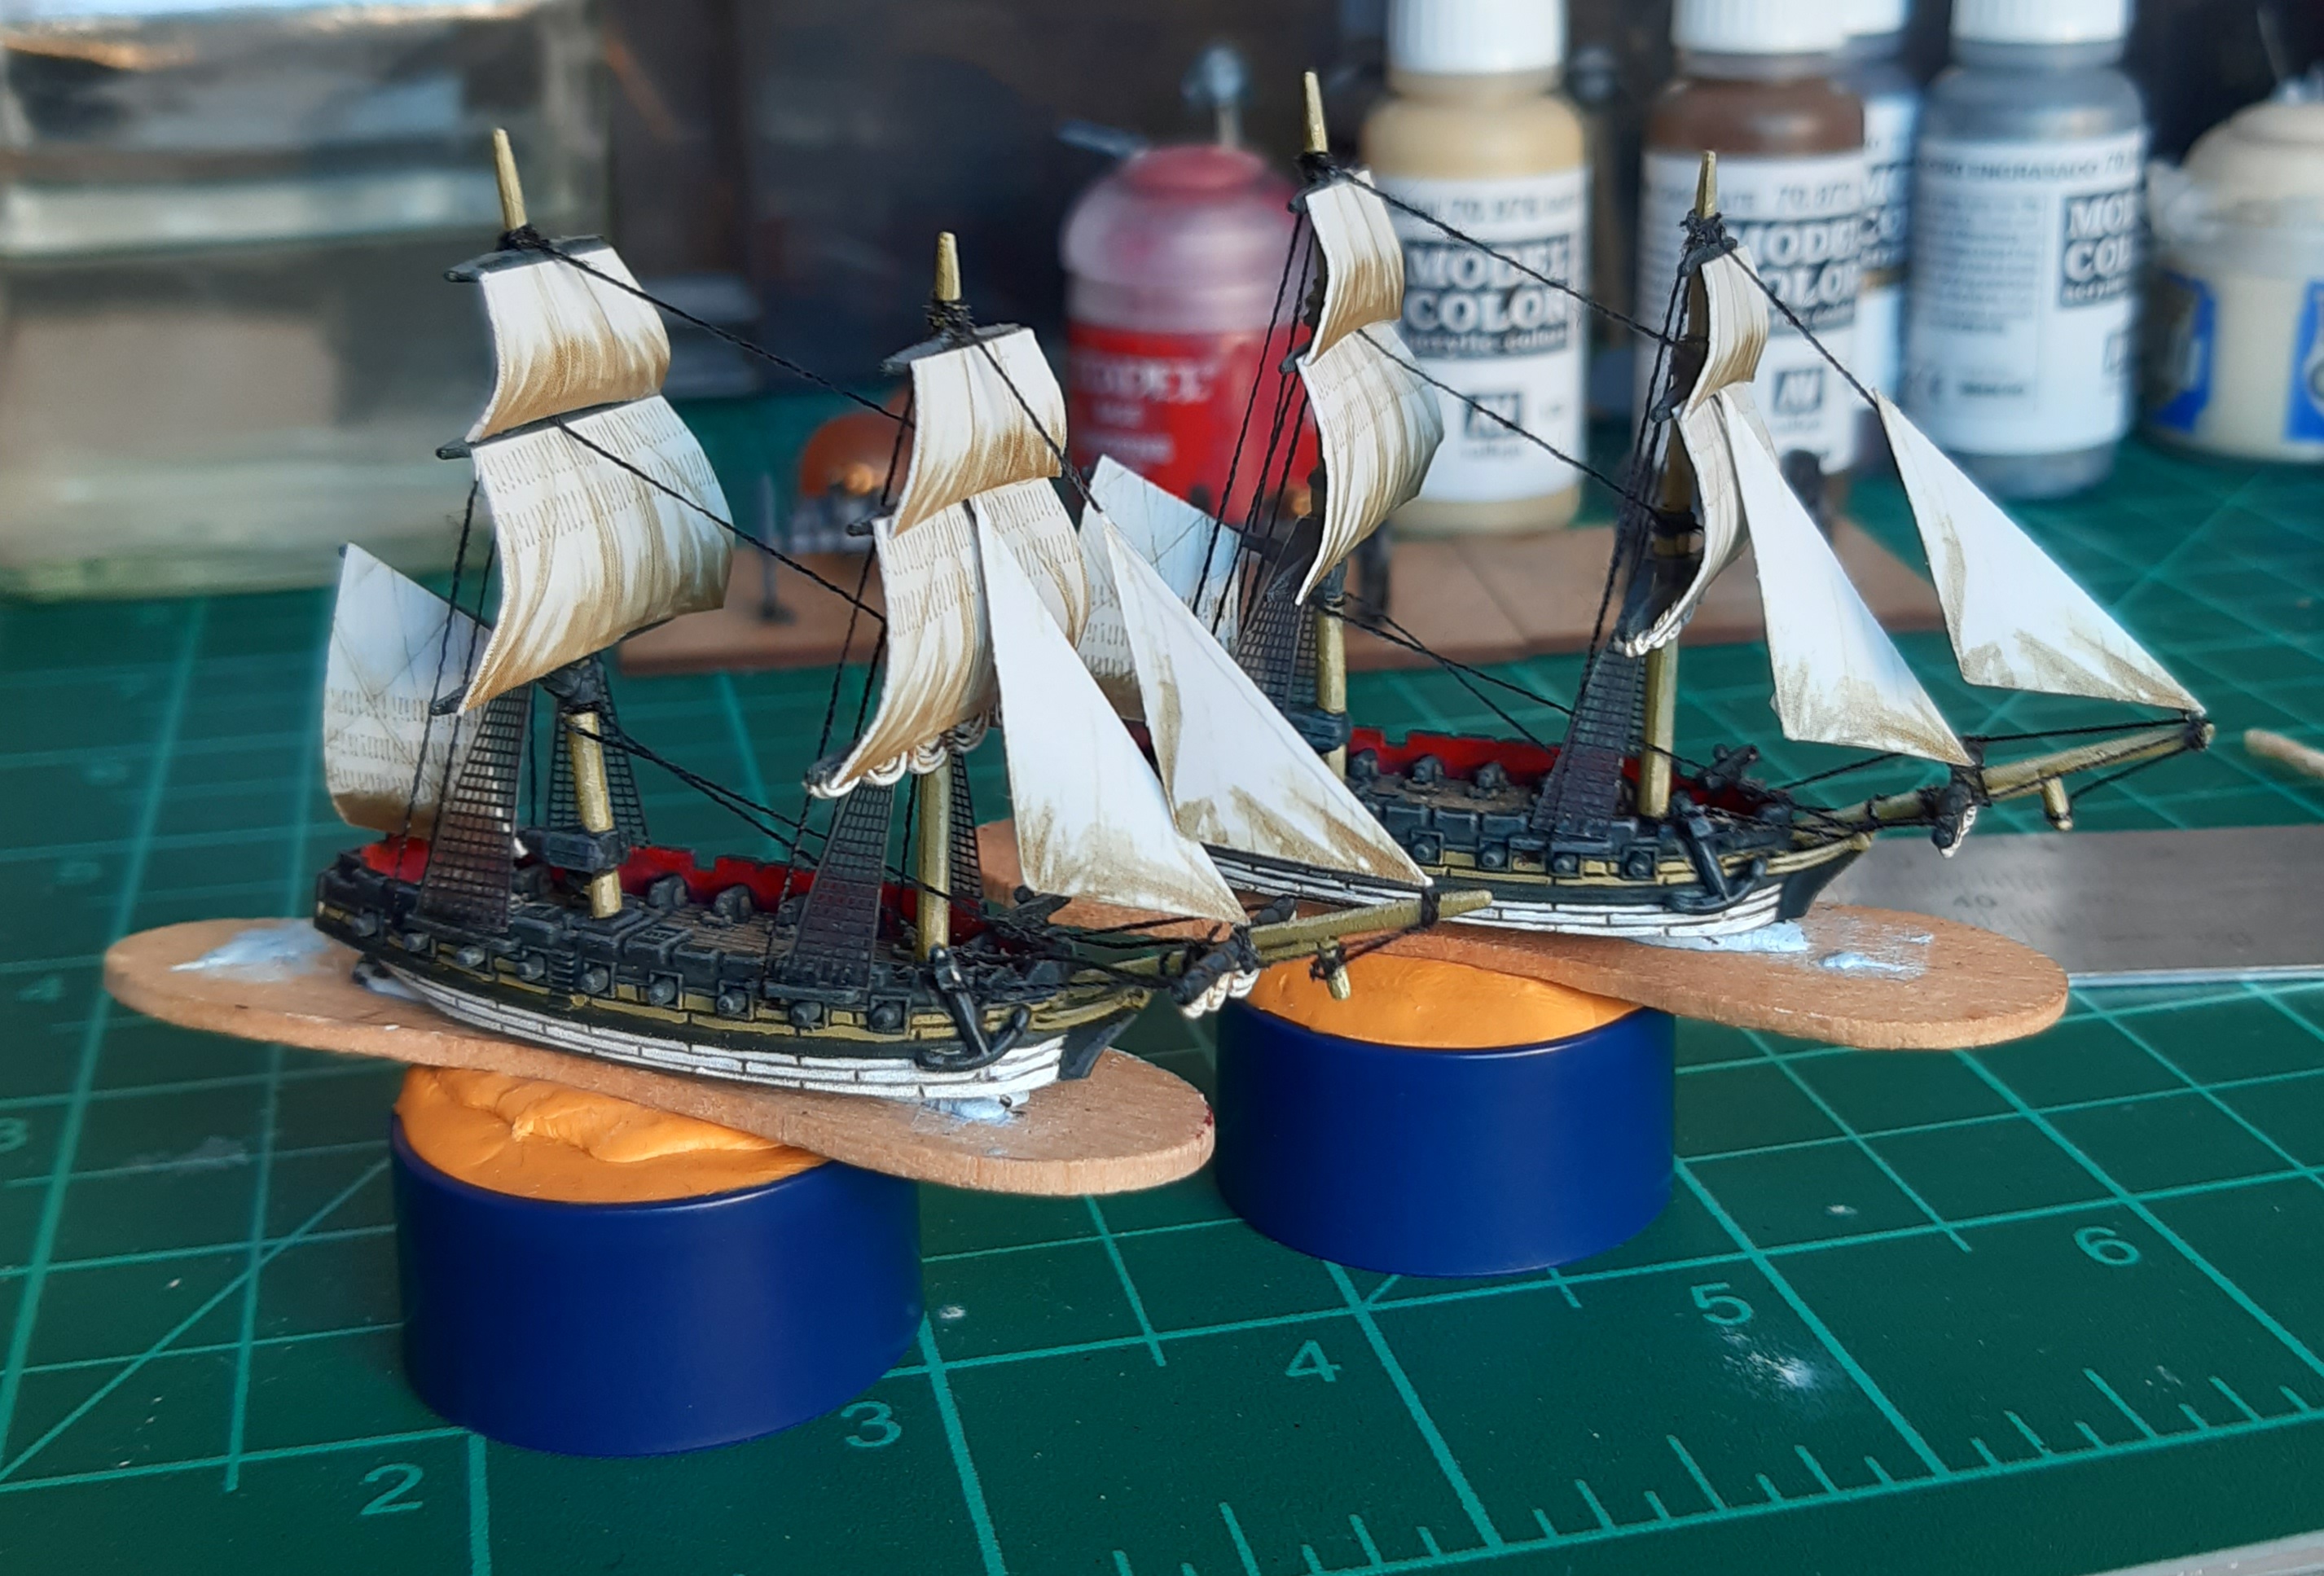
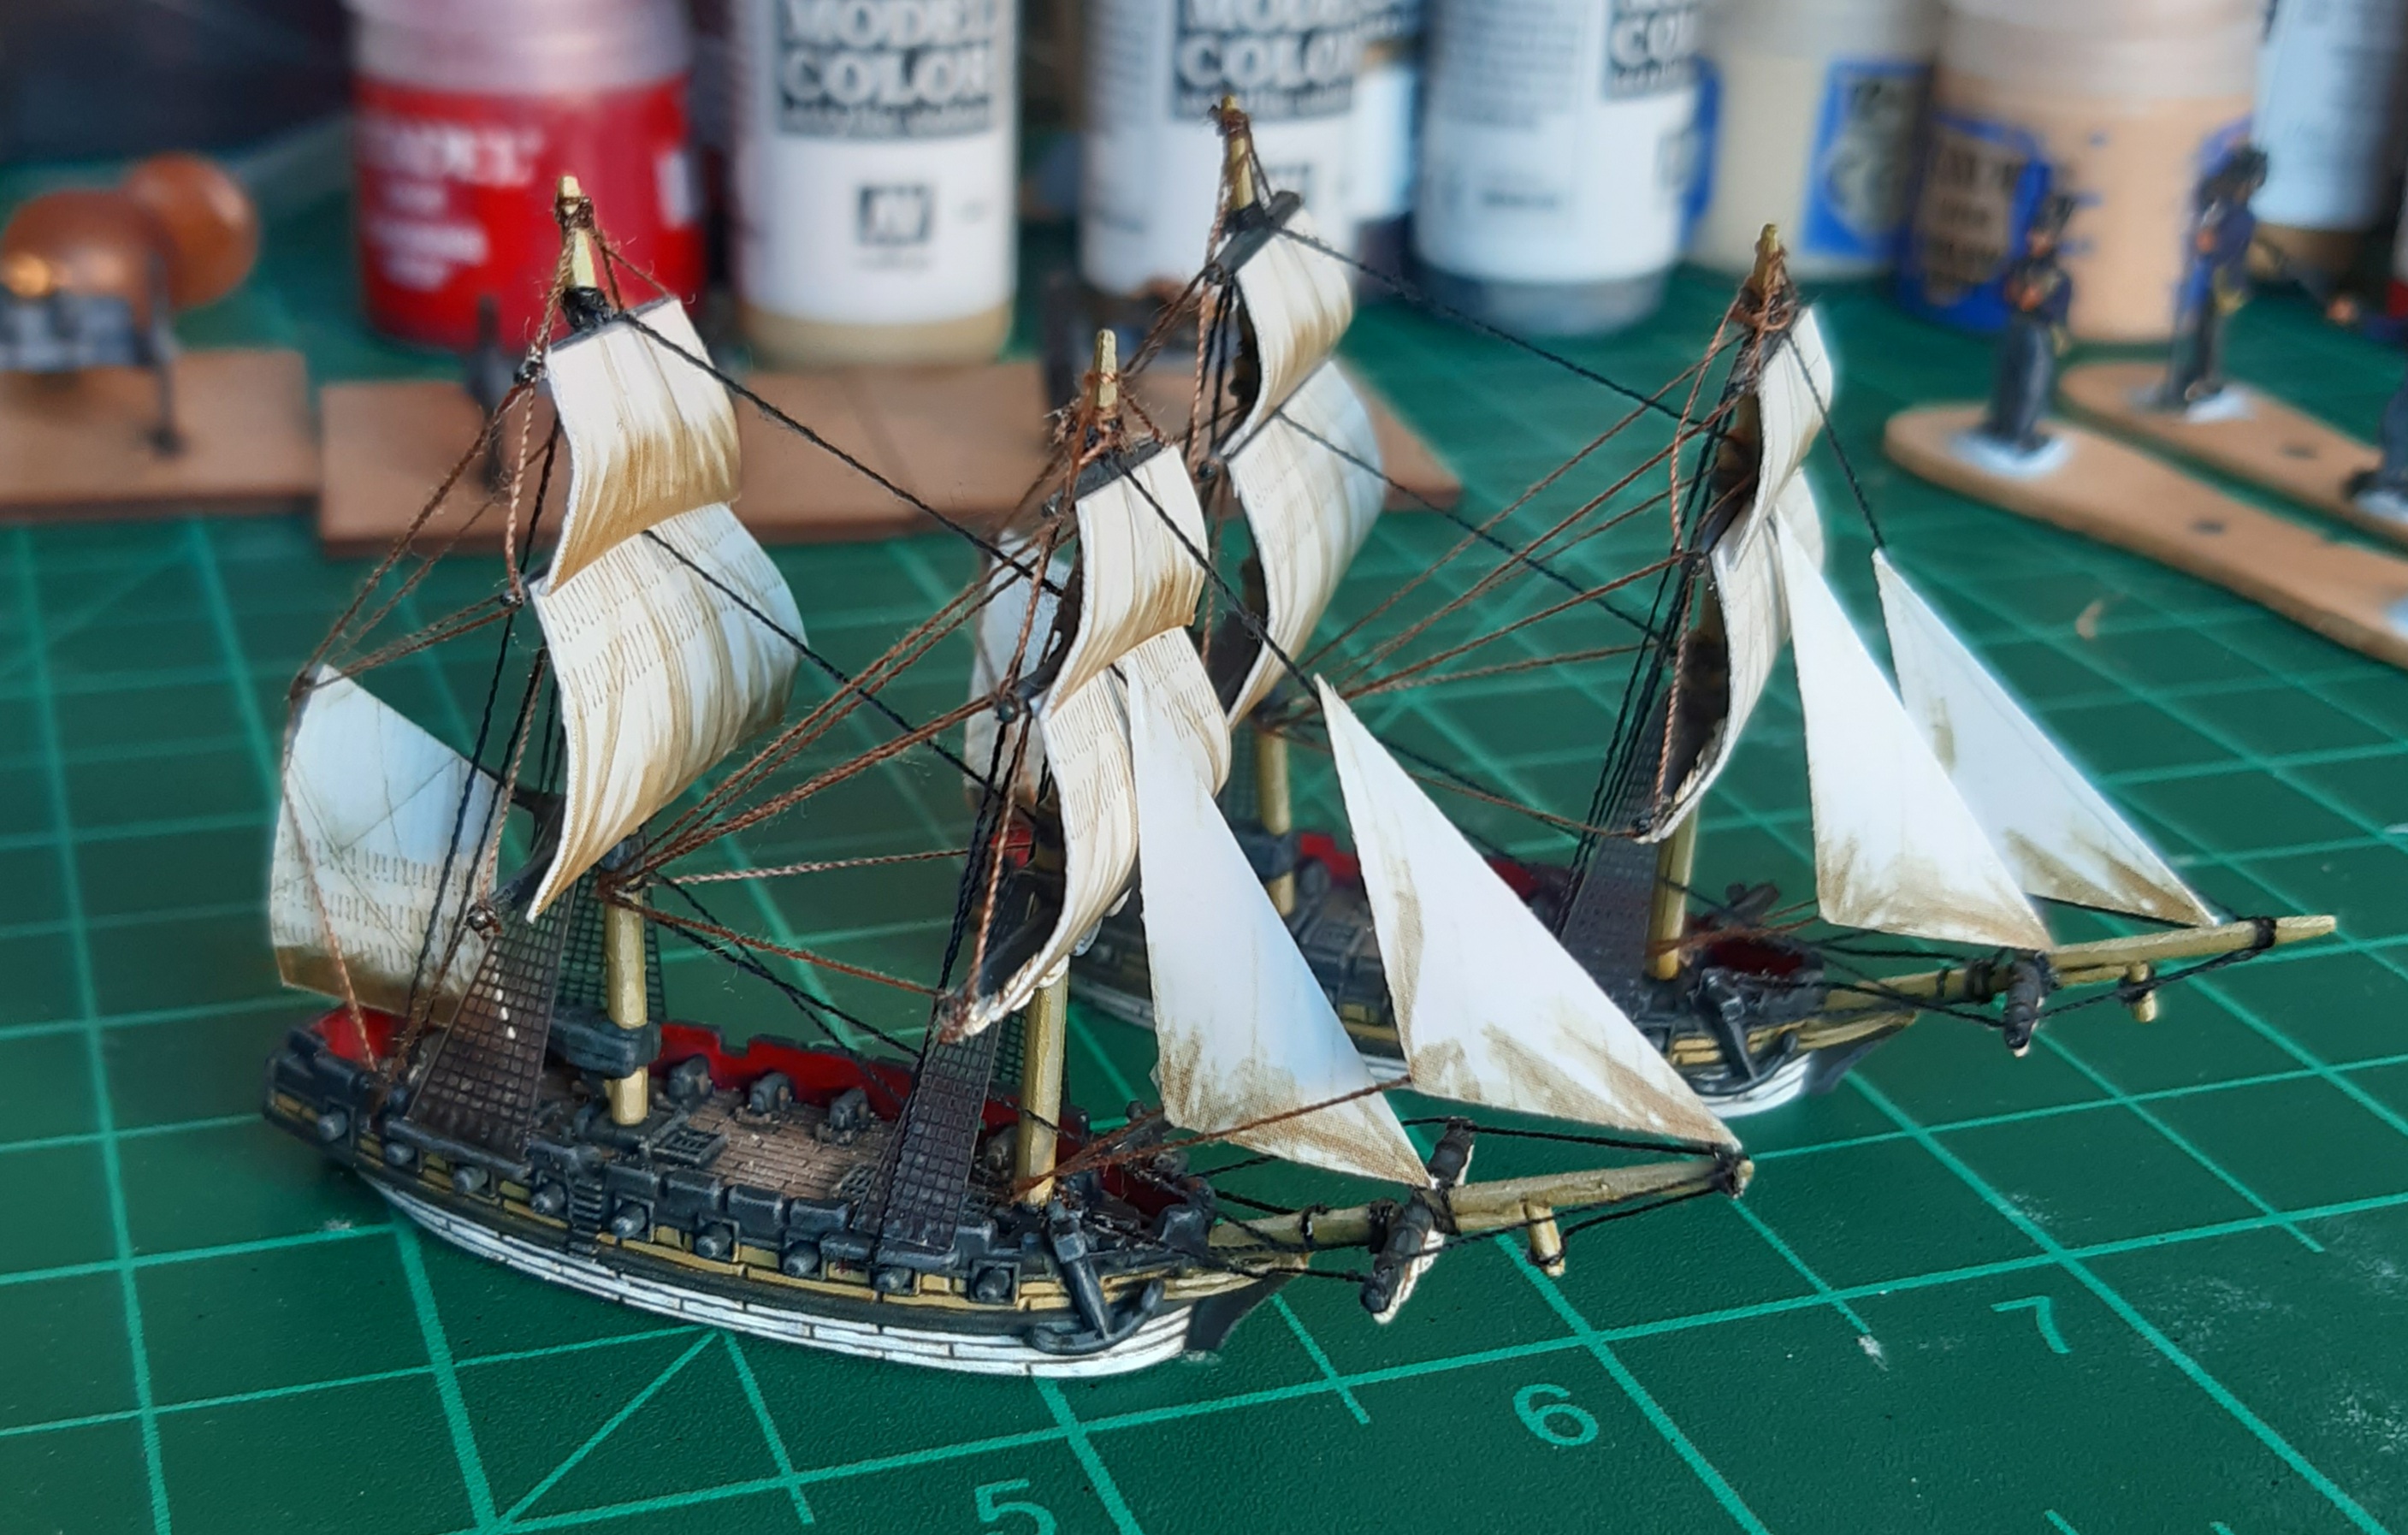 A pair of brigs all rigged and ready to sail
And that’s my little Black Seas project complete. The ships need bases, ensigns and pennants to be fully finished. I’ve got some clear acrylic bases on order, and will hold off on the flags until I decide whether I might get drawn into Black Seas in a bigger way. These two ships were certainly a lot of fun to have a go at painting and rigging, and I doubt it will take much to push me into grabbing a few more vessels at a later date.