


![NO Weekender Or Cult Of Games XLBS This Weekend [Updated]](https://images.beastsofwar.com/2026/03/No_Weekender_and_XLBS_this_Weekend-225-127.jpg)


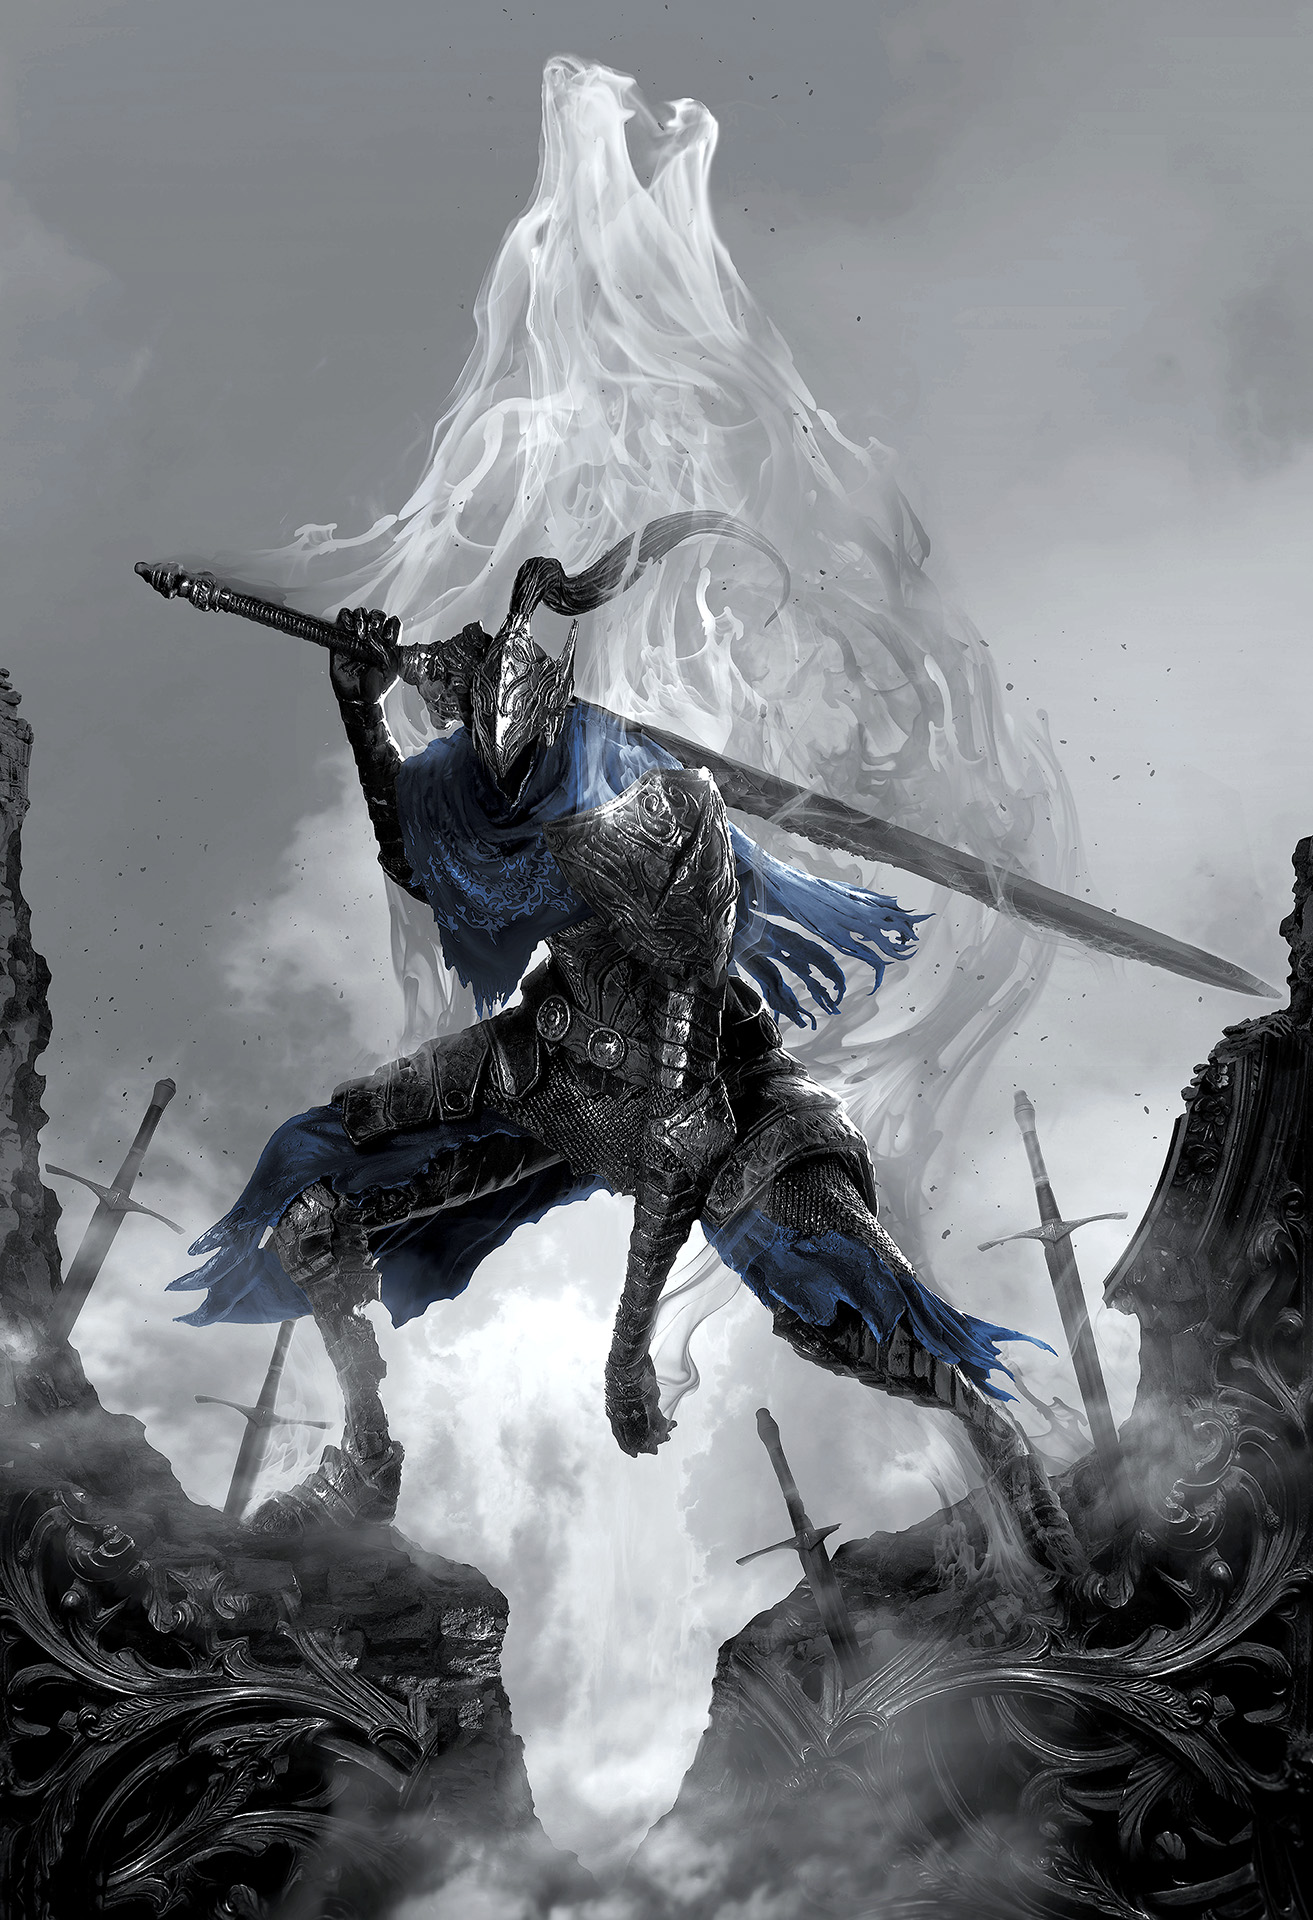
Dark Souls – The Board Game


Recommendations: 160
About the Project
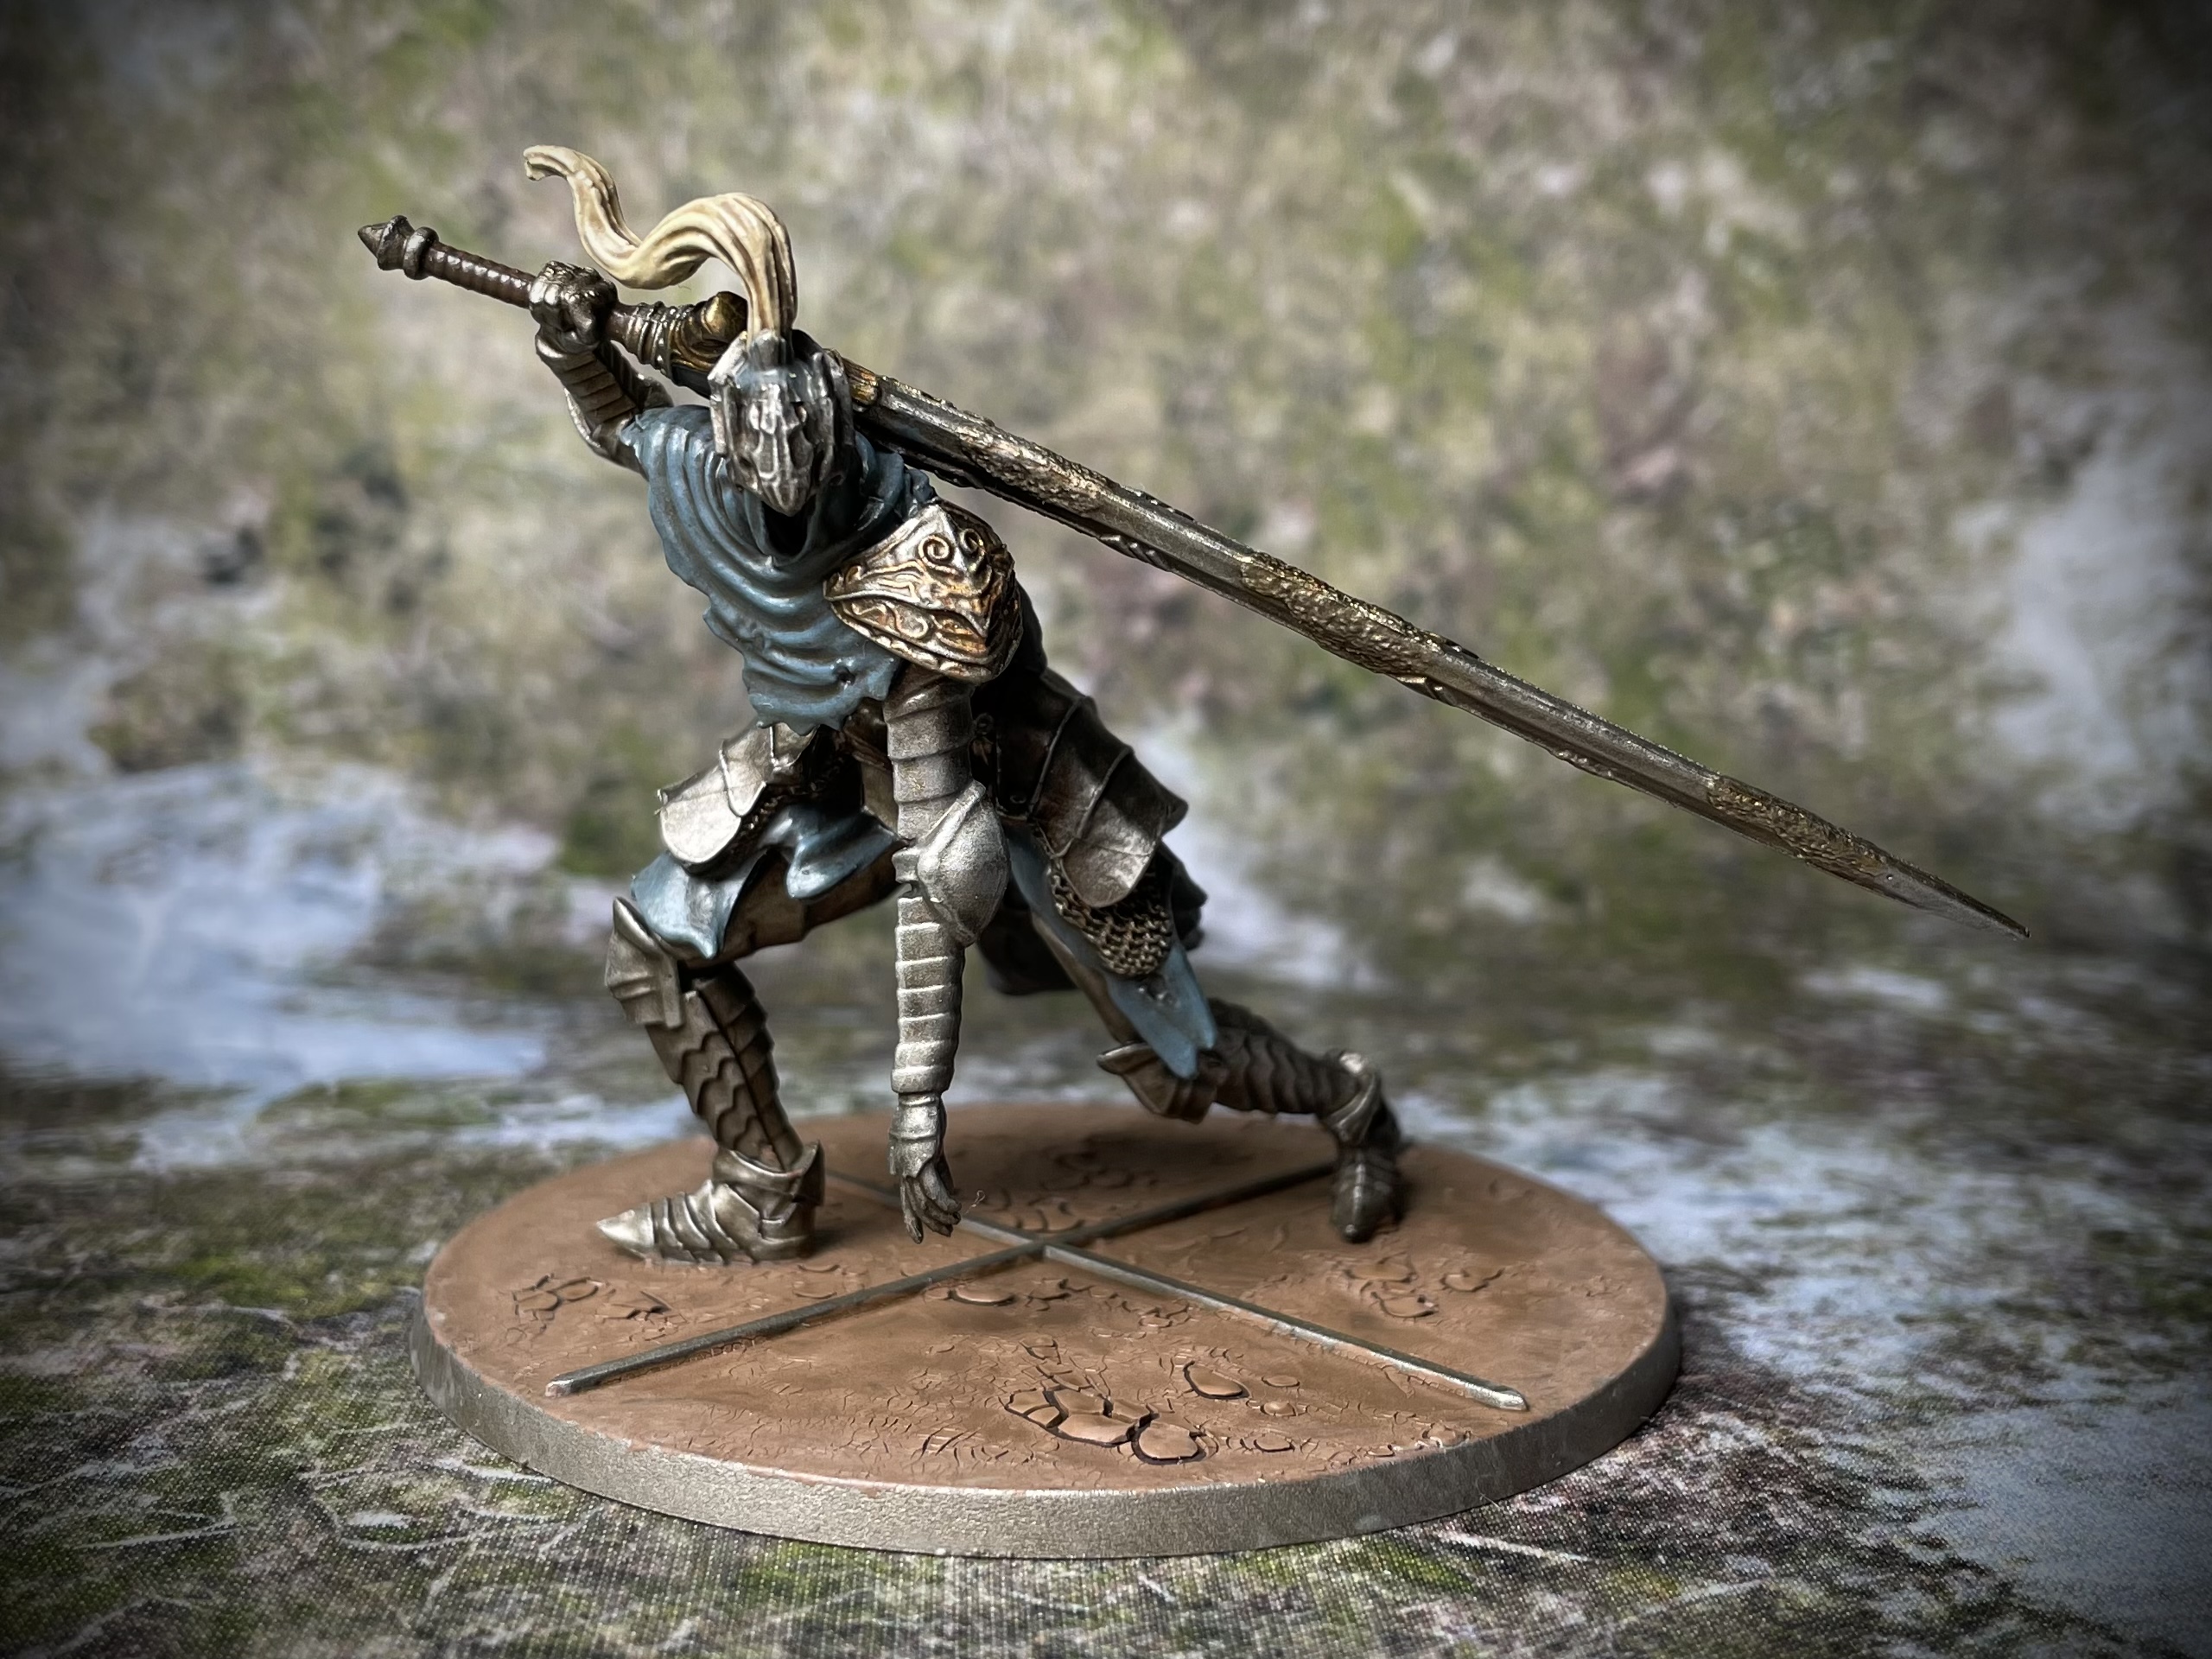
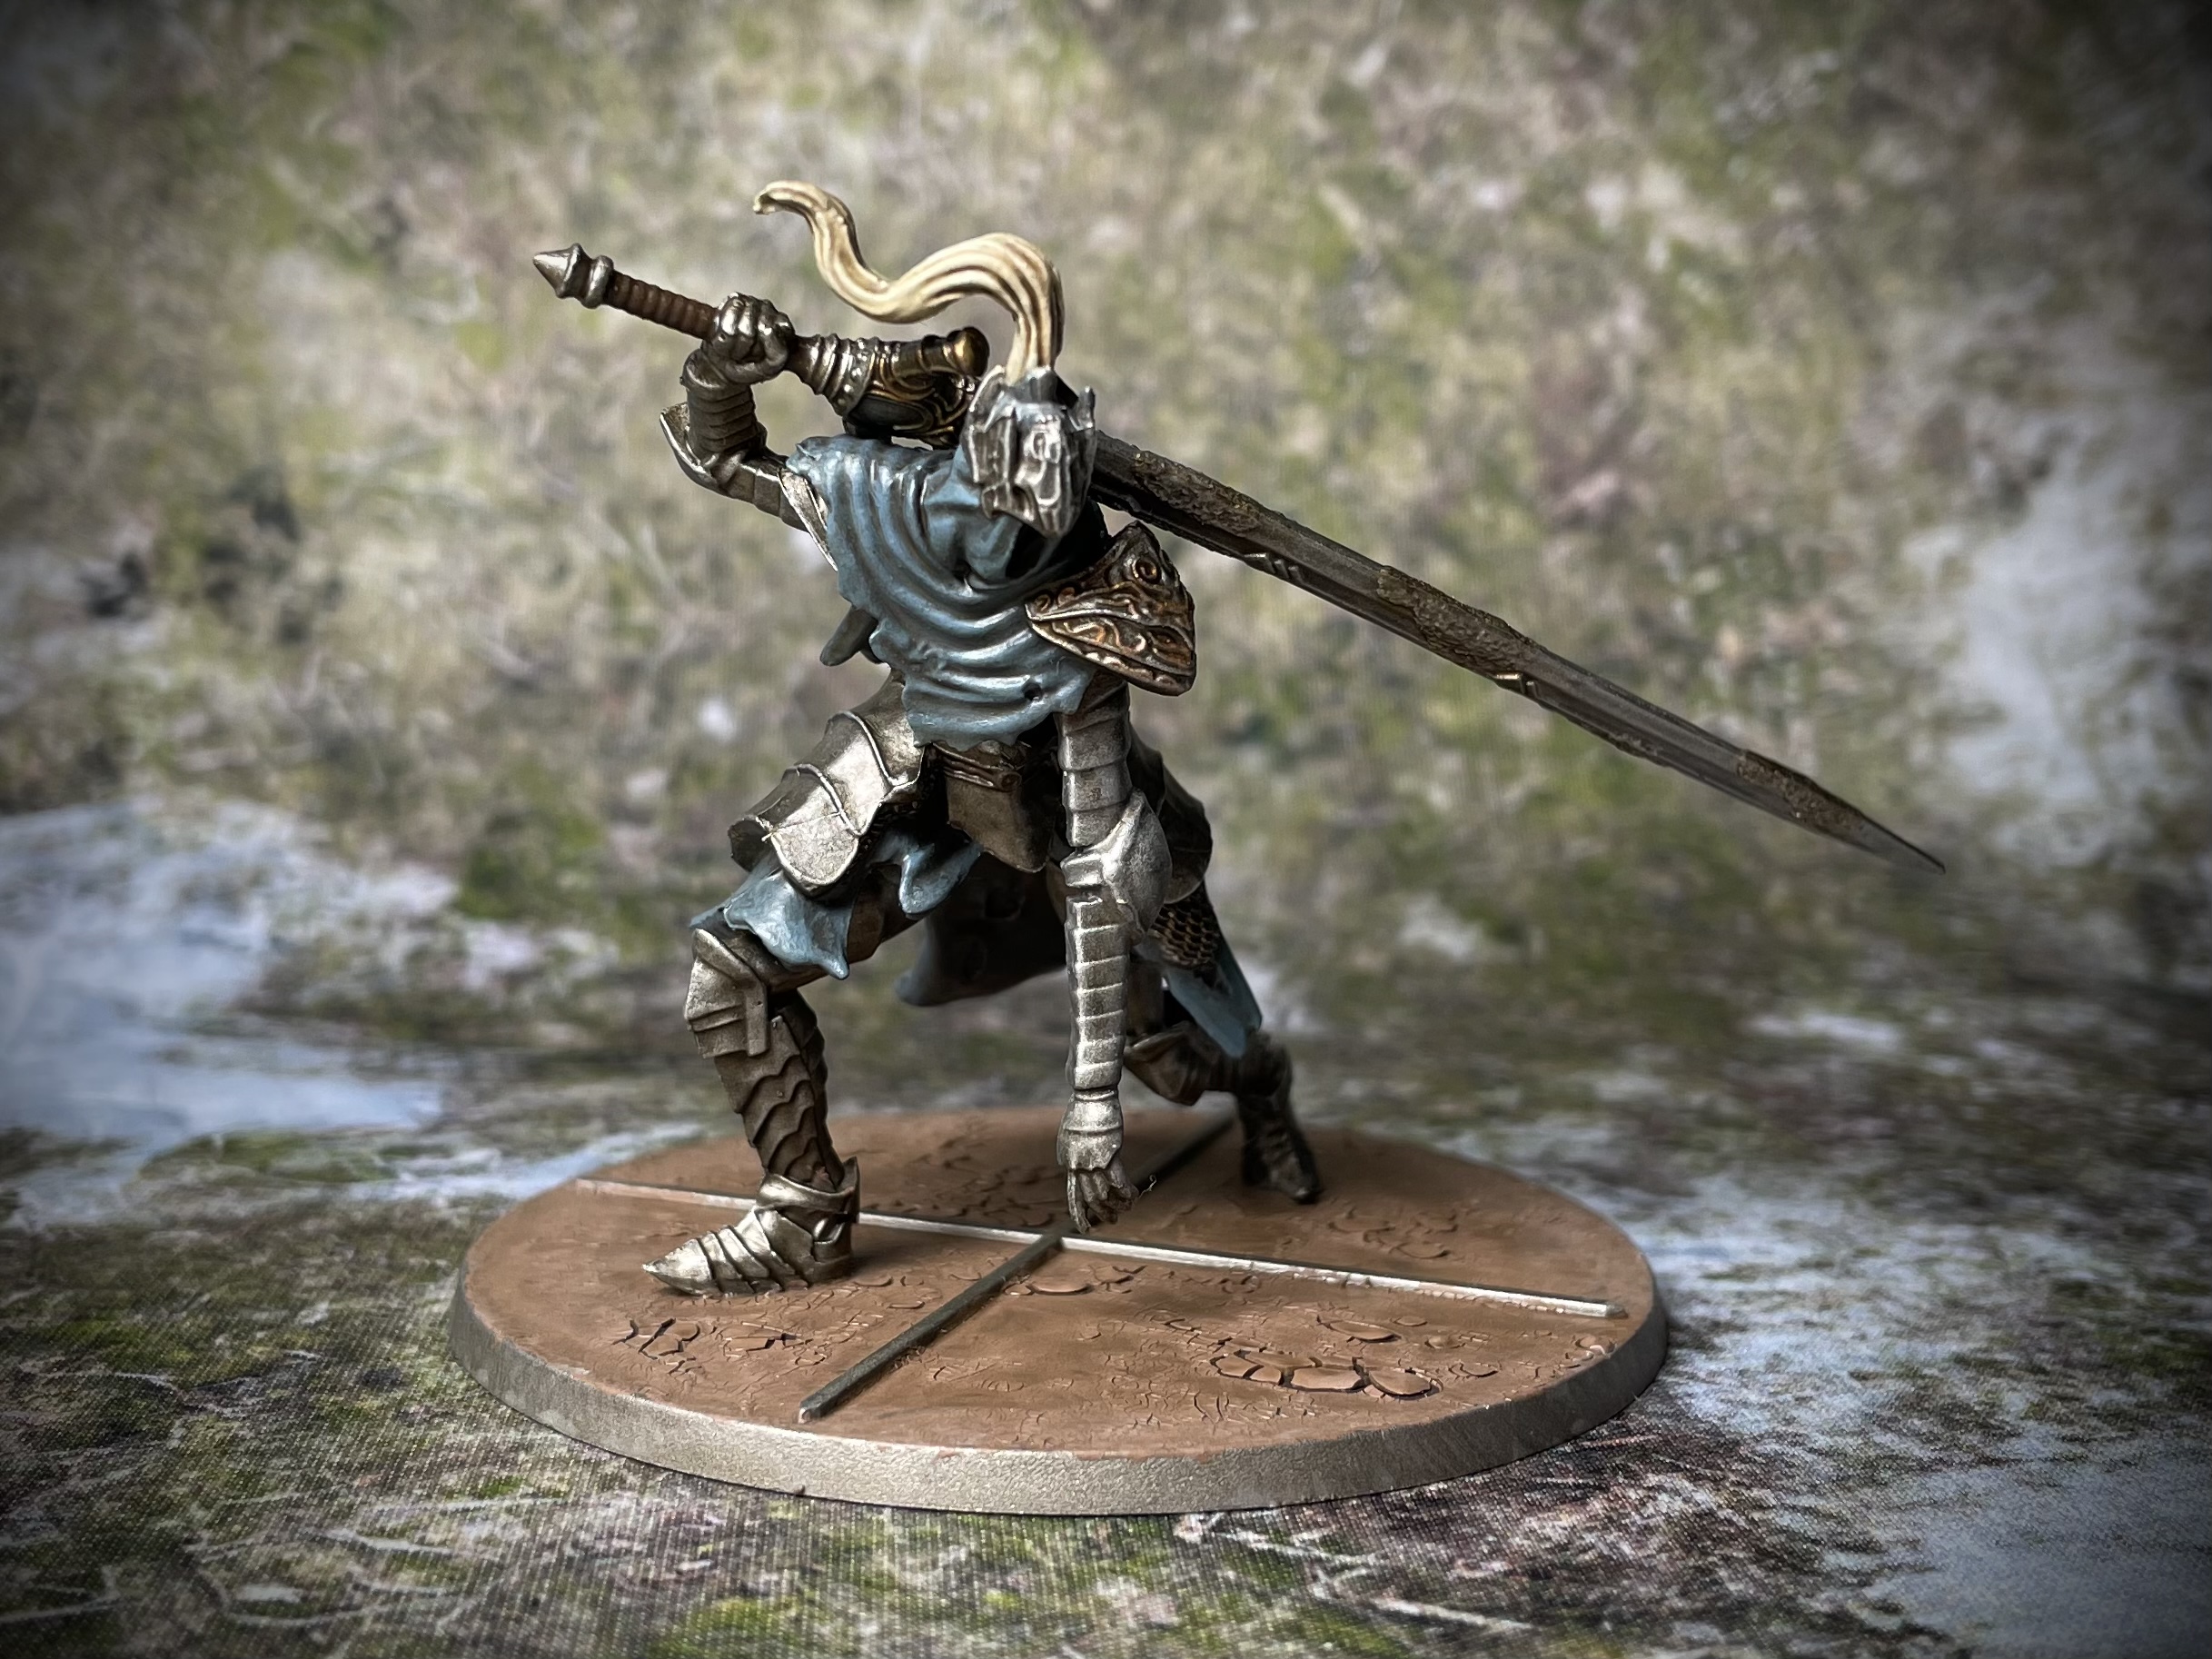
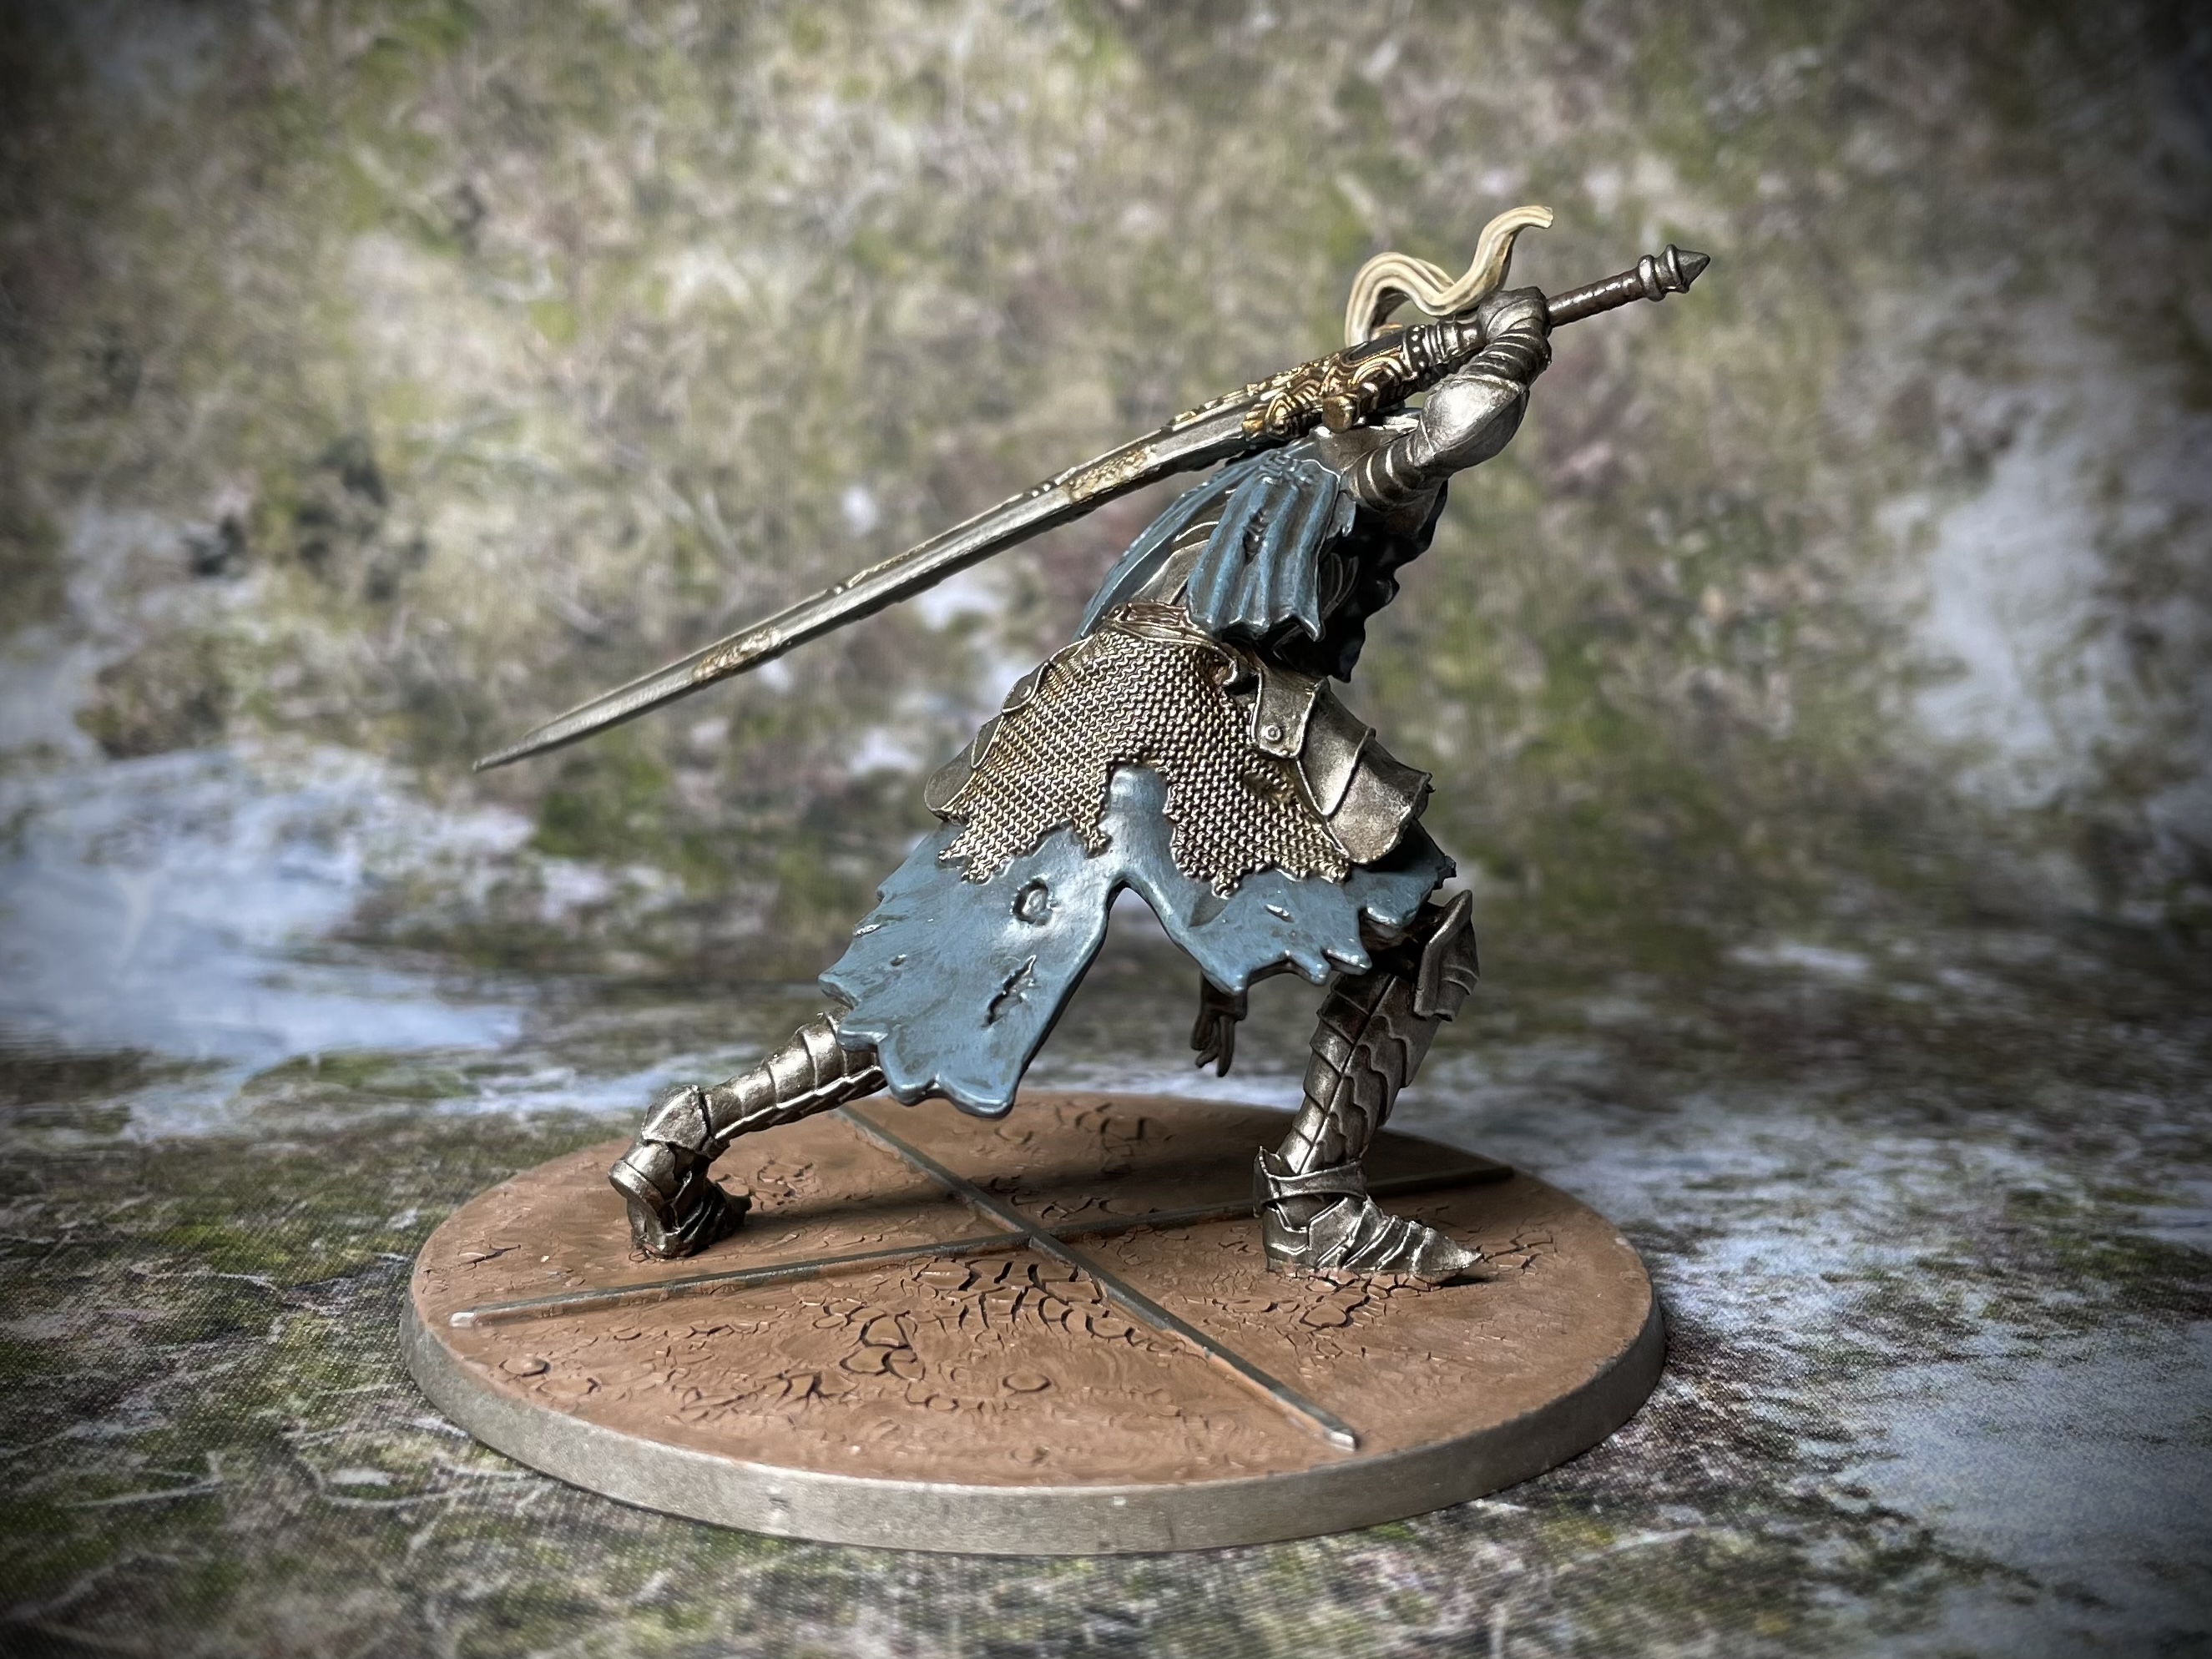
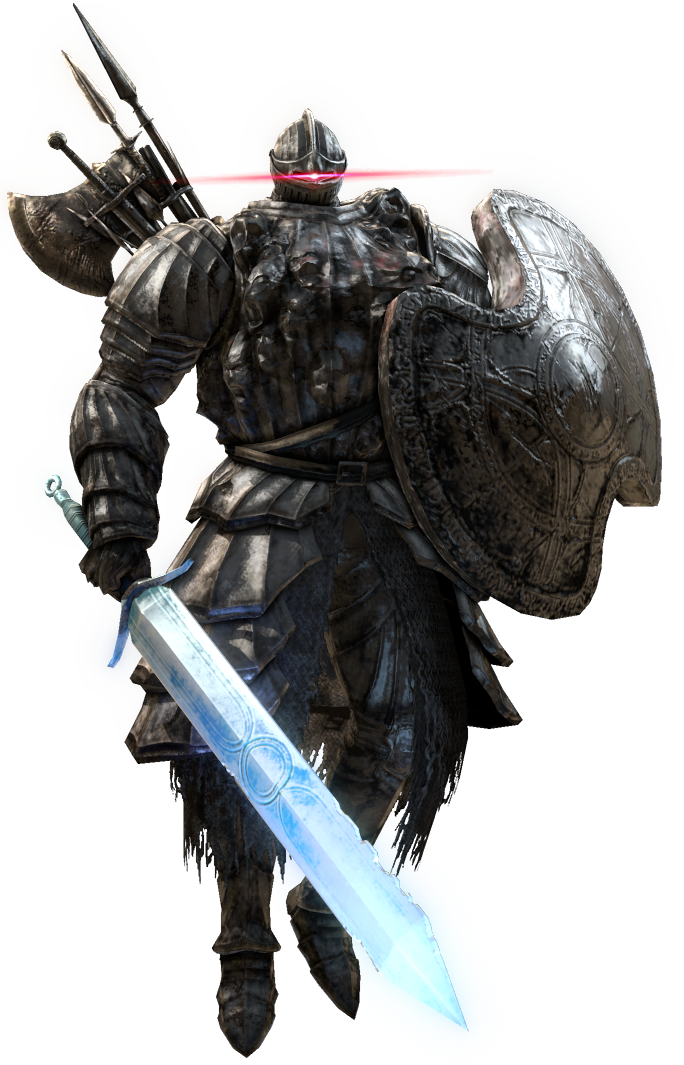
I'm a big fan of the Dark Souls video games series, so as a miniatures gamer I was very excited by the announcement of Dark Souls The Board Game. This game was hugely successful on Kick Starter but hasn't featured here for some time, and so I would like to showcase the contents of the game and share my approach to painting the miniatures. My intention is to remain faithful to the look and feel of the Dark Souls universe and I will be sticking with the colour palette and designs laid down in the gaming law and artwork, as much as possible.
Related Game: Dark Souls: The Board Game
Related Company: Steamforged Games
Related Genre: Horror
This Project is Active
Asylum Demon Expansion
The Asylum Demon is the first boss encountered in the Dark Souls video games series and so it seemed fitting that it would be the first Mega Boss Expansion added to my collection. These expansions represent the toughest encounters available in the board game, featuring massive boss models with their own unique gaming tile and behaviour decks.
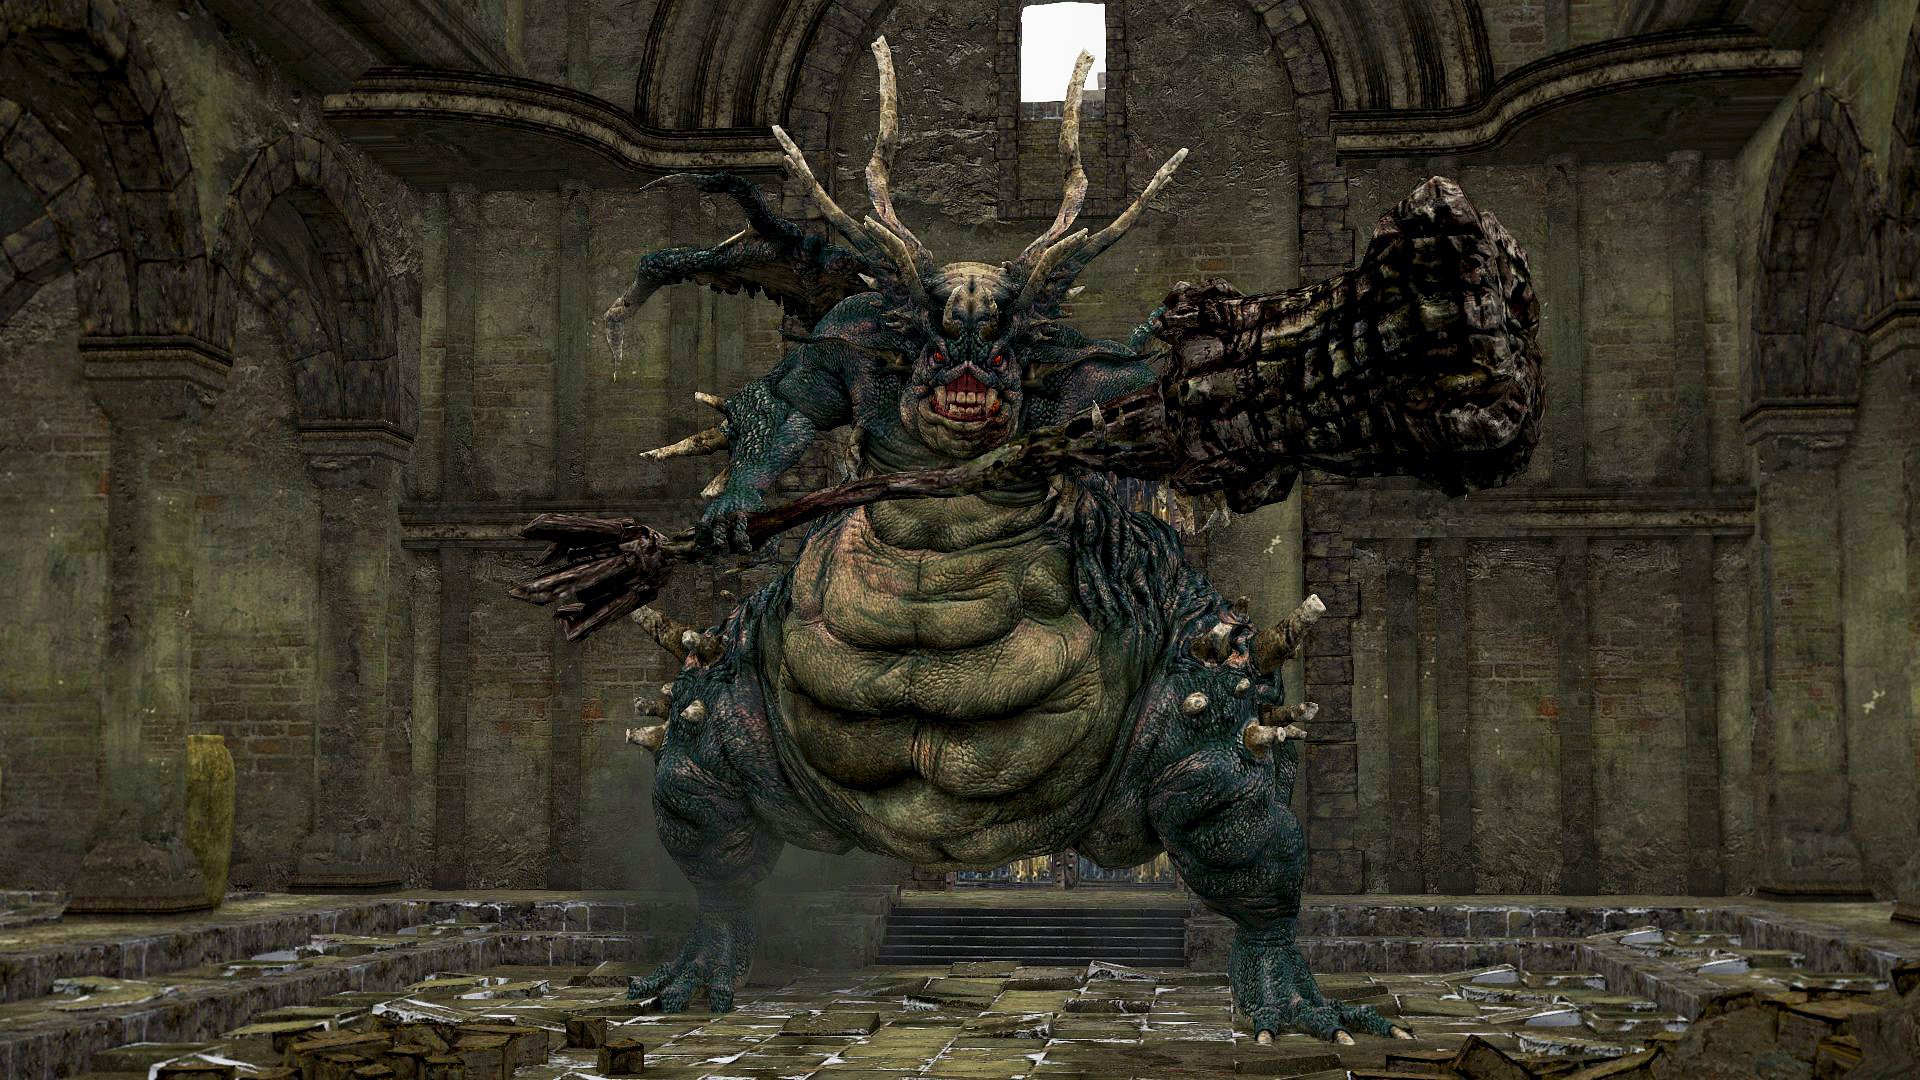
The Asylum Demons chamber contains pillars which initially seem like a useful place to hide. However the unique mechanic of this battle has the demon destroying any pillar that falls within its attack arch, wrecking havoc on nearby heroes! The set contains card tokens representing the pillars, but I wanted something physical, so I 3D modelled and printed my own, to add a little gravitas to the arena!
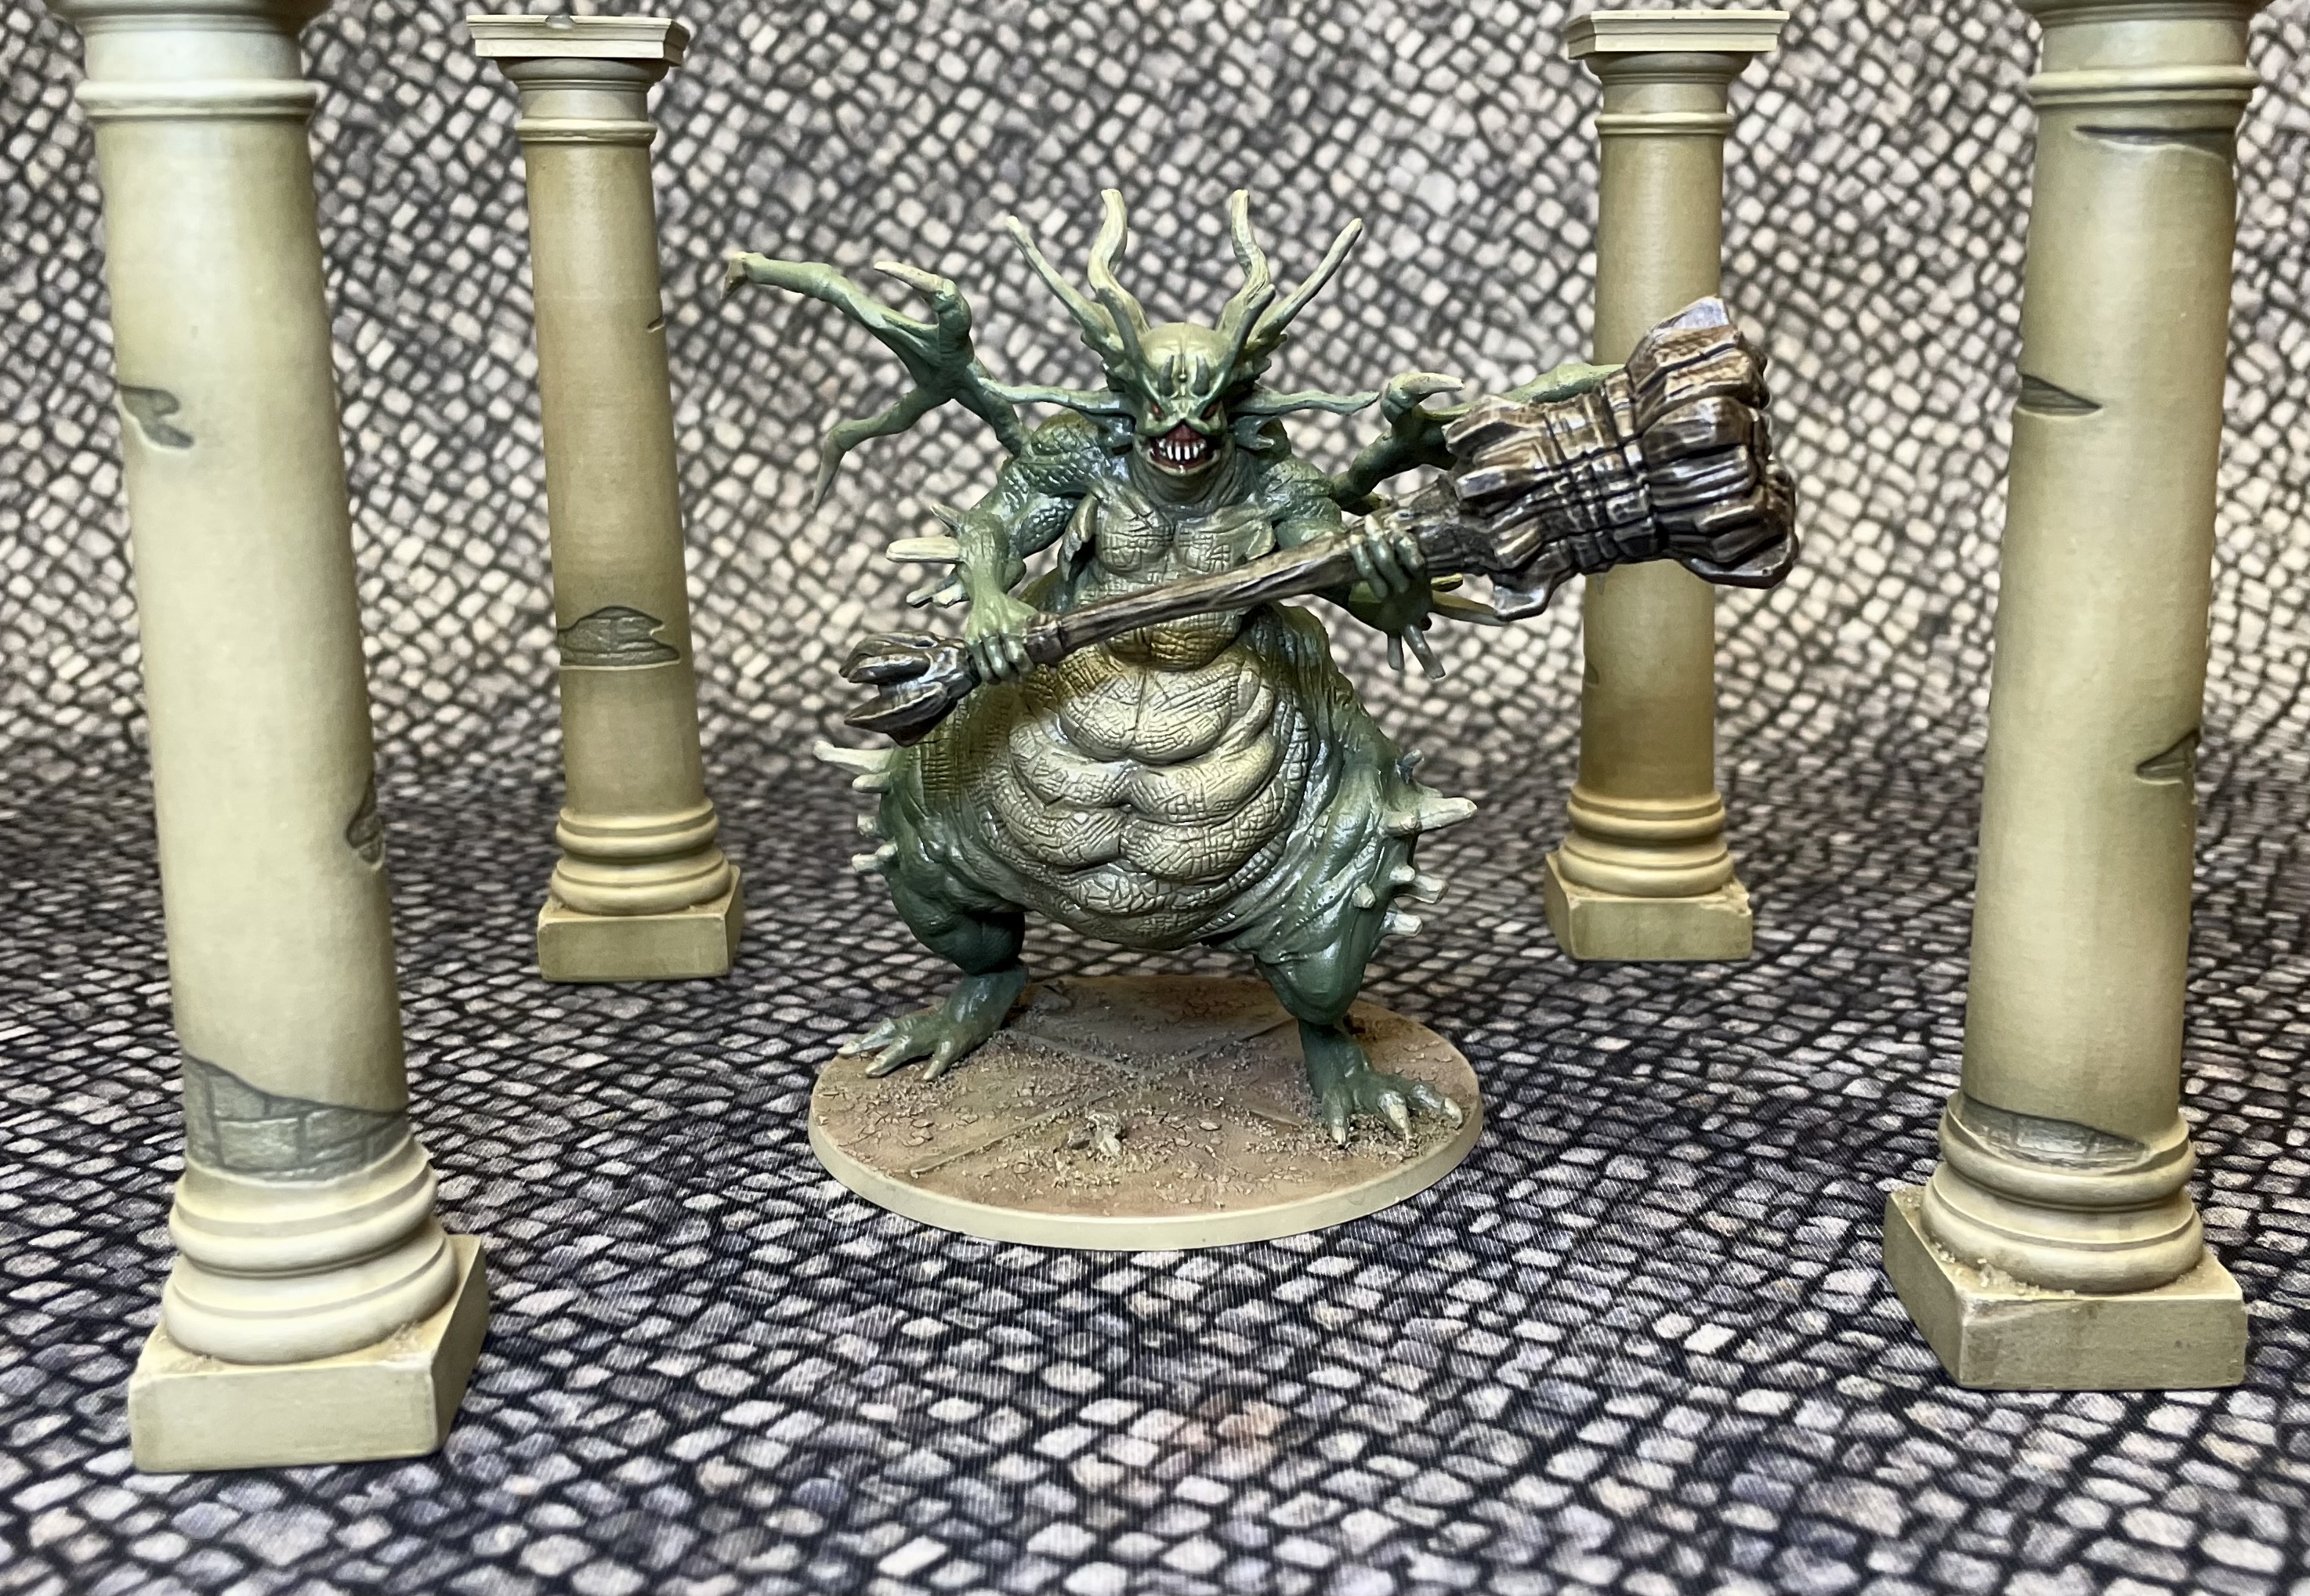
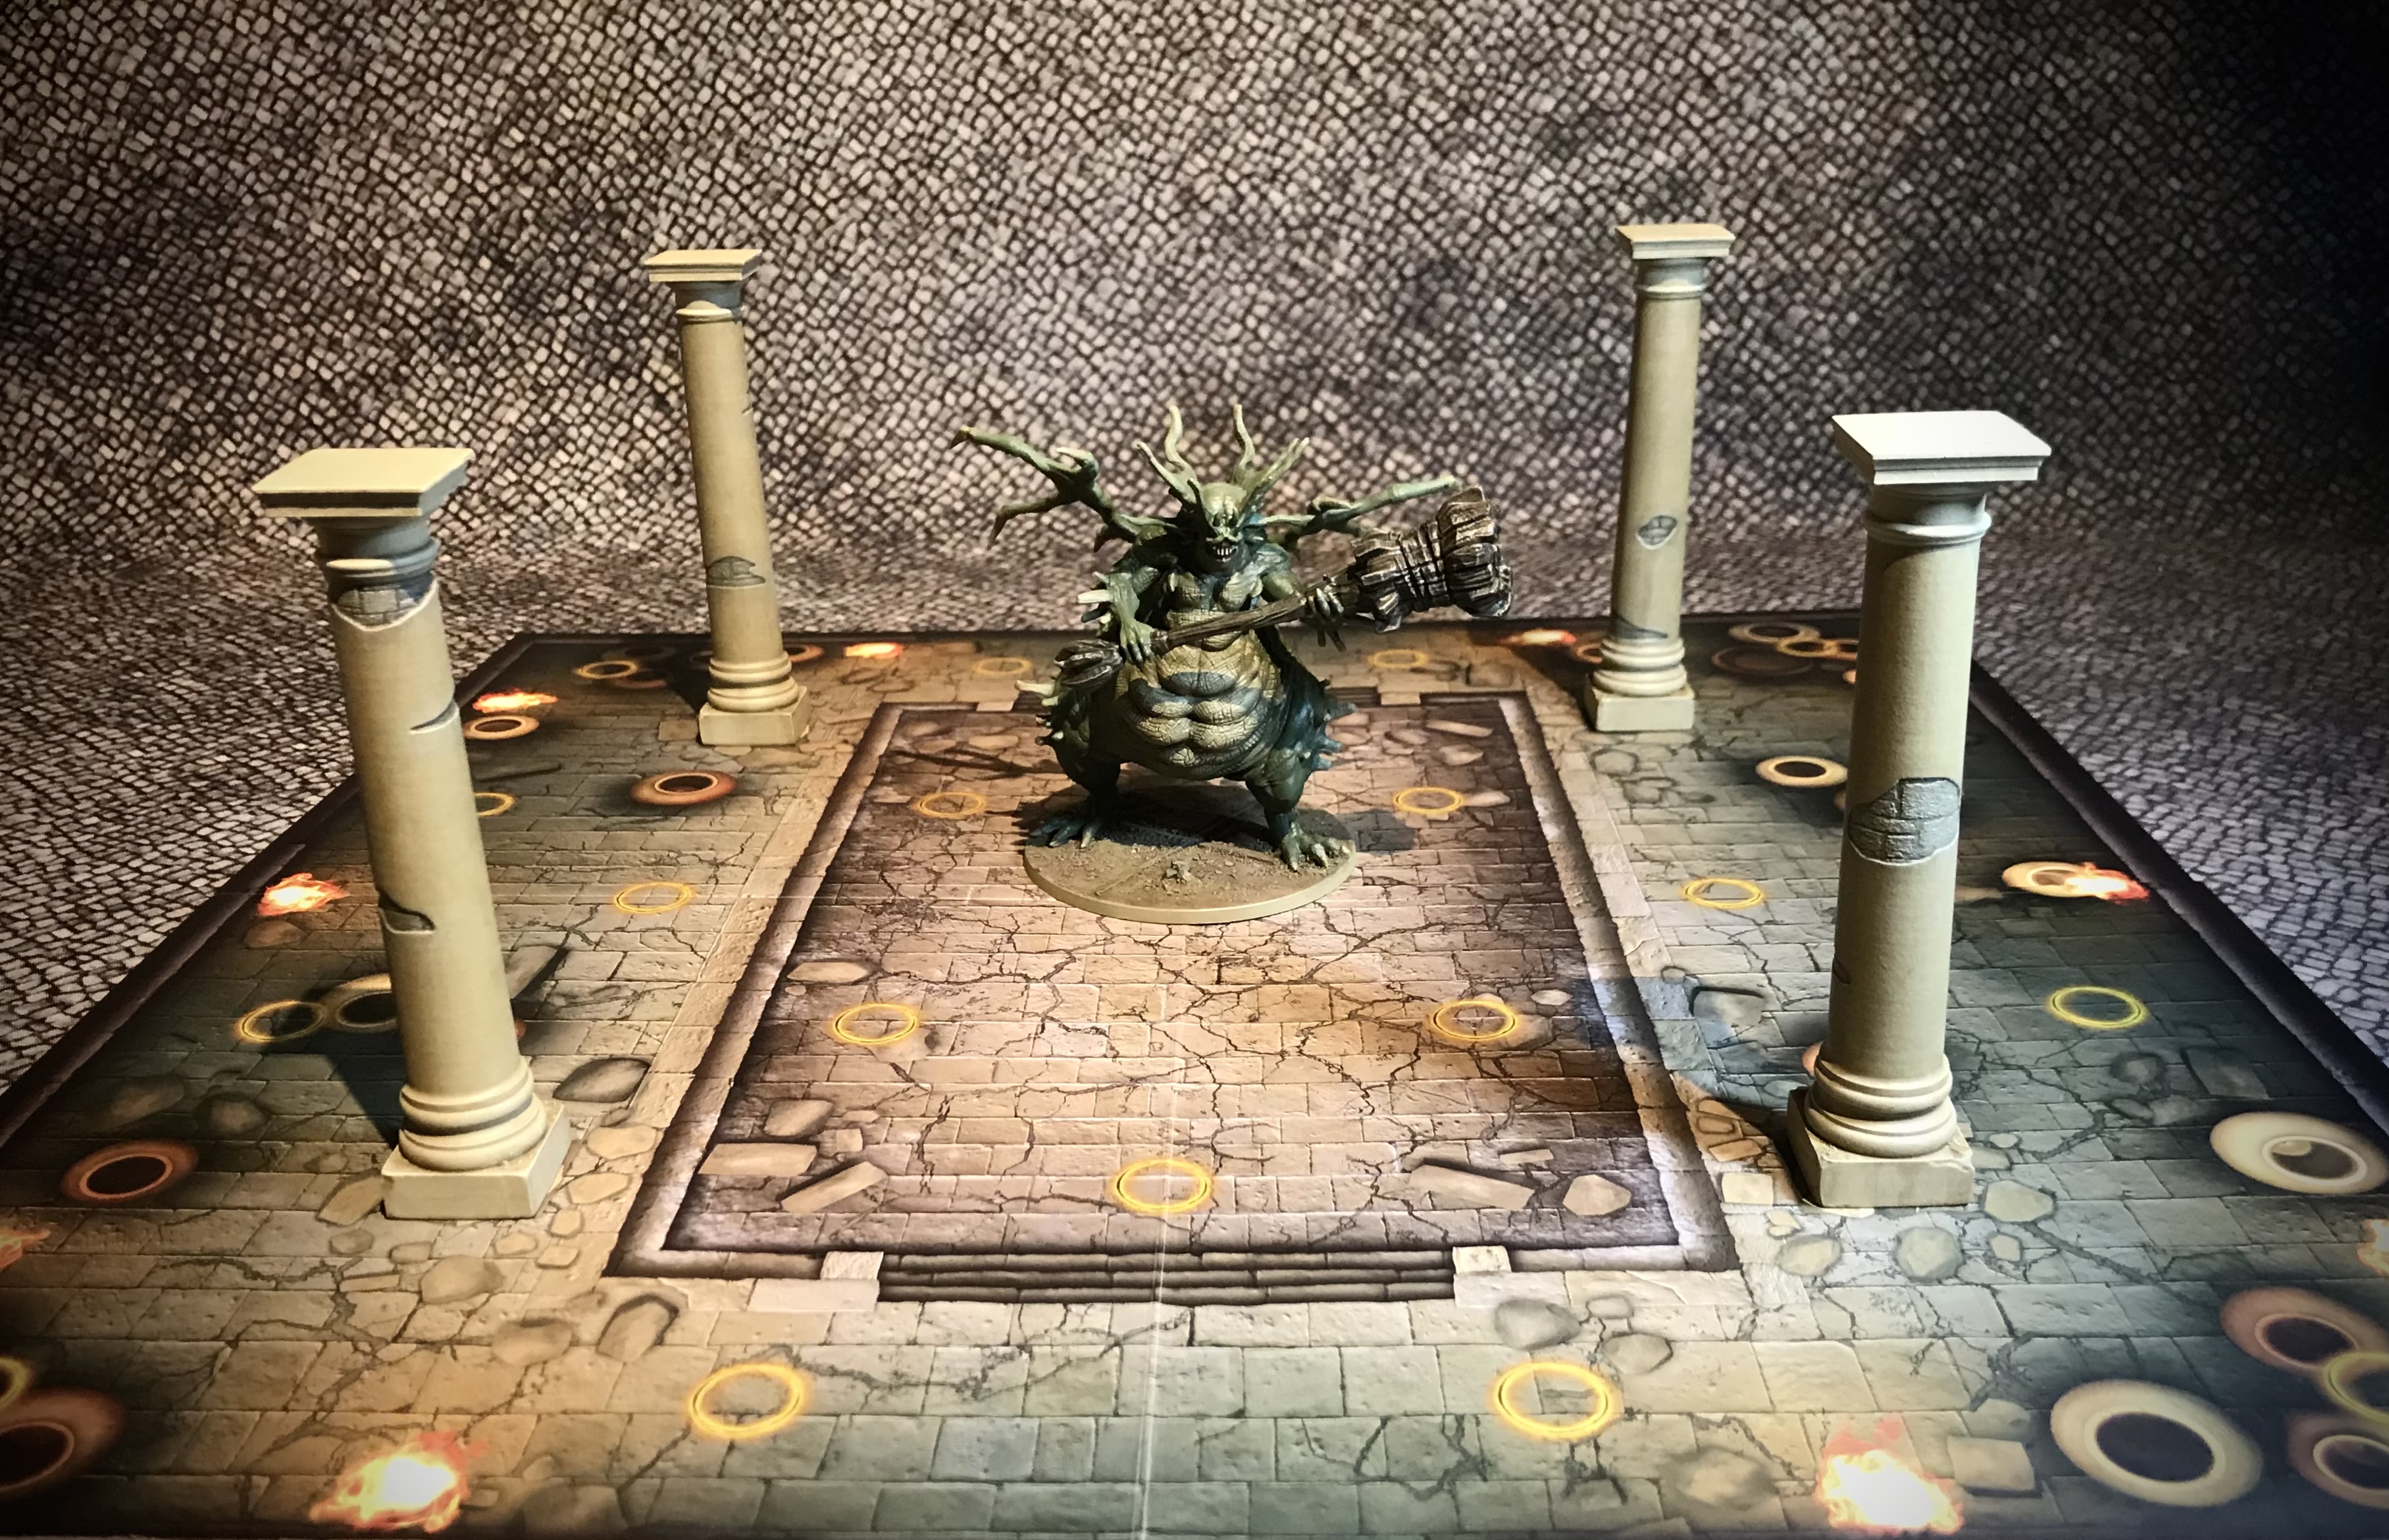
This model is even larger than the Smelter Demon, so I painted the bulk of it with my airbrush, using Vallejo paints over my tried and trusted Khaki primer.
I used Wyldwood Contrast for the Demons Hammer, thinned but applied directly over the primer. As ever Agrax was used to add shading before a little dry brushing here and there brought the texture back.
Iron Keep Expansion - Part III
The final model from the Iron Keep is the Smelter Demon….
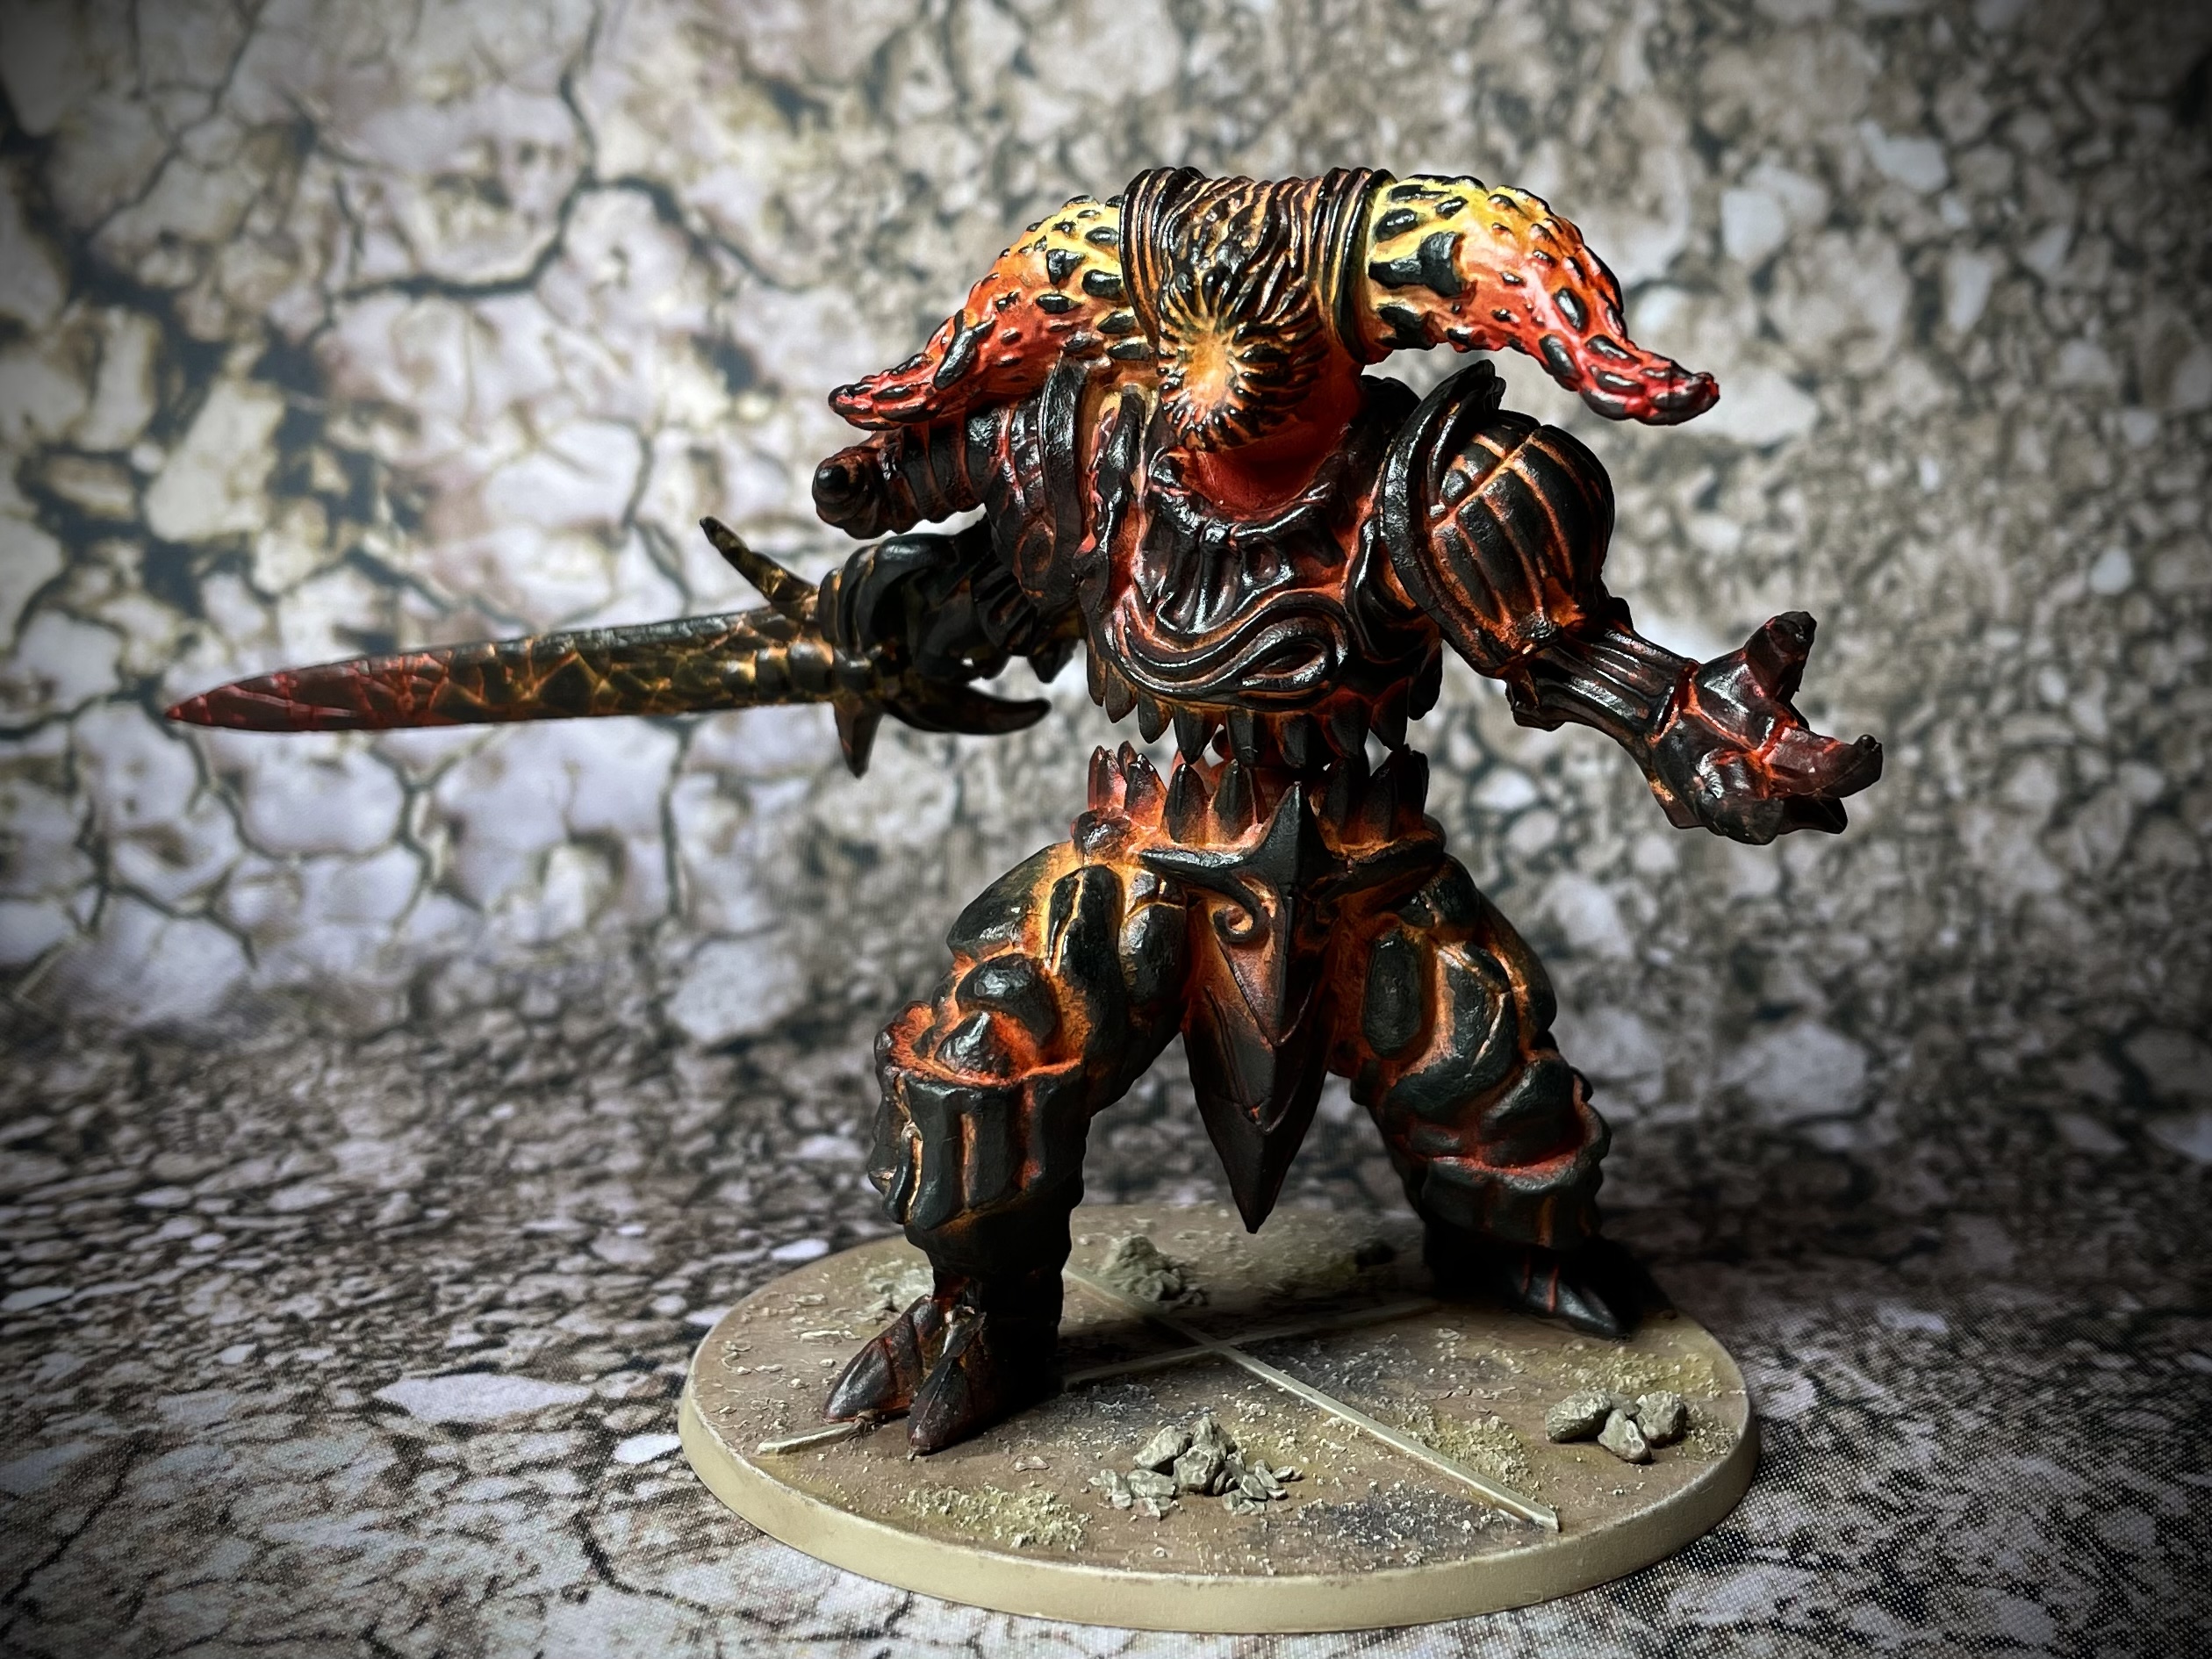 Smelter Demon
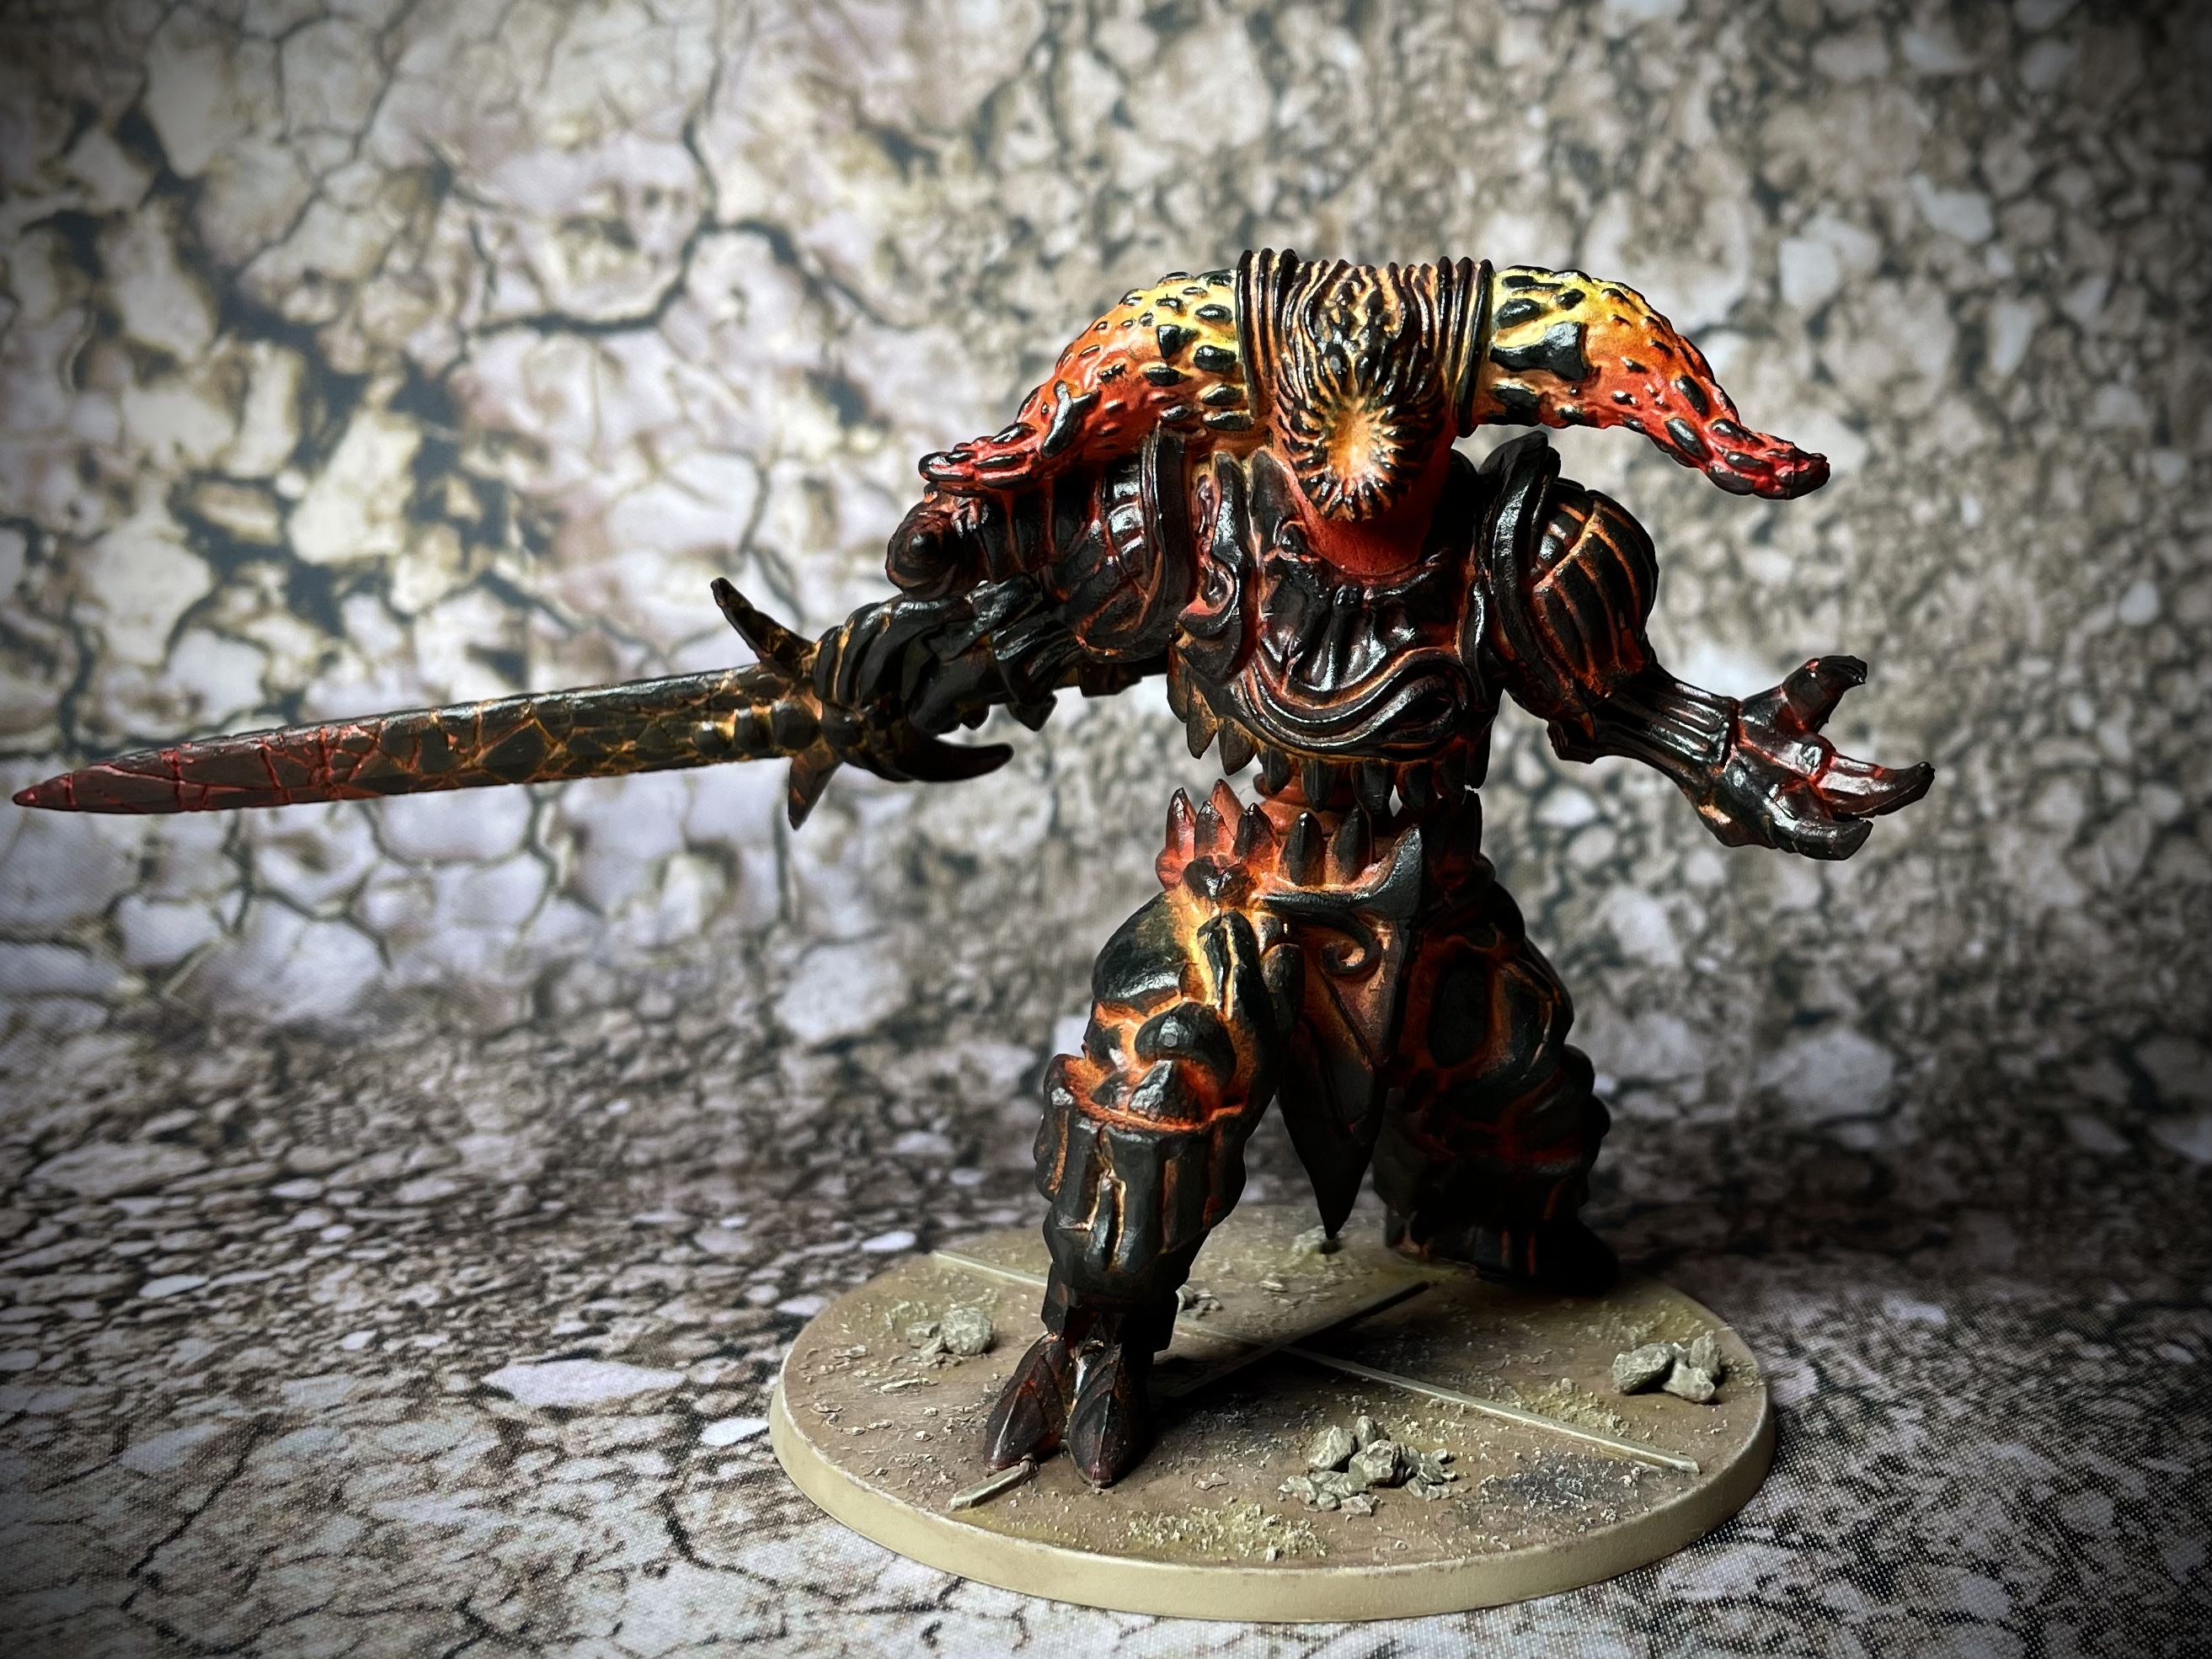
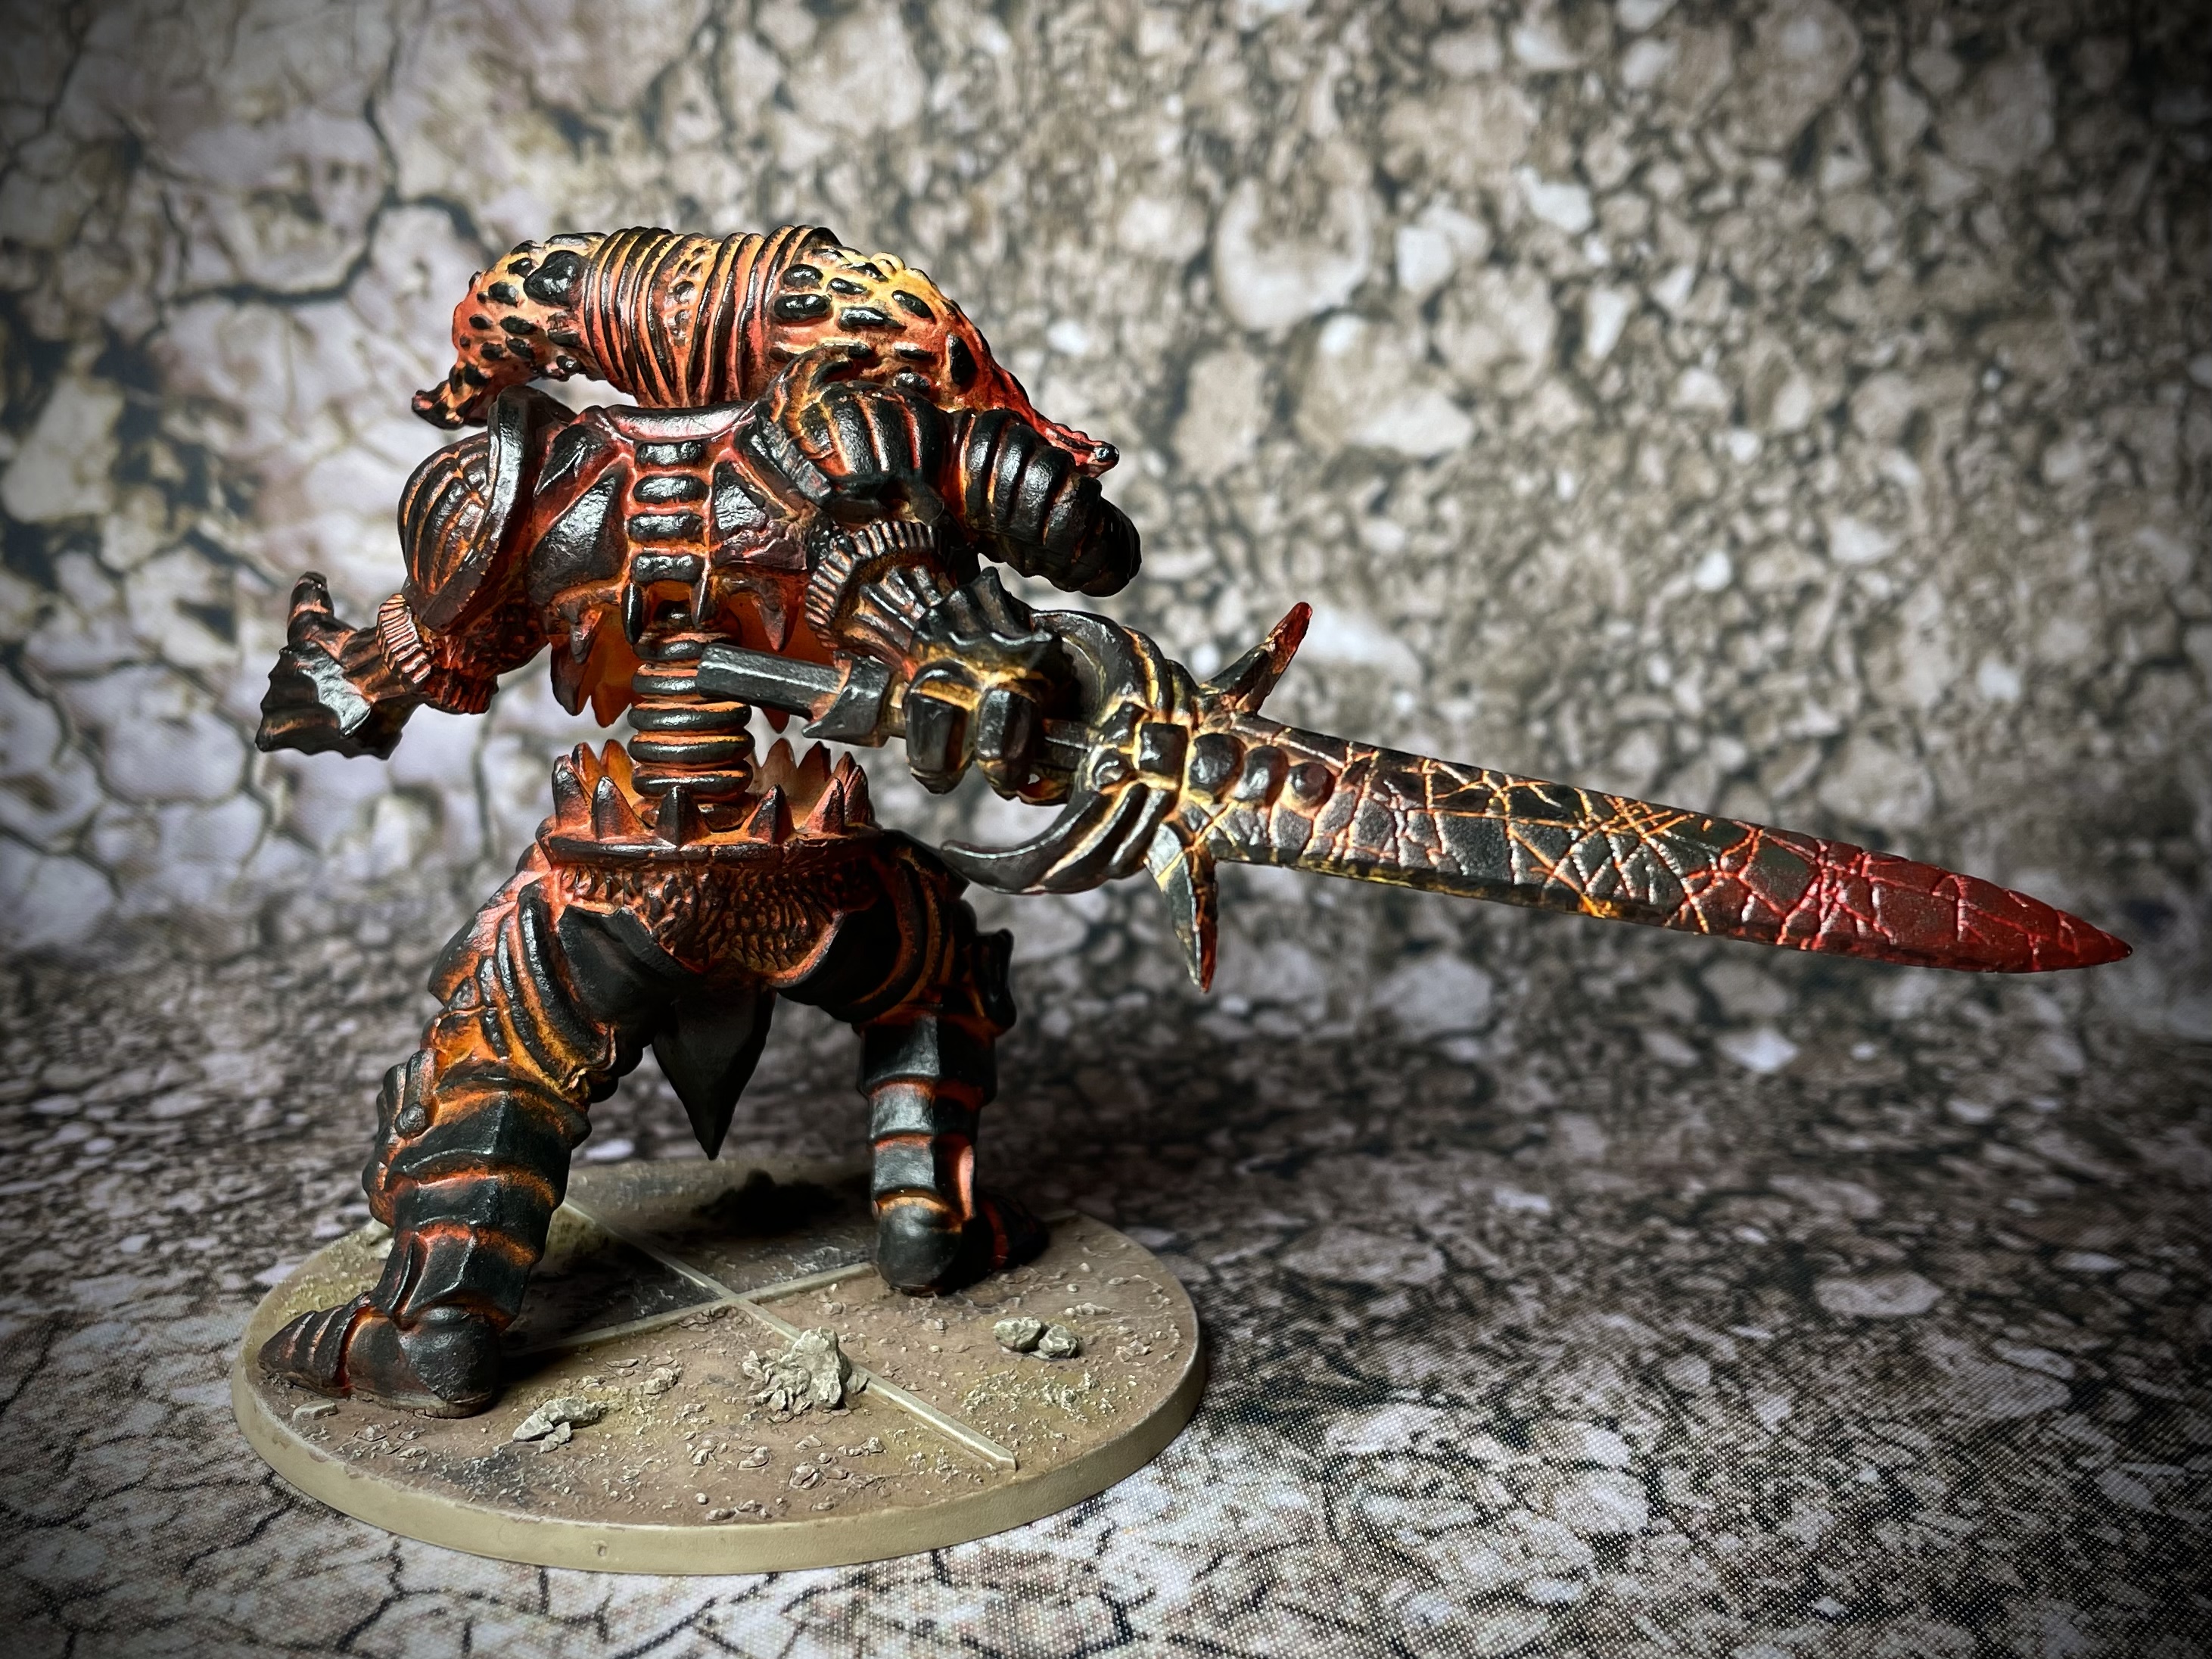
This guy is just huge and really beefy to boot. He also has a sphincter for a face!
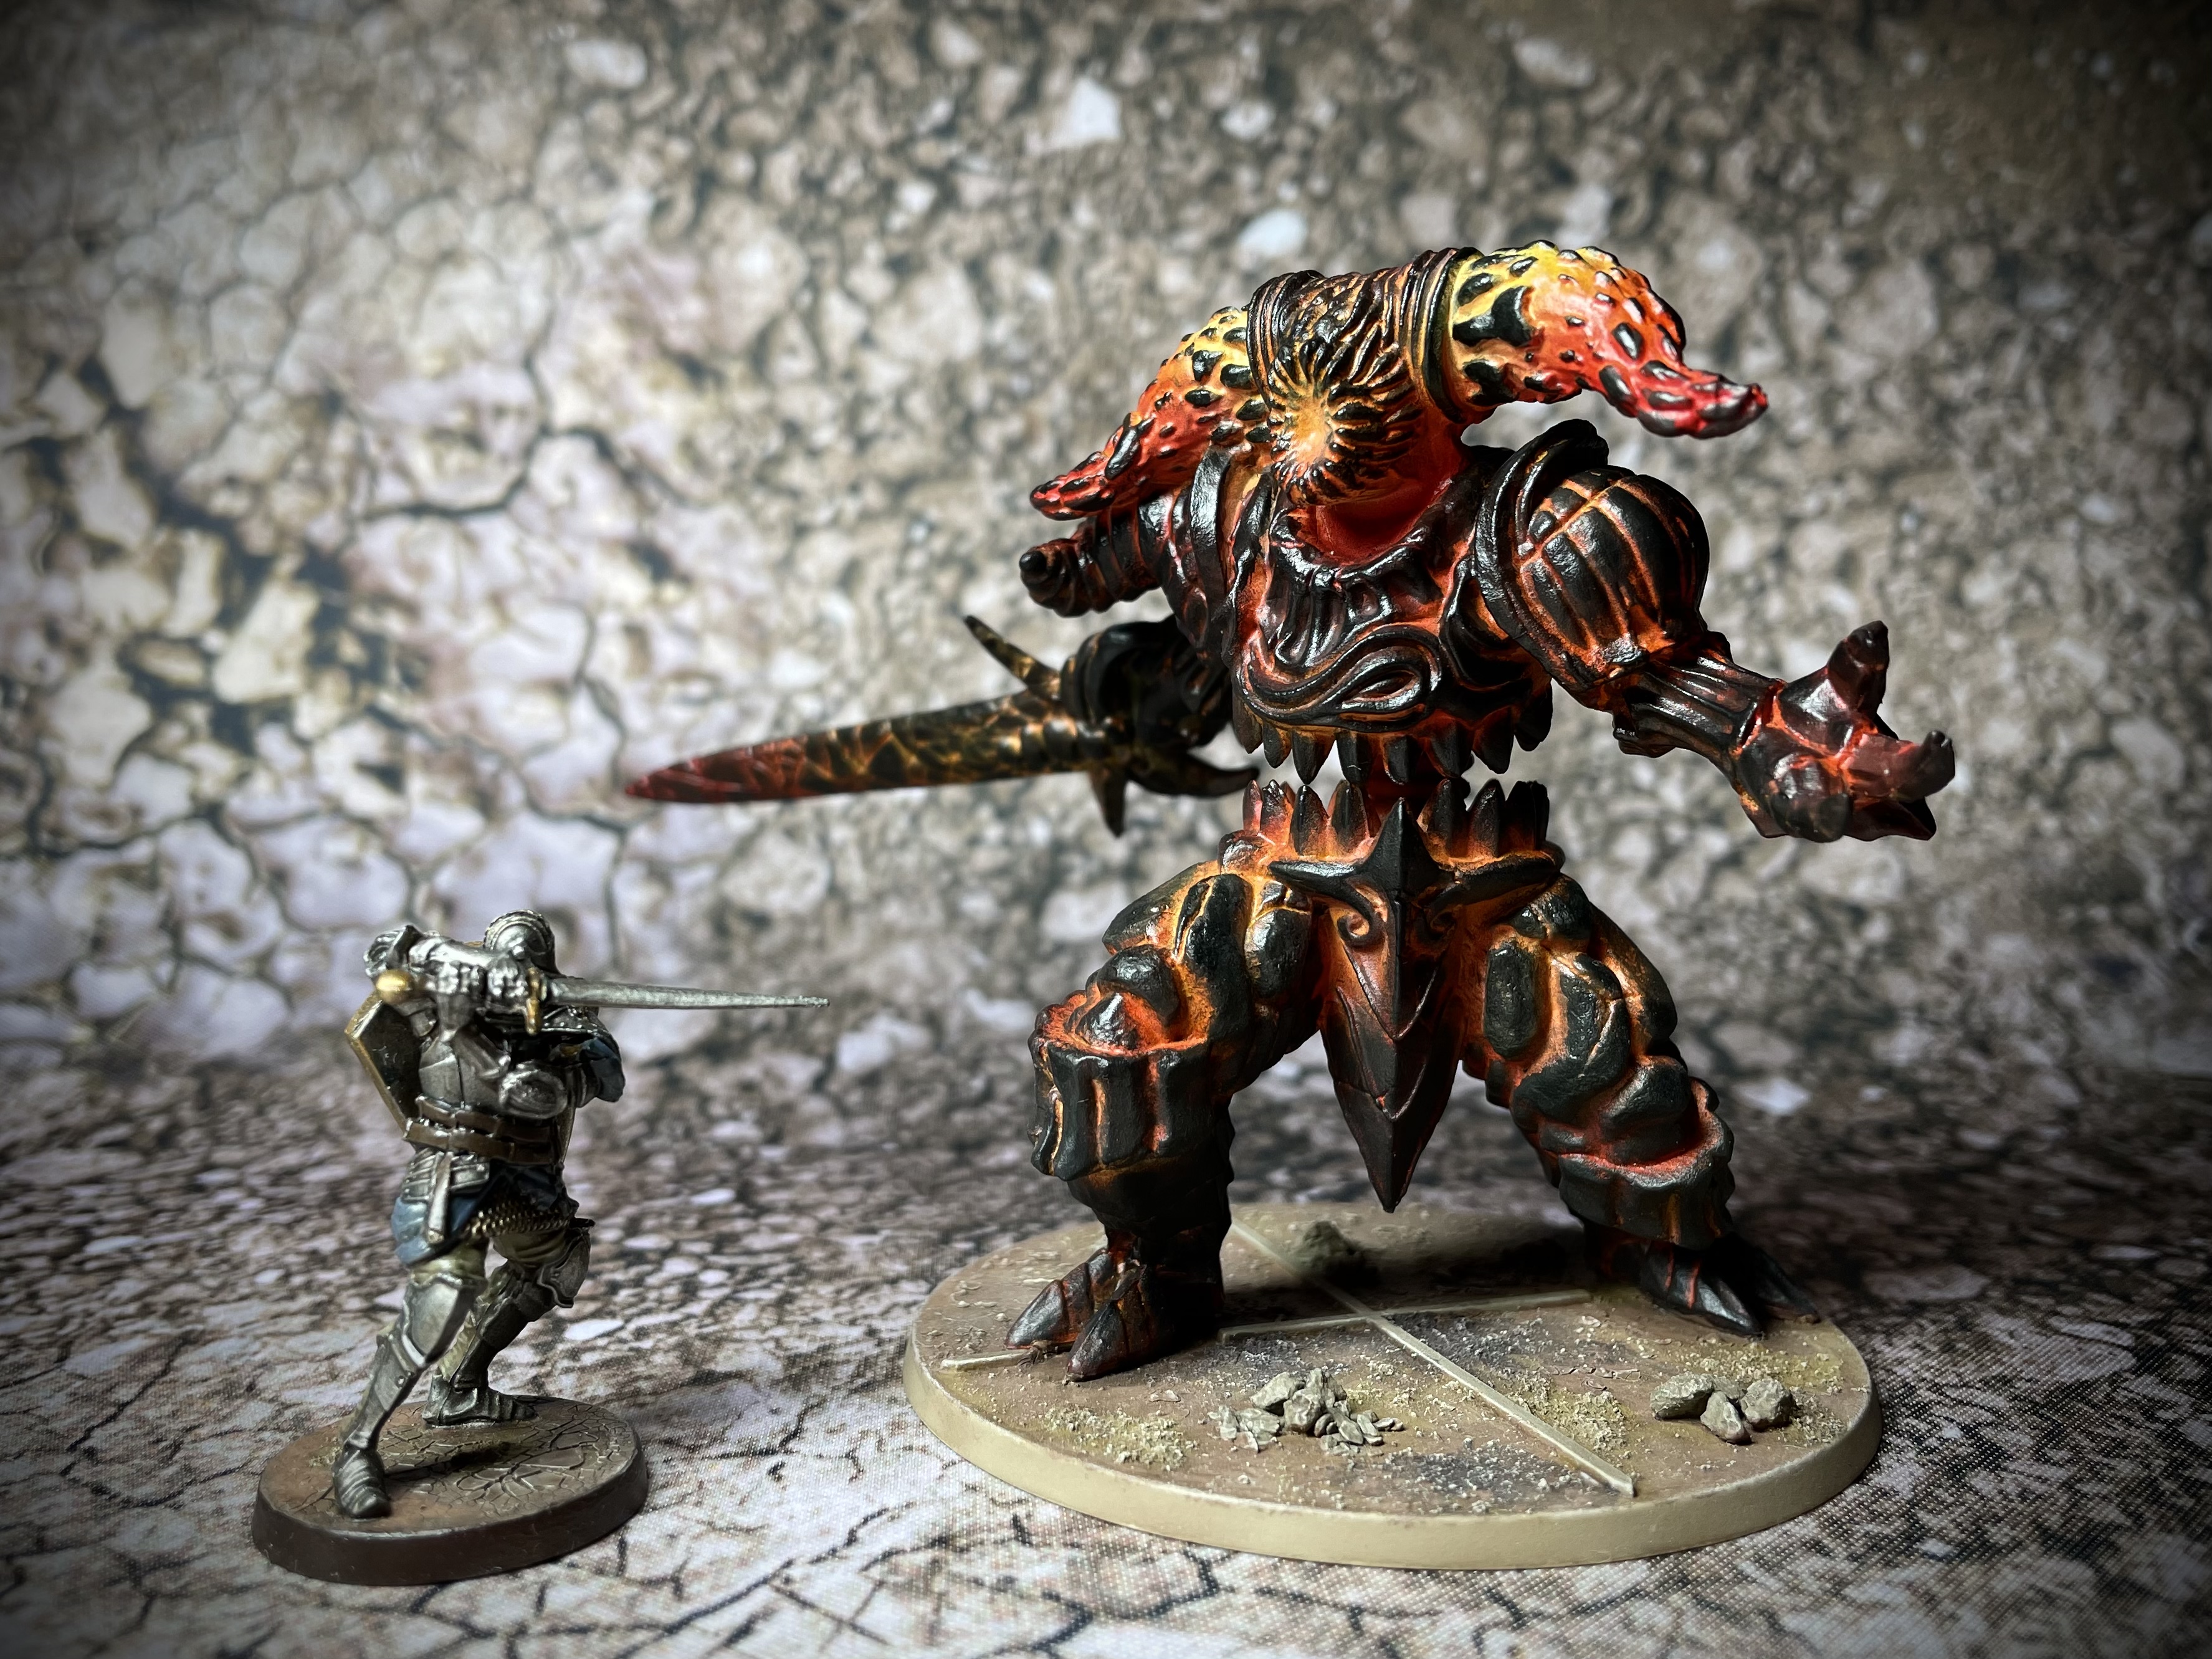
Much like a Balrog or Avatar of the Bloody Handed God, the Smelter Demon has a molten core, cooling to a blackened surface. I have never painted this effect before and have to say I really enjoyed the challenge.

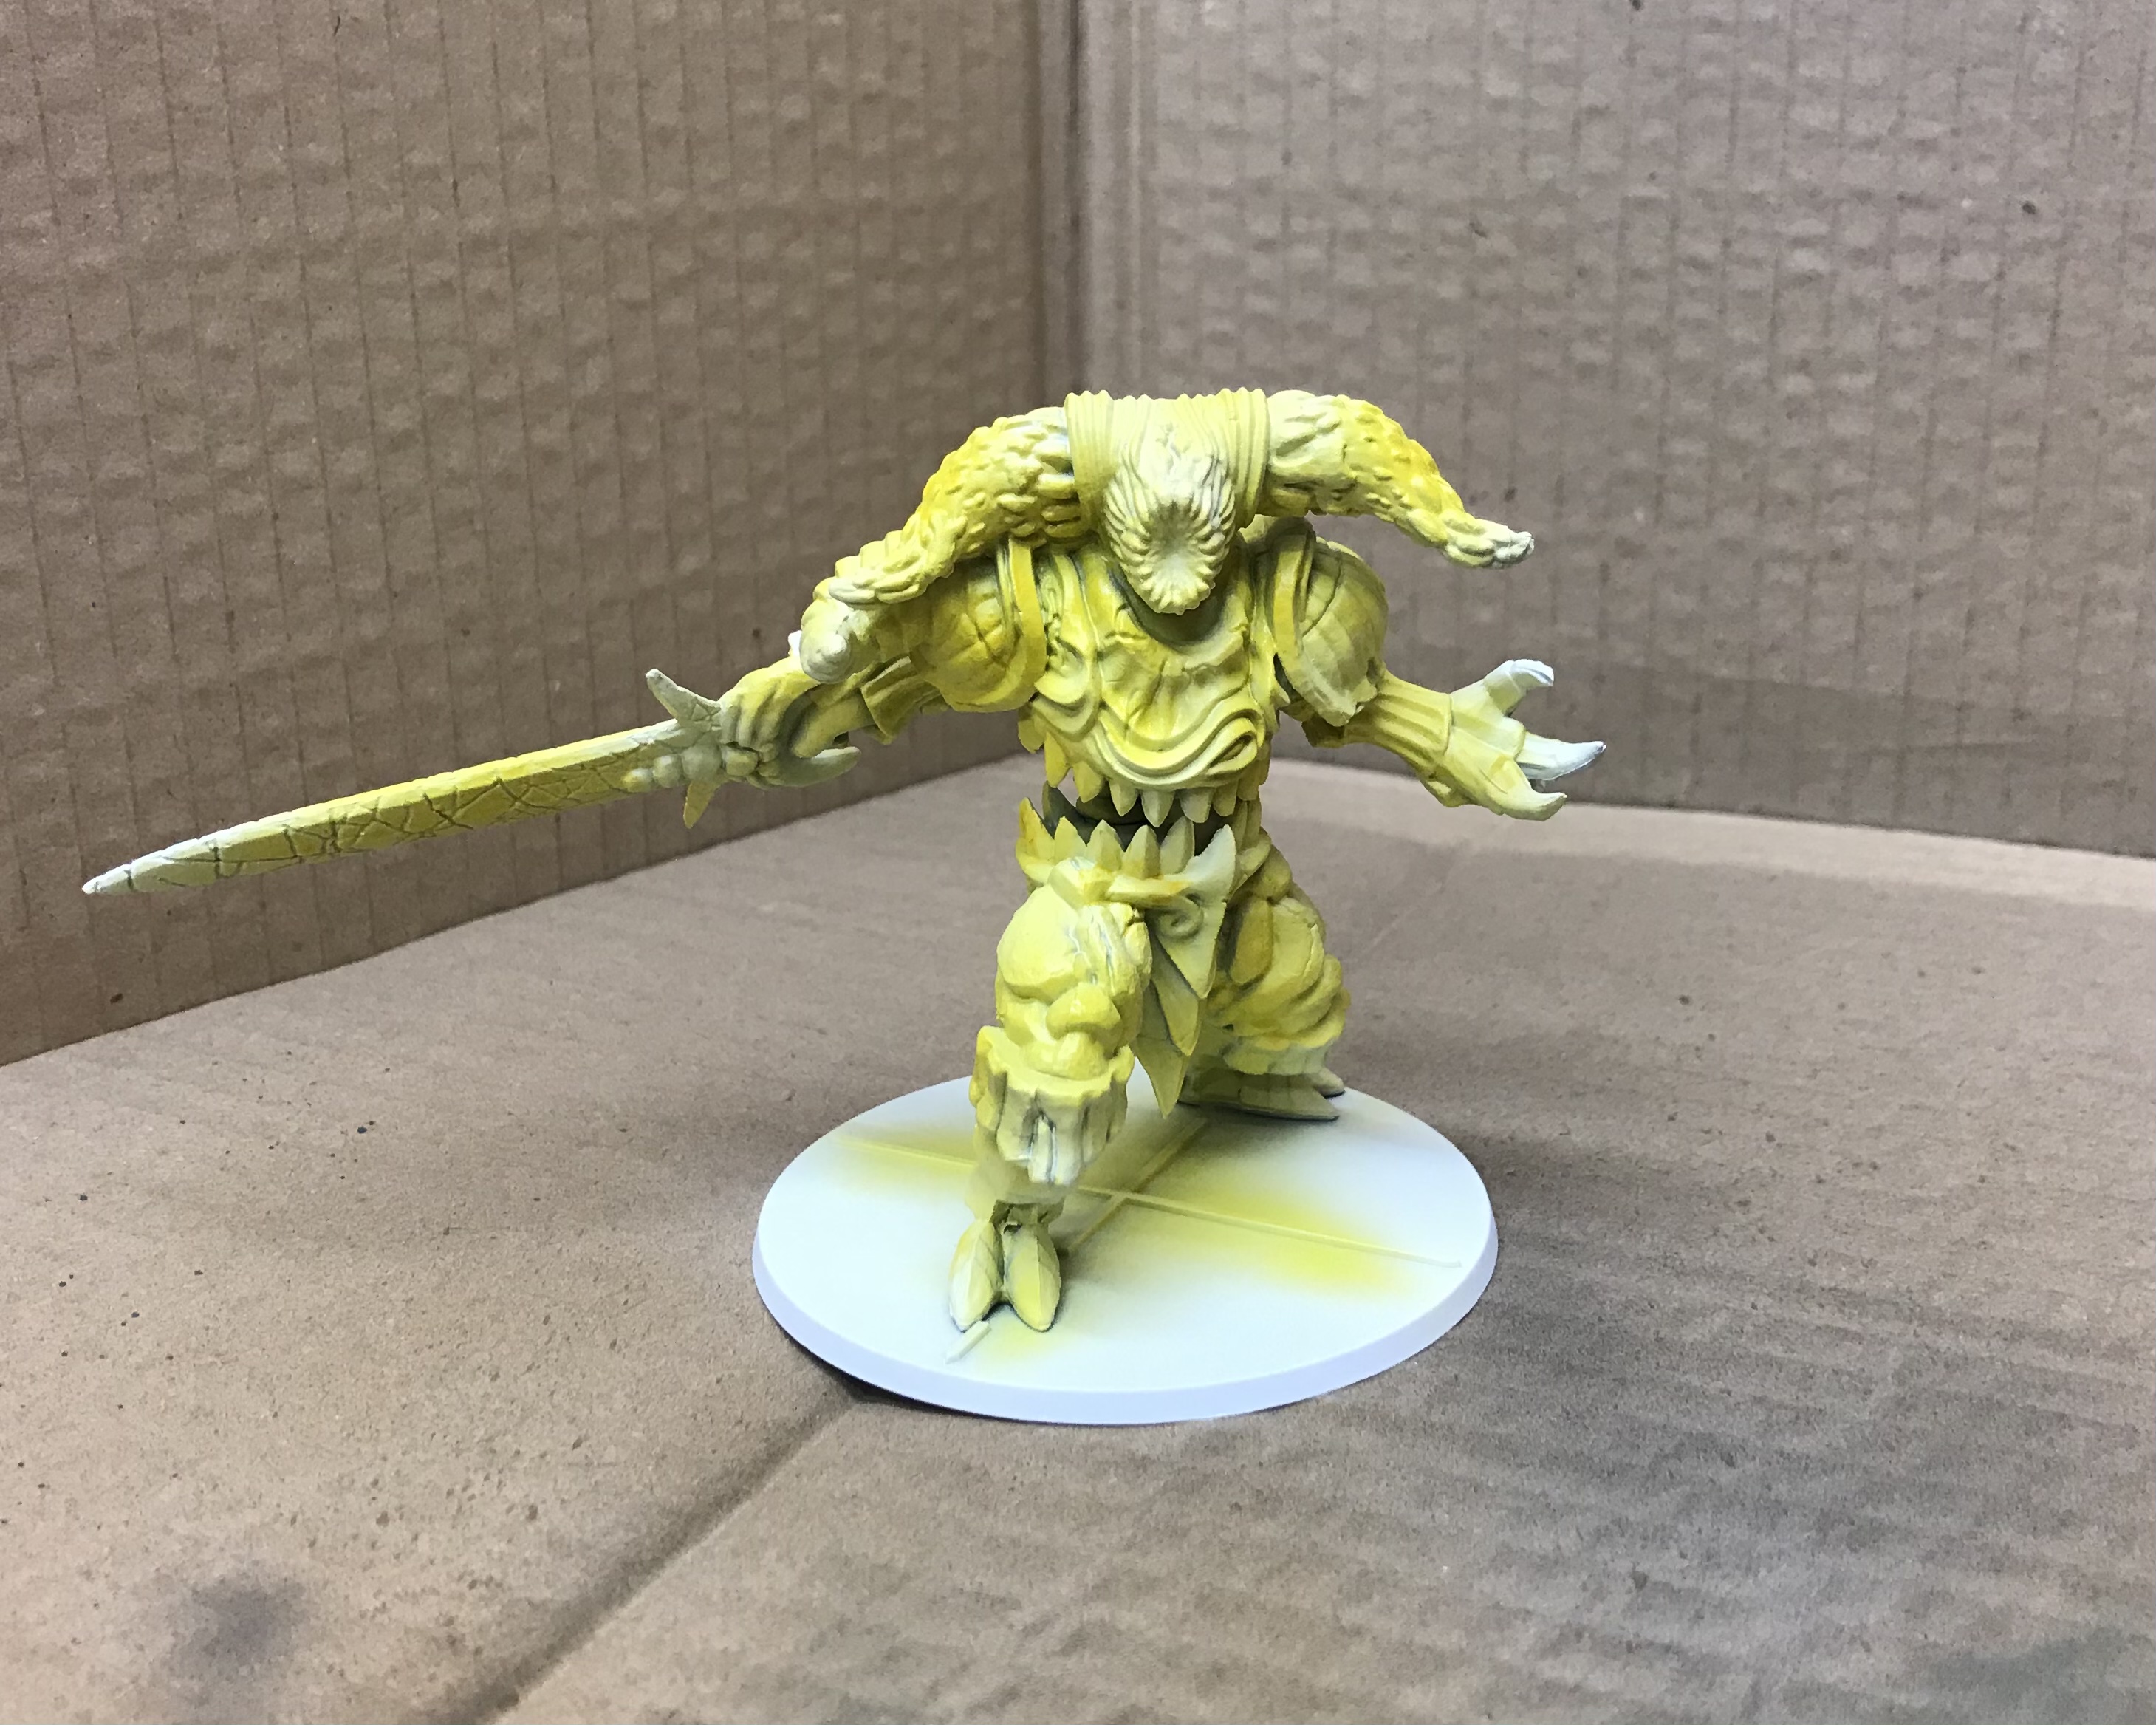
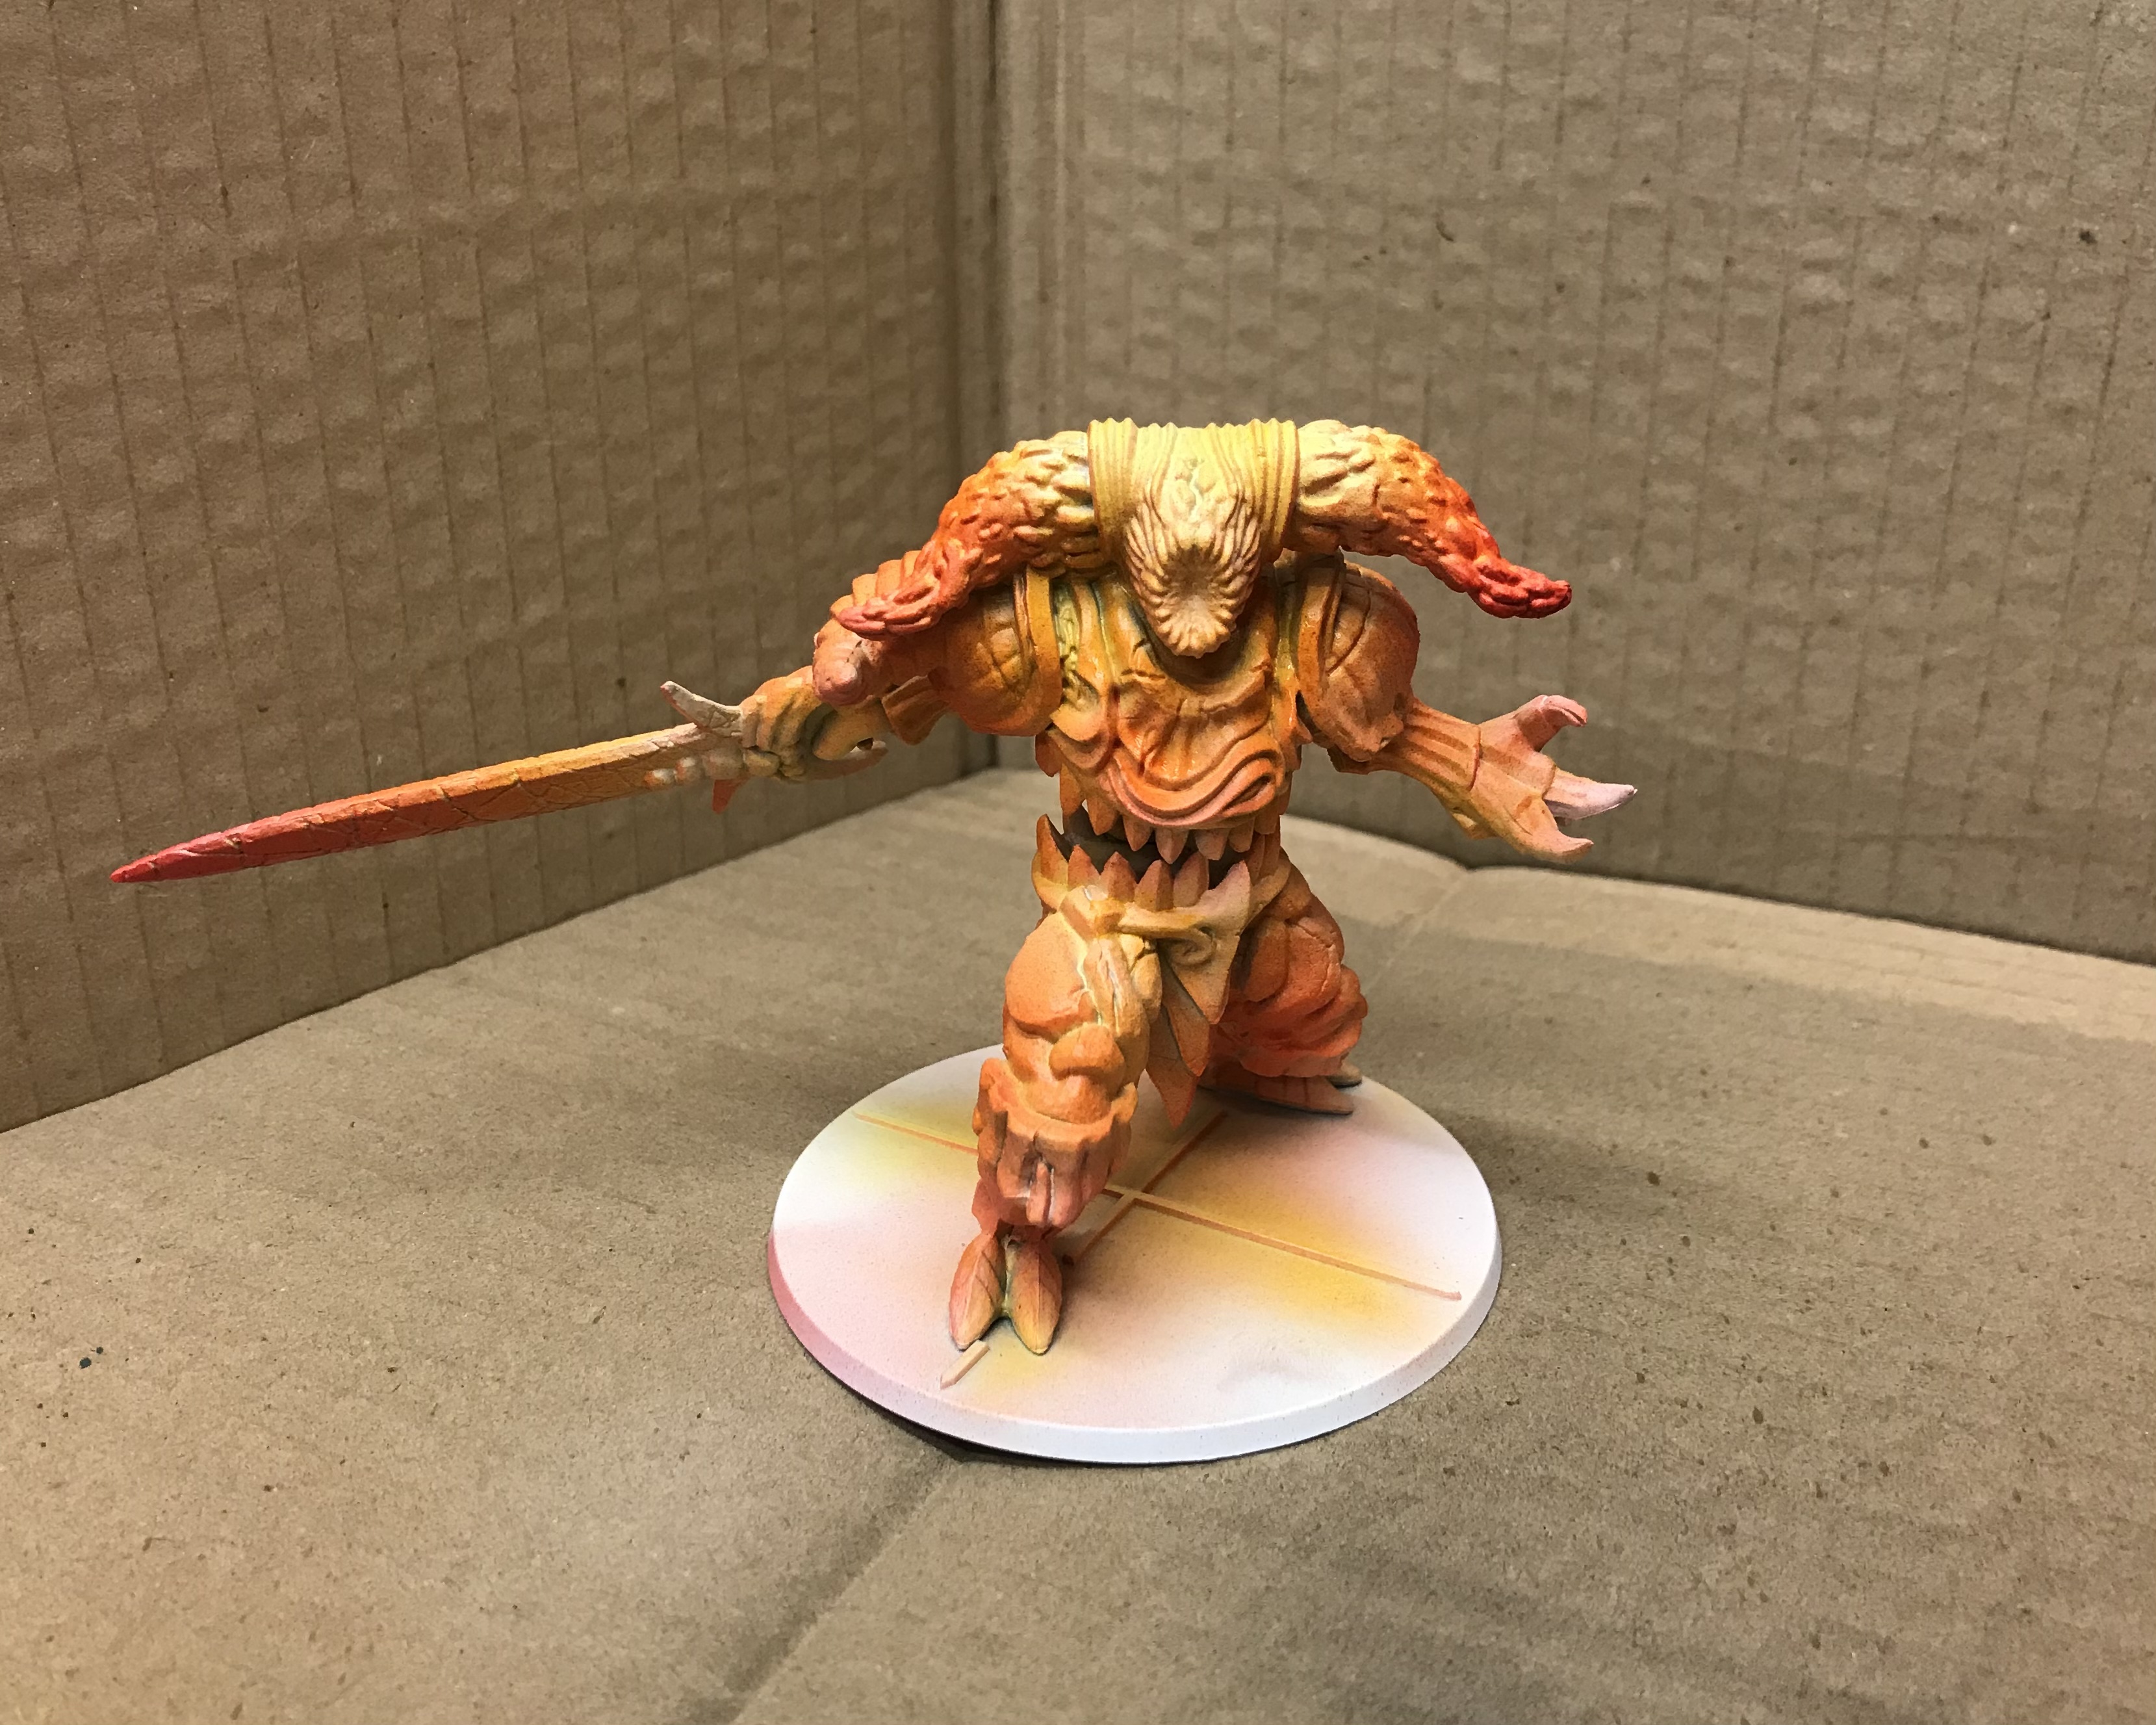
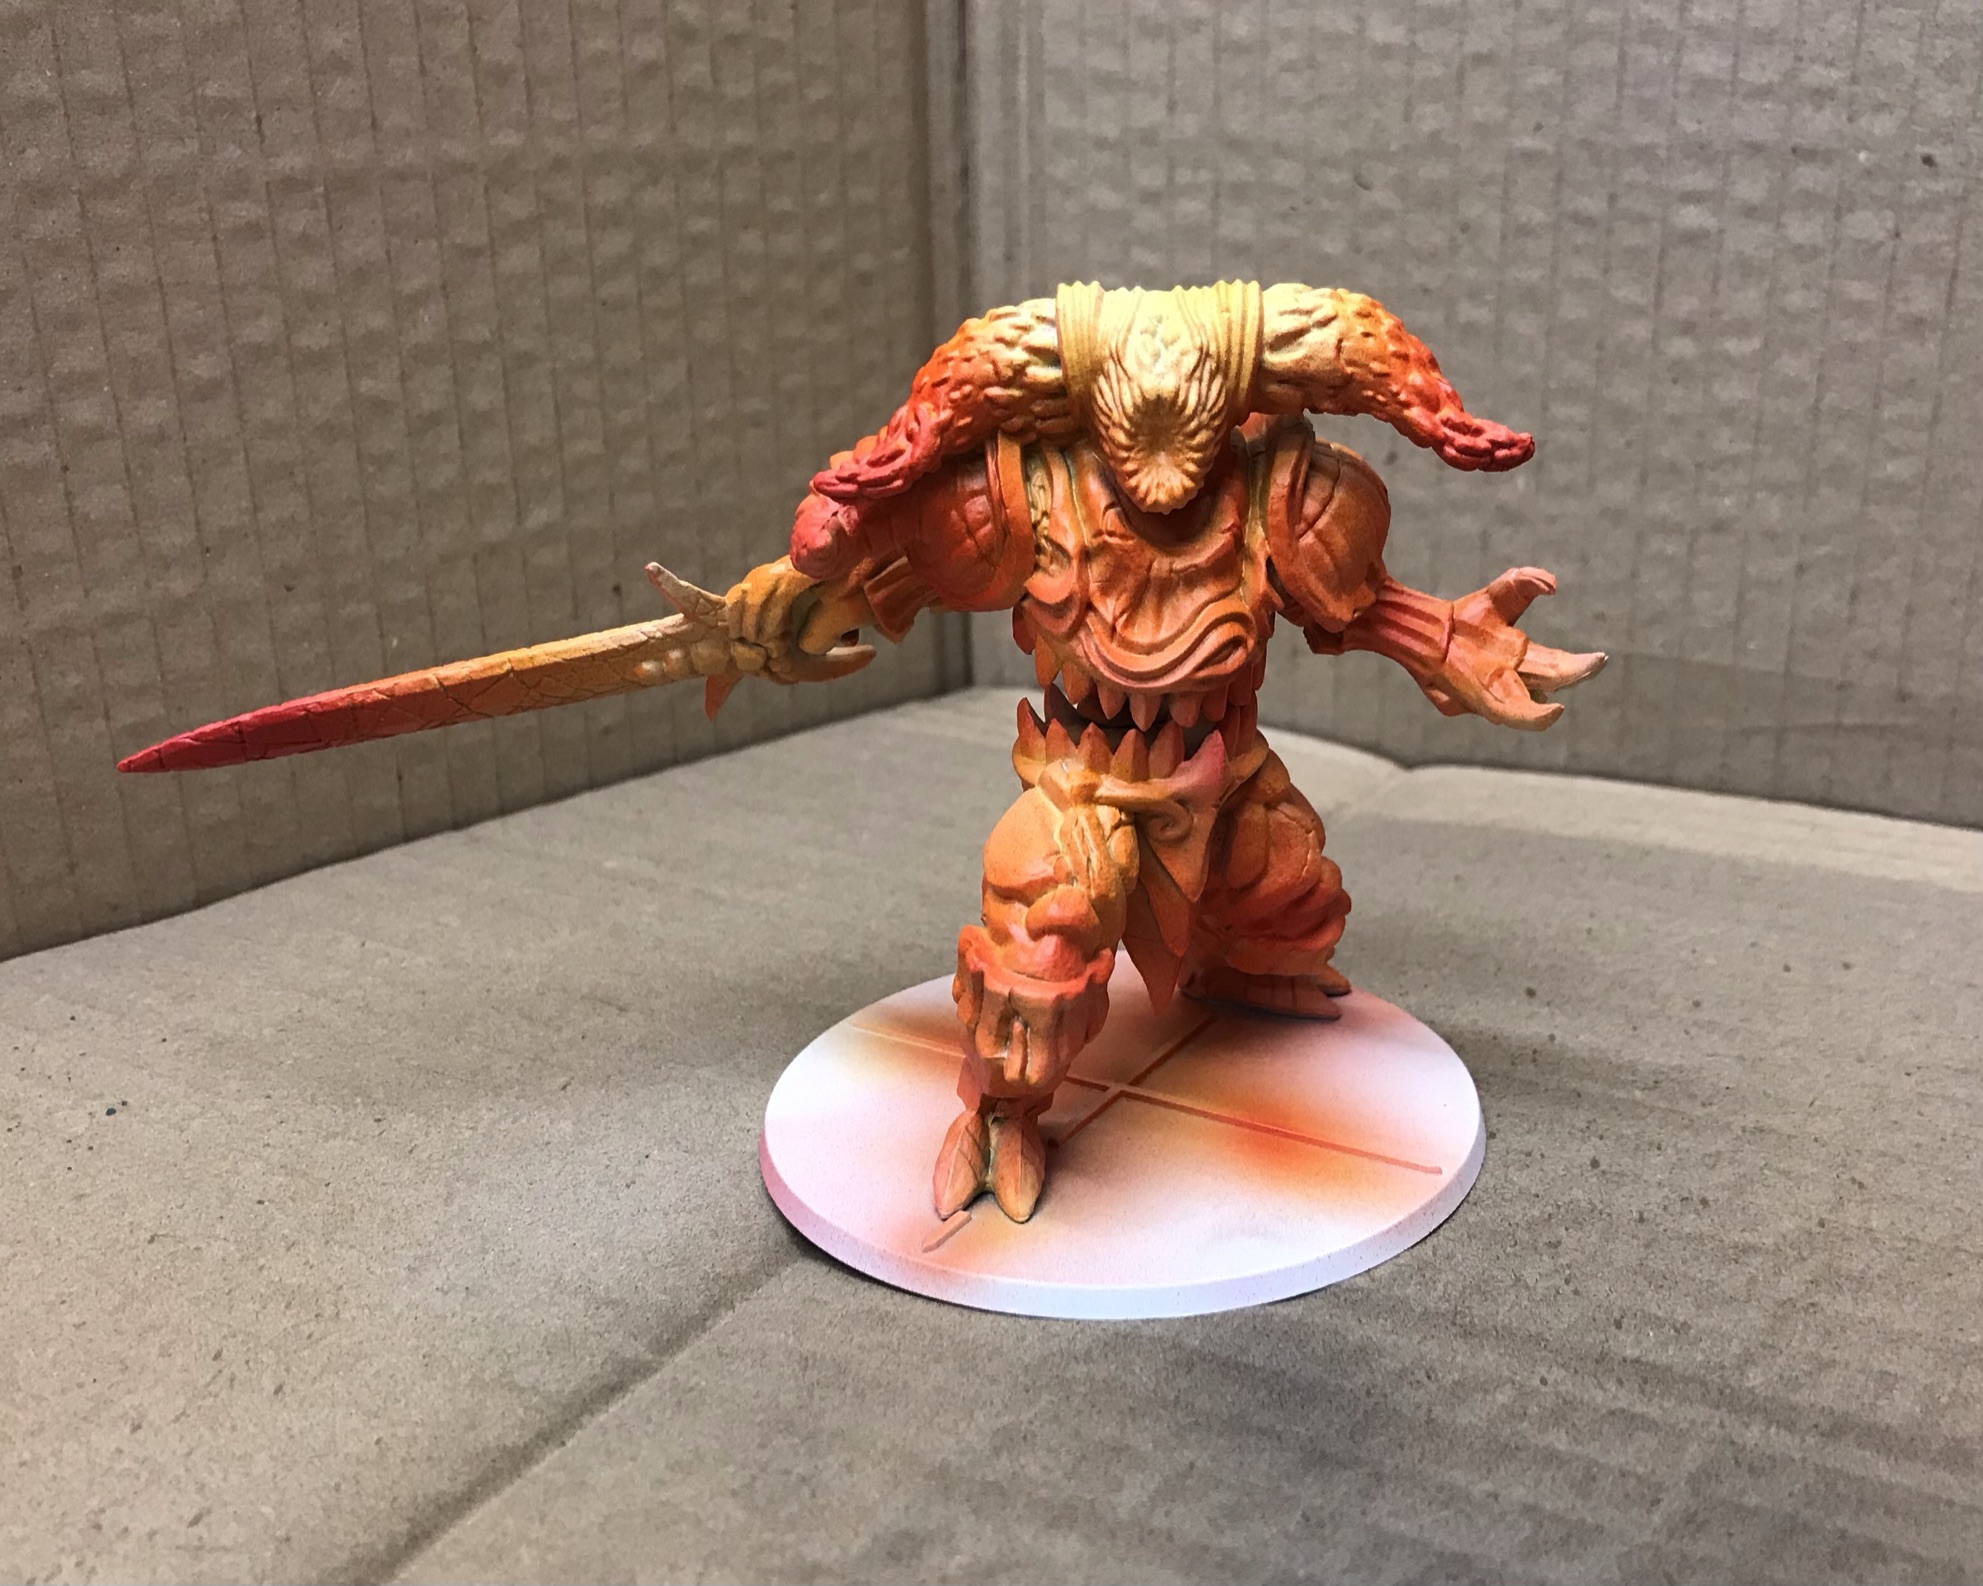
I primed the model with a satin white before using my airbrush to blend from white at the deepest points, to yellow, through orange and finally to red. This was done with GW Sigismund Yellow Clear and Mephiston Red Air.
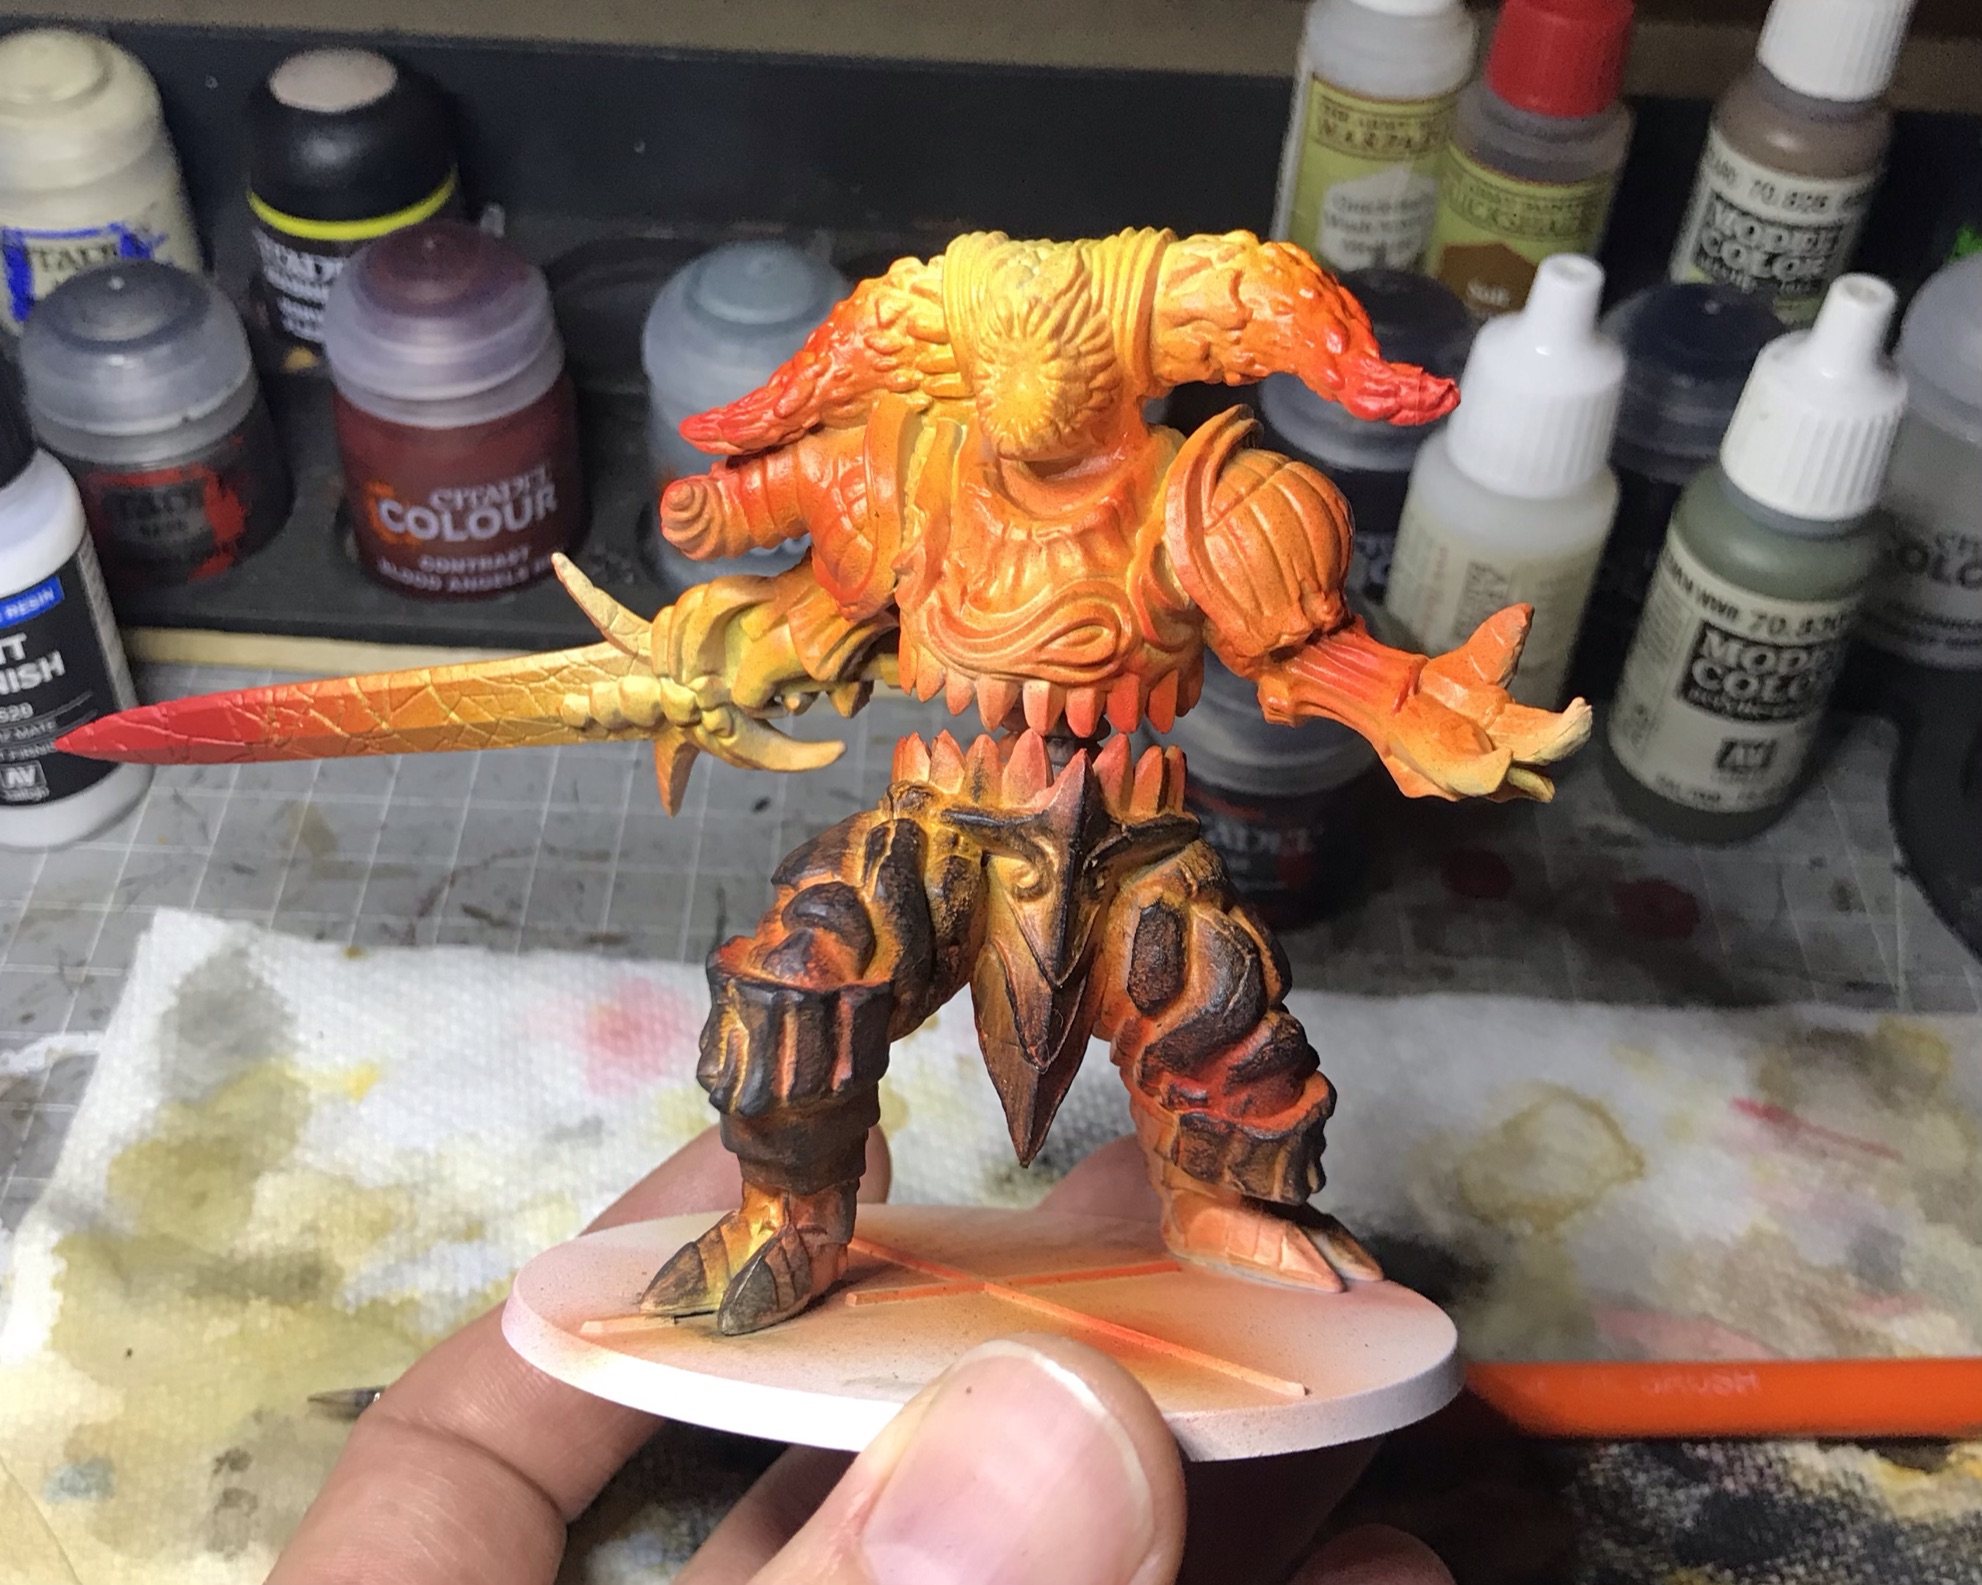
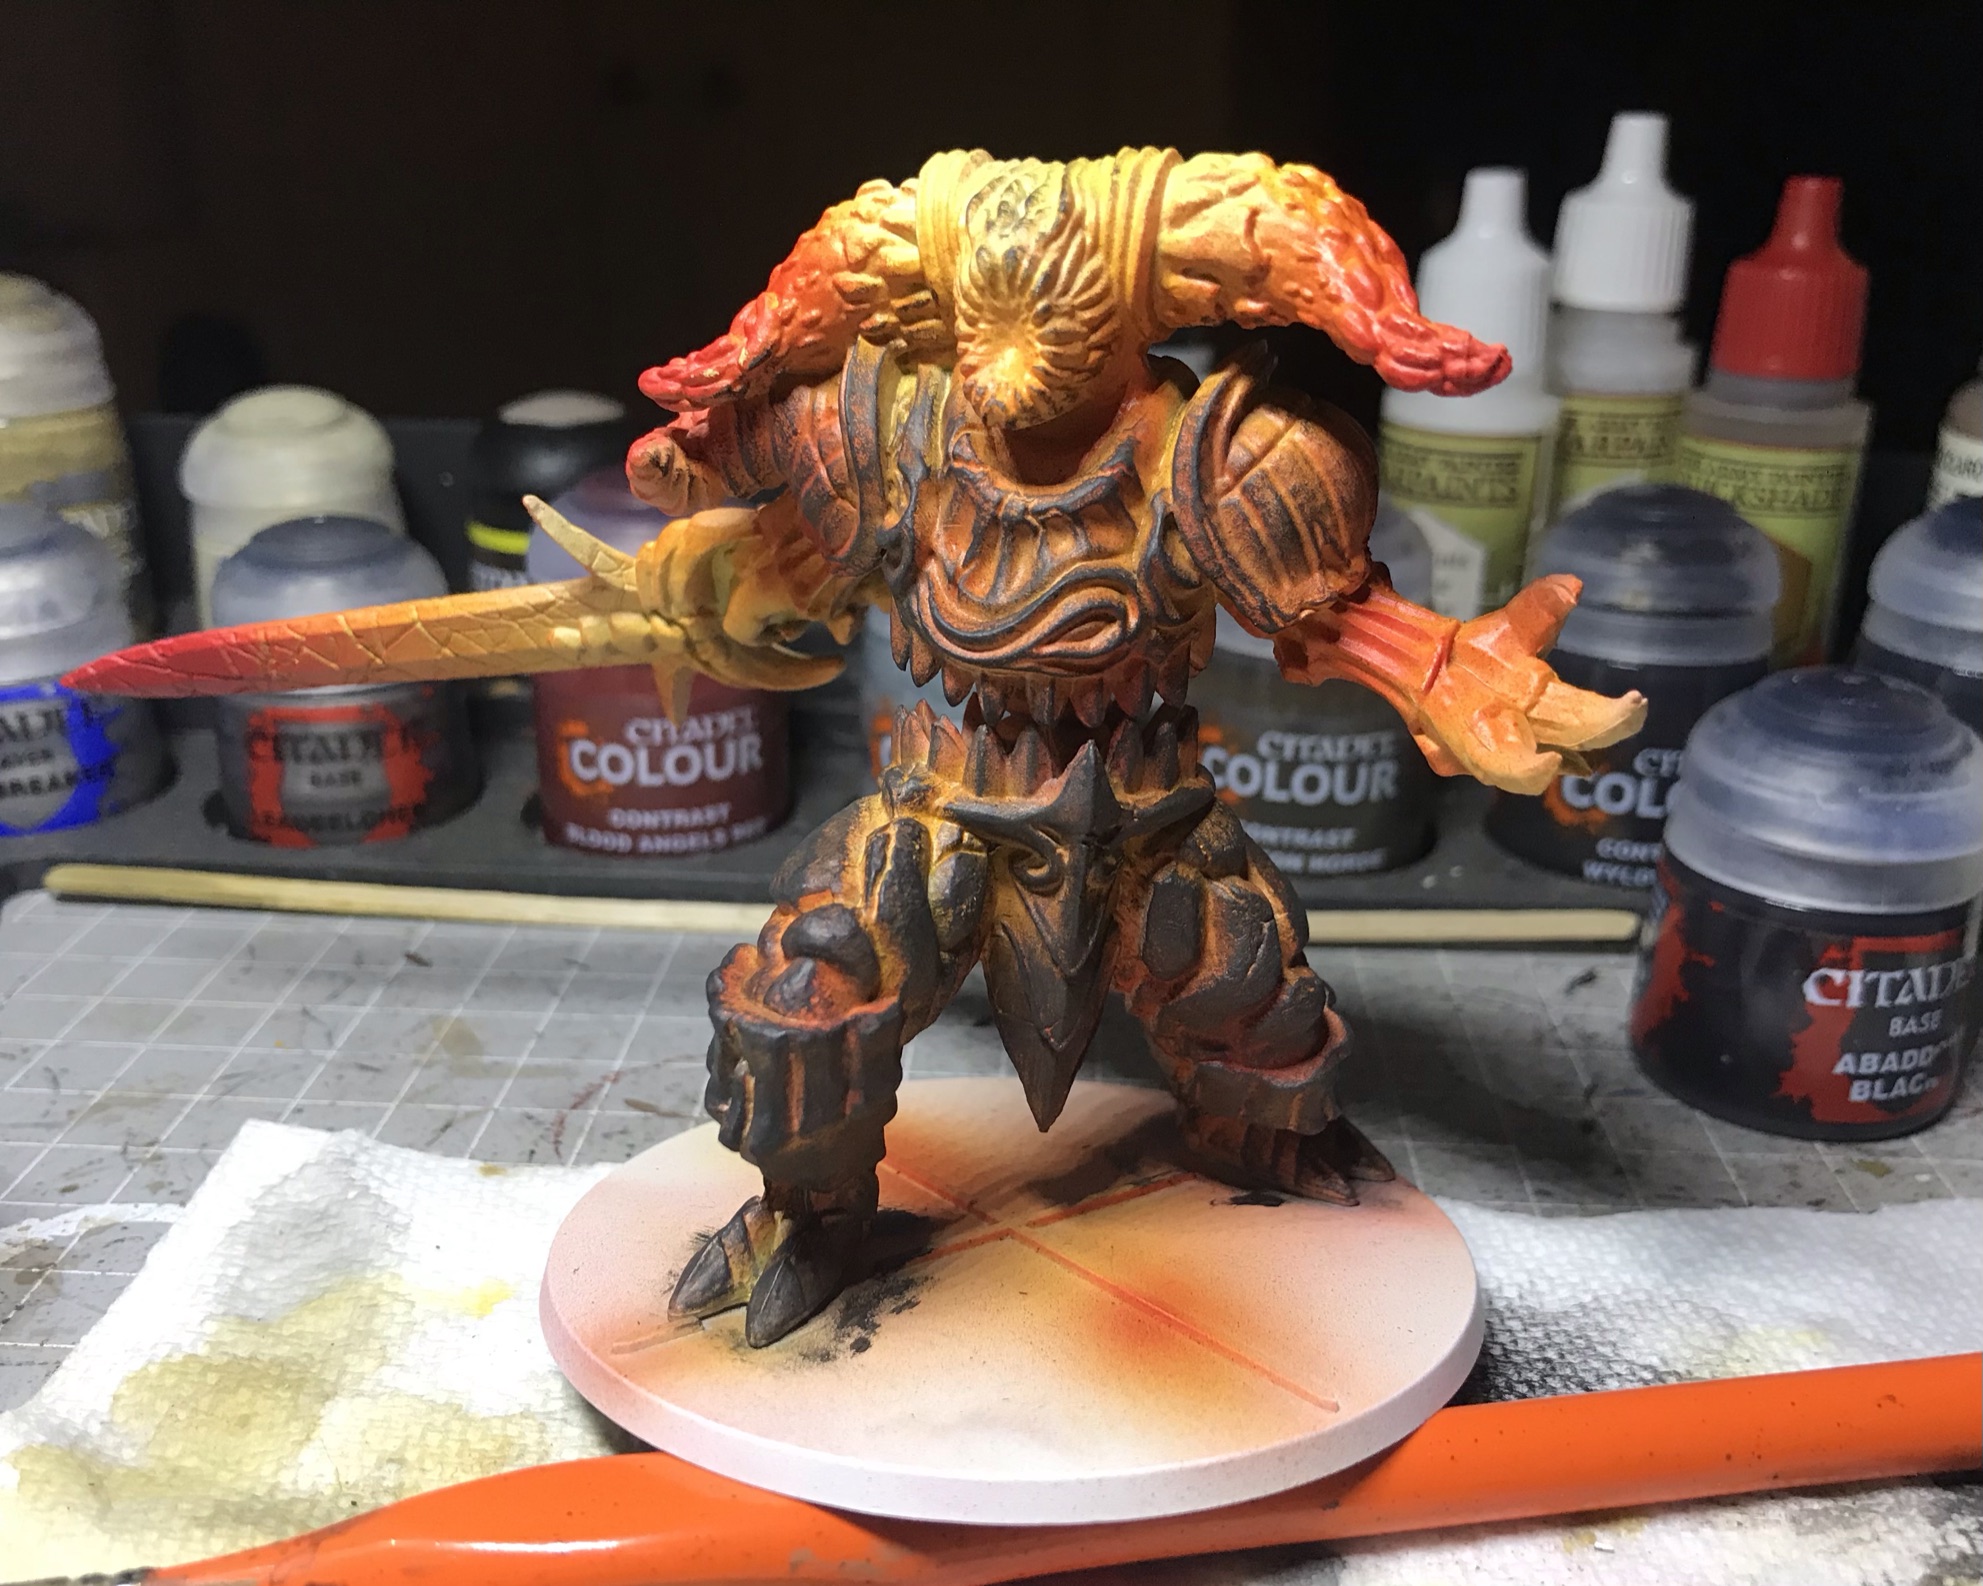
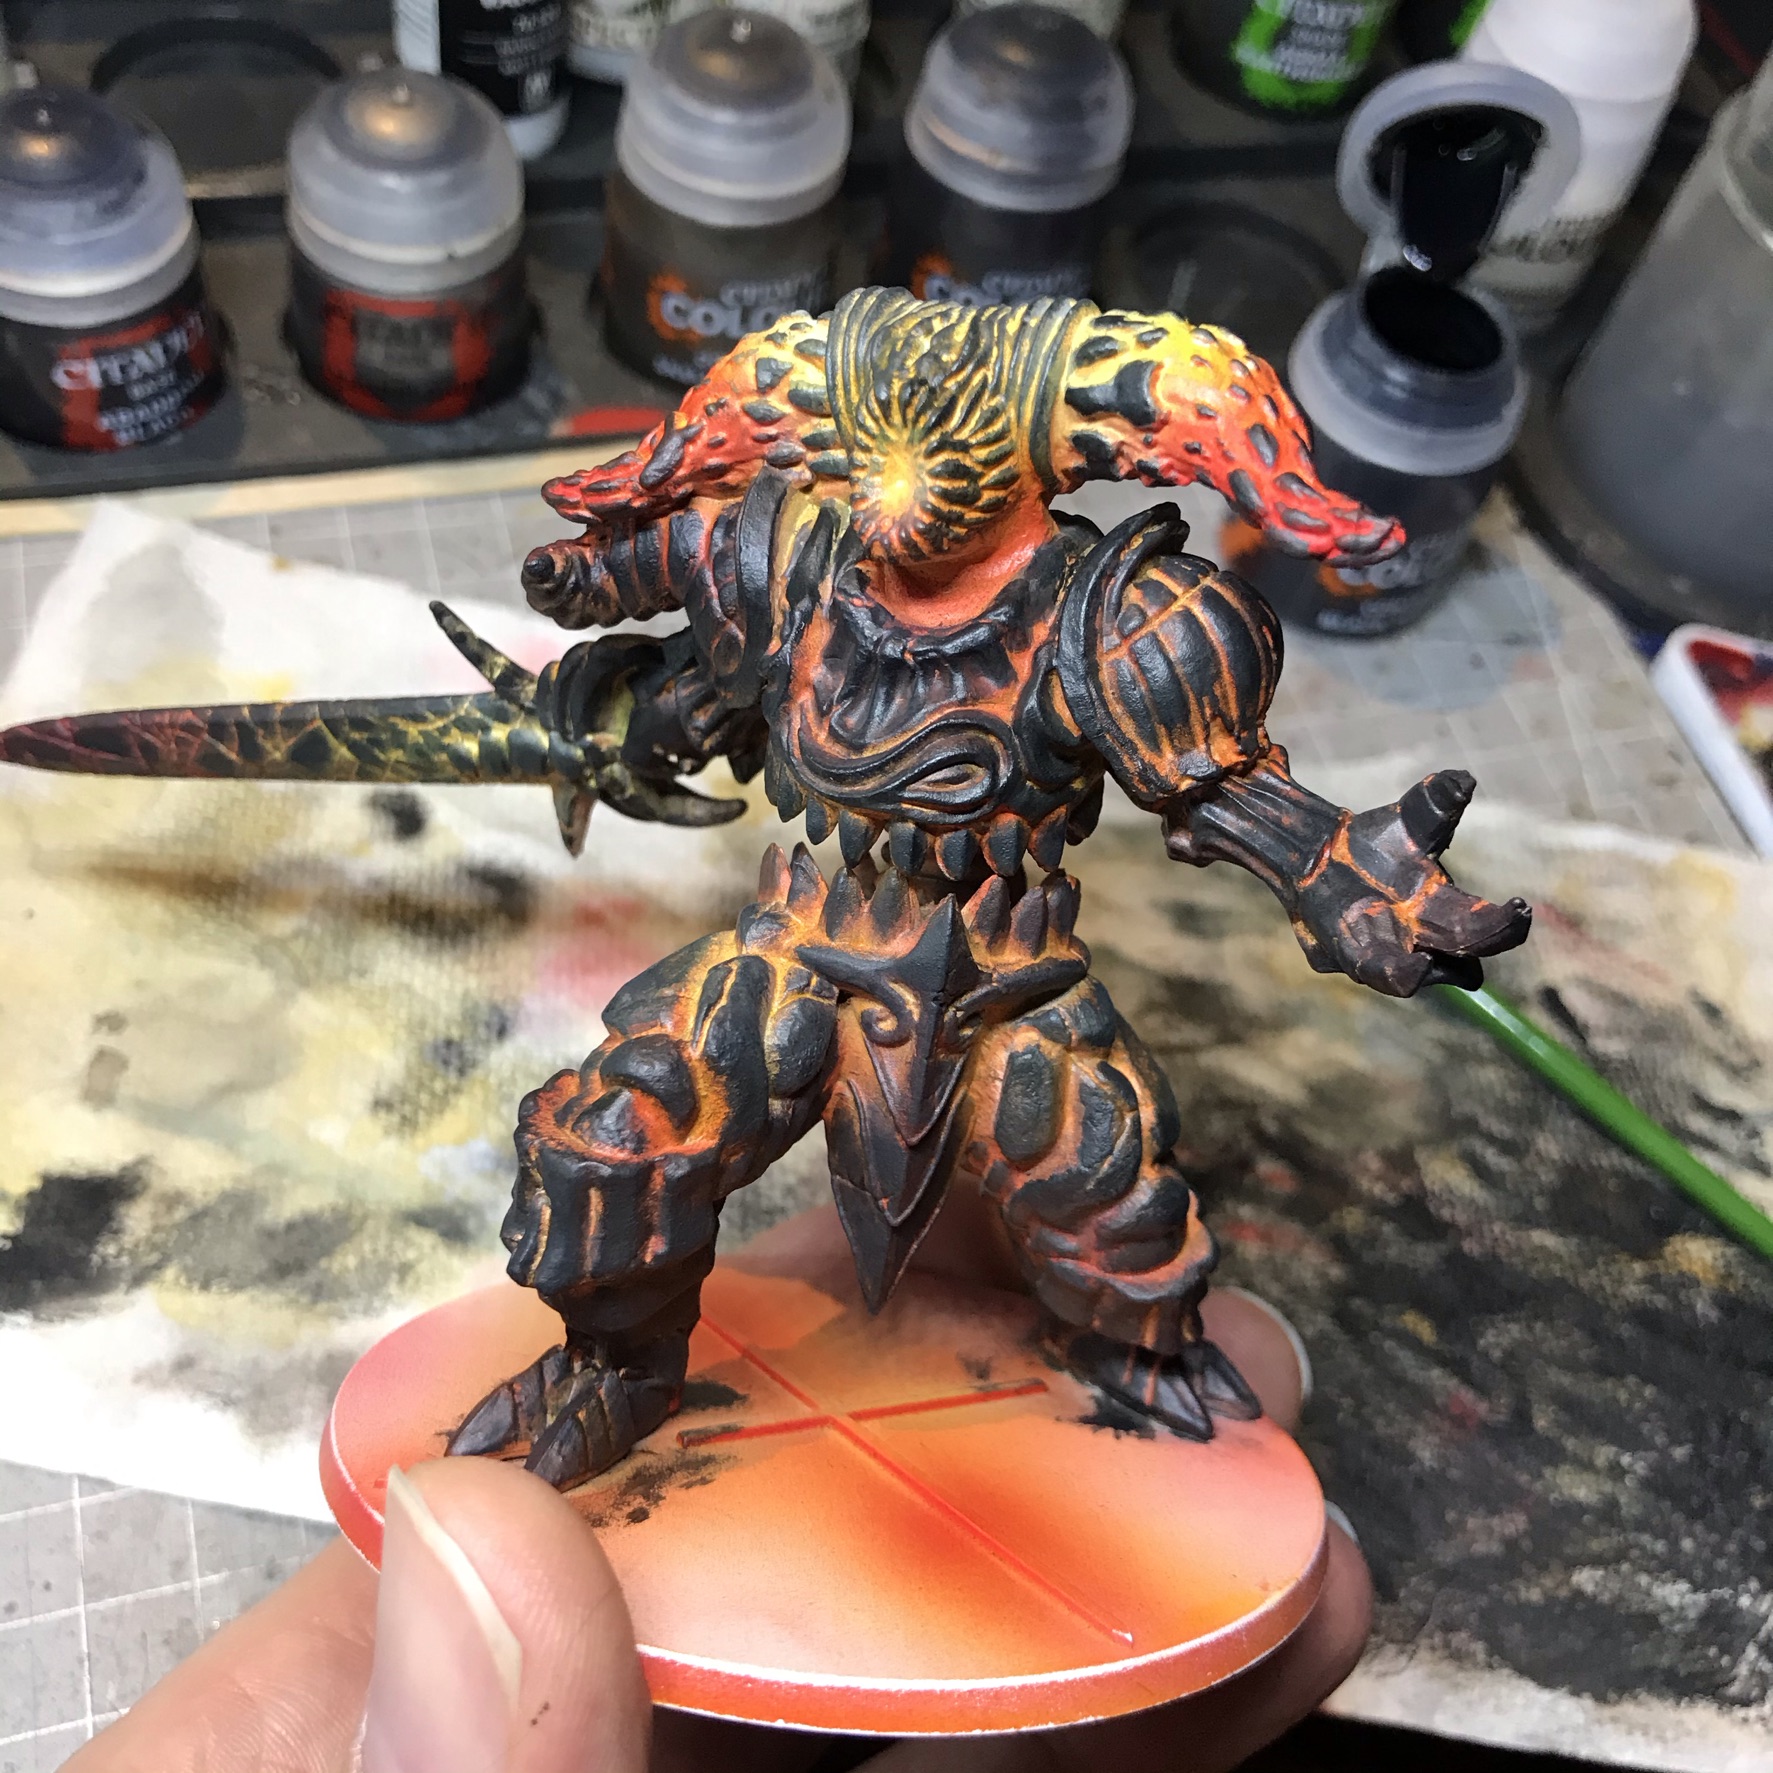
Once the ‘heat’ colouring was completed, I worked over the hard surface areas with Contrast Black Templar. I used successive layers, thinned with medium to darken the points furthest from the heat. I finished this model with a coat of Vallejo Gloss Varnish, thinned and applied through the airbrush. My intention was to add a slight glisten to the surface that would add to the molten lava effect.
Iron Keep Expansion - Part II
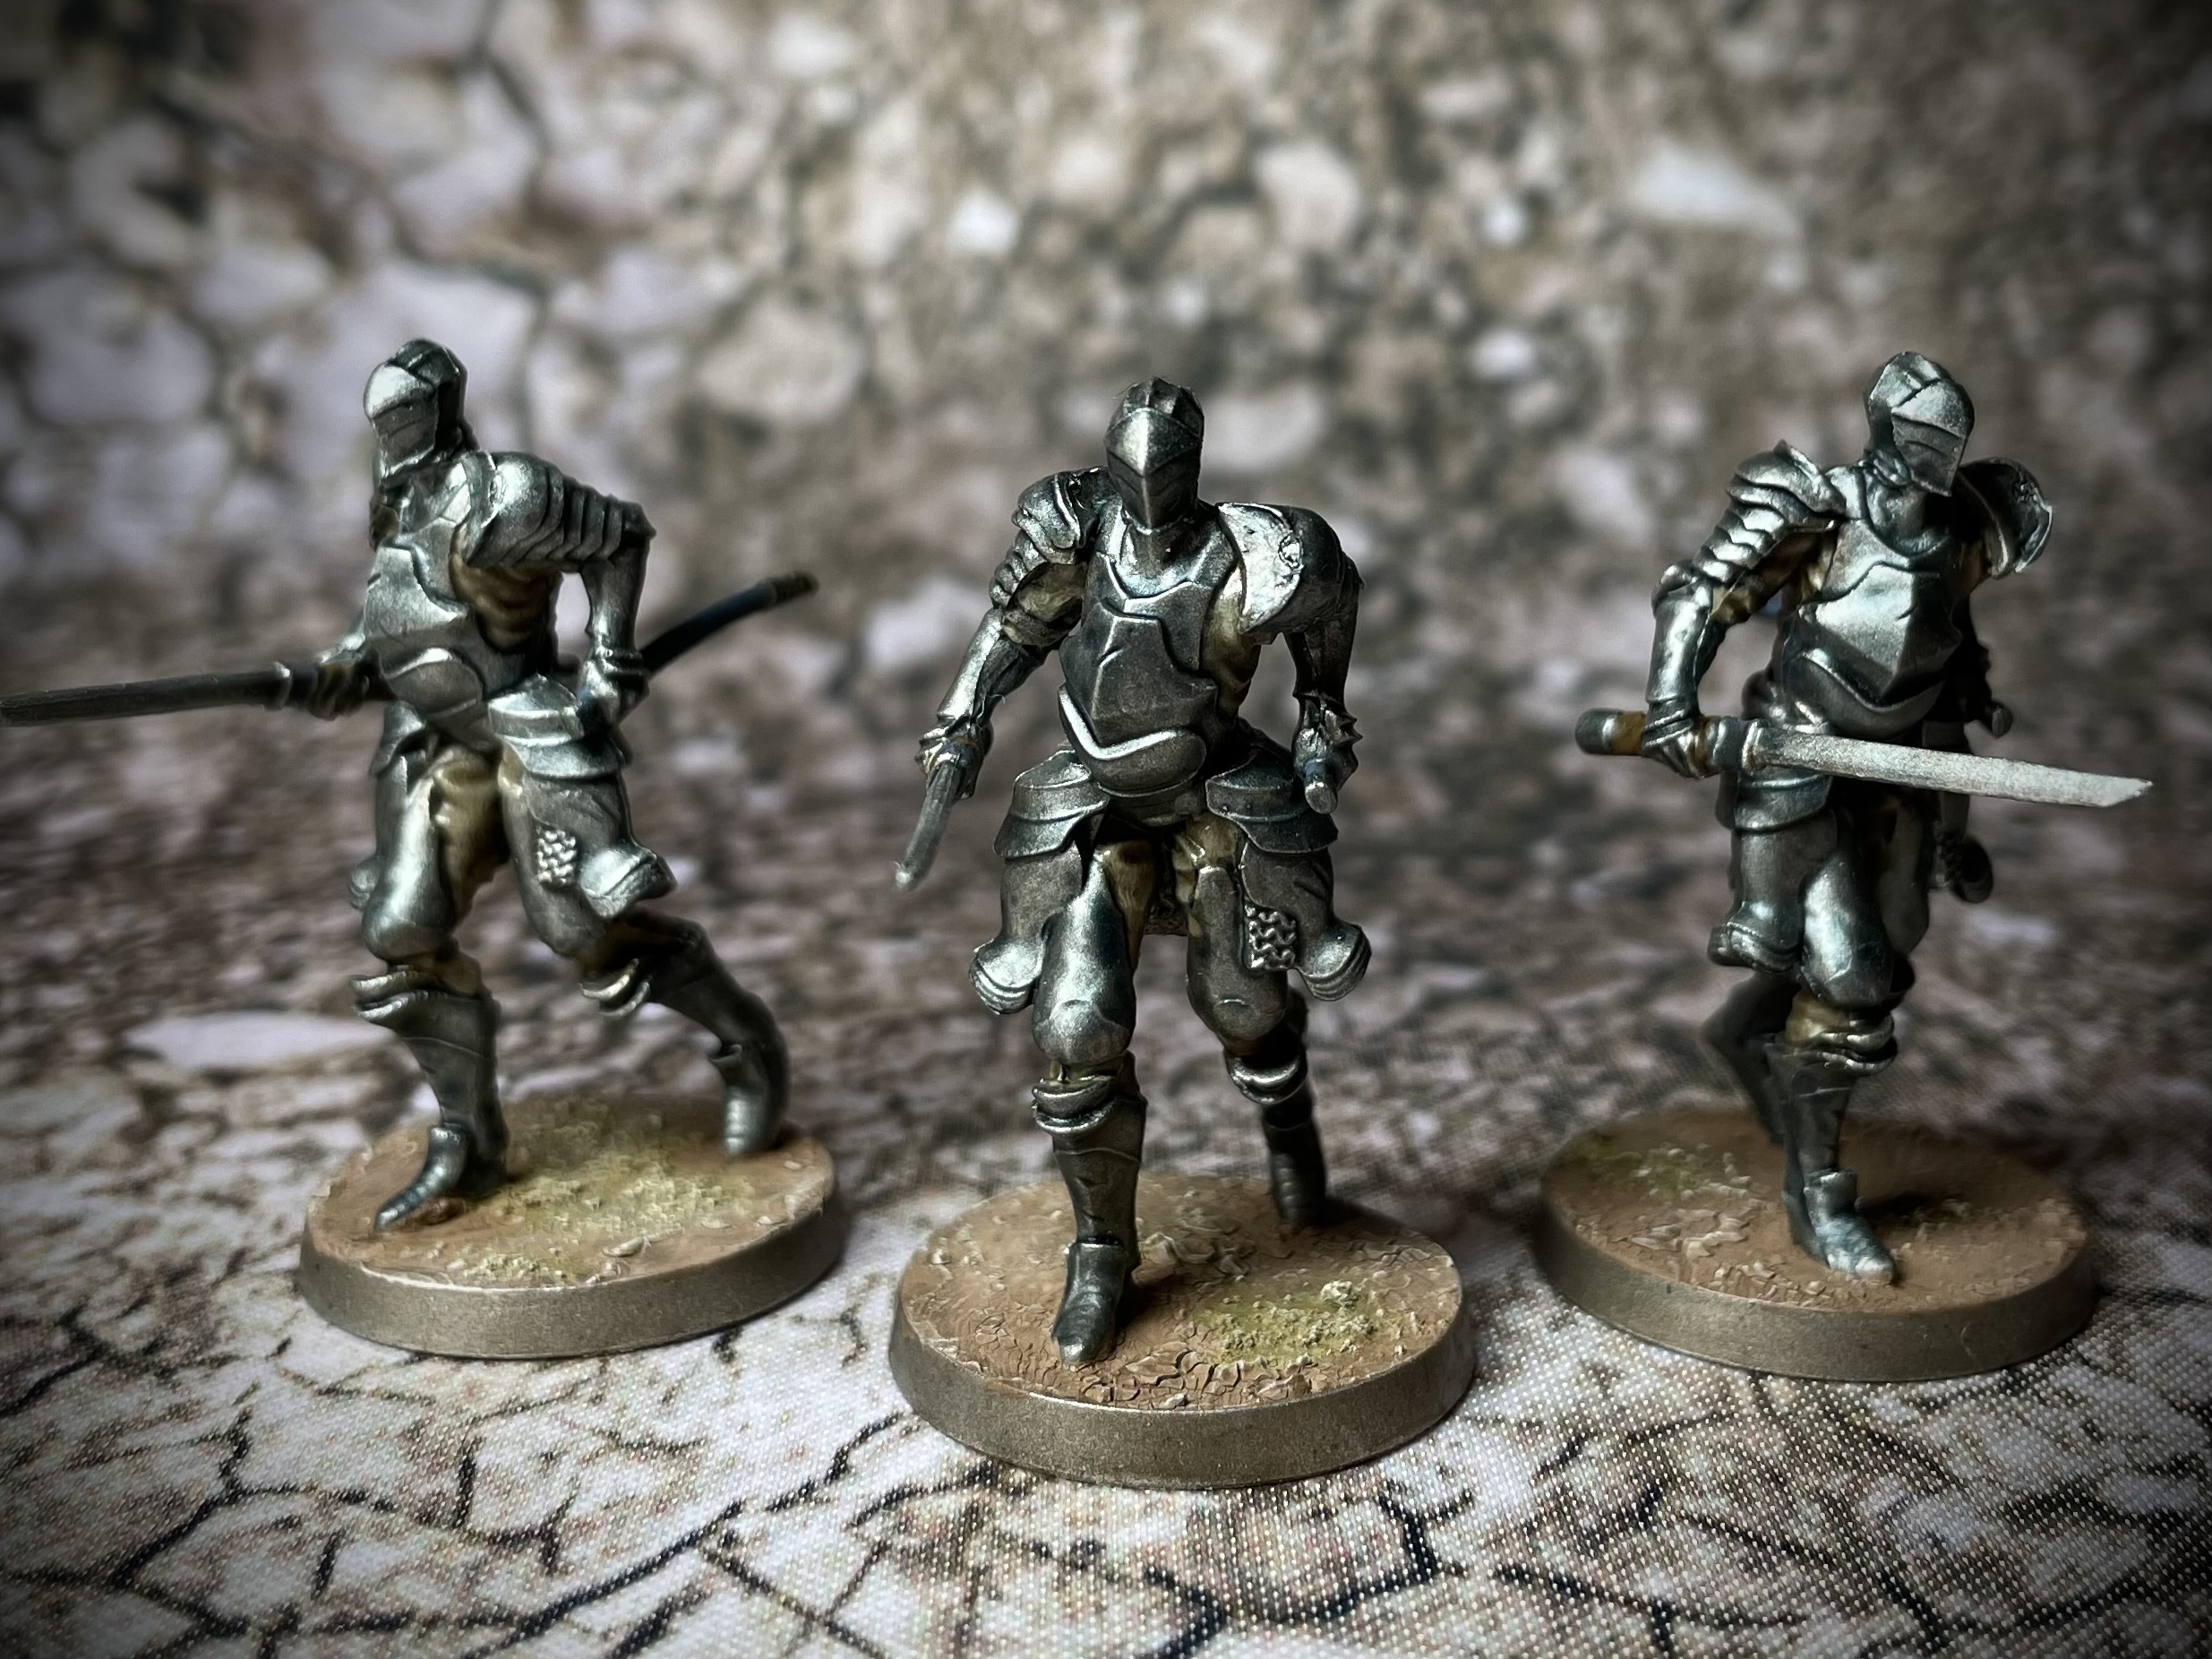
The final common enemy found in the Iron Keep are the Ironclad Soldiers. As their appearance suggest, these guys are slow moving, hard hitting and tough as hell!
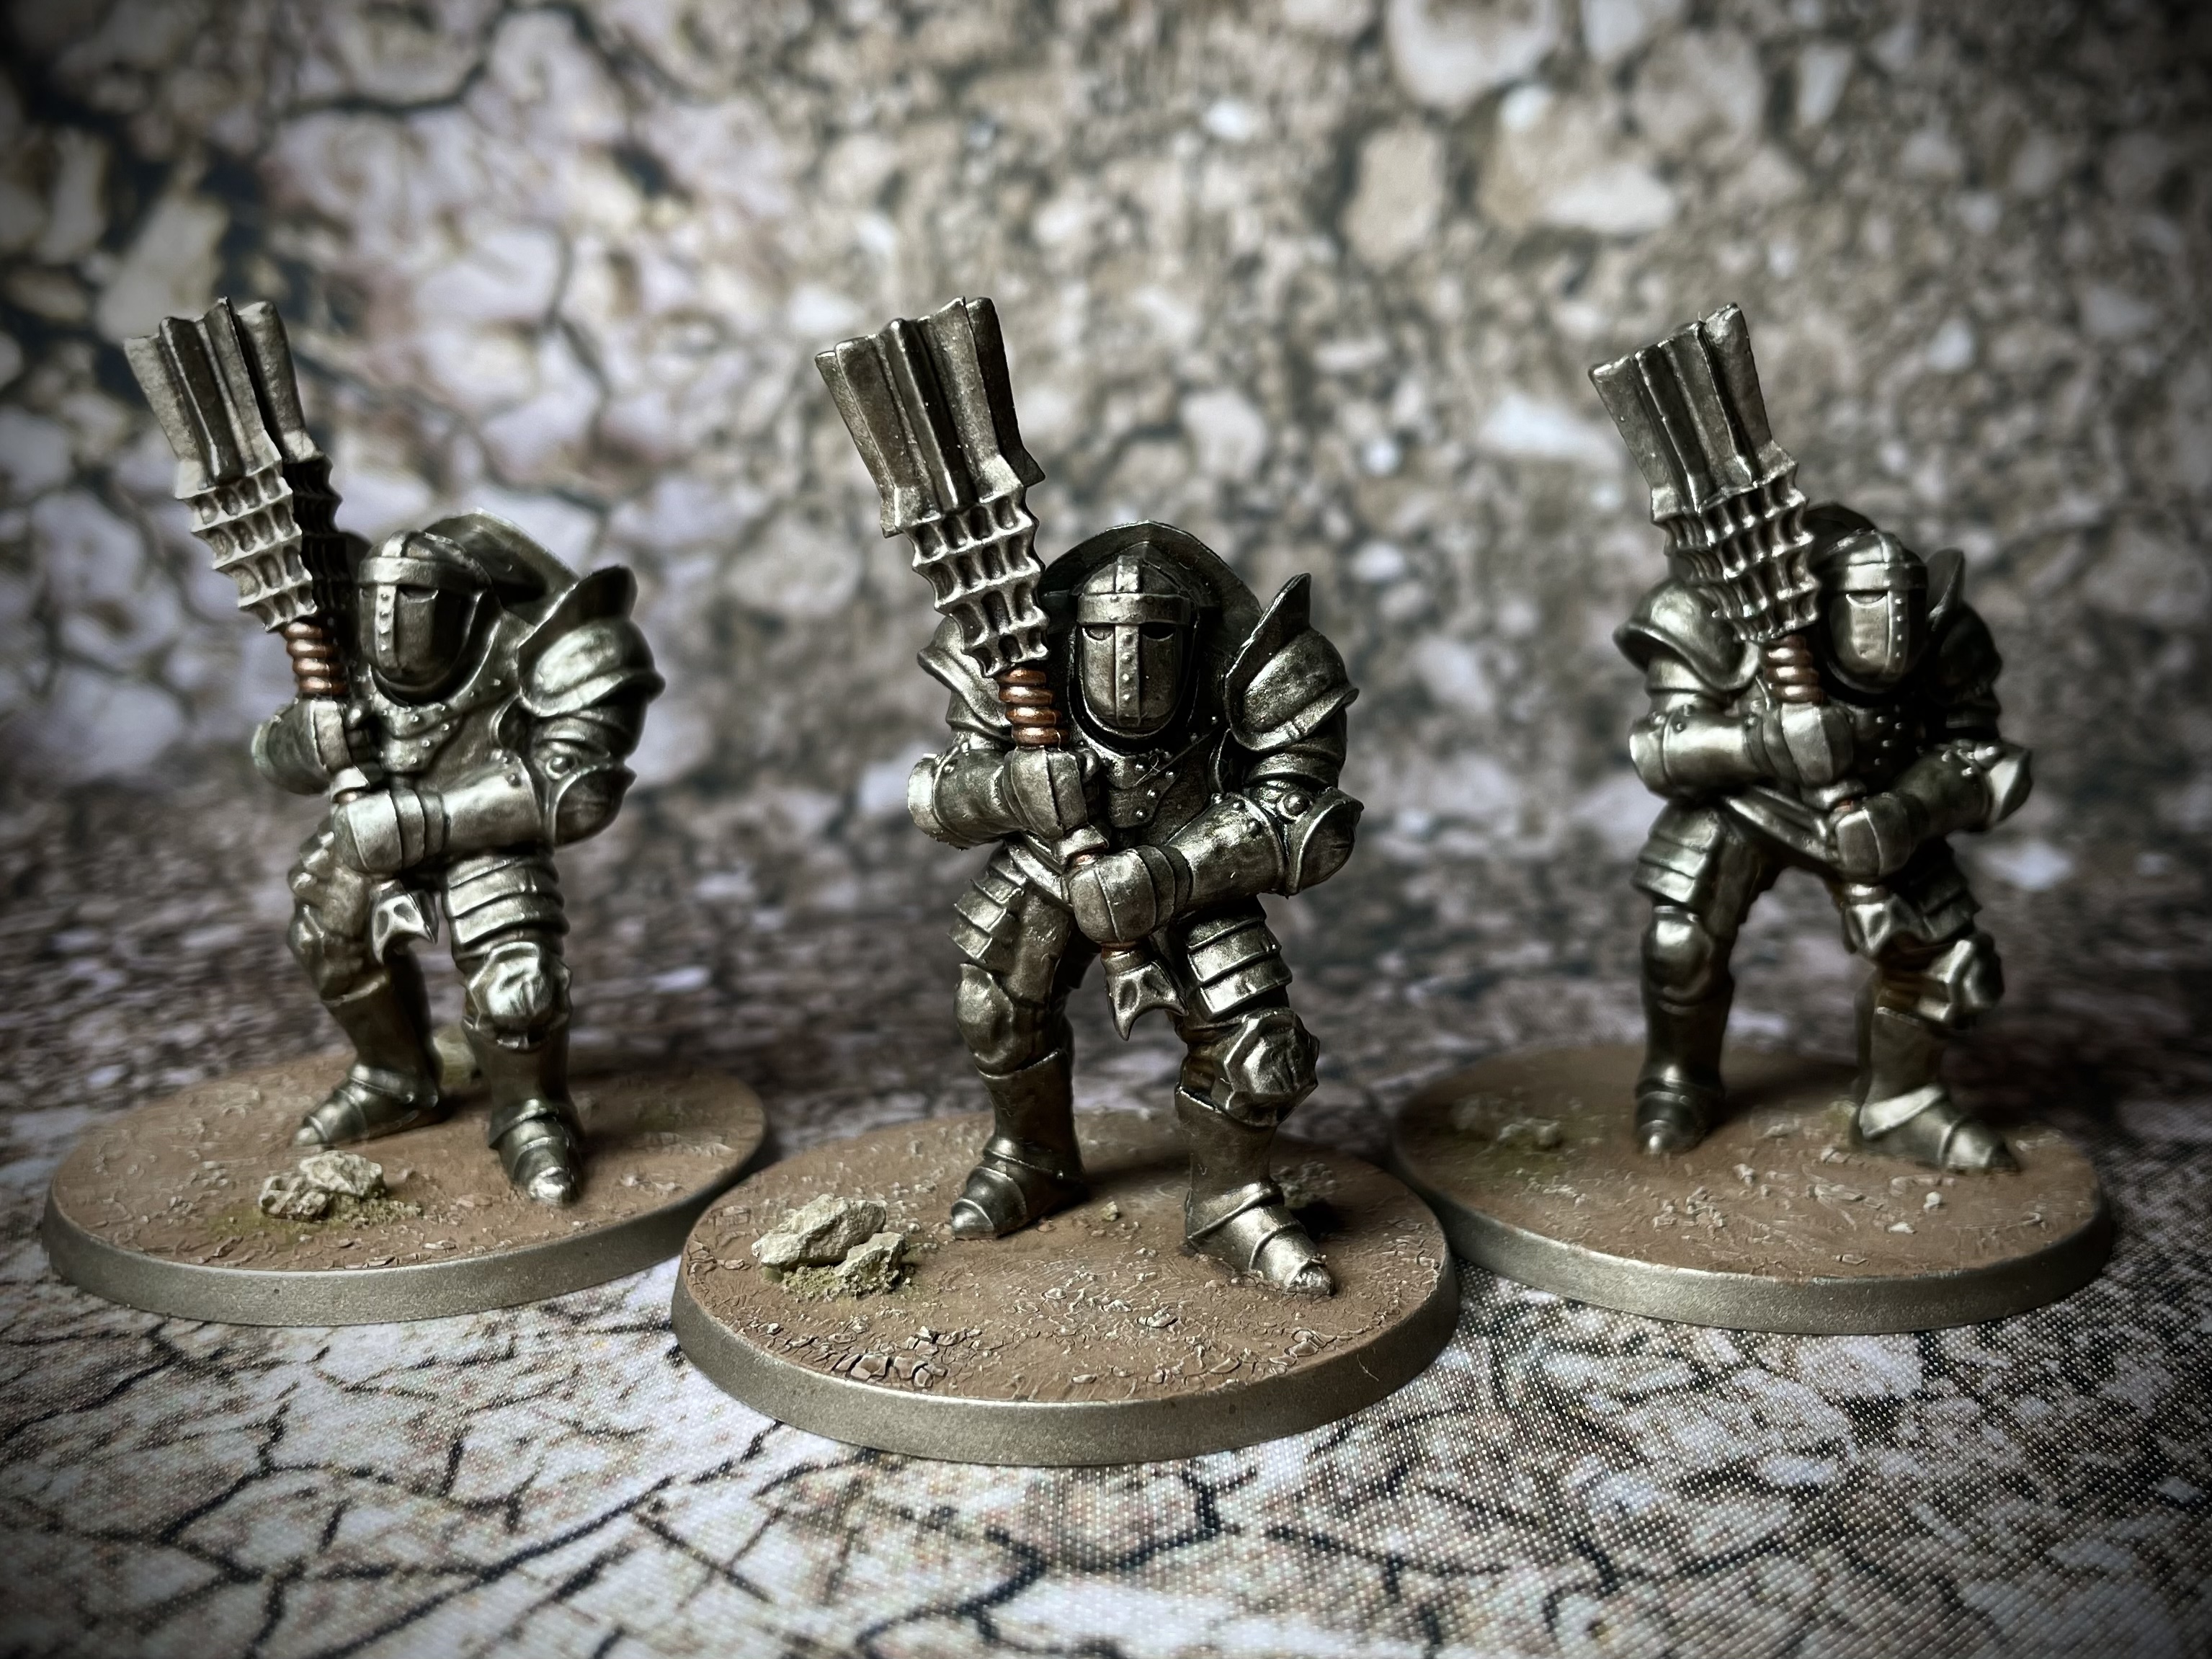 Ironclad Soldier
The Ironclads lack the bluish hues of the Allon knight’s and so these were simply washed with Agrax and Nuln oil to the desired depth of colour and brought back to an iron finish with Lead Belcher and Iron Breaker dry brushing. Simple!
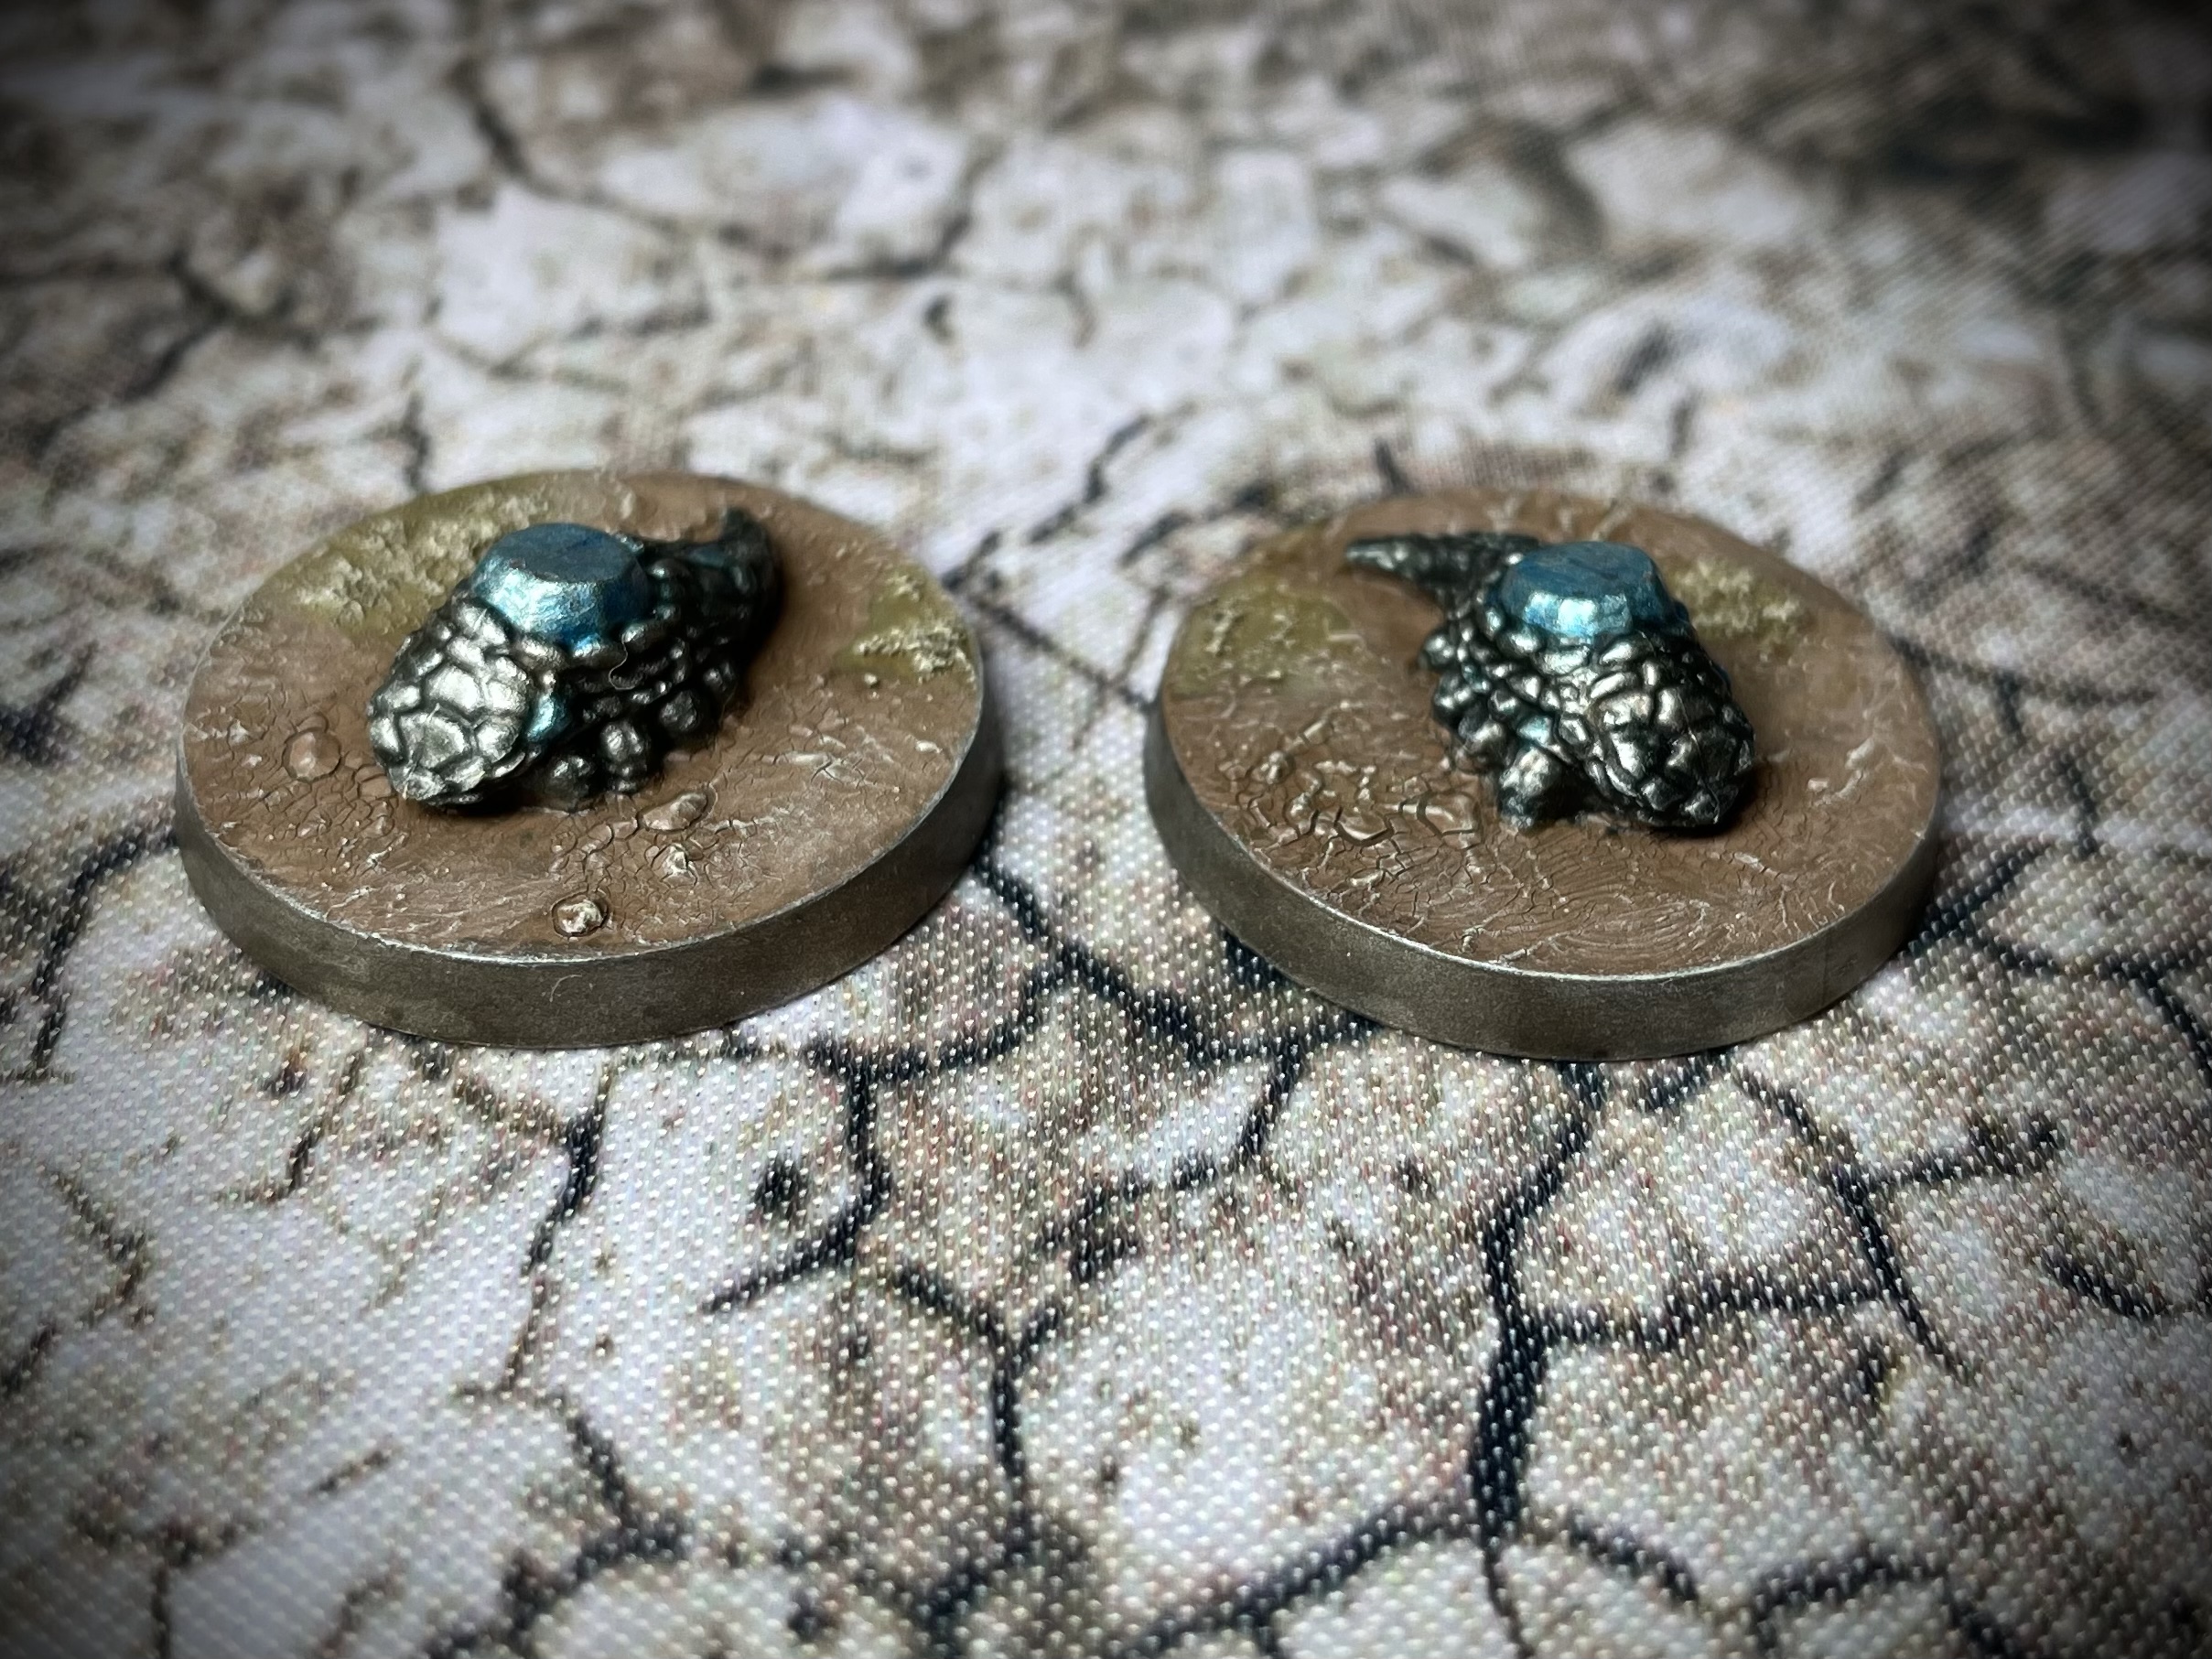 Crystal Lizards
Another feature of the iron keep expansion are the crystal lizards. These little chaps appear throughout the Dark Souls series and are a valuable source of titanite ore that can be used to strengthen weapons. The trick is catching them before they run away! These were dry brushed up to a light silver before using Contrast Ultramarine Blue to tint the crystal parts of their bodies.

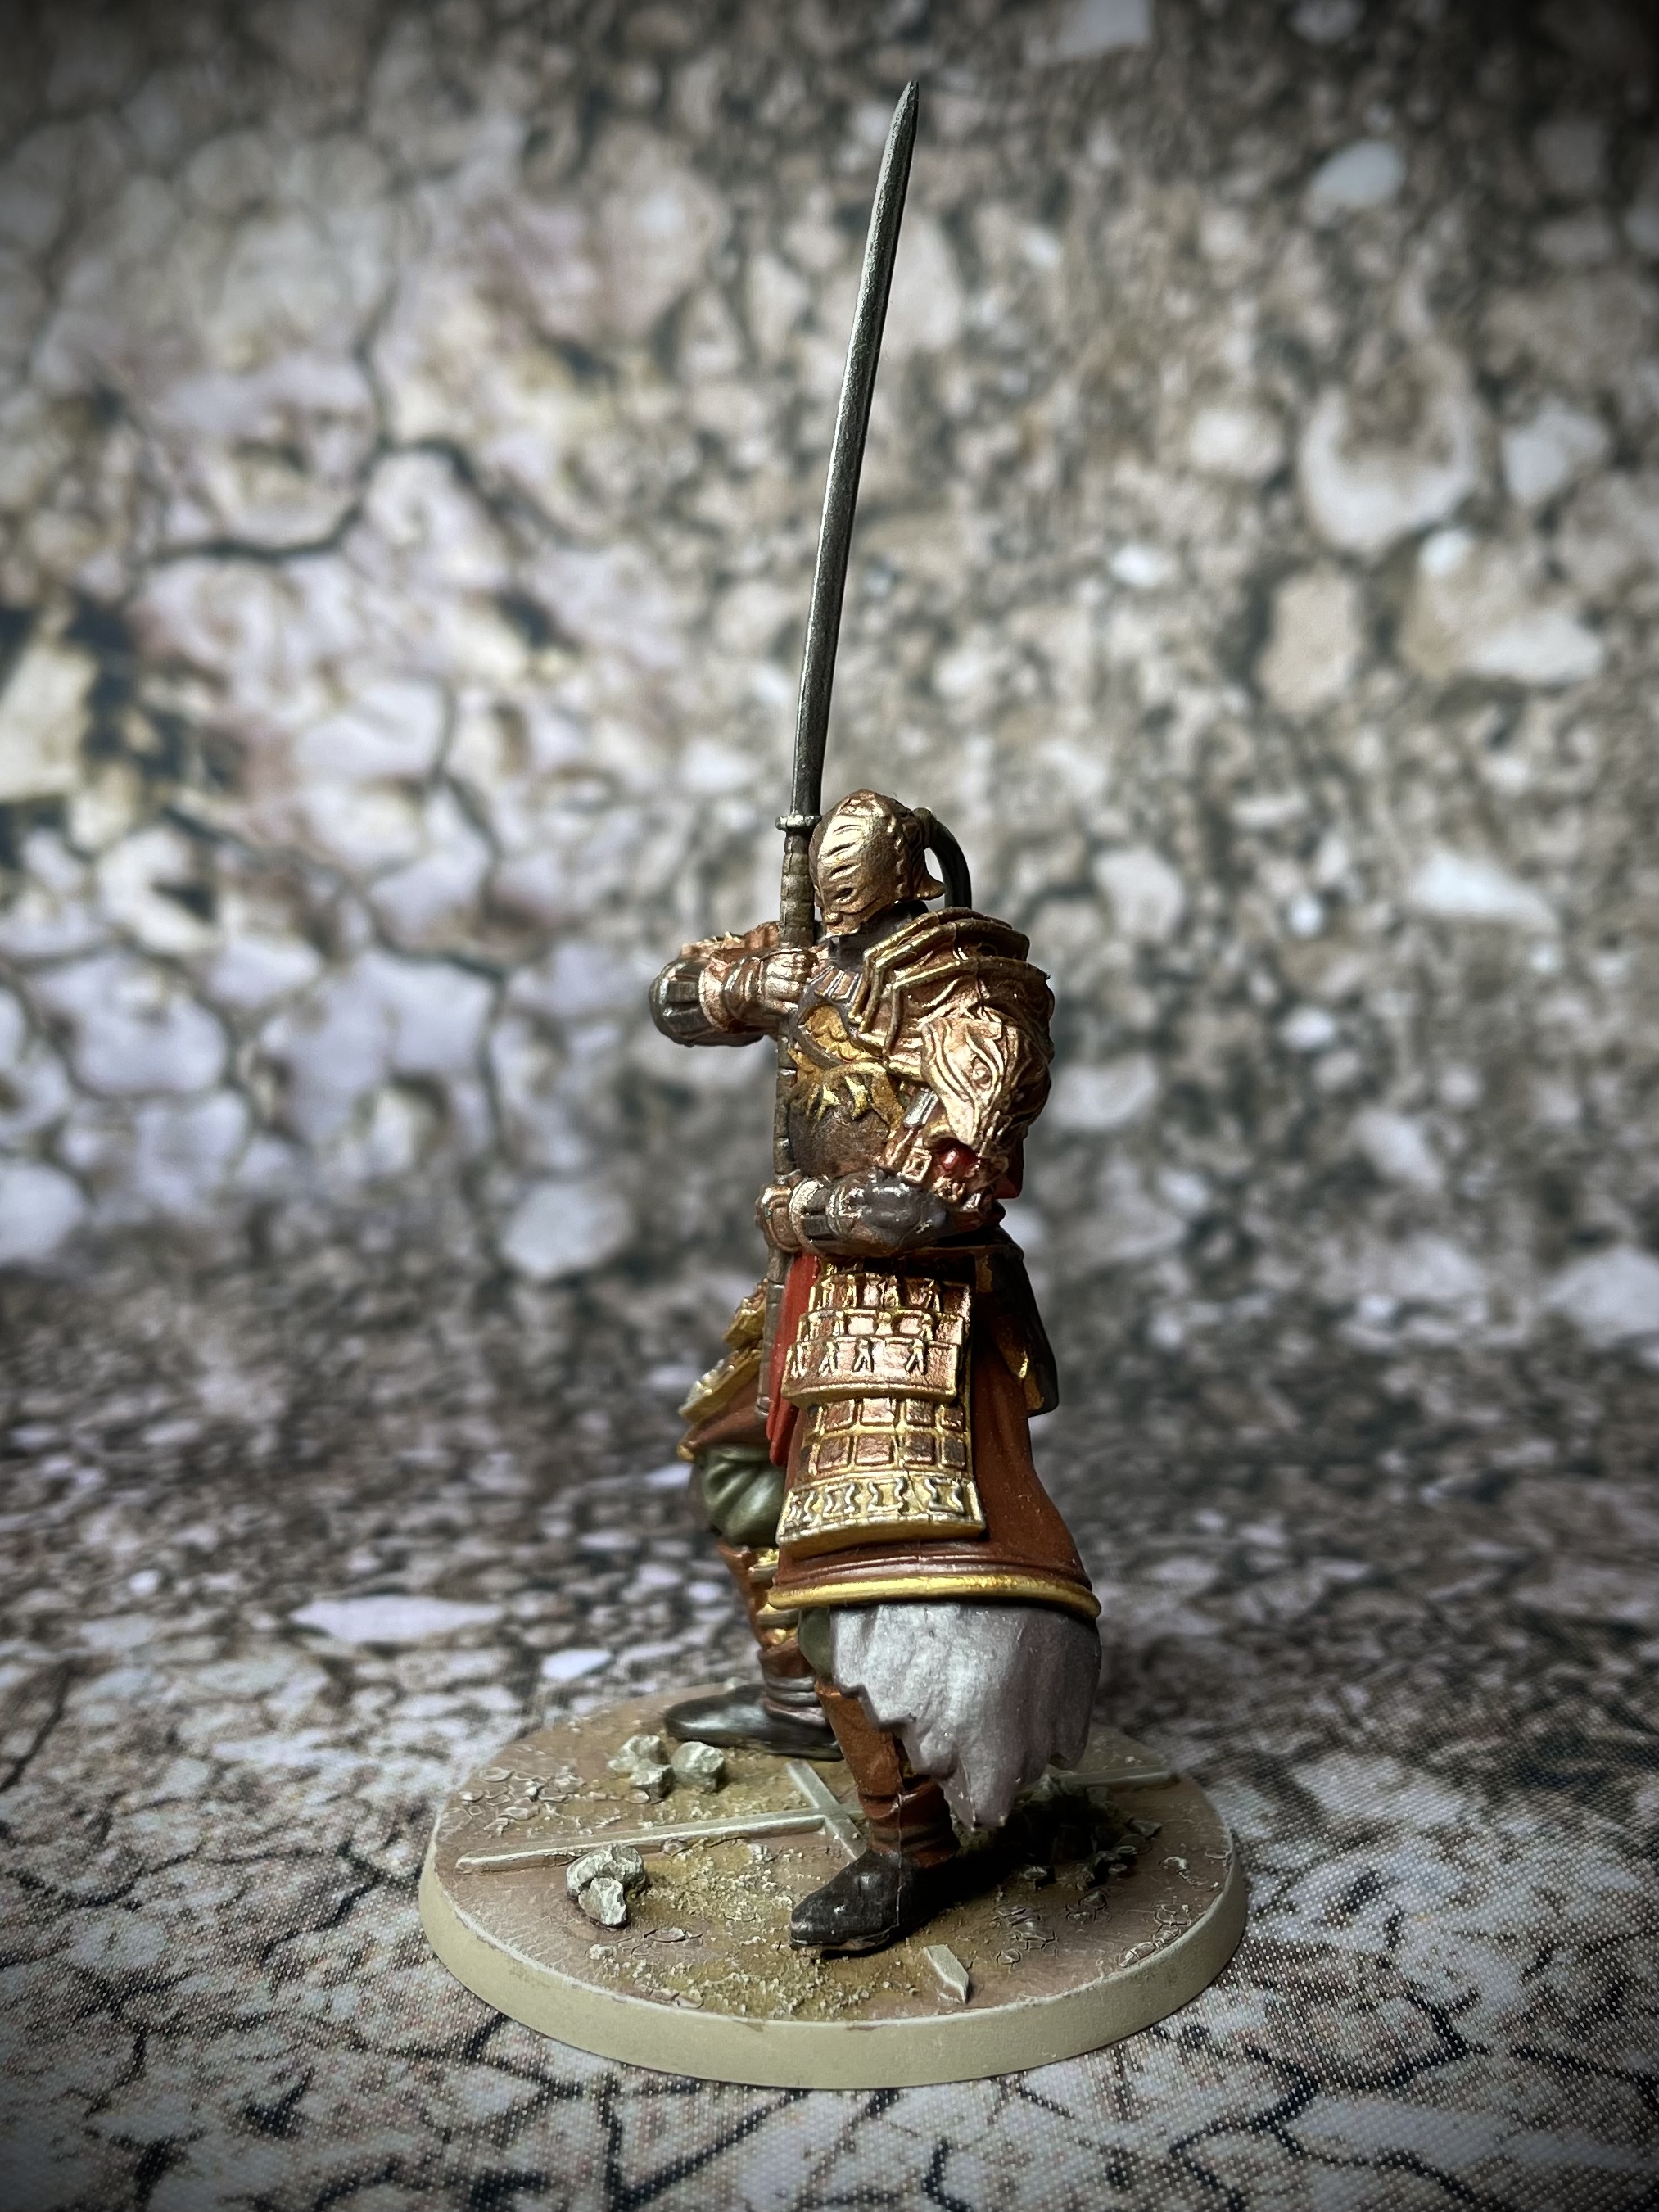
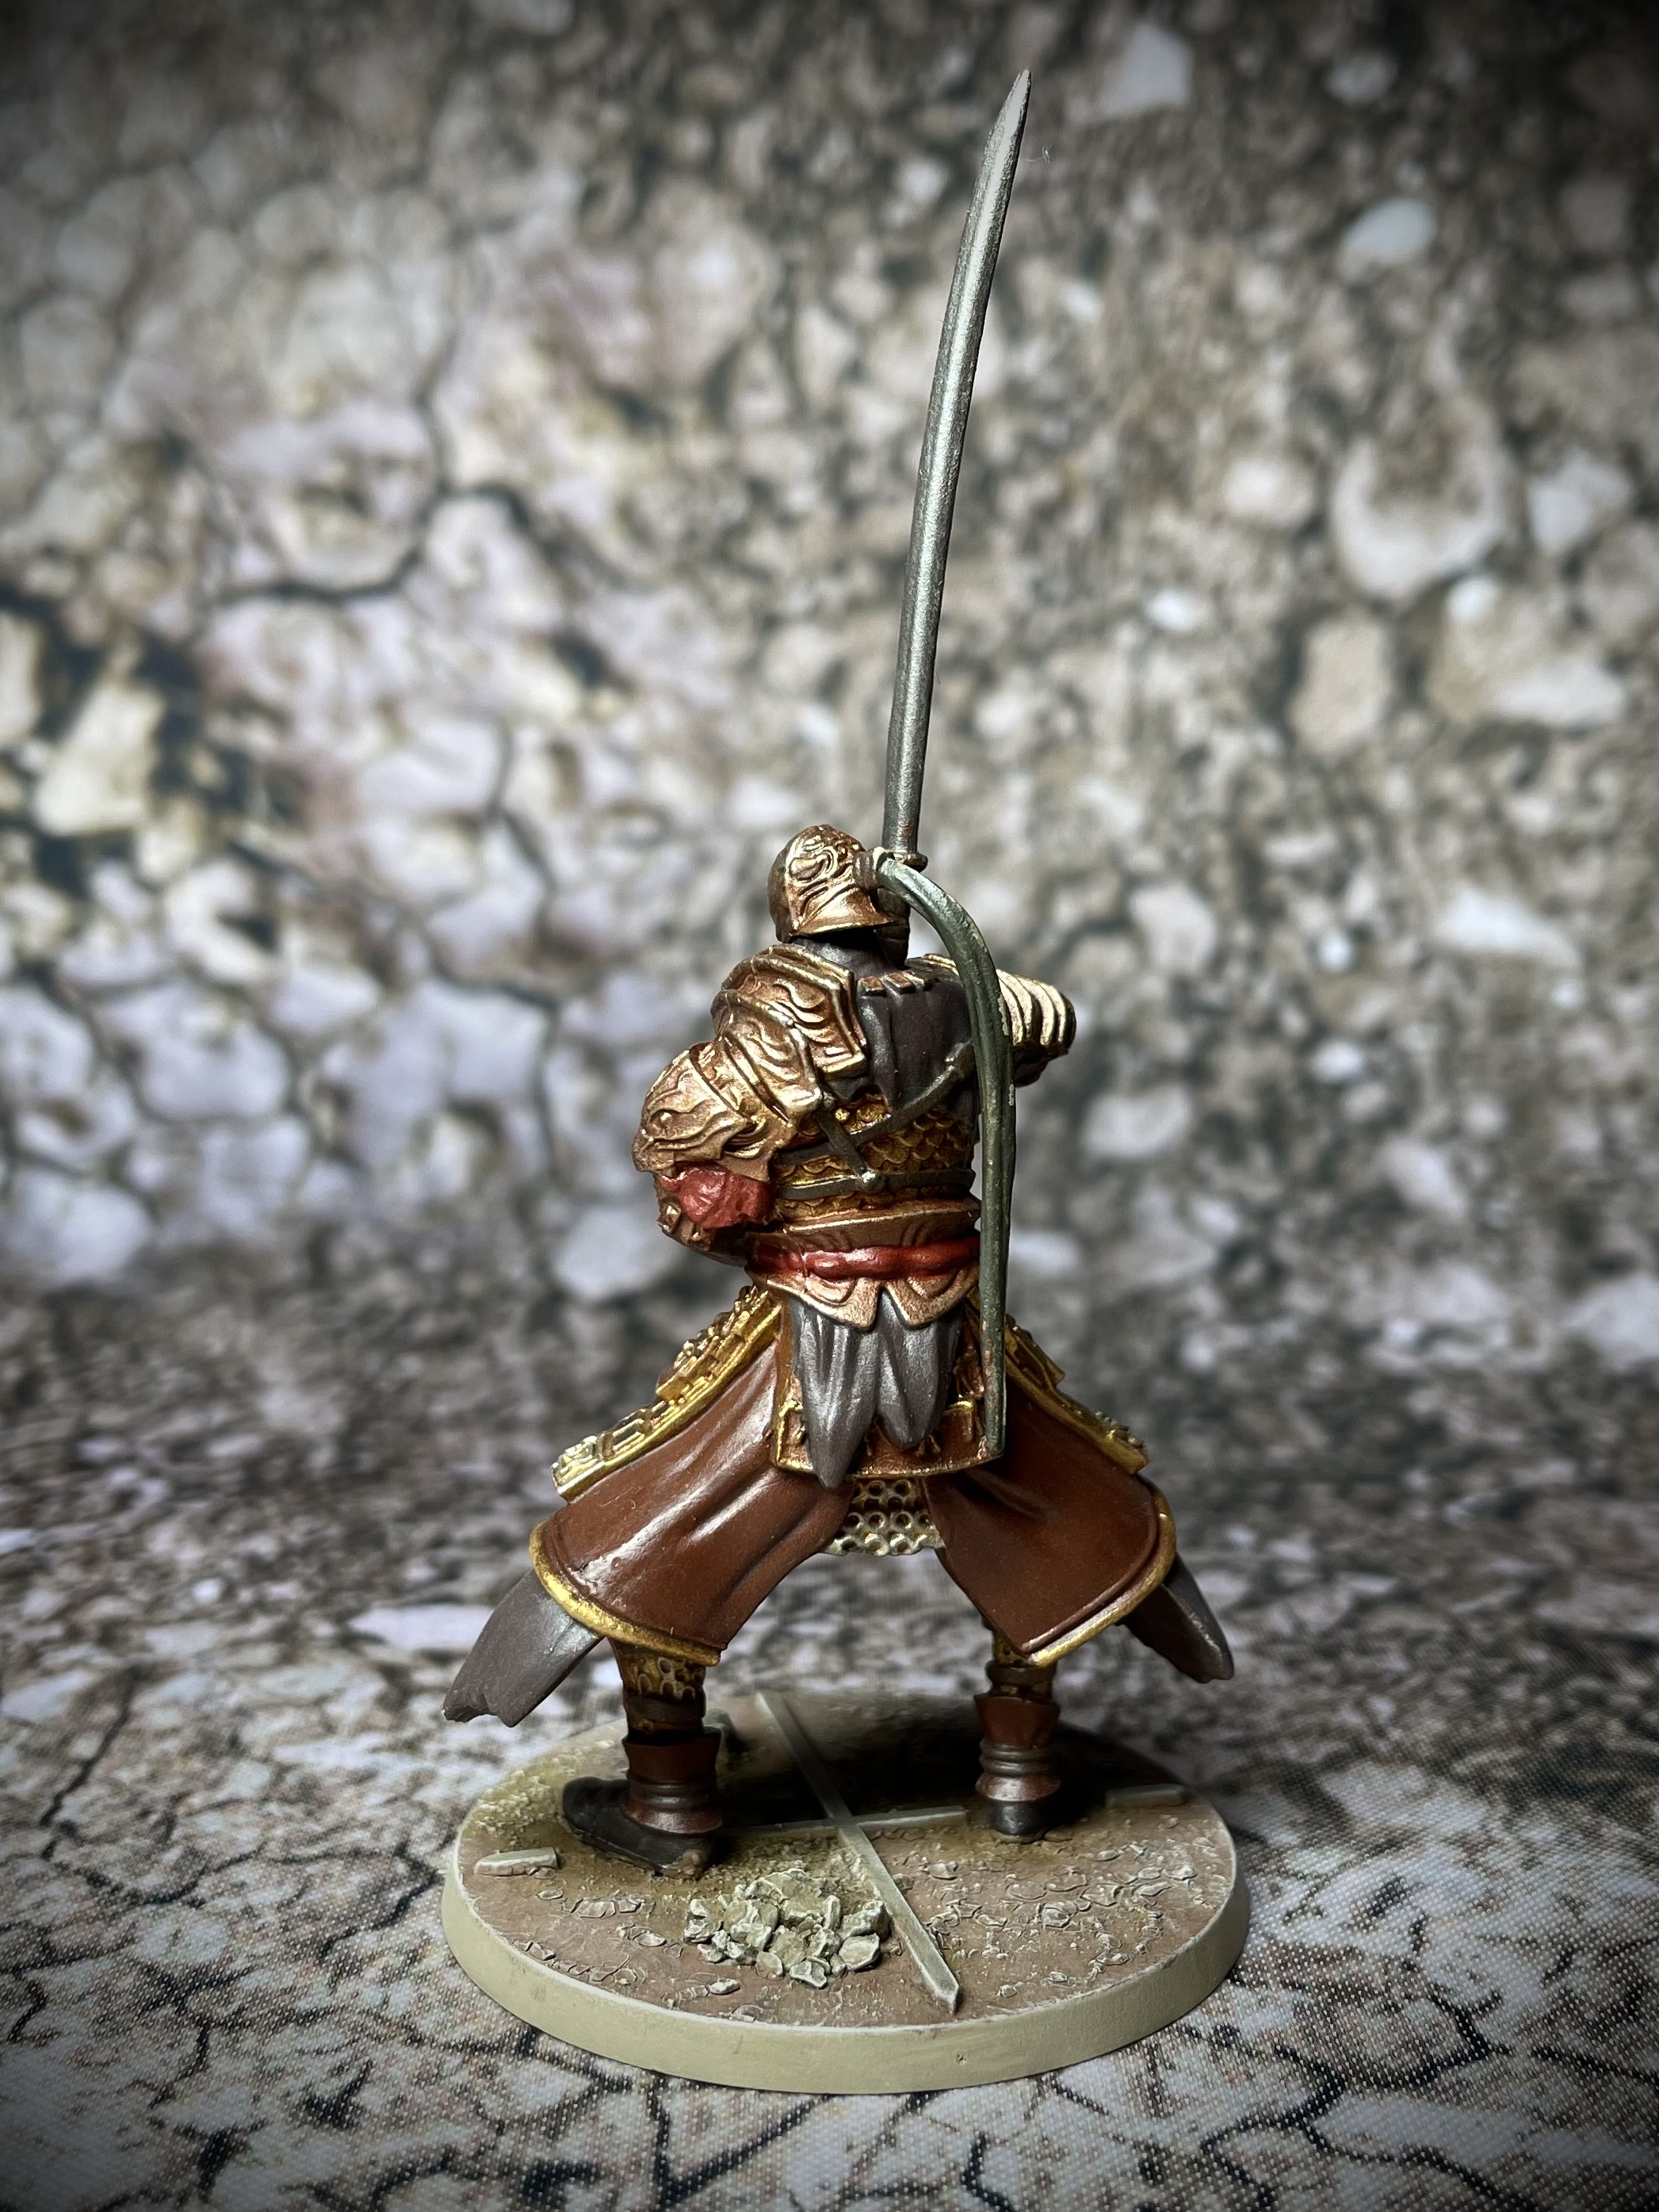
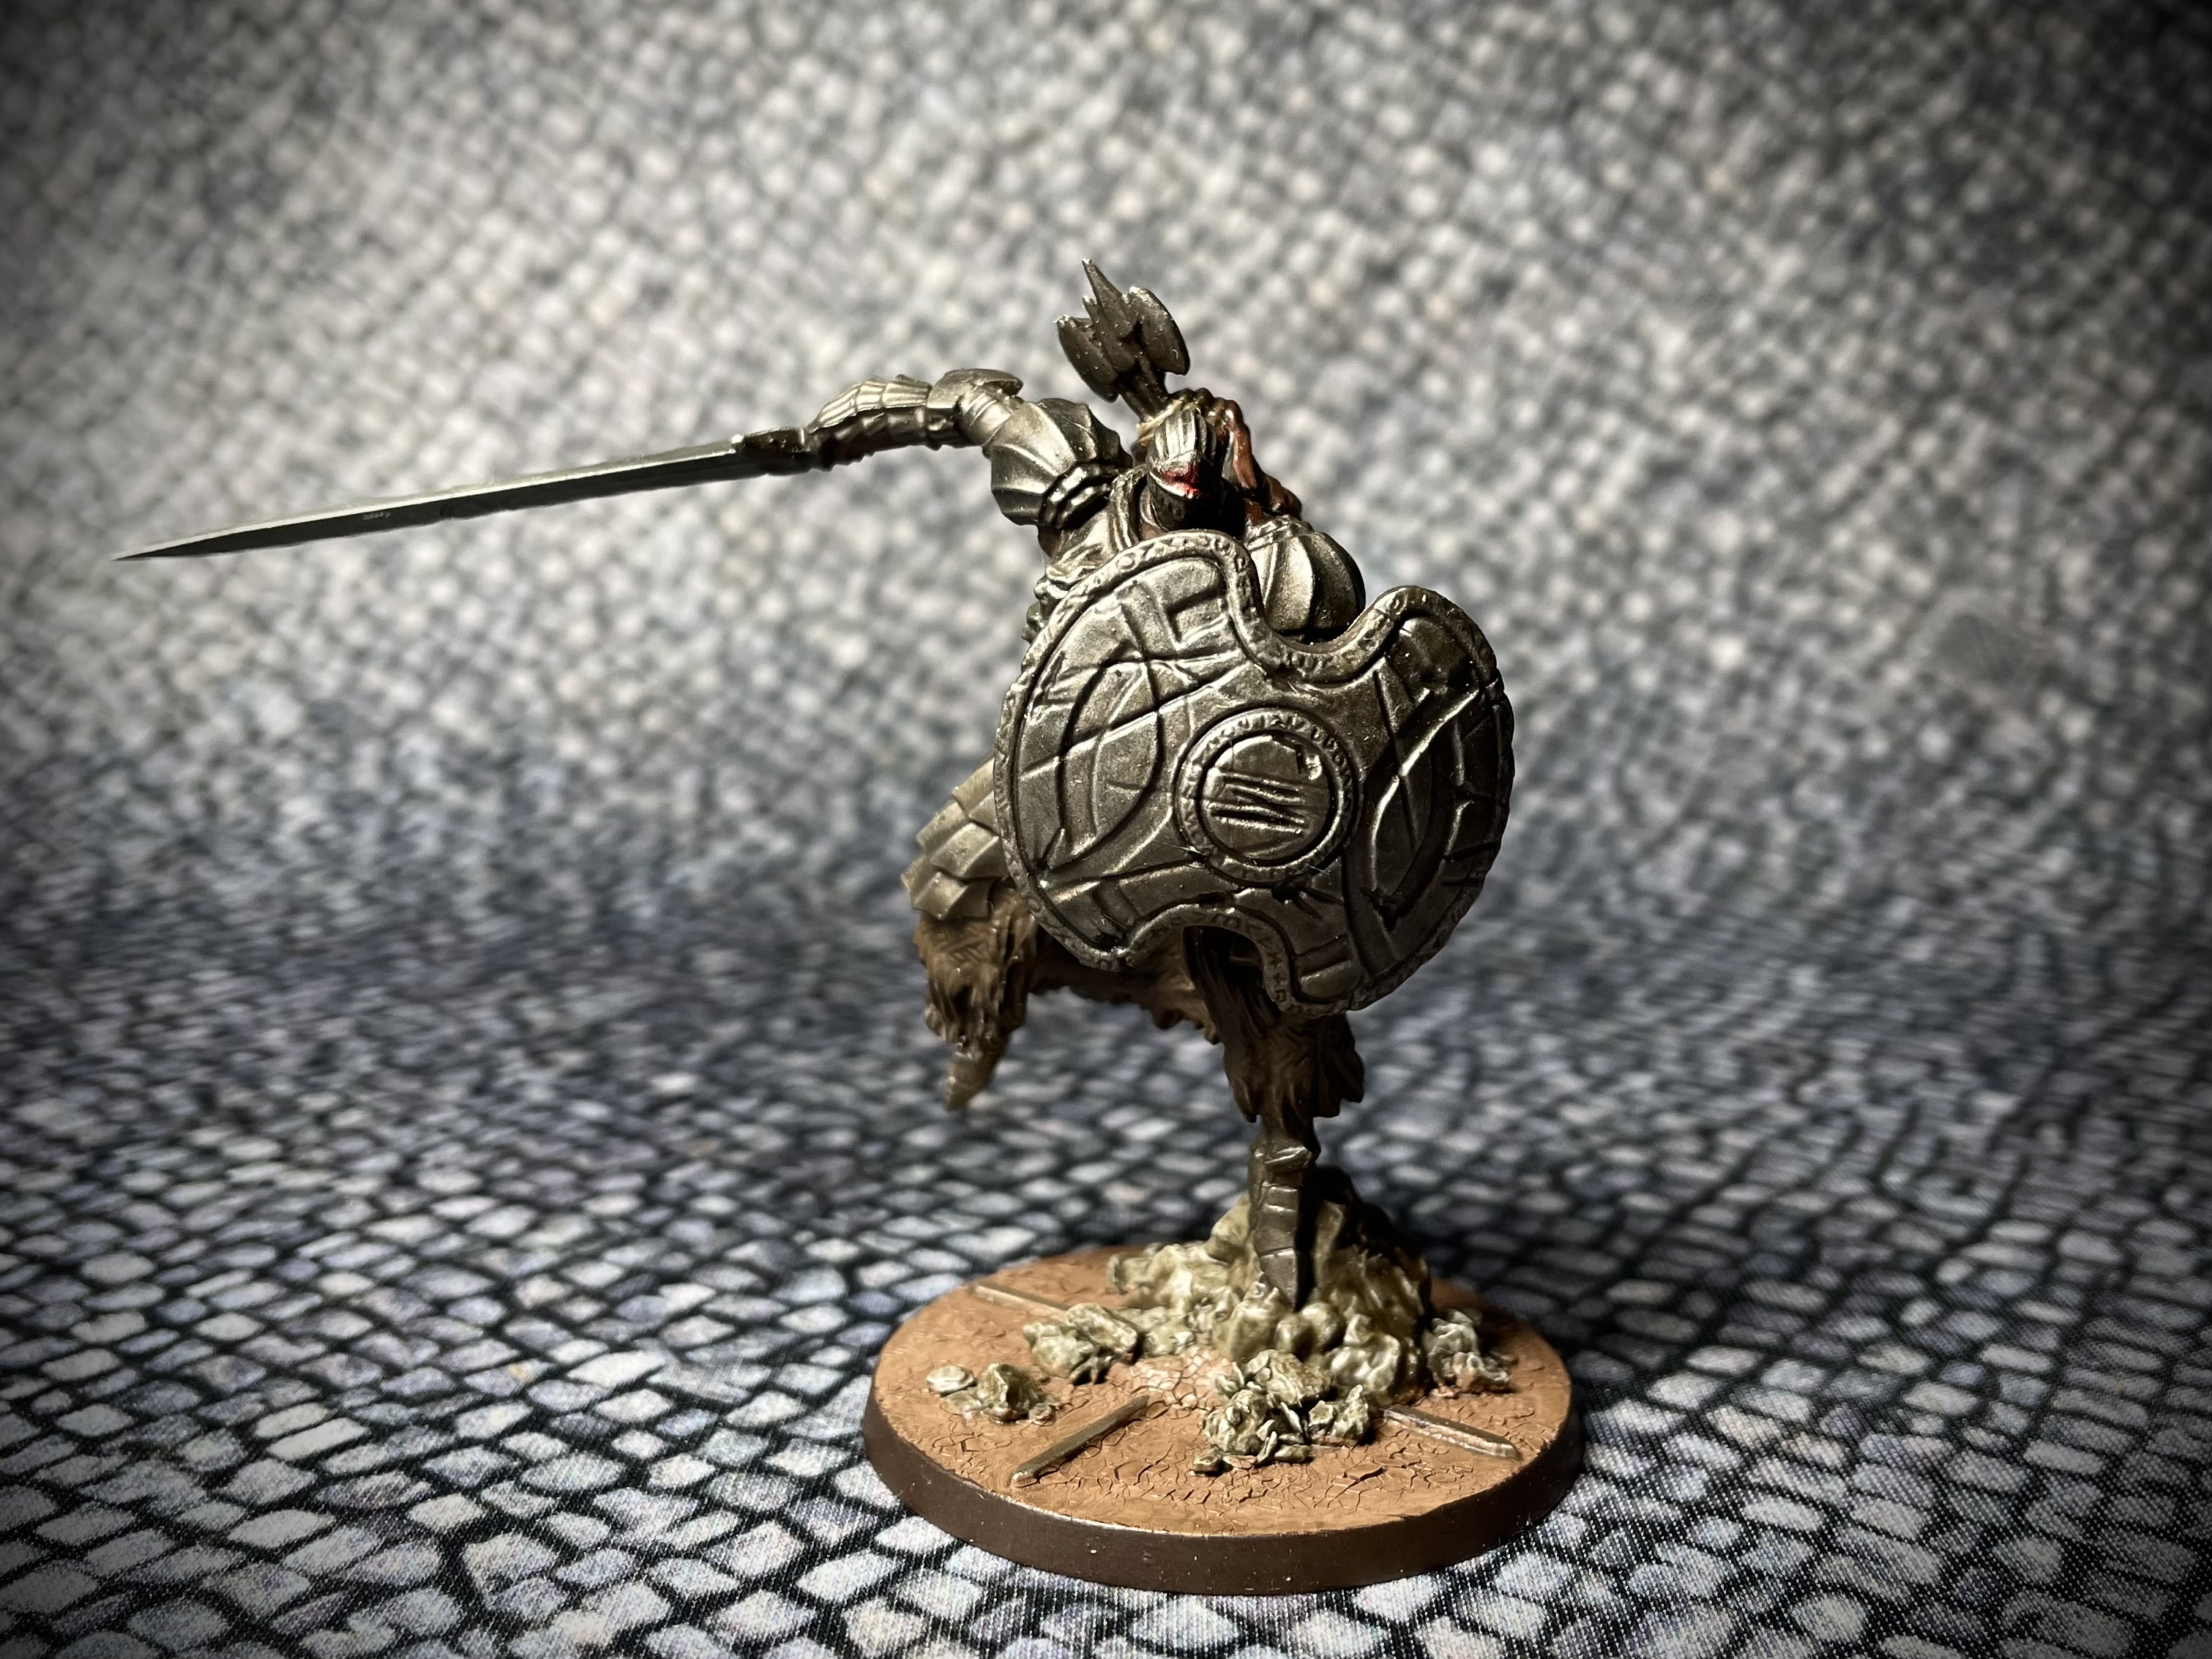
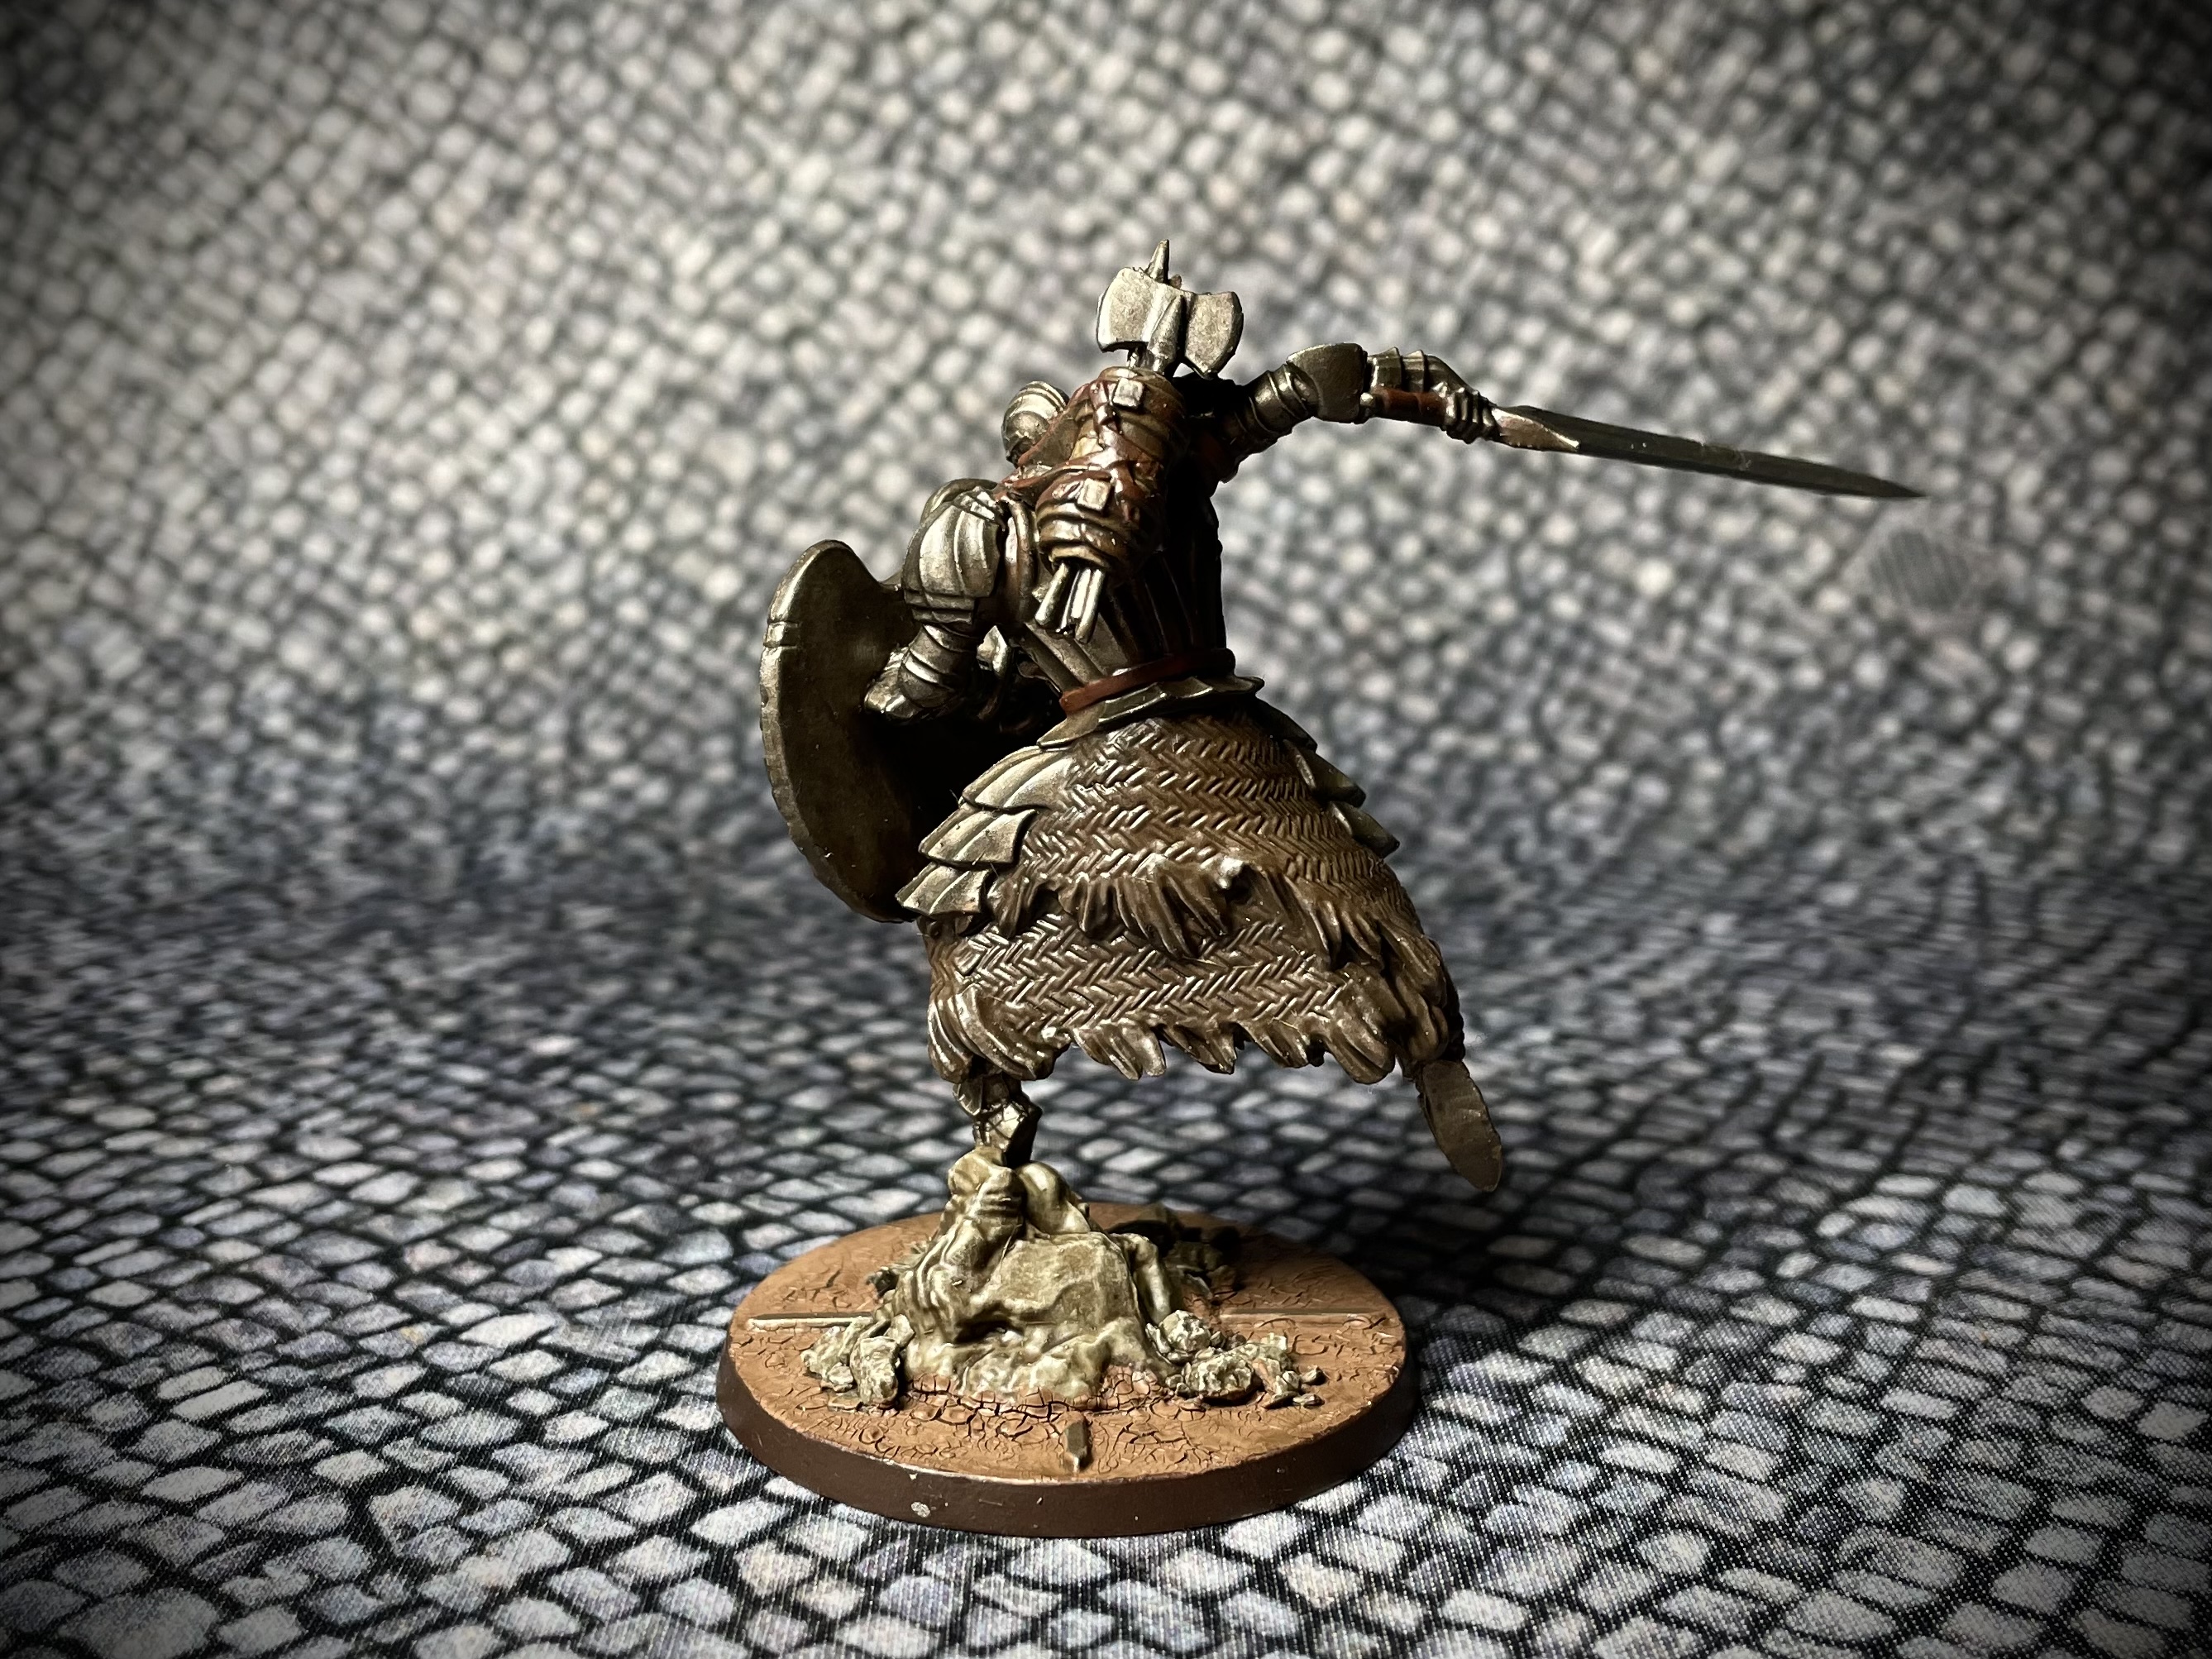
The first boss of this expansion is Sir Alonne, the katana wielding samurai / knight.
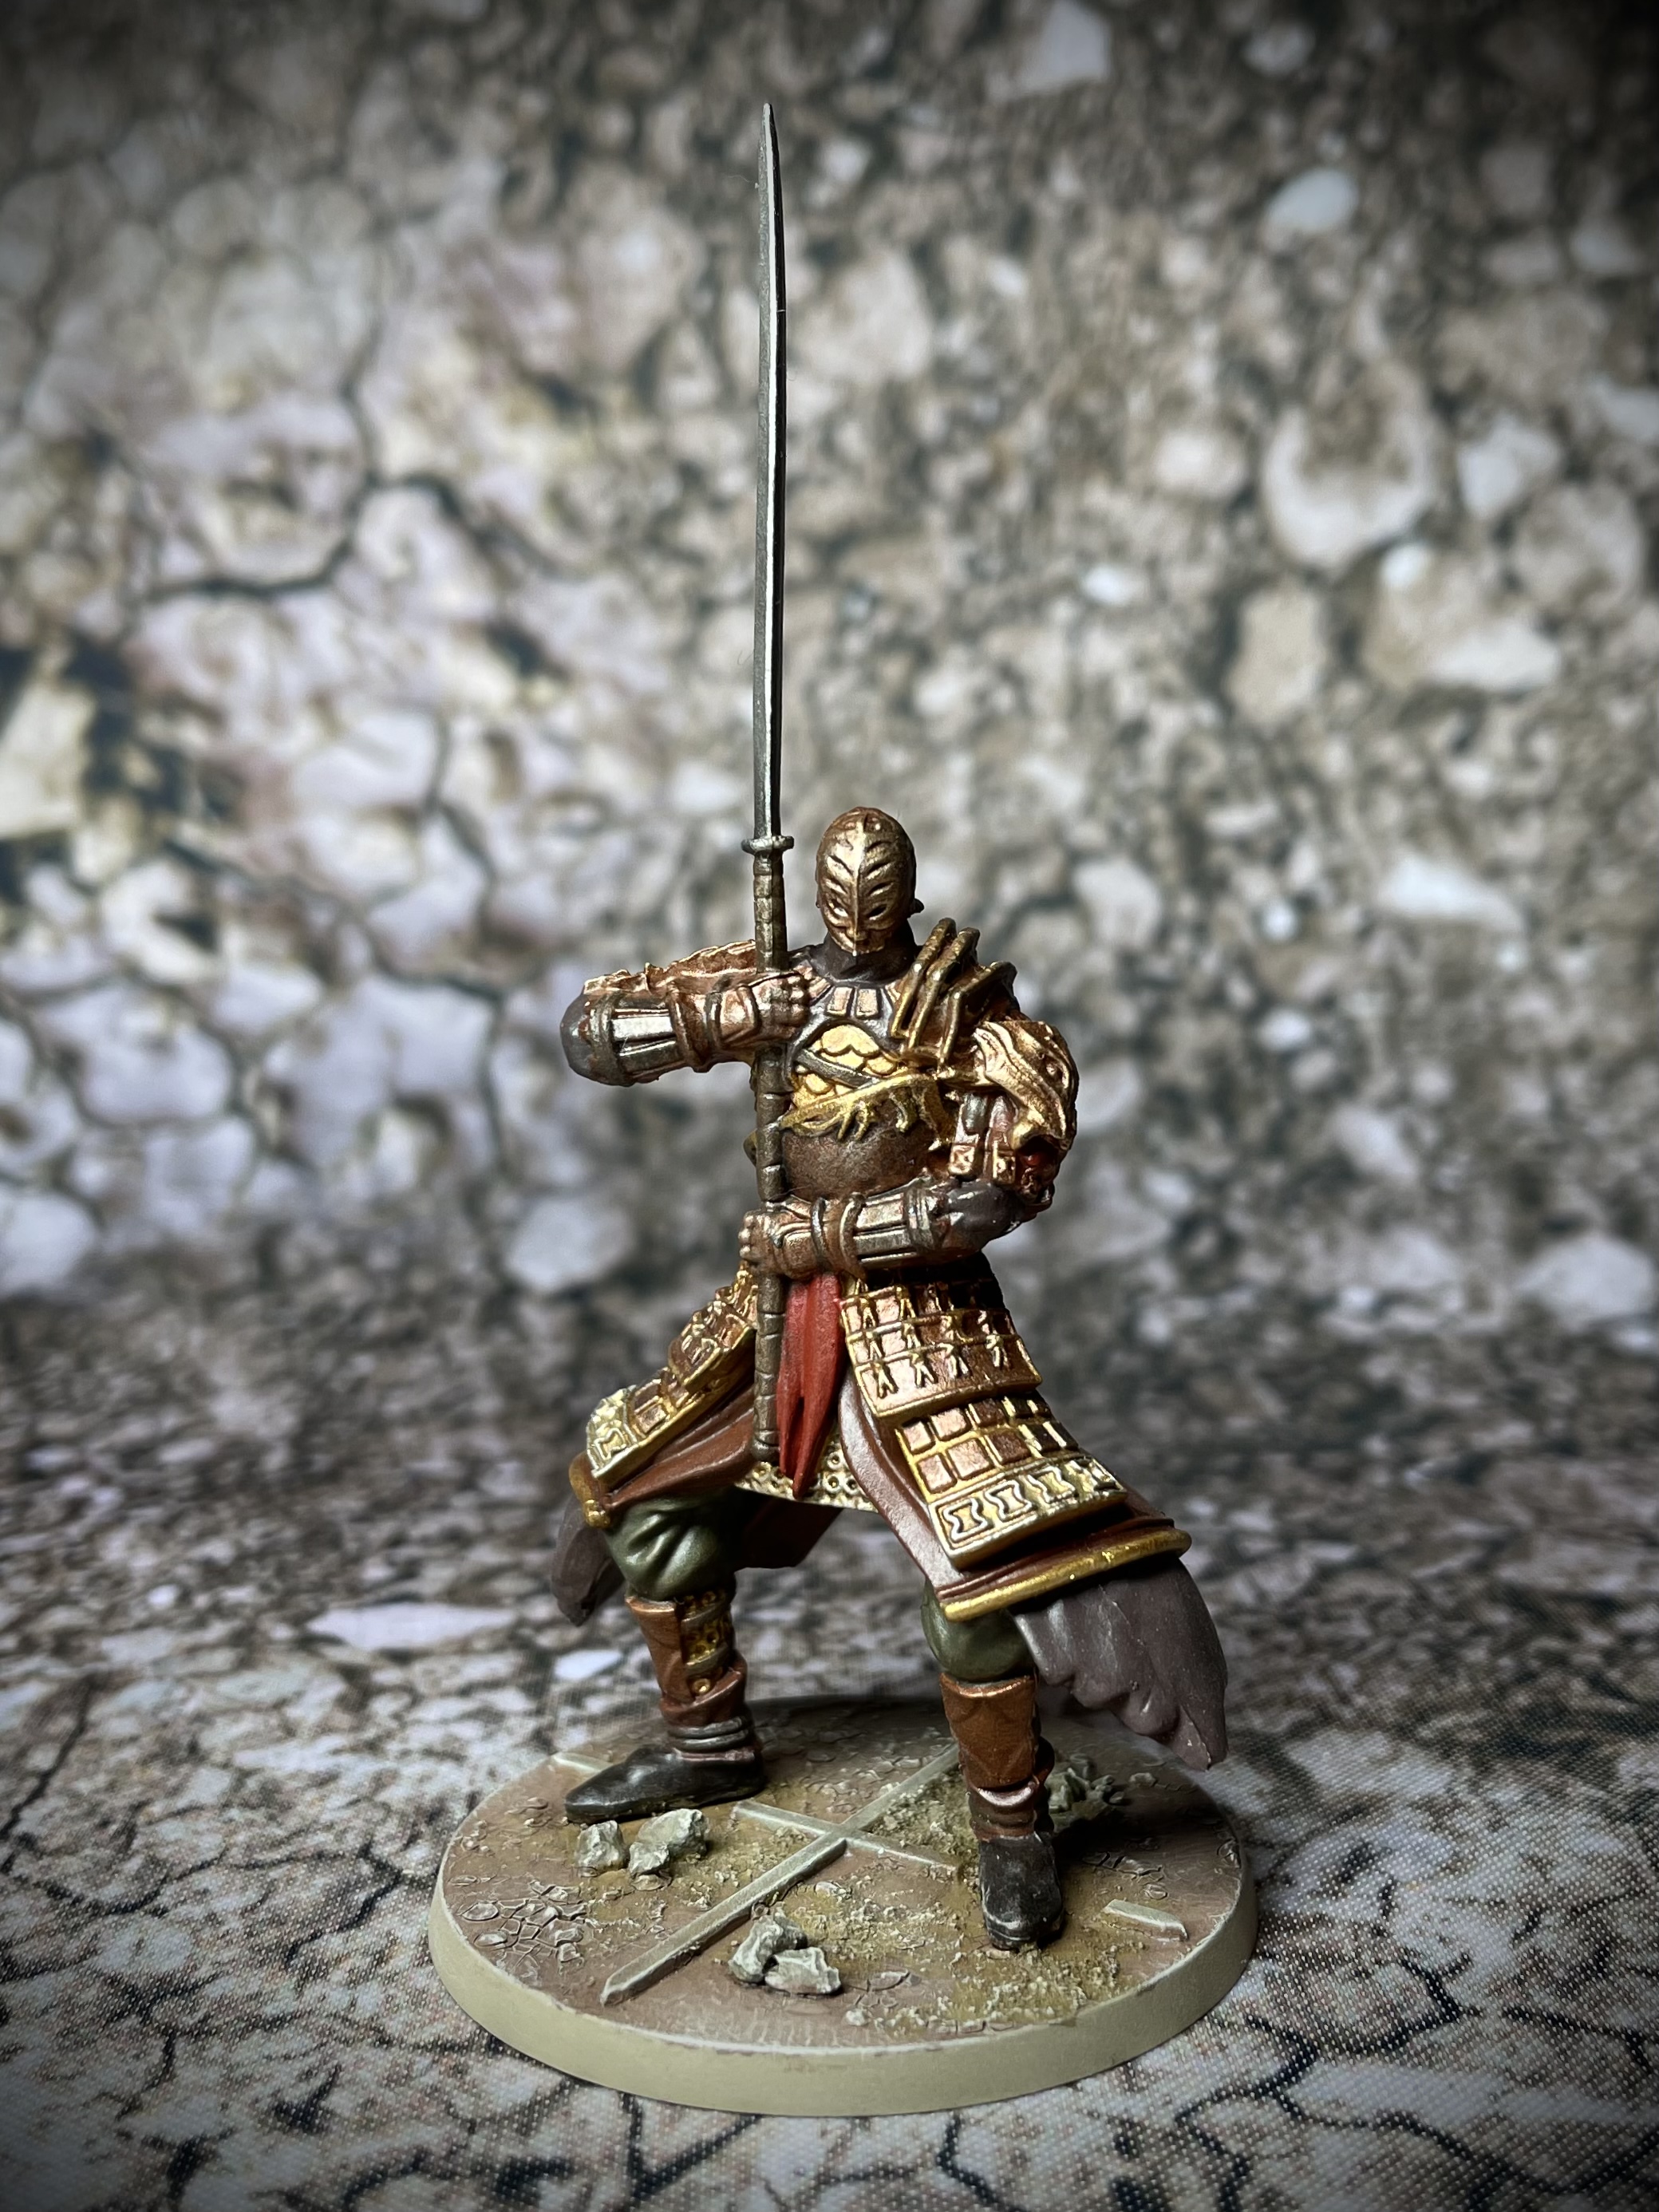 Sir Allone
 With a lot more detail on this model I took a little more time on him, though the metallic parts followed the same formula as previous armoured models.
Iron Keep Expansion - Part I
The Iron Keep Expansion, brings another new location to the board game, featuring the enemies and bosses found in the Iron Keep of Dark Souls II. This is a frankly horrible location, featuring perilous drops into lava and occupied by fast moving armoured knights and Archers.
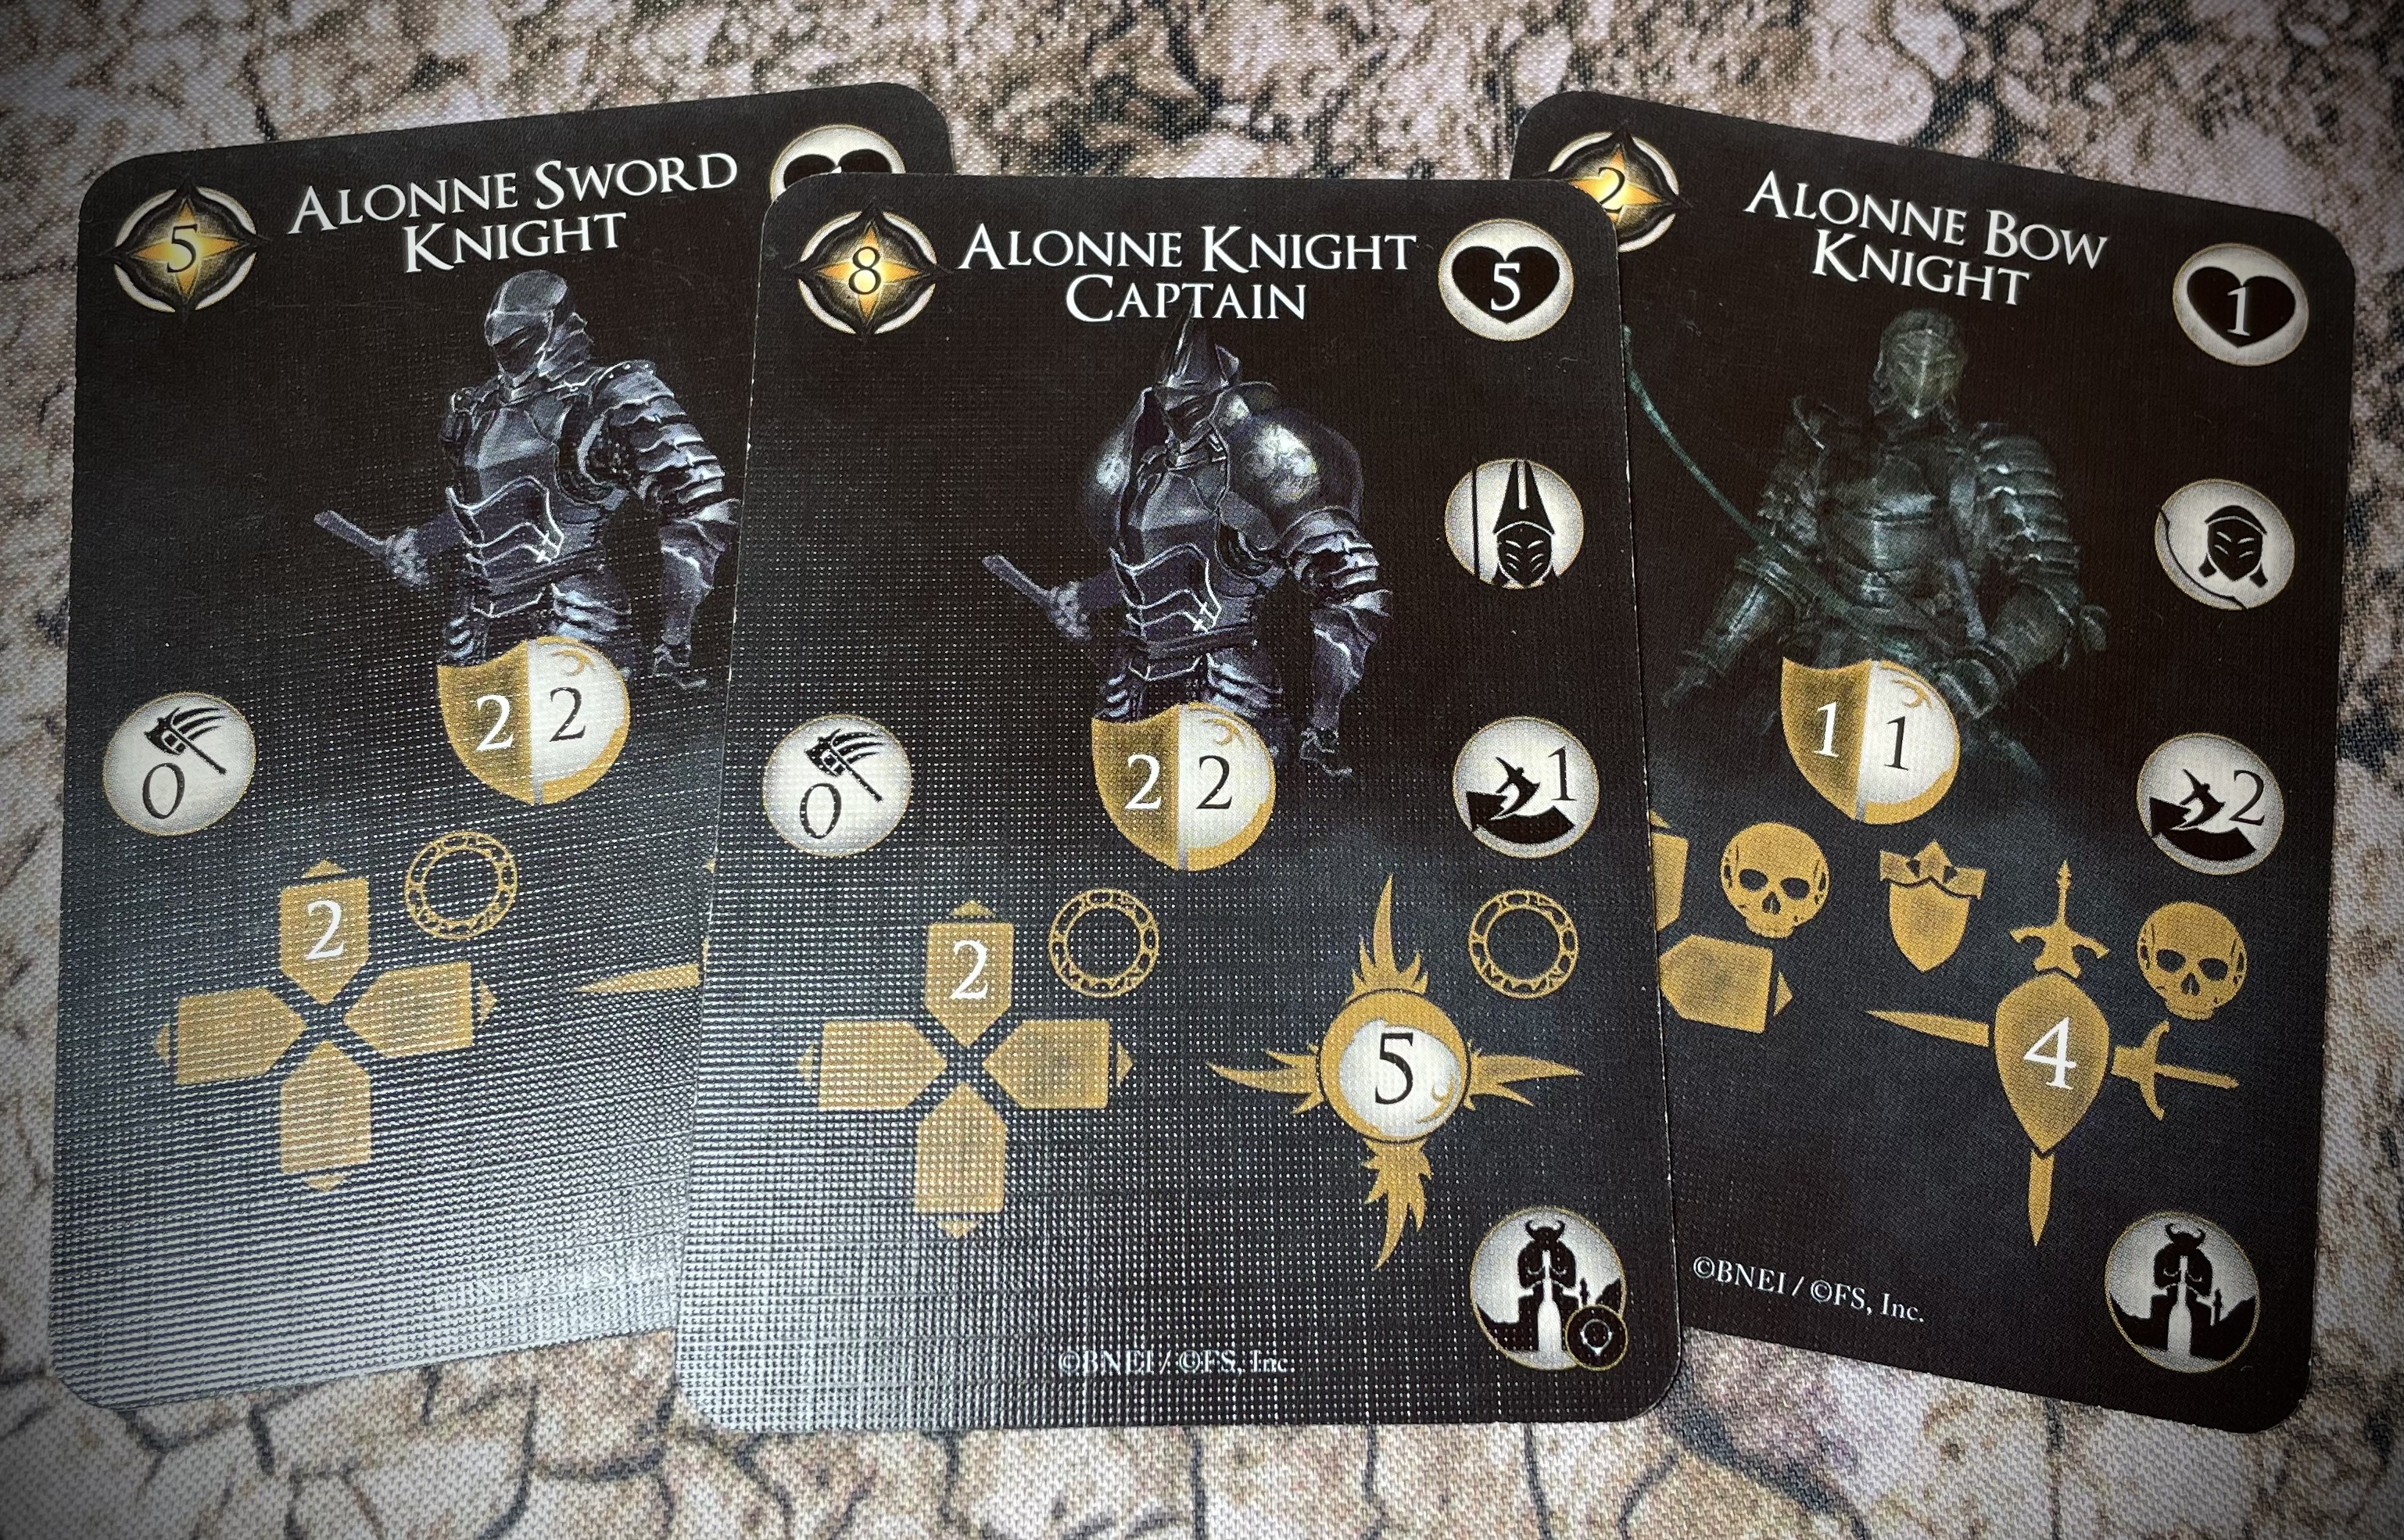
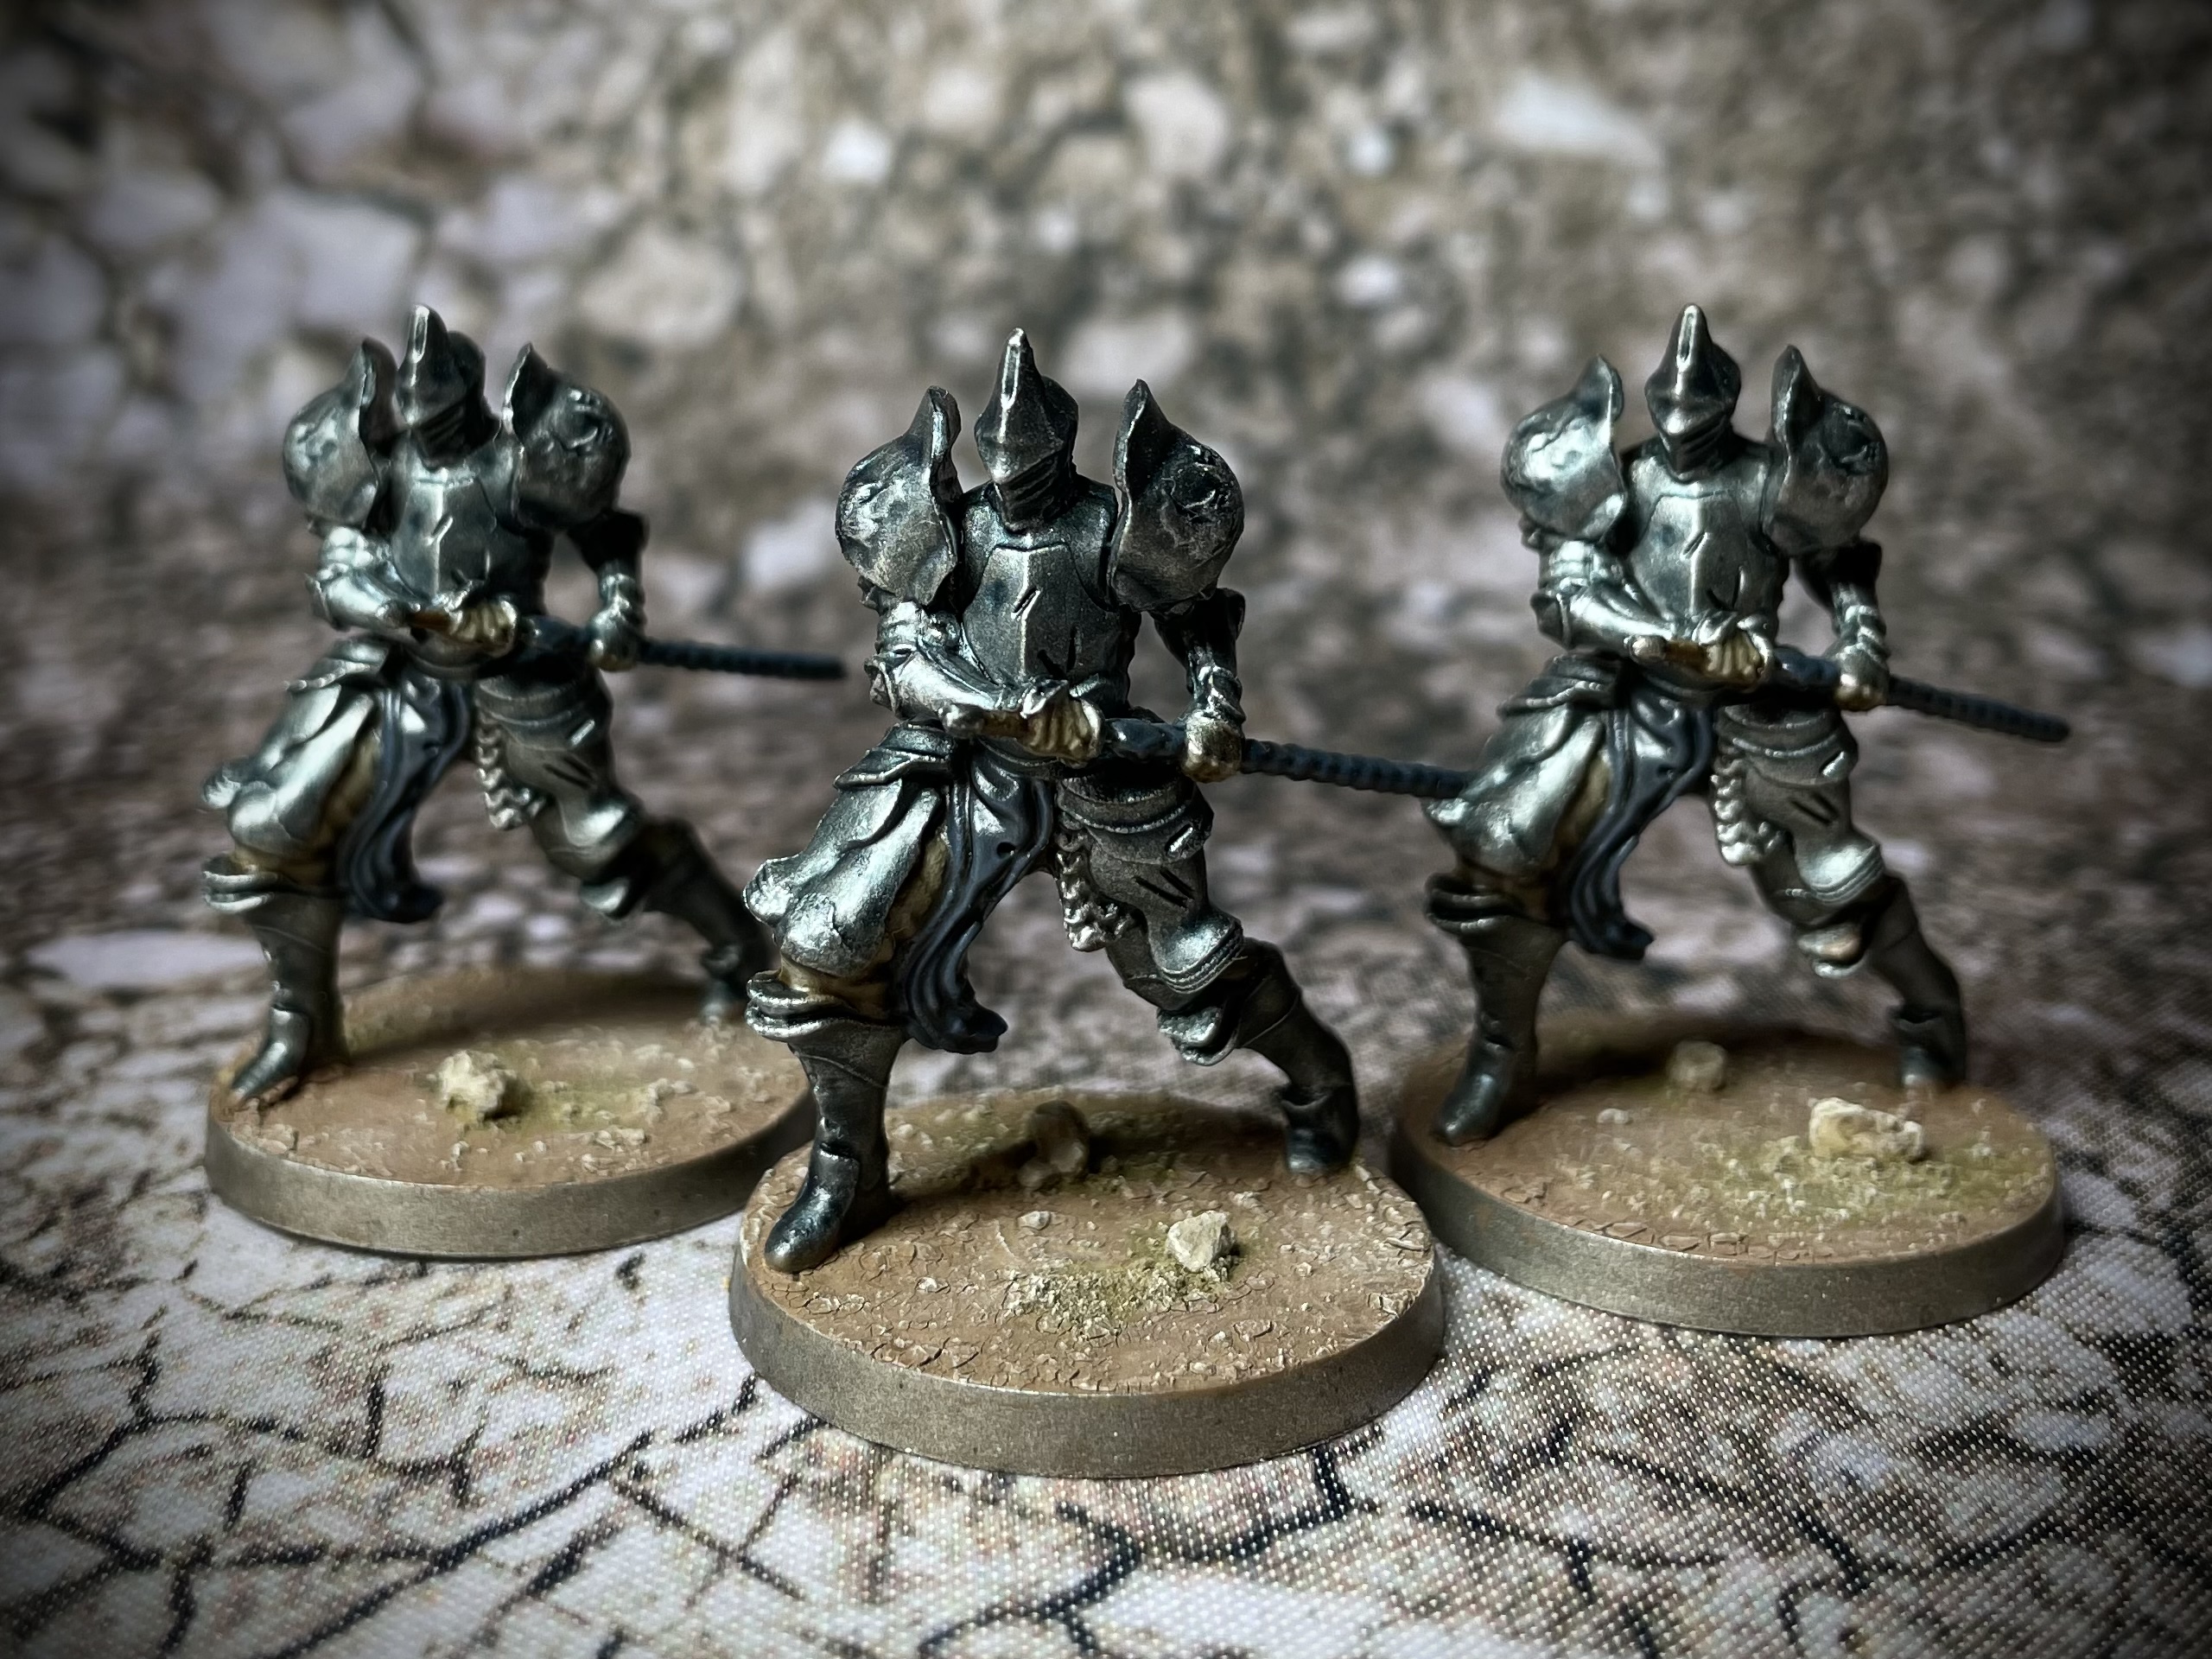
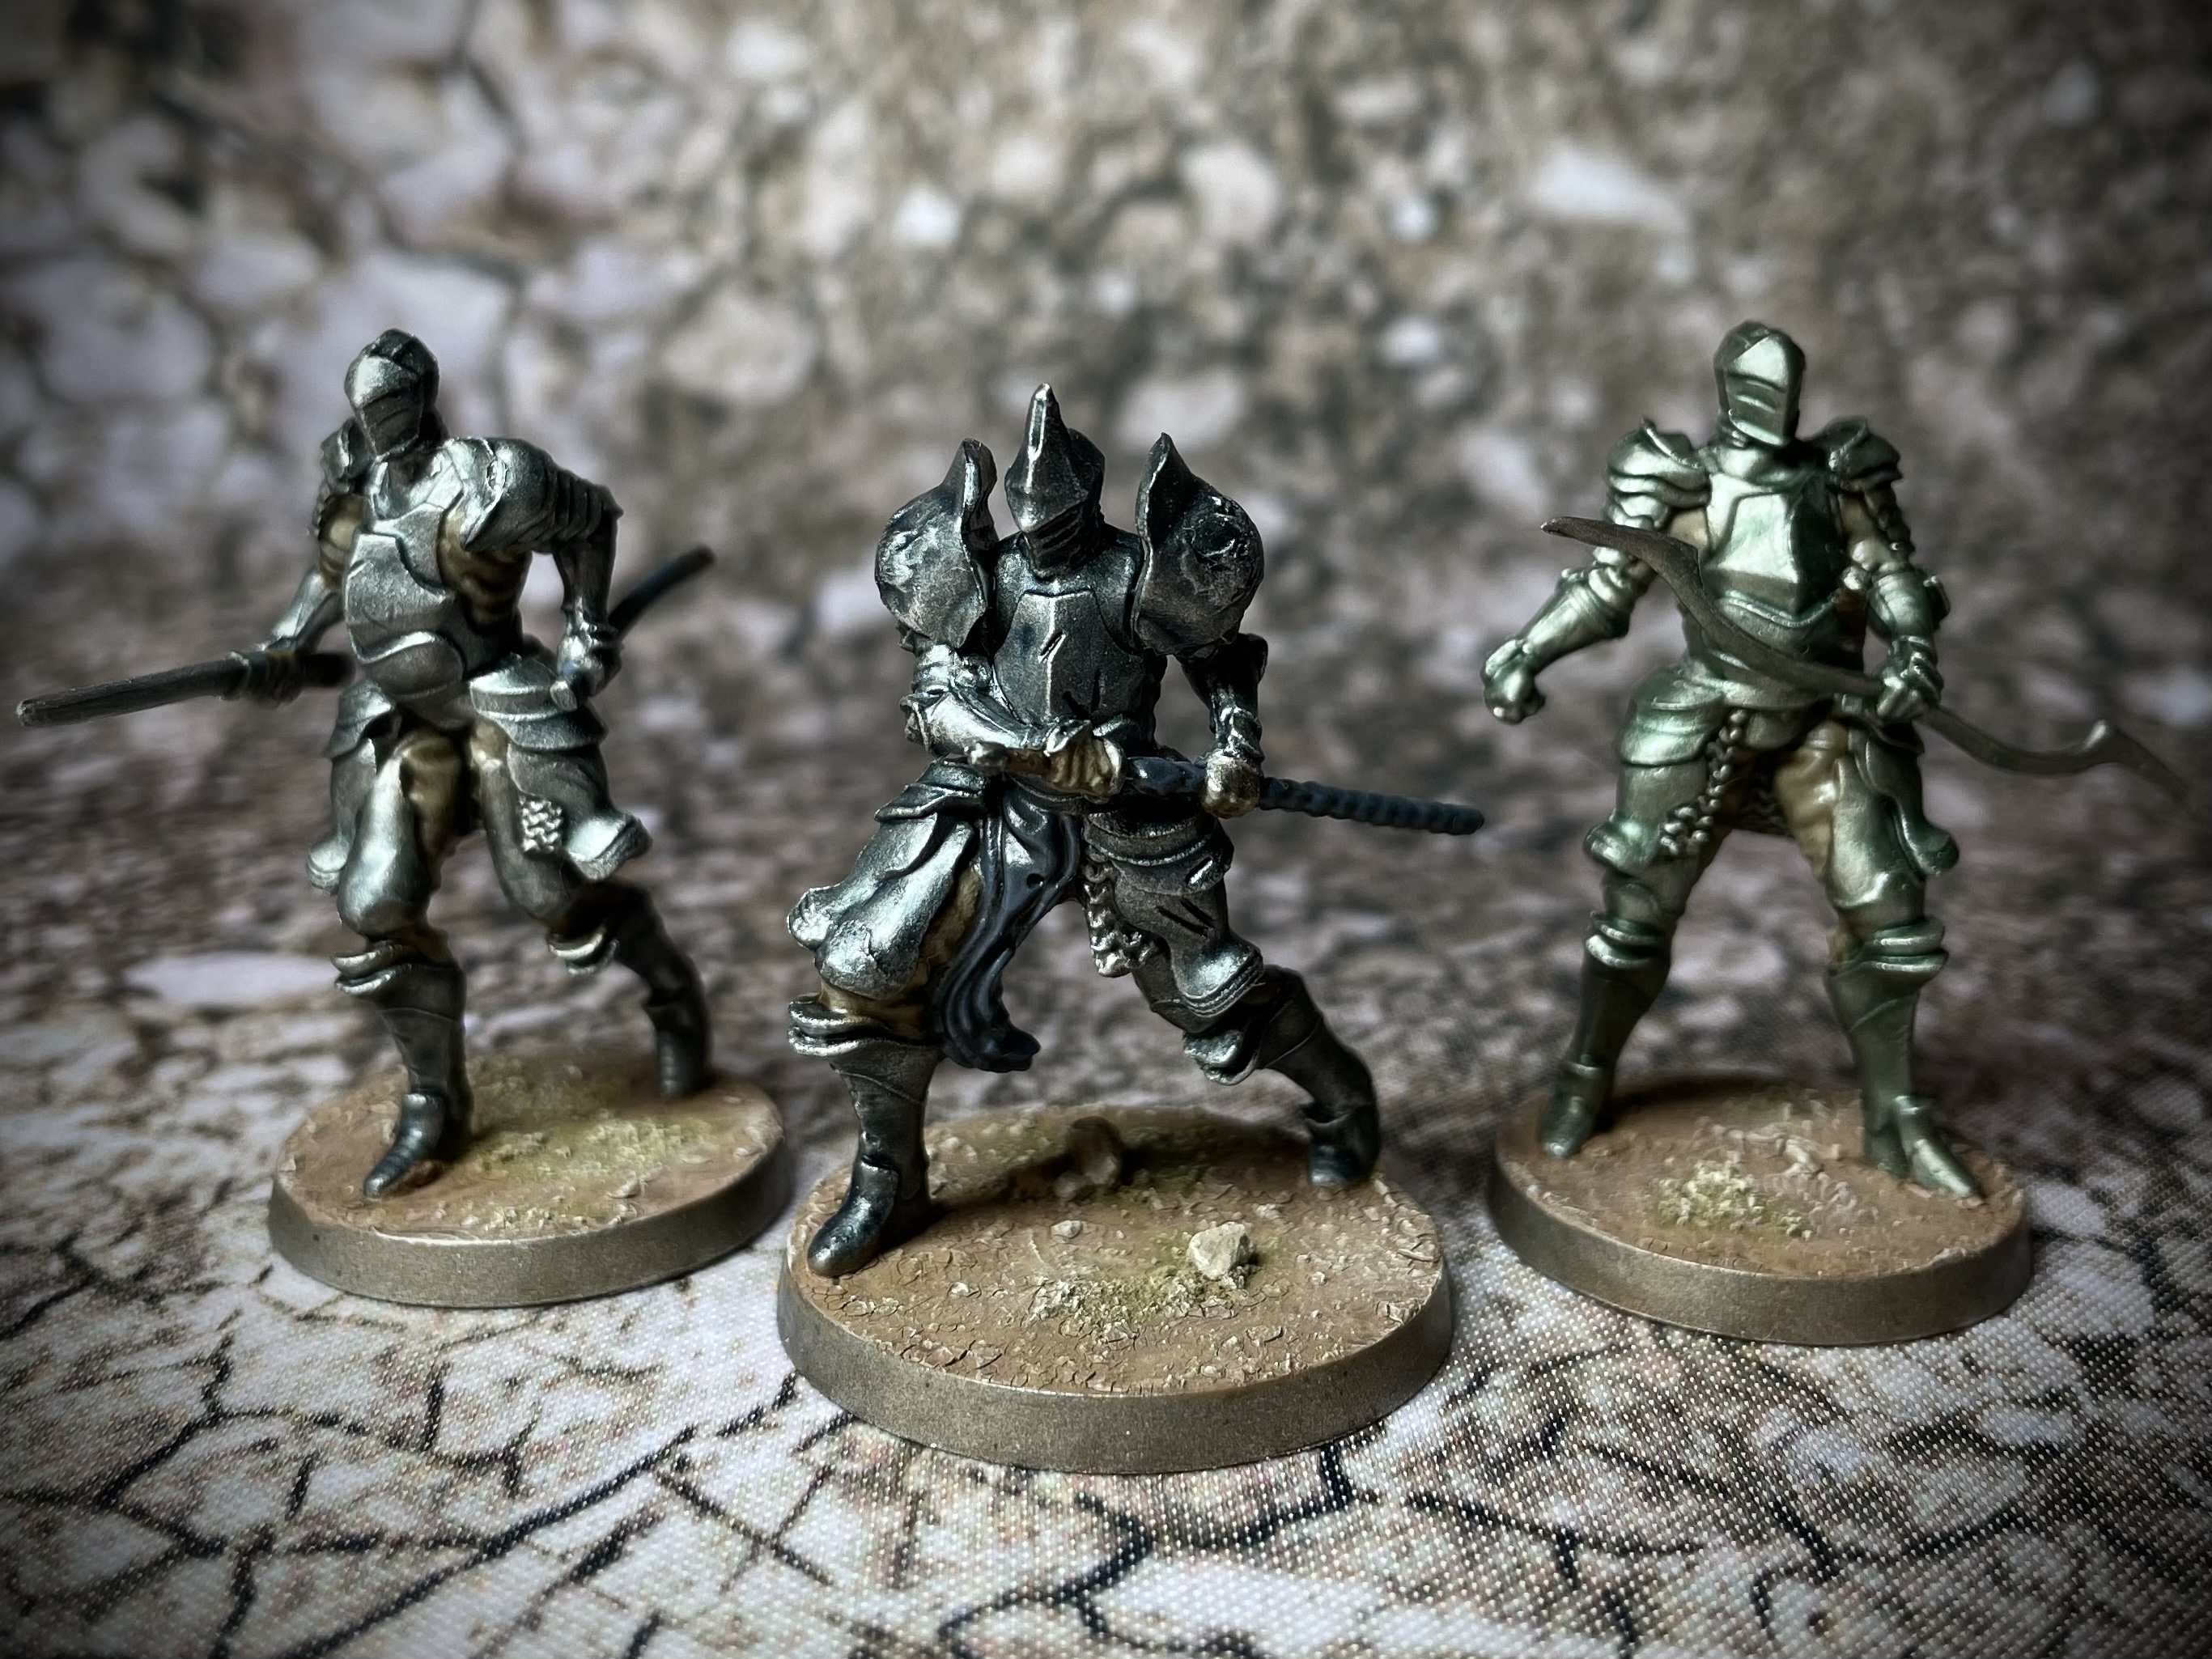
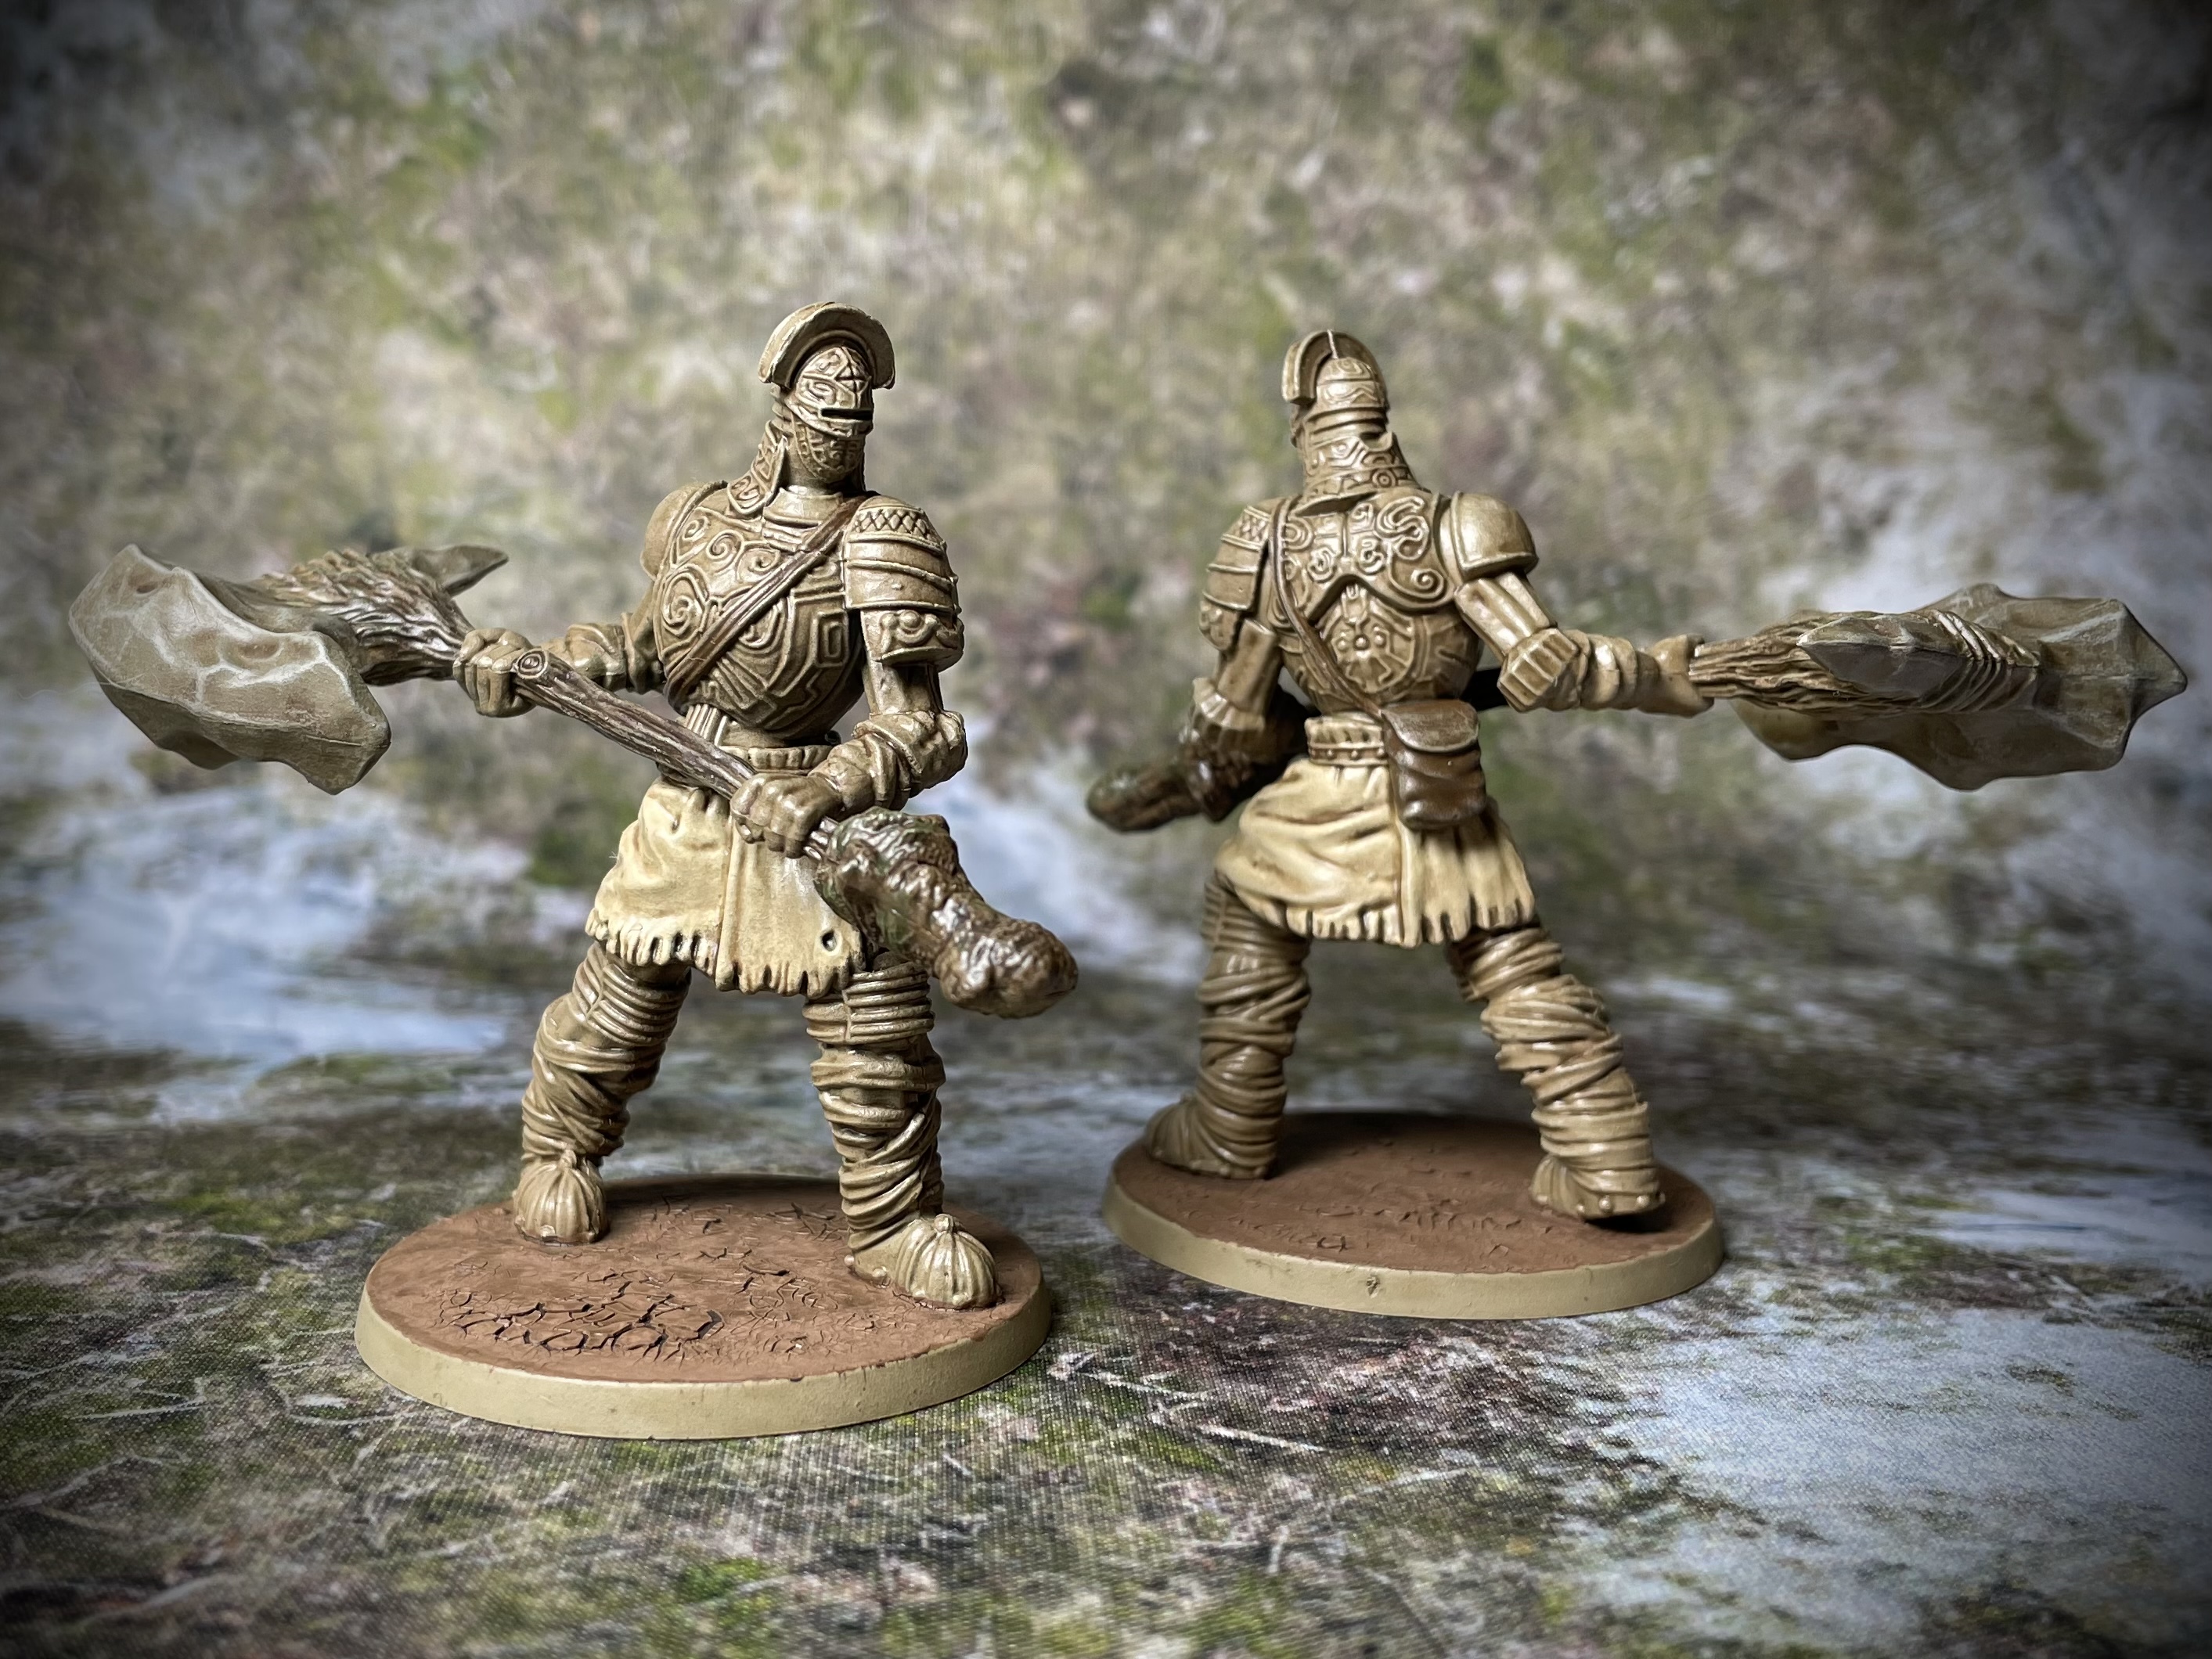
The set includes all three types of Alonne knight, the katana wielding sword knight, the Alonne Bow knight and the Alonne Knight Captain.
As pretty much every model in this set is fully armoured, I was able to prime all of them with Lead Belcher (except for the Smelter Demon but more on that later)!
 Alonne Sword Knight
Once again washing and light dry brushing enabled me to work through these models very quickly. I wanted the different type of knights to be distinguishable from one another so I followed the card art and used Drakenhorf washes to give the swordsmen a blue tint to their armour….
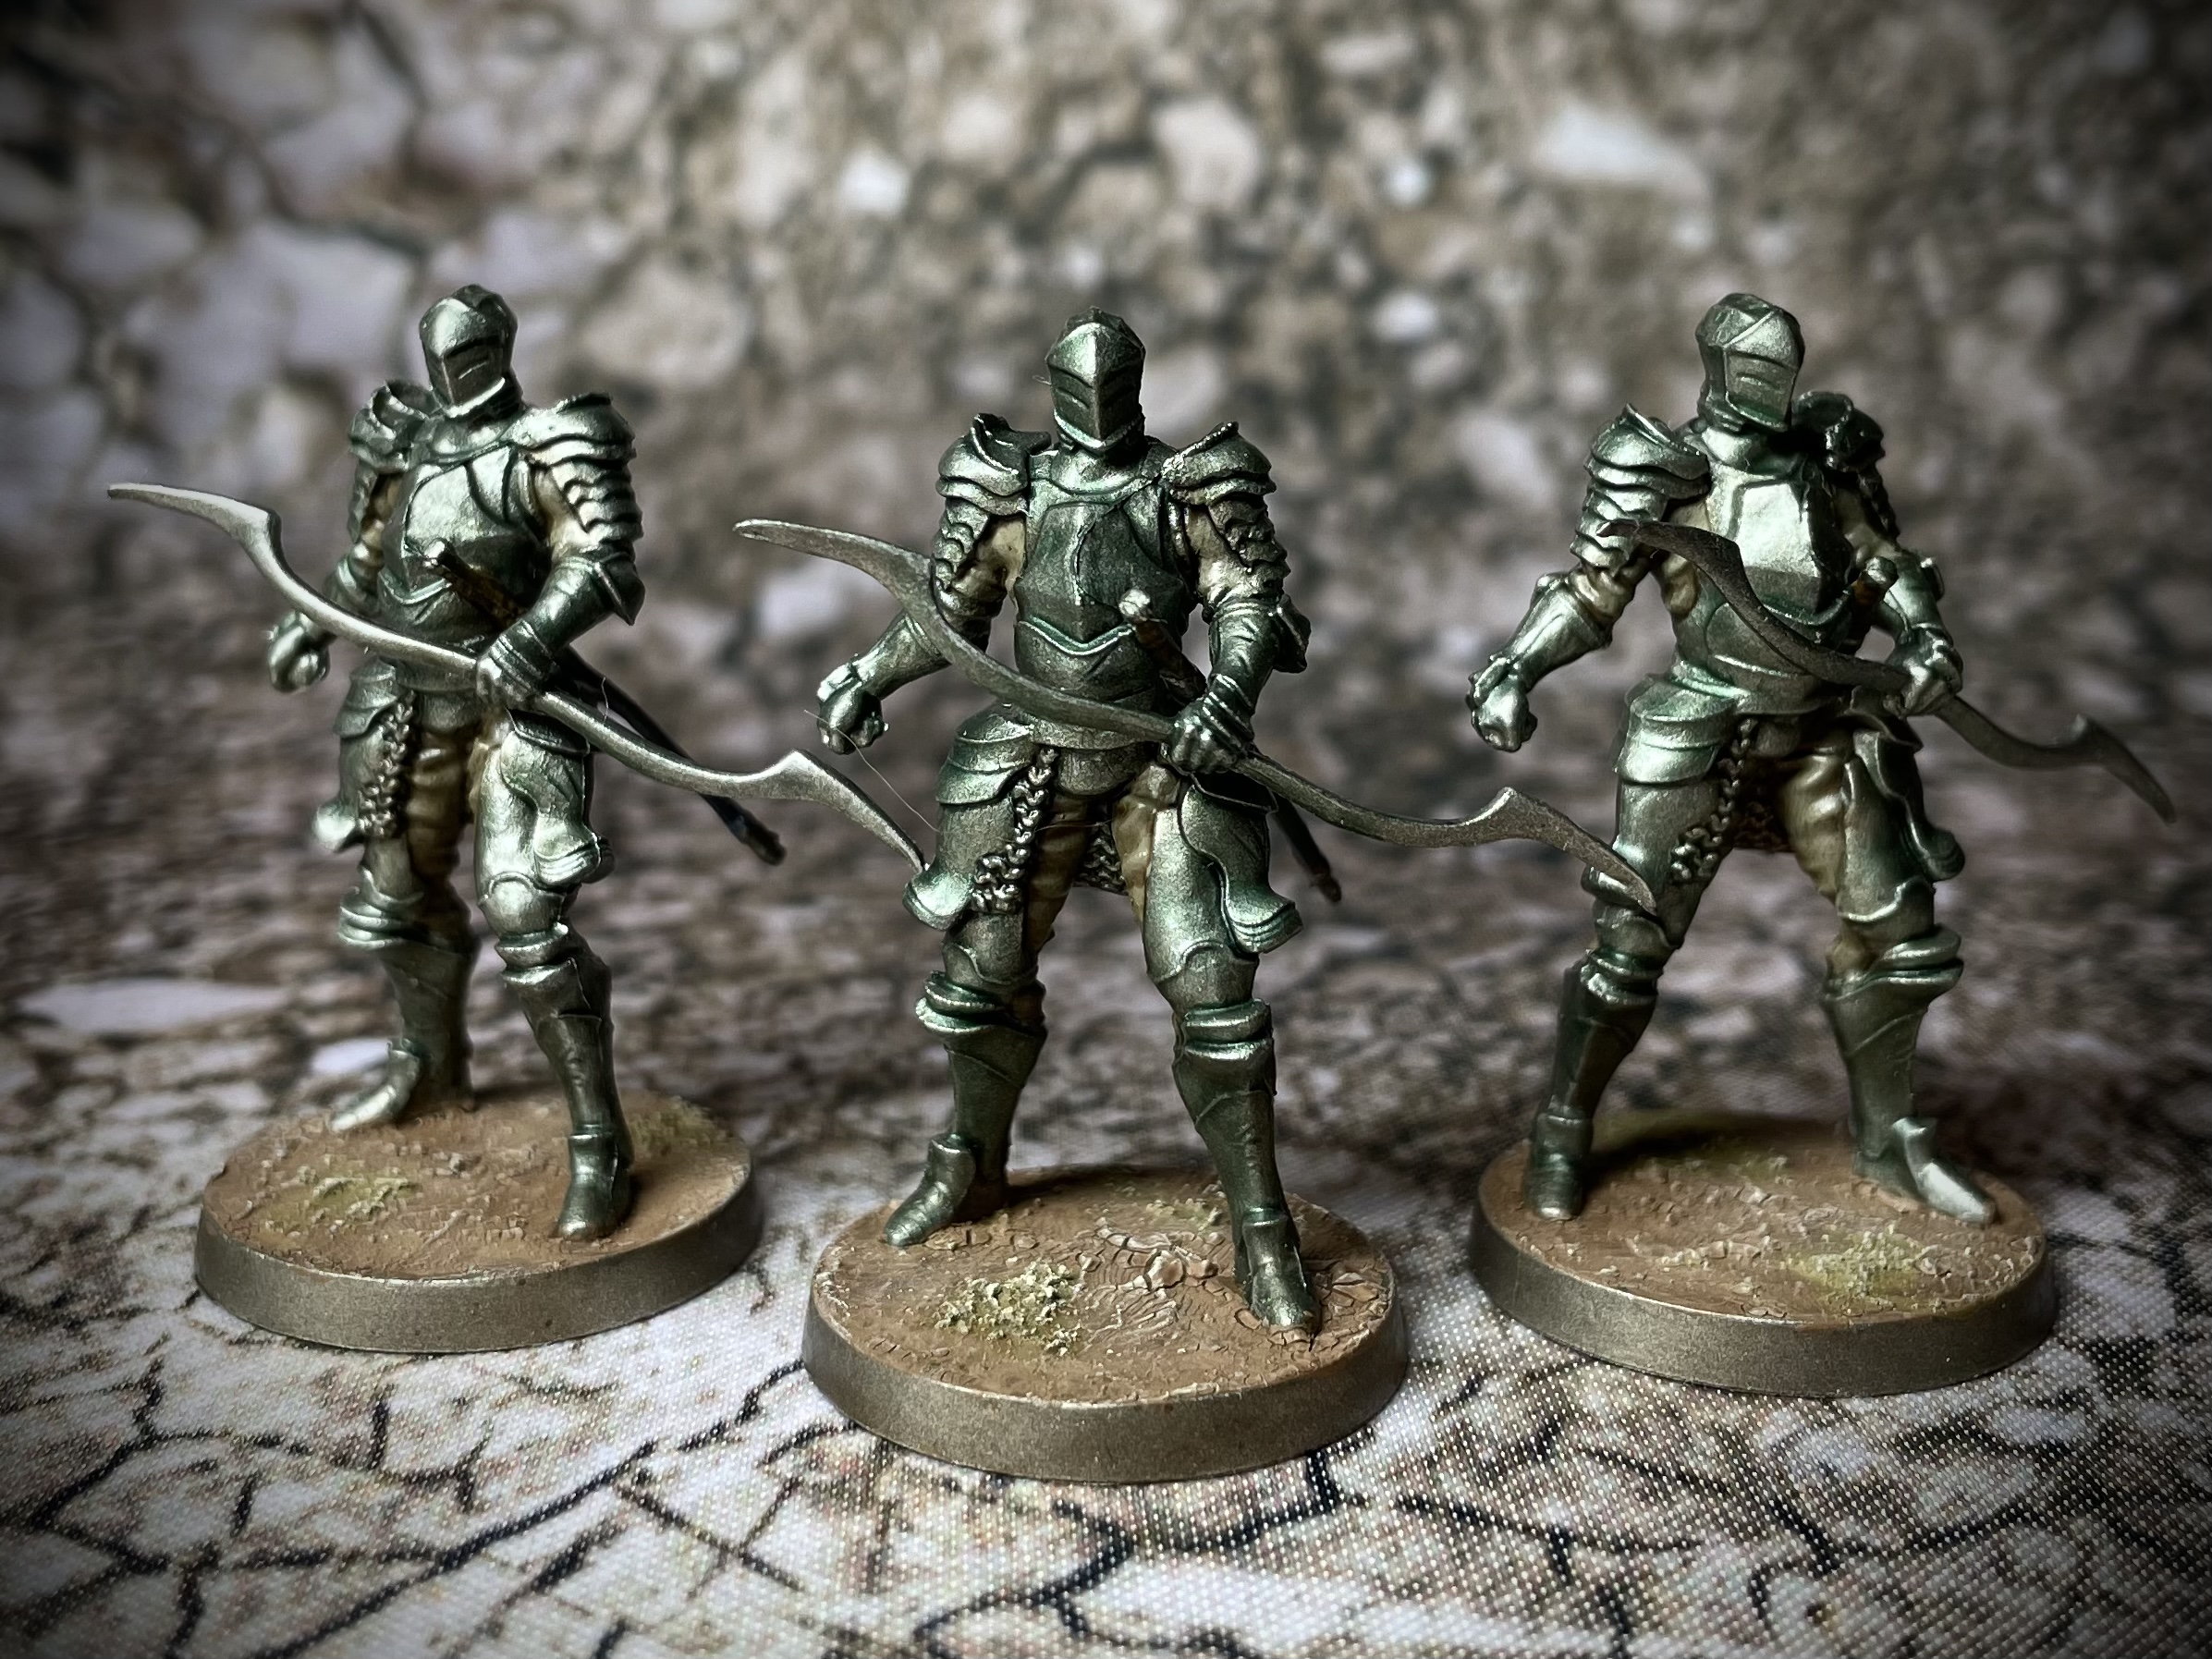 Alonne Bow Knight
… the Bow Knights were instead washed with a turquoise green, made by mixing Thrakka green into the Drakenhorf.
 Alonne Knight Captain
For the Alonne Knight Captains I achieved a deeper, darker blue by adding black to the Drakenhorf. All three were dry brushed back to a steel finish once the washes had dried.
Darkroot Basin - Part III
With the basic enemy types finished I was able to turn my attention to the heavyweights of this set, ‘the Great Wolf Sif’ who stands guard over the grave of his master, ‘Artorias’.
For me the real star of this expansion is ‘Artorias the Abyss Walker’. Artorias is one of the more fascinating characters in DS law, encountered in a time long before the events of the first game. Even in that long ago time he is maddened and broken from his journey into the abyss.
 Artorius
 Artorius’ armour has a brighter finish than the previous Dark Souls bosses, yet still has an aged look that I wanted to capture. I began by dry brushing over Lead Belcher with Bronze before washing the armoured areas with Griffon Sepia followed by nuln oil. The aim was to lay down a base that would leave a tarnished feel to the recesses of the armour.
Once the washes had fully dried I dry brushed back over with Lead Belcher, followed by Iron Breaker. Finally I selectively washed the deeper joints on the armour as well as the chain mail skirts with Agrax.
This model is probably my favourite of the series. The hunched stance and paralysed left arm, hanging limply by his side, the tragic fate of a once great hero.
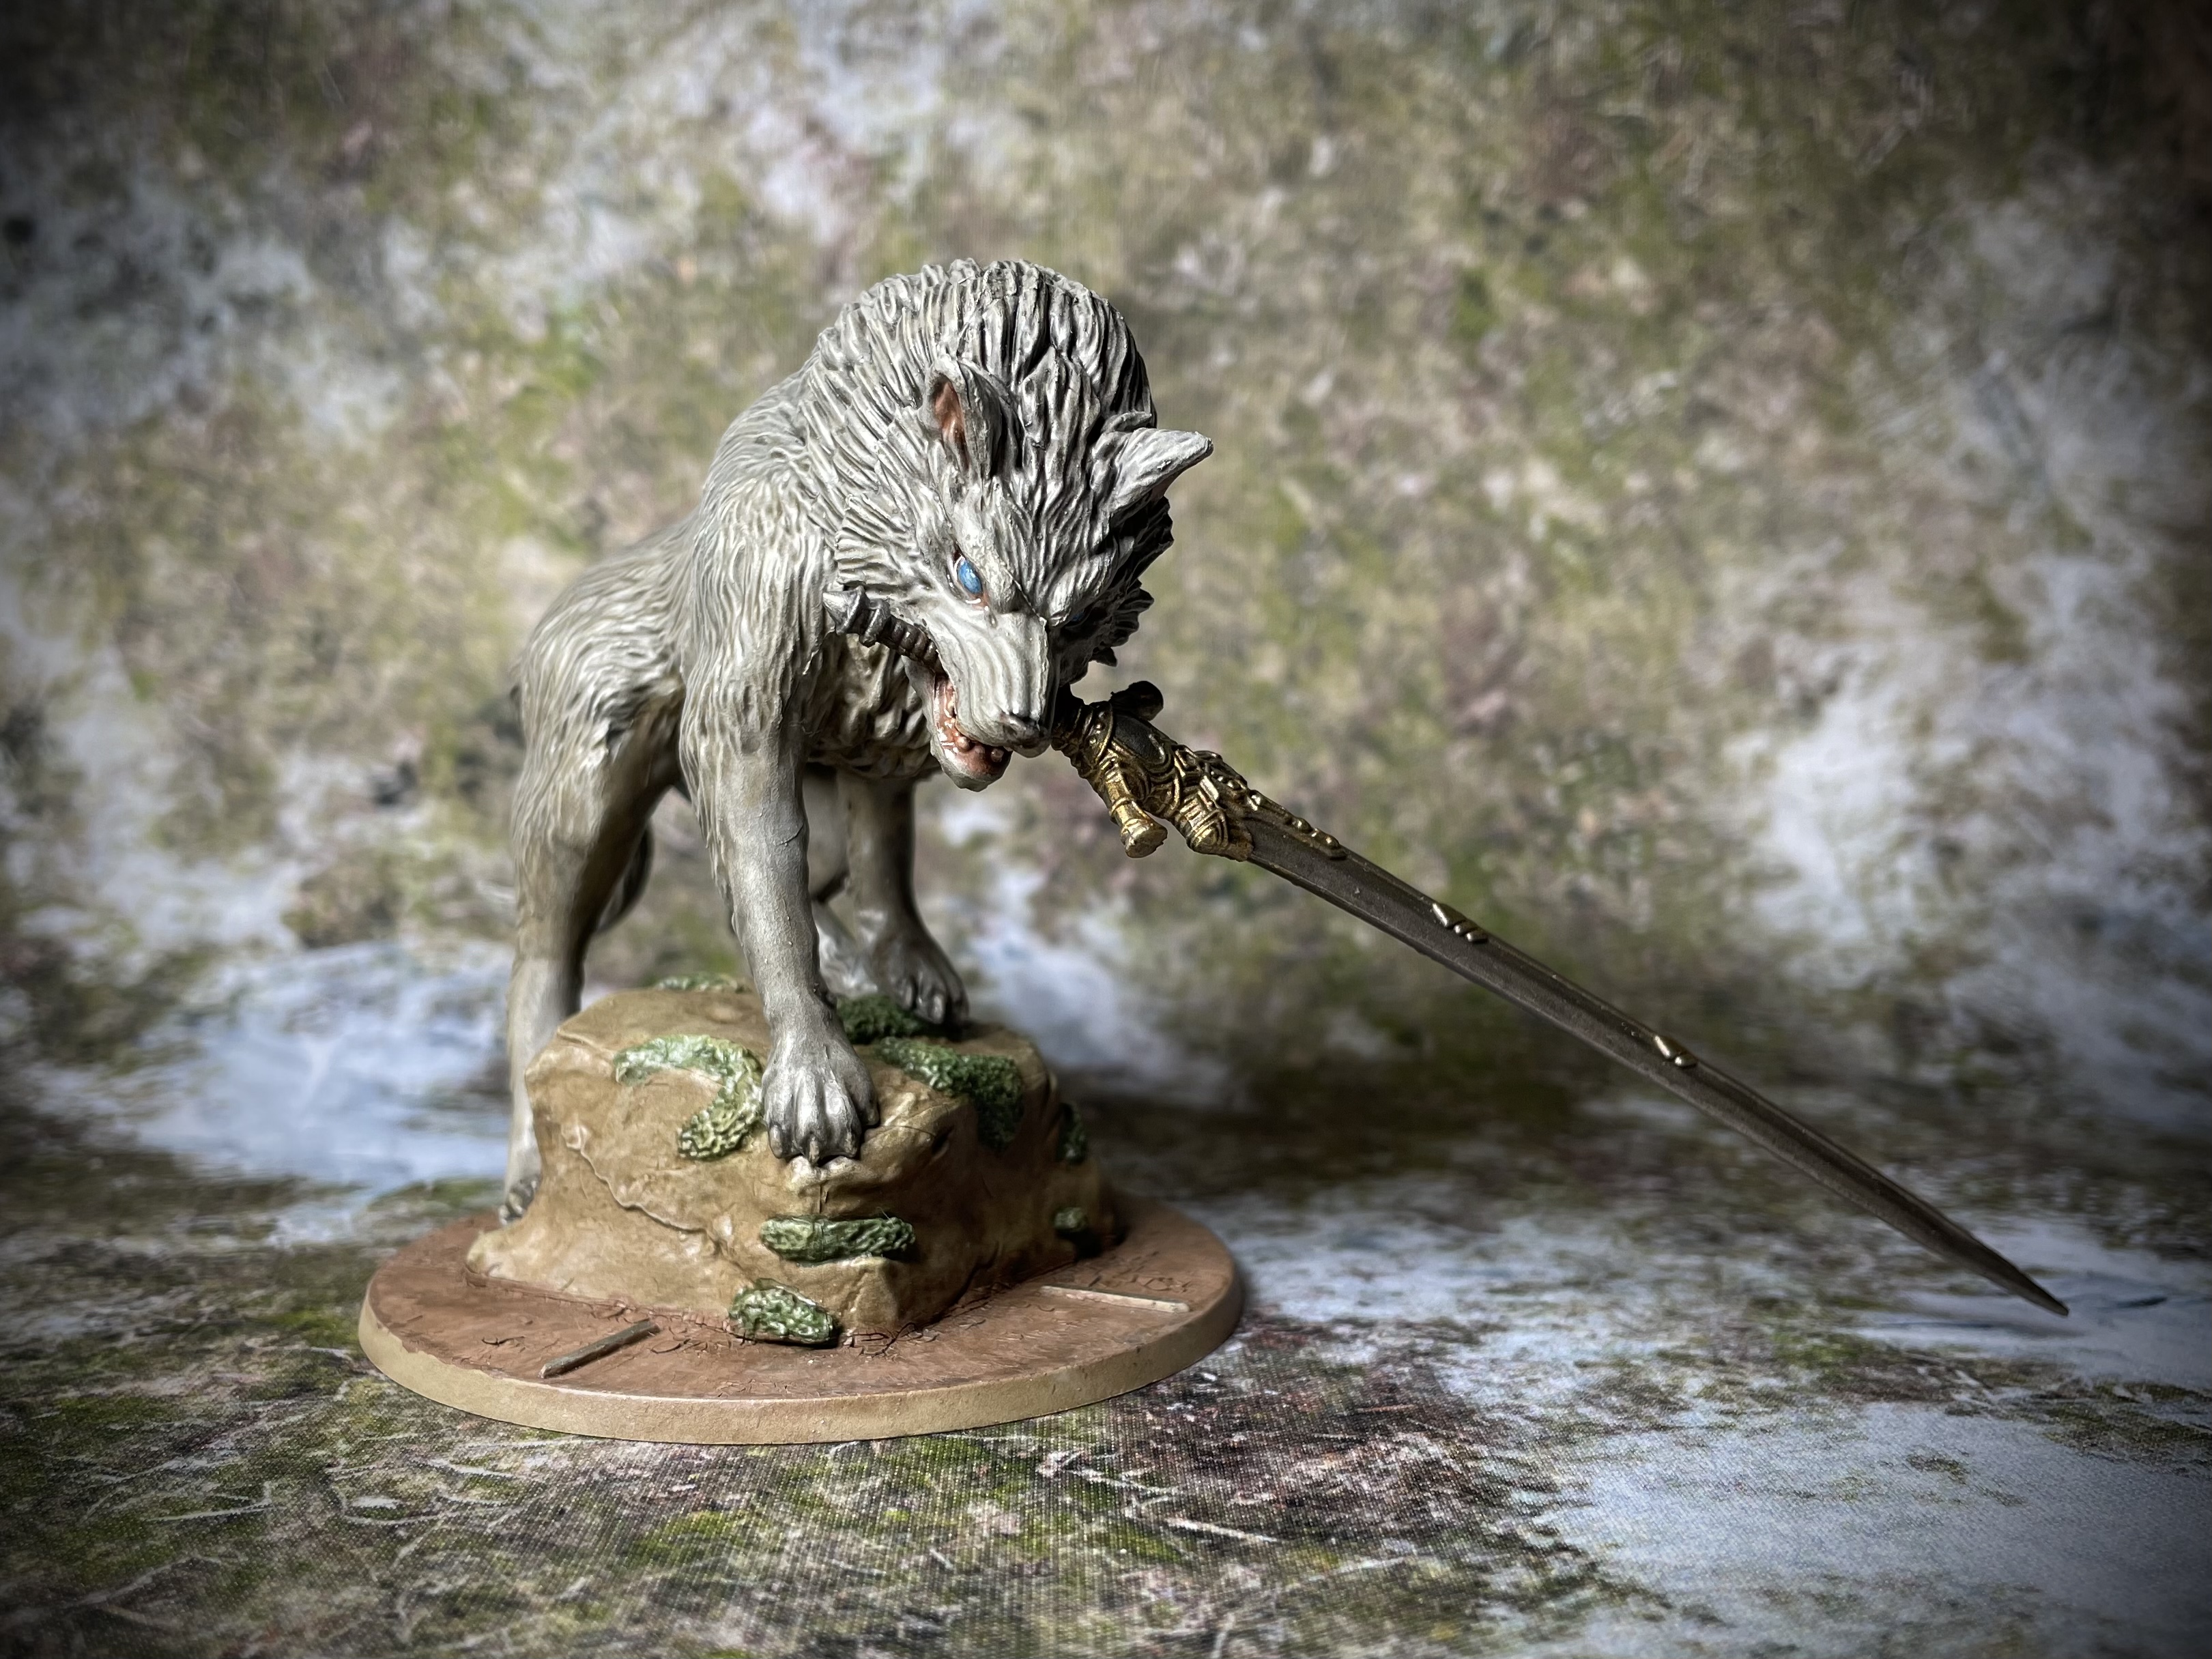 Sif
SifThe final model of this expansion is the Great Wolf Sif. I’m not overly happy with the results here. I feel I could’ve achieved a more natural look by airbrushing different shades into the fur, rather than just washing and dry brushing. I may revisit this in the future but for now I’m going with the maxim that done is better than perfect!

Darkroot Basin - Part II
The real heavy hitters of this expansion are the Stone Knights.
As with all of the models to date, I used very simple washing and dry brushing, in this case over an Army Painter green primer. I used Vallejo Green Grey followed by a mix of Green Grey and Uniform Grey to create the stone armour look. A wash of Agrax was applied before I worked back into the mossy clumps across the figure using a thin layer of German Uniform Green. The sword blades were dry brushed with a little silver over the grey to give the impression of petrified steel.
 Stone Knight
For the Stone Guardians I worked over a Khaki Primer, first picking out the few details that would not be sandstone in colour. For the Axe head I used German Green Grey again. I used Vallejo Dark Brown, slightly thinned down, over the tree root that makes up the handle of the axe. The bulk of the model was dry brushed German Camo Beige, followed by Wraithbone.
 Stone Guardian
 Just as with the earlier expansions, I used Army painter Soft tone dip applied with a brush, followed by a coat of Vallejo mat varnish to finish and protect the models.
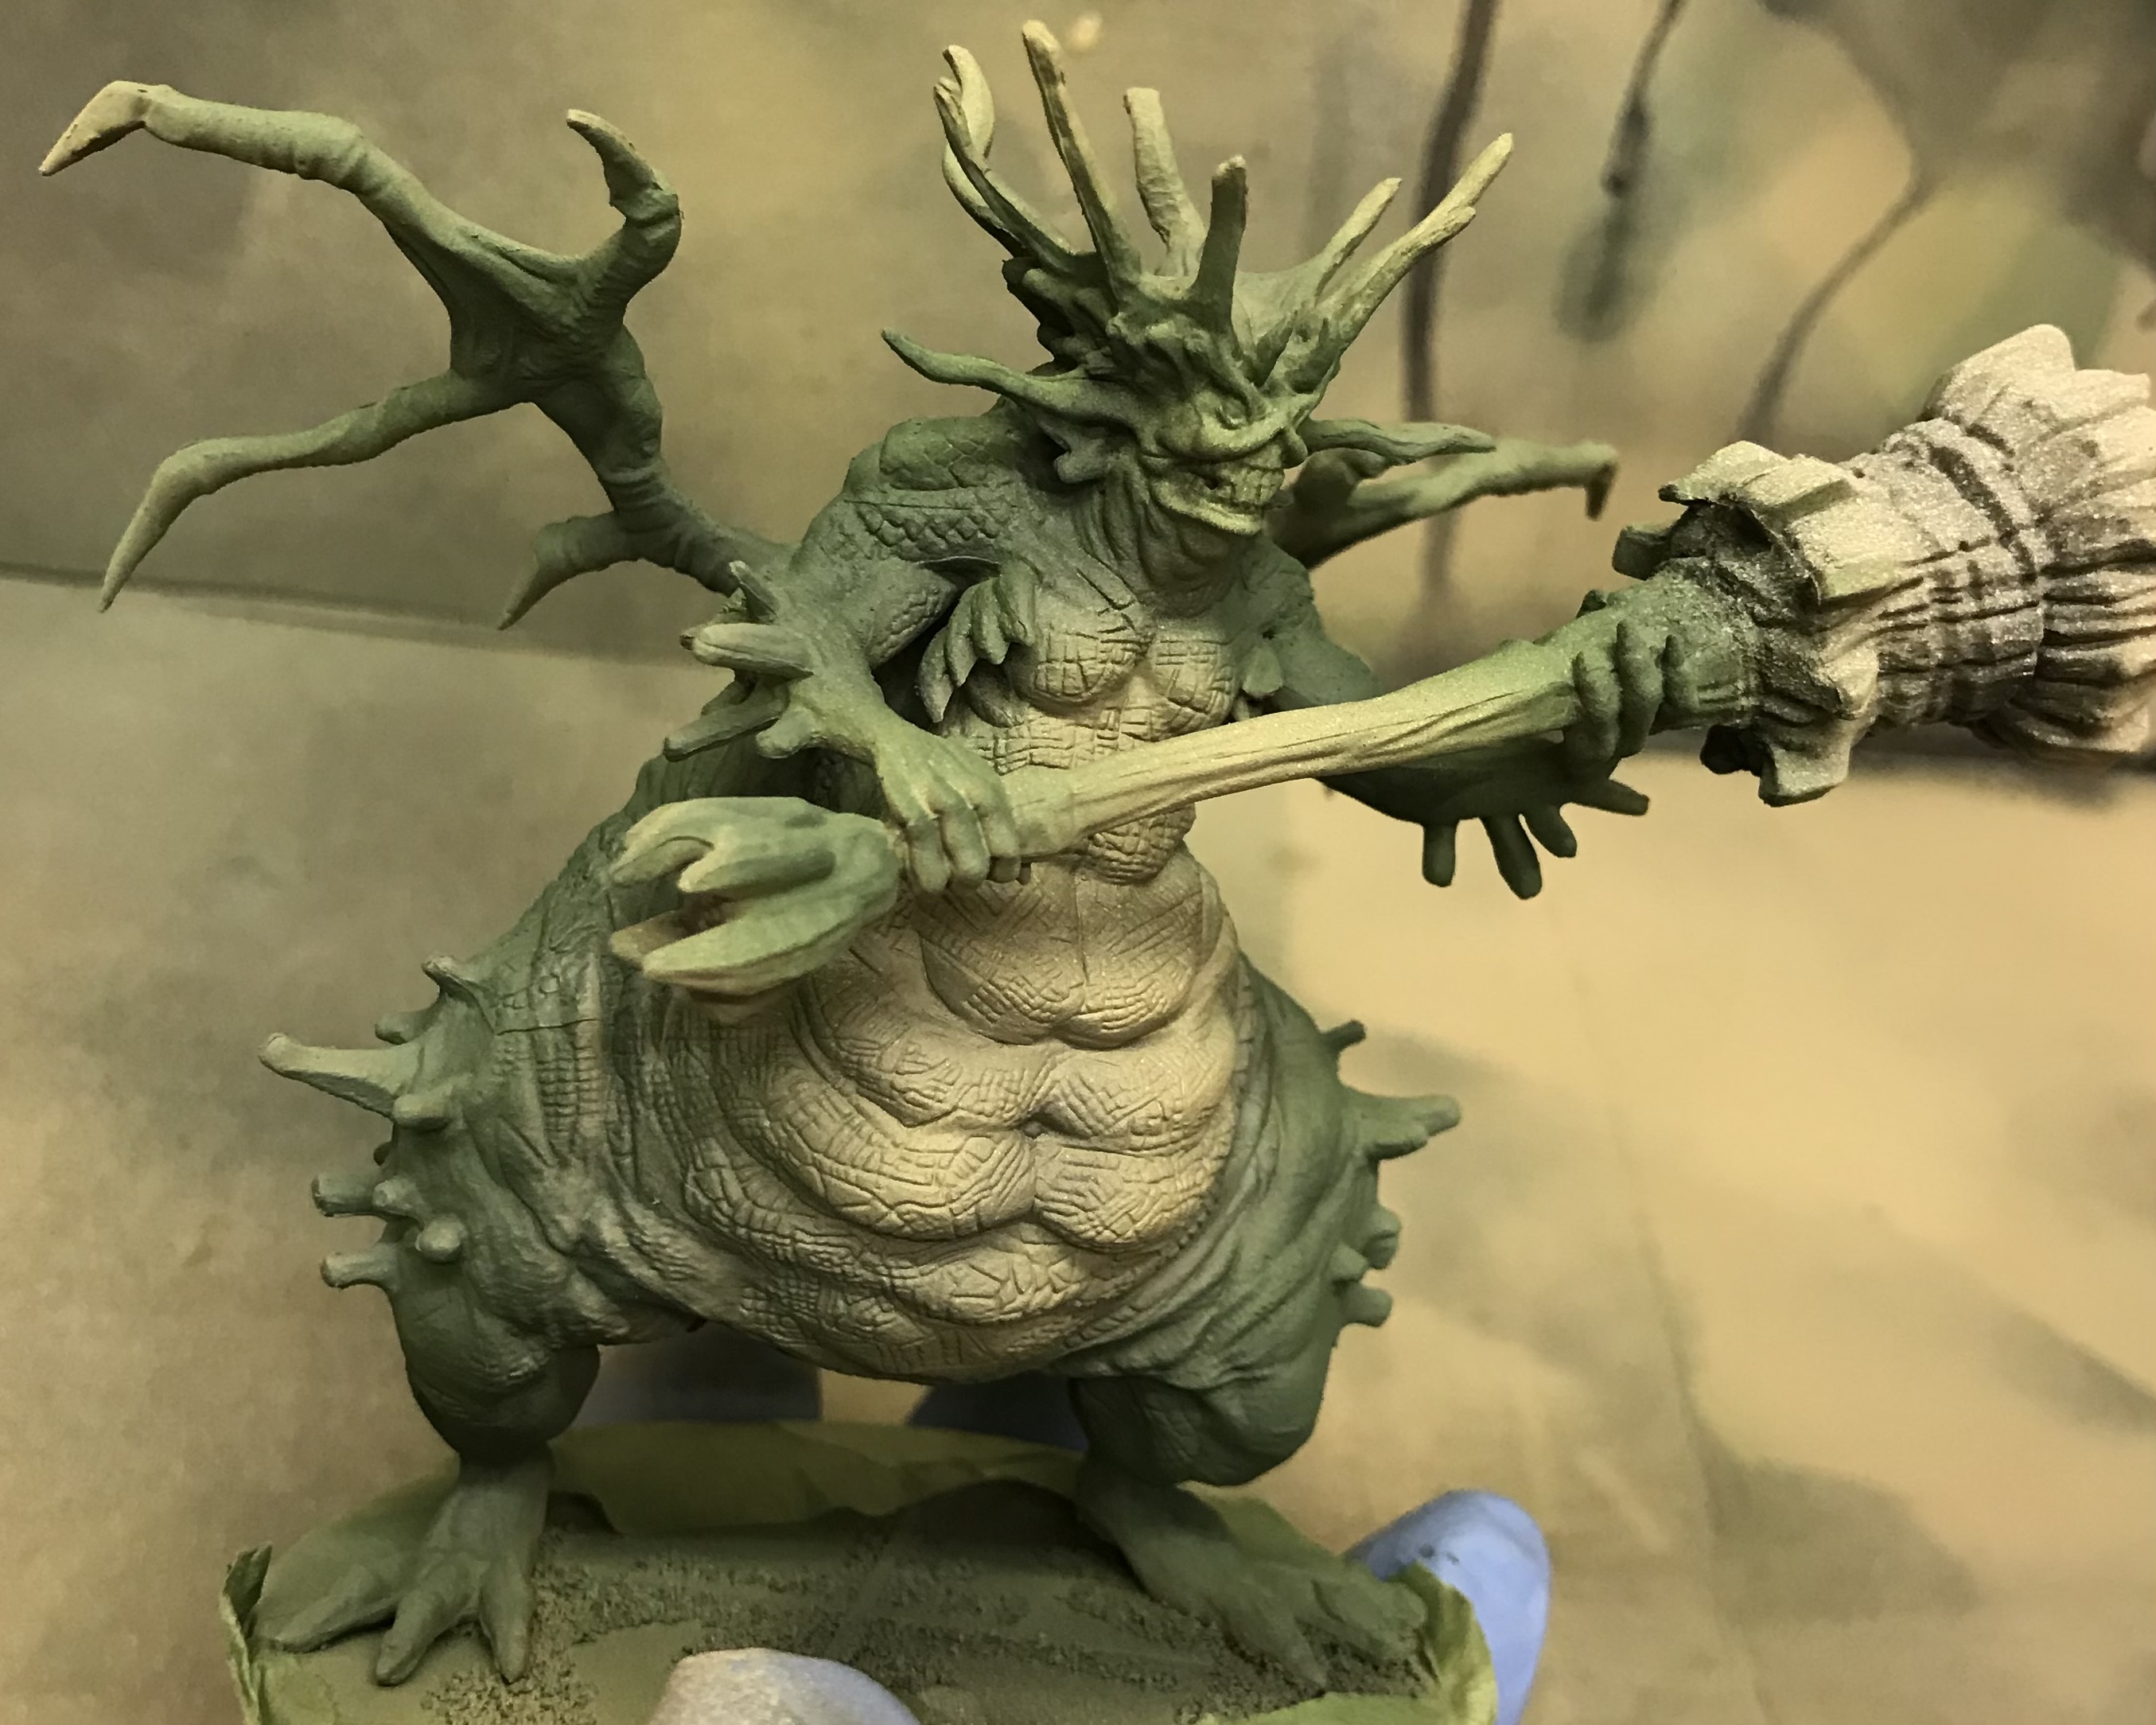
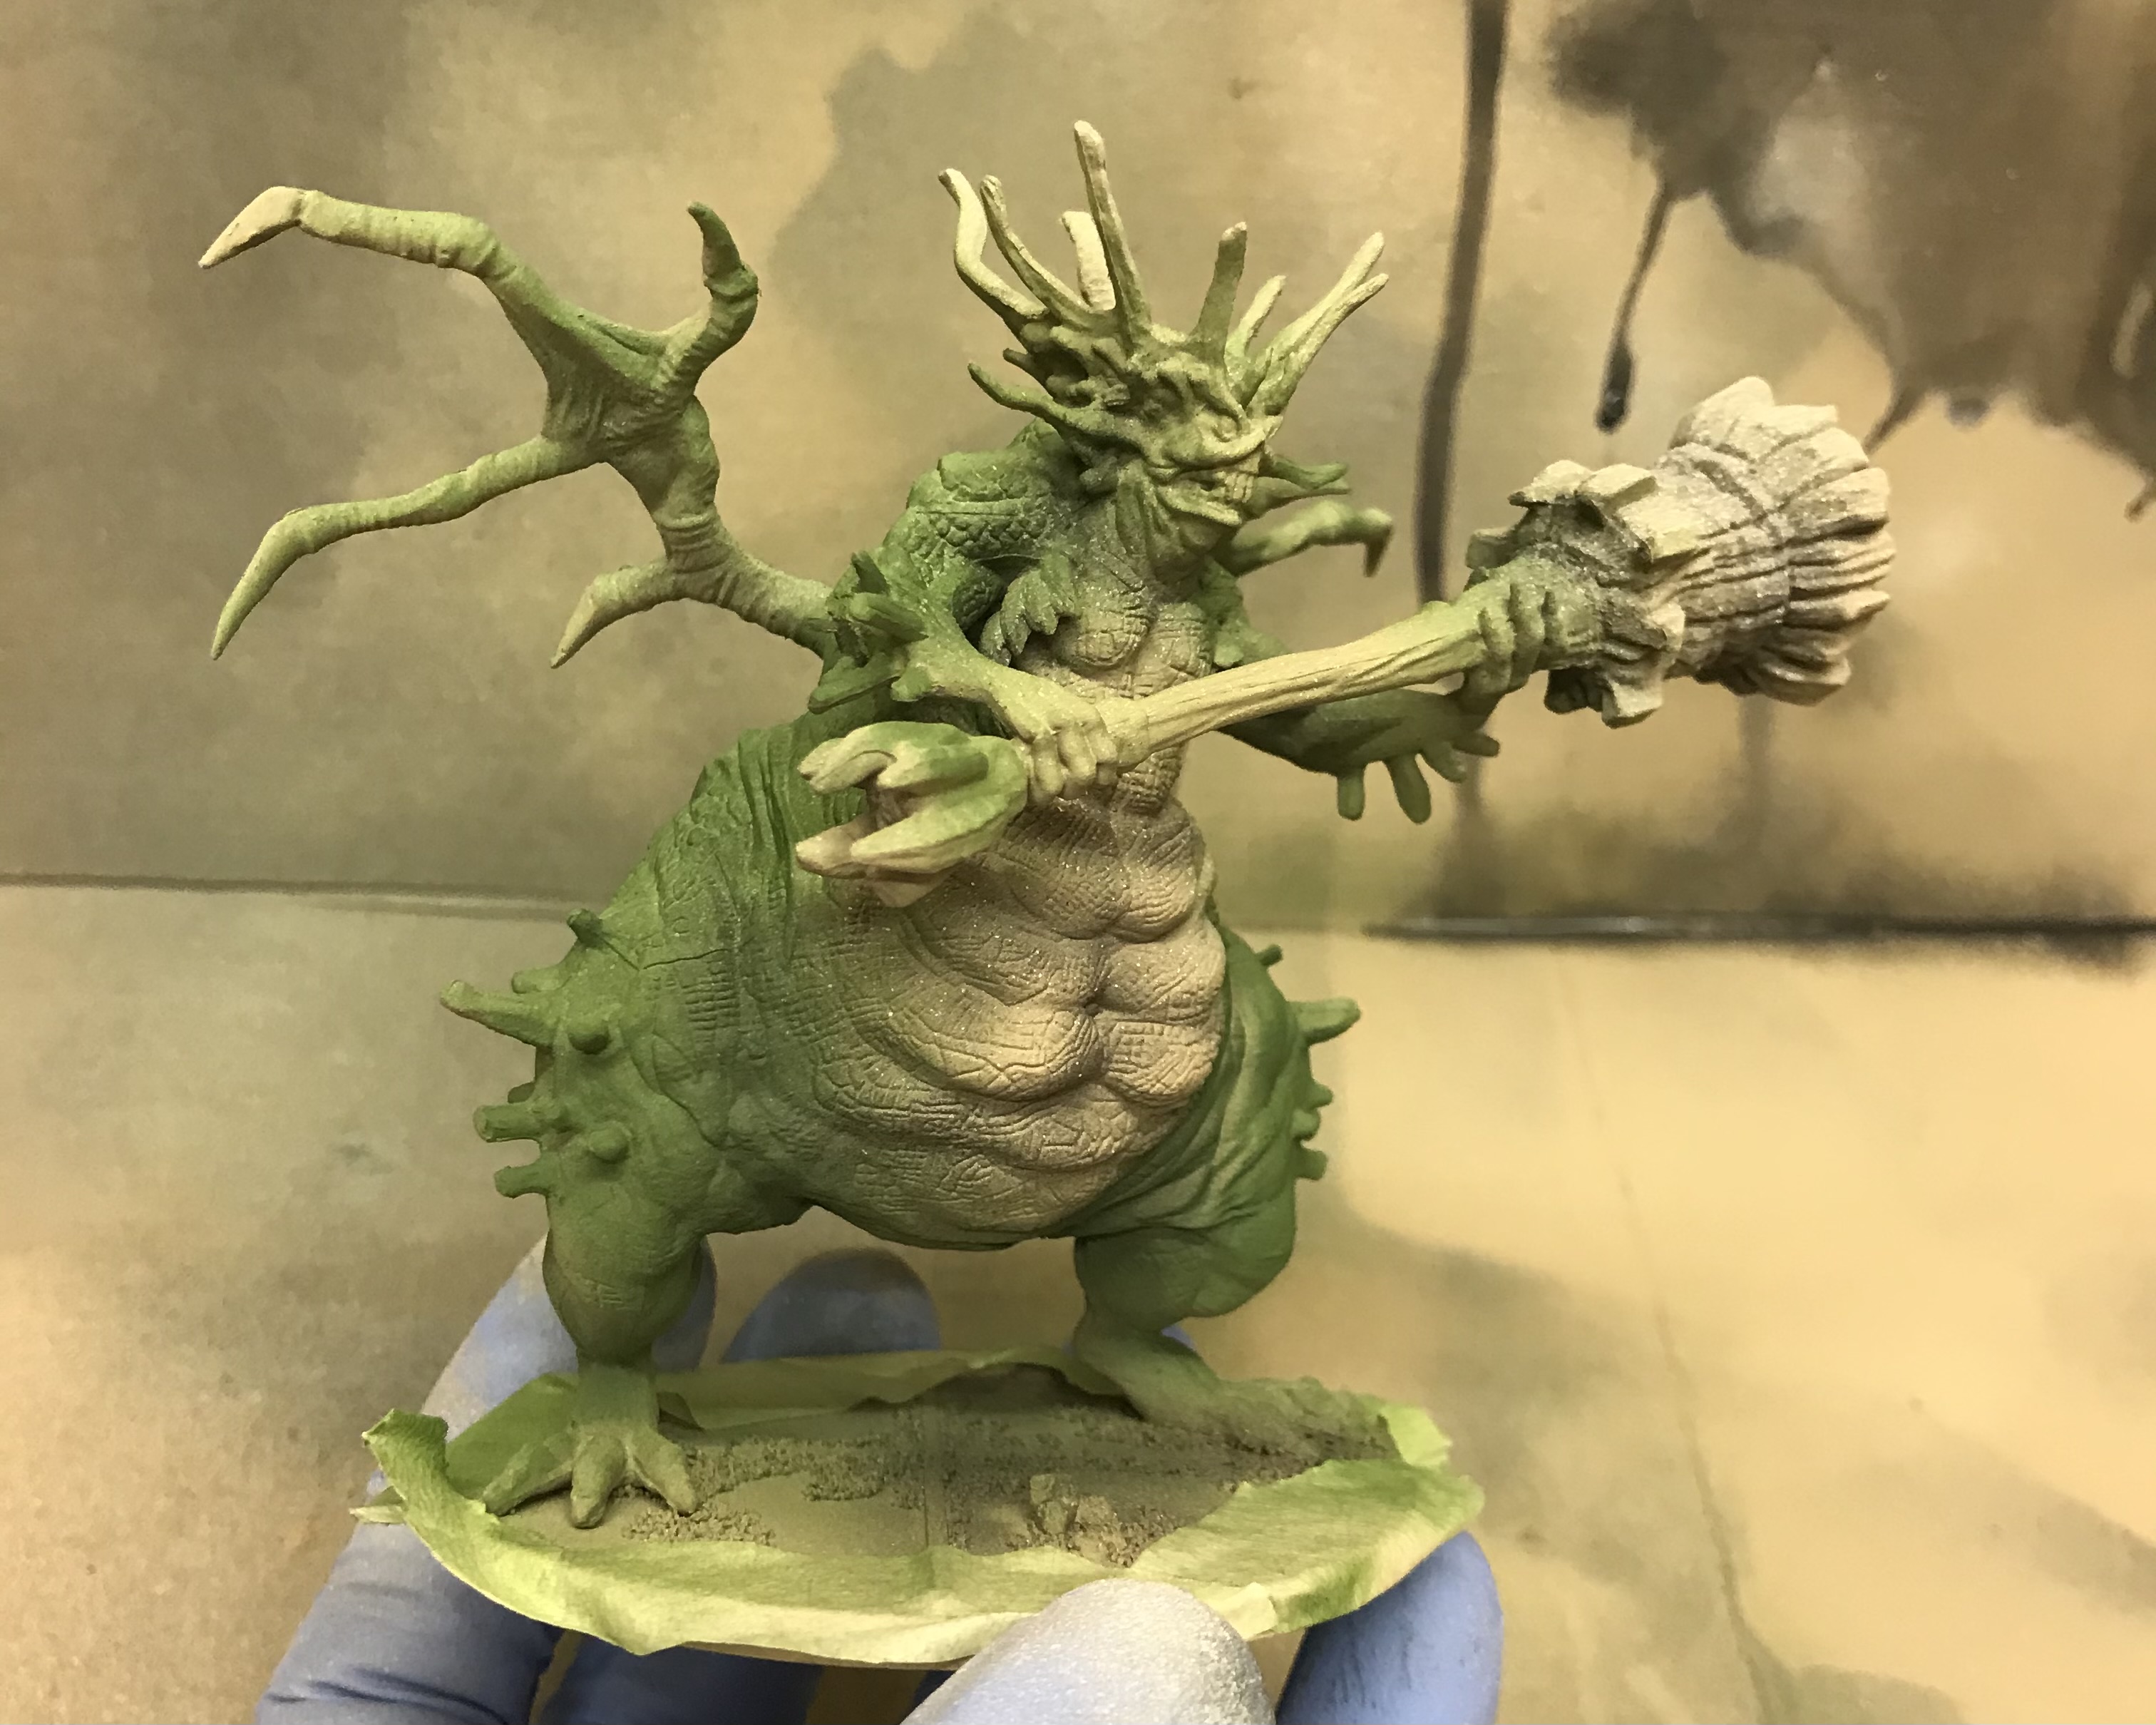
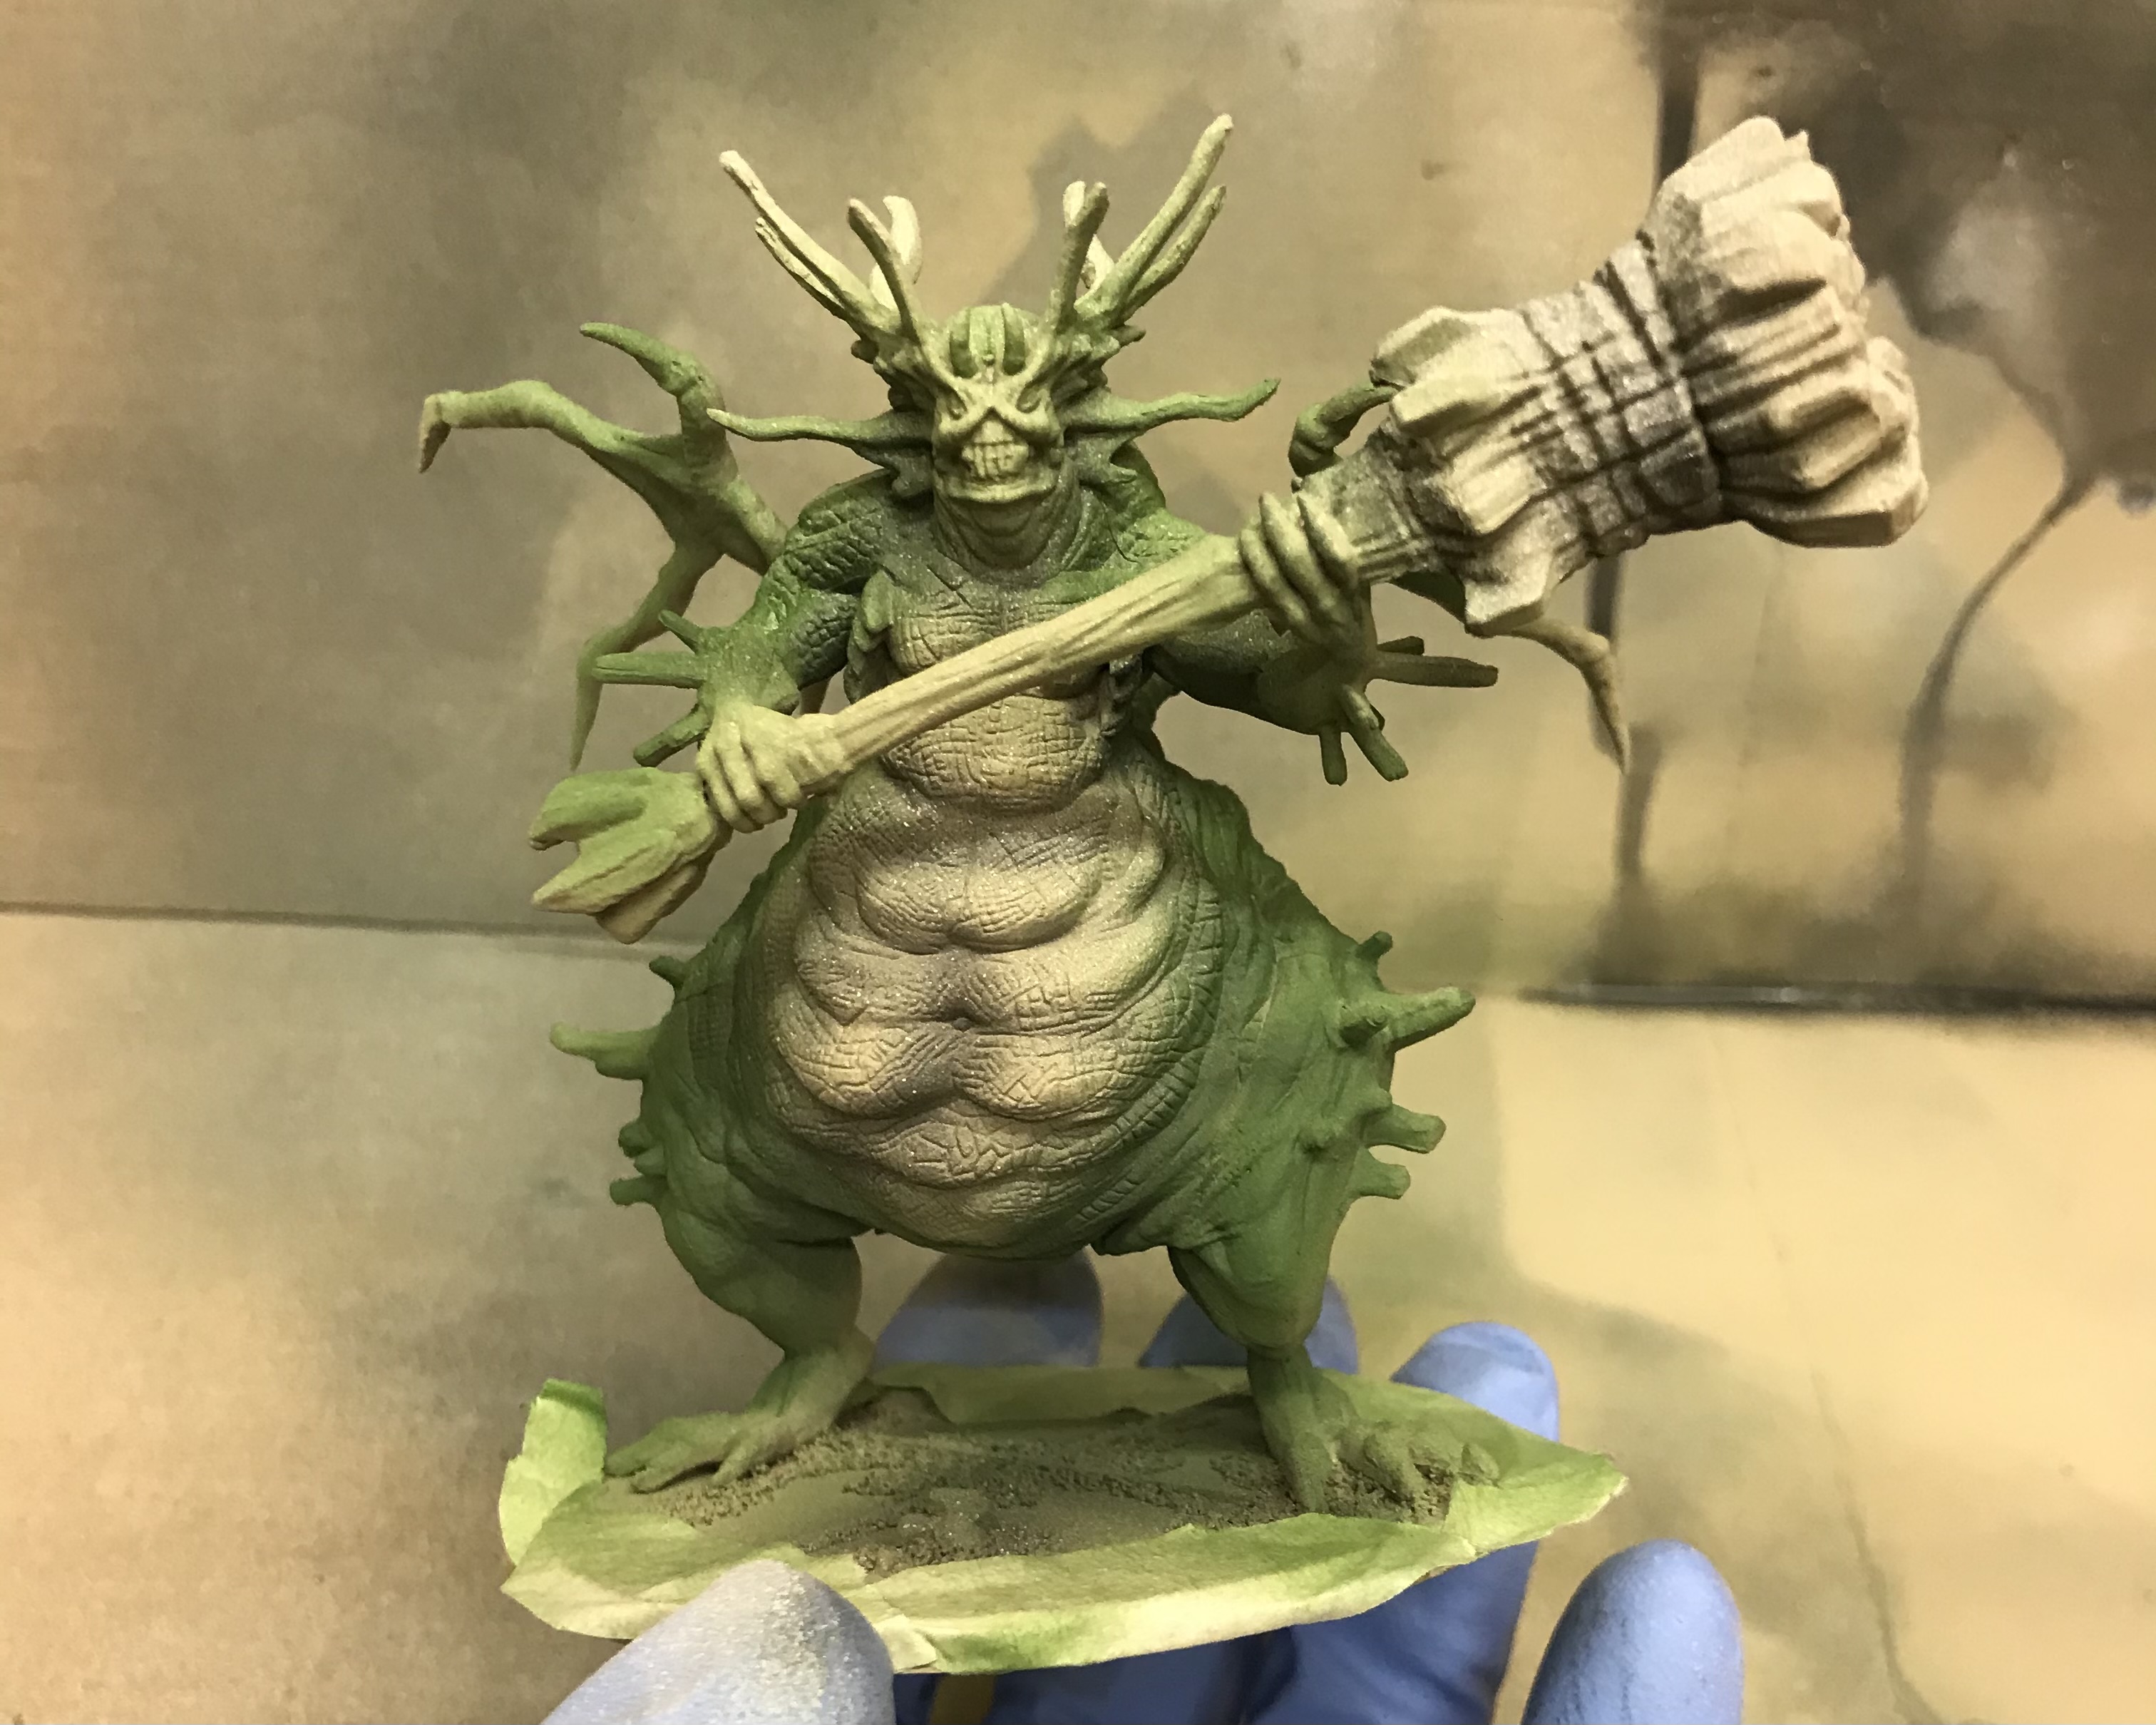
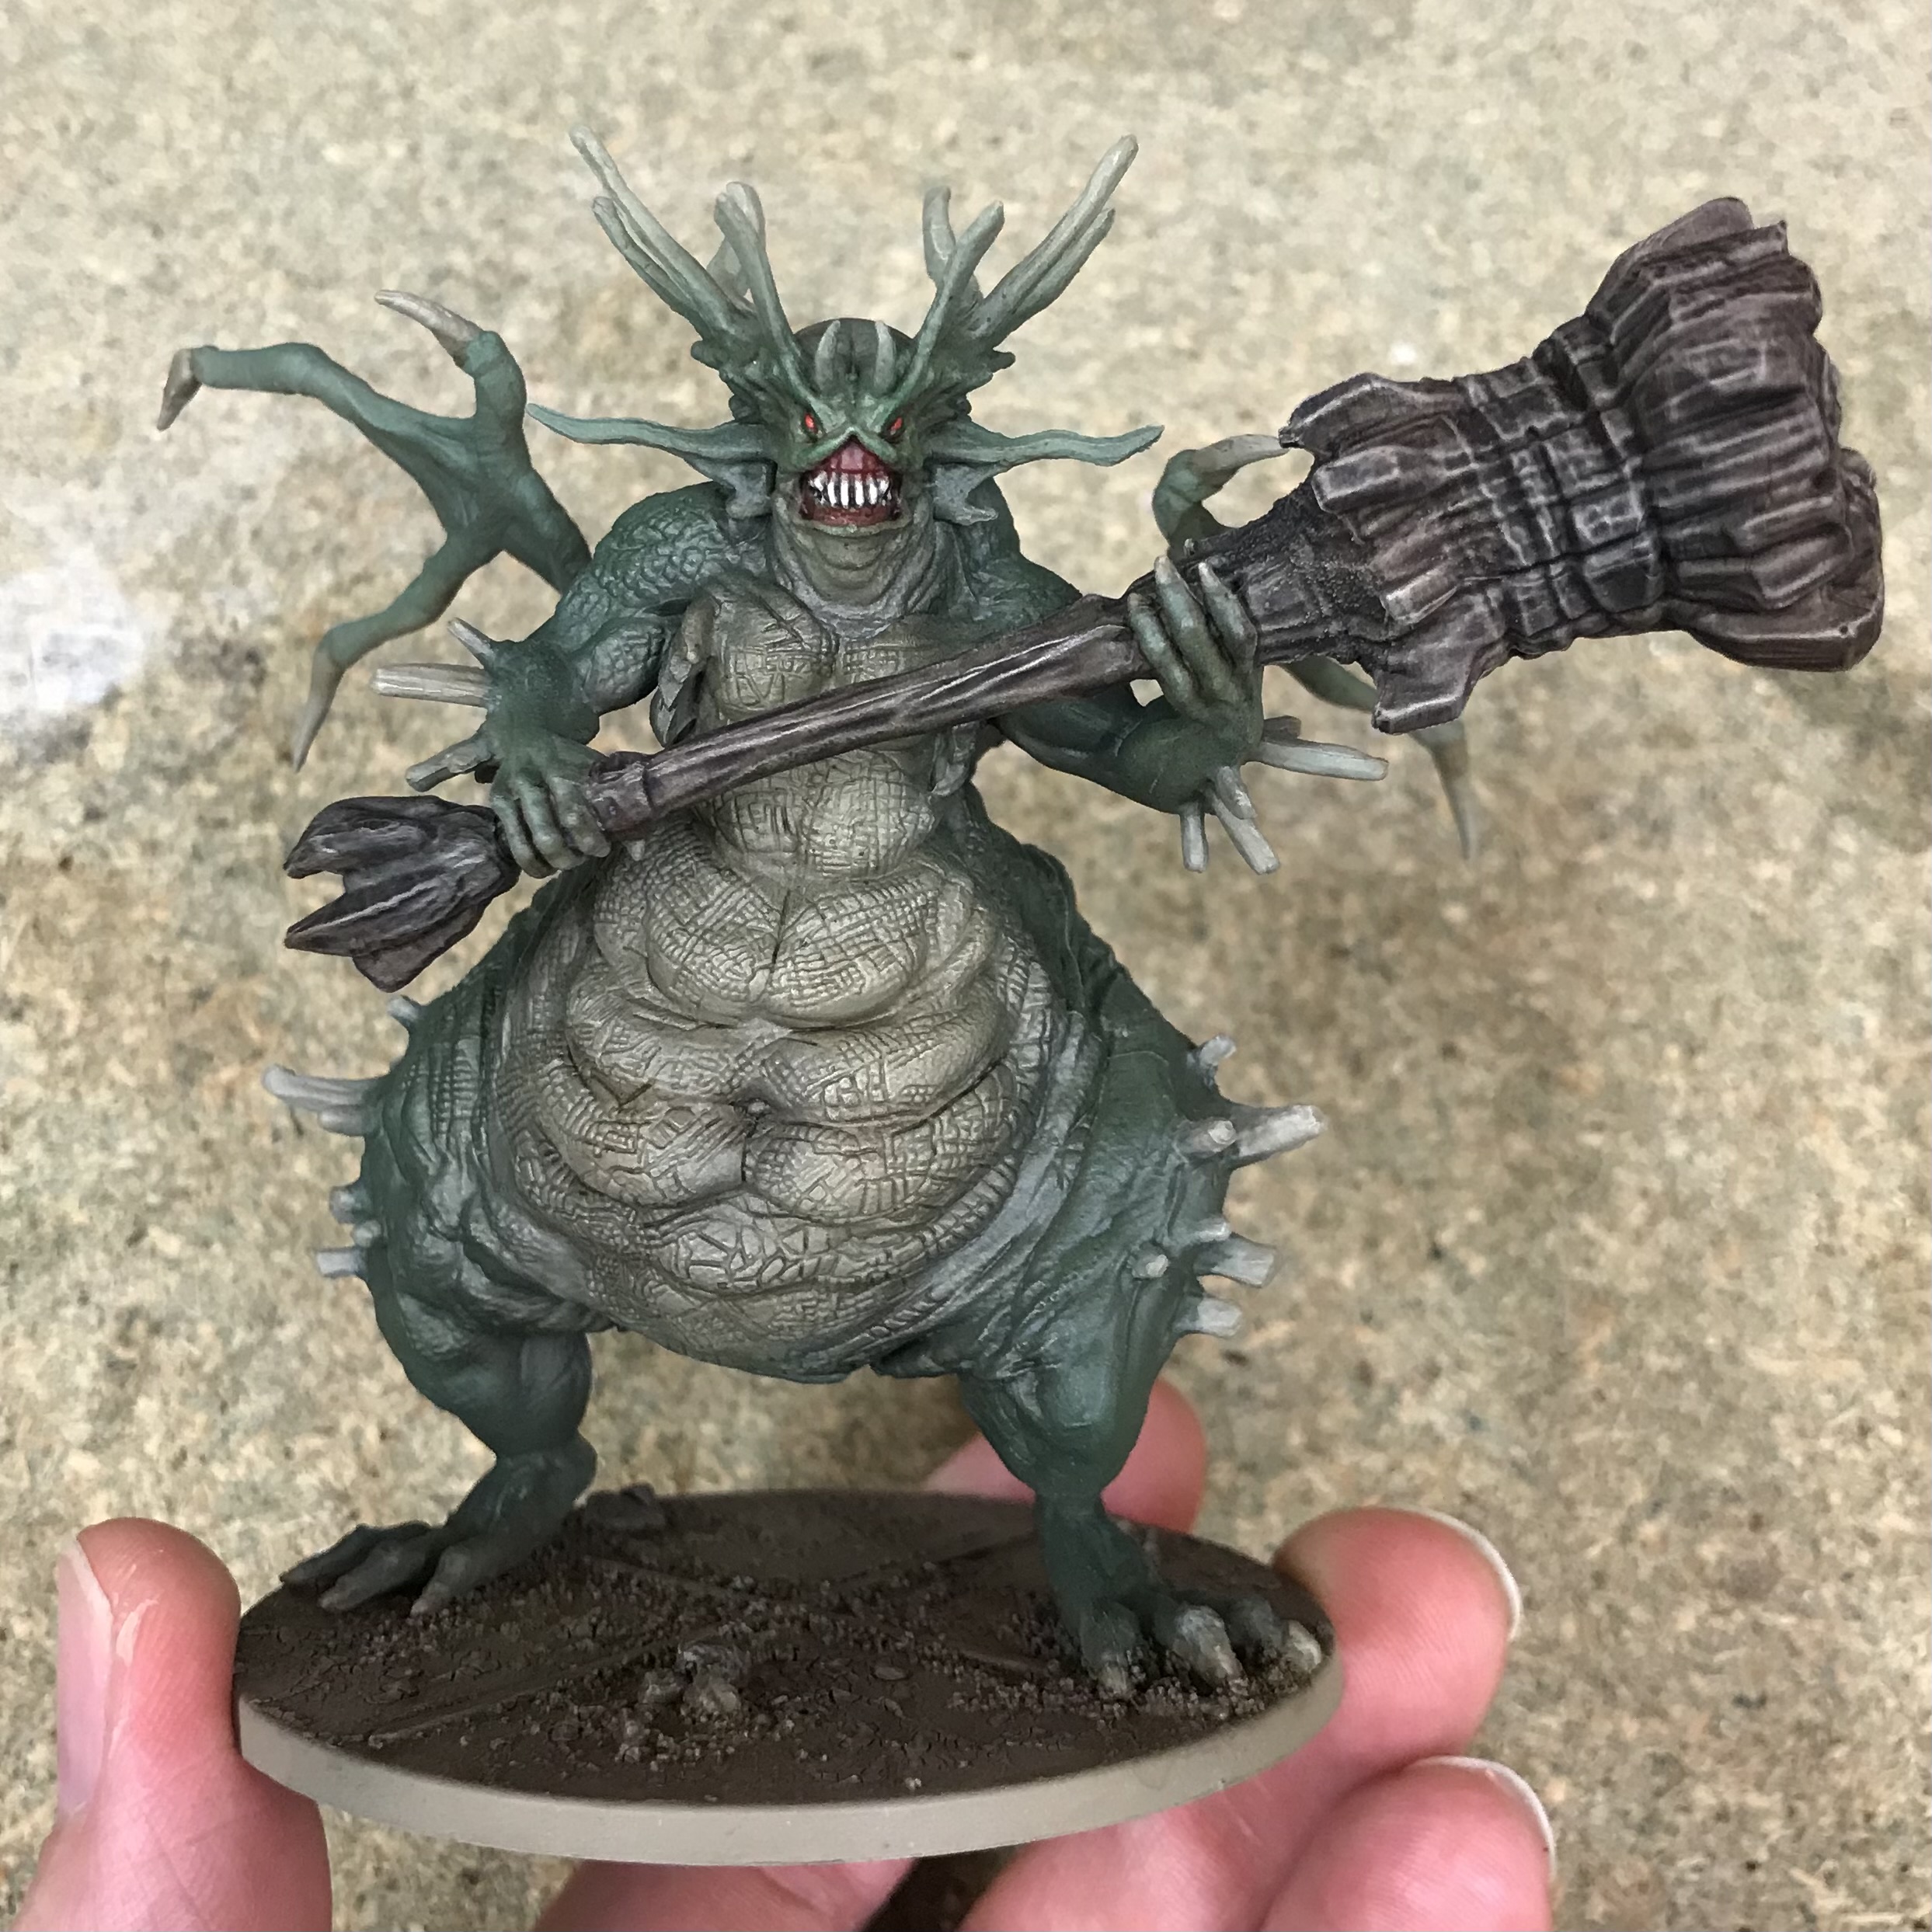
Now we move on to the most obscure antagonists in the Dark Souls universe, the Mushroom Parent and Child. I can’t begin to explain the presence of an anthropomorphic fungi family in this realm of the undead. The random nature of some enemies in this game certainly serves as a reminder of the Japanese origins of the series!
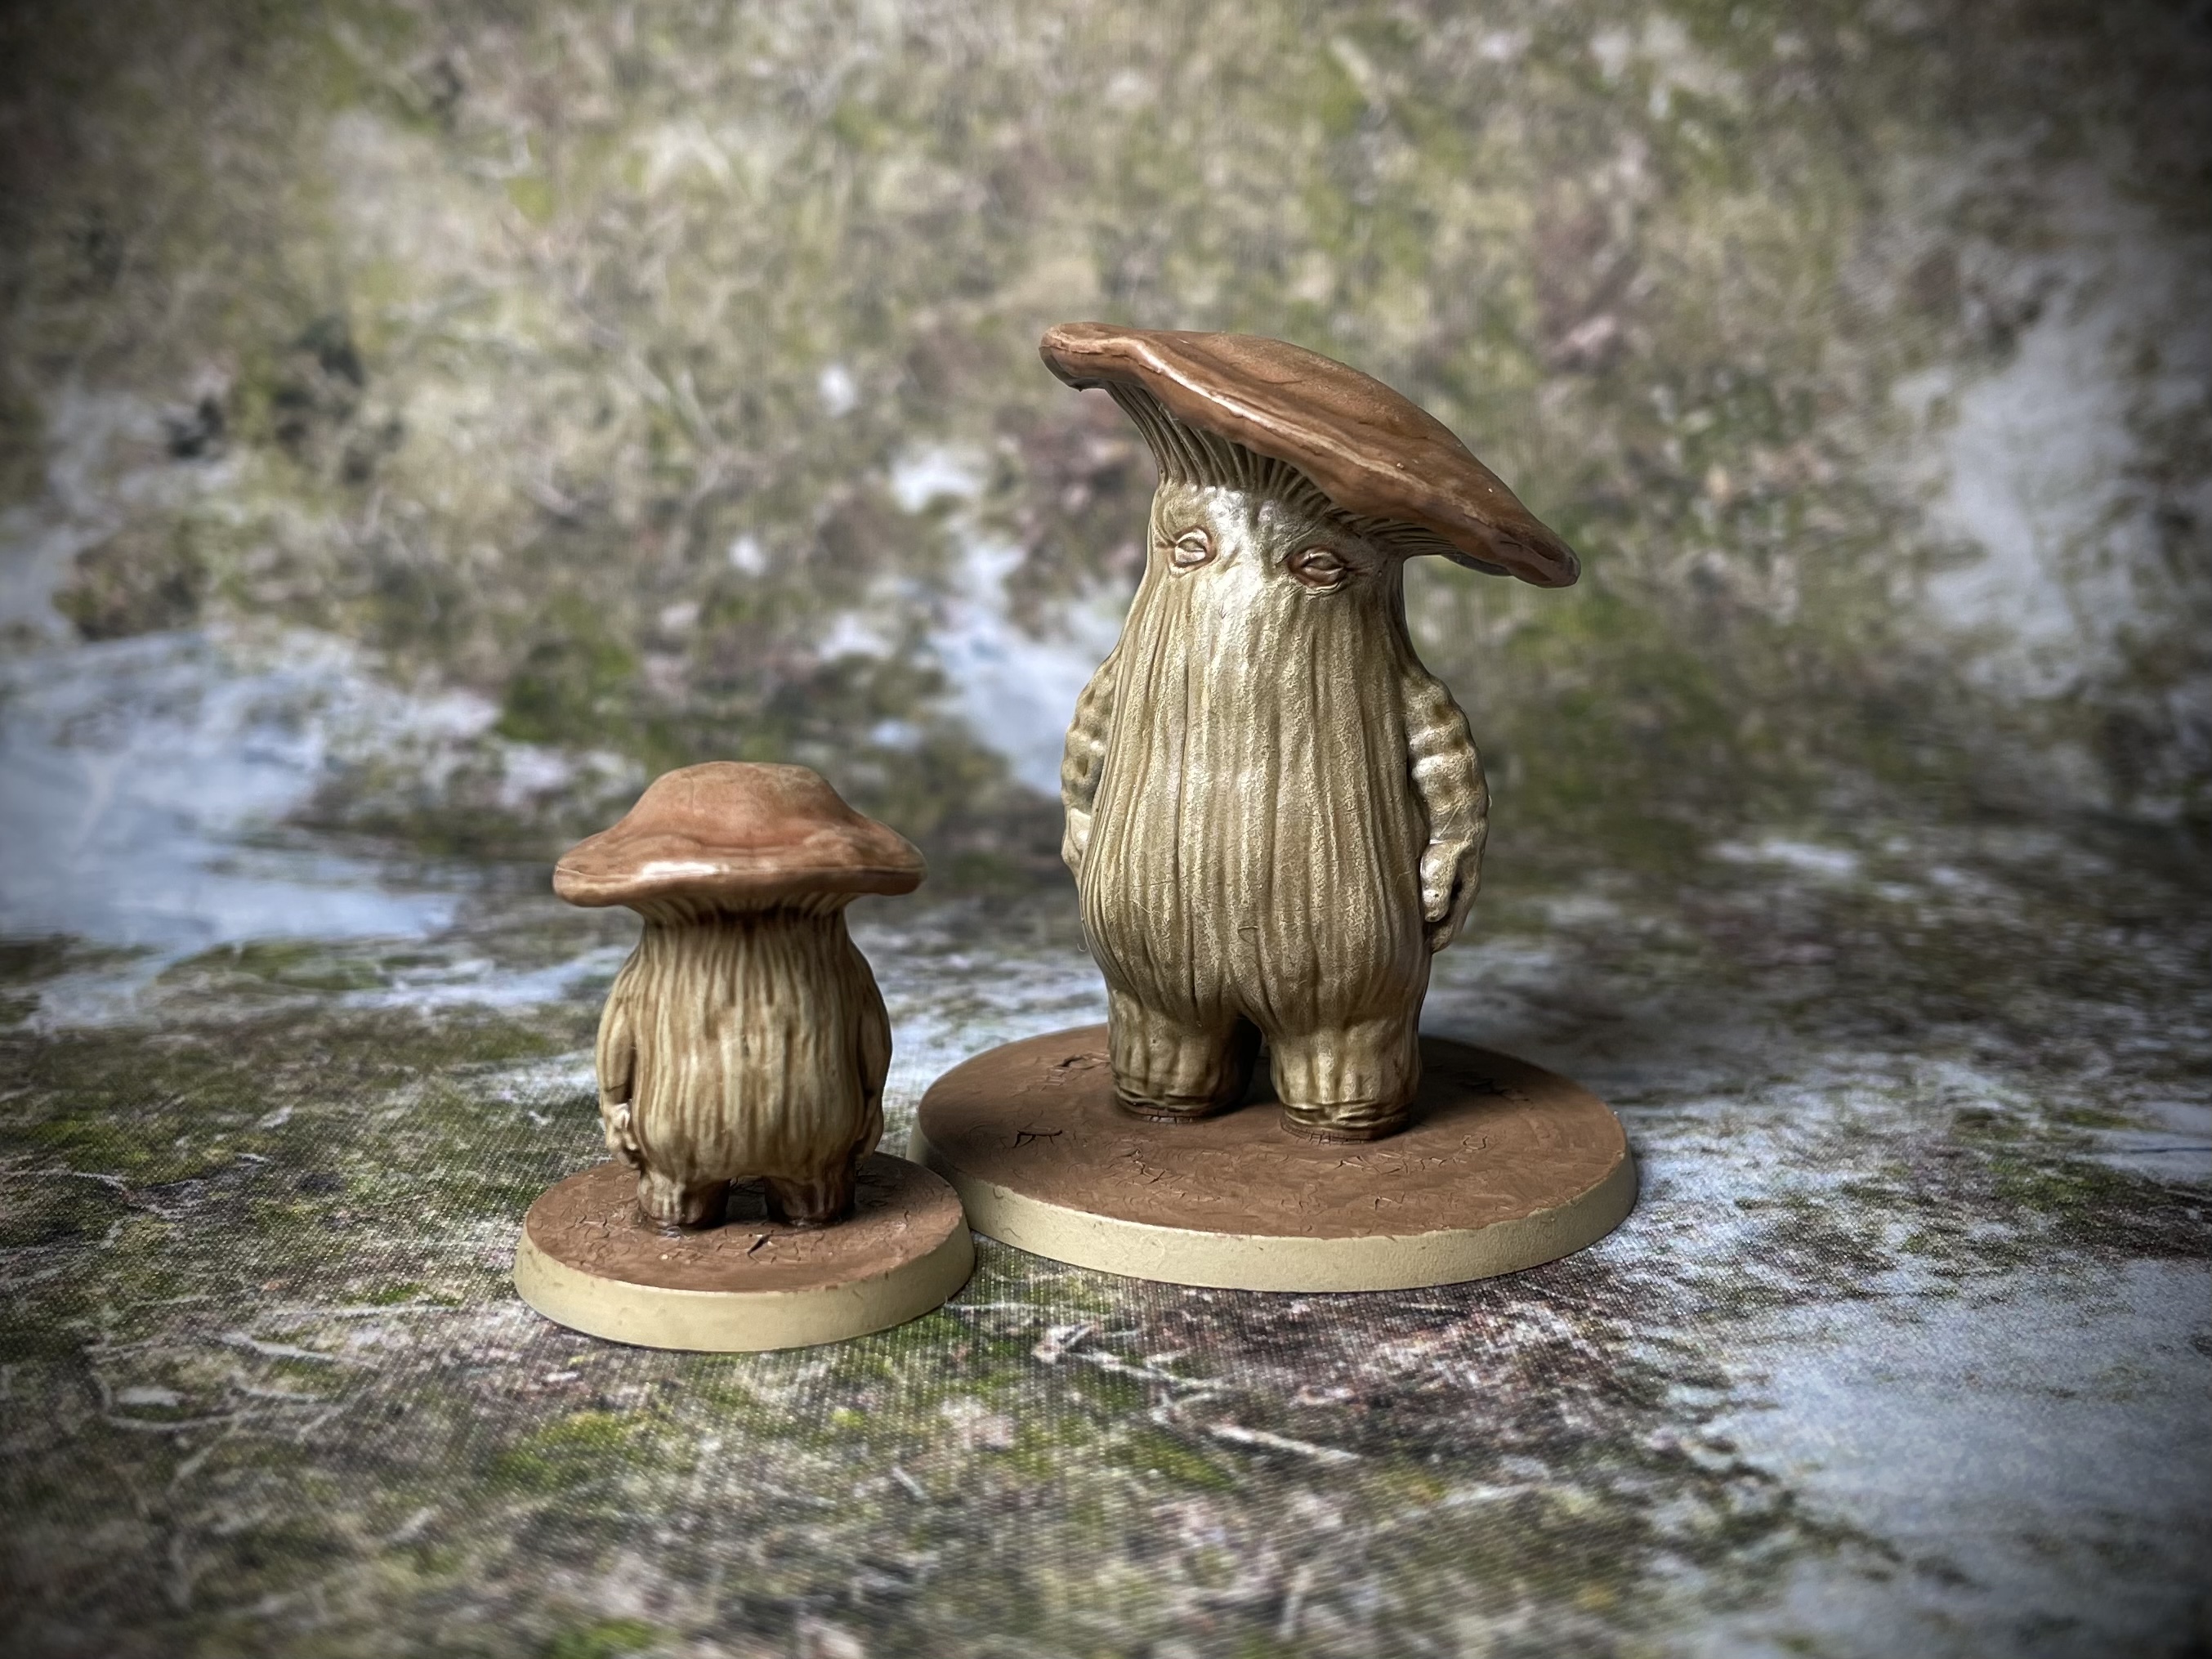 Mushroom Parent and Child
For the Mushroom parent and child I again used a Khaki primer. I first painted the mushroom tops with Vallejo Medium Camo Brown, before washing the rest of the model with Agrax (standard). I washed the cap of the mushroom with my old pot of Ogryn flesh to bring out the reds. The body (or stalk!), of the model was dry brushed German Camo Beige, followed by Wraithbone.
Dark Root Basin - Part I
The Darkroot Basin Expansion brings completely new encounters to the board game, featuring enemies and bosses from the Darkroot Basin and Royal Garden locations of Dark Souls I. These areas are characterised by rocky cliff edges overgrown with foliage, and the enemies that inhabit them reflect this colour pallet.

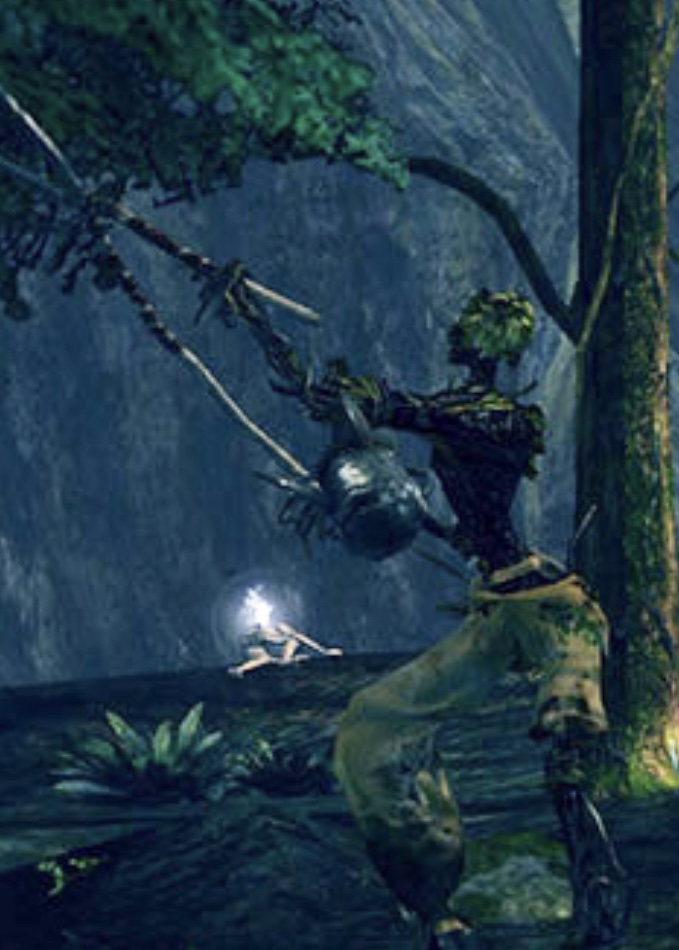
First up we have the Demonic Foliage, which, having no discernible features, was very simple to paint! I used Vallejo Dark Brown for the areas that I wanted to appear woody, with Luftwaffe Green and Camo Green on the more verdant areas.
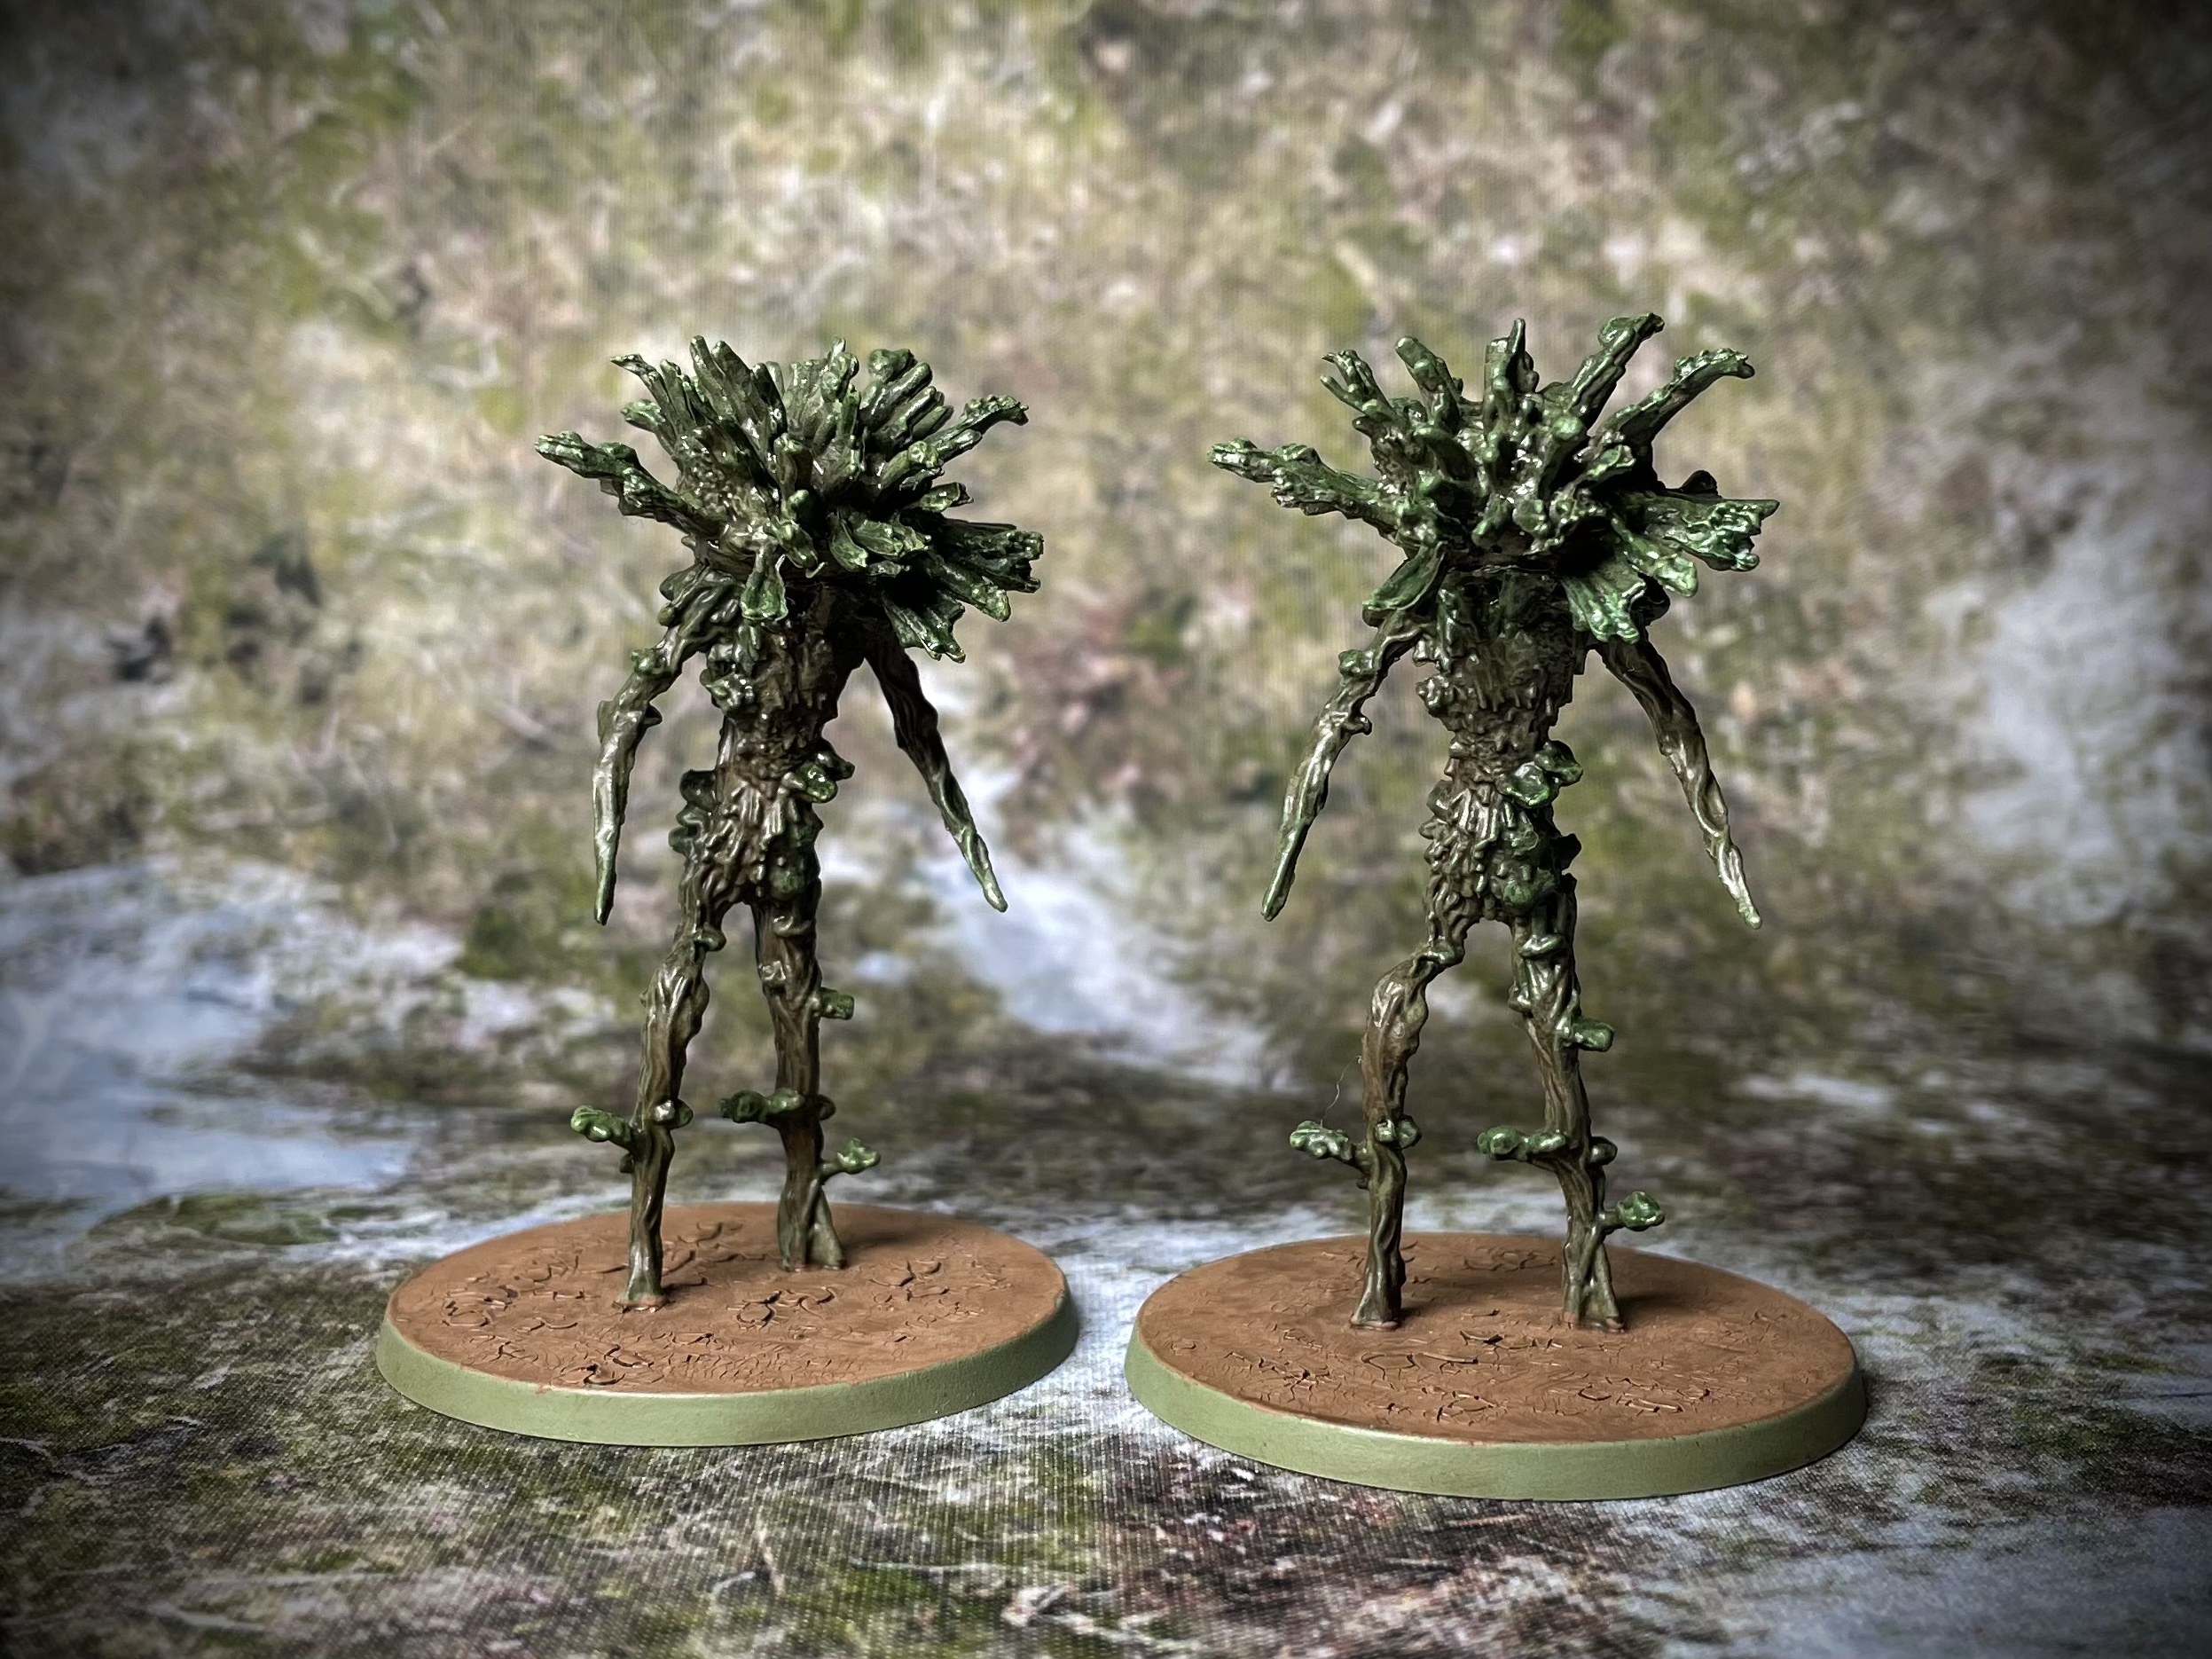 Demonic Foliage
 The Hollow enemies in this set take the form of Scarecrows, armed with Ploughs and Shears respectively.
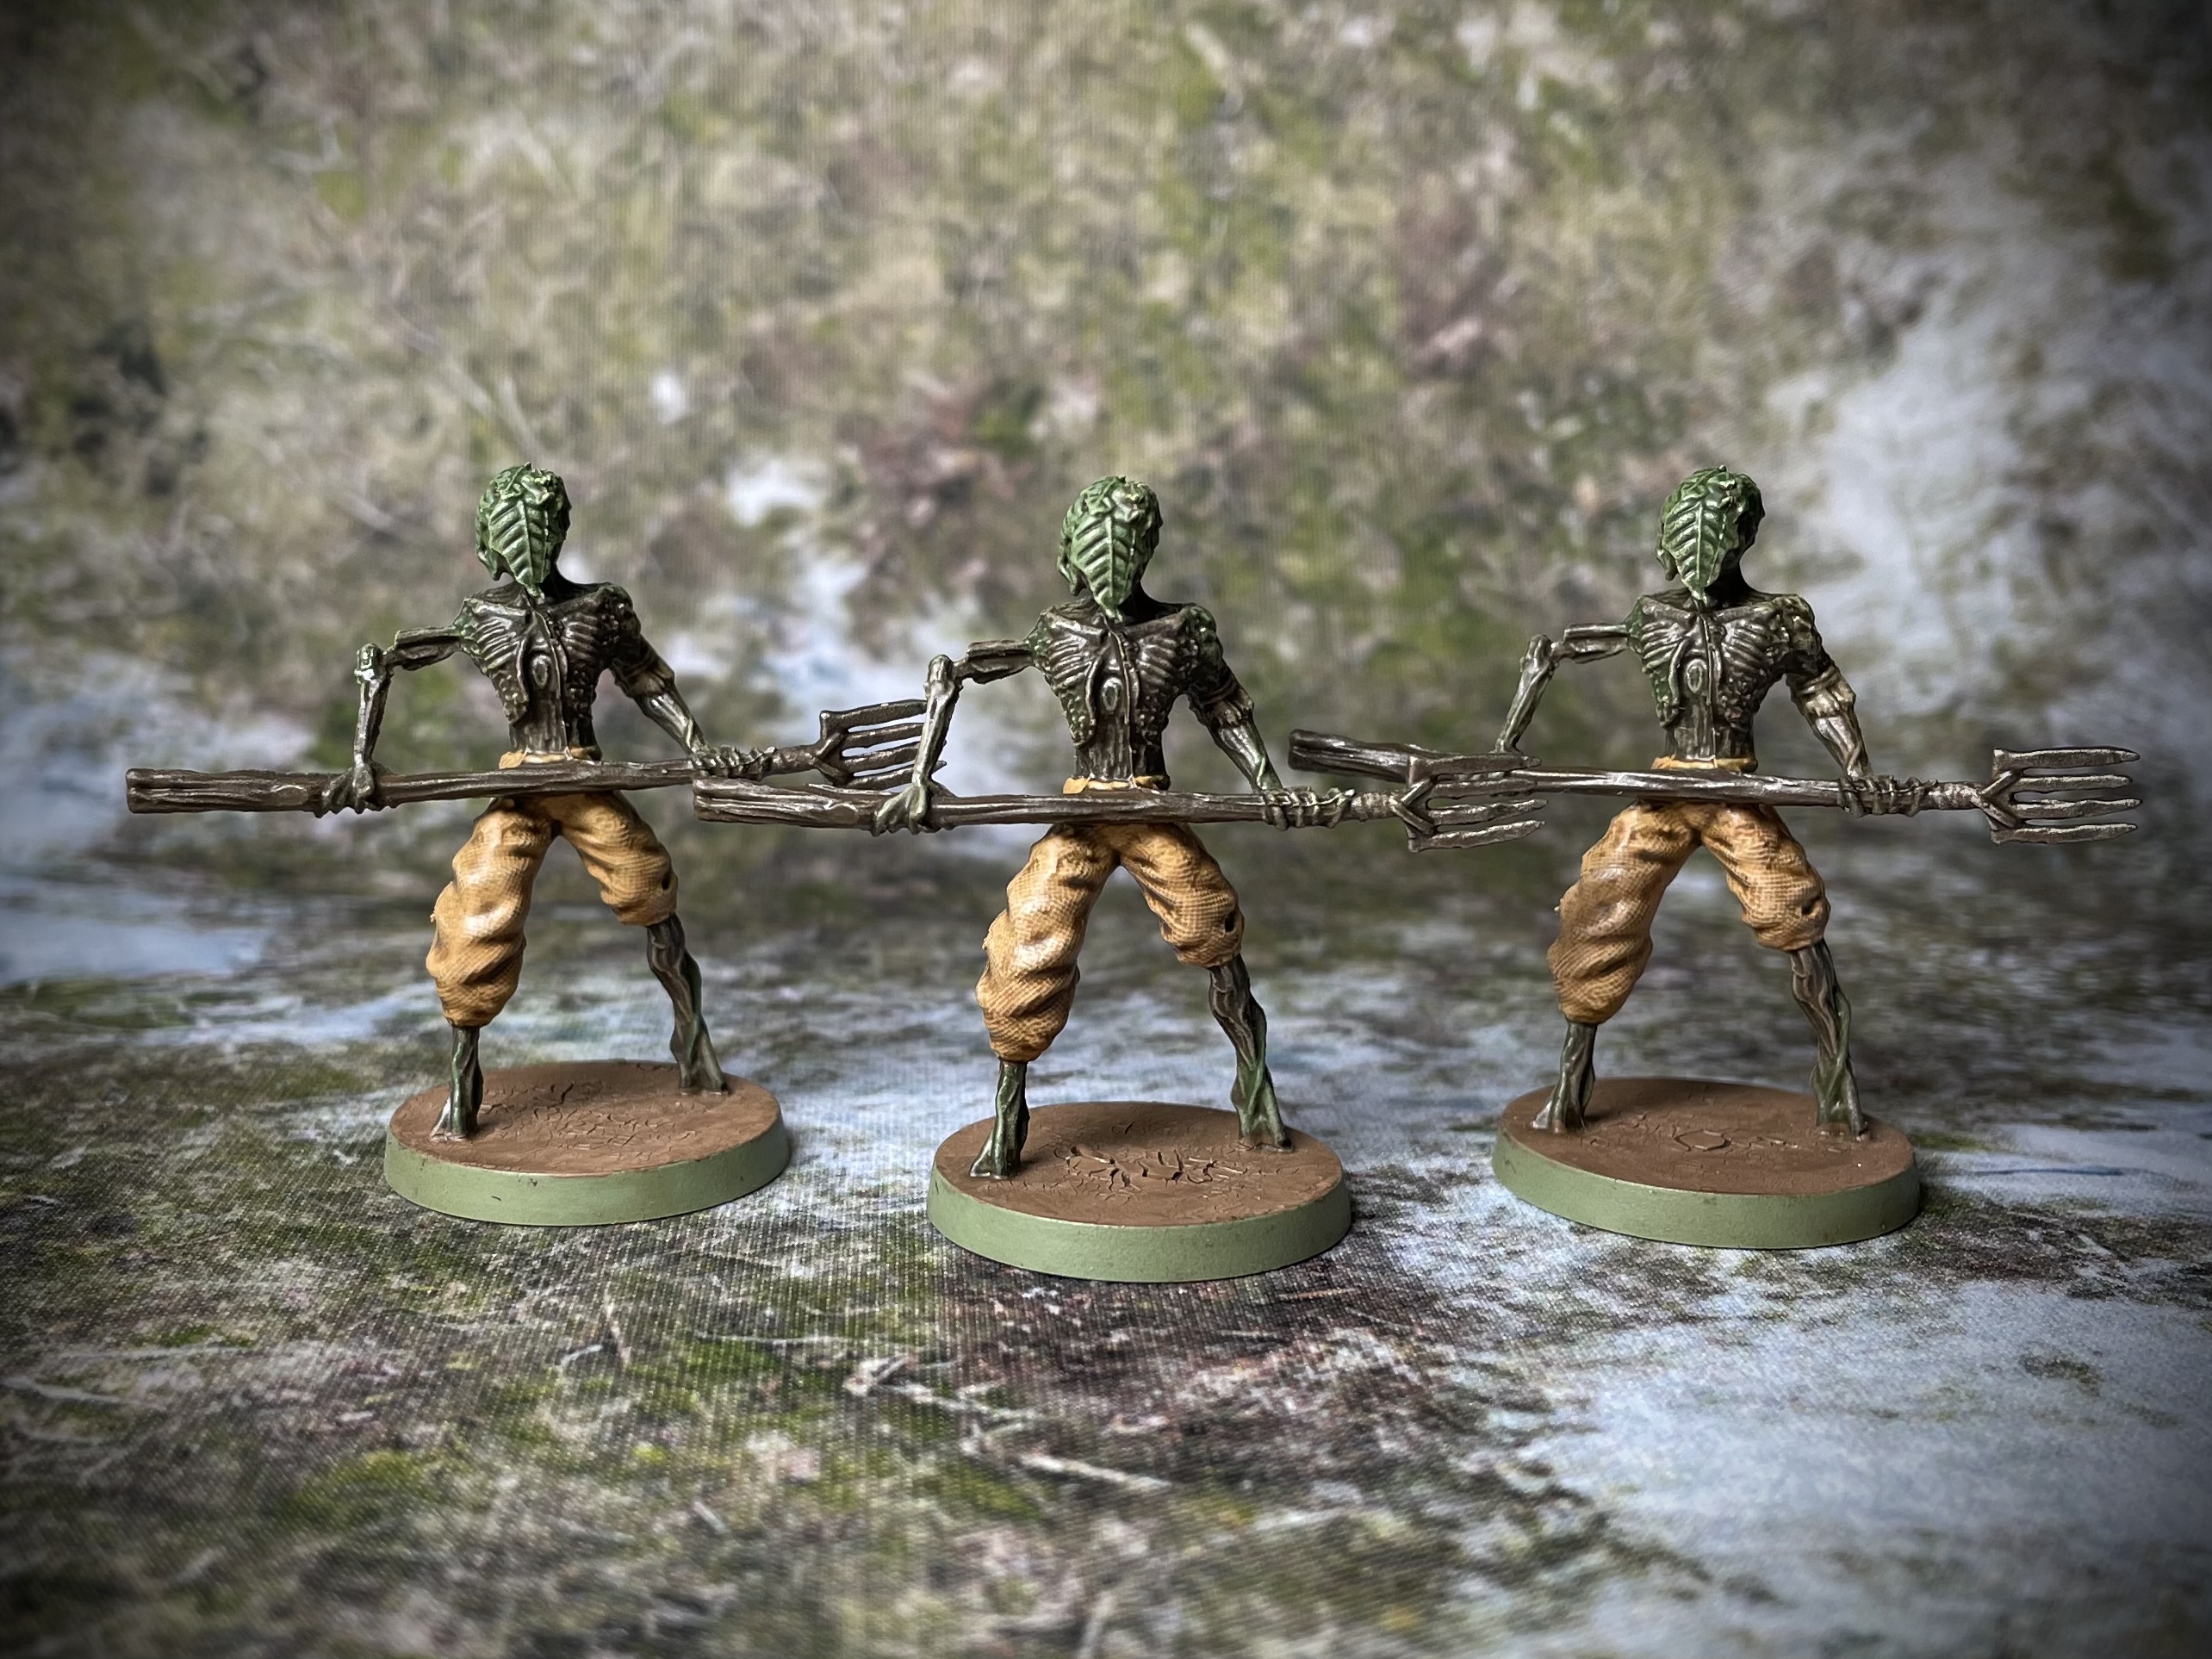 Plough Scarecrow
 I wanted the scarecrows to tie in with the Foliage and so used the Dark Brown again on their bodies as well as Luftwaffe and Camo Green on their leafy heads!
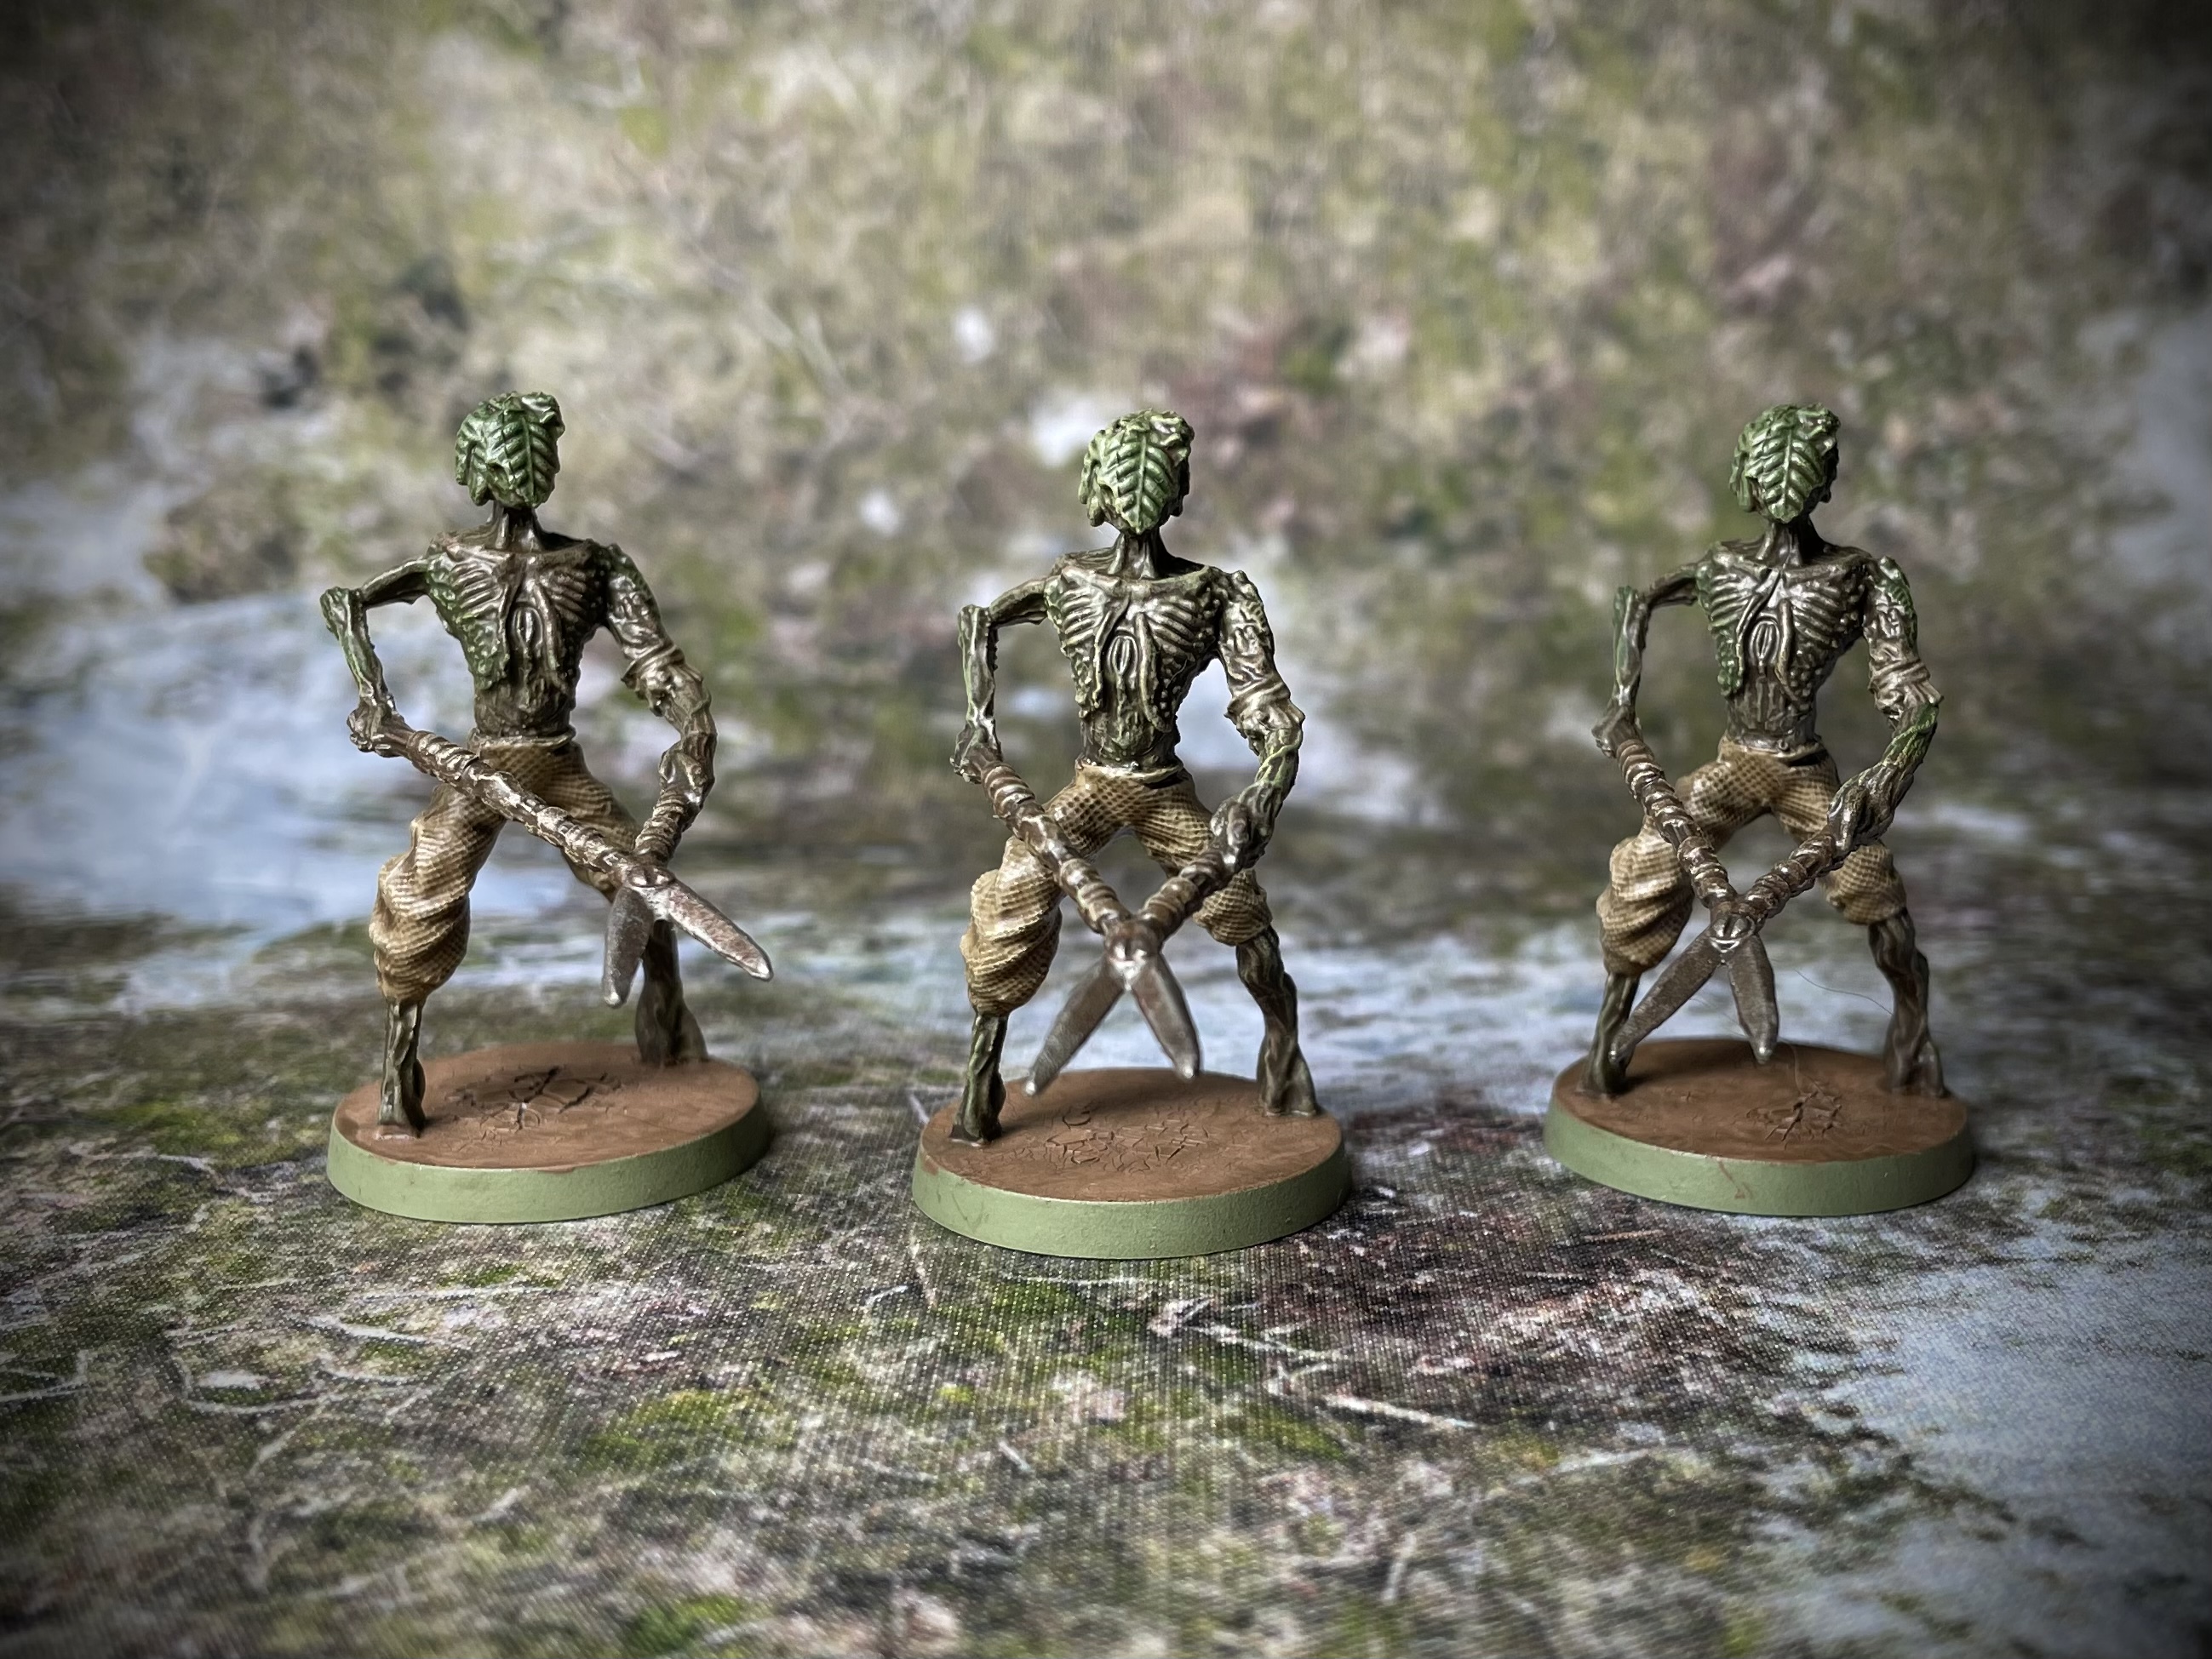 Shear Scarecrow
To achieve a ‘rotted corpse’ look, I used Camo Medium brown as a dry brush over the limbs and rib cages. This was the colour I had previously used on the flesh of the Hollows.
Explorers Expansion - Part II
While the scenery pieces and new common enemies get a lot of use in the board game, the main event of this expansion is a new main Boss in the form of The Peruser.
The Peruser is a highly mobile and aggressive Boss that Players of Dark Souls II will remember well. As the name implies, he harasses you relentlessly throughout much of the game!
 The Persuer
The Pursuer has a much darker appearance than the armoured models to date. His Armour was washed heavily with blacks and browns, brought back with a little dry brushing to create the tarnished look from the video game.
The Explorer’s Expansion has one final surprise in store for players. Mimics can be added as random events throughout your encounters, bringing a further challenge and paying out twice the loot of a regular treasure chest once defeated.
Mimics are certainly one of the more bizarre creatures from the DS universe, faithfully represented here in all their gangly glory!
 Mimic
Mimic The Explorer and Character Expansions previously covered are, in my opinion, essential additions to the Core game. With these three sets you have a wide range of encounters, enemy types, Mini Bosses and Main Bosses to test your mettle against, as well as Ten playable hero characters.
 Defeated Mimic
The journey does not end here however. The next two sets I’ll be covering open up new areas for the Un-kindled to explore, each bringing a host of new enemy types and Bosses to overcome.


