


“Sorry About The Mess”


Recommendations: 305
About the Project
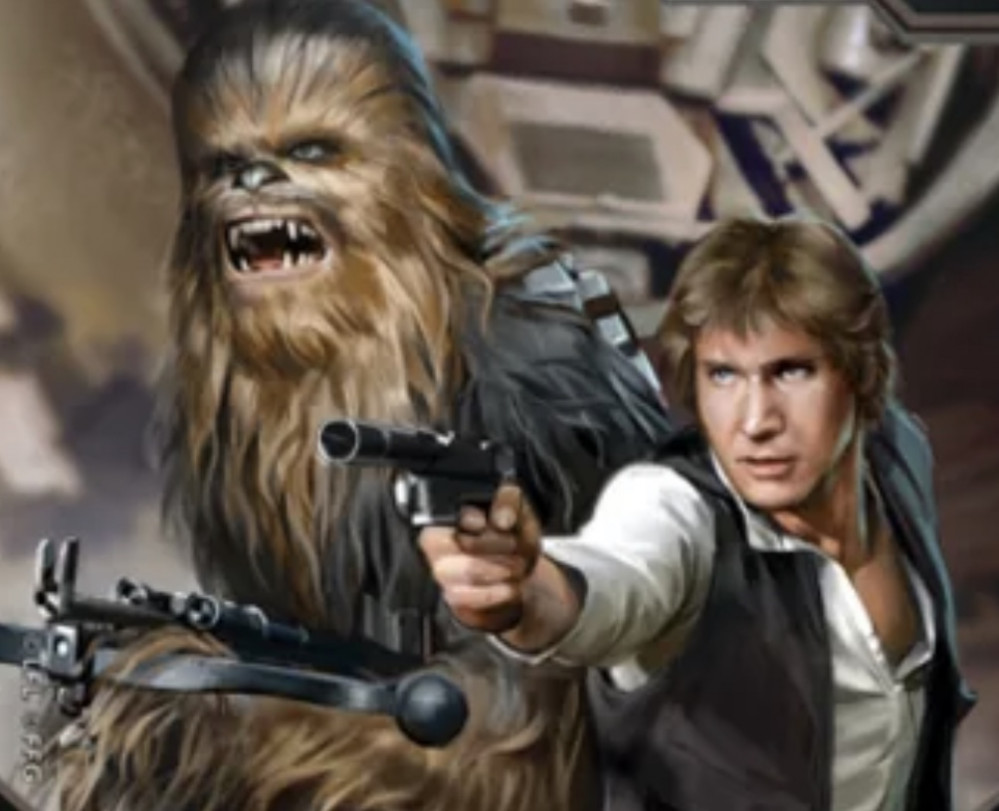
Join us for another Star Wars Legion battle report as Boba Fett attempts to claim the bounty on the infamous smuggler Han Solo!
Related Game: Star Wars: Legion
Related Company: Fantasy Flight Games
Related Genre: Science Fiction
This Project is Completed
Rebel Forces
“I just got off the comm to Snrak. He had to make repairs at Regoius 7 and he told me that the outpost there has an old YT-1300 they are using to power the repair facility.”
“Nngggggrrhjjgguunn”
“No, I don’t trust him half as far as you could throw him. But if that YT has a Girodyne SRB42 power injector it’s worth the trip, it’s only a couple of parcecs out of our way.”
“Ggggggghhjerrrhjjgguuuuuiiii”
“The Empire aren’t going to take any notice us. We’ll just grab what we need and get out of there without drawing any attention”
“Ddderrrhjjggiiiiuuu”
“No Chewee, I haven’t forgotten… I just hope Snrak has!”
Graystoak has invited me to another themed game and this time it was going to be Boba Fett up against Han Solo to see if Fett can claim Jabba’s bounty on the notorious smuggler.
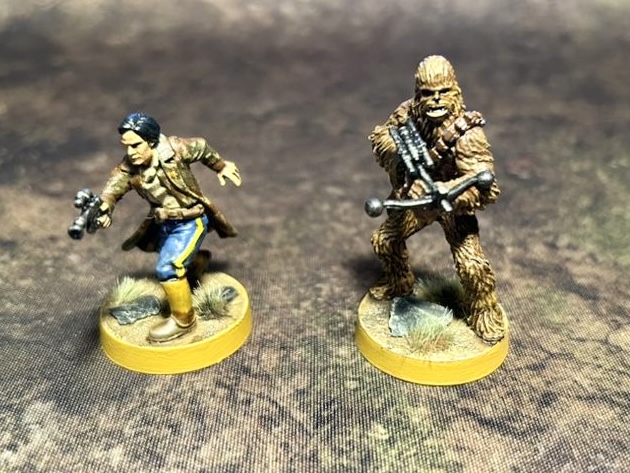
Han couldn’t face Fett alone and I decided very quickly that Chewbacca would be by his side. For upgrades Han would have Vigilance, Environmental Gear and Up Close and Personal and Chewbacca was upgraded with Emergency Stims, Protector and Situational Awareness. The idea here is that Han will be able to use Steady and Gunslinger to generate dodge tokens, these, combined with his Uncanny Luck and Chewbacca’s Guardian should keep Han alive and stop Fett getting his bounty victory point. Chewbacca has also been kitted up to help soak up Han’s incoming hits and keep him in the fight.
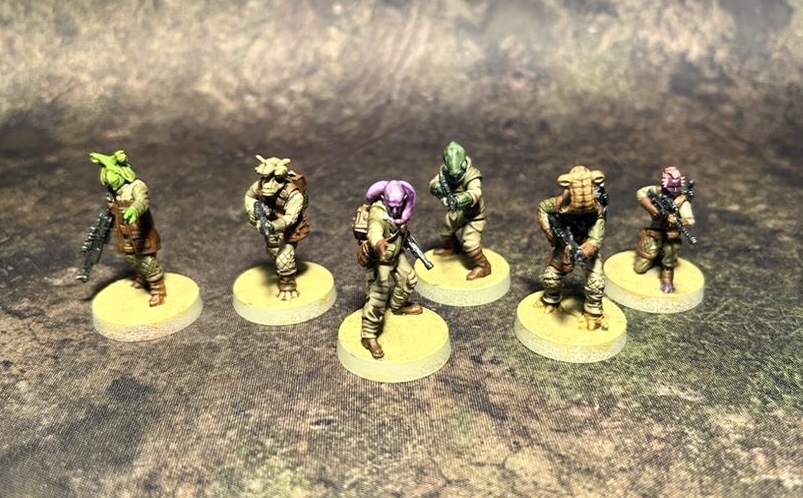
I wanted to add something a little more ‘alien’ to this list and had built a unit out of Rebel aliens, including a few custom 3D prints. These would be fielded as ‘counts as’ Pyke Syndicate foot soldiers.
(although Graystoak had recently purchased this unit, he hadn’t gotten around to painting them yet)!
Upgraded with a Pyke Syndicate Capo (AKA Snrak), and the P13-M Disruptor, this squad can grab objectives and add some with some long-range fire support.

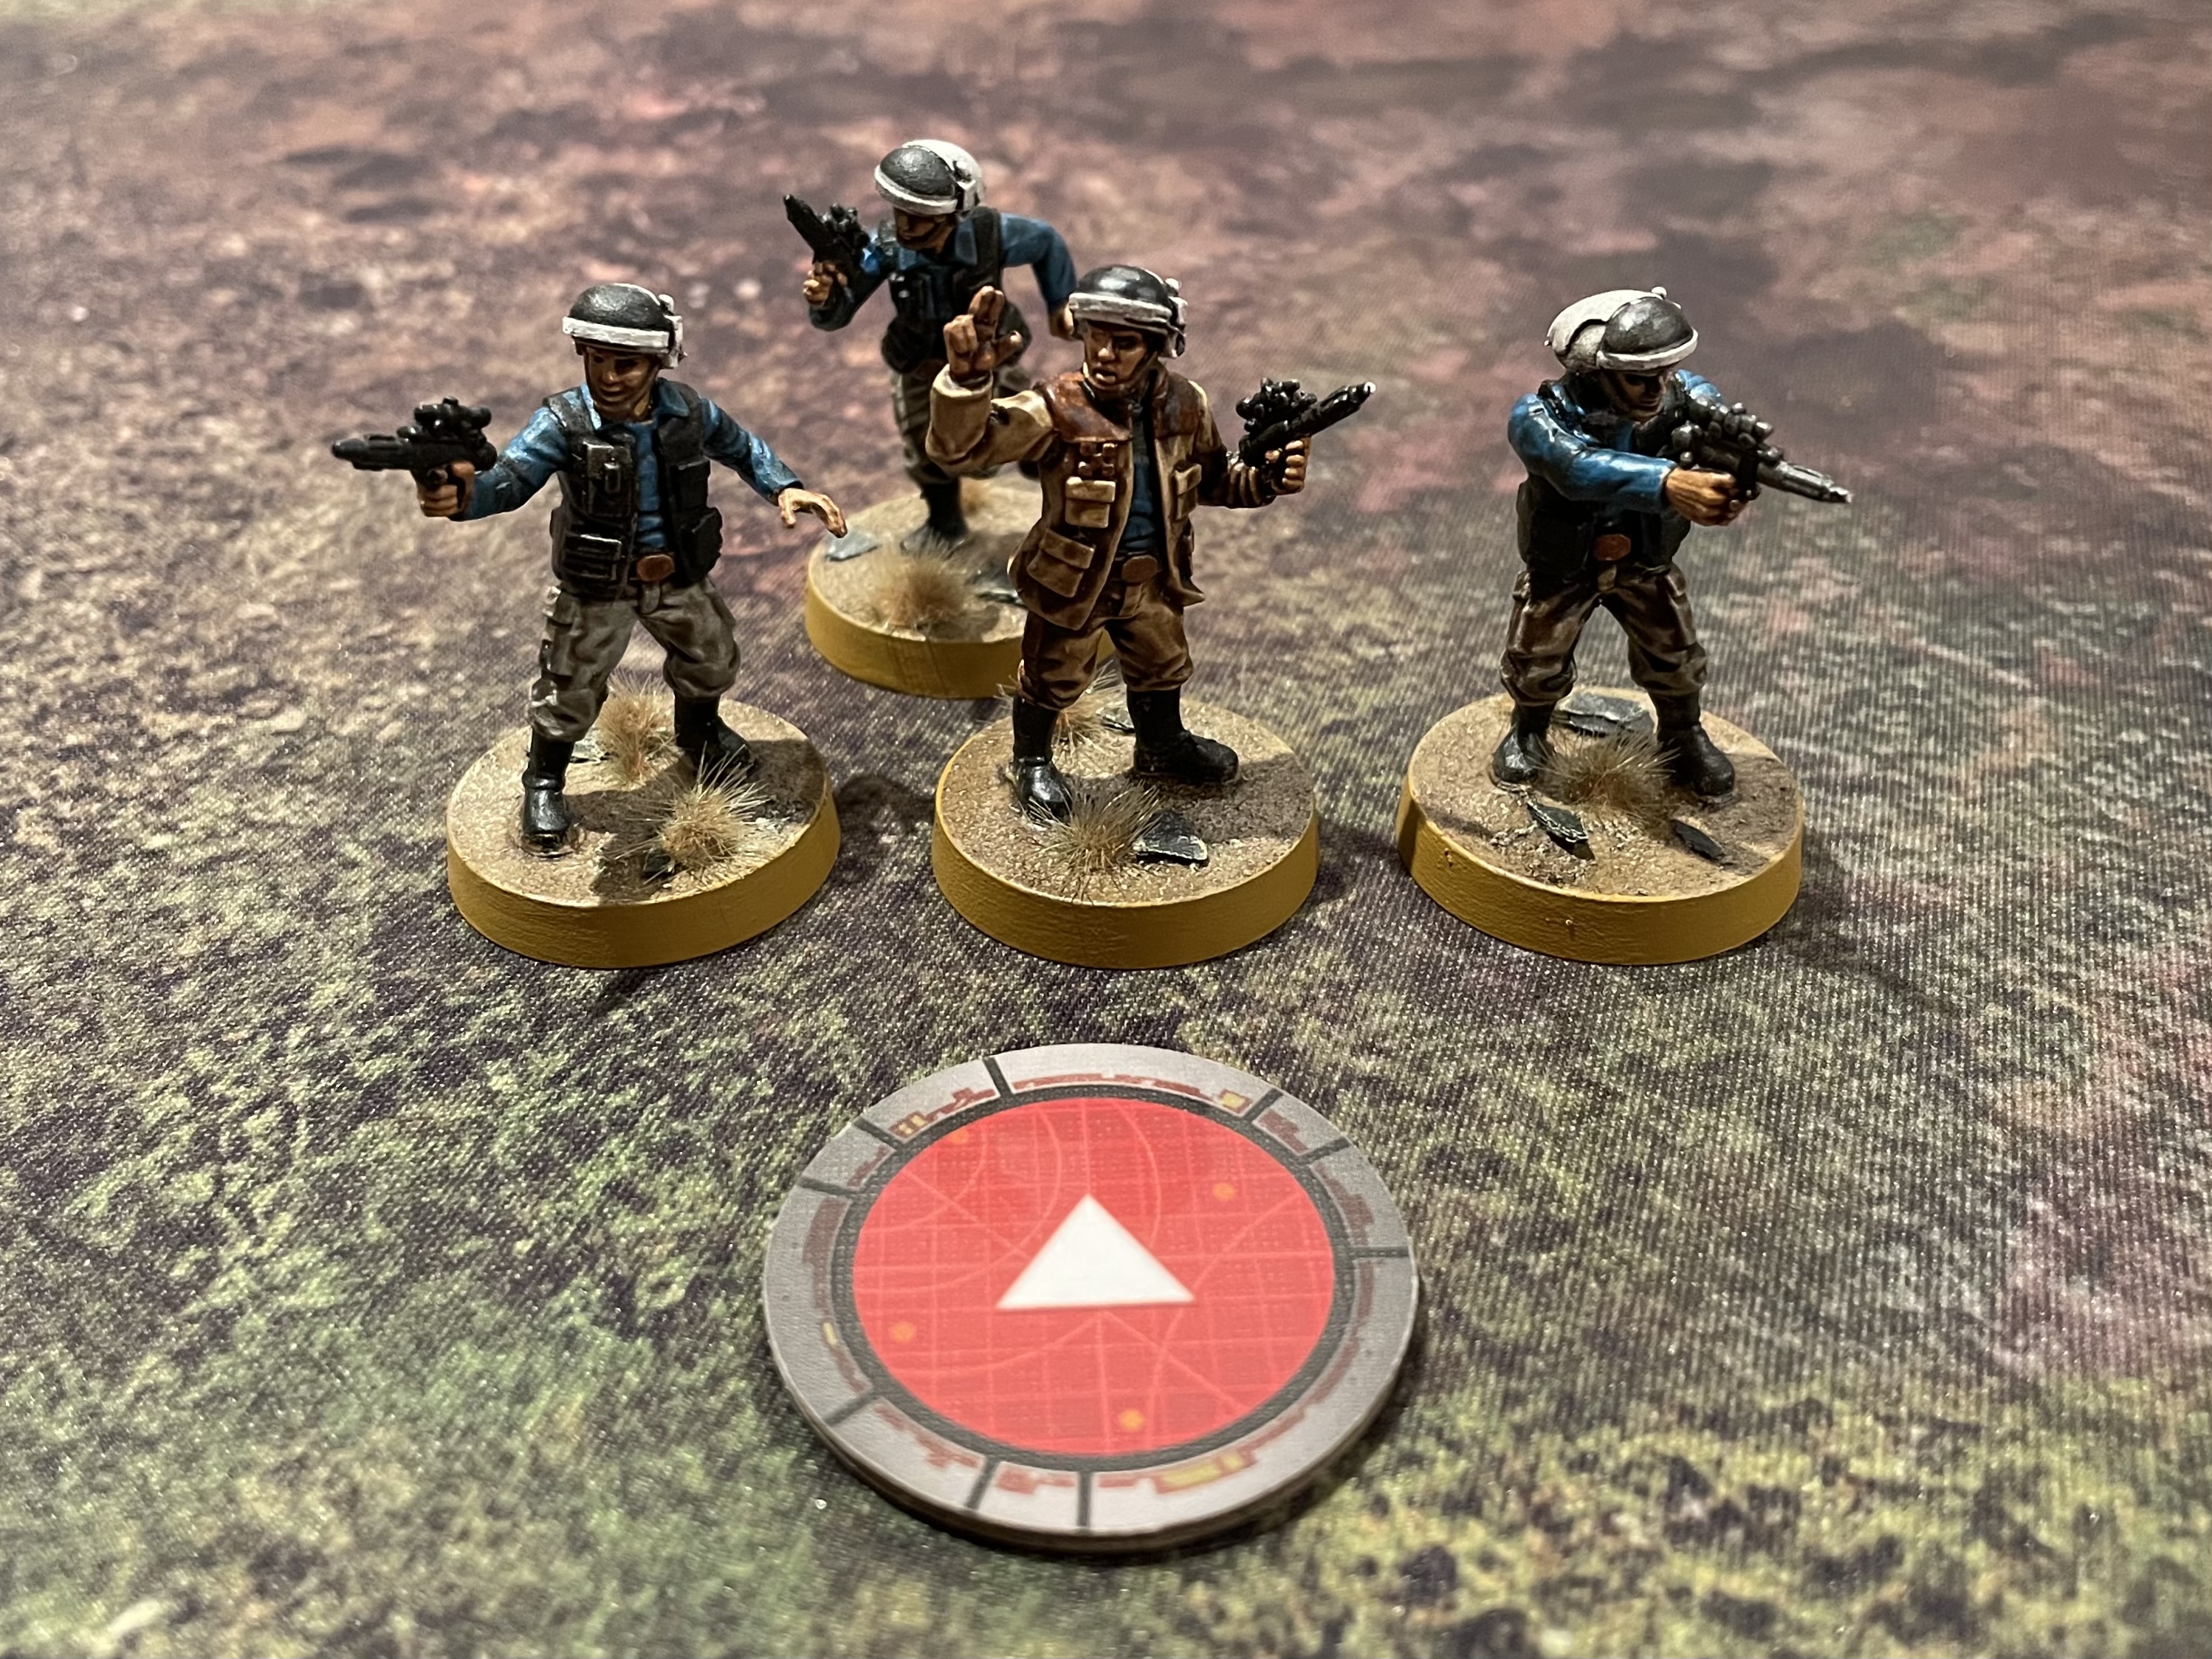
Next up, I needed to add some corps units to my army and I went with 2 squads of Rebels Veterans and 2 Mark 2 medium blasters. Both Rebel veteran squads had an added CM-O/93 and one was upgraded with a Rebel Officer, Captain Estaban. This would give me a decent gun line. I also added a naked squad of Fleet Troopers as objective grabbers.

Lastly, I needed some punch to my list and I went with 2 squads of my trusted Pathfinders. One with Bistan, one with Pao and both with Duck and Cover, Prepared Supplies and the A-300s. Hopefully these infiltrating units can get in and grab an objective and wait for the rest of the army to catch up. I also added a Rebel Commandos Strike Team with a DH-447 Sniper, mainly to go after Boba Fett and hopefully push though some wounds.
Points: 799 / 800
Activations: 11
Commander
Han Solo [100]
Vigilance [5], Environmental Gear [2], Up Close And Personal [5]
Operative
Chewbacca: Walking Carpet [90]
Emergency Stims [8], Protector [5], Situational Awareness [2]
Corps
Rebel Veterans [48]
CM-O/93 Trooper [26], Rebel Officer [16]
Rebel Veterans [48]
CM-O/93 Trooper [26]
Mark II Medium Blaster Trooper [38]
Mark II Medium Blaster Trooper [38]
Pyke Syndicate Foot Soldiers [40]
P13-M Disruptor Soldier [24], Pyke Syndicate Capo [16]
Fleet Troopers [40]
Special Forces
Rebel Pathfinders [56]
Prepared Supplies [5], A-300 Config [0], Duck and Cover [2], Bistan [28]
Rebel Pathfinders [56]
Prepared Supplies [5], A-300 Config [0], Duck and Cover [2], Pao [20]
Rebel Commandos Strike Team [20]
DH-447 Sniper [28]
Commands
[1 pip] Sorry About the Mess
[1 pip] Sabotaged Communications
[2 pip] Reckless Diversion
[2 pip] Push
[3 pip] Notorious Scoundrels
[3 pip] Change of Plans
Imperial Forces
++ “Apologies for the intrusion my Lord but I have just received a coms dispatch from the Bounty Hunter, Boba Fett. Fett is currently in pursuit of a smuggler by the name of Han Solo who is indebted to the Huts.”
“While the Hut’s affairs are of little consequence to the Empire, It would seem that this Solo has unwittingly lead us to a group of rebel sympathisers running a maintenance facility on Regoius 7. I have taken the liberty of redirecting General Weiss to the Regoius sector. Weiss will apprehend these rebel’s and recover what information is available on the disposition of rebel assets.”
“As for the fate of Solo, that is a matter for the Bounty Hunter to conclude”++
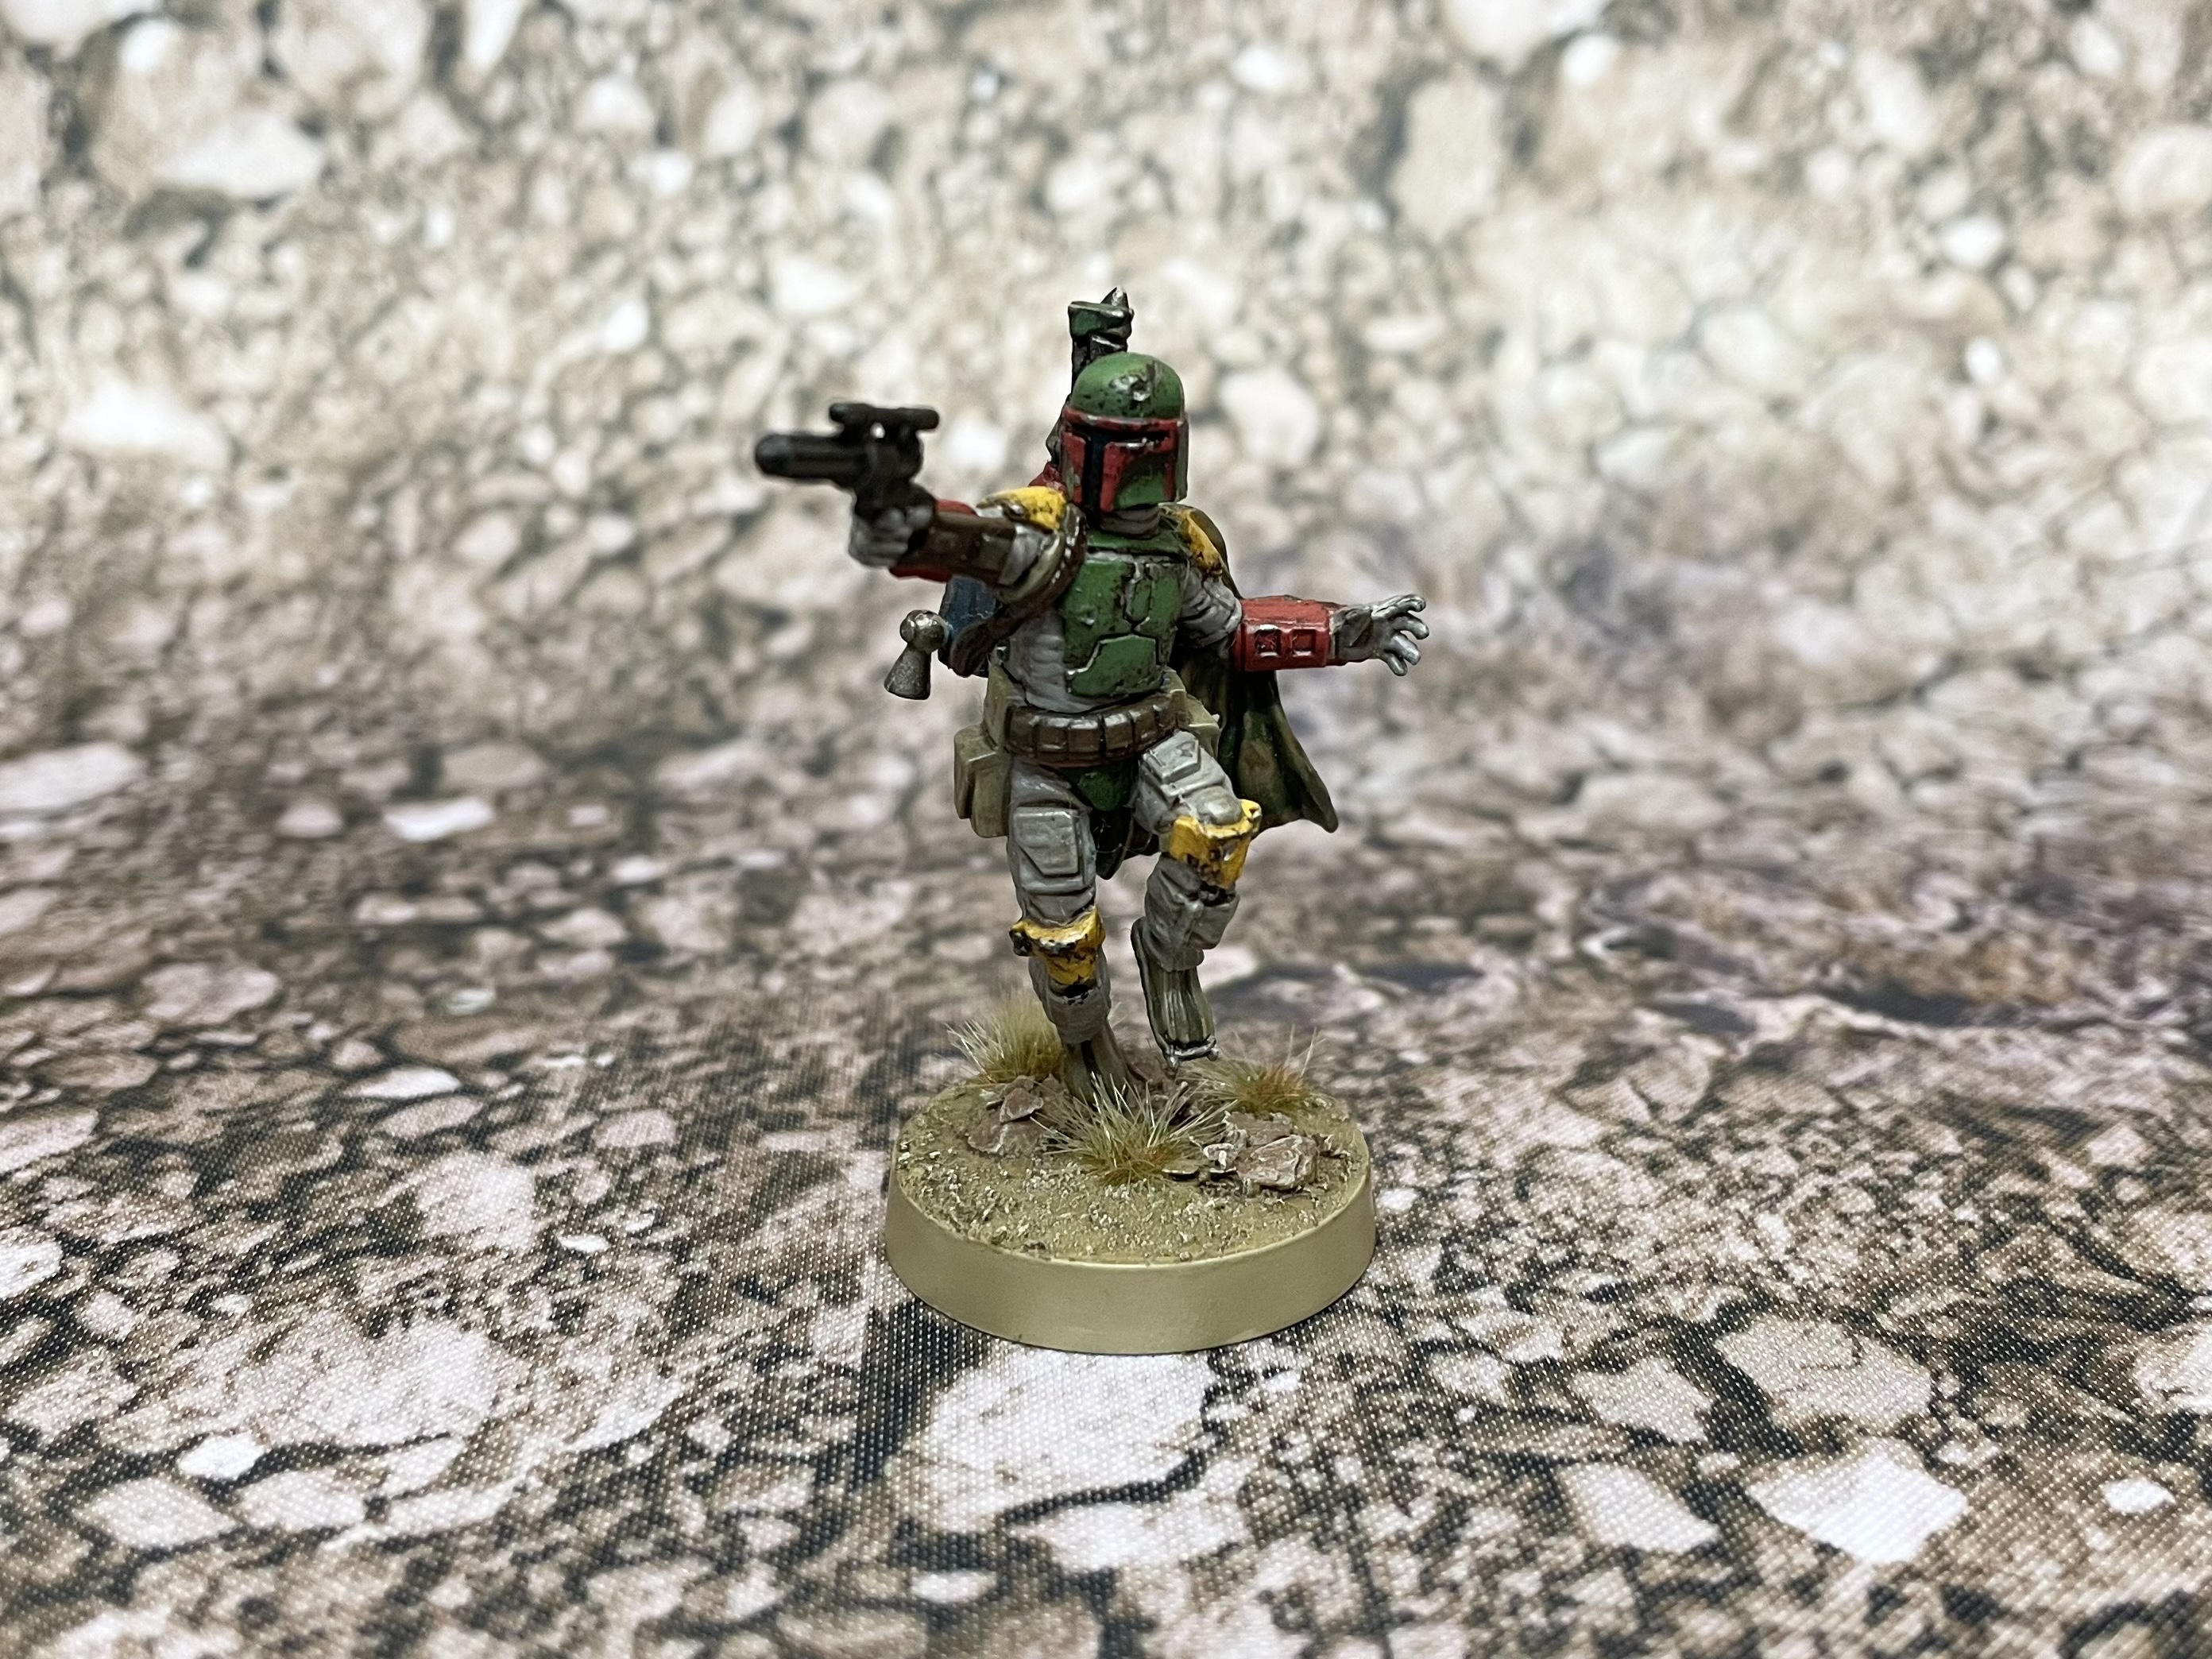
As the Empire player I would be taking charge of Fett, but beyond this requirement my list was an open book. With Fett as the main event of this list, I decided to equip him with a number of upgrades that would improve his performance and durability.
To this end I gave him an Emergency Transponder as well as the Up Close And Personal and Situational Awareness training upgrades. Targeting Scopes completed the set up.
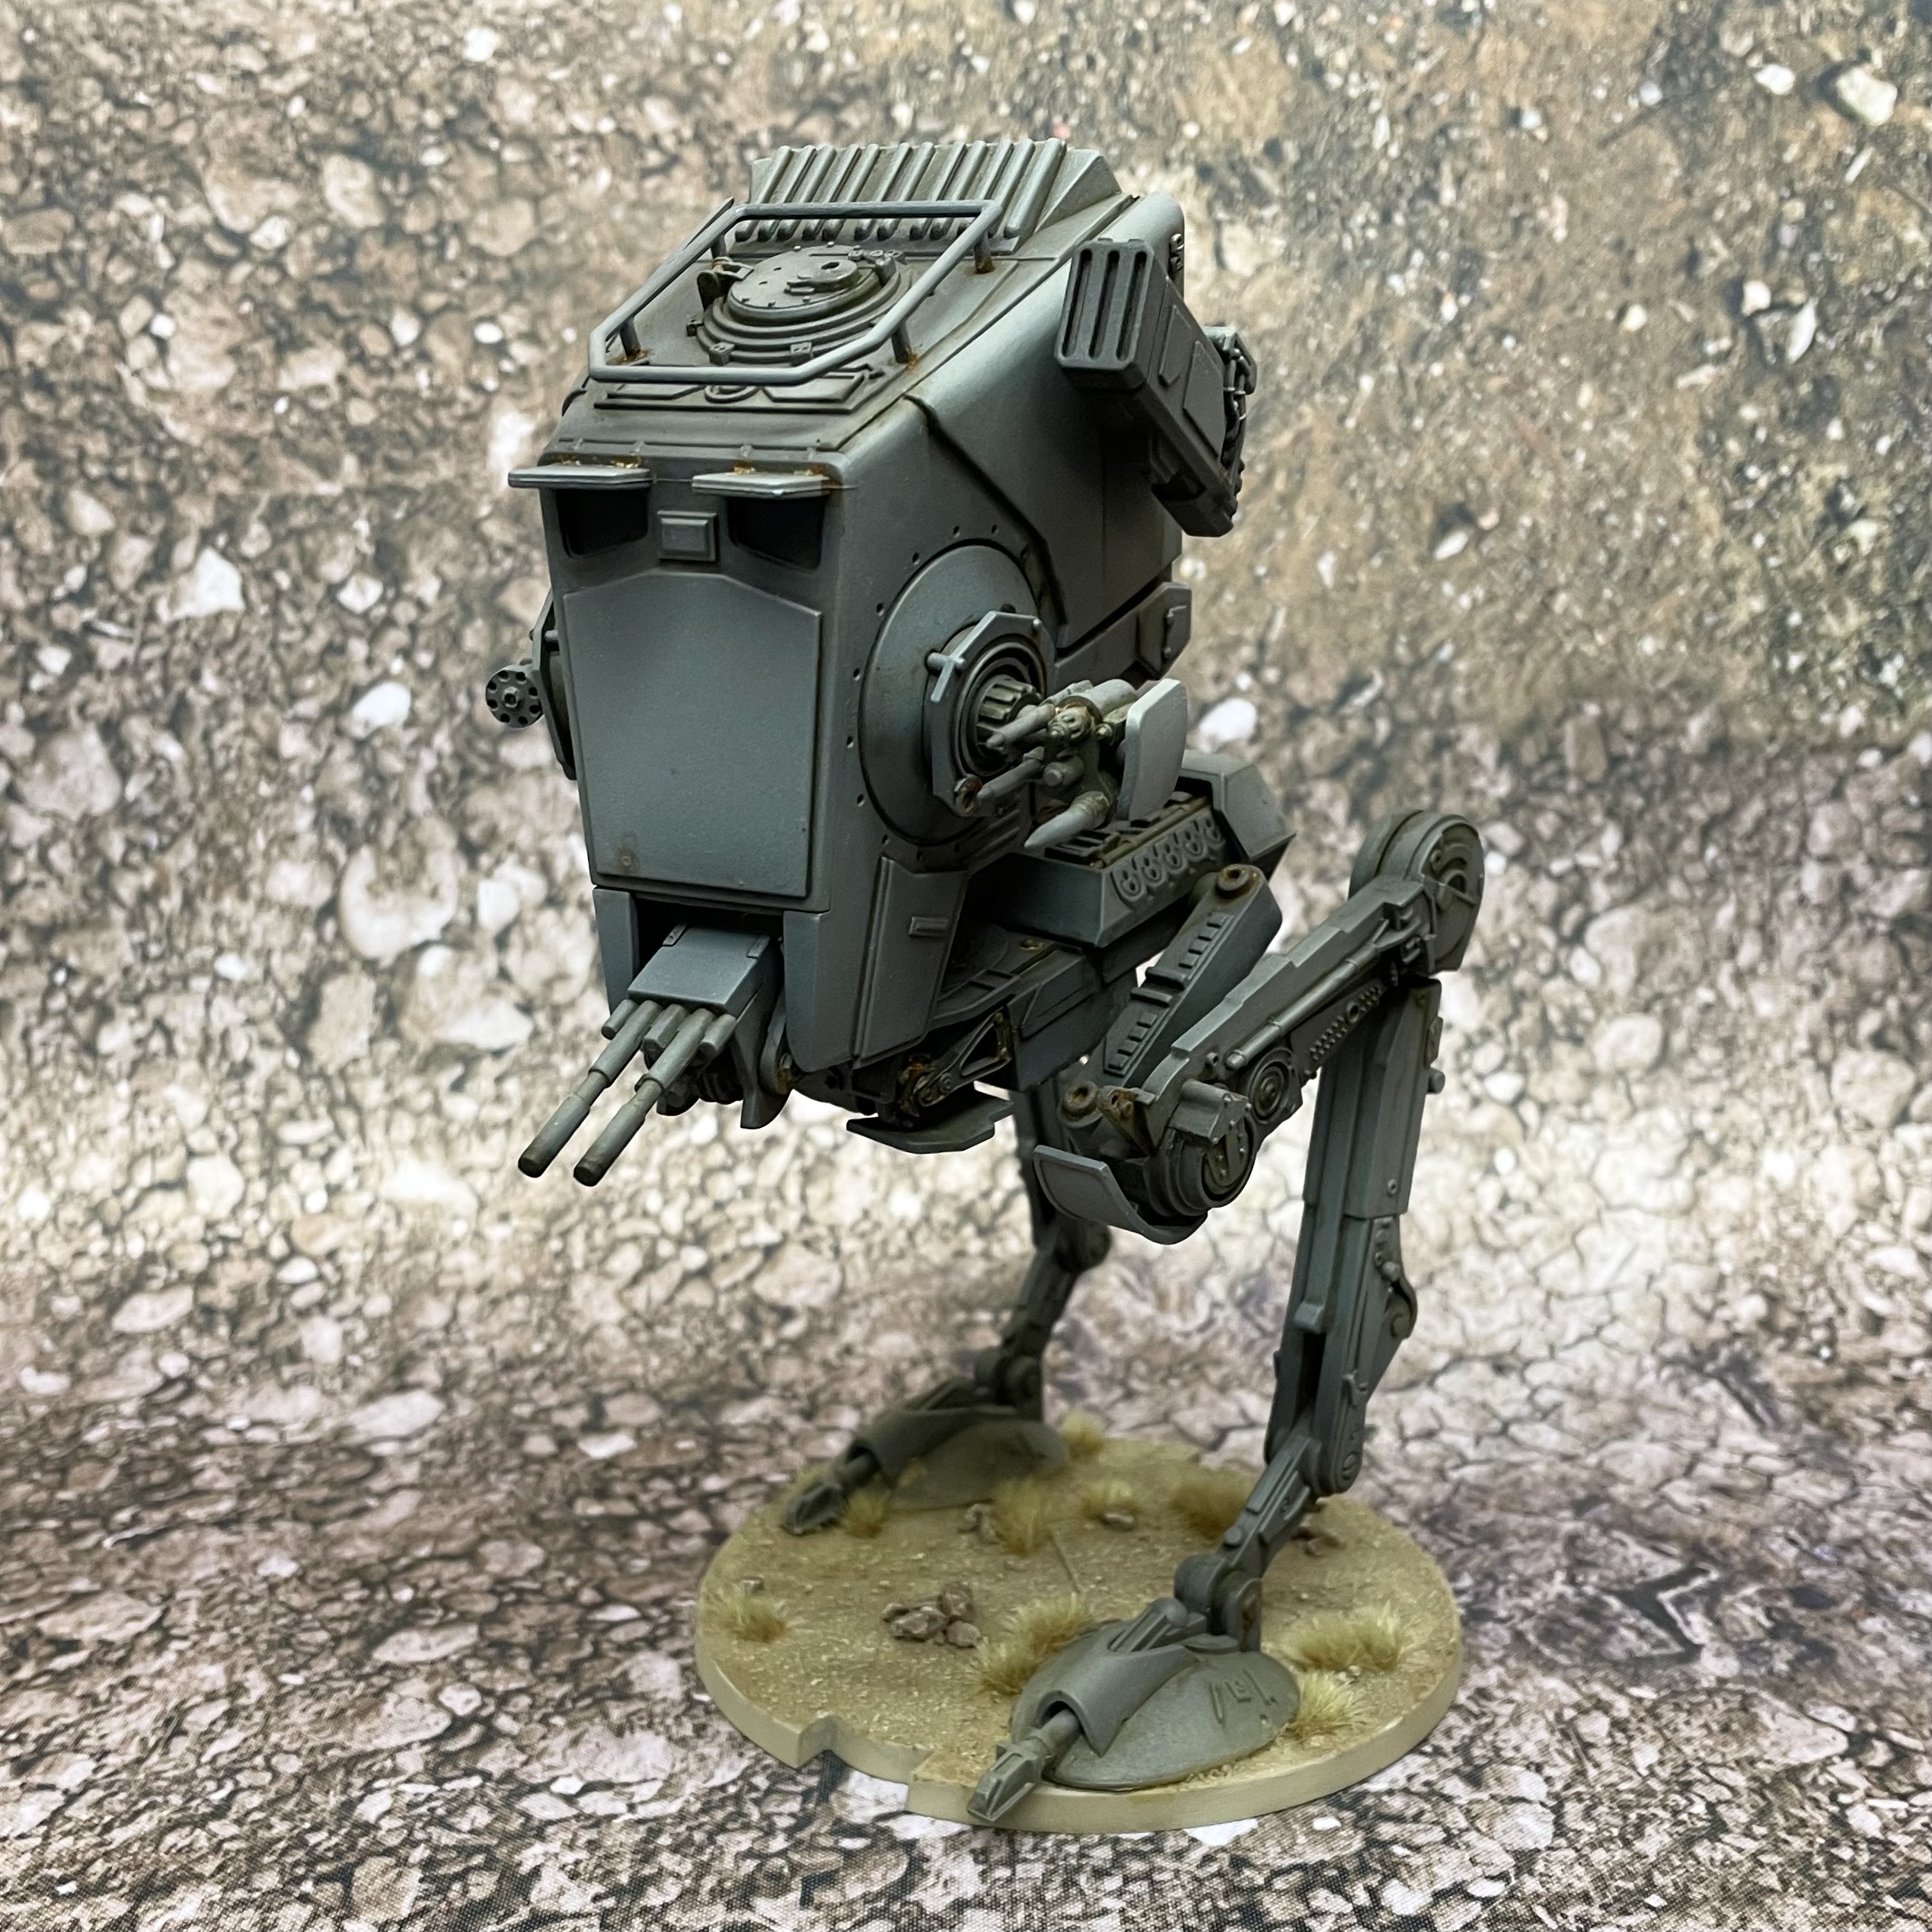
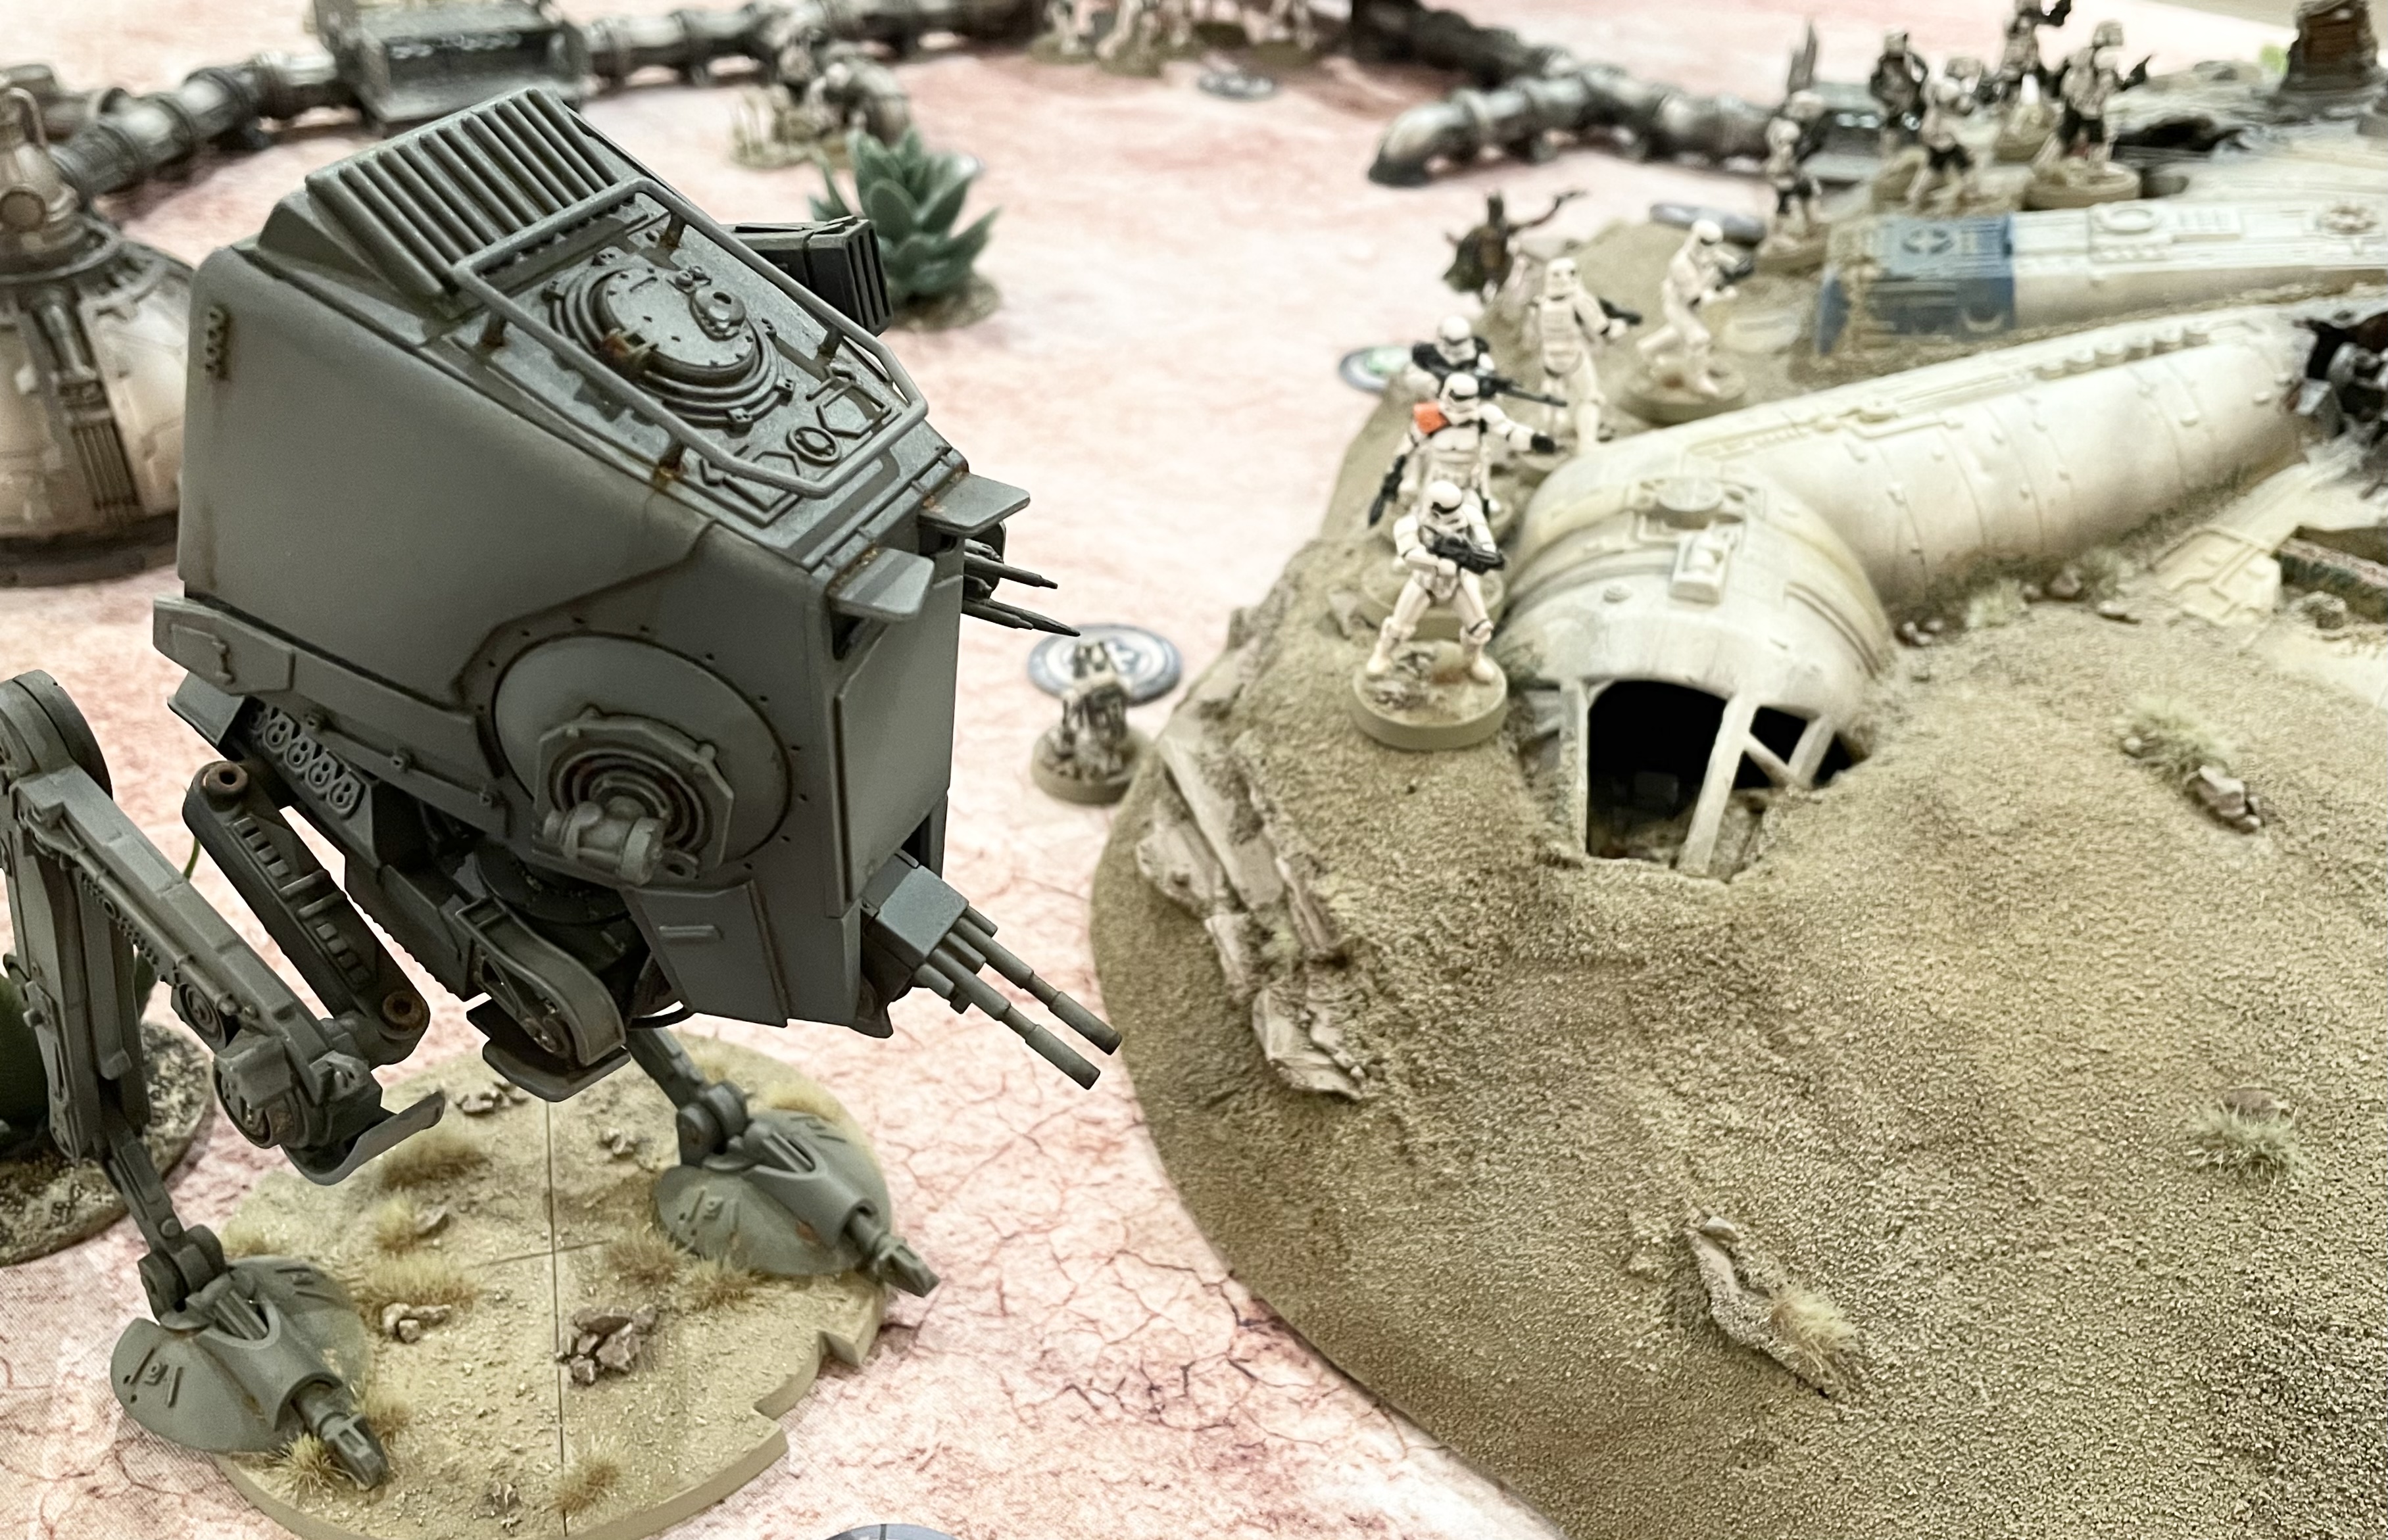
As Fett is both an operative and a mercenary, he would be unable to lead my army. My next concern then, was which commander to field. I had recently finished painting an At-St and was keen to get it onto the table; It occurred to me that by mounting a Field Commander aboard the Walker, the At-St could act as my army commander!
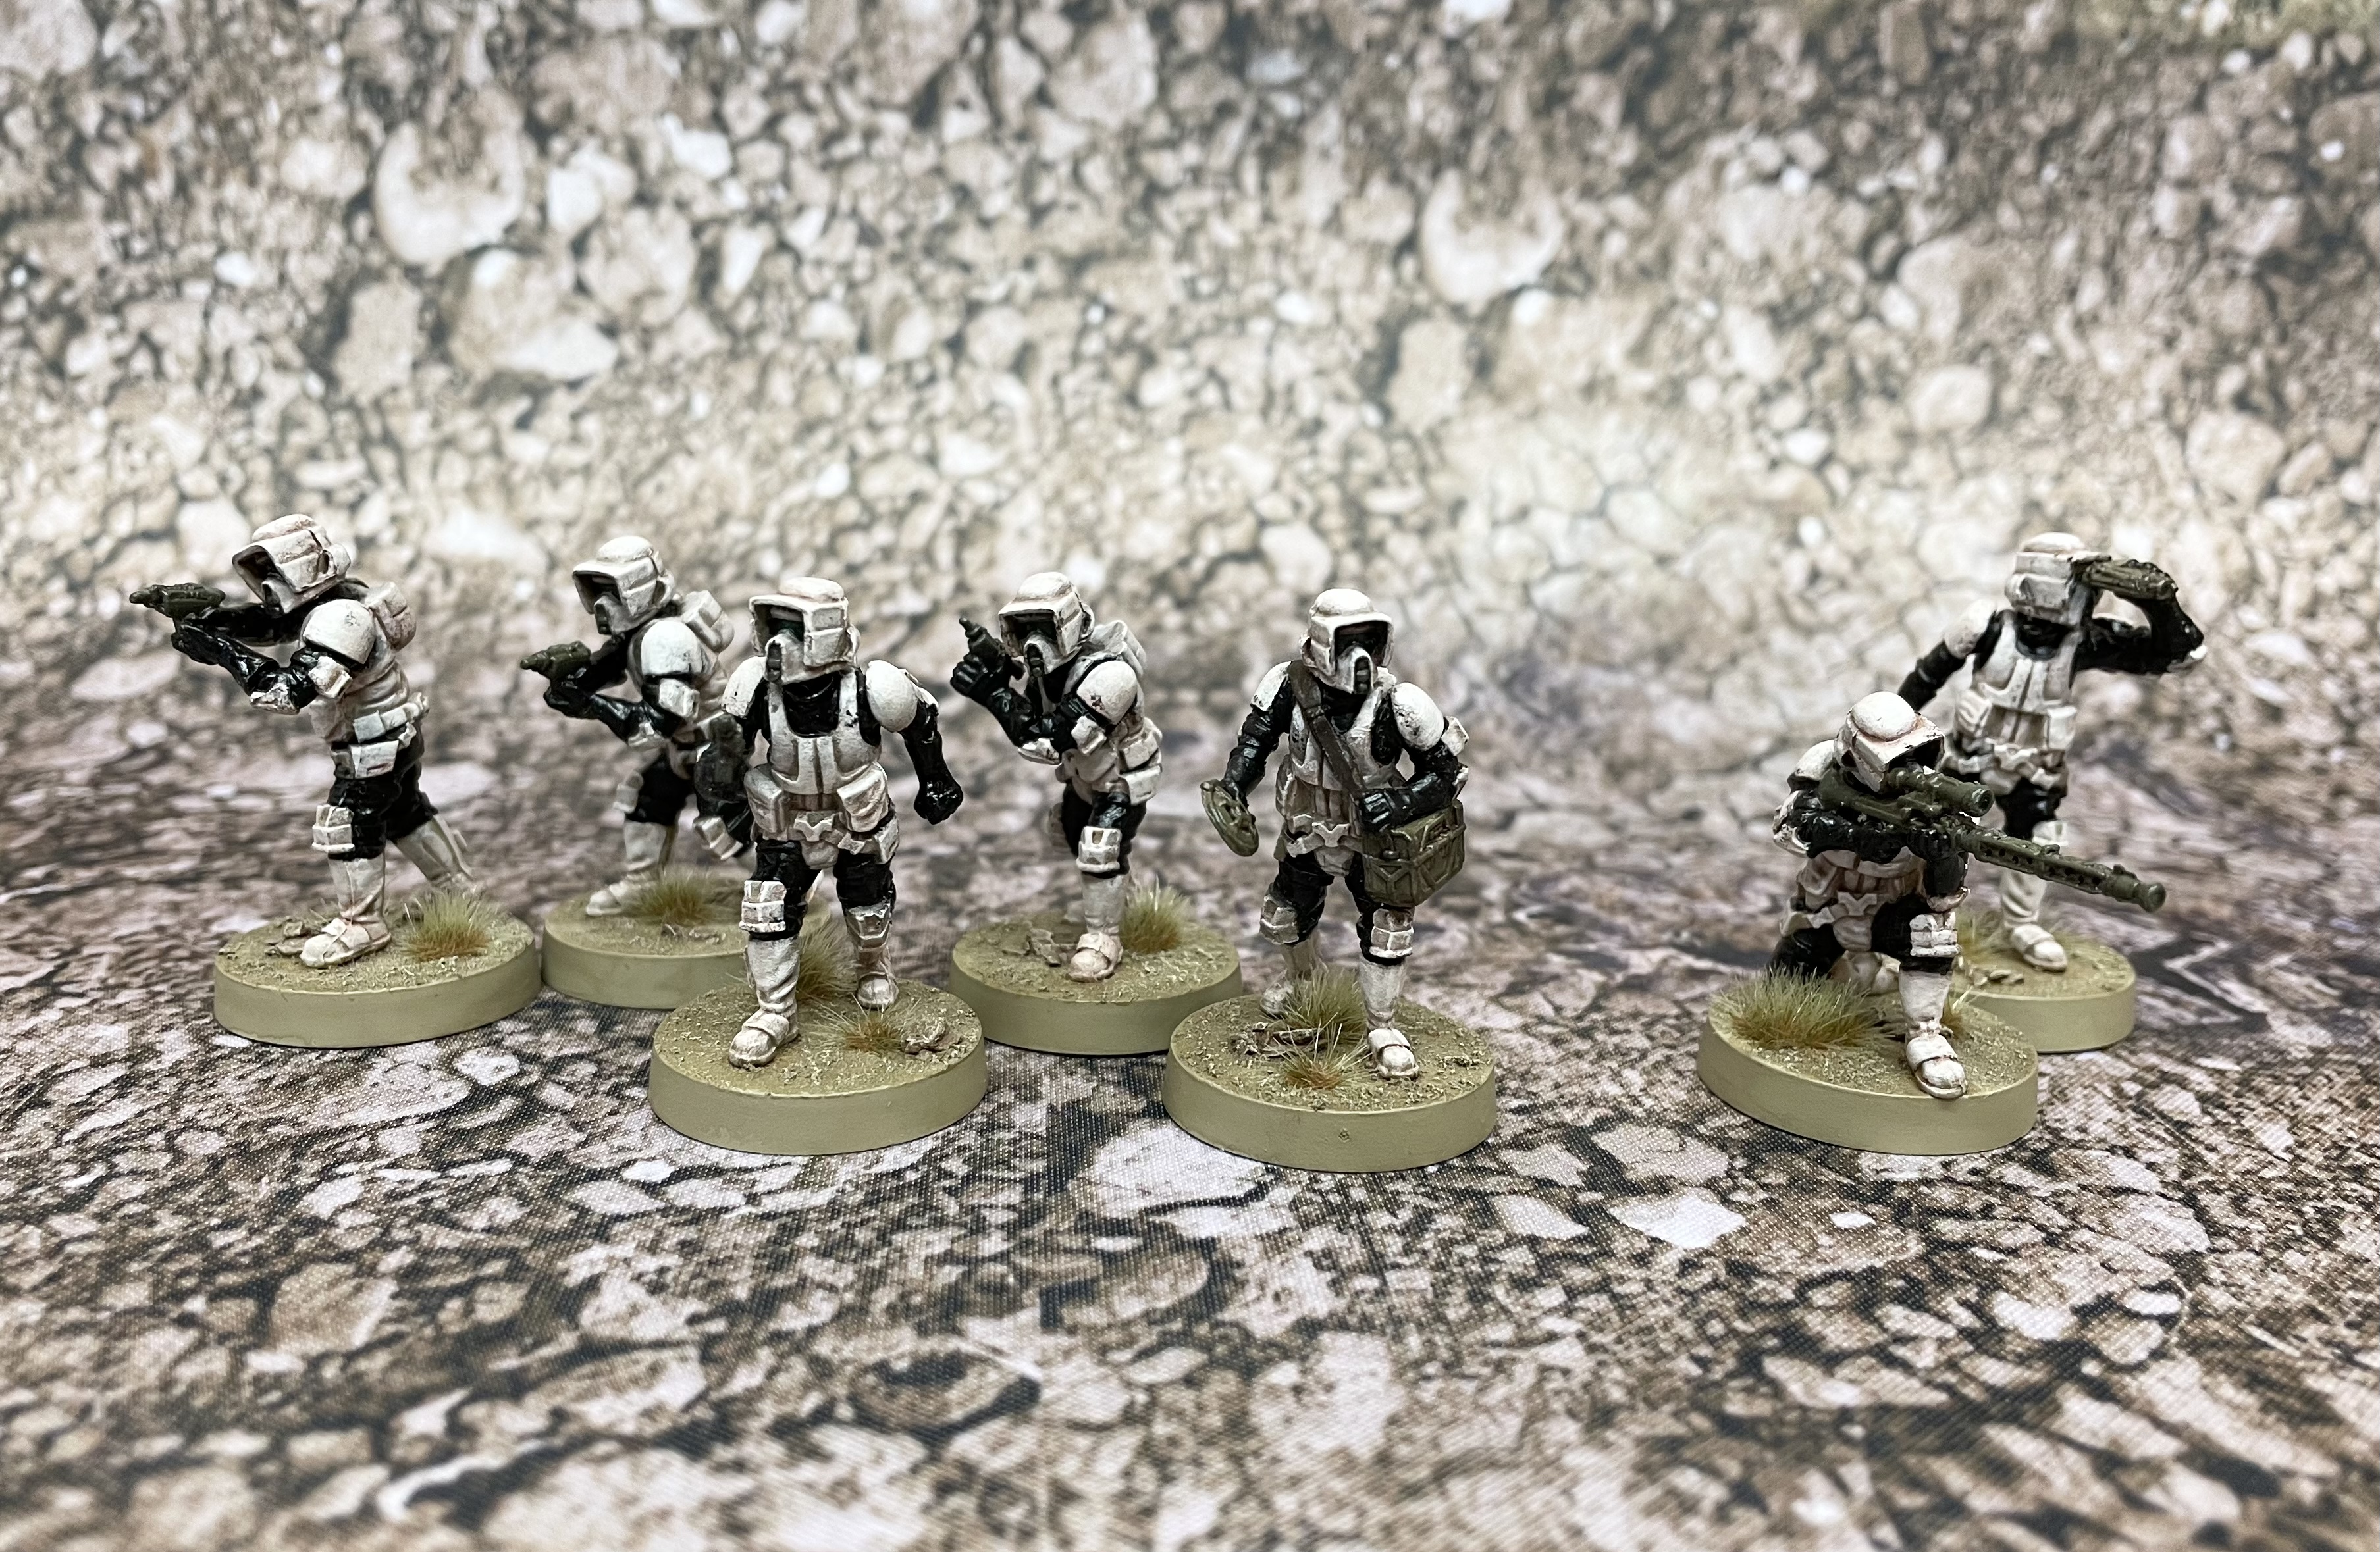
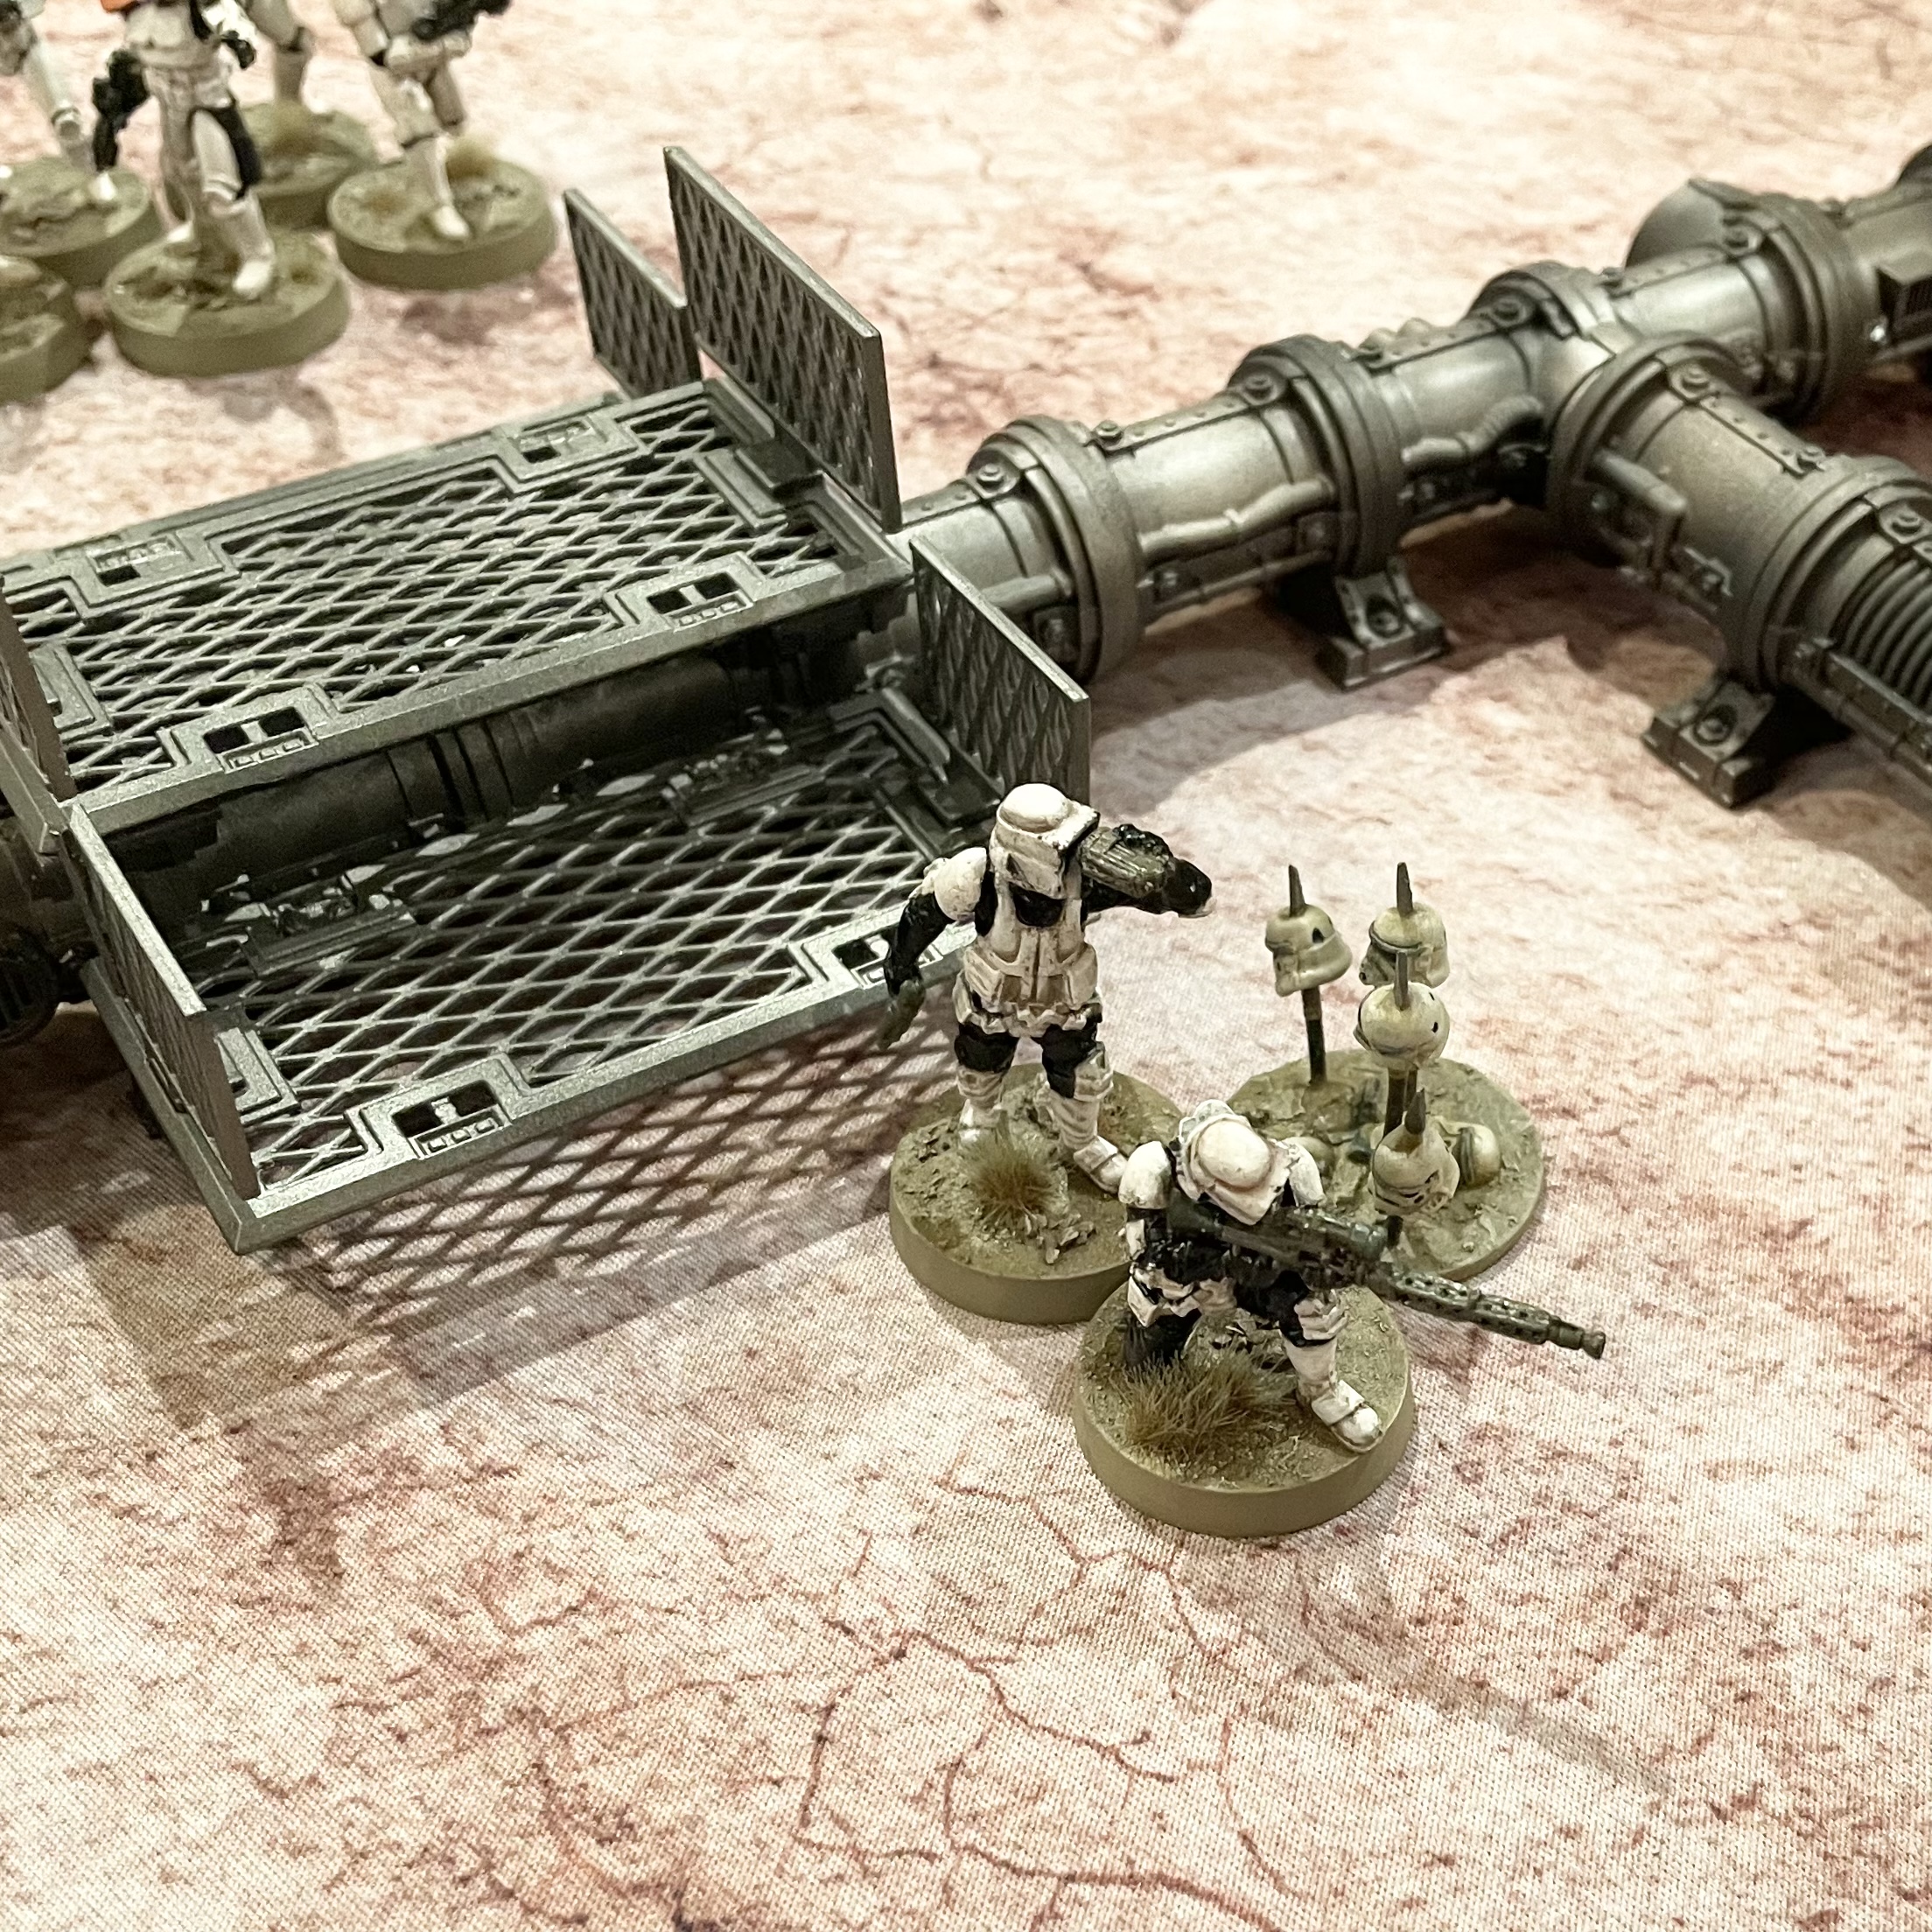
Using the Walker as a commander meant I wouldn’t have to invest points on another potentially expensive hero. As I wouldn’t be including any other named characters in the list, I decided to base my army on the Return of the Jedi/Endor invasion force. To this end I added Imperial Scouts in the form of a sniper team and a full scout squad with sonic charge saboteur.
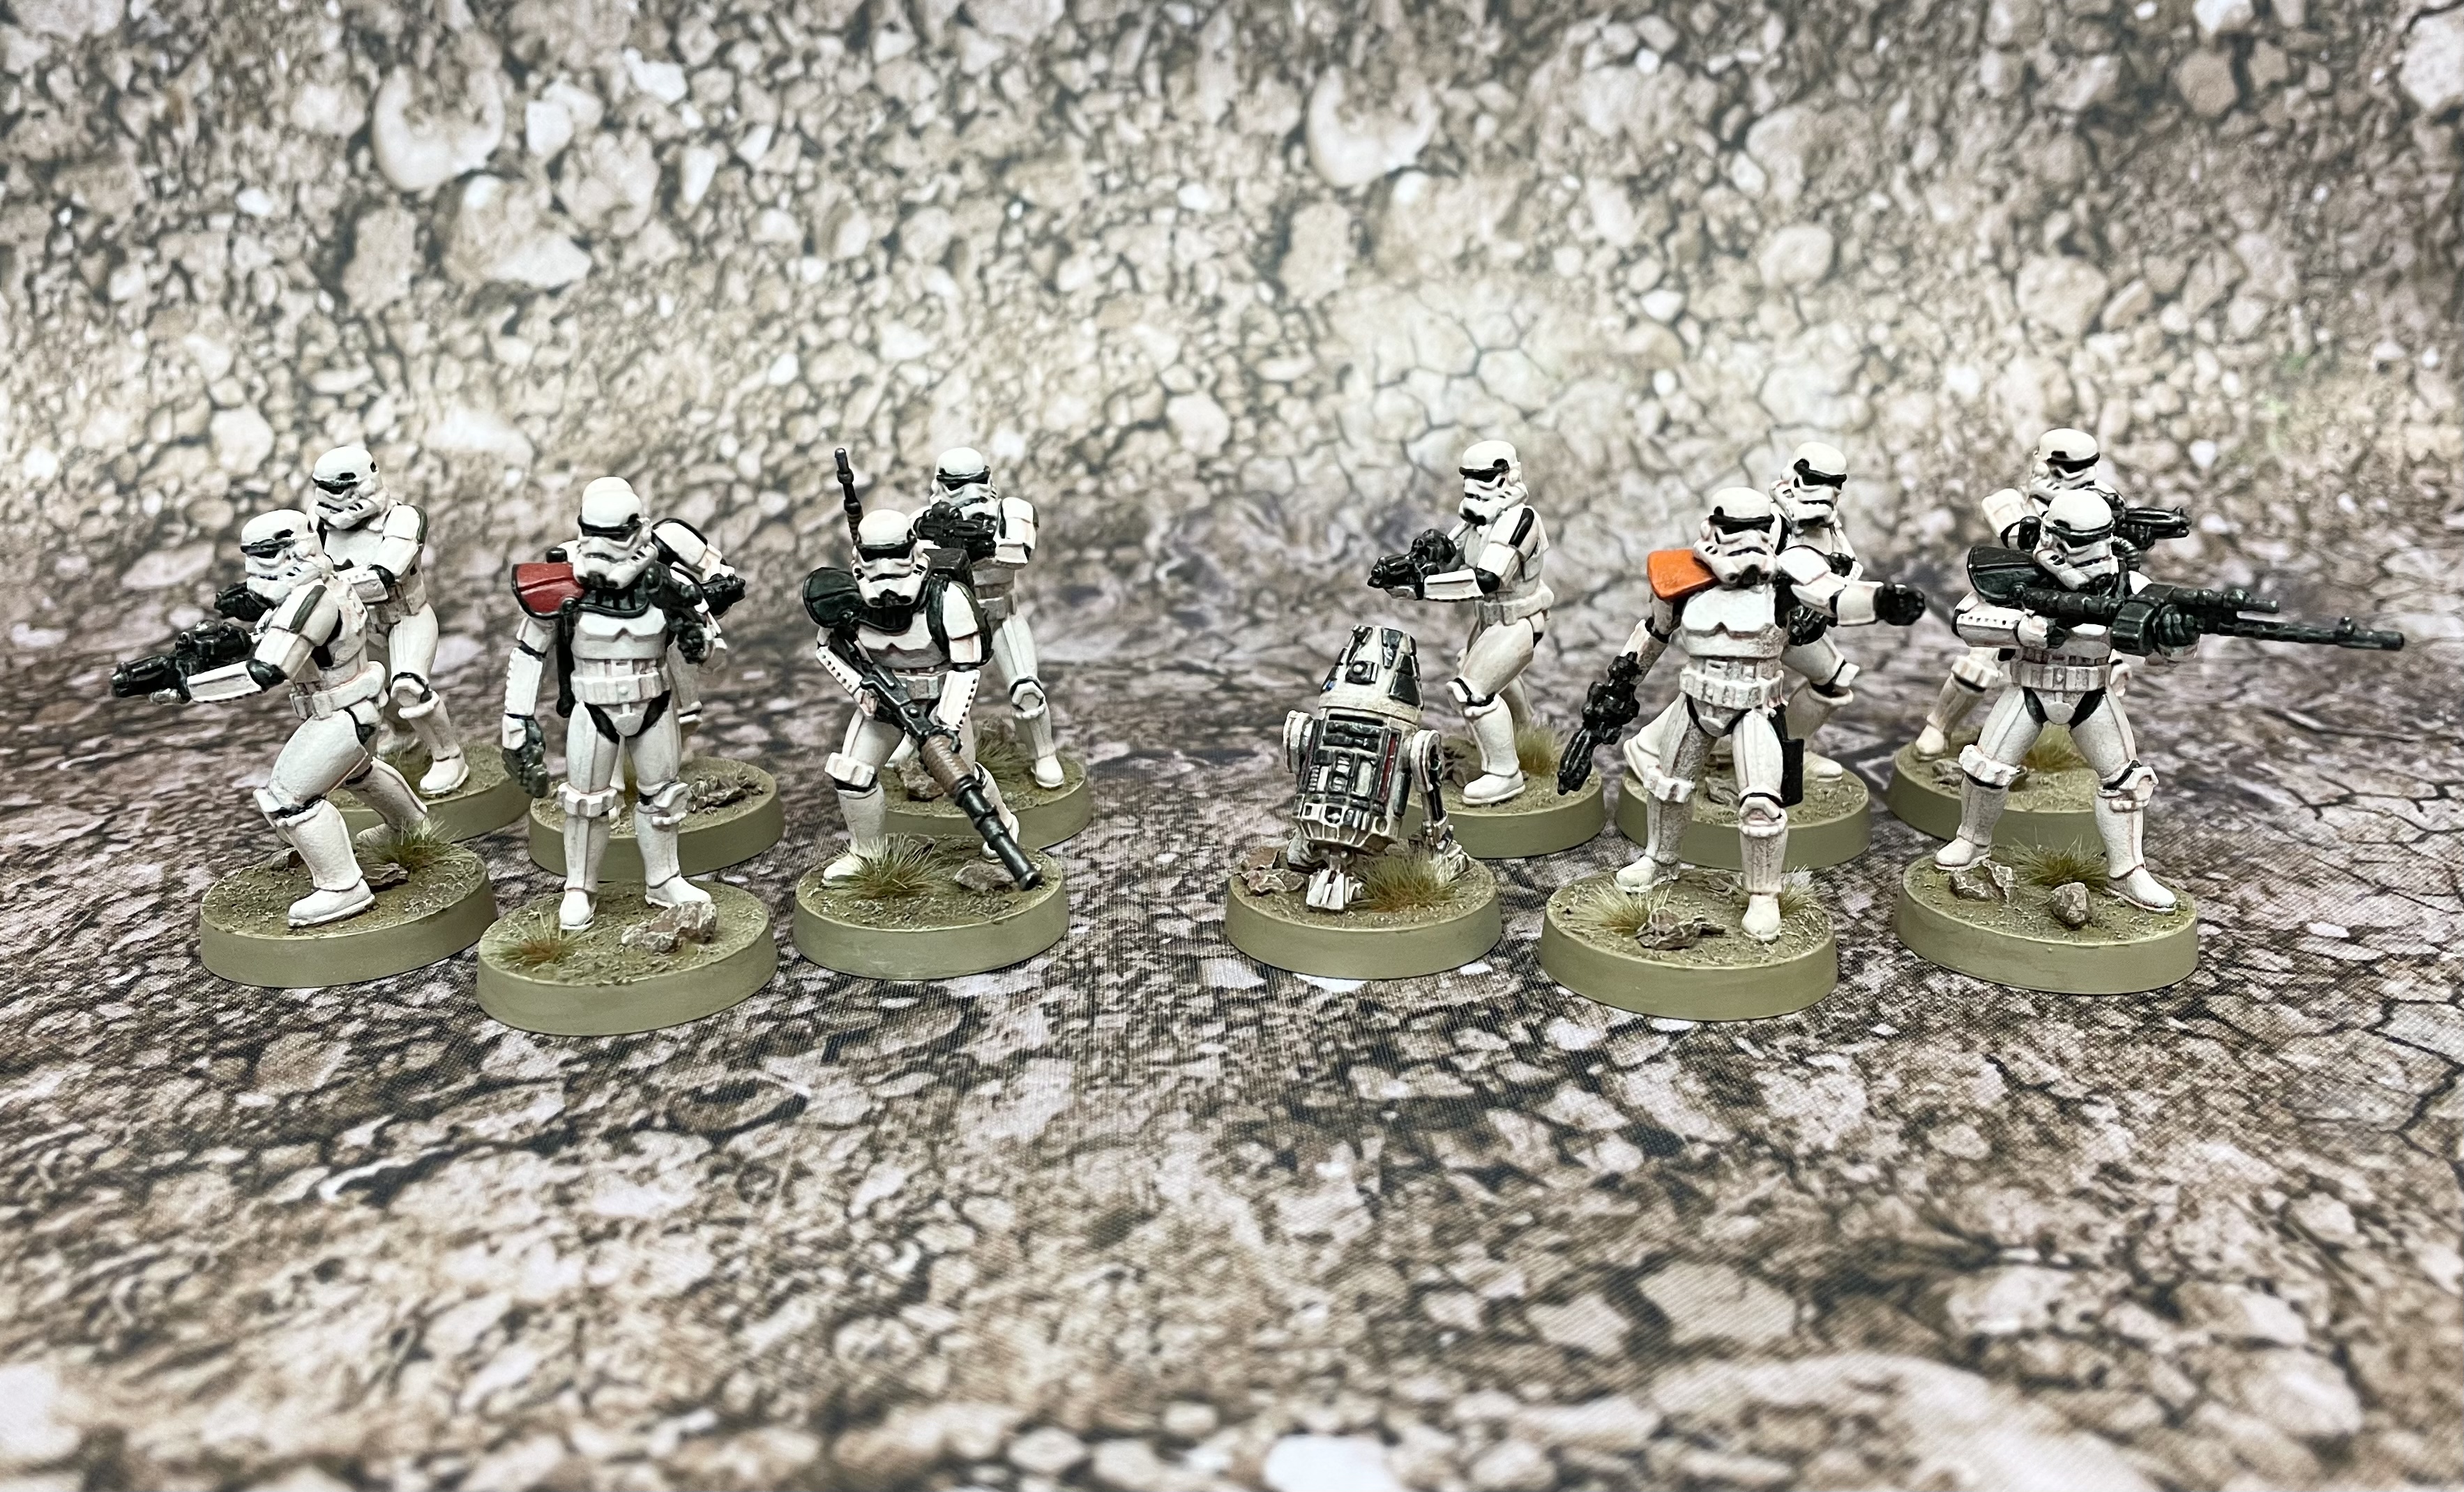
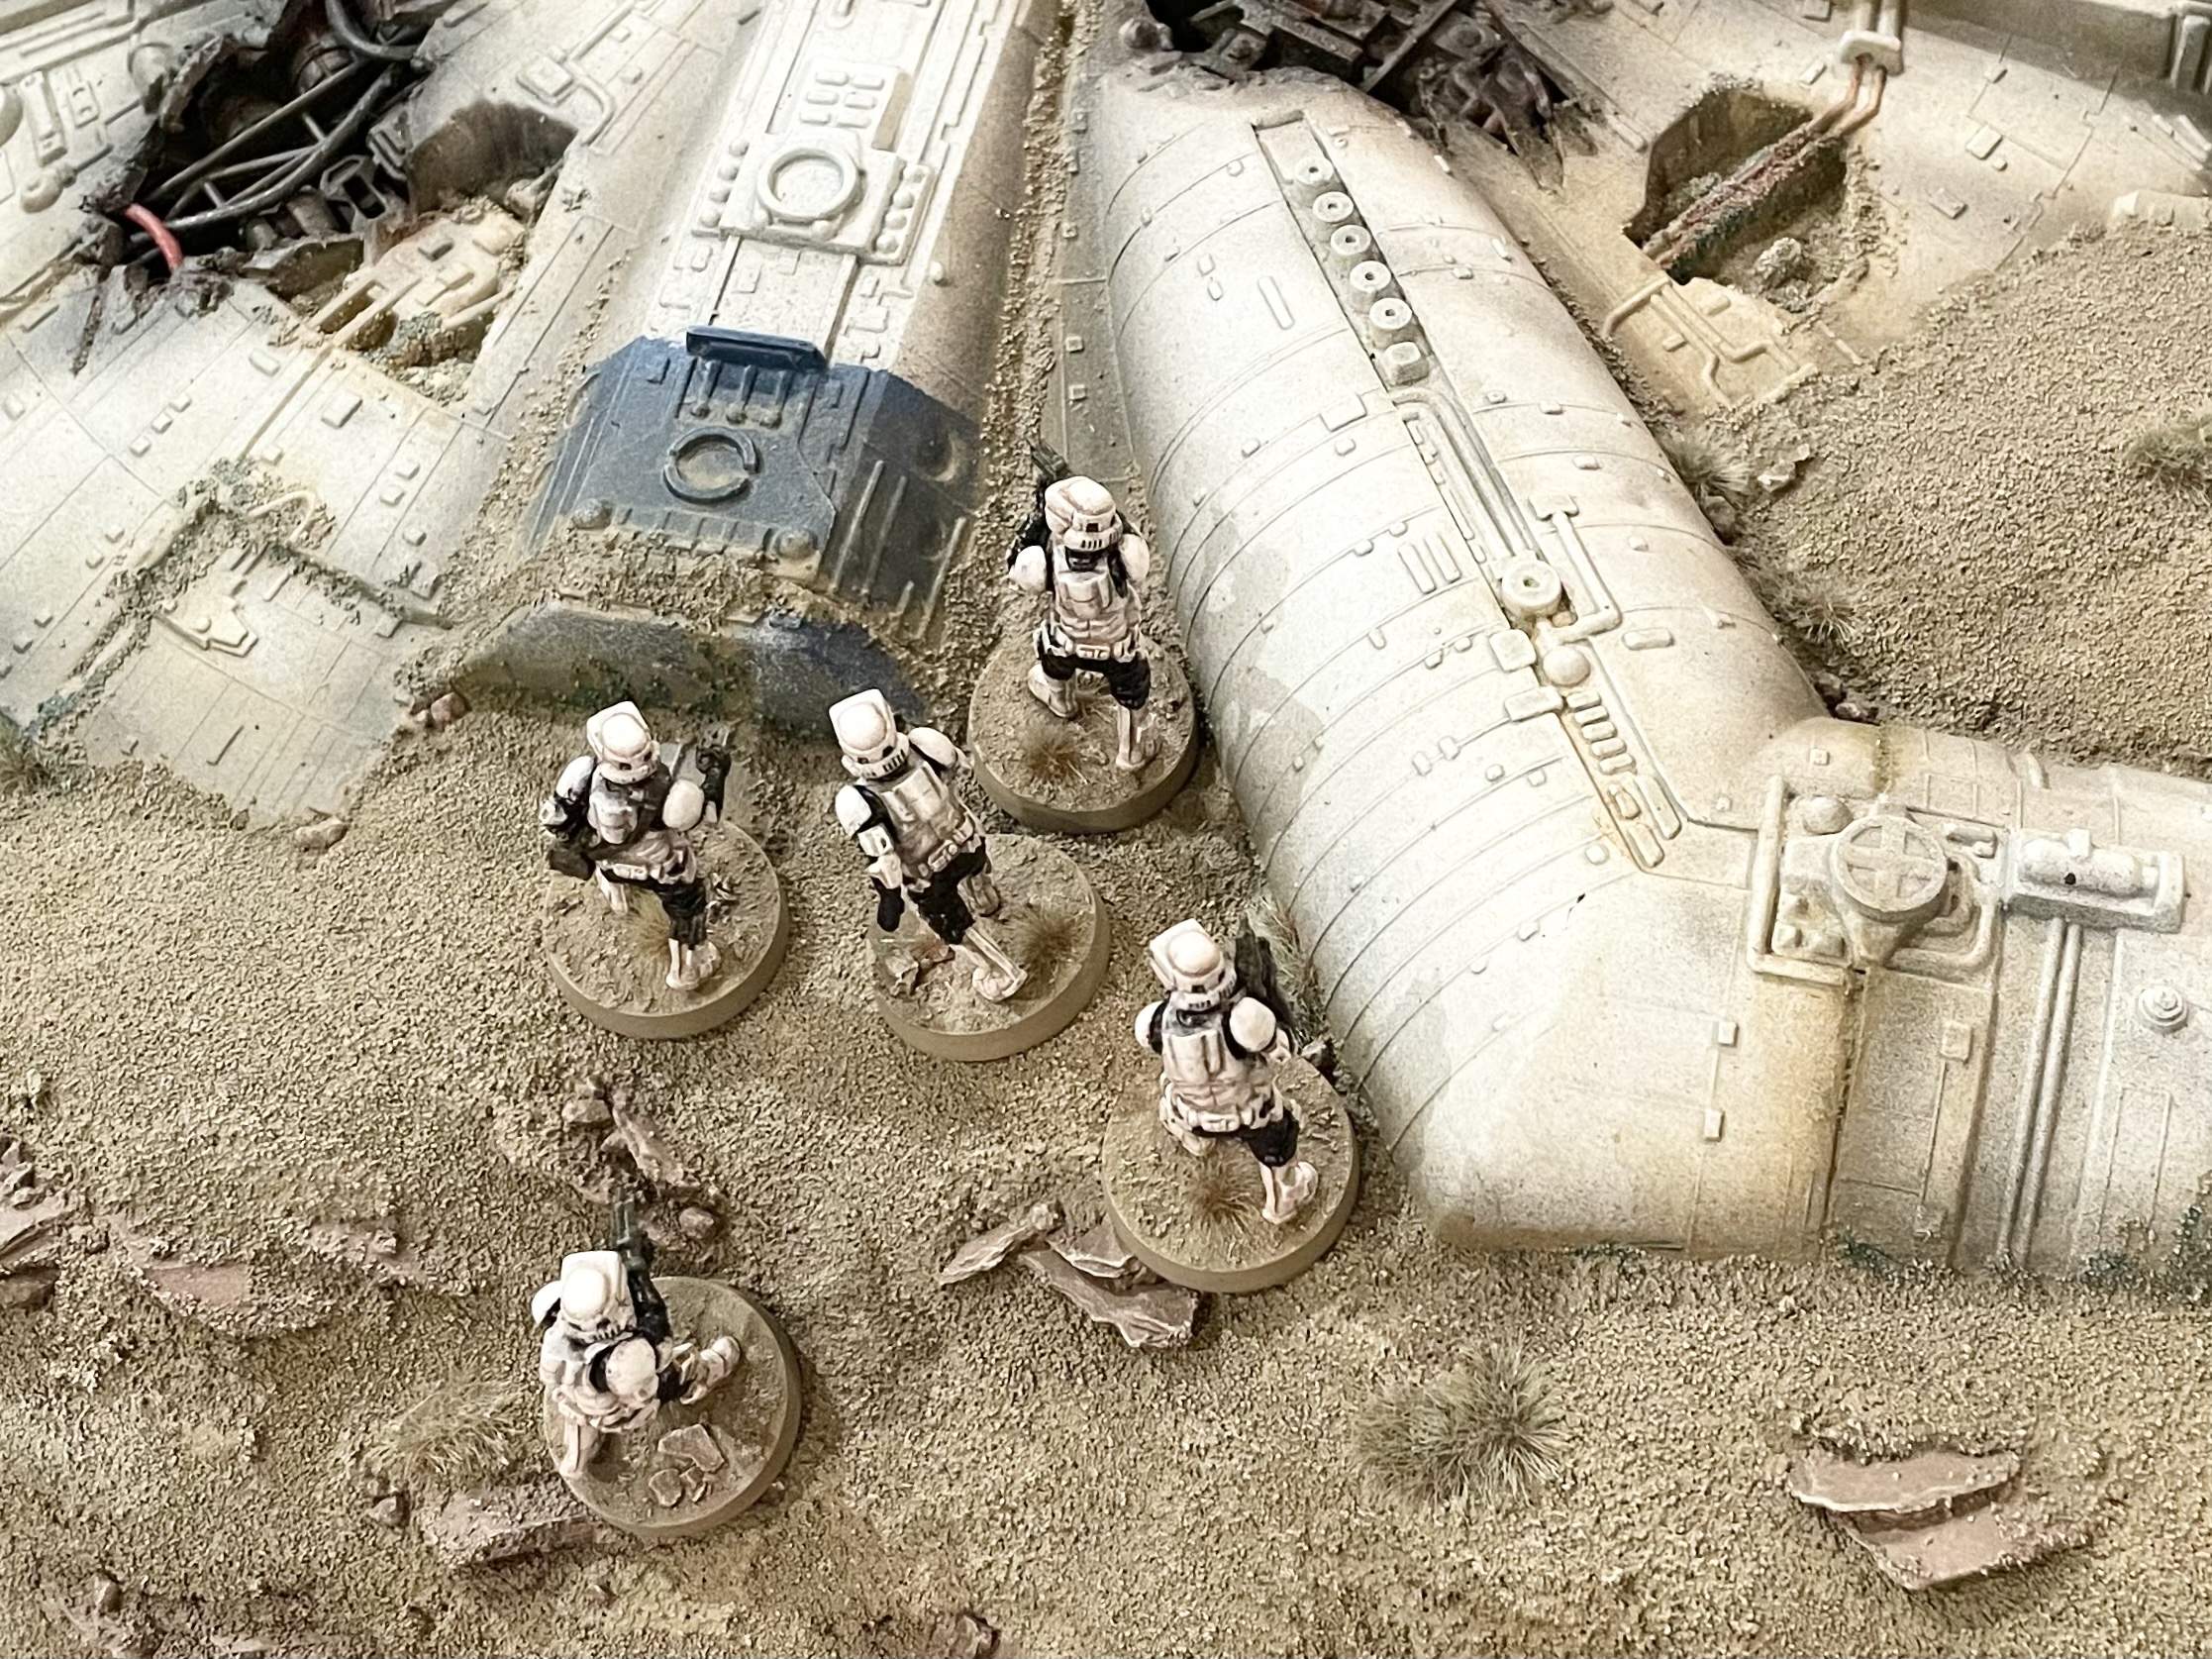
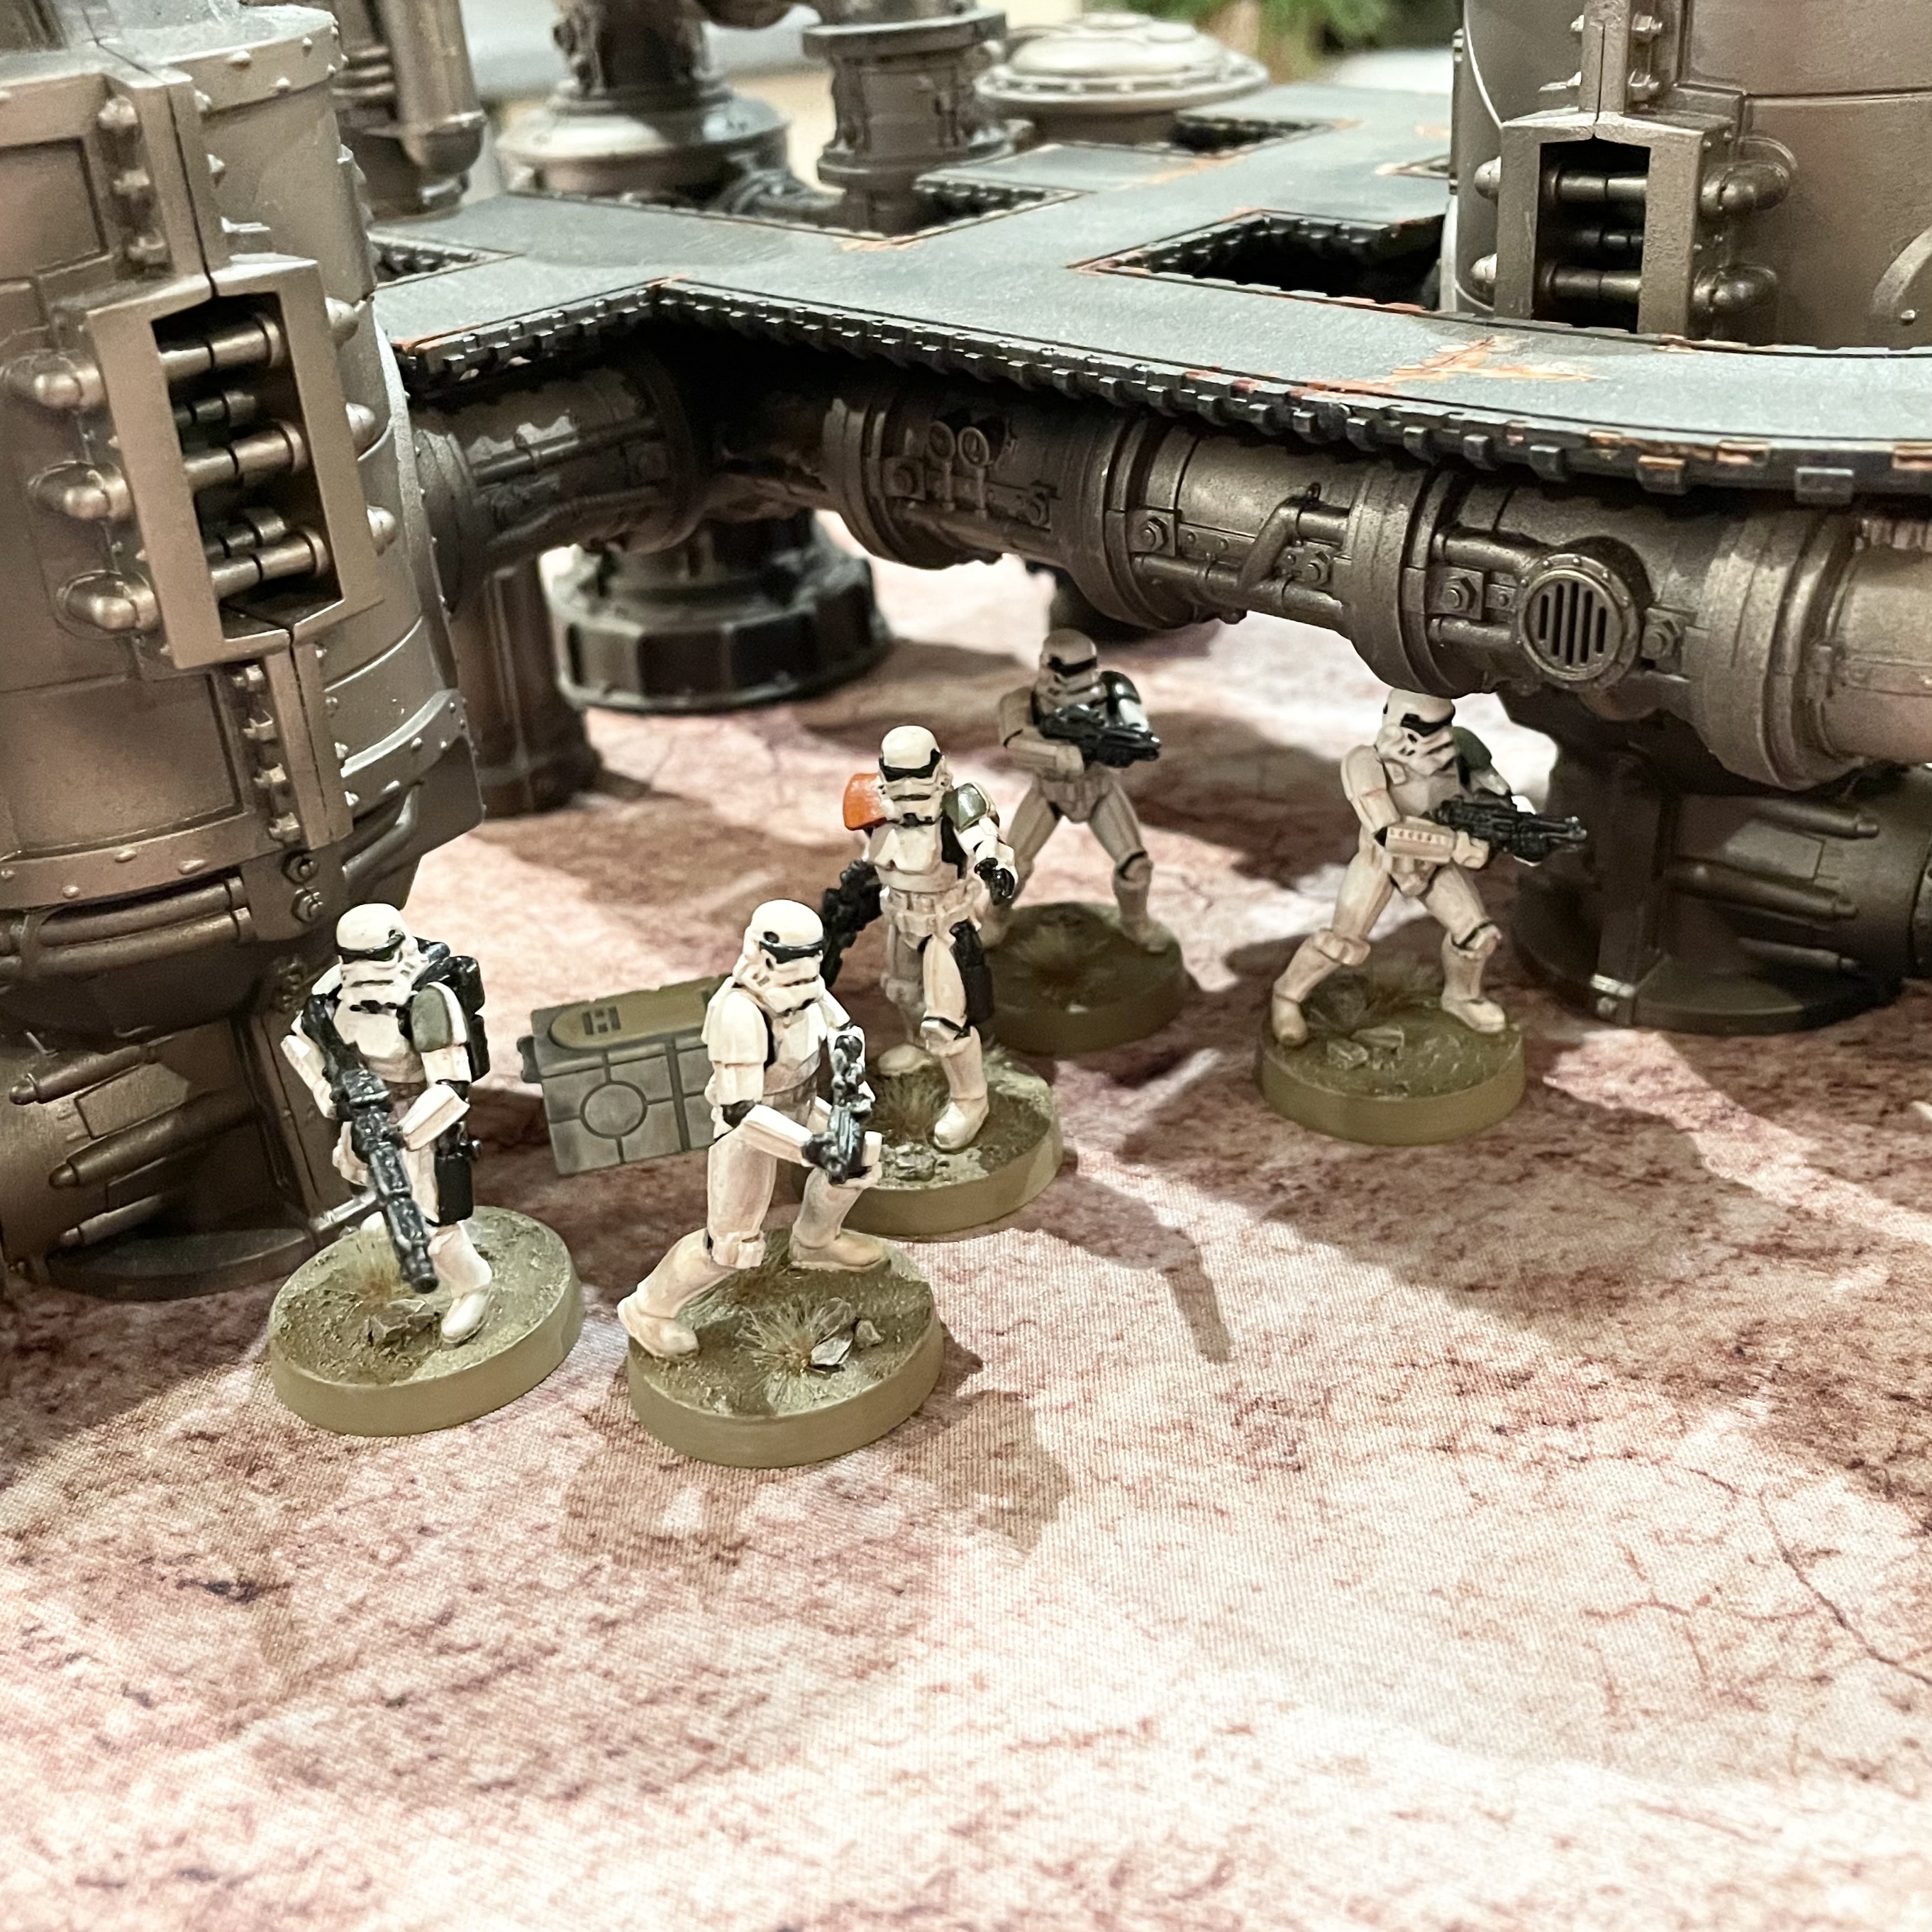
I still needed to fill up the core section of my list and sticking with my theme I simply added as many stormtroopers as I could muster! Five units in all, the first of which included a T-21 and Stormtrooper Captain. I then added an RT-97C and Astromech Droid to the second unit, so that I could administer minor repairs on the Walker if needed.
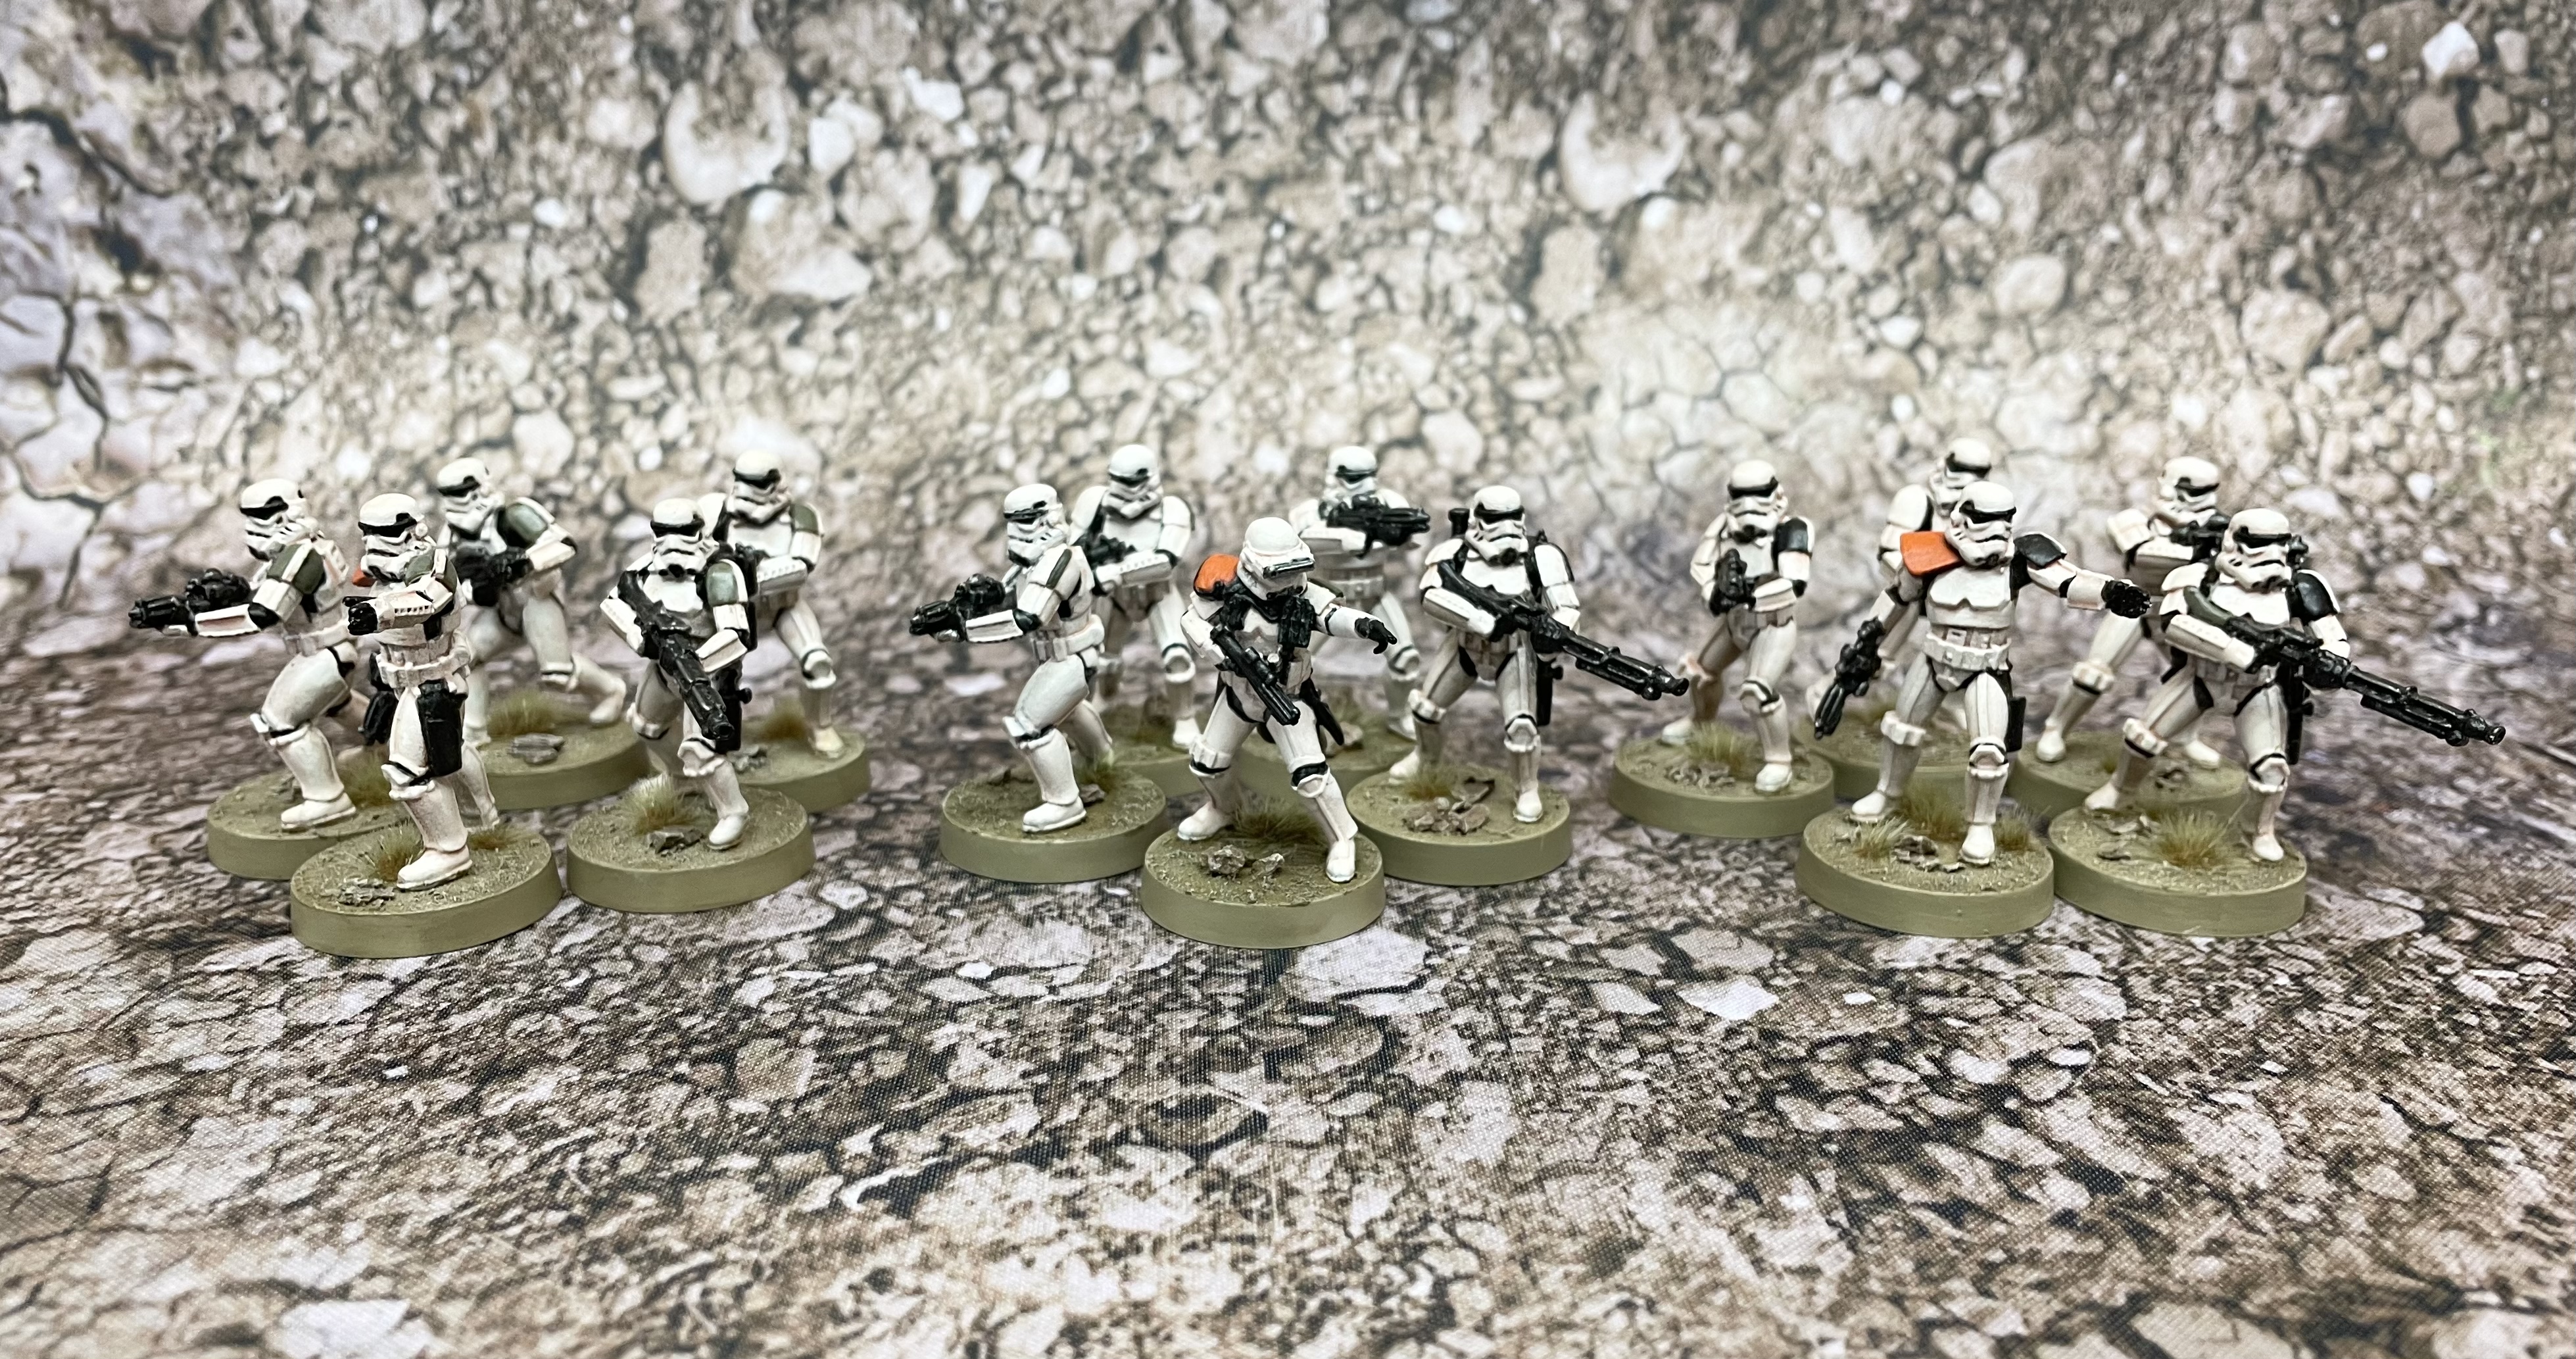
The three remaining squads would all be equipped with DLT’s. Like the Radio DJ for which this weapon is named, the DLT is cheap, has decent range and is handy in an assault!
Points: 800 / 800
Activations: 9
Operatives
Boba Fett: Infamous Bounty Hunter [120]
Emergency Transponder [4], Targeting Scopes [4], Up Close And Personal [5], Situational Awareness [2]
Corps
Stormtroopers [44]
T-21 Stormtrooper [22], Stormtrooper Captain [10], Targeting Scopes [4], Offensive Push [4]
Stormtroopers [44]
RT-97C Stormtrooper [24], R4 Astromech Droid [9]
Stormtroopers [44]
DLT-19 Stormtrooper [20]
Stormtroopers [44]
DLT-19 Stormtrooper [20]
Stormtroopers [44]
DLT-19 Stormtrooper [20]
Special Forces
Scout Trooper Strike Team [20]
DLT-19x Sniper [28
Scout Troopers [48]
Environmental Gear [2], Sonic Charge Saboteur [26]
Heavy
AT-ST [155]
Linked Targeting Array [5], 88 Twin Light Blaster Cannon [10], DW-3 Concussion Grenade Launcher [8], AT-ST Mortar Launcher [5], General Weiss [5]
Commands
[1 pip] Whipcord Launcher
[1 pip] Ambush
[2 pip] Push
[2 pip] ZX Flame Projector
[3 pip] Coordinated Fire
[3 pip] Z-6 Jetpack Rocket
Recover the Supplies
For this battle we wanted to design a mission that suited our narrative, rather than use the standard Battle Deck process. While Han and Fett were the cherry in the pie, we wanted to ensure that the Rebel and Imperial troops also had plenty to fight over.
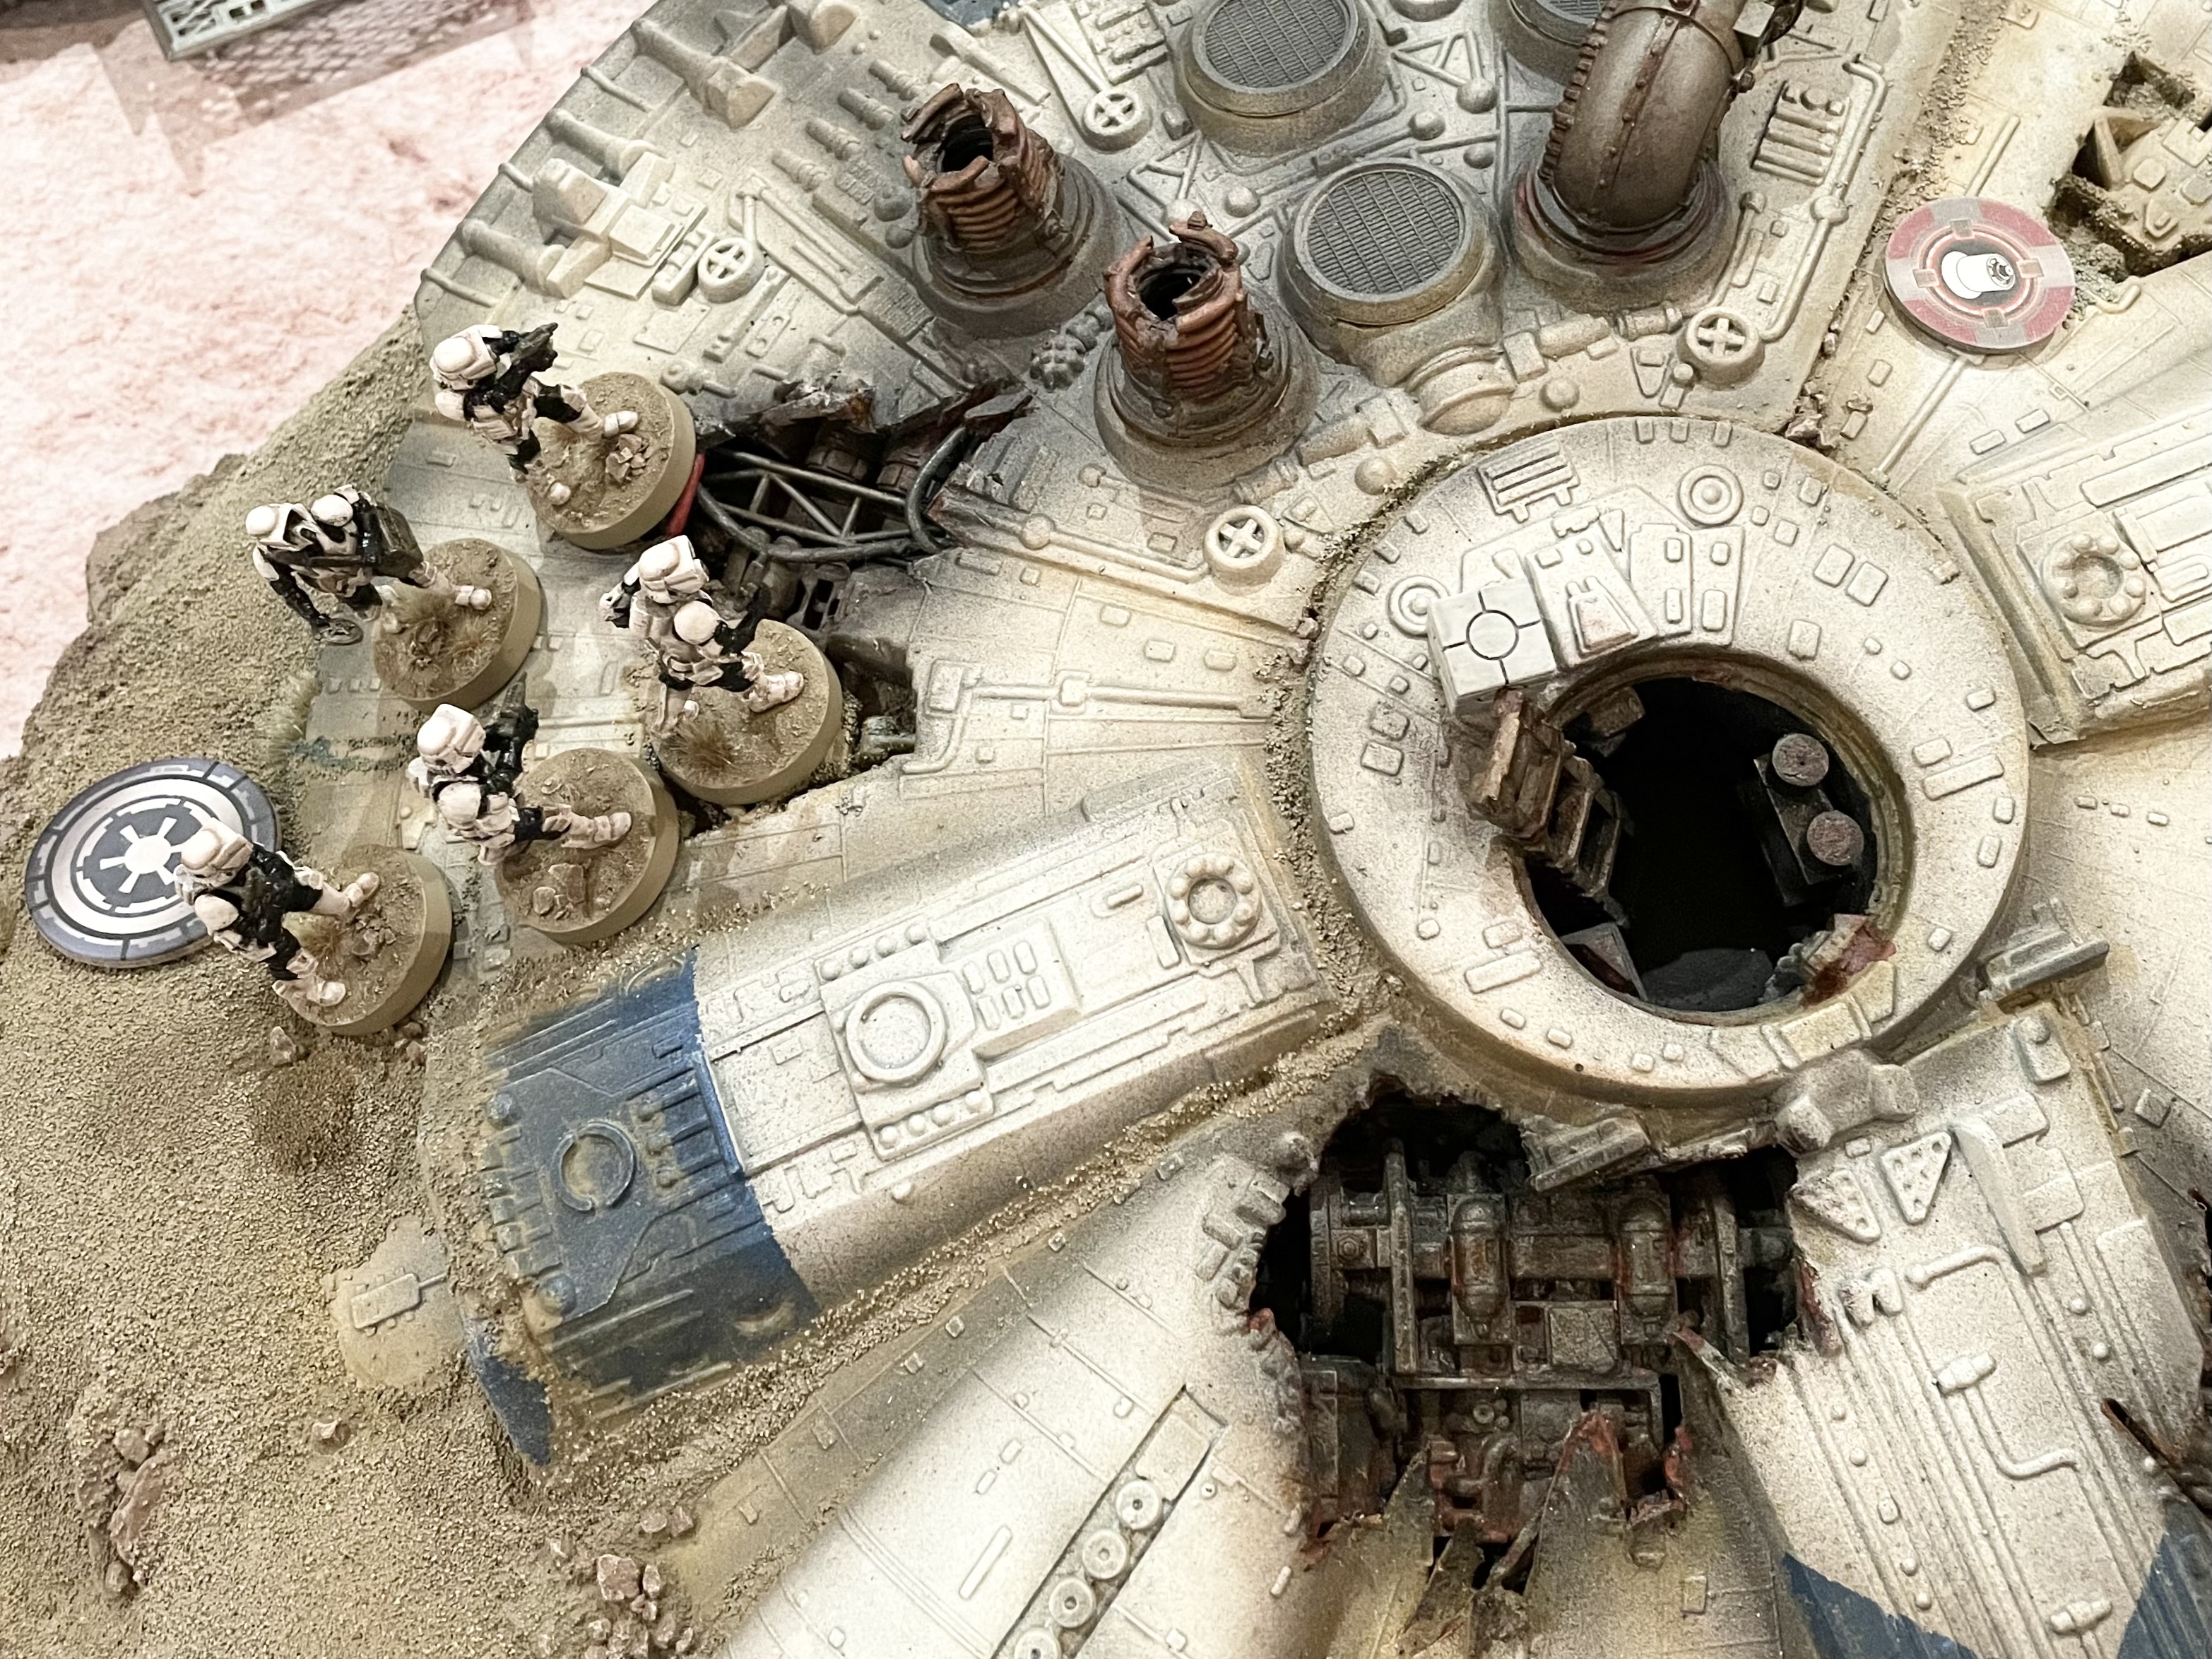
By using ‘Recover the Supplies’ we would have enough objectives to keep everyone occupied. Most importantly, this mission includes a central objective, which would be placed at the access hatch of the wrecked YT-1300.

For deployment we chose ‘Danger Close’, as we felt this would simulate the imperials closing on the facility while Rebel forces rushed to counter their advance.

Finally, to add a sense of the battle escalating, we used the ‘Rapid Reinforcements’ condition.
Set Up
While the Imperial army was 800 points on the nose, the Rebel army list was a point below the 800 limit at 799, giving the Rebels the option to decide whether they would be the Red or Blue player.
Fil opted for Red, forcing me to place the first objective, as well as deploy first.
The objectives were placed as indicated by the green circles. They comprised of three crates and two ‘Empire go Home’ markers!

The next step was to declare our Rapid Reinforcements, with the imperial player declaring first. I opted for just a single unit of Stormtroopers, equipped a T-21 and lead by a Stormtrooper Captain.
The Rebels opted to keep the naked Ship Troopers Squad in reserve, meaning both players would start with a single unit off the board.
Imperial Deployment
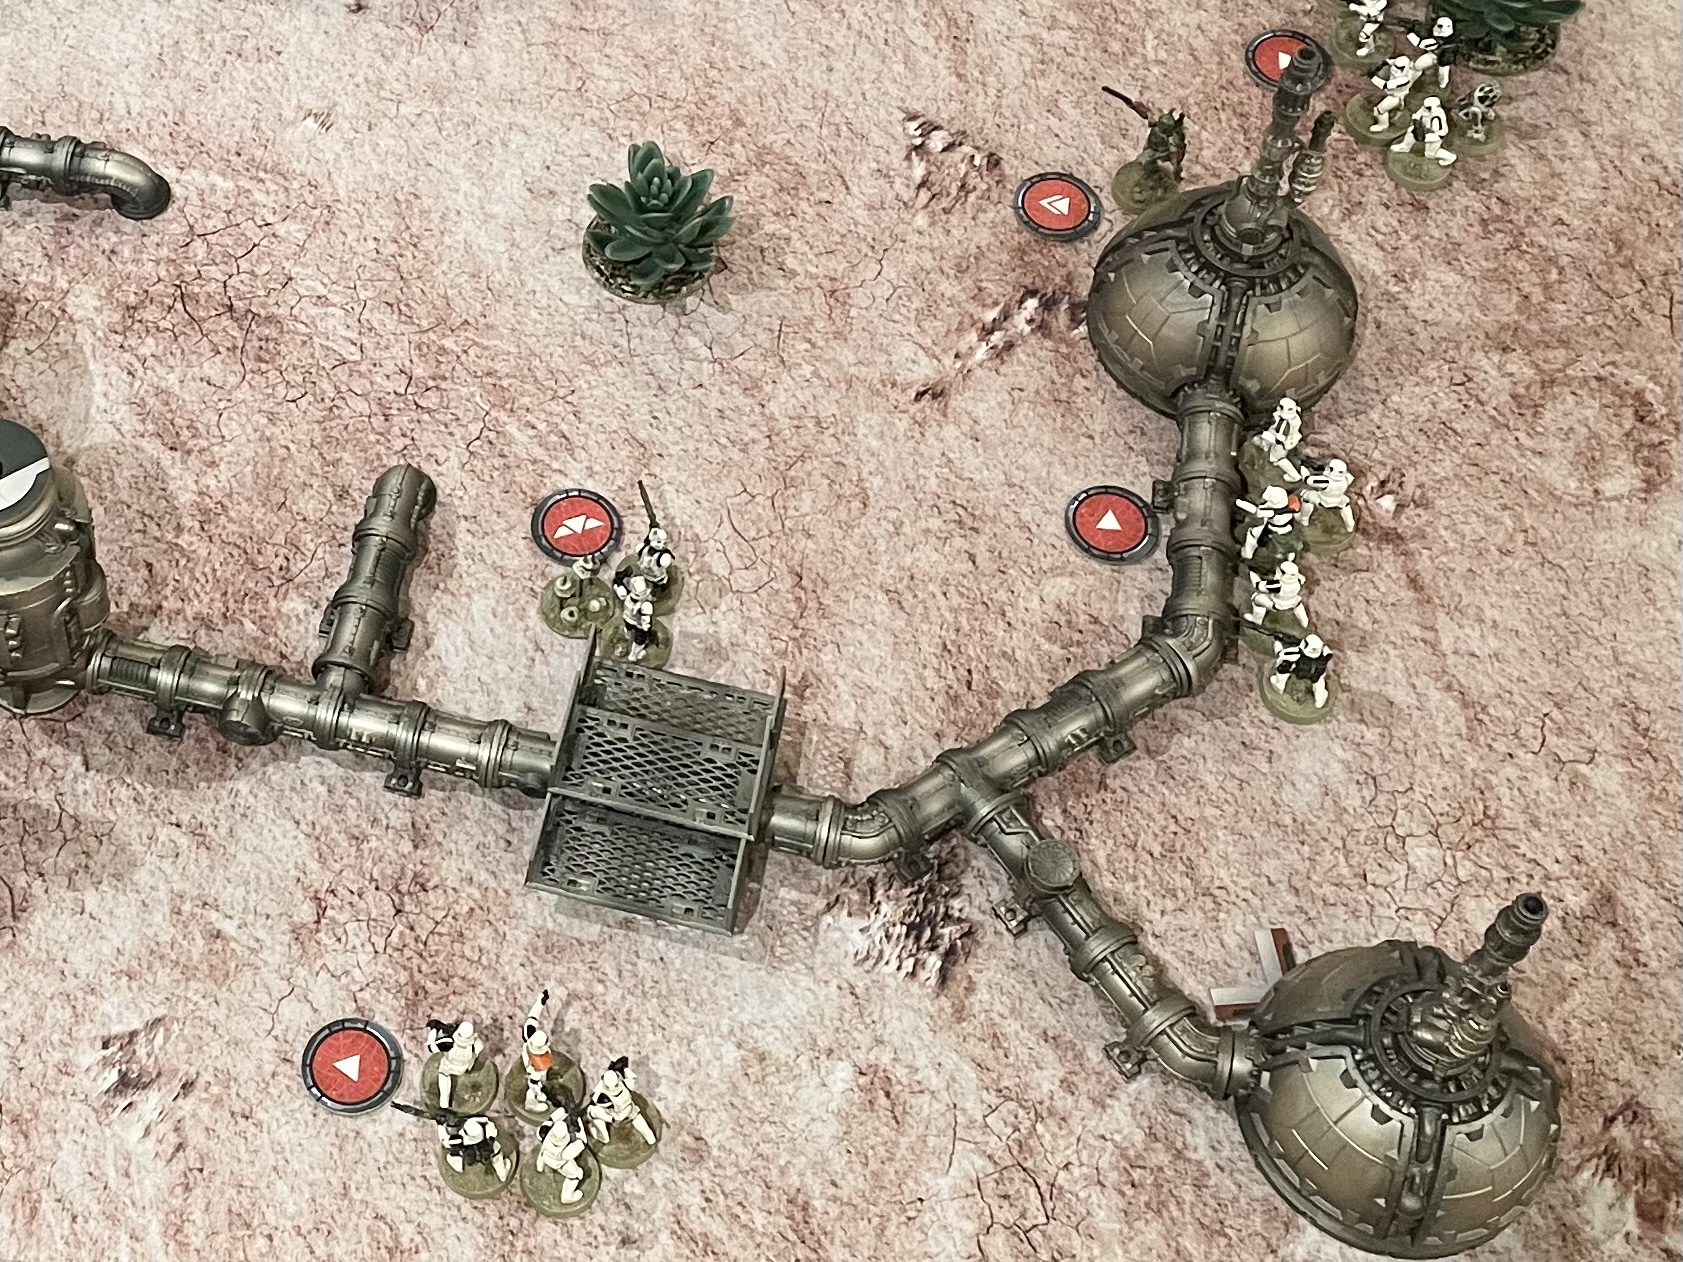
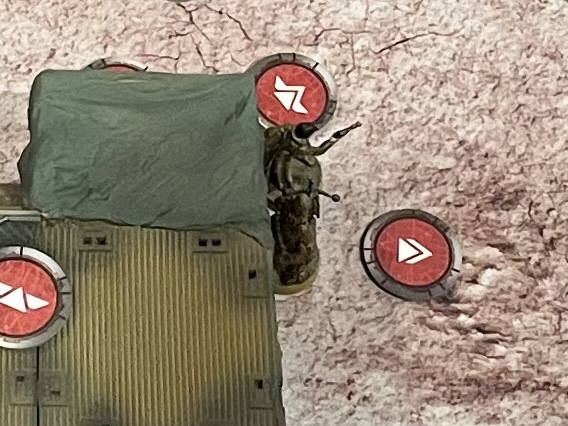
The Imperials began their deployment with an aggressive scout move from the Scout Squad, who moved as close to the central objective as they were able, while still keeping their heads down behind the wreck.
The Scout Sniper team also used its scout ability to deployed close to one of the objectives, with the aim of claiming it early before moving to a vantage point. Similarly, one of the Stormtrooper squads deployed on the Northern most flank, where they could collect the objective placed there, before moving back to the safety of the imperial centre lines.
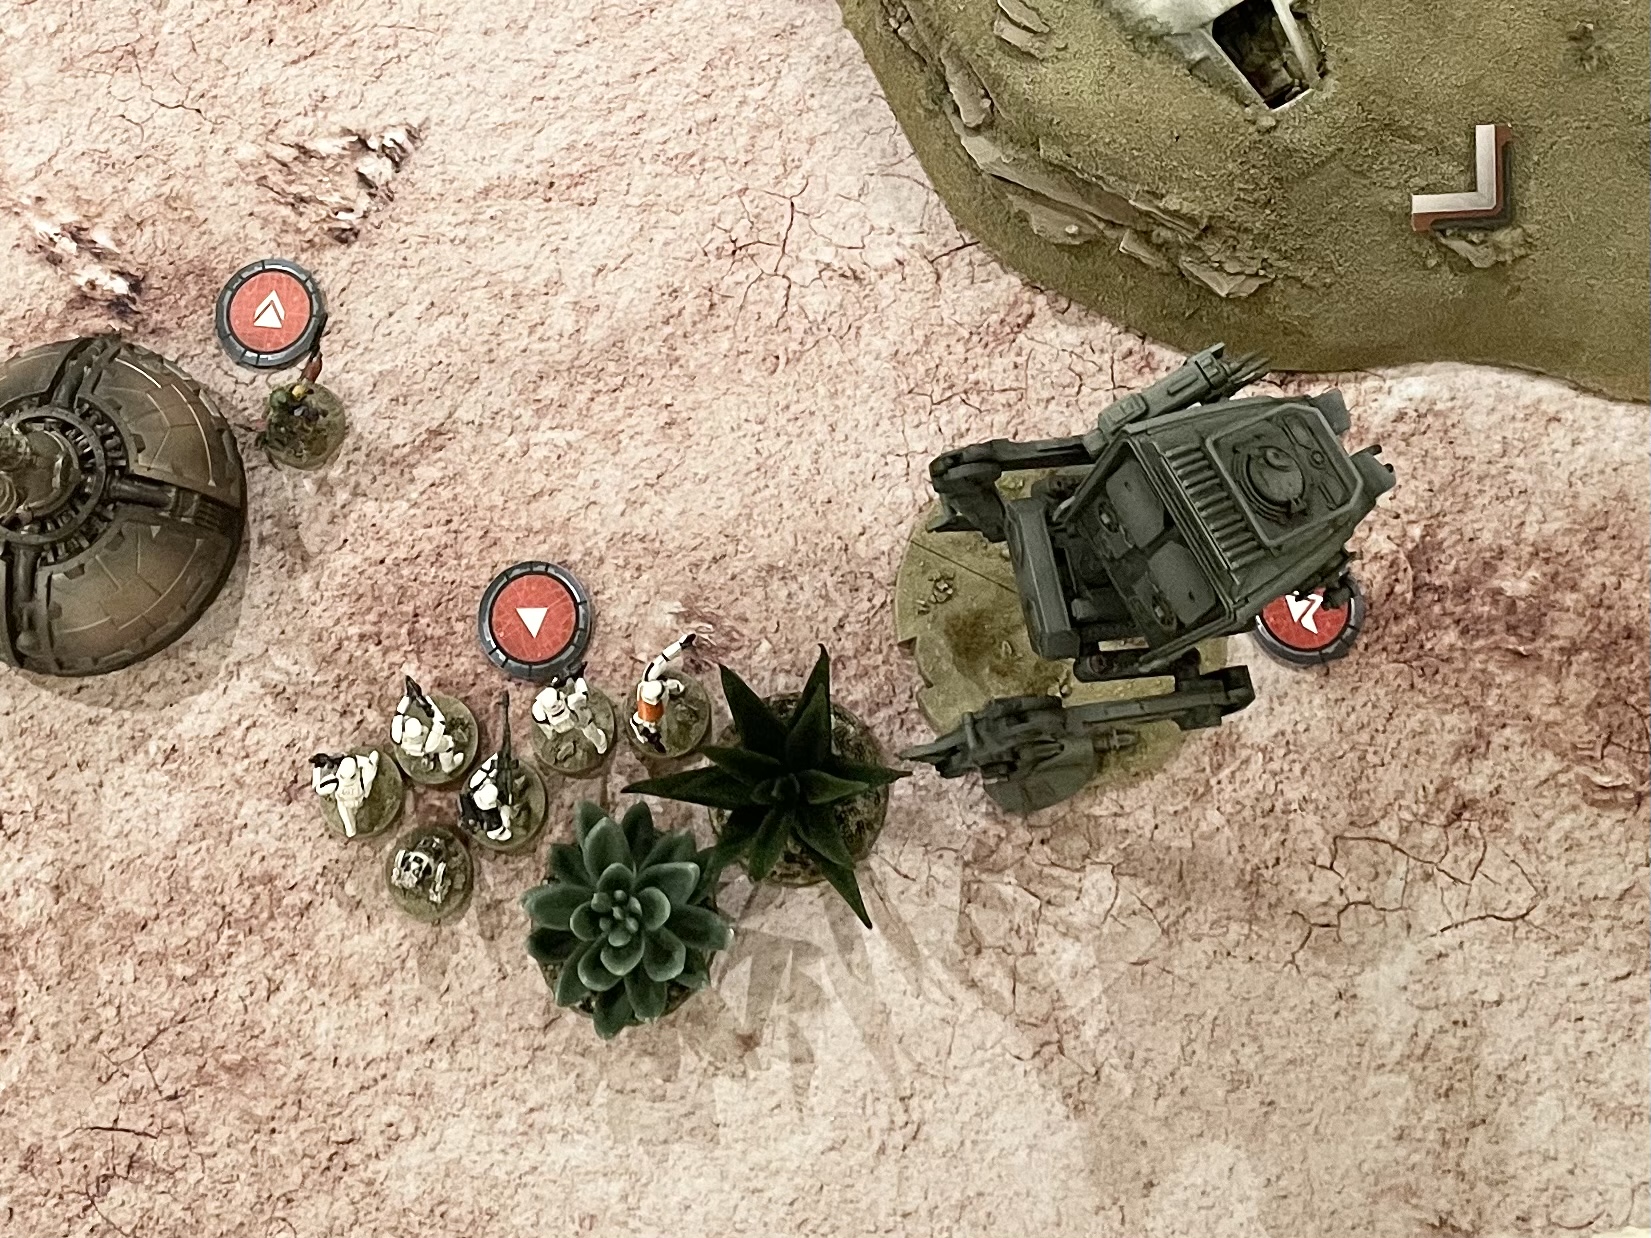
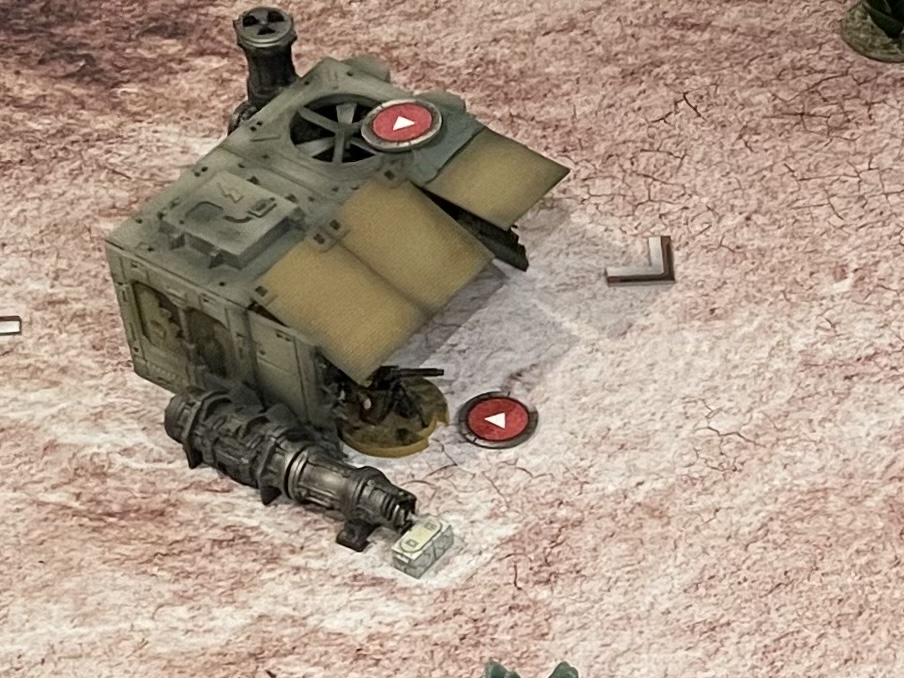
Notably the At-St deployed close to the table centre point on the Southern flank. This afforded it the best firing lanes and the option of outflanking the Rebels, or pulling back behind the cover of the wreck if it started taking damage. The Stormtrooper squad with the Astromech deployed close by, ready for a field repair, should occasion call for it.
Fett and the remaining imperial troops deployed conservatively, hidden behind the wreckage from where they could ambush any Rebels who attempted to reach the various objectives.
Rebel Deployment
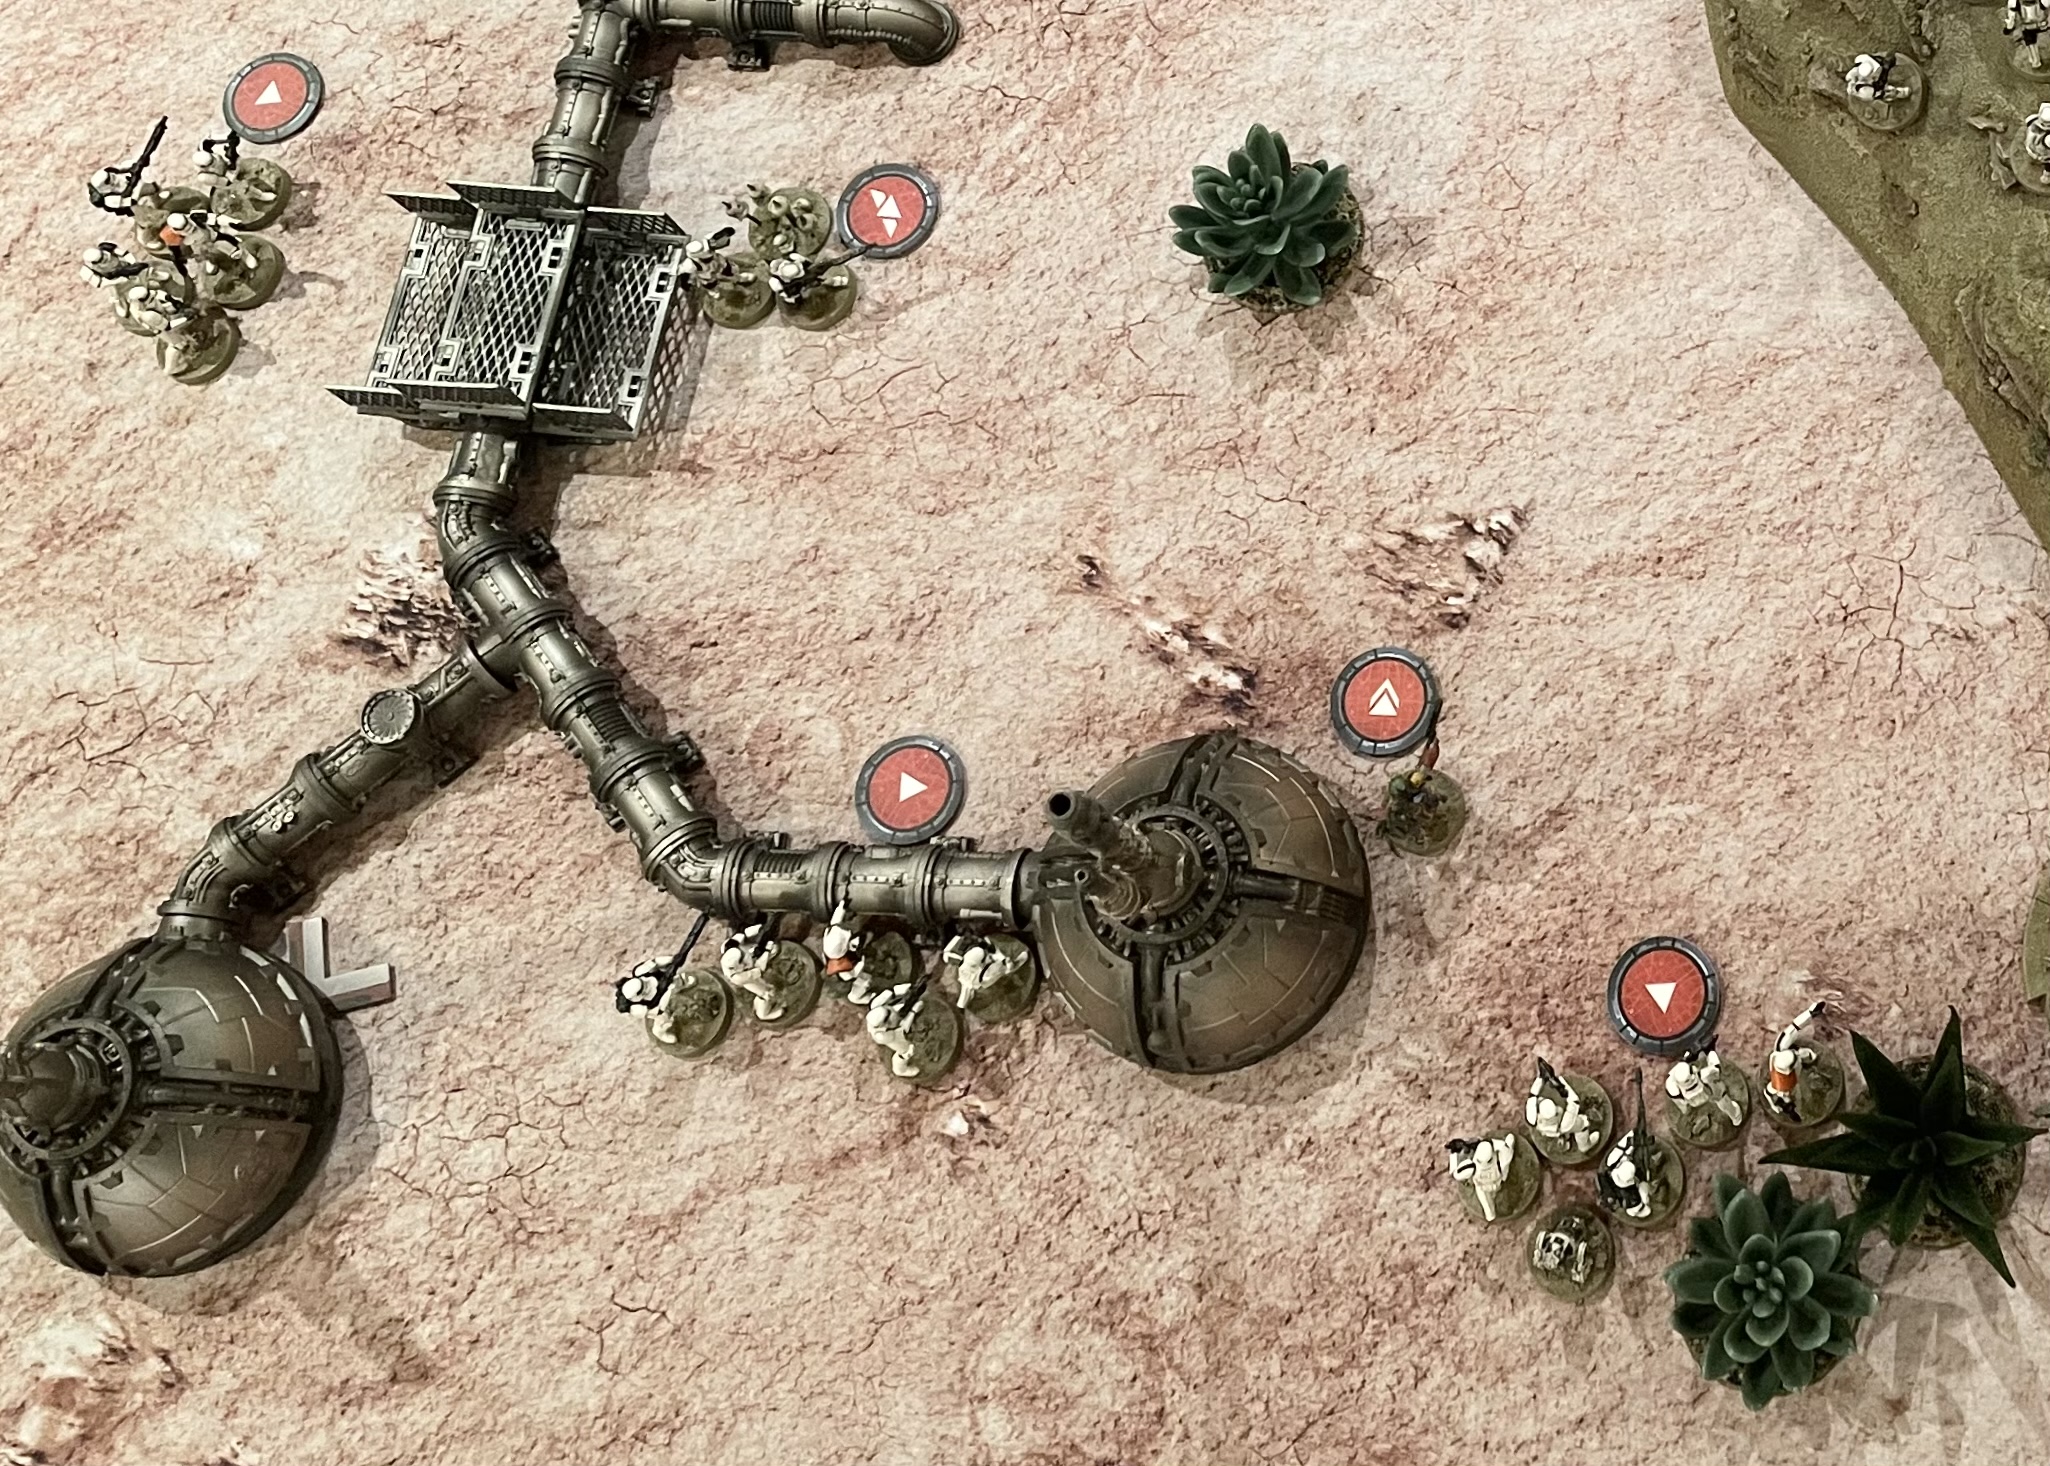
On the Rebel side of the table, the two Pathfinder units used their infiltration ability to deploy as close to the central objective as they were able. However, due to the forward deployment of the Imperial Scouts, they couldn’t quite reach the safety of the sand bank that surrounded the wreckage.
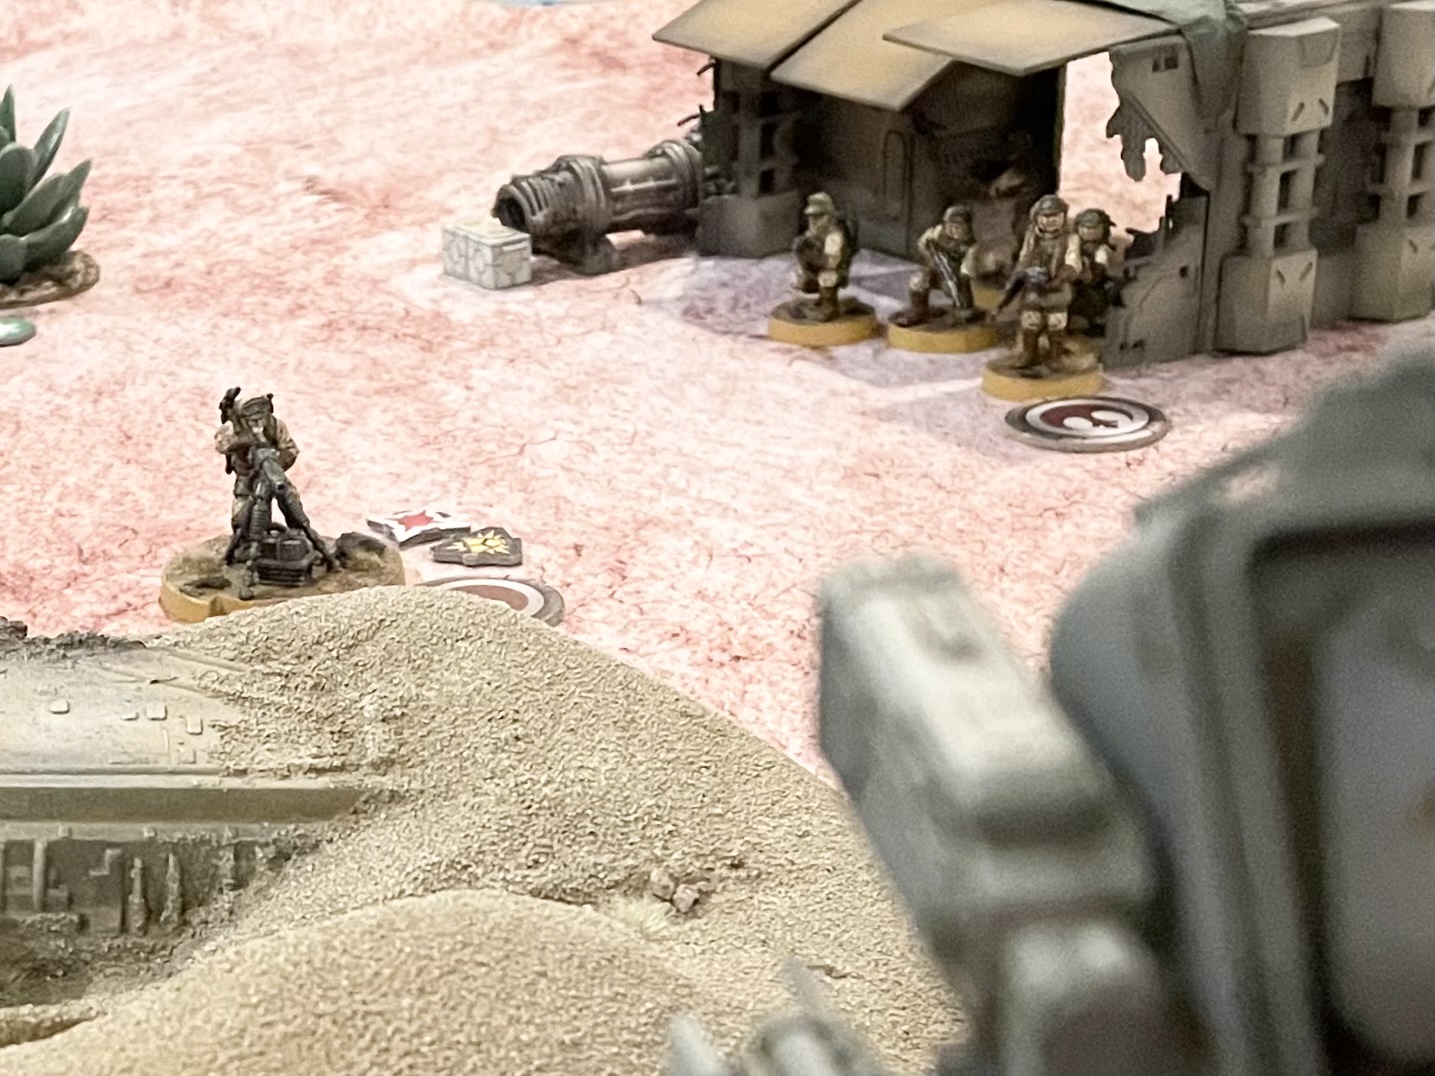
The bulk of the rebel forces deployed in the safety of the workshop buildings to the North, in cover and beyond range of the At St ….
…. meanwhile, one of the Veteran Squads, along with its supporting MKII Medium Blaster Turret, deployed in the workshop on the southern side of the battlefield. This put them close to one of the objectives and well positioned to cover the Southern flank, acting as a deterrent to any imperial forces who sought to outflank the Rebels.
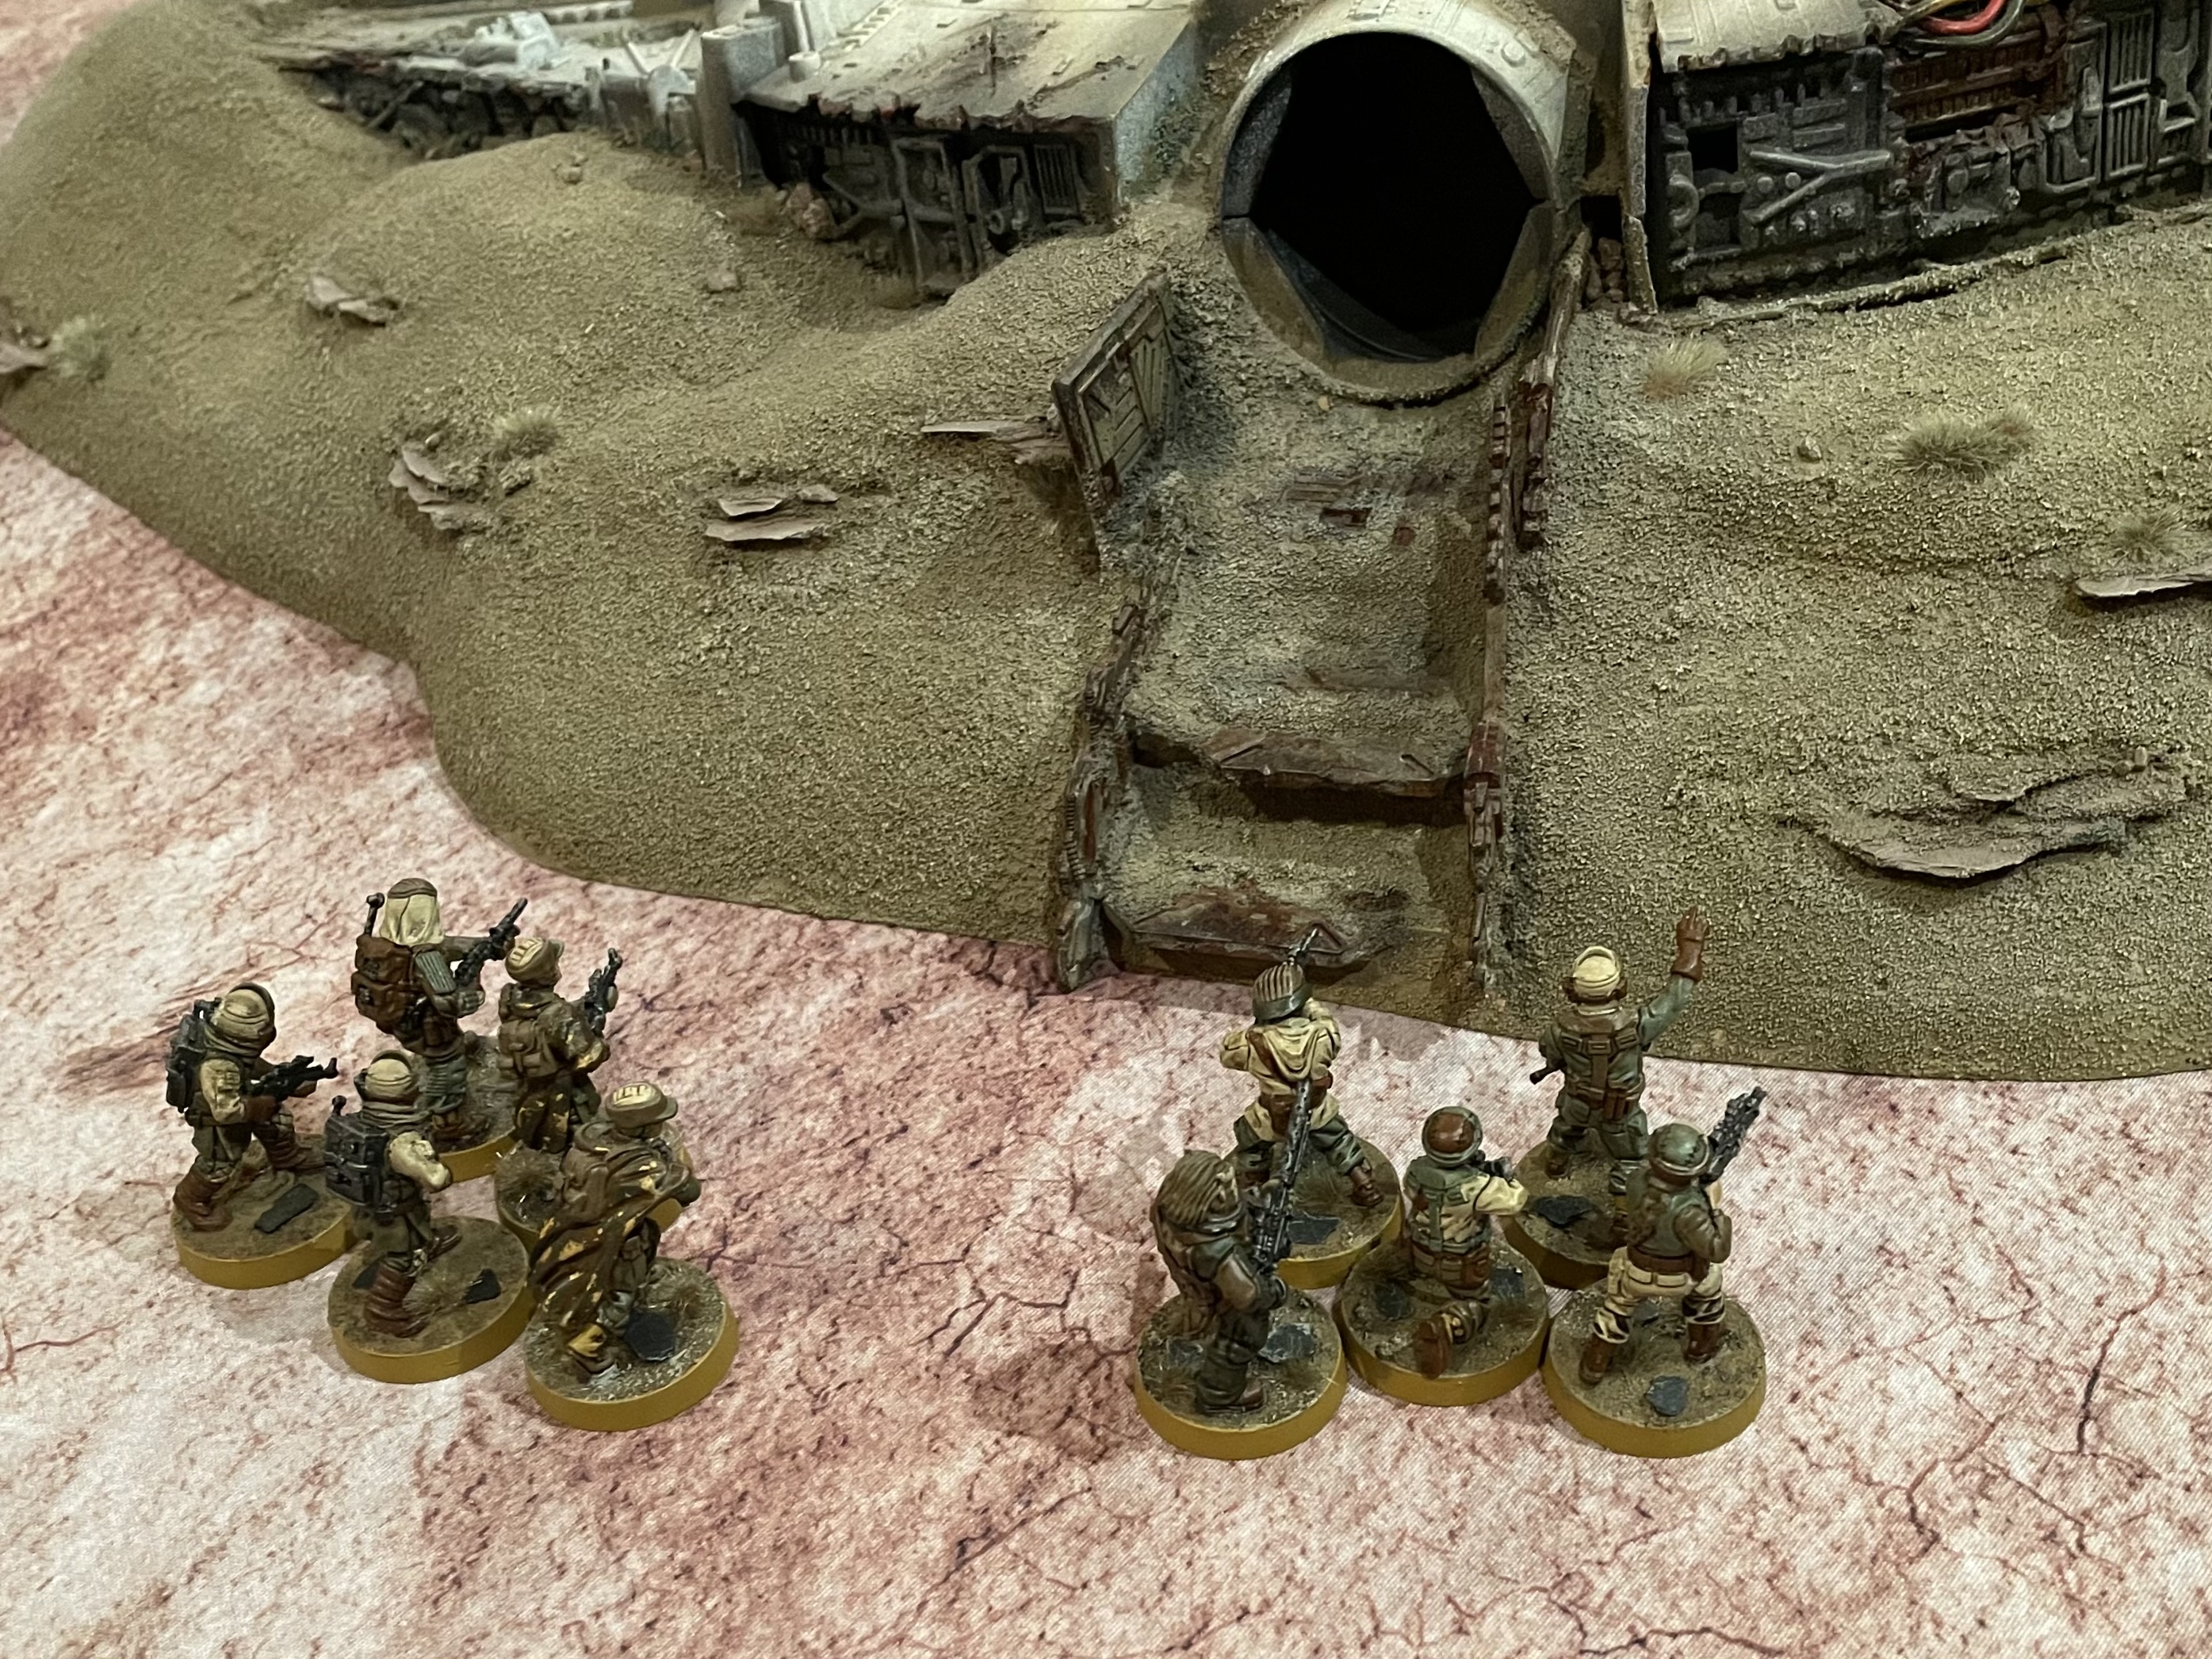
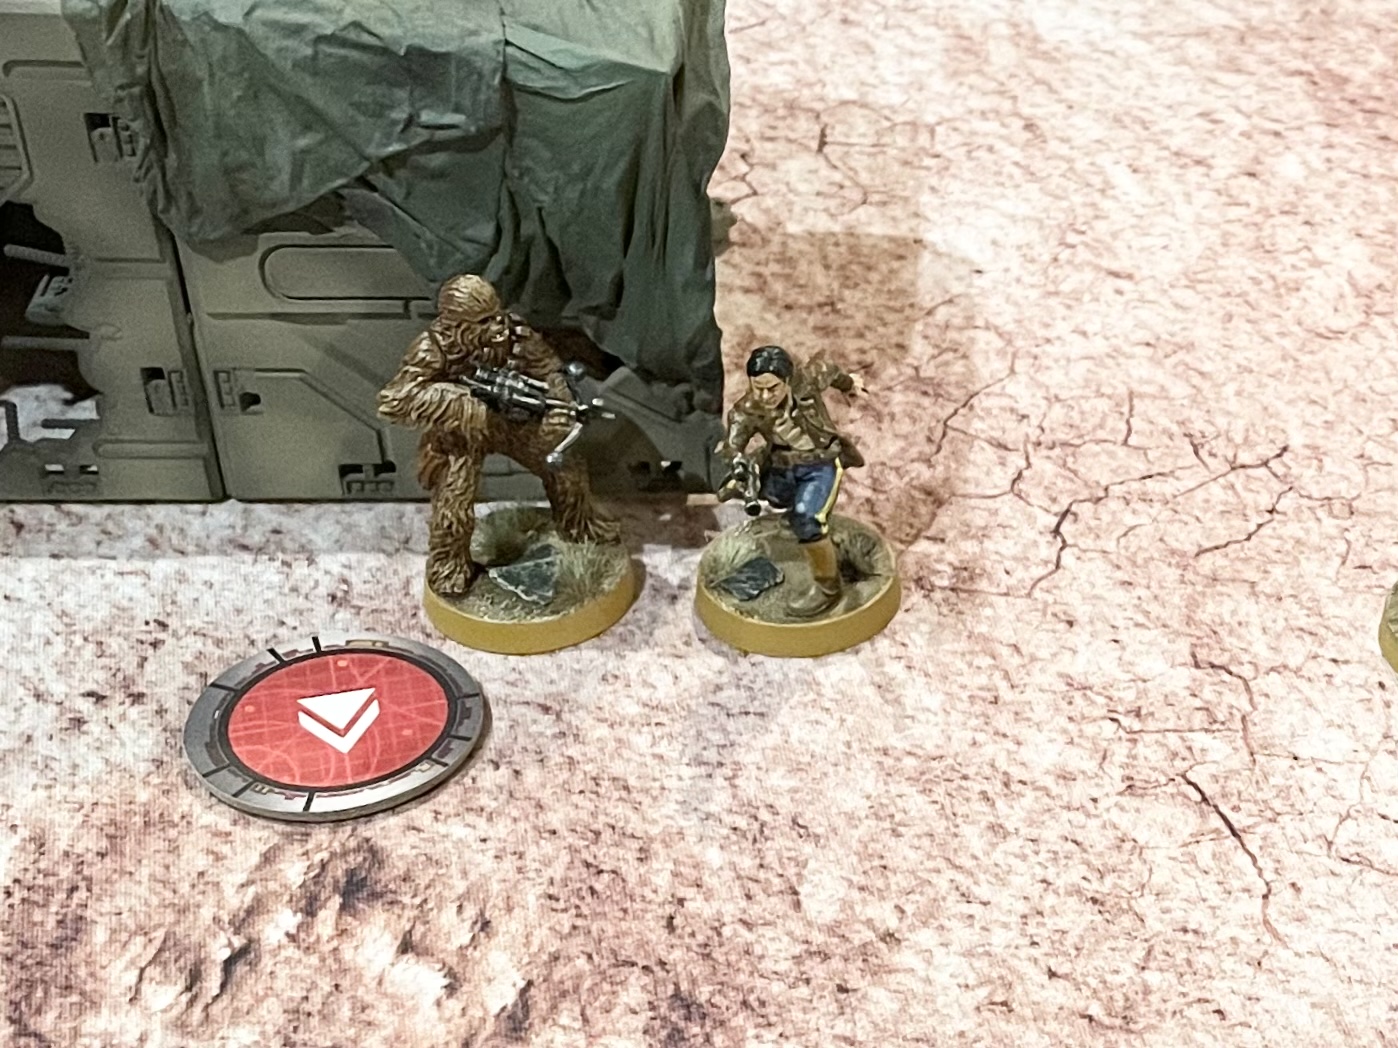
Han and Chewee made their approached on the crashed starship from the North, joining the Rebel Veterans and Snipers who were placed here. From this position they would be able to close in on the central objective whilst remaining completely hidden by the engine stack, which sat higher from ground level than the rest of the wreckage.
Turn 1 - Command Phase
With no describable advantage to activating first, both players opted for ‘Standing Orders’.
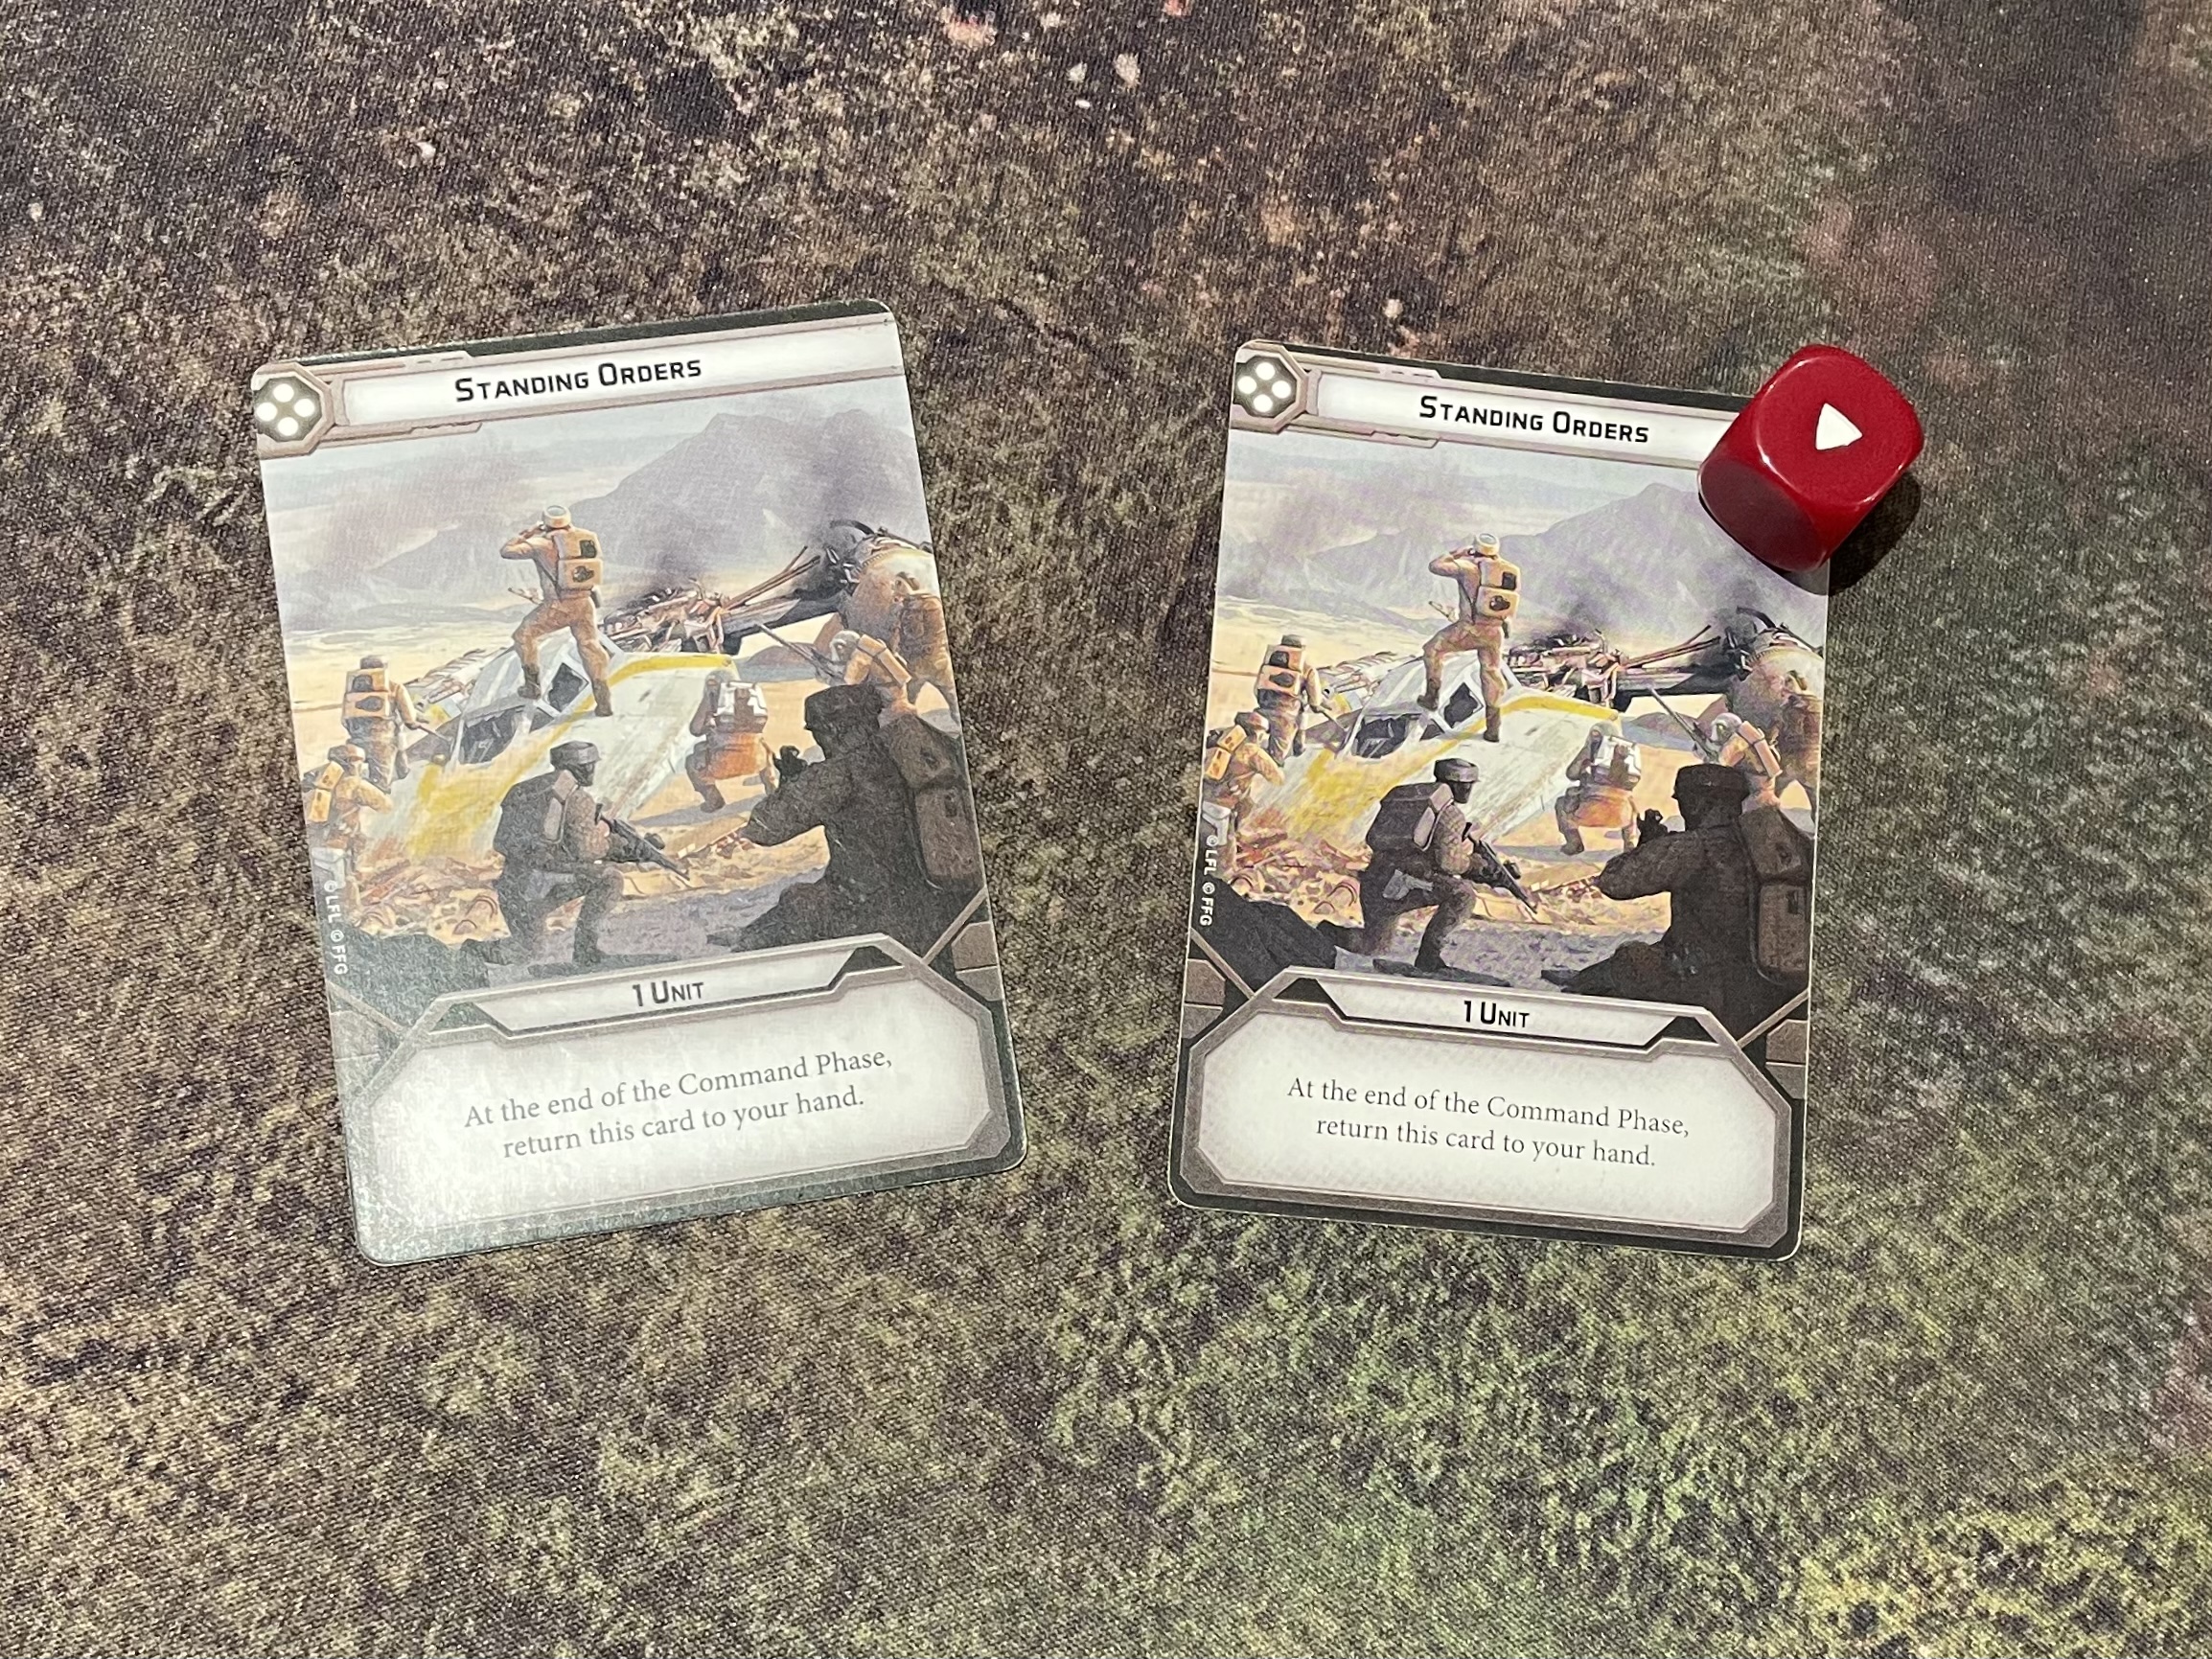
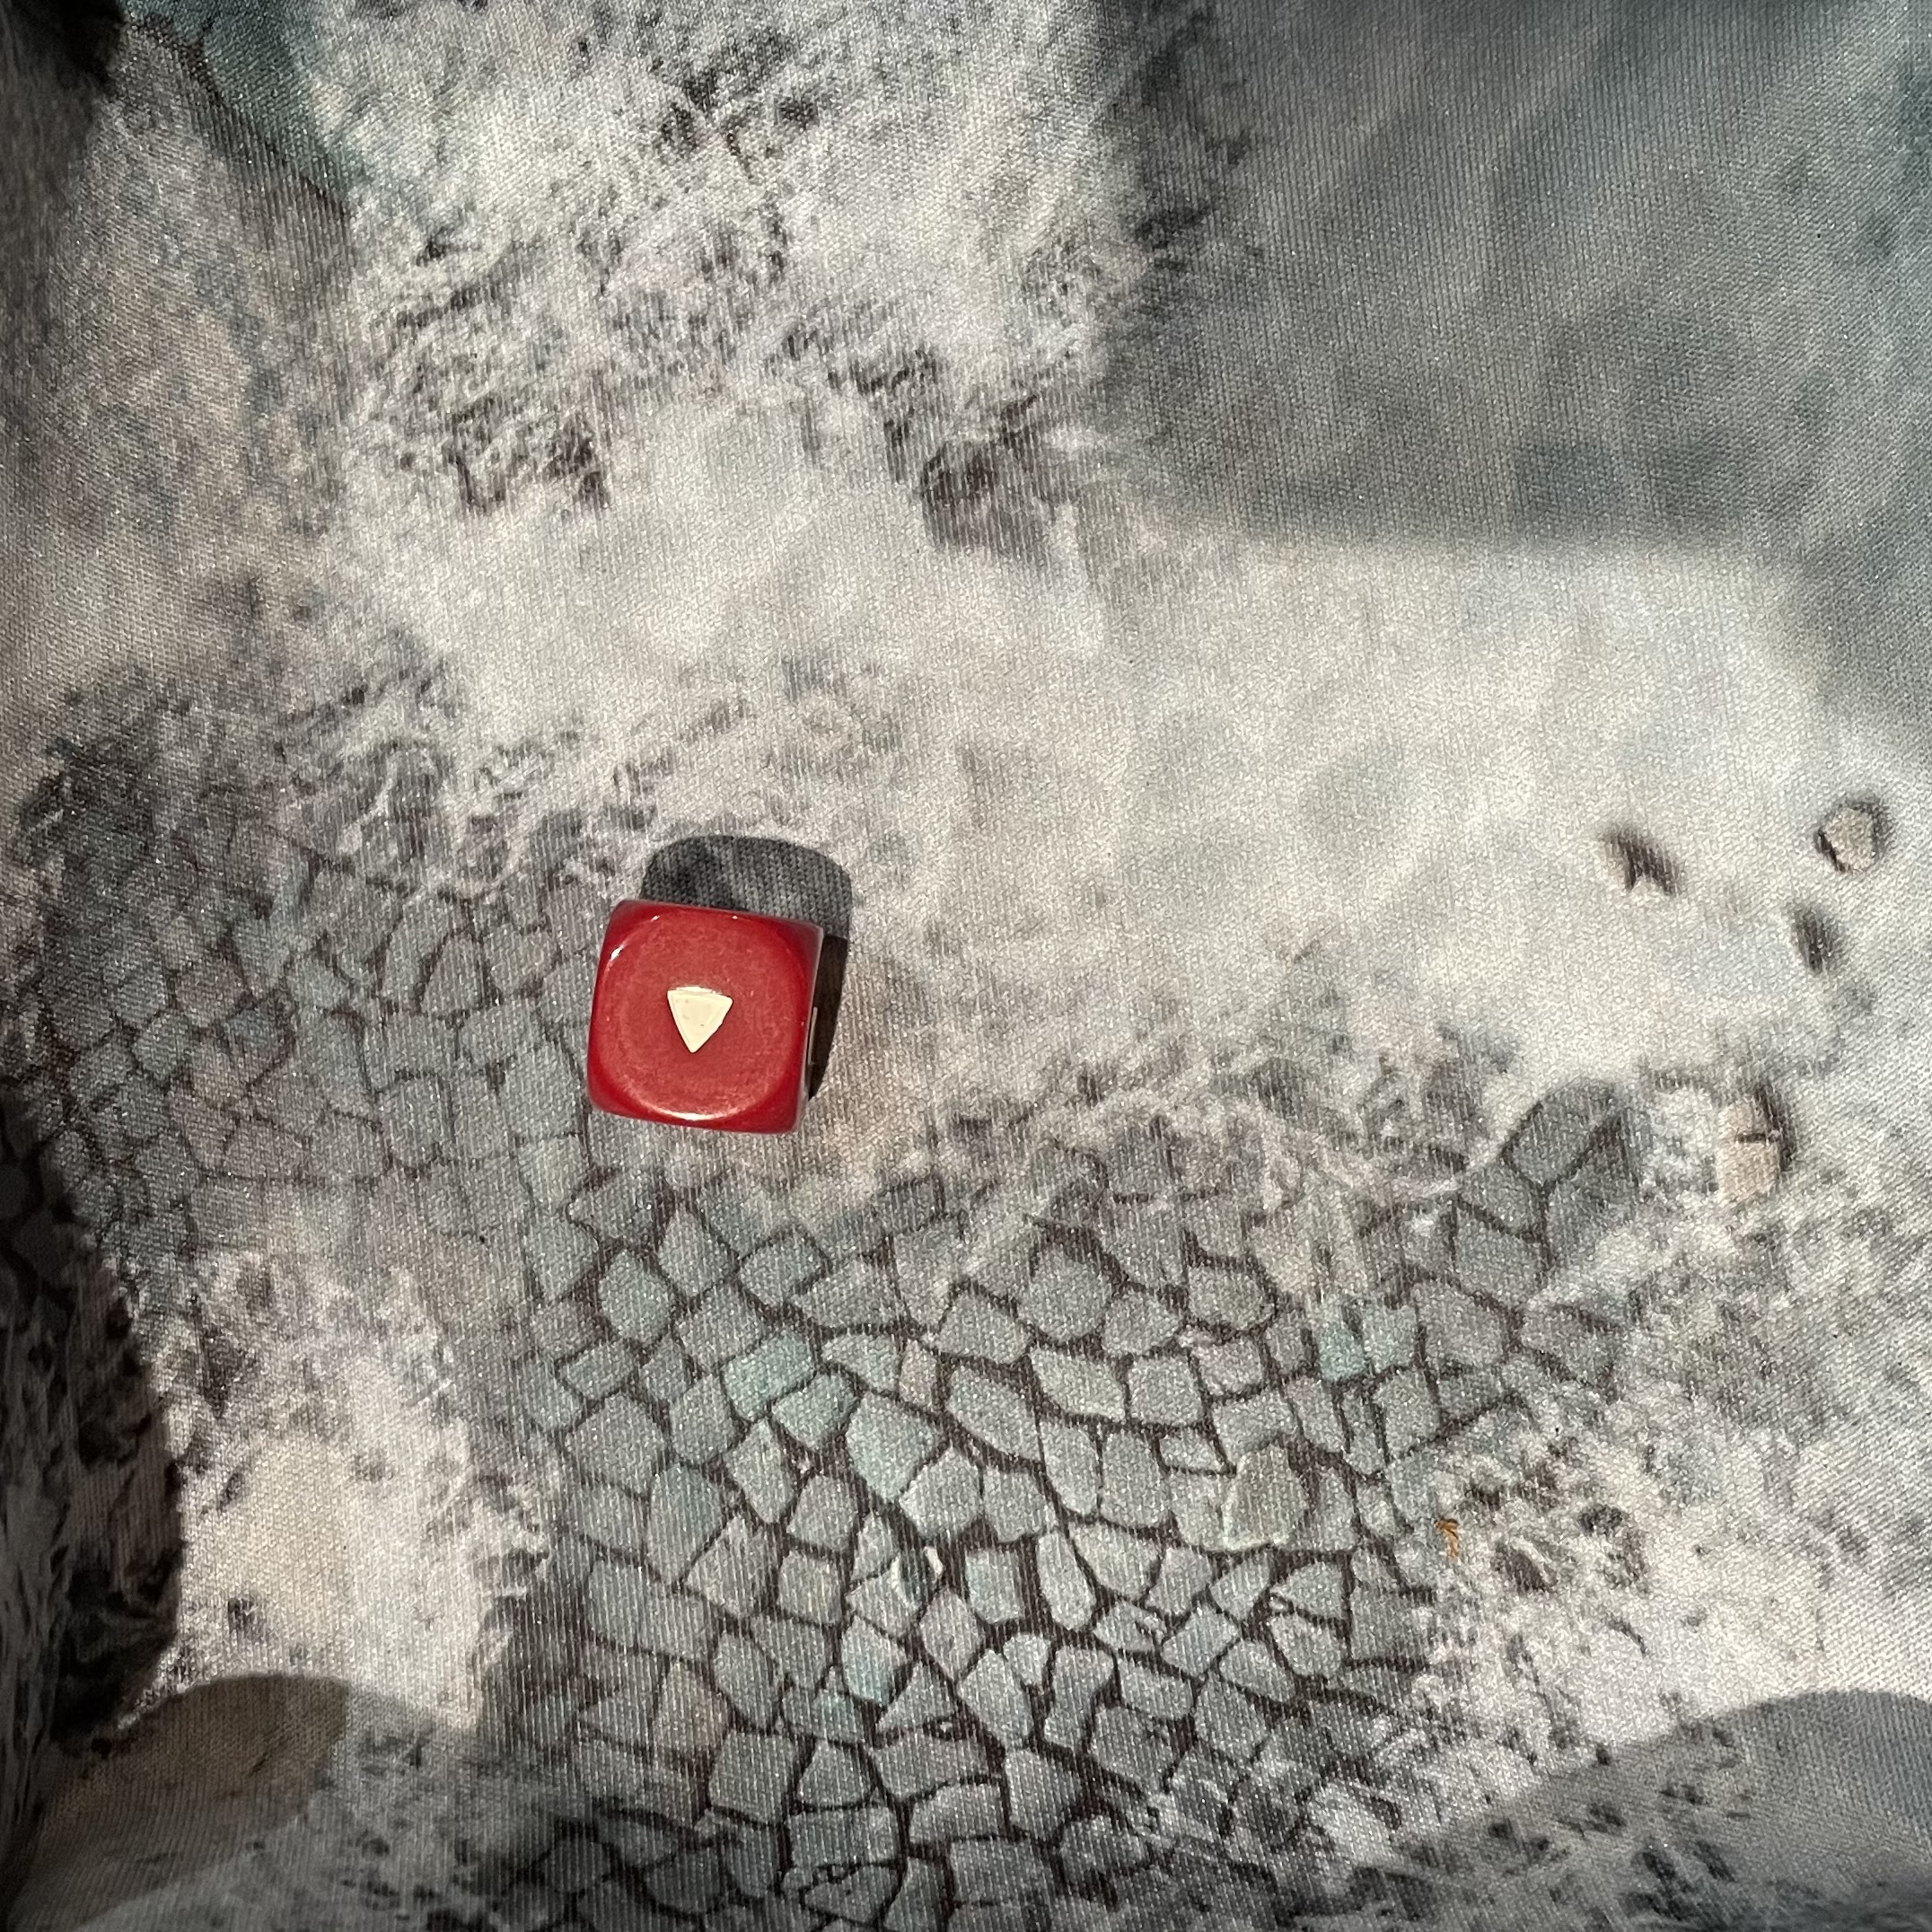
With a tie for priority the blue player, in this case Imperial, rolled for initiative. I’d hoped to lose the role and force the rebels to go first as they already out activated me. The dice had other plans however and initiative went to the Empire.

The Imperials placed their only order on the At-St, ensuring control of what was likely to be the only unit to find a target this turn. This also had the benefit of giving the Walker an aim token, thanks to its ‘linked targeting array’.
The Rebels for their part placed their only order on Chewbacca, no doubt looking for an opportune moment to break out that bow caster!
Turn 1 - Activation
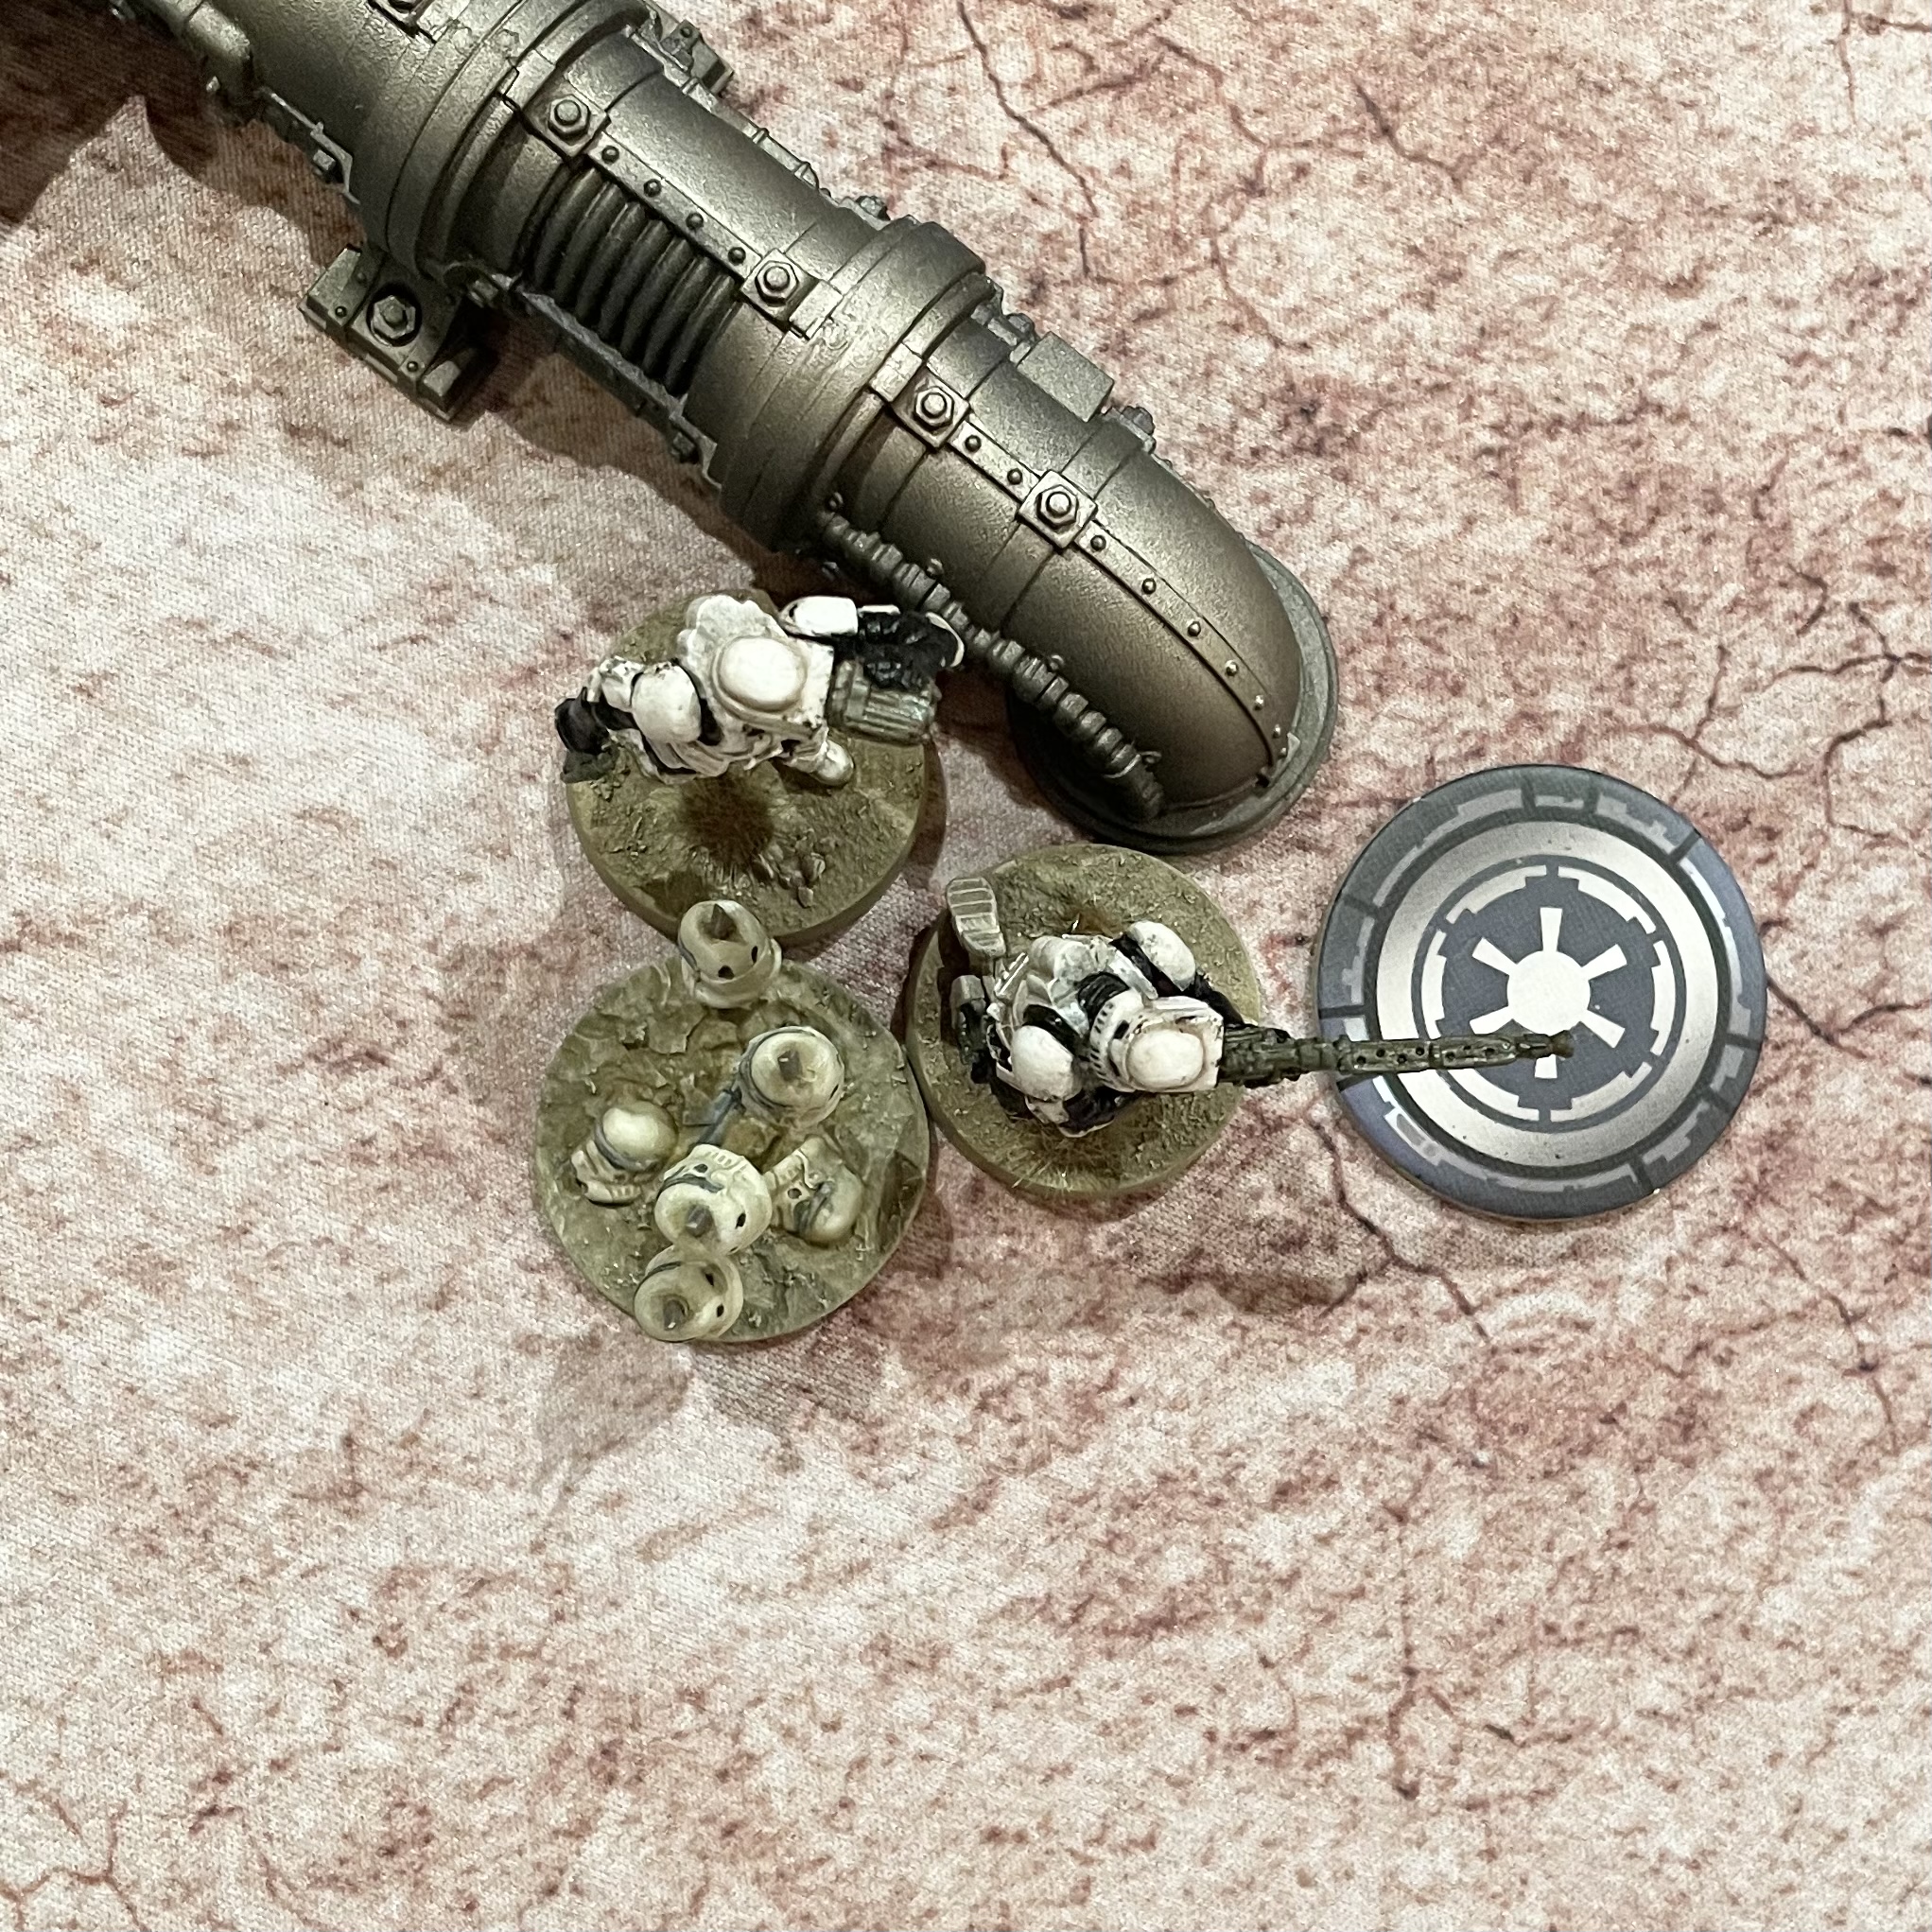
The Imperial’s activated first but with the At-St holding onto its order until a suitable target presented itself, a dip into the command pool was required. The first order to come out was a special forces unit which gave the Scout Squad an ideal opportunity to move on the central objective and secure the area with a mine.
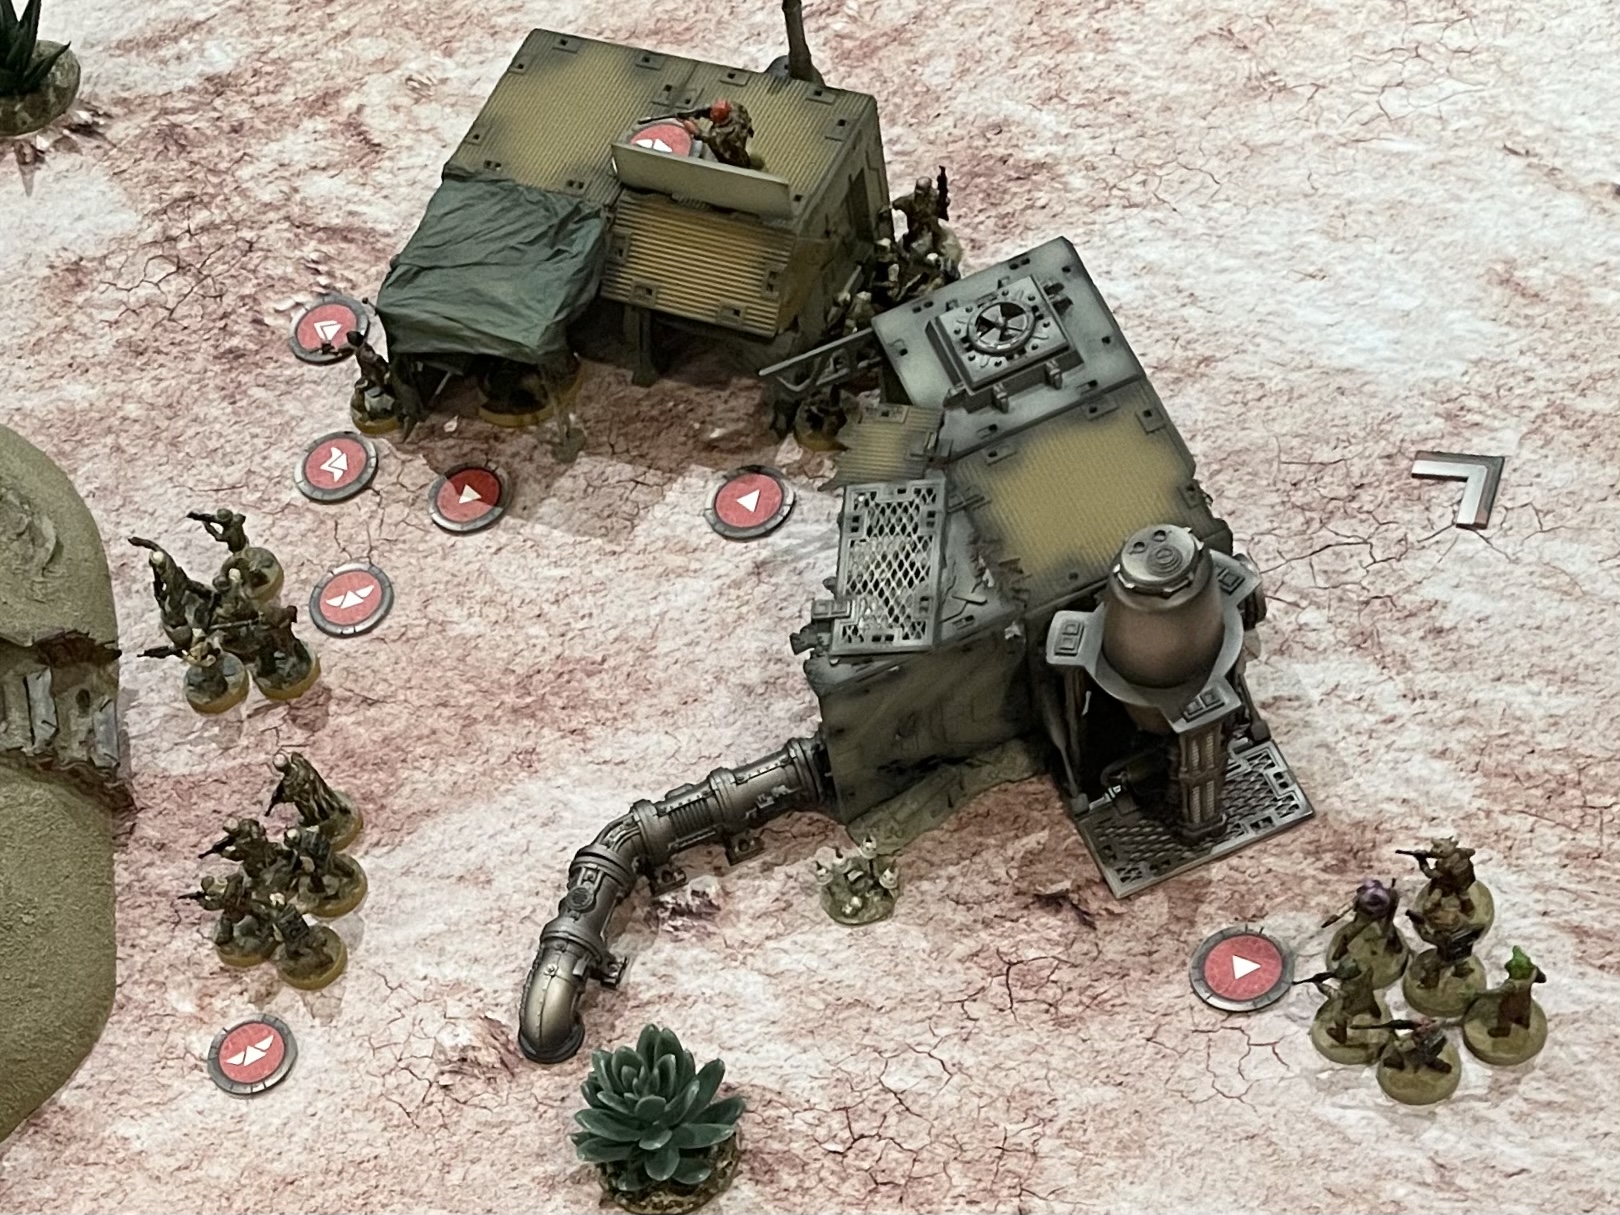
The Rebels opened their turn with a volley of fire from the Veteran unit on the South flank, targeting the At-St and causing an early wound. Meanwhile their supporting MKII Medium Blaster turret advanced into range, ready to add ‘Fire Support’ in the coming turns.
The Stormtrooper unit deployed to support the walker, now moved forward to find firing positions and allow their Astromech to repair the damage to the At-St. This brought them in sight of Pao’s pathfinder unit who unleashed a torrent of fire in their direction. But the Rebel’s shots must have been made in haste as only one made it through the cover of the sand bank and was duly saved by the Imperial soldier’s armour!
In retaliation for this affront, General Weiss commanded his Walker crew to advance and split fire its weapons to target both the veterans and the MKII Turret. But the rebels were dug in and their armour held, repelling the worst of the assault. Each unit took a single wound and the inevitable suppression. But the Rebels answered this with a volley of fire from Bistan and the Pathfinders. This caused a further wound on the walker and placed an ‘Ion token’ on it, which would rob it of an activation next turn.
The remainder of the turn was uneventful. The Imperials focused on securing the two objectives closest to their deployment zone, with the Stormtroopers and Scout Team who had been assigned this task. The remaining Stormtroopers and Boba Fett advanced behind the safety of the wreckage, where they were joined by the ‘Rapid Reinforcement’ unit, who now entered the battlefield.
Similarly, on the Rebel side of the table all units advanced on the centre, securing firing positions ahead of the coming battle. Han and Chewee advanced together, coming into range of the mine that had been placed by the Imperial scouts. But the mine was not triggered just yet.
The Ship troopers were the last unit to activate, entering play to arrive next to one of the objectives but unable to claim it this turn.


