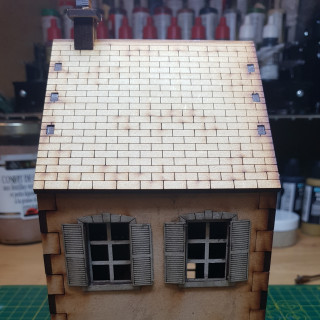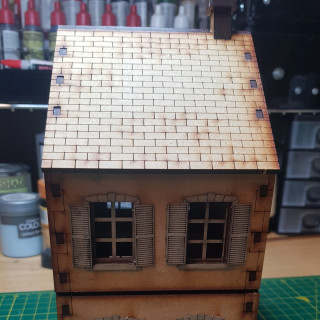
TTCombat Terraced House (Experiment)
Recommendations: 249
About the Project
My first attempt at painting a MDF building. What could possibly go wrong??!
Related Game: Bolt Action
Related Company: TTCombat
Related Genre: Historical
This Project is Active
Ya big Wall(y)
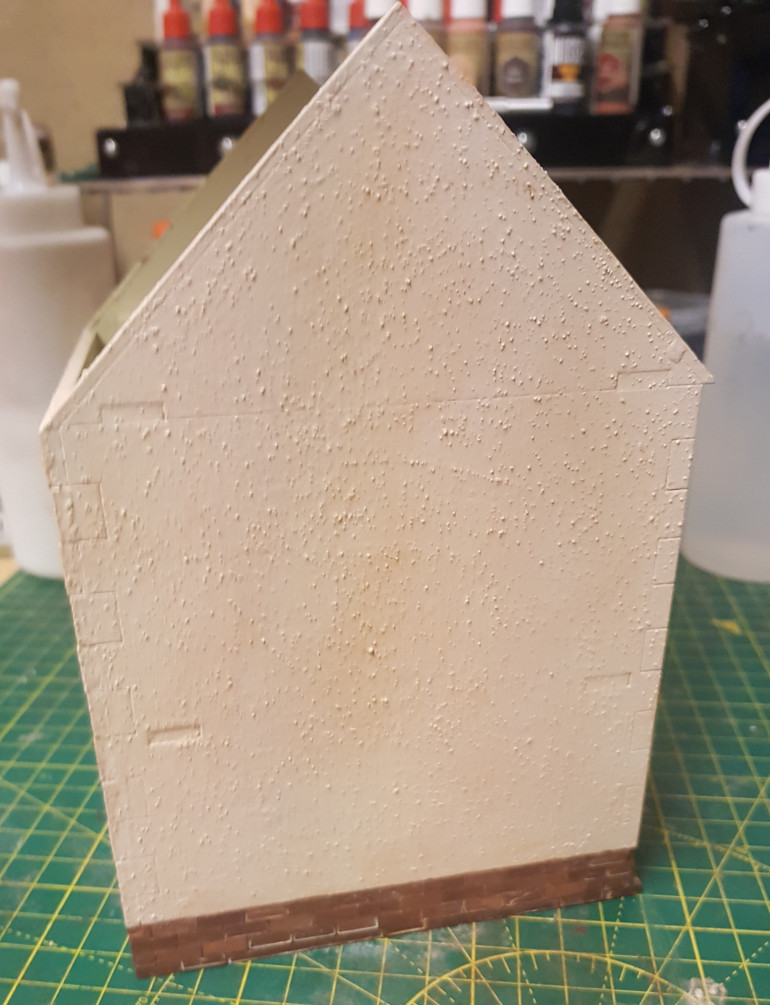
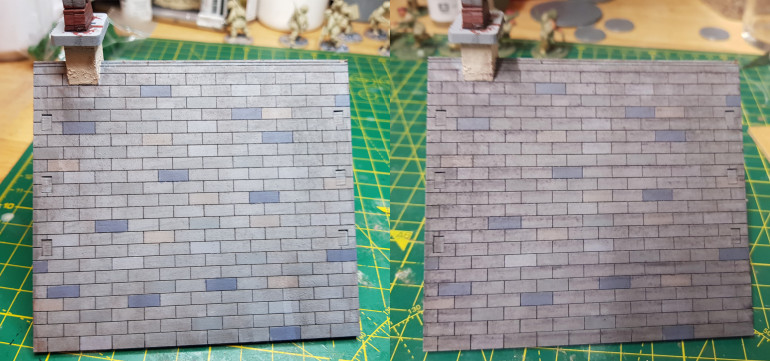
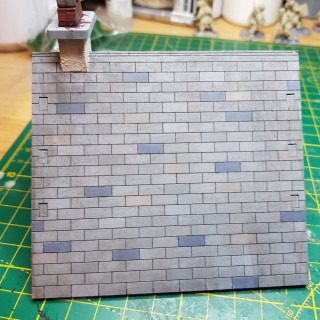
So after trying out different techniques on the walls I decided to go with a completely different approach than my previous test pieces. I decided to use pigment powders instead.
Starting again with a test piece I tried a couple of different methods. Just brushing on the powders produced something that was a little too dark and overpowering. Instead I took some powder on my brush and just flicked it on over the wall. Then I used a very large soft flat head brush and just gently moved the powder around and blended it in. This looked pretty good and had the added advantage of being super fast and easy. The only slight issue I had was getting a consistent look across the piece.
Fairly happy with this but might go back over it again with a light dry brush
Bring the Roof down
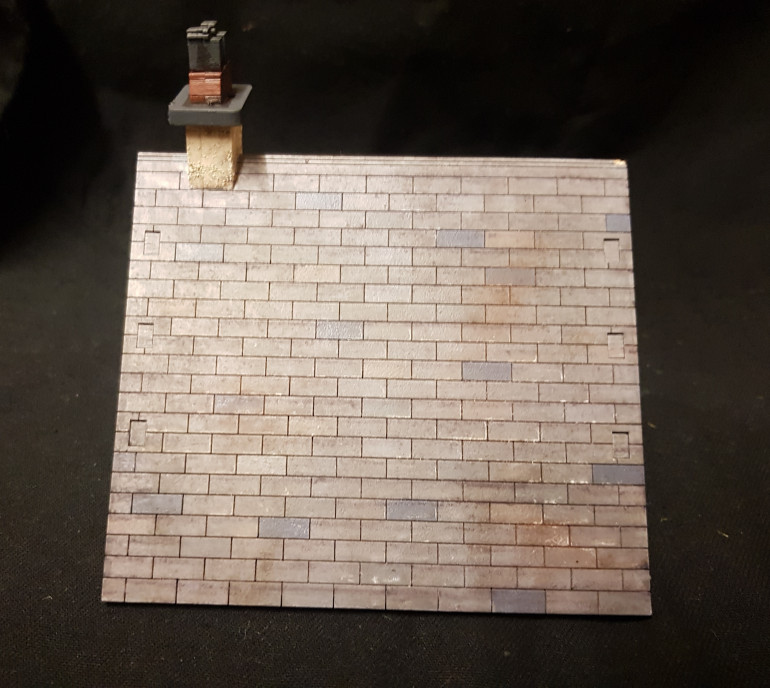
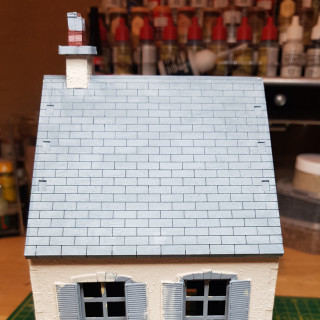
Added a little pigment powder for dirt on the roof, painted the chimney stack and pretty happy with the roof. Gonna call it done!
Doing a Gerry
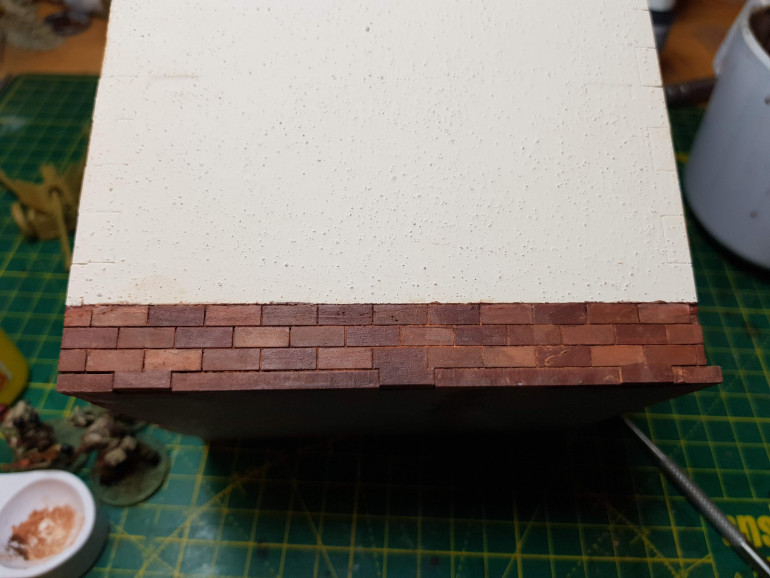
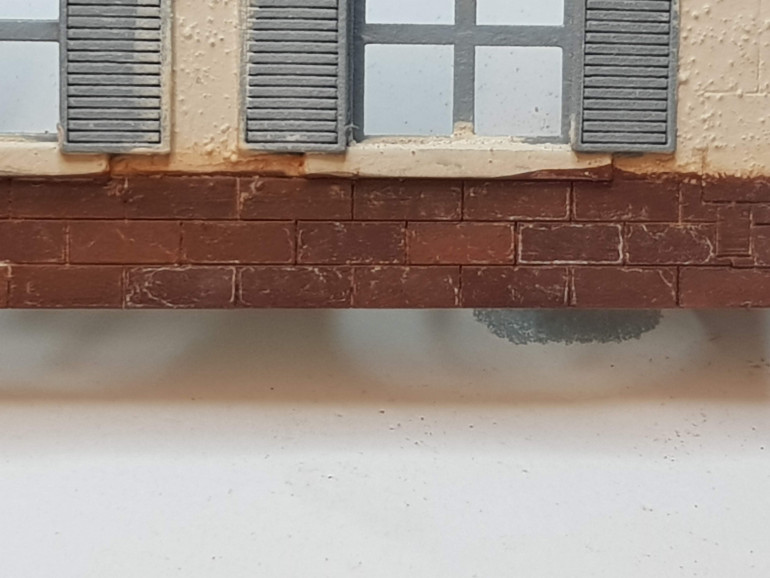
I watched Gerry’s video on brickwork and thought what the hell – if Gerry can … any buck eejit must be able to! So out with the weathering powders. I used a mix of Light Orange Oxide from GSW and Vallejo Desert Dust. It looked pretty good on dry – then I lightly dabbed it with some fixer and it really knocked it back. It’s almost too subtle but it does make a difference.
I decided to give it another pass. This time I added in a little VMC Dark Yellow Ochre – then rather than dabbing fixer on with a brush, I put some of it in a small spray bottle and sprayed it on. I’m not sure if it was just adding the lighter colour or using the spray method, but the effect is more noticeable and I quite like it.
What's the point!
Time for another experiment. I decided to try out one of the techniques from the Faulkner book below. In it he used watercolour brush pens to add shading and highlighting to planked wood and slate style roofs. He also uses water colour pencils for adding details like wood grain. I don’t have any brush pens but I did have a few pencils so decided to give it a go on the roof.
First I tried putting it on dry and then feathering it with a damp brush – this wasn’t great – the flecks tended to come of the pencil in little clumps and wasn’t a good look – fortunately it’s easy enough to wash away.
Then I wet the pencil – this was a bit better but finally I first washed the roof with a wet brush and used that in combination with the wet pencil. Then I gently brushed along the horizontal with a large flat brush and then feathered it along the vertical with a smaller flat. I think this gave the best results.
I’m not 100% convinced about the results though I think with a bit more practice I could produce something better. I might see about picking up some brush pens to see how they might work
Getting Down and Dirty
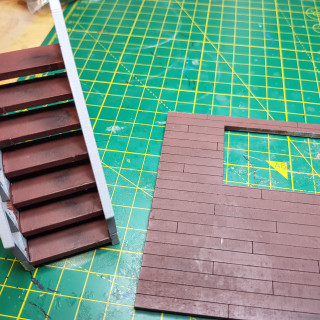
While I wait for all the lovely comments and advice to my test pieces in the previous post (nudge nudge wink wink) and decide where I want to go with the walls I gave the roof and bricks a wash with the burnt umber wash I had made. The effect of this was so subtle as to be unnoticeable so I mixed in some black and gave it another go over. Also ran it over the internal floor and stairs. It’s still quite subtle but does add at least a little weathering
Ice, ice, icicle. Bice, bice, bicycle. Test, test, testing ... 1.2.3
Initially I was planning on giving the whole model a wash but I was worried that the creamy walls might just end up looking like some sort of dirty protest so decided to run a few tests.
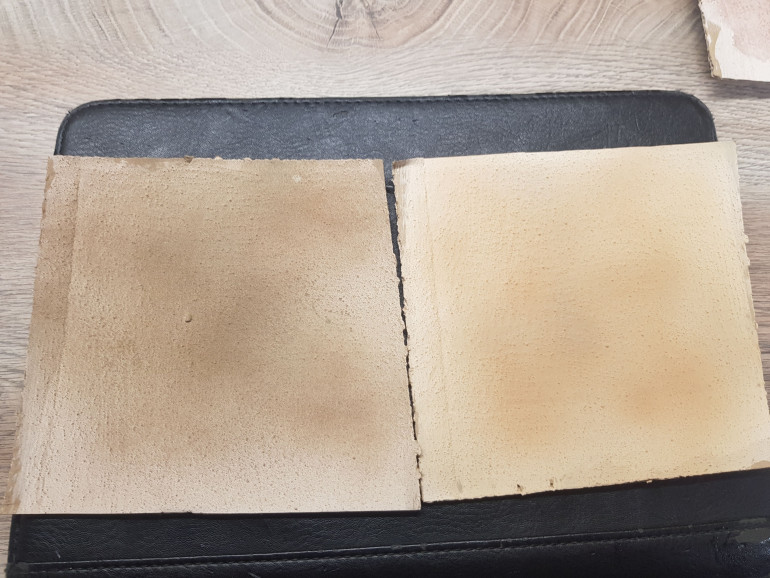
I cut out 4 pieces of card, textured and base coated them as per the model and then tried out a couple of different techniques.
- A wash with watered down burnt umber and a dash of Fairy liquid.
- As above but mixed with the base coat.
- The cheaters method – hit it with rattle cans.
- See if I can do anything with an airbush. (Spoiler alert: probably not – don’t have much experience with airbrushing!)
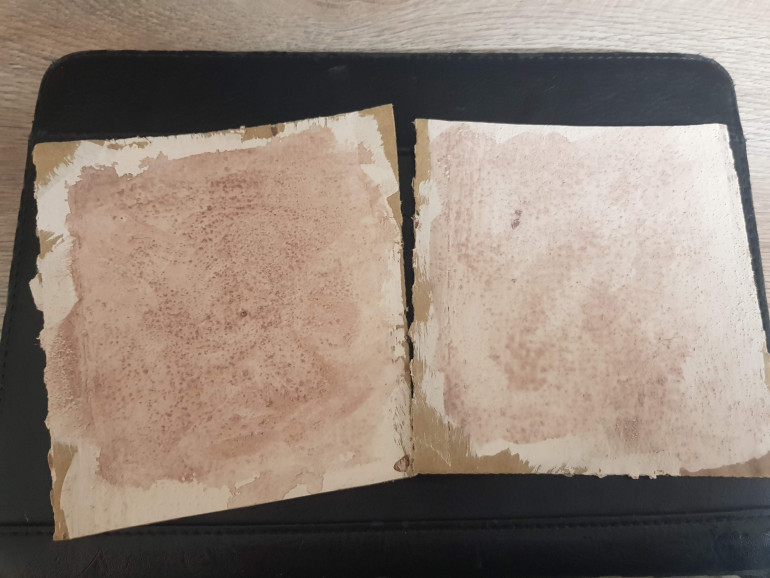
First up the wash method:
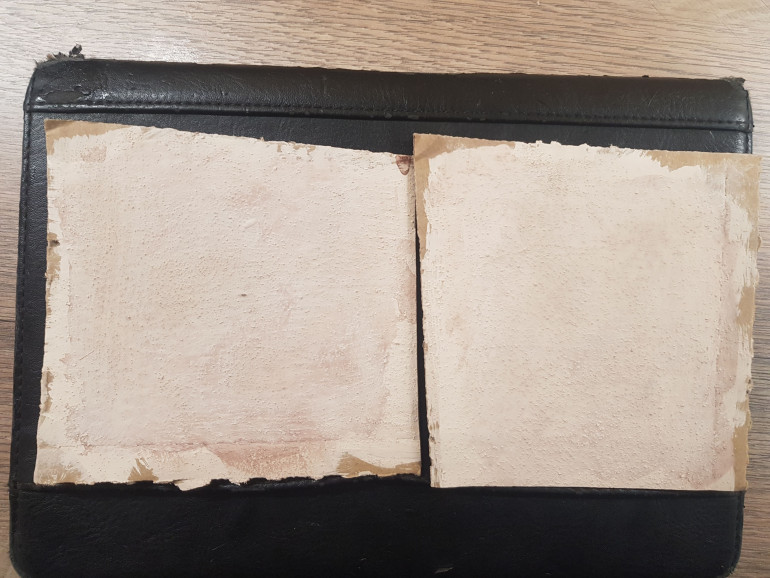
Hmm – as I suspect it, it looks like crap – literally. However that’s just the first step in this process – next up I gave them an overbrush with the original basecoat:
Much better. That could be acceptable – particularly the one on the right.
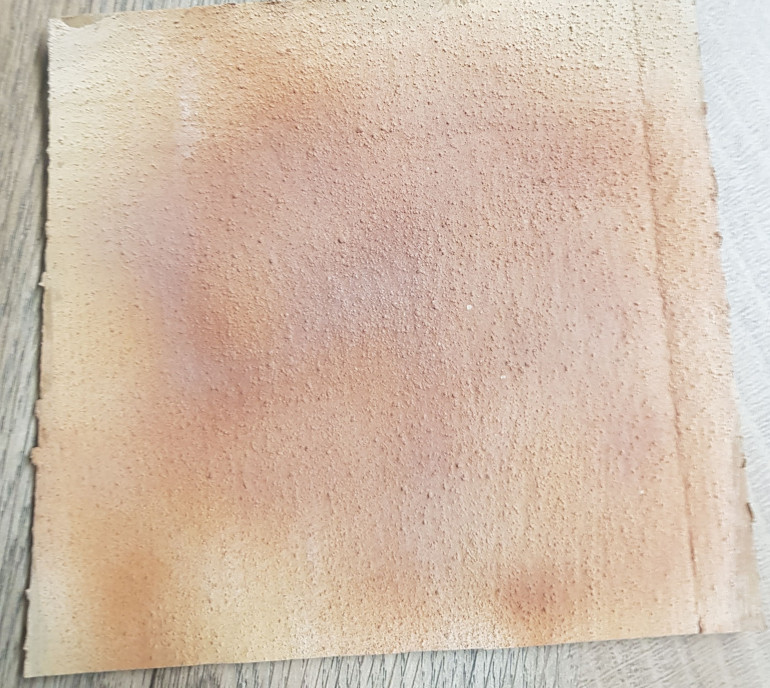
Next up rattle cans – first with AP Leather Brown then some Skelly Bone. And the airbrush with model air Mud Brown and Light Brown.
I like both of these techniques. I prefer the control I get with the airbrush but it’s starting to look a little too Mediterranean. I plan these buildings to be more northern Europe – Normandy campaign. The rattle can looks a little more realistic I think – just a dirty building.
It may just be that all my airbrush browns are a little too reddish. I know you can use regular paints through an airbrush if you thin them down properly but every time I’ve done it in the past it just ends up clogging my brush, causes lots of splatter and is a pain to clean. Maybe an excuse to pick up a few new paints!
Finally just for fun, I hit the last piece with all of the airbrush browns I have in my collection just to see how they all look!
Ok so that’s where we stand. If anyone has any comments or suggestions or wants to let me know which of the test pieces they think works best, please stick a comment below. I’d love to know what you guys think.
Bricking It
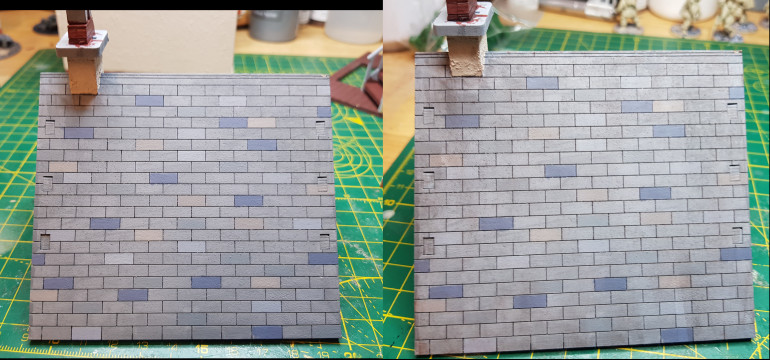
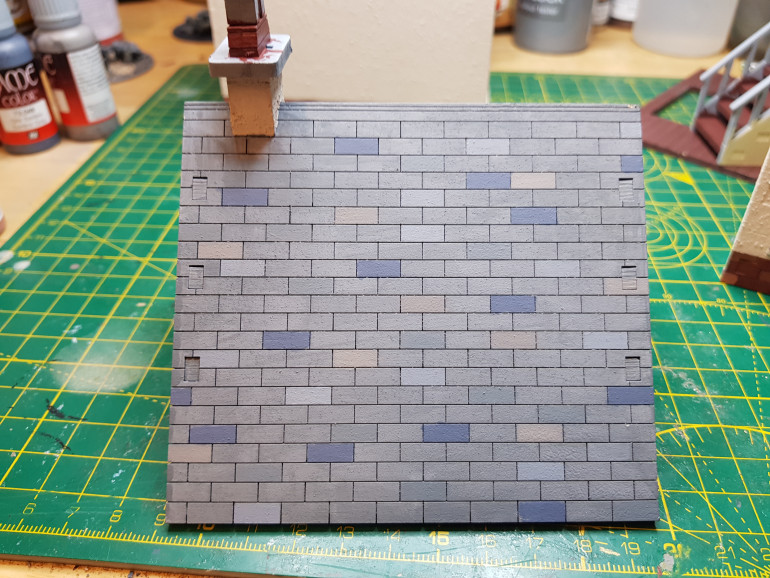
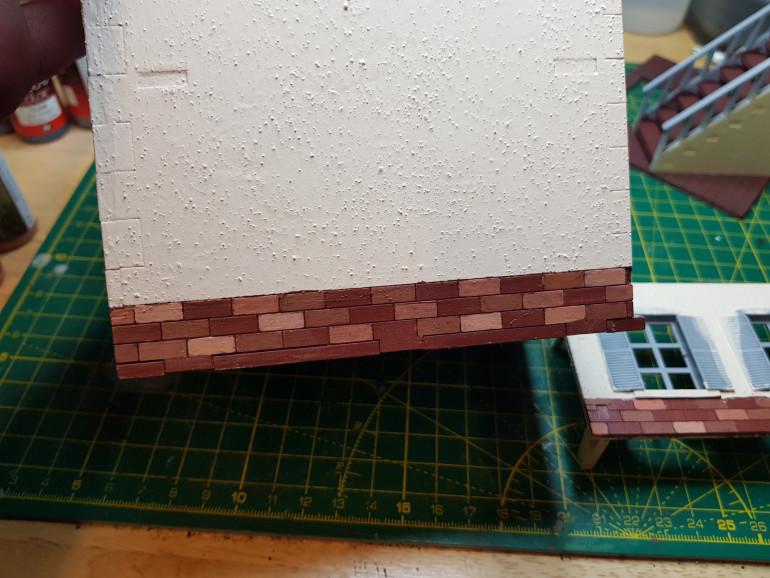
Next up I wanted to add a bit of colour variety to the roof and exposed brickwork so I went round and picked out random bricks and tiles in the following colours. (Vallejo unless noted)
- Roof tiles – Sombre Grey, AP Unifrom Grey, Cold Grey, 50/50 Sky Grey and Sombre Grey
- Bricks – AP Fur Brown, AP Tanned Flesh, AP Barbarian Flesh
The Printed Word isn't Dead Yet!
As I said when I started this project, I’ve read a lot of articles, forum posts, watched YouTube videos etc. There’s a lot of advice out there – some of it seems very sound but a lot of it can be contradictory. It’s enough to give you analysis paralysis.
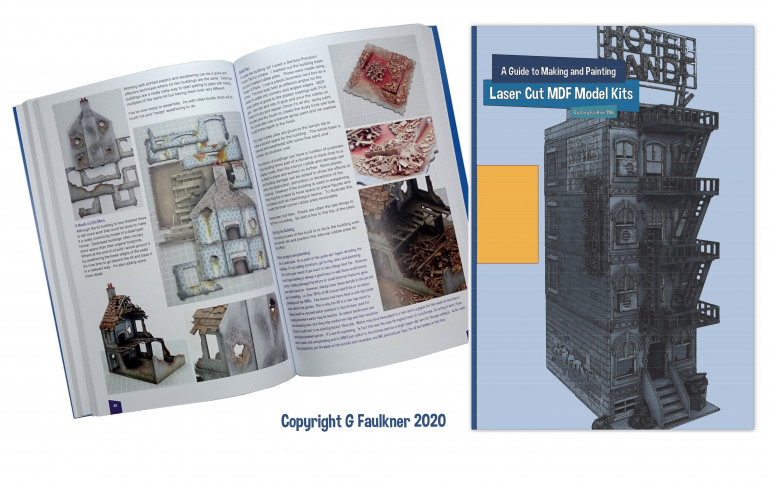
But while working on this, I just happened to be browsing the Sarissa Precision website (Honesty love, I definitely wasn’t looking to pick up yet another kit – I swear!) and saw that they recently published the following book – A Guide to Making and Painting Laser Cut MDF Model Kits. Wait a minute … I’m making and painting laser cut MDF model kits!! Seems like a good fit – Boom – Ordered!
The book arrived this morning and I’ve been enjoying reading through it so far.
One of the very first tips I picked up was that there is no need to prime or seal the MDF! Especially 2mm MDF. Gary recommends going straight on with artists acrylics or house paint straight from the pot. As long as it’s not thinned down, with the brush not even dipped in water, it should go on fine, provide a good base coat and not cause warping or any other problems. This would have saved me a lot of time rather than applying 4 or 5 base coats over the grey primer!! Ah well – this is an experimental piece and the whole point is to learn from mistakes and pick up and practice new techniques. C’est la vie.
As I’m already well in to this kit, I’ll stick to my original plans and not use a lot of techniques from the book just yet. I’ll mostly go with the suck it and see approach, find out what worked for me and what didn’t and definitely delve deeper into the book and see what I can pick up for the next project.
Prime and Basecoat
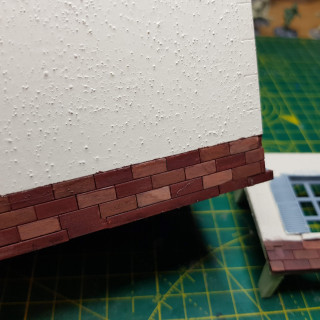
Initially I was going to use a little Pollyfilla to remove the detail at the corners of the walls to make a smooth transition. In the end I didn’t bit in retrospect I should have at least filled the points where the tabs join as these stand out quite a lot and don’t look good.
But anyway I started off by priming everything with a Rust-oleum matt grey primer. This gave a nice smooth finish.
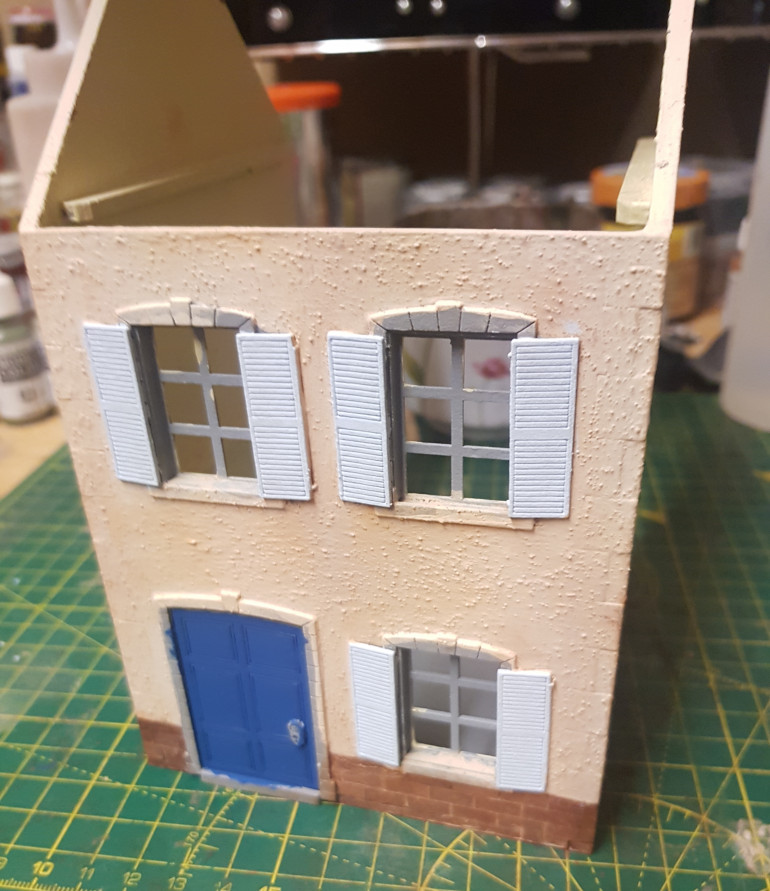
I wanted a little texture on the exterior walls so I mixed up some Crown Sandstone house paint with some fine sand and PVA and used that as the first base coat. After that it took about 4 more coats of thinned down sandstone to cover the primer and get the colour and consistency I wanted.
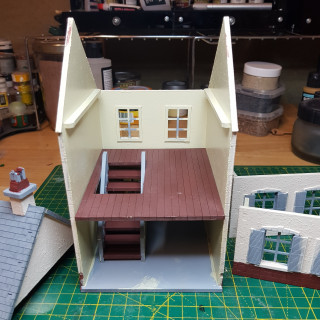
The interior walls were done in a ‘Sand’ hobby shop acrylic (again needing about 4-5 coats). I didn’t really have a good brick colour so I mixed up some ‘ochre red’, ‘burnt umber’ and ‘sand’ acrylics to get something that looked good enough for a base colour. It might be a little dark but I’ll try and lighten it up in later stages. Floors and stairs were done in ‘burnt umber’.
The roof I gave a single coat of ‘slate grey’ house paint. Some of the lighter primer still showed though but I liked the look with the slight variation in colour and think it will work well.
Plan (sort of) and Build
I’ve bought quite a few MDF kits over the years. I really enjoy building them and seeing them come together but every time I go to paint one I am completely daunted. I spend ages reading advice, watching YouTube and BoW videos – there is so much different advice out there – do I wash with PVC, just use house paints, do I need shellac?? I spend so long researching it that I end up doing nothing. Well it’s finally time to bite the bullet and just go for it. What could go wrong?!
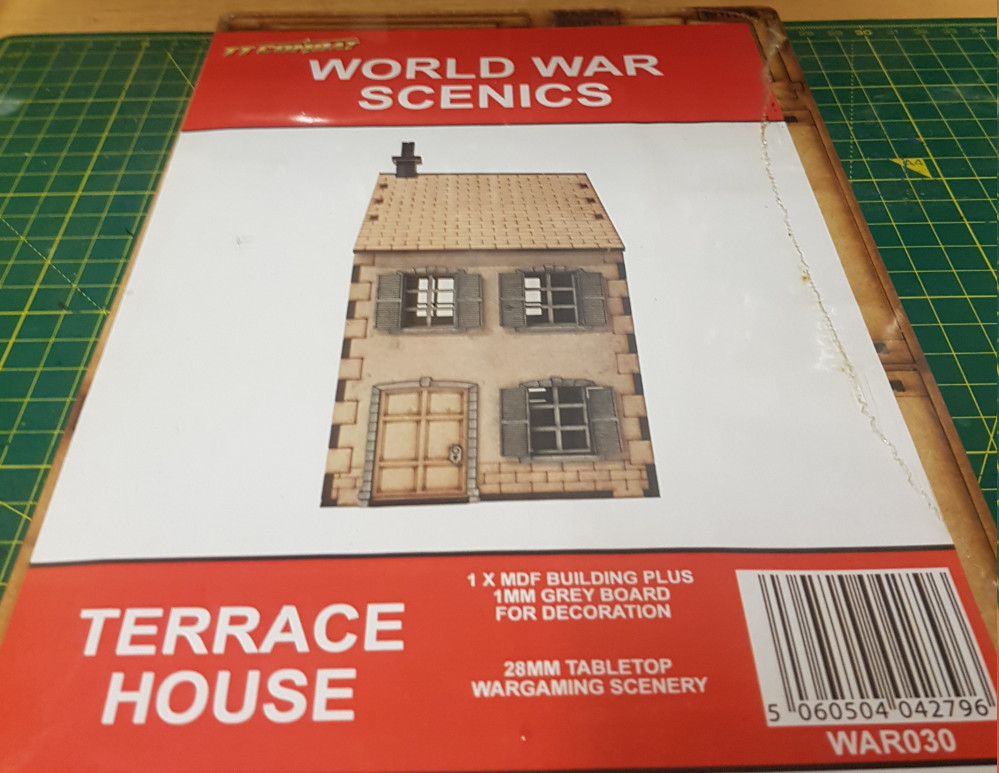
For my first piece I’ve decided to go for the Terraced House from TTCombat. At just £7 this is a pretty cheap piece so if it all goes horribly wrong I won’t be crying too much.
The rough plan is to spray prime, and mix up some textured house paint for the bare walls. Other large areas I’ll try to do with house paint as well and then use miniature paint for the details.
The Build
Now I know it’s probably better to paint the pieces on the sprue – but when I see a kit I get excited and just want to get it built! Also I think the built piece helps me visualise the final look better.
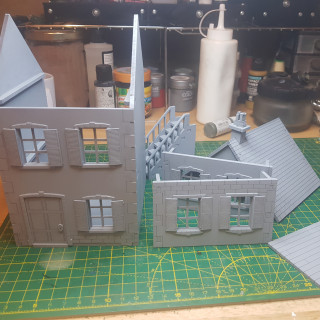
The build was a doddle. There are no instructions in the pack, but TTCombat have detailed PDFs on all their kits on their website. All the pieces were secured to the sprue with just 2 small tabs and everything fit together snugly with no filing or adjustment required. All-in-all – for £7 I’d say this is great value for money.
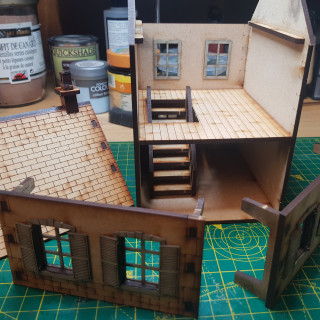
Unusually, unlike most other kits I have, the two stories don’t come apart – instead access to the interior is achieved by removing the rear walls in 2 sections. Haven’t seen this before – it works quite well but it does leave a big gap between the two stories at the rear.


![How To Paint Moonstone’s Nanny | Goblin King Games [7 Days Early Access]](https://images.beastsofwar.com/2024/12/3CU-Gobin-King-Games-Moonstone-Shades-Nanny-coverimage-225-127.jpg)


