

![Atomic Tank – The Robot Wars Review | Fast-Paced 10mm Sci-Fi Wargame [7 Days Early Access]](https://images.beastsofwar.com/2026/01/unboxing-hydra-miniatures-atomic-tank-the-robot-wars-coverimage-225-127.jpg)

![246 Dwarves in One Box?! | Wargames Atlantic Dwarven Host Unboxing & Review [7 Days Early Access]](https://images.beastsofwar.com/2026/01/unboxing-wargames-atlantic-epic-fantasy-battles-dwarven-host-coverimage-225-127.jpeg)


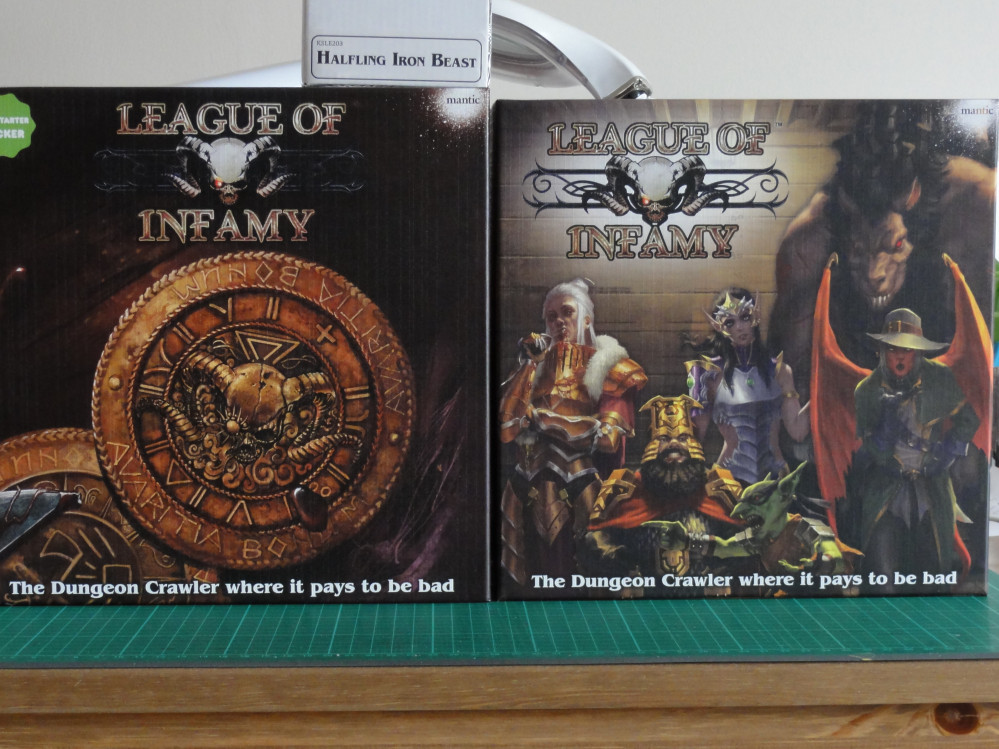
Very Slow League of Infamy Project


Recommendations: 1175
About the Project
I will be slowly working my way through painting the League of Infamy Kickstarter. As well as using the League of Infamy miniatures to play League of Infamy I intend to rebase the minis to Vanguard and Kings of War size (where required) before painting. This will also give me some more miniatures to add to Frostgrave.
Related Game: League Of Infamy
Related Company: Mantic Games
Related Genre: Fantasy
This Project is Active
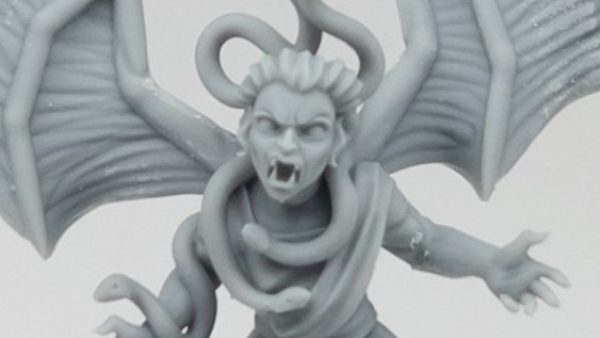
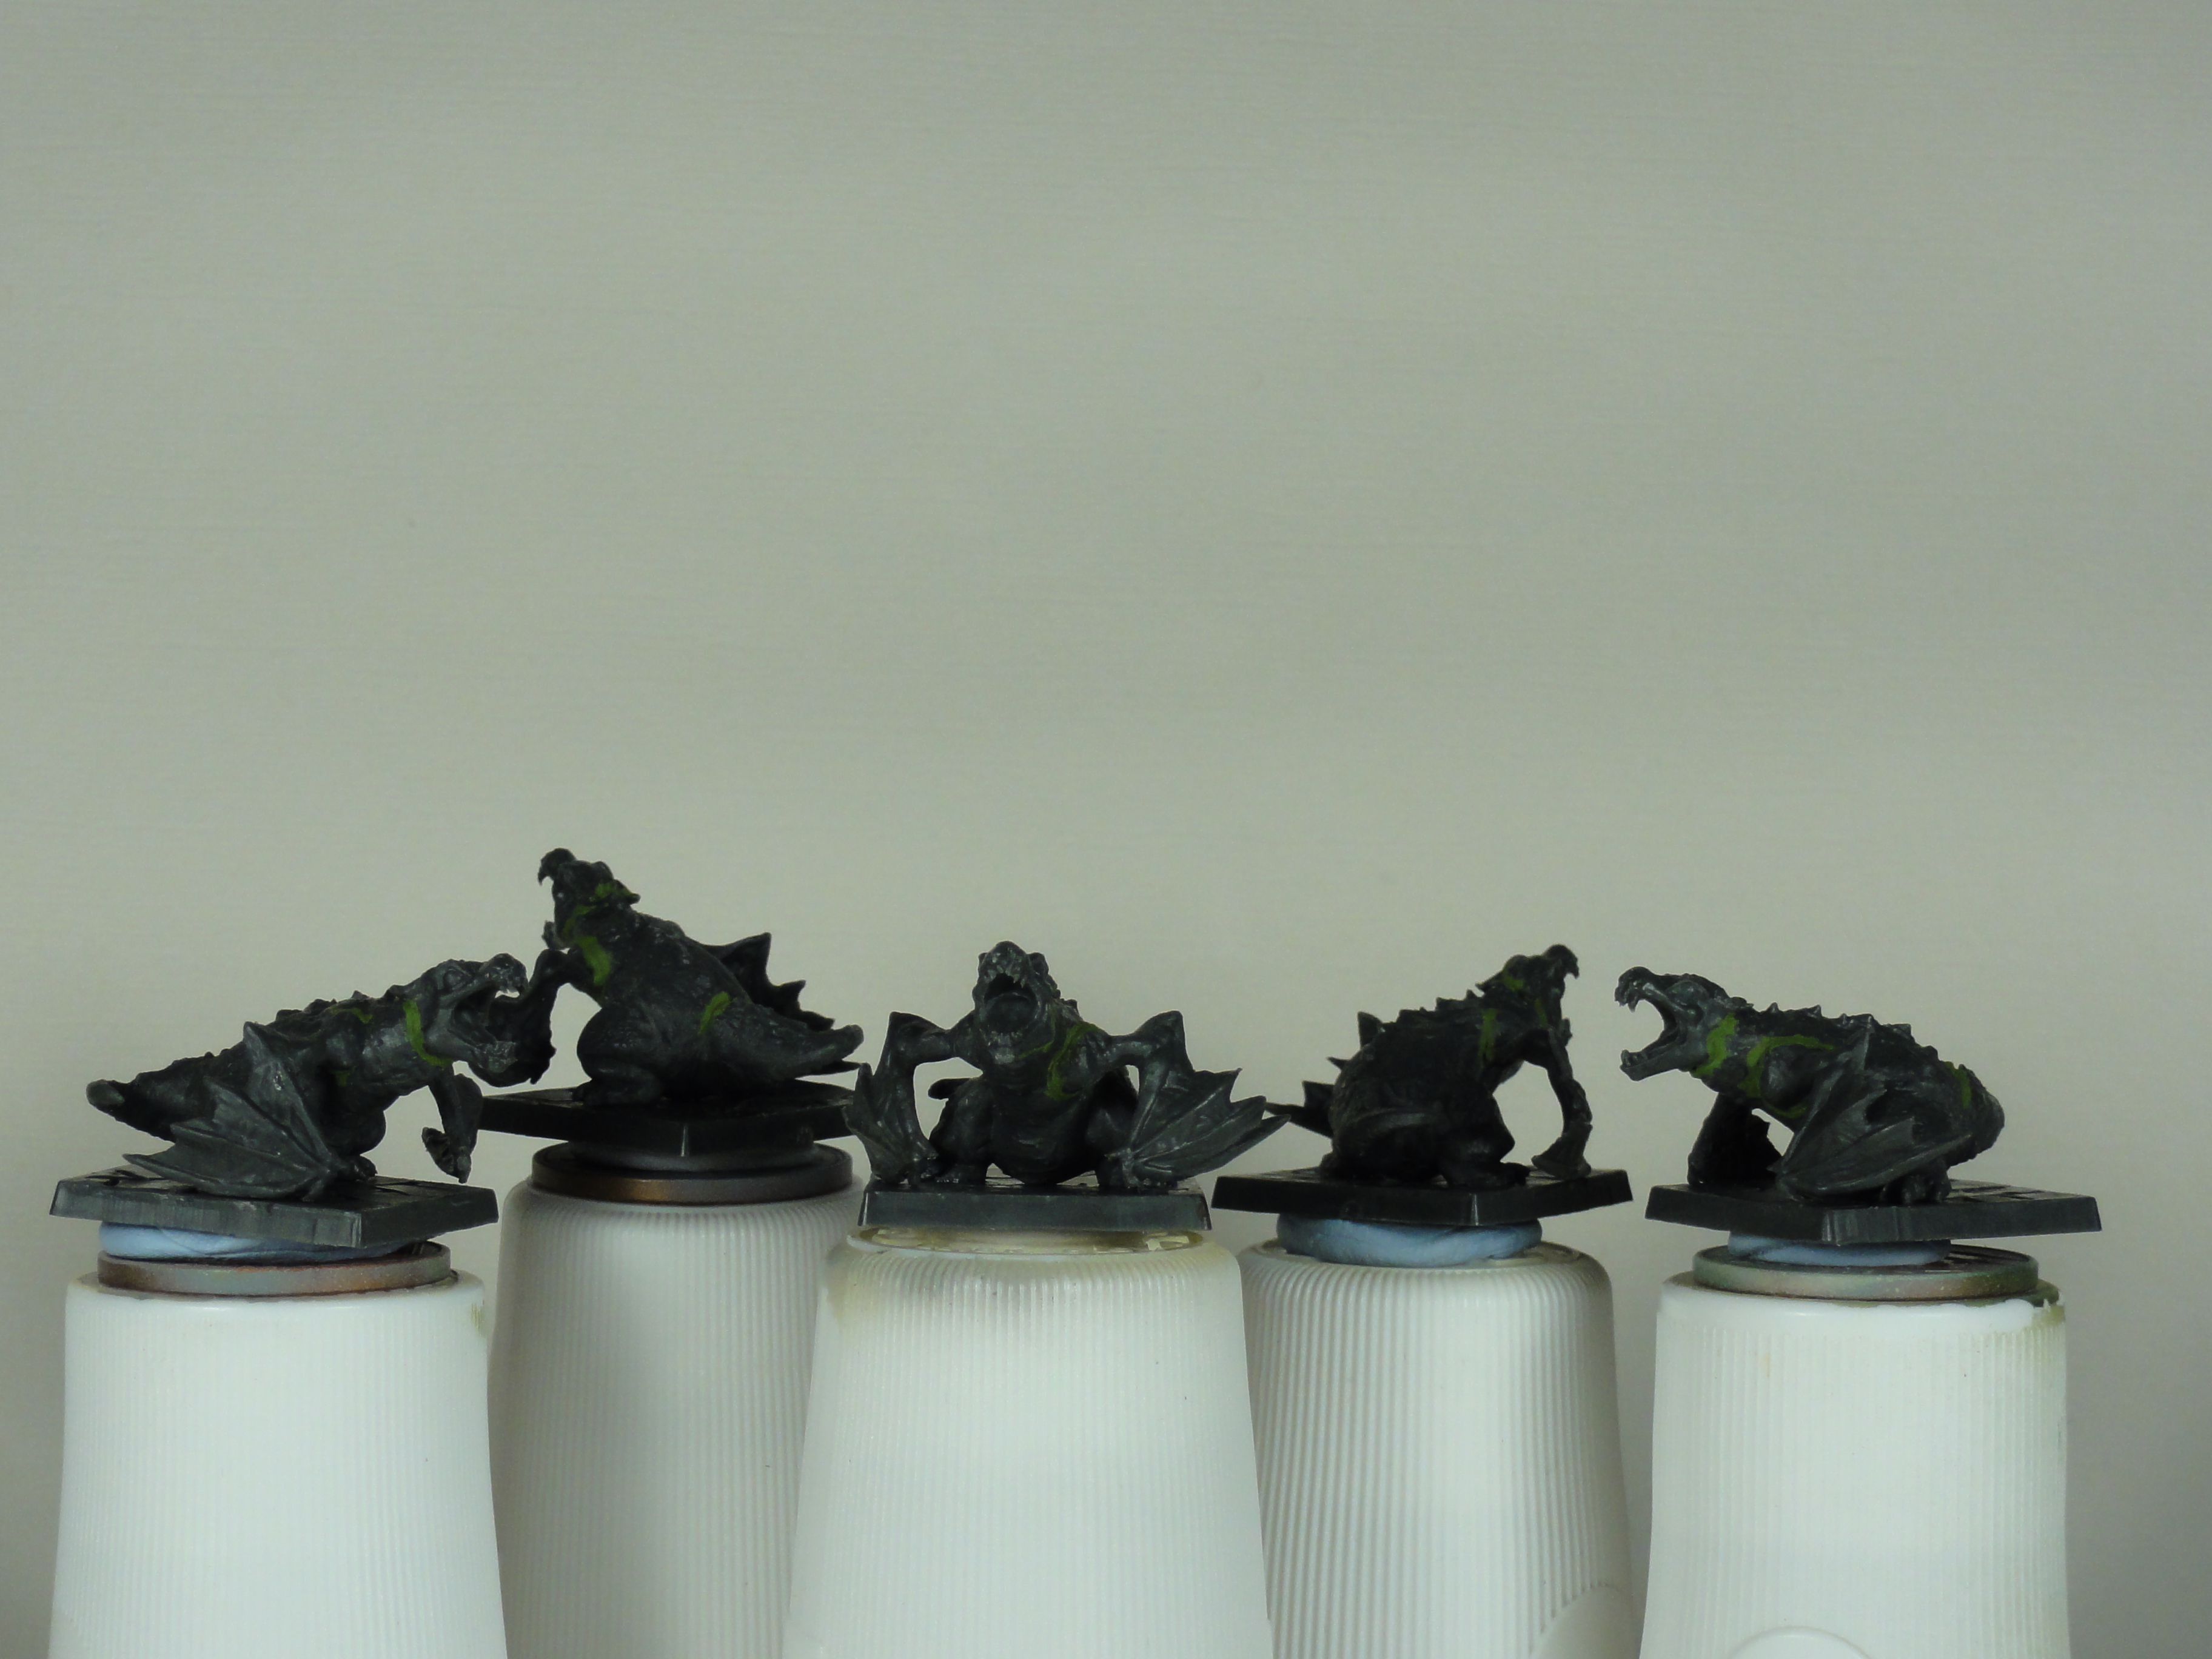
Week 7 Part 3 Colour Choice (Drakon is work in progress and has not had all the described colours added yet)
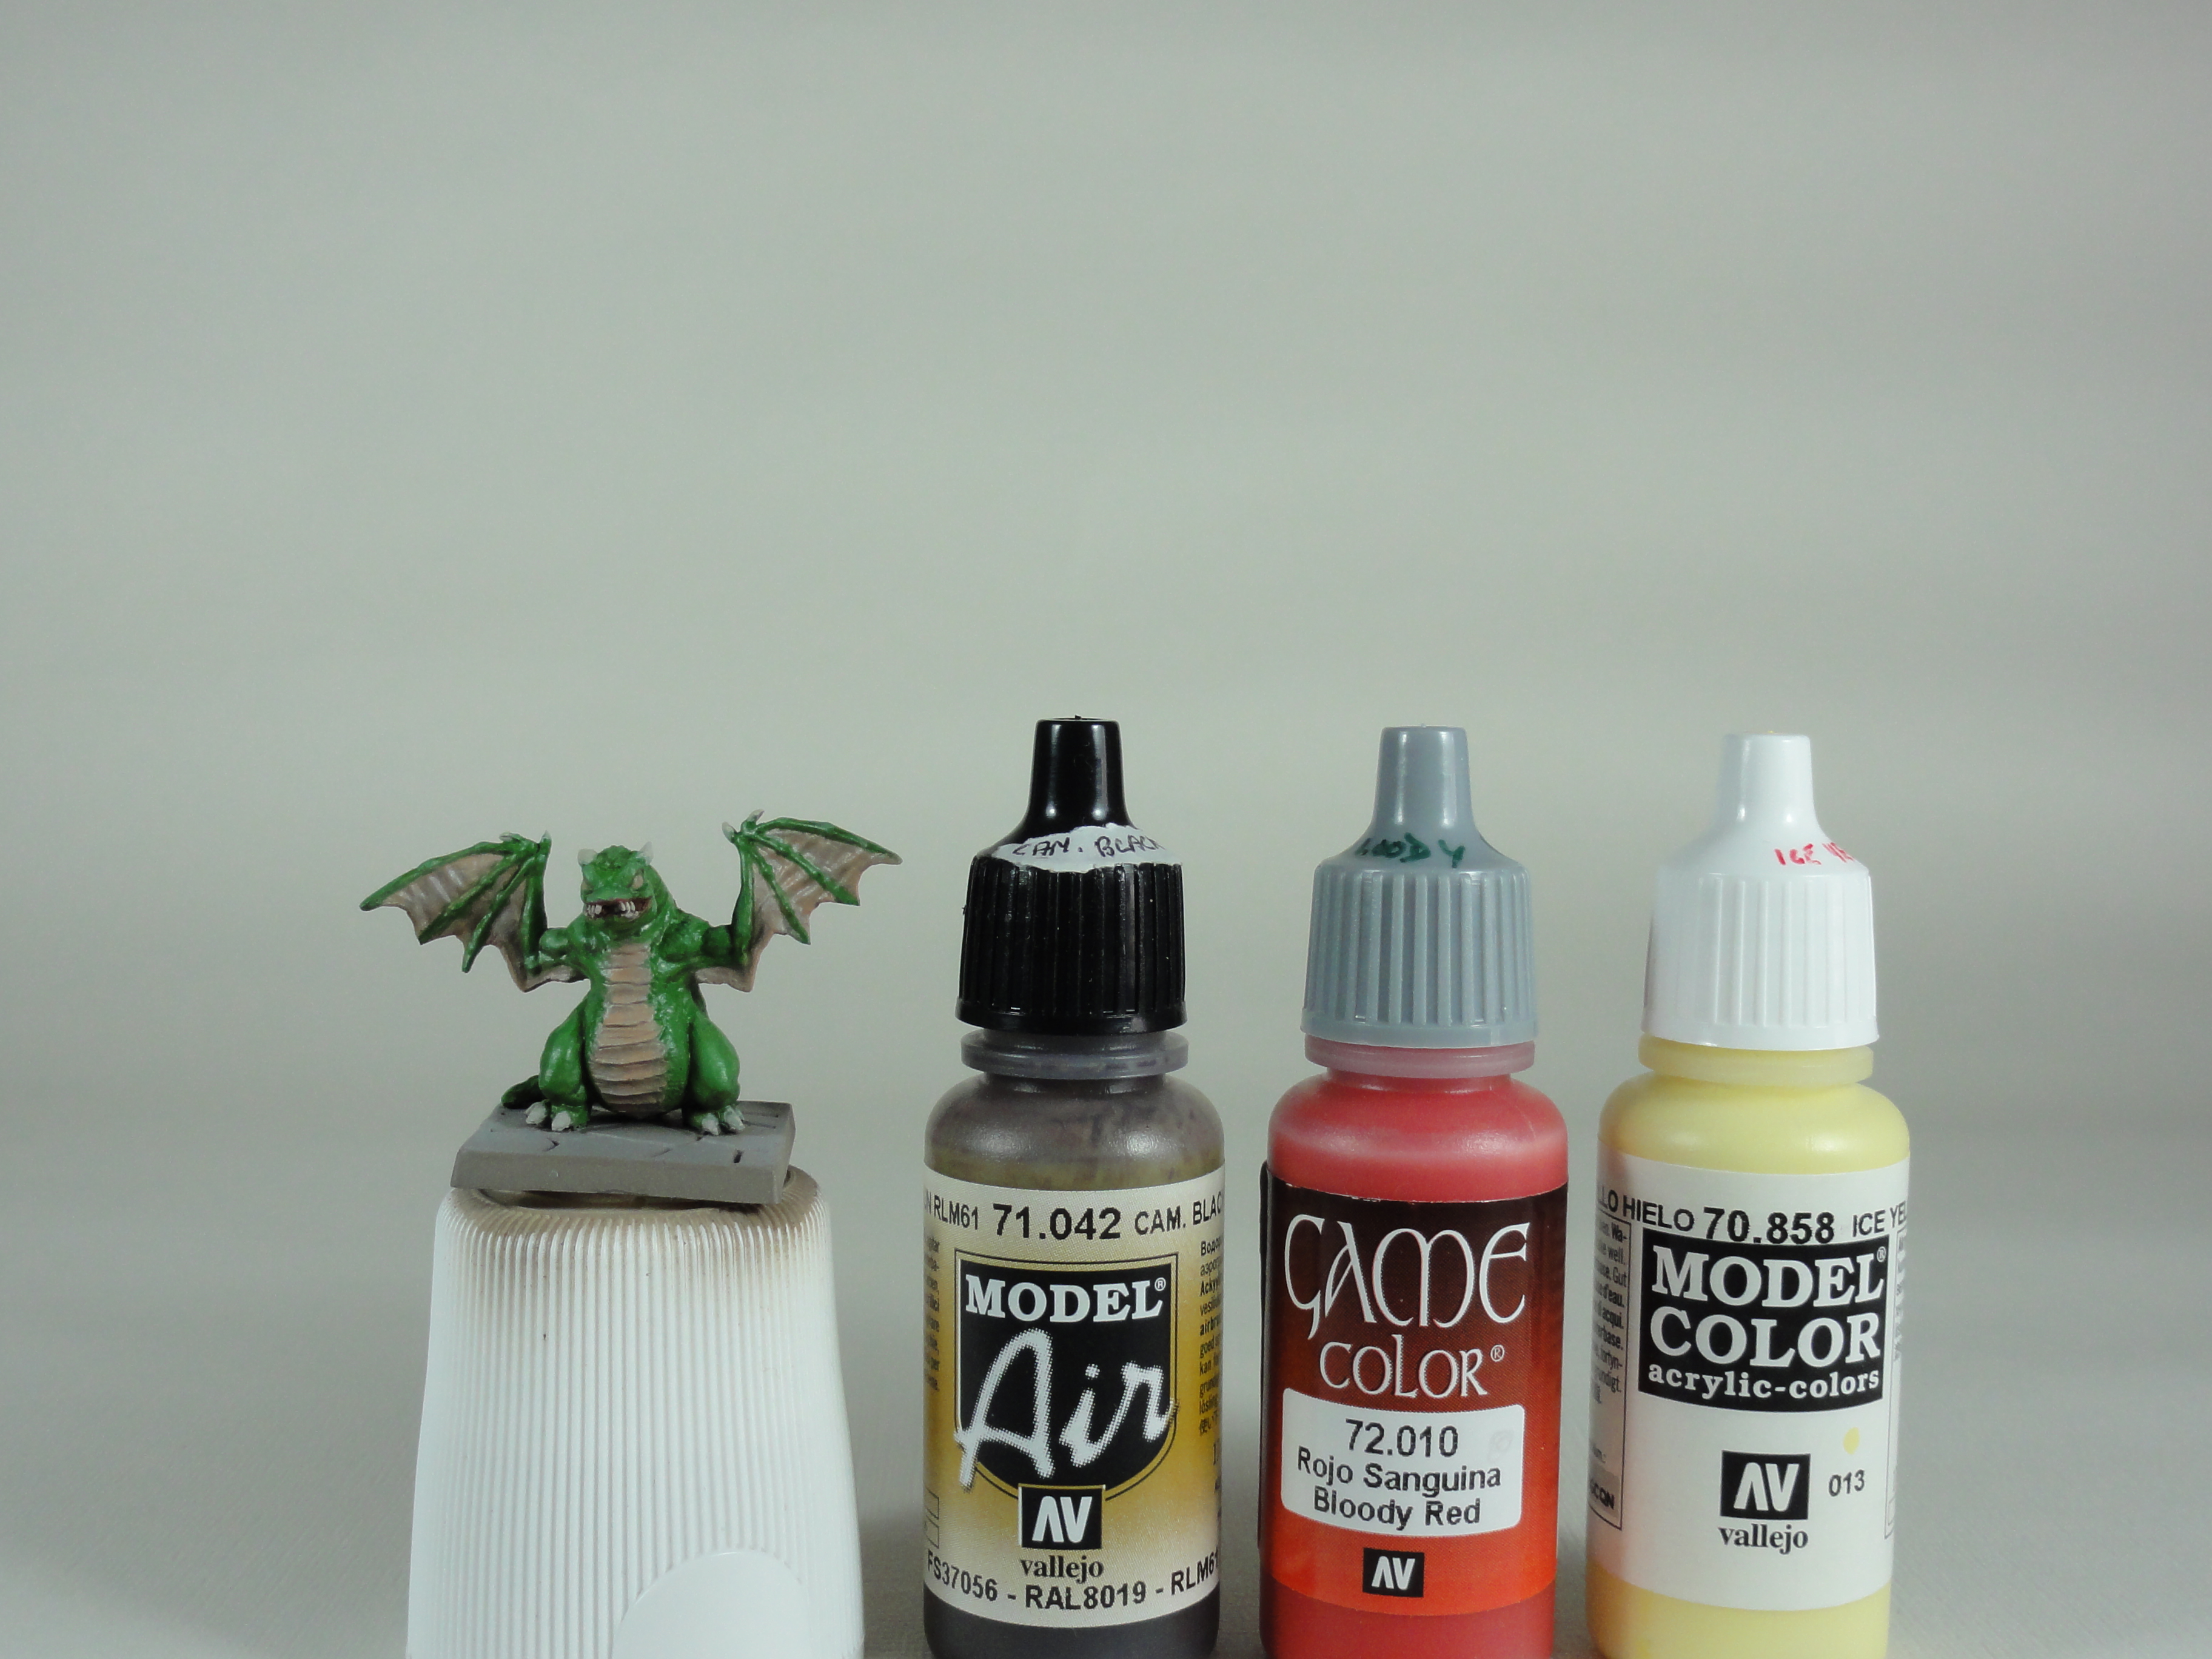 Cam. Black Brown (Vallejo Model Air), Bloody Red (Vallejo Game Color) and Ice Yellow (Vallejo Model Color)
The mouth and the alternative Drakon skin will be red.
- Mixtures of Bloody Red and Cam. Black Brown will be the base coat and the shade.
- Bloody Red and Ice Yellow mixtures are used to highlight followed by glazes of Bloody Red.
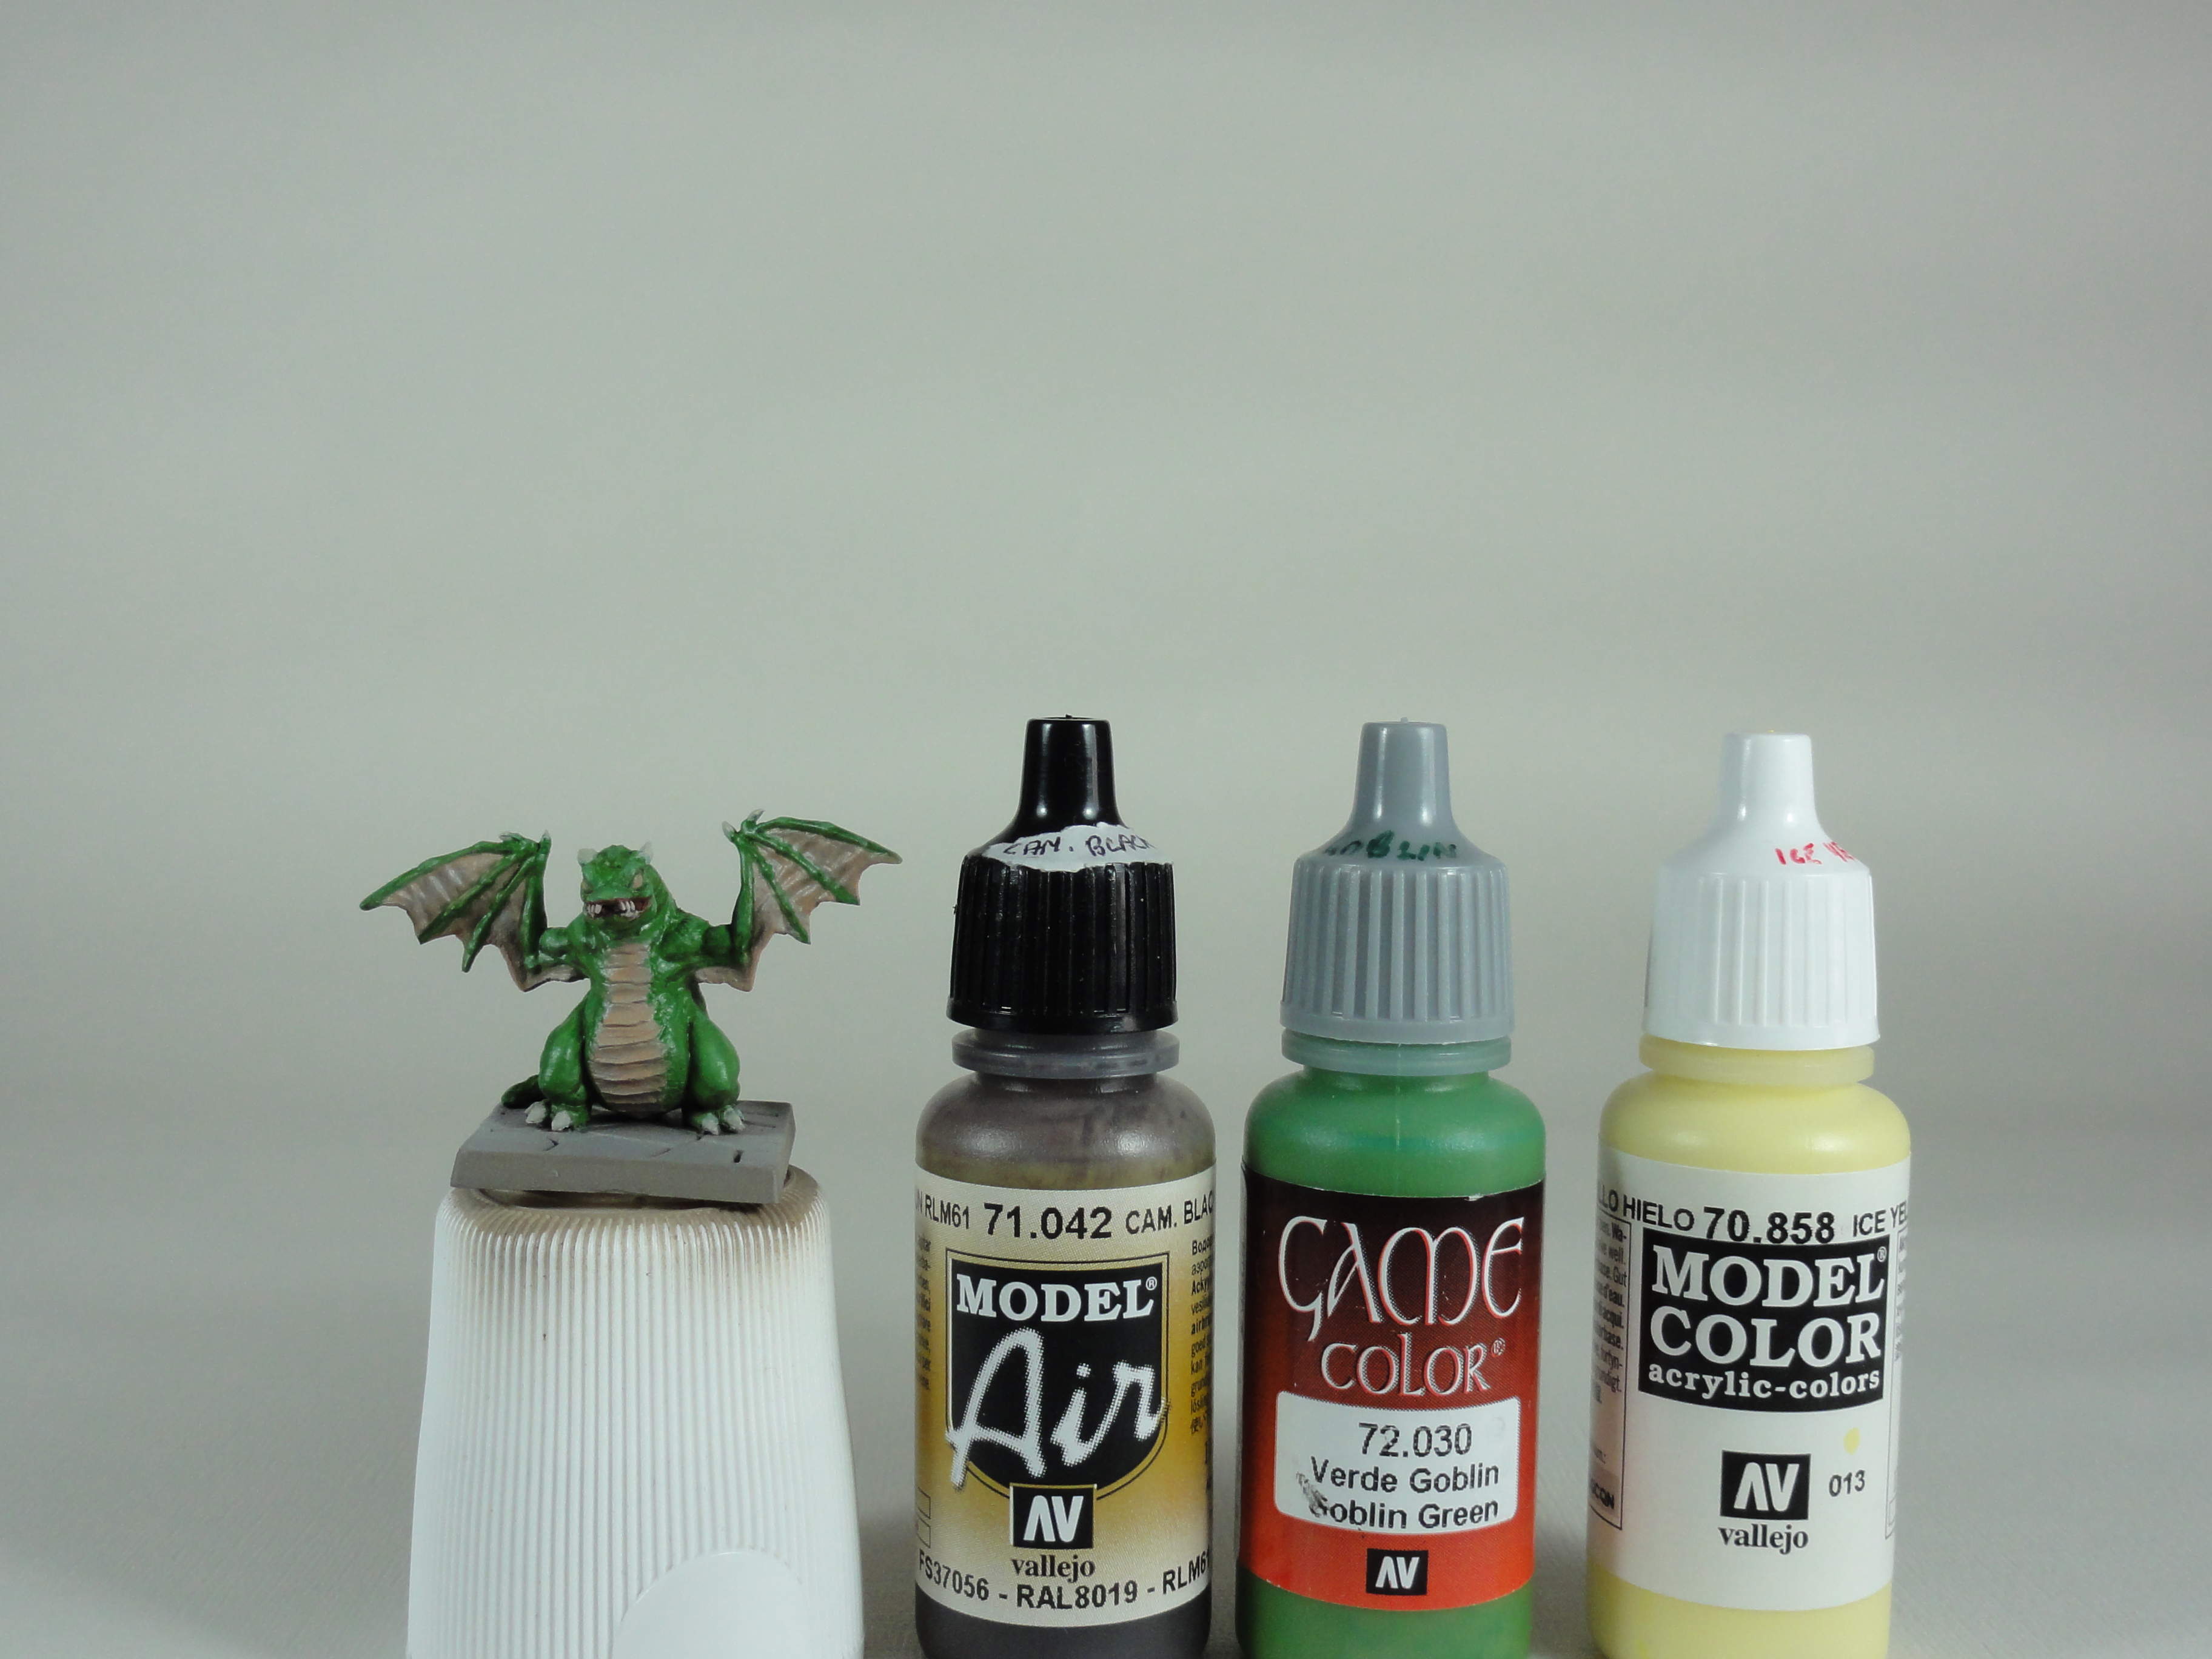 Cam. Black Brown (Vallejo Model Air), Goblin Green (Vallejo Game Color) and Ice Yellow (Vallejo Model Color)
Green skin for the drakon.
- Goblin Green is used as a base.
- Mixtures of Goblin Green and Cam. Black Brown are used to shade.
- Ice Yellow and Goblin Green mixtures used to highlight.
- Goblin Green glazes used to try and smooth things out.
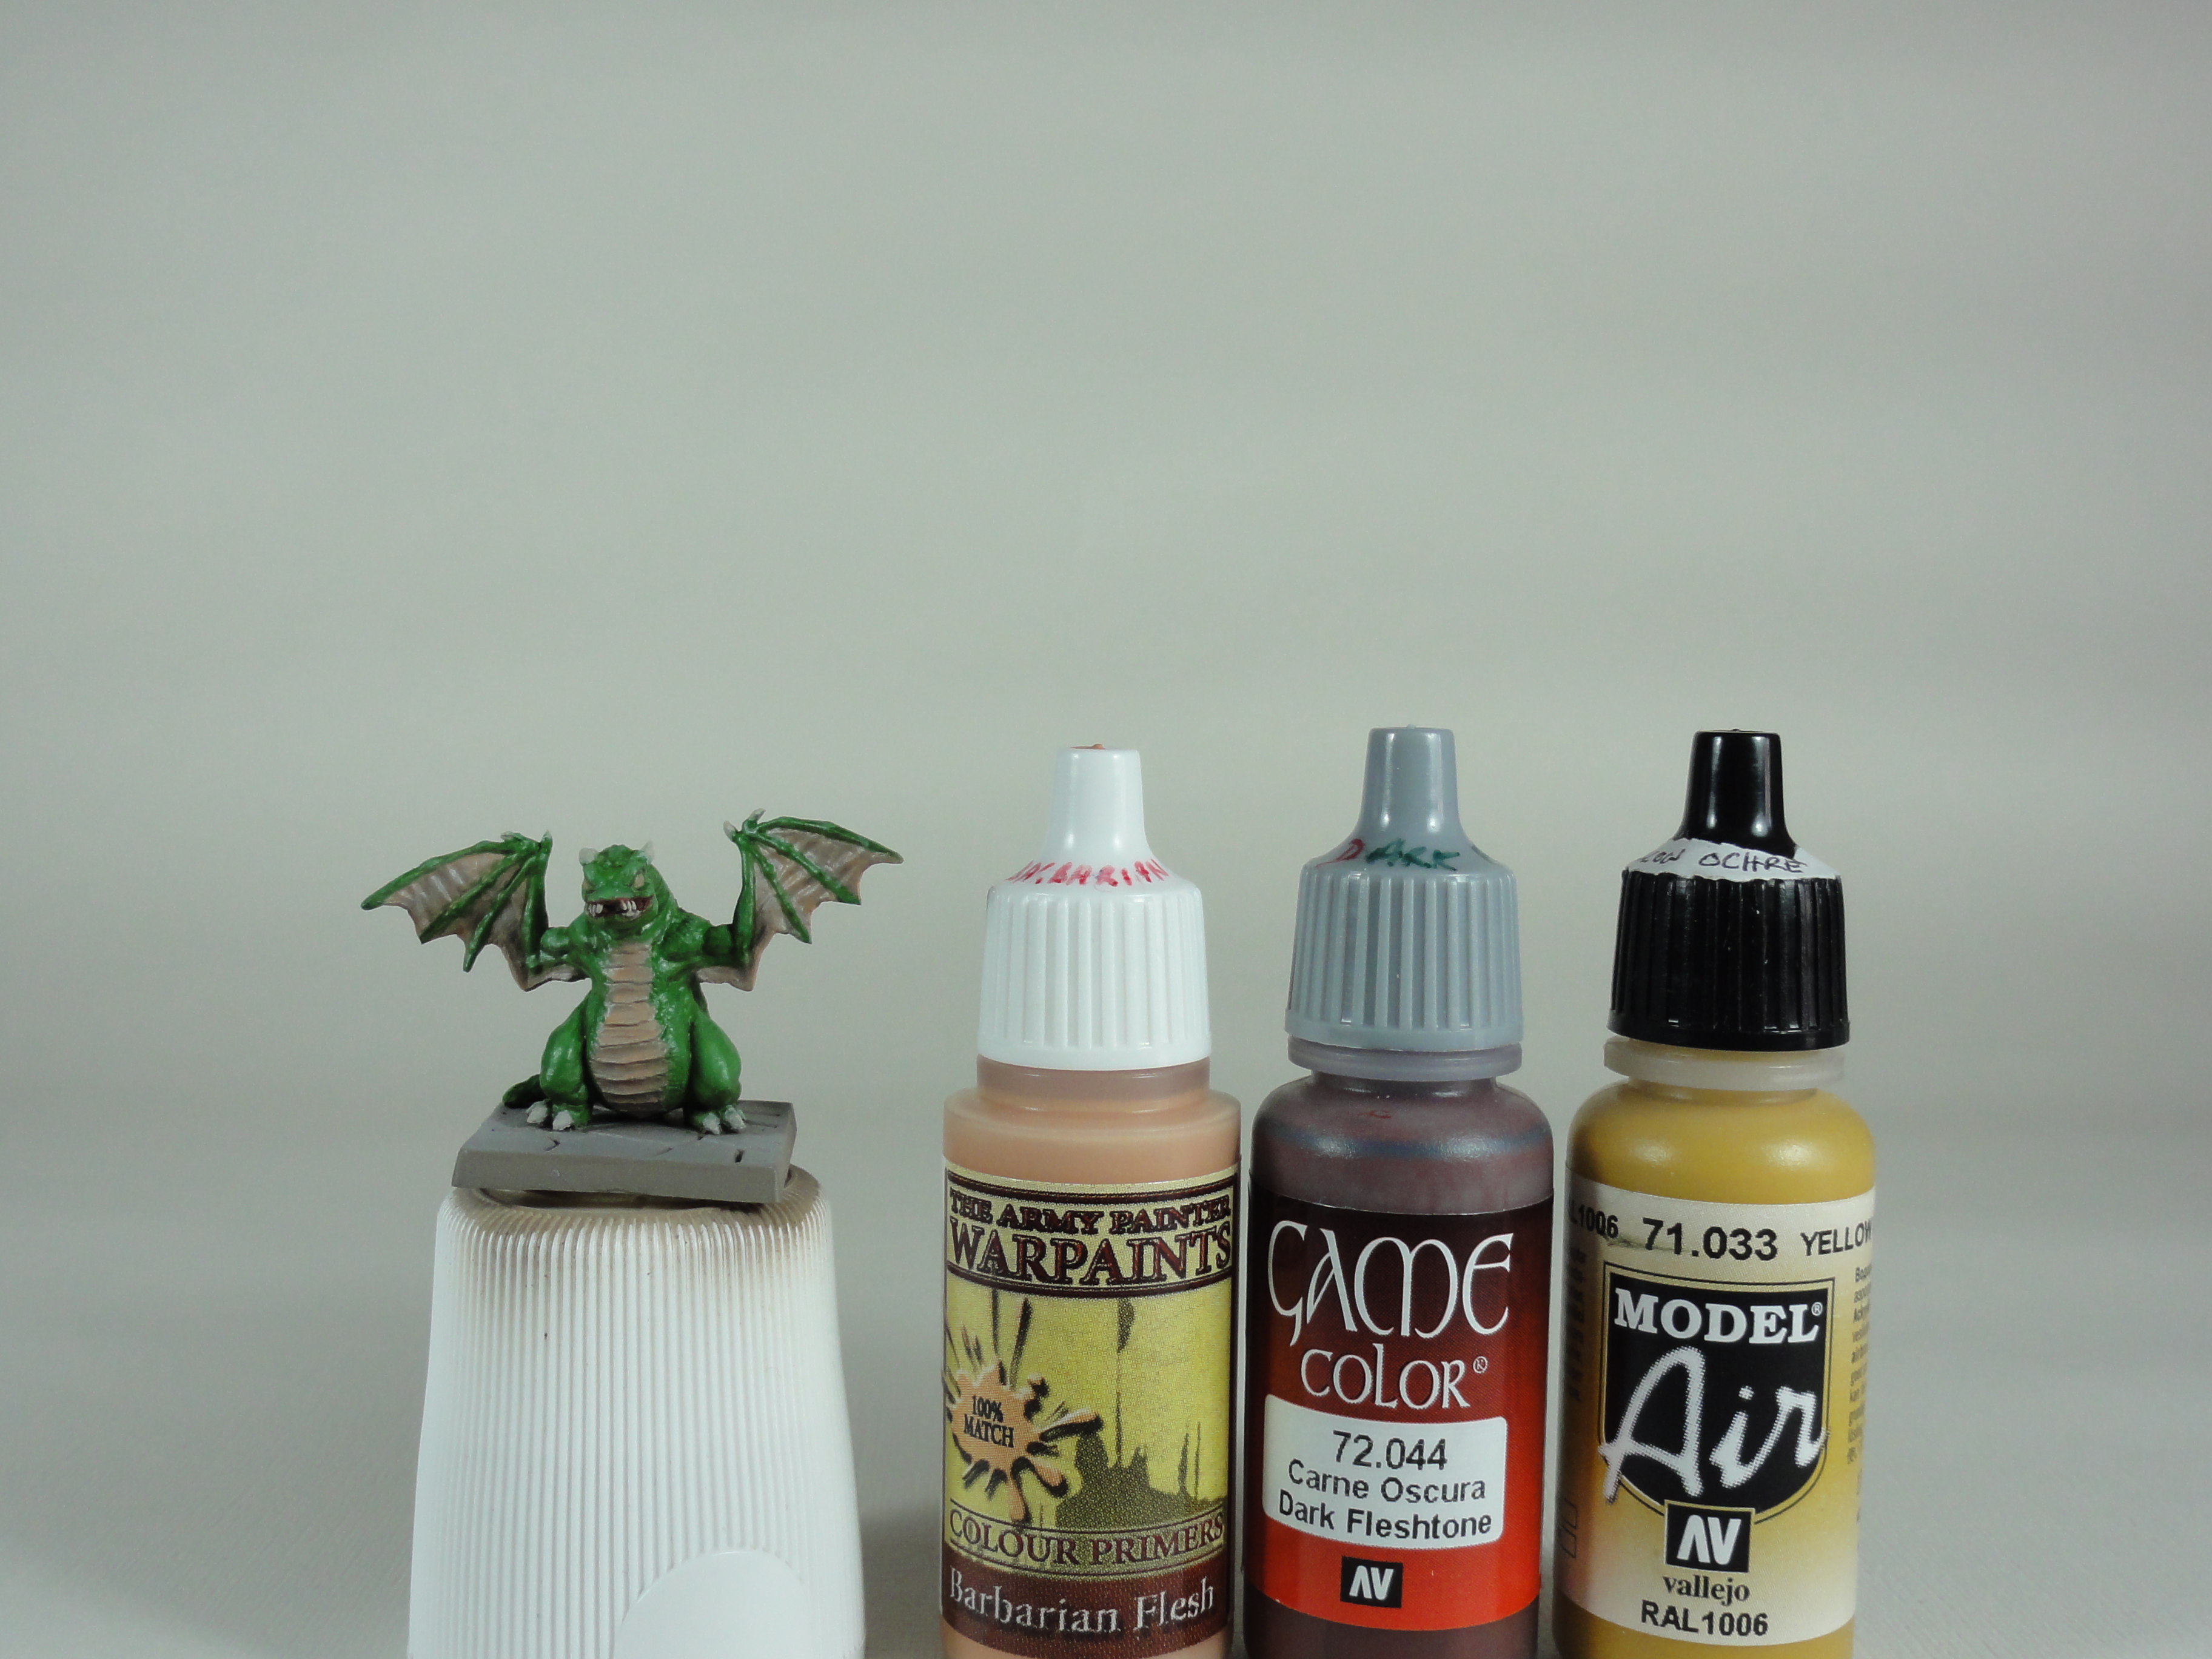 Dark Fleshtone (Vallejo Game Color), Barbarian Flesh (Army Painter Warpaints) and Yellow Ochre (Vallejo Model Air)
The belly, wing membrane and eyes will be Yellow Ochre.
- Barbarian Flesh is the base.
- Preshading with mixtures of Dark Fleshtone and Barbarian Flesh.
- Highlighting with Barbarian Flesh then glazing with Yellow Ochre.
The picture has only the base coat.
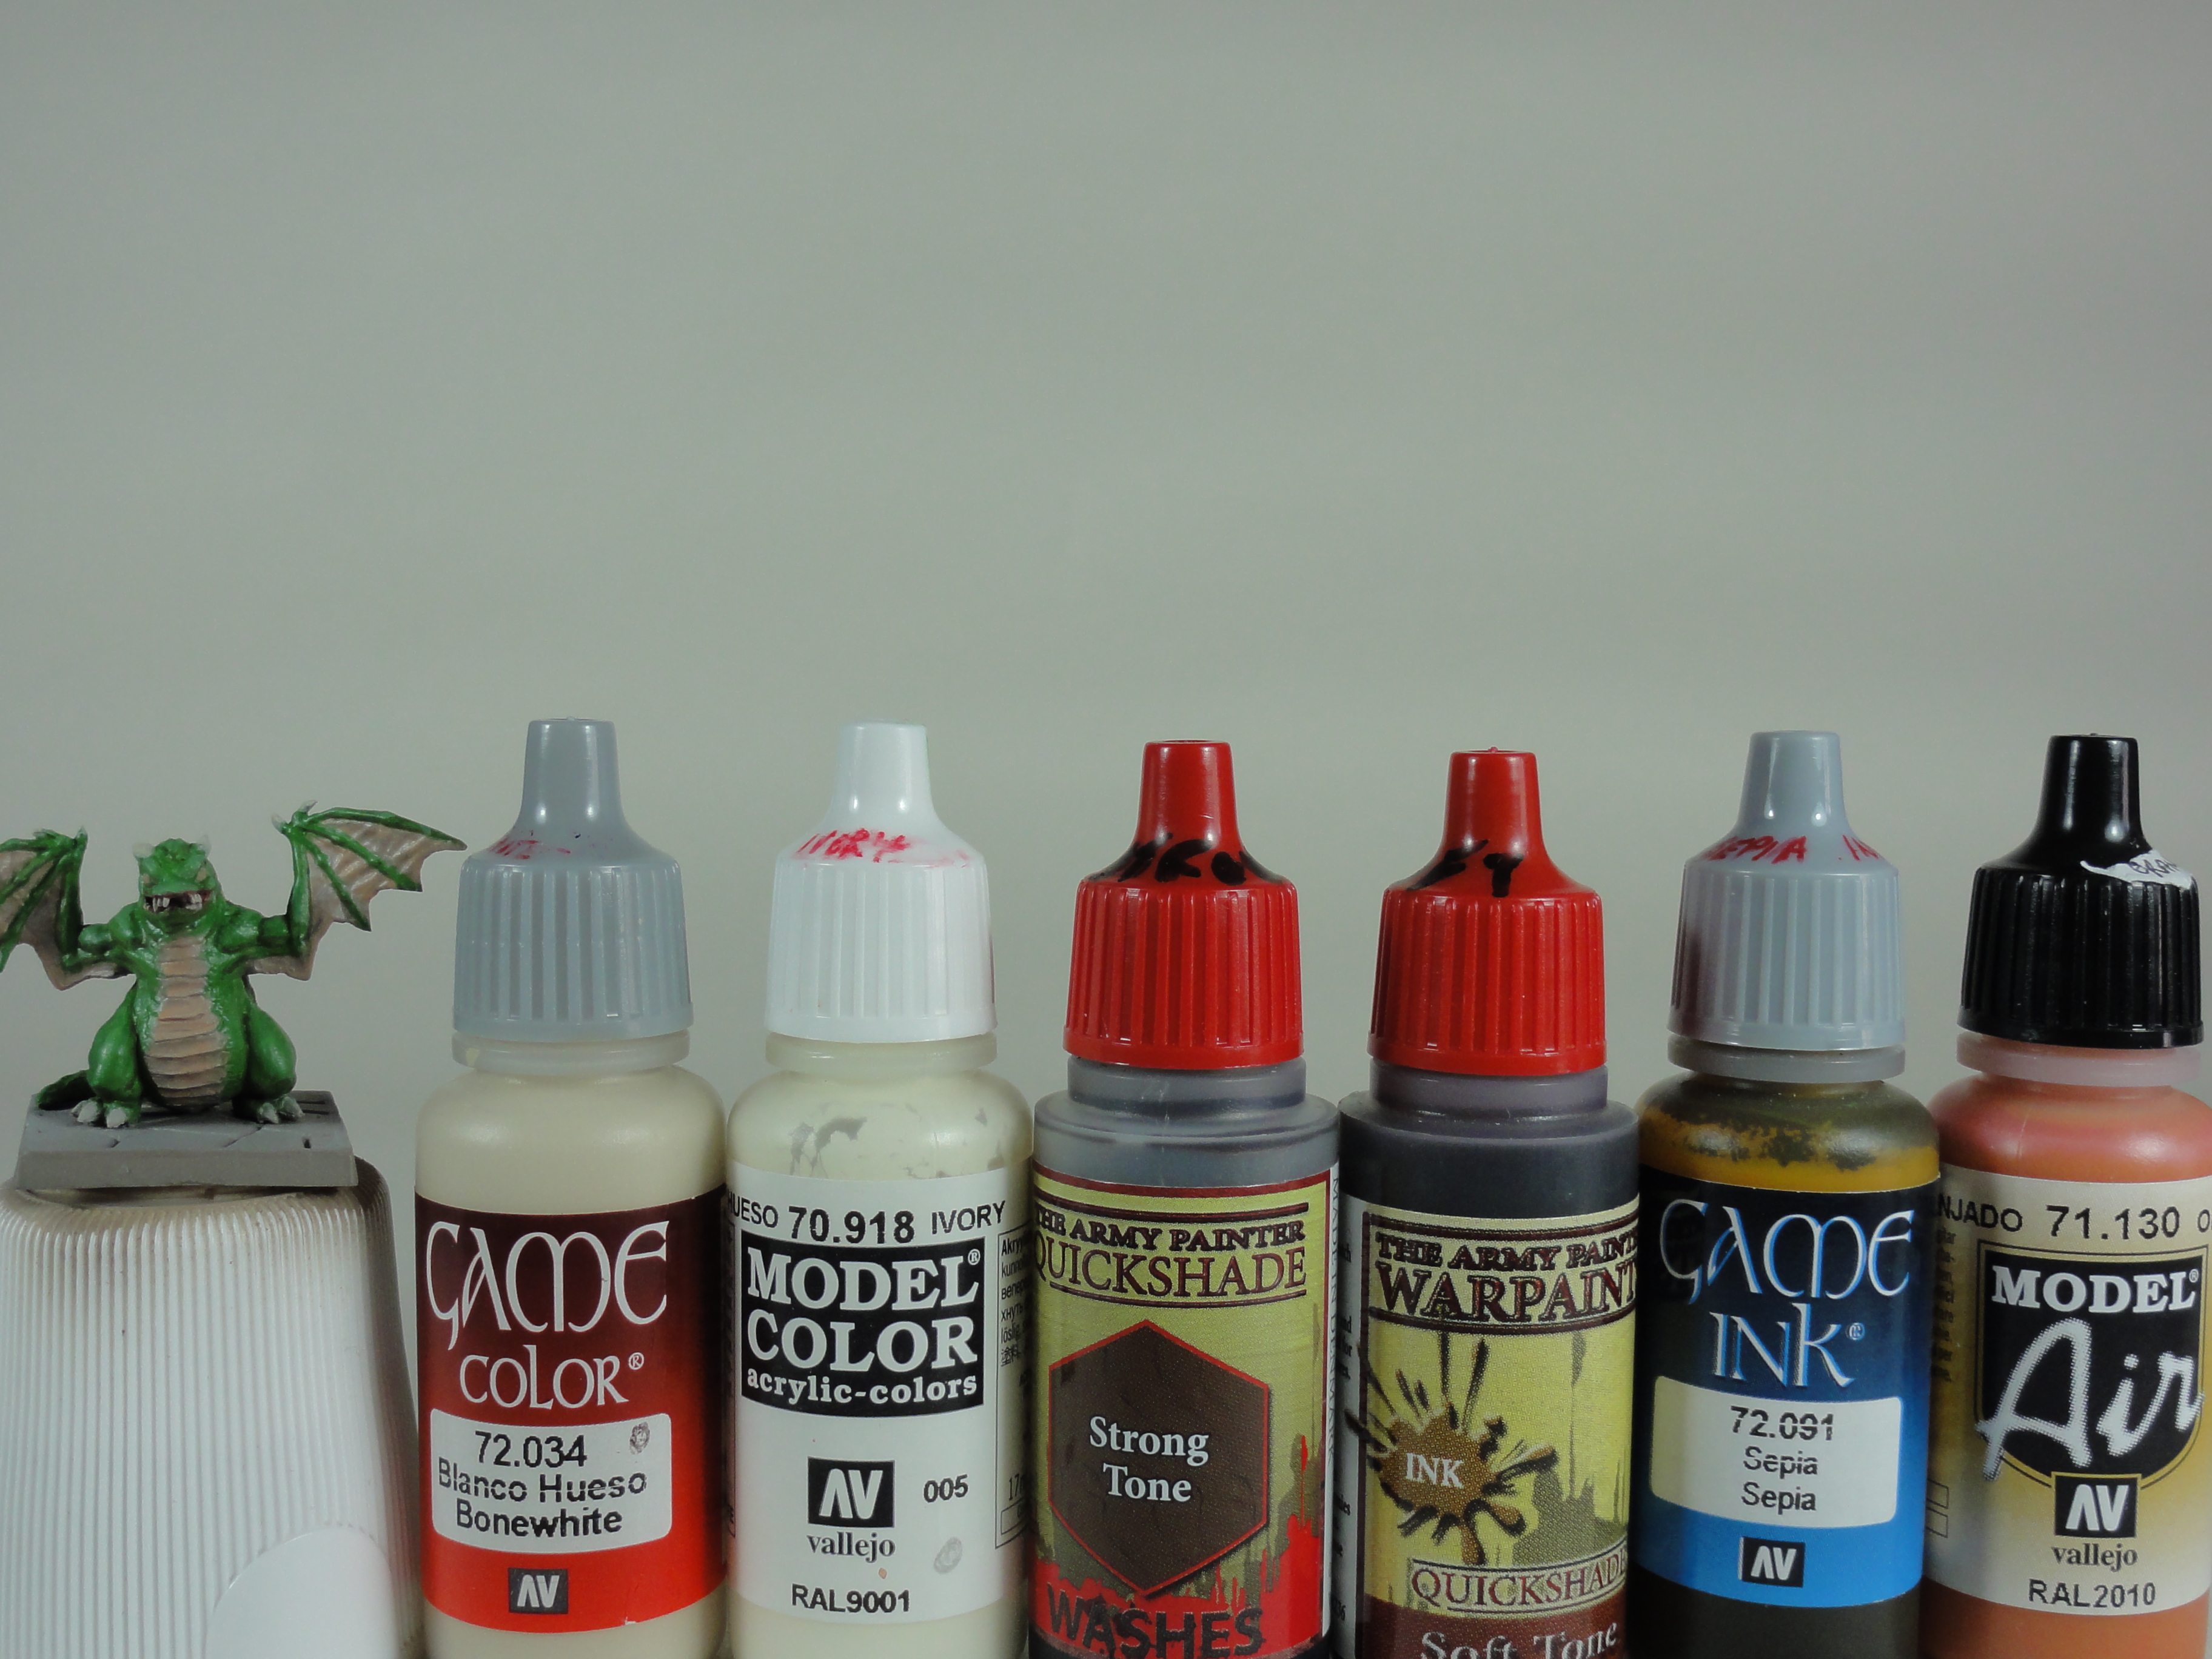 Bonewhite (Vallejo Game Color), Ivory (Vallejo Model Color), Strong and Soft tone (Army Painter Quickshade), Sepia Ink (Vallejo Game Ink) and Orange Rust (Vallejo Model Air)
Horns, claws and teeth.
Not all of these will be used as some of the areas are really small.
- Base is Bonewhite.
- Mixtures of the Quick Shades near the base of the horns, claws and teeth.
- Striations done with diluted Sepia ink.
- Glazes of Bonewhite.
- Dot of Ivory on the tips followed by a glaze of Orange Rust.
Vince Venturella Hobby Cheating 41 – How to Paint Bone Horns https://www.youtube.com/watch?v=URl-H-0C14Q
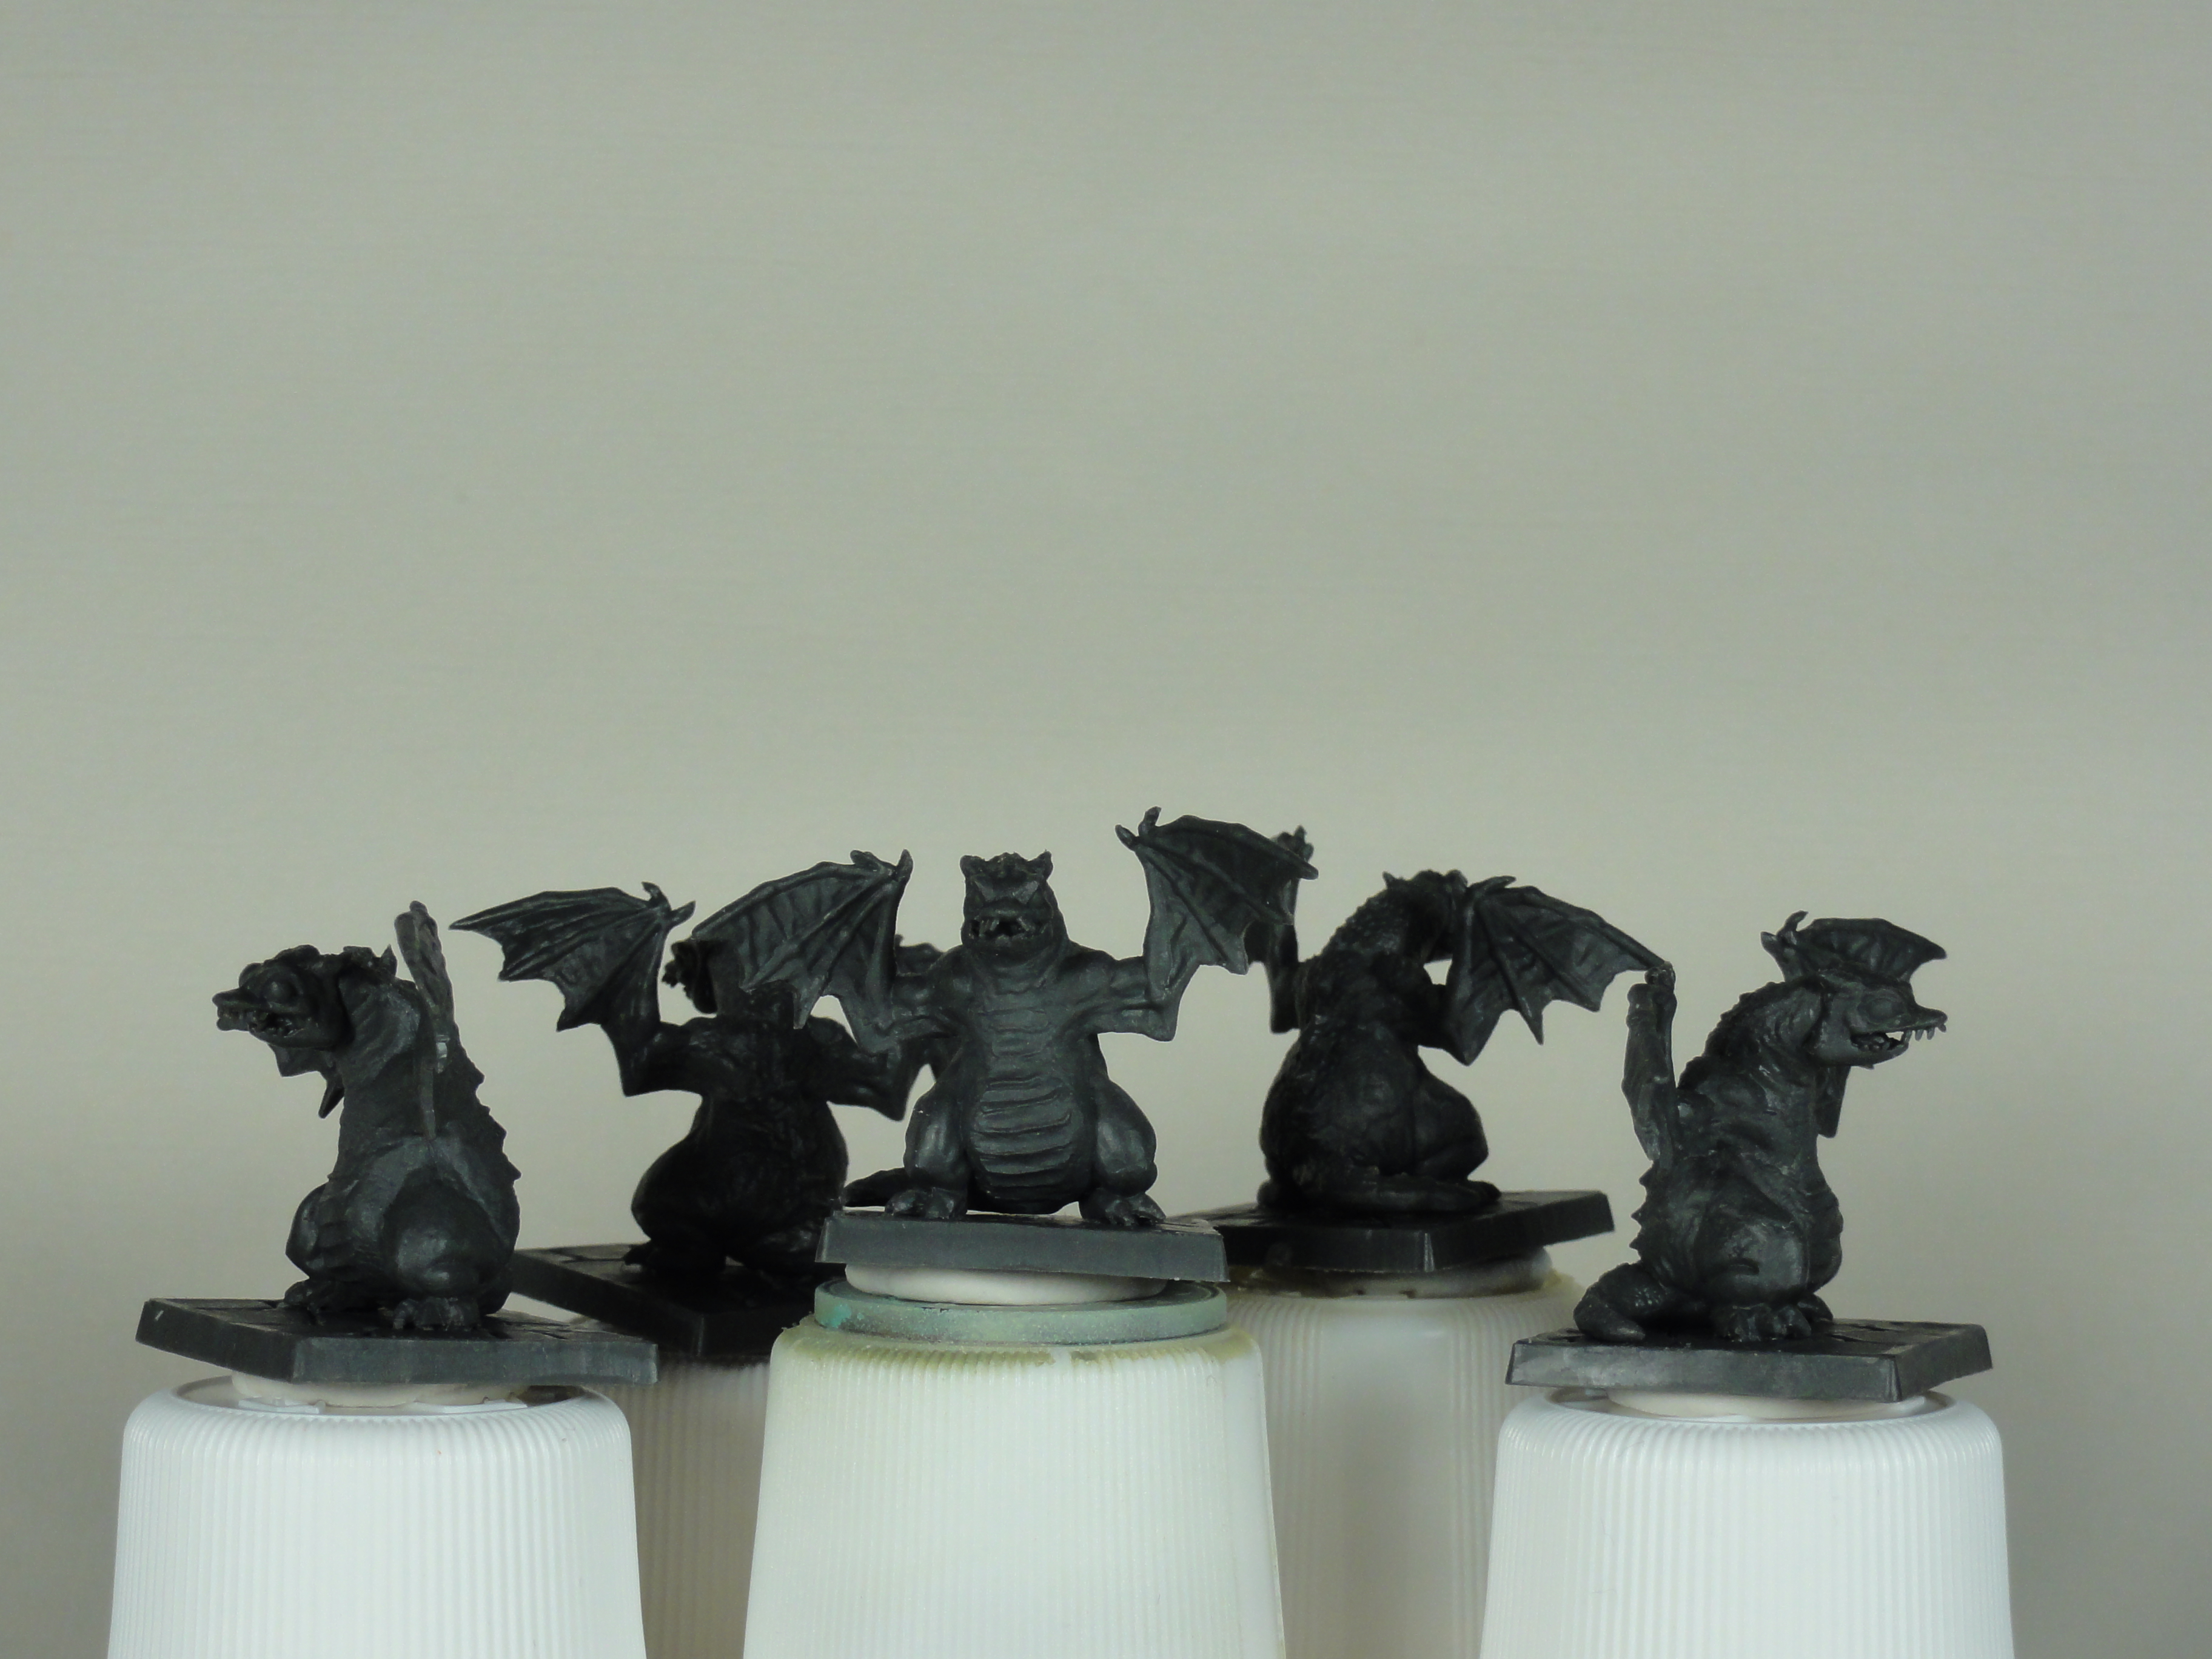
Week 7 Part 2 Starting to Paint
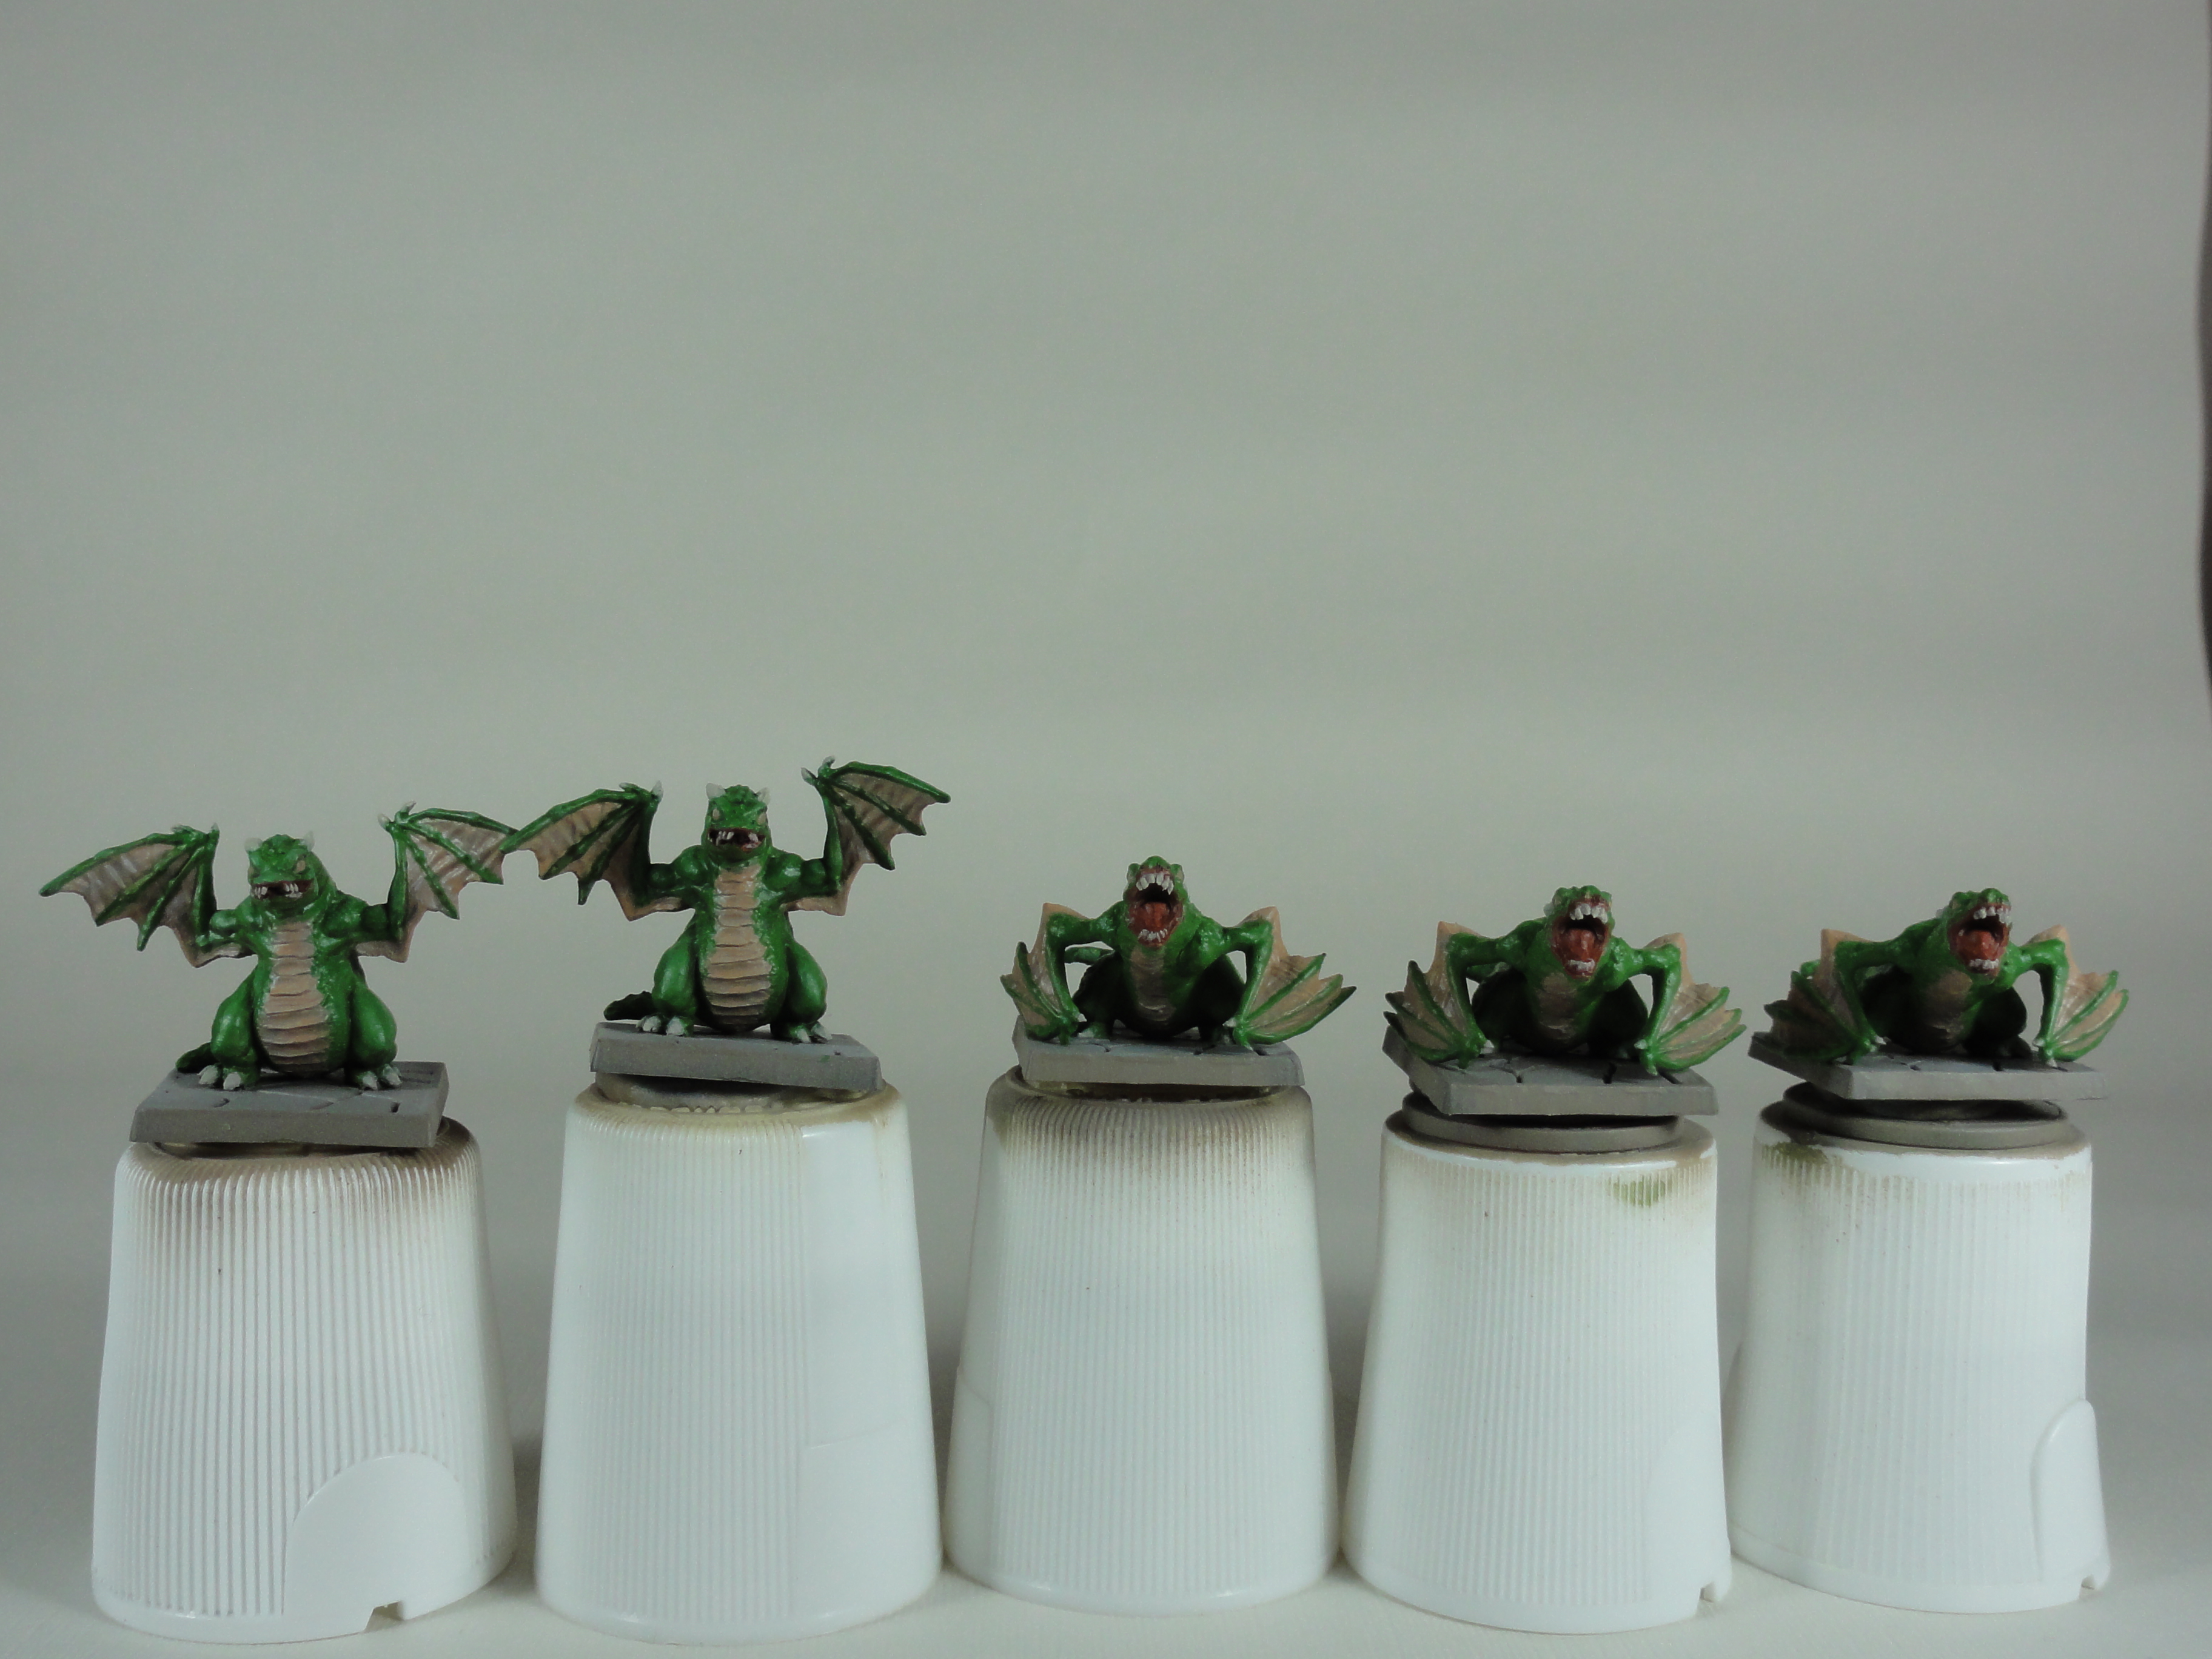
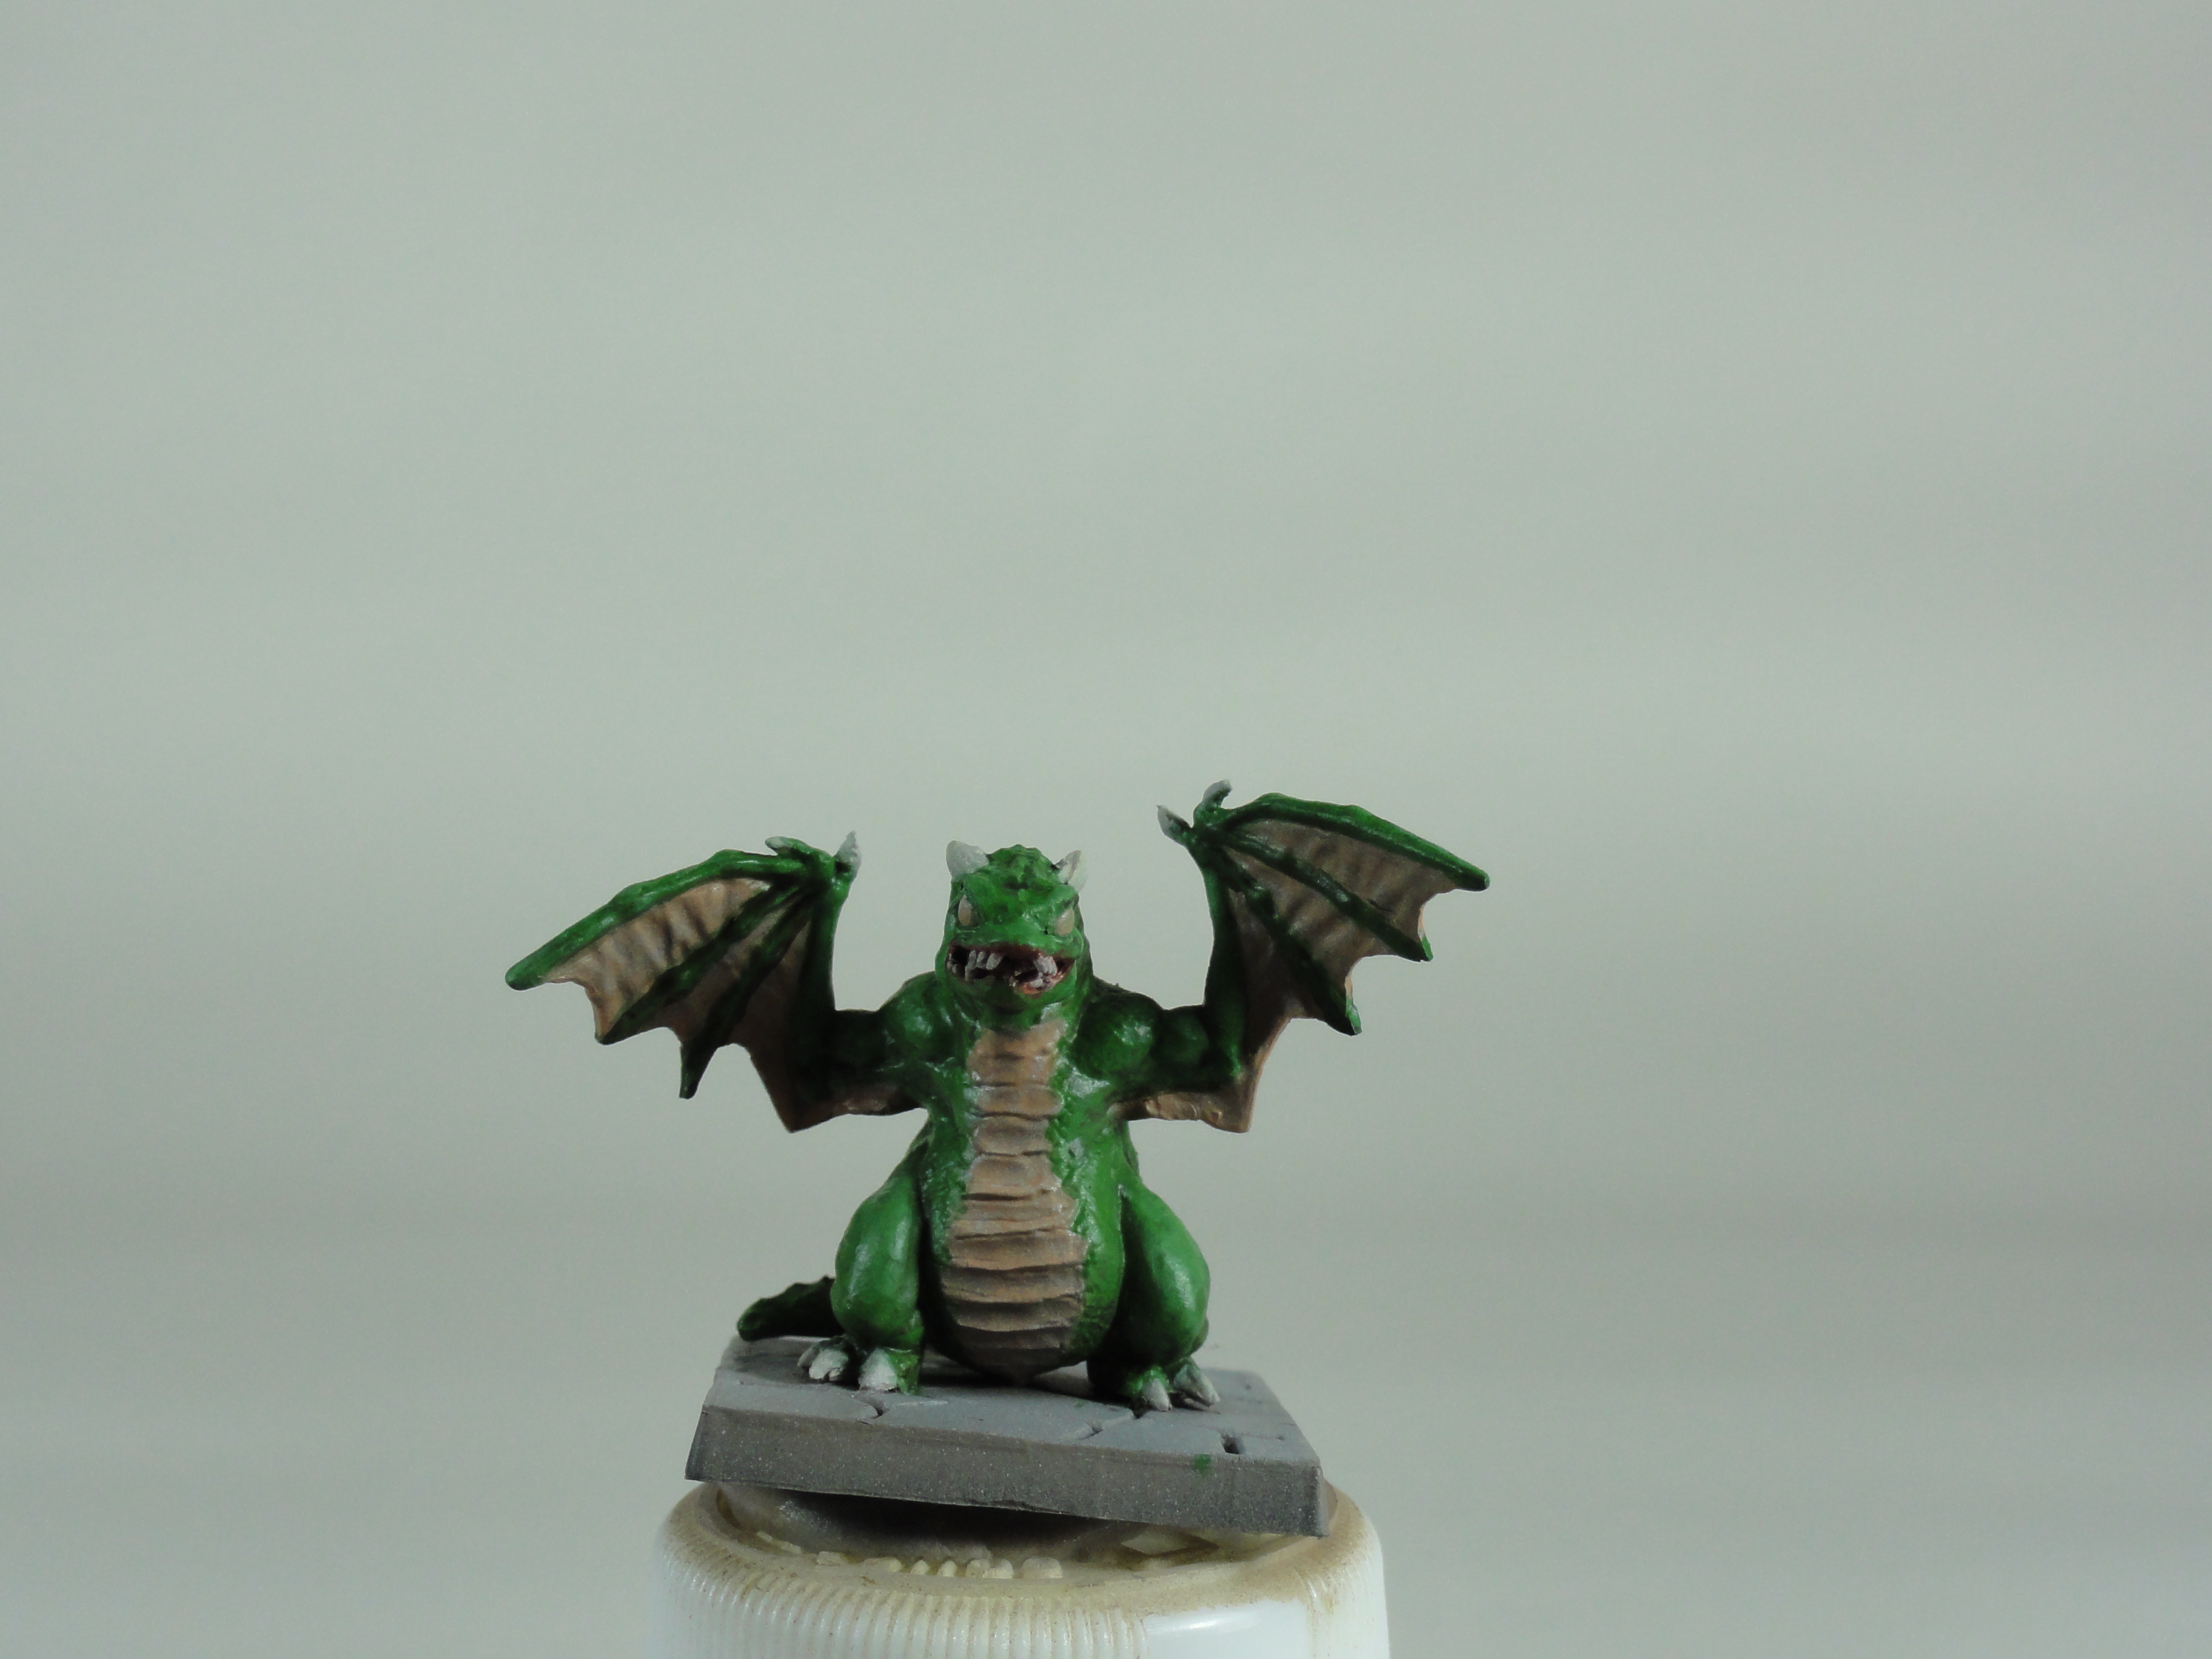

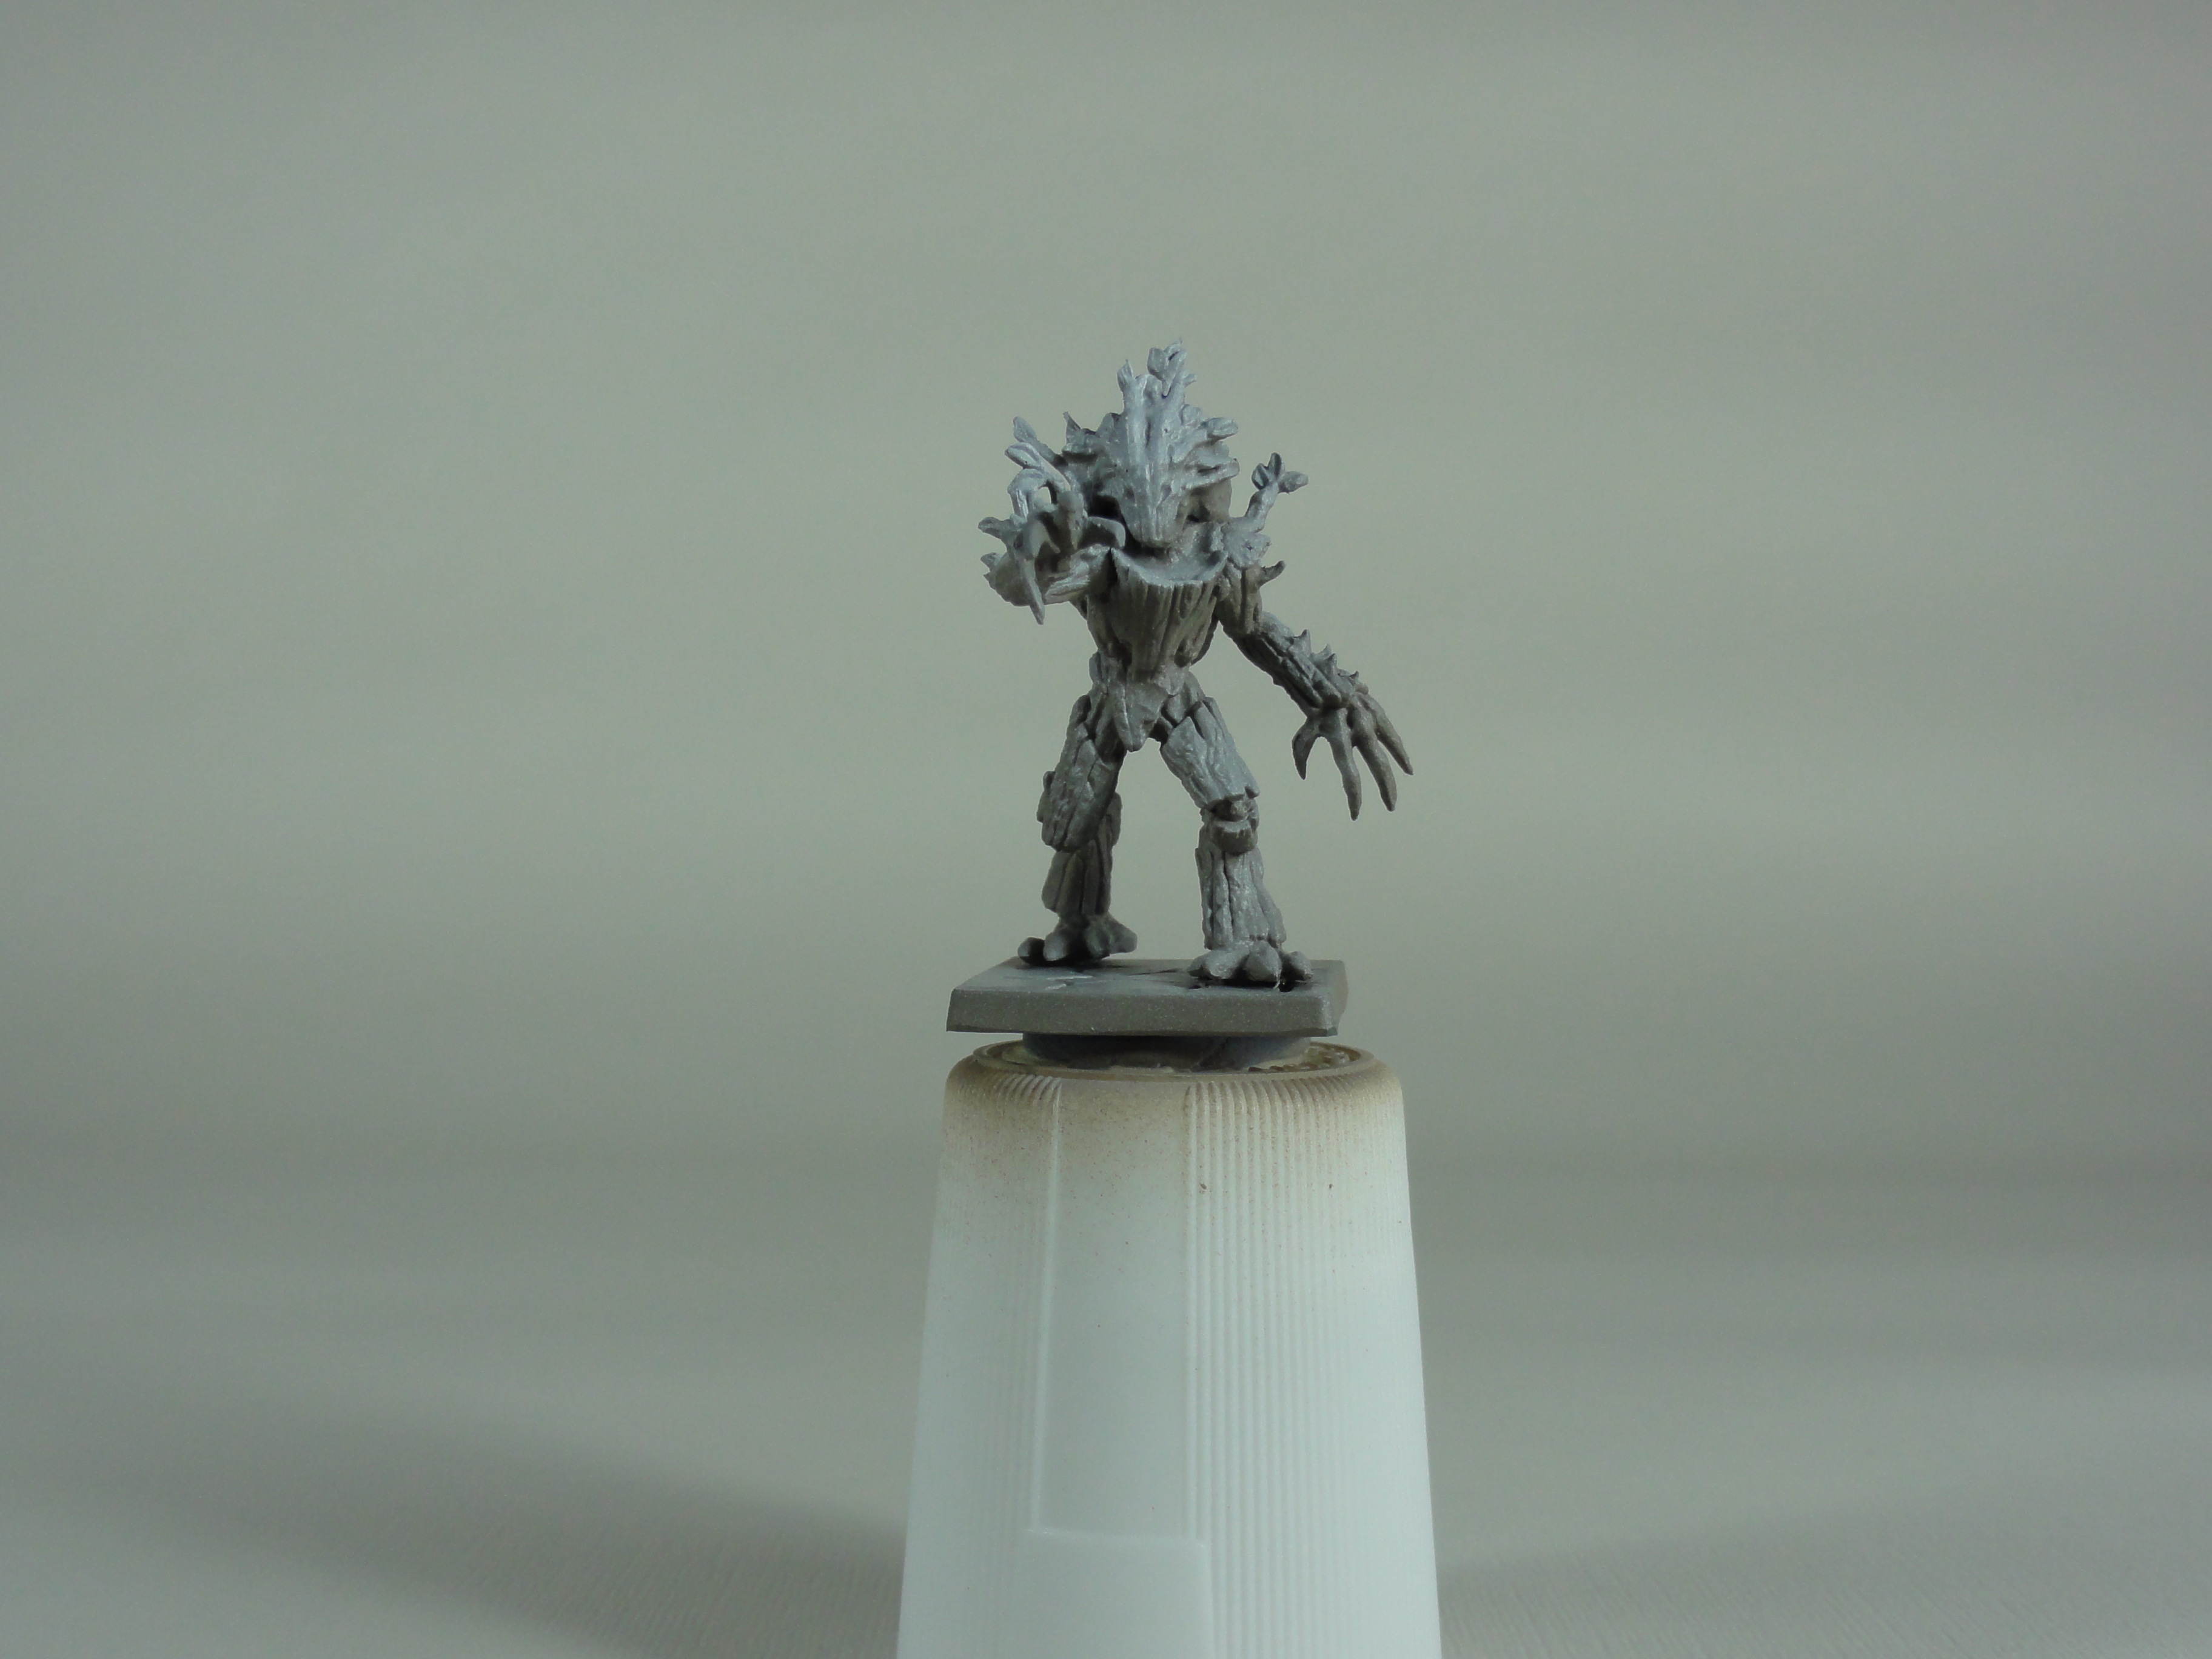
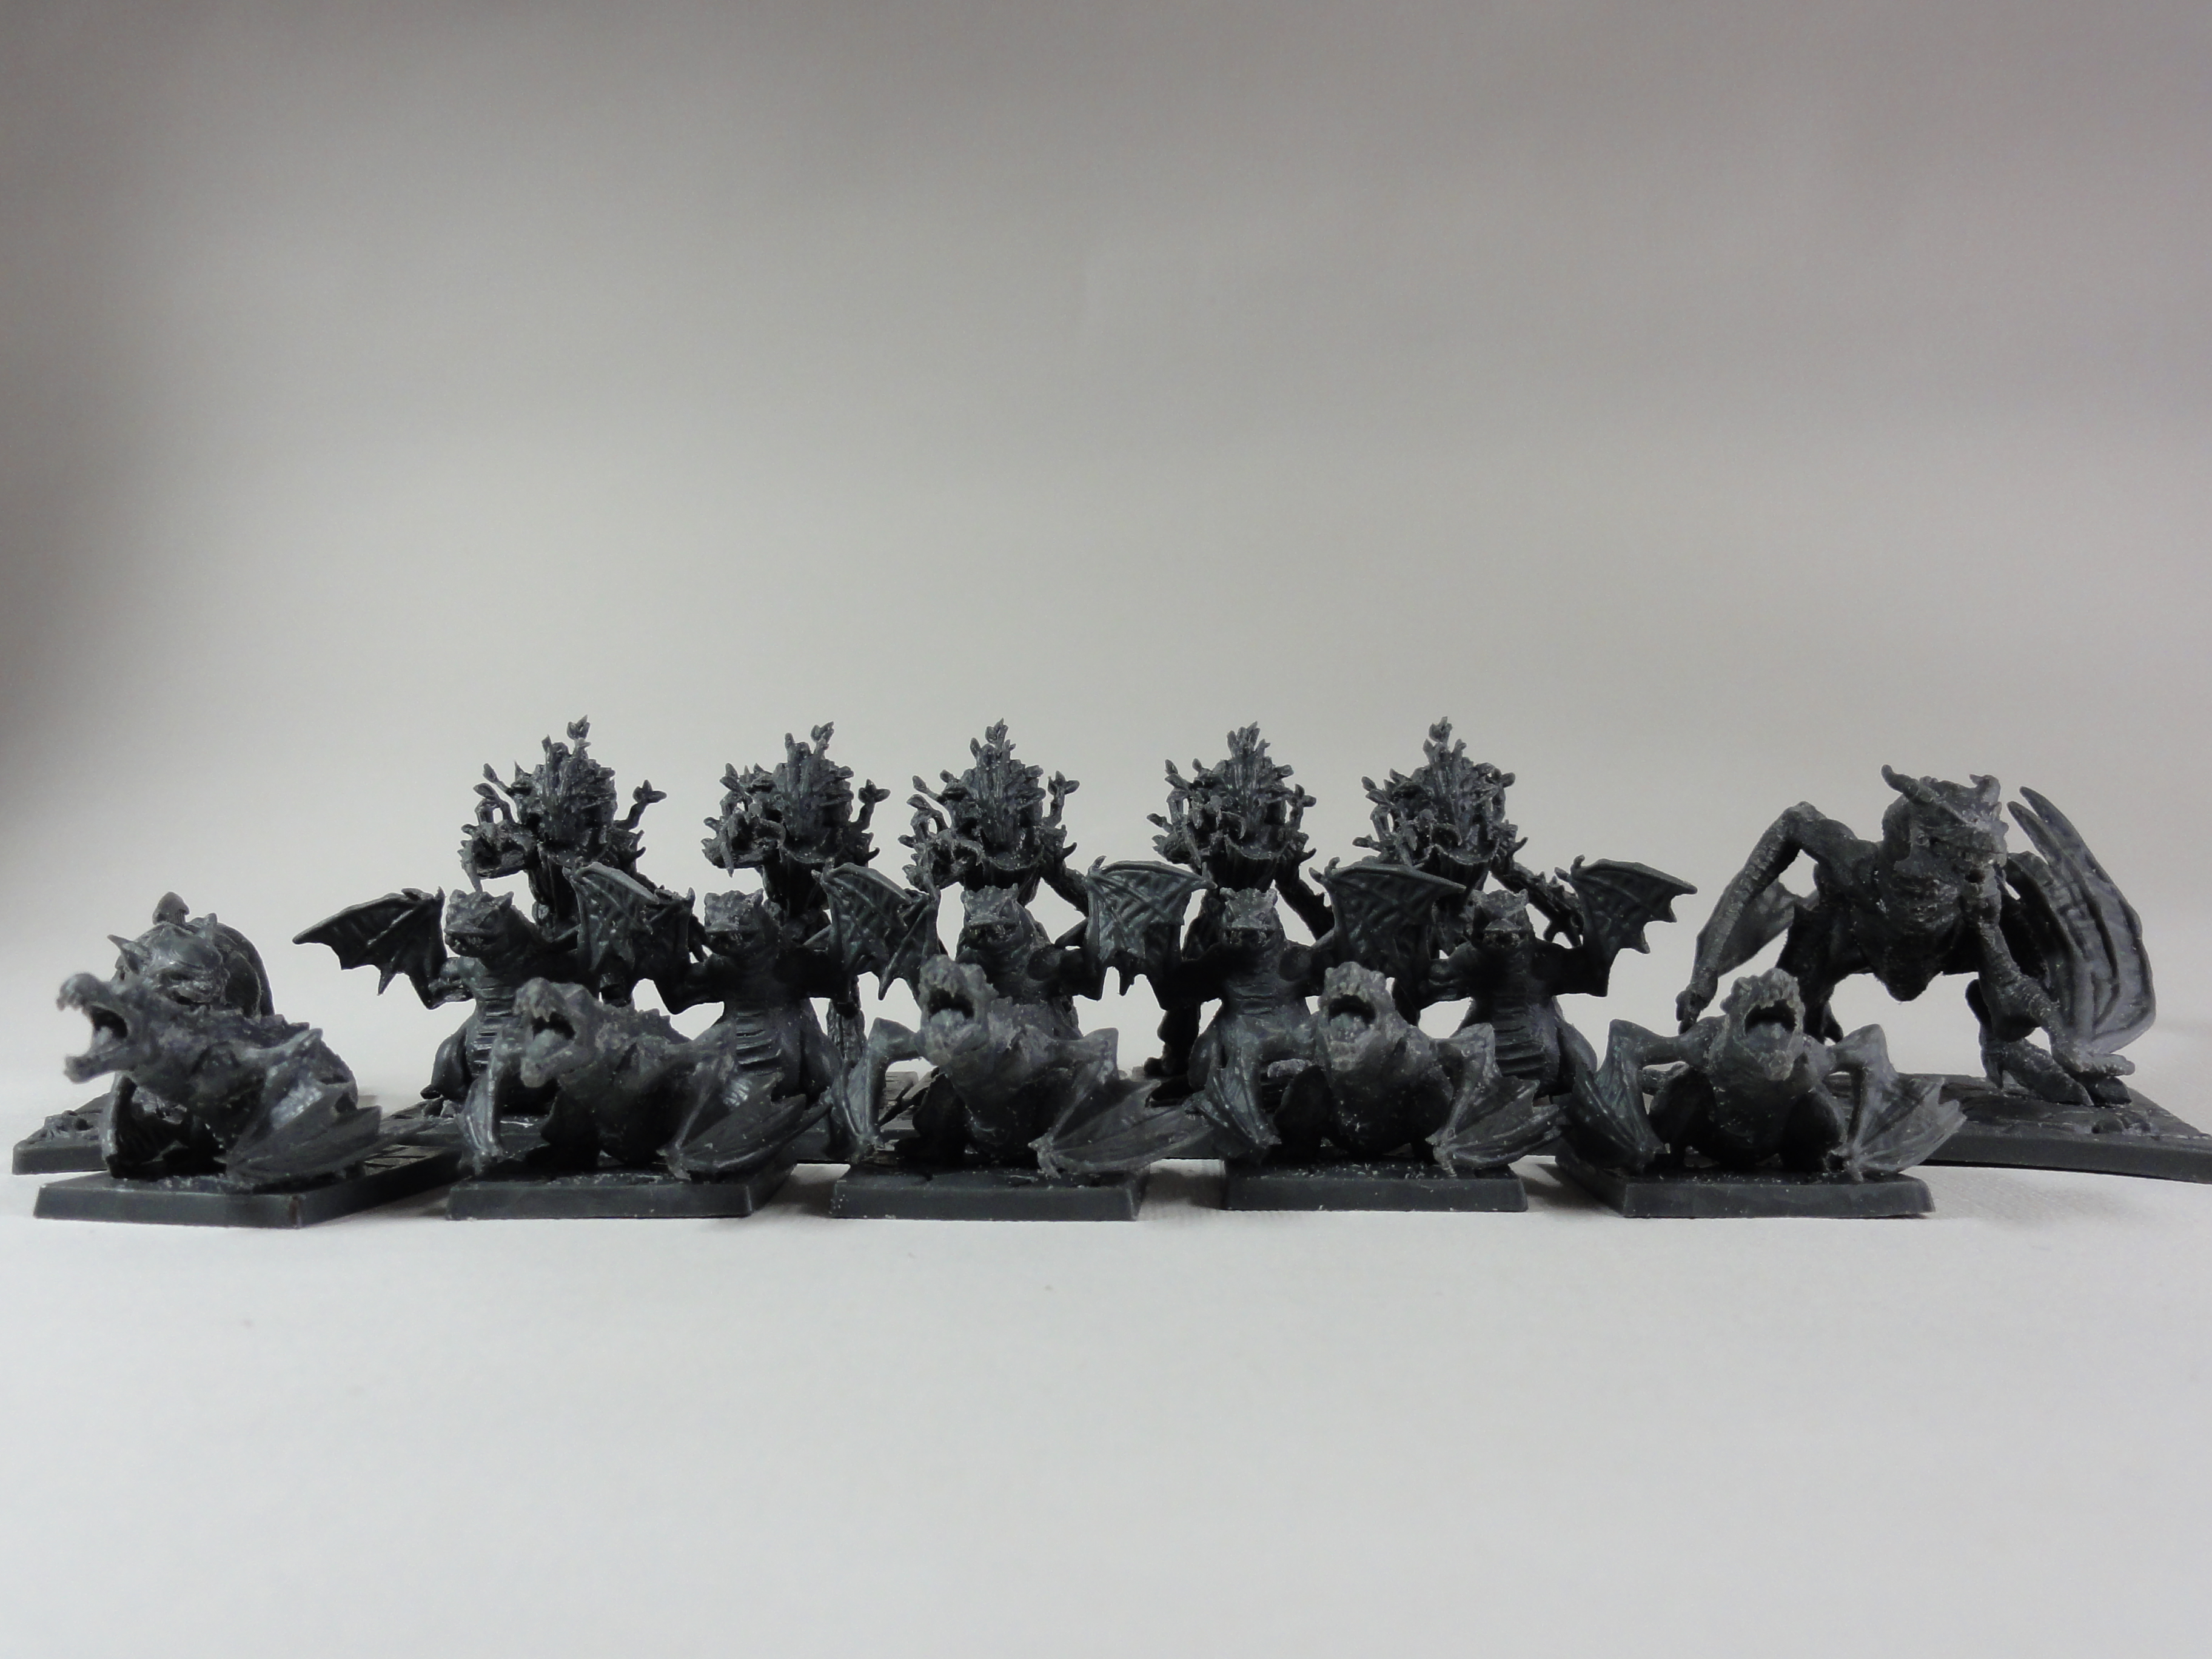
Starting to get some paint on the Juvenile Drakons. 5 will be green, loosely following the card art work, and the other 5 will be red.
Week 7 Part 1 Primed
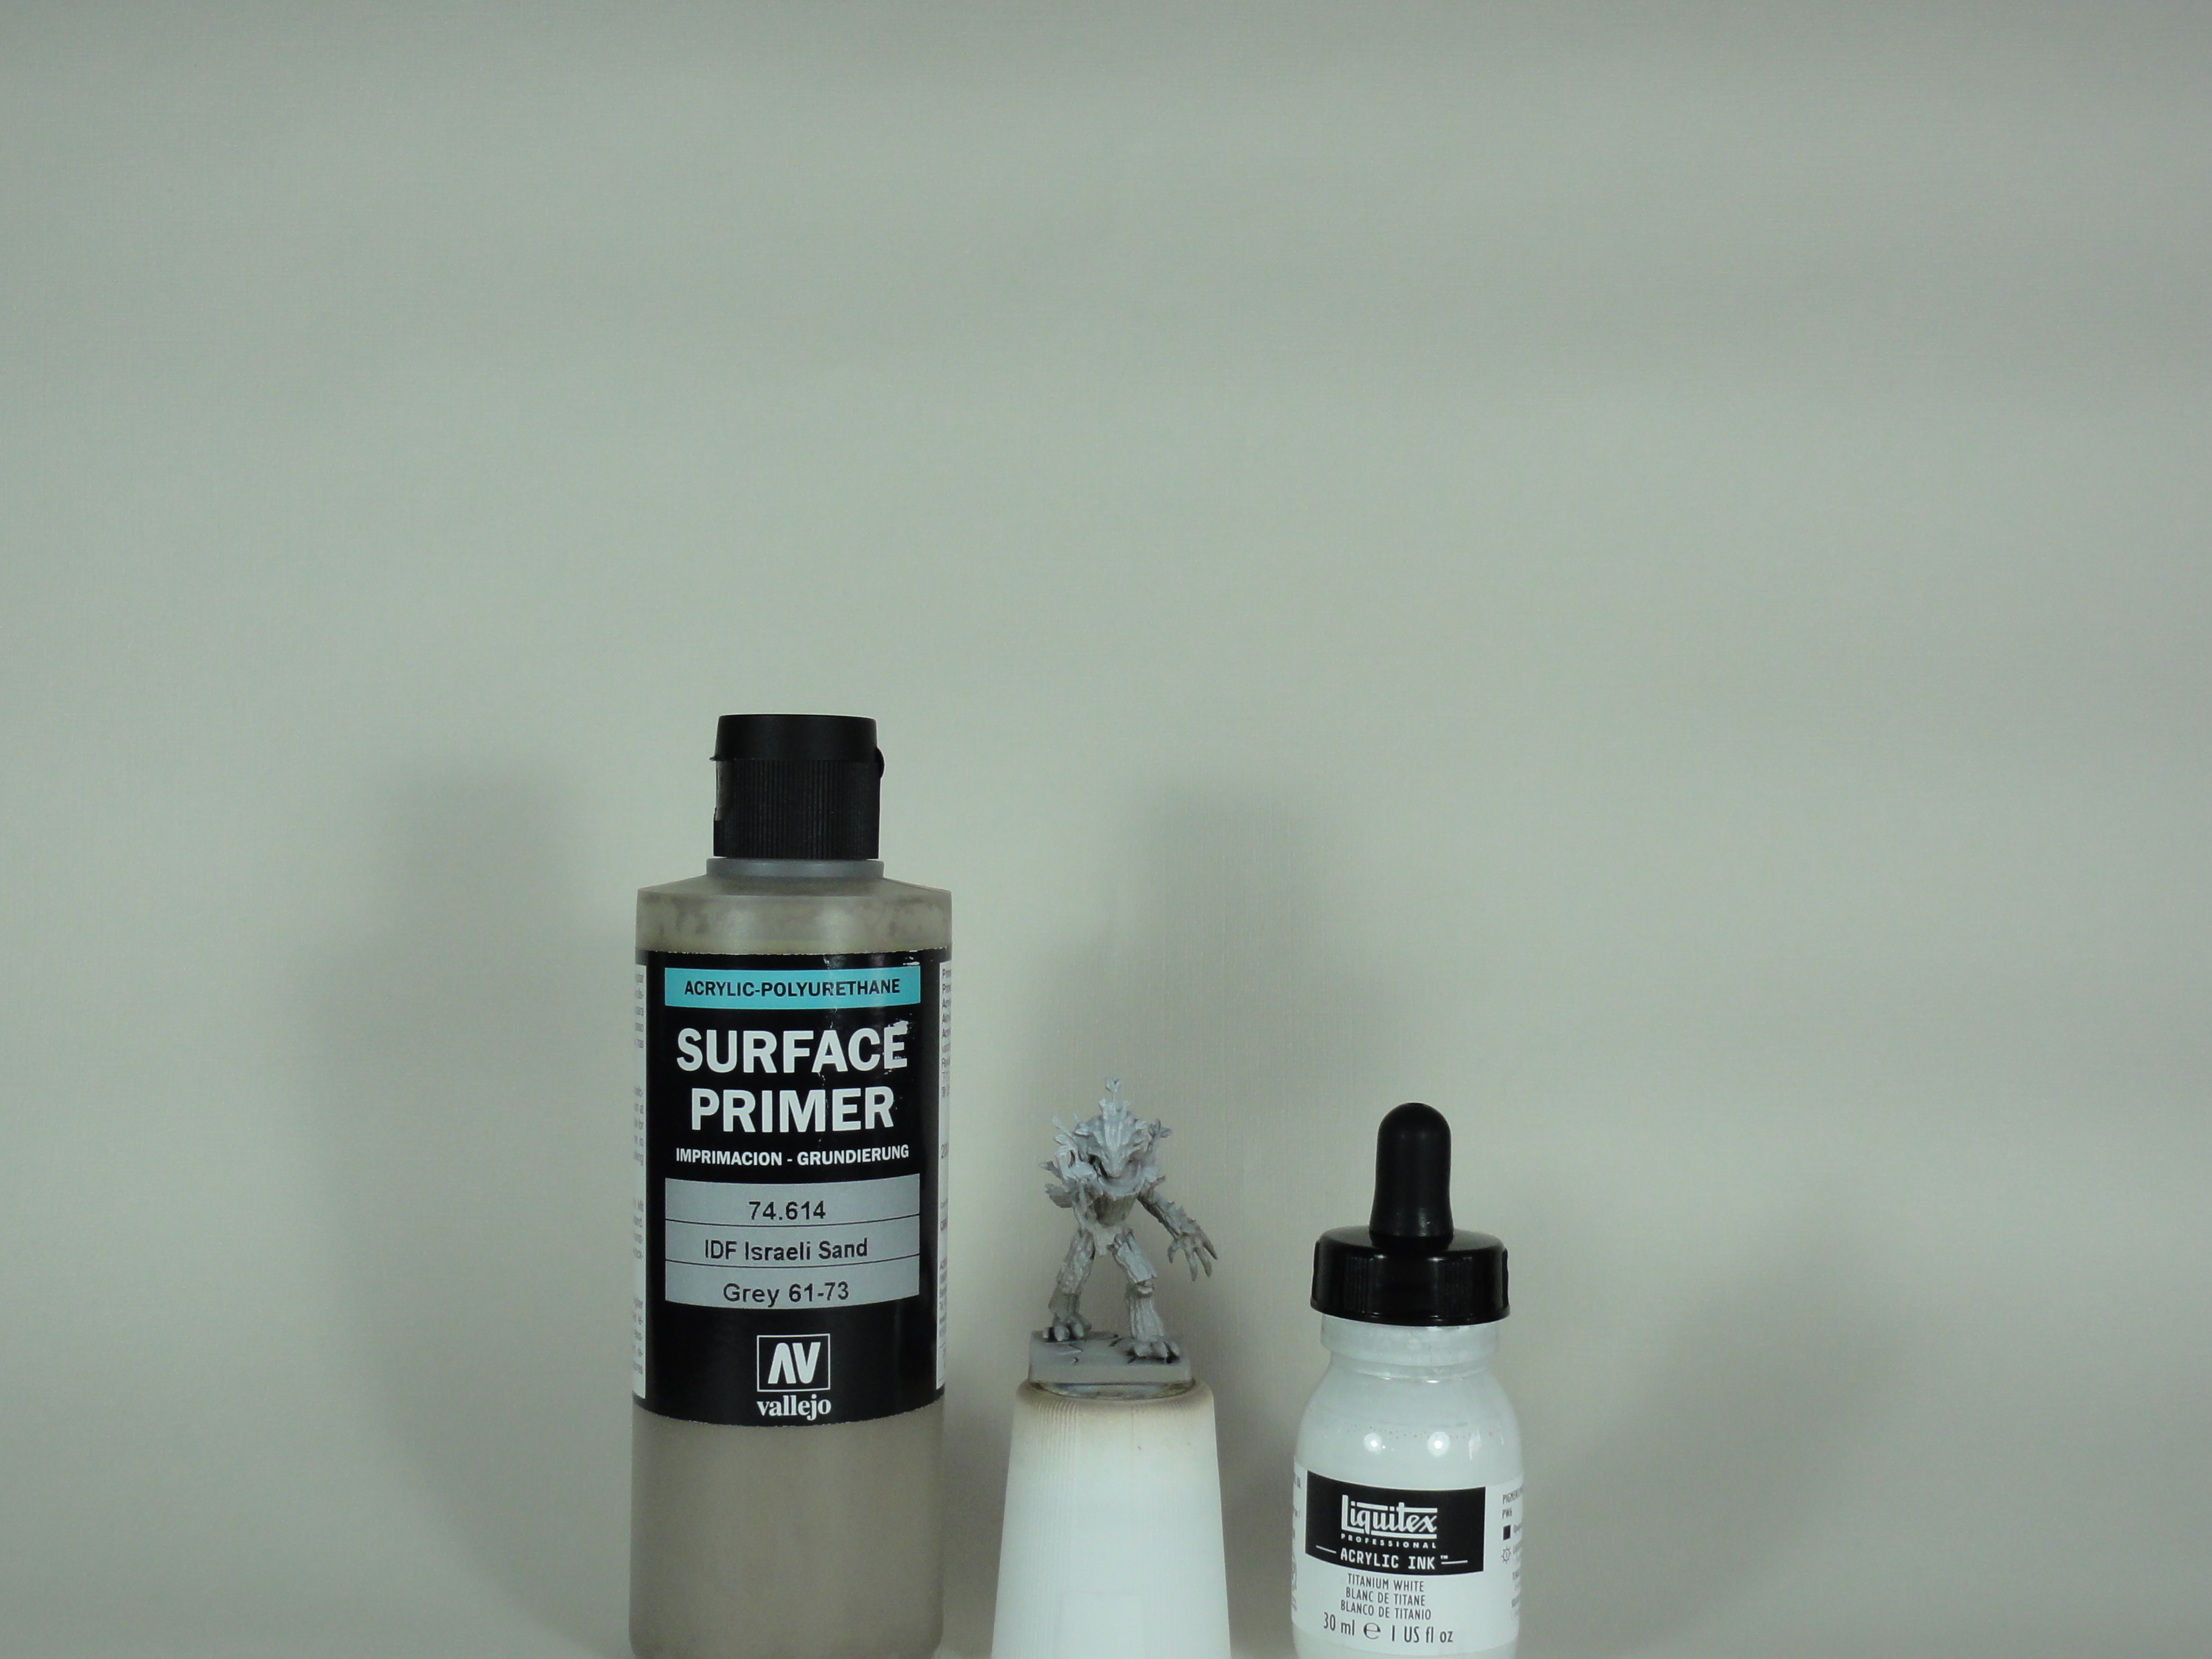
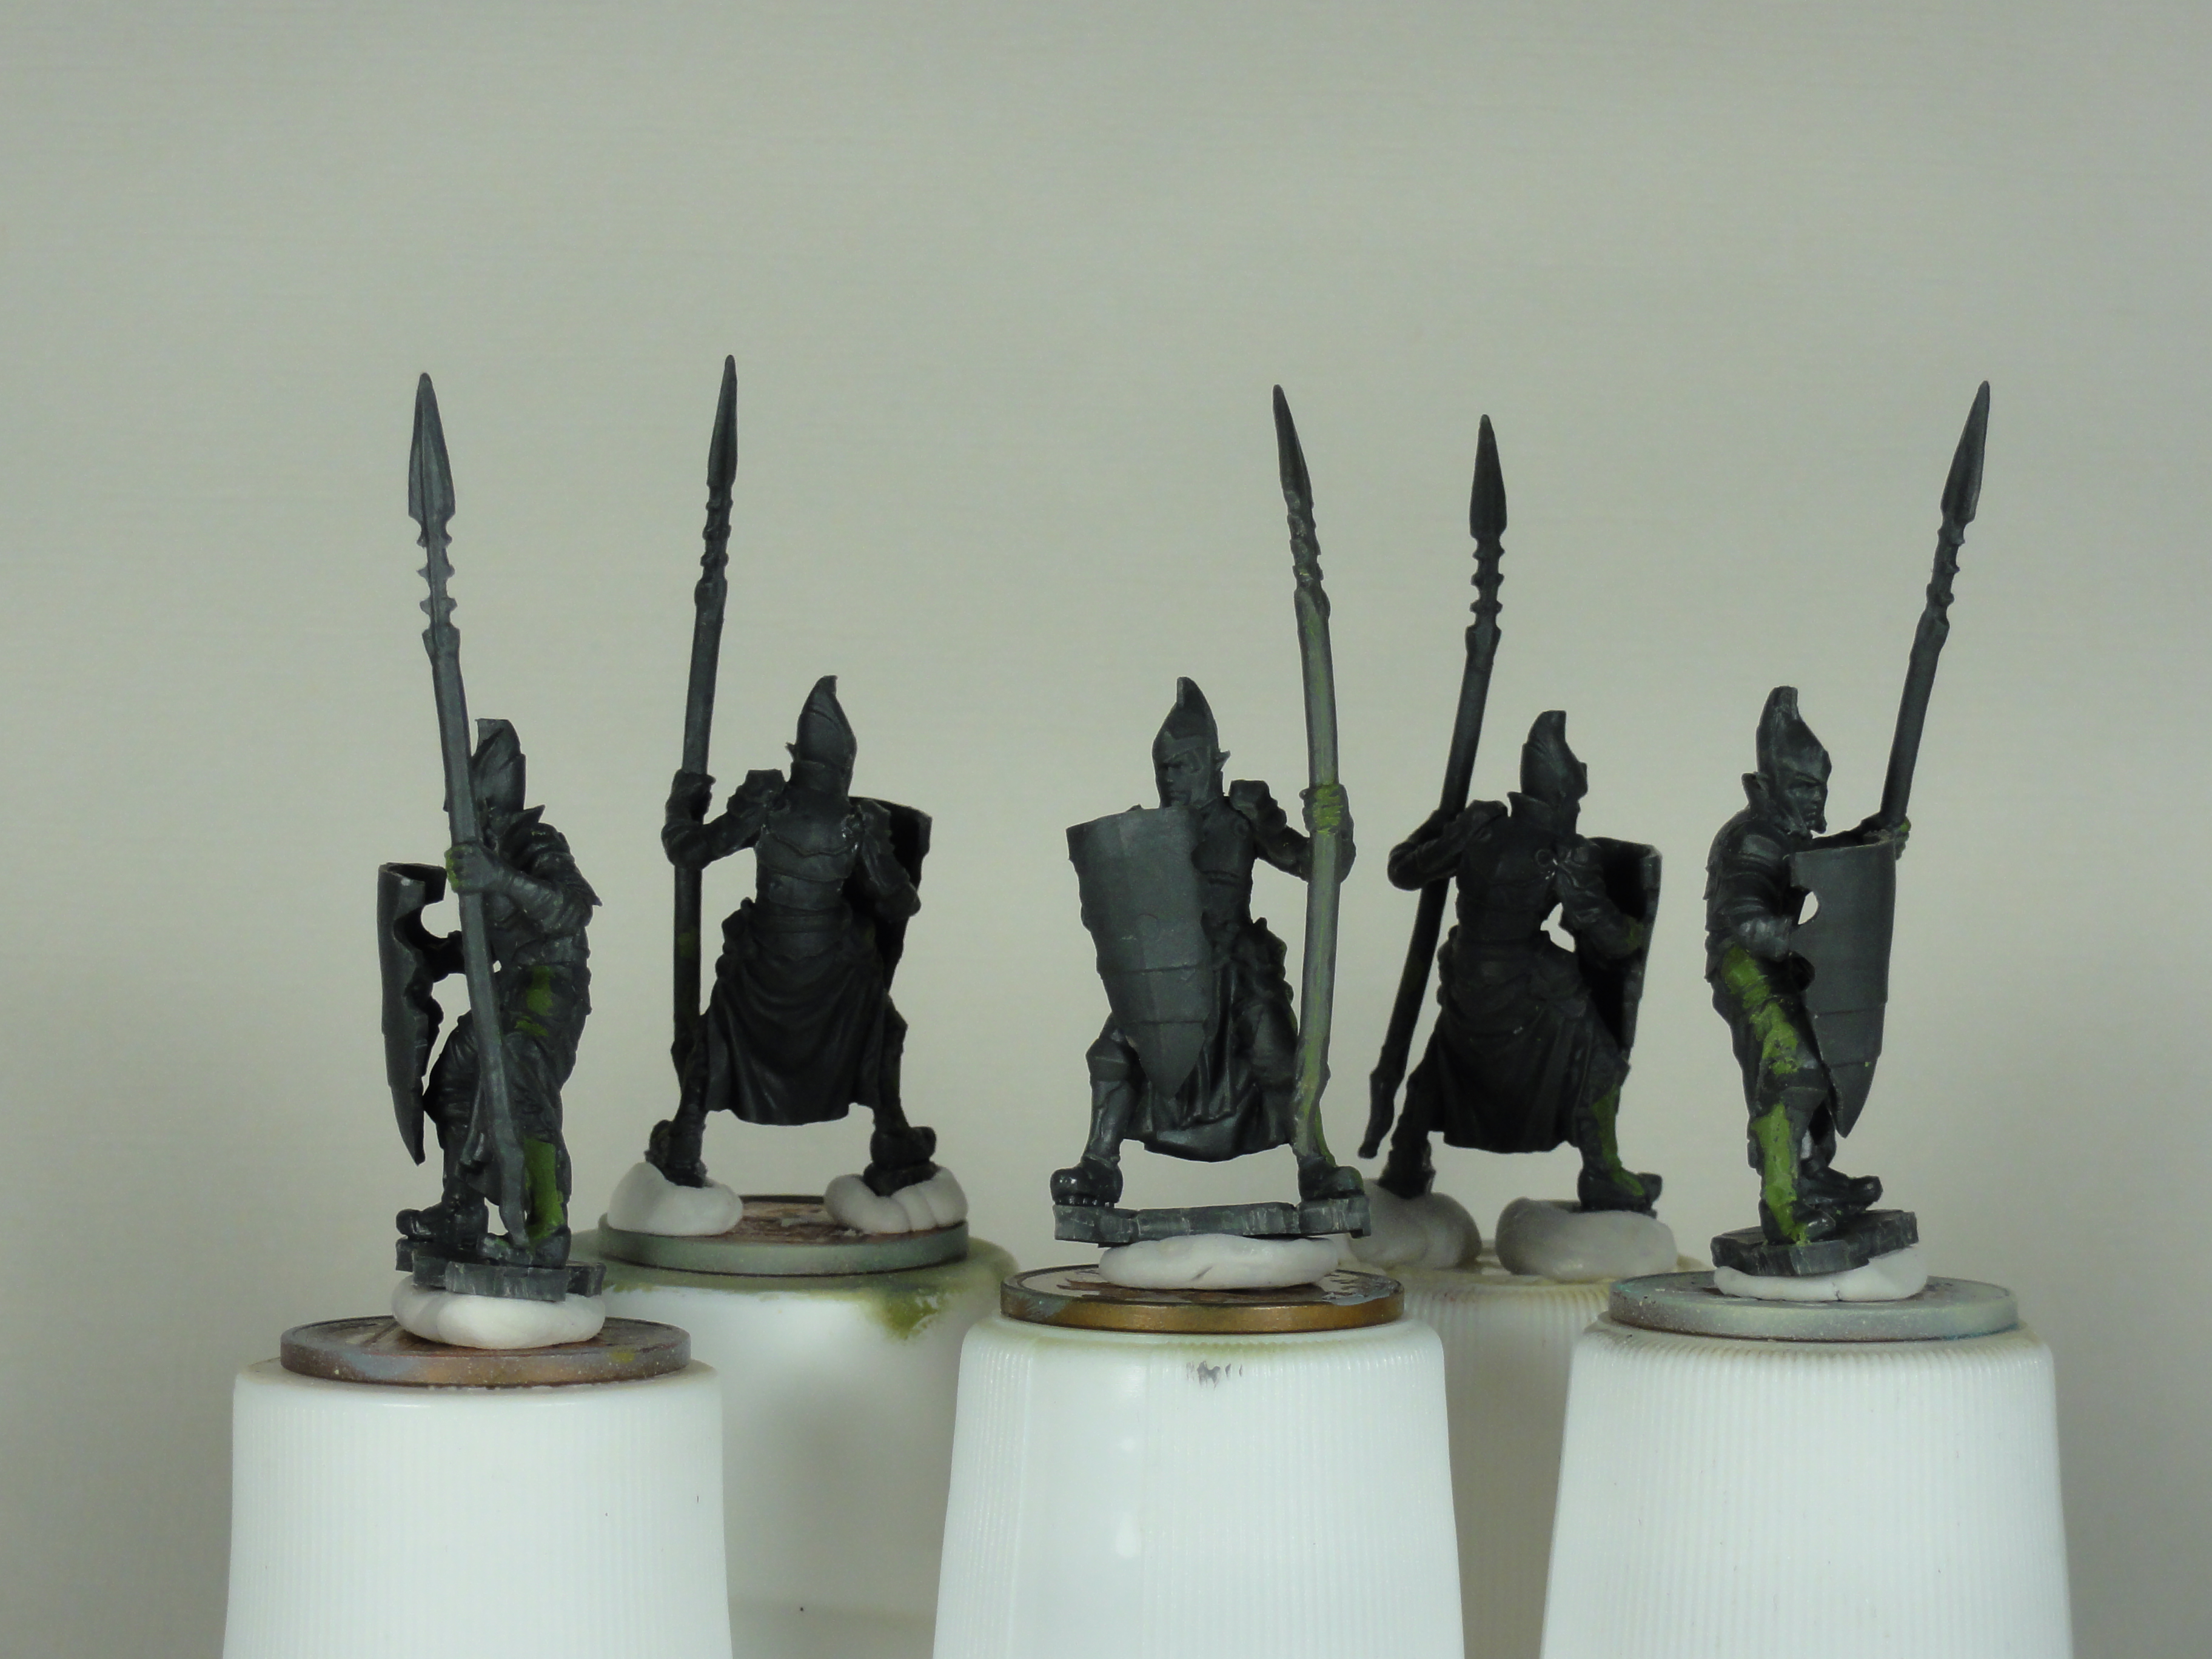
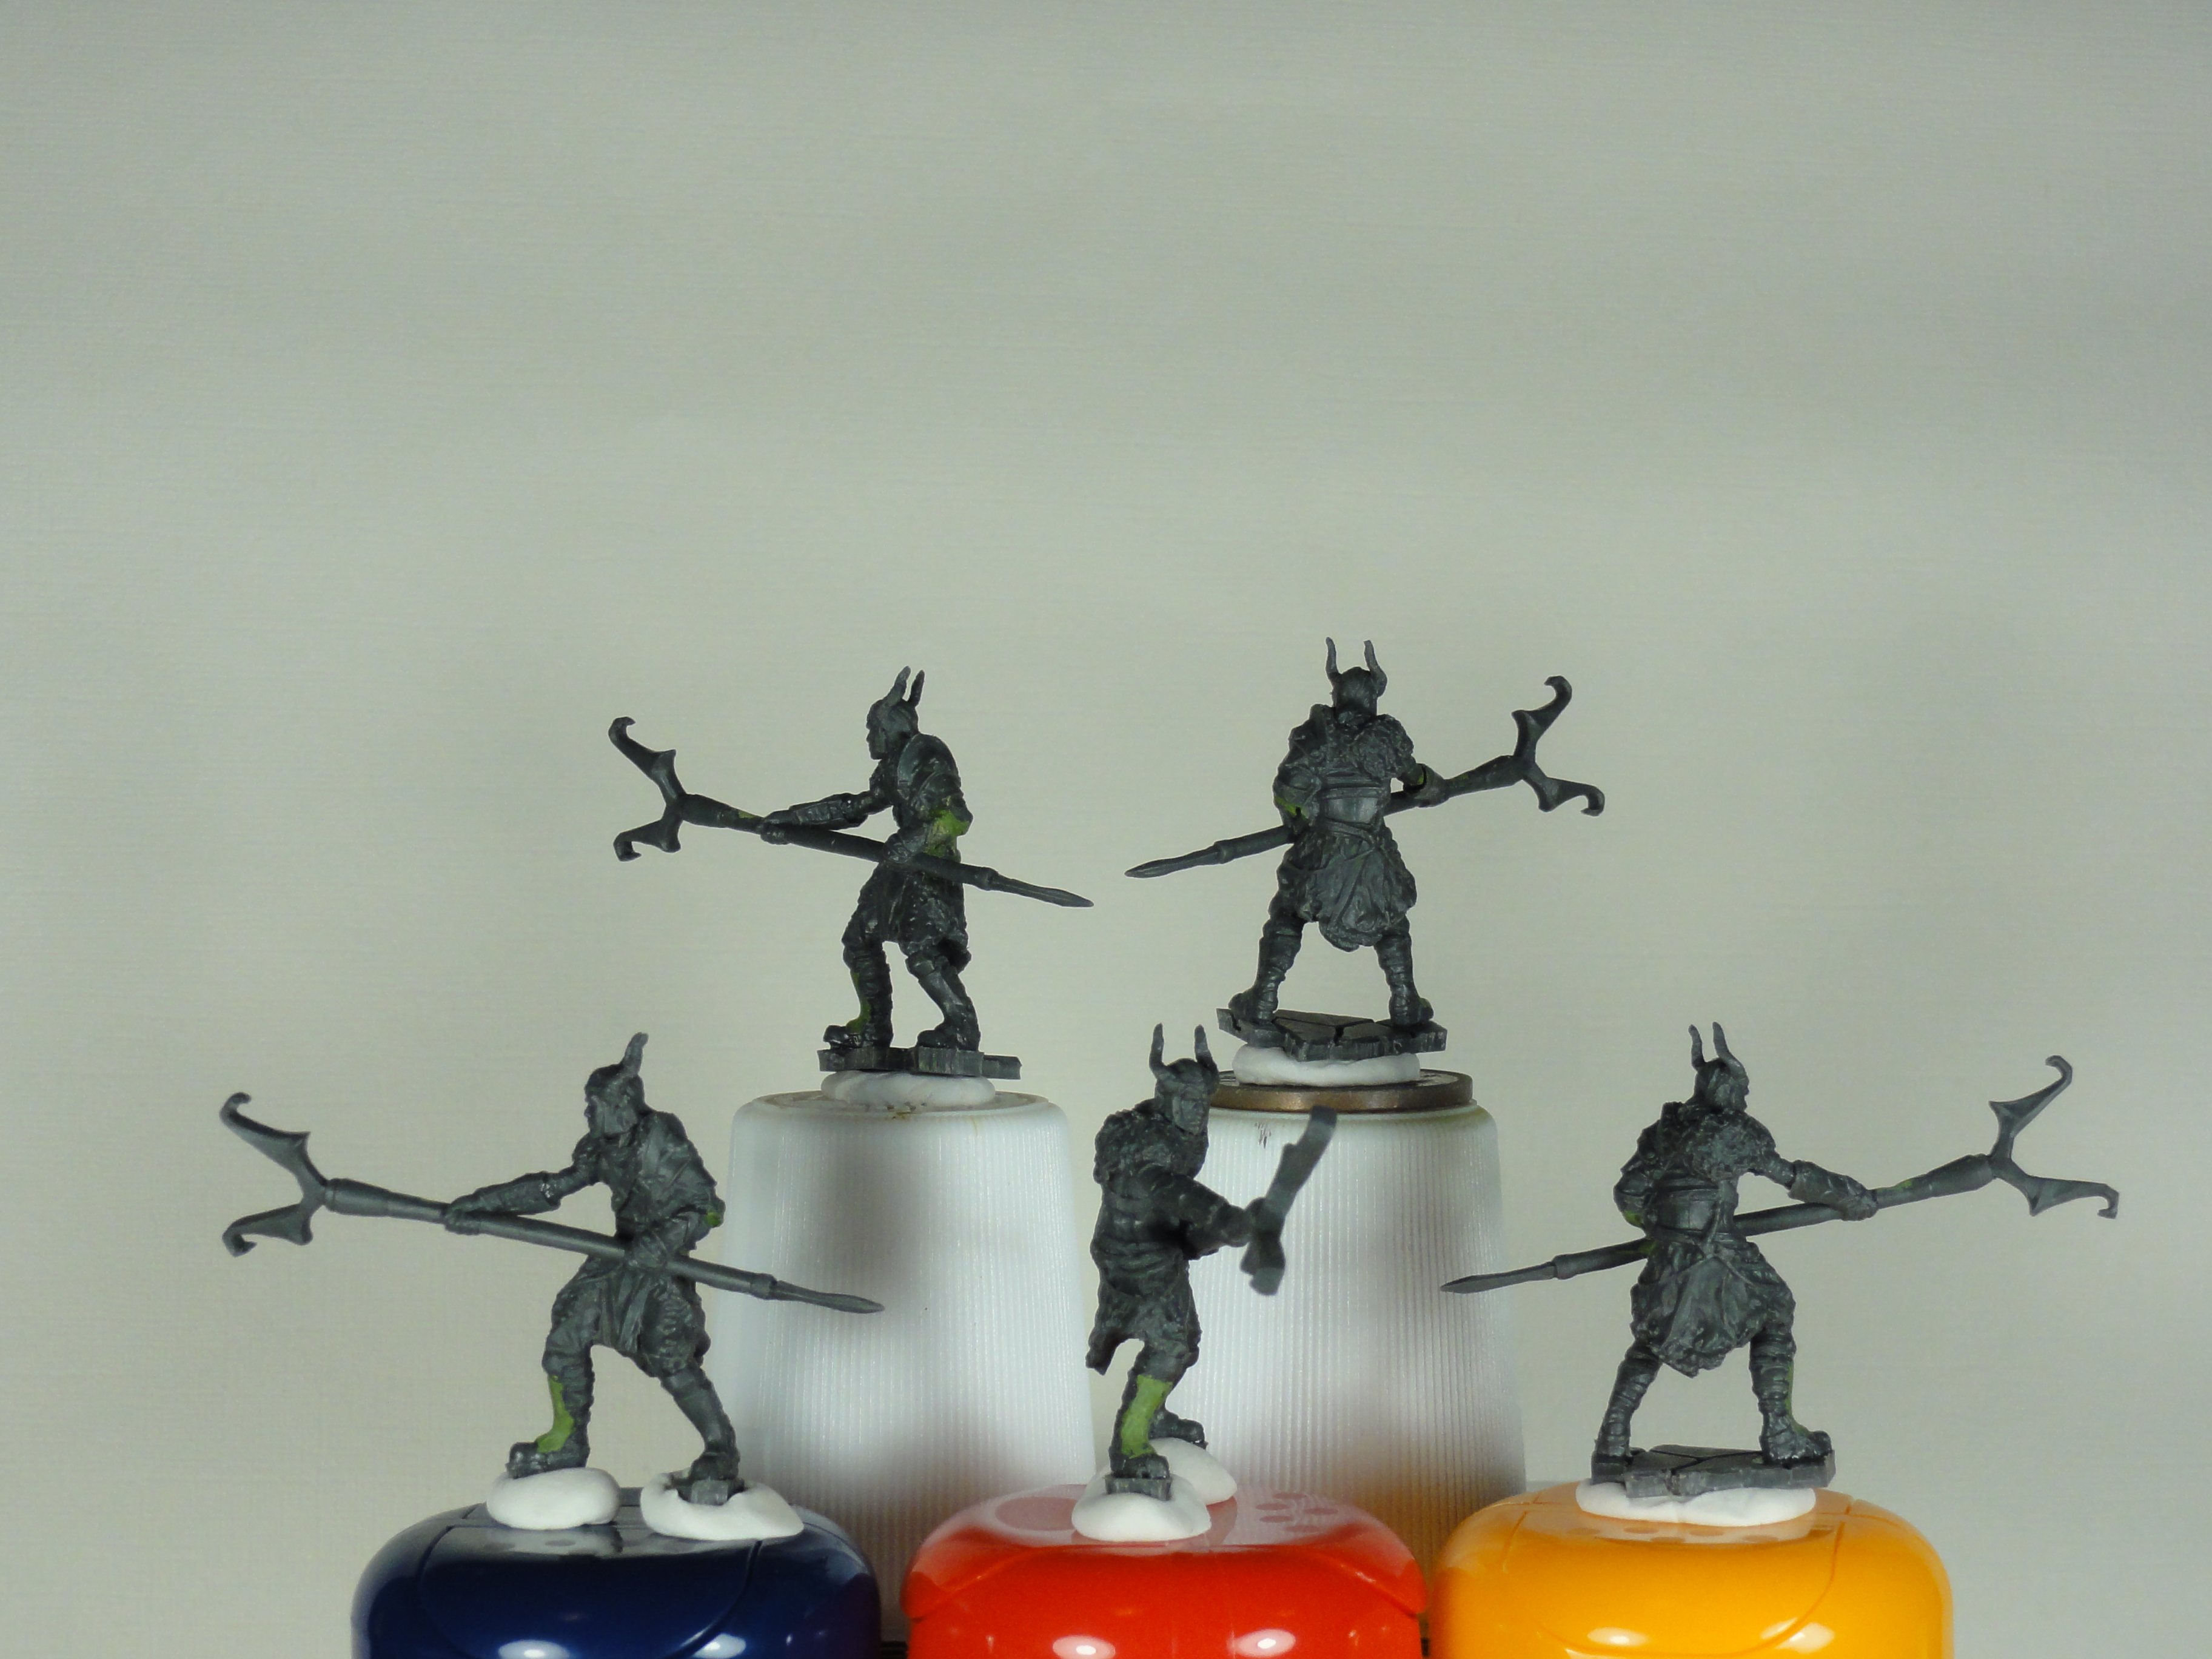
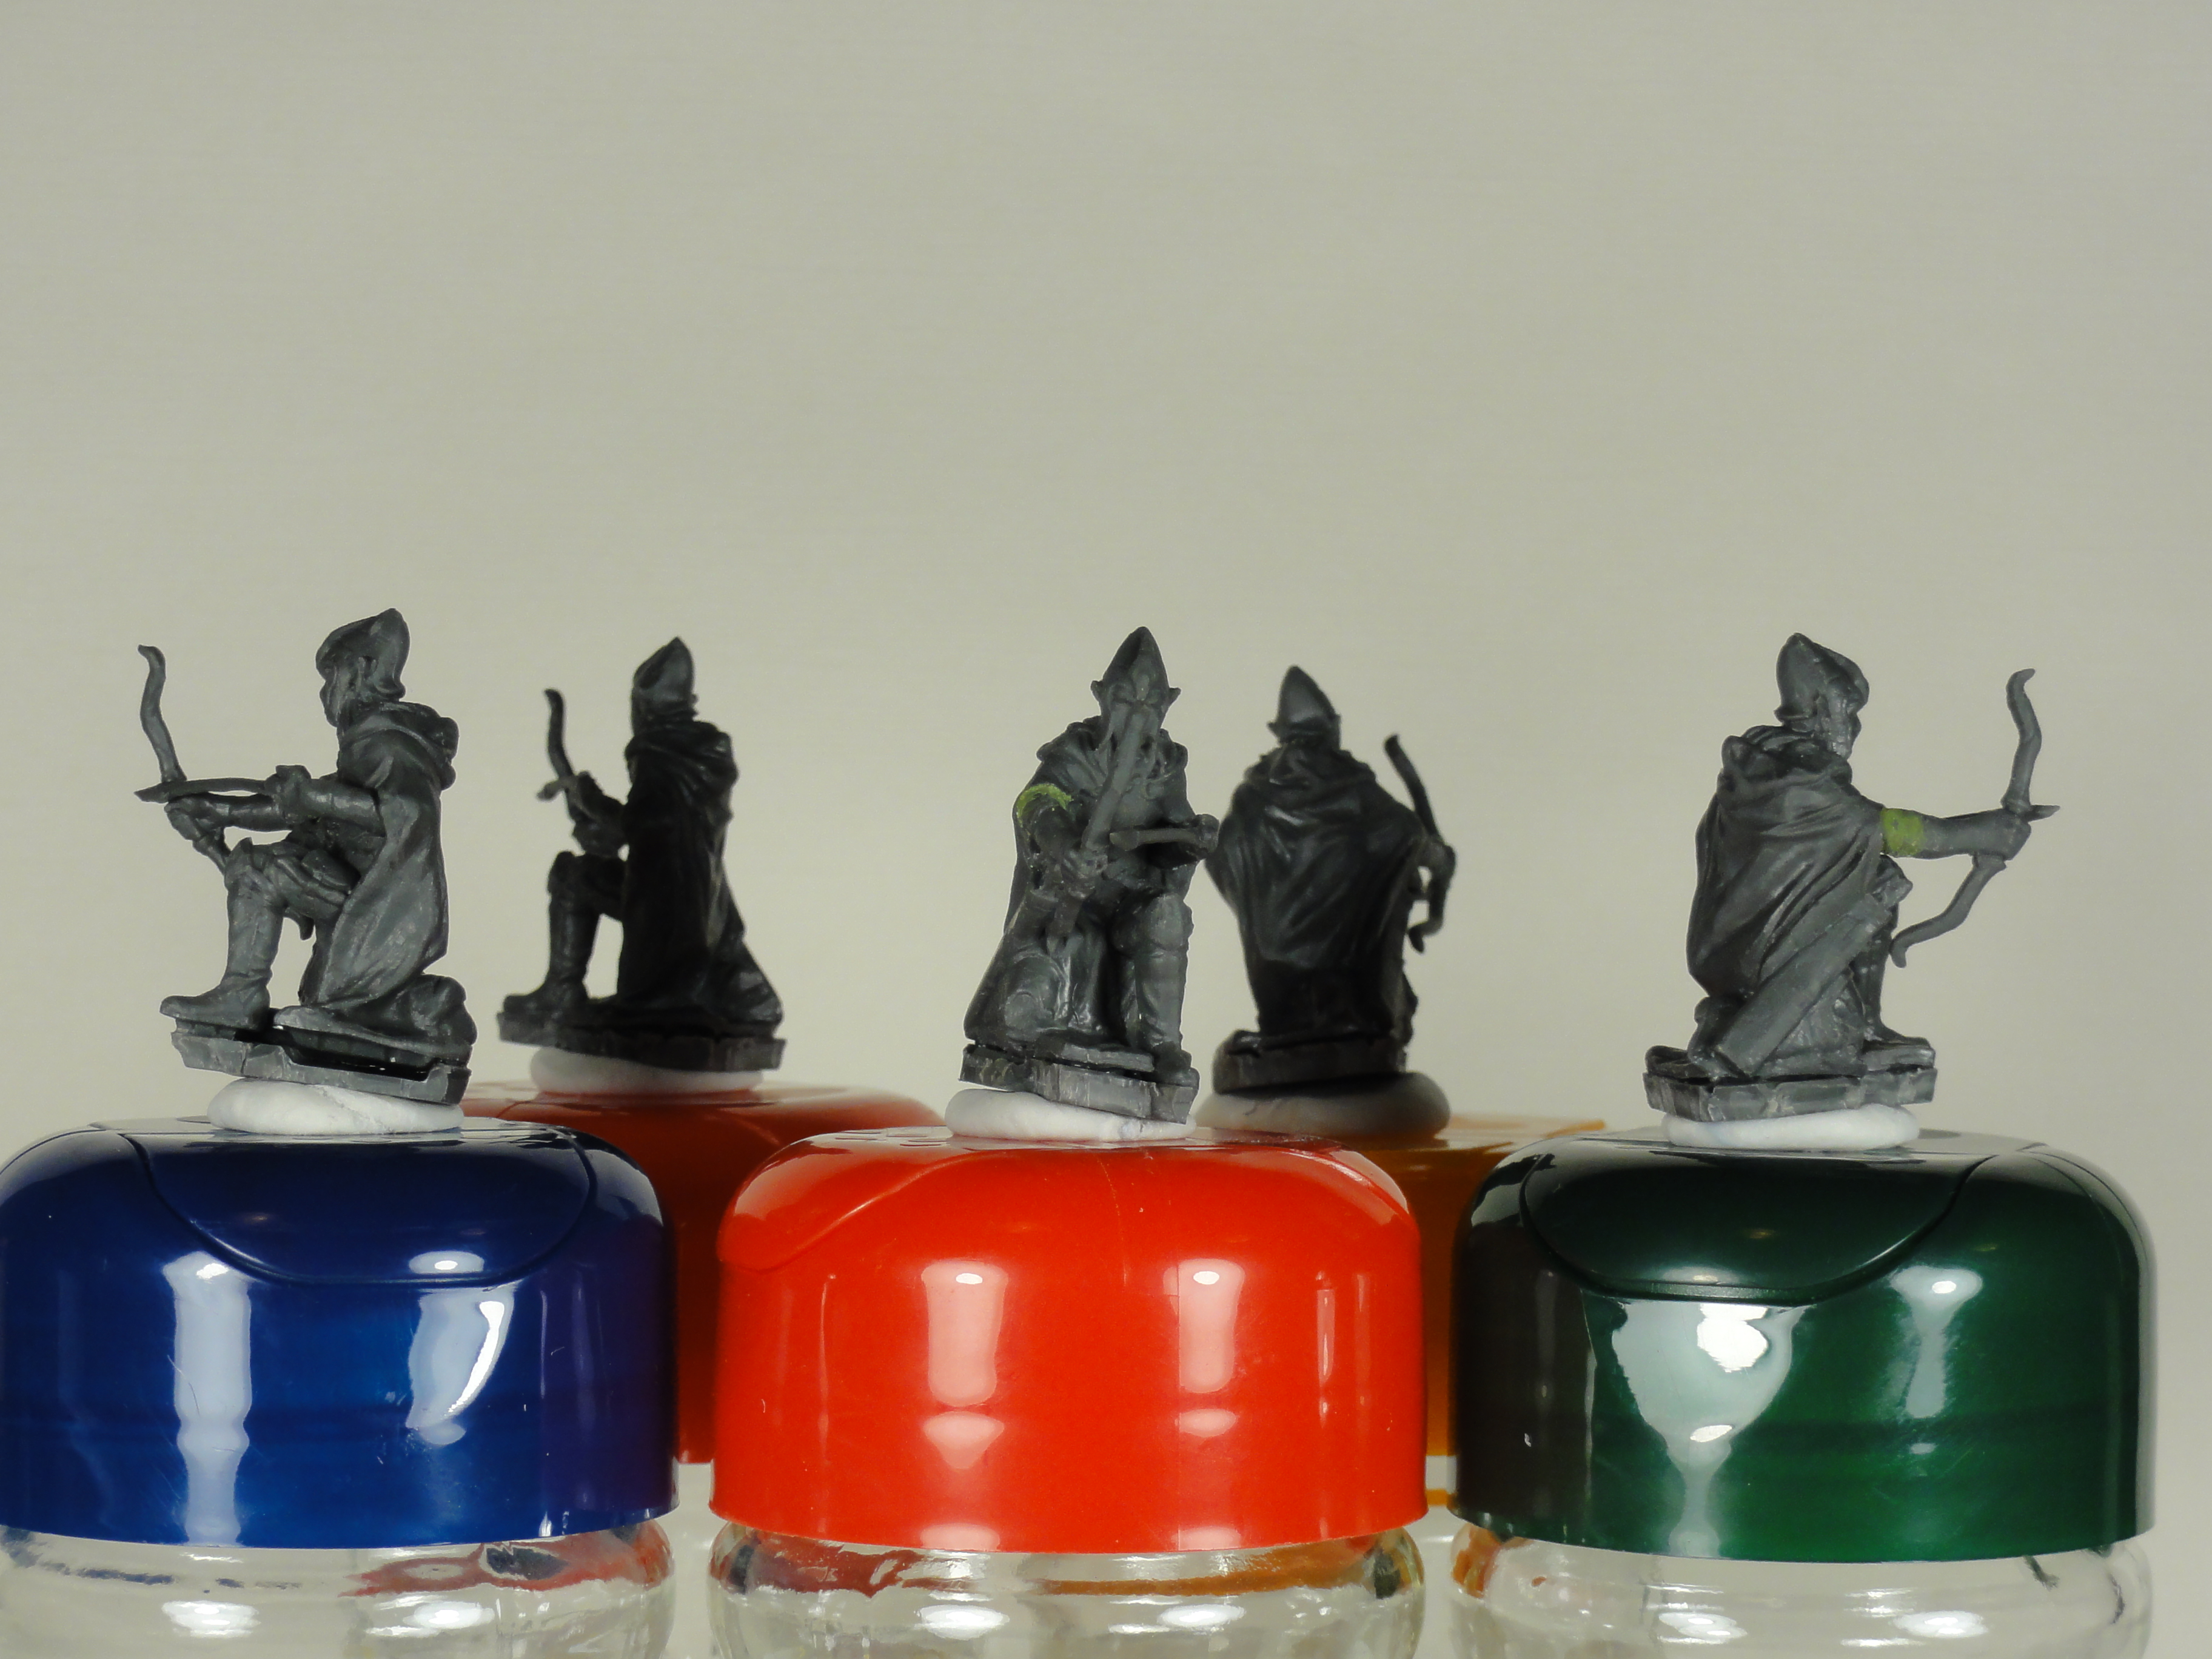
Primed the figures with IDF Israeli Sand Grey Vallejo Surface Primer. Airbrushed Titanium White Liquitex Acrylic Ink to try and give a bit of a Zenithal.
First time using the white ink and I need to experiment more with this. Maybe reducing the pressure or adding matt medium. I won’t be glazing directly over this so doesn’t matter too much this time.
Week 6 Ready to Prime Part 3
Had to divide week 6 into 3 parts to get it to upload as my picture files are probably too large. All but one of the core game minis ready to prime. I tried using GSW green putty acrylic filler for the first time on the gaps. The rest I used Milliput superfine.
Week 6 Ready to Prime Part 2
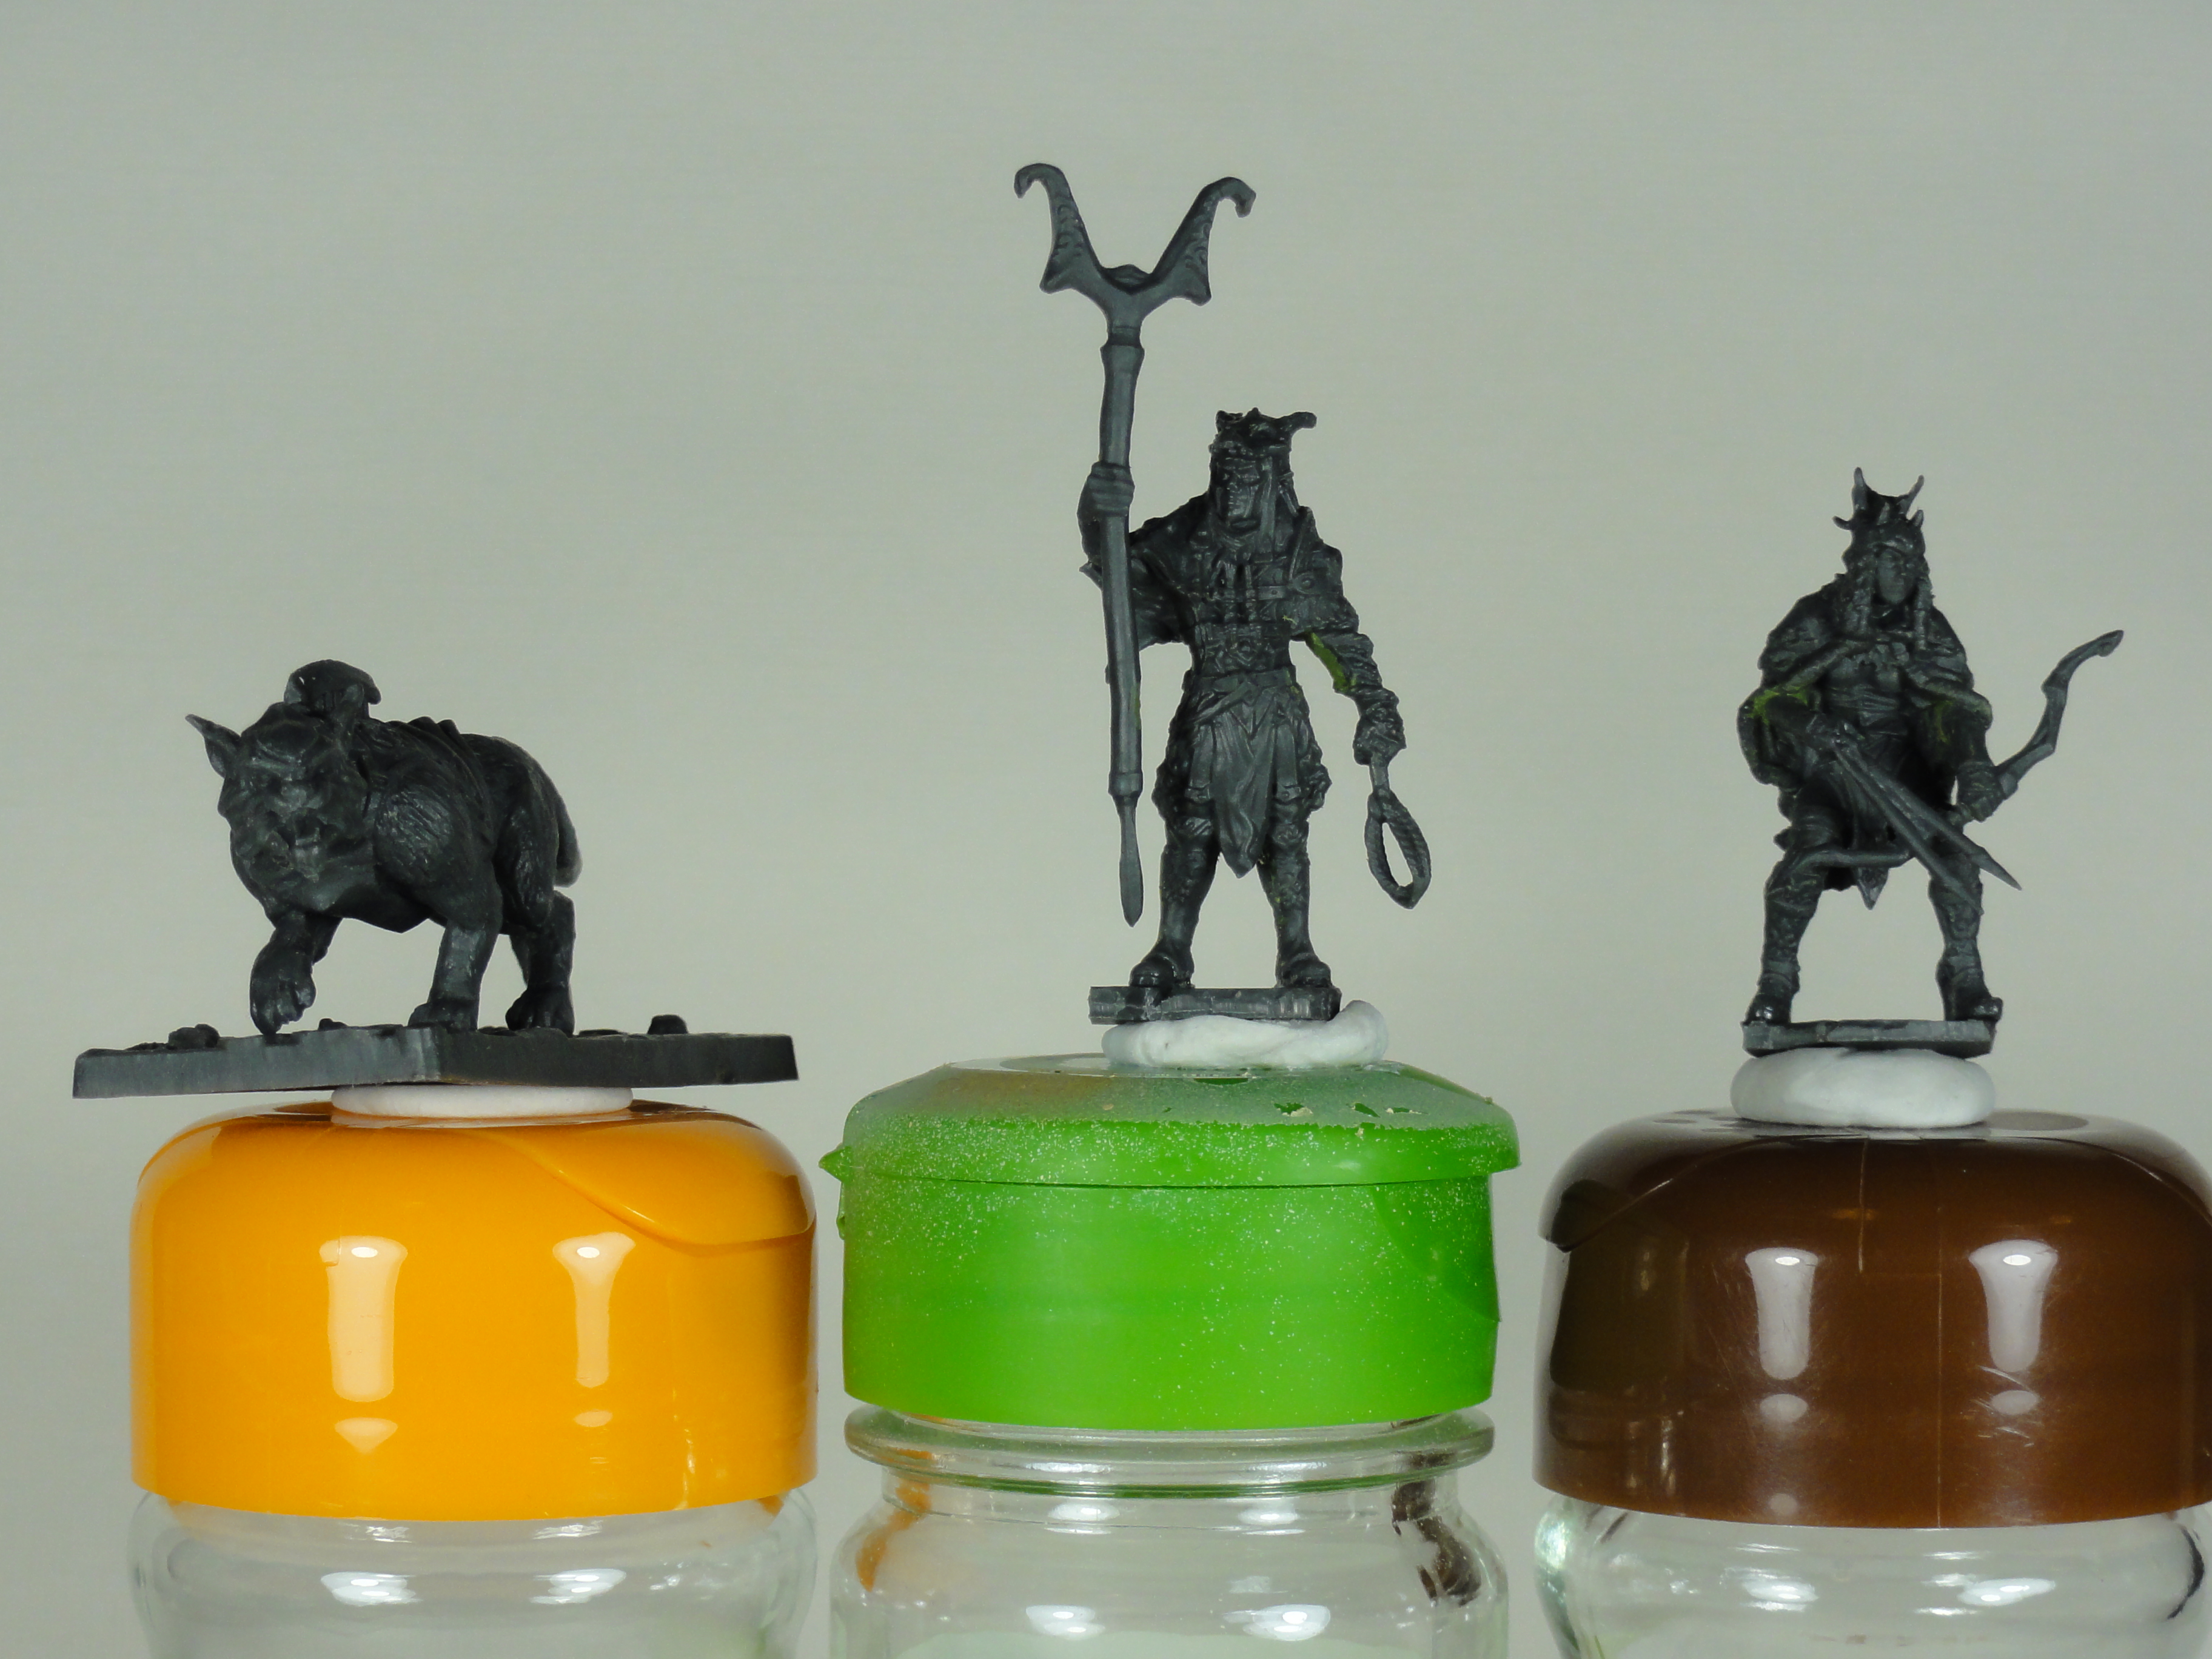
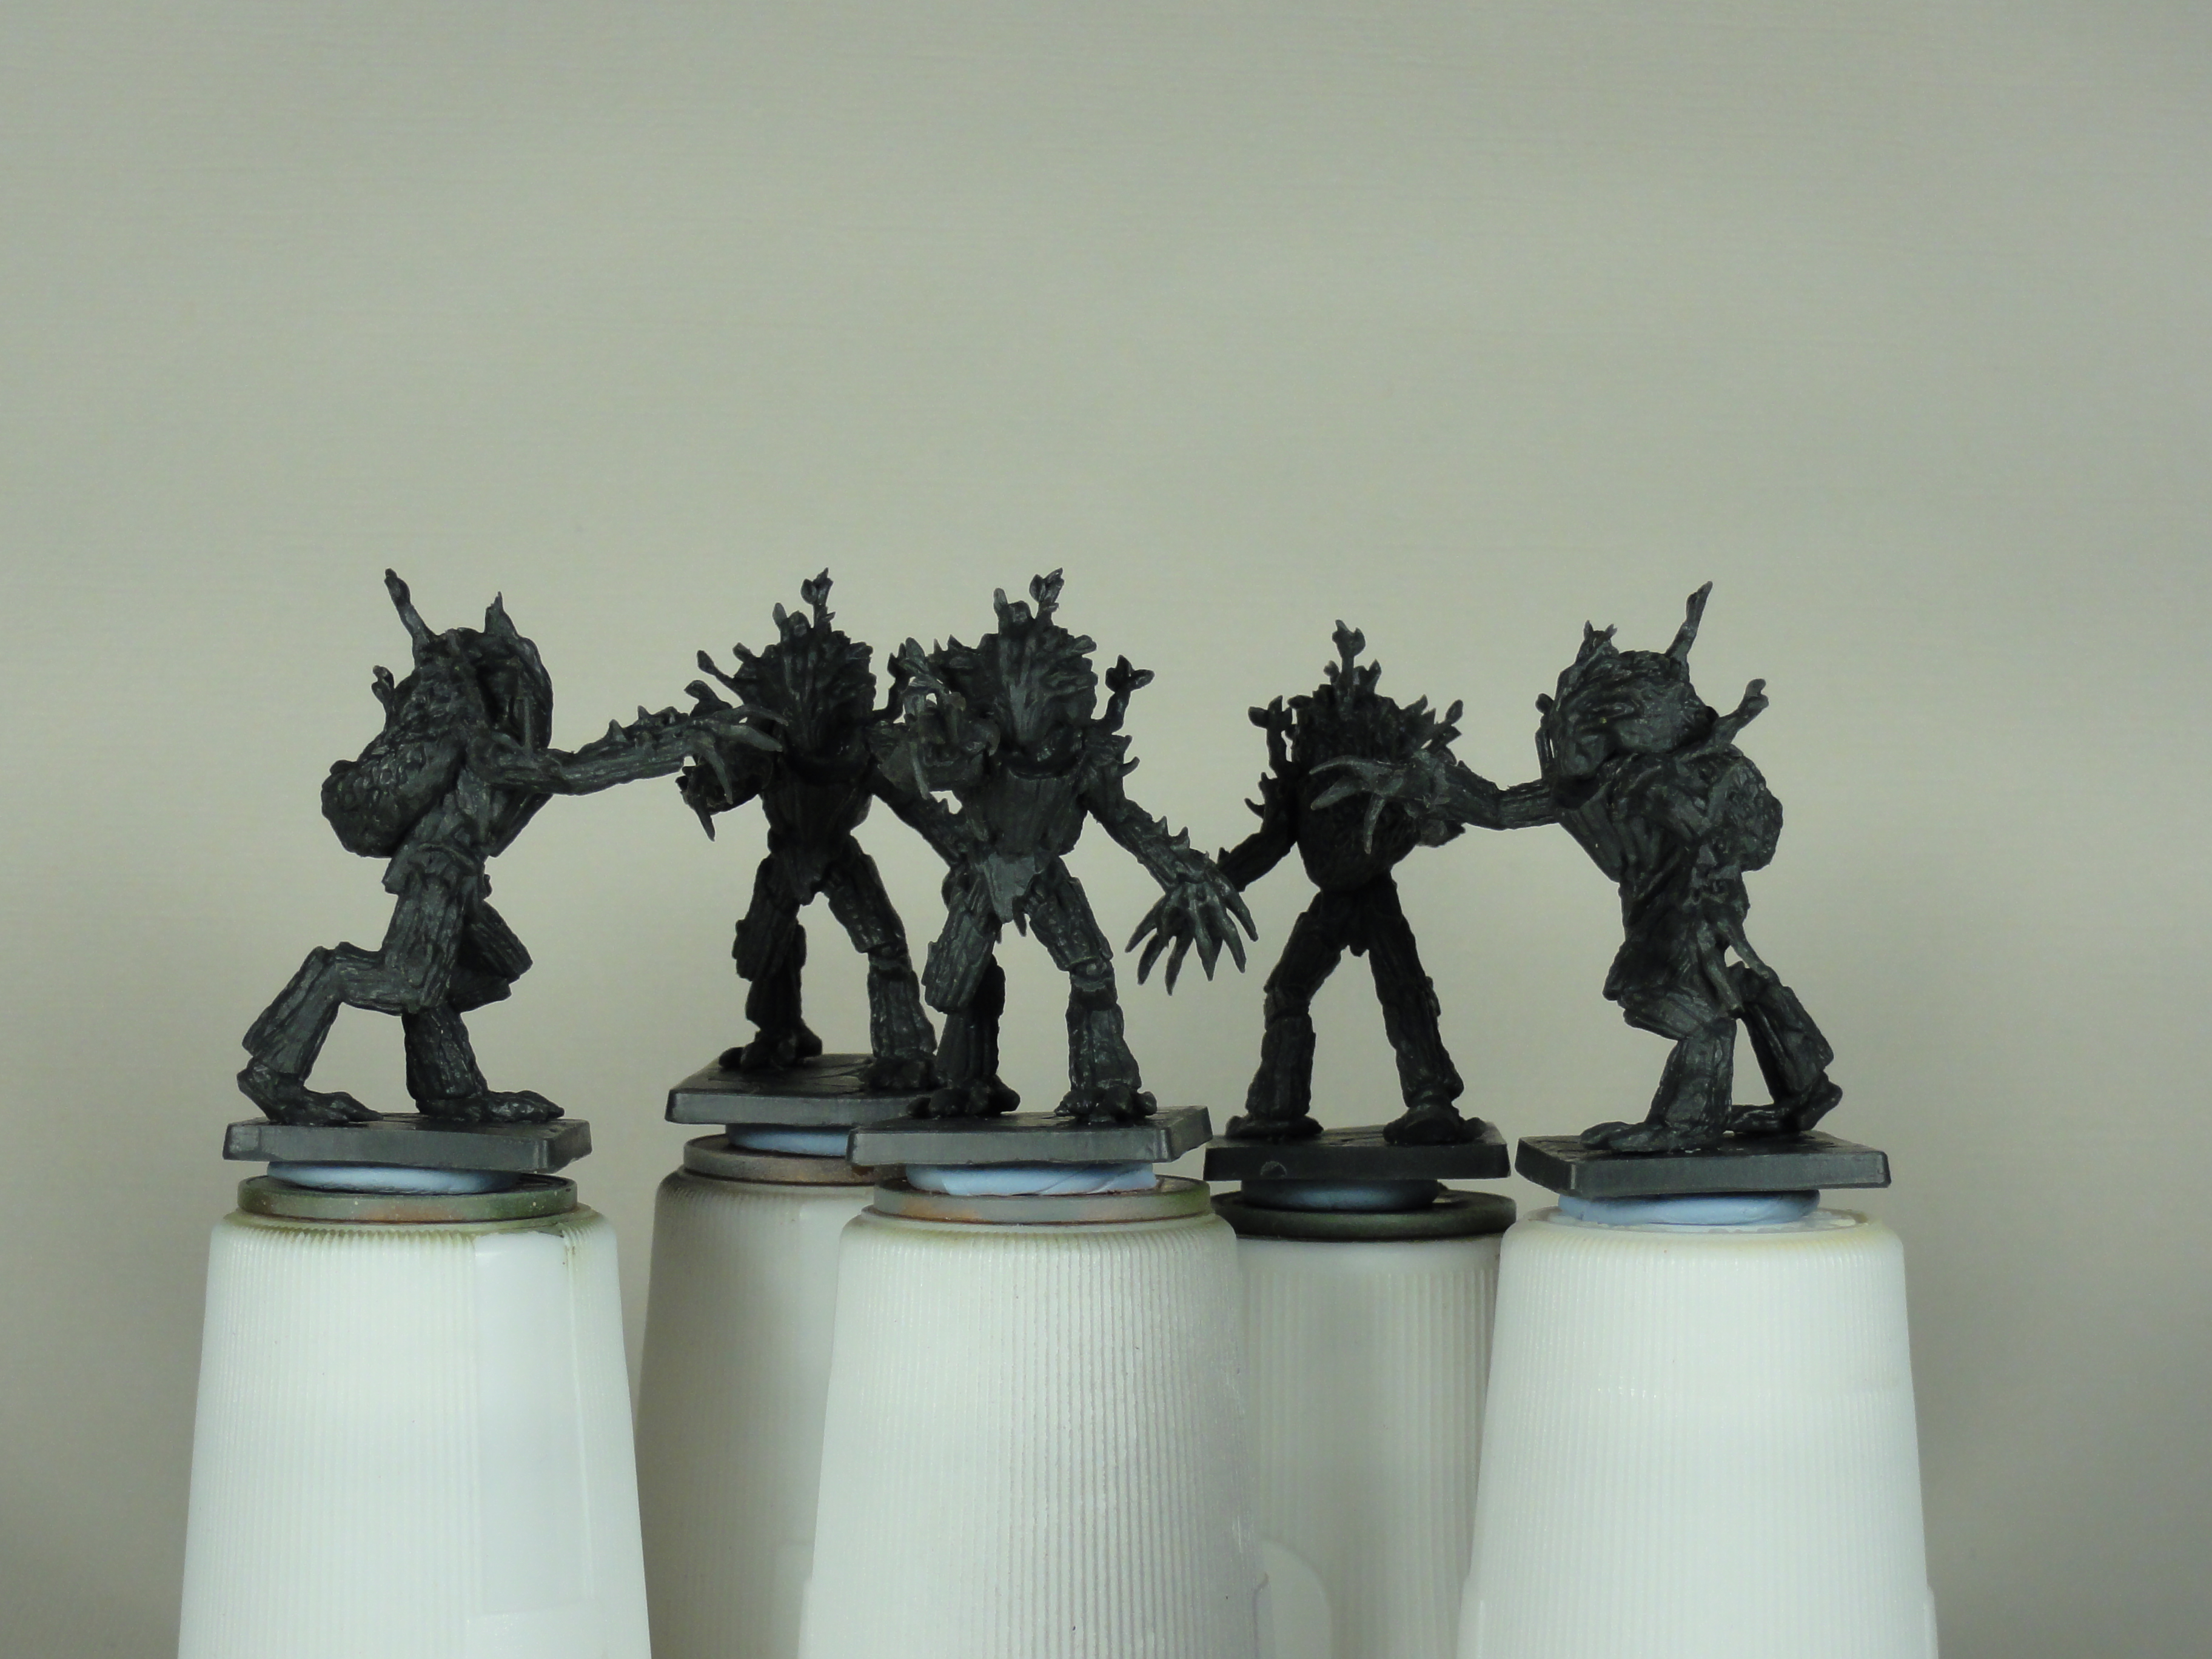
The painting handles are a mixture of glass spice jars and mouth wash tops. All but one of the core game minis ready to prime. I tried using GSW green putty acrylic filler for the first time on the gaps. The rest I used Milliput superfine.
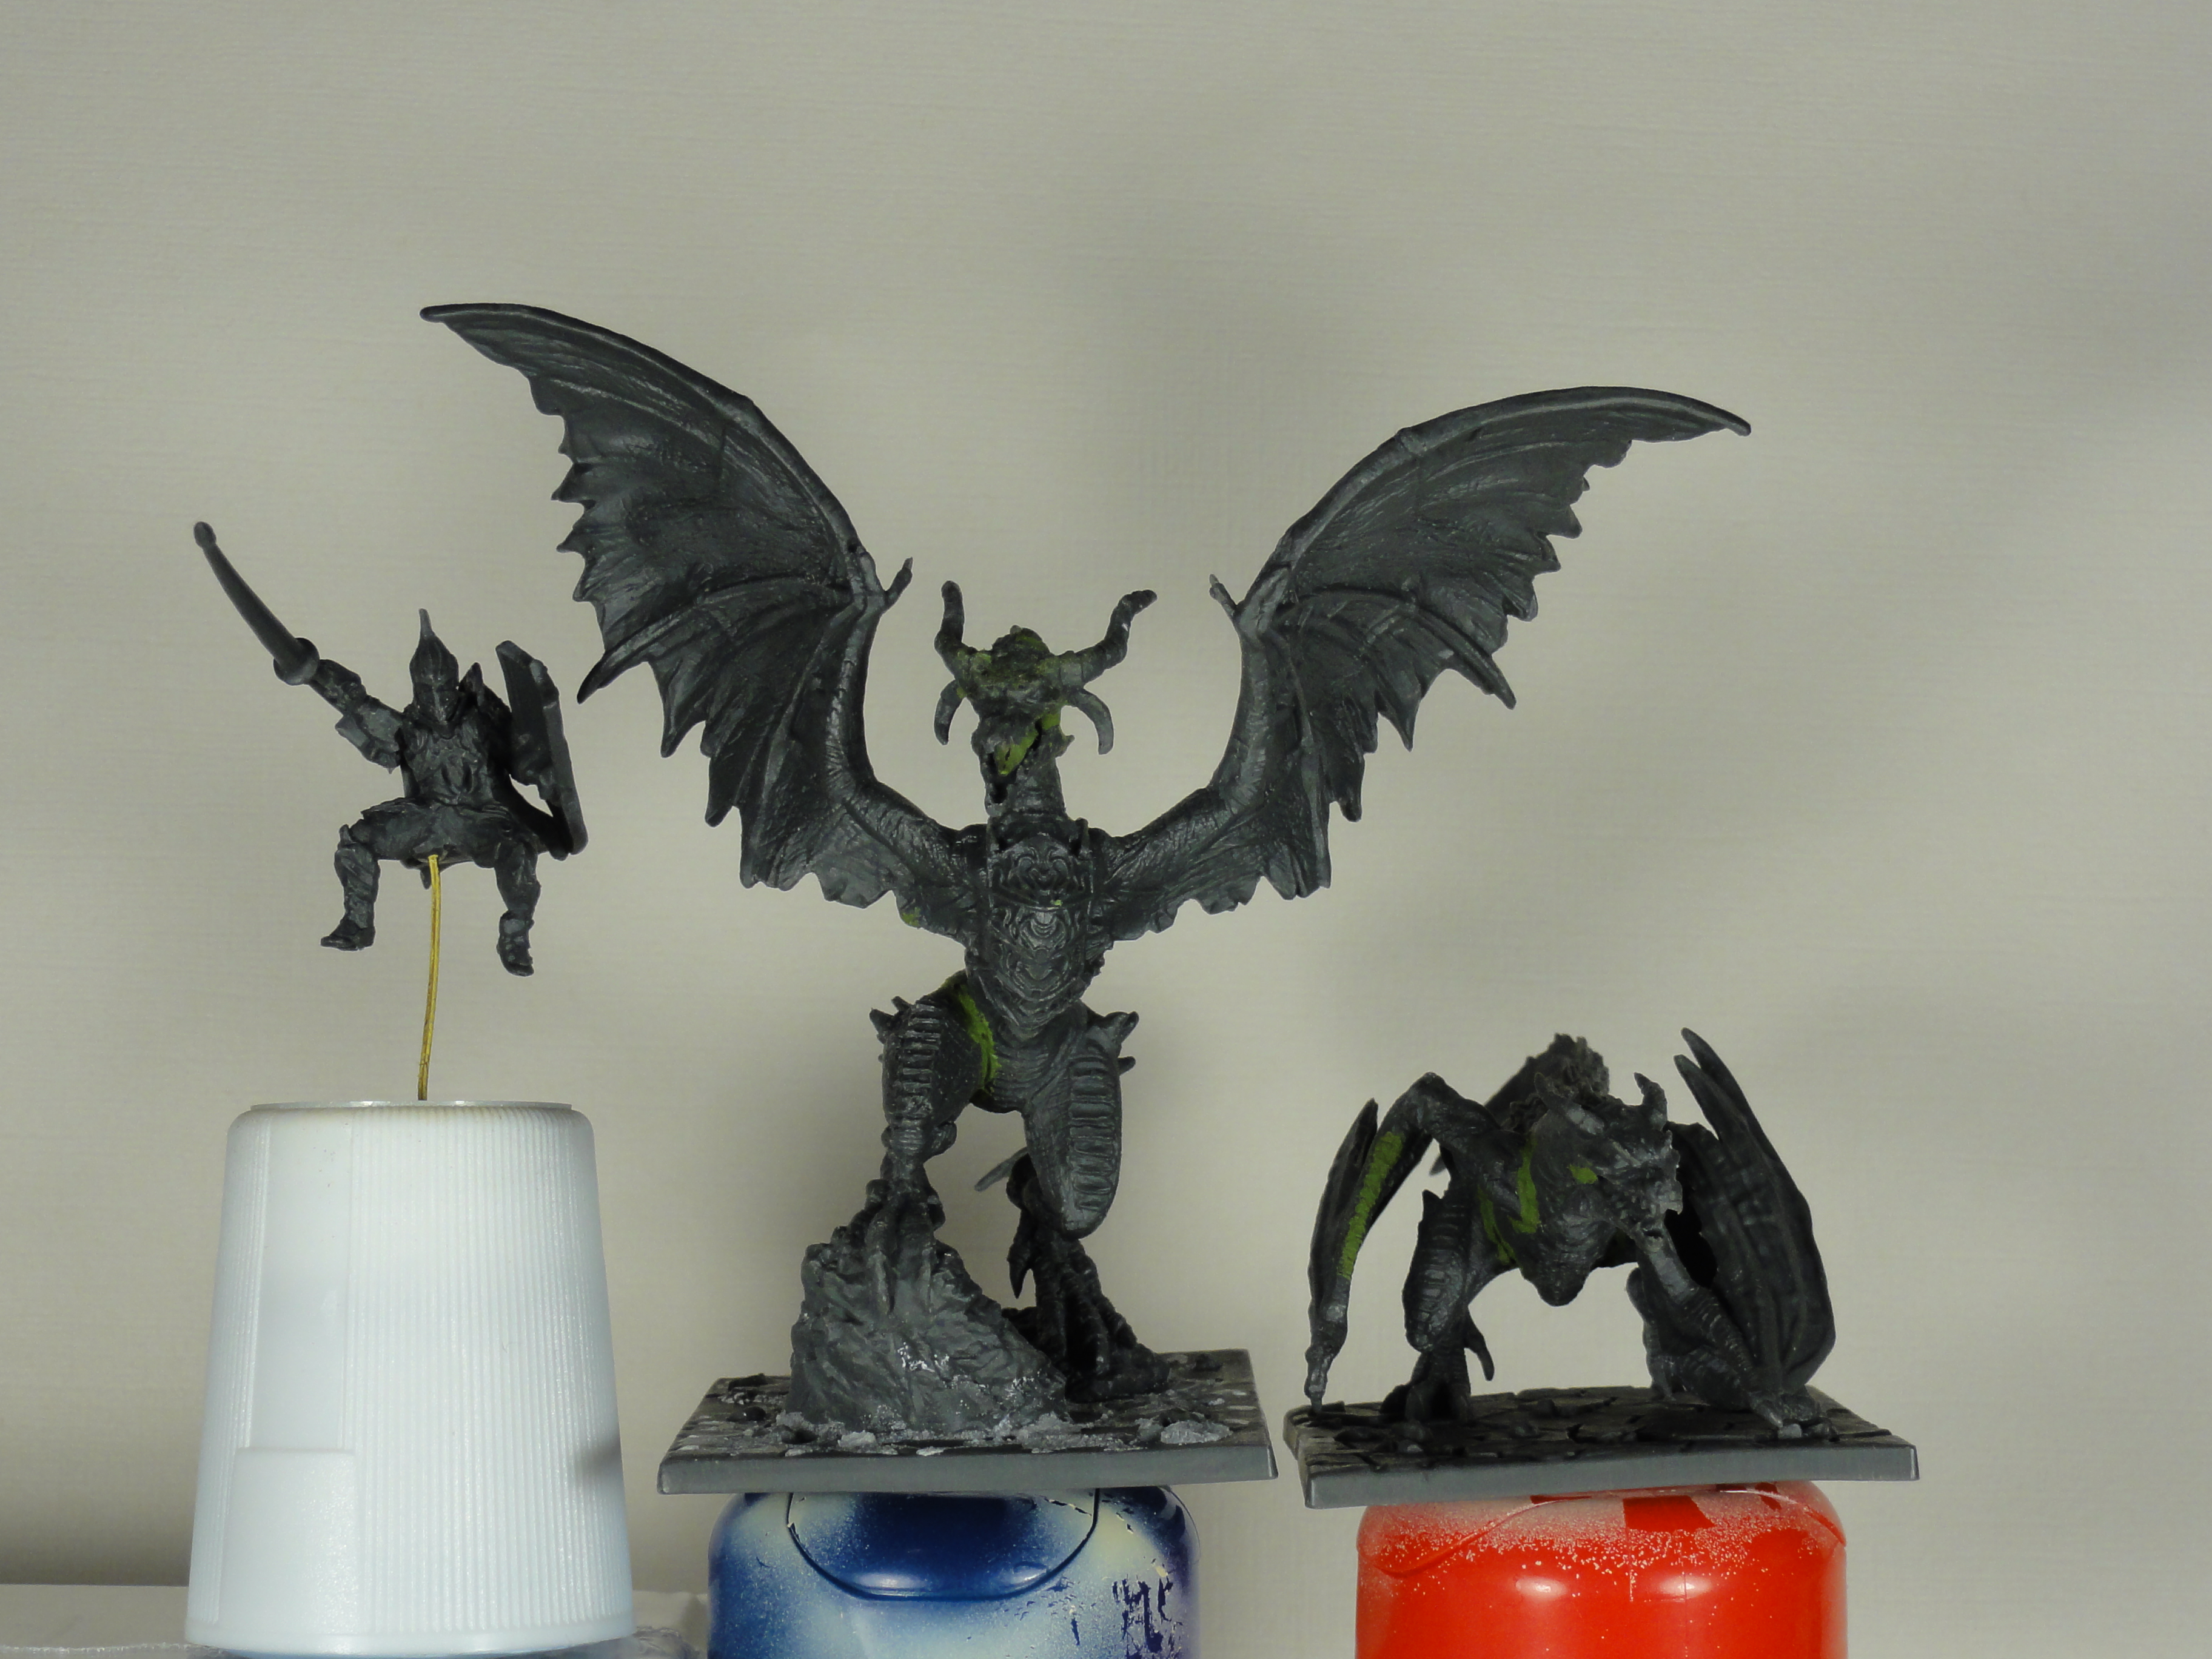
Week 6 Ready to Prime Part 1
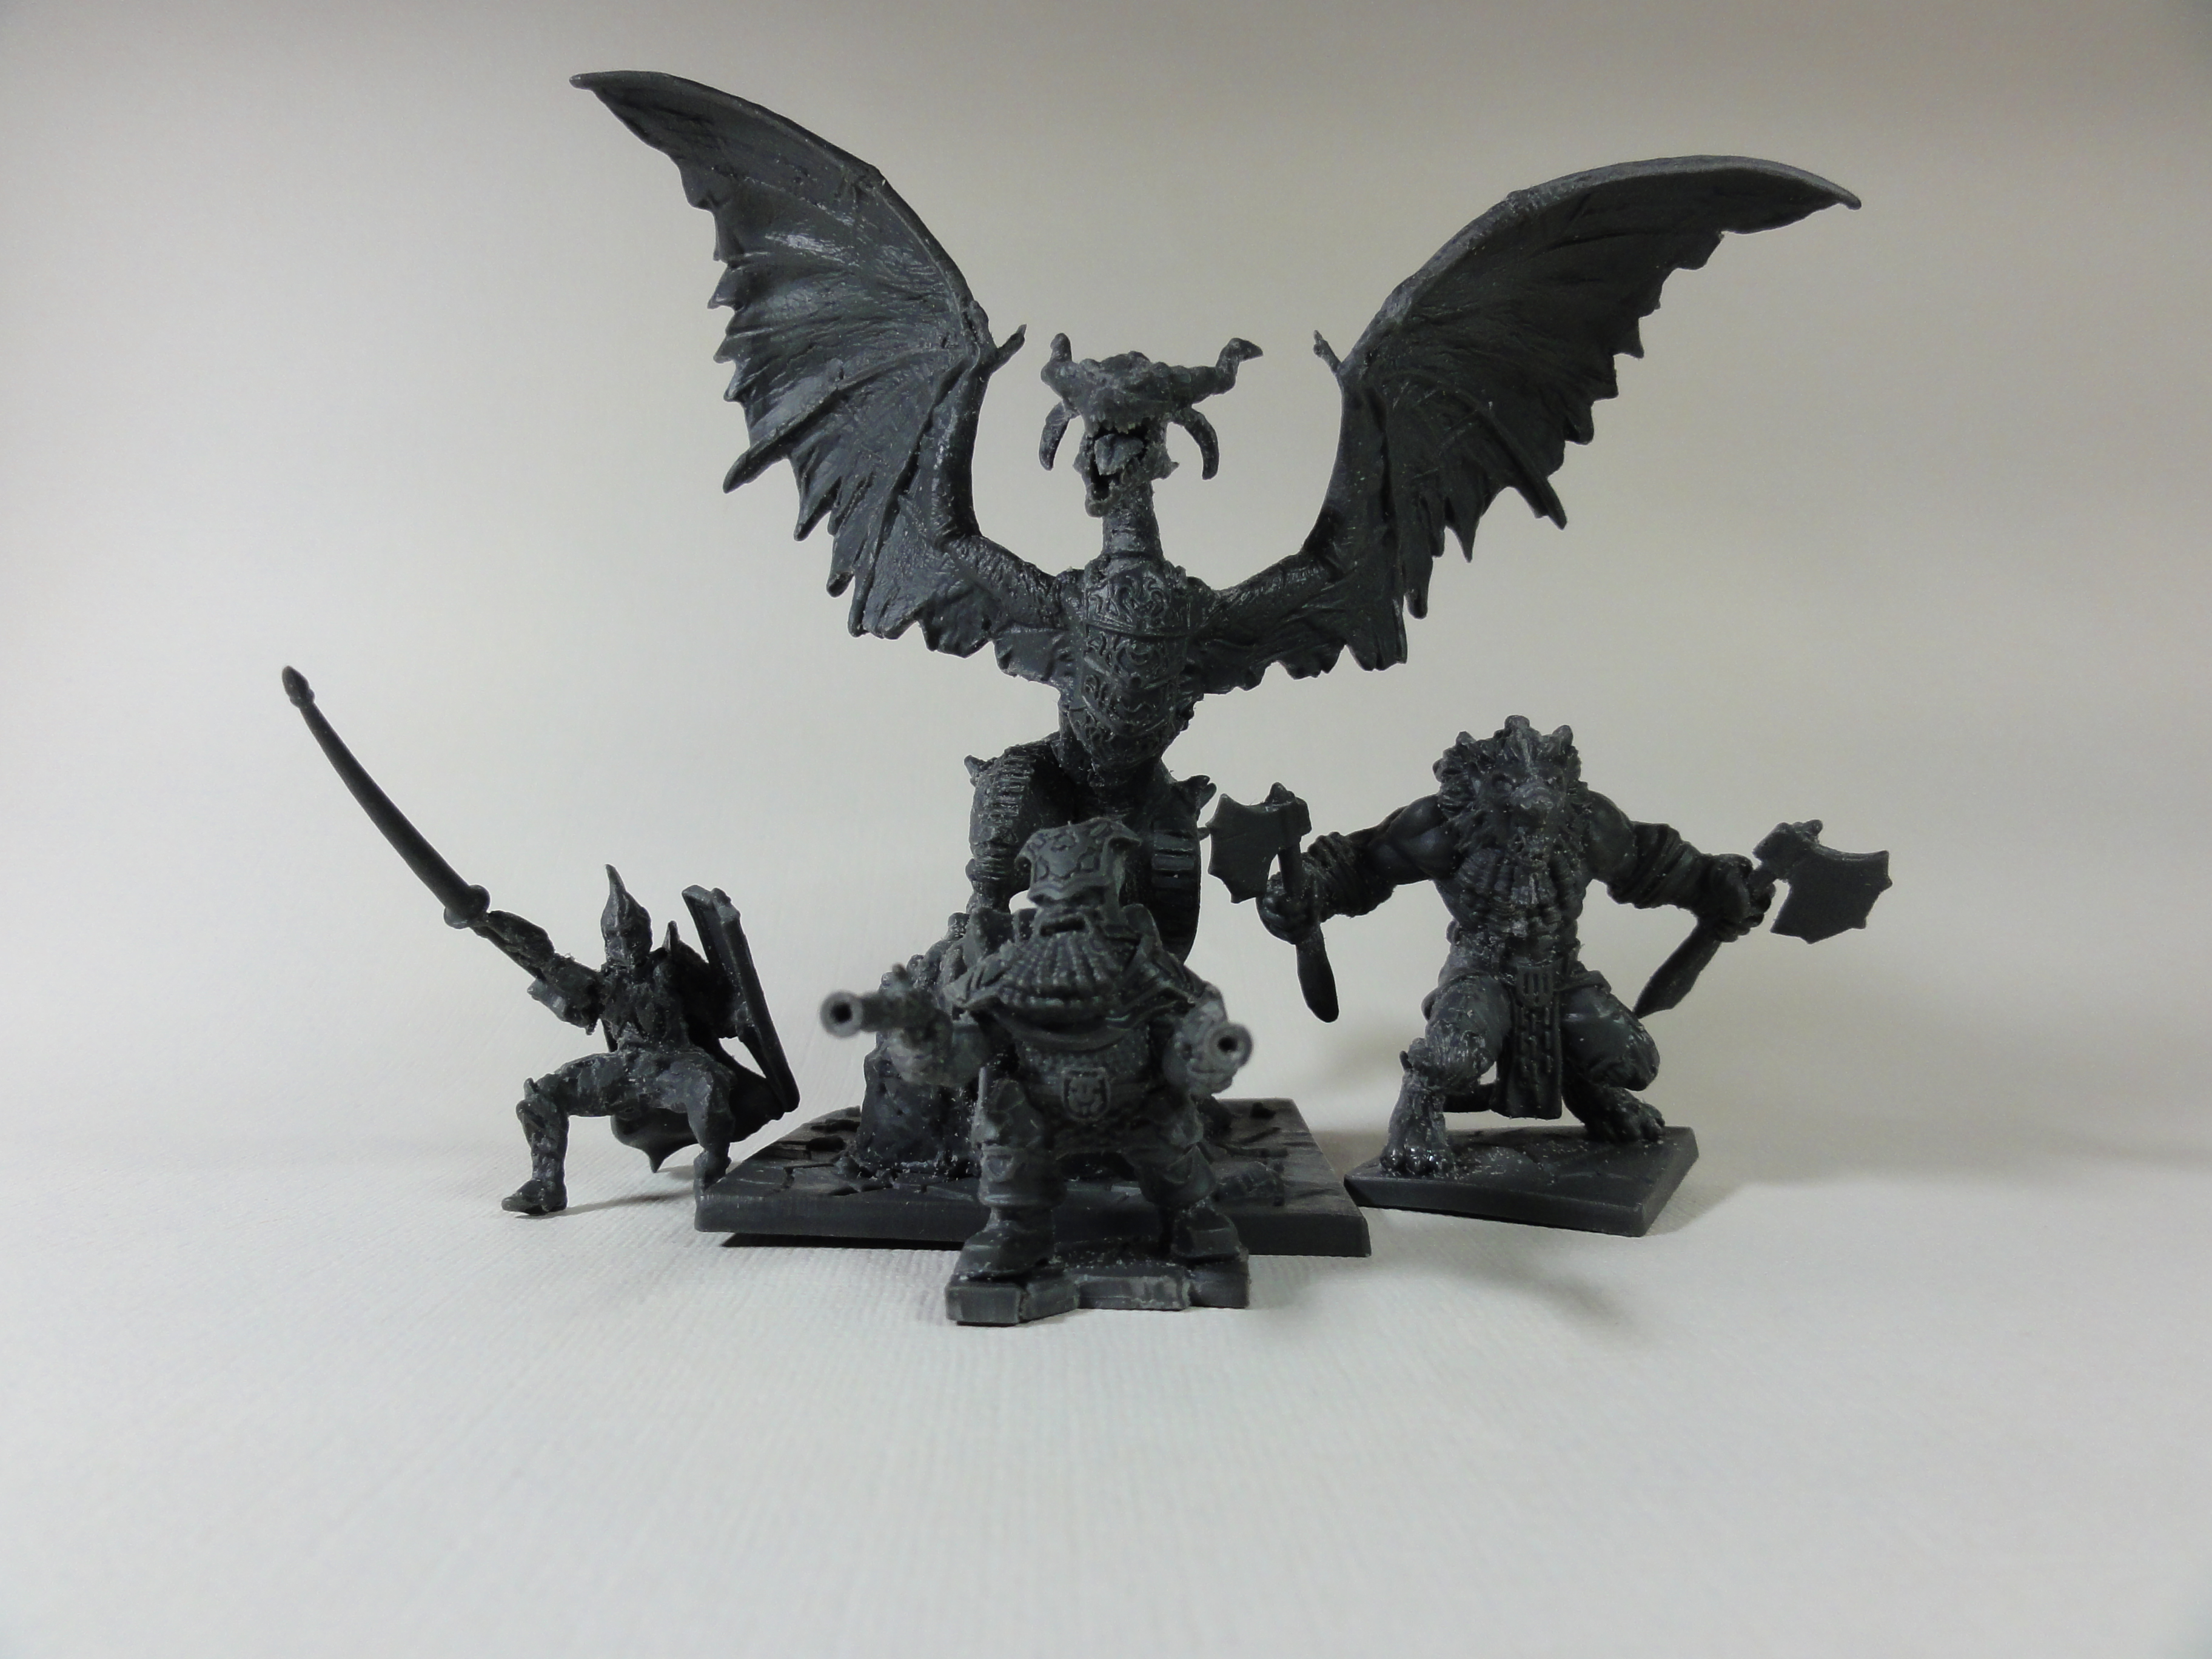
All but one of the core game minis ready to prime. I tried using GSW green putty acrylic filler for the first time on the gaps. The rest I used Milliput superfine.

Very Slow Progress Week 5
 This week I've been mostly scraping
Not much done. 4 additional minis scraped to add to the waiting to be washed and tidied up with Tamiya extra thin pile. Starting to paint may still be a couple of weeks away.
Very Slow Progress Week 4
 Additional 9 Scraped
The scraped pile increases to 17 decreasing the waiting to be scraped pile to 8.
The scraped, washed and Tamiya thinned pile awaiting weapon straightening and gap filling still stands at 27.