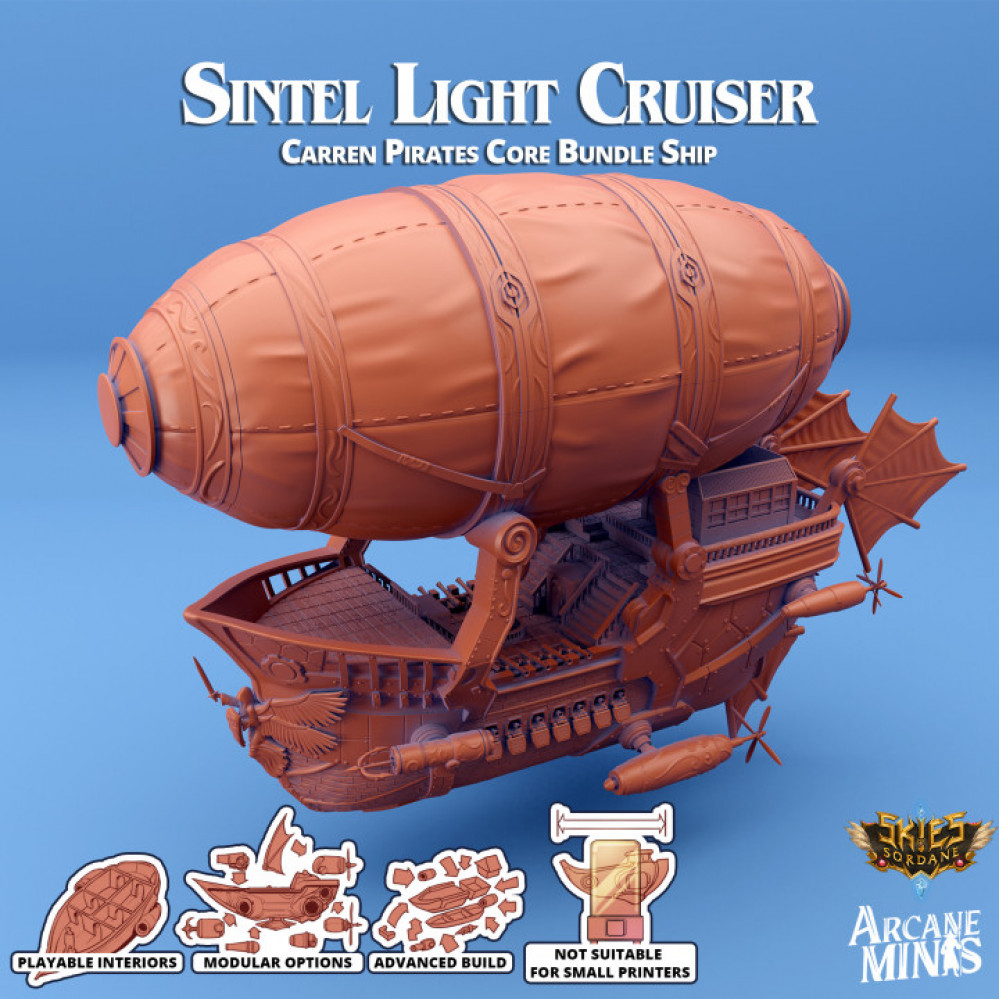
Skies of Sordane – Sintel Light Cruiser Airship
Recommendations: 20
About the Project
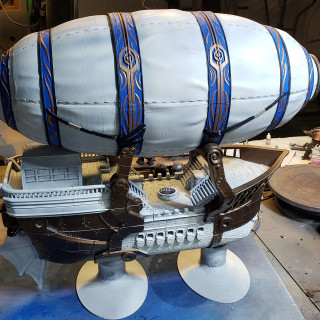
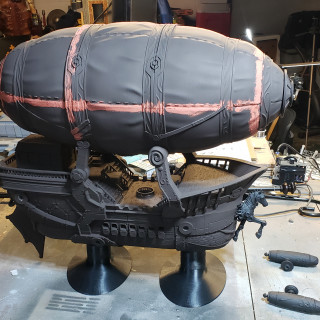
A friend of mine bought in to the Skies of Sordane Kickstarter and when he got his first print of one of the large Airships - he was re-introduced into the term "Large." For 28mm miniatures, this thing is huge at about 60-ish cm long and 55cm tall. He tapped out, handed me the totes of the parts and the only instructions were 1) It's for his lady, 2) he wants it for gaming use so it does need to have the layers come apart and 3) she likes Blue, white and copper. This is more of a painting project than building - the build is straightforward: put the parts together and putty as needed. I did already put large magnets in the base and bottom hull for a bit of security, but it's on to painting.
Related Genre: Steampunk
This Project is Active
Blocking in colors
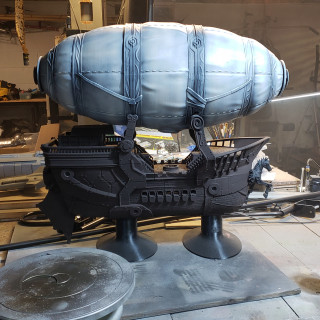
The next step is pulling a Bob Ross and making big decisions: How does the base color scheme work out and then committing to blocking in the big sections of color. I went with the idea that the external woodwork would be painted white by the crew, all the metal would be bronze/copper-ish with highlight colors being blue and copper/gold on various railings, doors, and framework. Locking in that decision, it was time to break out the rattlecans.
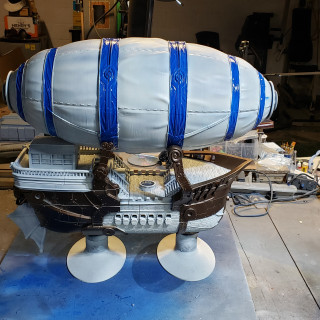
First things first – the entire model was hit with Citadel’s Wraithbone. In retrospect, I’m thinking Krylon off-white might have been a more economical choice, but we went with it. Once that was done, all the “woodwork” was masked and I hit the exposed metal parts with a Krylon rattlecan “bronzed metallic.” I also hit the external pods (engines and forward cannons) in the same color. Those will eventually be “highlight painted” in decorative colors later.
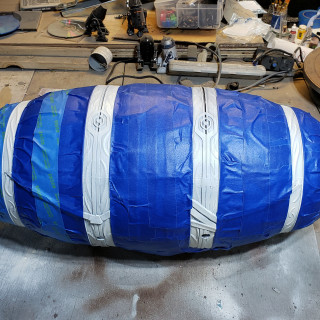
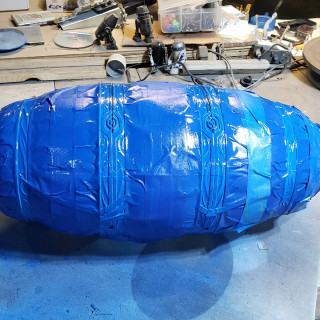
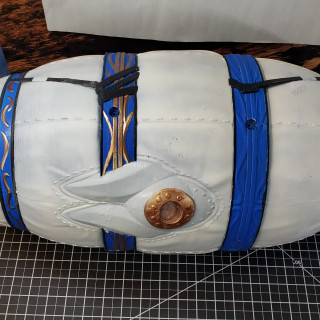
Then moving on to the lift bag, I decided on the “bands” to have a base blue color edged in black and highlighted with gold/copper decorative elements. the Blue was done with Krylon Sky Azure rattlecan, and then I handpainted the black and brass details with Vallejo “black” and “brassy brass.” With those in, I did highlight the lower reinforcement section of the liftbag as well as the ‘stitching’ along the panels and finally hit it with an overall coat of varnish to protect the paint during handling. At this point, the lift bag is mainly done until I move on to the main weathering steps later in the project.
Yep, this took quite a while and this is a huge project – but just like any endeavor, it just takes making the big decisions and then breaking each step into manageable chunks. Doing up the lift bag took the majority of the week of my workshop time, but in the end, I’m content where it’s going.
Getting started
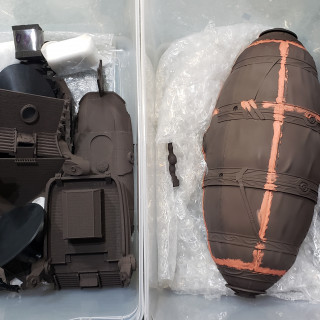
This is a look at the content of the totes as I got them. Needing to figure out the various ways to incorporate the colors desired and how to get them applied.


