Primary Color Escapism – Head First Into Marvel Crisis Protocol
Recommendations: 171
About the Project
My deep dive into Atomic Mass Games Marvel Crisis Protocol. An attempt to paint my world in primary colors.
Related Game: Marvel Crisis Protocol Miniatures Game
Related Company: Atomic Mass Games
Related Genre: Science Fiction
Related Contest: Spring Clean Hobby Challenge (Old)
This Project is Active
Apartment Building
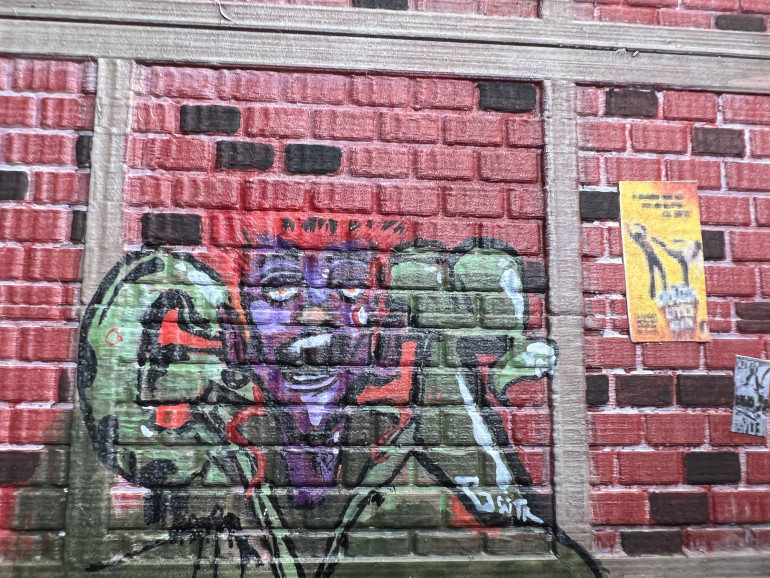
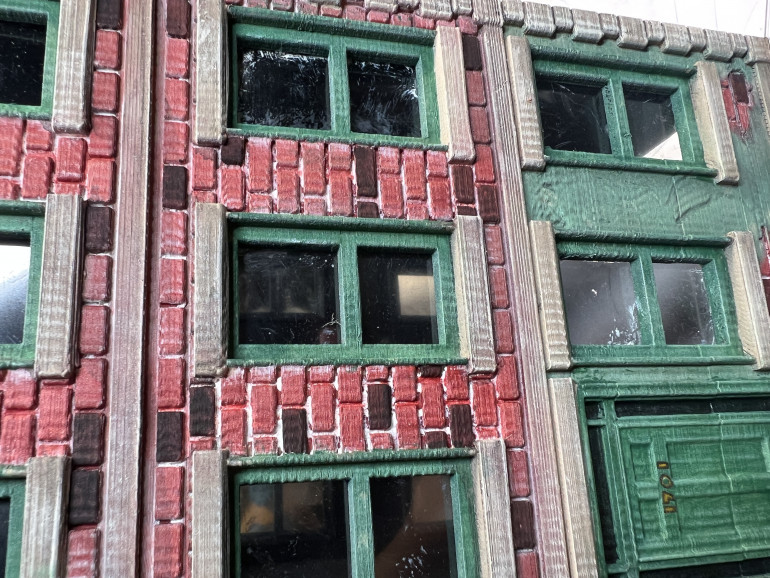
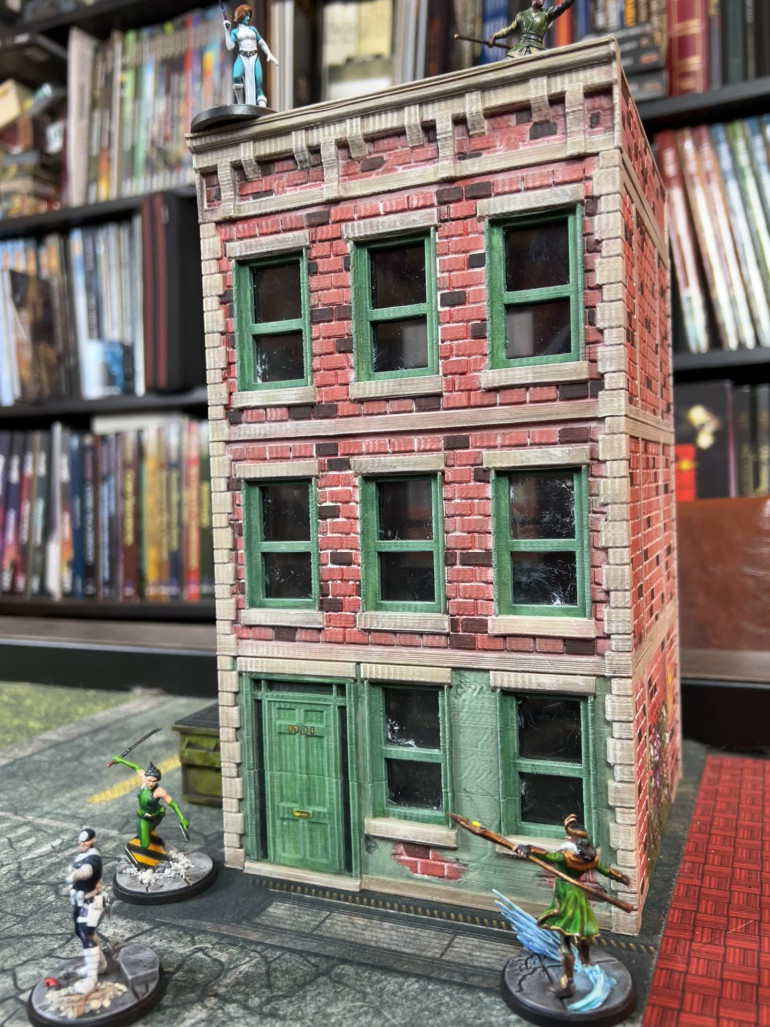
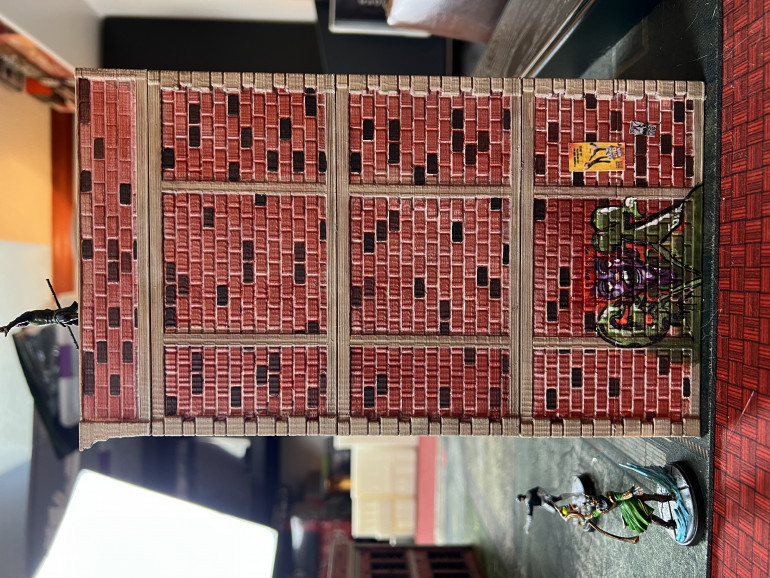
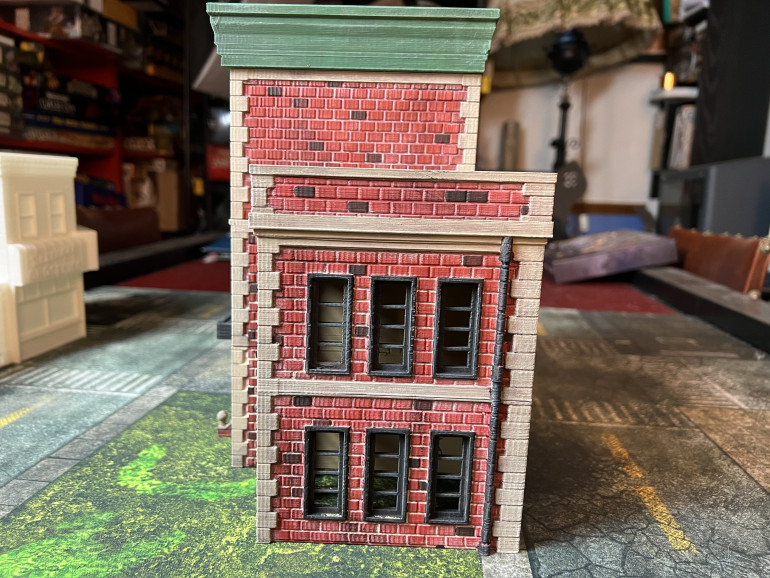
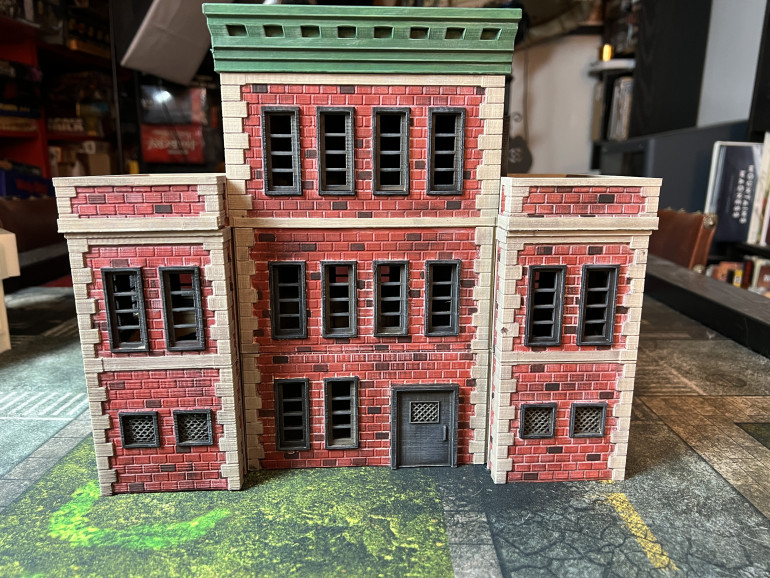
Another 3D printed from Corvus Games Terrain is the apartment building, which I added to the growing city to provide yet more height diversity to the environment.
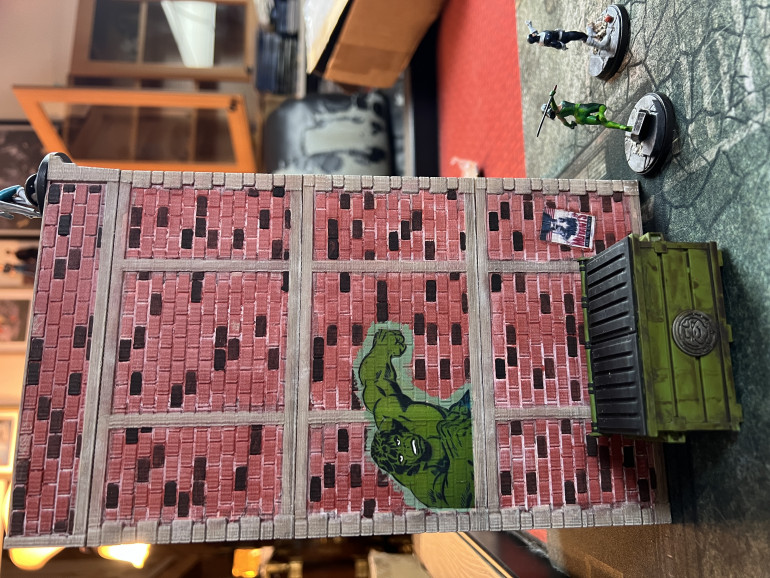
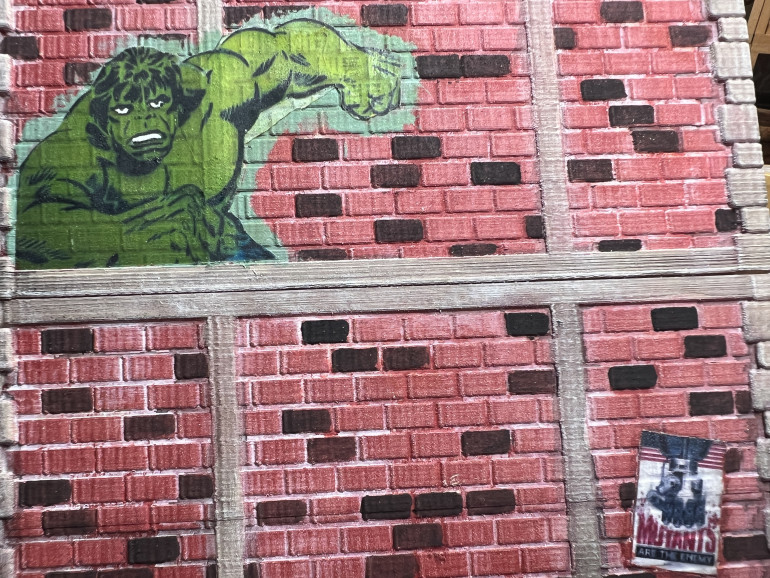 I treated the bricks similarly to that of the Police Station (se previous post) but added a transparent printed painting of the hulk, using NEATO Clear Sticker Paper - Vinyl Full Sheet Label - Weatherproof - for Inkjet and Laser Printers
 Completing the Cabal
The last members of my Cabal list will not be detailed as the previous ones were mostly because I painted them one after the other, momentarily omitting to take detailed step-by-step shots. Nevertheless, I will highlight my painting approach for each of them below the photographs.
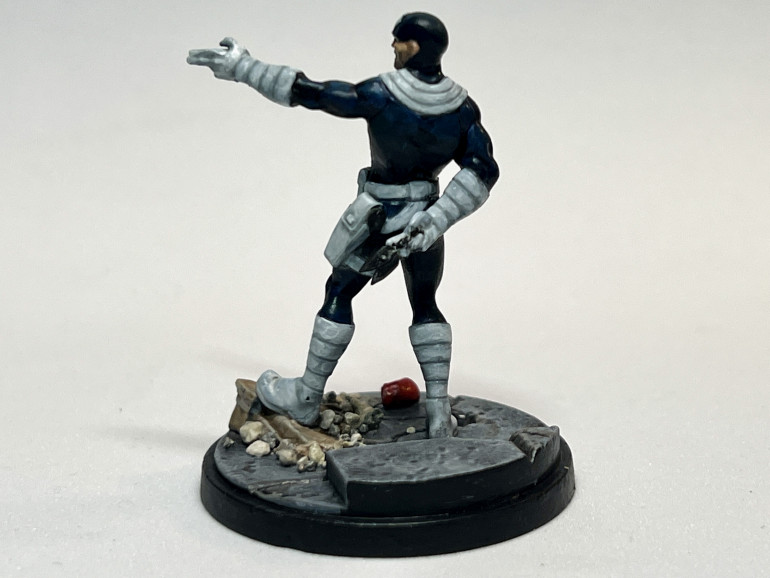
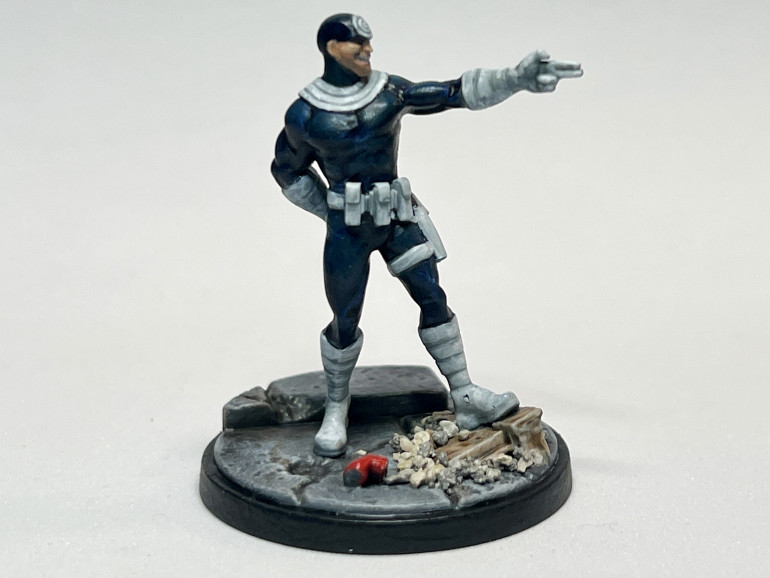 Bullseye was rather straightforward and encourages the use of contrast paints followed by highlights.
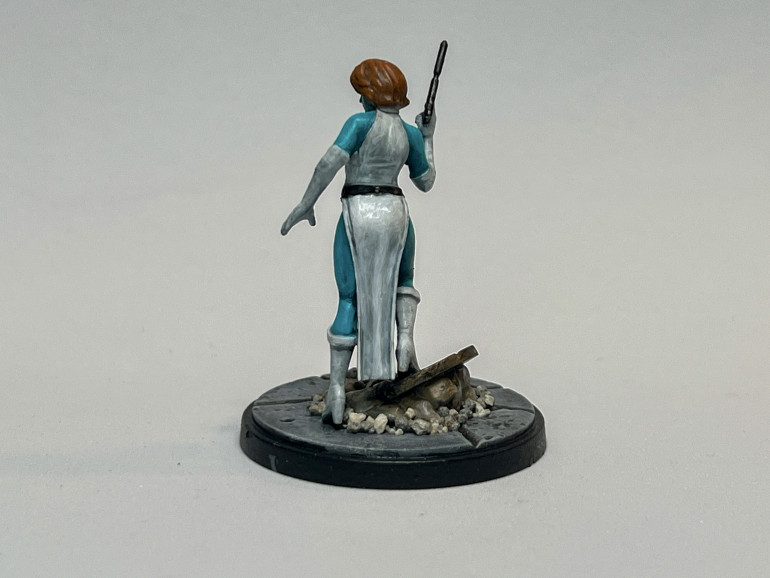
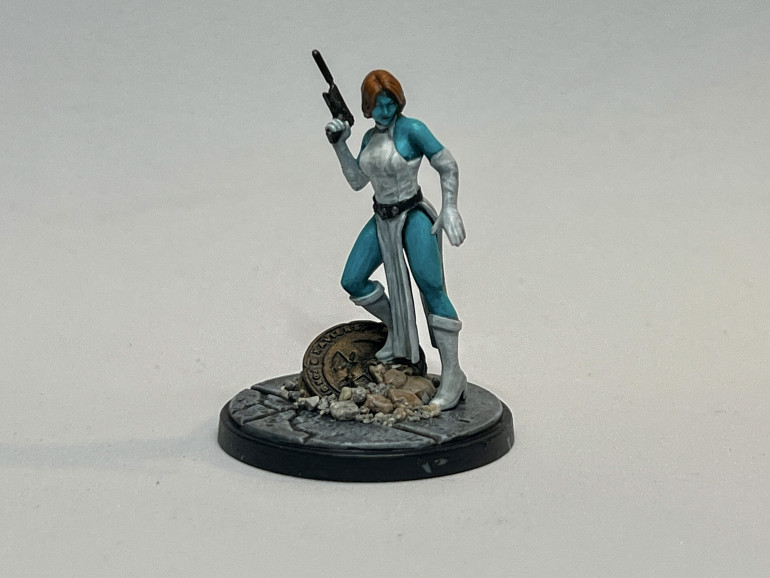 Mystique was rather fun to paint as the skin offers a good opportunity to build up a subtle contrast. For teh white, I used GW contrast white and applied several layers of pure white to bring the dress back to a descent shine.
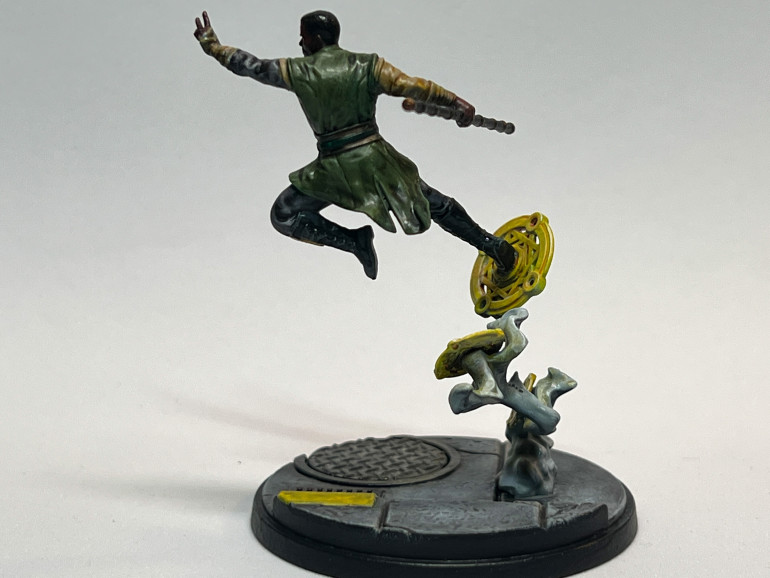
 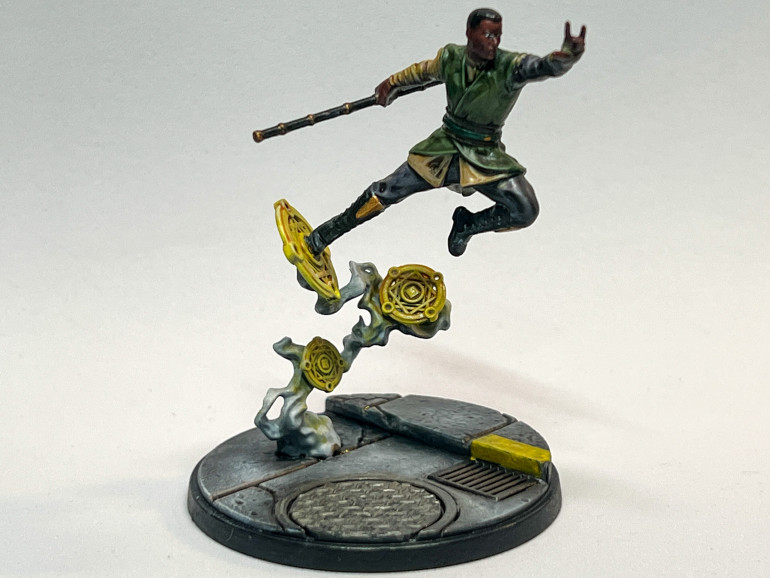 Baron Mordo was the most complex miniature of this Cabal list and, while I am not totally happy with the magic discs effect, I called it 'done' so as to be able to move the project forward.
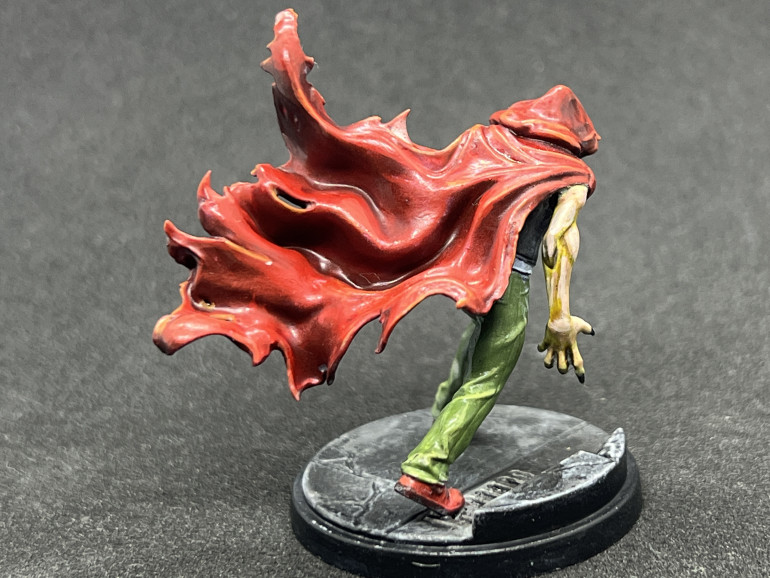
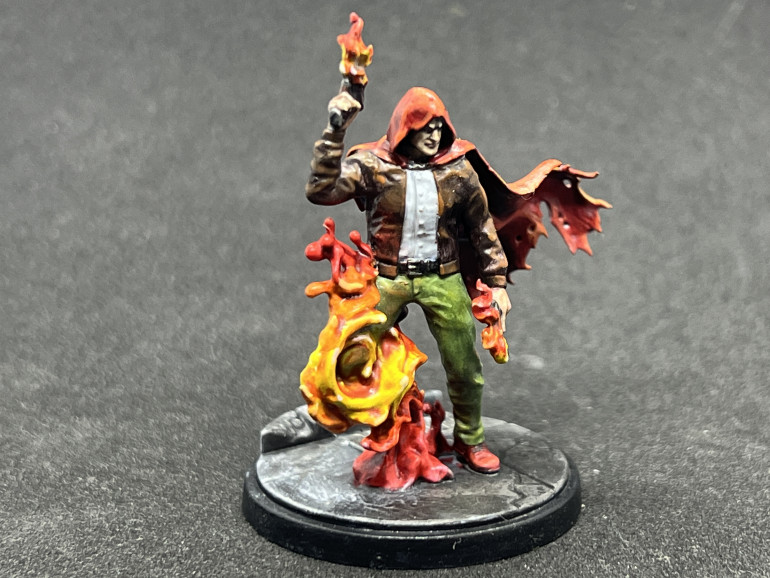
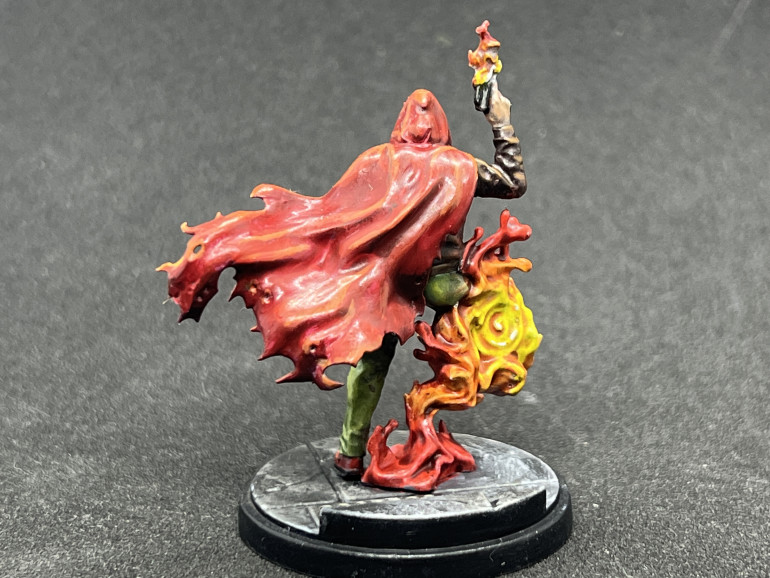
 The Hood
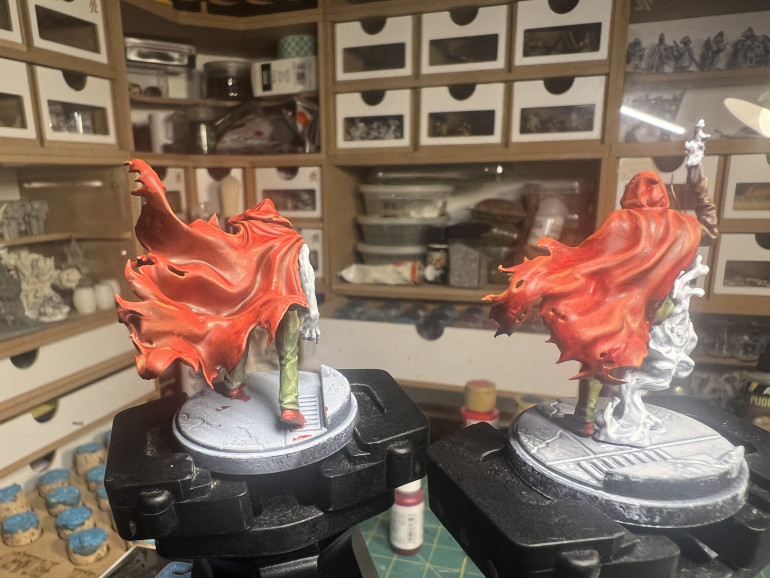
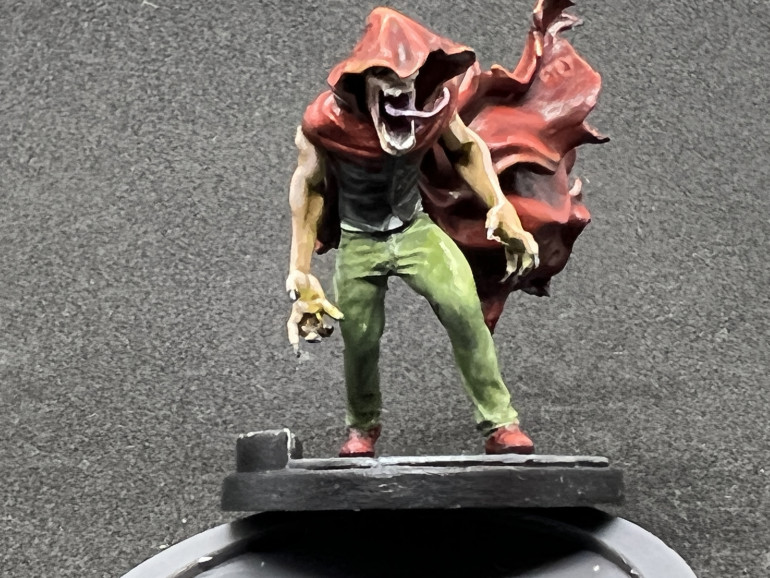
The hood is composed of two miniatures which are similarly clothed. I decided to paint them together to save time.
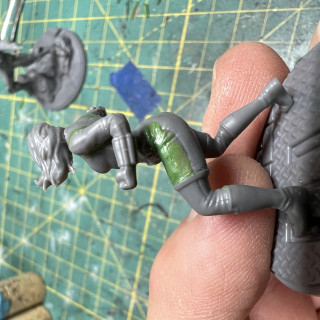
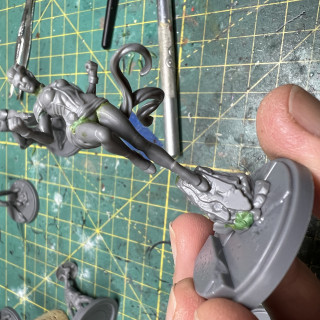
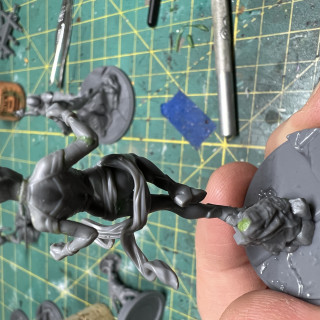
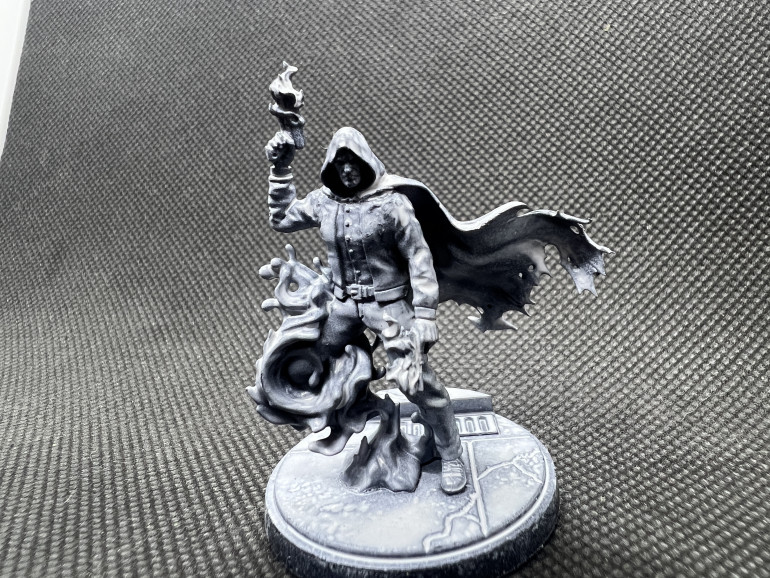 The miniature was clean and required little green stuff, besides the delicate jaw of the demon form.
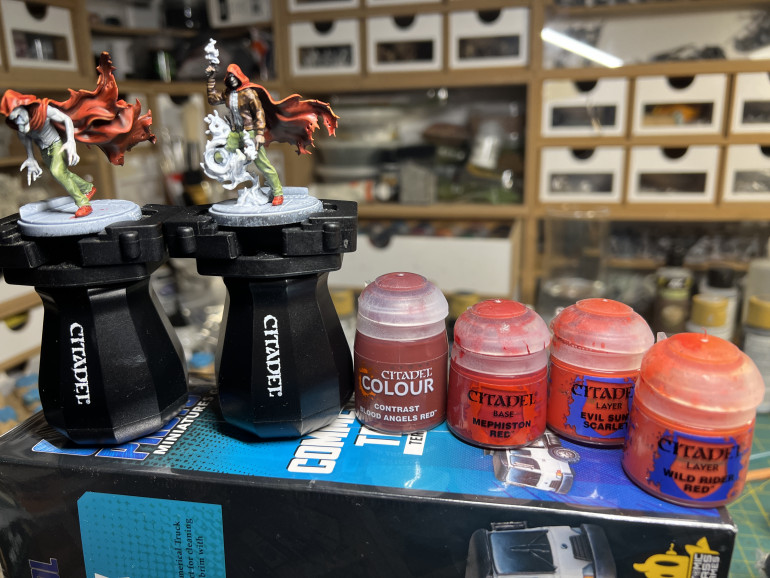 Both characters pants were painted green and highlighted accordingly. I chose a red brown tint for teh leather jacket, deciding as a contrast tone for the pants and a complementary one to the cape. The demon's vest was painted grey to merge with the pallor of its flesh. The capes are a focal point of the miniatures and thus required the whole gamut of Citadel reds
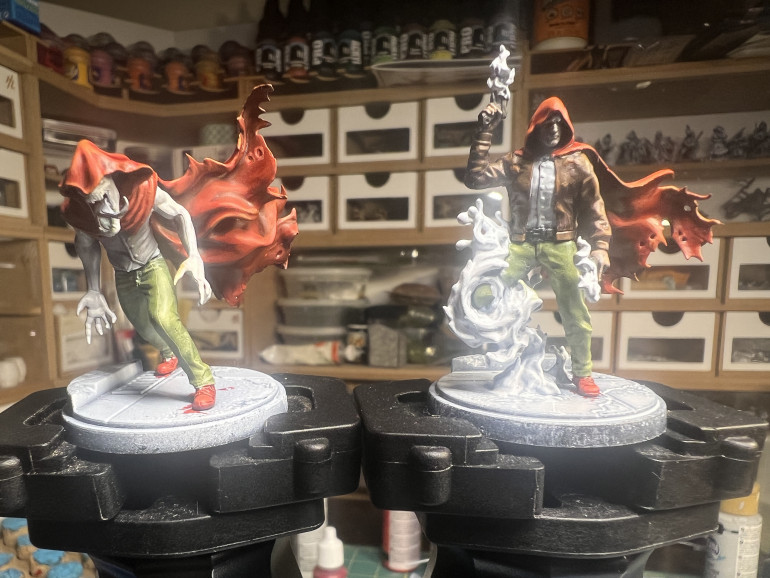 Onc e the cape were completed, which was a very fun and zen experience, it was then time to focus upon the energy volutes.
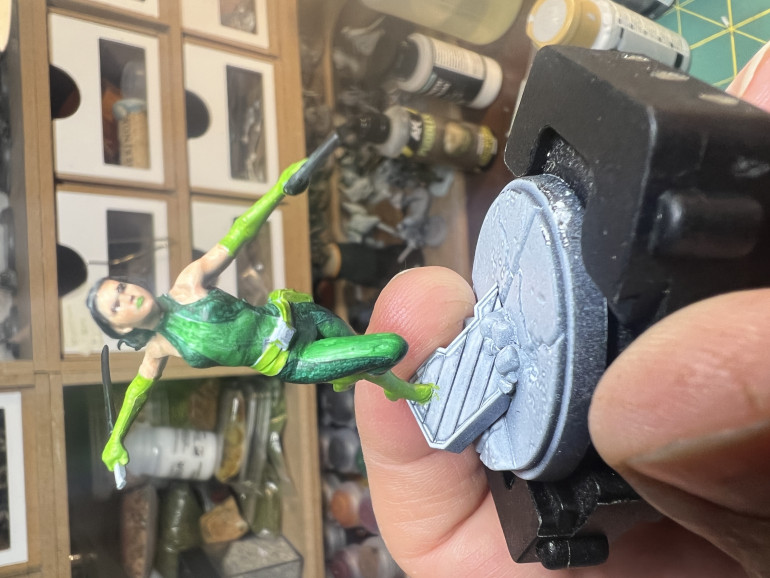
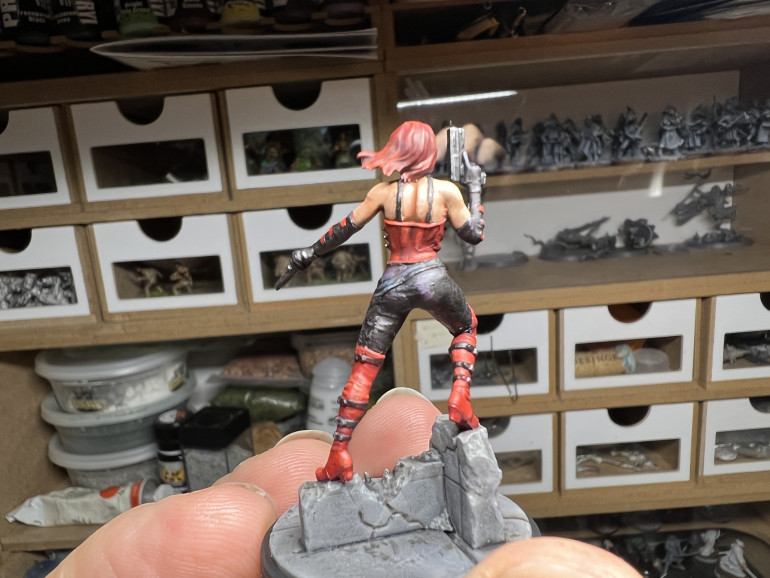
Cabal - Sin and Viper
Sin and Viper are next and I encourage you to paint them together as they have similar styles that will allow you to harmoniously complete them as a group.
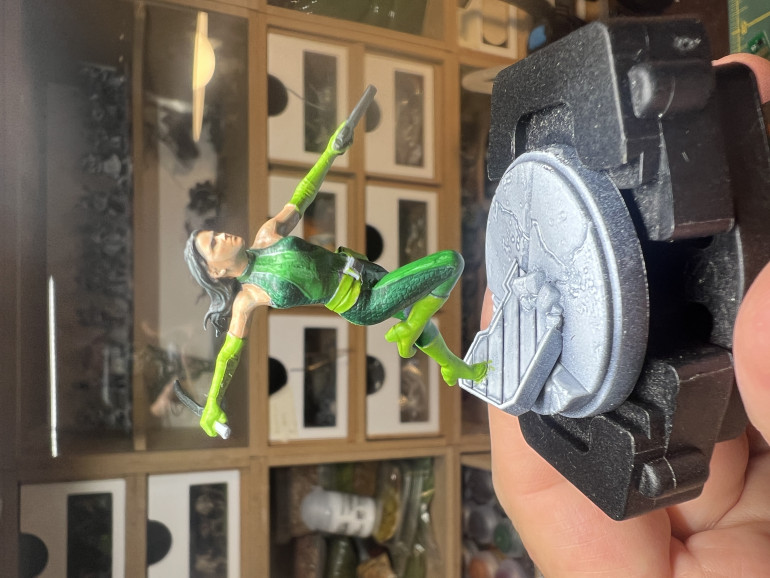 Sin and Venom embrace respectively a red and green scheme that makes it quite simple to play with various shades of a color to crate a well contrasted miniature.
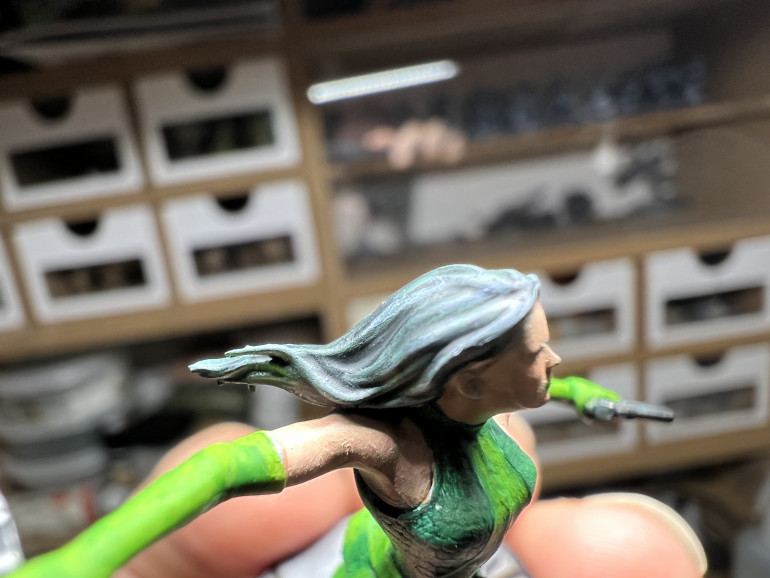
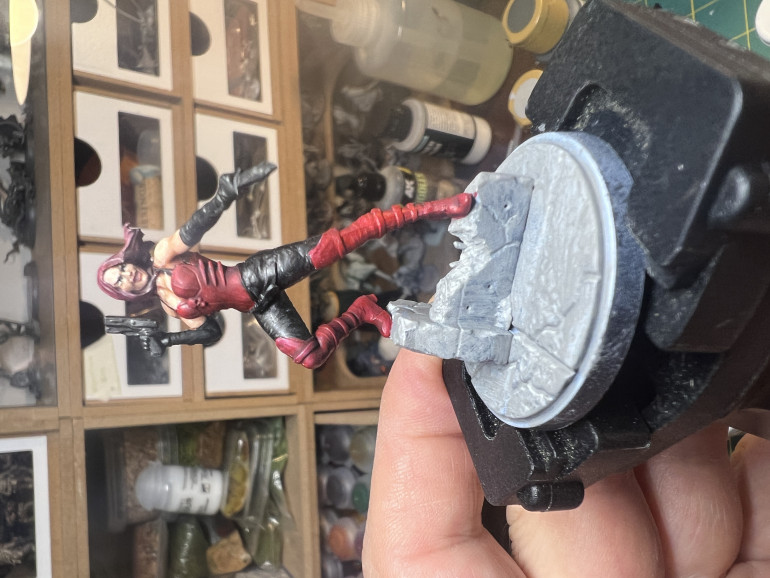 Skin tones are next and I realized that one are of improvement for this year will be to learn how to better paint female faces and makeup. Viper lipstick is a little 'contrasty' but i still like it.
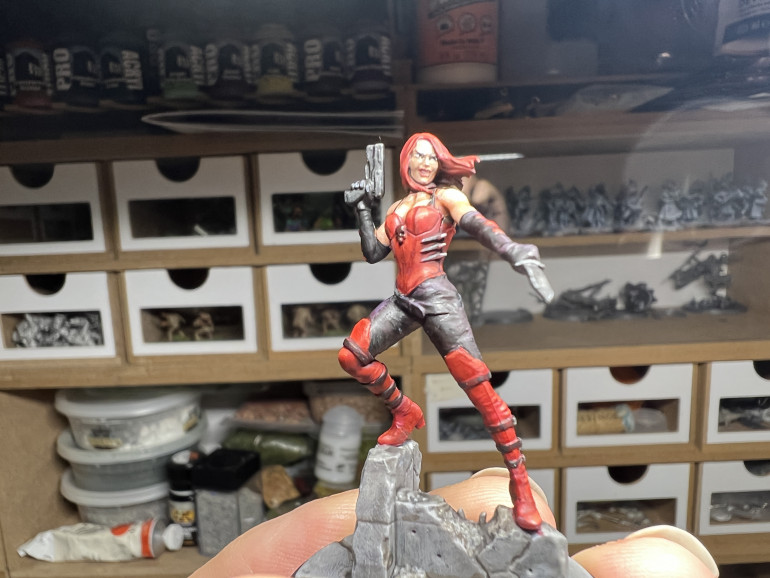 SIn's black leather clothes were highlighted using medium and light grey, then glazed with a red color to unify them with the rest of the outfit. Straps and knives sheaths were likely painted. The skull on her chest was painted black, then lightly painted with a dark gold to make it stand out. Finally, all metallic parts were painted black then brushed with GW Leadbelcher with accents of chrome for the knife blade.
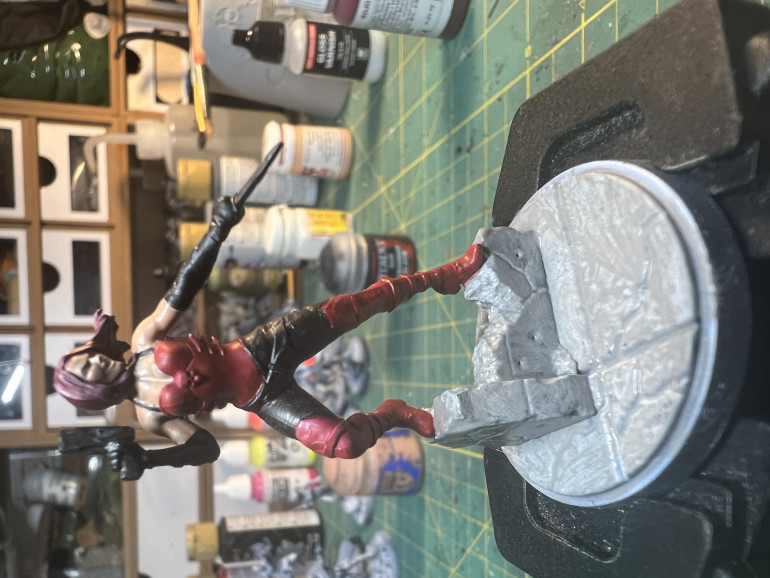
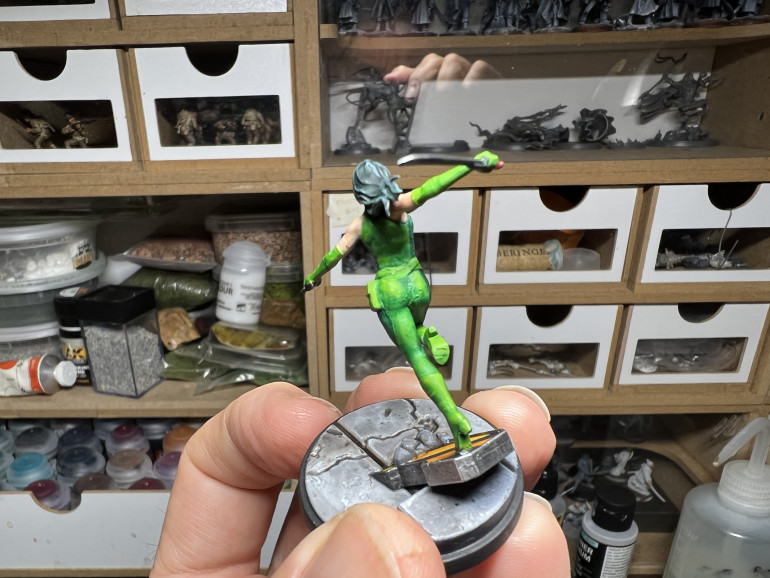
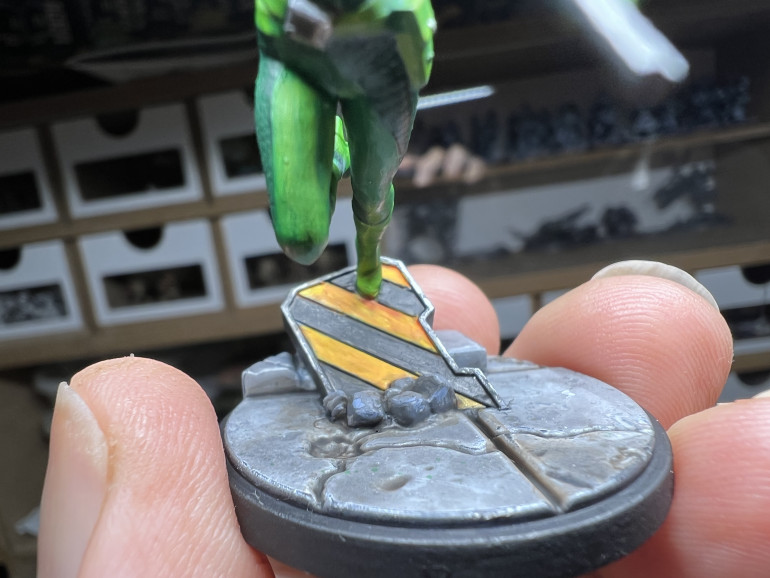 For Viper's base, I decided to paint the panel in a different pattern to create some diversity and yellow/black offered a good contrast with the suit.
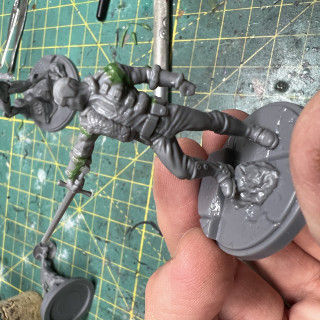
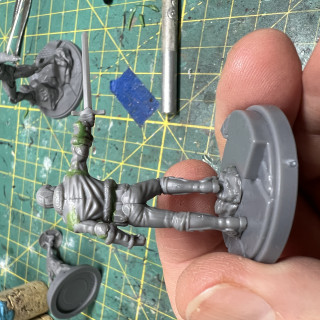
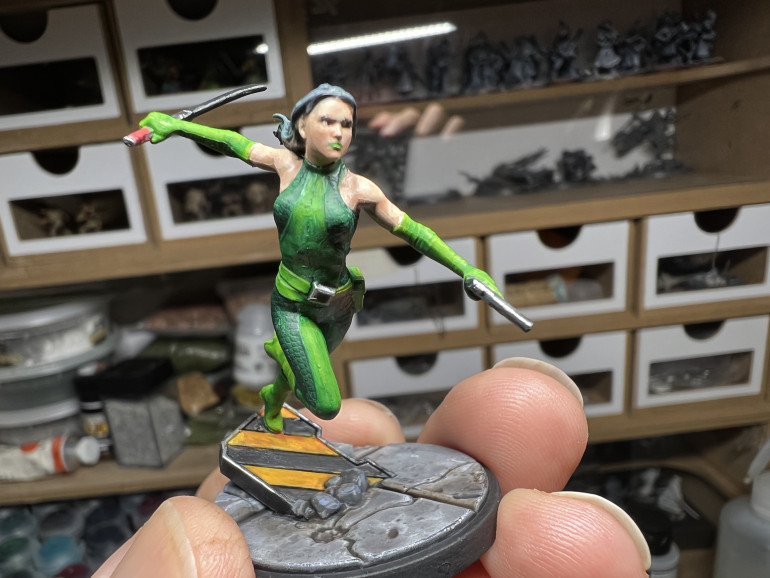 Viper's suit was highlighted with adding some yellow (from the base) to the lighter green and then using each lighter green to highlight the next darker one. That offered a quick and easy way to proceed with the whole suit. I painted the katana handle red to offer some interesting contrast with the rest of the model.
Next, The Hood …
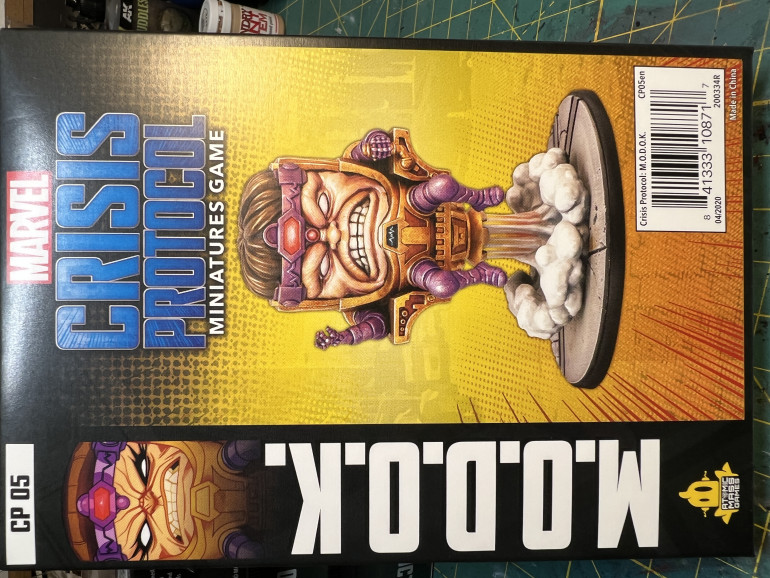
Cabal, my First Roster - First Came MODOK
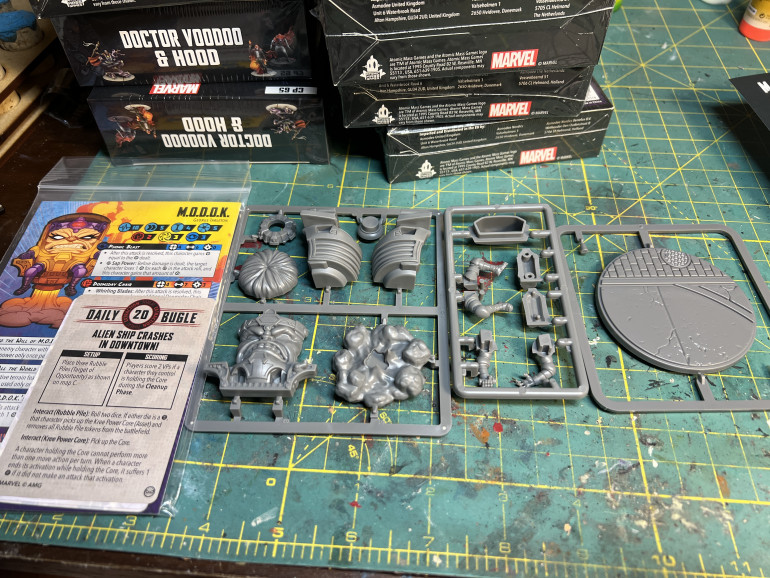
Based upon a few miniatures from the core box, I decided to expand the Cabal and build a proper roster that will be able to face the Avengers (spoiler, this will be my second roster 😉 ). I gathered a list of Cabal members and assembled them with various levels of ease, greenstuff at the ready as i was with the core box miniatures.
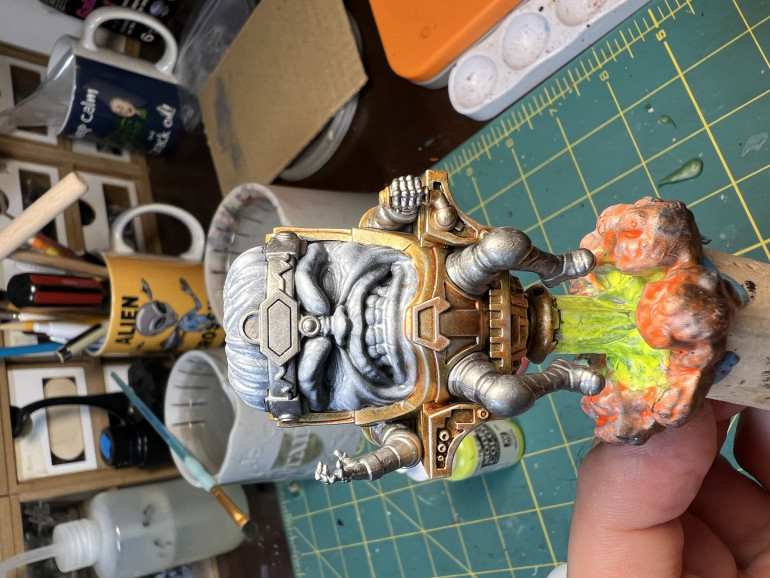
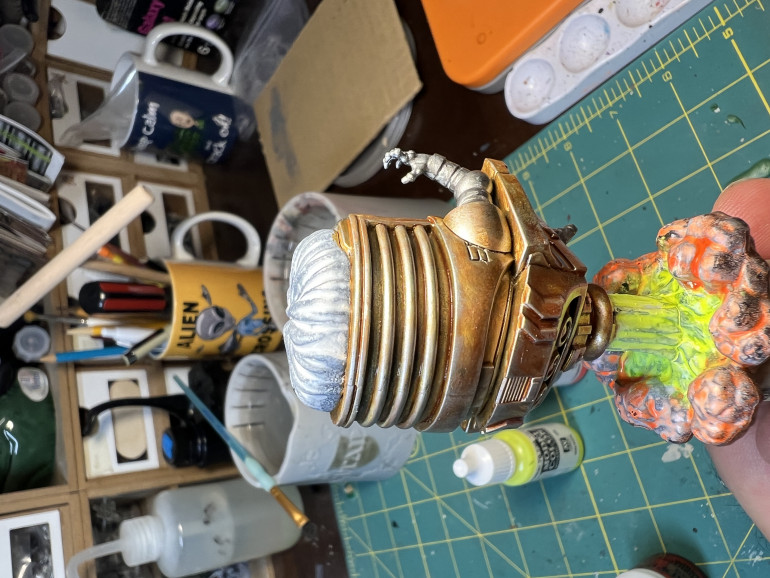
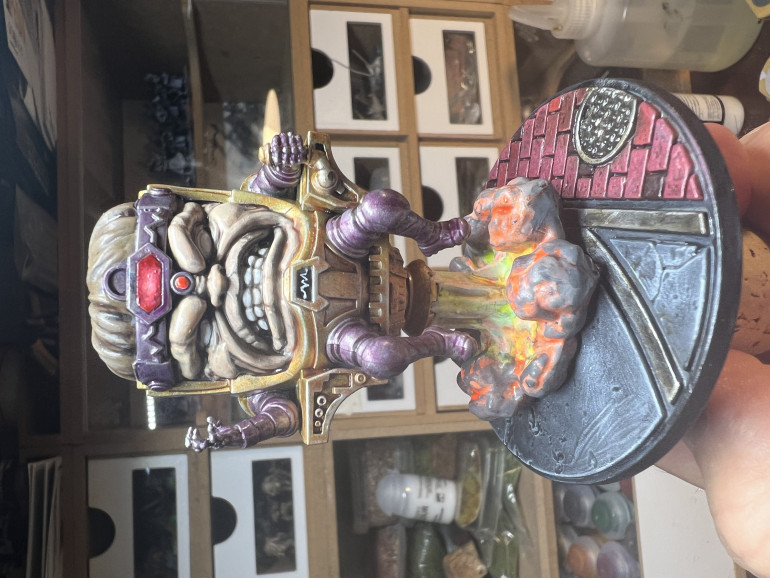
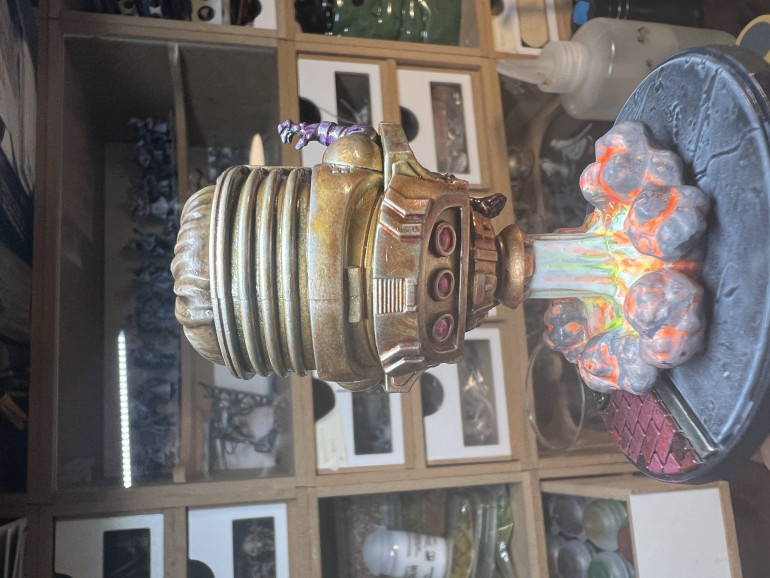
I chose to paint MODOK fist as it seemed a rather easy and cartoonish miniature, which it turned out to be.
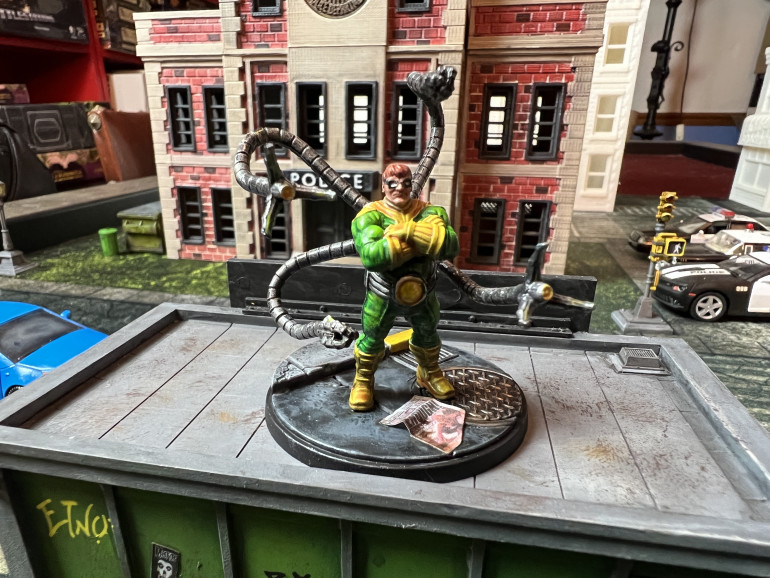
I painted MODOK mainly with a quad set of colors: gold – Metallic – Flesh and Light Brown, which I then washed with Reikland Flesh Shade Gloss, Nuln Oil Gloss – Reikland Flesh Shade and Agrax Earthshade respectively. Once the washes were dry, I dry brush the gold (mainly the Chair of Doom) with lighter gold then edge of chrome.
The suit was highlighted with a drybrush of chrome then copiously covered with Magos Purple contrast paint (GW) to give it the proper shiny purple color.
MCP Core Box Villains (cont) and Measuring Tools
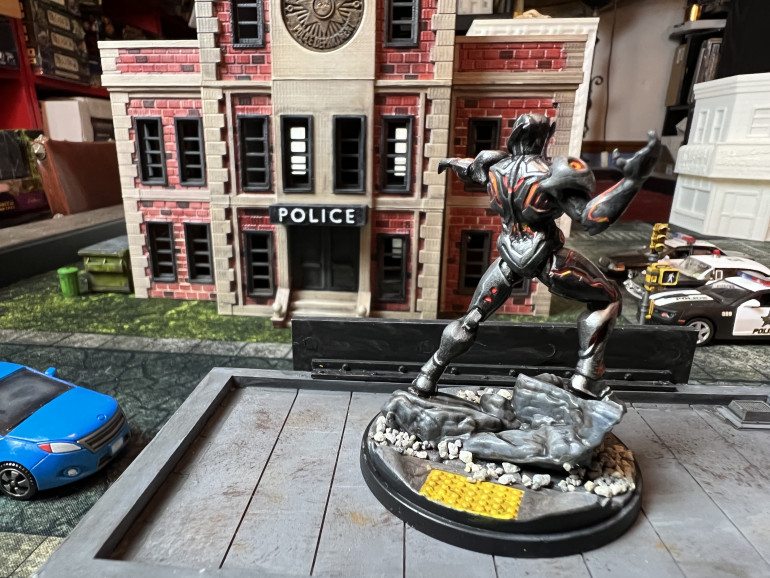
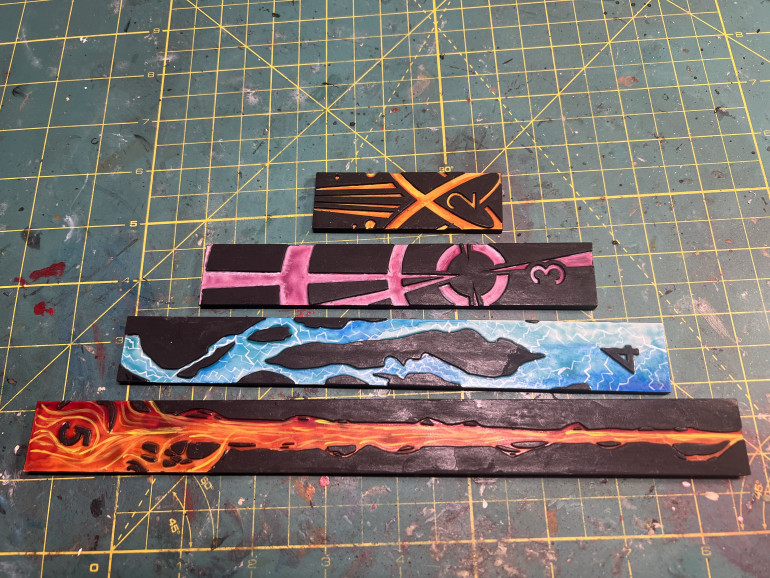
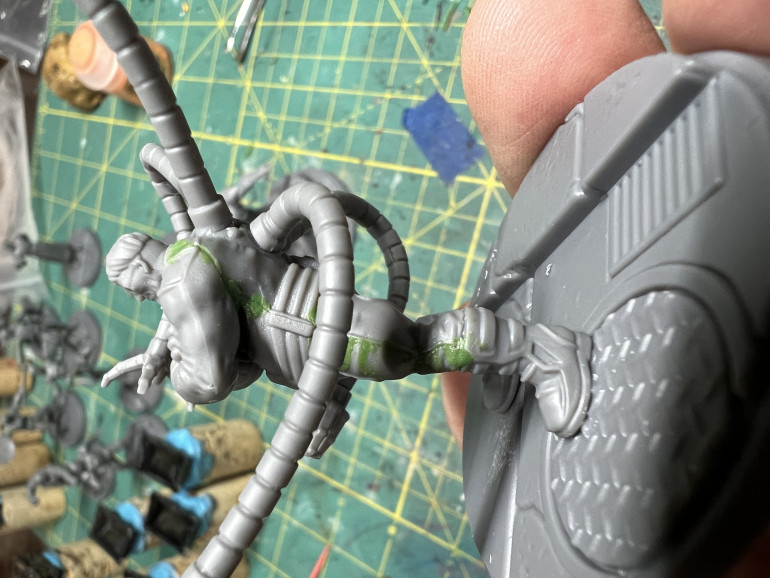
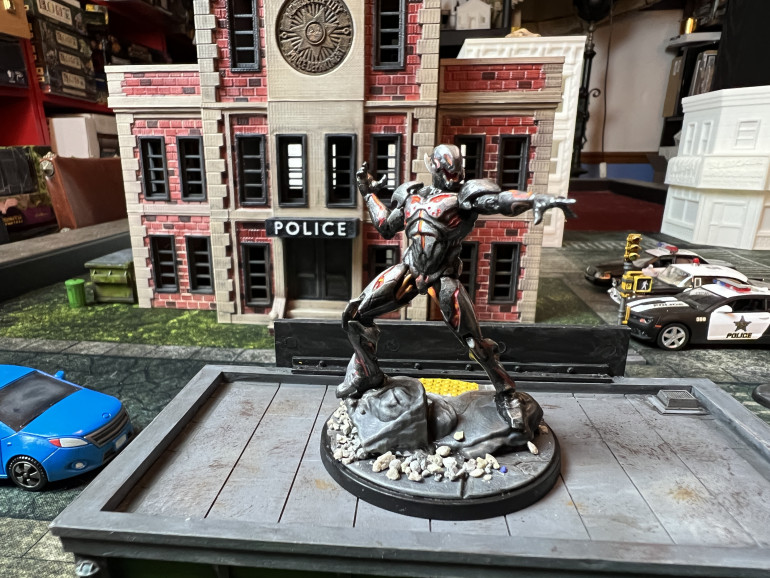 Last but no least, Ultron was a challenge of small fiddly bits to assemble but has a very dynamic pause and proves to be one of the best sculpts of the set. I went for a straightforward GW Leadbelcher base, washed with GW Nuln Oil Glass and worked back up with GW Leadbelcher and Vallejo Chrome. For the glowing components, I applied red contract paint, followed by orange and white highlights.
MCP Core Box Villains
The core box villains are quite varied and offer a solid base on starting a Cabal affiliation, with Red Skull, Zemo and Crossbones.
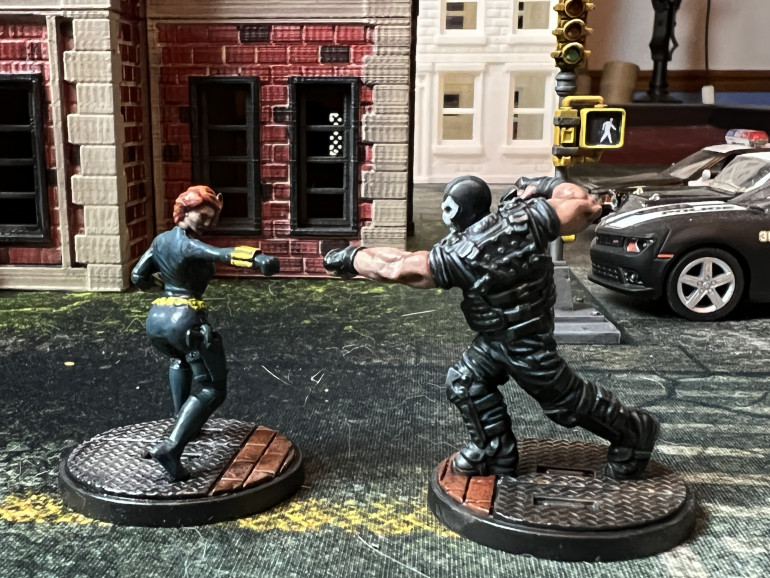
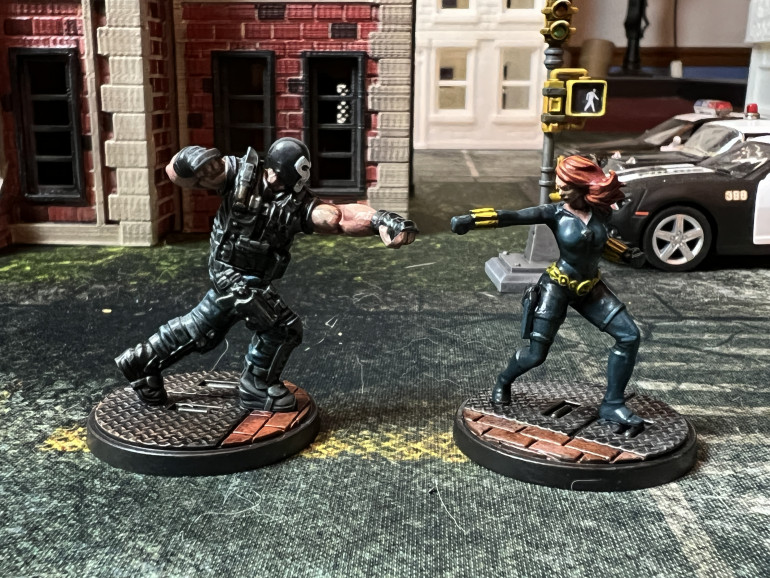 I already showed Crossbones fighting three Black Widow in an earlier post and he is by far one of the easiest miniatures of the set to assemble and paint. I used two different kinds of washes (blue and black on his pants and vest so as to create a slight variety in black shades.
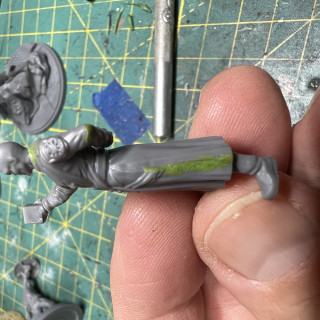
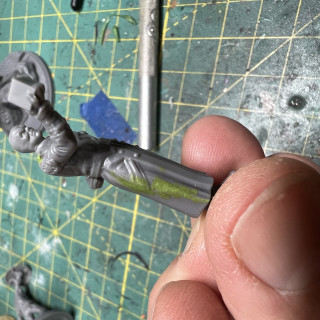
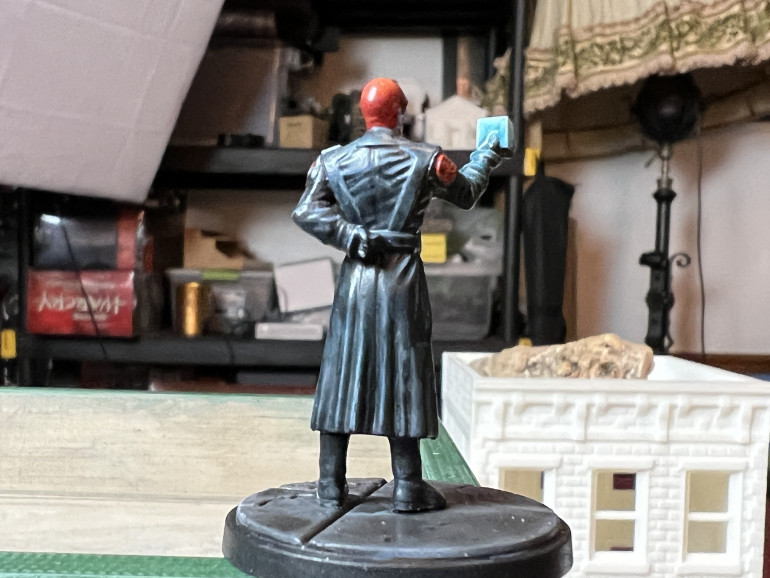
Red Skull, Cabal leader, was rather easy to assemble but required greenstuff work on his coat to hide the assembly seam.
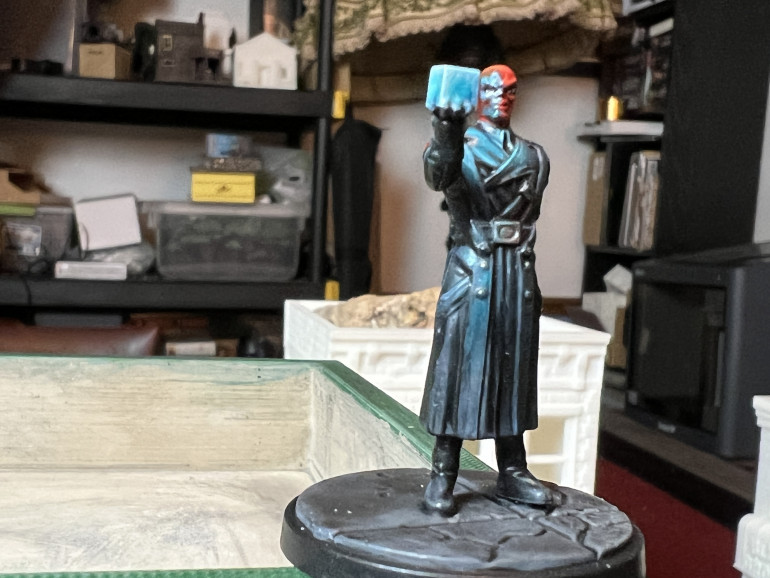 Painting was very straightforward for his garb, the only challenge being the cube and its coat/facial reflection, which I feel quite good about.
Baron Zemo only true assembly challenge was his right wrist, as it required some resculpting of the bracer.
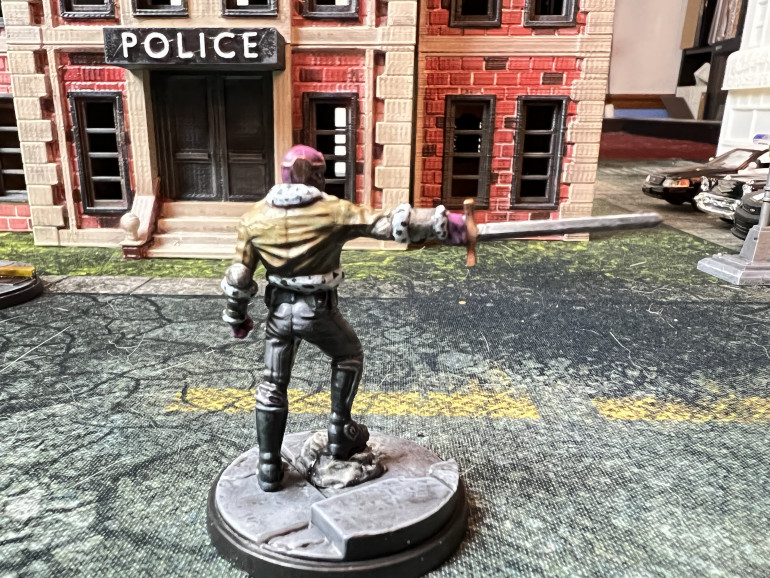
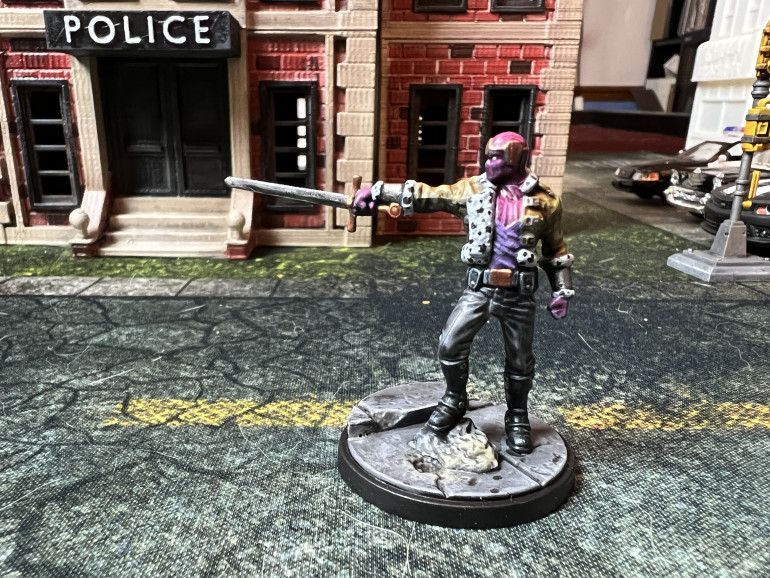 I went with a classic Zemo look, complete with the spotted snow leopard fur. Contract paints were use for the jacket, pants and top/headgear.
MCP Core Box Heroes (cont)
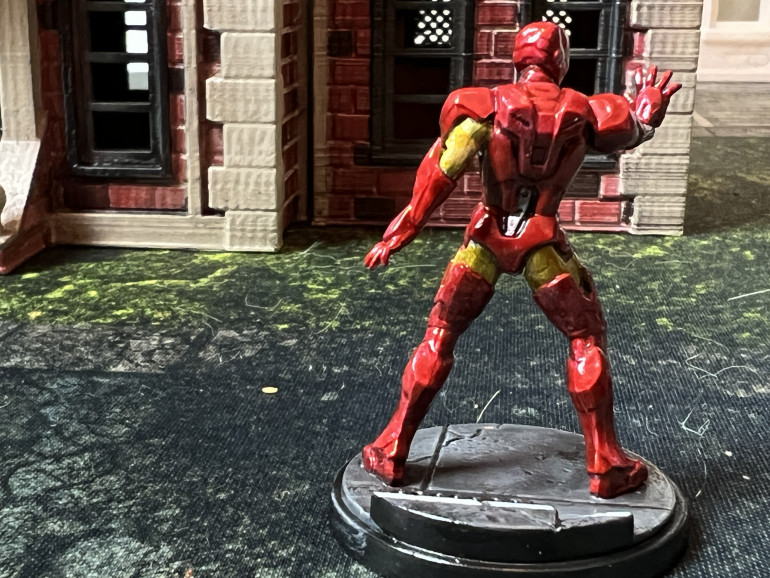
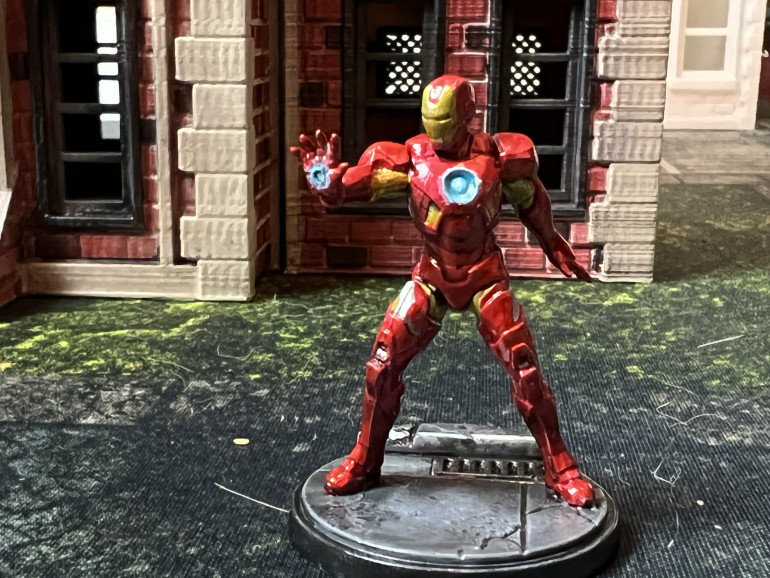 Iron man was a simple build and paint. I went for a silver dry-brush over my traditional zenithal highlight and used contrast paints for the armor. Reactor and hand beams were achieved with blue and white paint.
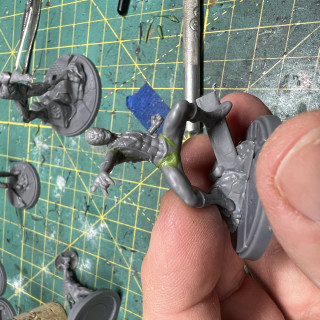
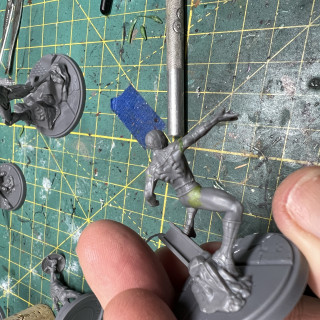
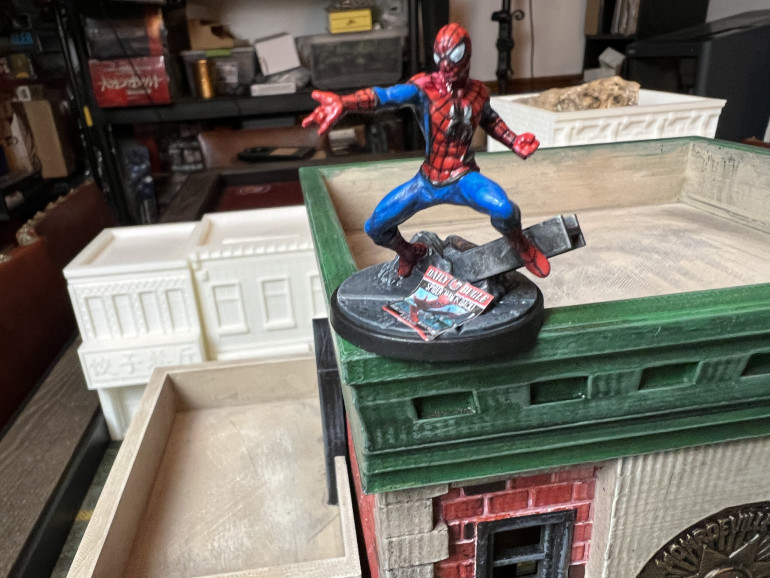
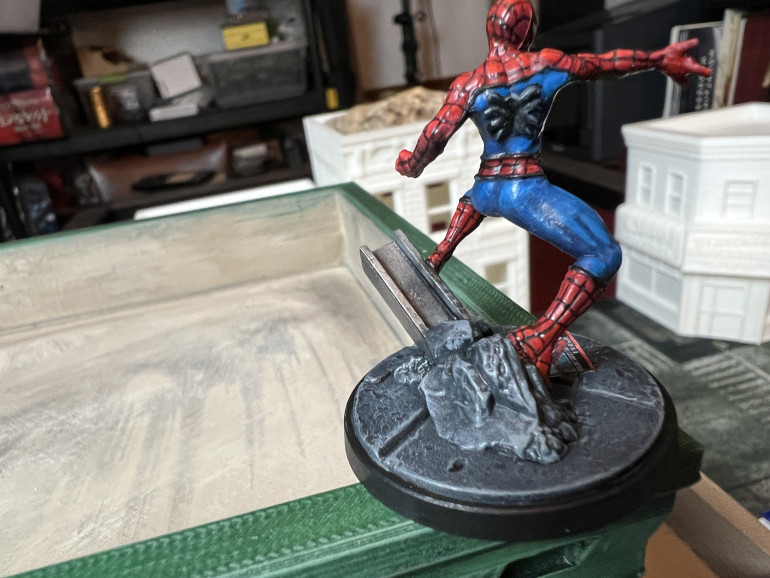
Spiderman was given a very iconic pause and mandated greenstuff intervention to hide assembly seams.
MCP Core Box Heroes
The MCP core box offers a solid line up of heroes and villains (depending upon which side you are one, the roles may be reversed 😉 ). I had a great time time painting thee heroes once I got over the hurdle of assembling and prepping them for priming, which quite frankly would place them, in my humble opinion, beyond the reach of strict beginners. A good set of tools (clippers, mold removers, hobby knife) and green stuff are your friends. Also, while it may be tempting to crate masterpieces of comic book art for each heroes, keep in mind people will see them from a distance and that the goal is (at least for me) to play the game sooner than later.
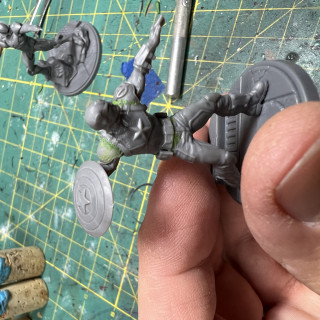
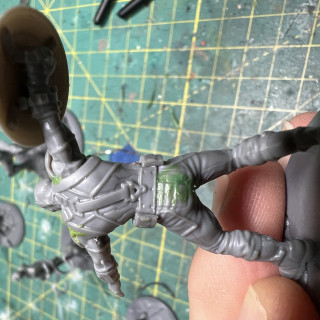
Cap was quite easy to assemble (no pun intended) but required a bit of filling at the shoulders and rear end level.
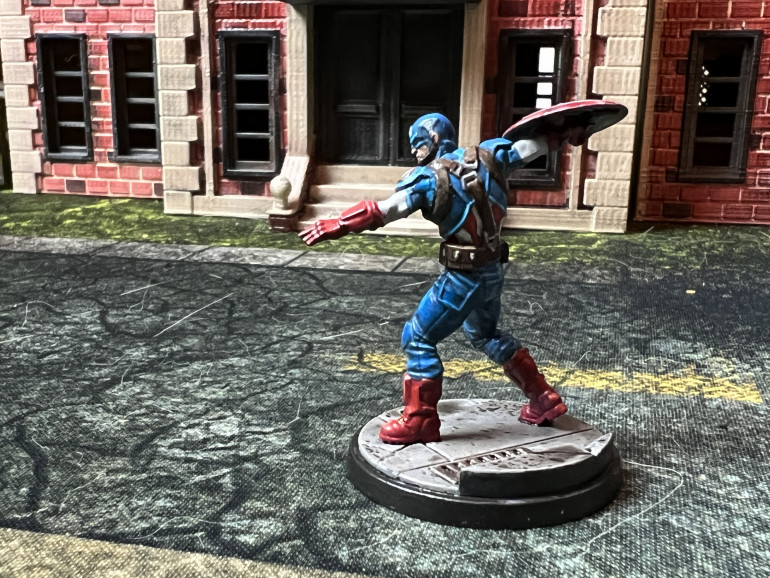
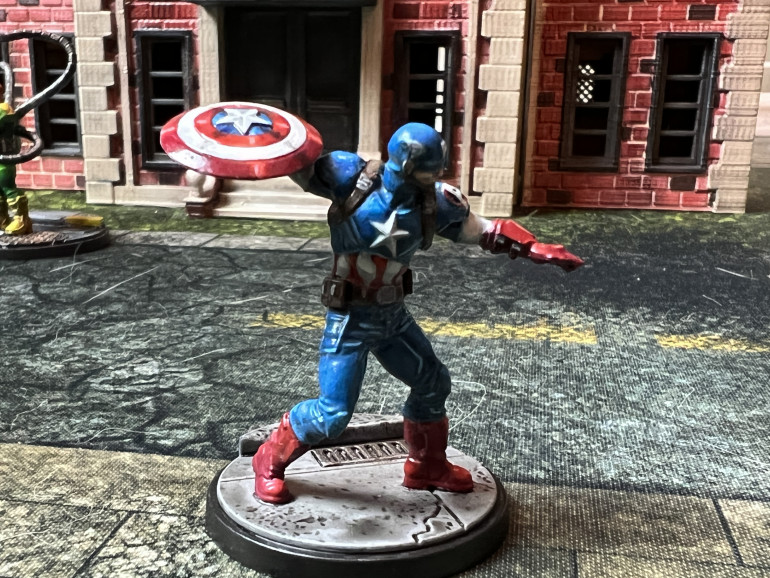 Painting was pretty straight forward as, with mainly primary colors. The shield is the only tricky part and I will let the several great videos teach you how to address it (for example Sorastro's).
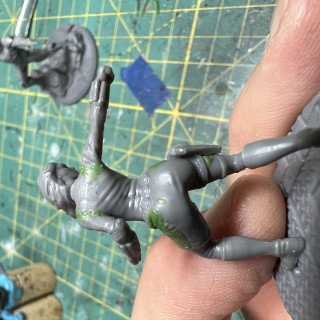
The Black Widow is very straight forward but needs a little greenstuff to provide a smooth suit aspect.
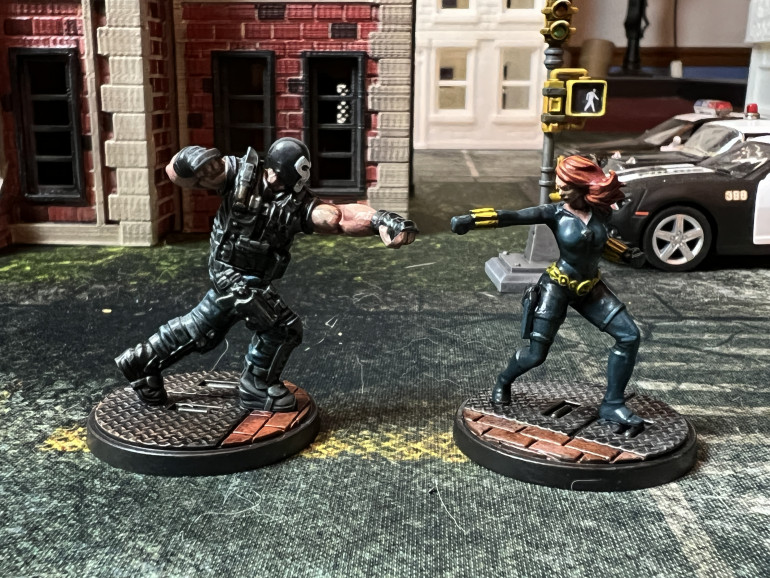 I suggest going with traditional Black Widow sporting a black suit, highlighted with medium gray (use a makeup brush for smooth finish) followed by a wash of dark blue.
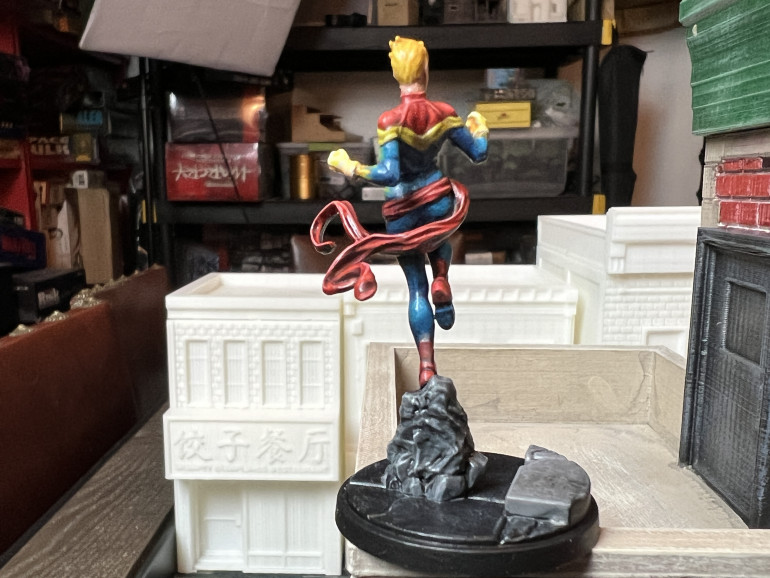
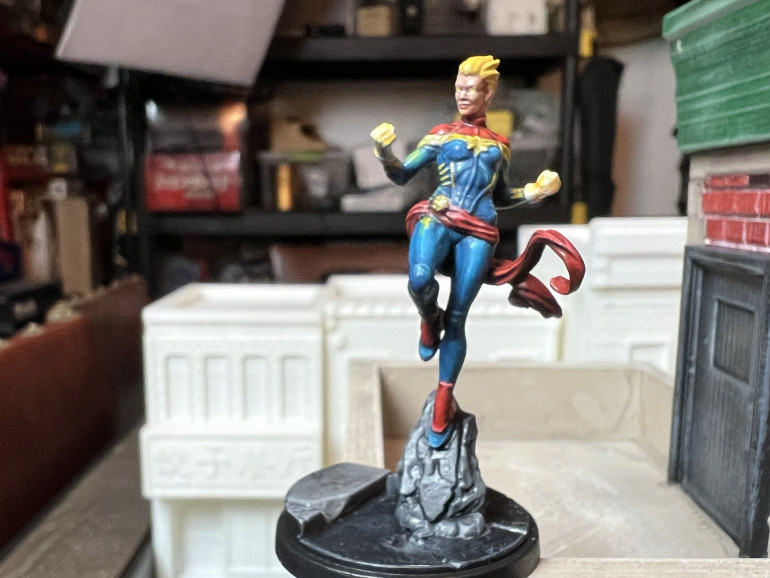
Captain Marvel has one of my favorite pauses and requires little greenstuff adjustment thanks to a well placed sash.
MCP Core Box - Starter City
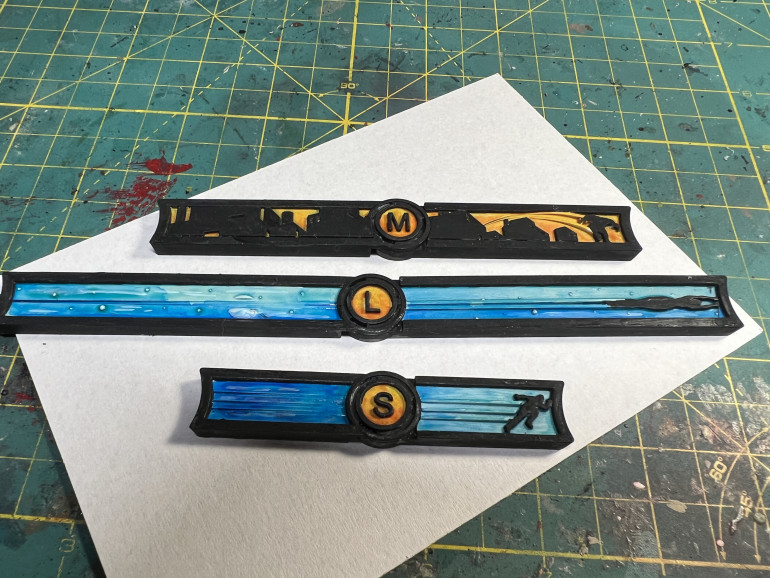
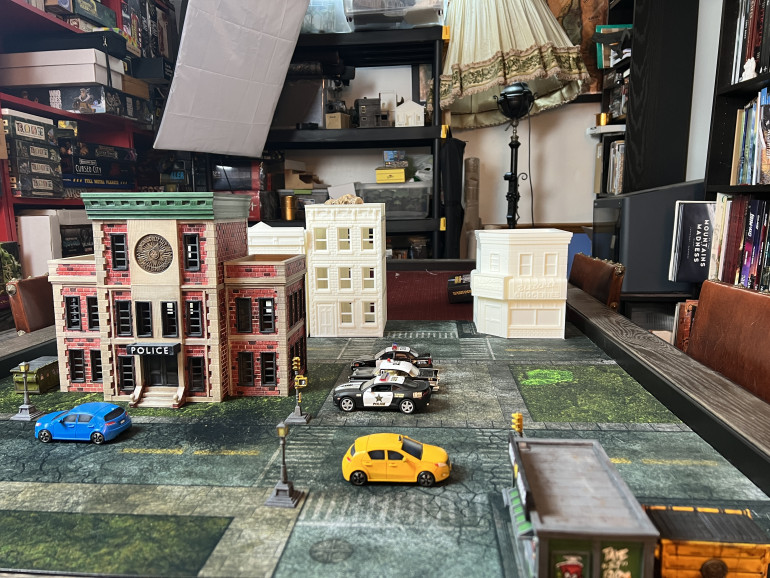
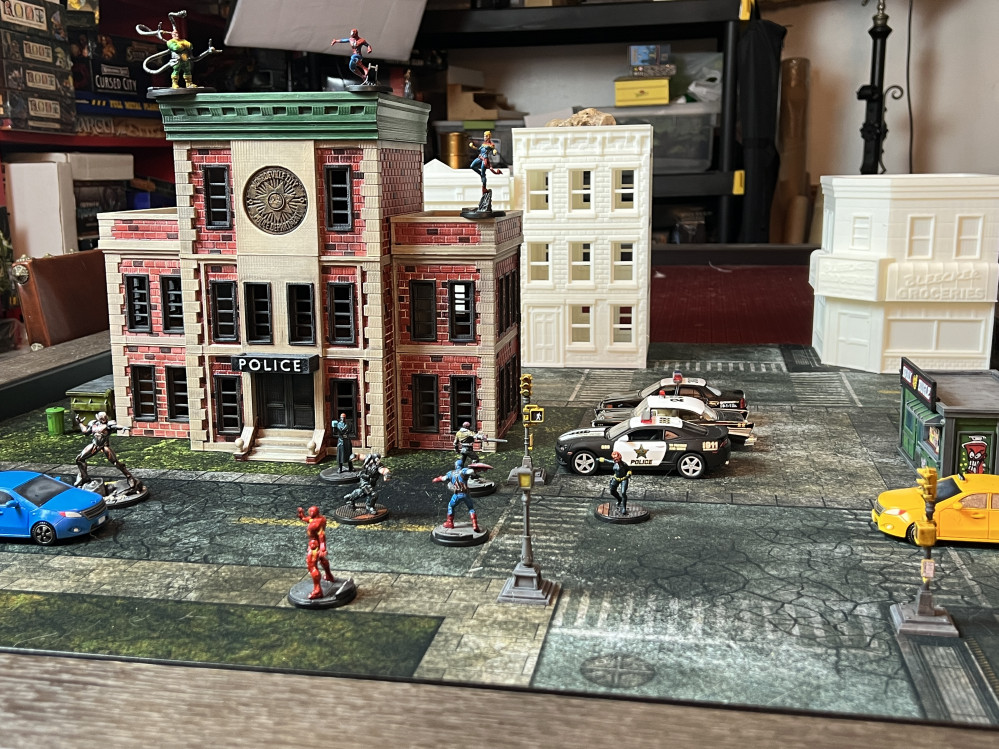
I am aware I jumped ahead by featuring the police station ahead of the core box terrain, yet it felt only logical to have a larger piece anchoring the scatter-like offerings of the game starter set. I feel I now have the beginning of a table…
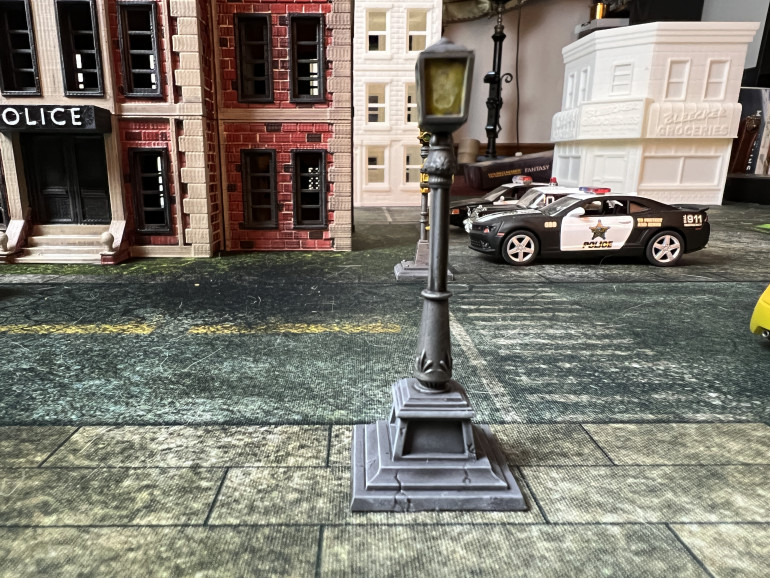 Lamp posts were an easy combination of medium gray and metallic paint, washed with Nuln oil and dry brushed over with the original color. Glass was obtained with yellow paint, washed with Agrax ES and dabbed with original yellow; far from a masterpiece but good enough for table display.
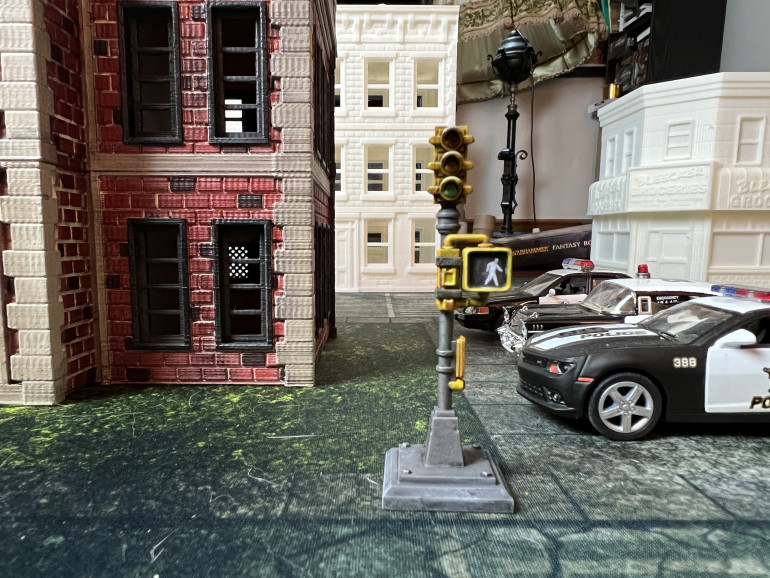 I had a bit of fun with the crossing lights (using same paint as for the street light above) but adding some printed cut outs obtained from the MSC Facebook group files). I chose a cross and do-not-cross symbol for the two signals along with an itinerary (not shown) to add a bit of realism.
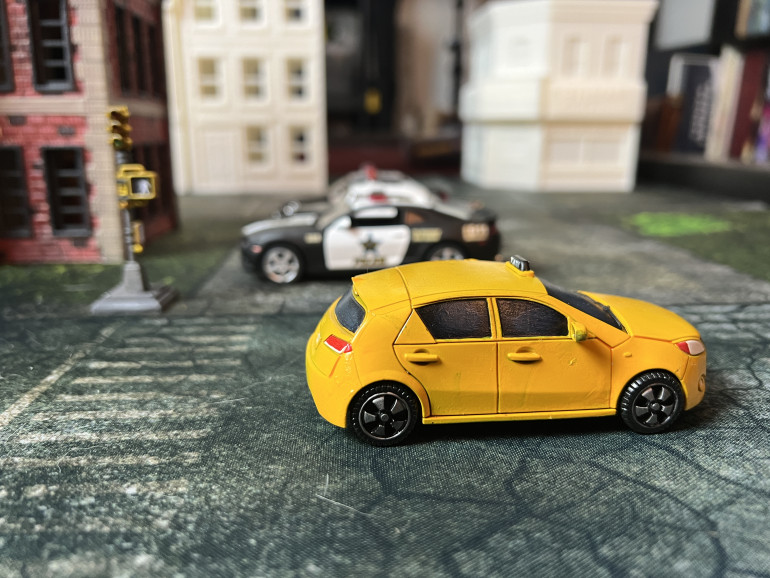
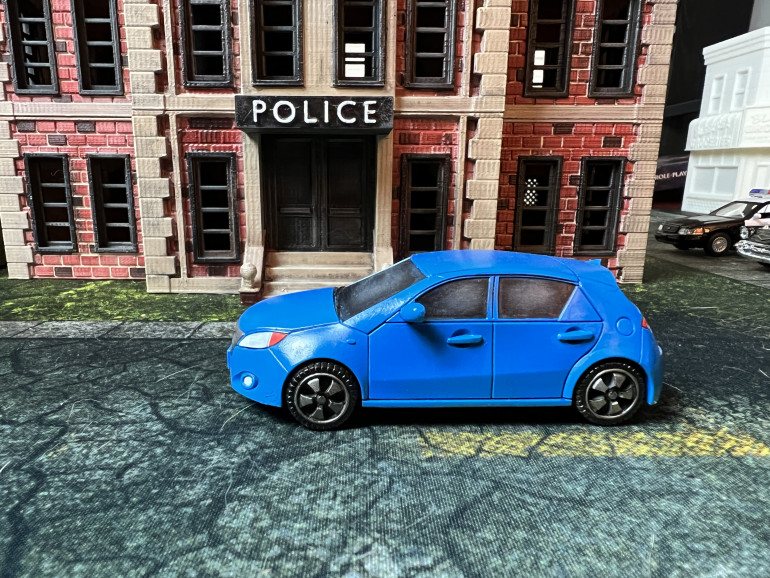 Both cars were spray painted in their final color with Army Painter primers and details were added with a fine brush for lights/signals. A wash of the appropriate color was applied to the recesses and windows were painted black, washed dark blue then dry brushed medium gray. Wheels were painted black and dry brushed metallic on the rims and medium gray on the exposed tires.
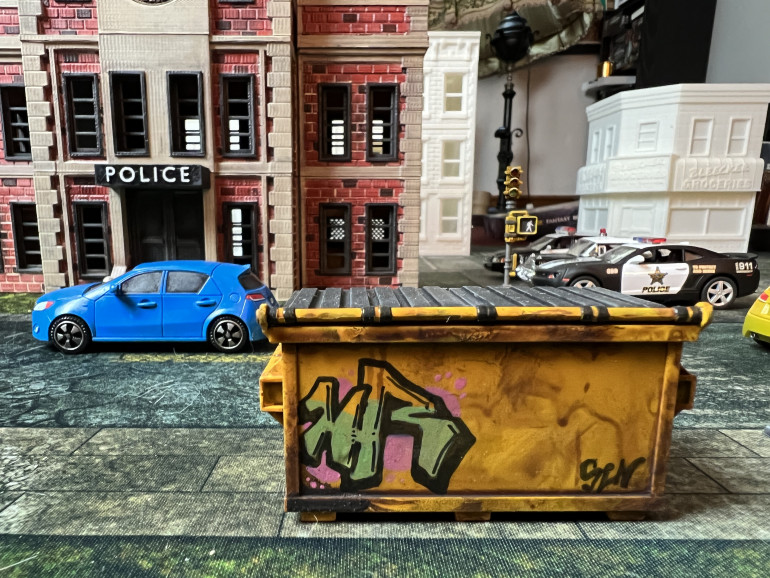
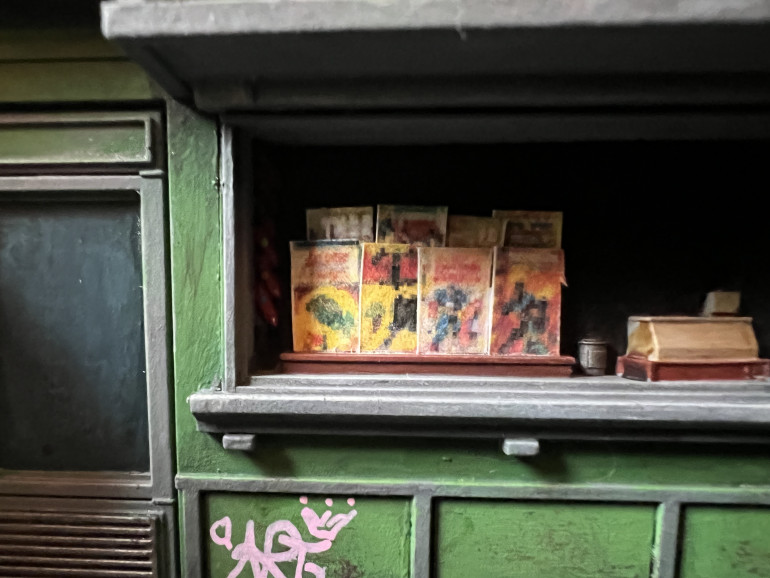
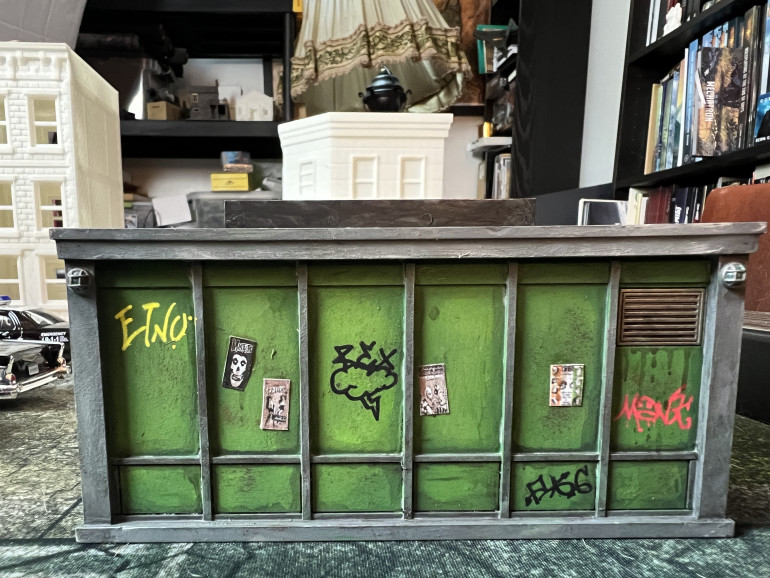
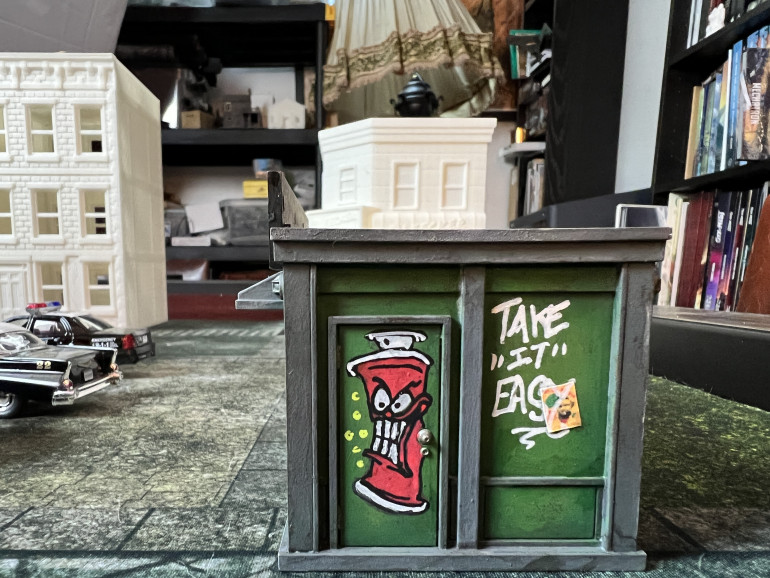
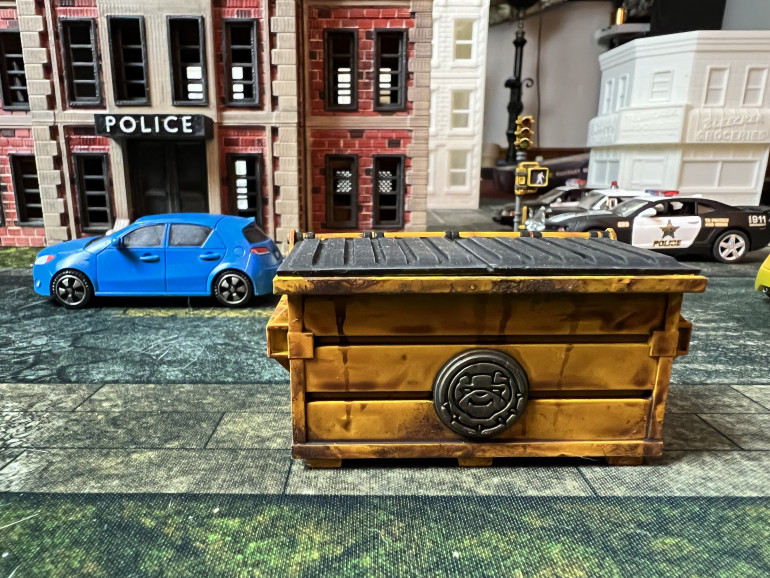 I chose yellow and green for the dumpsters, with metallic parts in GW Leadbelcher and top in flat black, to simulate heavy plastic. I also had fun with tags/placards. my advice is to use actual street arts/photos as inspiration. A solid GW Agrax wash followed by topical weathering with Agrax and Typhus Corrosion using a small brush finished the job.
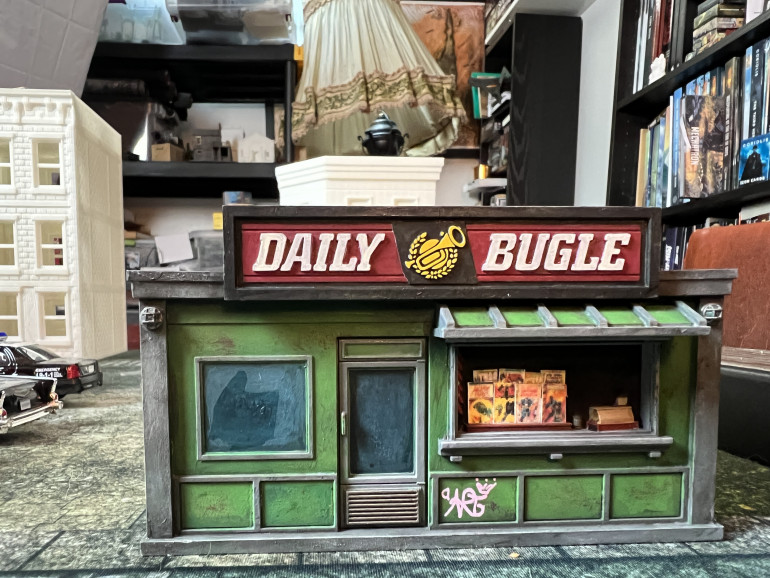 Daily Bugle was painted as per box art, with weathering made of Agrax/Nul Oil washes and Typhus Corrosion dry brushes. Windows were painted black, washed dark blue and dry brushed medium gray (similar to cars above).
Restoring Order -The Police Station
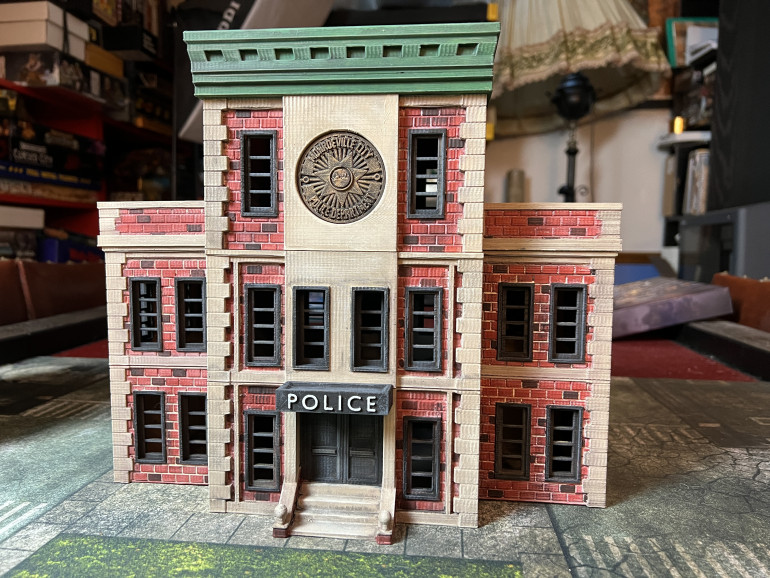
My first pick was the Corvus Terrain police Station as it combines a good backdrop photographic opportunity with several terrain levels for the game ( I ayy decide to select Size 4 for the side buildings and 5 for the main building, although this may cause issues with the future prints I have in mind). I googled NYC police precinct photos for inspiration.
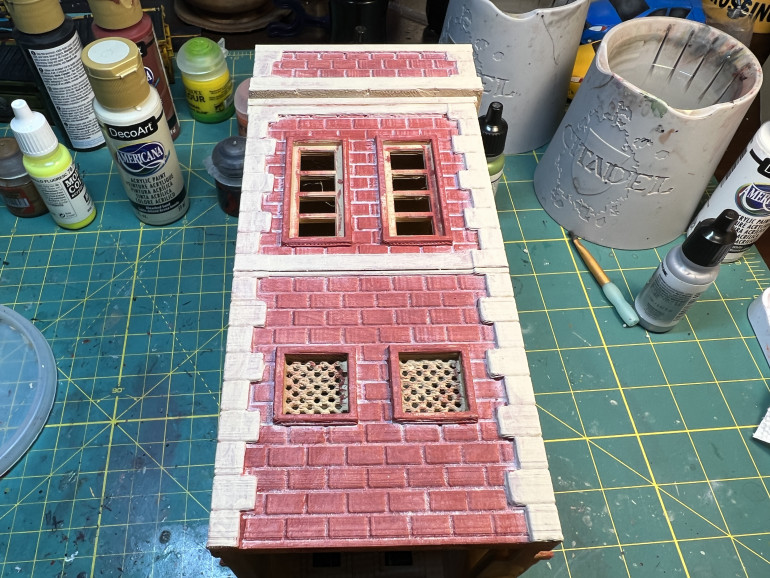 Bricks were painted on a sand primer using a red brick town from a craft paint brand (Heritage Brick from Americana). Mortar was obtained by applying an off-white thin out layer of paint over the dry brick color and promptly wiping it off with a paper towel. Not perfect, but good enough from a table perspective. The stone was painted using light beige paint which was them washed with a home made wash of brown/black craft paint mixed with a few drops of dishwashing liquid and water. Again, there are better recipes online but this one works for my terrain.
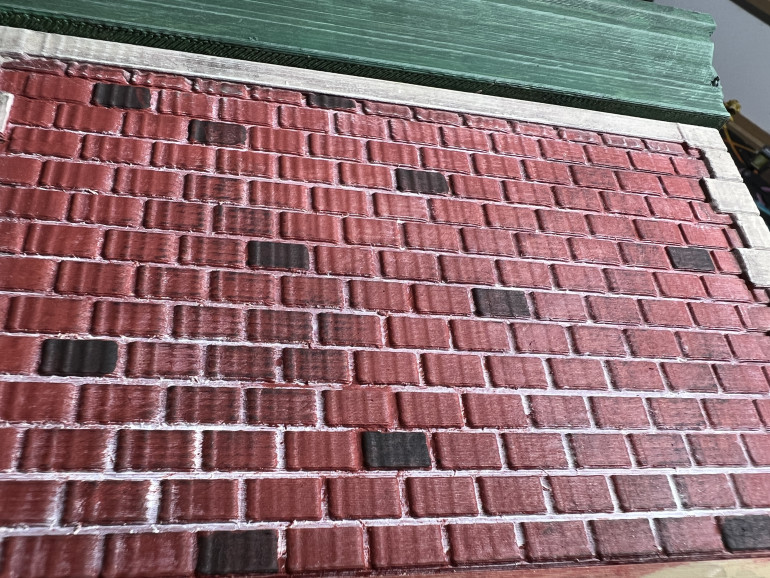 I then added a little black to the brick color and picked a few bricks on each wall to add variety. I also dry brushed some wall area lightly with black.
 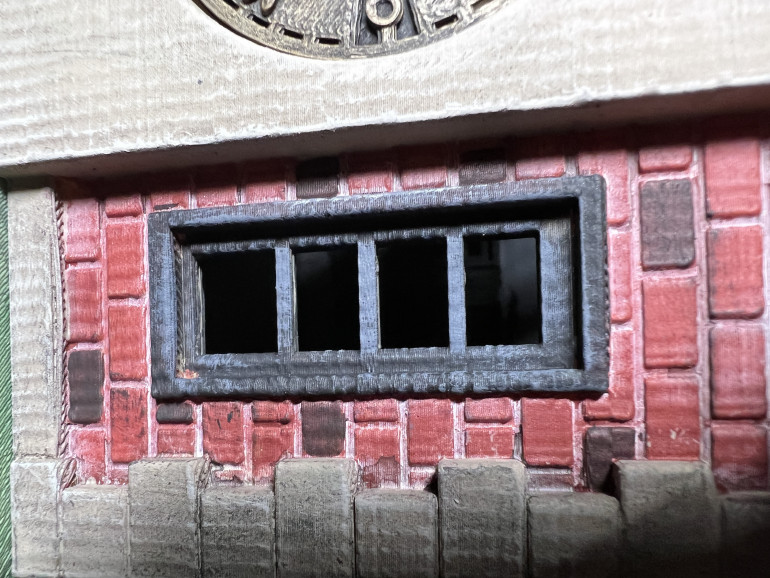 Windows and frames were painted black (add a little black on the inside also) and drybrushed with craft paint medium gray.
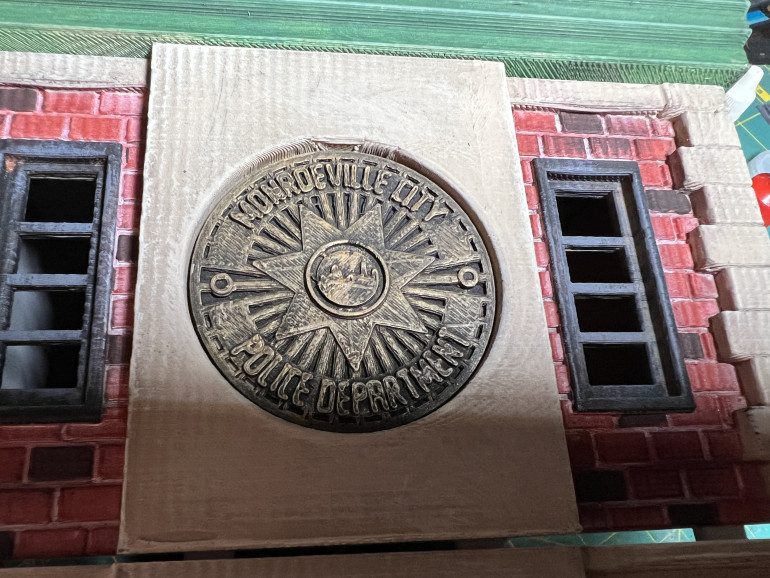 The station insignia was the original file one but I glued it lightly incase I change my mind and wish to replace it in the future. It was painted black and drybrushed with several, increasingly lighter, shades of brass and gold.
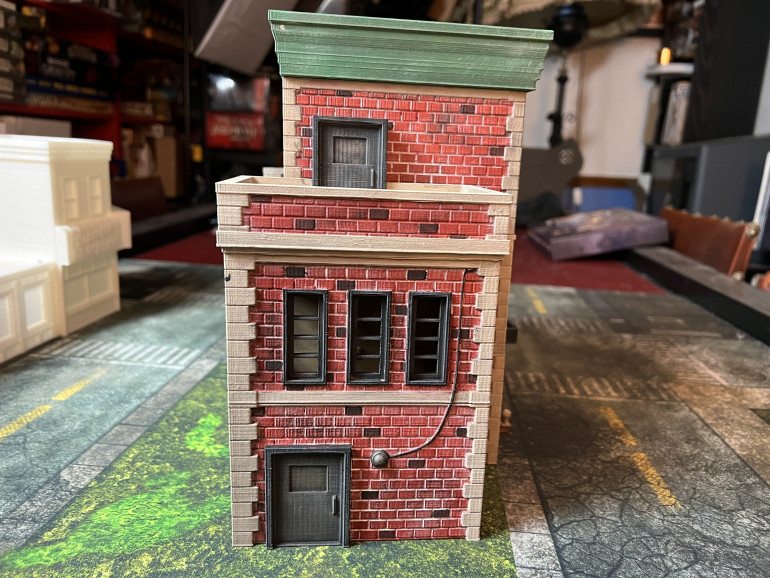 Side doors and metal barred windows were painted black and drybrushed medium gray and gunmetal color.
 Primary Color Escapism
As the world descends further into chaos, I found myself pining for simpler times, most probably rose colored by childhood memories yet so appealing in a universe where shades of gray replace the primary colors of old. In essence, I want the good guys to prevail over evil doers in the end, making the world right and shining a beacon of hopes for all to follow. Wishful thinking? Escapism? Absolutely, yet, on some days, these are some of the few things that shield me against growing anxiety and depression, so I embrace them wholeheartedly.
With this mindset, I found myself wandering back to the comic books of my childhood within the pages of which Spiderman fought the Green Goblin, the Fantastic 4 fought the Sphinx and Iron Fist defeated the Mandarin (the original one, not the buffon version of the MCU). From a young age, reading theses comics published in France by LUG Editions, I always loved these stories as they presented heroic yet relatable characters and let my imagination fly. As adult life took over, I left MArvel and DC behind for decades, till my late forties where a rekindling interest with tabletop gaming brought, as a guest, a venture into comics.
Fast forward to January 2022, where I was deciding upon a tabletop game focus for the new year. Choices were a plenty but that comes at a cost for such people as I, growing anxiety on the framework of a first world problem. My attention wandered back to a game that I had considered before but shelved to the ‘potential’ area of my hobby mind: Marvel Crisis Protocol. I started researching reviews, batreps and paint videos, trying to decide if this would become my year tabletop game focus. It passed the test and this post if the first of many Marvel Crisis Protocol (MCP) posts as I delve head first into this gem of a game. “ever upward!”
But First, Let us Build The City
Both as an act of vanity to offer a nicer background for upcoming miniature photographs and as an enhancement to the overall gaming experience, a city begs to be built that will host the game’s chaotic actions. In my desire to embrace Marvel Crisis Protocol, I am considering the hobby side of things, which is probably at least as important to me as the game aspect. Indeed, painting miniatures and building a nice table for them to romp on is often my primary pleasure in this hobby and MCP would be no exception. Also, having a nice terrain to photograph the miniatures around is a major perk as it places the miniatures in their environment, thus highlighting both decors and actors.
As often, it all started with a core box …
It is not often that one can purchase a game starter box and be able to play for hour on end without the need to further acquire material. Atomic Mass Games offers this rare gem in the form of the MCP core box. But most importantly not only does it provide the miniatures but also the terrain; and much terrain is needed for MCP to attain its full flavor. One may argue that the box offerings are rather low to the ground, but they offer a good start for an environmental mayhem playground.
While the MCP corre box offers a nice selection of terrain, I wanted to give some altitude to my table, mostly to accommodate the initial miniatures shots by providing background to them. My online search pointed me to Corvus Games Terrain which urban range is offer plethora of models fit to build my NYCish environment. If you play MCP, ensure that the models have not been pre-sized for the game ‘O Scale’ so as ou can resize them appropriately. My decision to do so was based upon the fact that I could always use oversize terrain for other games (Last Days, Walking Deads, Mad Dog with Guns, Fistful of KungFu) without much of a scale issue but that the primary role of the terrain would perfectly fit the MCP miniatures. Also, if Knight Models batman game is in my future, they would also be scale appropriate.


