


Collins builds the world of The Walking Dead


Recommendations: 1397
About the Project
In this project I will be building boards that are interesting and unique from The Walking Dead and using them in another project as I document my solo play through of Mantic Games The Walking Dead All Out War. I may take inspiration from the comics or the TV show, i'm not fussed for timelines etc and i'll be making my own story for Rick along the way. Enjoy this project is the building and prep project, go view my other one for the storyline (battle reports)
Related Game: The Walking Dead: All Out War
Related Company: Mantic Games
Related Genre: Pulp
Related Contest: Spring Clean Hobby Challenge 2026
This Project is Active
Whats missing from here? TREES!
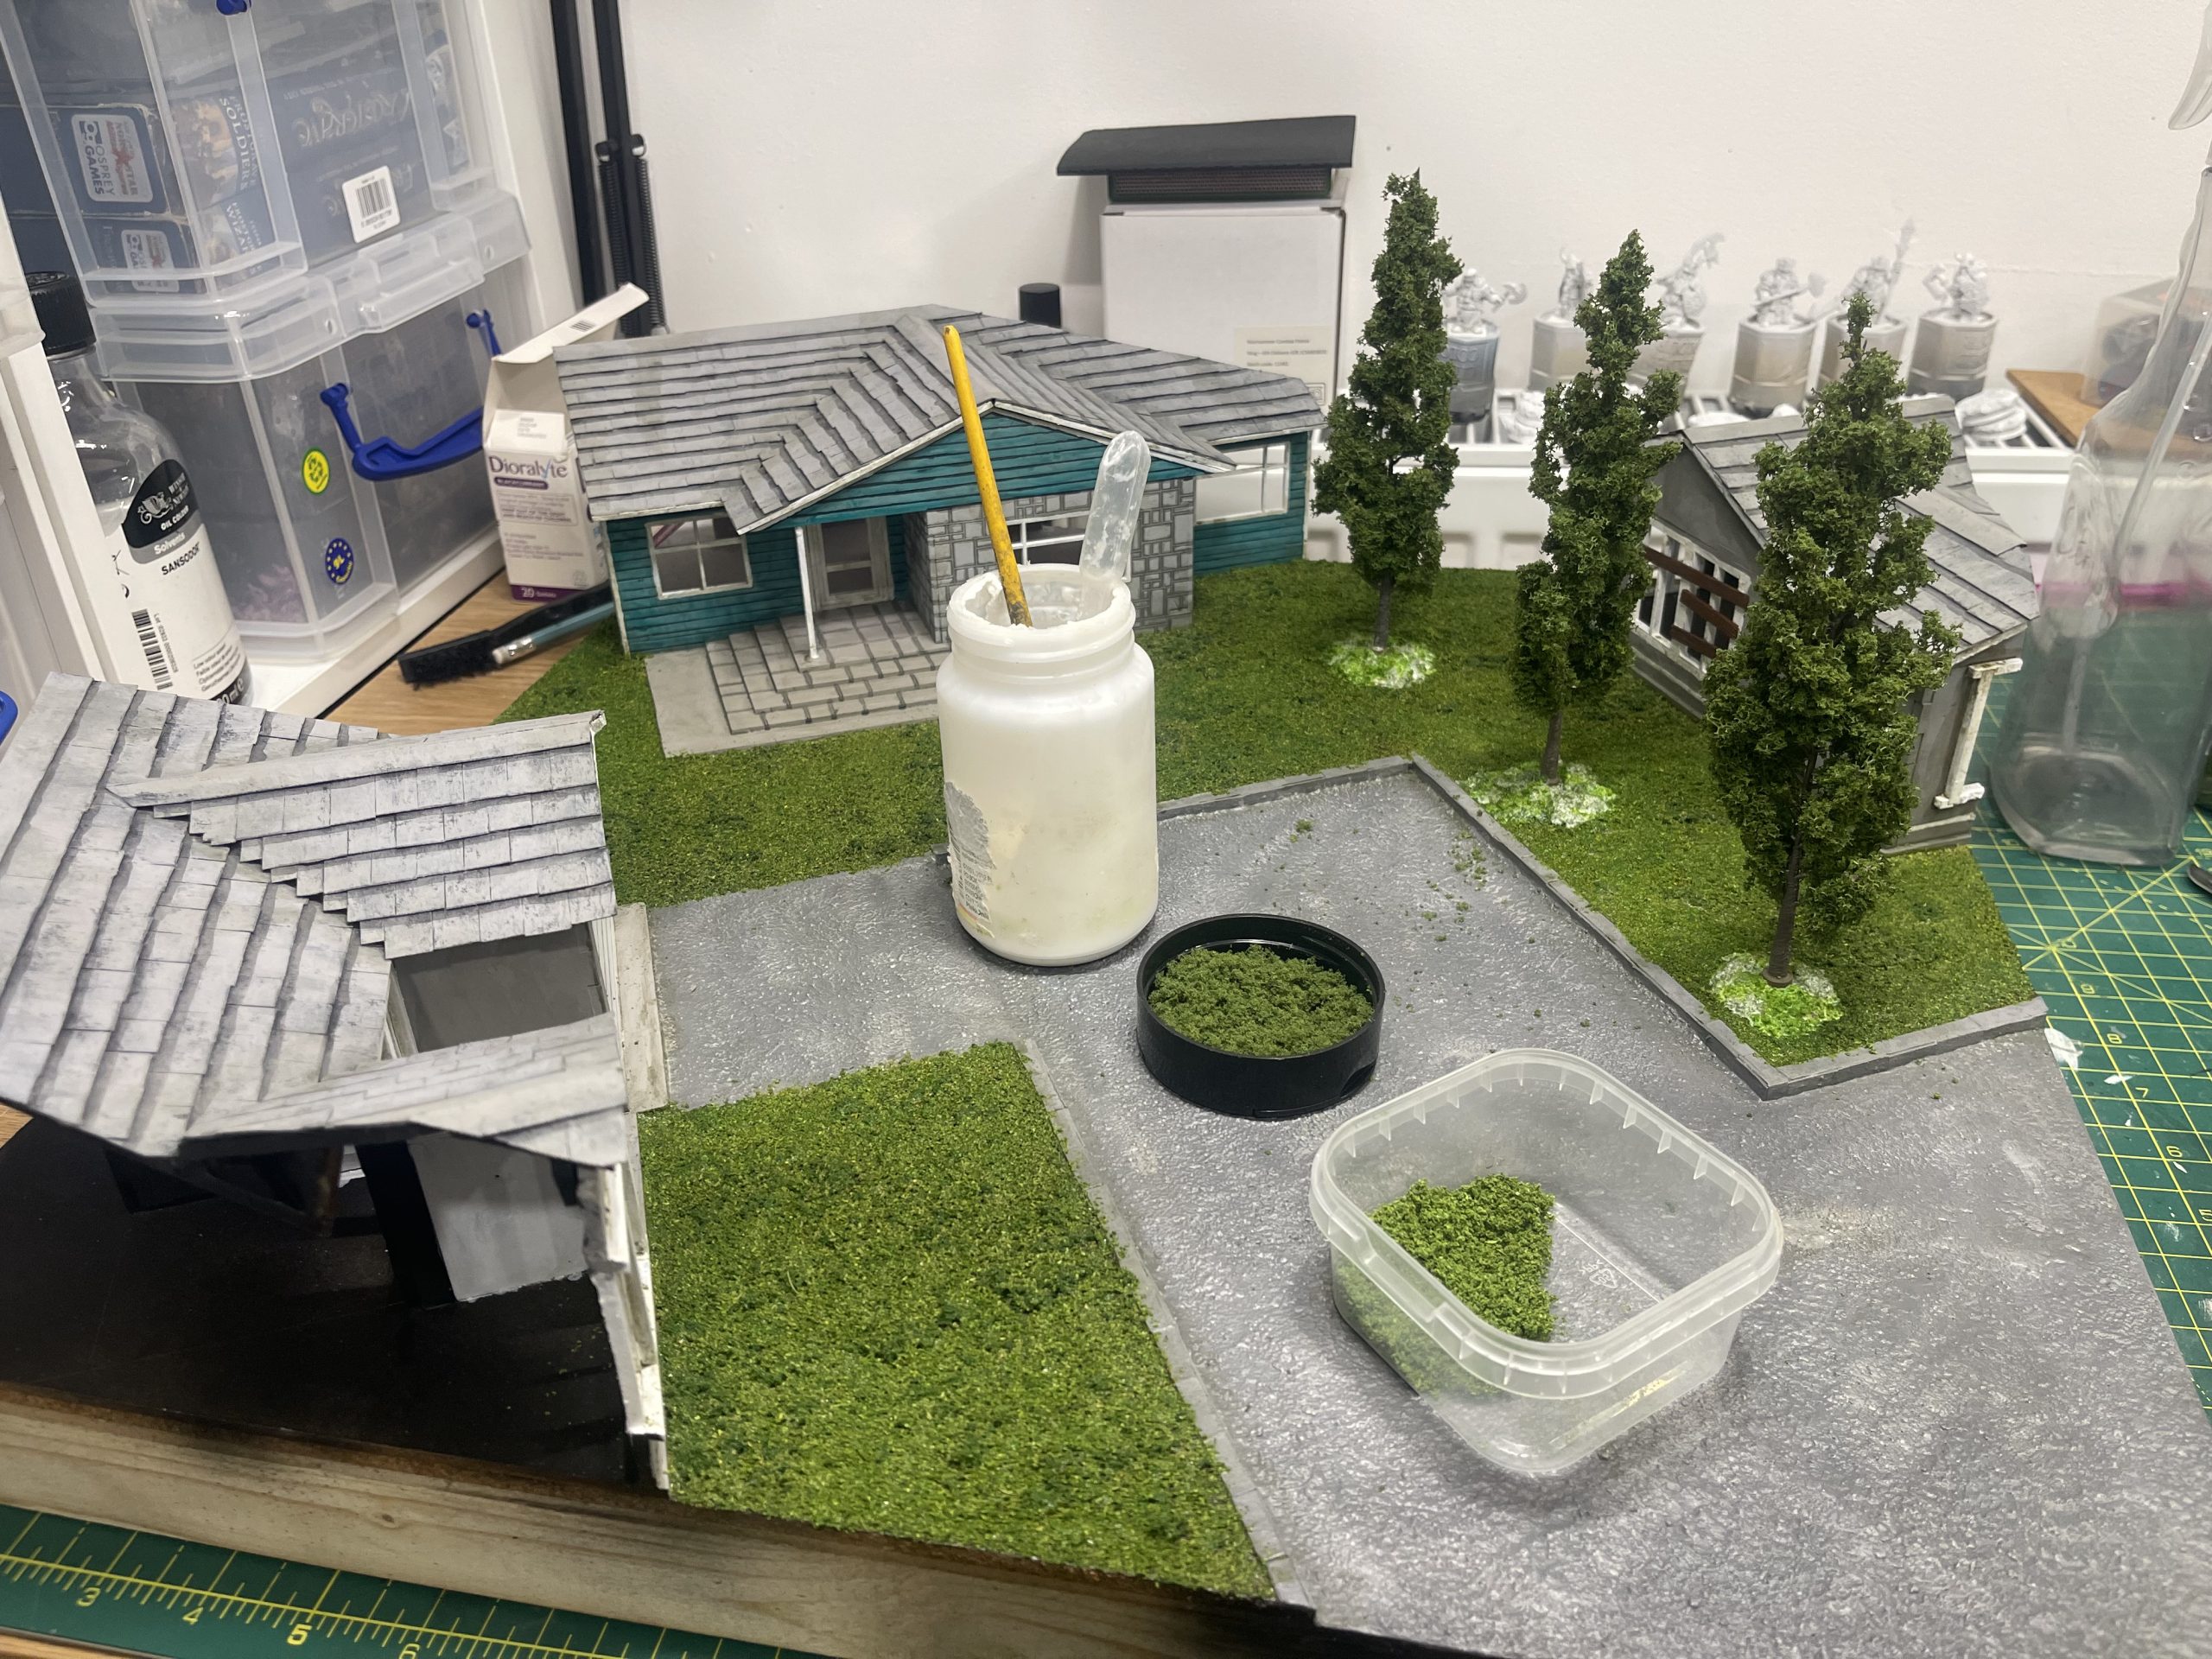
When i finished the rough grass i looked at the board and though, ‘something’s missing’.
I went back to the reference images (see previous post) and saw that height and line of sight blocking stuff wasn’t there, primarily trees. It added a 3rd height level and a bit more of nature.
I went digging in my garage for my old 4ground trees (which i think are HEKI trees) and threw 3 poplar trees down in a very definite straight line, as if they had been deliberately placed when the estate was built.
I had to super glue (lots) them down and then go over the top of their bases using more PVA, flock and ISO.
The grass is greener on the other side
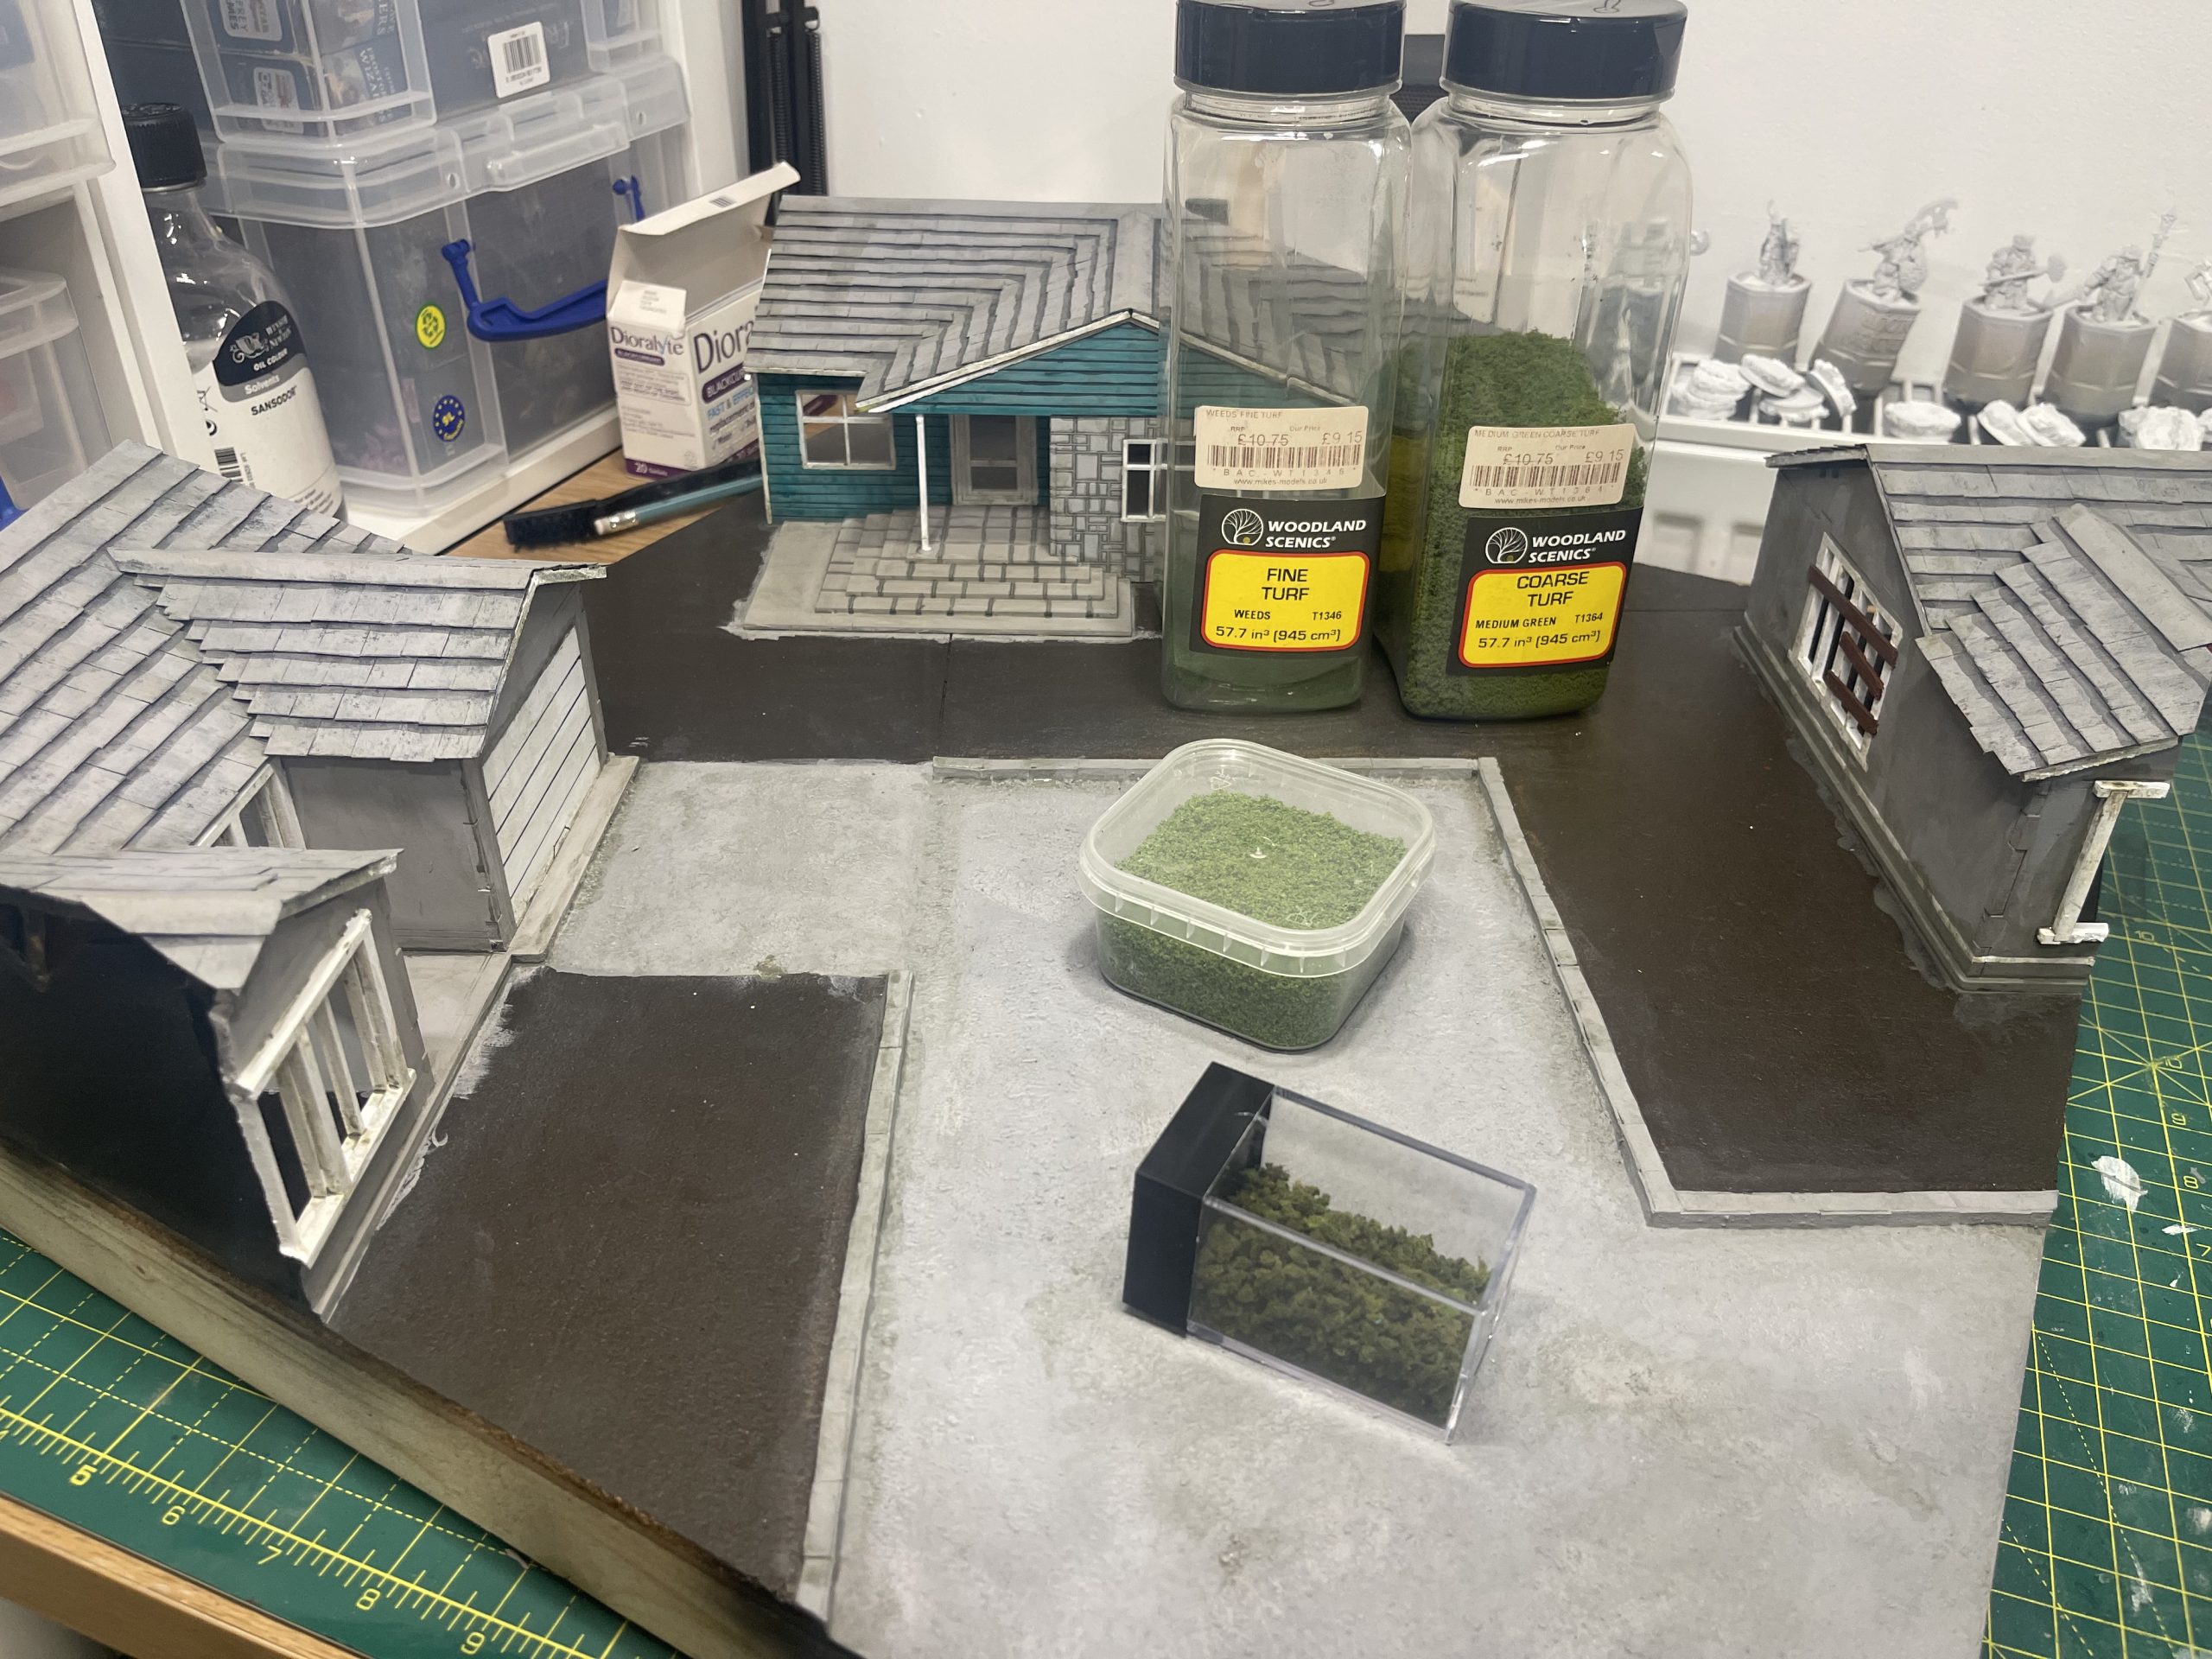
So the plan here is to do the following.
- lay down (paint on) PVA
- sprinkle on (at least) two types of flock
- spray ISO
- Pipette on heavily watered down PVA
- leave to dry.
pretty simple really. in reality you need to work in sections and always paint a wider area than you plan to flock until the whole area is done. That way you wont get any horrible tide marks in your flockwork.
the reason for using at least two types of flock is simply for variety. if you look in your garden, you’ll see its not just grass, there are weeds, random growth and moss too. it’ll help it look natural and realish and thus be a more easy to believe lawn. I’ll put bigger clumps down to simulate a lawn that has not been mown recently (after all, the world ended and nobody cuts the grass when they’re dead… they usually just prop up the daisies)
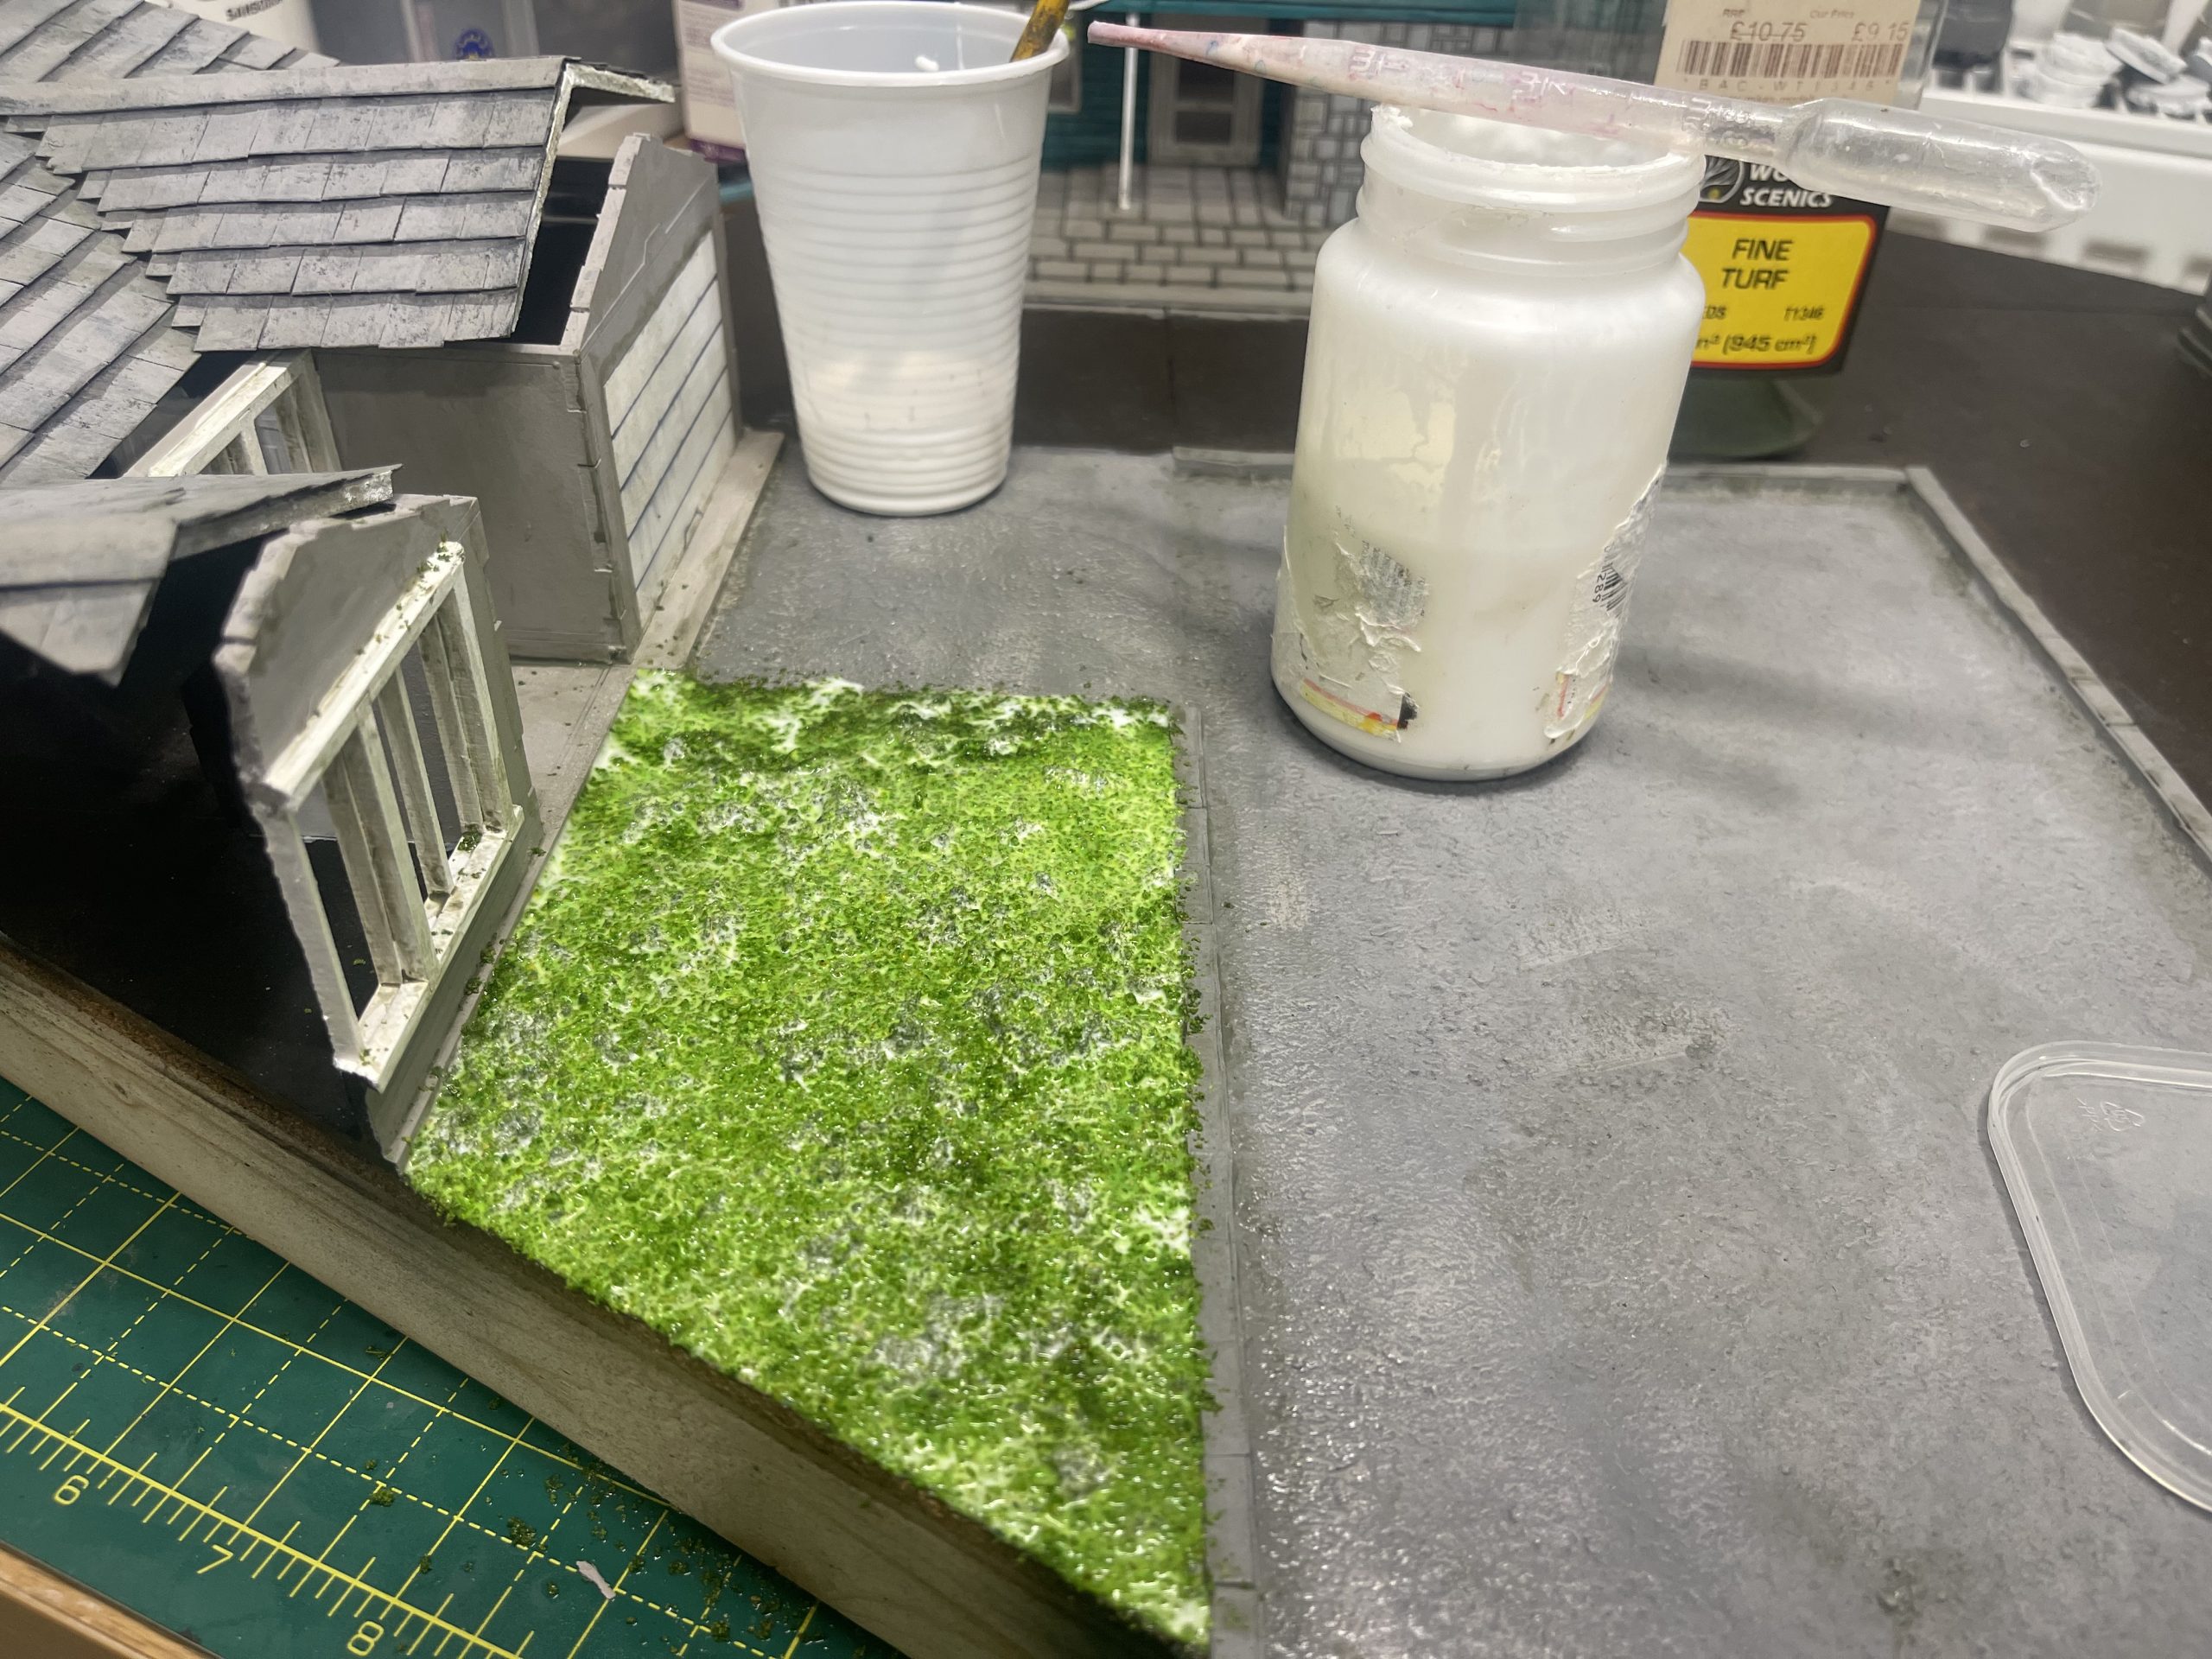 small areas are easy to do in one go
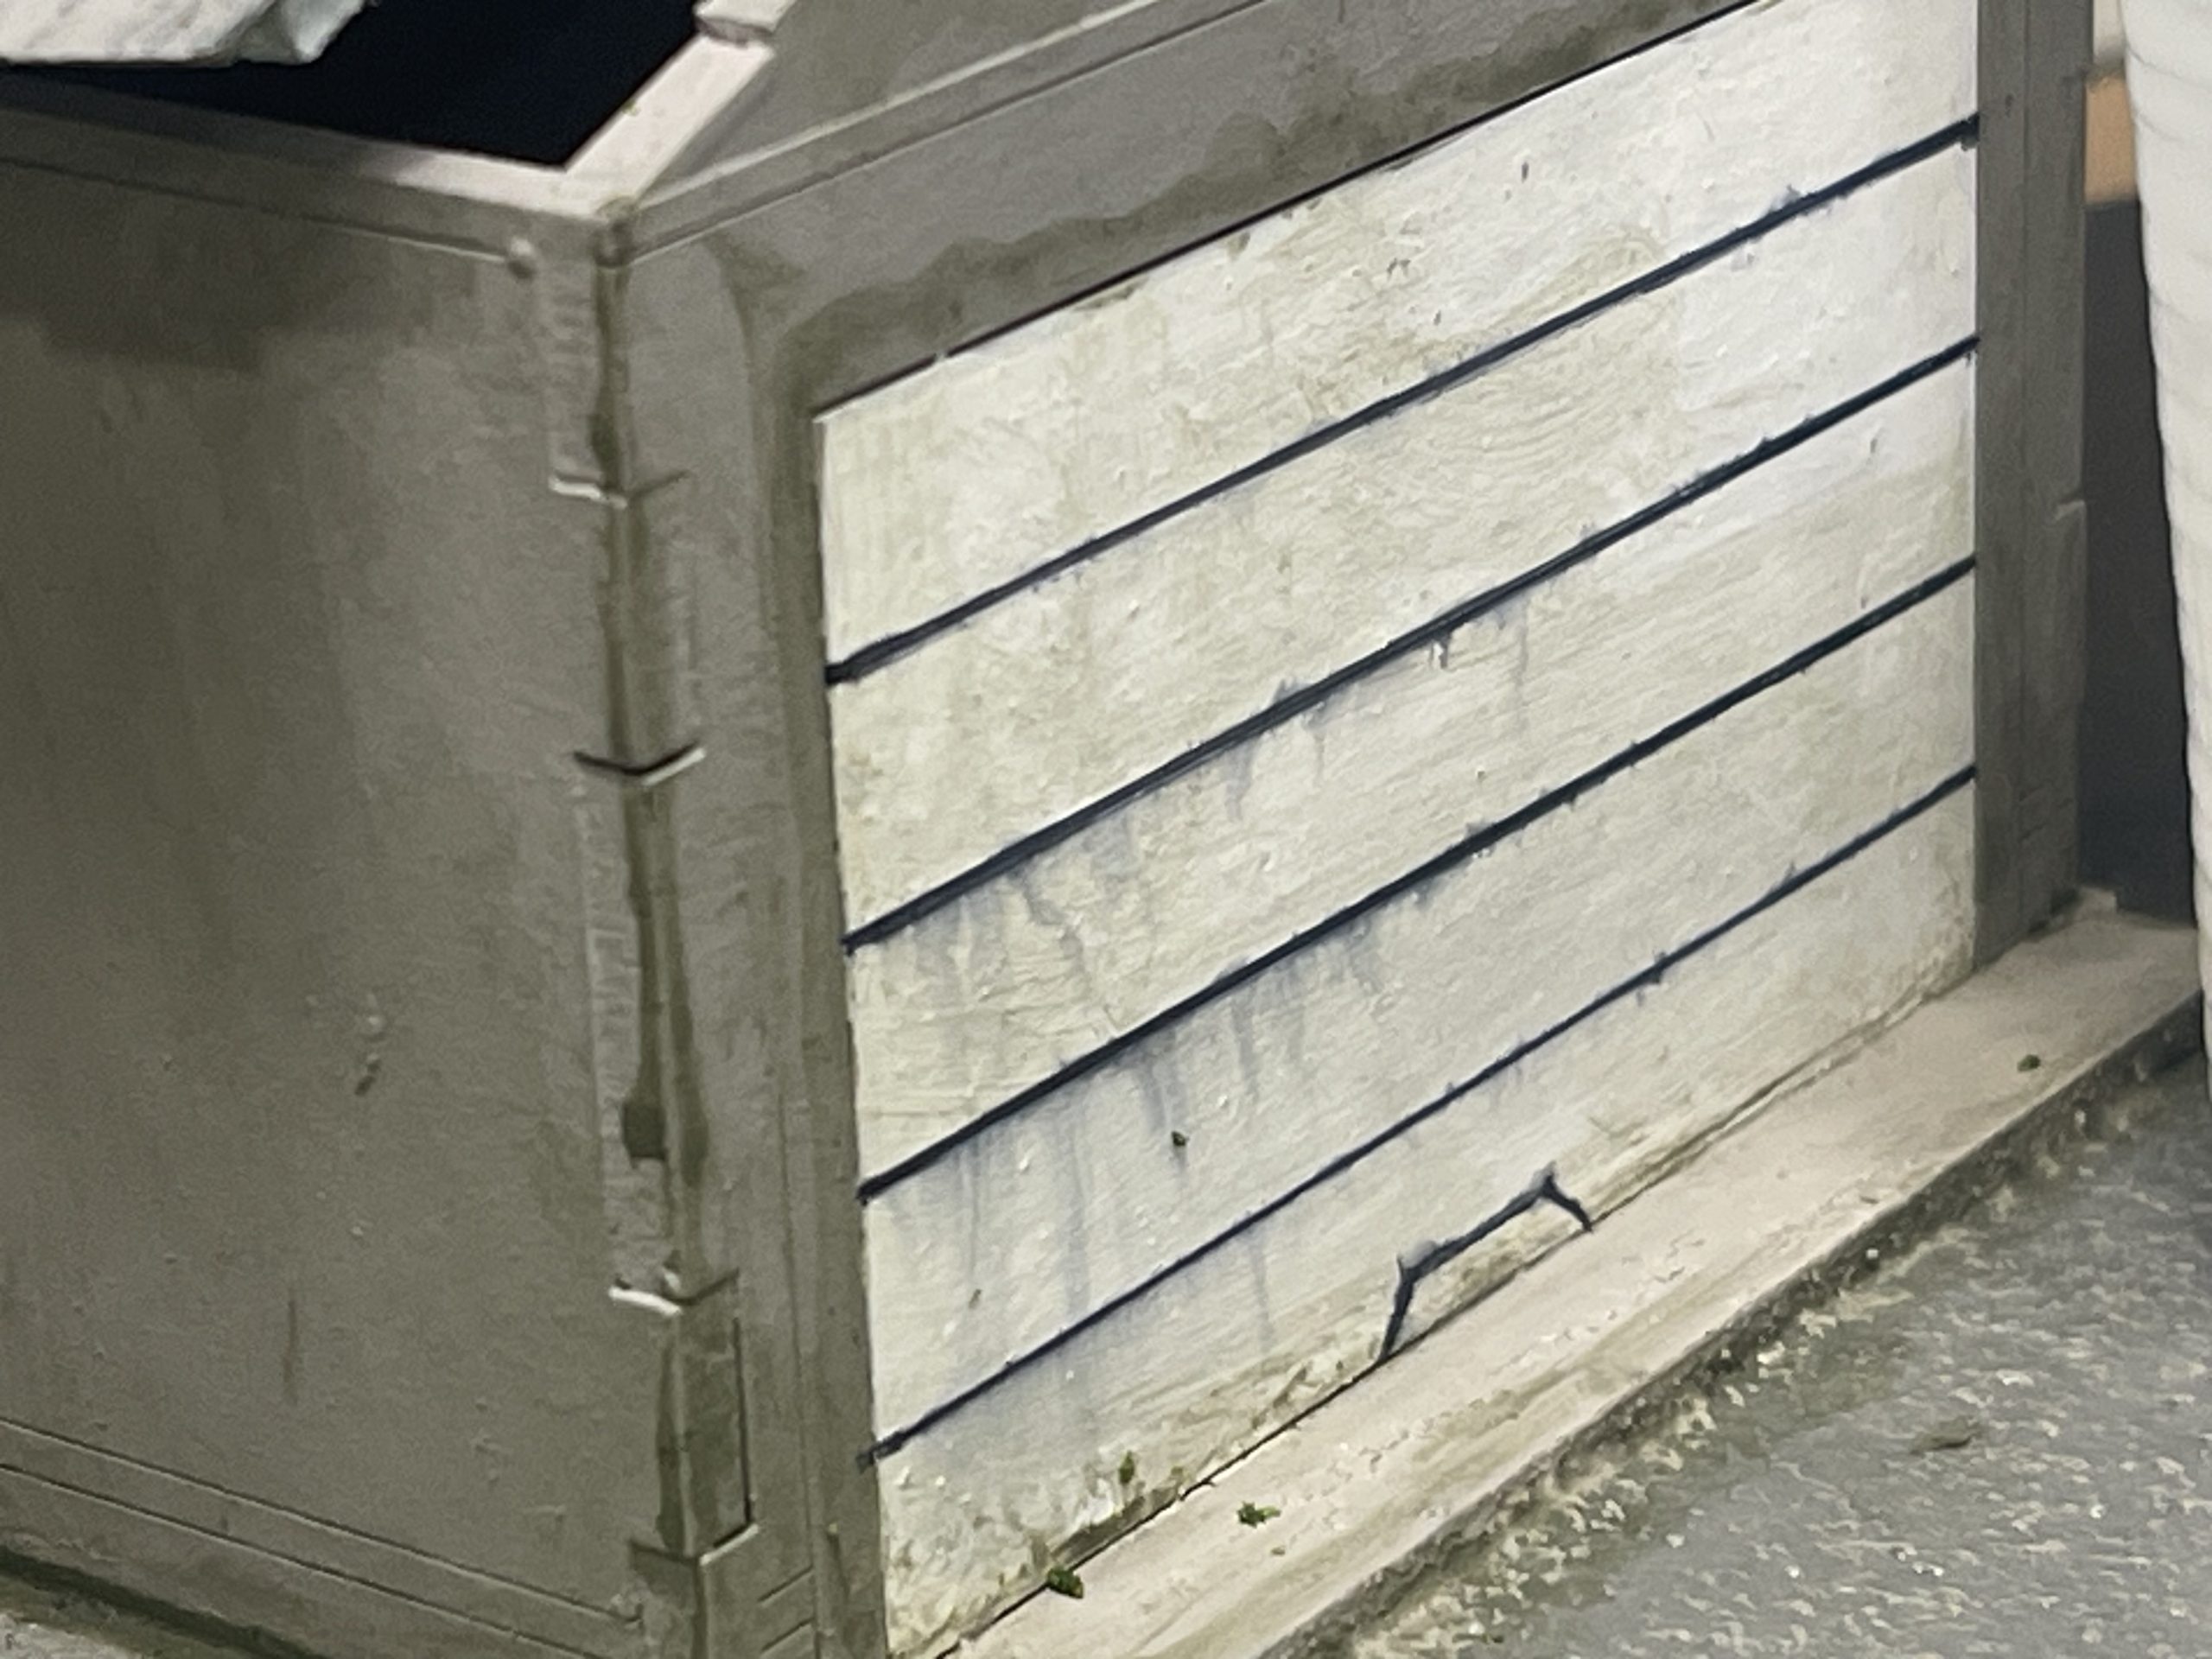 Disaster! (not really) the ISO made the permanent marker run
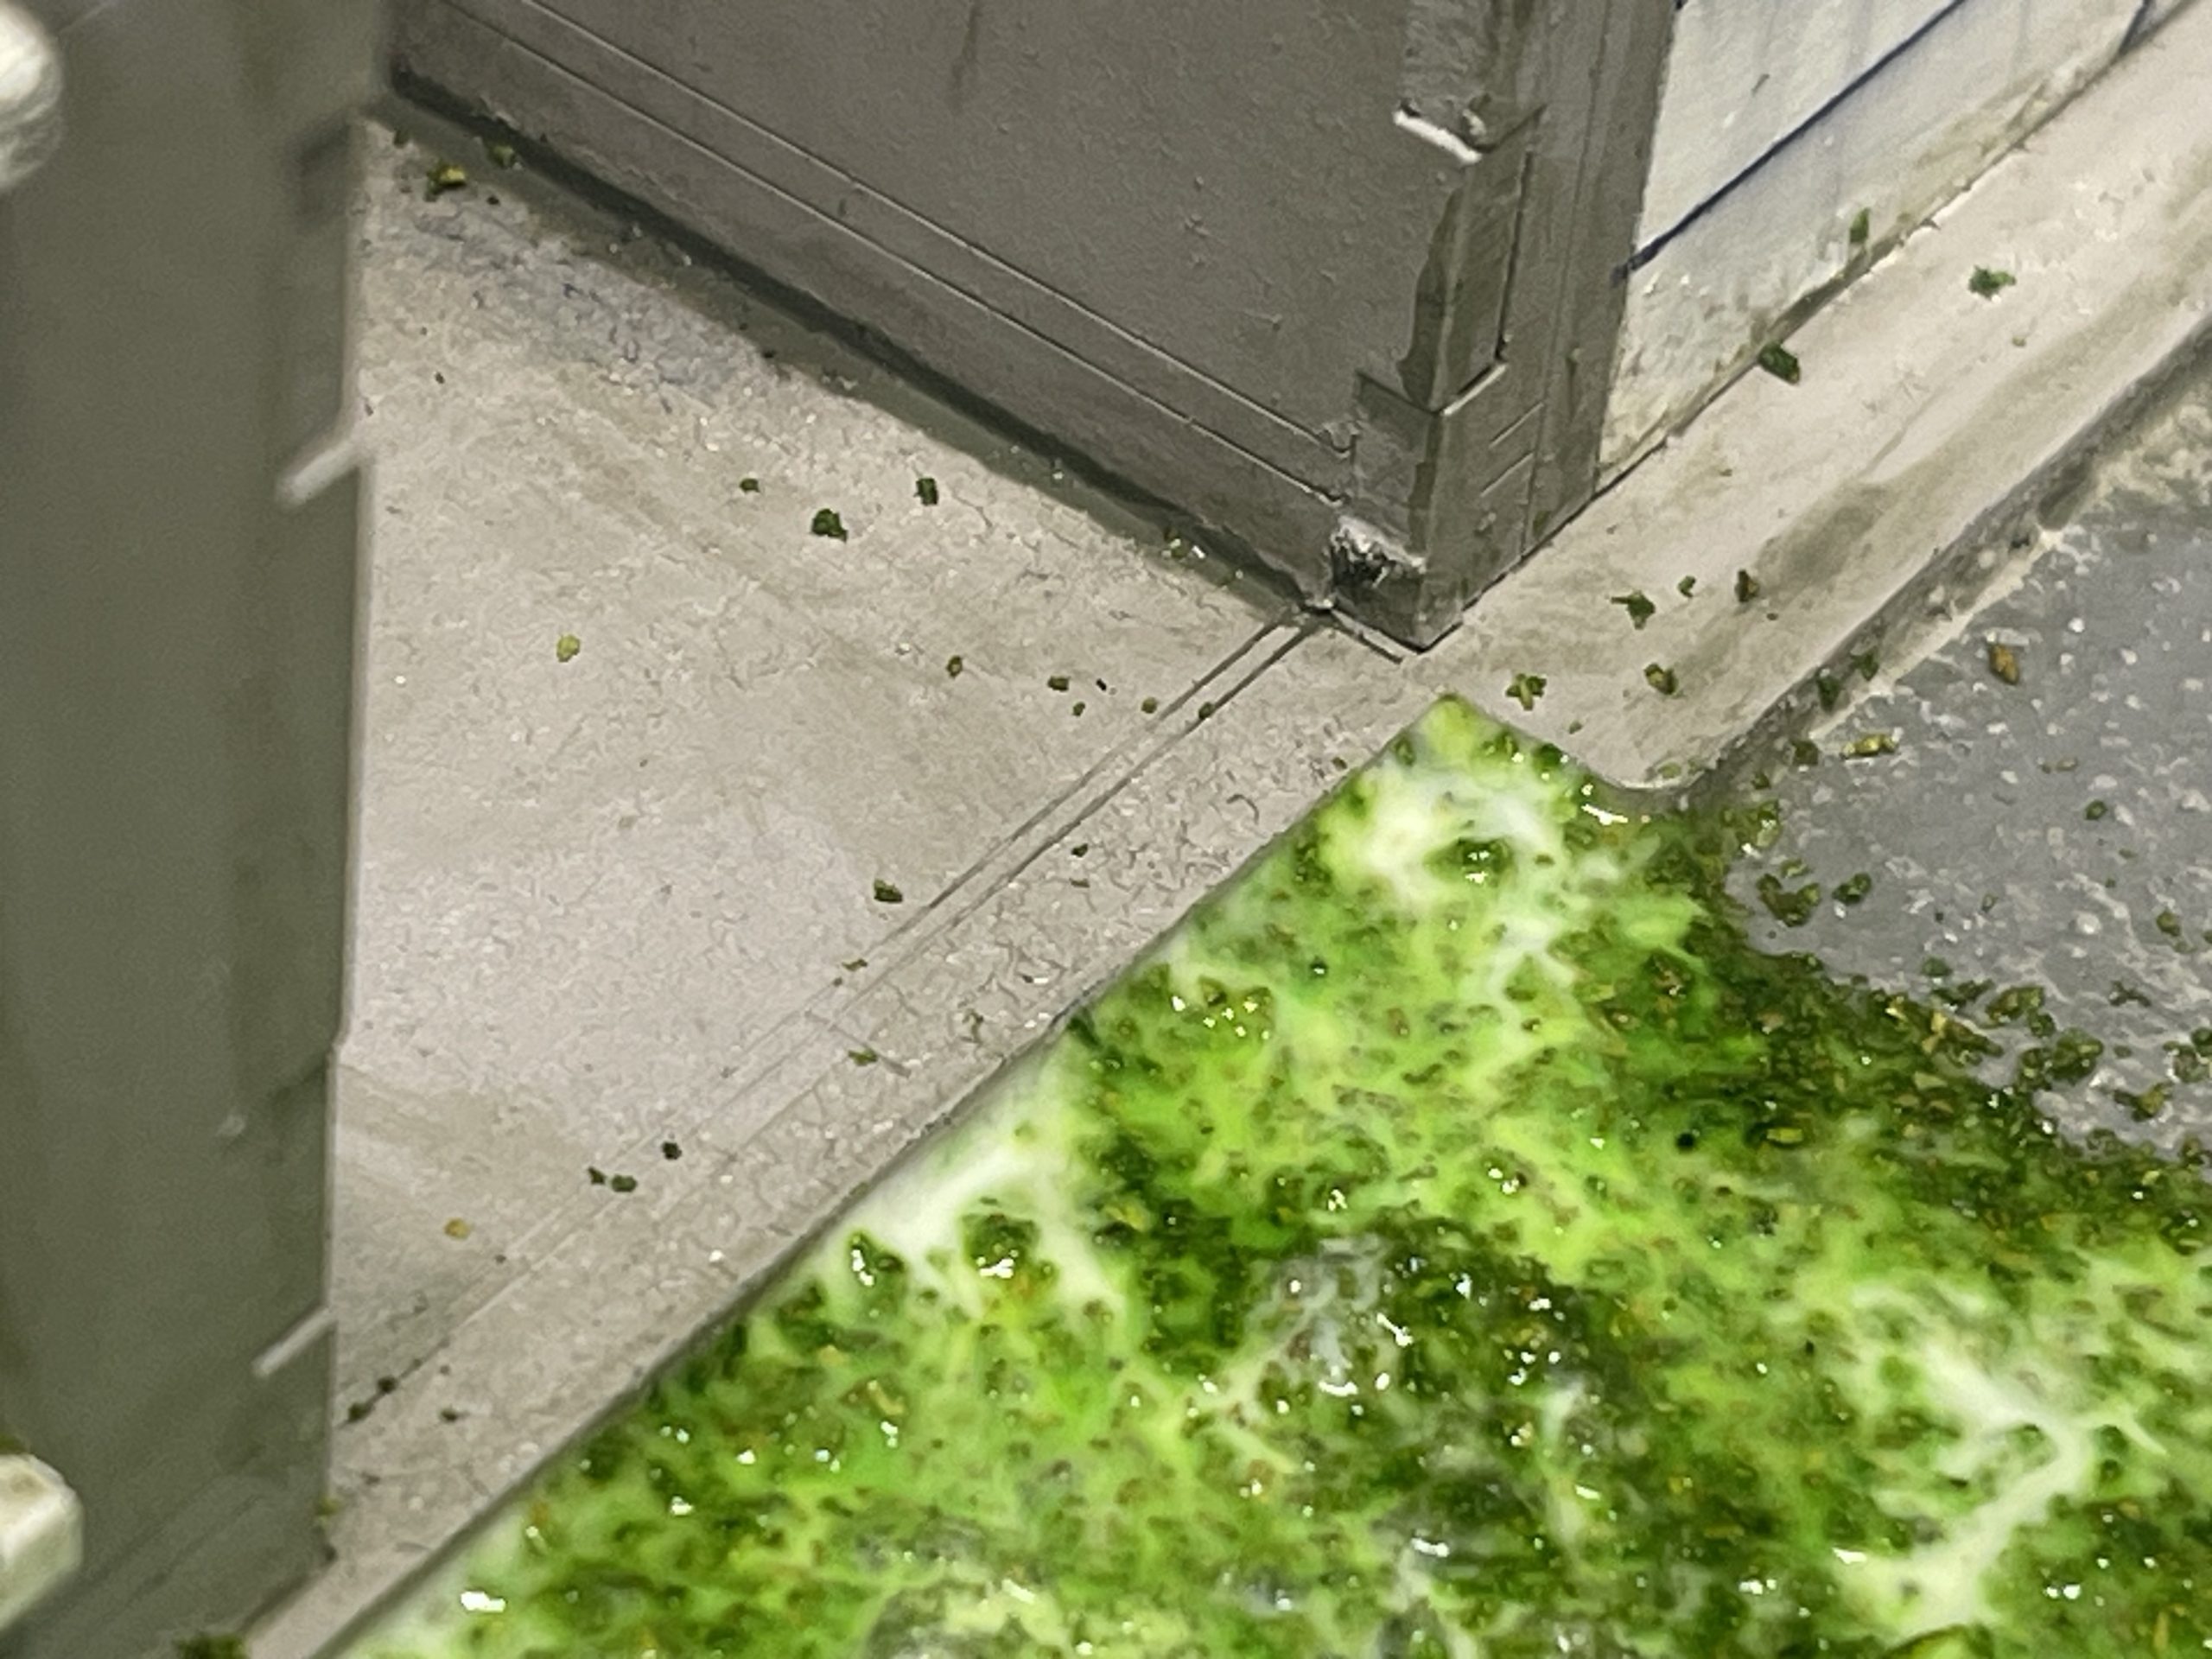 and made the paint bubble... i shall ignore it for now
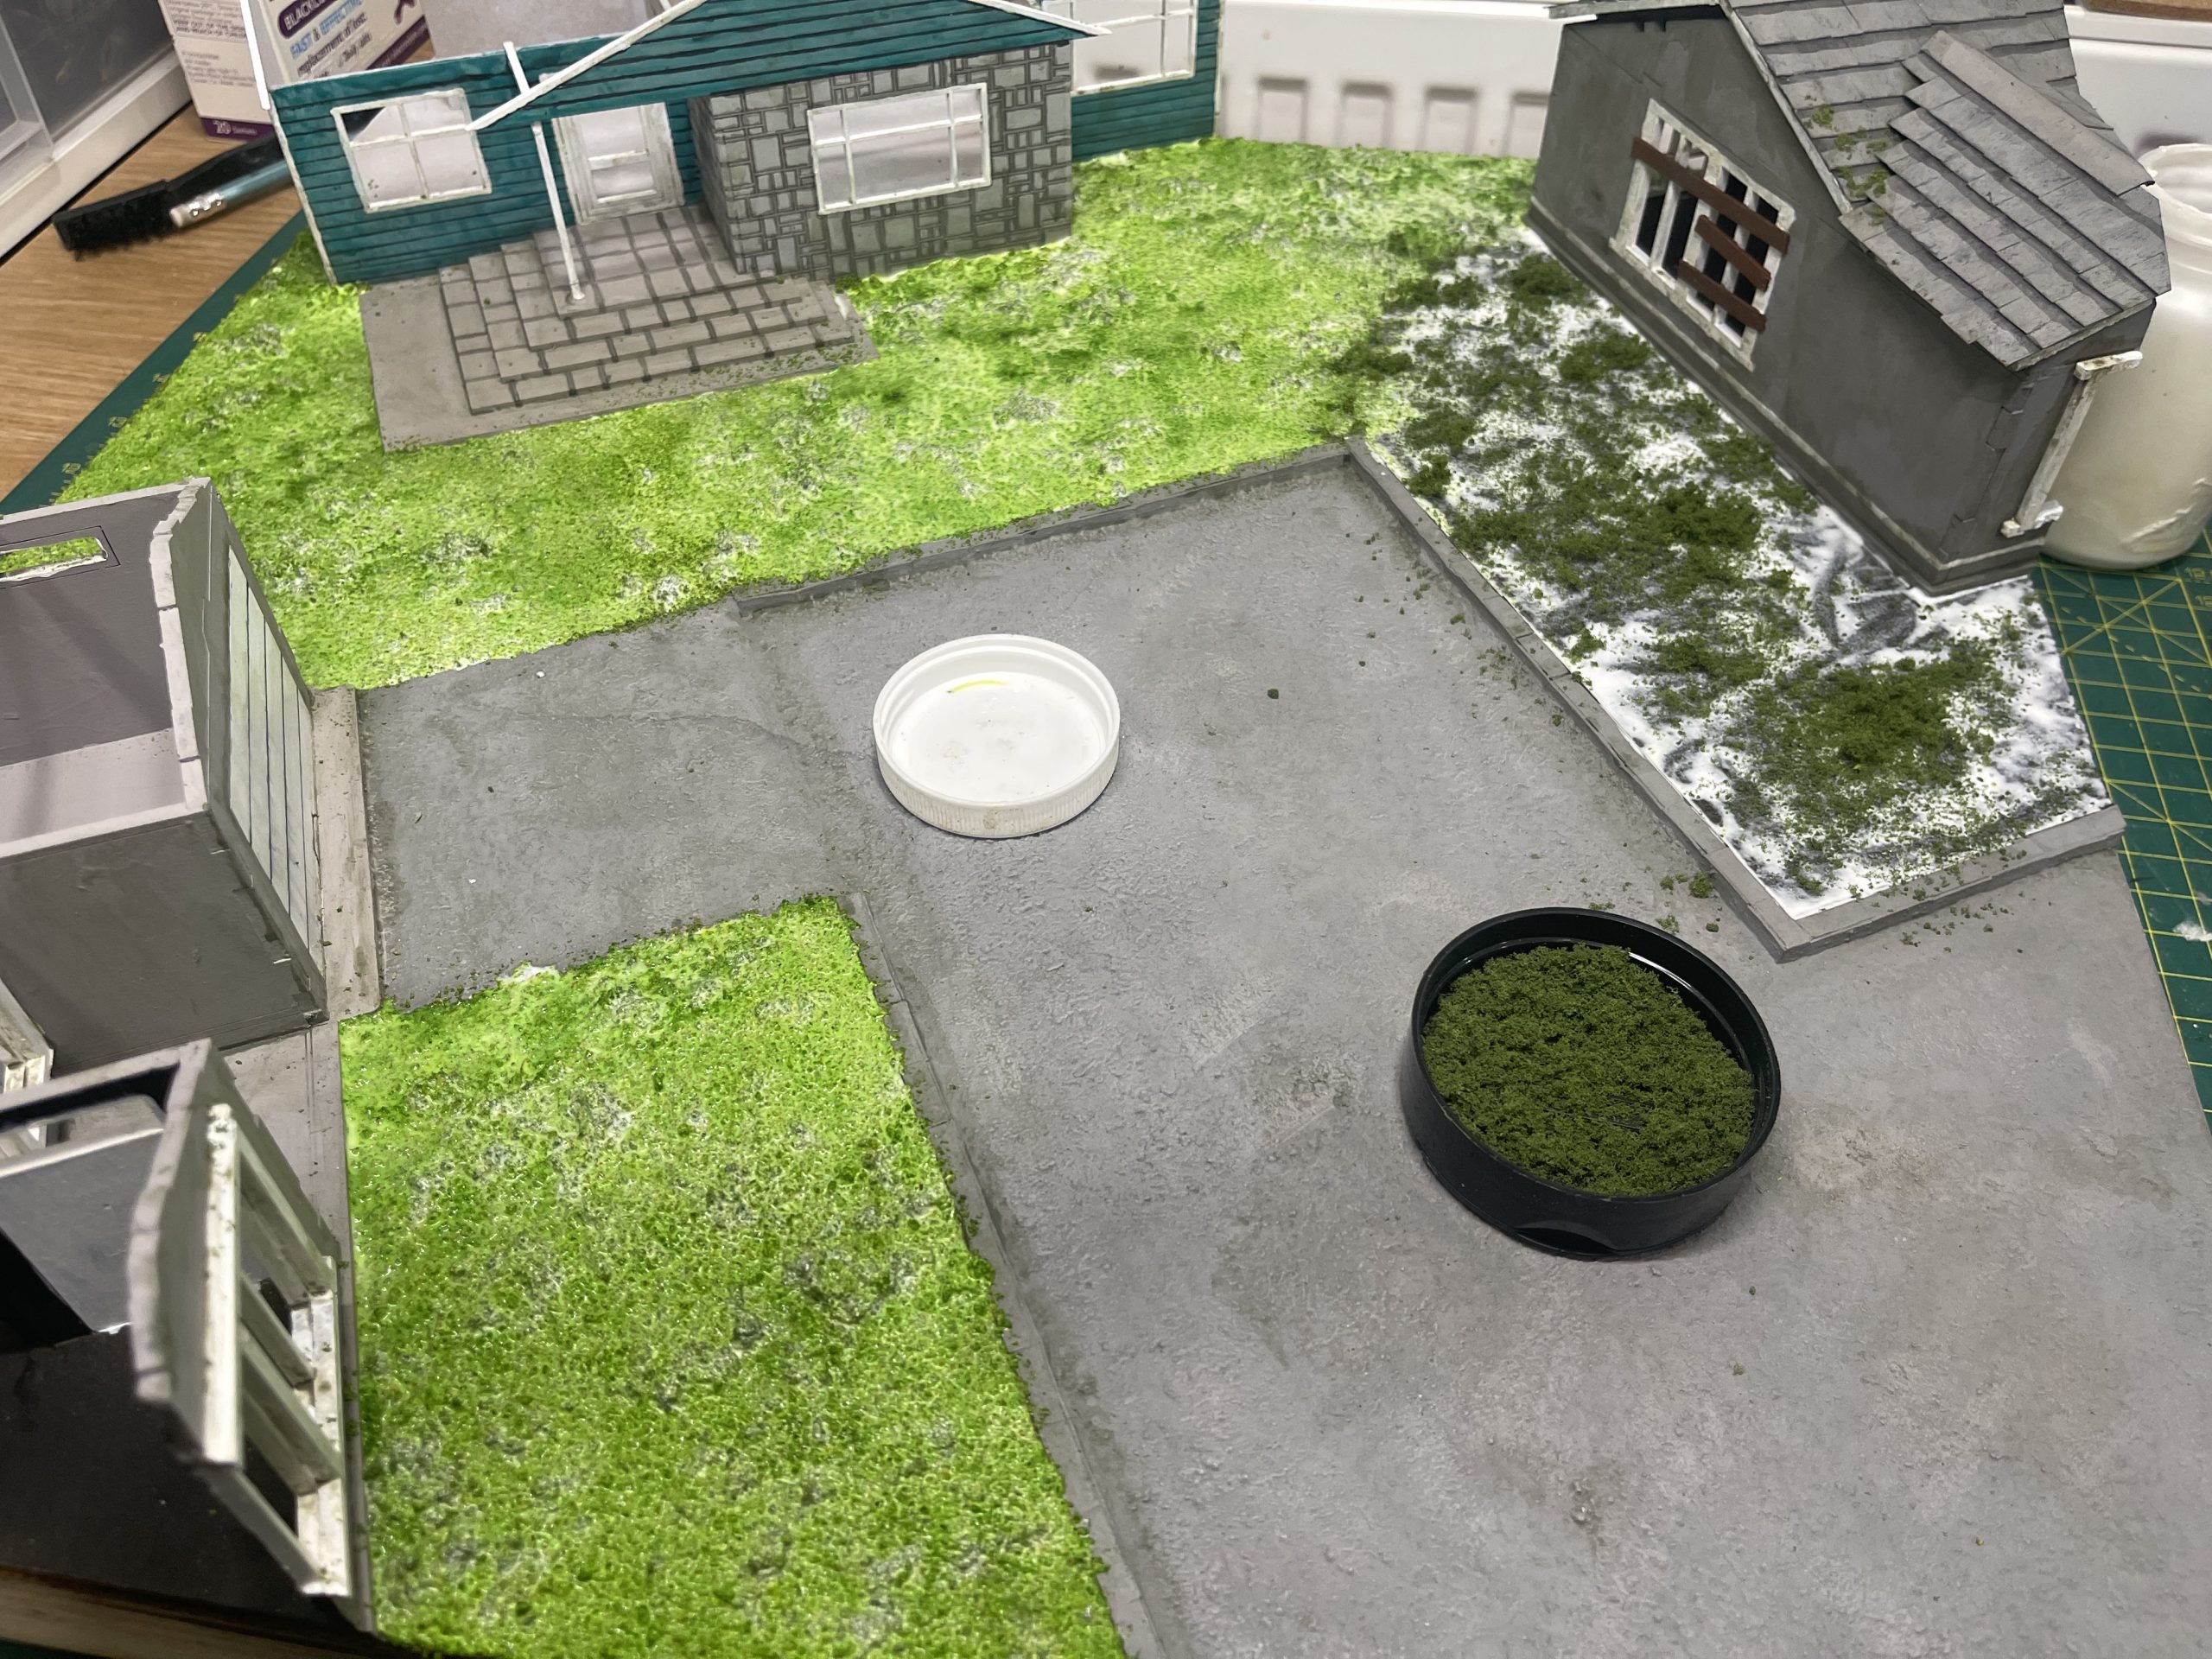 see! the tides can be dangerous and look naff
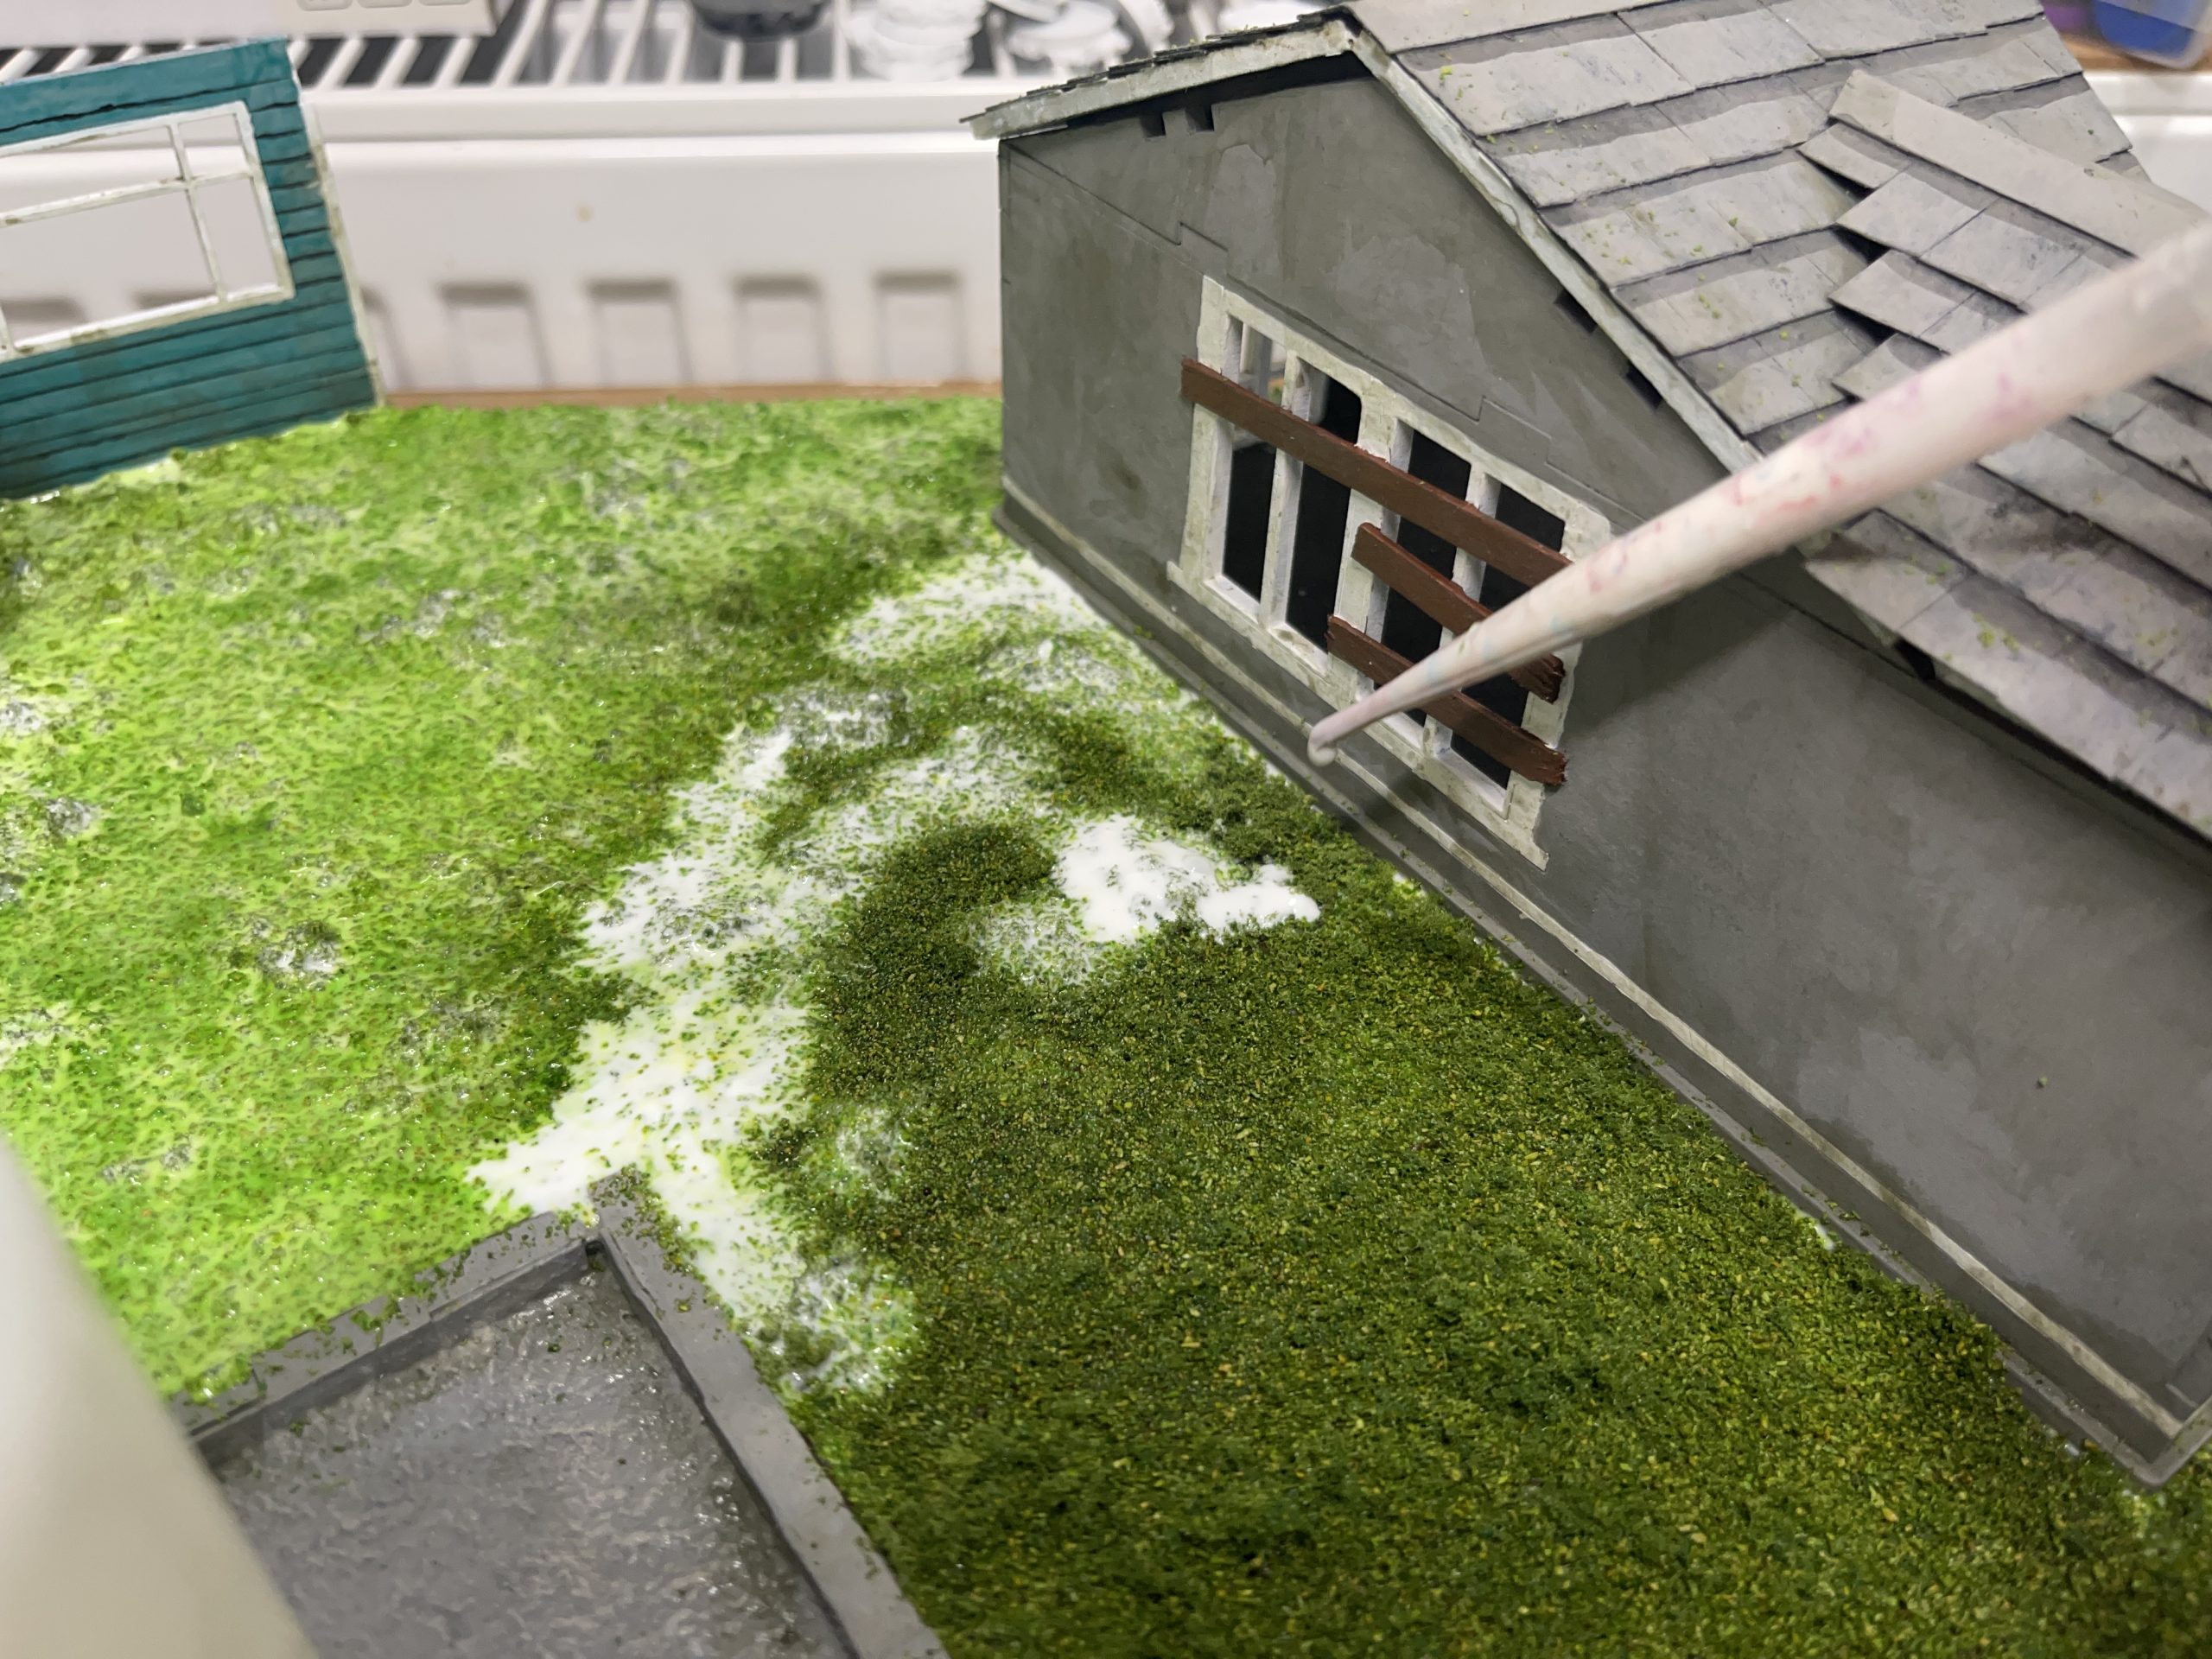 dont flood the area, pipette PVA on and let the ISO and capillary action do their thing to spread it out
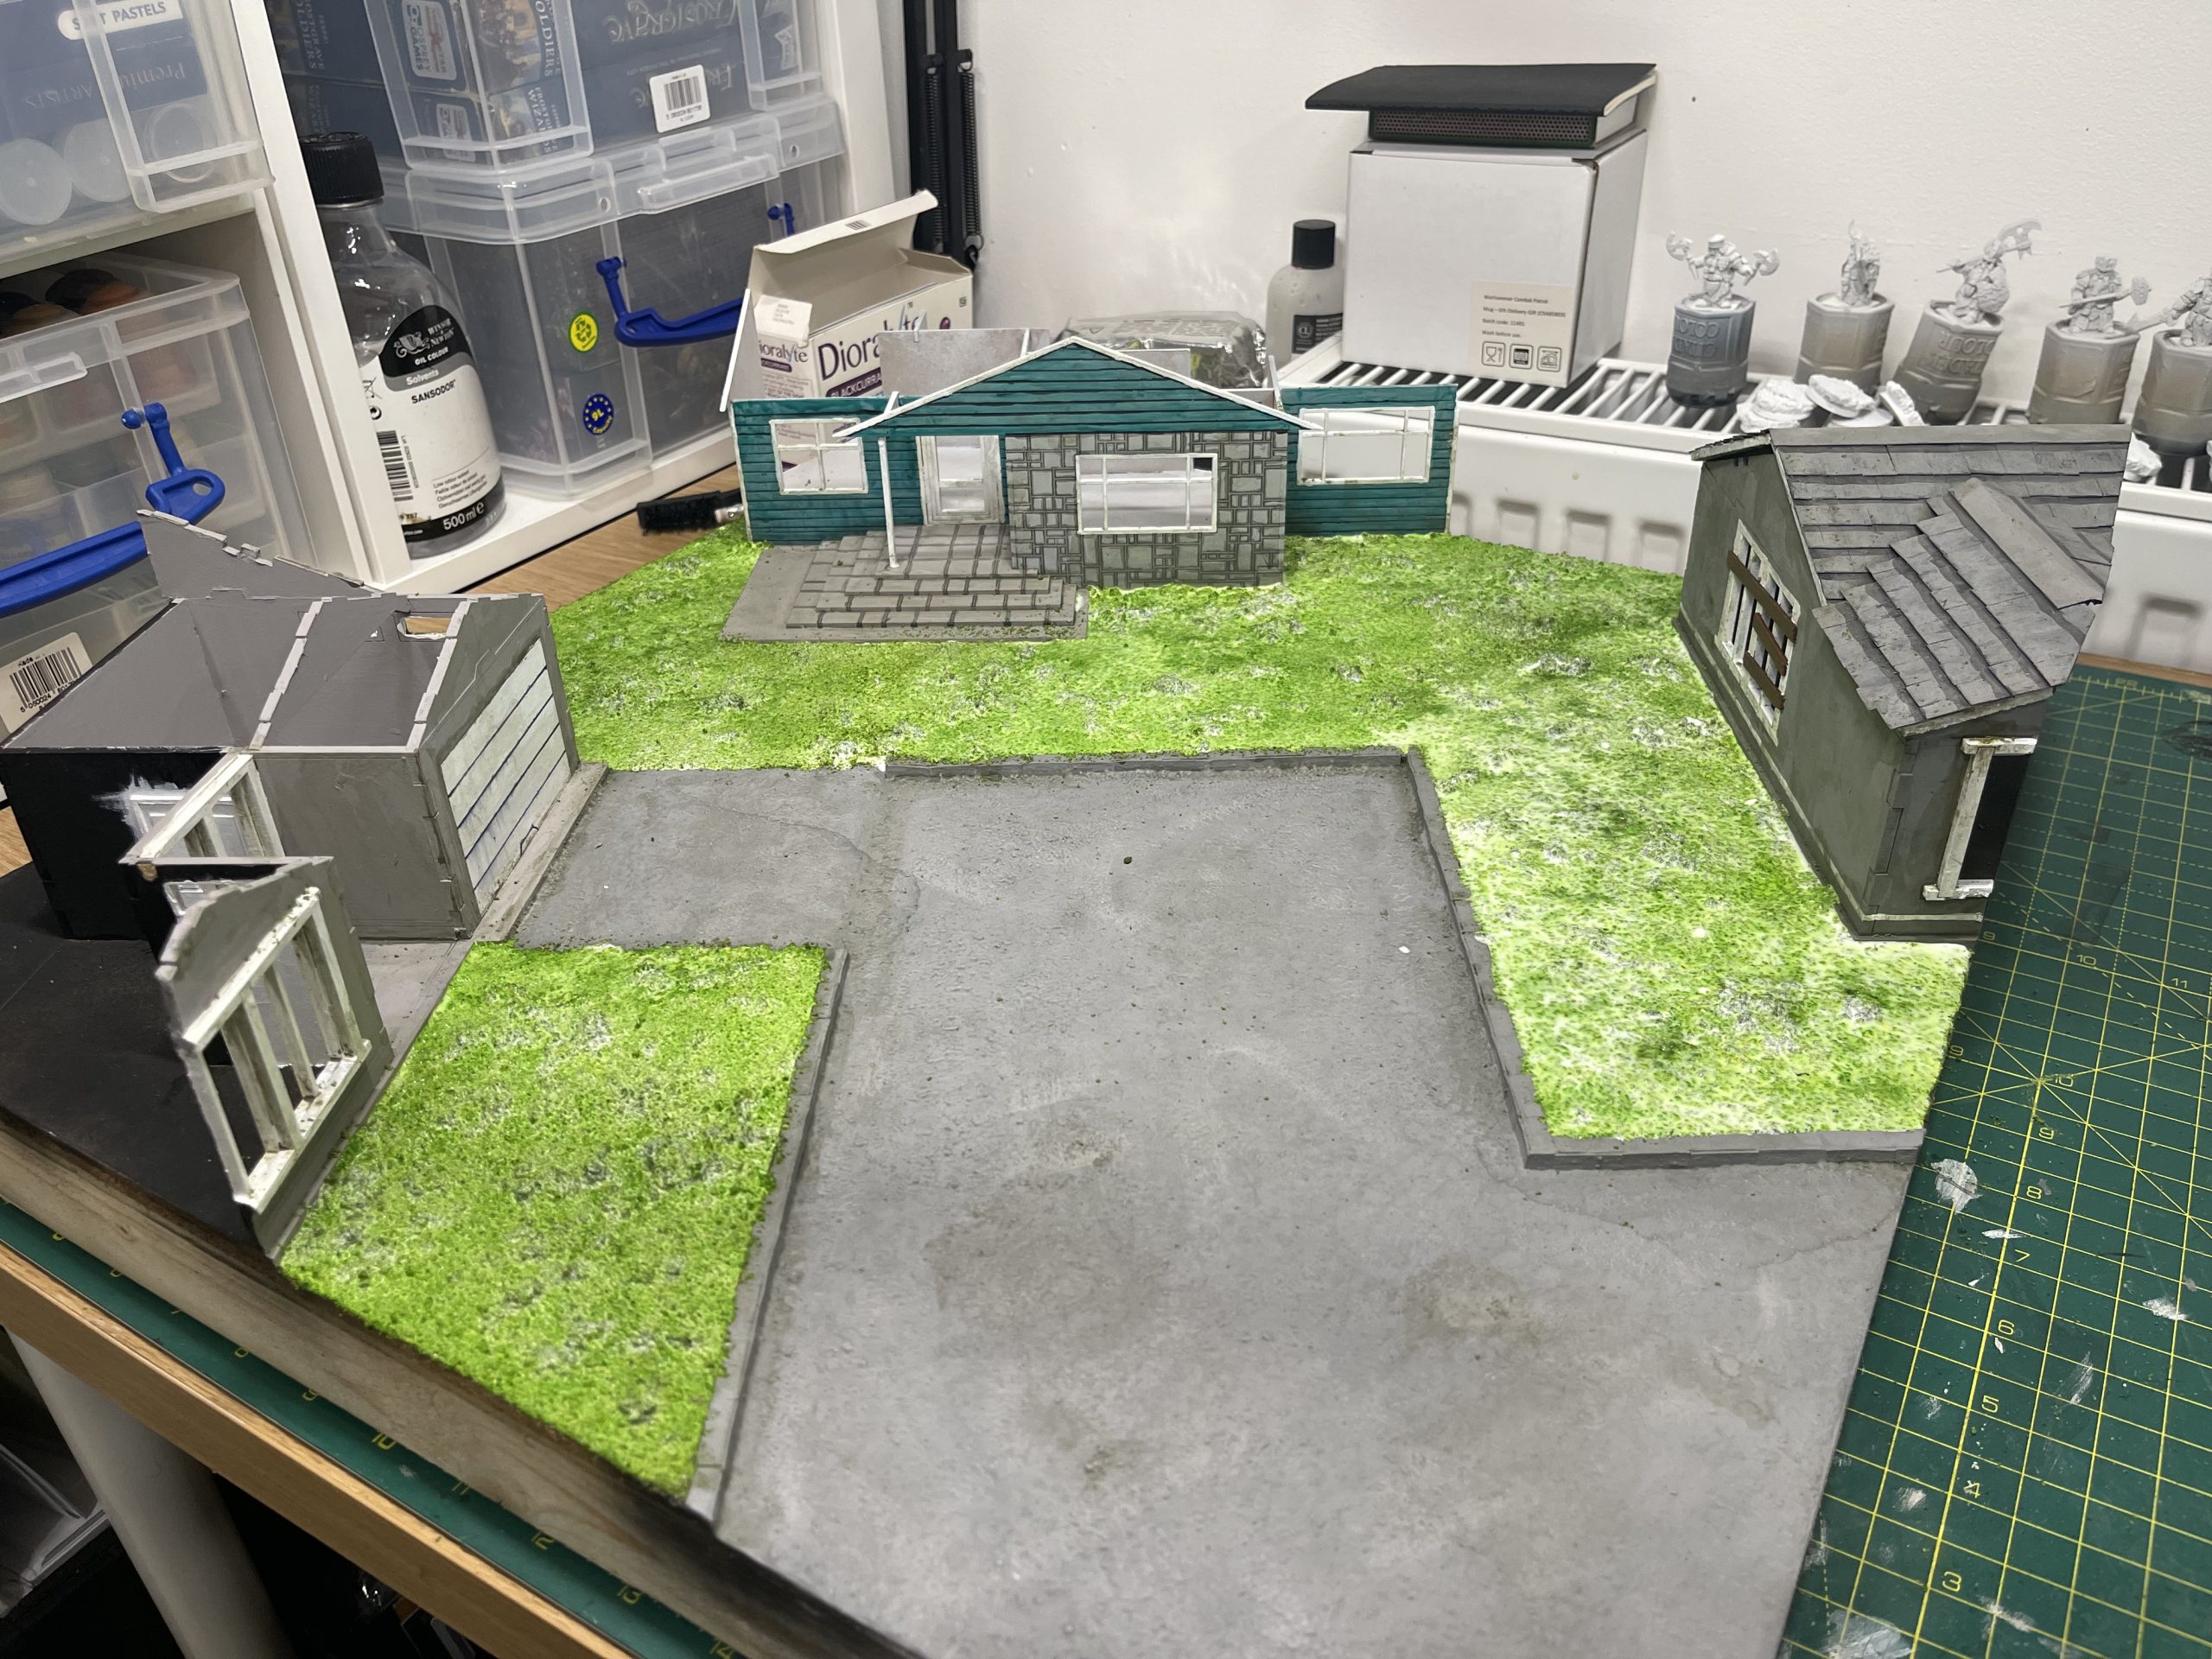 now the whole area is done, simply leave for a good few hours to dry out.
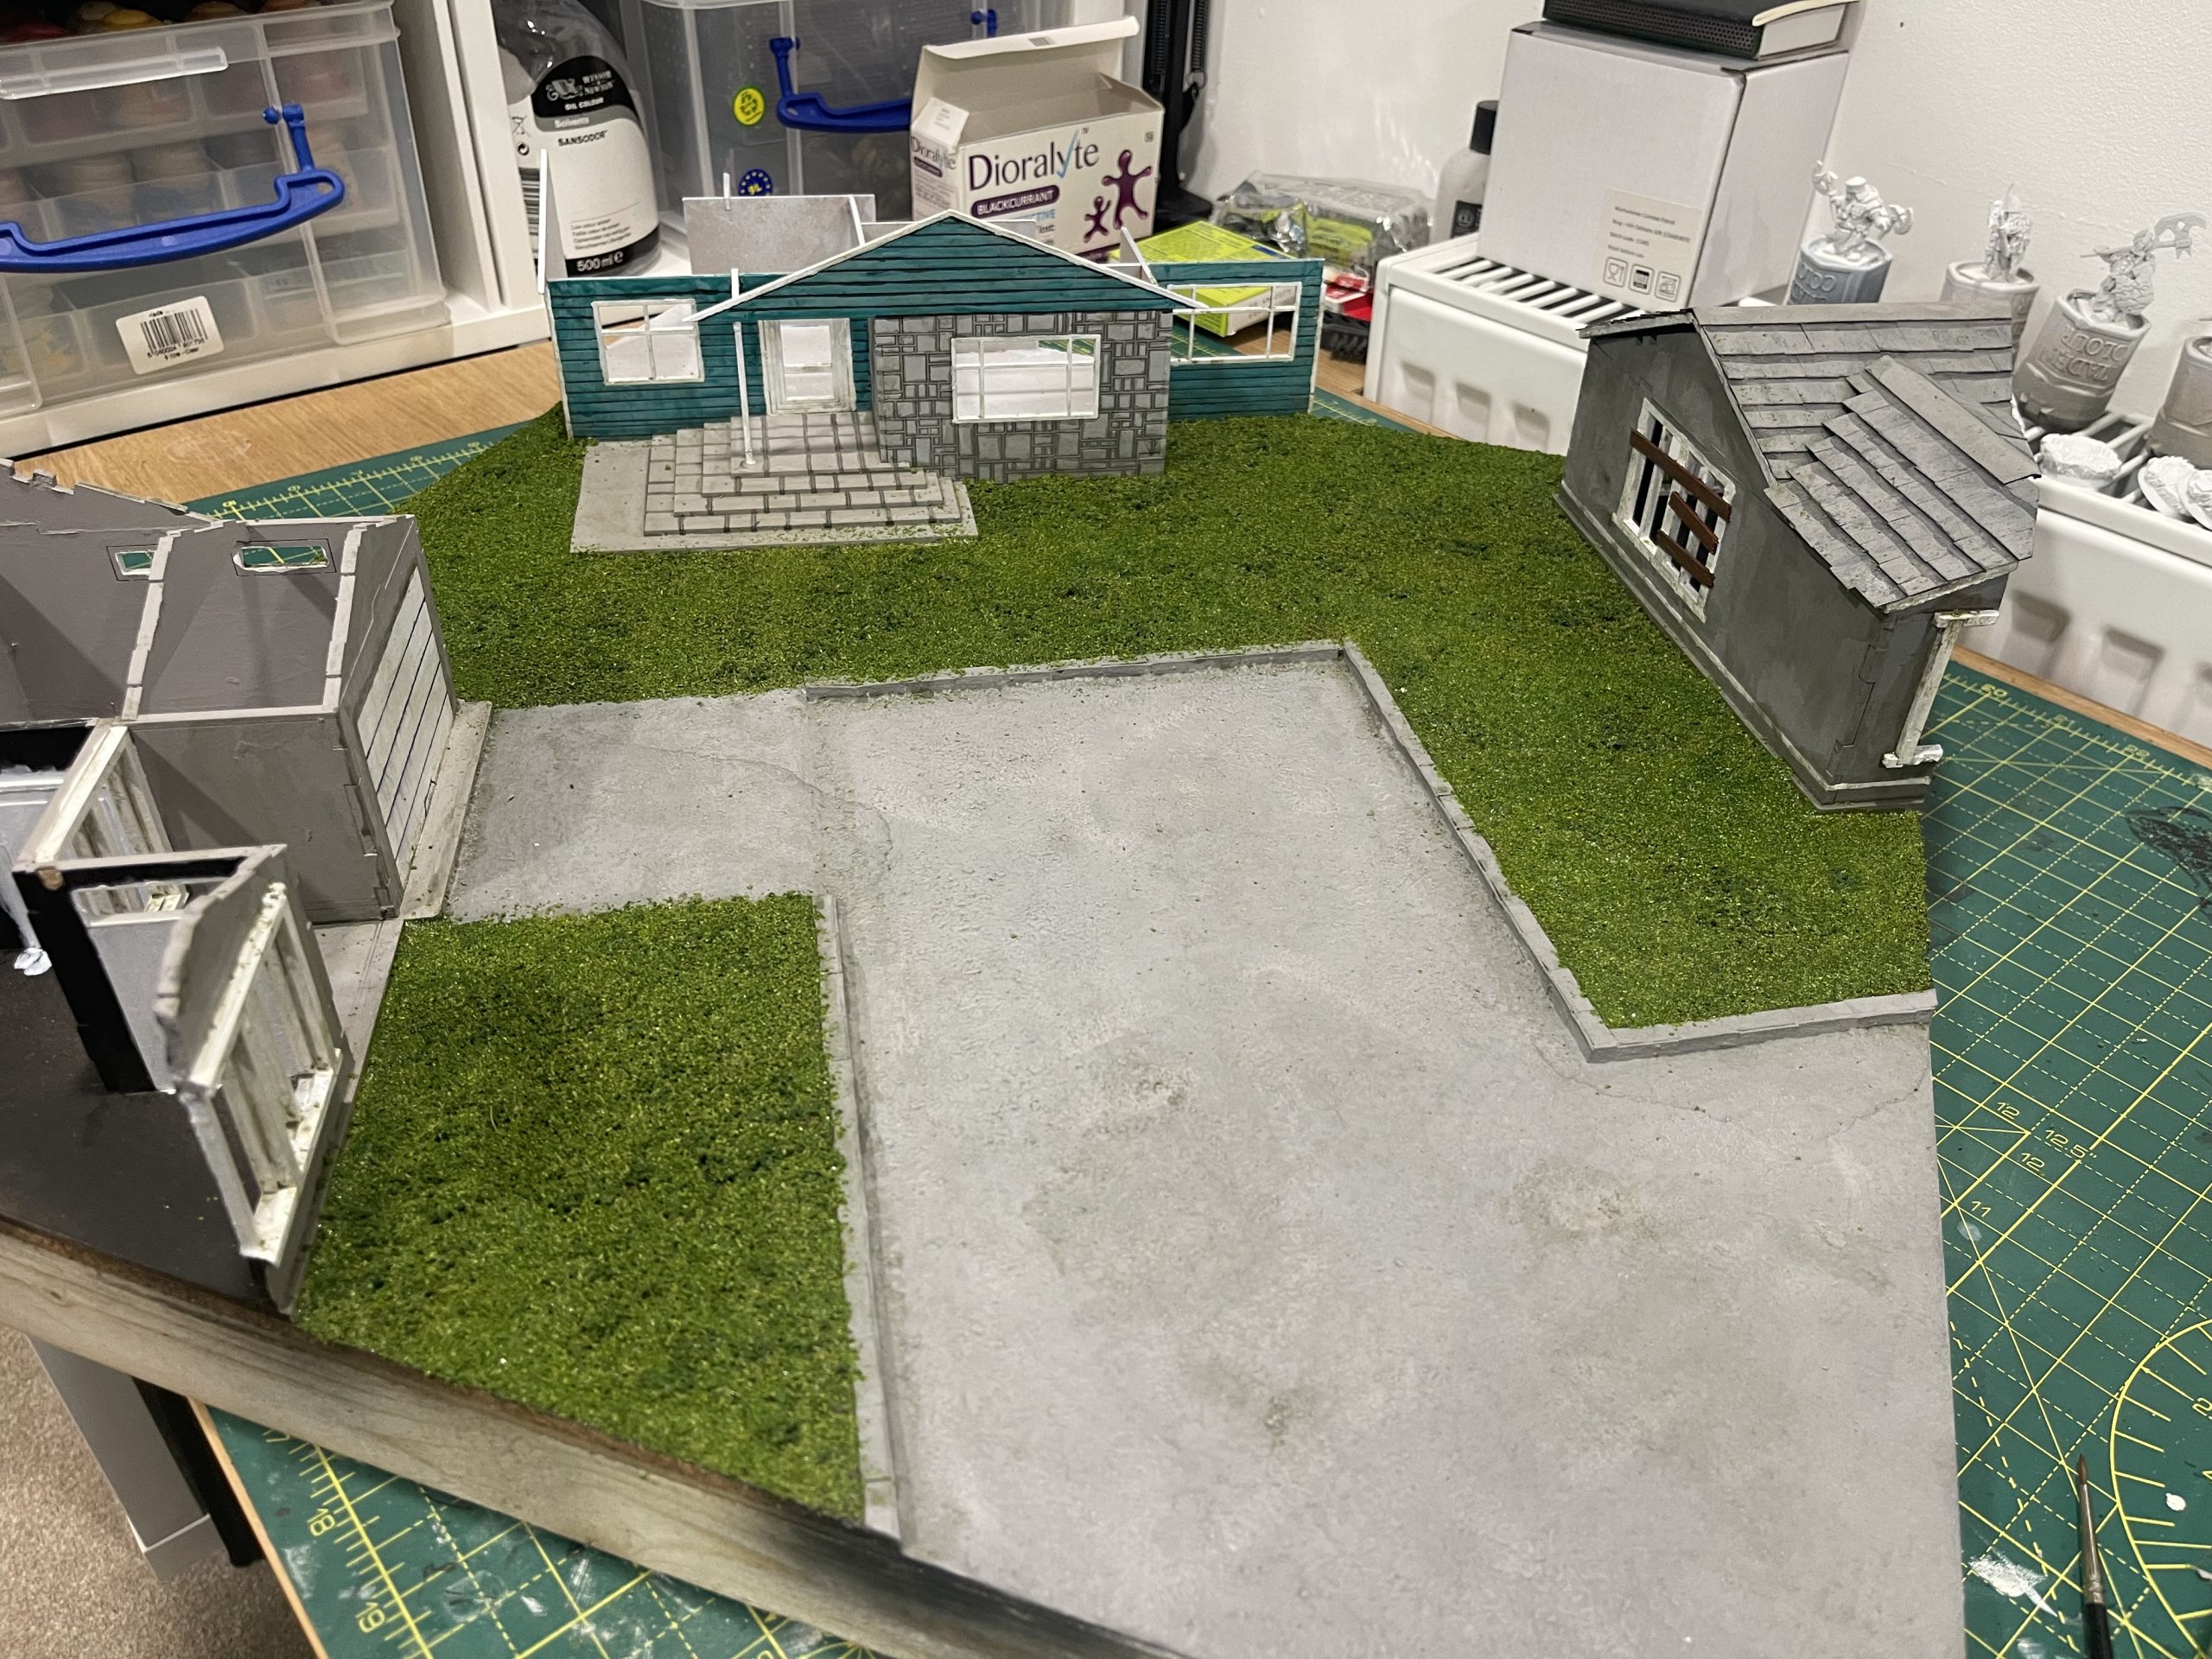 when it is dried you can see the effect is quite good, if a little clean.
the ISO was a bit of a knobber on this one. not only did it affect one of the houses (i took steps to protect the other ones when i noticed it) but it also played around with the weathering on the road.
ARGH! not much that i can or will do about it though, i’ll just have to leave it as is and suck it up.
doesn’t the grass look nice though
painting houses and groundwork
 the roadway was painted light grey then dry brushed dark grey (note this changed later!)
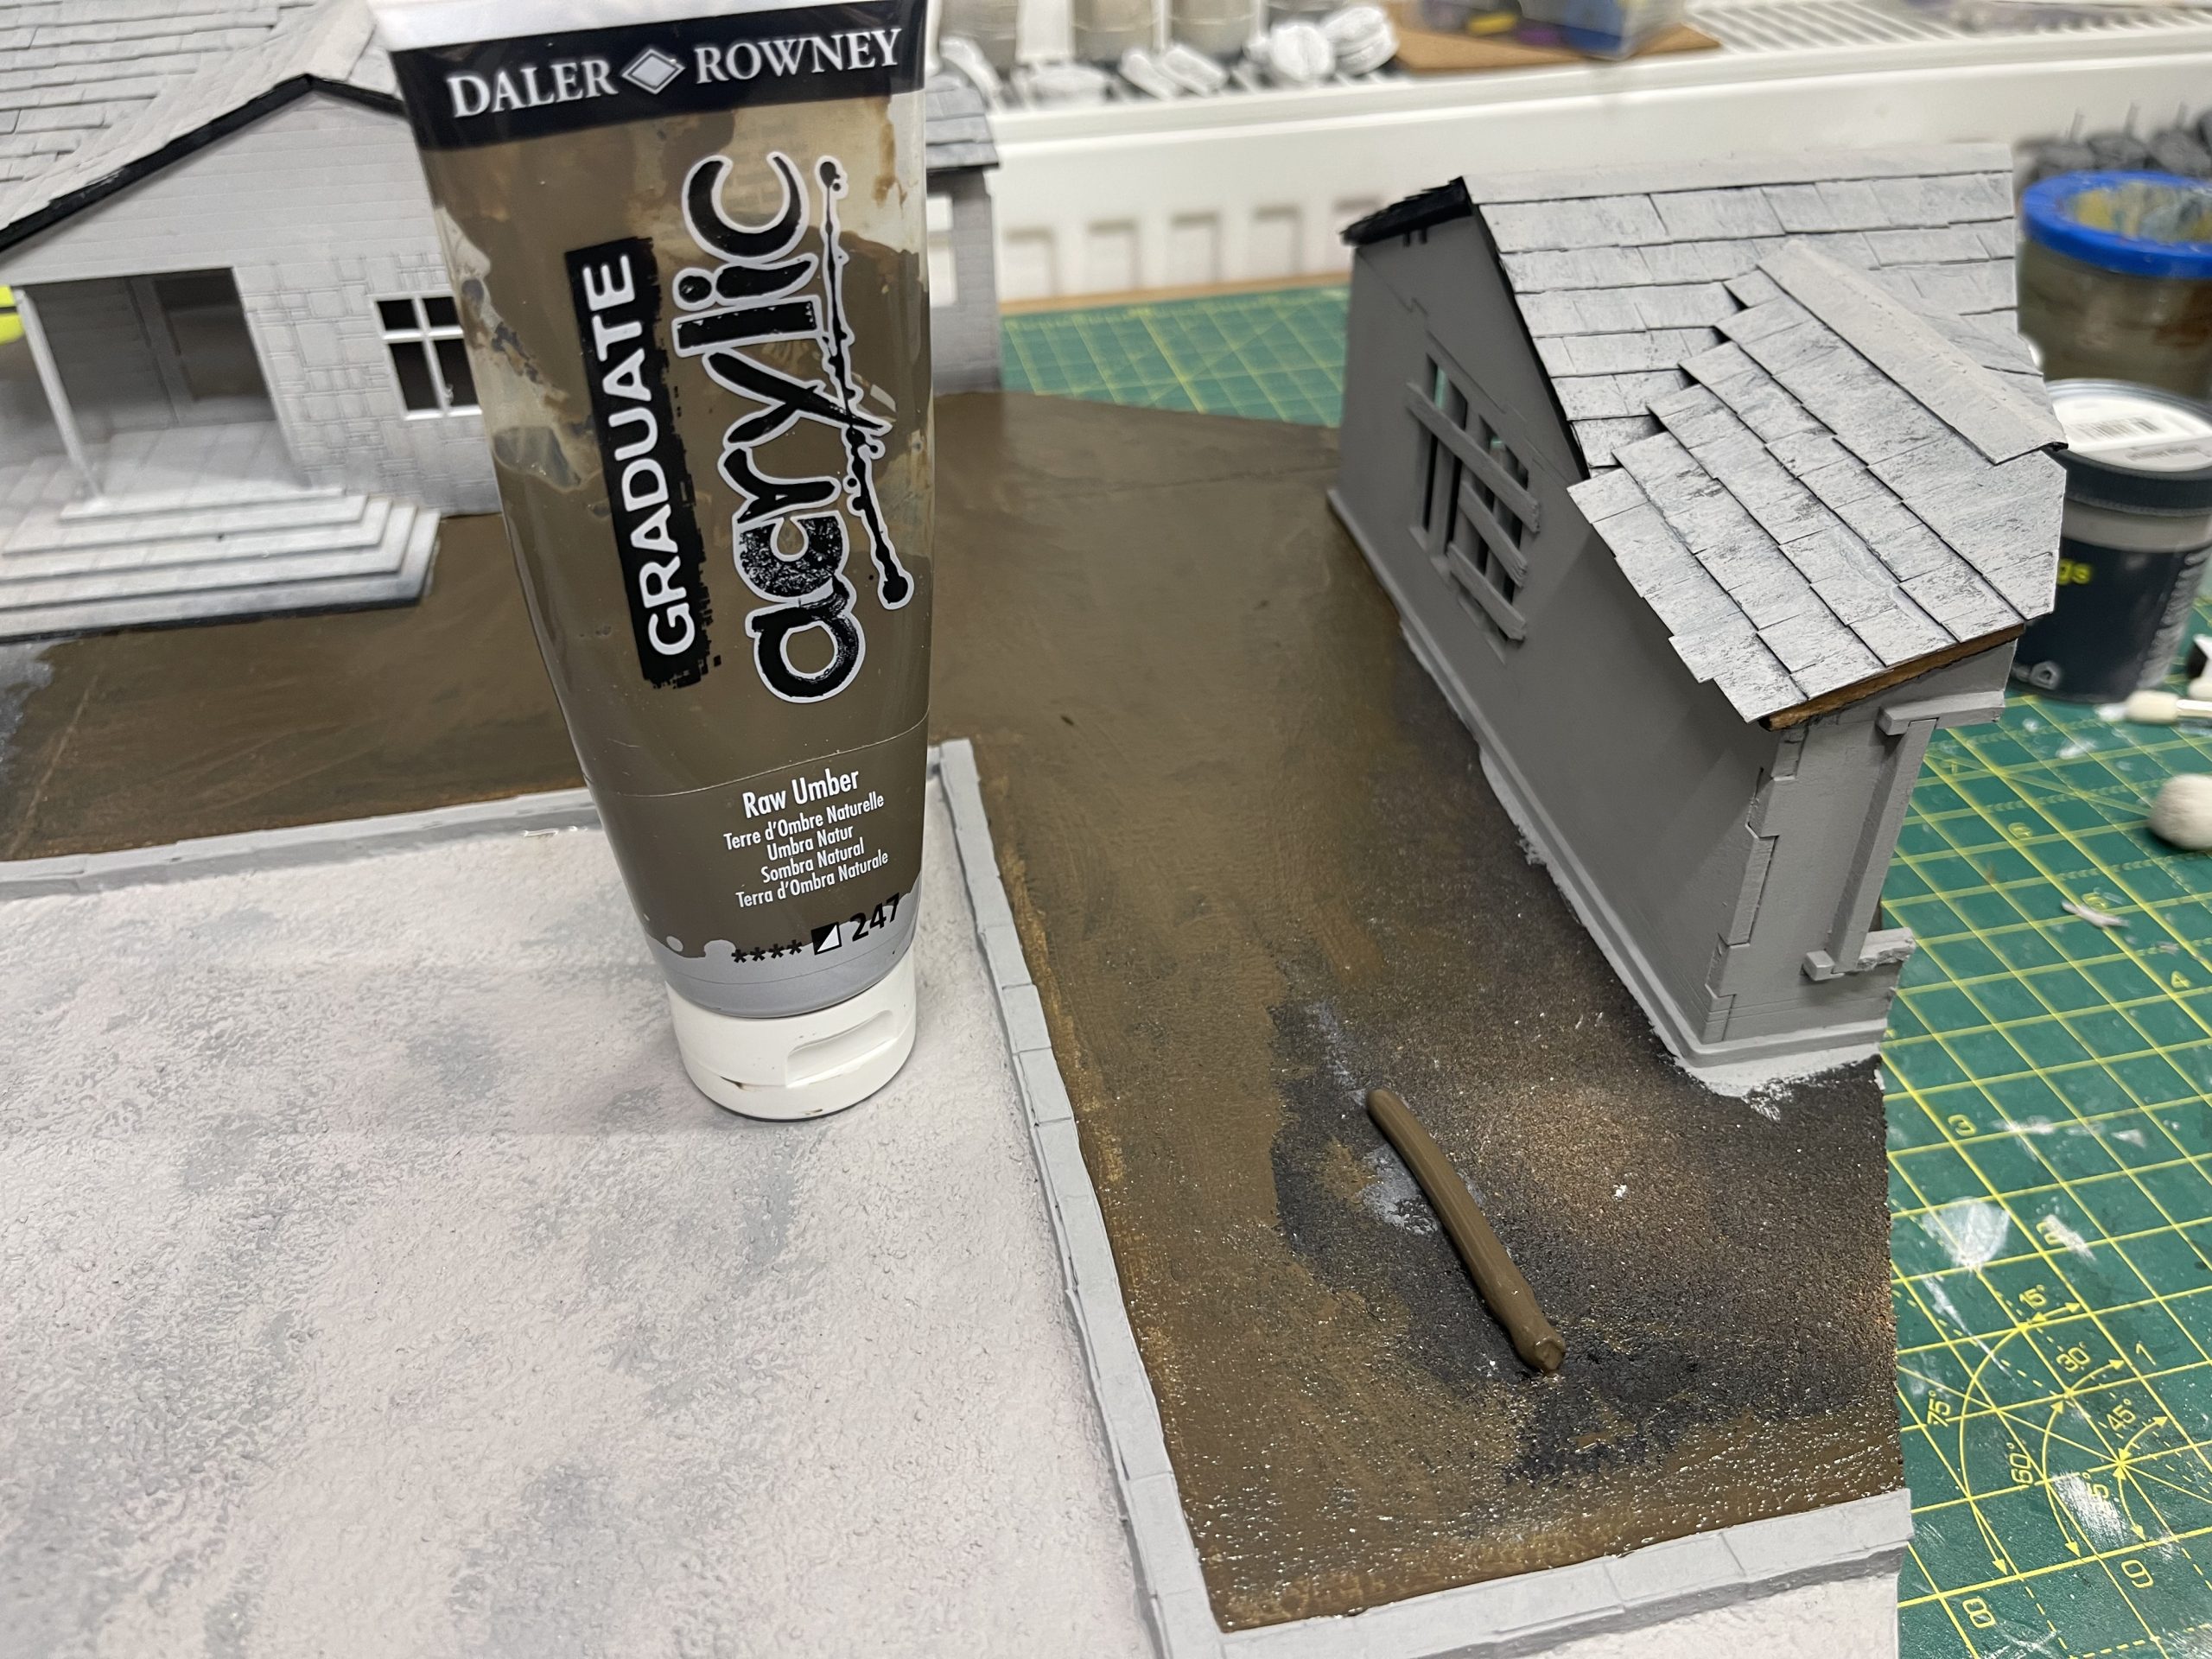 the ground was simply painted a bog standard brown
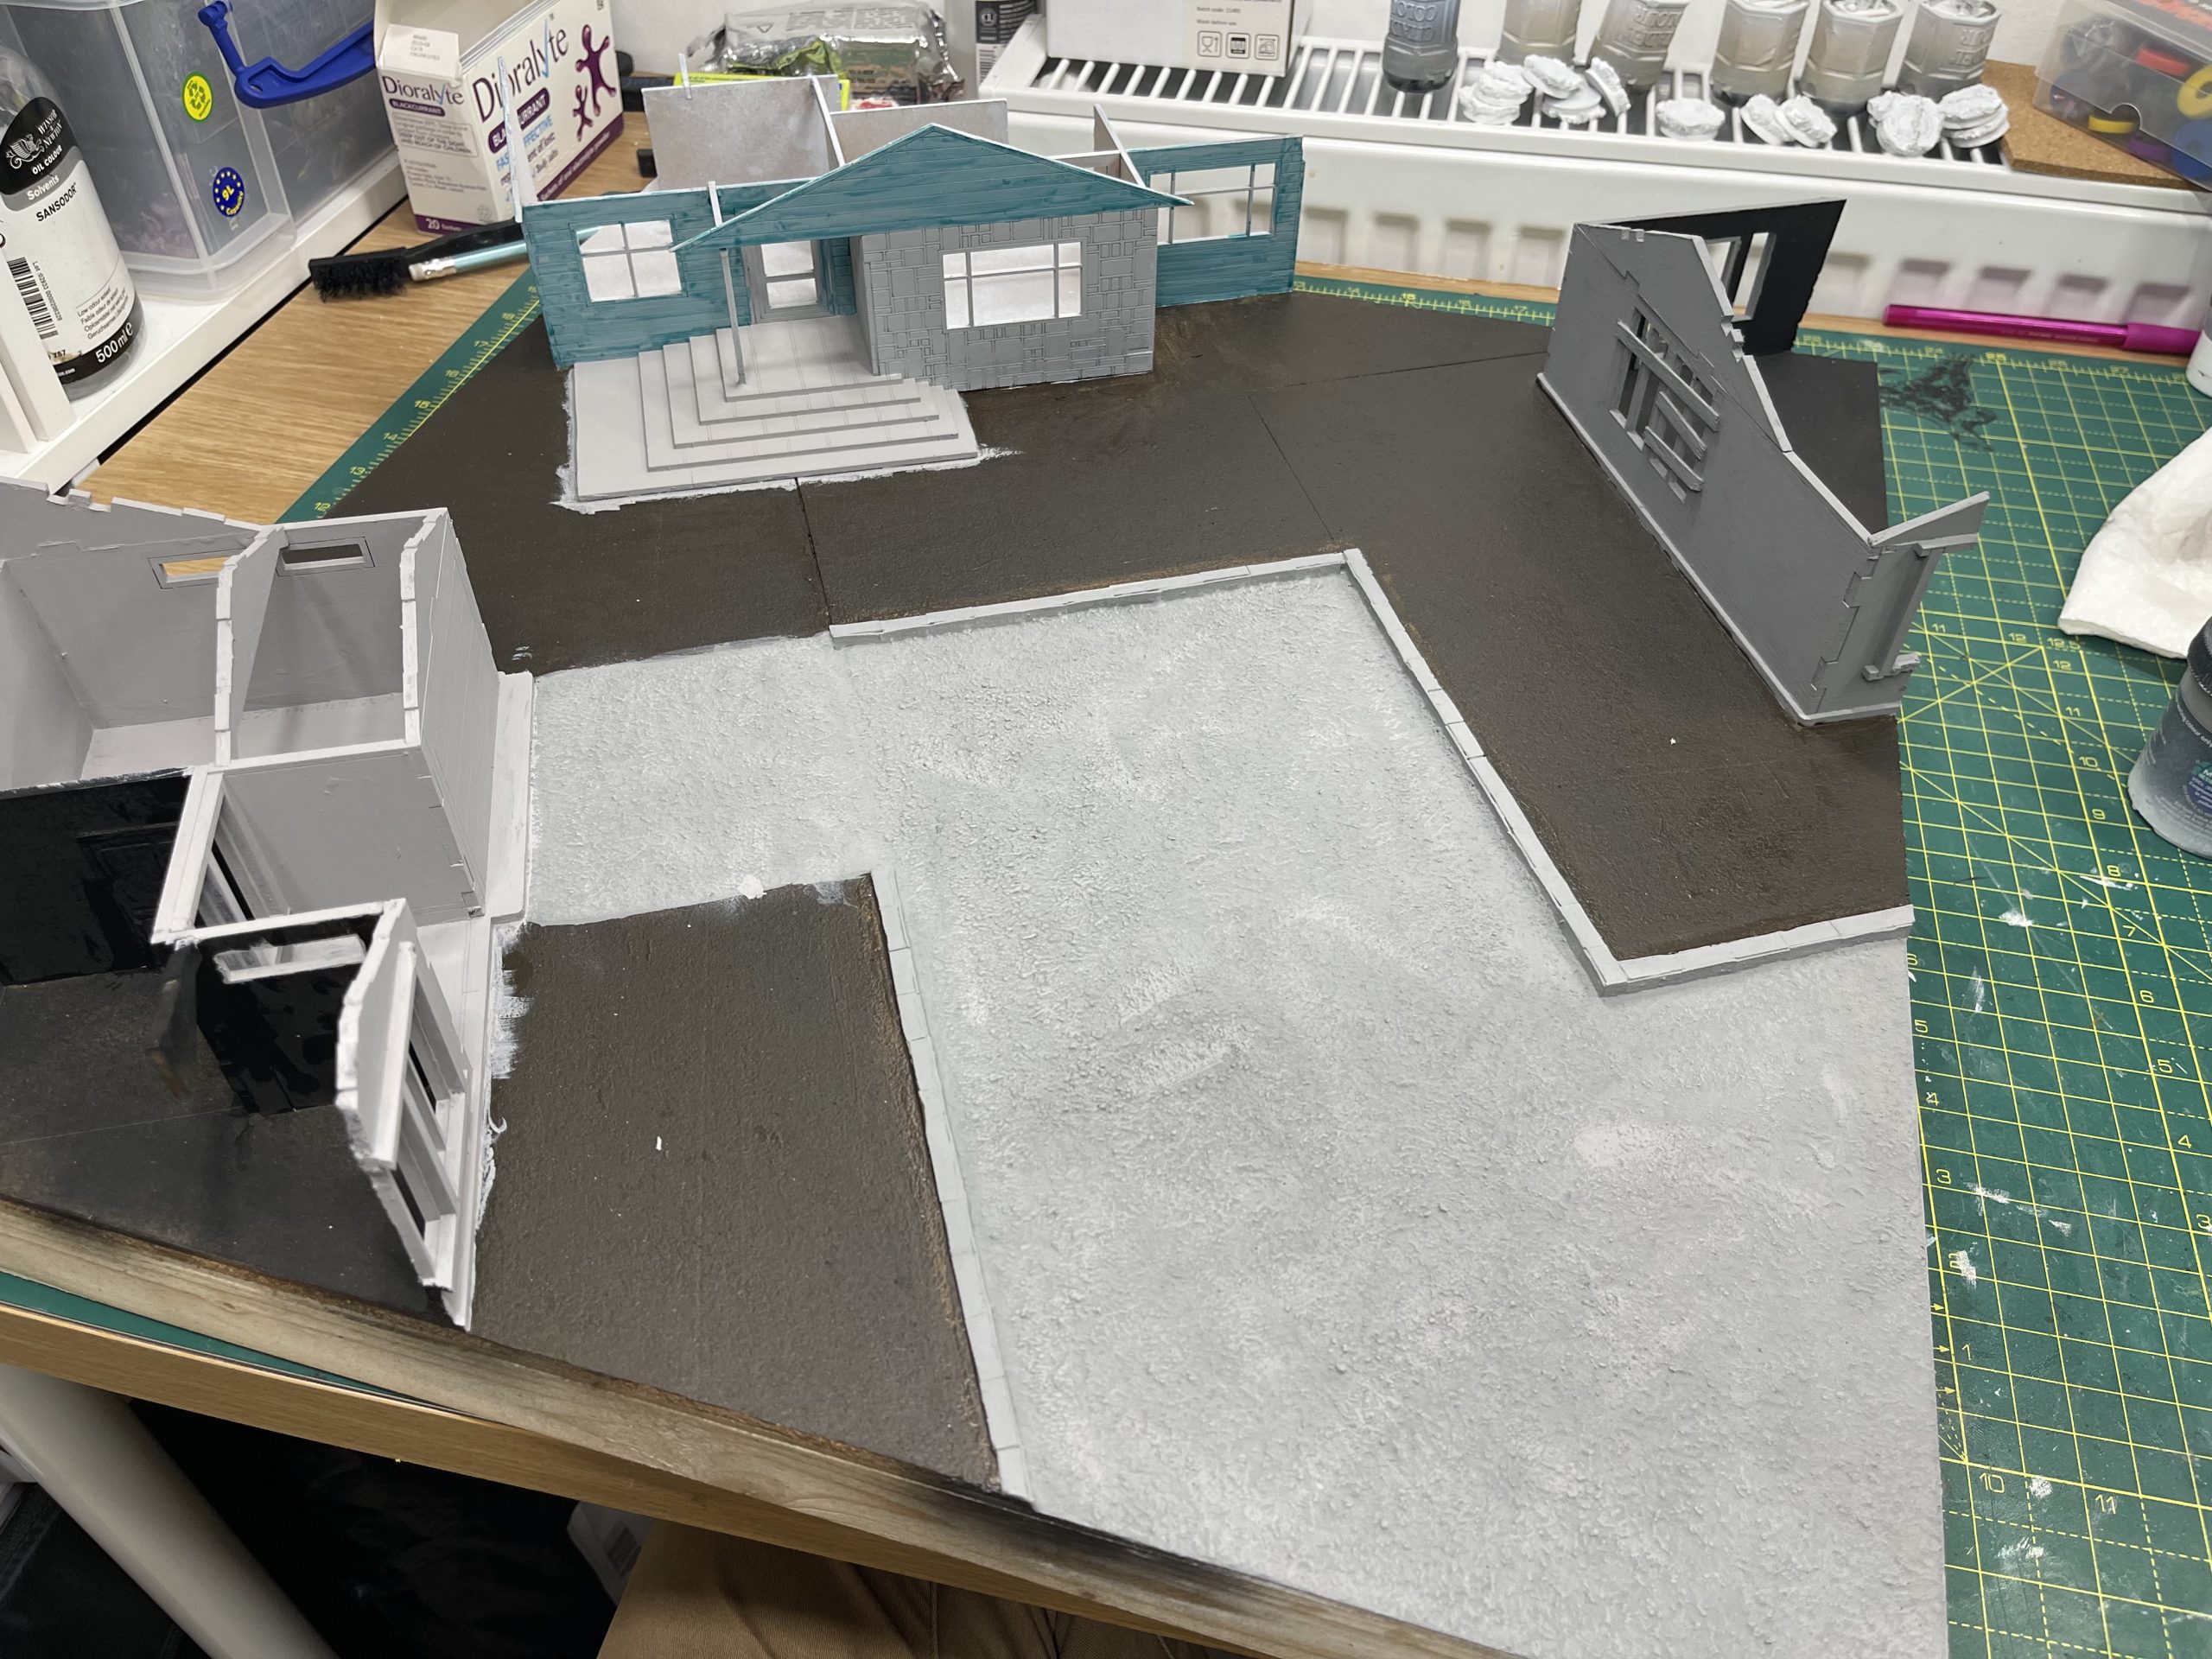 Painting the woodwork with a vivid contrast paint
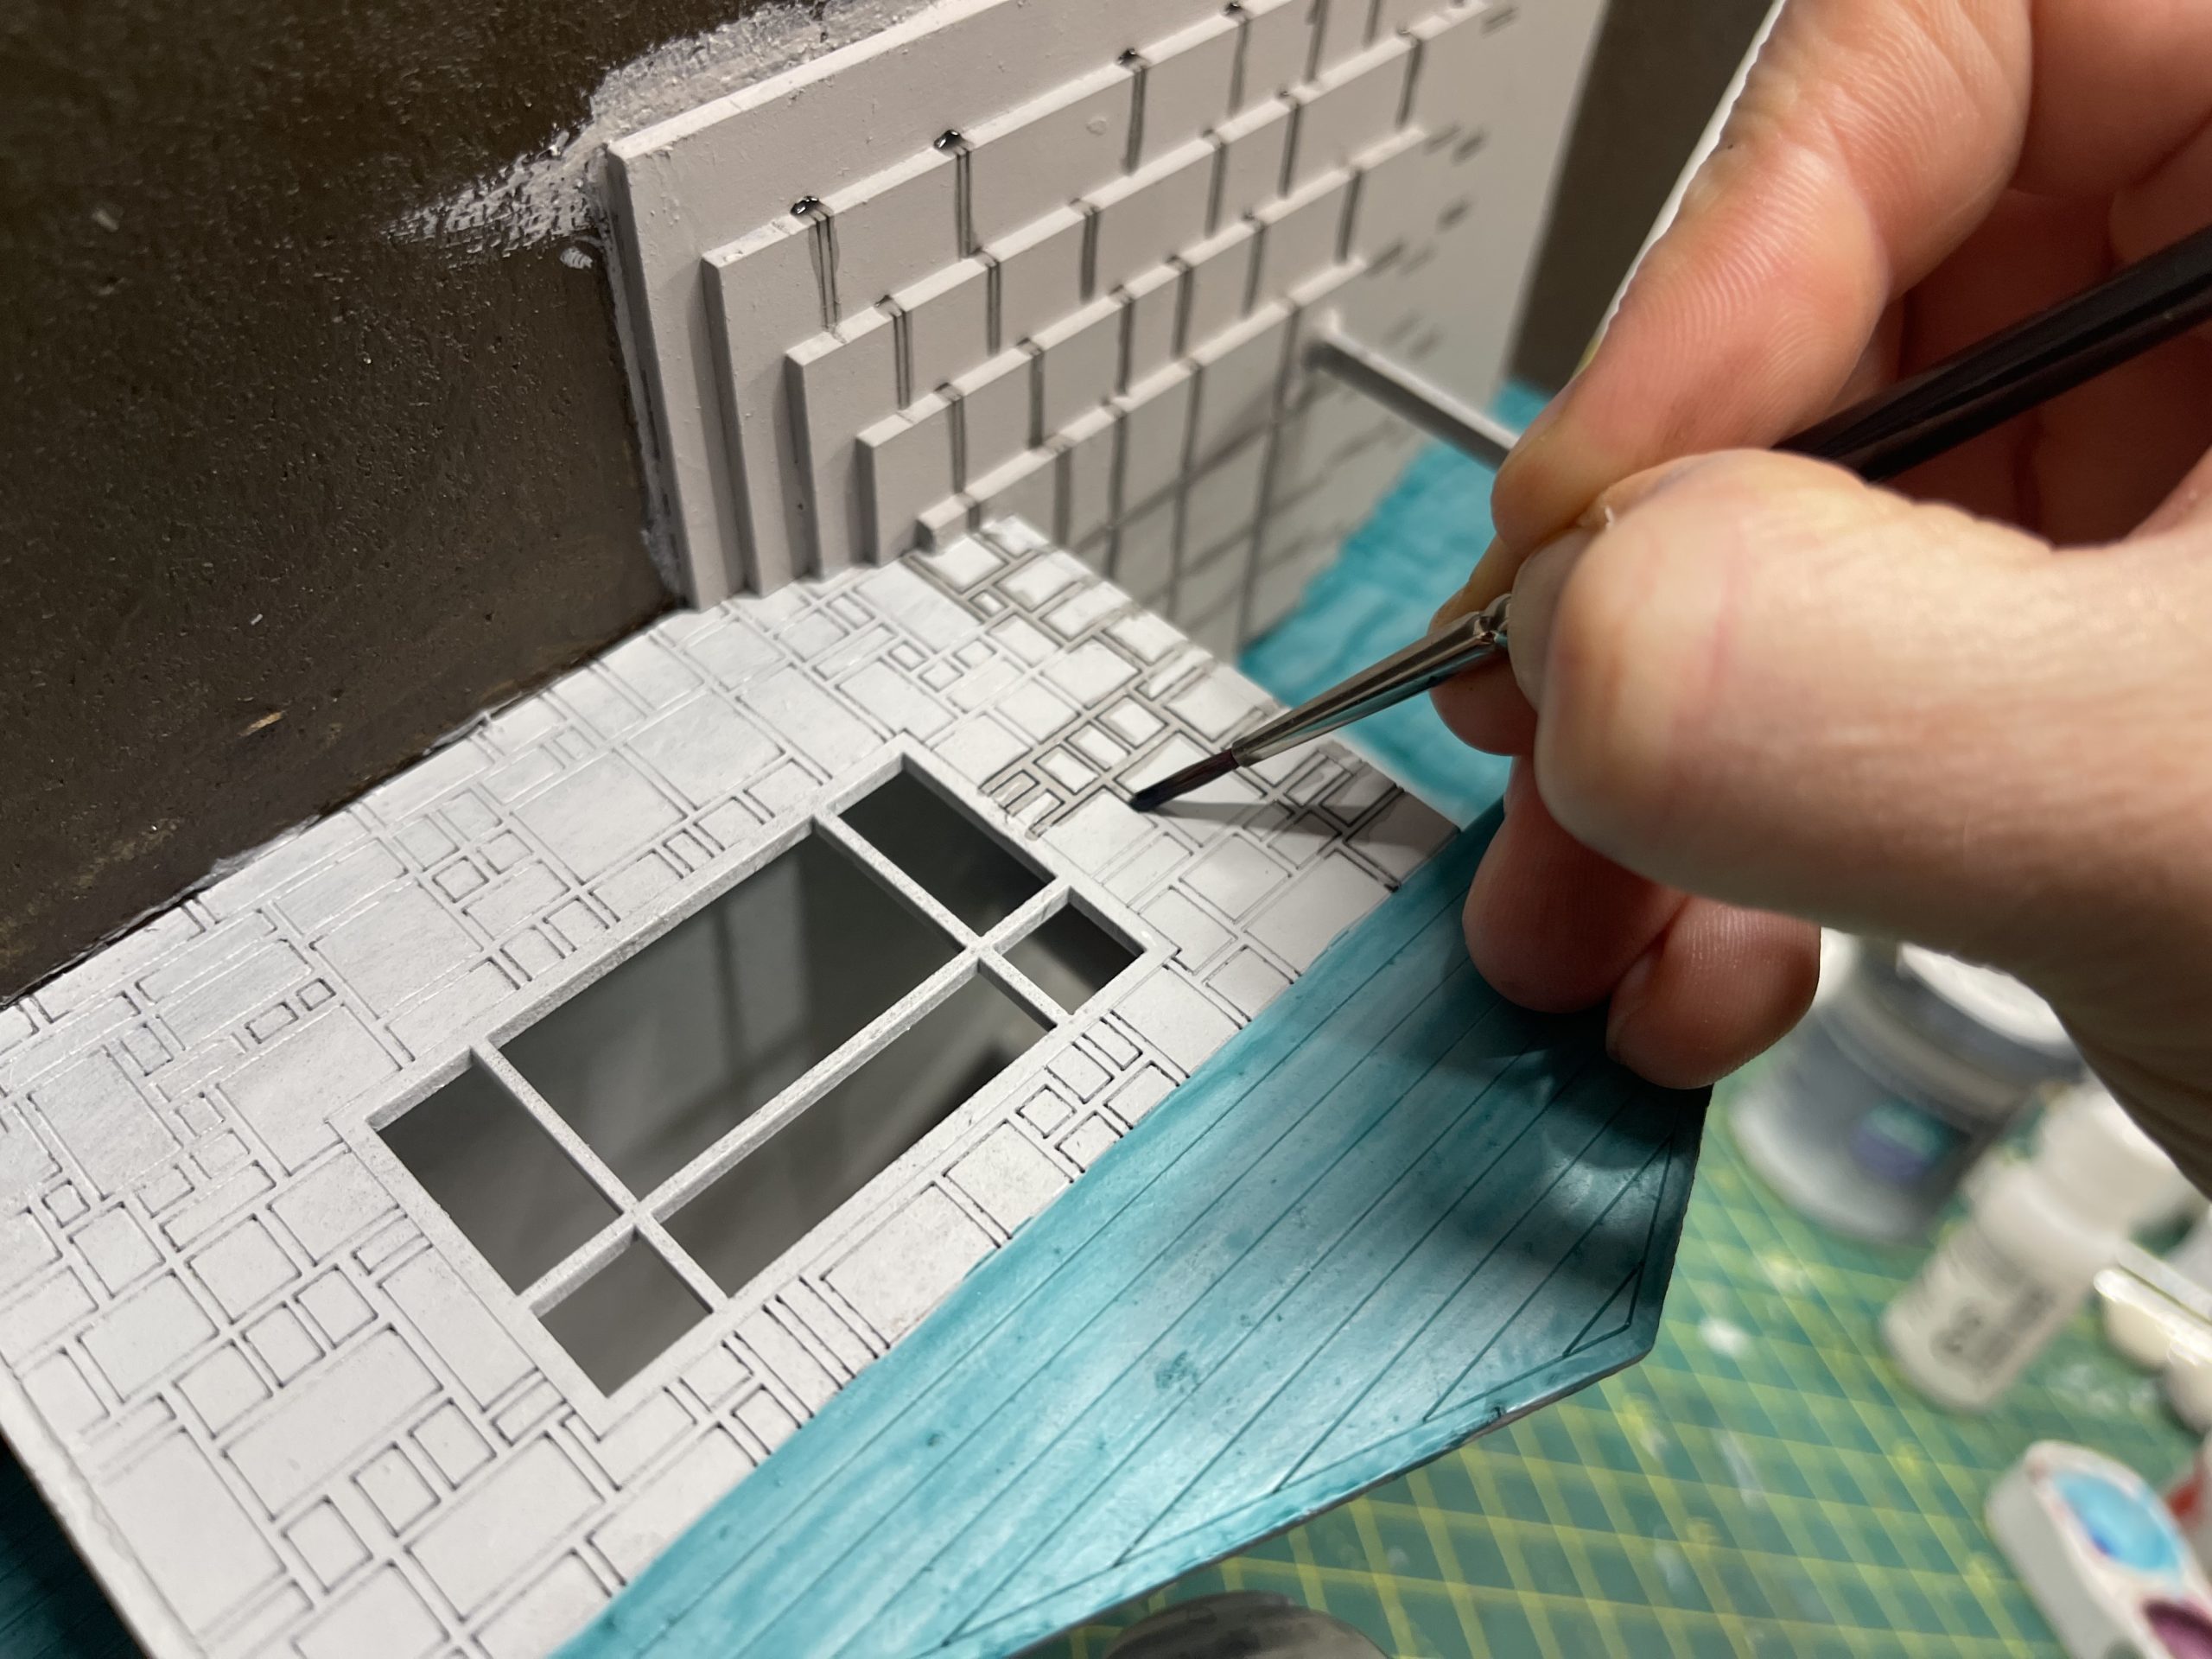 rough 'pin wash' for the brickwork
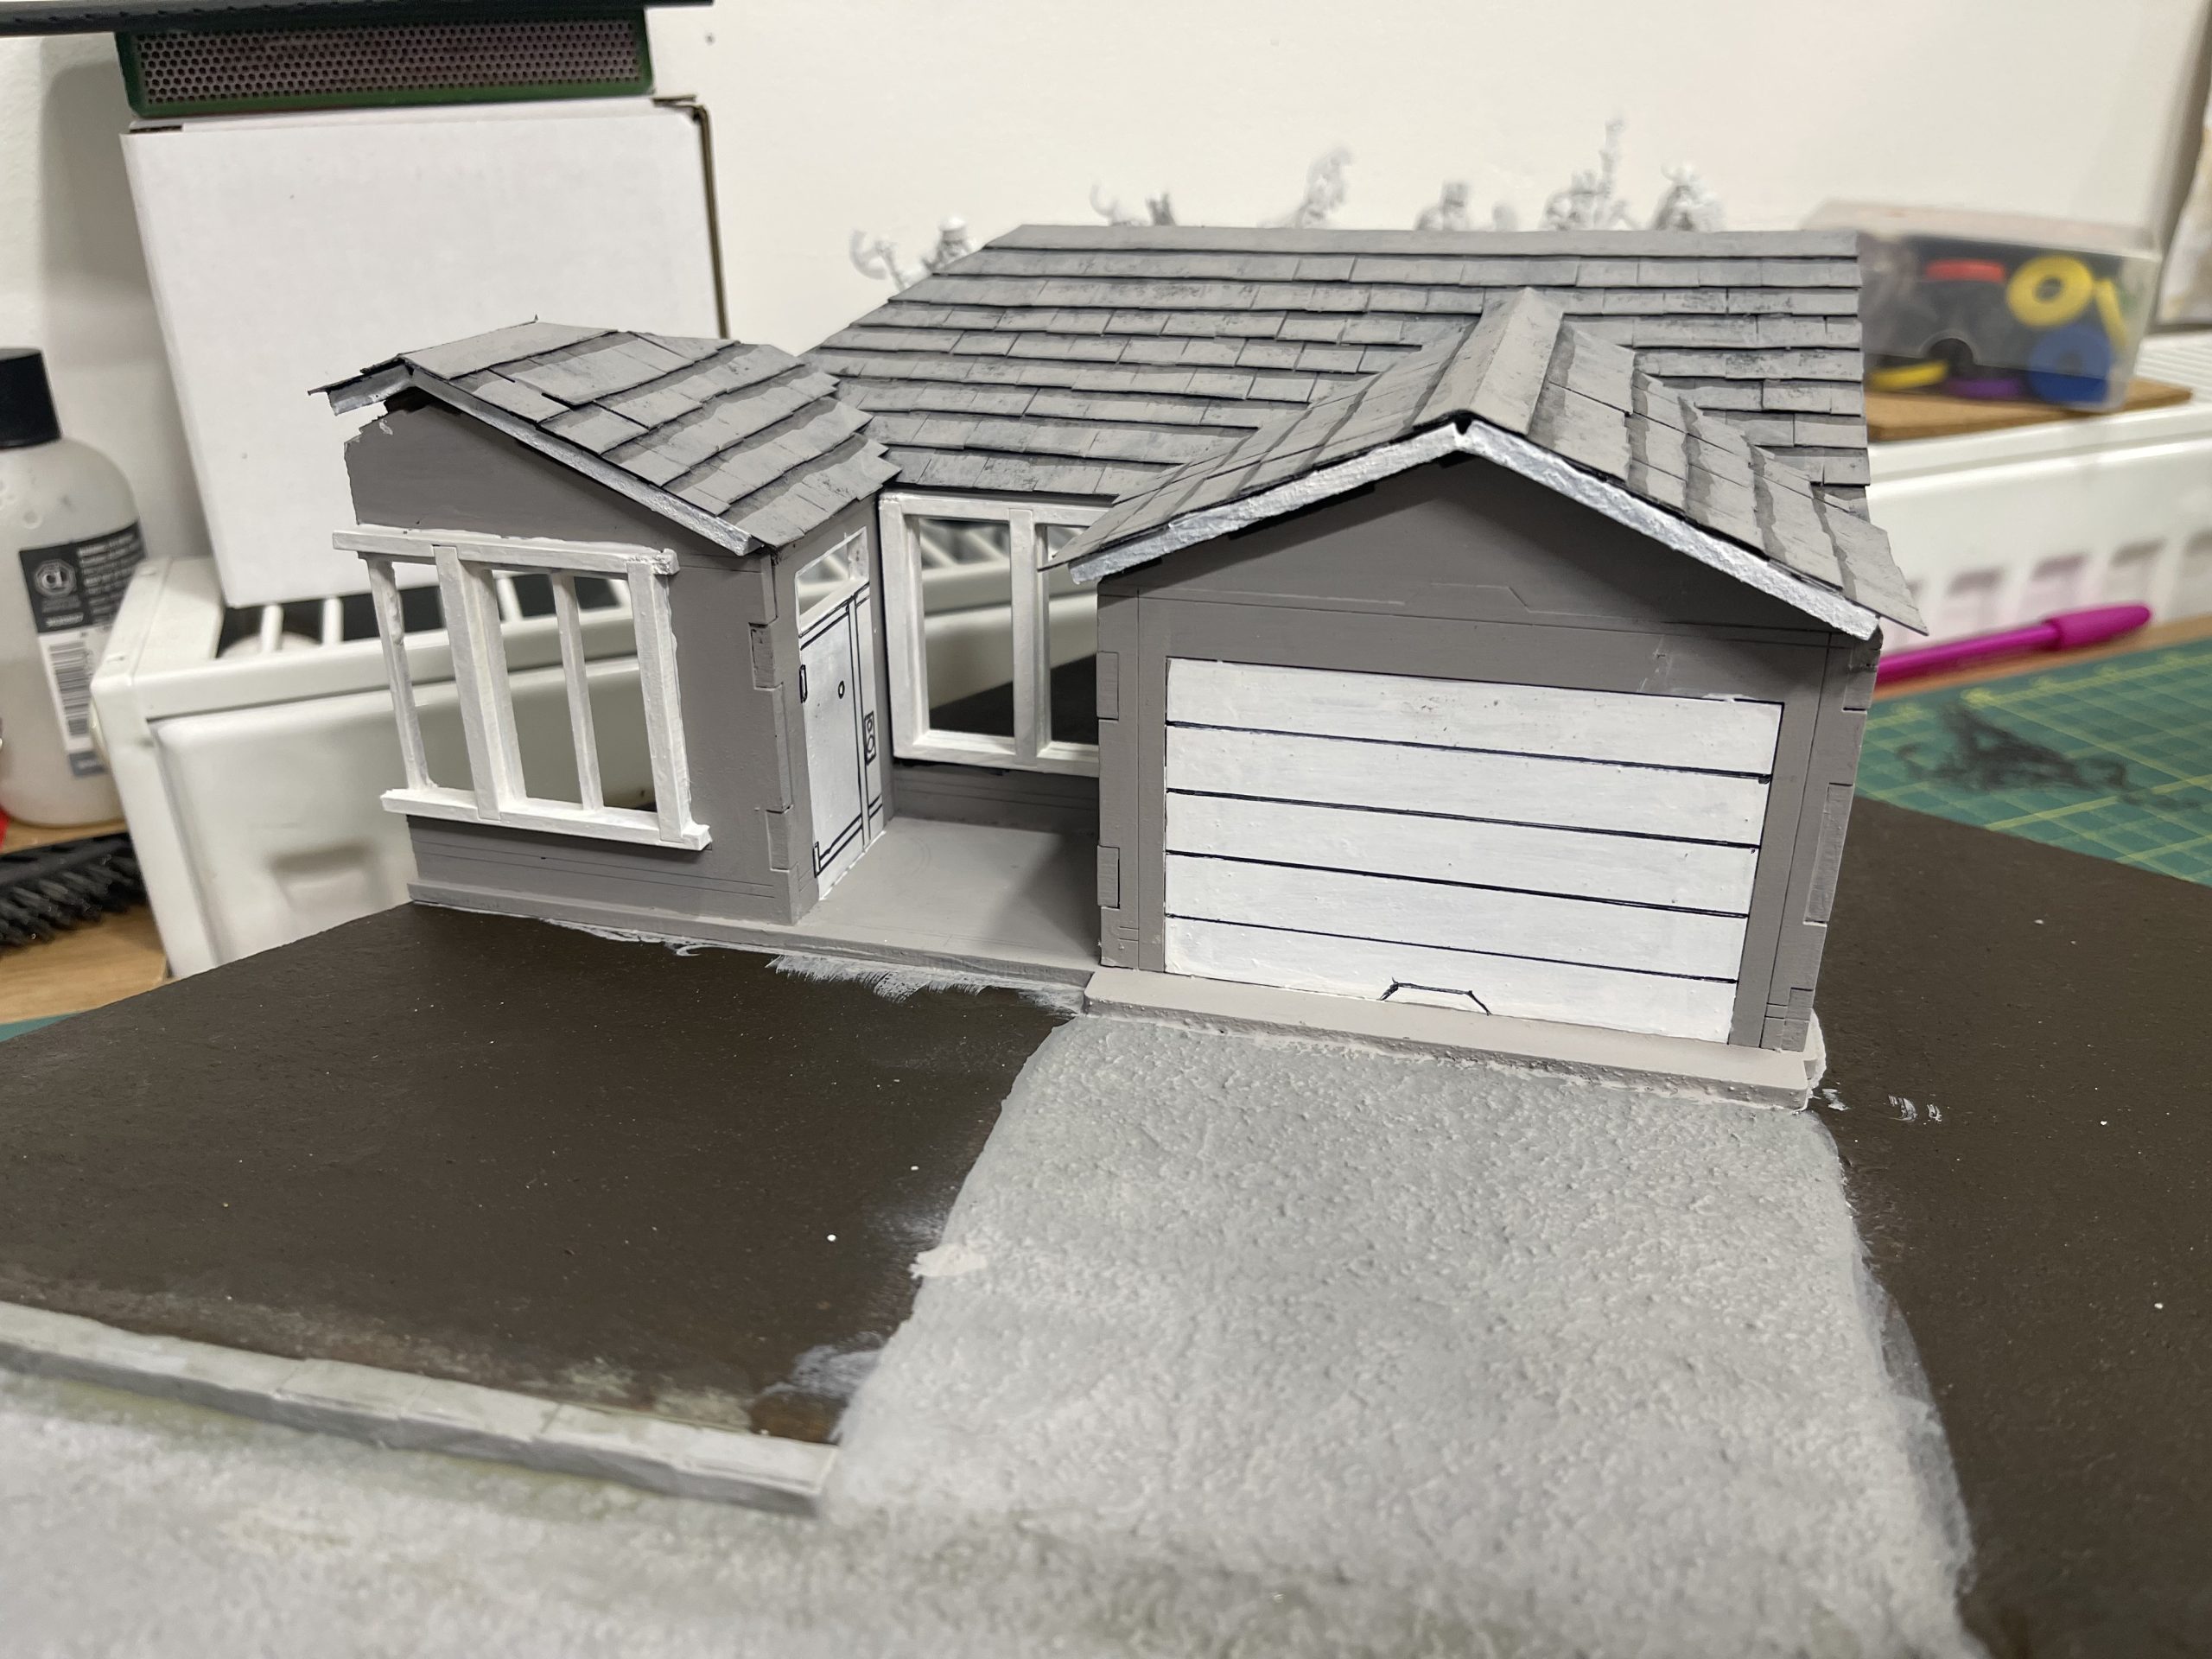 I used a permanent marker CD/DVD pen to draw on the lines of the garage and the blue woodwork
 see how the blue/green woodwork is improved with the panel lining.
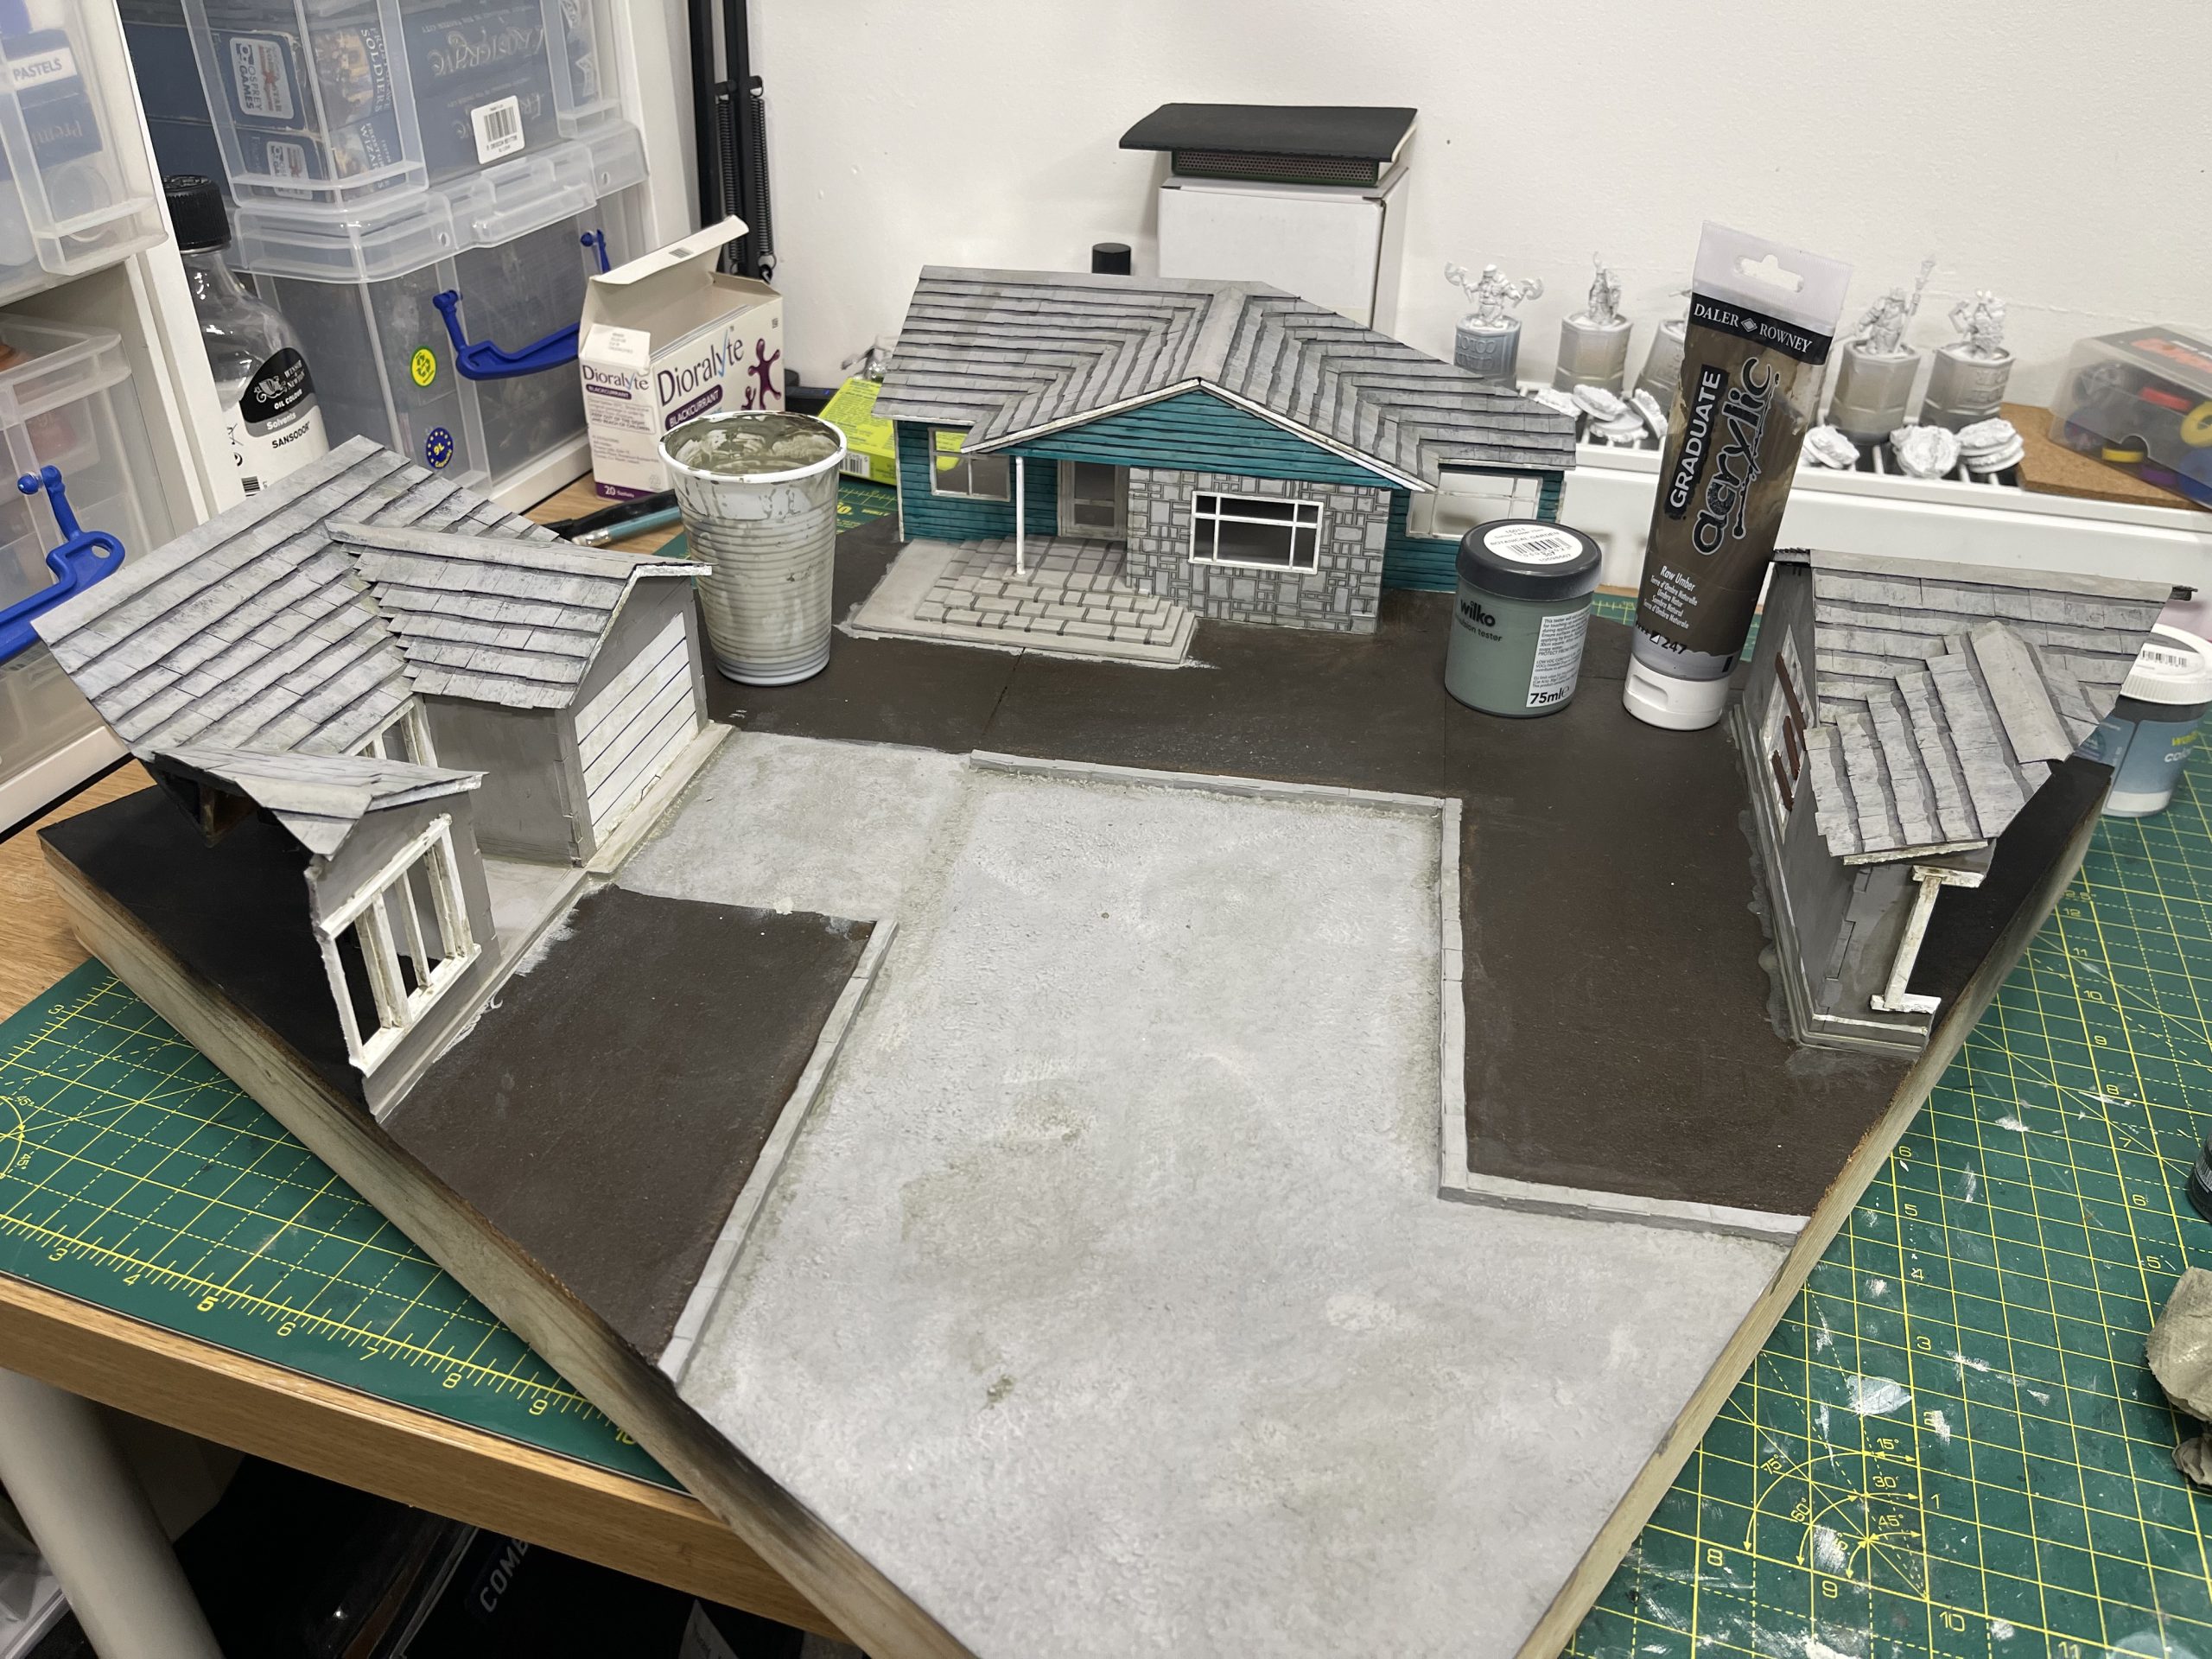 (changed the roadwork colouring) Added some green/brown wash to everything as weathering. same as the roof tiles
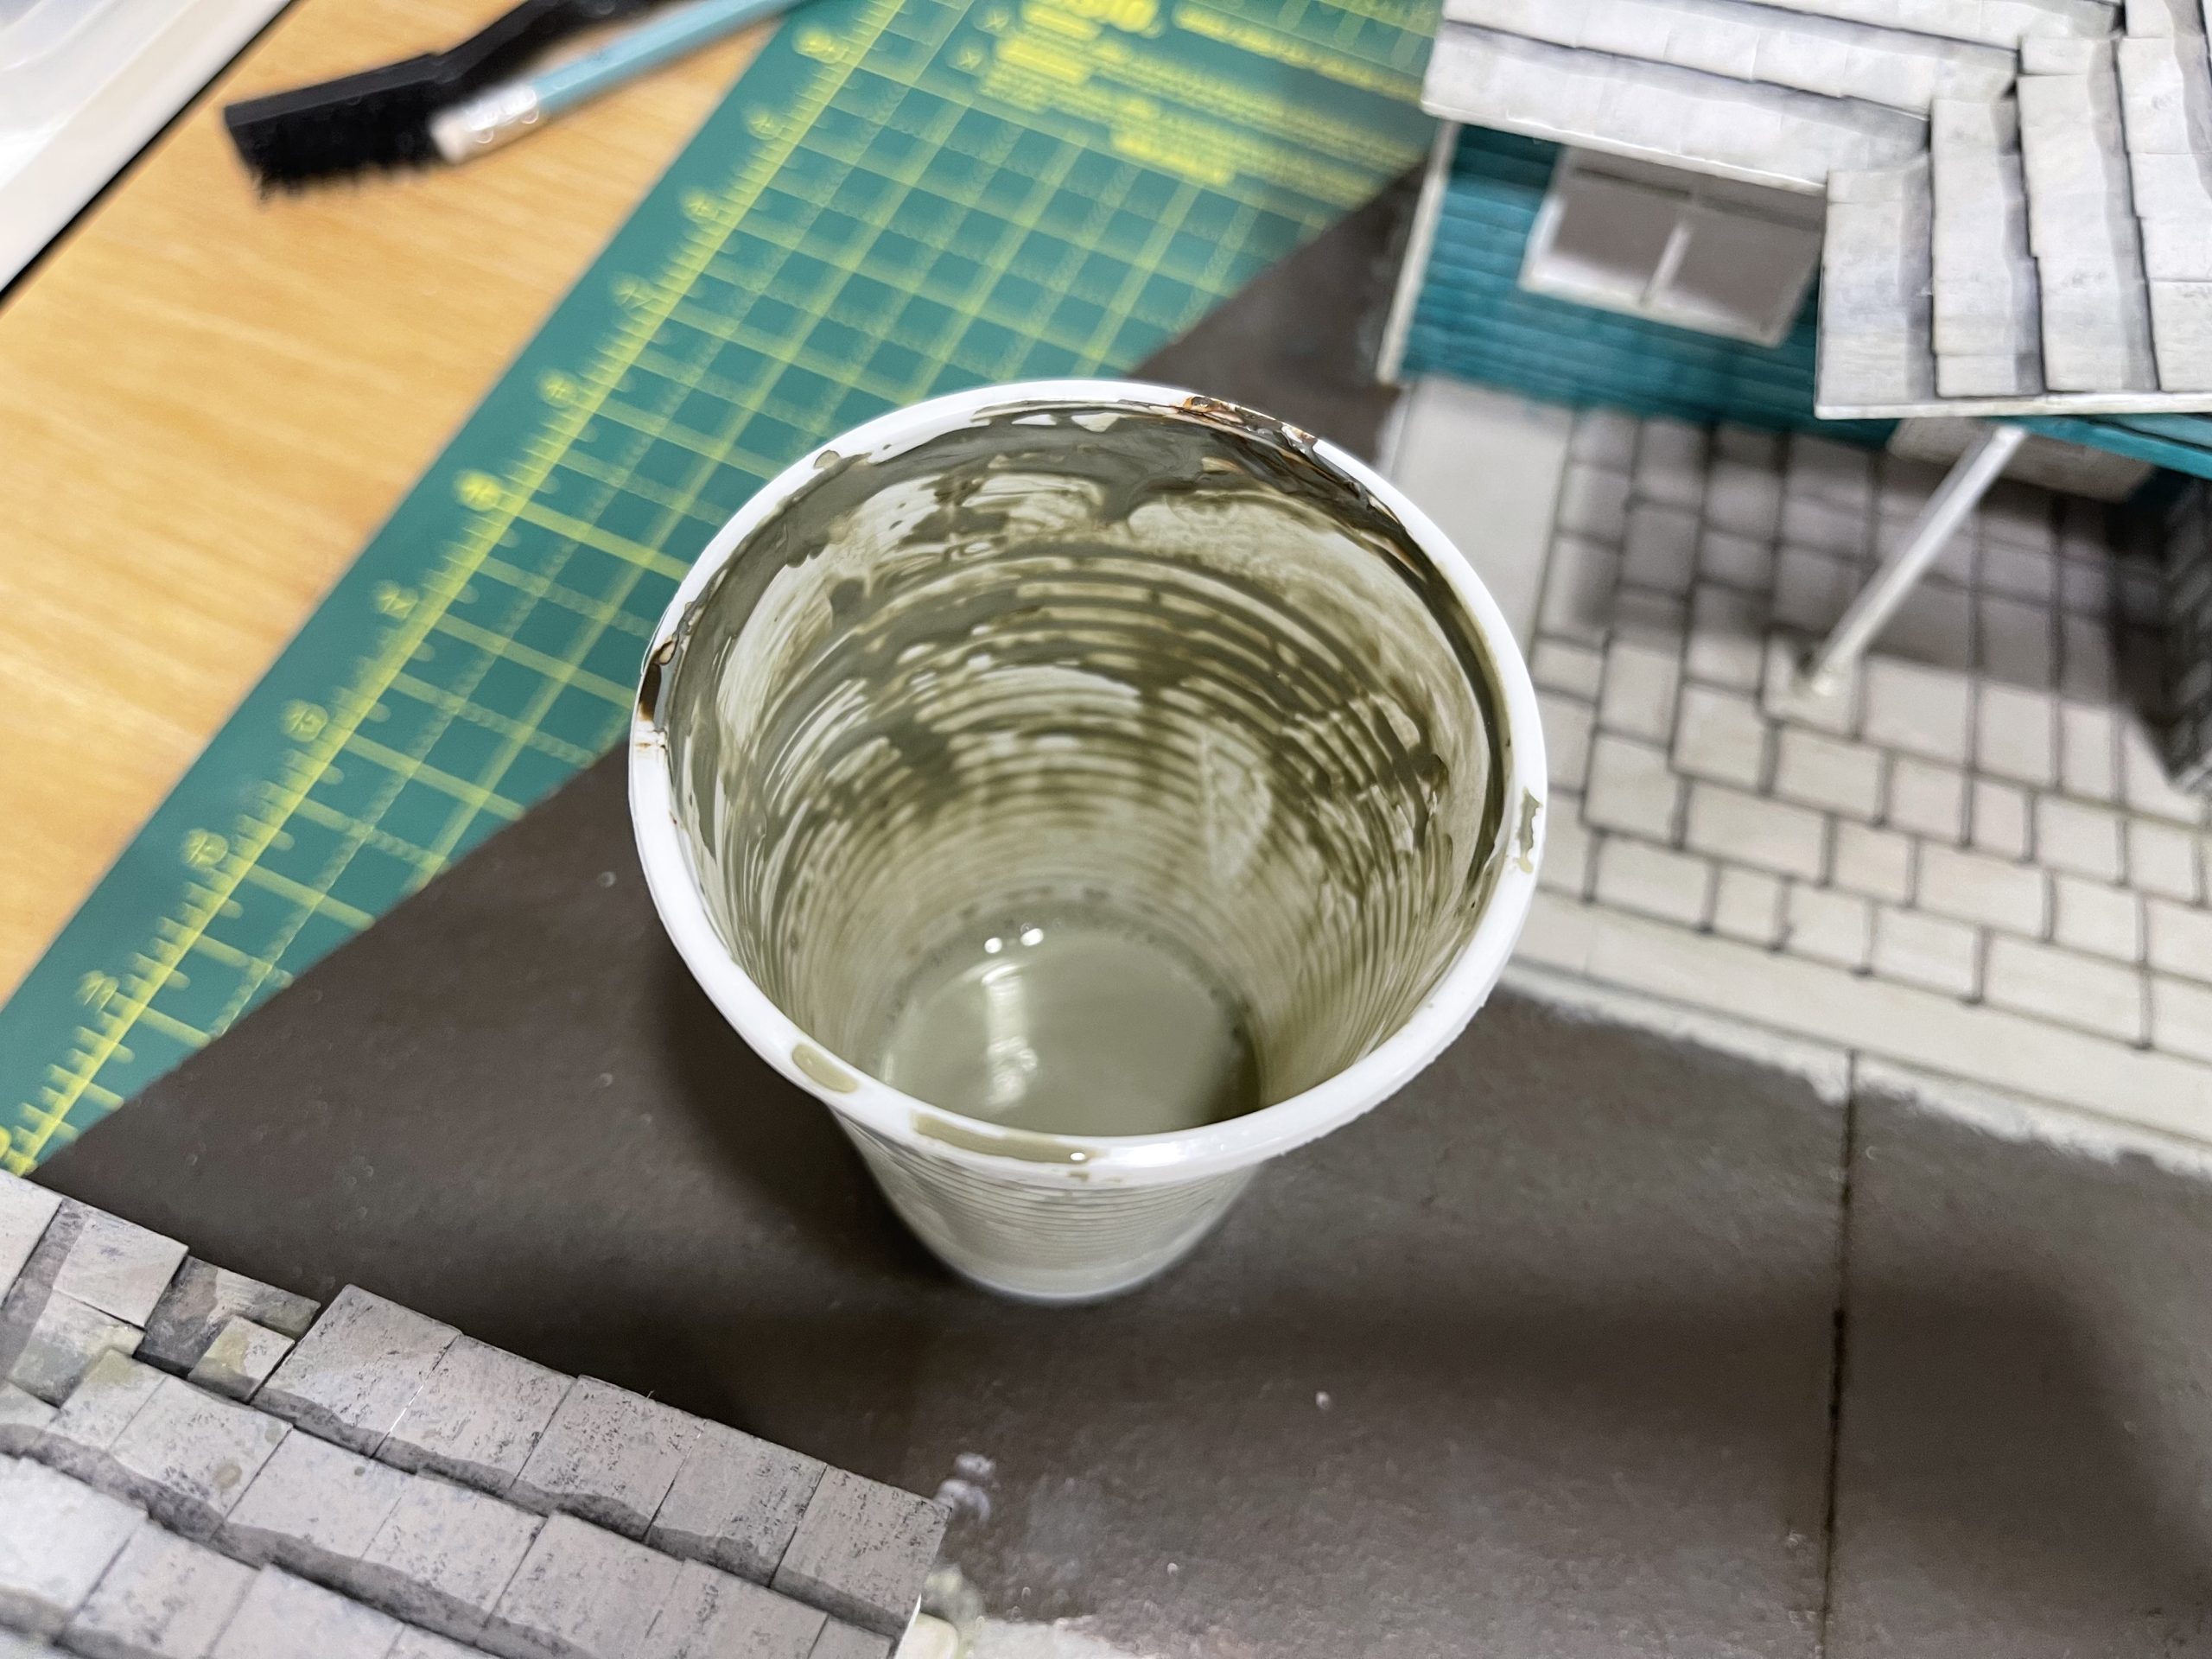 the wash colour. pretty gross really
This post was basically a whole days work.
If i was to do this again, i would not build all the building onto the board until they are already painted. it was very much a ball ache to work on this 20×20 inch monster and try to do fine detail work whilst balancing the whole board on its side. i think i got over excited in the building it phase and forgot the colouring in phase.
the roadway was painted the wrong way at first. light base dark highlight. it looked fine, but plainly wrong. i quickly swapped it over before doing any weathering steps. good job i caught it really as it would be a small annoyance forever otherwise.
Painting the roof tiles
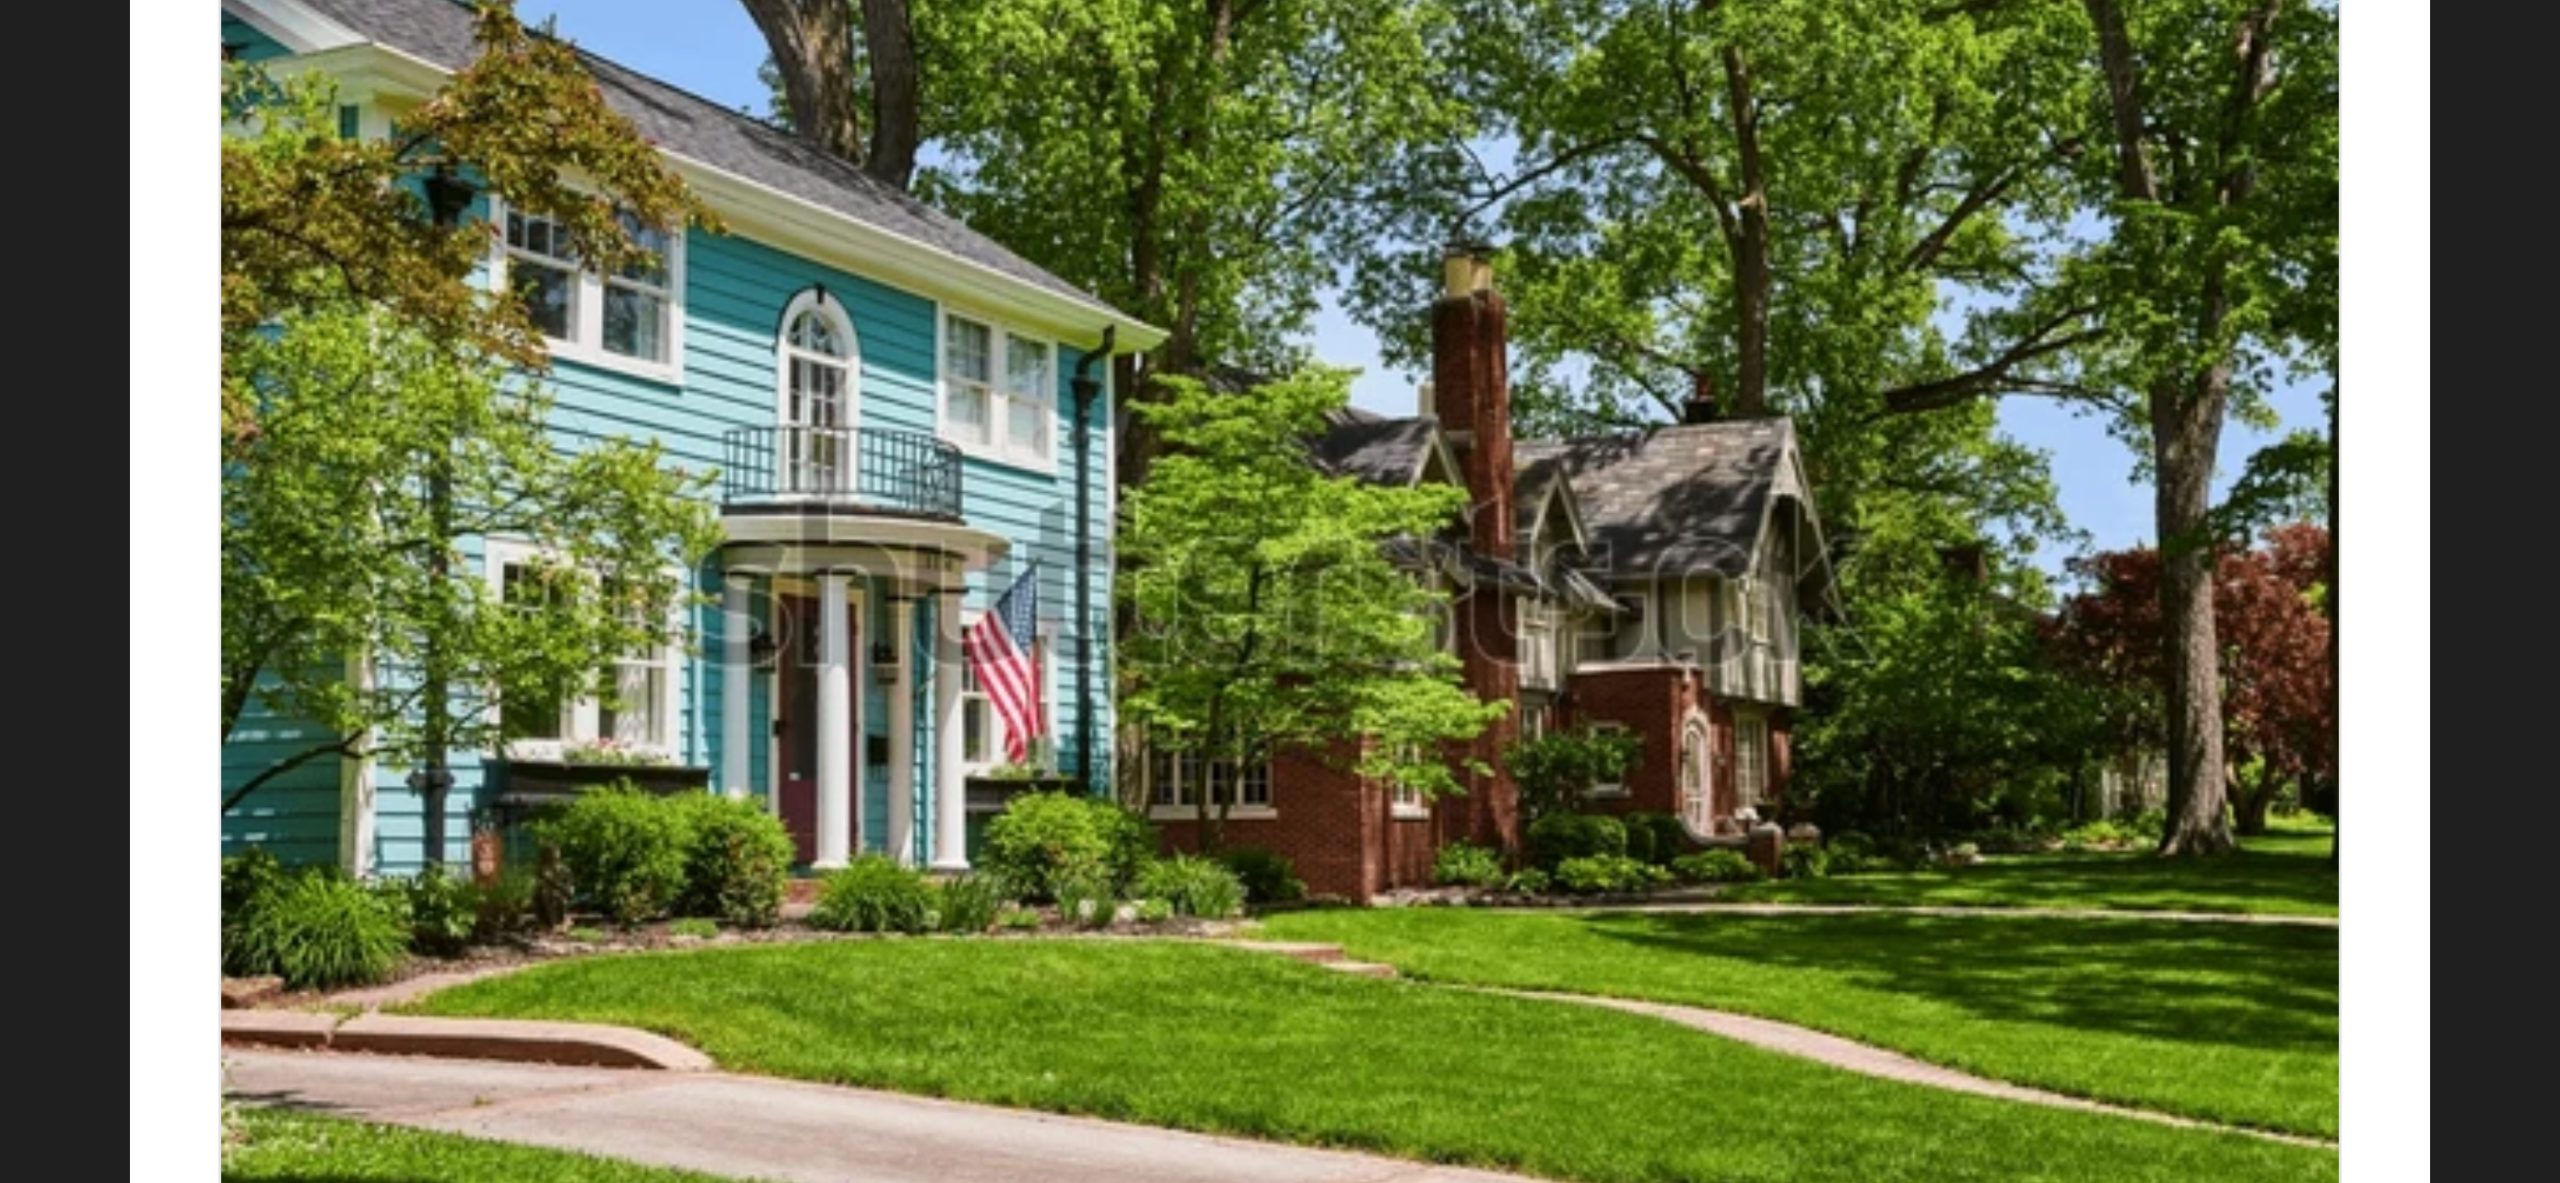

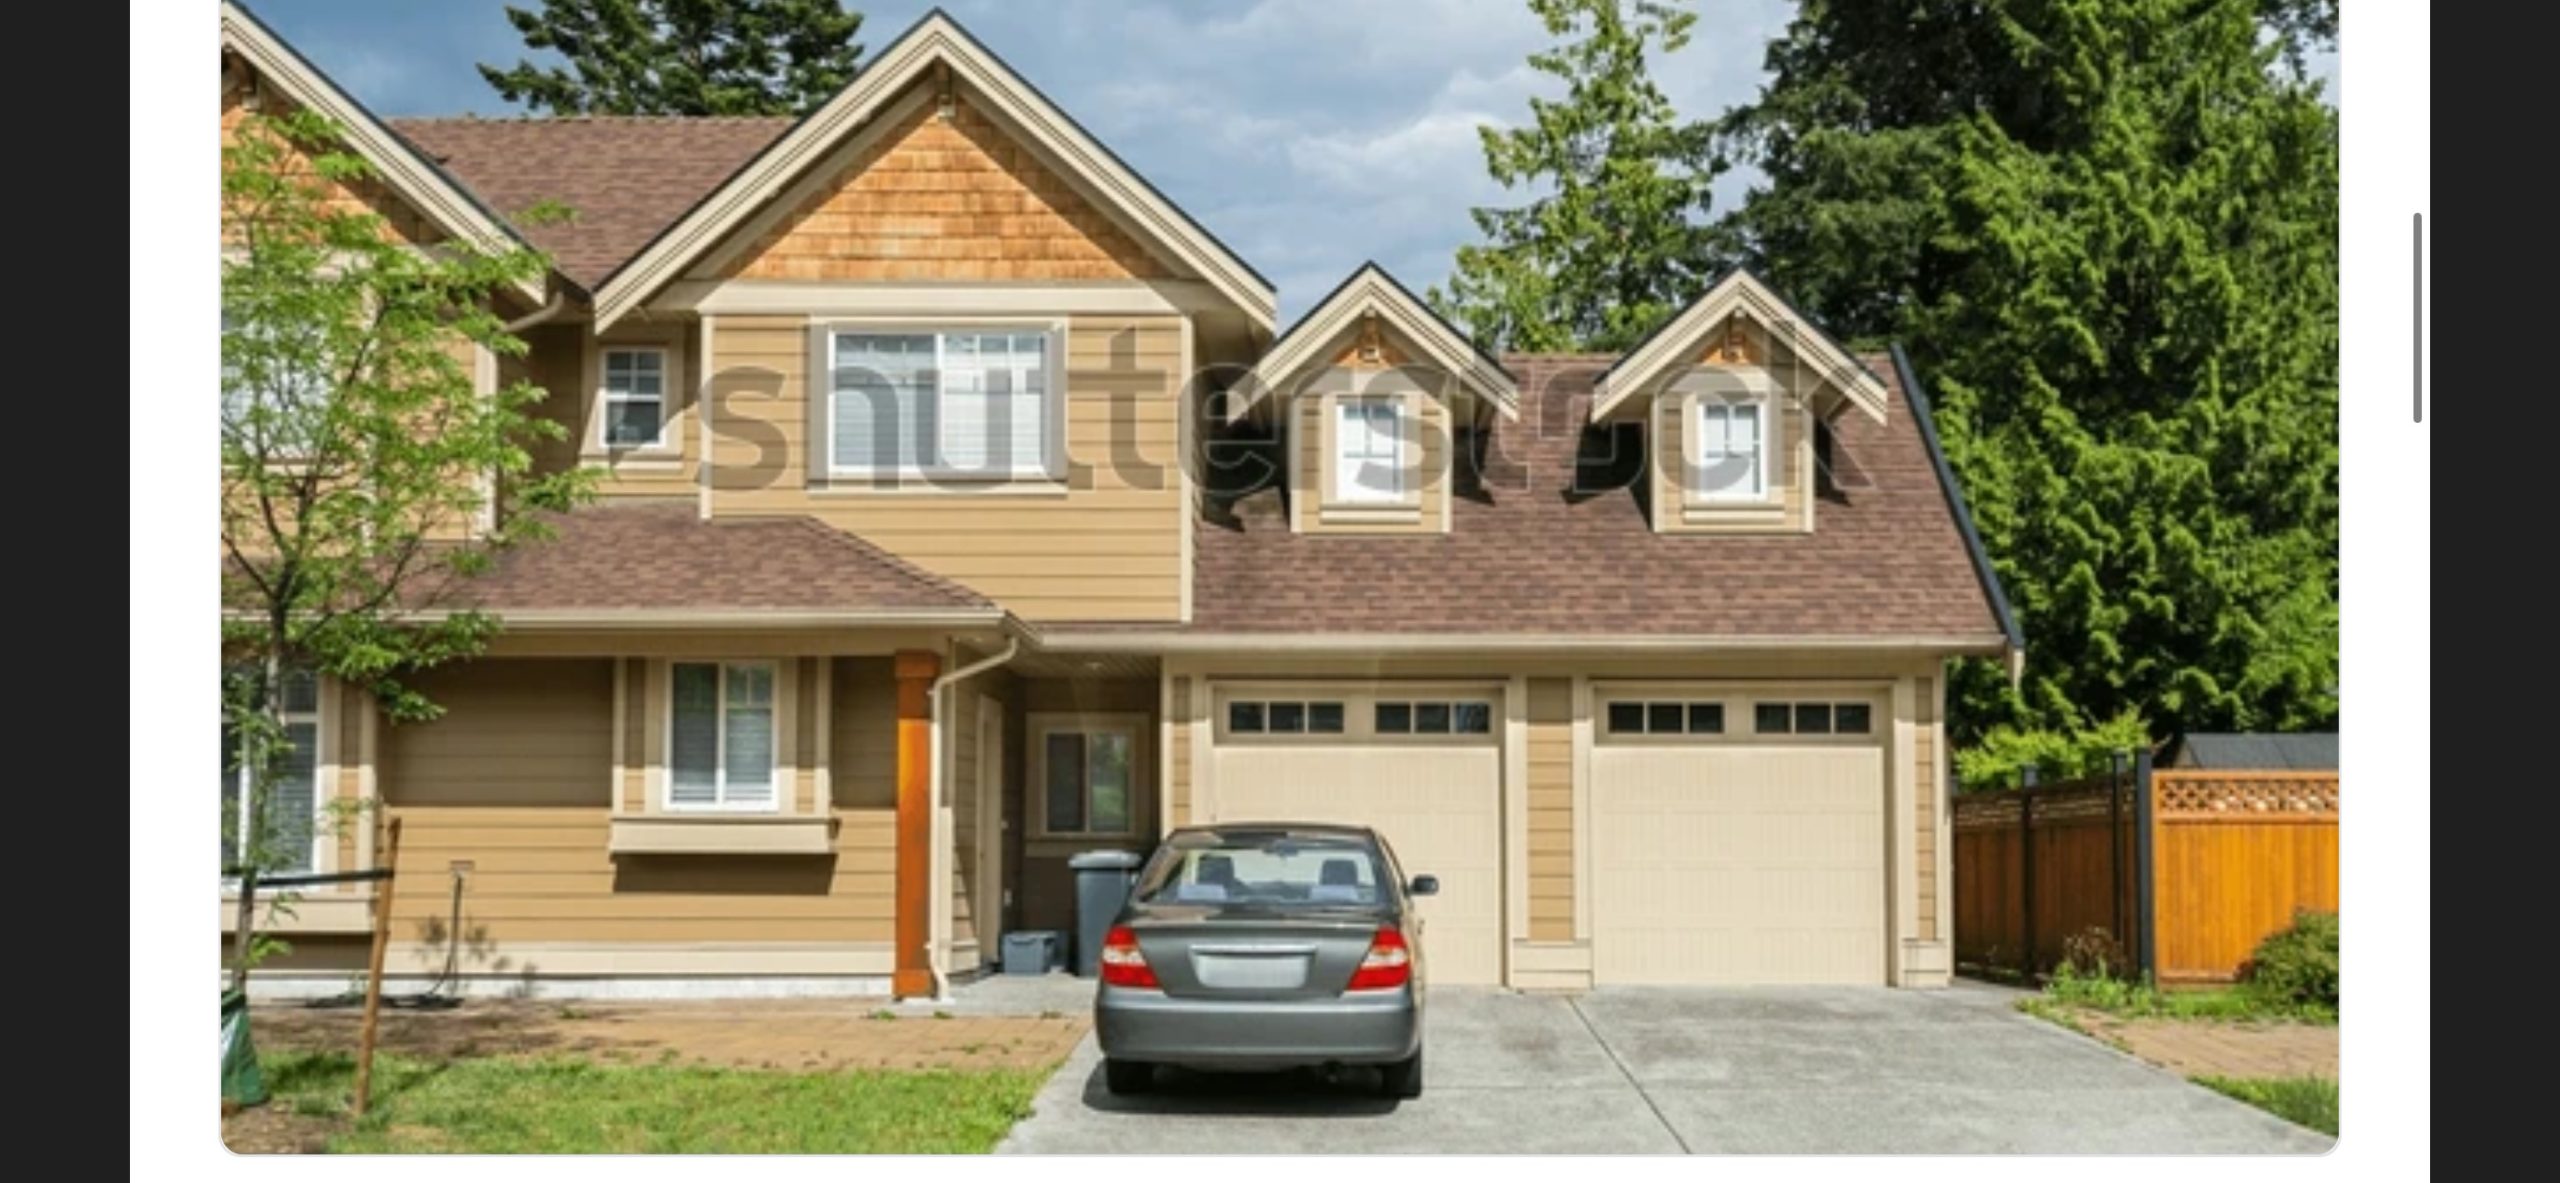
first came a little bit of research, not much, just a google search for ‘suburban american house’.
I selected 3 photos (above) to be the indicators but i did show me that there doesnt have to be a theme like in the UK. often in the UK you have streets of houses that all look similar and in somecases regionalised. eg cotswold stone in the cotswolds, burning poop filled paper bag houses in birmingham etc. i dont know for sure but i expect it is because the UK has actual history and most of the buildings there are older than the US. The village i grew up in has a church that is at least 4 times older than the USA.
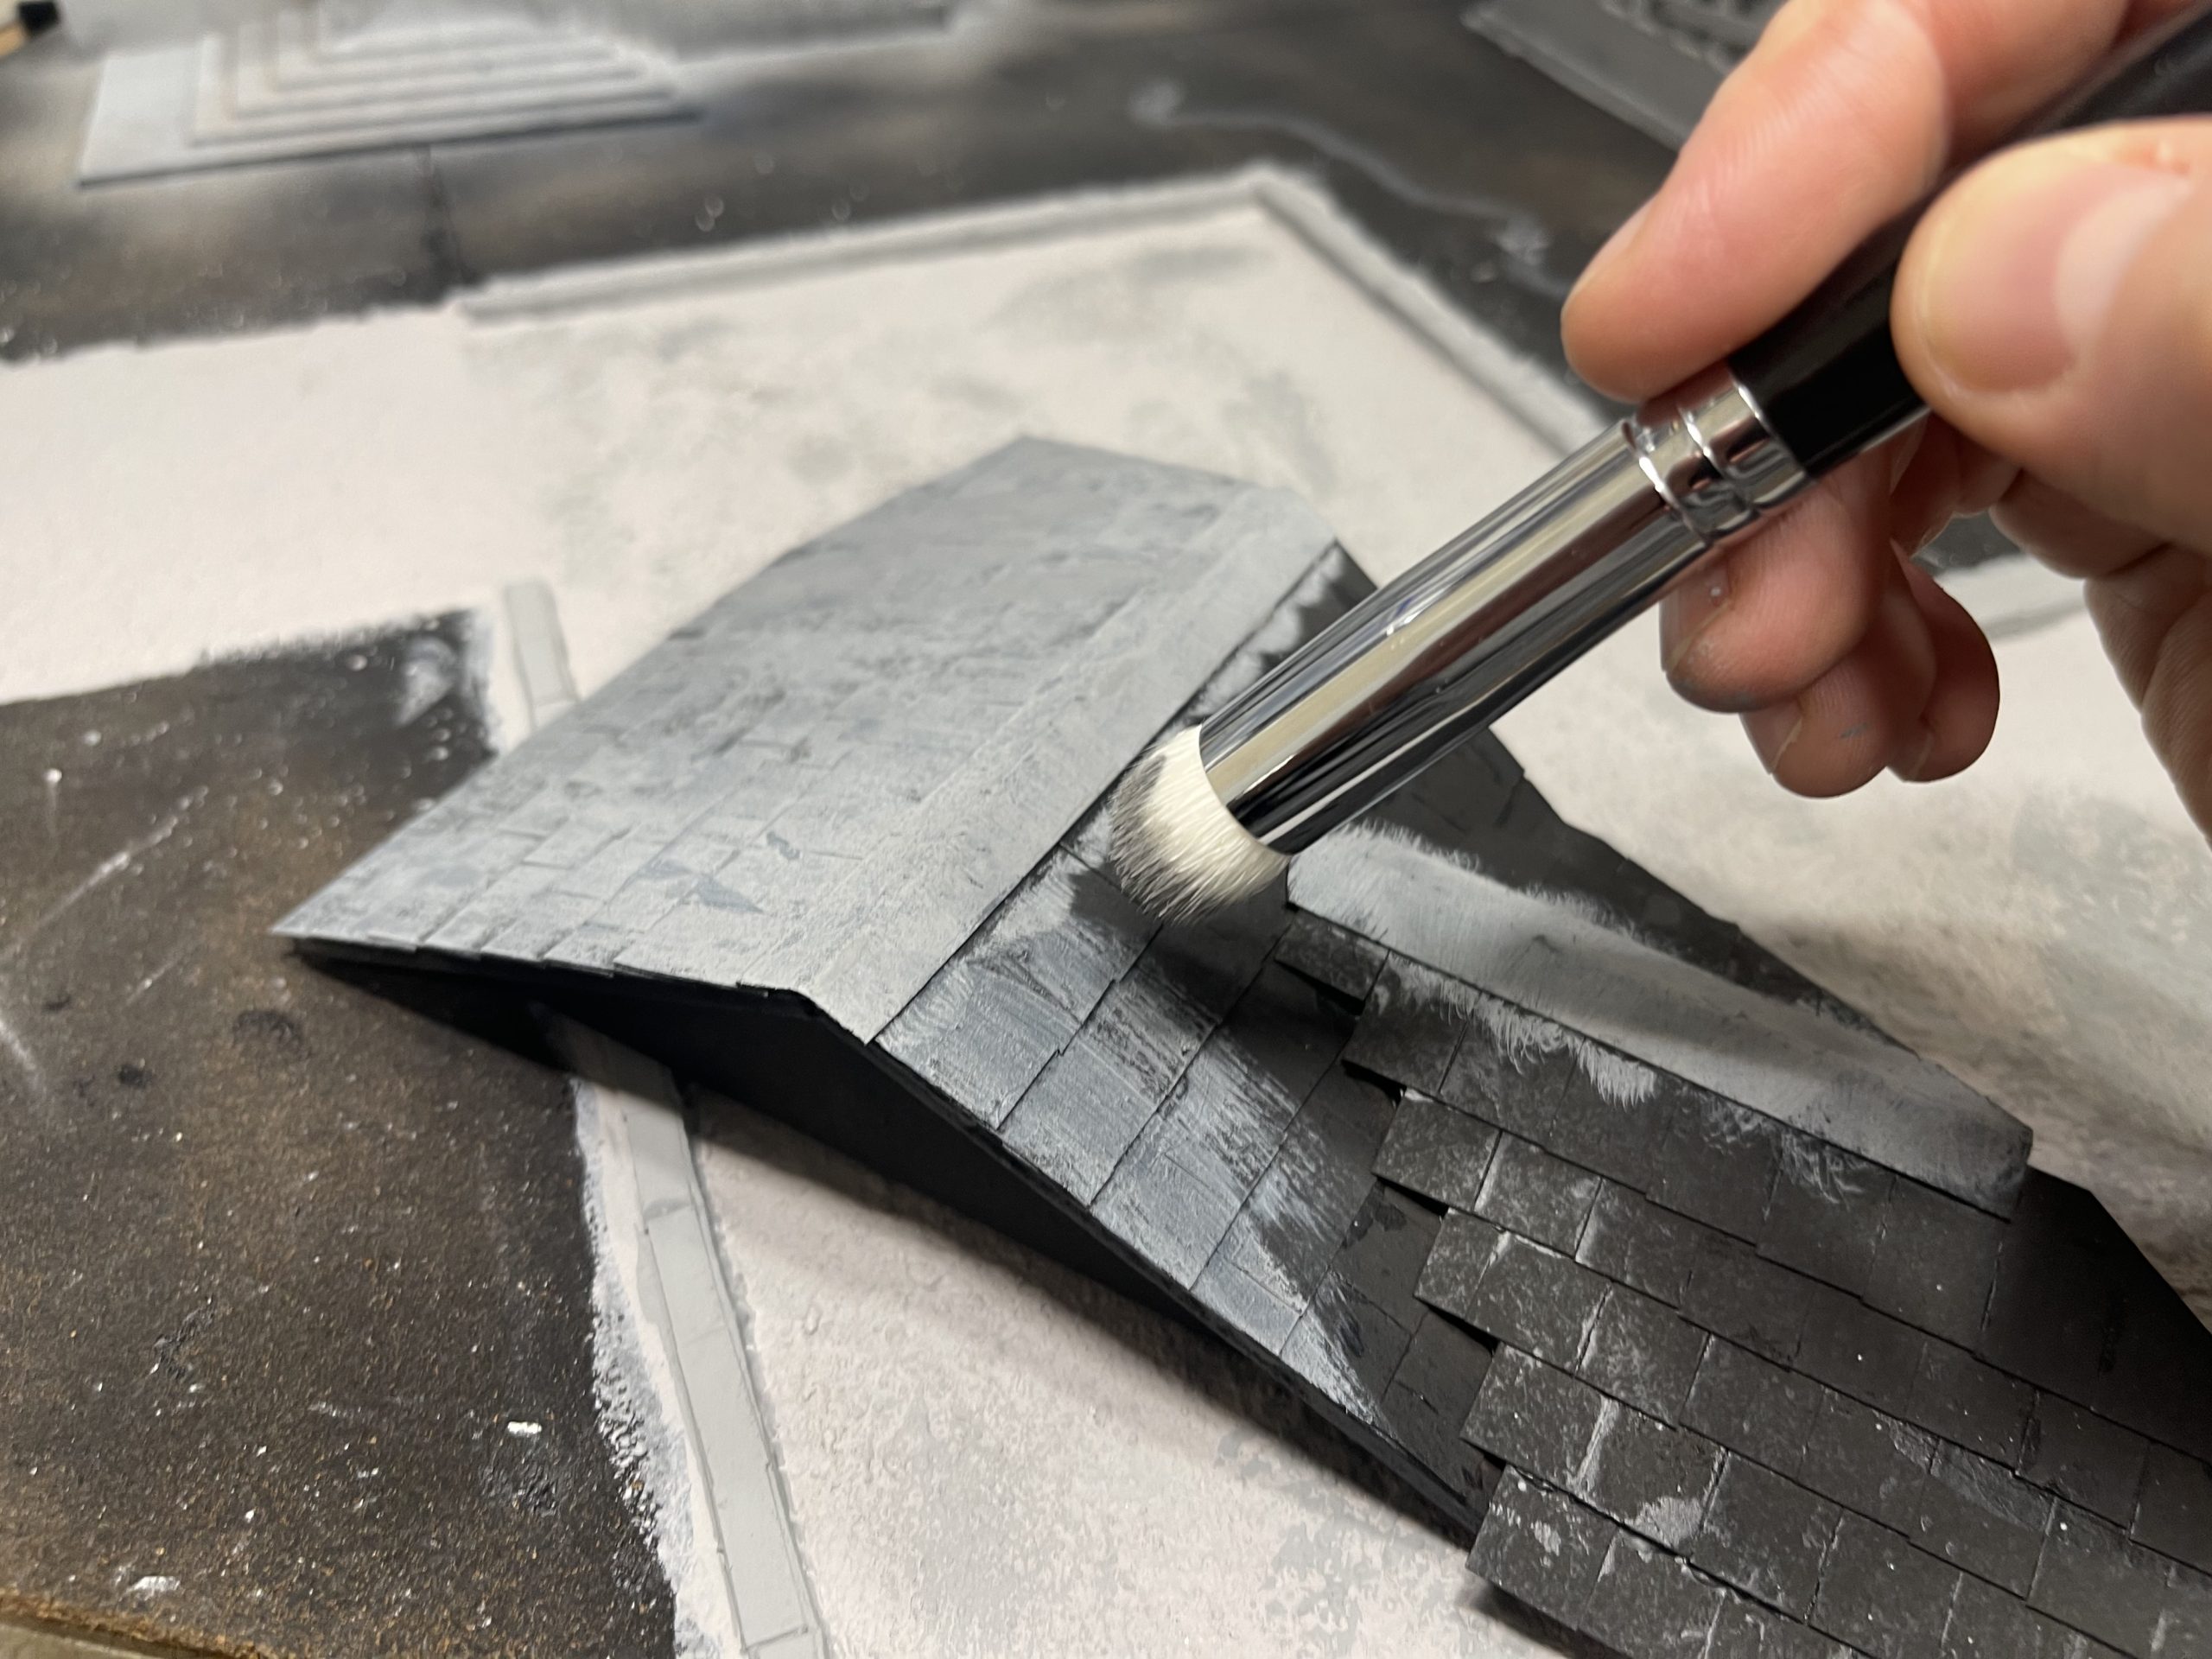 I went with grey (in two shades) and over brushed it
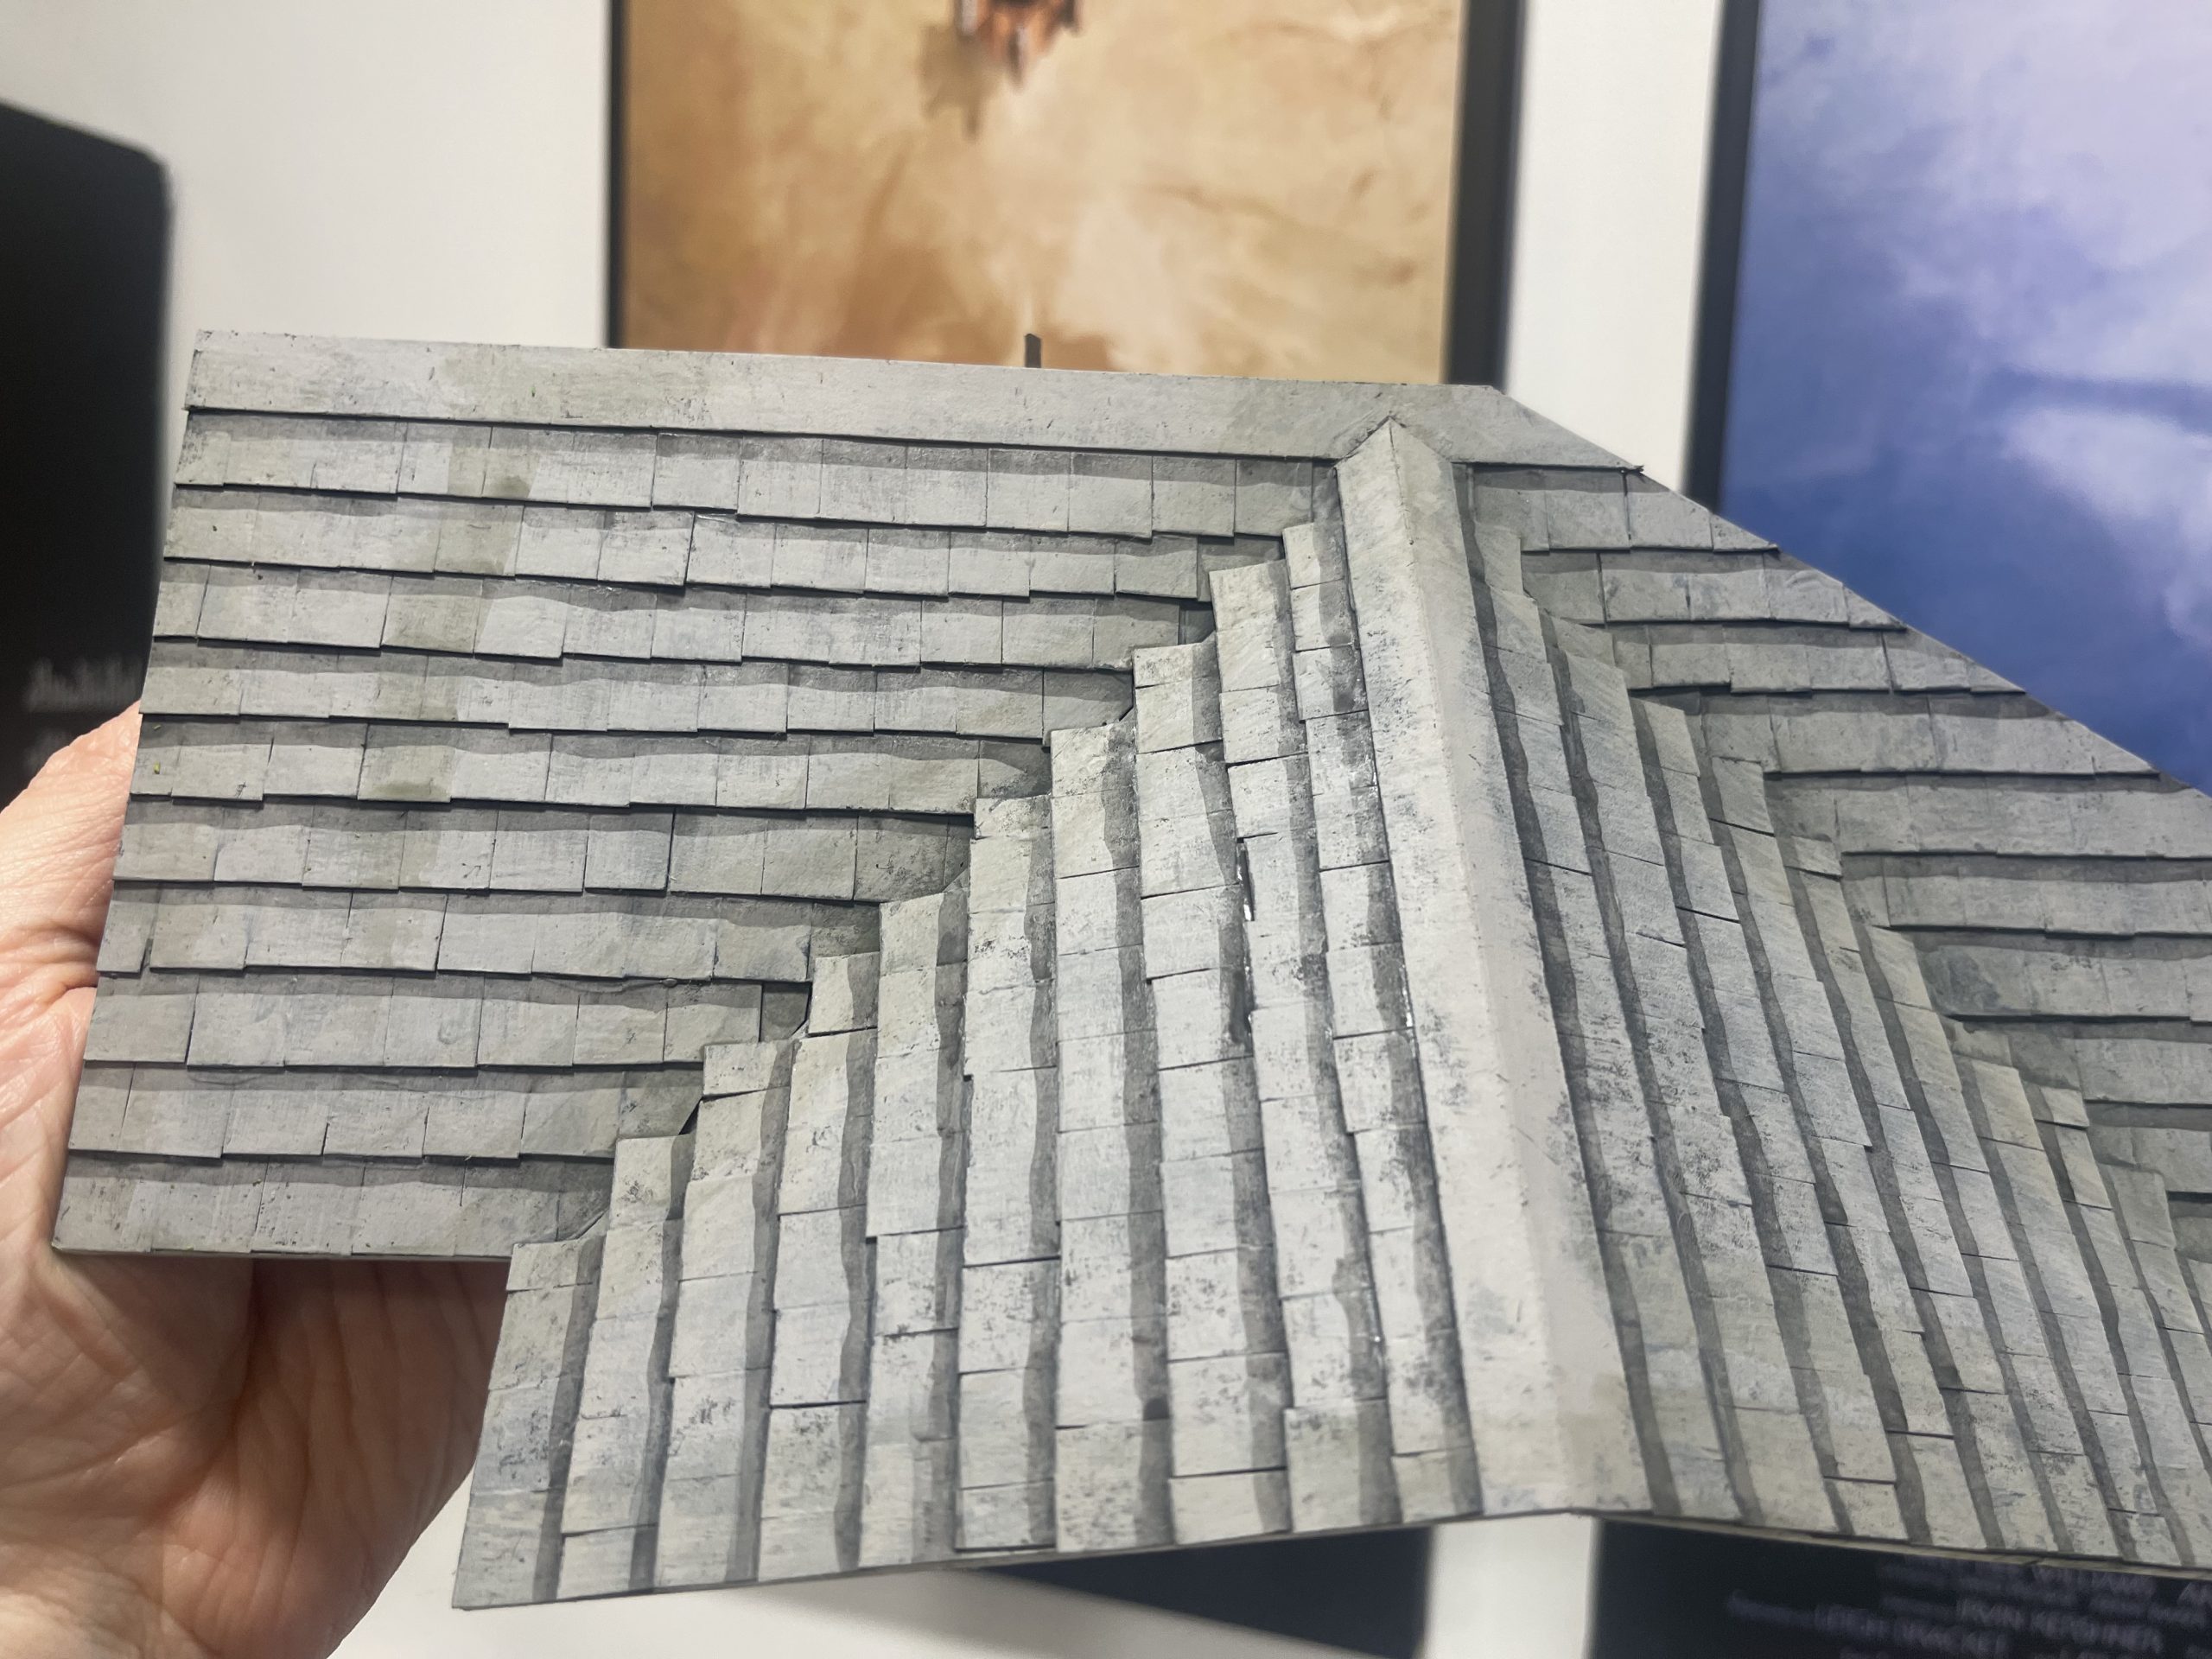 I then weathered it a bit with black wash on the undersides/joins and added a greeny-brown streaks in the water prone areas
Tarmac a road
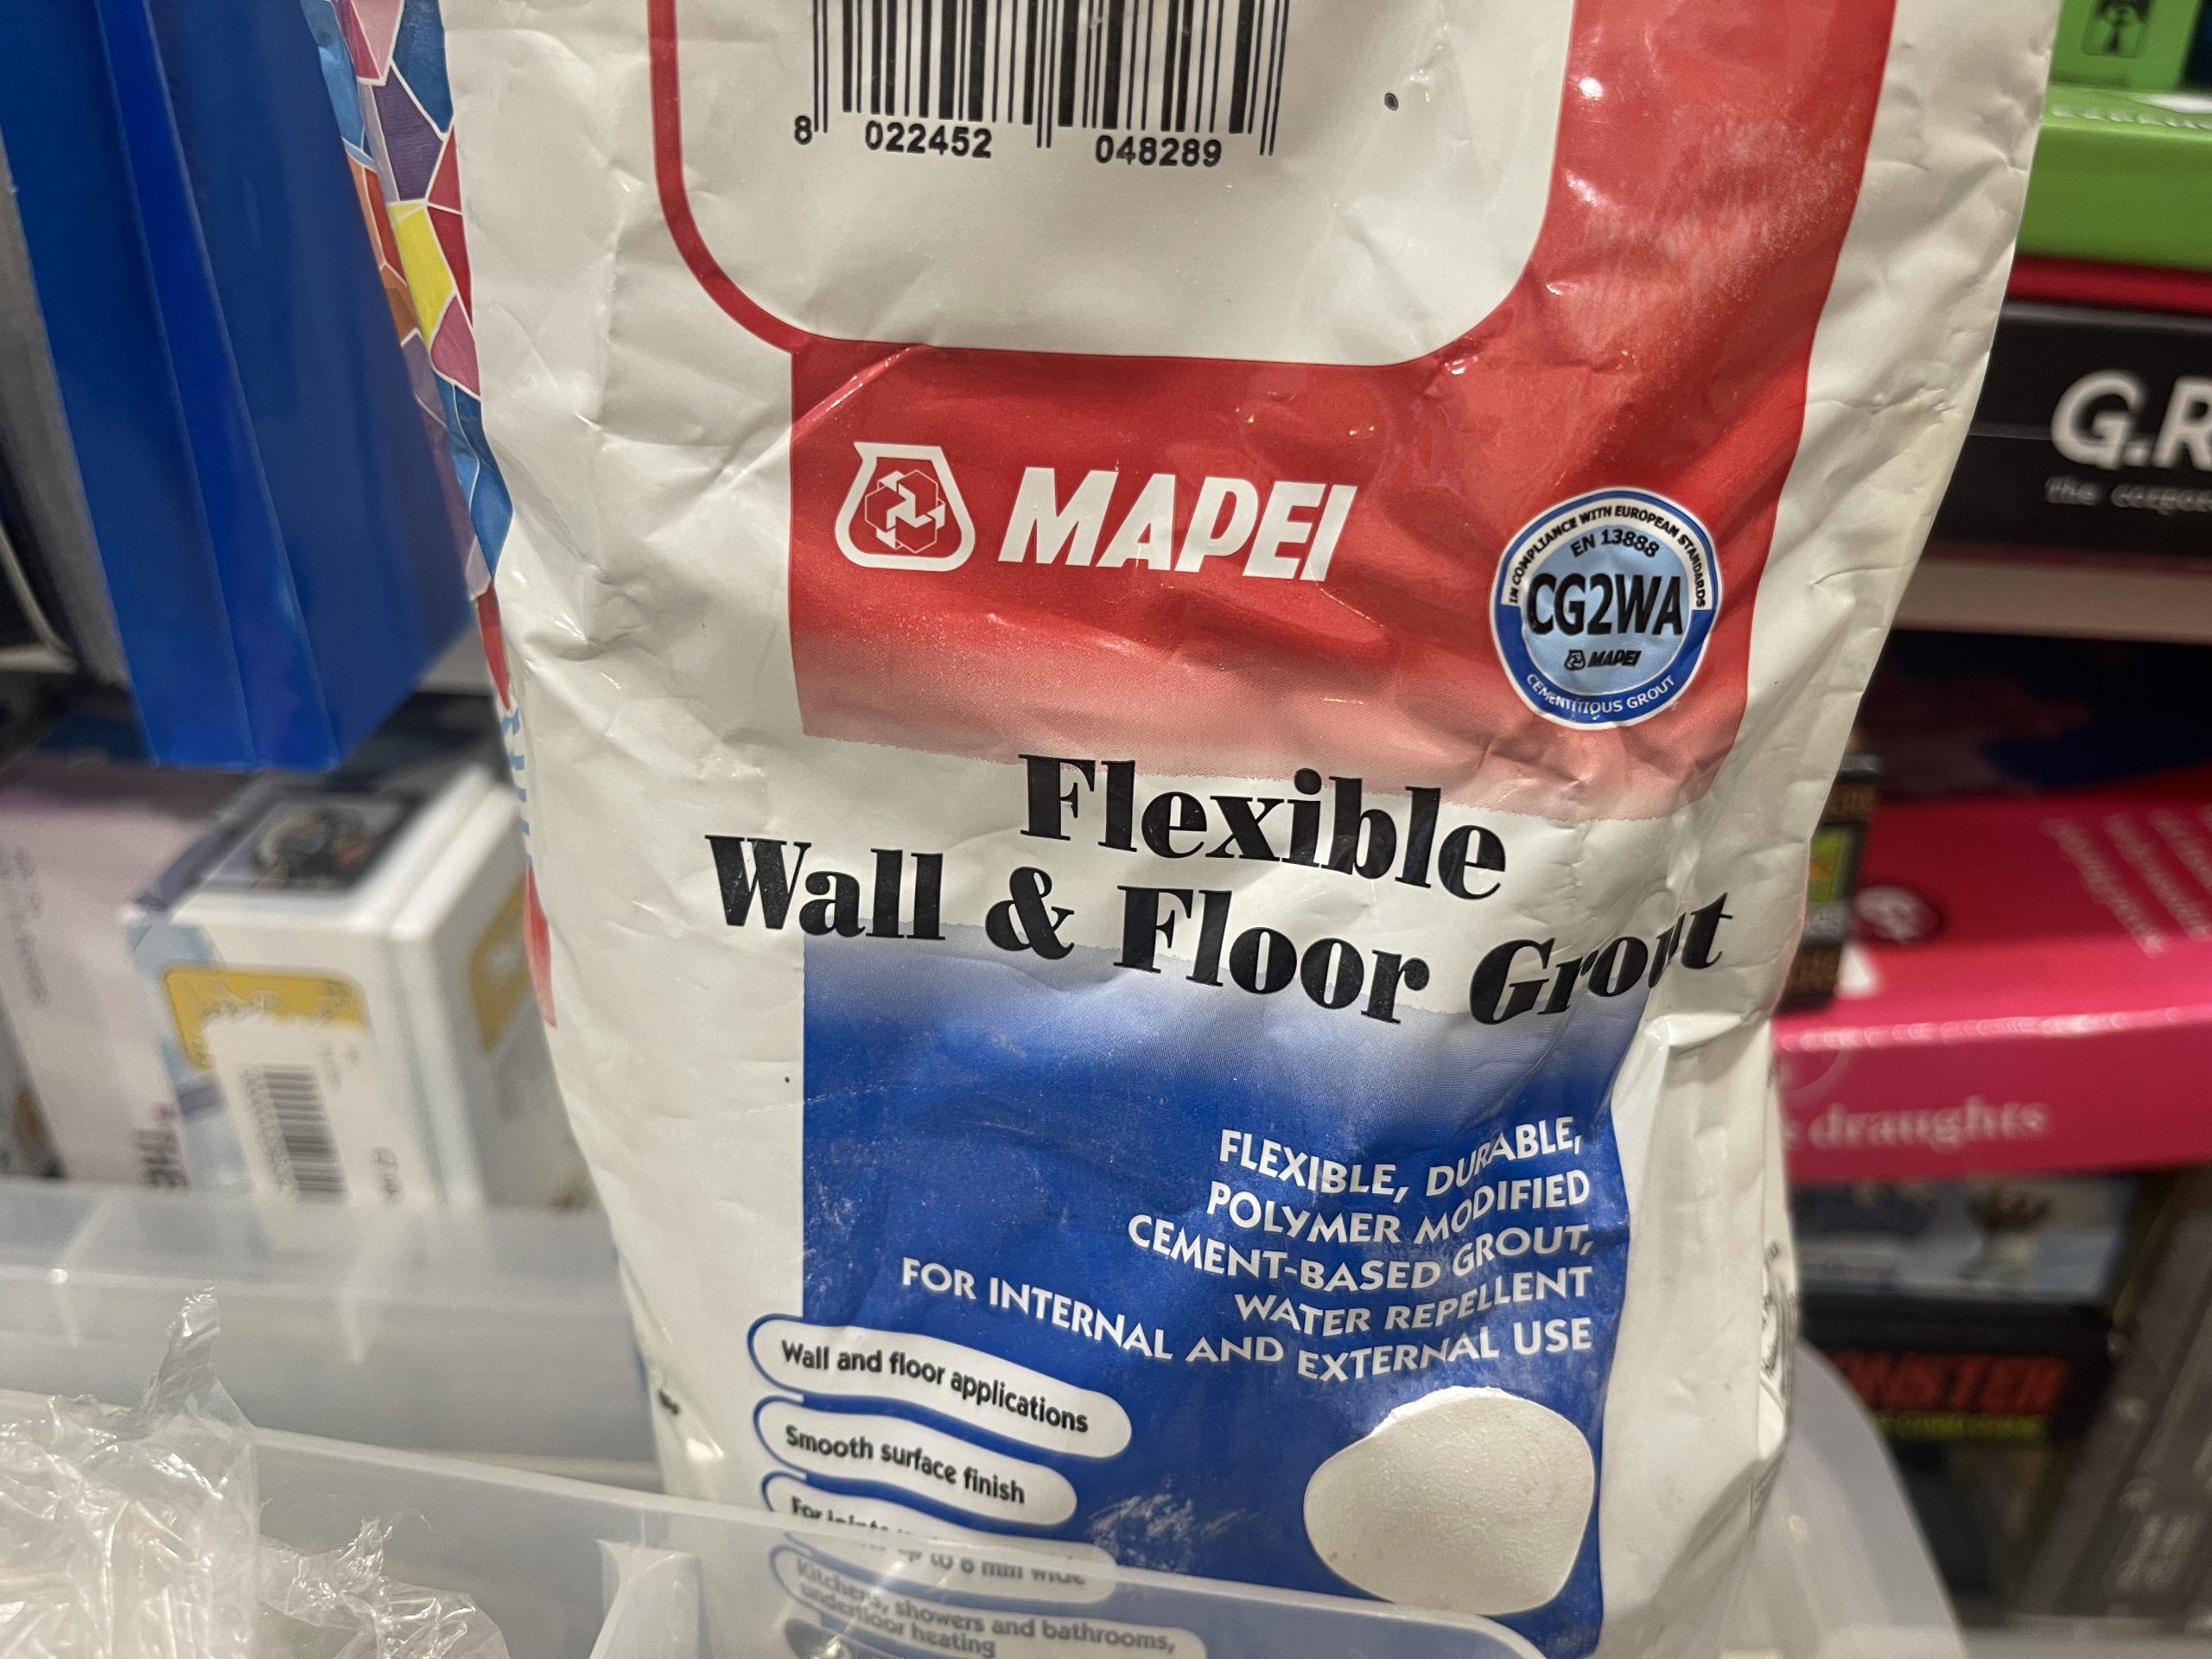 get you some tile grout. the preference is one in the right colour. i only had white
 PVA the road and driveway, sieve over the tilegrout
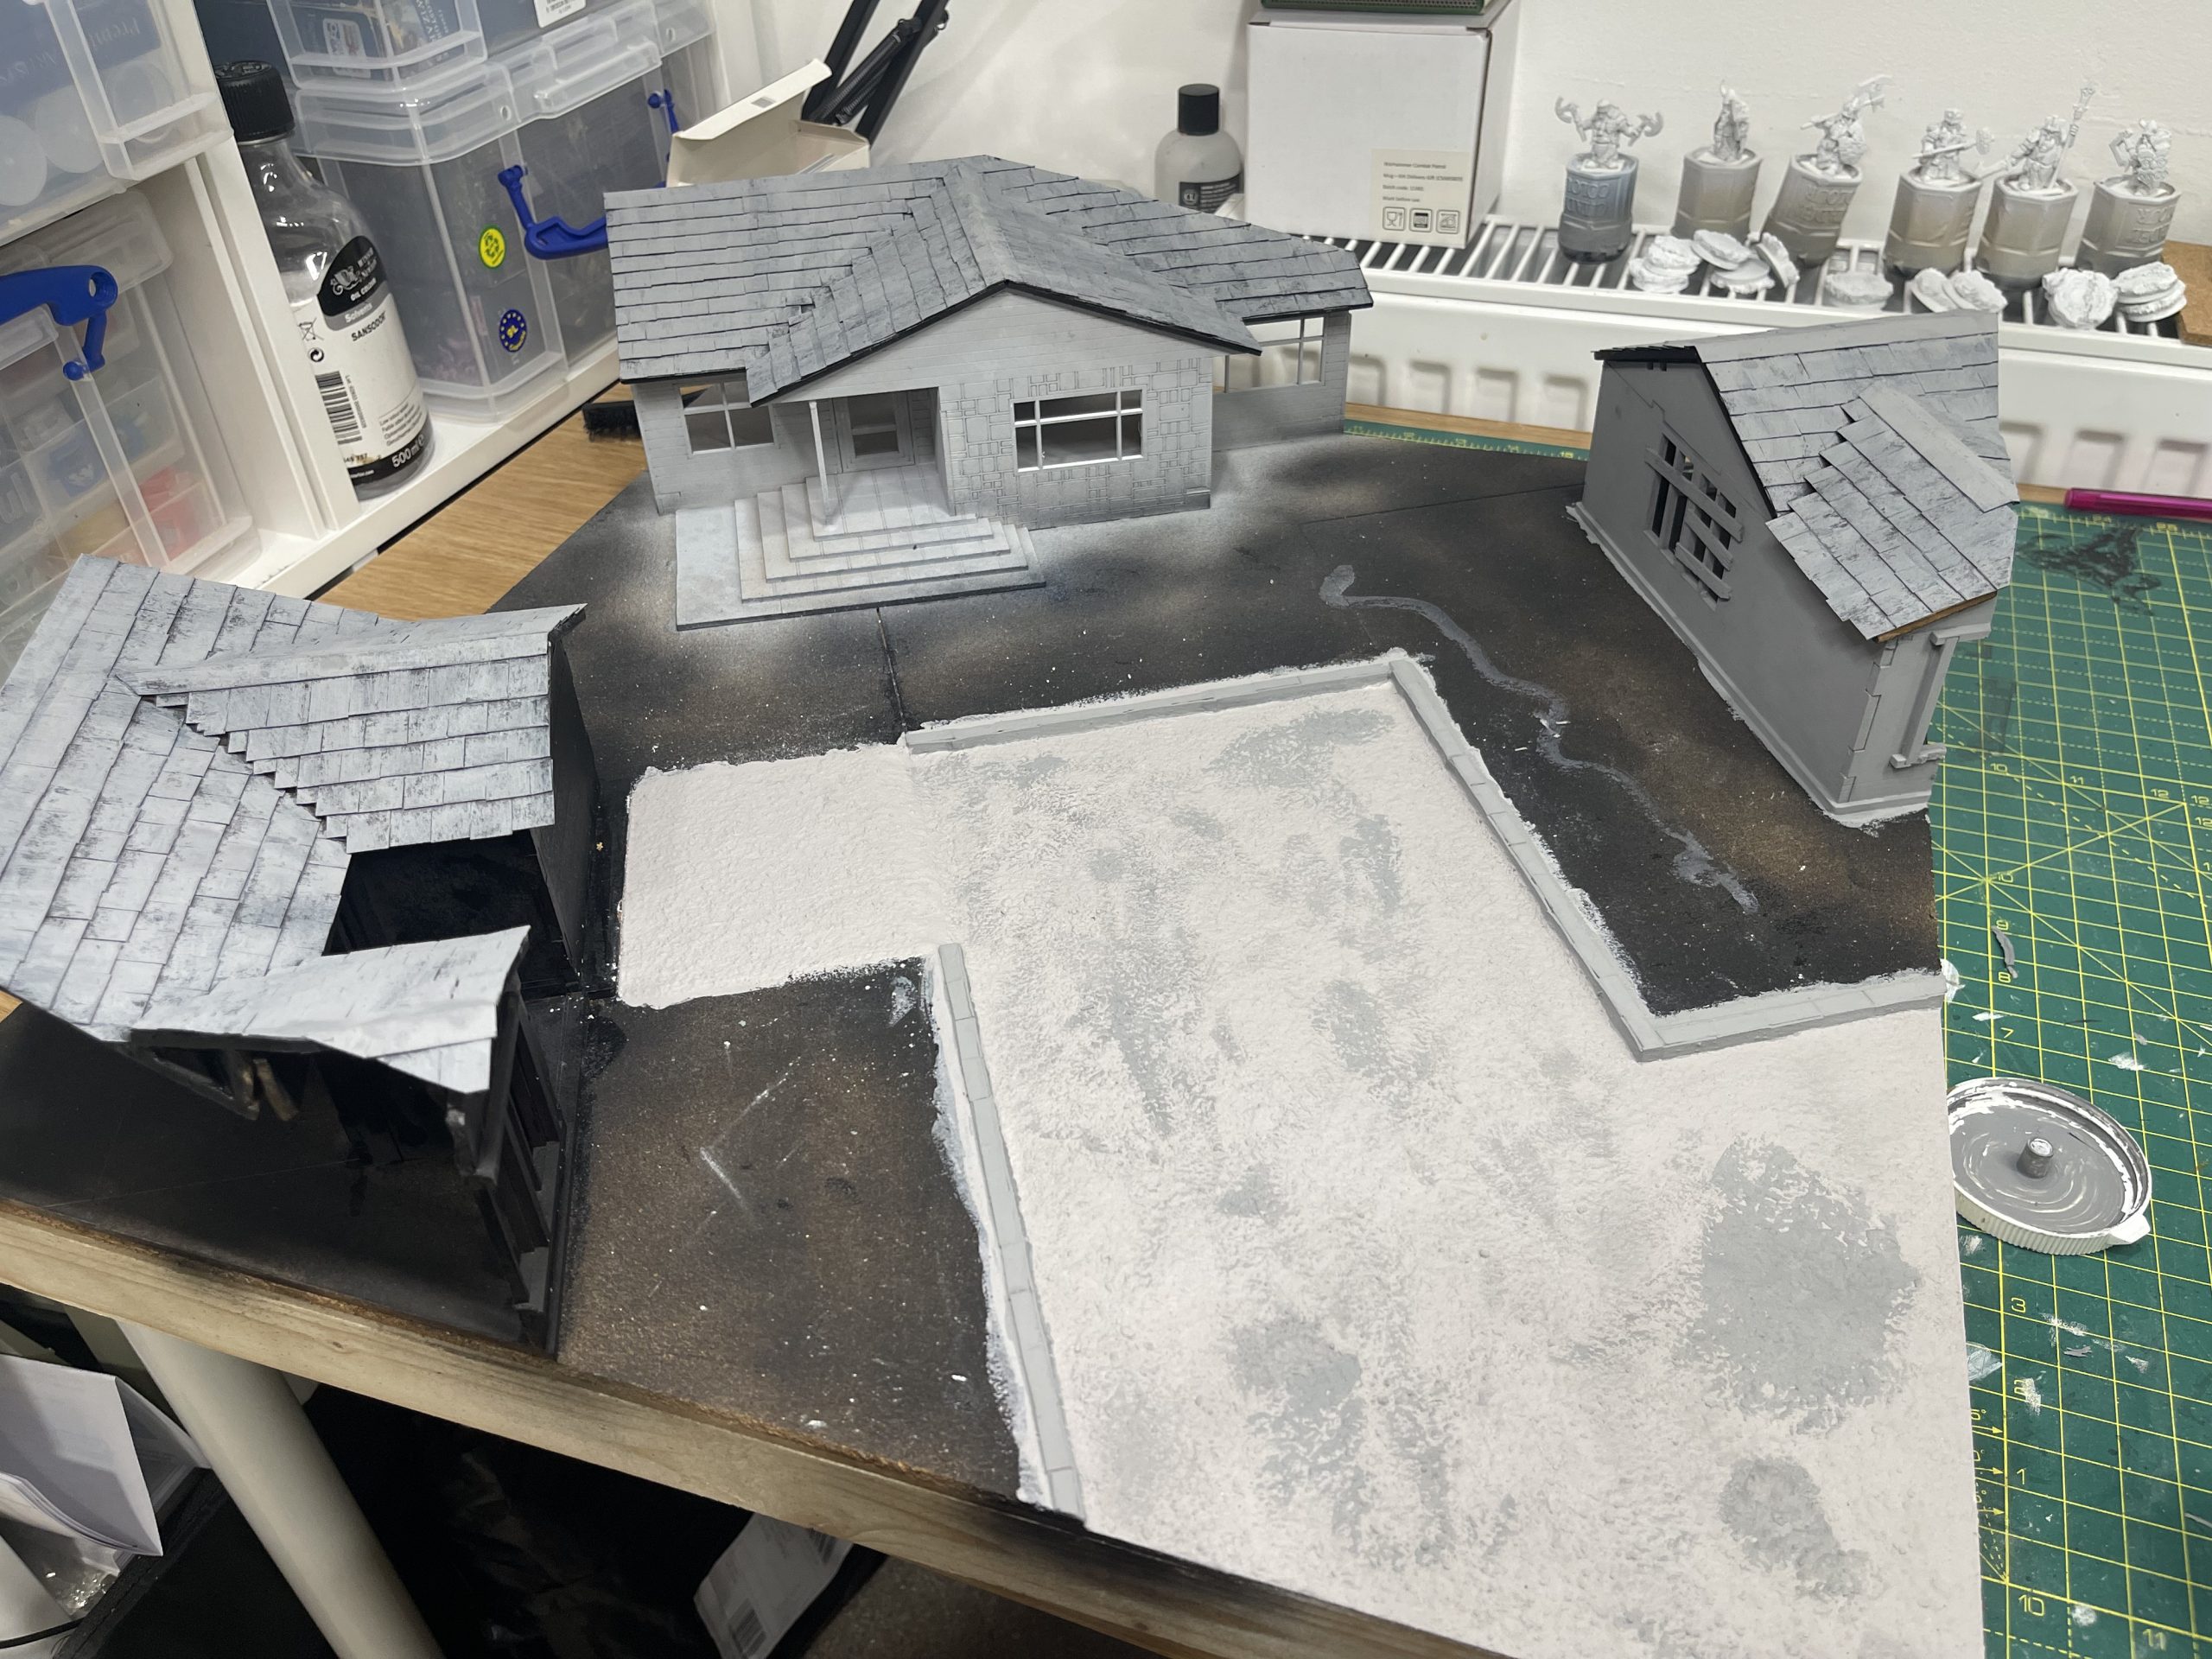 when dry paint it!
For this i copied what i did for my first board (currently on page 8 of this project!)
PVA down on the road way.
sieve over the tilegrout
spray with isopropyl alcohol (this acts as a tension breaker and allows the PVA to permeate the whole structure).
pipette on more of the PVA so it it gets a good soaking.
leave to dry. I sped this up using a basic summer fan
when done i used some generic house paint tester pot samples that i had to hand (they were literally just sat on the desk from god knows when) and stippled areas of darkness on there. not sure i liked the order i did it in though, dark colour as a highlight is a bit odd.
starting to paint
 prime everything in any rattlecan colour you have just to help close up the MDF
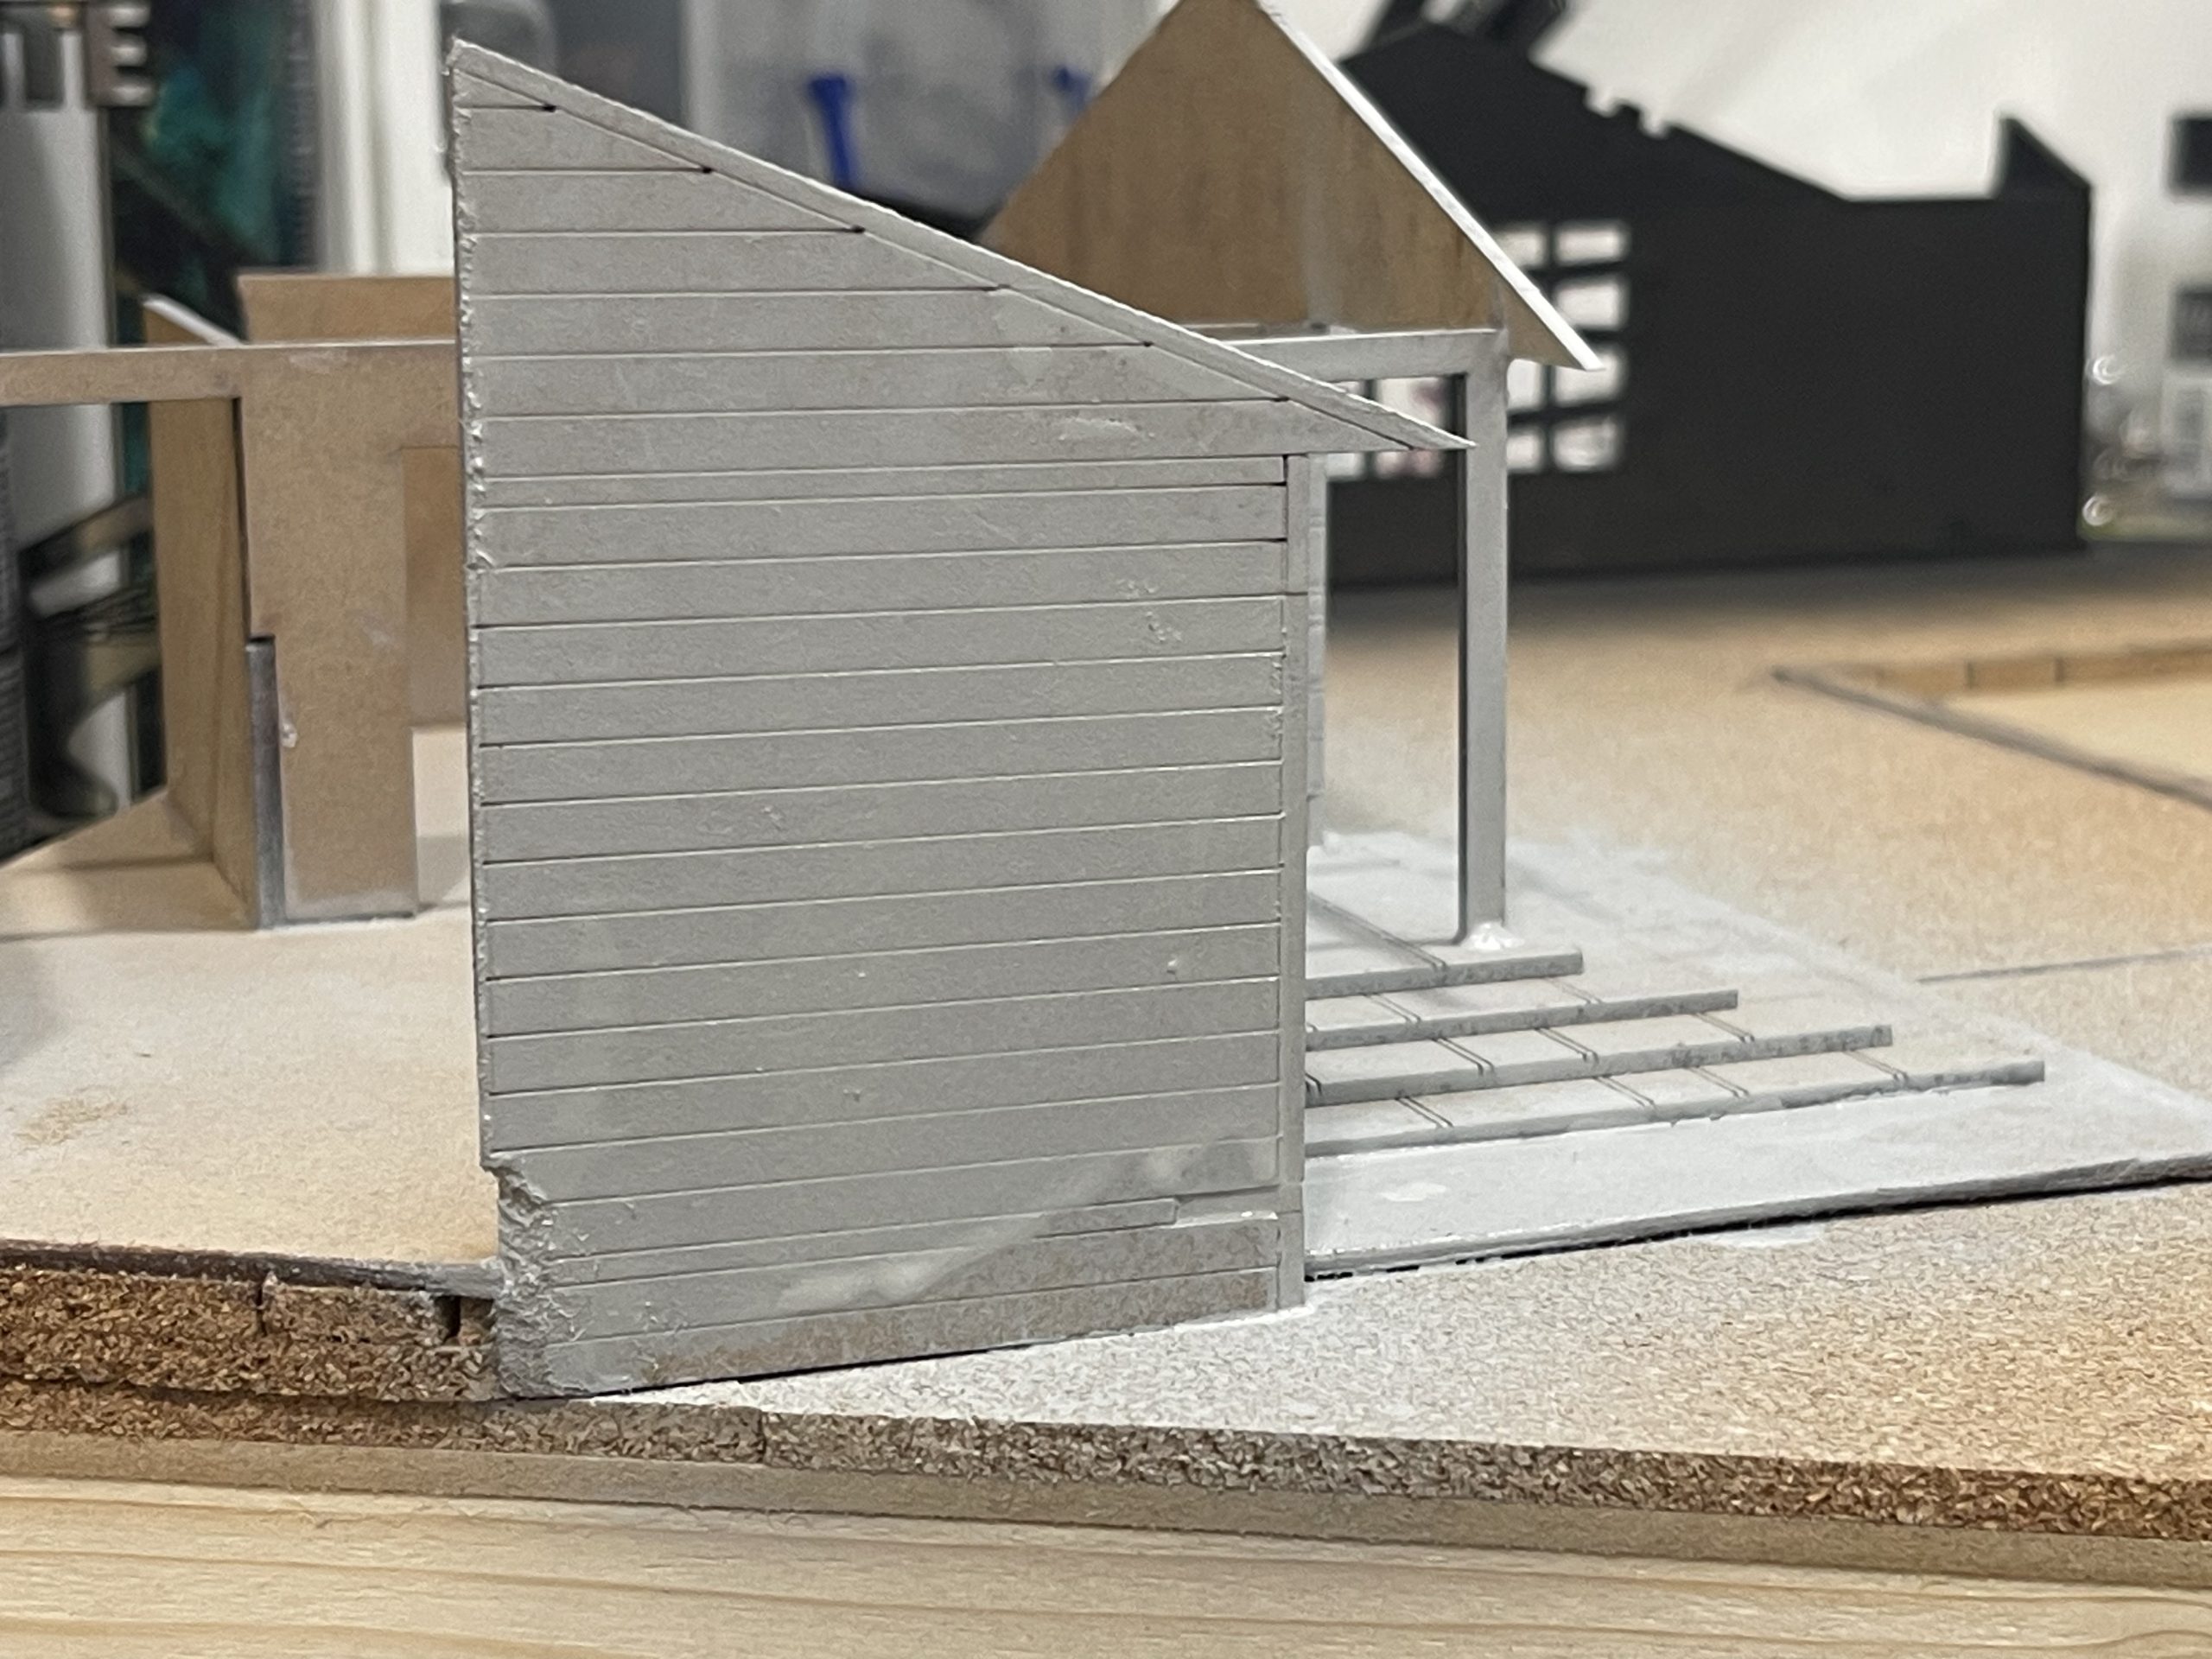 Most got black but i felt the need to vary it, this one got the last of the greyseer
This greyseer can was on its last legs and wasnt spraying…until it really did spray, here you can see the big fat blob of primer that dried in a big old line.
i’ll cover it with weathering and hope nobody notices…
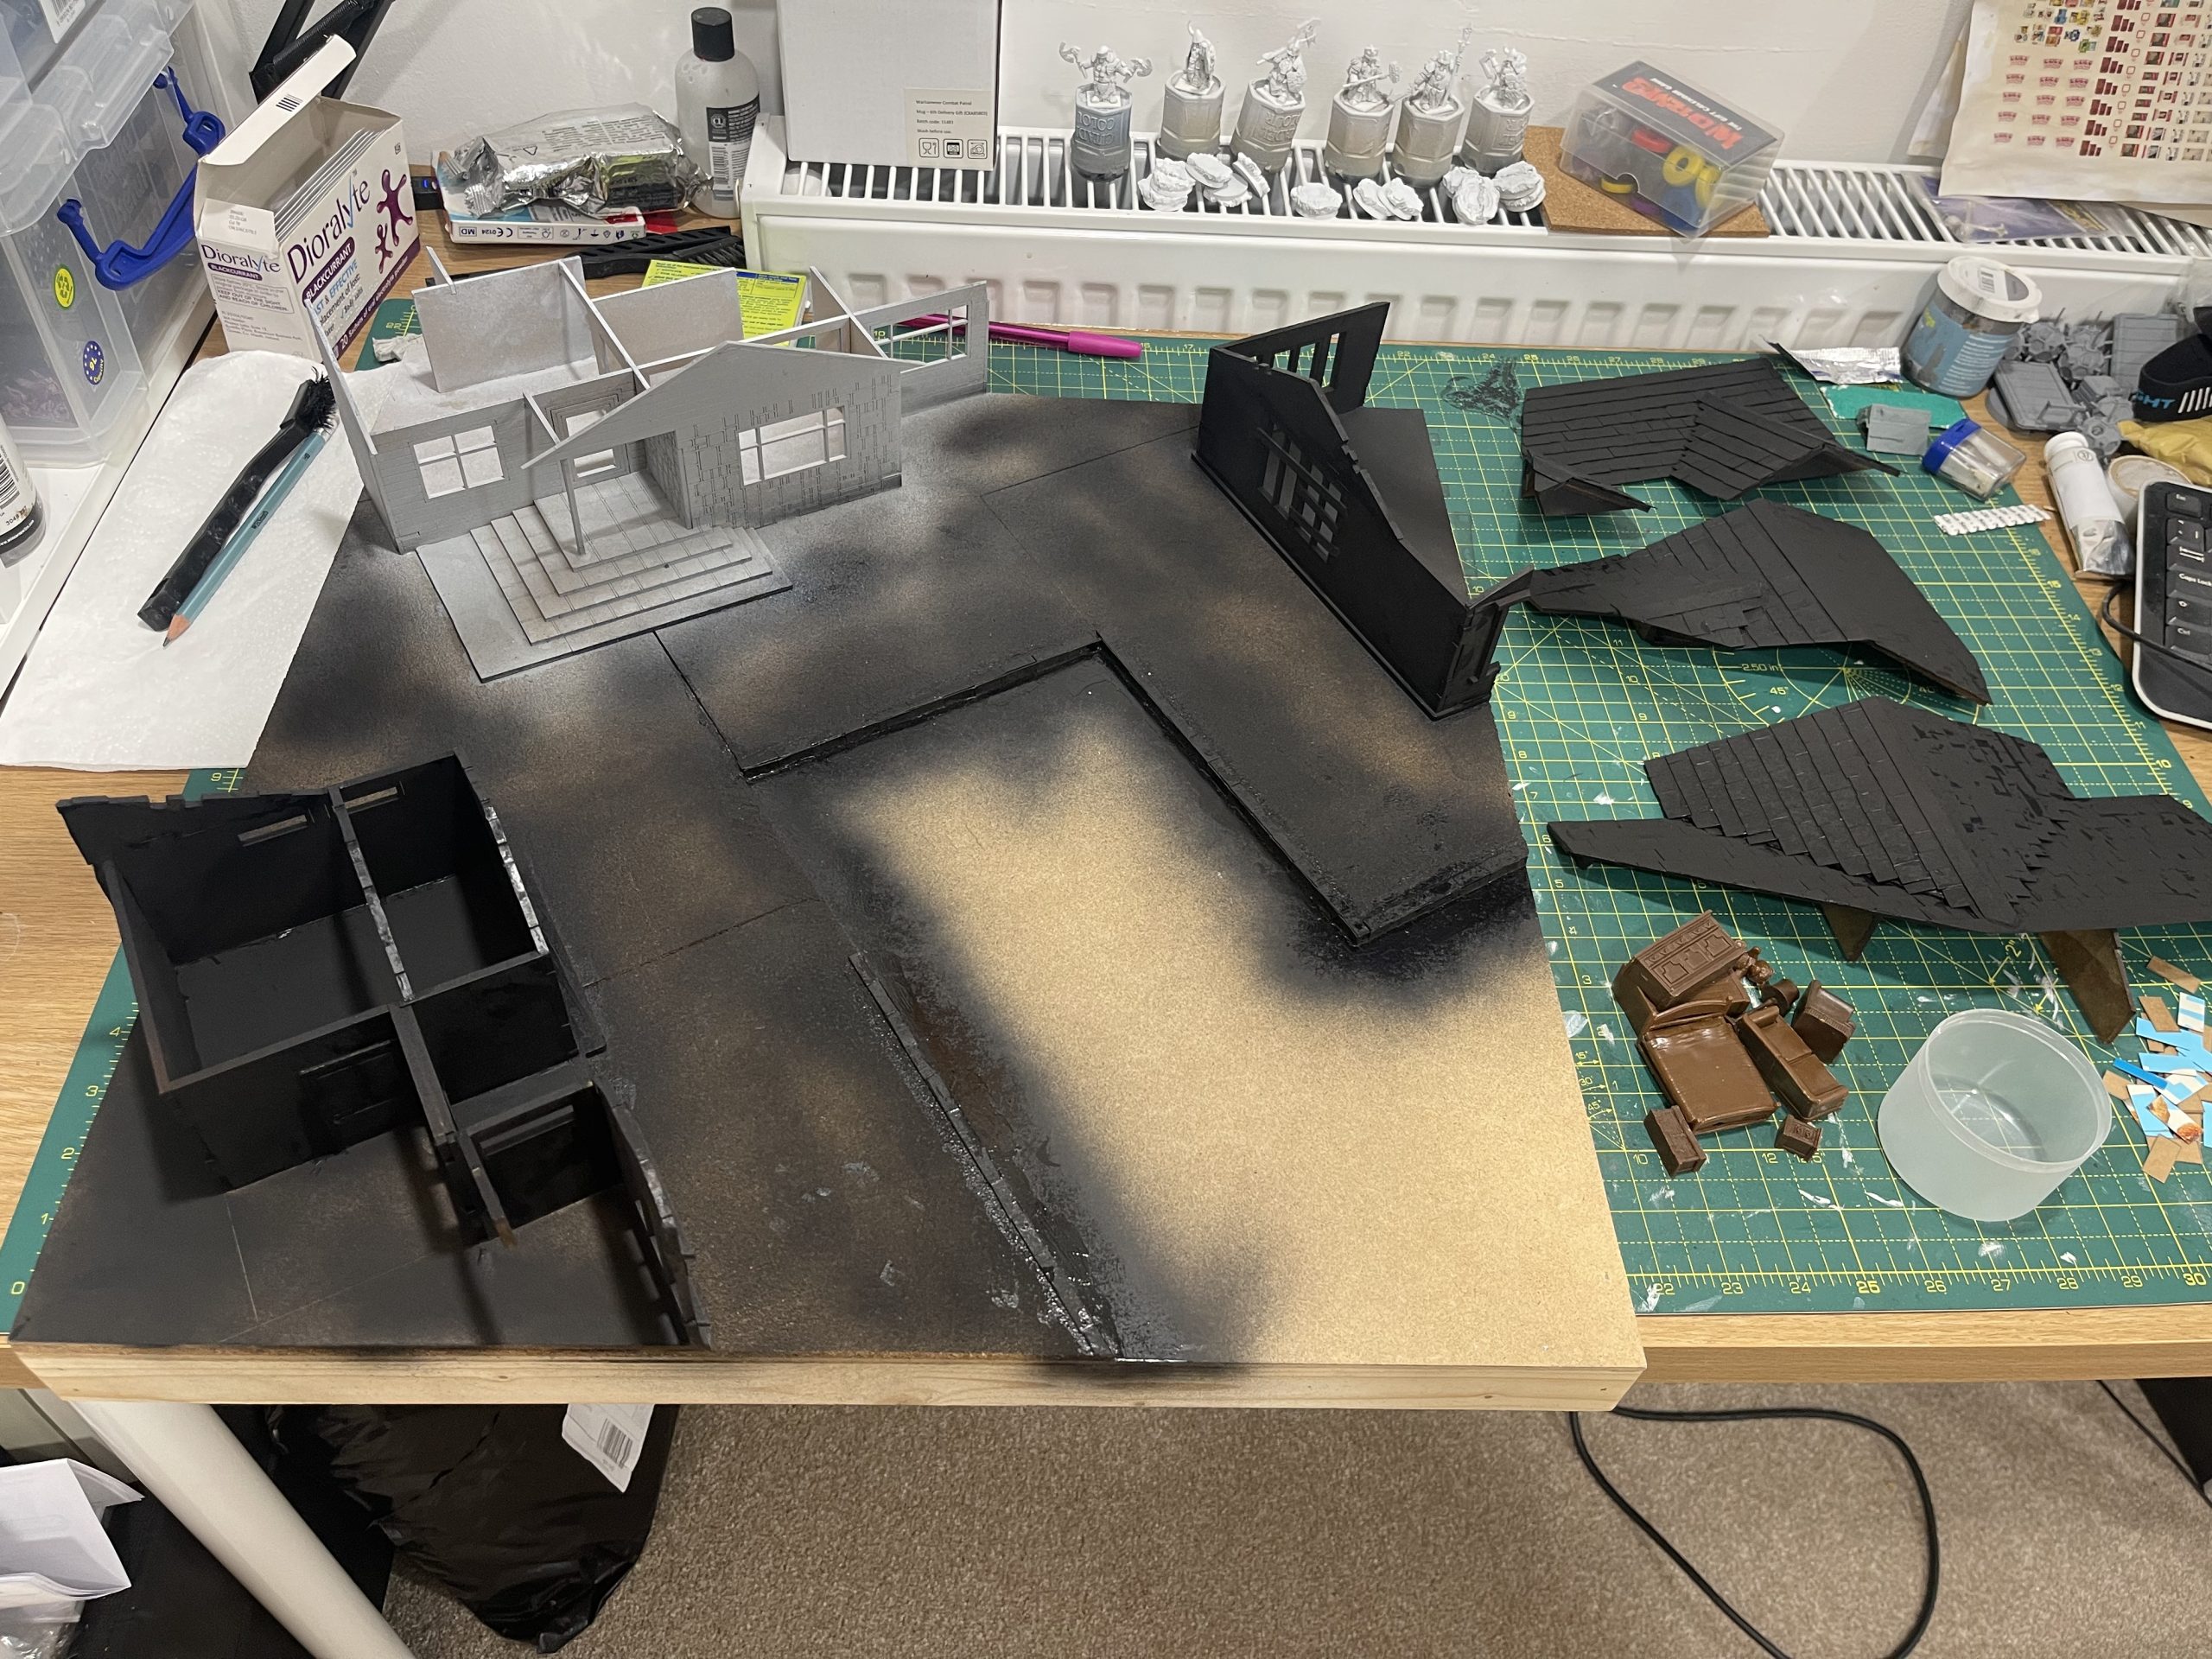 keep spraying lots!
Research to minimise painting
I would like to minimise the amount of painting that I have to do for these houses.
I think the easiest way to do that is to print off a load of wallpaper and glue it down, then weather it.
I went off to Etsy to see what there is out there. answer, lots that you can buy. but I’m being a cheapo and not wanting to pay for it. it didn’t take me long to fine this offering for dolls houses, not the same scale… but, print it smaller.
https://forum.greenleafdollhouses.com/gallery/album/1667-free-wallpaper-printies/
Keeping play-ability up by adding doors
Now TWD:AOW is a game that encourages you to interact with the scenery. If you need to go somewhere, do something, climb on something, open something or even settle a cool idea of ‘what if’ you simply roll the black ‘badge dice’. On it there are 6 faces, 3 have Rick’s police badge (shield) and 3 are blank. This makes it the most boring die in the game with a 50:50 chance of either result. a sweet ass coin would be more fun.
However, that this means is that when you come up to a door, you have a 50% chance of it being locked or otherwise inconveniently stuck shut (or even open!). The rules for walkers mean they have to stop at doors and then in the next turn try to get through them which tends to mean running through doors and shutting them can be really good getaway technique from the shambling hoards… just don’t get yourself stuck in a room with no exit.
You can of course simply designate all doors as passible for humans, 50% blockers for walkers, line of sight blocking for shooting. which does correlate to the real world, after all, not many people have locks on their living room door.
The ‘Garage House’ has (stick with me here)… a garage. Given how ive chopped up the buildings I need to find a way to make them as playable as possible. ‘Big House’ has corridors and doors already as it was clearly a more expensive kit originally. ‘Garage House’ was a simple set dressing shell, not intended for internal play, as such, it needs upgrading.
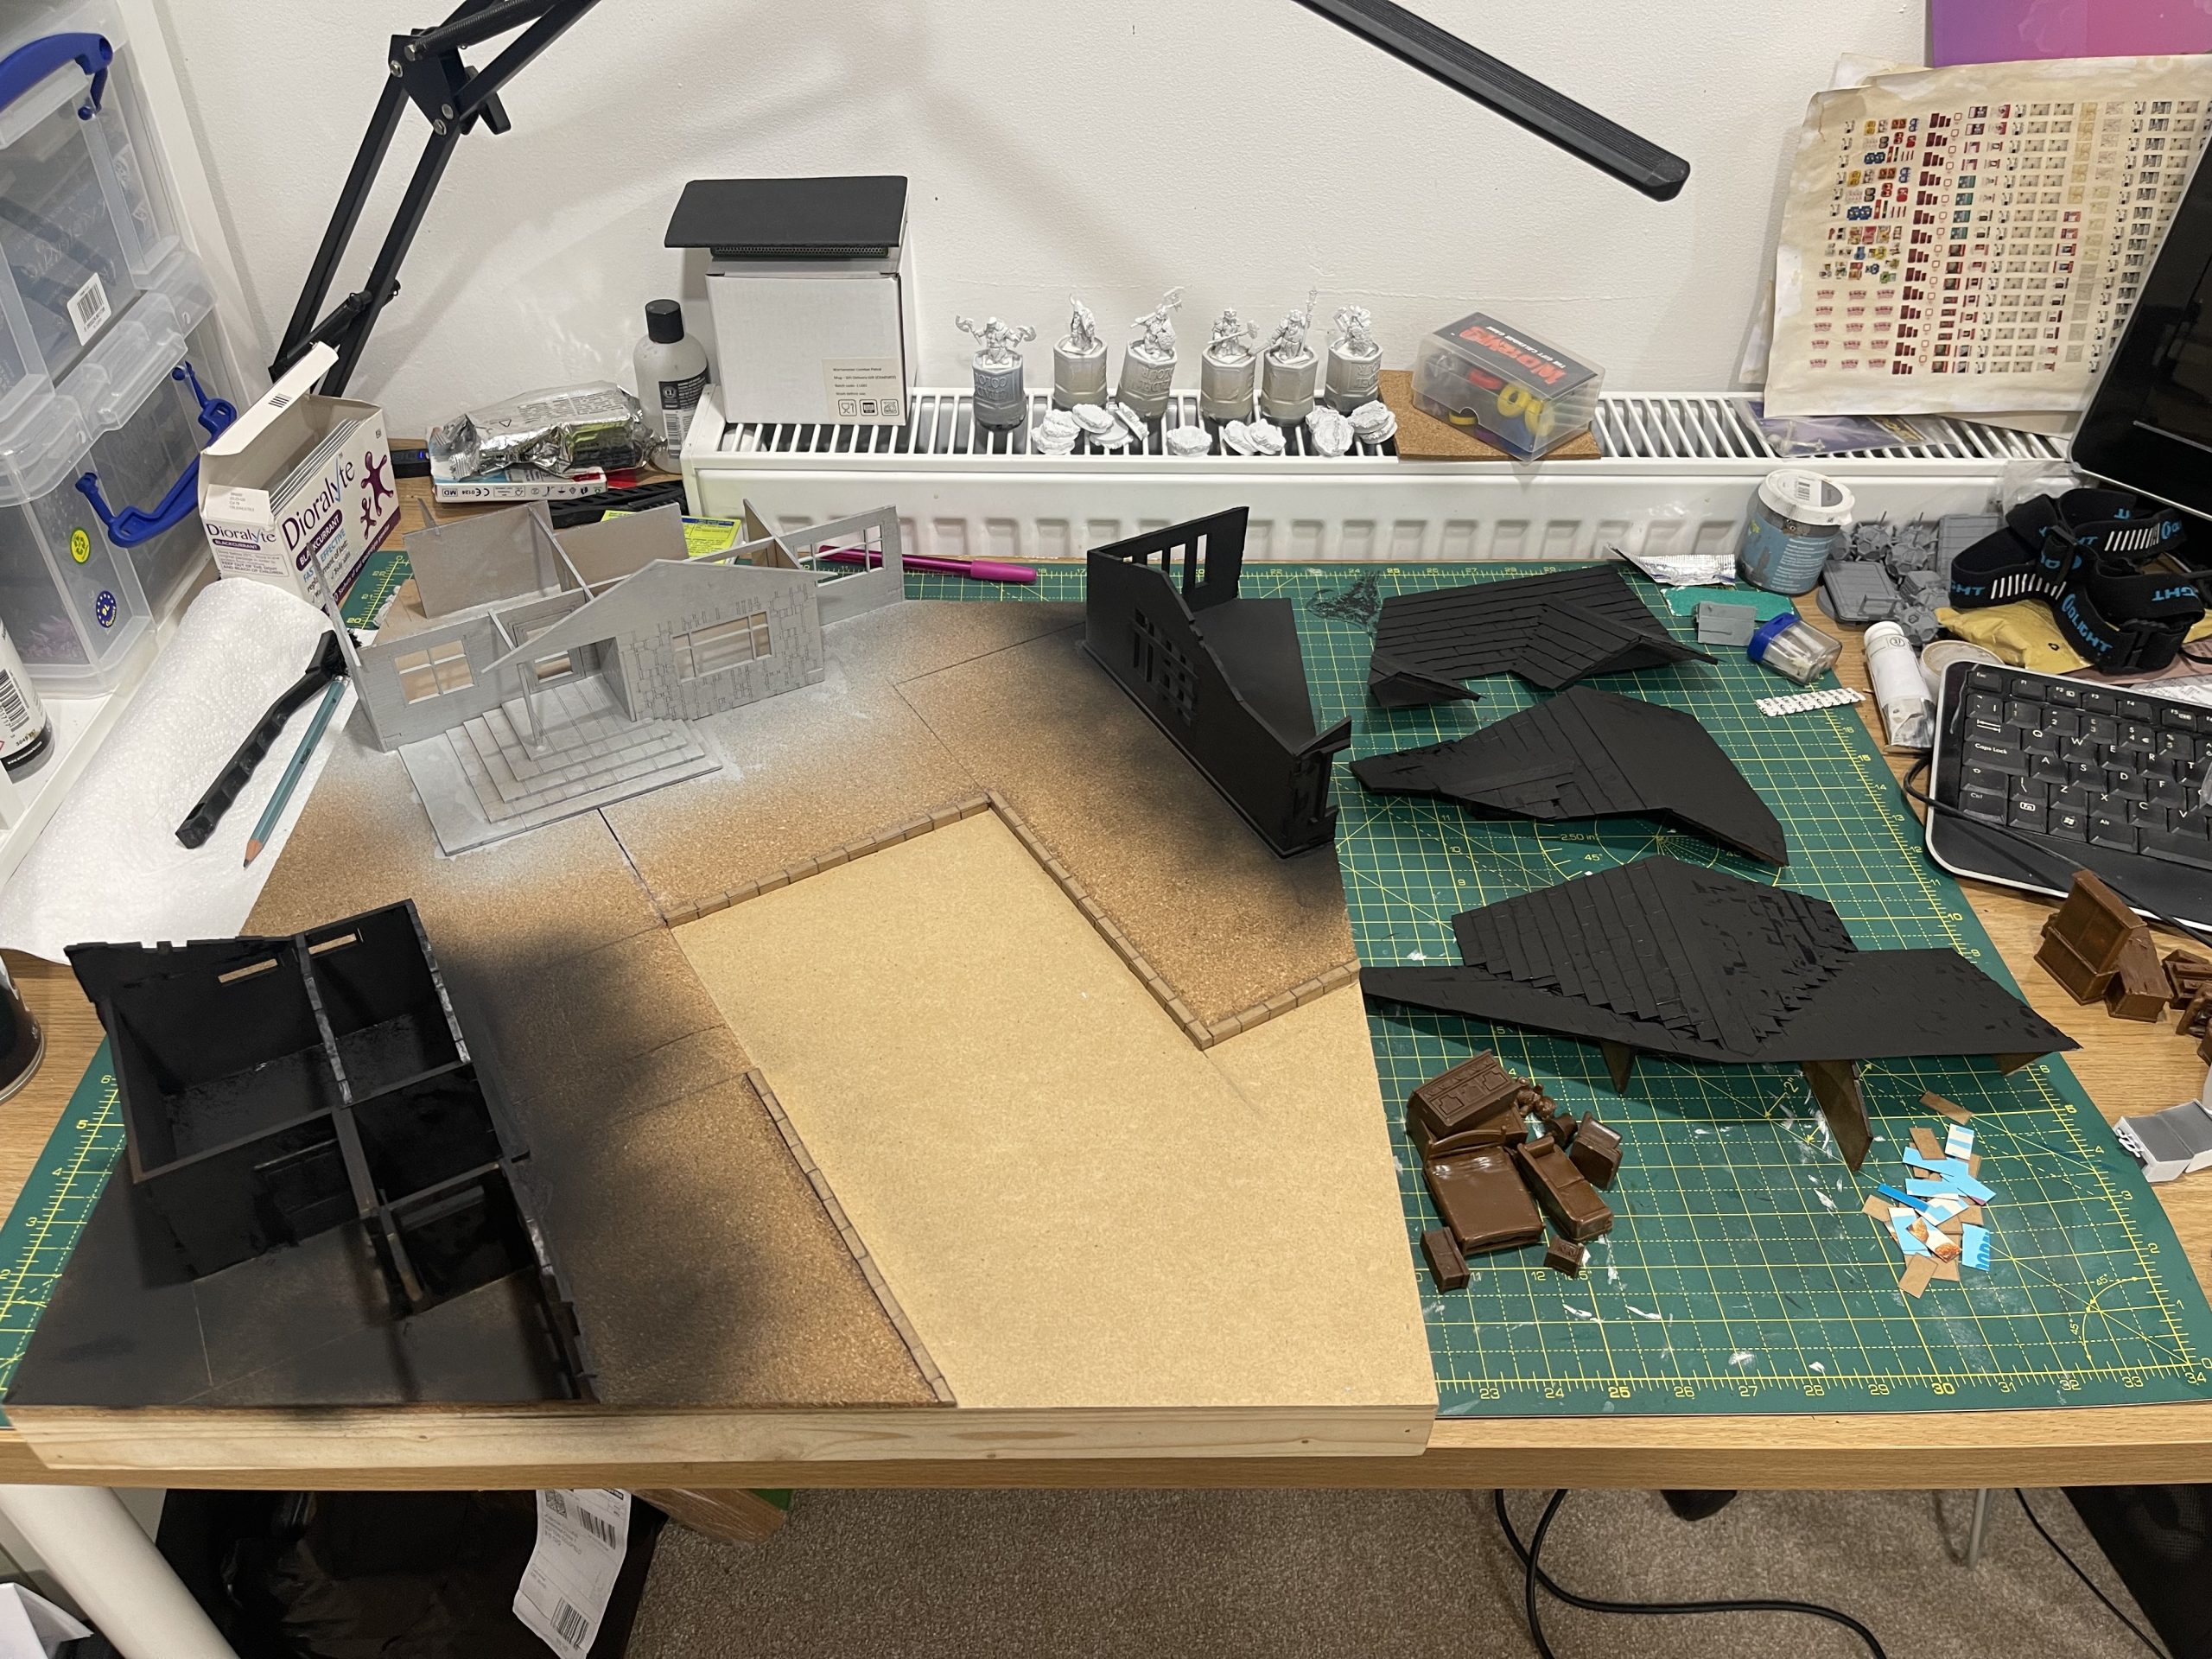
Cue cardboard cutting montage (with music)
 I made two doors by cutting out very basic shapes. I made them opposite however because they will be the same door
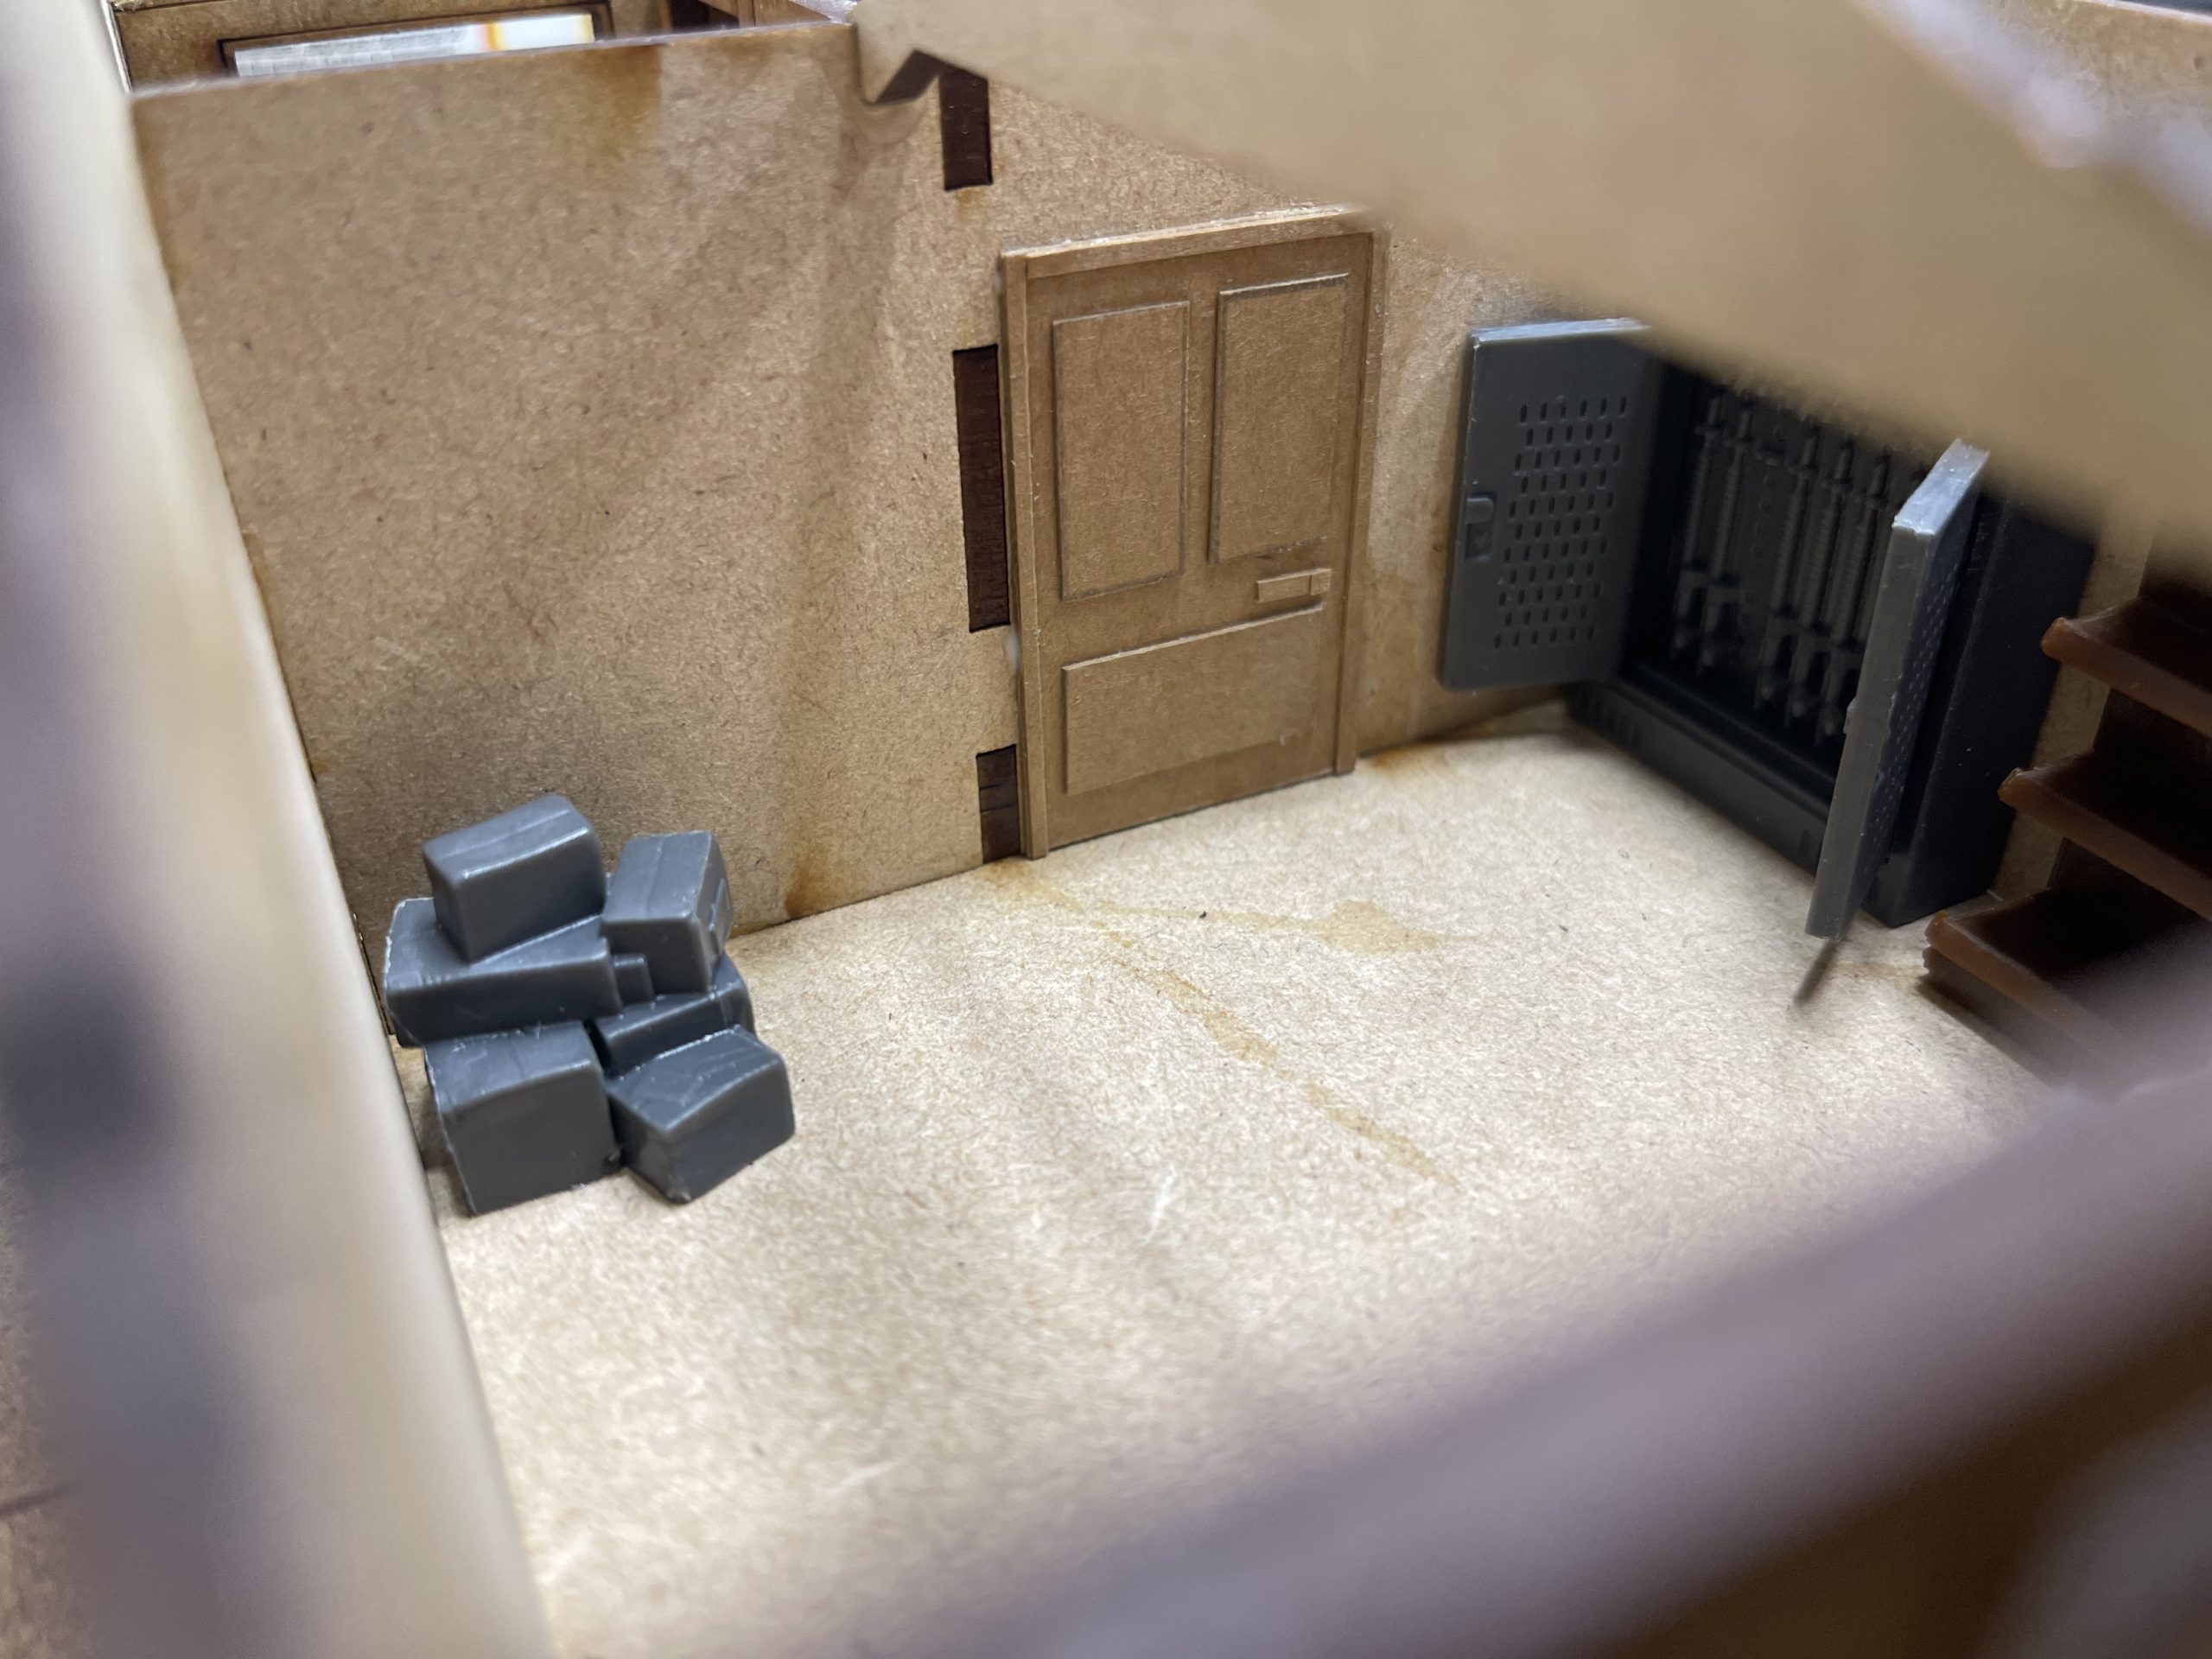 Now the garage can be a large corridor area
 that leads into the open plan kitchen living room. very modern.
Now, when someone starts their game (or enters play if you’re a walker!) in the house they have two routes to get out, one from the front door going right, one into the garage going out left (obviously stopping off to pick up an M4 carbine as you go).
It could make a good objective room, the gun safe and the stacked up food shelves lend themselves to that quite well. there is also enough room in there still to have a swarm of walkers bite your face off.
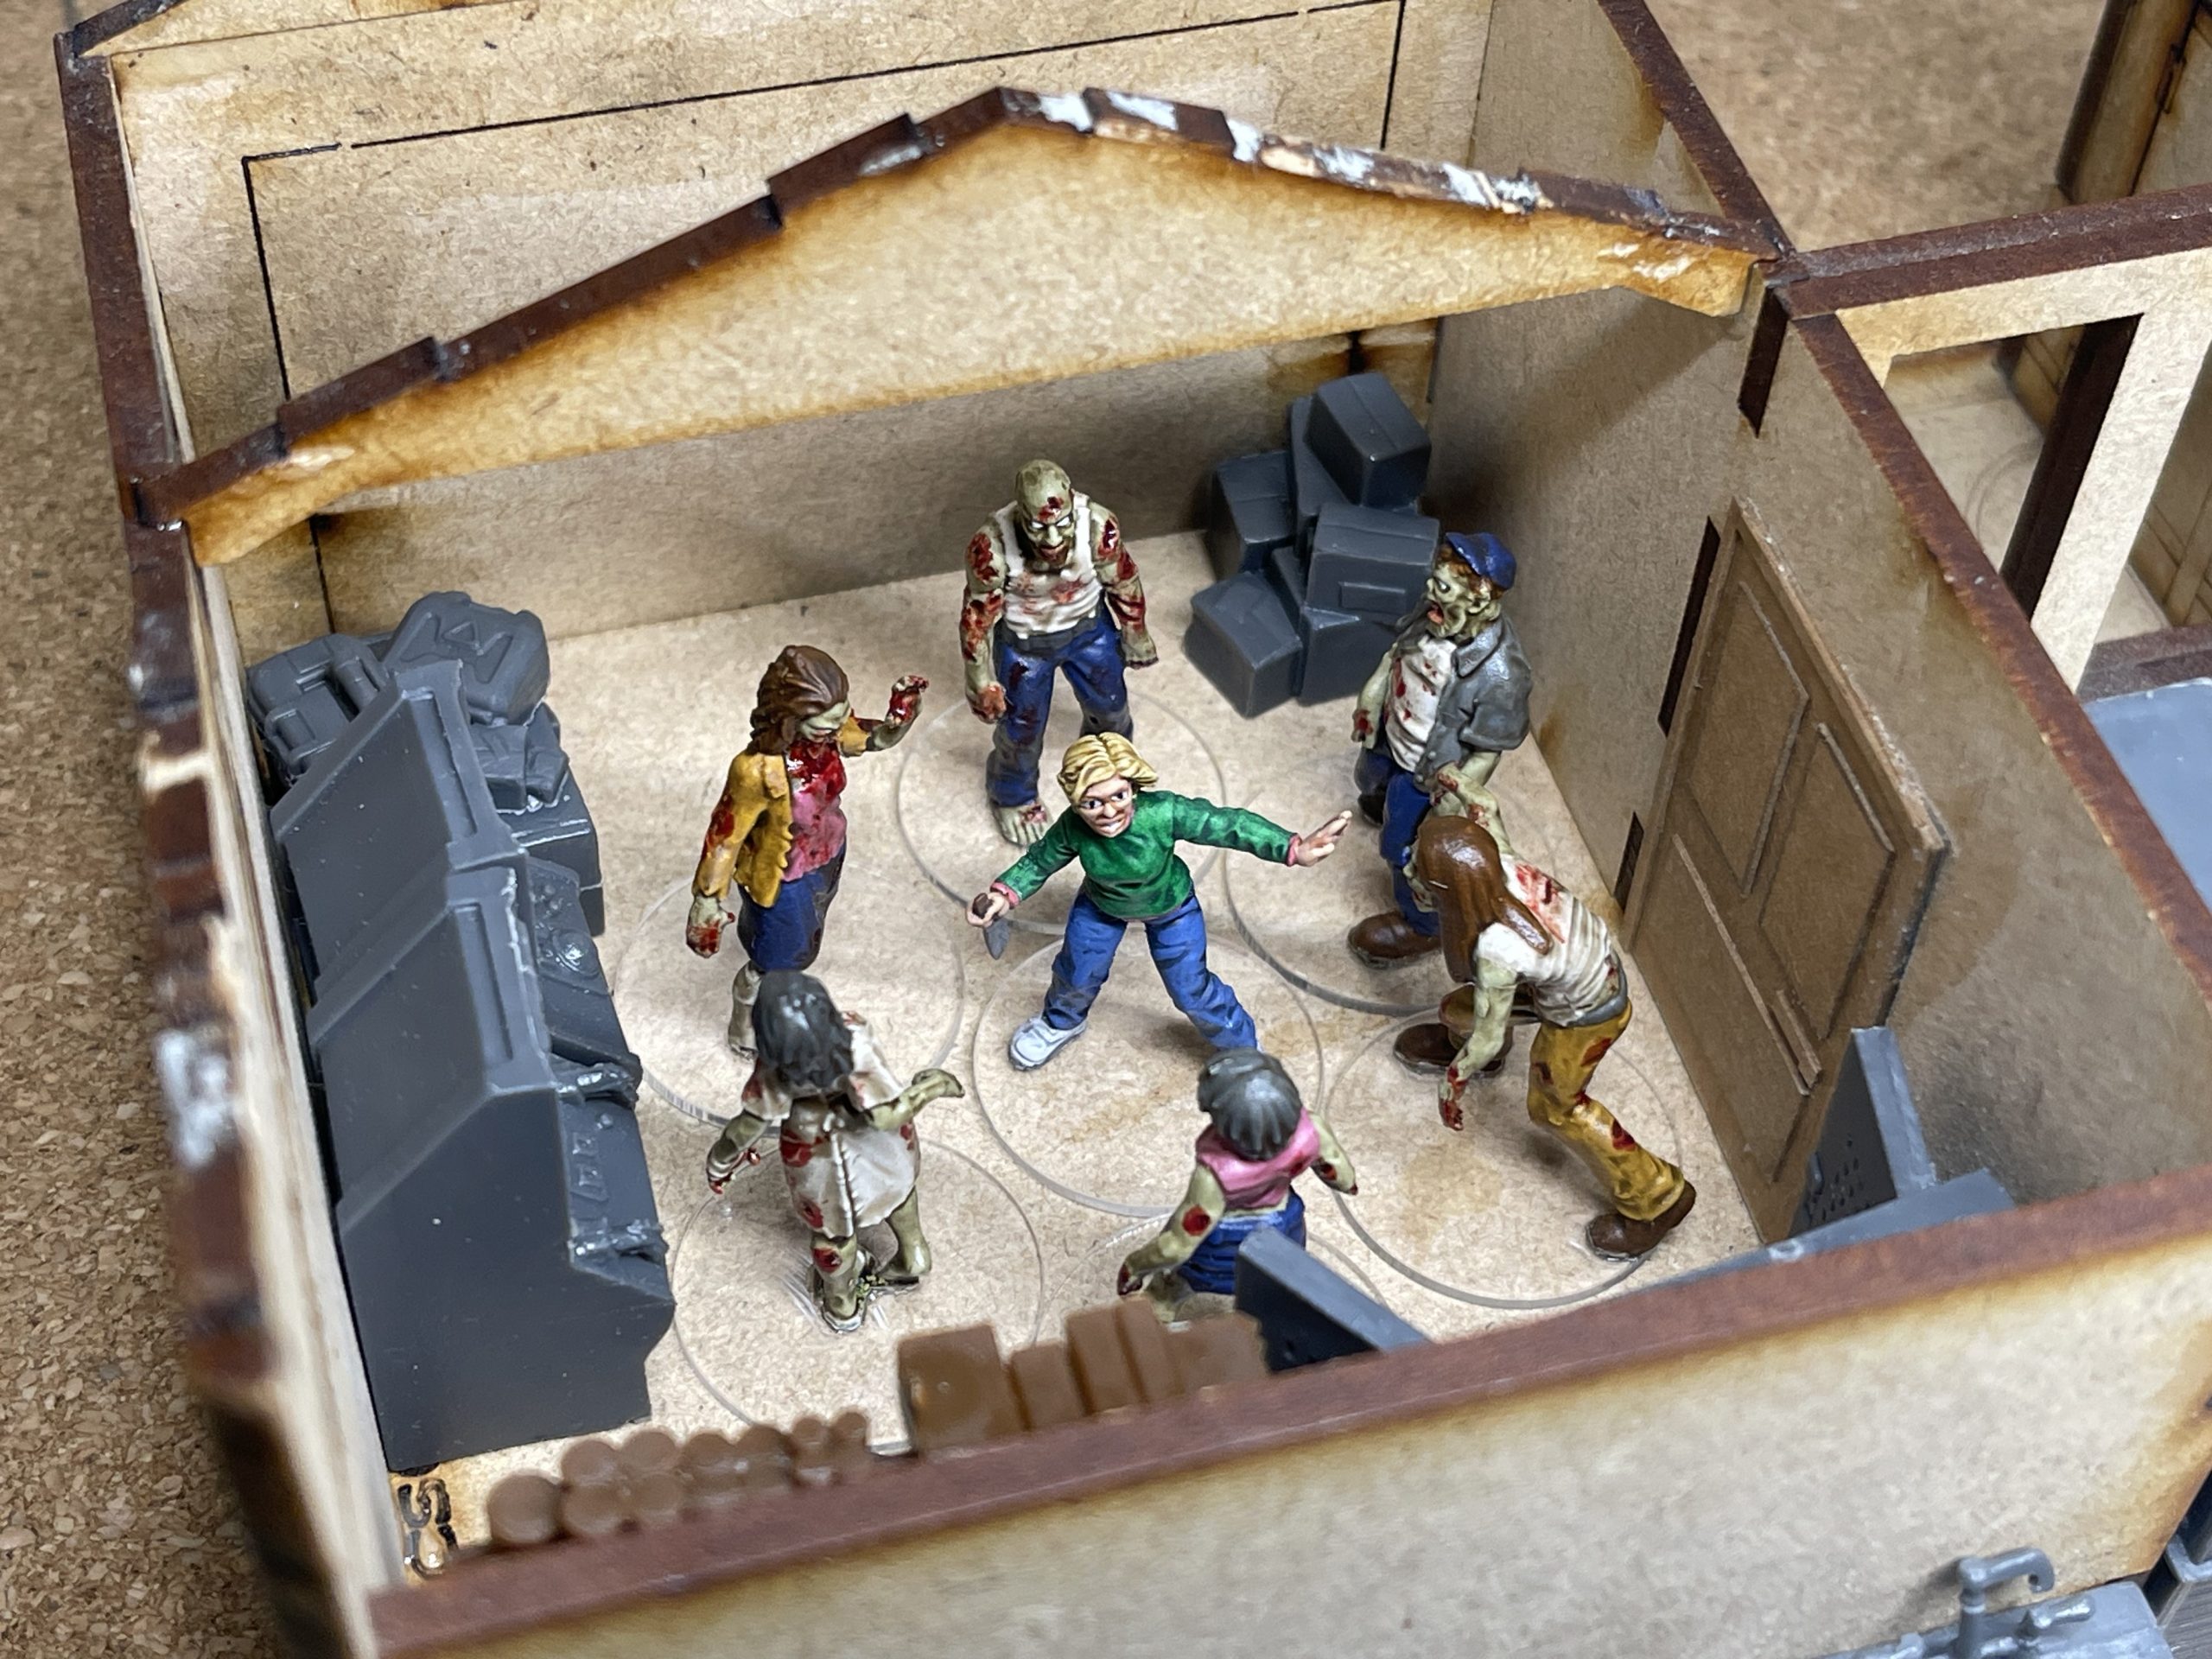 Carol gets swarmed trying to get a gun


