


Underneath frostgrave


Recommendations: 262
About the Project
I have been planning on building a frostgrave table for quite some time and I had an idea of combining that with Dungeonalia and having something underneath the buildings to run around in. The plan at the moment is to use the sarissa tile system as the base for the buildings and underneath them have open lock dungeon tiles that would be revealed when the tile is lifted off.
Related Game: Frostgrave
Related Company: Osprey Games
Related Genre: Fantasy
Related Contest: Dungeonalia 2023
This Project is Active
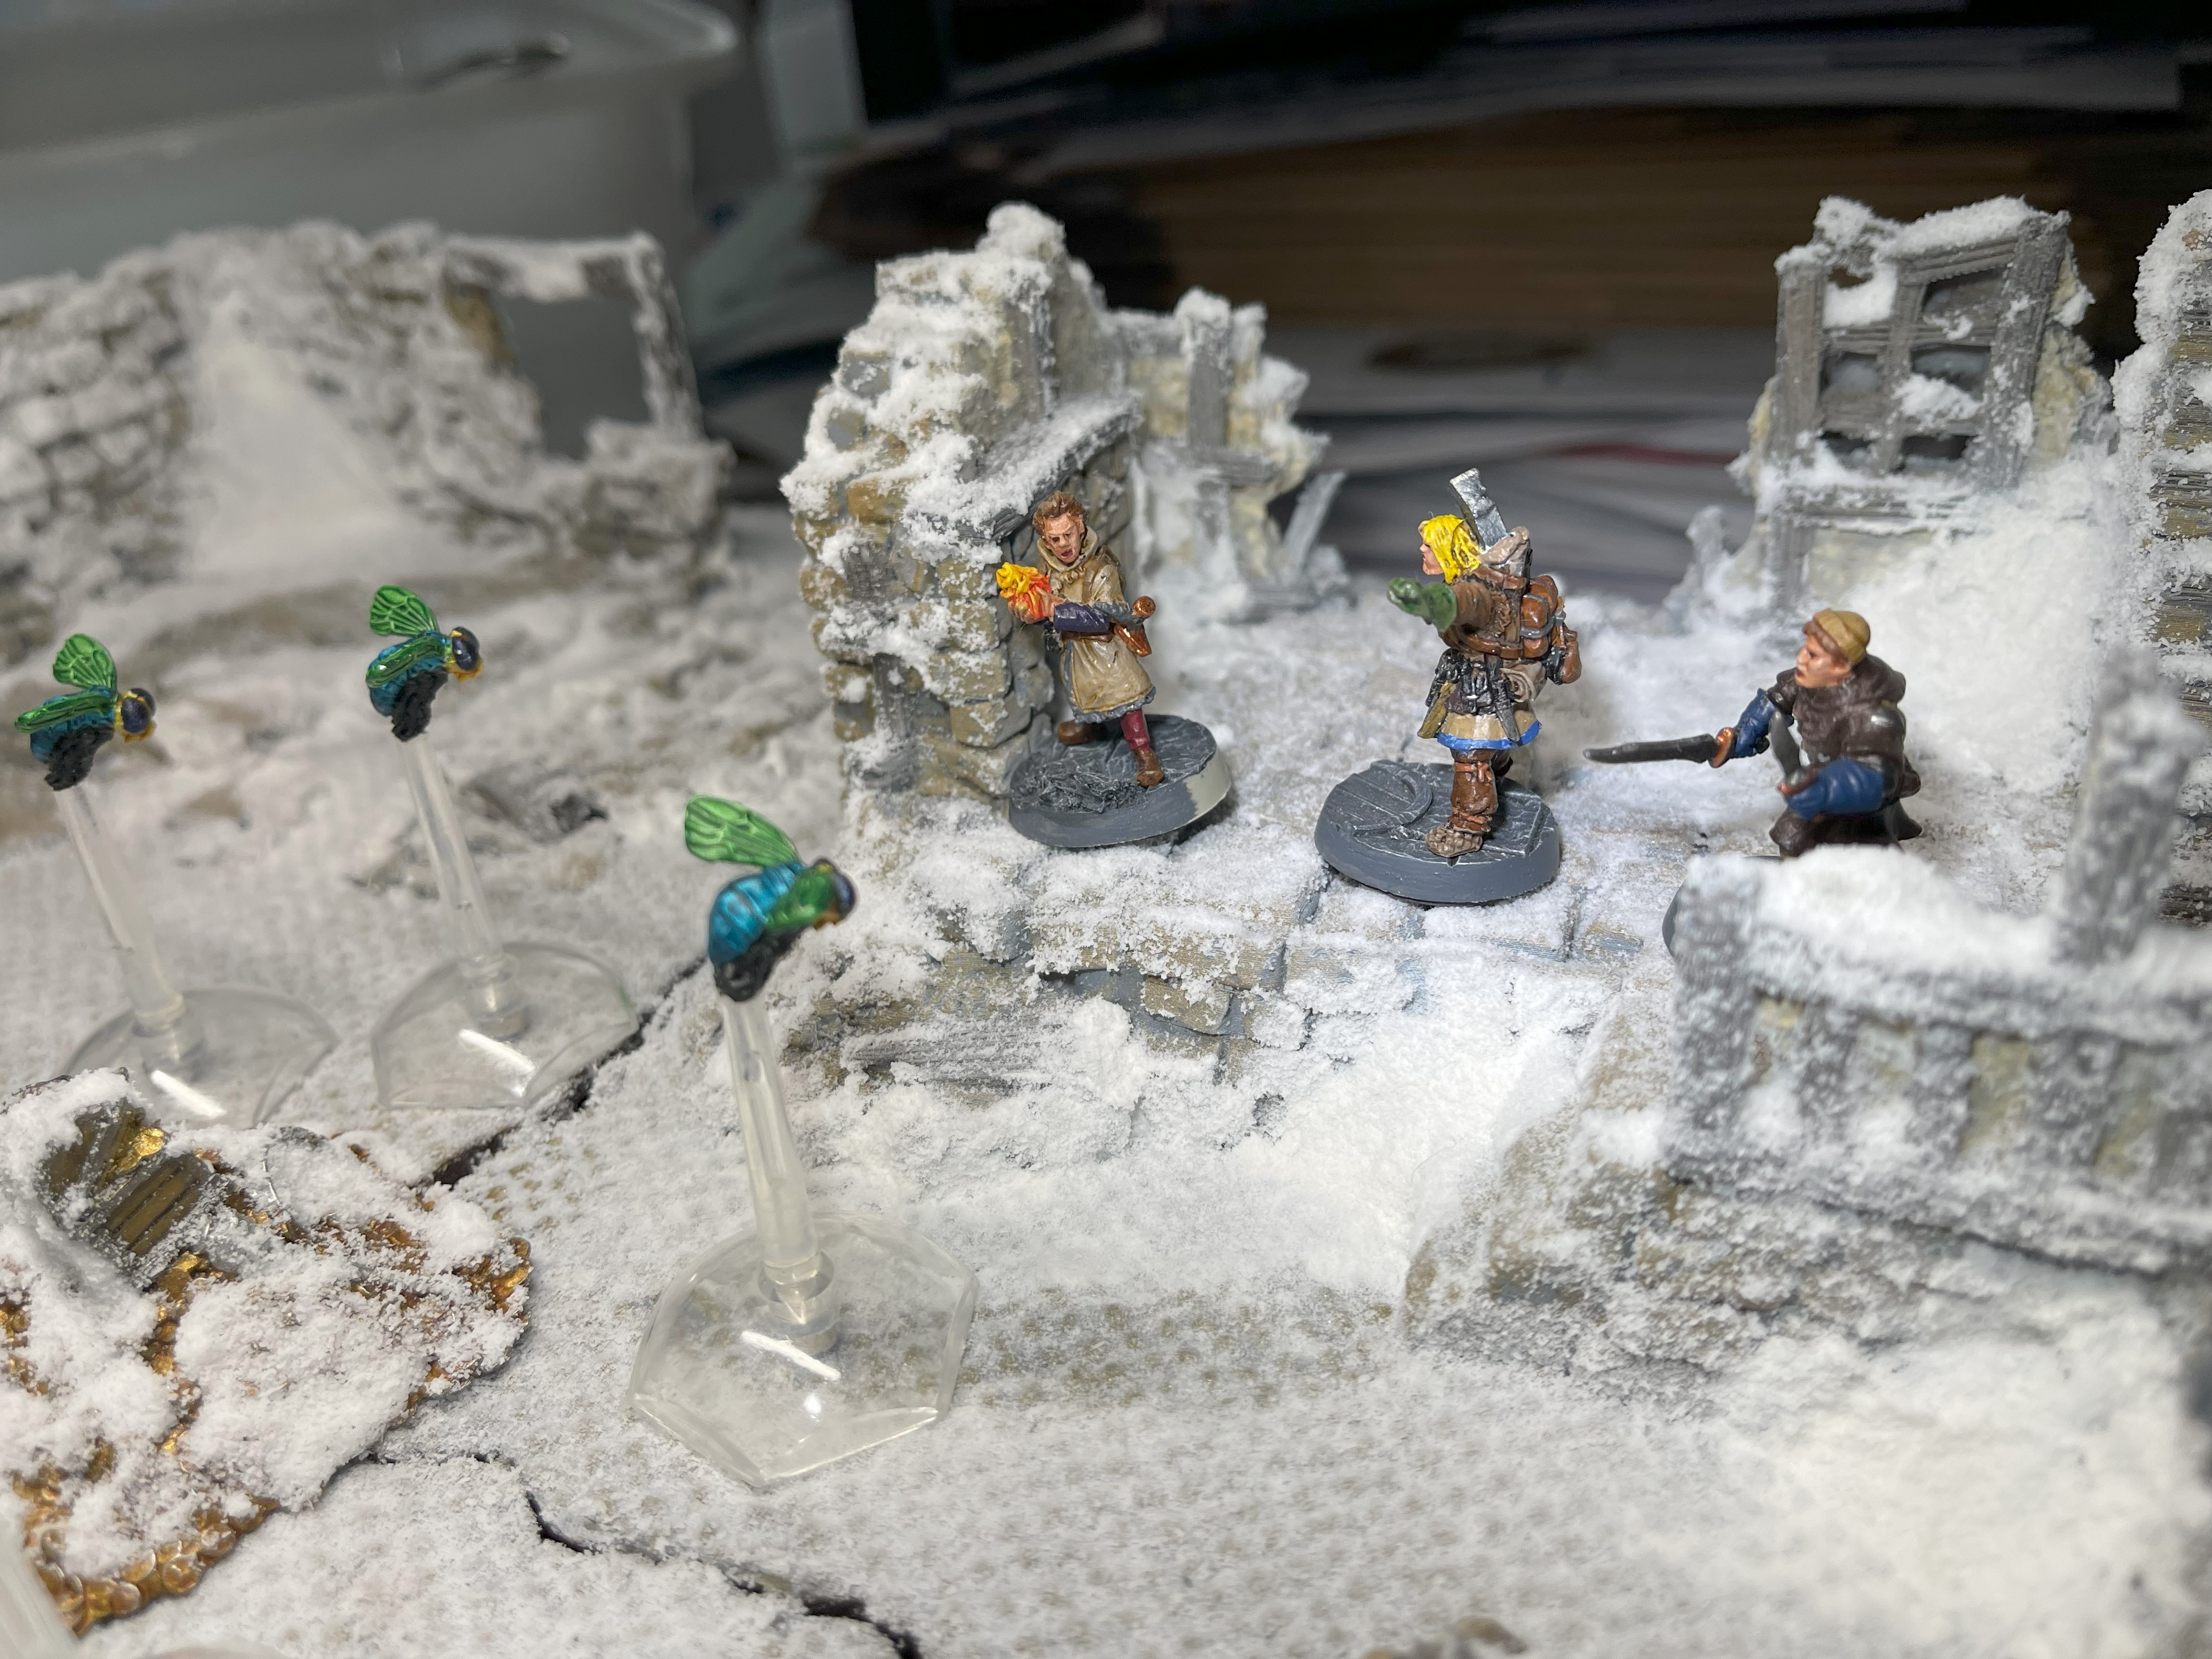
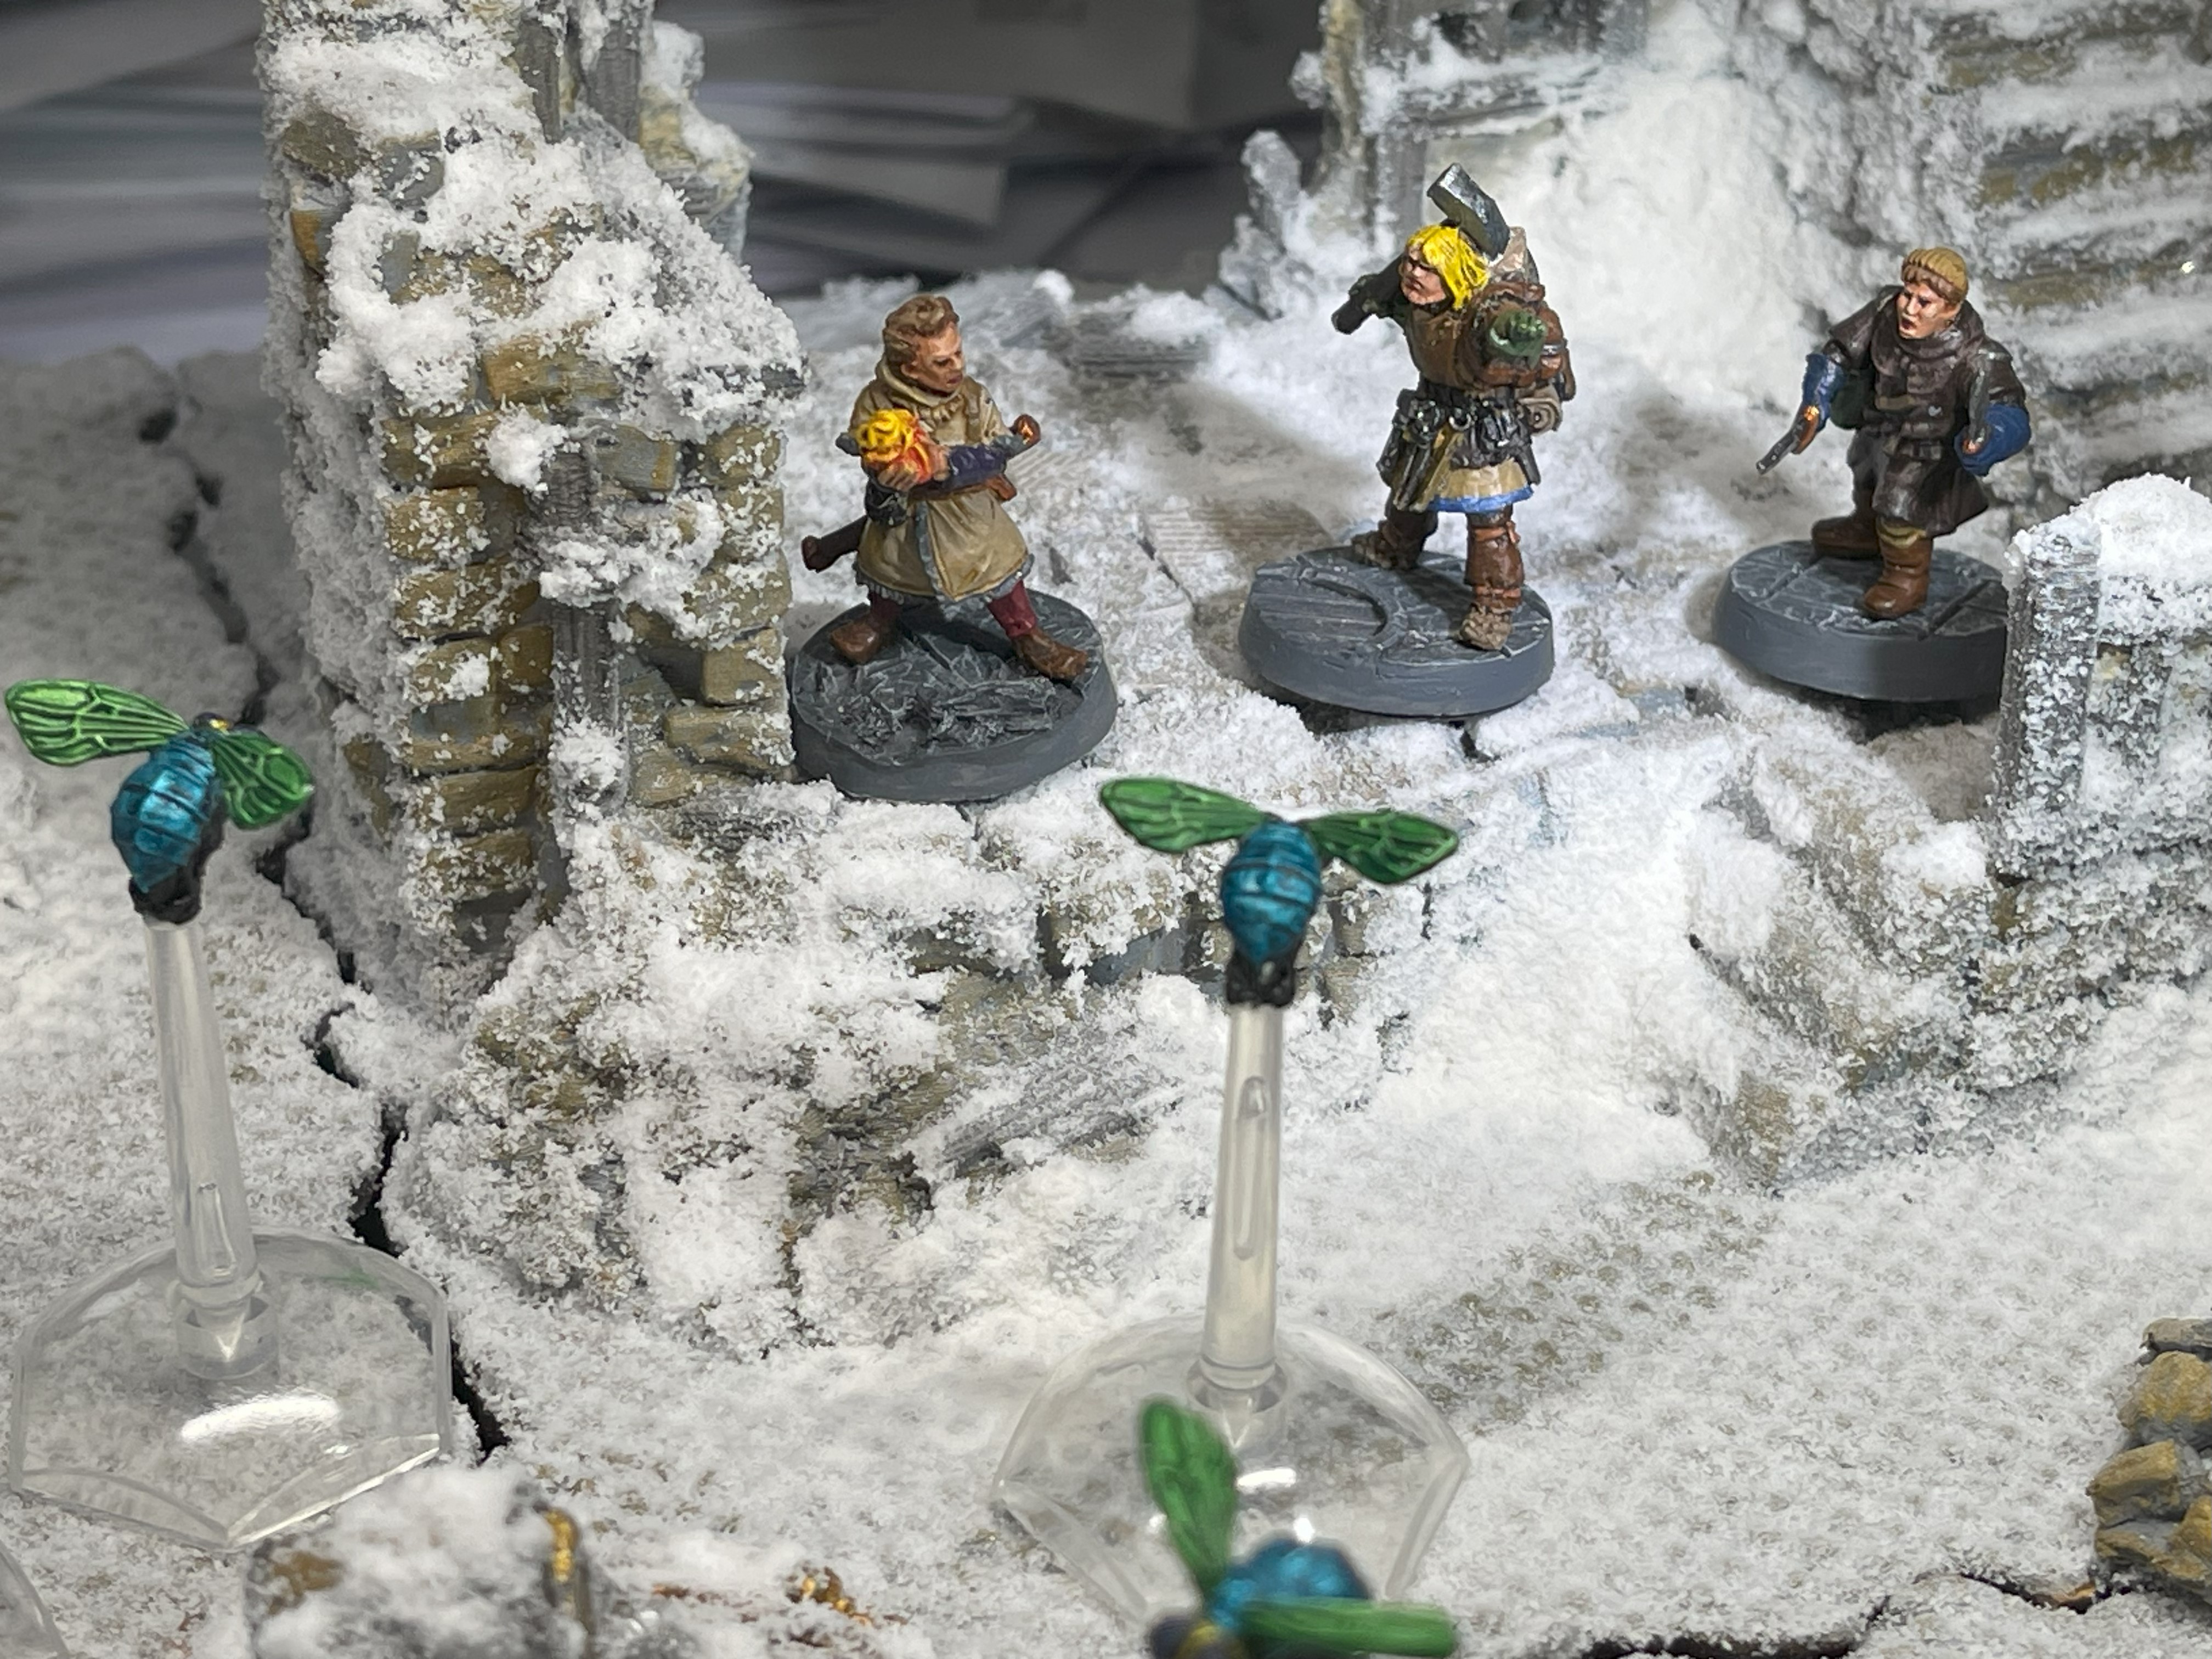
More tiles


After a bit of a break, the tiles are back. Just a few more to go and I’ll have enough for a 3×3 table.
Test Setup
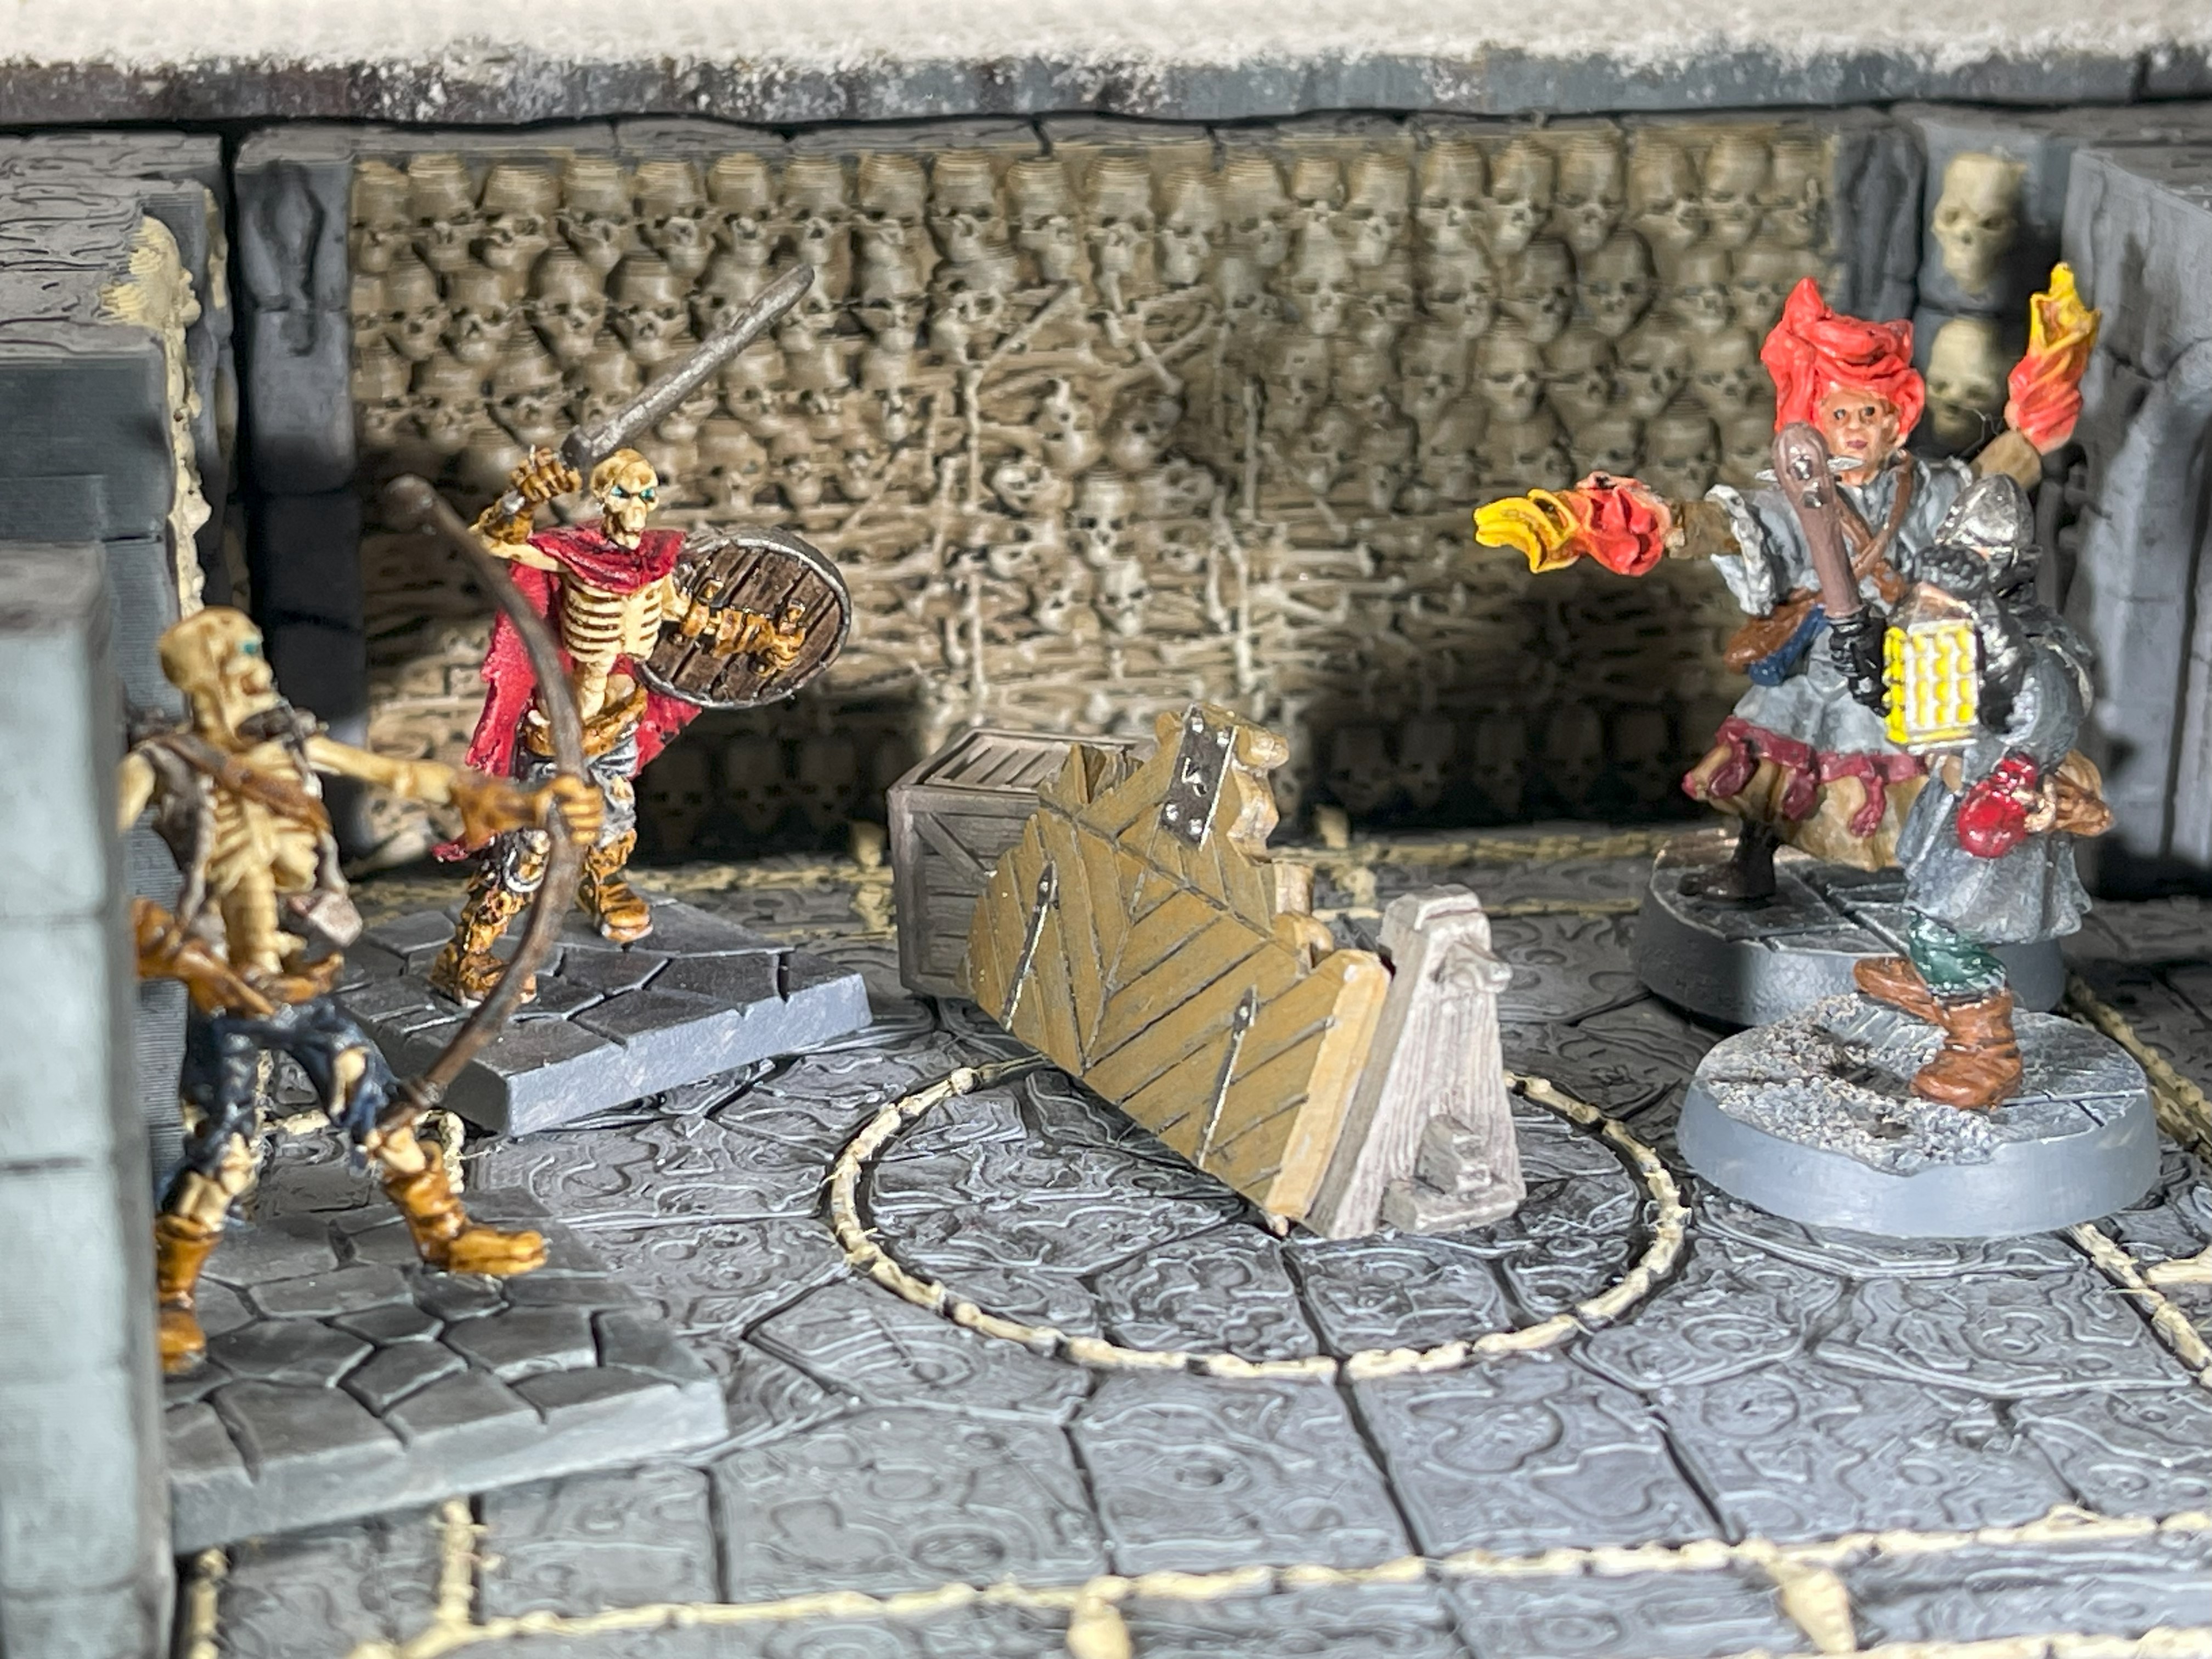
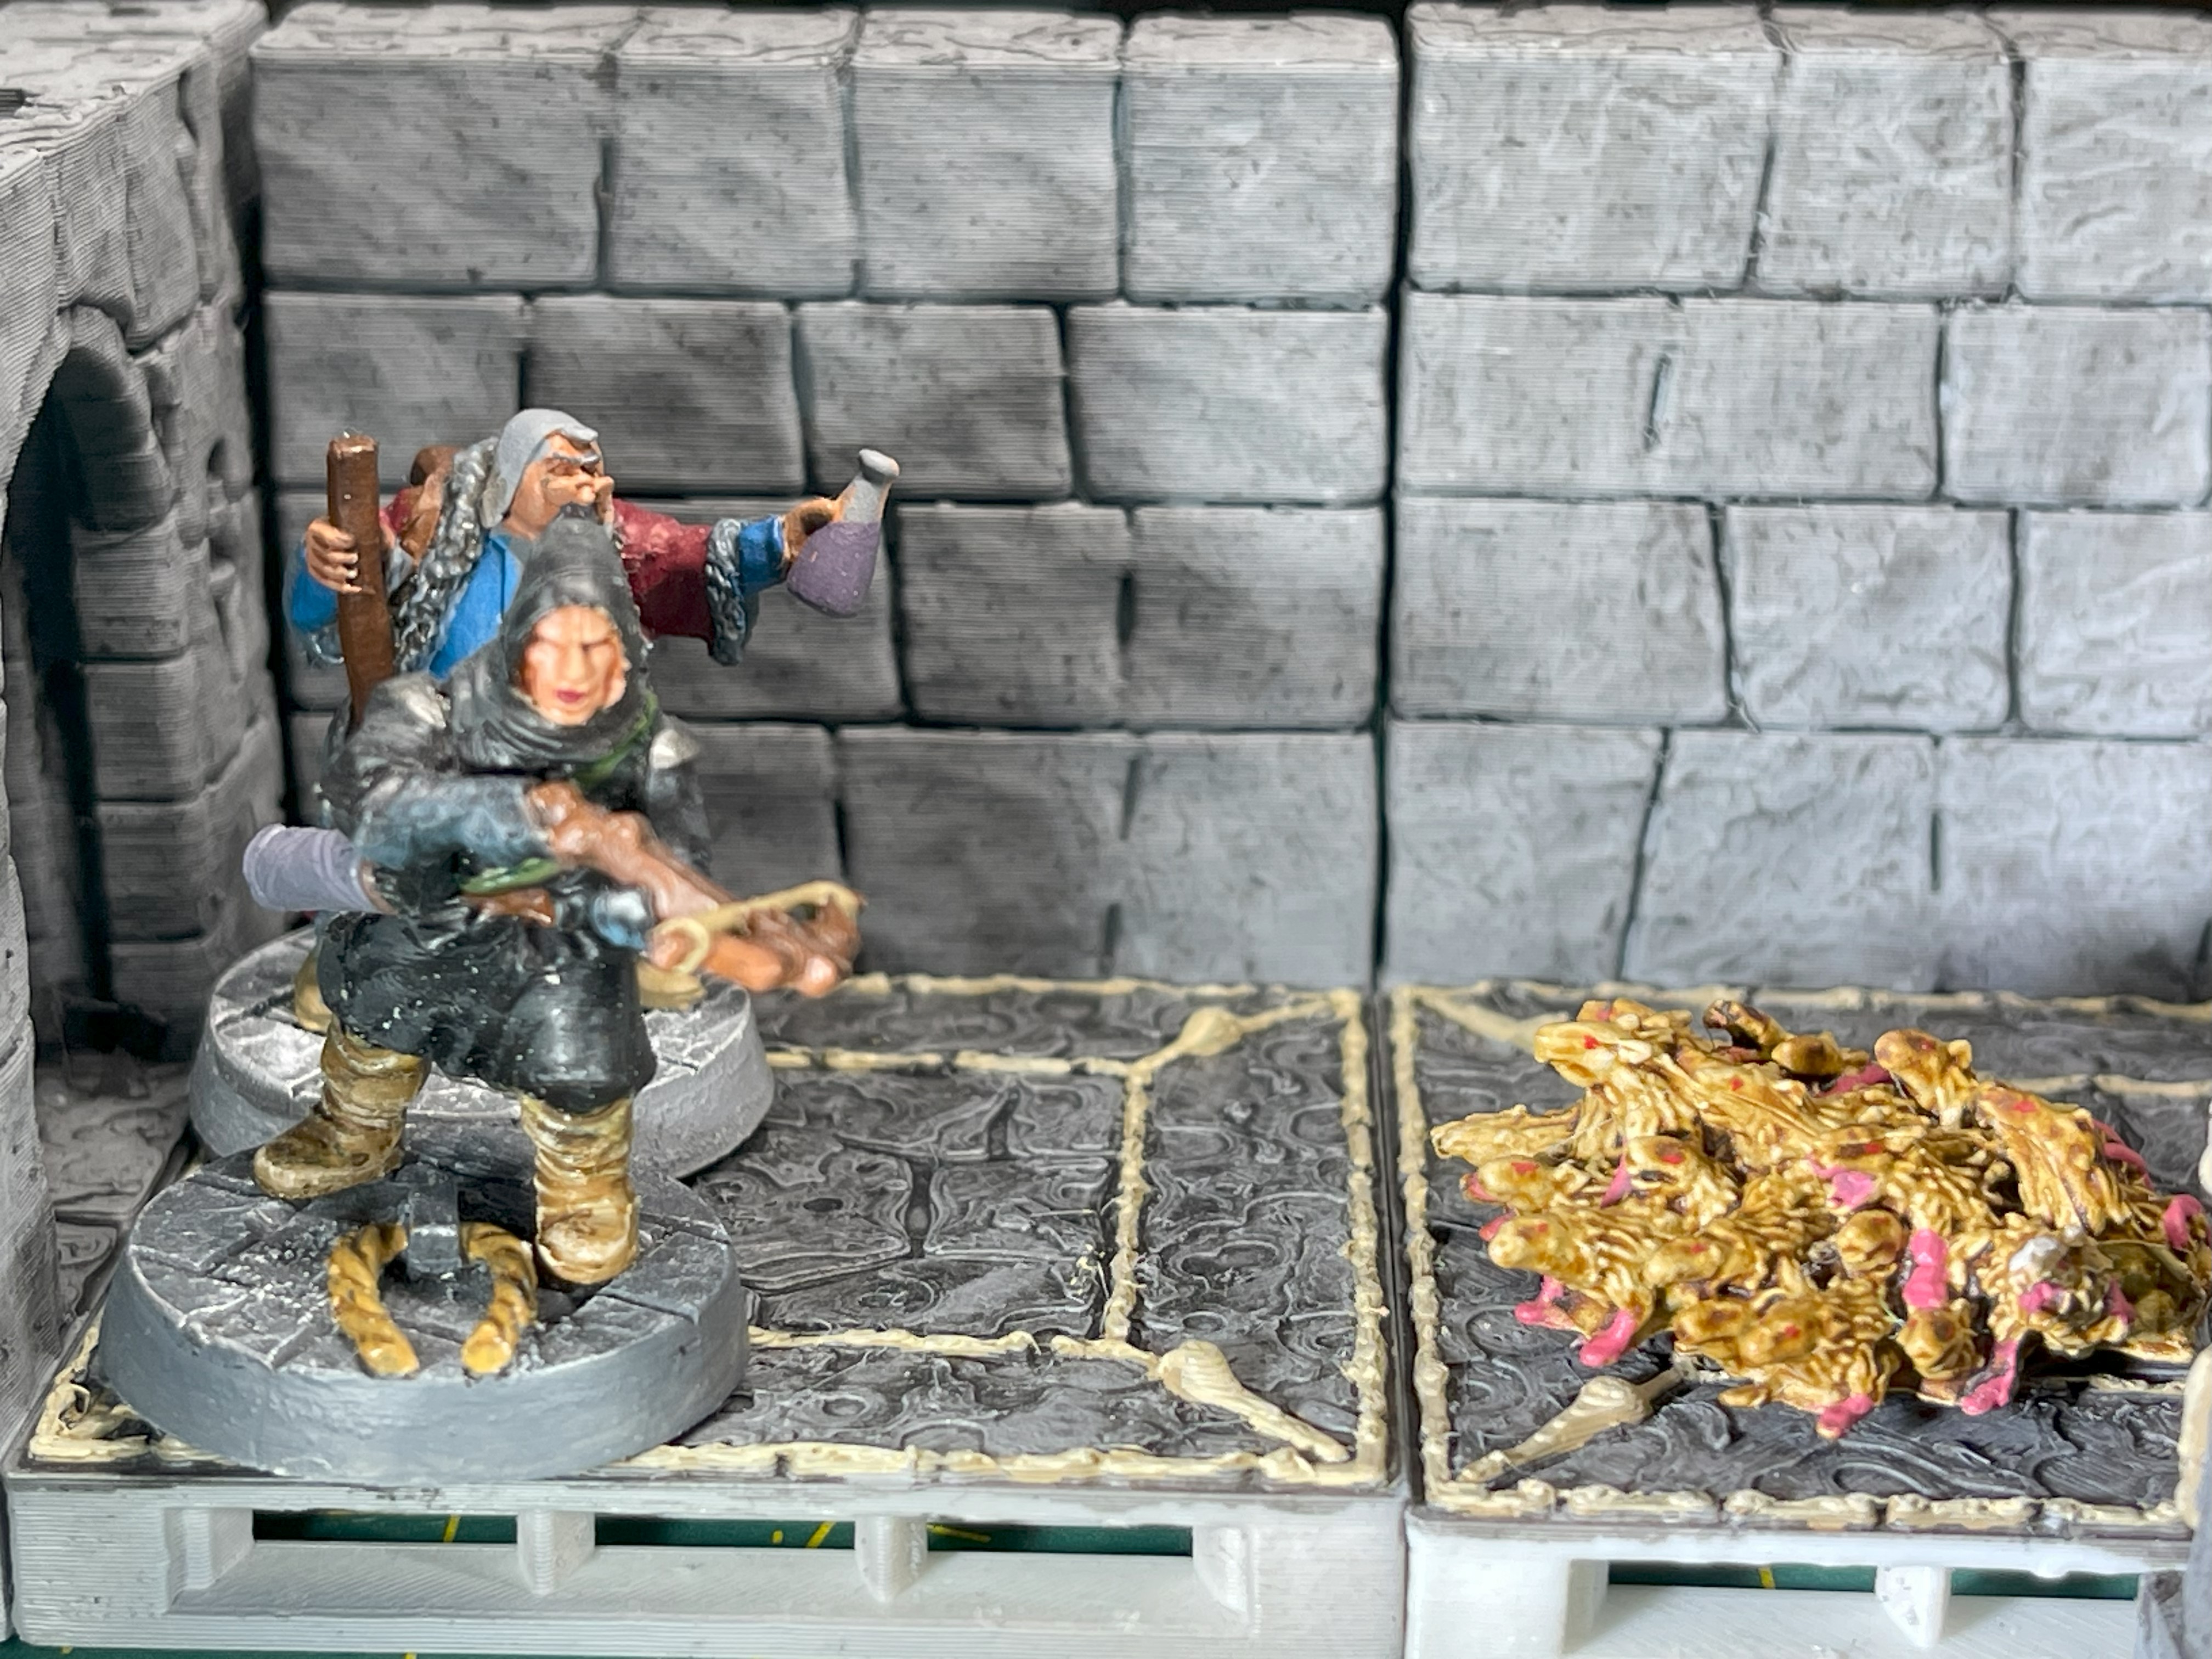
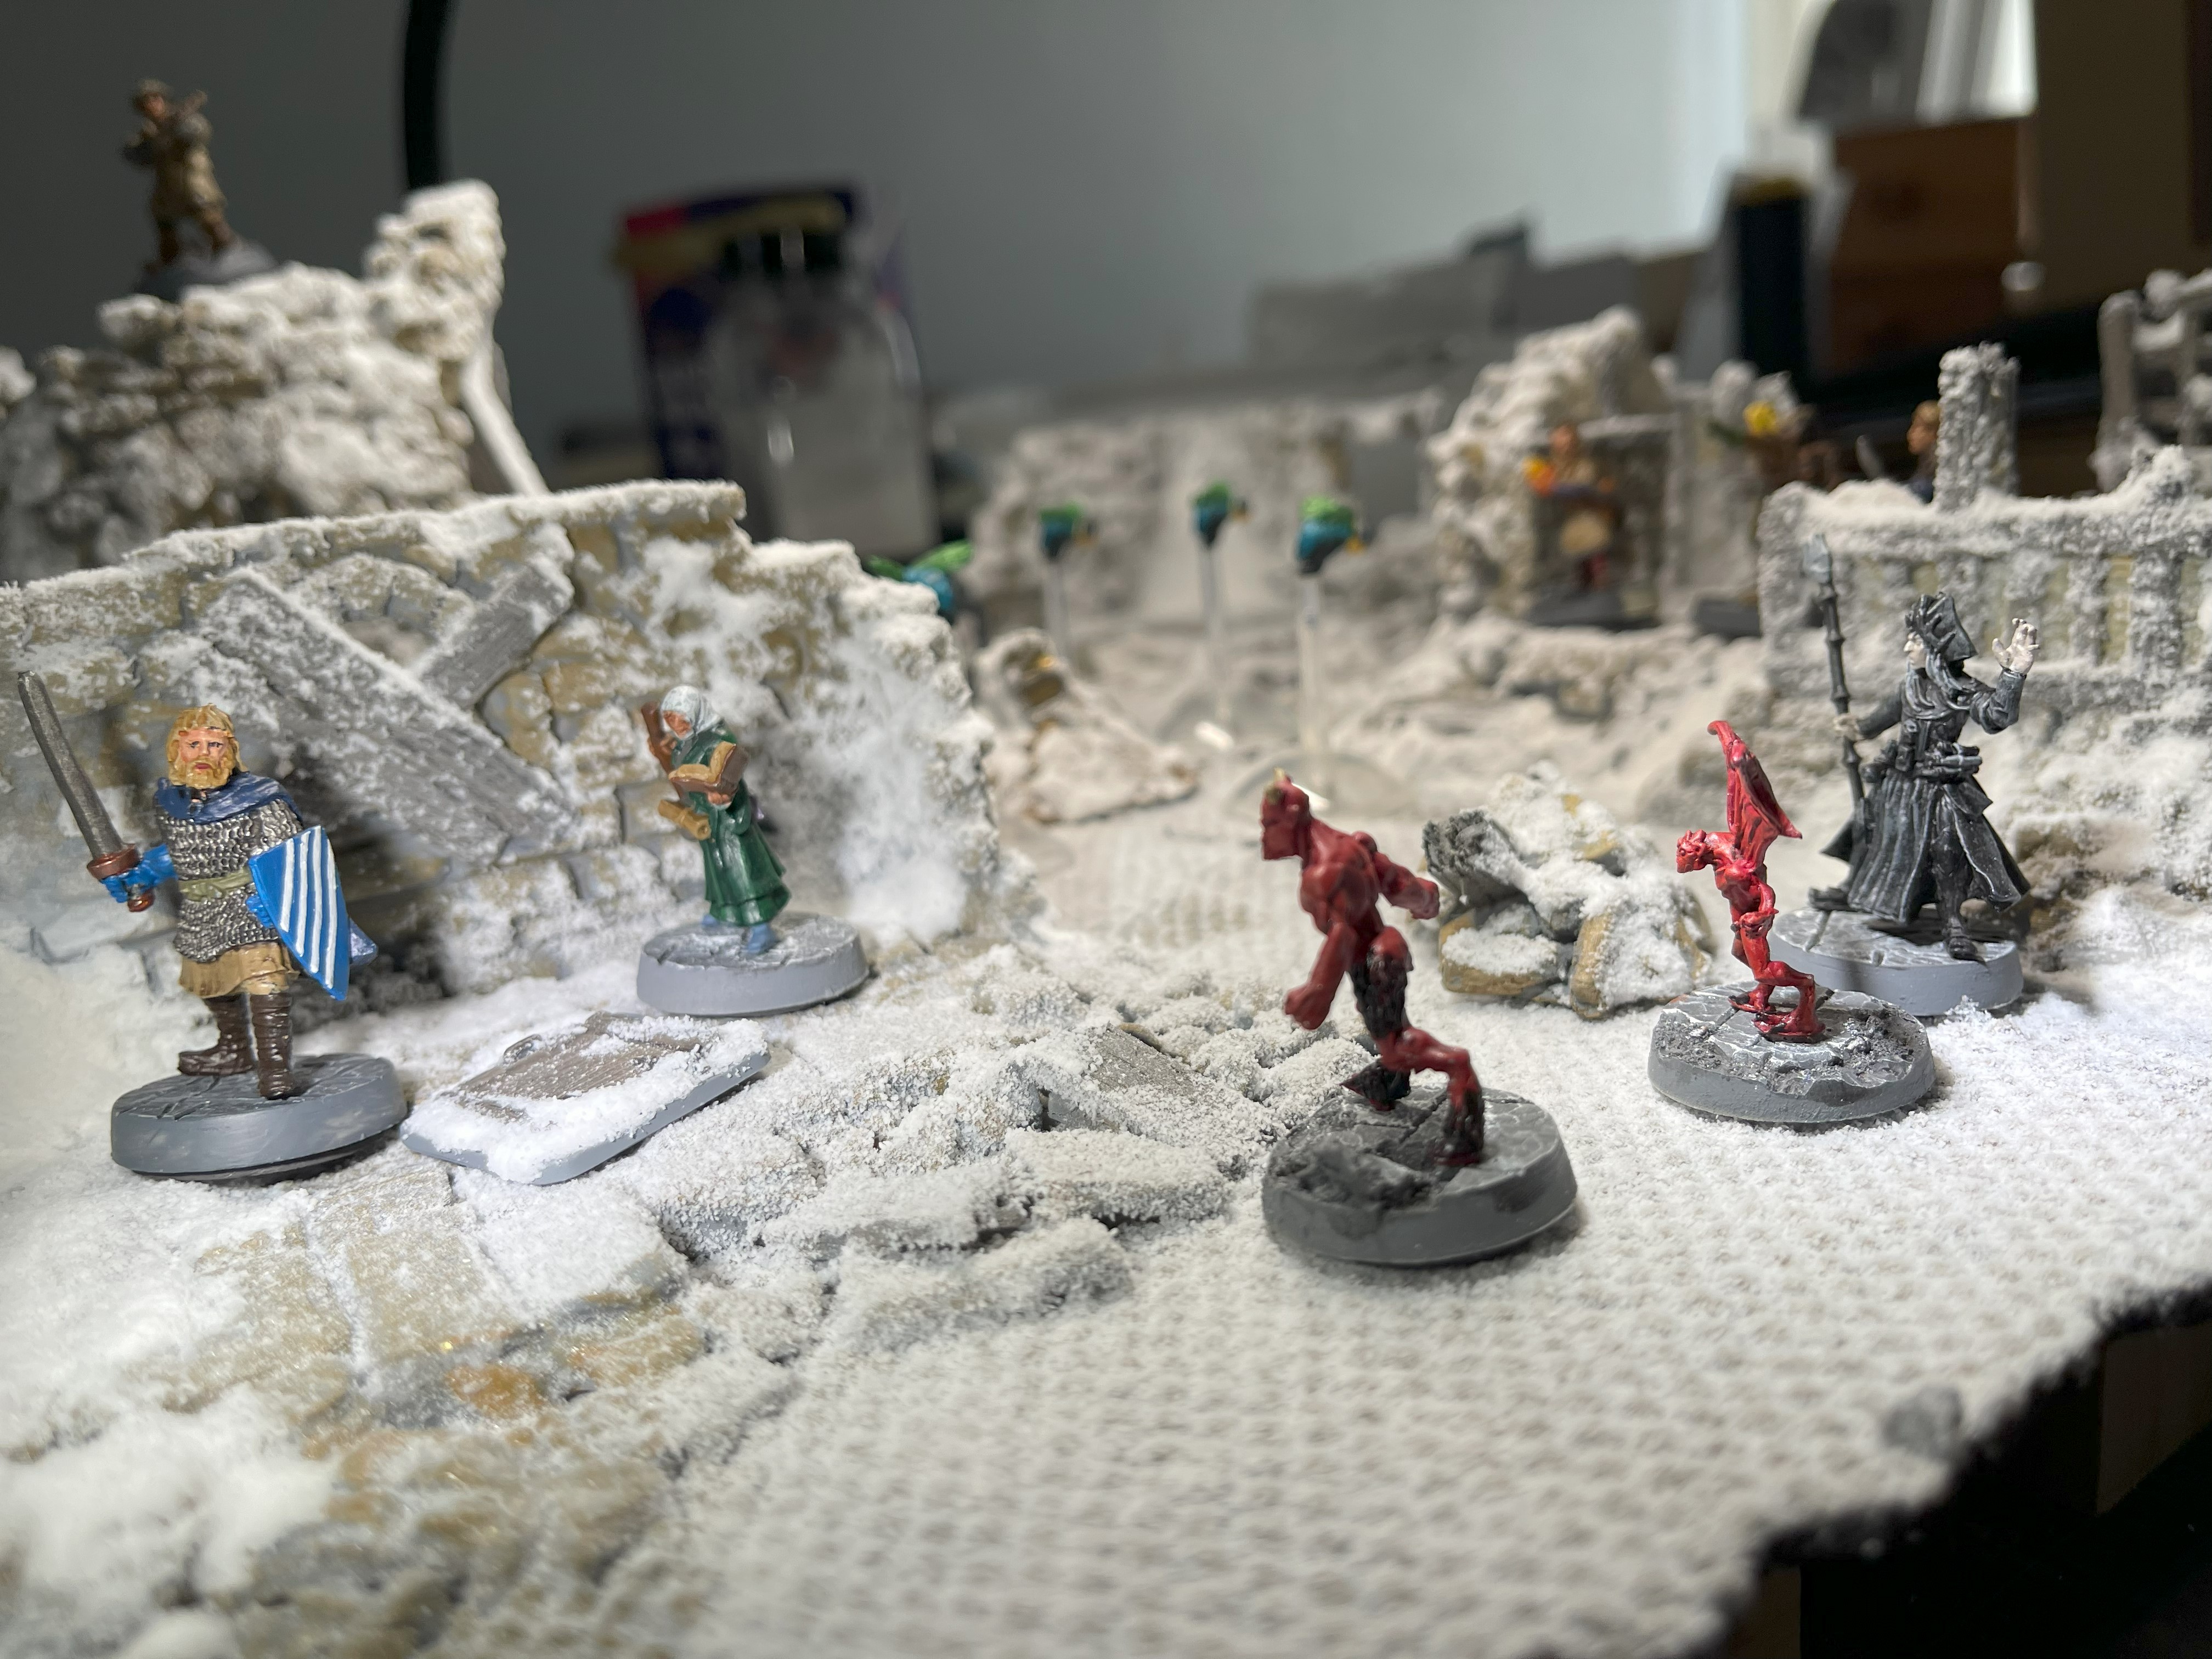
I’m not going to finish by tomorrow or even get half way through so I thought I would setup some of the tiles and breakout some miniatures.
I will continue this after the end of dungeonalia, as I’ve wanted to do a frostgrave table for quite a while.
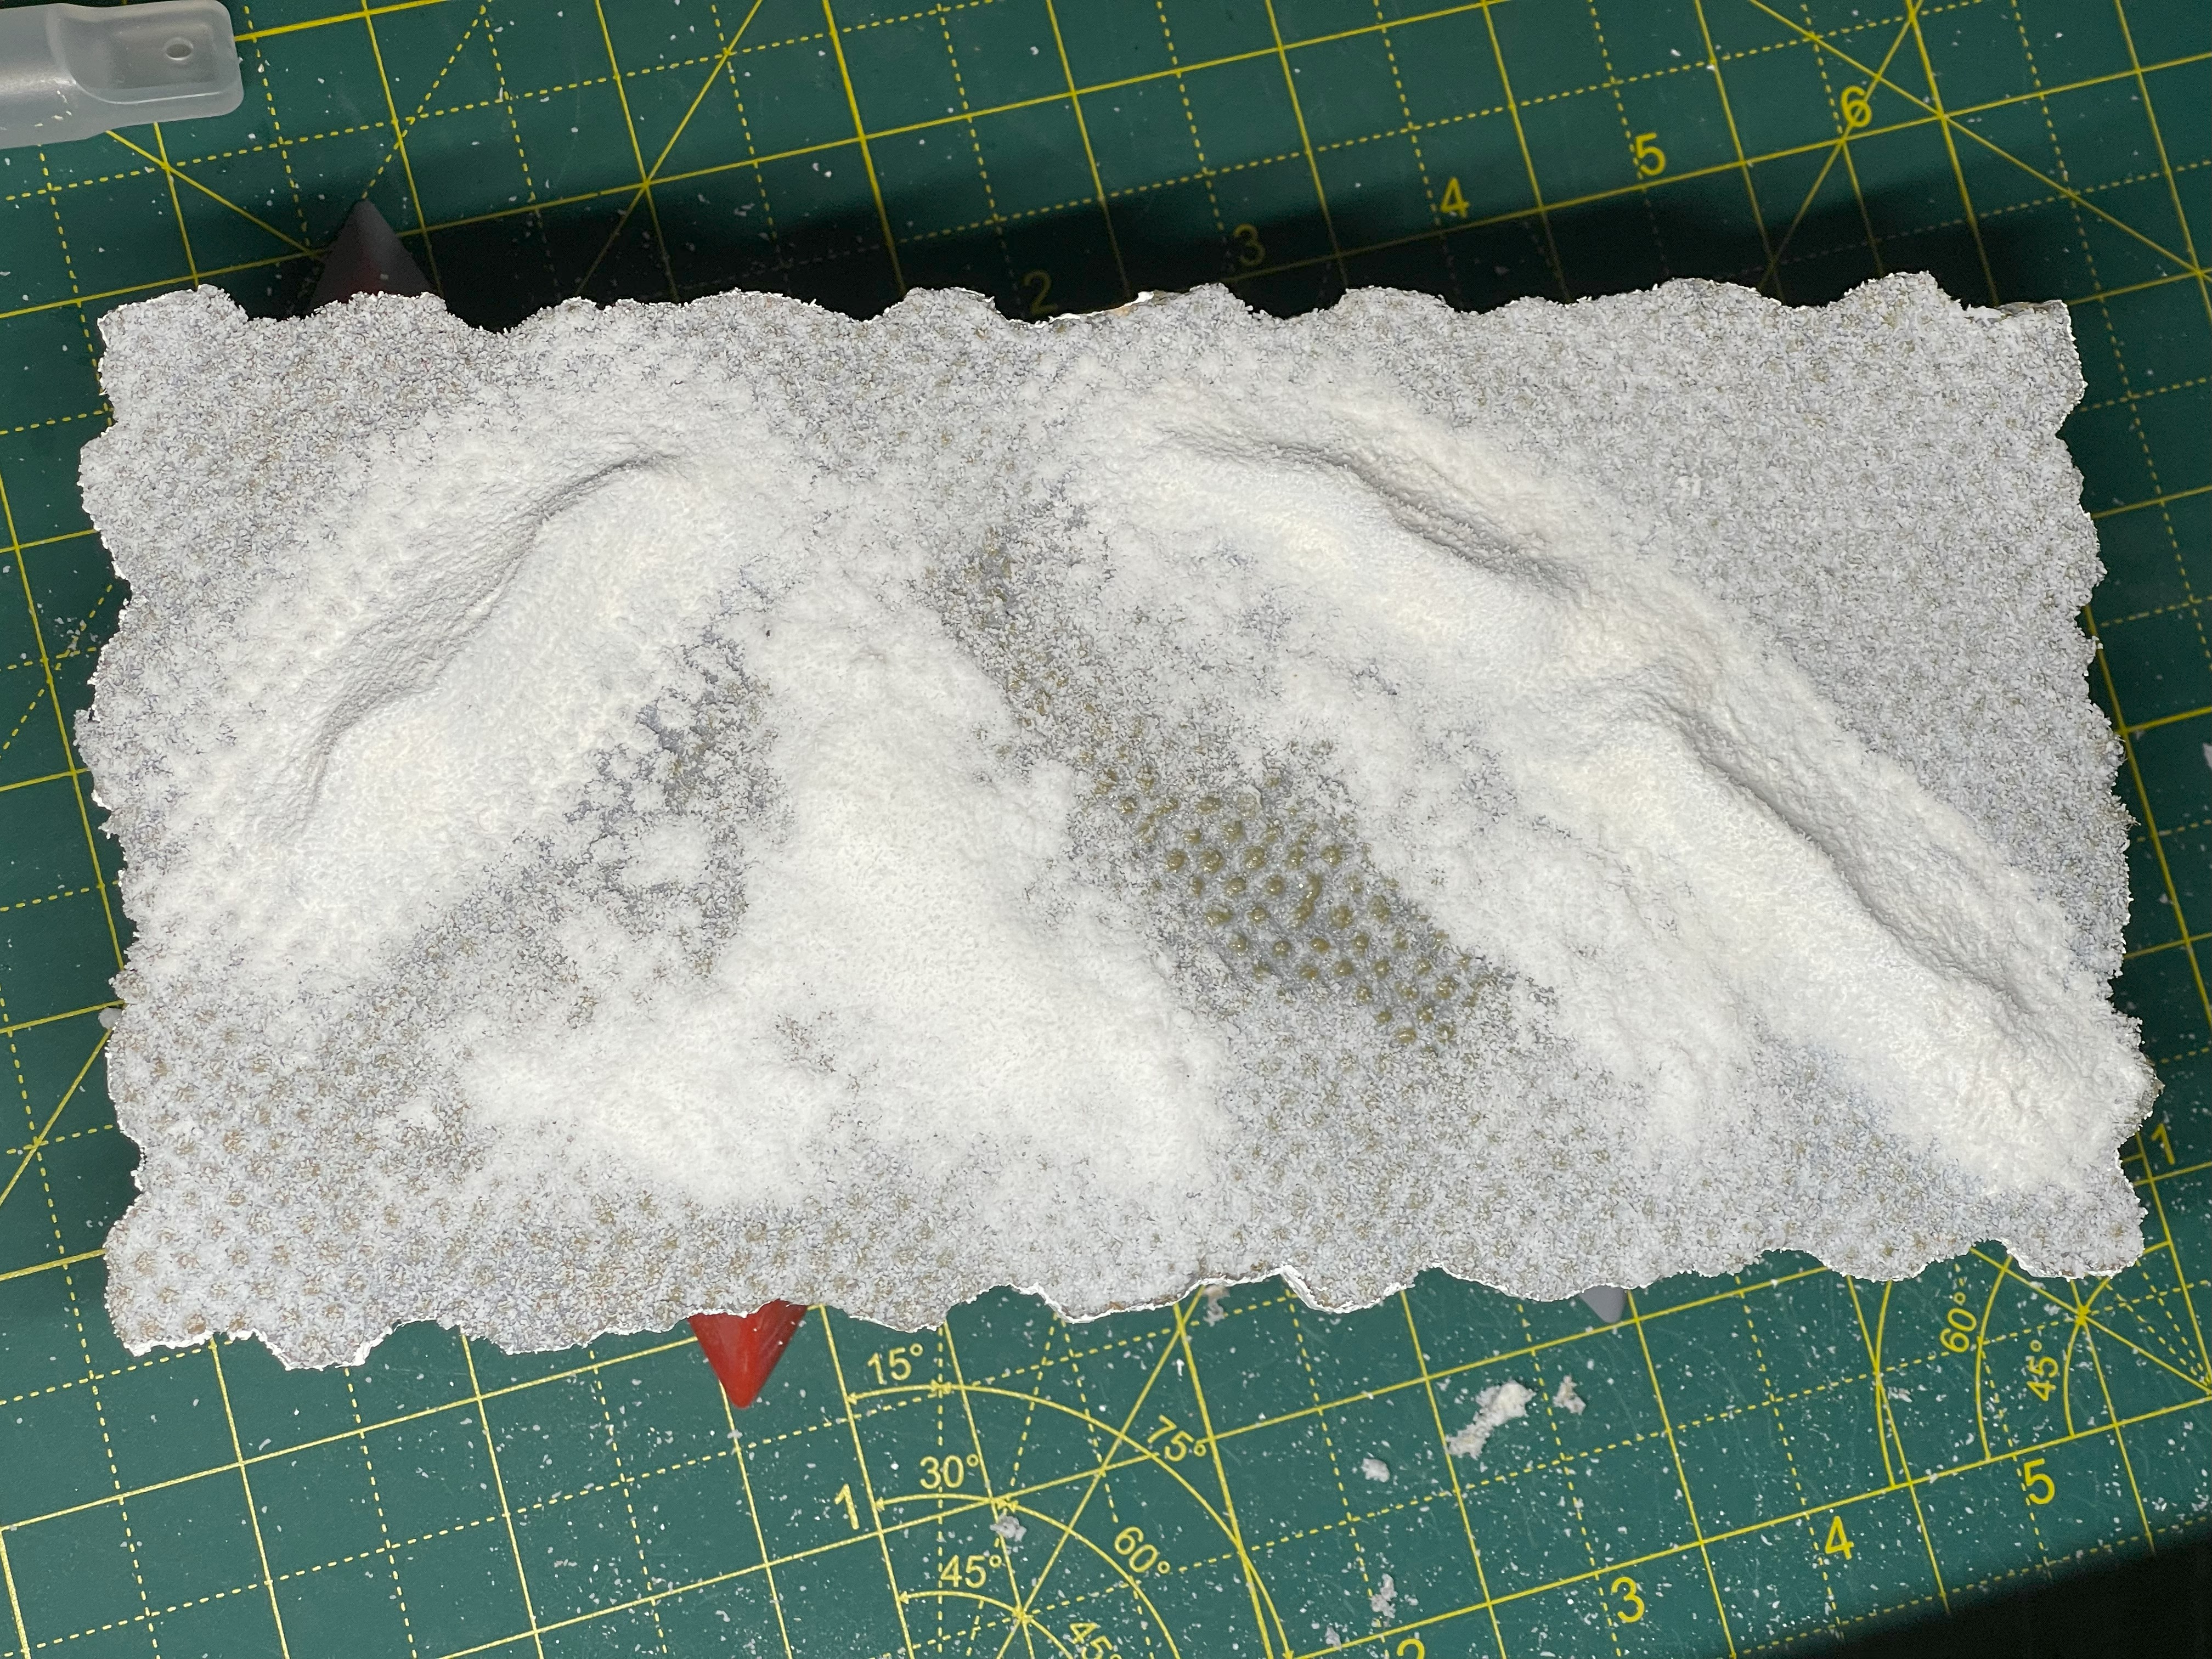
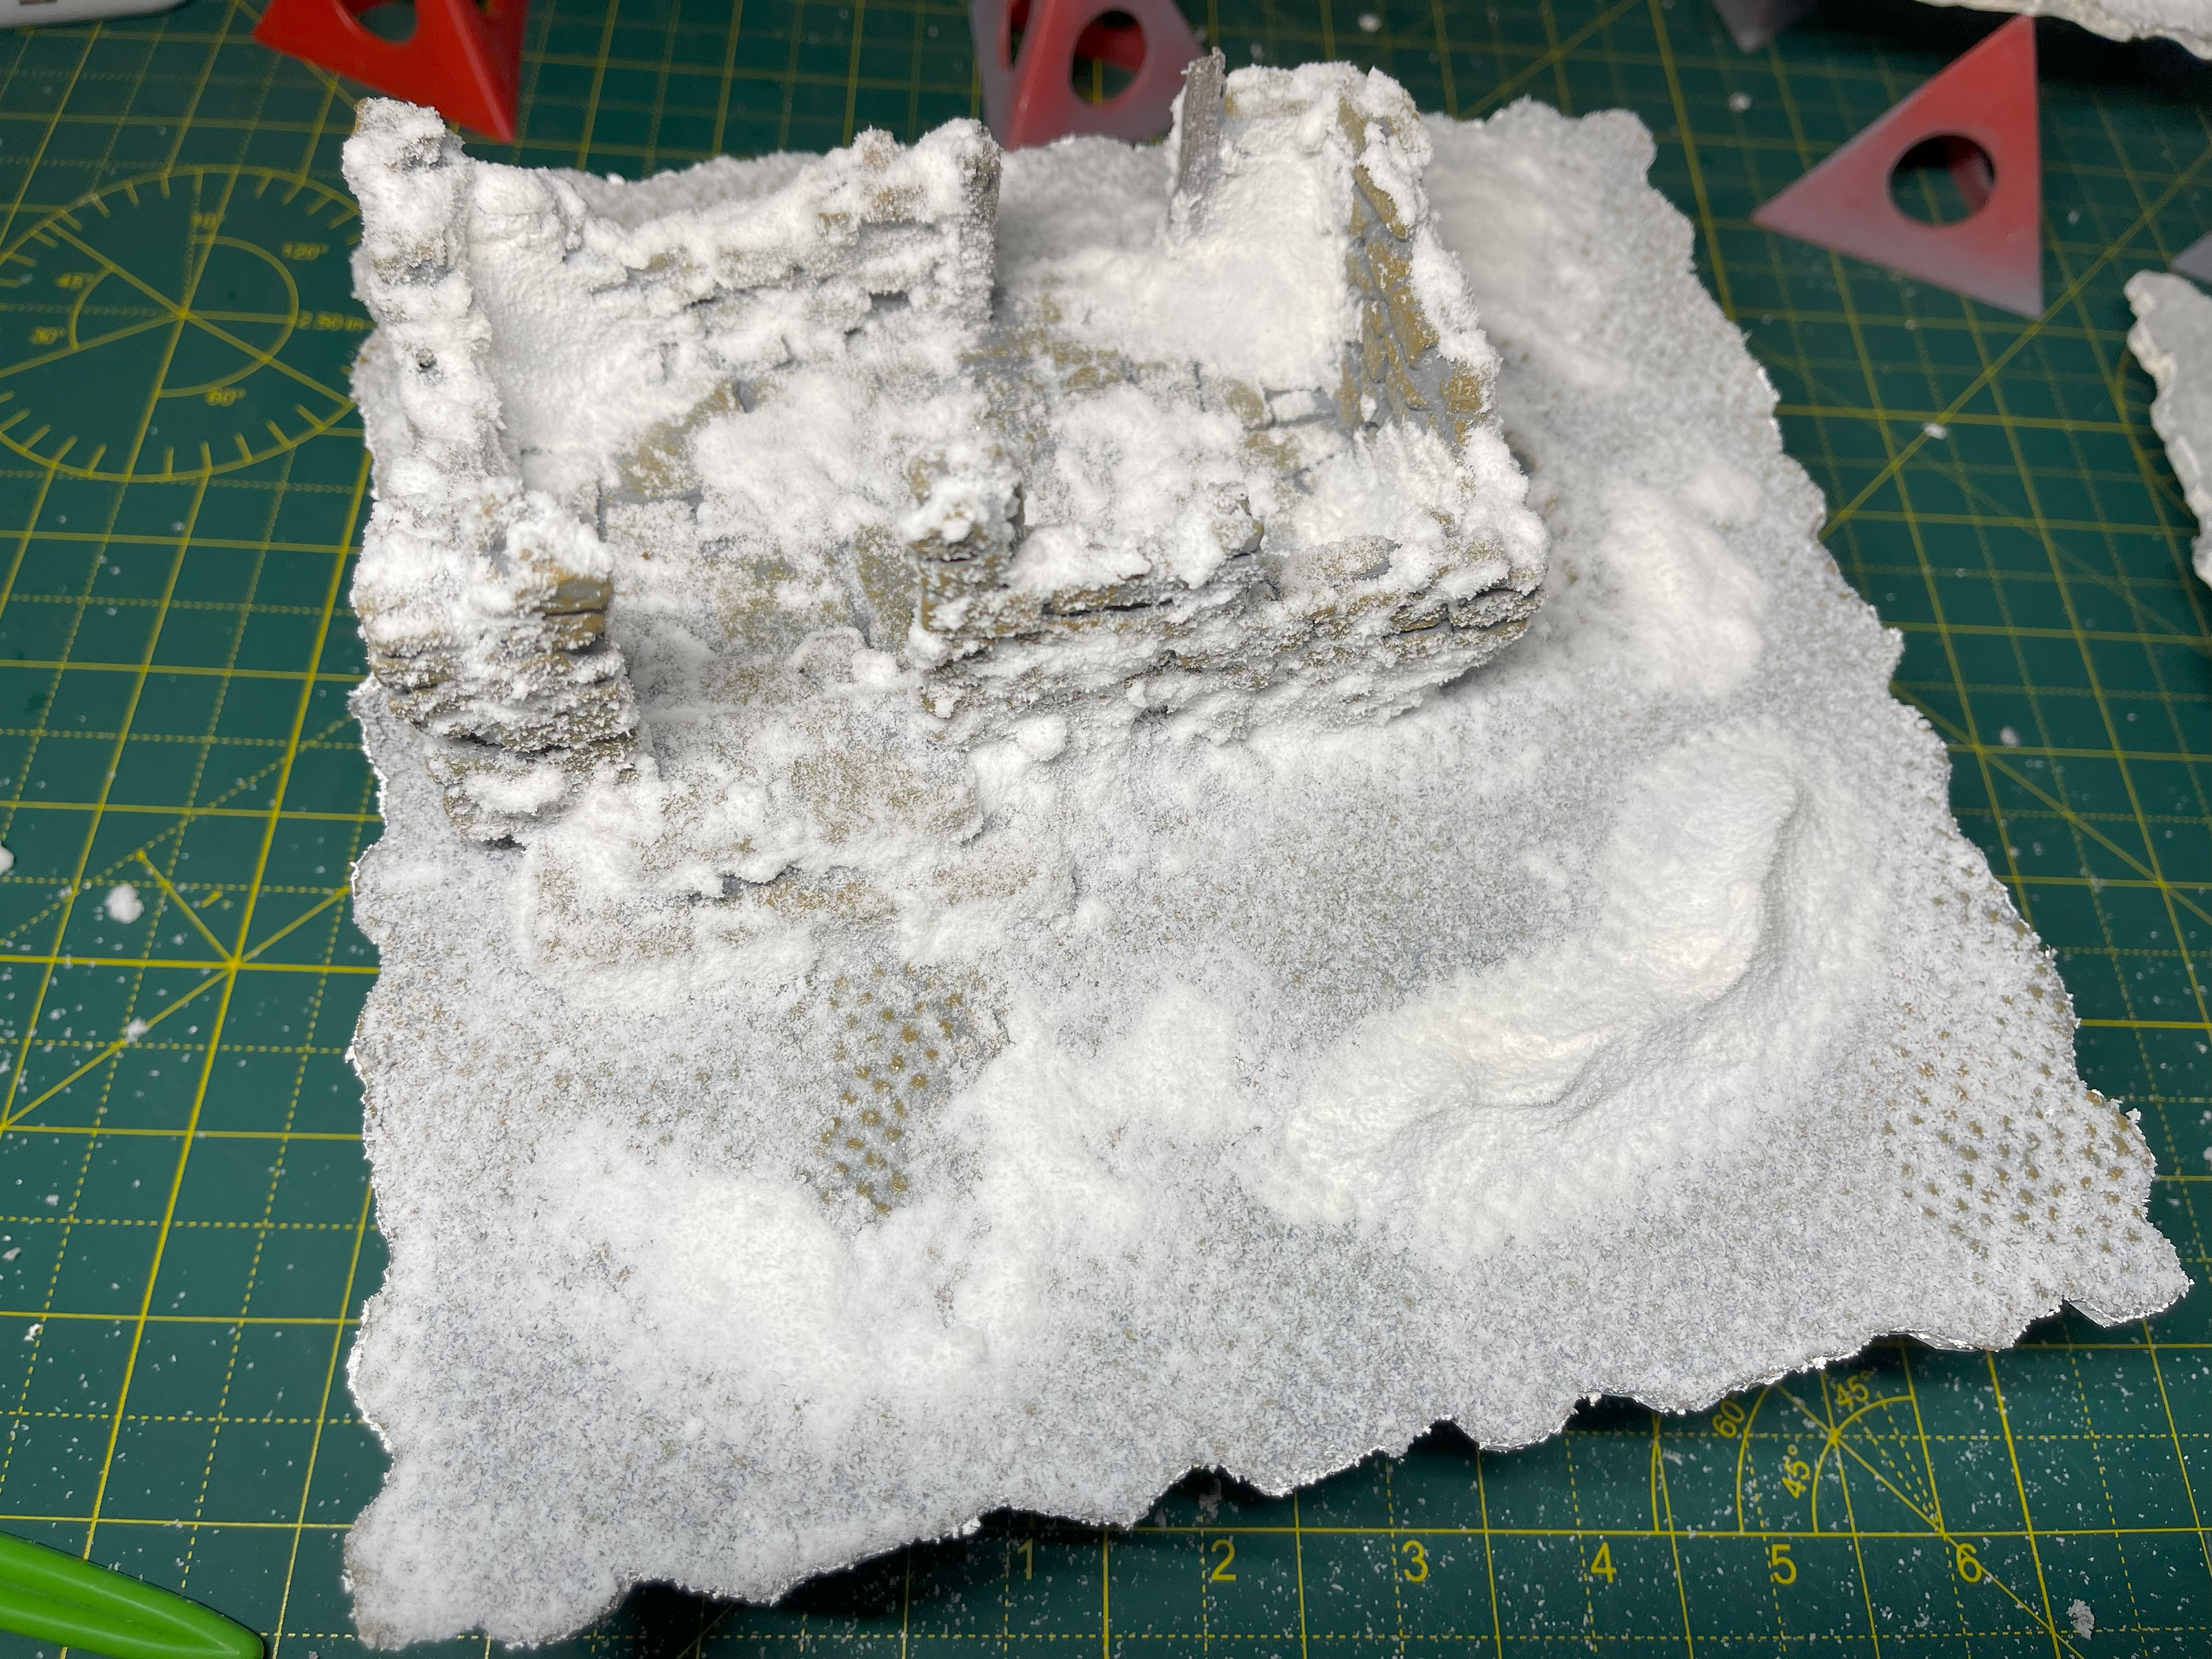
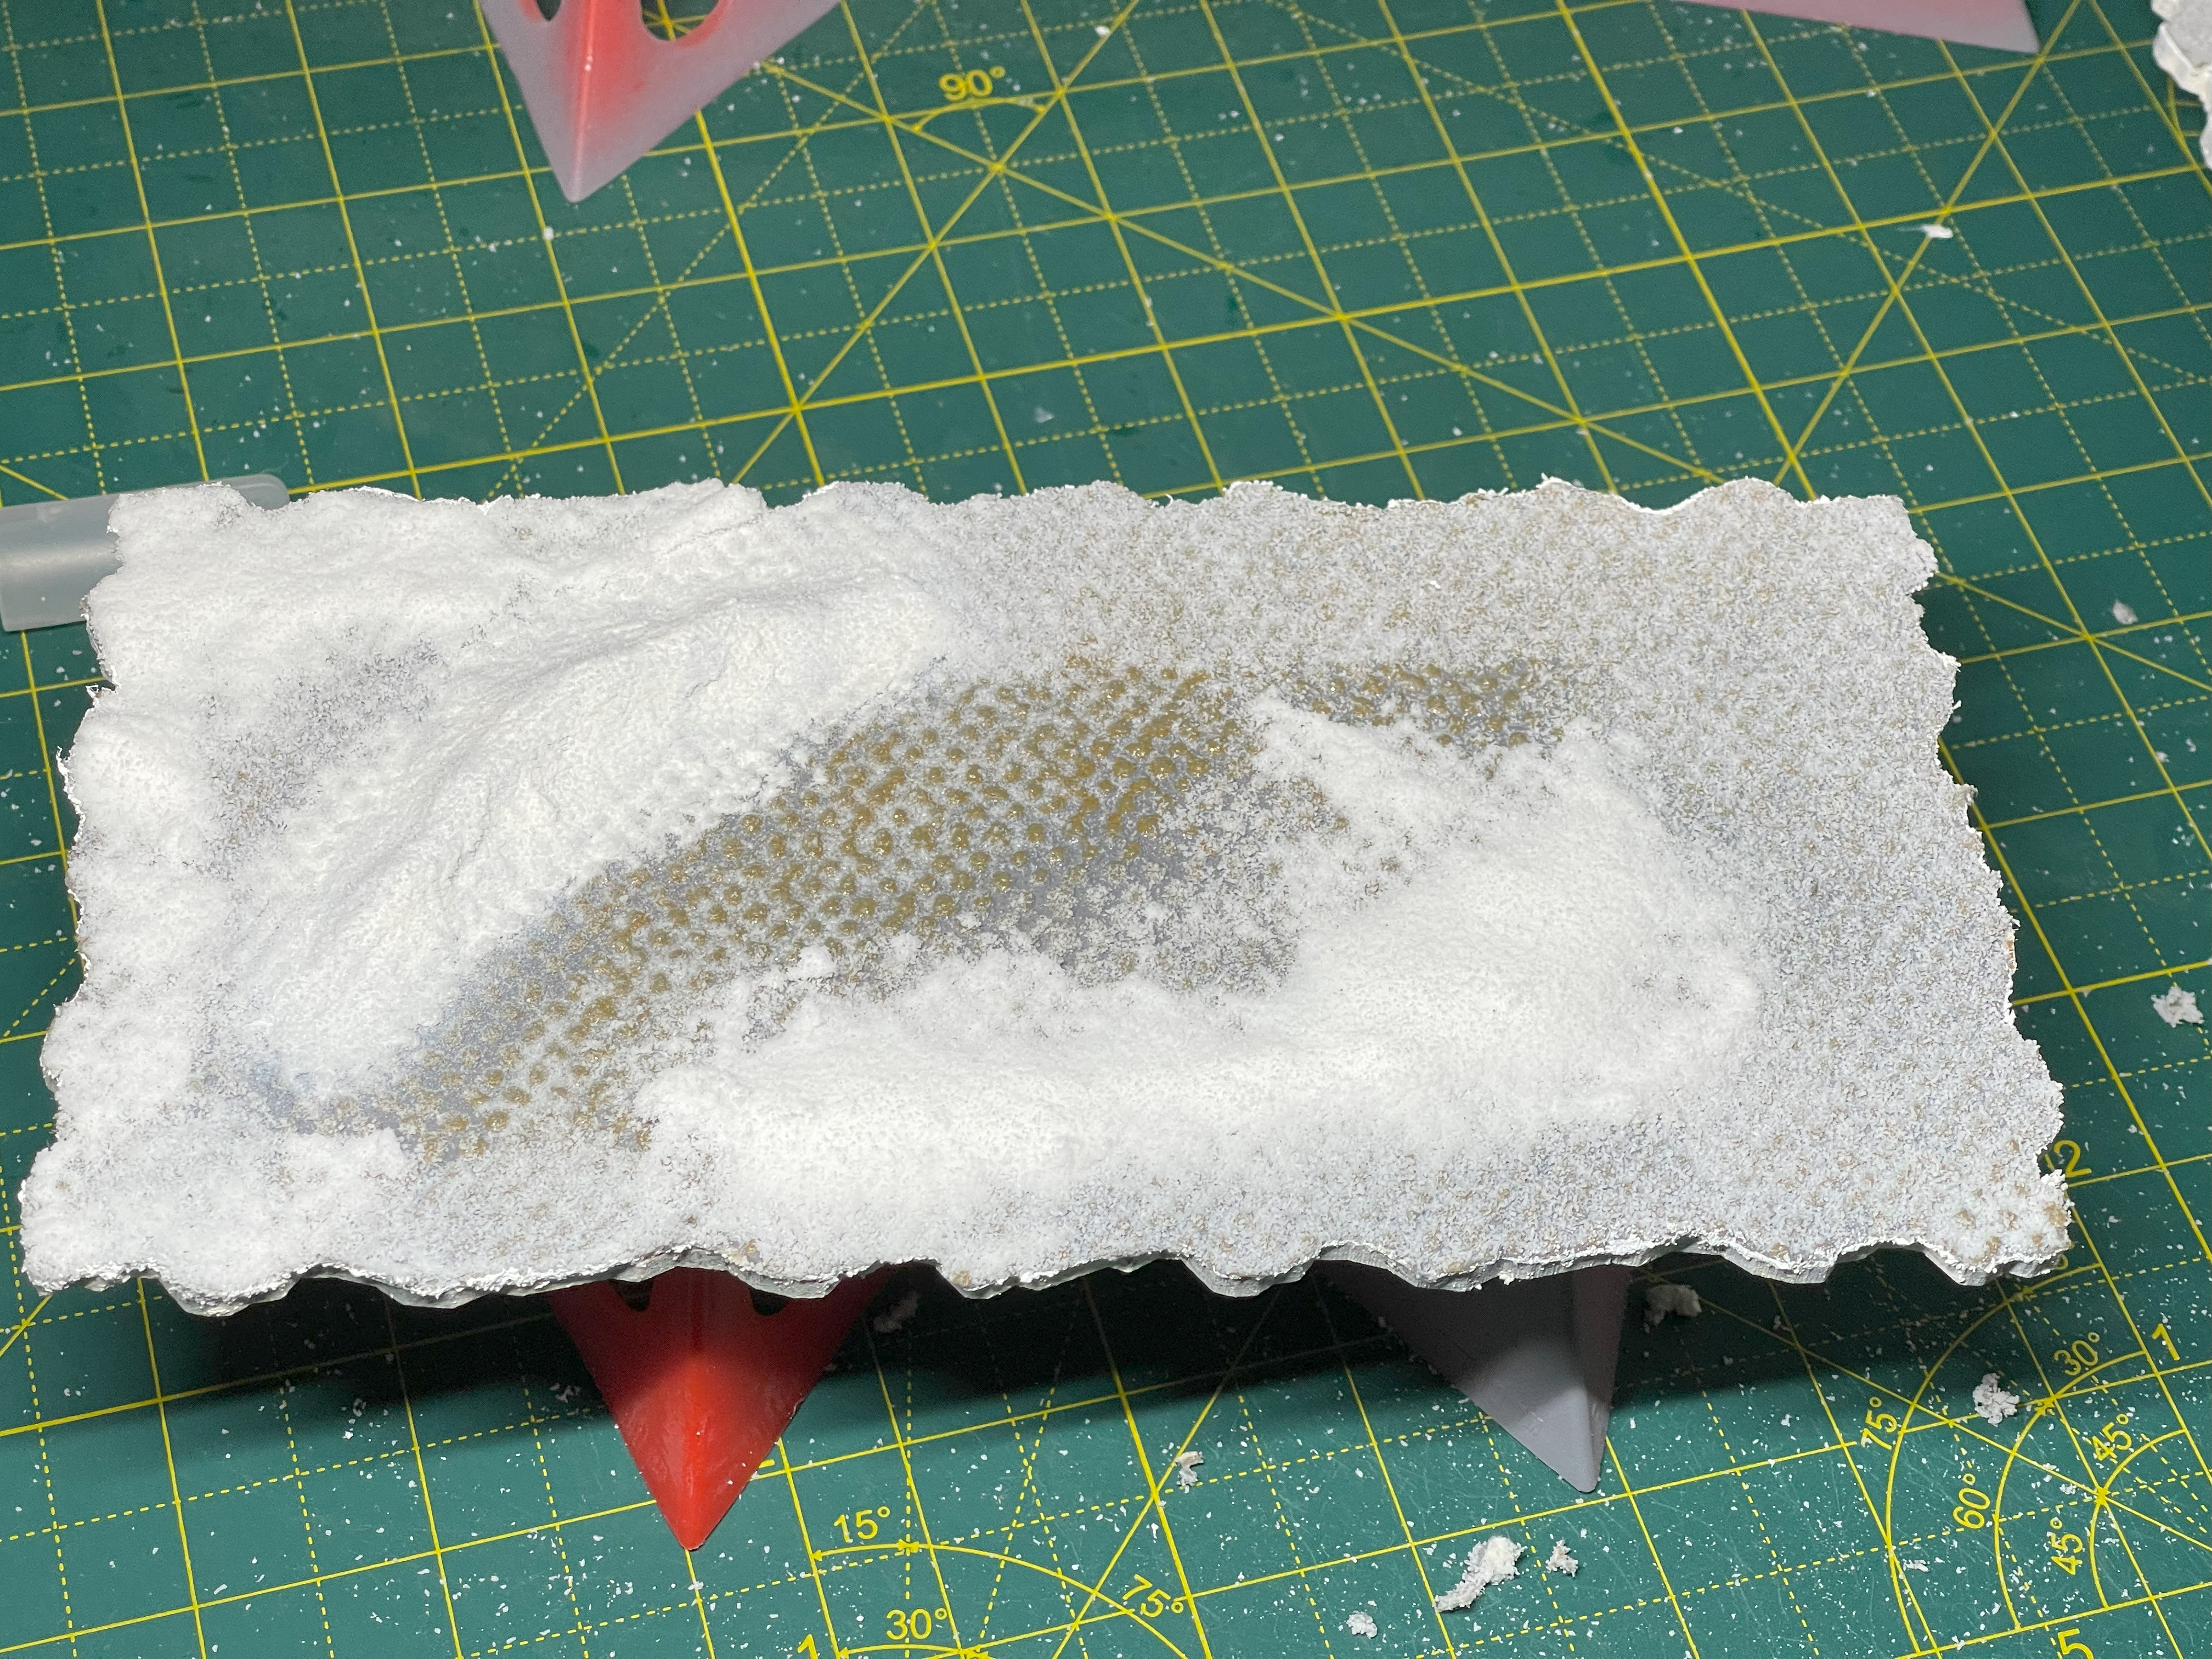
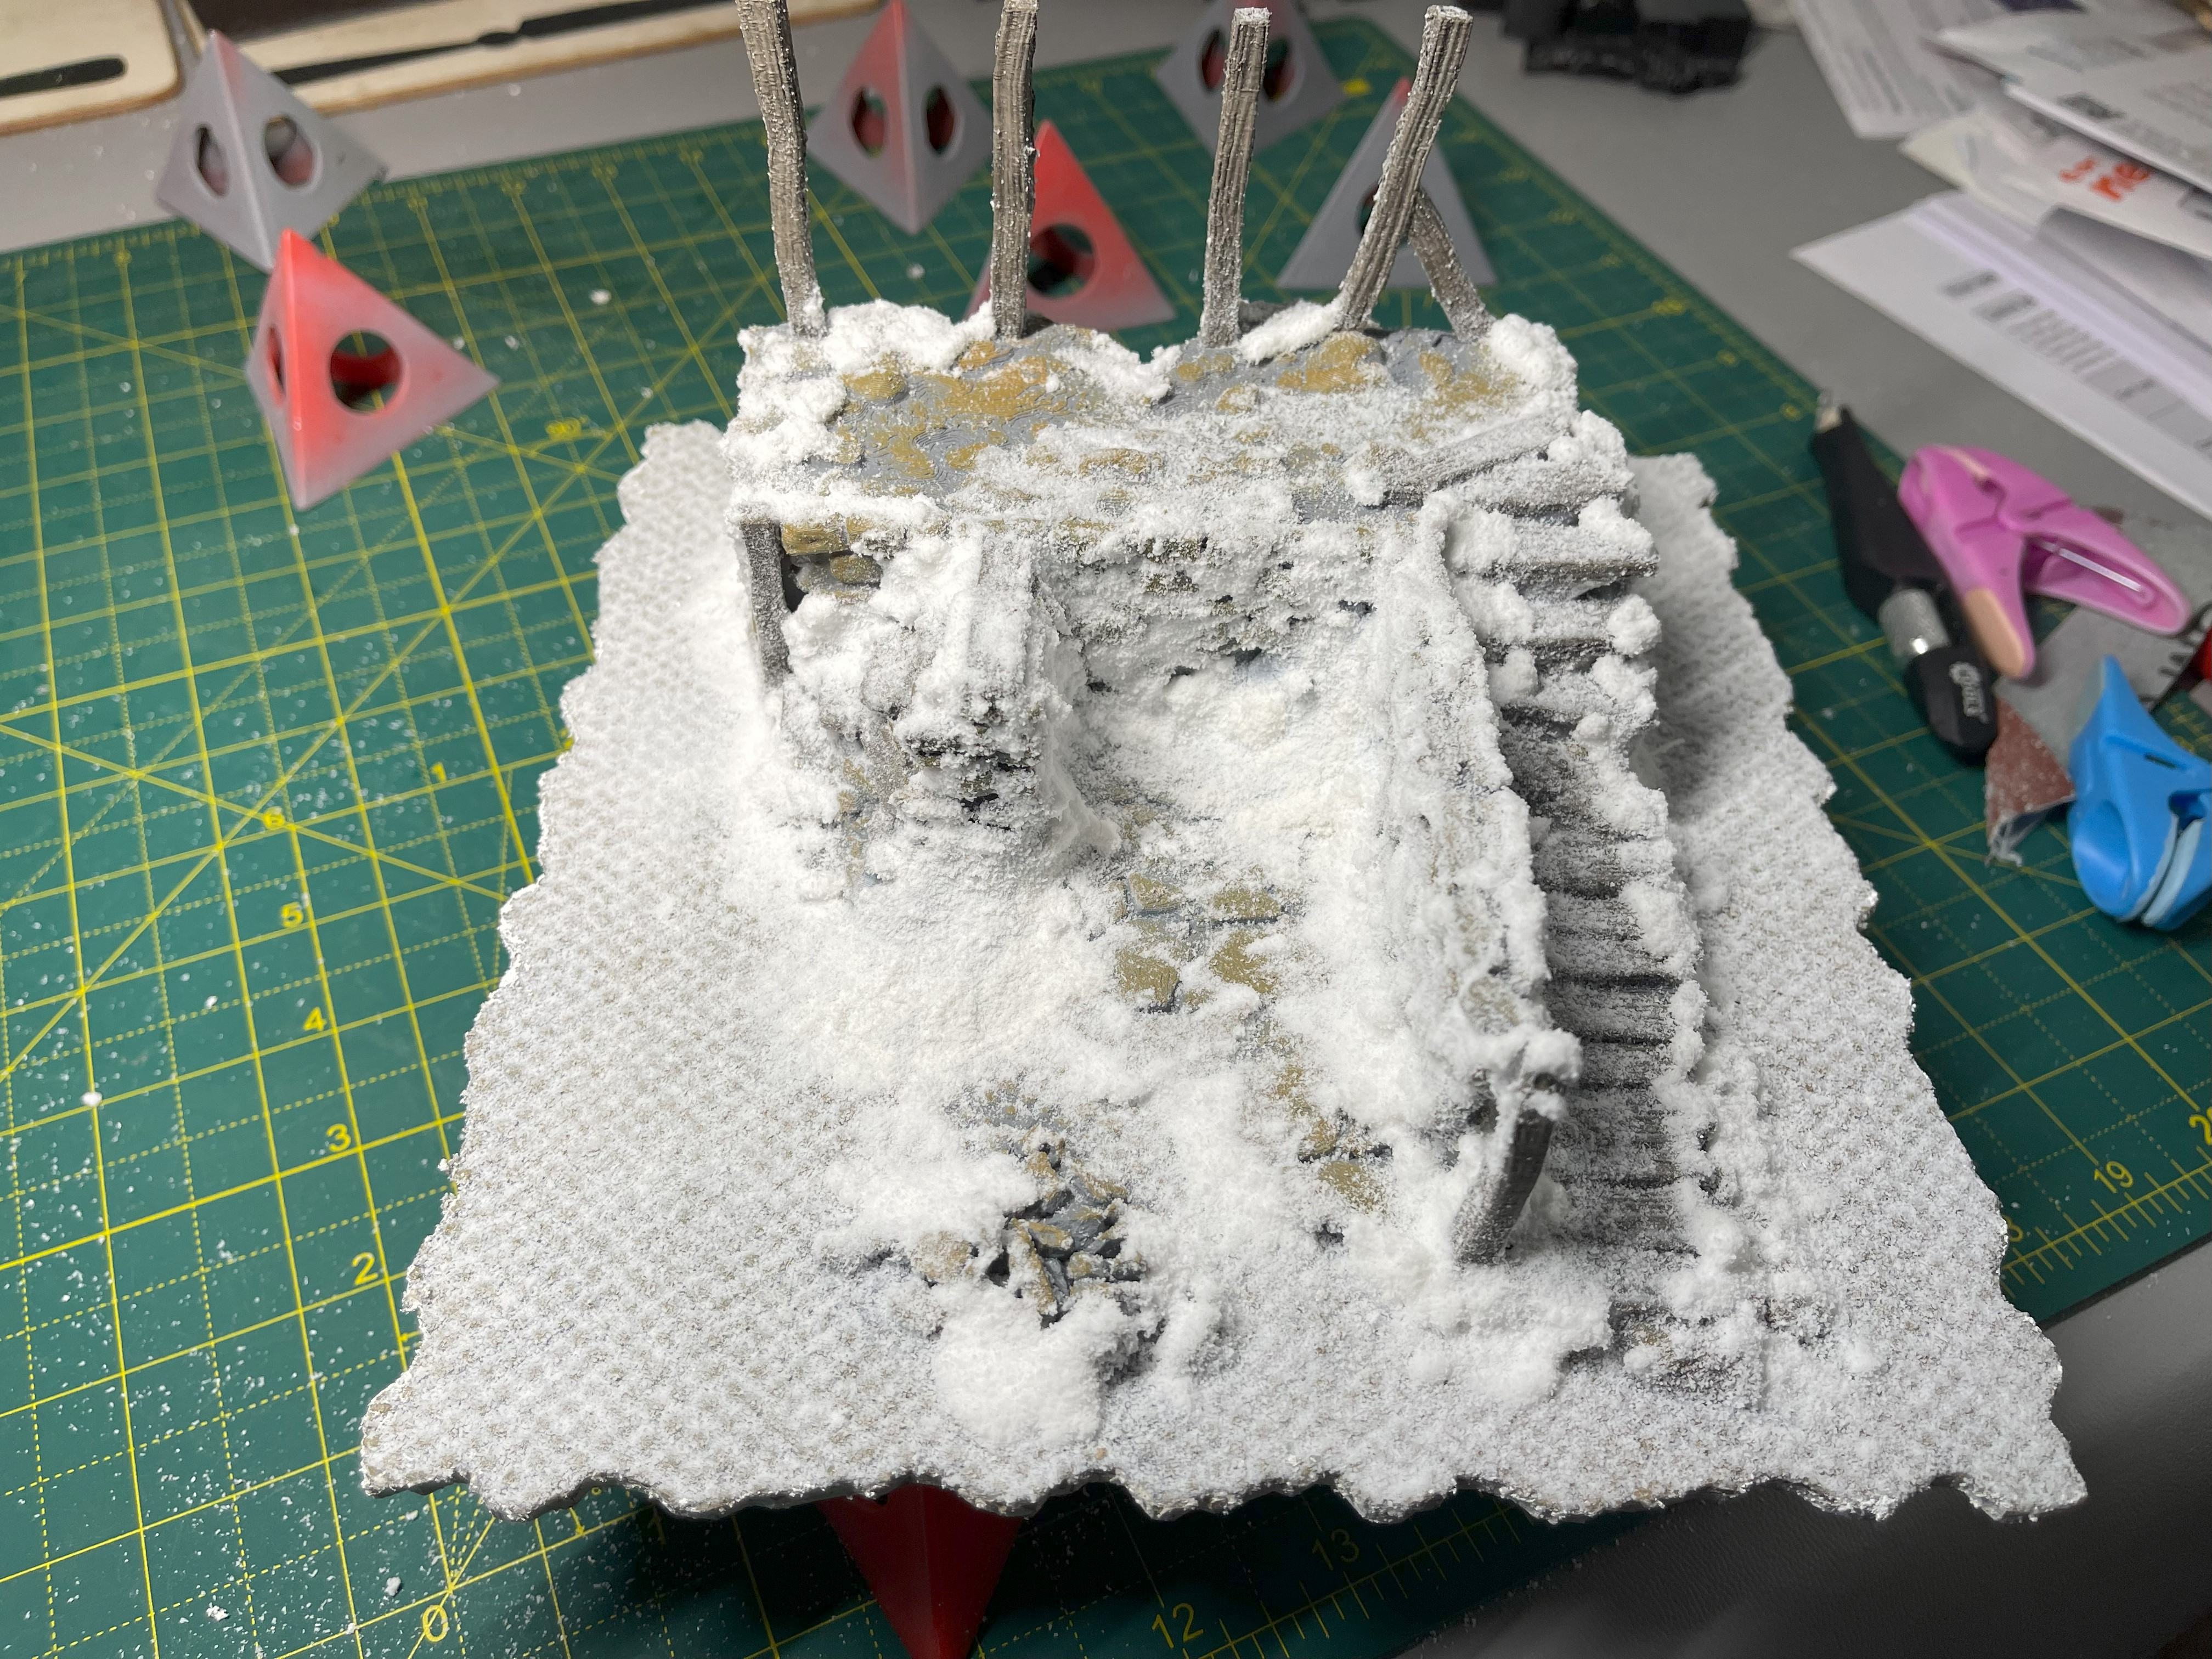
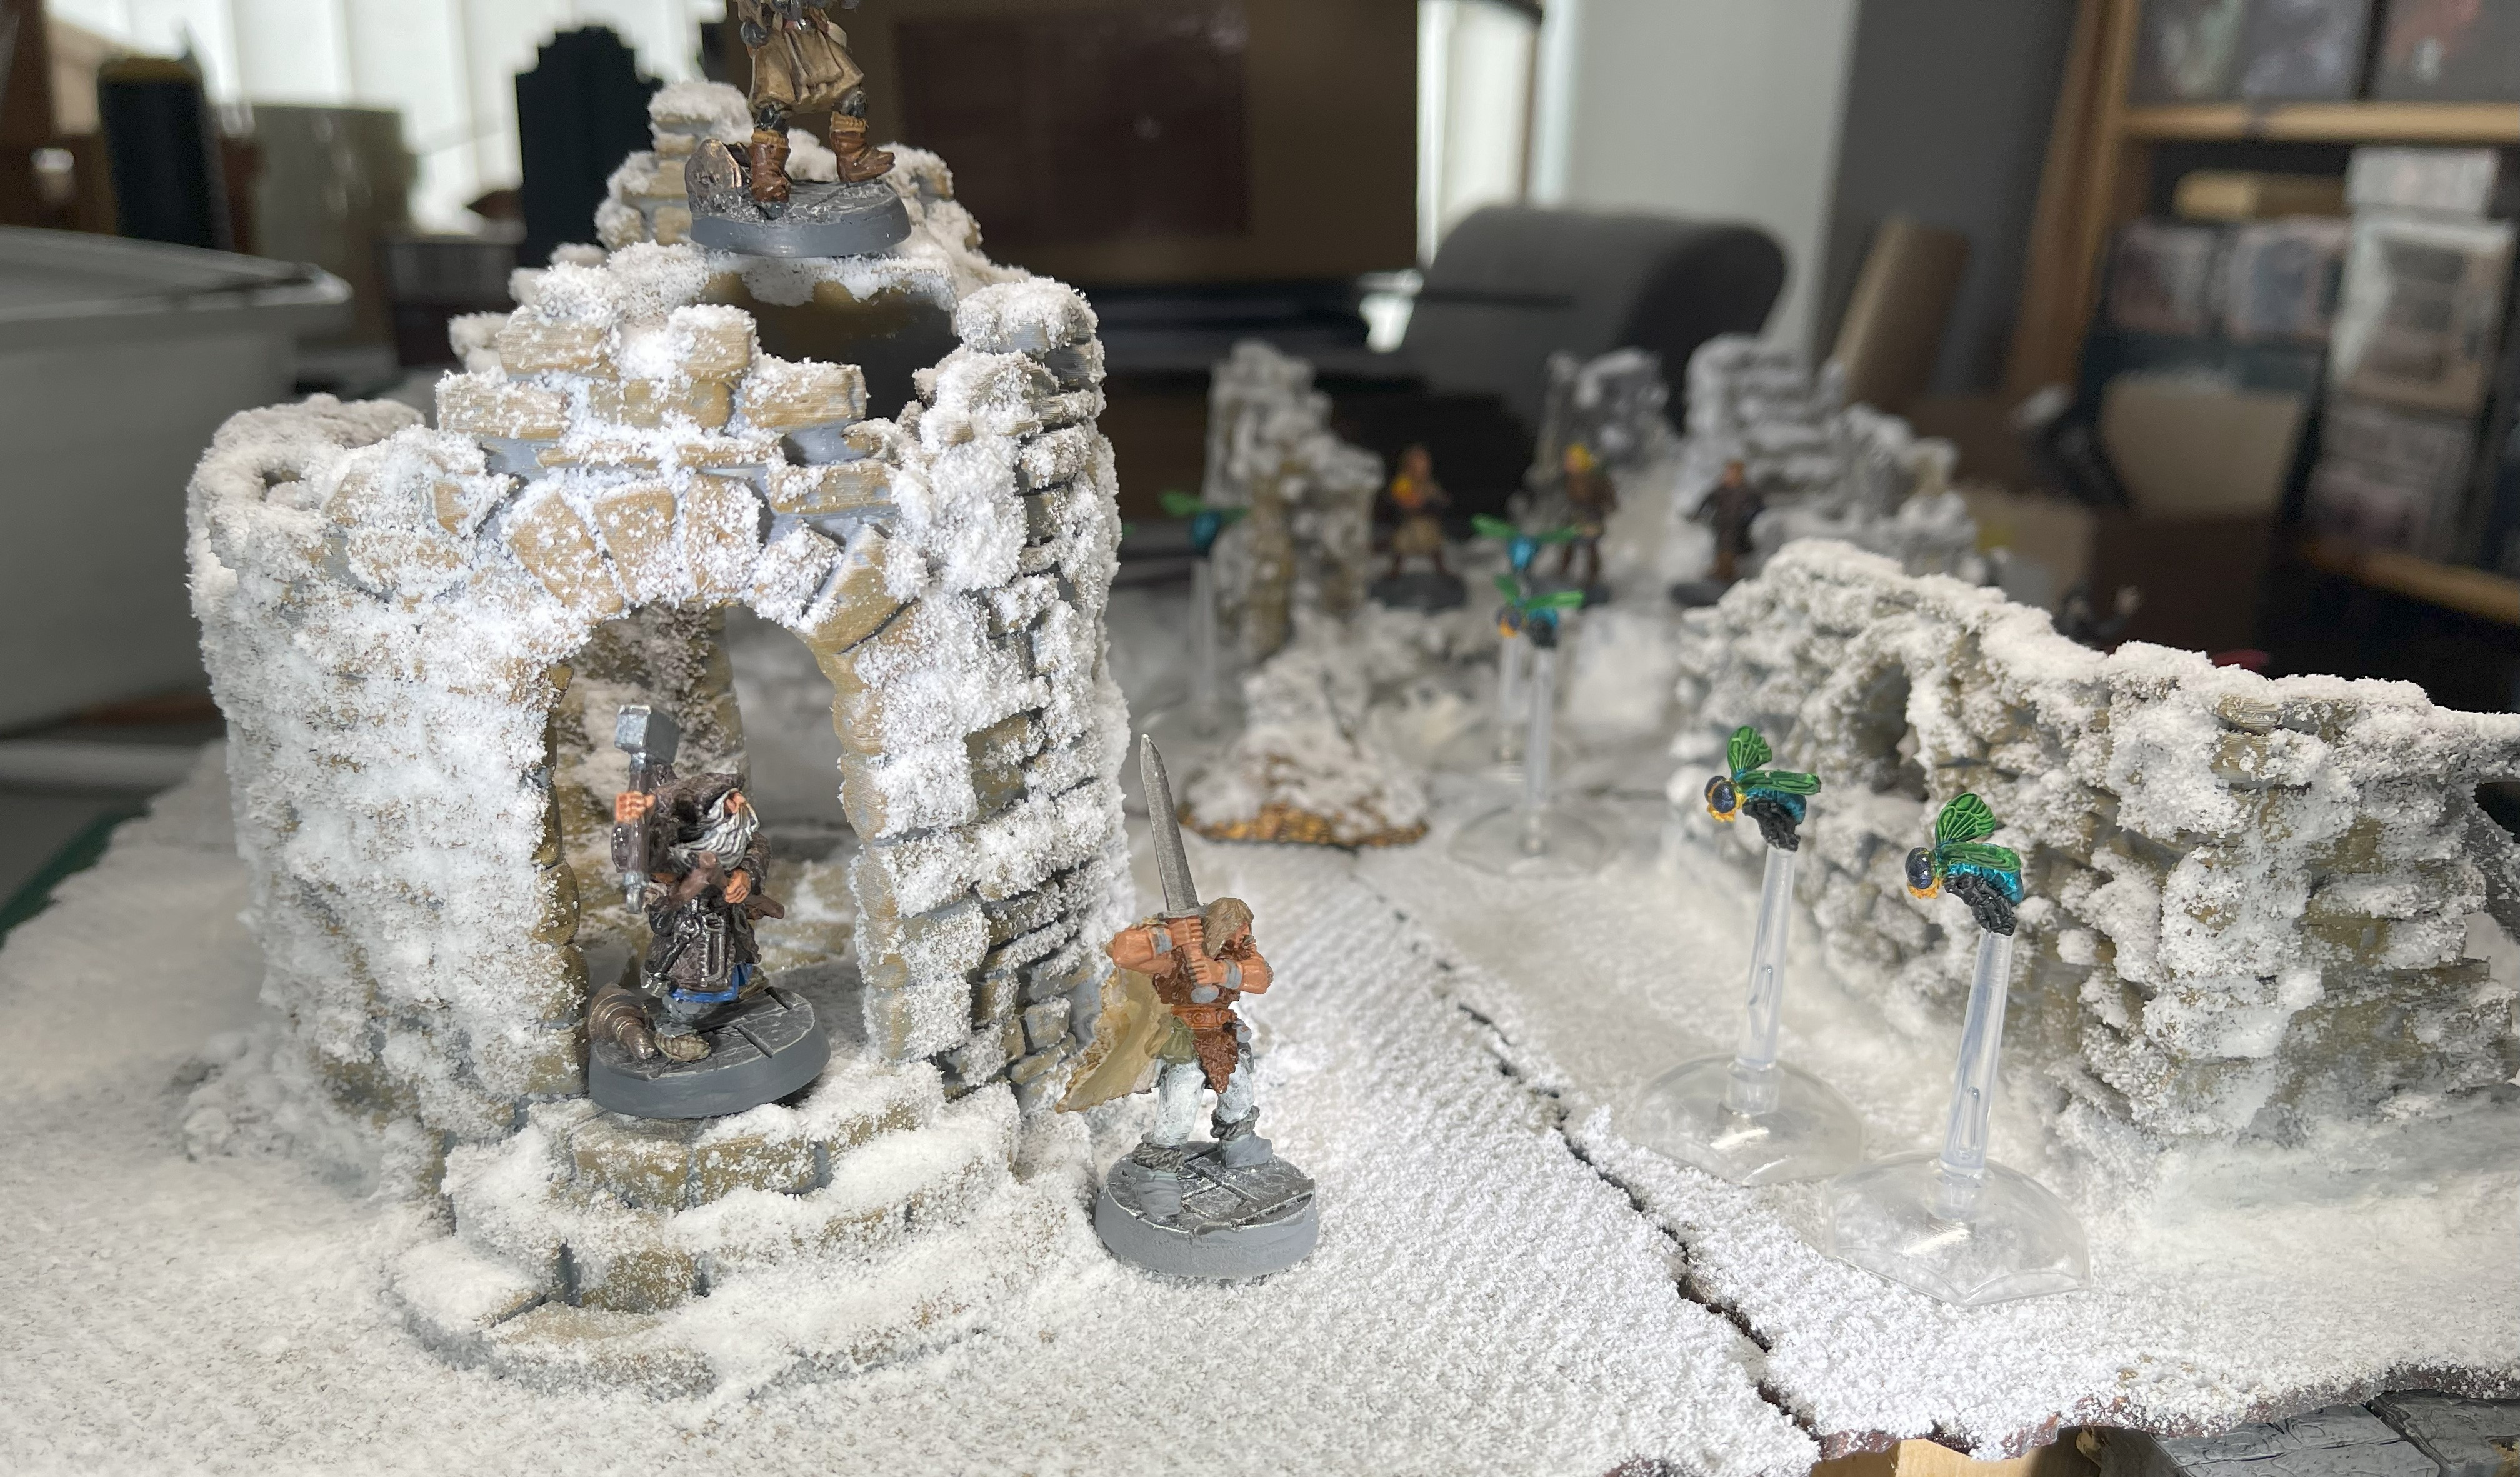
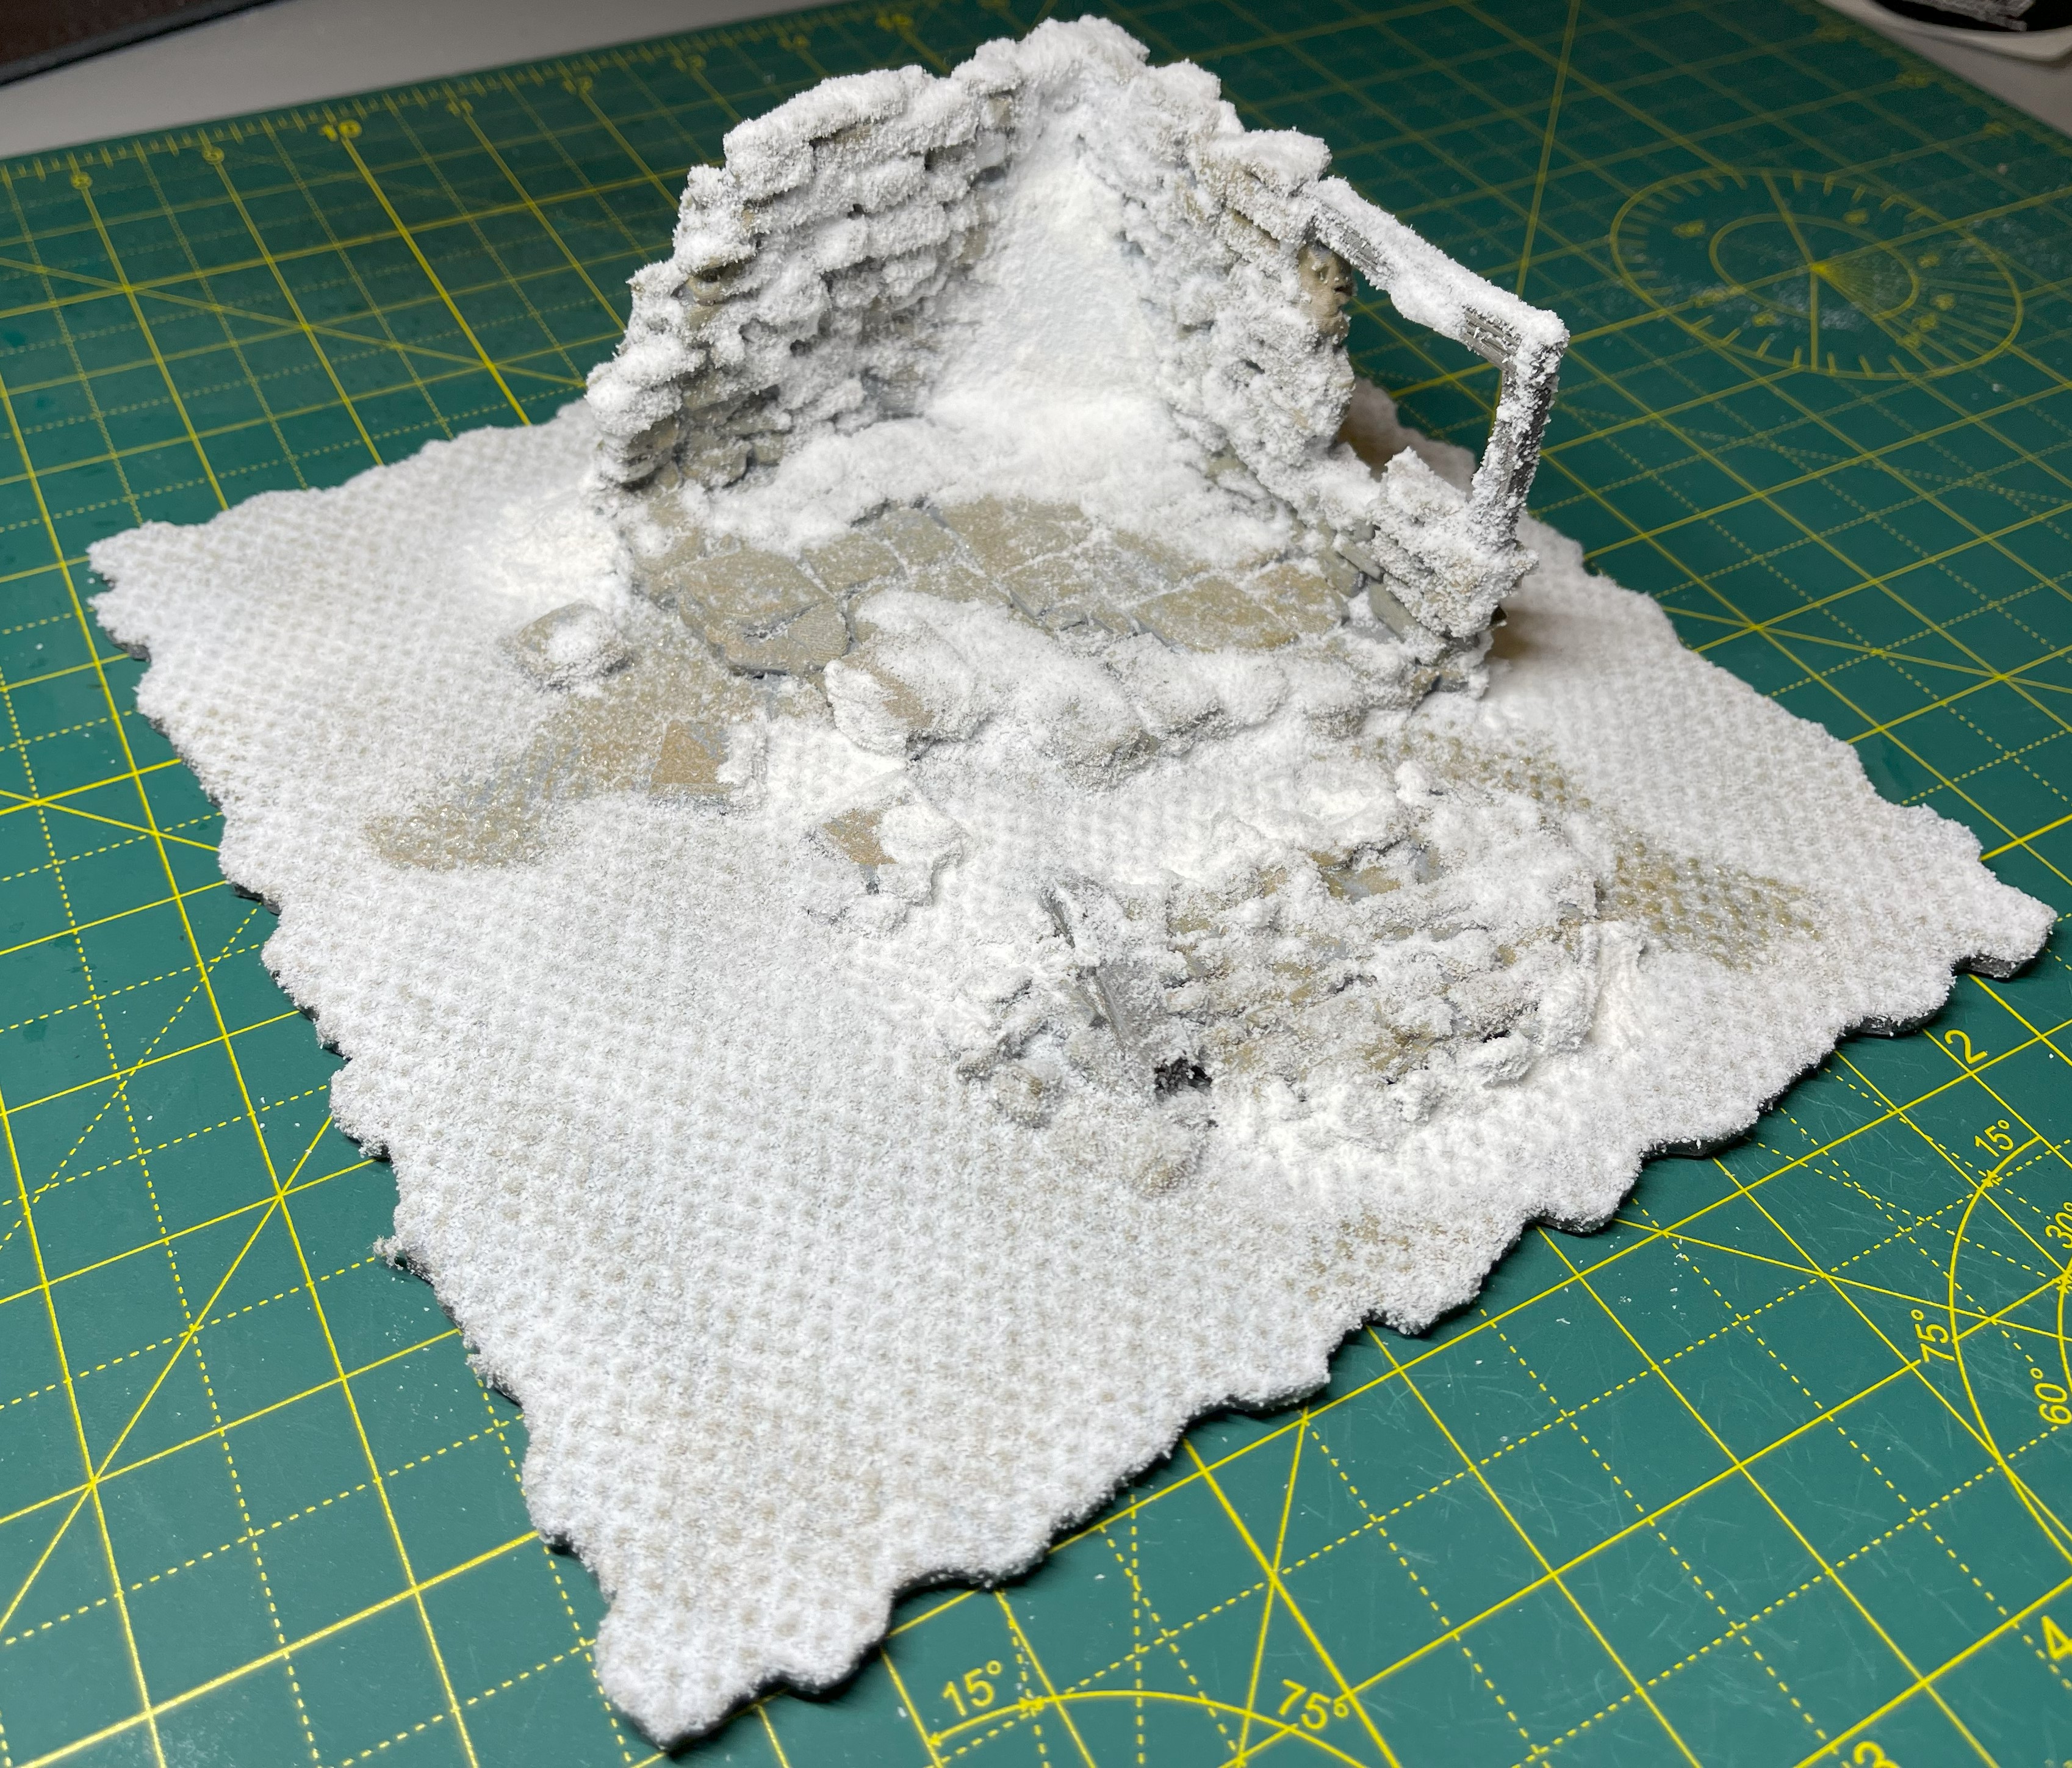
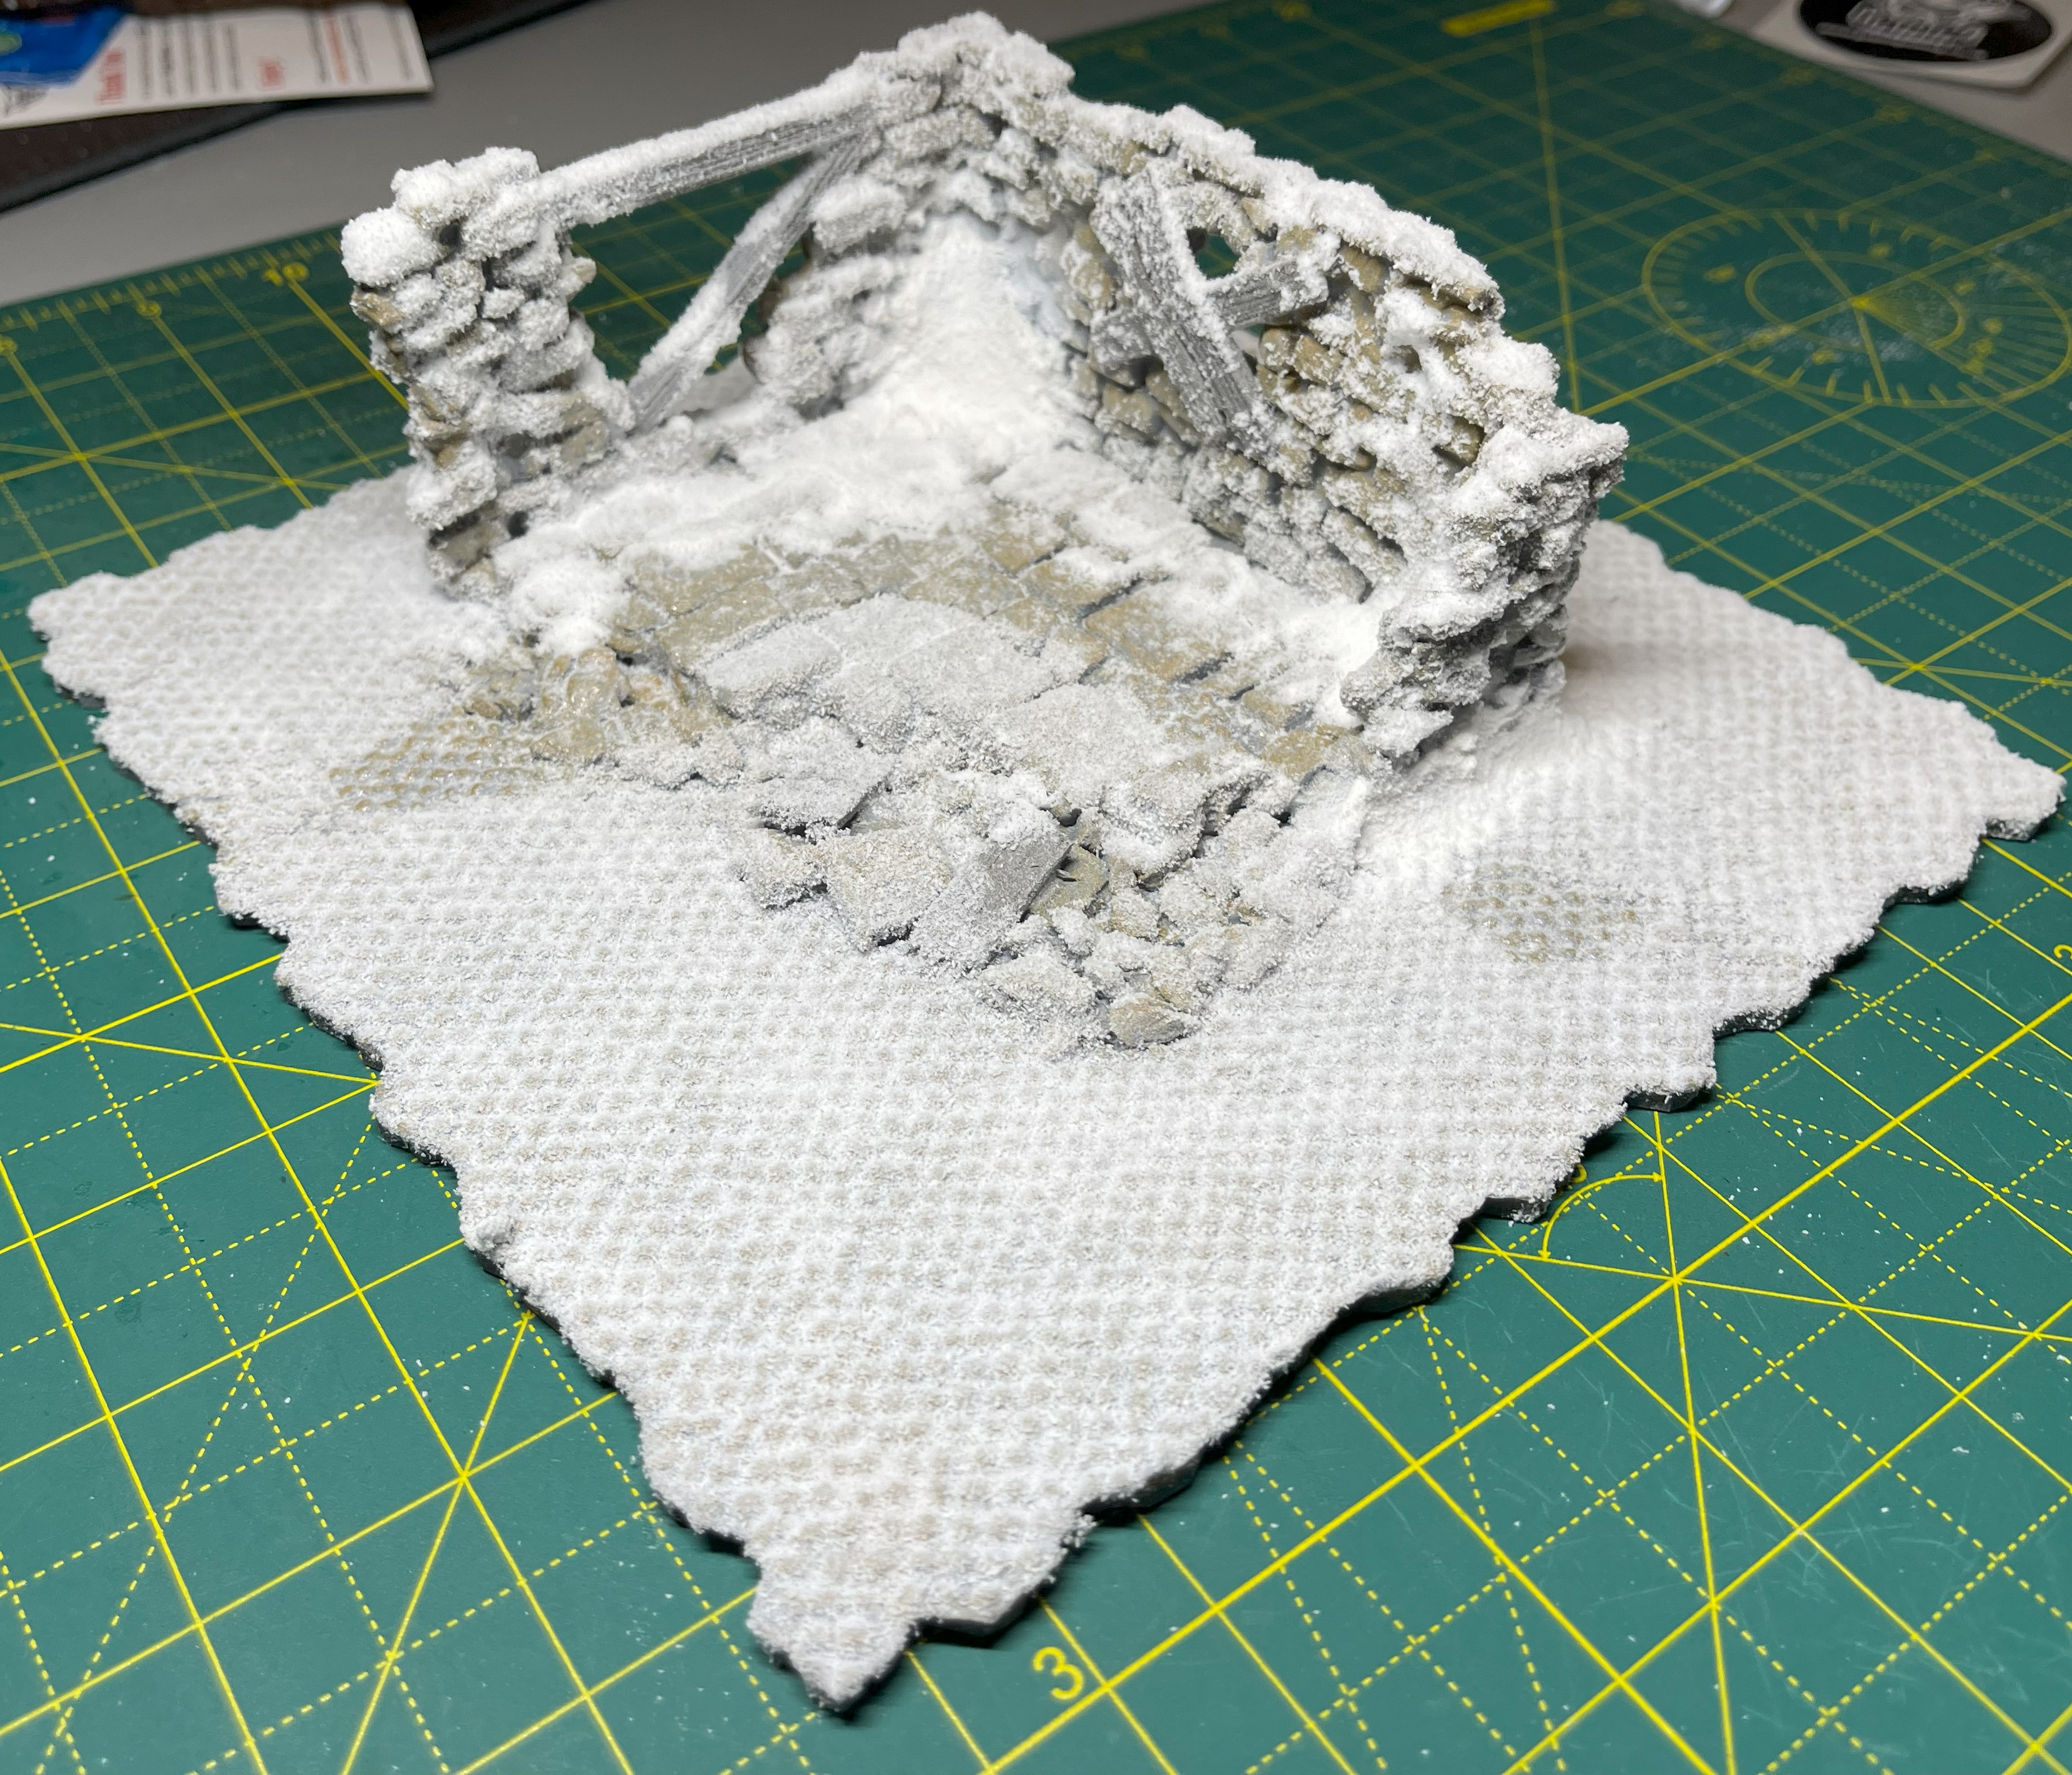
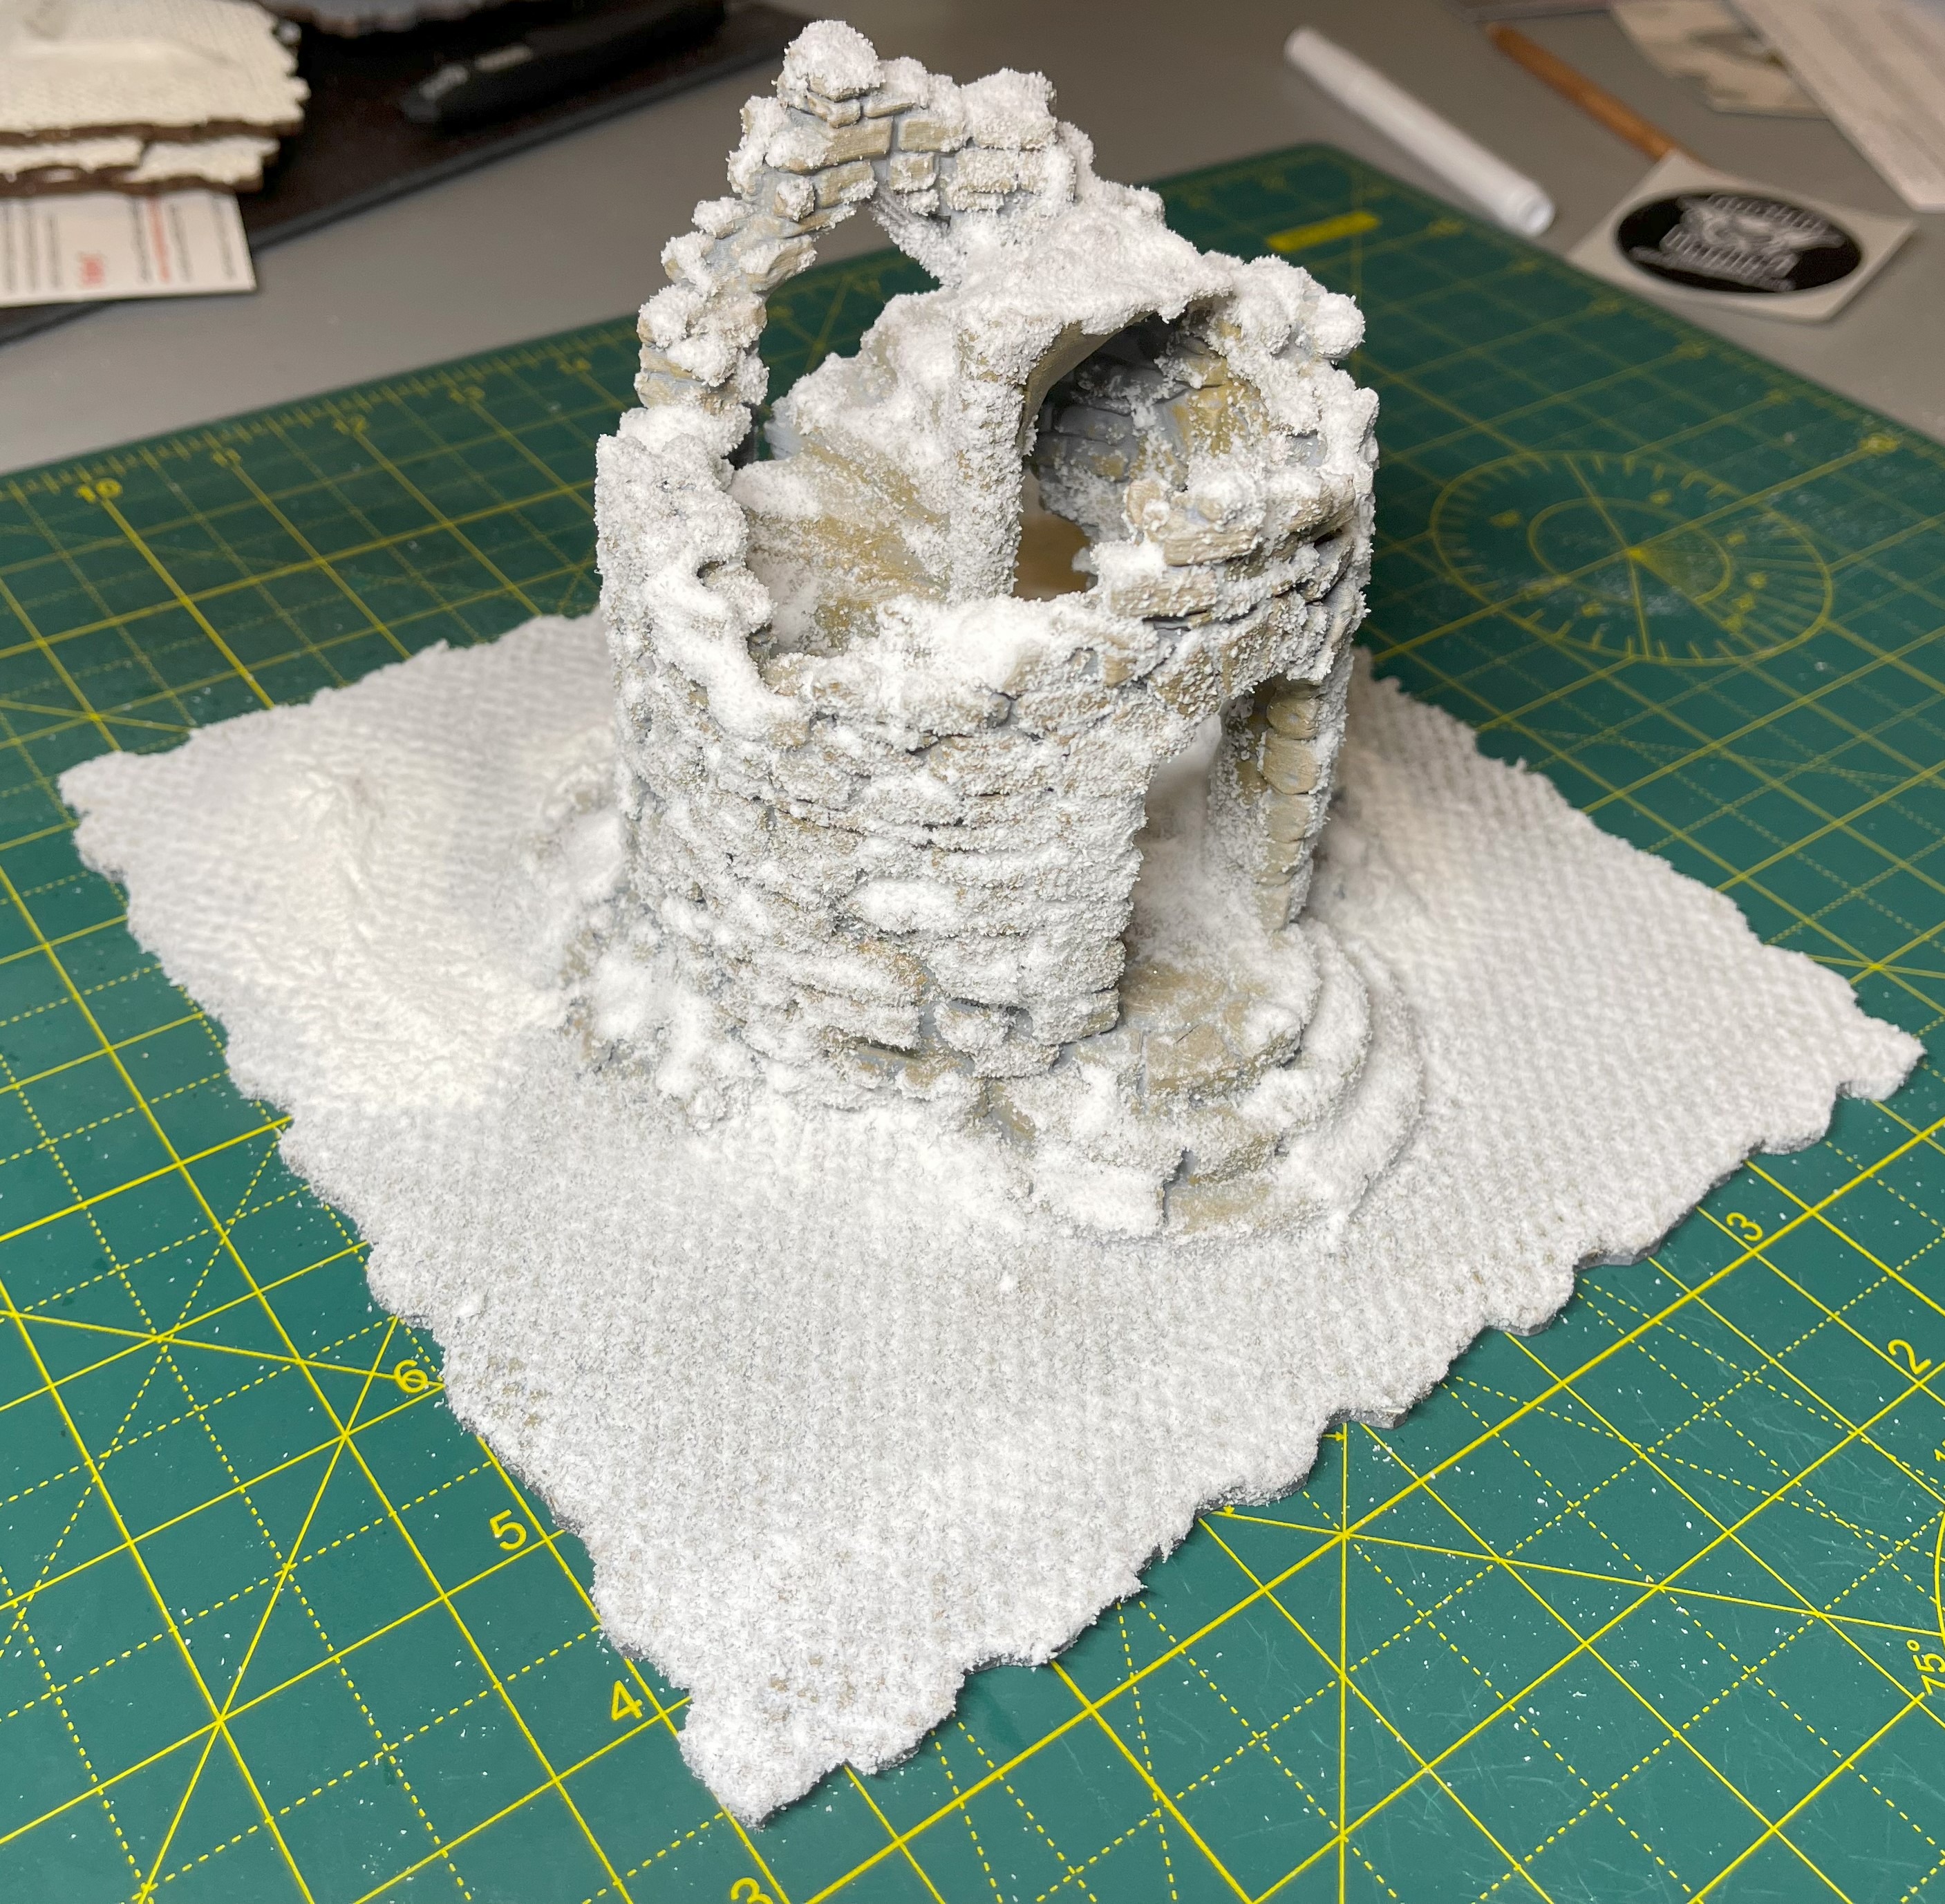
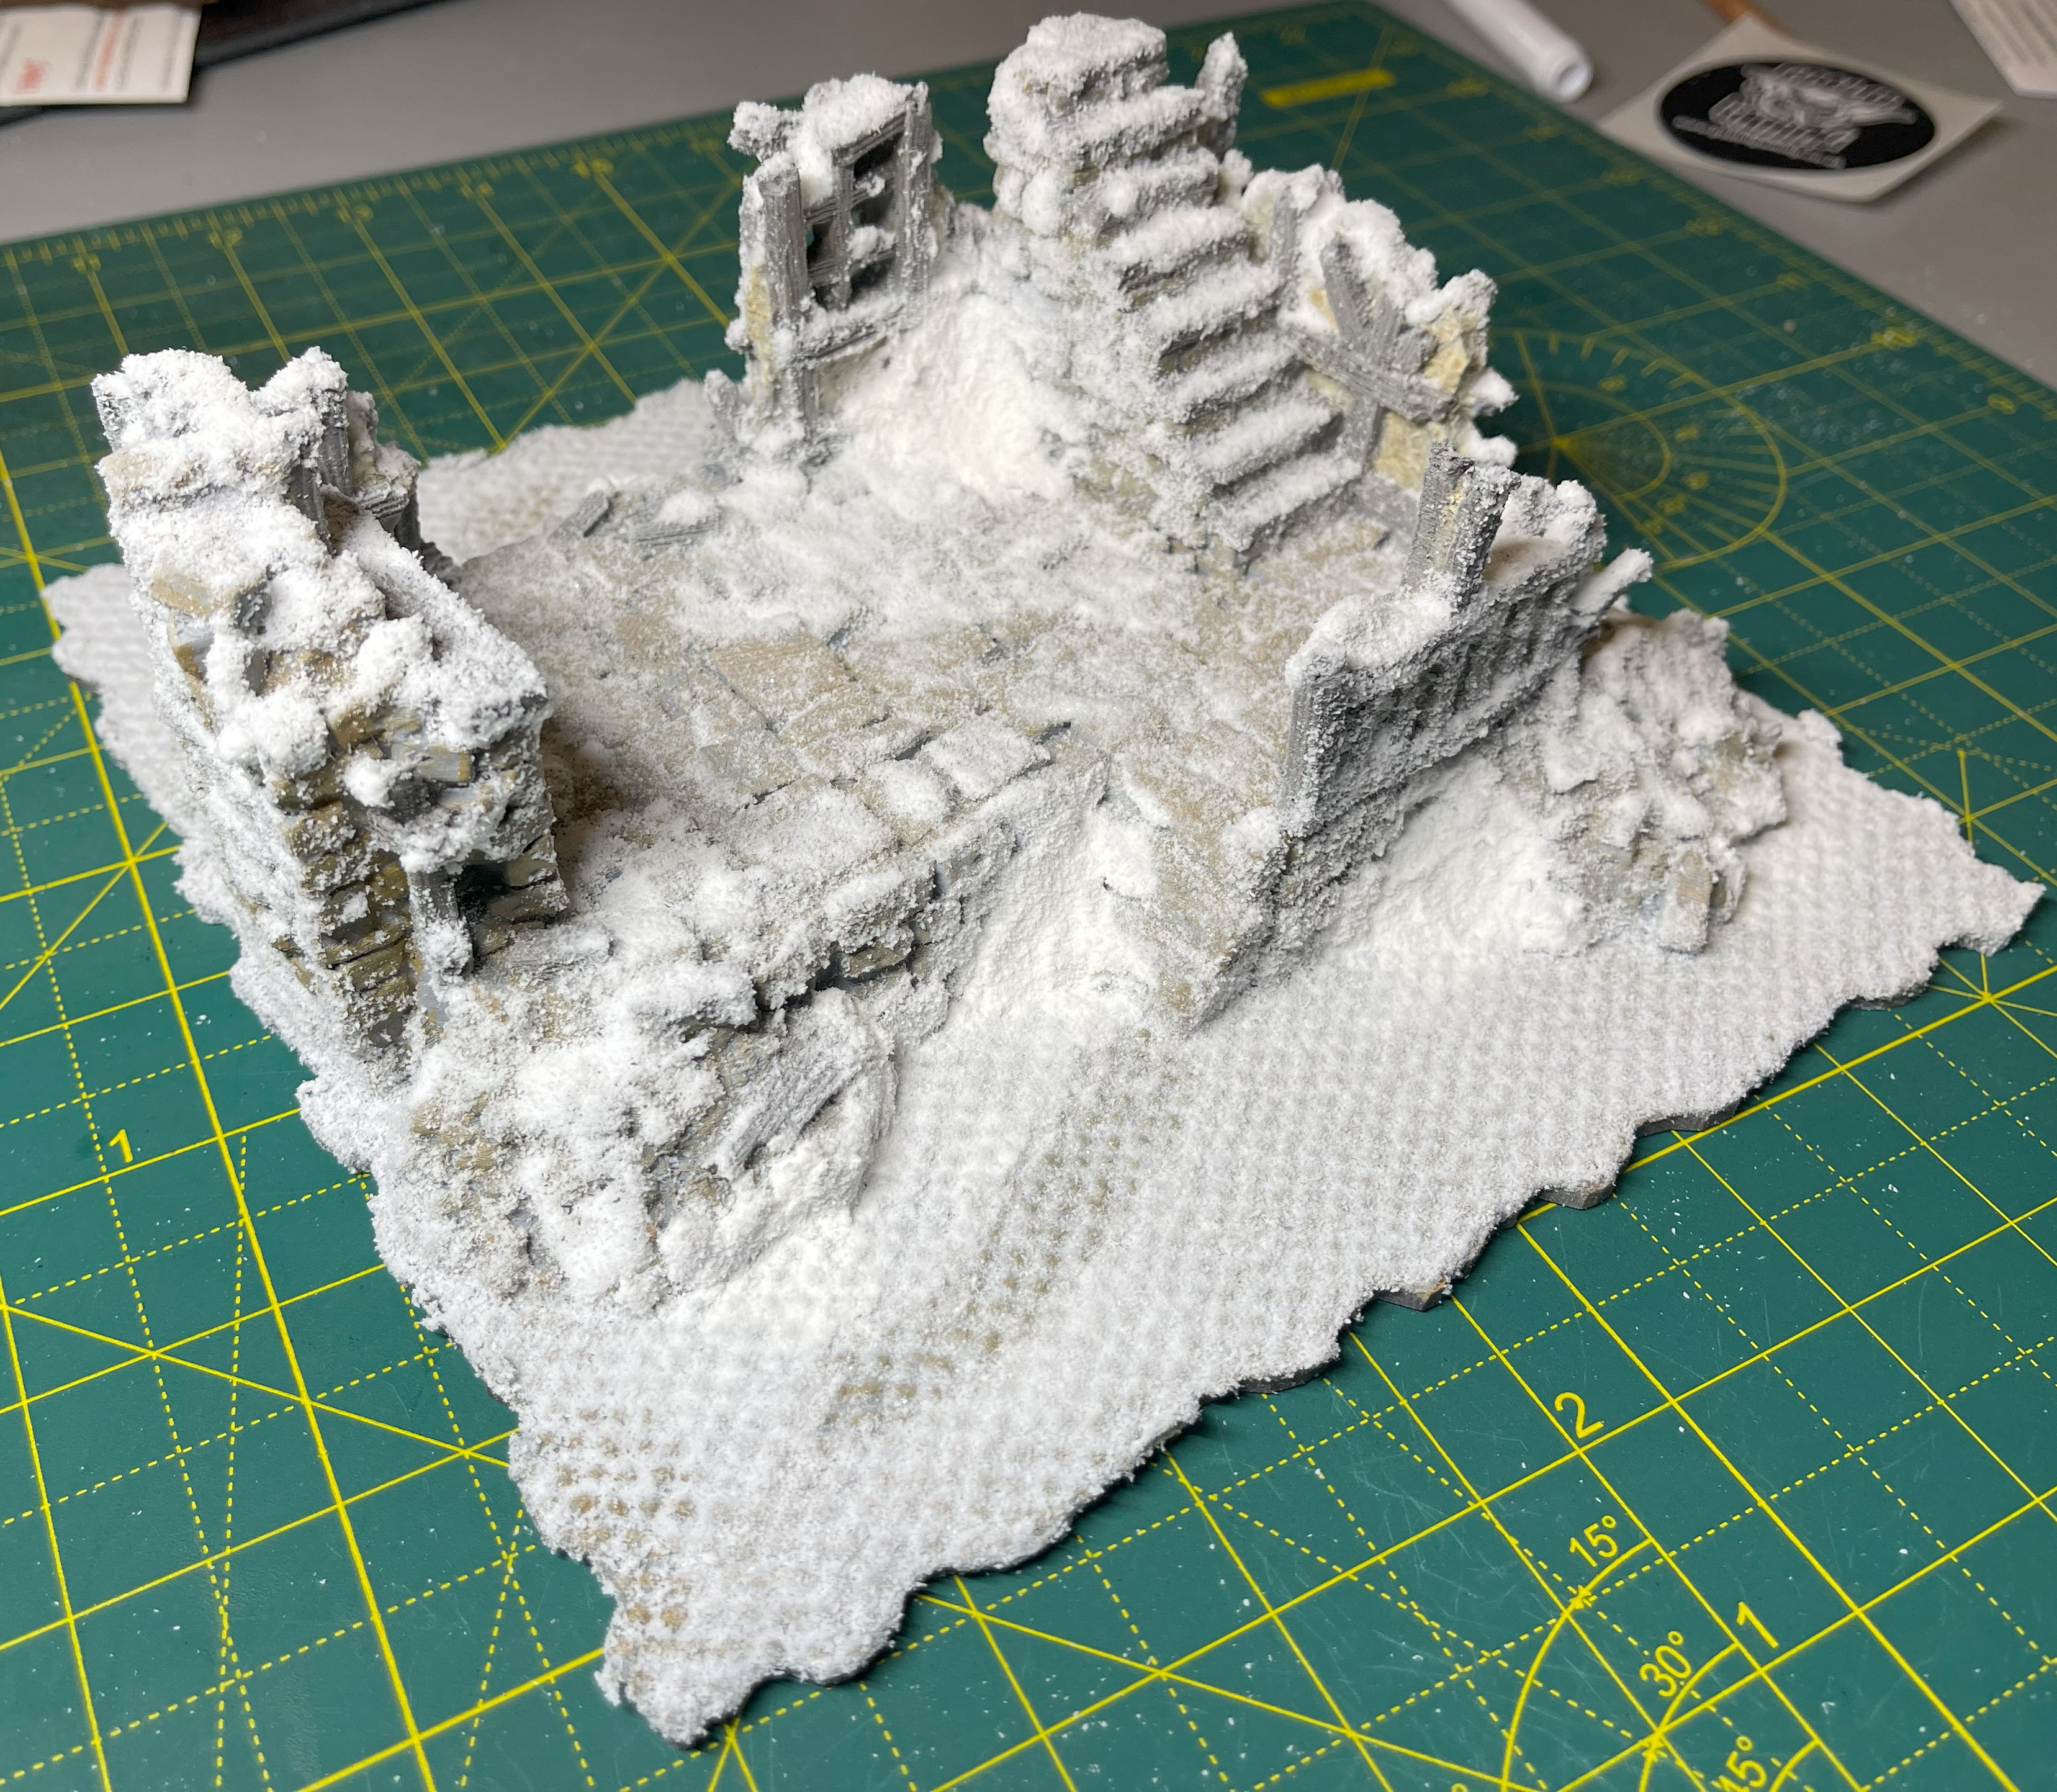
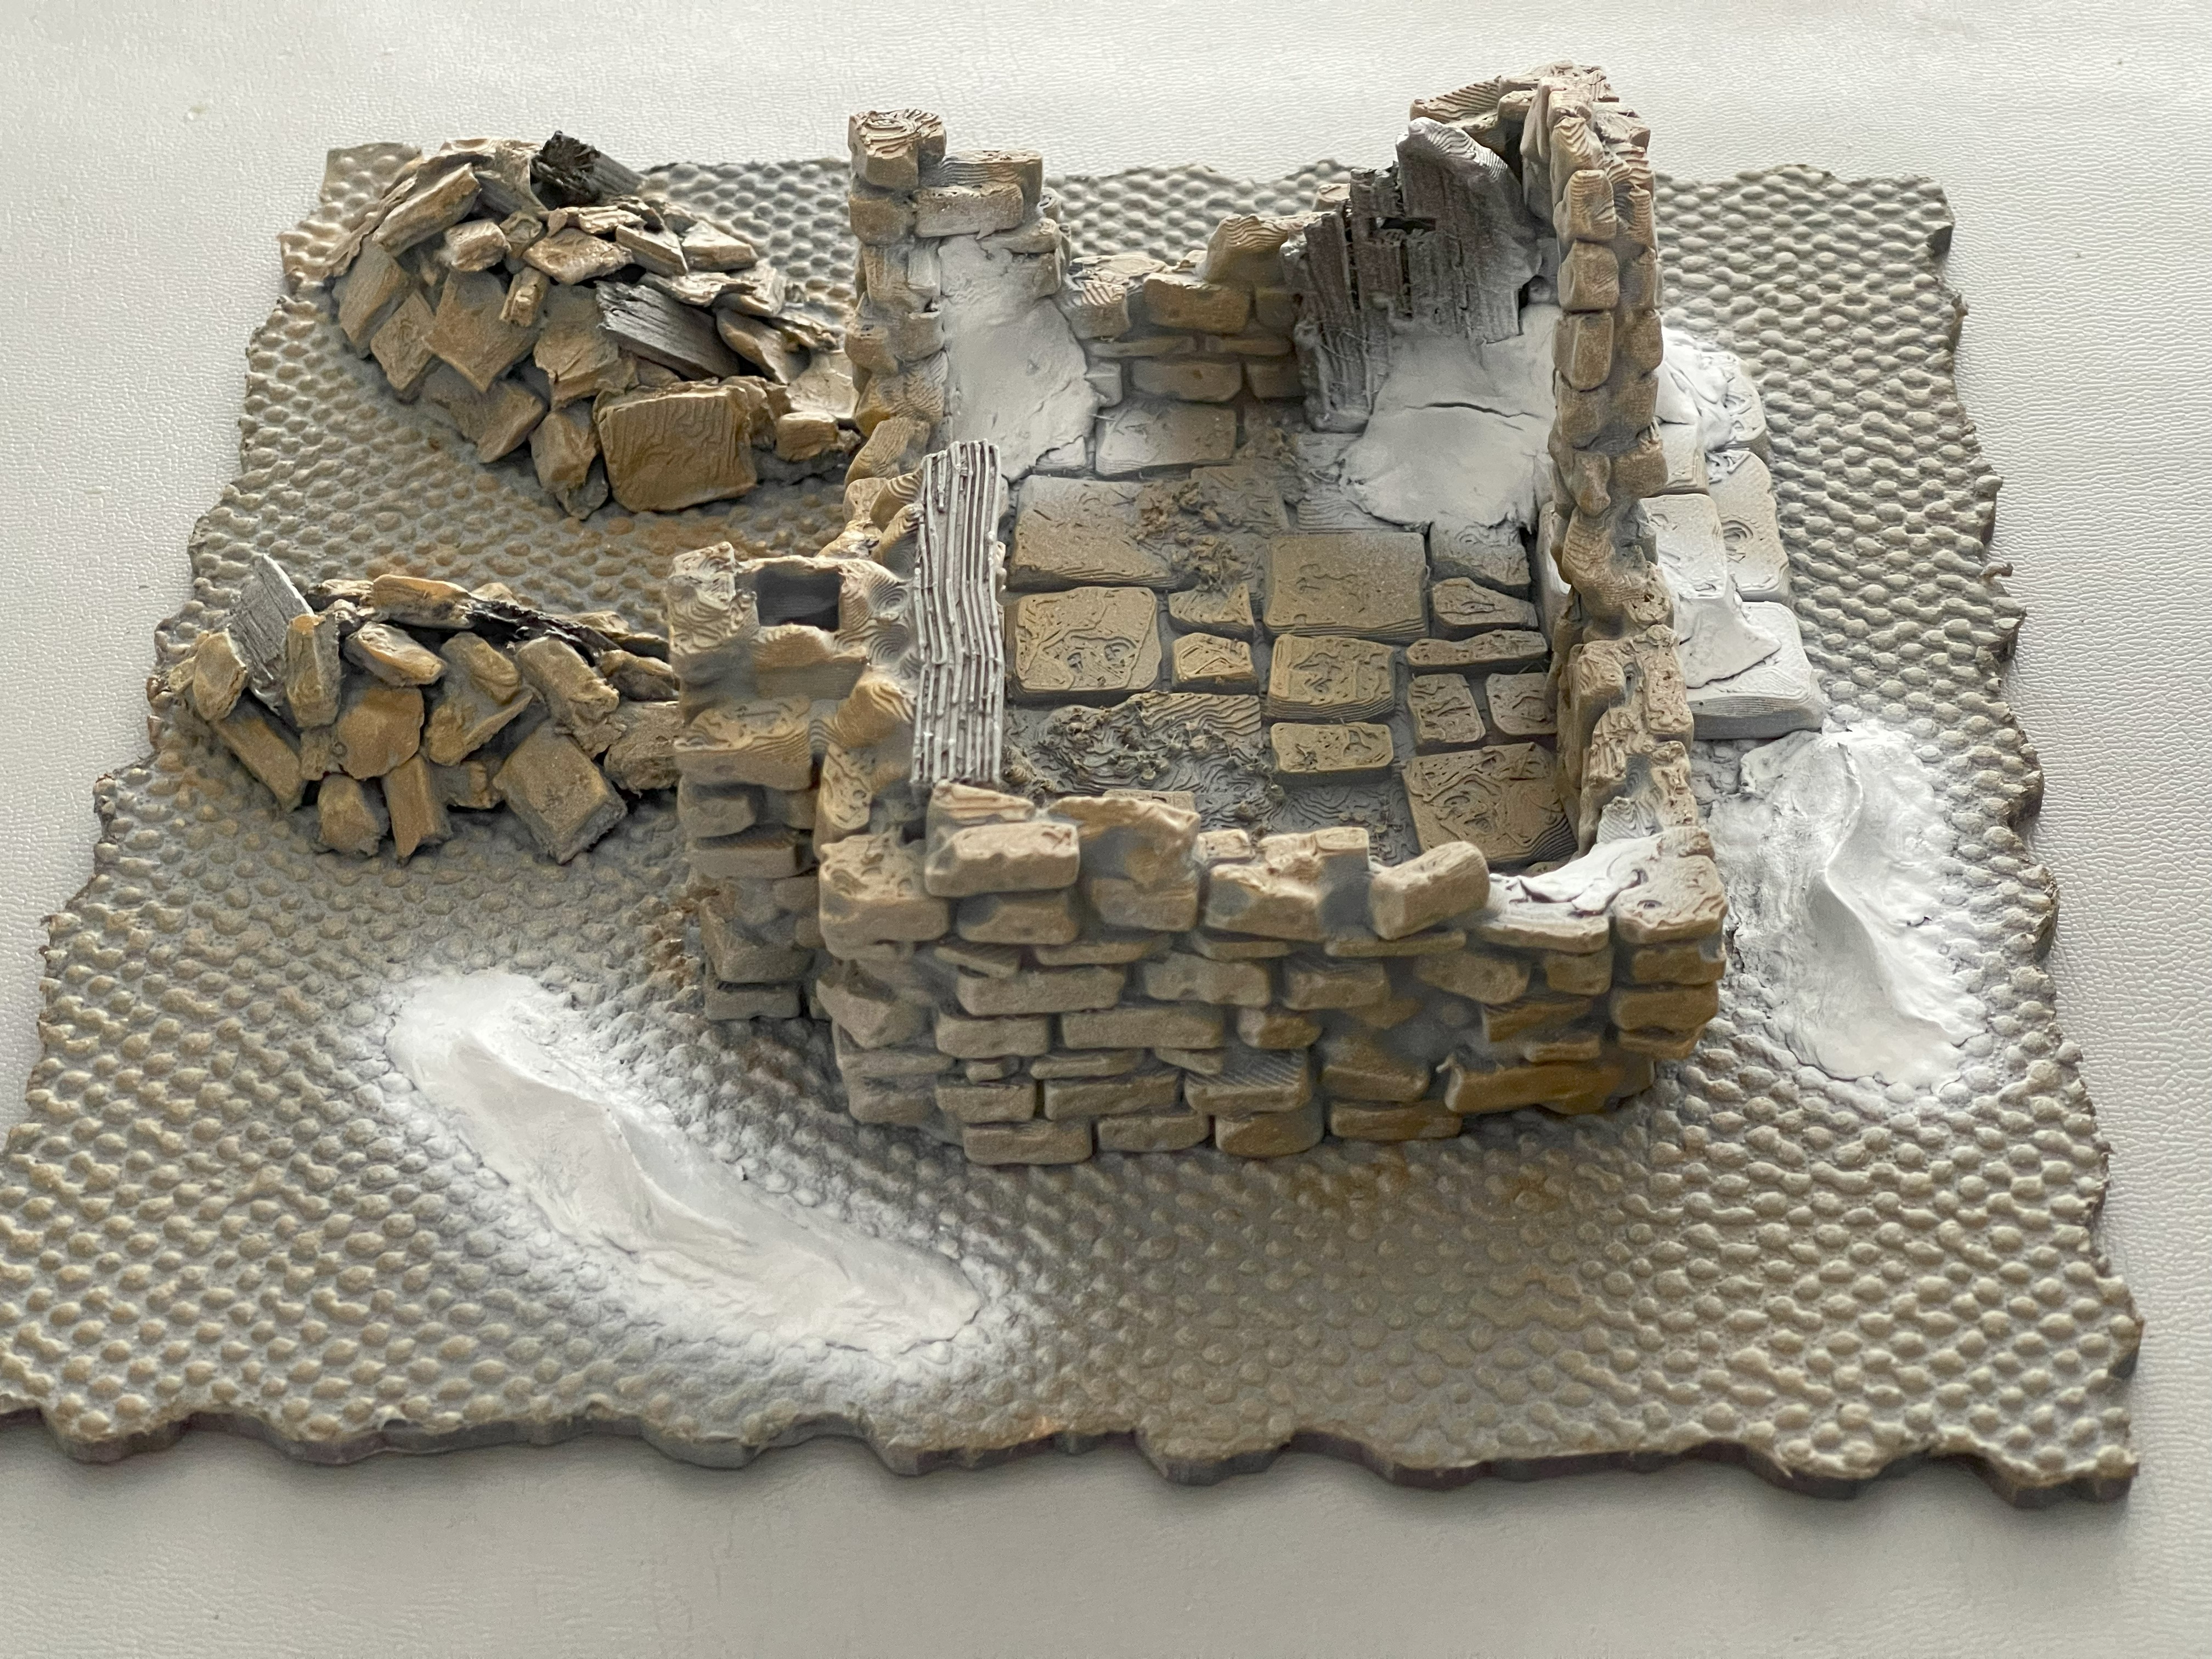
More buildings and snow
Some before and after shots.
I’ve tried to keep the frosted ground this time so there is a worn path across the snow.
Some rules
I thought I would jot down some rules for using cellars in Frostgrave. I haven’t had a chance to play test these as the table isn’t finished yet so they may need some tweaks.
Dungeon Delve
Set-Up
Place the central treasure as normal and then each player secretly picks 2 buildings in the opponent’s half of the table that contain a treasure and 2 building which contain a cellar
Special Rules
Whenever a figure is more than 3 inches from the edge of a tile that contains a building, it may spend an action to search for a cellar entrance, a cellar entrance is placed next to the searching figure. Their opponent will then revel if that building contains a cellar they do not revel if it contains a treasure.
They then choose a prebuilt cellar to be placed under the building and then roll on the wandering monster table and place the monster from the that at least 4 inches from the entrance point. Monsters will move as normal but if all figures leave the cellar, they will move towards the entrance to leave the cellar and move to the surface.
Cellars can be entered or left by using an inch of movement, cellars with ladders assume the figure is at the top of the ladder and cellars with stairs assume the figure is on top step.
Once the all the monsters in the cellar have been defeated or lured out of the cellar a figure within the cellar can spend an action to search the cellar for a treasure, it is now that this is revealed if this contains a treasure (if a player makes it into the opponent’s half of the table, they will know which cellars contain the treasure). Once the search is complete the treasure is placed next to the figure who searched for it.
Treasure and Experience
Roll for treasure as normal after the game. Experience points are gained as normal for the scenario with the following additions:
- +10 experience points if soldier kills at least one monster in a cellar.
- +15 experience points if an apprentice kills at least one monster in a cellar.
- +20 experience points if a wizard kills at least one monster in a cellar.
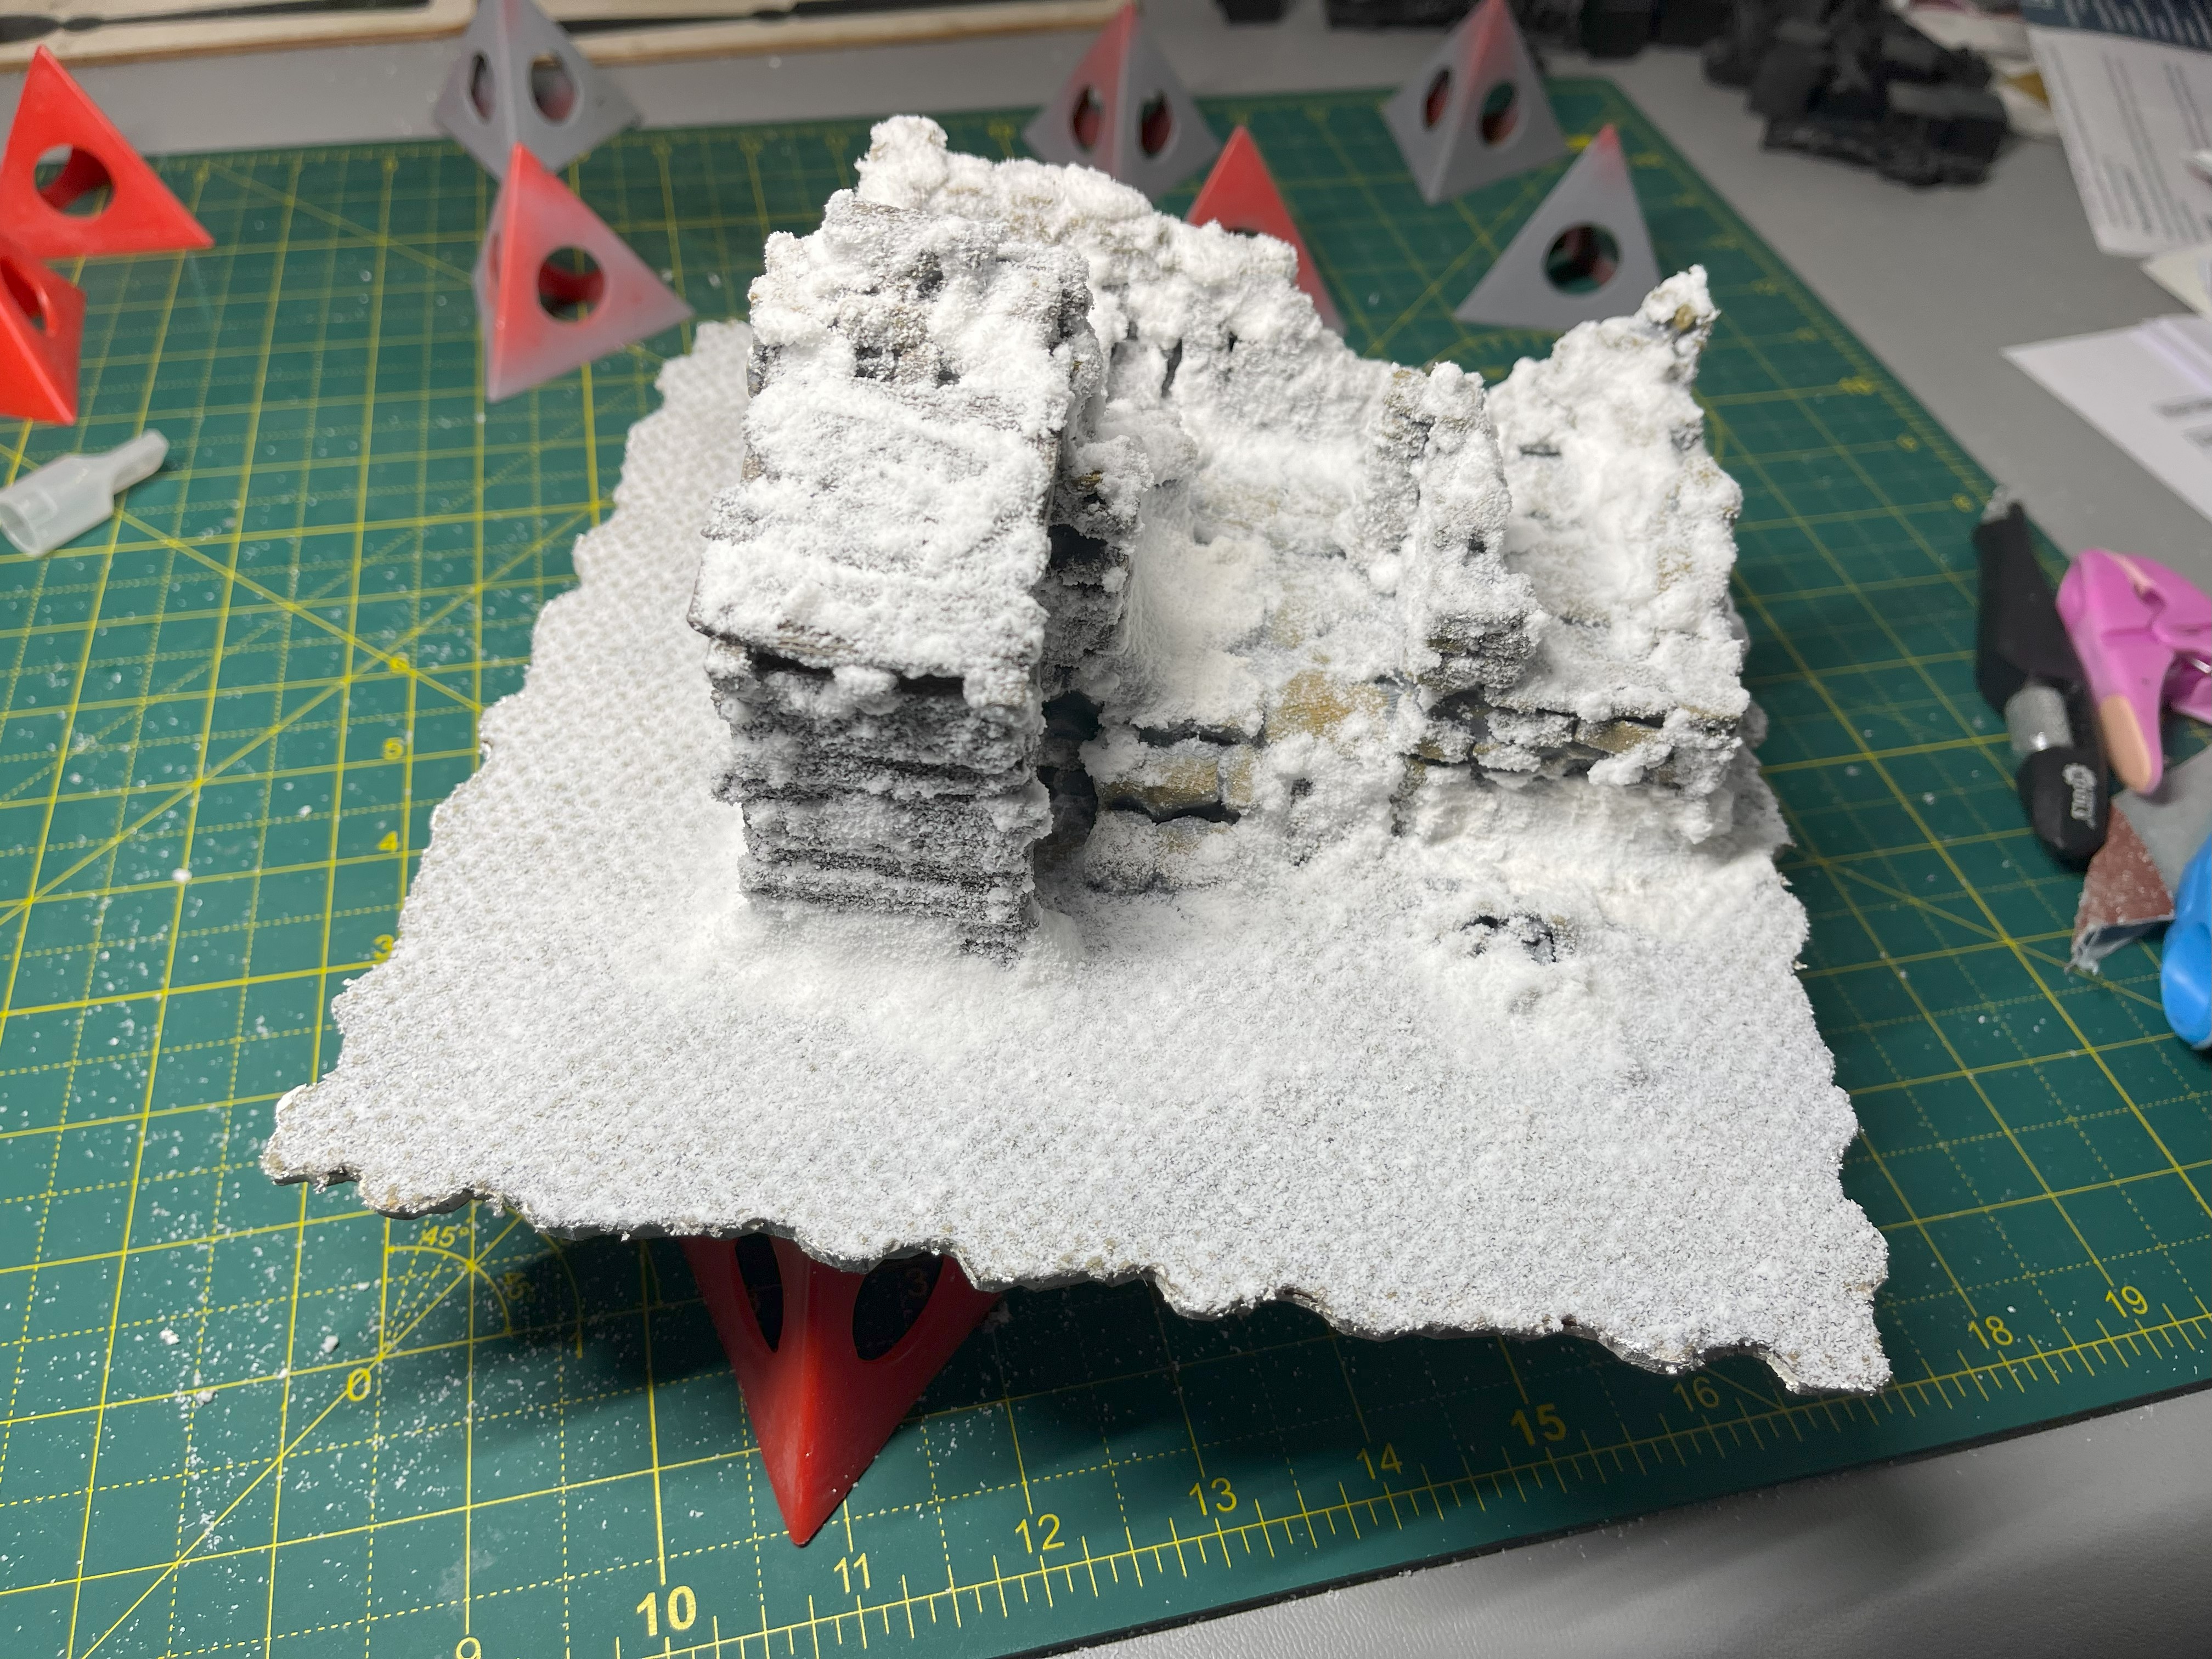
Time for some snow
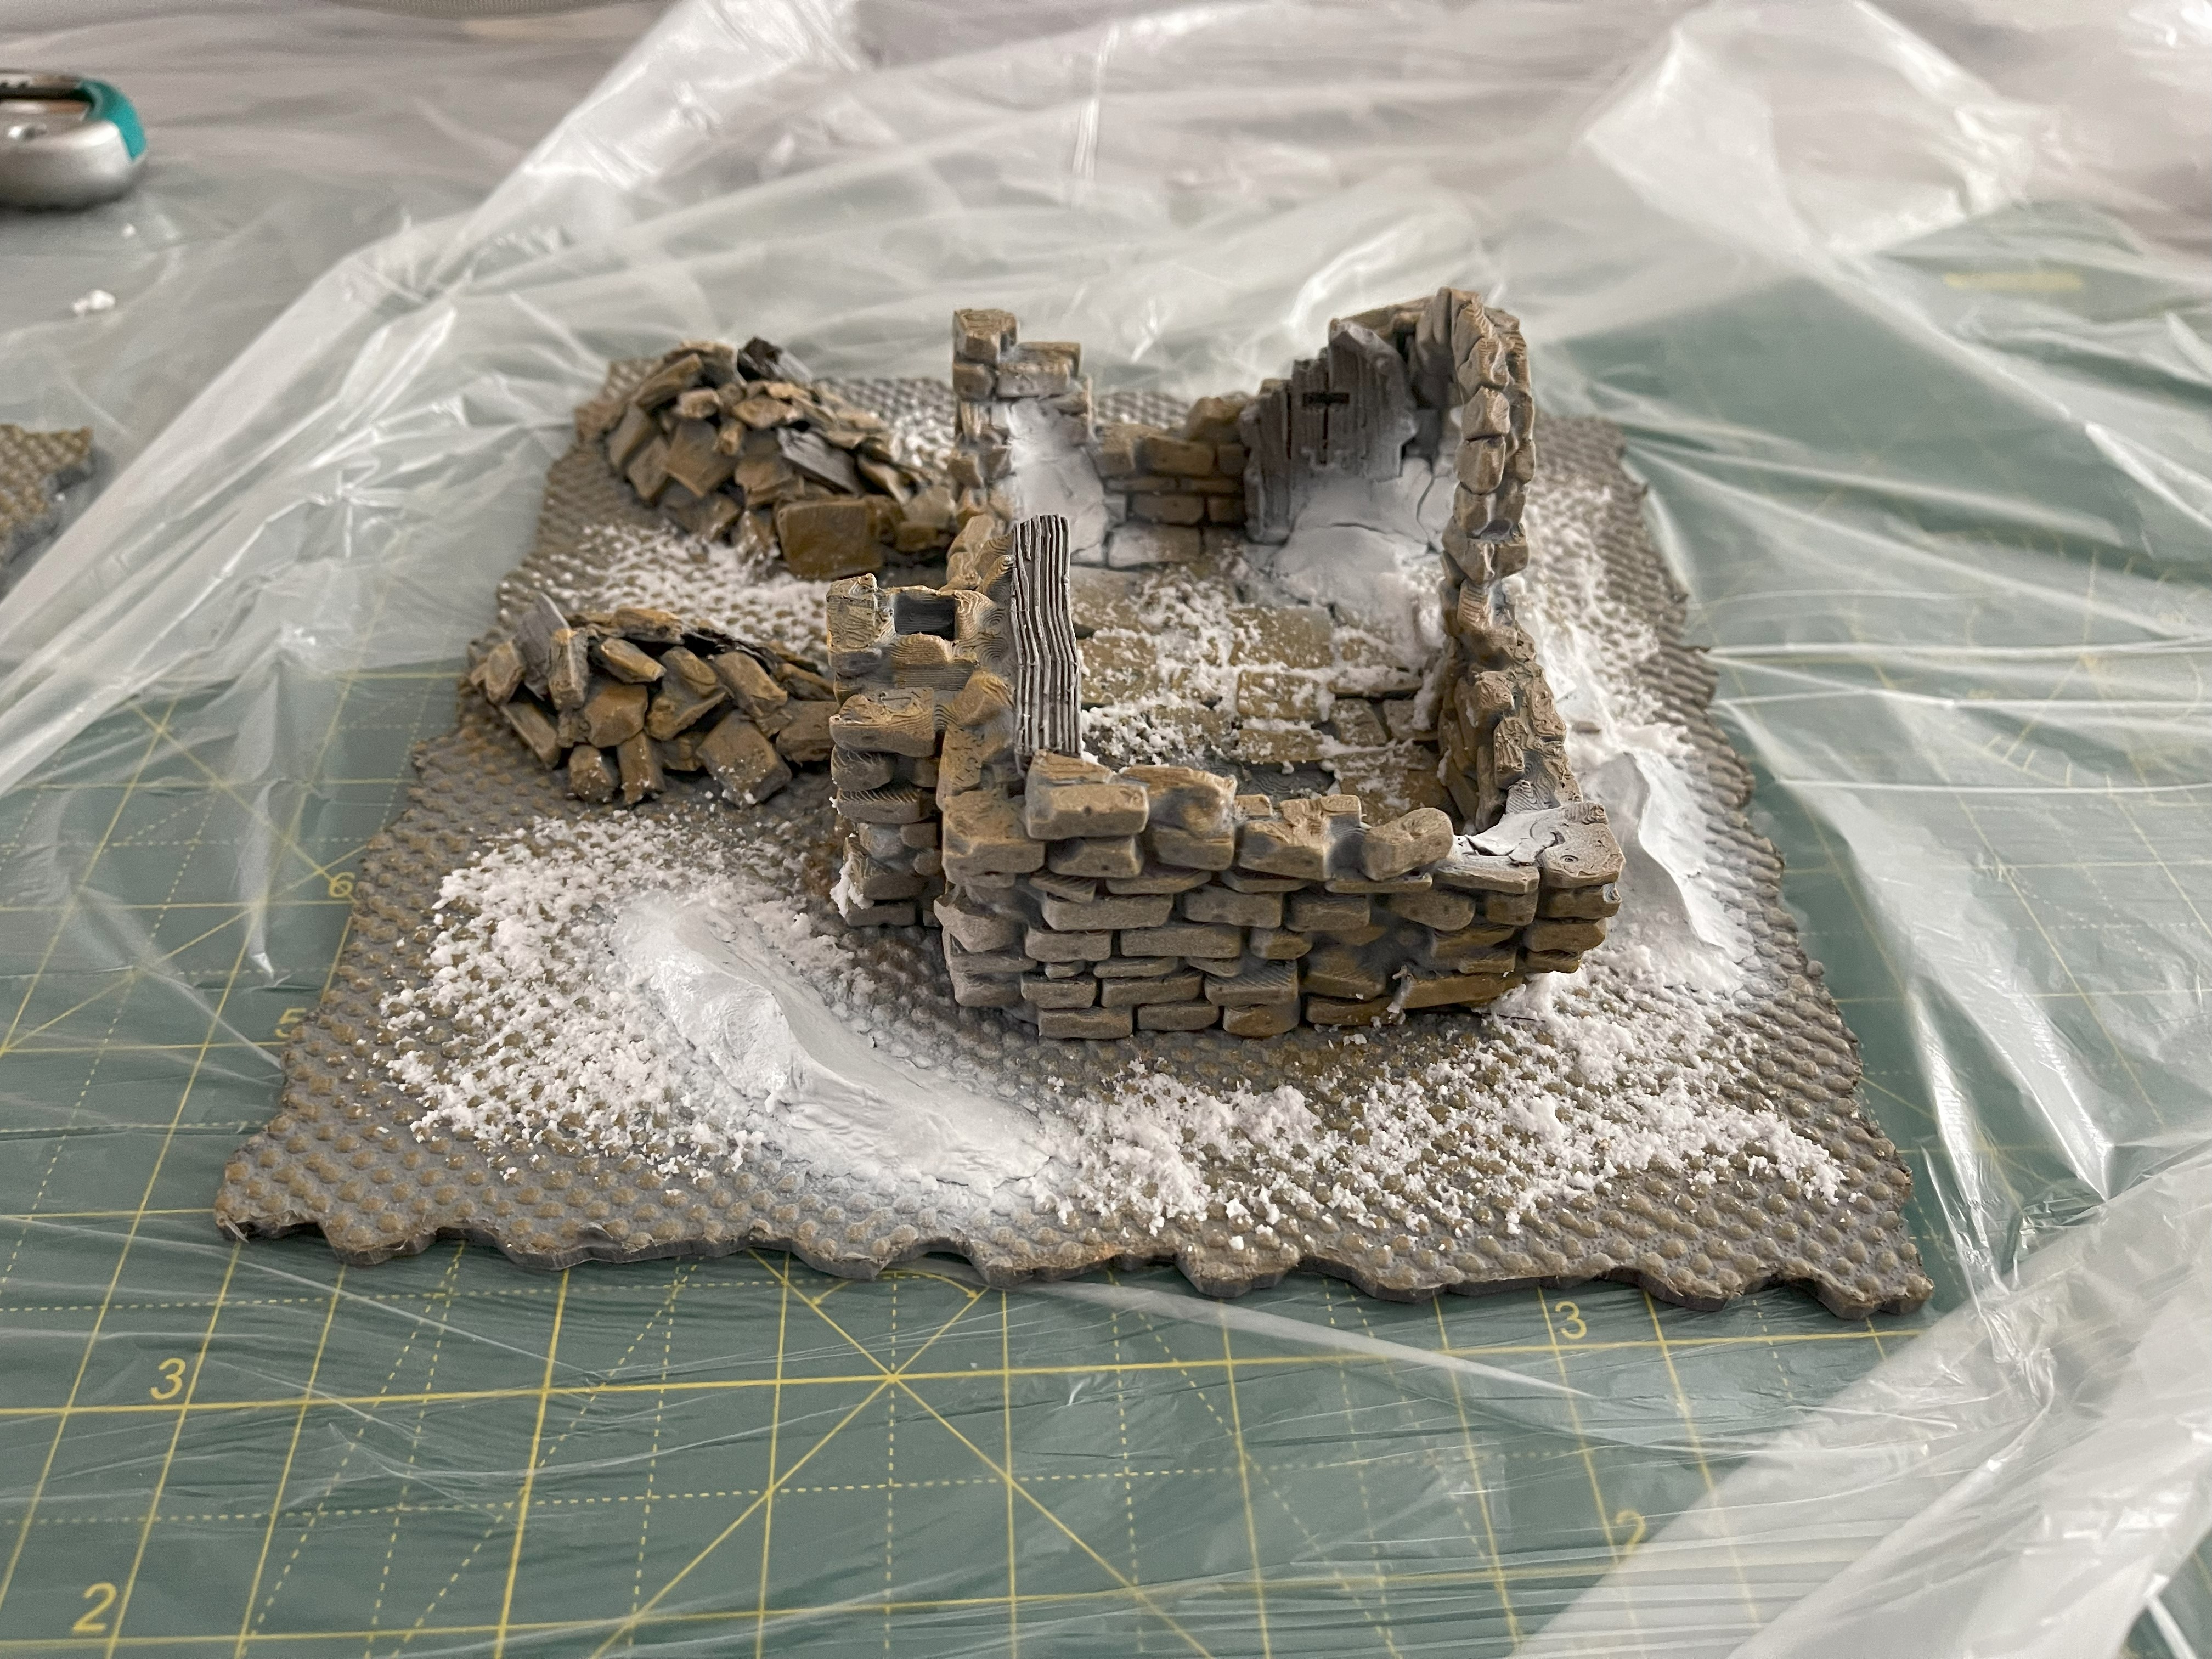
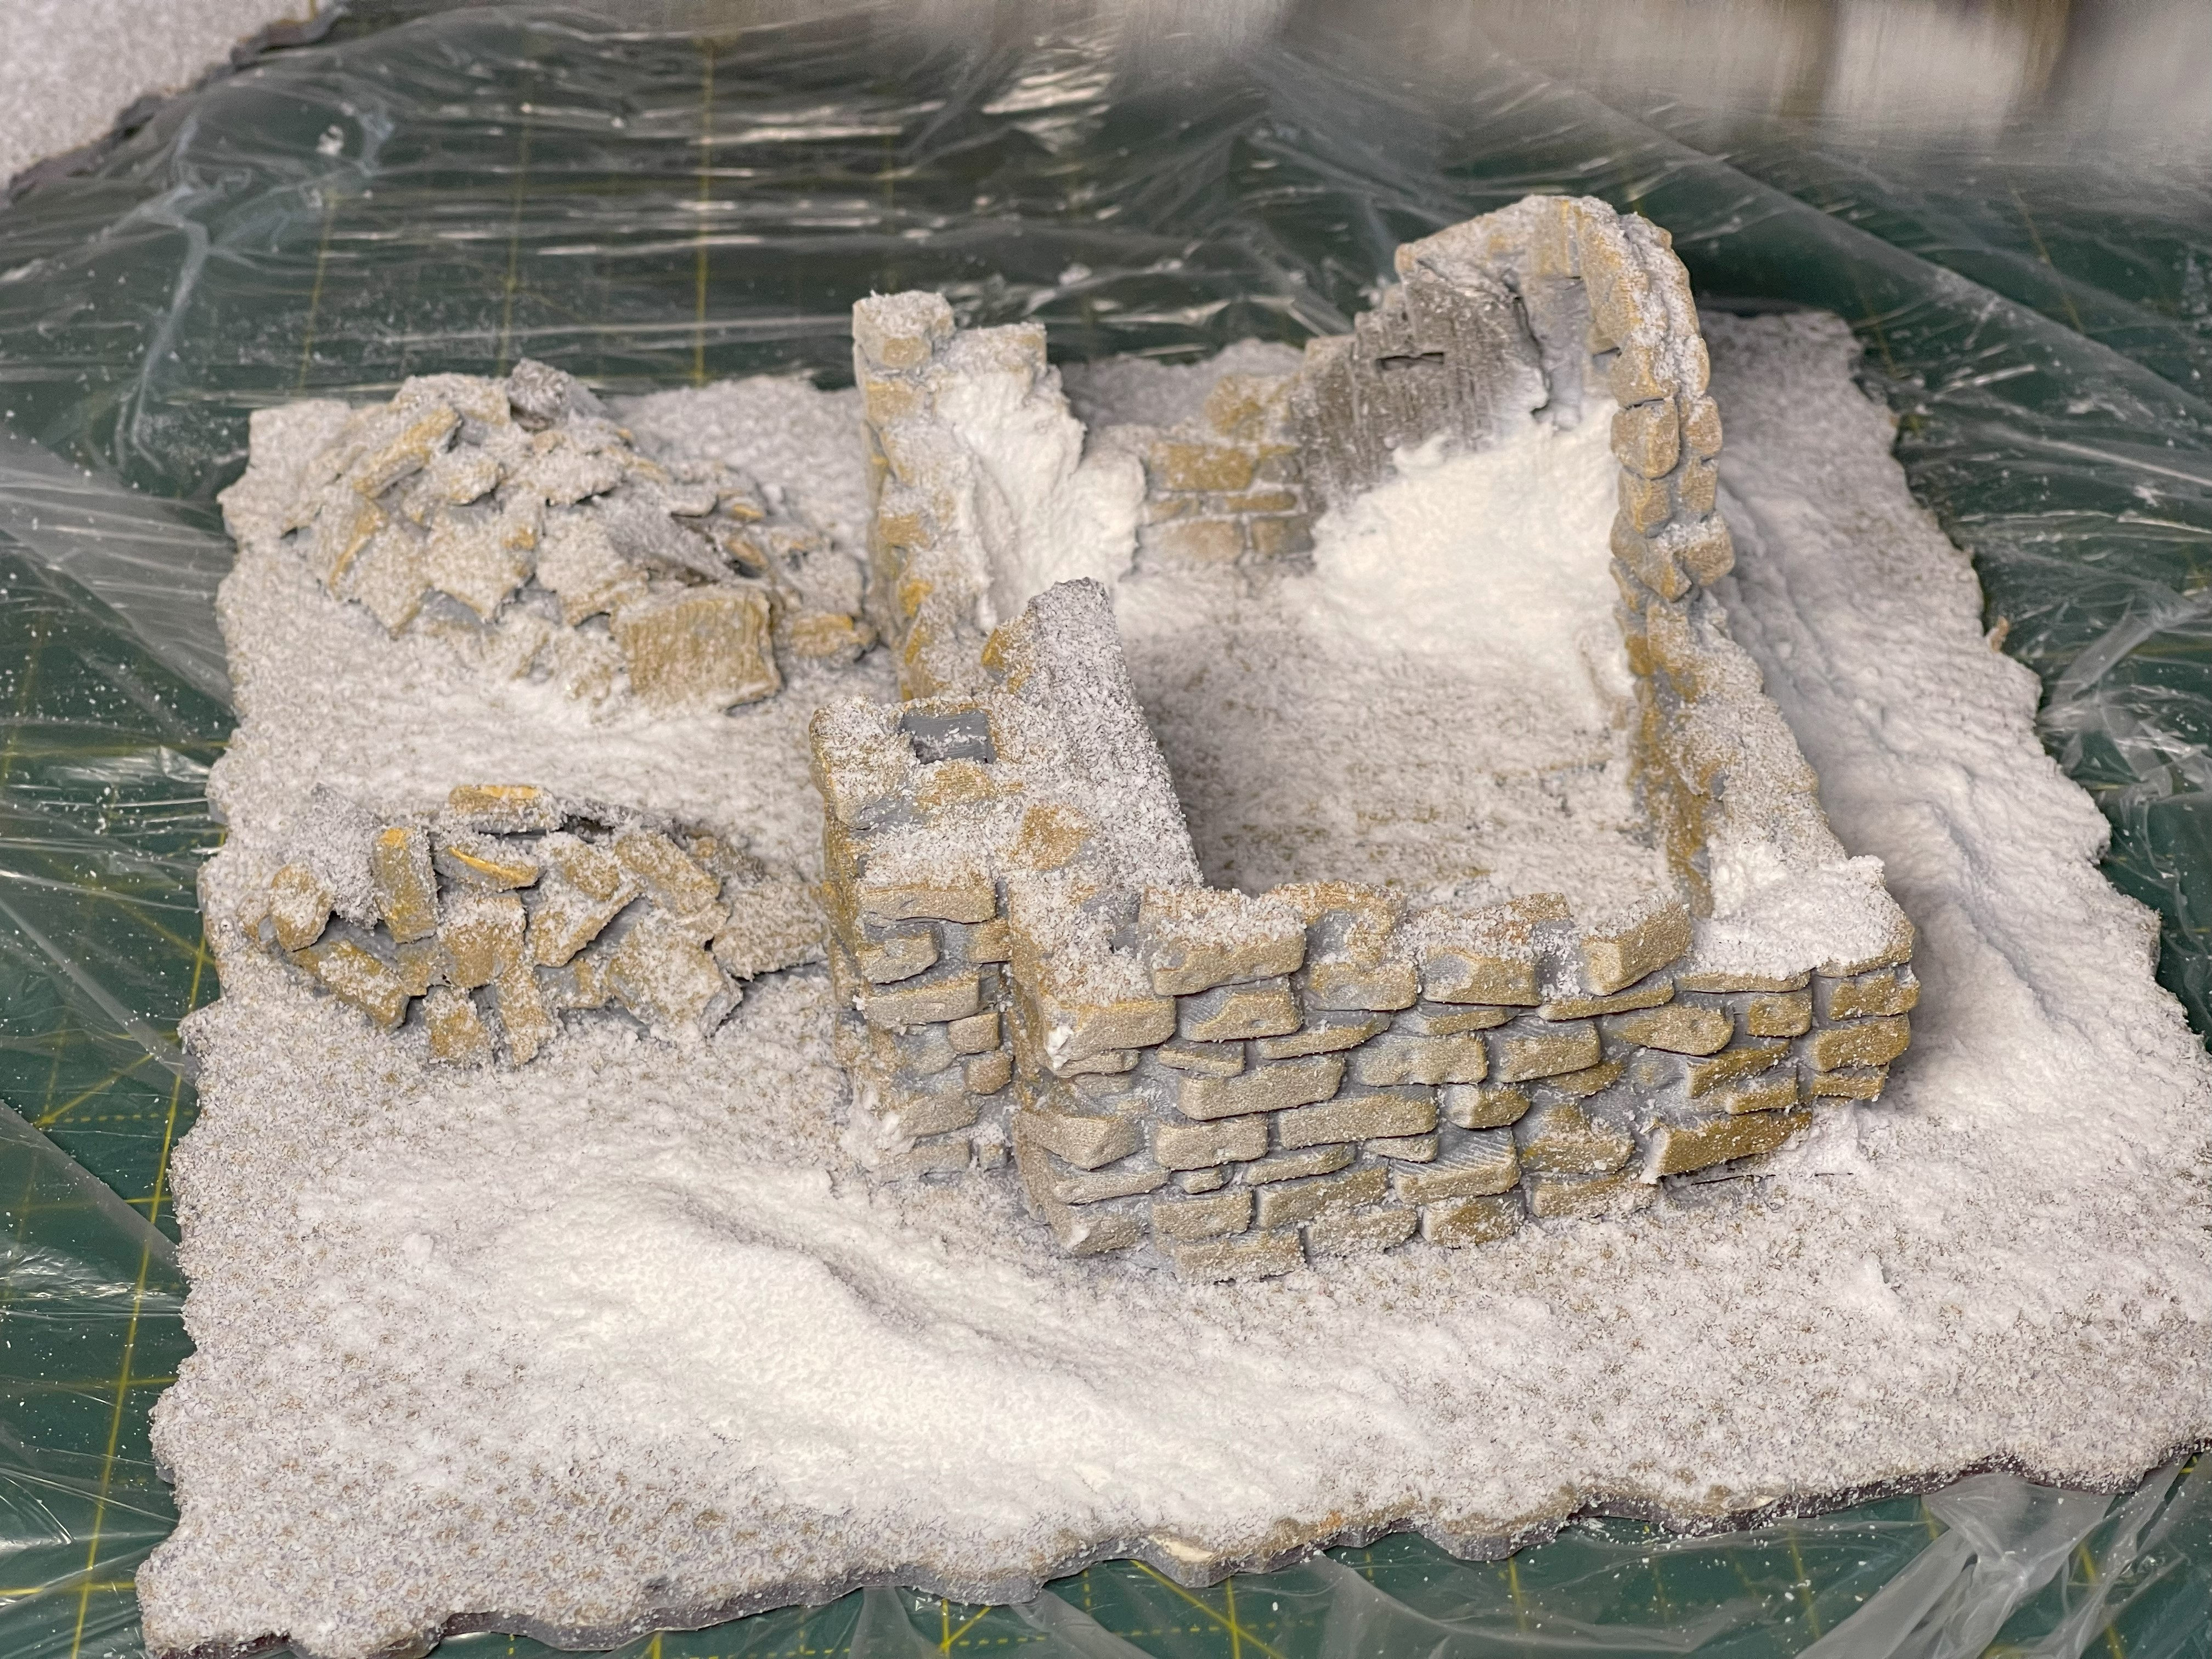
It was finally time to apply the snow, I was following the terrain tutor’s guide in his book. First a frosting of white, I had to apply this outside and with the wind it made life difficult. Then I used a frosted ground mix around and then a deep snow mix on the built up areas of snow.
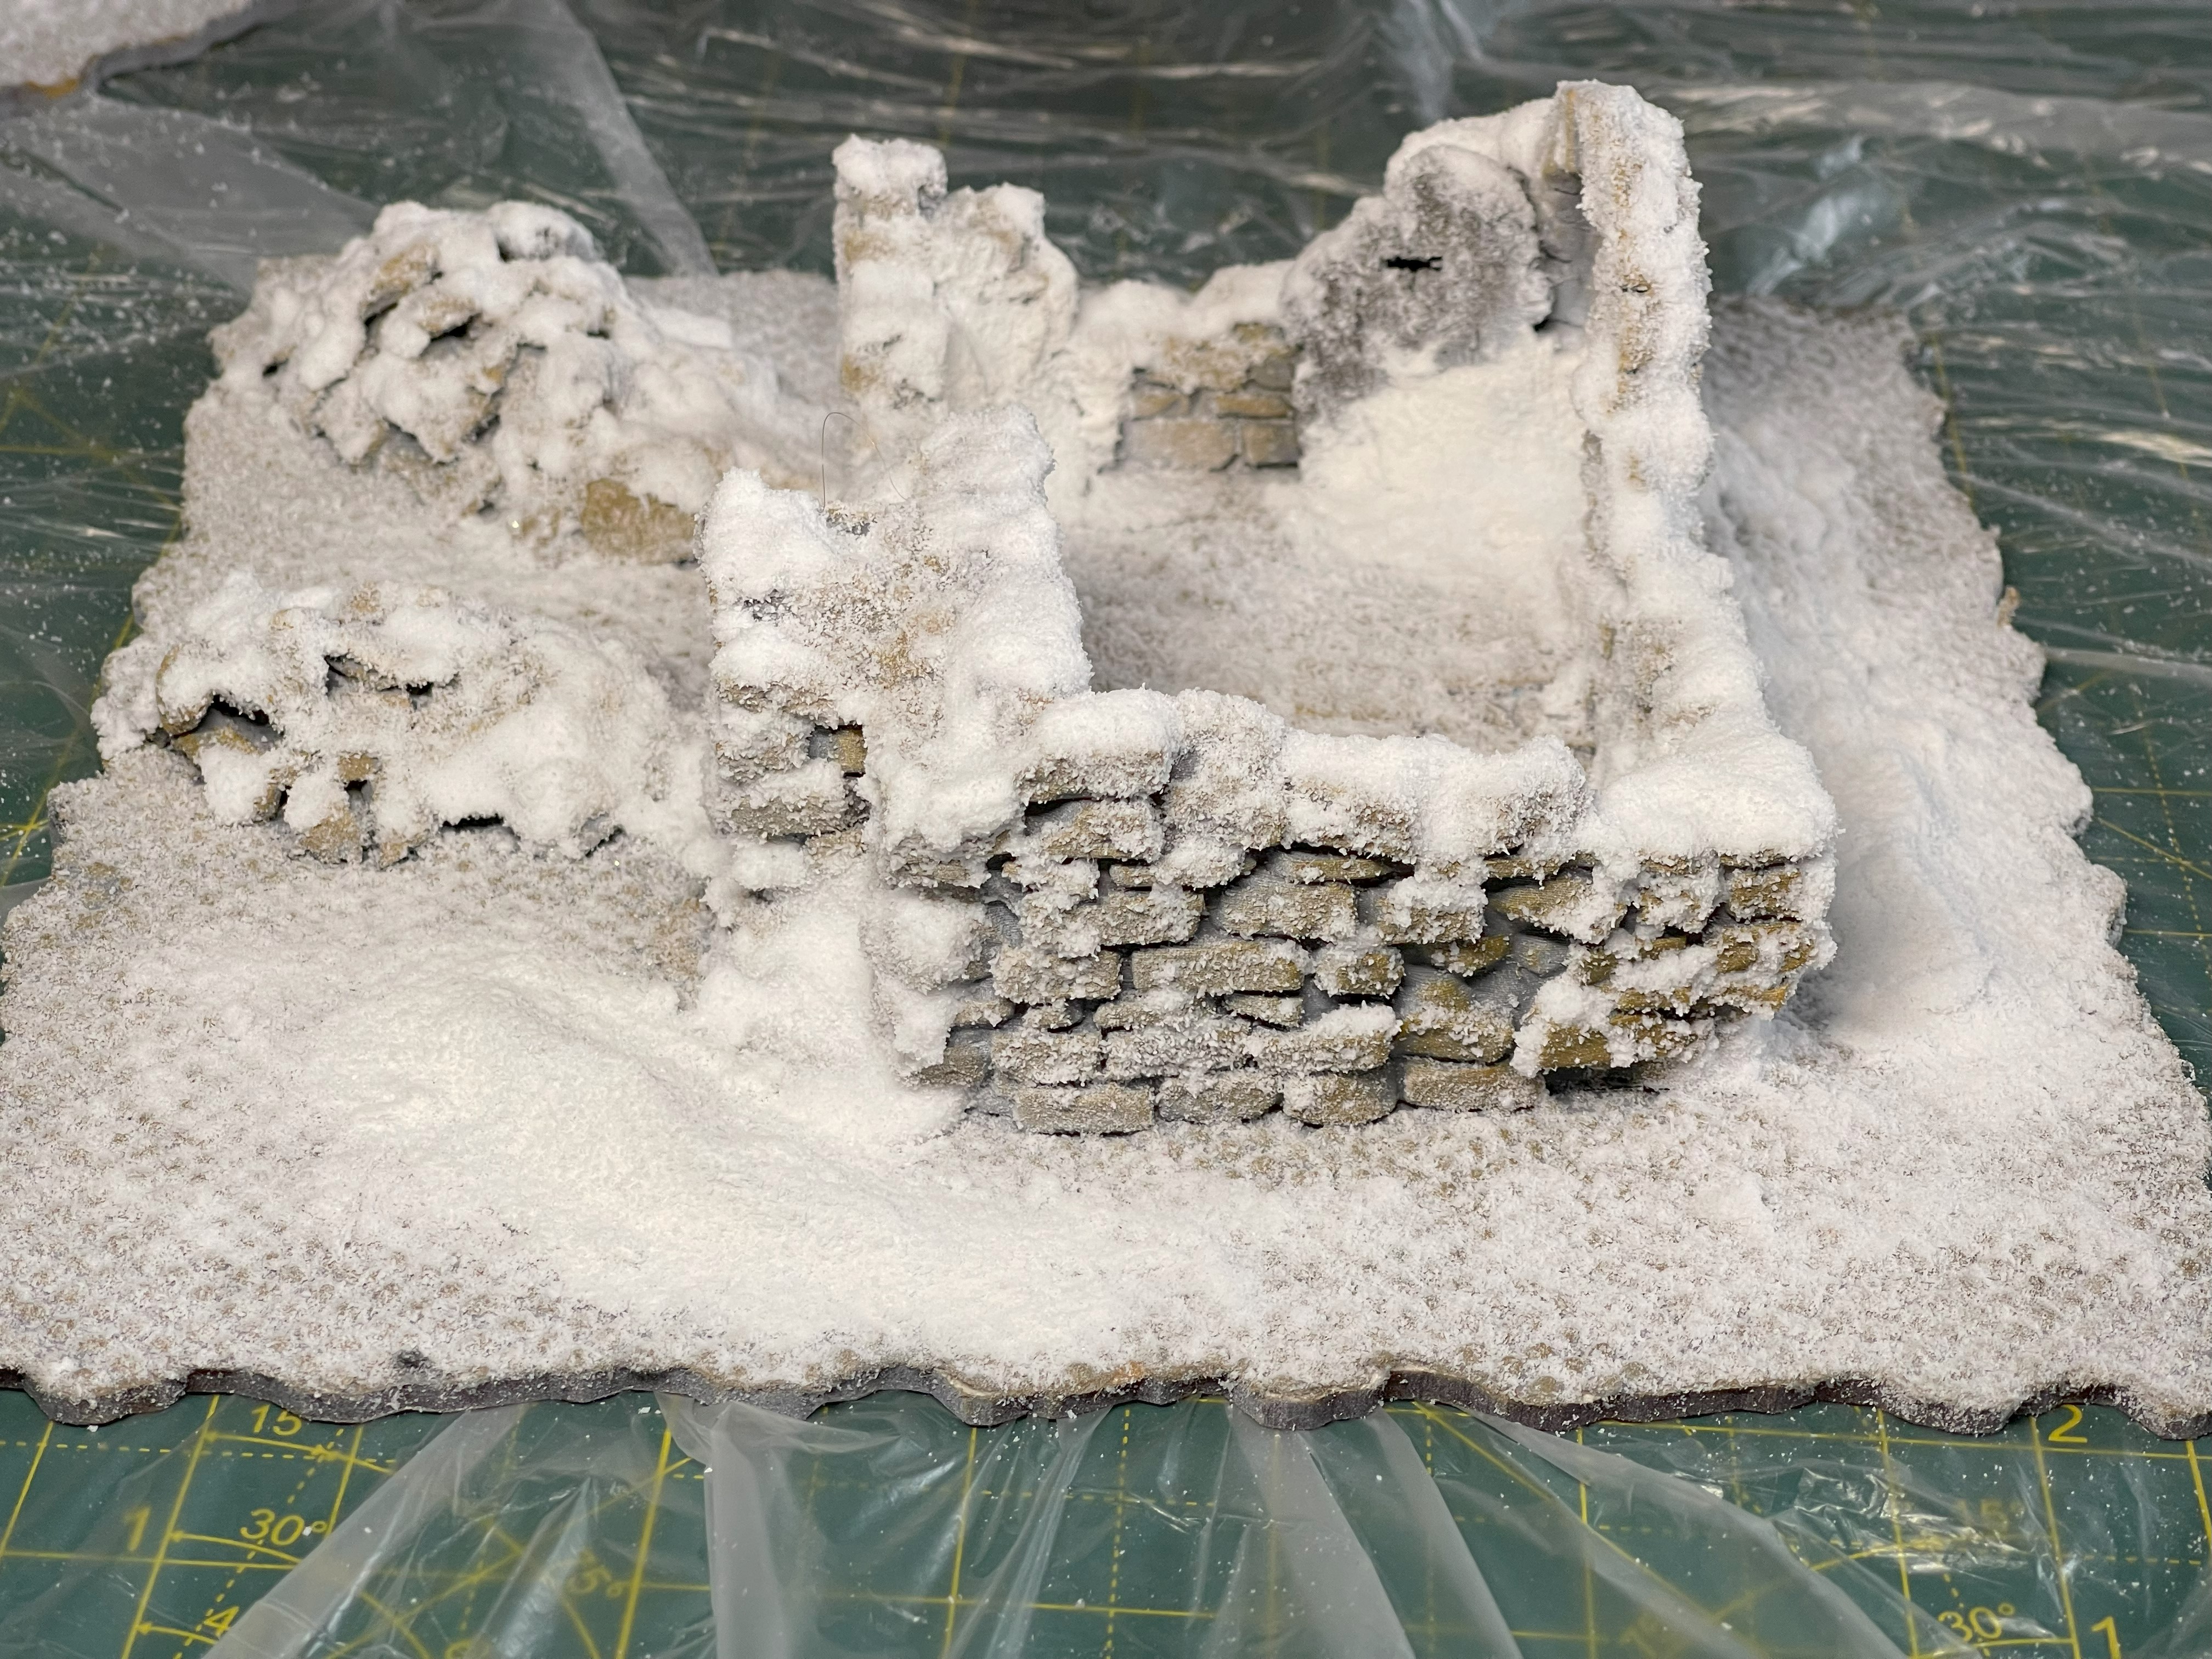
At this point a made a mistake and sprayed the whole thing with watered down PVA and tipped snow flock from woodlands over it, this erased my frosty ground. The result was the last picture in the gallery and it wasn’t sticking to stones in the wall as I wanted so I then used a very thick mixture of PVA water and snow flock and covered that in flock to give the final result.
The only thing left to do is paint the edges white and complete 15 more of these tiles and some roads and its done!
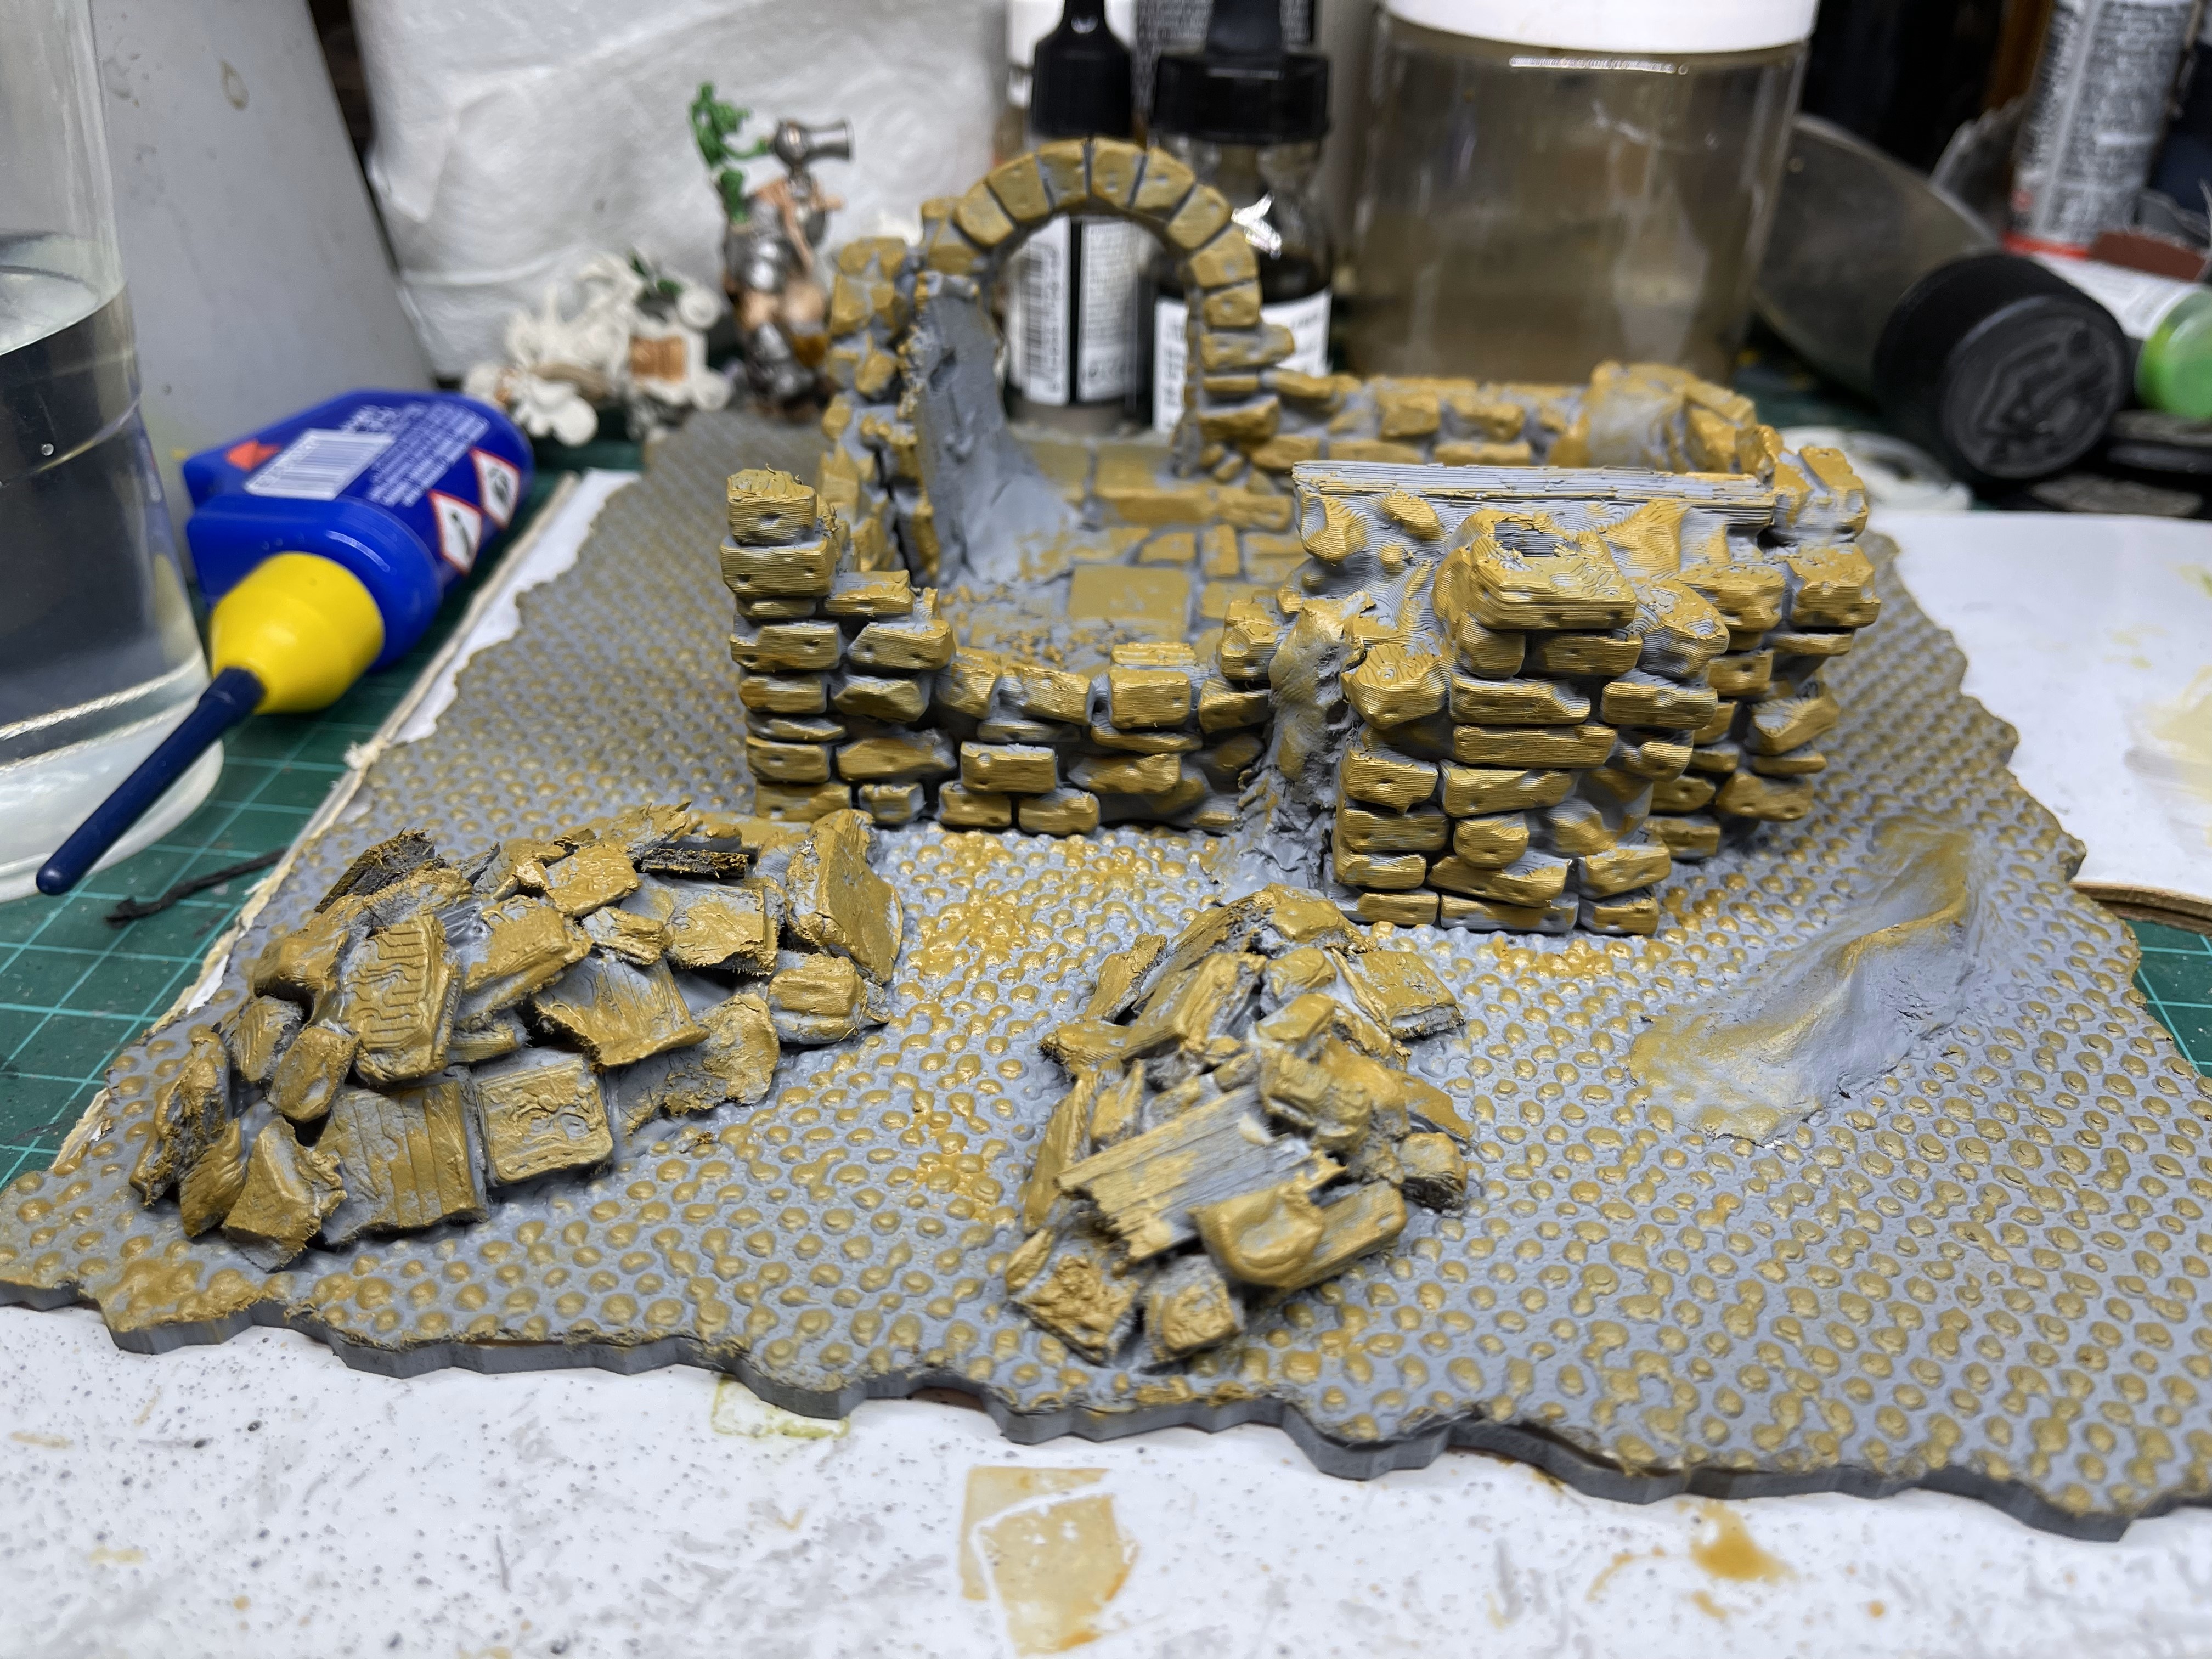
Rubble trouble
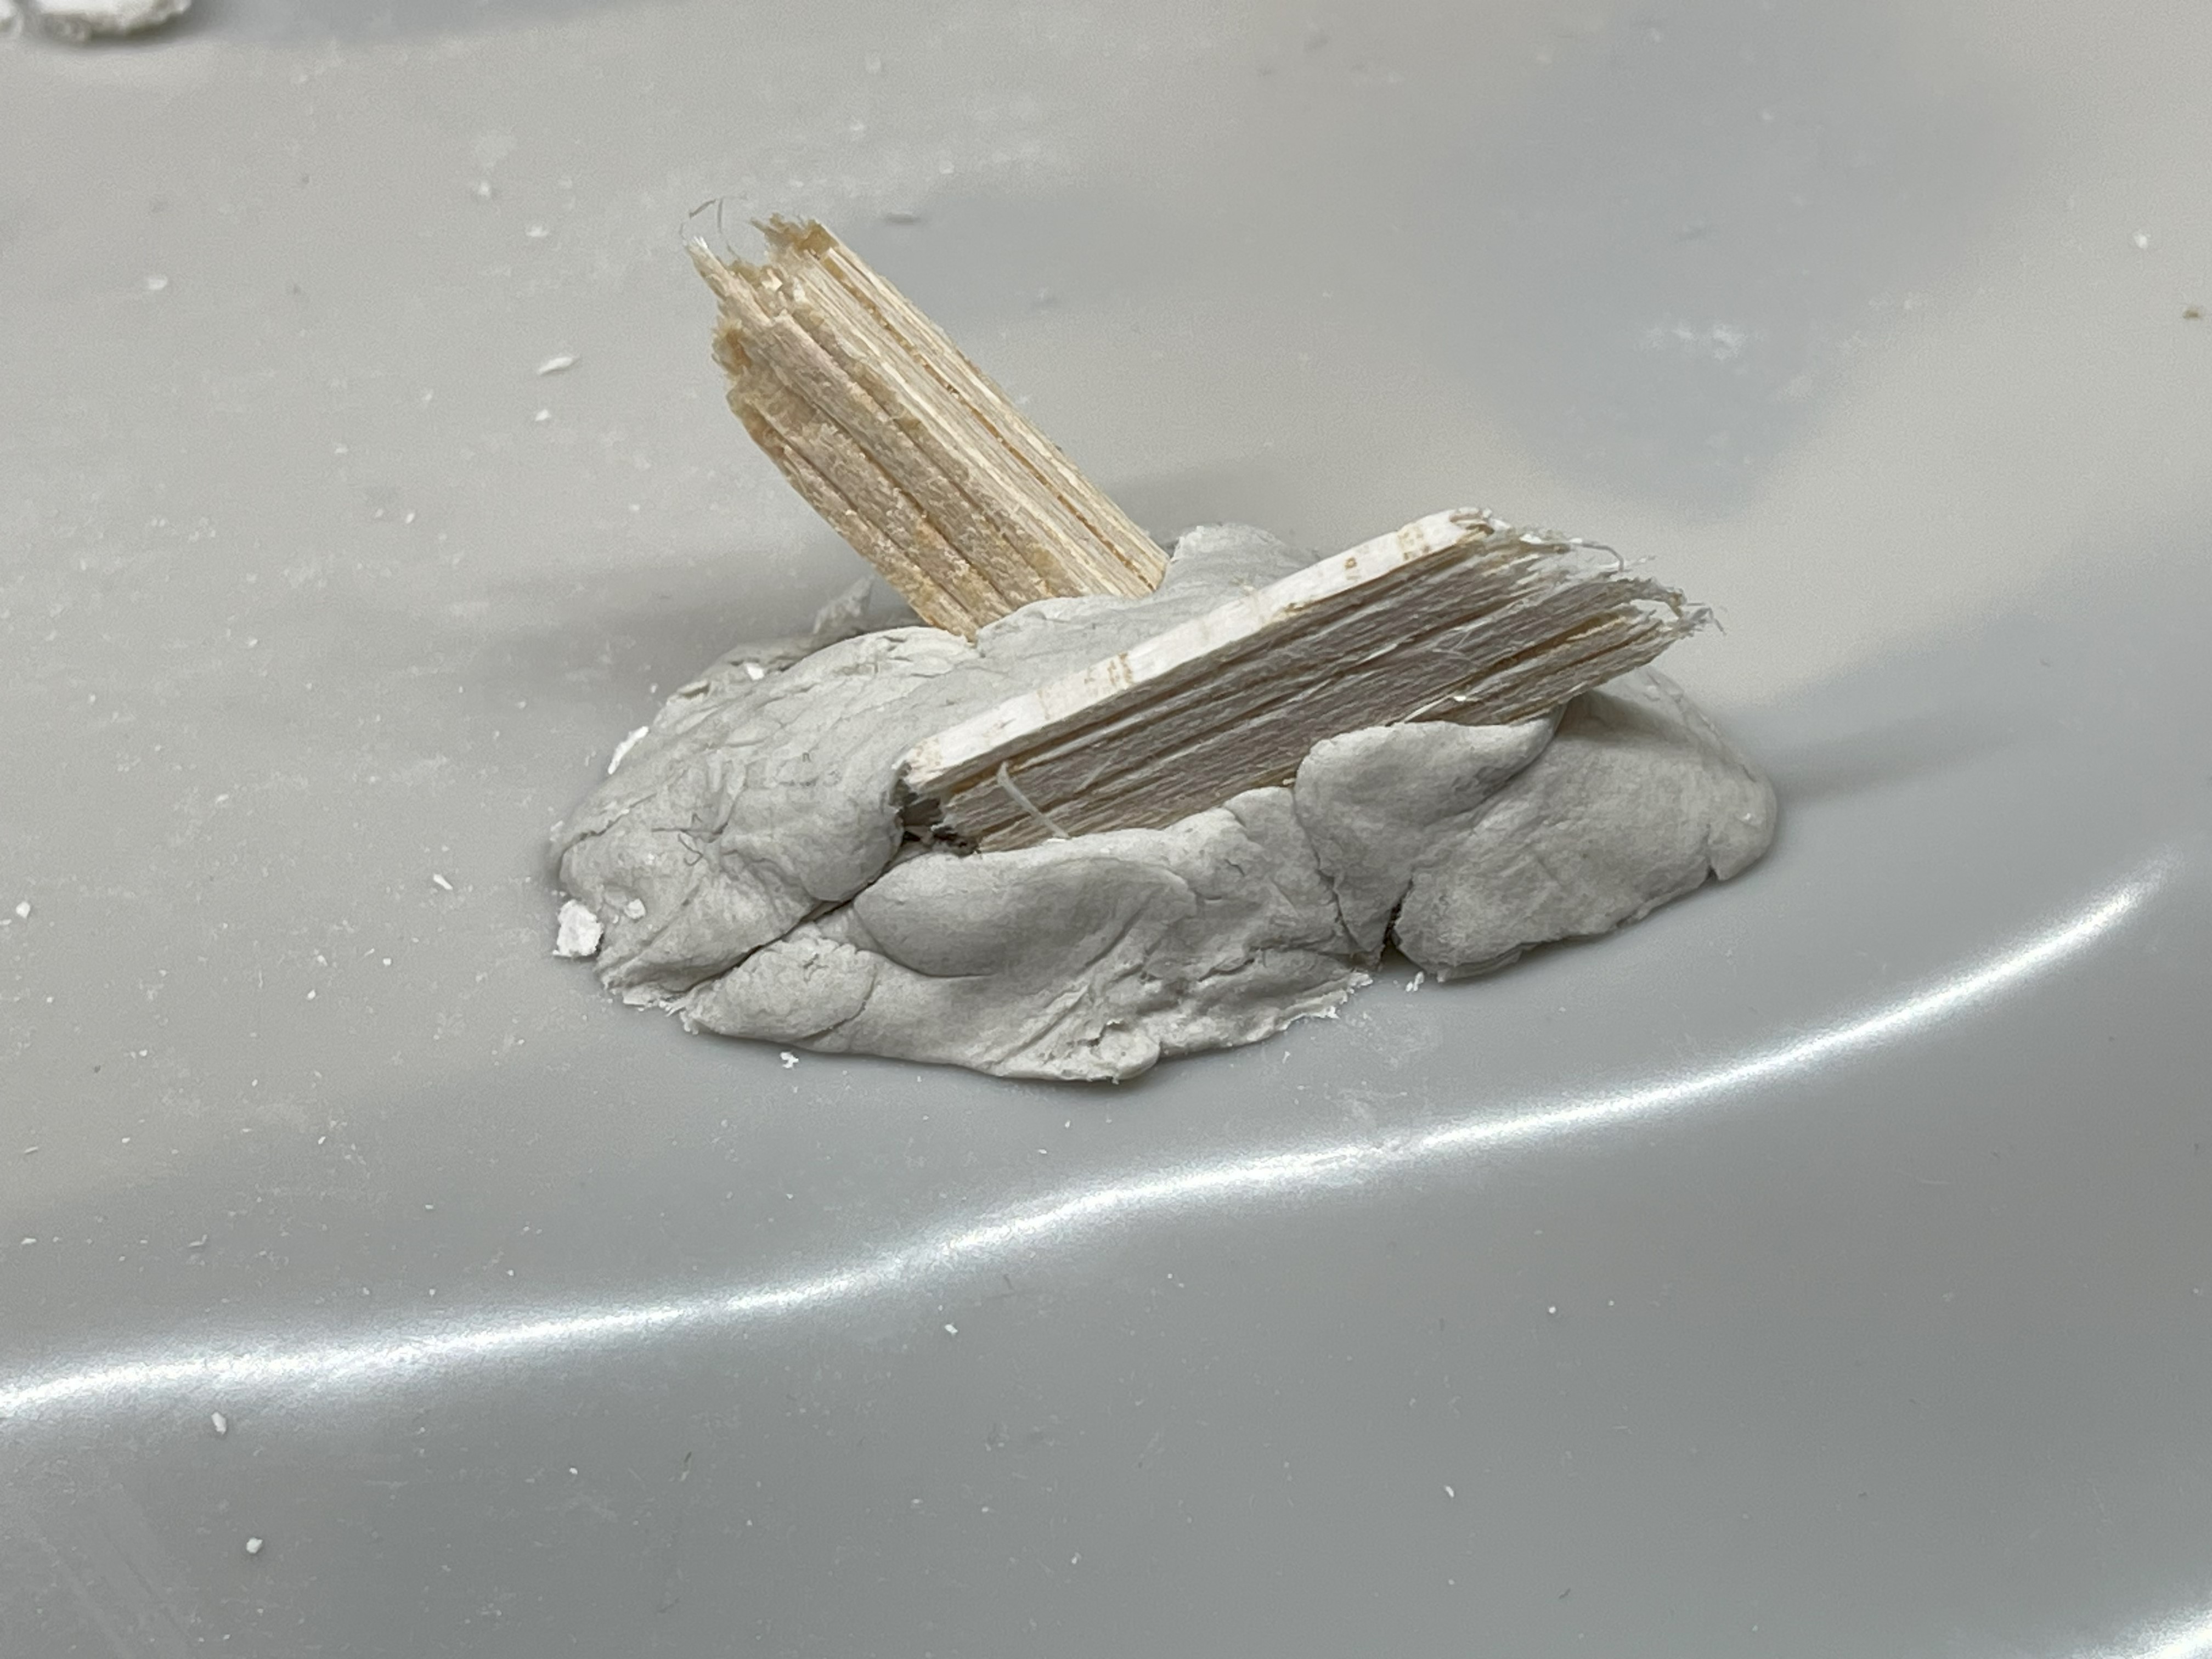
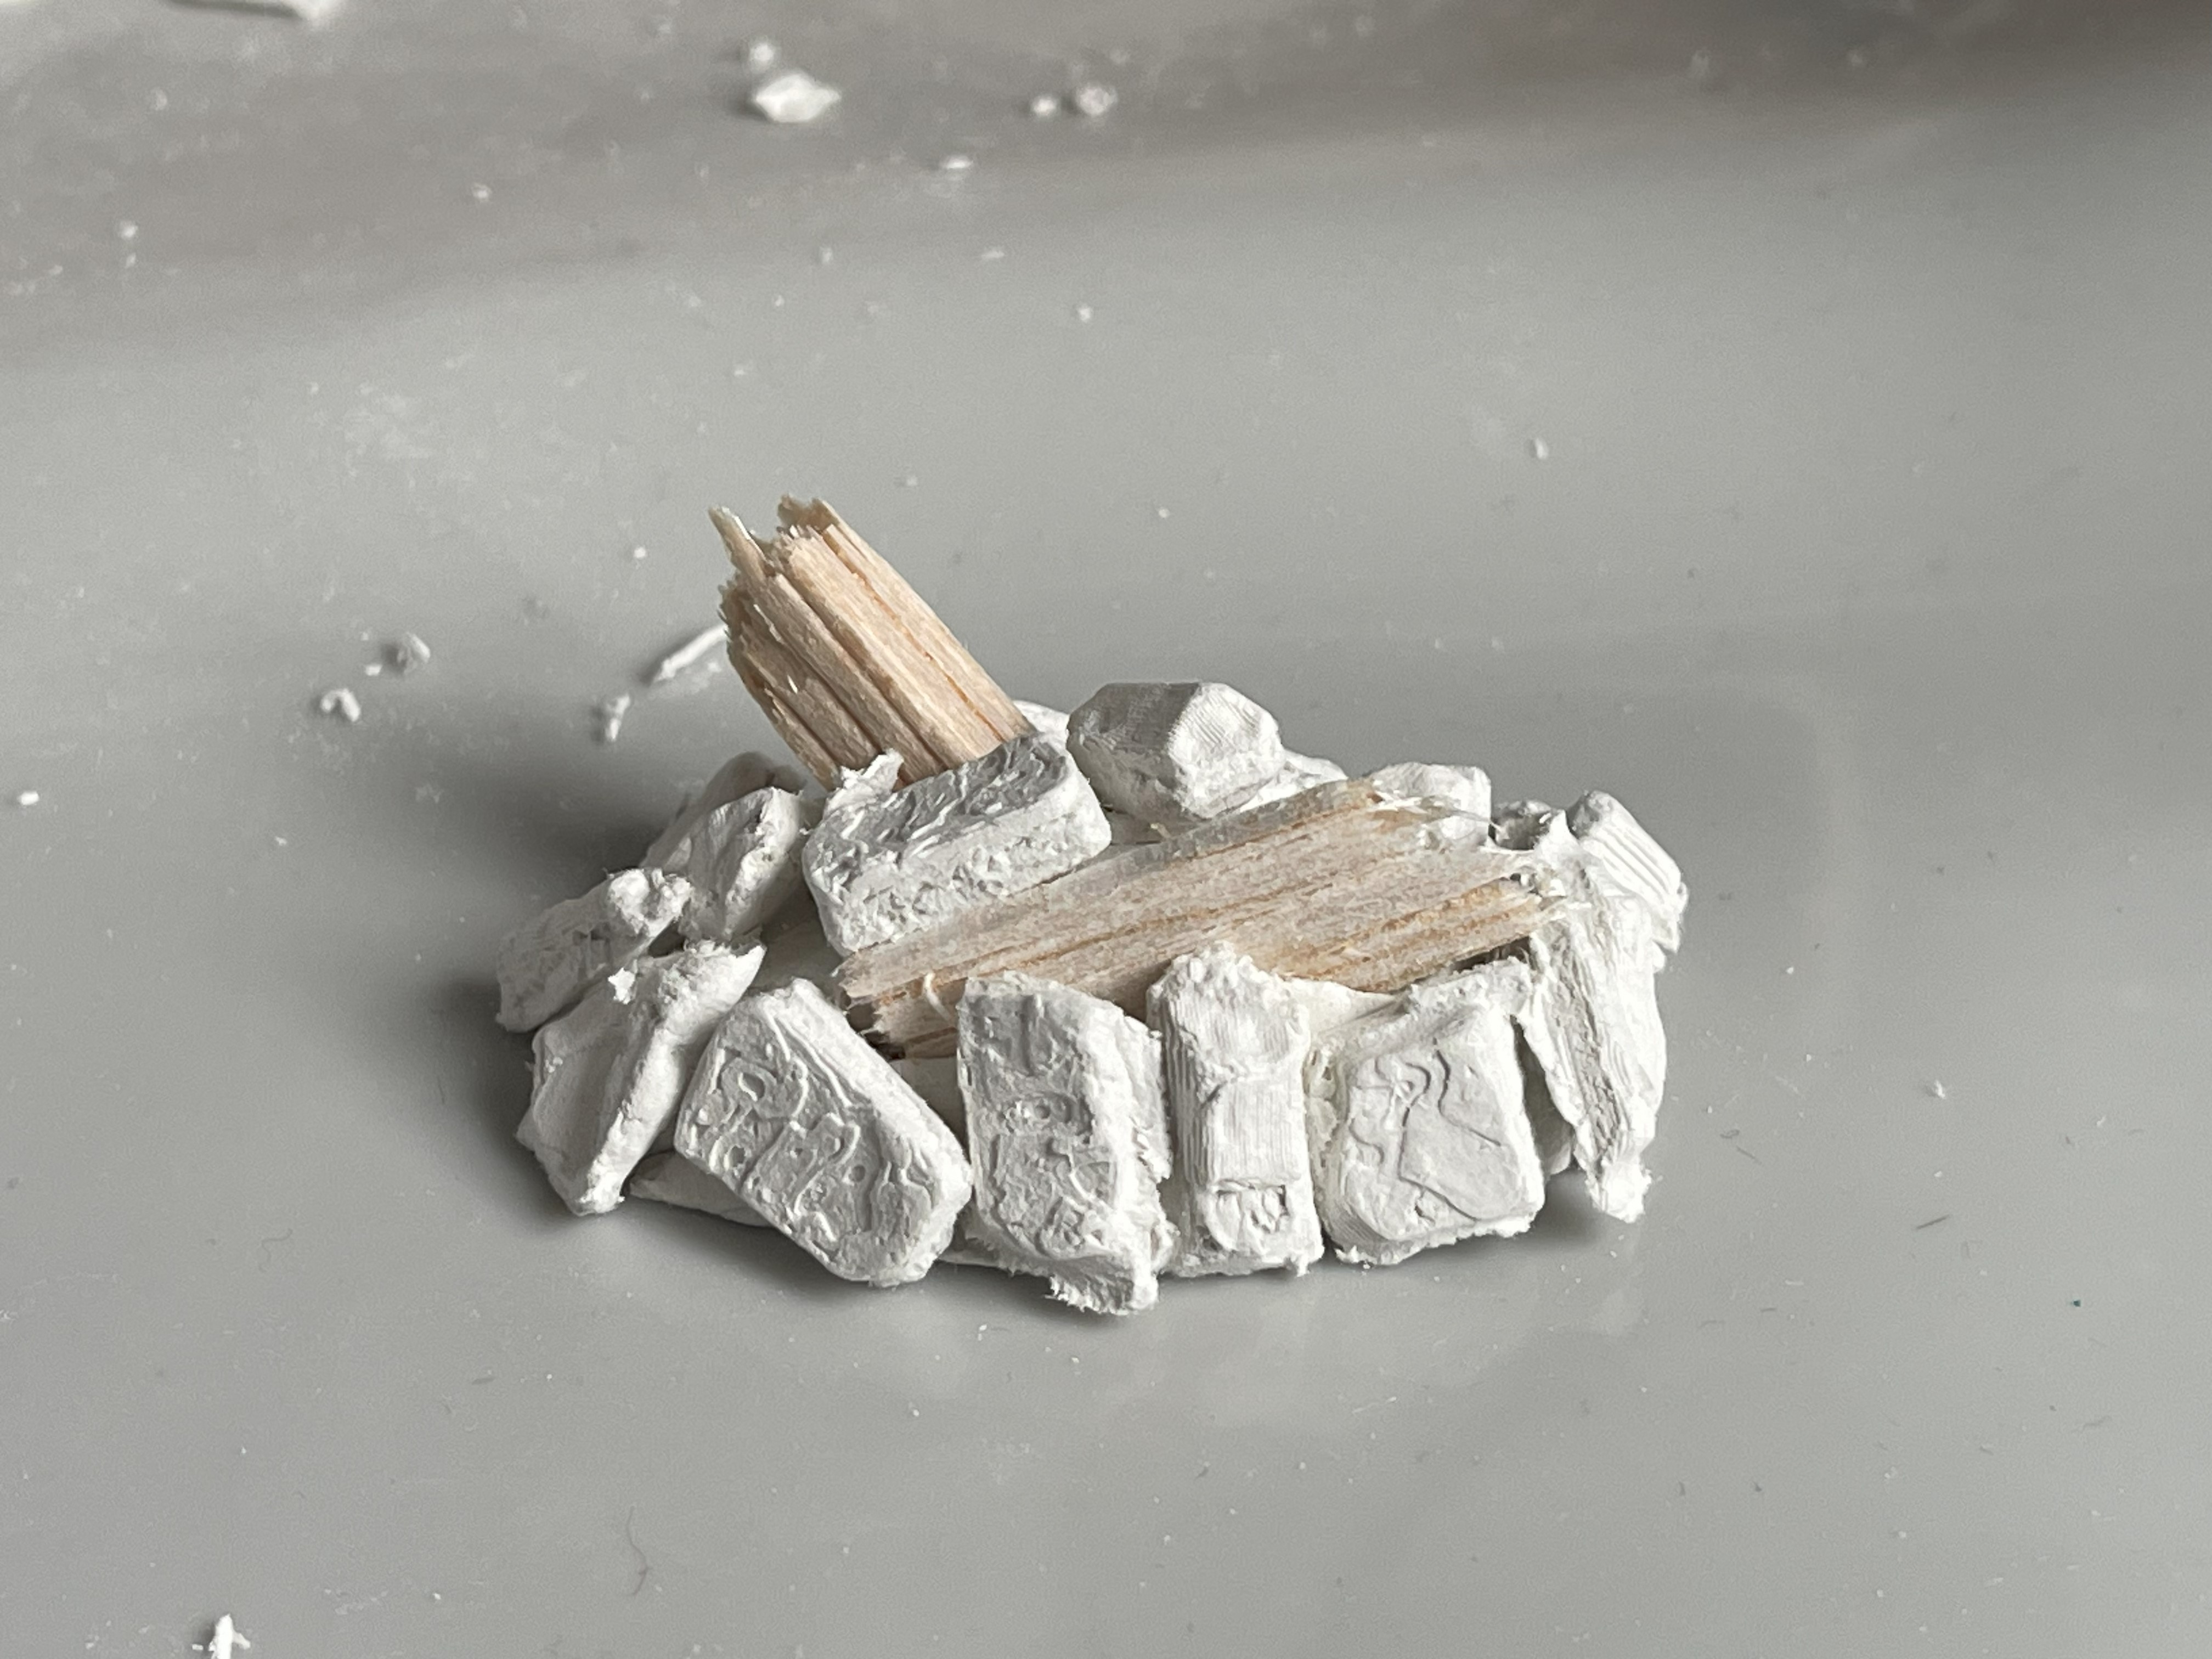
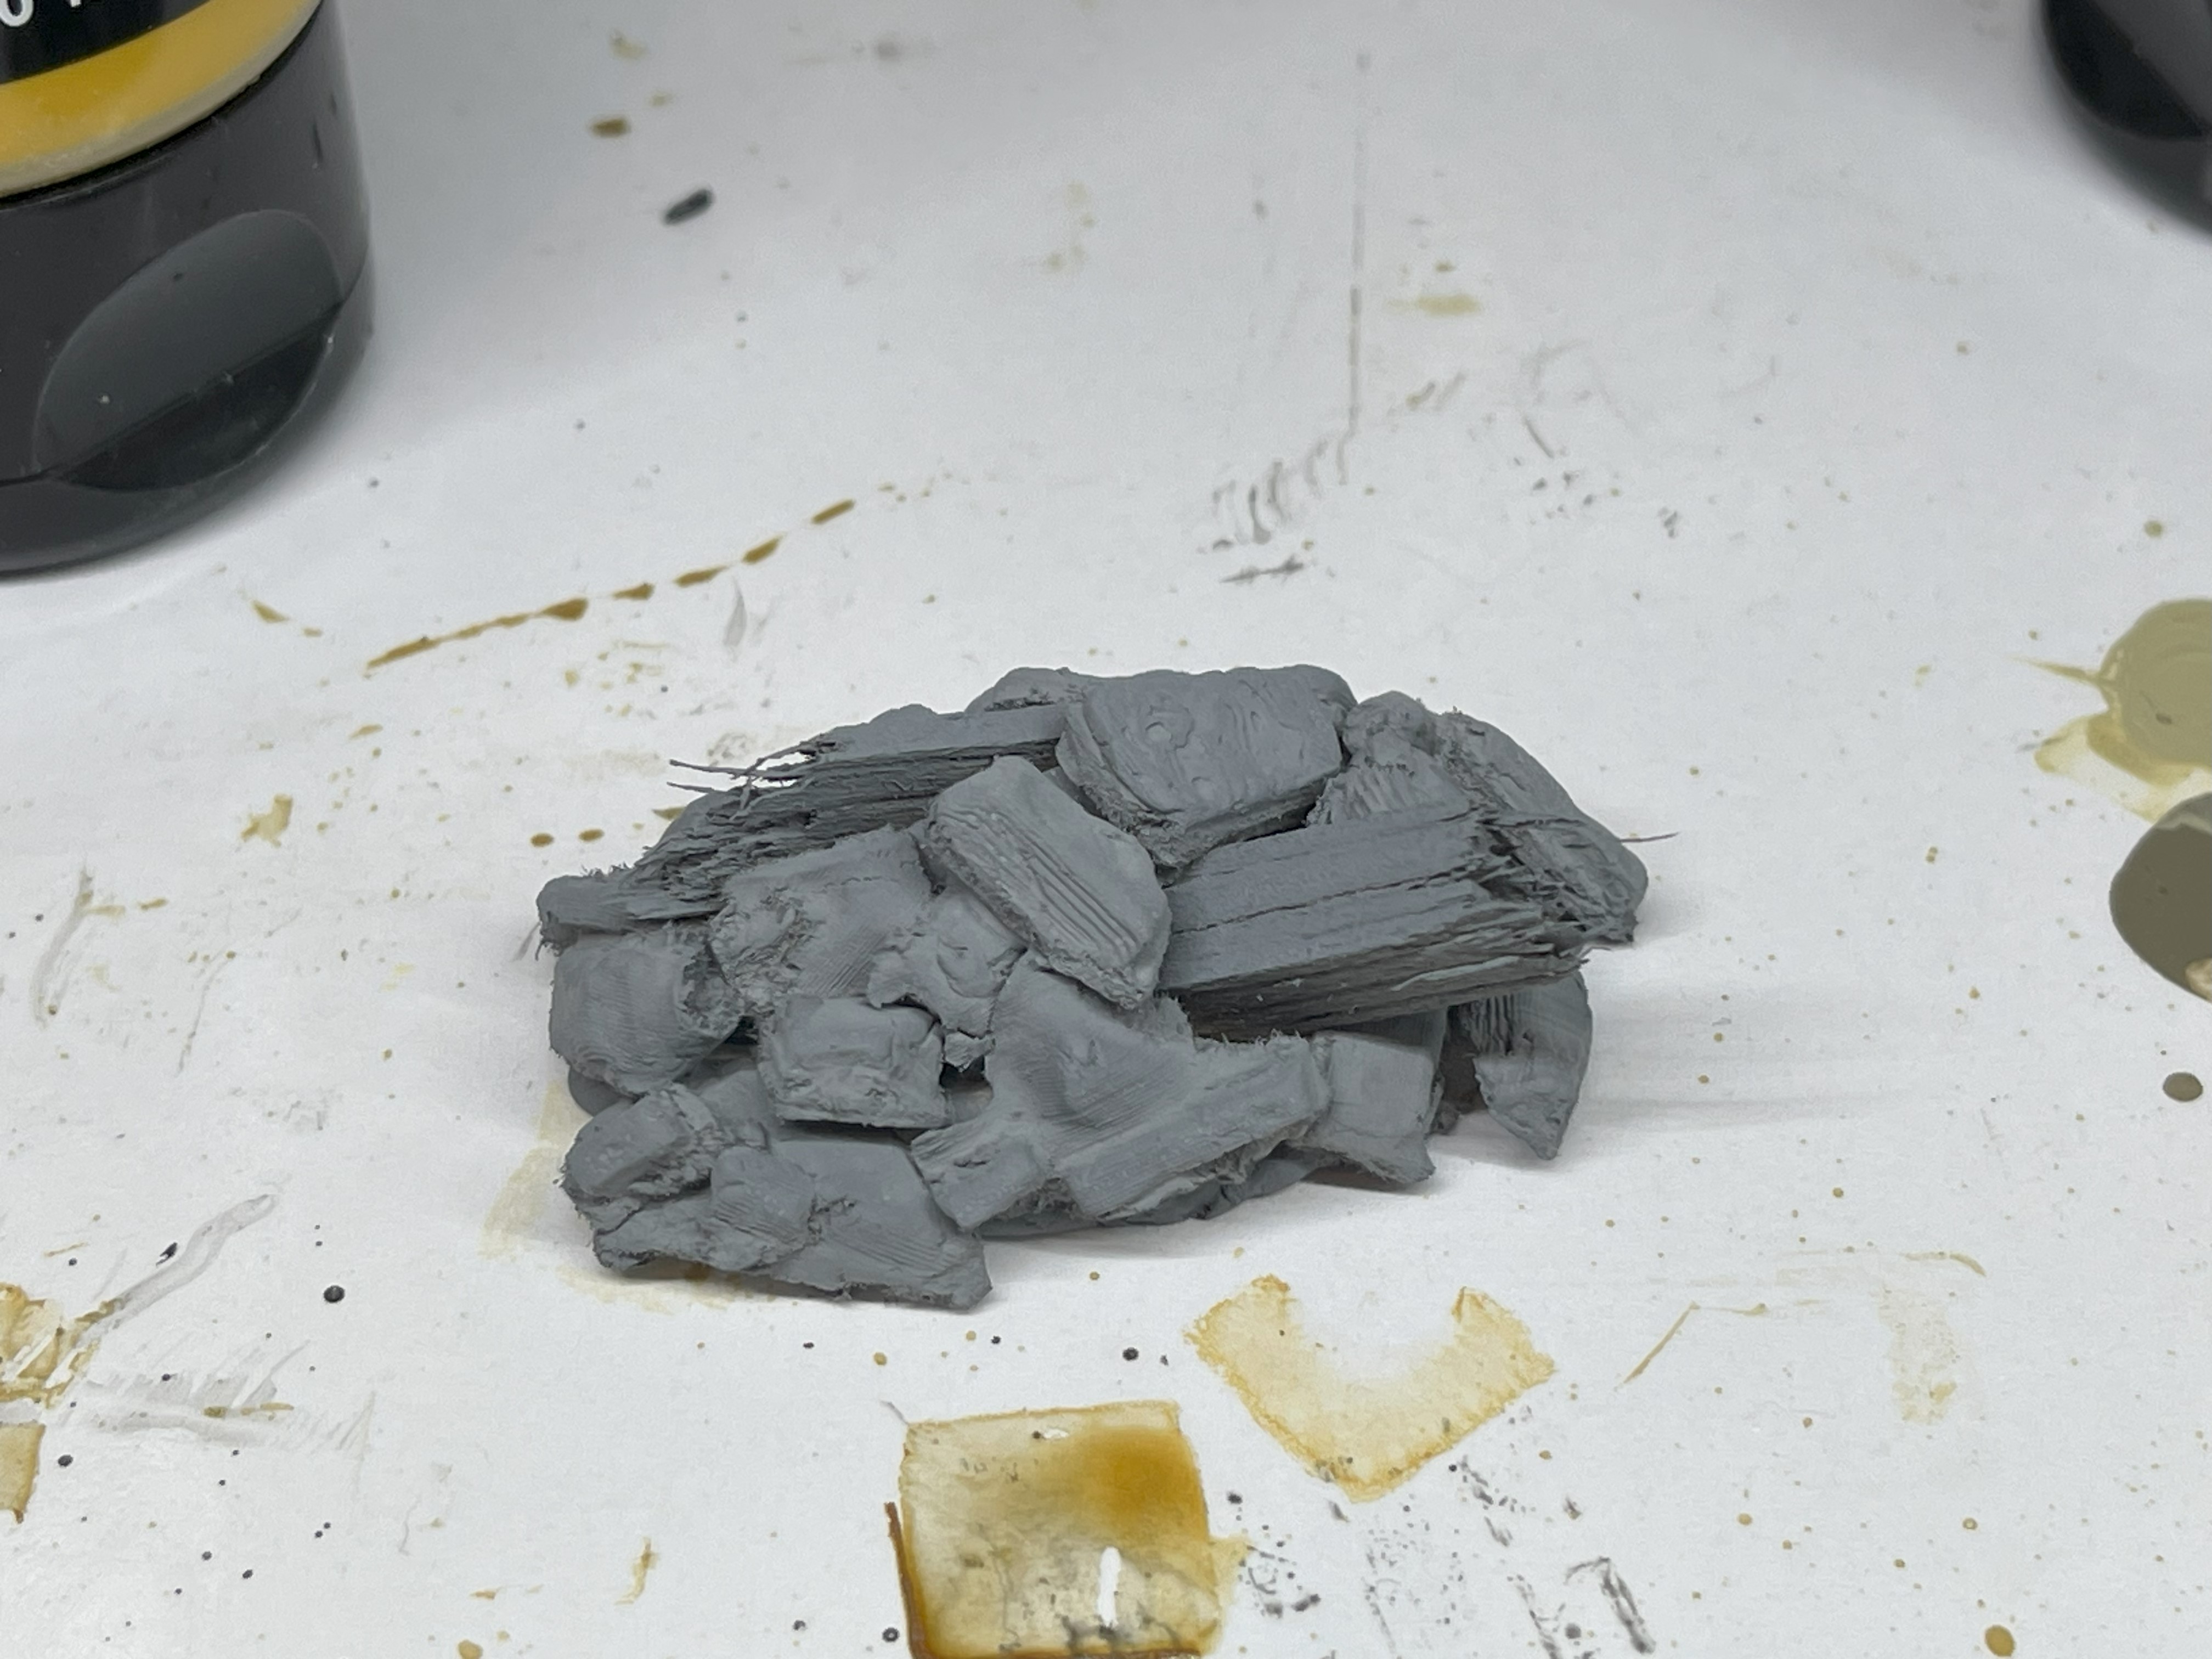
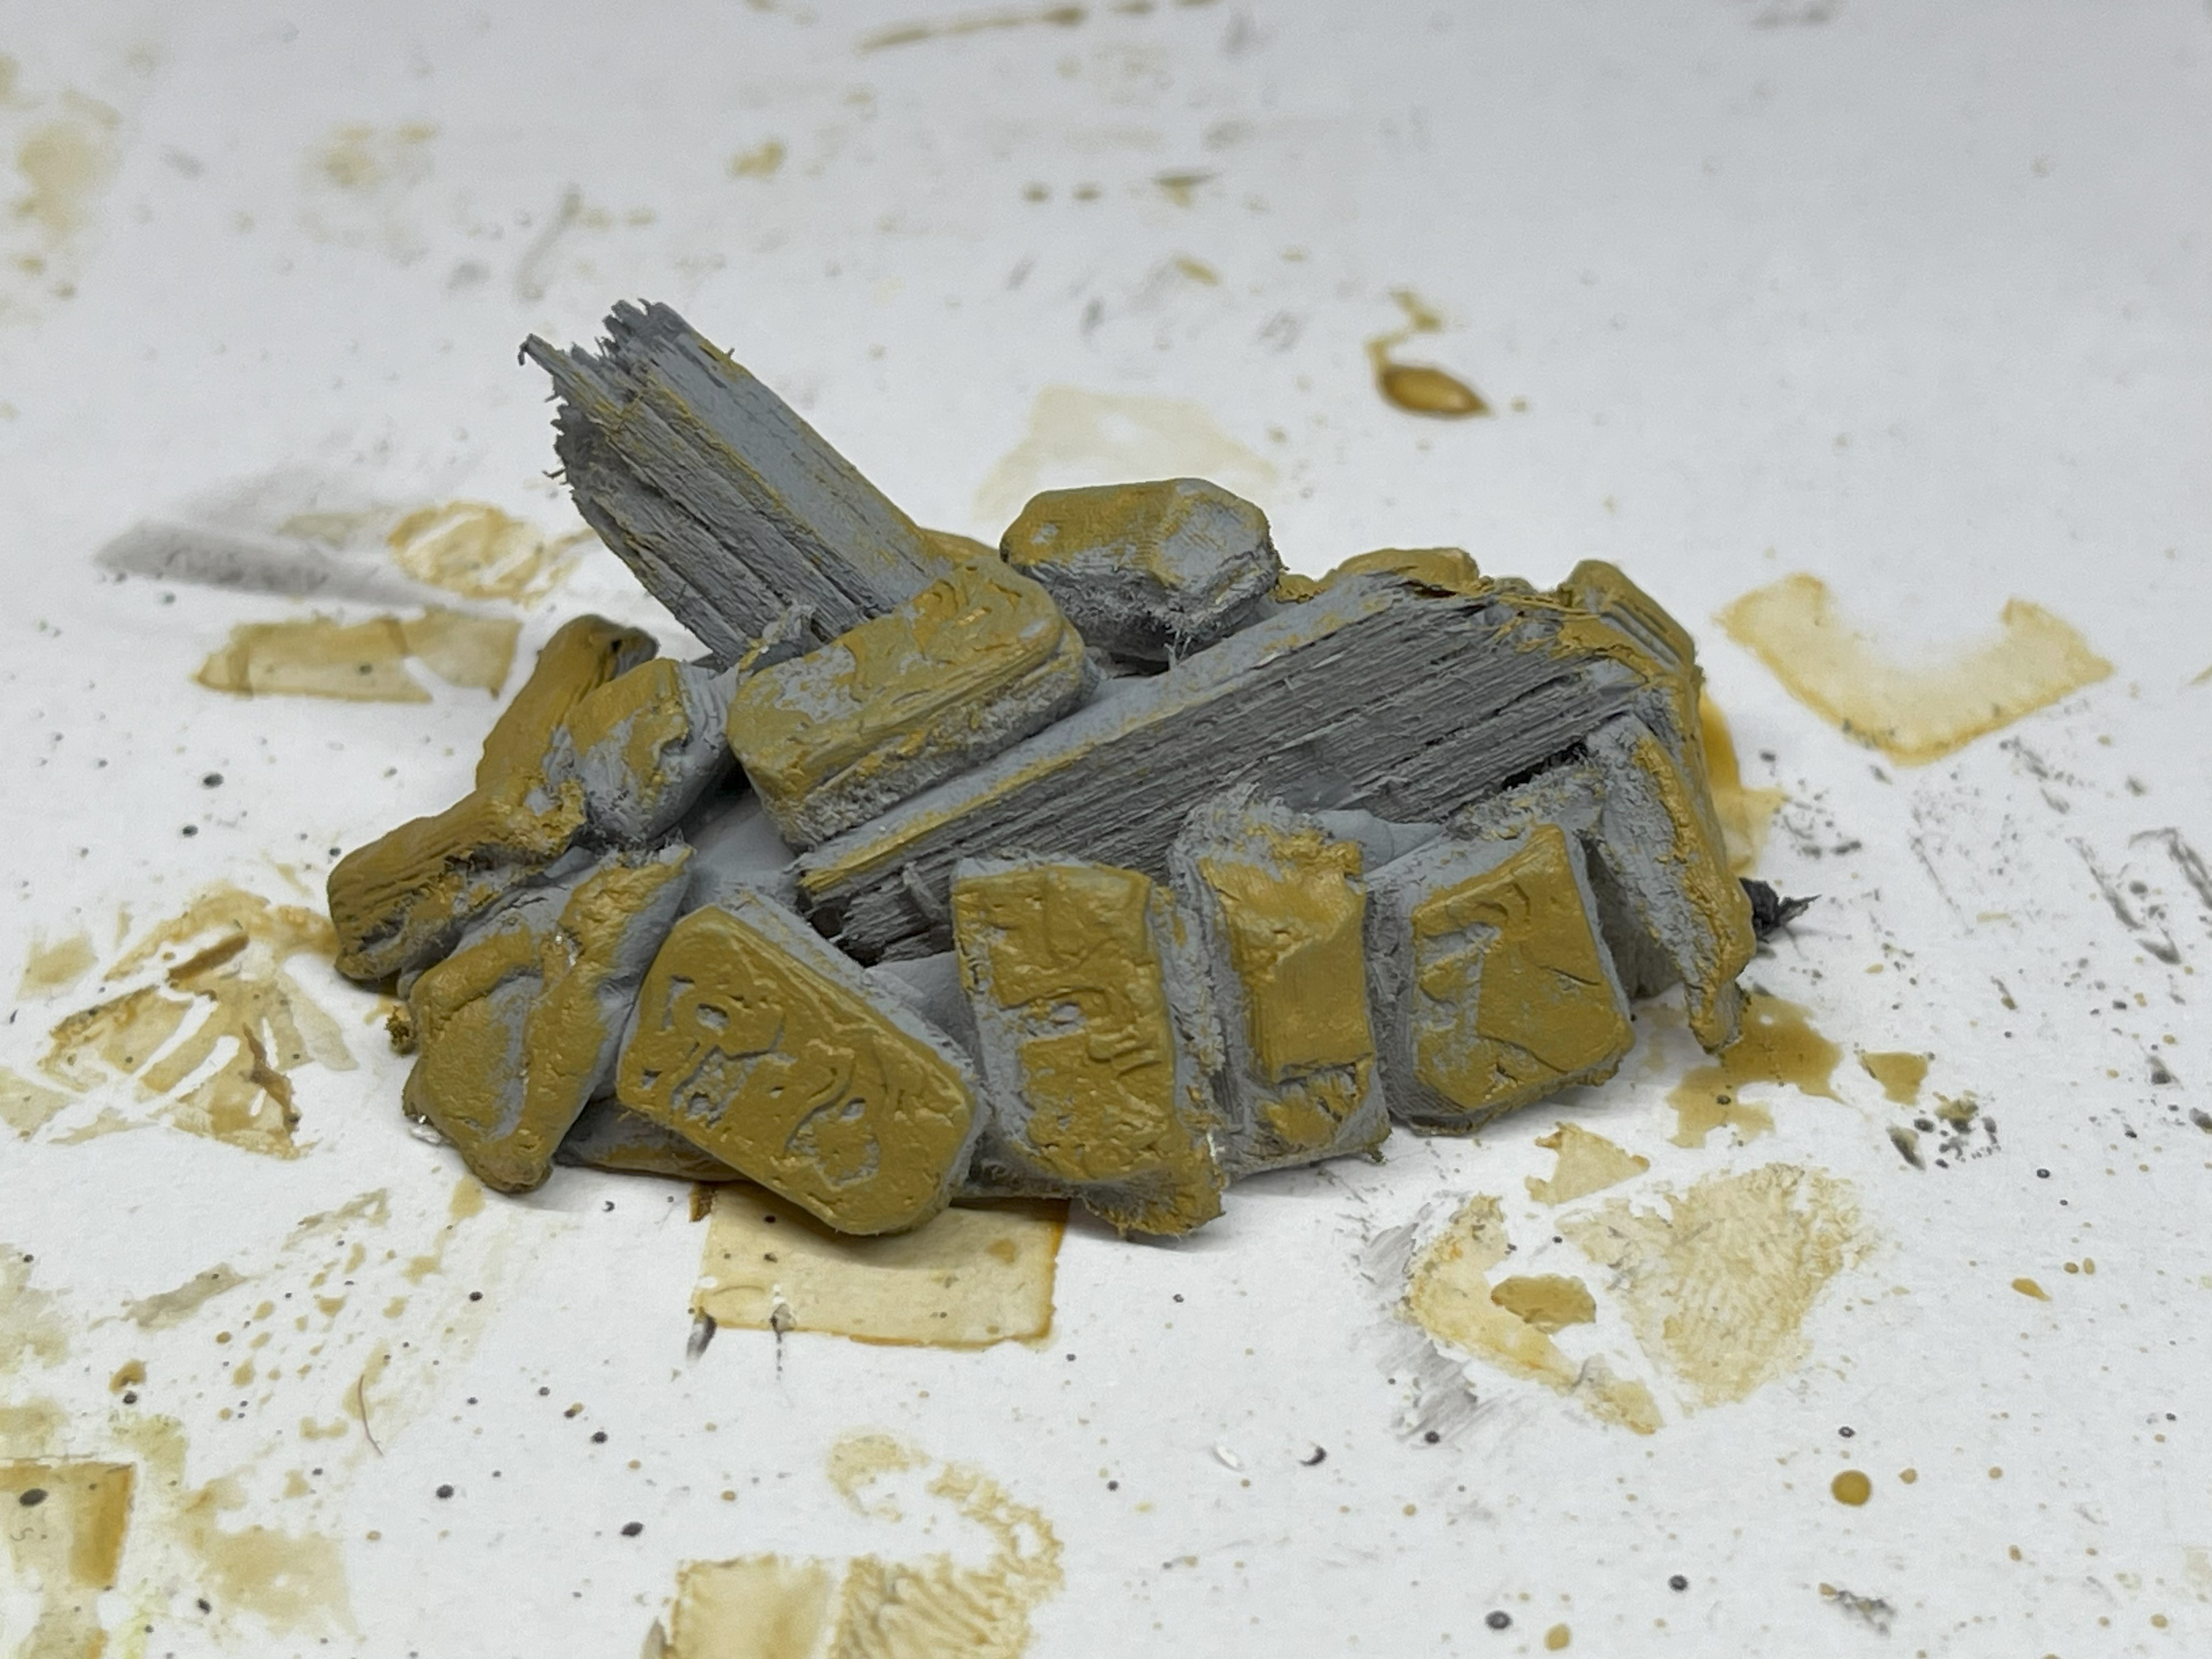
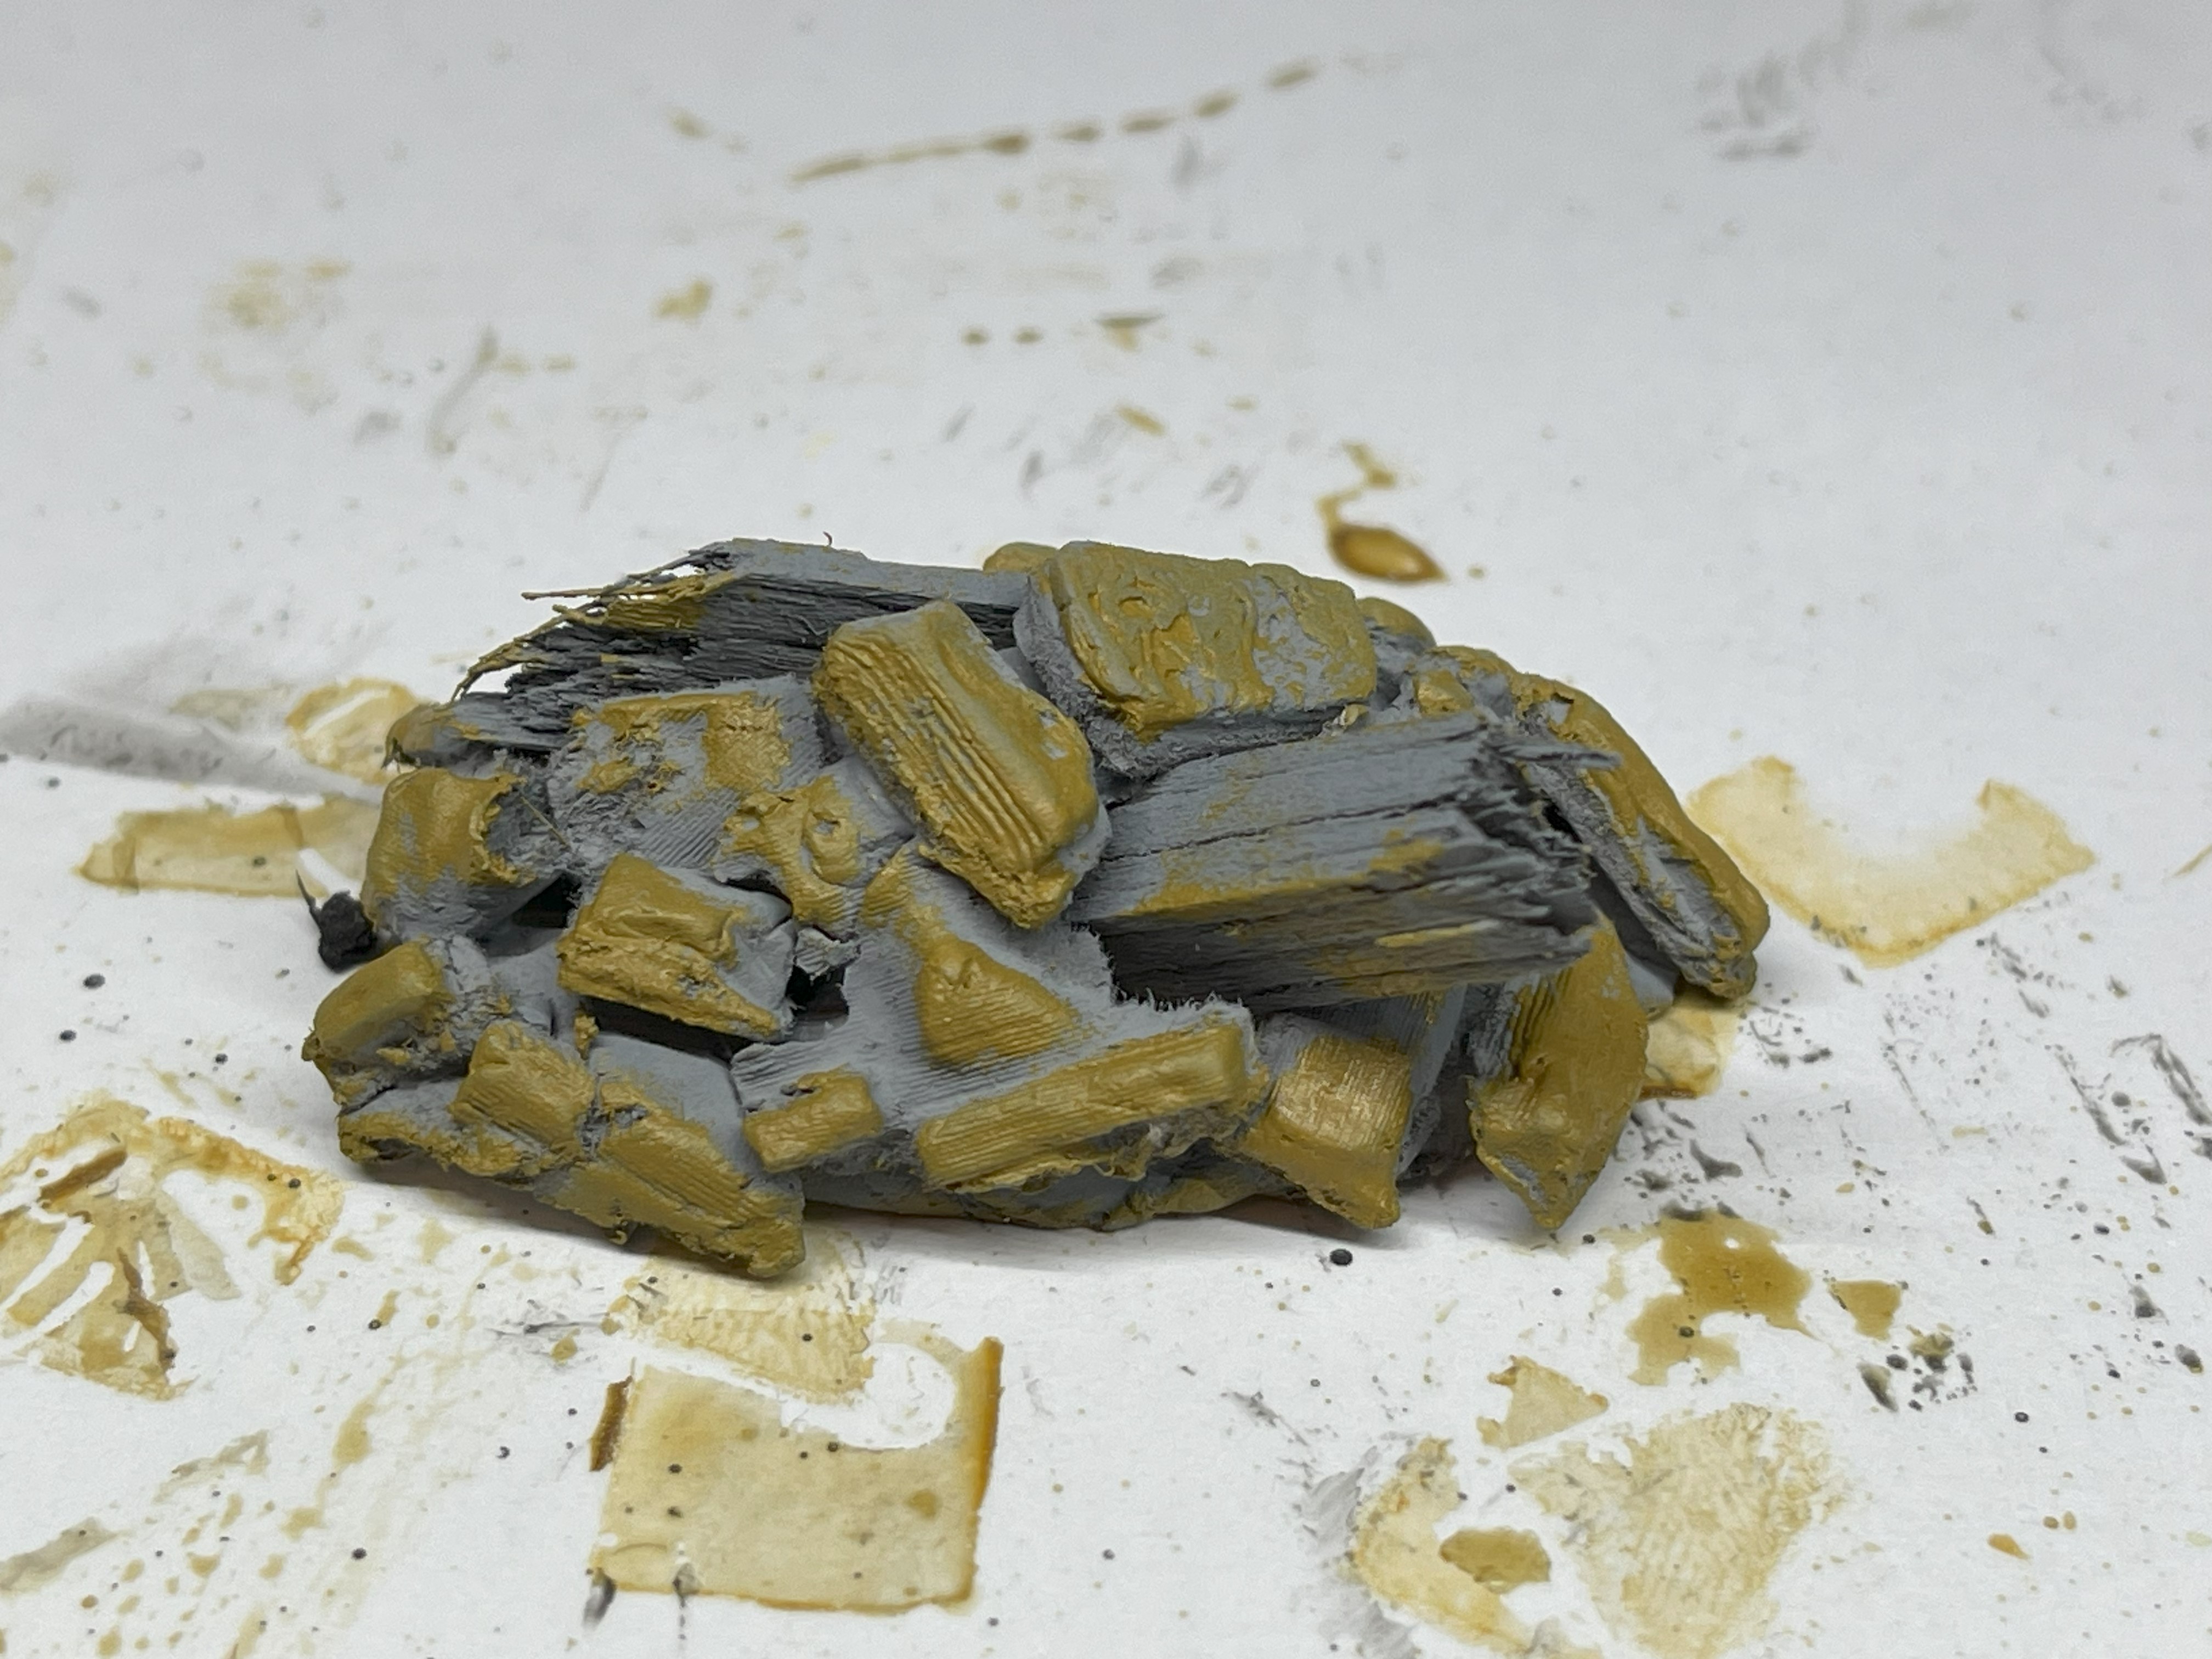
I wasn’t happy with my rubble piles using the DAS with the blue stuff molds so I thought I would try something different. This time using thin flat sheet of DAS I used the molds to create some stones sheets and then once dry I broke.
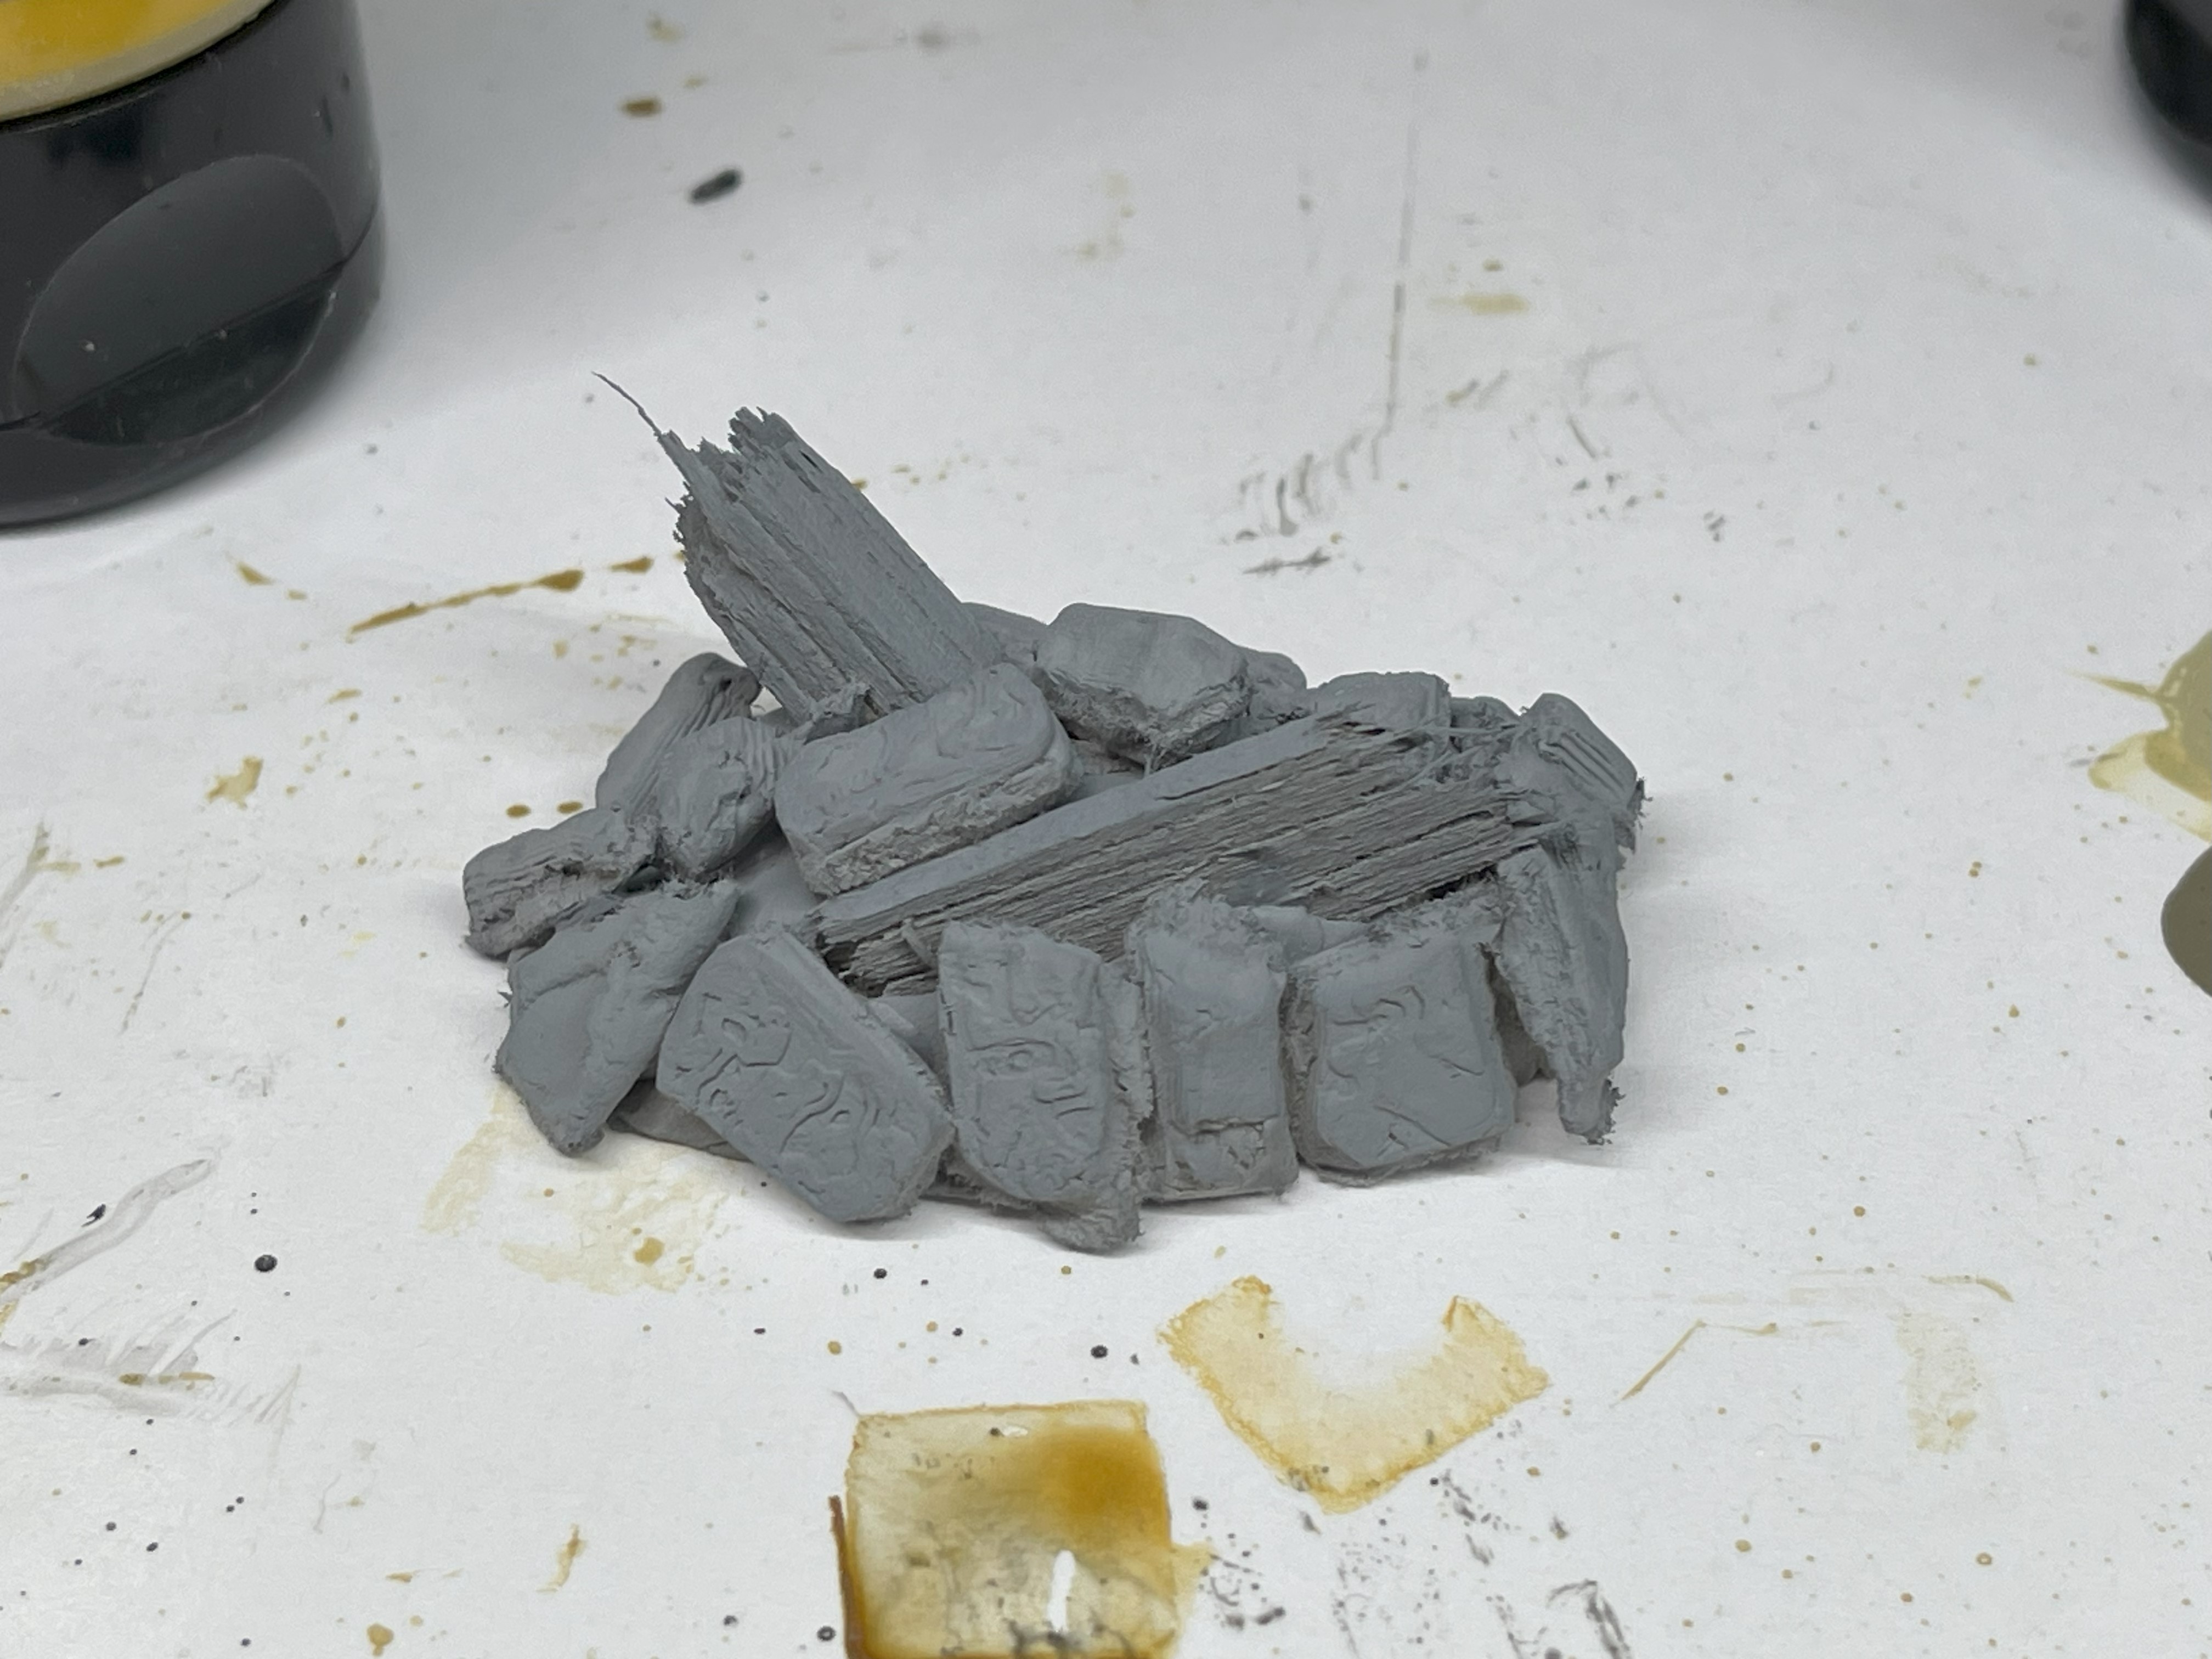
The core of the pile is some more DAS with some broken pieces of balsa, which had been scored to give some texture, stuck in there and I then glued the broken stones to that and sprayed it all grey once dry. Then it was painted with the yellows as per test piece and the wood painted to be like grey old wood, which I don’t seem to have any pics off so they look like stone.
Time for some tiles
 Test scheme on a failed print
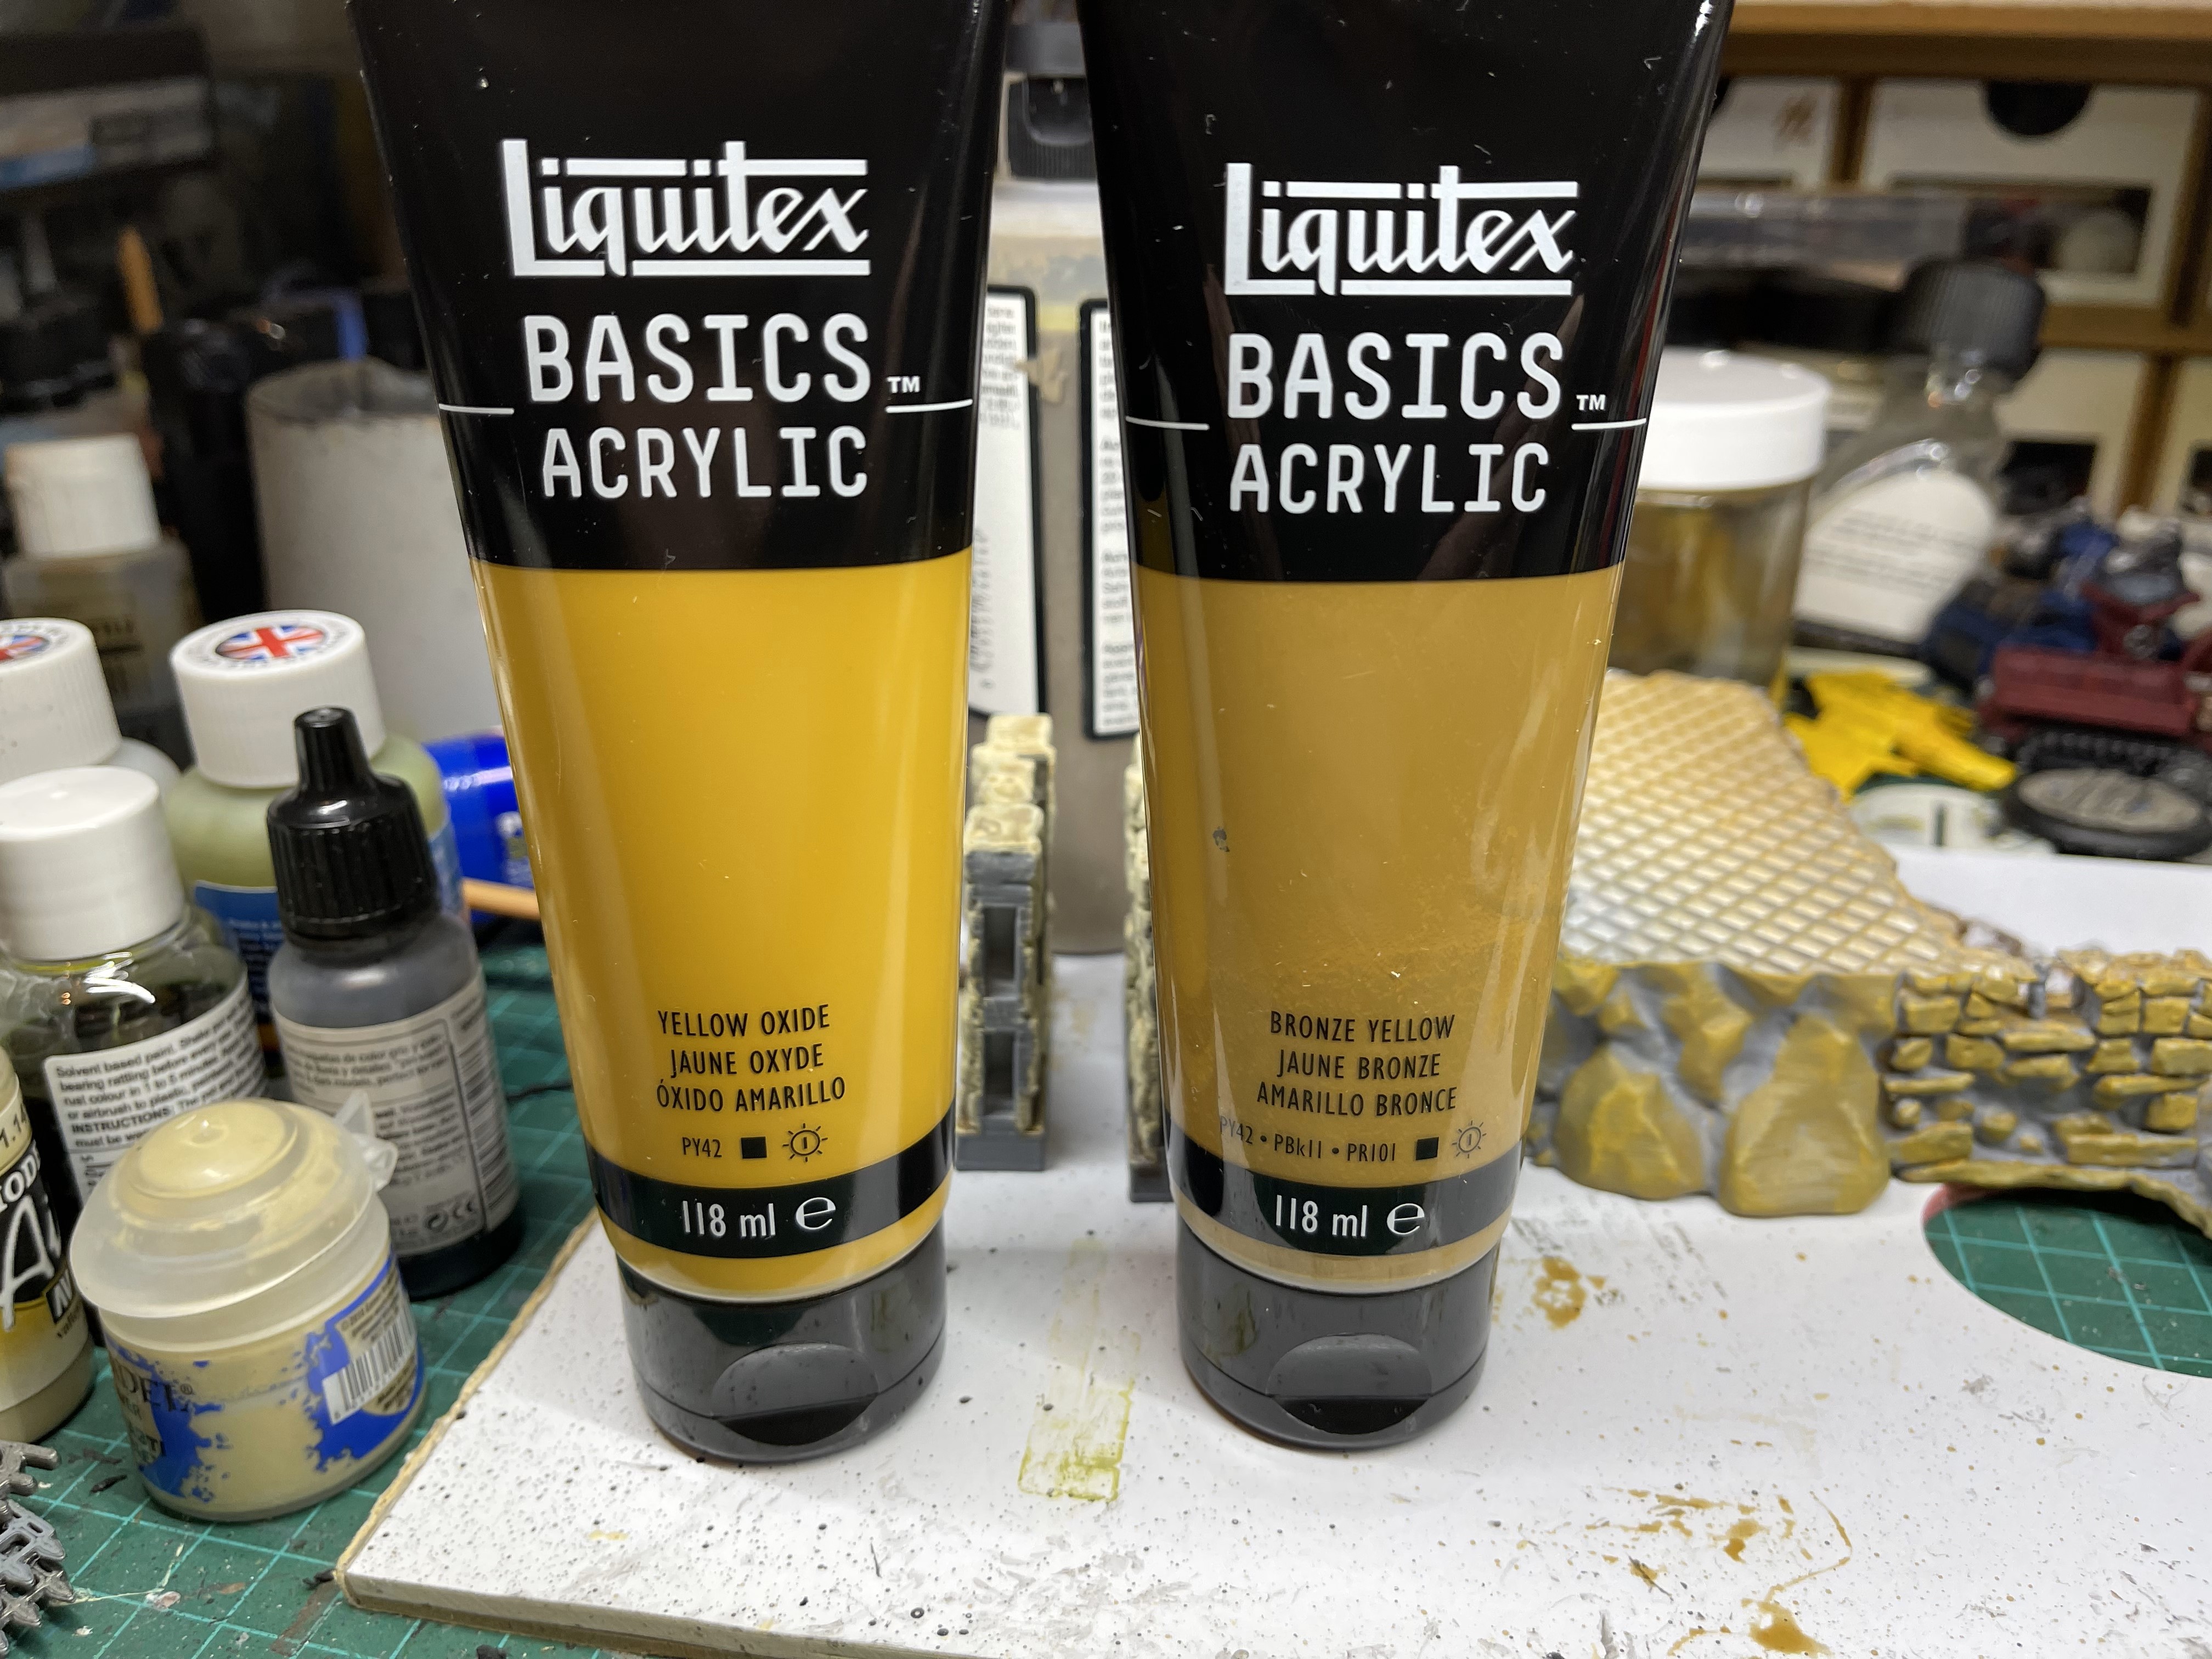
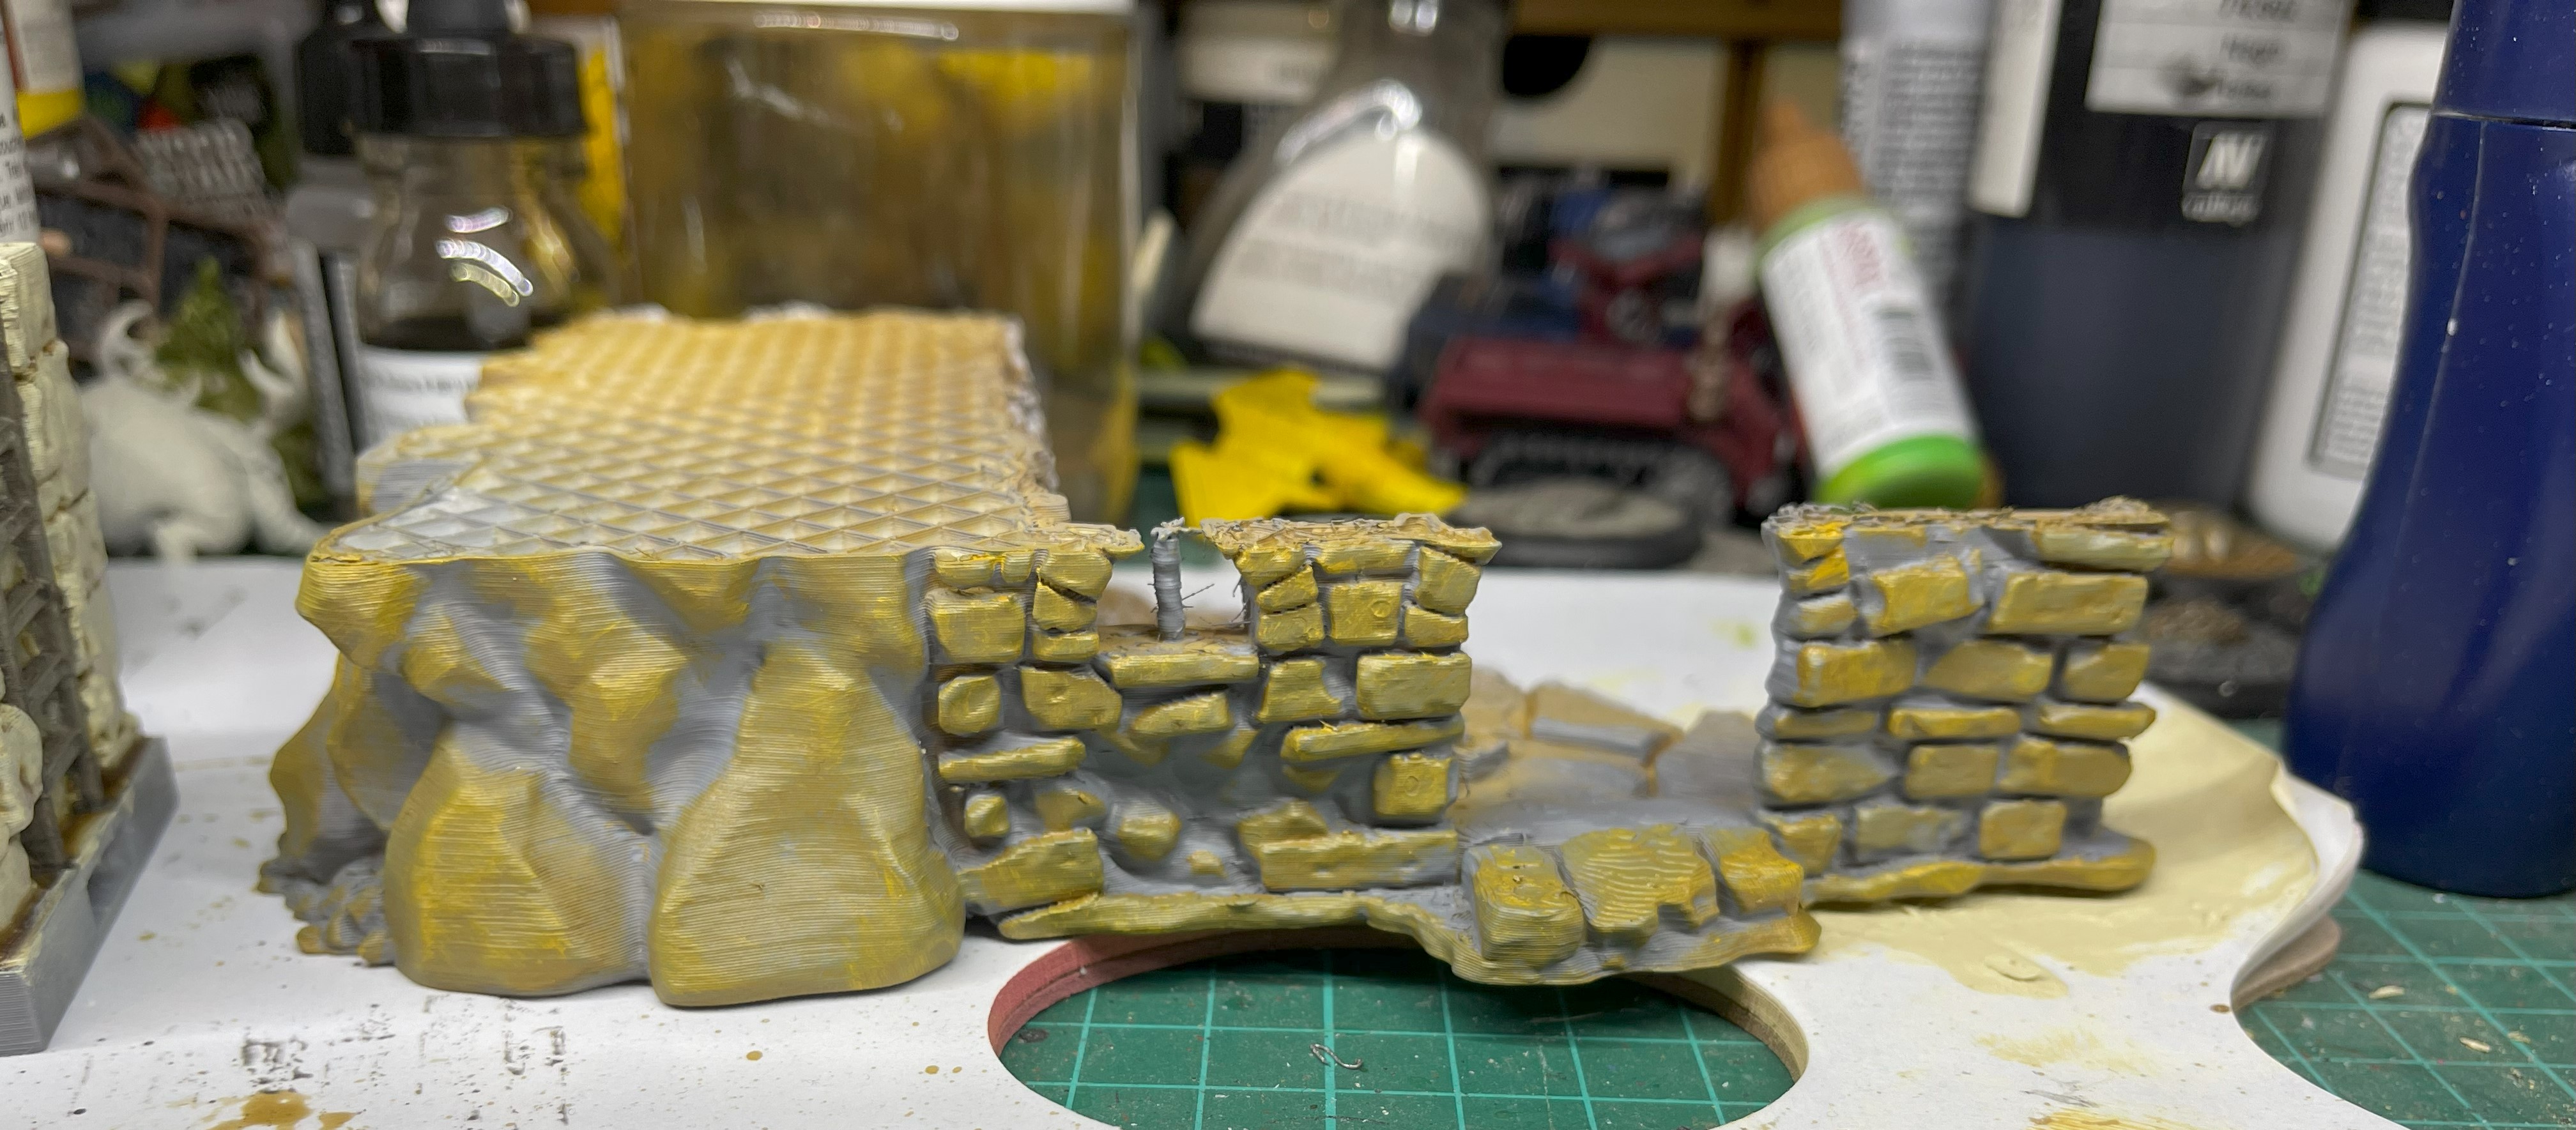
I’ve tried a test scheme on a failed print (clogged nozzle), spray it grey and then apply some brown yellows with a sponge.
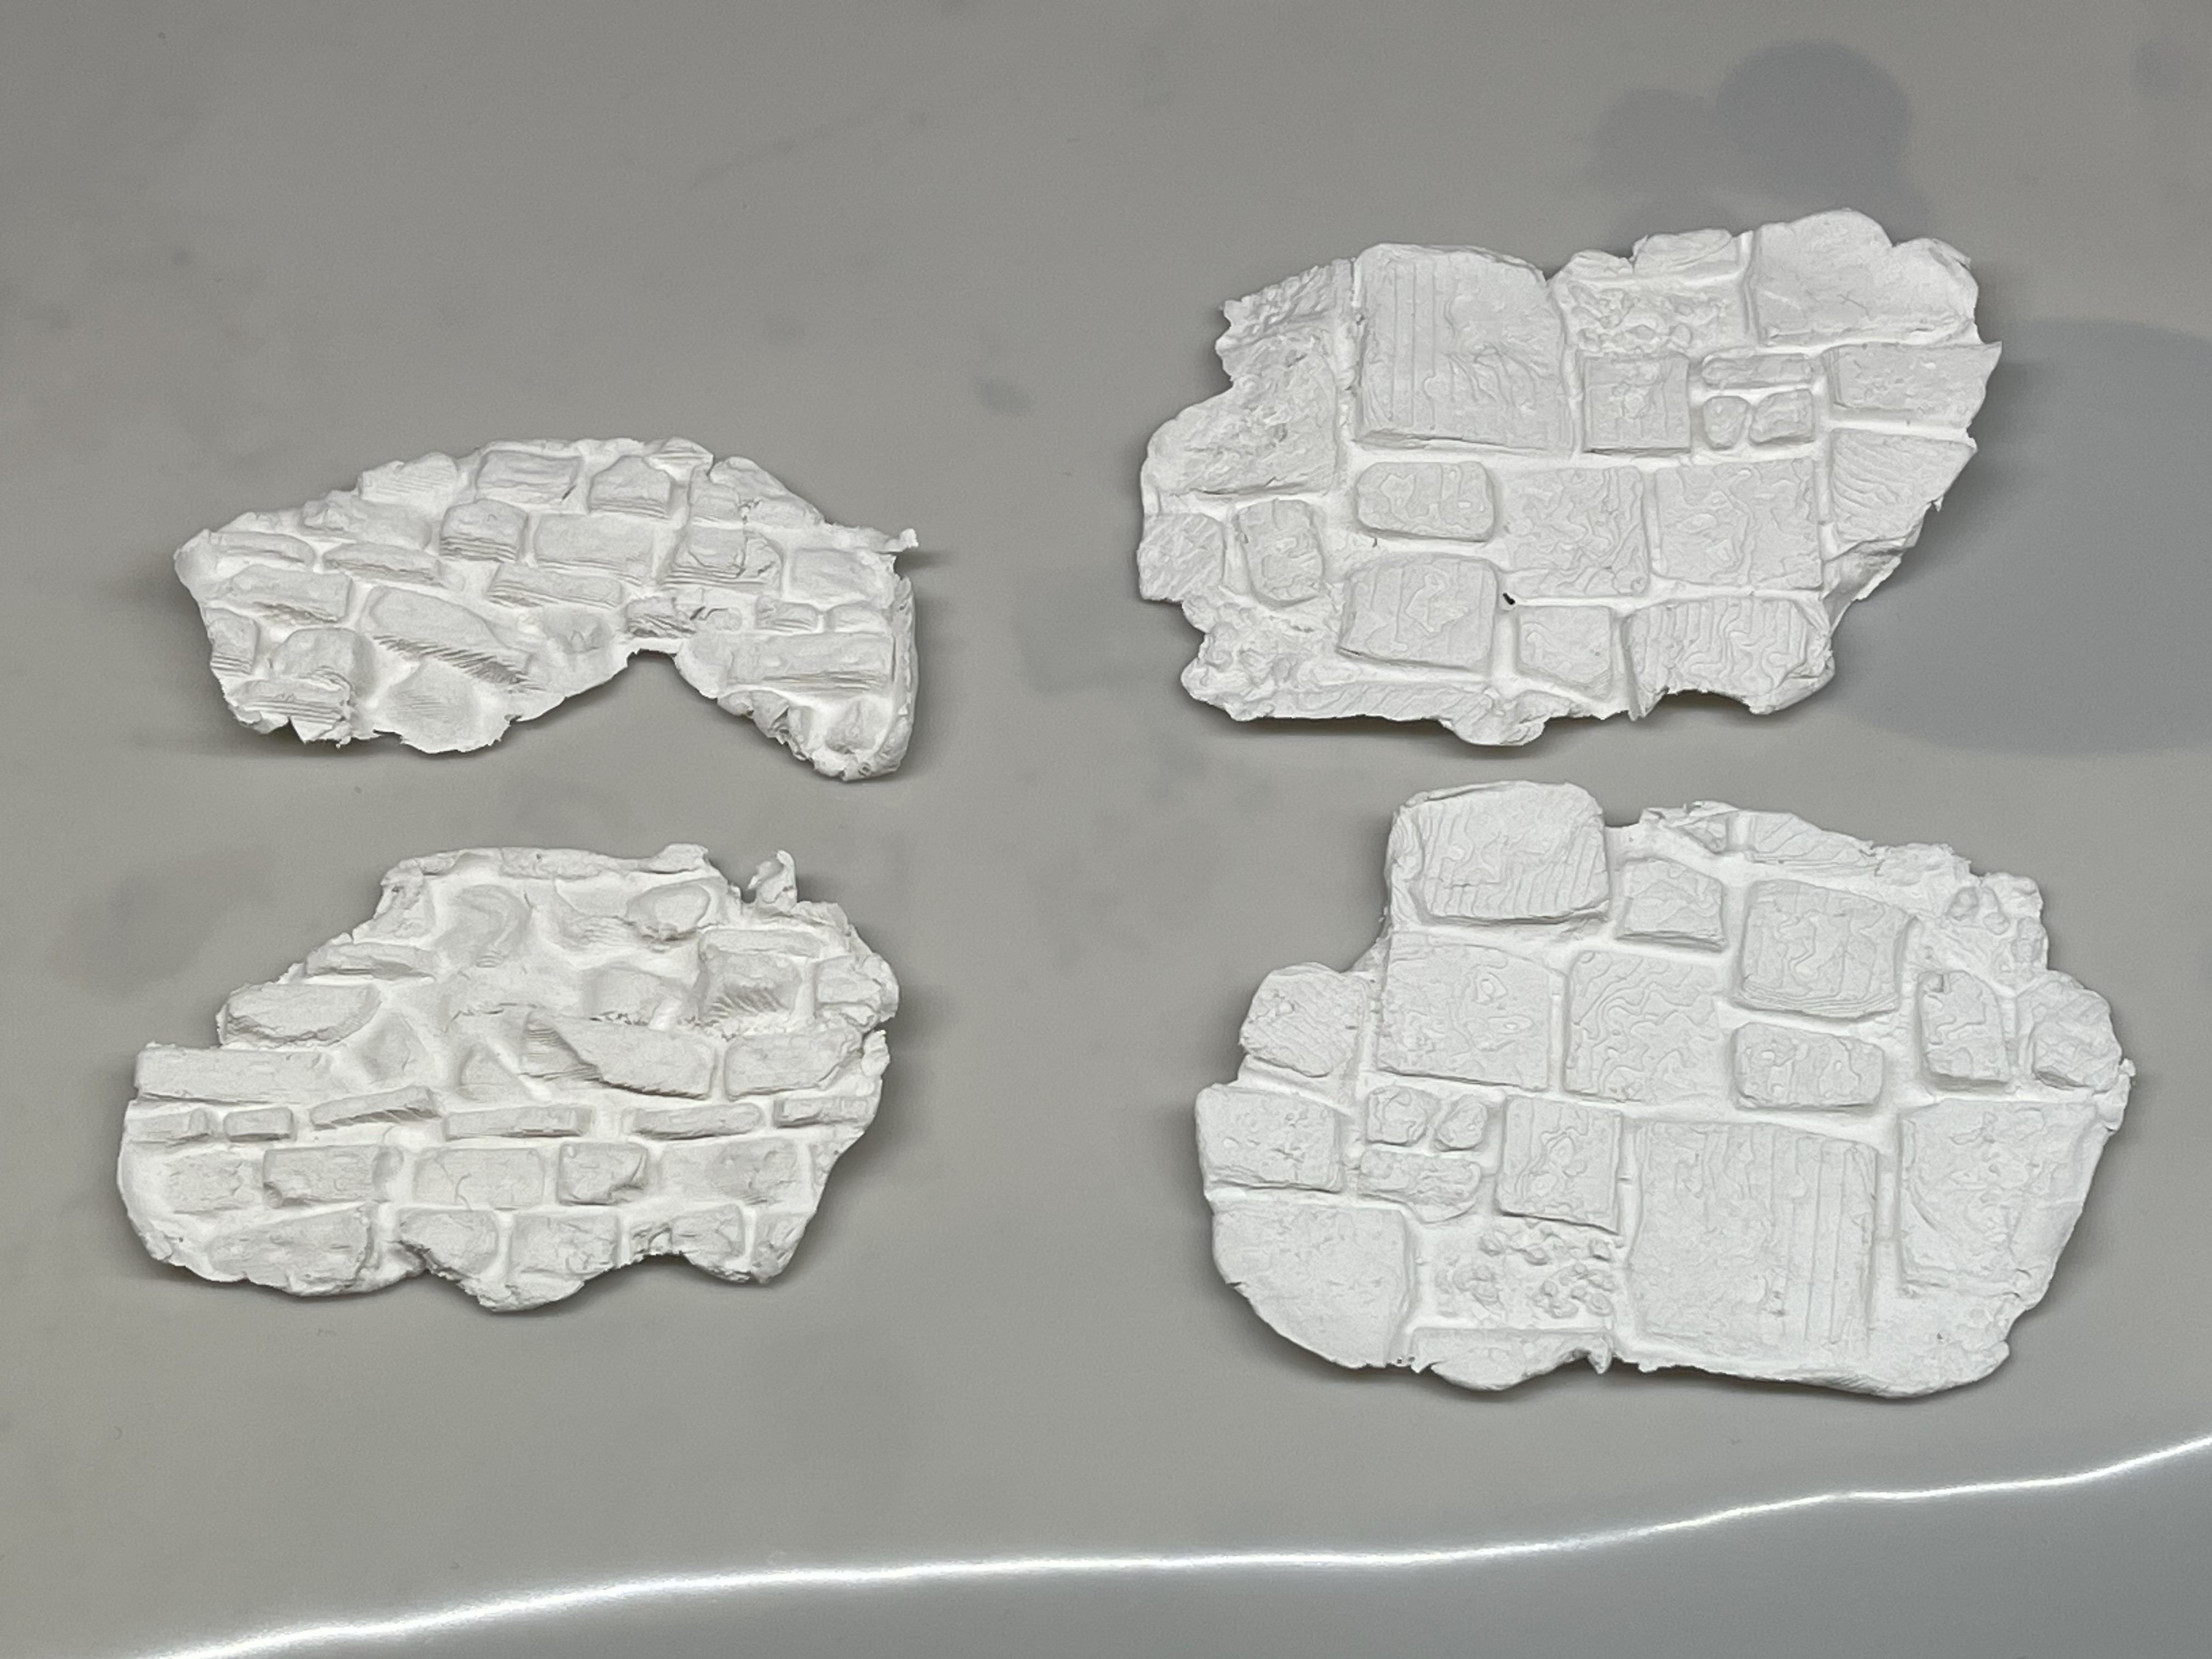
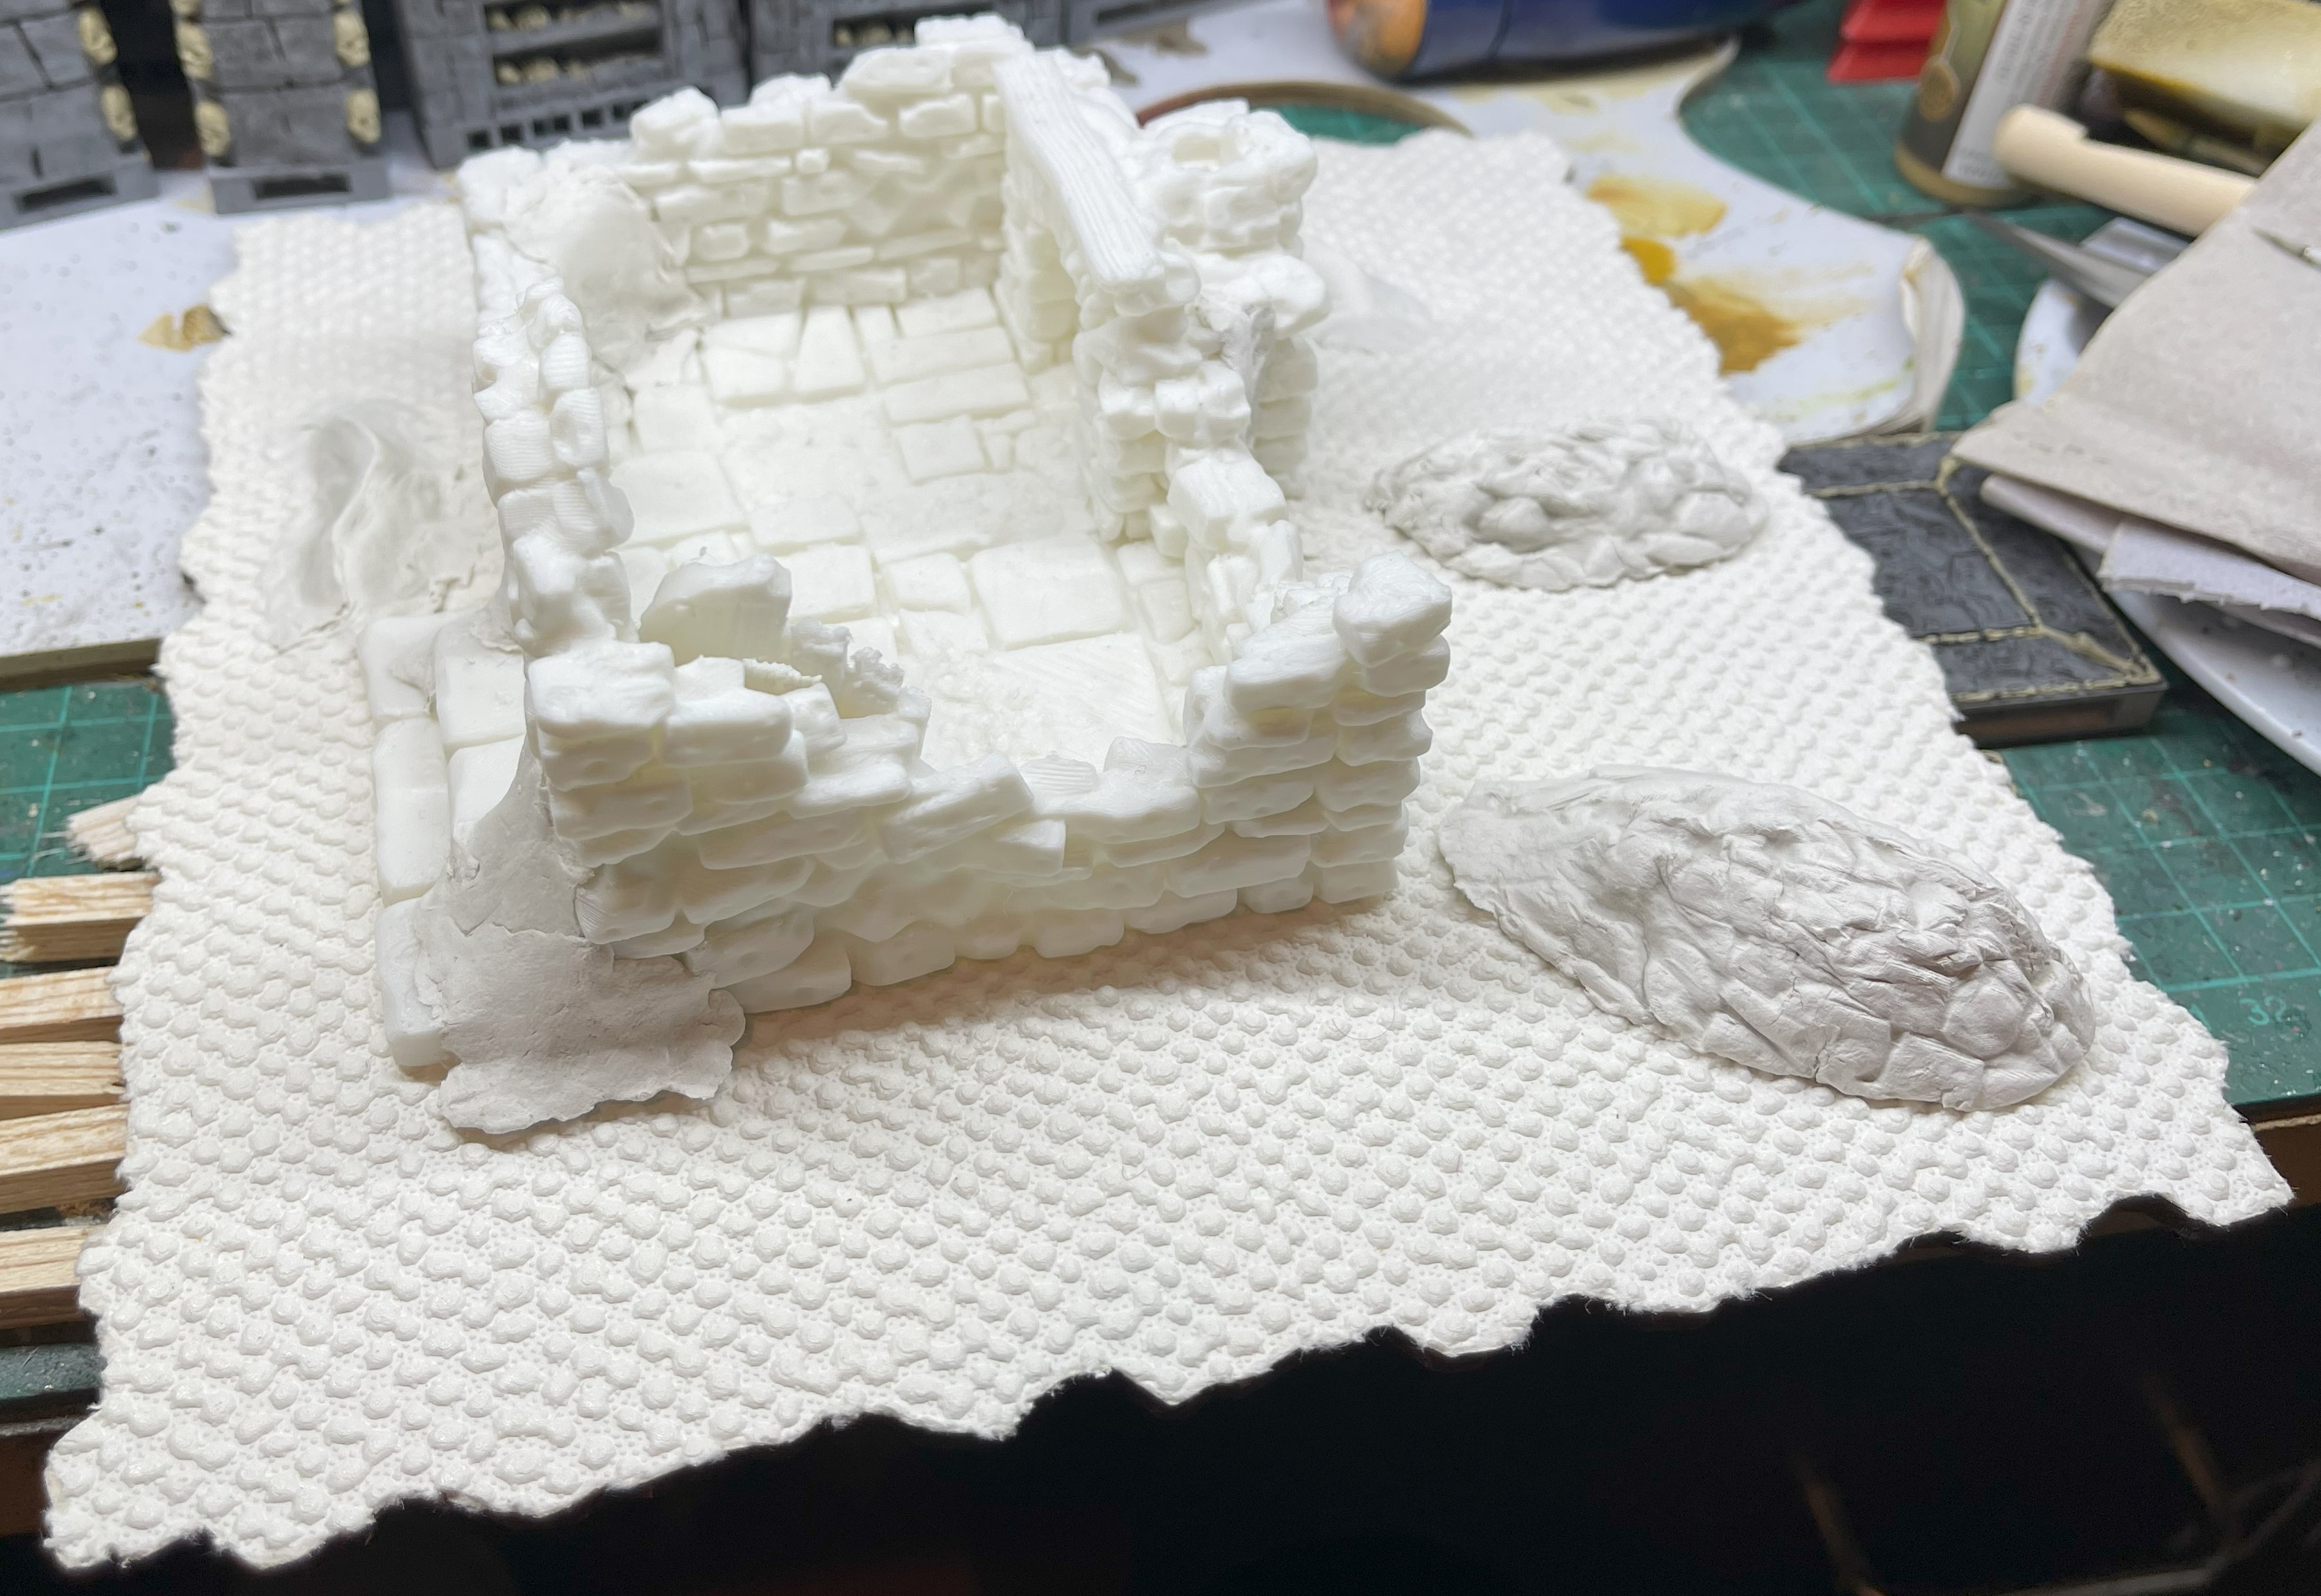
I’ve also started the first tiles, the tiles are sealed and then the textured wallpaper is attached using spray mount. I’ve added a snow wave to larger flat tile and couple around the building using DAS modelling clay, this was also used to build some stone in the corners and around the door. I’ve also added a couple of rubble piles and I’ve taken a mold of the wall using blue stuff and pressed that in to give it some texture, that doesn’t seem to have worked out as I was hopping so I’m going to use some cork and stone over them and see how that goes.
Time for some snow
 While wet
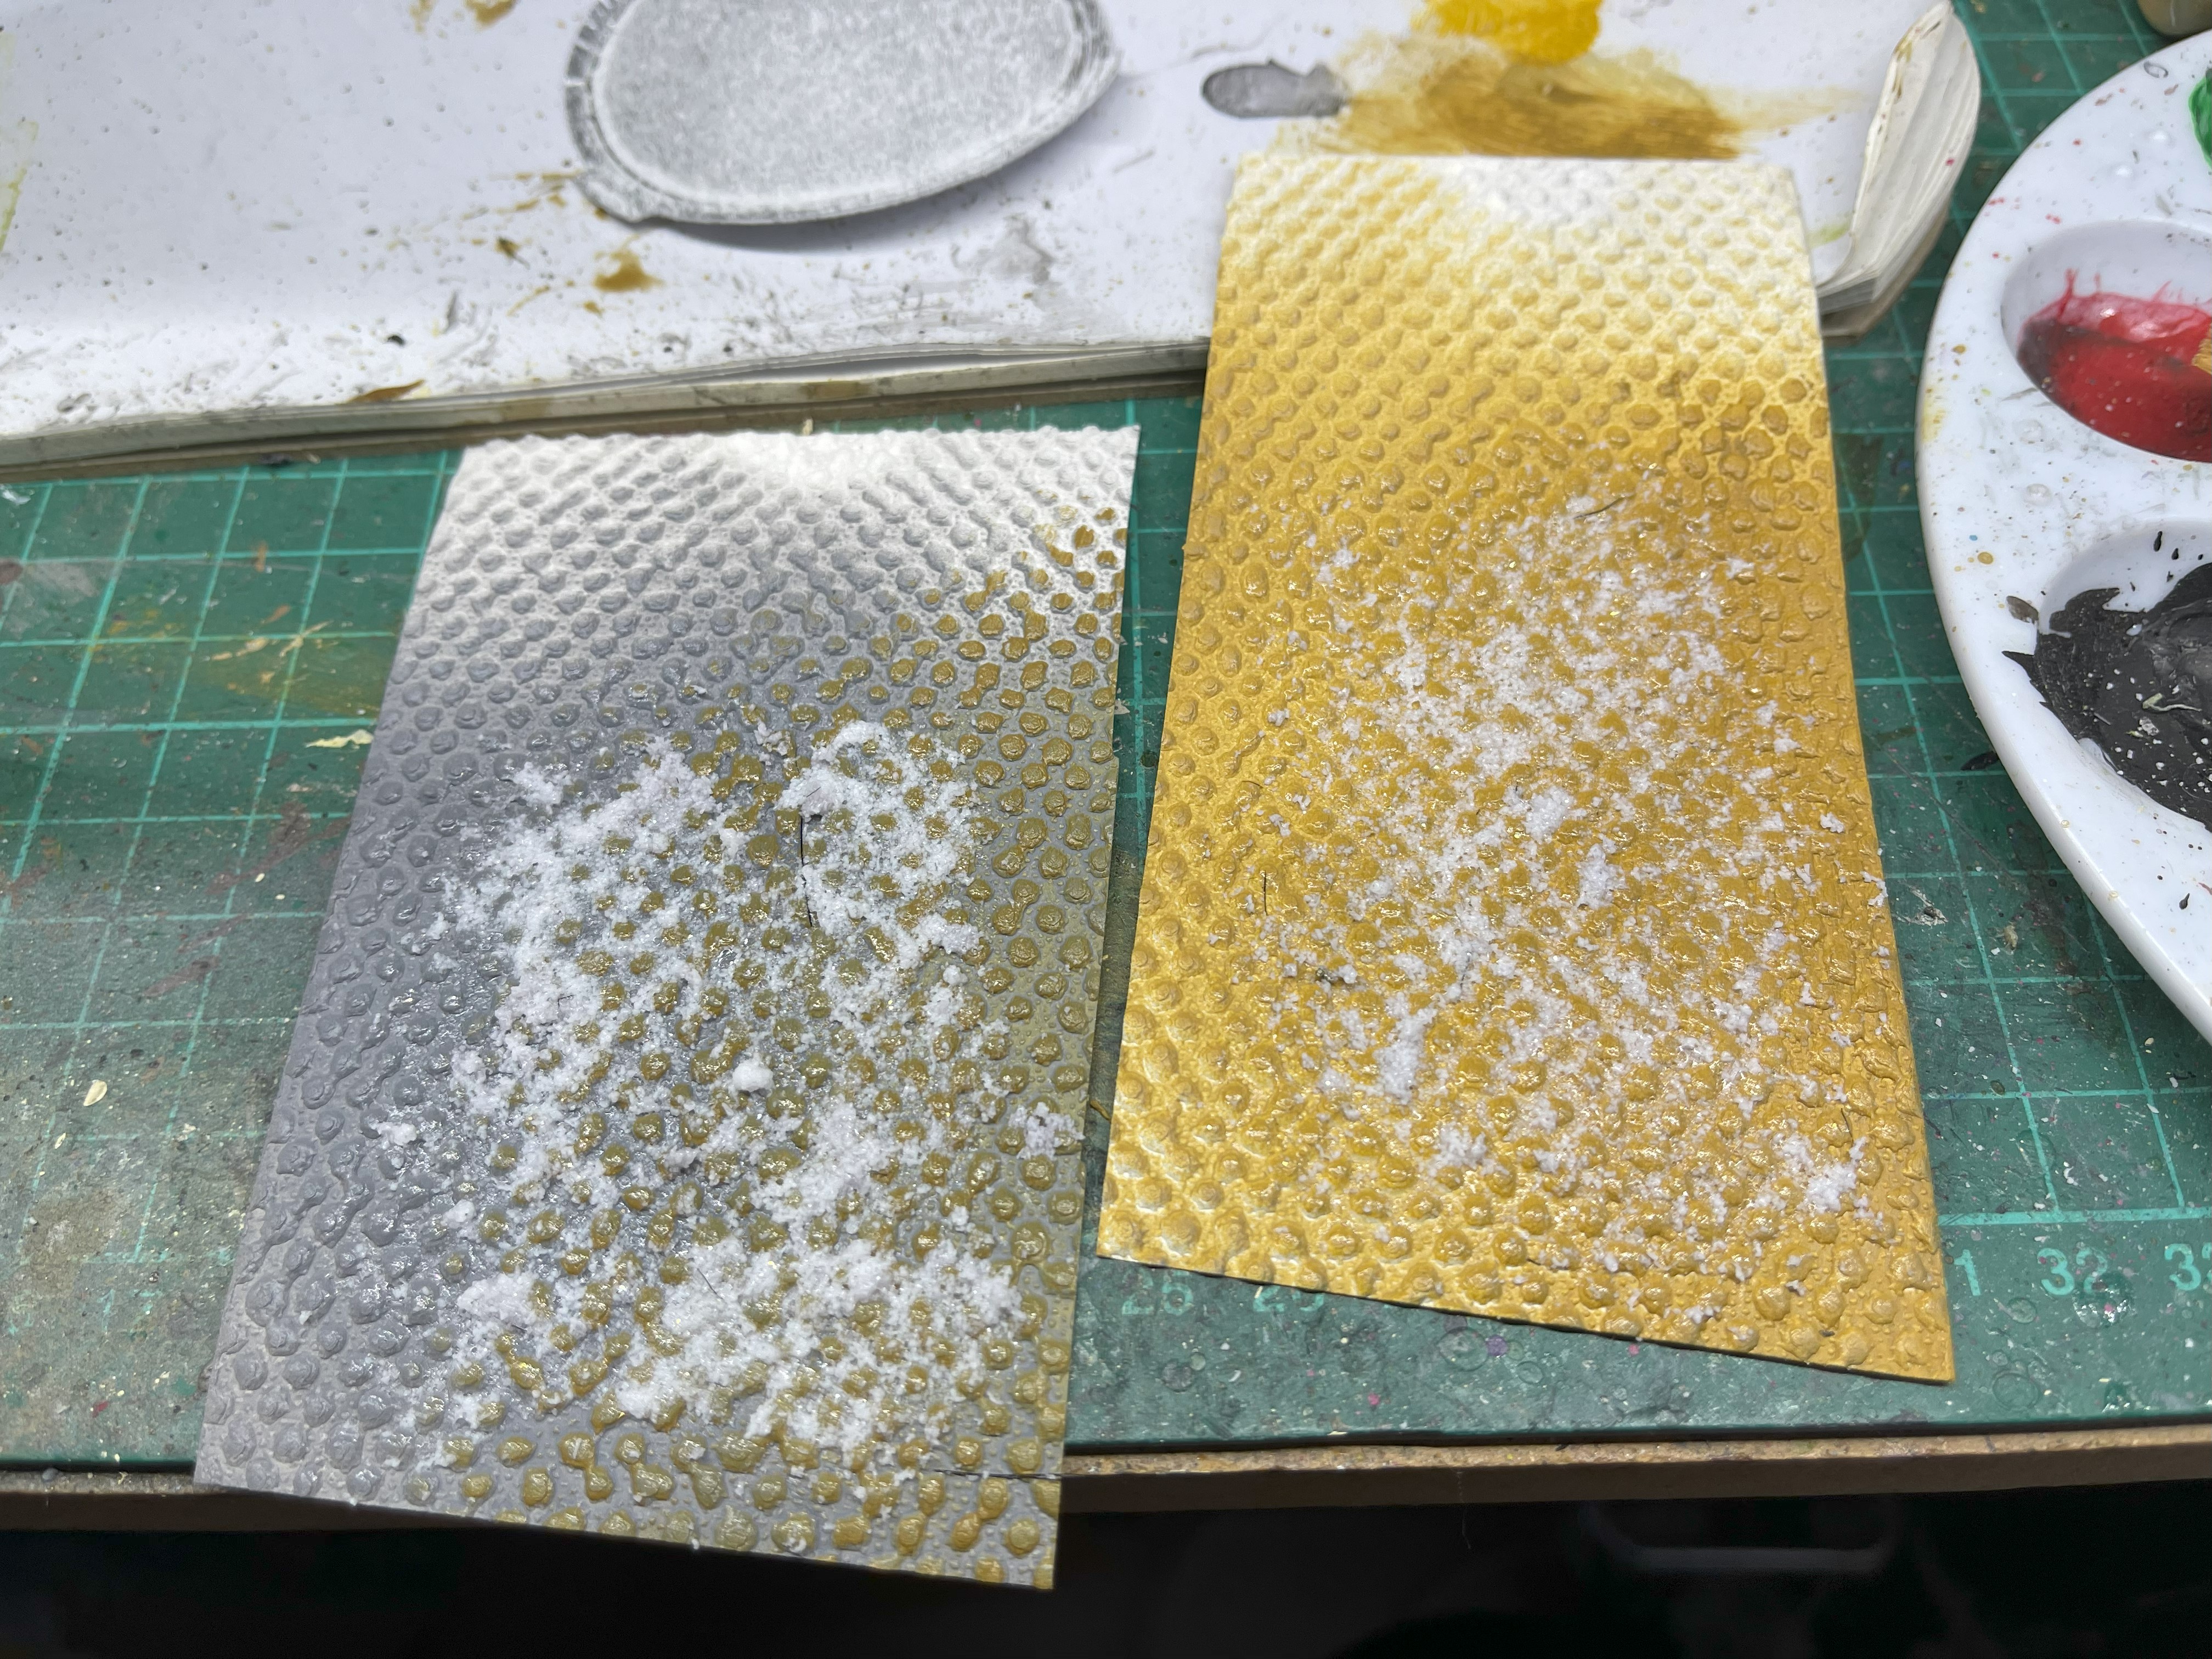 Once its dry
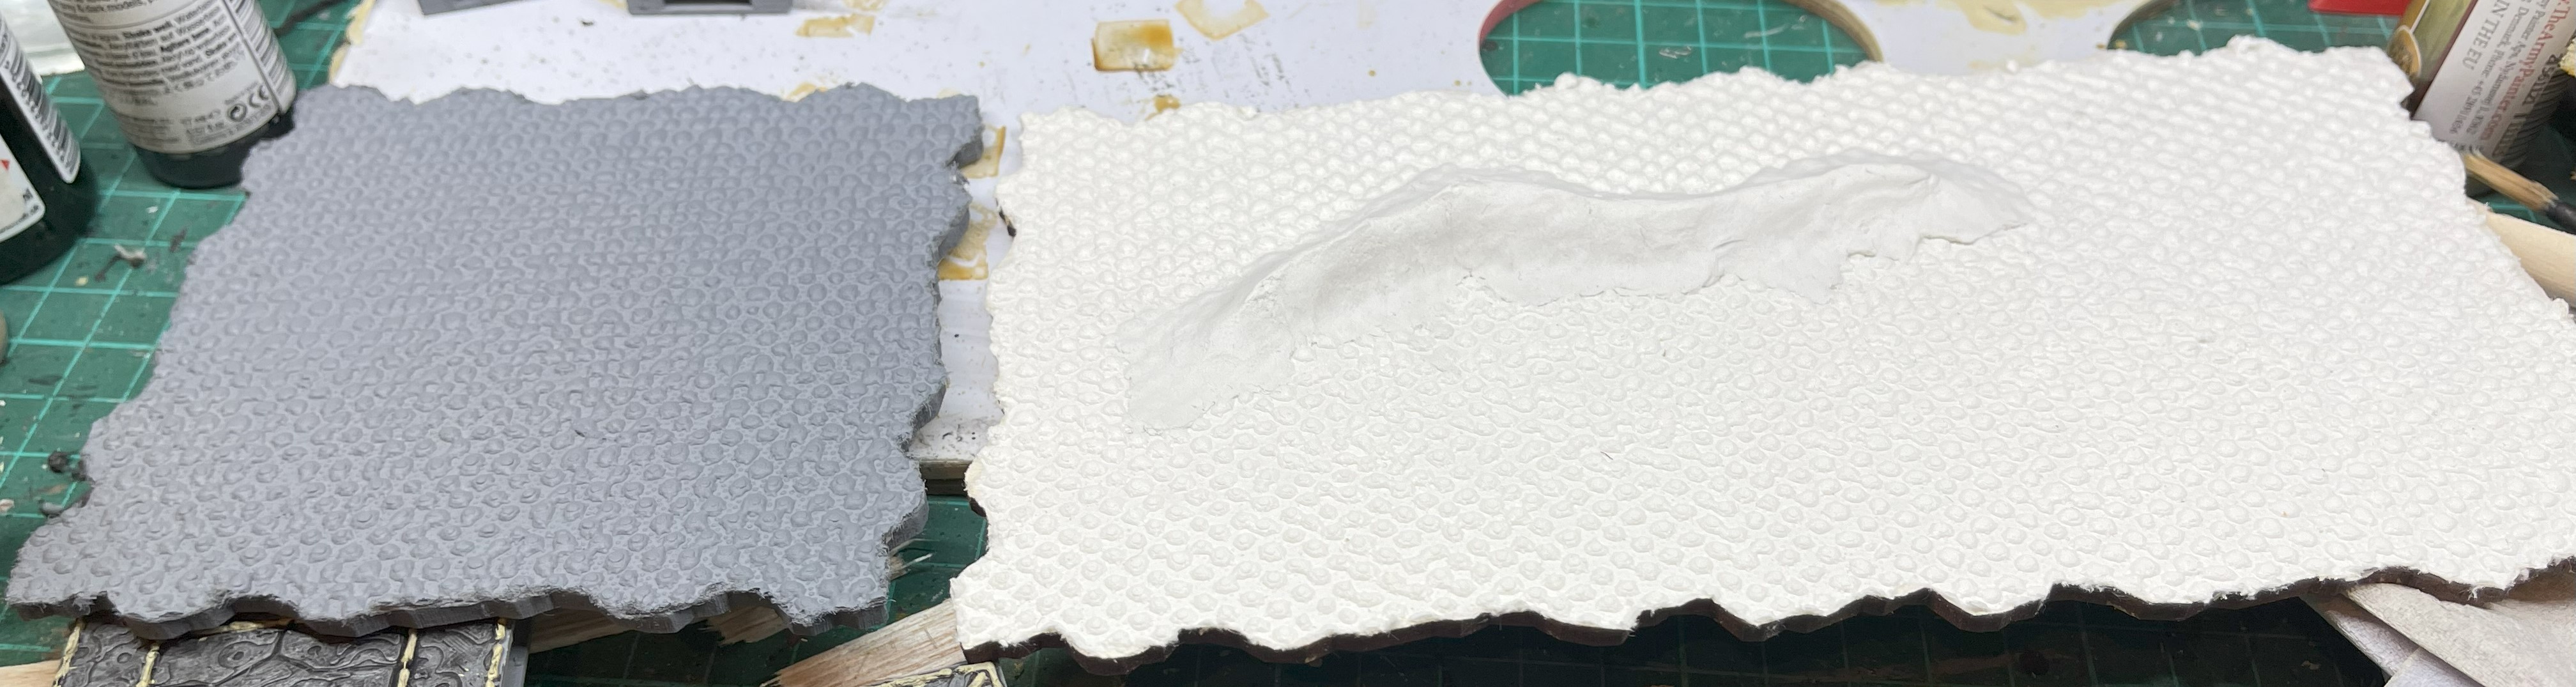
The plan for the top is cover the tiles with this embossed wallpaper so that the tile edges are all the same.
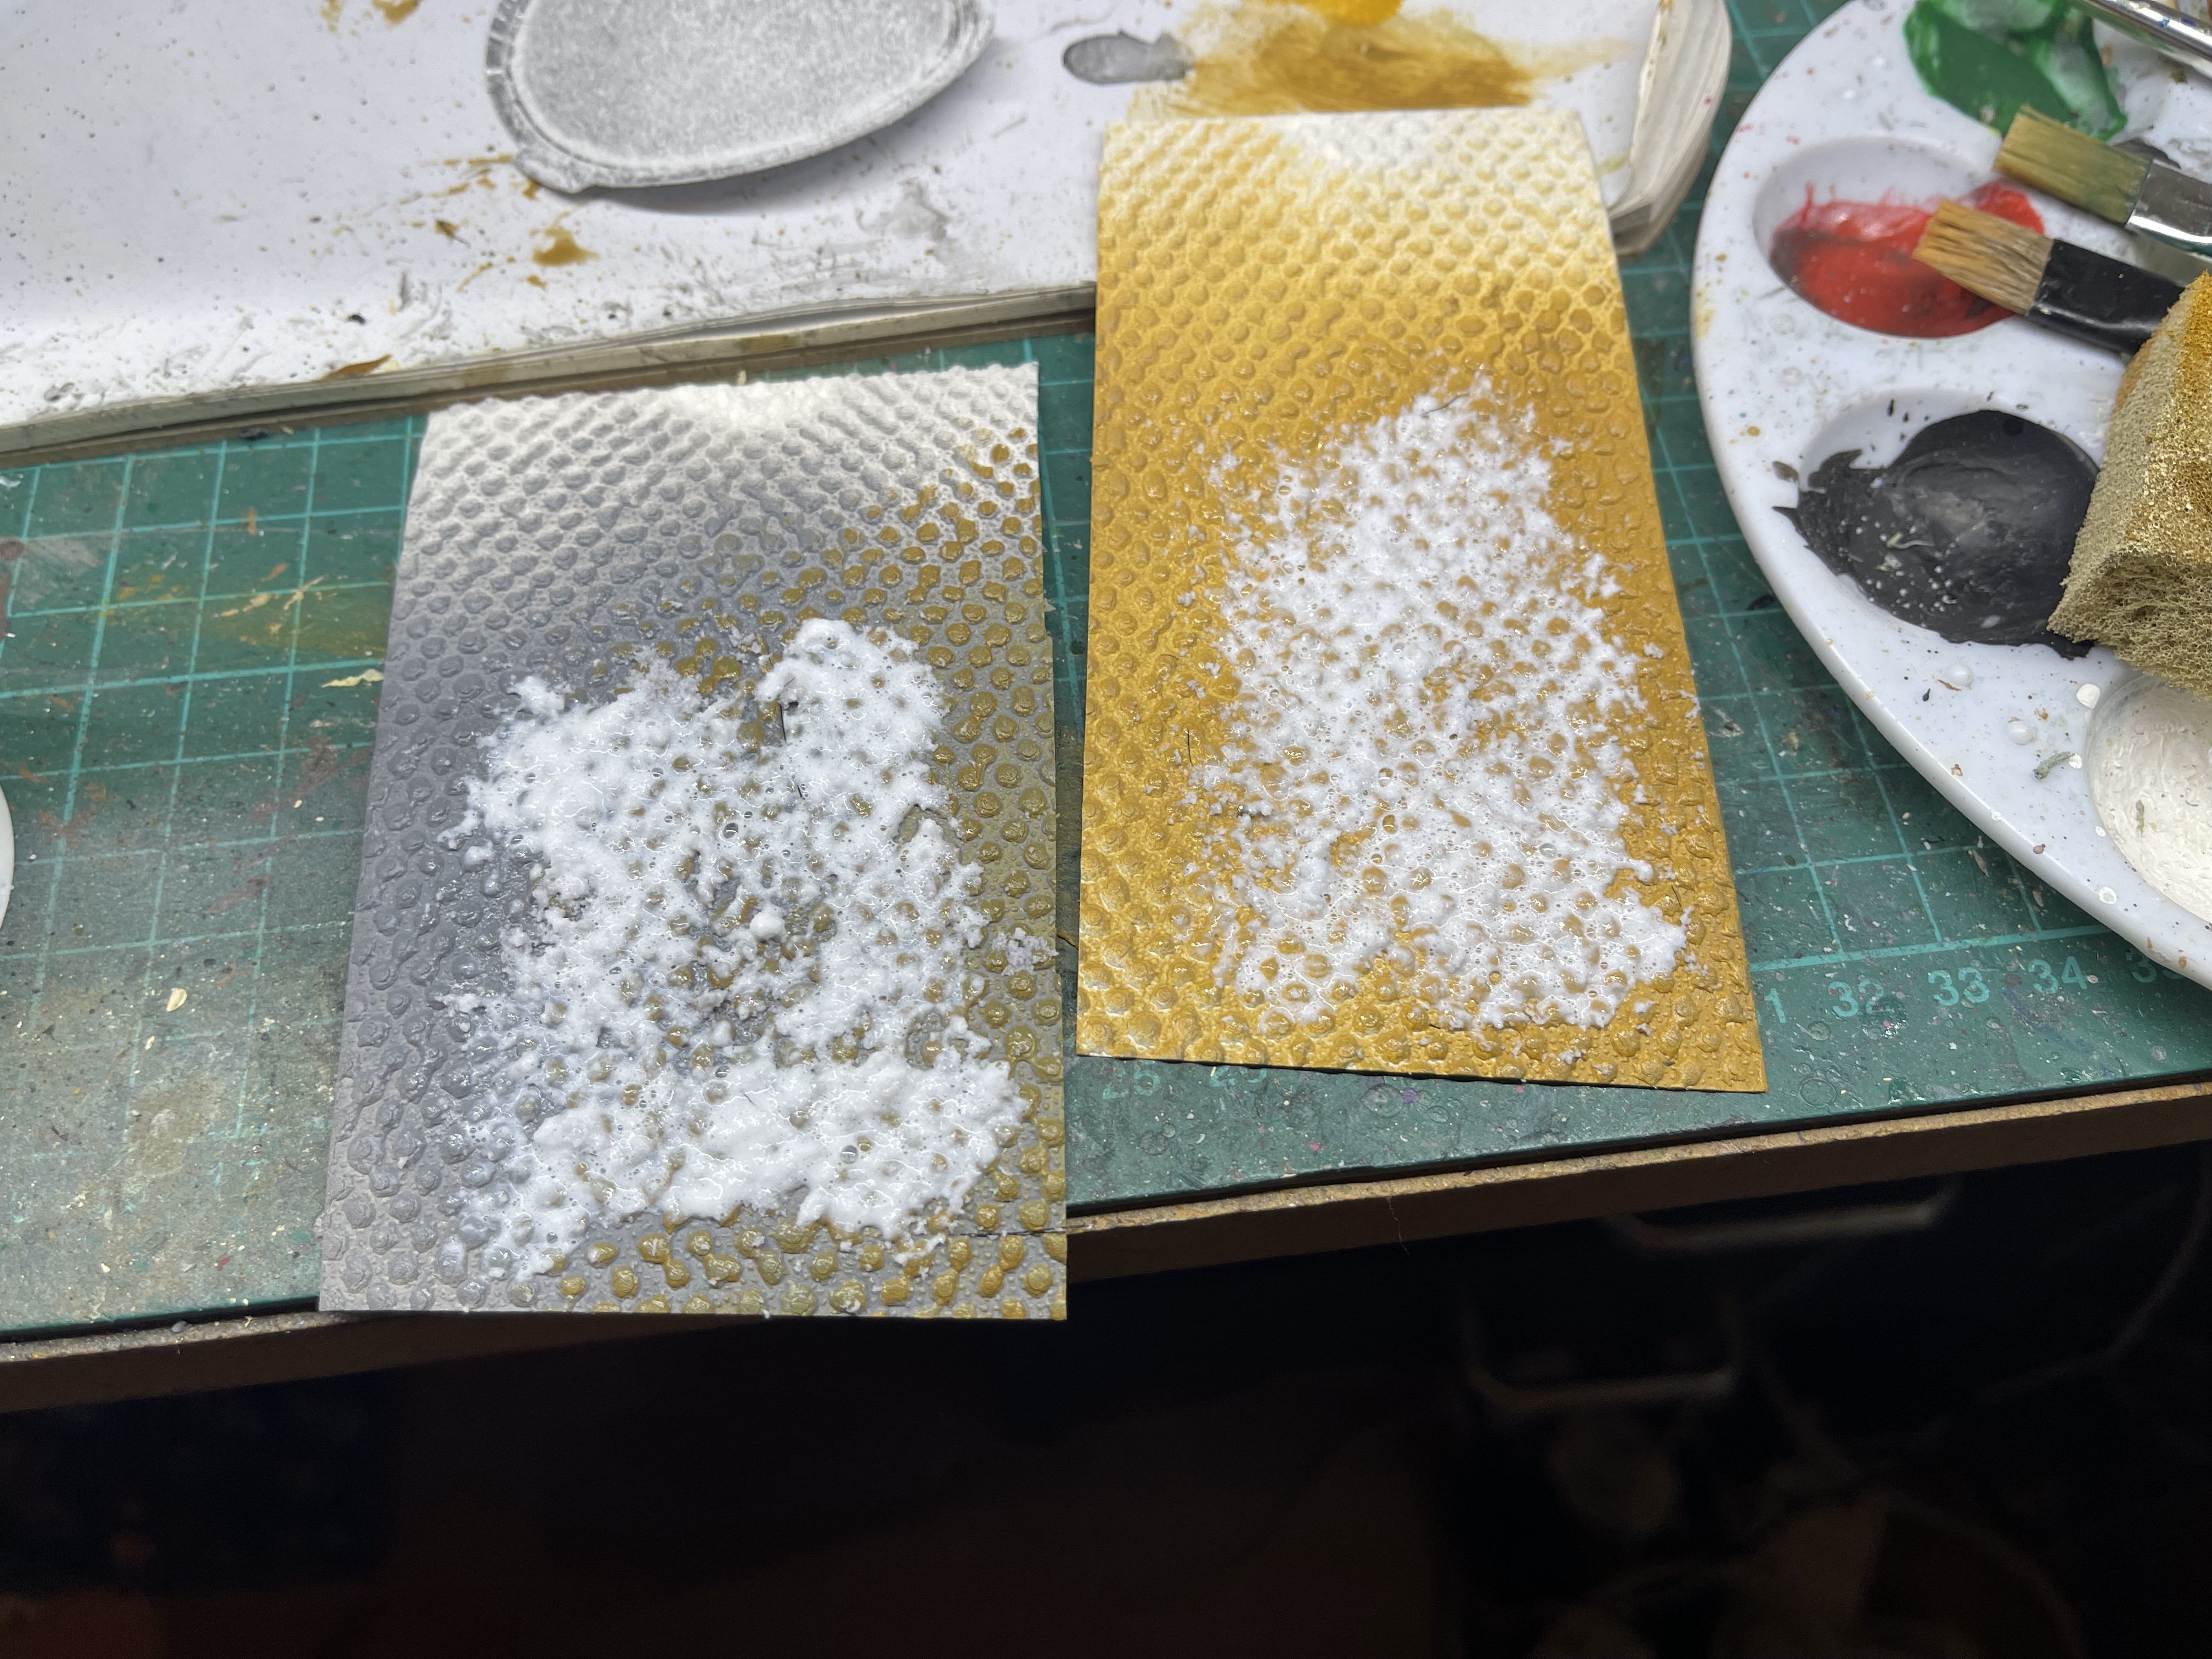
The test above uses grey on the left and desert yellow on right, the grey once has half of the raised areas covered with a dark yellow to avoid it being all grey.
I have then applied a frosted ground mix from the terrain tutor (mod podge, snow flock and white glitter). I currently working on test building from a failed 3d print, hopefully that should be done this week.
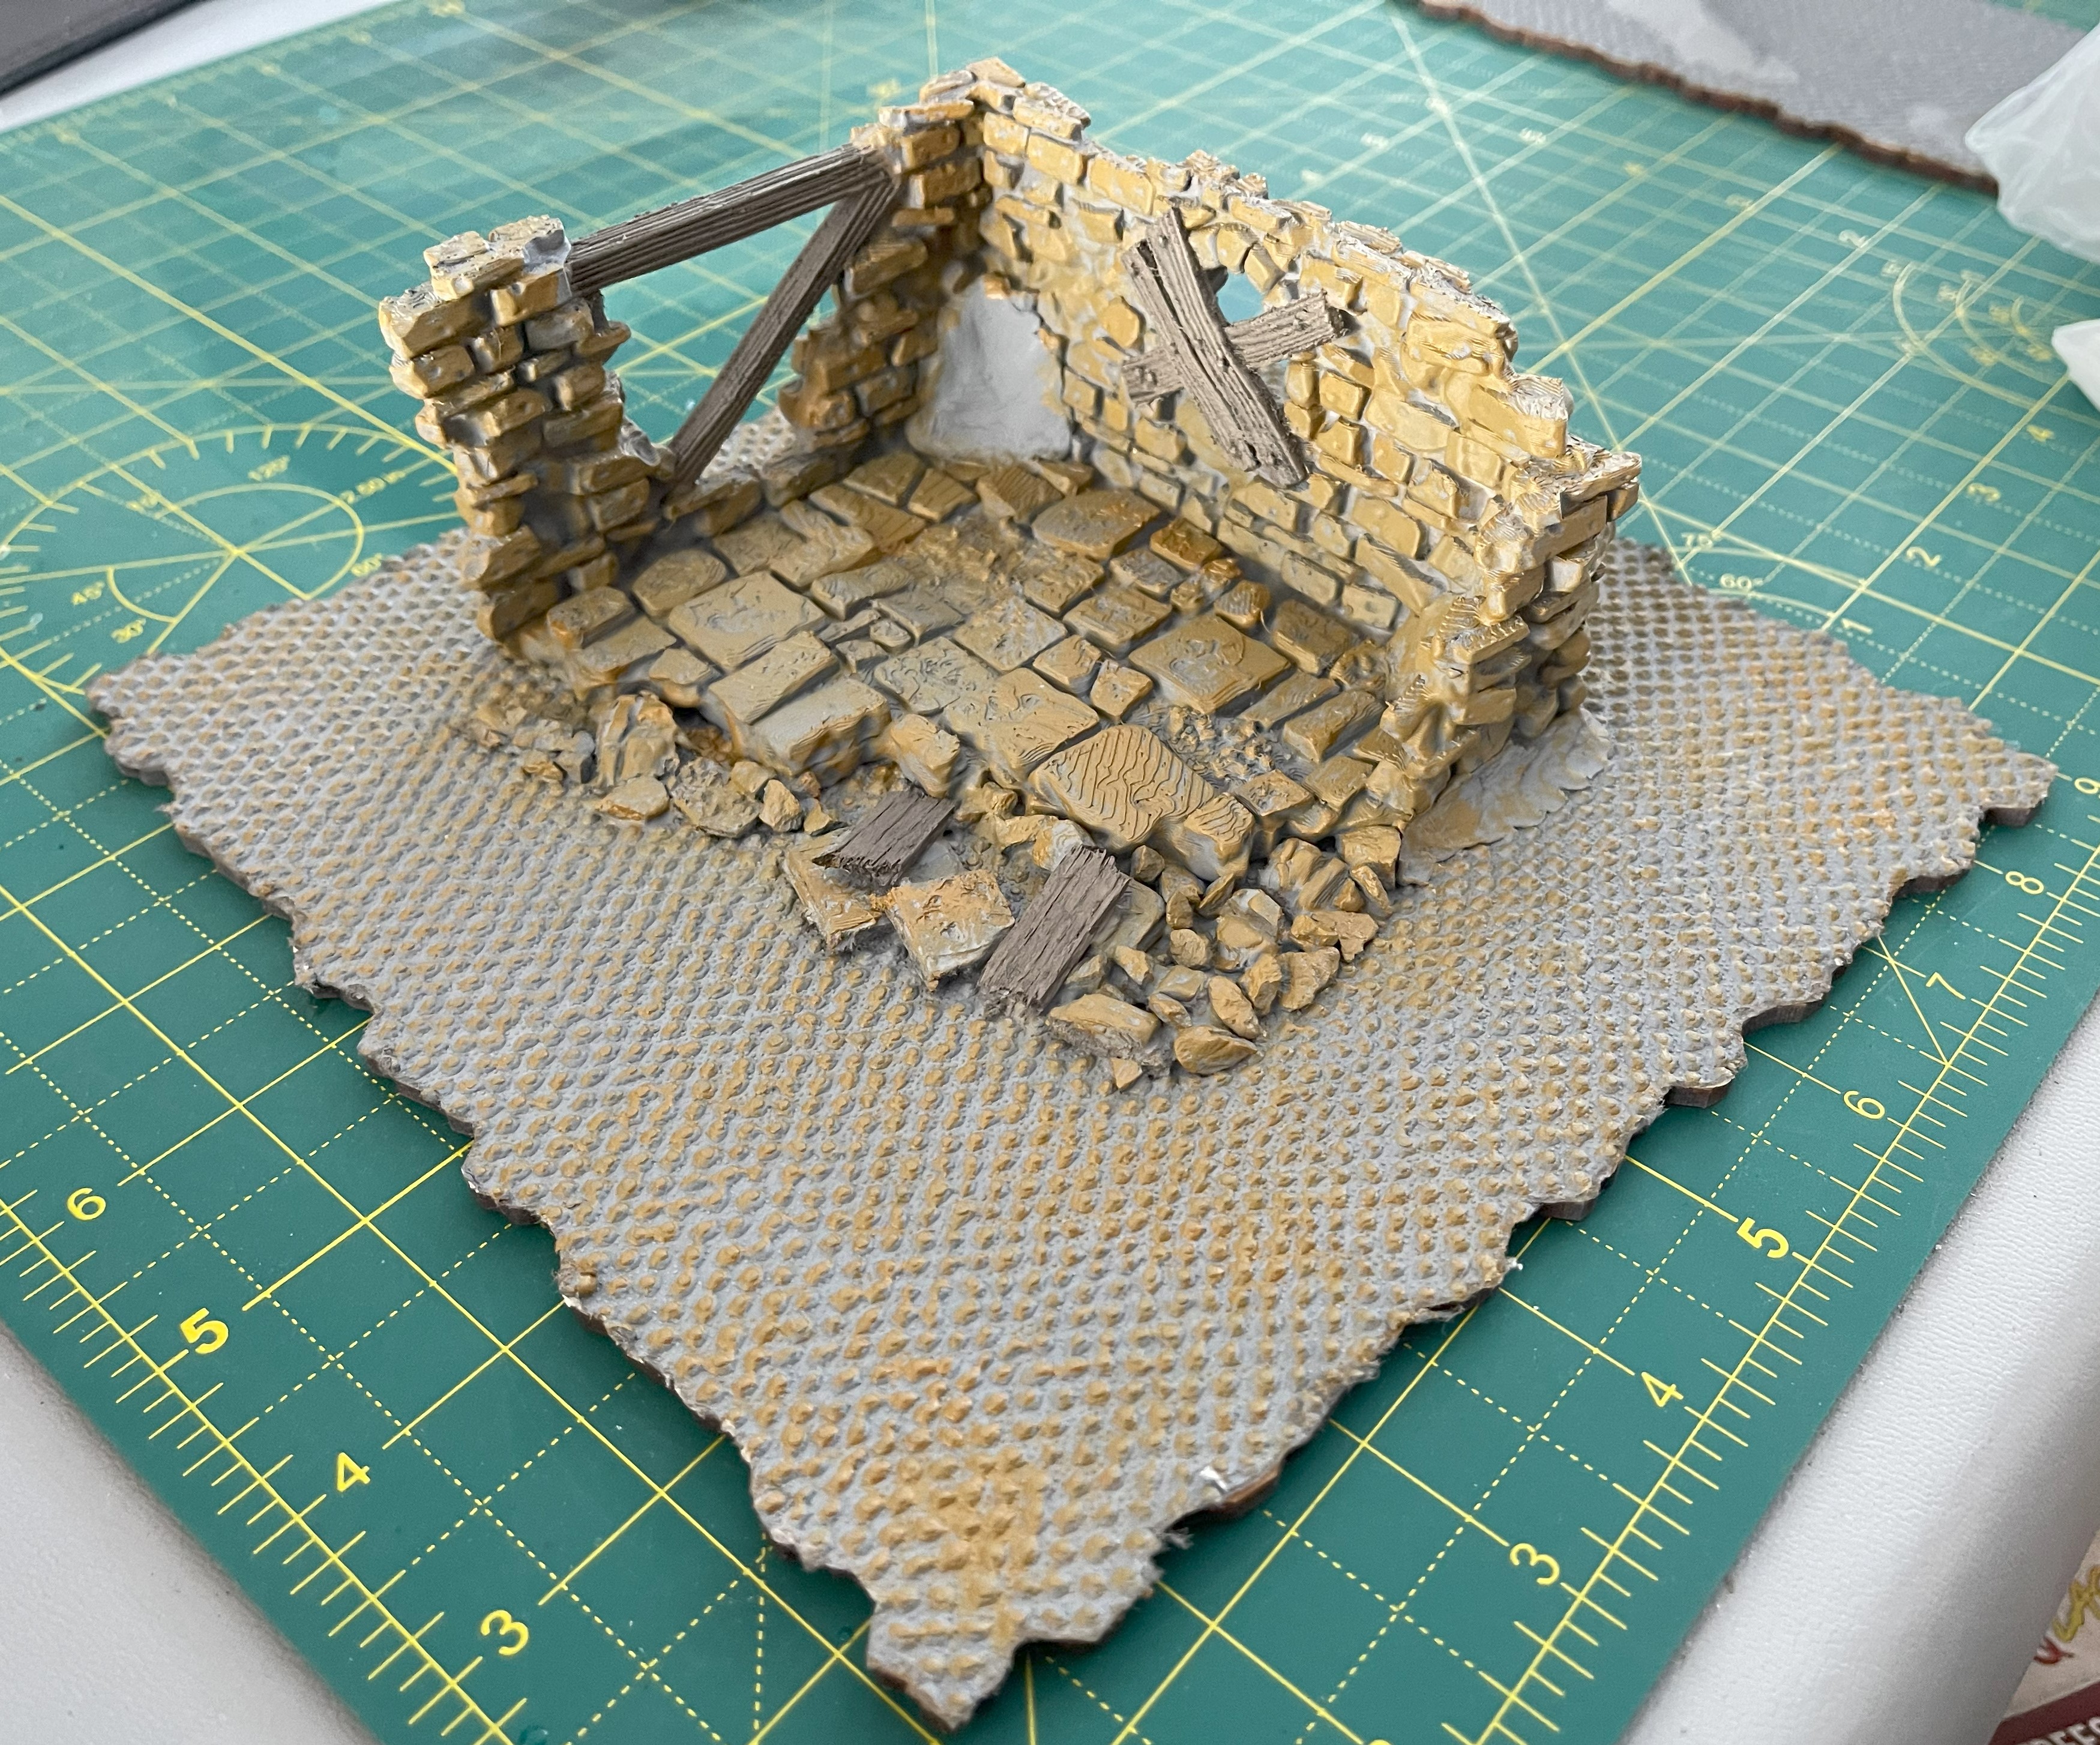
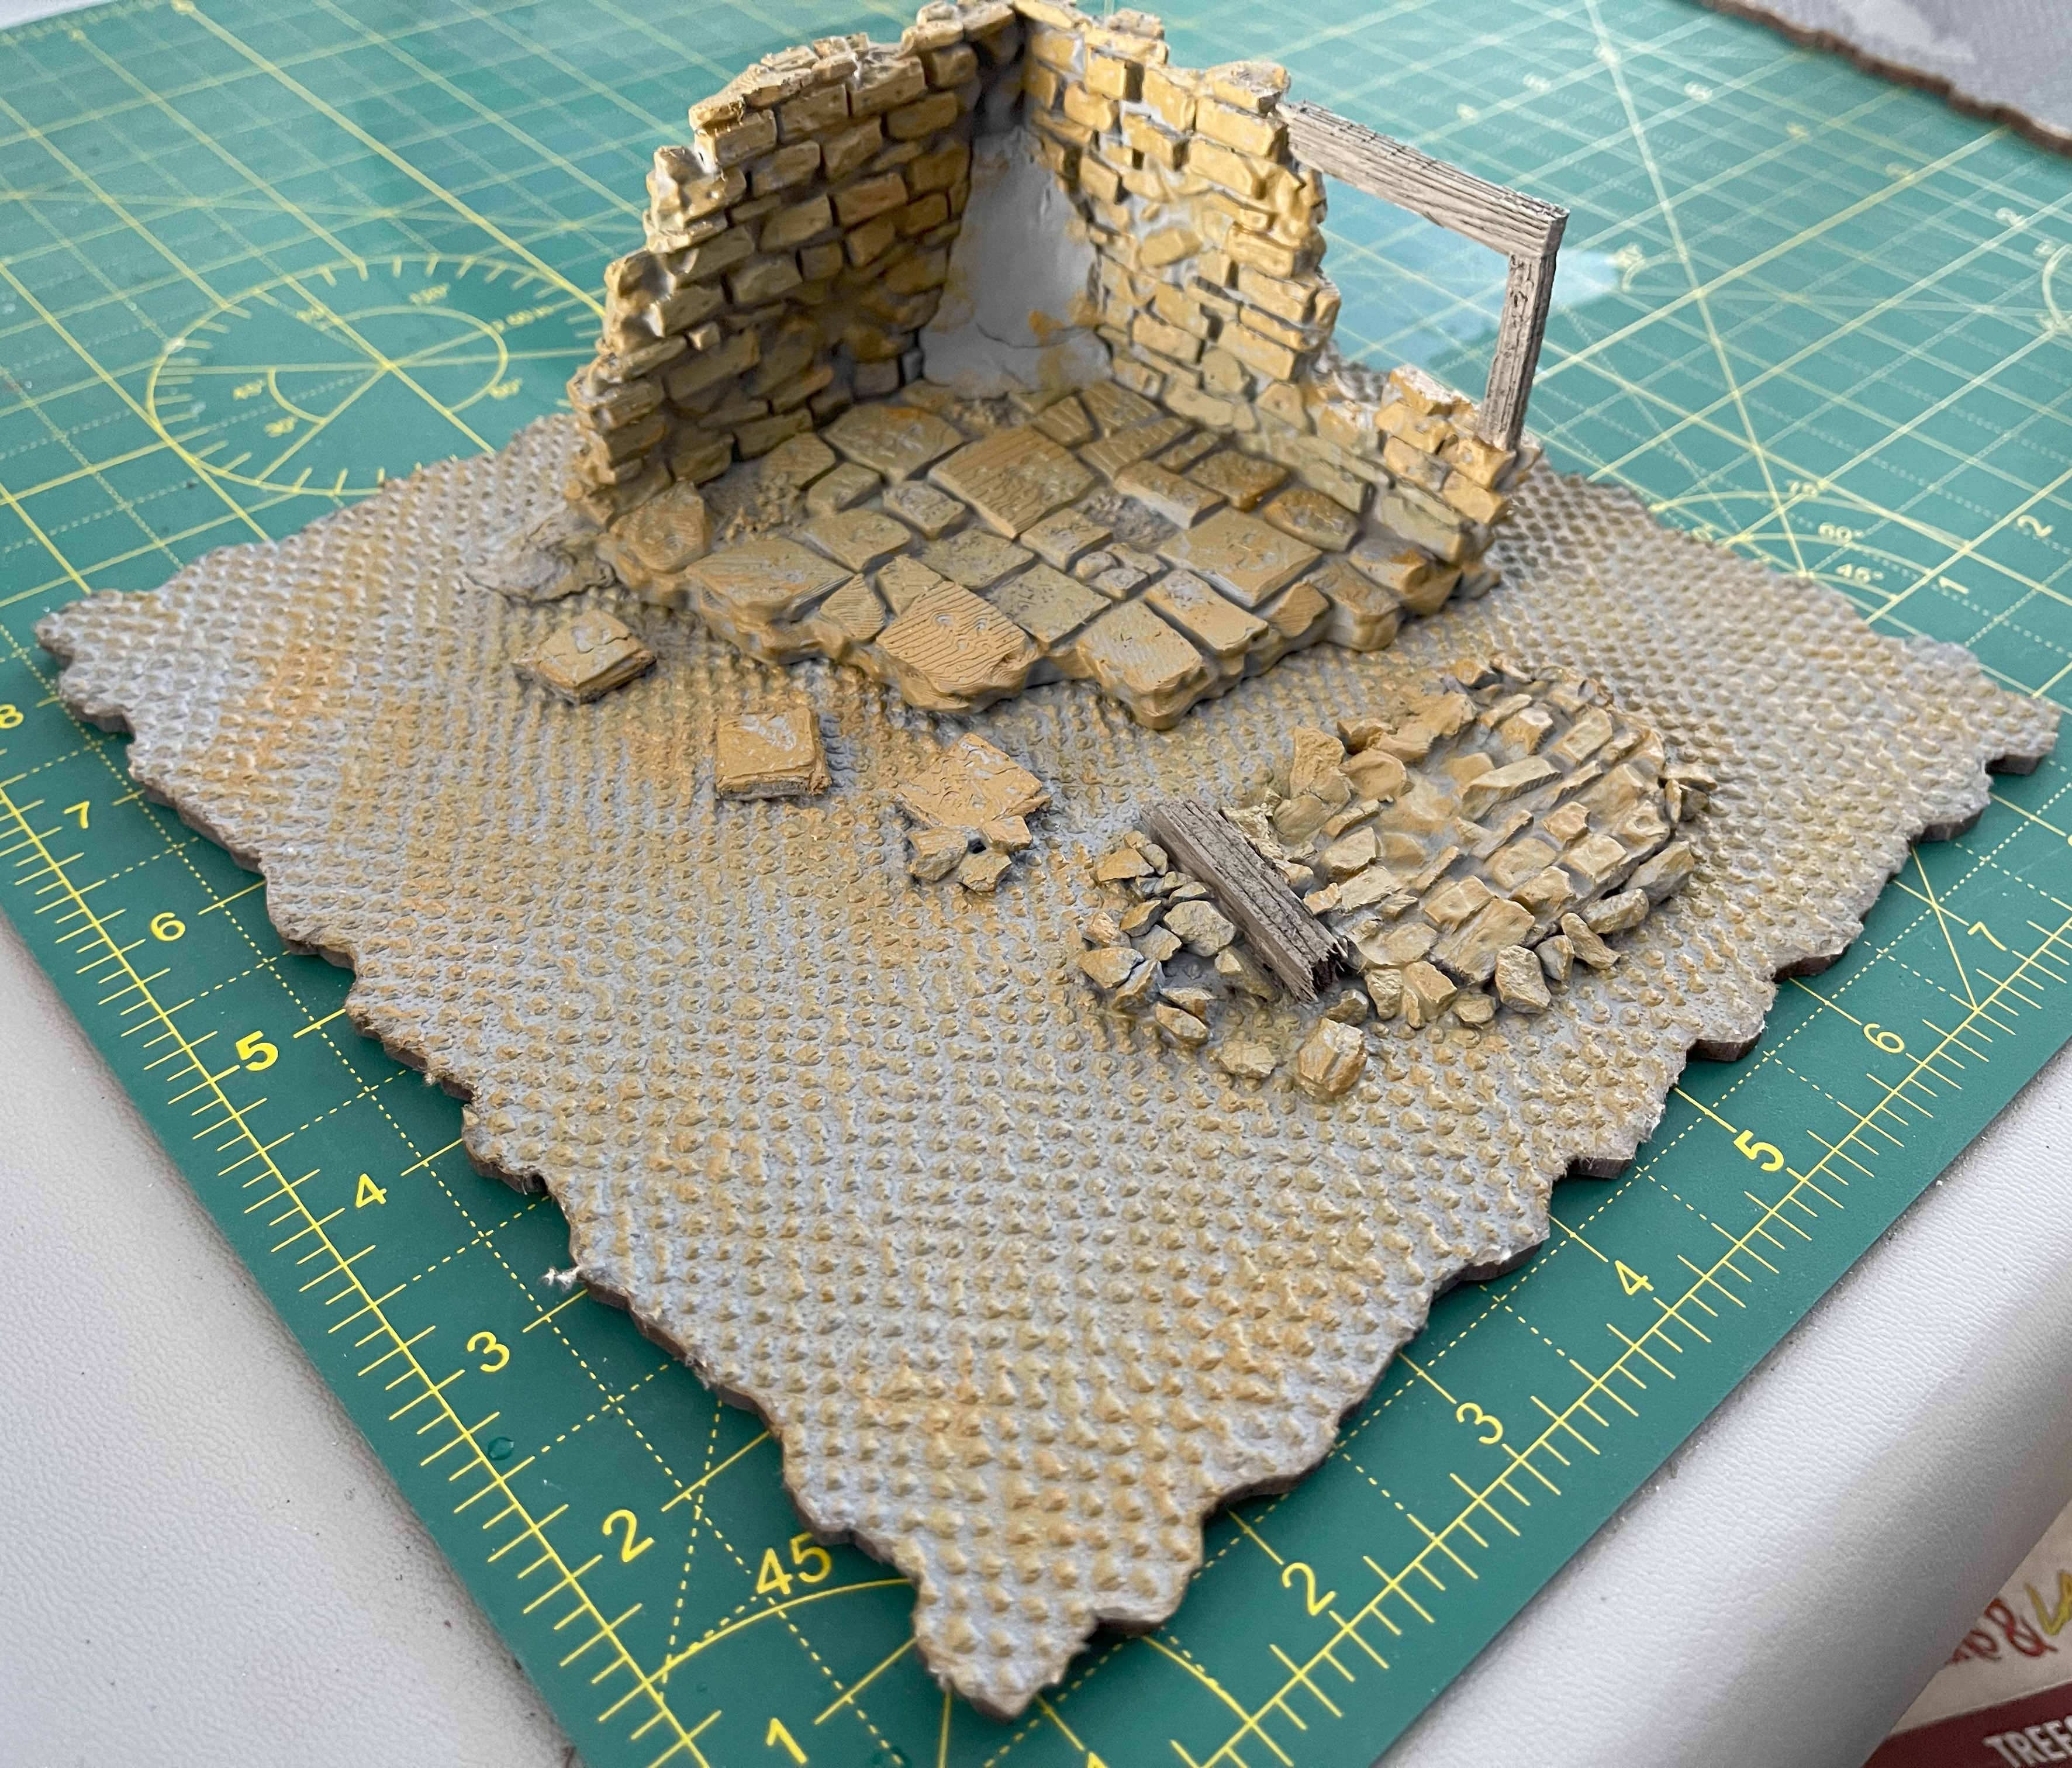
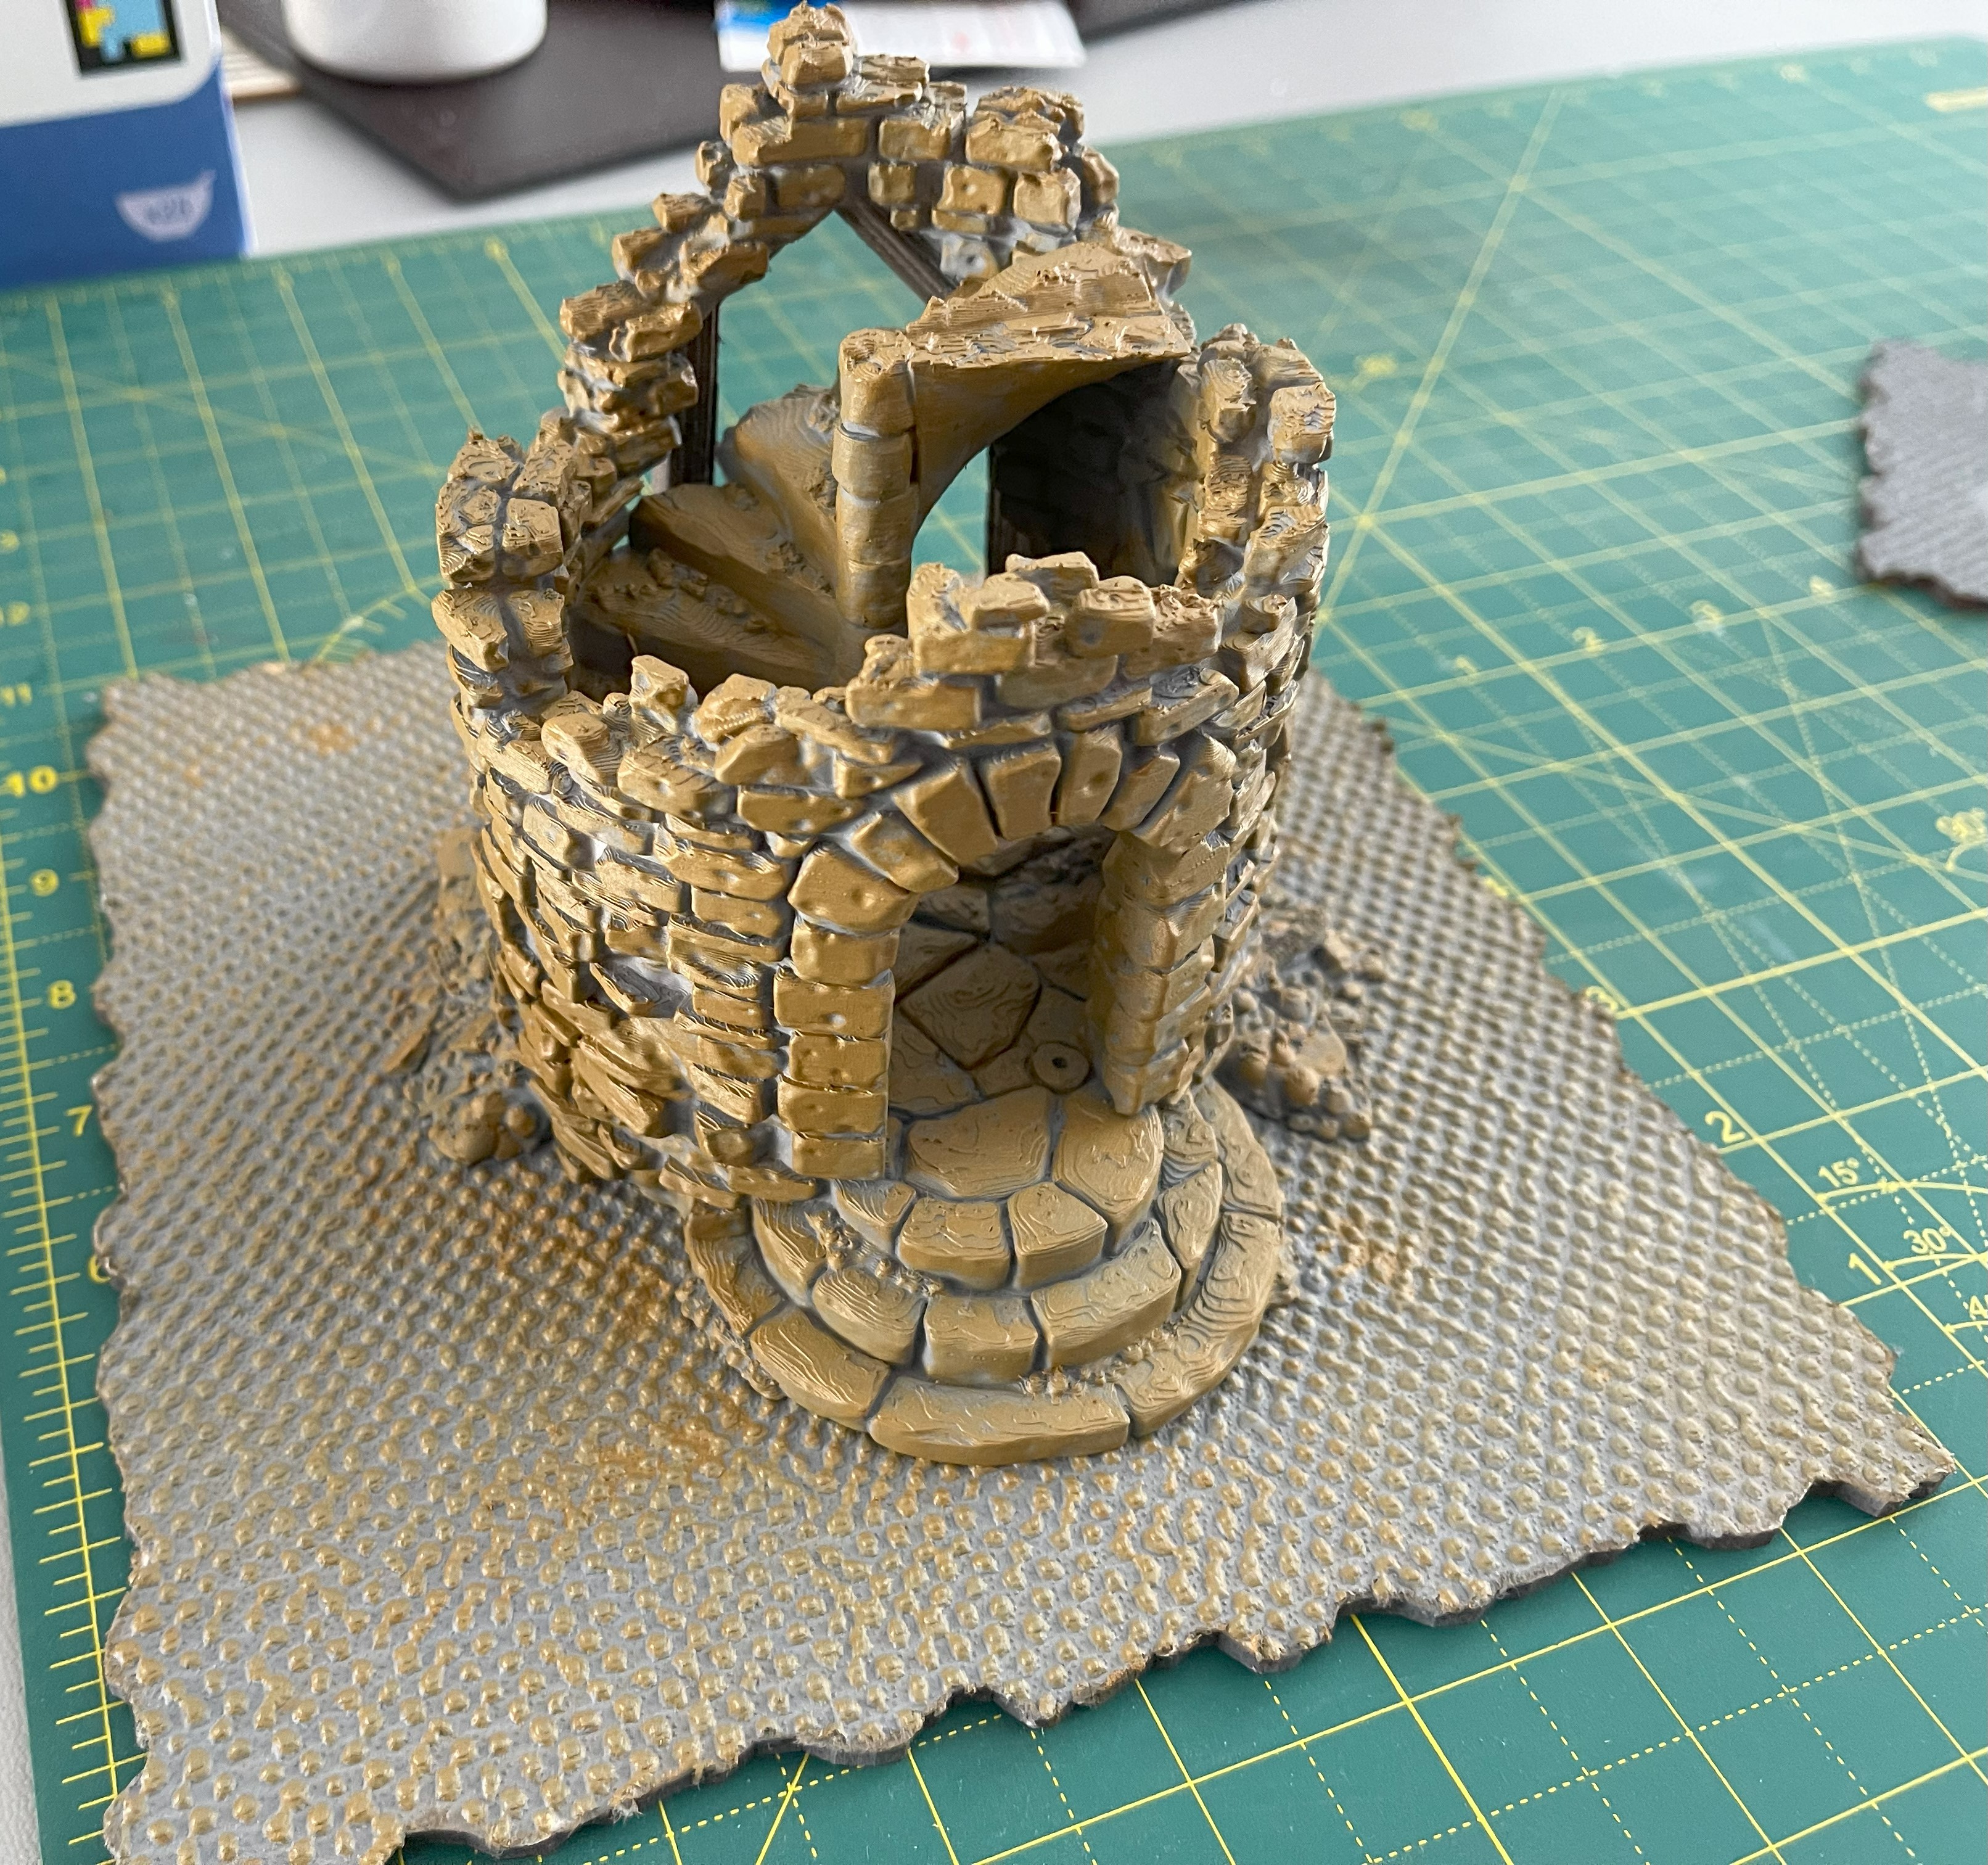
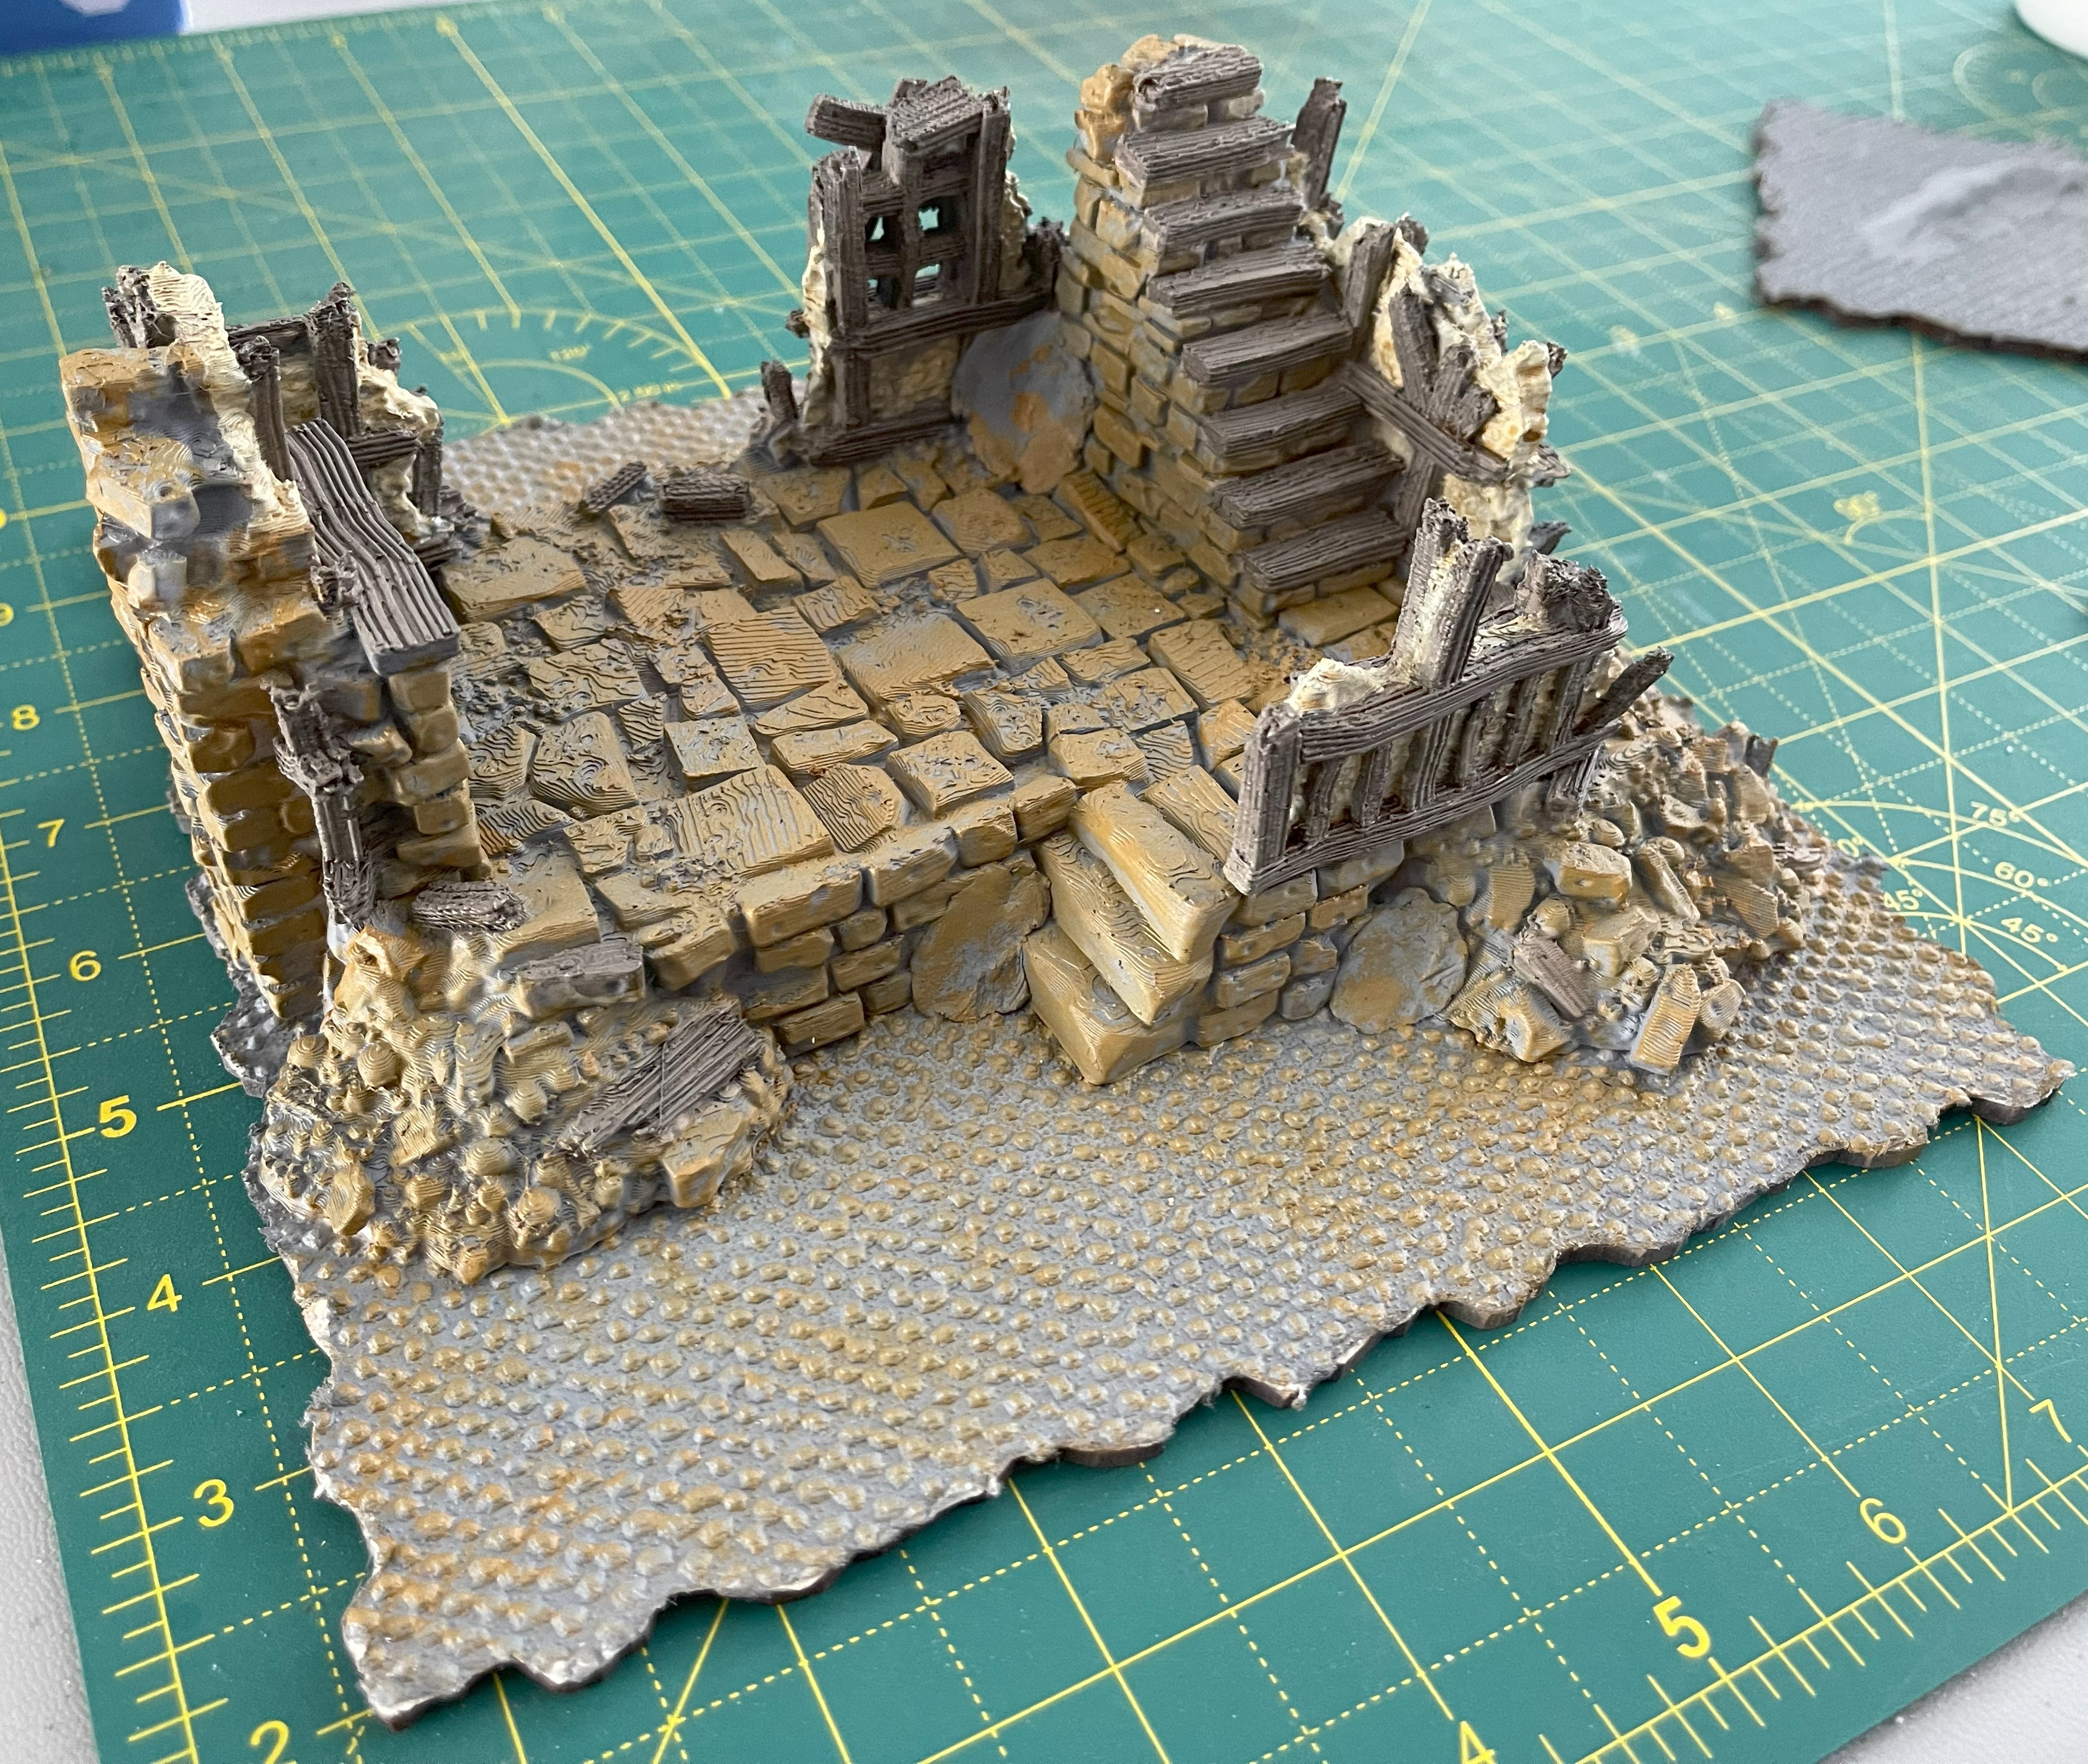
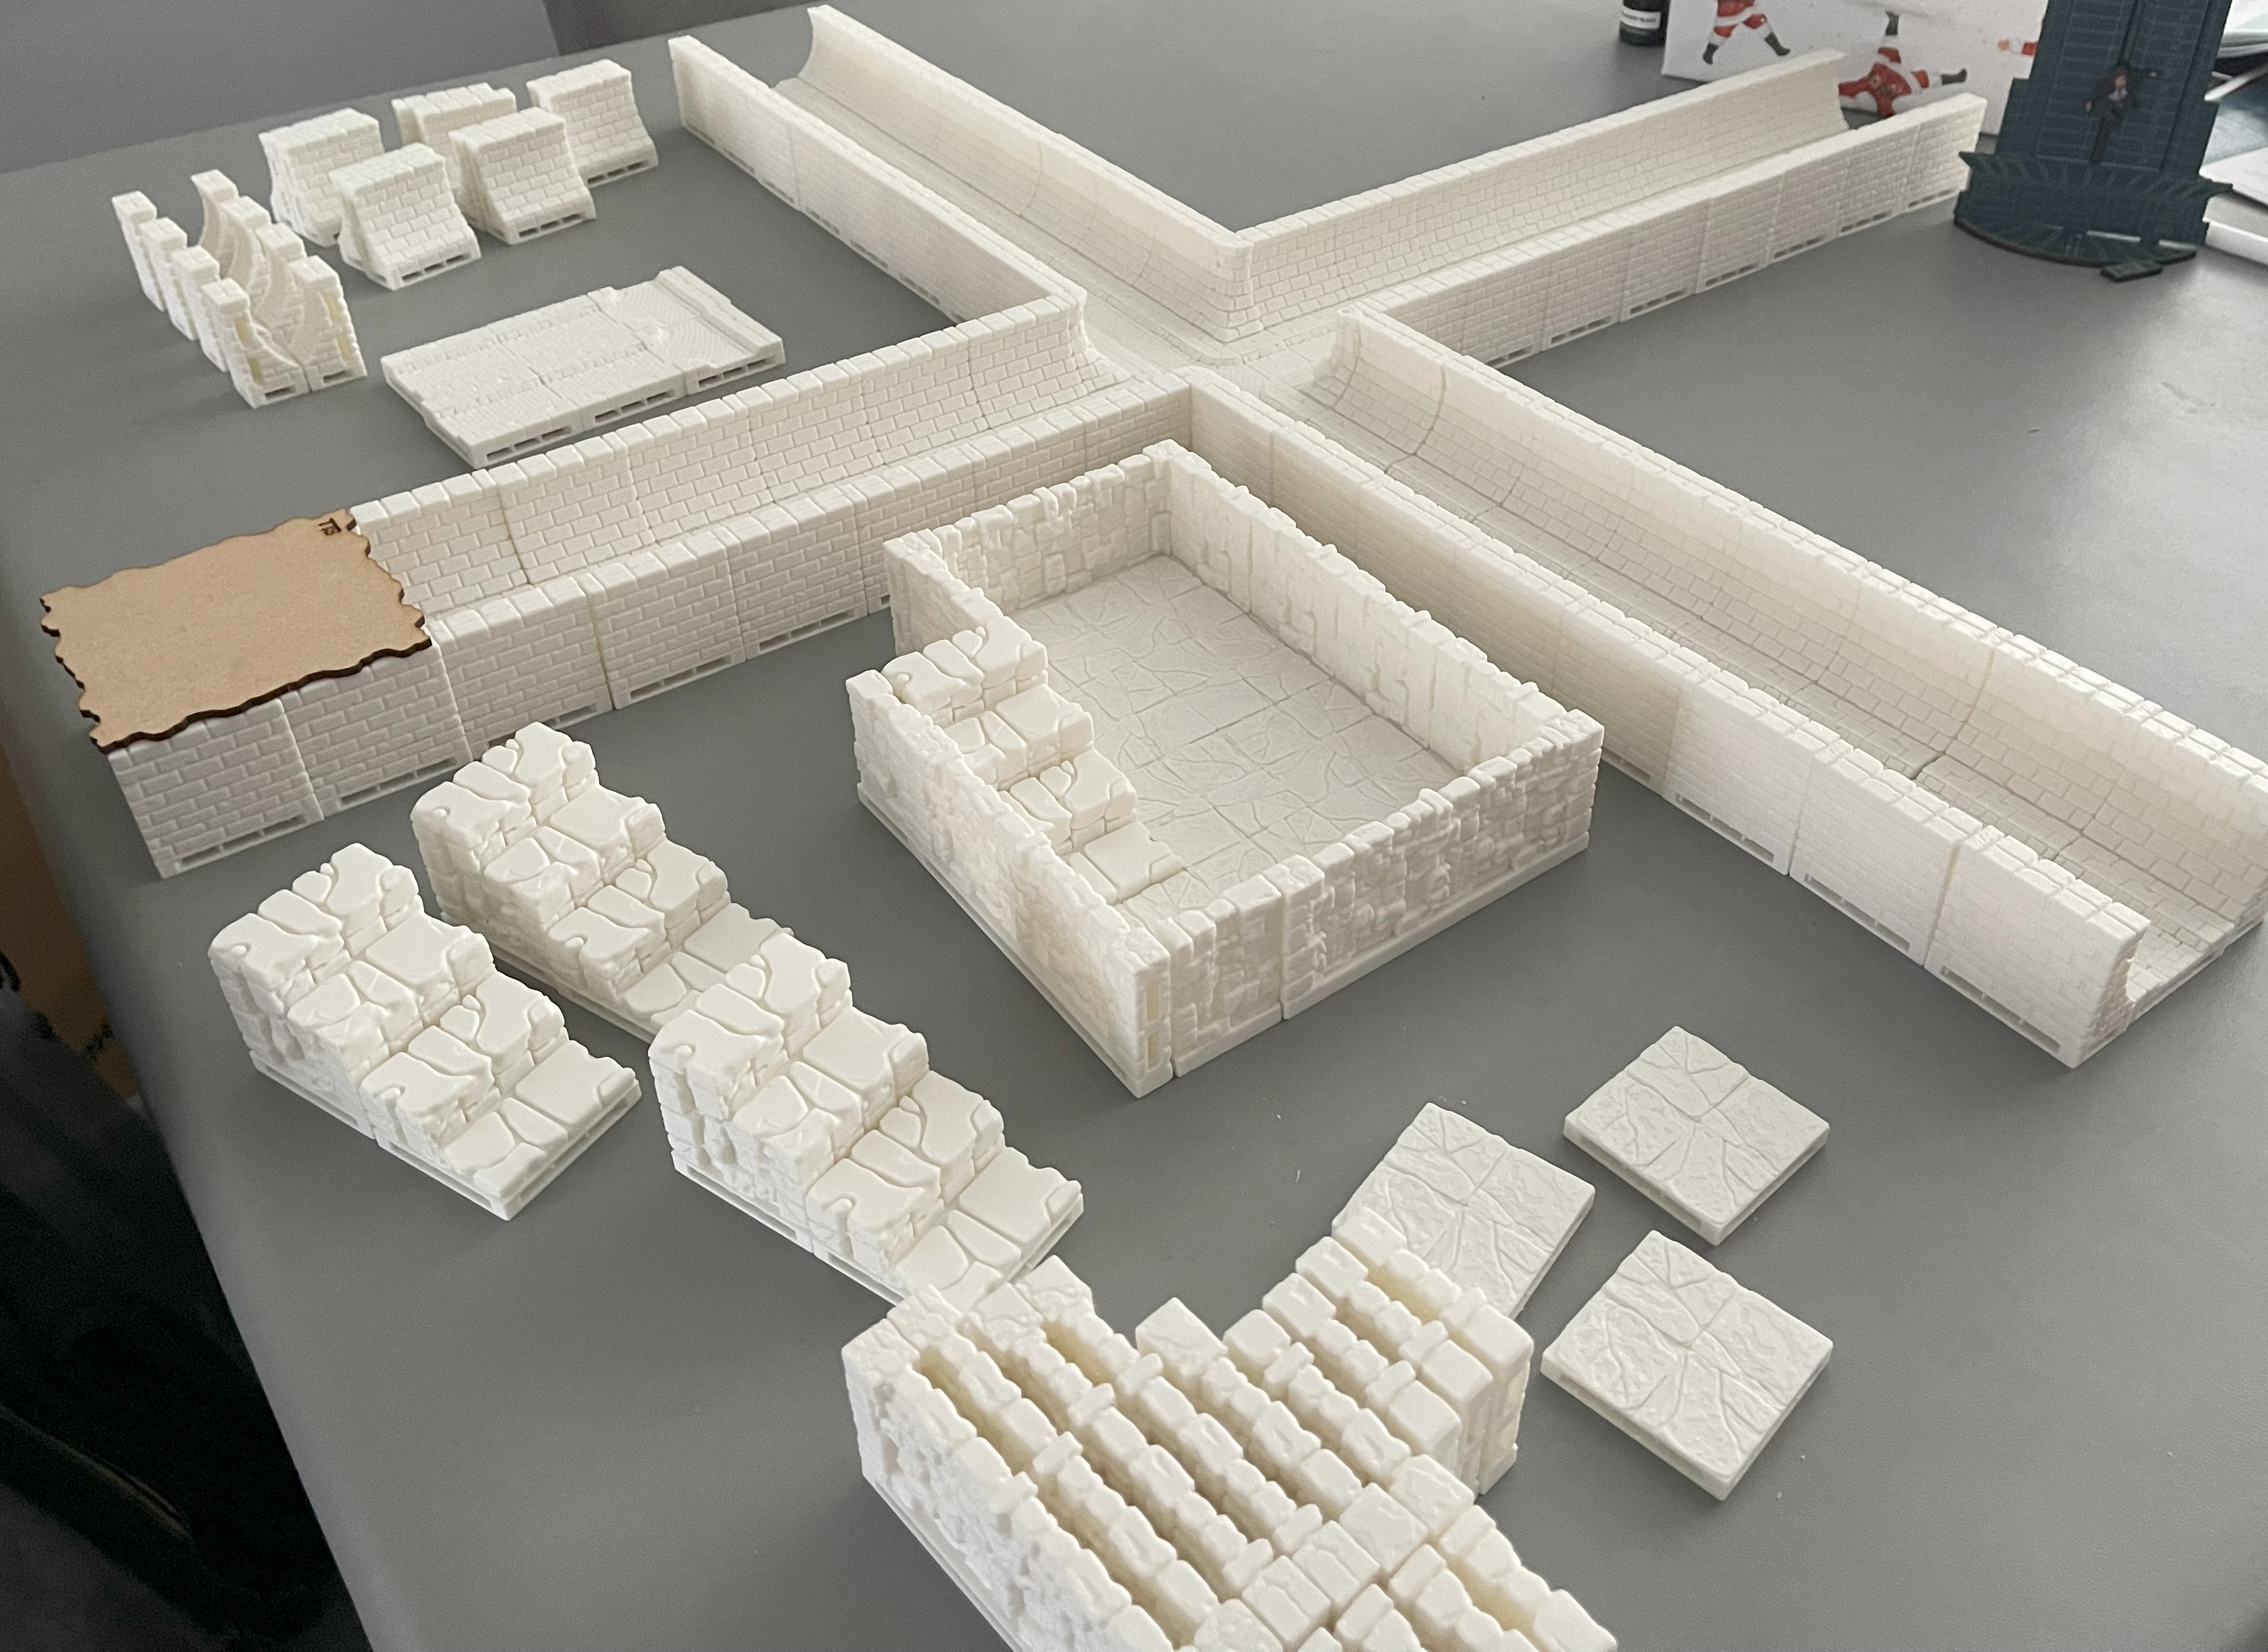
Some Cellars
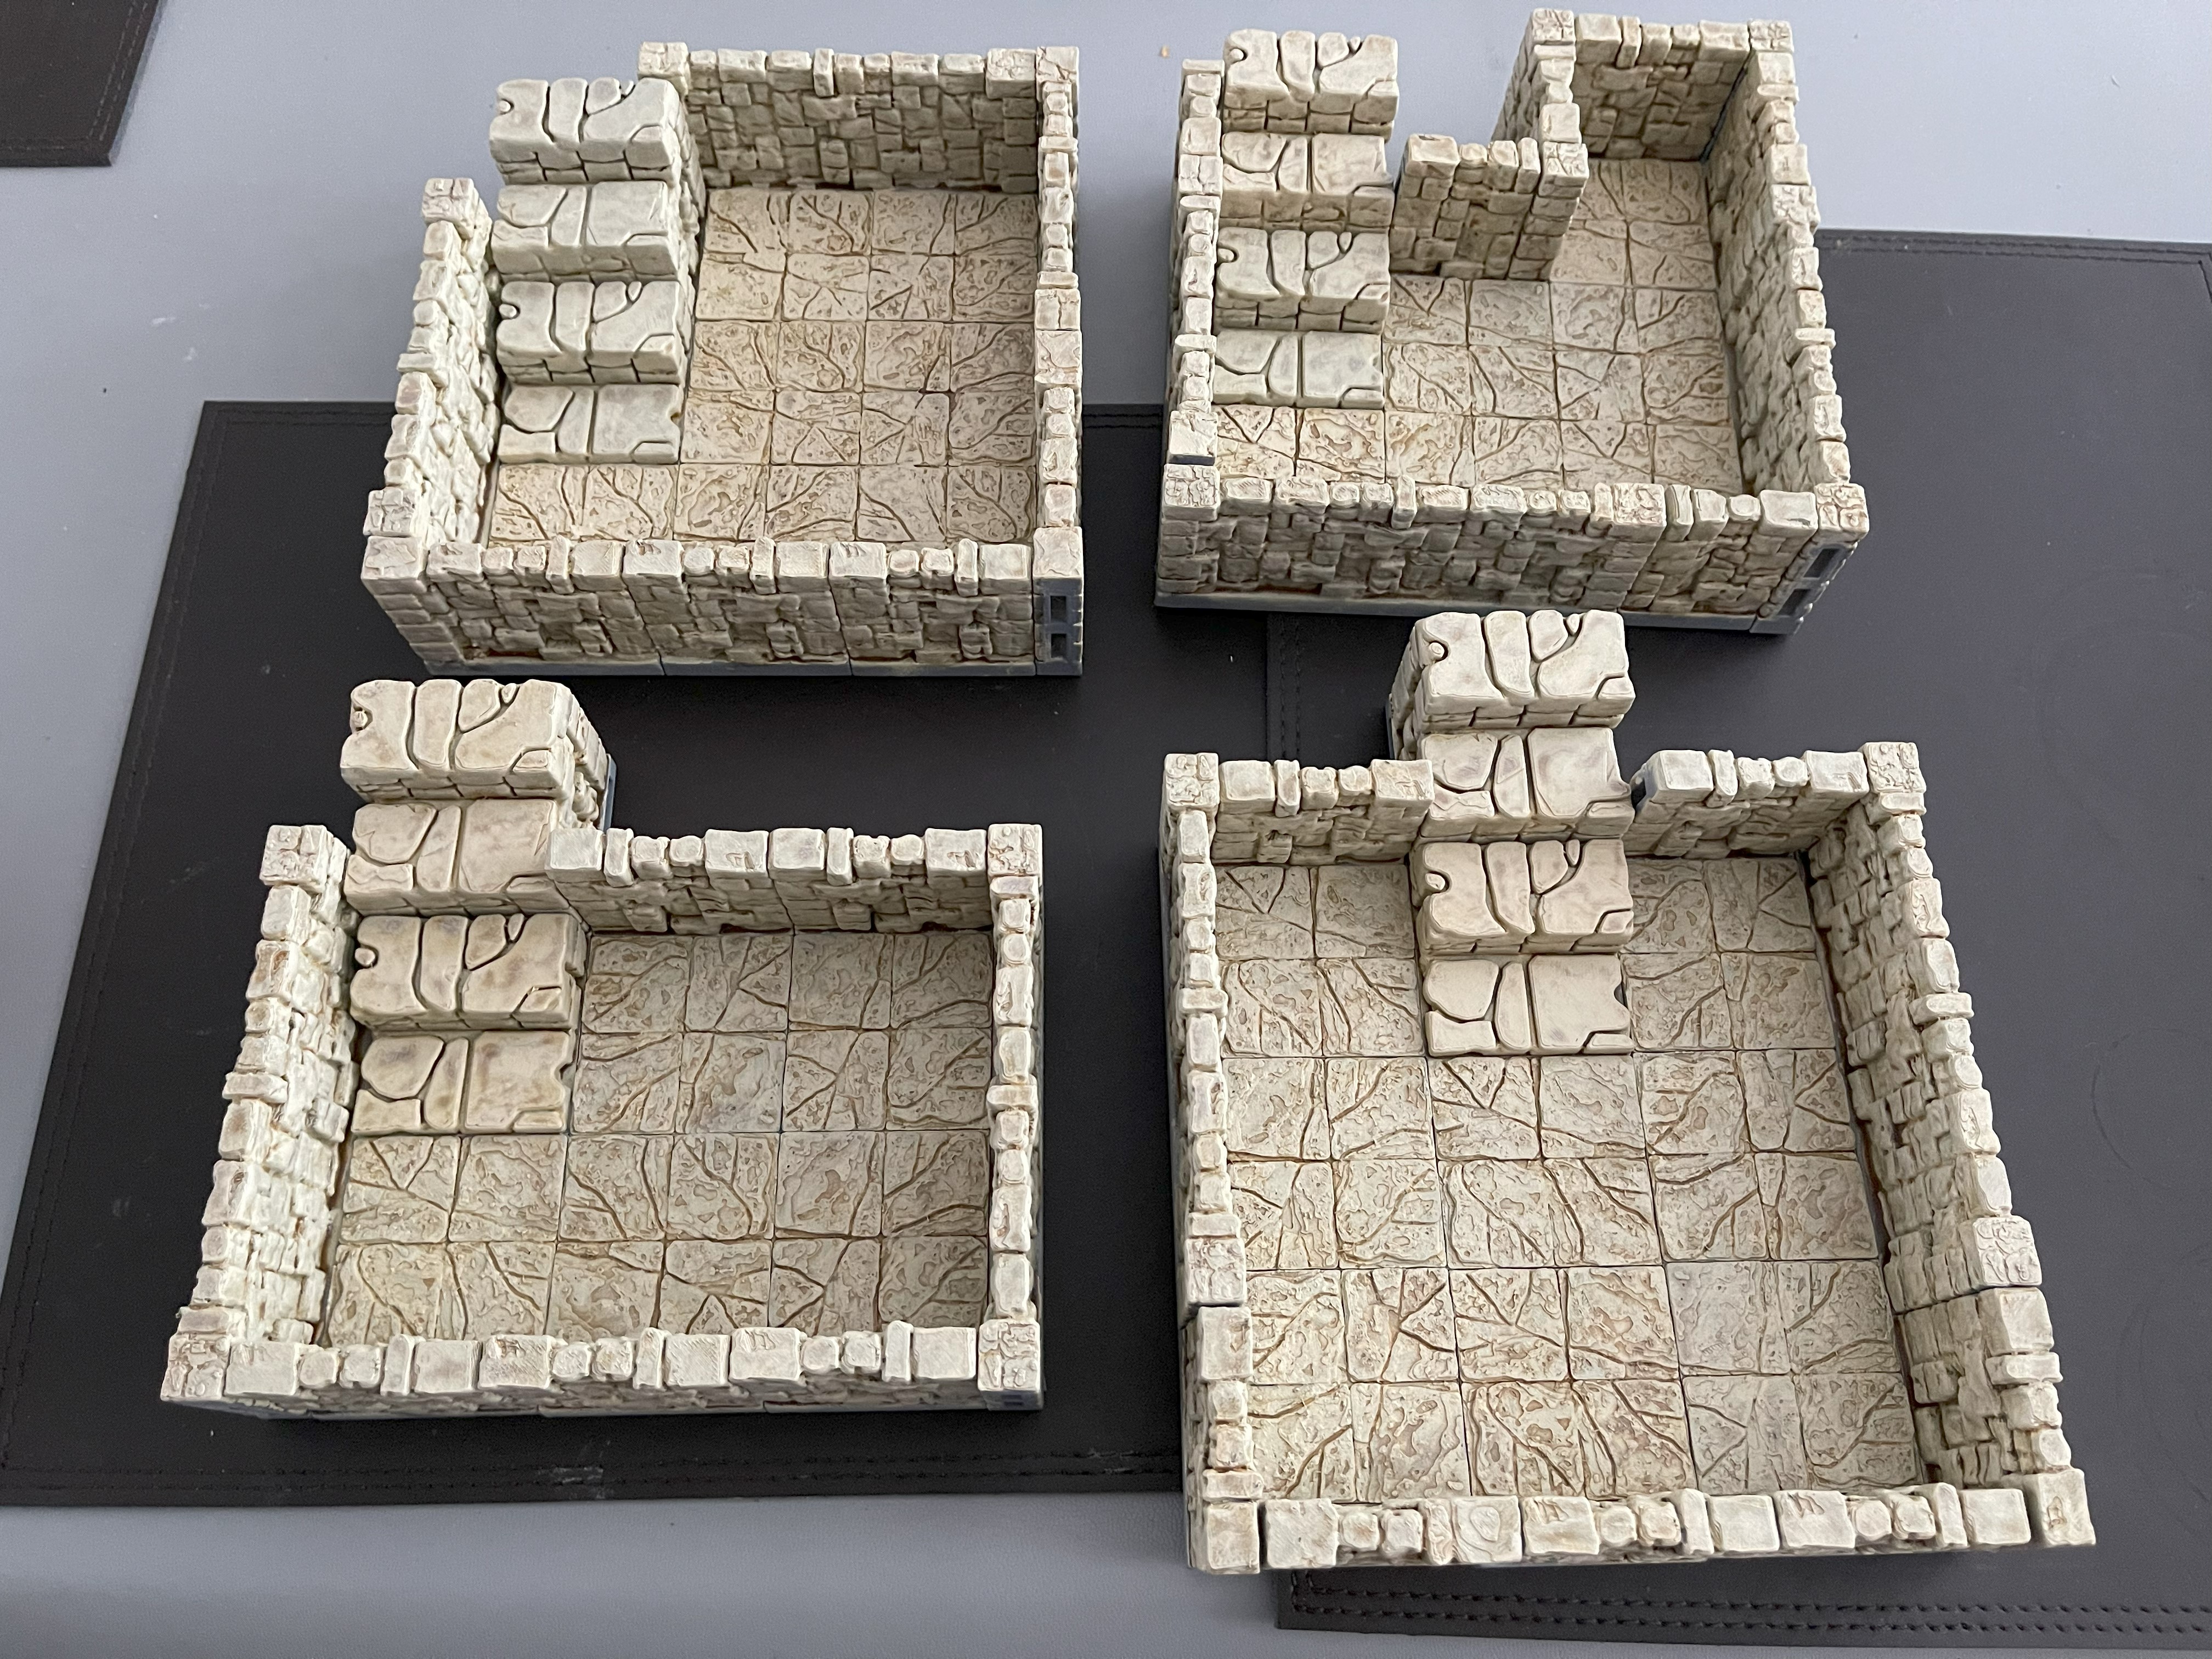
I’ve finally started assembling cellars to go under the buildings and I thought I had enough parts but I could only manage these 4 so the printer whirring again.
I would like to do some additional weathering to these at some point but for now they are done.
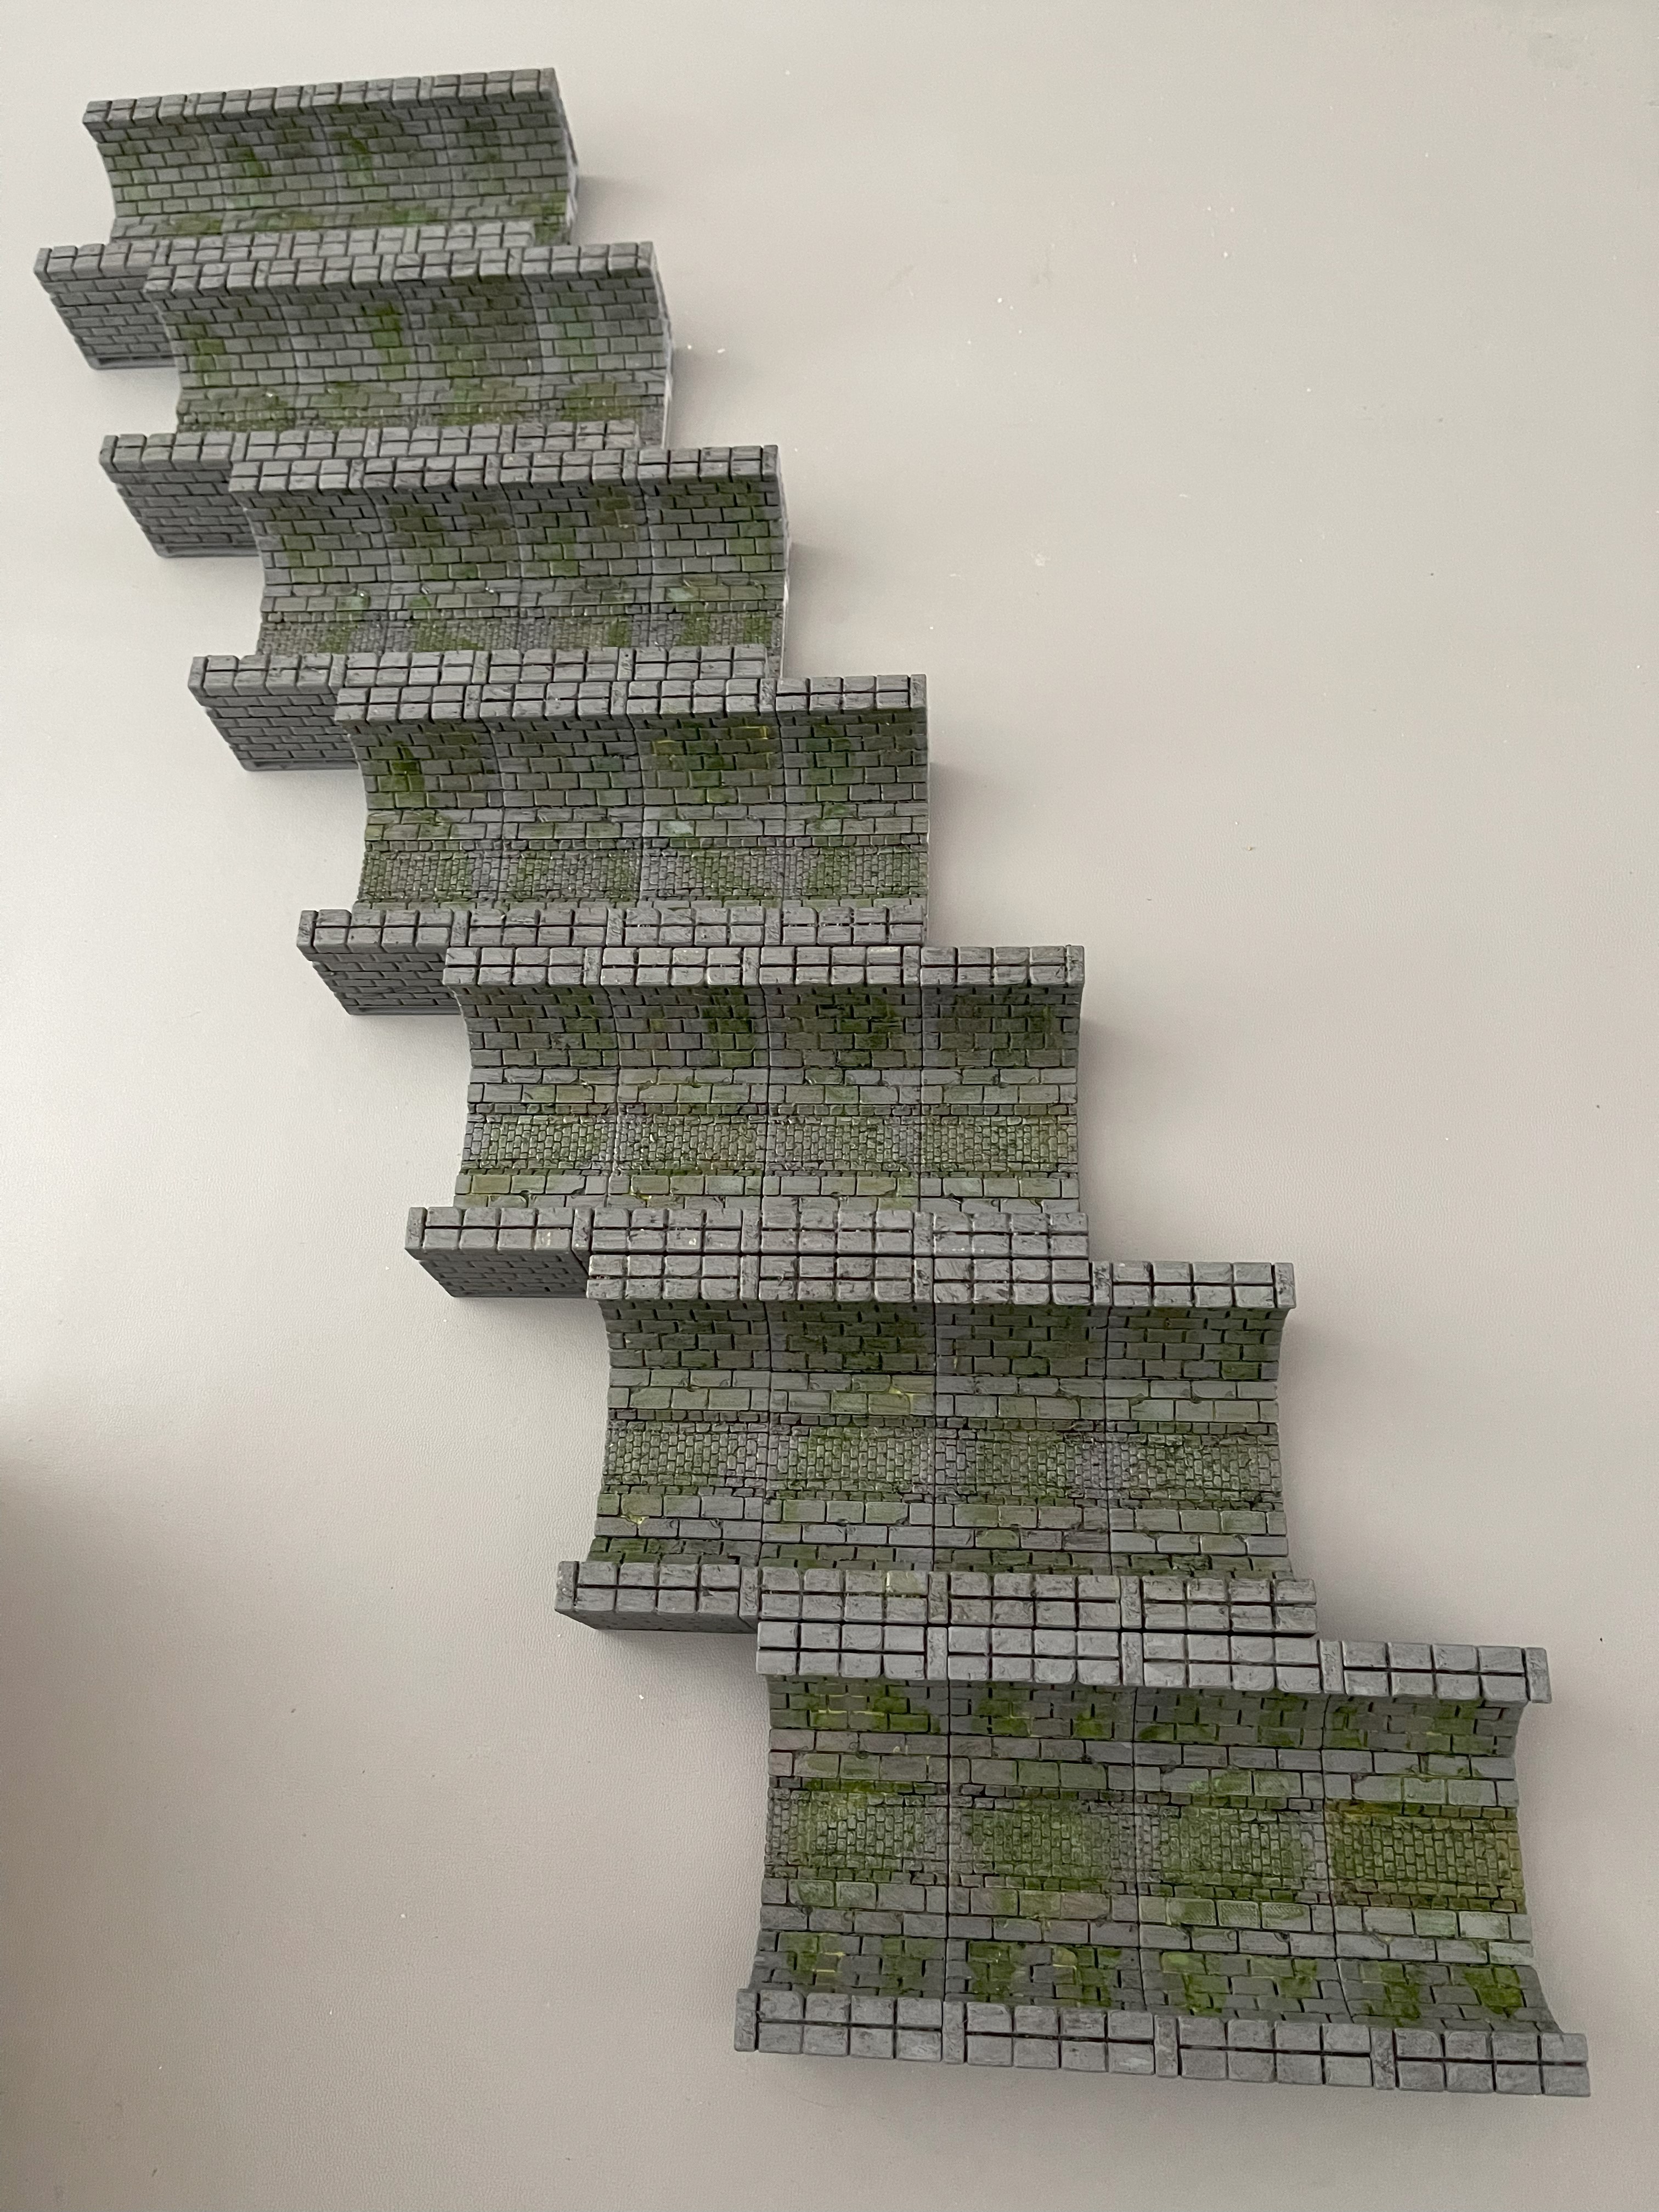
Sewers Complete and Cellar sample
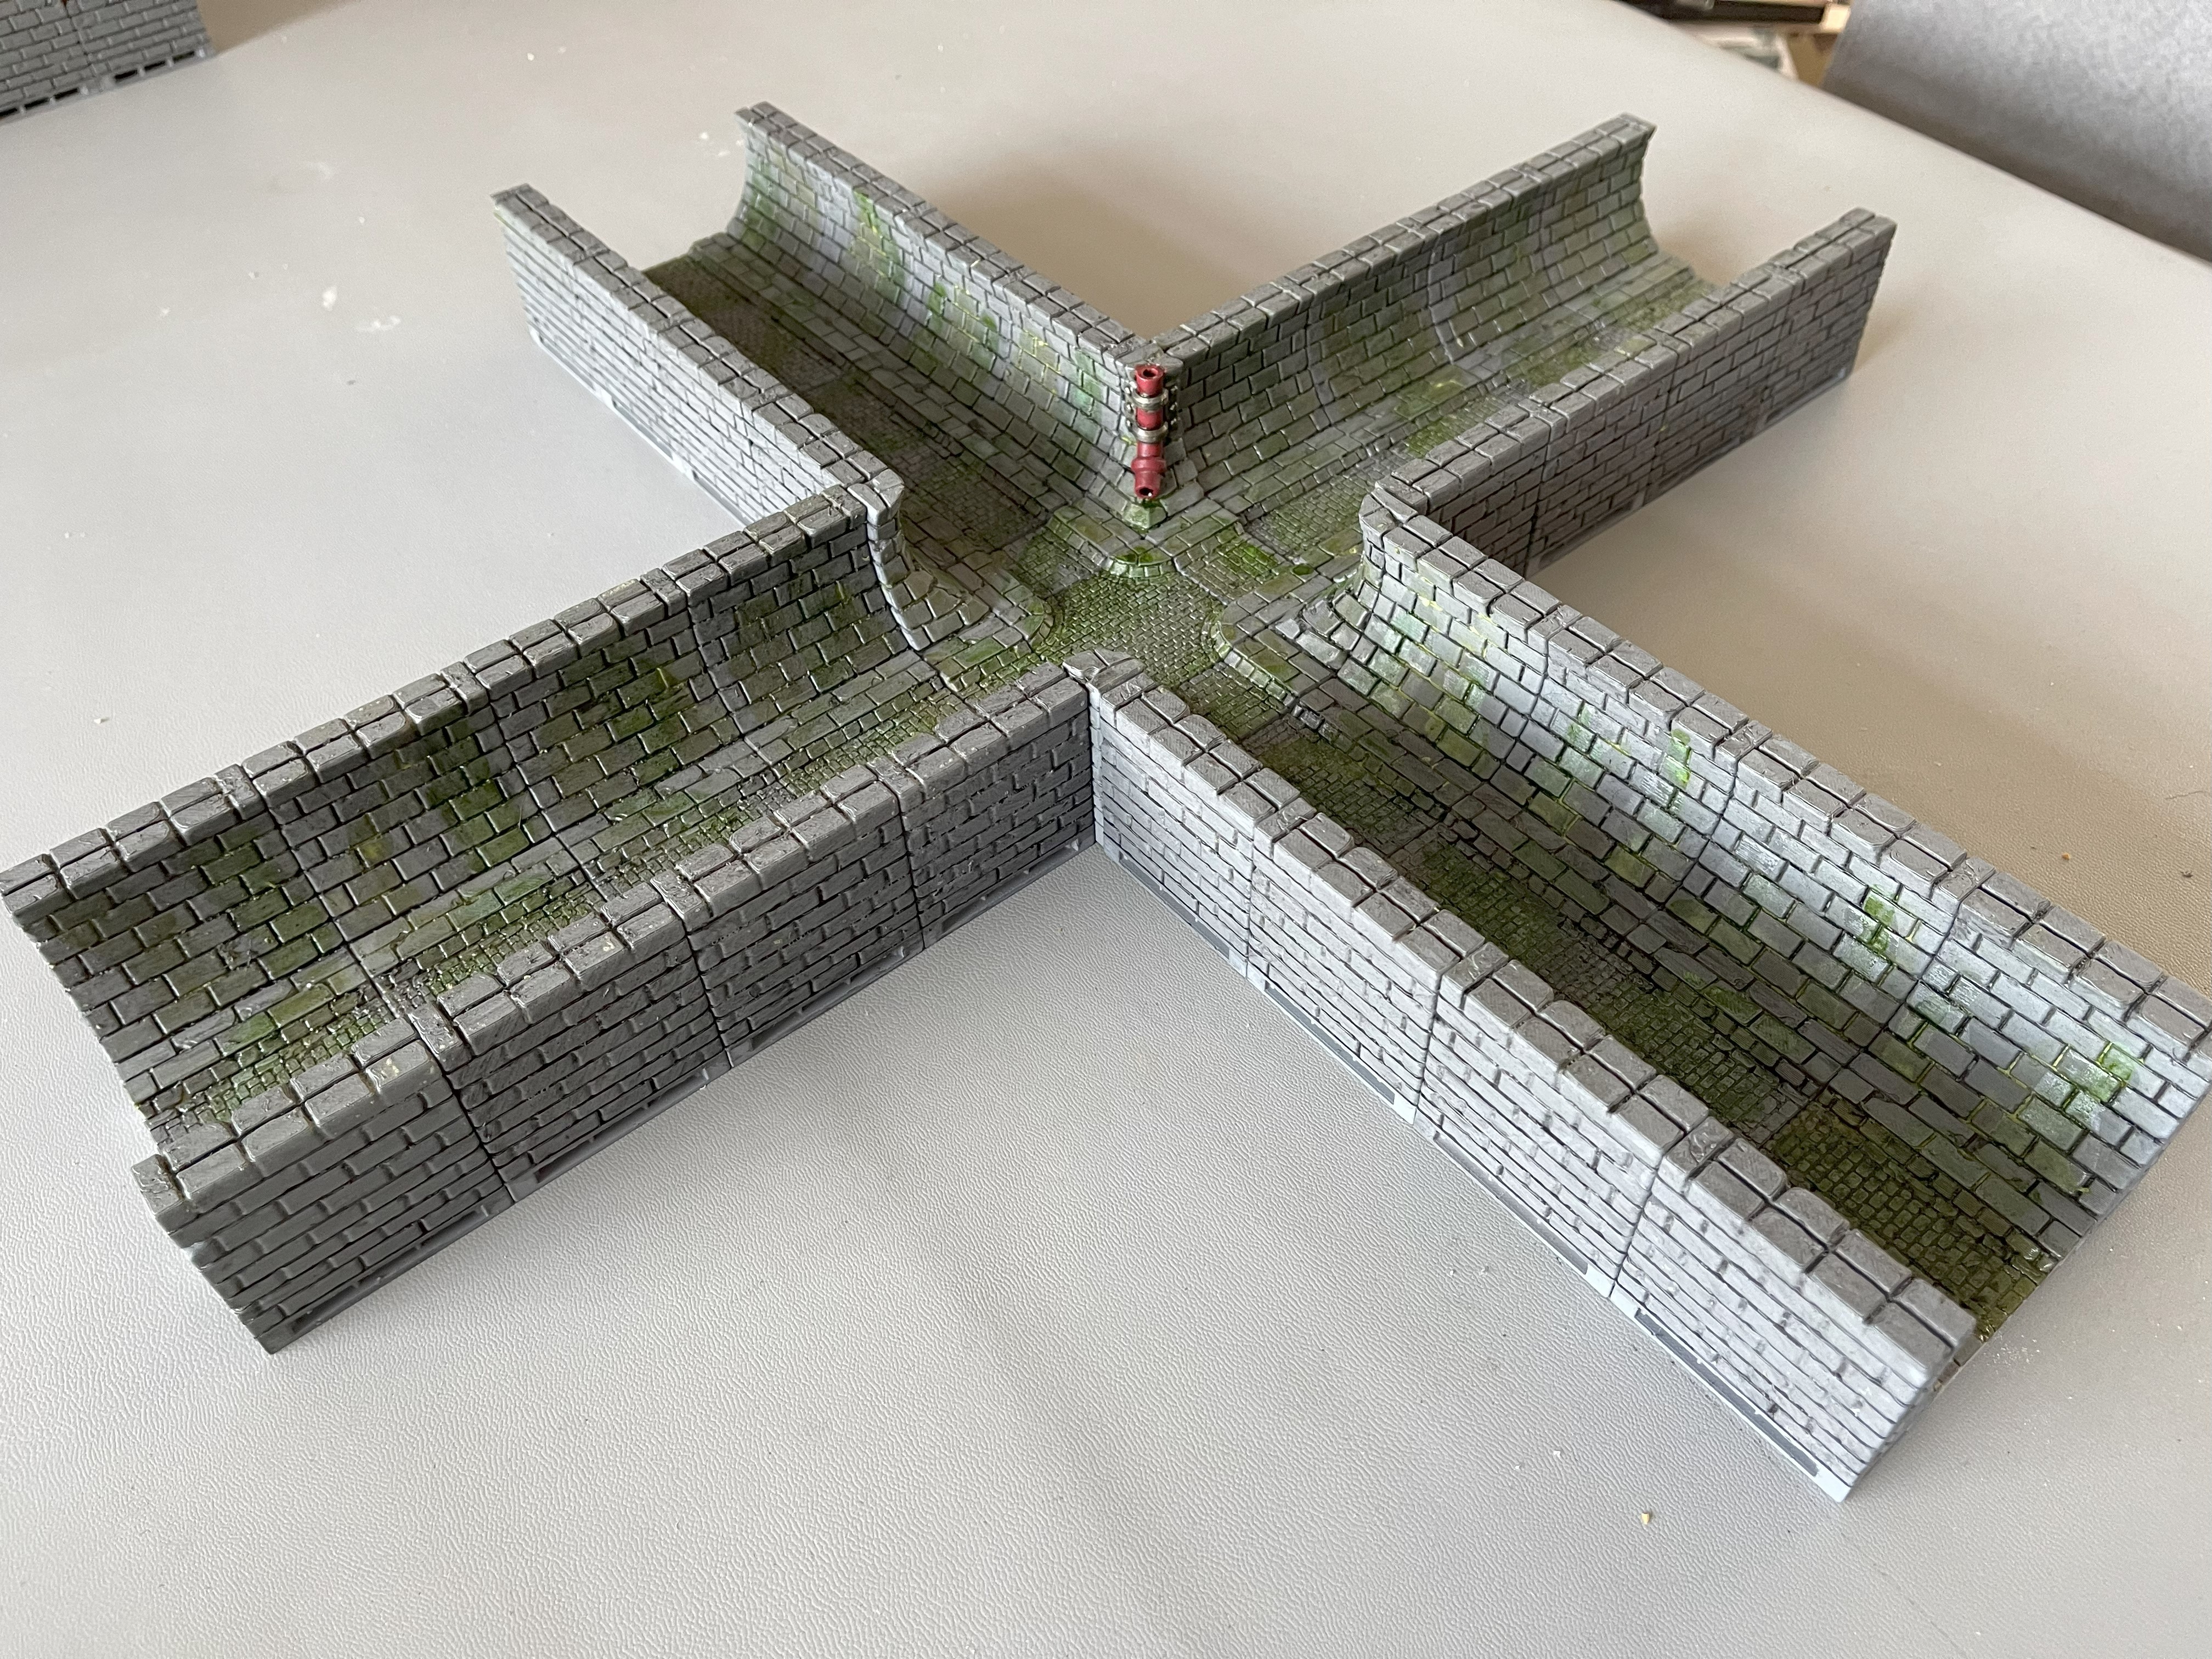
The sewers are complete for now. I would like to add some water effects in the future but these will do for now
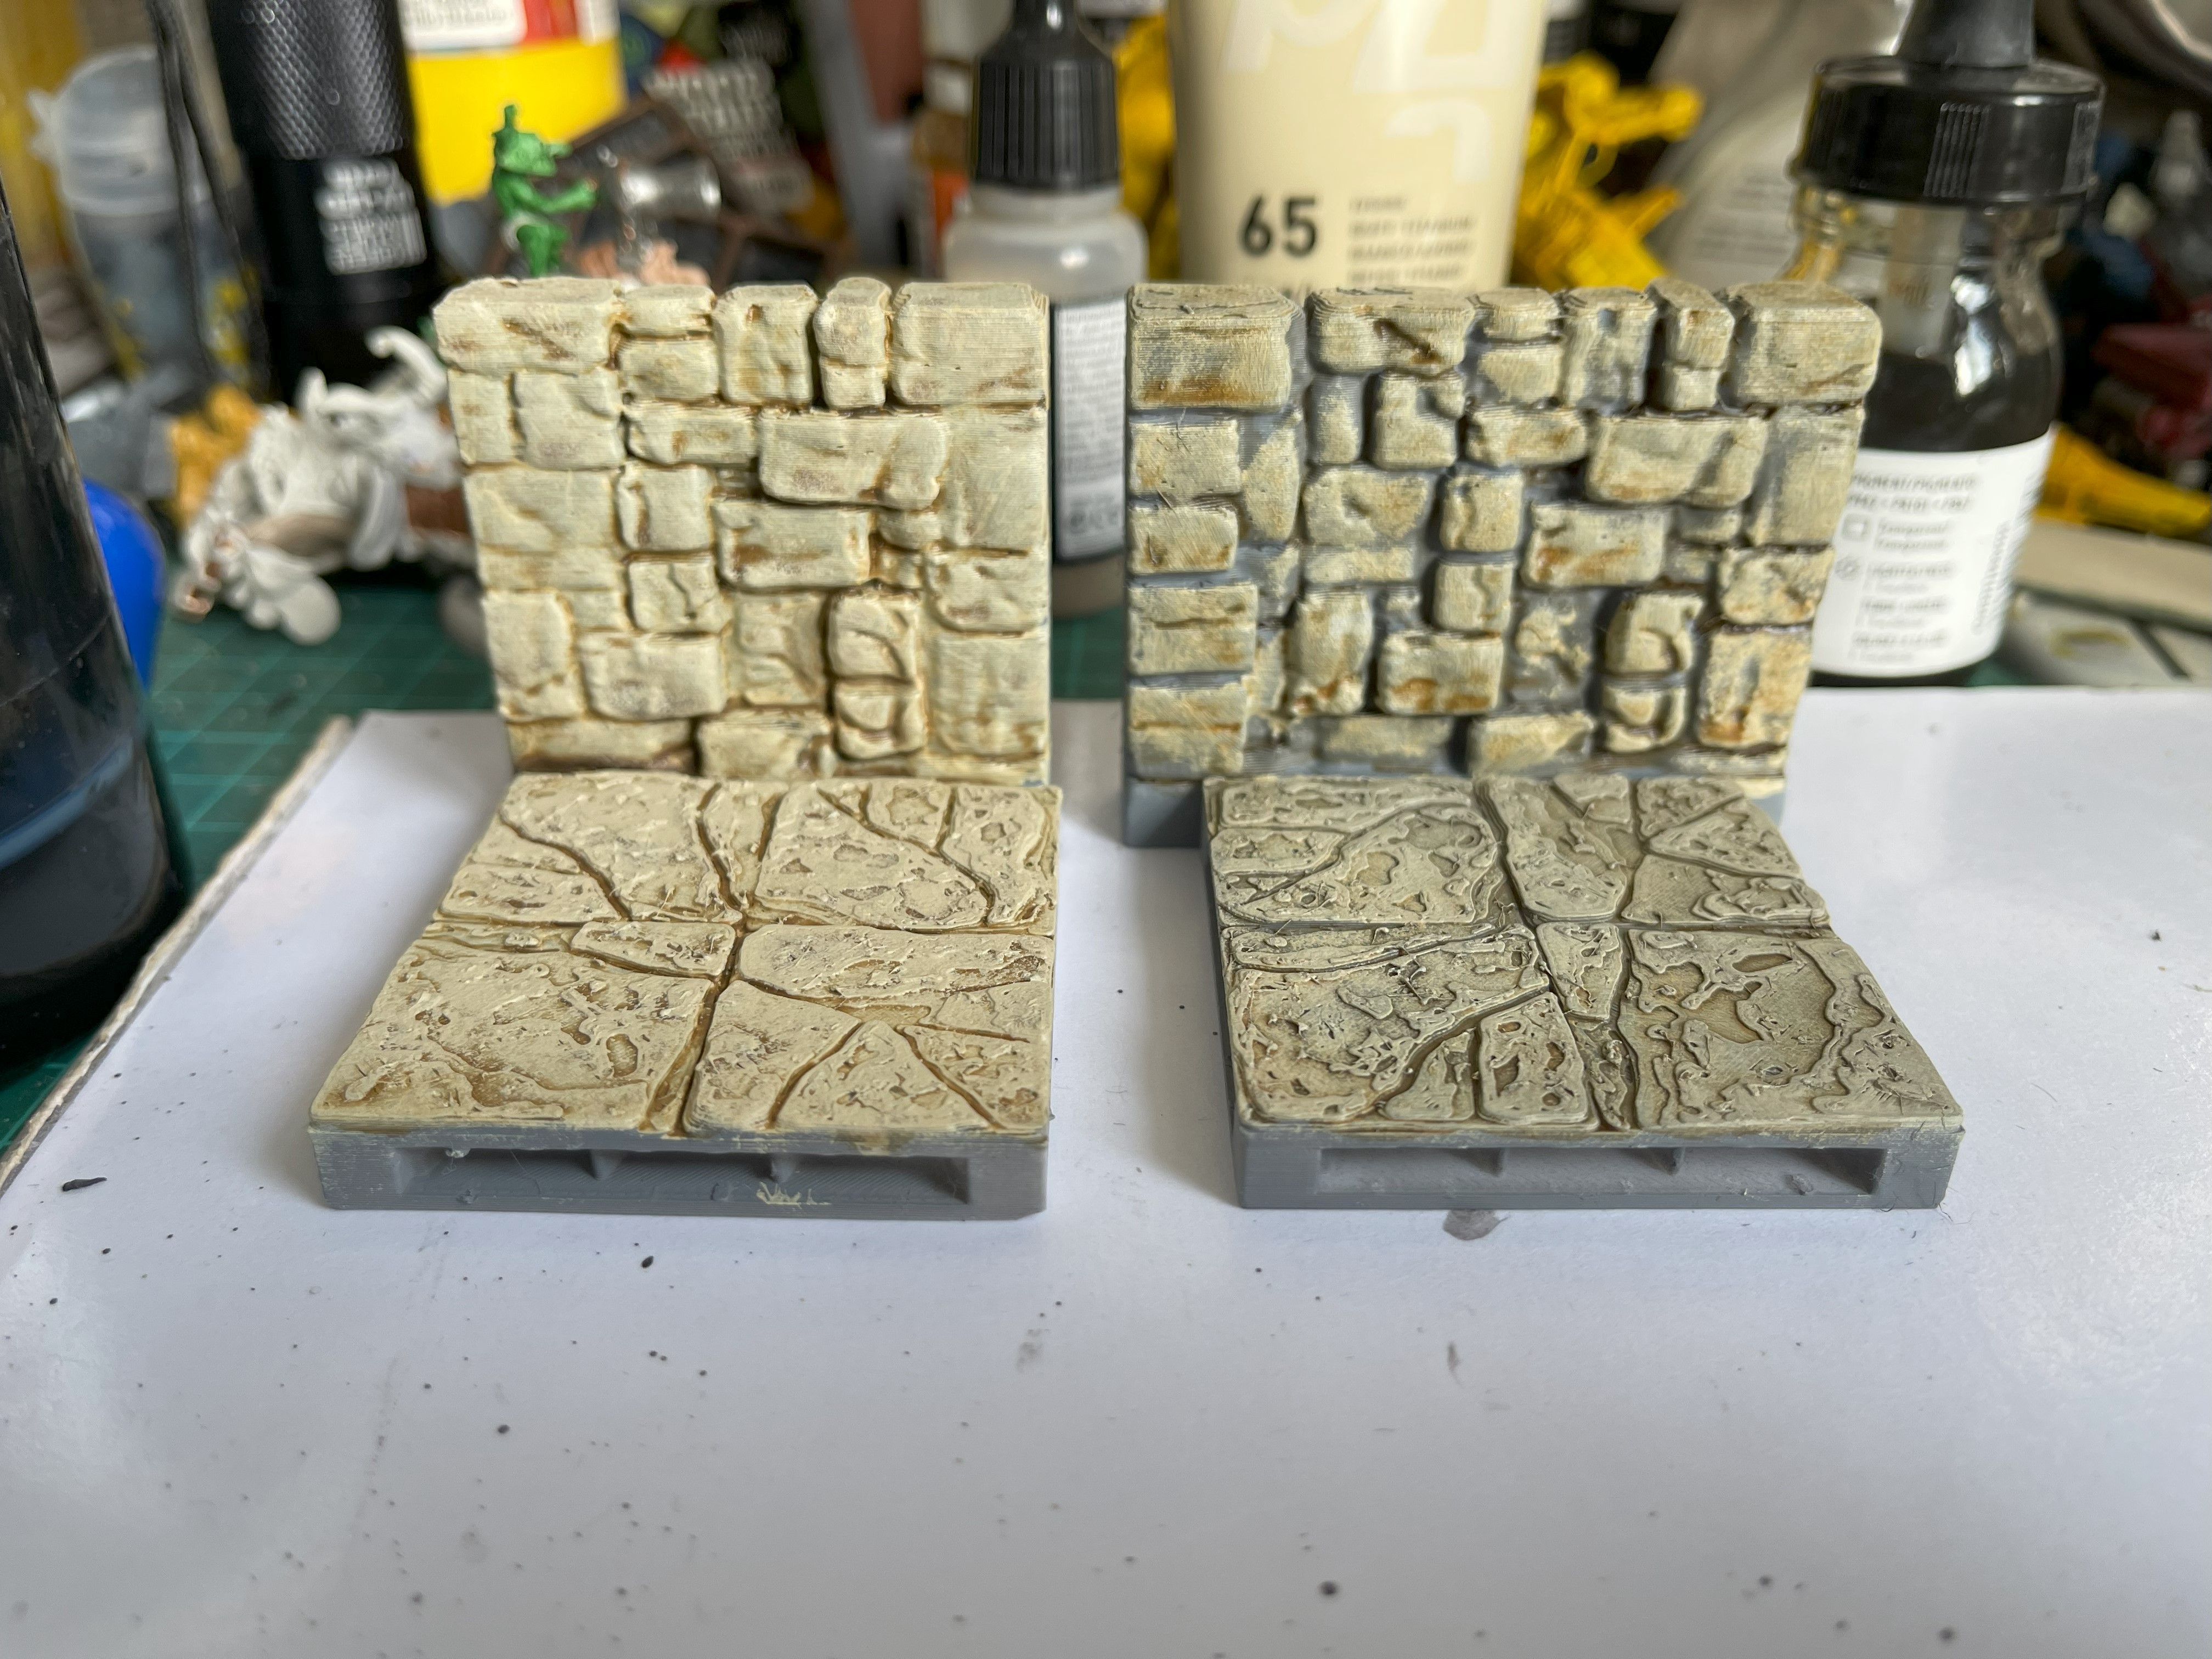

For the cellars I have decided to go with a sandstone finish and I hope to tie that into the building above, this was after Gerry said the other week don’t paint the stone grey if its going to be covered in snow.
The two samples I for the stone are on the left painted ivory (from a tube) and the one of the right which has ivory sponged over the grey primer. They are then washed brown (using some home made wash using the stuff the last photo) and then sponged ivory once that had dried.
In the end I decided on the one of the left, so time to paint some dungeon tiles.
Sewer Time

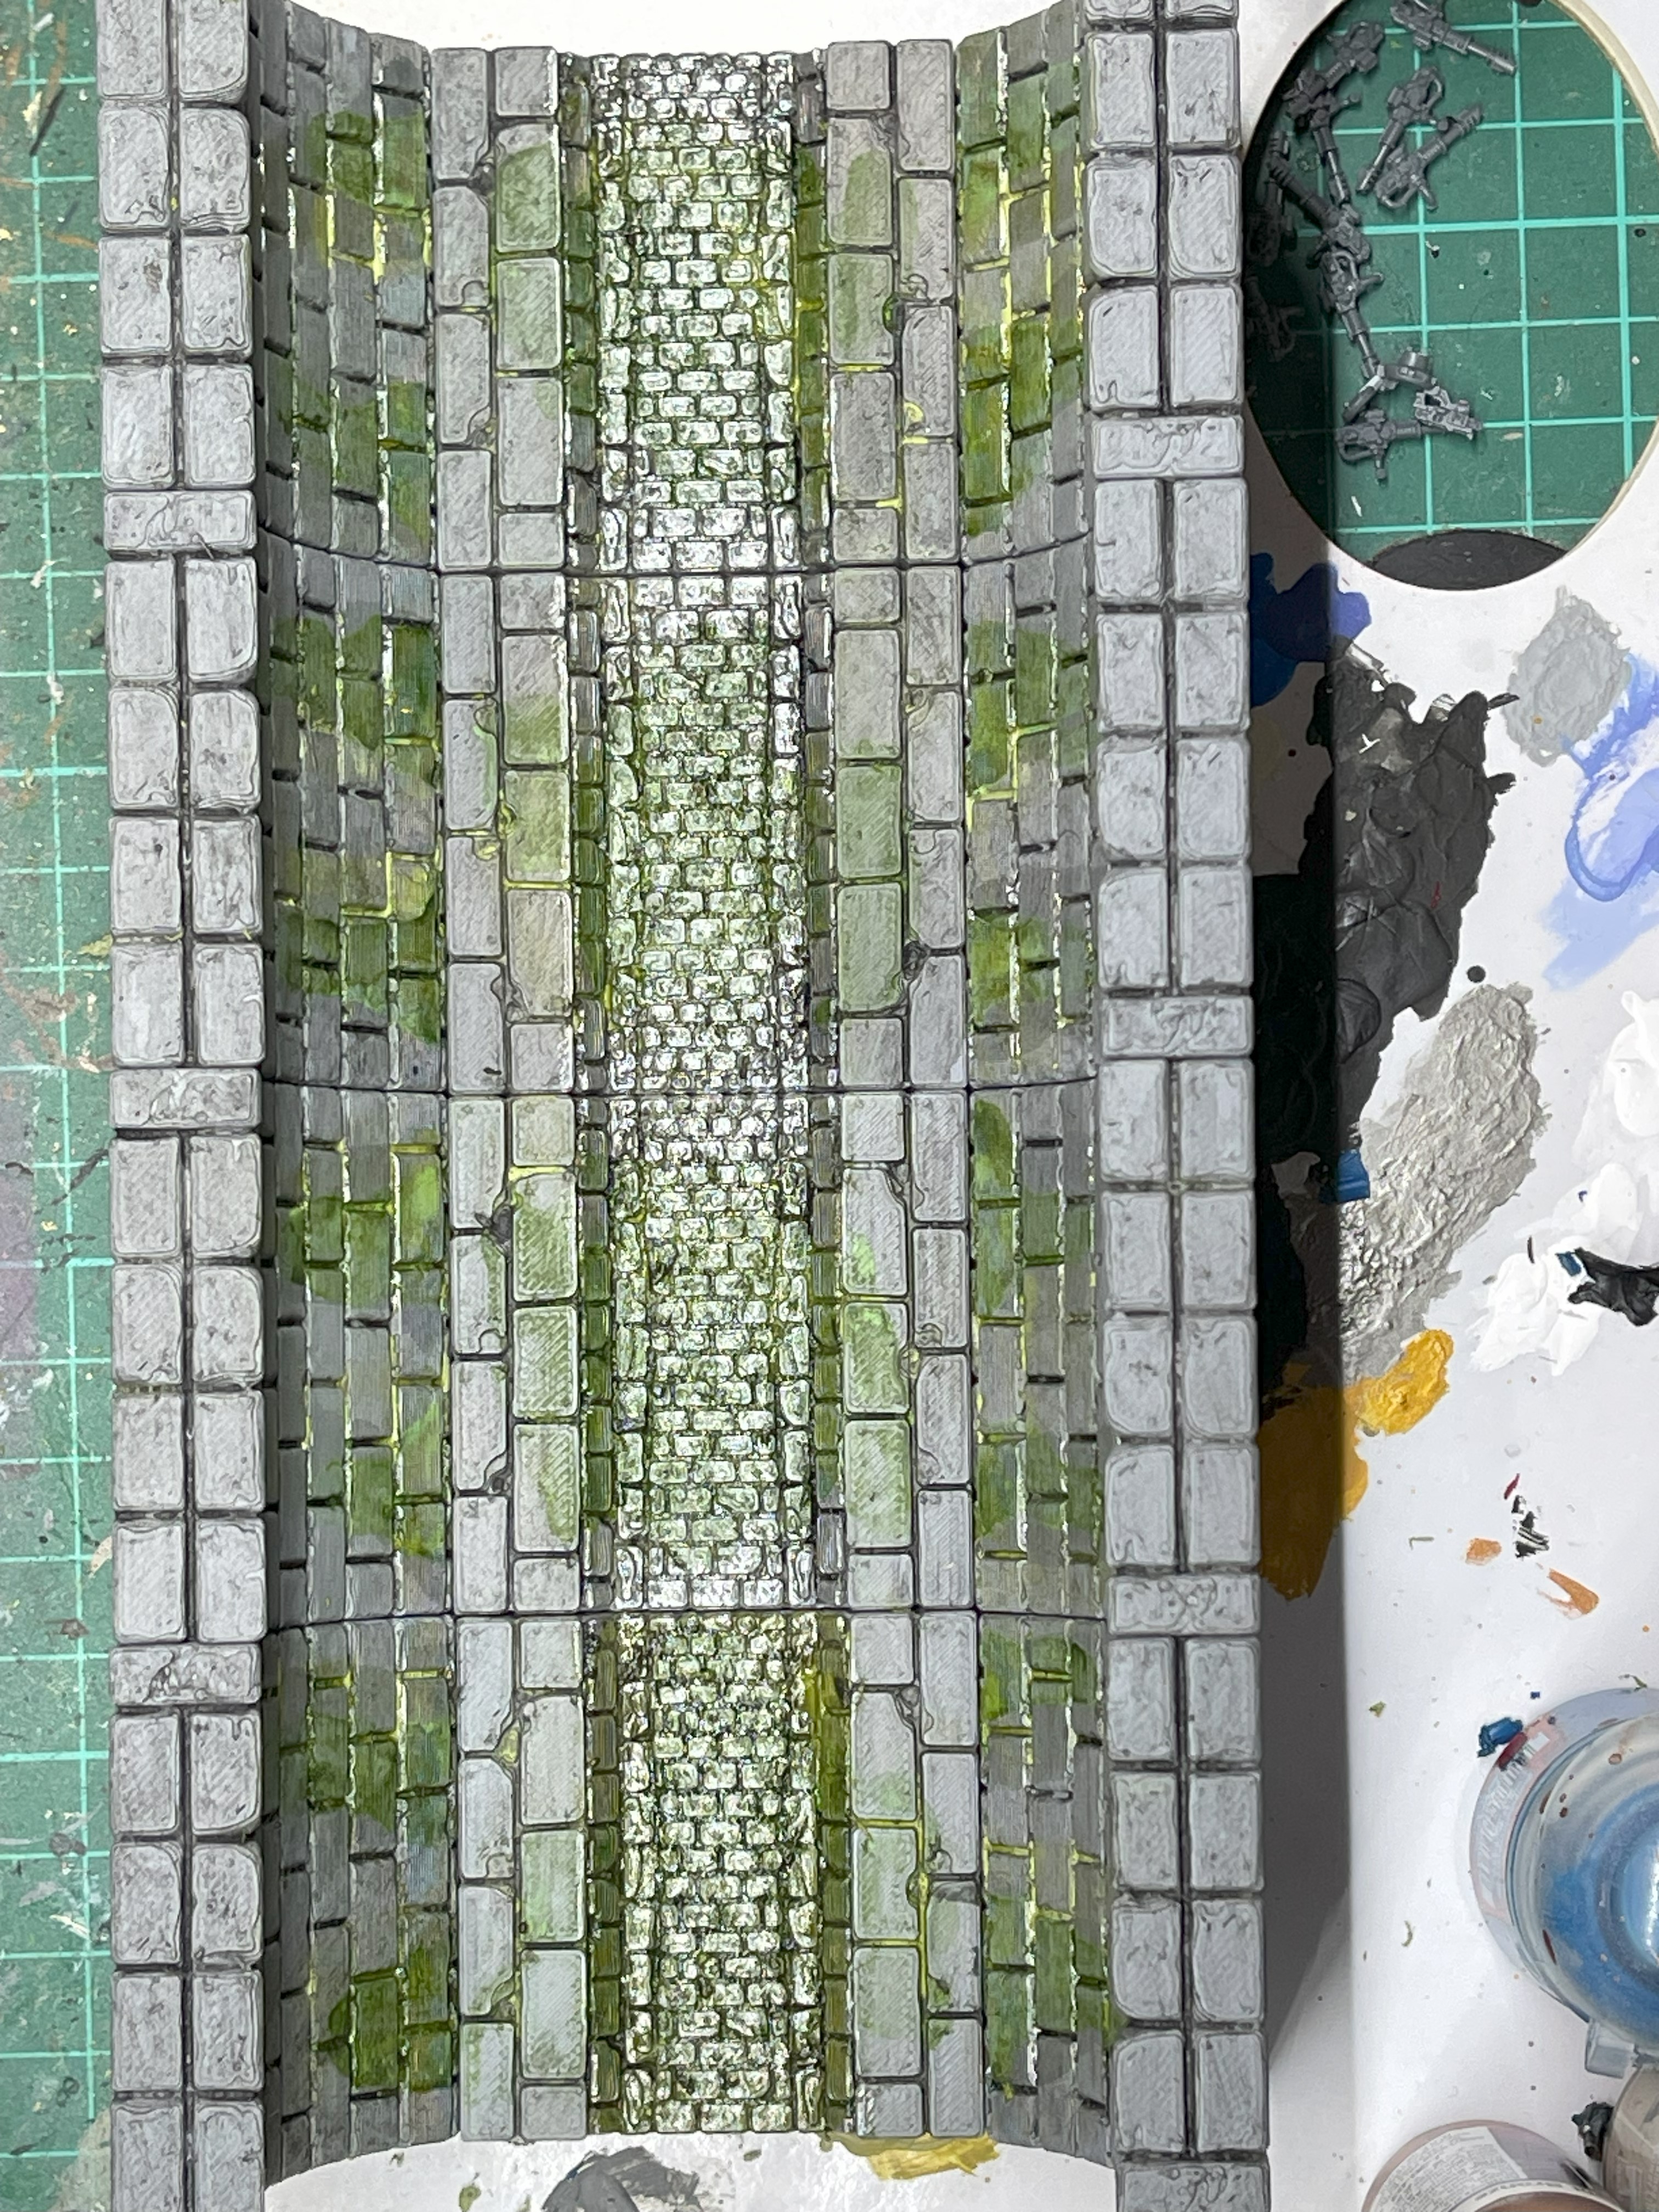
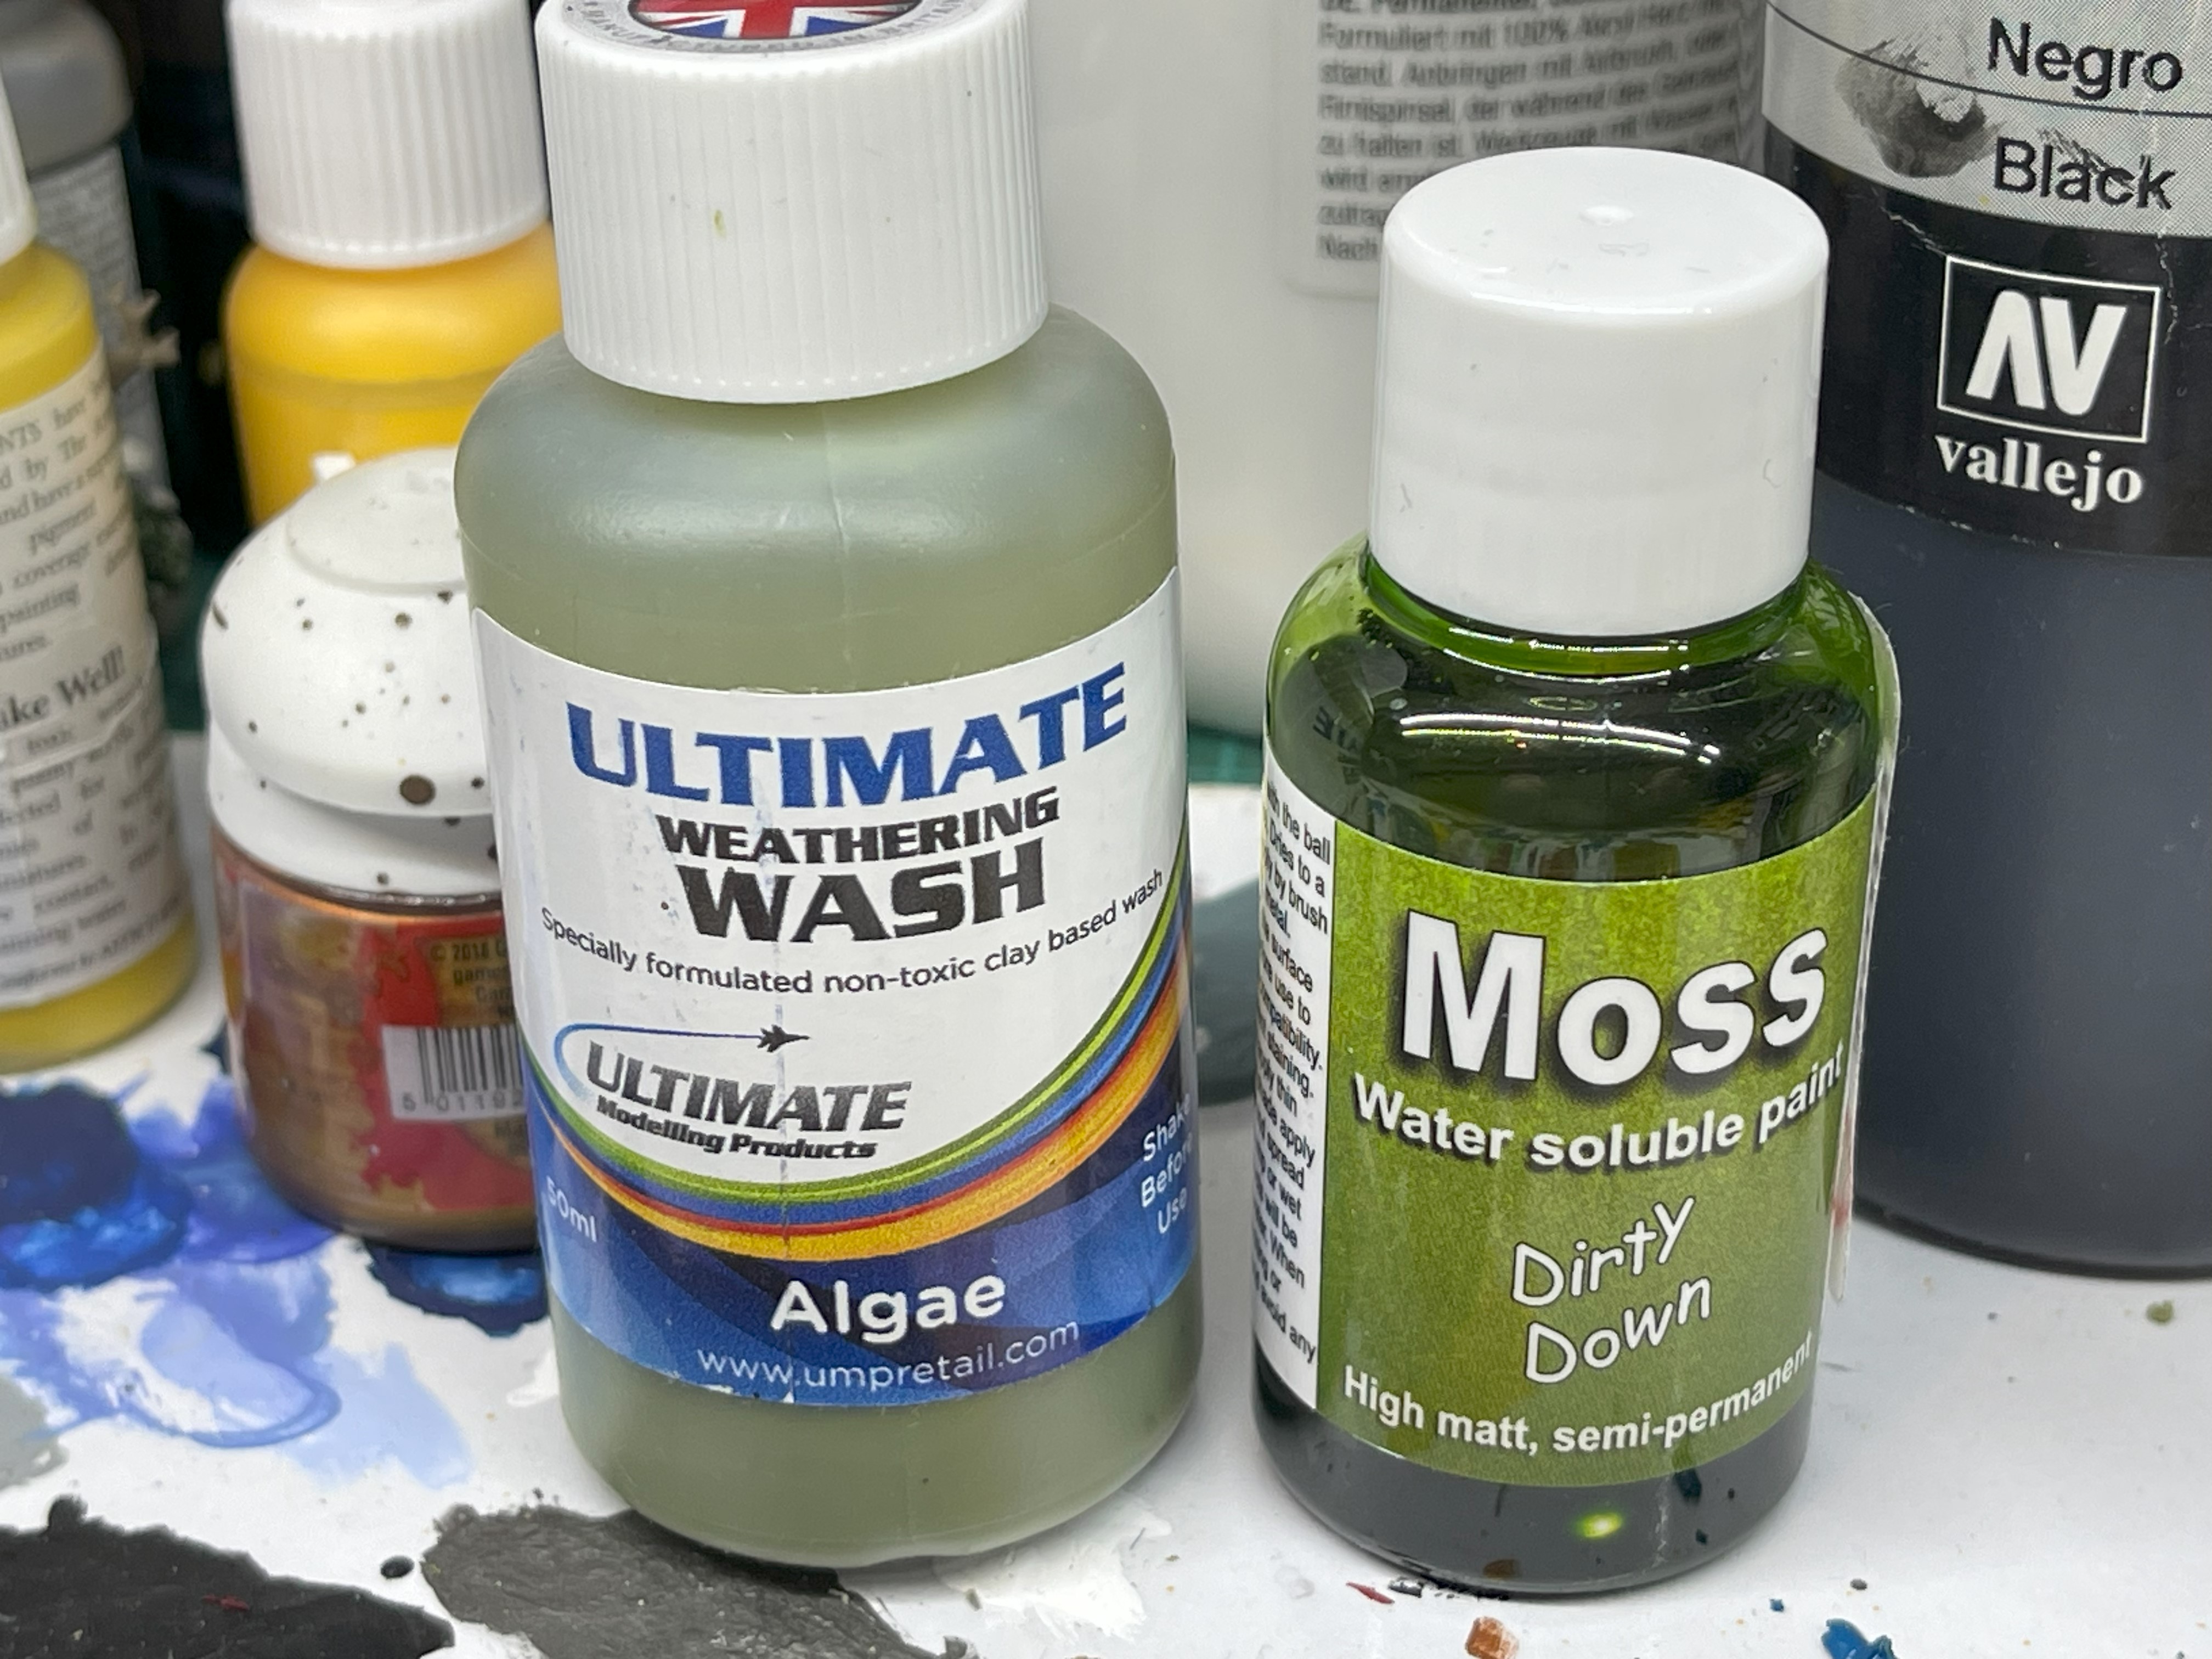
Time to get some paint on these, I thought I would start with the sewer. This was primed with Halfords grey primer and then Vallejo black wash applied and wiped off the with a cloth. Once that was dried the washes above were applied randomly, unfortunately when I applied the matt varnish it wiped out a lot of the weathering wash. Once the varnish was dry a gloss varnish was added to those places I thought would be damp.
I might come back to this an winter it up later but that is it for the sewer for now. There are still a foot or so left of the sewer to paint so still work to do.
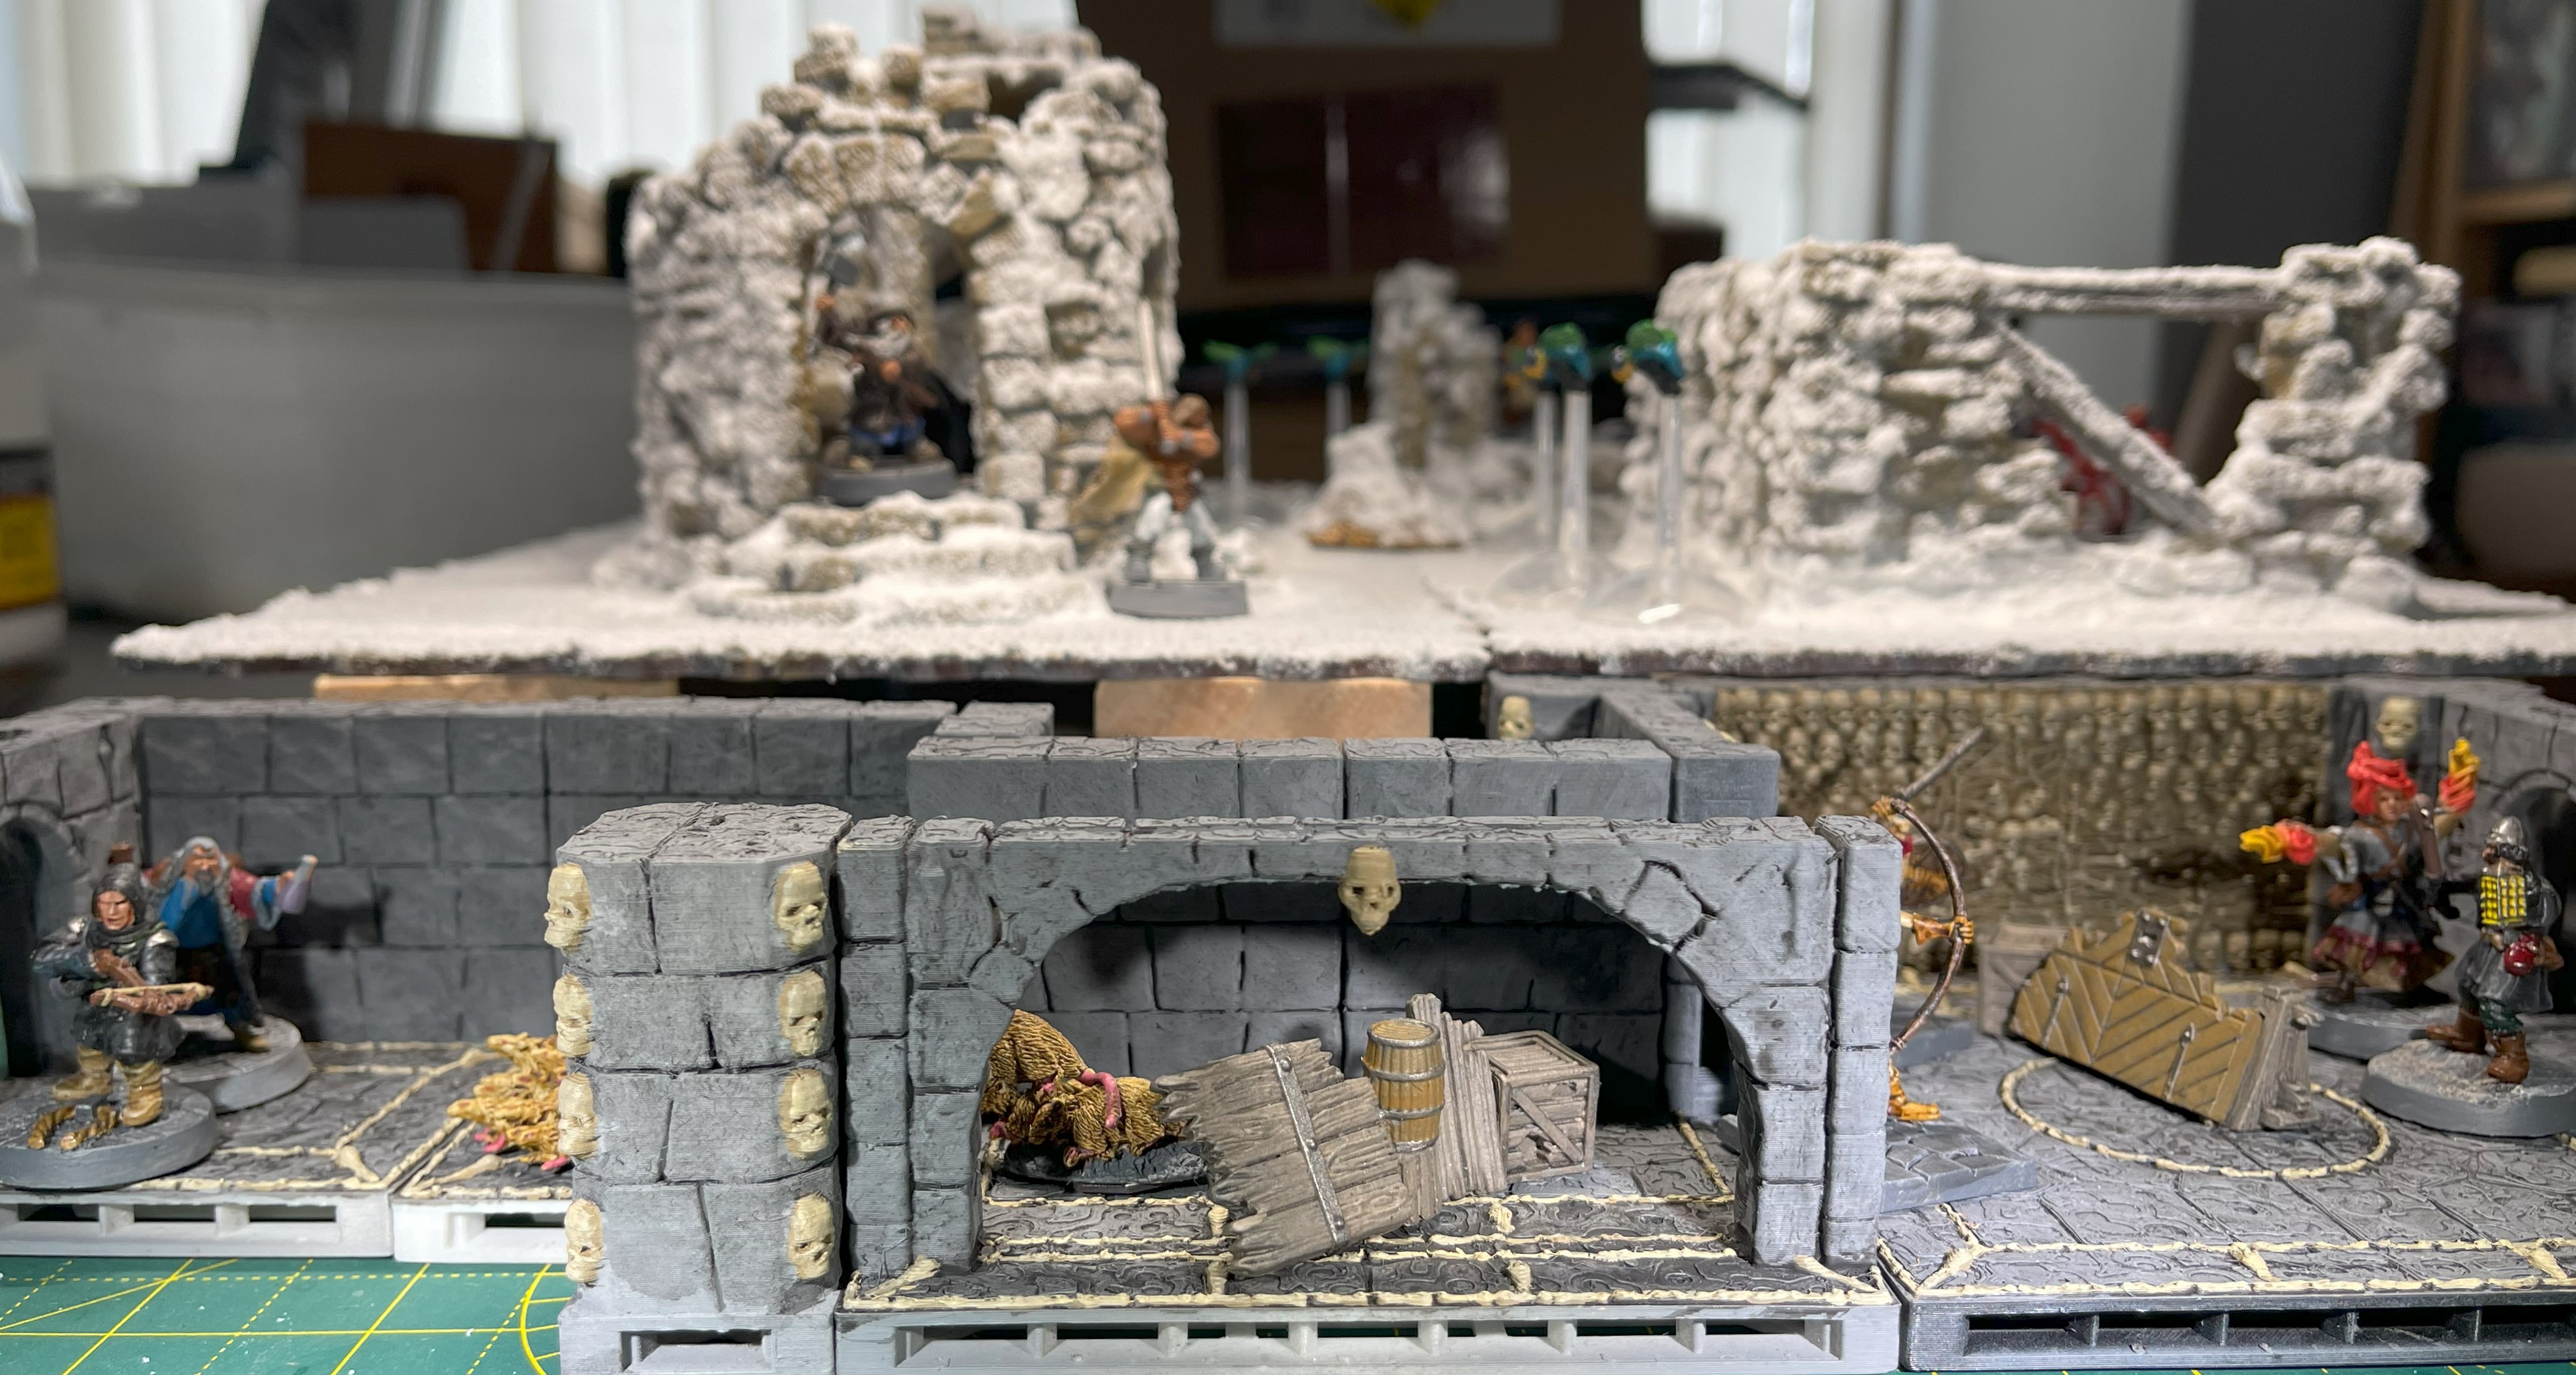
Test Layout
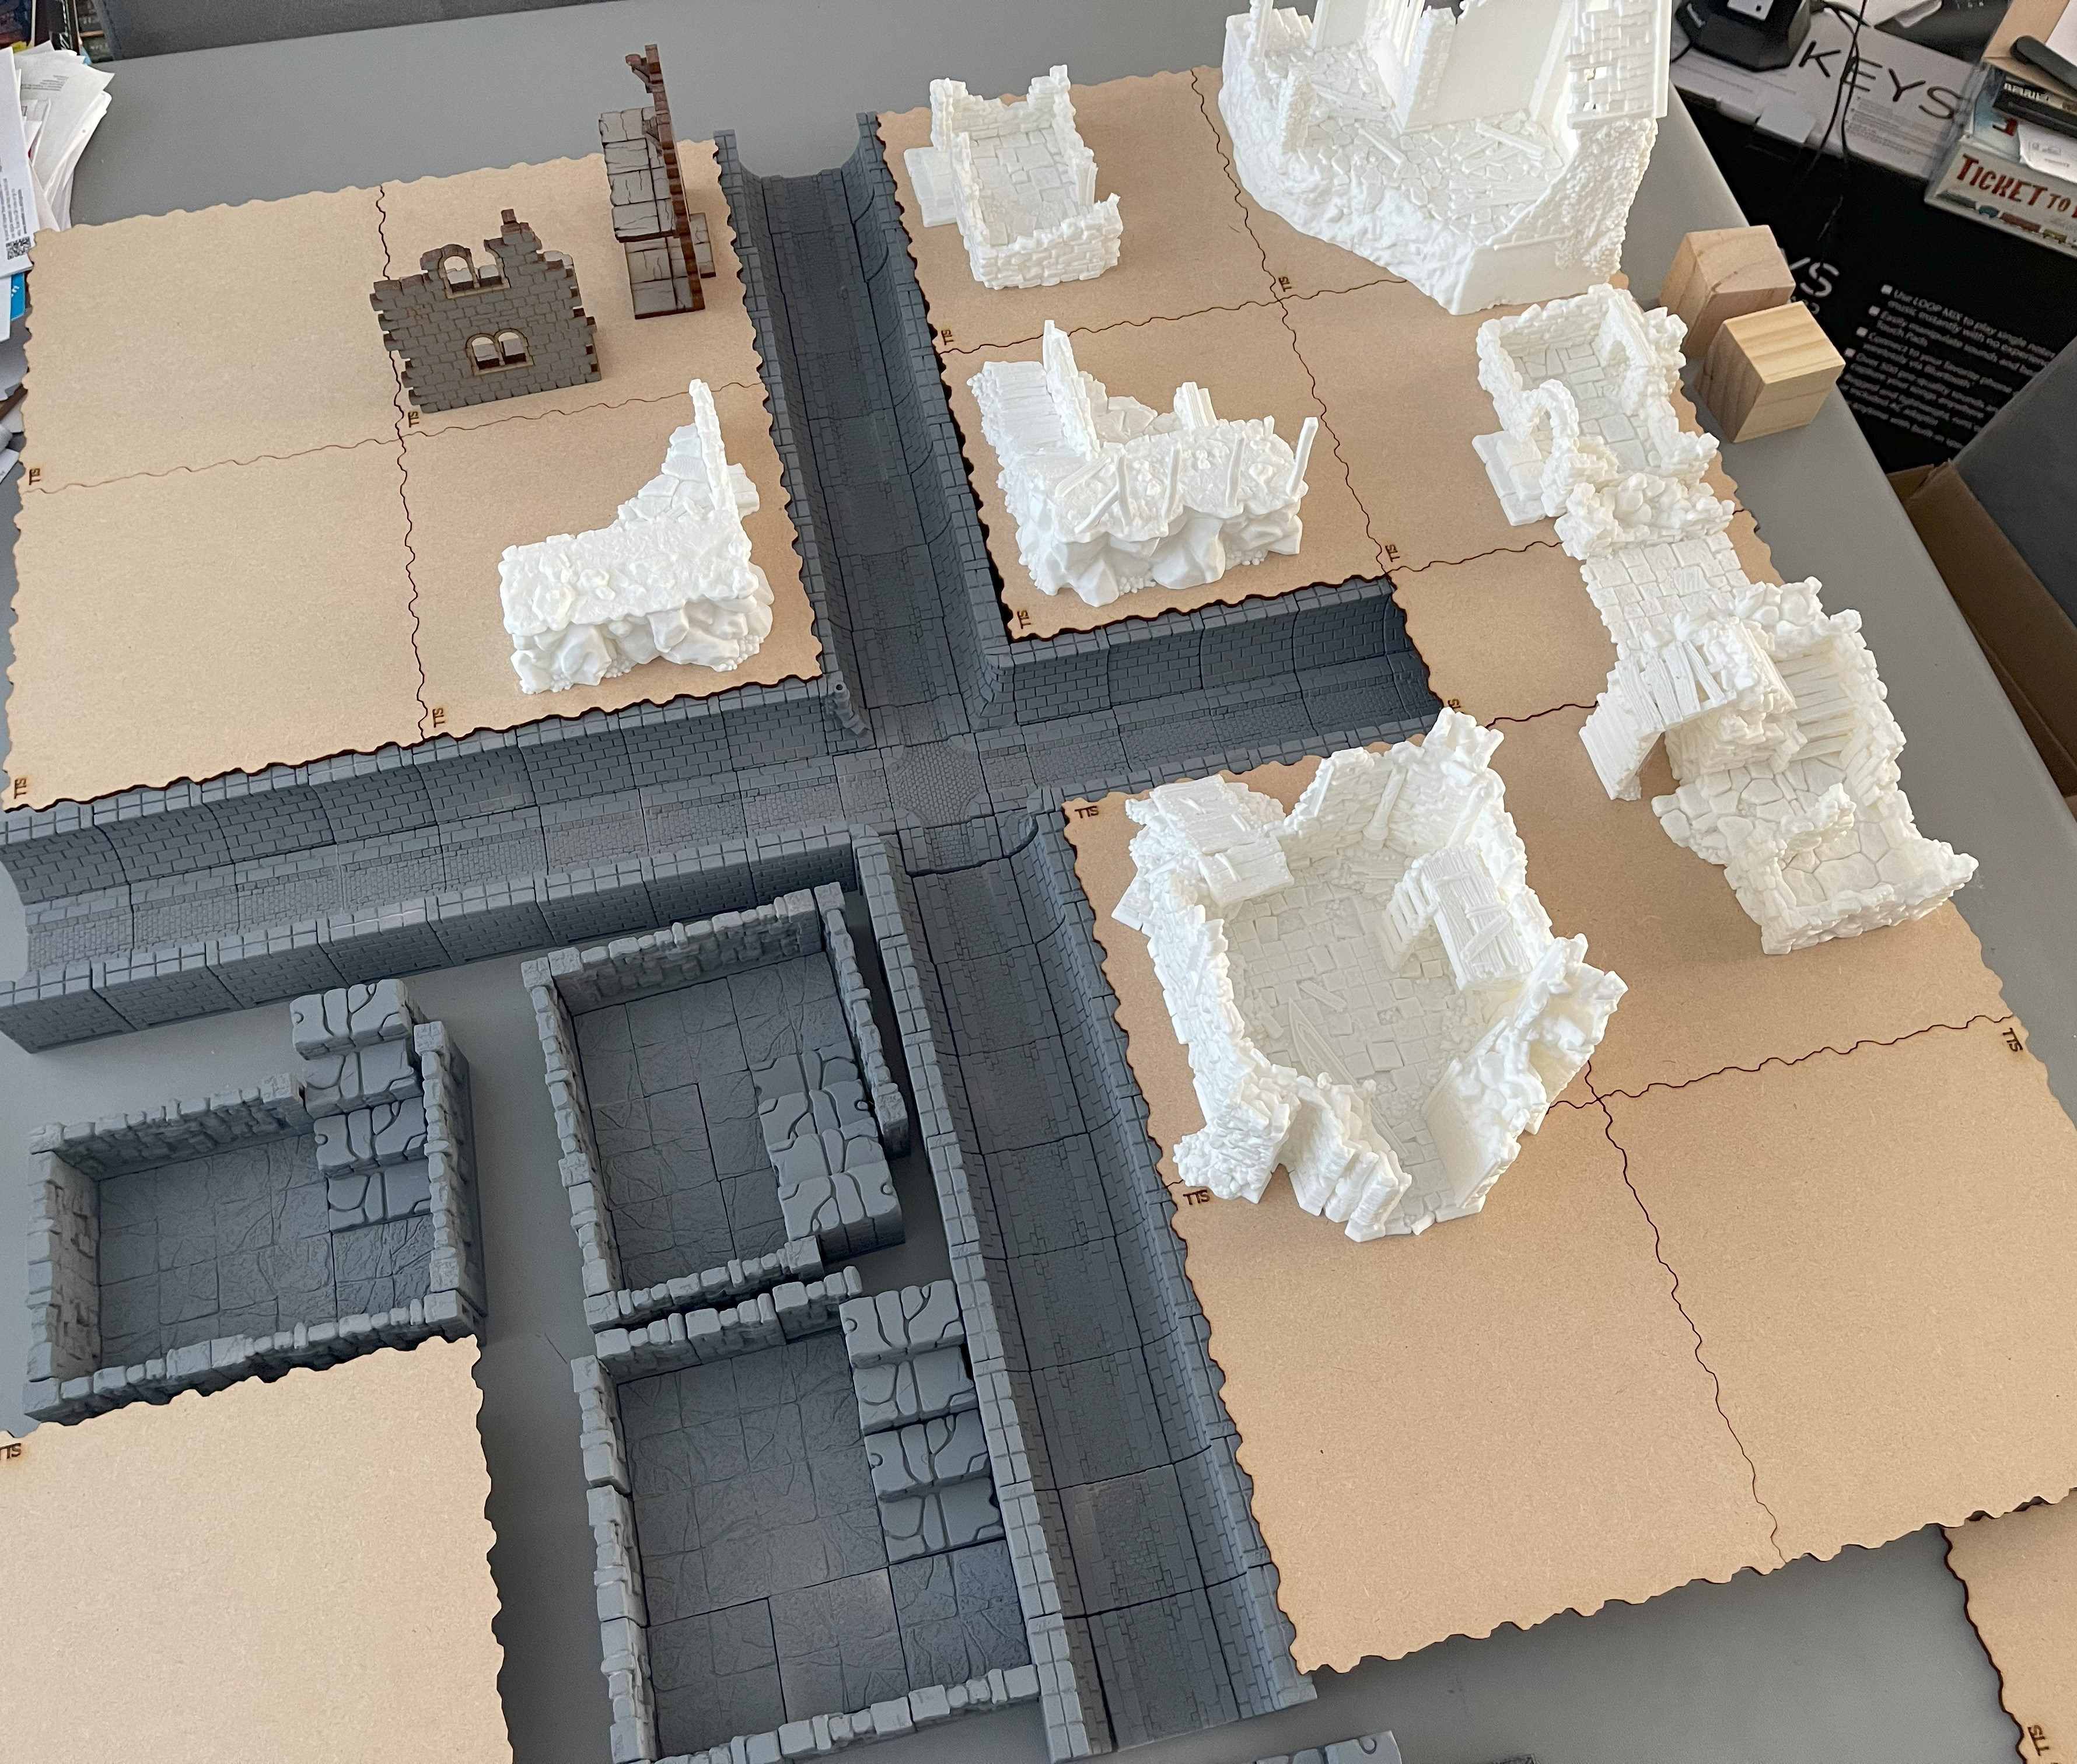
After giving all the sewer and cellar pieces a coat of the finest halfords primer I set up the layout again with the tiles from sarissa. The tiles are supported by some wooden blocks or resting on the sewer walls.
The first thing this showed me was two of the building are too big to fit on the tiles I have, so I have ordered some bigger ones to accommodate them.
The second thing I noticed was I don’t have have enough buildings, I added a couple of pieces from 4ground in to see how they looked but they are bit flat compared to the others. The 3d printer is churning out more buildings.
The last thing I was I don’t have enough cellars so those are on the list of printing jobs.
initial layout
Slight change in plans as I’ve realised I need more time to get this finished, so with printable scenery’s modular ruins system I am going to print the base of the buildings and at least get the basis of a city down and print the rest of the buildings later.
I have managed to complete the sewer layout to give me a 3×3 cross and sample cellar that could be under a building. The plan is to have some preassembled cellars that are already setup under the city or use some wooden blocks as fillers and use a random table or deck of cards to select which cellar is under the building and what’s in it.
Making a start
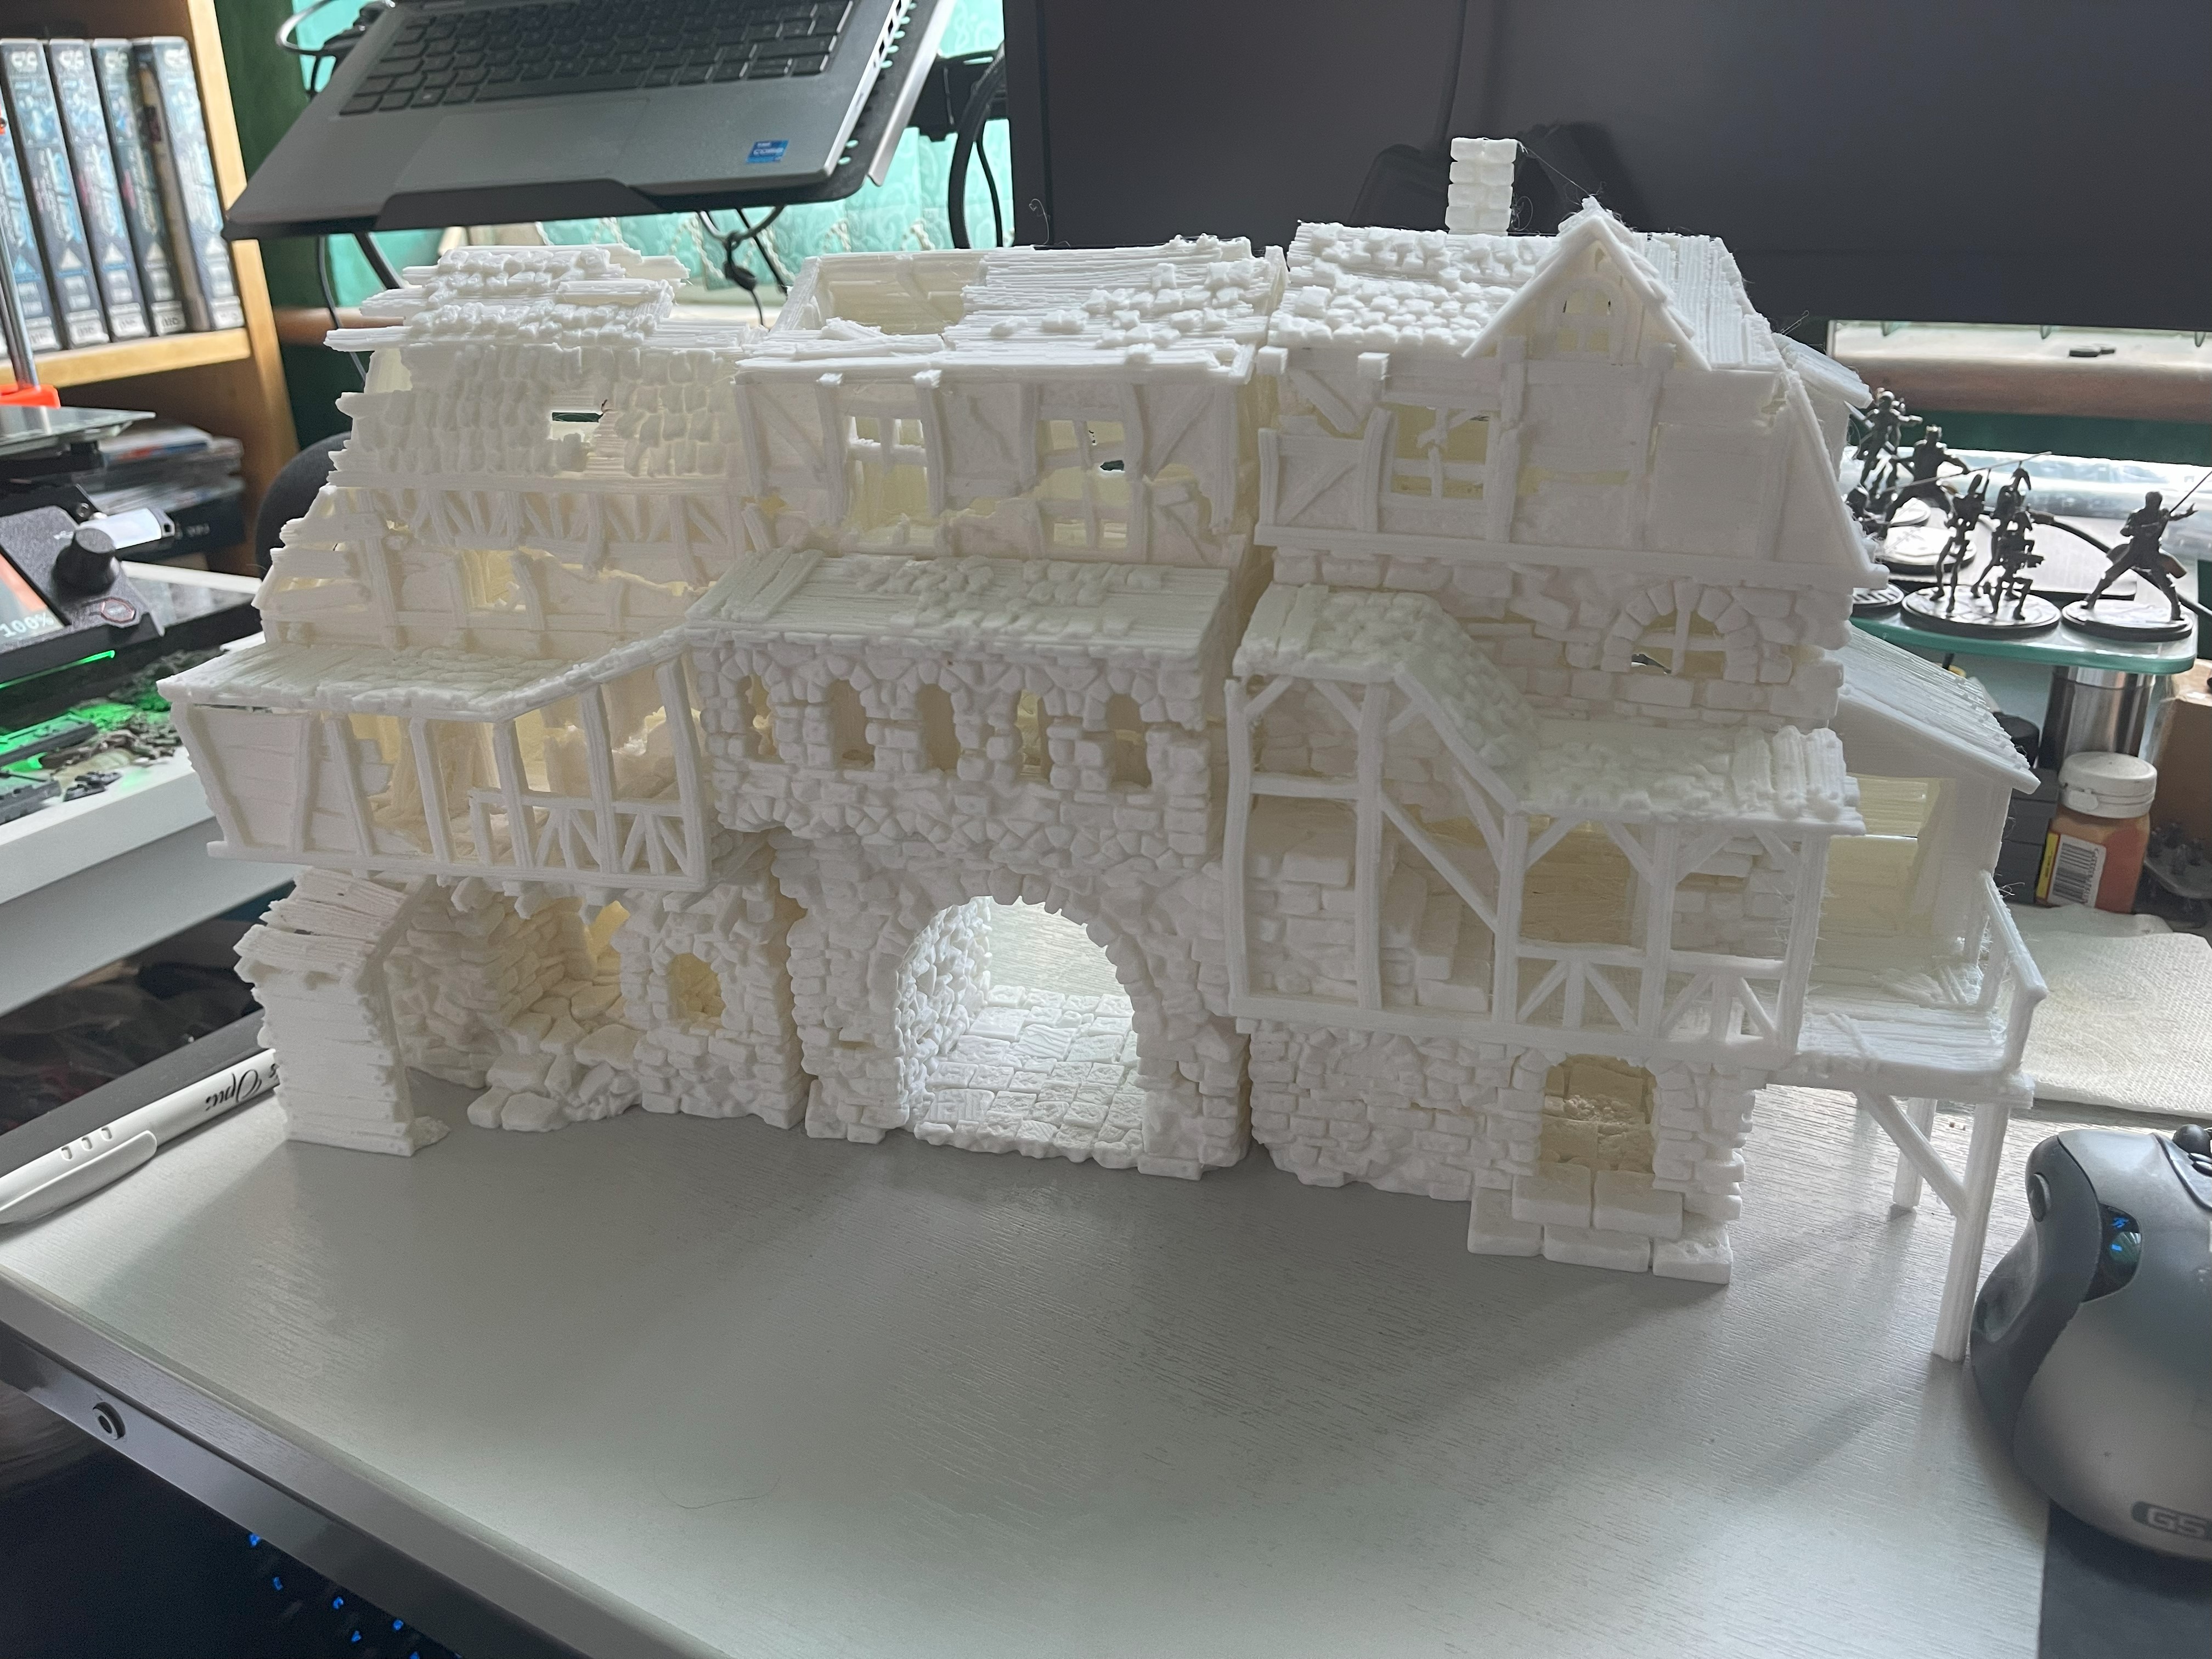 Gatehouse
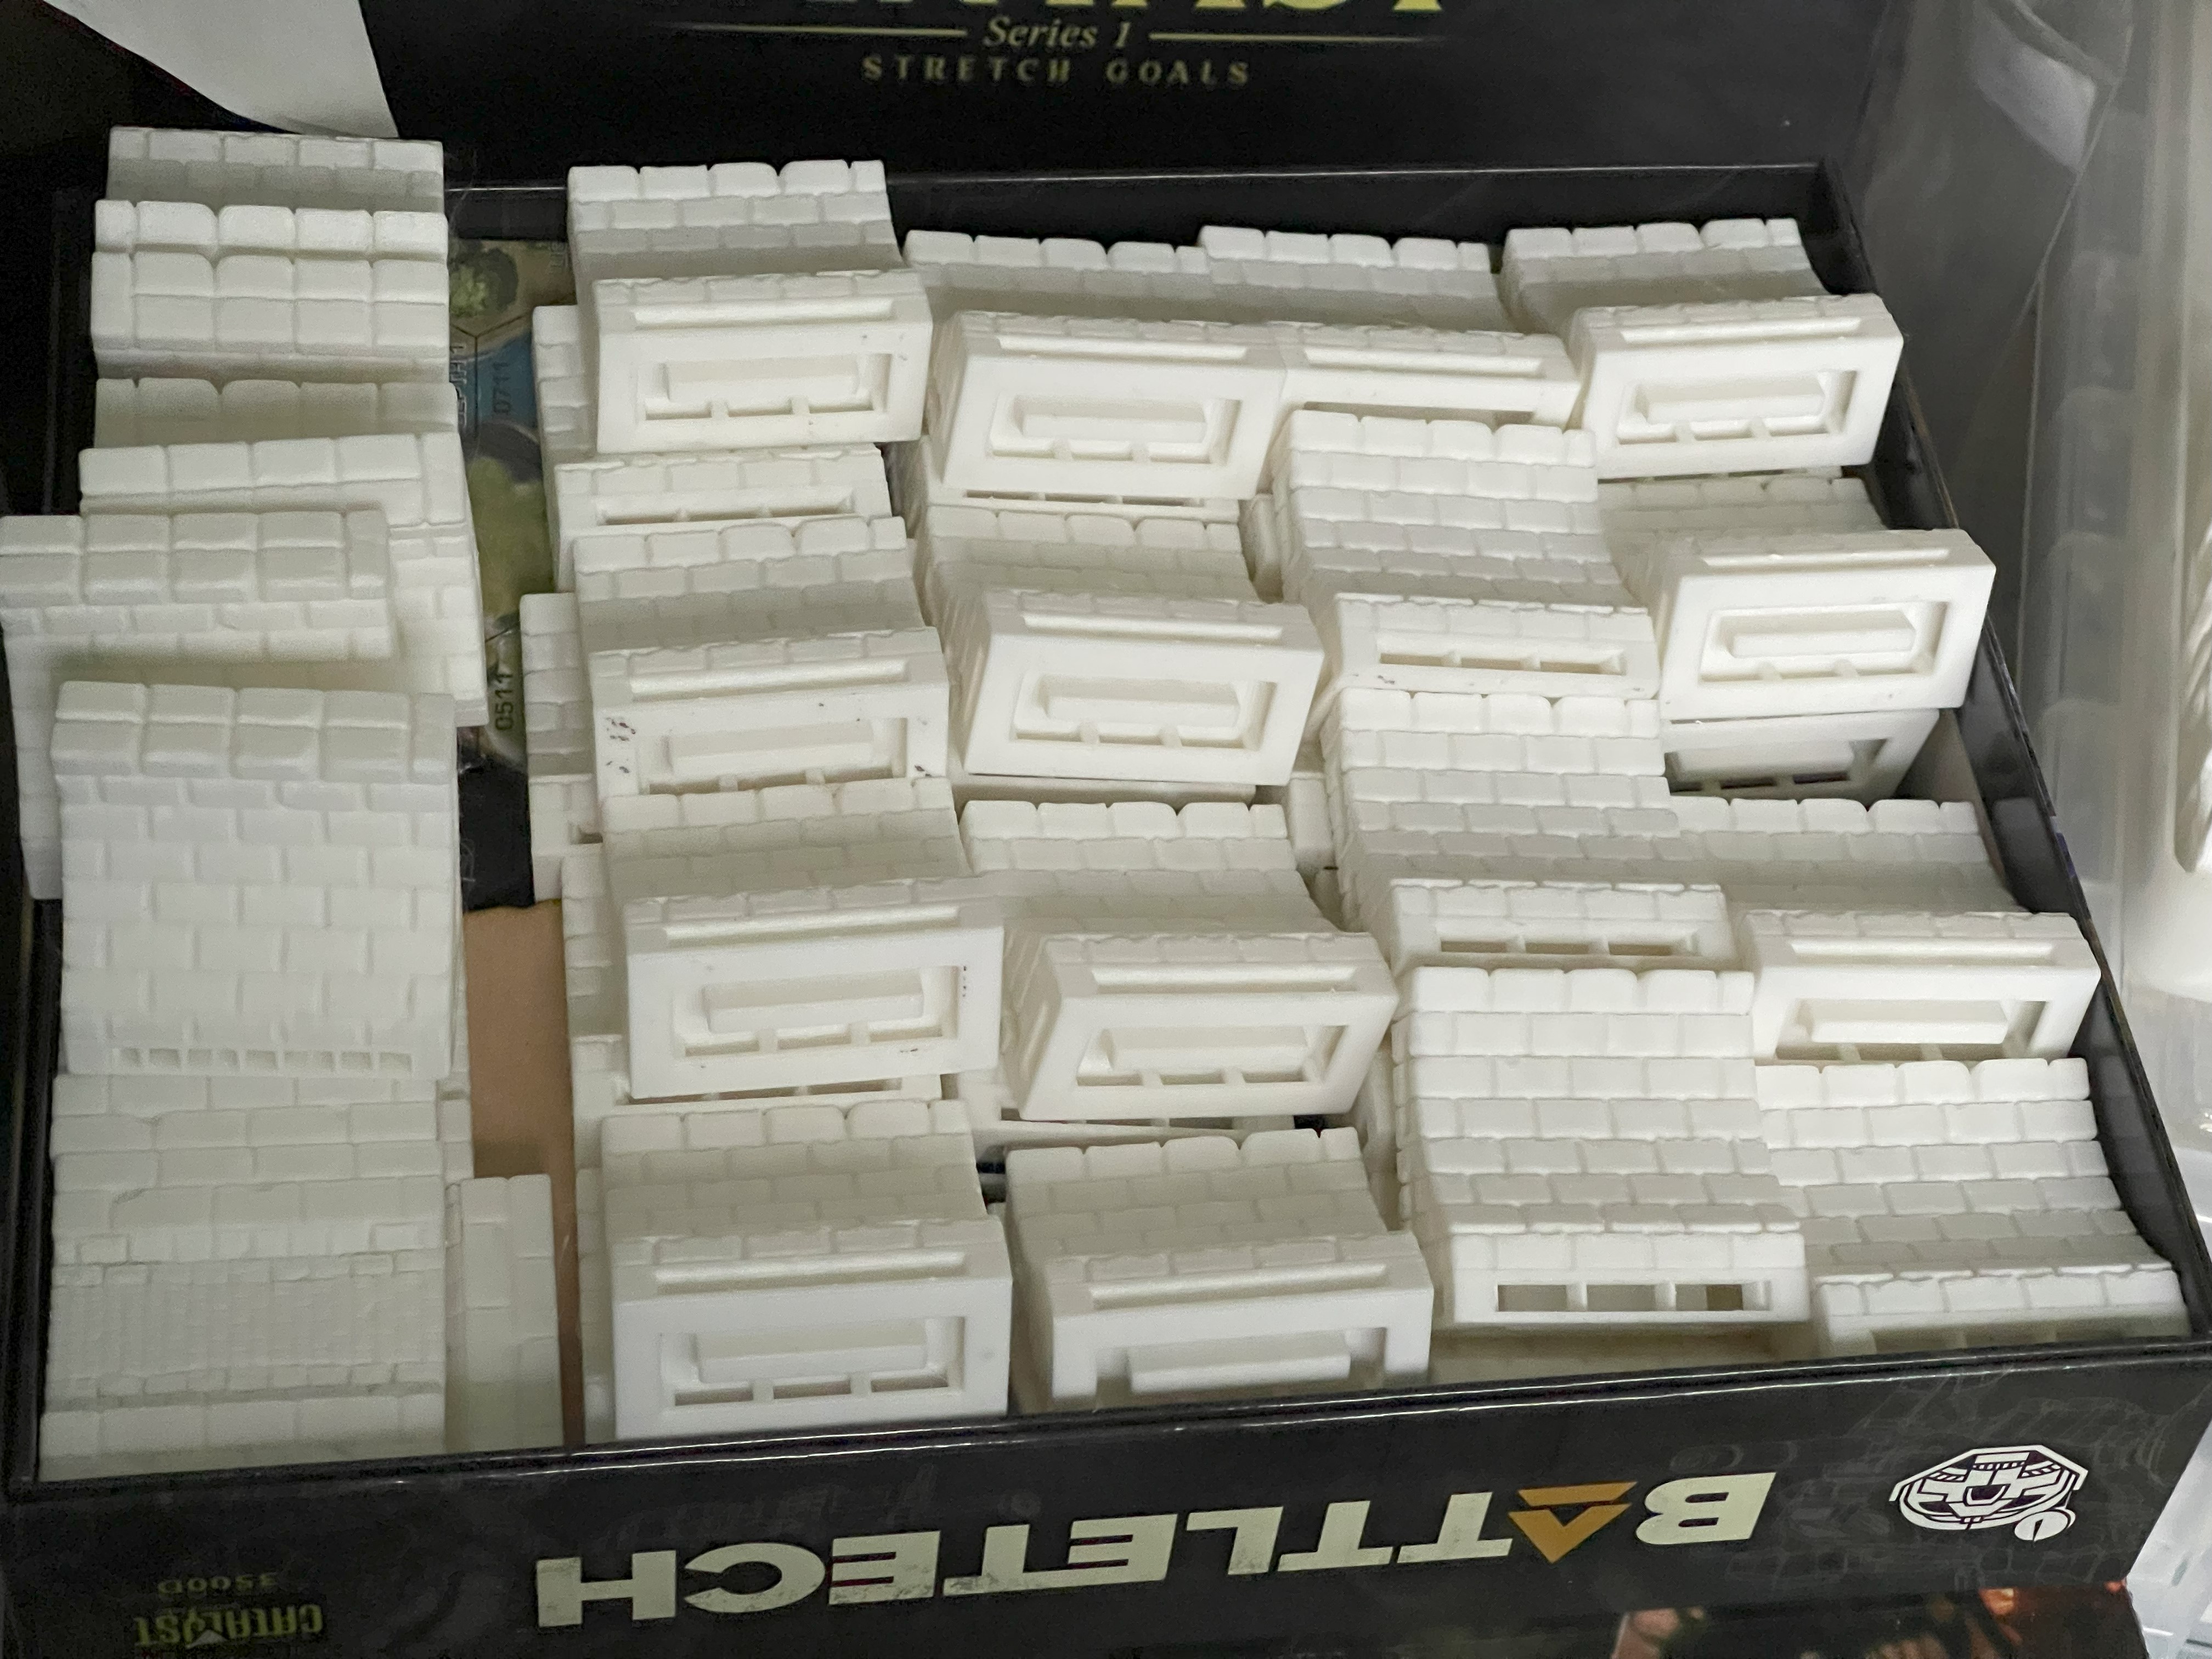 Sewers
I need to make a start so I have printed the gatehouse from Printable Scenery, which uses their modular ruins system so parts can be progressively removed. That might make things interesting if there was some mechanic to damage the buildings or allow the board to change between games as parts are removed.
The Sewers are getting printed as the first dungeon tiles but I hadn’t realised how many I would need. The plan is to have a 3×3 board and I wanted to start with the sewer crossing from all table edges, so nearly 6 foot of sewer. That box of parts is about half the total I will need for that.


