
![Atomic Tank – The Robot Wars Review | Fast-Paced 10mm Sci-Fi Wargame [7 Days Early Access]](https://images.beastsofwar.com/2026/01/unboxing-hydra-miniatures-atomic-tank-the-robot-wars-coverimage-225-127.jpg)
![246 Dwarves in One Box?! | Wargames Atlantic Dwarven Host Unboxing & Review [7 Days Early Access]](https://images.beastsofwar.com/2026/01/unboxing-wargames-atlantic-epic-fantasy-battles-dwarven-host-coverimage-225-127.jpeg)


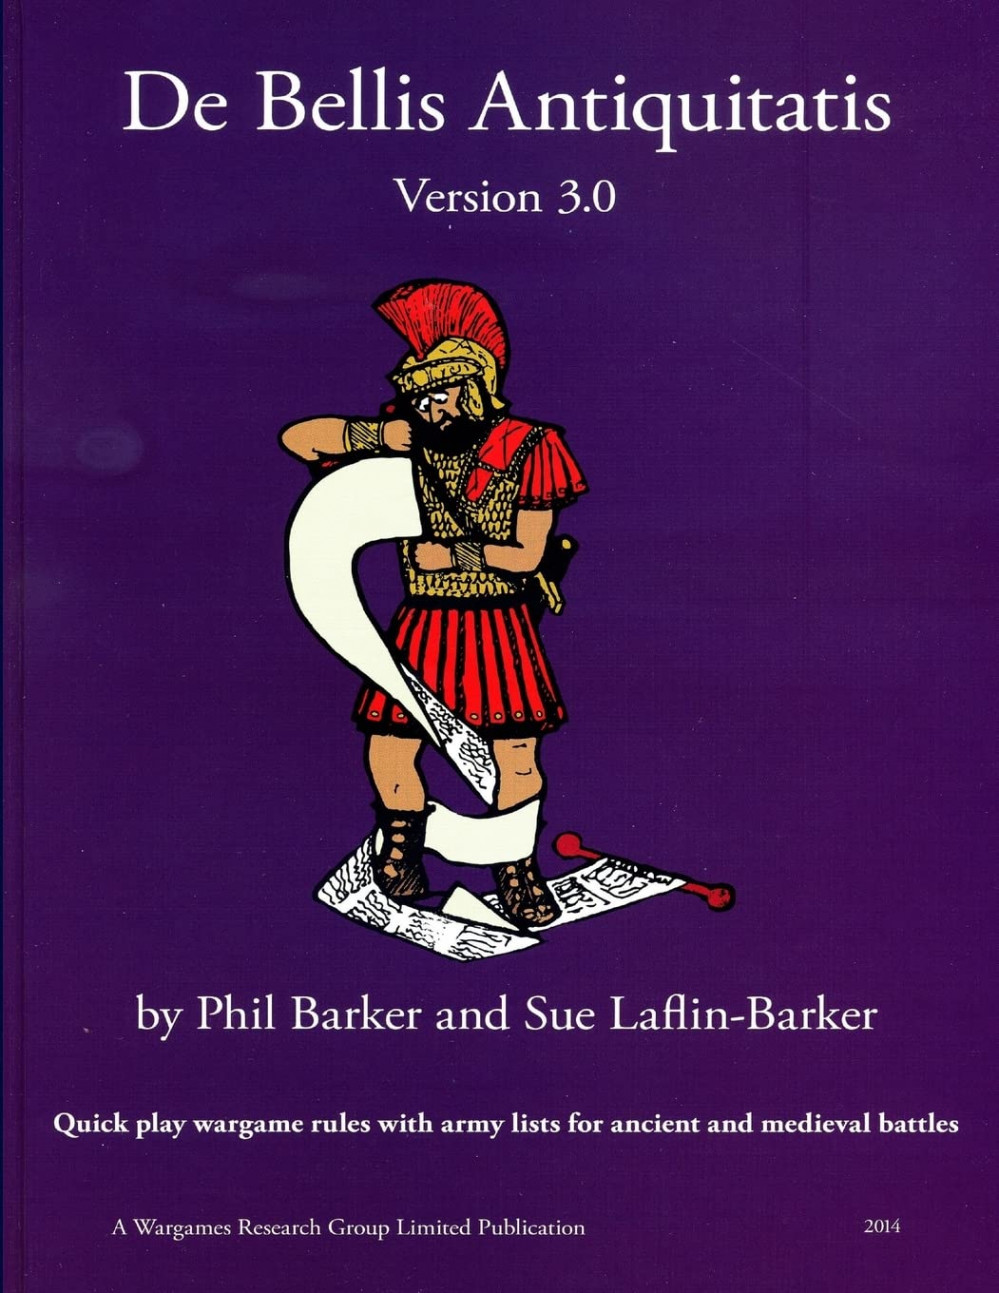
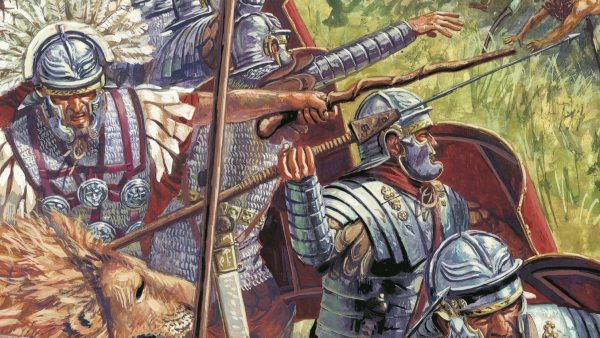
I can’t stop thinking about ancient Rome – De Bellis Antiquitatis edition


Recommendations: 304
About the Project
De Bellis Antiquitatis (DBA) was my second ever historical wargame I've played so I've always had a soft spot for it. Years back I bought some 15mm Romans to build a Caesar vs Gaul set. I found these miniatures in storage and I want to get these completed along with acquiring a Gallic force to use since I have moved away from my group that played DBA. Come along for this hobby journey into 15mm ancients.
Related Genre: Historical
Related Contest: TerrainFest 2024
This Project is Active
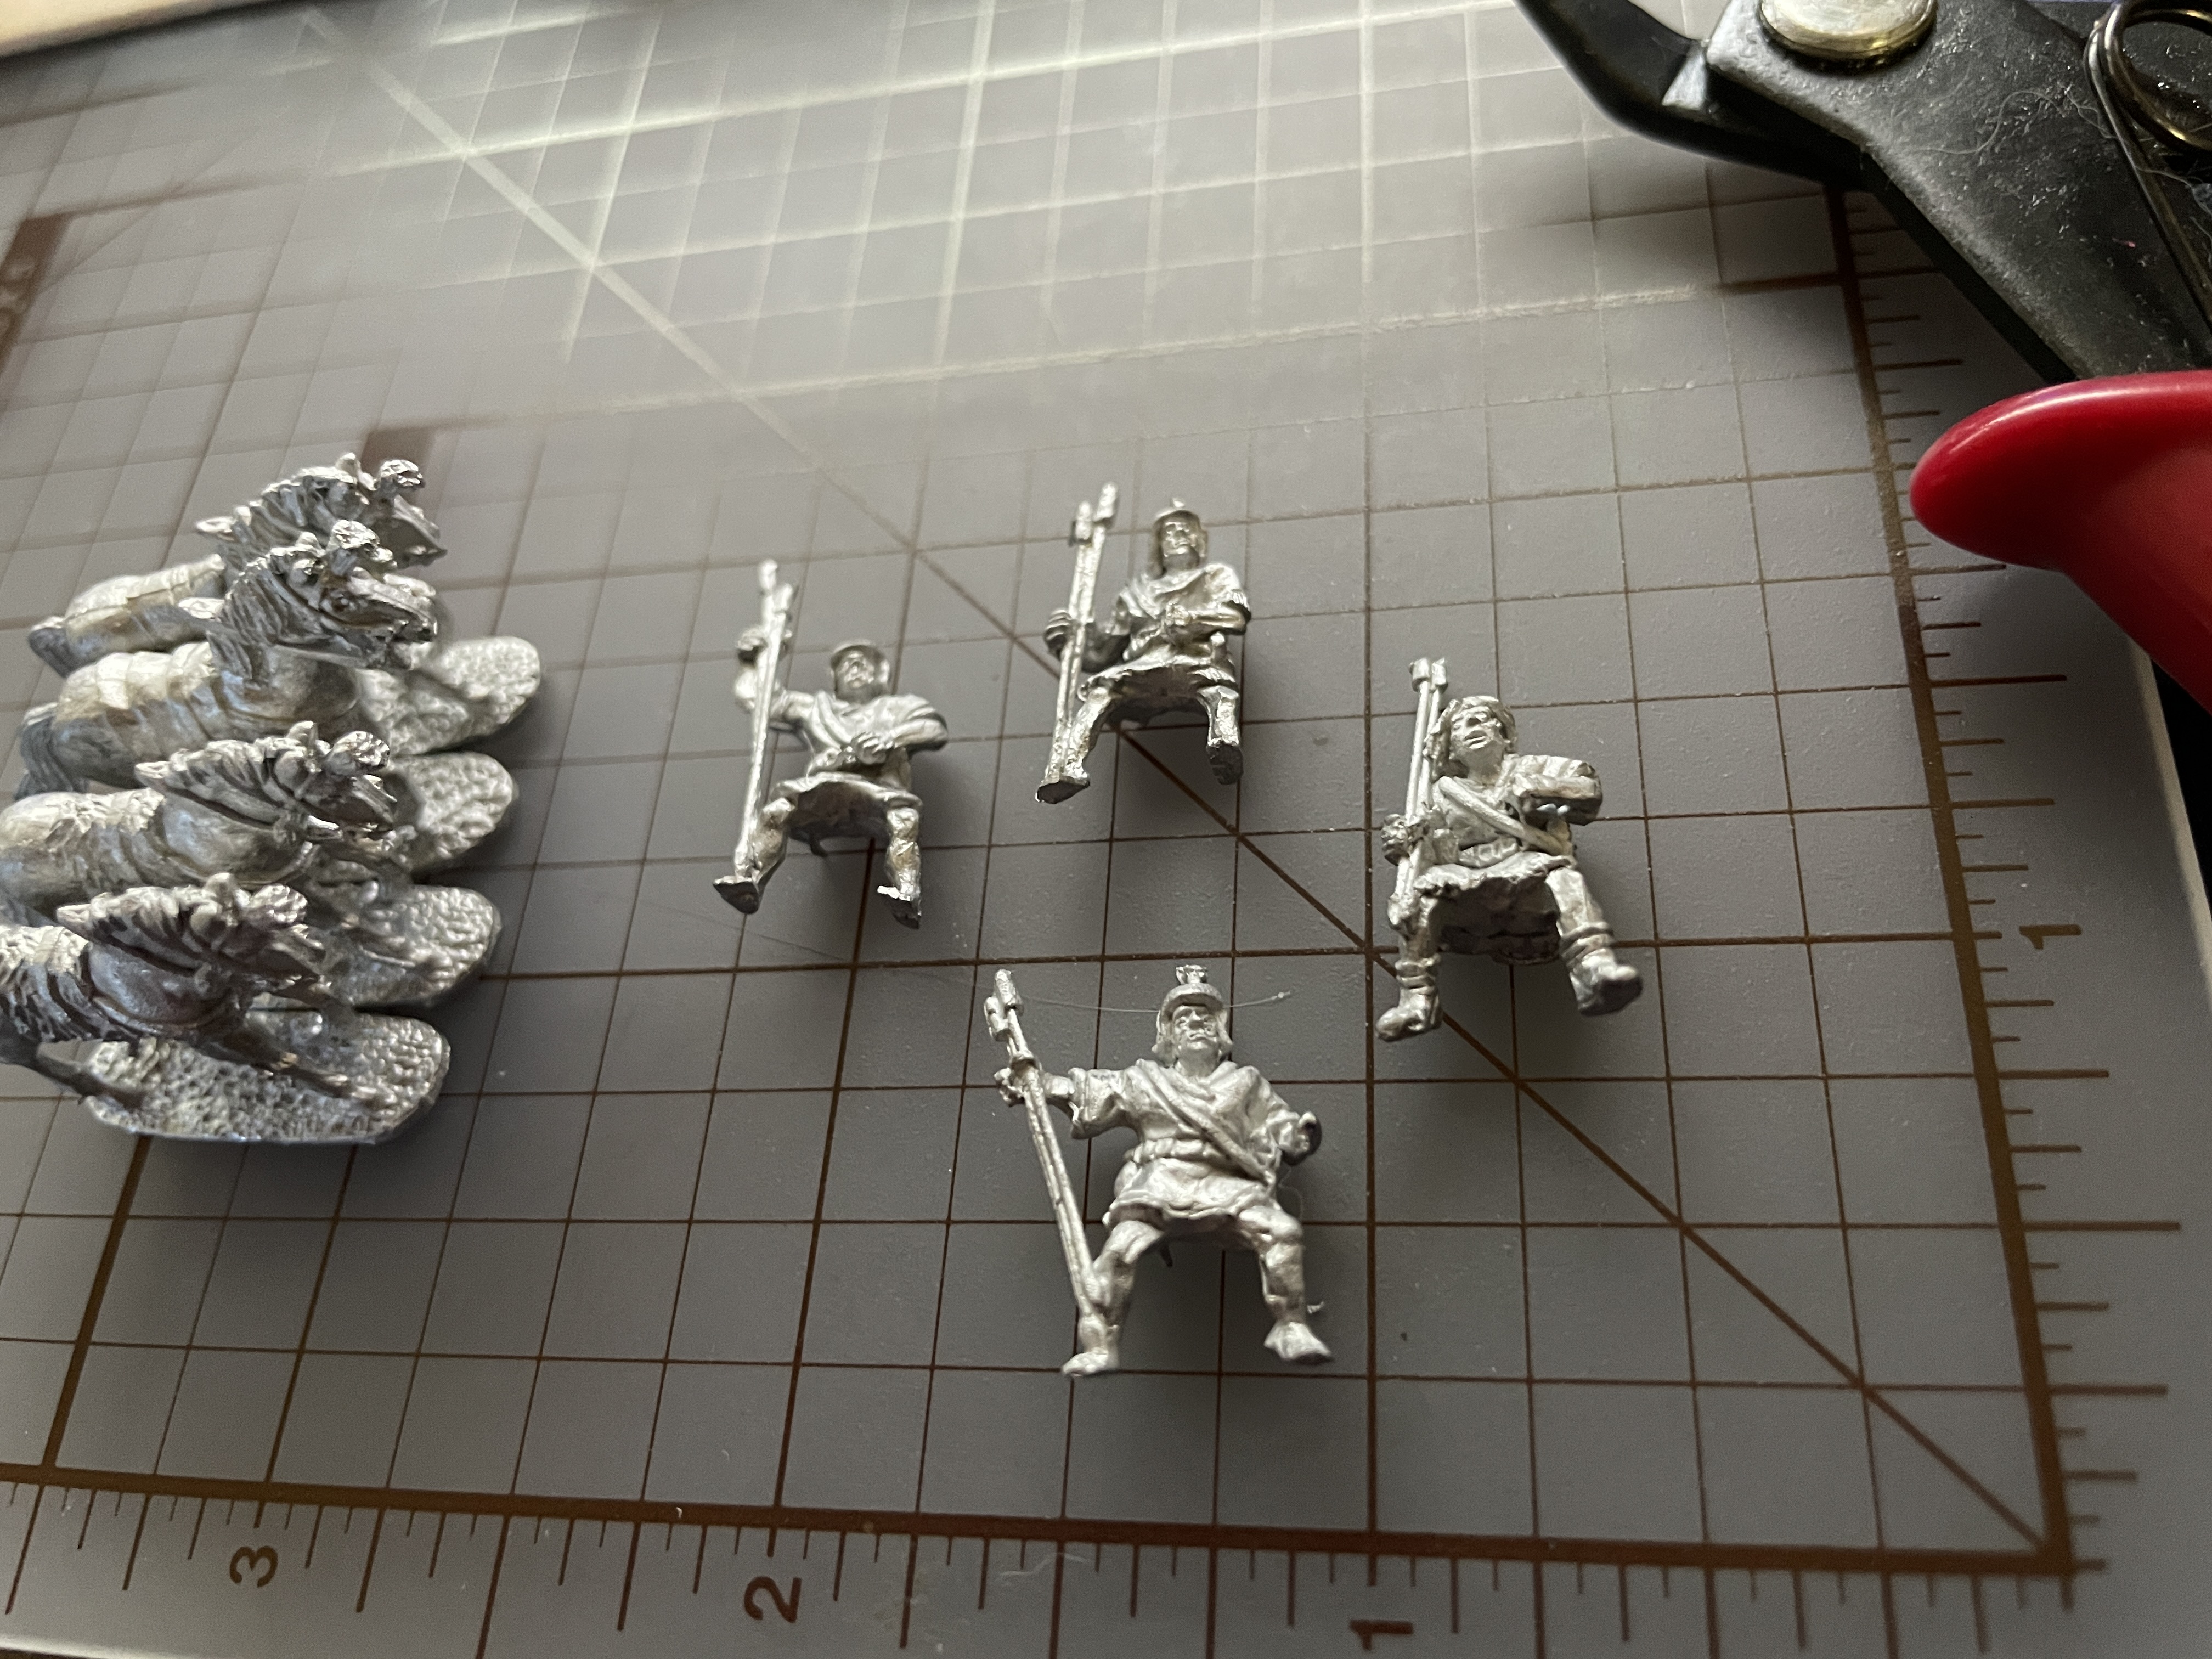
Flash! AHHHahhhh
Small update but I’ve got the last of my figures in and tonight I finished cleaning all of the flash and mold lines off of the figures. So much flash. Some of the mold lines are pretty bad where the two sides don’t line up well. I’m sure when these are primed I’ll see it some I missed but the figures are what they are.
Now to wait for the weather to co-operate so I can prime these and get back to painting. I have created quite the backlog that I need to clear out and this DBA project is taking priority over my Warhammer Quest one. The goal is to still finish the Romans at least for the Spring Cleaning challenge and the Gauls are the bonus sprint. Let’s see how close I get.
Oh no! More Romans
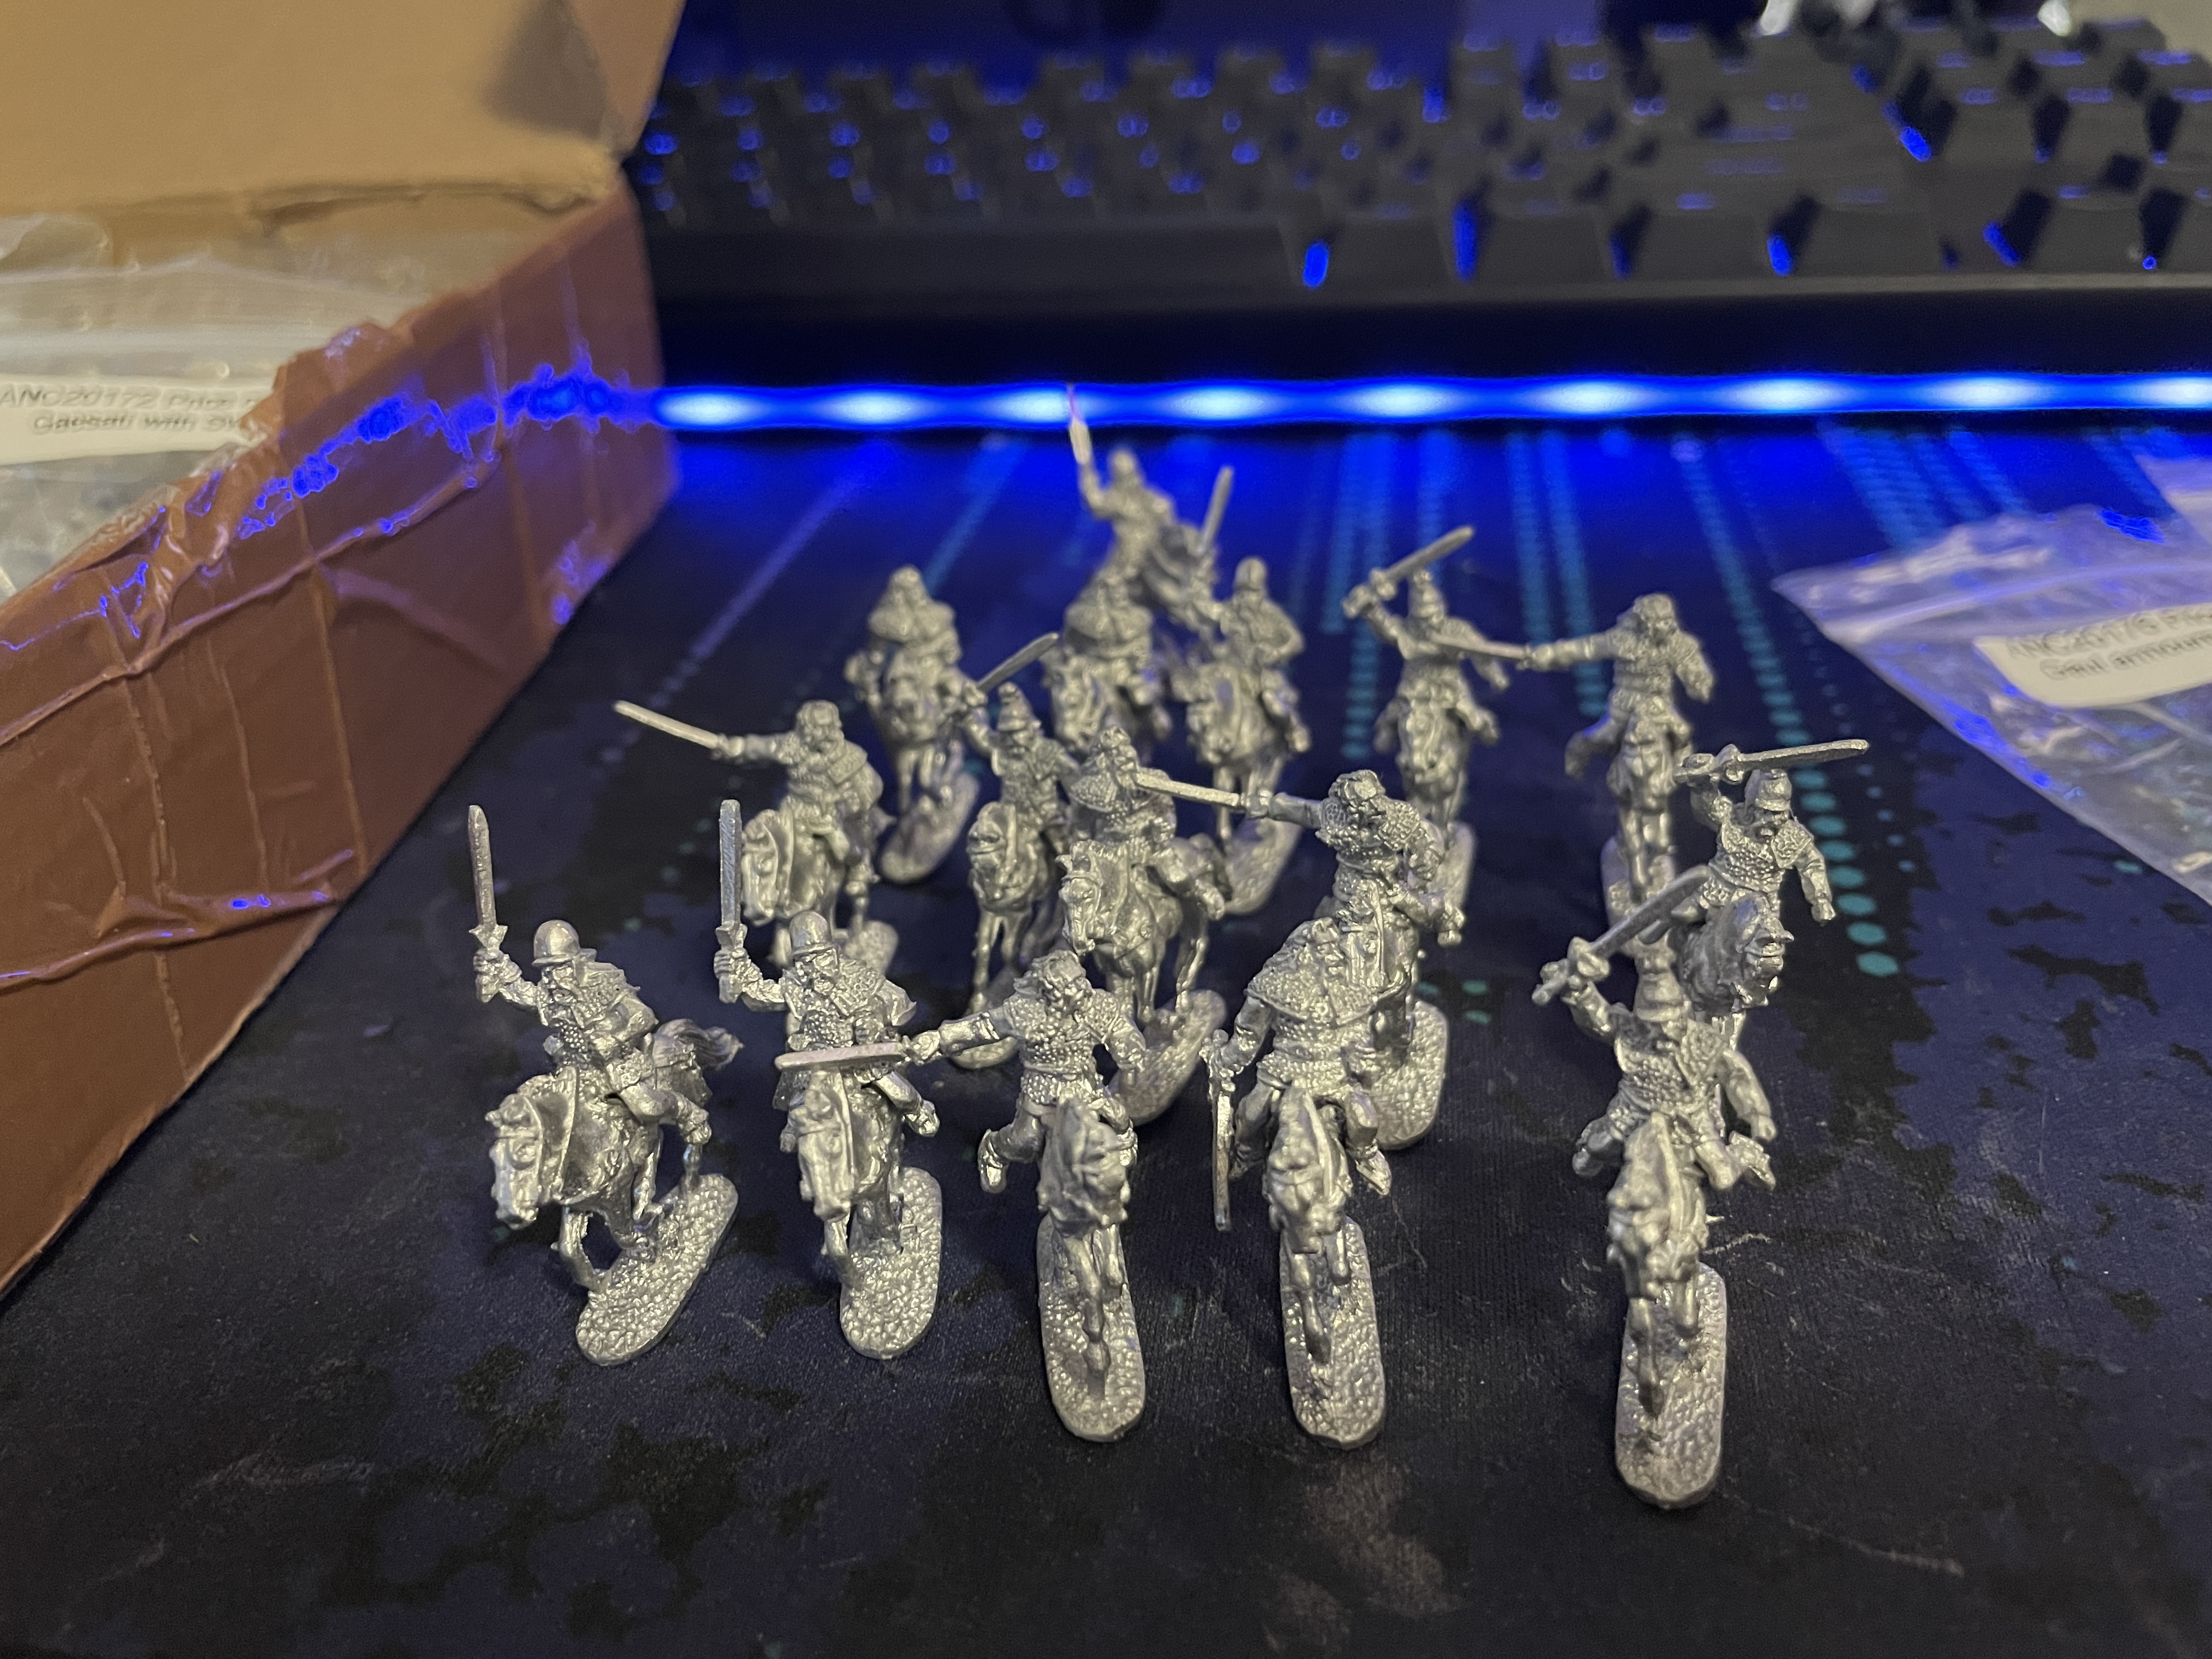
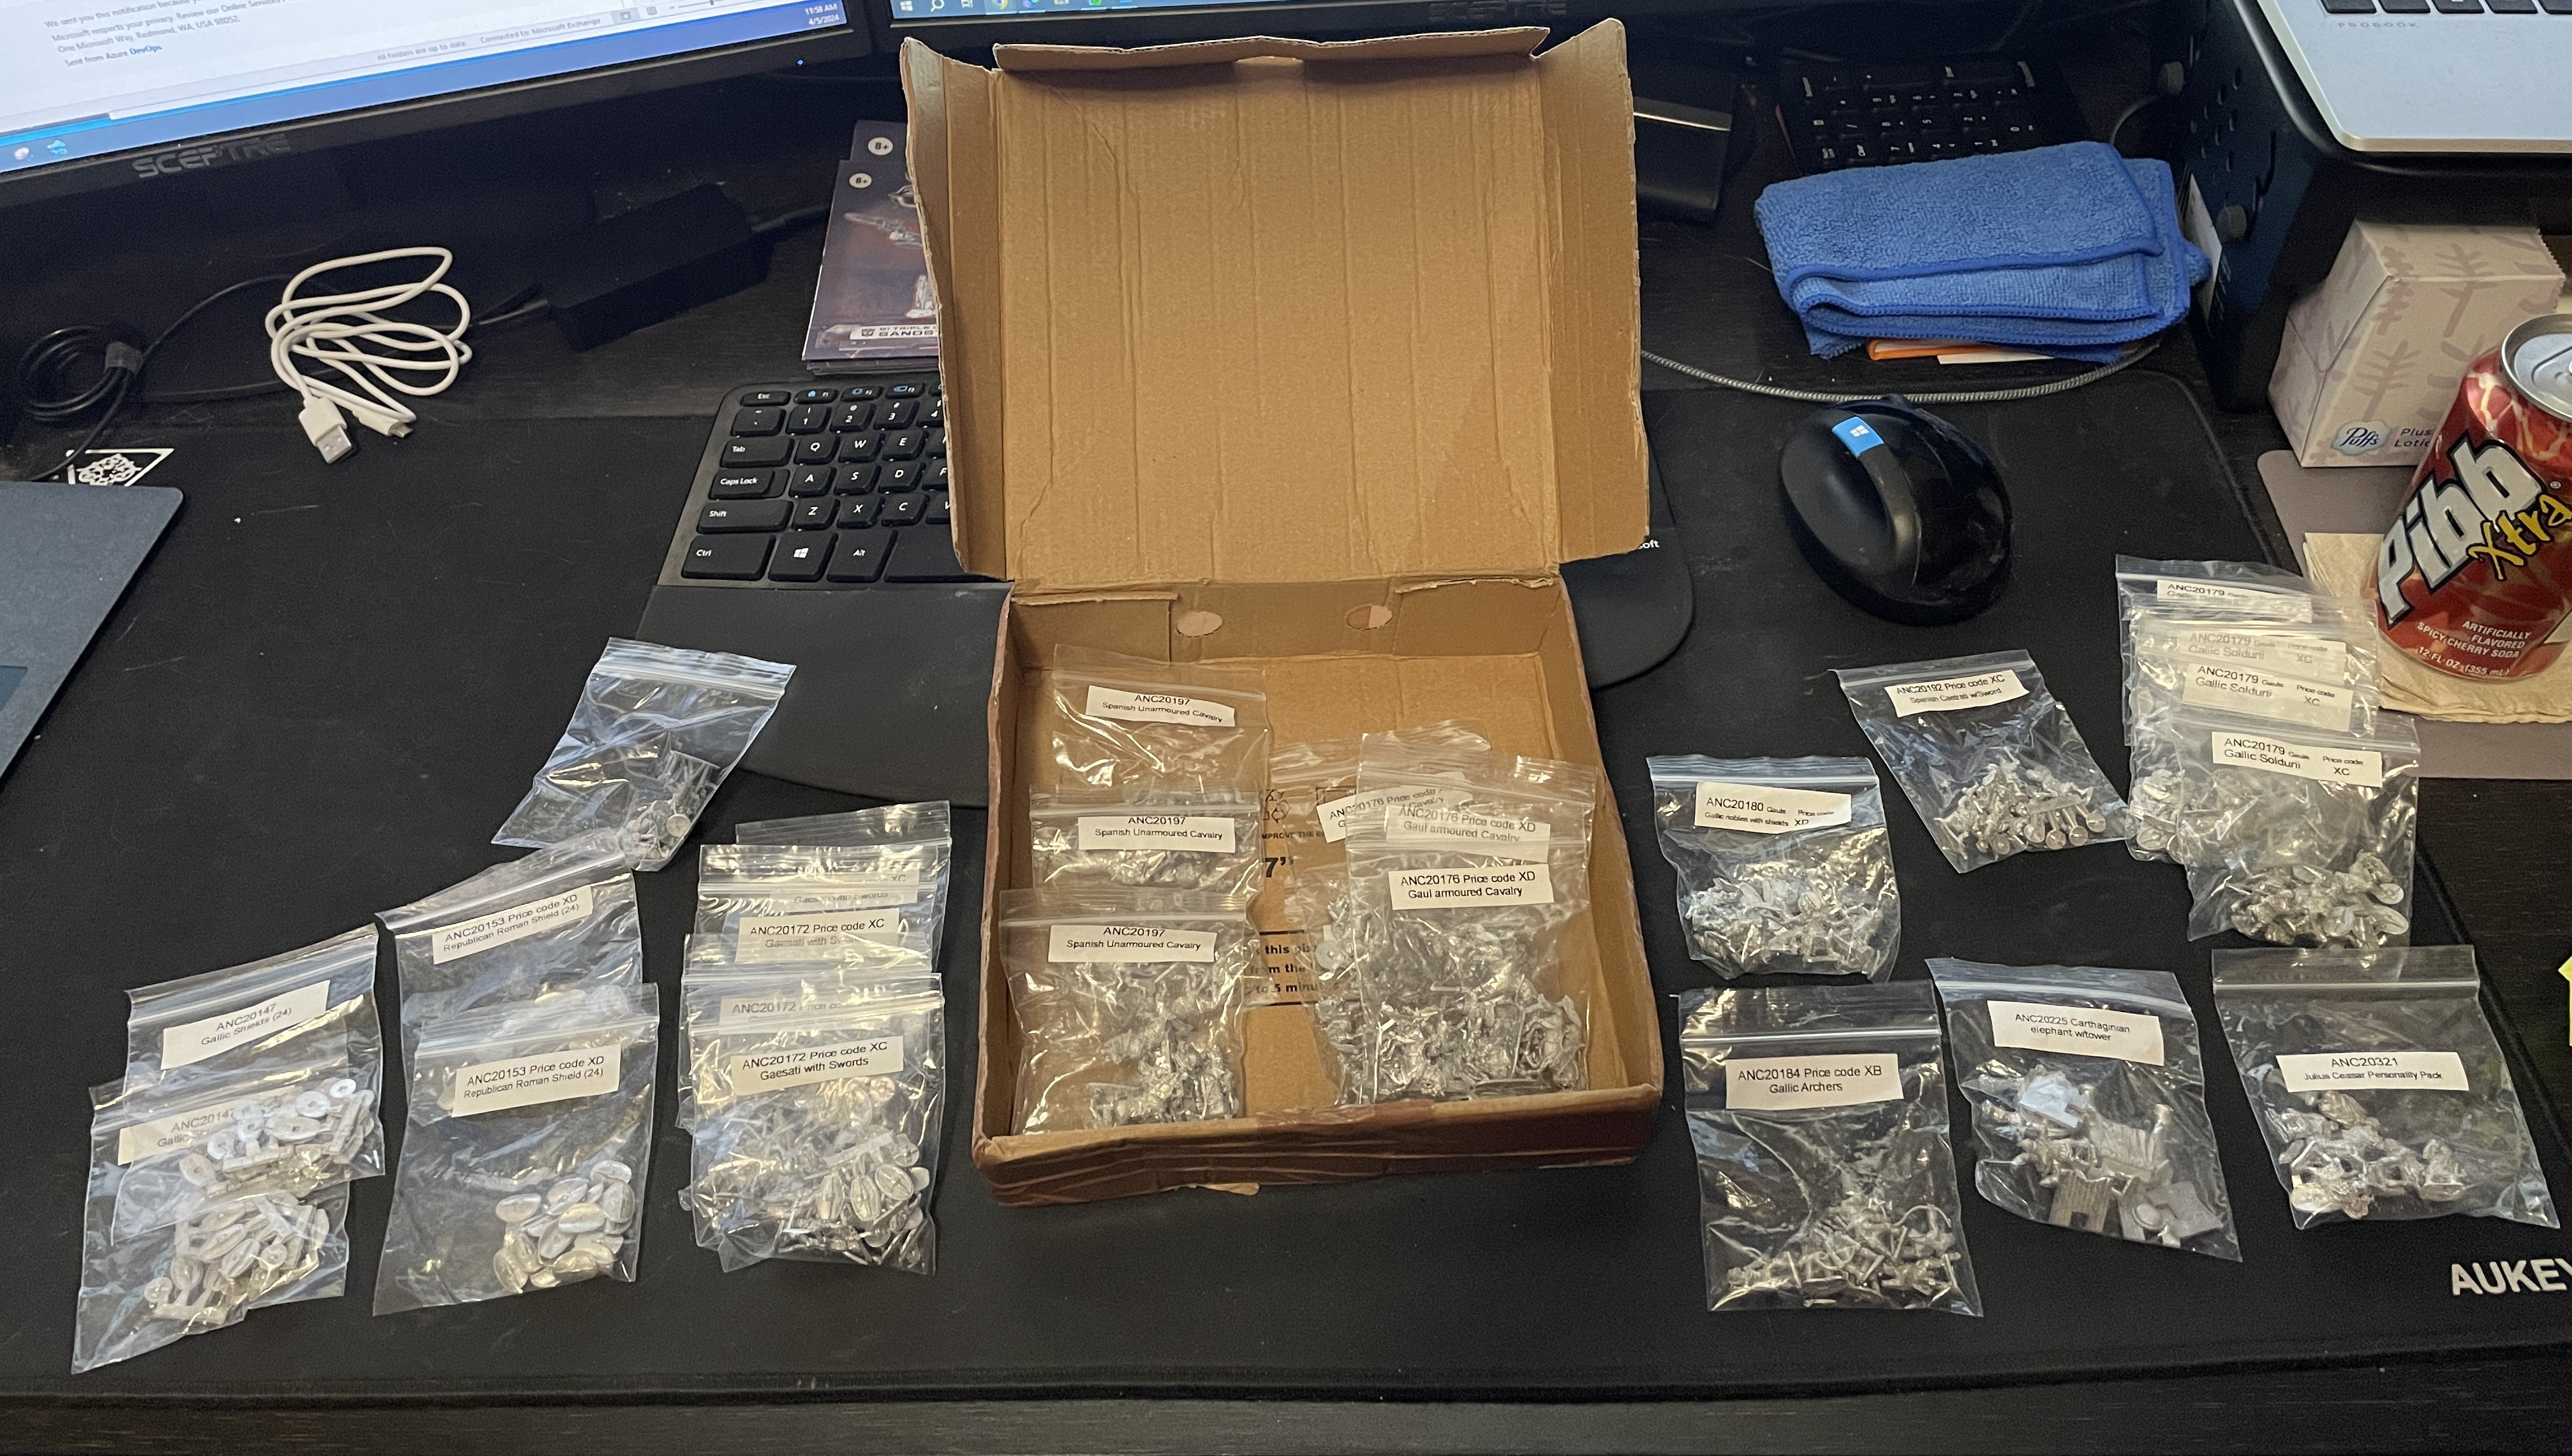
They are here! My Gauls and remaining Romans from Xyston have arrived. For the Romans I got some Auxiliaries, Iberian Javelin Riders for Light Horse Cavalry, and Elephant, a Scorpion bold thrower, and Julius Caesar personality pack.
For the Gauls we have Gallic Soldurii as, Gaesati with Swords, Gallic Archers, Gallic nobles, and Gaul armored calvary.
I did an inventory and realized I forgot to order the chariots and Roman Cavalry I need to offer all options out of the DBA book for both army lists.
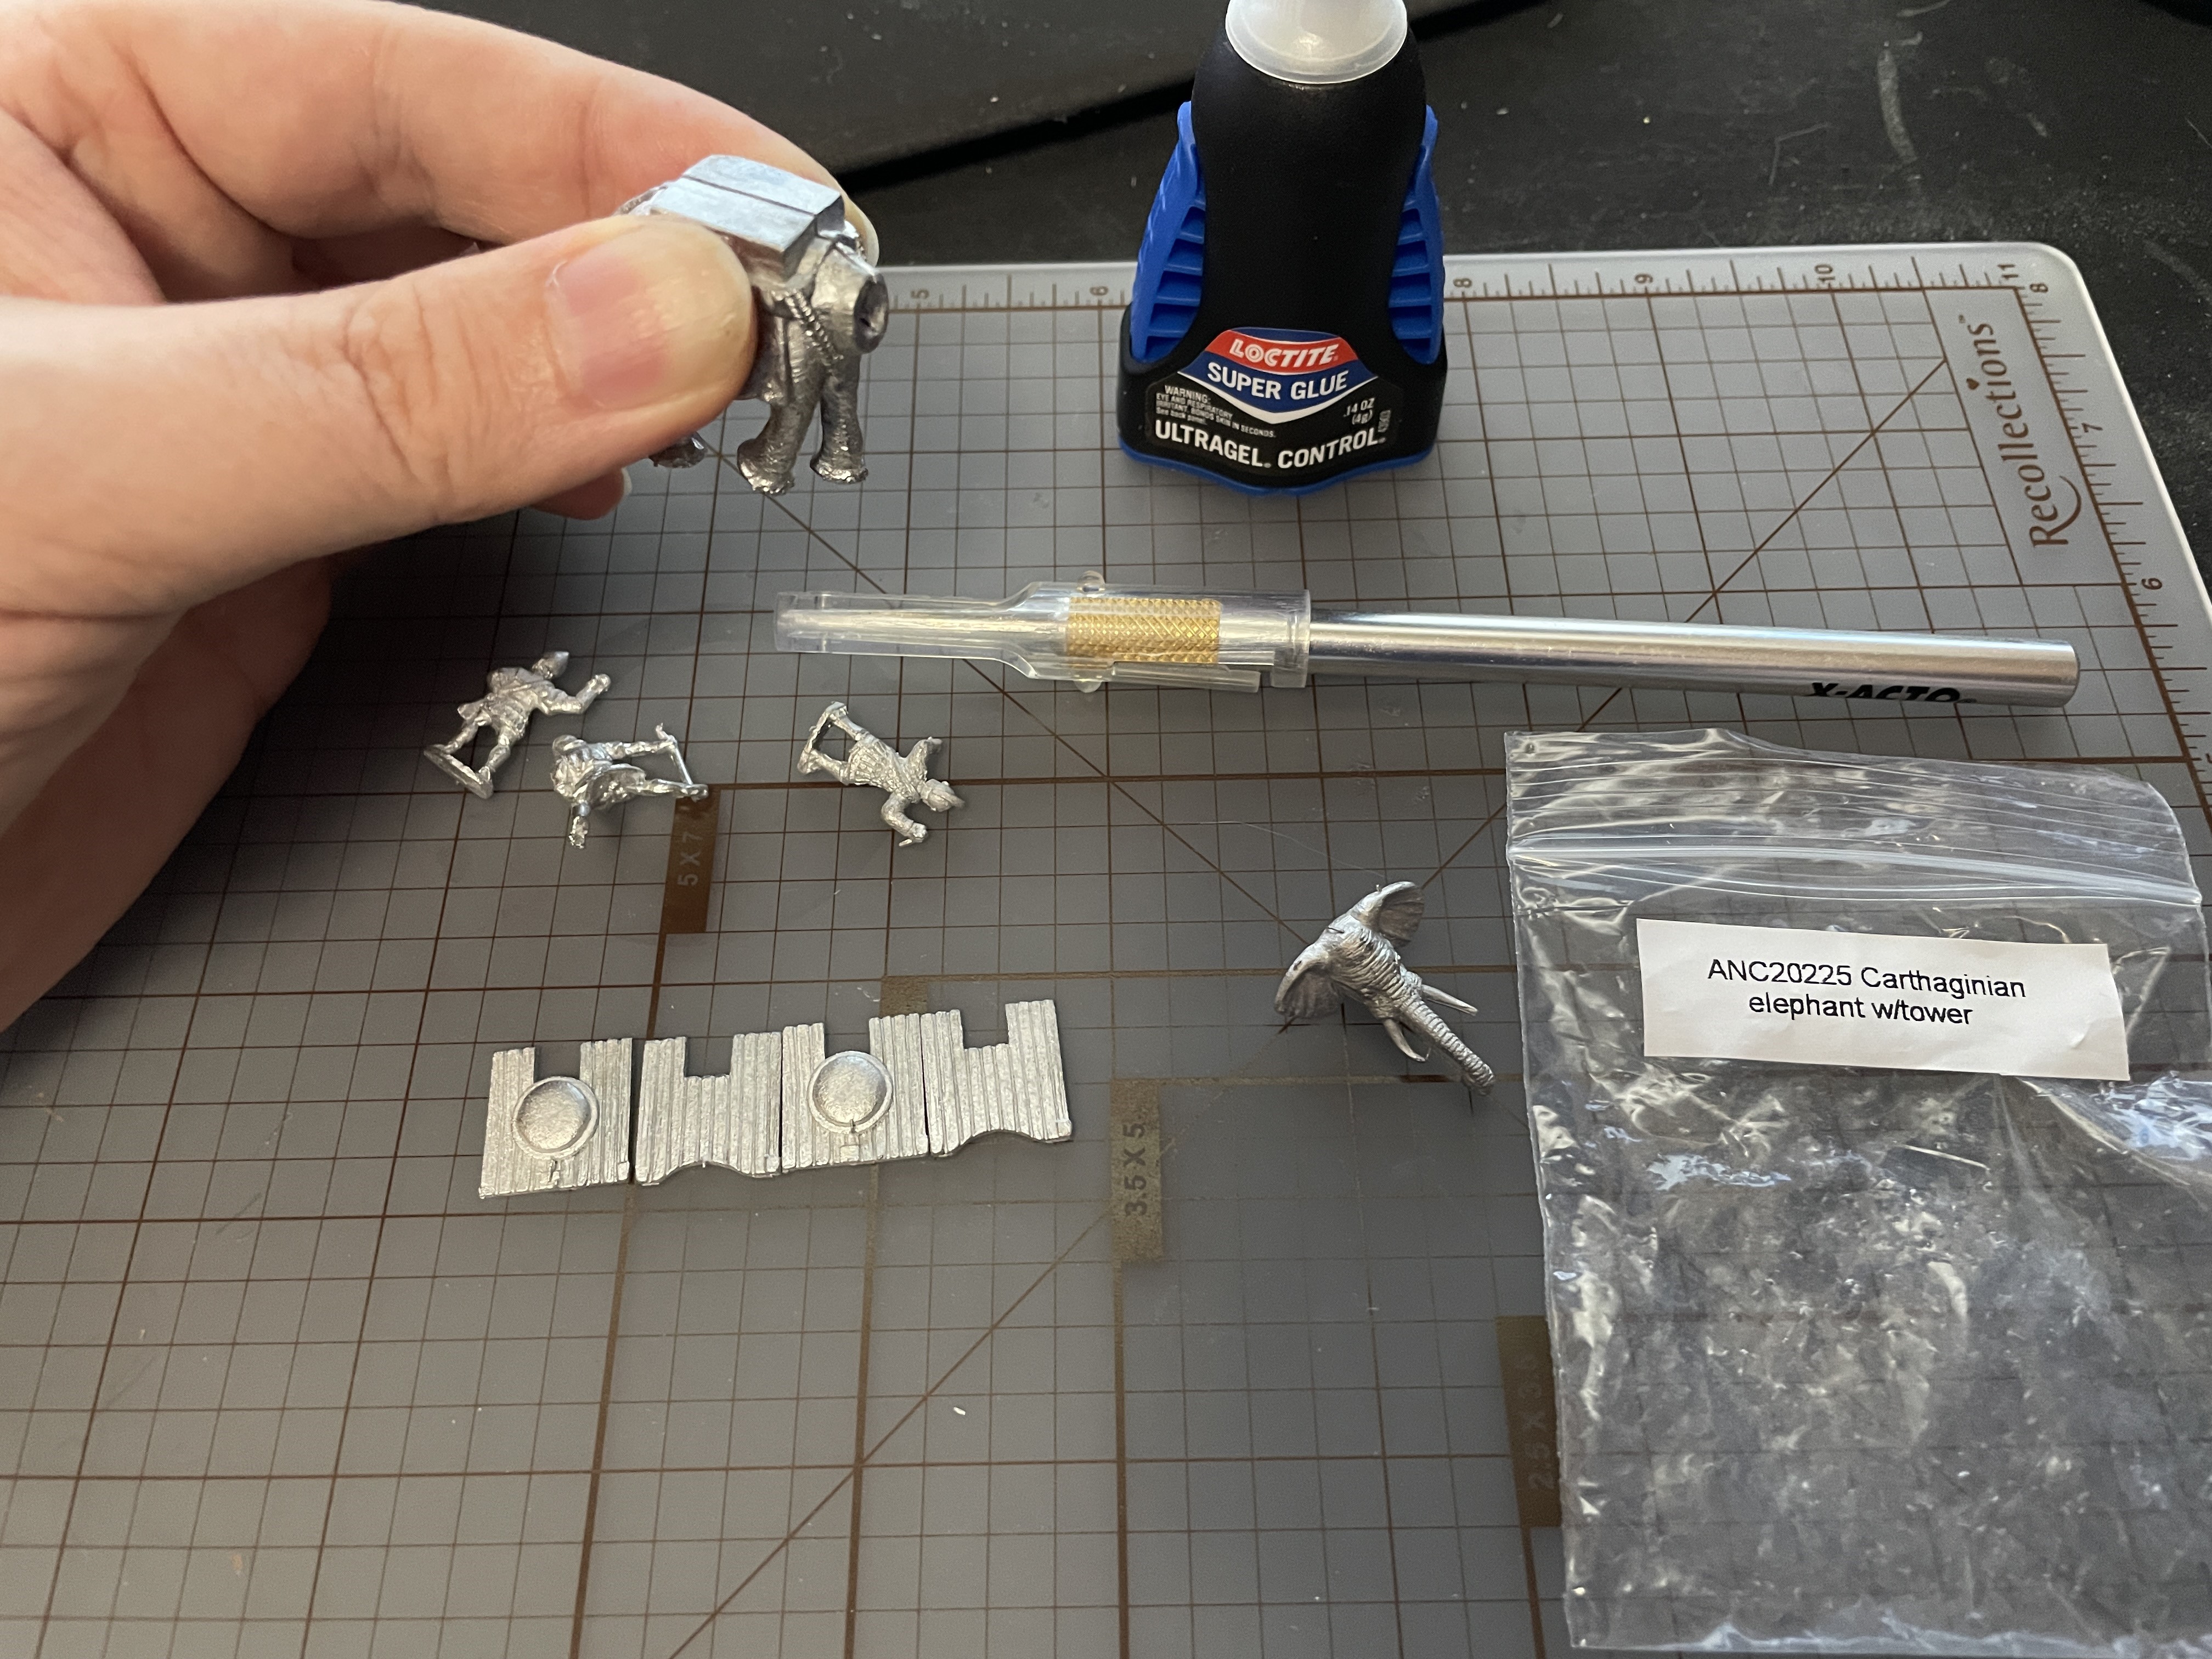
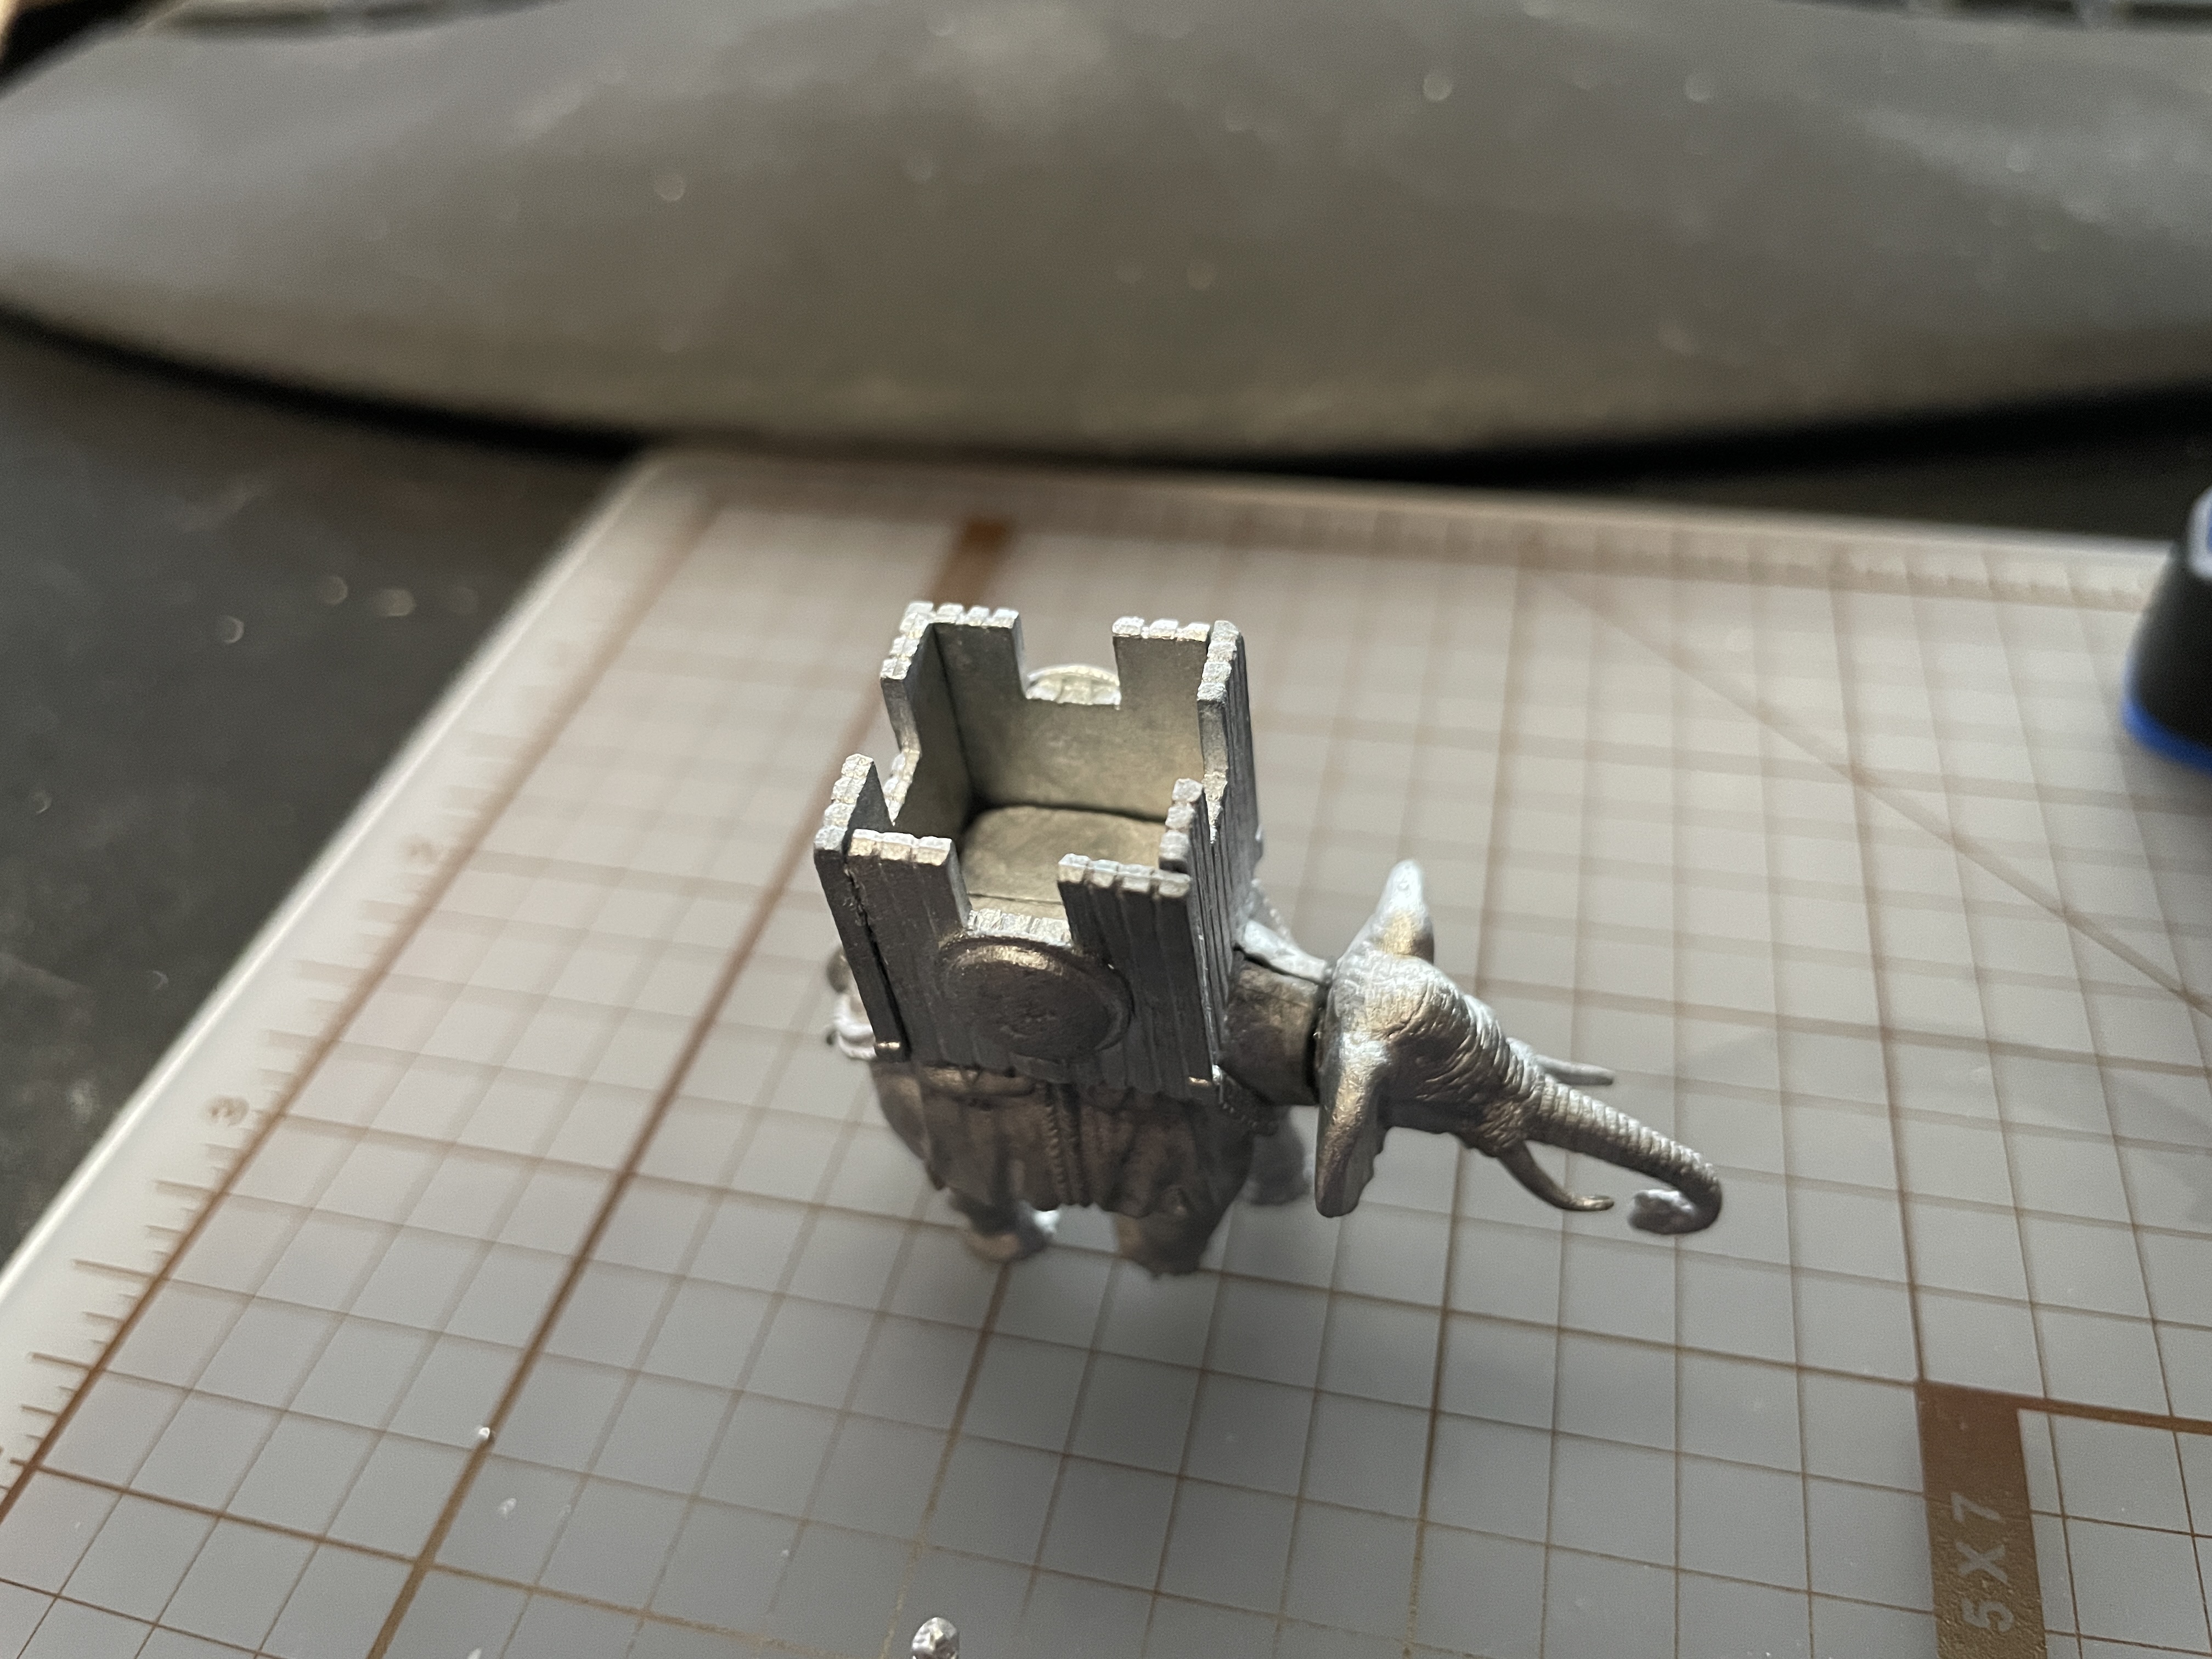
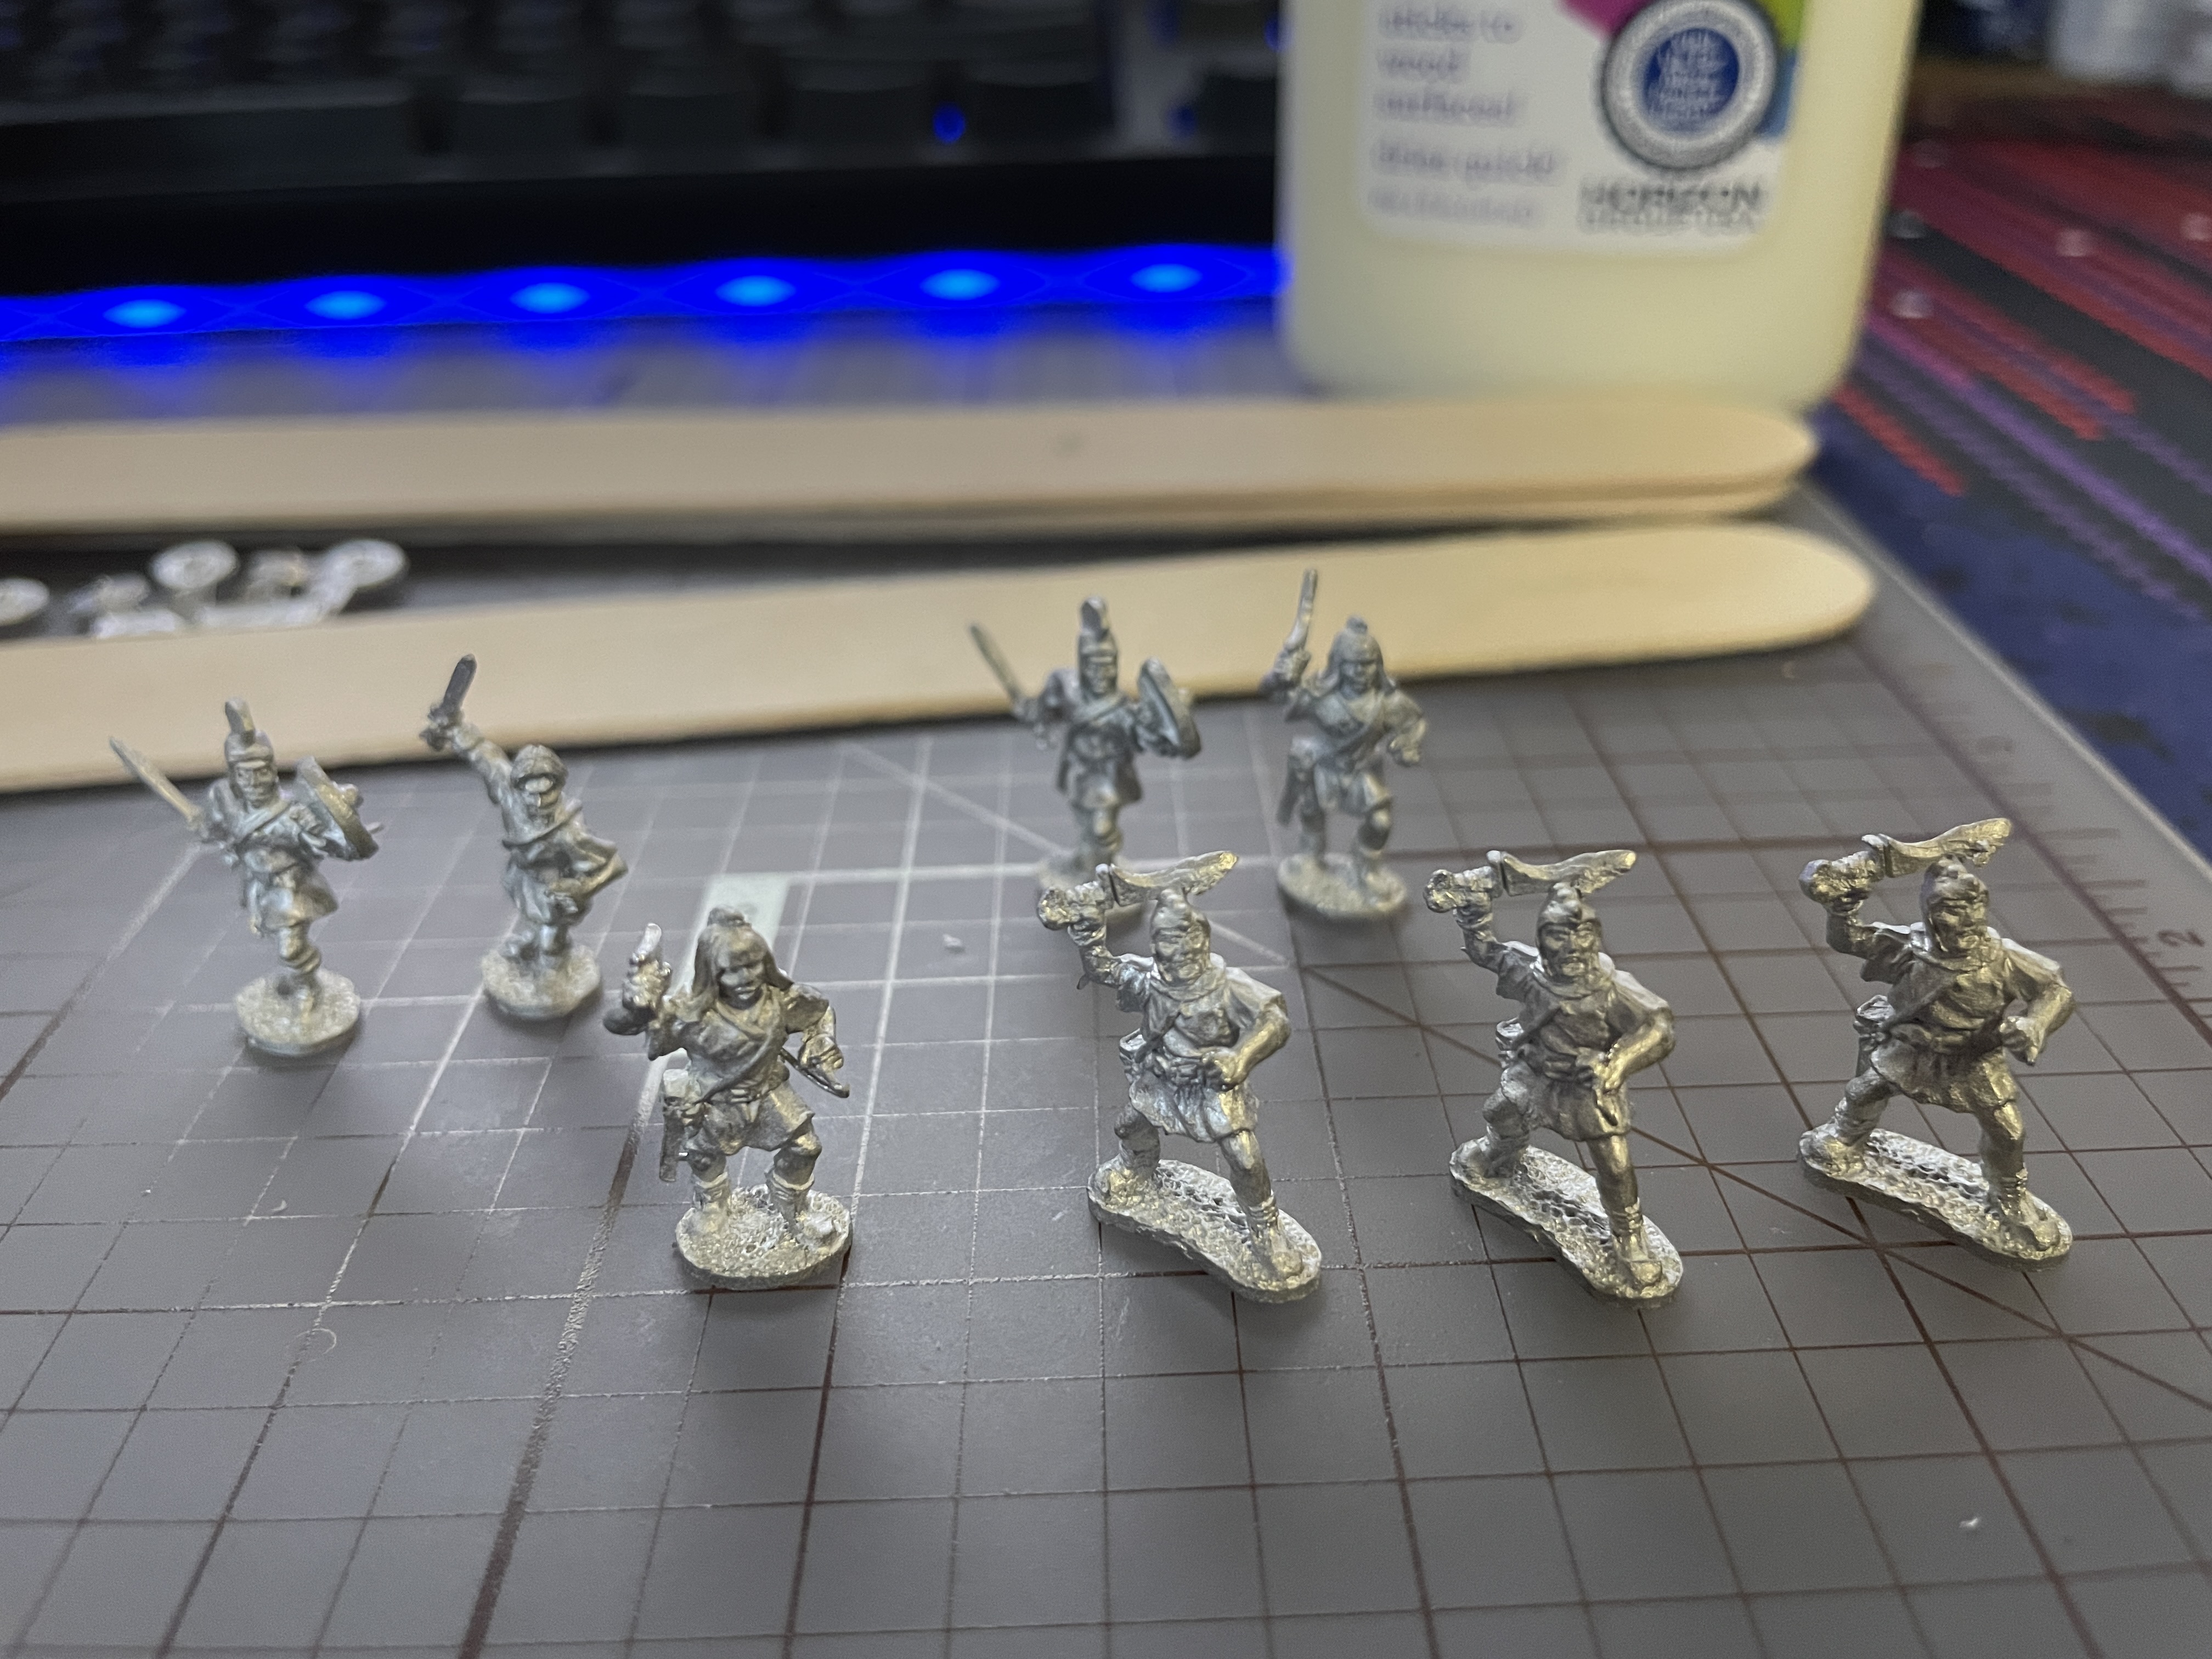
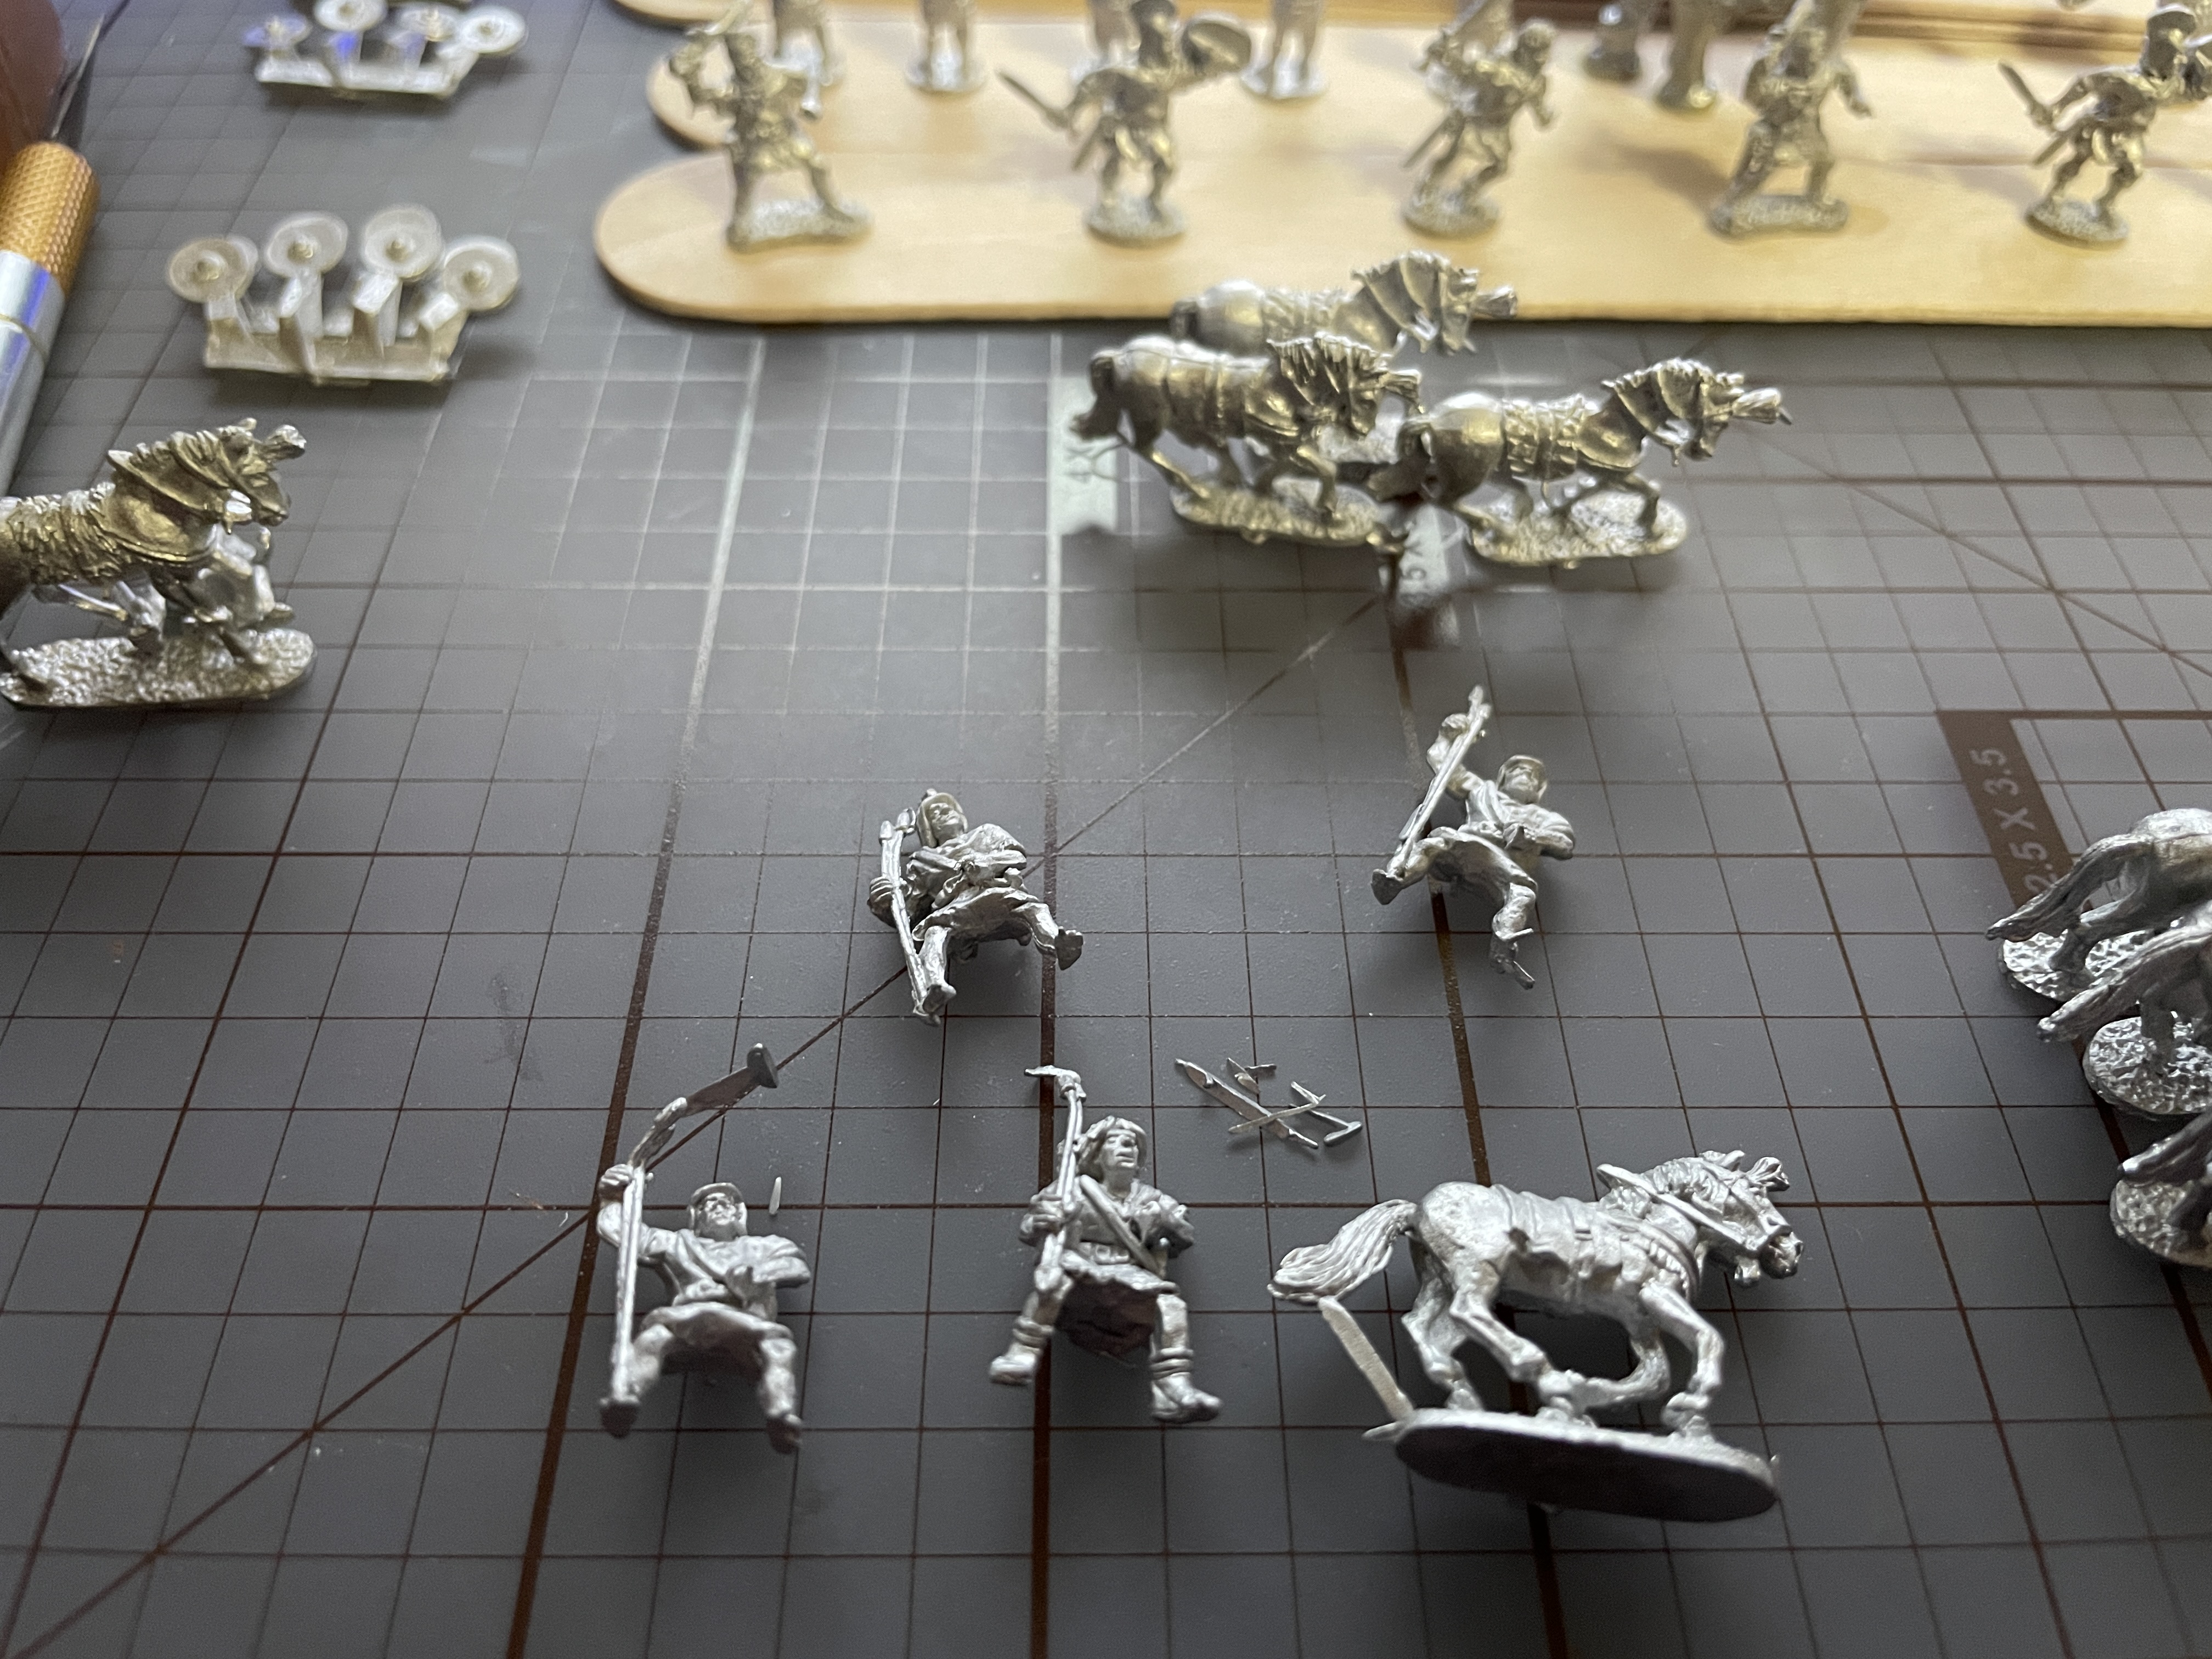
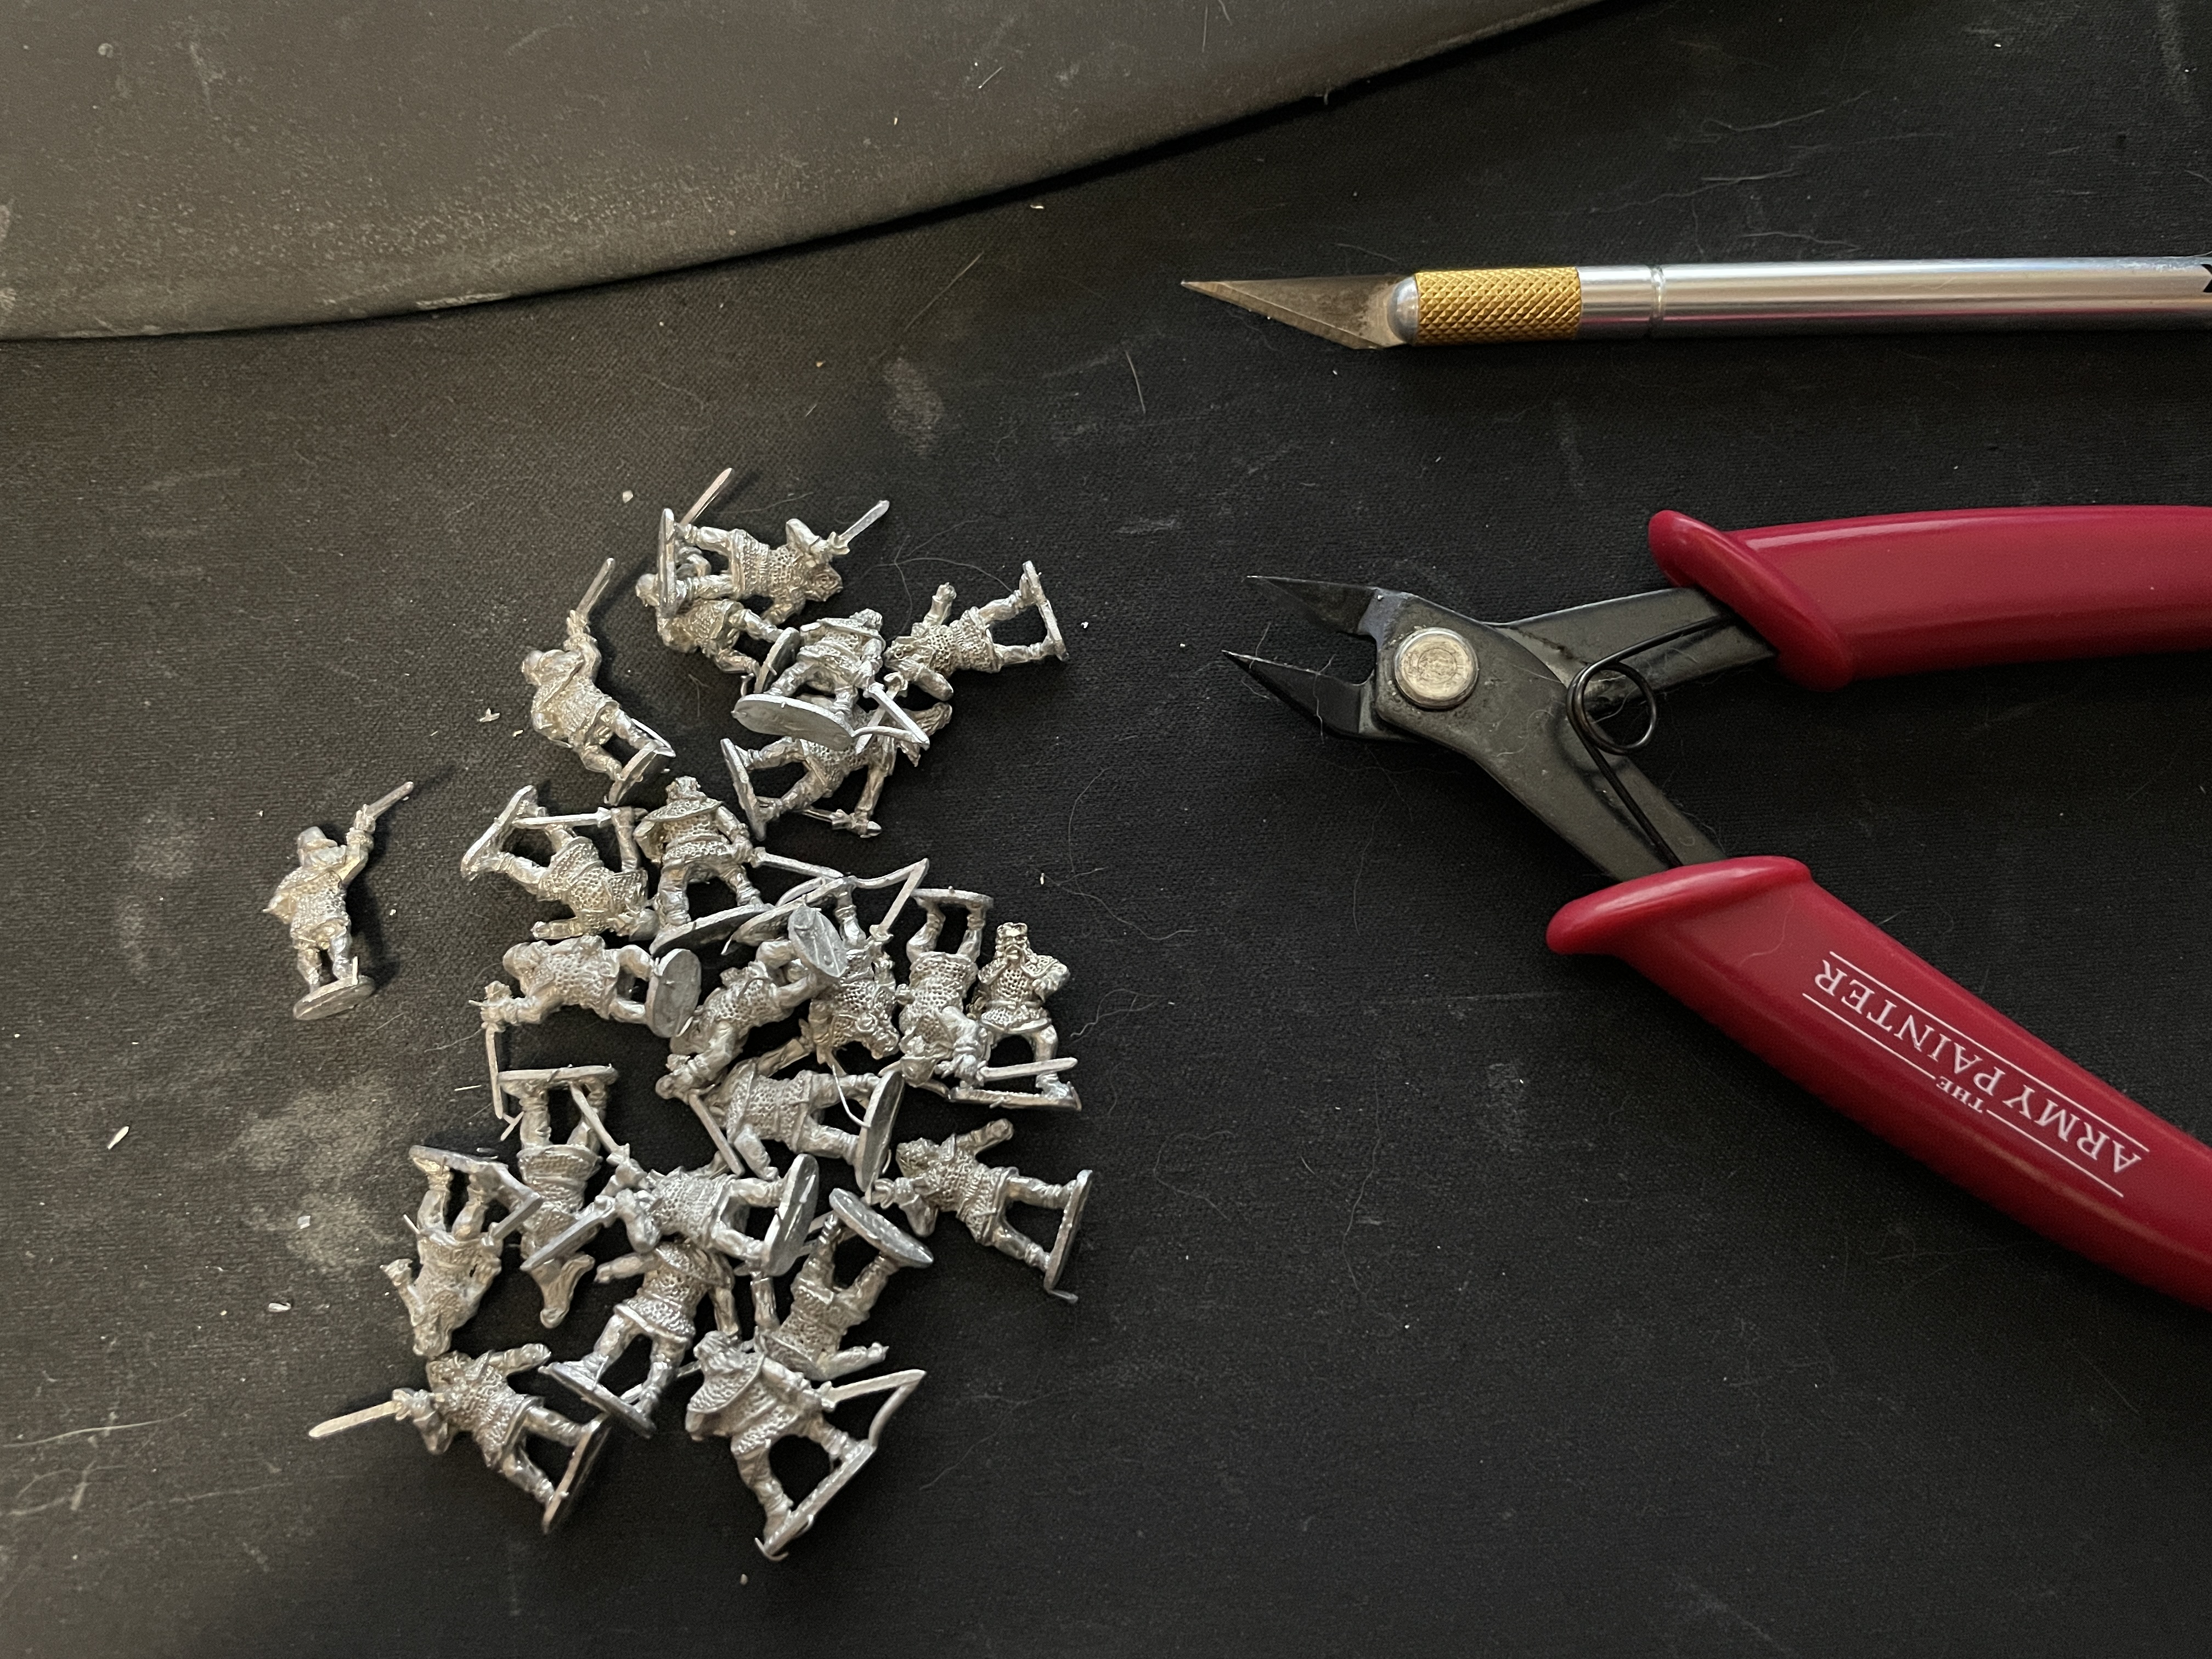
Going through the minis I had forgotten how much flash you have when working with metals. I was spoiled that past me had done all the prep work back in the day on these so I’m still cleaning these up as I write this. Some flash here, a mold line there, and some bent swords all gets fixed up and stuck onto painting sticks. The elephant was in pieces so that needed to be put together. The howdah was fiddly to put together but after some effort I got it together straight enough to put that down on the stick as well. Once these are all cleaned and prepped they will get primed right away. I thought it would take one night but the amount of flash is requiring several sessions.
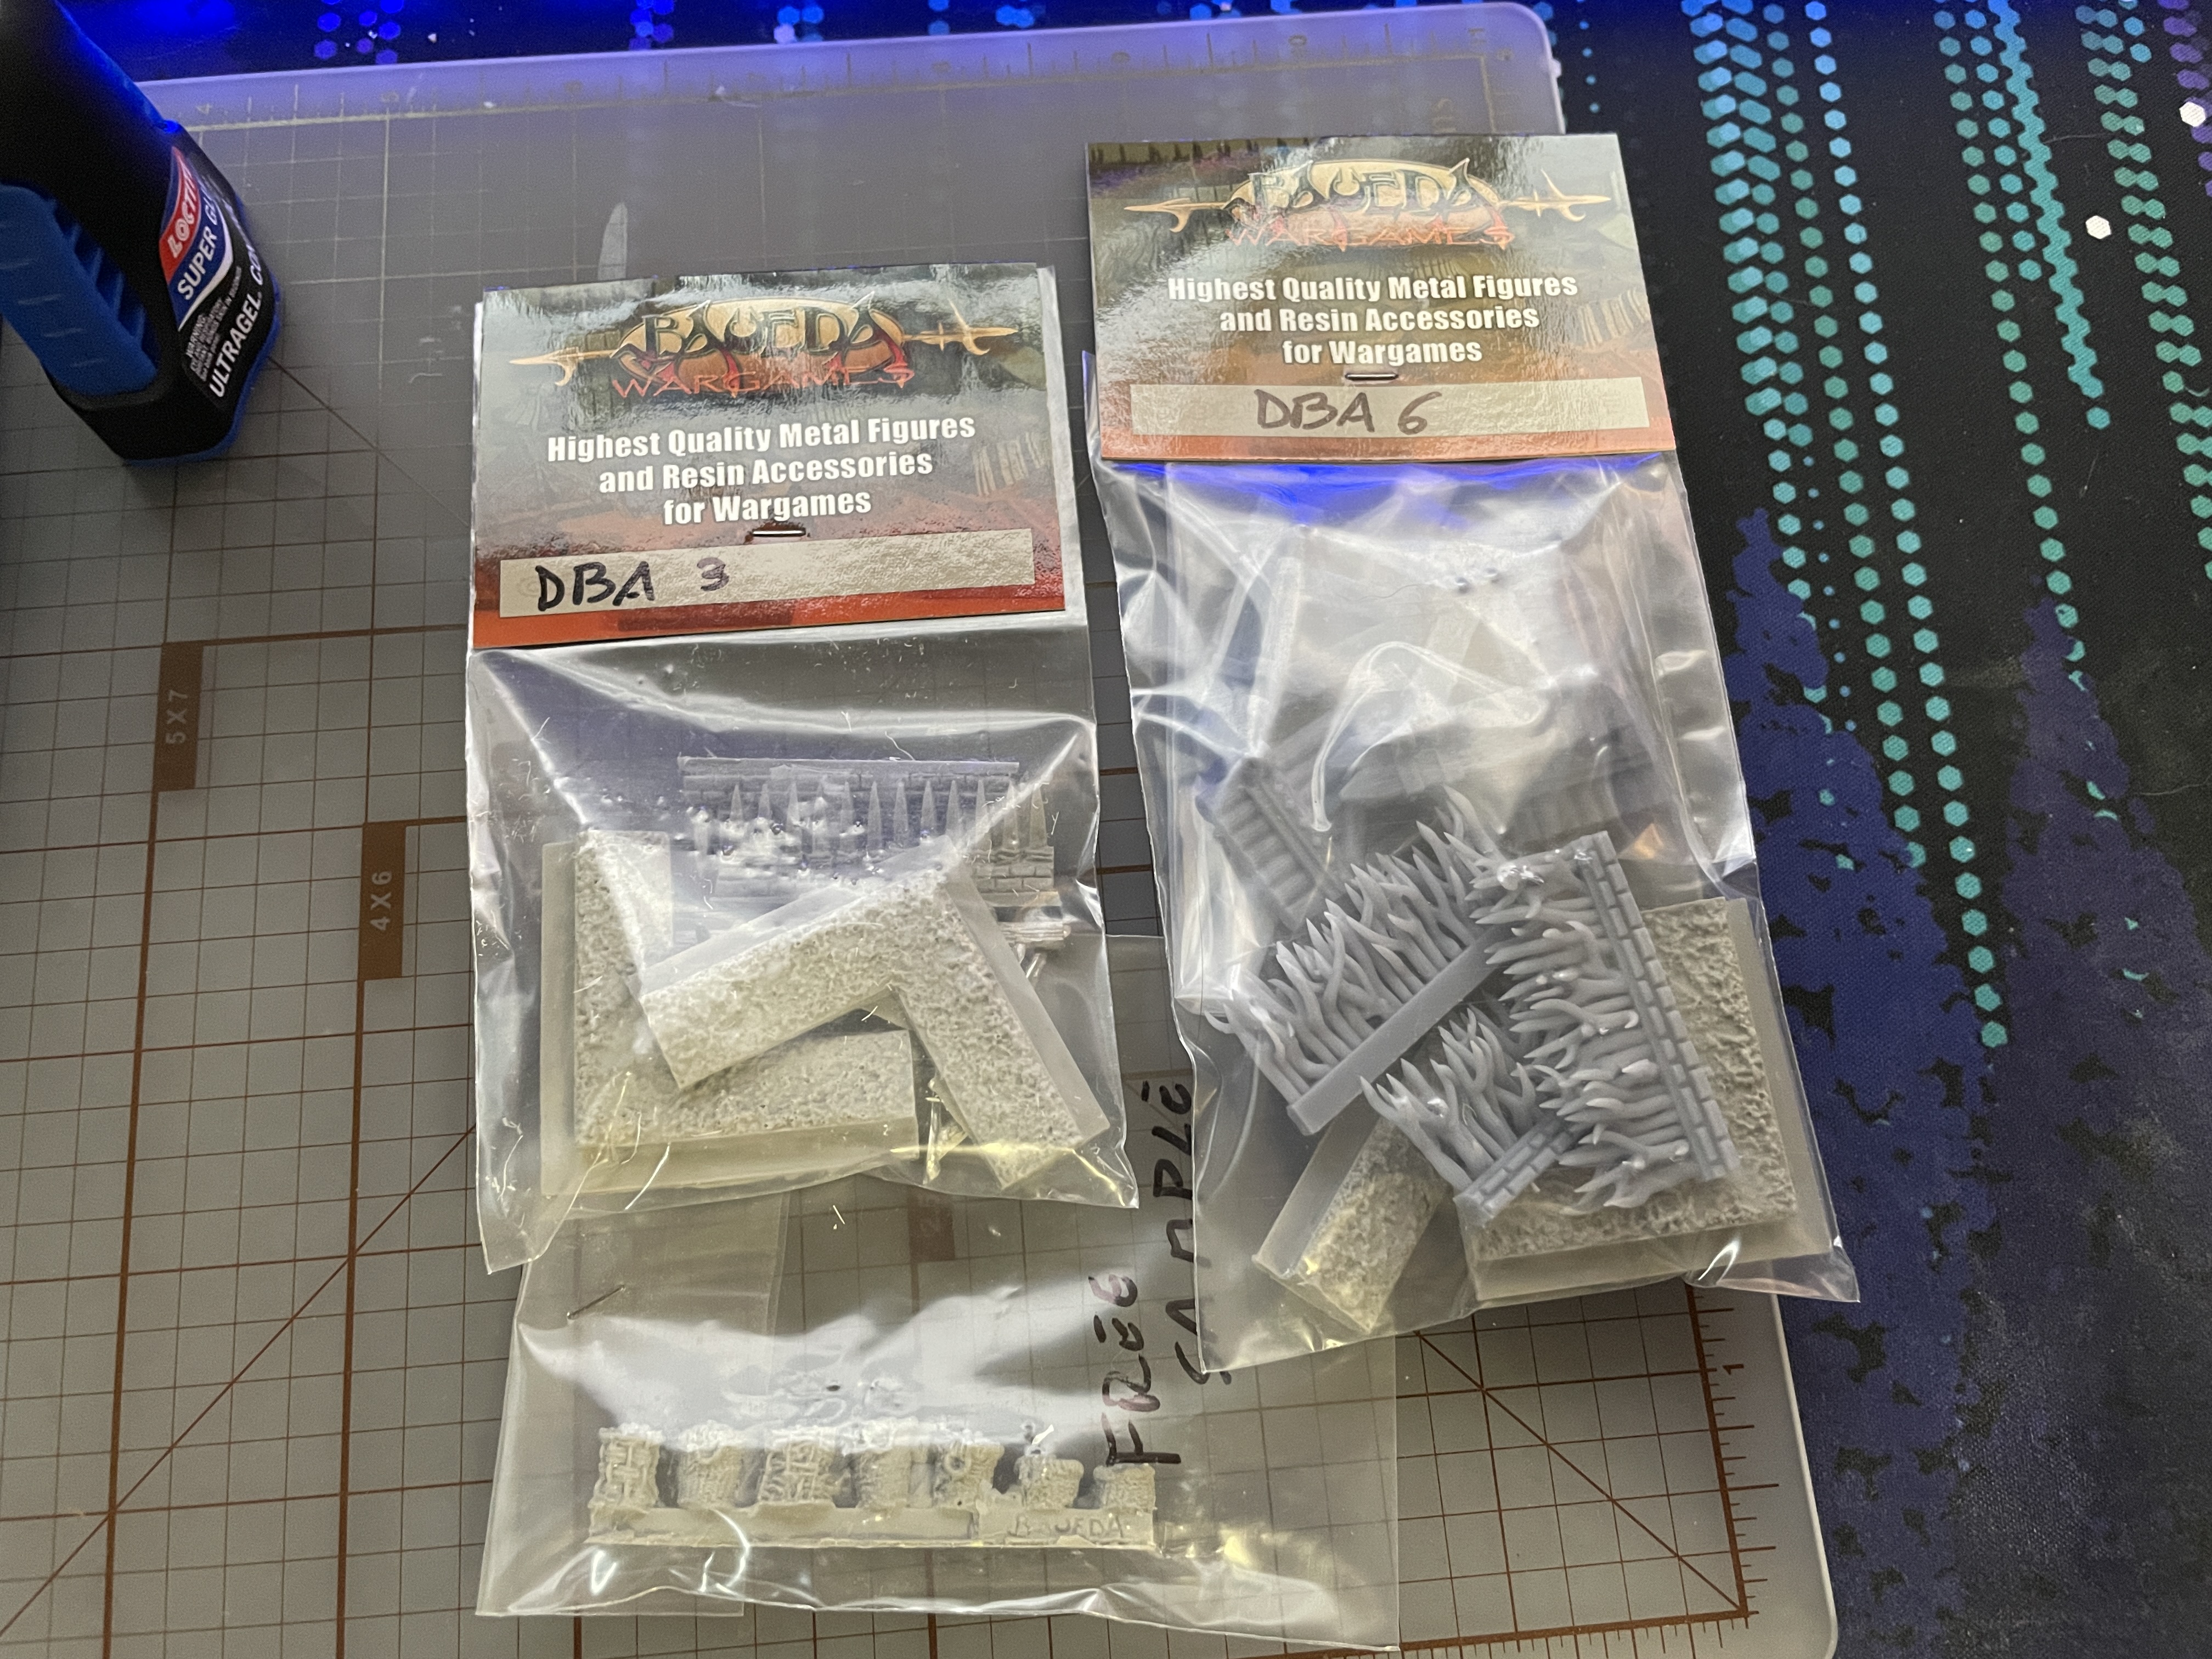
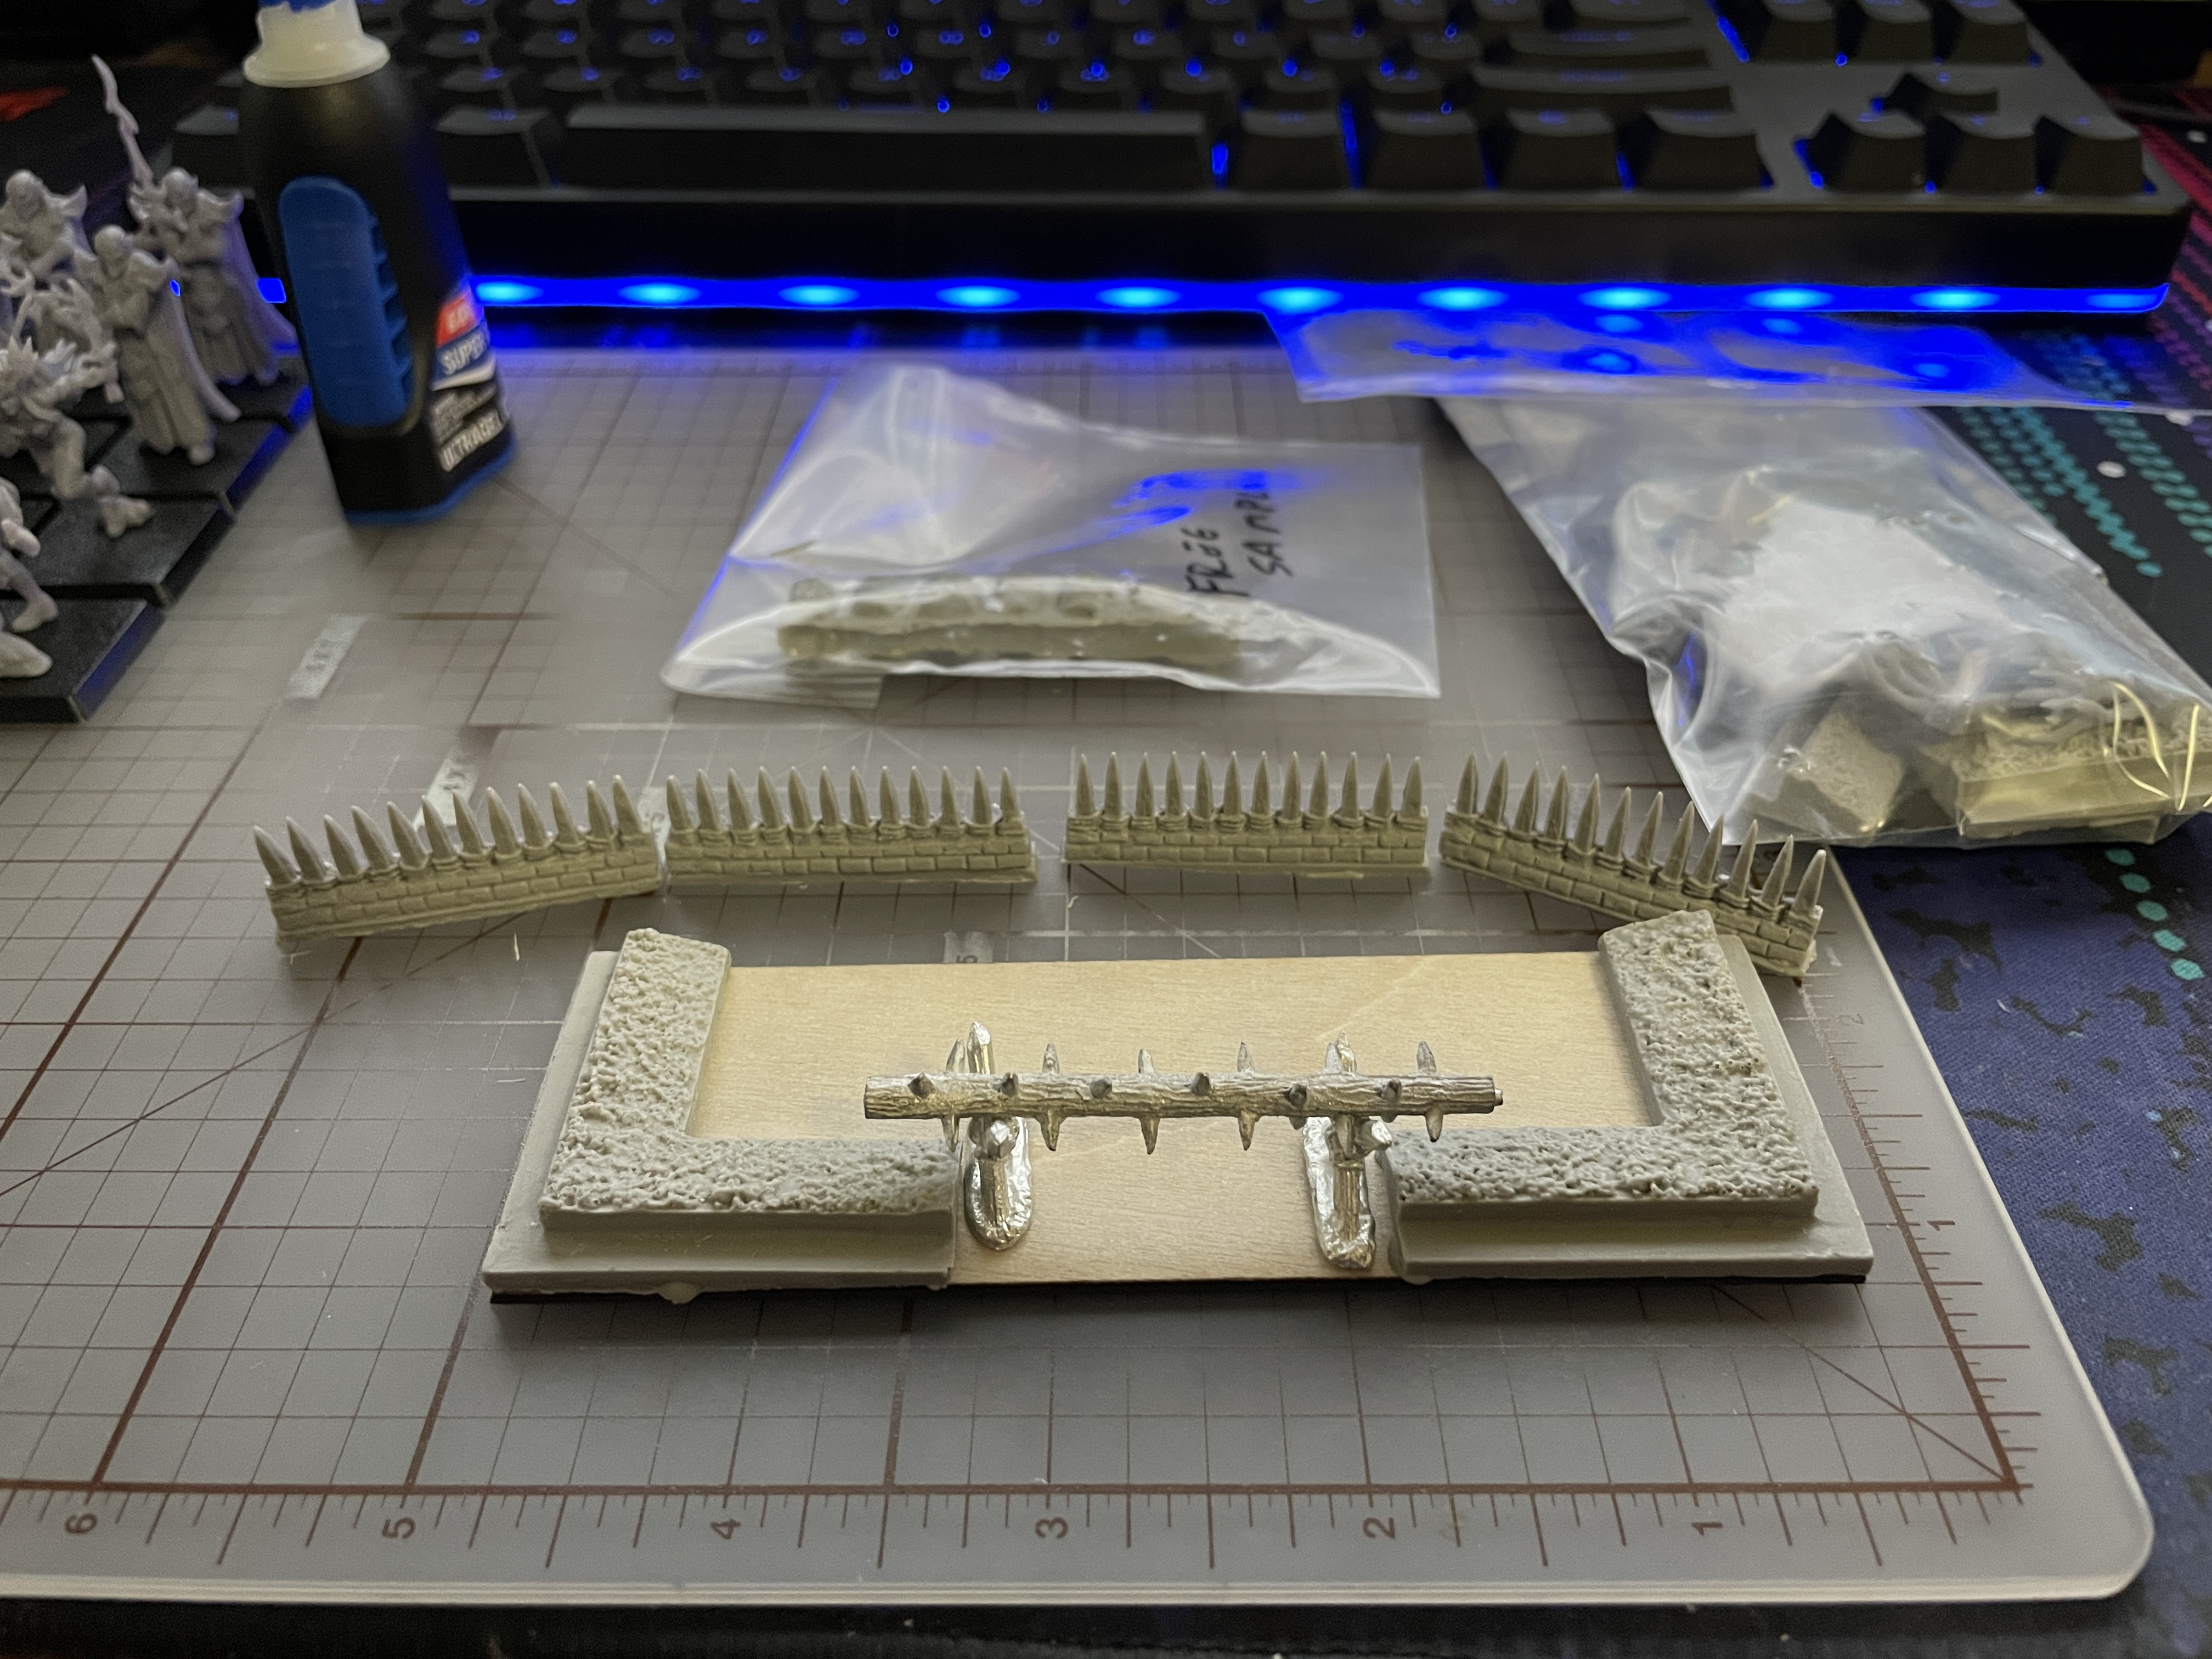

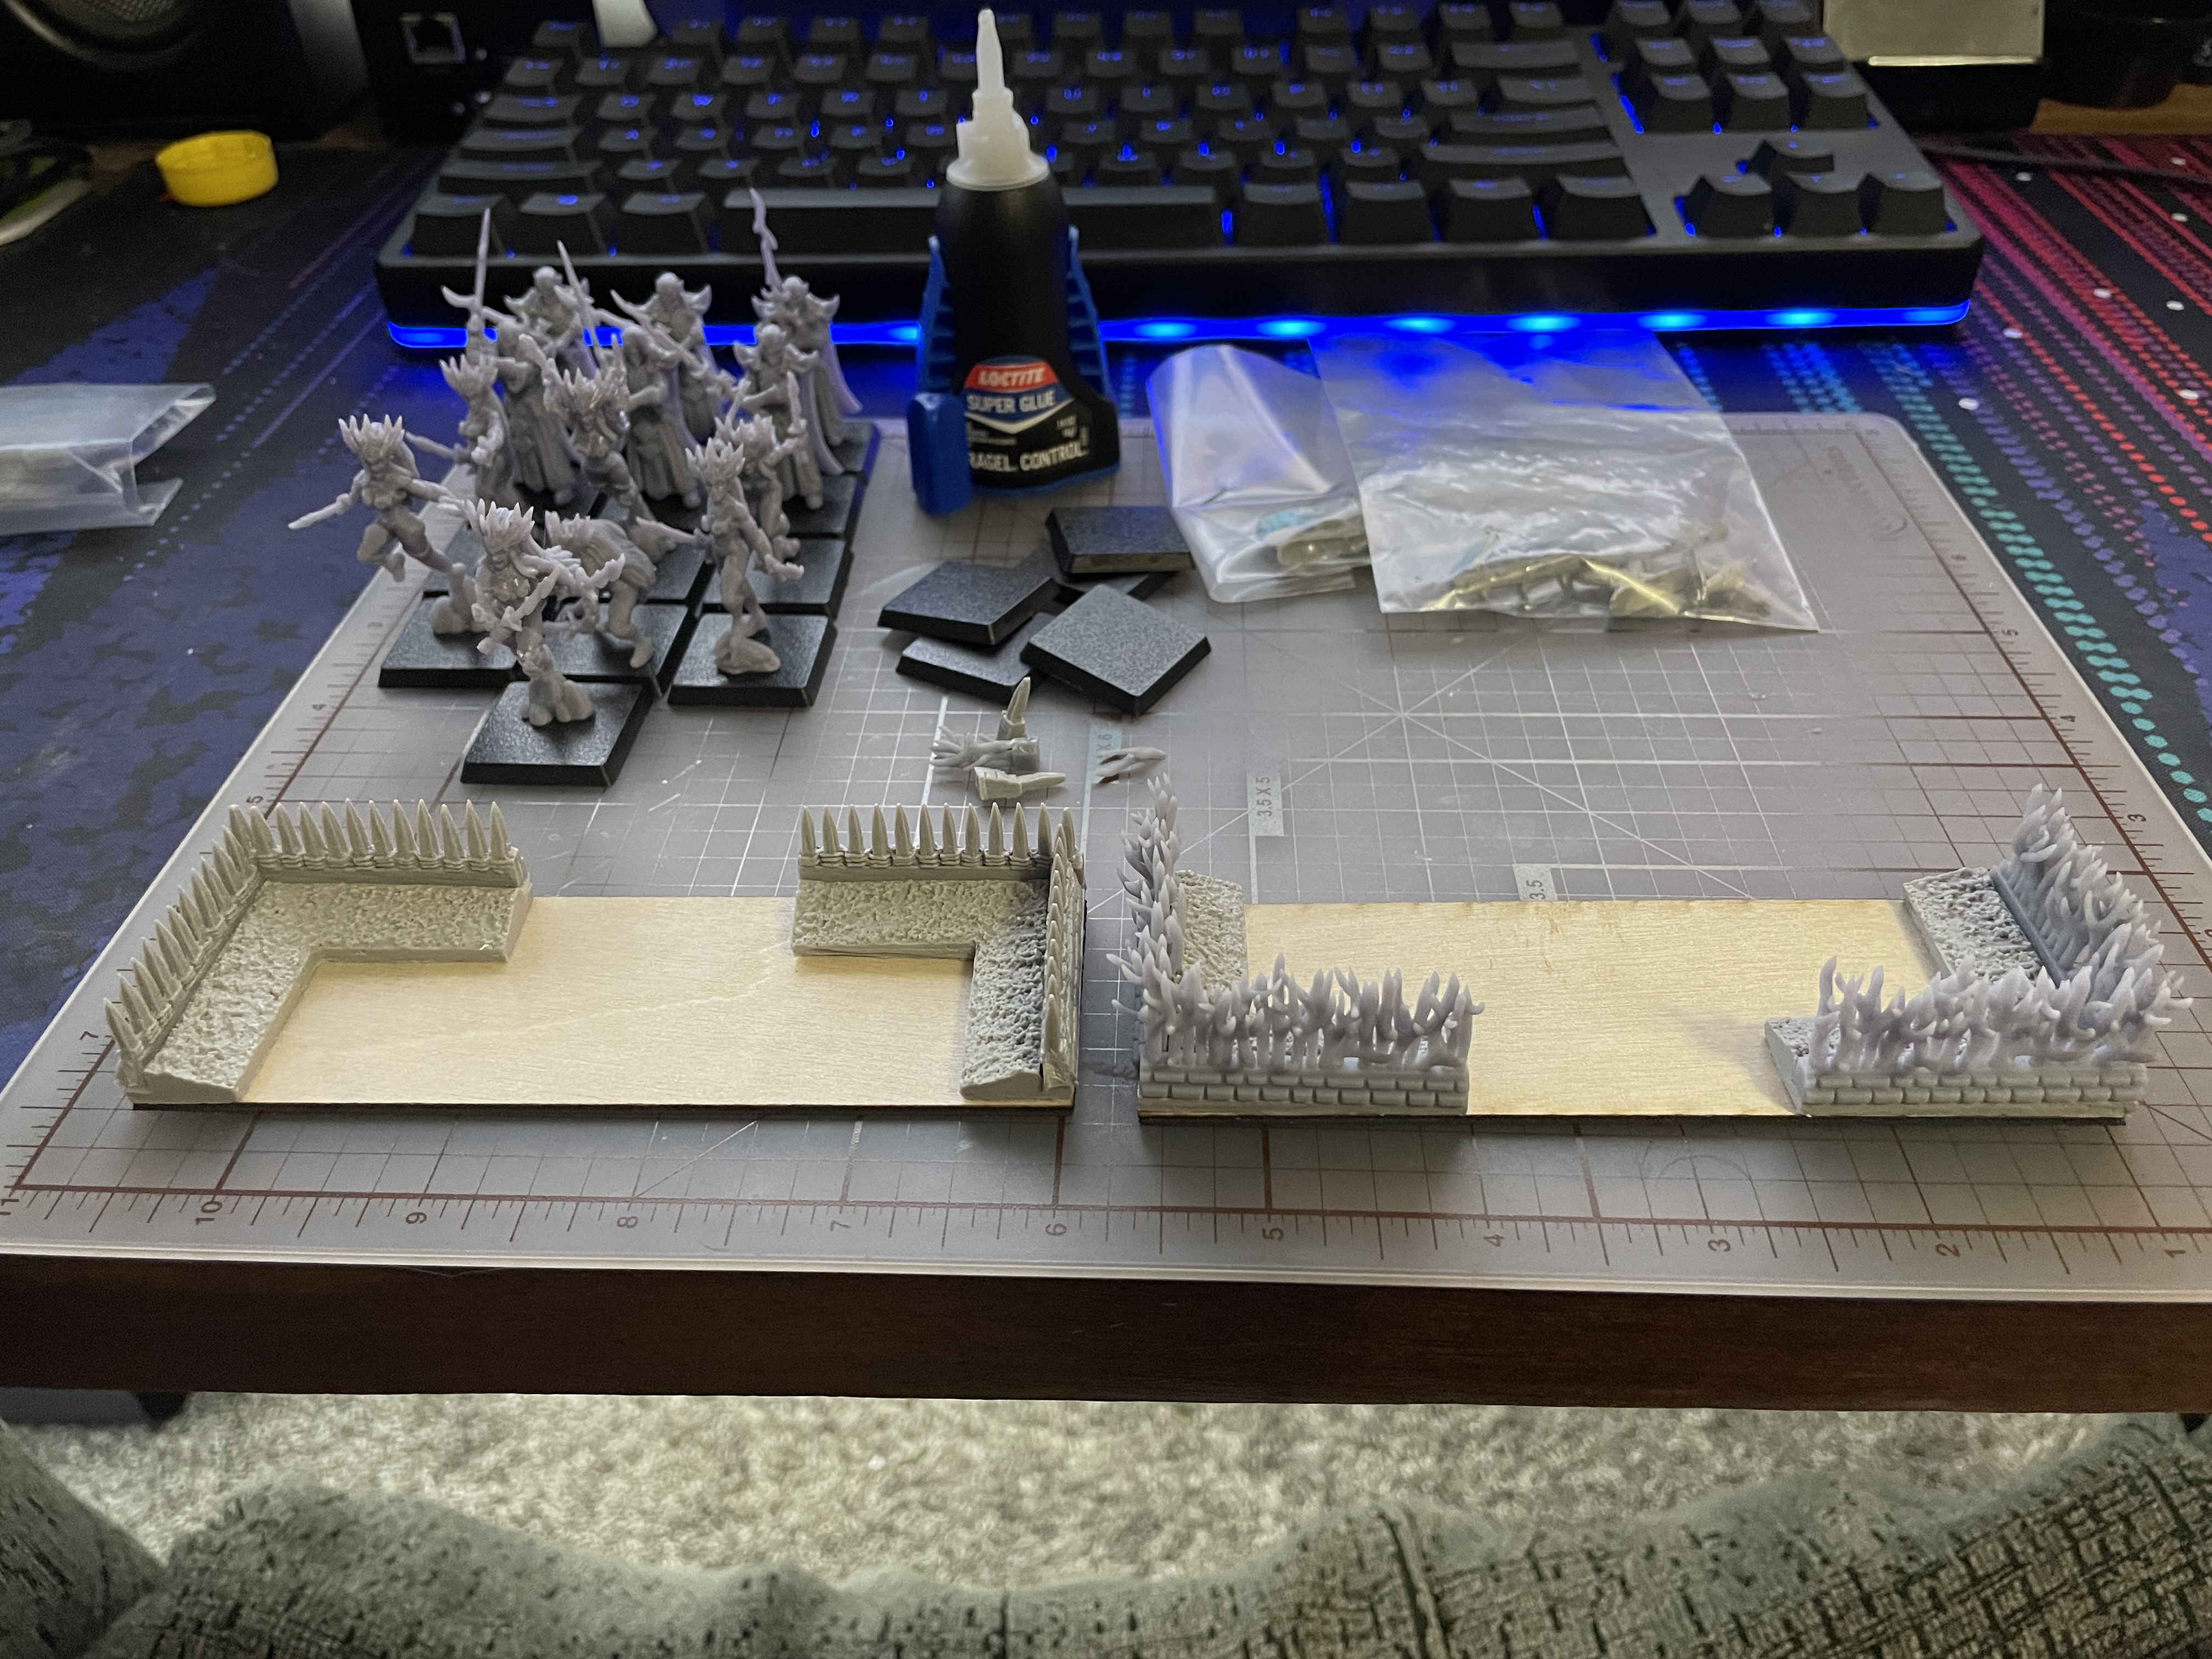
My Baueda miniatures camps also arrived and I put these together as well. Test fitting them together there is a lot of trimming that needs to be done to these as well. These are resin molds for the embankments and the straight palisades but the other is 3D resin which is interesting. I’m happy with the quality of these and put in another order for the pieces needed to make a 160mm square fort for a build up area terrain piece. In contacting Baueda to place the order found out they are moving to all 3D resin to crisp up the details. I’m looking forward to getting those.
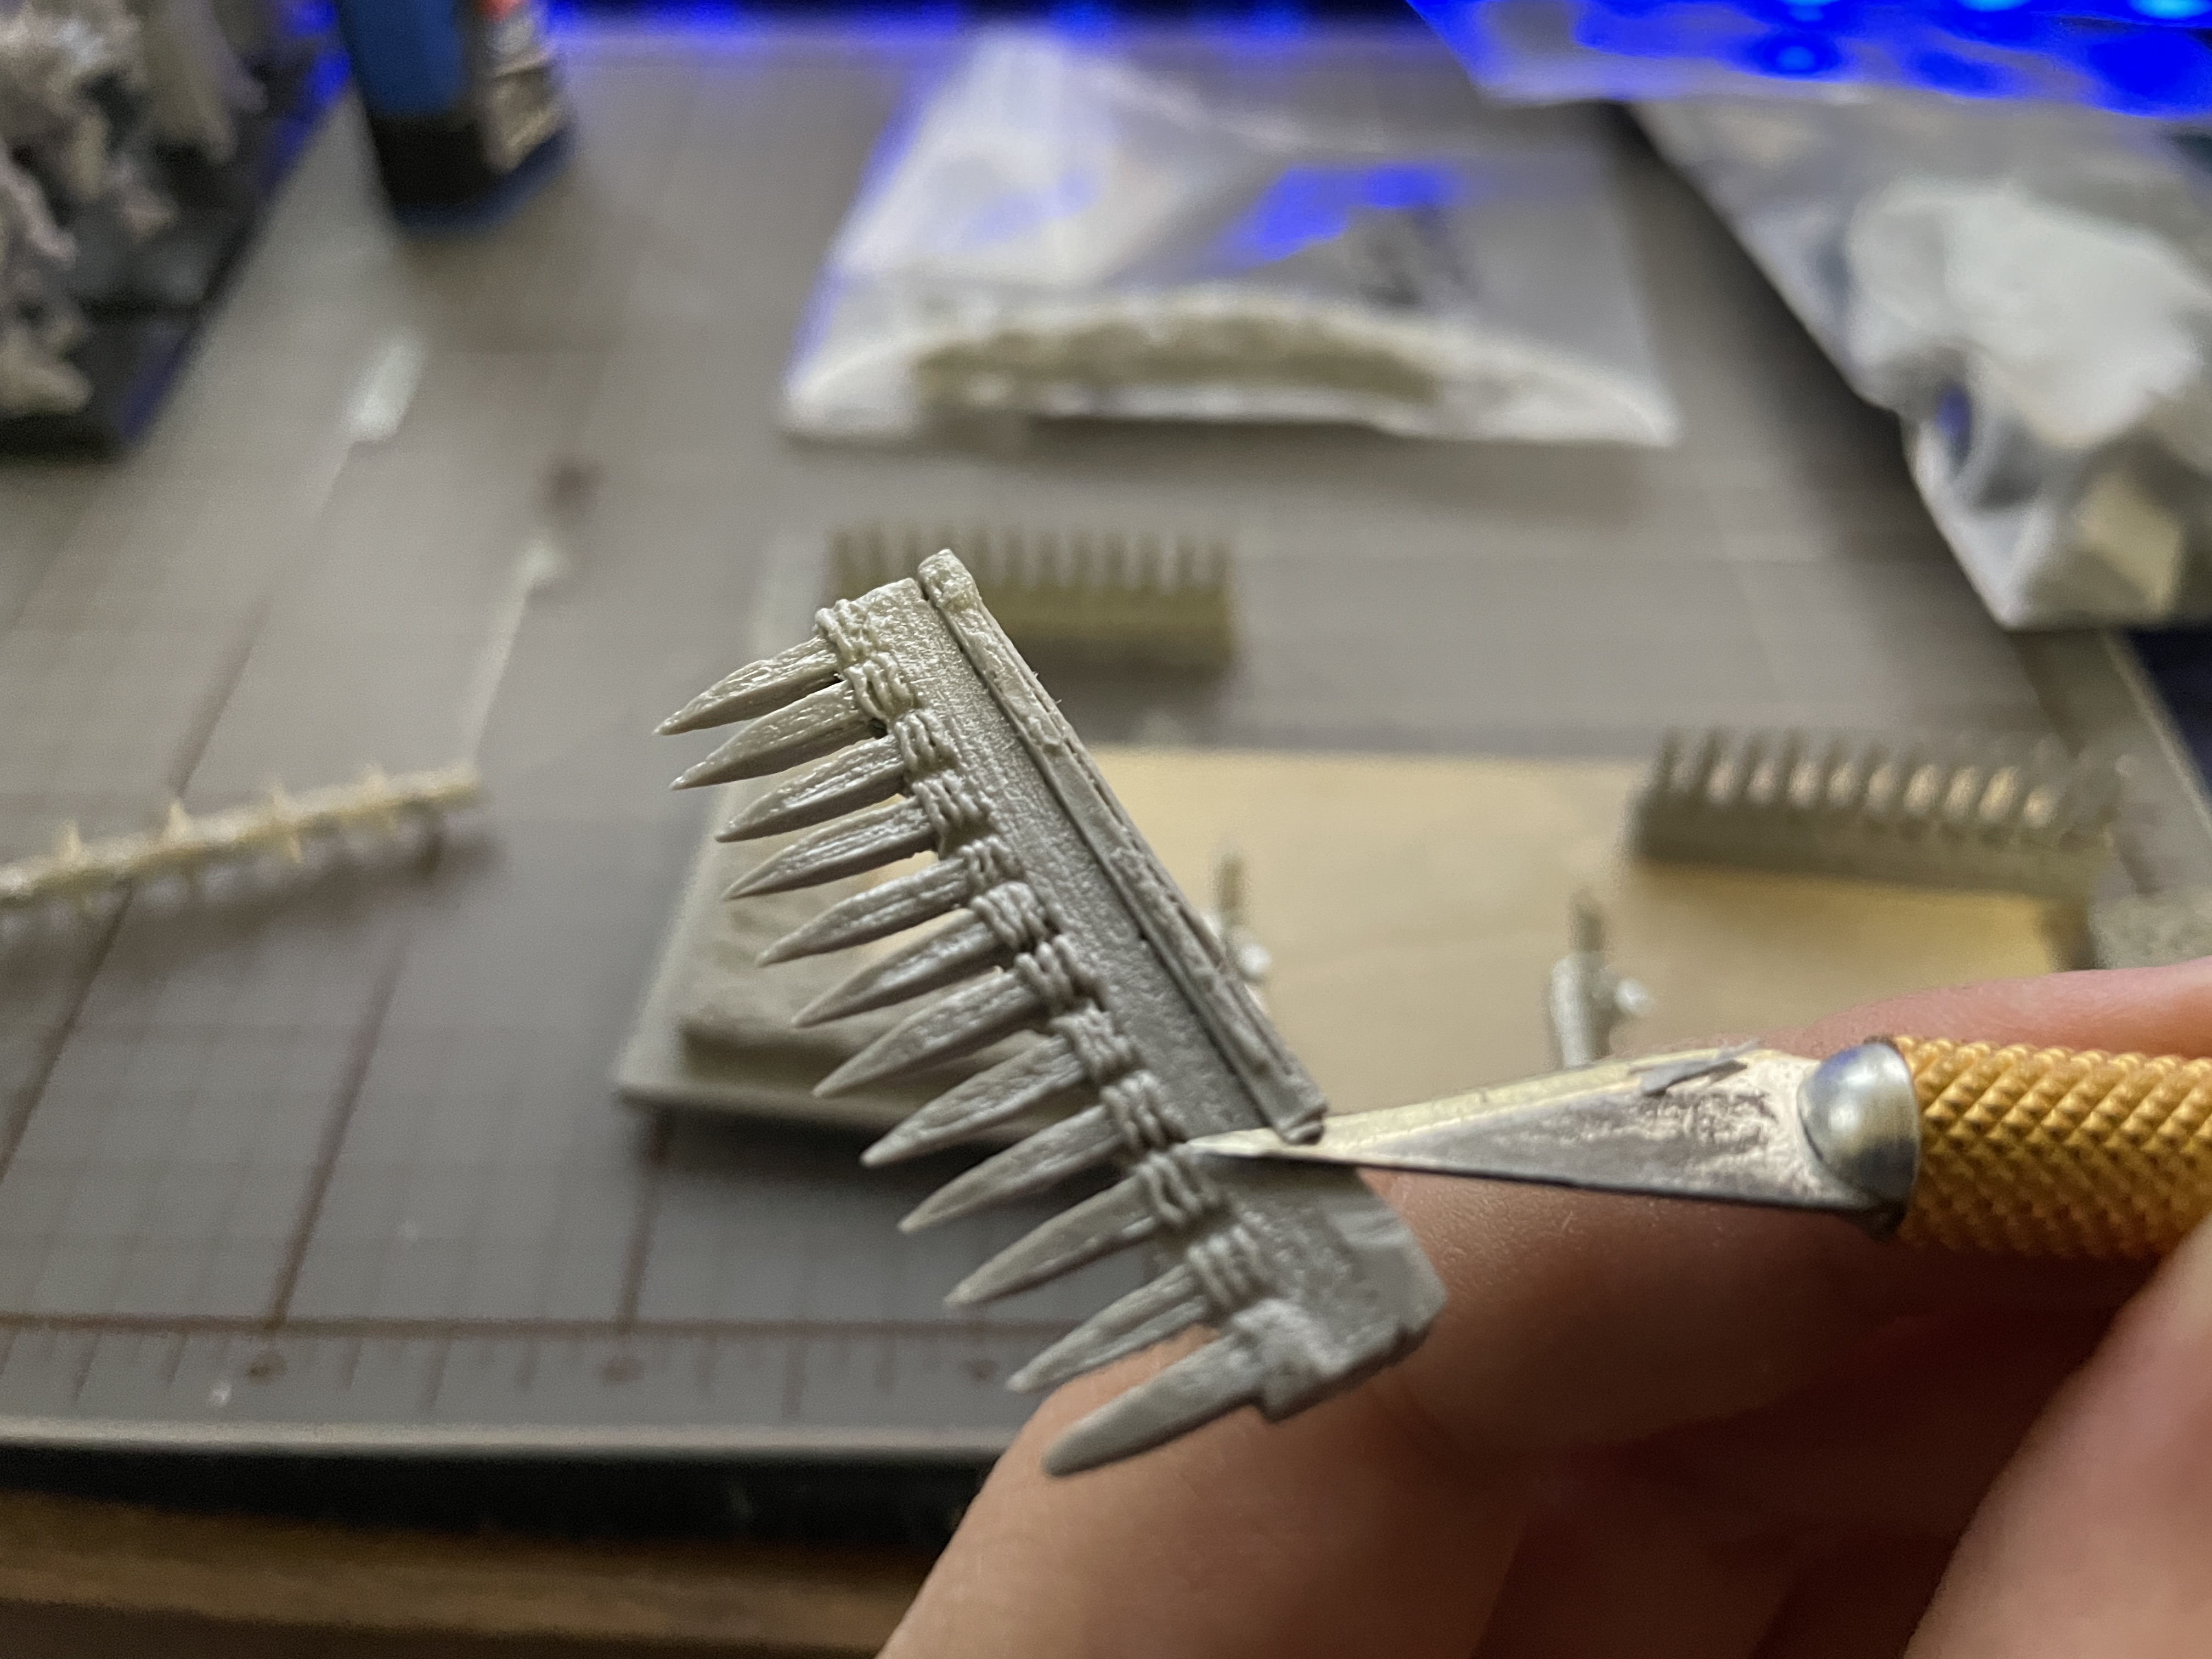
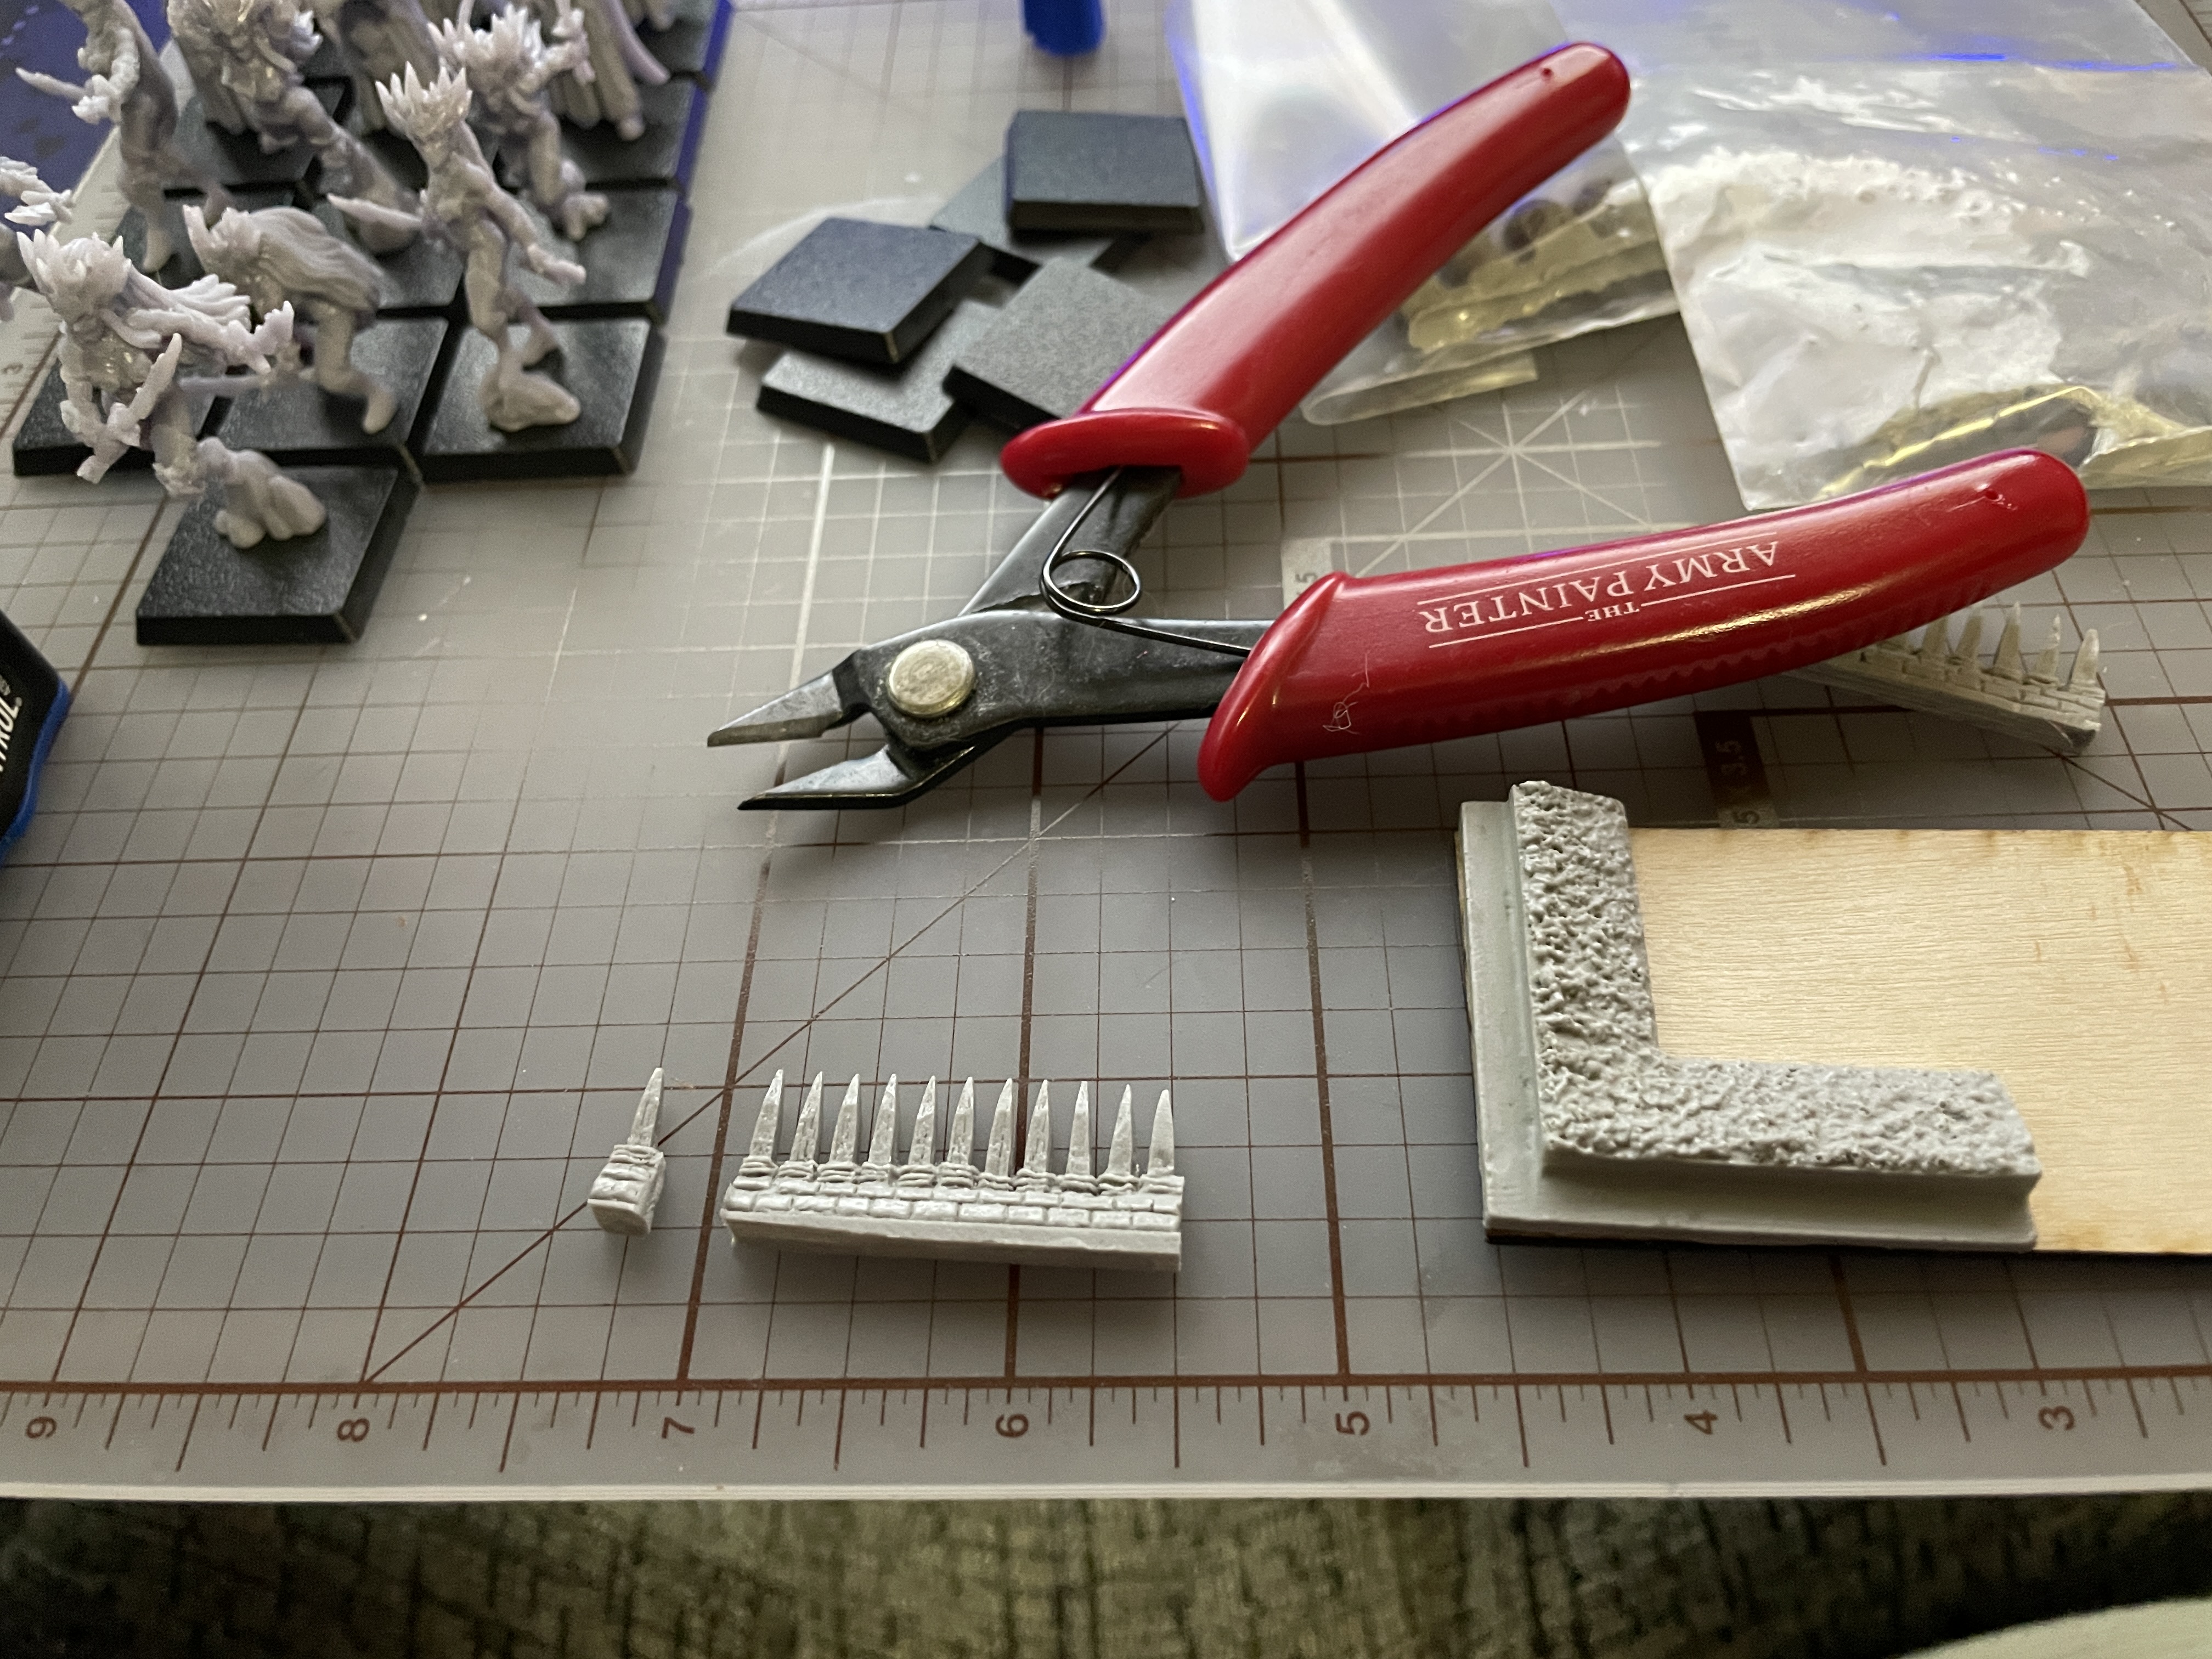
Back to the camp pieces I trim the flash and edges of the palisades and test fit again. Since each section is 40mm there is a bit of overhang due to the corners. I grab the clippers and trim that off on each and glue everything down. A camp is a compulsory terrain item each side needs if there isn’t a build up area they are defending. The camp must be one base width by three or in my case 40mm x 120mm. Two L shapes and a room for a gate. These are now ready to prime with the rest of the figures.
Back to flash cleaning for me and then I can prime and get the figures ready for painting. With everything I have twice as much to paint as what I started with so this might take me to the end of the Spring Clean Challenge. We shall see if the expanded goal can still be met. Until next post happy hobby time everyone!
And now for something completely different
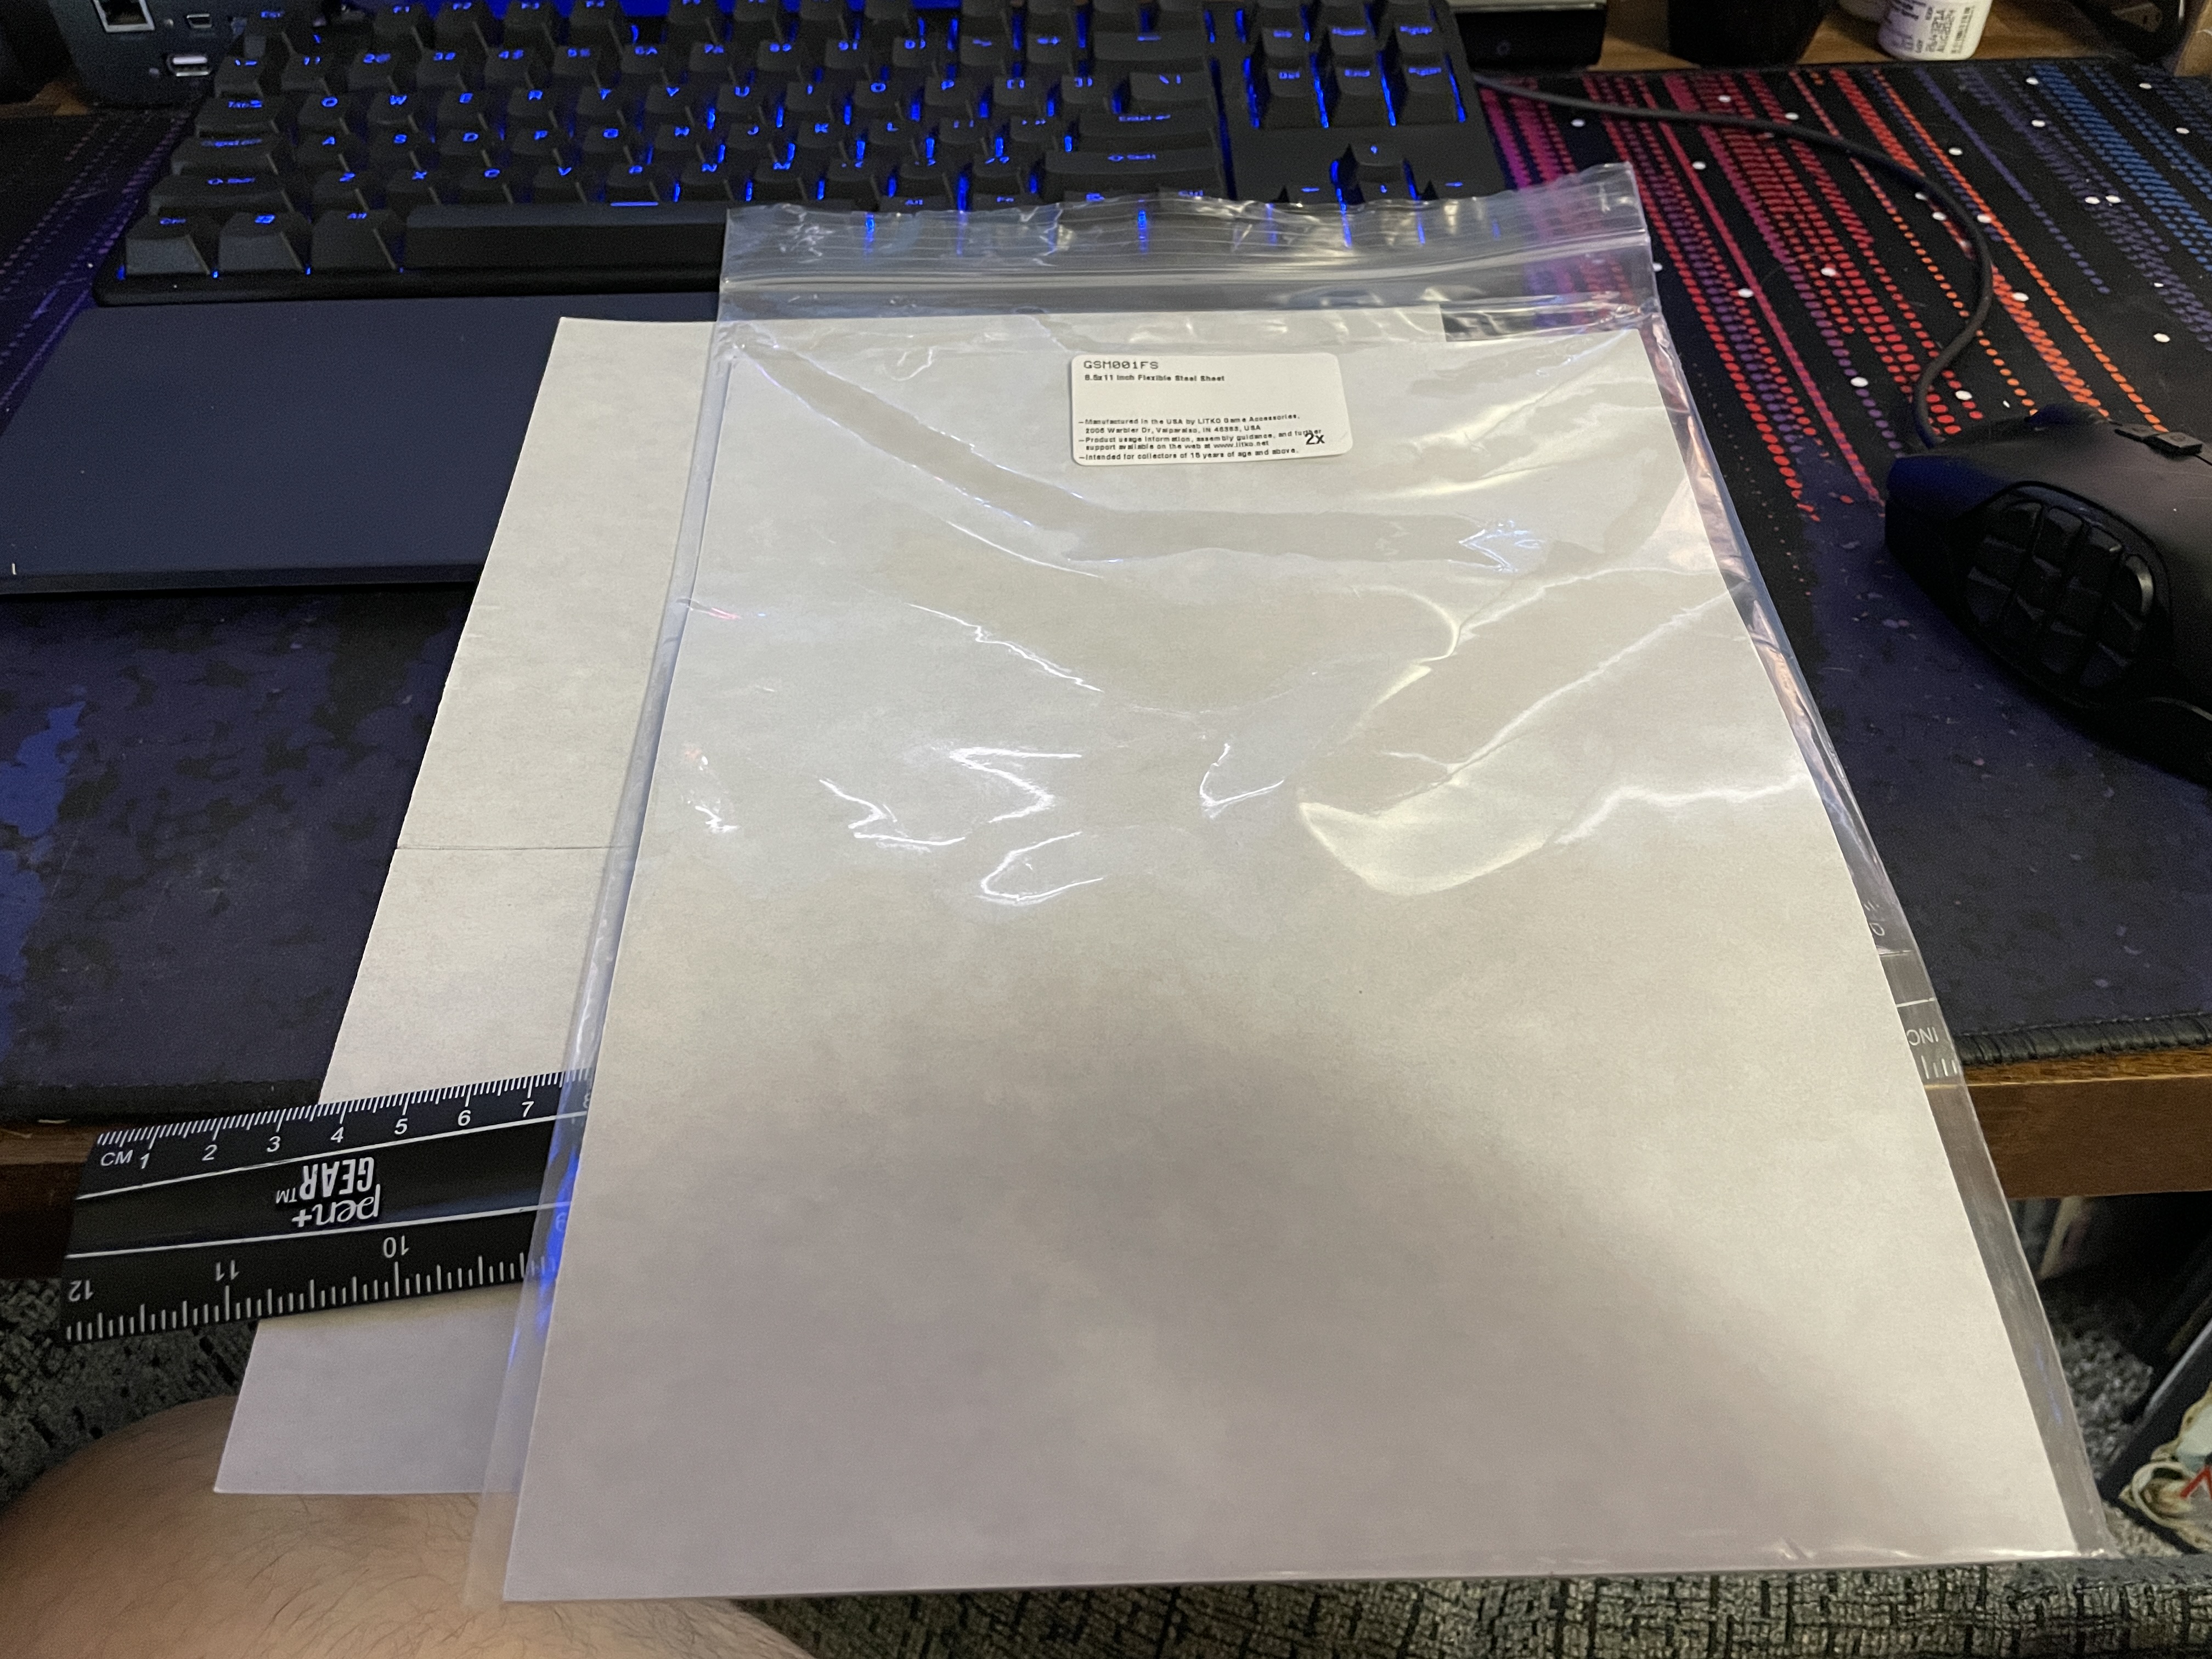
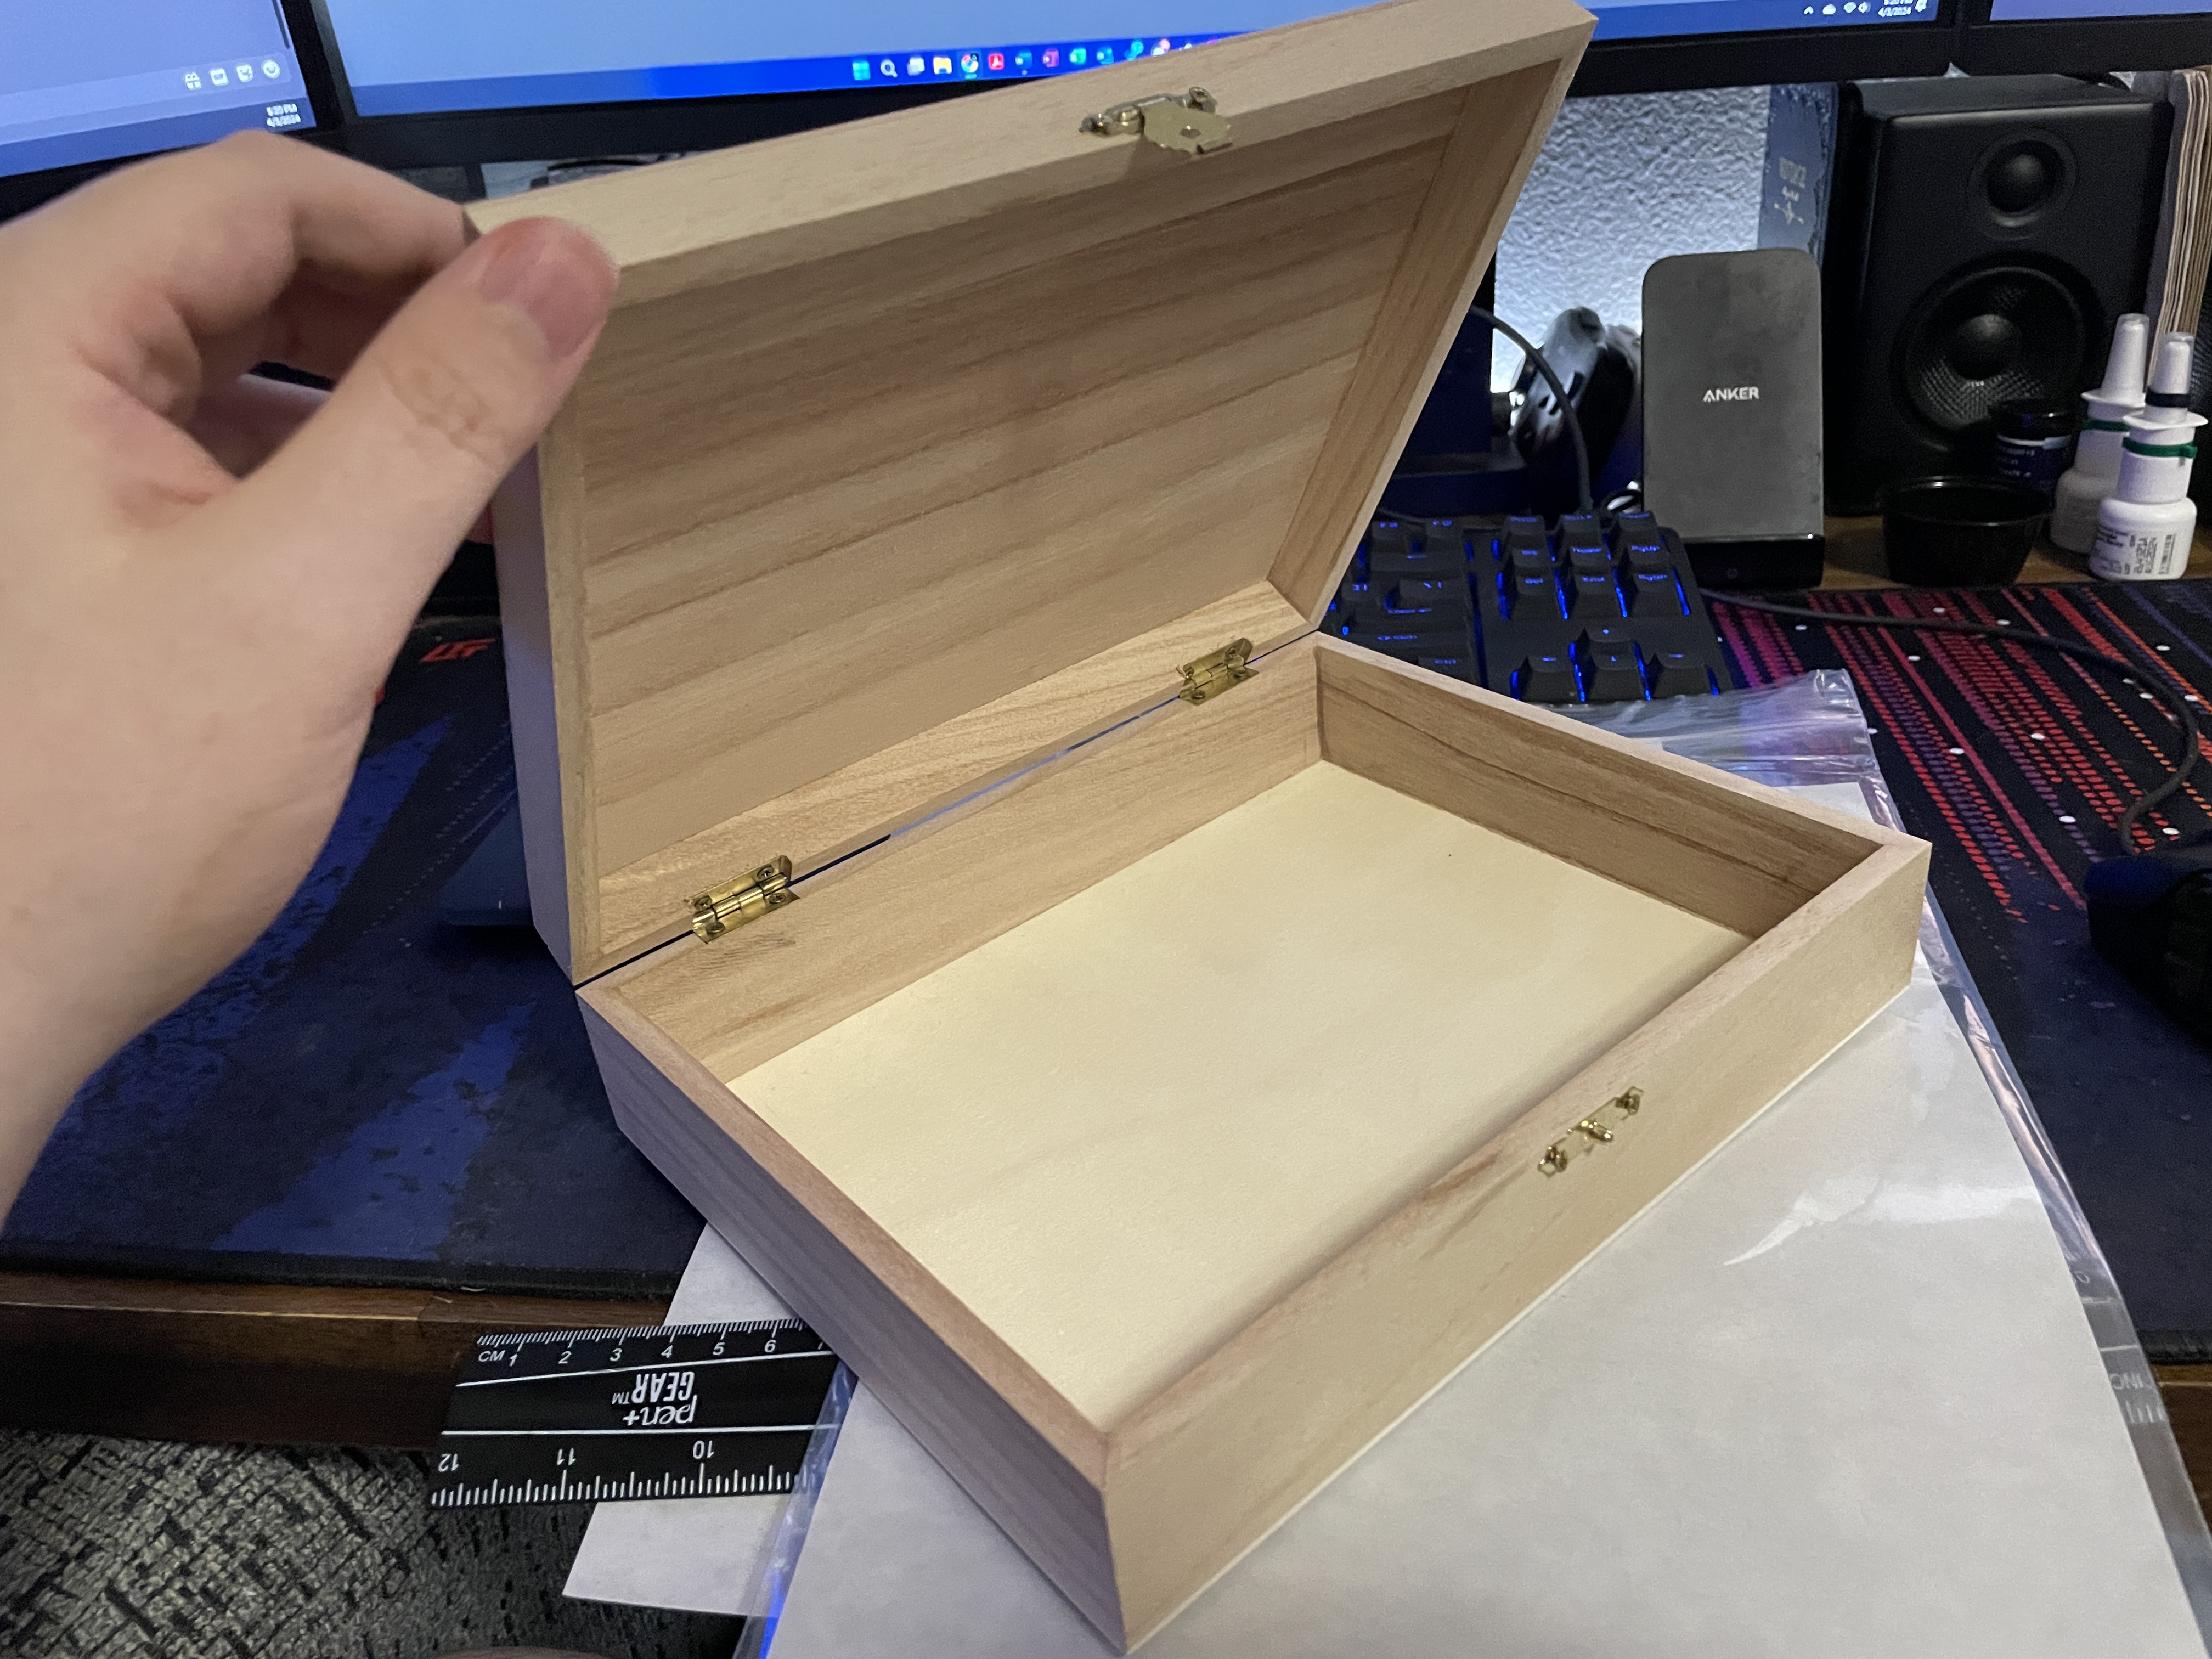
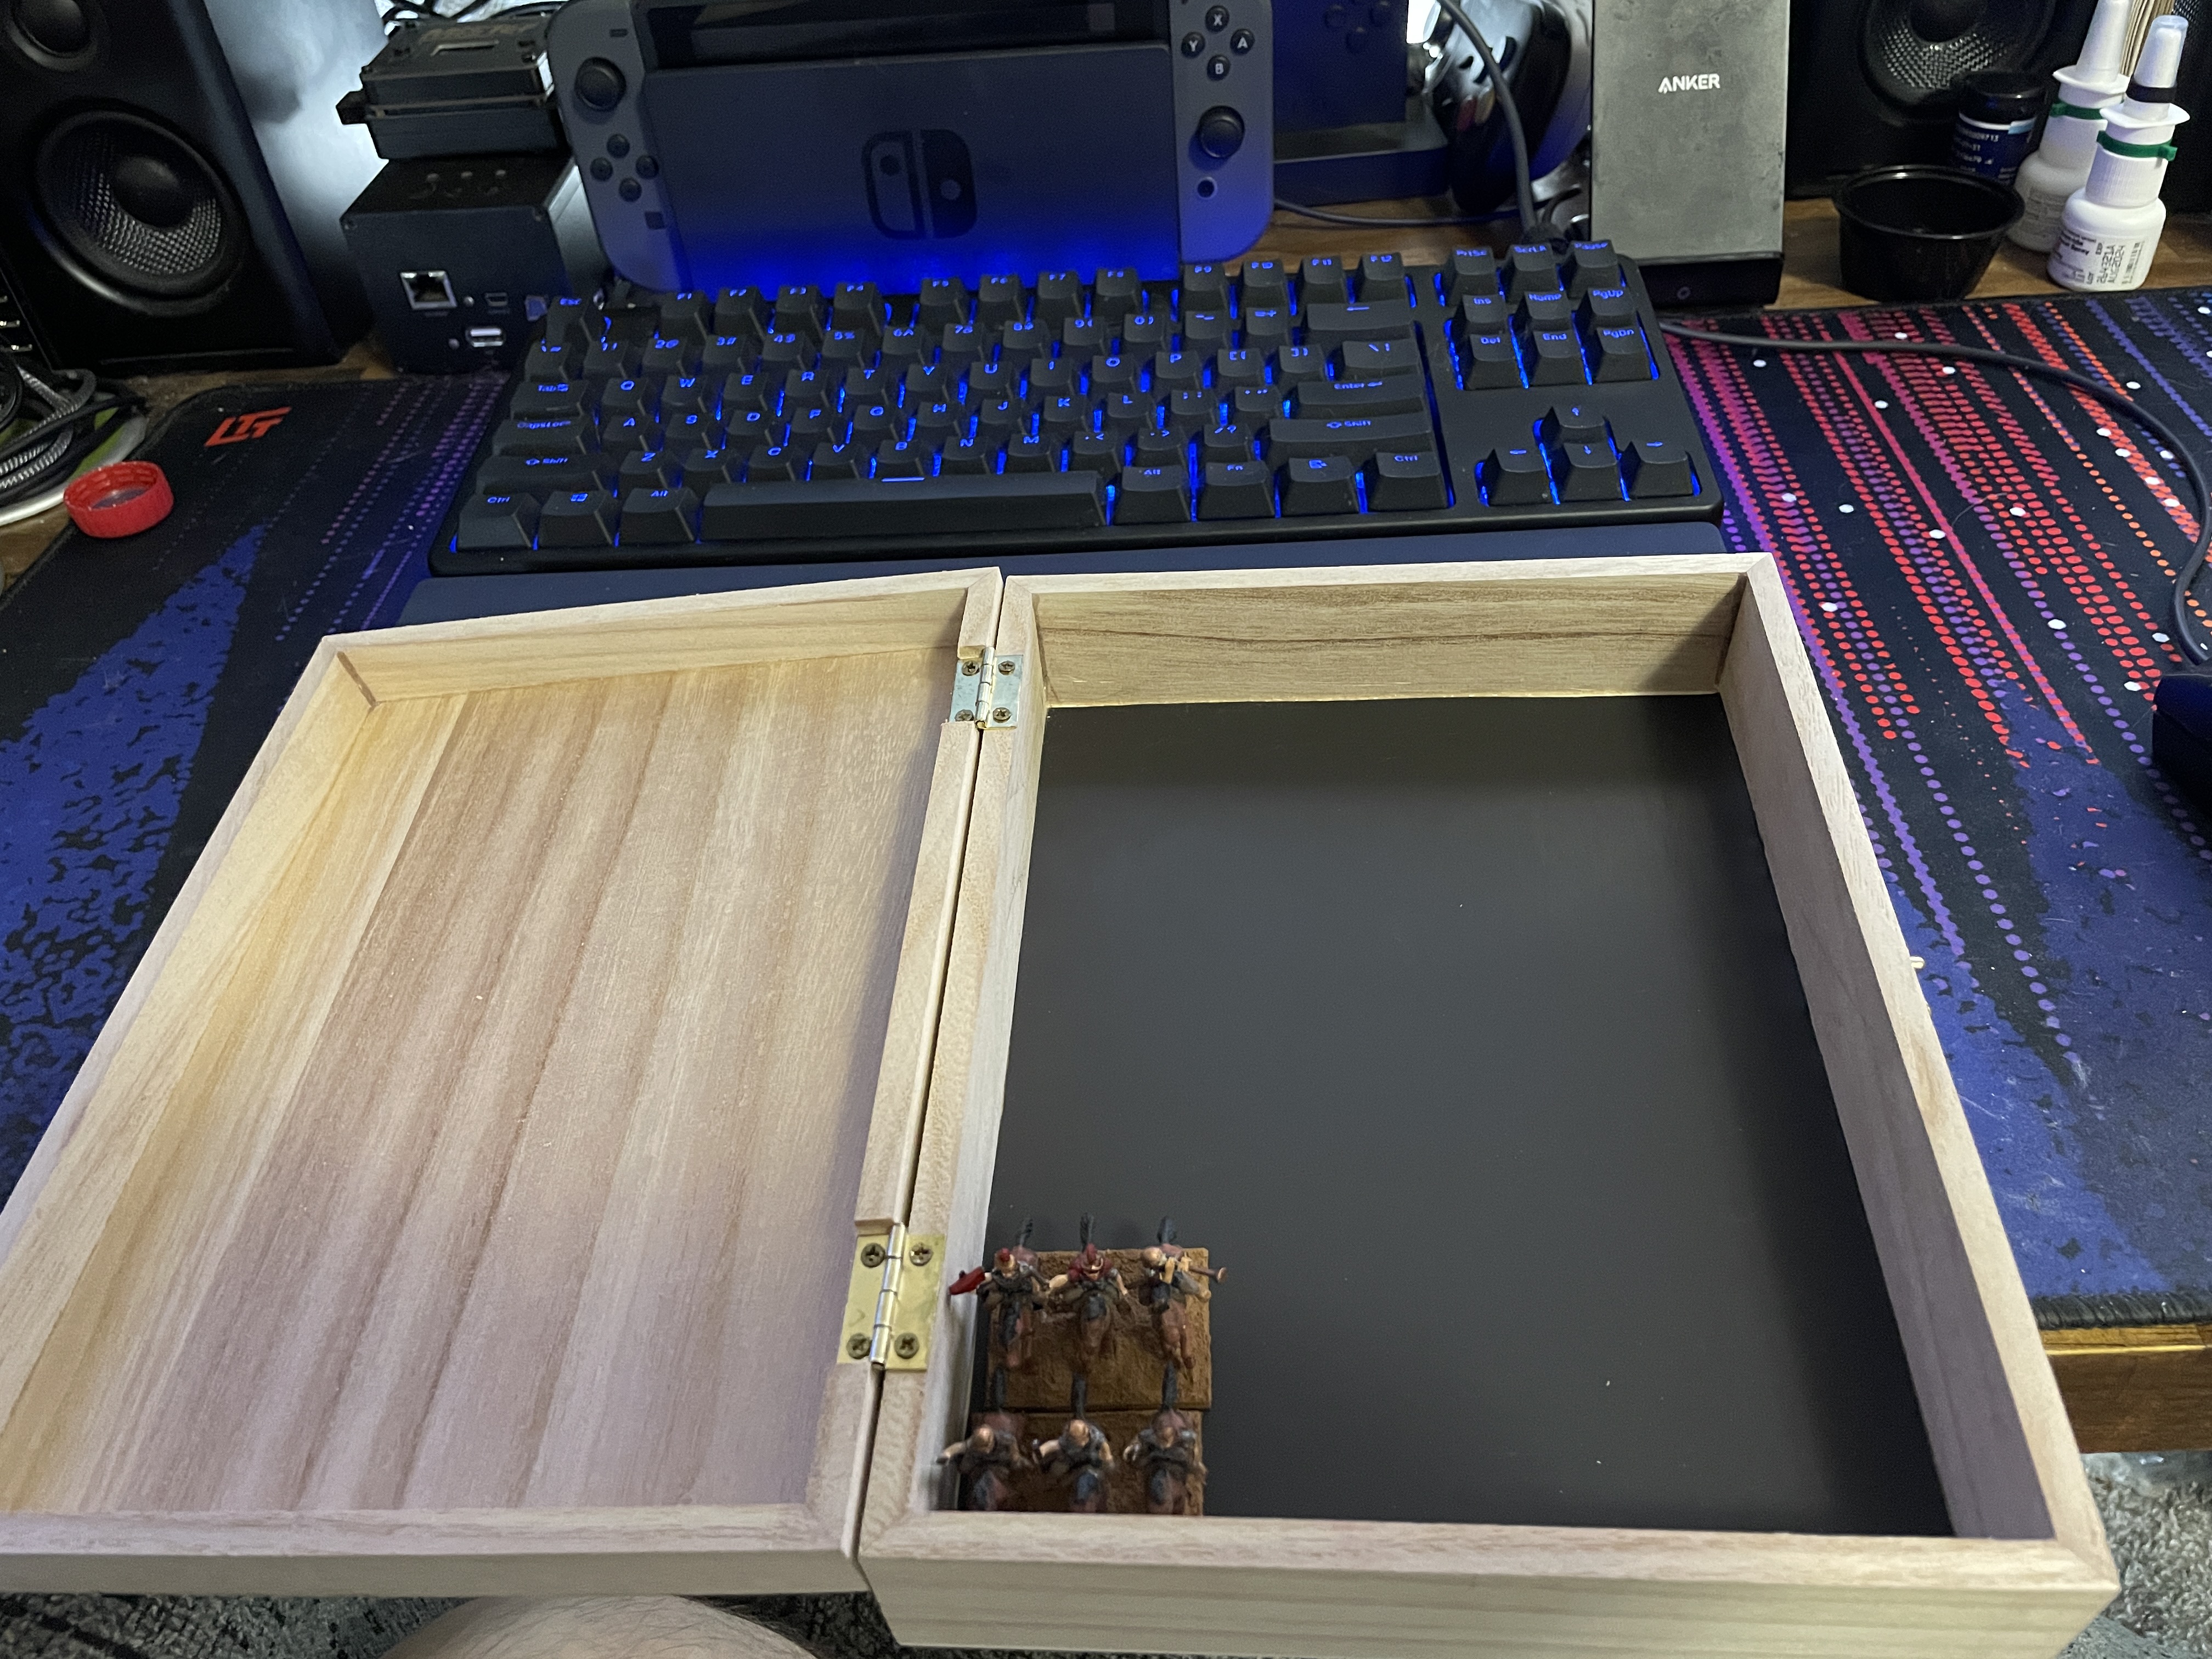
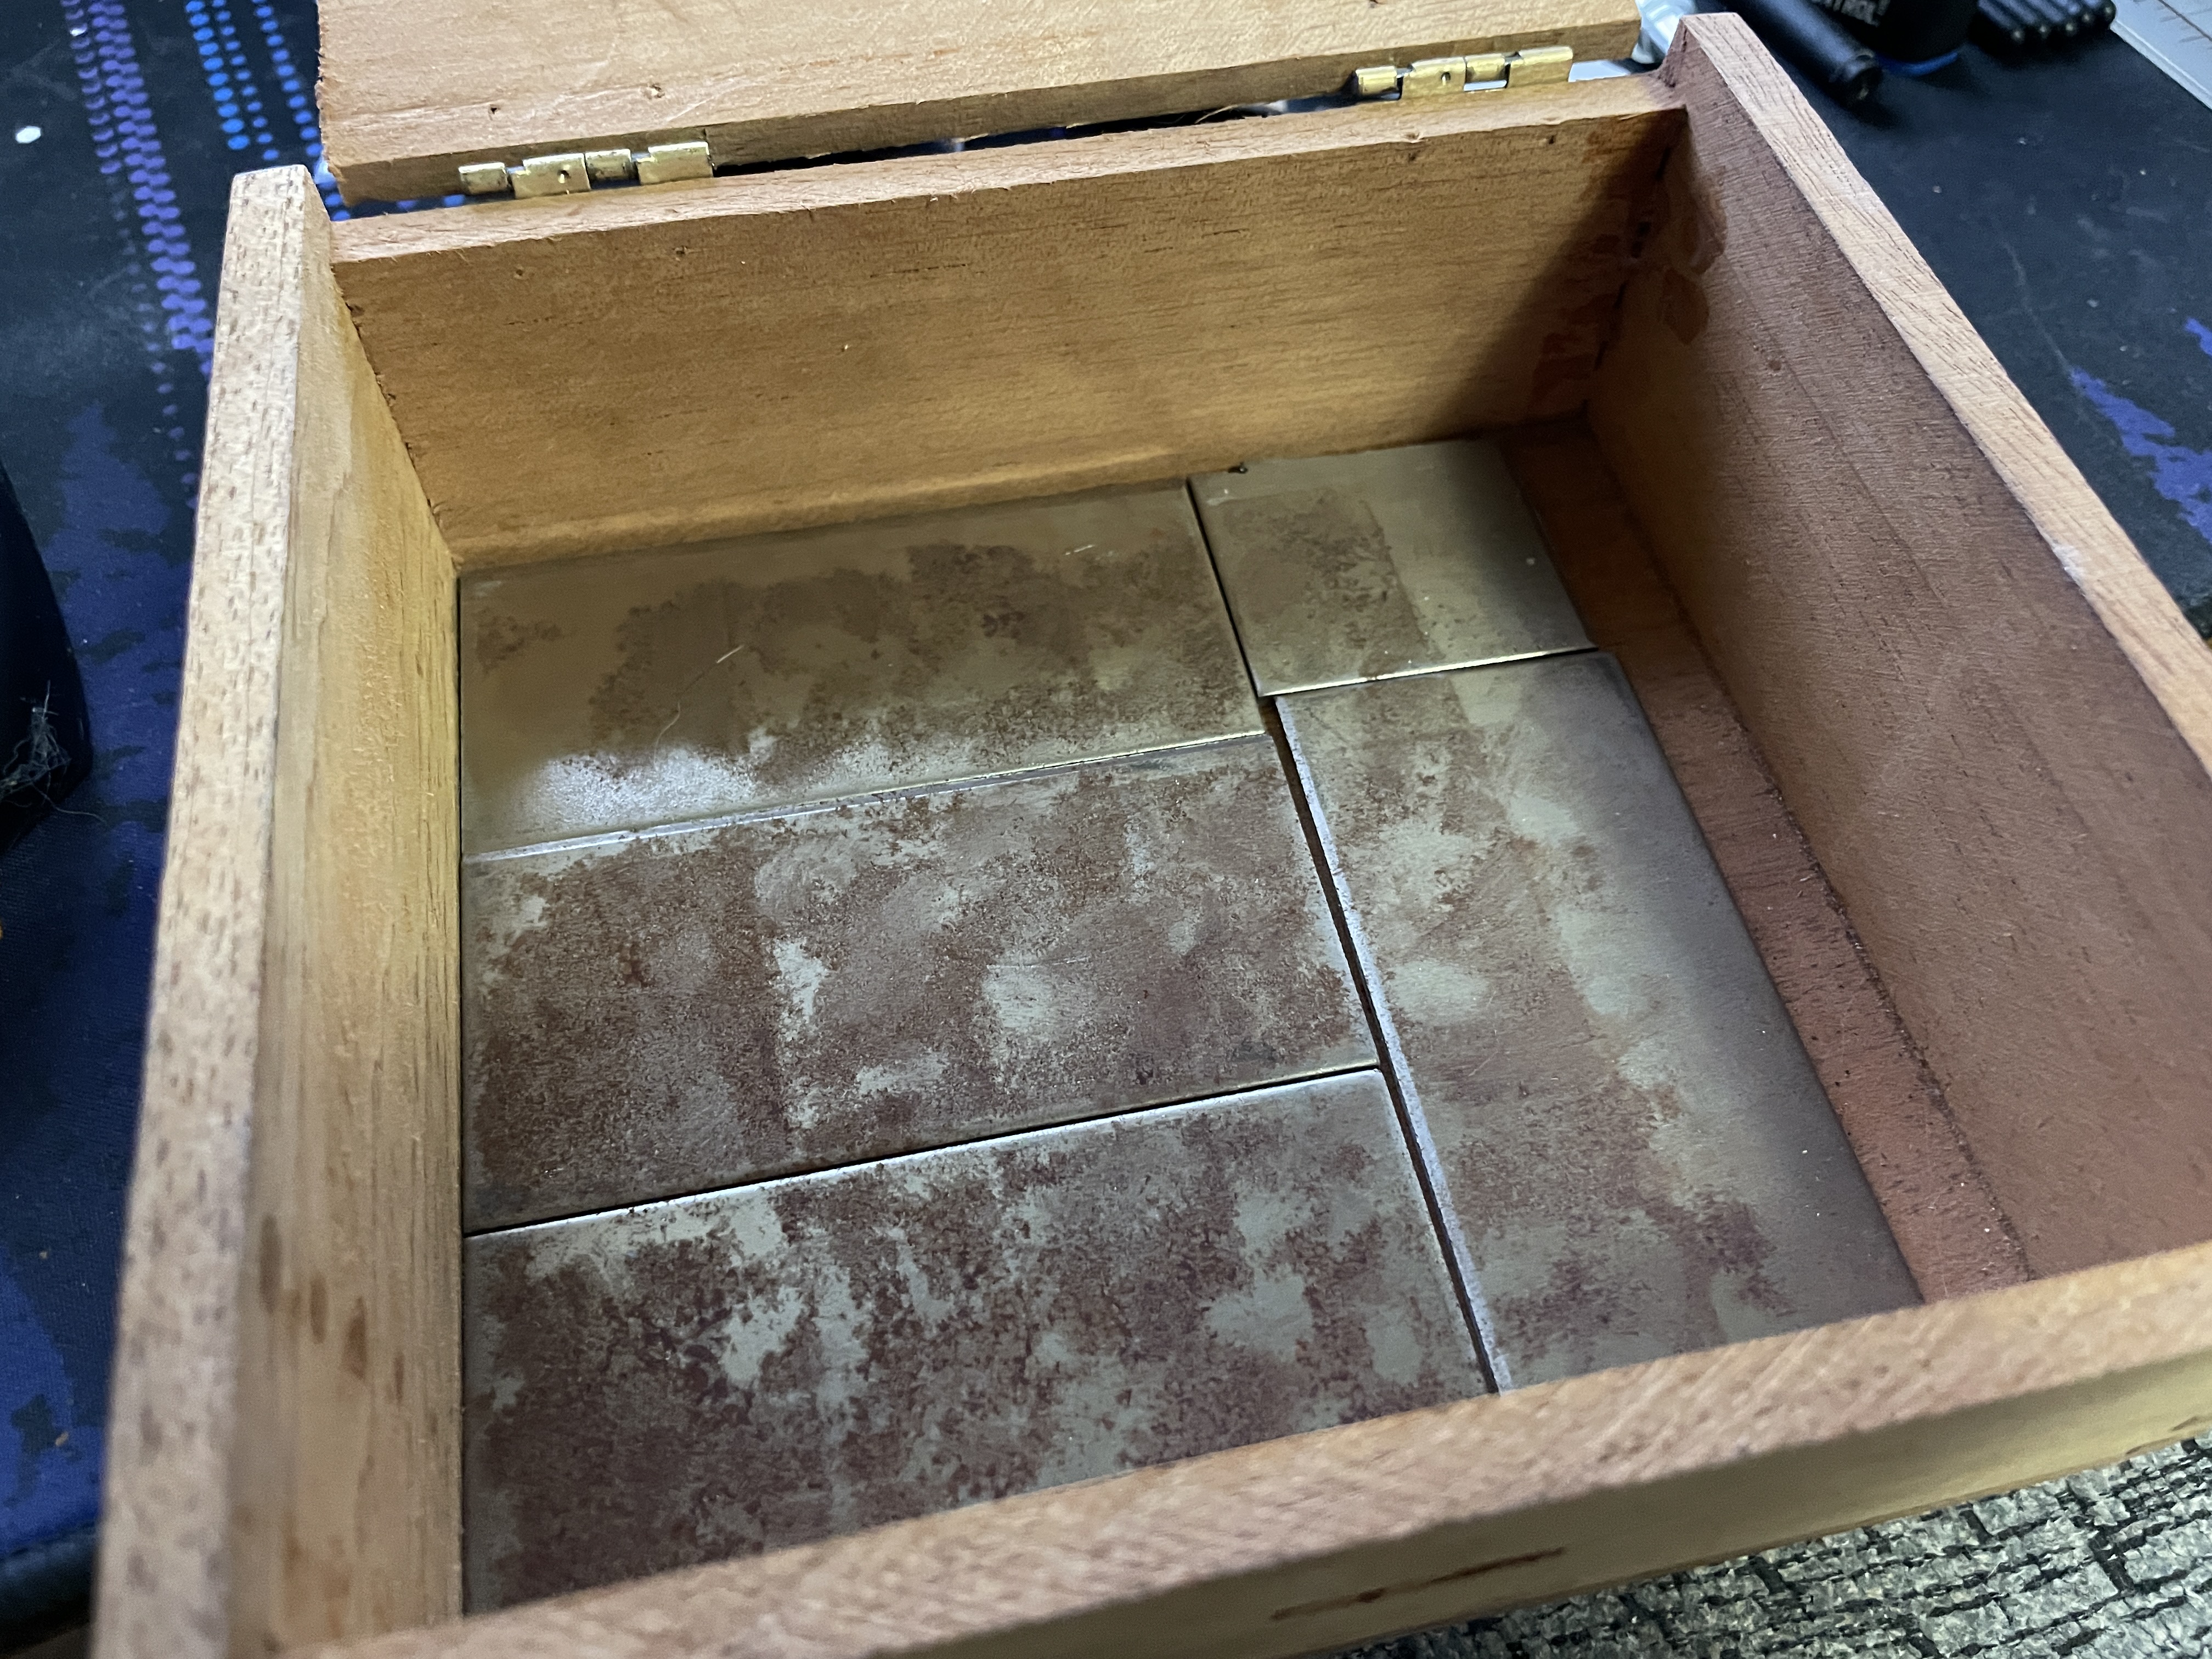
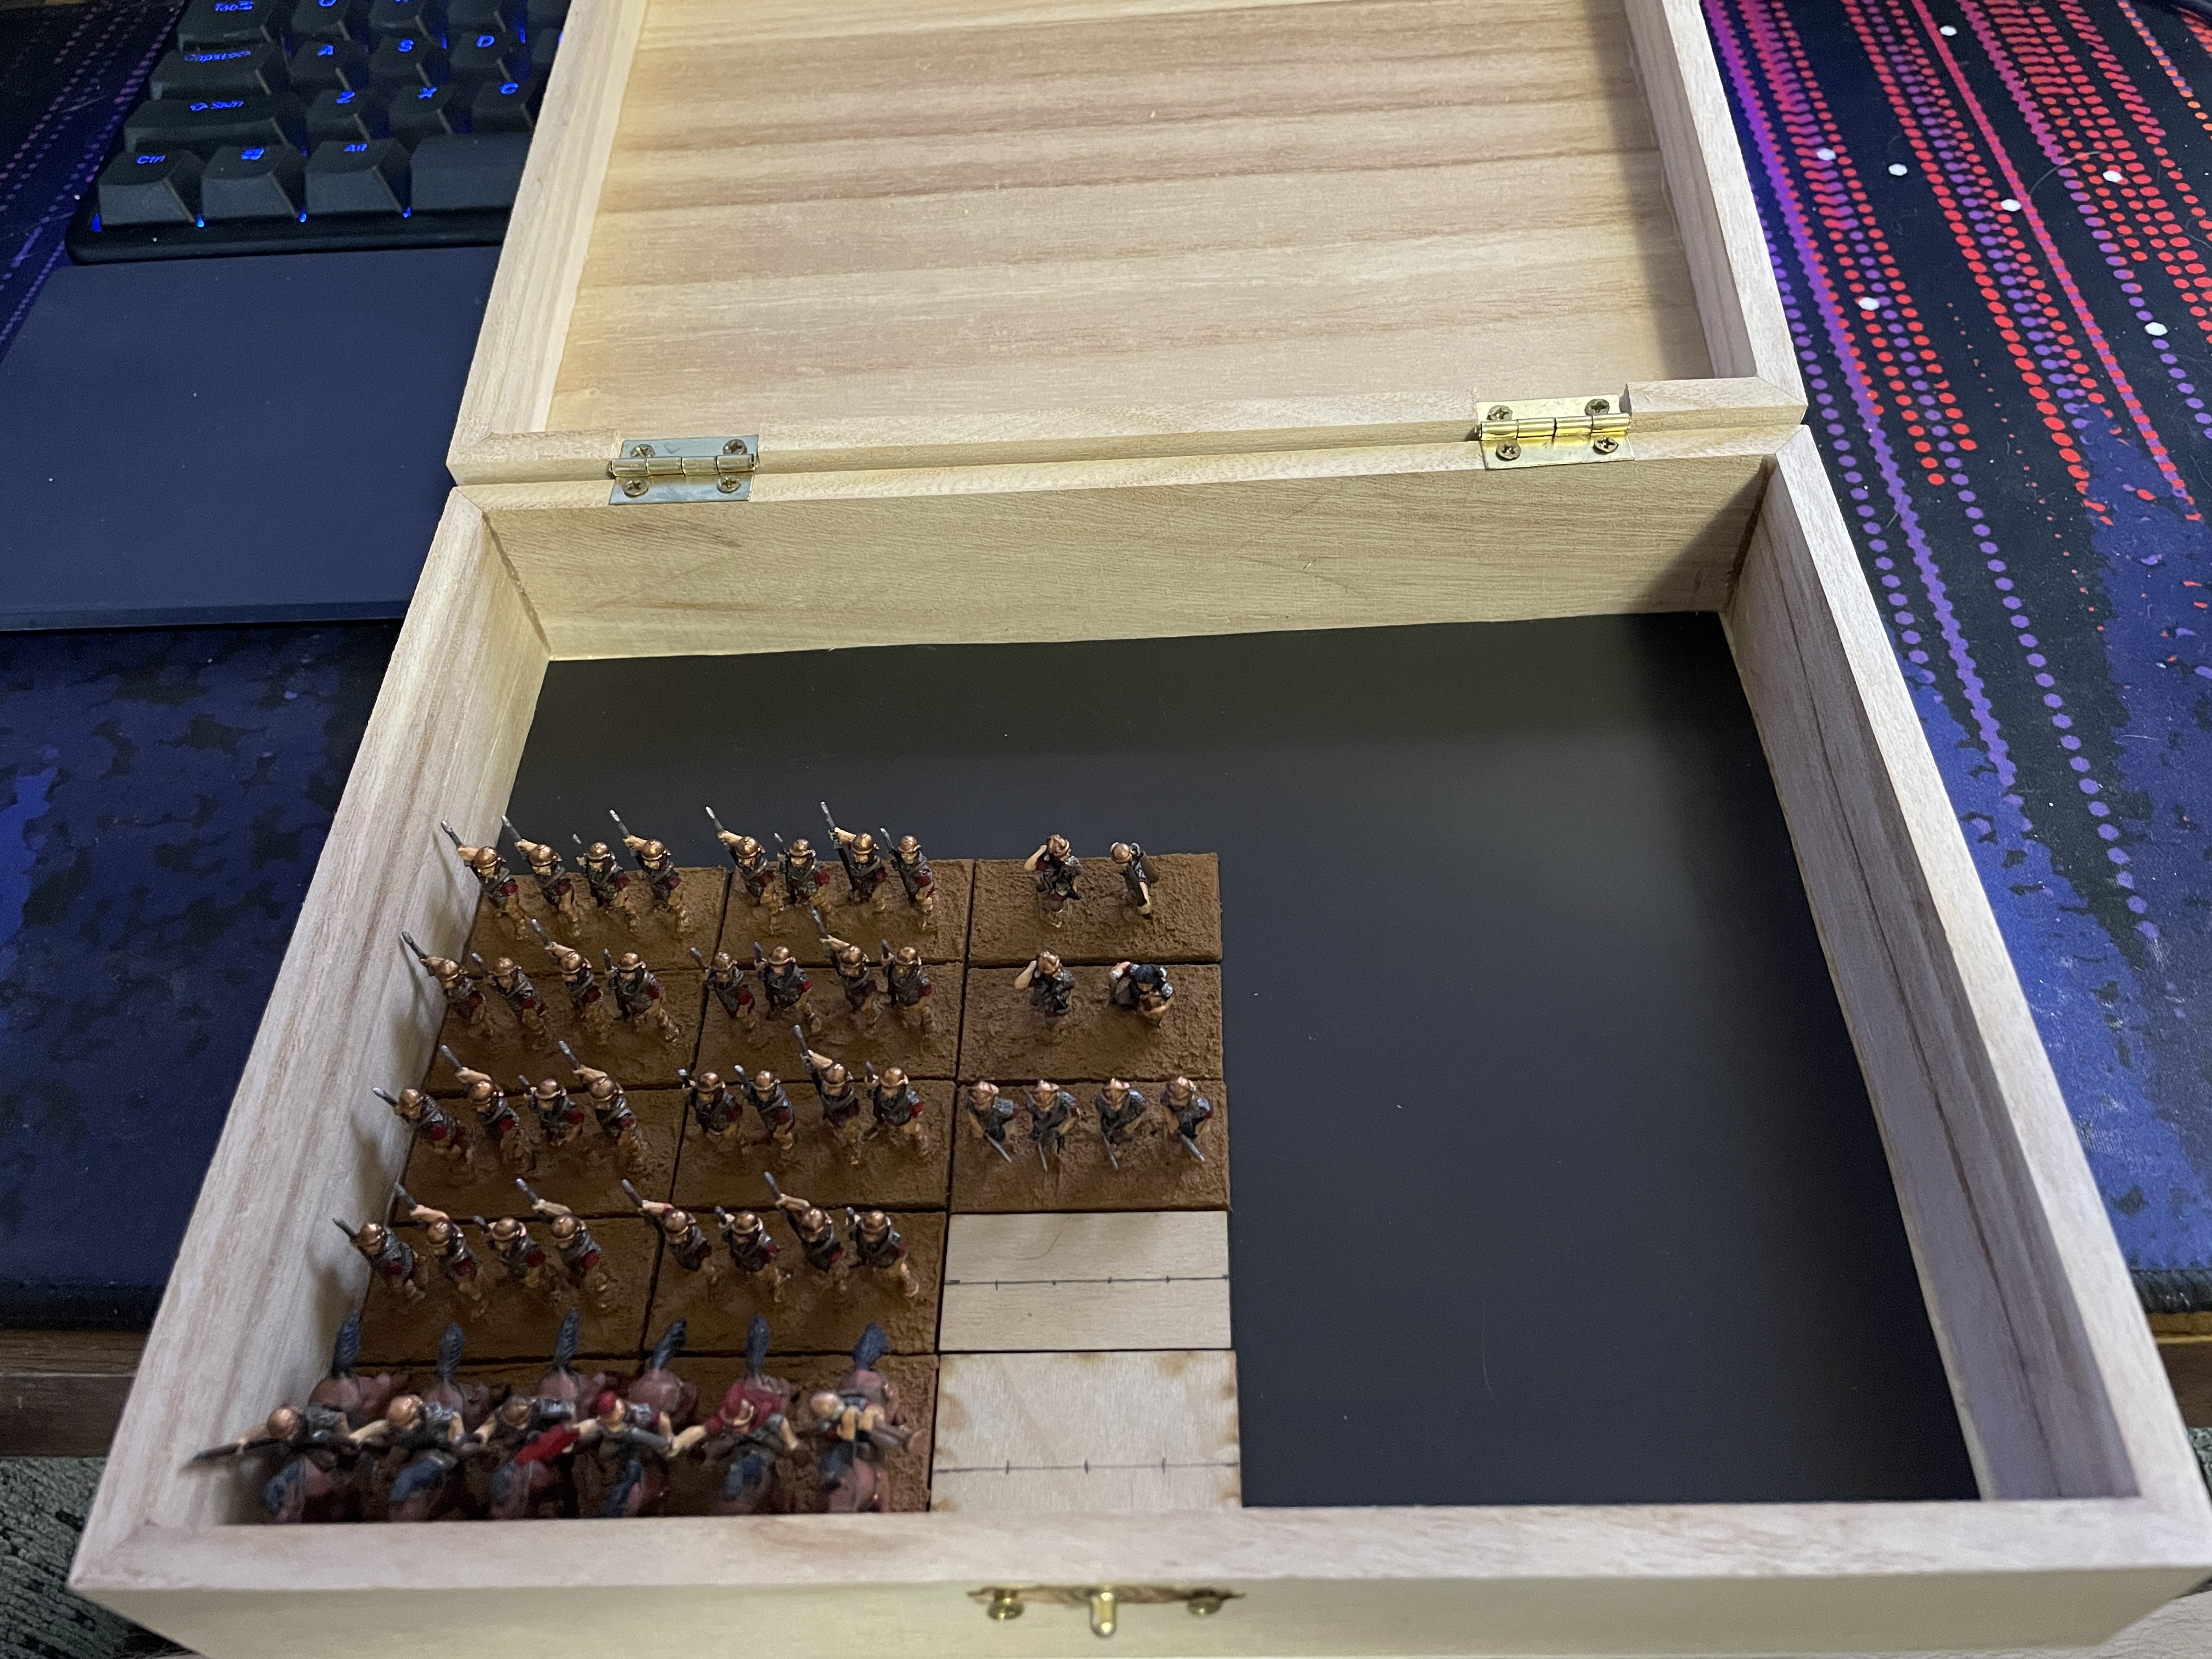
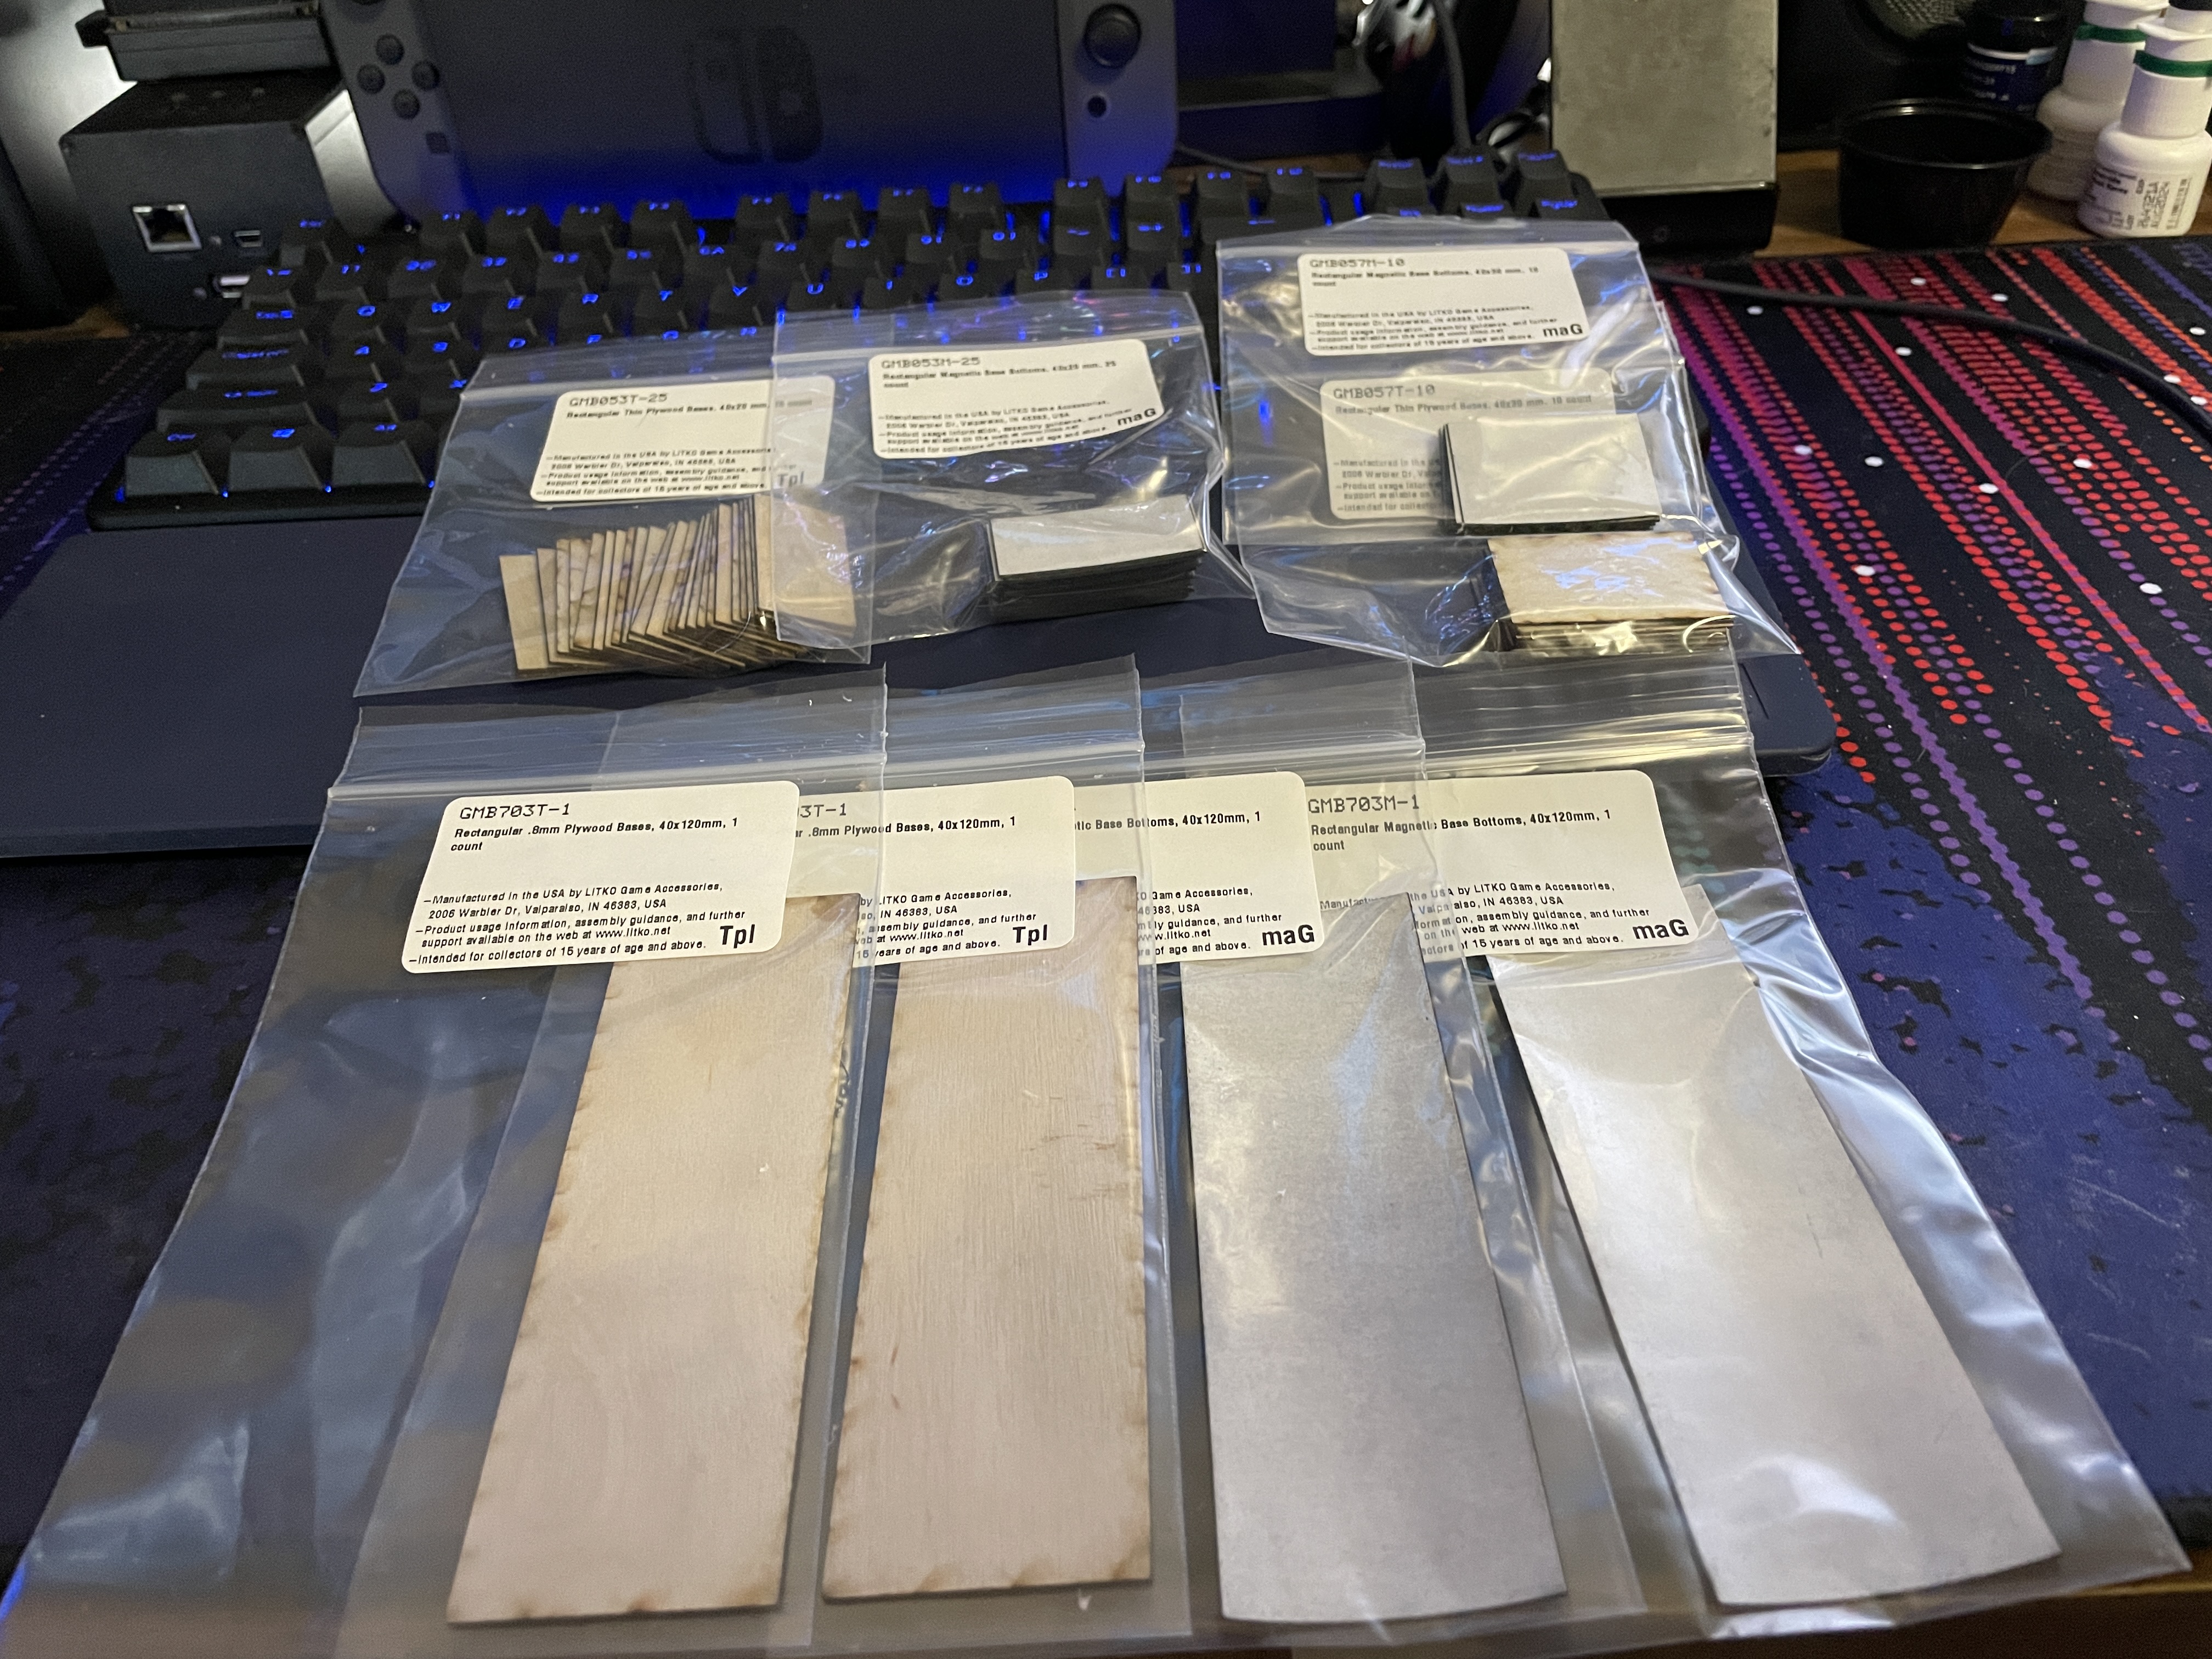
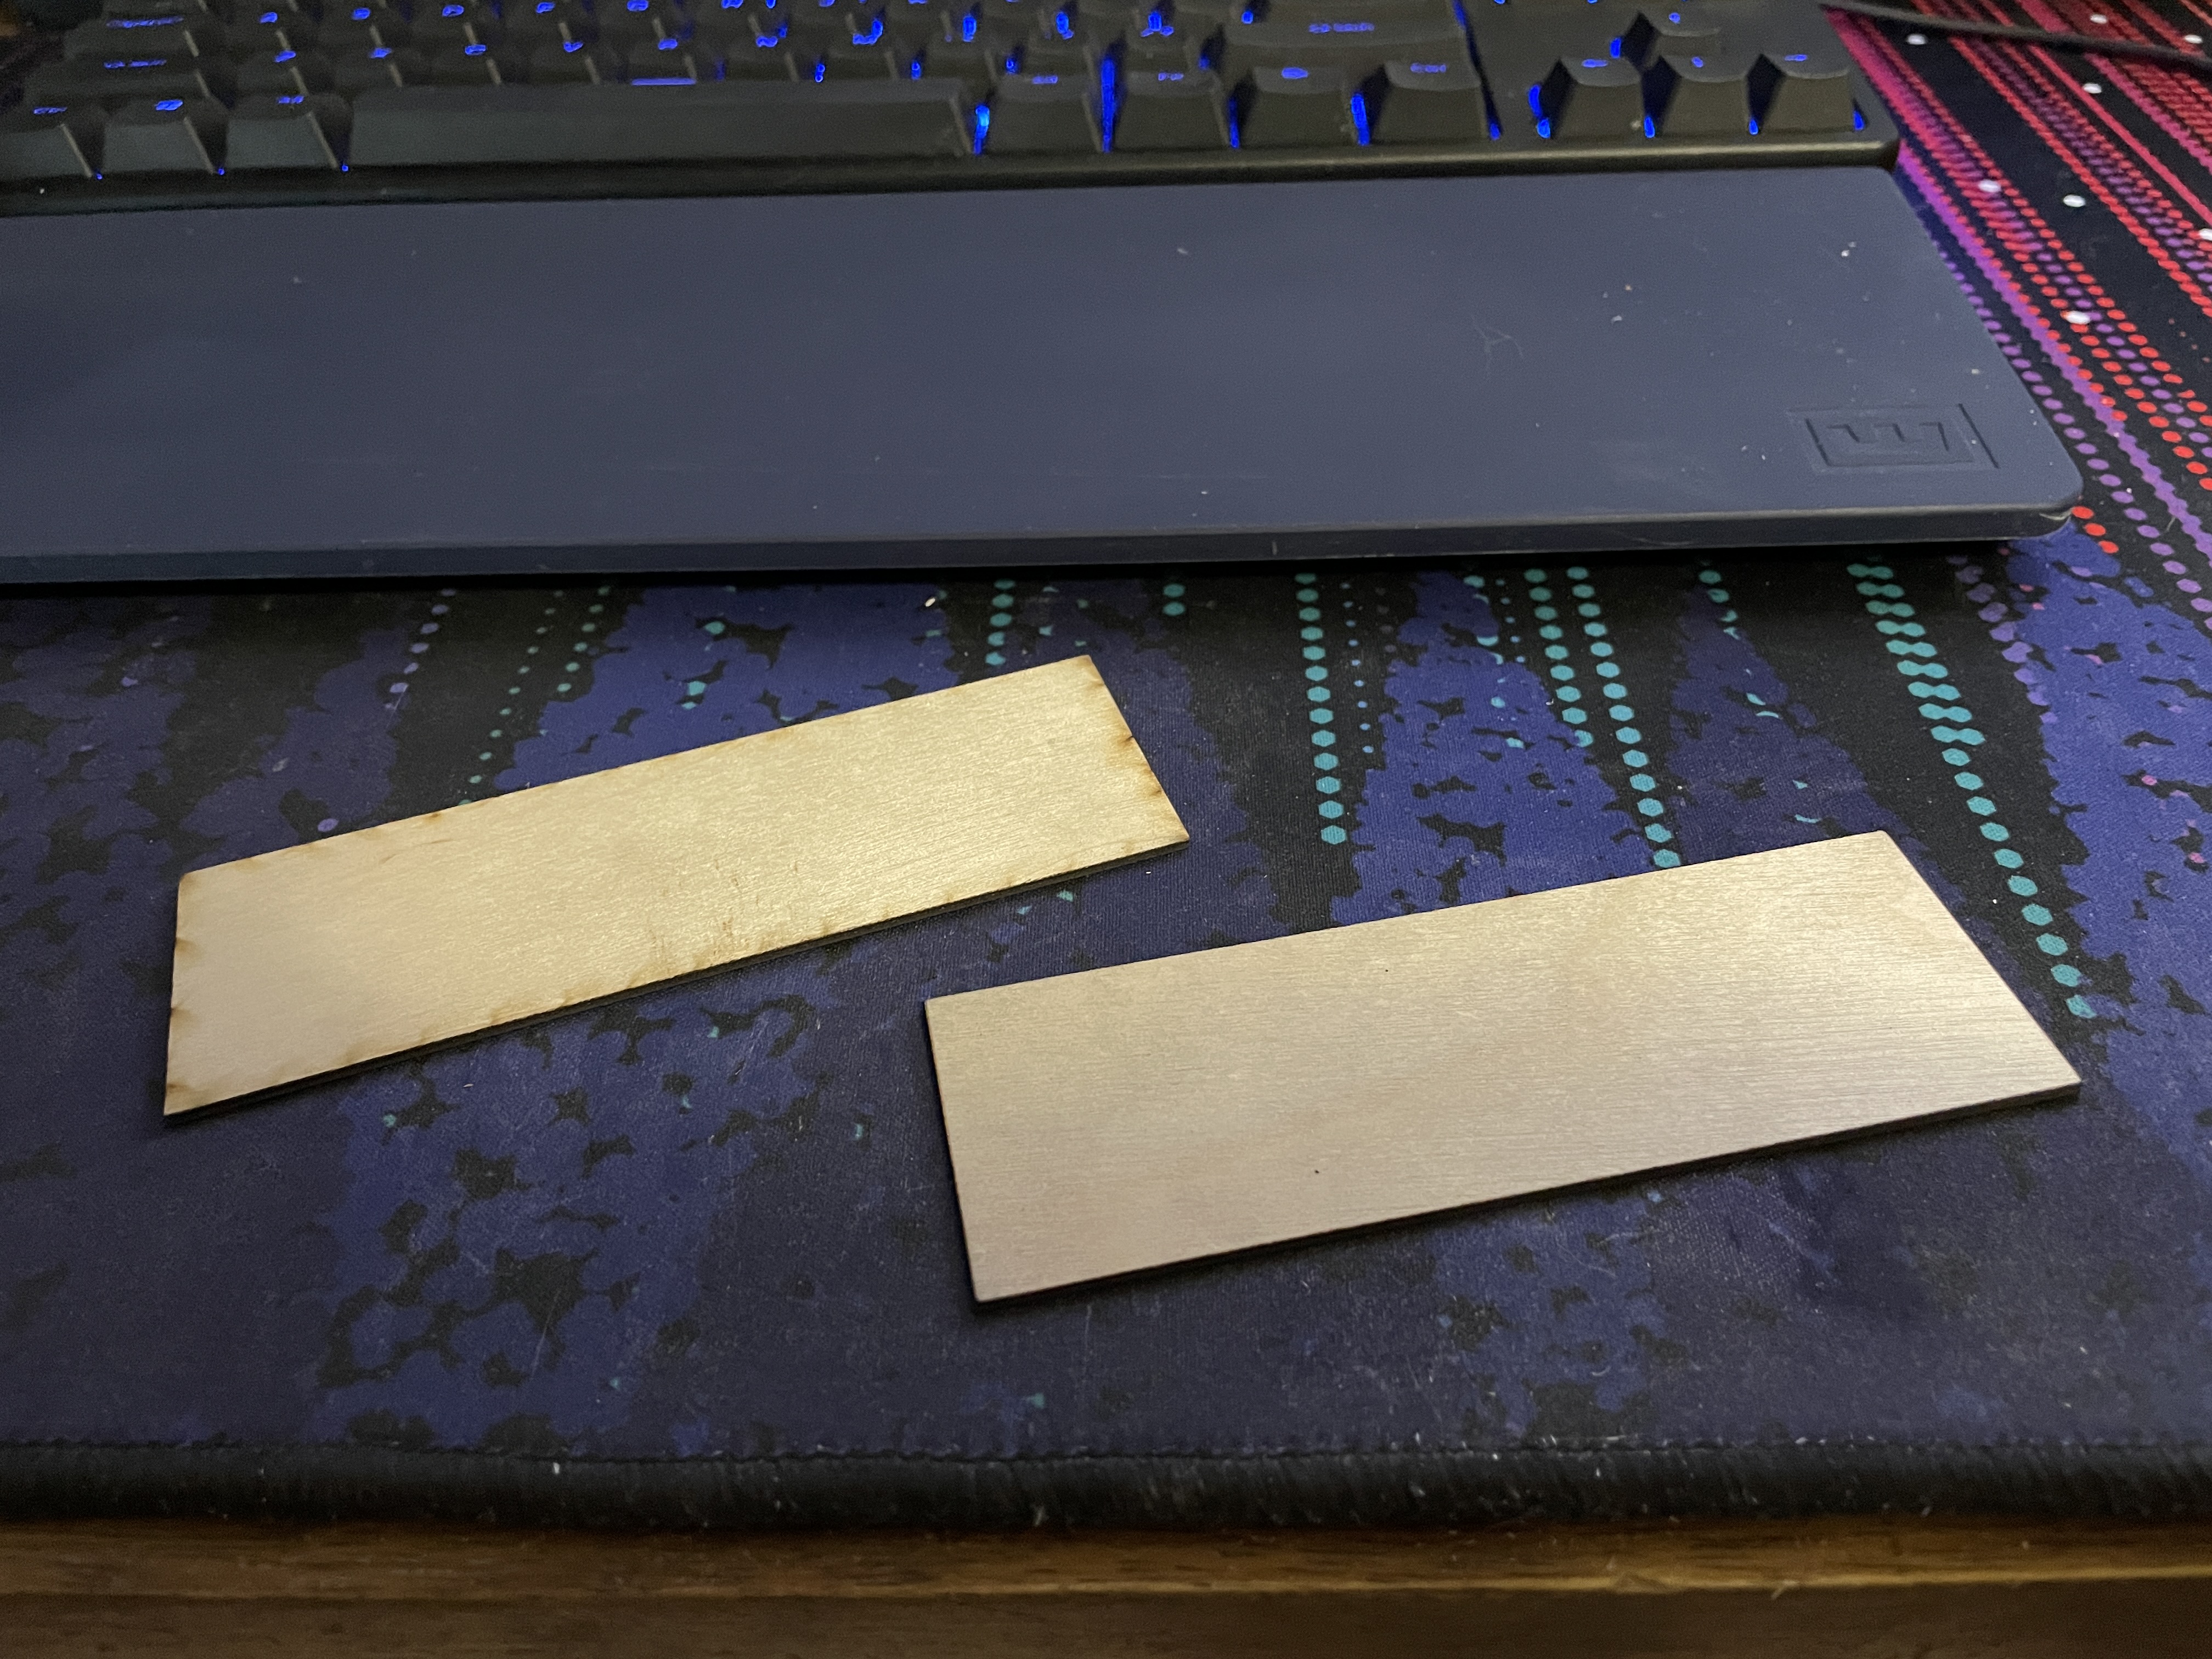
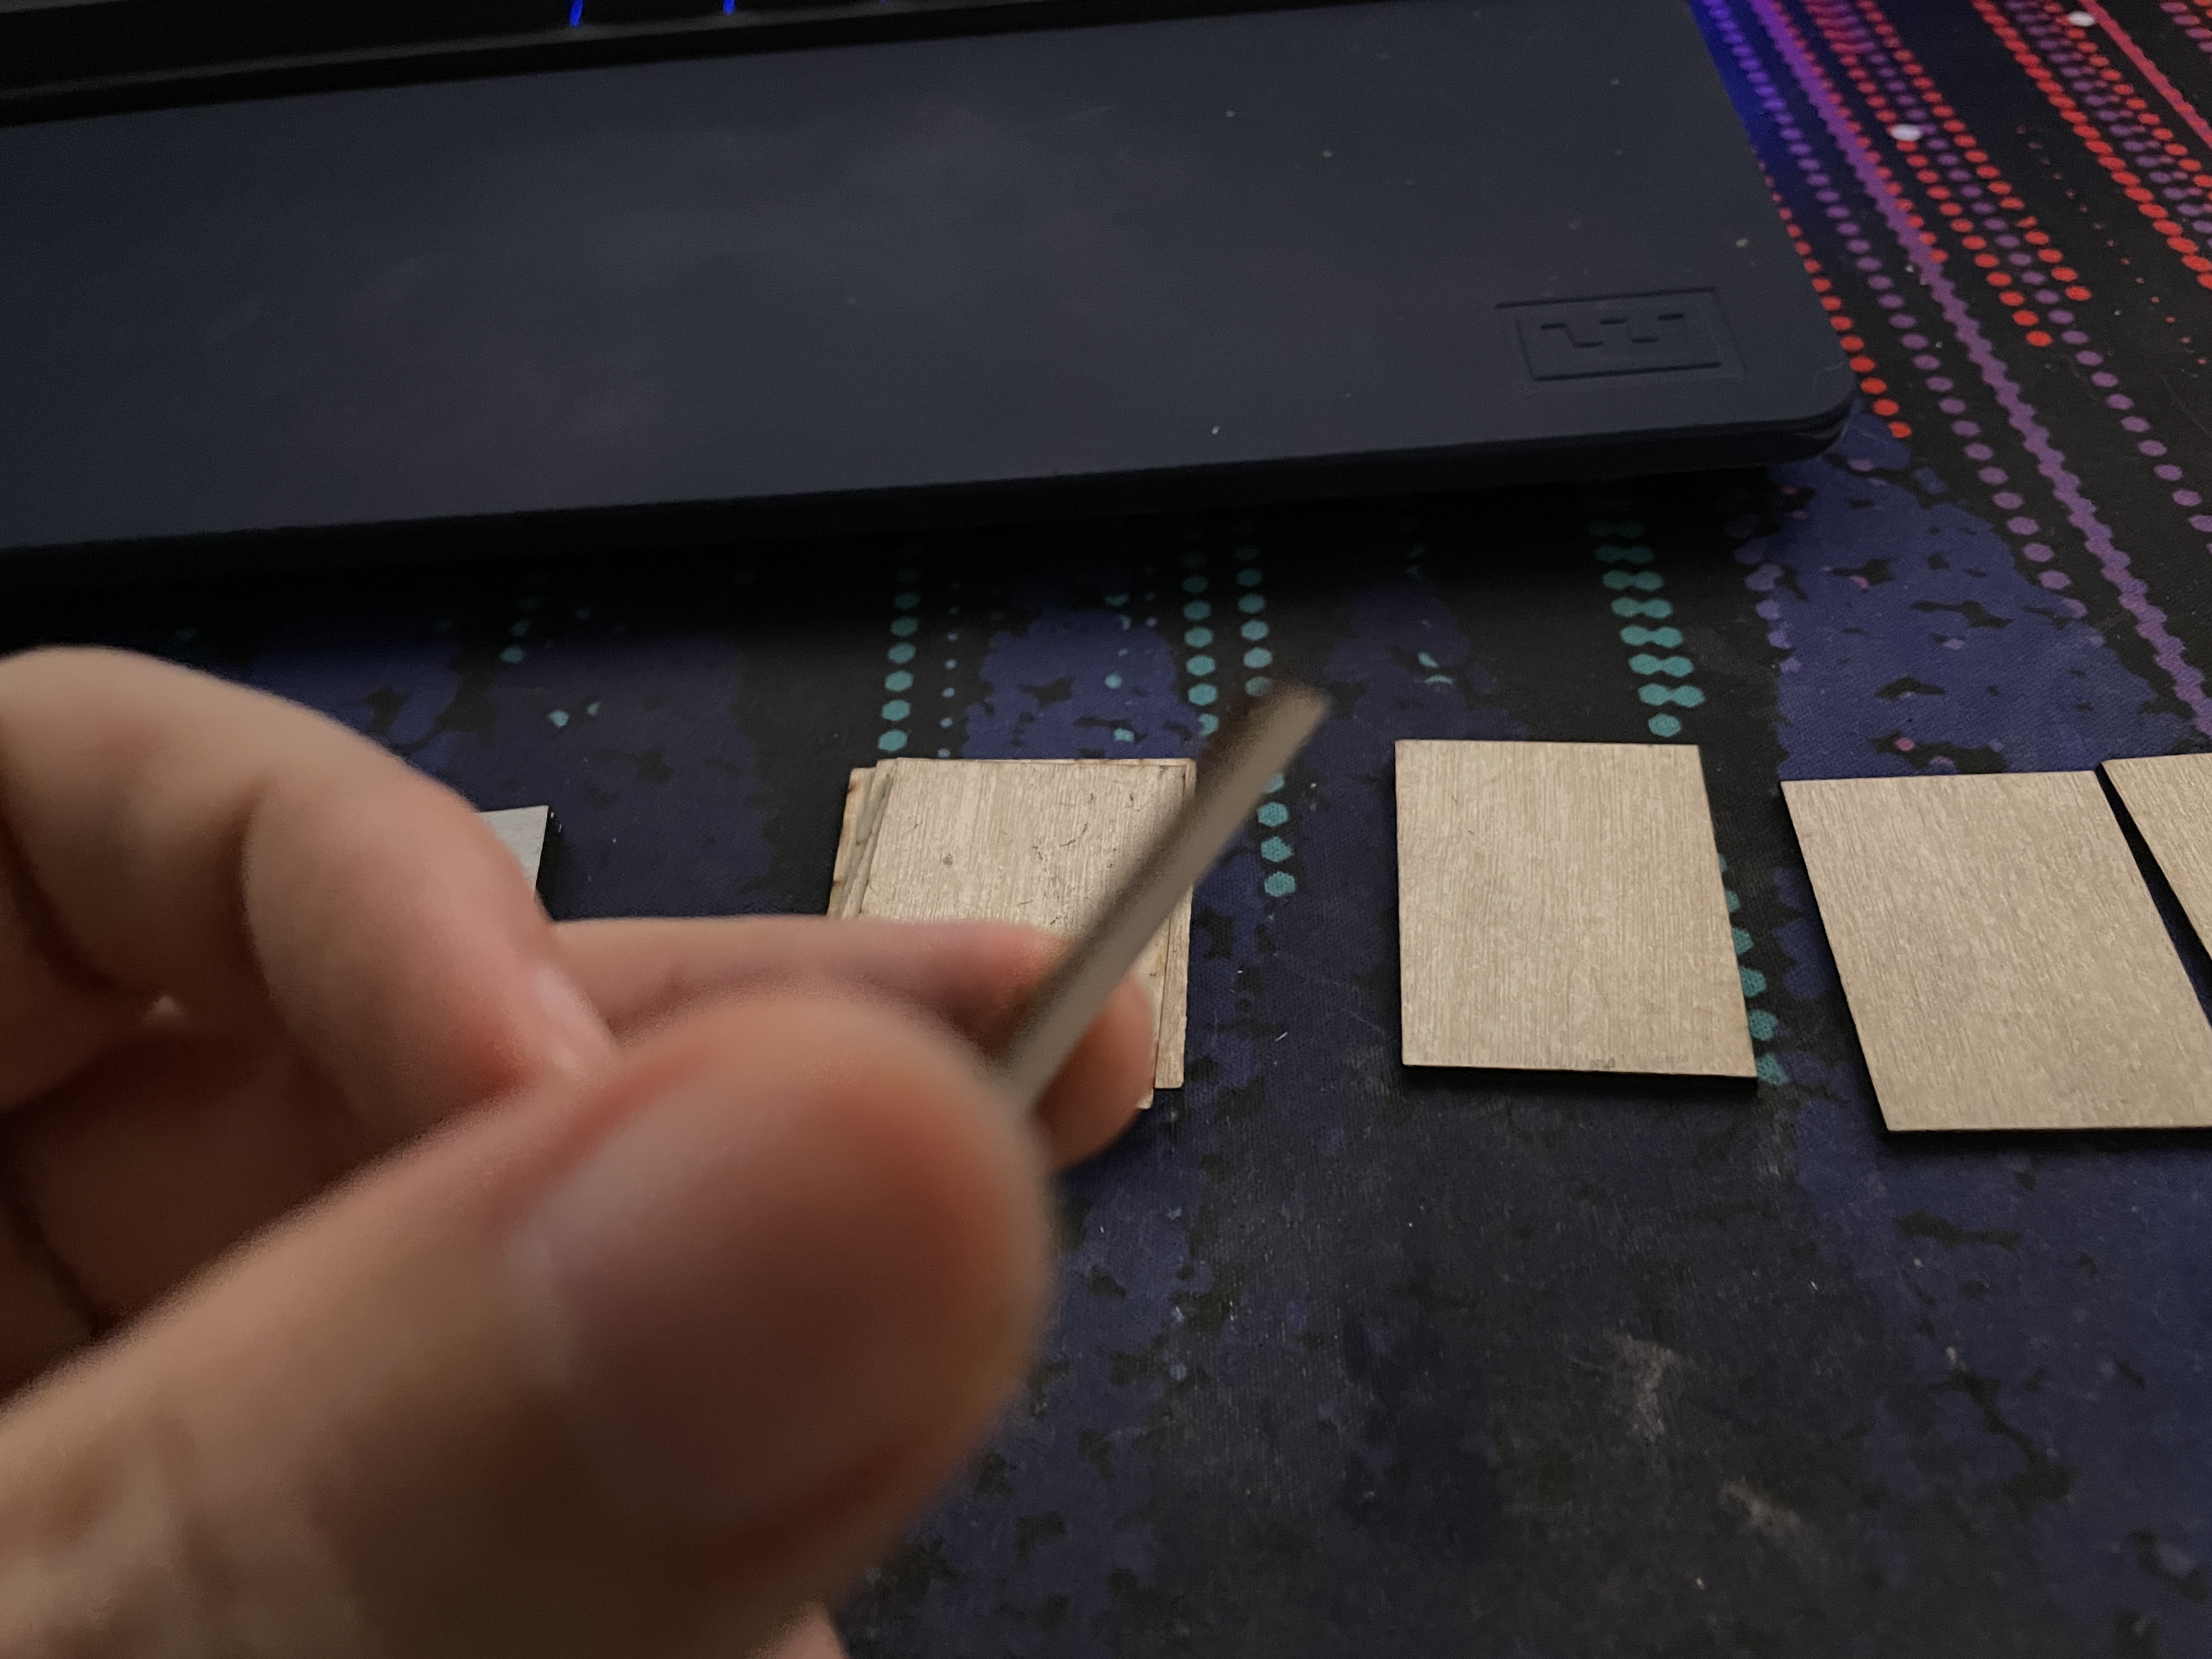
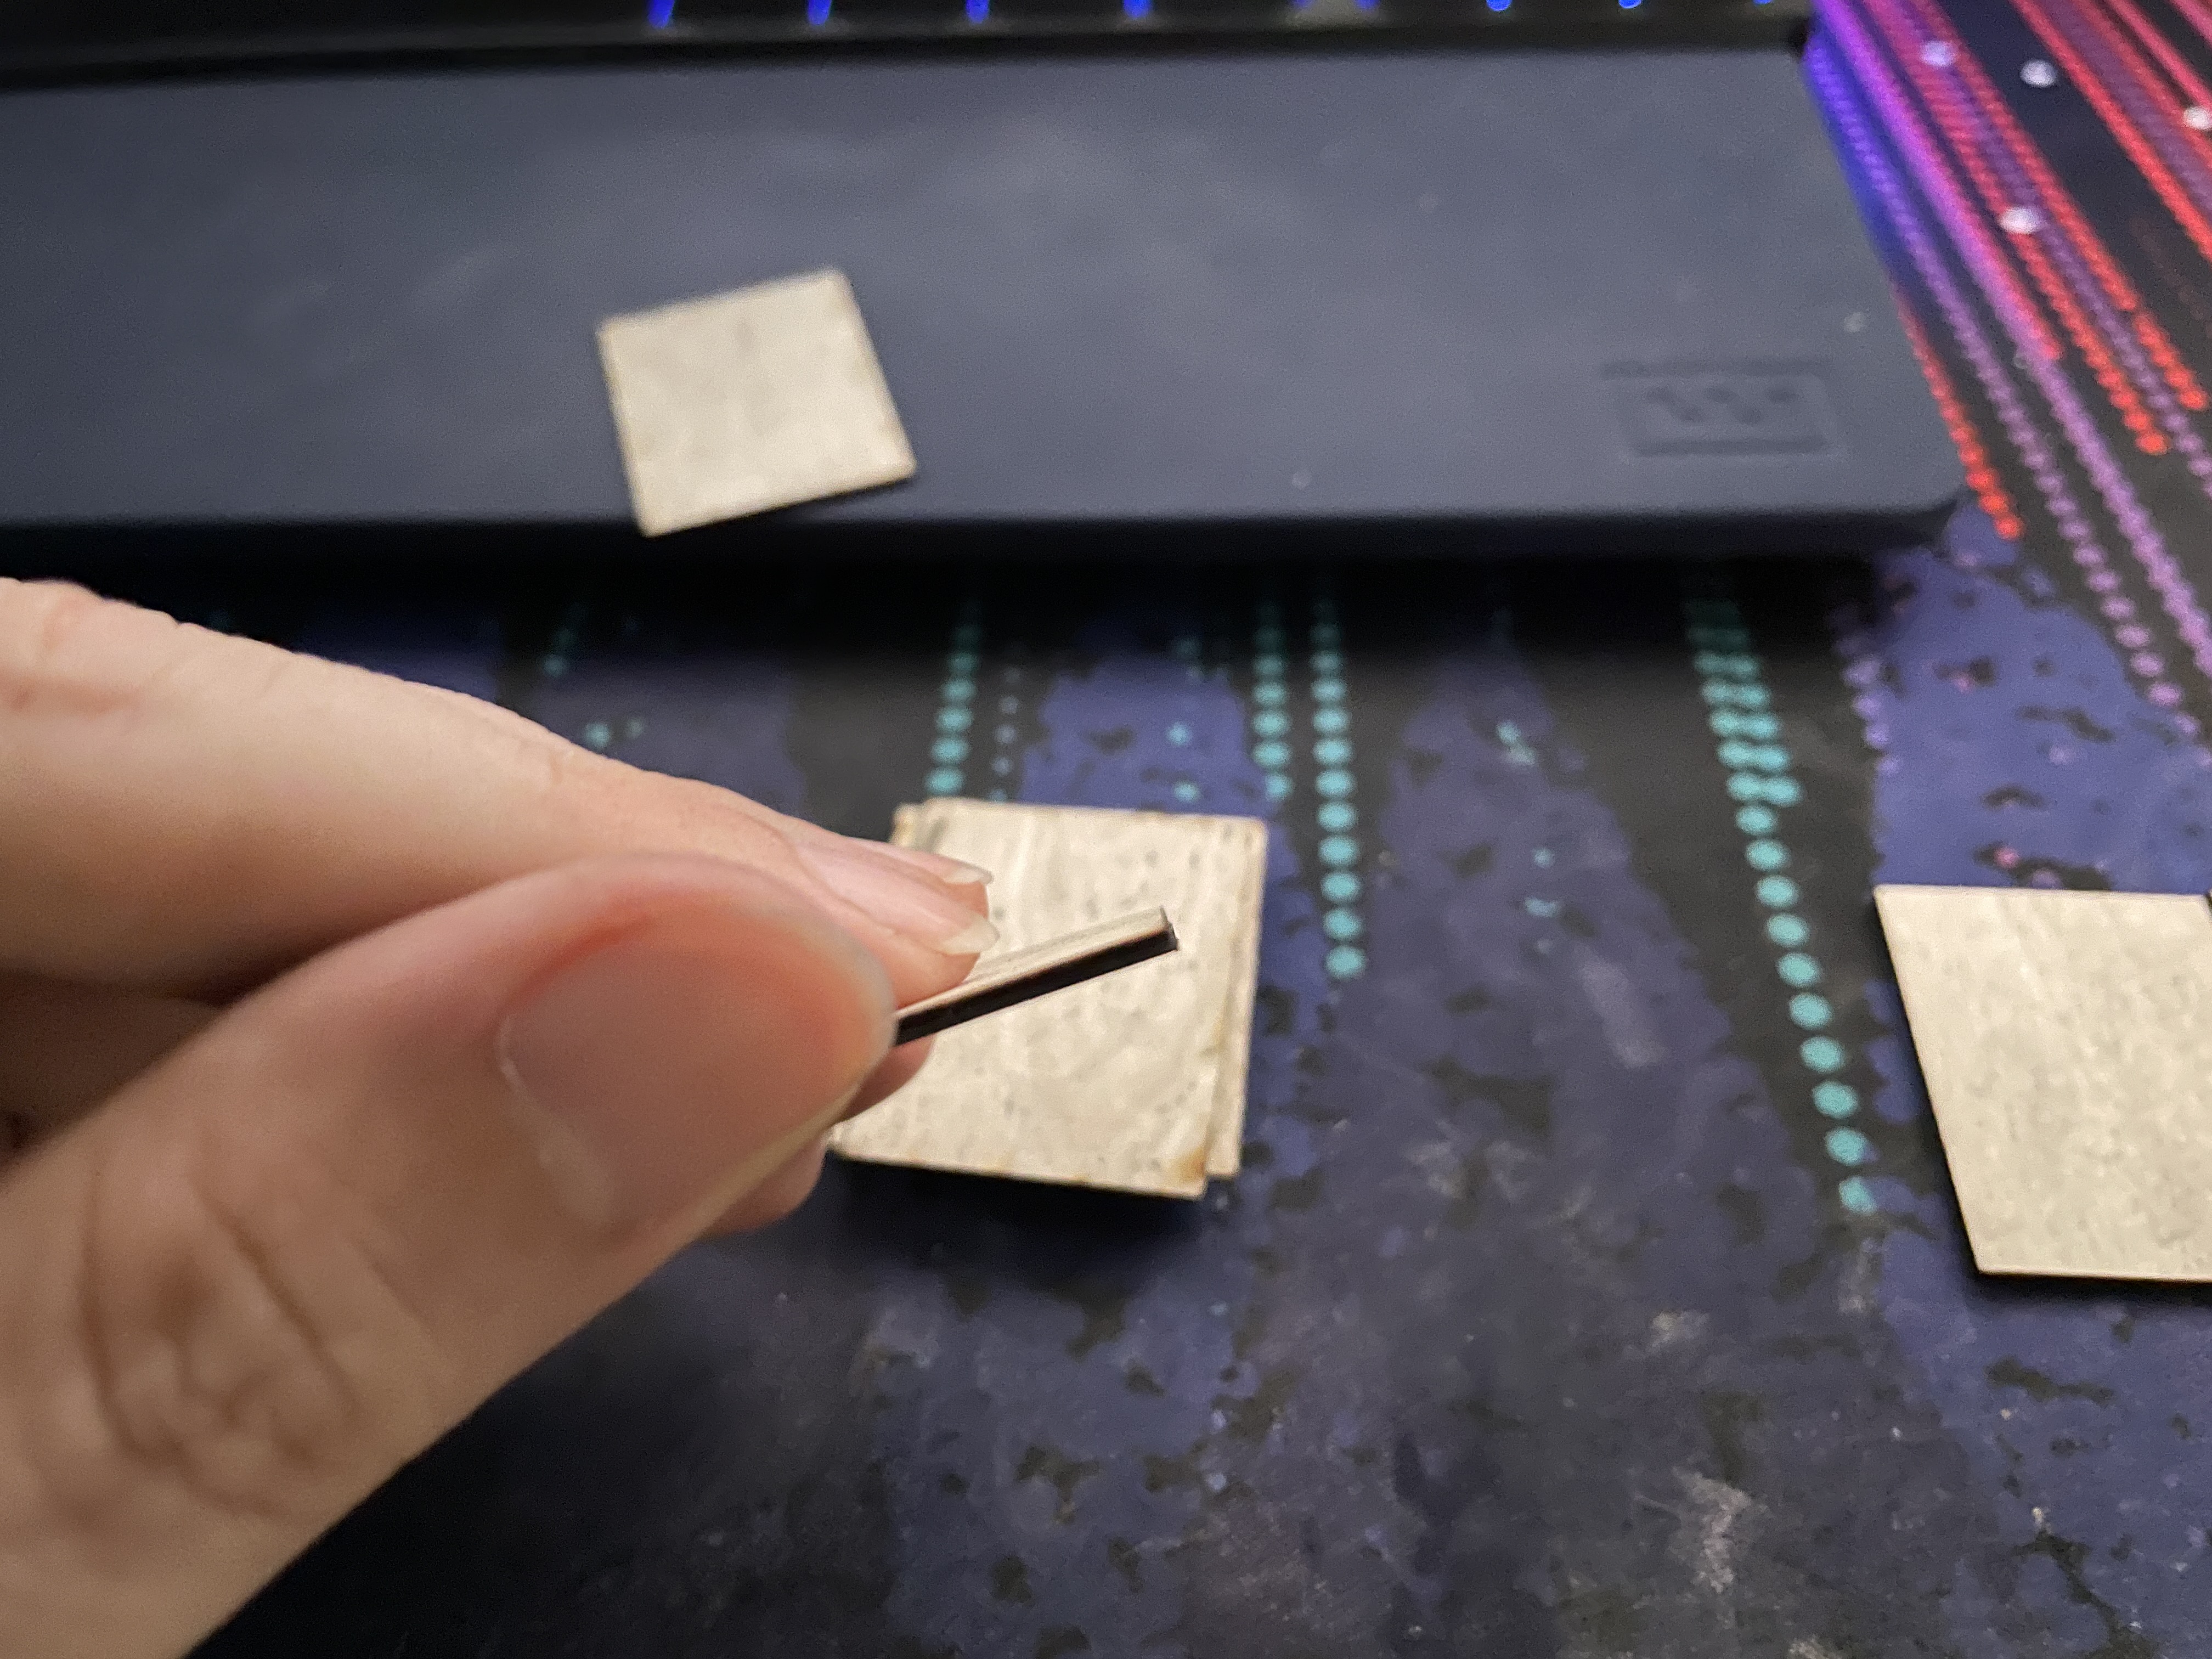
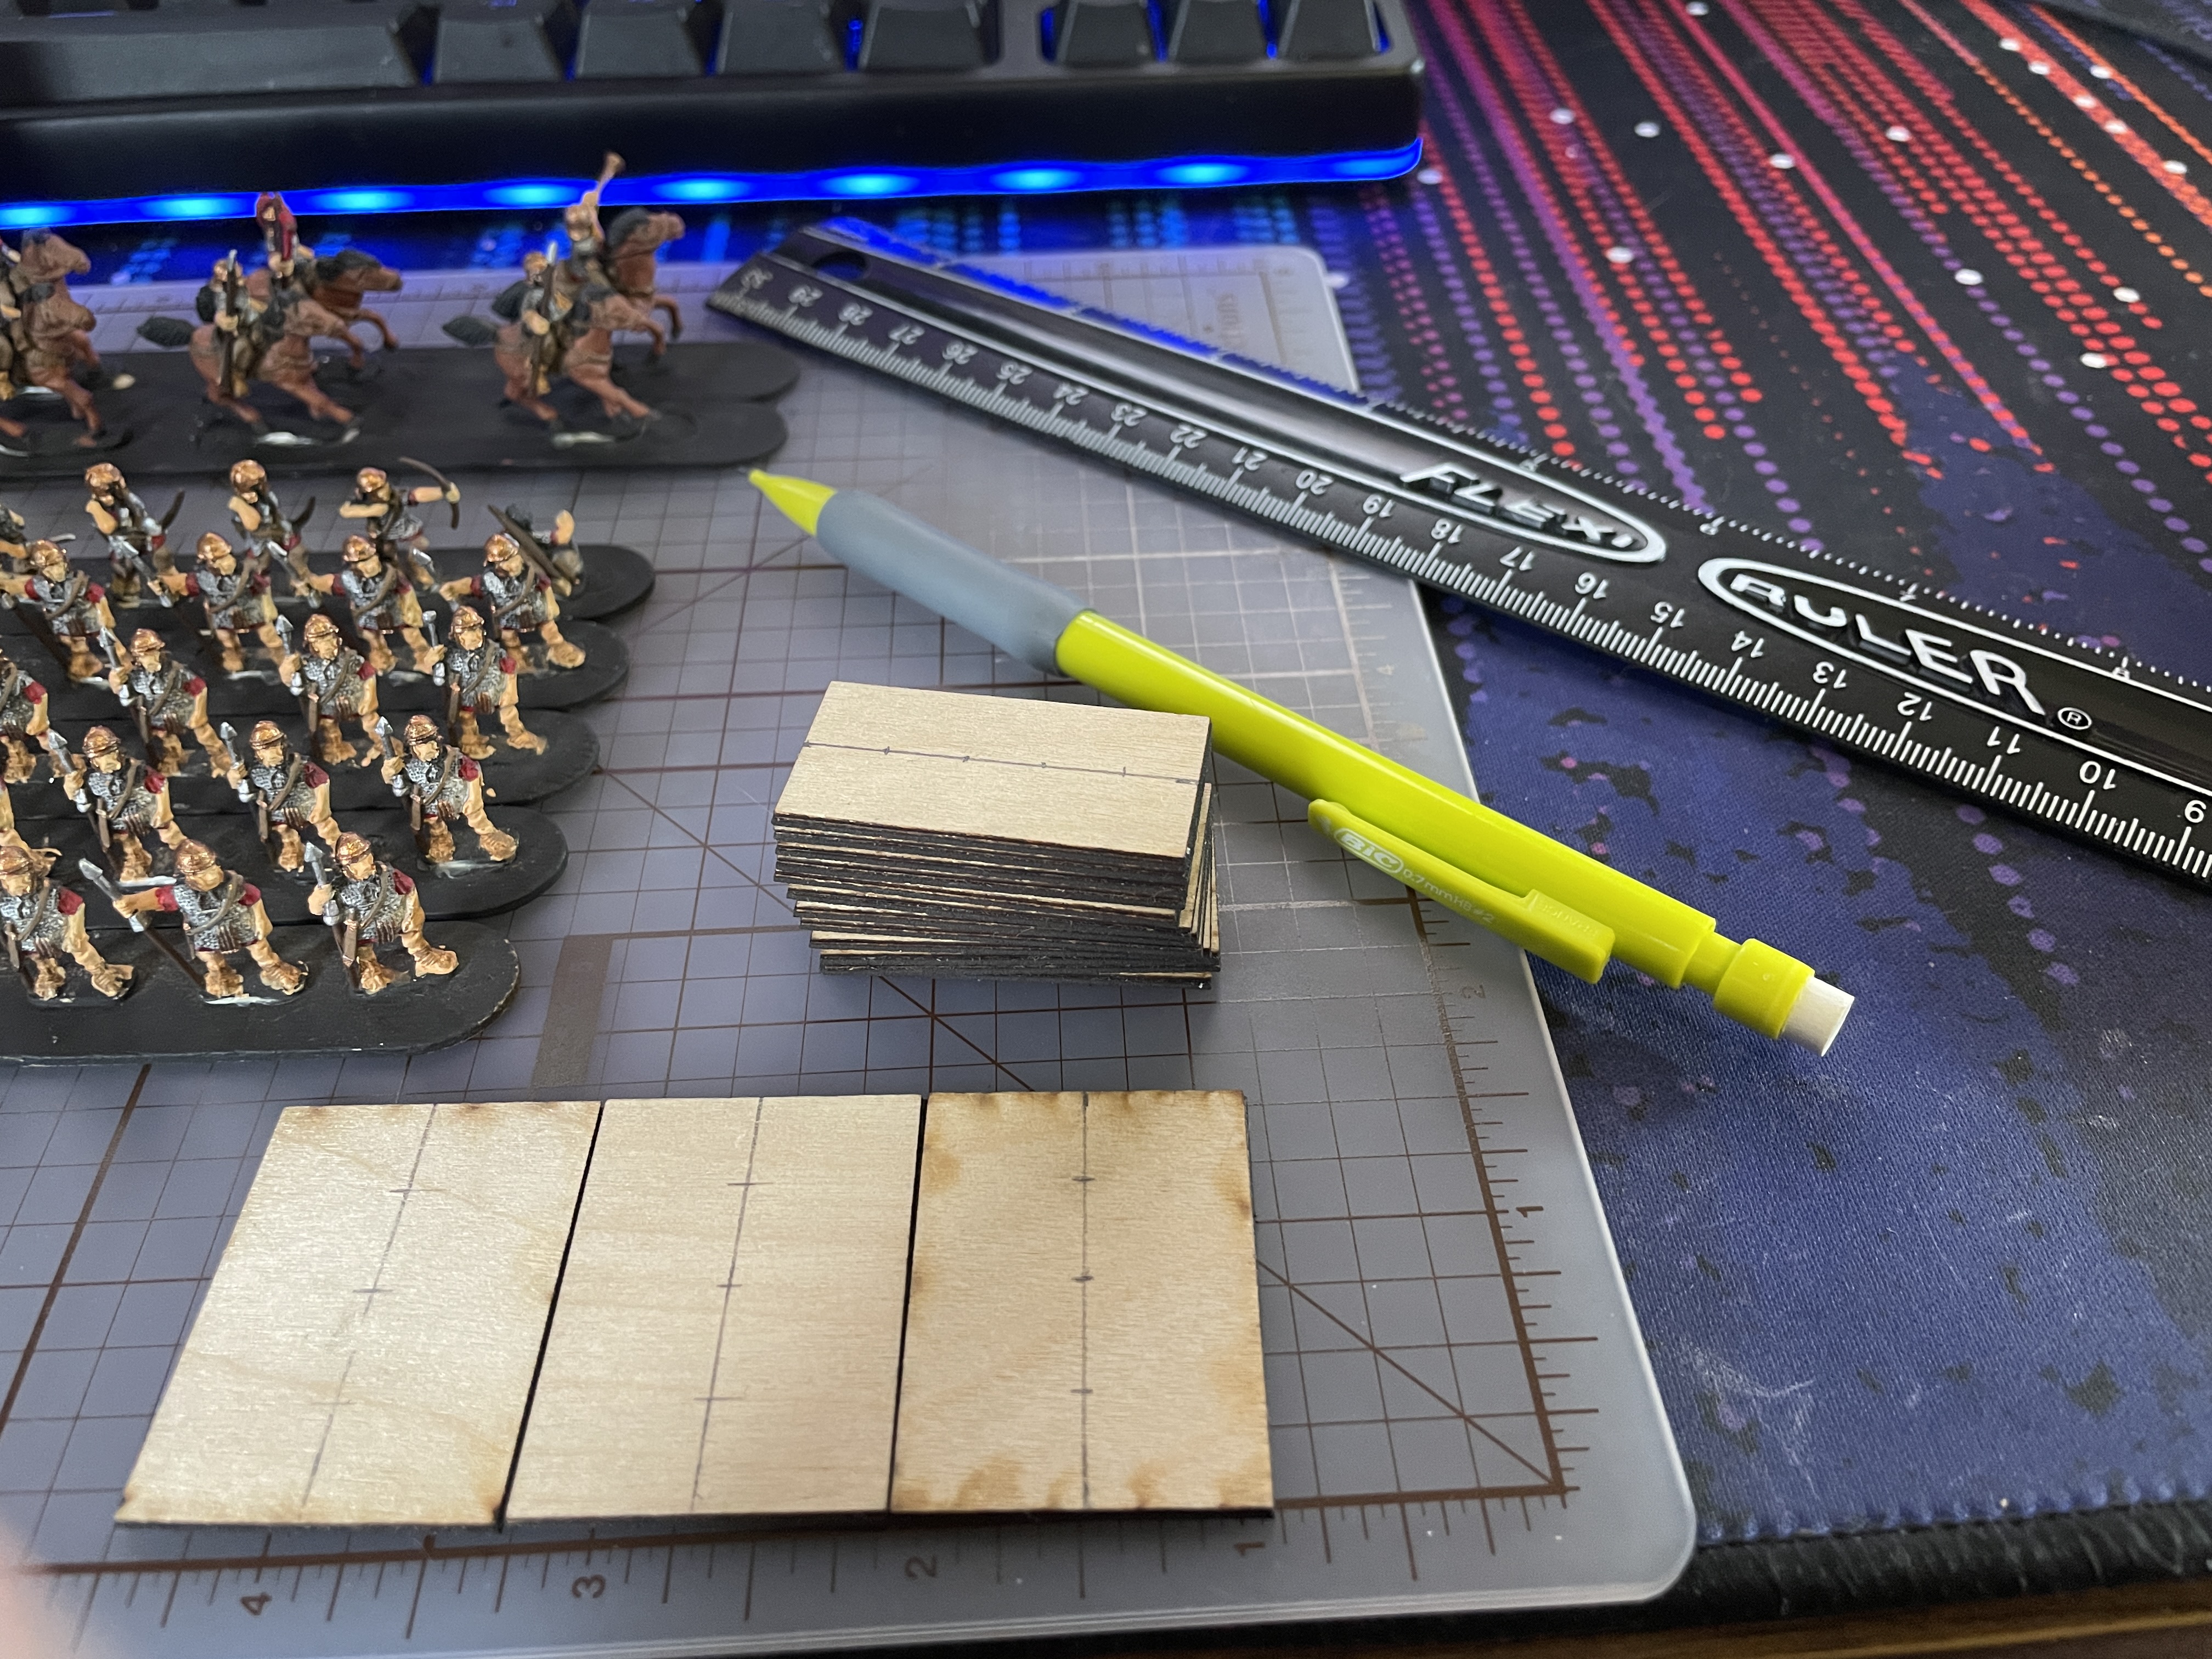
Still waiting on the Gauls to arrive. They have passed customs so should be by next week at least. In the meantime my bases for them came in as well as something special. I’m making new storage boxes themed for each army. I got some flexible steel sheet from Litko. I could have gotten a piece of actual steel but I’ve found two problems with it. Cutting it to fit in the box is a pain, and they rust/tarnish over time. I’ll share a picture of the steel I used in the old box. I cut the flexible steel to size and peel the adhesive. It required some trimming to get into cleanly but the result is good. I moved the Romans to their new box and there is plenty of room to spare now for the additional options and bases for the Gauls.
Next week my plasticard and other terrain supplies come in and I will go over how to make some tournament/rule legal sized terrain for DBA and the process I take to make some. Until then happy hobby time everyone!
Basing texture
I start today’s hobby time by putting on the Vallejo Earth Texture. At first I was worried I was blocked as upon opening the jar it was as stiff as soft taffy. Not spreadable at all. Thinking it might be ruined anyway I decided to poor some water in and start mixing.
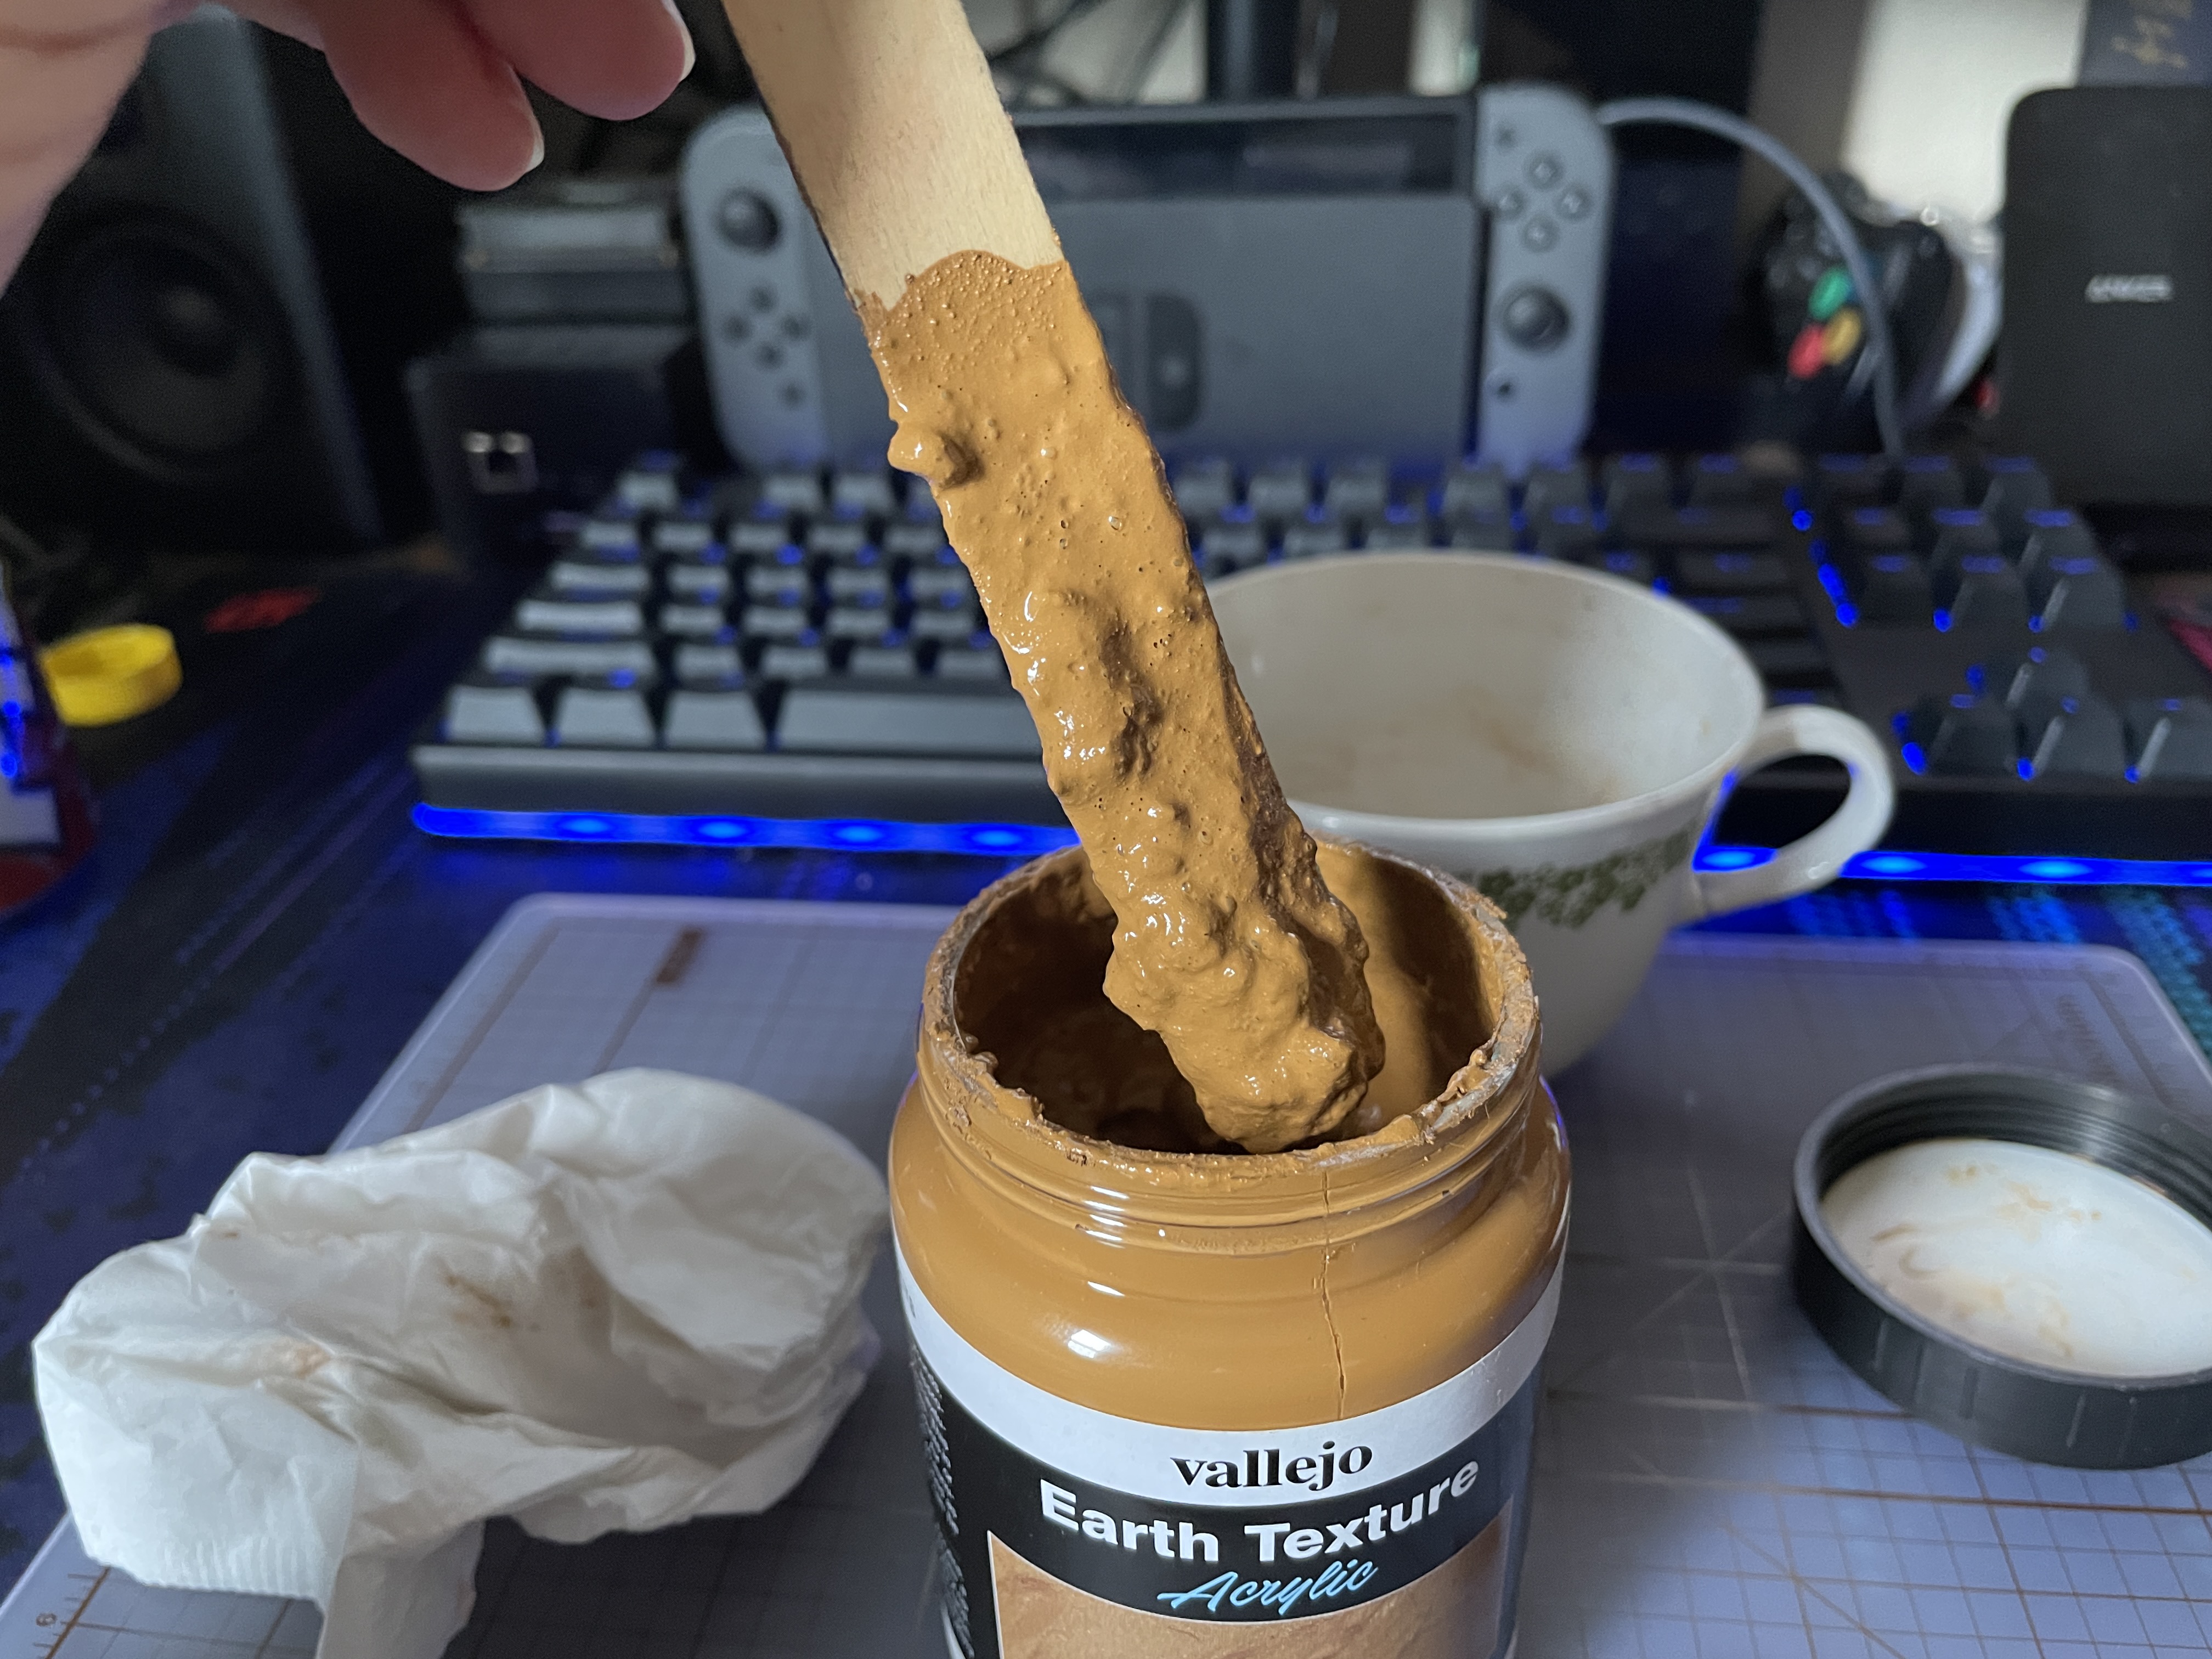
After quite a bit of mixing and time everything hydrated back up and it was usable. So I start working on the bases. It is hard to describe but working with this texture is like frosting a cake. Use a brush you don’t care about or a small metal spatula for sculpting. You put a dollop on and then push it where you want. It will shrink when it dries so you may need to add more to a spot later. I like using it as it paints, textures and helps seal the figures to the base. It dries solid with a mixture of rubber and stone feel.
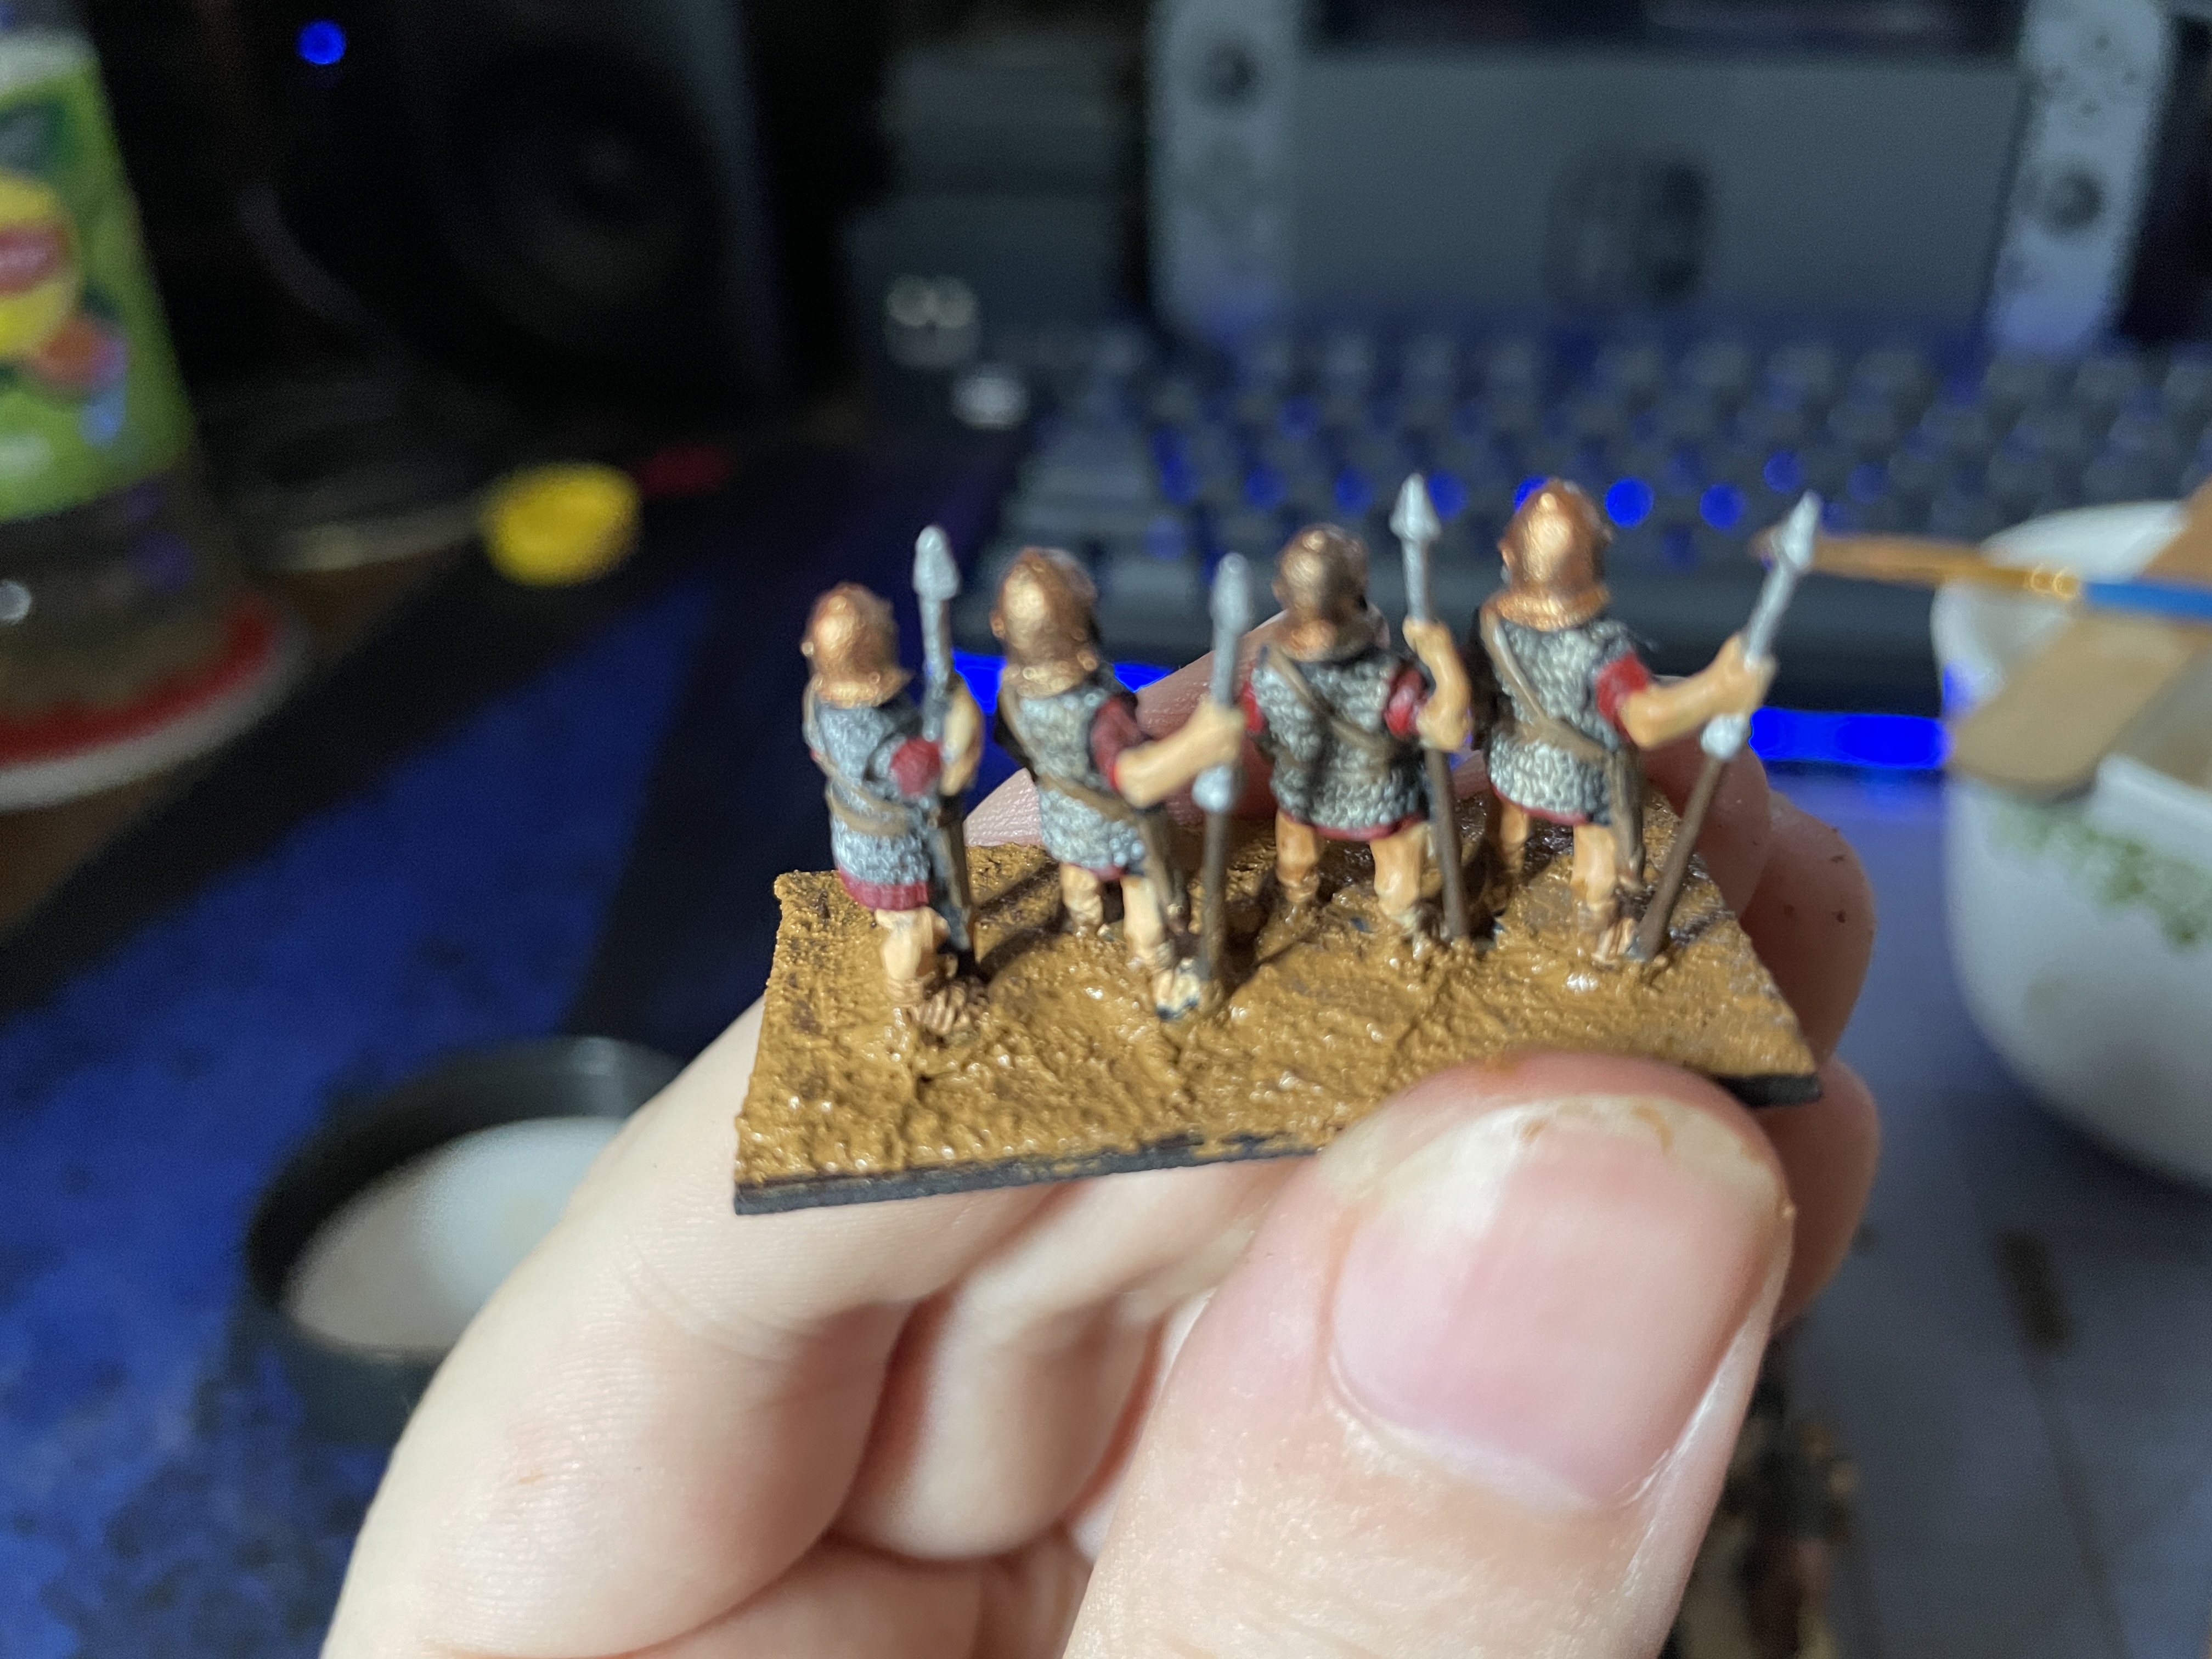
Letting it dry I check and I’m happy with the result so I spread texture onto the rest of the bases. It is a messy job and there is some touch ups I’m going to need to do on the weapons and the horse legs. Building up the ground material with everything so close together was a real challenge. But all of them are finished and waiting for the Vallejo tufts to arrive. For that I’m using some 2mm high tufts for the grass. Will be the first time working with the tufts so curious how it will all look when finished. Until my shipments arrive I’ll have to work on some other hobby items. Until next post happy hobby time everyone!
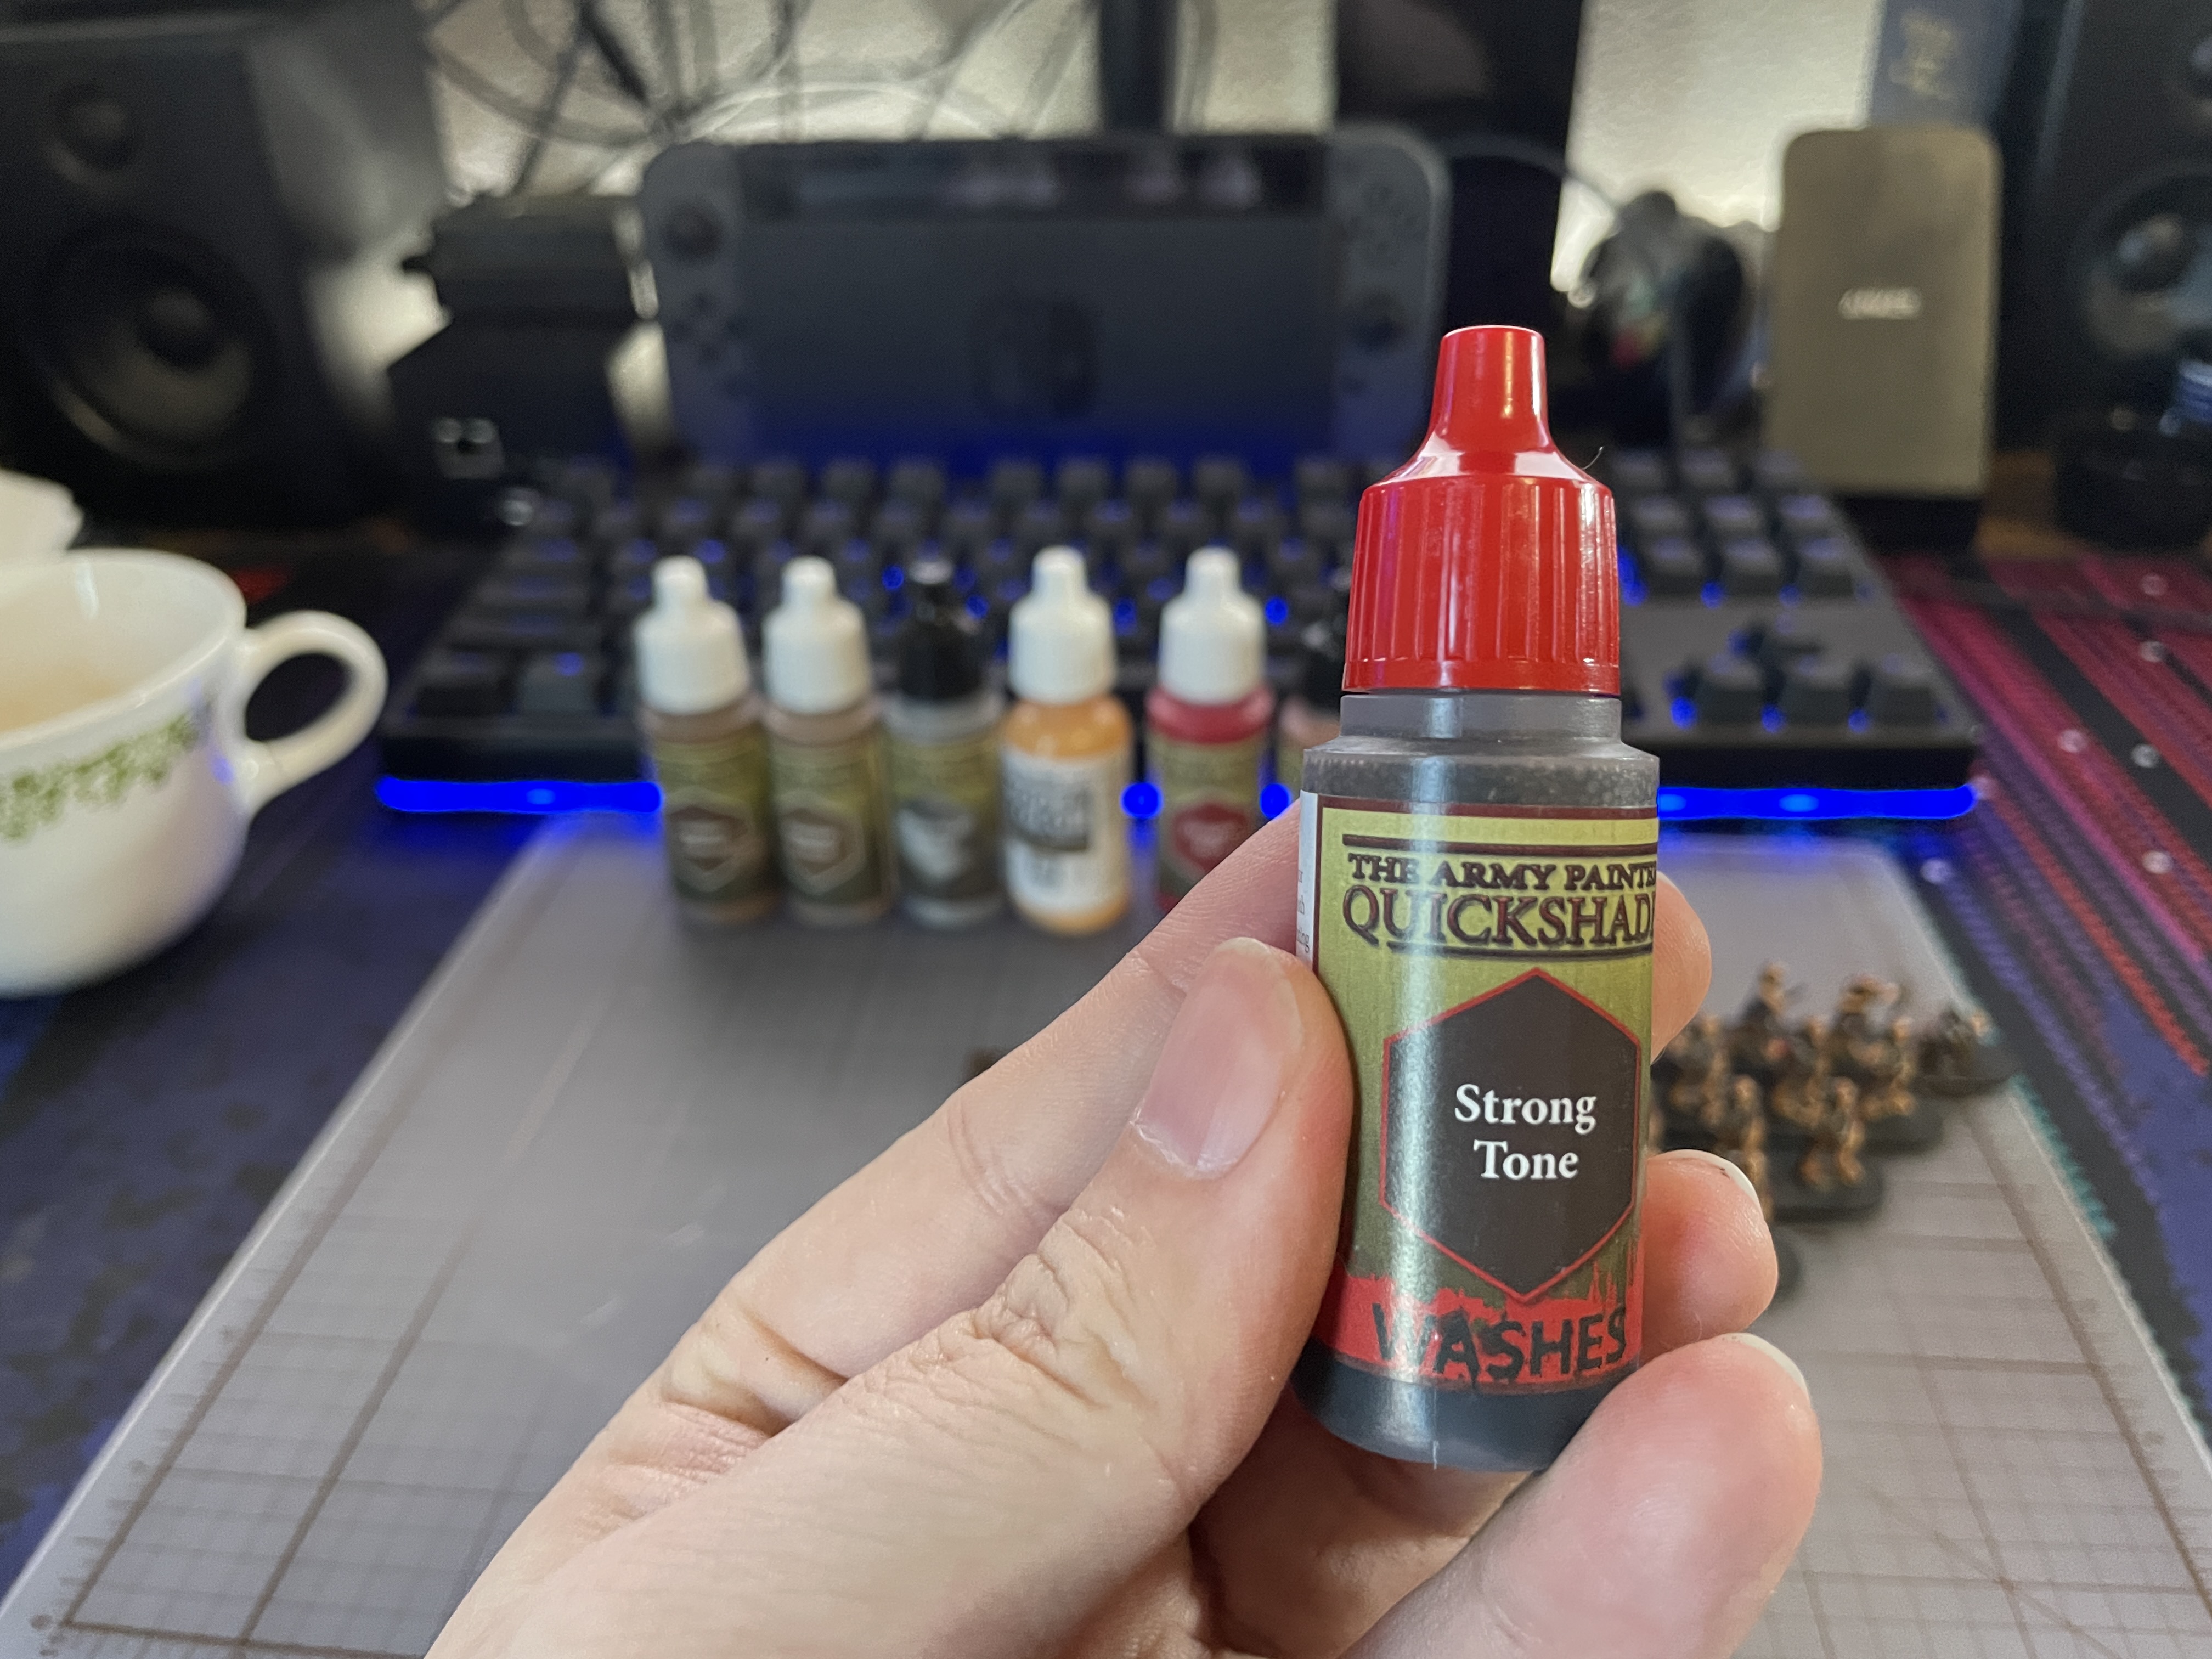
Washing and Basing
Sitting on it over night I found that the Strong Tone was too strong so I moved to Soft Tone and it was exactly the right amount of shade. Time to wash the rest and let them dry.

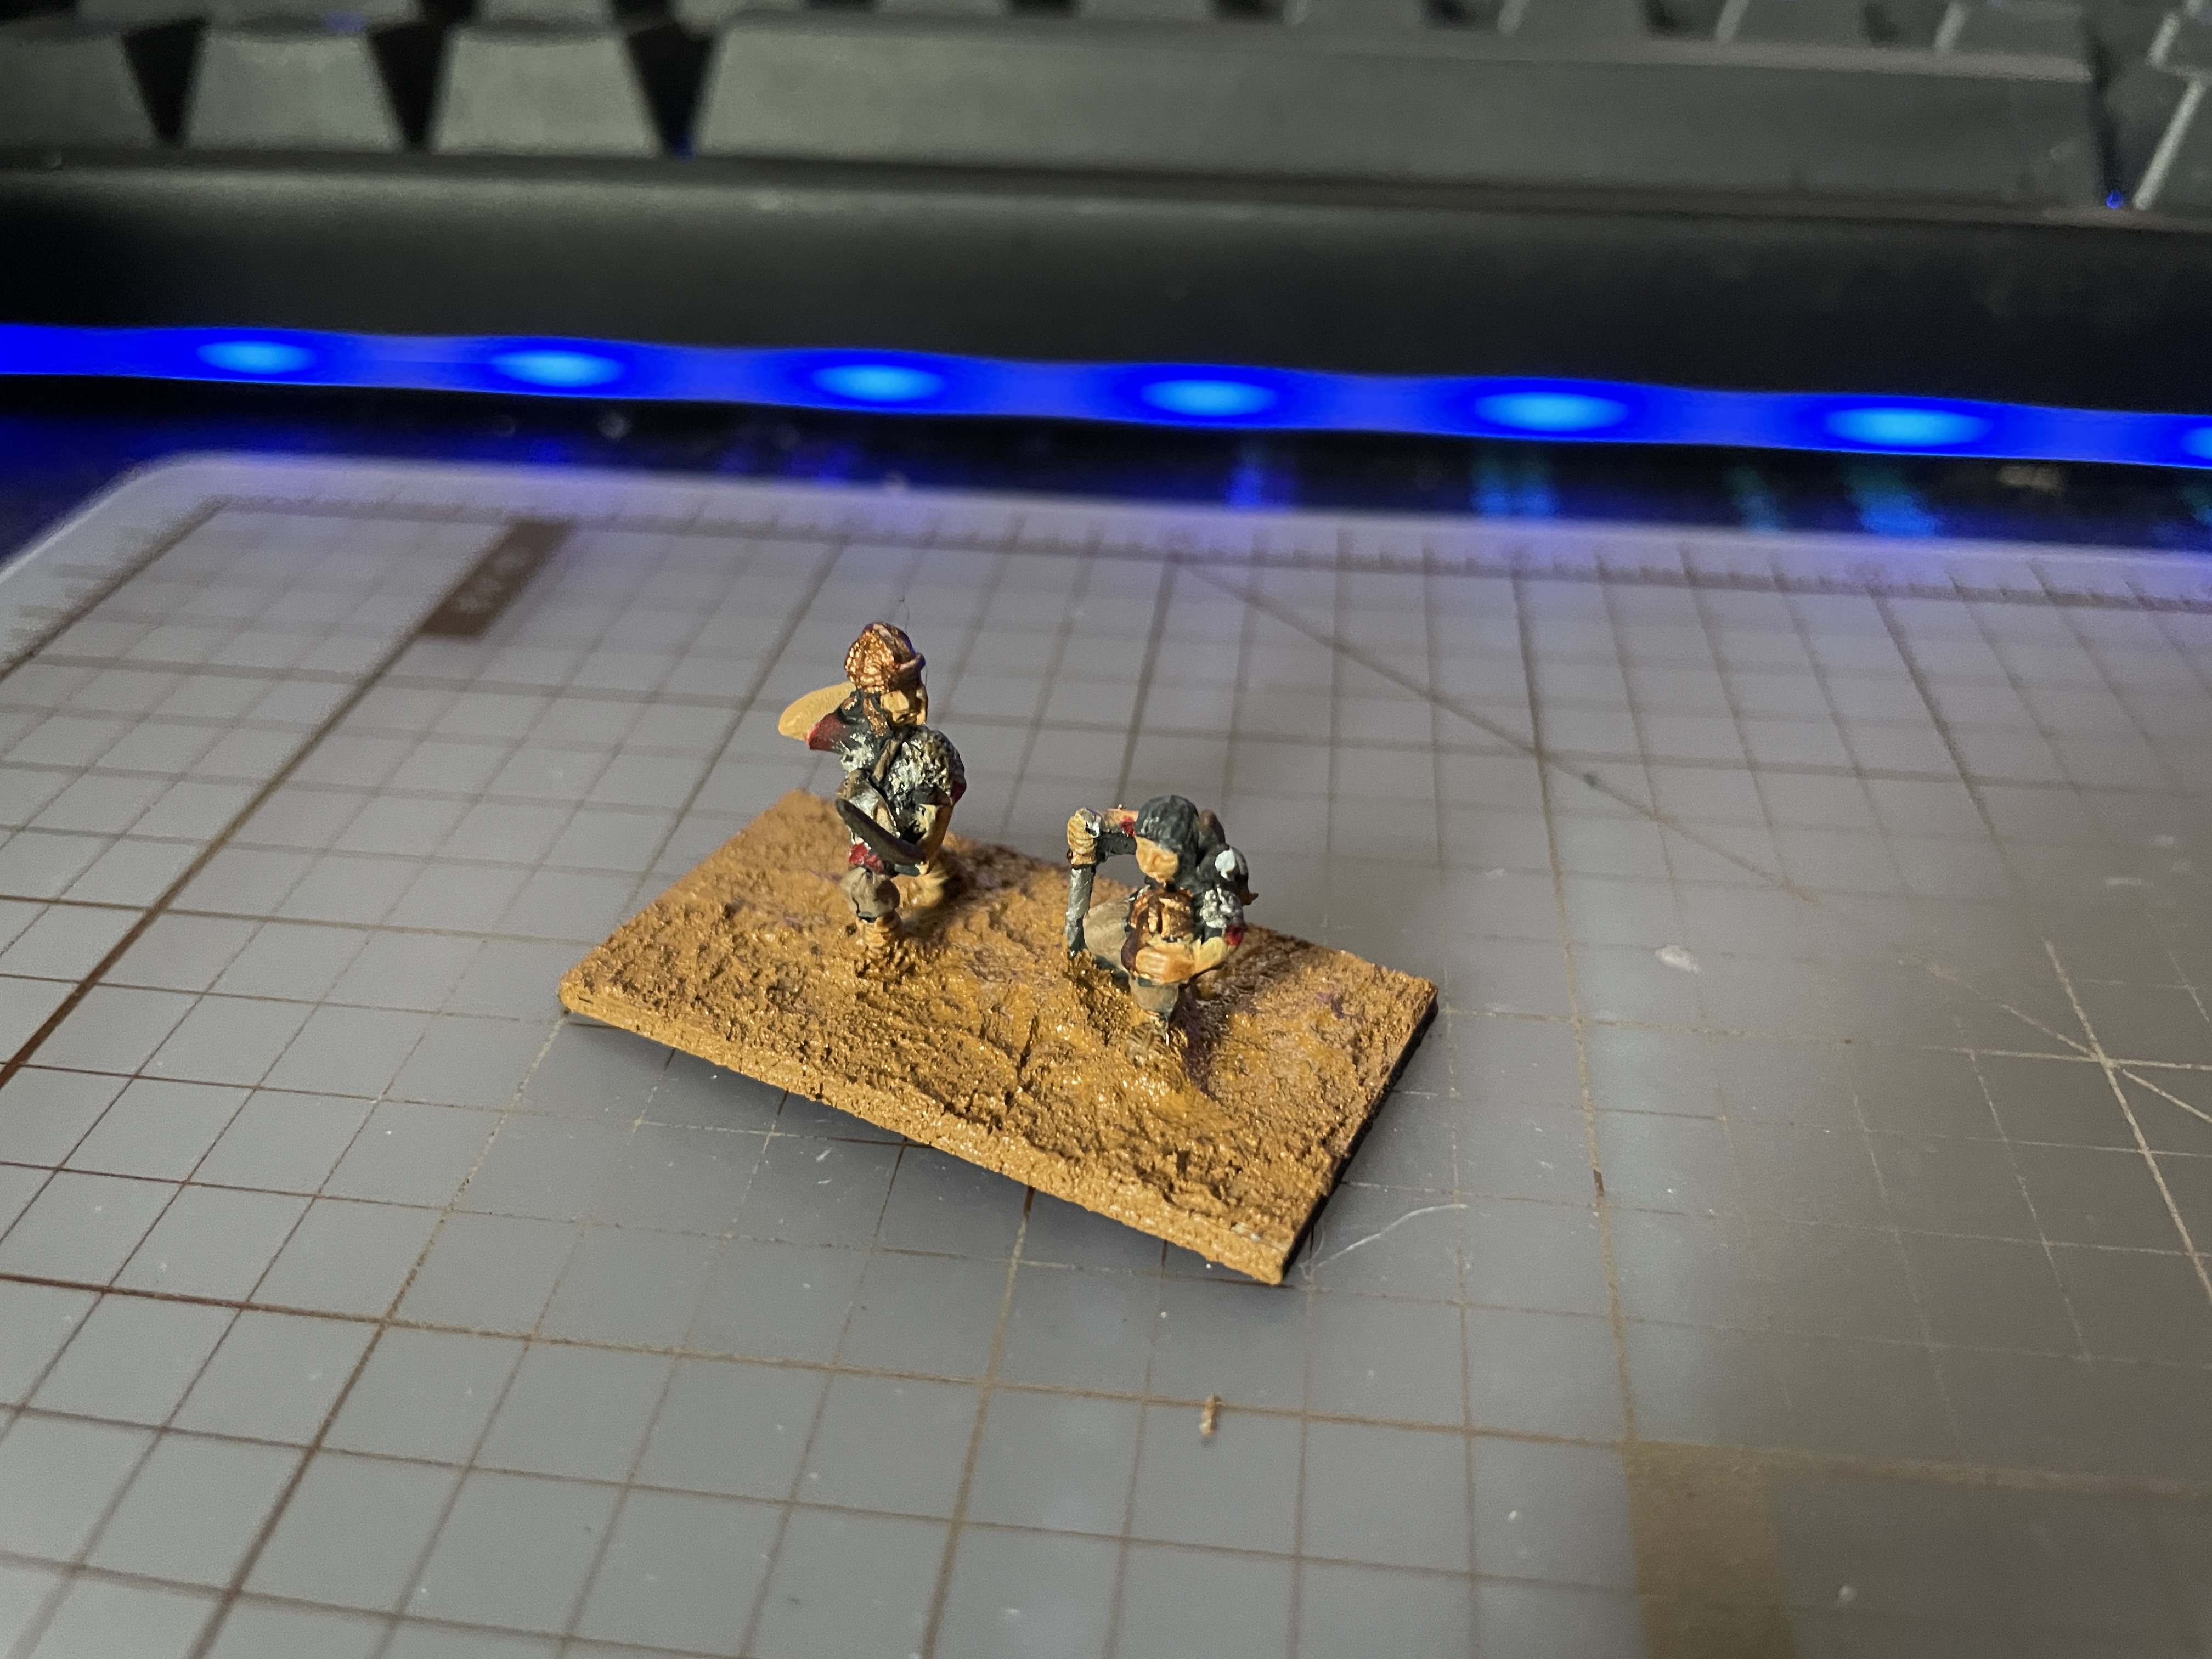
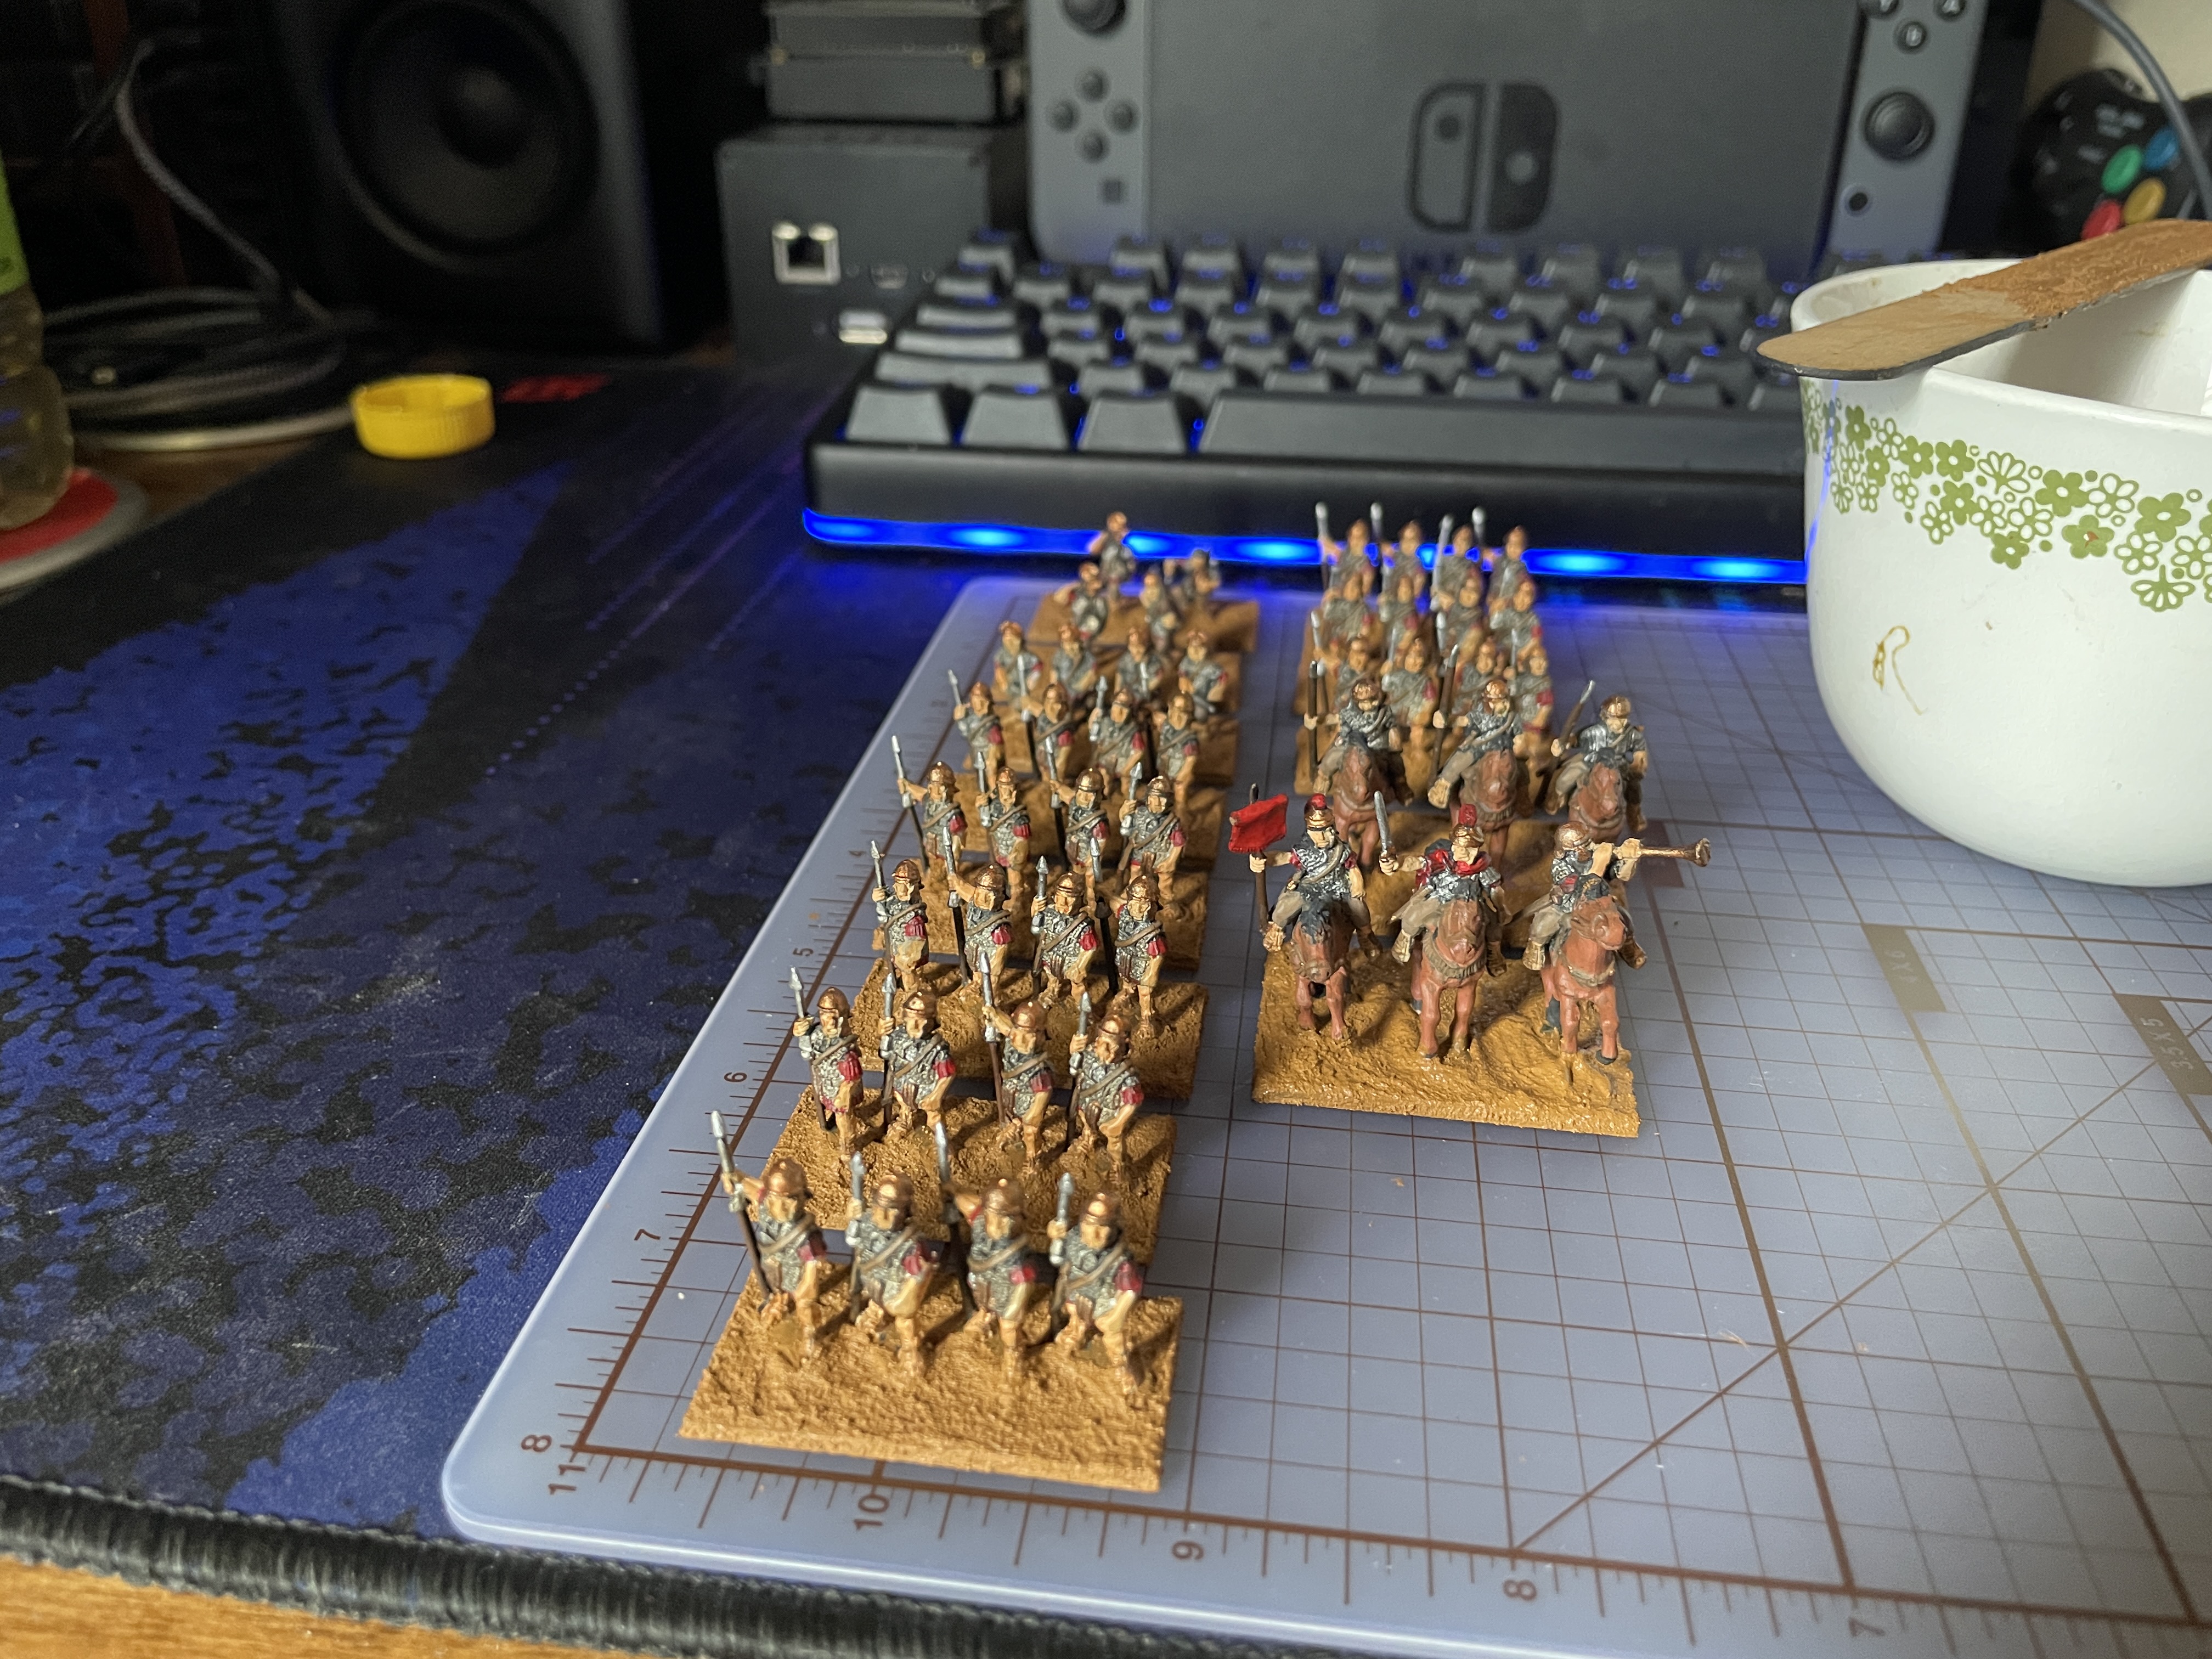
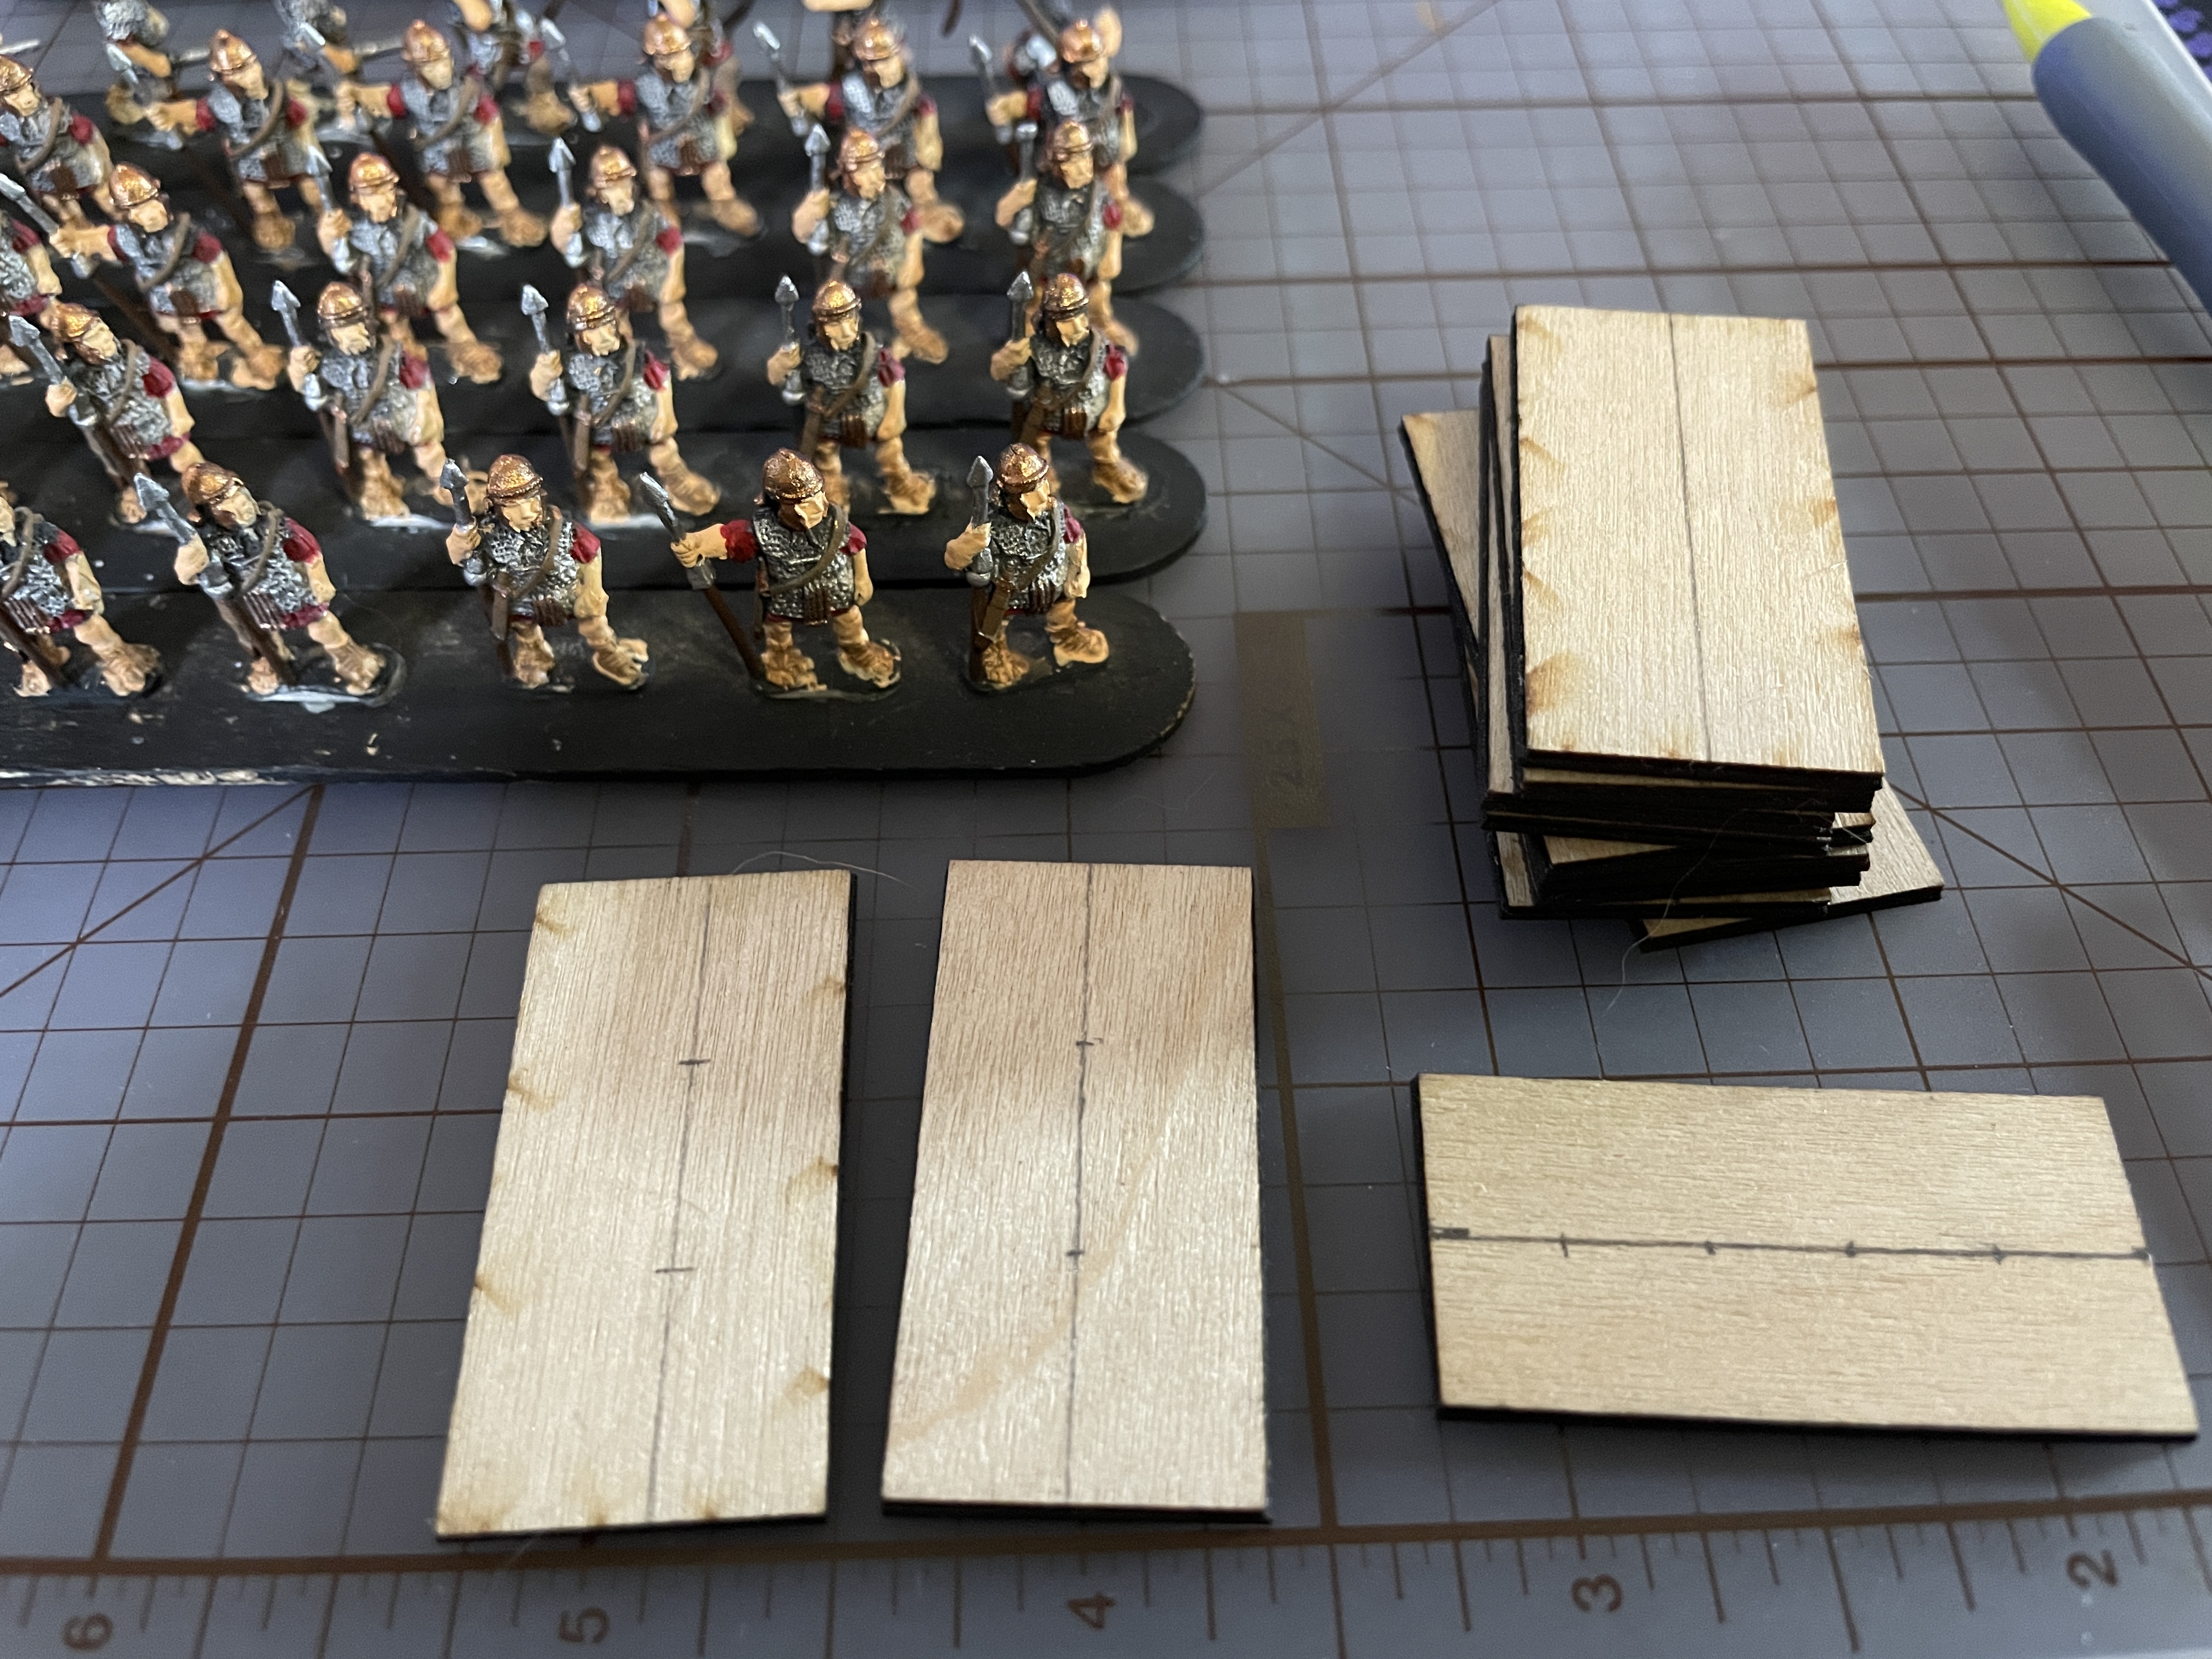
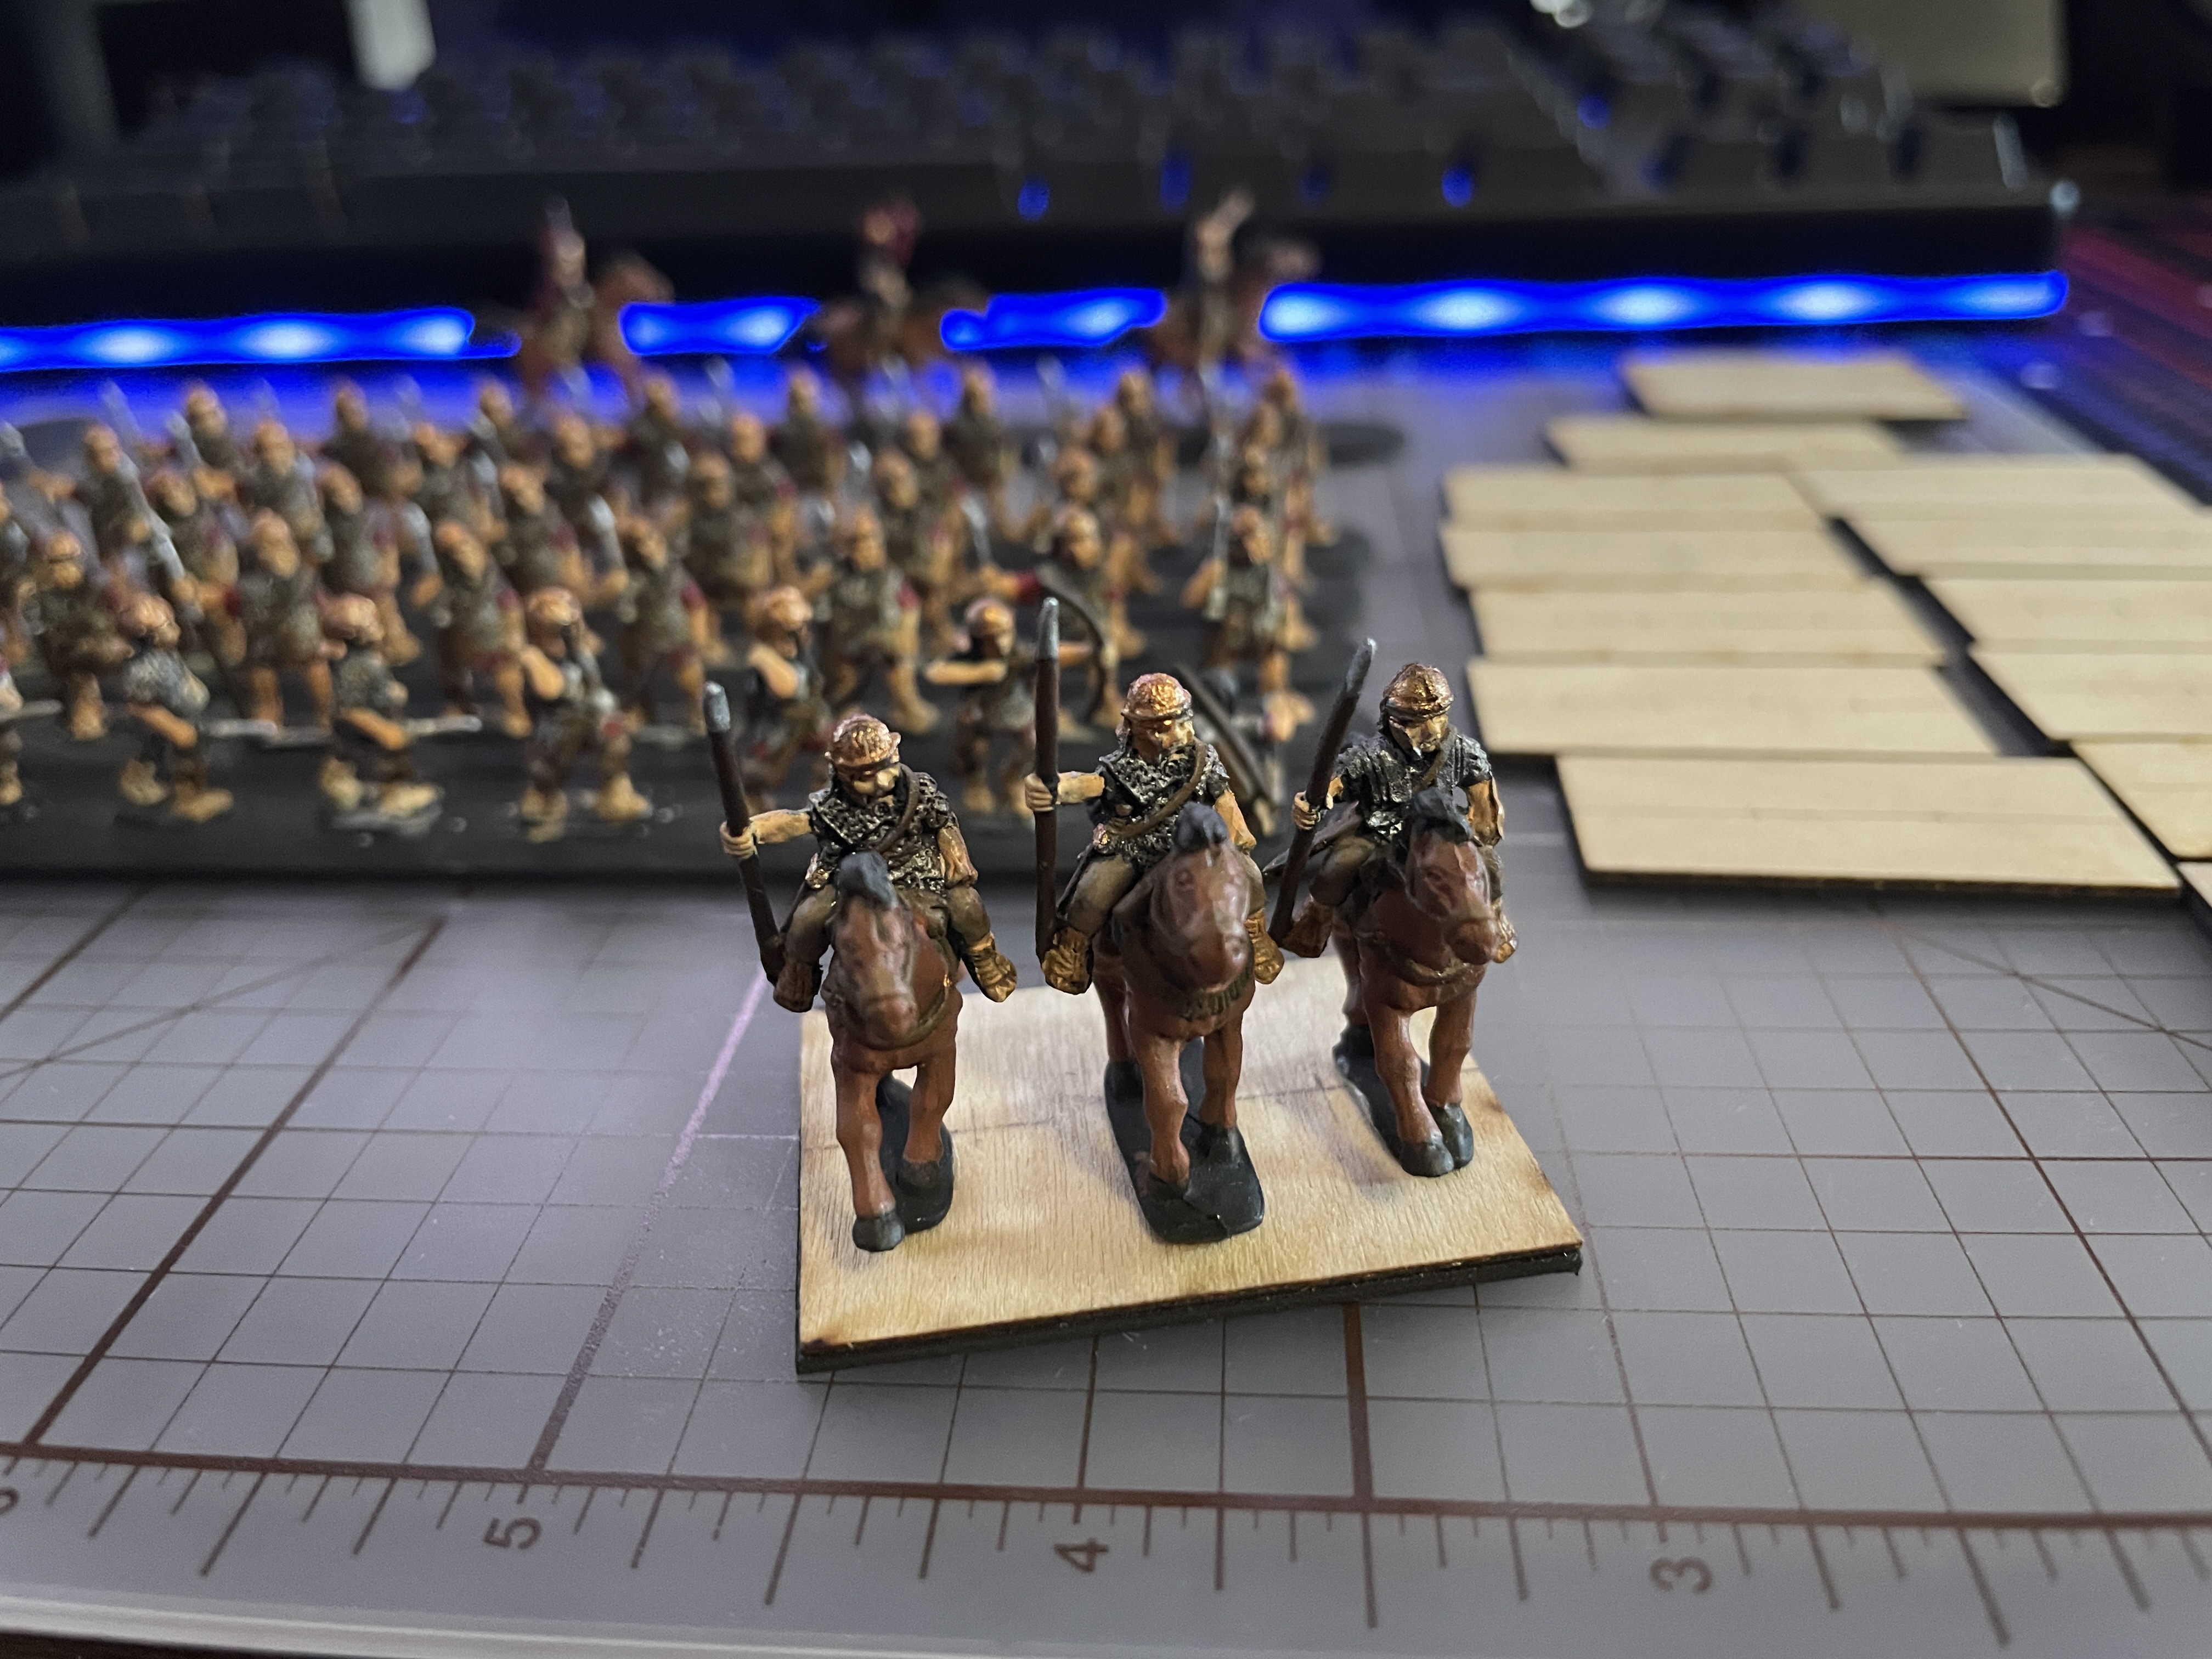
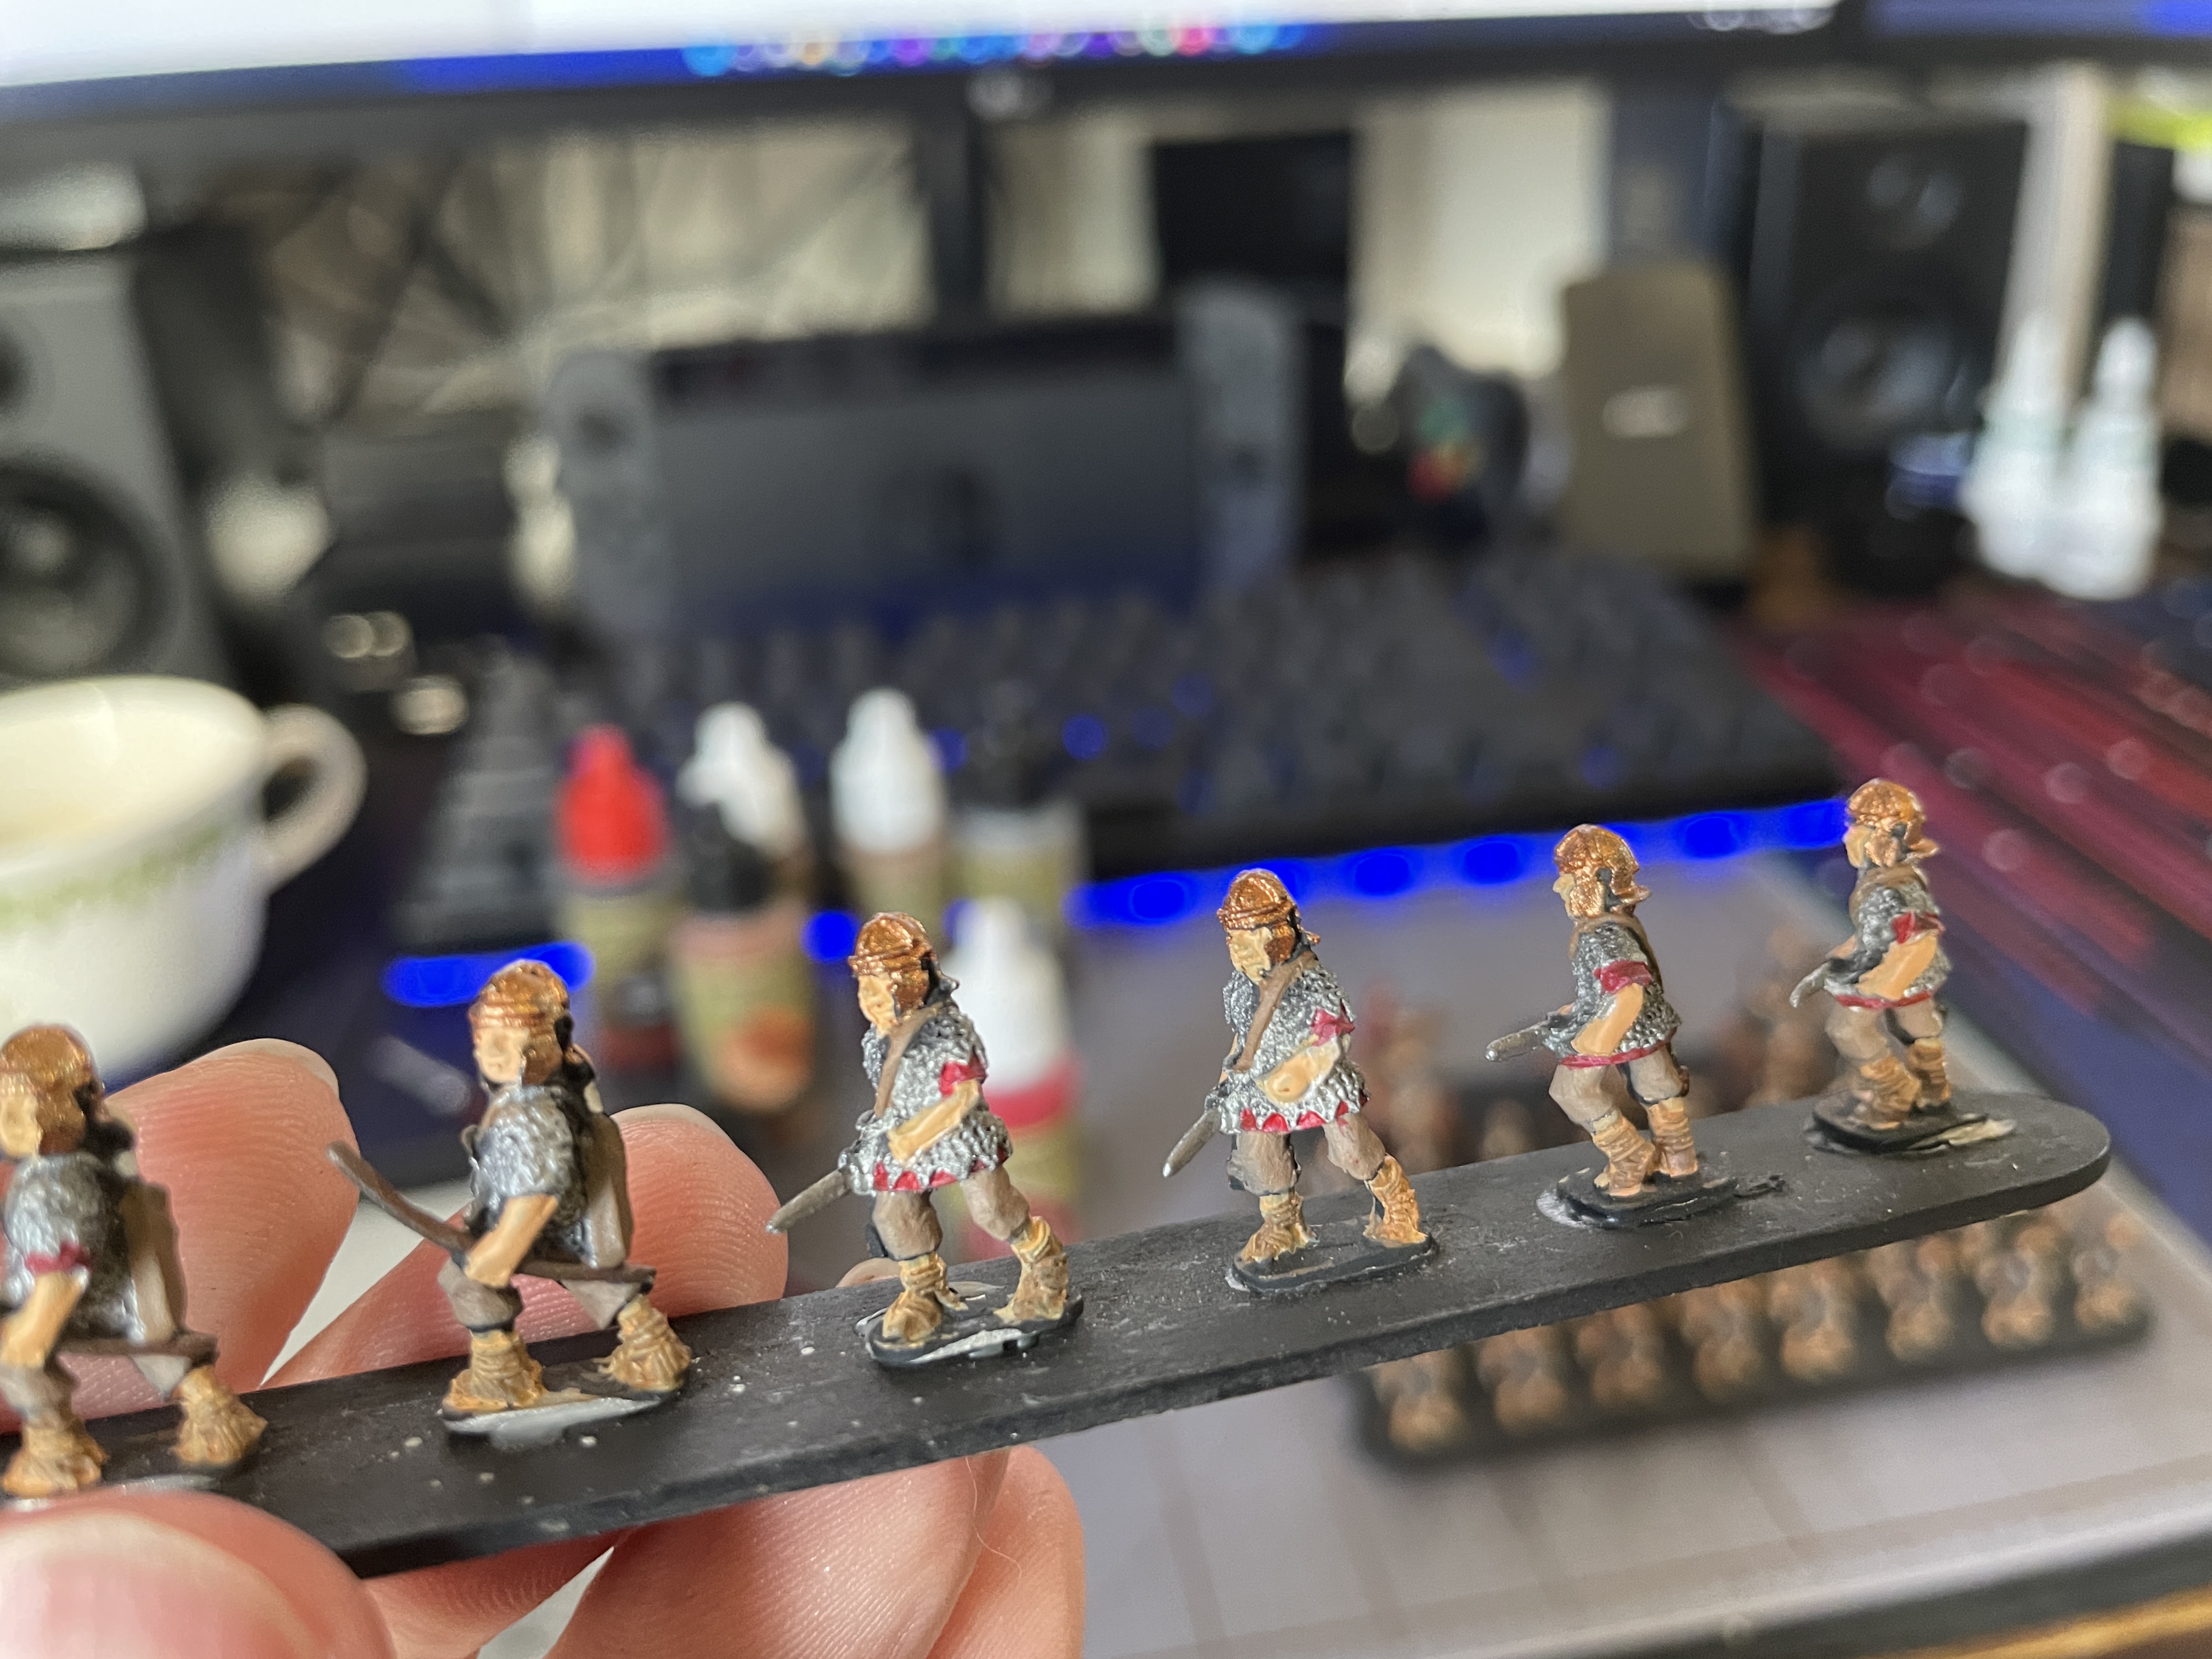
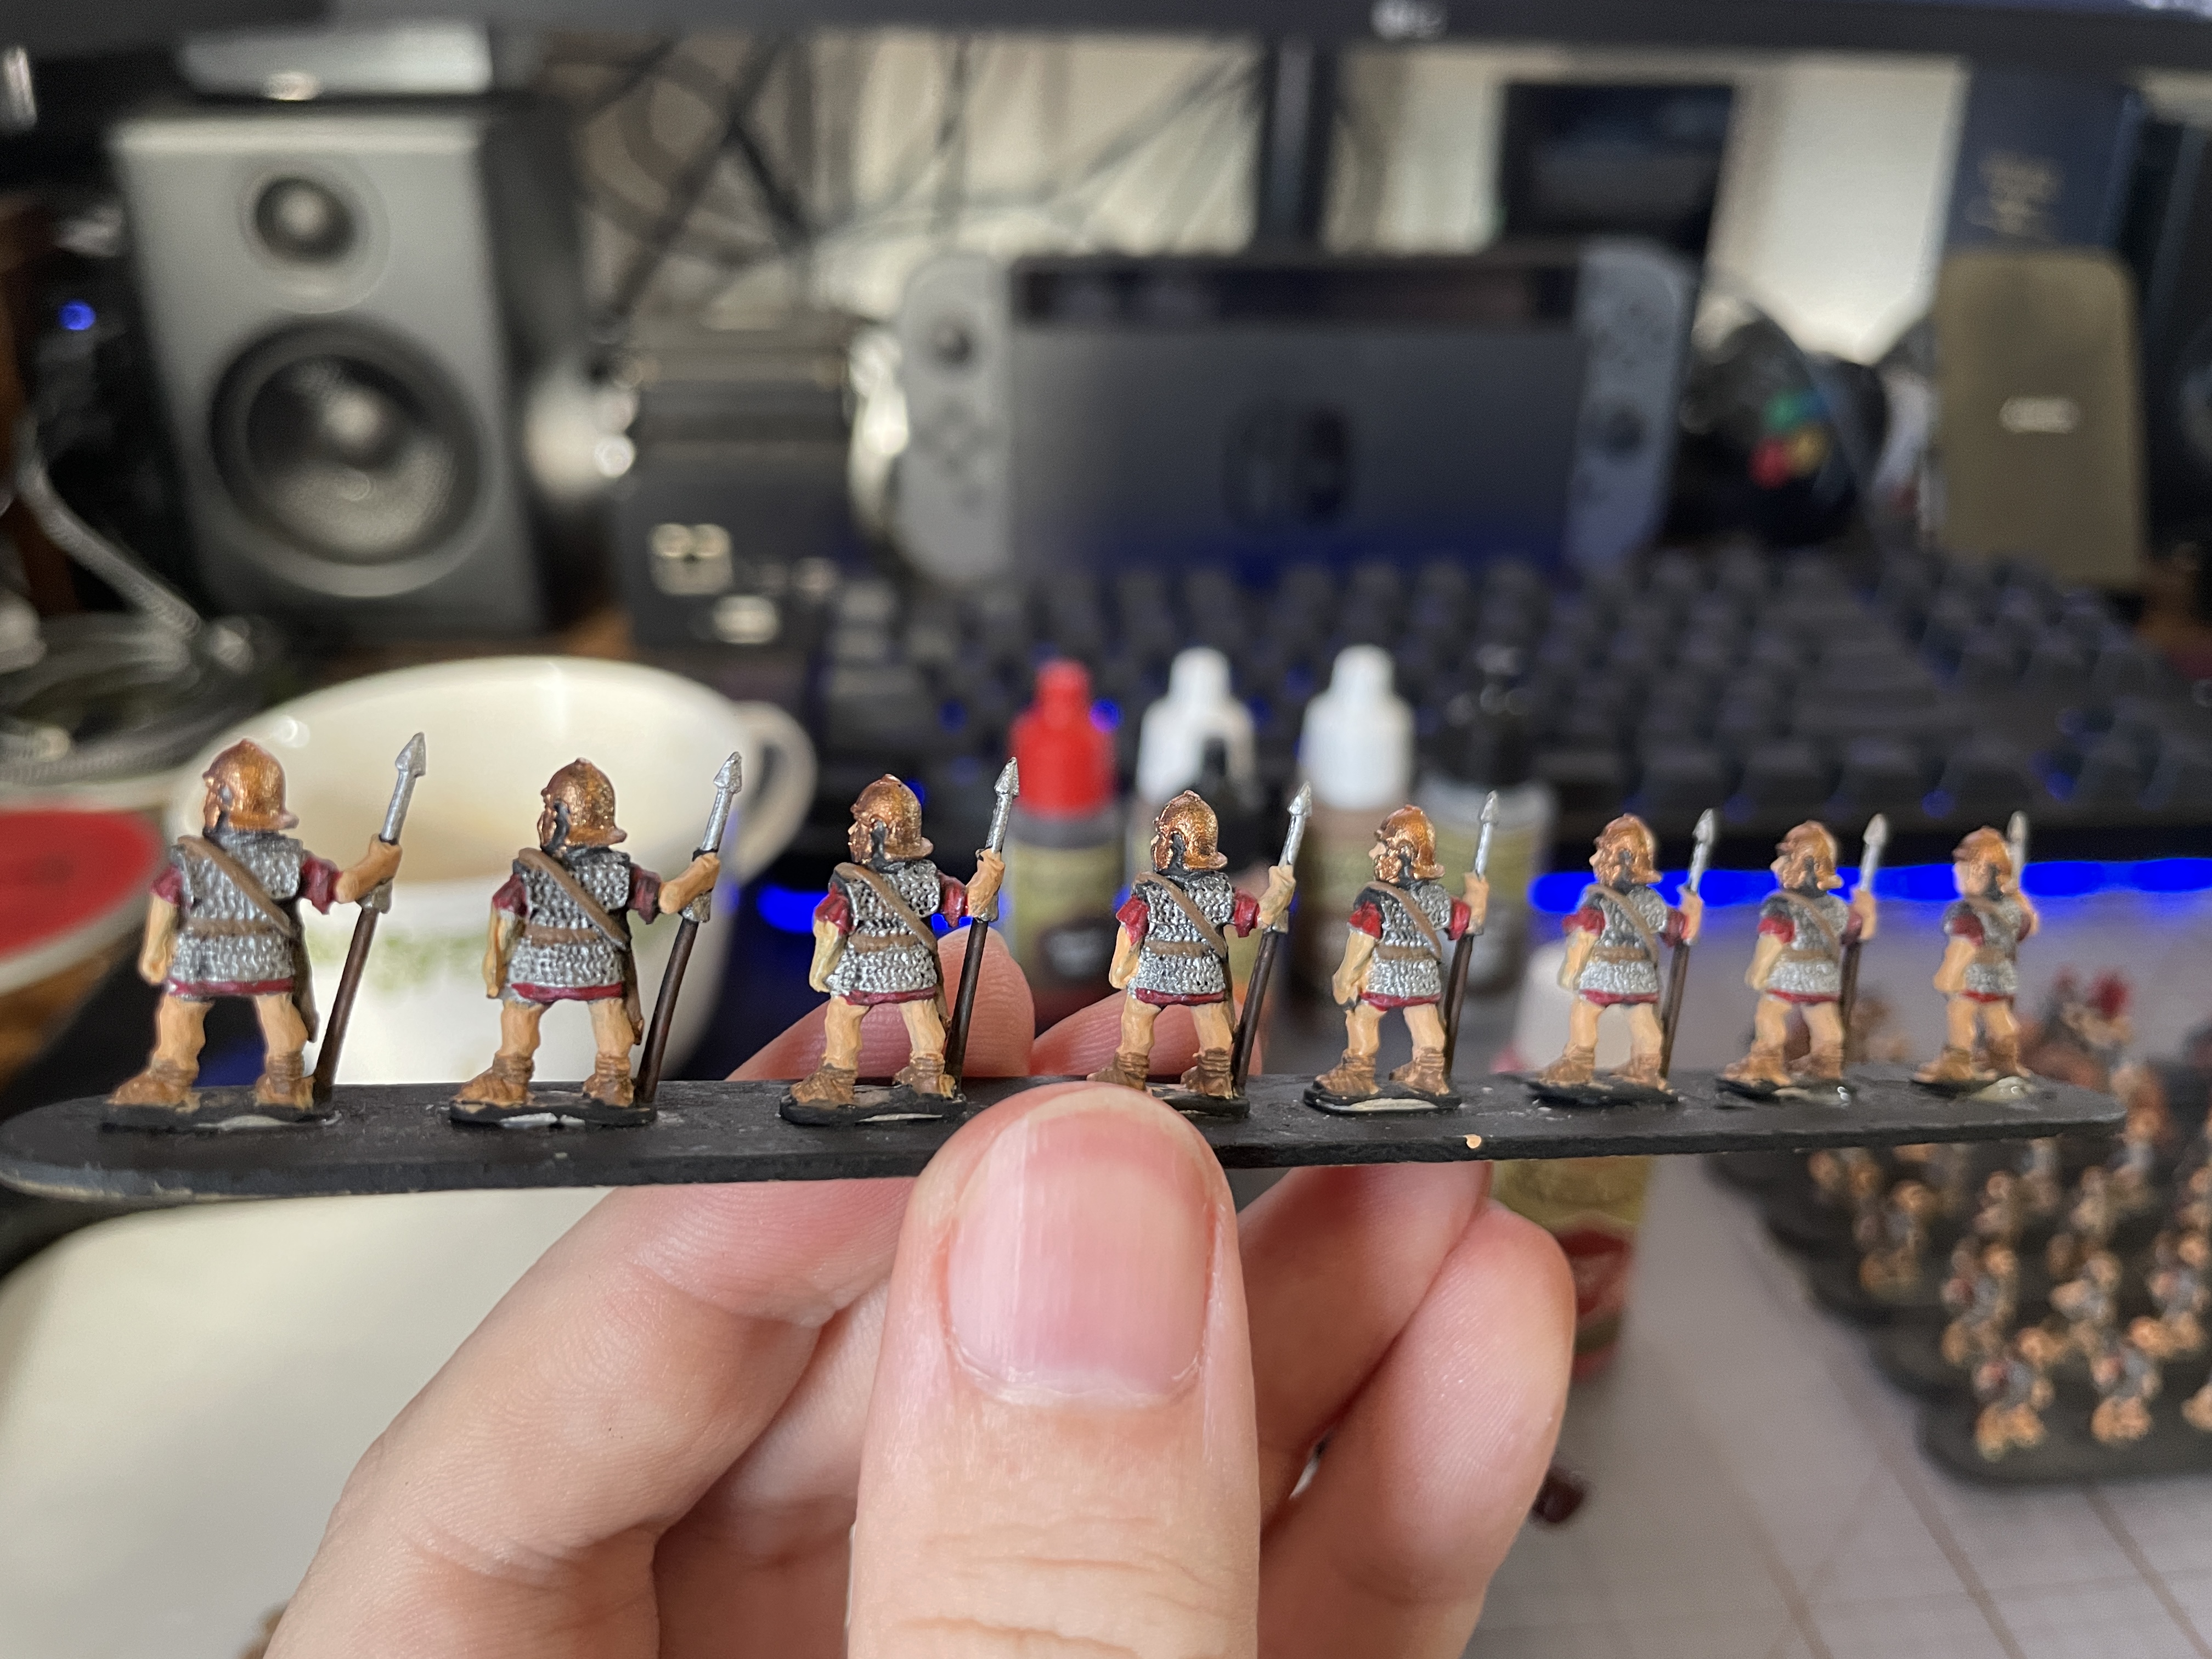
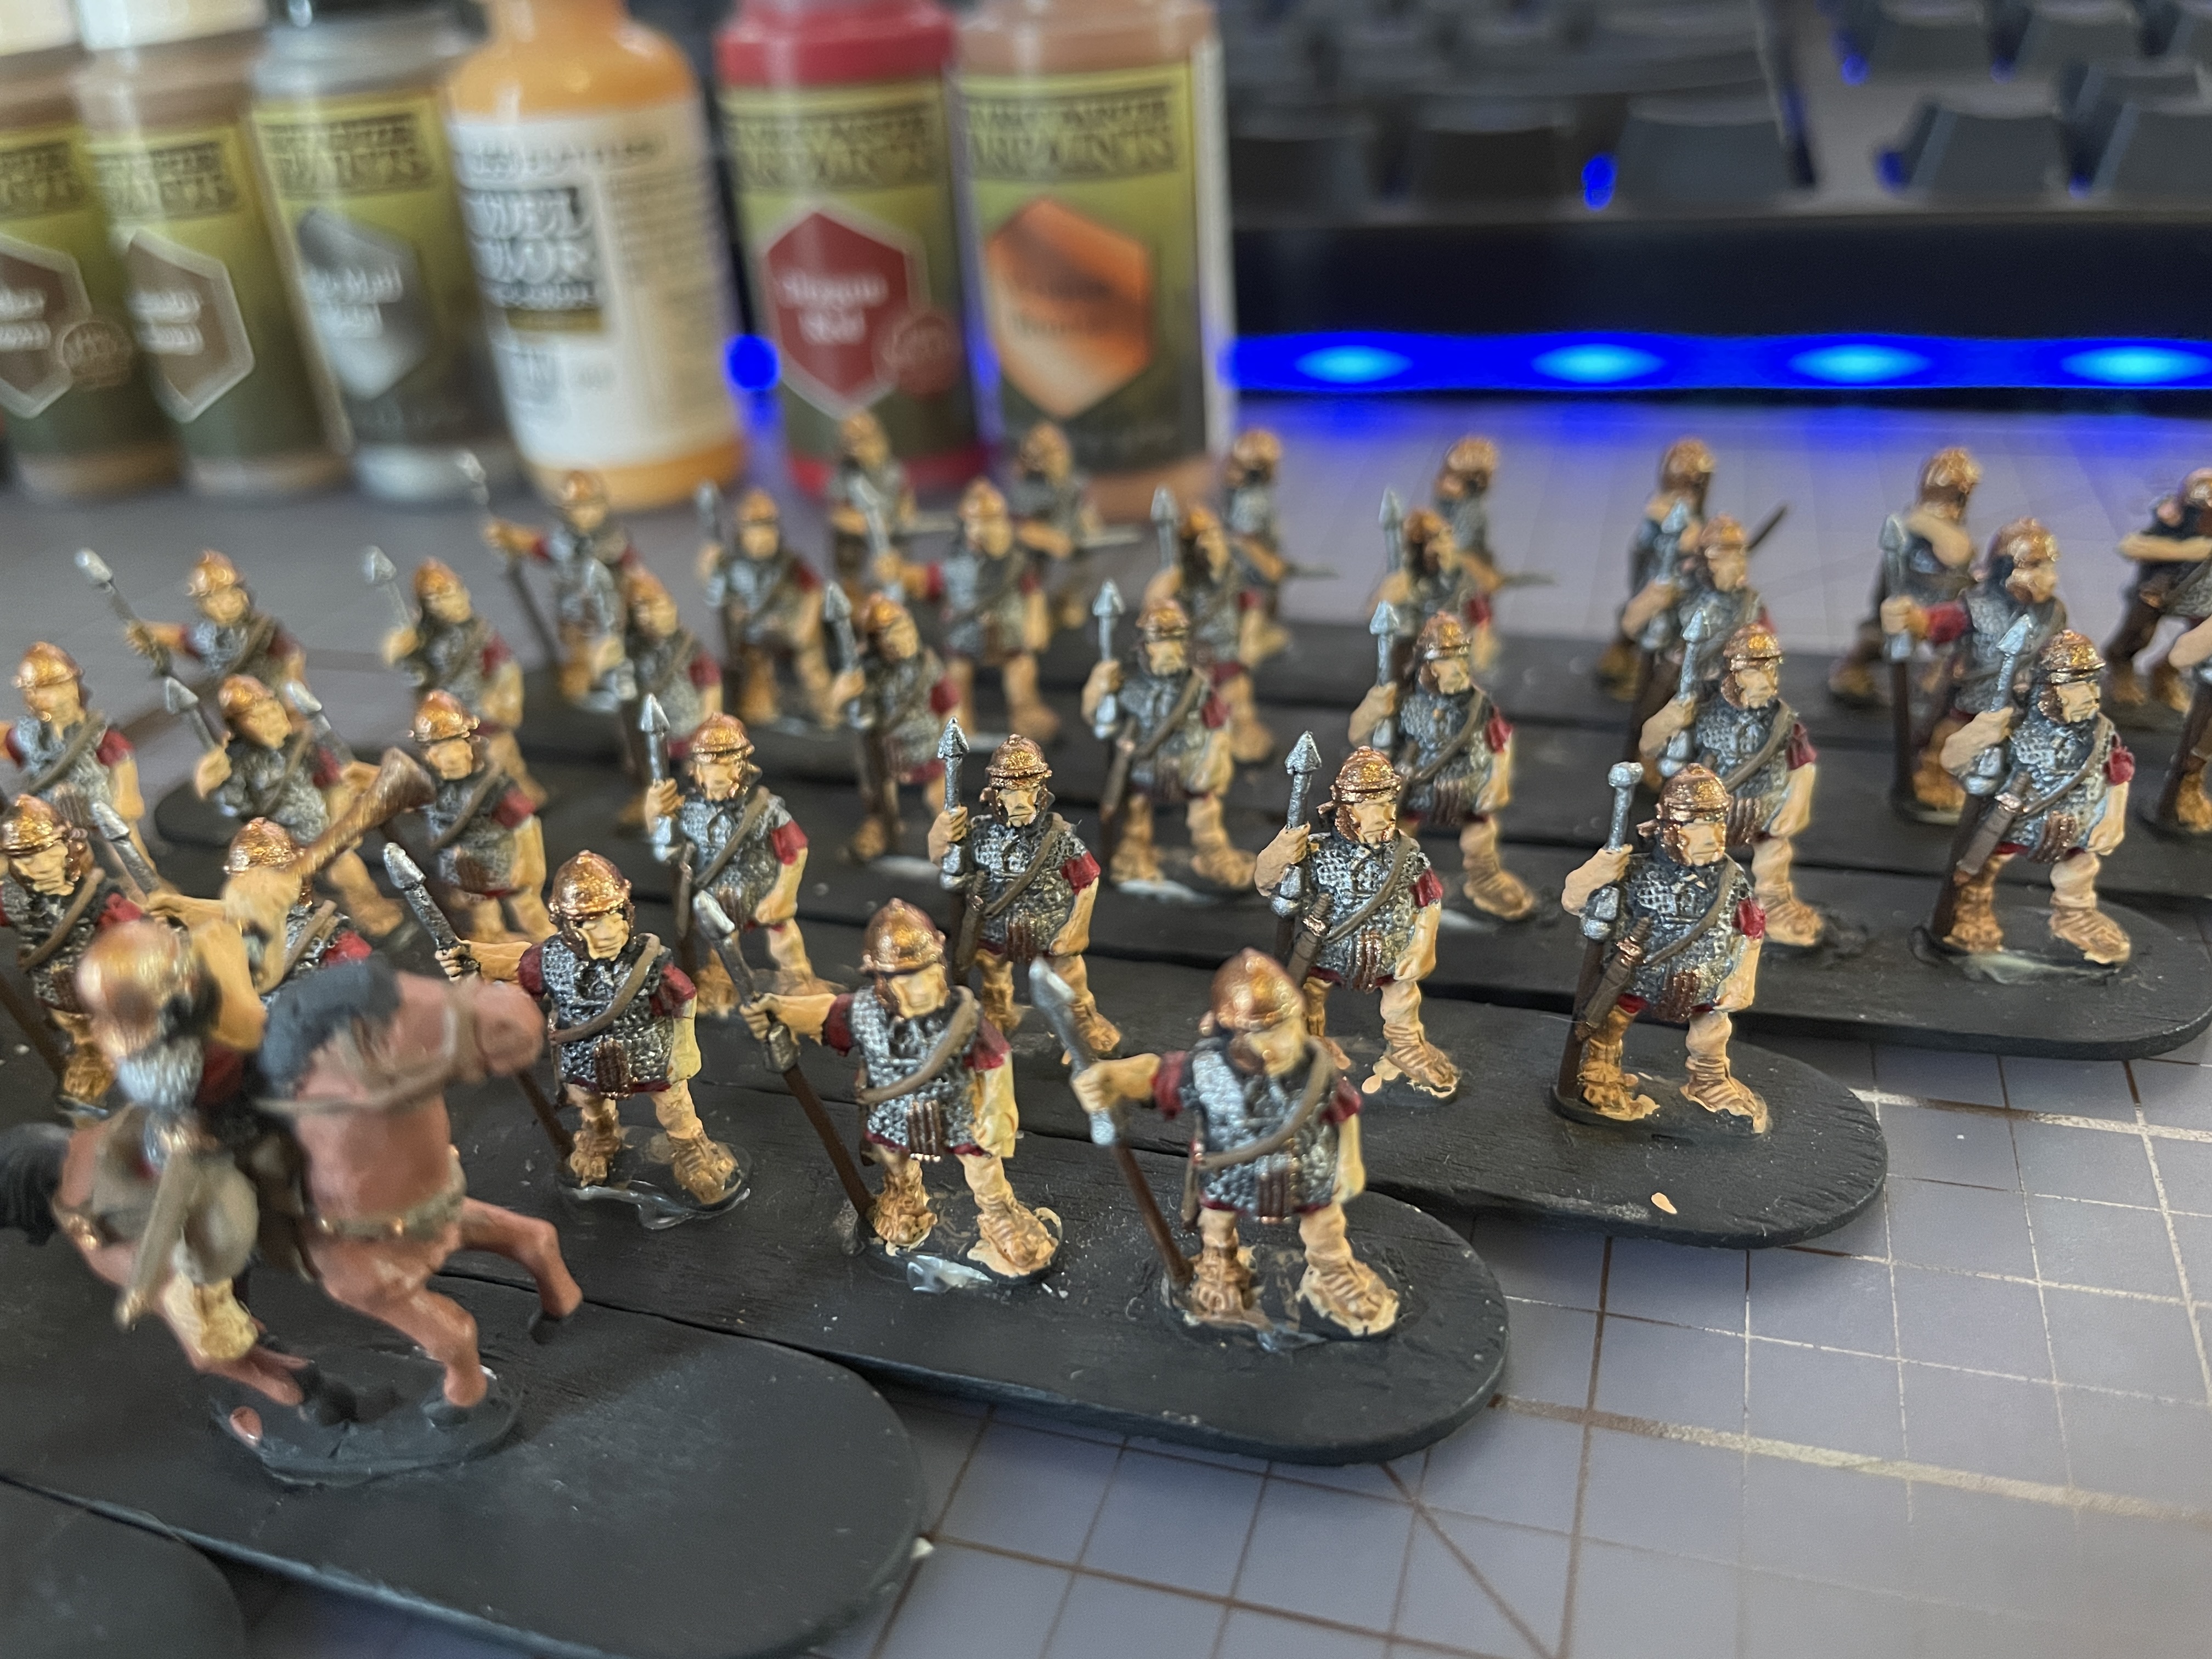
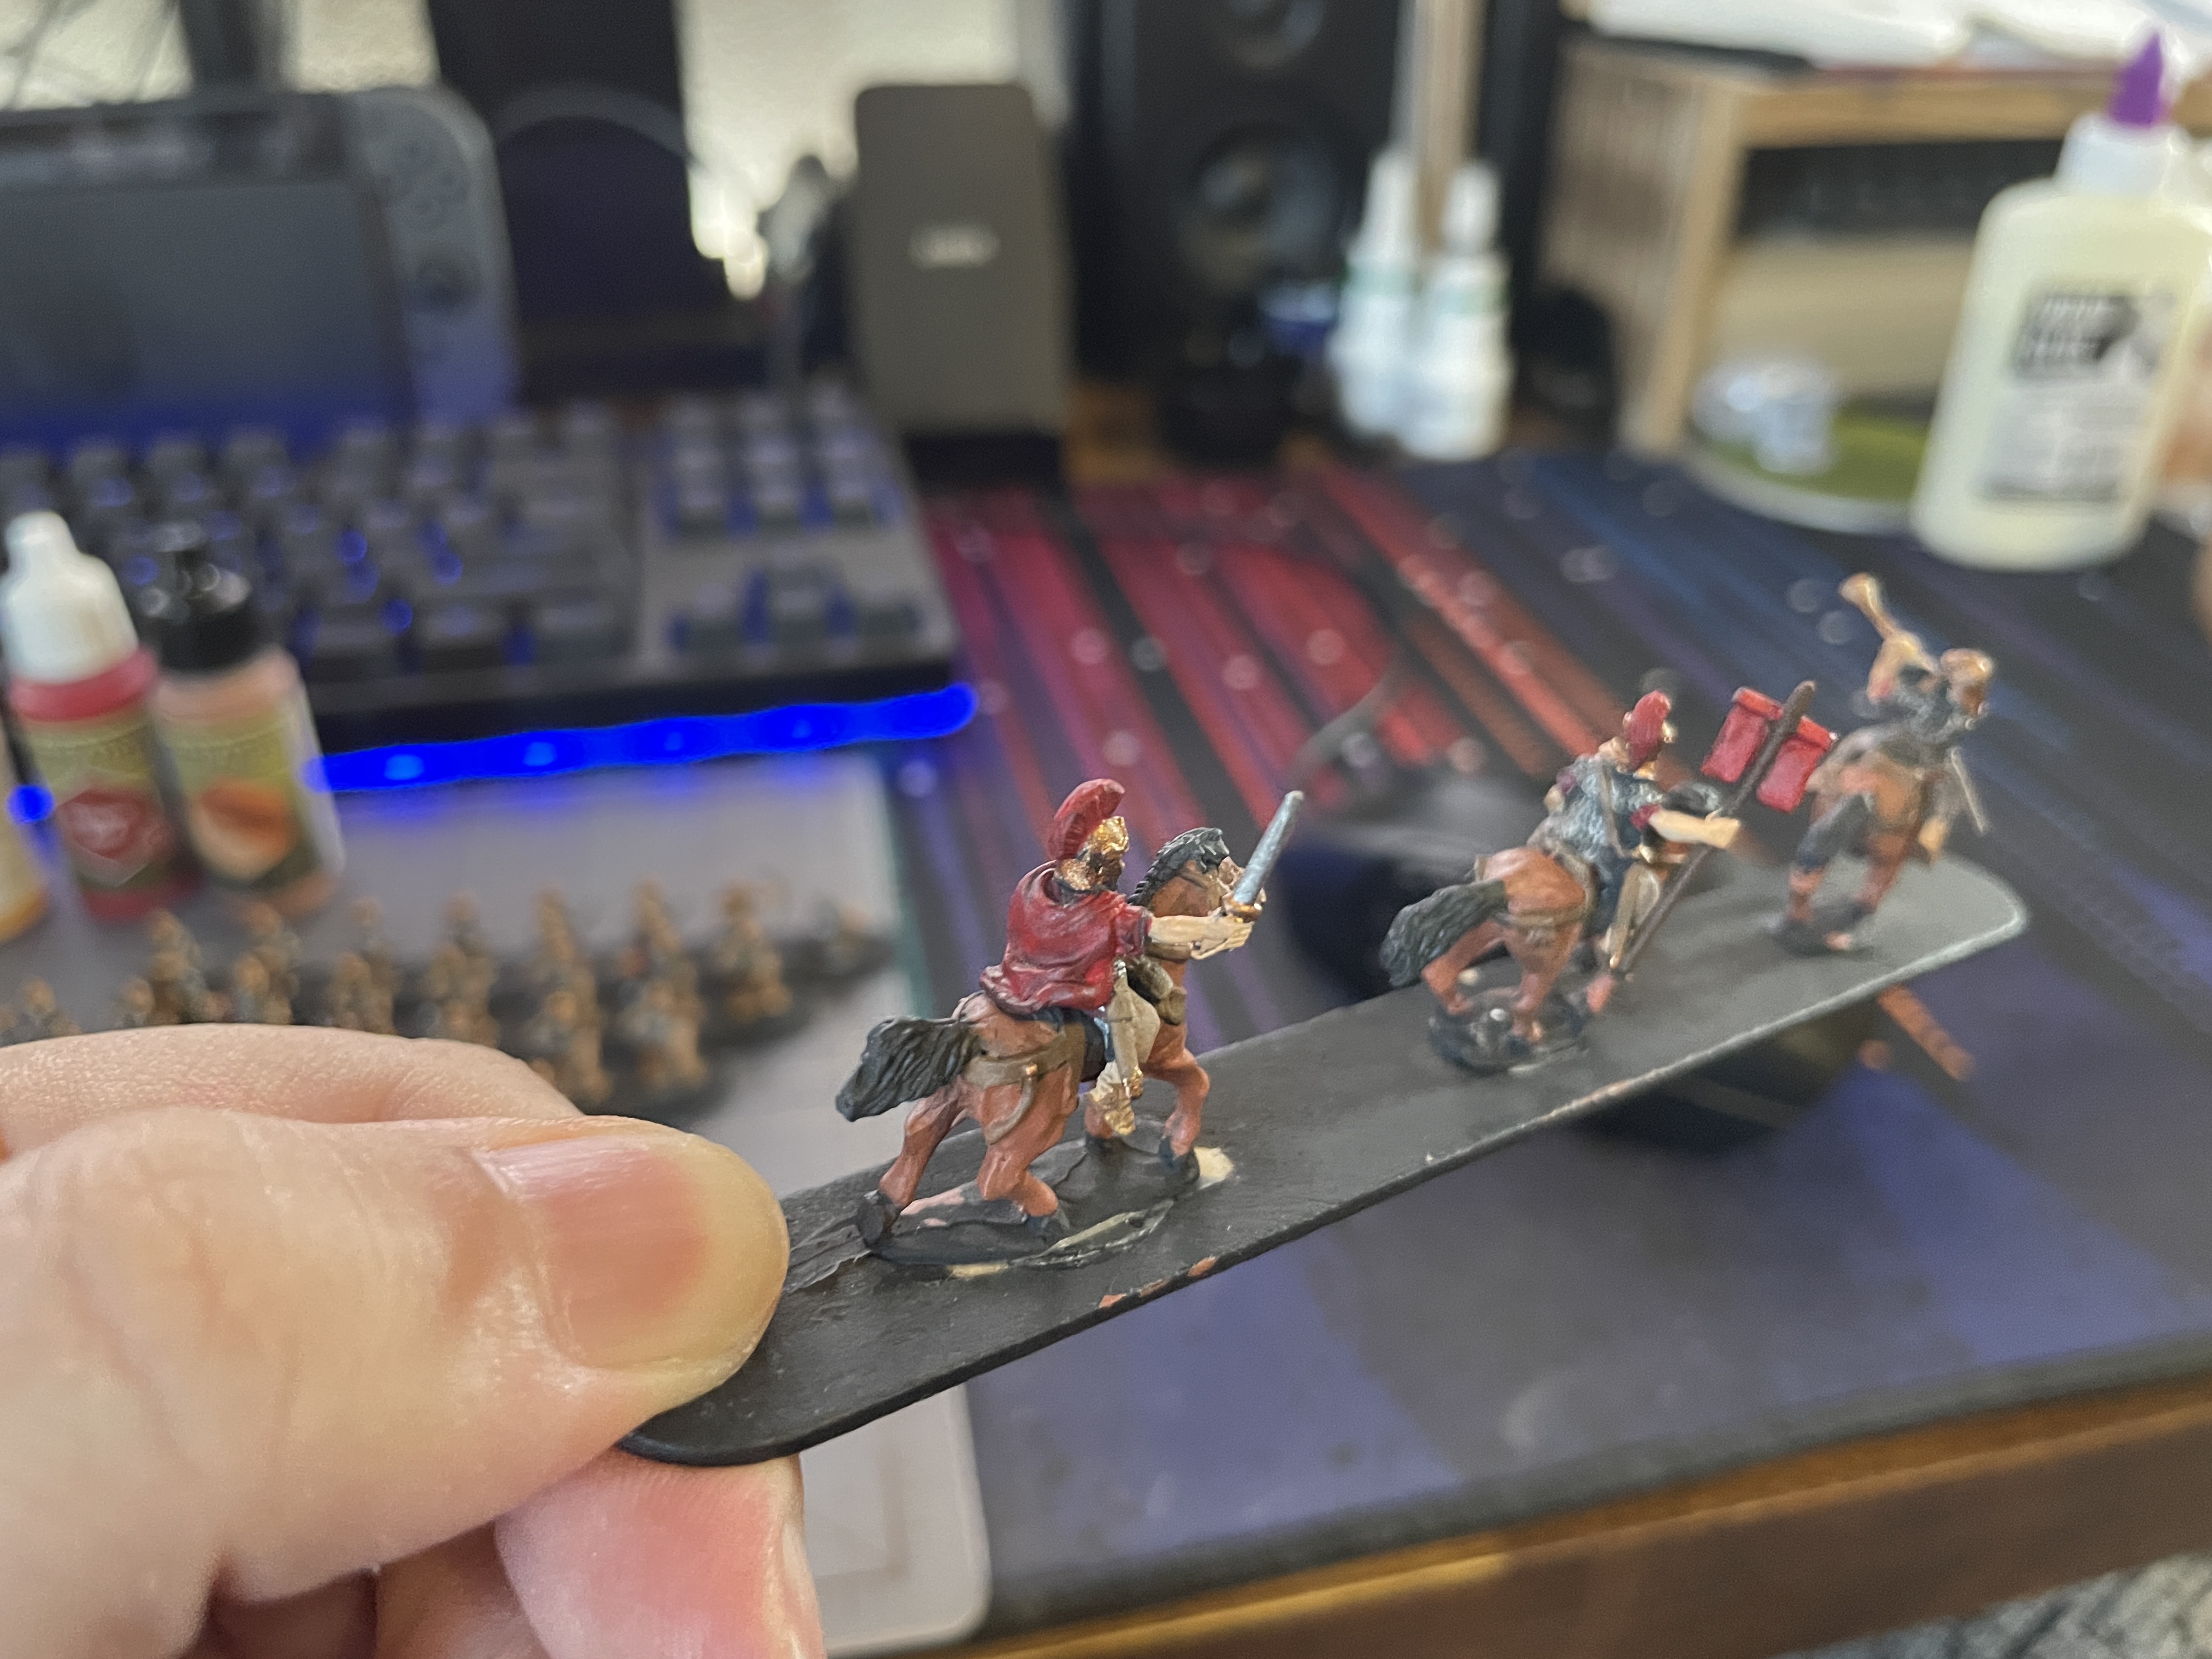
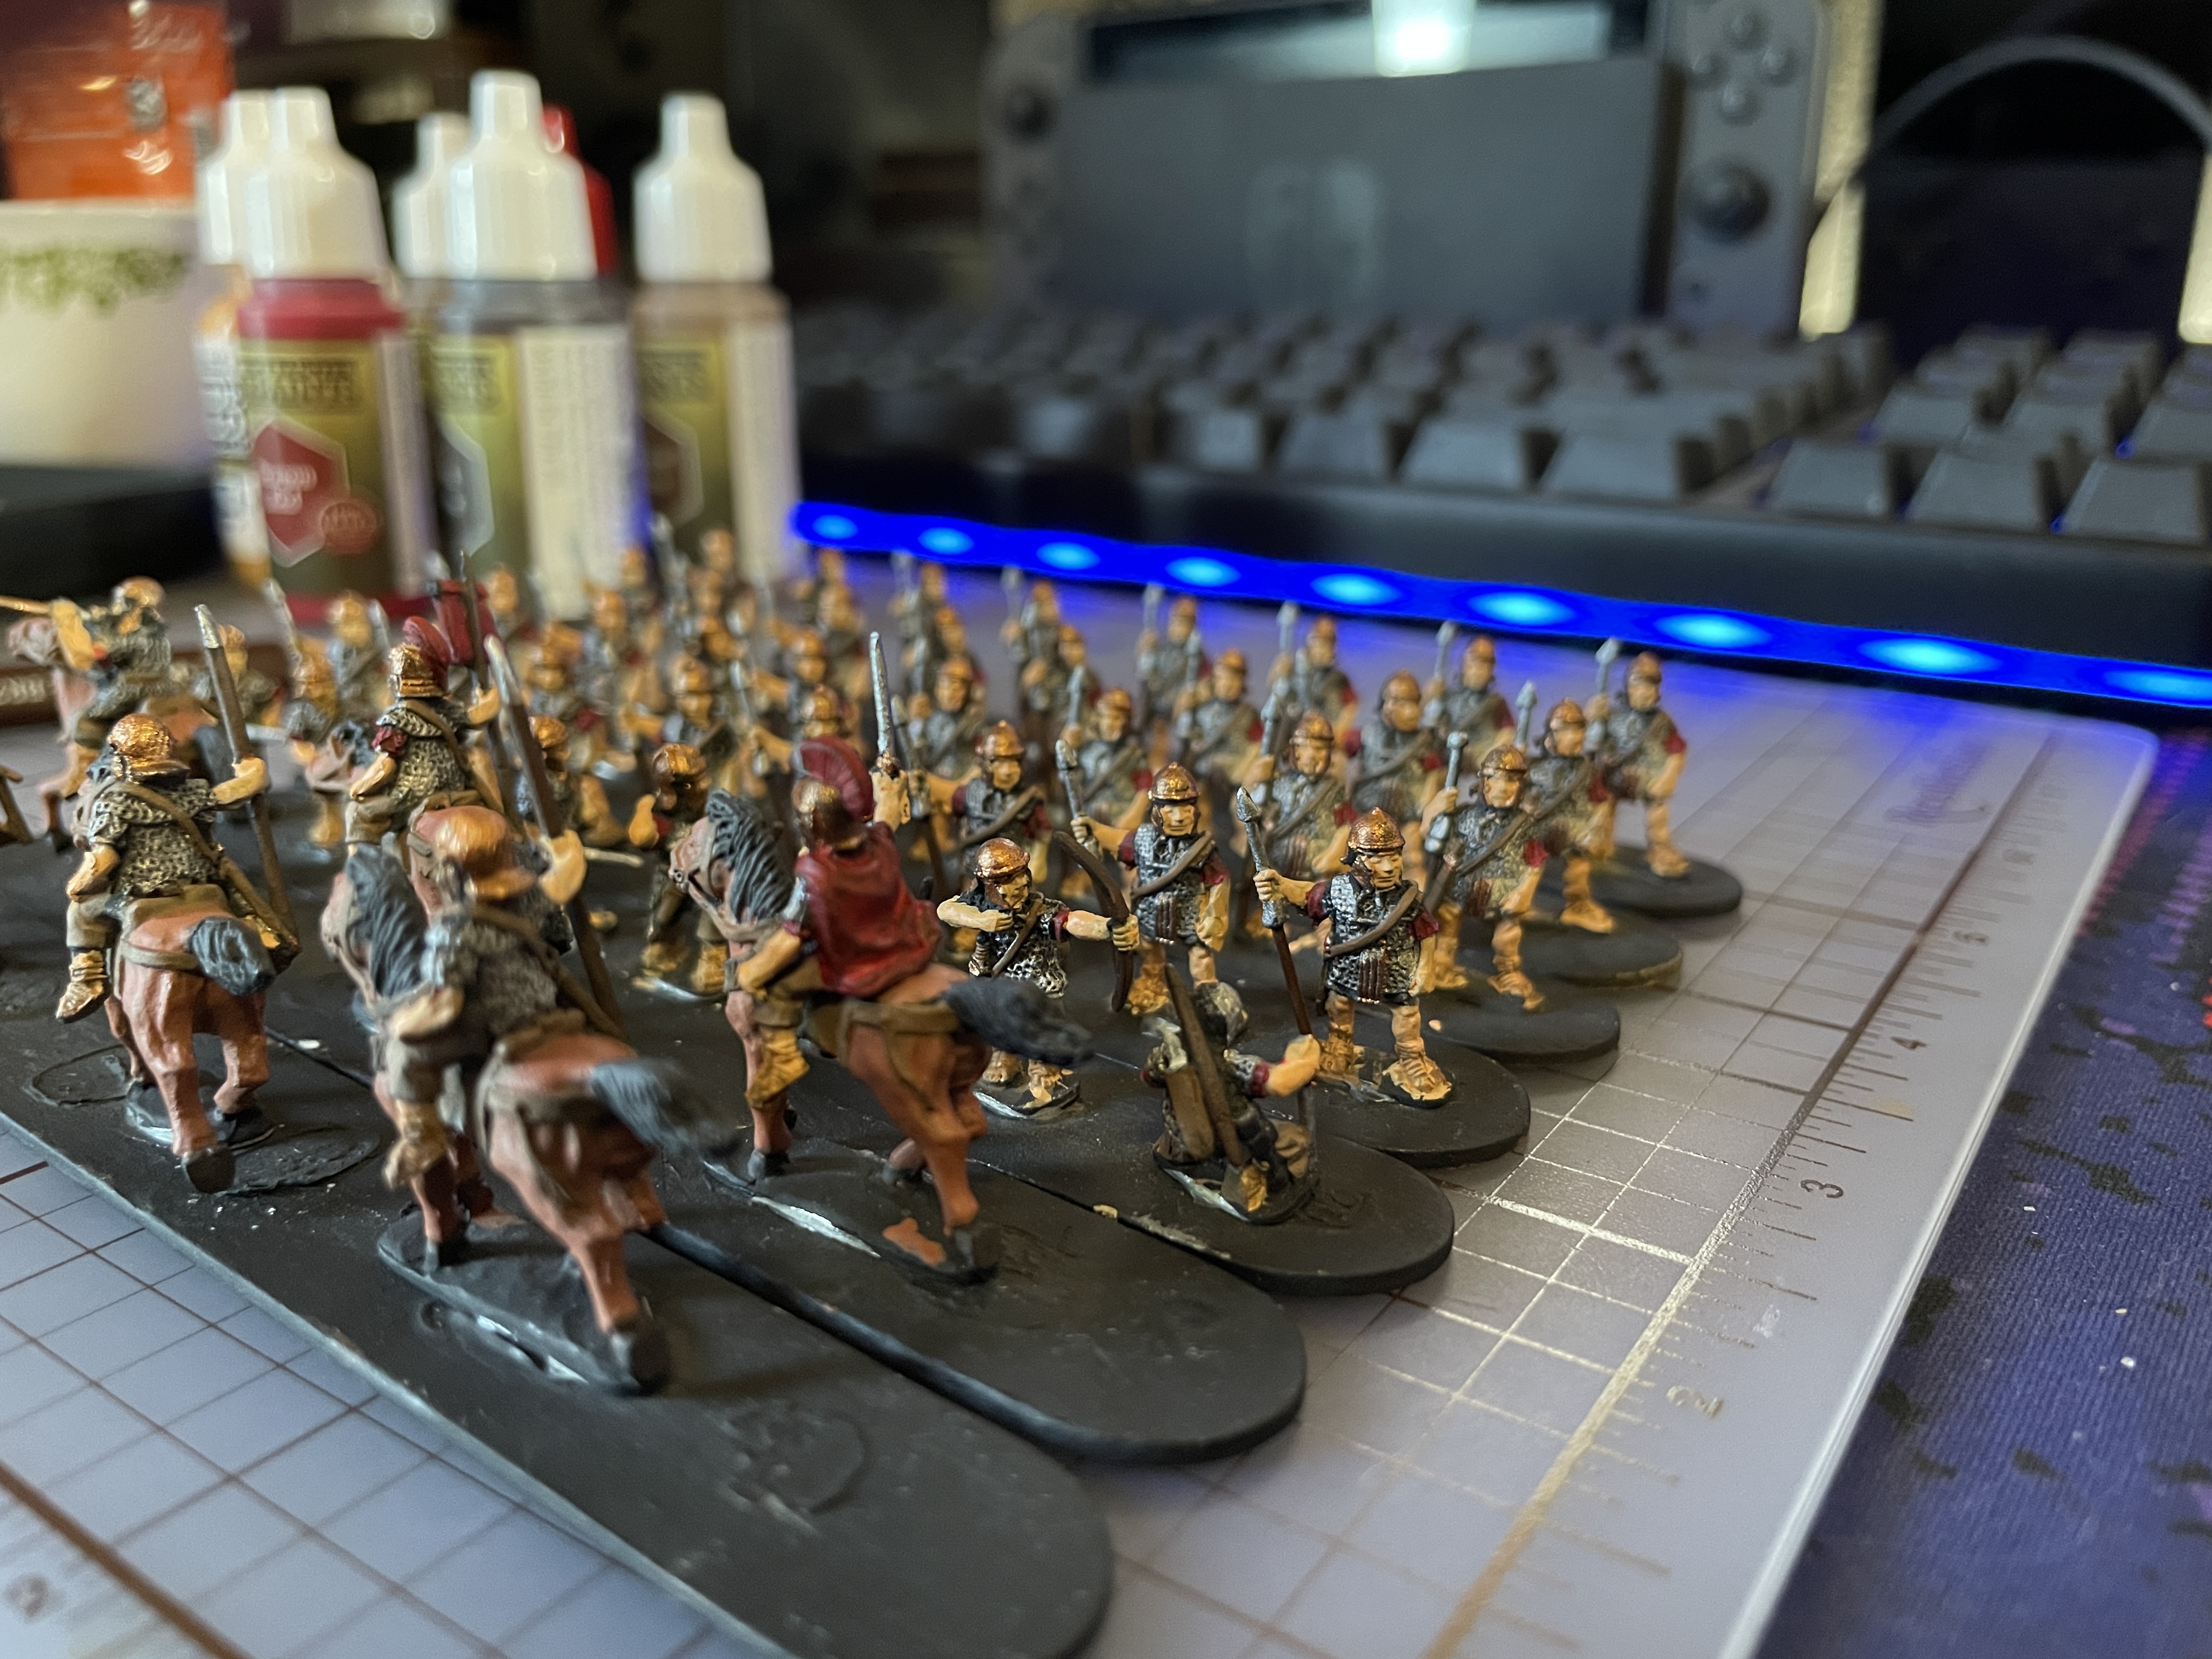
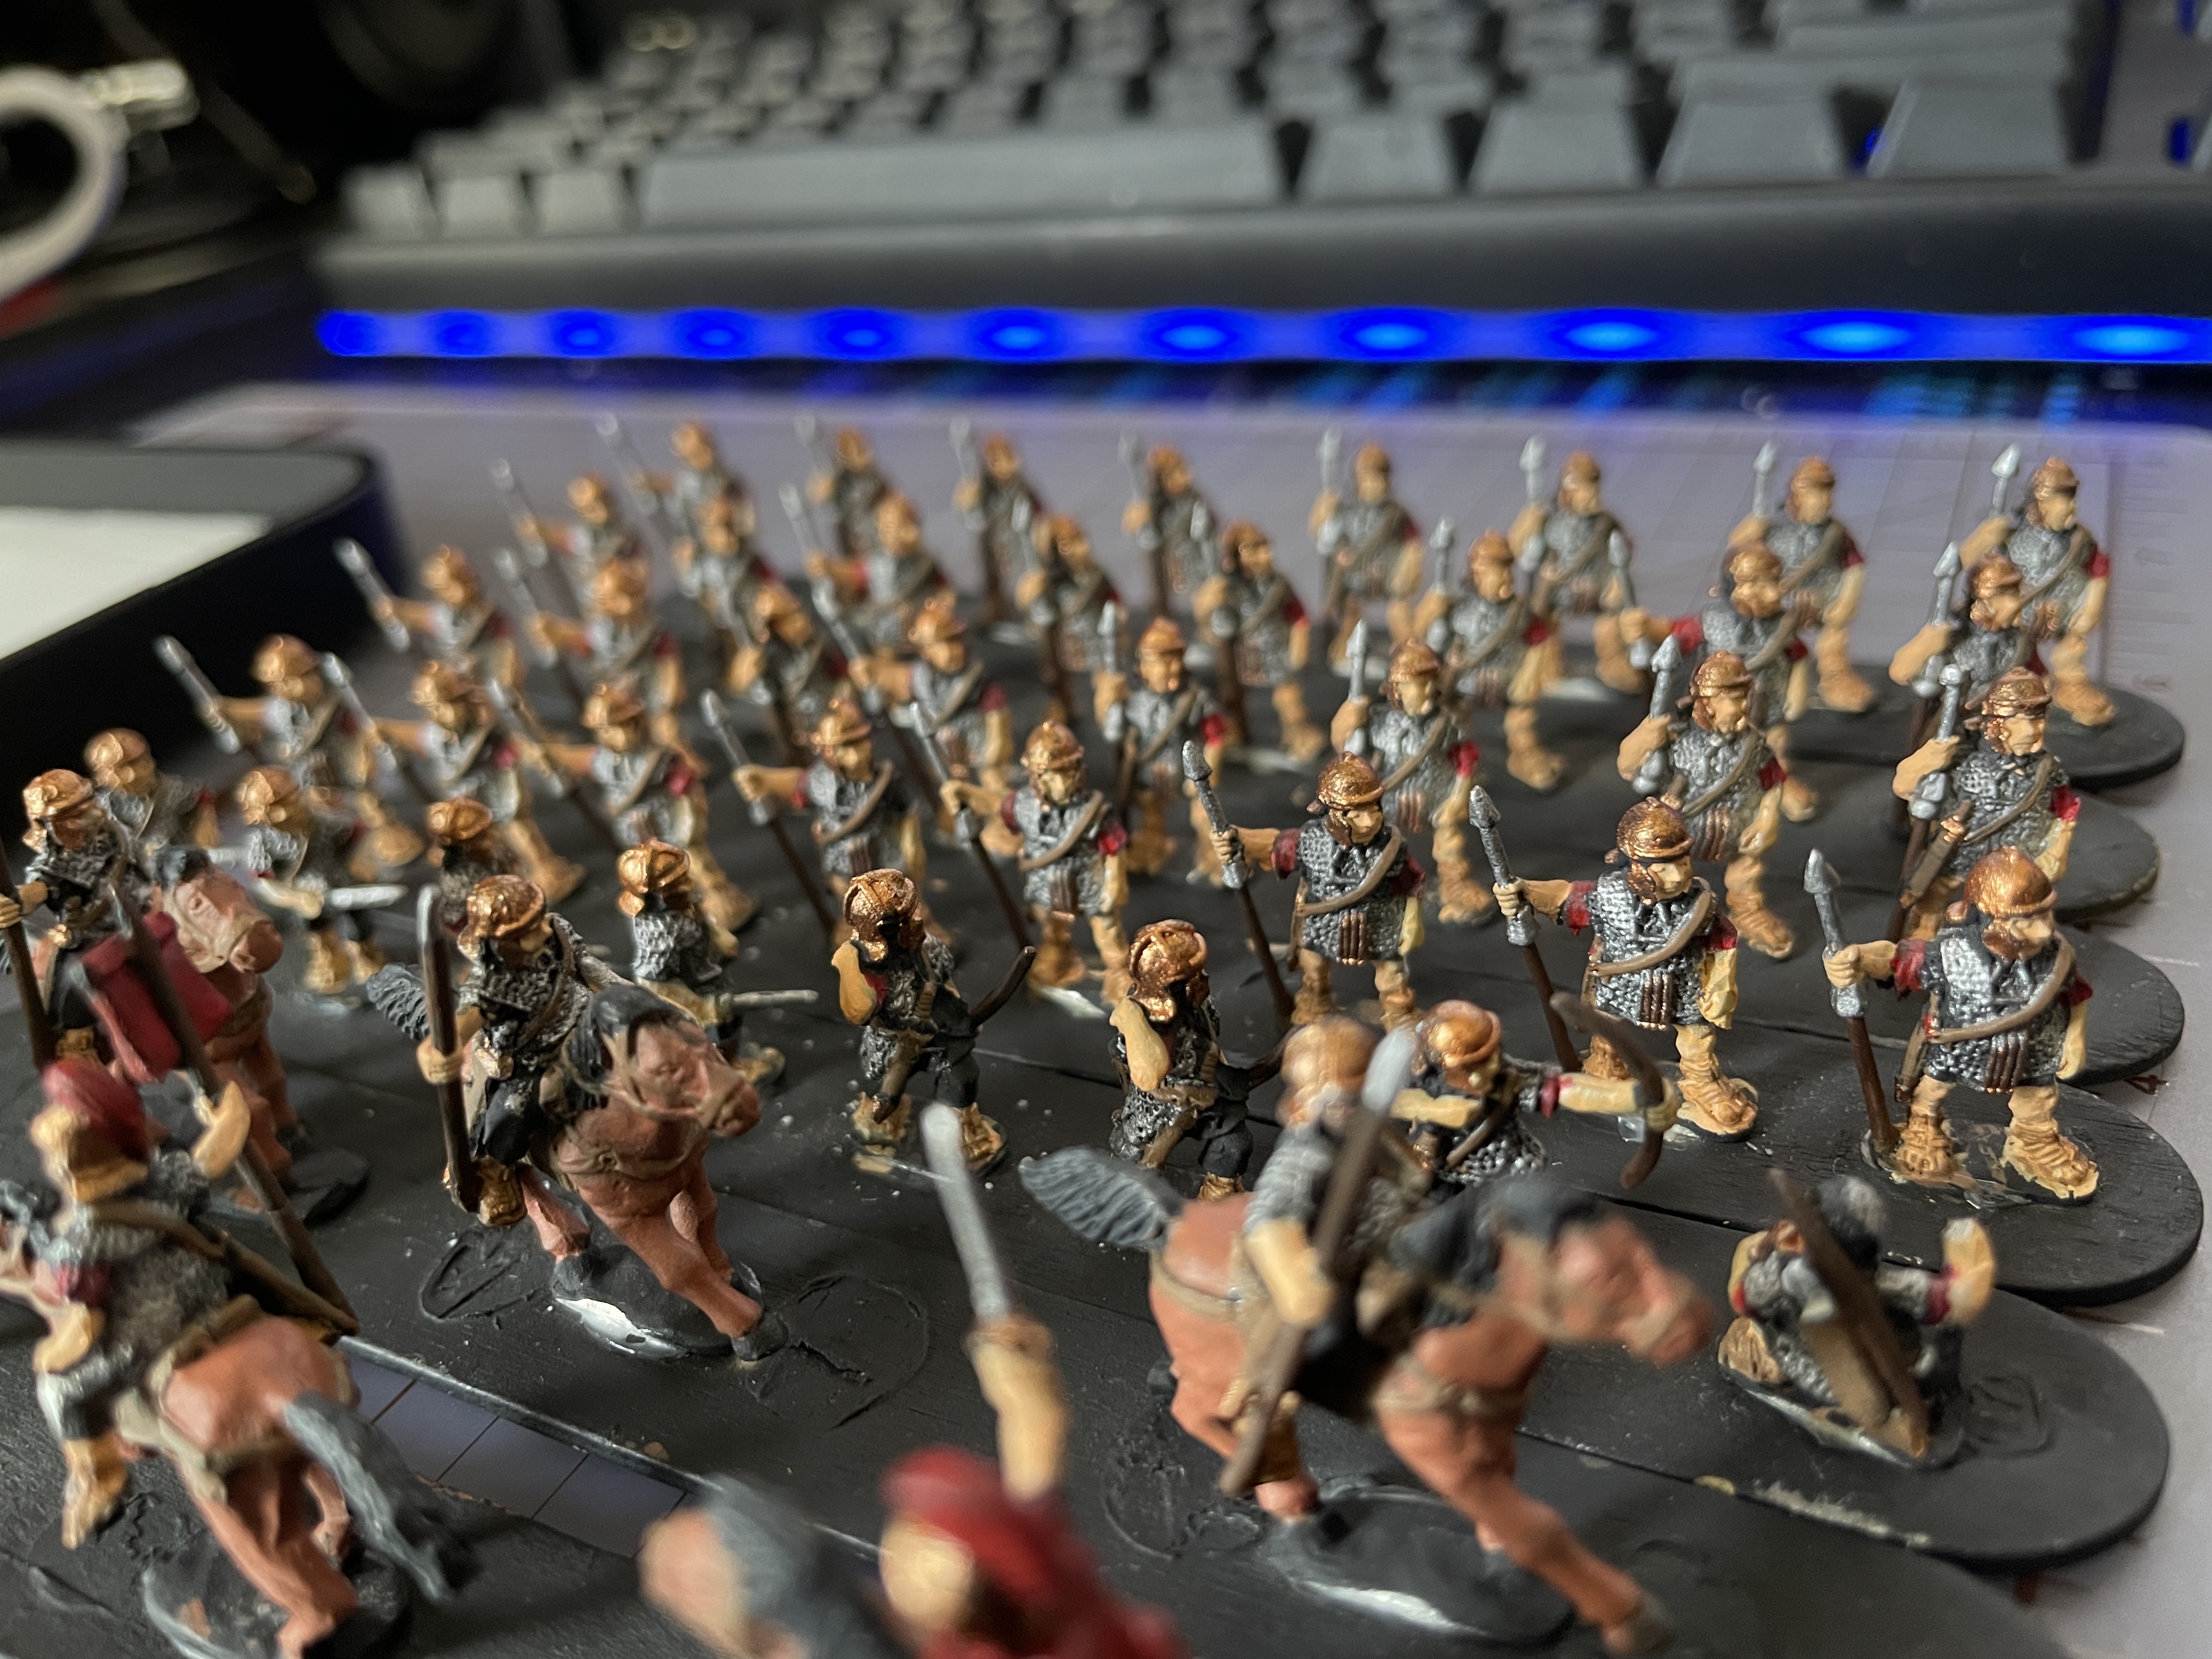
After a time to dry and set I went to work marking out on the bases where I want the models to sit. In DBA the Legionaries are four to a 40x20mm wide base known in the system as a 4Bd unit which means four blades. In my Marian Romans I can have up to eight bases of Blades. the Psoli are two to a 40x20mm base and are known in the system as 2Ps, I can have up to two bases of them. Lastly is the Calvary which is known in the system as Cv and are three to a 40x30mm base. I can have up to three of them. Past me went for my General as a blade unit option. I’ll go into more detail about the full list option when my reinforcements arrive.
With the placement marked down on the bases I break off the figures from the painting sticks. A dollop of gel super glue to stick the metal to the wood bases. I use the gel stuff as I get better initial sticking and control. I find regular super glue is just too runny and becomes a mess that ends up everywhere.


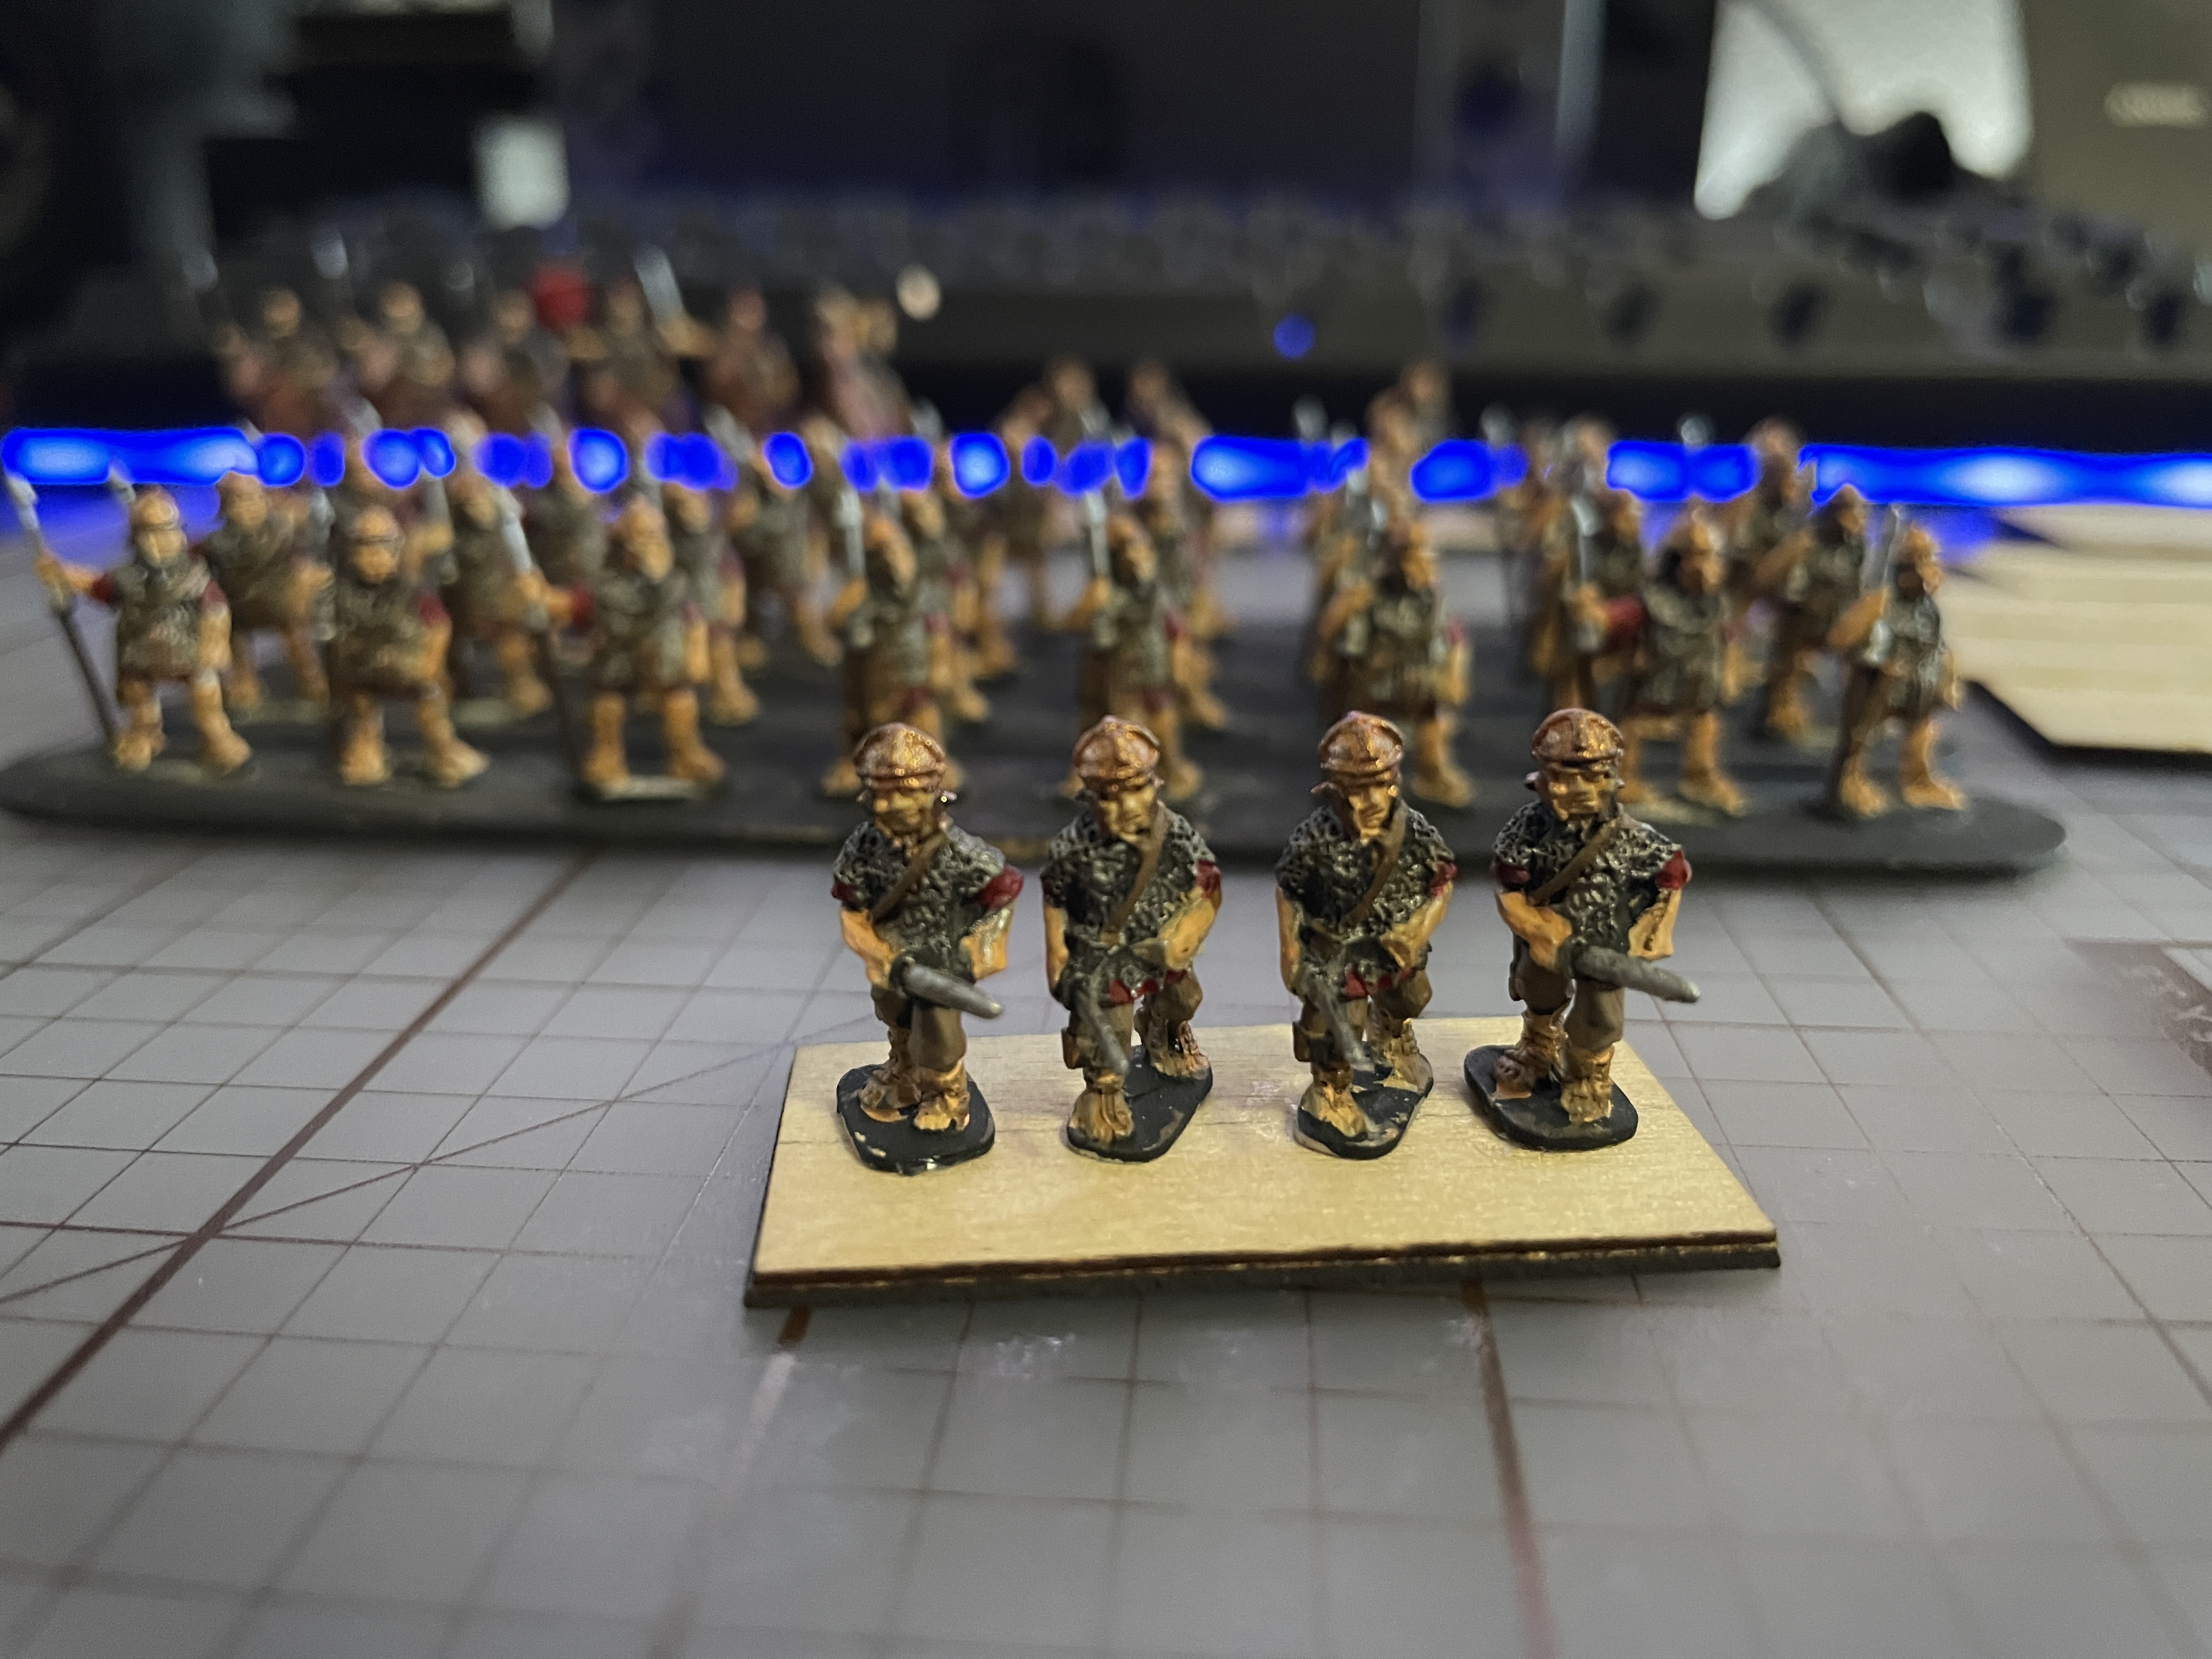

All attached these already look 10x better than the bare primed figures they started as but there is more work to do. I have some cheap brushes coming in tomorrow to waste on the texture medium and I will slather that on to fill the gaps between the puddle bases of the figures and build up a ground texture. I’ve used it on my Flames of War stuff and love the finished result. I also have some Vallejo grass tufts coming in sometime next week to then finish the bases off. When the Gauls arrive I will have some republican Roman shaped shields come in and I will paint those up and attach those after. I will have to work on other projects until my supplies come in but there is still plenty to finish up here and then stretch goals for the challenge with the extra fielding options, the Gauls, and making some DBA legal sized terrain. Lots to look forward to, until next post happy hobby time everyone!

Painting finished on to washing and then basing
Time for another post, today I finish up some details and fight with the browns again. Let’s see the results shall we?
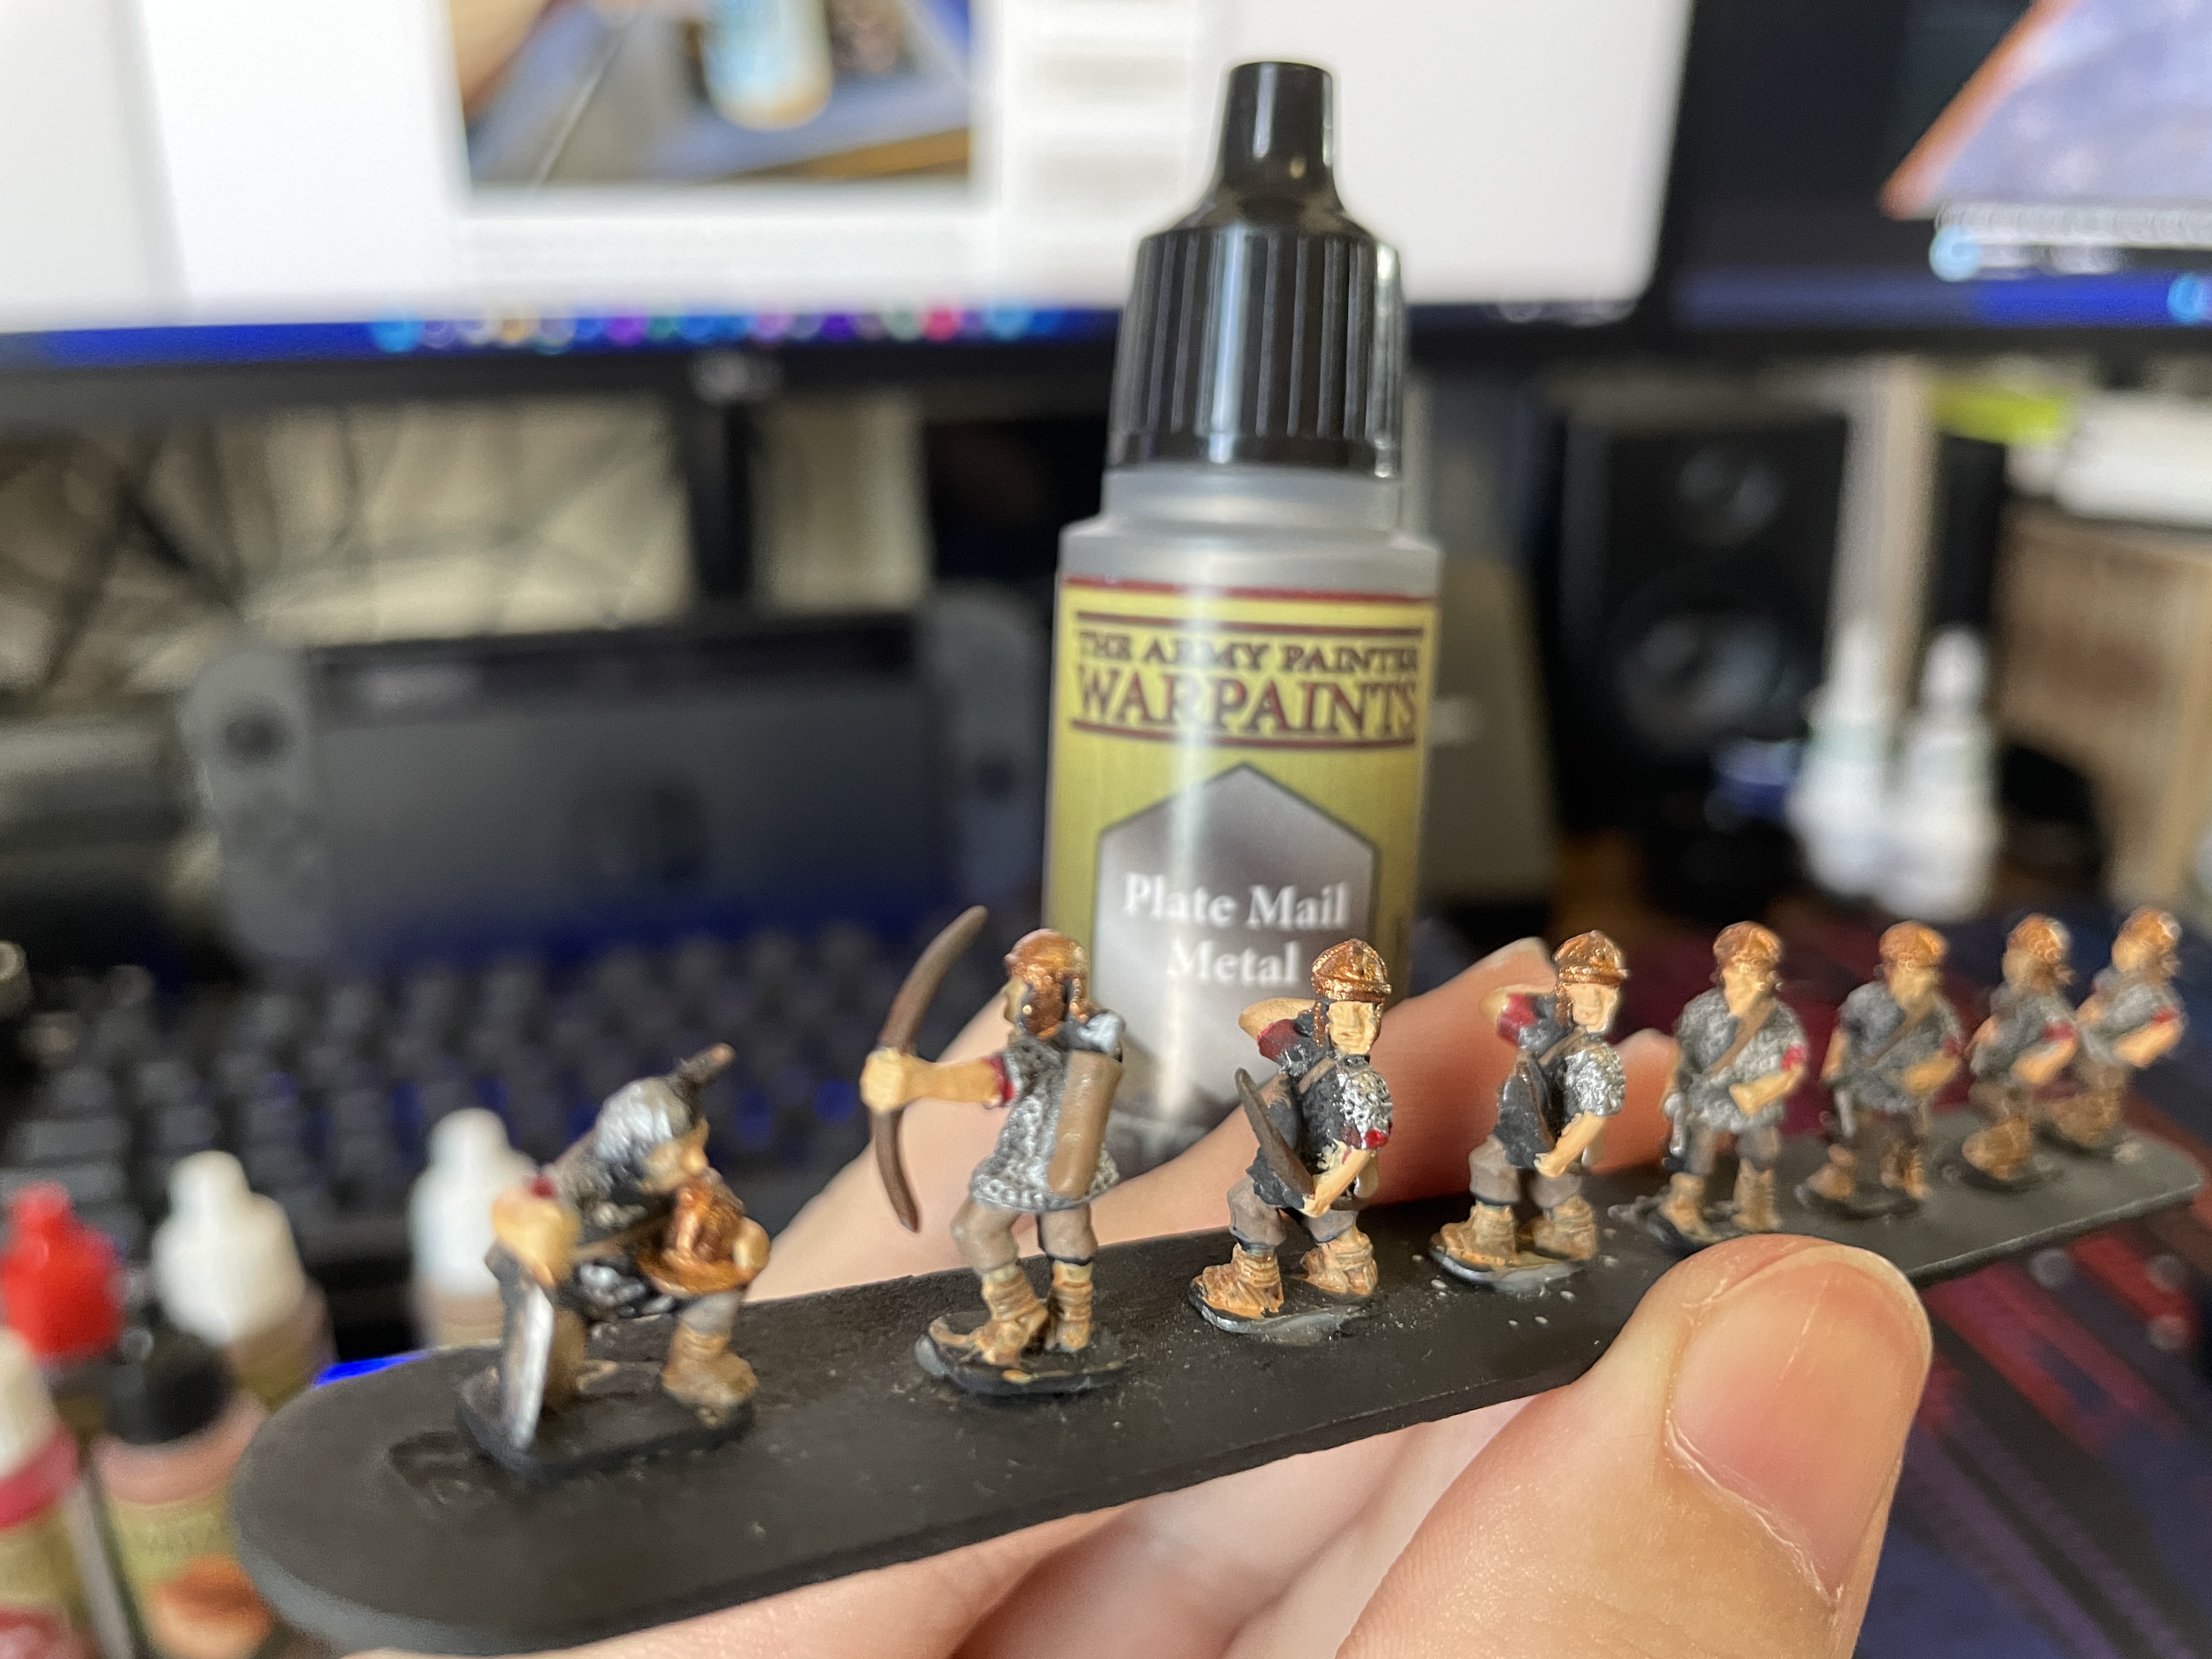
I start with Plate Mail Metal to touch up a few areas and catch some chainmail areas that were missed. You can see in the picture below a large area of primer where there was some miscasting that obscures the armor detail. I don’t have texture to work with so I’m just going to paint the spot metal and move on. The helmetless archer got Necromancer Cloak for the hair as there wasn’t a color for blonde that I was happy with.
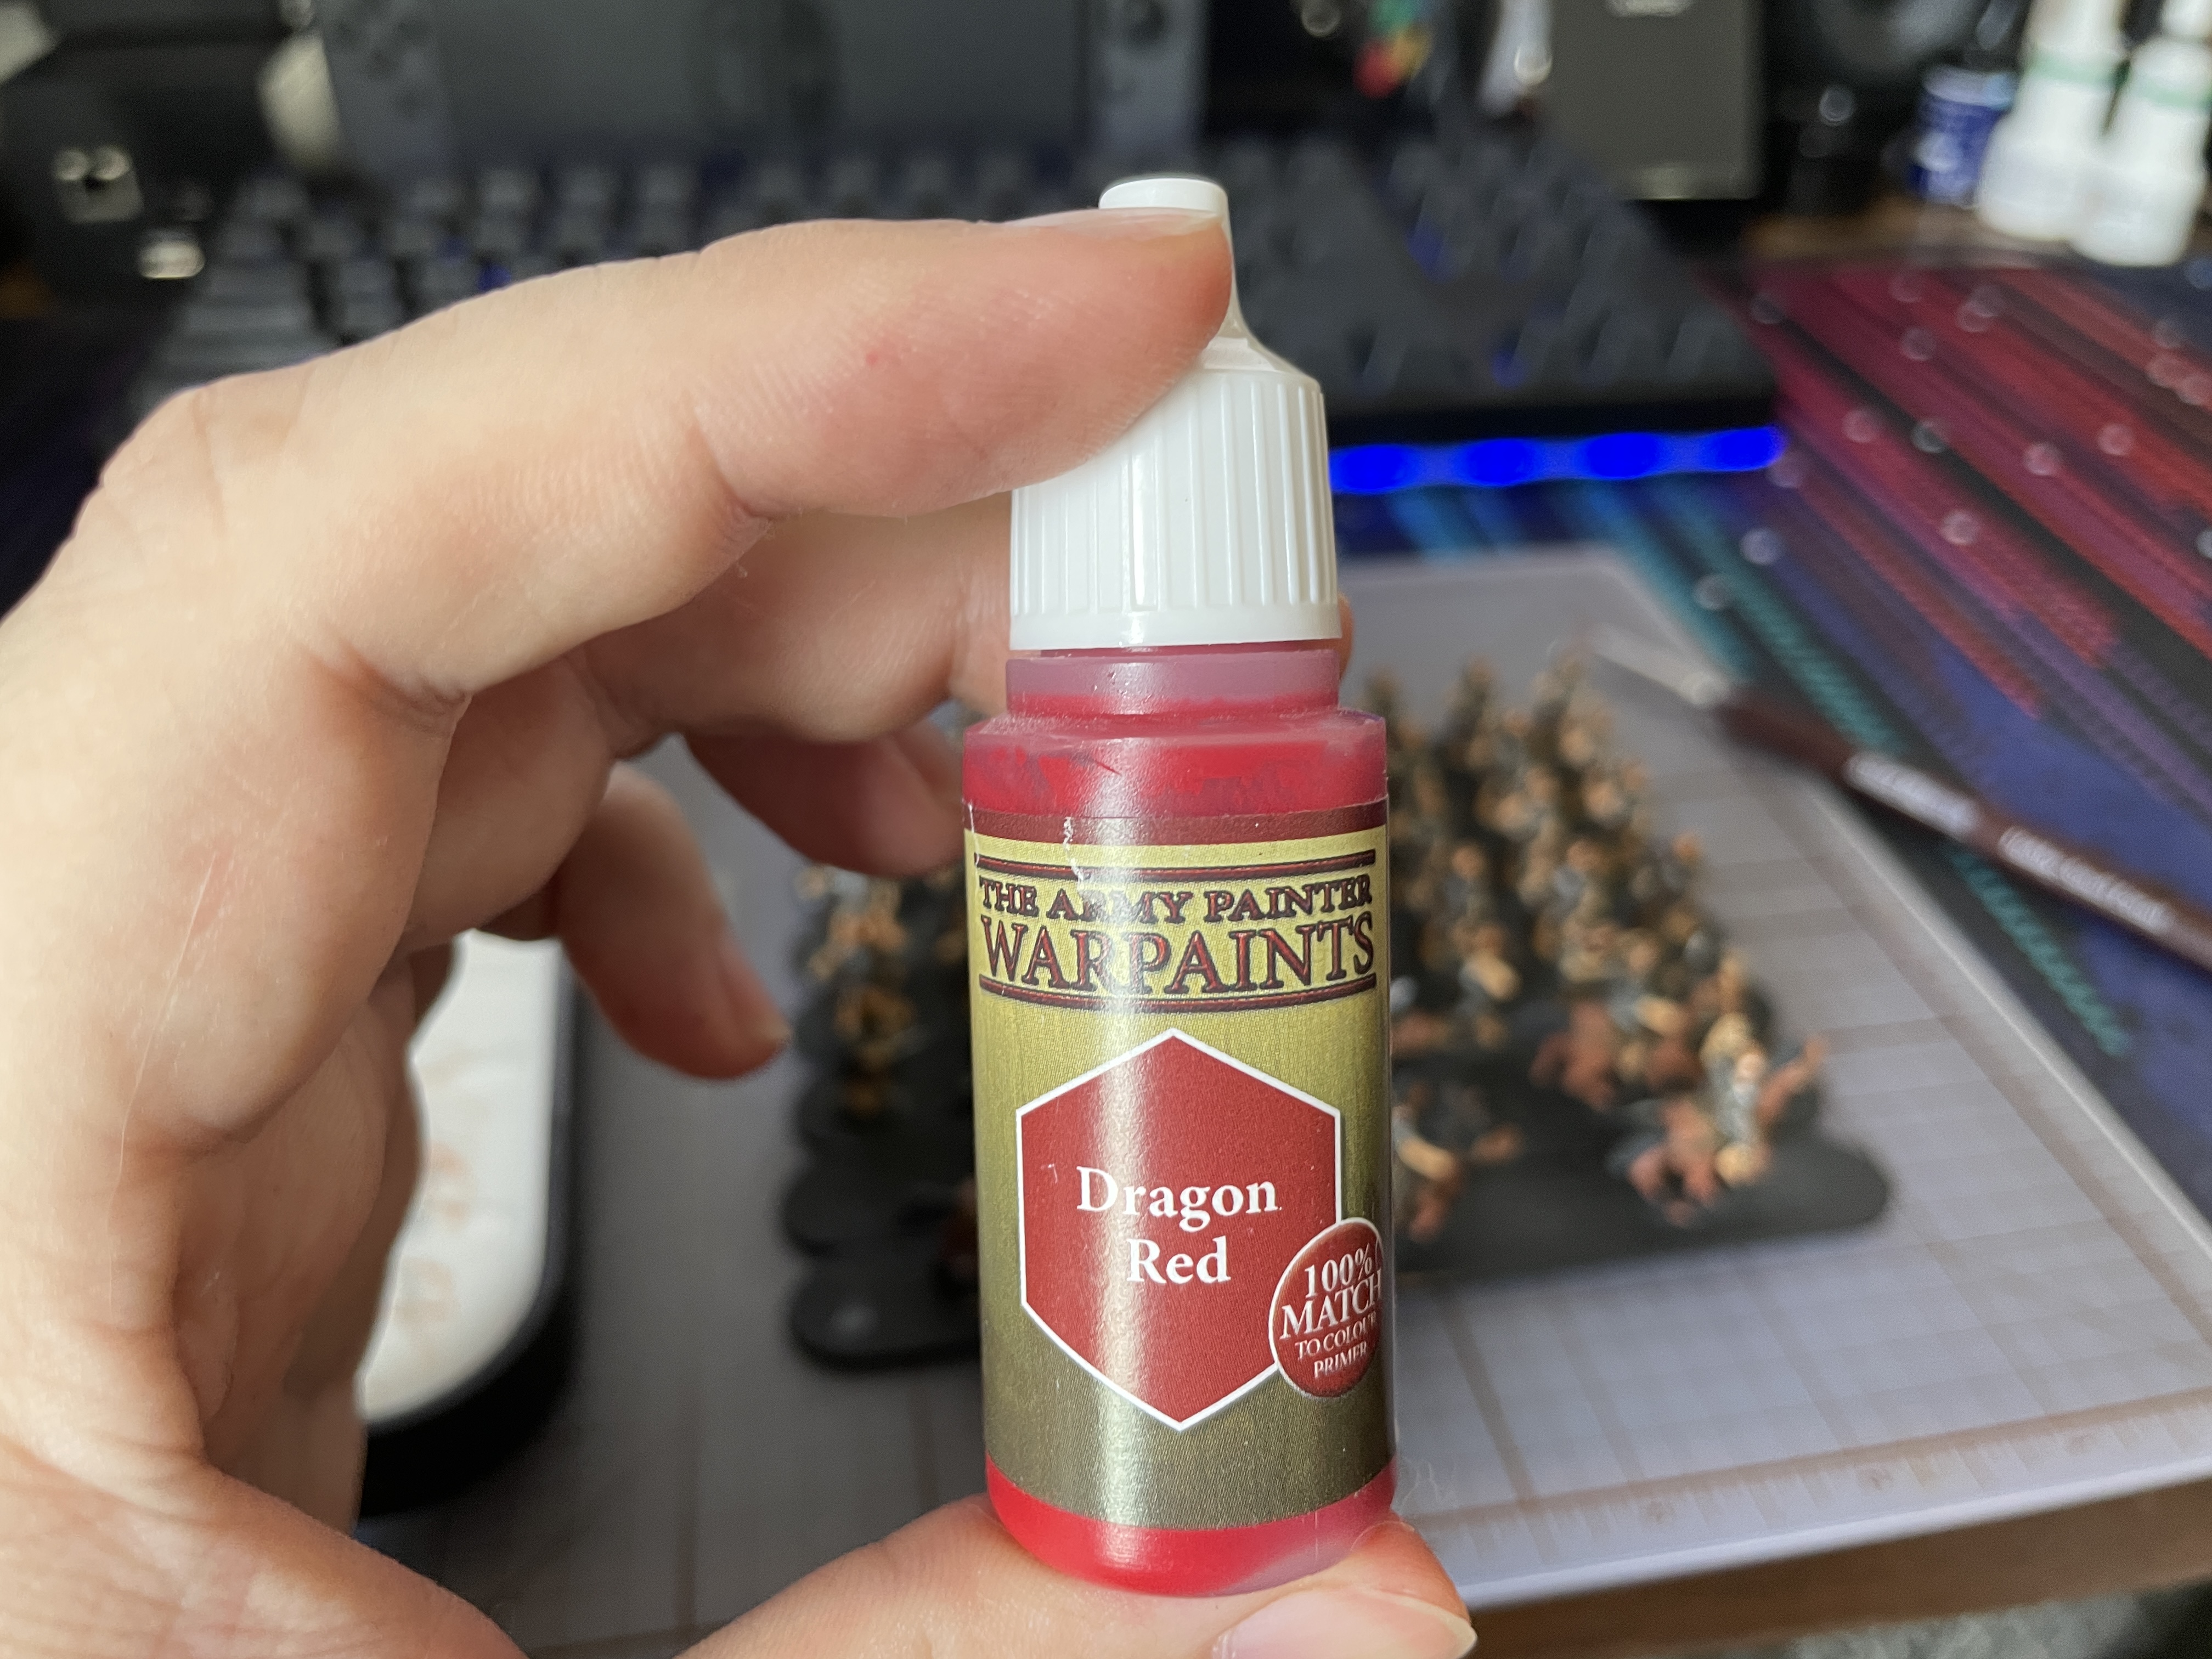
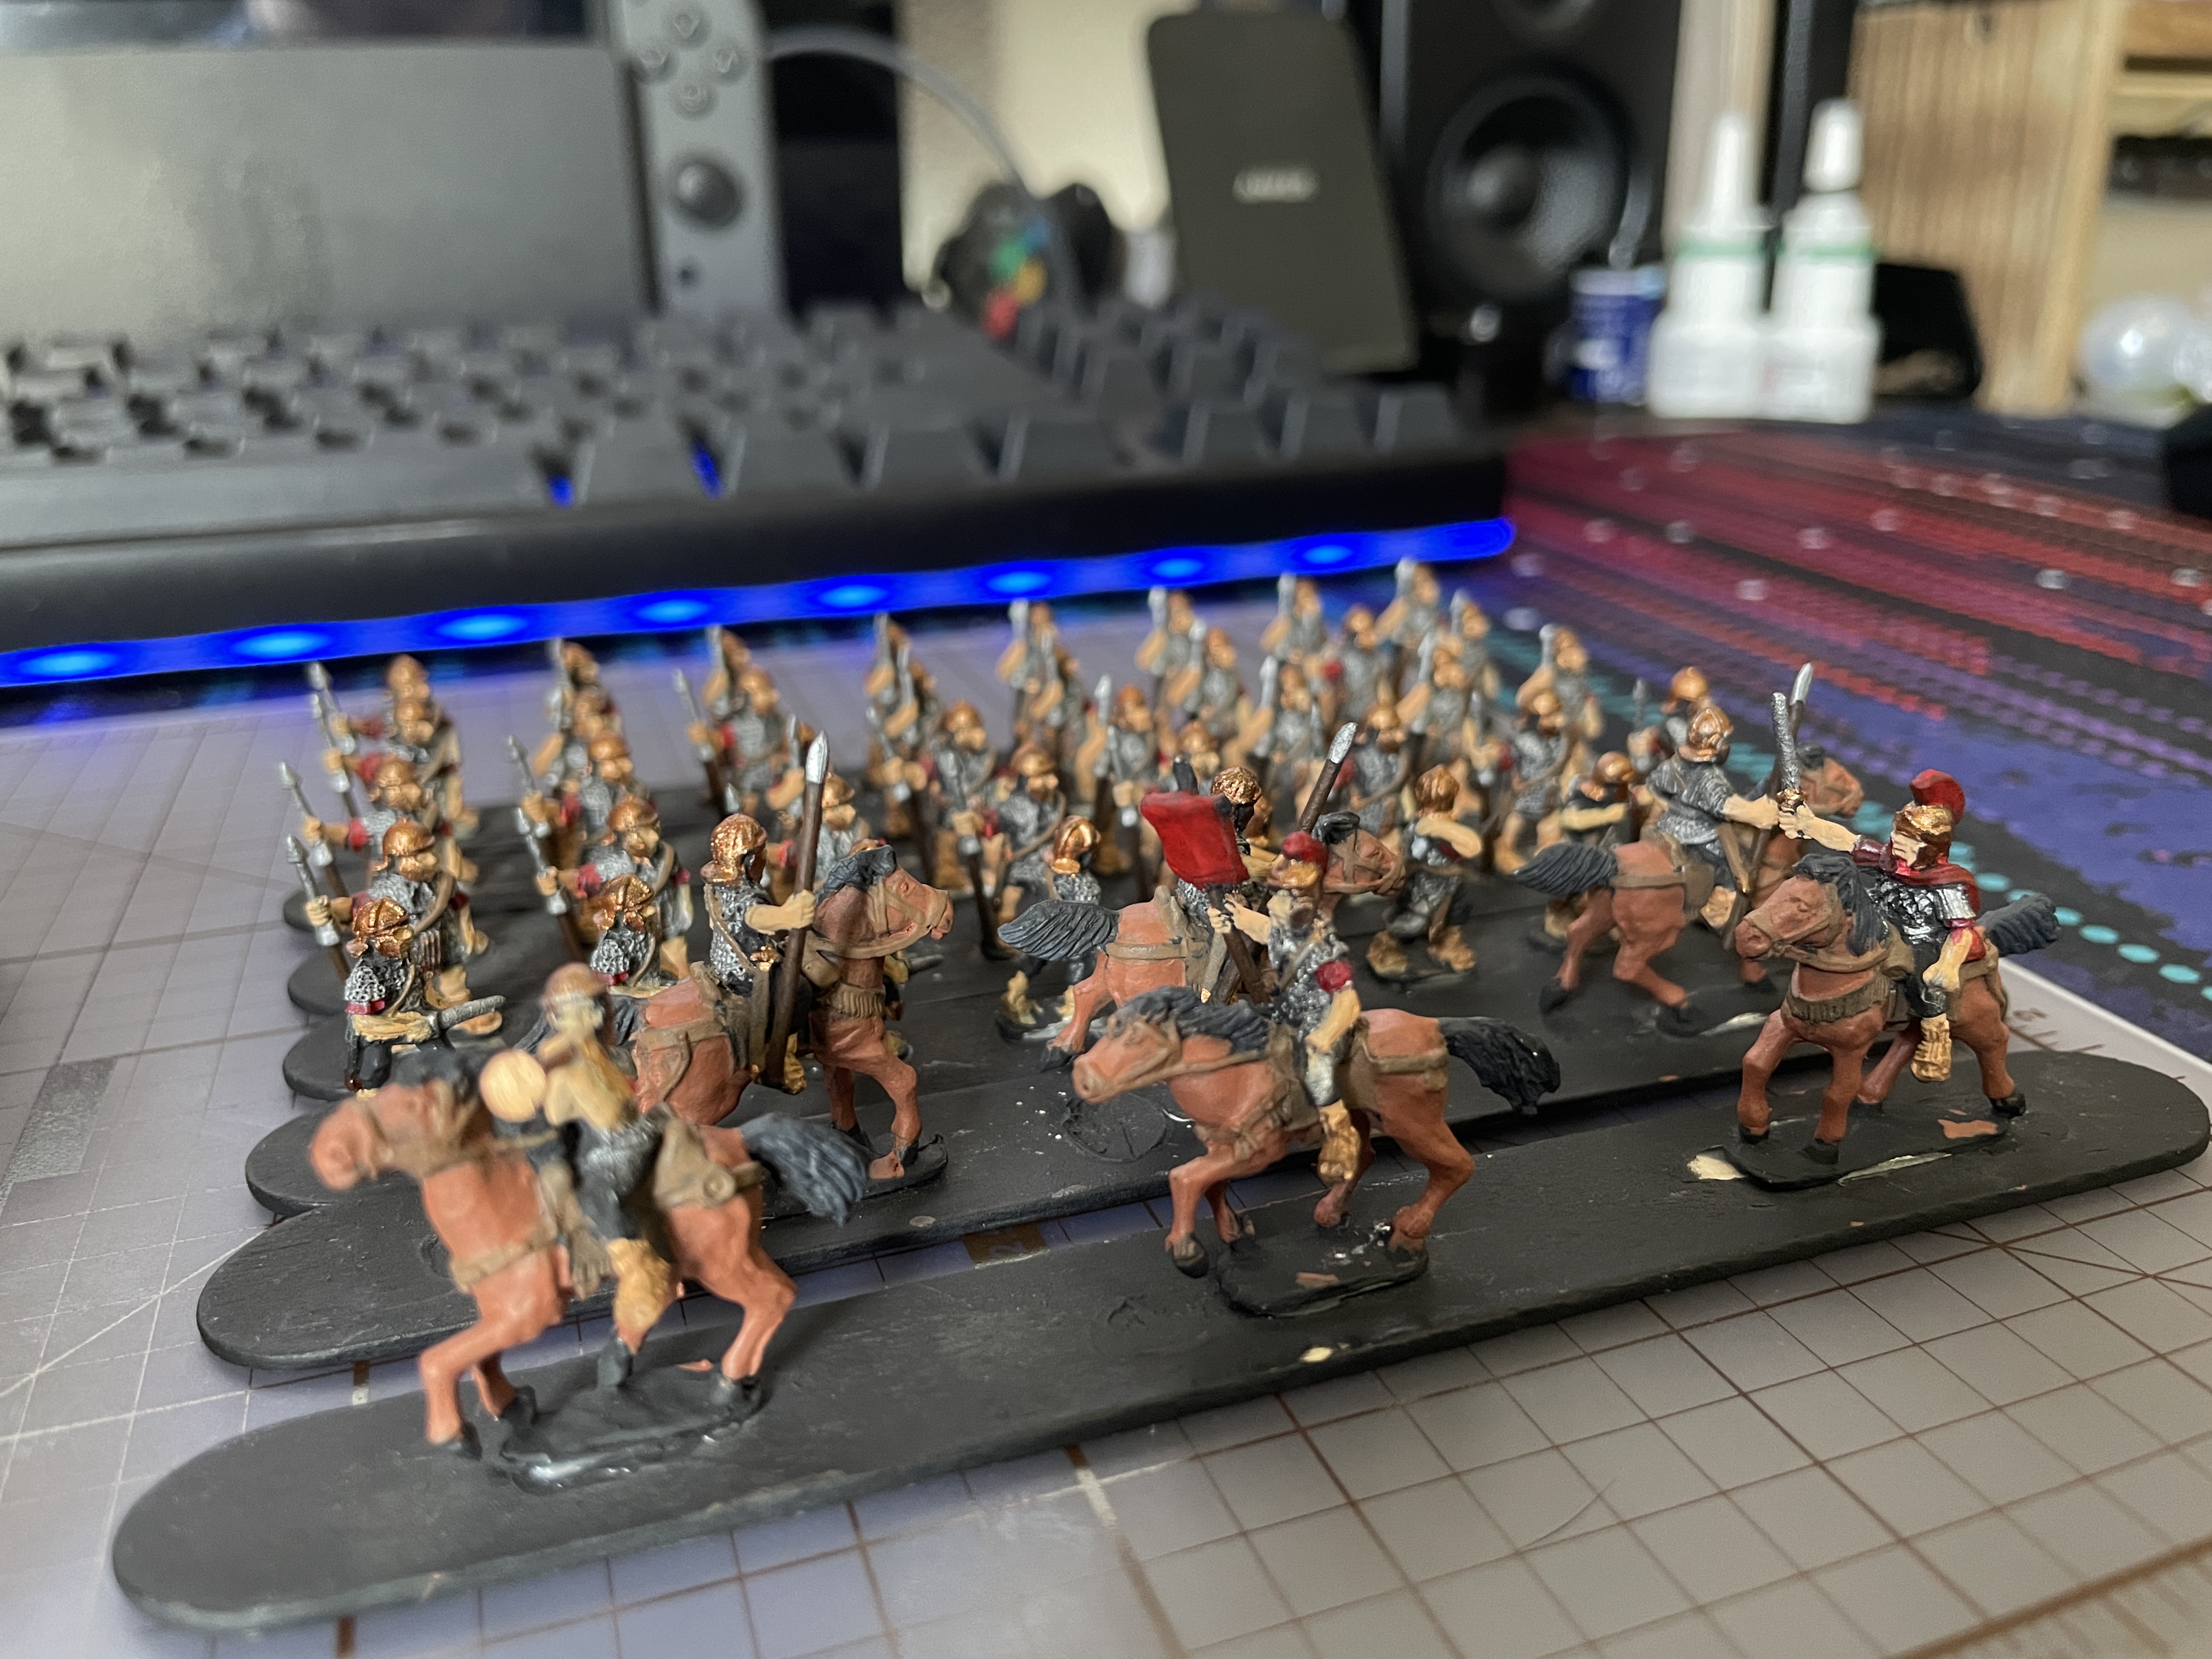
Dragon Red is used next to touch up the tunics. I missed the bottom sticking out under the armor so all of the models got some fine detail edging. This was some intense work but I’m very pleased with the result and again it really makes these pop.
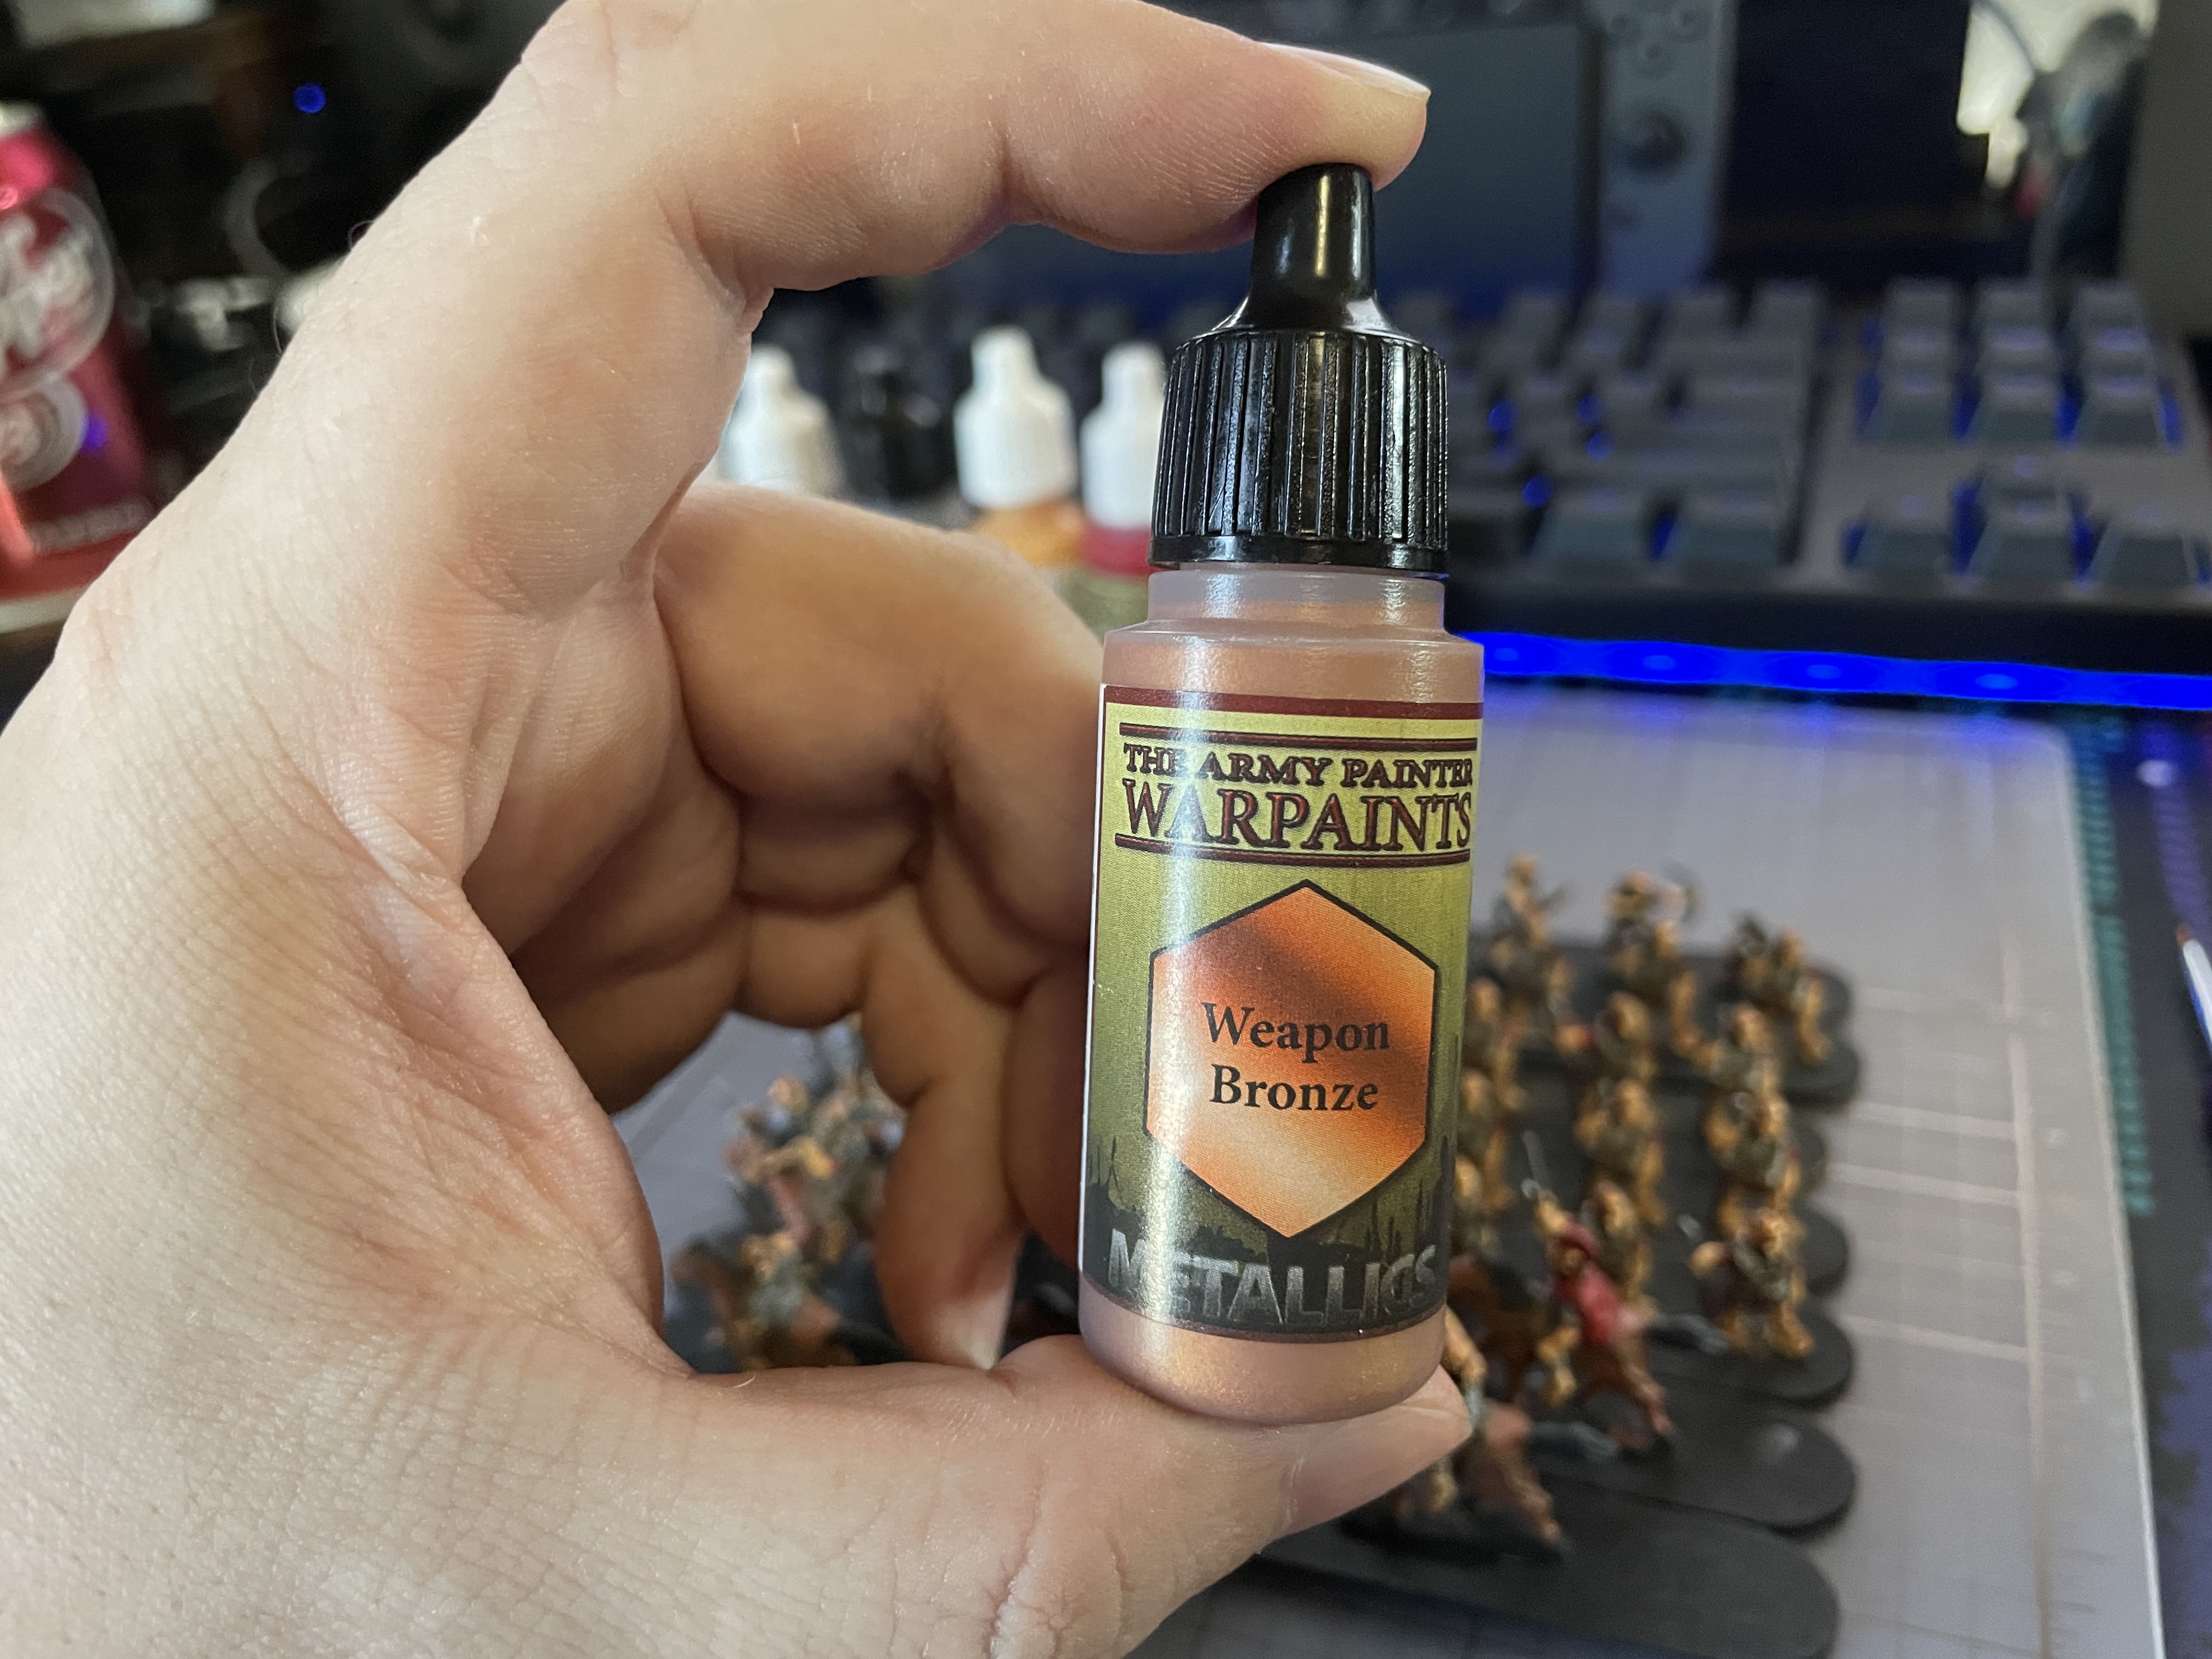
Now a dab of Weapon Bronze on the buttons and rigging of the horse leather harnesses. Again small touches like this really makes things pop. That is painting all the details done as well as any touch ups that I see I need. That means I can move onto washing.
I start with Strong Tone on the cavalry. This is my first time using a product like this and I am worried perhaps I’m going too dark. The chainmail dulled a bit, I’m going to let this set and then determine if I continue with it or move to the Soft Tone.
Hard to think this has been a week of painting but a little bit each day has given me quite the results. After deciding on the tone to use I’ll get to base these up and build up the ground texture with some Vallejo Brown Earth Texture. I’ve used their plain grey pumice in the past and I love the texture and working with it but it was a nightmare to paint. This stuff is pre-mixed with color so that complaint is solved. By the time I get these finished hopefully the Gauls and the last of the Romans come in and it is warm enough to prime them.
Till next post happy hobby time everyone!
Small steps to the finish line
Another short detail day but are more steps towards getting to the finish line. I’ve been doing research on terrain and it really has me in the mood to base these up but we aren’t quite ready yet.
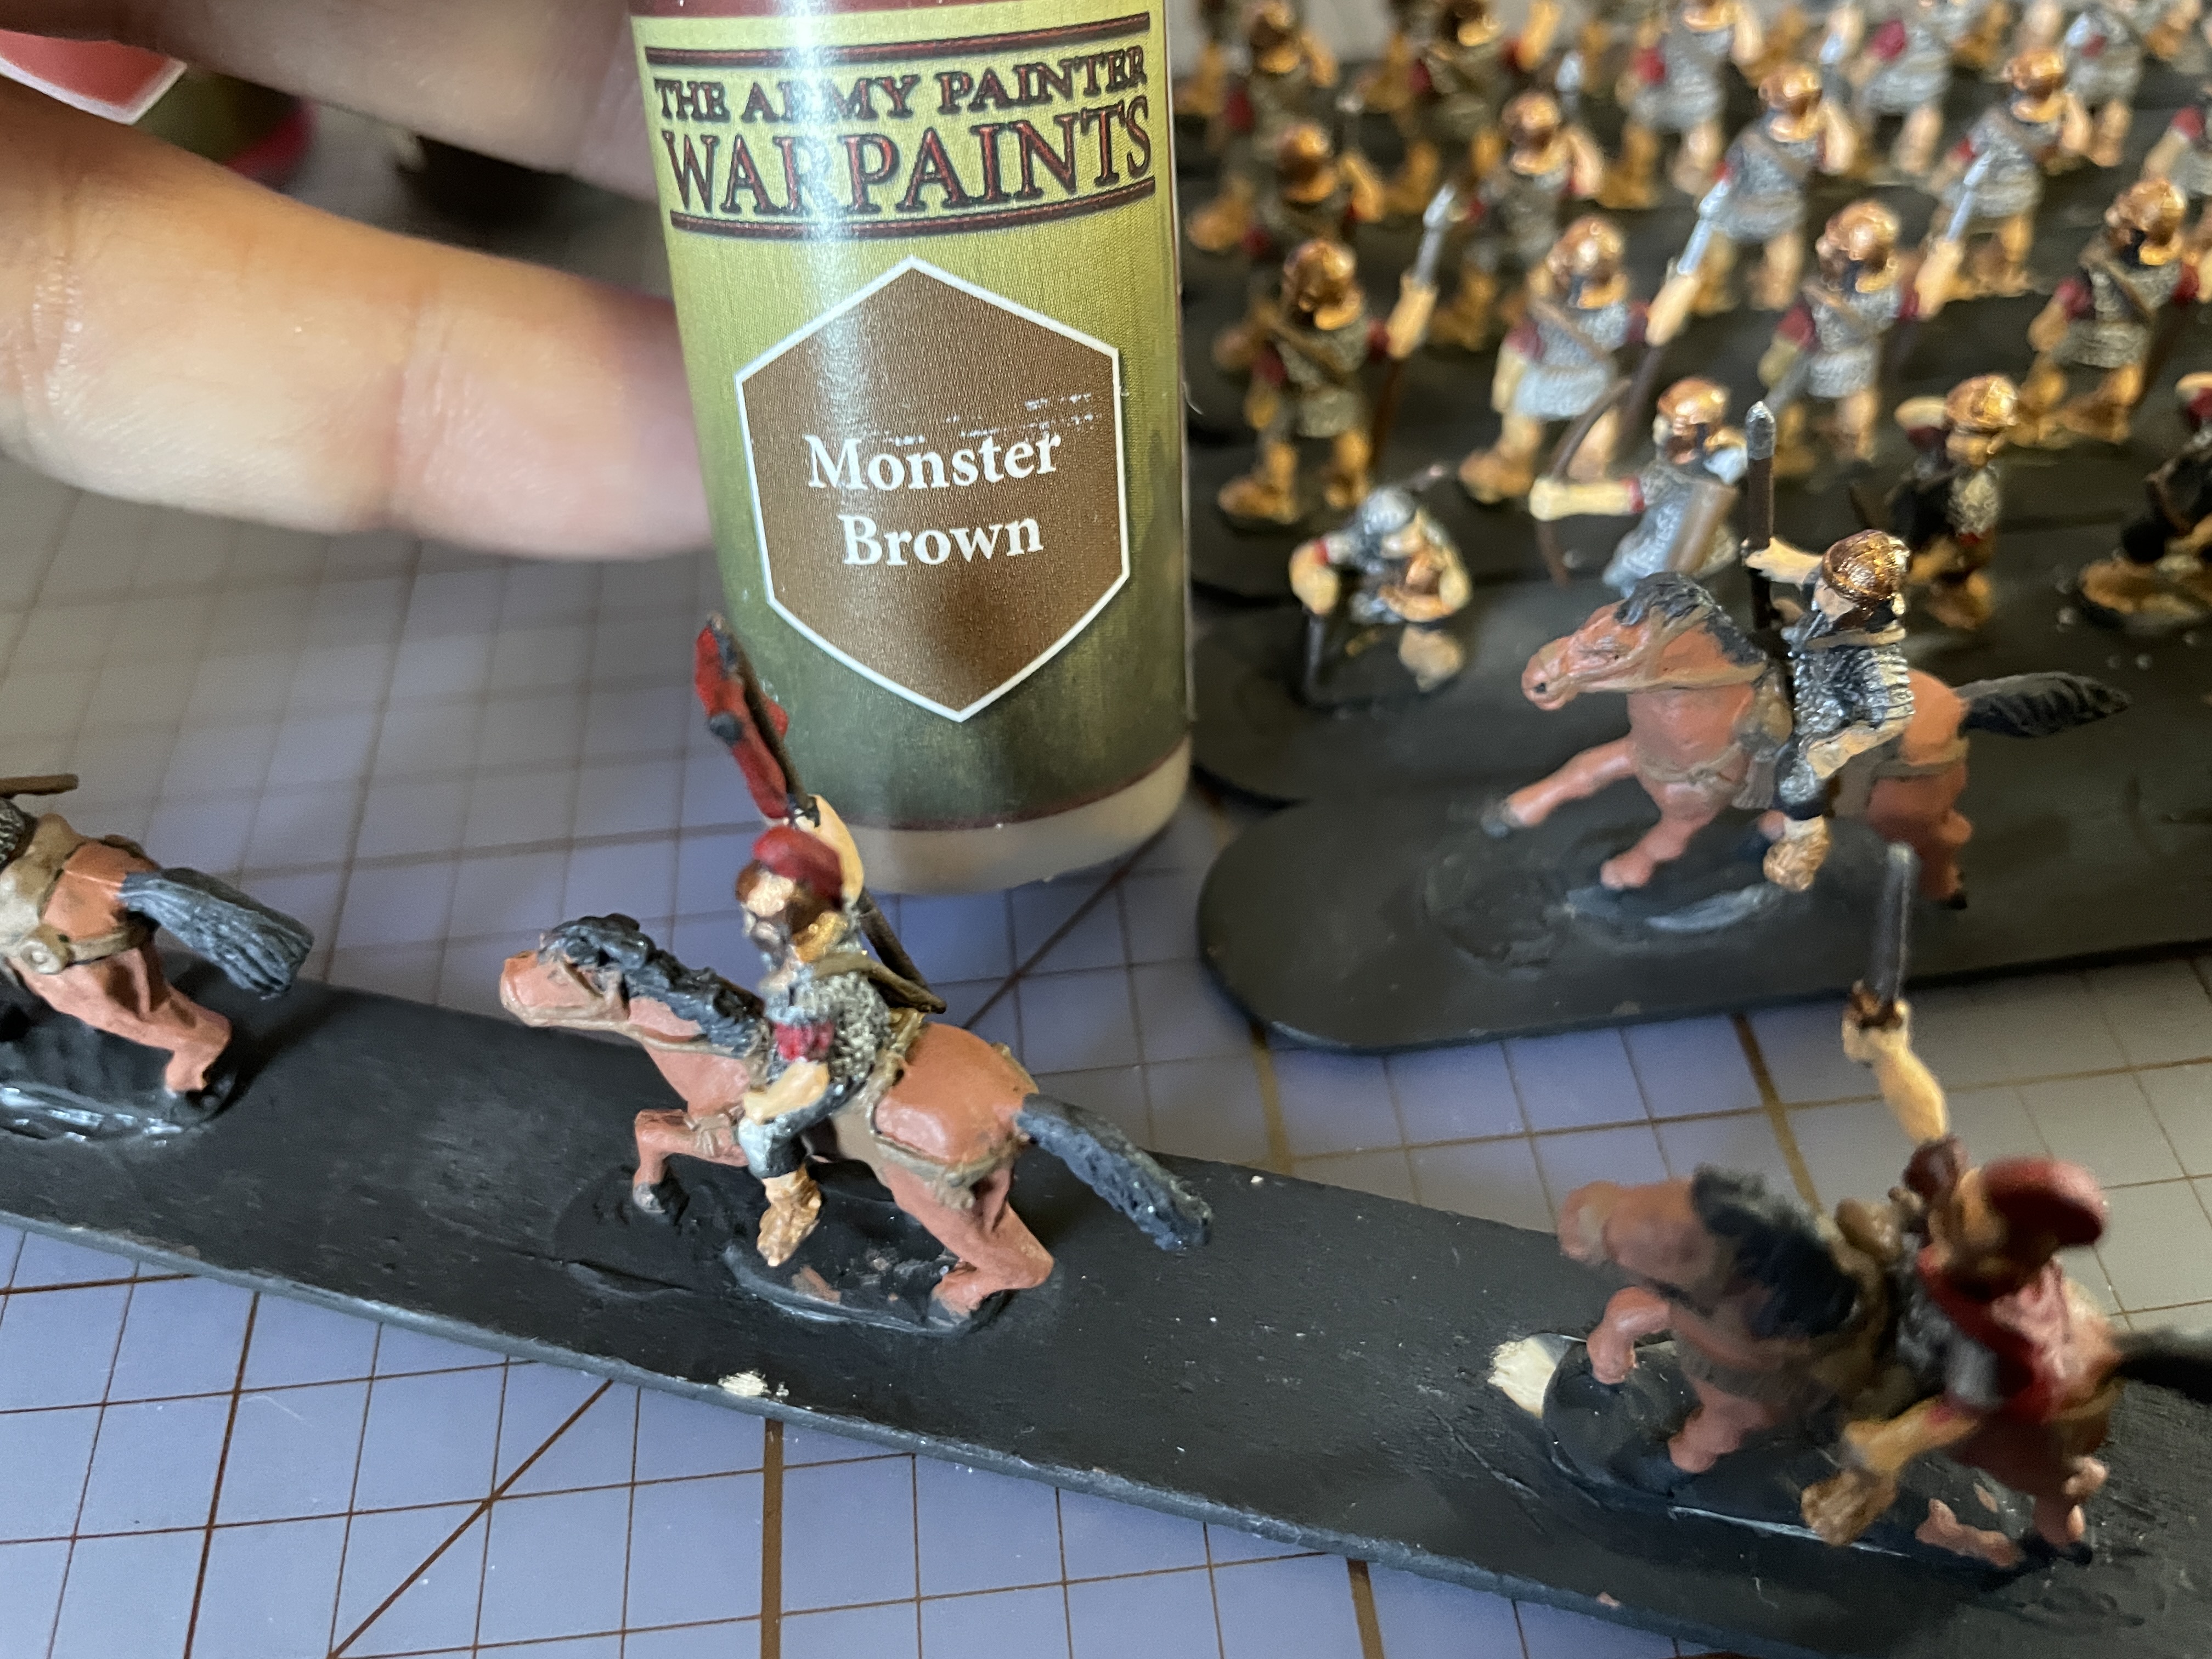
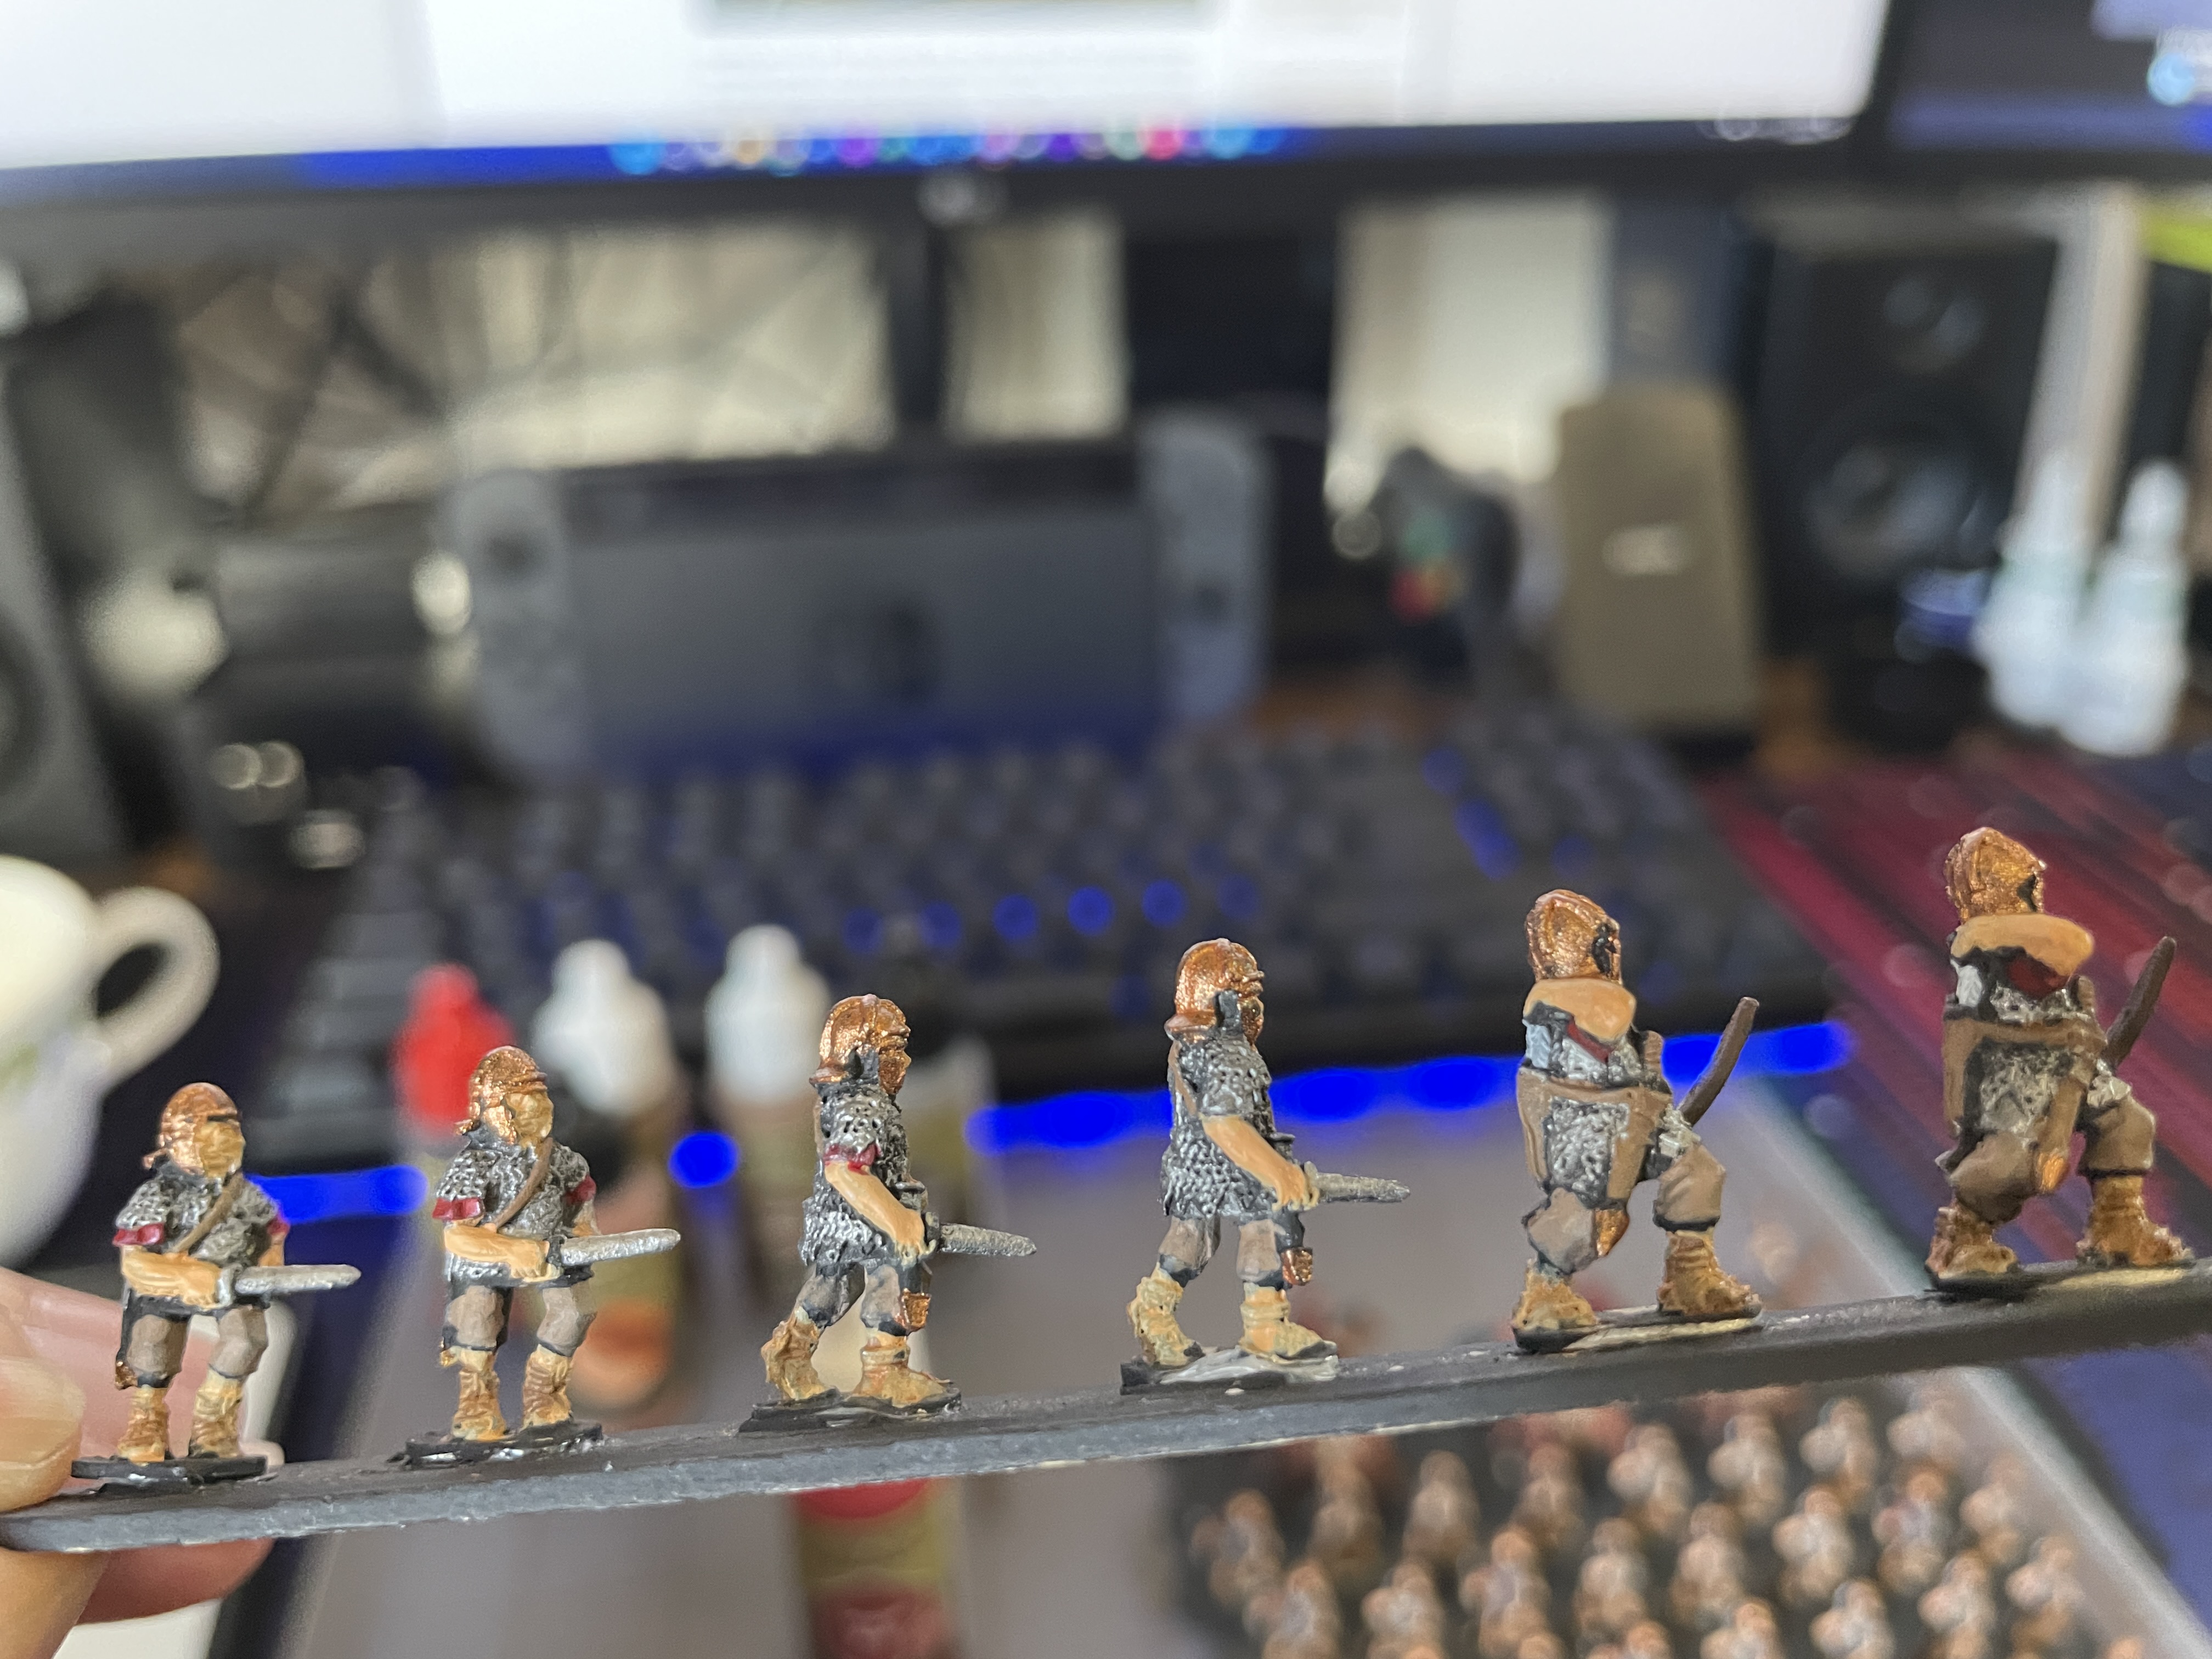
I start with Monster Brown for the trousers as a warm up. This step was largely unsatisfying as it was quite separated even after much vigorous shaking and a few rounds in the mini vortex. It was like spreading paint water. I got frustrated and while I finished all the models that needed it I will have to revisit them again for a second or third coat.

Next is some Dark Stone that is used on the hooves. This was much darker than I anticipated and still looked very black. This did help cover up the Fur Brown that I over painted but I’m still not quite happy with it. I may revisit this after some pictures and research on what others do for horses. At this scale I should just move on as they are tiny and won’t really stand out on the tabletop.
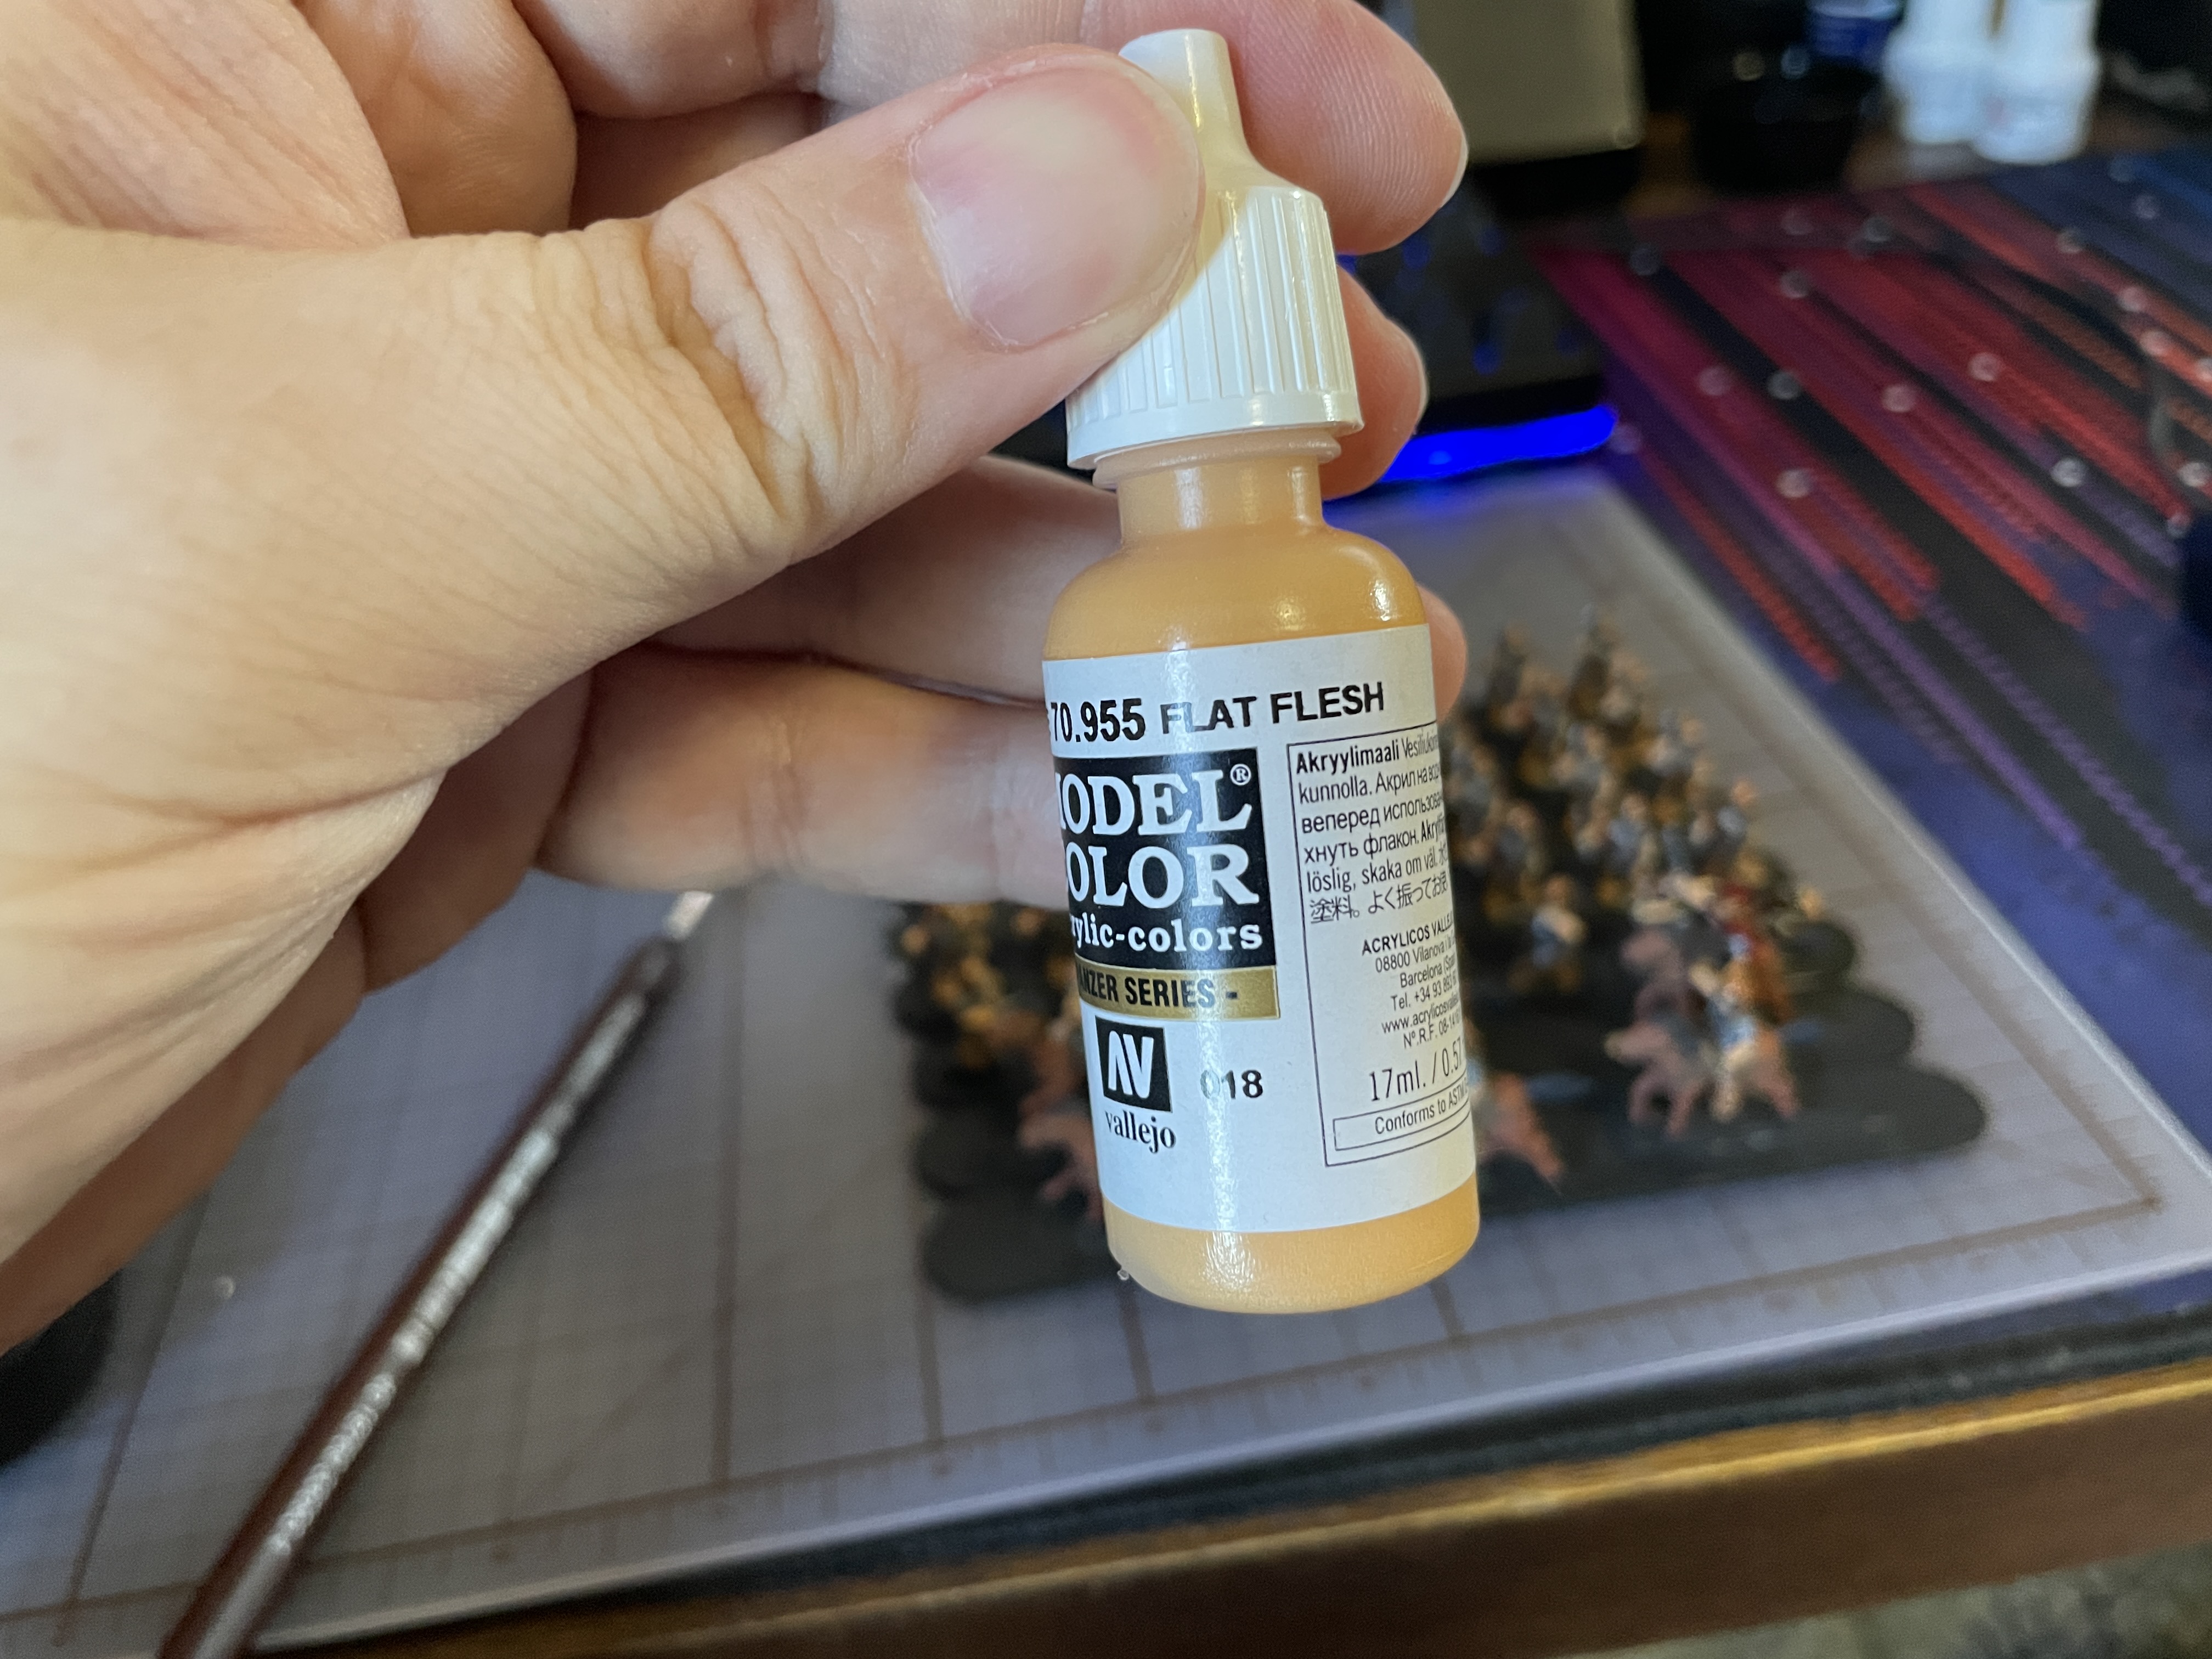
Rounding out the night I finish up with more Flat Flesh to get a third coat and touch ups. This finally worked in my favor and the pigment got properly mixed and went on smooth. So smooth it helped the legs stand out more from the sandals. This is a result I’m happy with and a great way to finish out the night.
Details left to do is another round at the trousers perhaps the Monster Brown will get mixed well with more effort. I also noticed some buttons and rings on the horse rigging that needs some Weapon Bronze. I also noticed some areas on the tunics like the bottoms that could use some edge work. It is a very small detail but they really make these feel more Roman. I also need another pass at the chainmail on the archers as I missed some areas due to bad mold flash. The areas just are malformed so I’ll have to get some color there to approximate so it isn’t a black void.
I’m doing more research on terrain for DBA and I understand the size rules for everything now. I just need to plan out what supplies I need to get and put an order in. This will be my first time doing terrain and I’m excited for it. Today showed that not all painting days are satisfying but are important steps forward as a painted model is better than an unfinished one. Until next update, happy hobby time everyone!
Fletching, Tunics, and Touch ups
A small hobby update for today but an important one. Finally get some red on the Romans and wow does it make them pop for me. Let’s take a look.
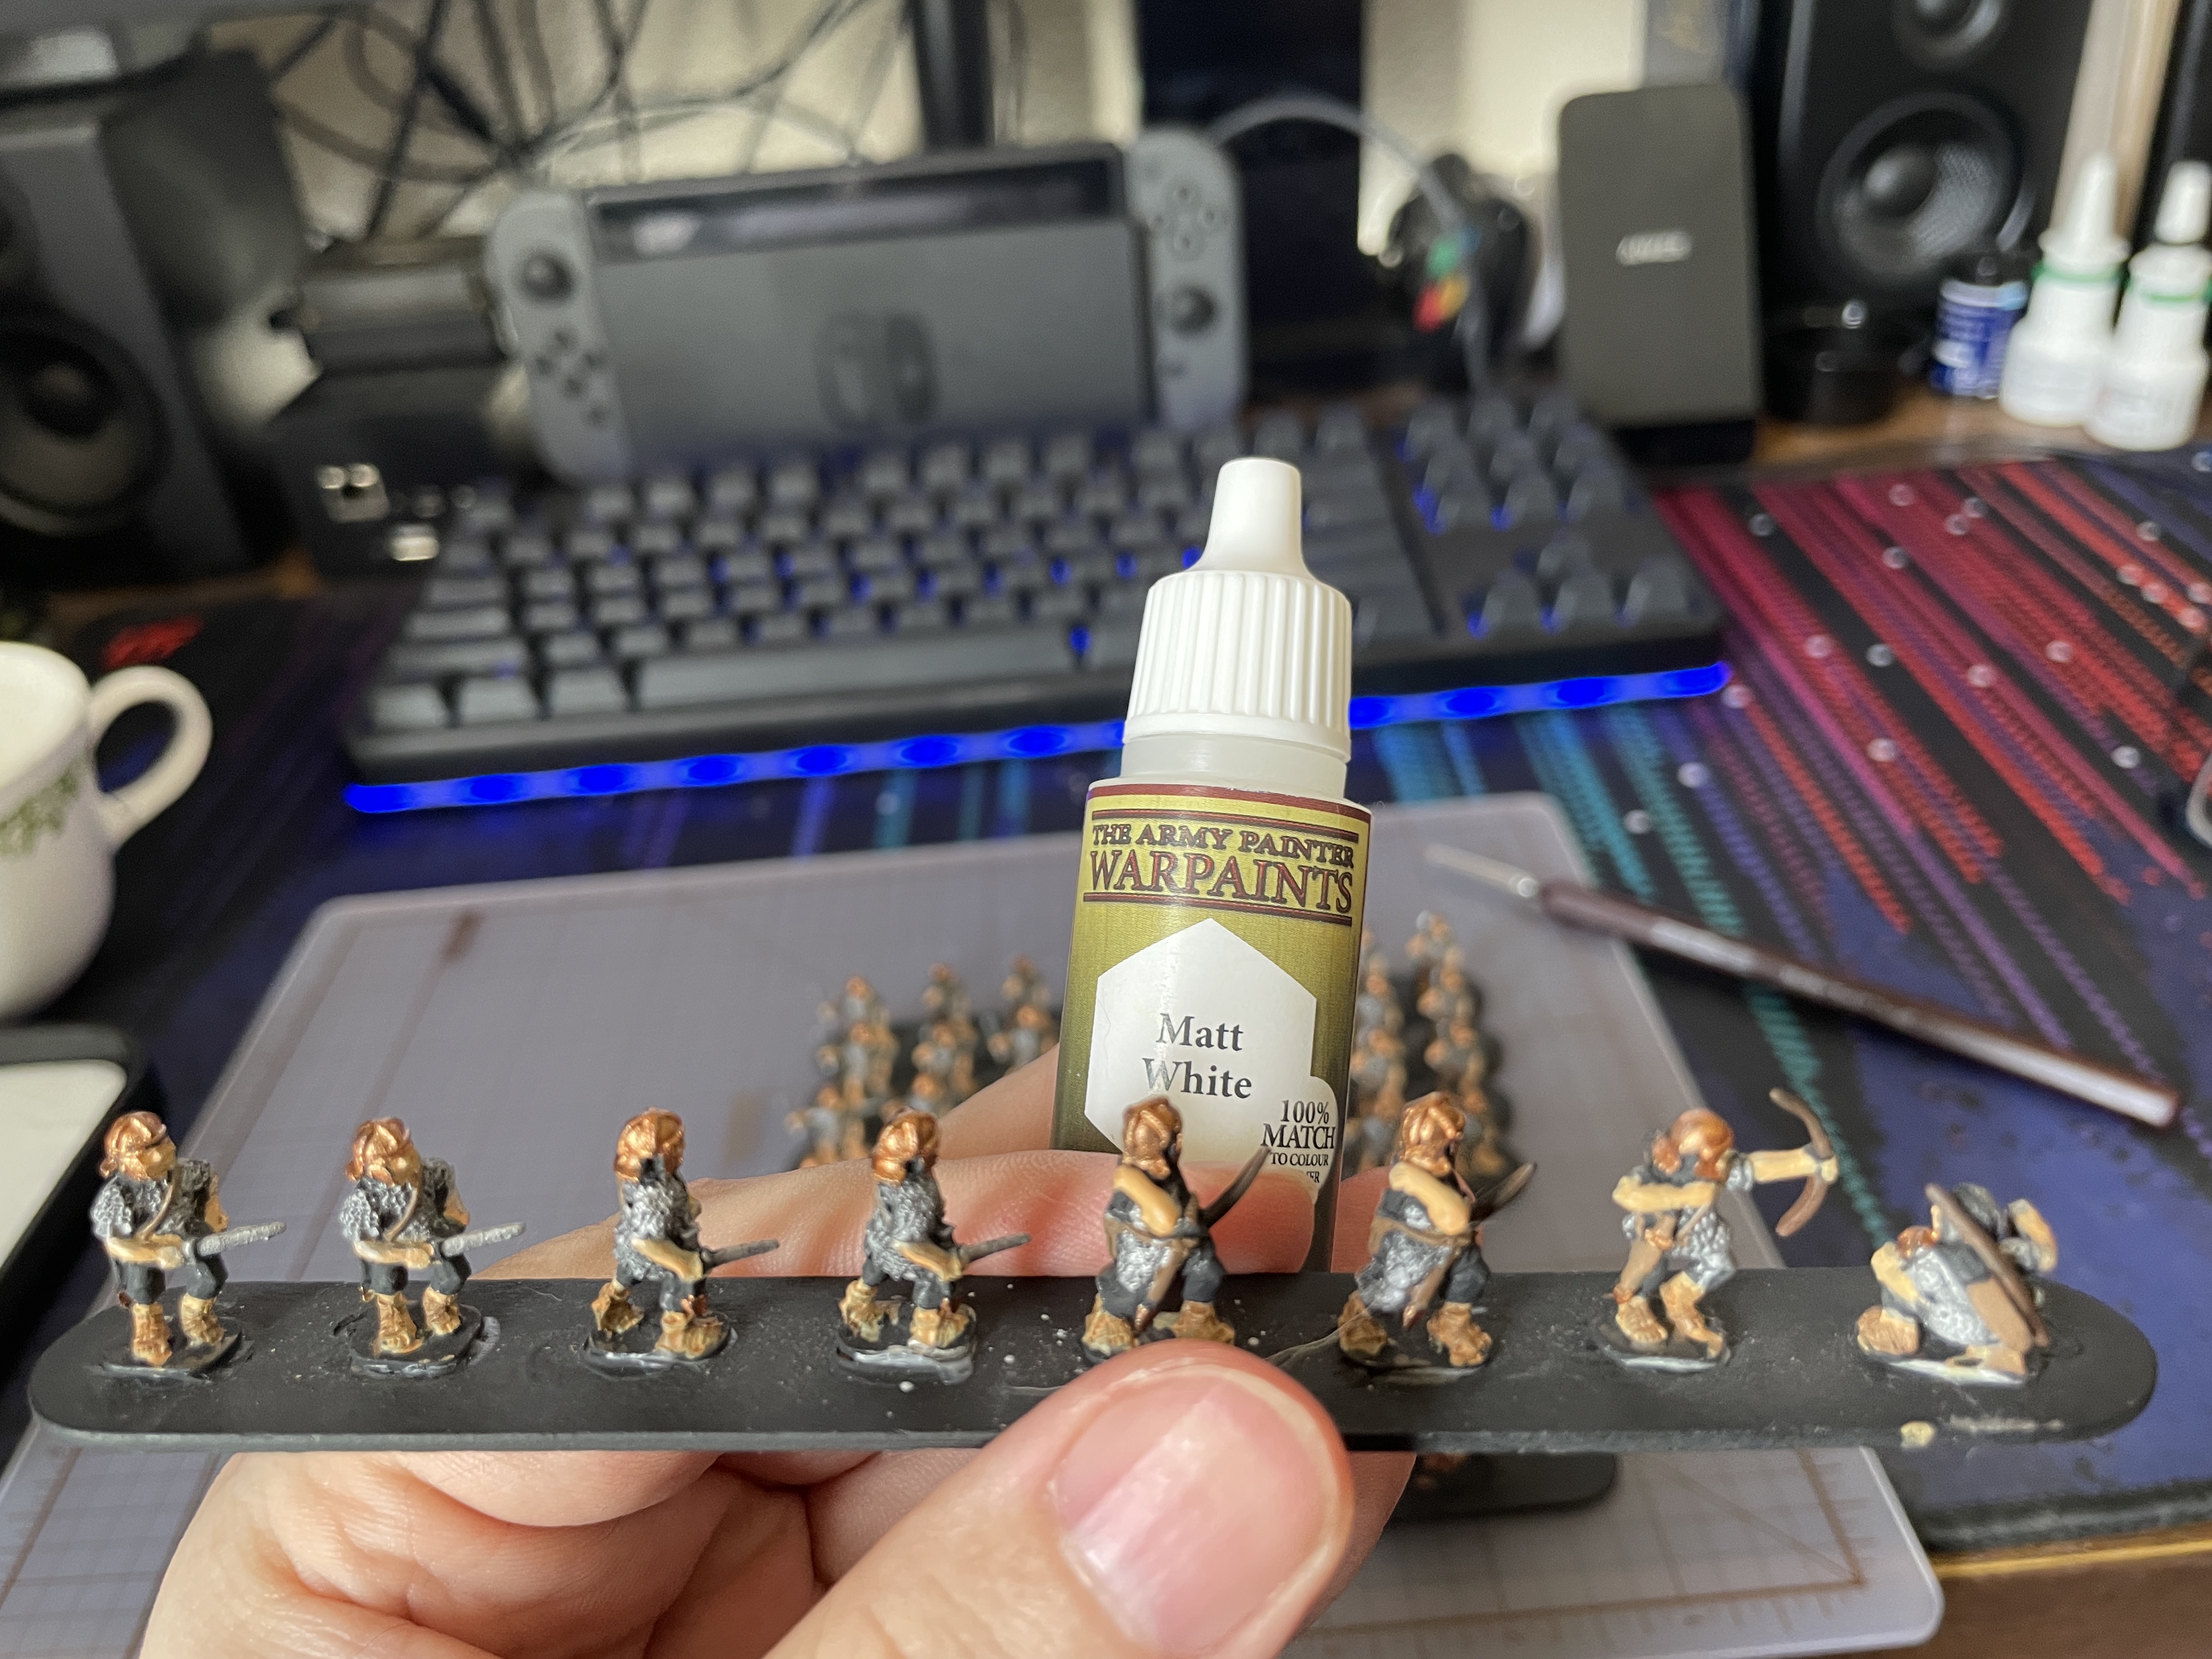
Since only four models needed fletching I started with those, a few dabs of Matt White white and it does the job.

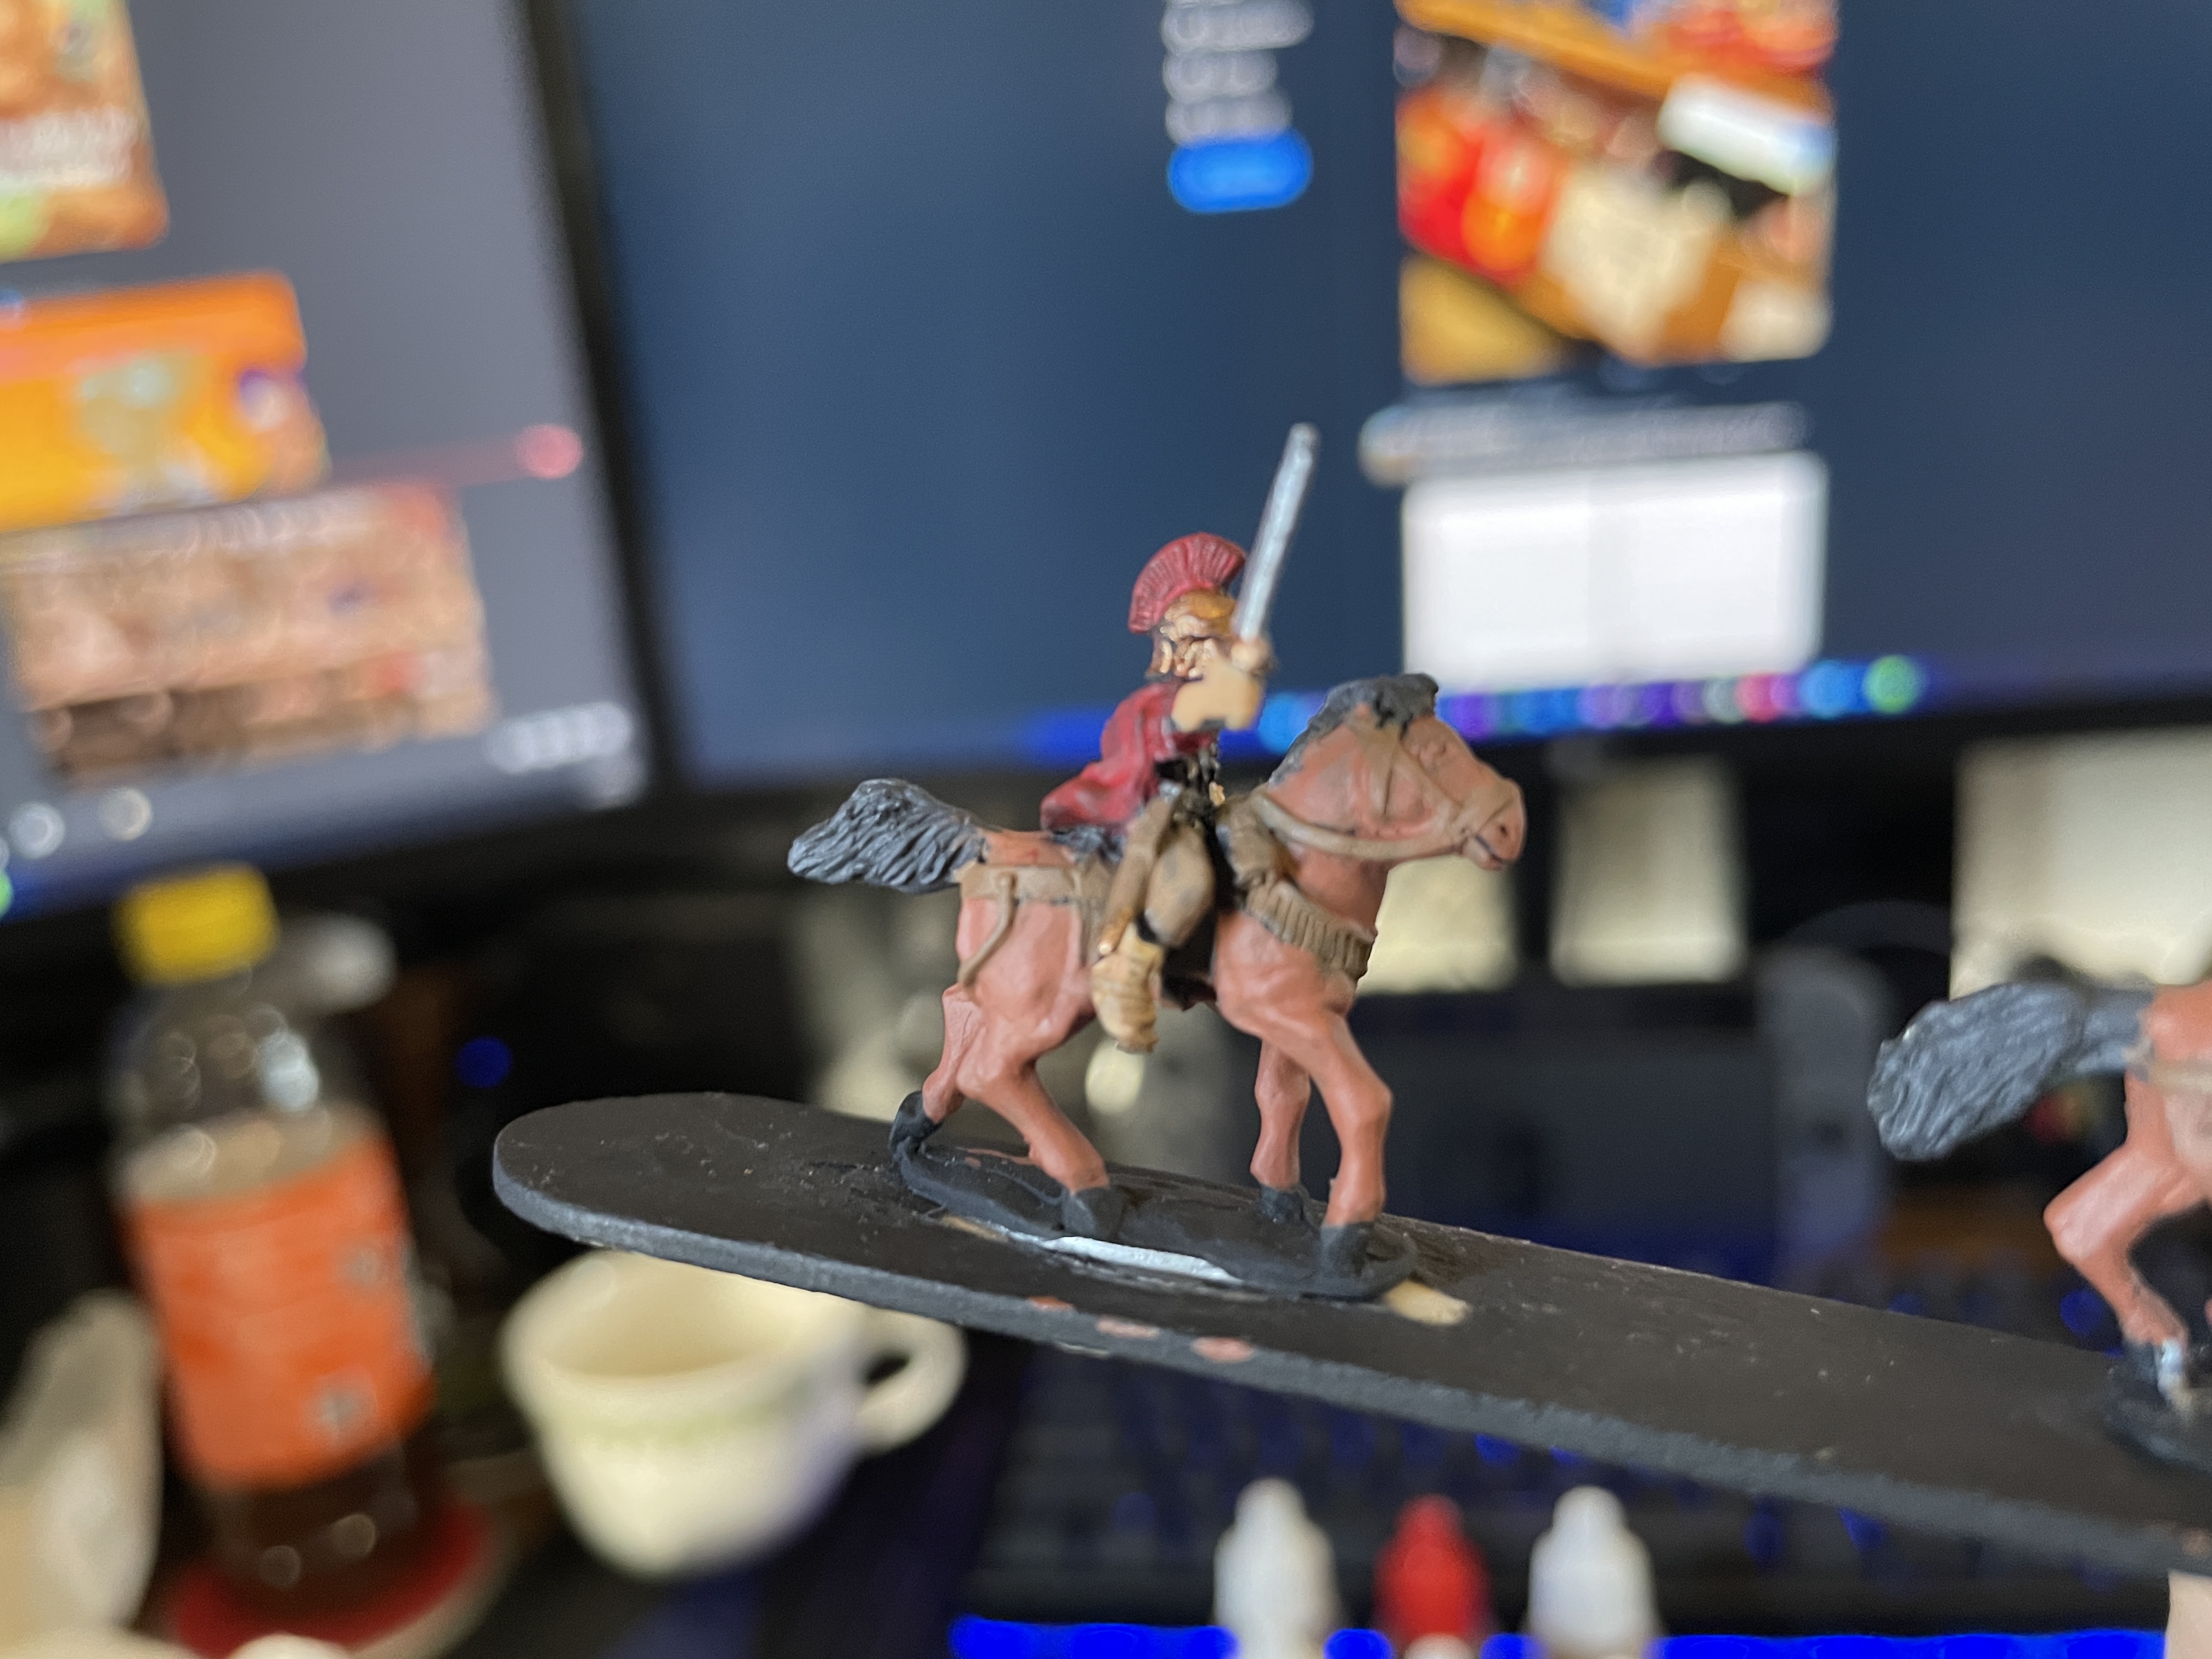
Now to the meat of this post and it is Dragon Red. This color I was initially worried it would be too dark but once down on the models it was the perfect Roman red I had pictured. This also came out of the bottle very thin. Time and storage had not been kind on my paints but unlike GW ones I used to use these came back to life on the mini vortex and some vigorous shaking. Even still needed a few coats to get the job done and I need one more pass on the banner and cloak. The tunics were hard to paint at this scale but I got the job done with minimal touch ups needed.
Three feet on the table it will look fantastic. A painted army looks better than an unfinished one. While this is a close up you can see imperfections at a distance I’m pleased. They will look better once based up and the bases finished. I don’t know why but I’m looking forward to the basing part. Also great news my camps and other Xyston minis are in the post from the UK on their way to me. By the time I finish these up I should have the rest in queue to paint. Until next post happy hobby time everyone!