Draconis: Spring Clean 2024 and onward


Recommendations: 393
About the Project
Spring Clean Challenge 2024 Project Having just finished painting my Separatists for SW Legion this Spring Clean challenge will be my next objective. Last year was my first taking part, and I got through quite a few things that had been sitting on my paint area. The Discworld Witches were fun, and led on to me taking them on holiday and getting pictures at various historic places we visited on their ‘Grand Tour’. Sadly I don’t think anything this year will be able to match that. However, I did enjoy doing the grand tour, so will probably try to find something to take with us again – although this time it will likely be just one mini, as setting up all three did become fiddly in places ? As for the rest, well I think it is going to be various smaller things that have languished unfinished (or un-started…) for quite some time. I did consider my Mars Attacks stuff, but due to the amount I have I think that will probably be a project of its own. Just need to decide on what I am actually going to work on……
Related Genre: General
Related Contest: Spring Clean Hobby Challenge 2024
This Project is Active
Napoleonic riflemen
6th August 2024
While on holiday (transporting Dakkatoof) my wife decided she wanted some napoleonic riflemen (Sharpe’s chosen men of course).
Over the weekend I put some together for her (she just wanted four).

So, Silver Bayonet....
This has however led me to thinking about doing something for the Silver Bayonet.
I have spare riflemen, and a box of Victrix British infantry…. so that’s a start ?
Spring Clean is over, now 'The Onward'….. Magnetising The Walking Dead
1st August 2024
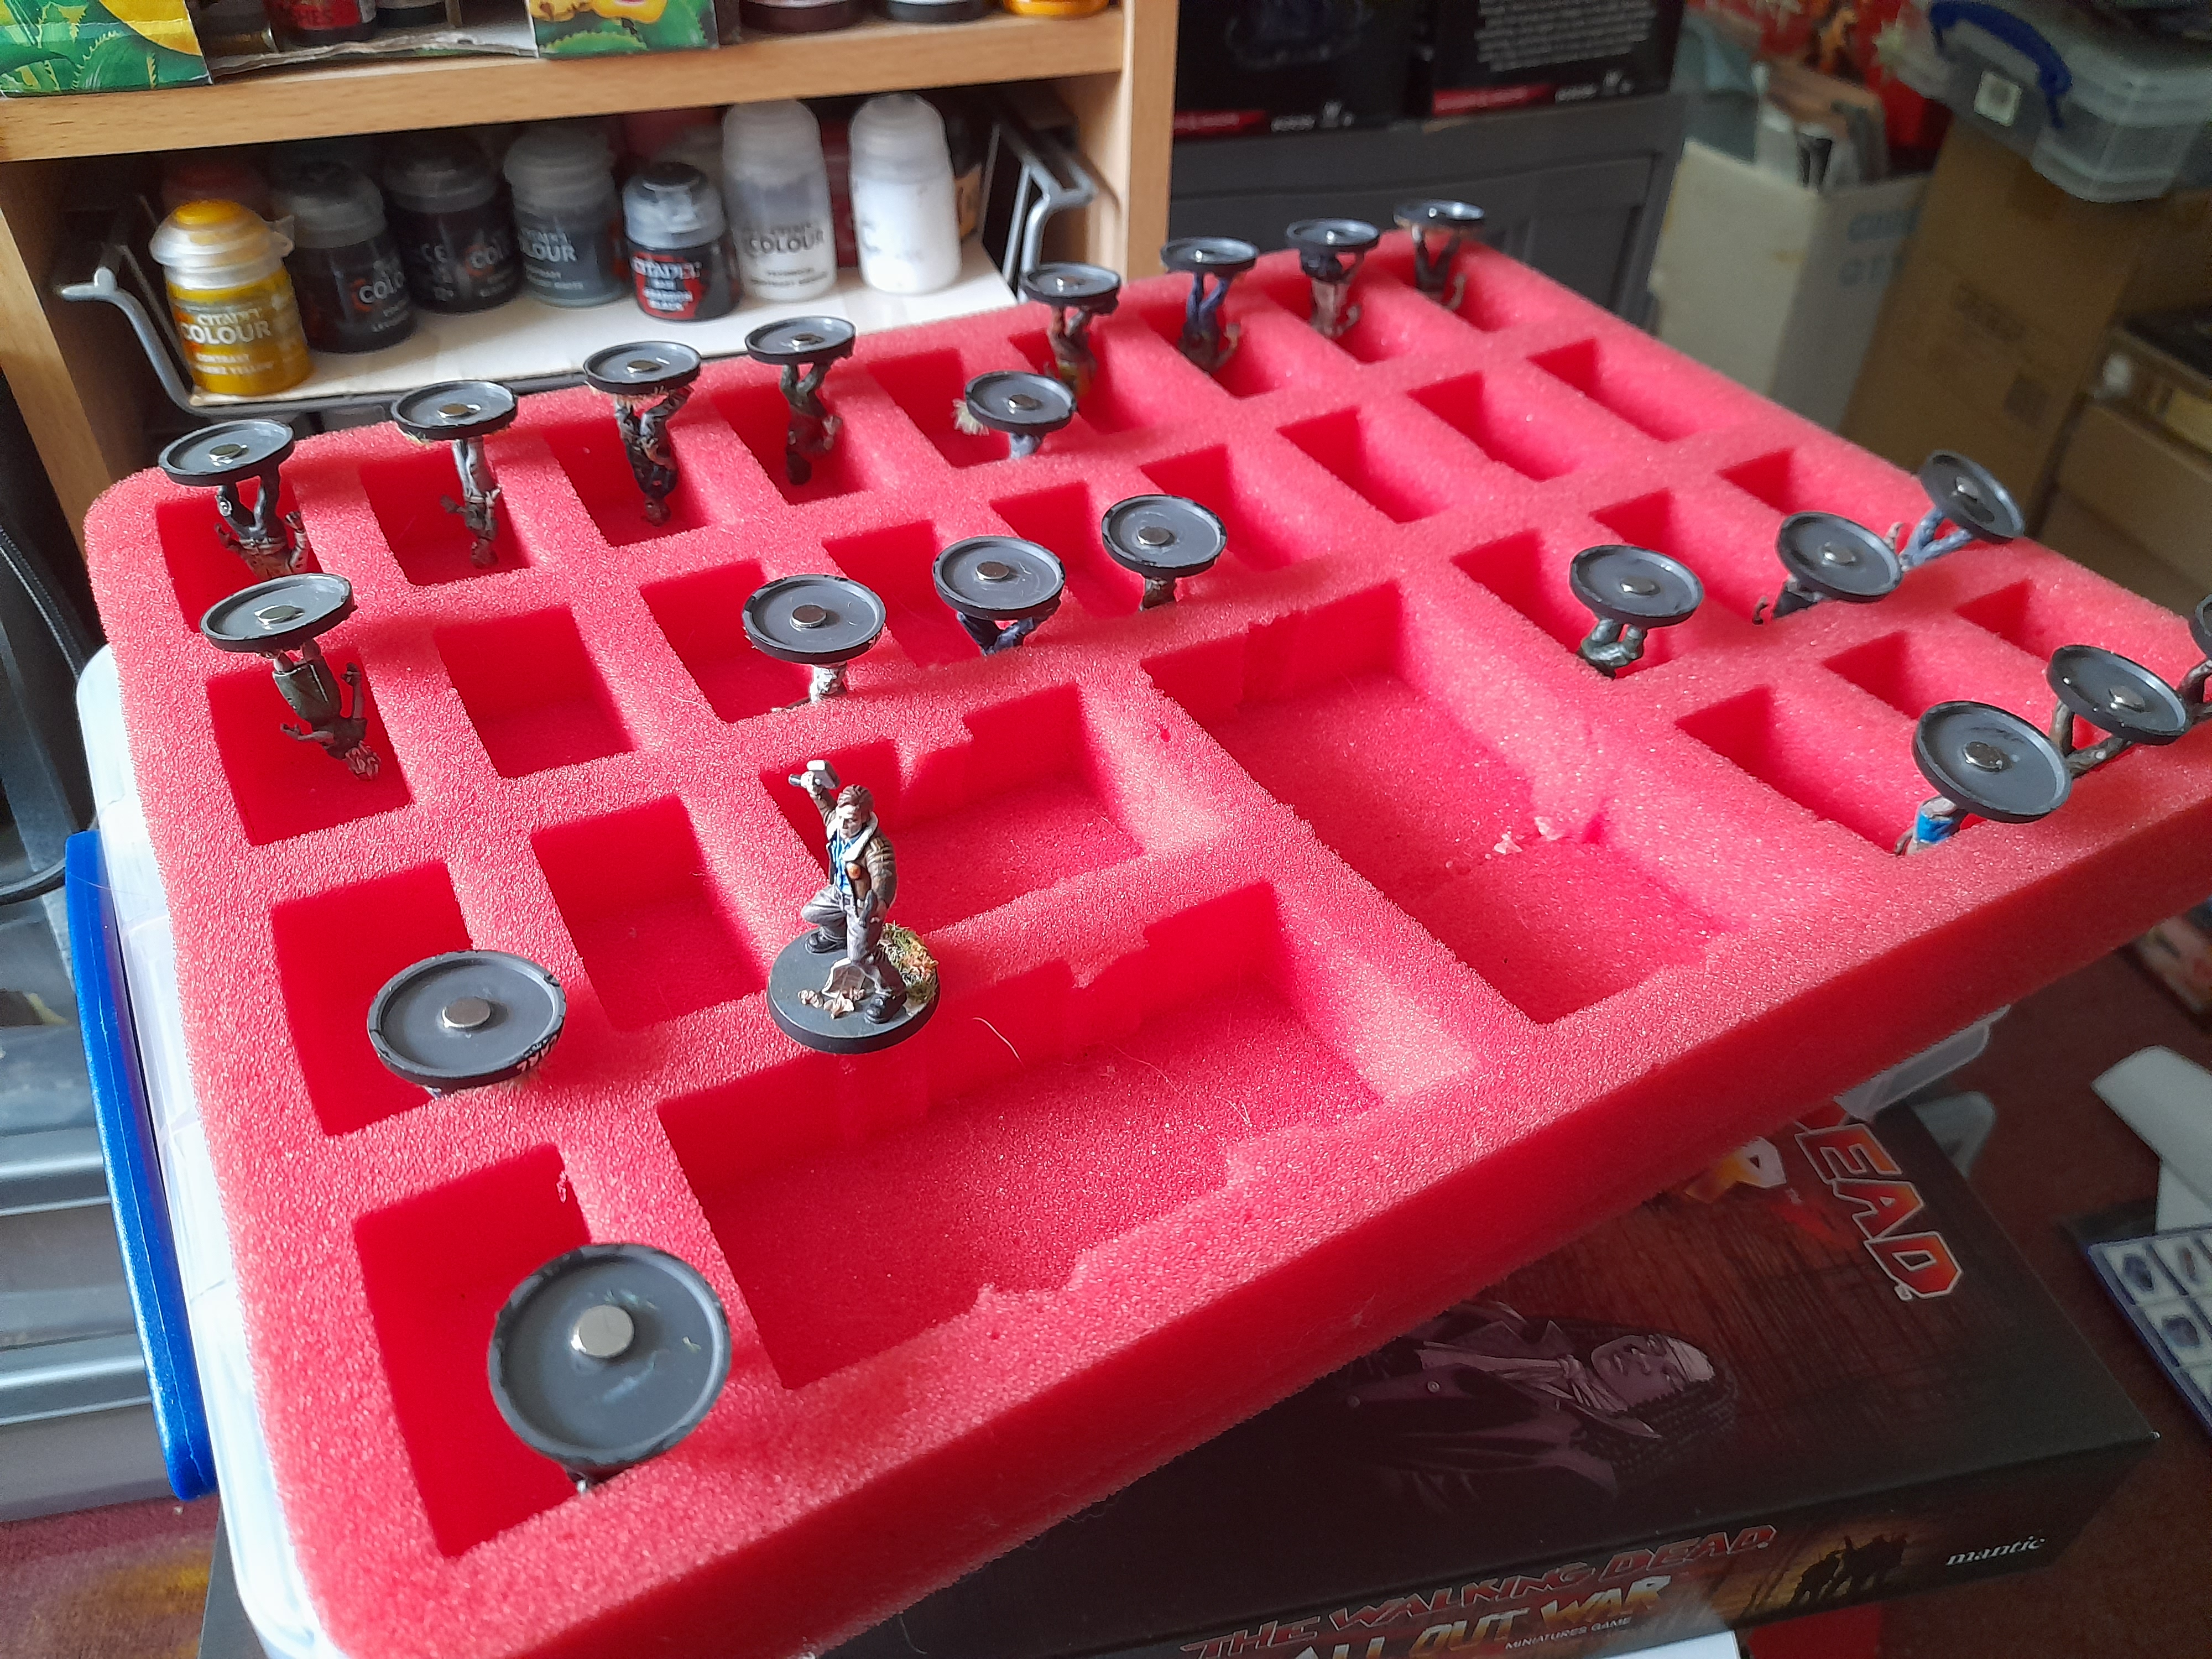
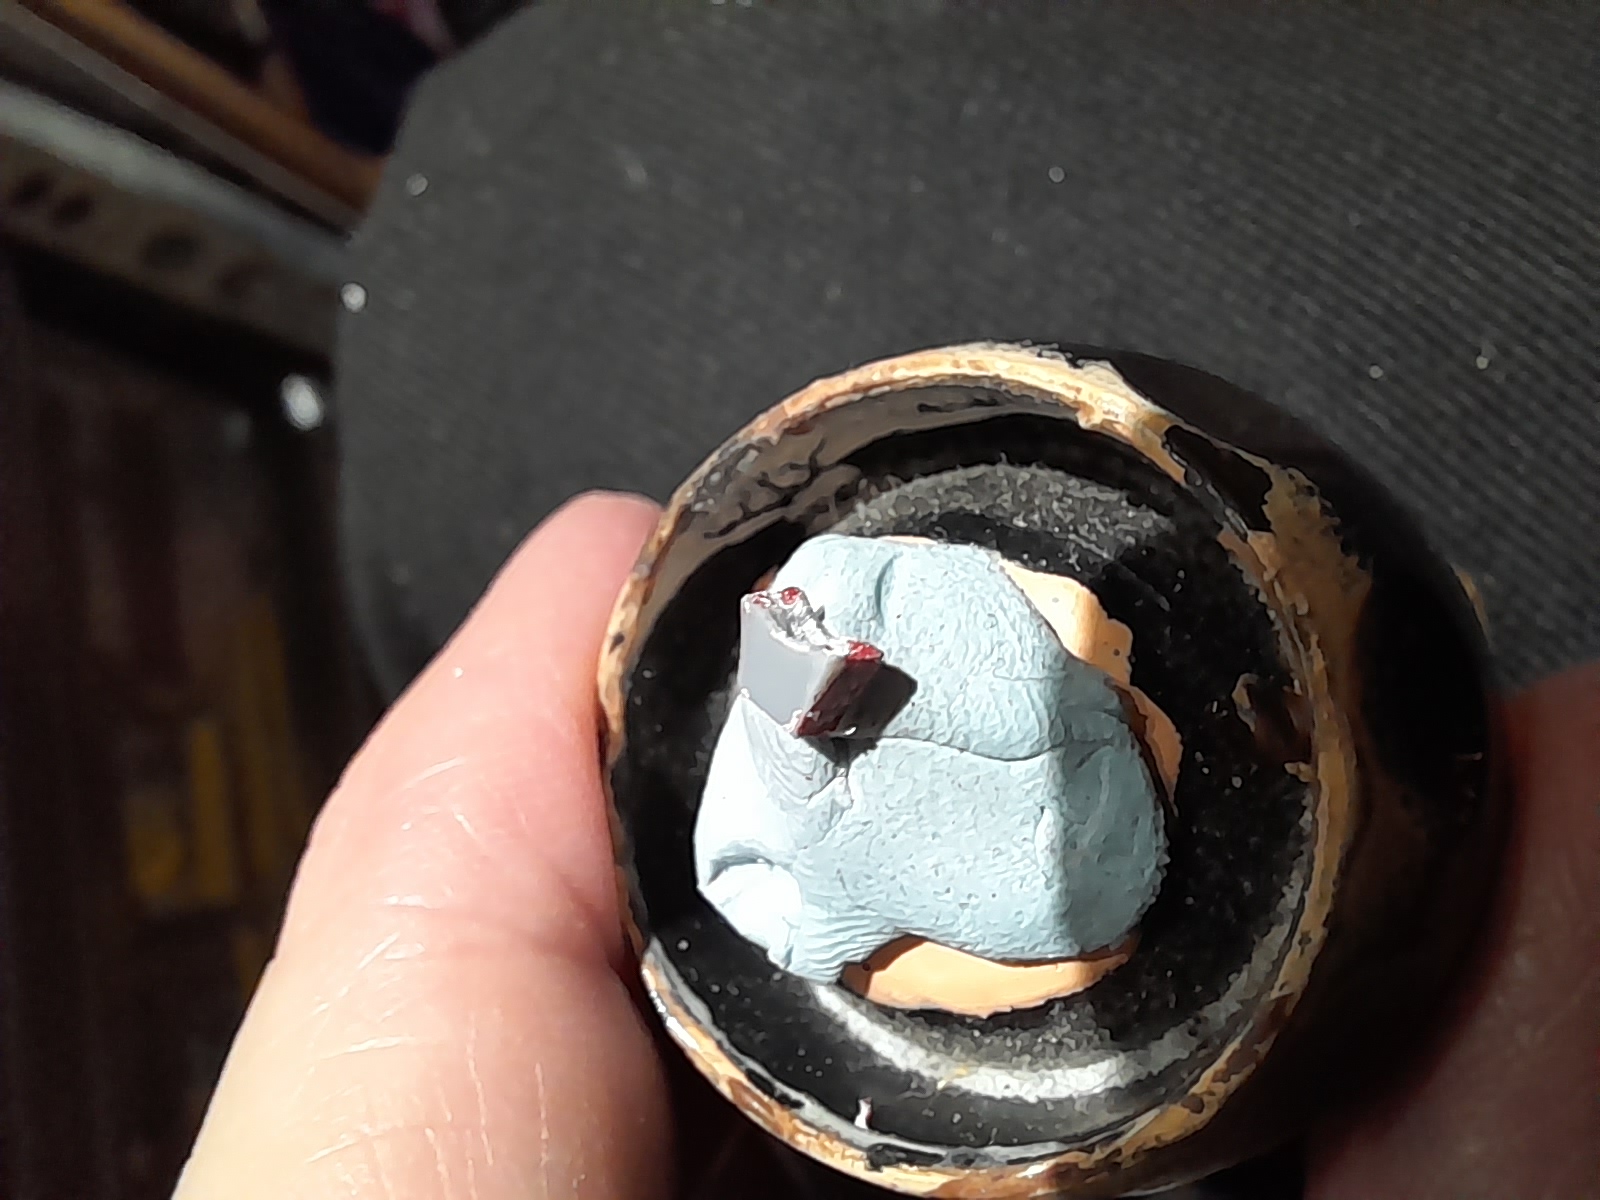
I was waiting on some different sized magnets, which arrived this week. I tried a couple out, and since they were quite close to flush I tested the ‘grab’ by putting them into the storage box and shaking it.
The result of that was that I will be sticking with my usual sized magnet ?
 Magnets gluing
Woodbury
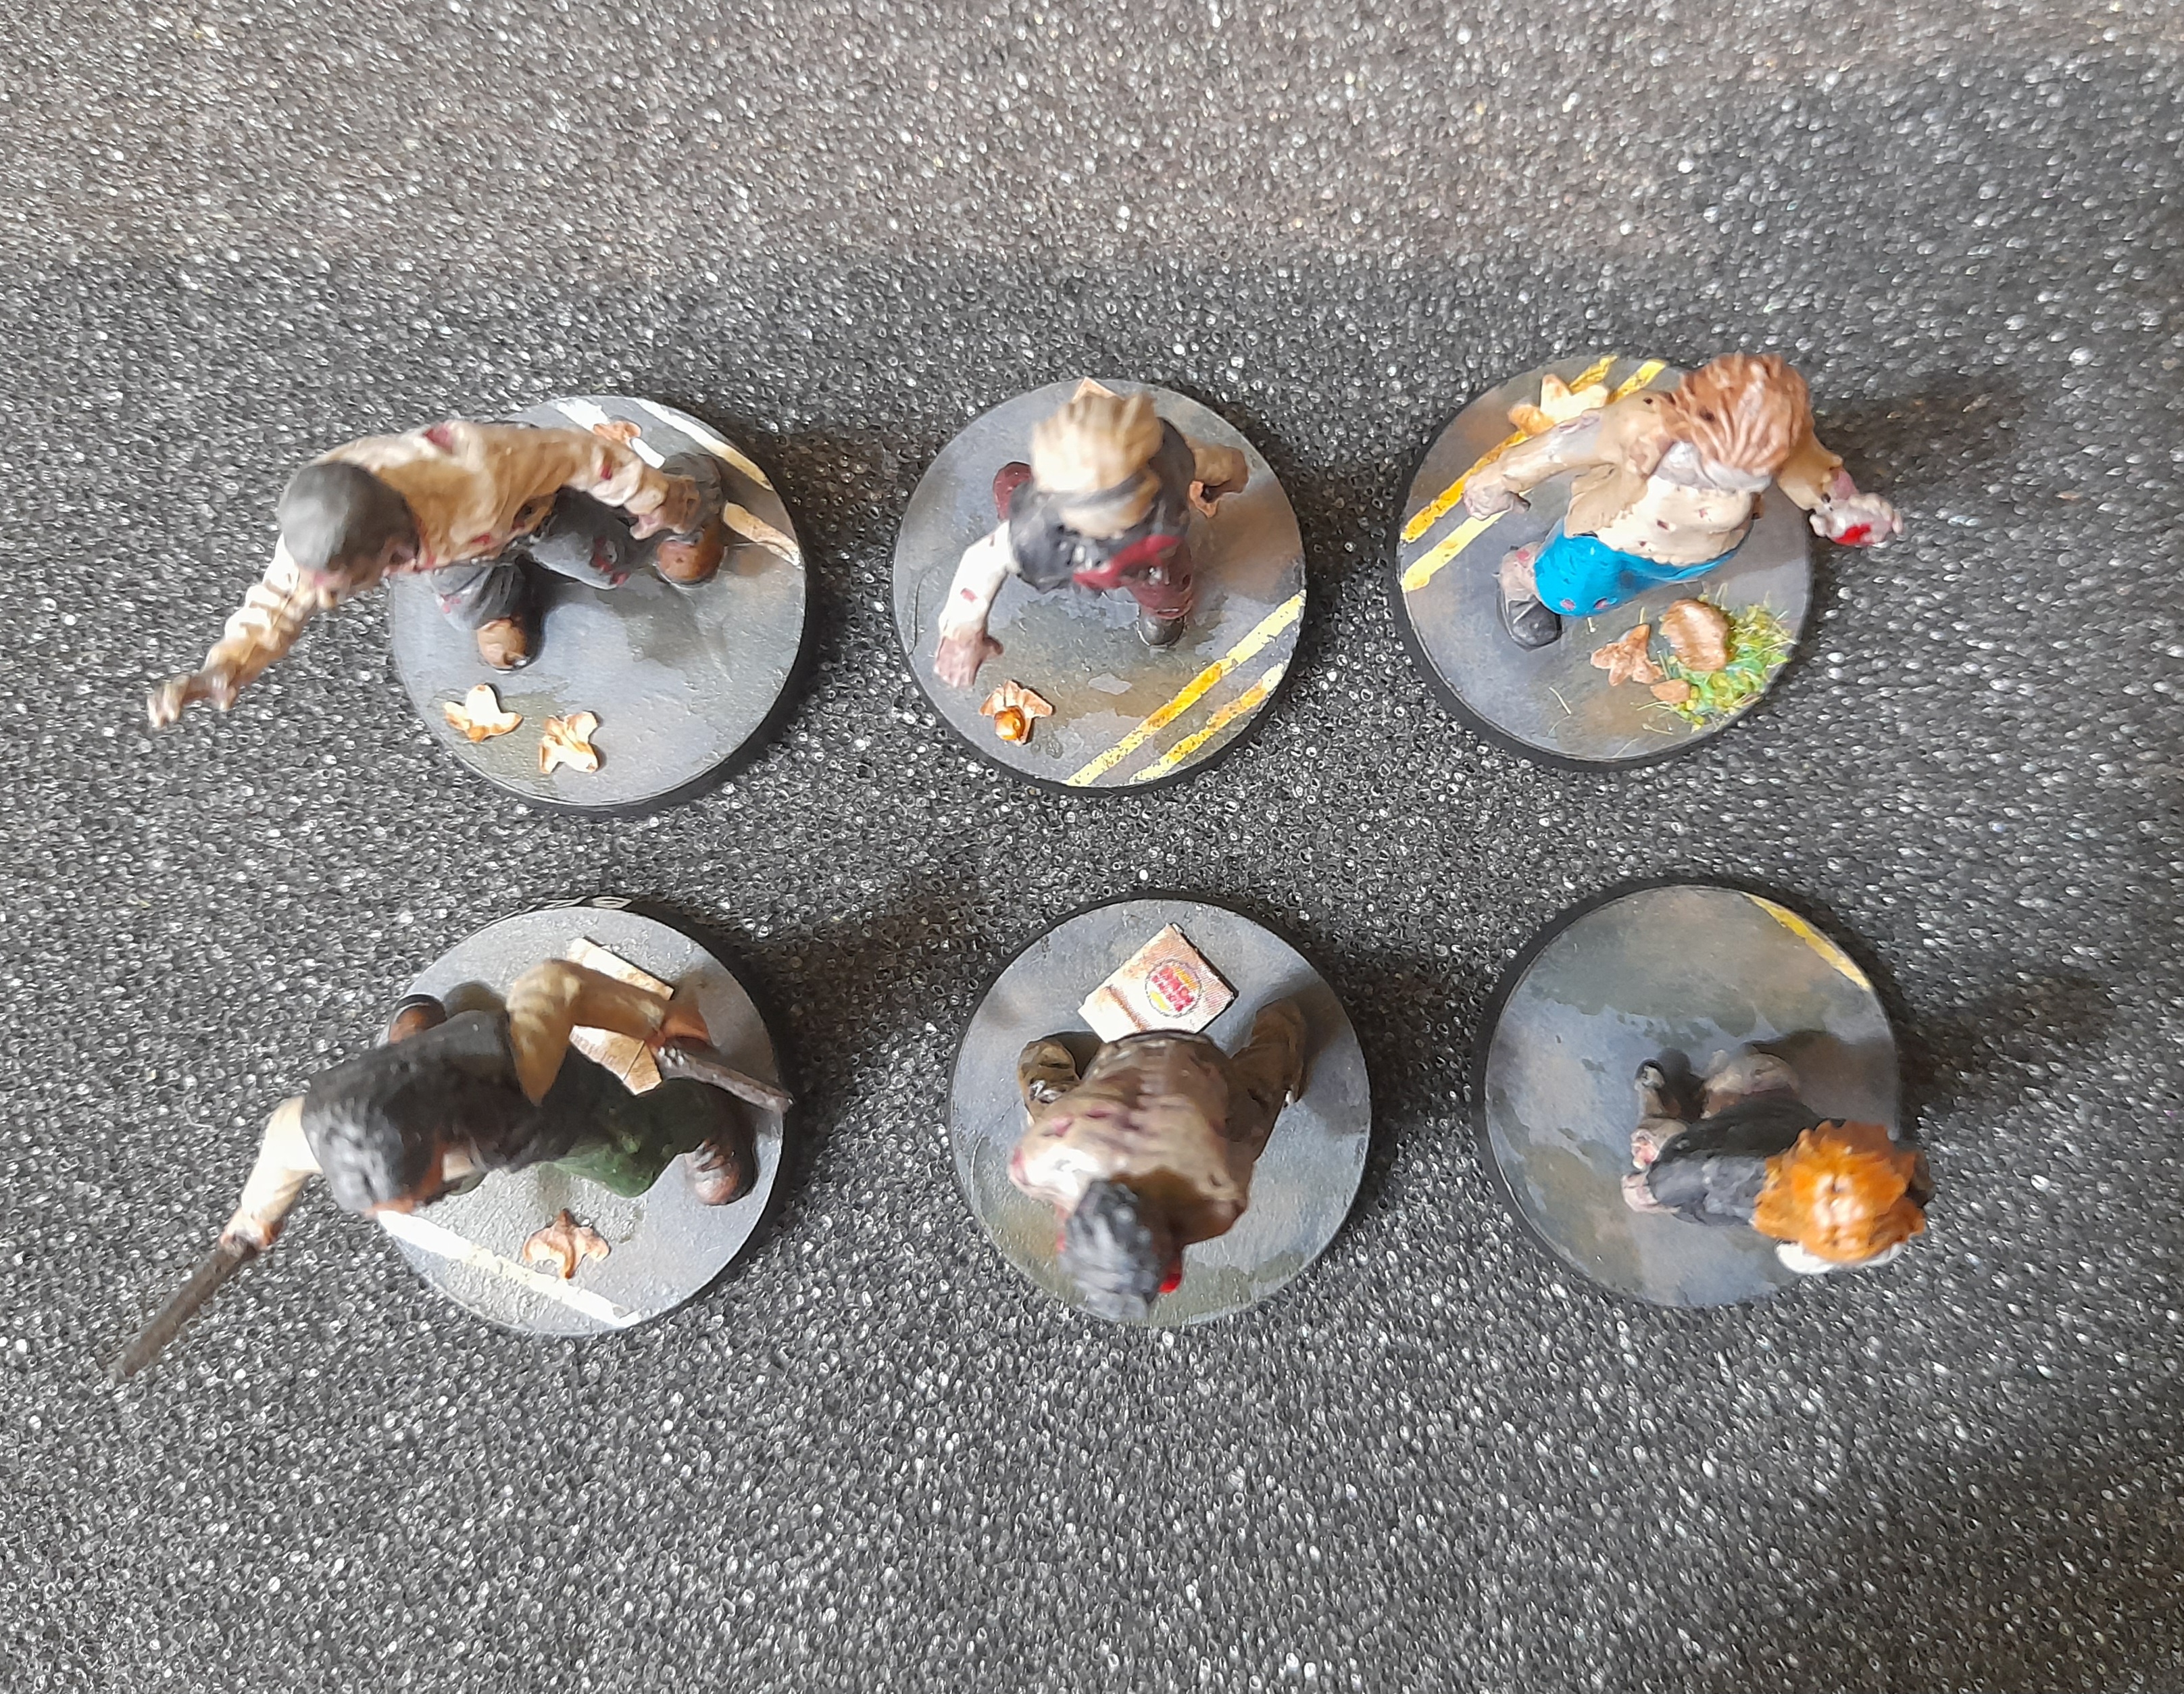
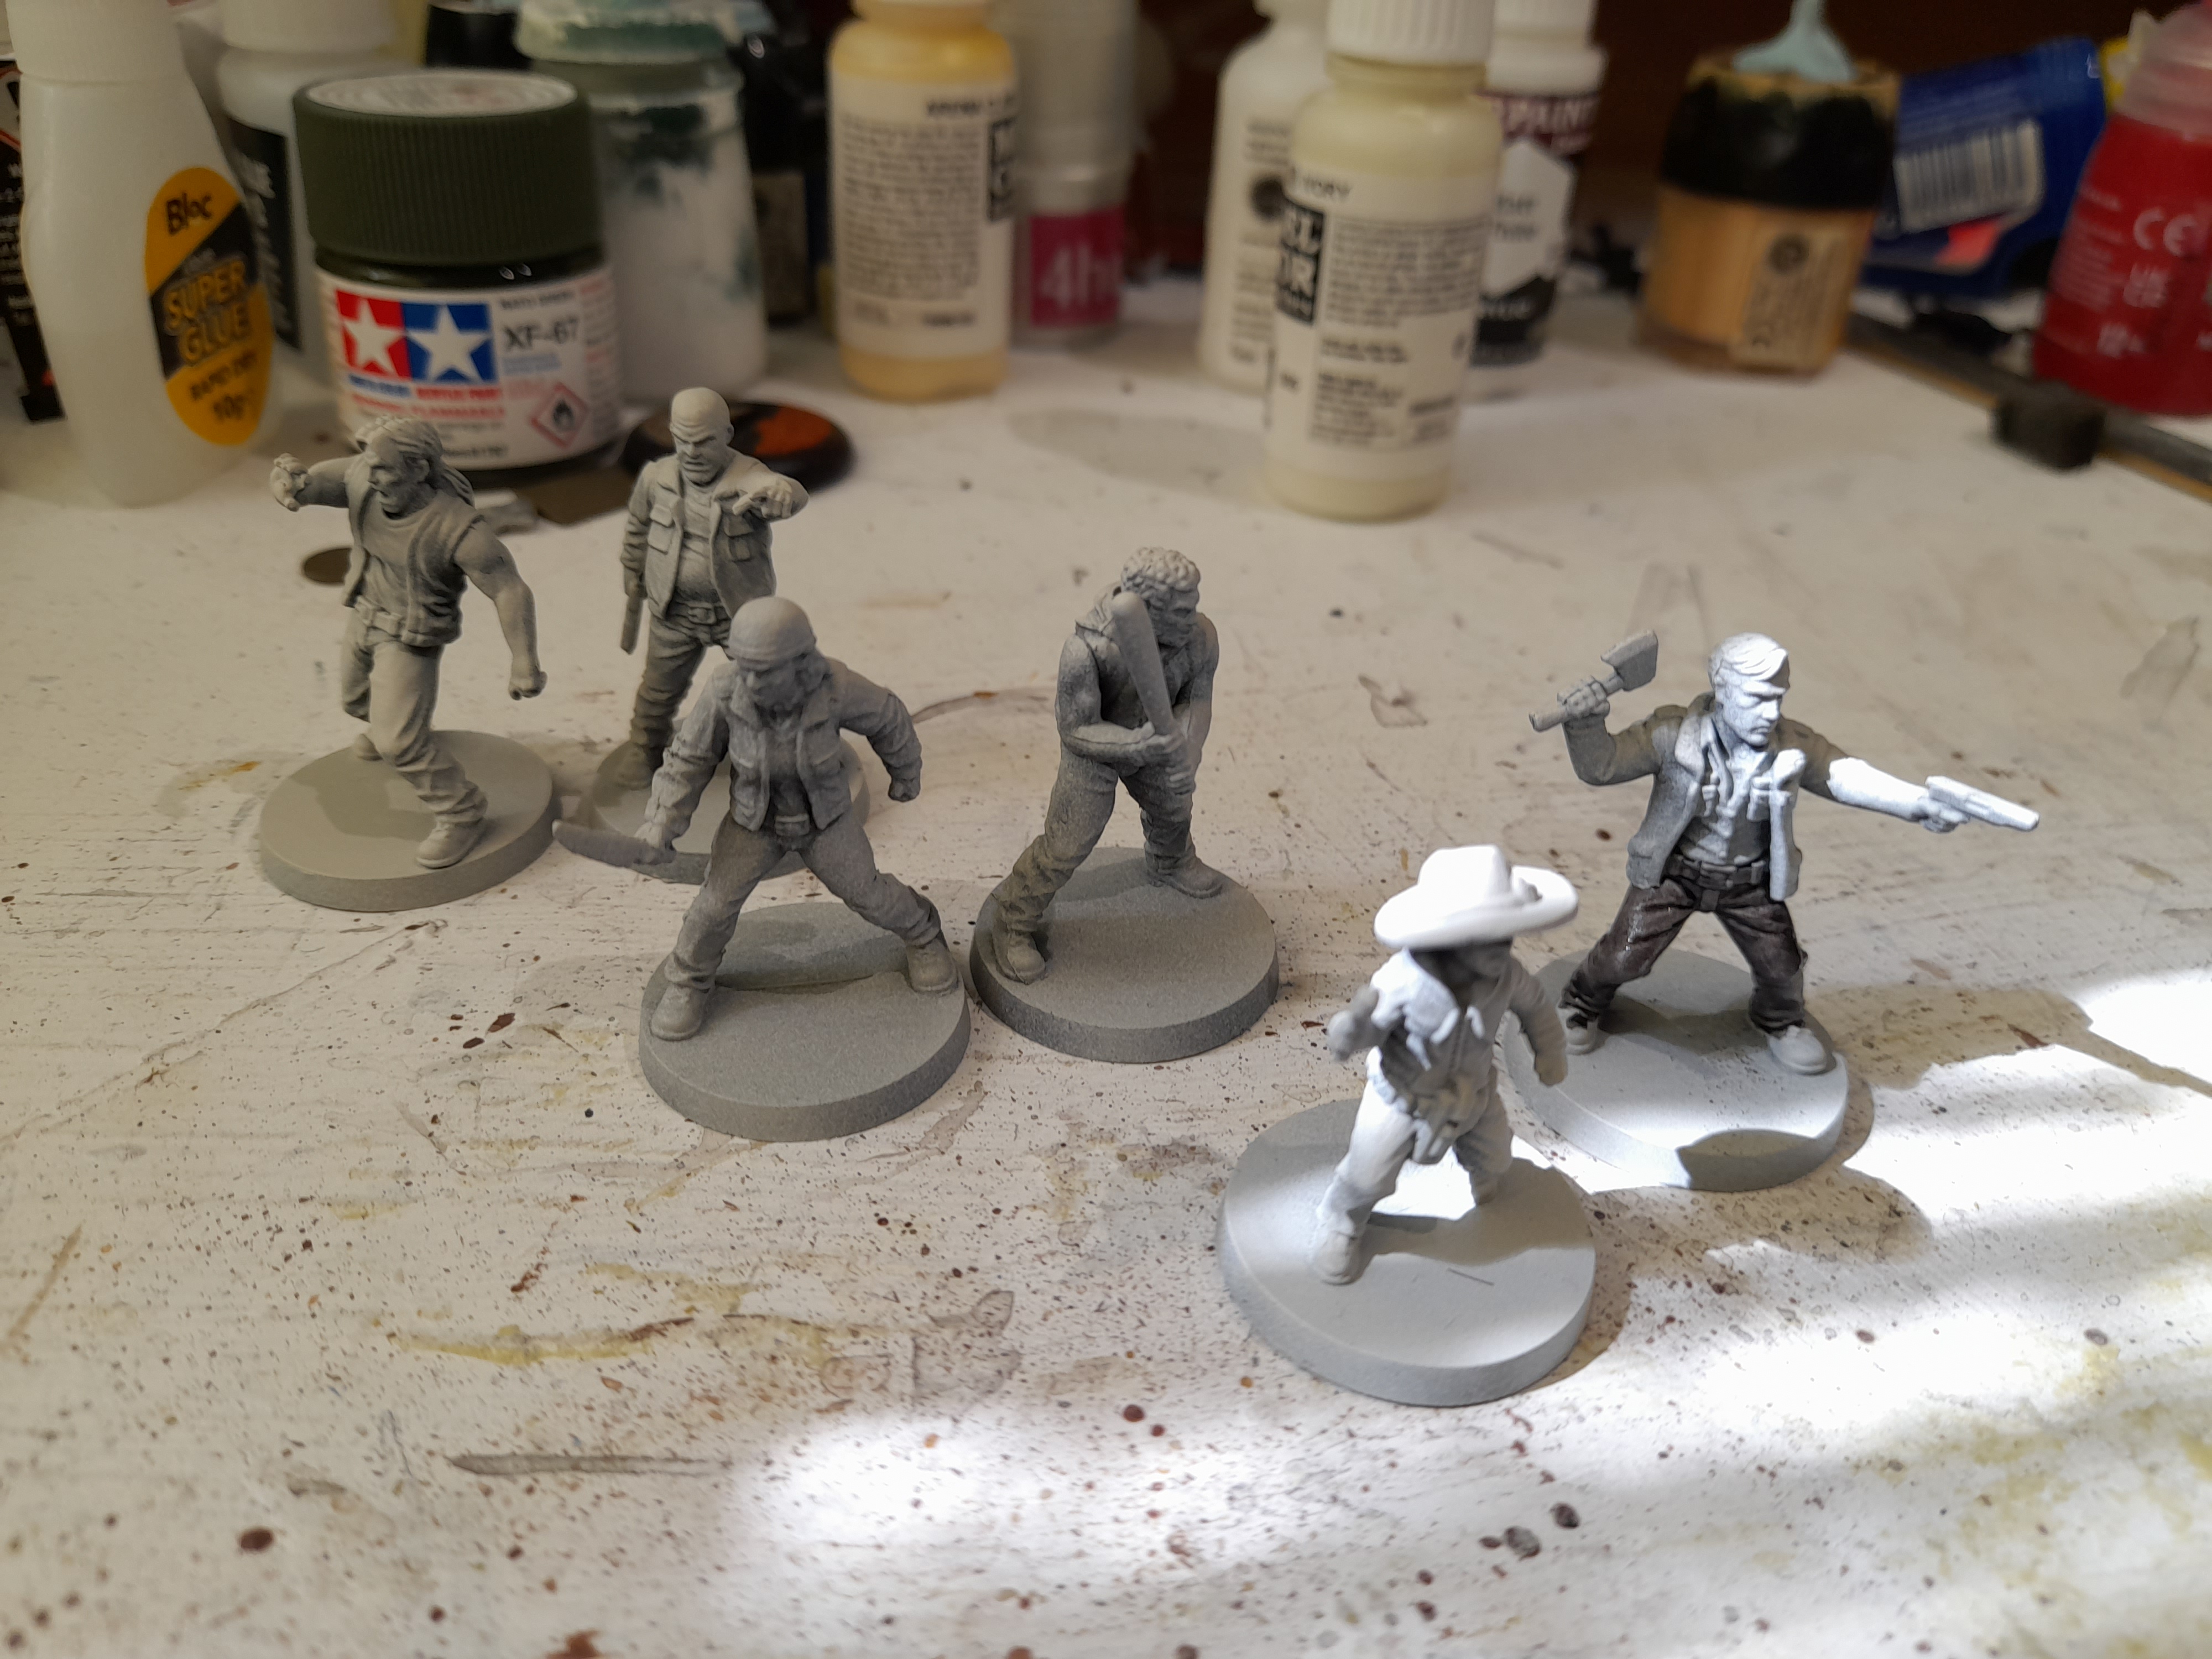
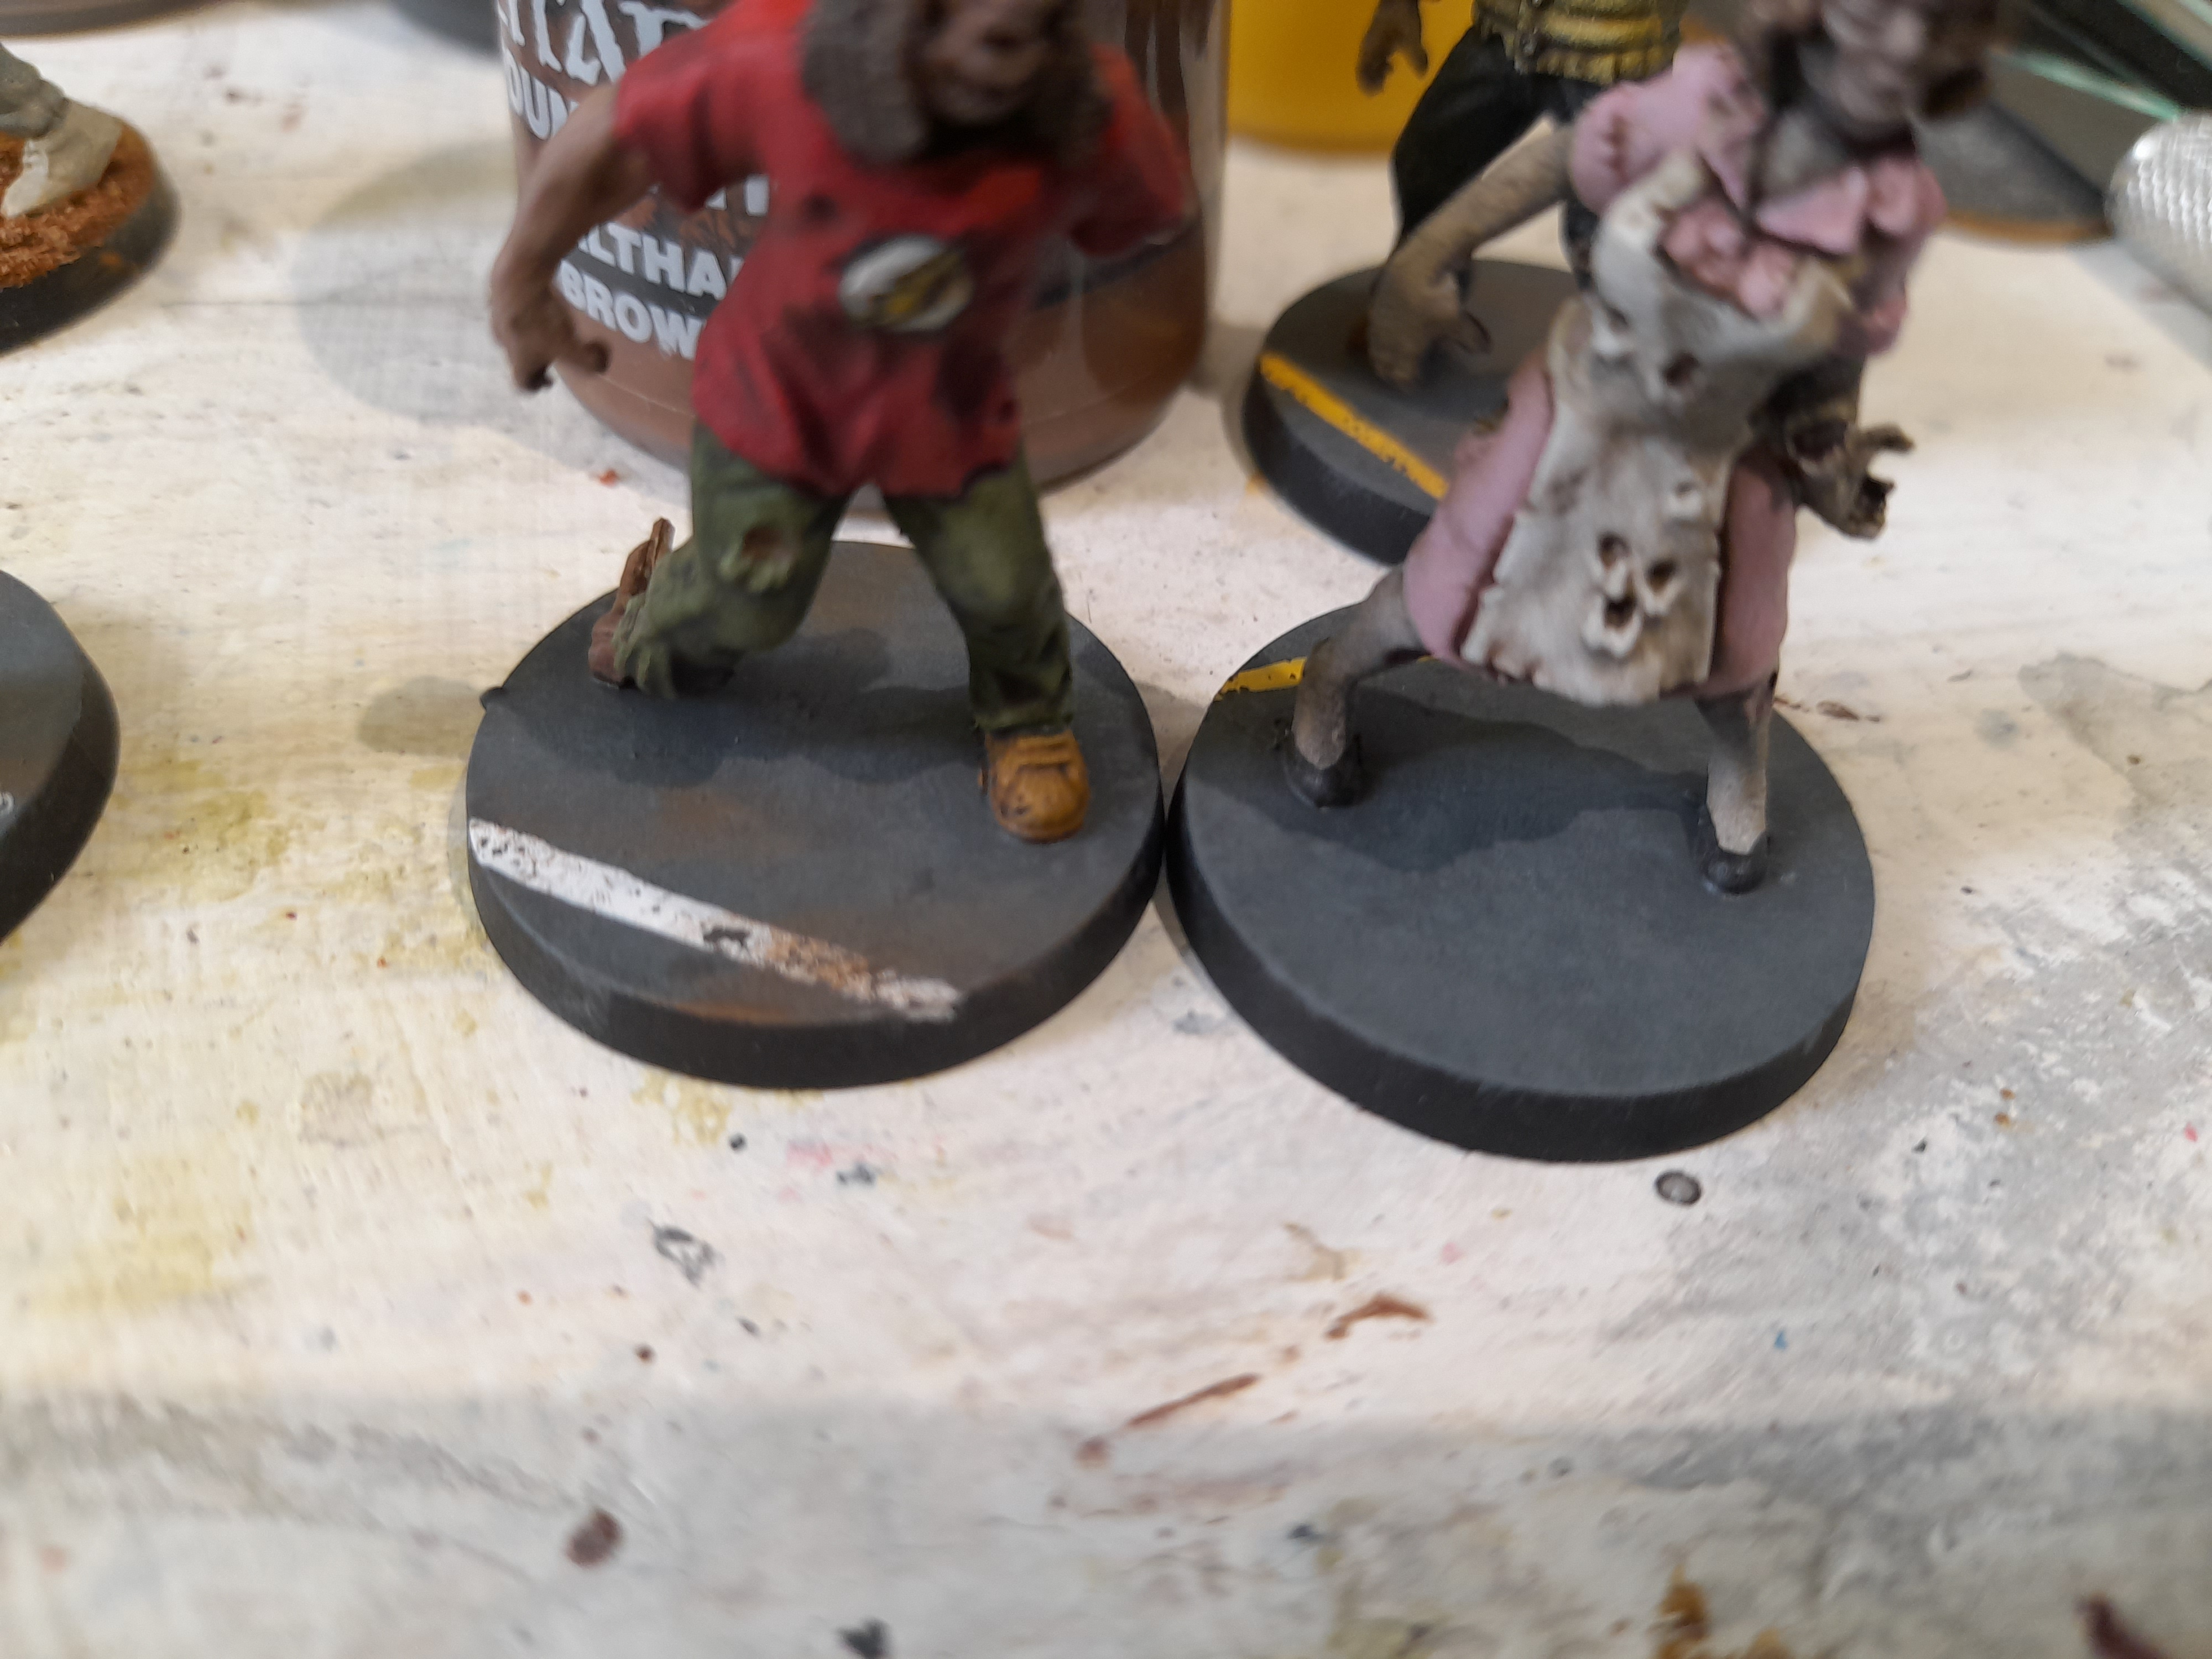
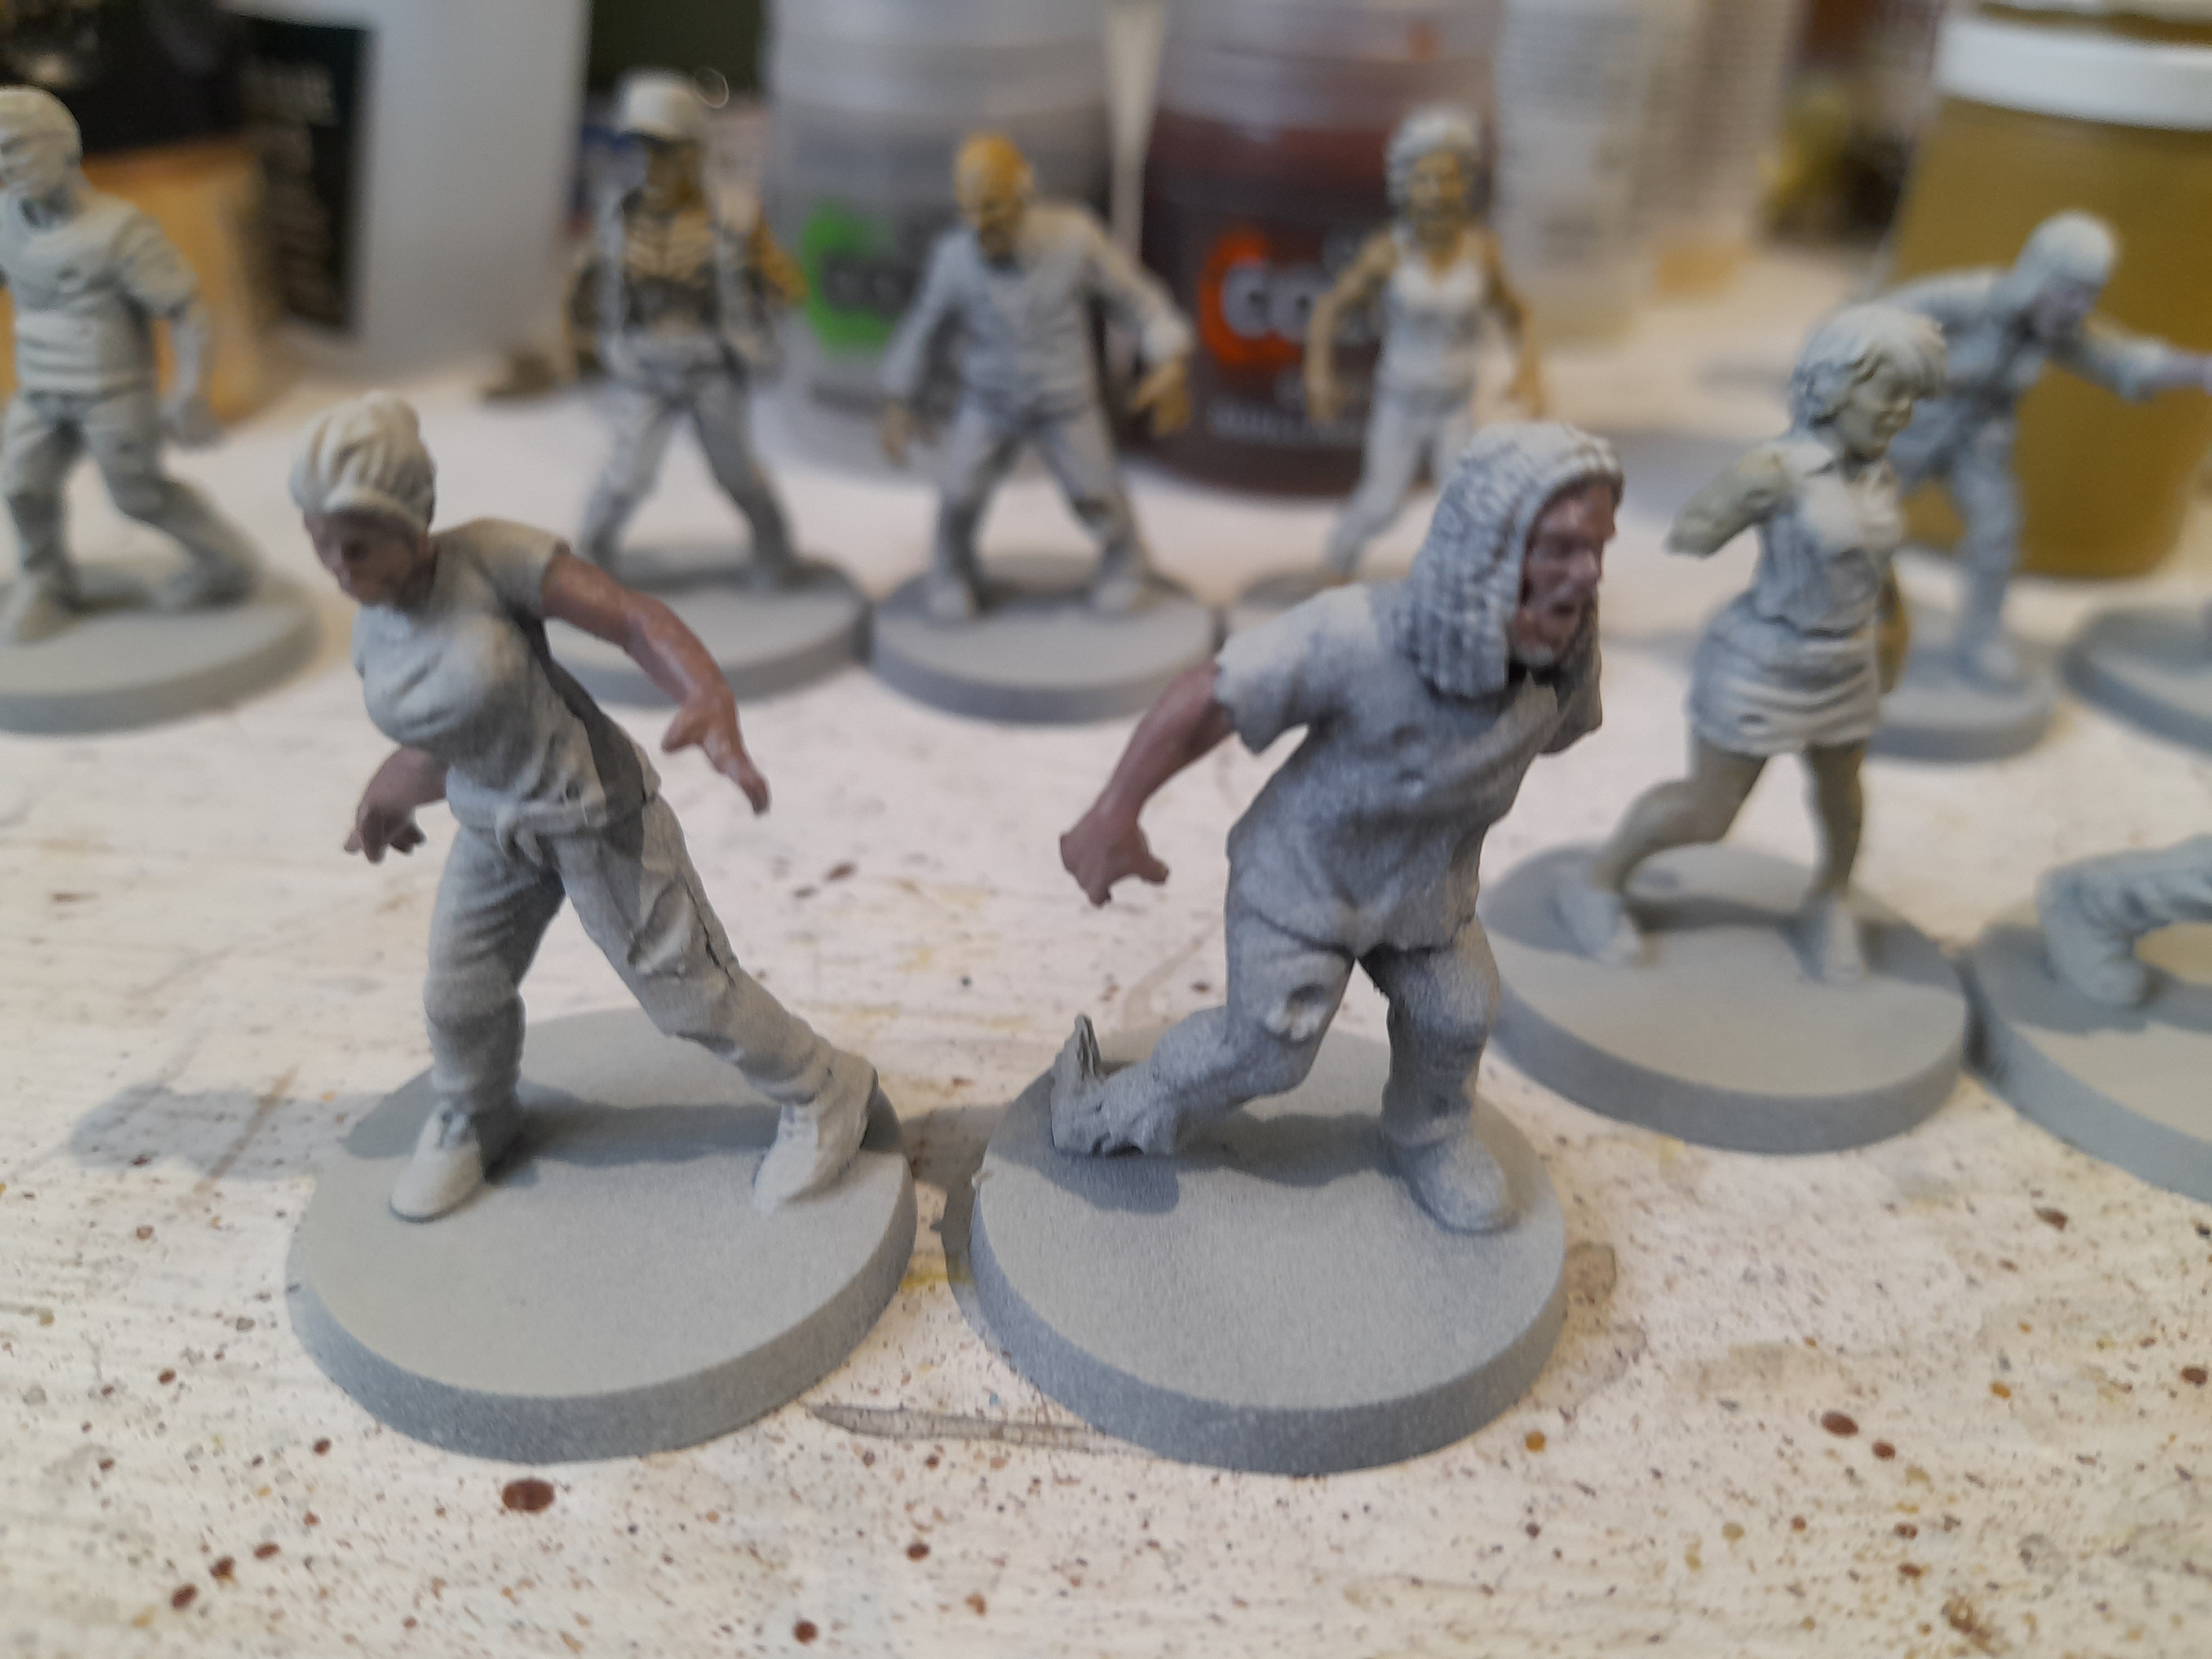
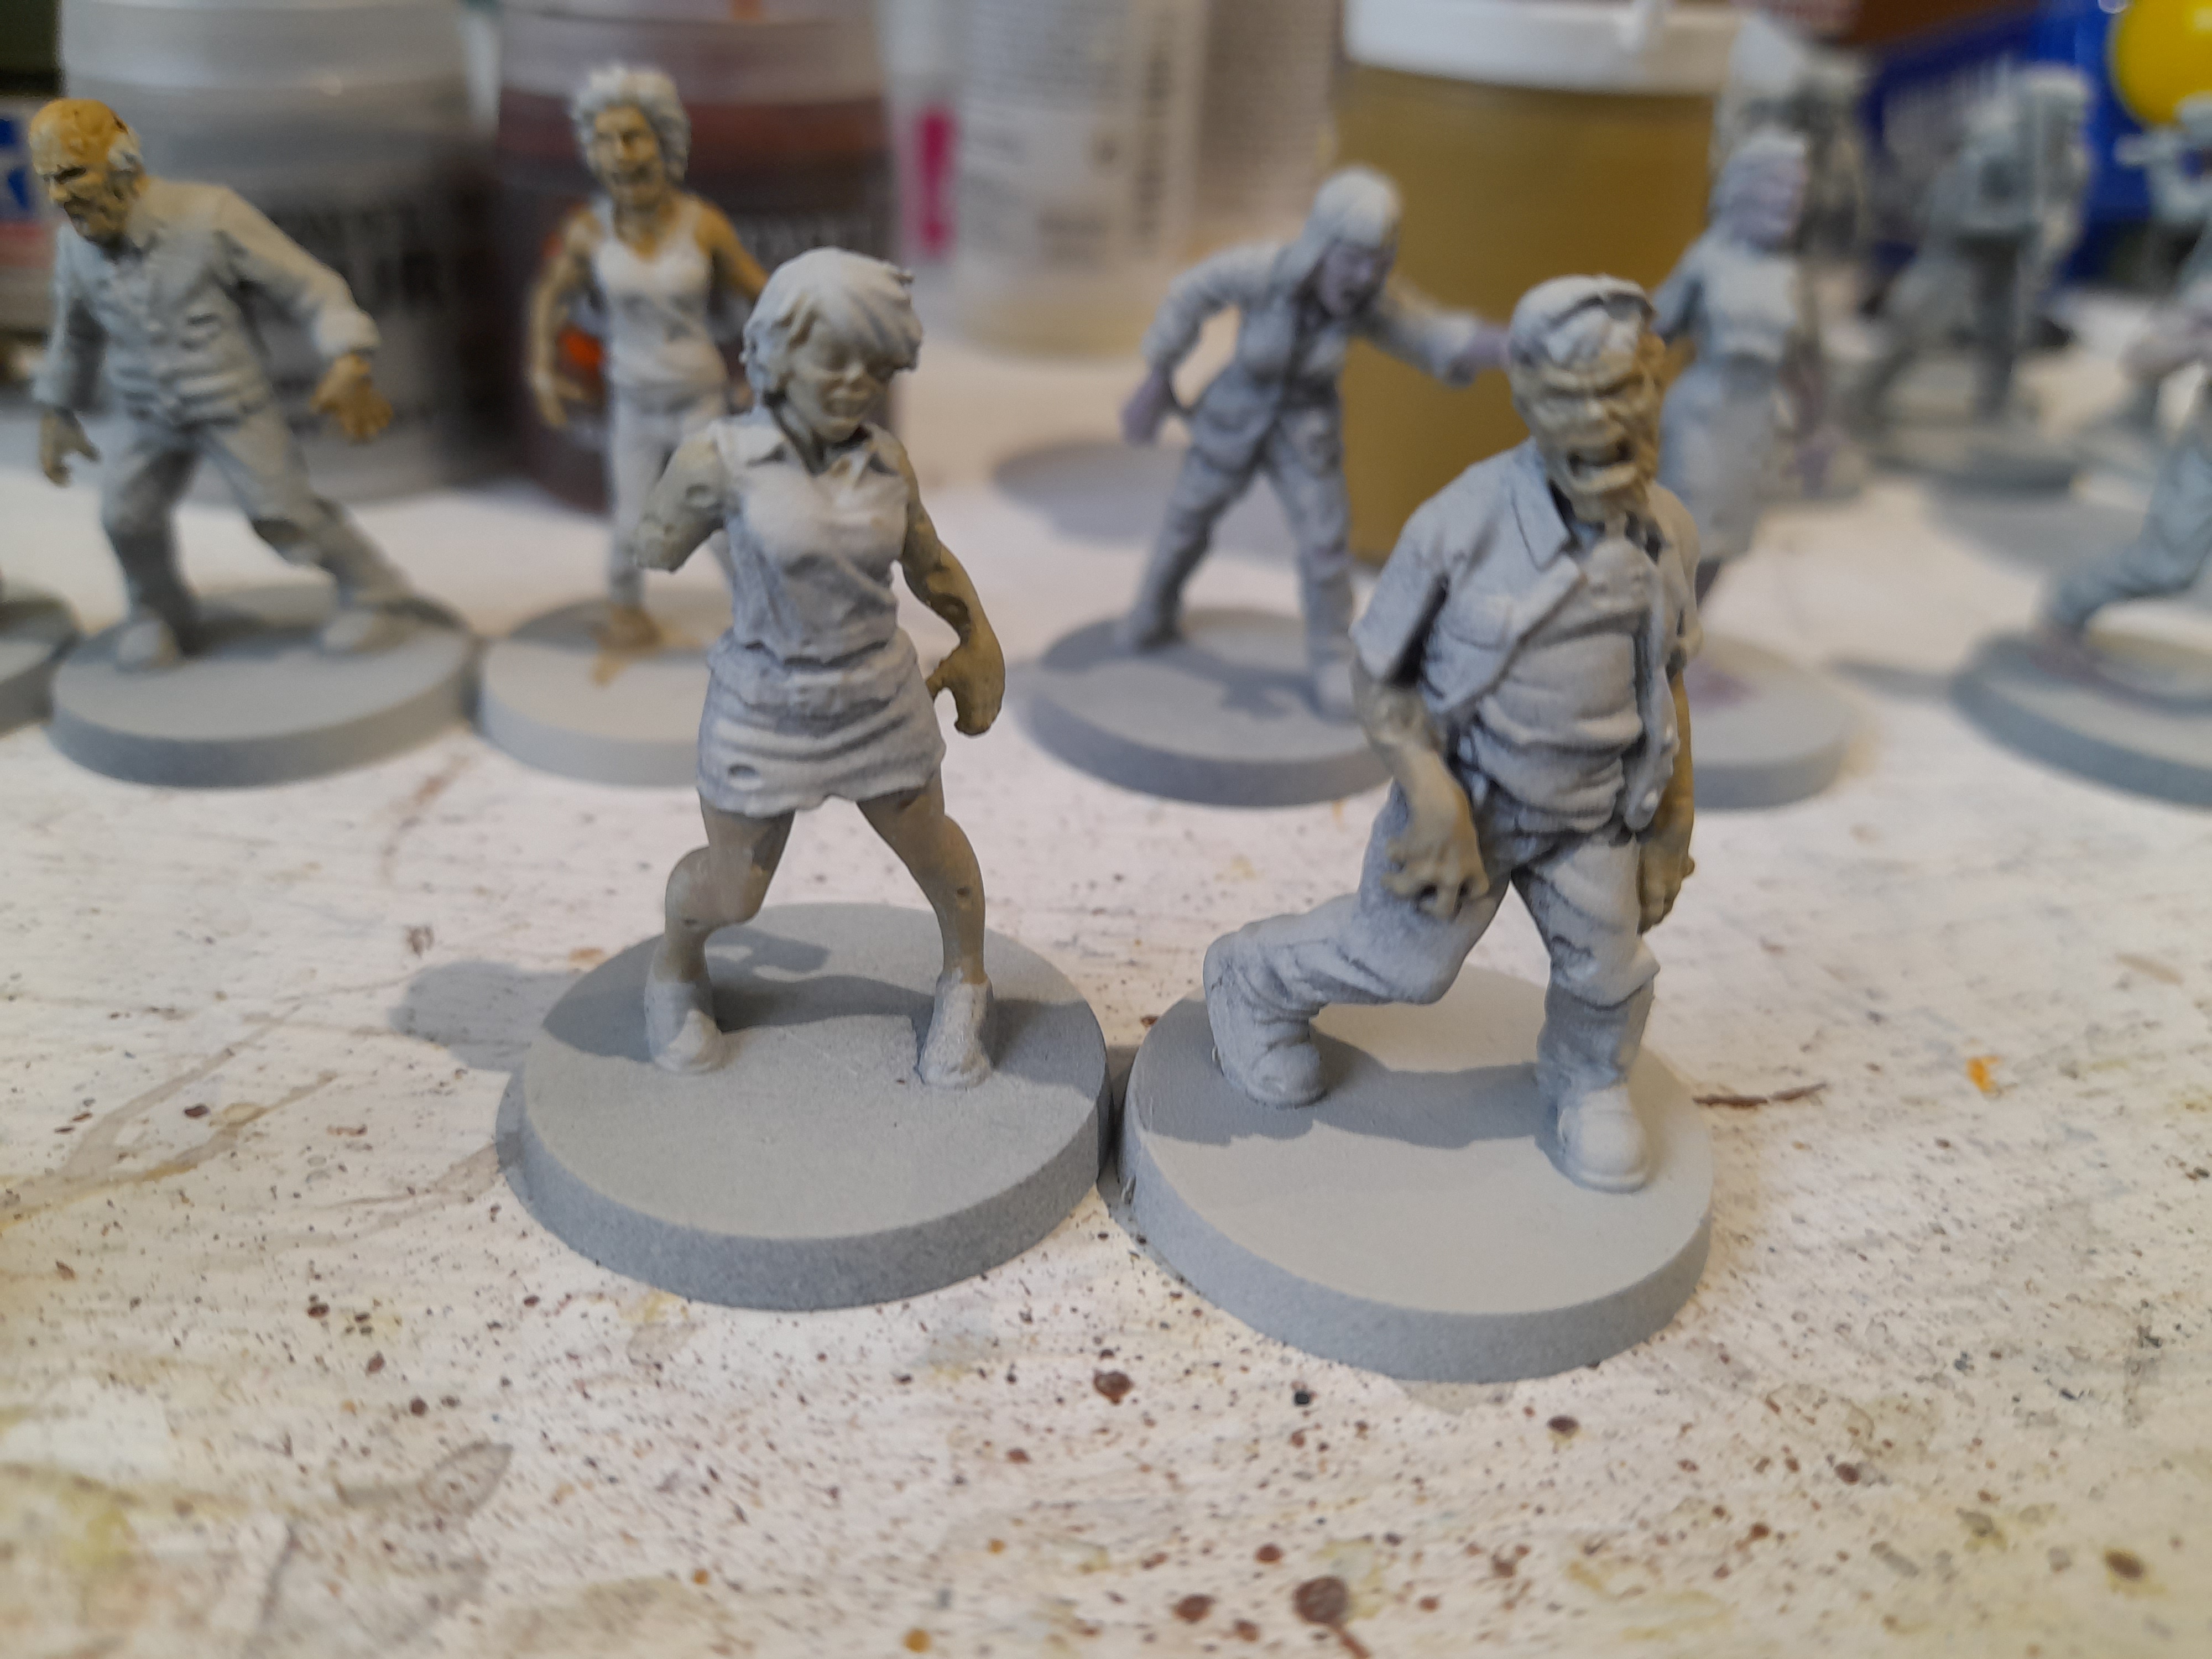
I also had 6 minis that a friend painted for me a few years back – the Prelude to Woodbury Solo Starter set, with Brain Blake and five Walkers.
So, while I was about it, after magnetising, I went ahead and based these up to match the rest of my TWD minis.
 Basic grey bases to start
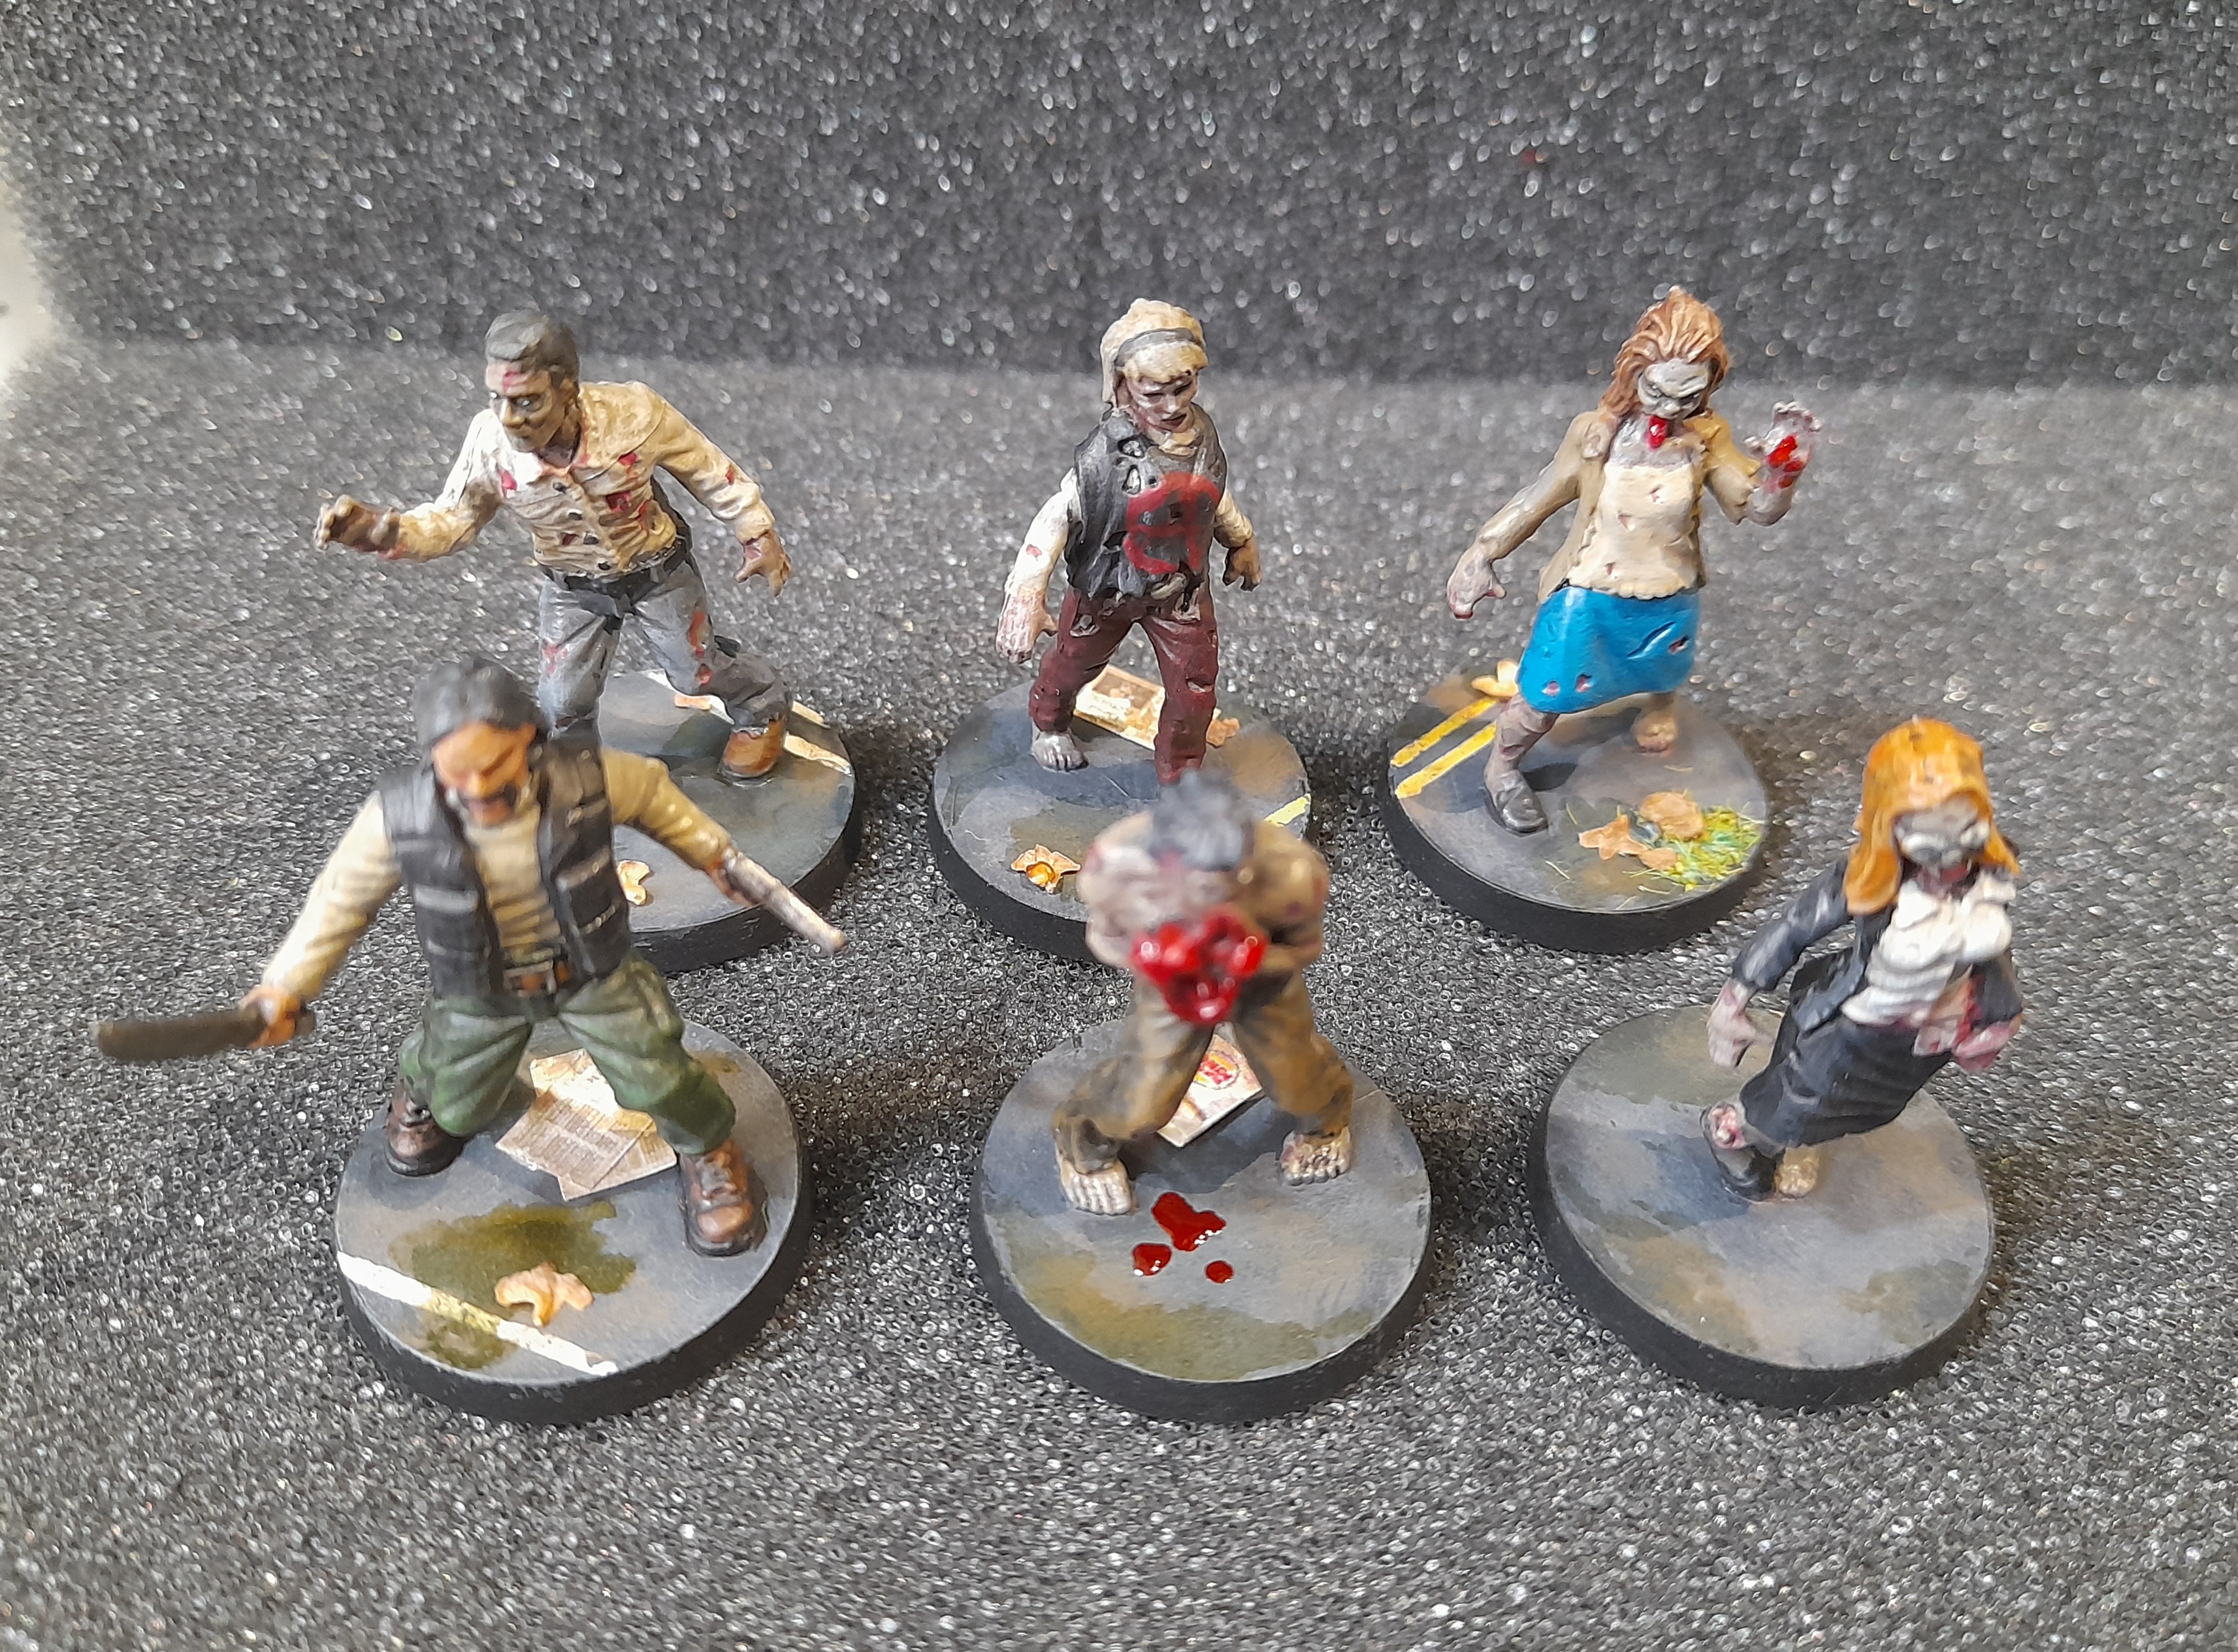 Added some gore to the Walker in front
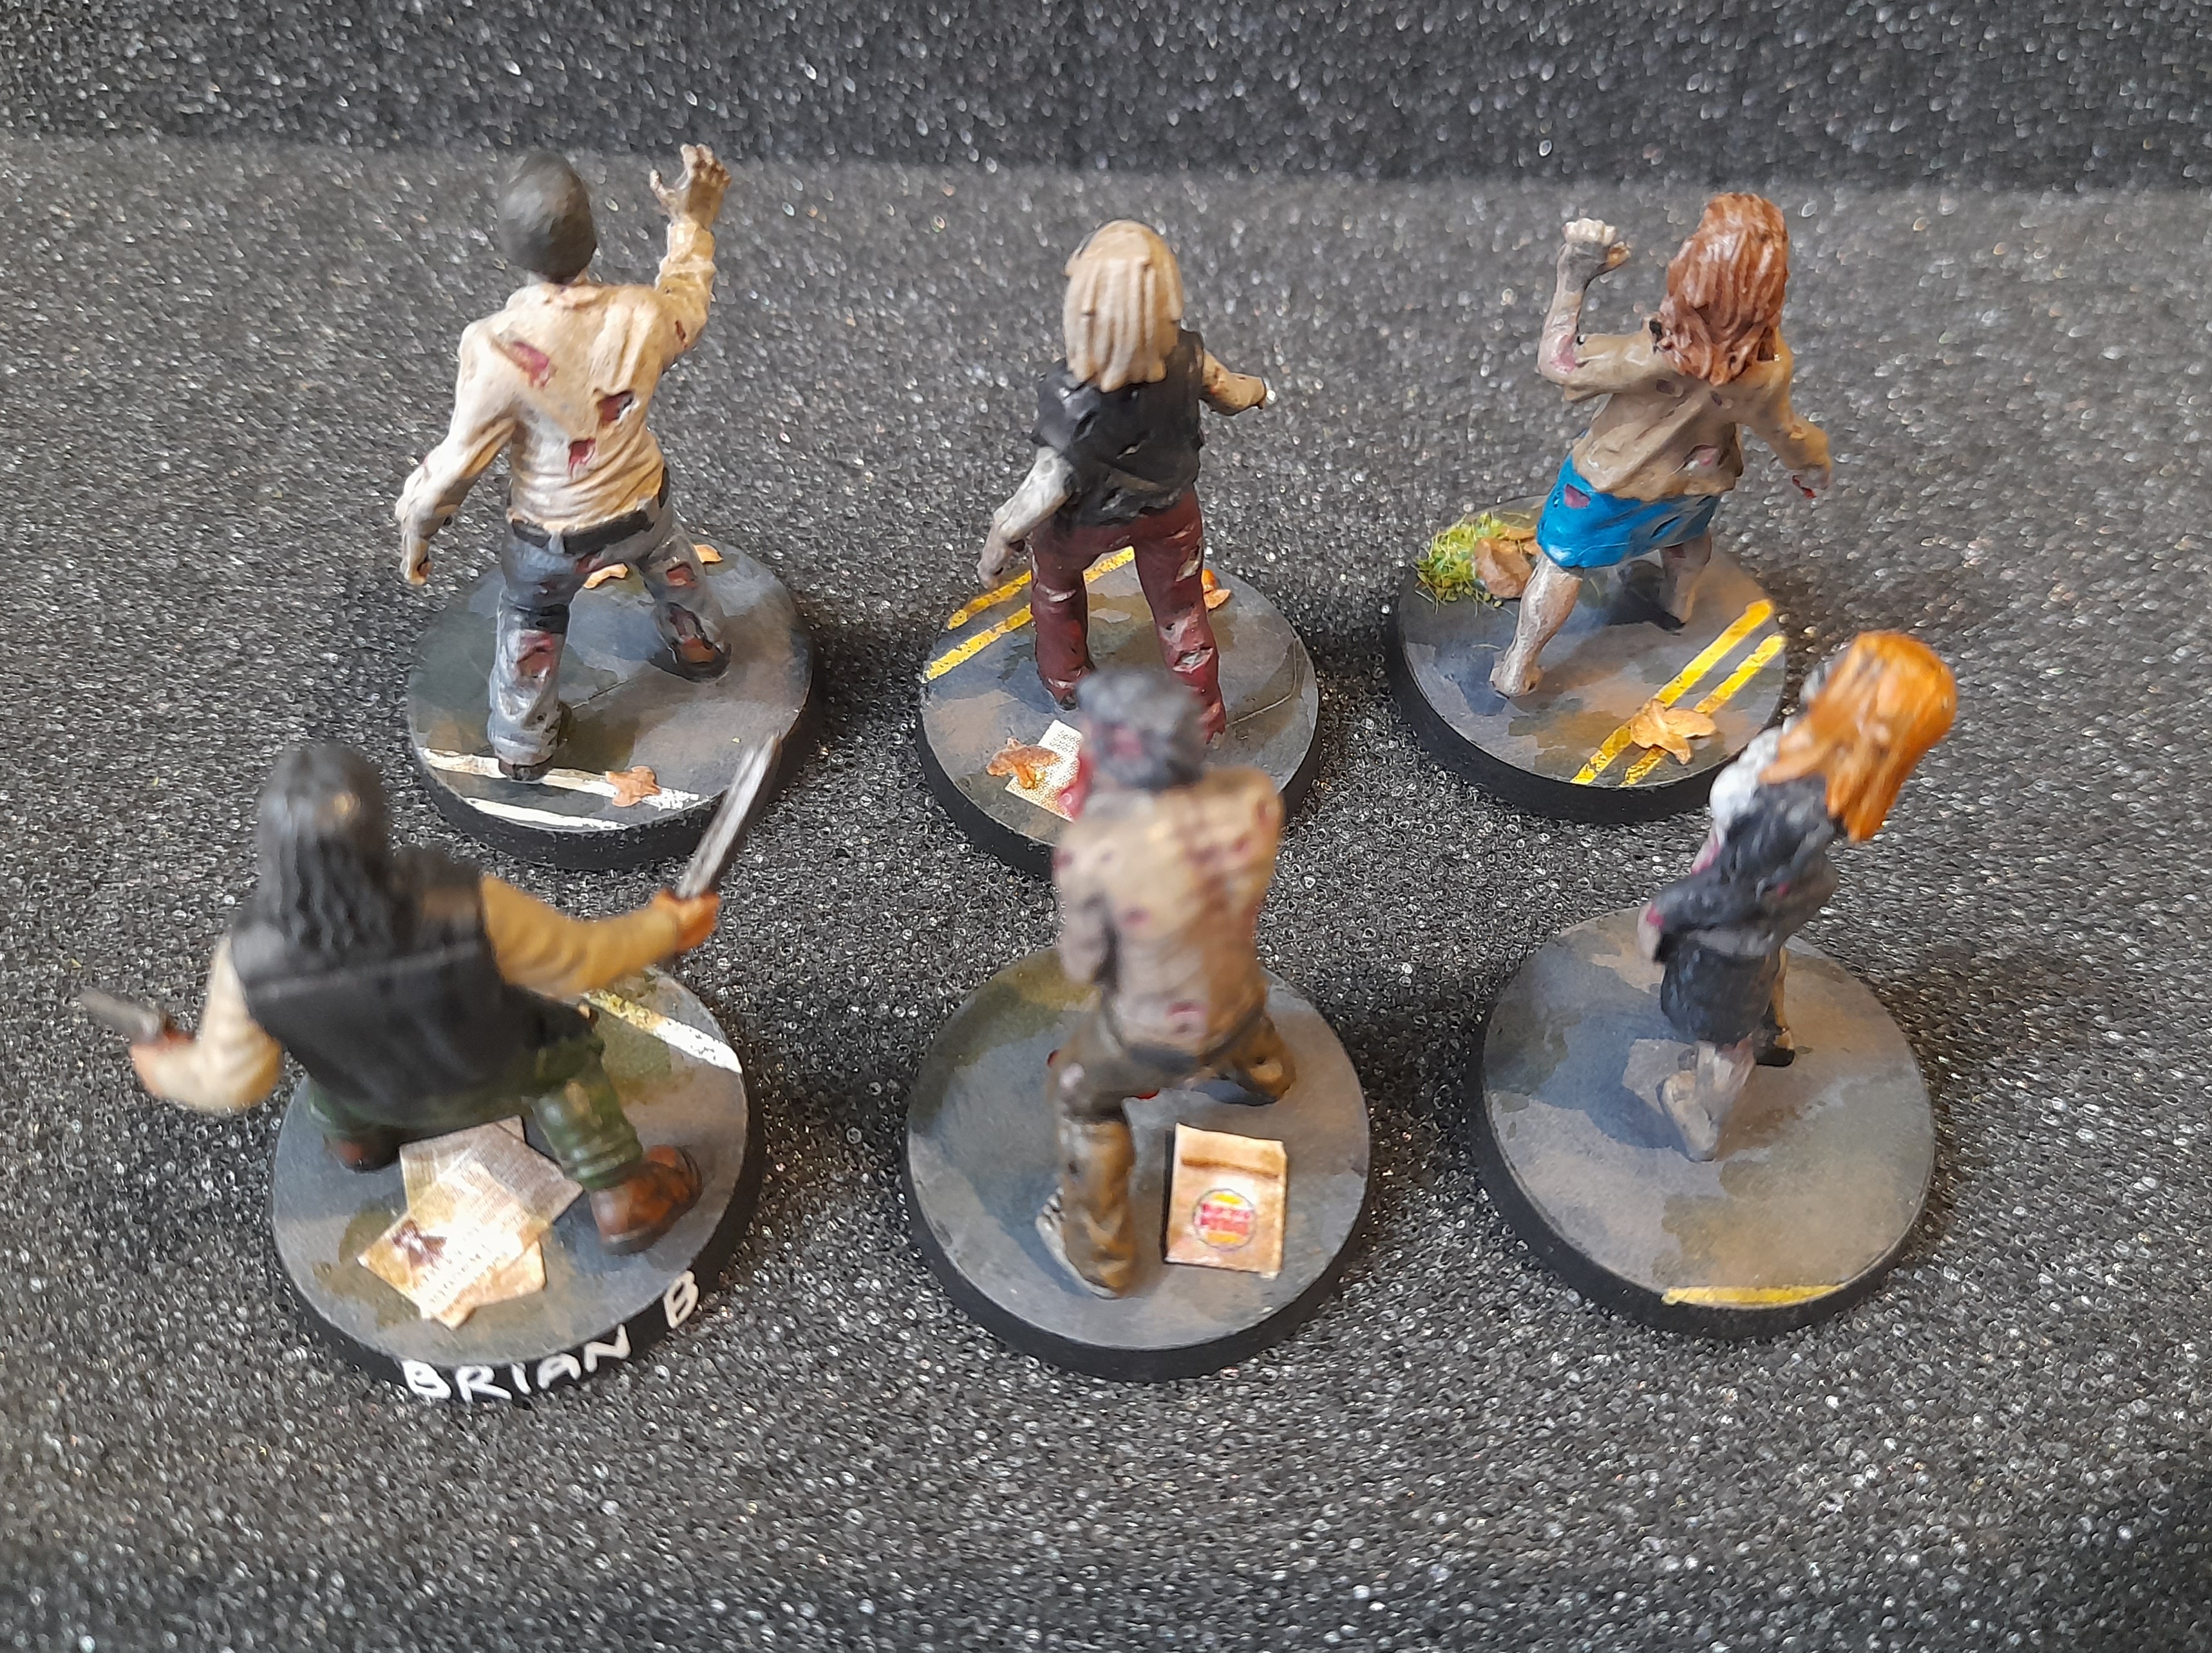
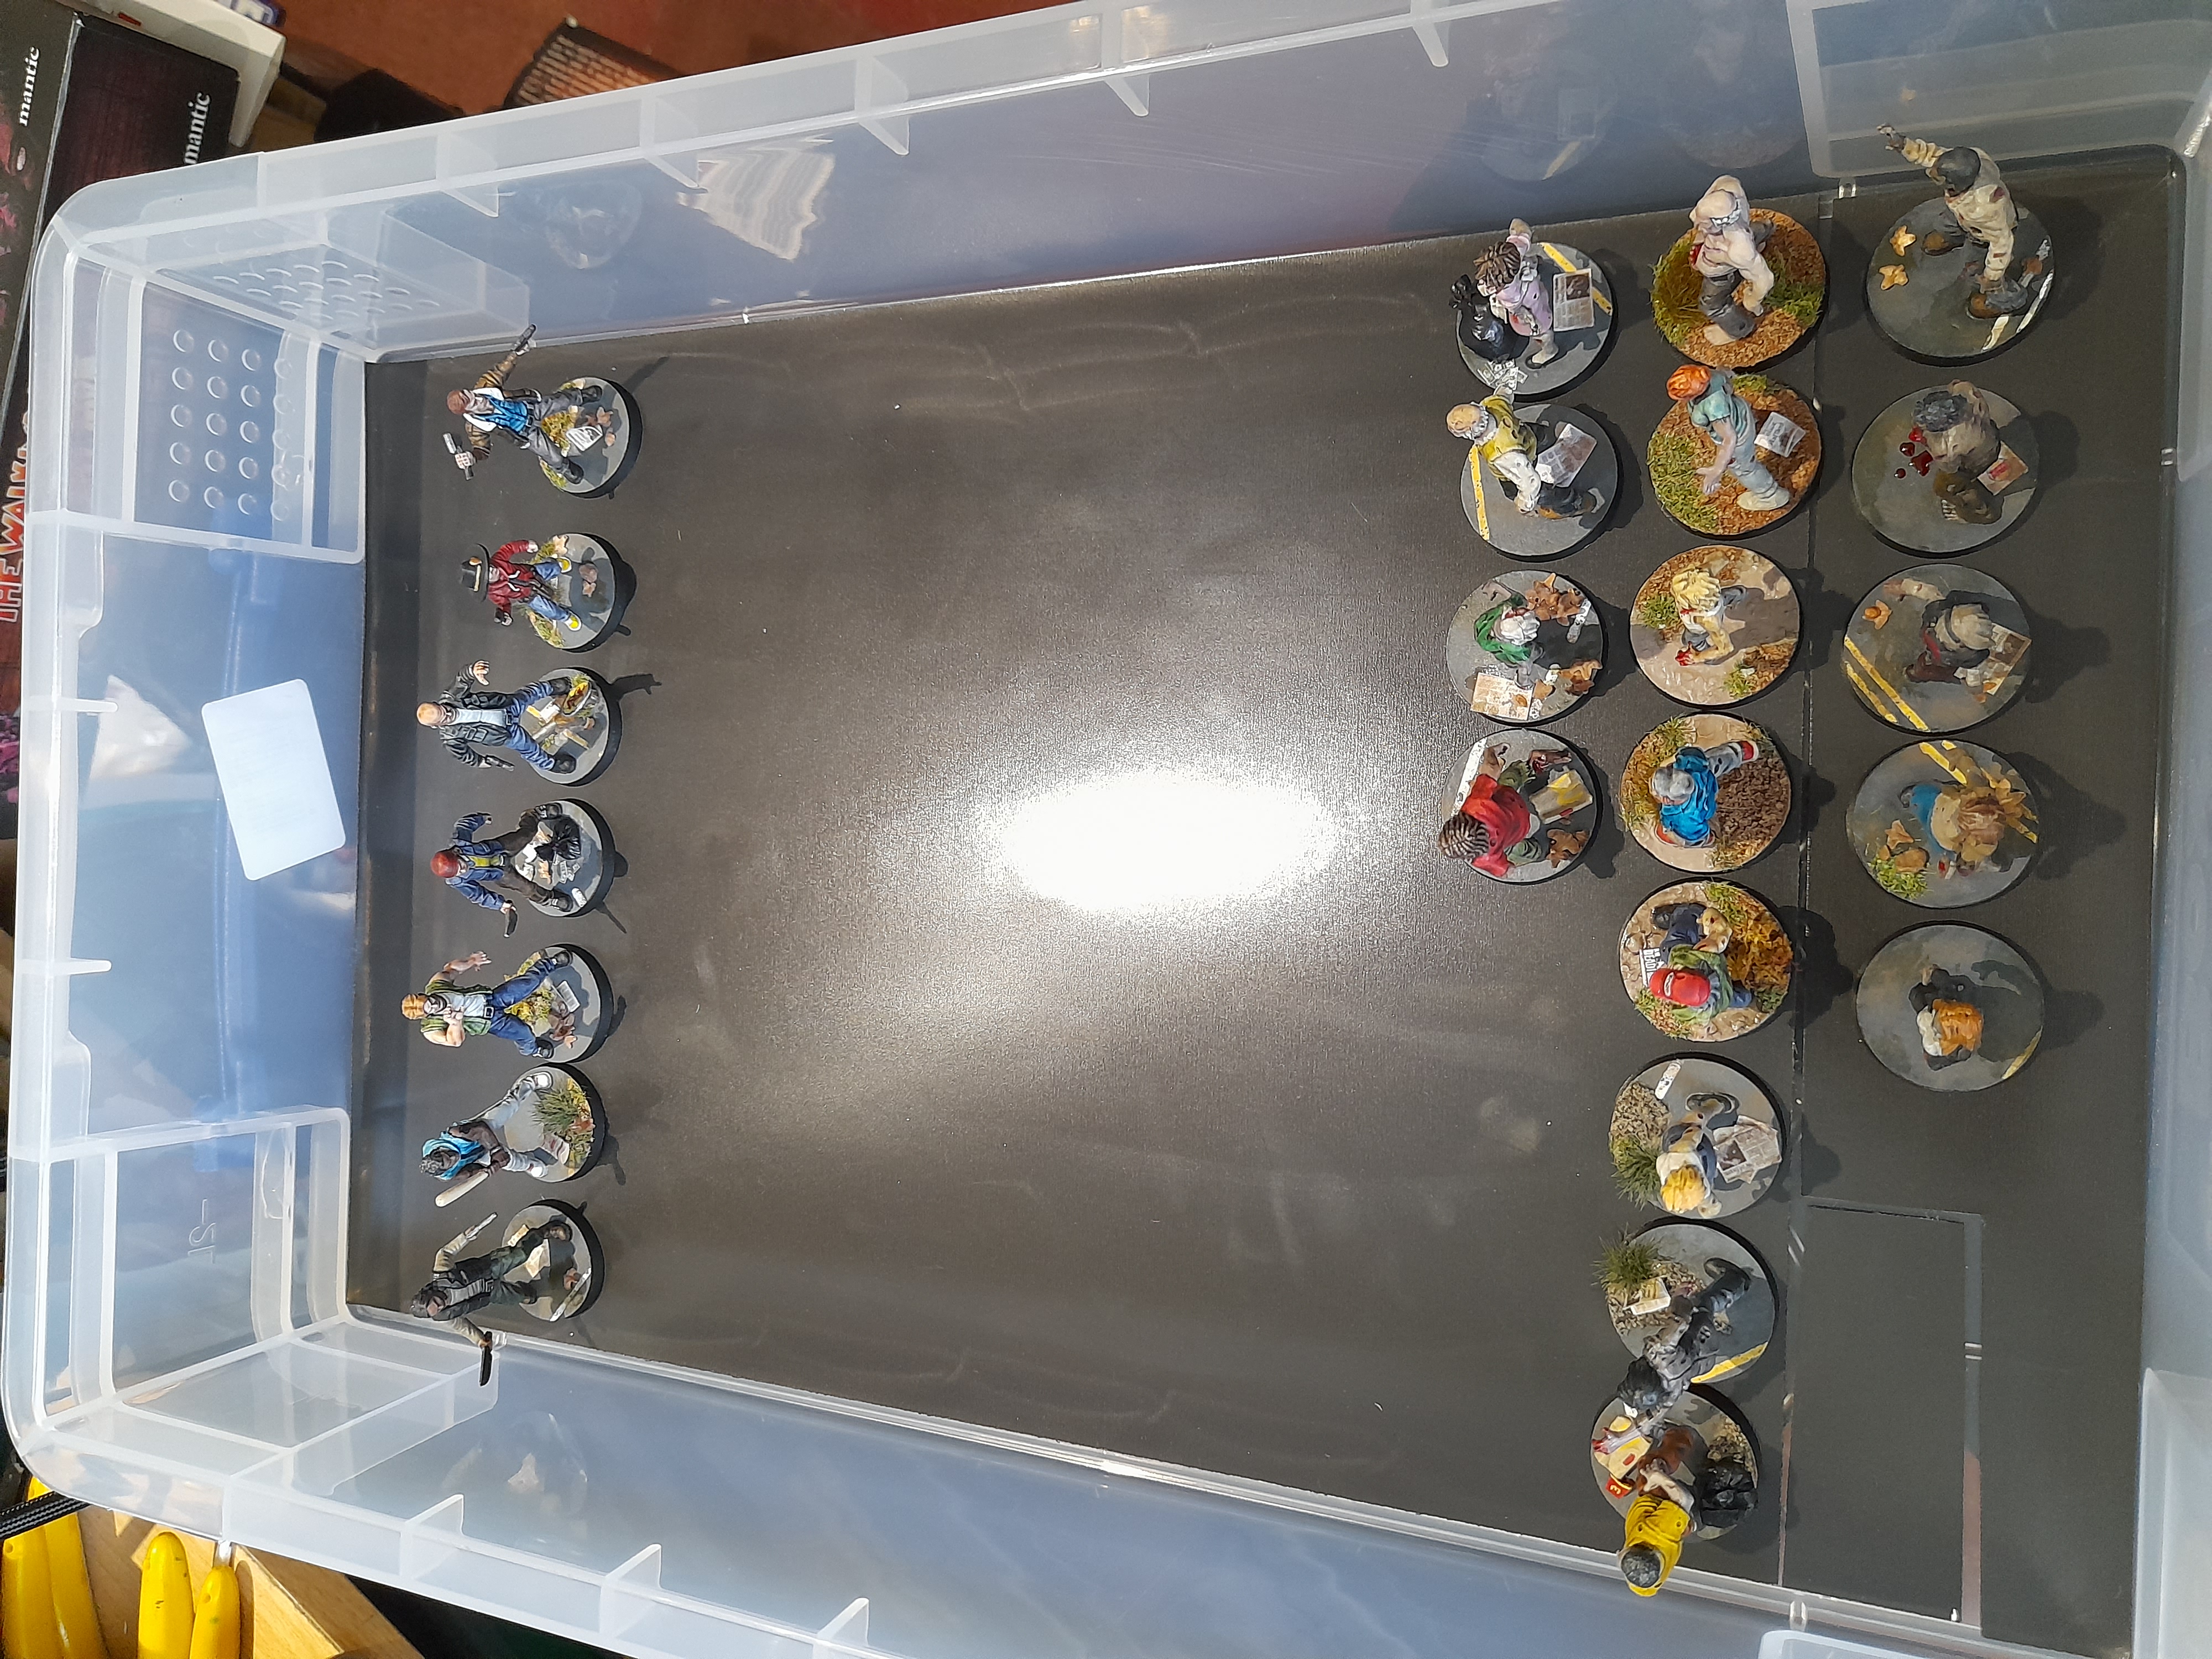
The case looks pretty empty….
Doing this bit of work reminded me that I was really quite happy with how my Walking Dead minis came out.
Hopefully when I return to TWD I can do as good a job ?
Duplicate due to system crash...
So, project system spammed 3 copies….
Please ignore
Can anyone (Gerry?) tell me if there is a way to delete these duplicates? (on mobile device)
Duplicate due to system crash...
So, project system spammed 3 copies….
Please ignore
Duplicate due to system crash...
So, project system spammed 3 copies….
Please ignore
Golden Button!
Really pleased to have been awarded a Golden Button ?
I find doing these projects, and trying to post regular updates, has been beneficial to improving my hobby motivation.
But it is always nice to know that someone has enjoyed some of what I have produced ?
Spring Clean Challenge summary
16th June 2024
I don’t think that I will get anything else finished before the end of the spring clean challenge on the 20th, so just posting up a brief summary of what I have managed to get done. The project will stay open, for any smaller things that I work on through the year. Other things will have their own projects.
Overall though, I have had some fun, worked on some nice old minis, tried things I wouldn’t have done otherwise (Dakkatooth’s Hawaiian shirt!), documented a ‘Skowtin’ Misshun’ (for the Breath of Fresh Air element) and produced a mix of minis that had been languishing unpainted for quite some time….
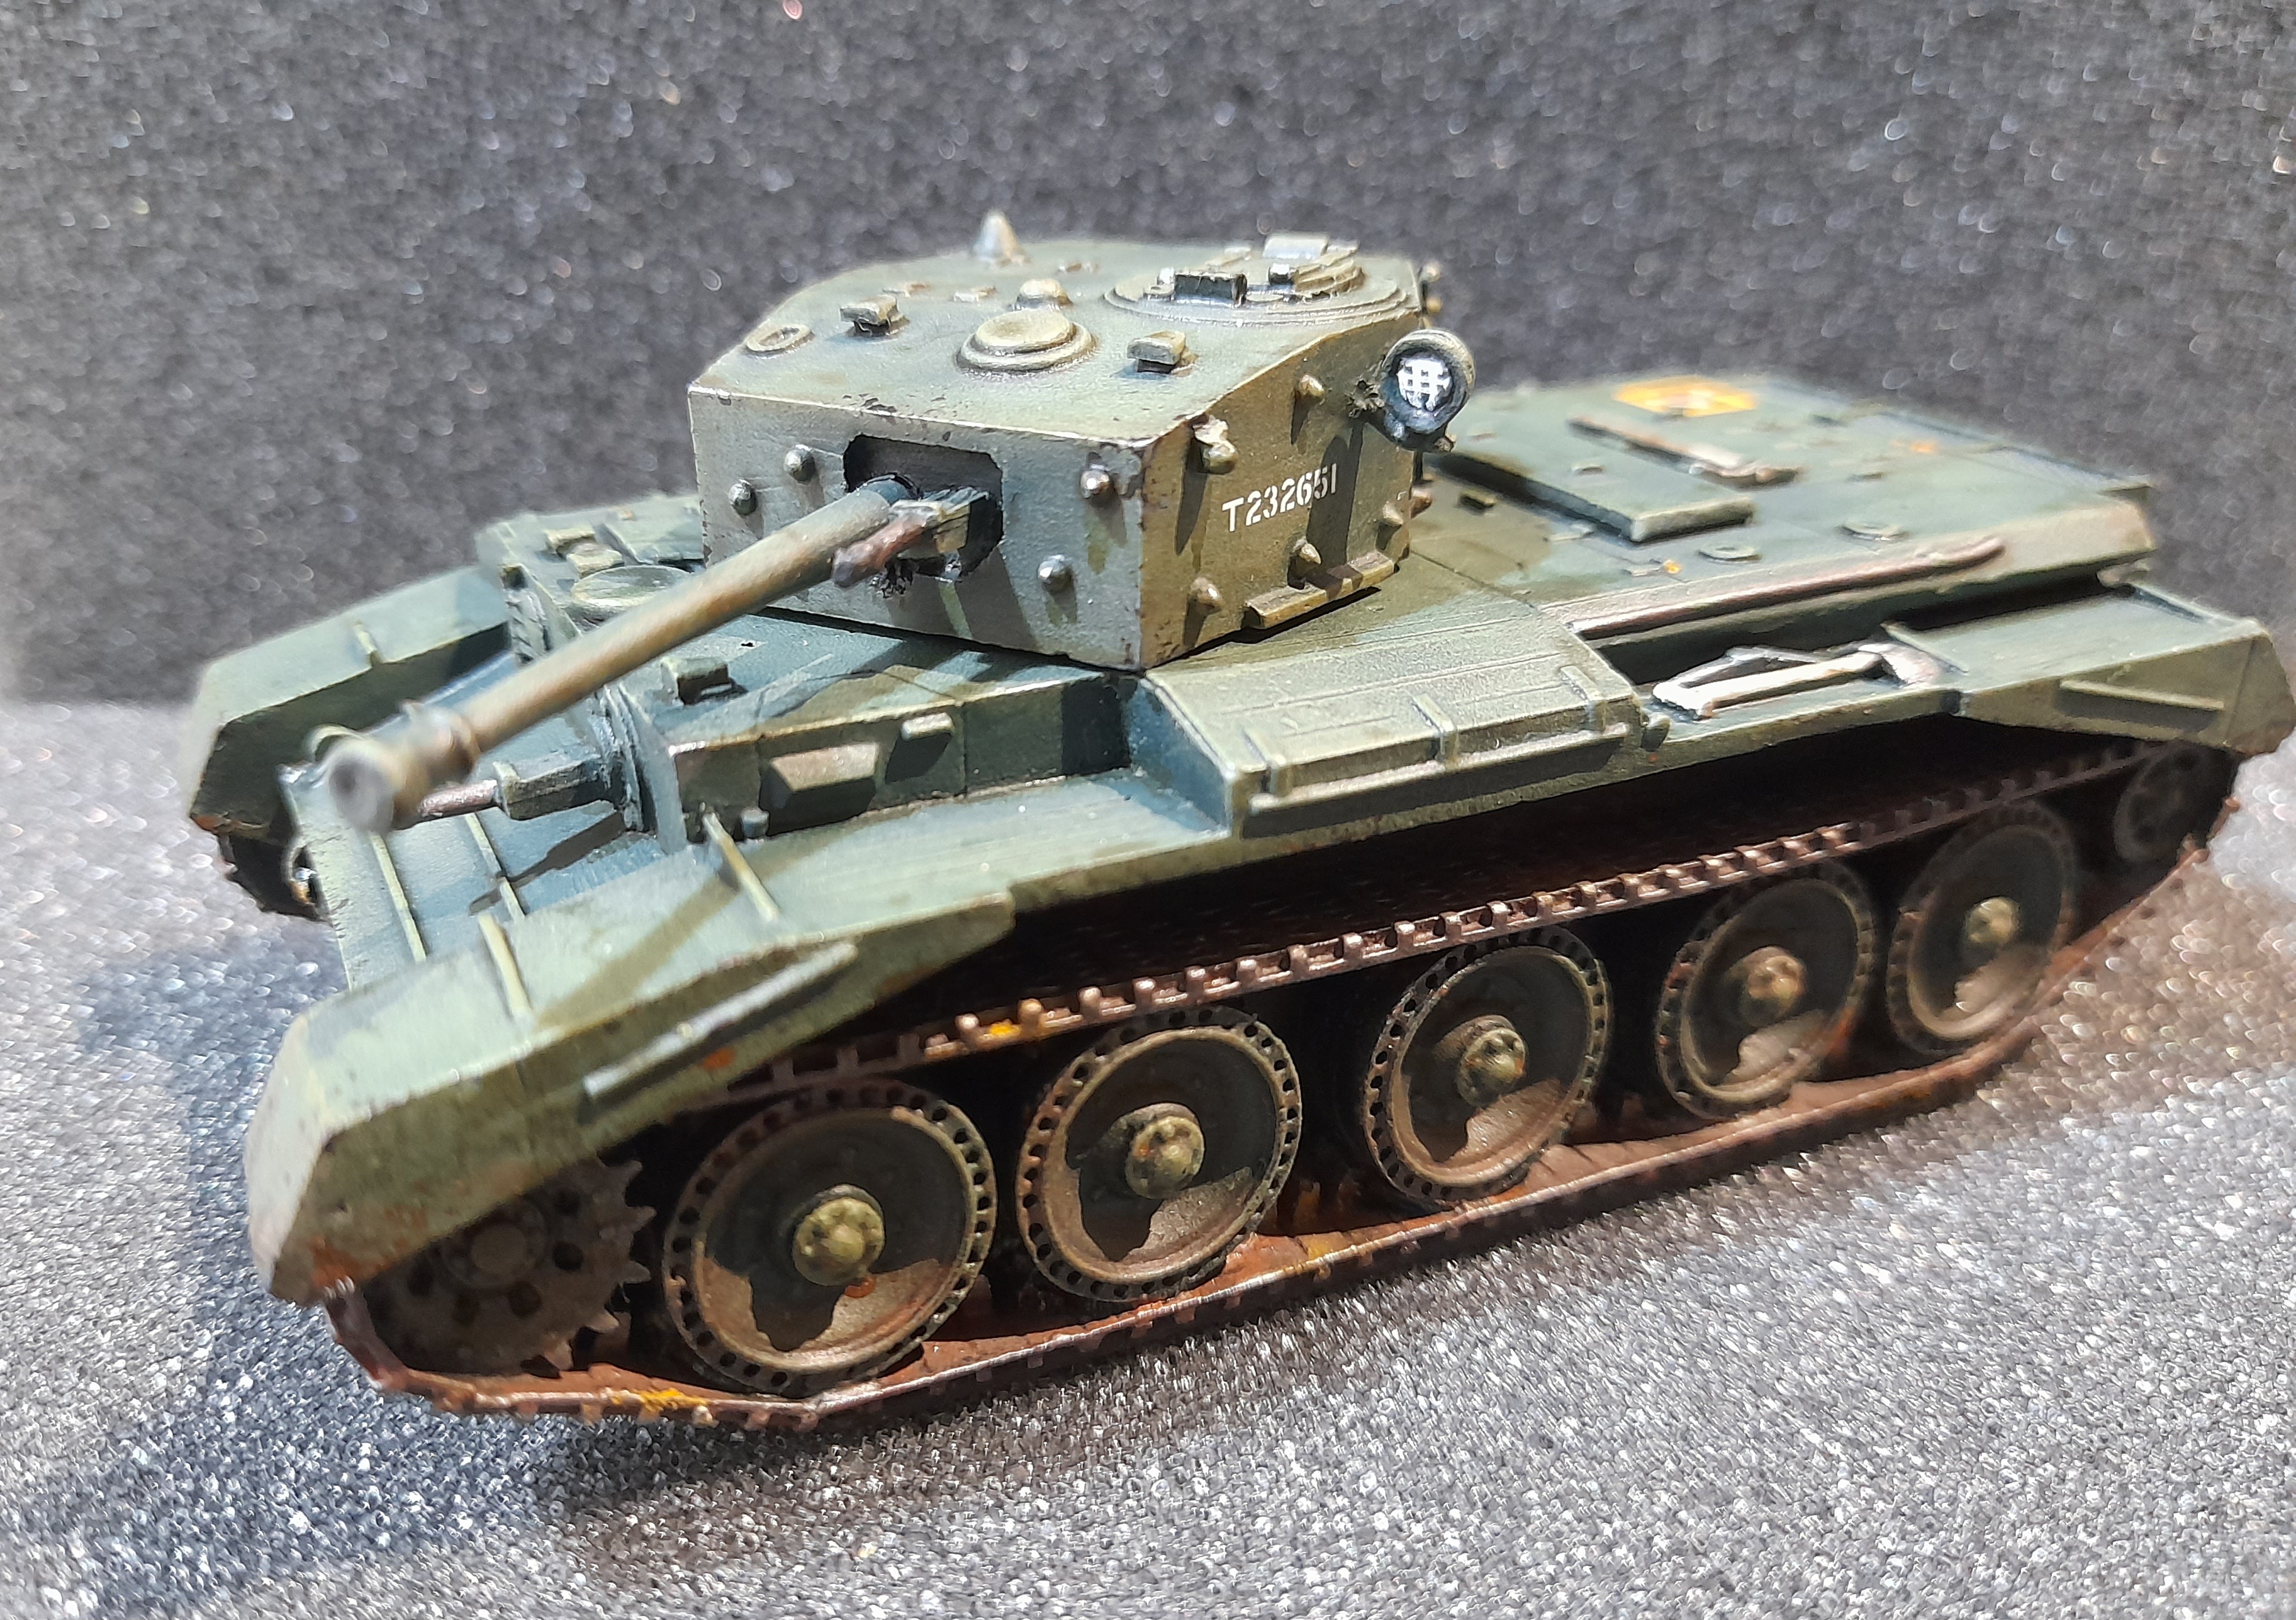 First up was the Cromwell. Trying out some weathering
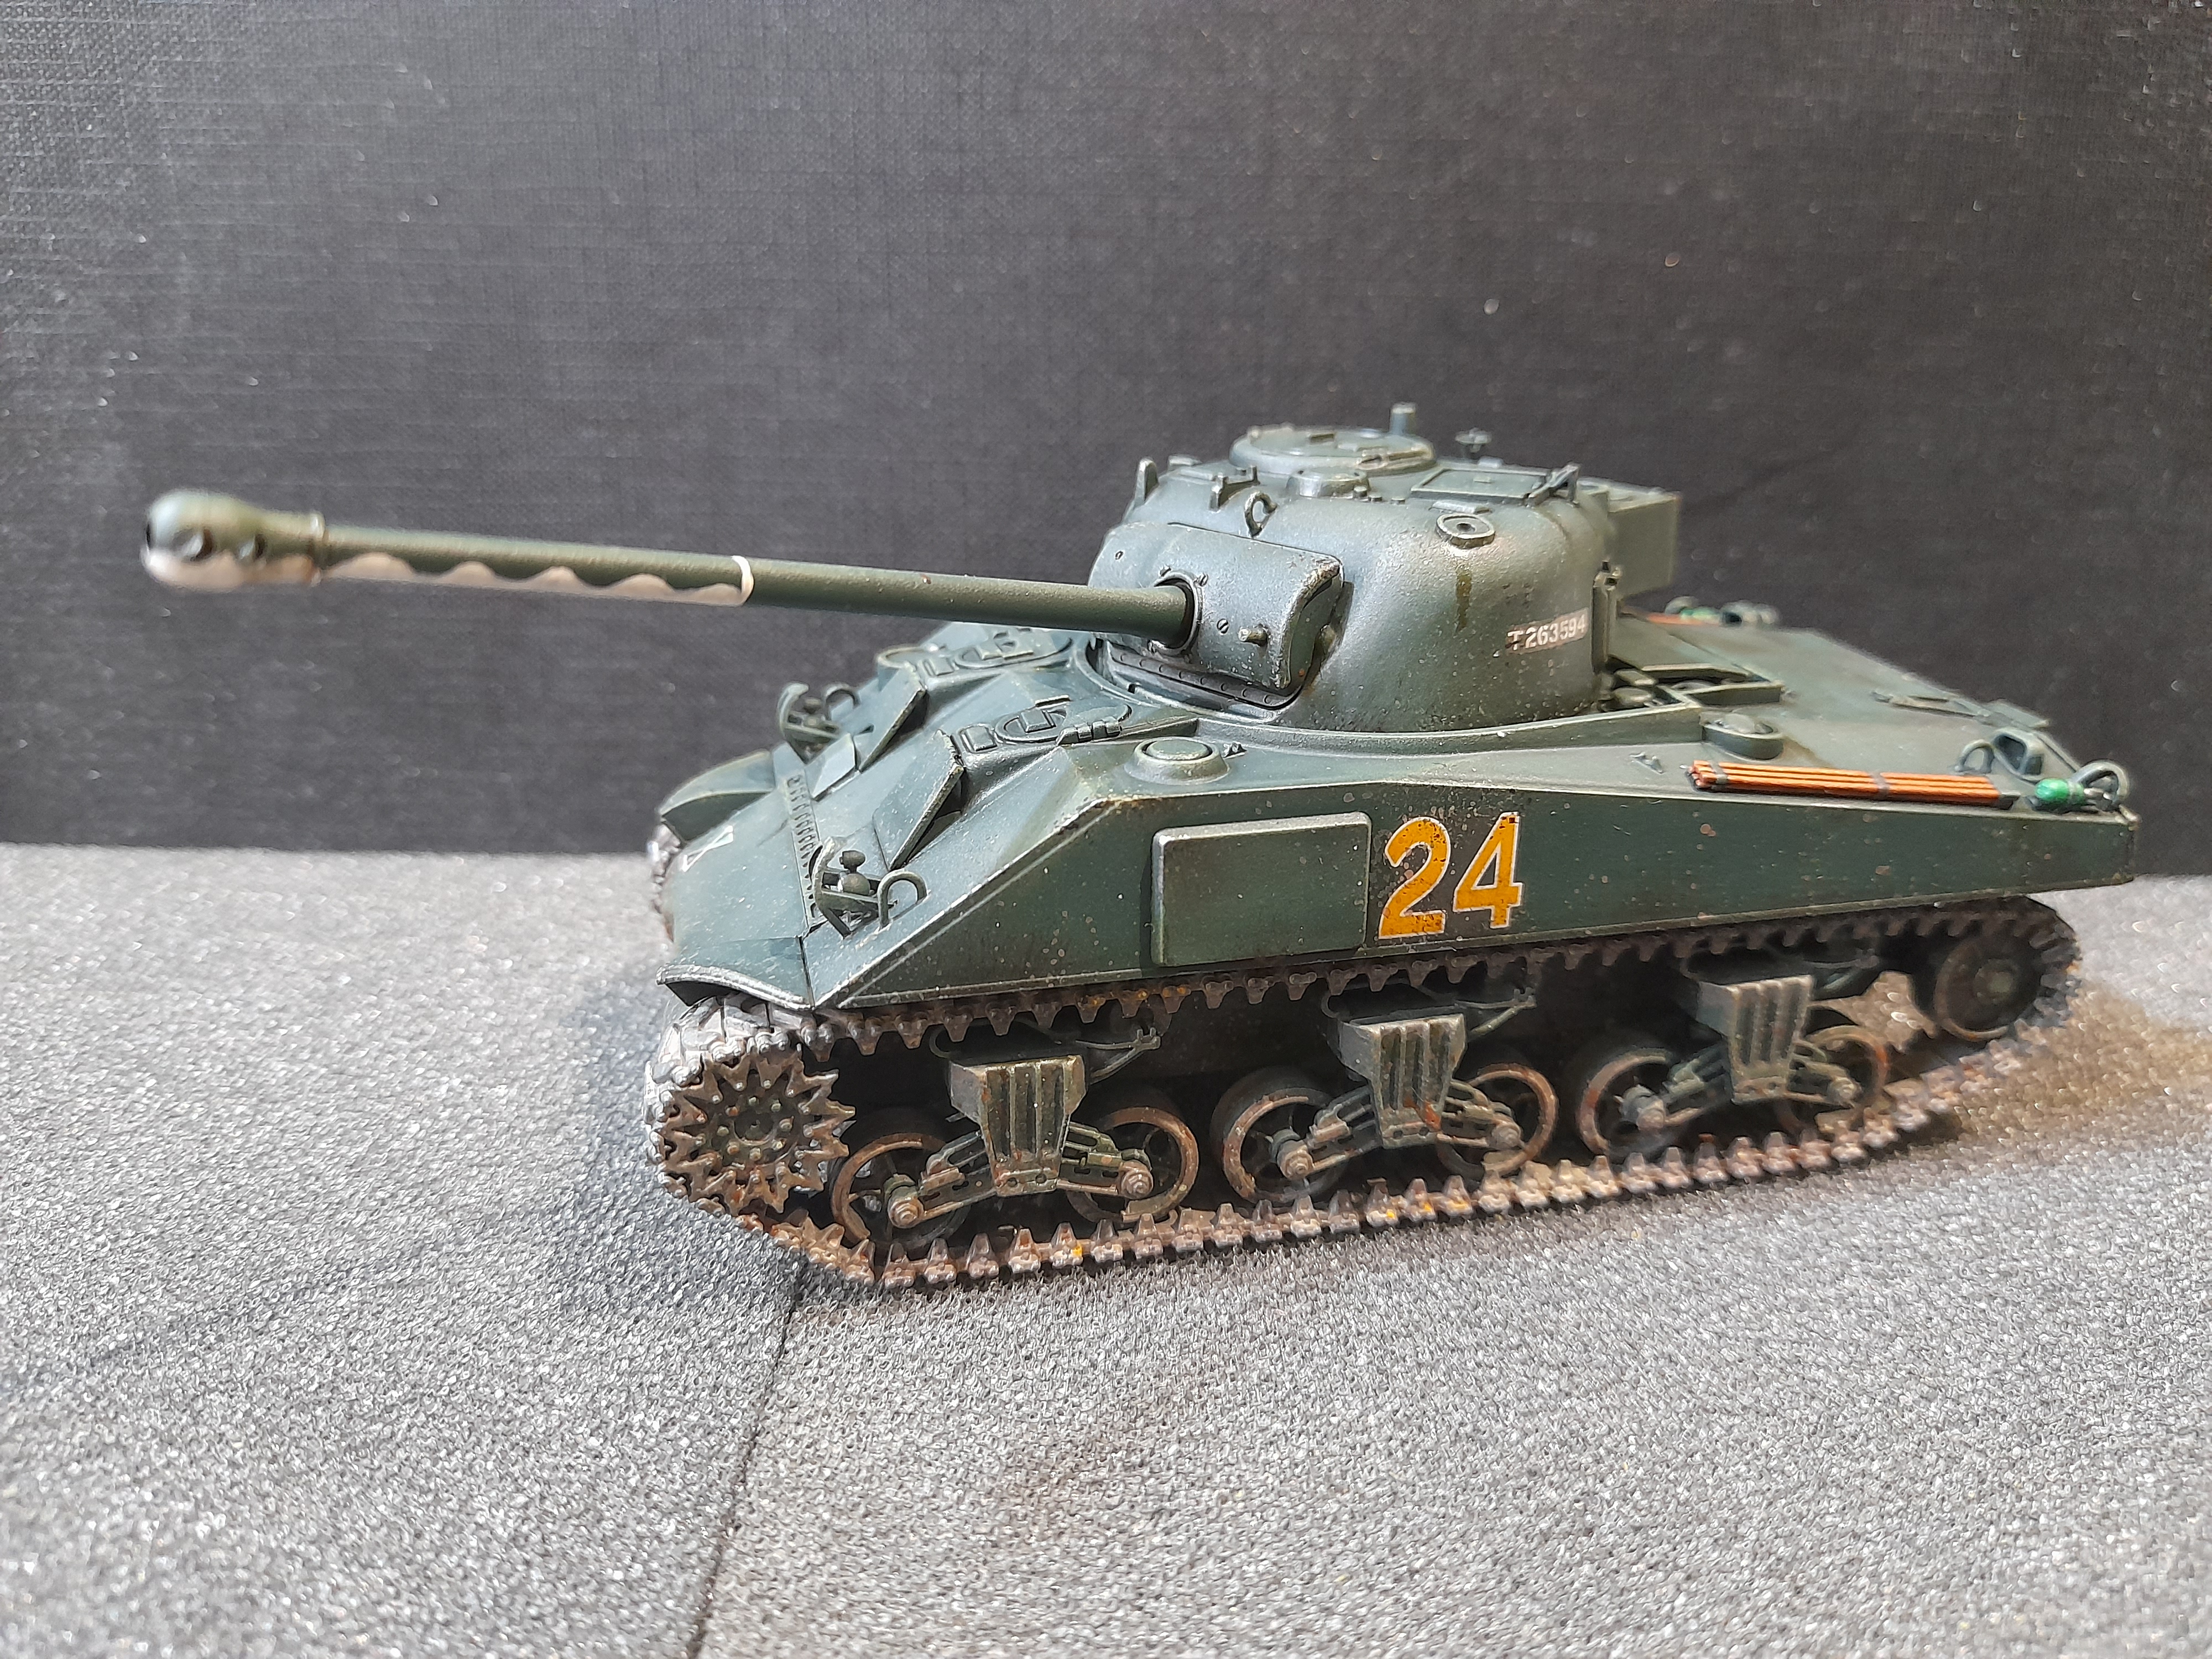 Then the Firefly
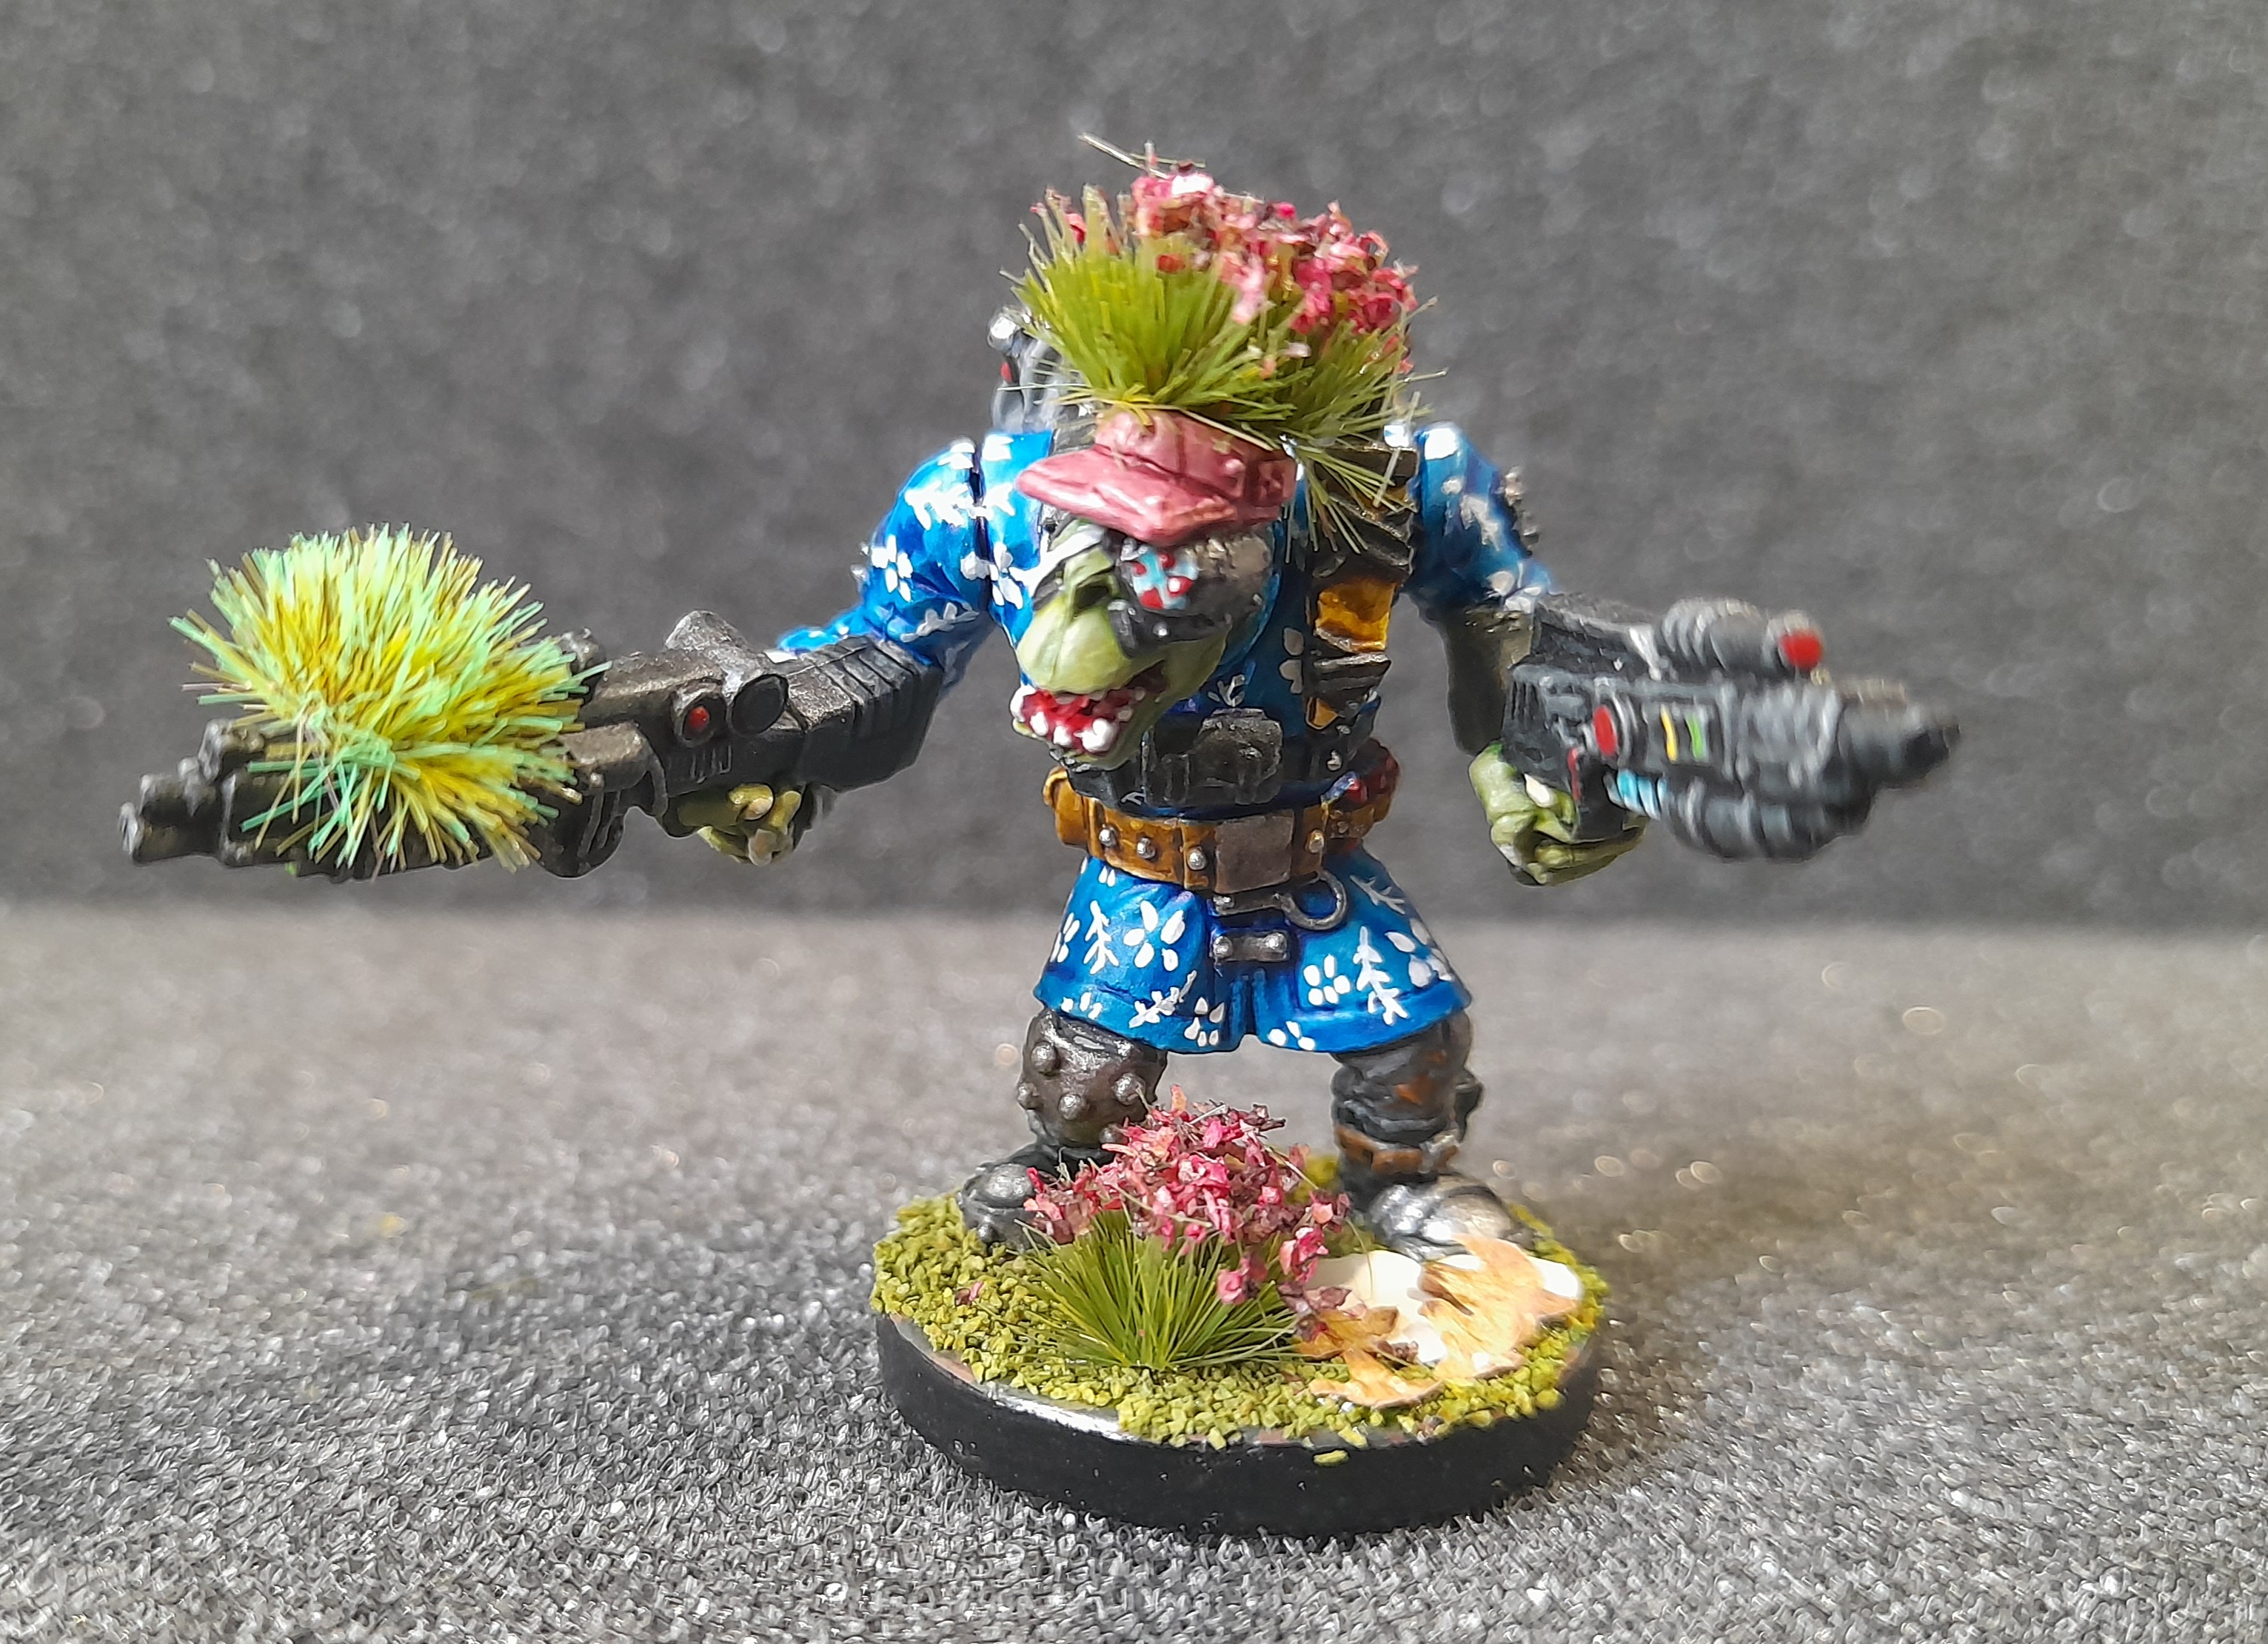 Dakkatoof with his 'stelff' Hawaiian shirt
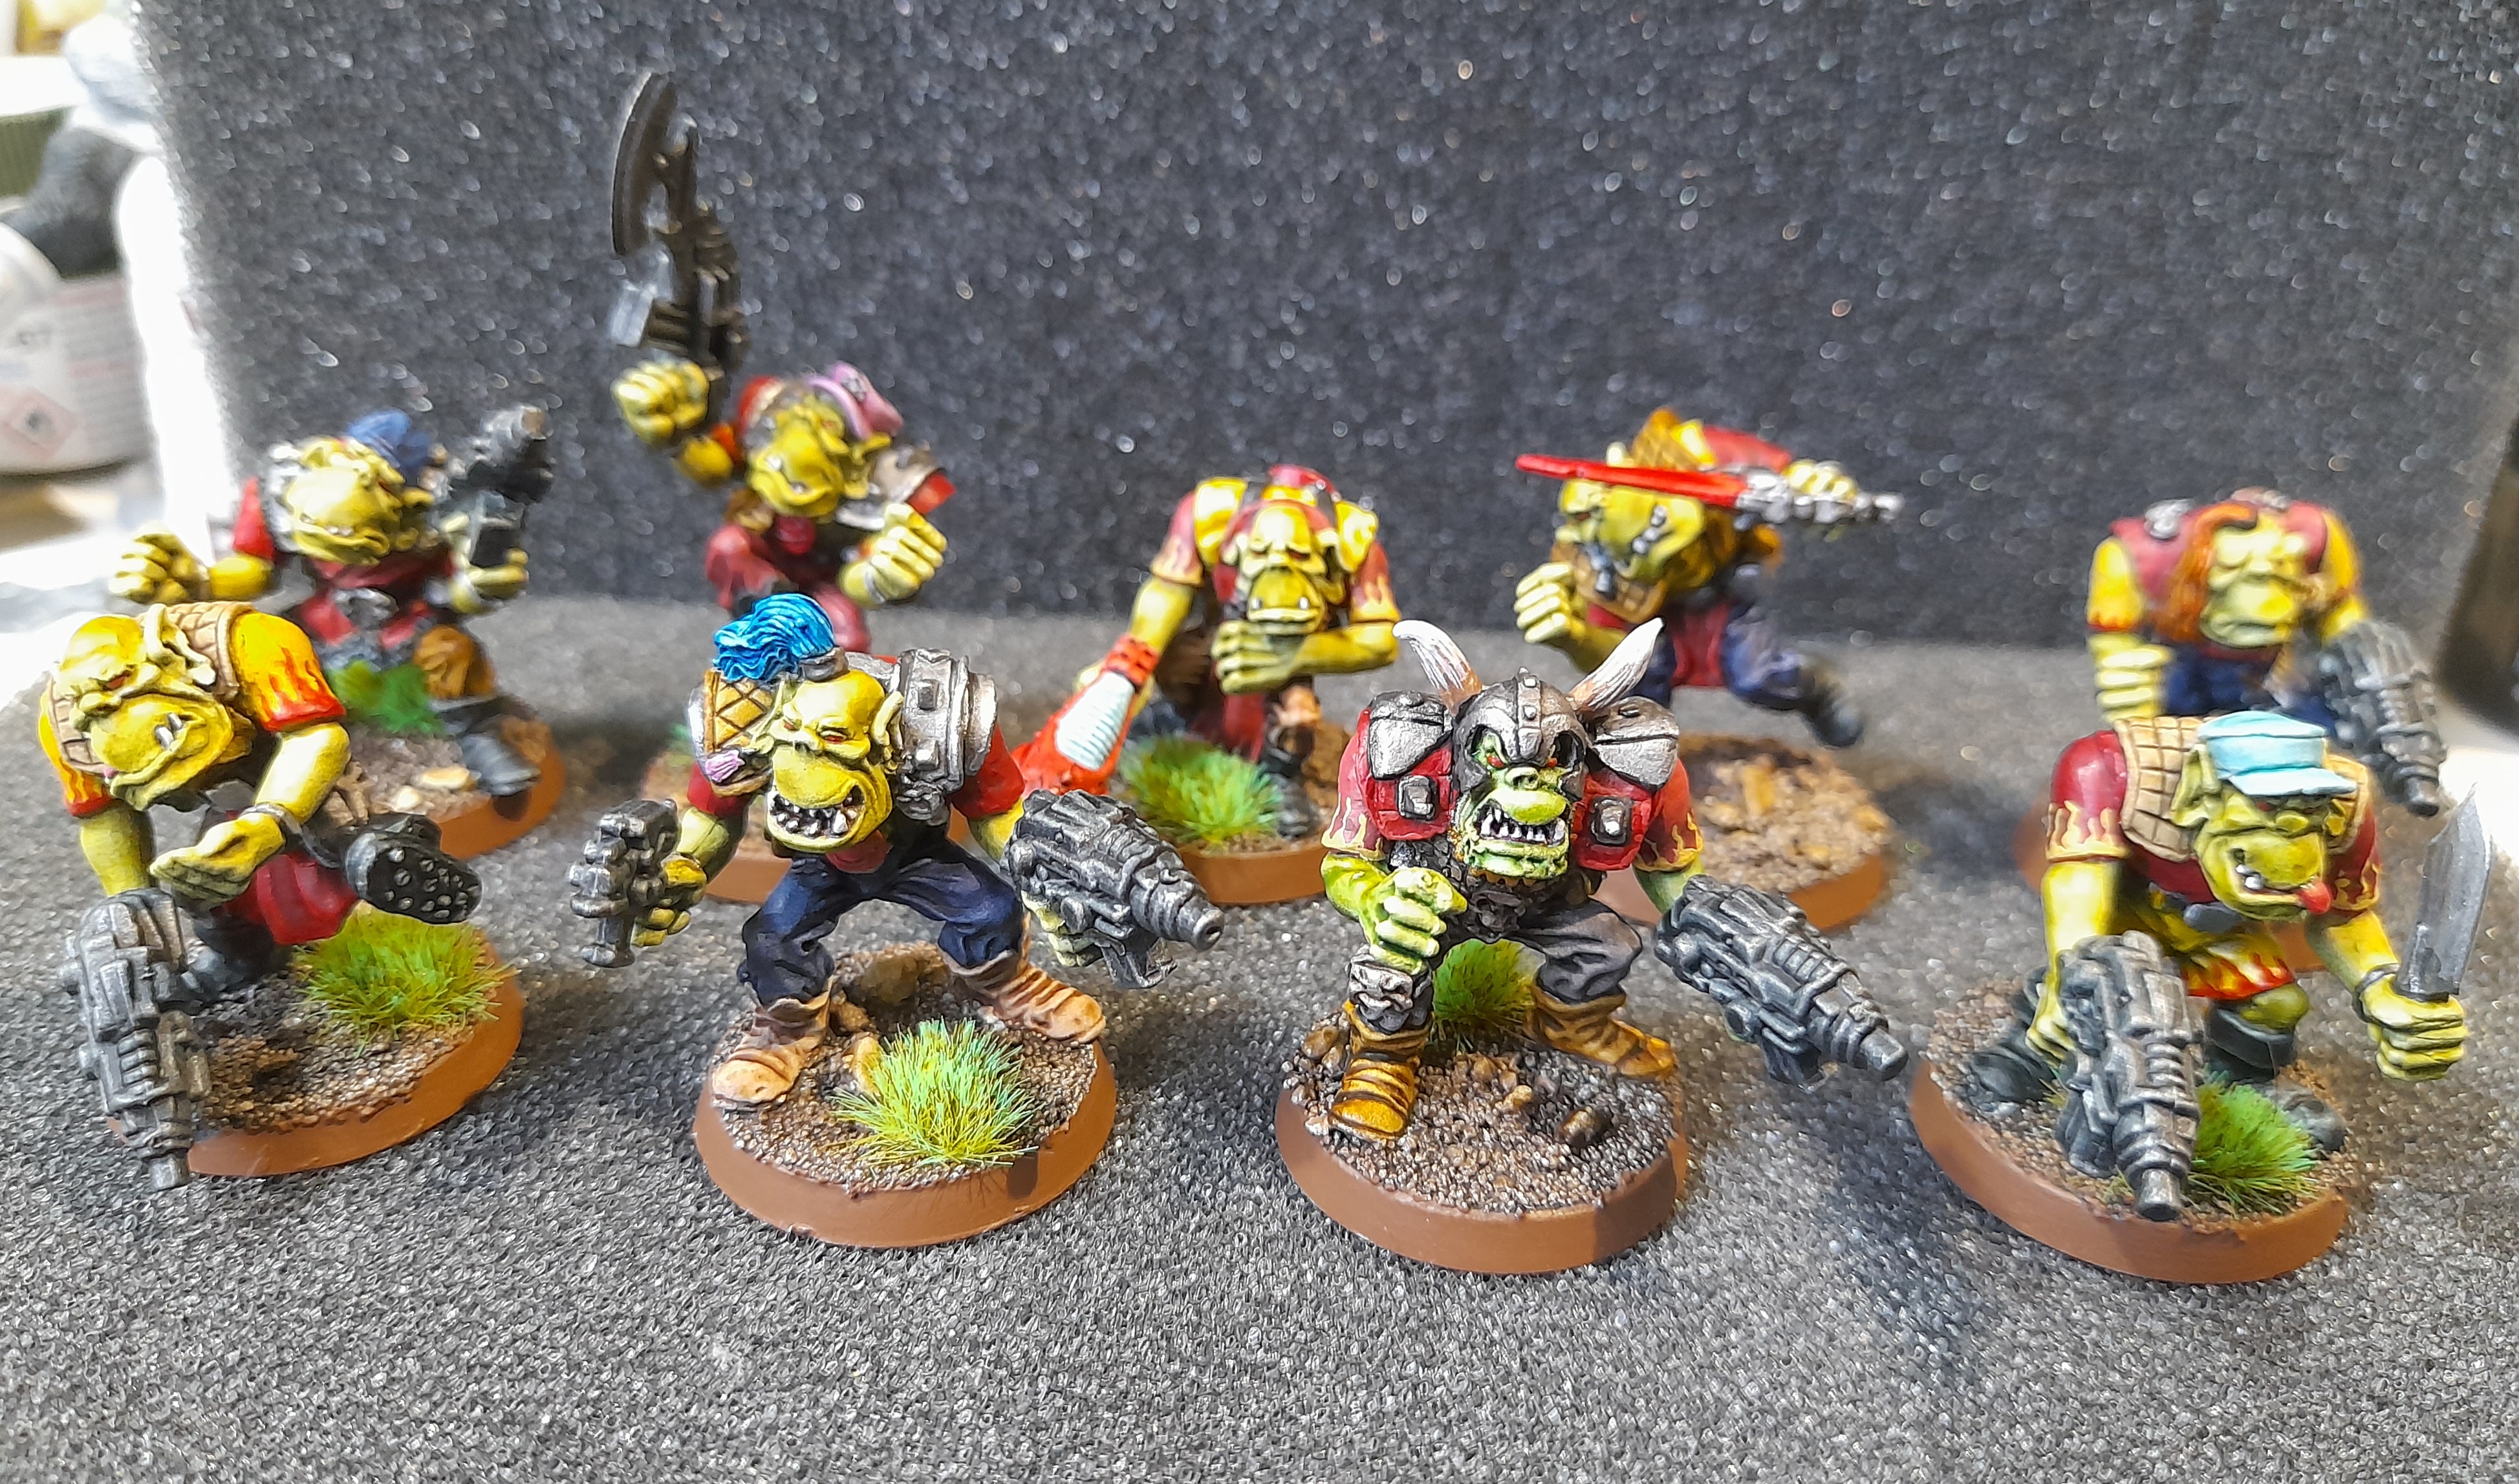 Old school Madboyz mob
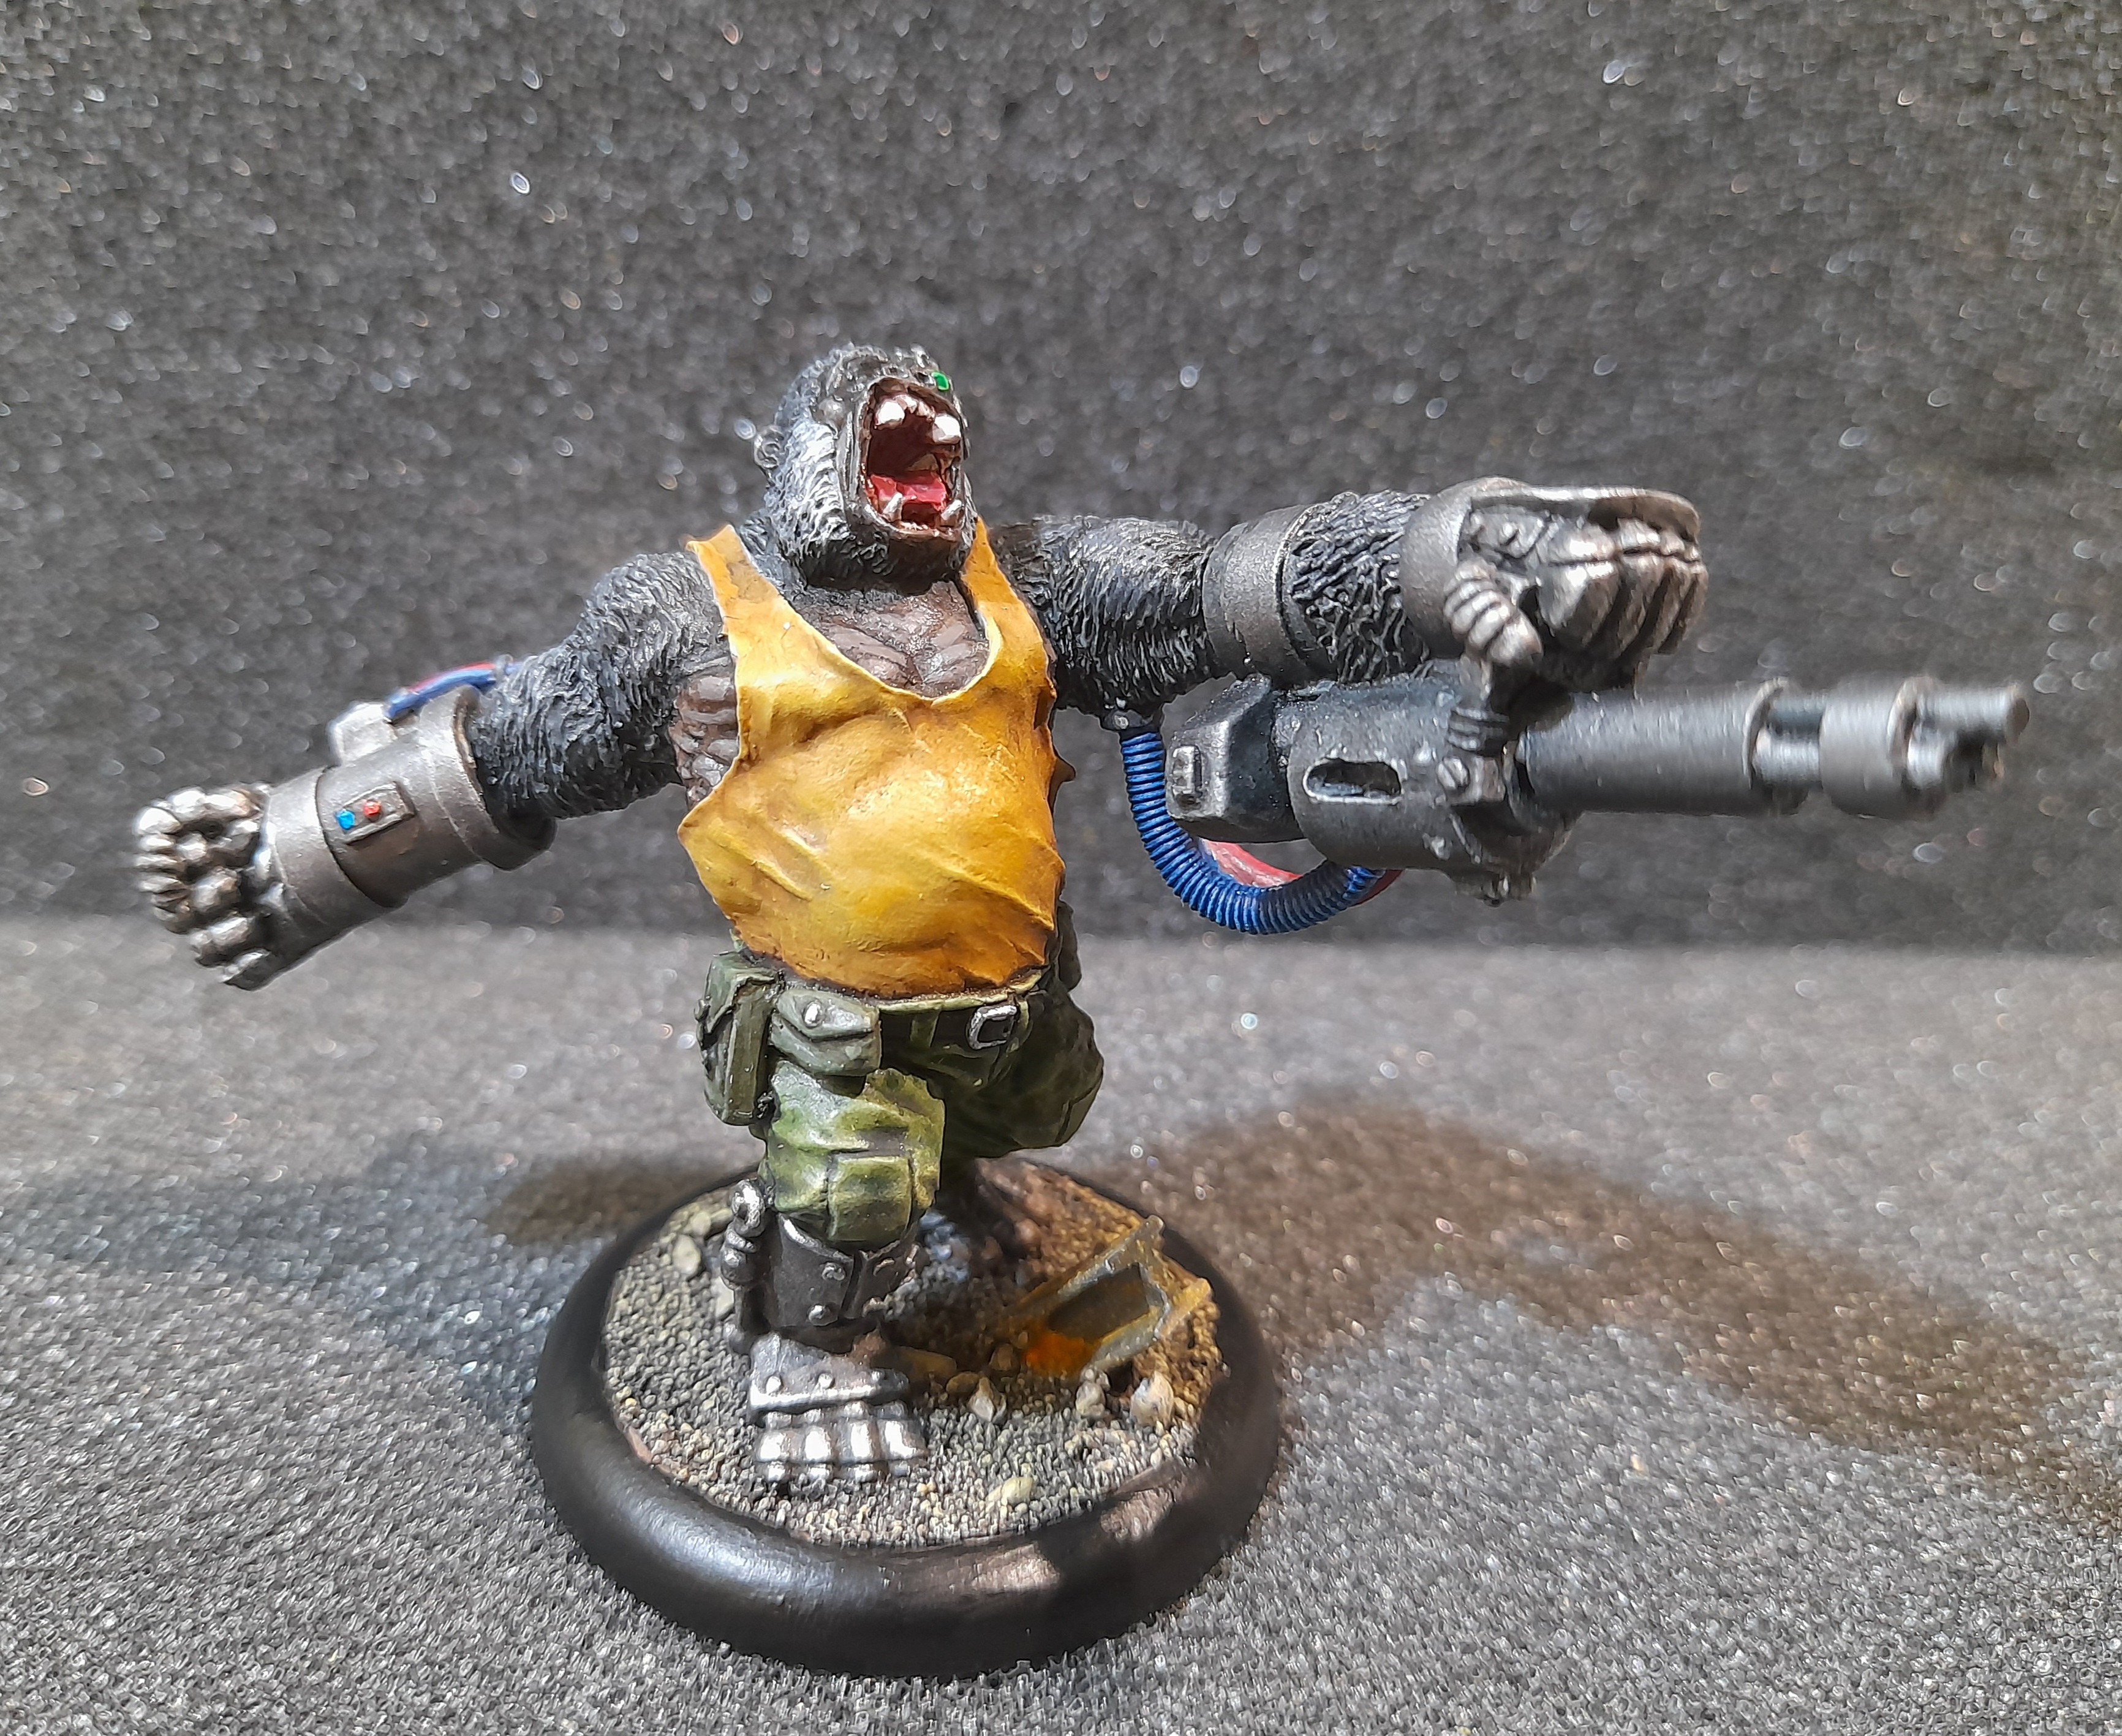 WW2 Gorilla
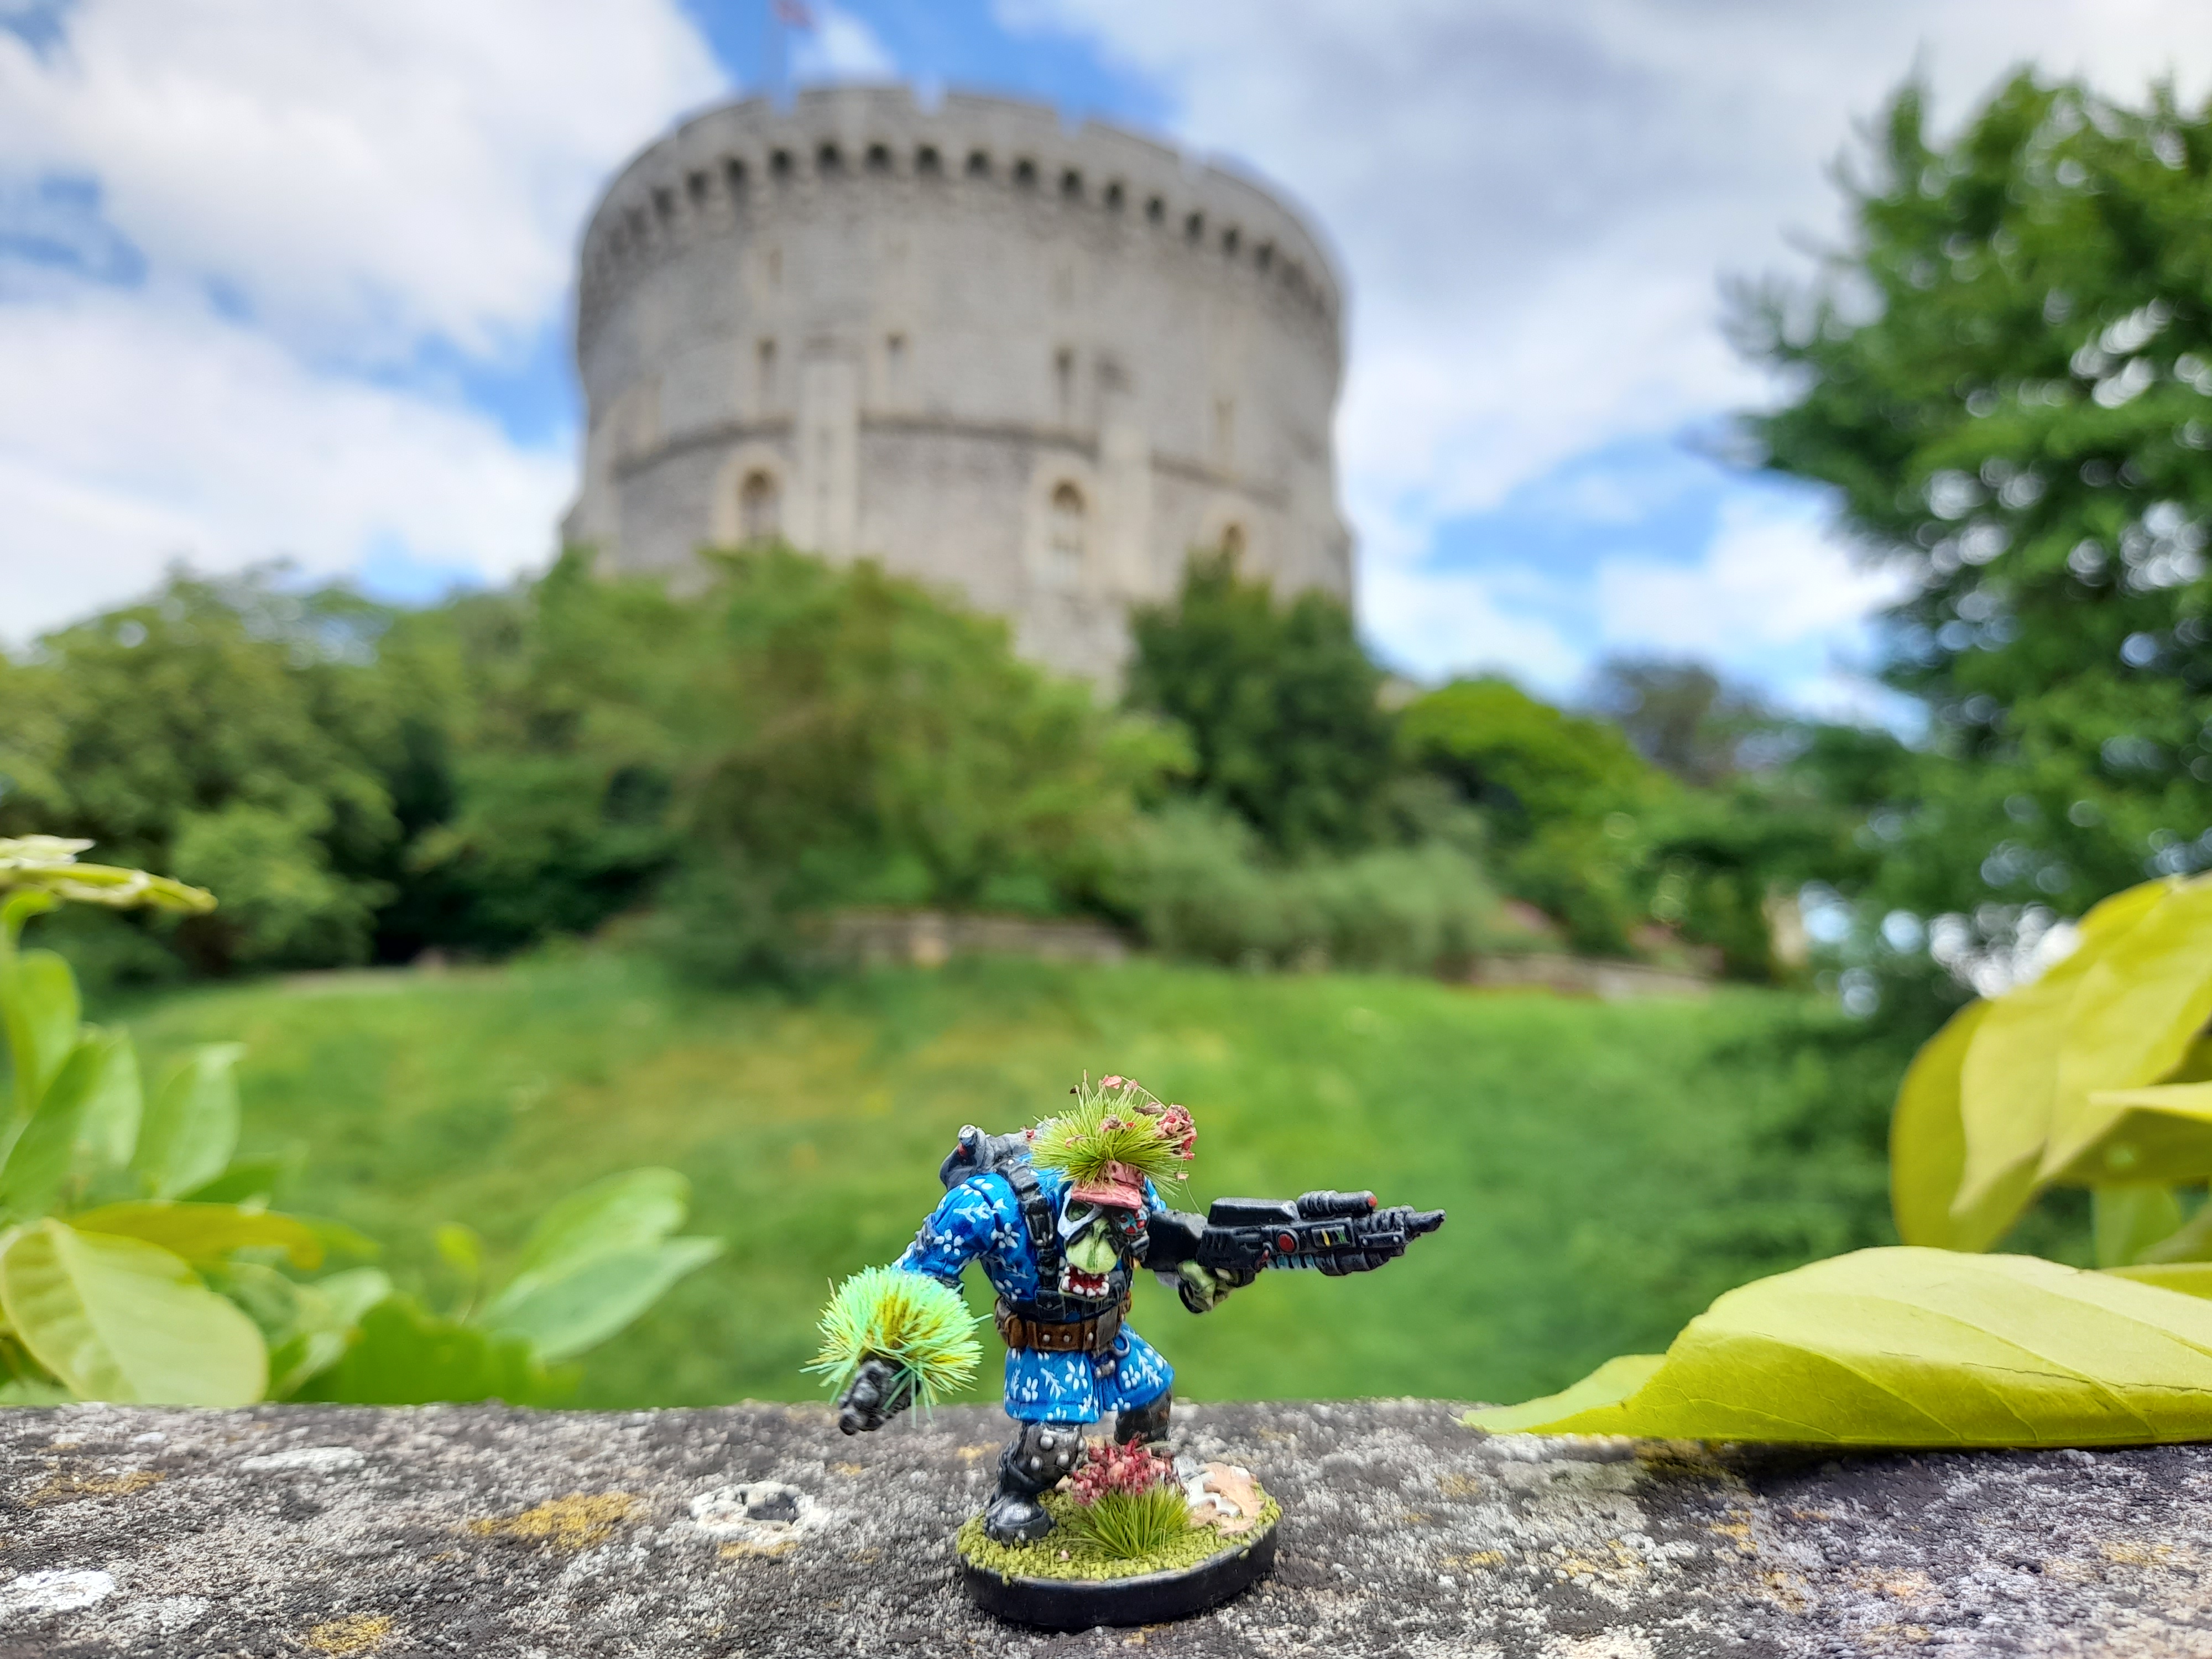 'Misshun' days
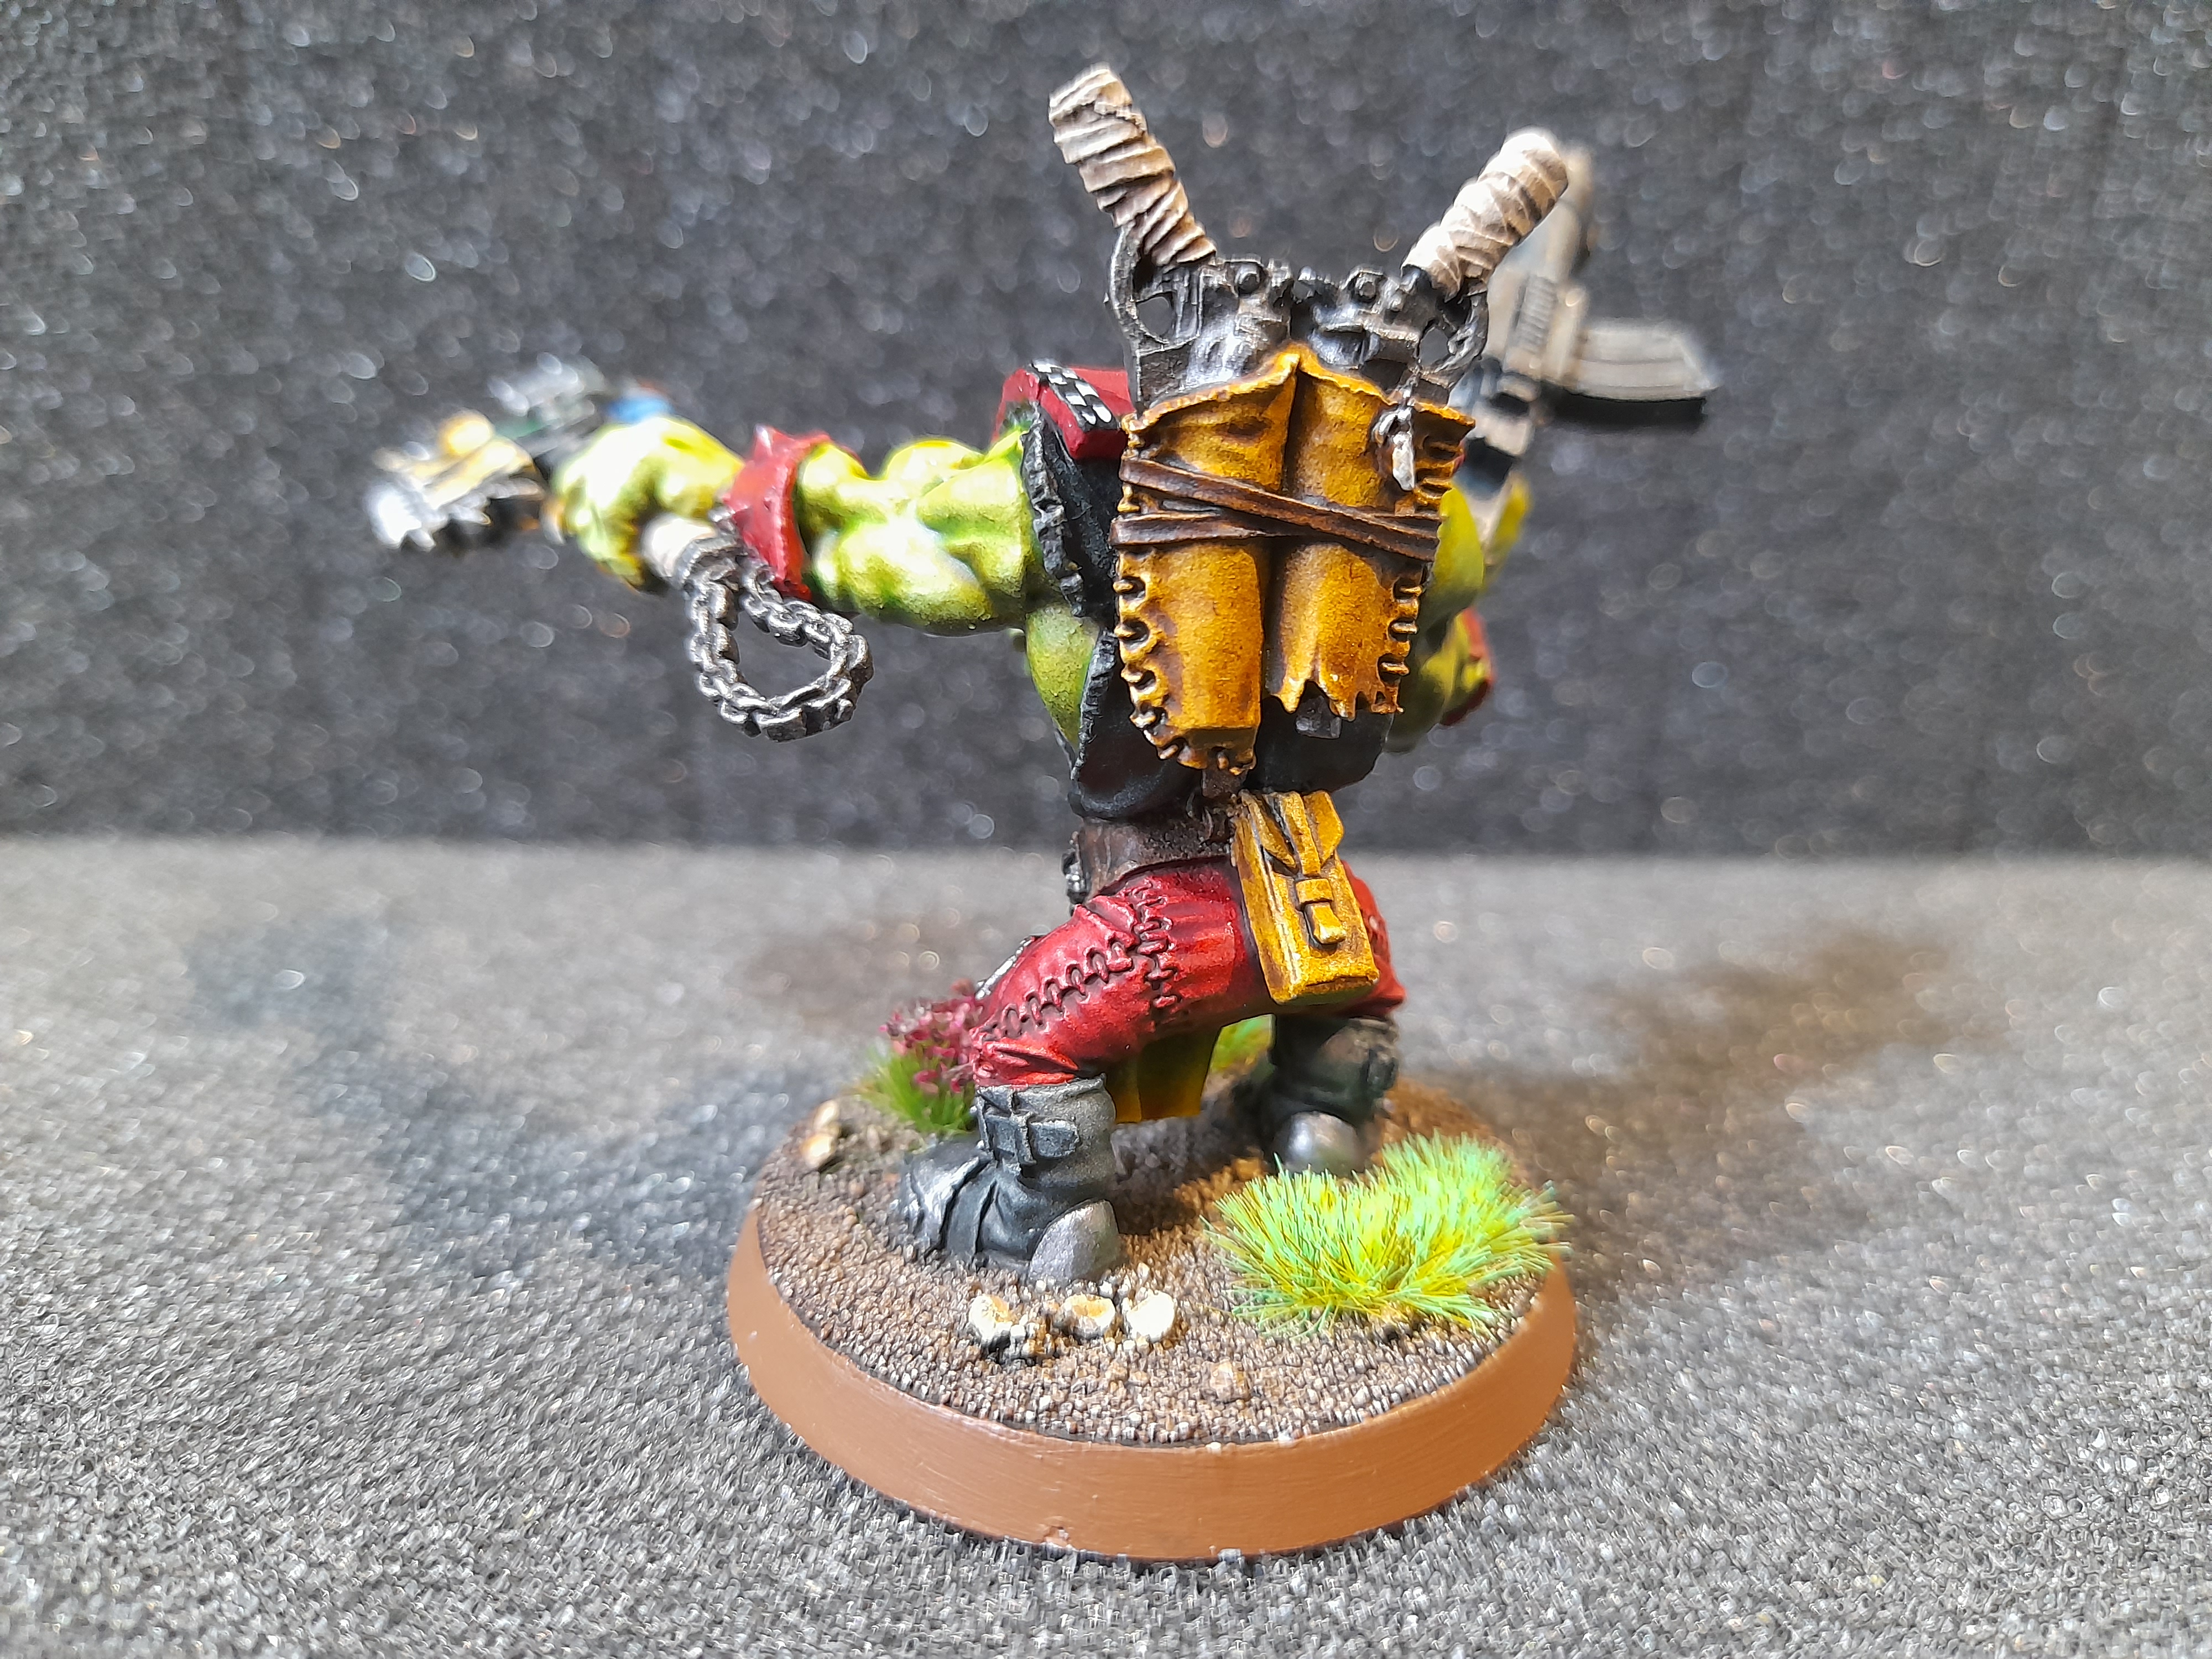
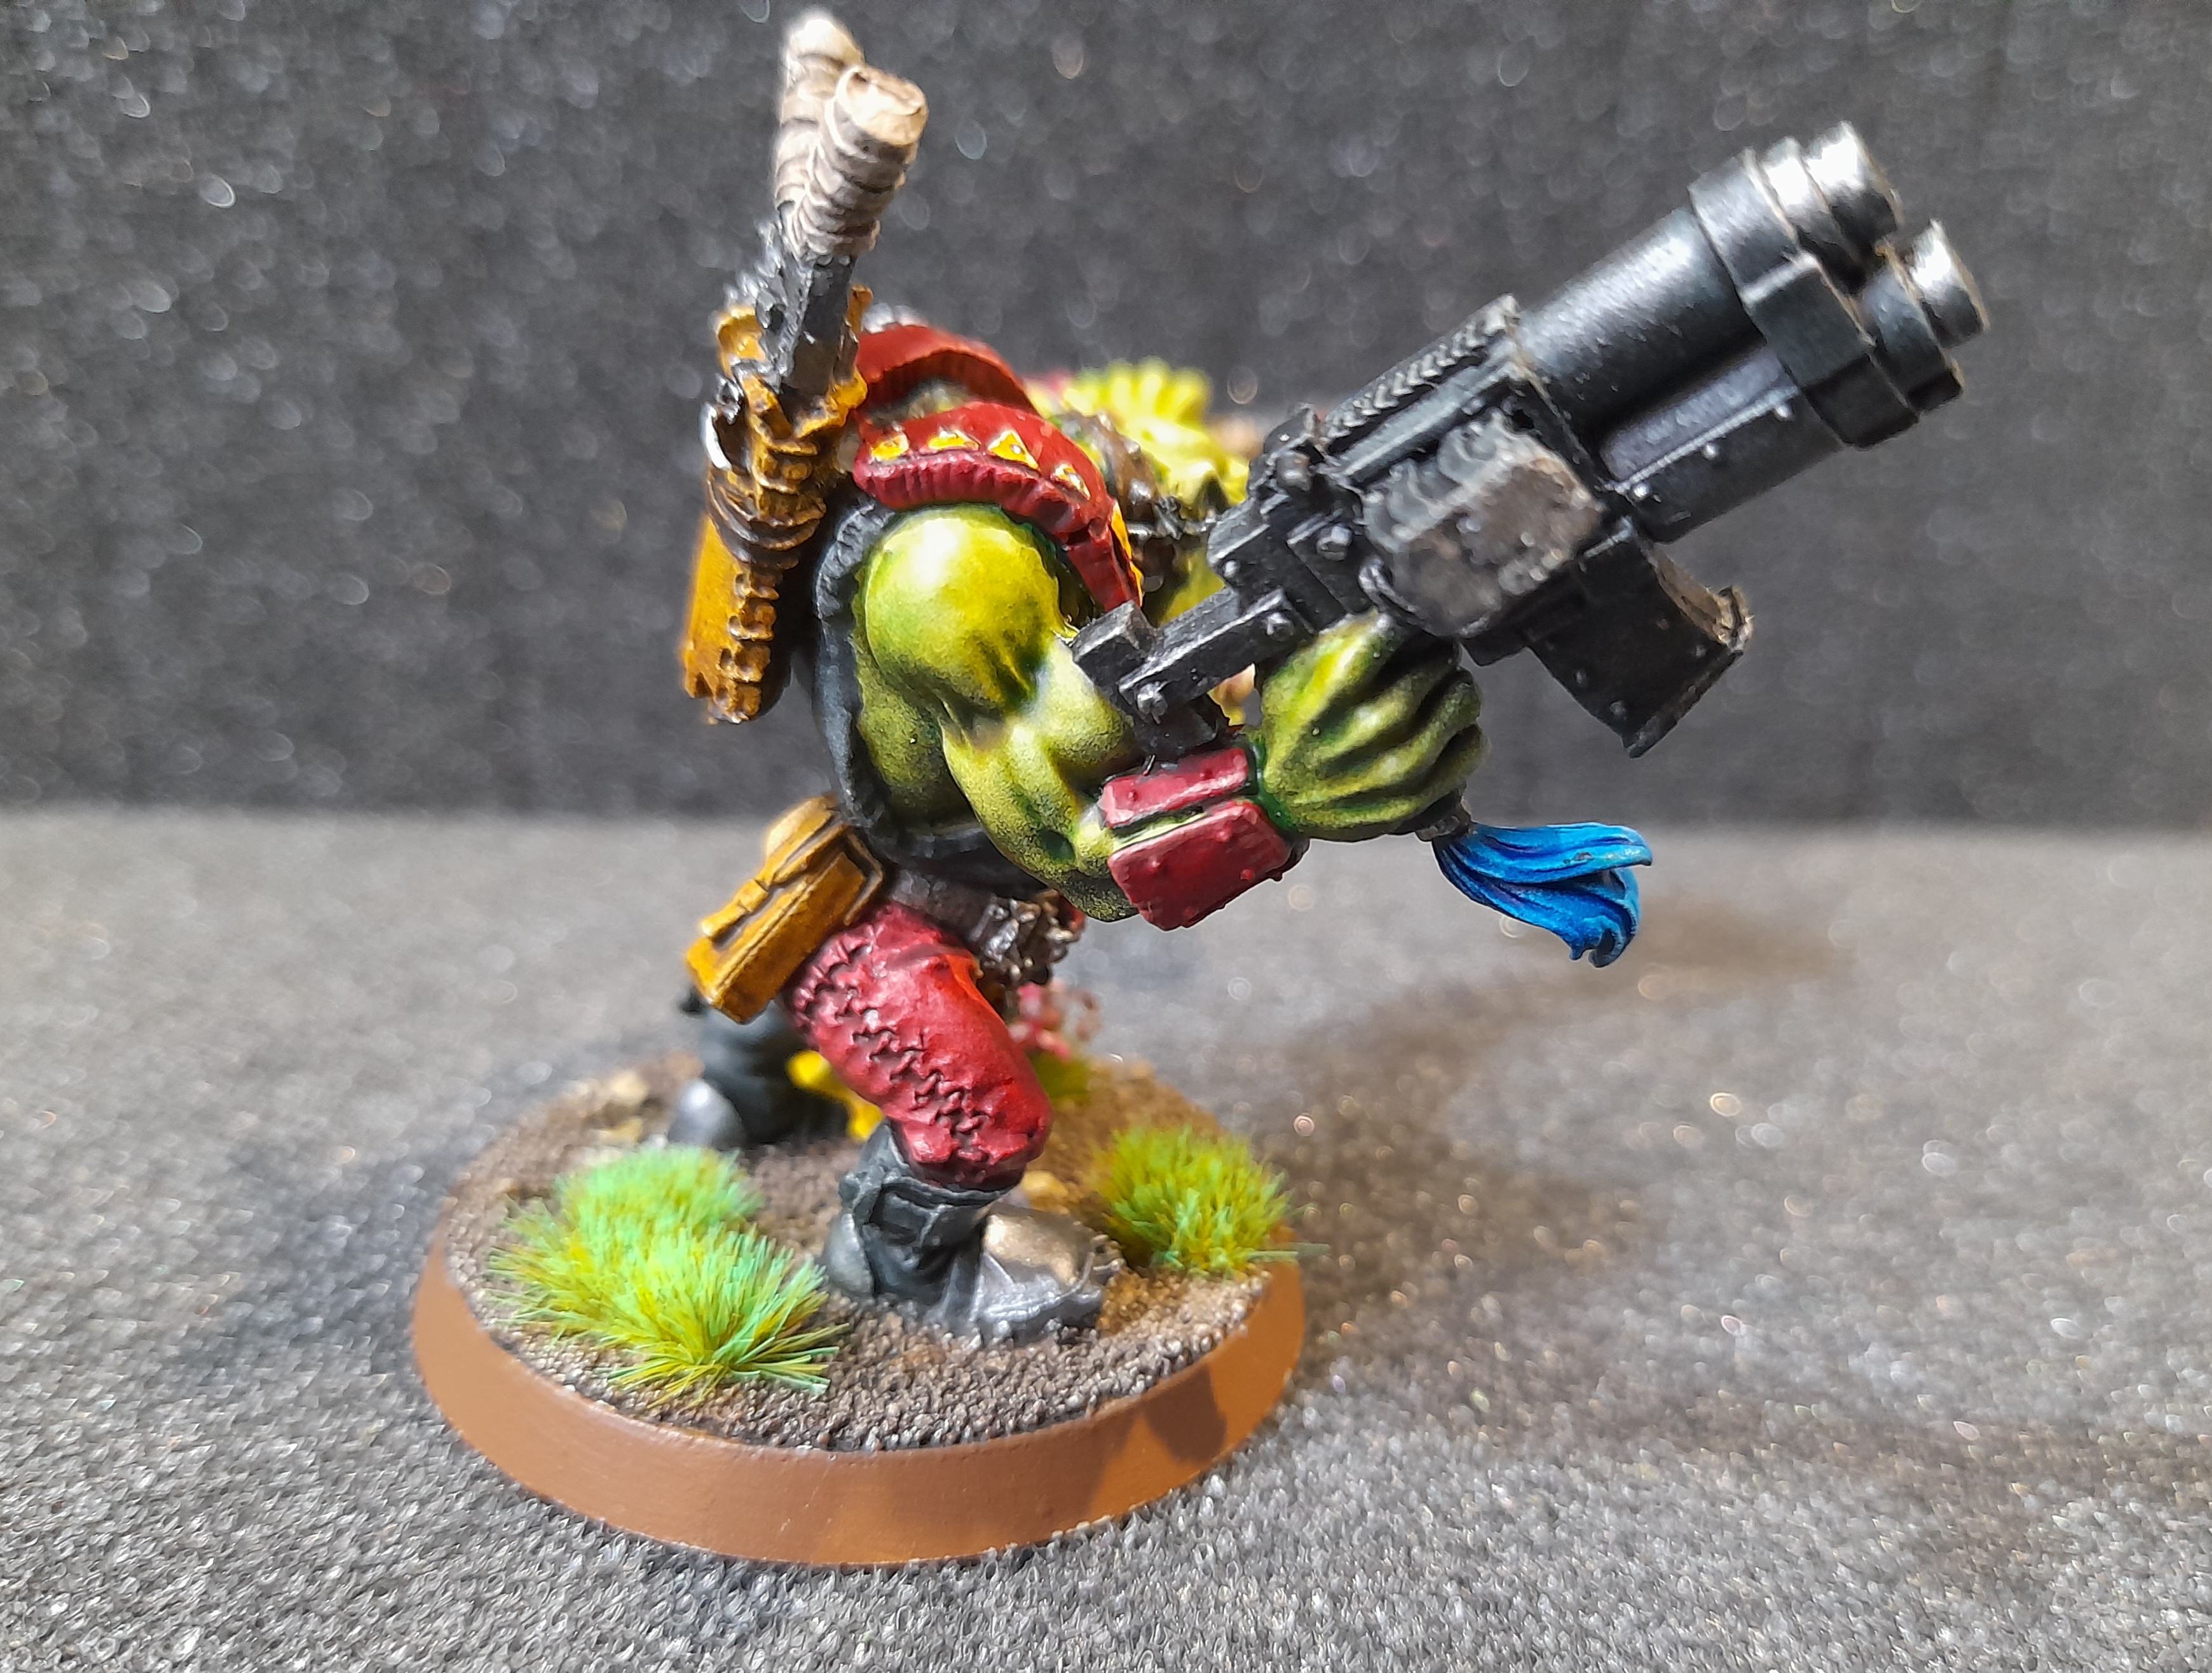
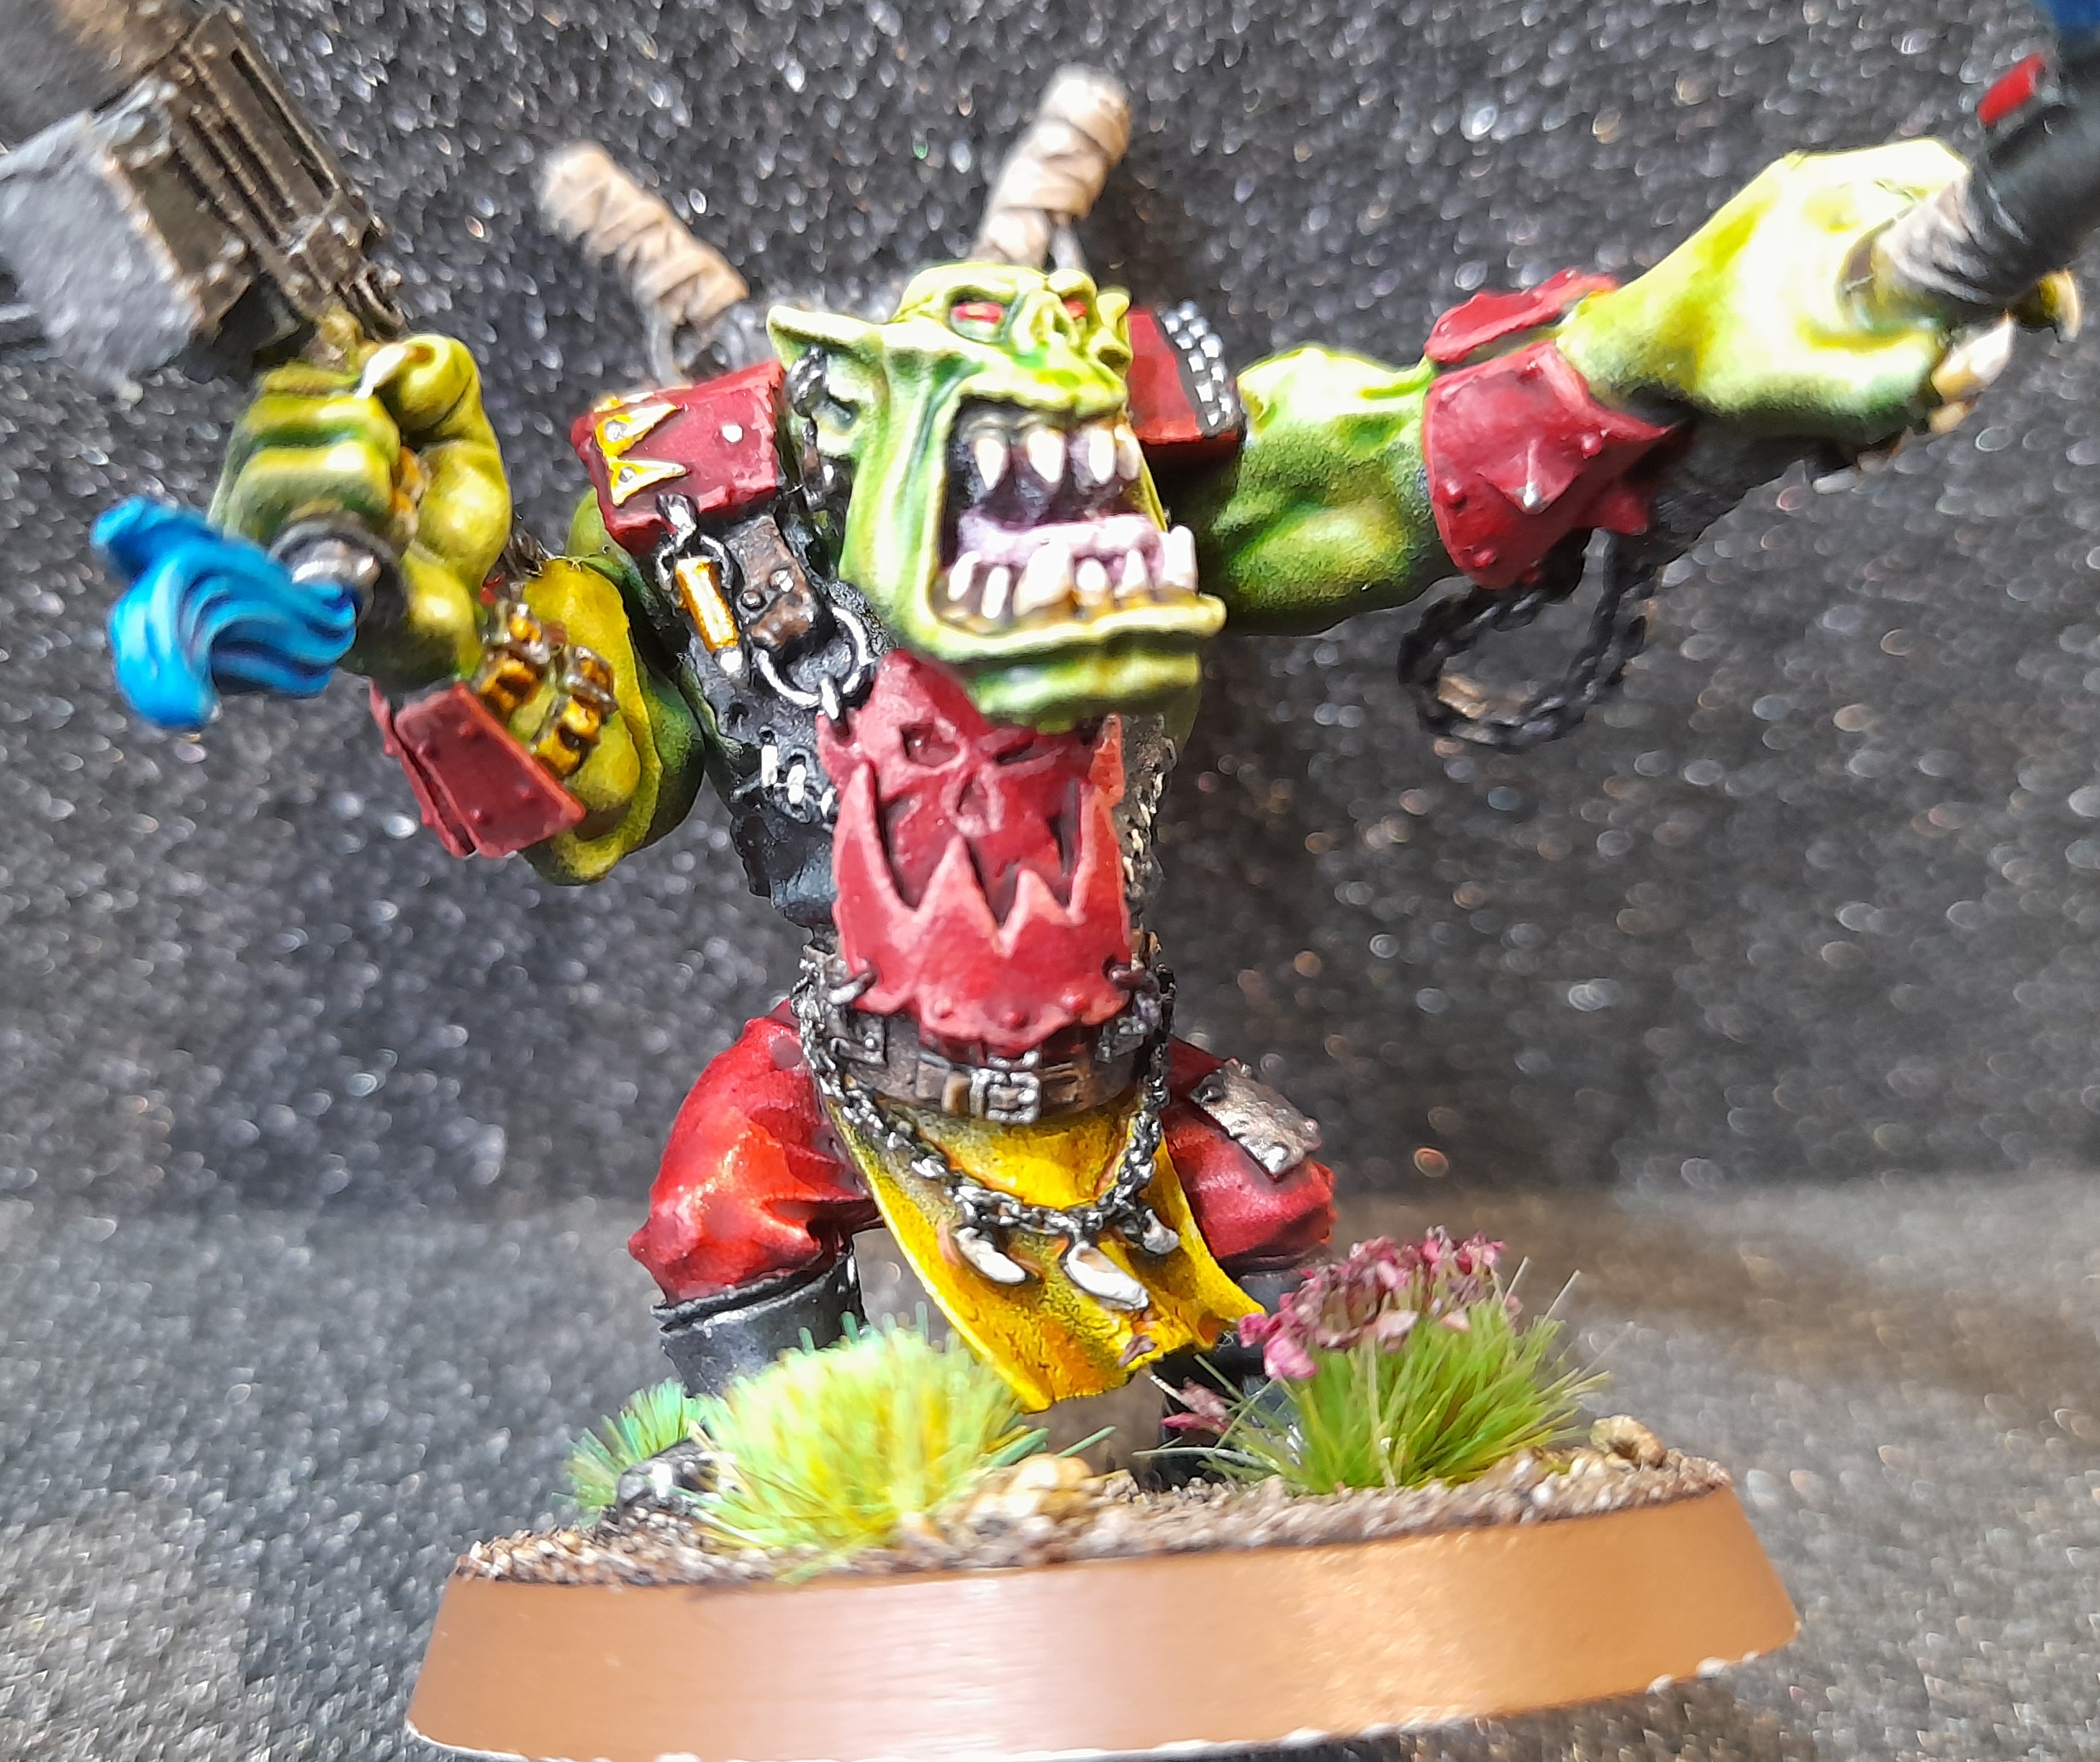
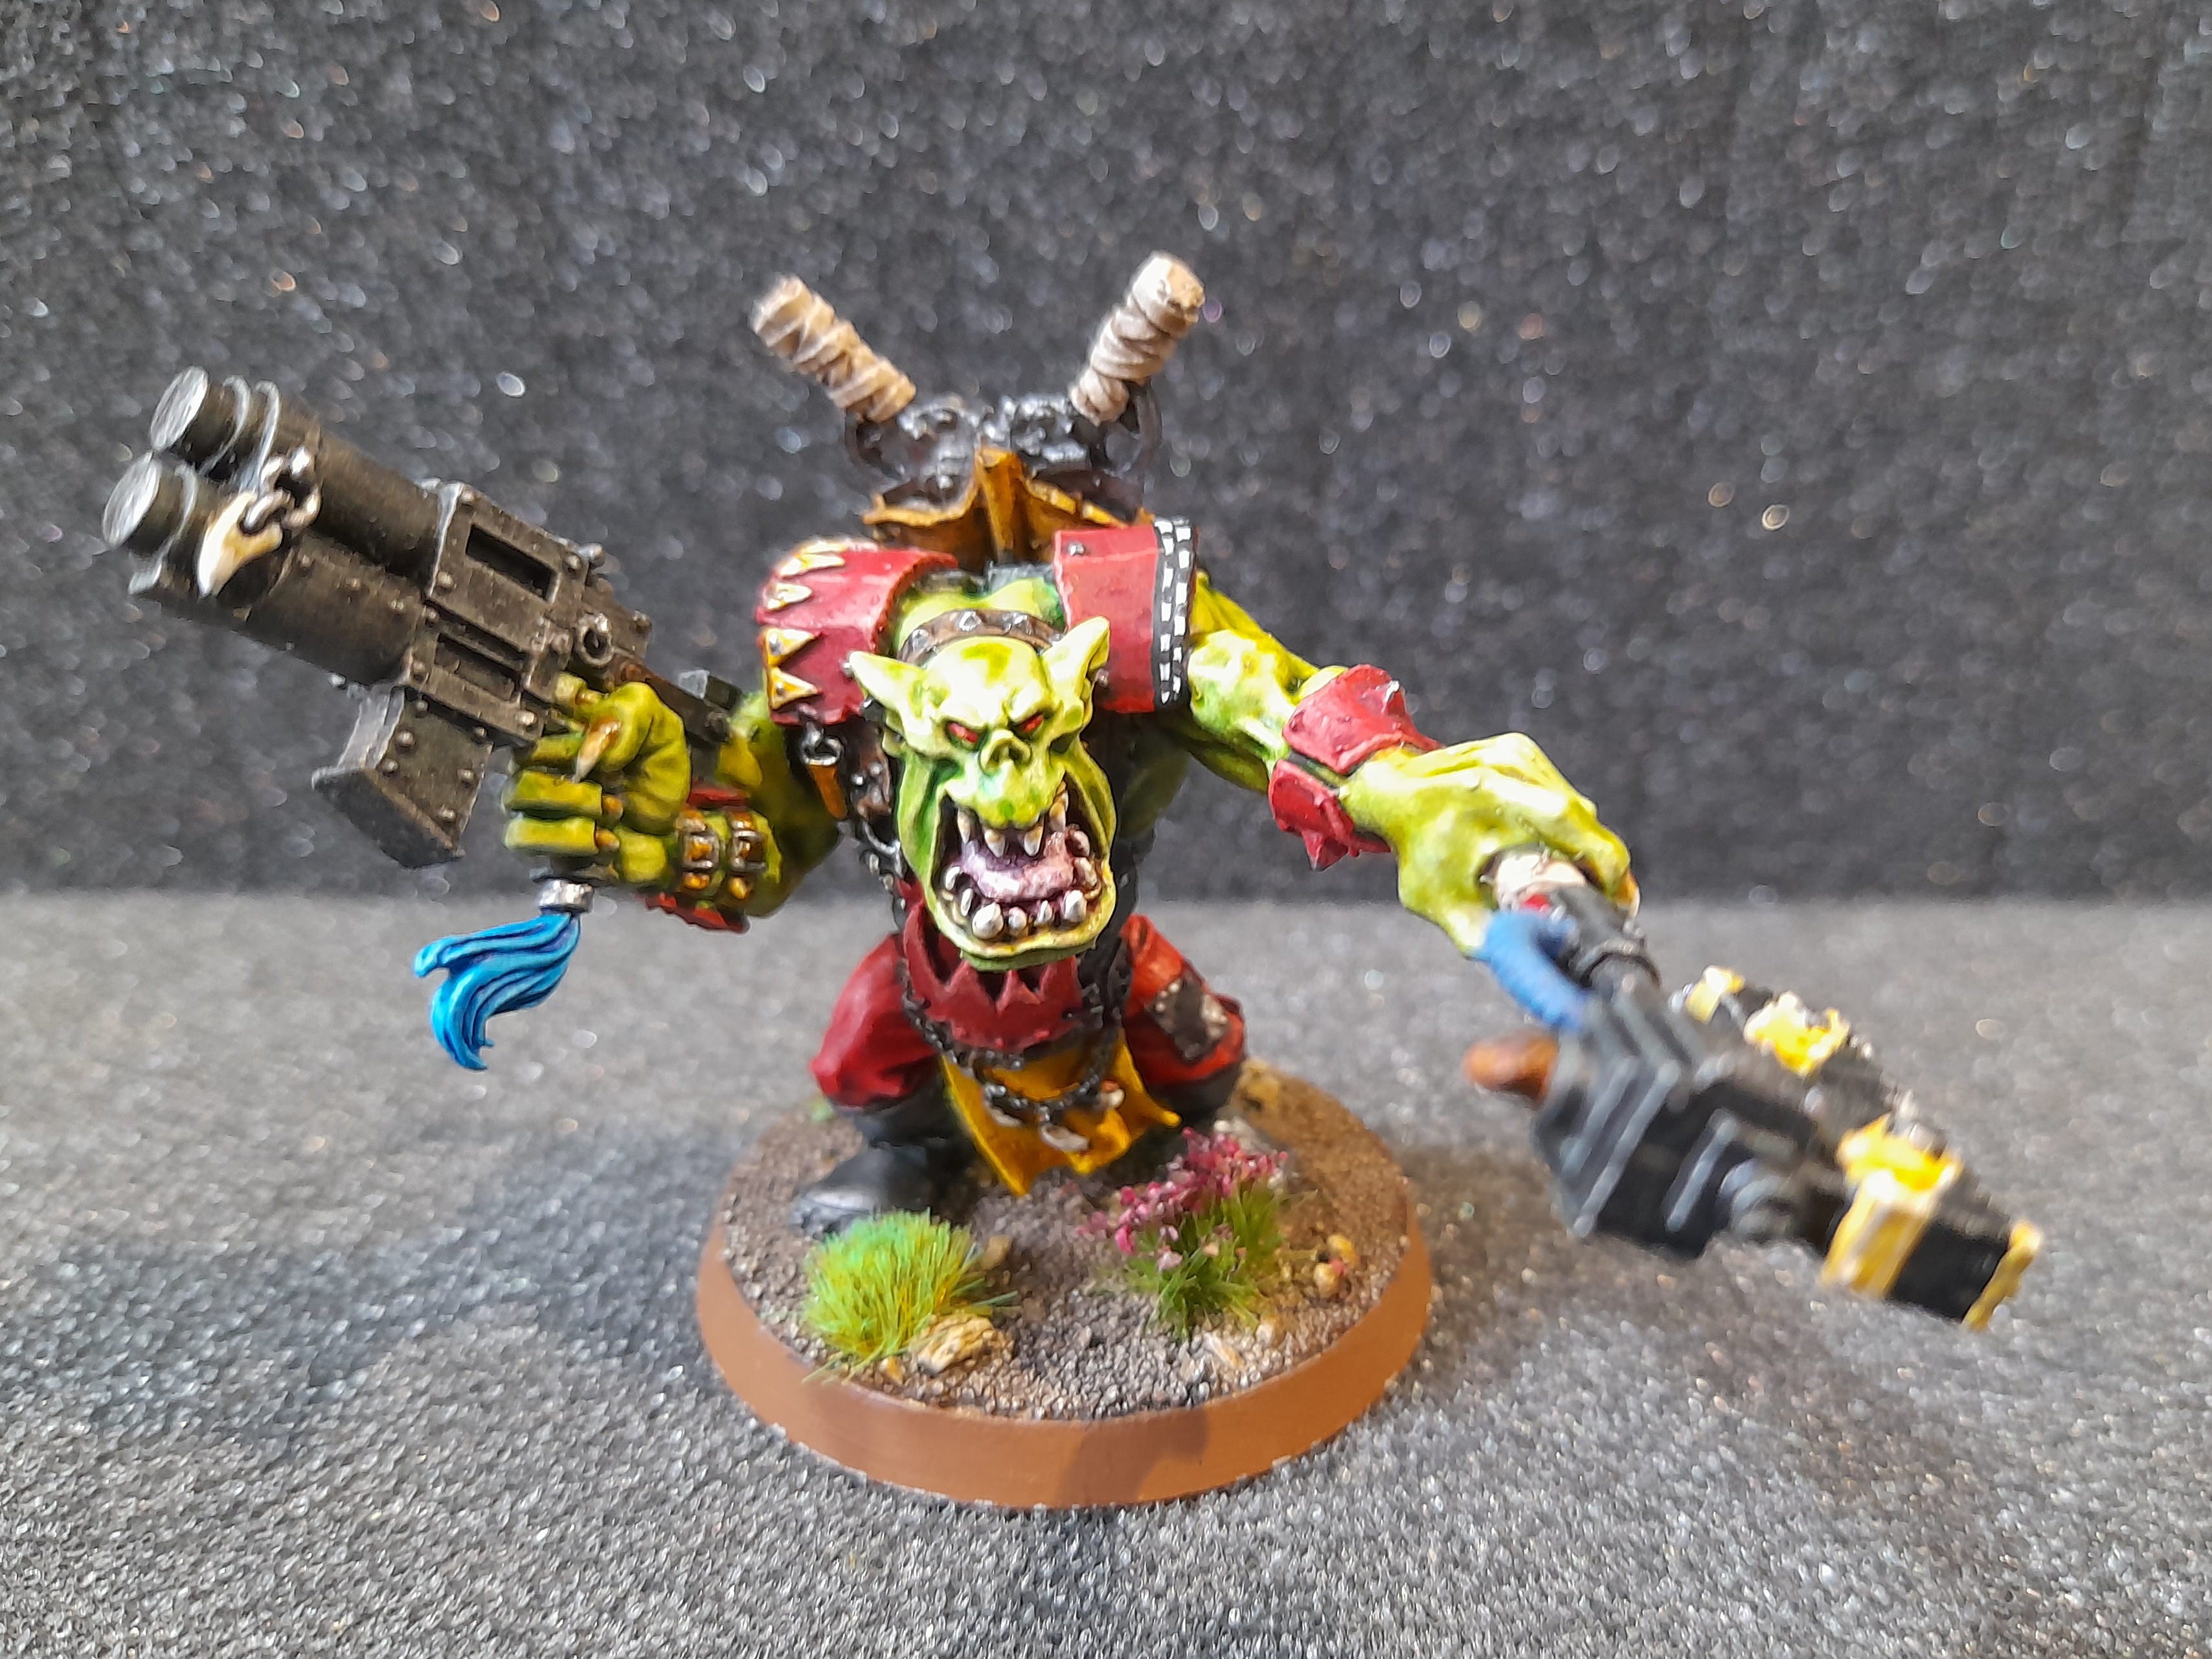 Ork warboss
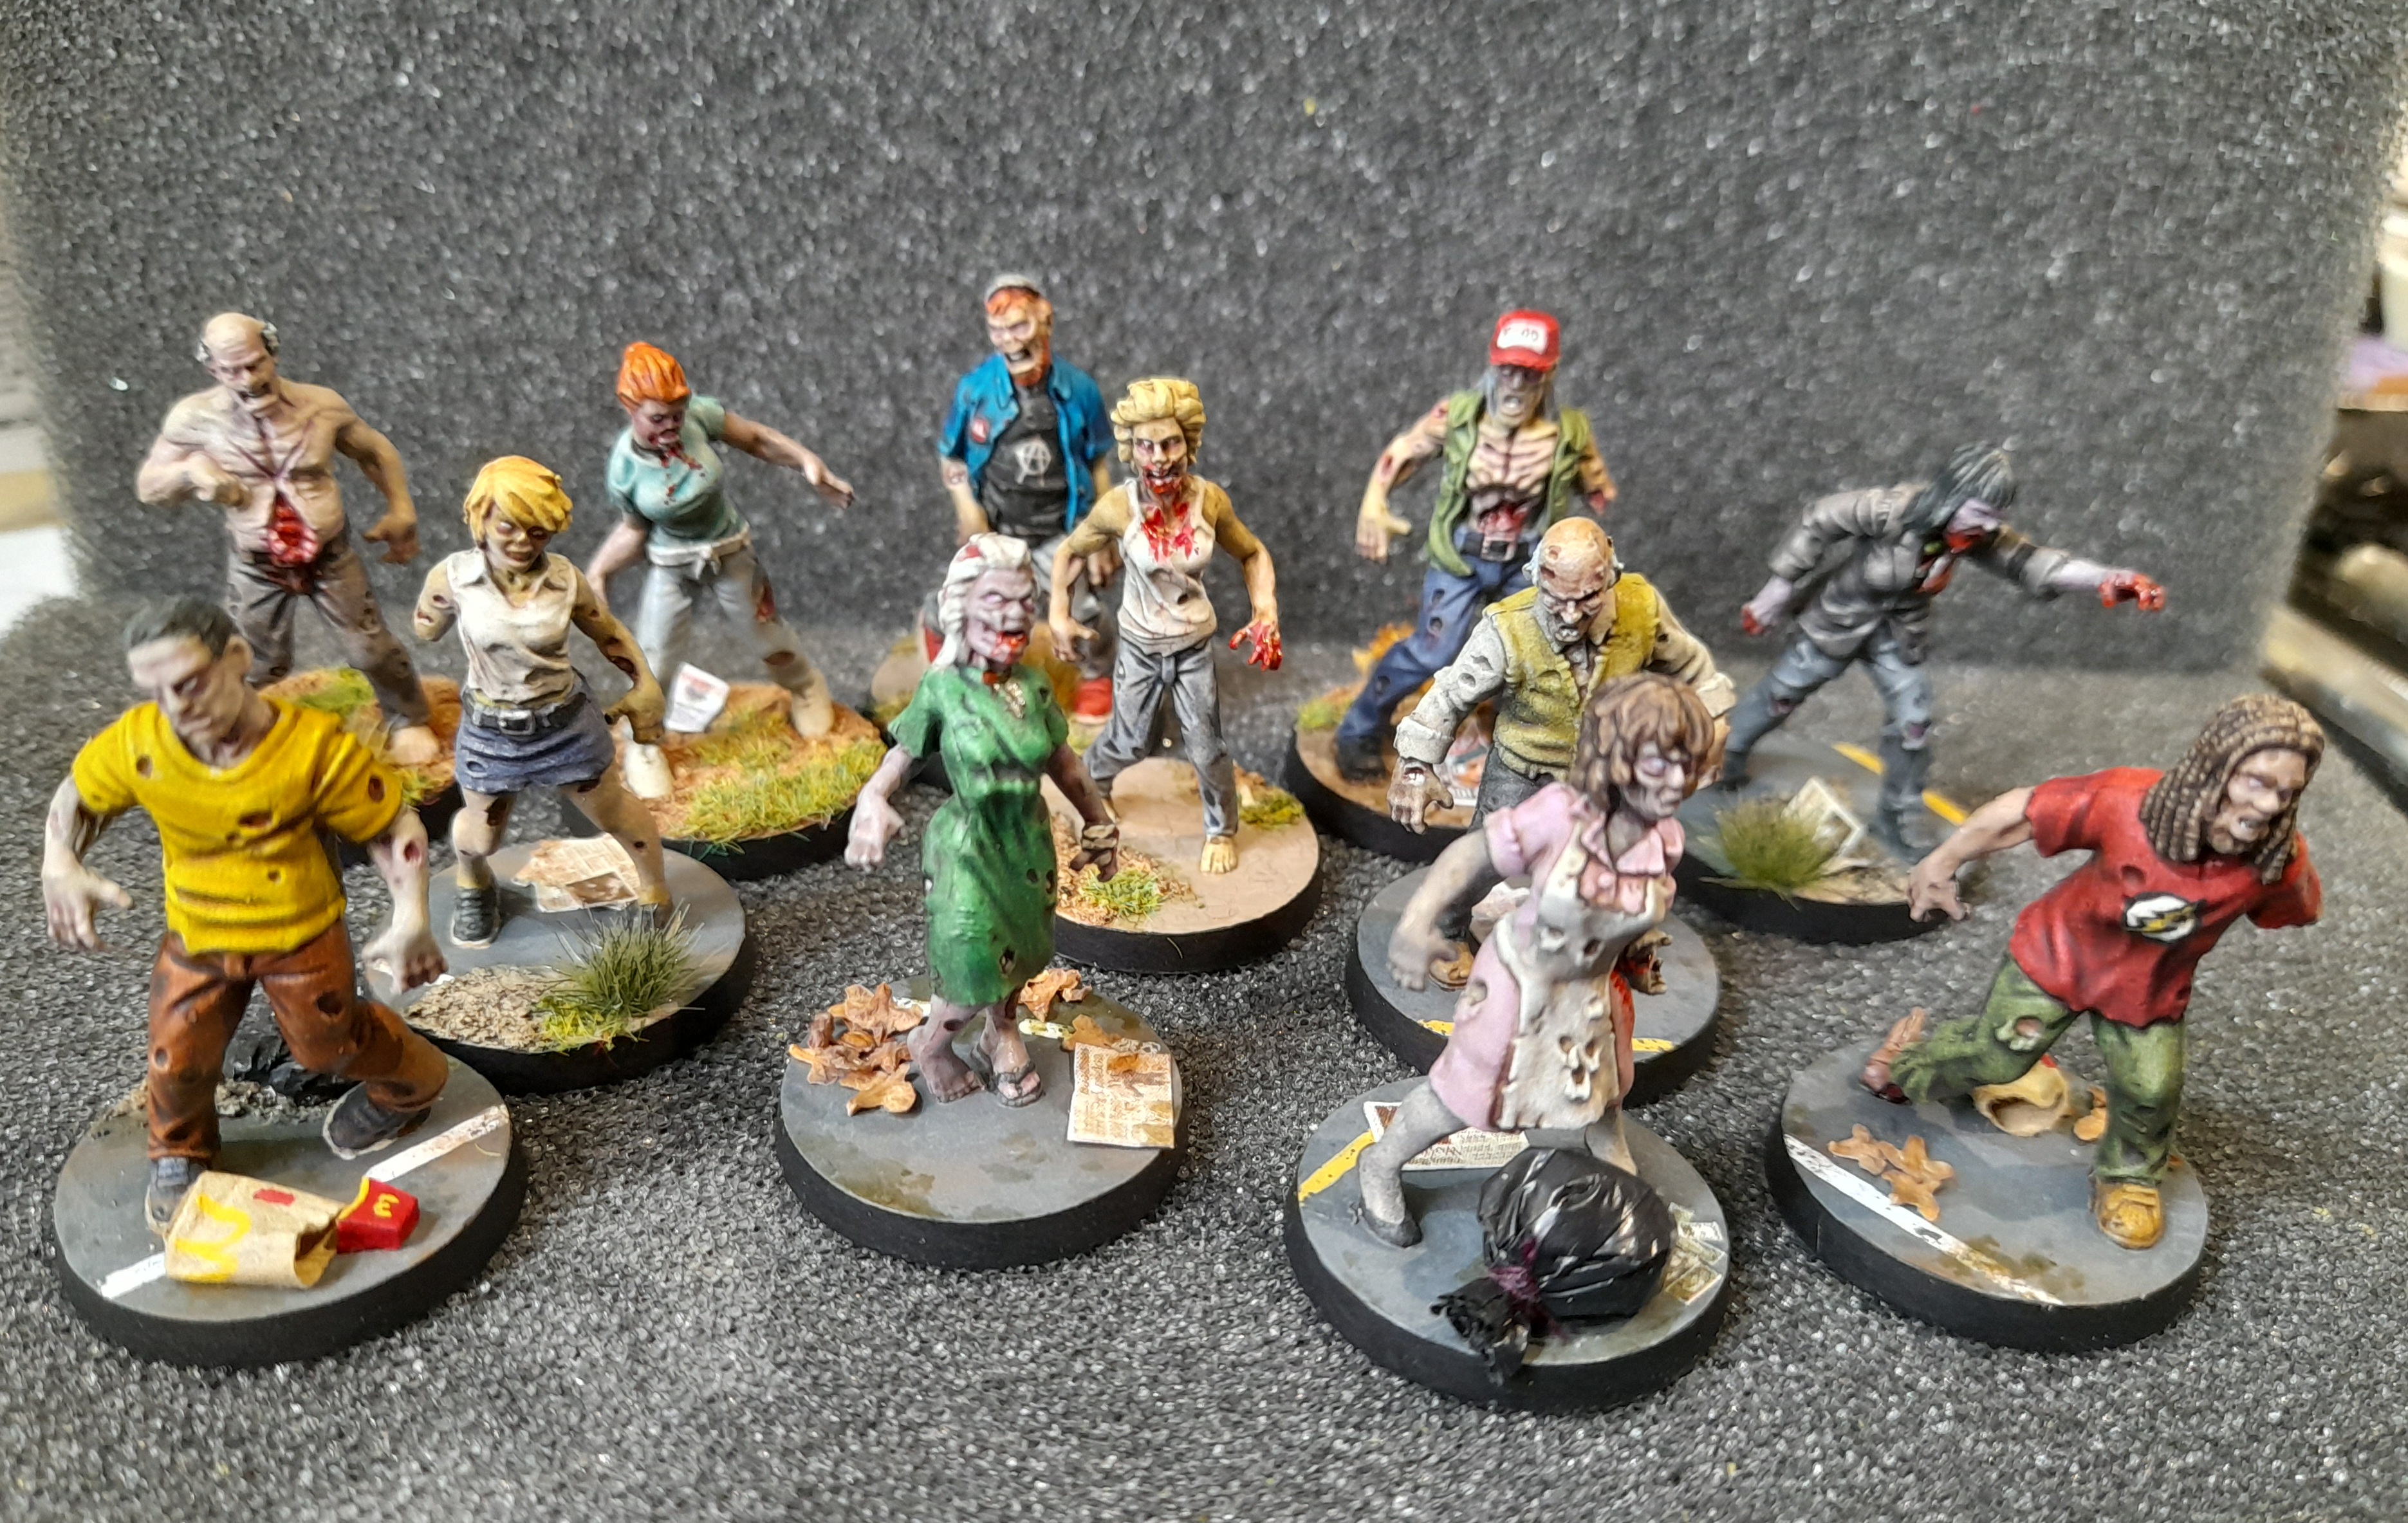 Walking Dead walkers - had fun with the basing
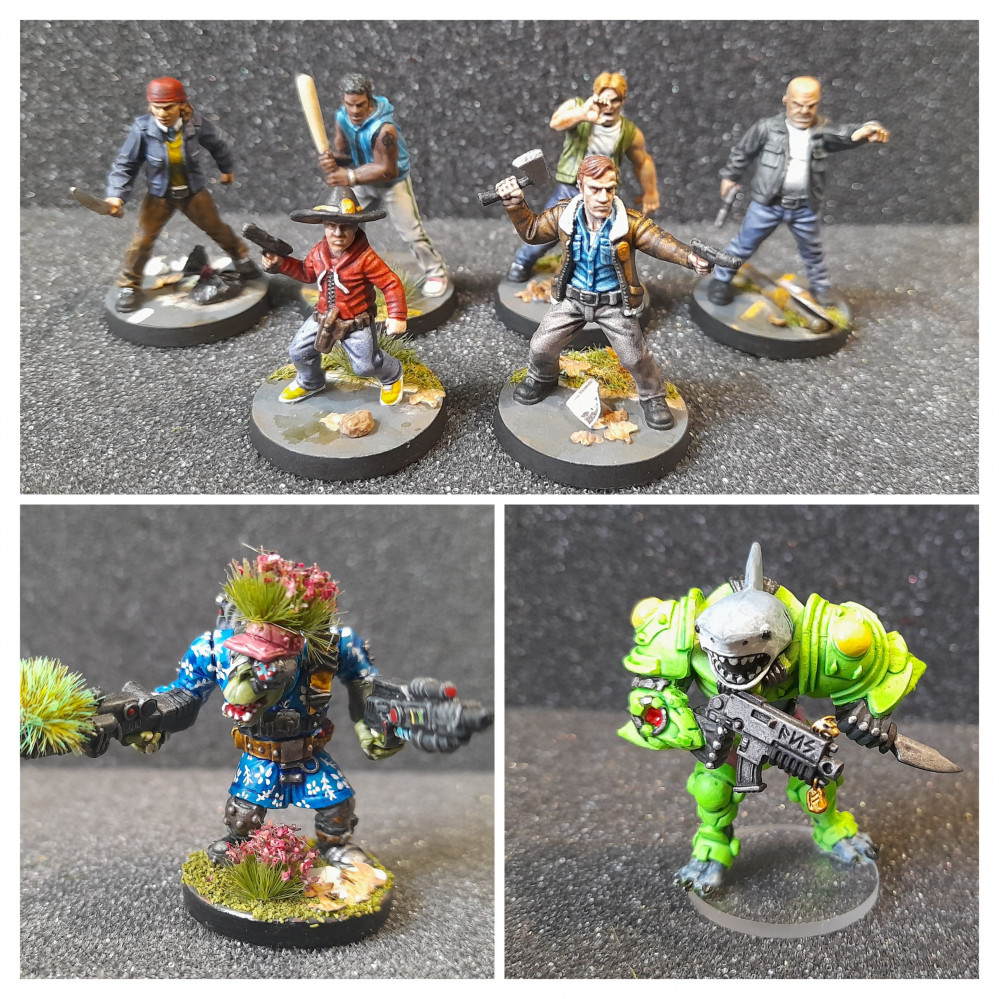
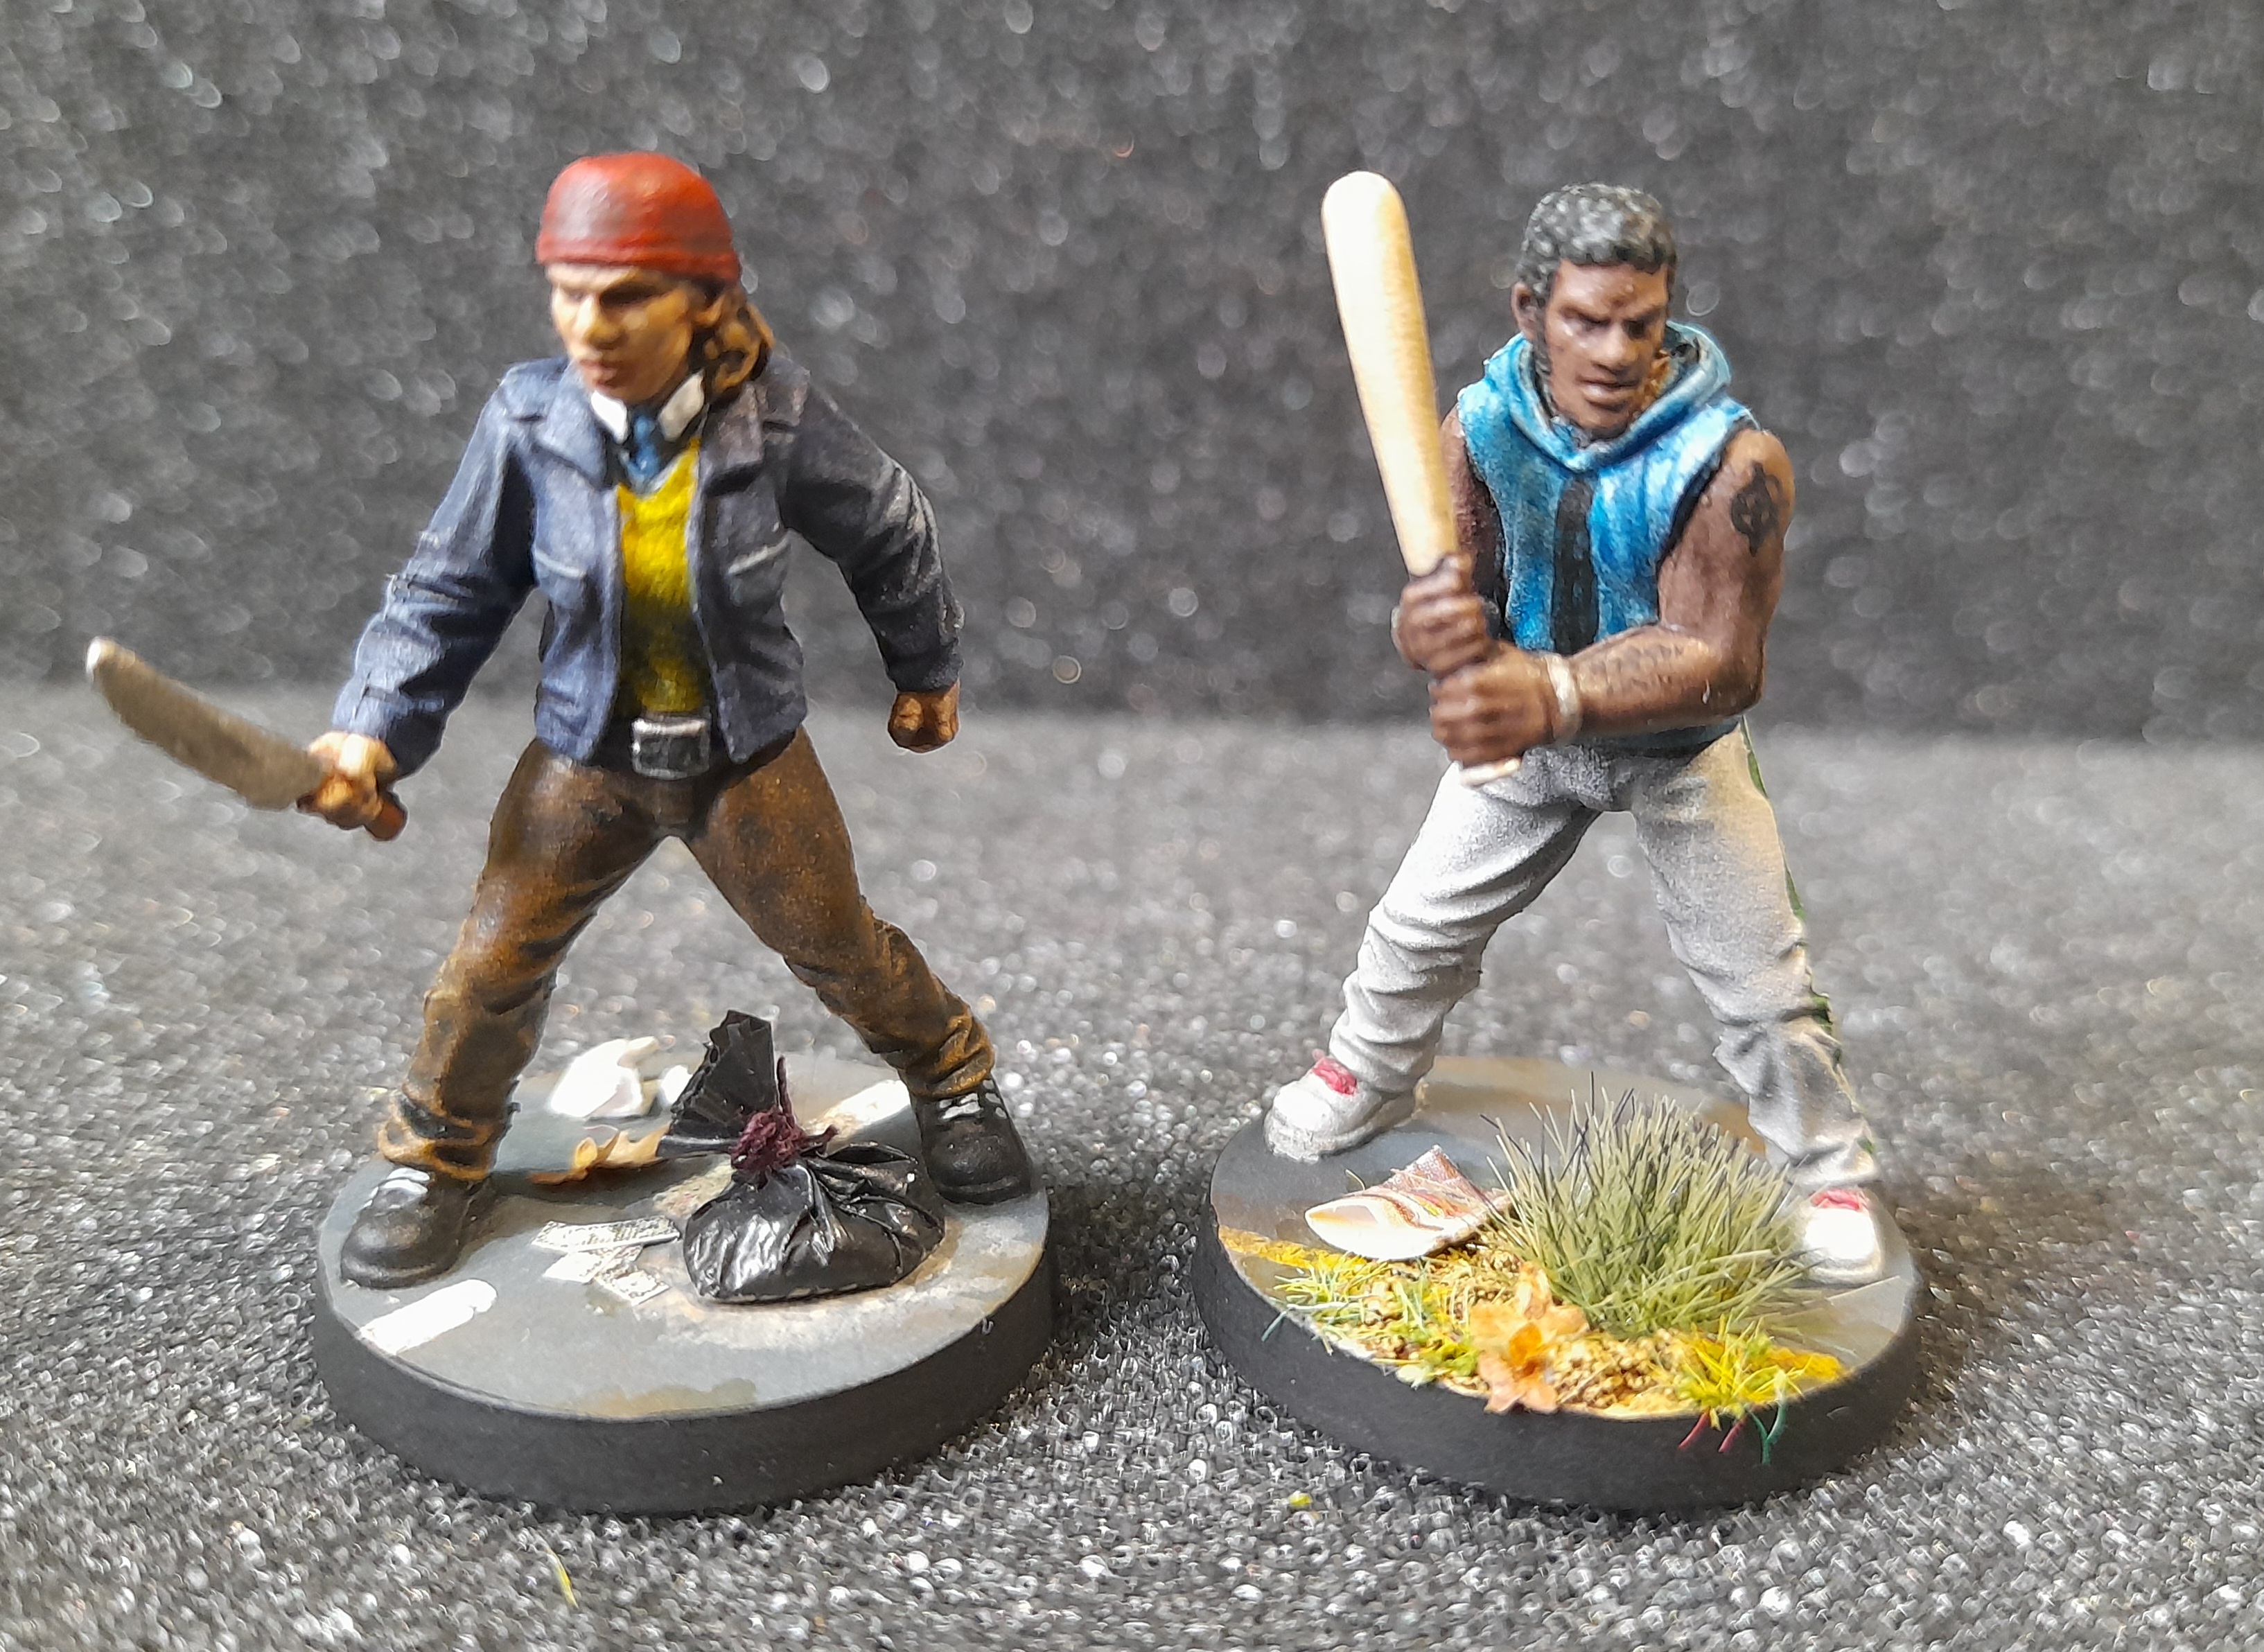
 Walking Dead survivors
 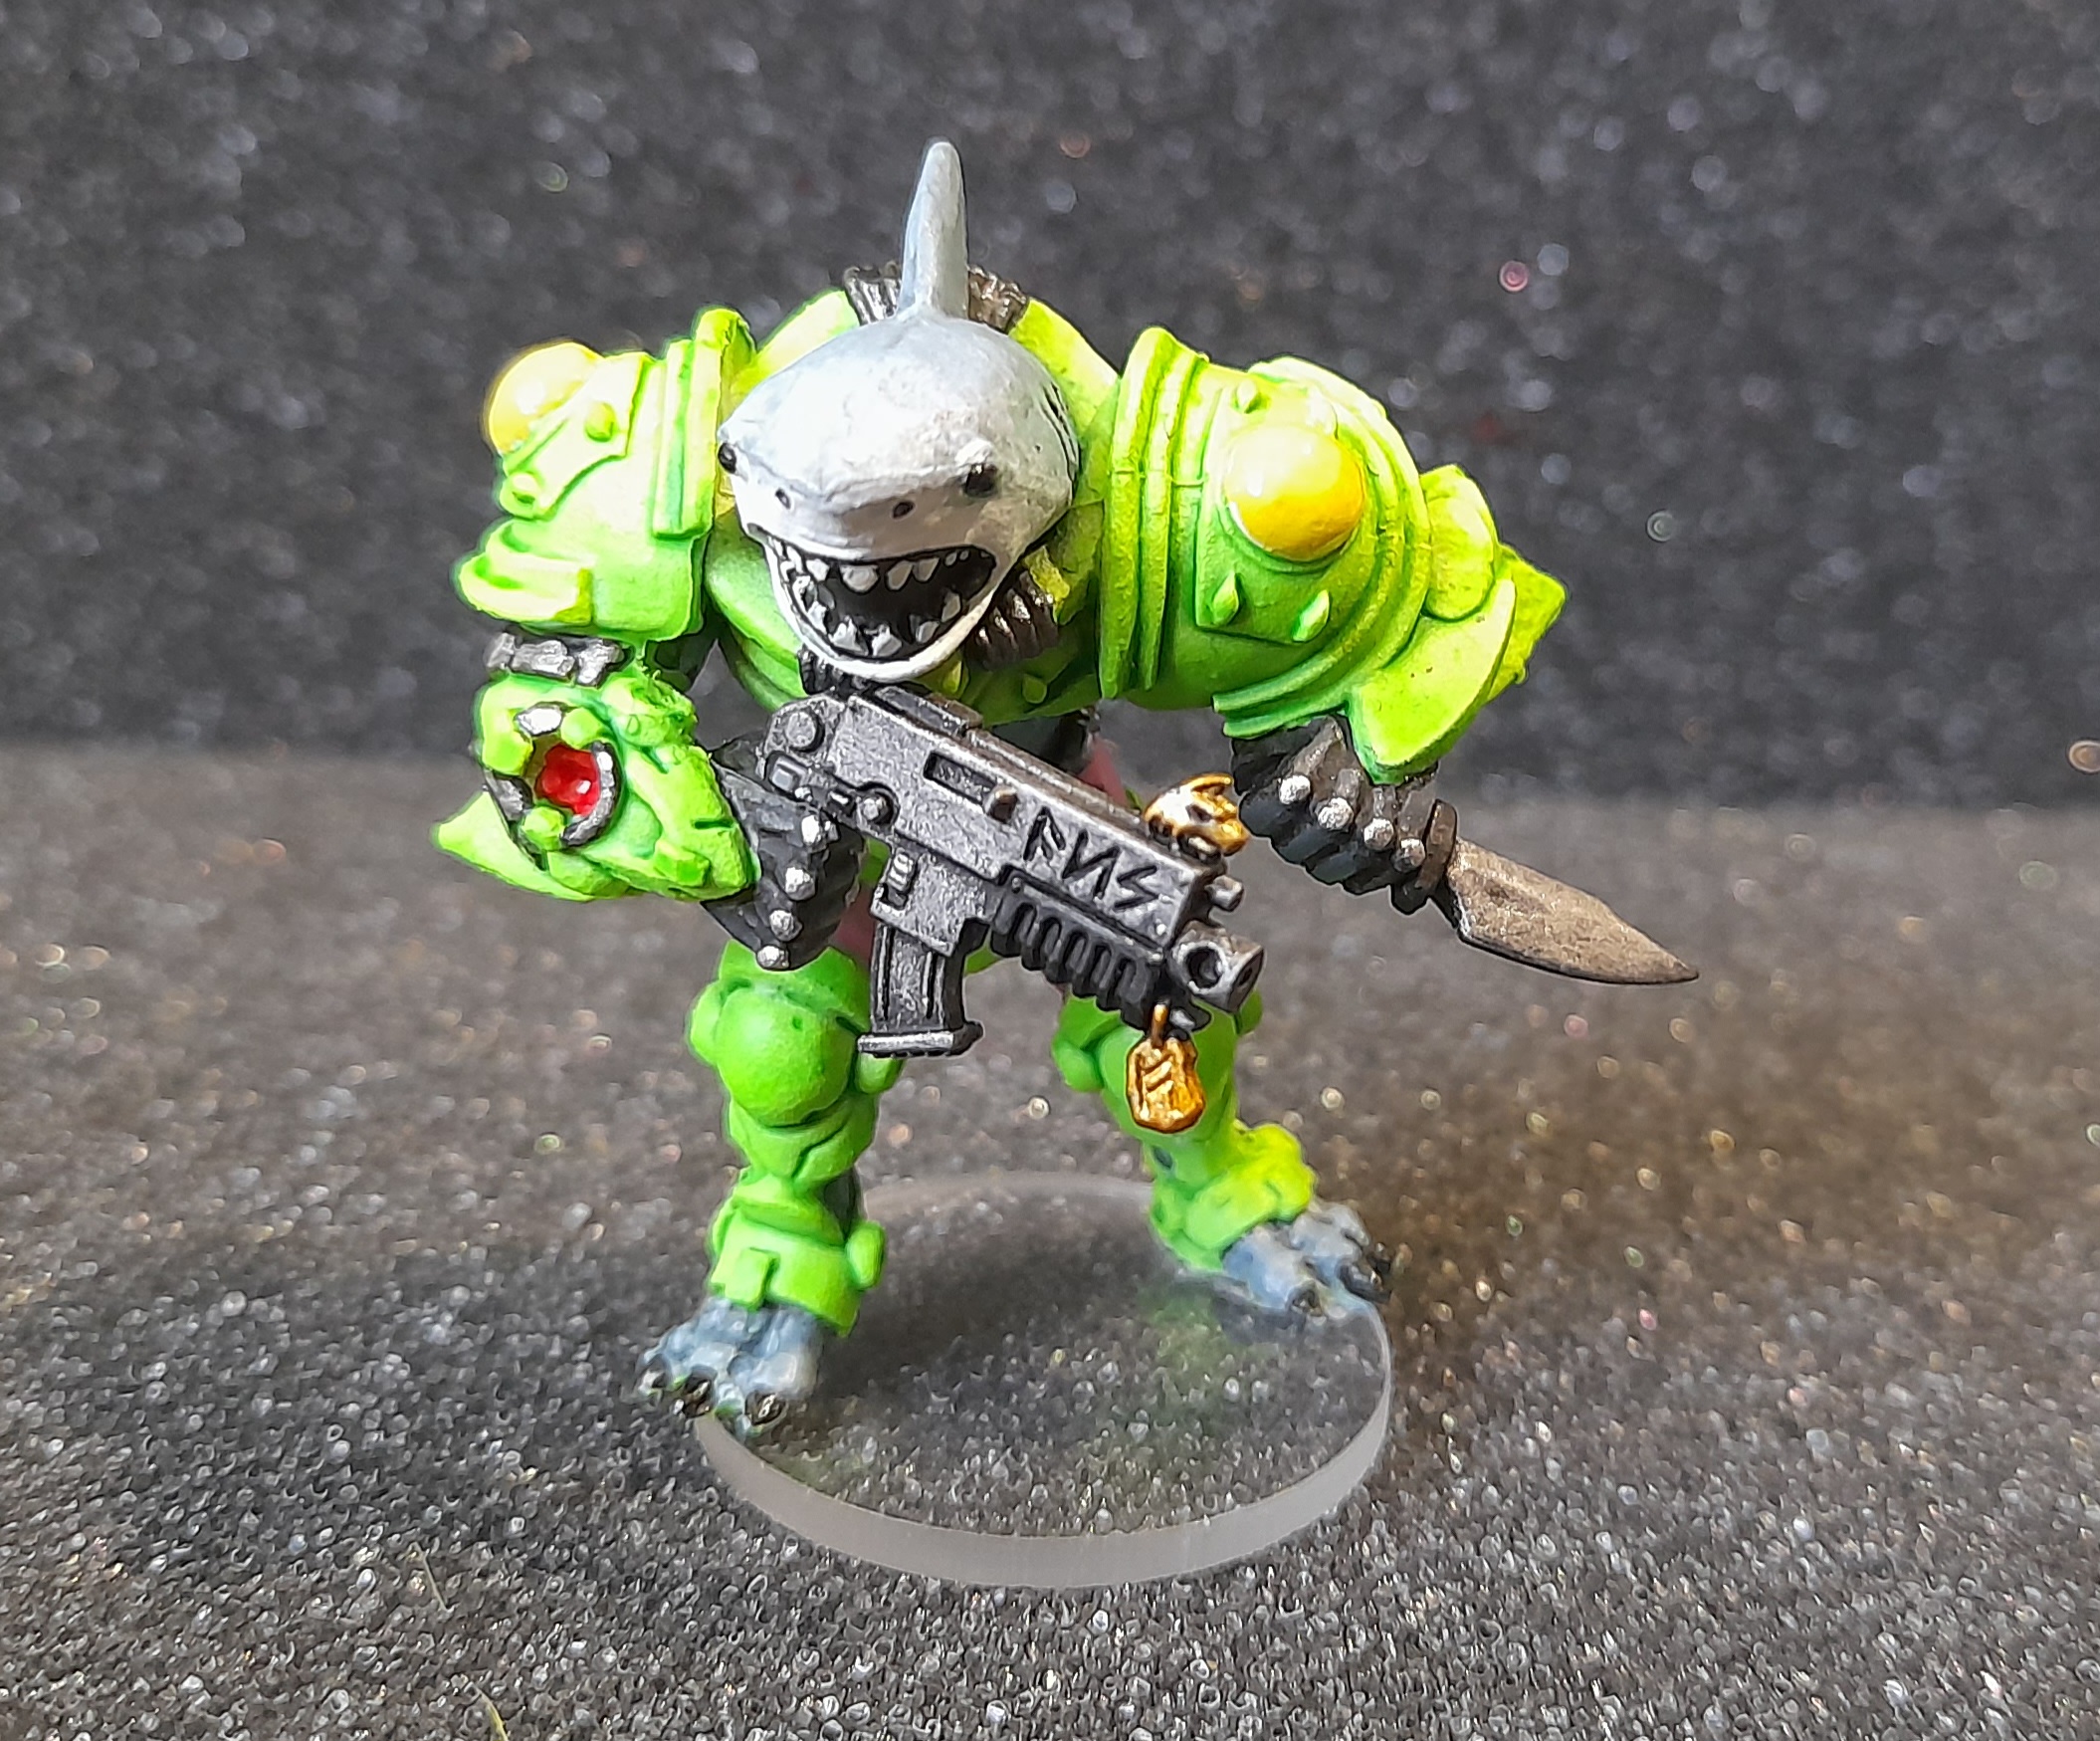 Shark warrior
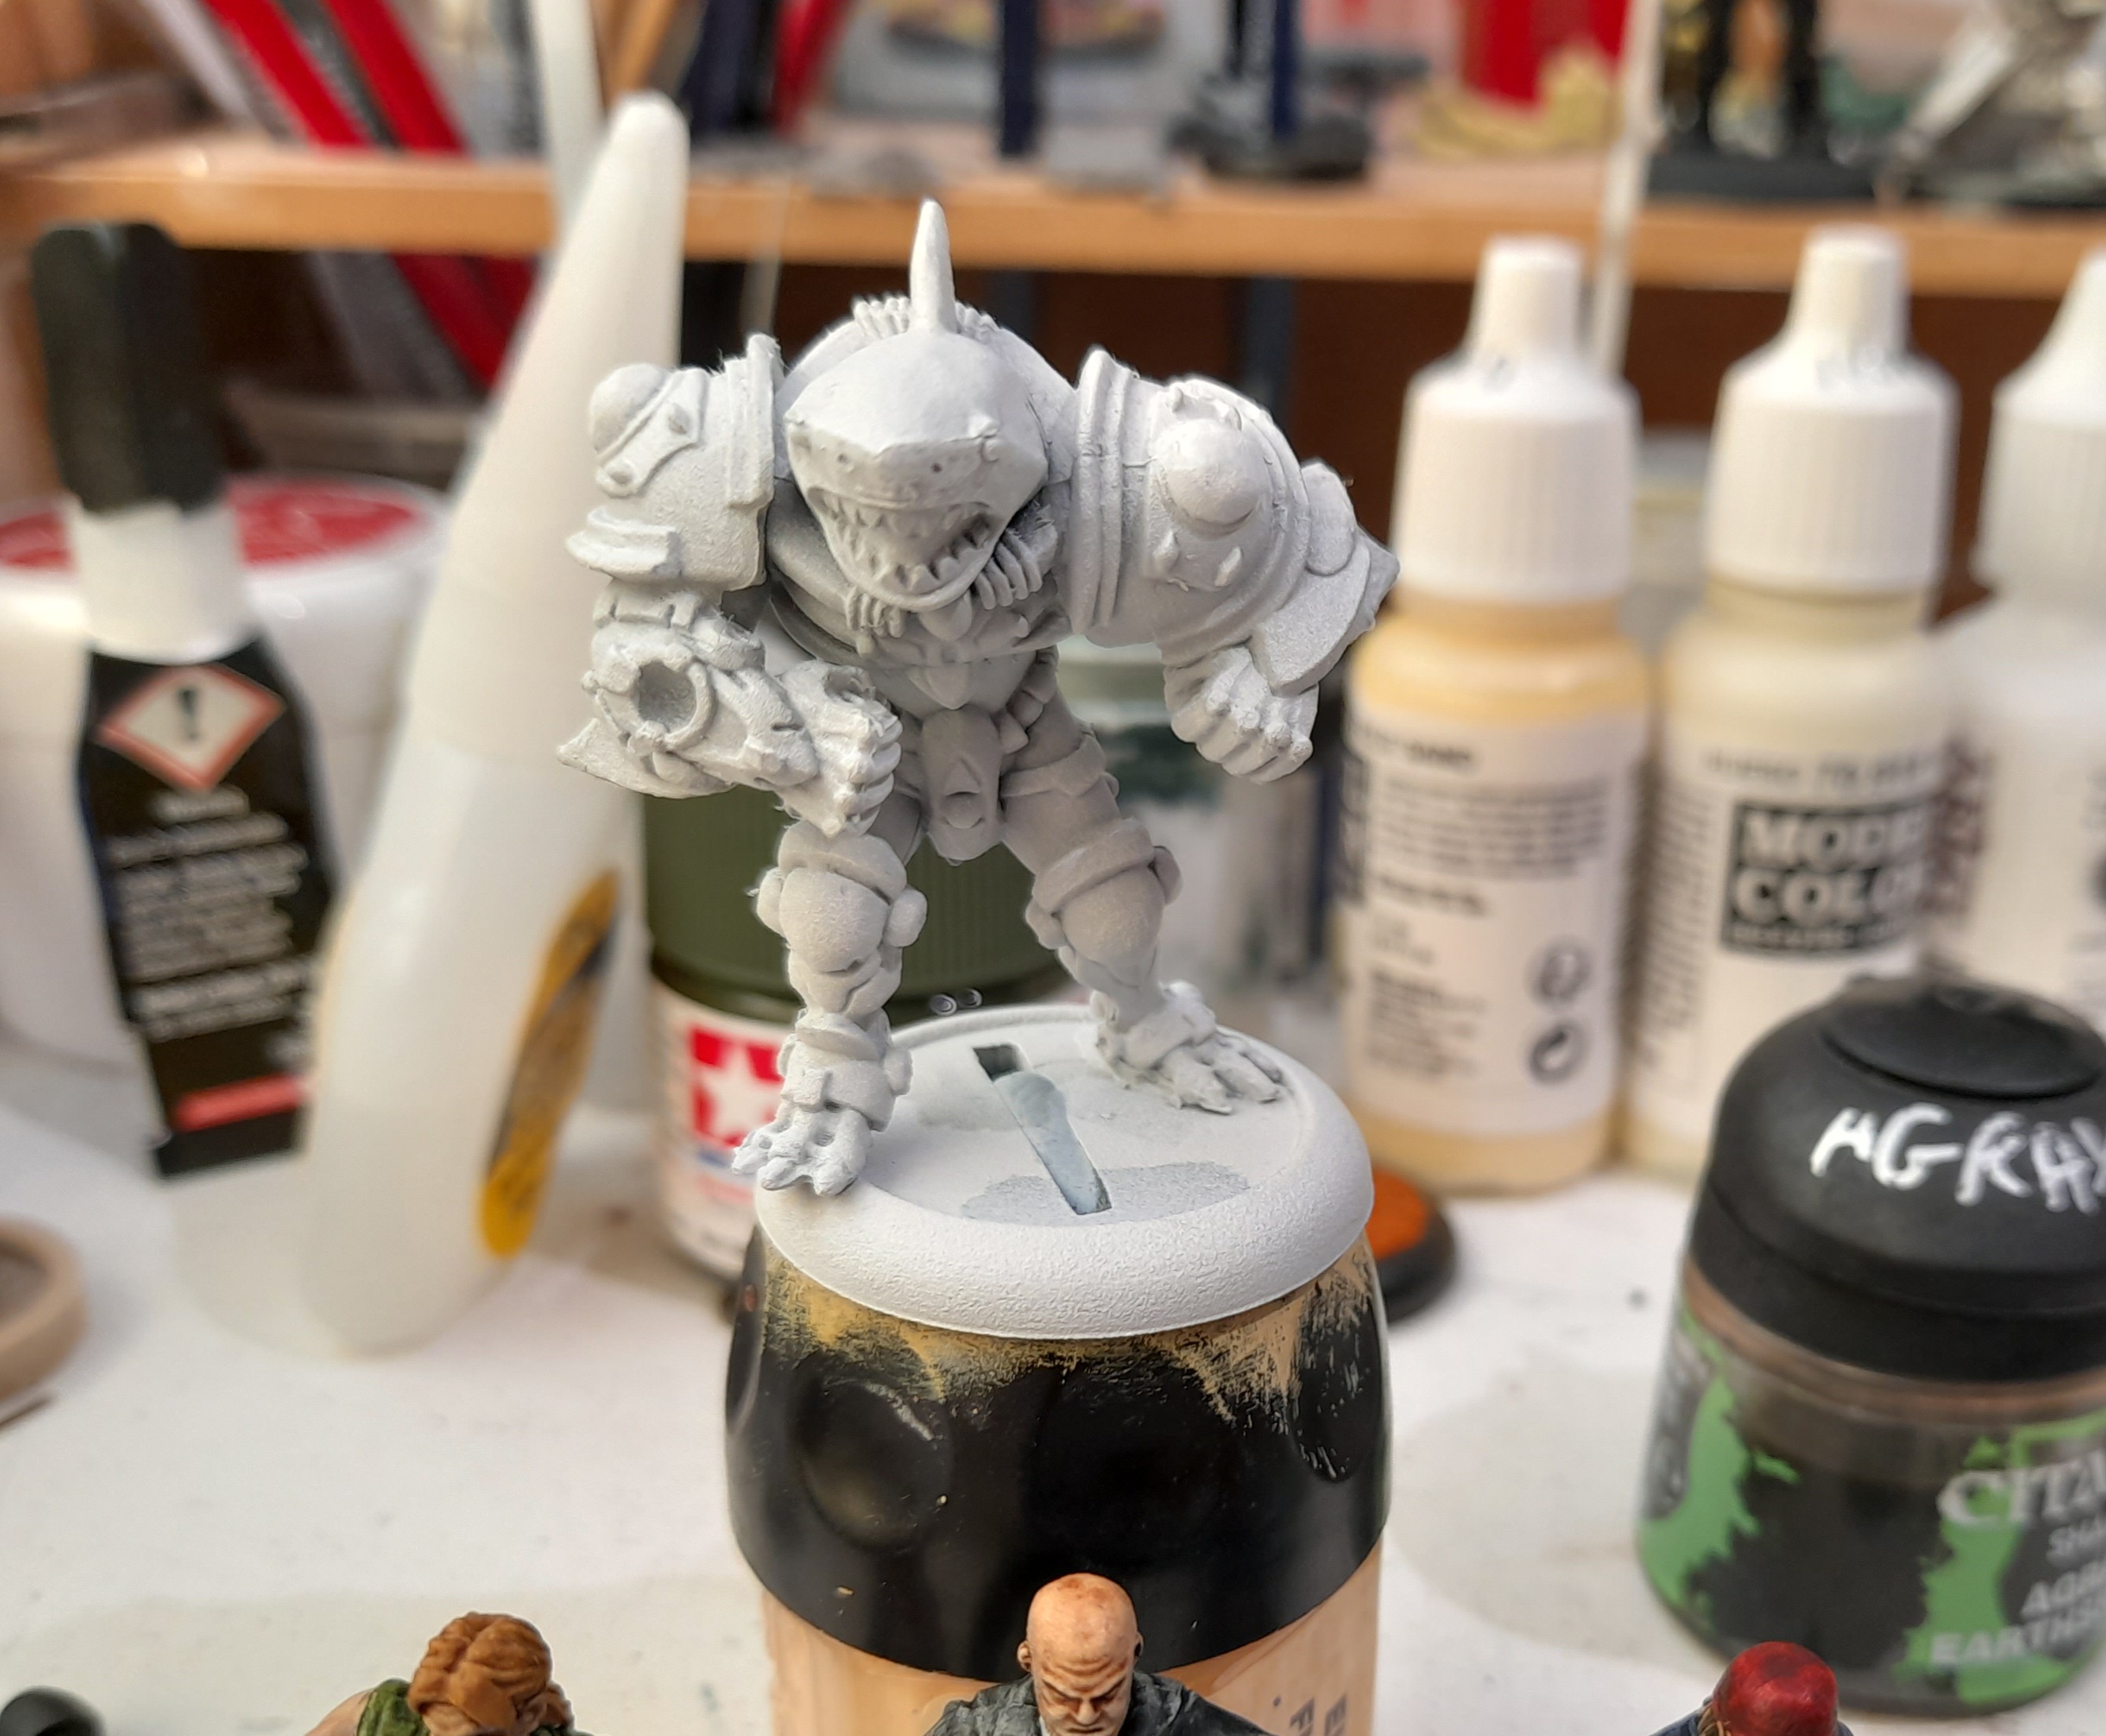
Shark Warrior
15th June 2024
This chap is a spare from Dreadball, and got sprayed white last year with the intention of being painted for the previous spring clean challenge.
It didn’t get done….. but with me finishing the Walking dead starter, and the deadline of the Spring Clean Challenge fast approaching I thought I would give it a go.
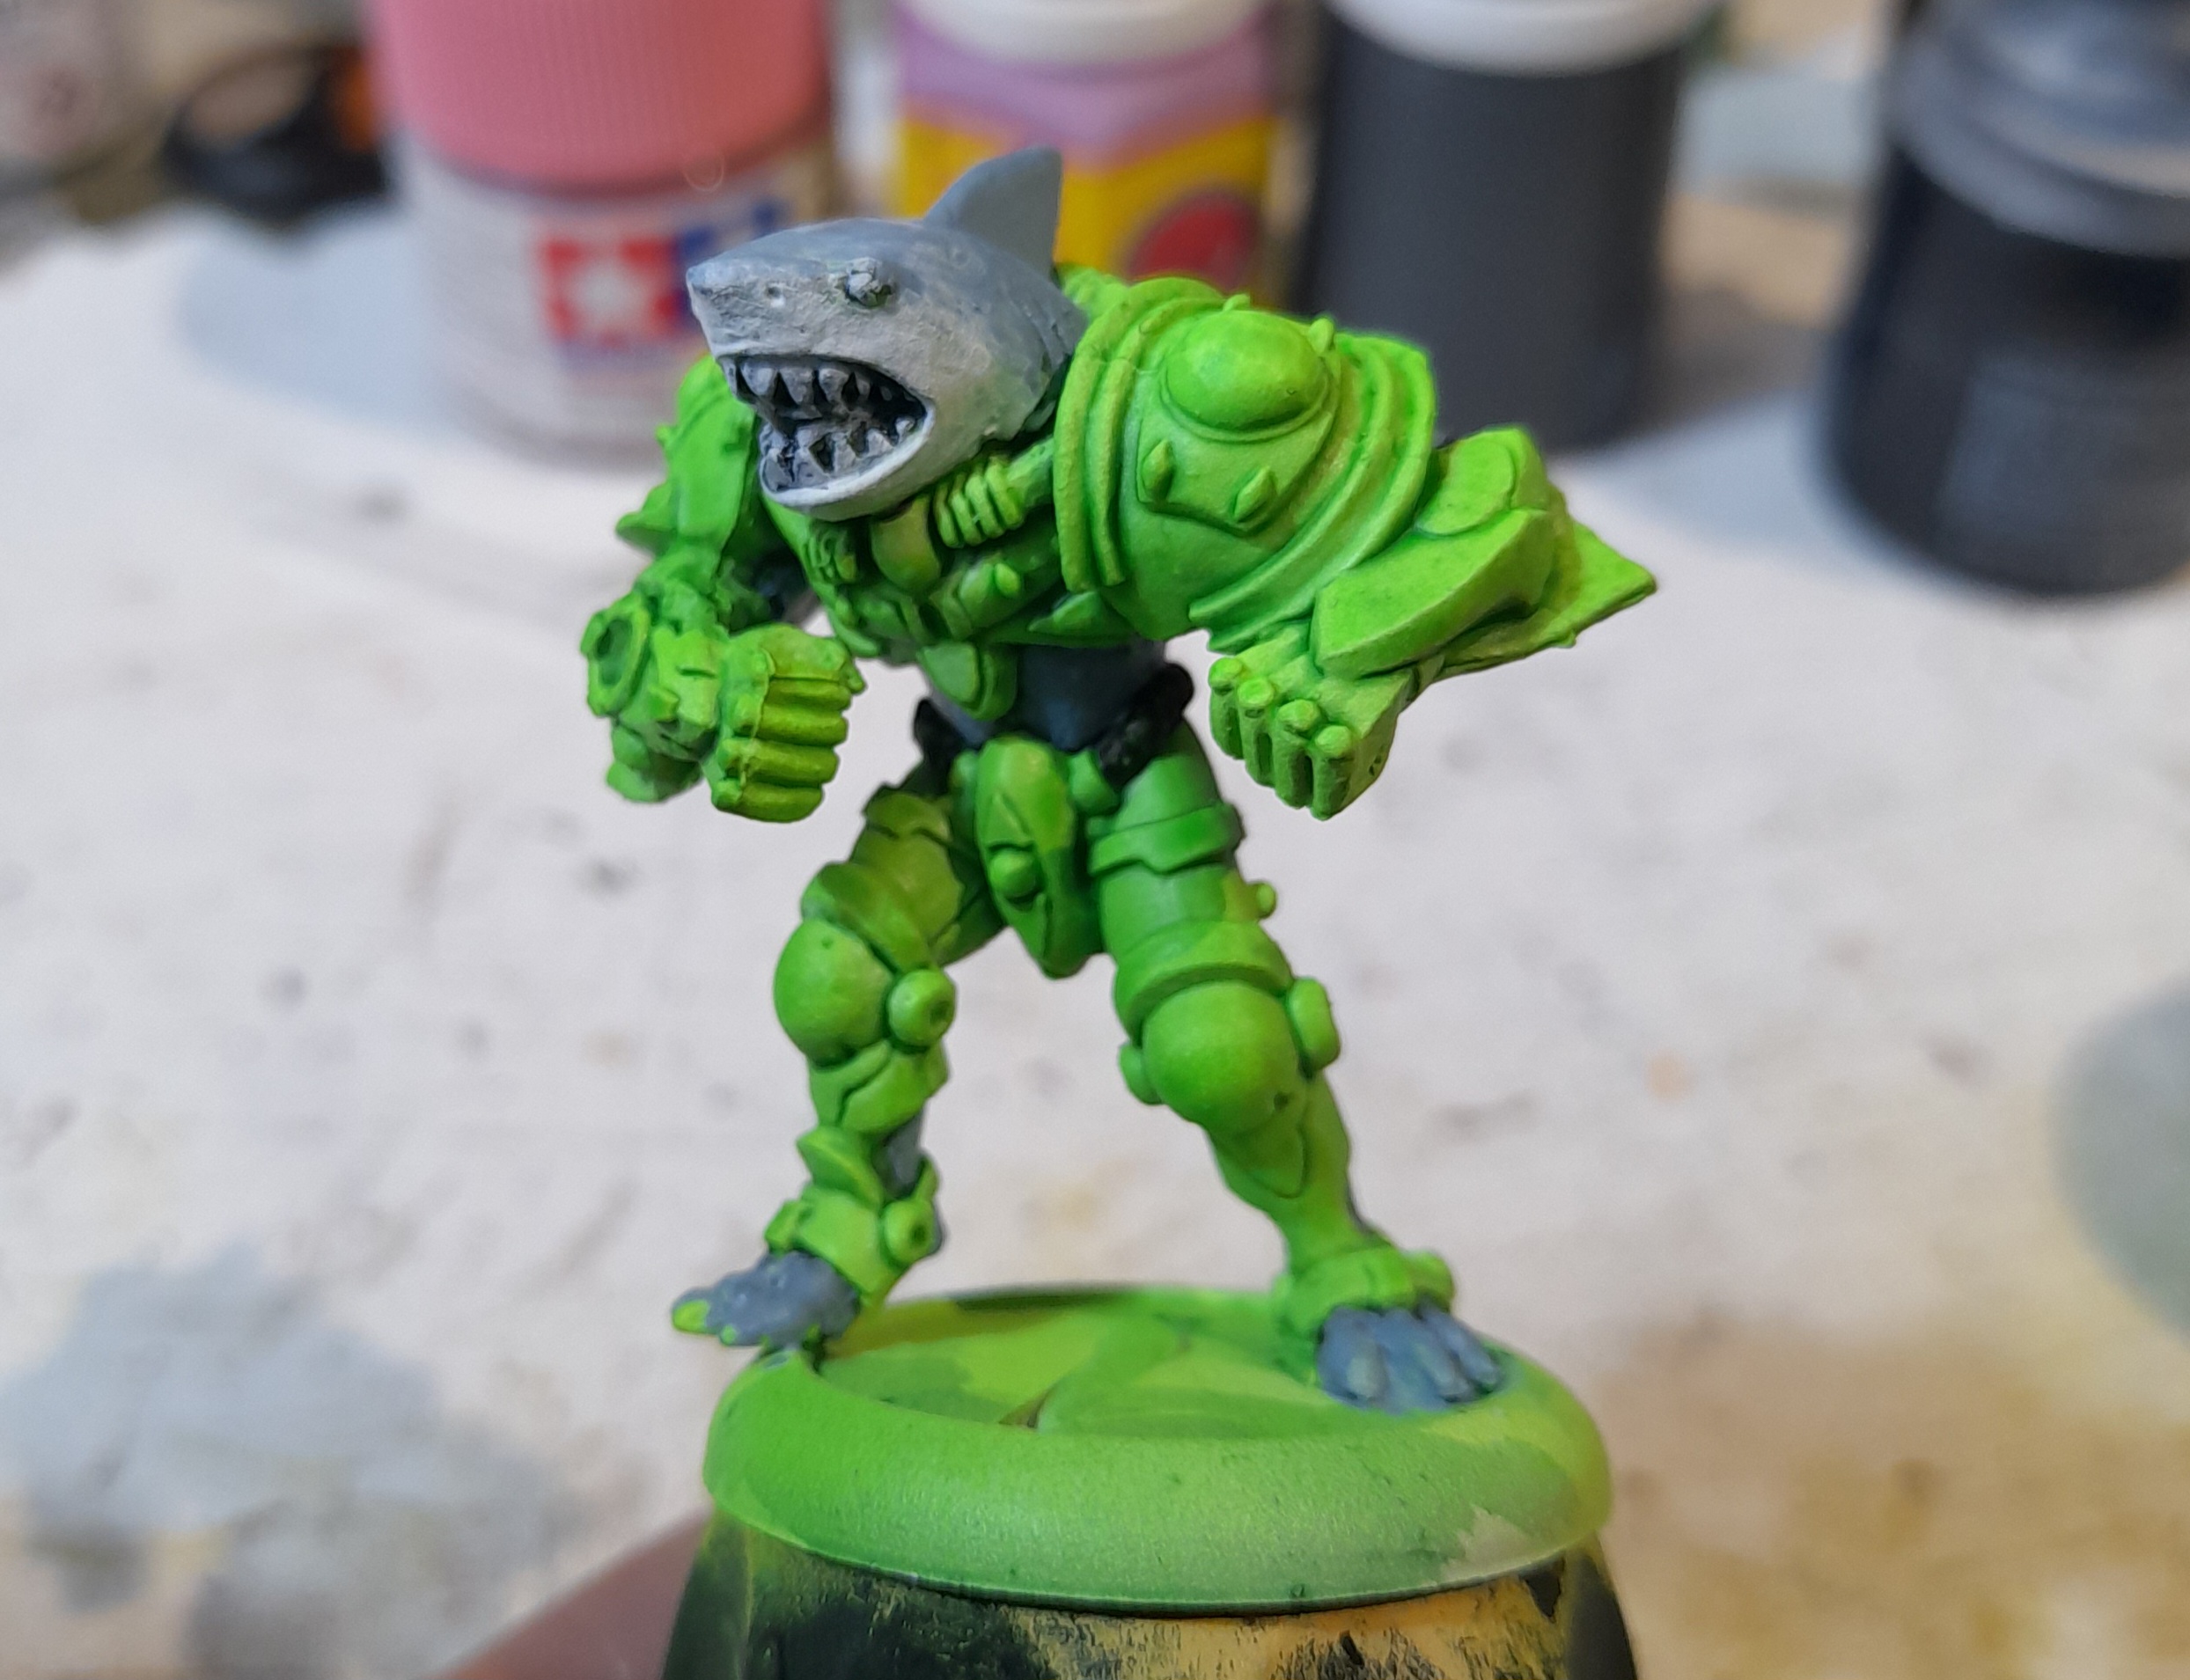
I’m not sure what it may be used for yet, but I planned to give it at least one gun, and think I may use it in Deadzone or something like Stargrave etc. Messaged some friends about the model, and one suggested going for a bright green colour …. So, taking up that challenge I fired up the airbrush and painted it with Lime Green Fluor paint ? (like a Japanese import car)

I then gave it a thinned green wash (green shade and medium.
Next up I painted all the skin areas with black contrast, followed by Fenris grey (a blue grey) and a darker grey wash.
Gave it a few thin highlights with the Fenris grey again to bring it back up a little. The head was painted in the same way, but with white underneath and stippled around the top at the front.
At this point I also decide to paint its shorts in pink. Sadly I don’t have a bright fluor pink (☹) but mixed up the brightest I could.
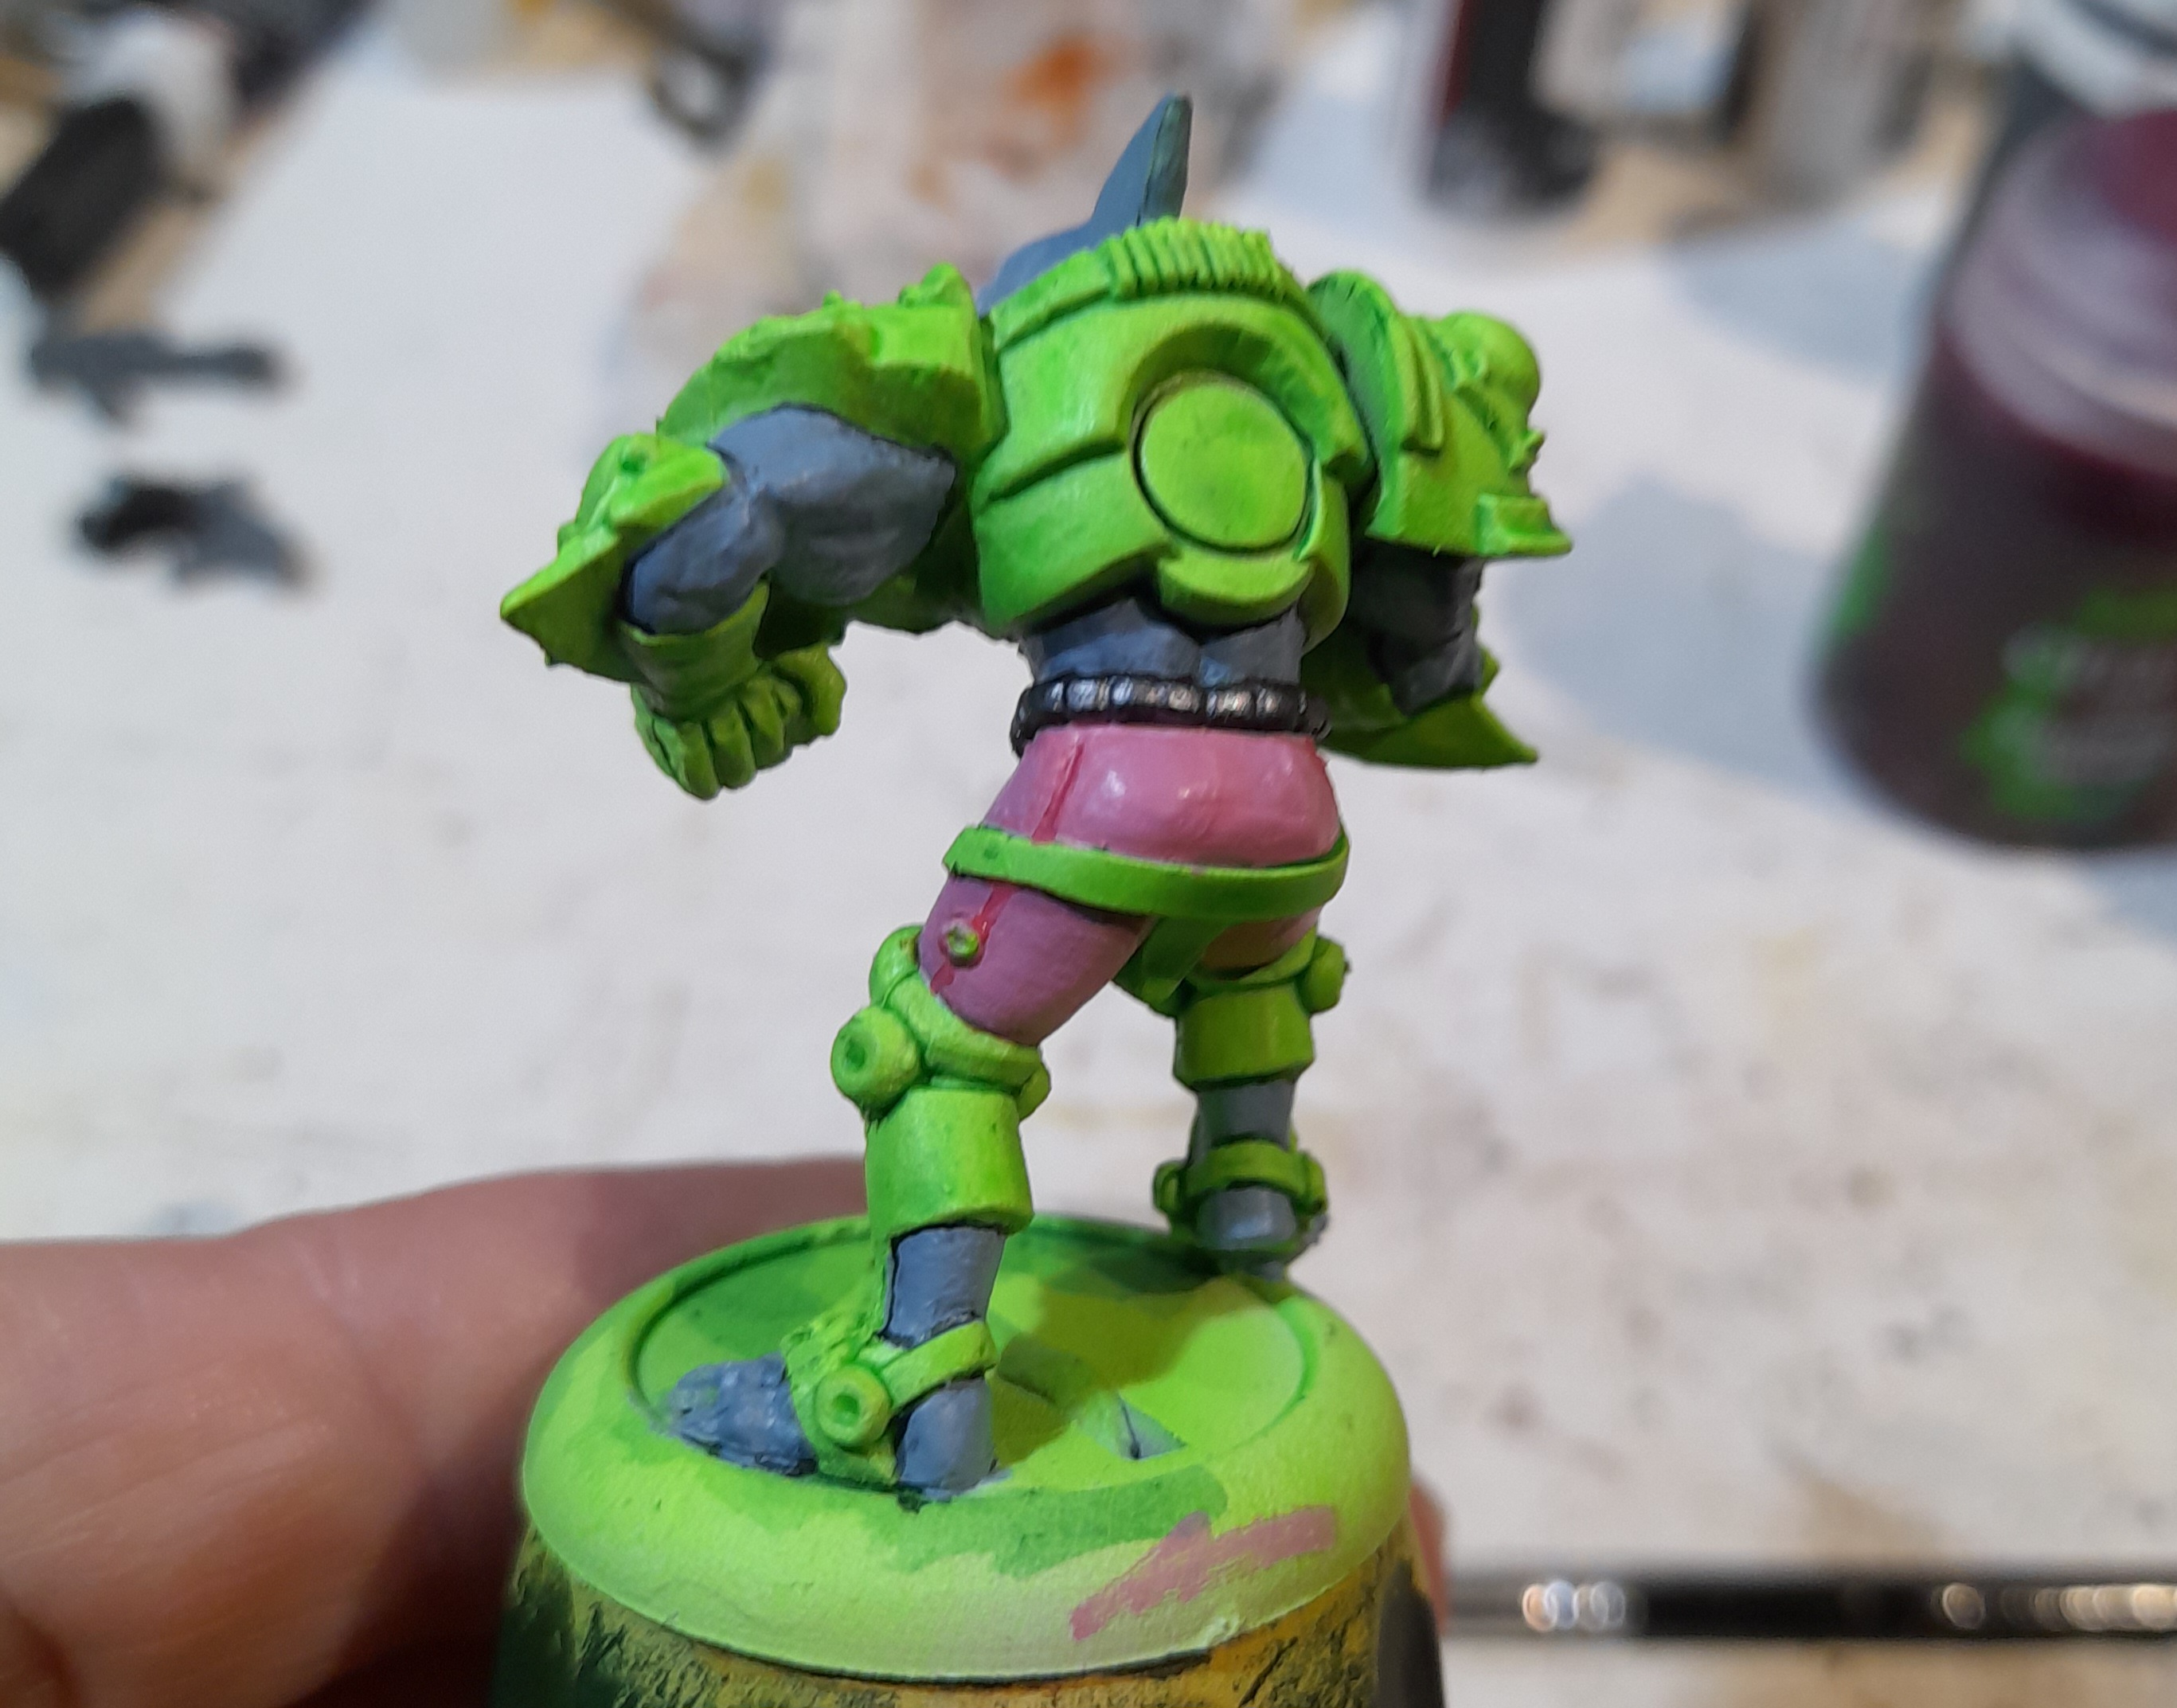
Then it was adding some detailing, picking out metal piping, gloves, the big roundels on the shoulders, the backplate etc. Drilled a hole in its left hand so that I could fit a dagger there, and painted up the dagger and an old boltgun. Put it onto a clear base and calling it done.

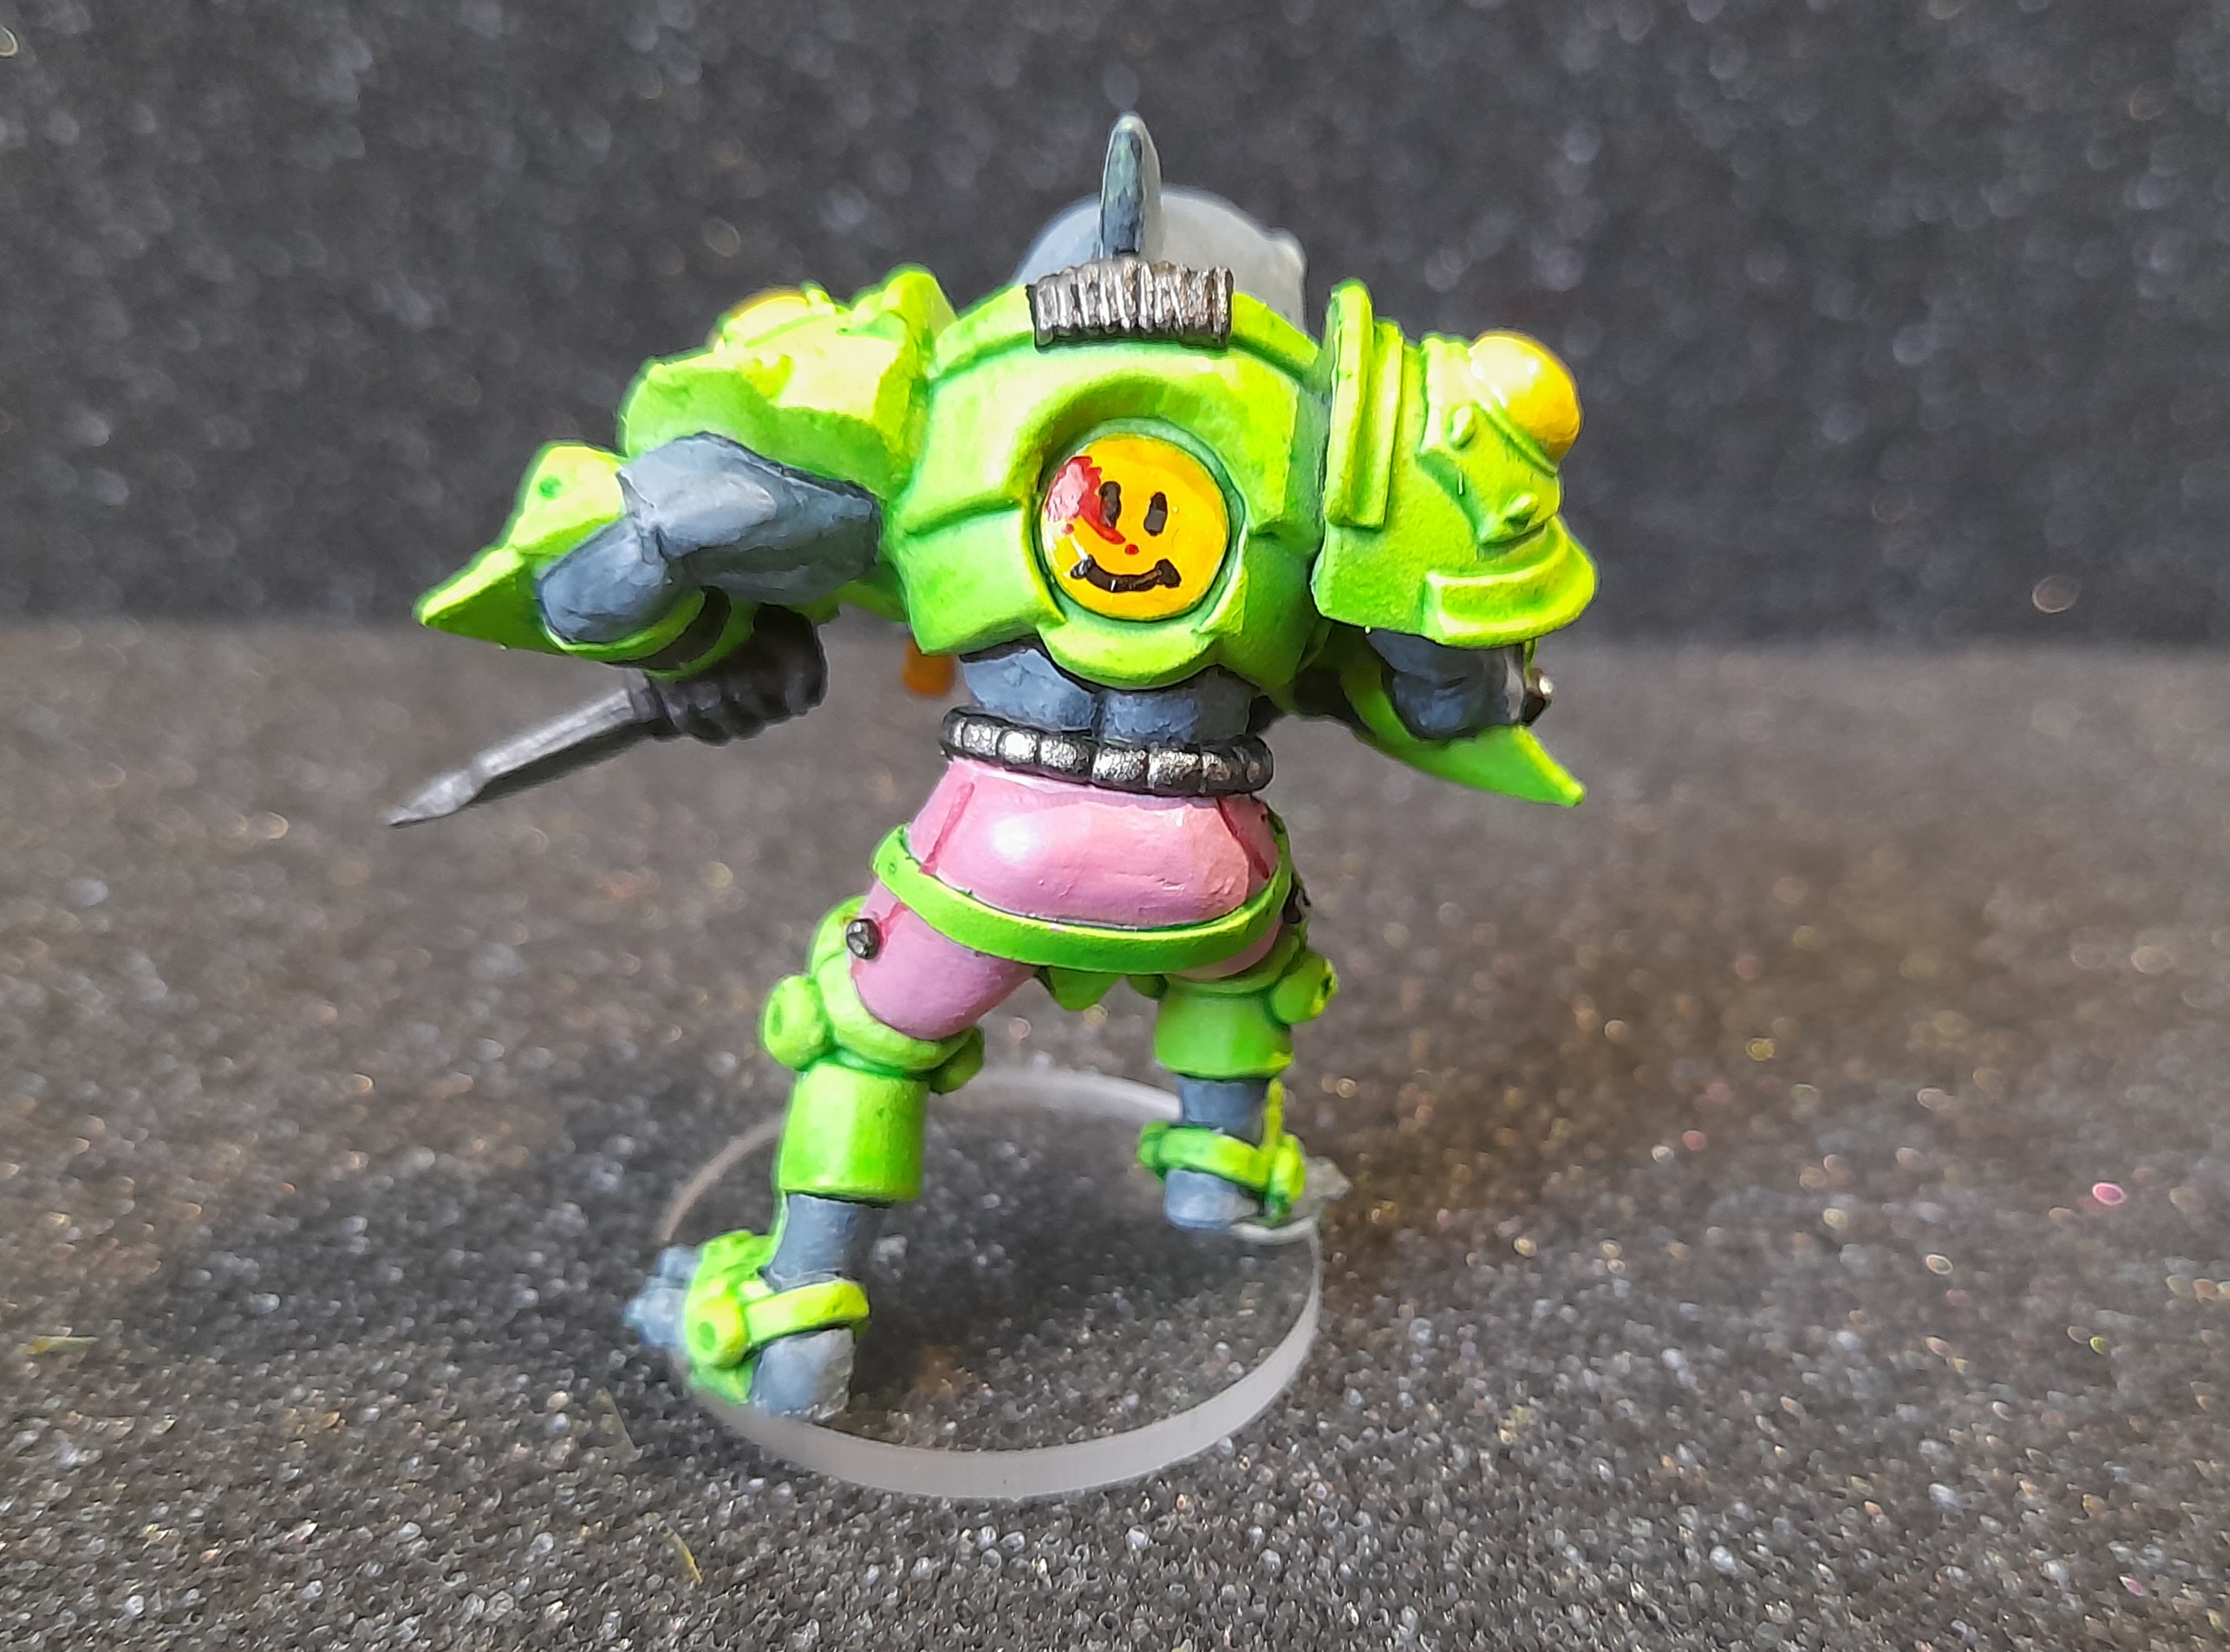
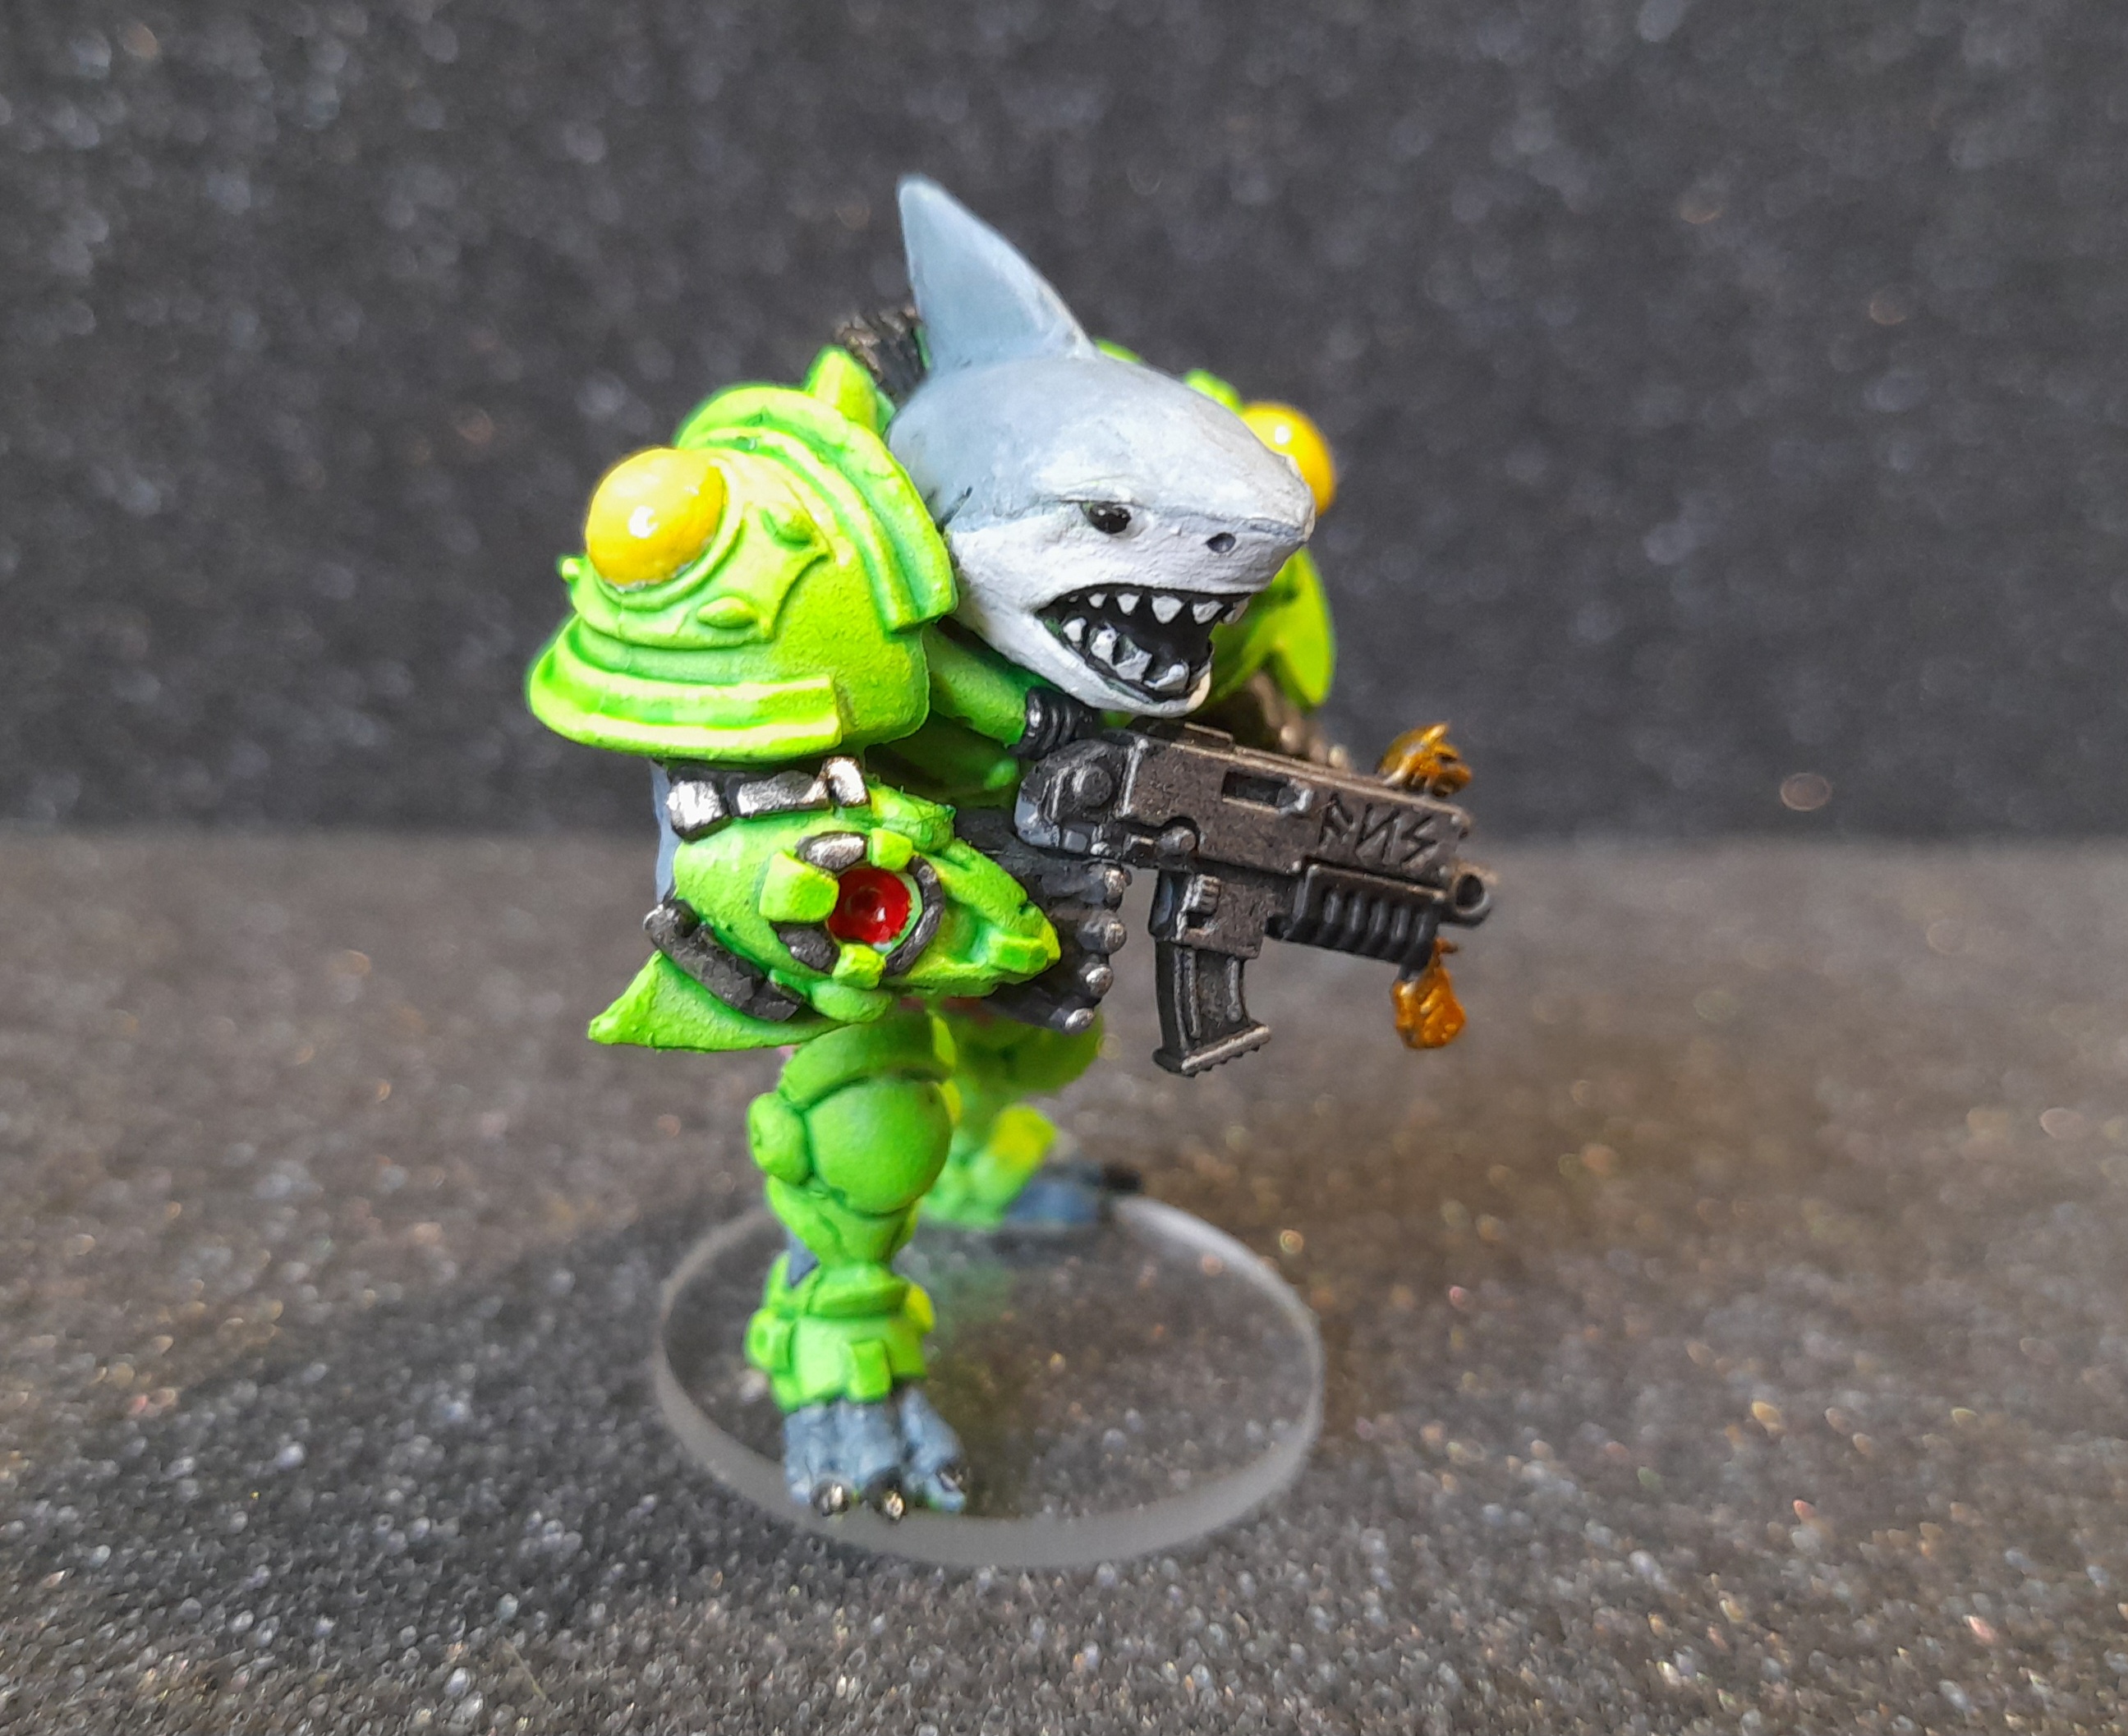
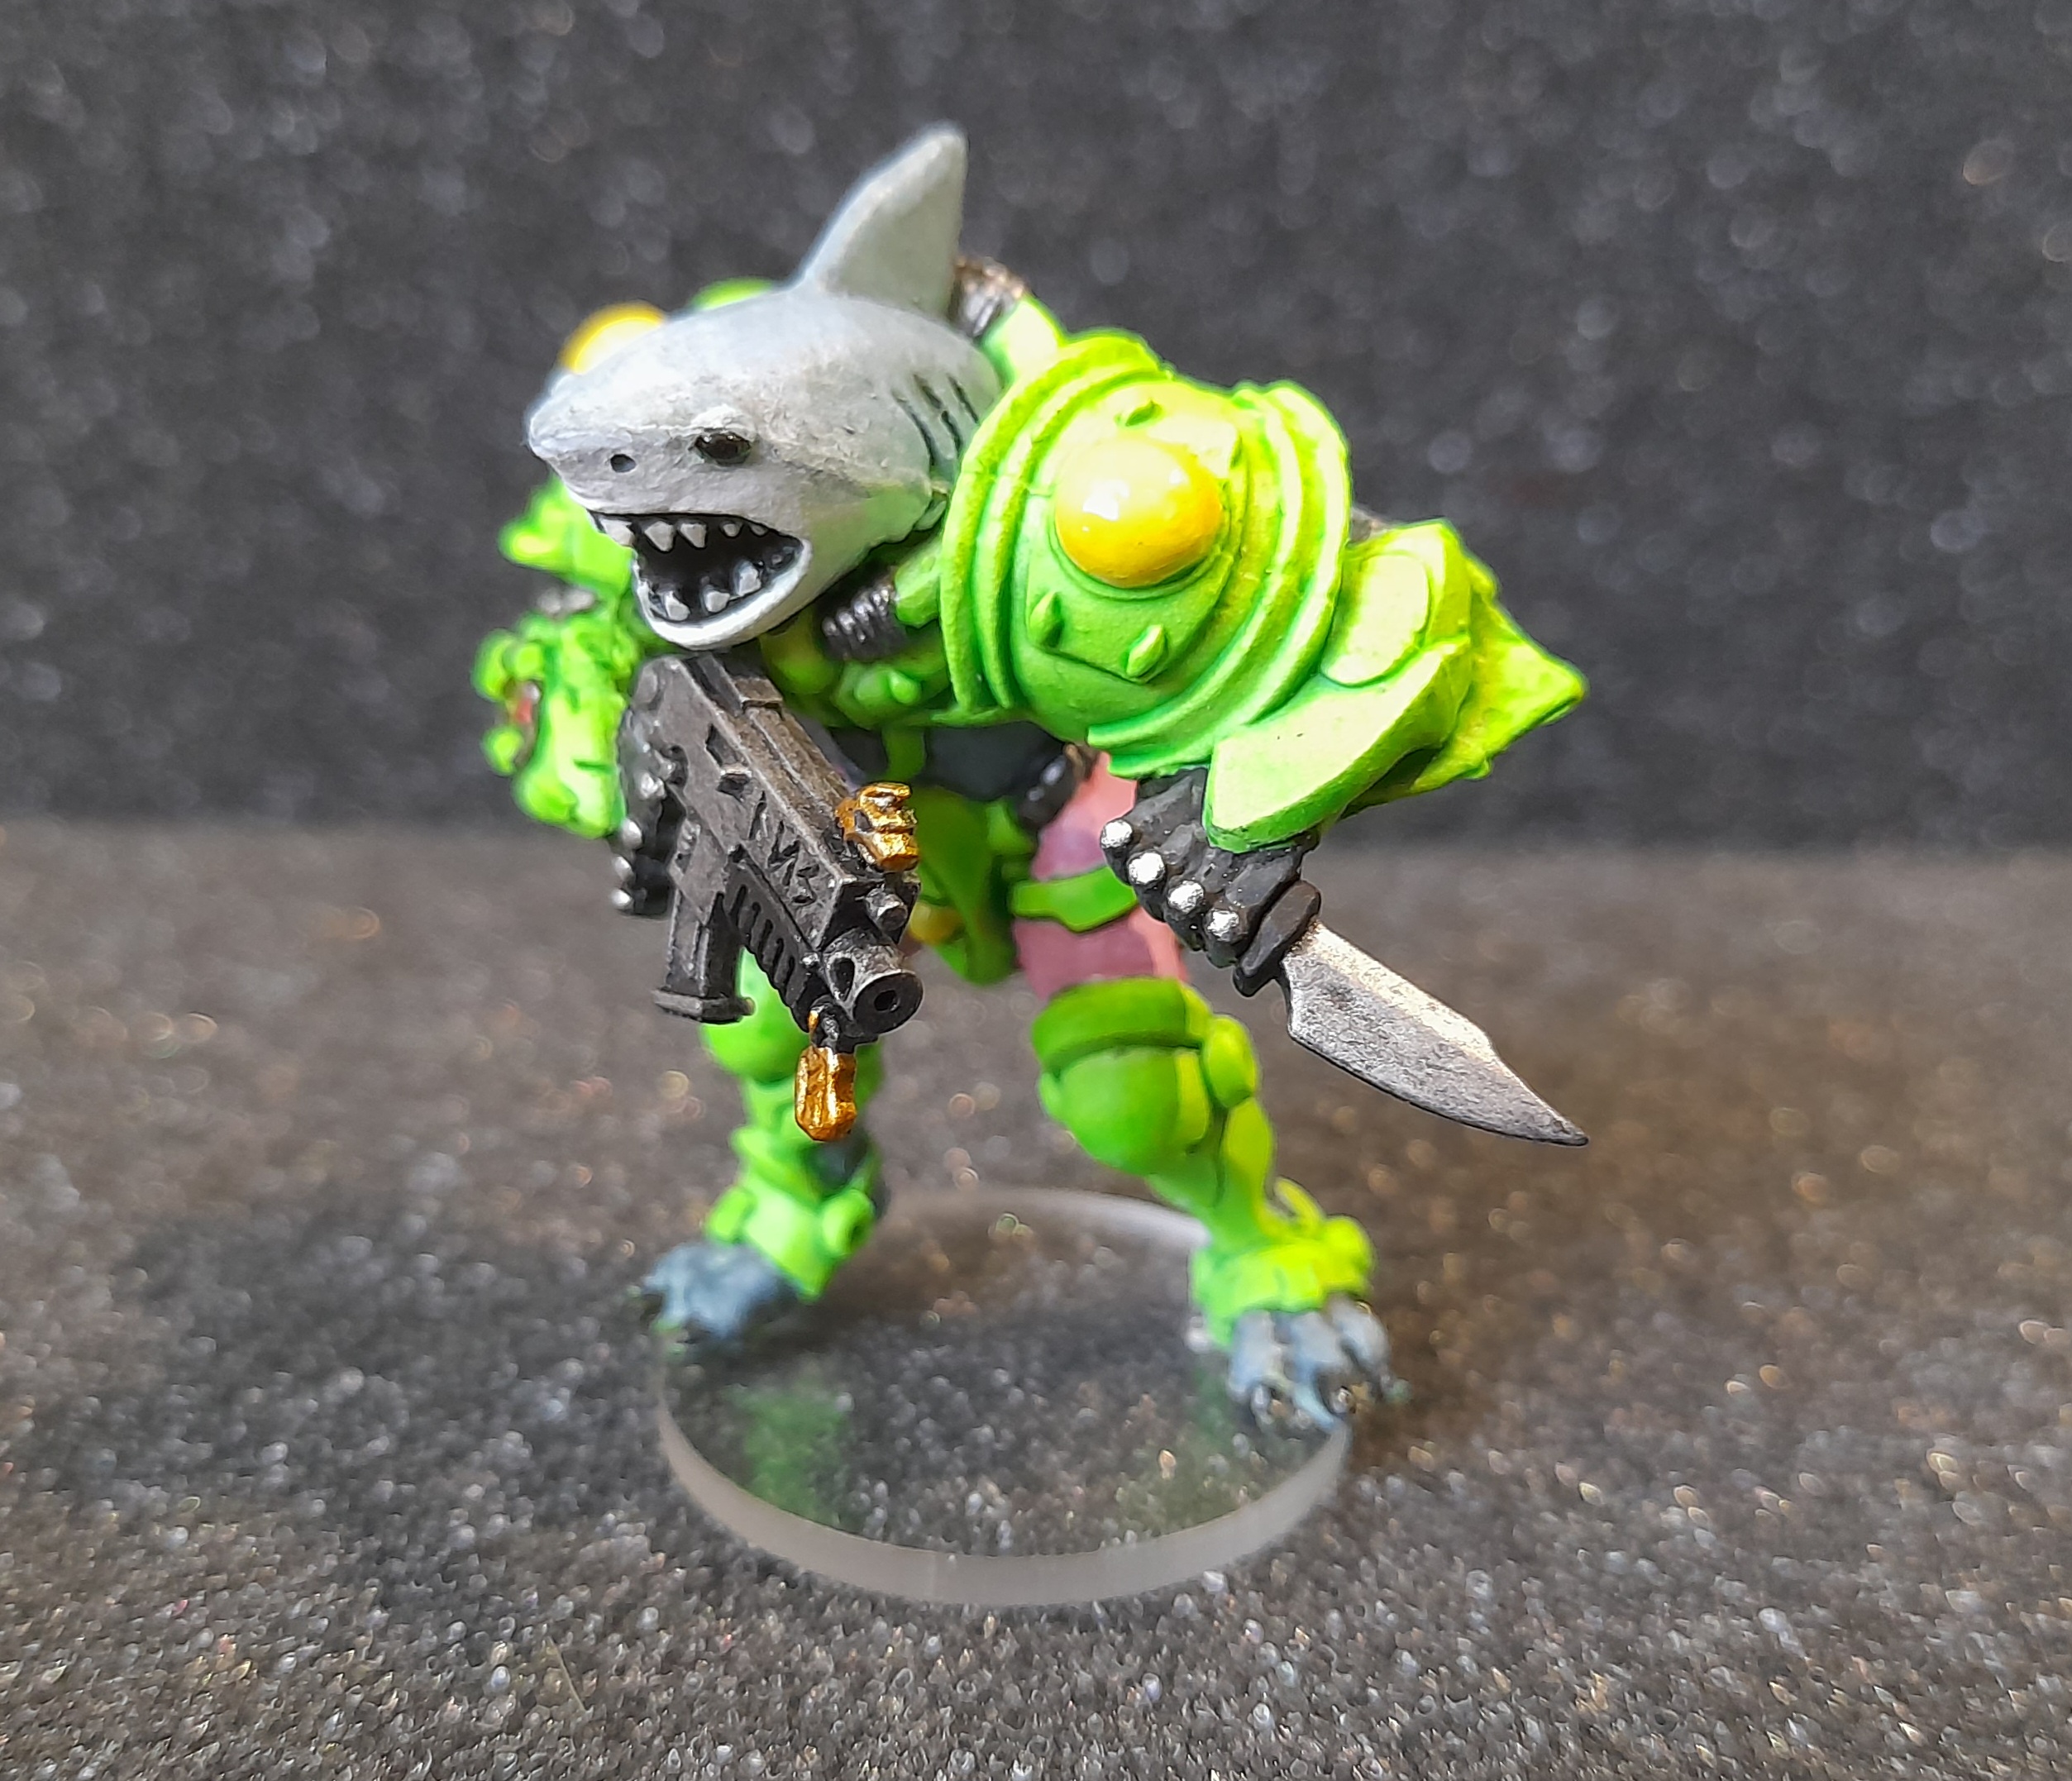
I know the paint job is just ‘okay’, and I finished it quicker than I thought. But I kind of really like this guy – he has some presence about him ?
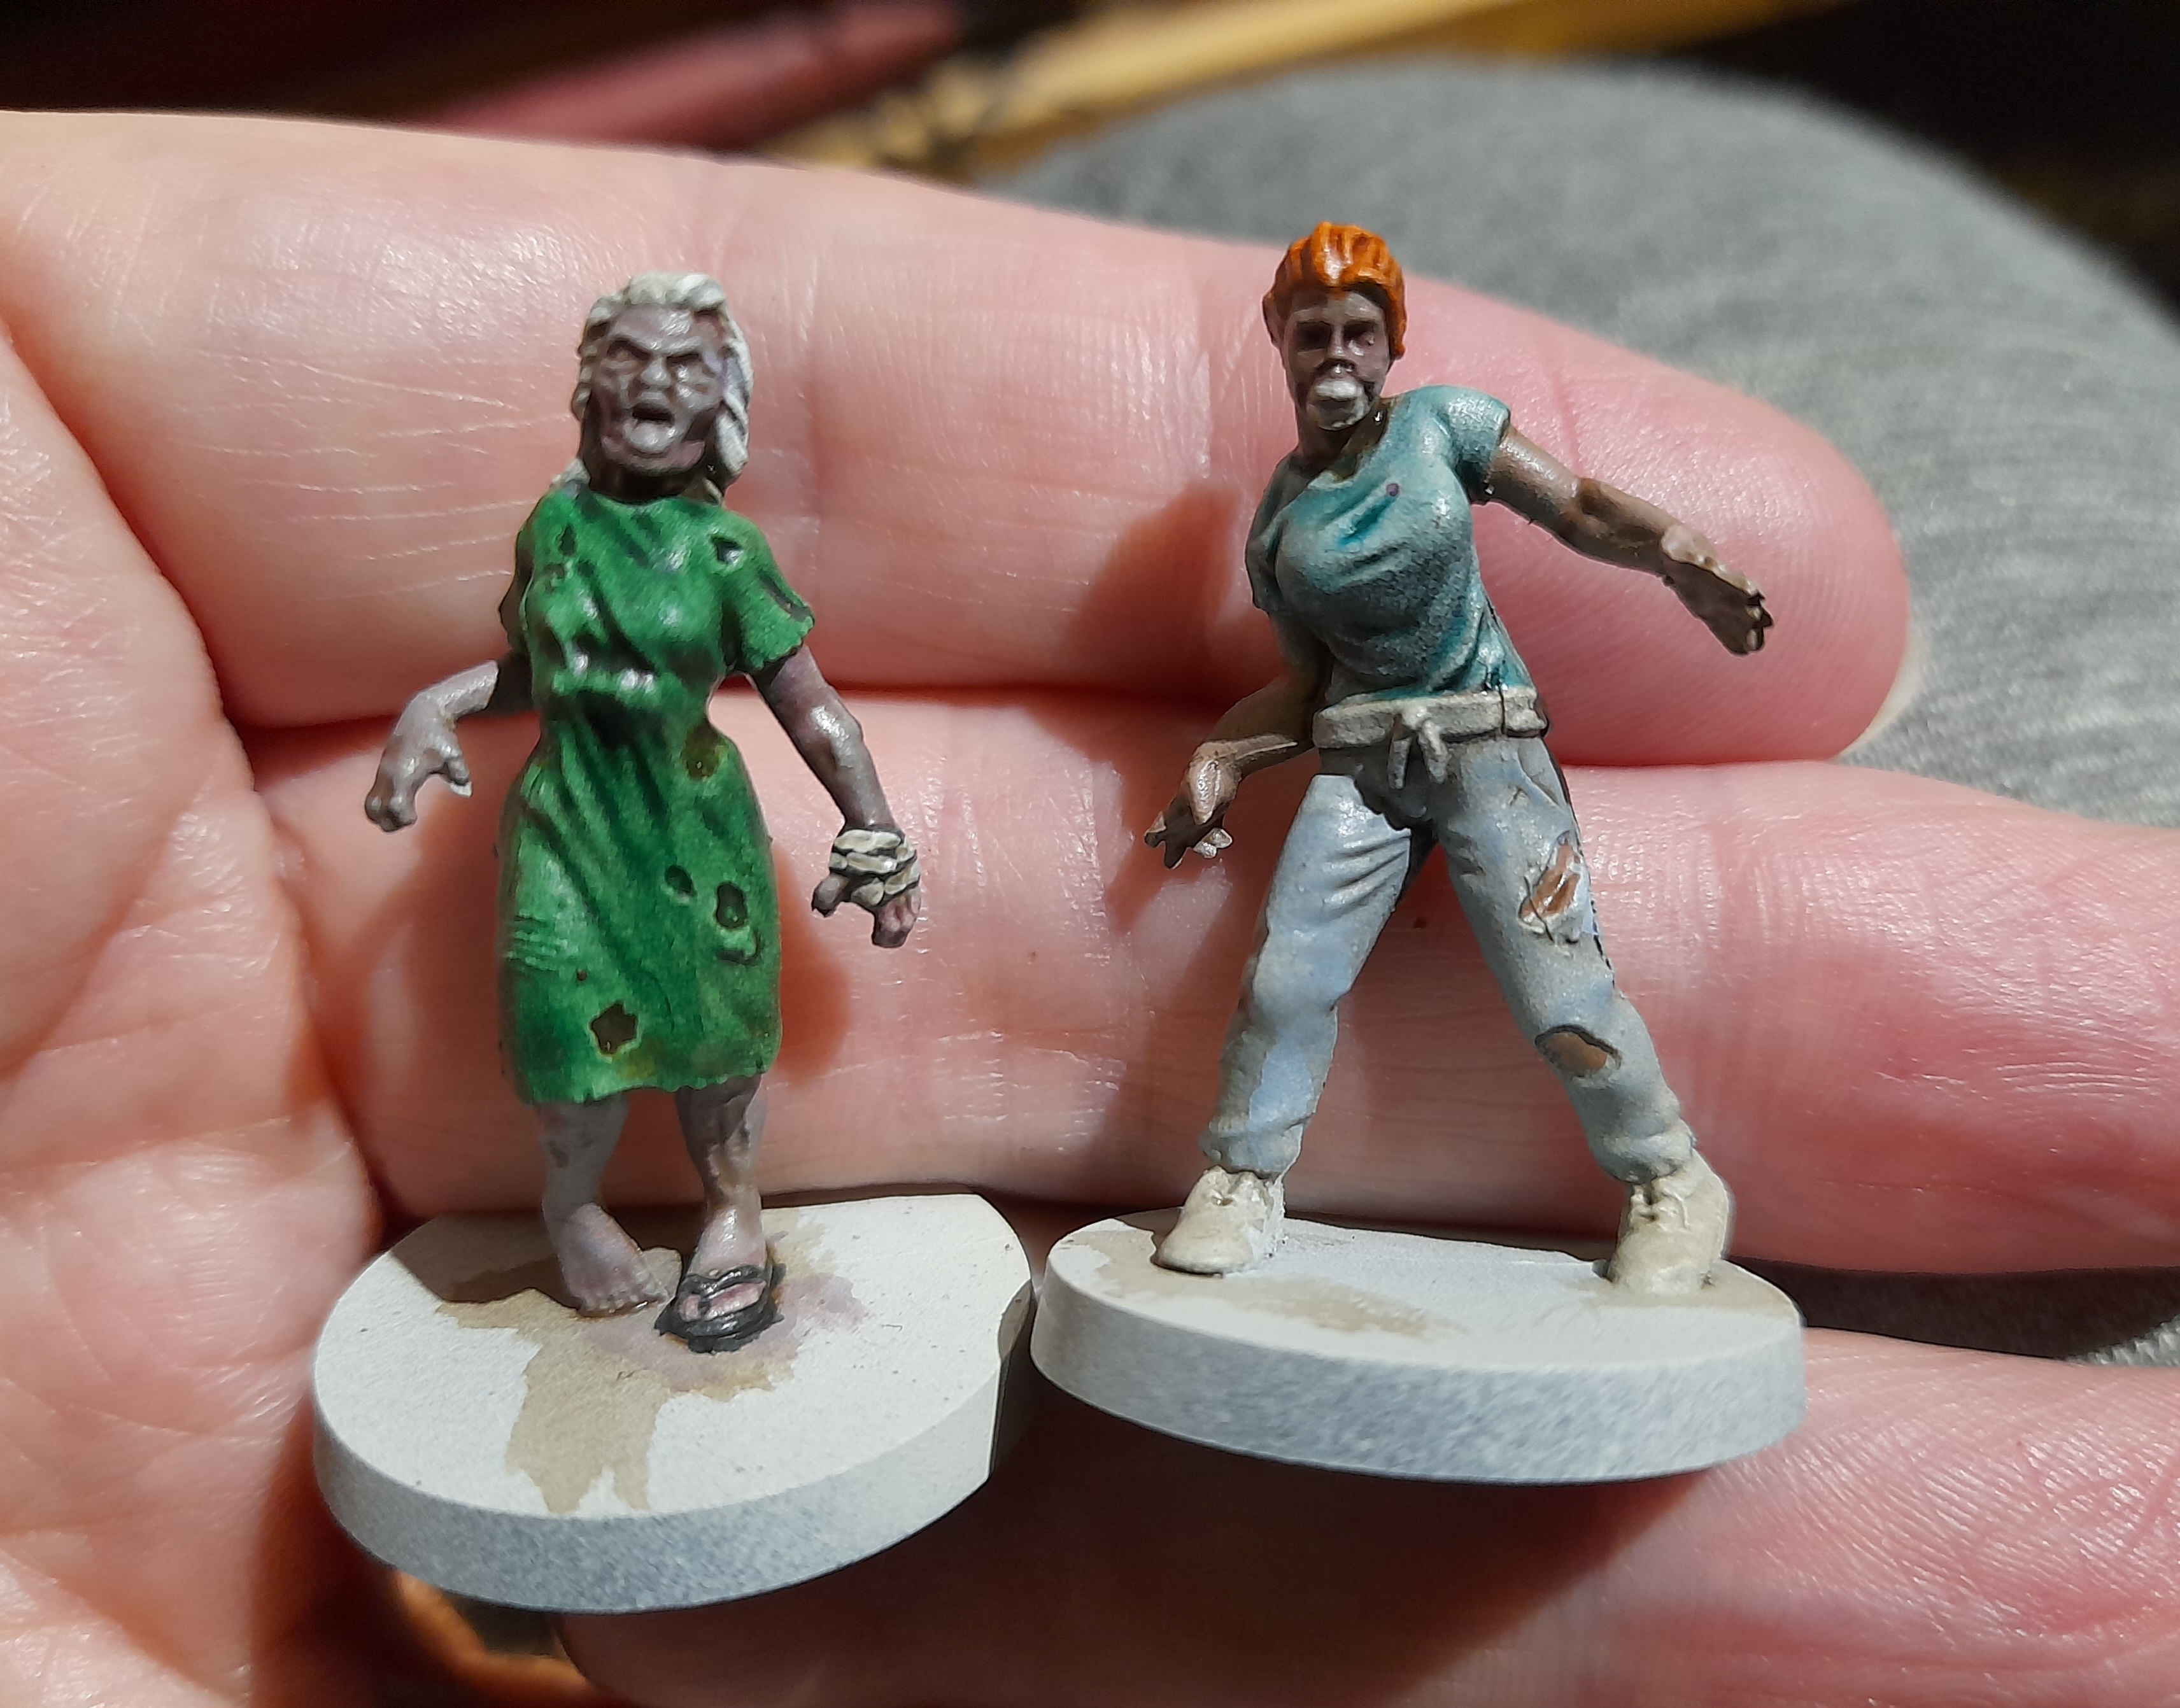
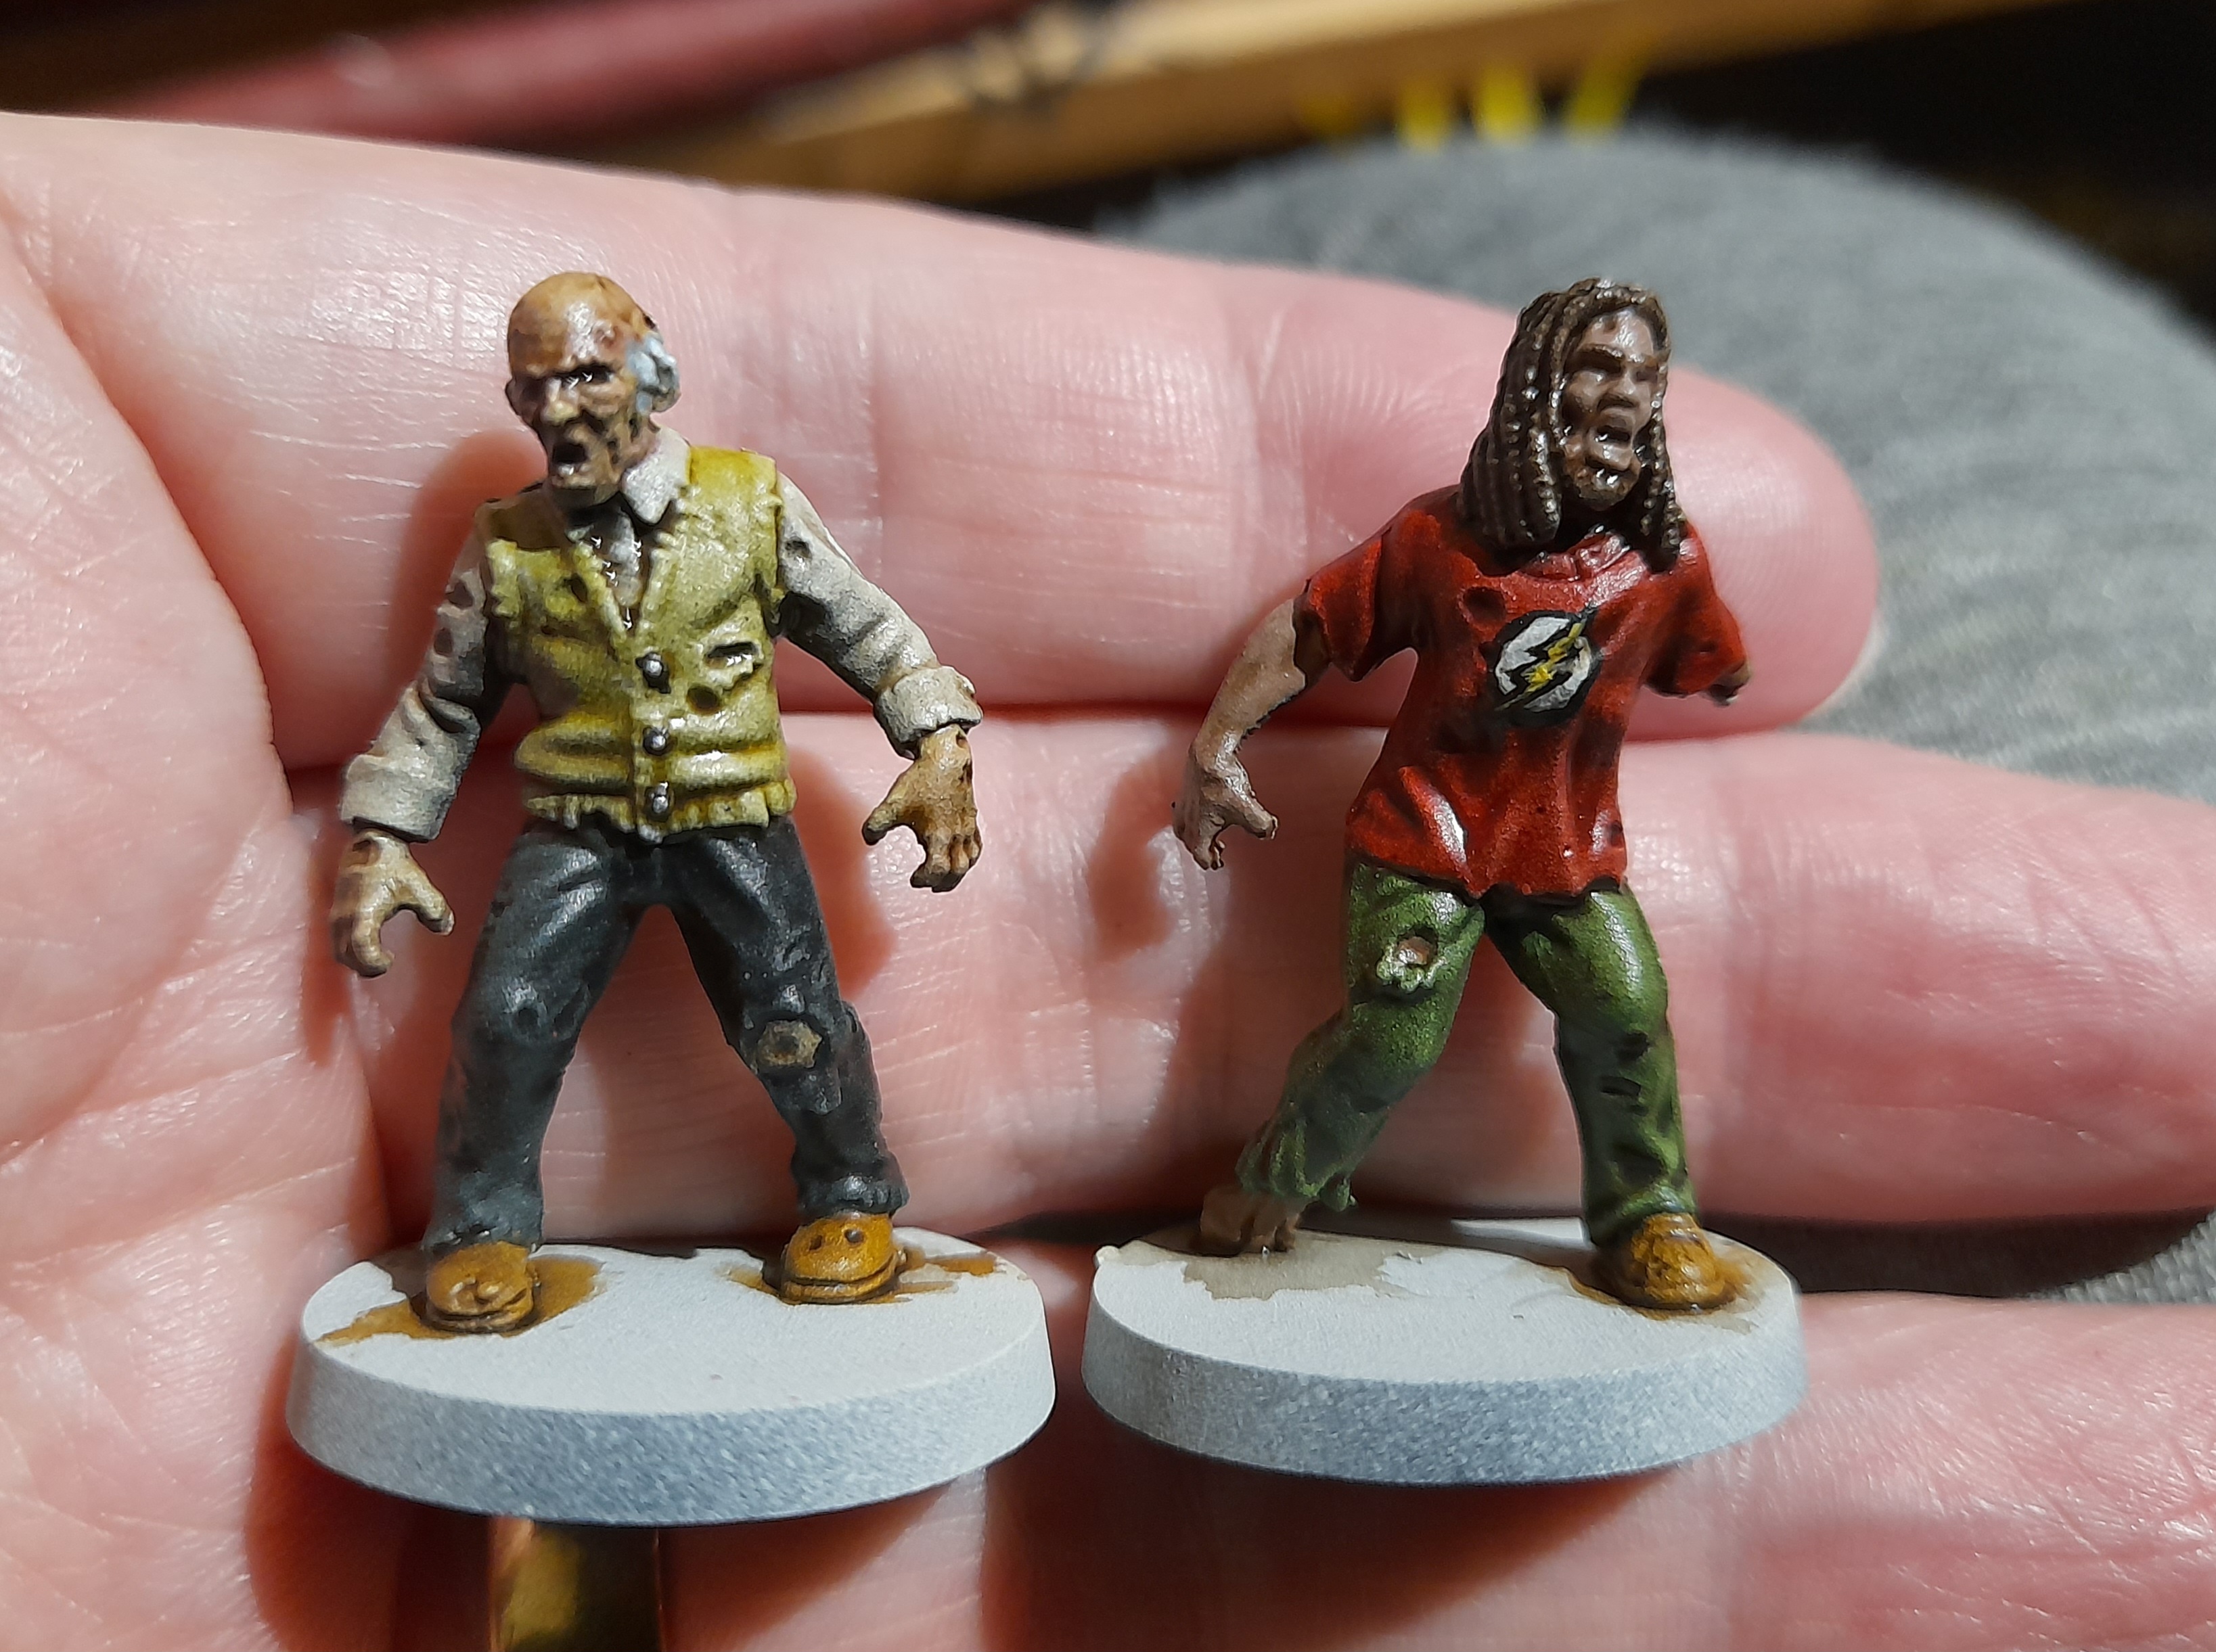
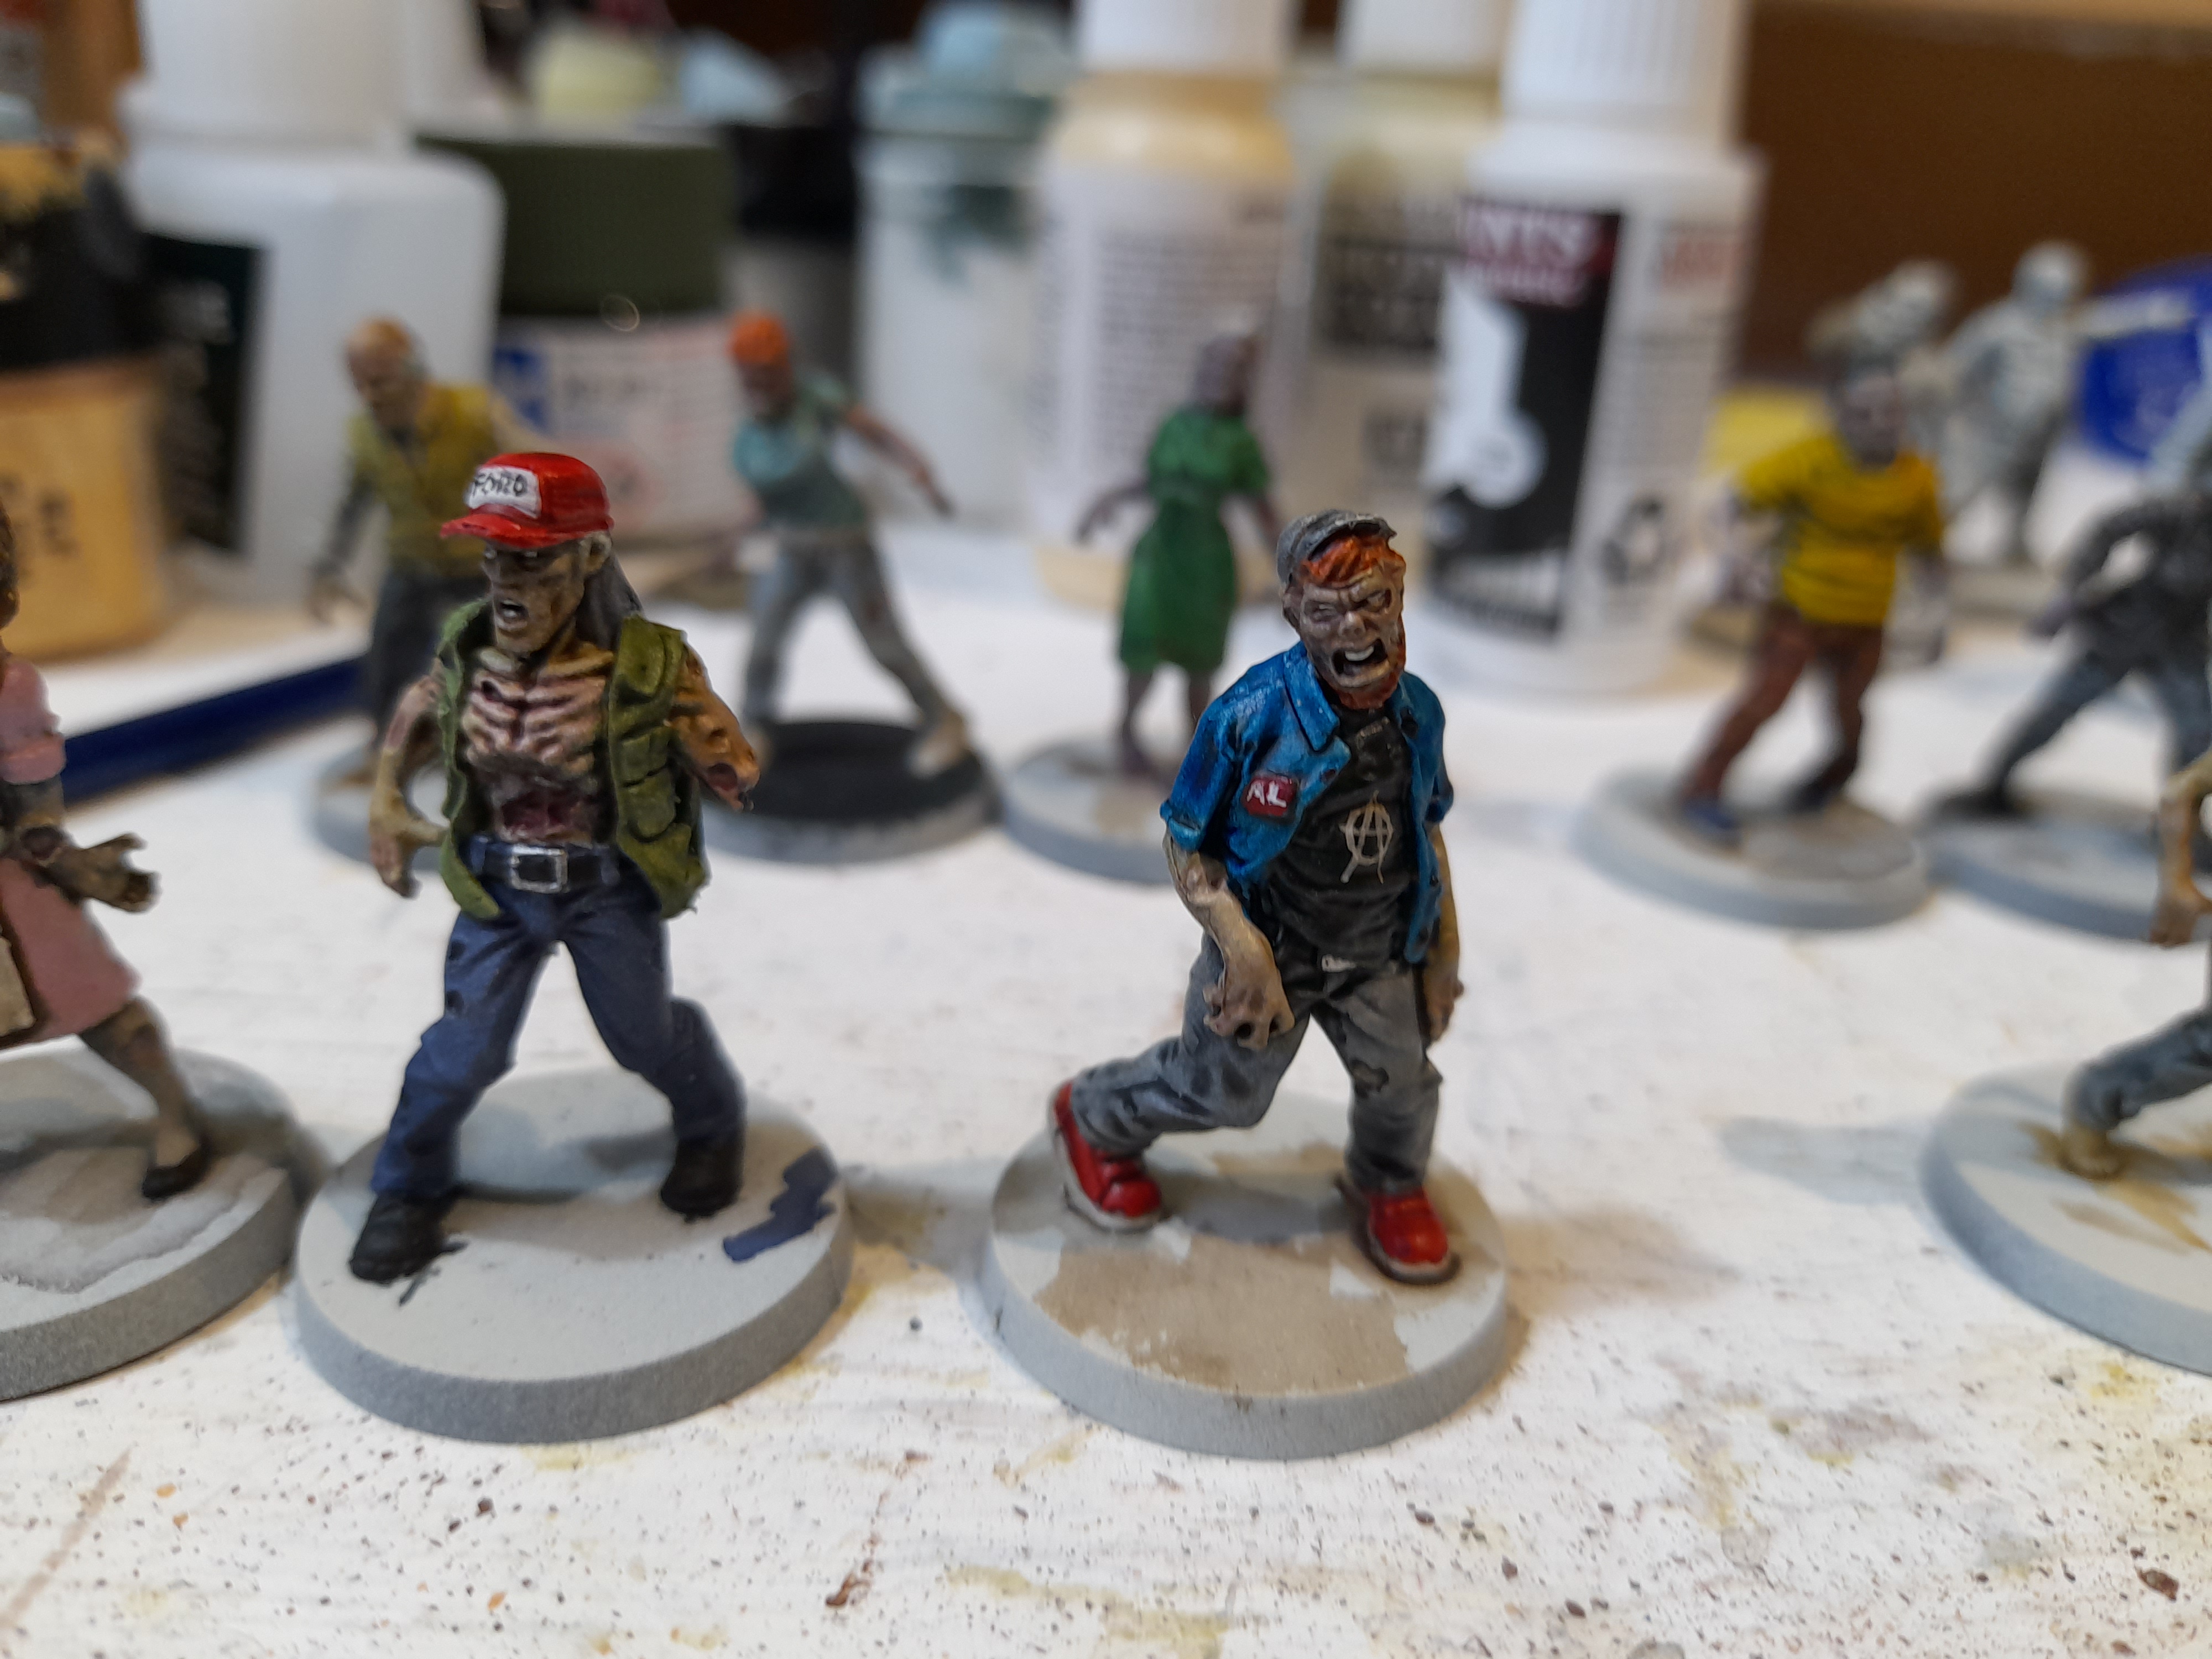
Walking Dead Survivors finished
13th June 2024
I’ll try to keep this shorter.
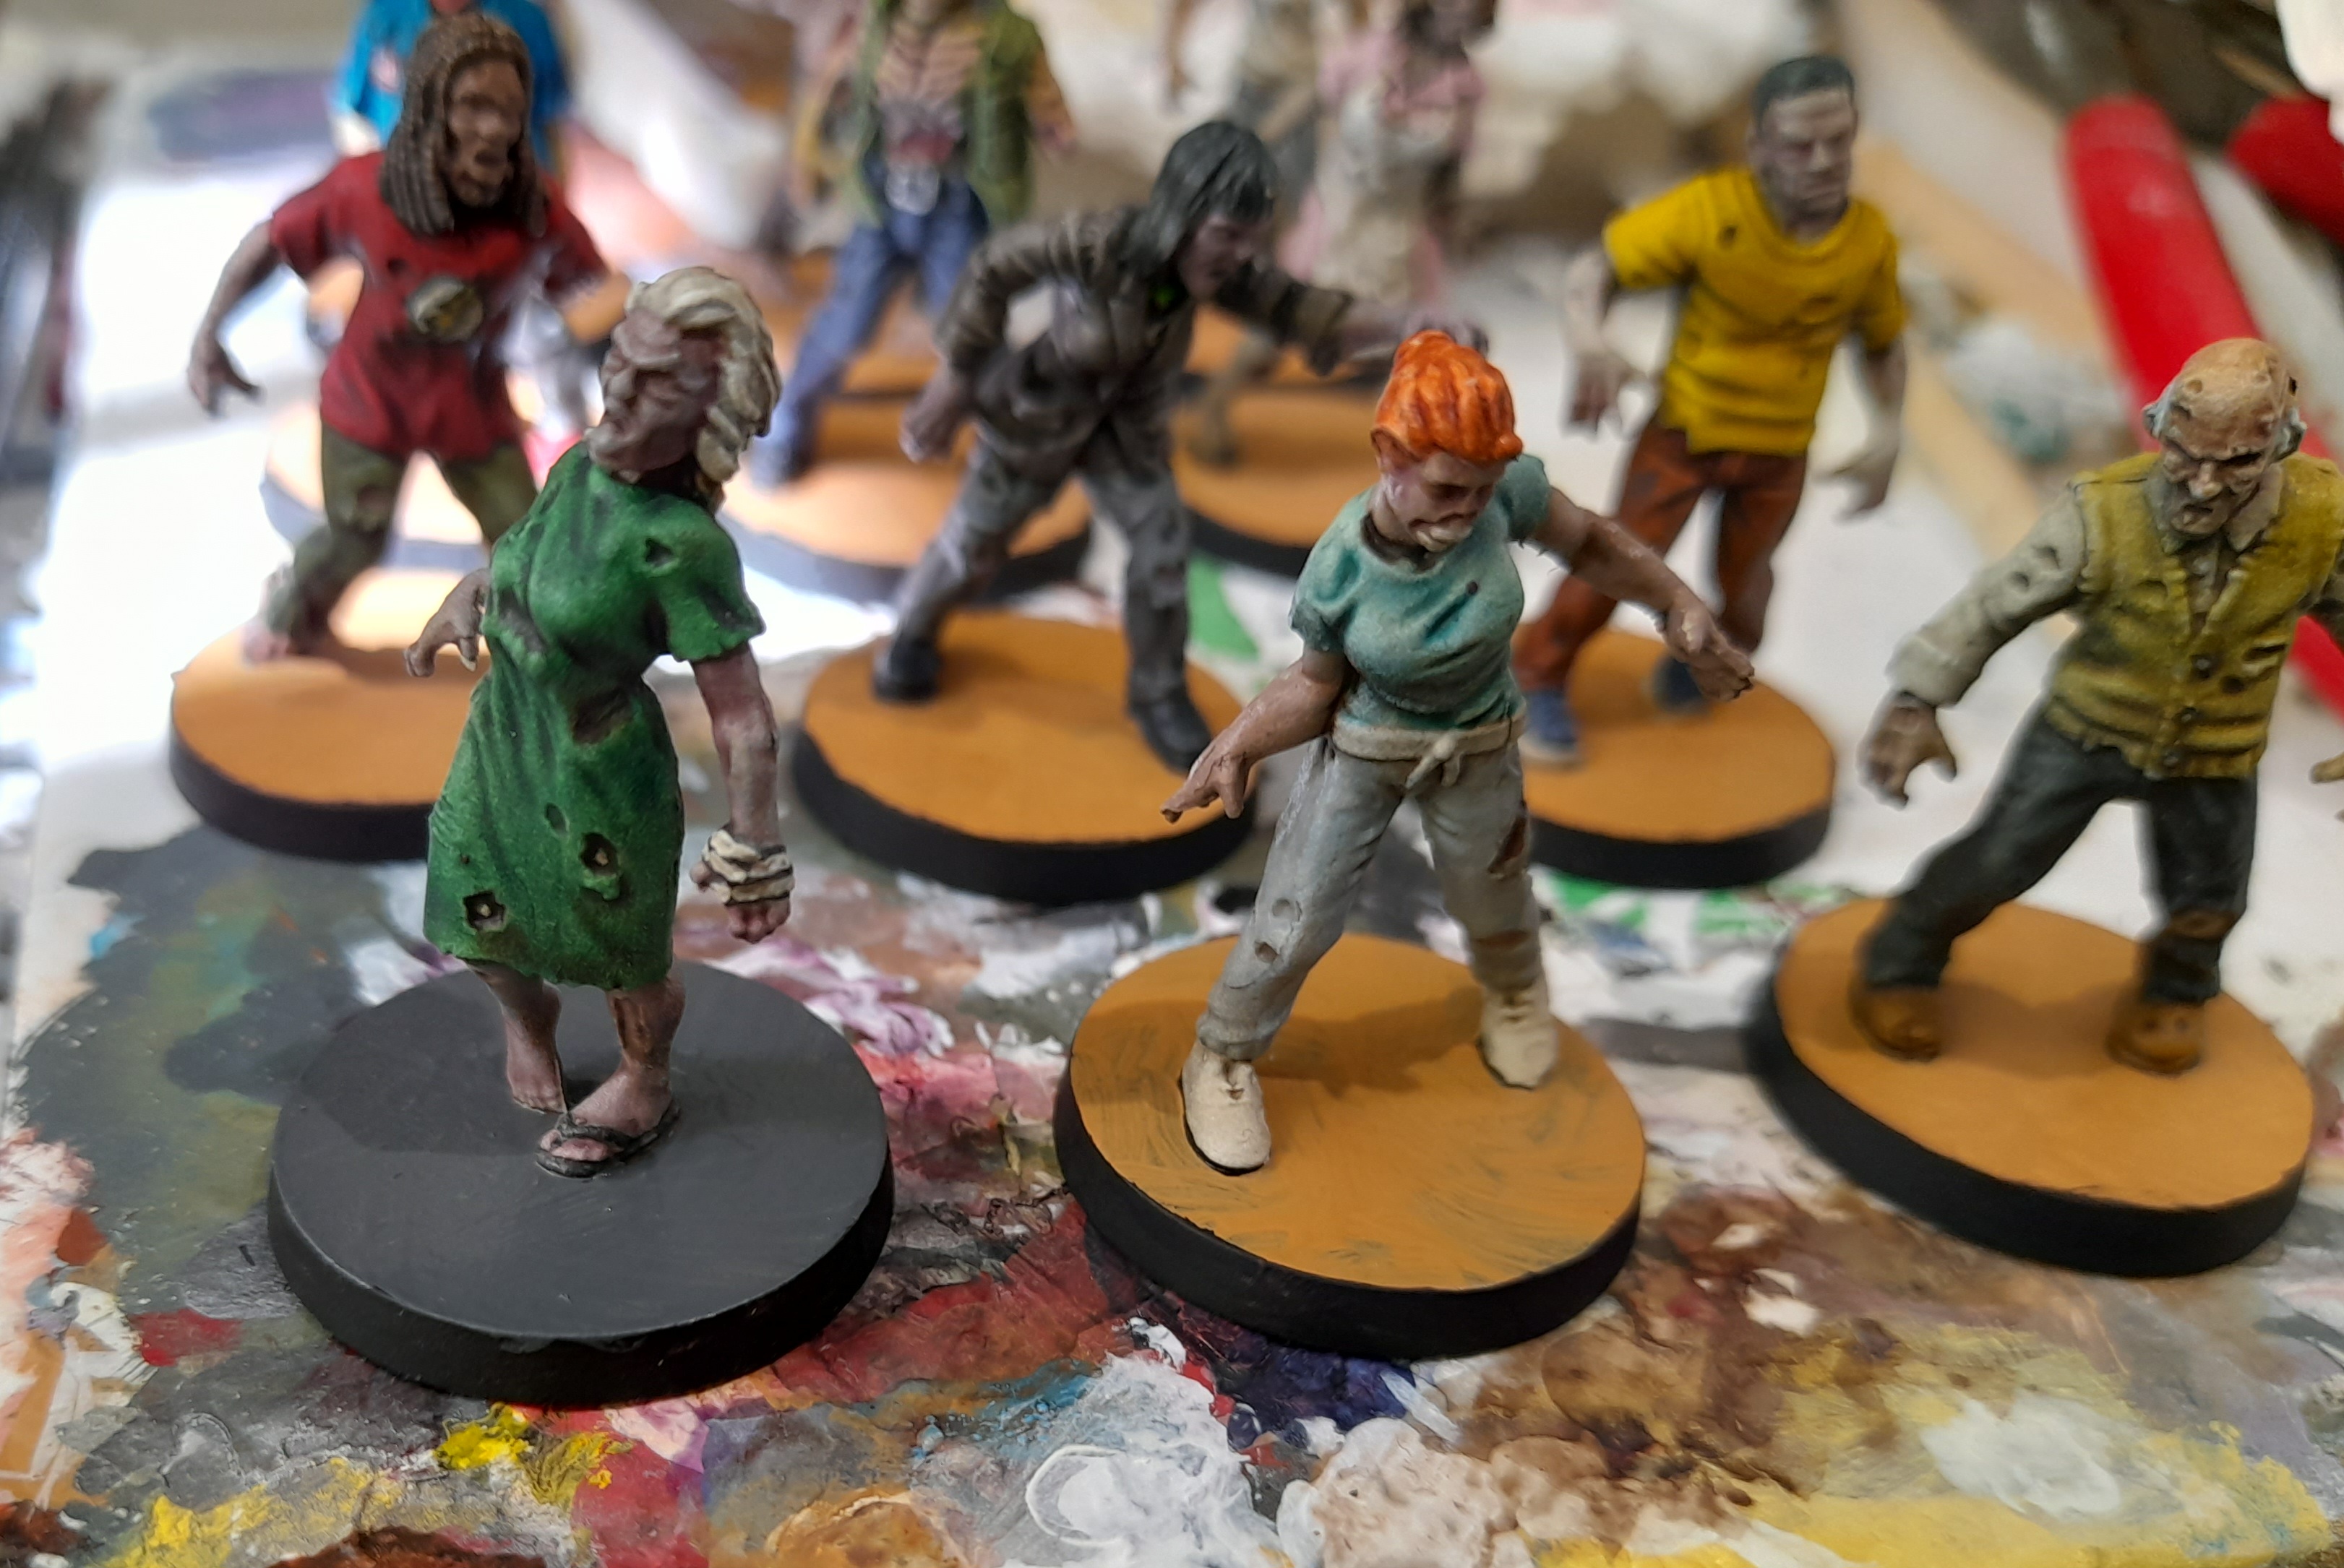
I worked on the survivors in pretty much the same way as the Walkers – just with less grime and gore.
They started out with the zenithal prime, then I laid down some basic colours on each (mostly mixes of contrast paints) so I could get an idea of where I wanted to go with them.
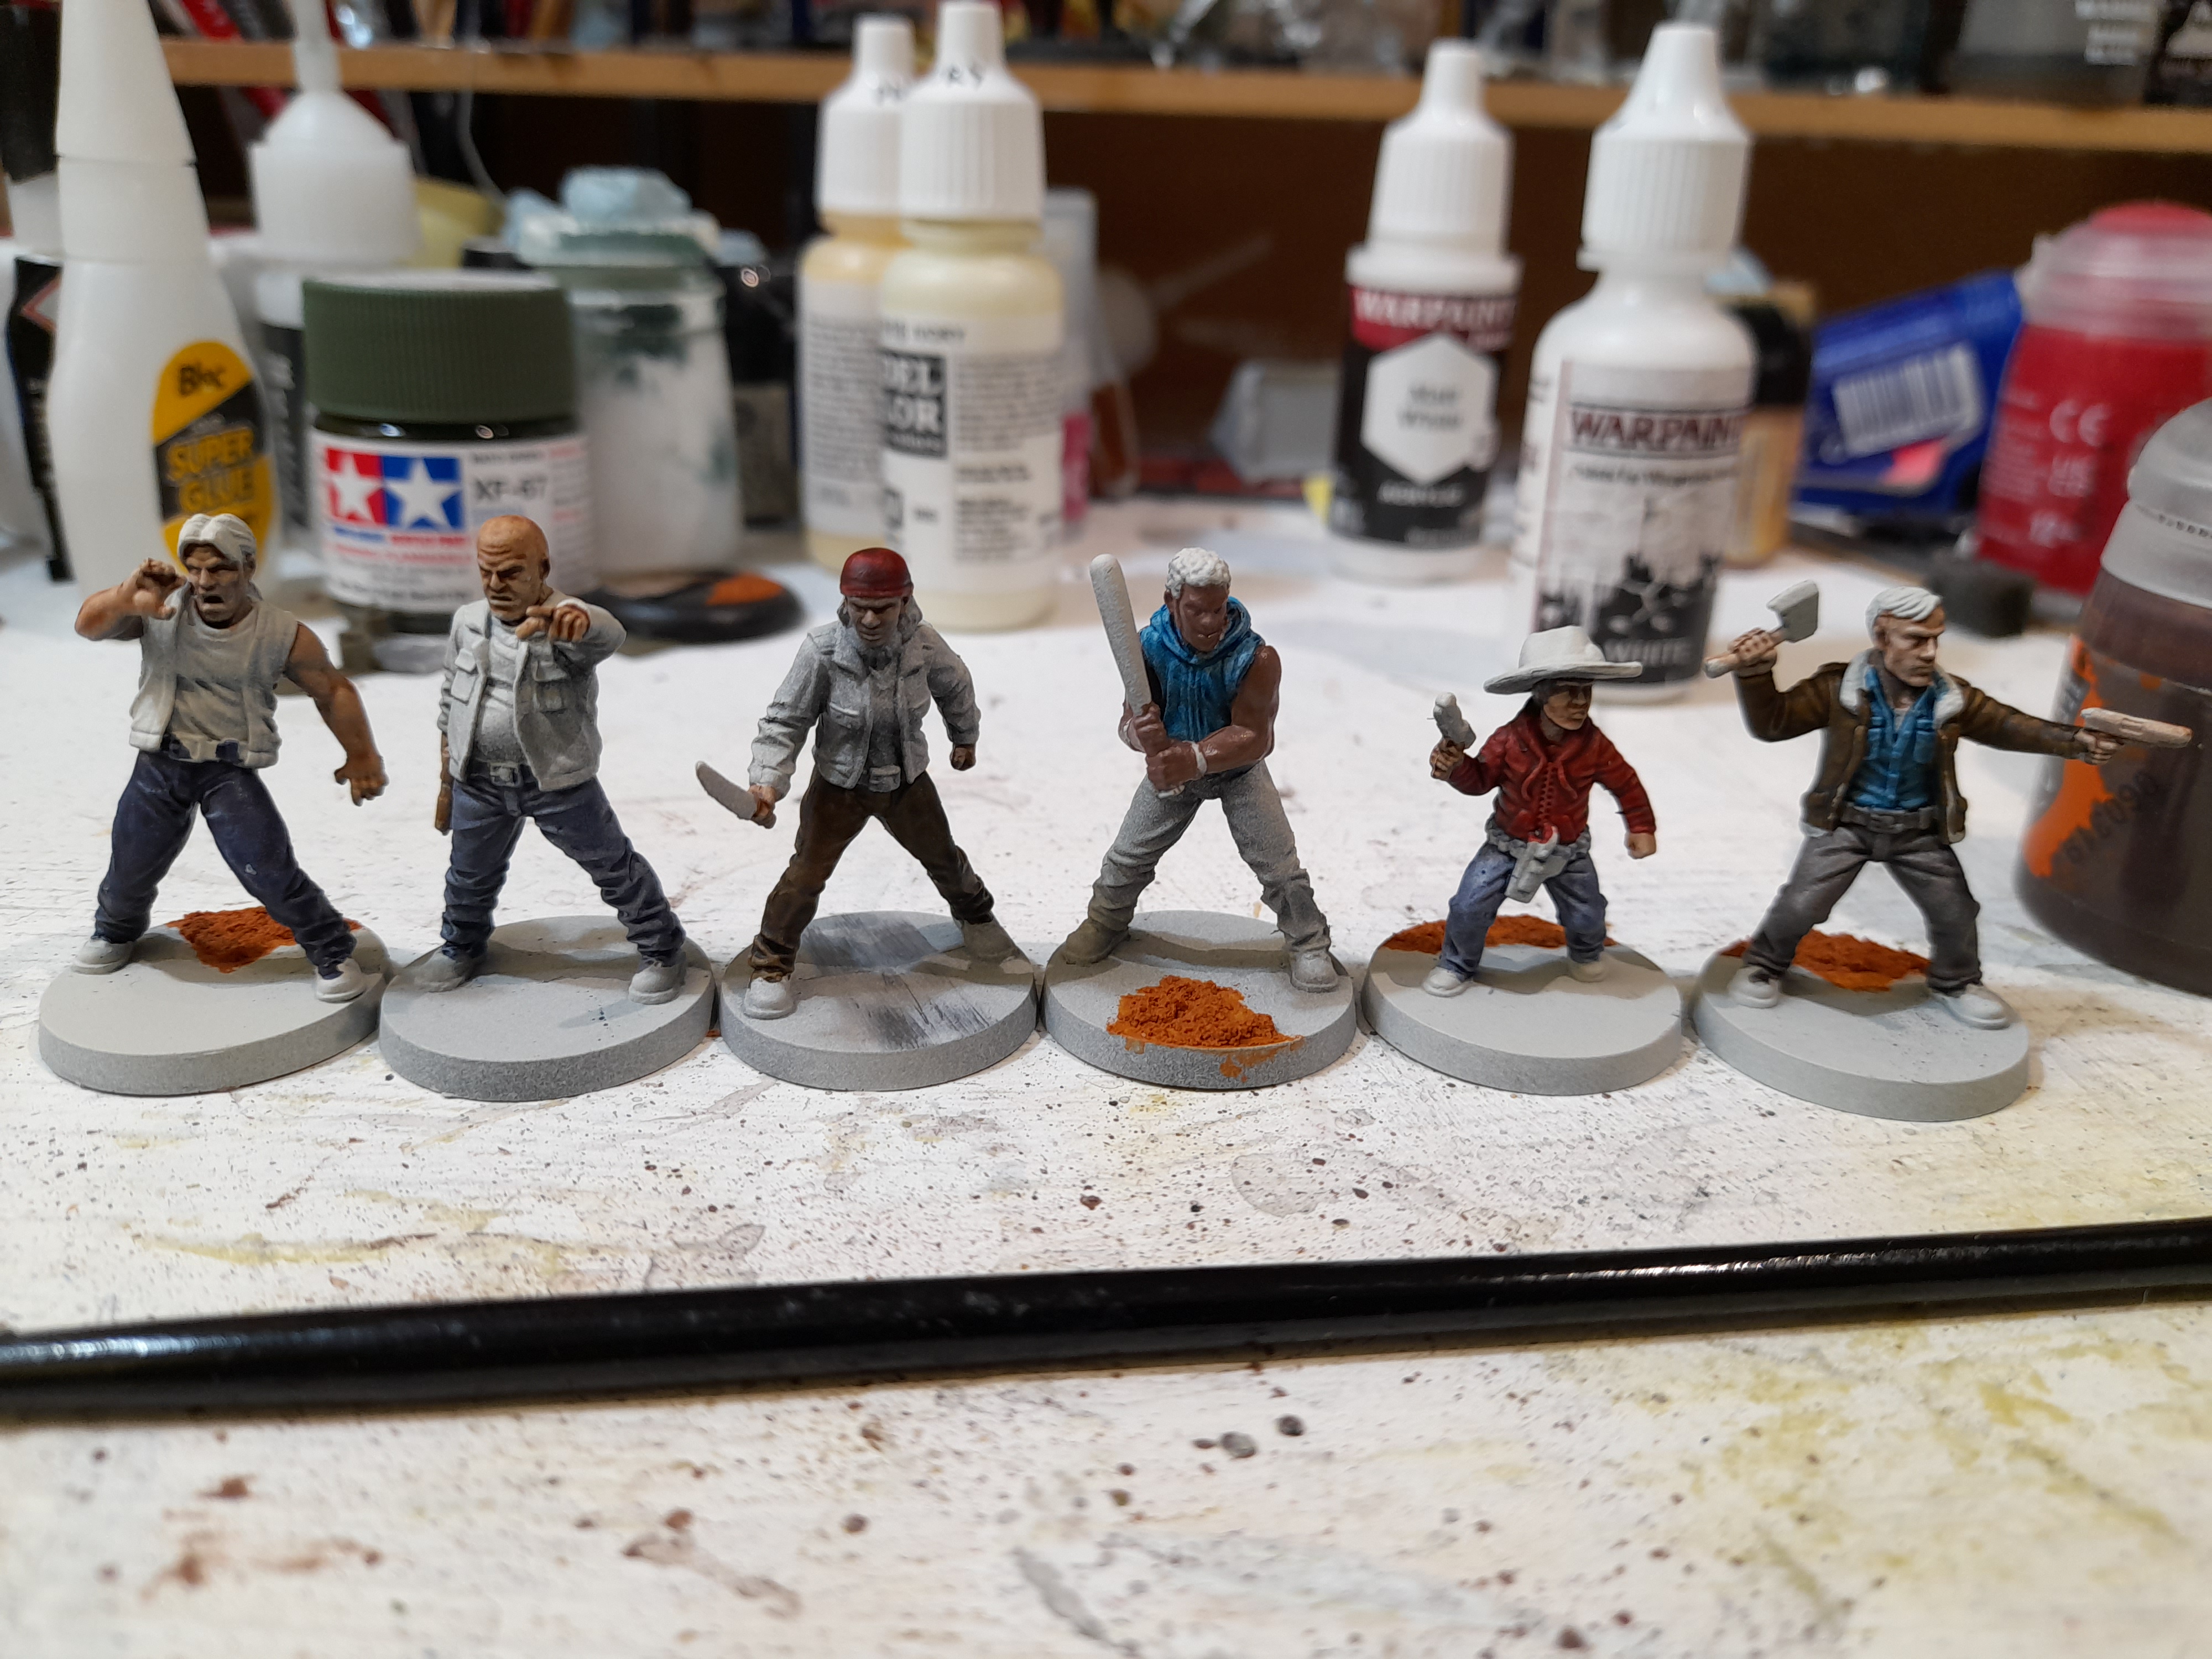
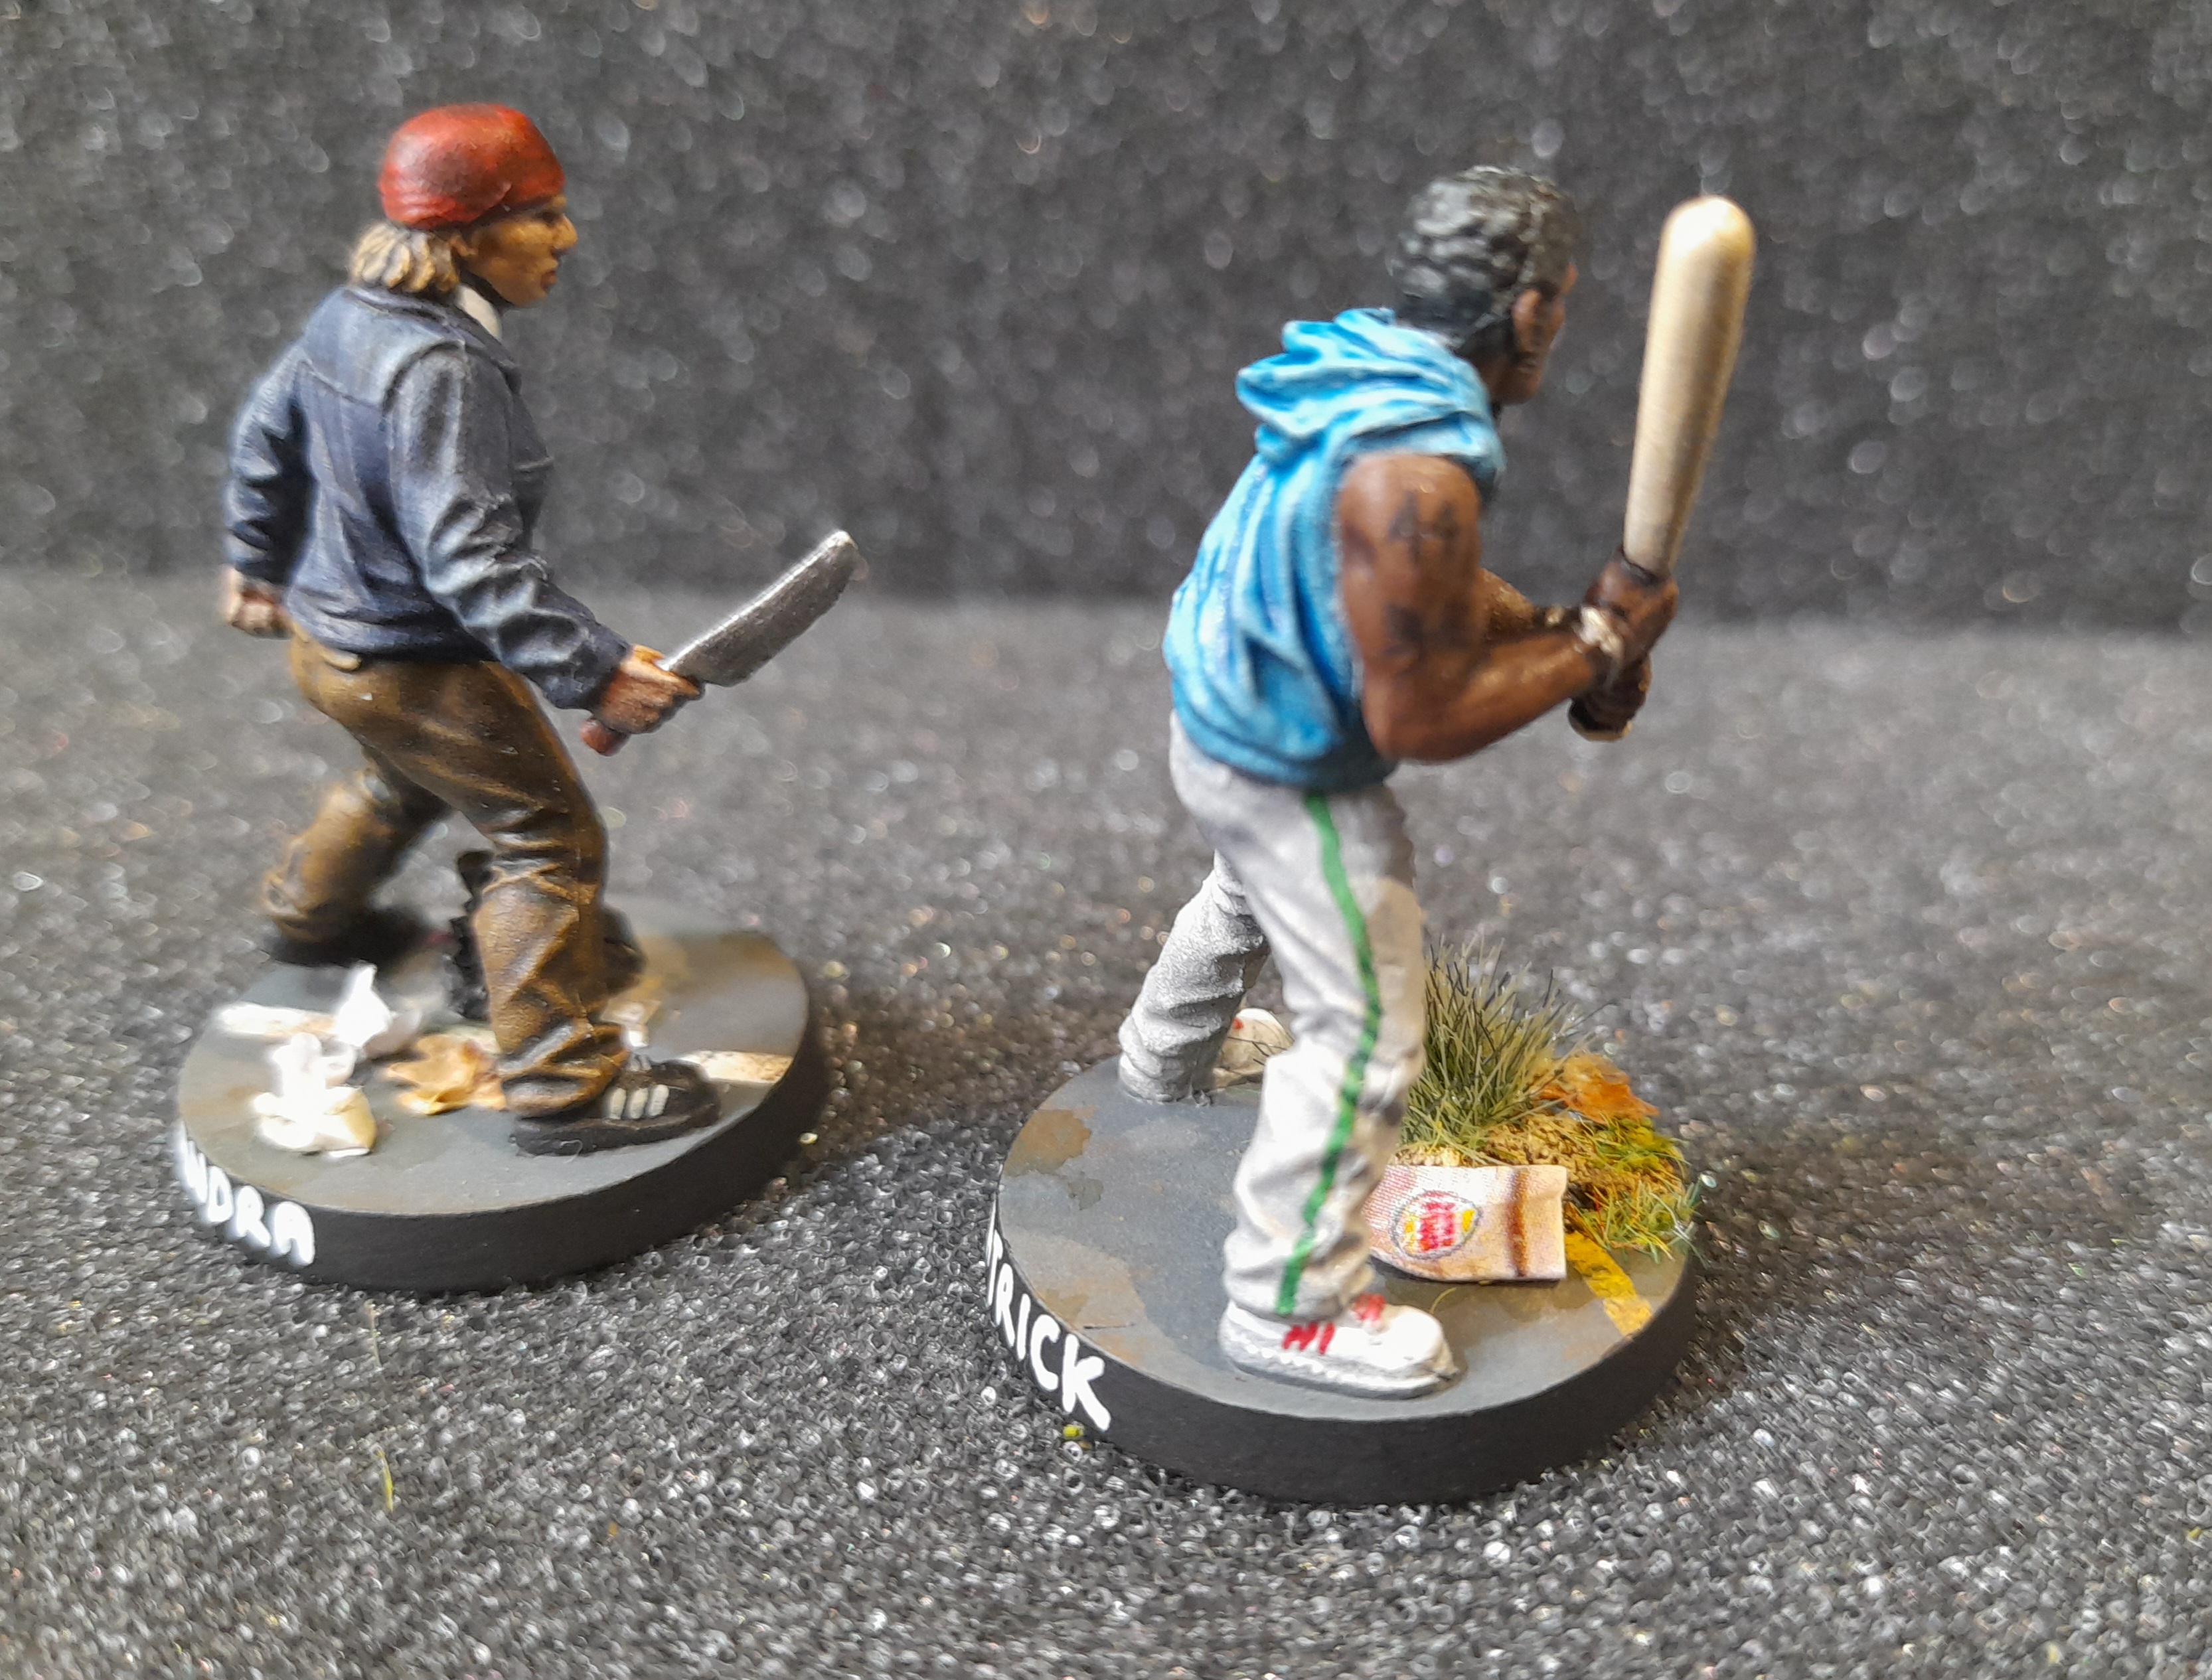
I gave Derek a logo on the back of his jacket, and gave Patrick some tattoos.
Carl’s hat started out a light brown, then changed colour a couple of times, finally ended up almost black.
Their shoes were a bit dull overall, so I gave some of them markings like trainers/sneakers to add some variety.
Then various finishing touches, adding zips, buttons, belt buckles etc.
For the basing I used the same sort of methods as on the Walkers.

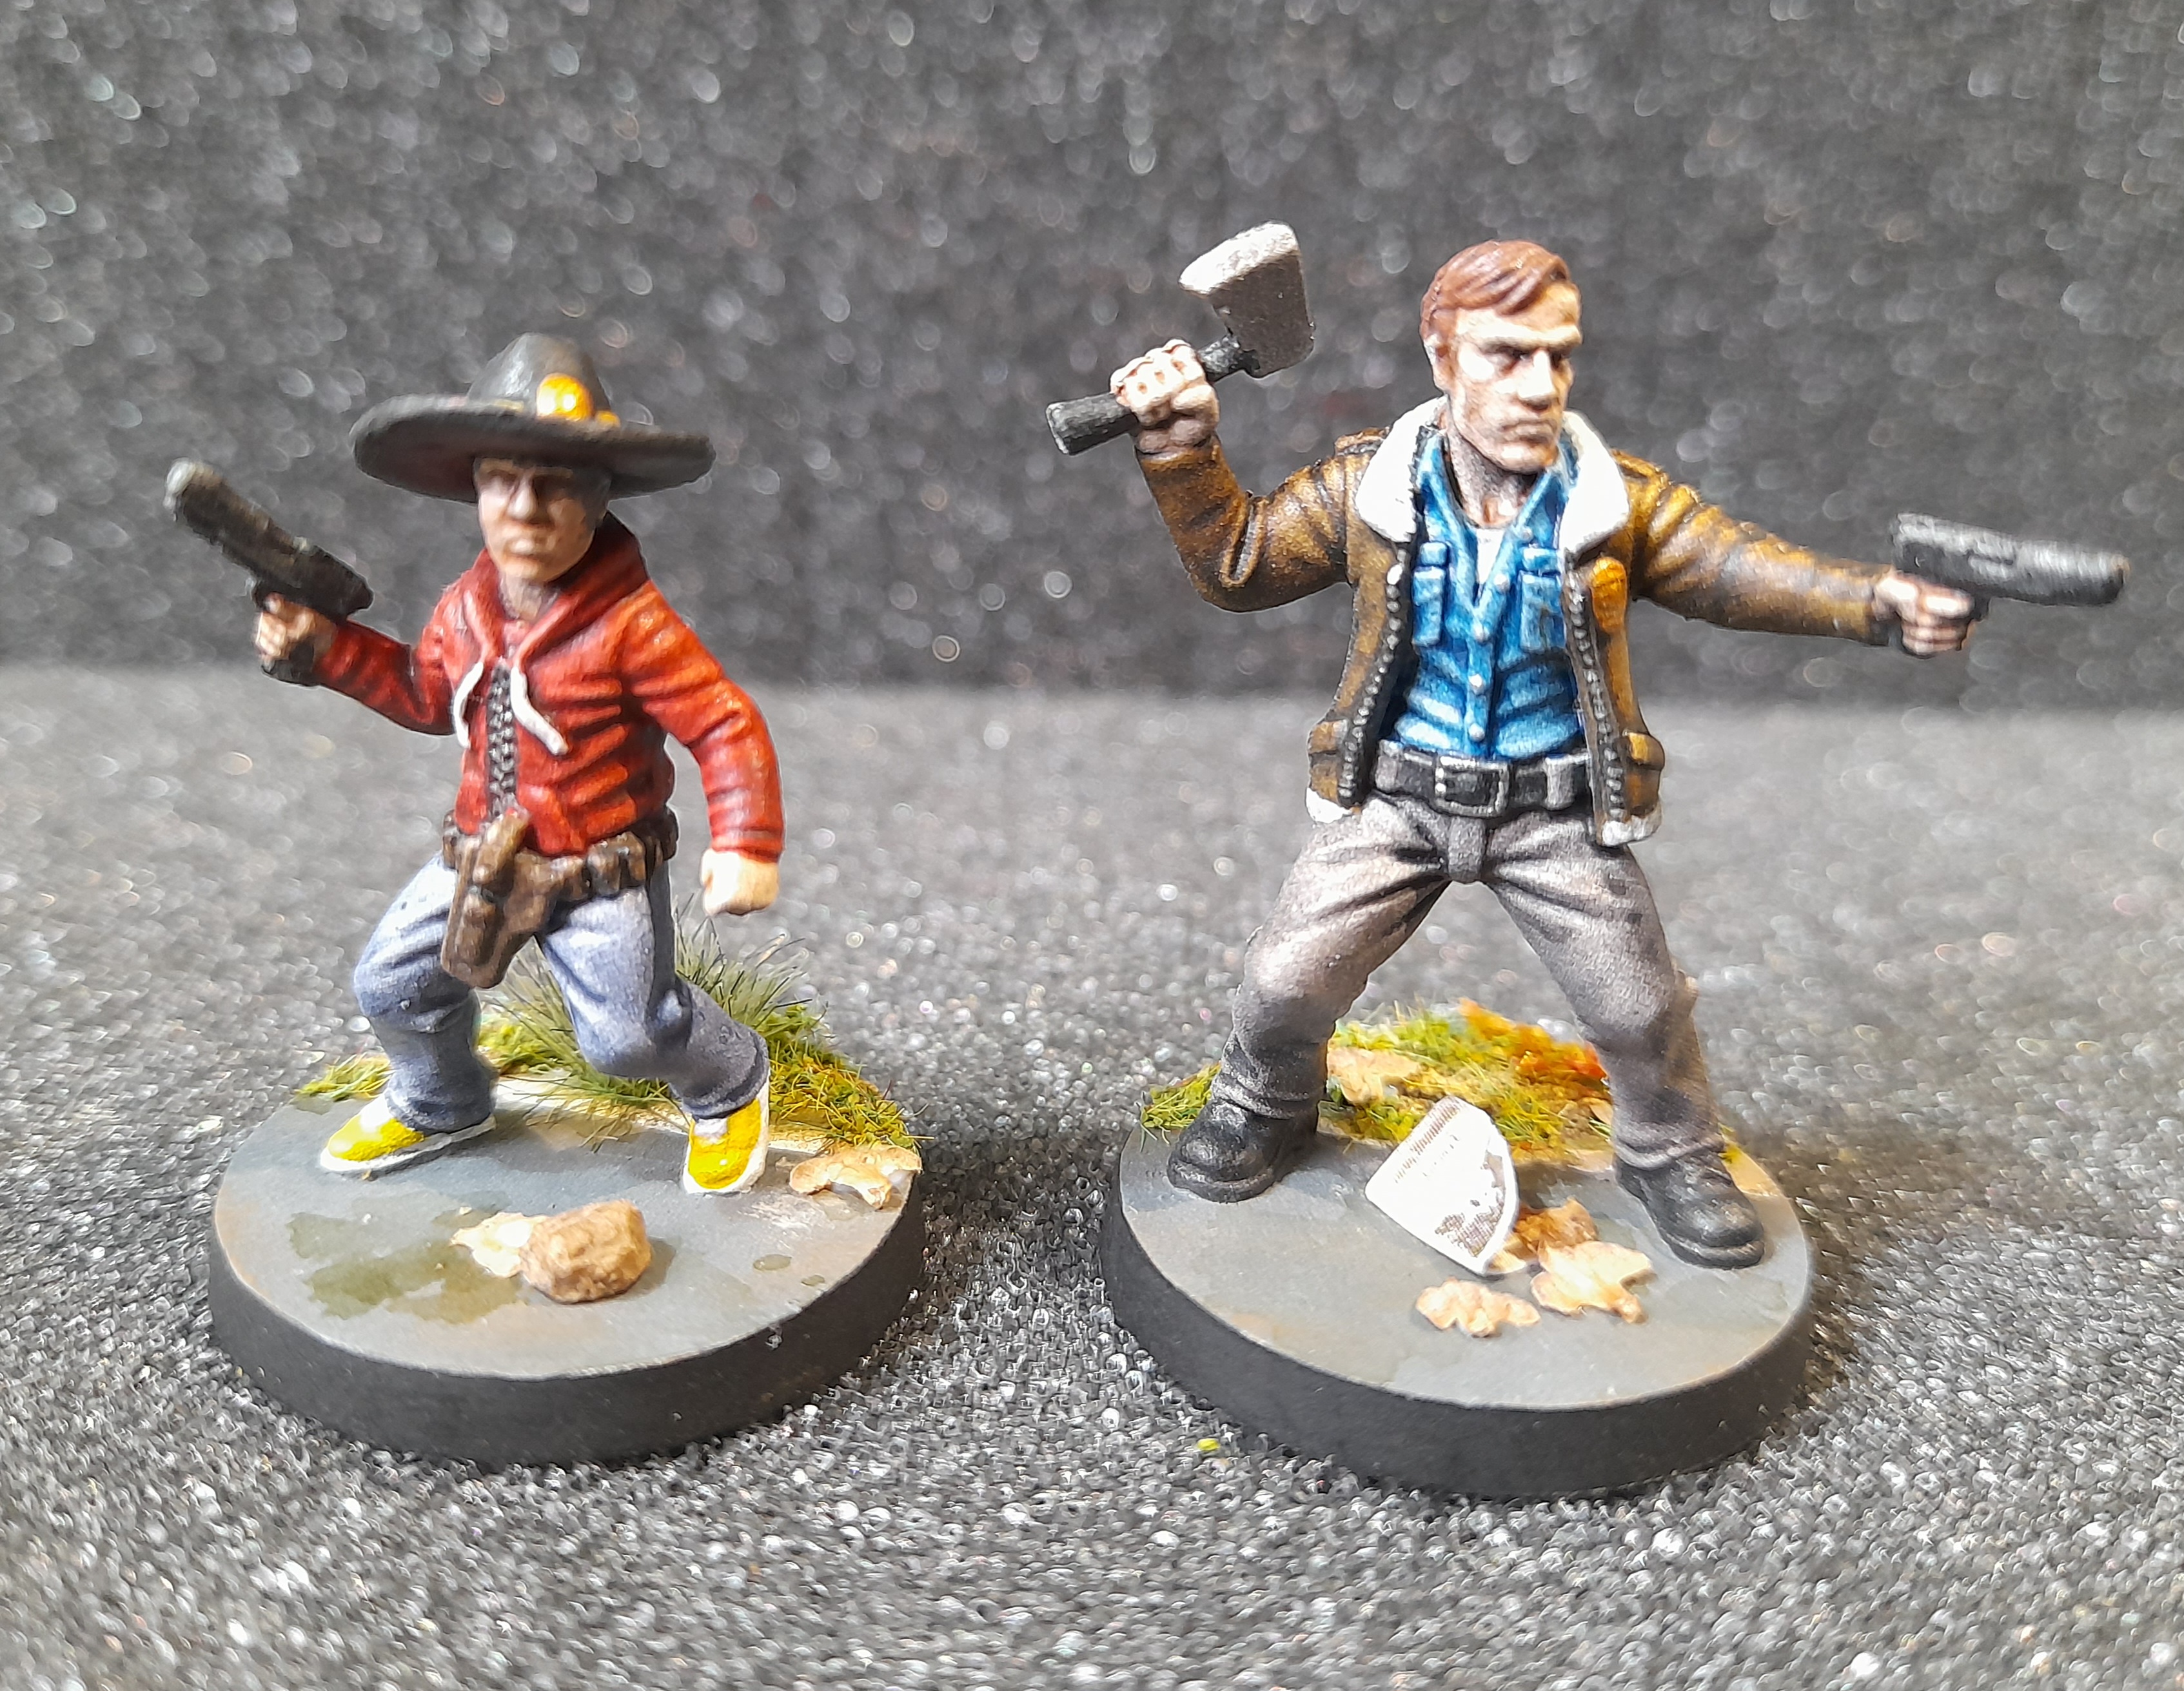
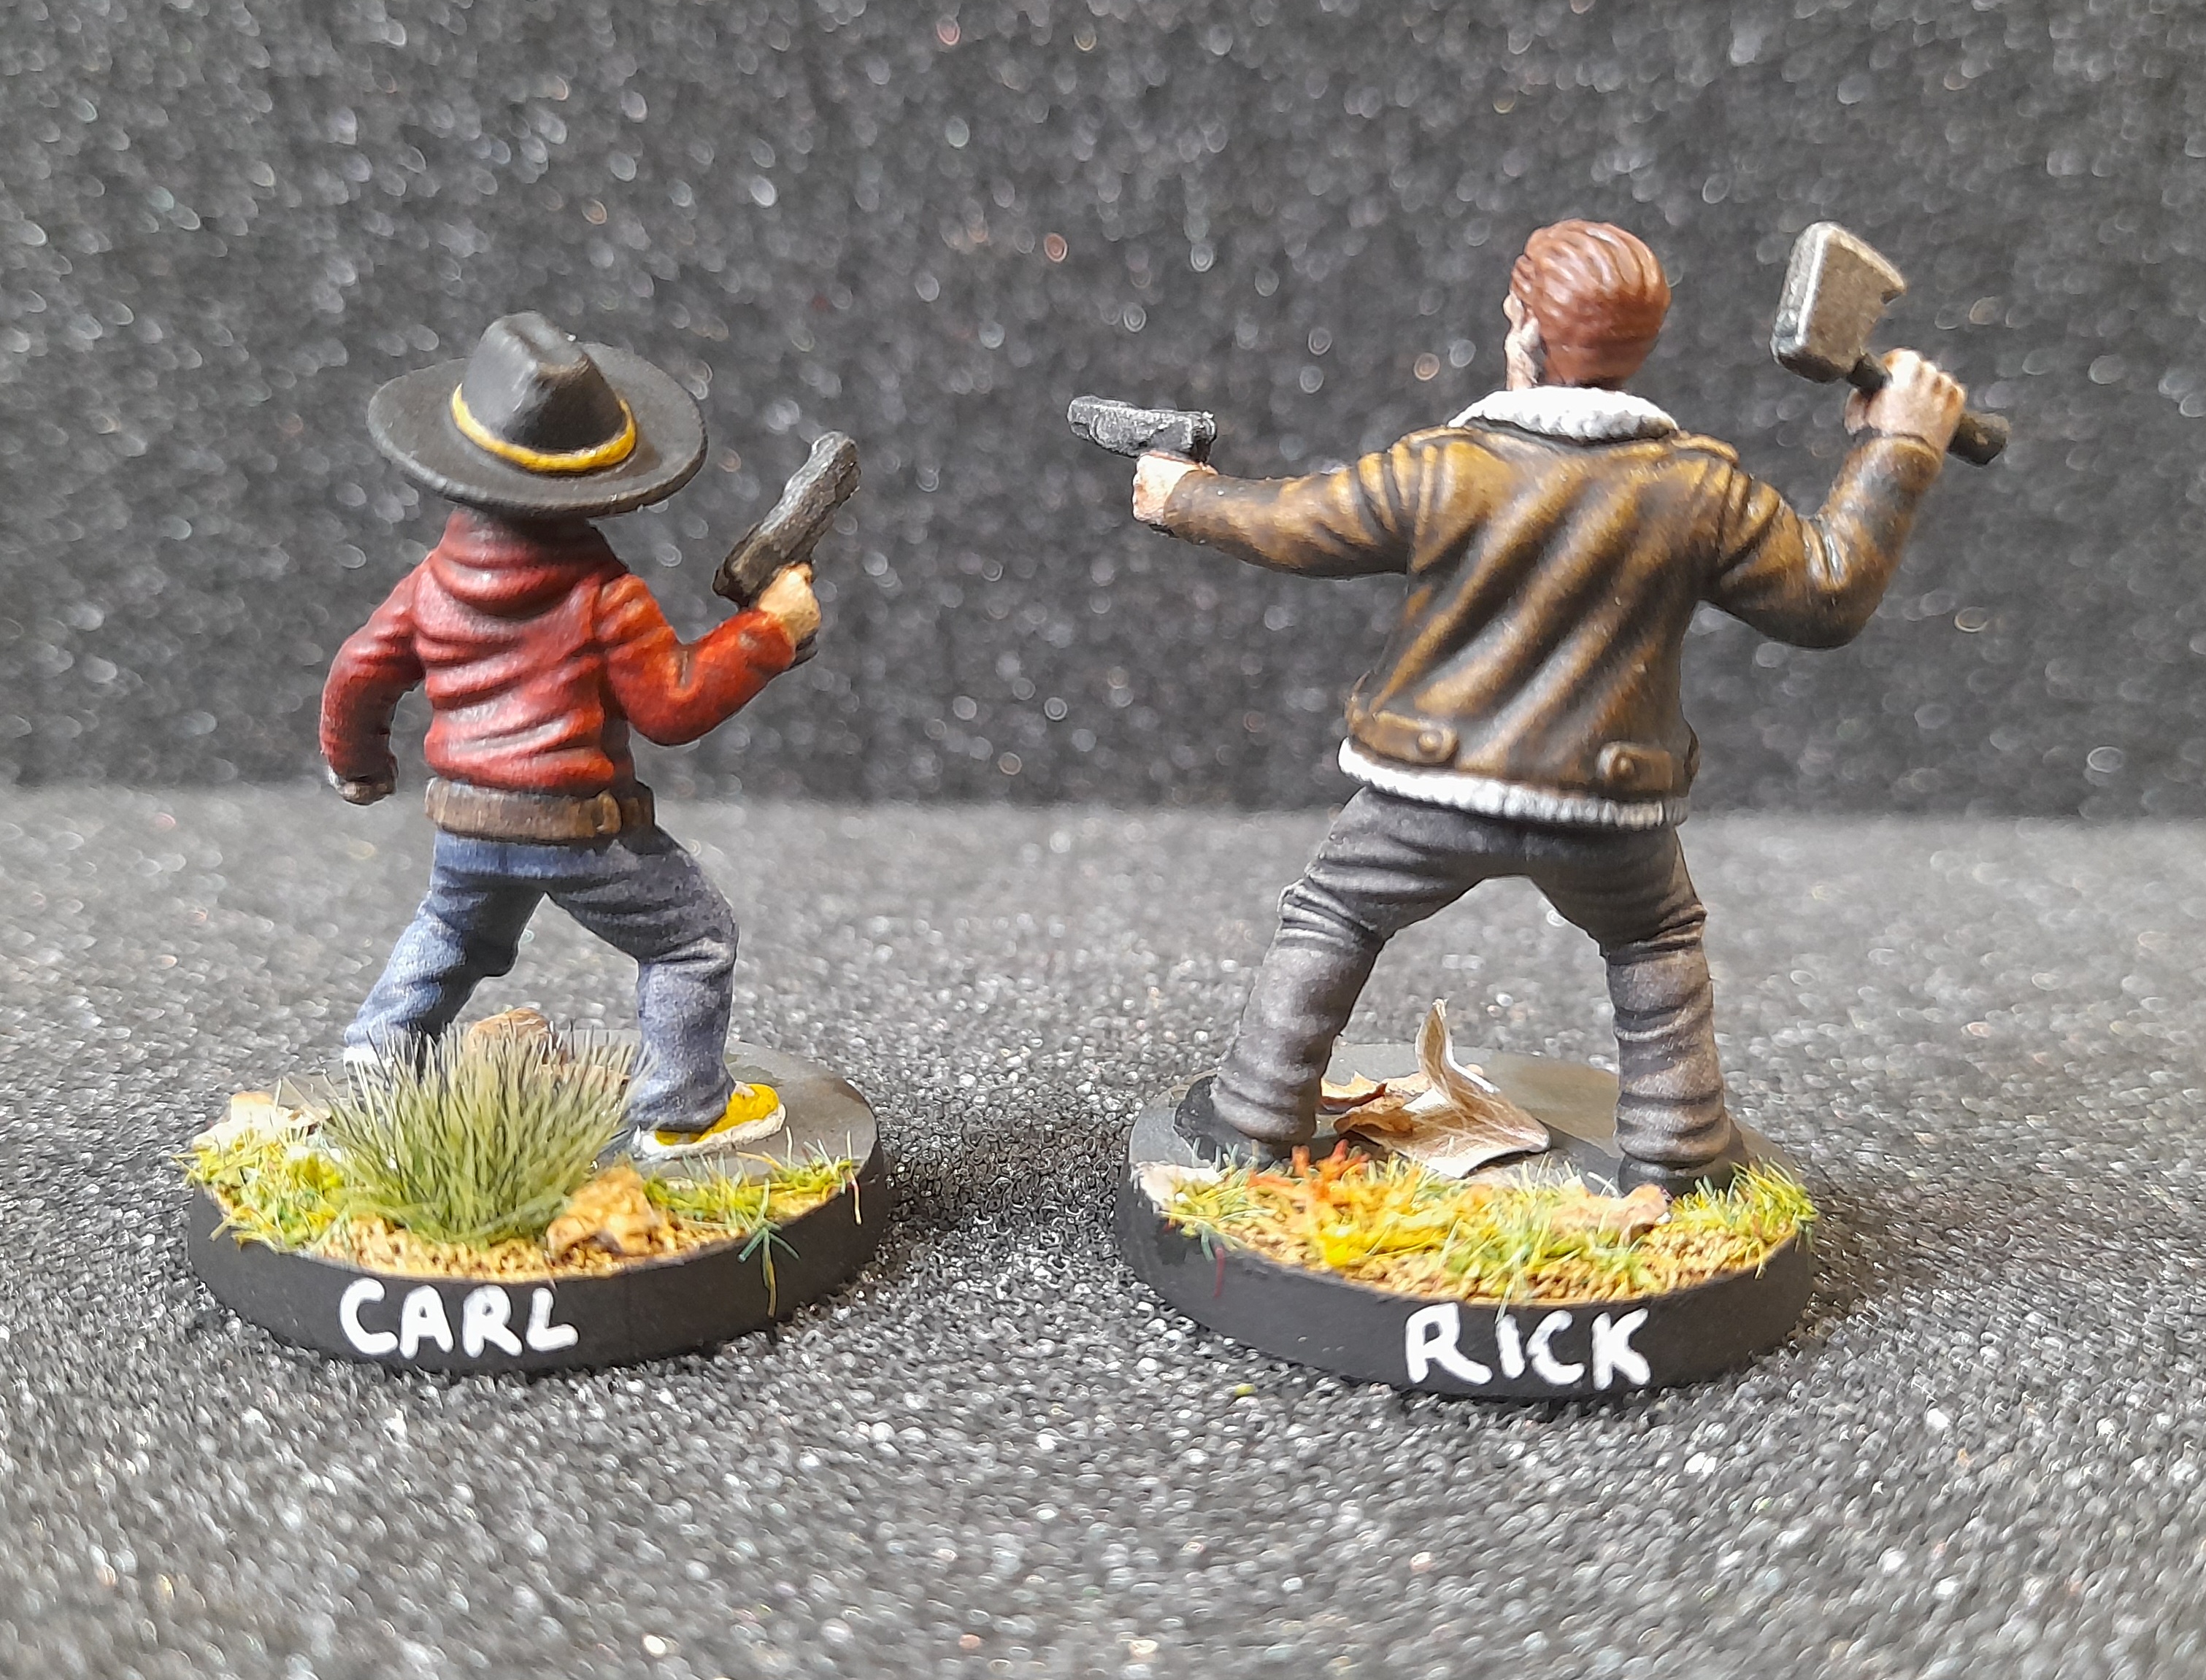
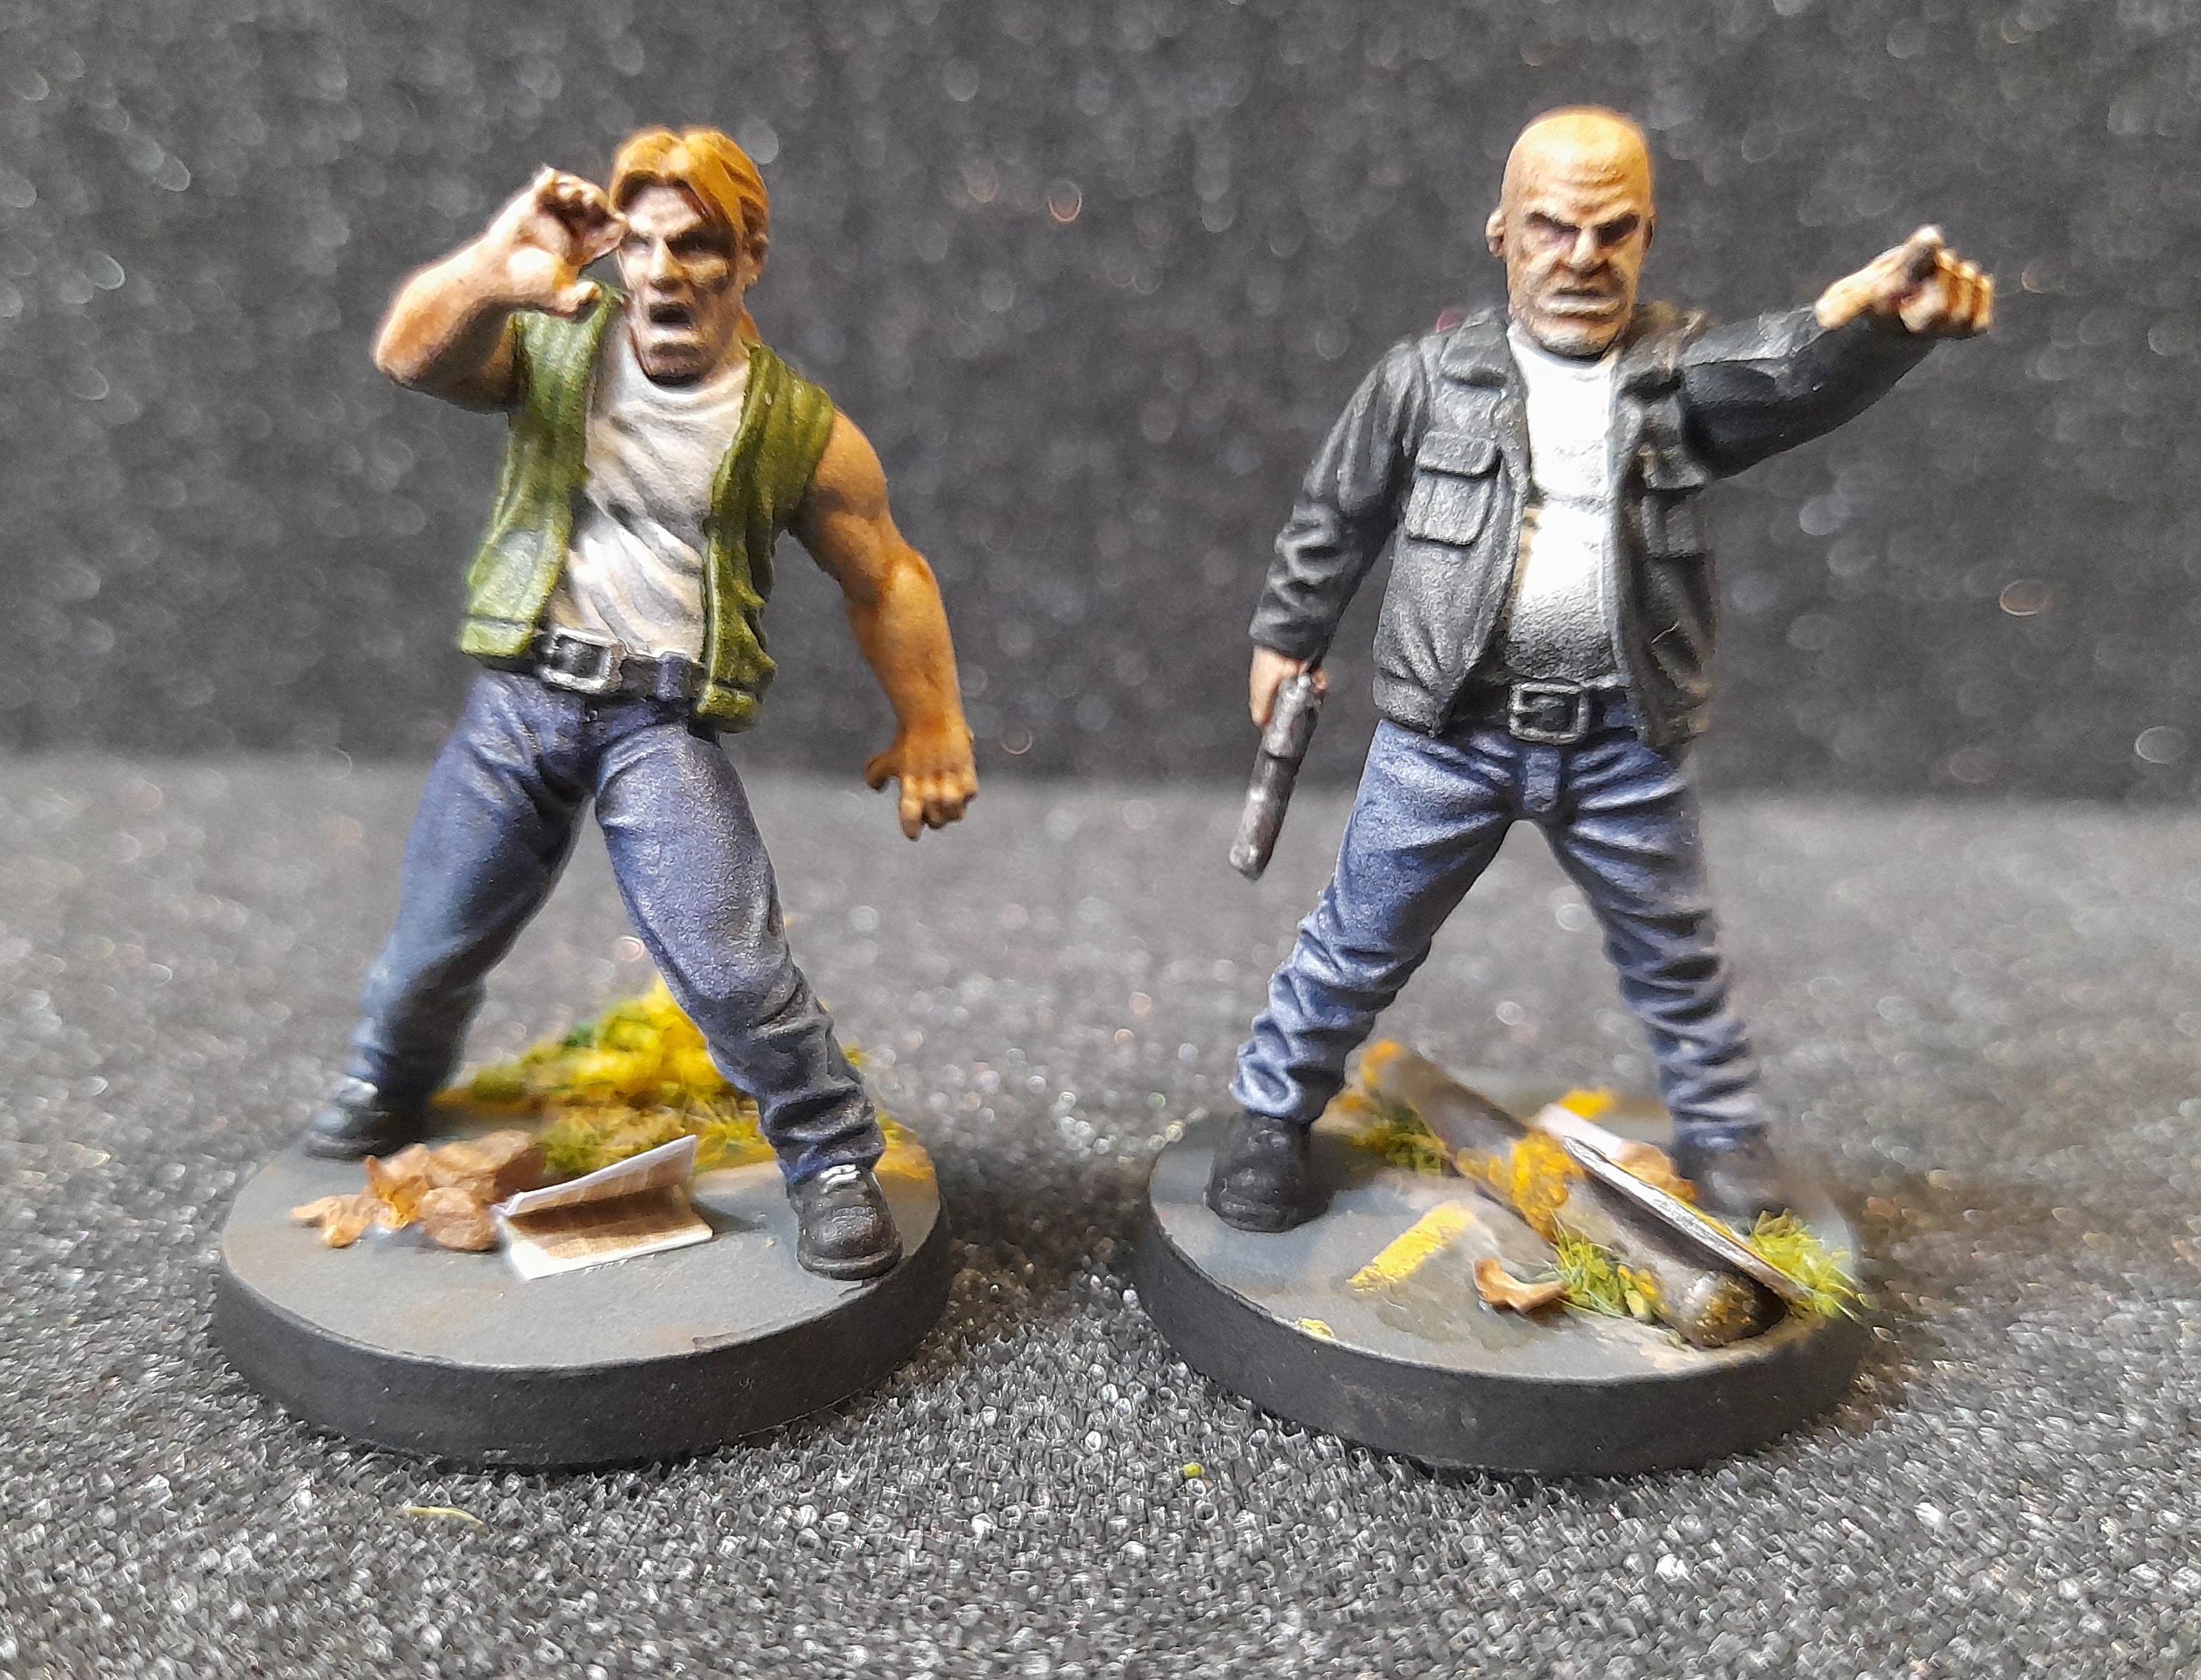
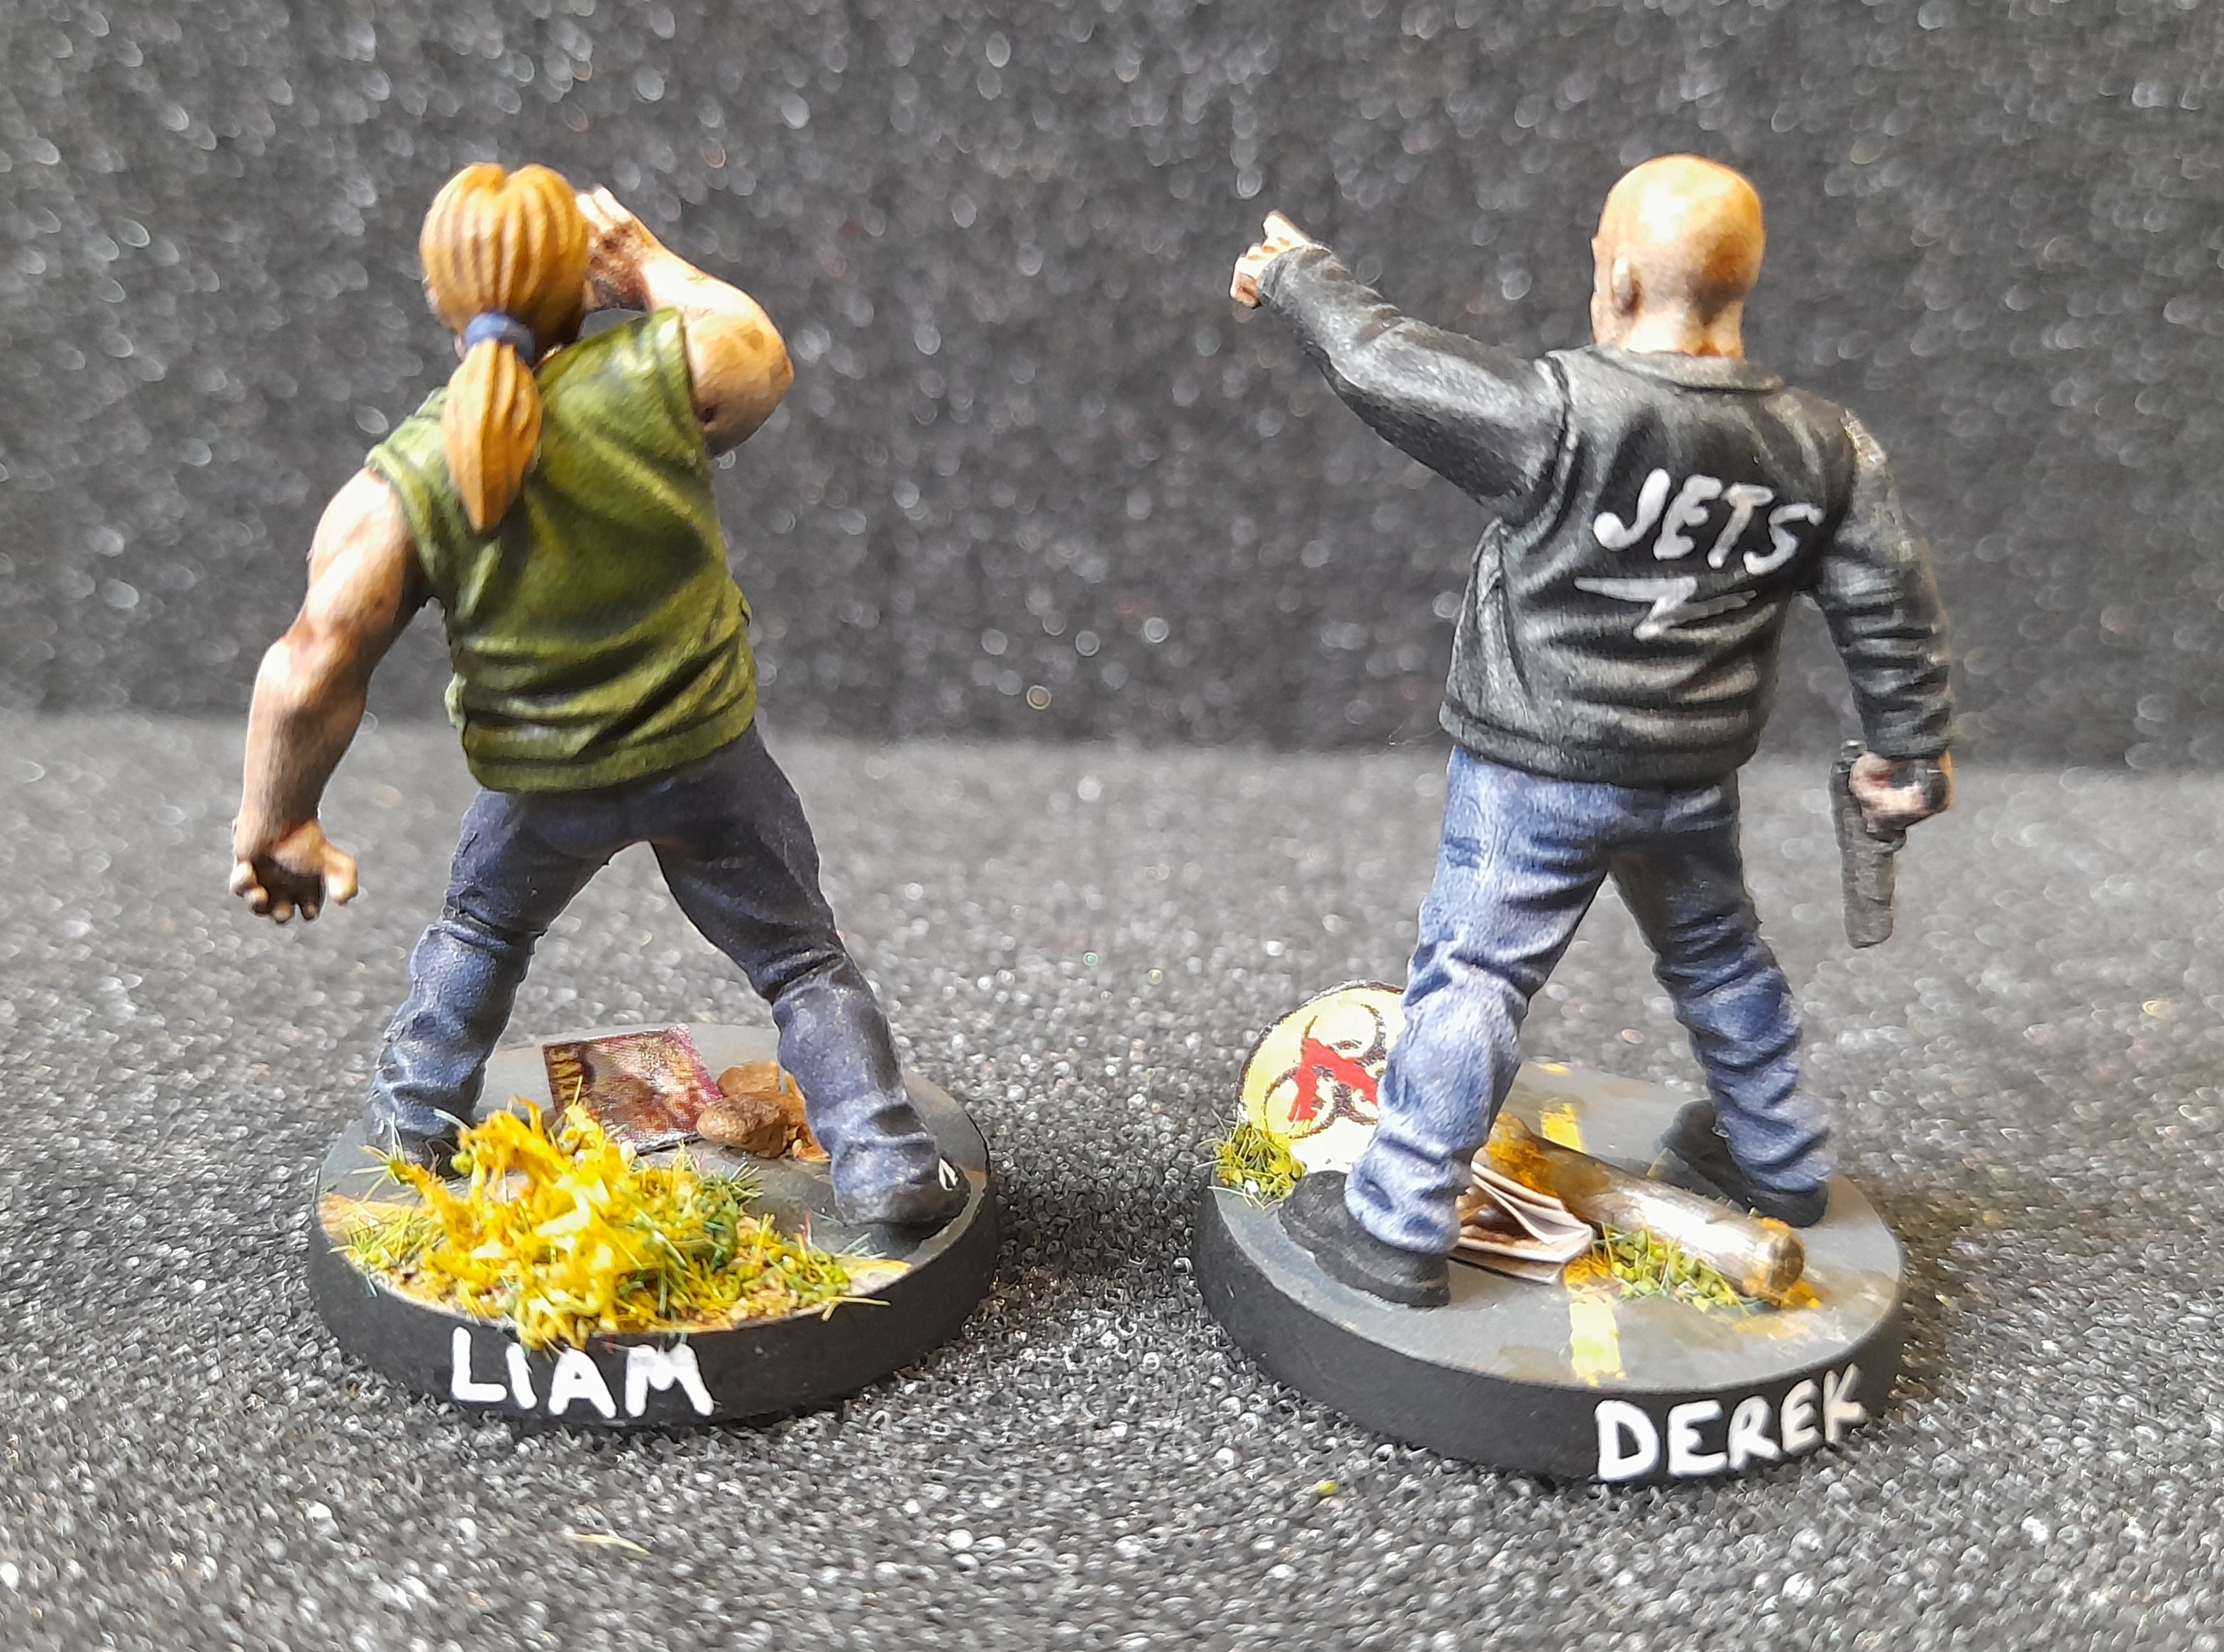
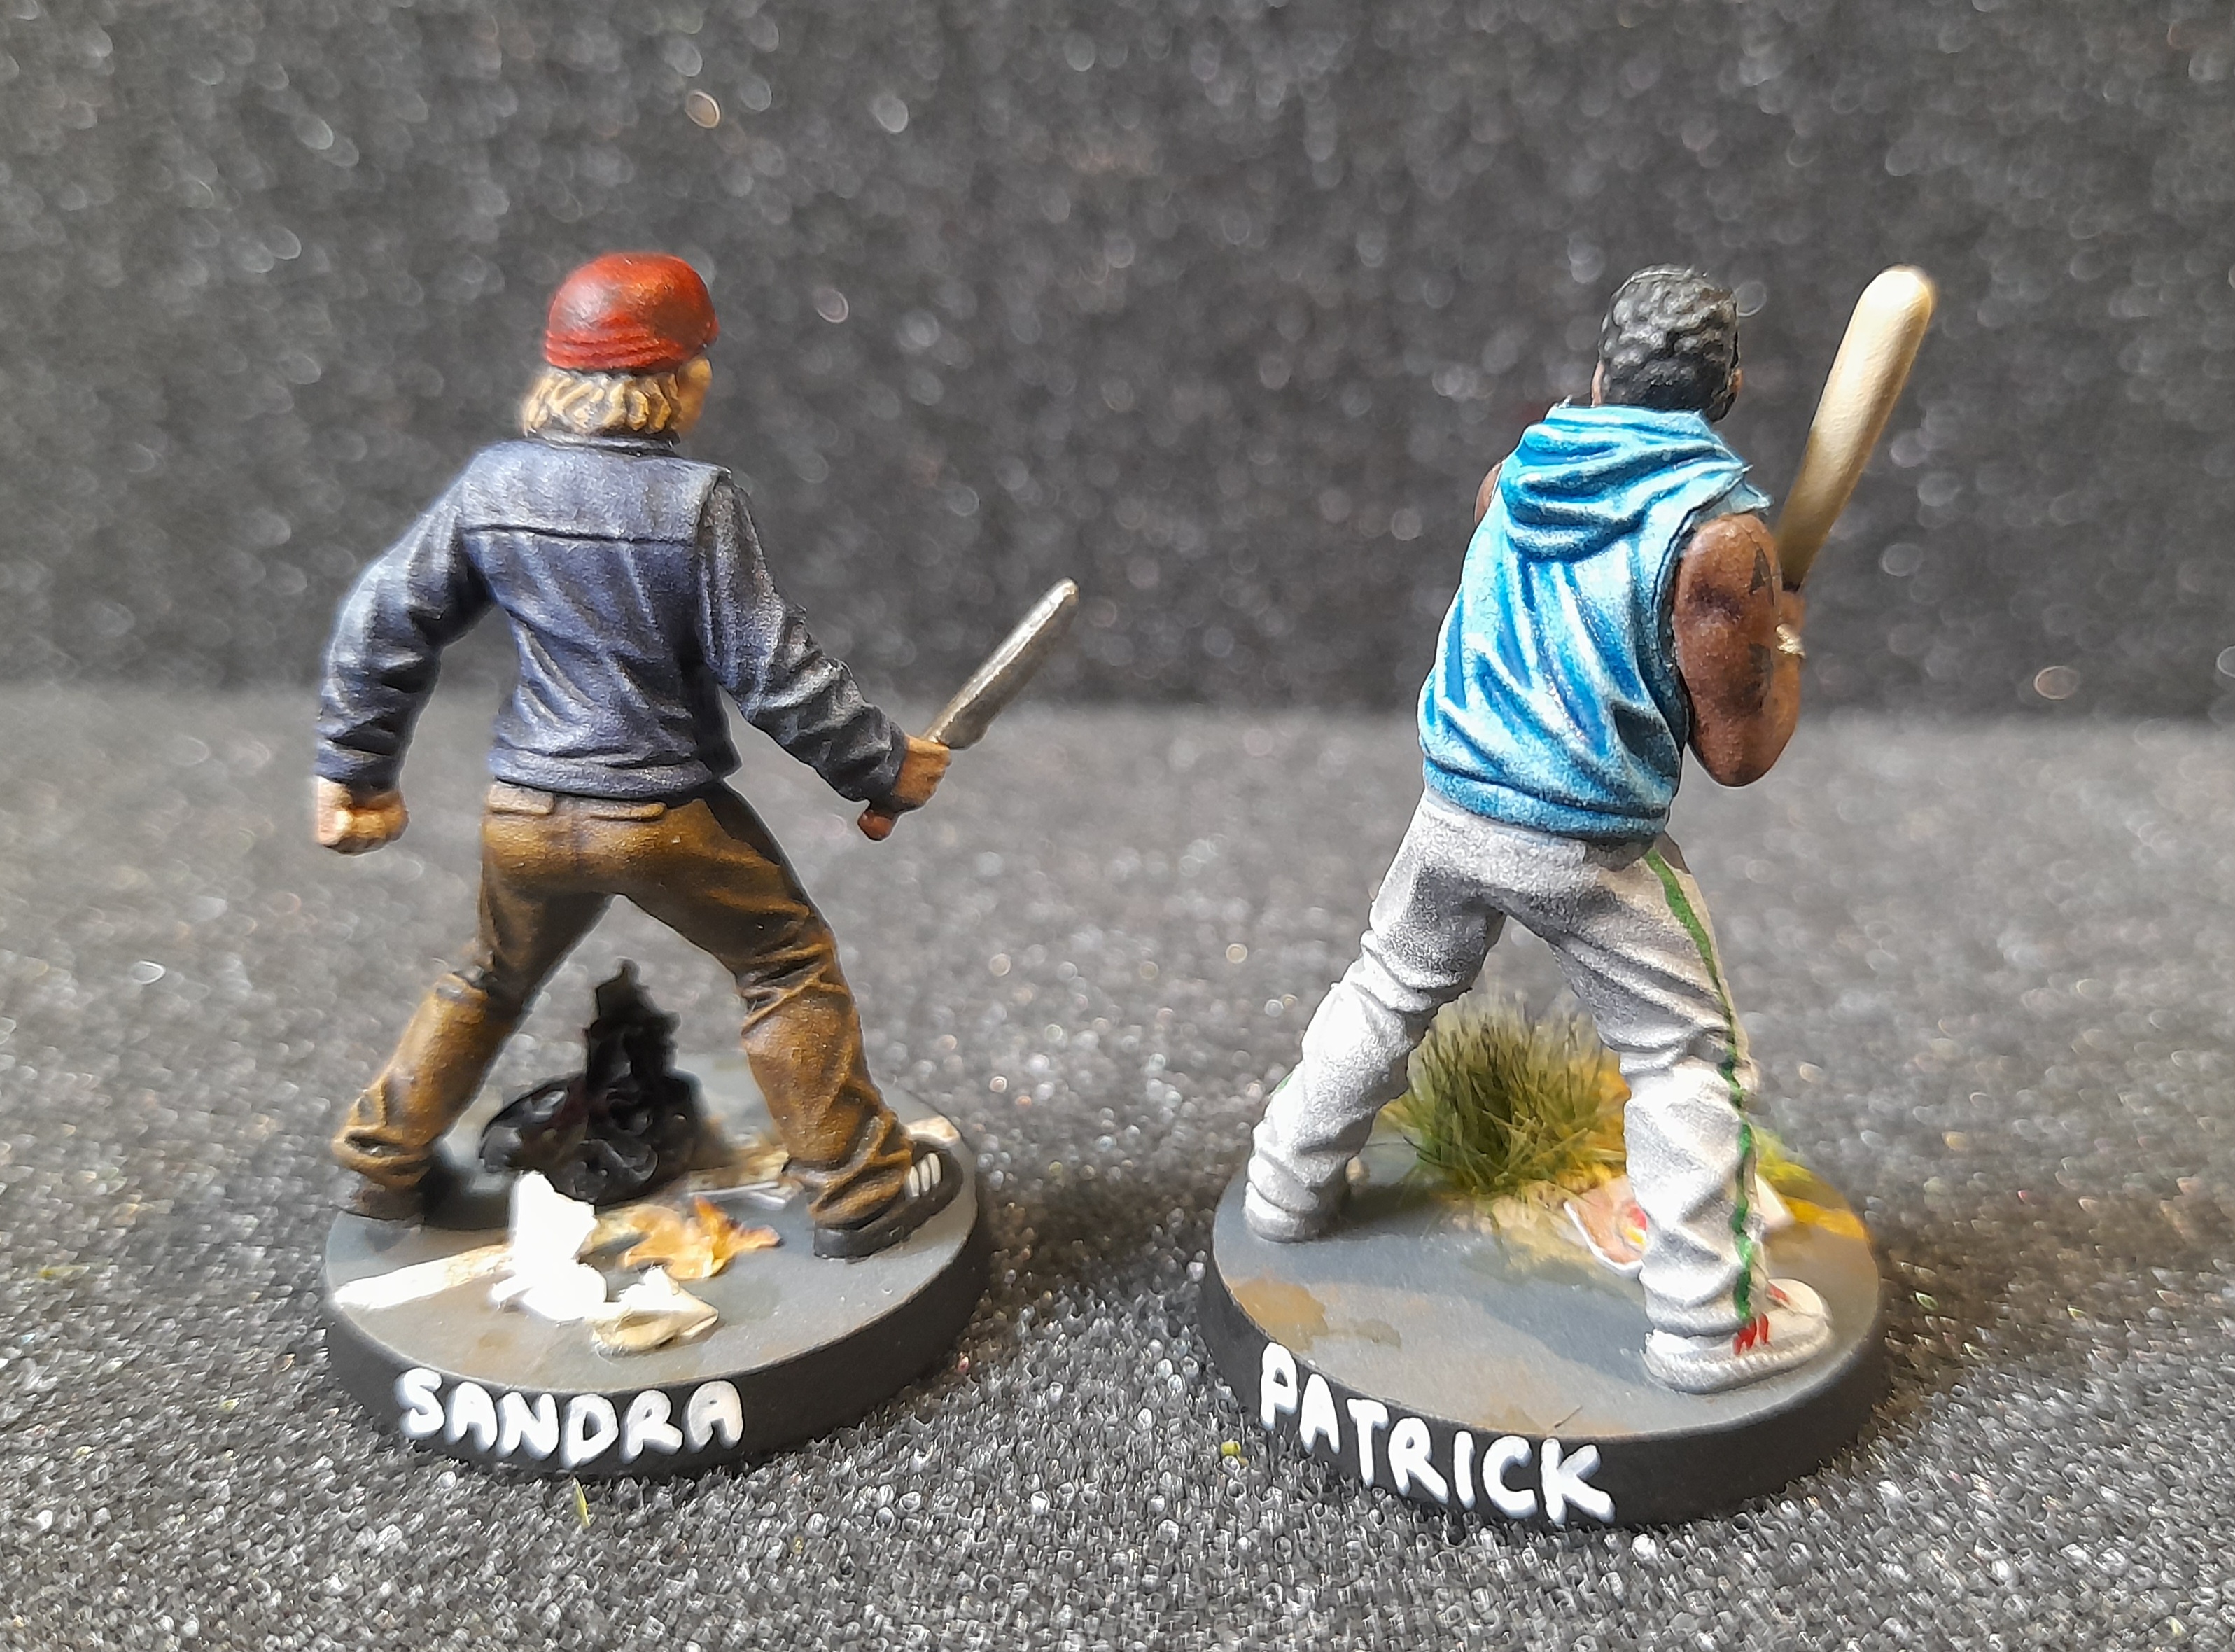
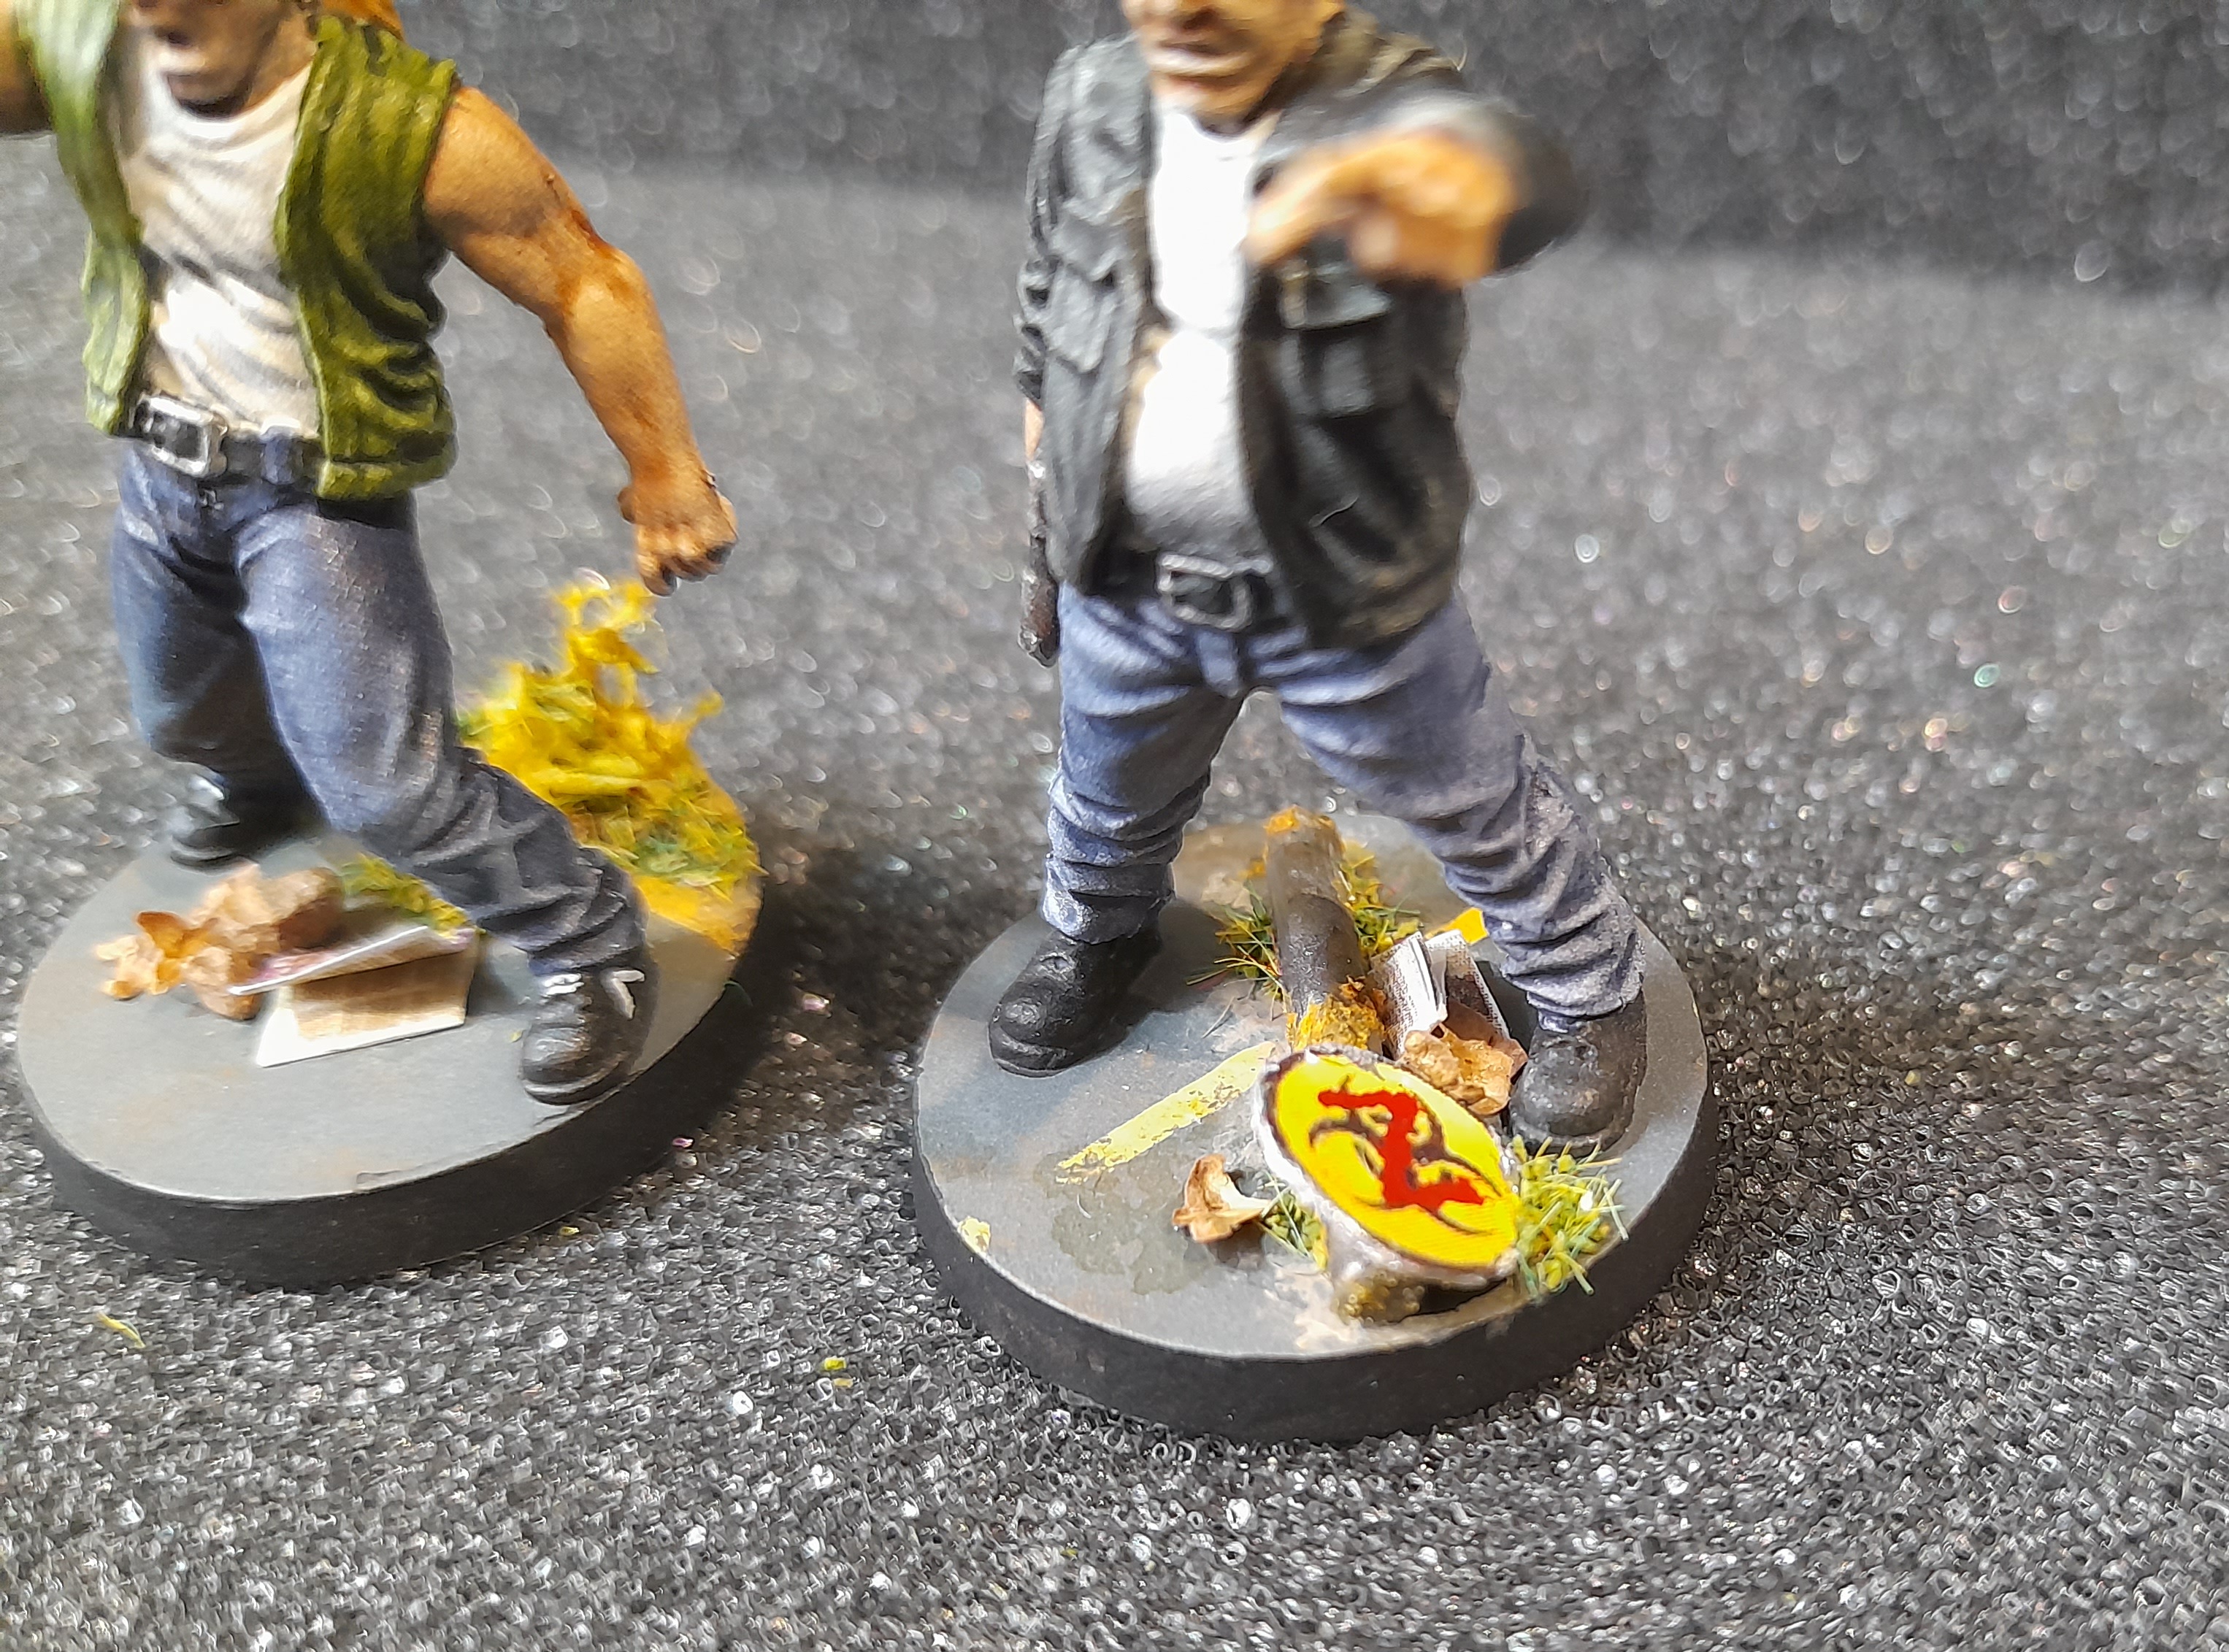
For Derek’s base I made a broken sign post. For the sign I had a biohazard symbol which I glued to card and cut out. Painted the rim and back in metal, and added a red ‘Z’ to the front. The post was a bit of plastic rod painted in metal, with some rust added. Then I put some dirt and grass, plus leaves and a newspaper under it.
Patrick had a burger King bag added. For this one I found an image, printed it off side by side then glued it as a pouch. Scrunched up a bit I think it works.
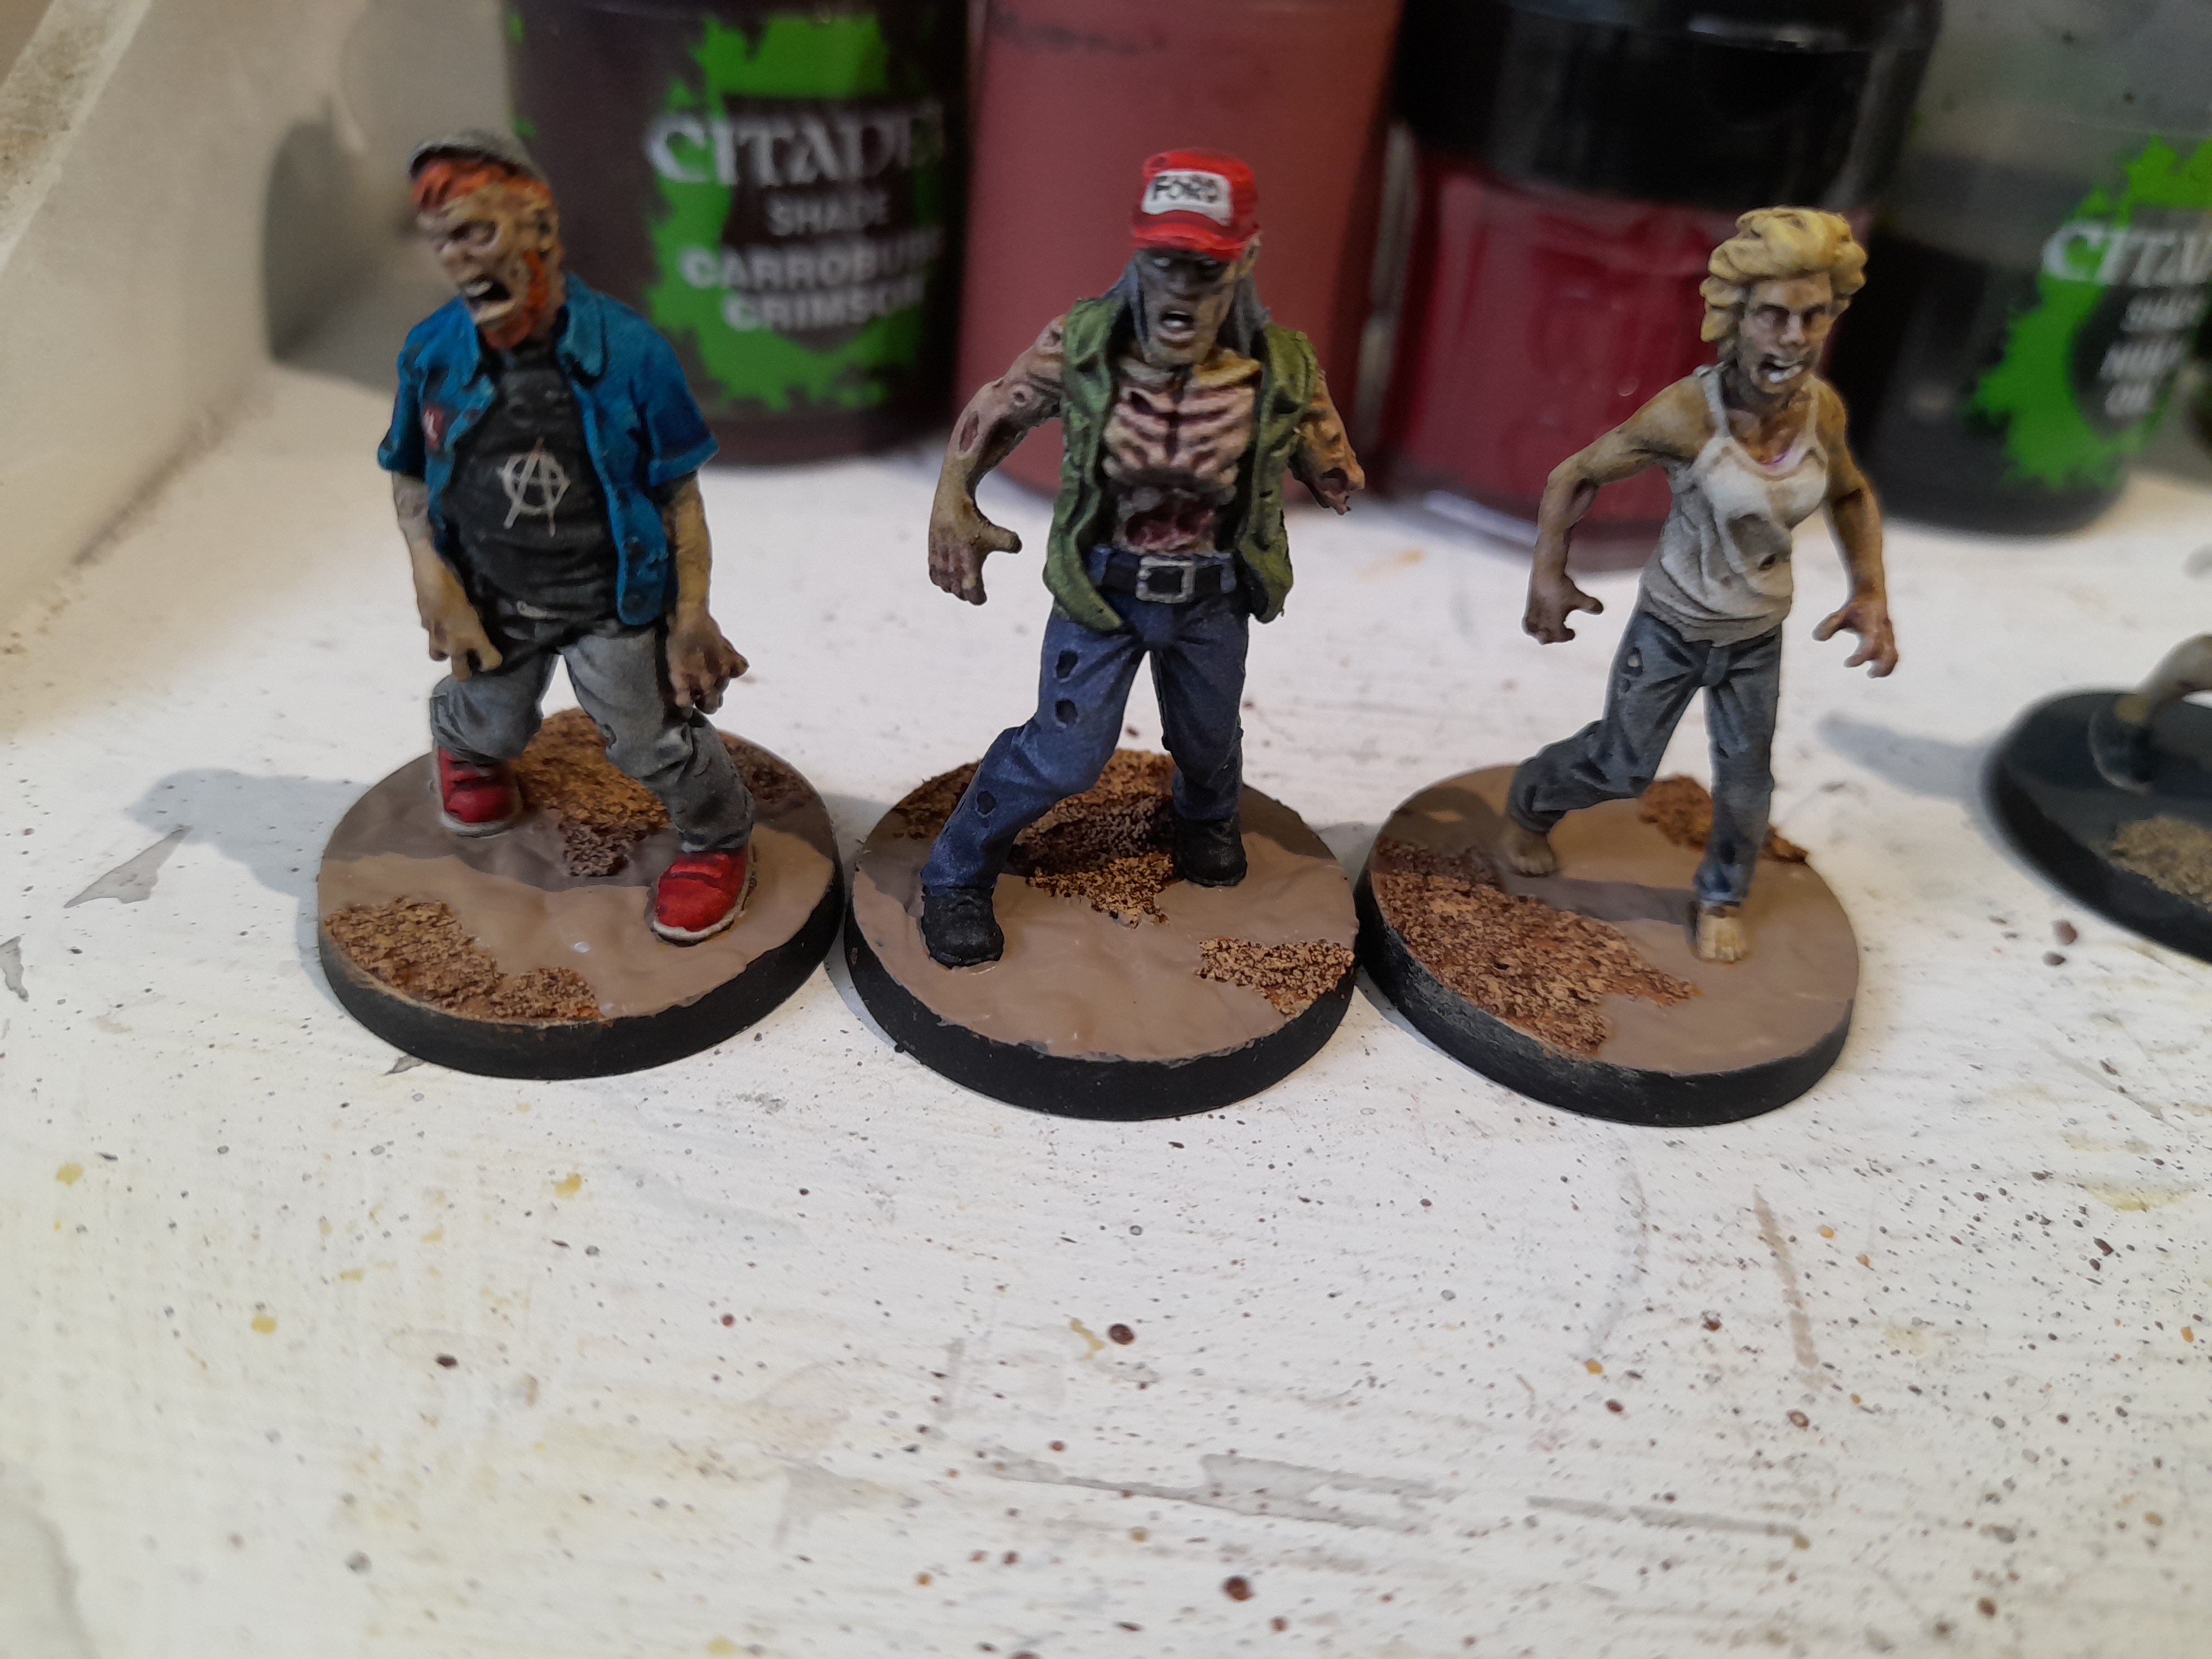
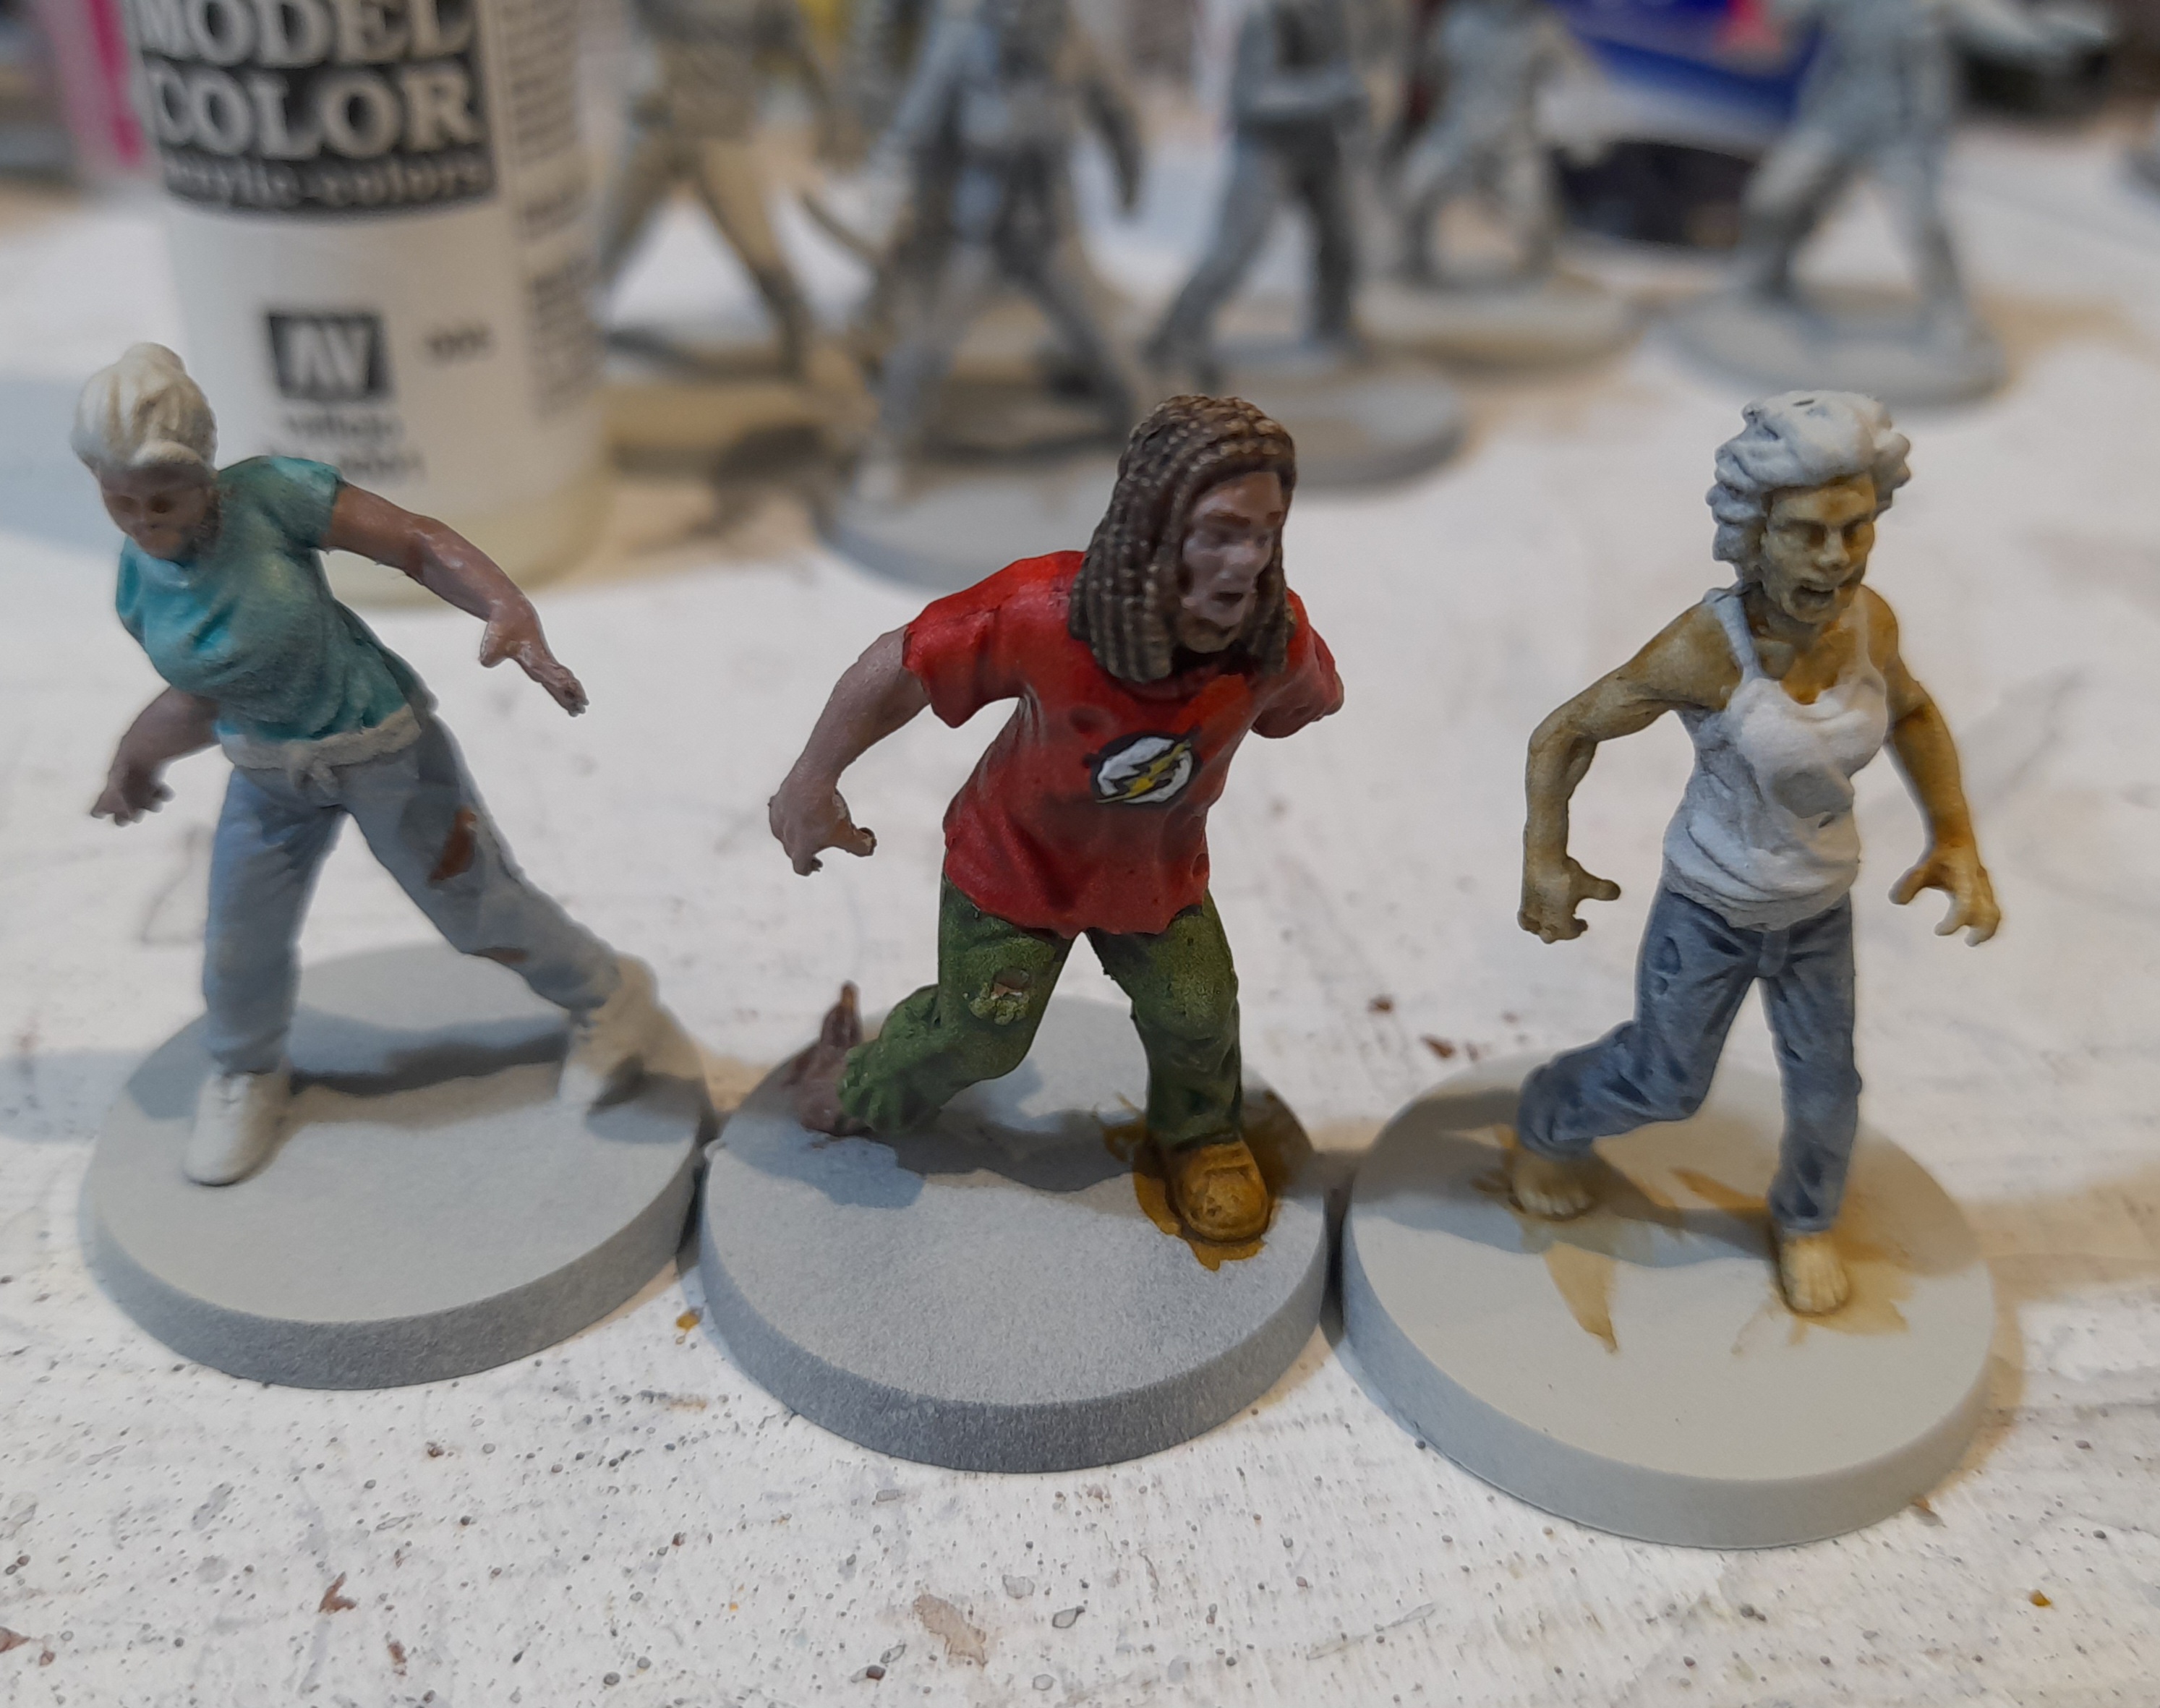
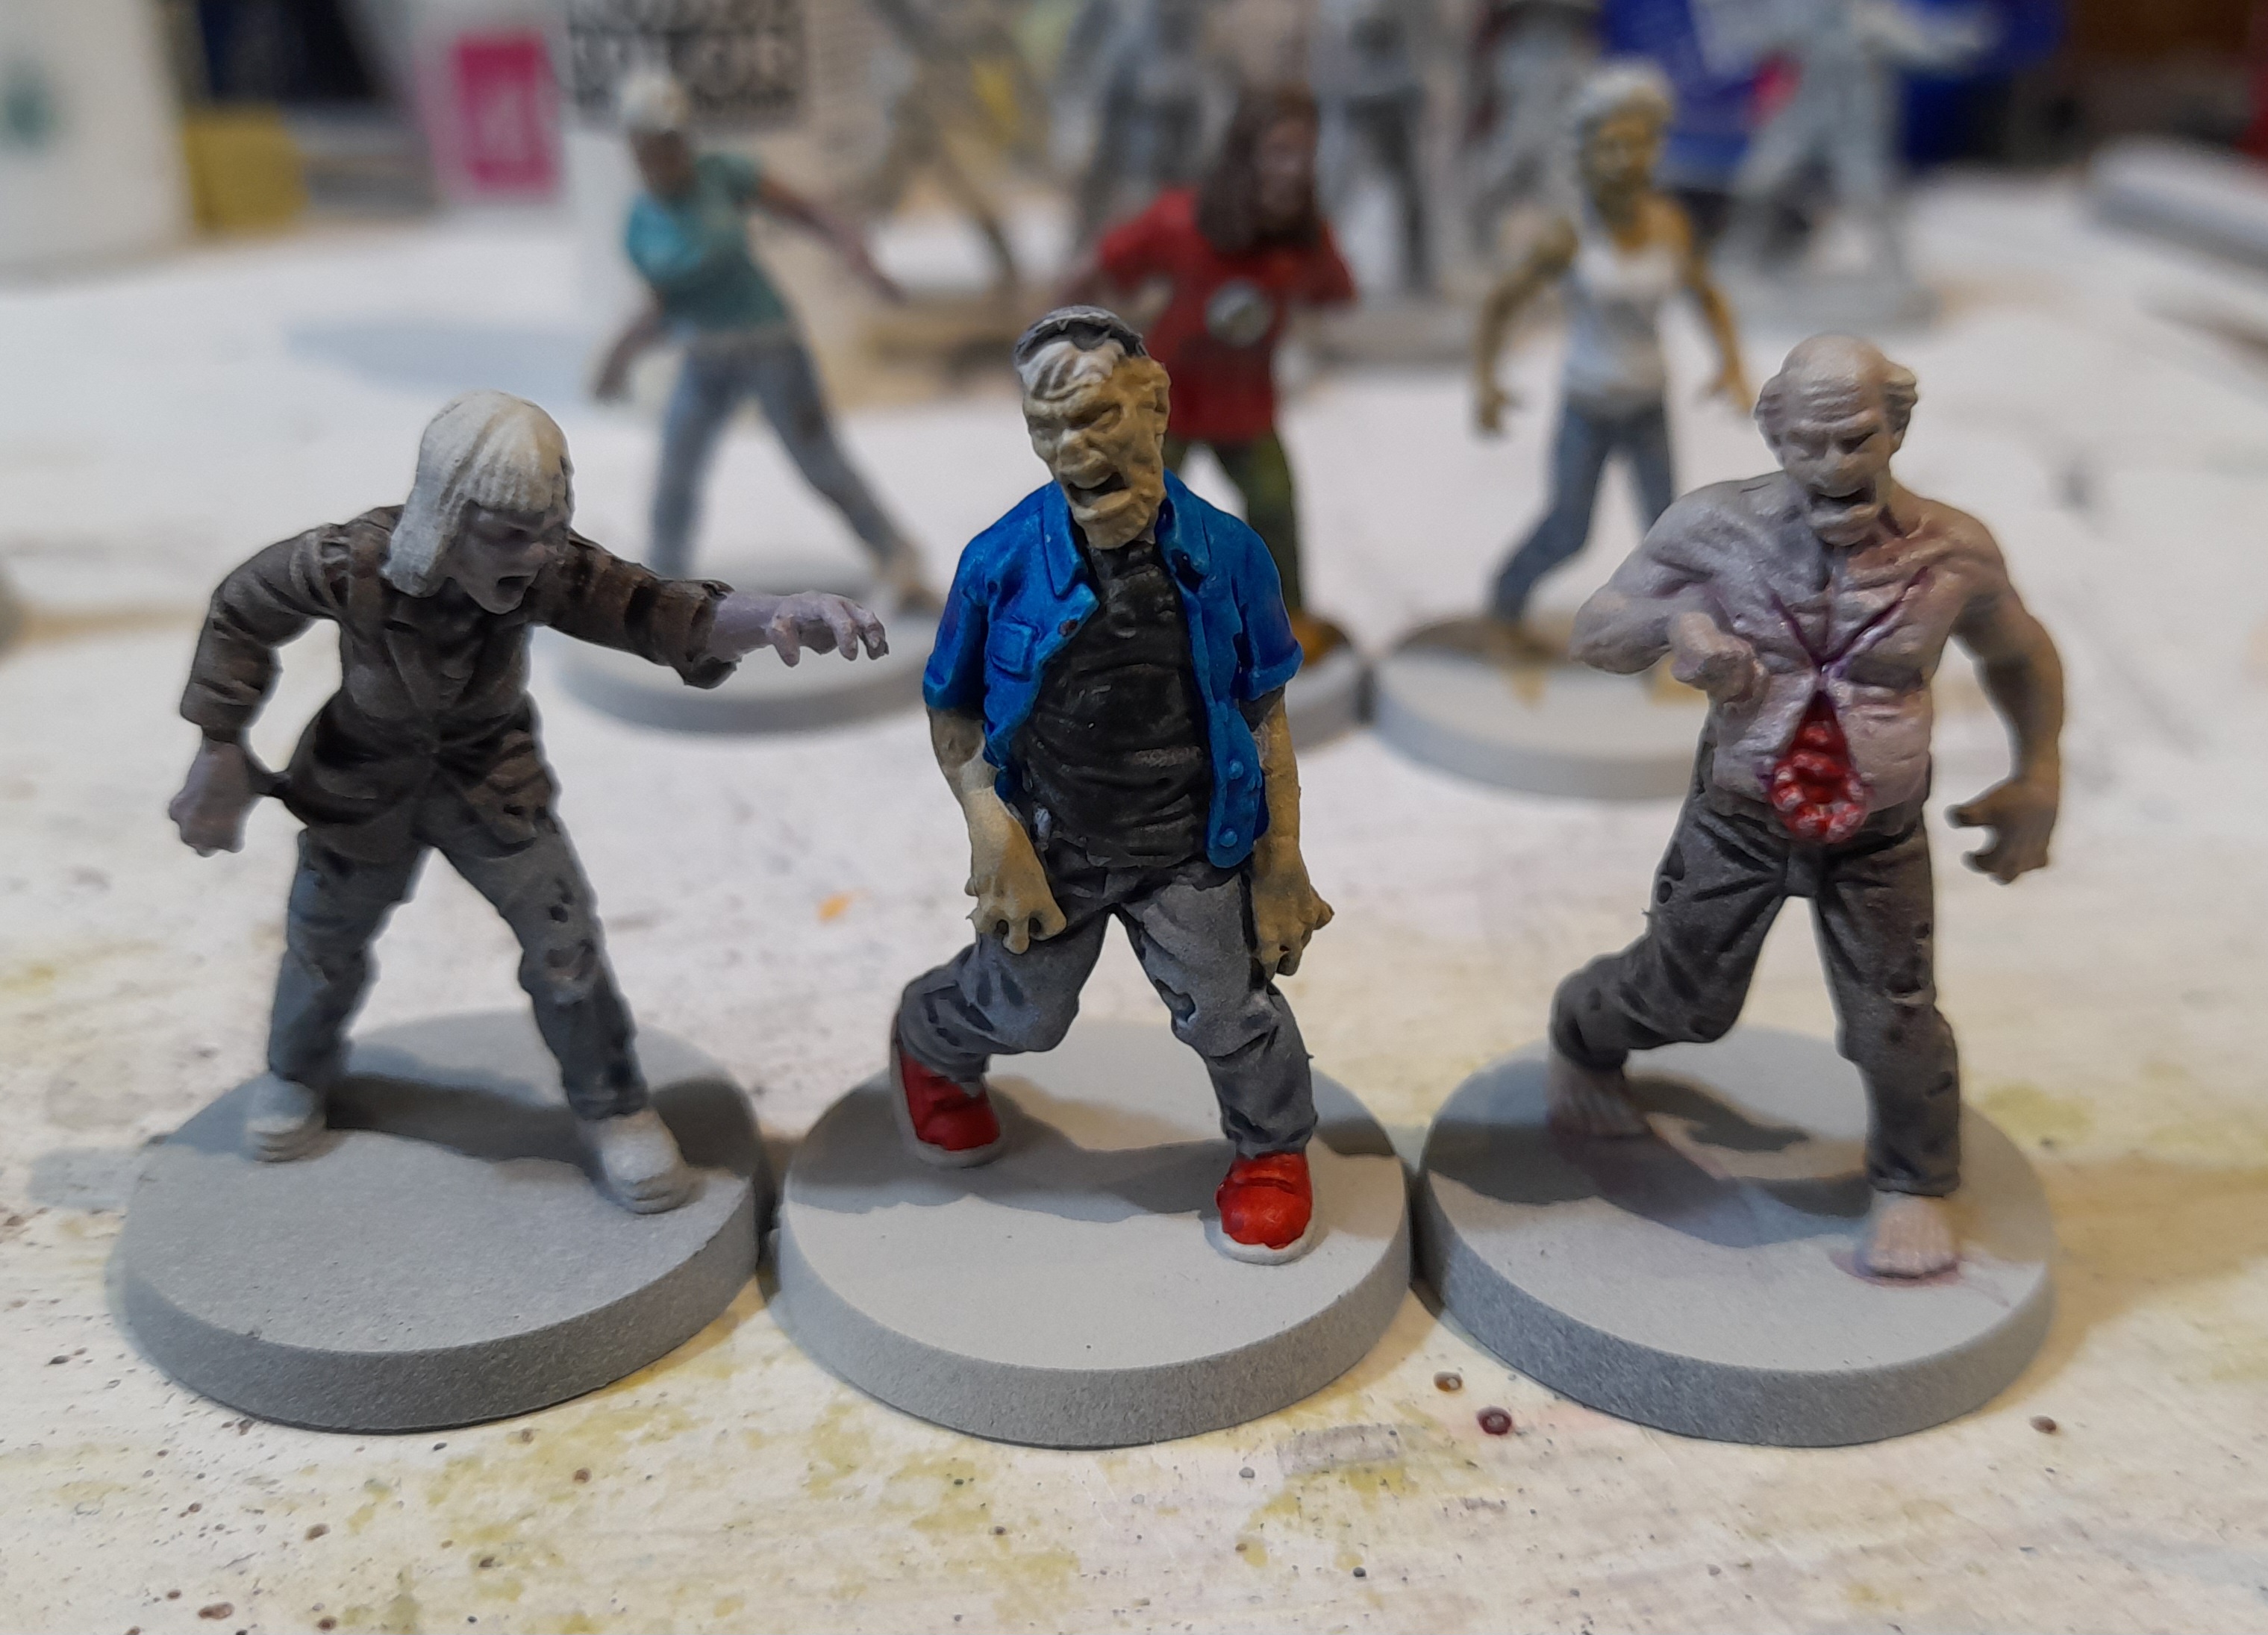
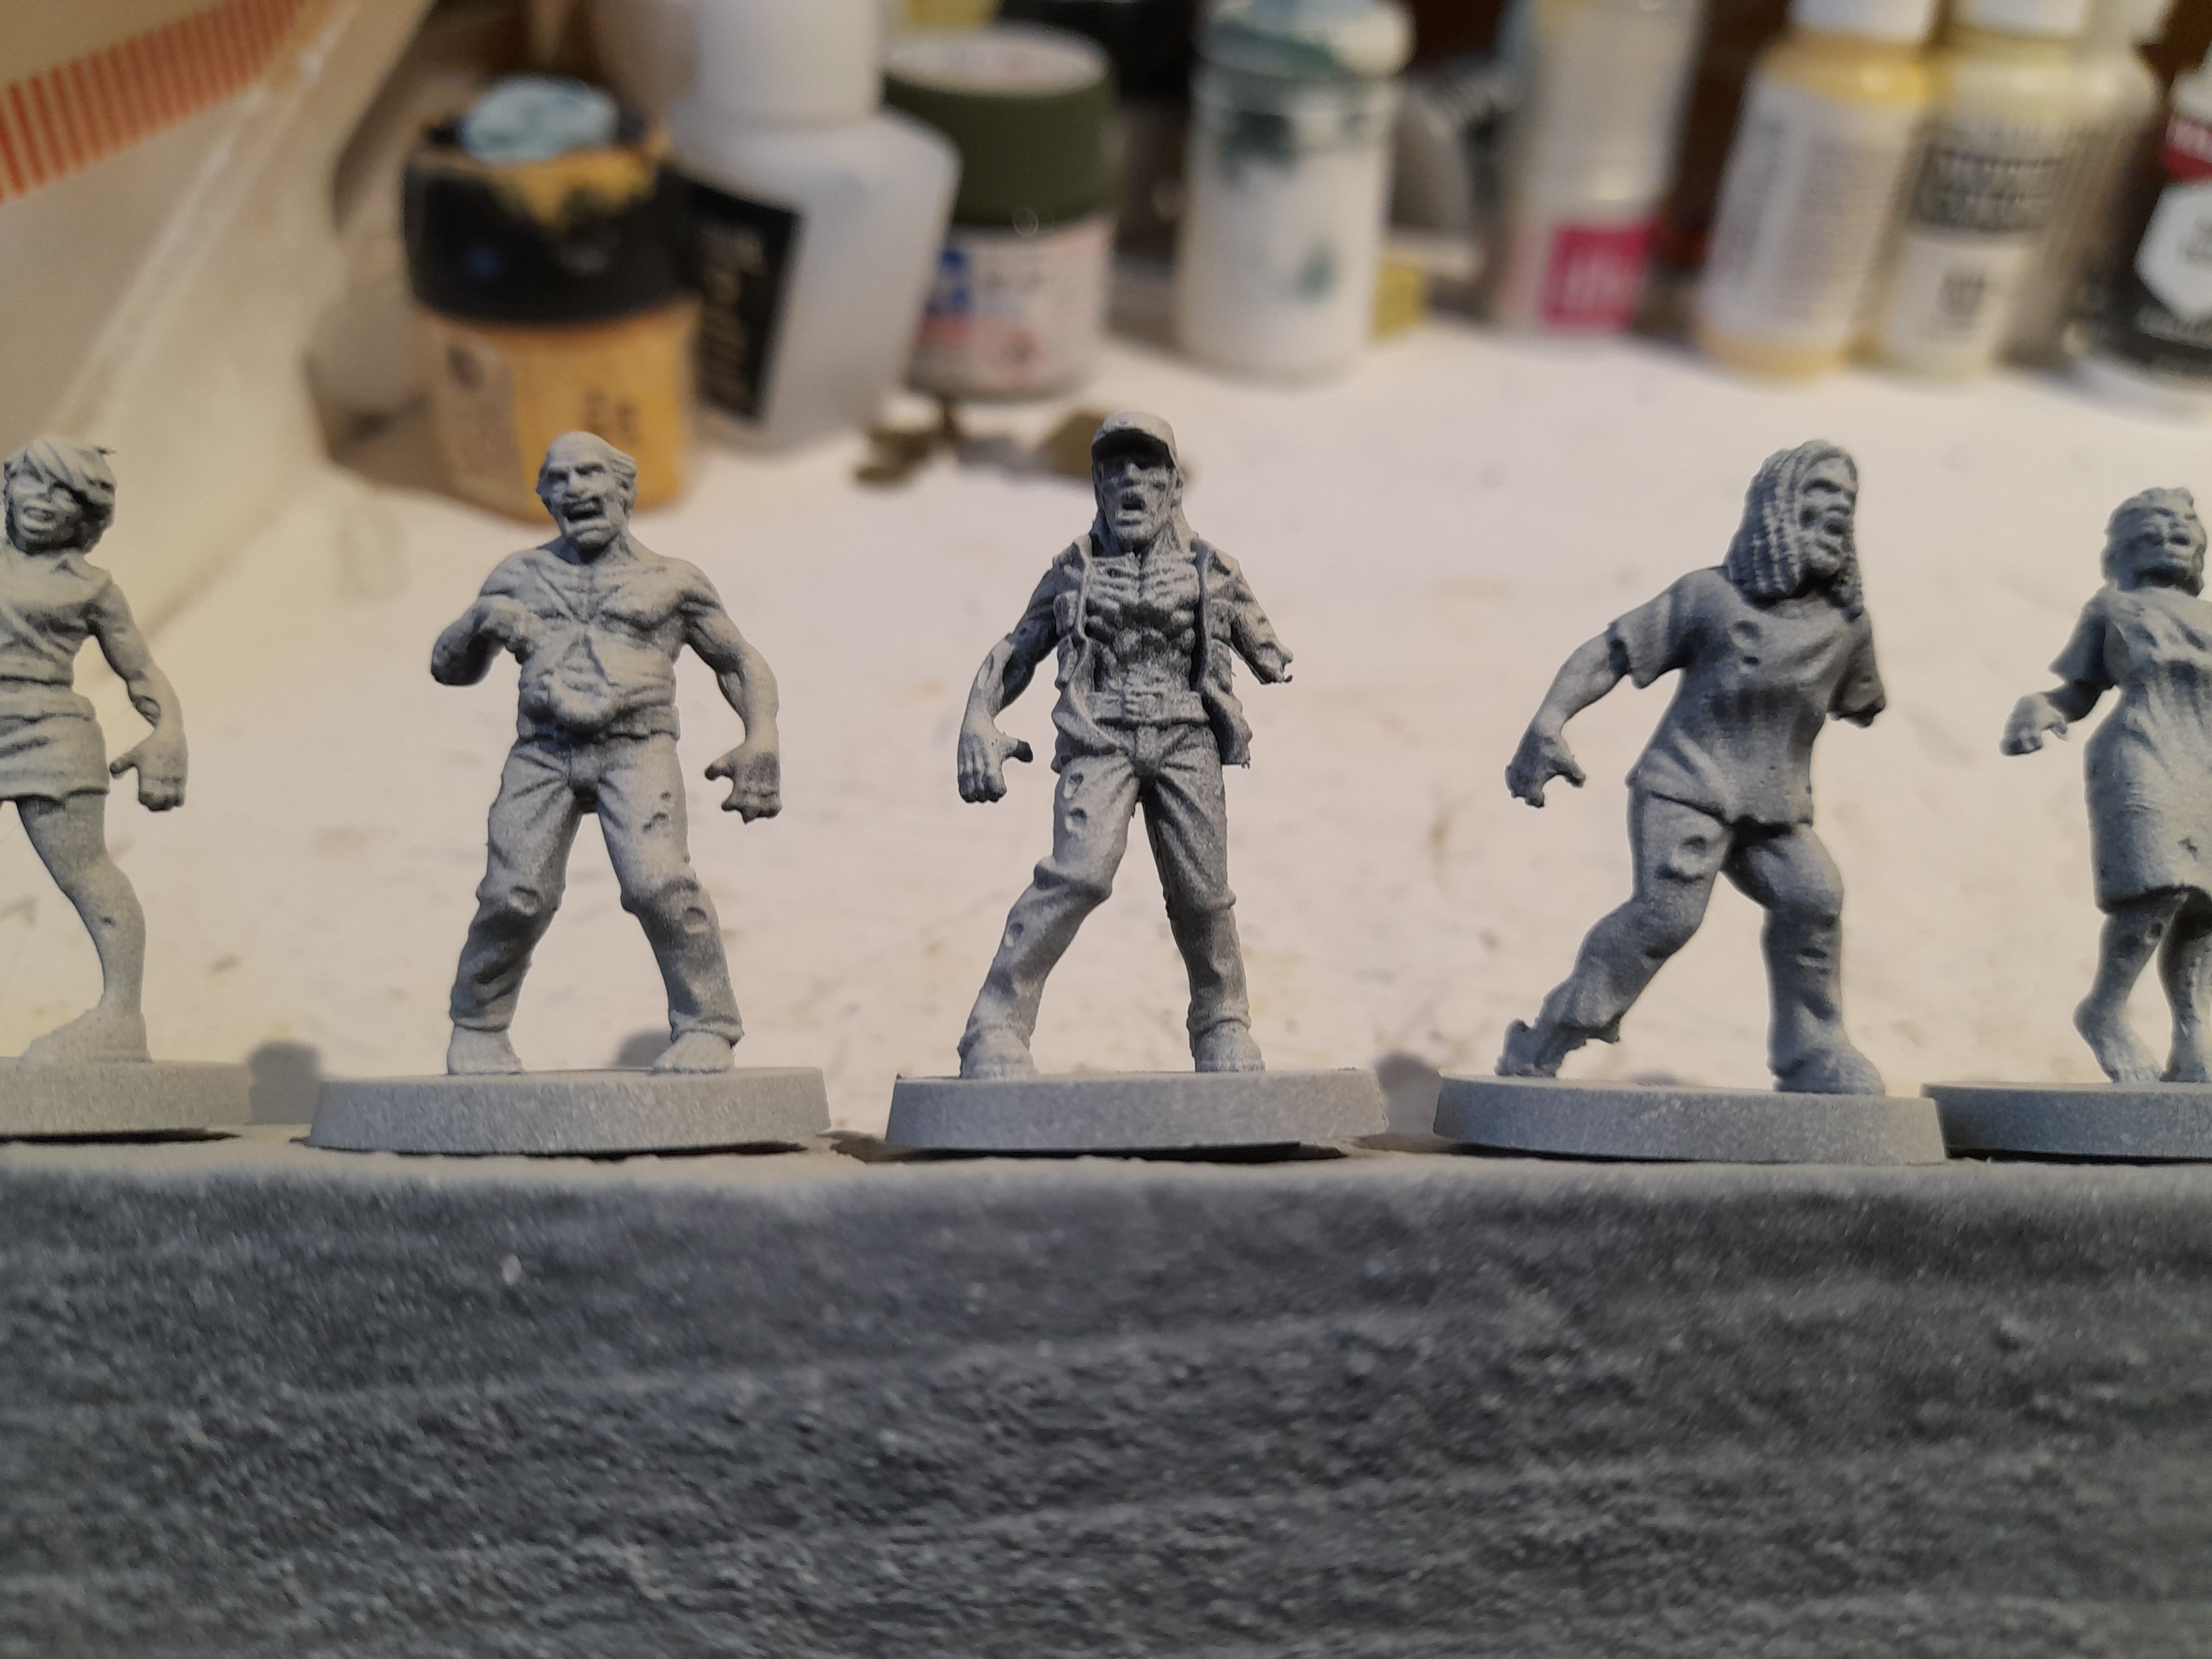
Walkers Finished
8th June 2024
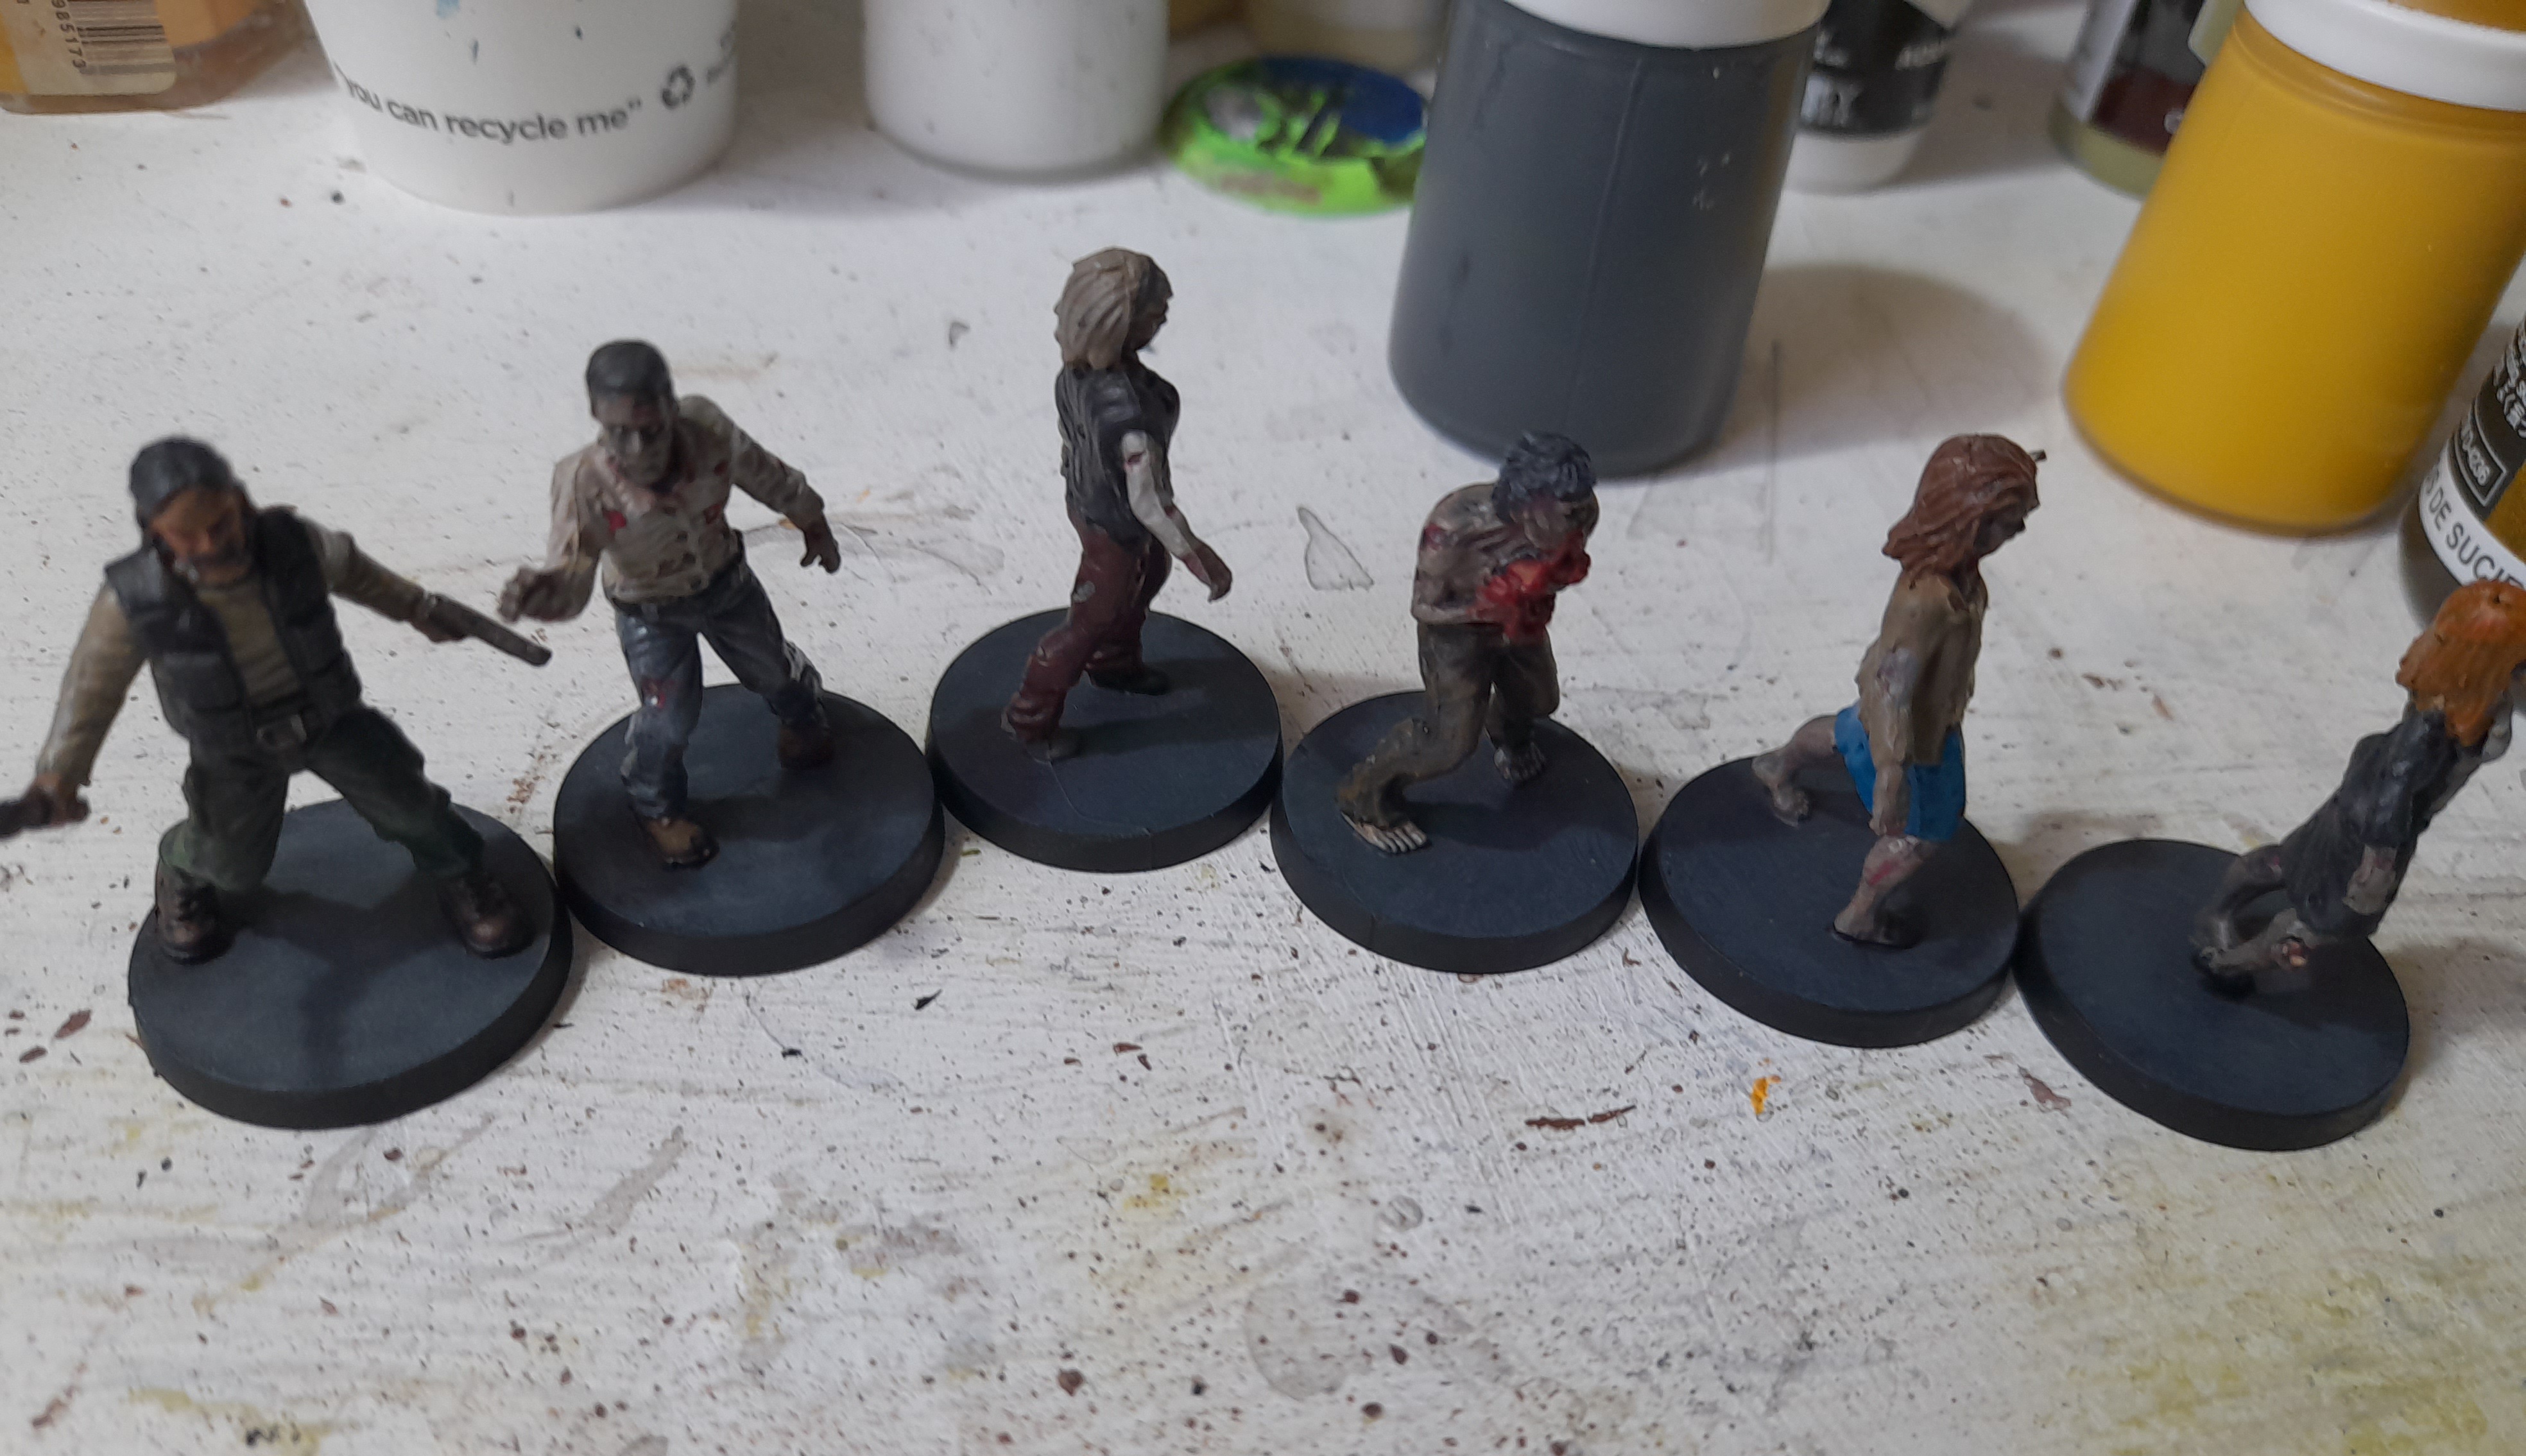
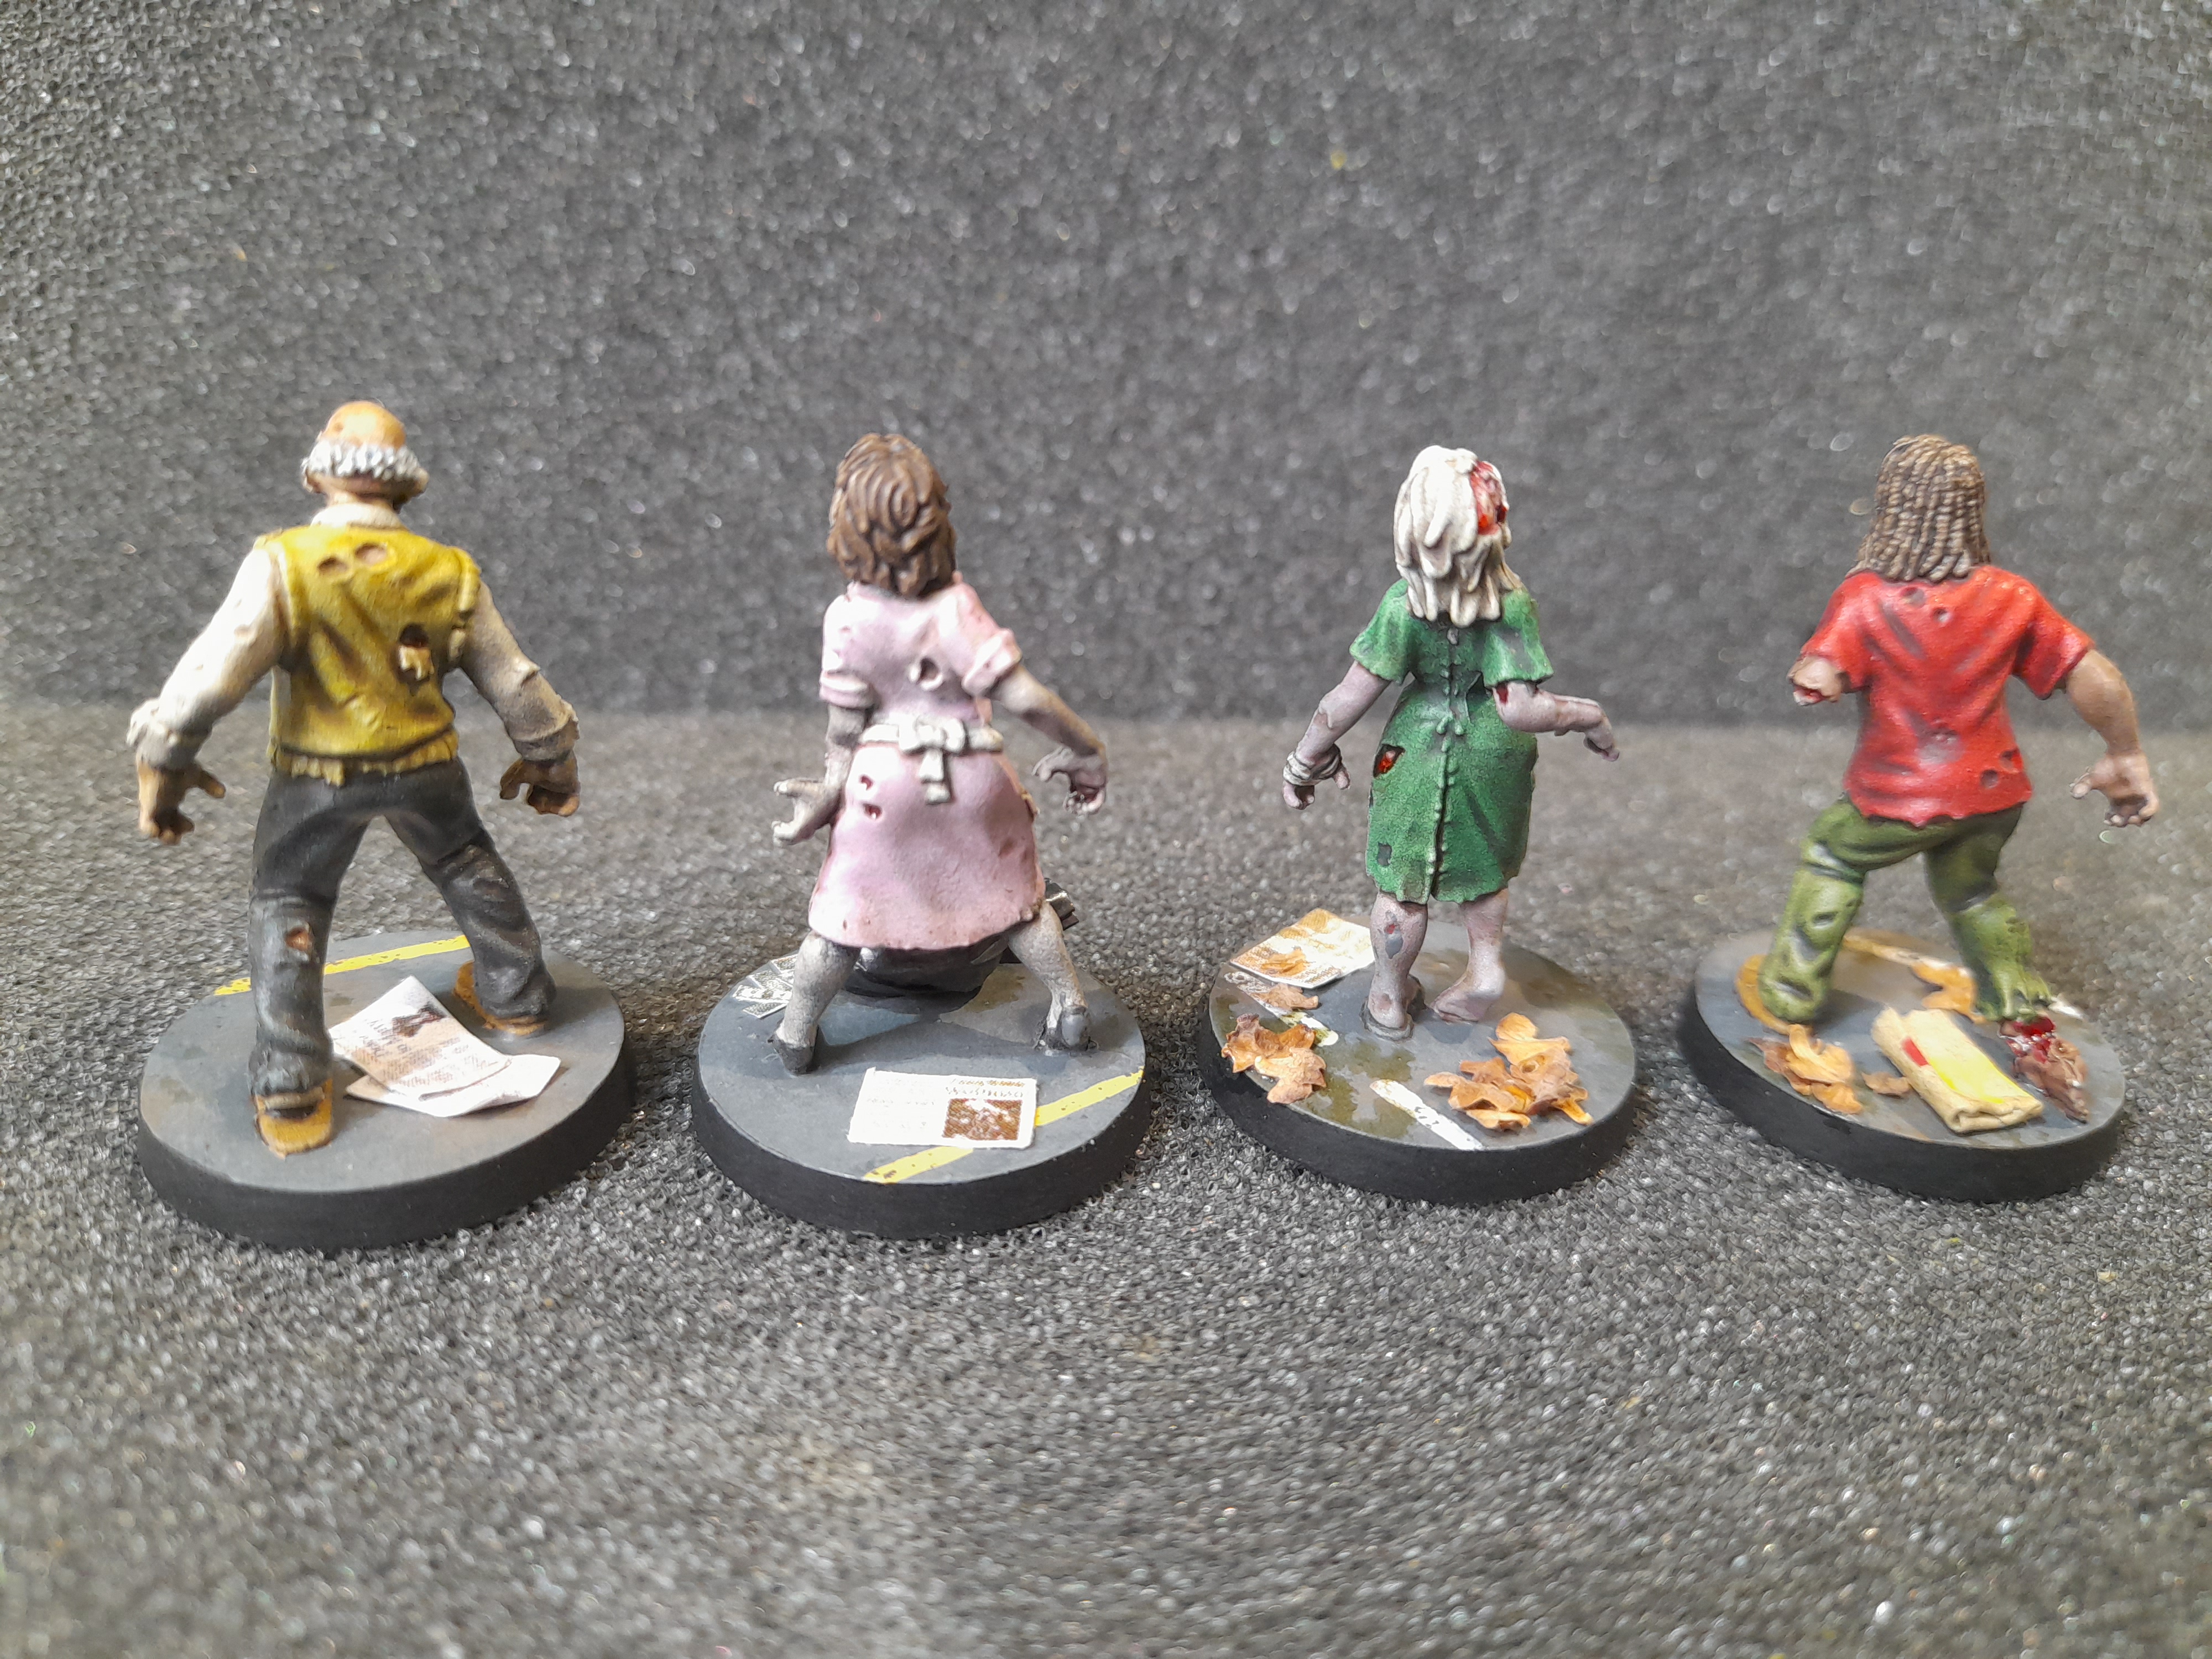
Finished up the Walkers today – Here they are all together. I added some pink/purple wash to the eye sockets, to try to give them some more definition. Gore was added to some of the Walkers, but not all (maybe they haven’t been able to feed yet, or are newly turned?).
I may add more gore at a later date perhaps, if I feel that they need it.


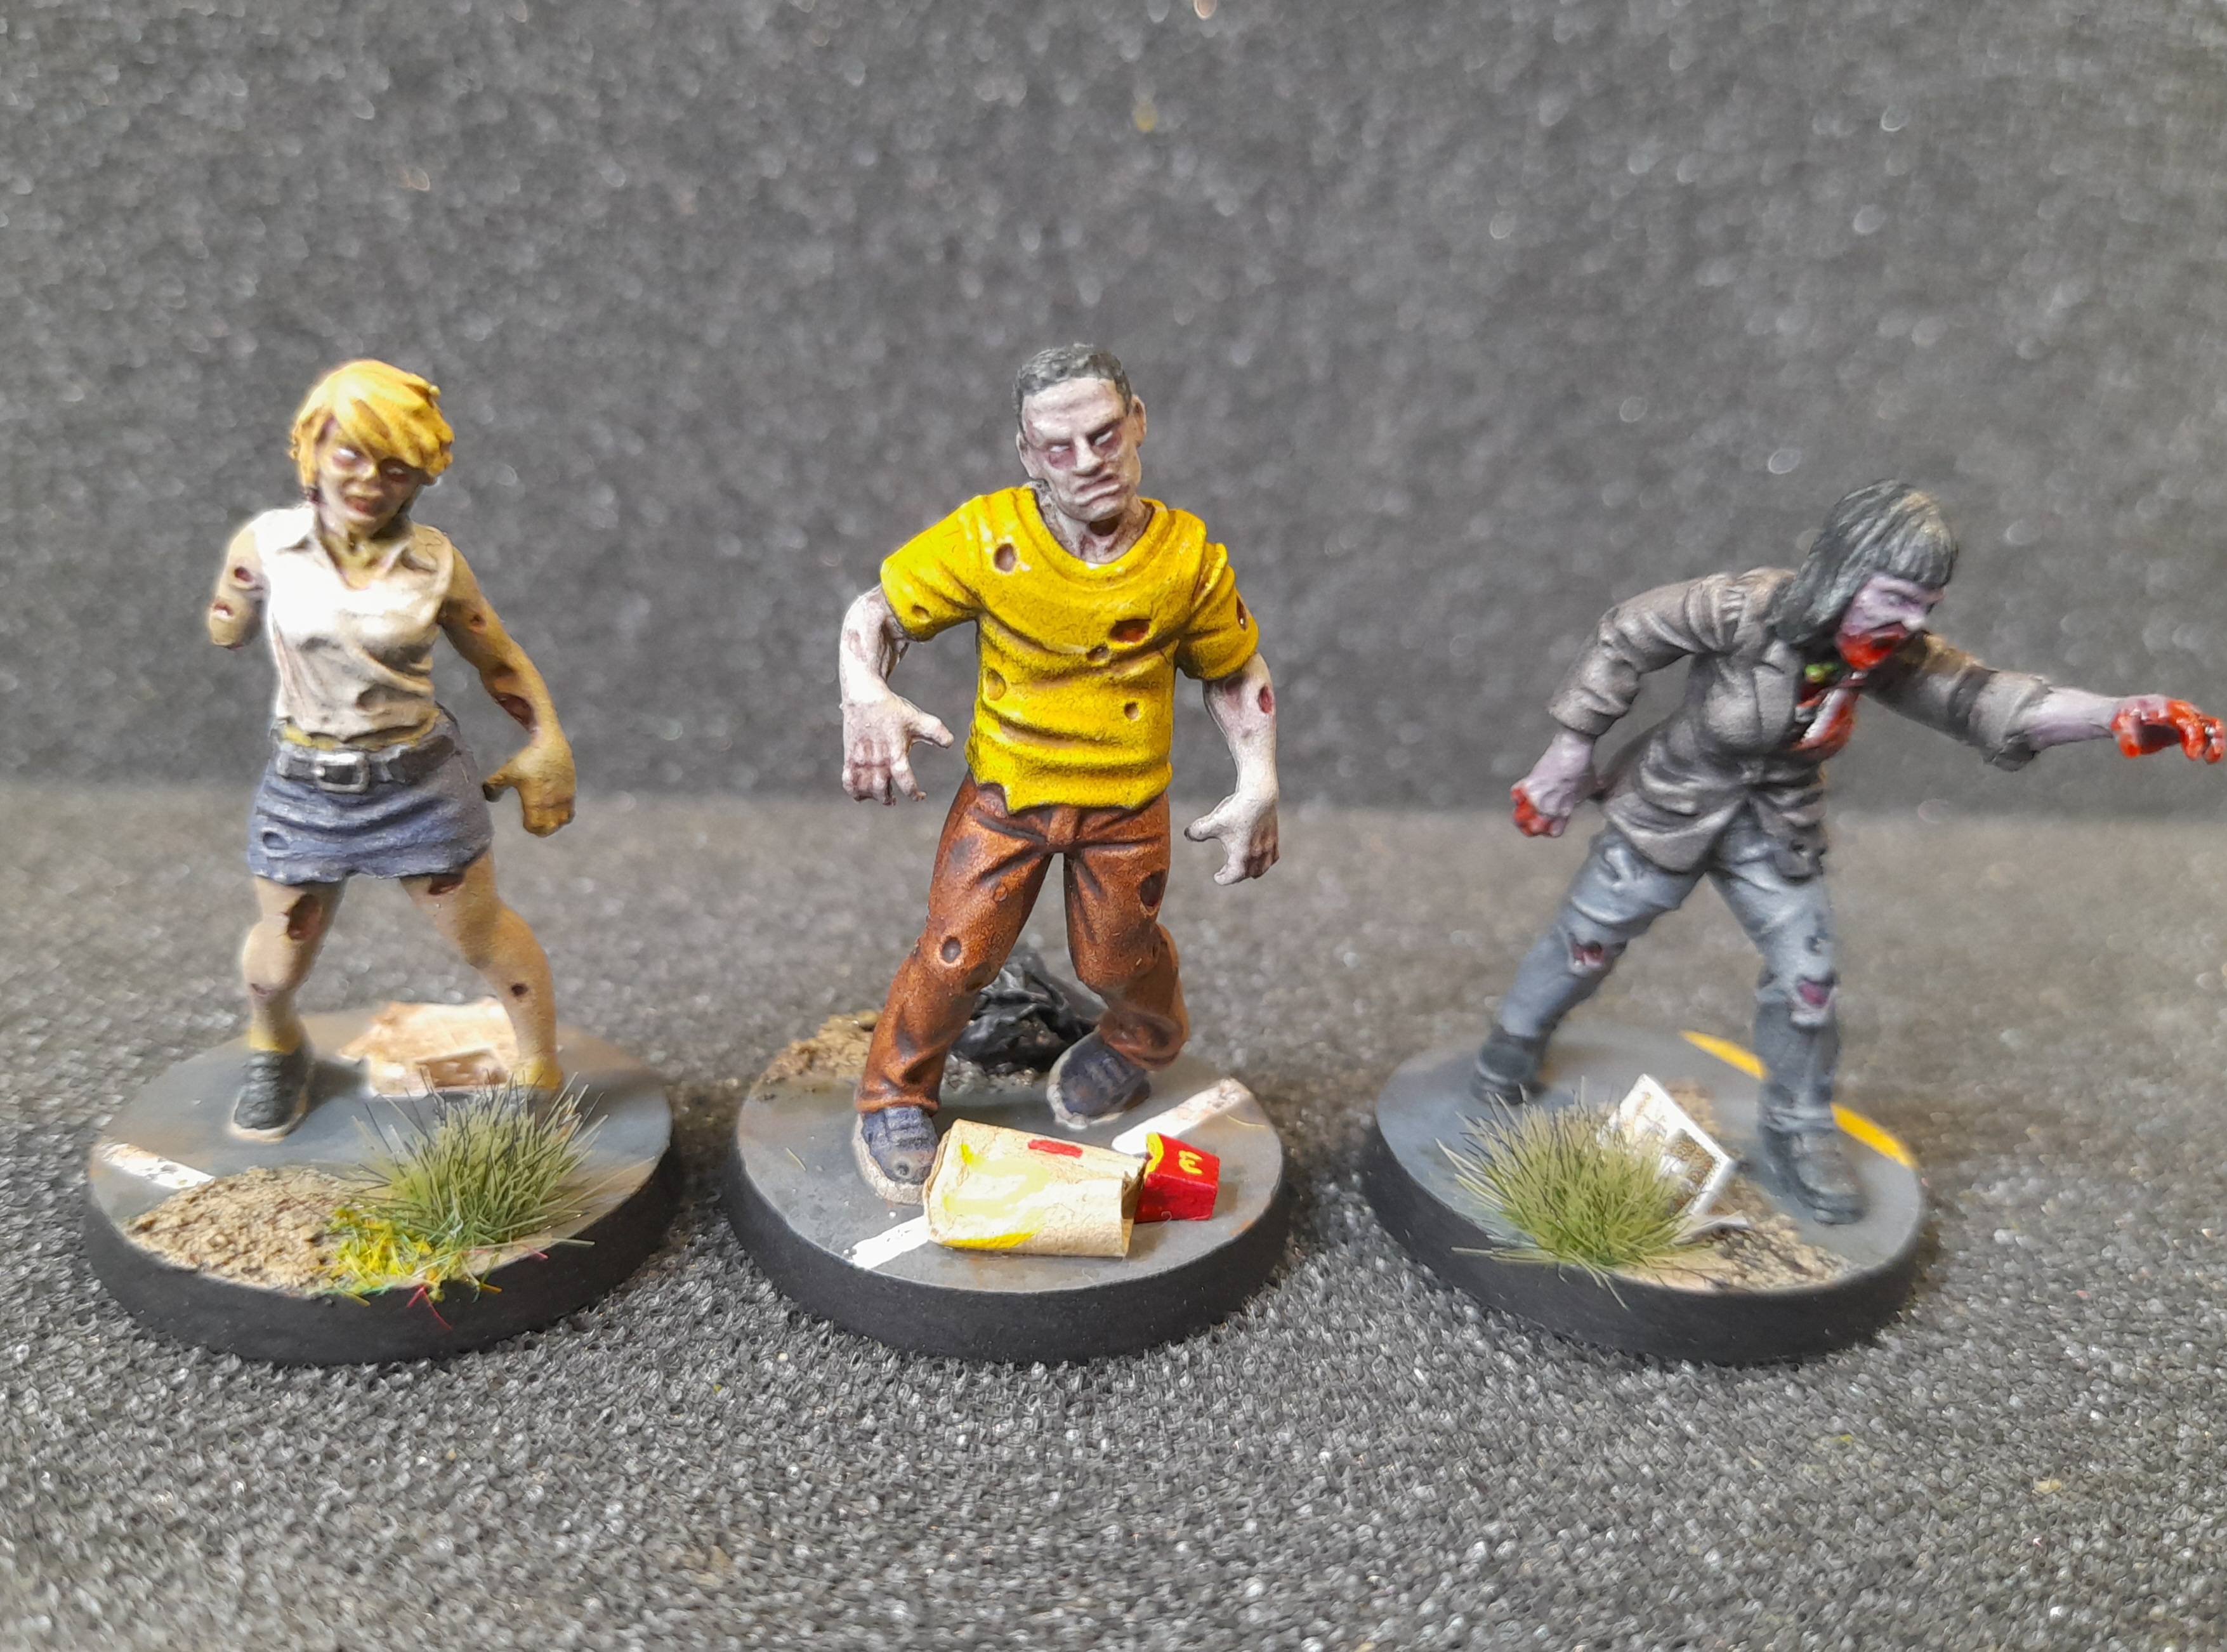
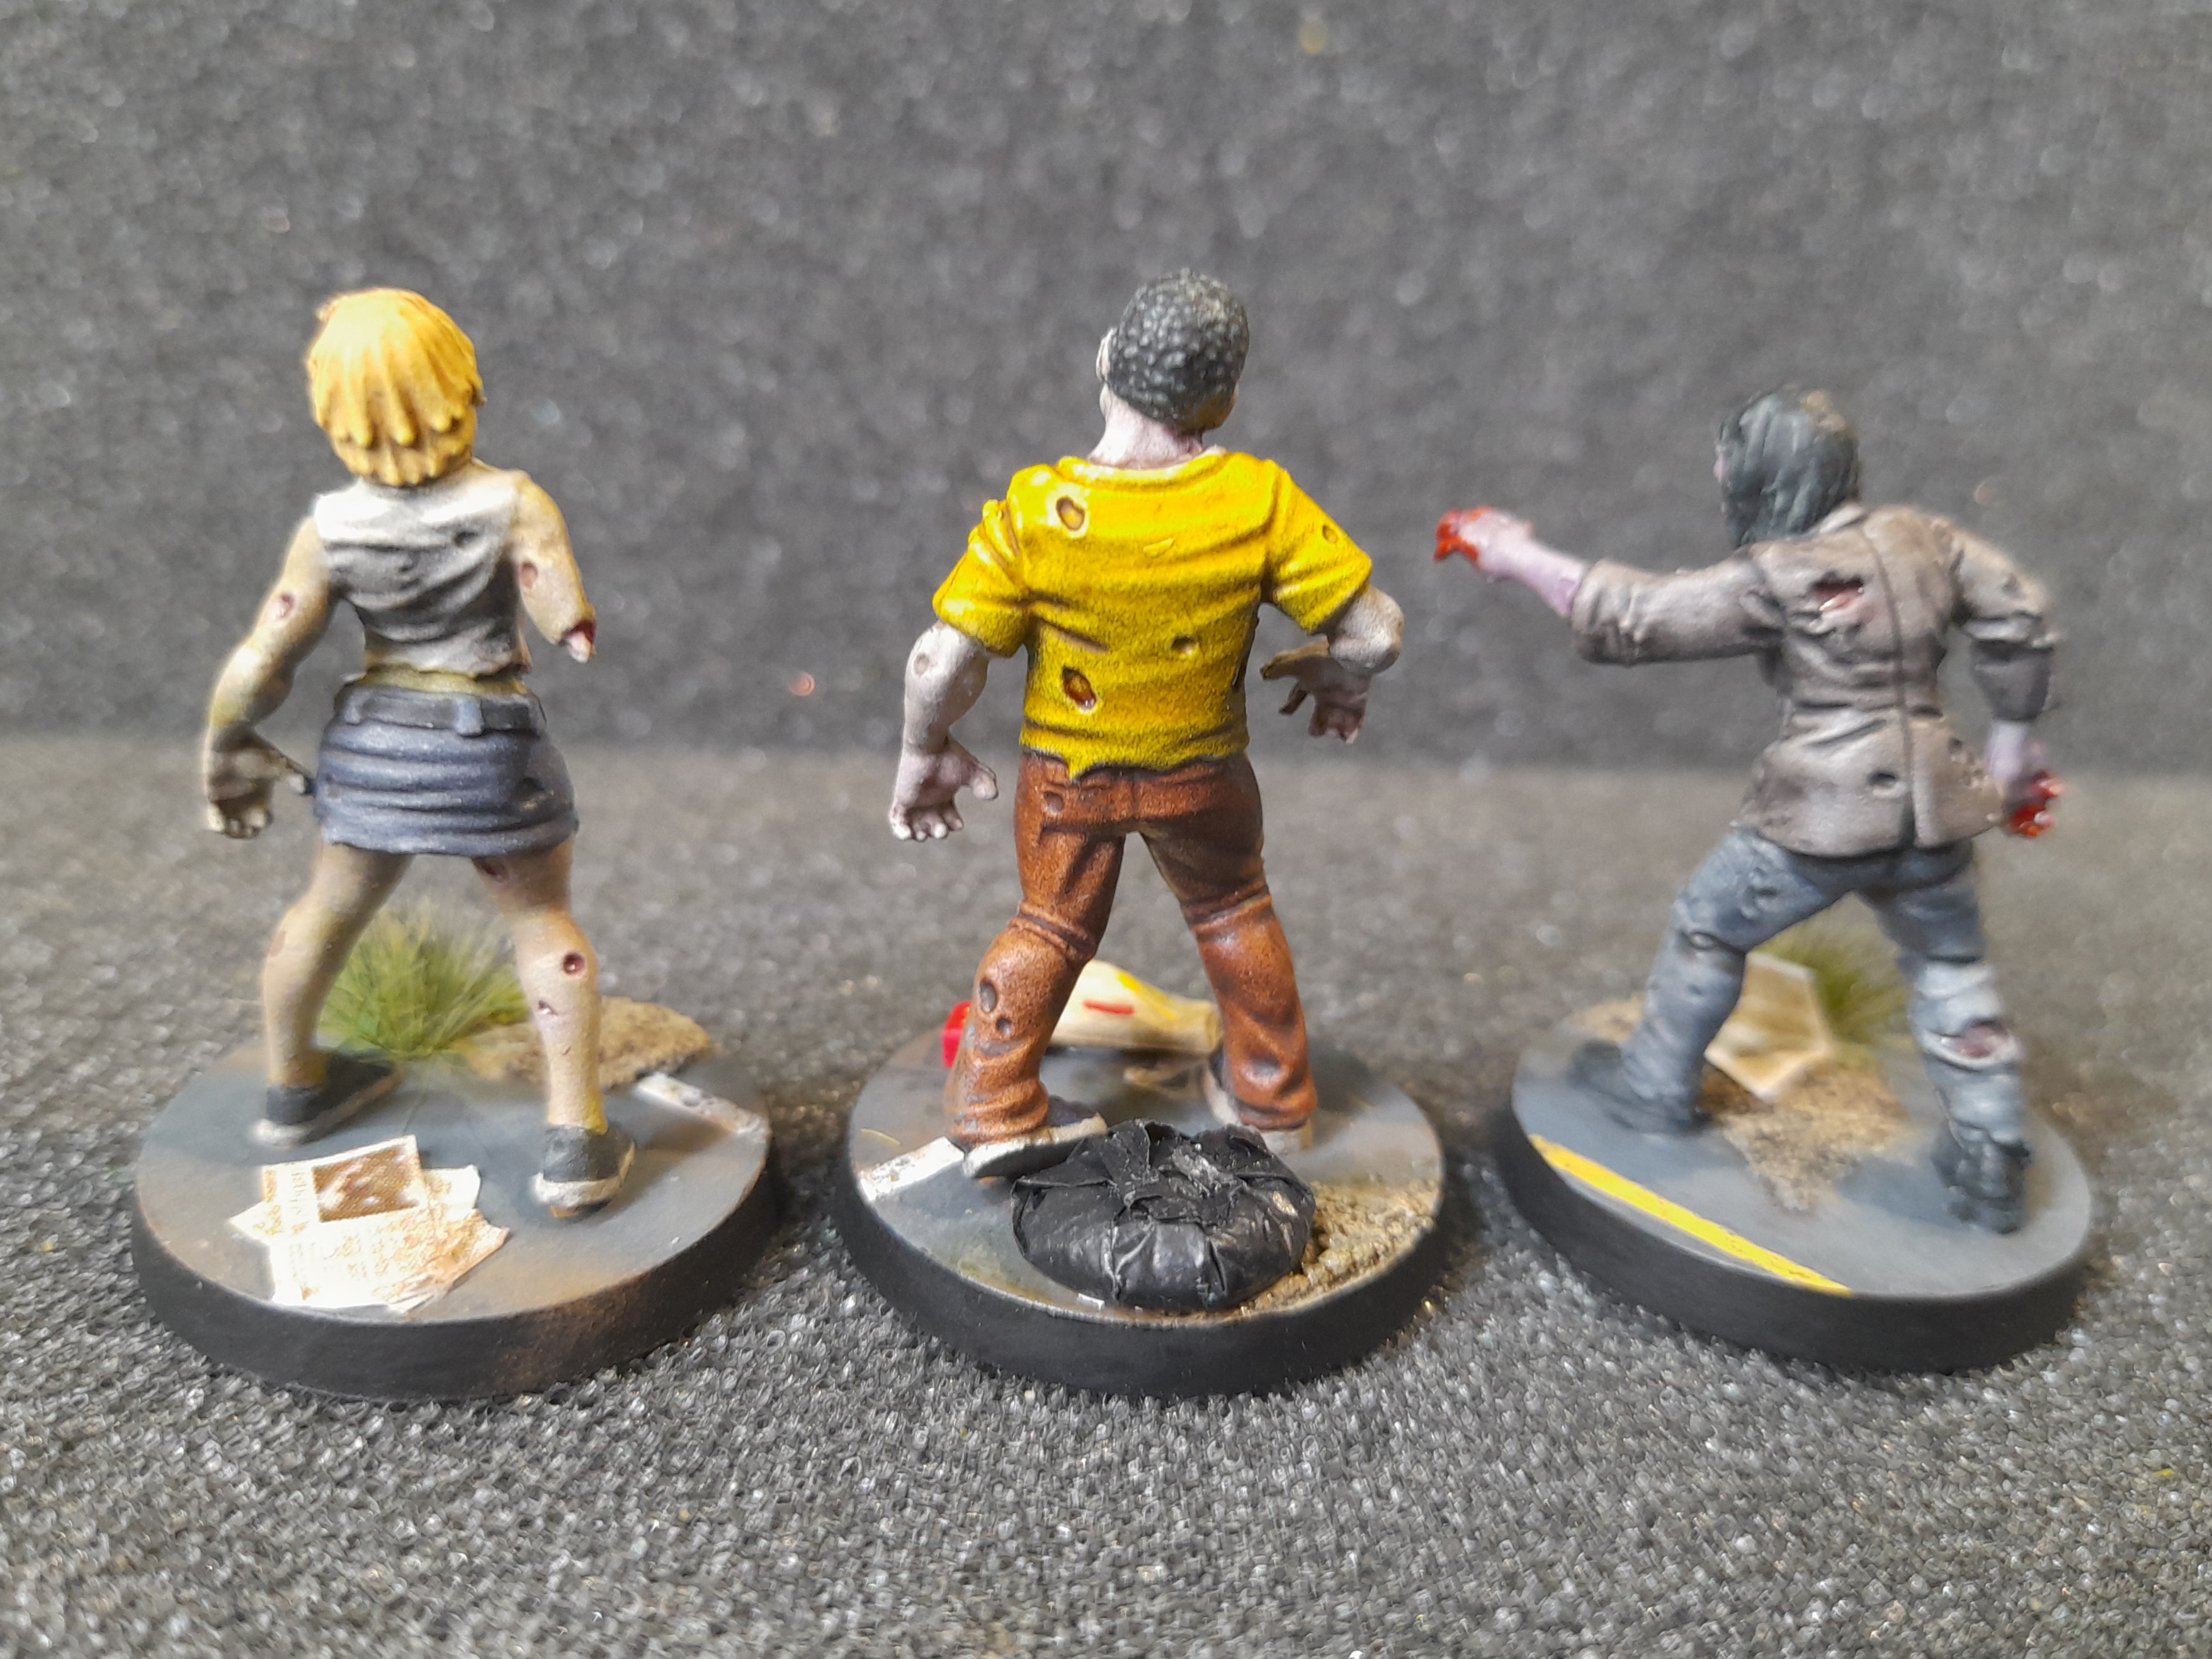
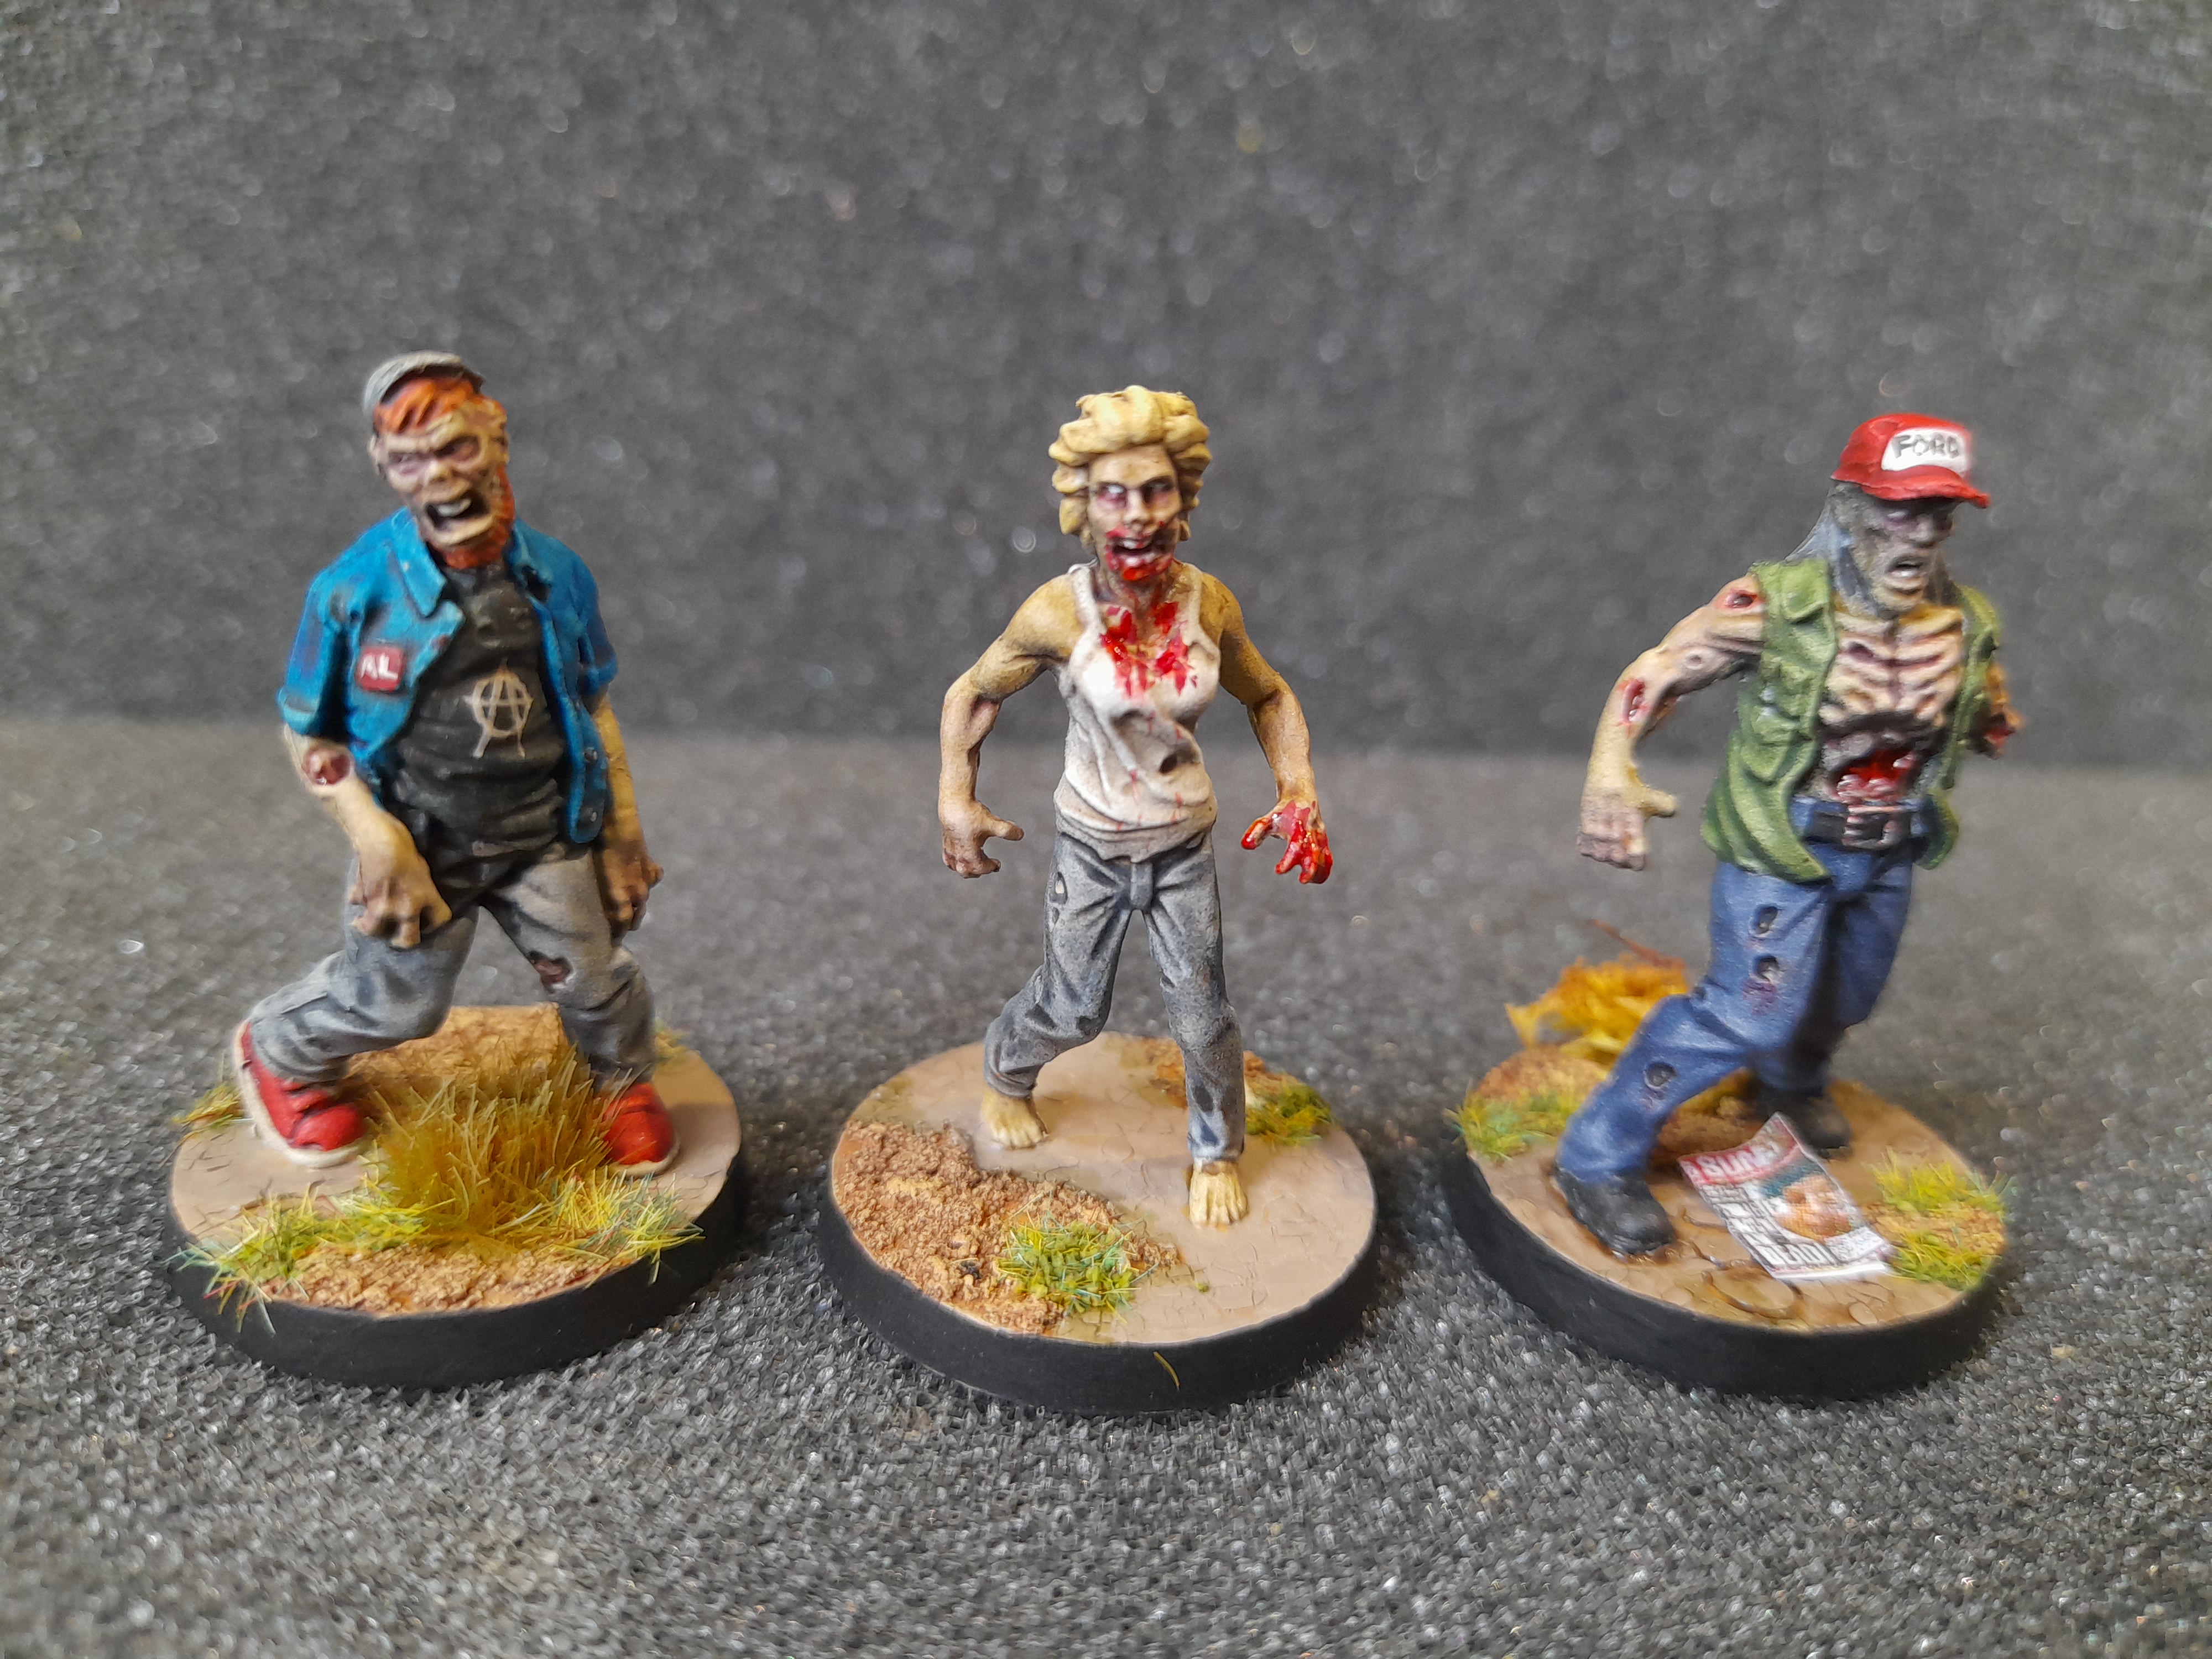
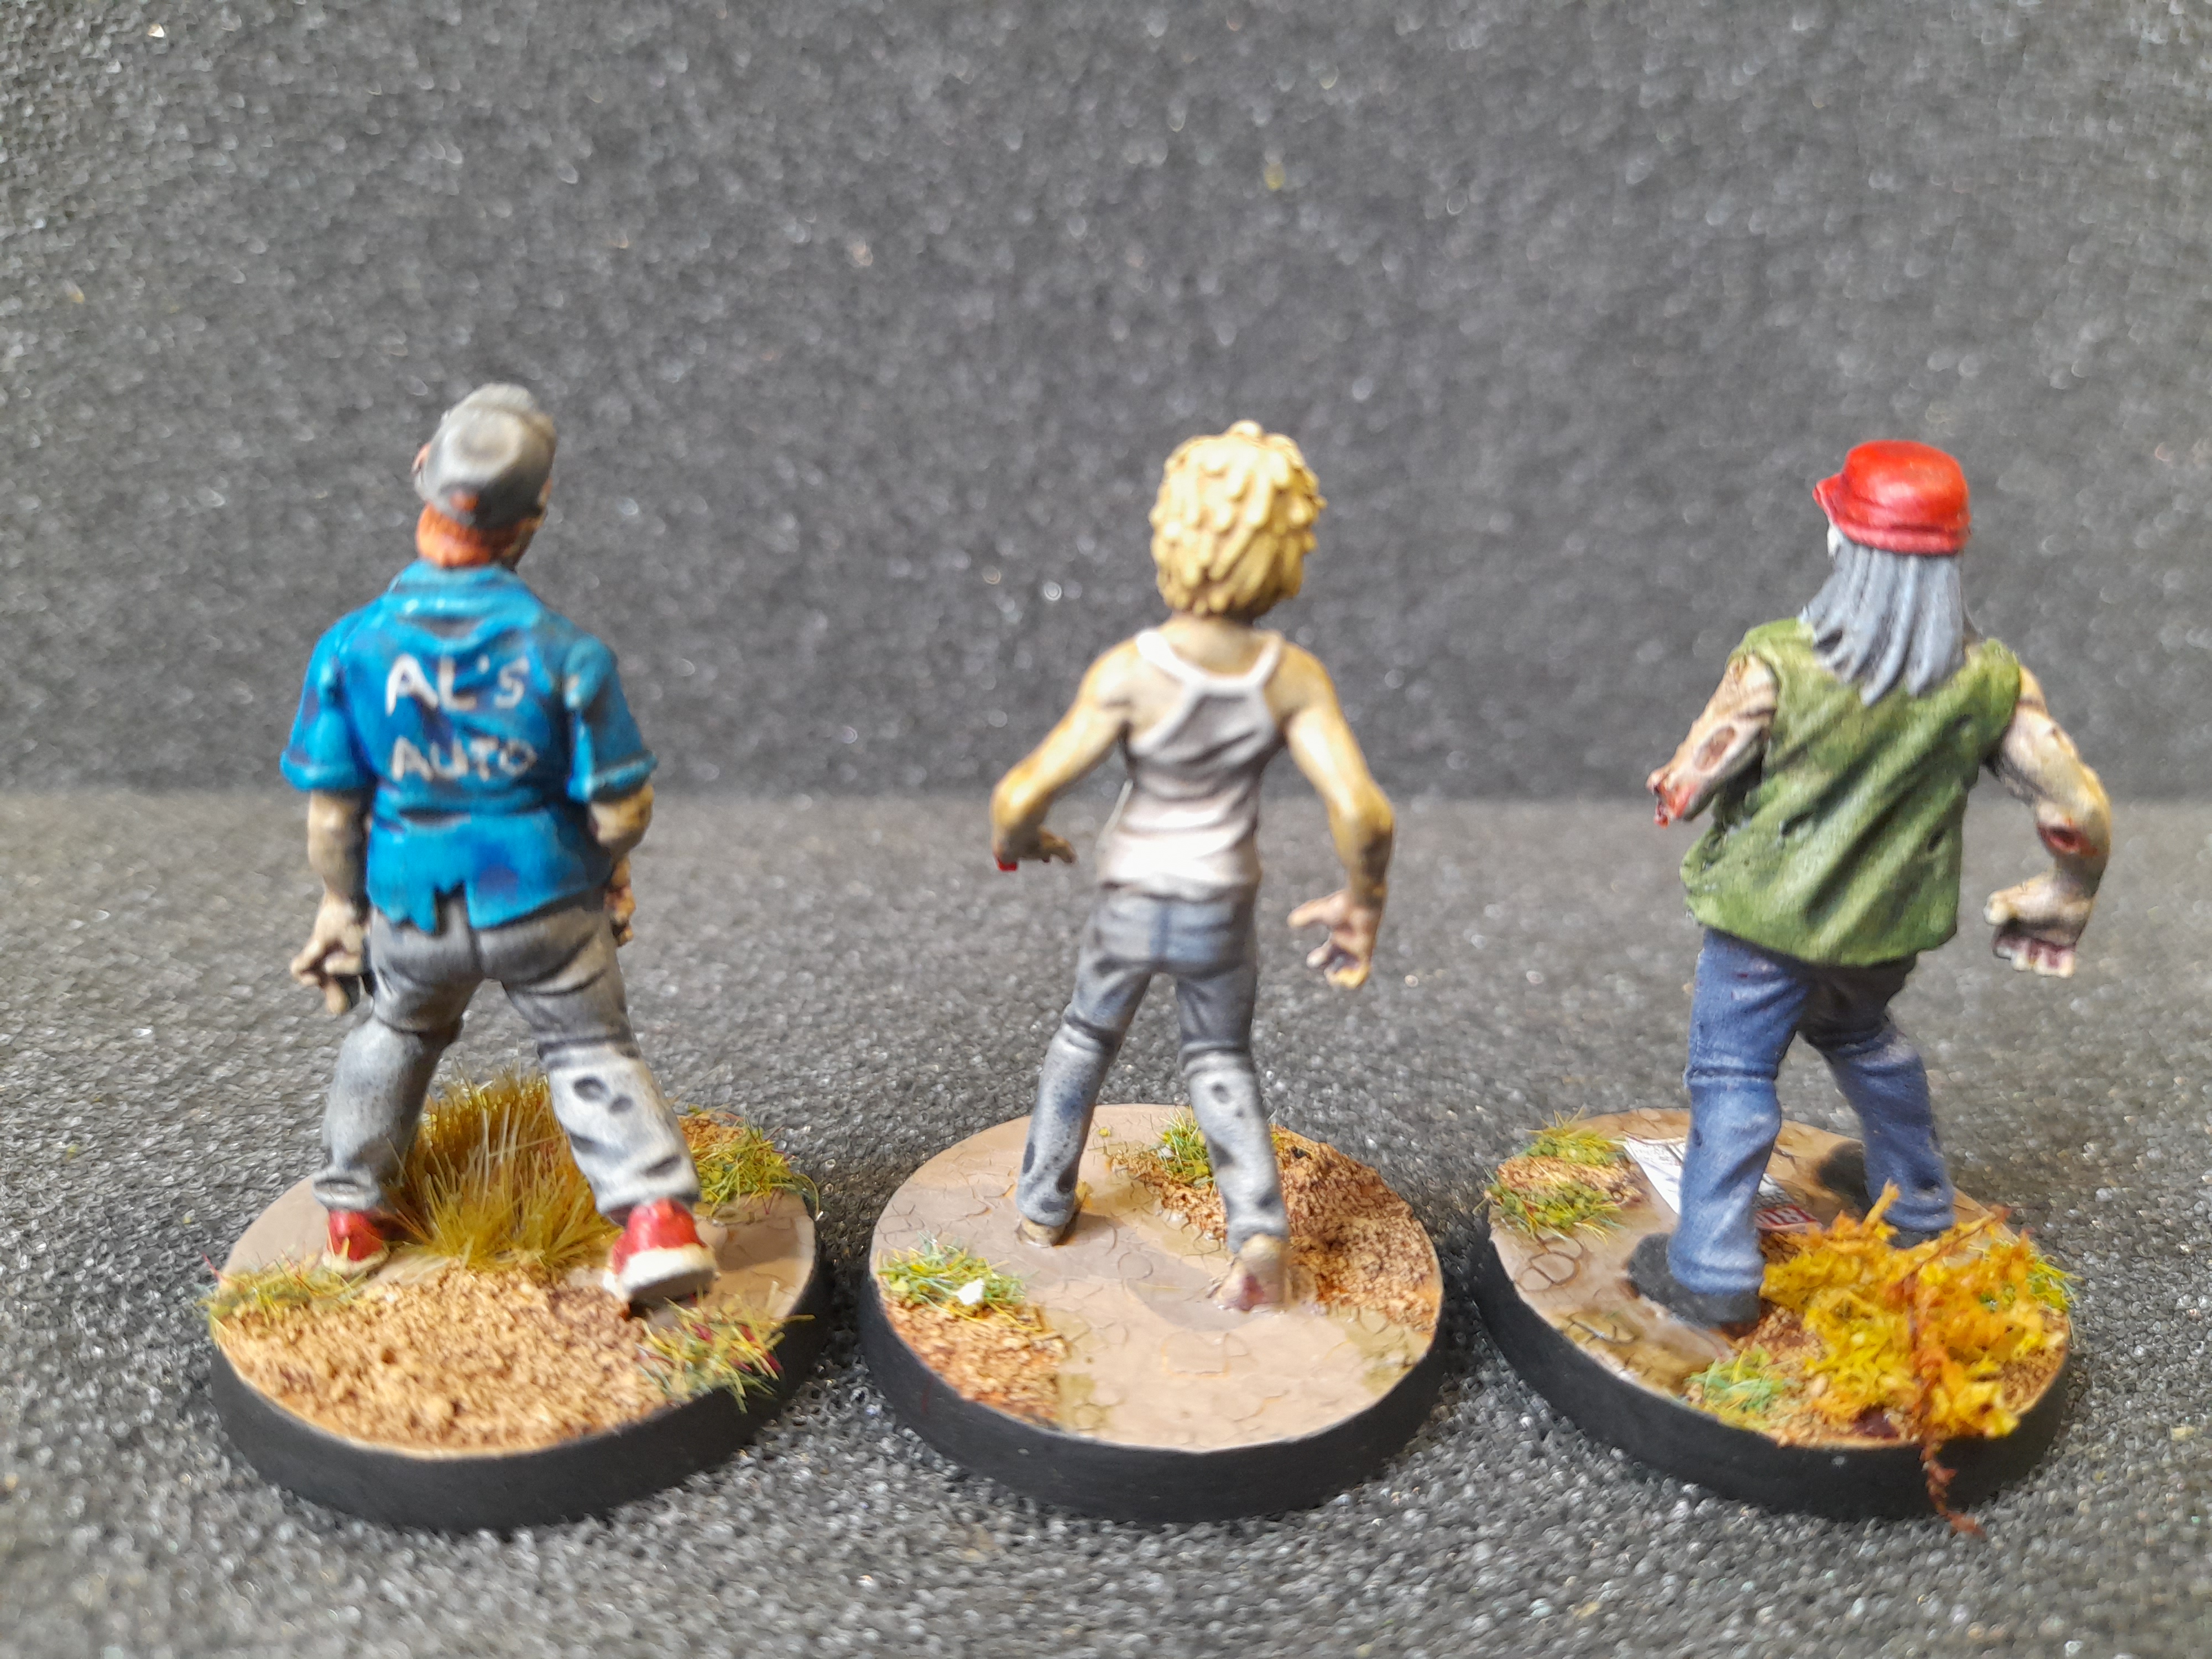
I think that AL from Al’s auto’s is one of my favourites, and I am pretty happy with how the fast food and other rubbish that I scratch built actually came out.
Onto the survivors soon…..
Base detailing
Couldn’t fit this on the basing update, so had to be it’s own post…..
Newspapers and money
I downloaded images of real and fake newspapers and US money from the internet, then printed them off in roughly the correct size. I stuck the basic print to the ones with ‘front page’ images so that if I folded them over the wouldn’t have a blank page showing. These were then scattered onto a number of the bases, some as a single sheet, others with several sheets a little spread out. I only used the money on one base, in a small pile.
Rubbish bags
I made these by cutting up a real (thin) rubbish bag and making a small pouch around some used blister pack sponge. For the first couple I used super glue to seal it, but they came out a bit rough and a bit flat. For the last one I used some cotton to tie up the top of it, and once trimmed that gave the bag a better shape. In the end I only used two of the bags. The good one was put at the front of one of the bases (with cash close by), and the less good was put to the back of another base.
Leaves, grass and tufts
These were all using shop bought products. The leaves are some sort of seed pods. The grass I used sparingly on the bases where the scrub ground met mud areas, to replicate where plant life may start growing. Tufts were interspersed where they felt correct. The bases that were all ground texture I did apply some grass too, to break up the space somewhat.
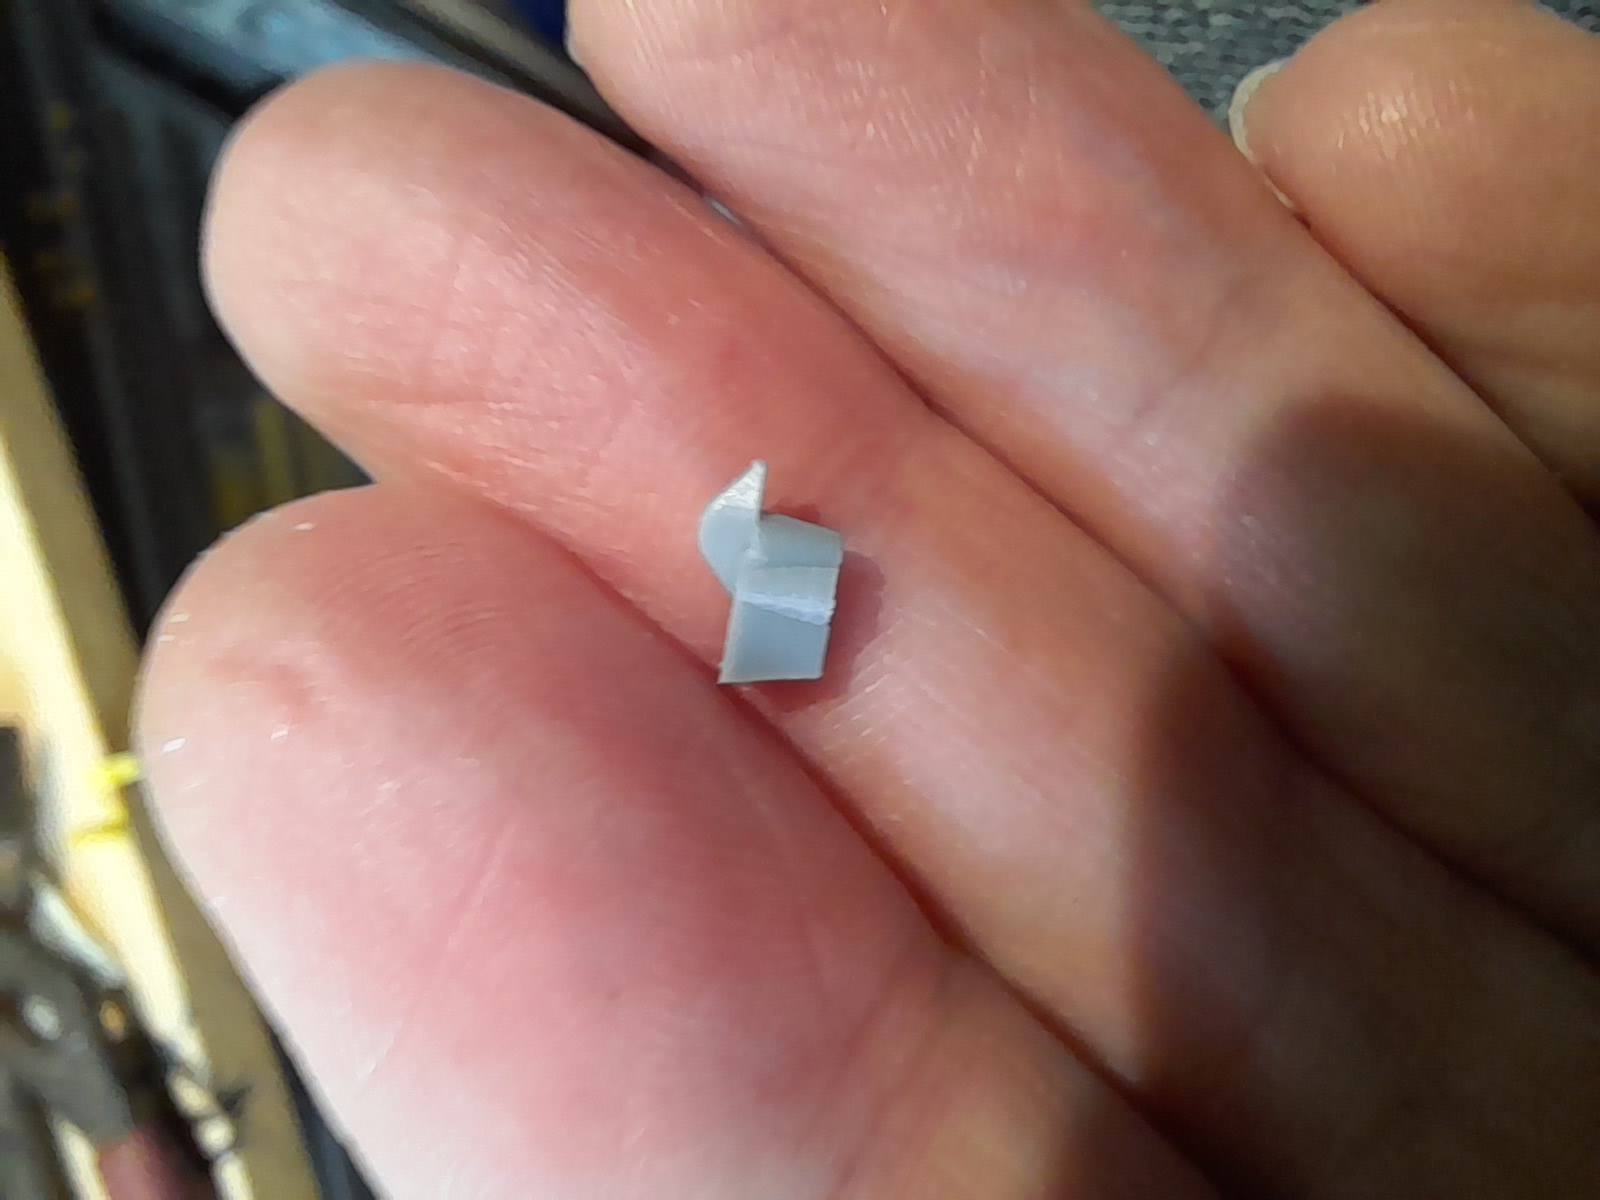
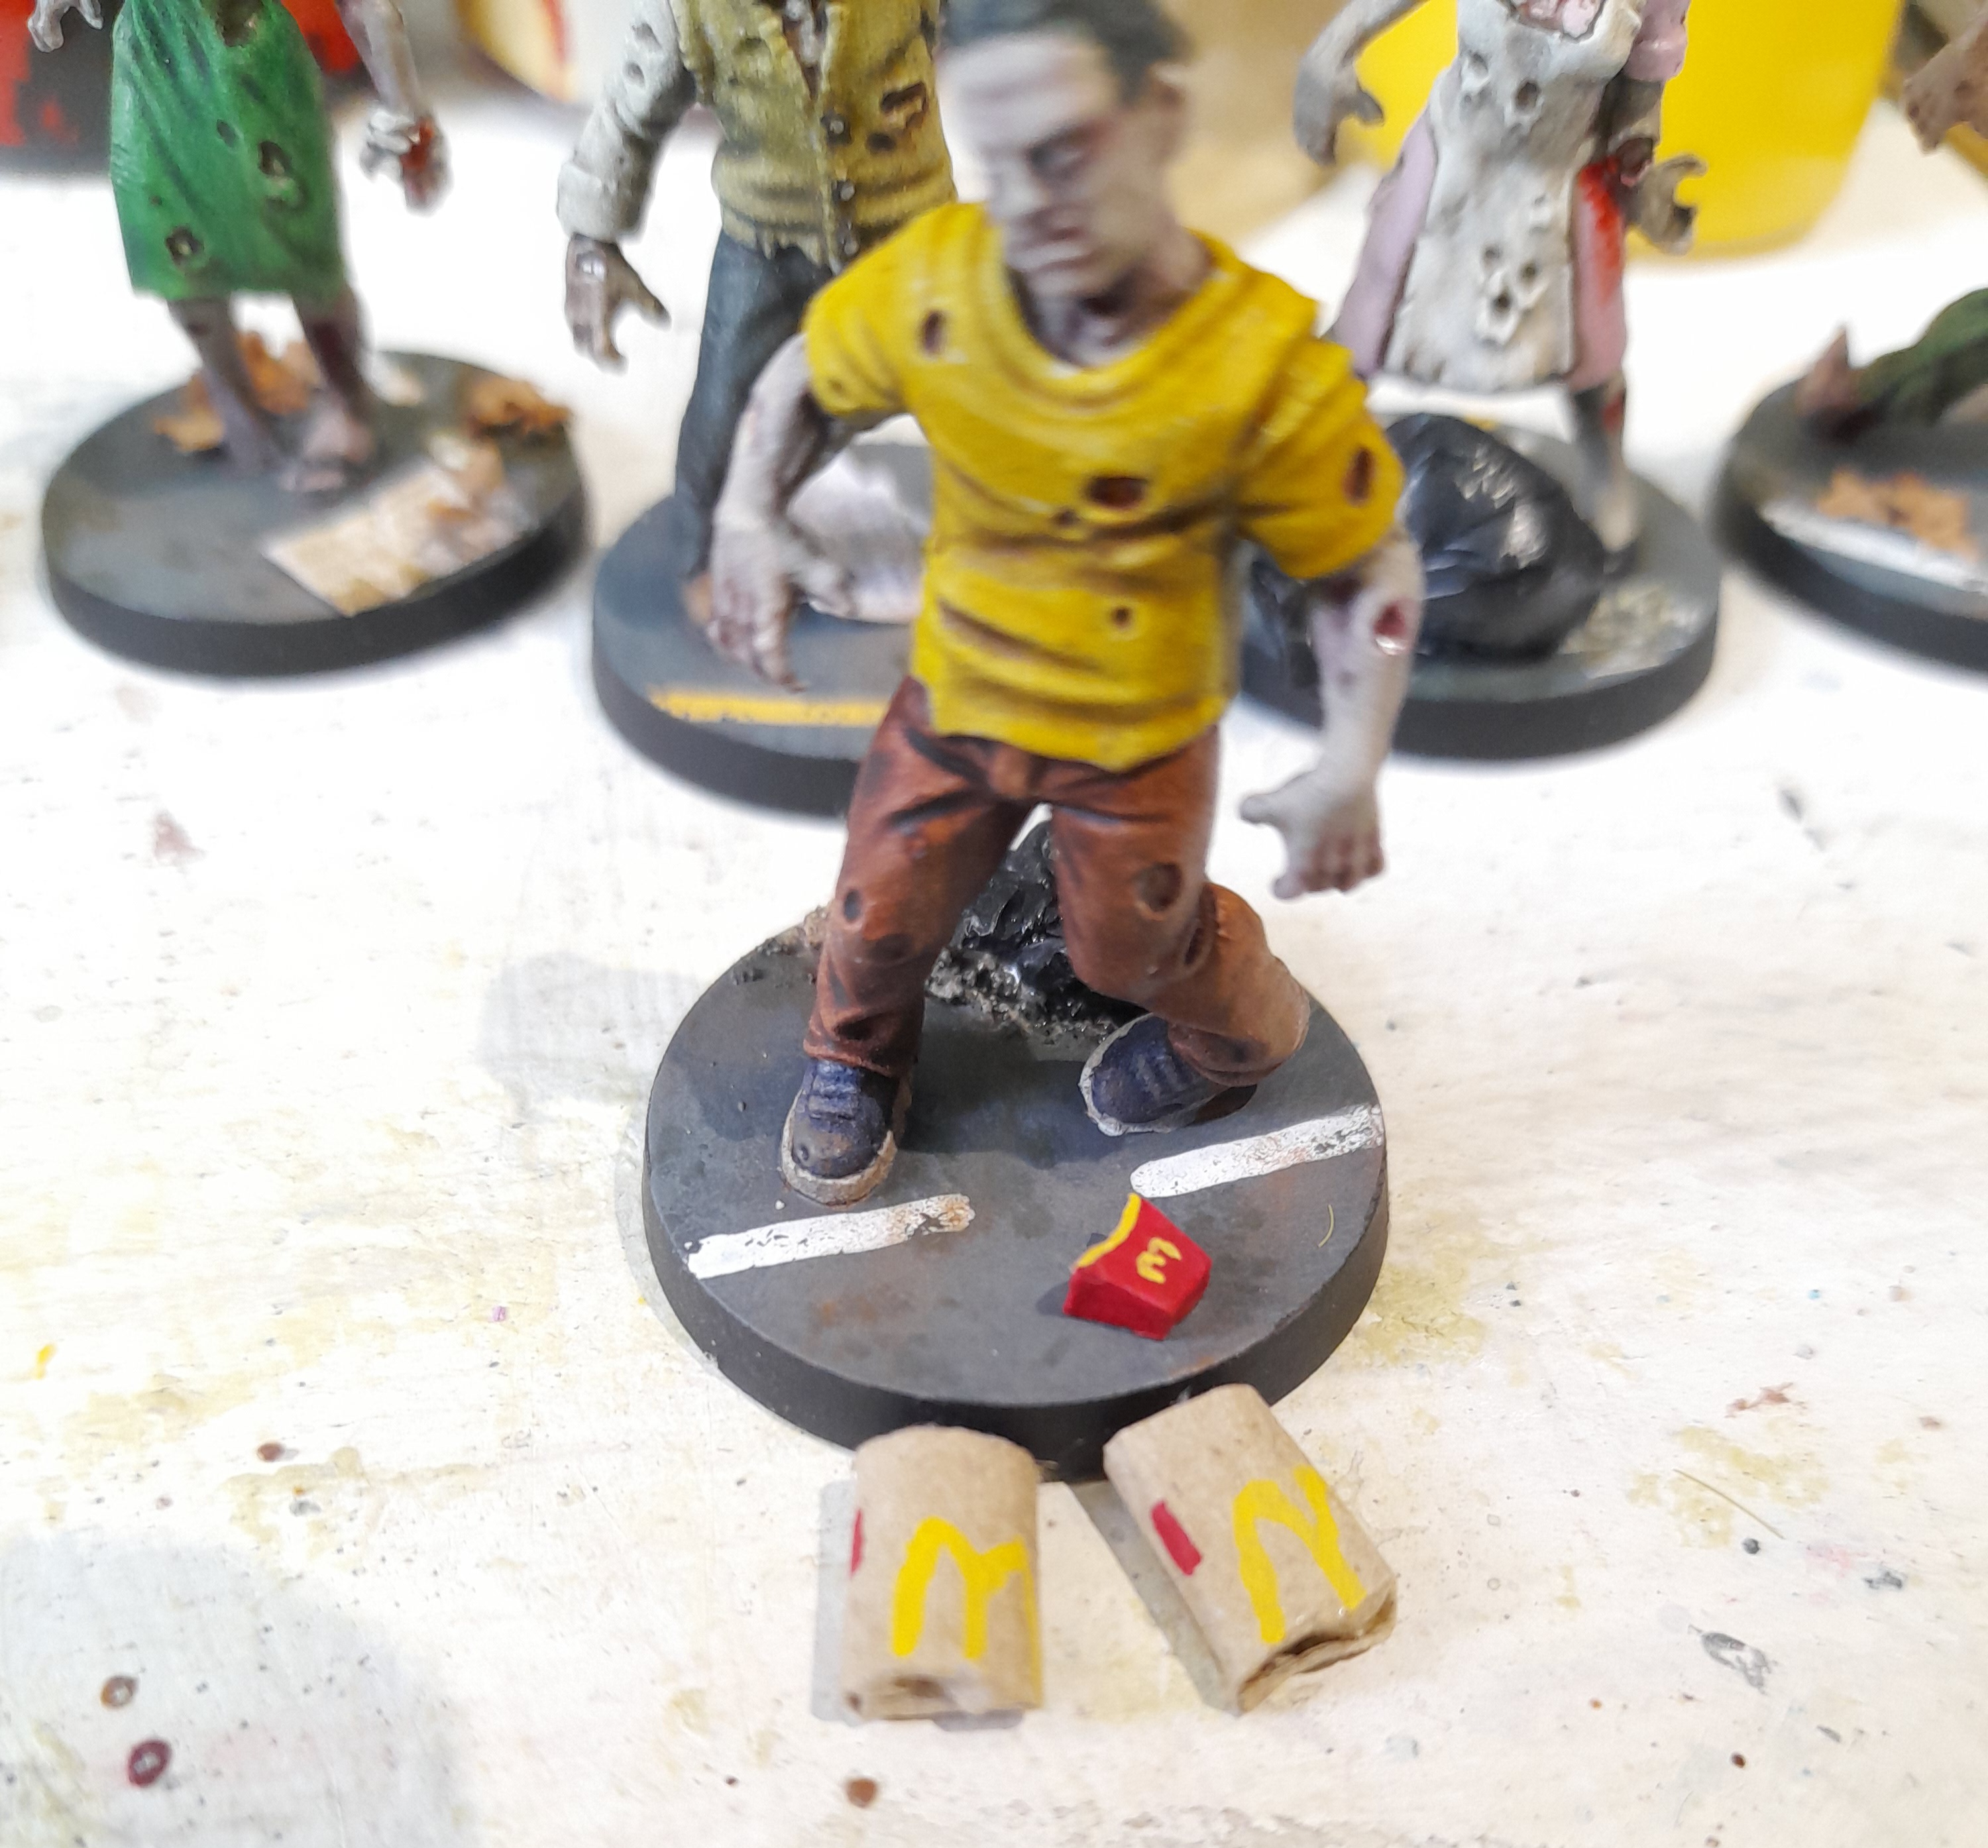
Fast Food rubbish
I still felt like I needed some more detritus, so thought I would try to make some fast food rubbish. I started out by trimming an old sprue offcut, then sanding a curve into one side. Painted it up, and it seems to work as a discarded fries box. The brown bags were made from some old brown envelope, that I cut and folded over, then once the length was glued to form a rectangular tube I cut it in half to make two bags. I carefully folded over one end of each, then found some reference and painted them up with the off centre yellow M.

Basing the Walkers
8th June 2024
My indecision regarding basing means that I have ended up going for four overall basing styles for these.
I have four that are going to be tarmac street, three that are tarmac with dirt/gravel, three that are scrub ground with mud and two that are full scrub ground.
I had initially just painted the bases in a sandy beige colour, but then overpainted several with a dark grey.
Tarmac bases
For the tarmac areas of the bases I started out with a dark grey. This was followed by stippling with a mid grey to break up the tone a bit.
Then I added some road marking with white and yellow lines. To break up the ‘newness’ I sponged on some of the original dark grey. After that I added some stippling (very light) with a mid brown and some small areas of a greenish streaking grime.
Dirt / Scrub Ground basing
For the other bases that had either patches or complete areas of ‘dirt’ or scrub ground I applied some of my Ground Texture paste (only have orange though…) This was then painted with beige and highlighting with sand colours. The scrub/mud bases had Agrellan Earth added to the non ground texture areas, the Tarmac/dirt had the non texture area painted as per the tarmac bases.
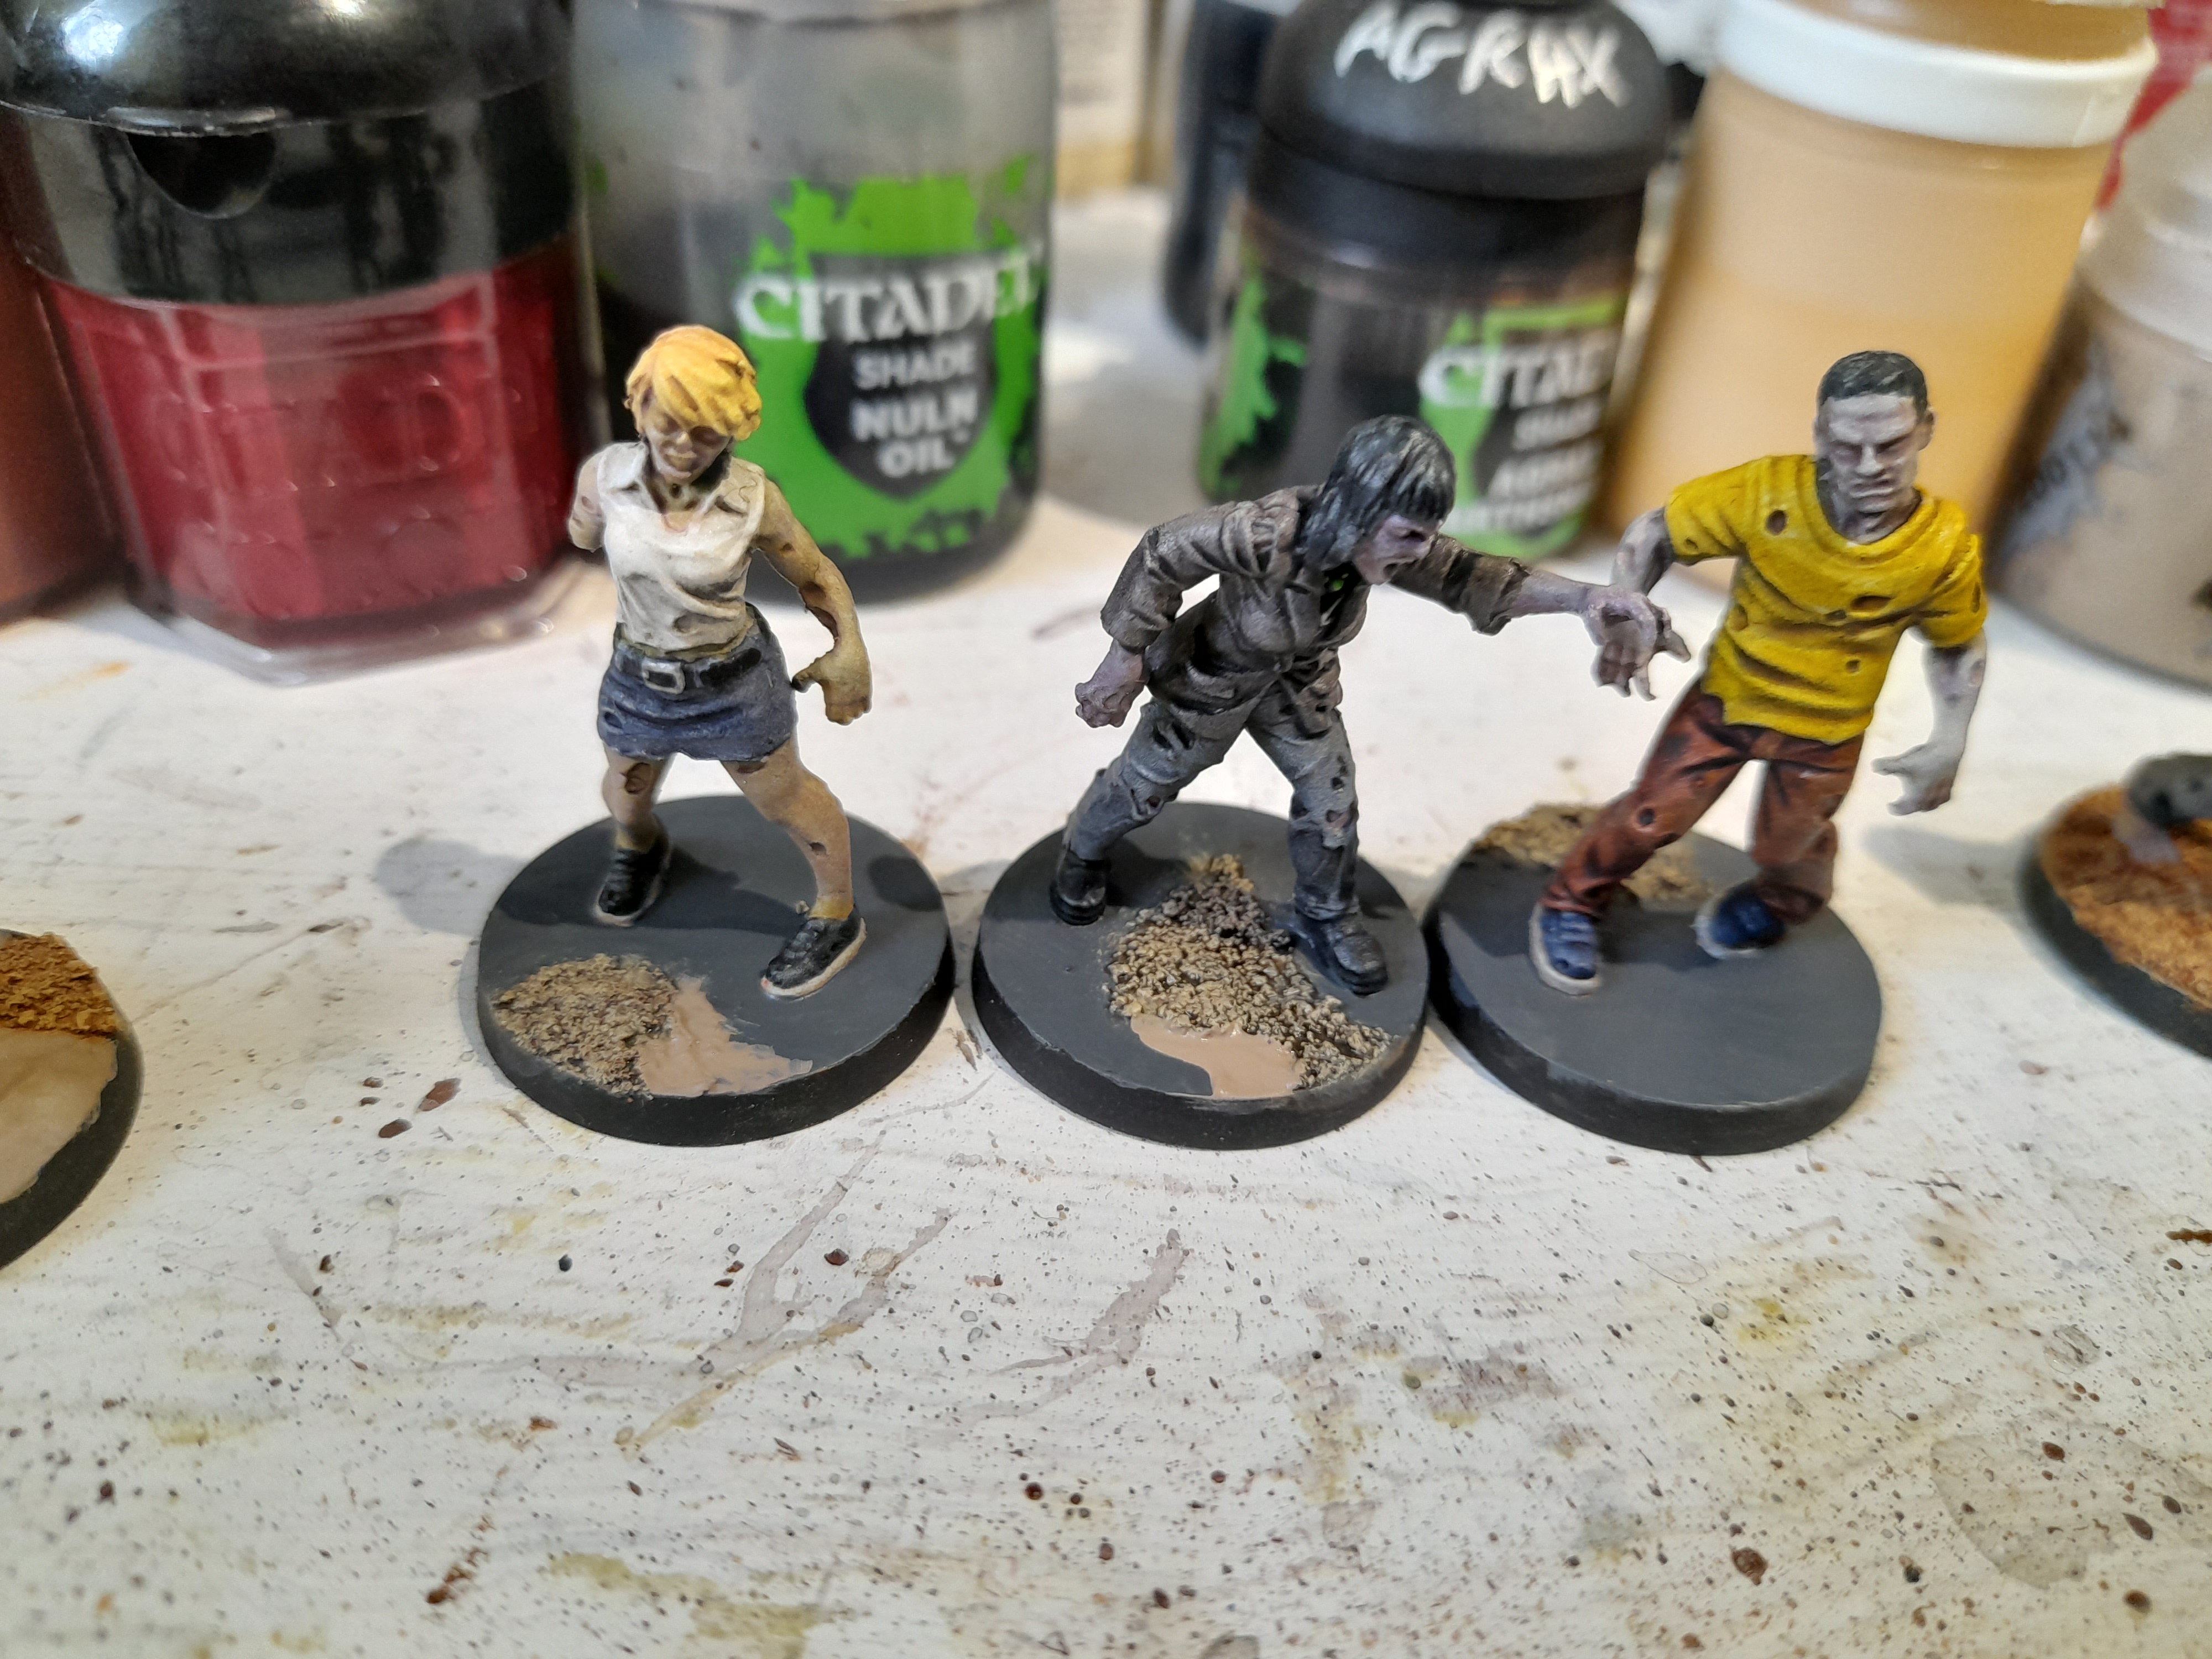
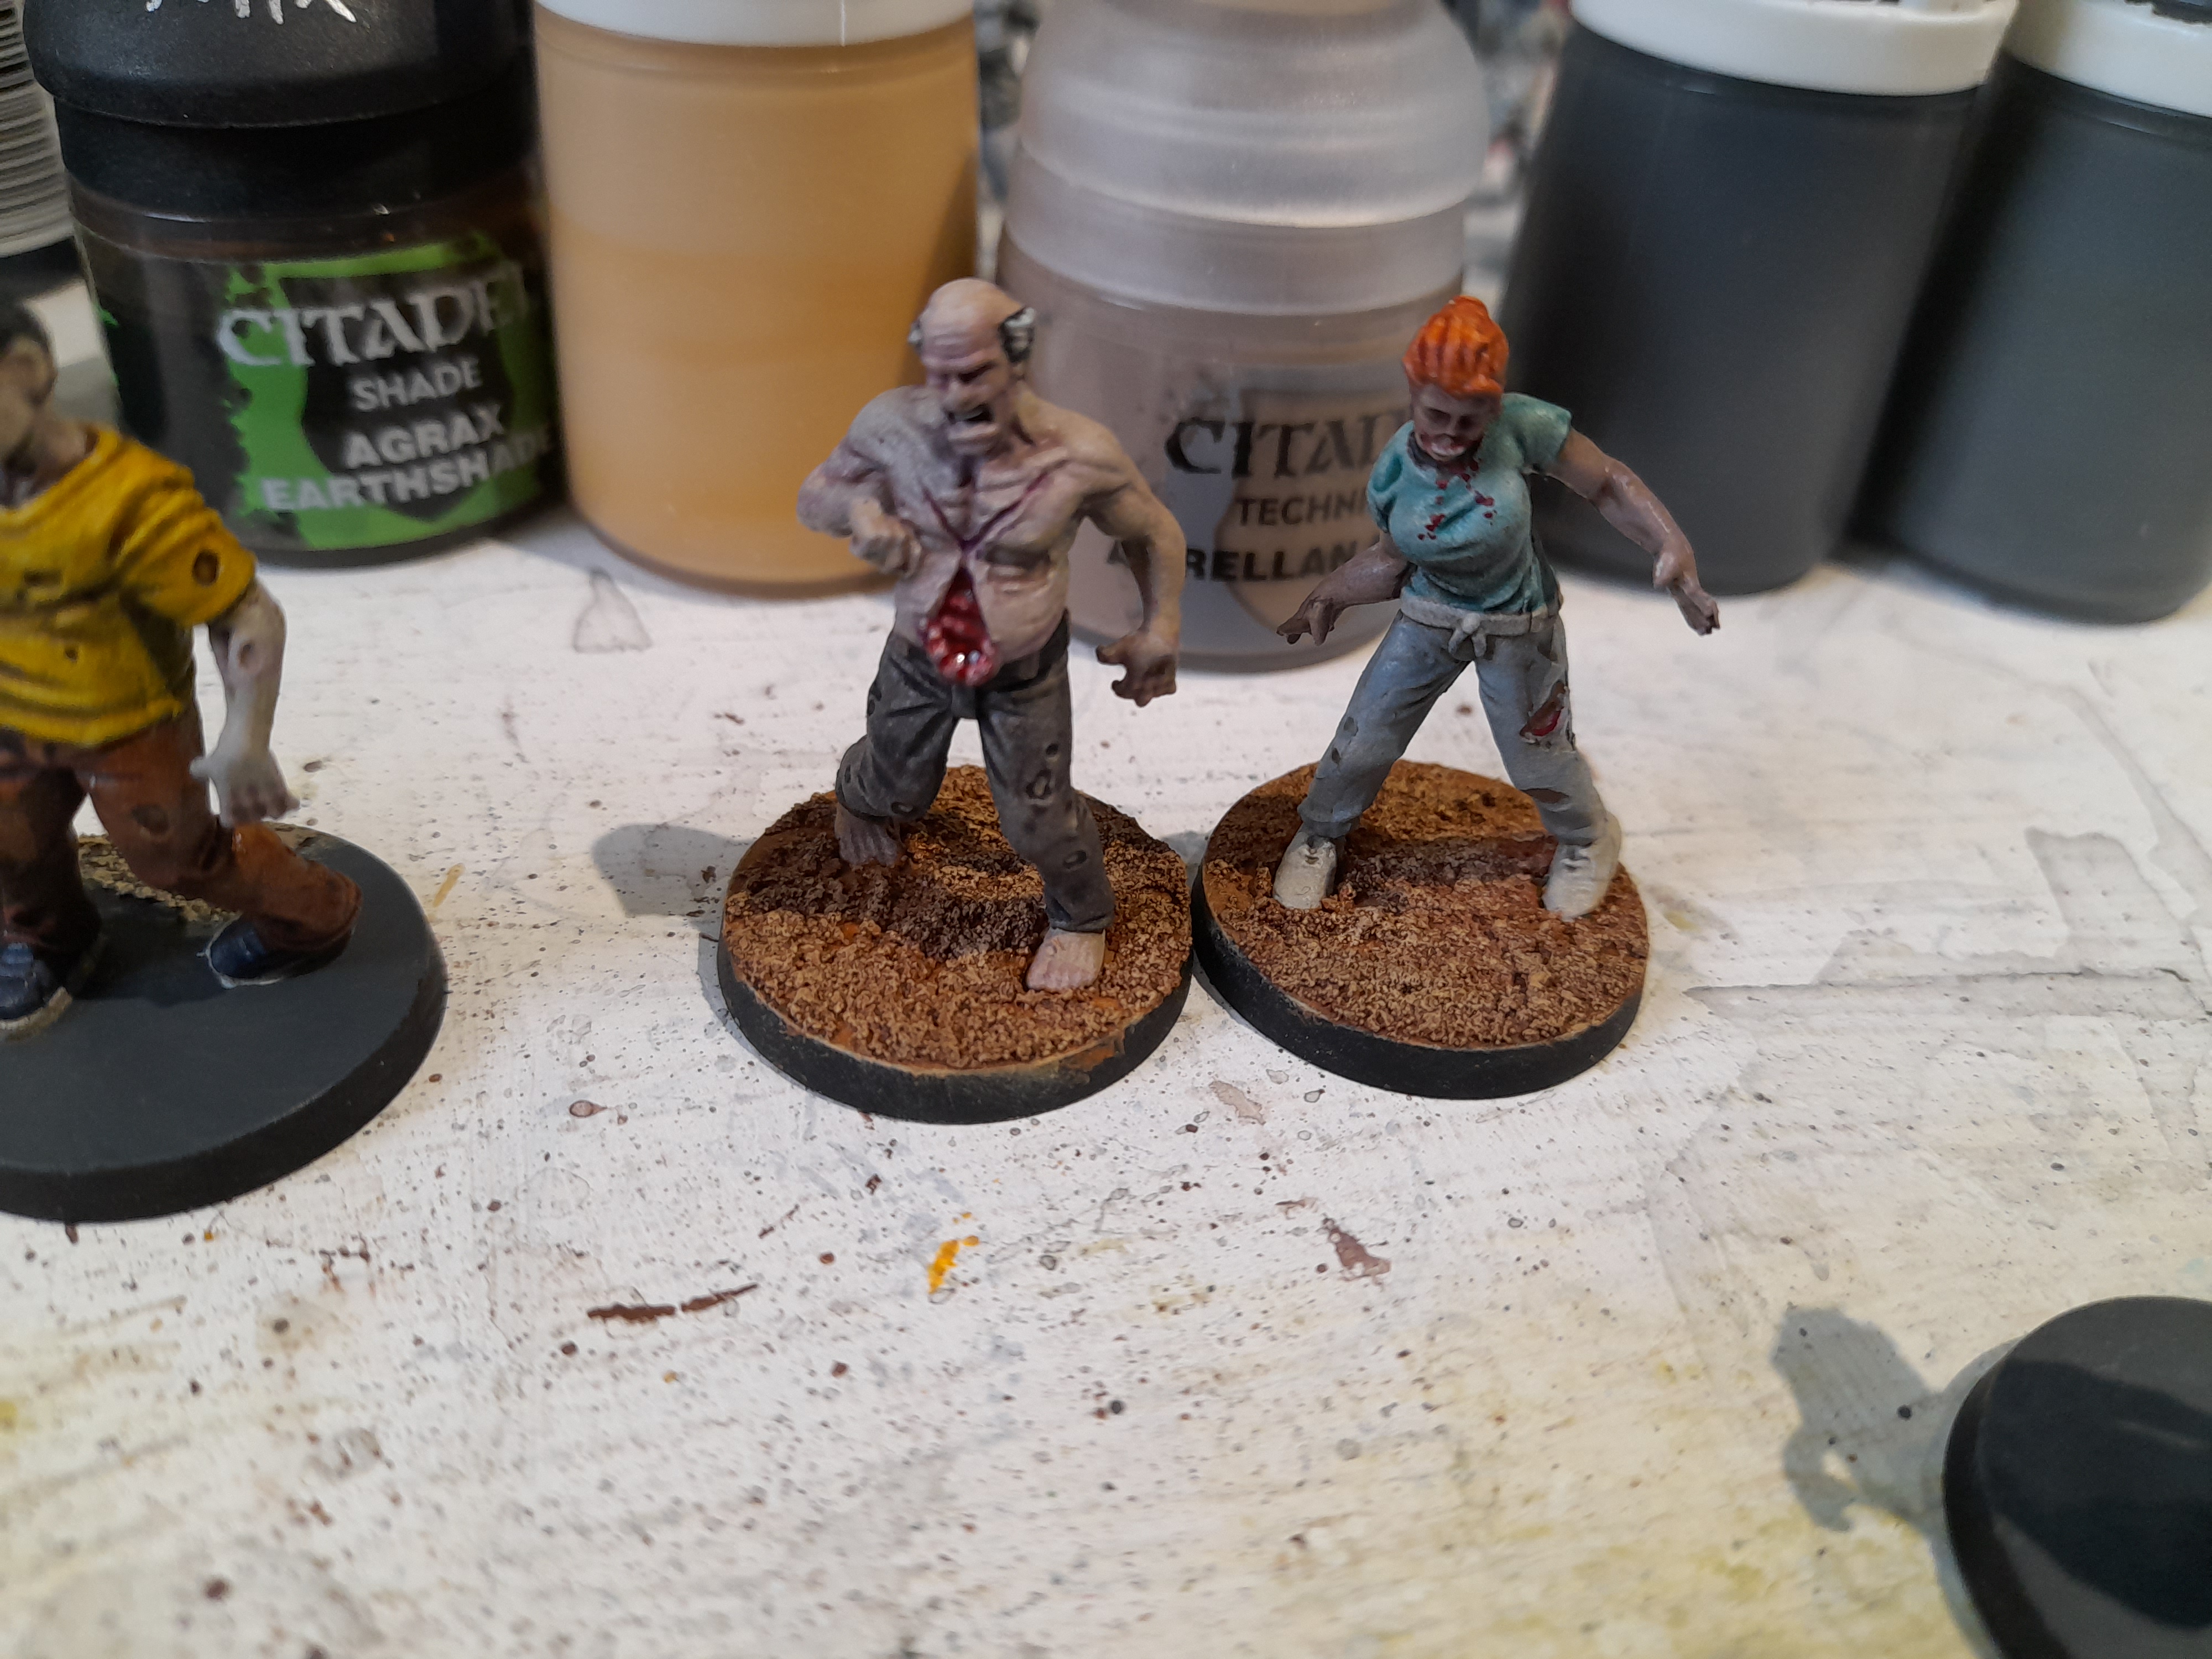
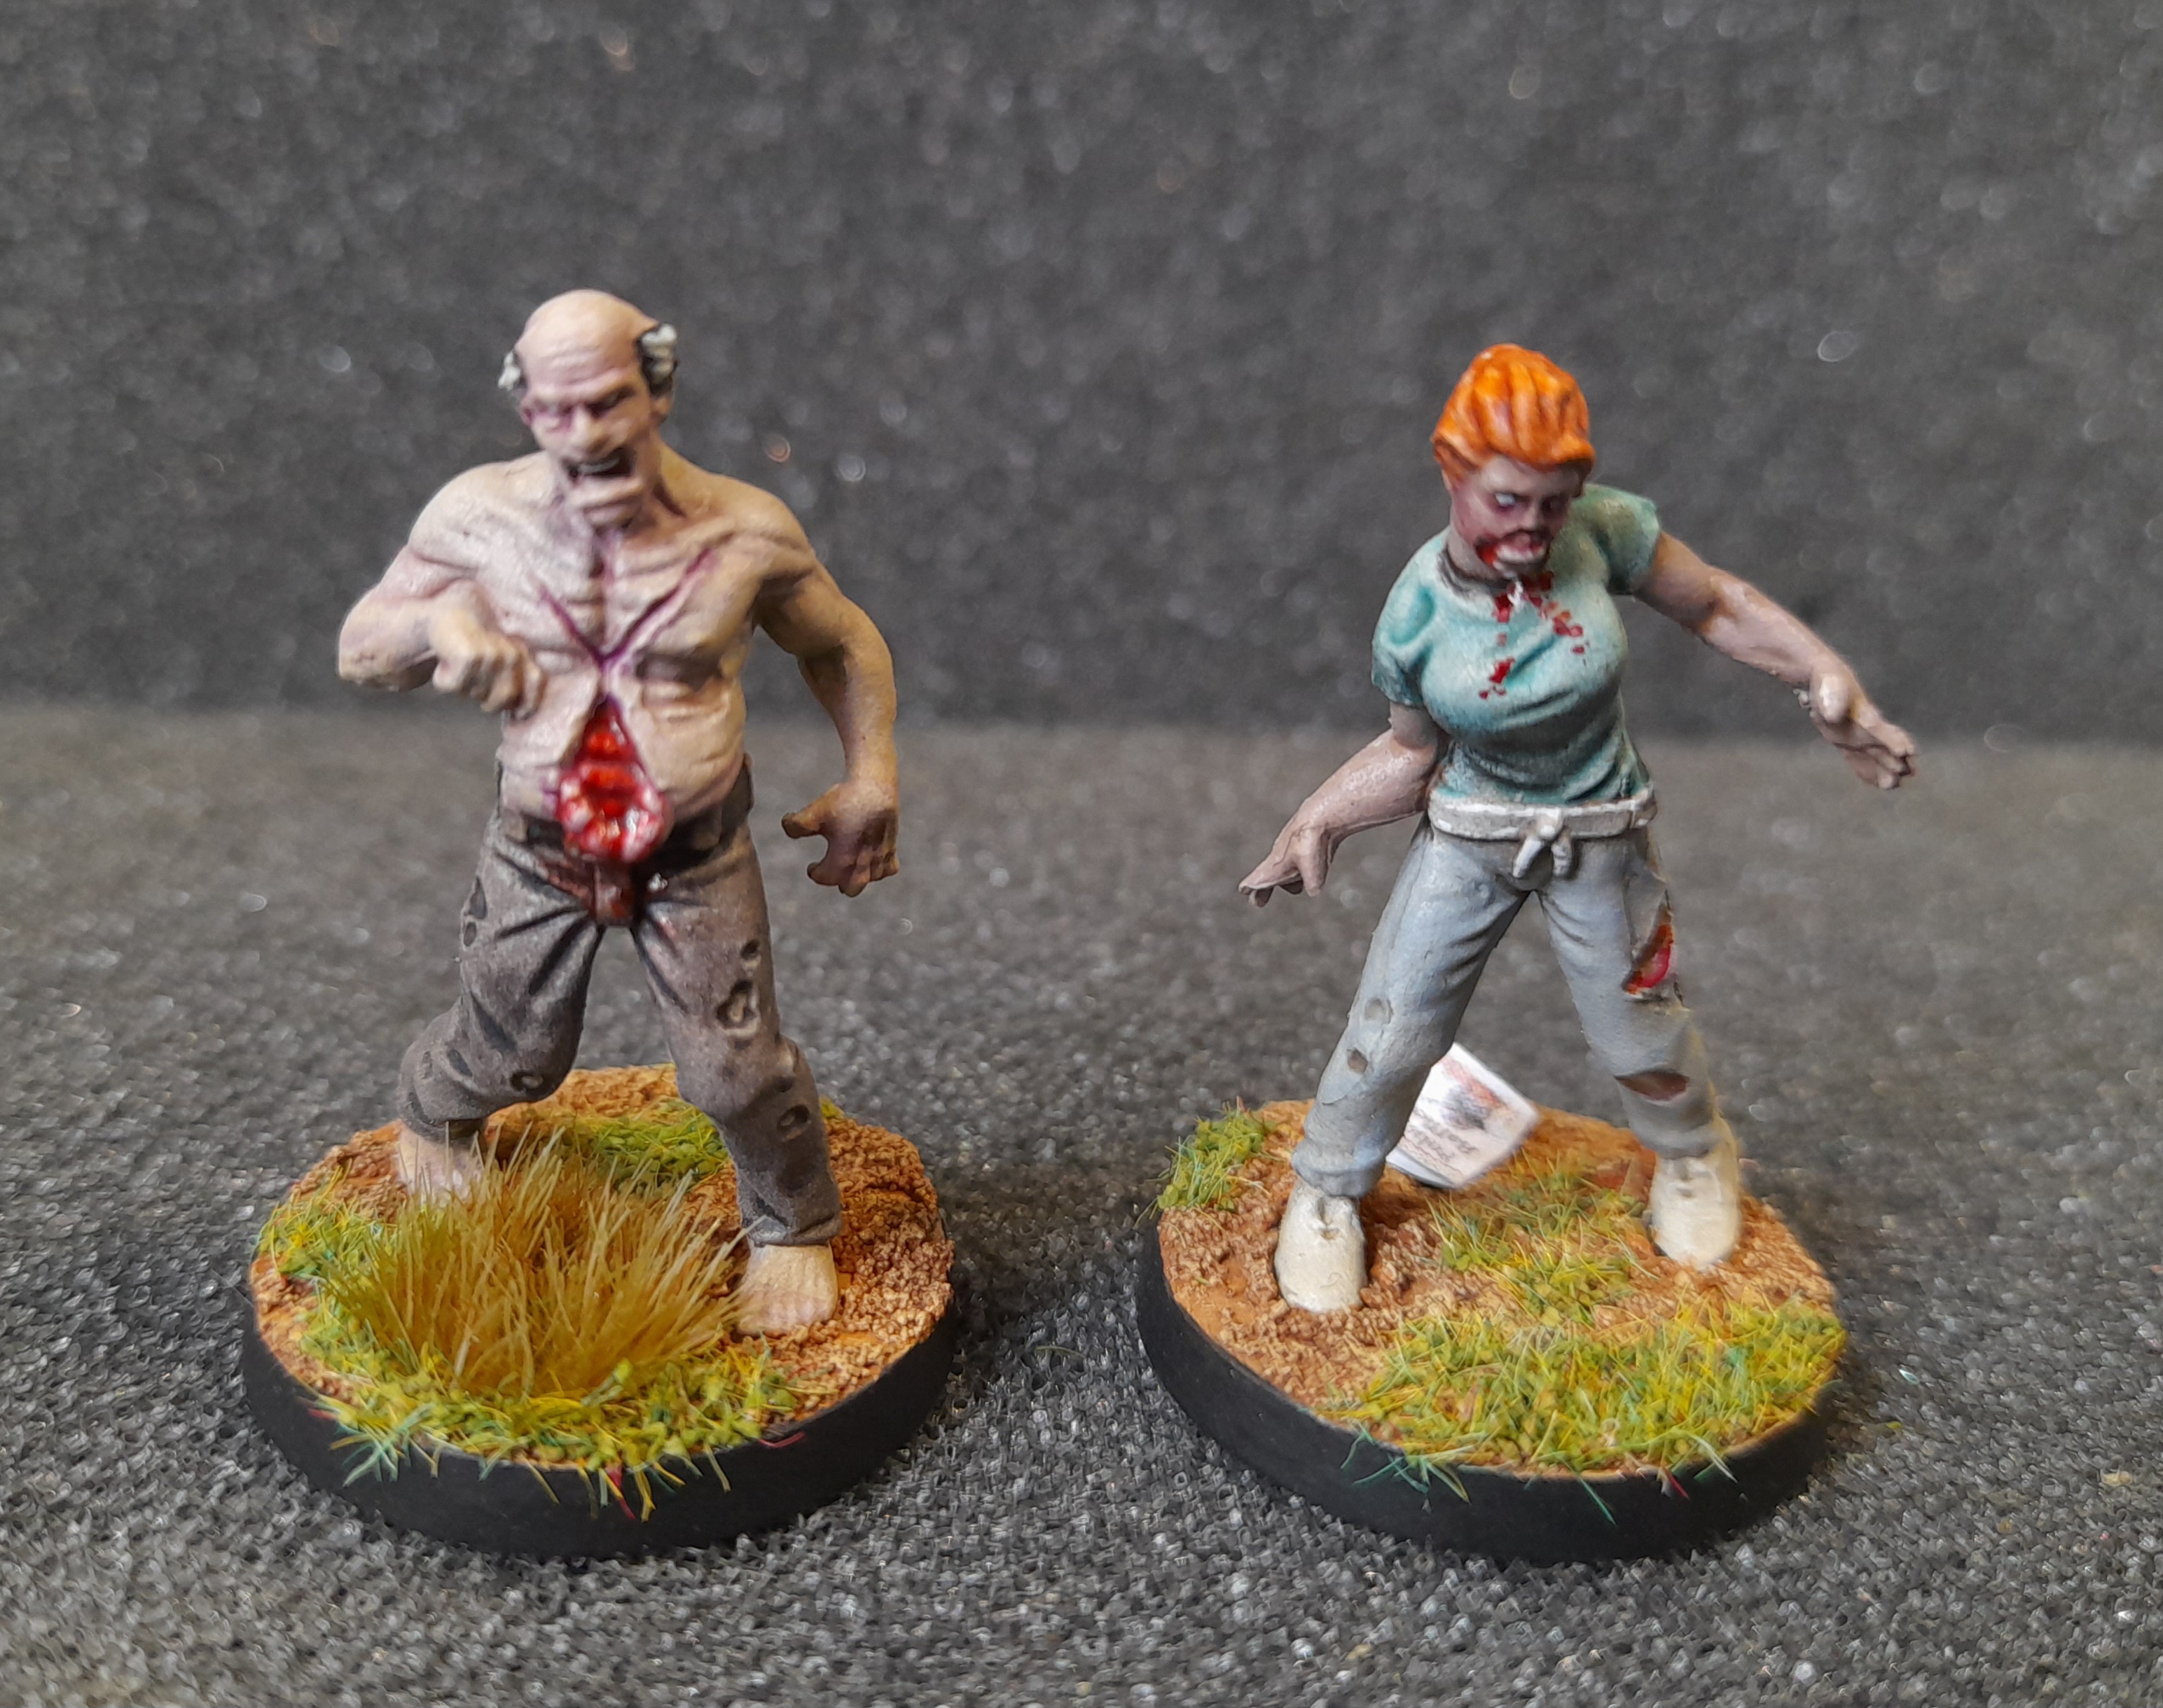
Walker Progress
7th June 2024
Well, the Walkers are taking longer than I thought – but perhaps in a good way…. As such though I thought I’d better post an update for the last few days work.
My initial plan was to just lay down basic colours and use the Army Painter dip shade varnish (the one in the tins) as an overall shade and ‘grubbifier’ (?). However, when I went with the Zenithal spray I thought I would just use some contrast.
In the end I used loads of different paints for them.
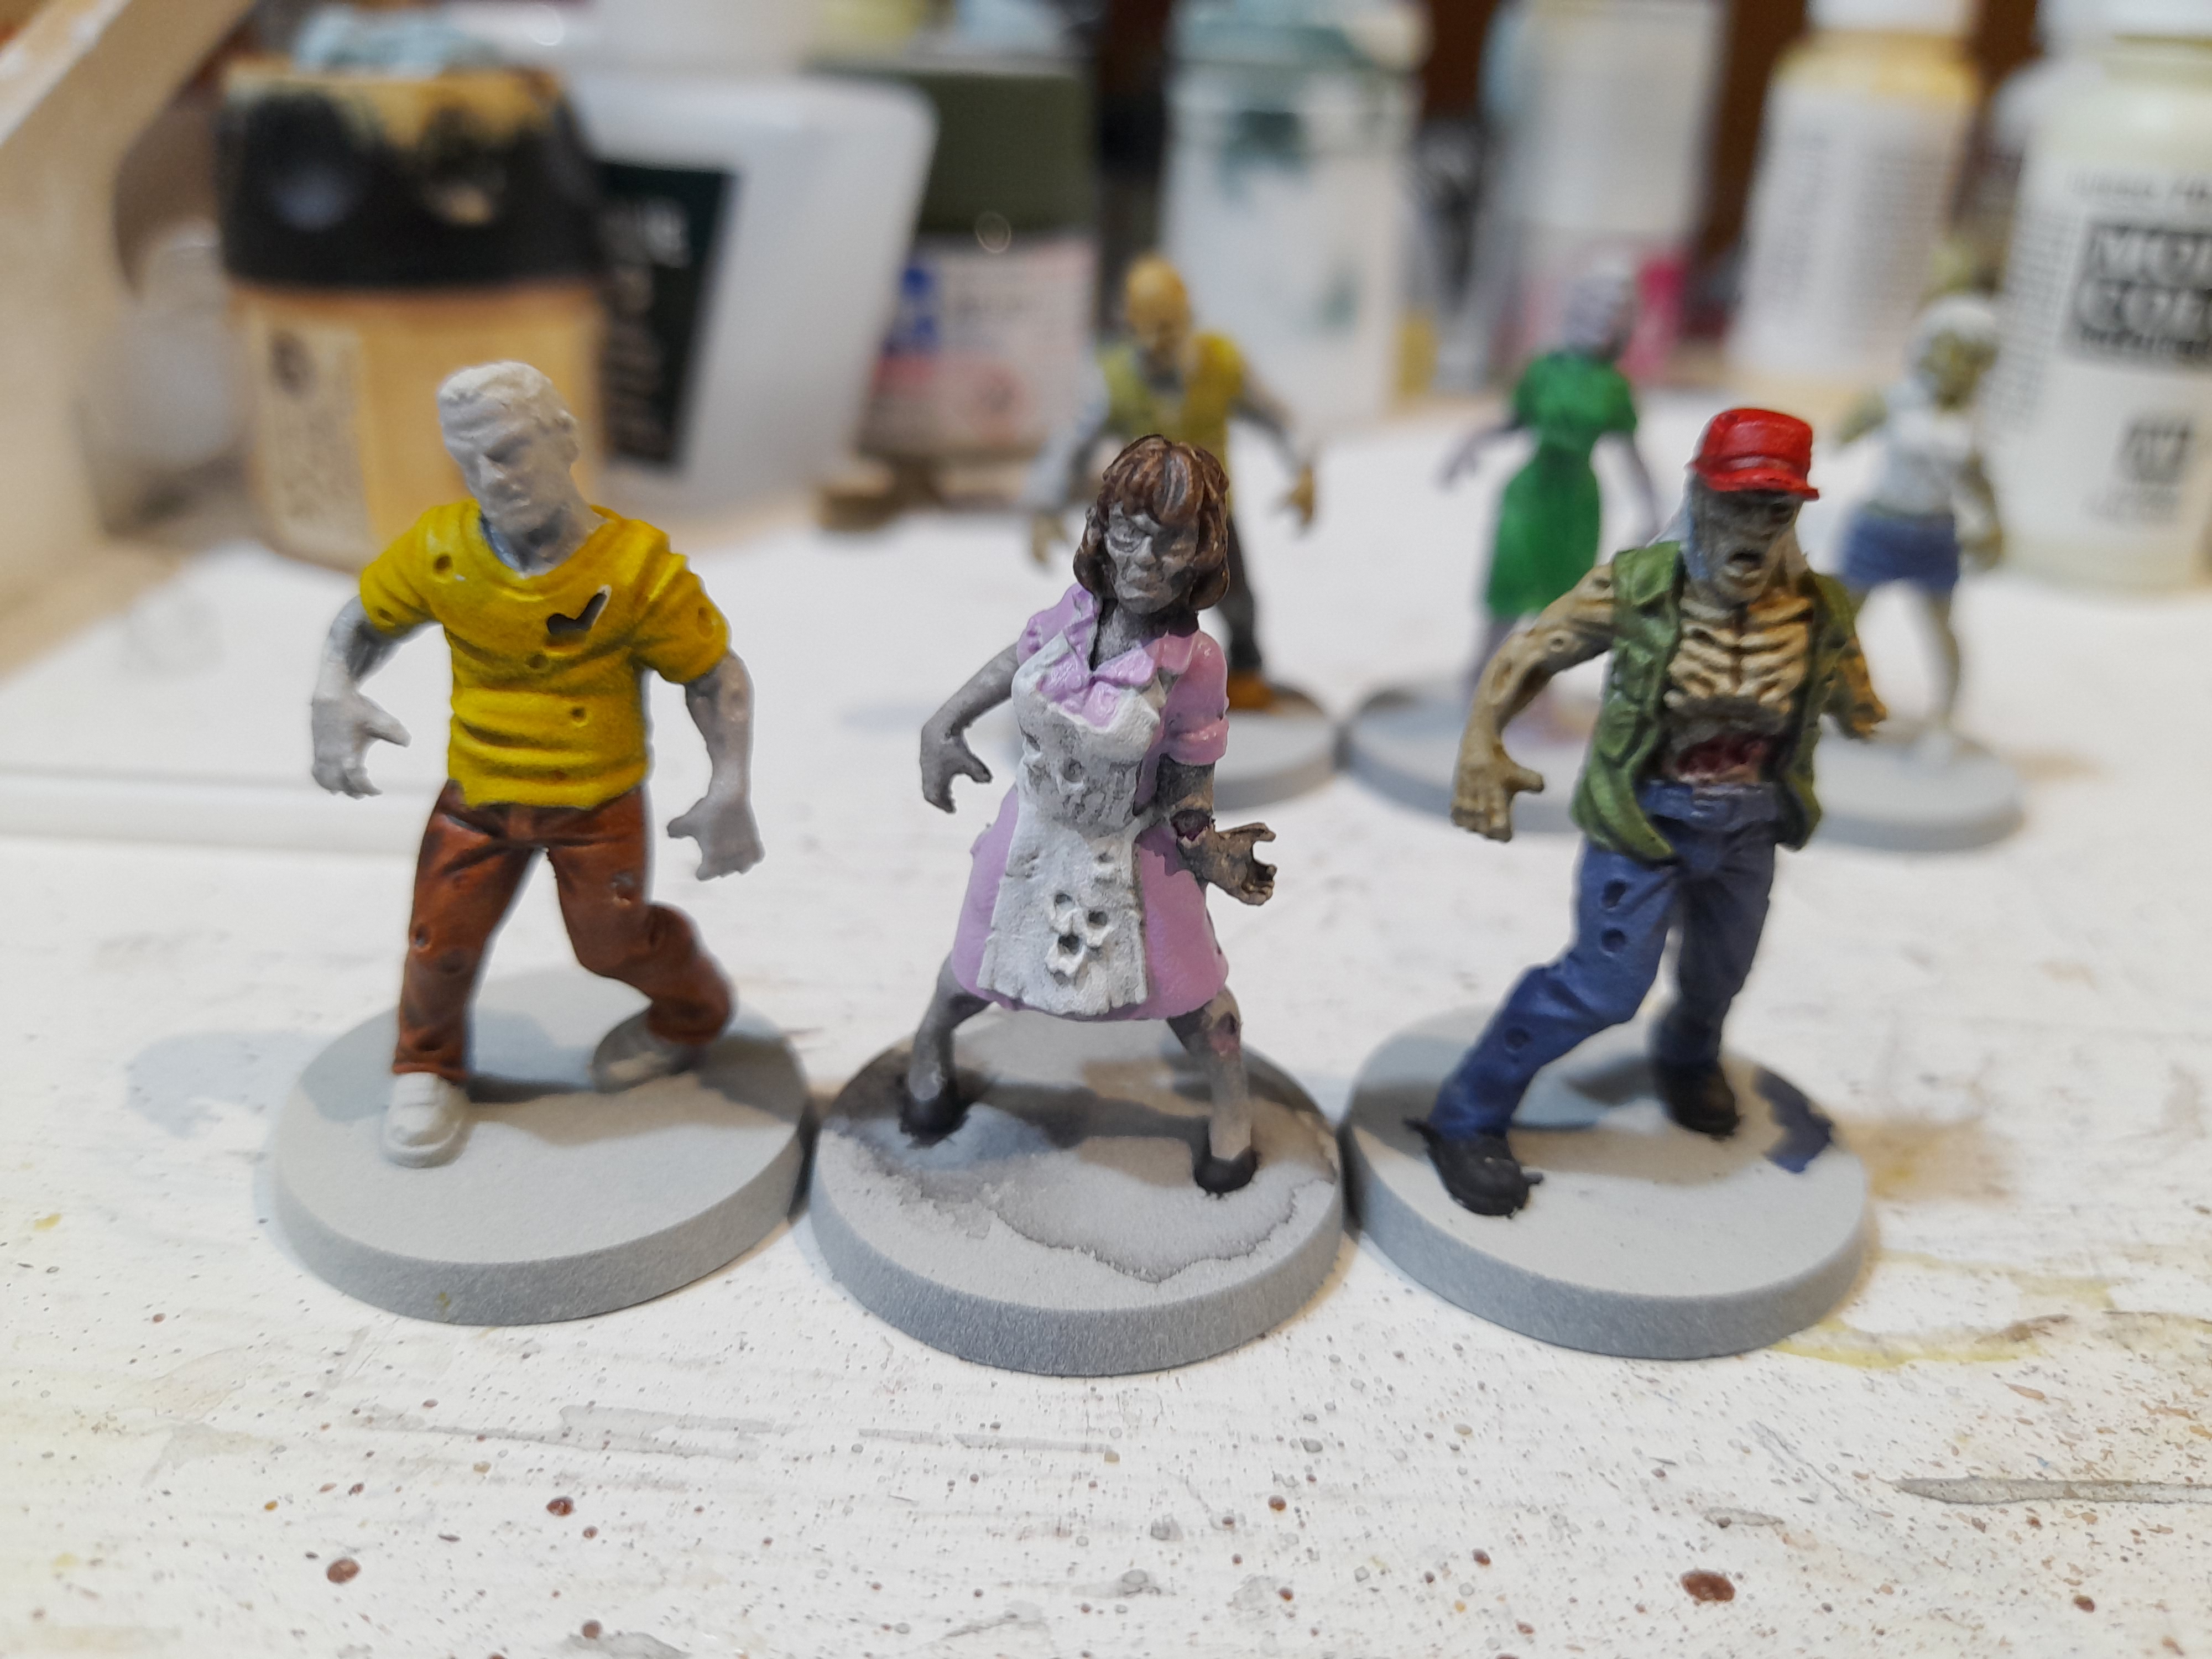
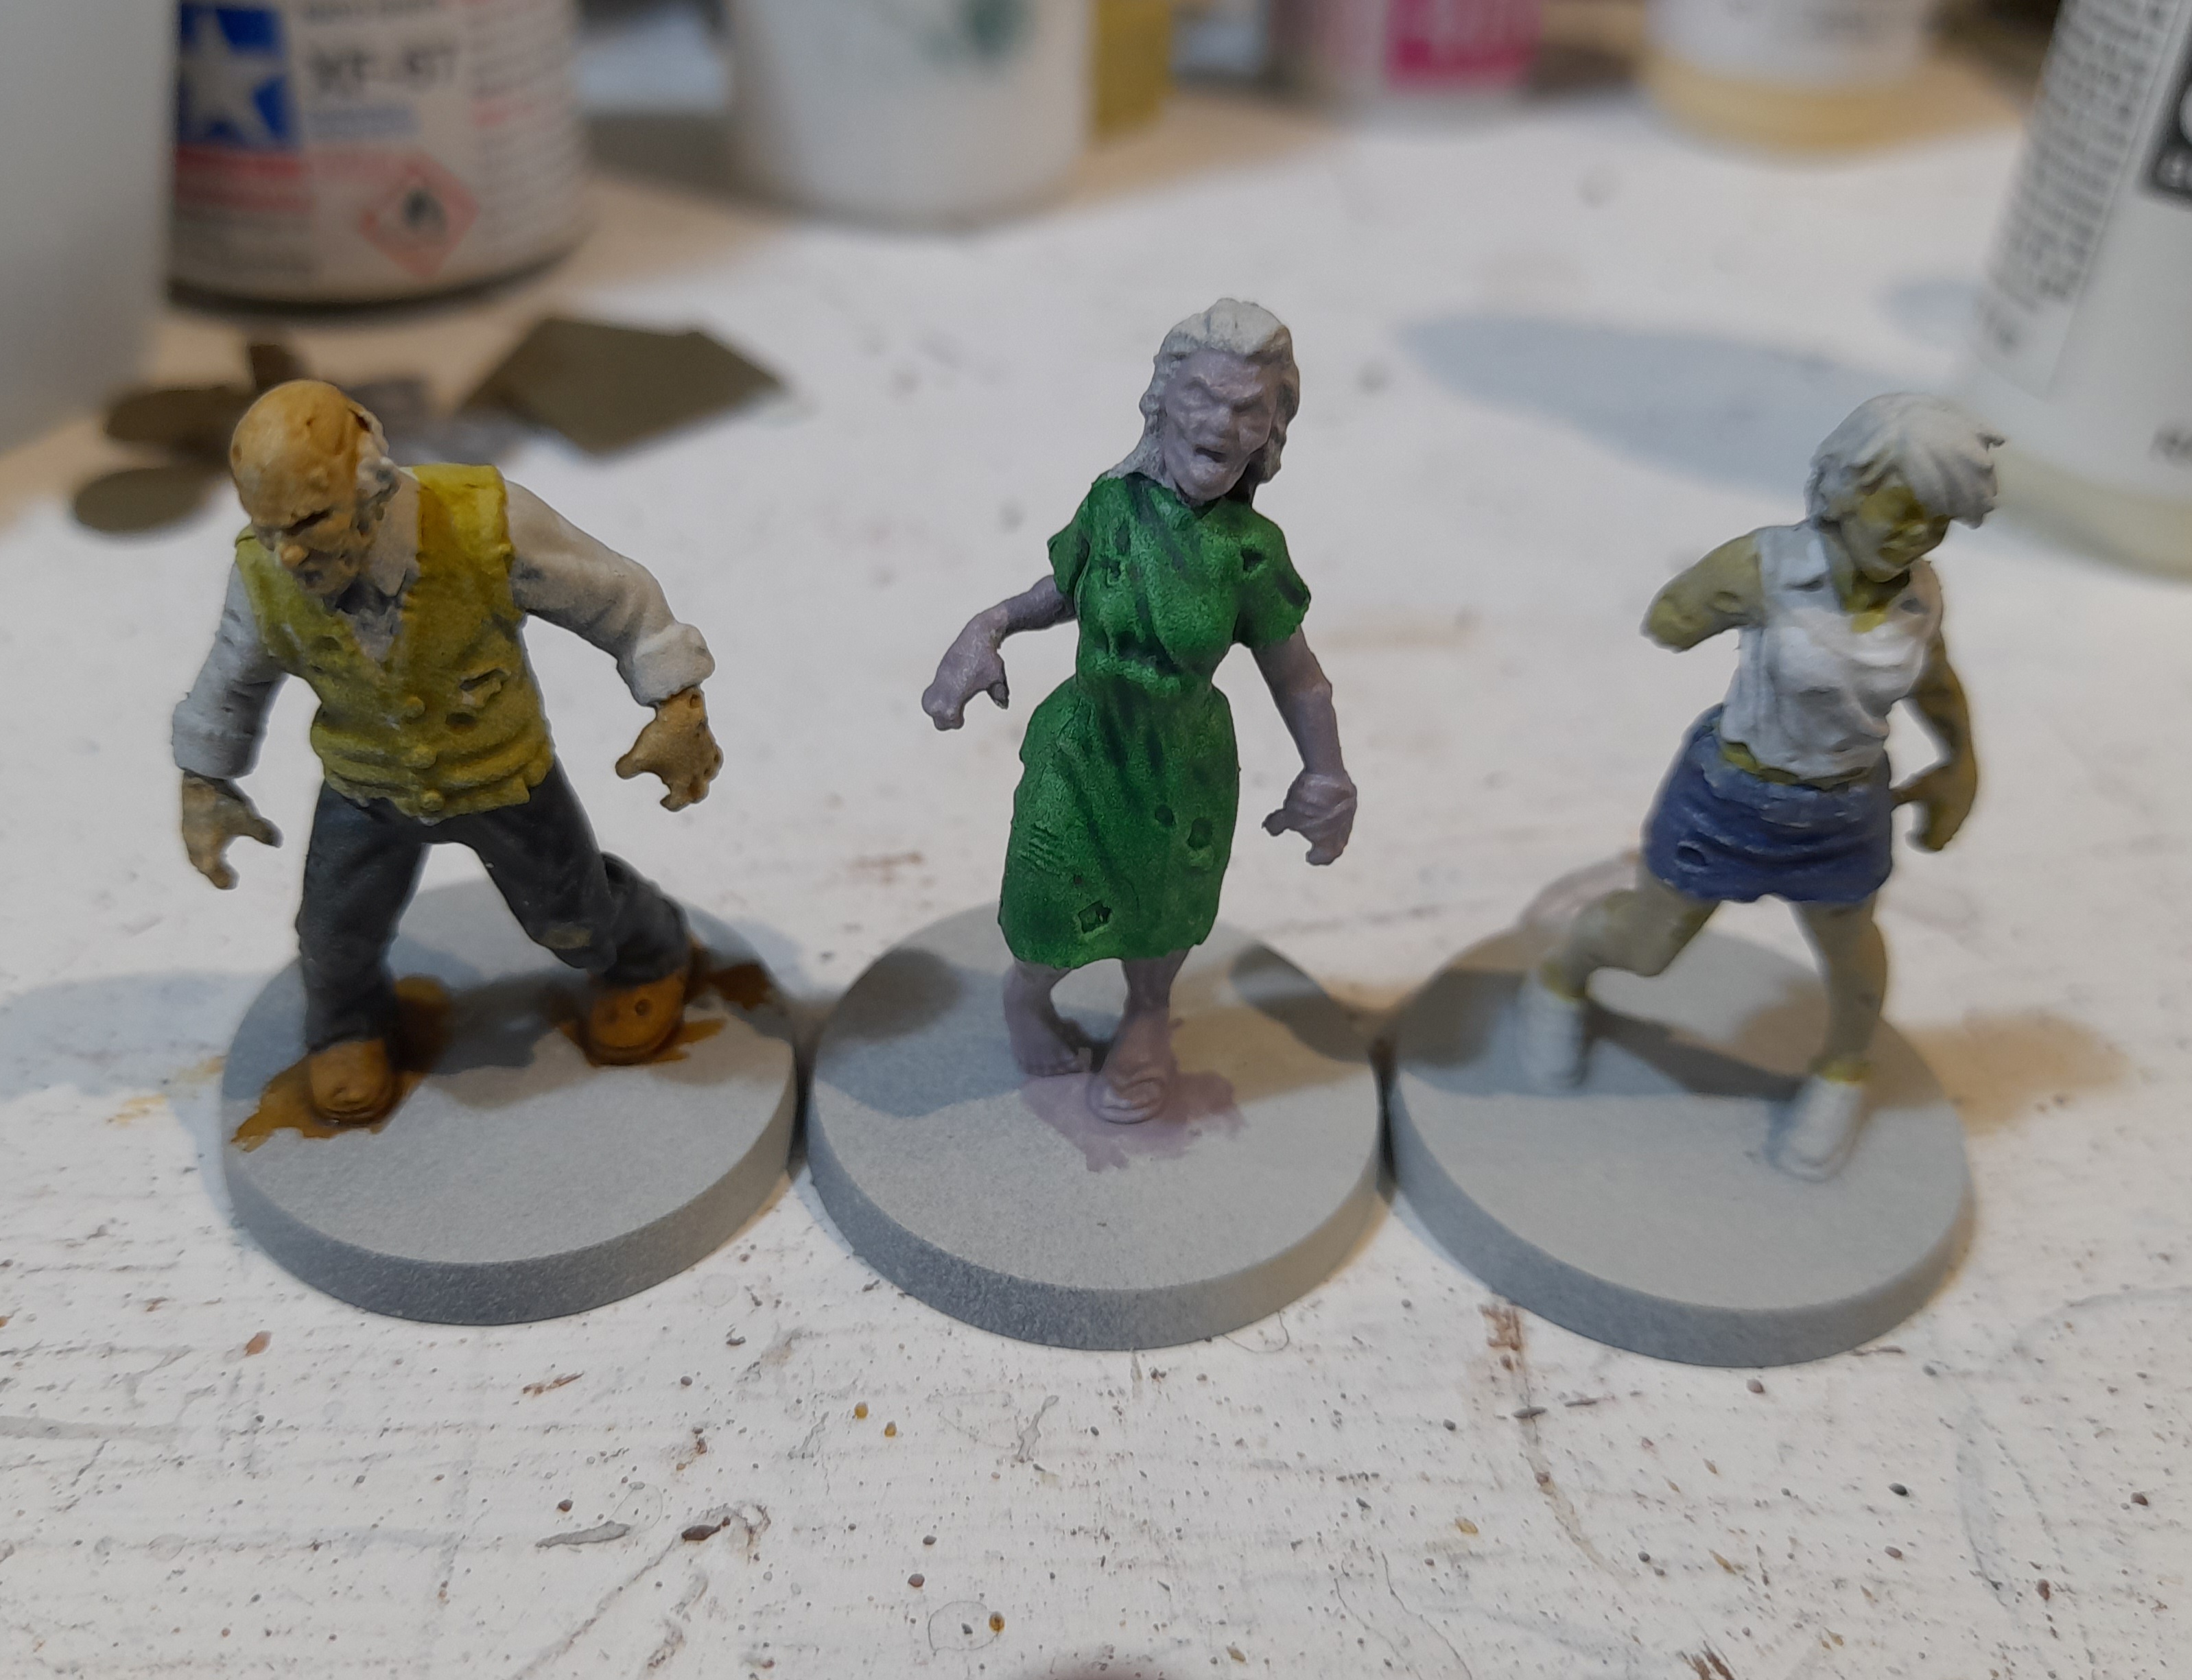
 These and more...
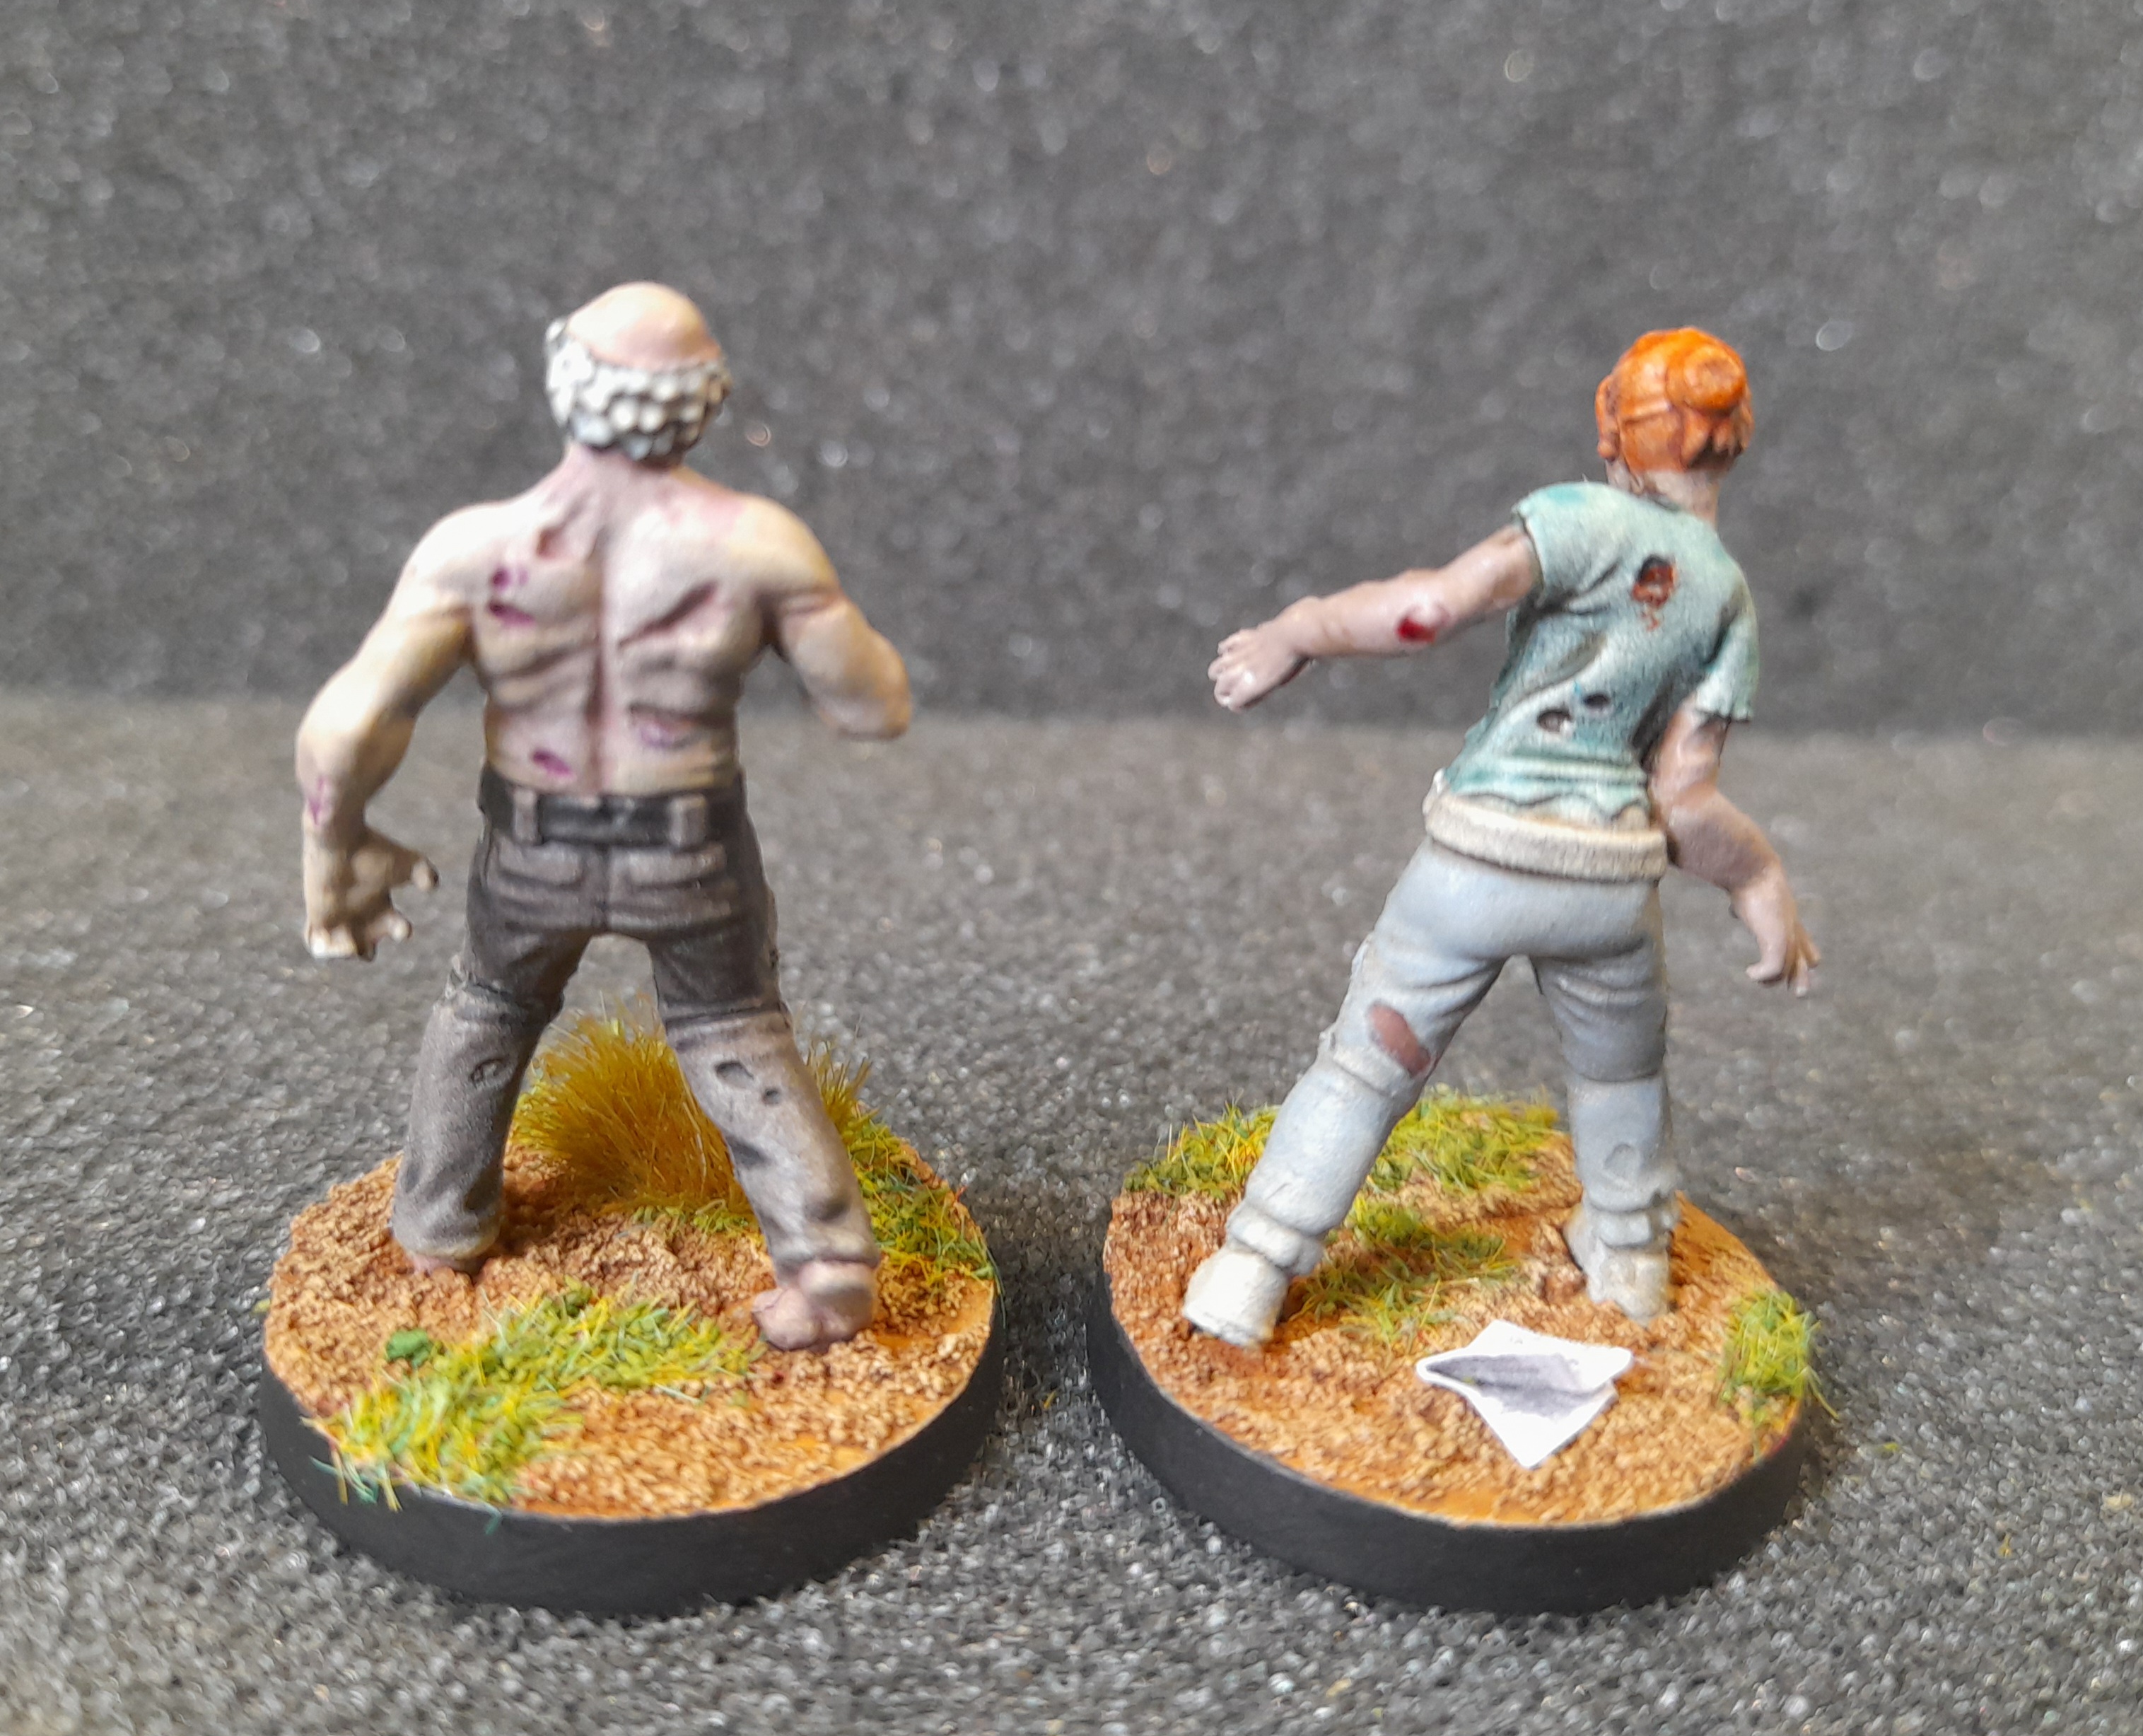
Started out with the skin tones. I wanted a mix of colours. First up was basic Skeleton Horde contrast on a couple. Some were given a grey tone. Then the rest had grey mixed with either pinks, brown or green to make a variety.
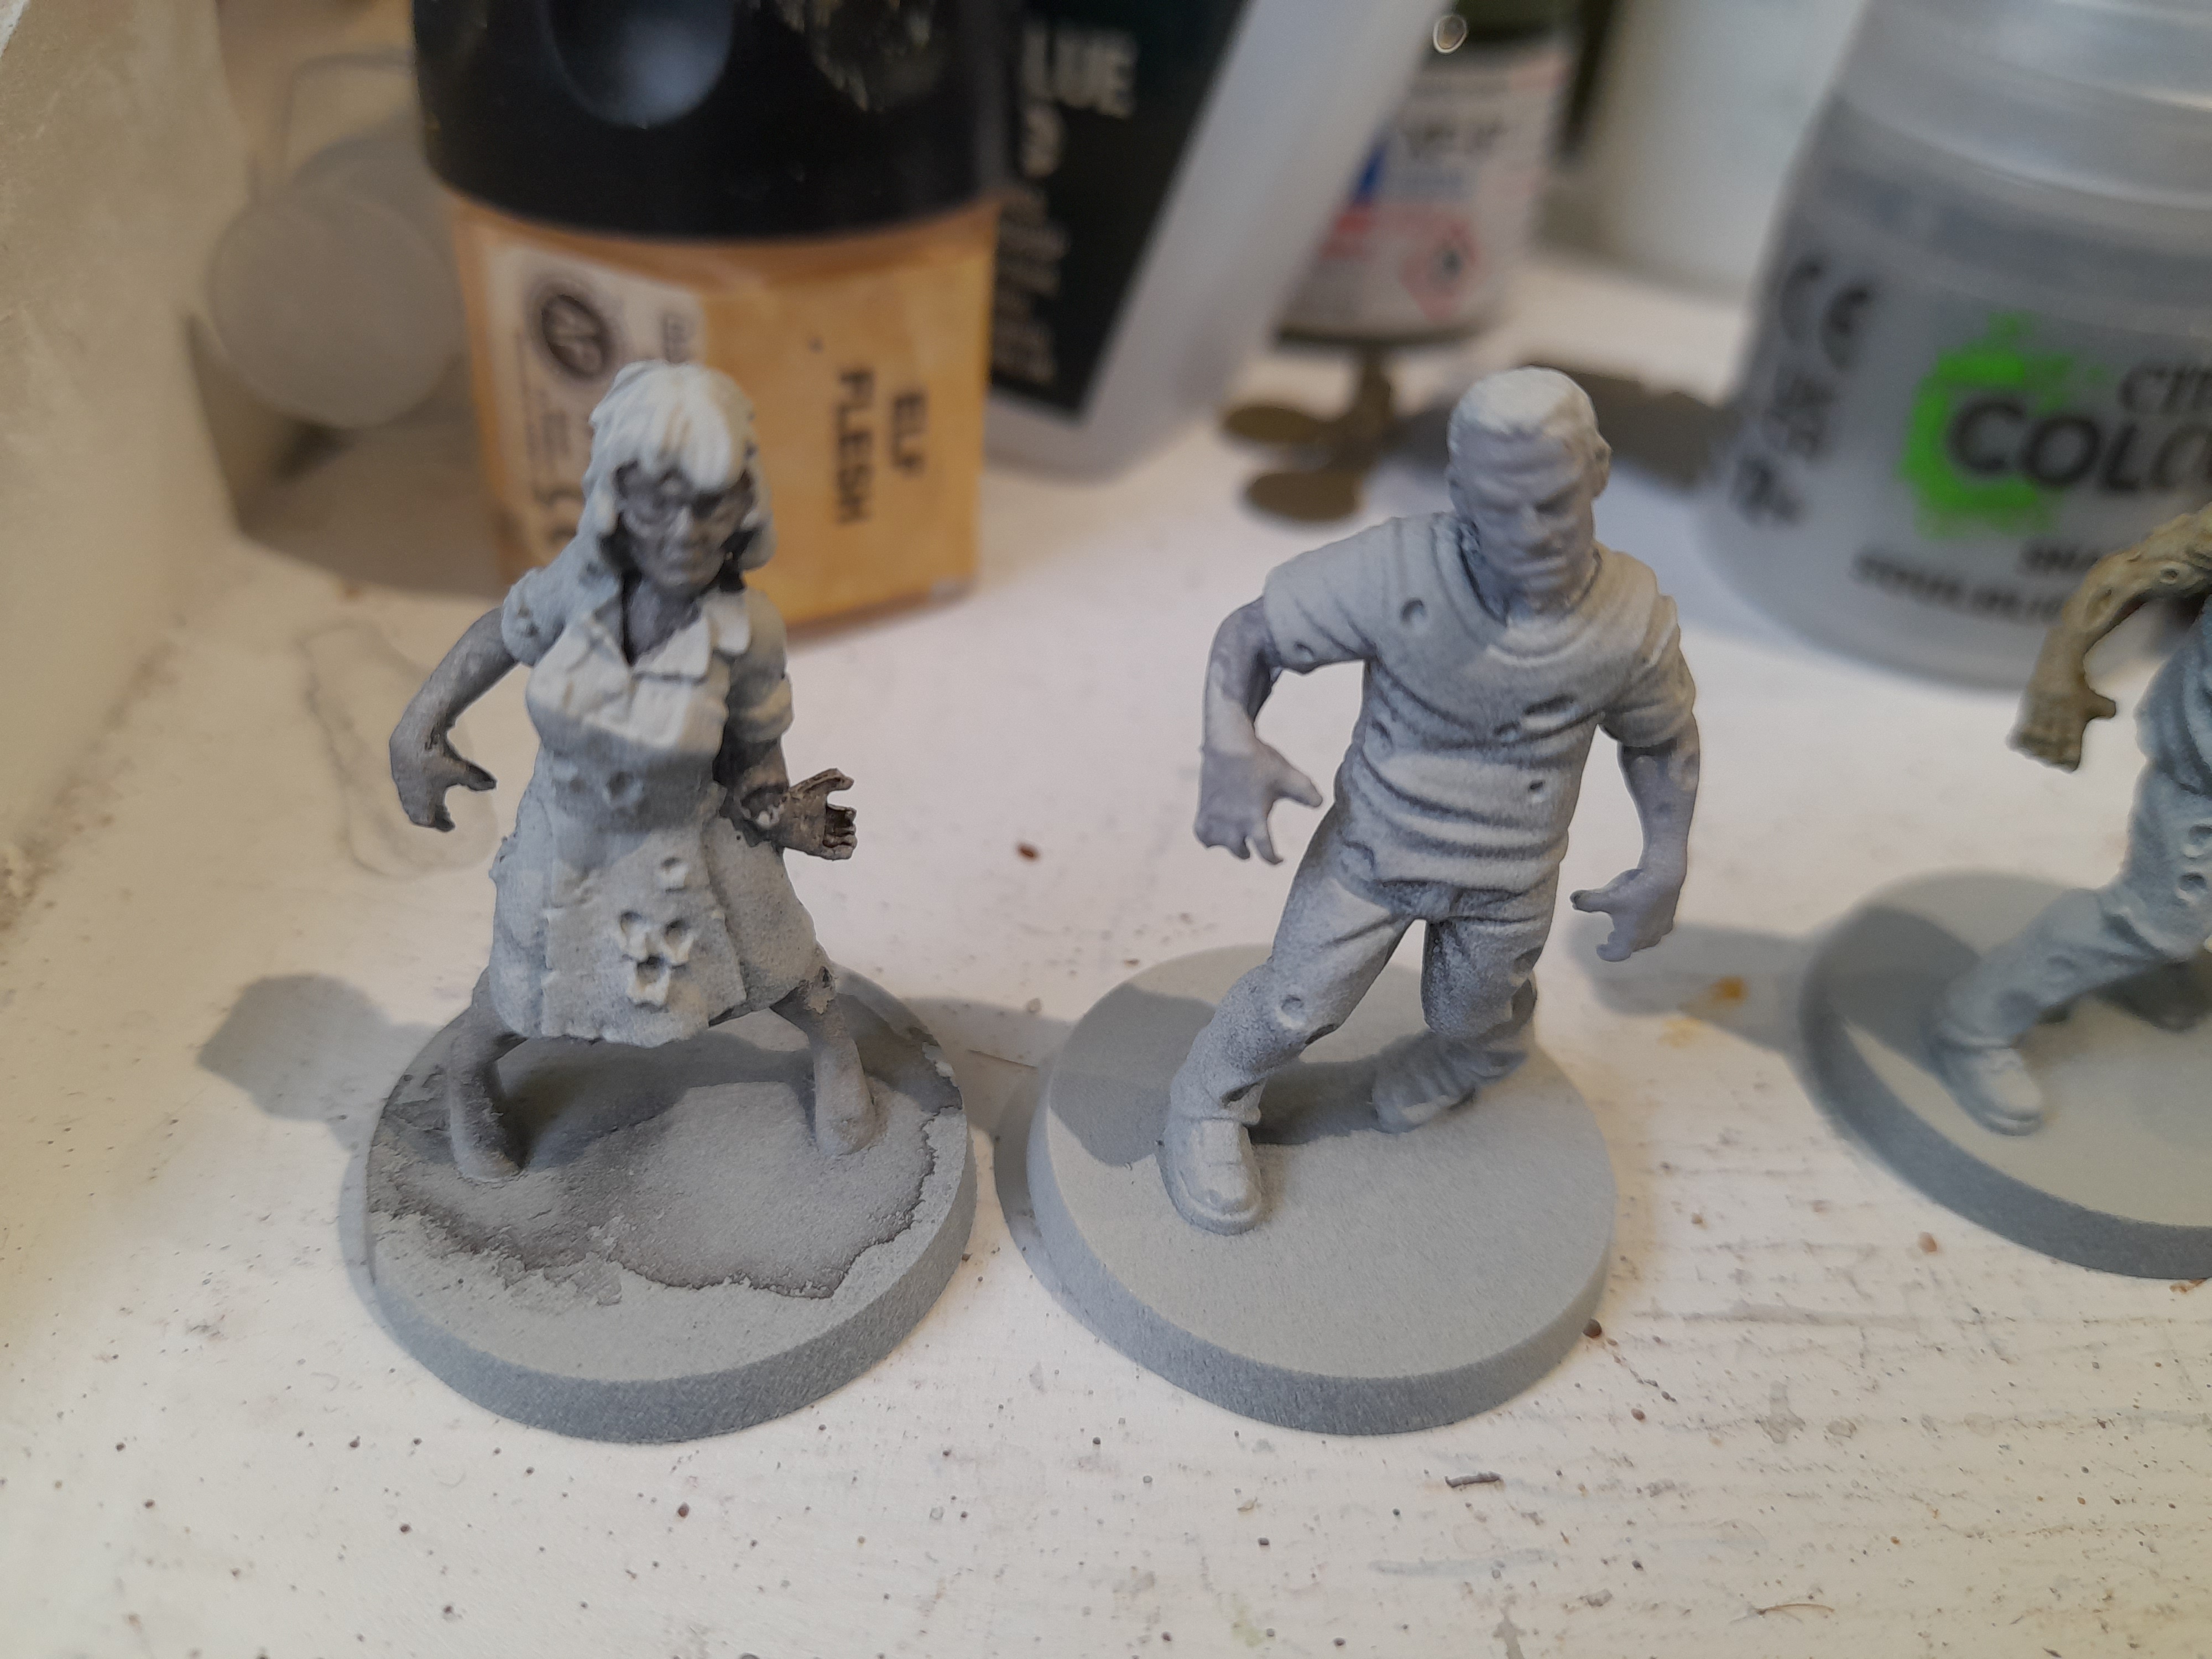
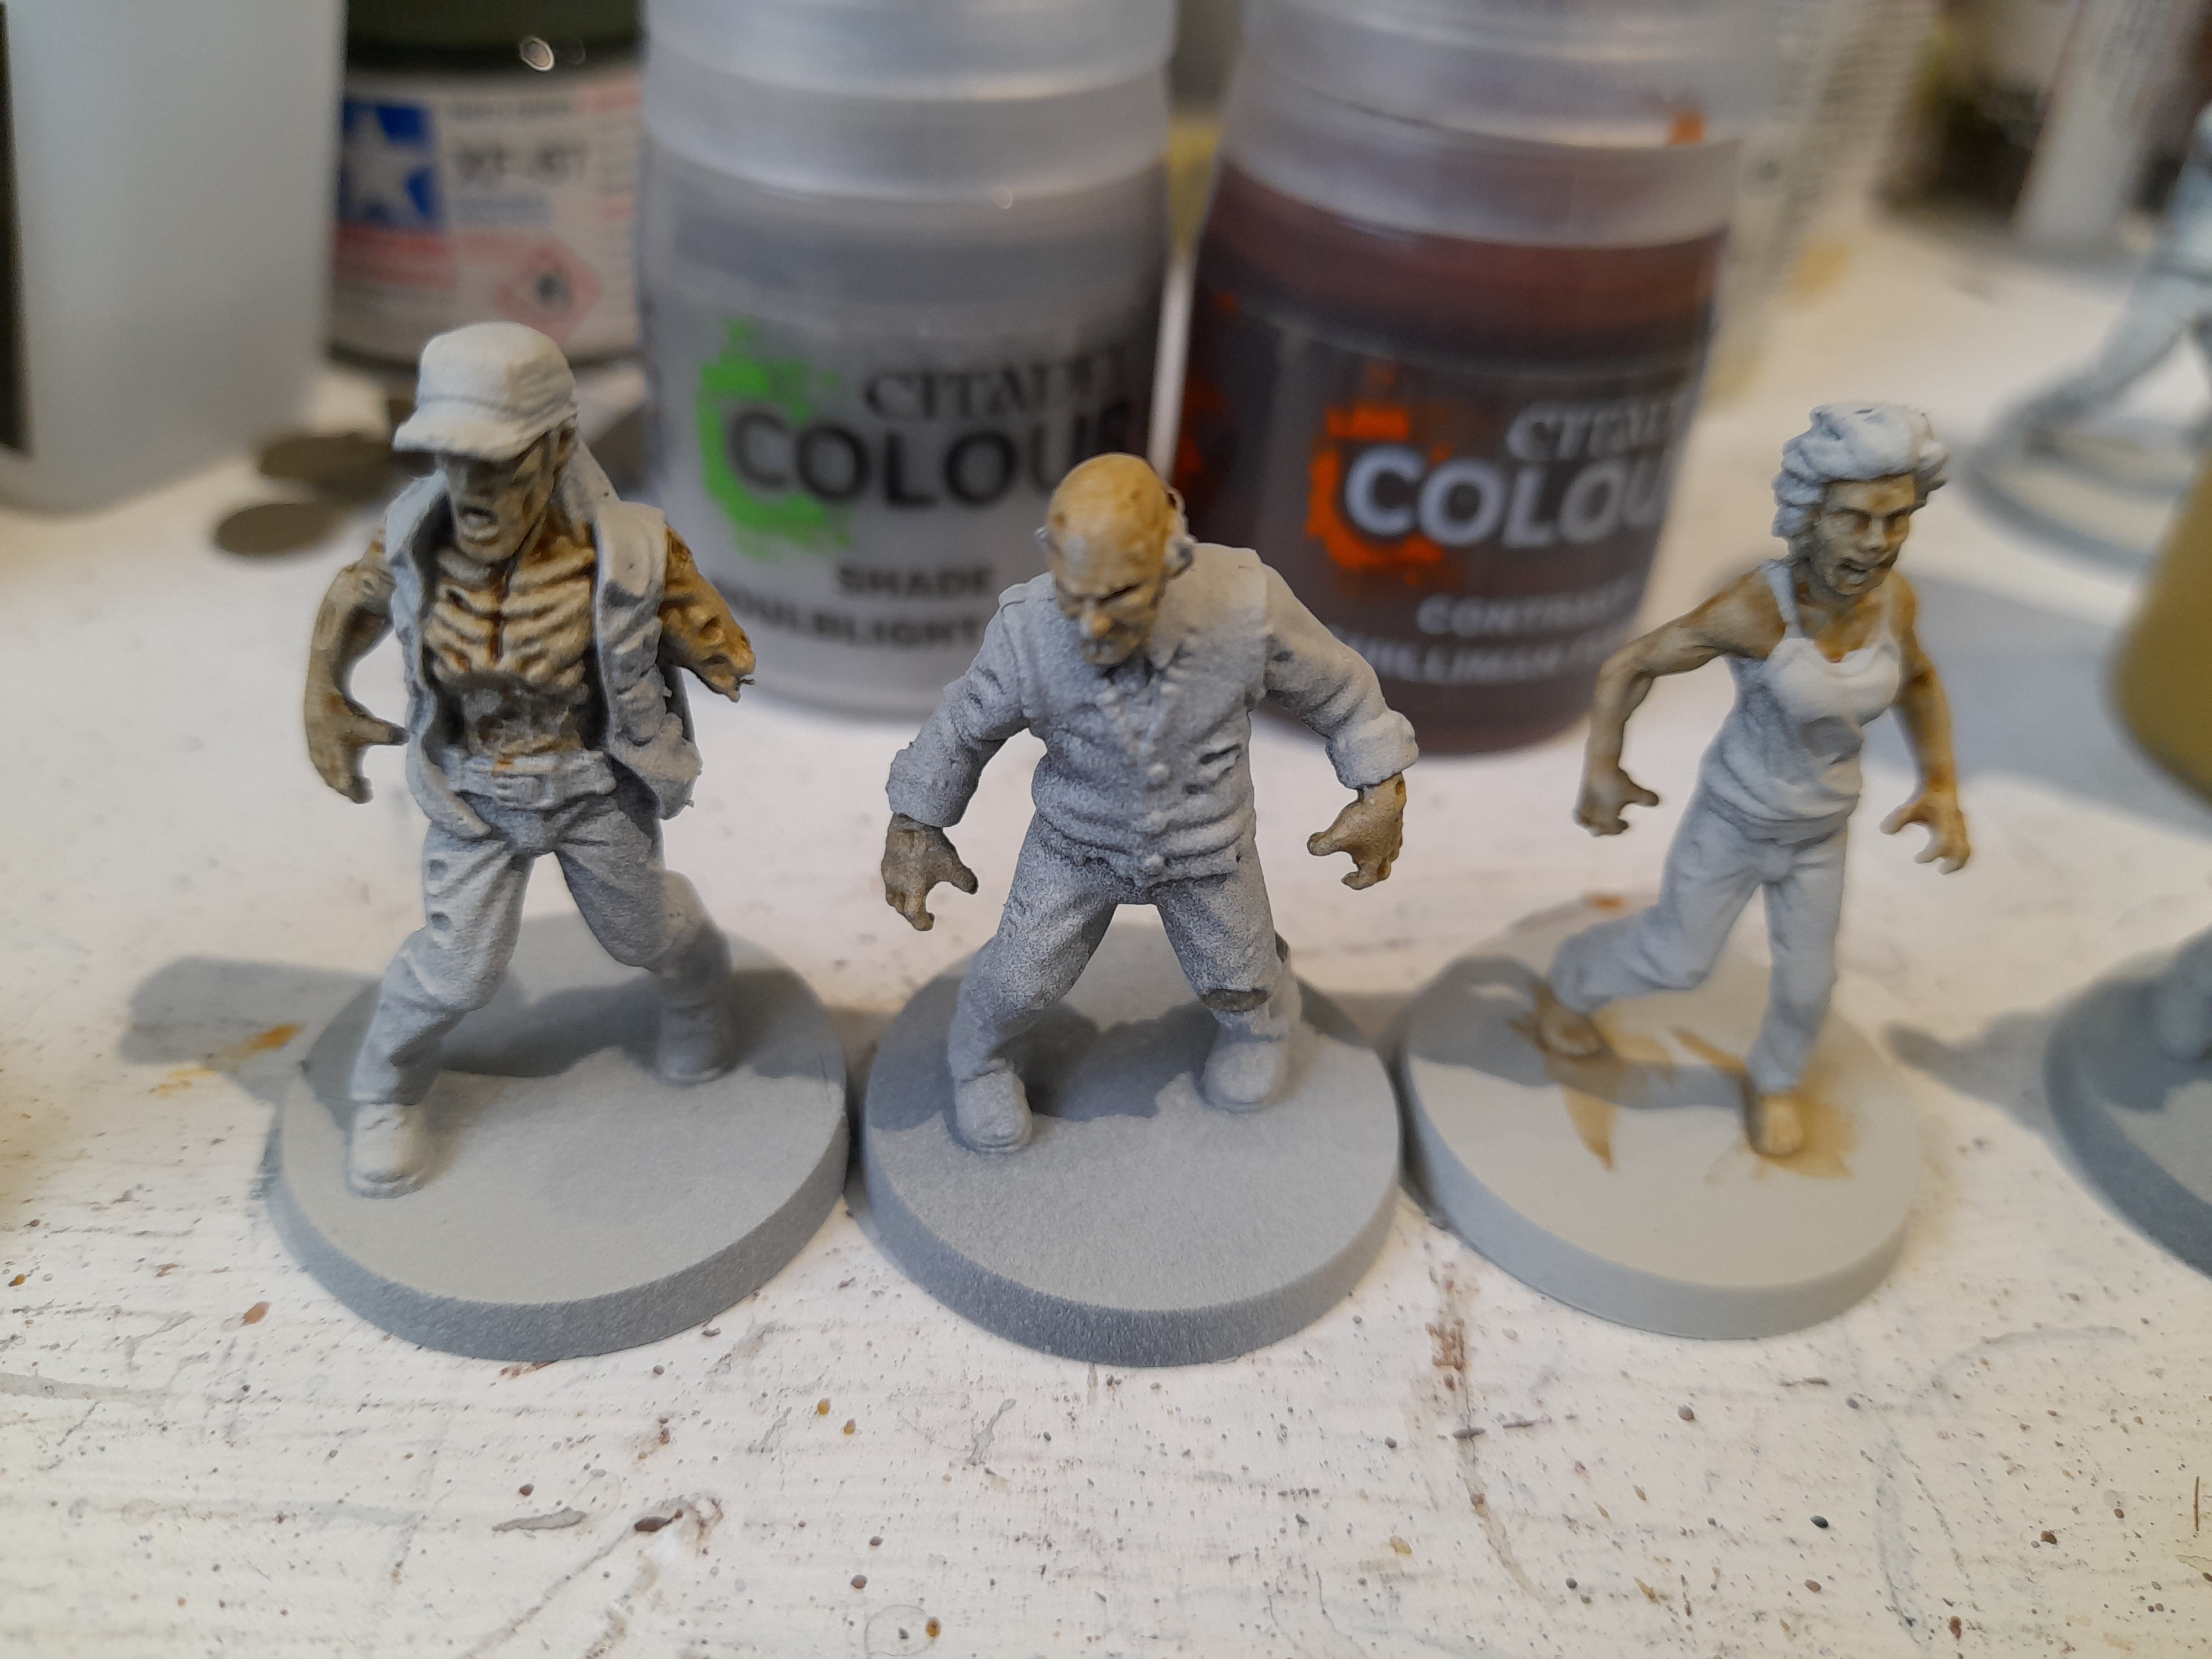

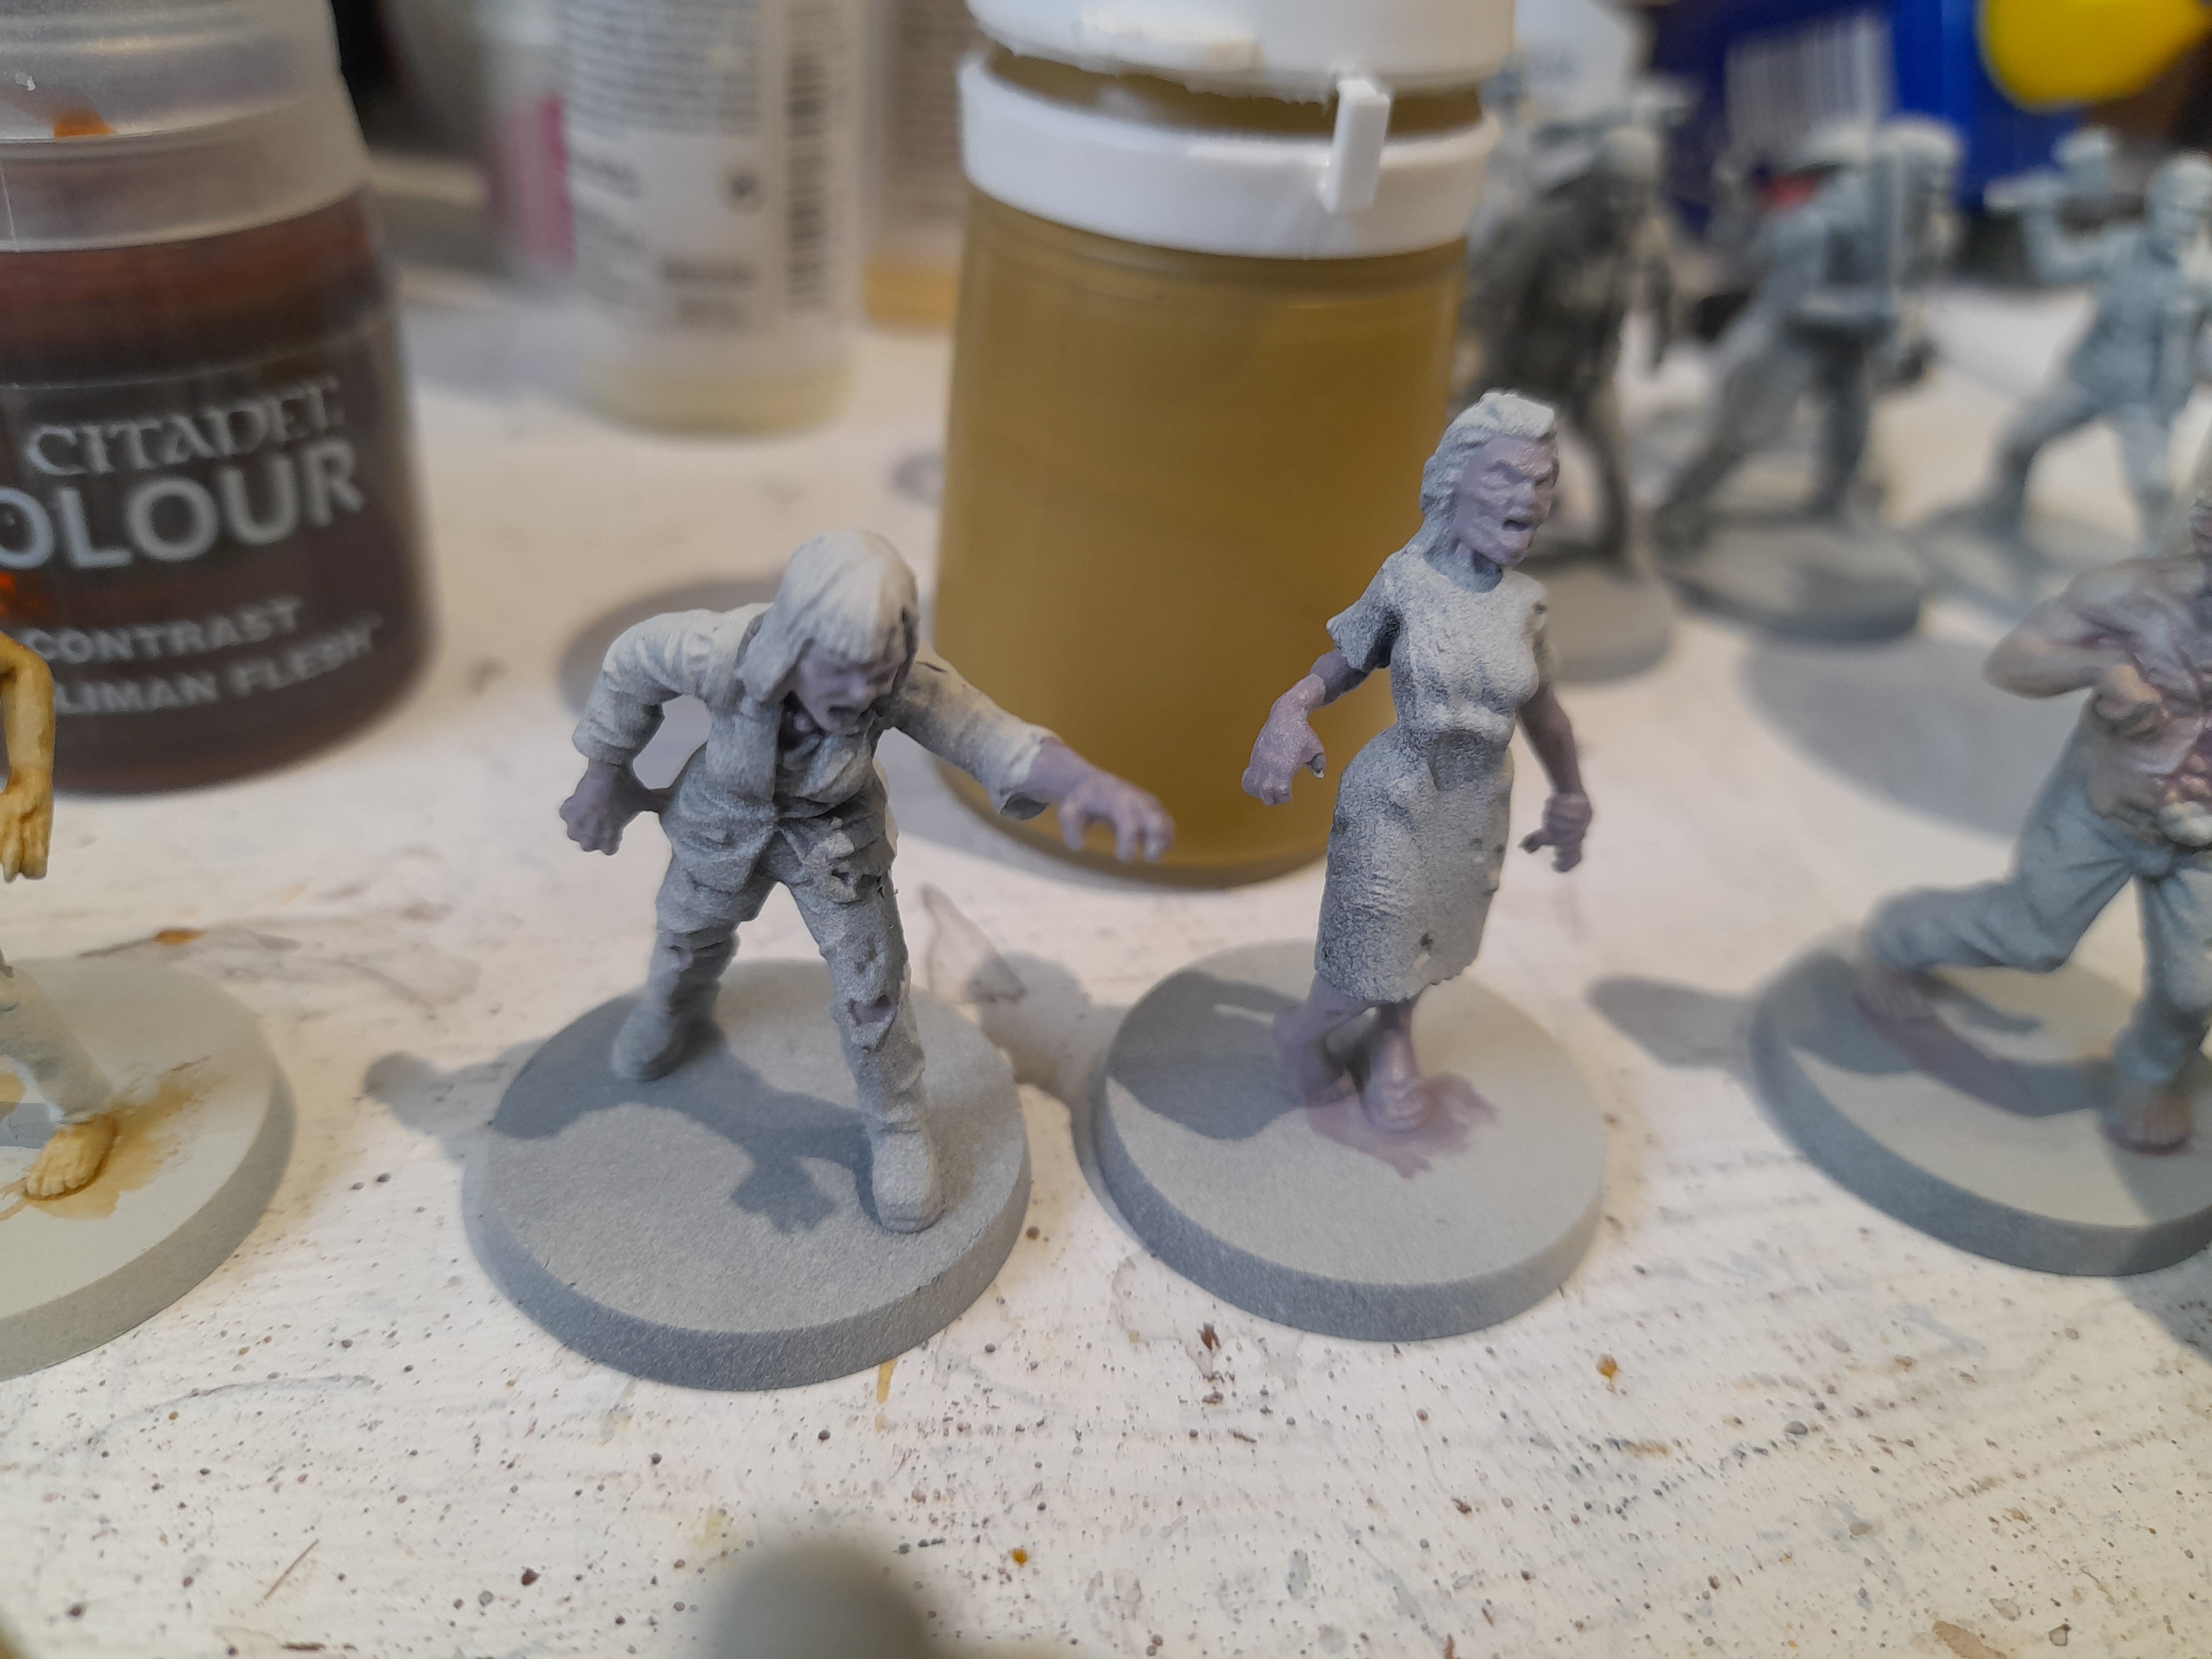
Then it was onto the clothing. Using contrast and thinned normal paints I tried to give them a variety of clothing colours while trying to remain in a relatively ‘real world’ look. (adding a Flash t shirt too)
Rather than using the dip shade I gave most of the minis a coat of the army painter strong or dark tone washes.
Followed by a spray of anti-shine Matt varnish, but just prior I did add a few more details to some of them – trucker chap, and Al from Al’s autos.
Then it was time to consider the basing – wasn’t really sure what to do here, so took a mental break for a bit……
The Dead start Walking
3rd June 2024
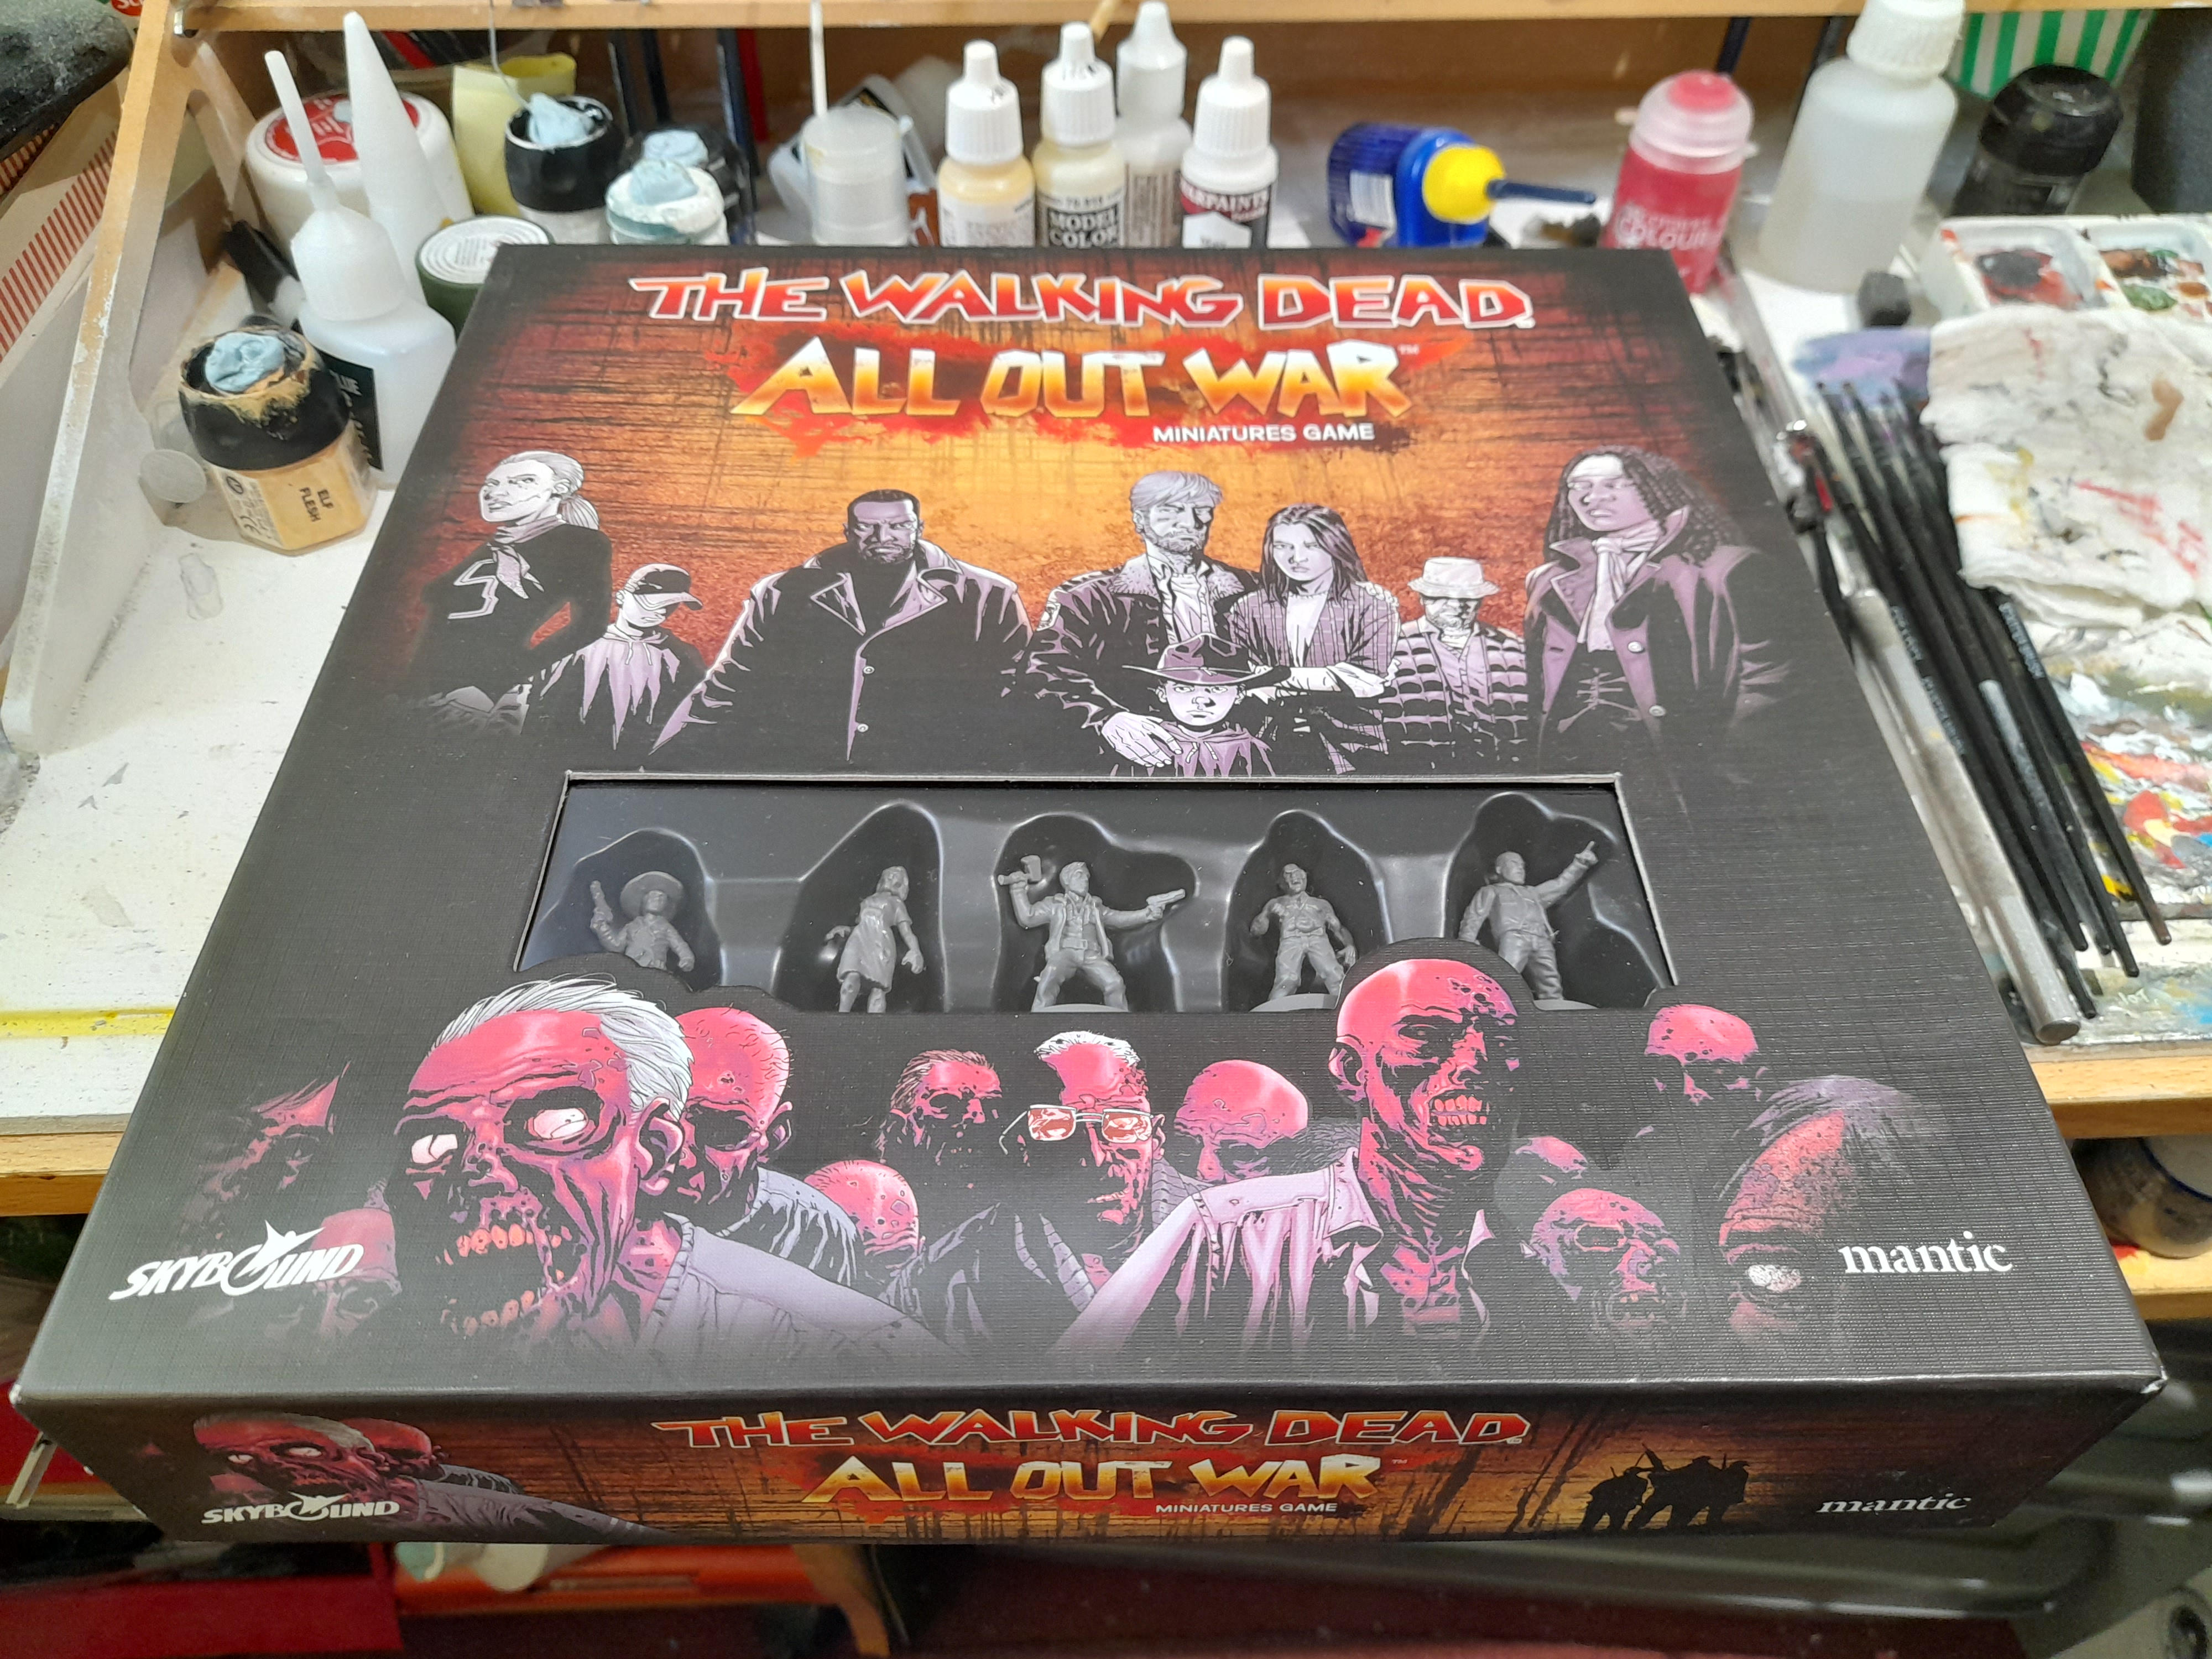
I played a bit of Mantic’s ‘The Walking Dead’ several years back, and my wife tried it out at a show as well. A friend had the Kickstarter stuff, so at club we played using his stuff, and went for a cooperative style of play which worked relatively well.
As I had fun with it I picked up the starter, then more expansions over time – but then play dried up in club and I didn’t get around to painting any of my stuff.
So, here we are – as a bit of a spring clean I am going to work on the minis from the starter set. This may well become a project of its own in the future, as I have quite a bit more Walking Dead product unpainted.
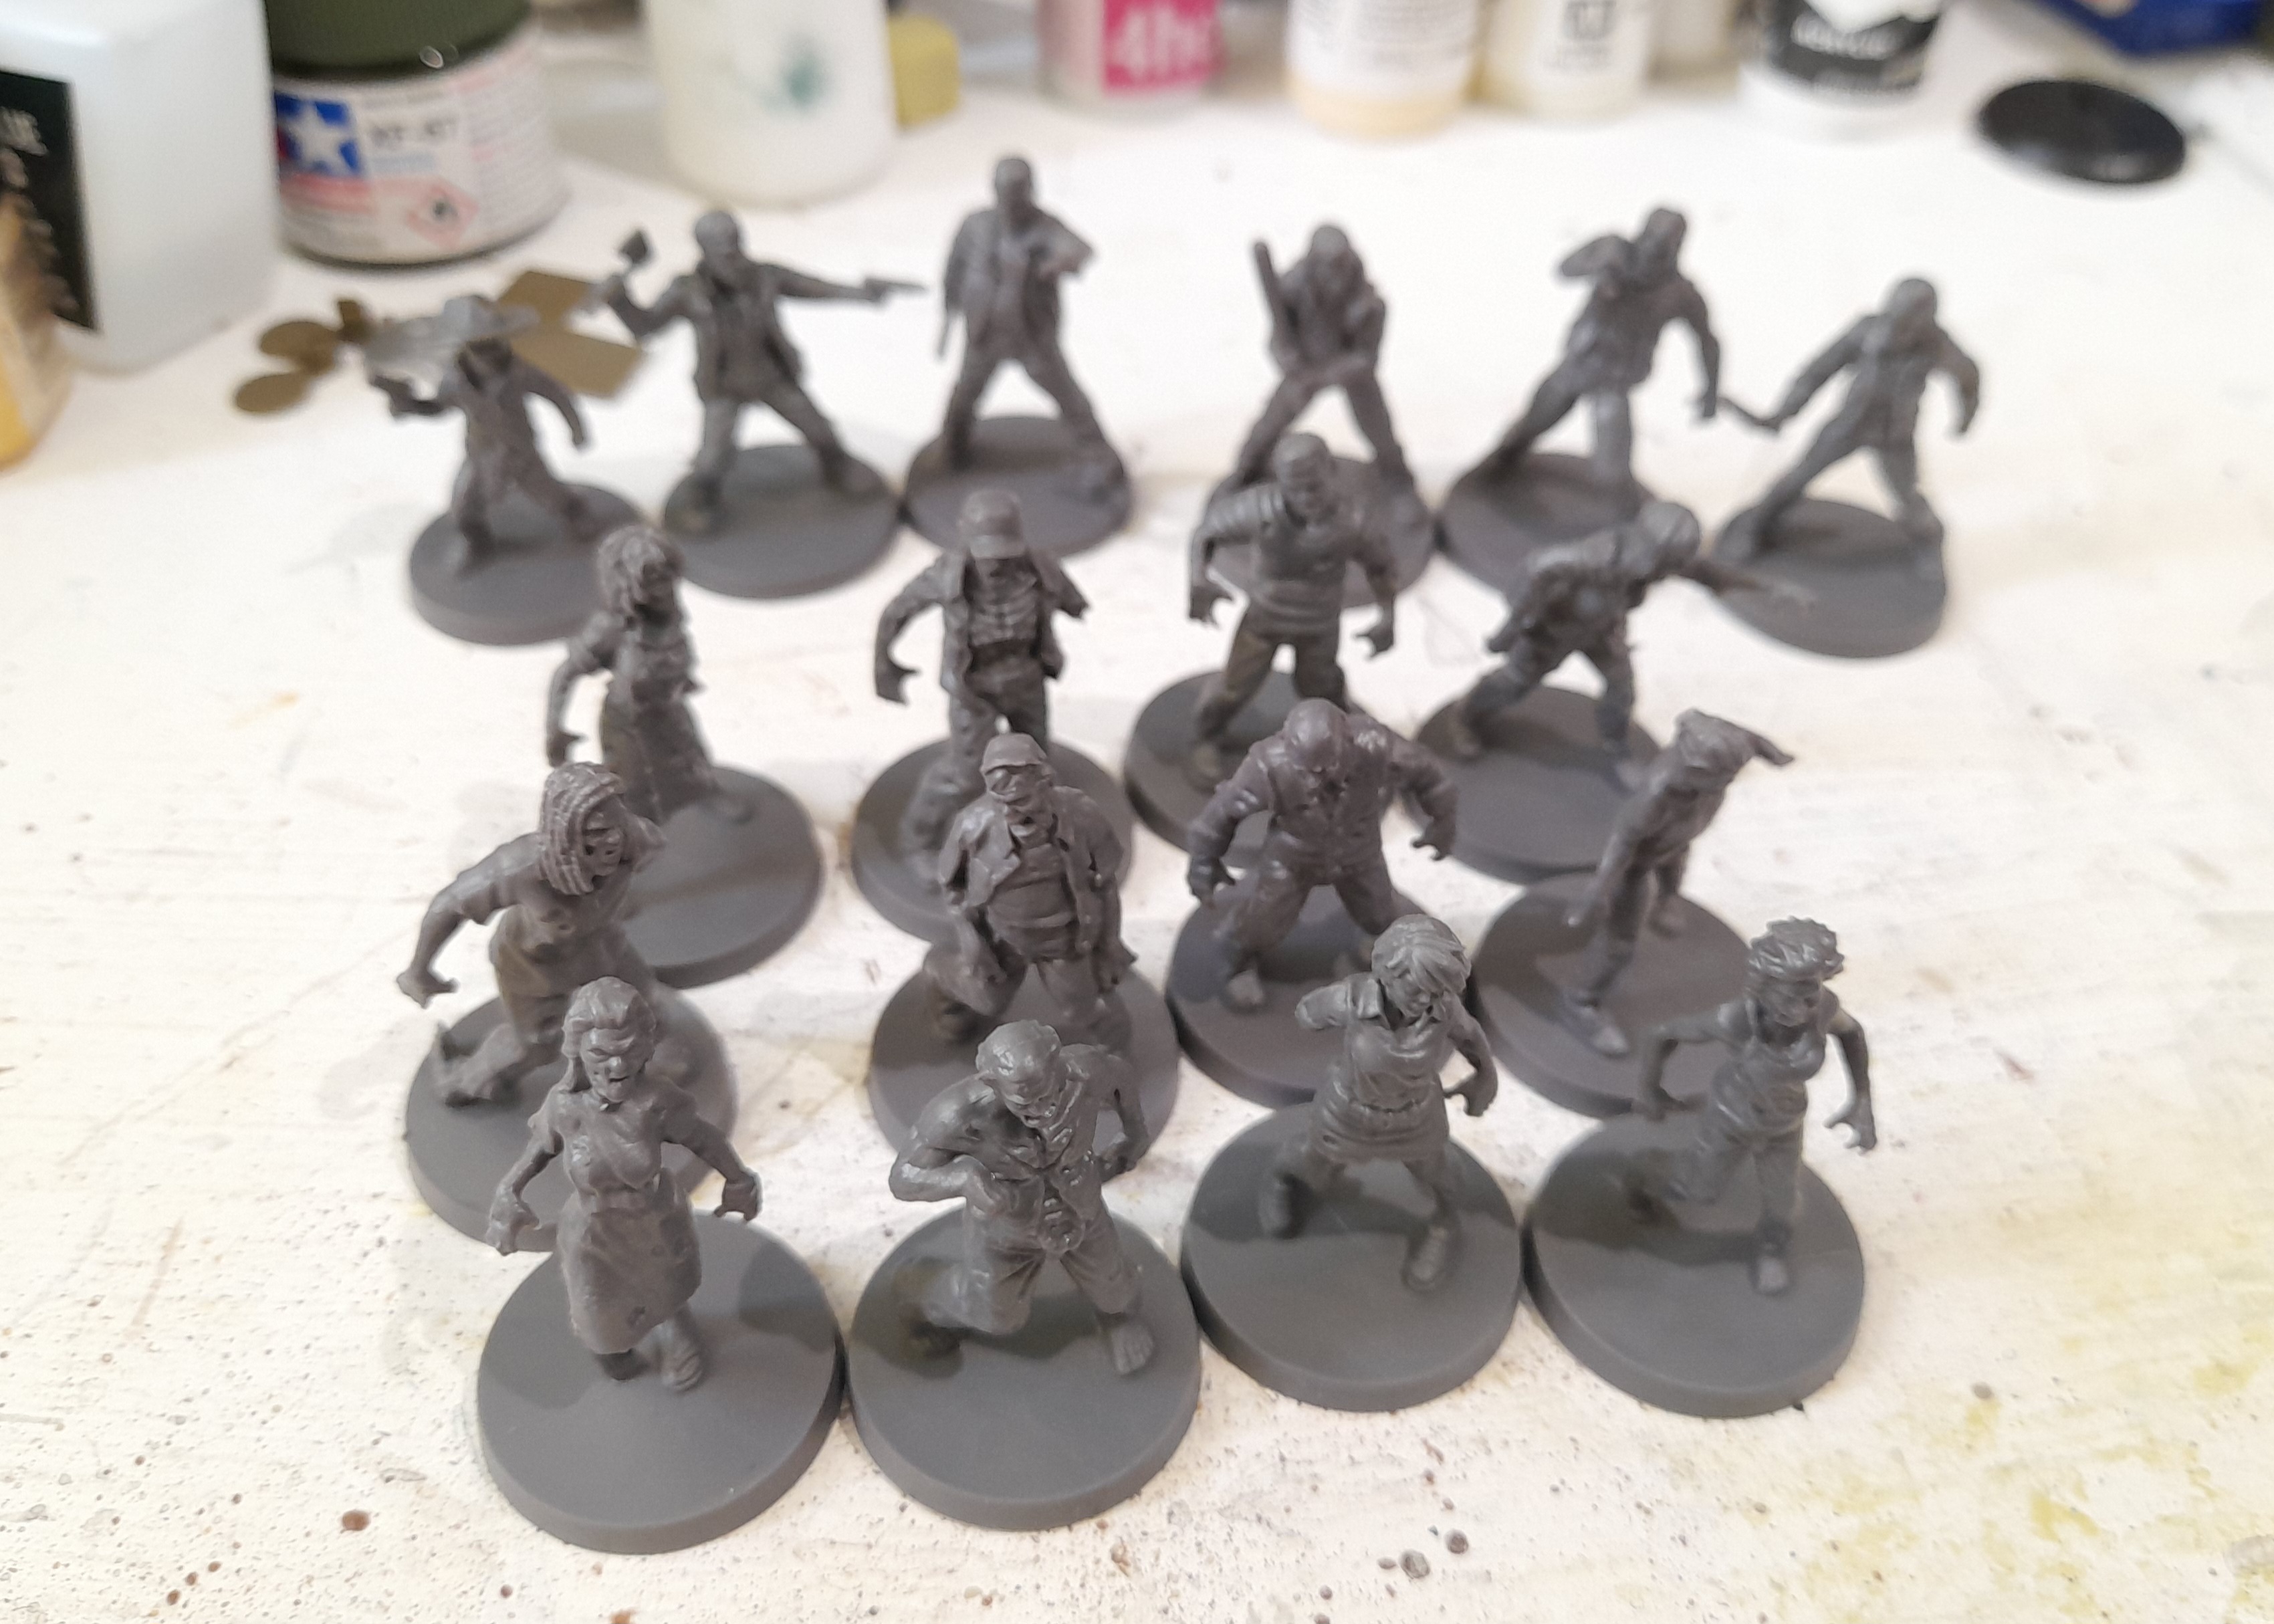
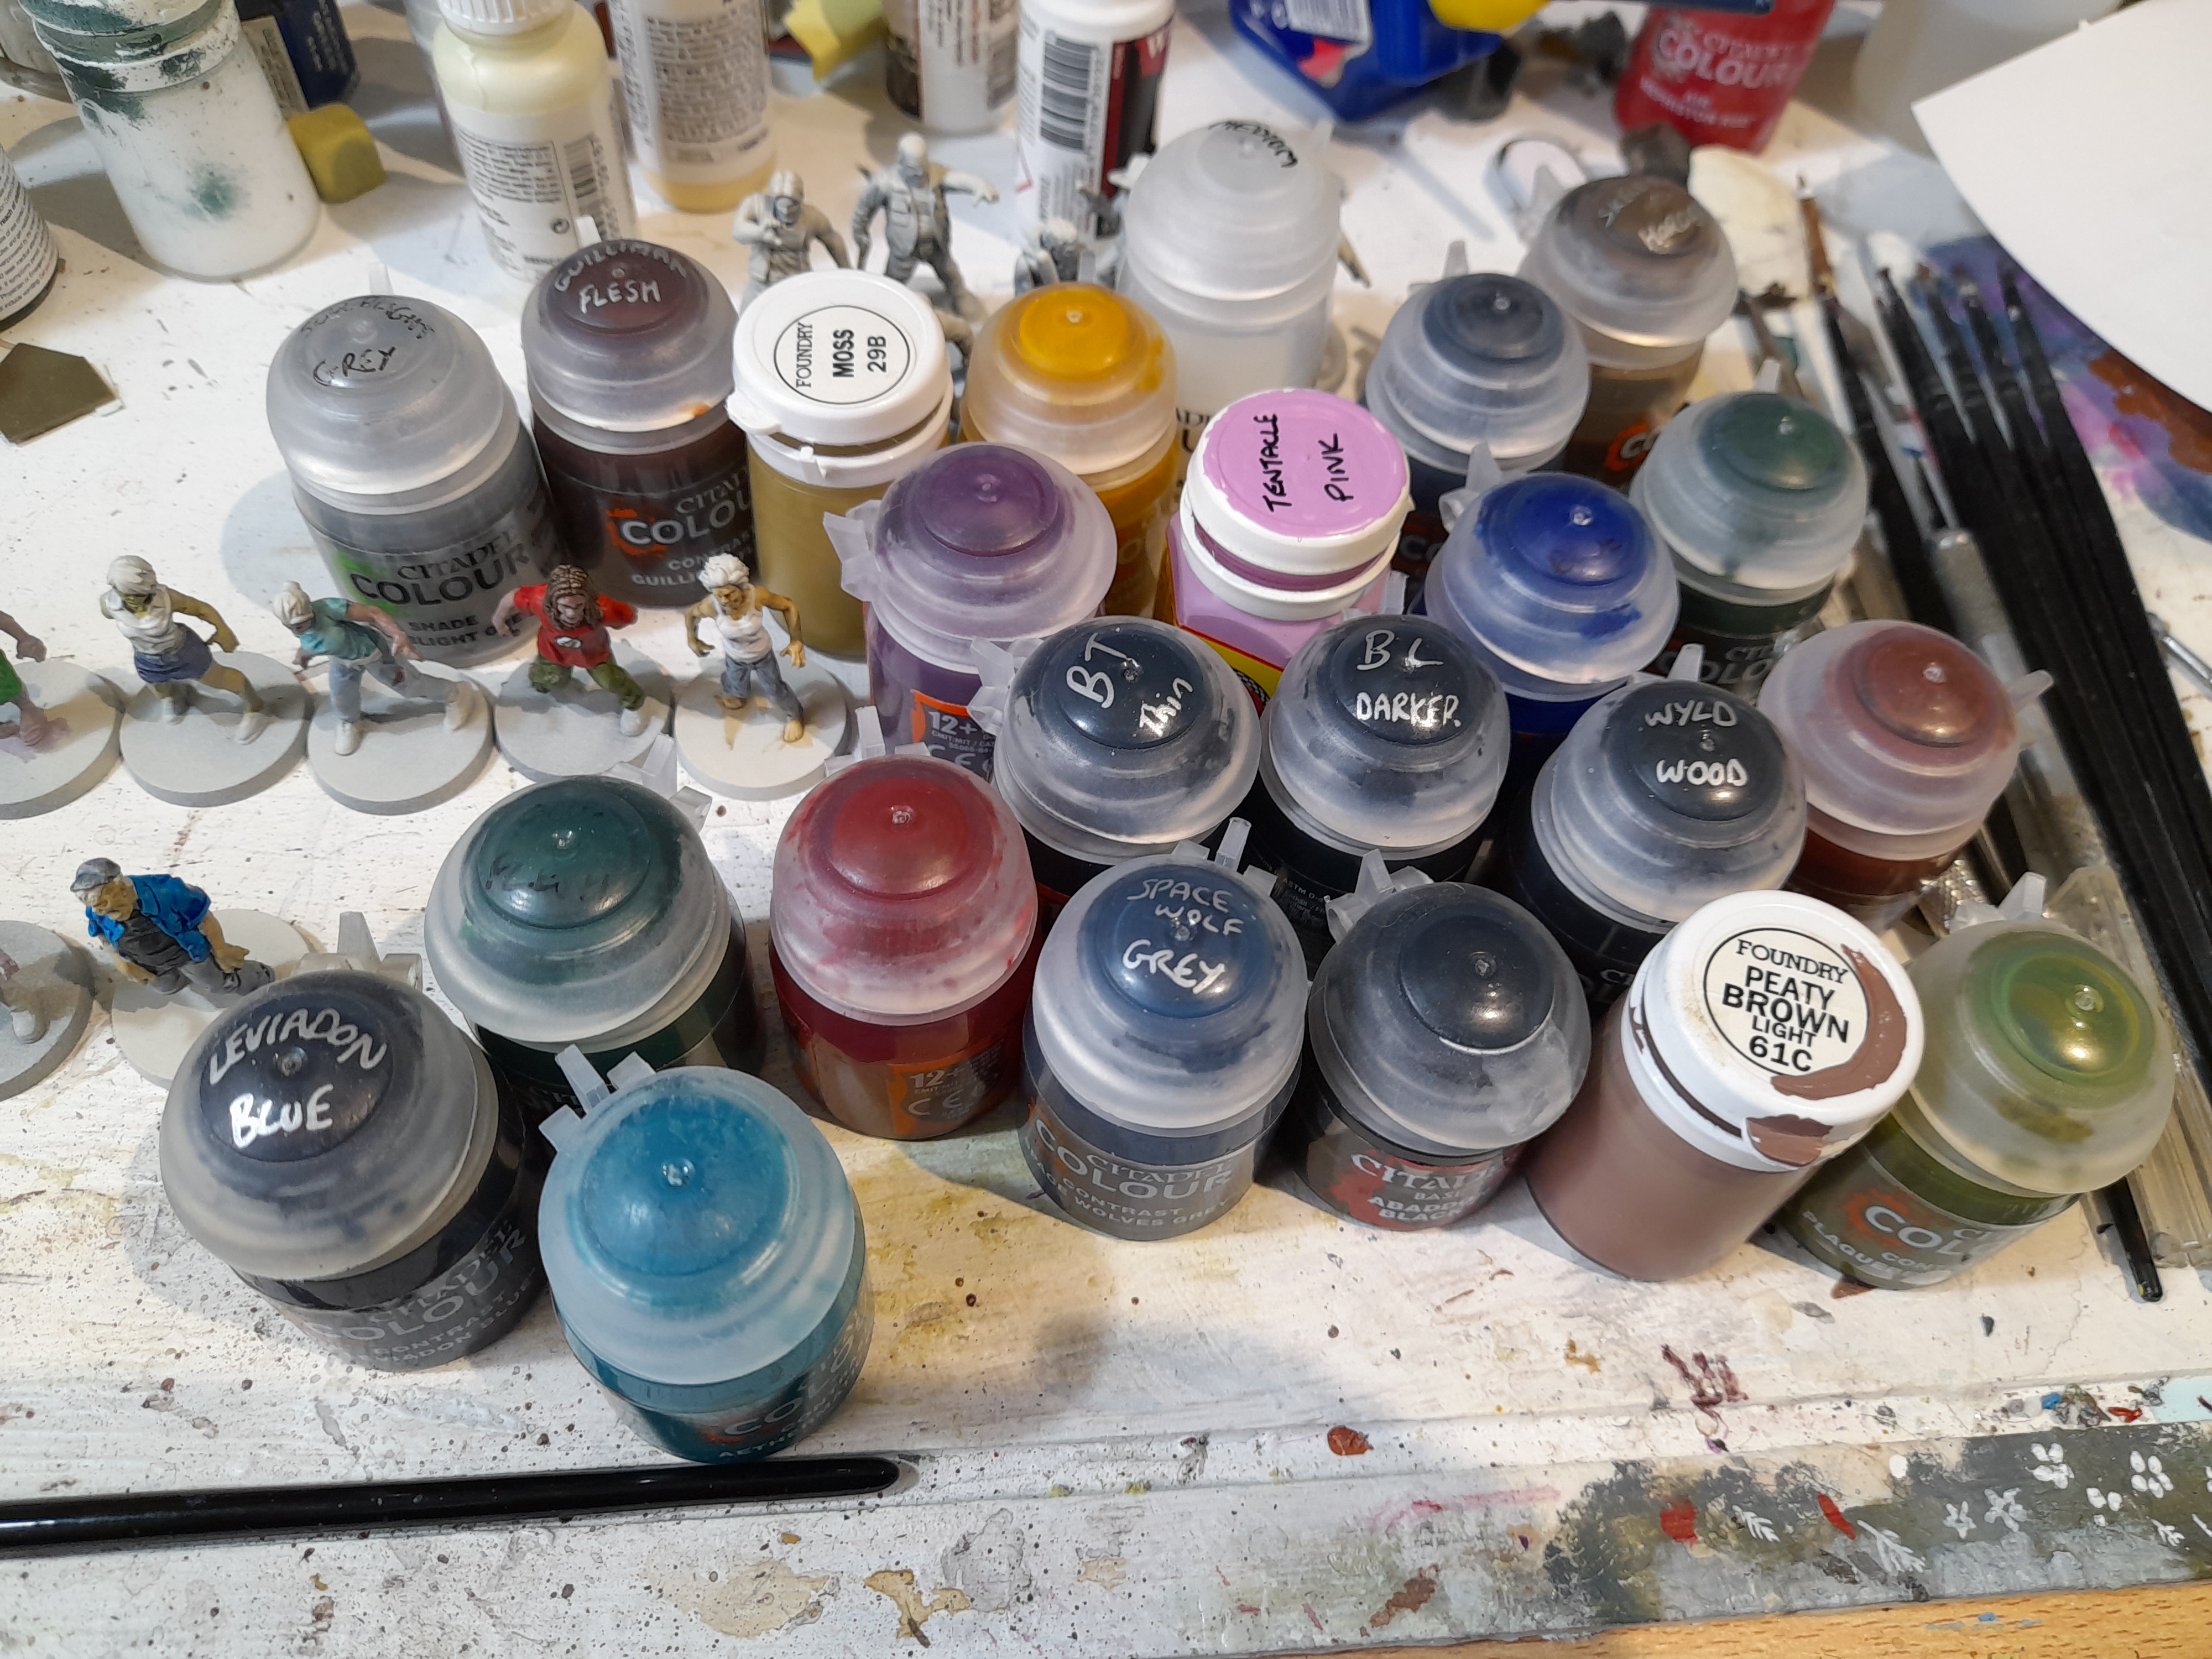
Going to start out with the zombies, planning to give a dirty/grubby look to them. Then I will paint up the survivor minis.
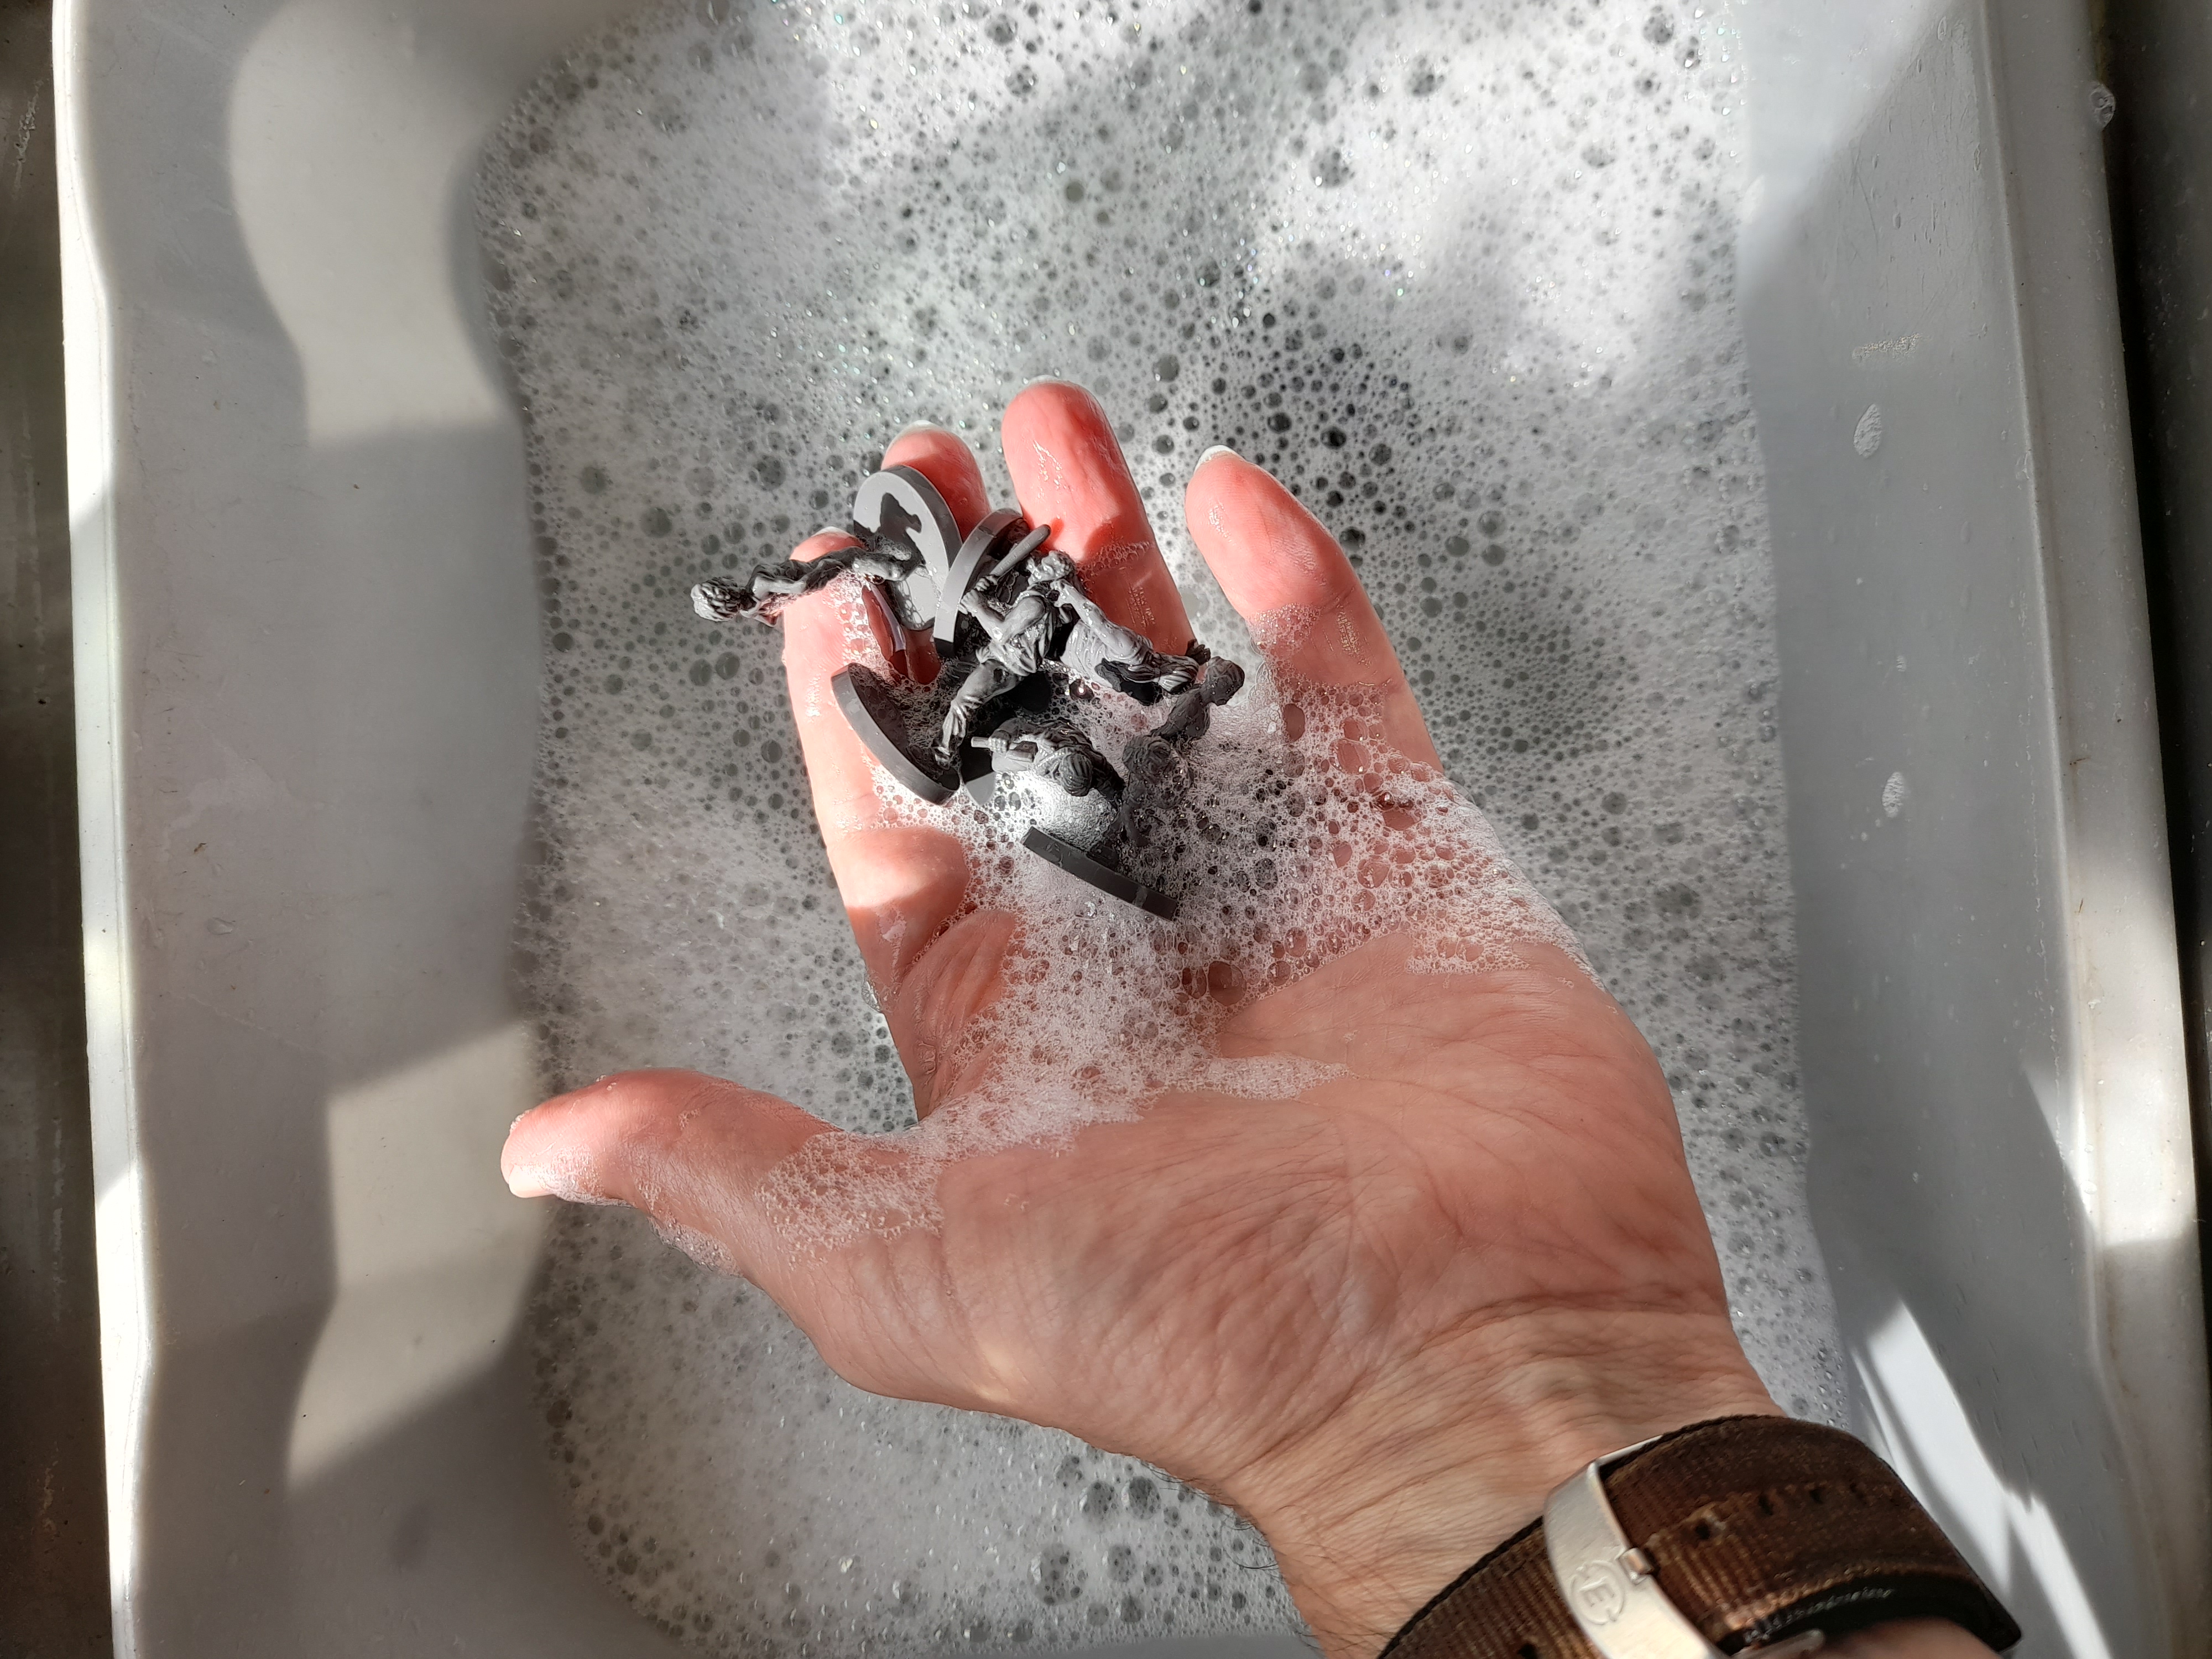
First step though… the clean up ☹
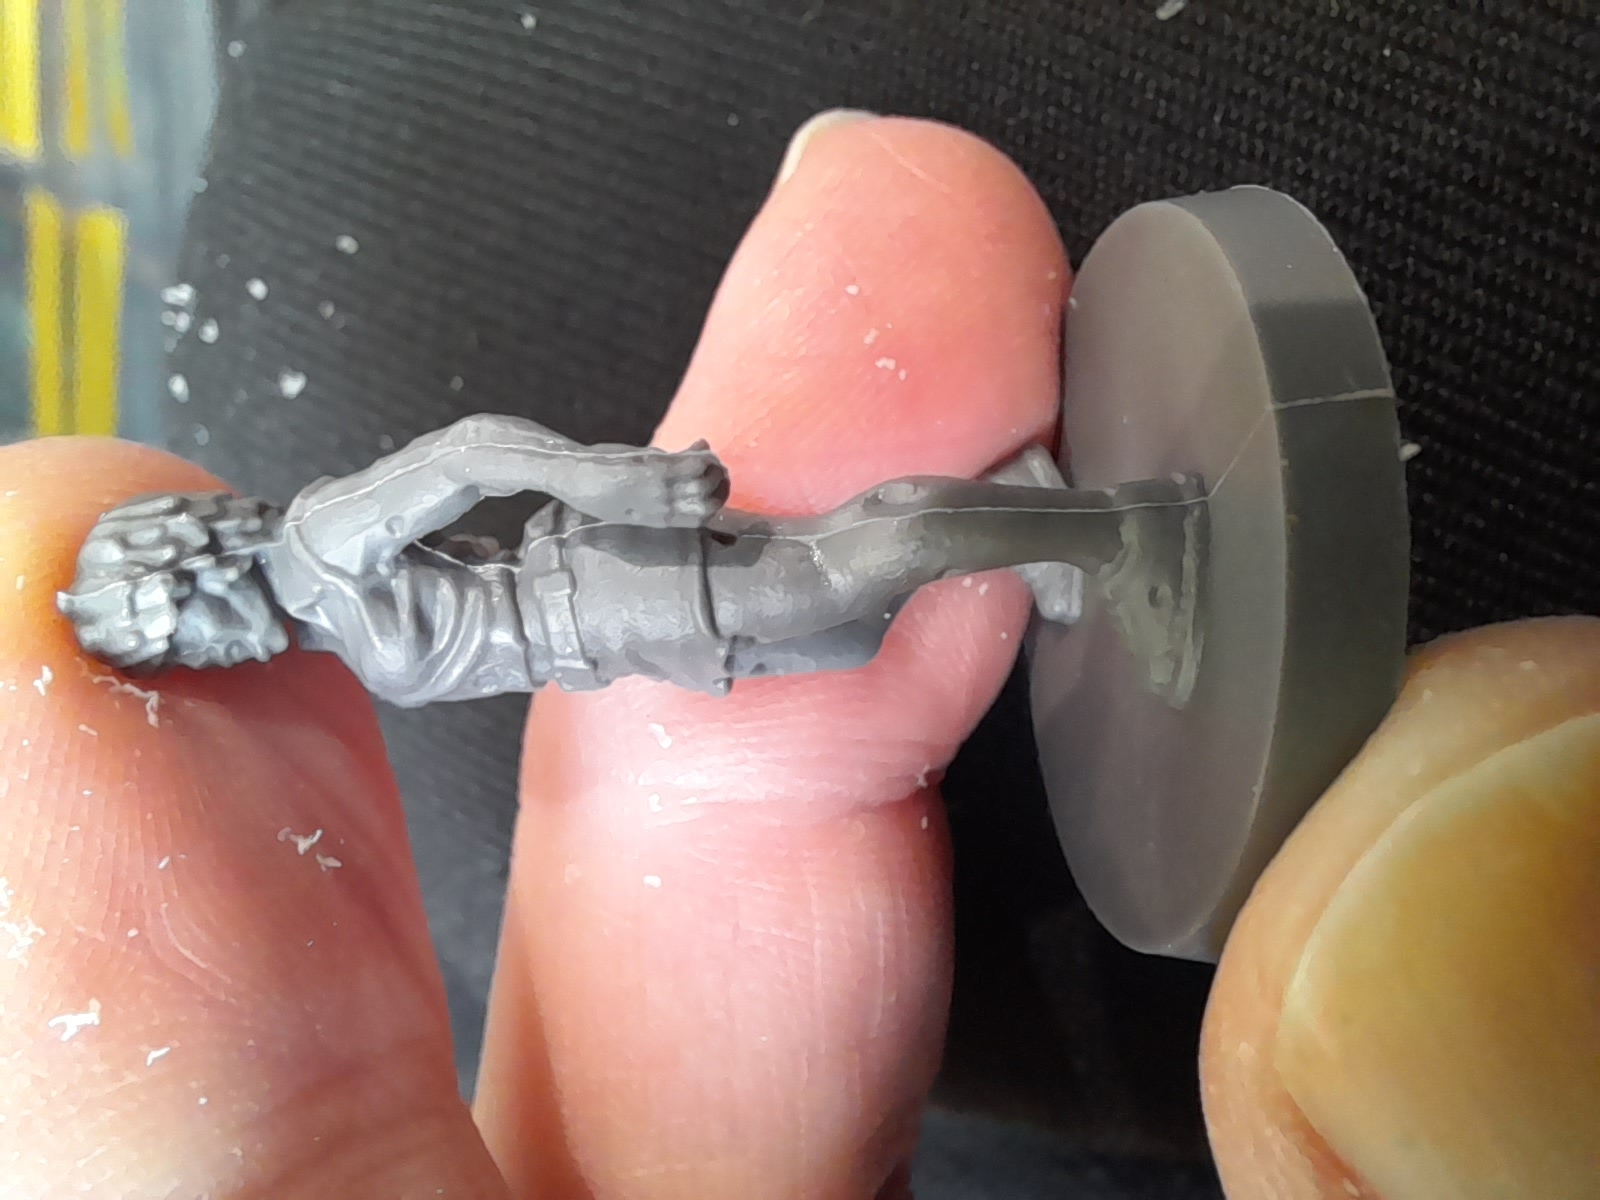
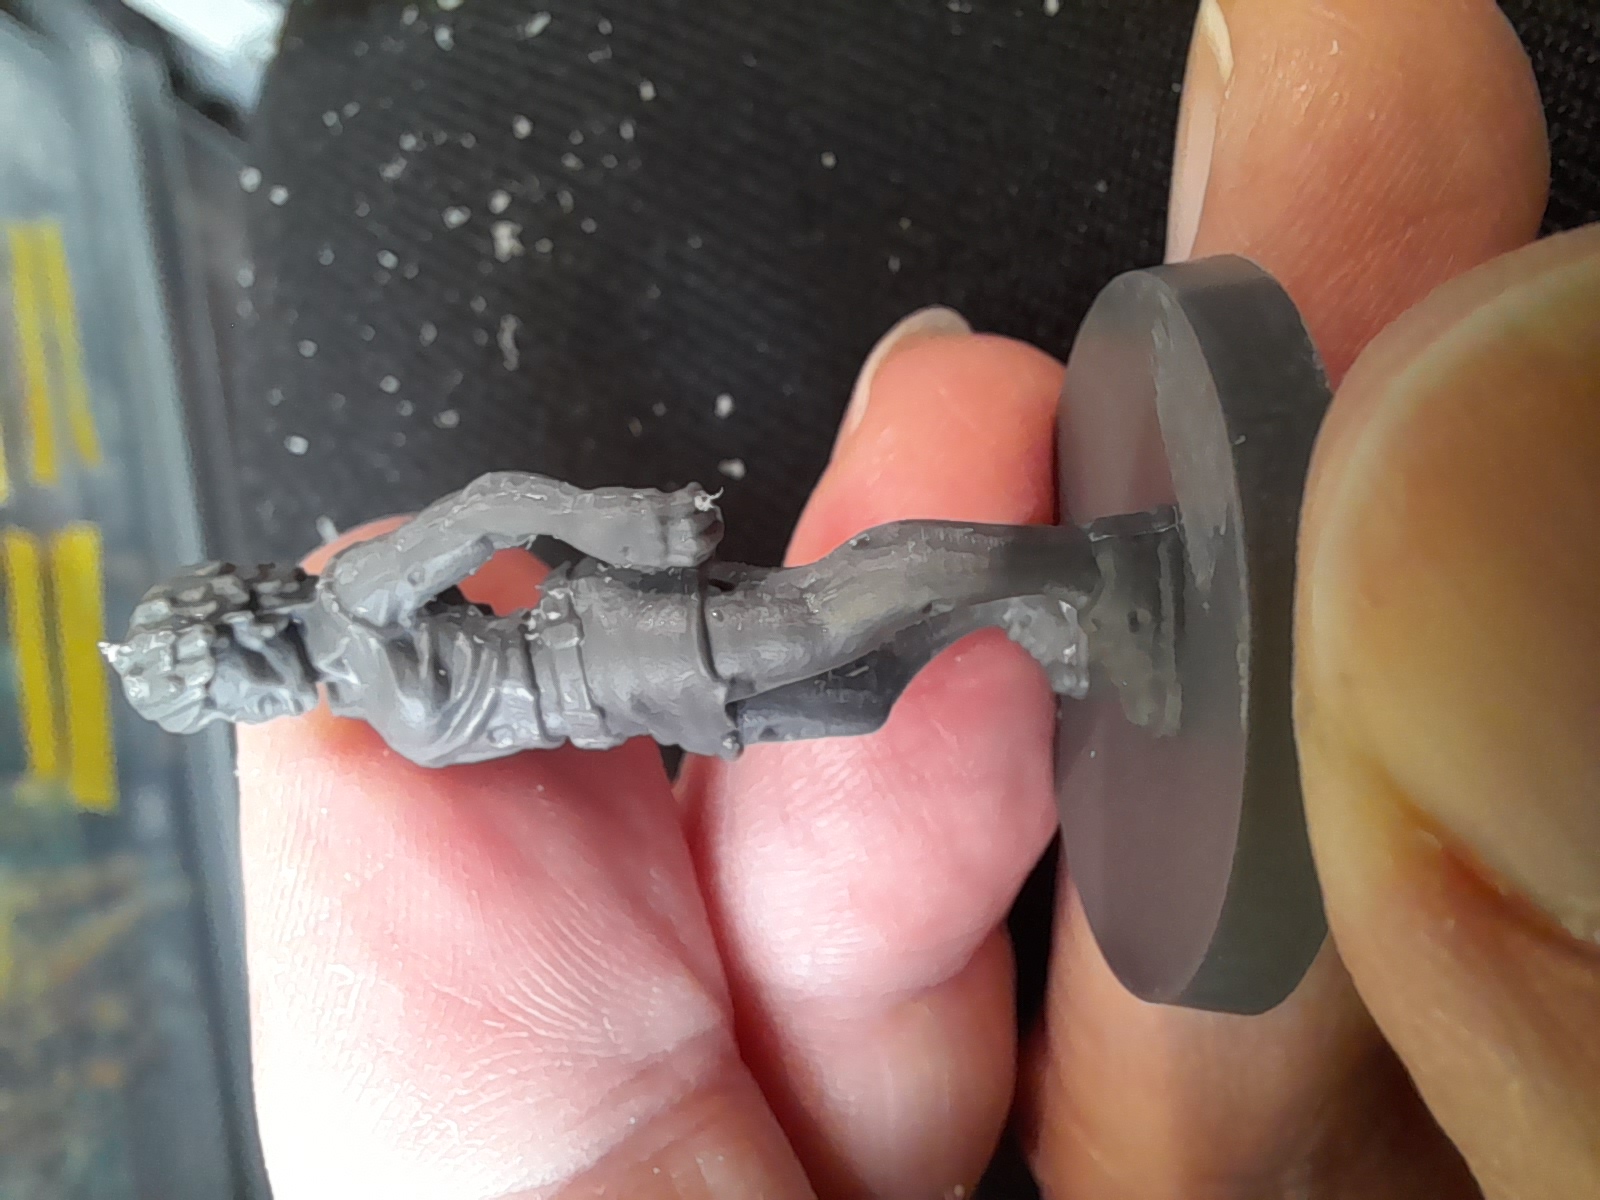
The plastic is a little awkward to work with, doesn’t scrape away quite as cleanly as sprue based hard plastic. But I will push through. During the cleaning I noticed some of the minis had a slight sheen in places, so I decided to clean them all in some warm water, just in case there was some release agent on them perhaps.
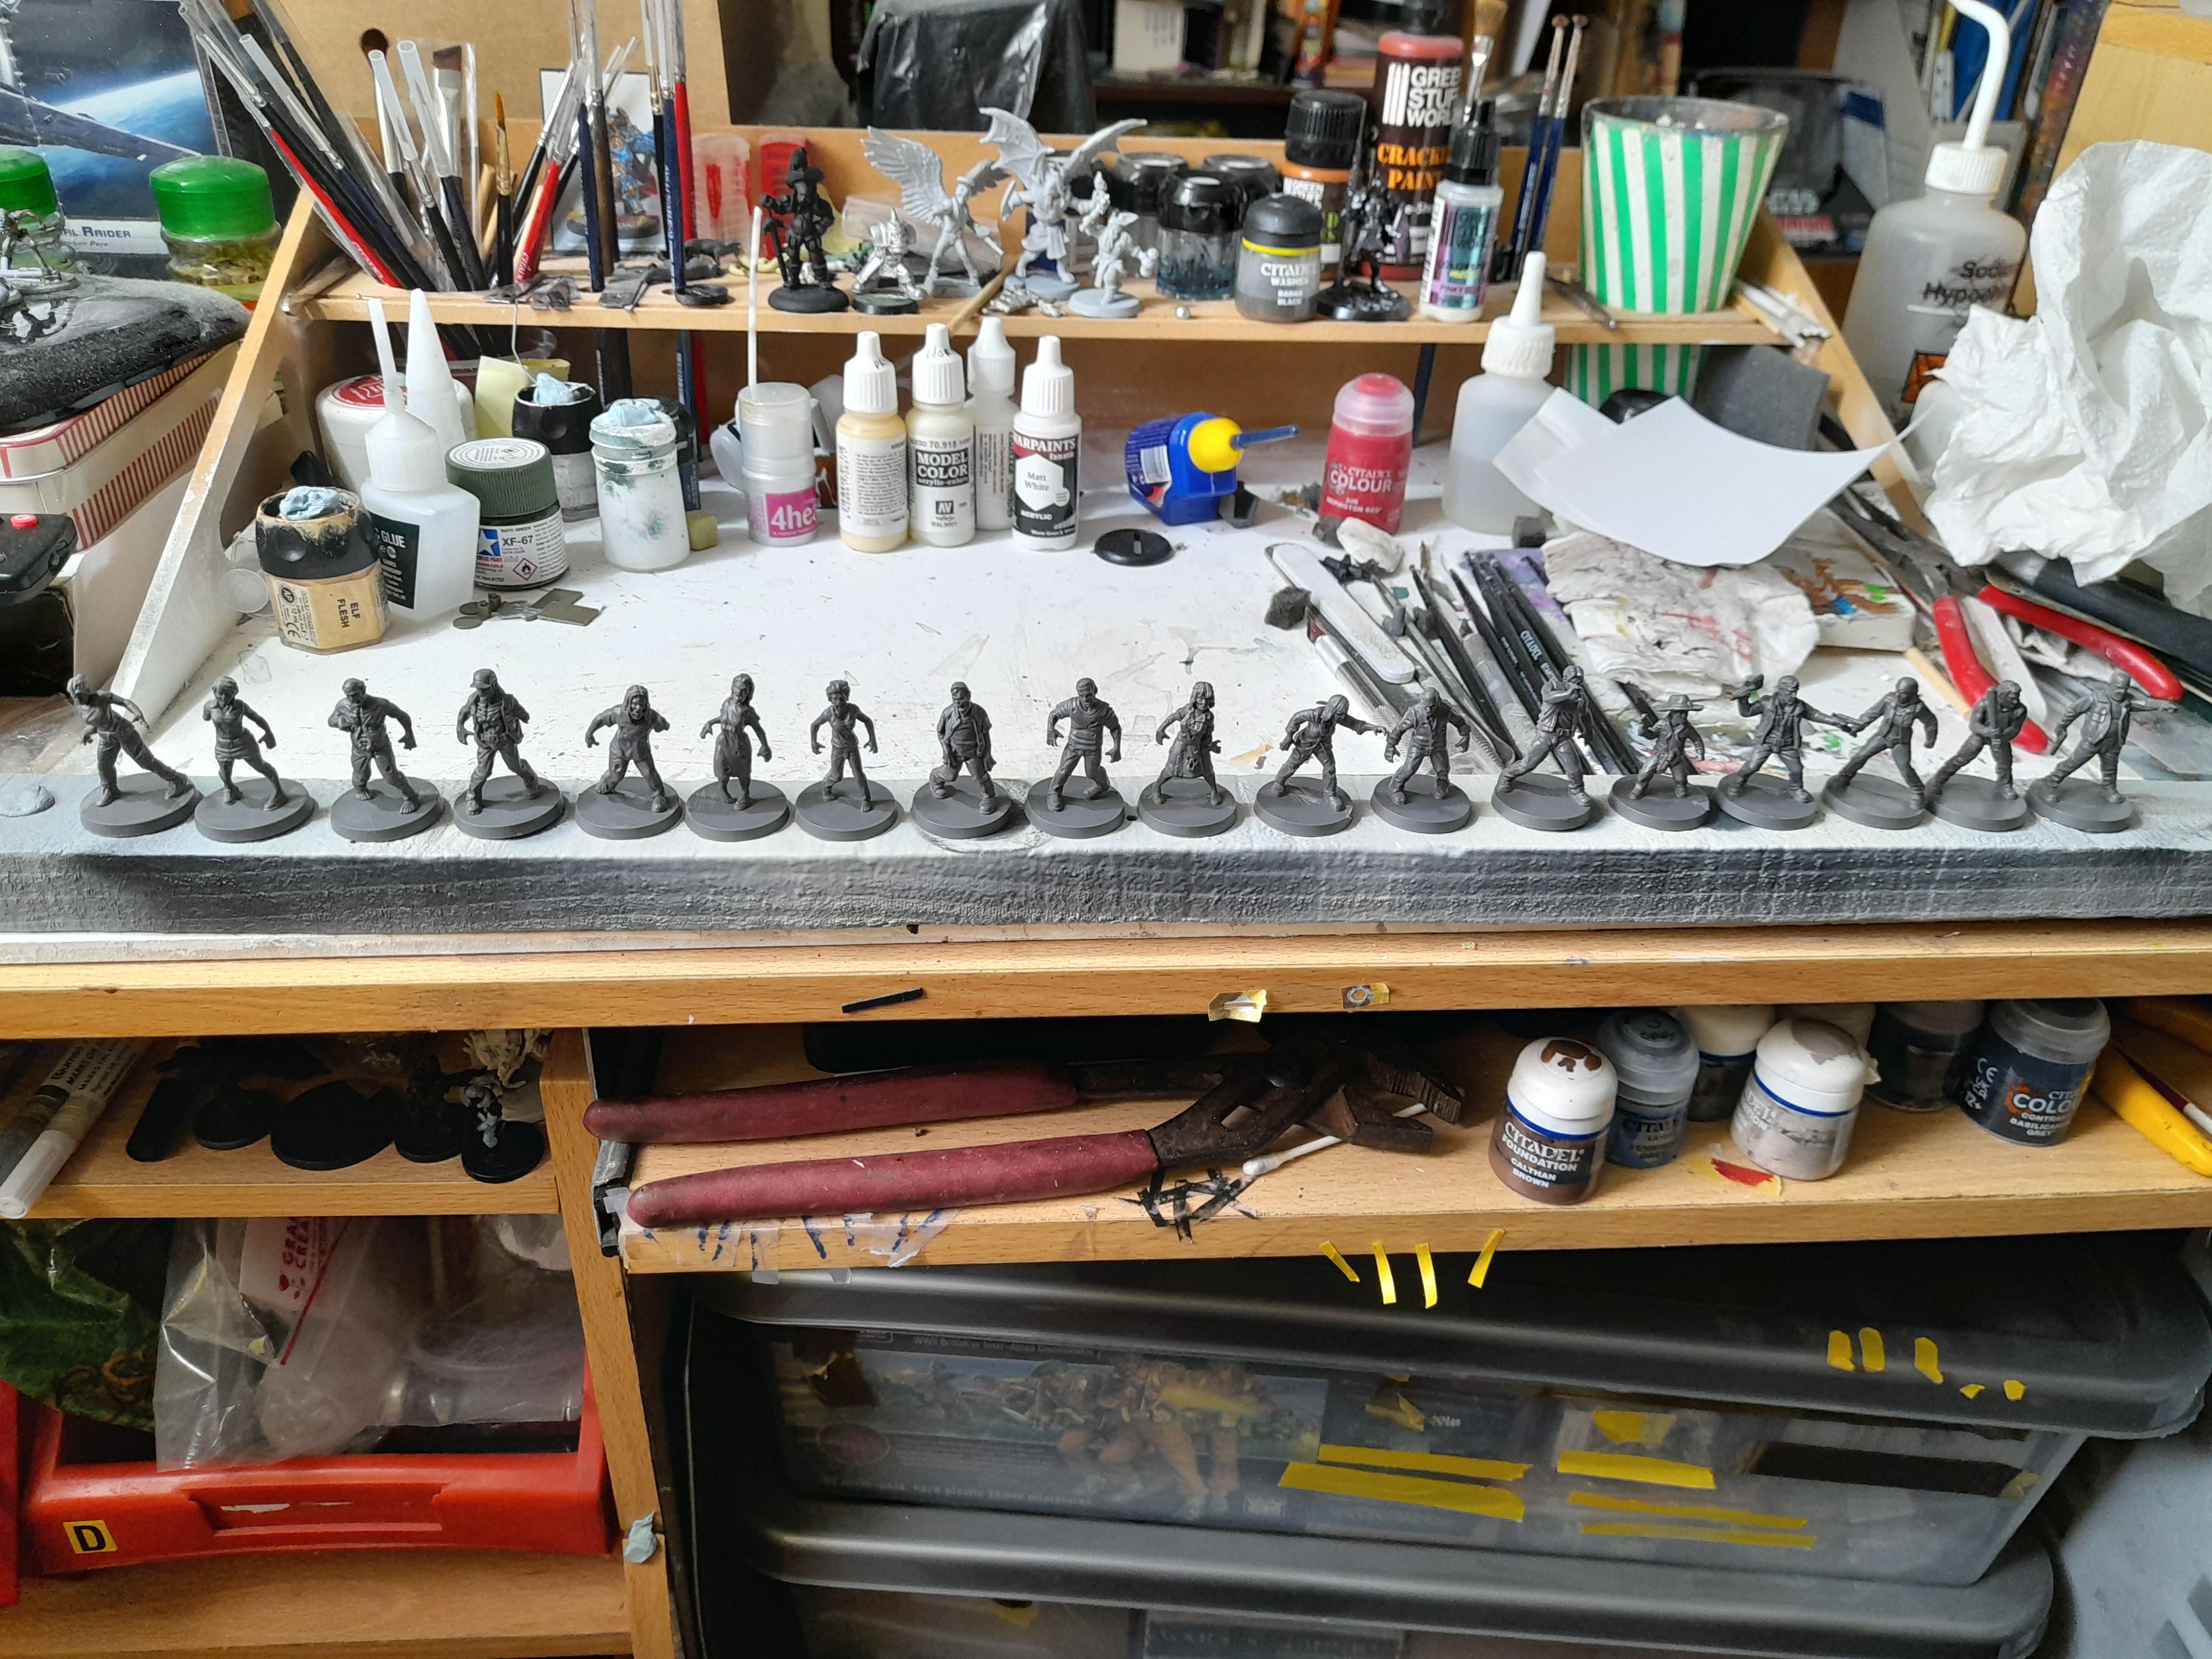
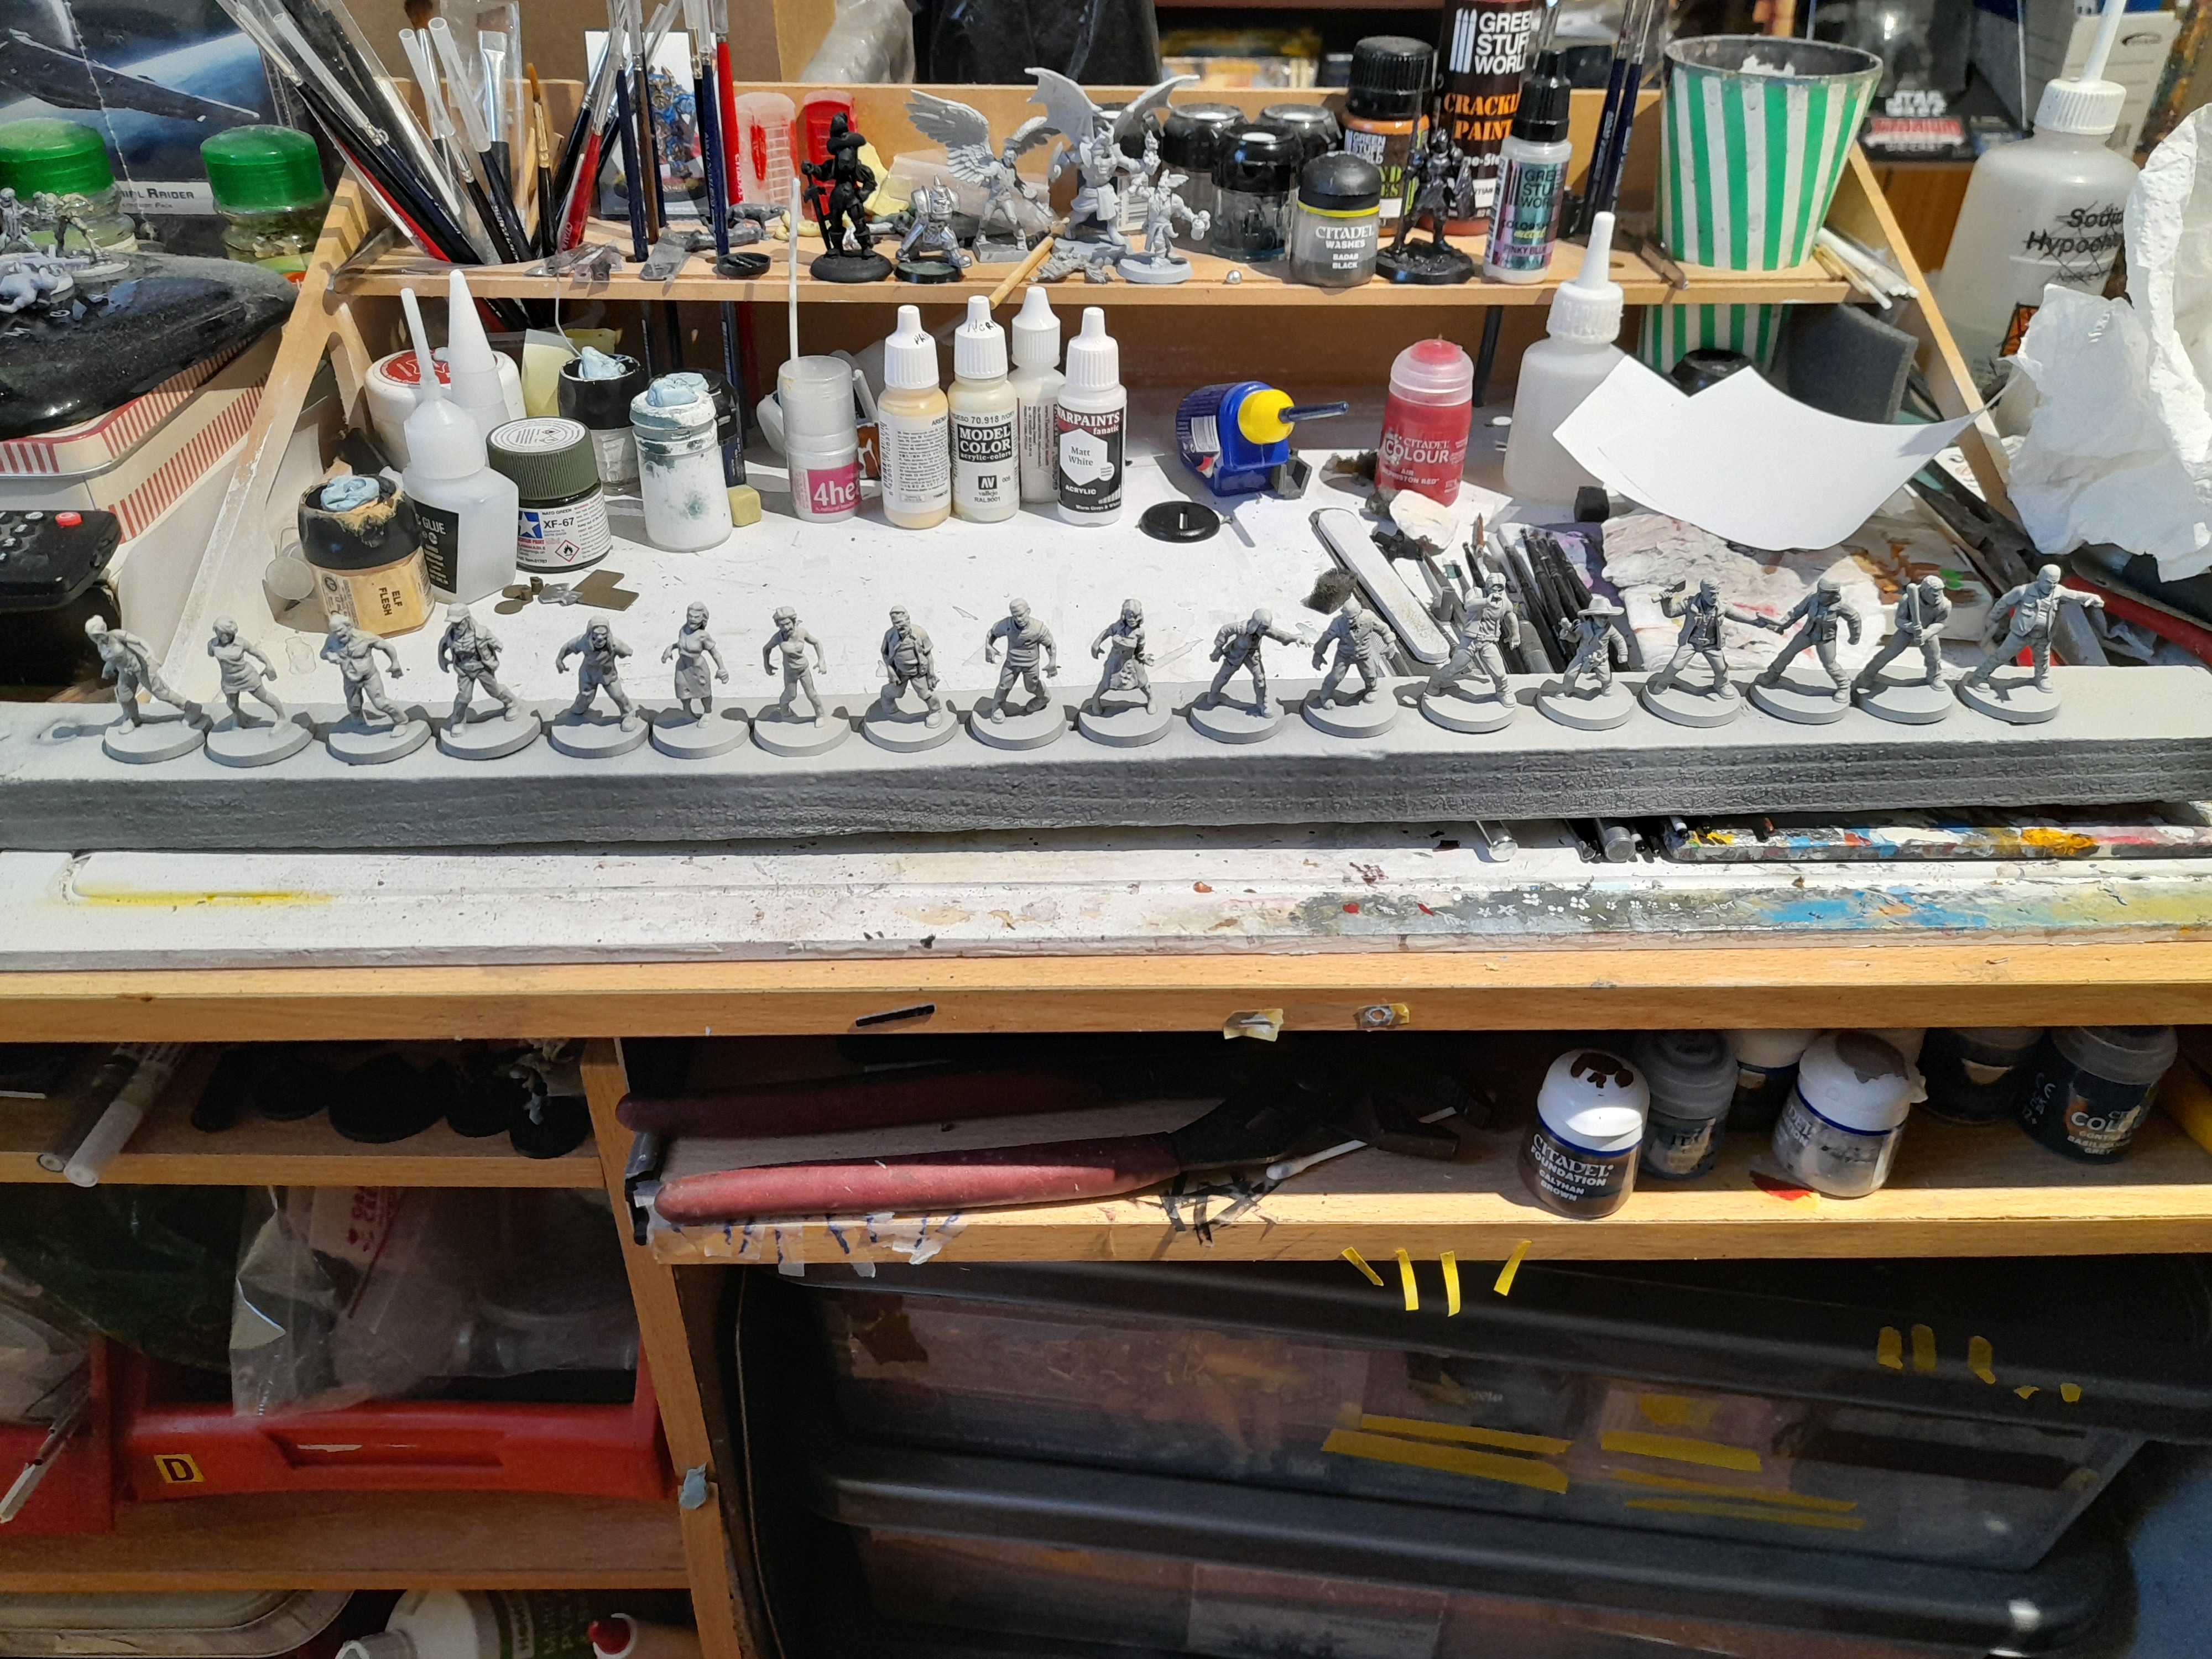
Then onto the priming…… went with basic zenithal again for these.
Black, grey, then wraithbone.
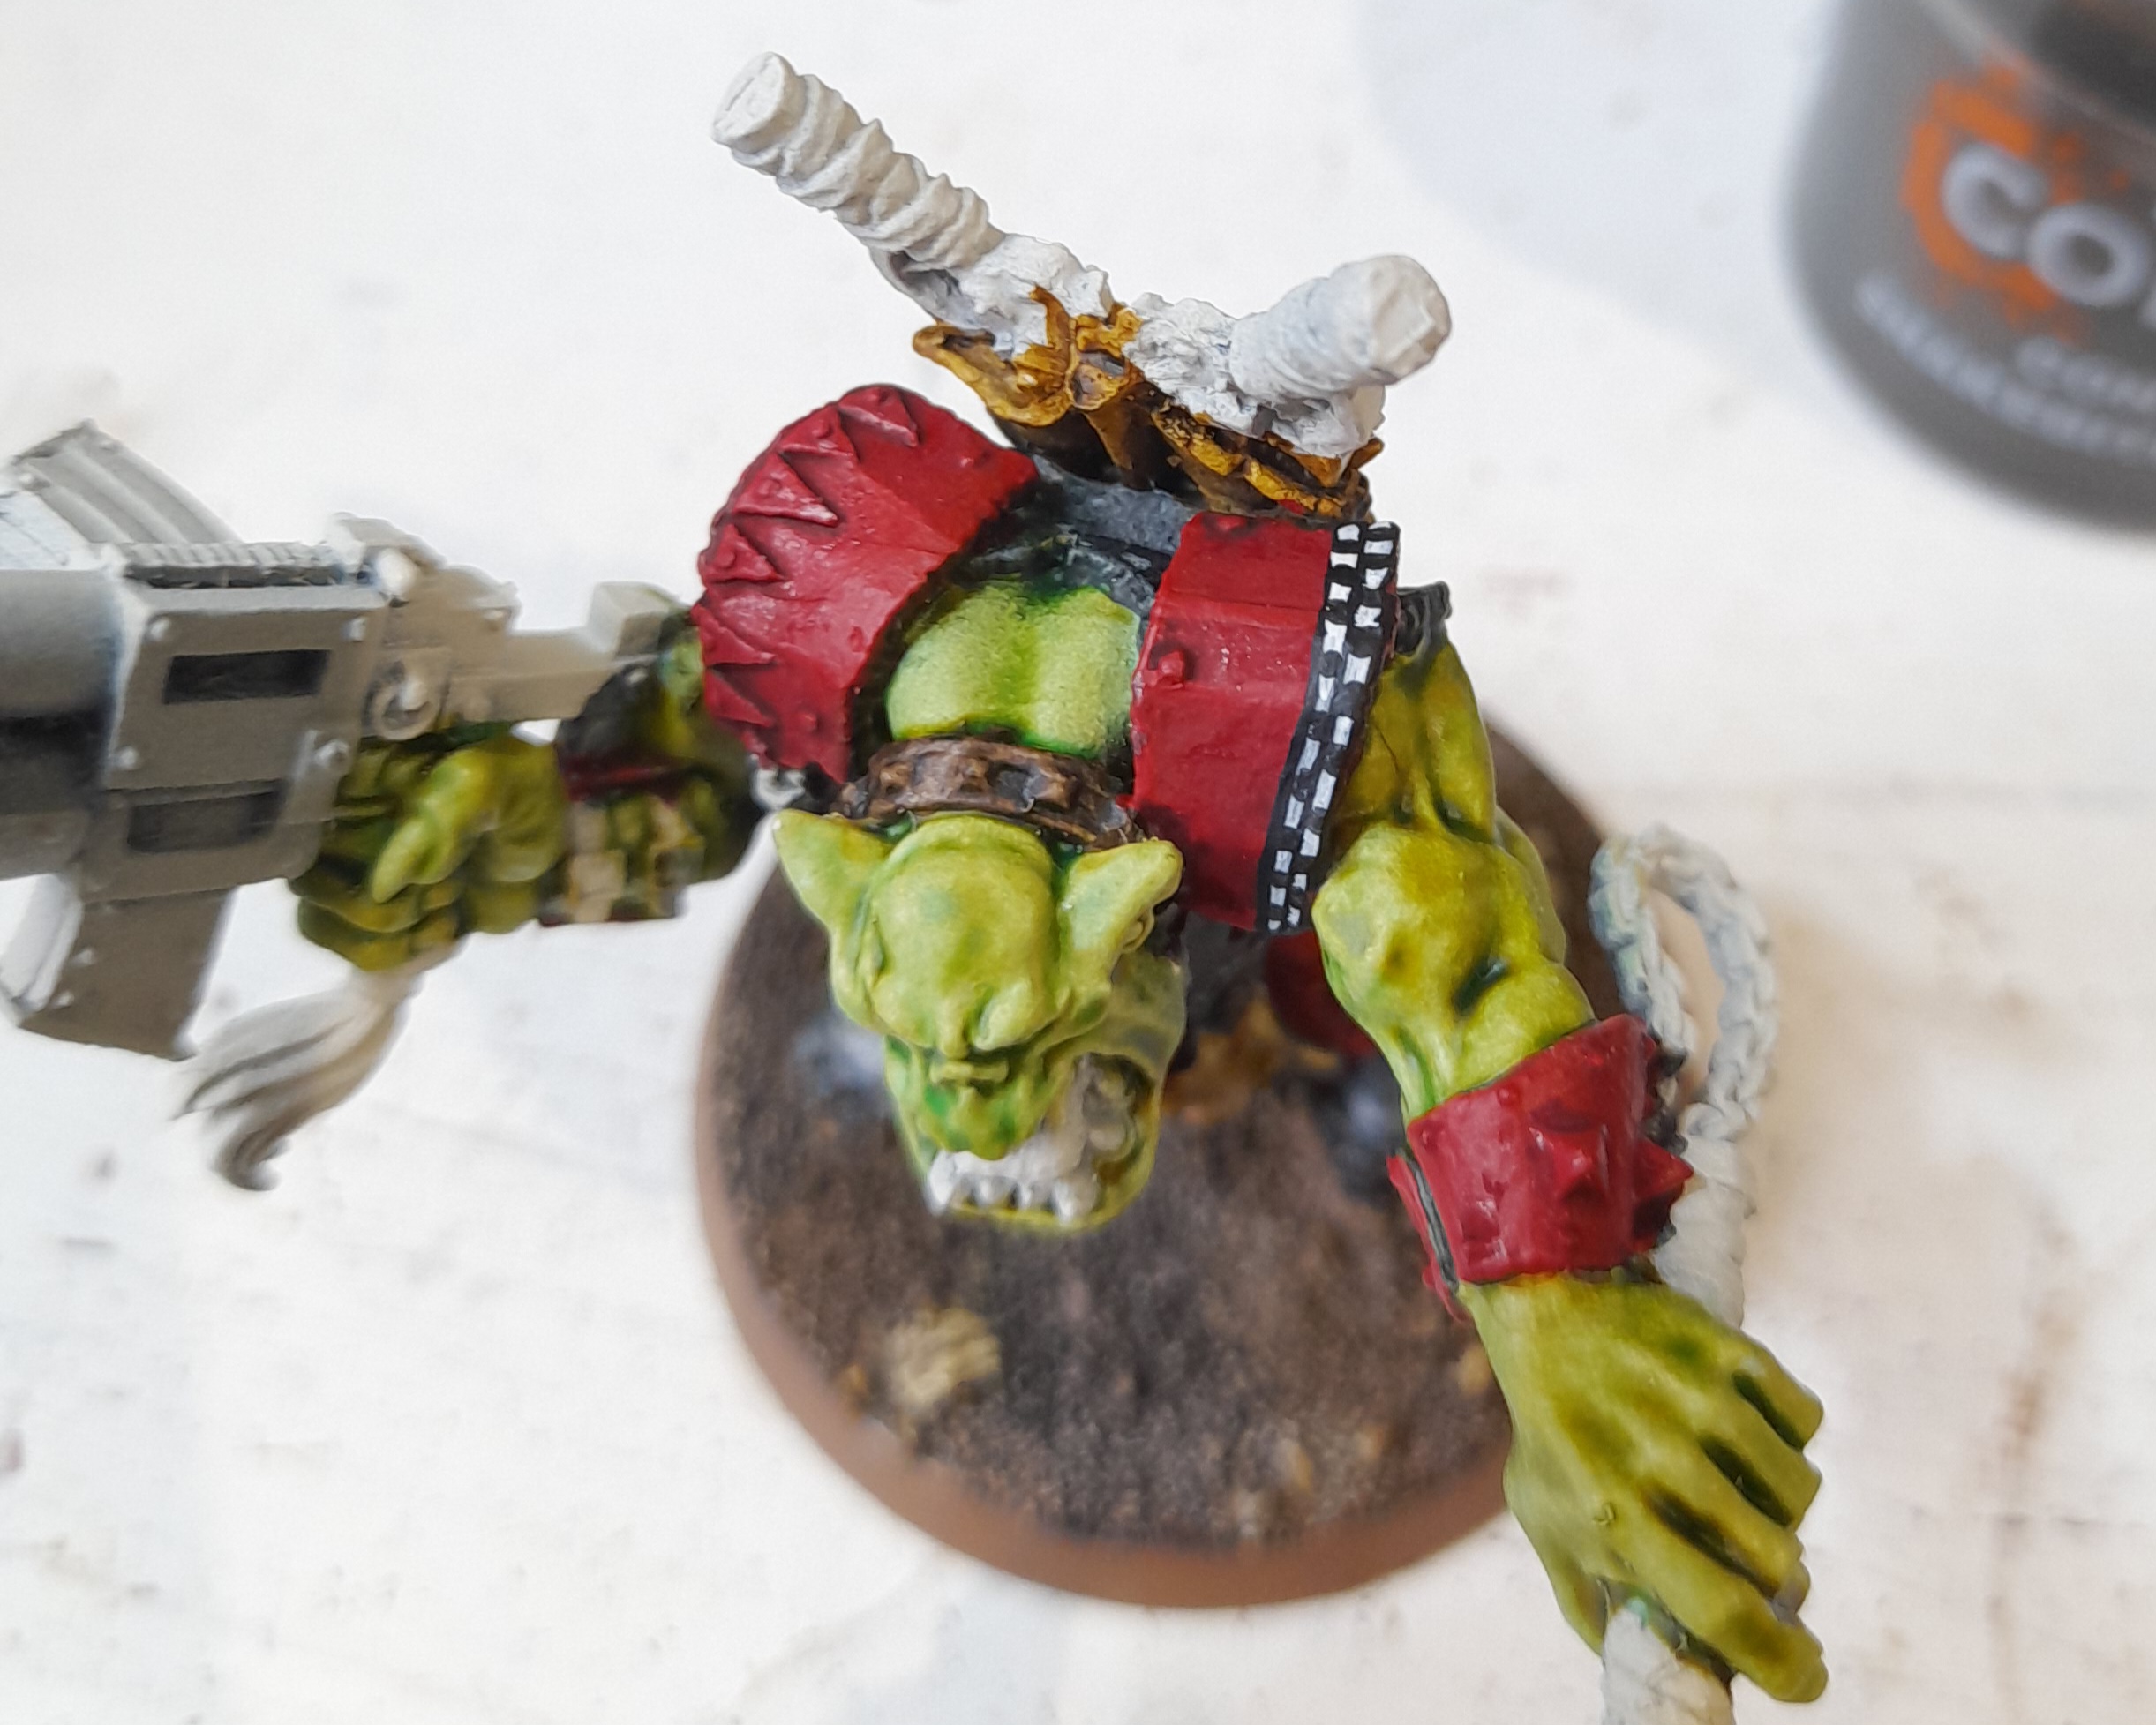
Warboss ready
31st May 2024
After posting daily for our holiday, it’s back to less frequent posts.
I painted the warboss in the same style as I used for the madboyz mob.
However, I did add more detail in some places.
Started out with the skin, then blocked in the clothing and armour plates.


Then I decided to try adding a check pattern to the edge of one of the shoulder pads.
Started out by painting a black band, followed by two white stripes.
Then I used contrast black legion to fill in alternate segments of the white lines, that sort of then make up the checks. Although some are a little uneven, the overall look seems to work.

Then I worked on the various other bits.
For the chain axe I went for some rough hazard stripes, which I later weathered with scratches etc.
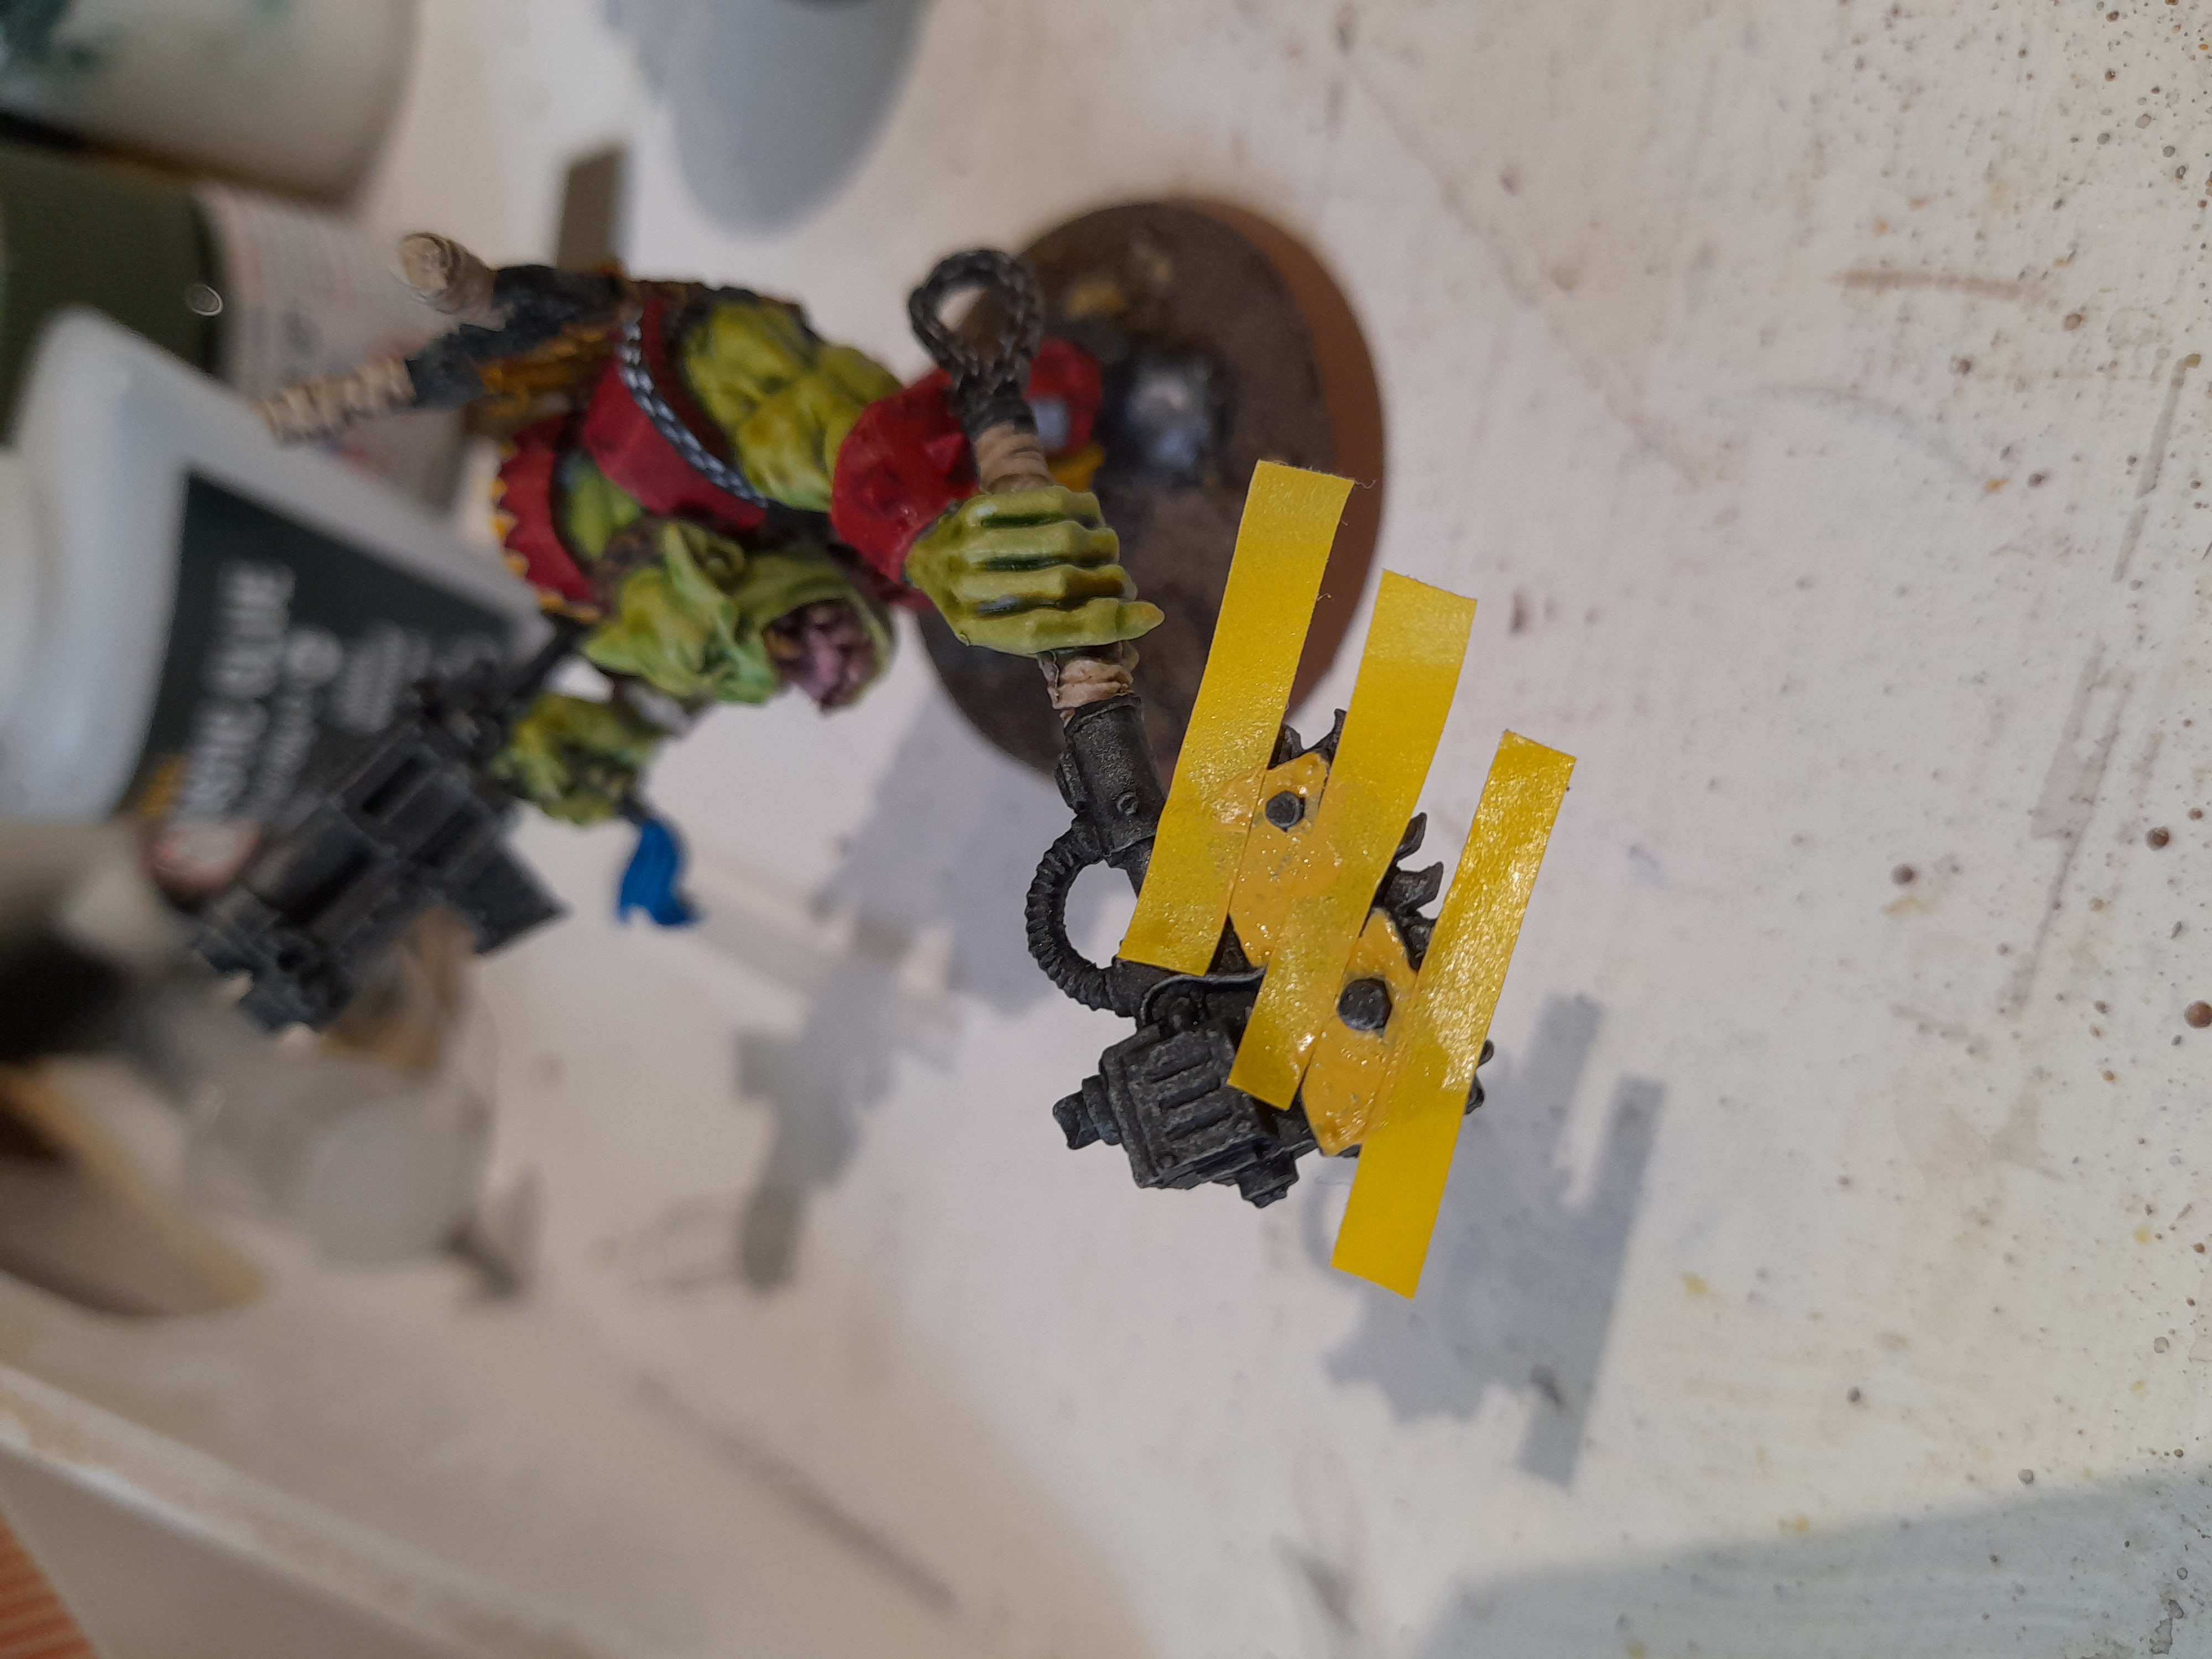
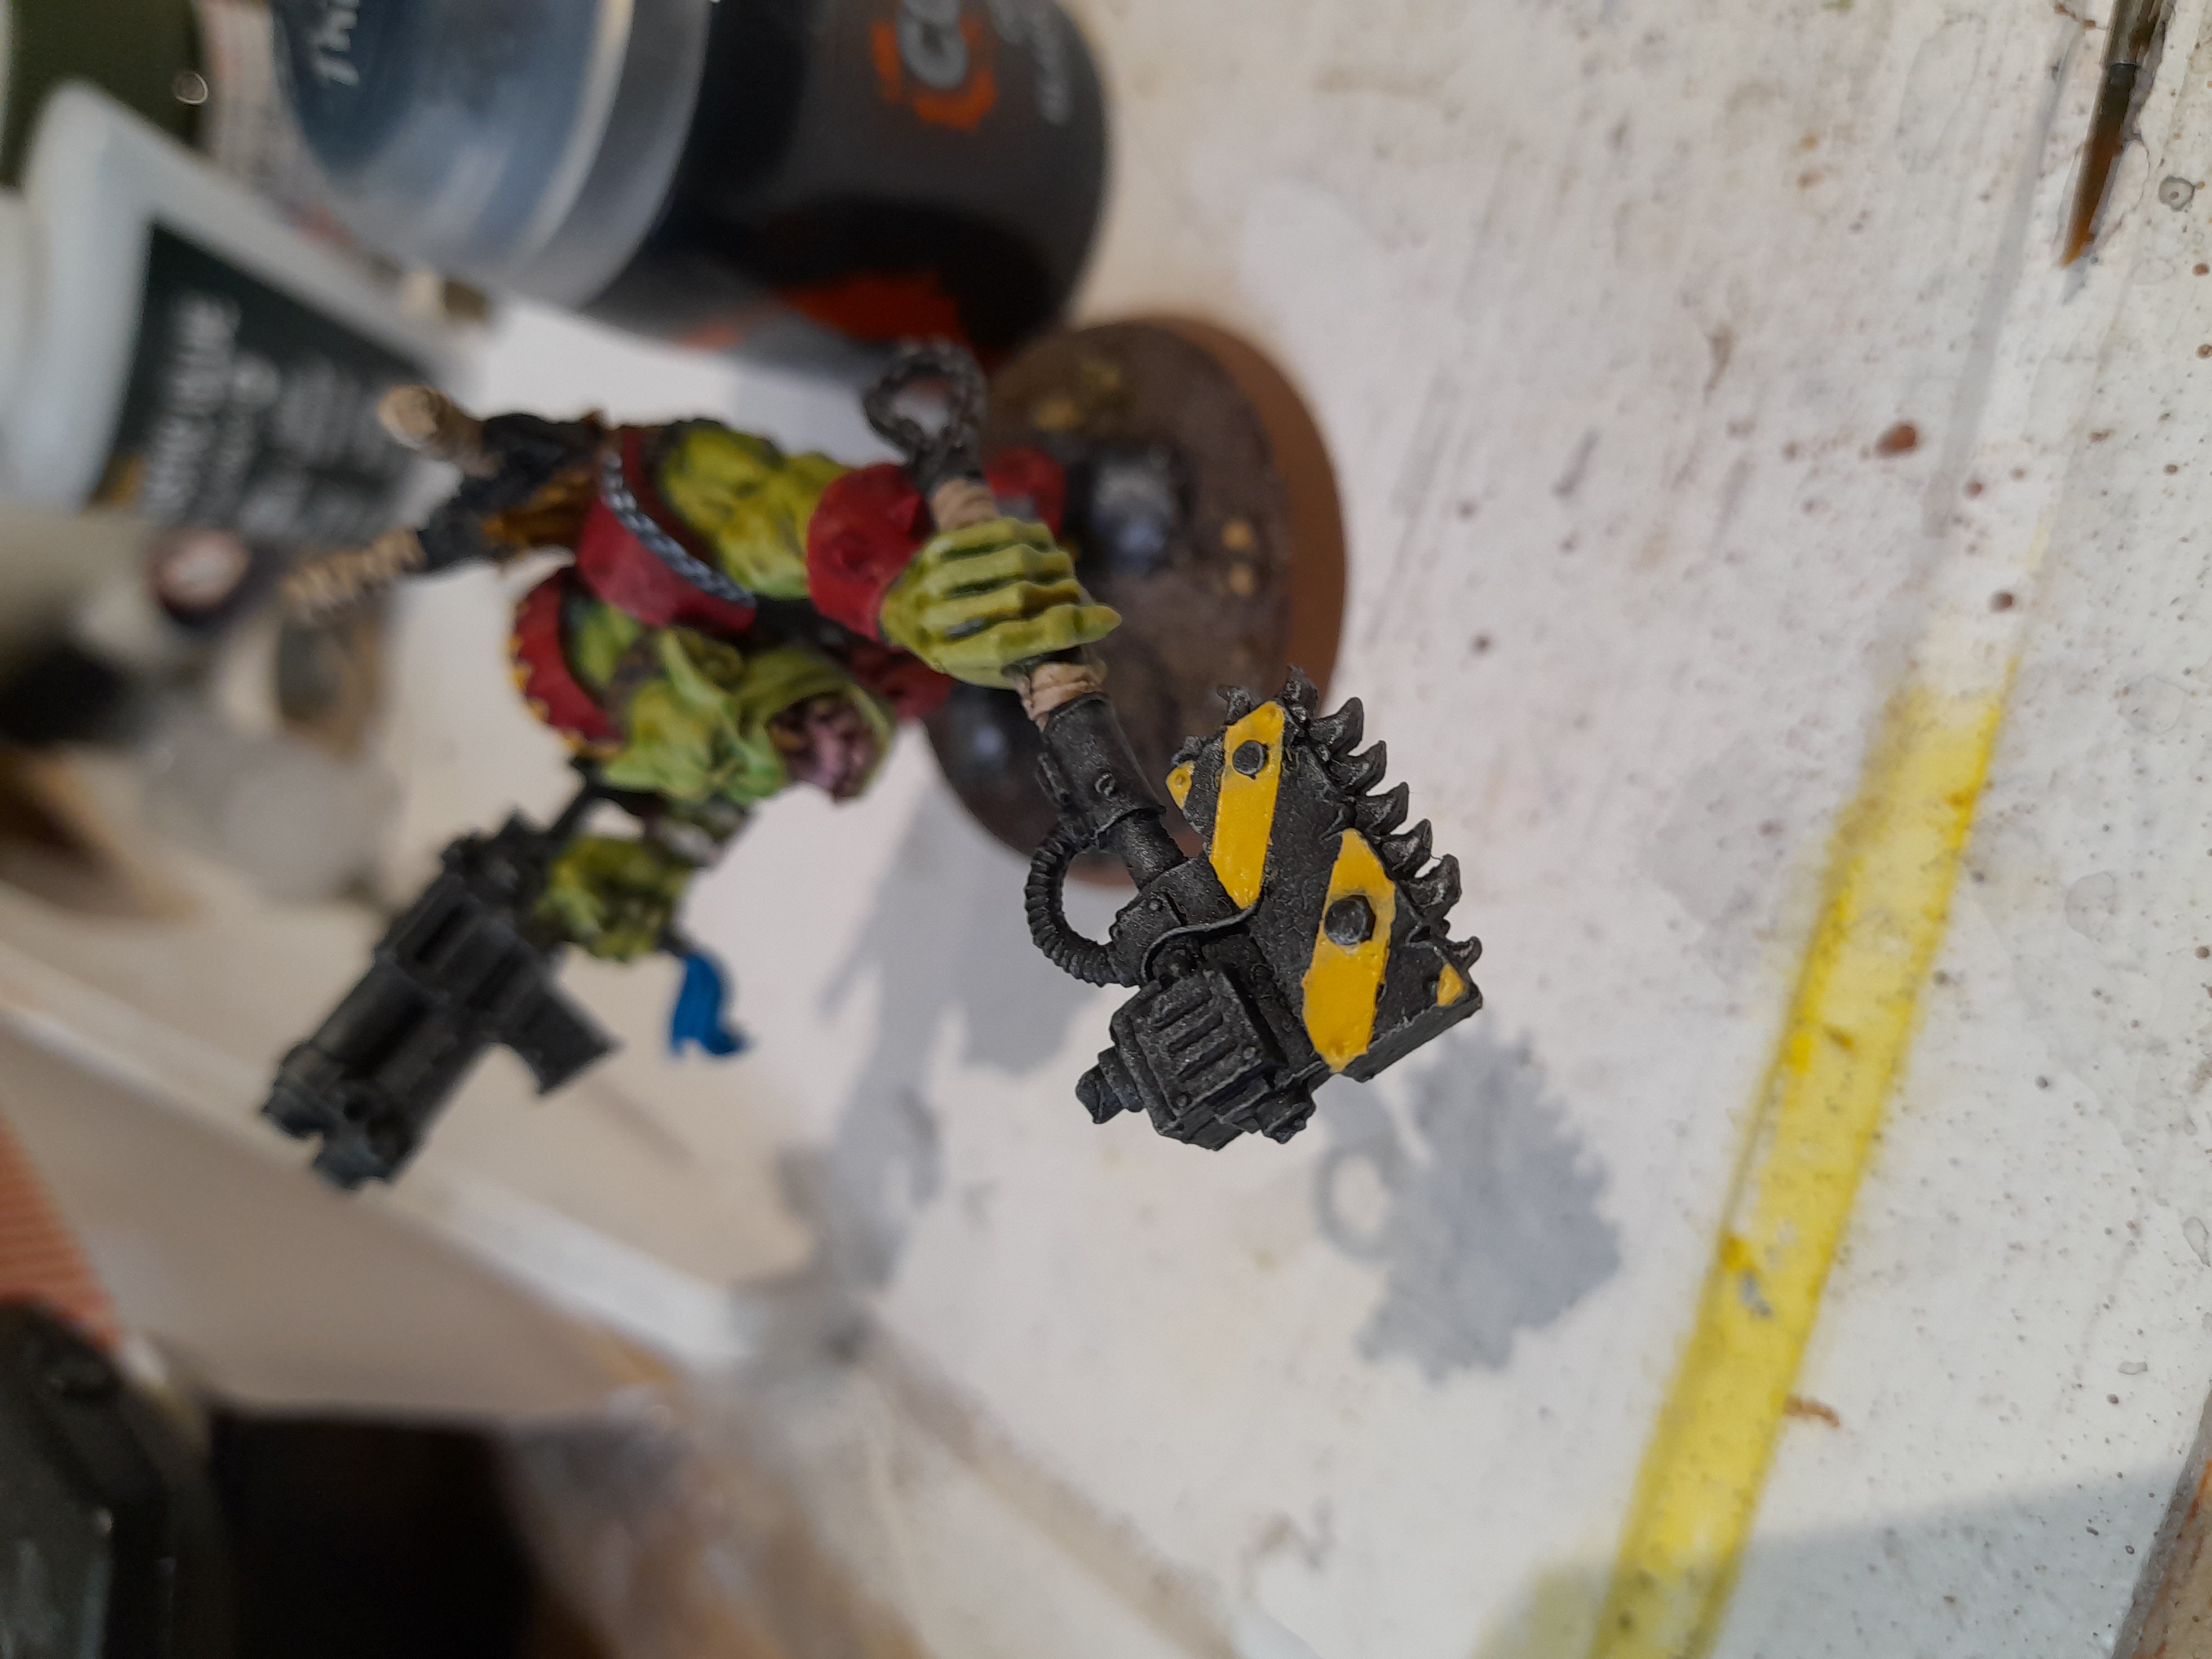
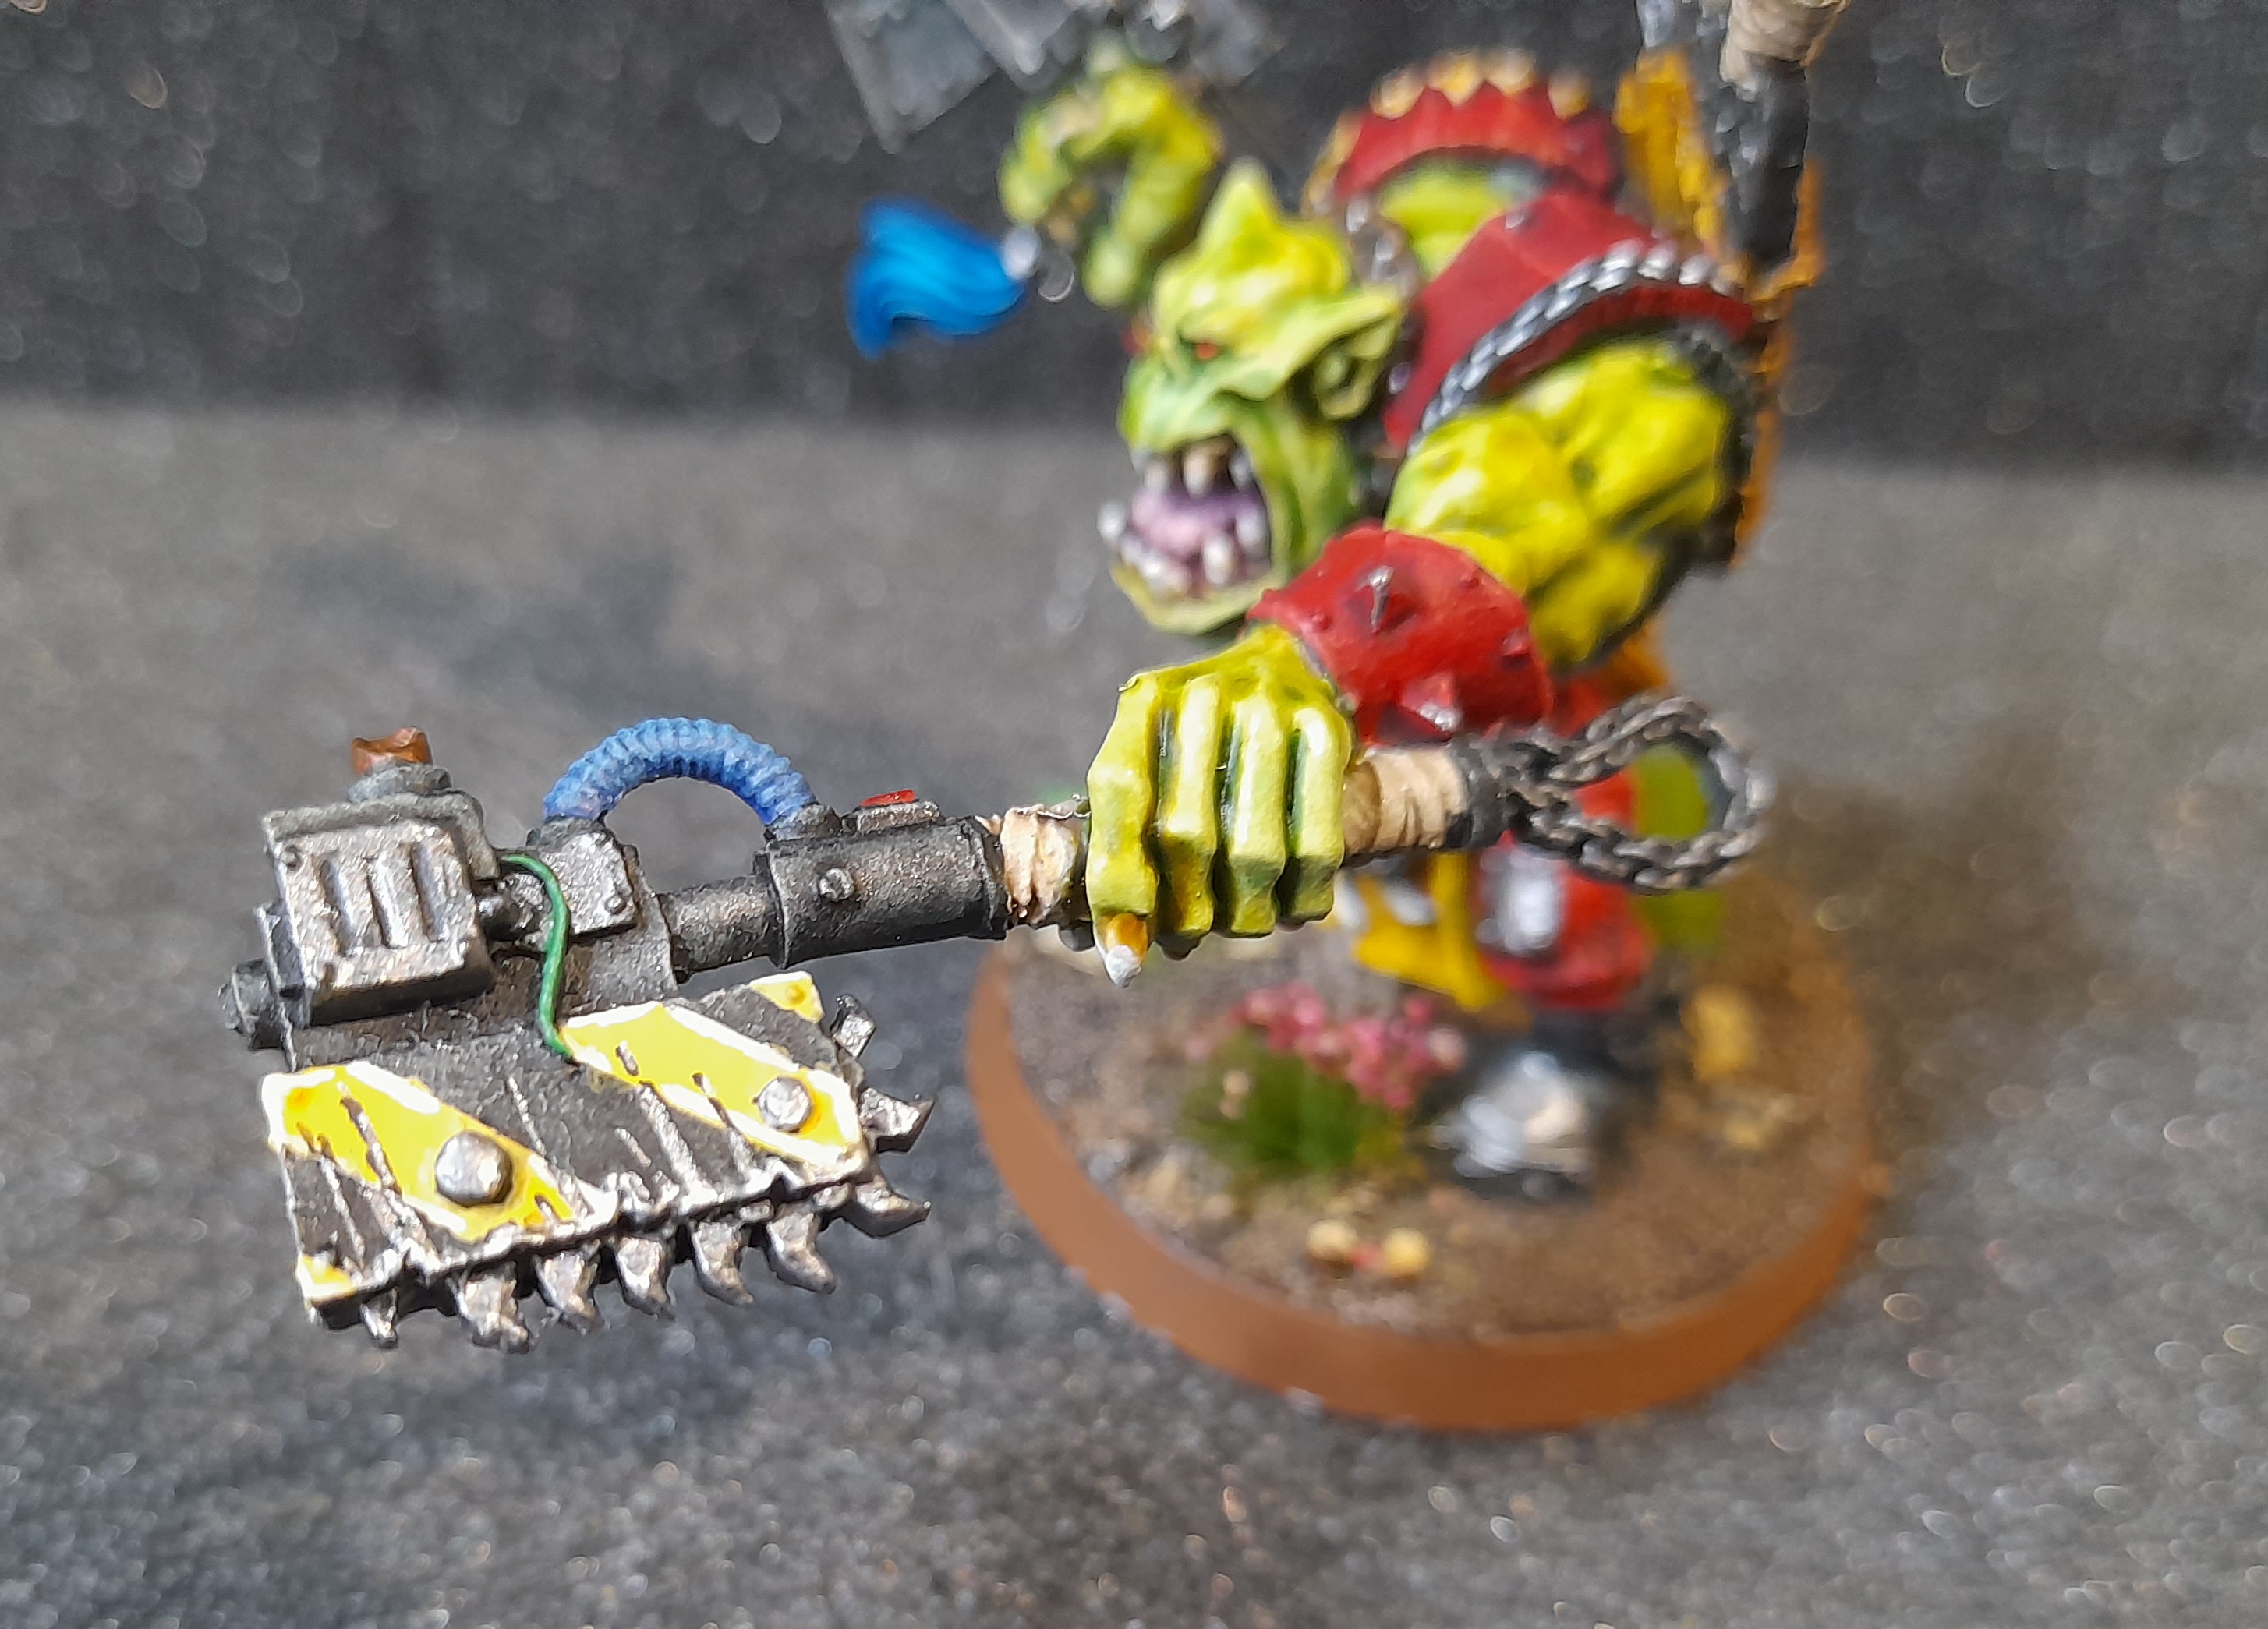
Worked on all the other bits, shading and highlighting teeth and claws, picking out metallic studs etc, and it was then finished….


Duplicate - ignore
Duplicate due to crash on upload
Thoughts post 'da misshun'
28th May 2024
So, back now and time to get back to some hobby.
But first just some thoughts about ‘da misshun’.
Last year the Witches had their grand tour. That was fun, but a bit awkward in places.
After I painted the Deadzone marauder things just fell into place.
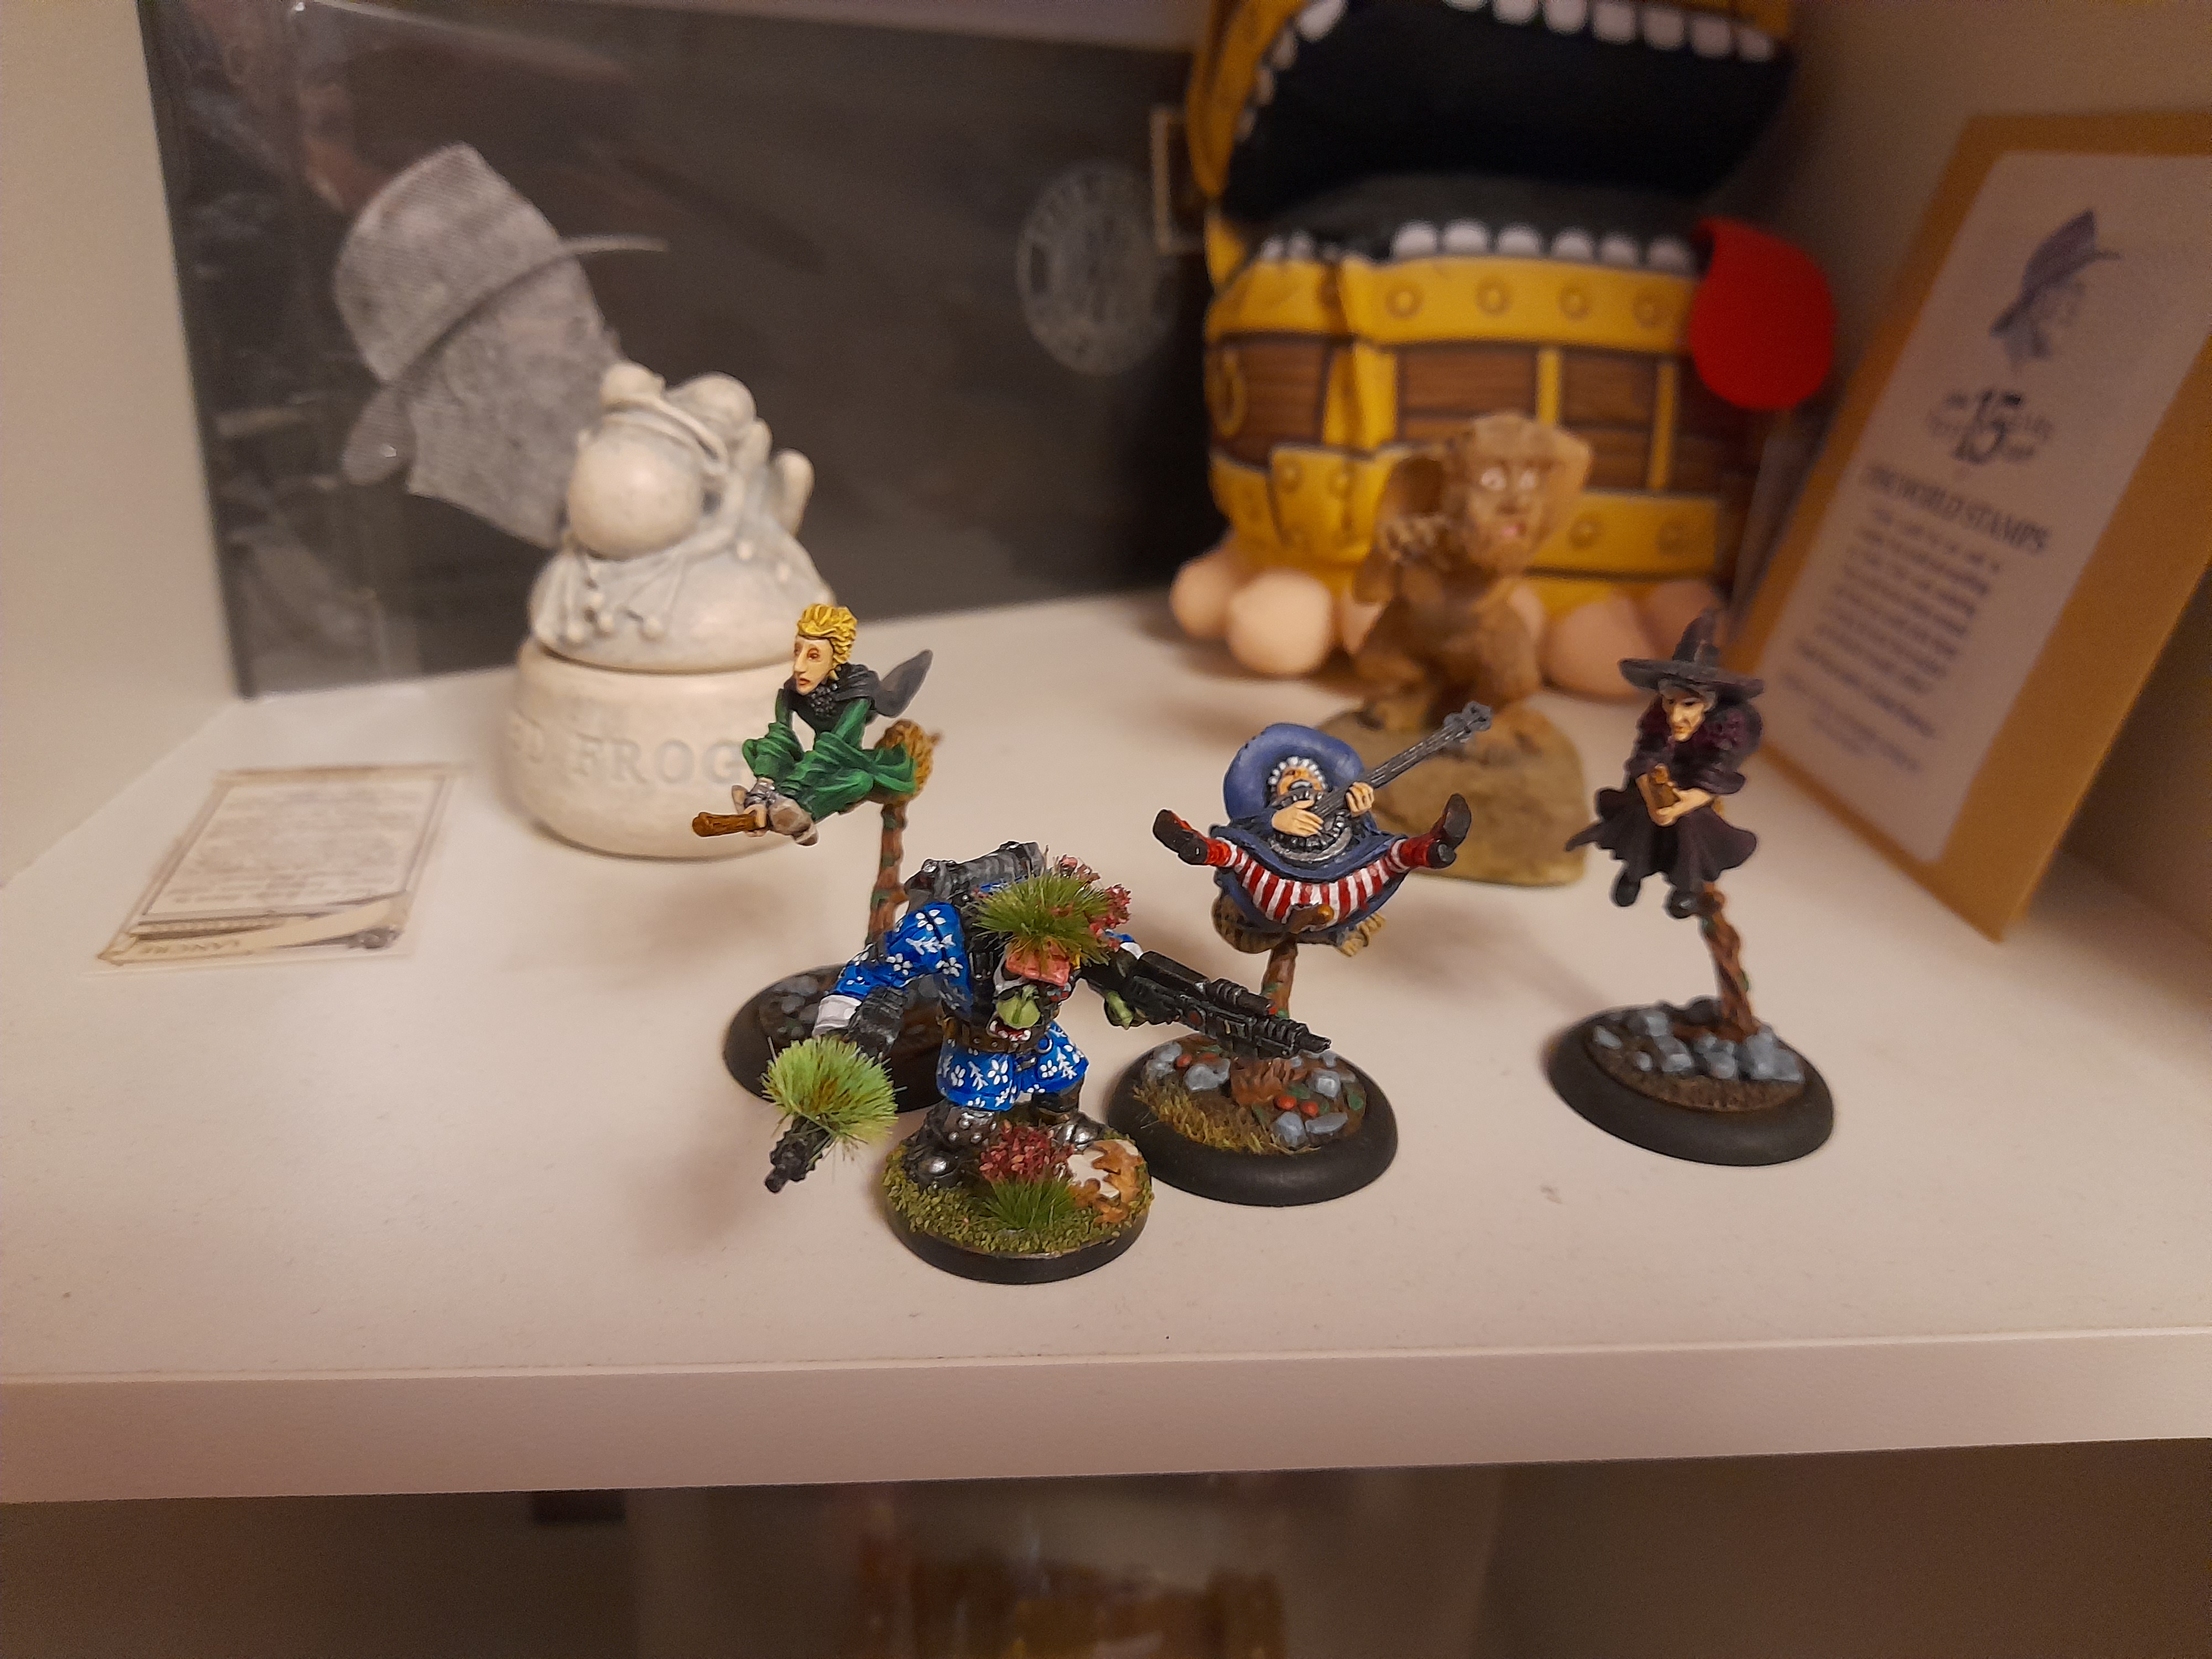 Dakkatooth and the Witches compare notes
Not sure if many people have seen it, but my wife and I had fun doing the pics, so that’s the main thing.
It was a lot easier working with just one mini rather than the three, and having the base magnetised helped in a few places.
However, keeping up the ‘ork speak’ was quite hard work – hopefully it came over OK.
What's next?
I’m not sure what I’m going to work on next for the spring clean. I have had a few thoughts, but most are more likely to be projects of their own.
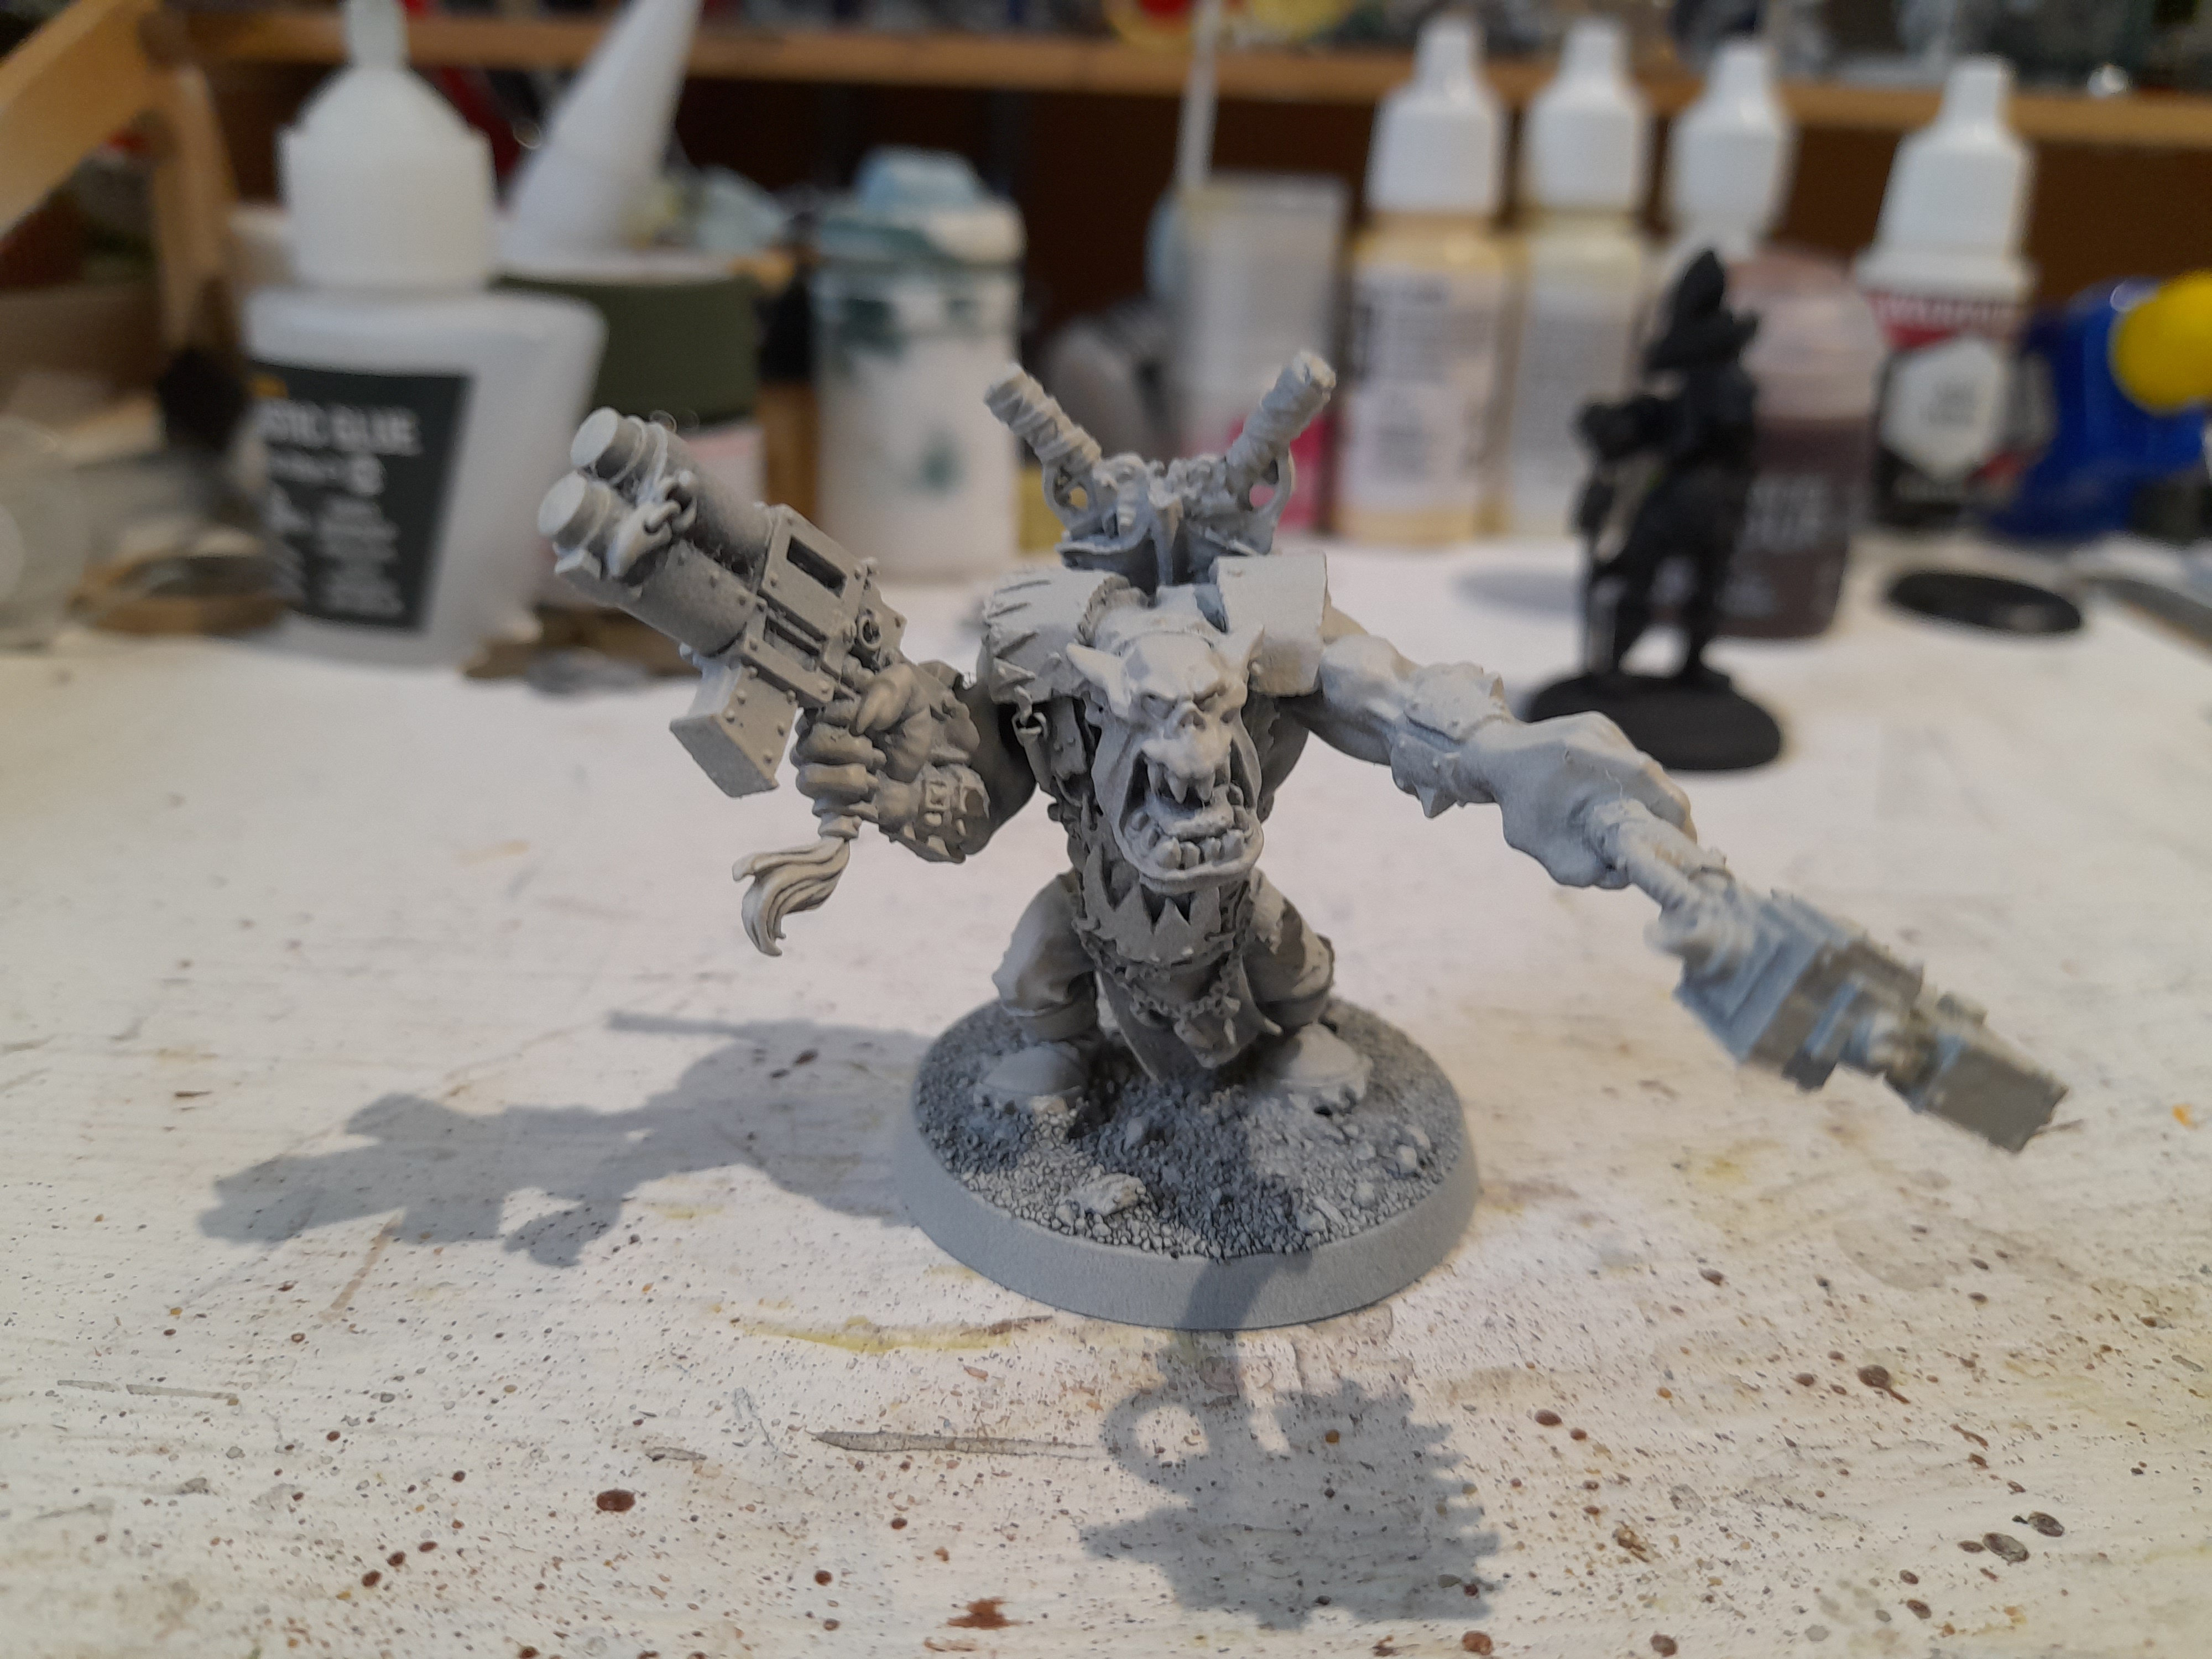
For now, while I’m trying to decide what to do, I am going to work on this old ork warboss that I had been using for skin tone tests.
It’s had a rough zenithal prime and is ready for some colour…
Misshun day 9 - da return
25th May 2024
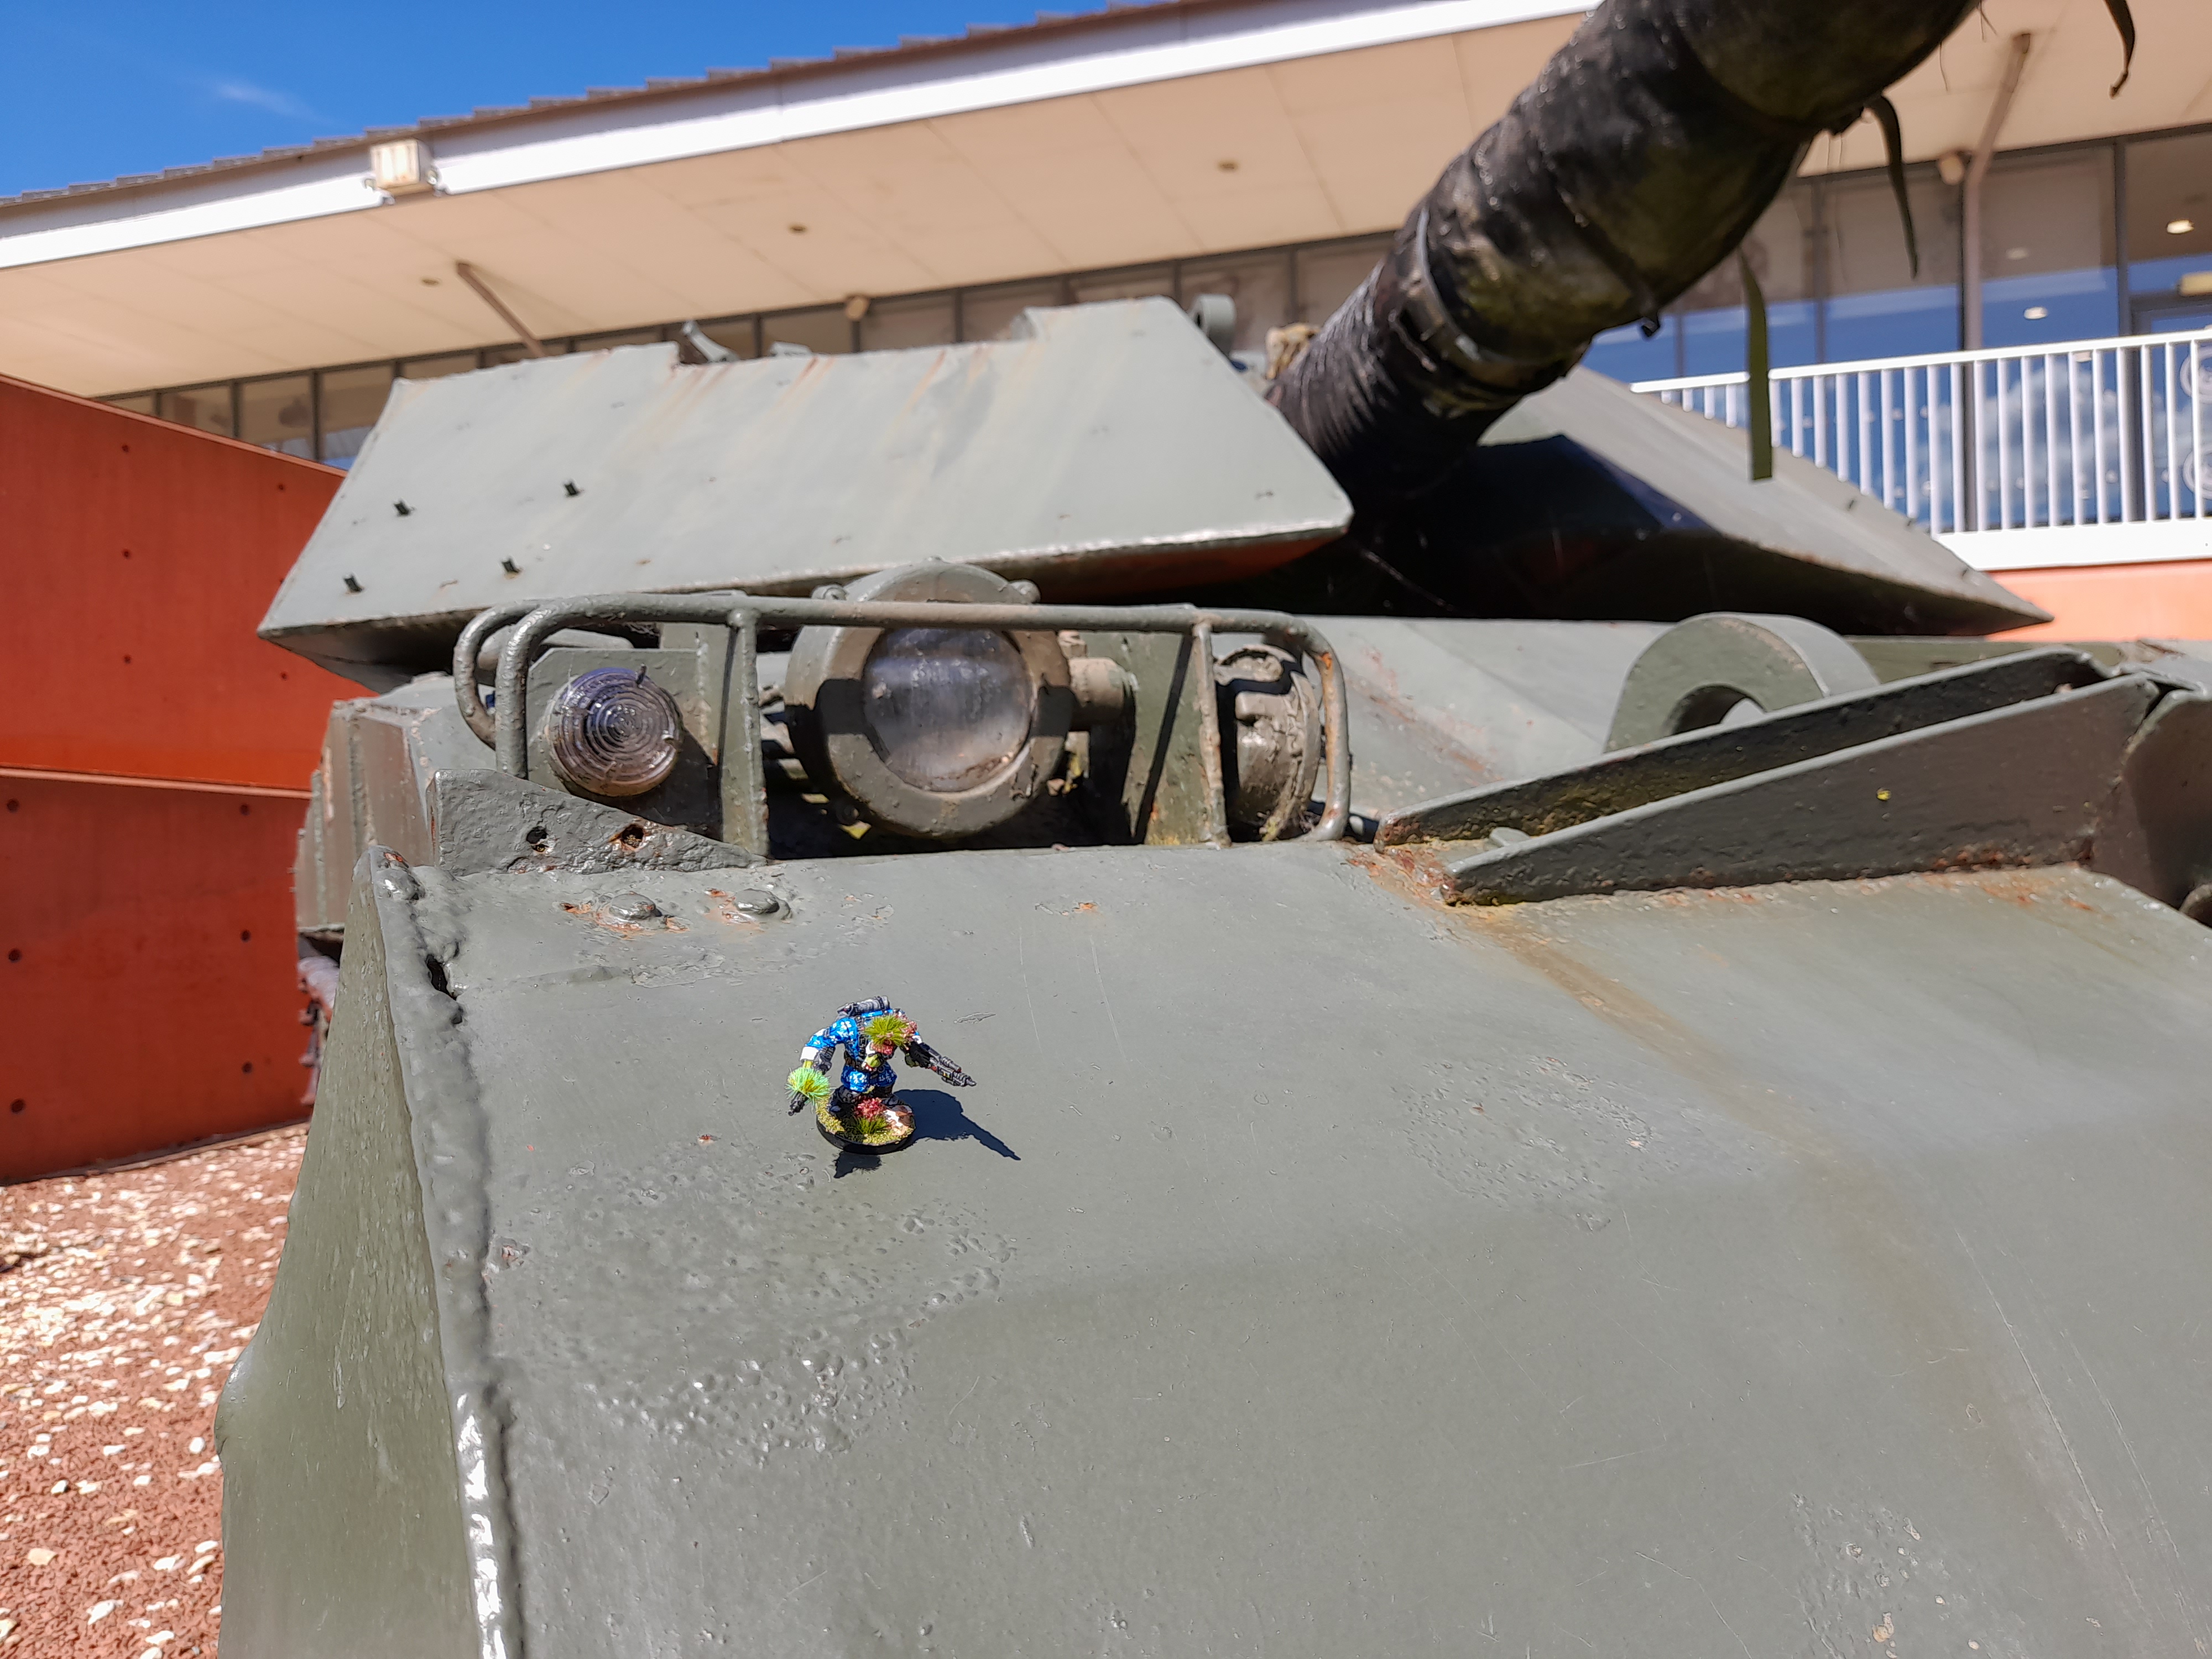
Today waz da return ta base wiv me Intel.
‘Owever, on da way, I uzed me amazin’ kunnin ta sniff owt wun ov da ummies forward armour bases!
Dey tryed ta trik me by pretending it waz a moo-see-um! But dey didn’t fool me.
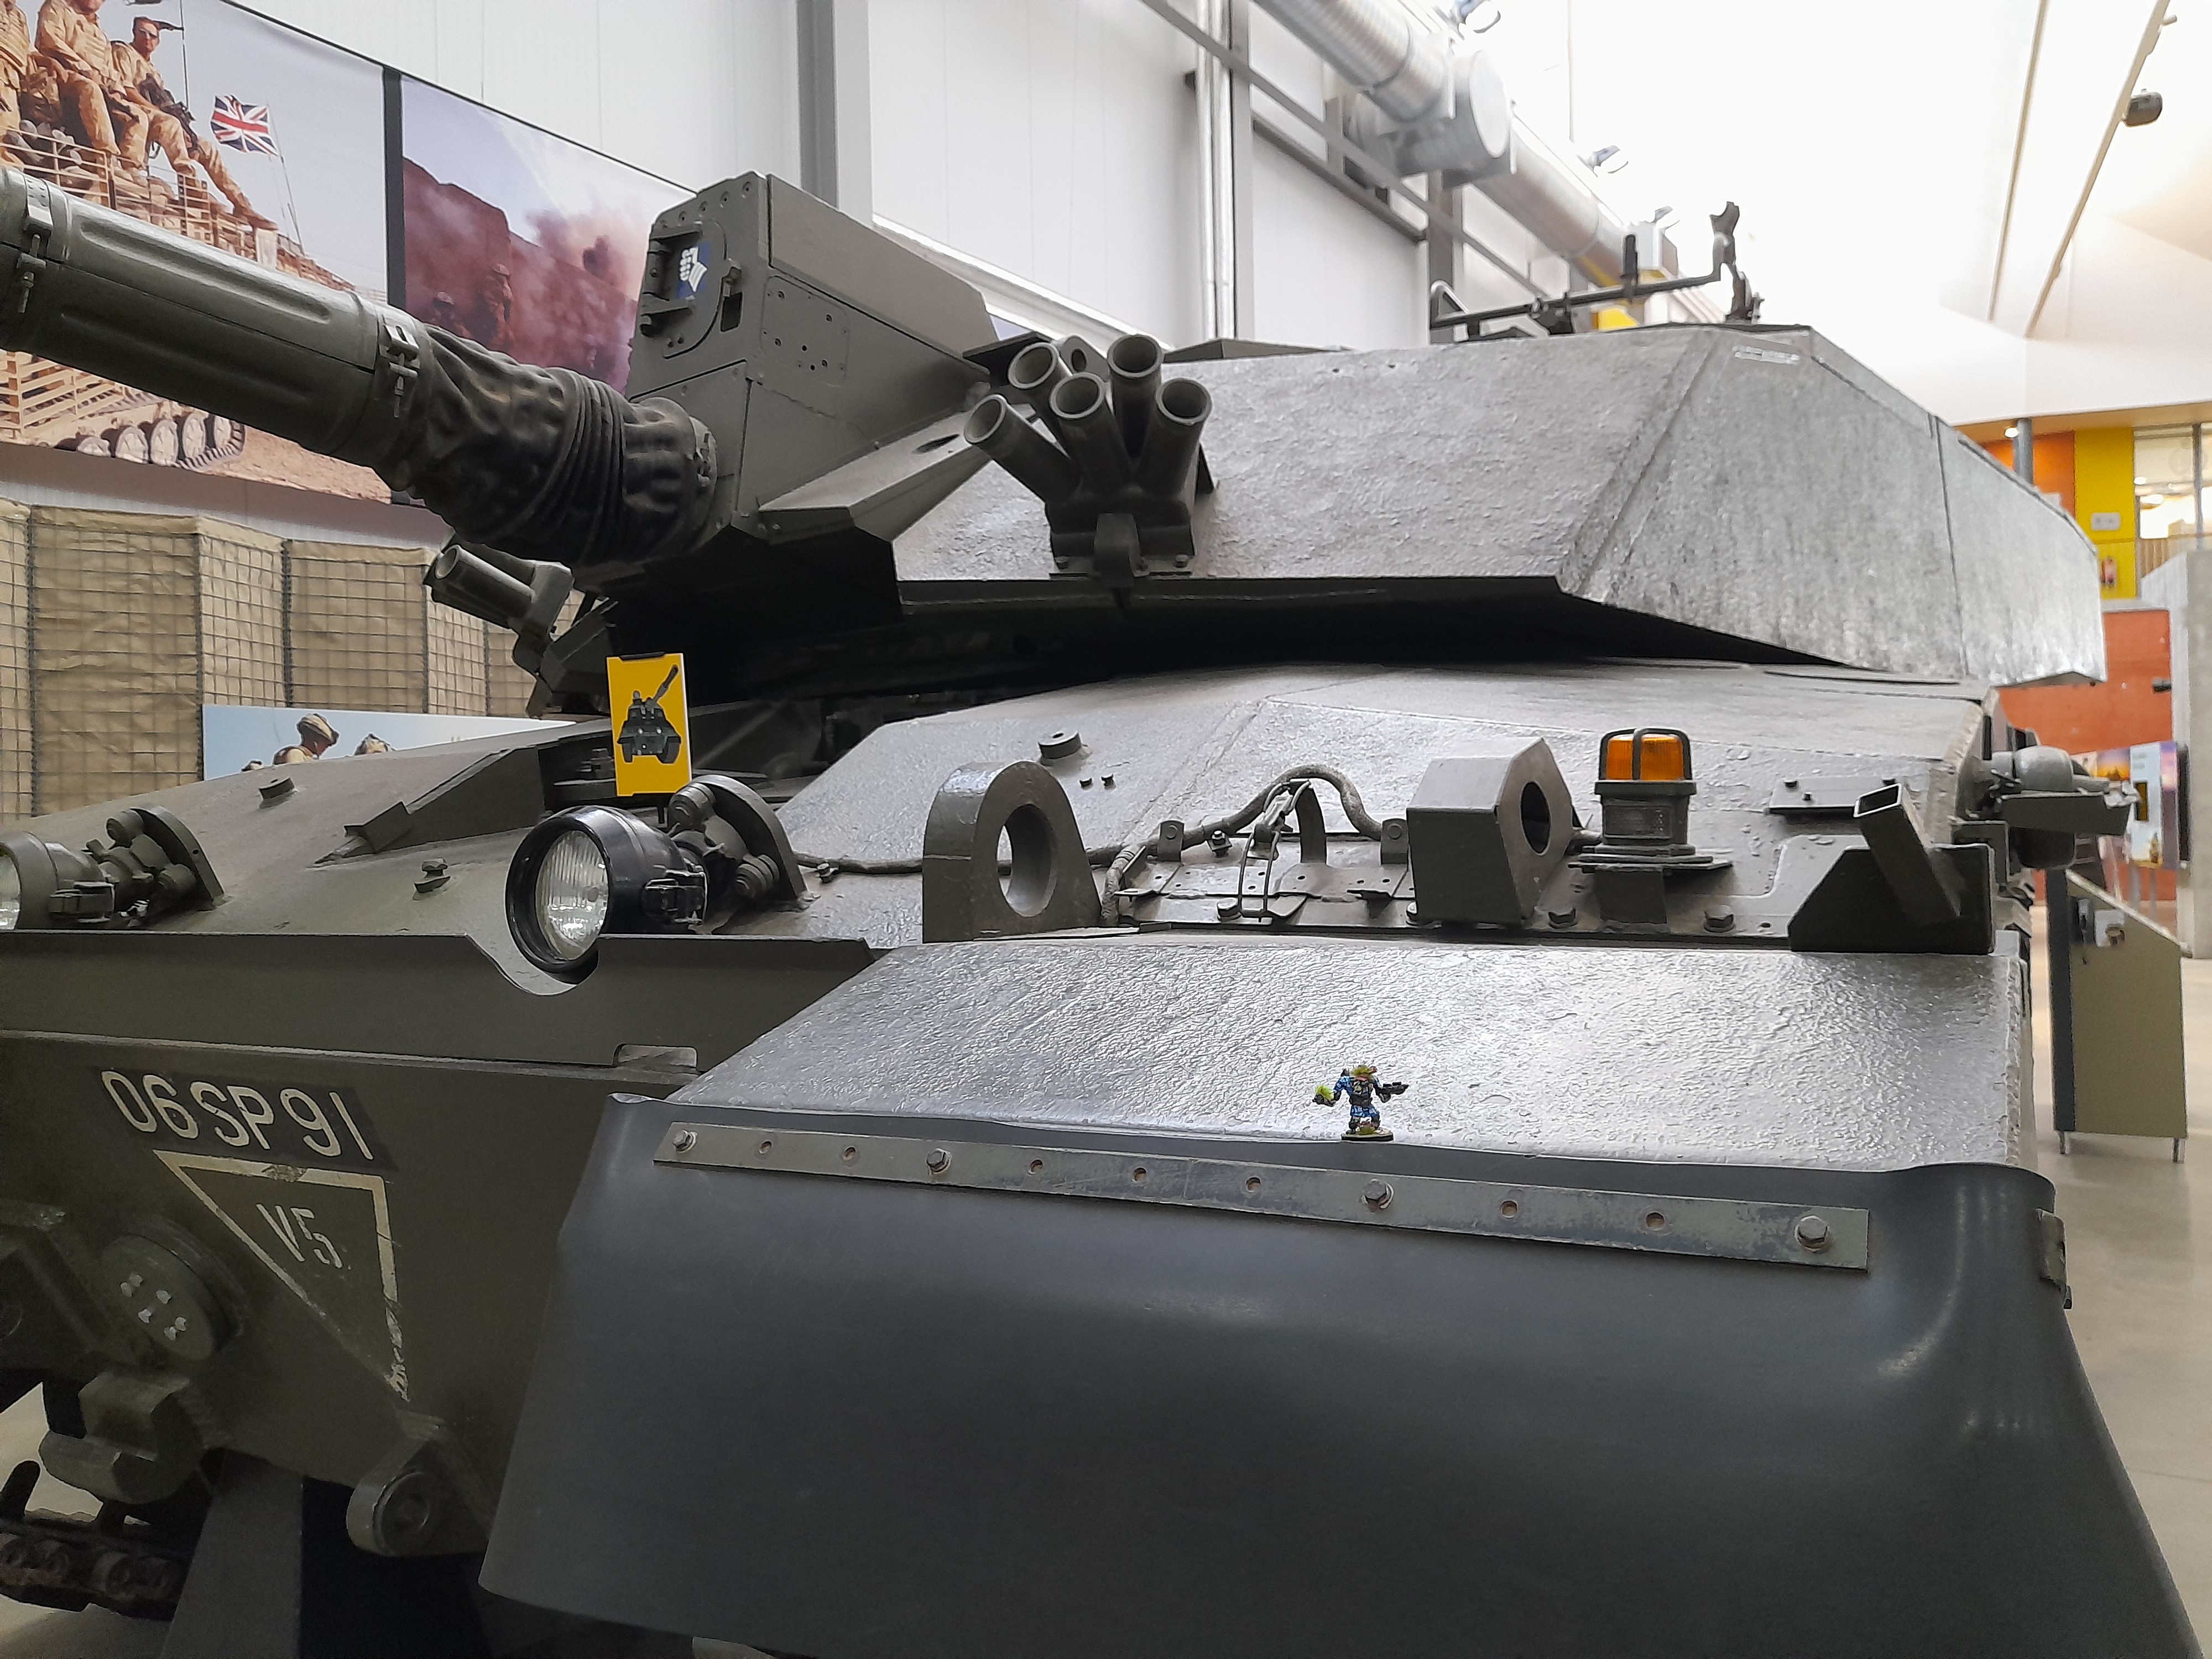
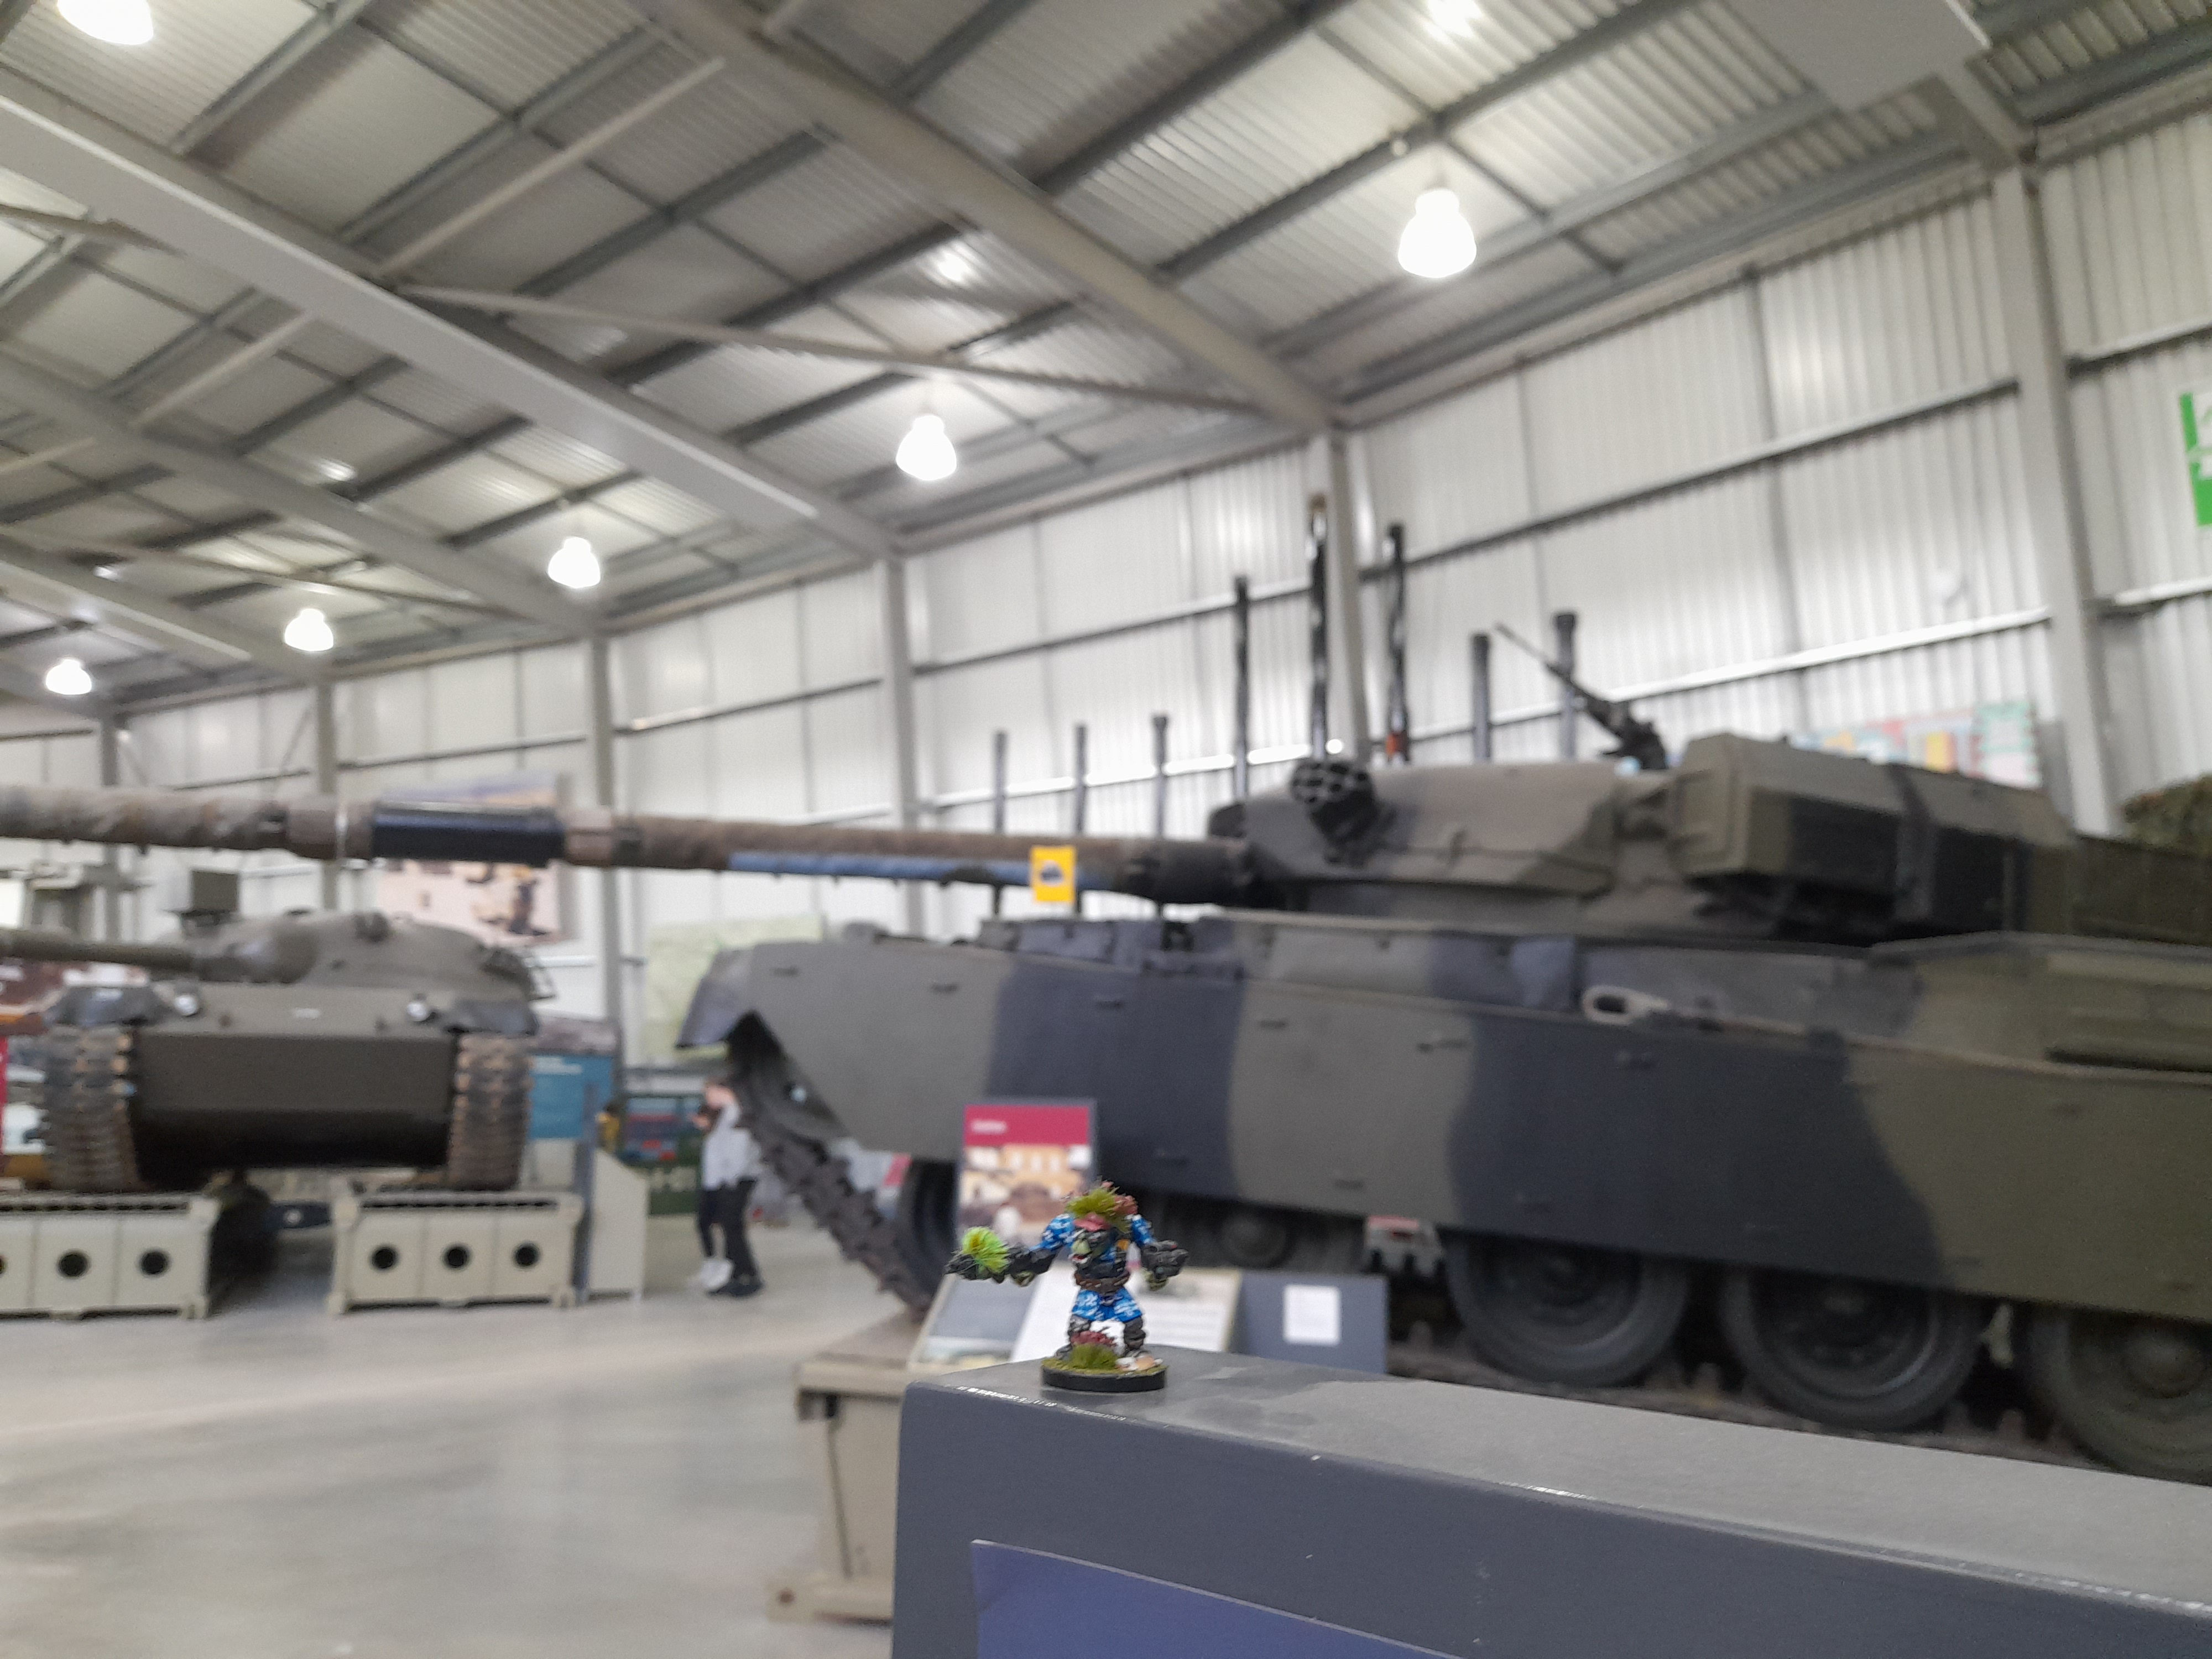
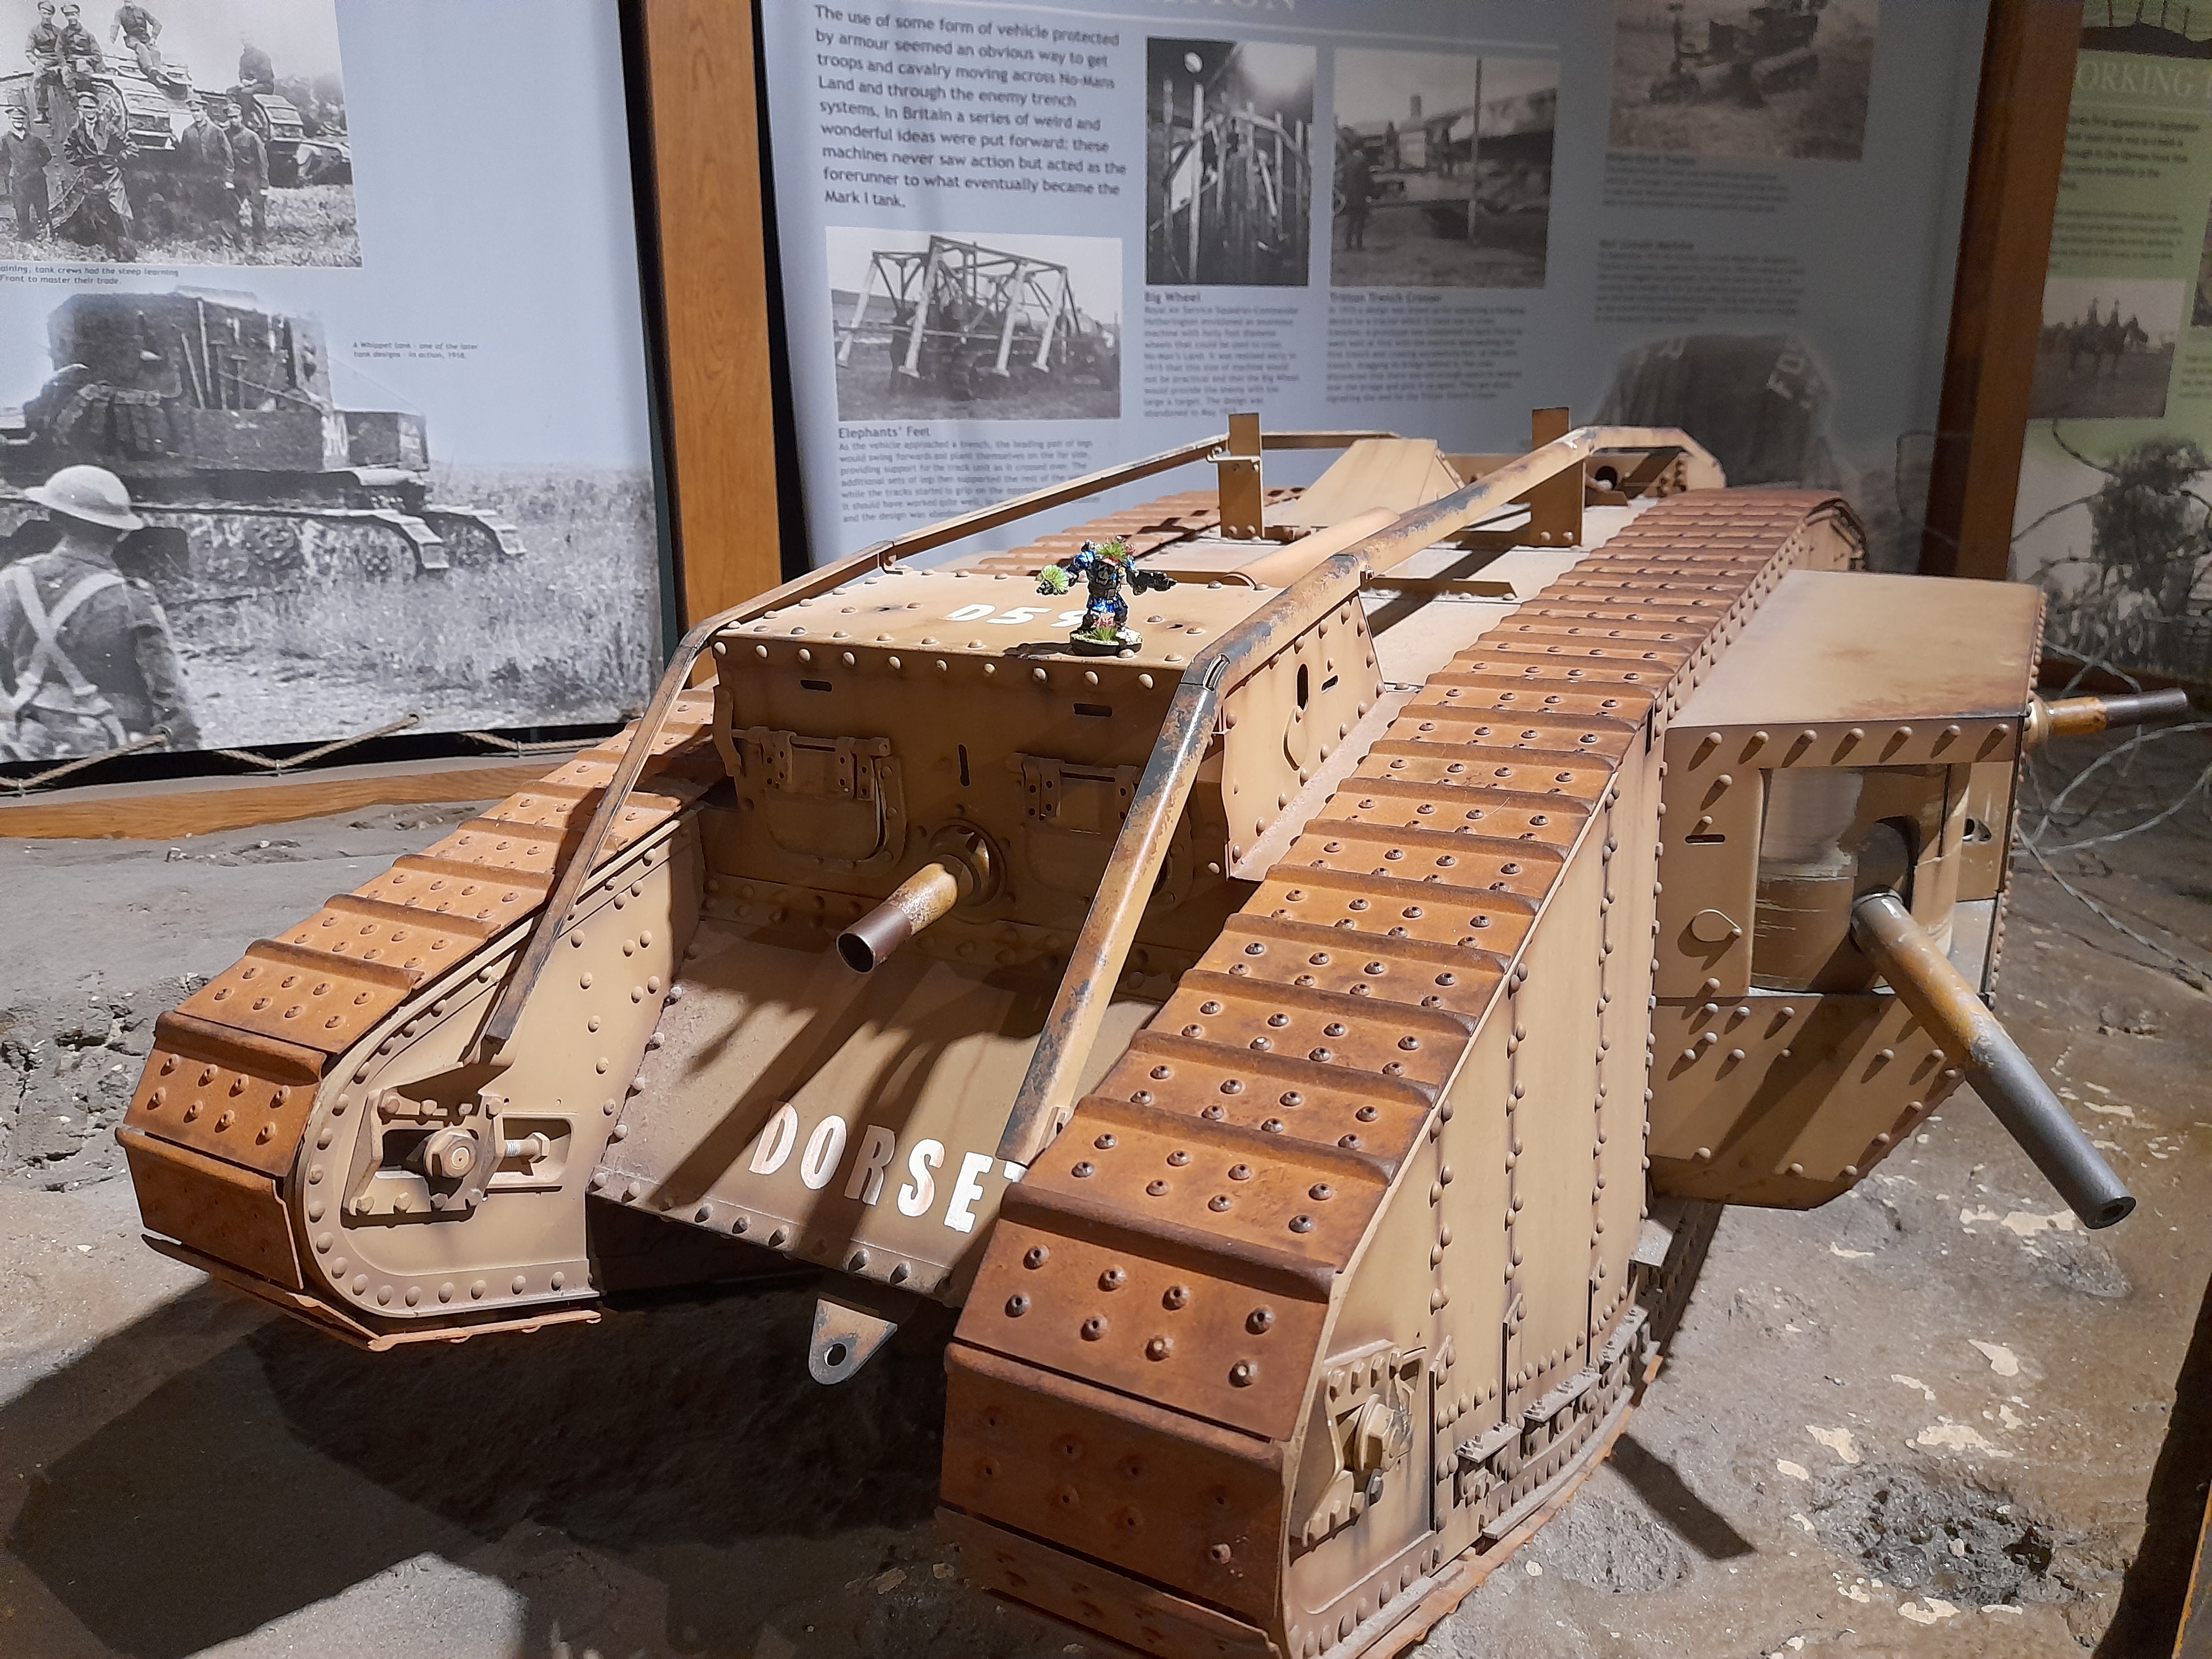
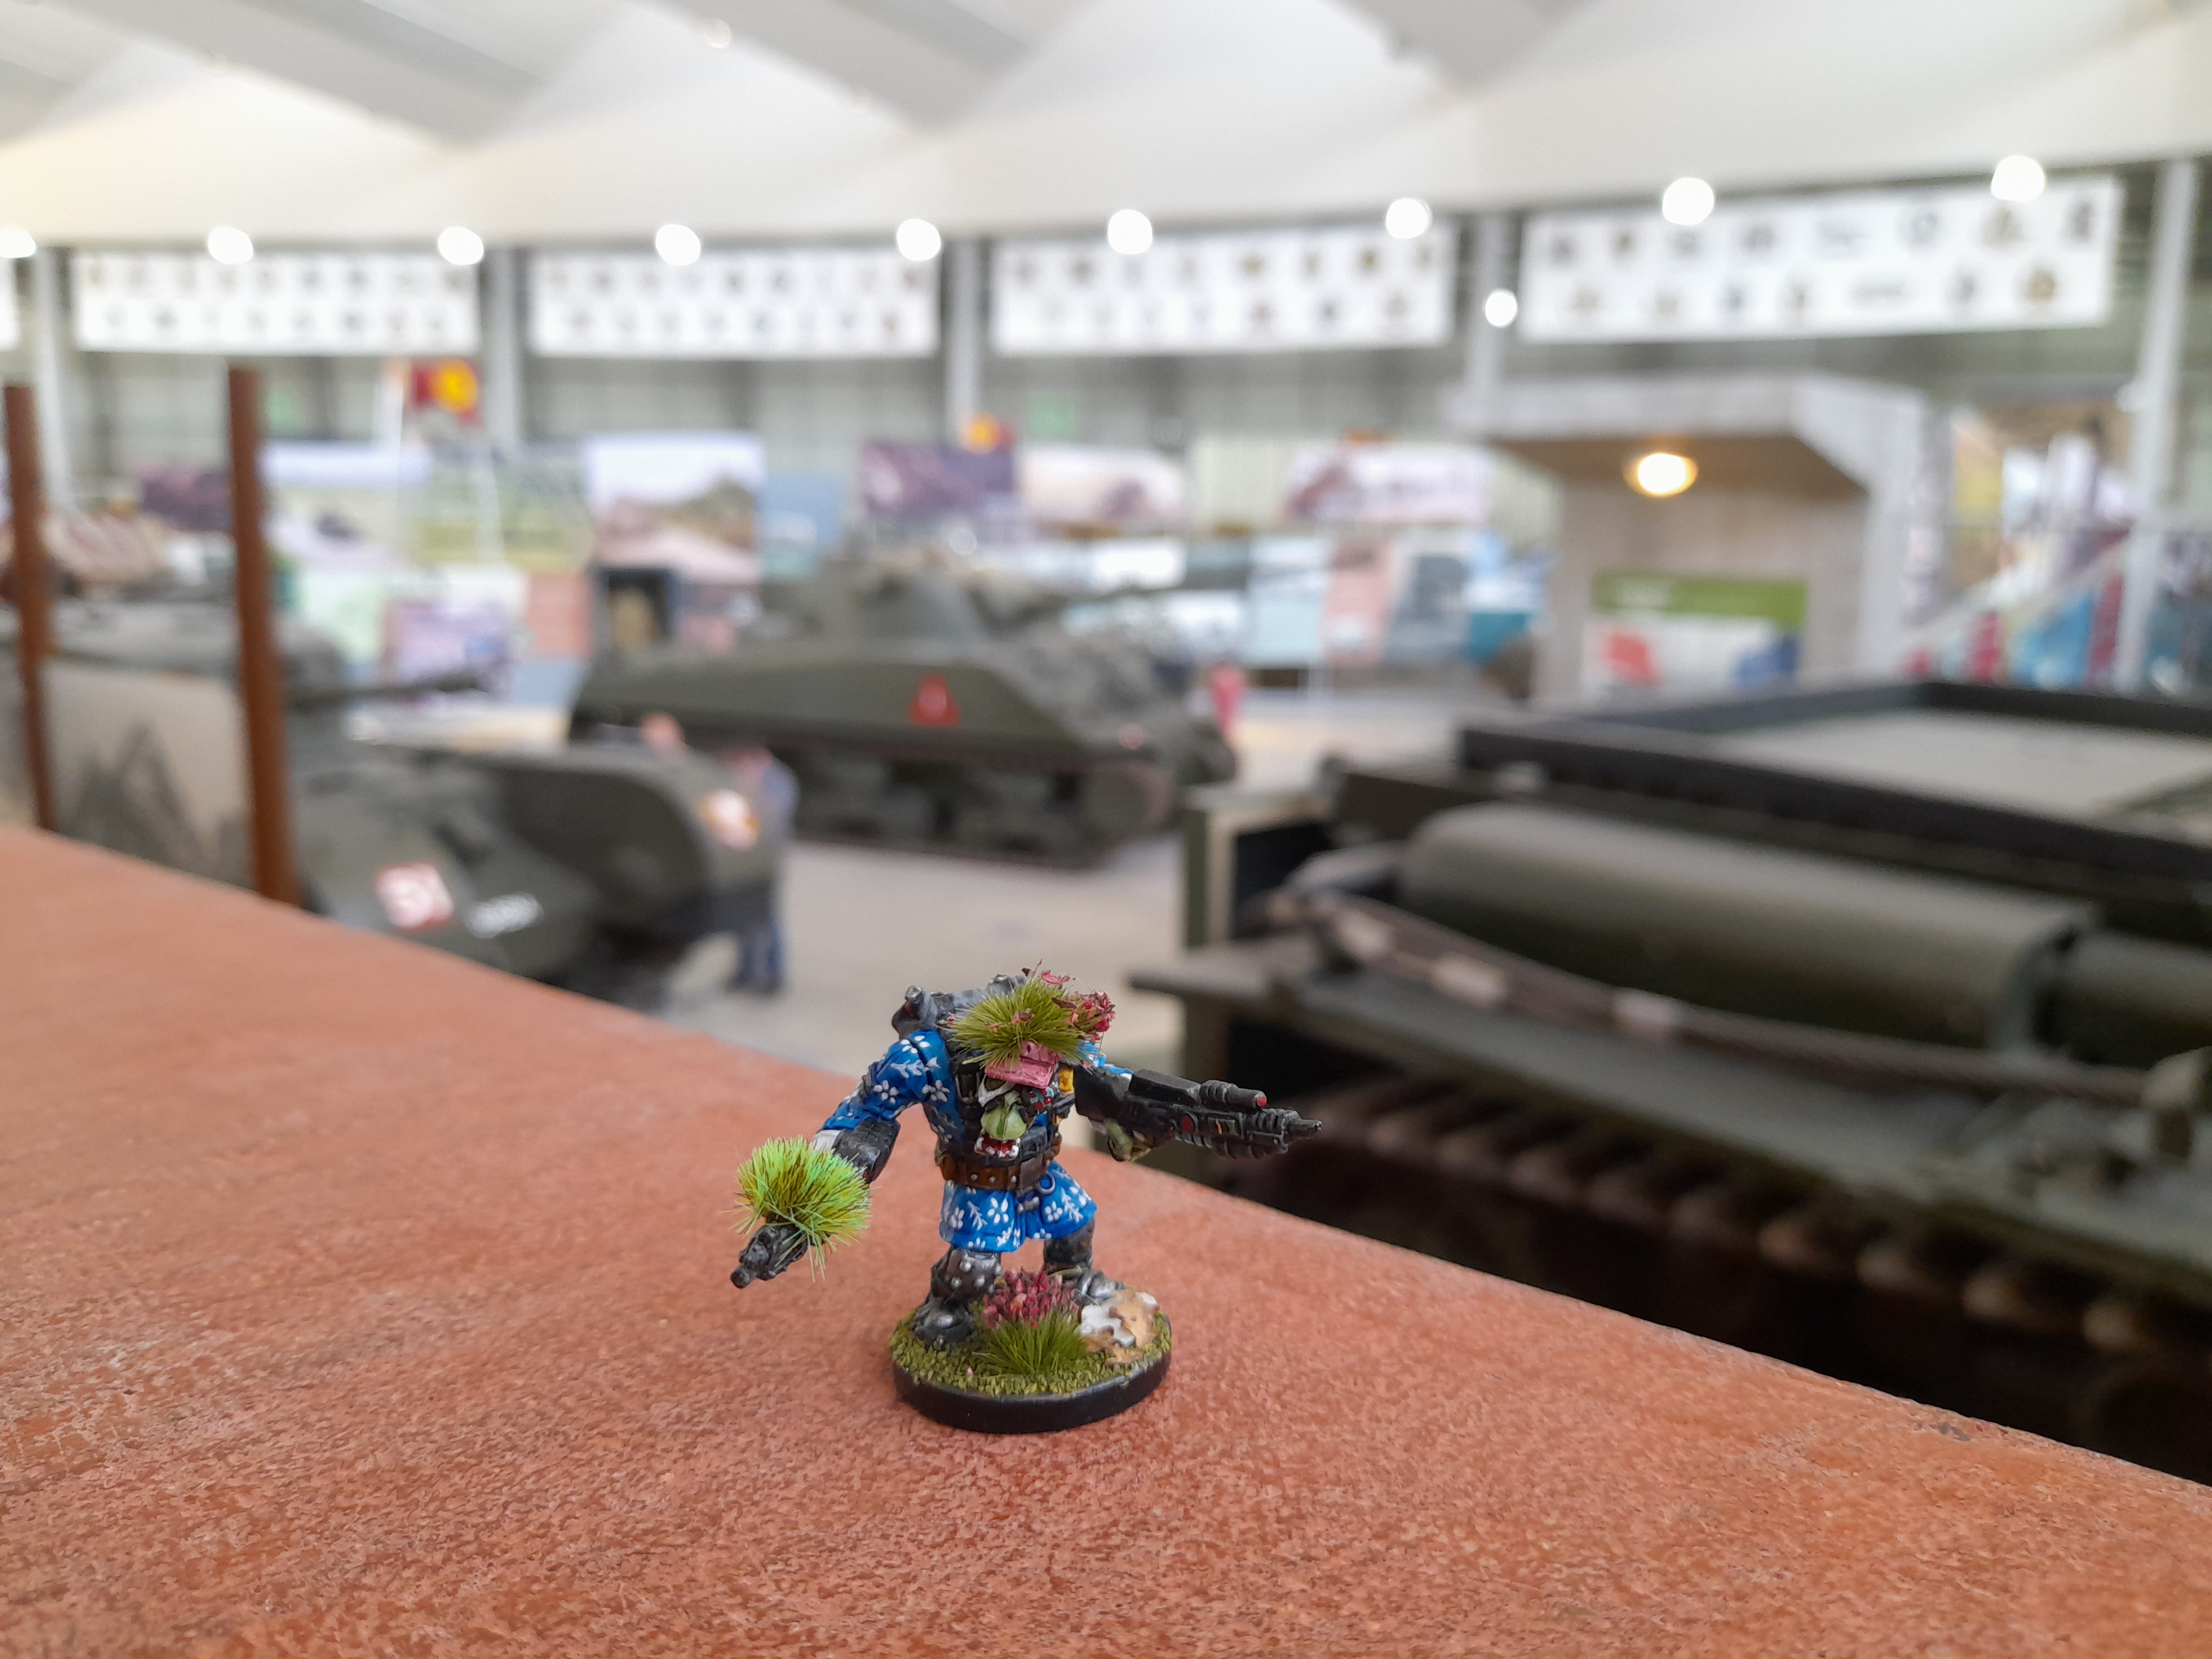 Dey 'ad all dese tanks parked up, ready fer a fight!
Loadz ov diffrent mek bays wiv tanks all ovva da place! I snukk ’round loadz gettin’ me Intel on dem all.
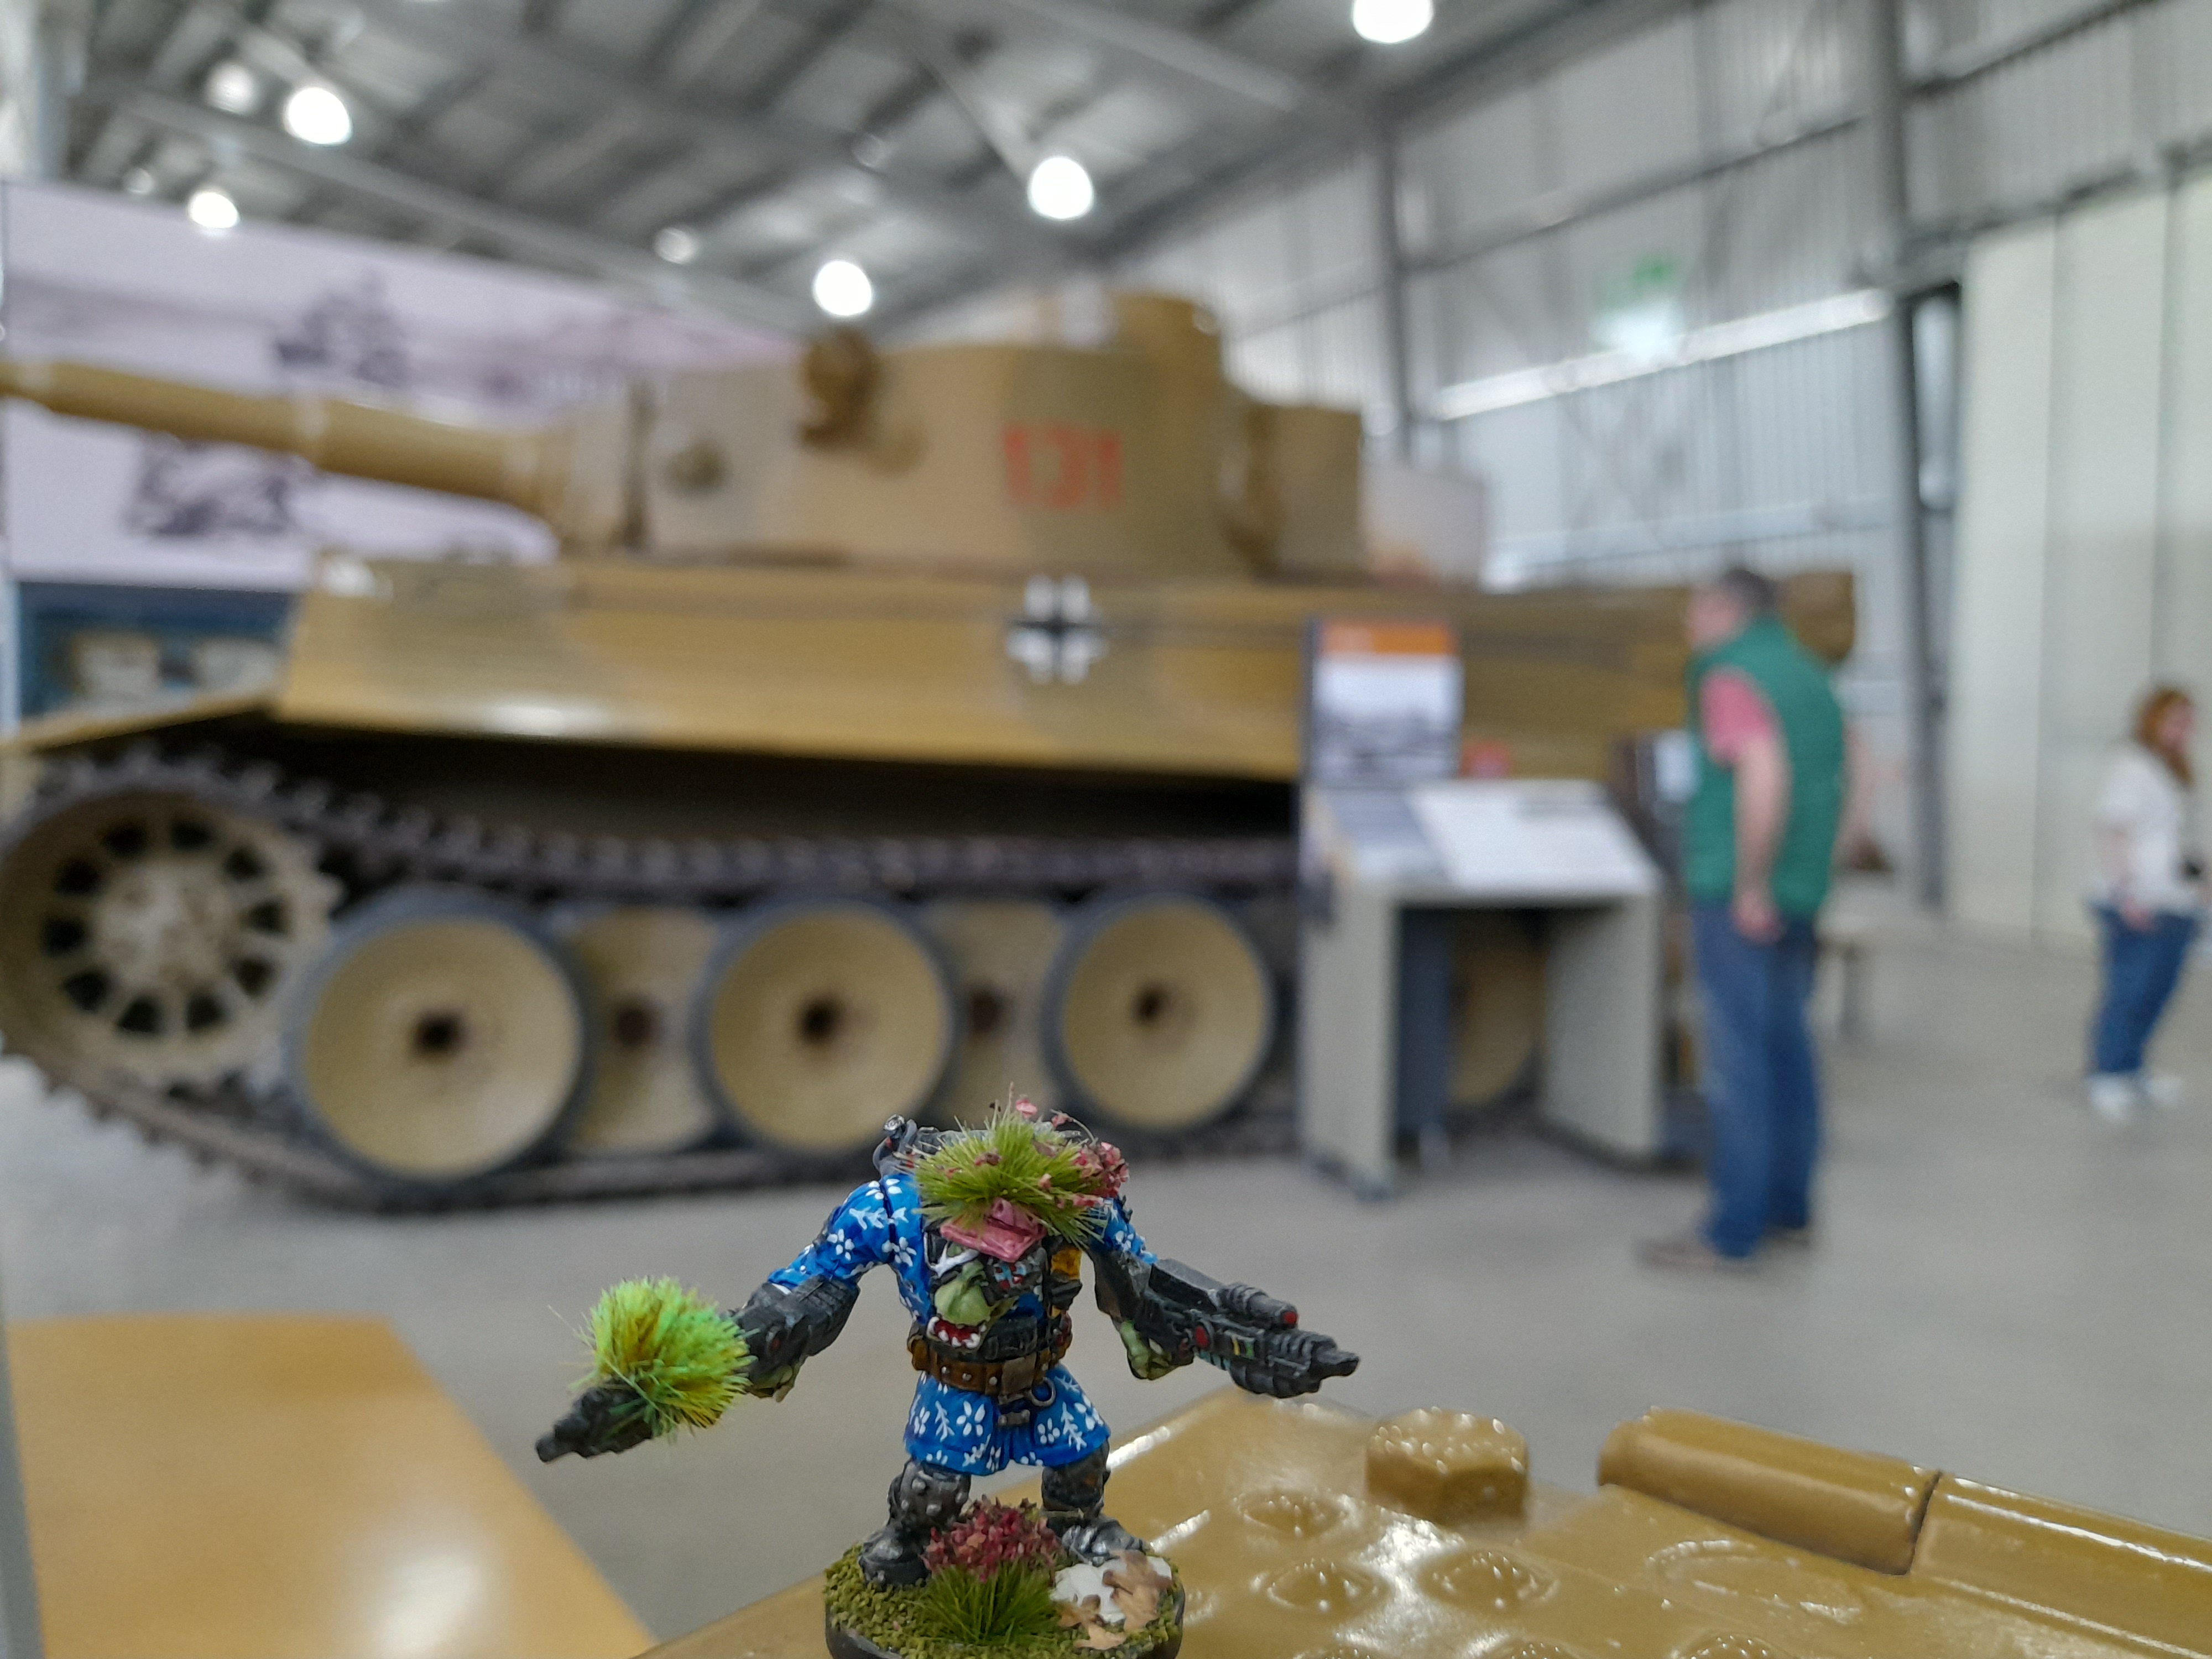
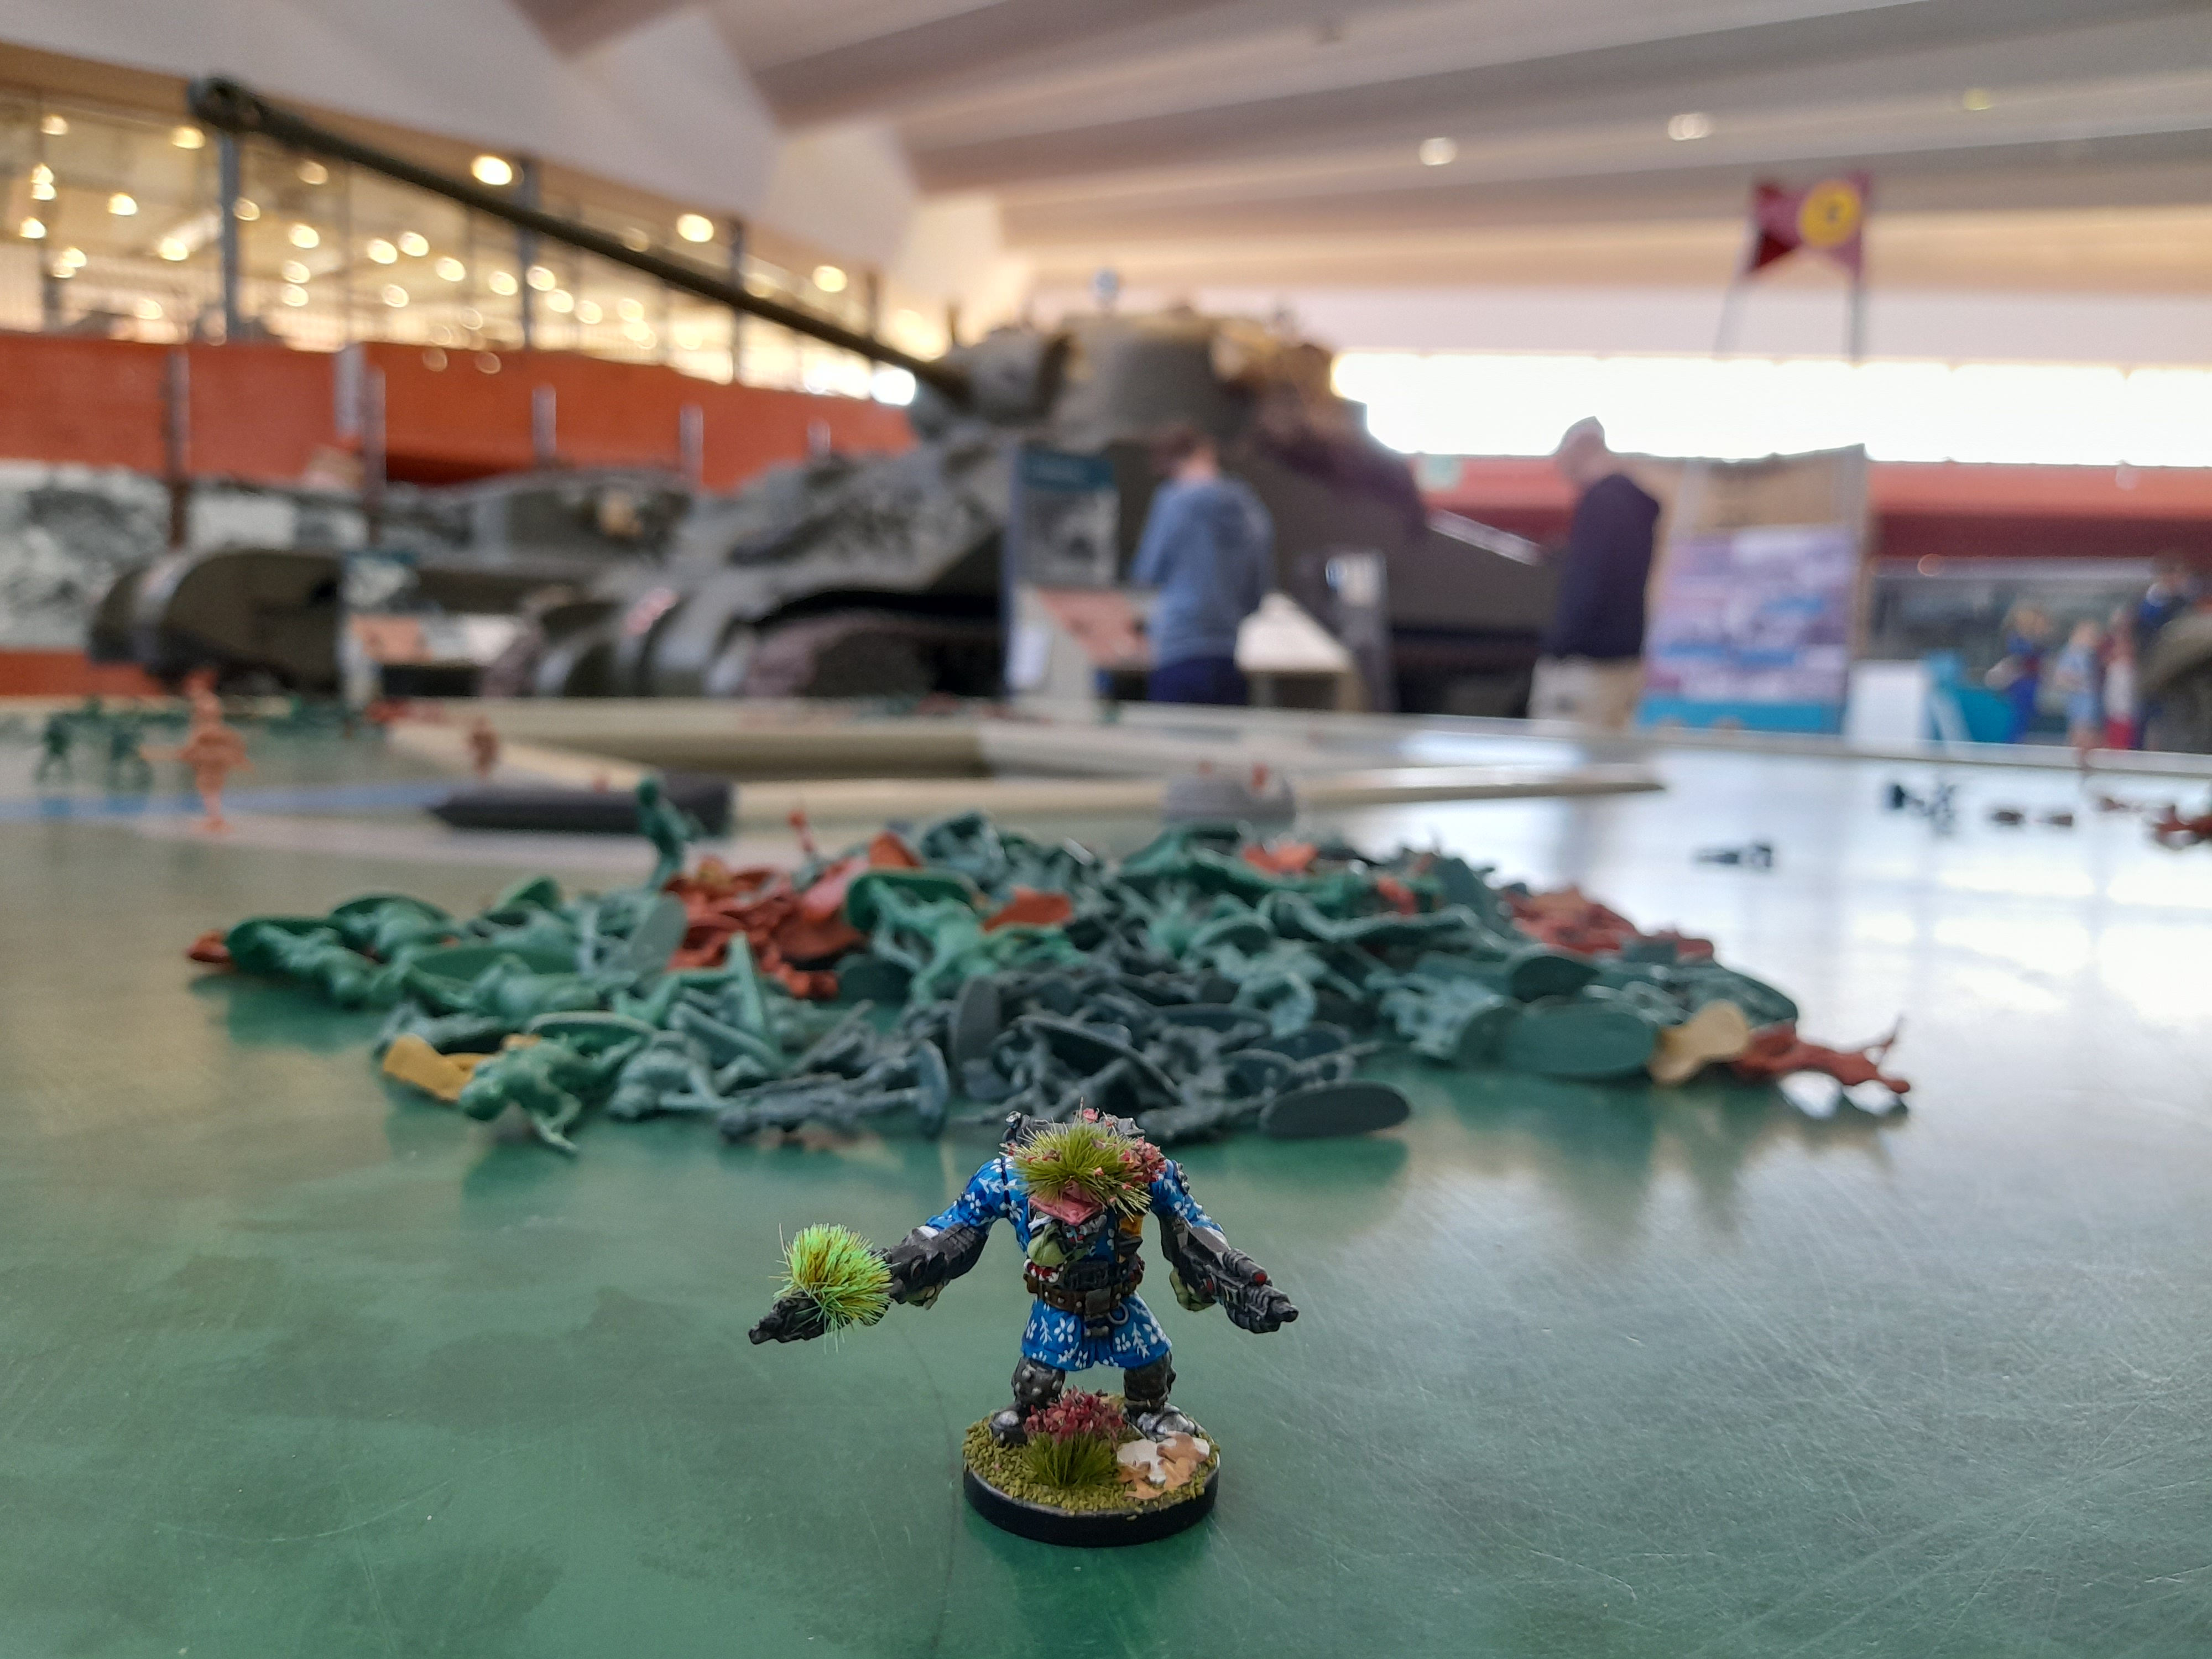
At wun point da lokals sent owt sum ov dere boyz ta stop me, but I gave ’em a seeing to!
Finished off me skowtin’, an’ den headed bak ta base.
Wordz ta meself – no sign ov Roman, Norman, ‘enry or even dat Sally ere. Dey av a lot ov kool tanks doh!
Overall a suksessfull misshun. I got loadz ov Intel wiv me kunnin, and me stelff.
Basikly, da ummies is weak!
Misshun day 8
24th May 2024
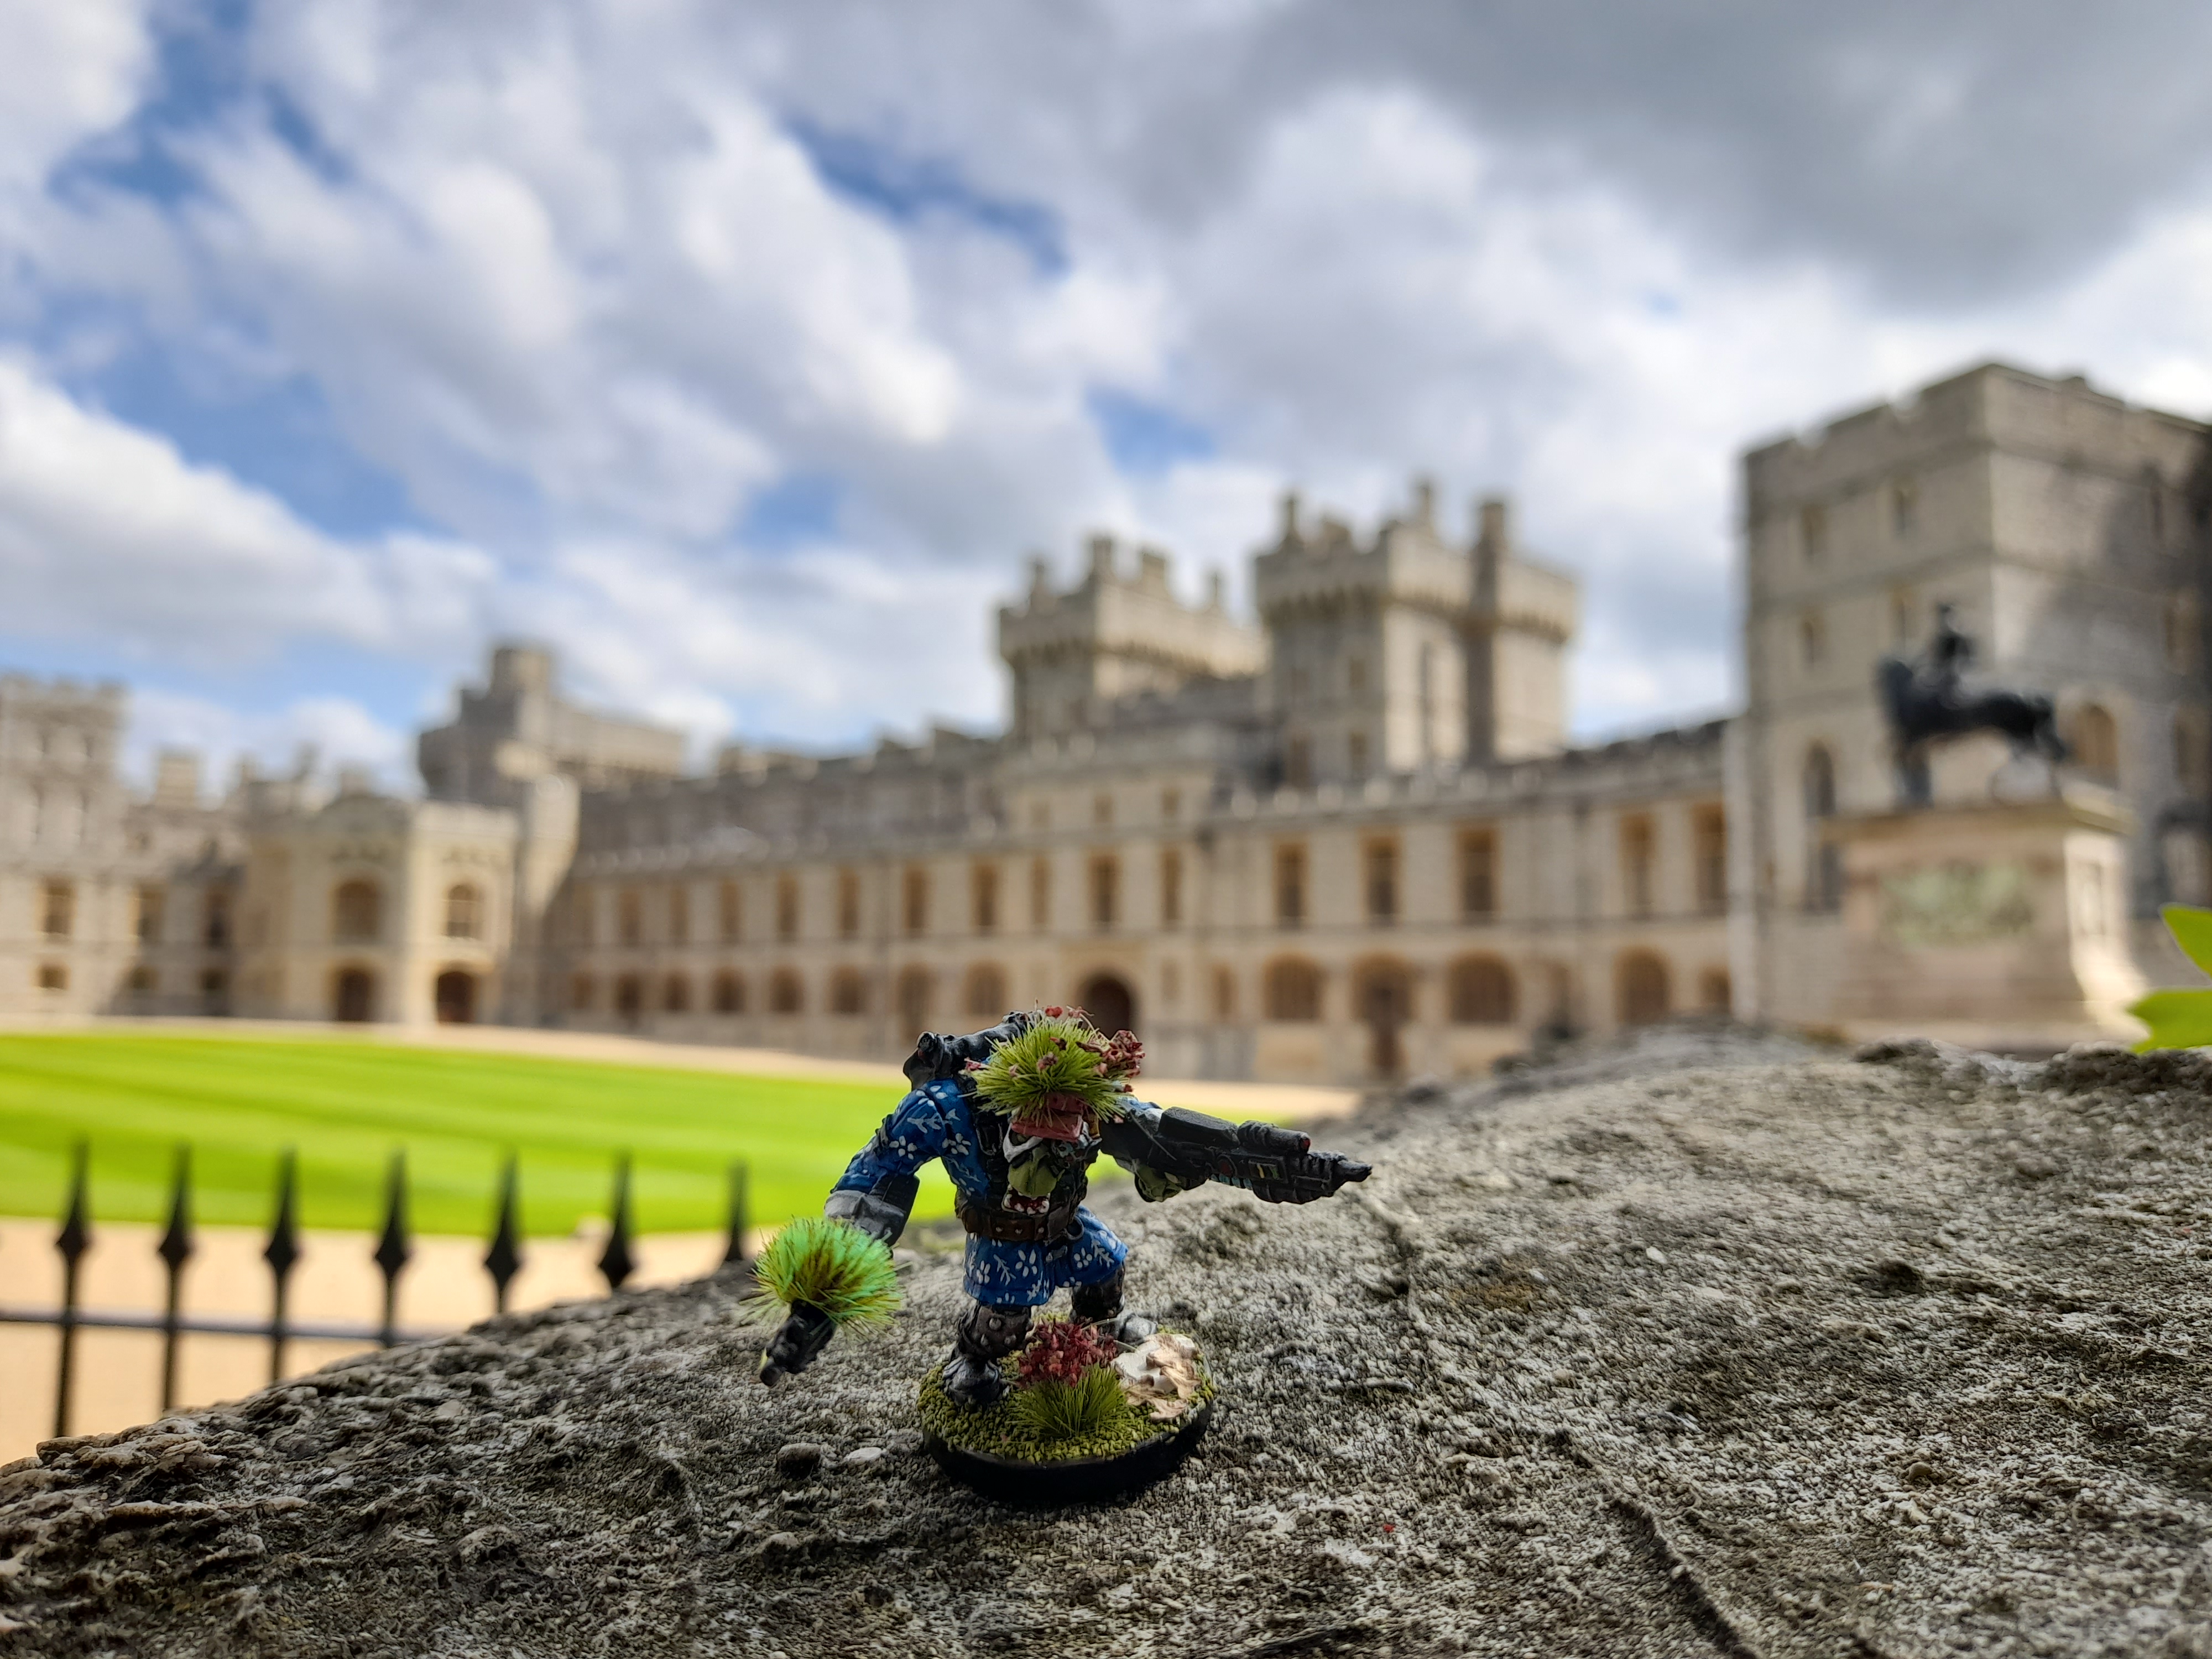
Fownd out dat da ummies top boss nob, Charlie ‘as a big gaff at Windy-Sore Kastle.
So, I konvinced da ummies I’m wiv ta go der, so I kuld av a bit ov a chat wiv dis Charlie an’ sort sum stuff owt!
 'E 'as a big gaff ere
Dis Charlie must av gud ‘earin’ or summit. ‘Parently e waz ere yesterday, but gone today. E musta erd I waz on my way, an’ dun a runner.
Well, since I waz ere anyway, I snukk ’round da joint.

Interrogatin’ sum of da unda-ummies it turns owt dat dose flippin mugs called Norman were behind de start of dis place, bilding da big mound an’ tower.
Den ovva boss nob ummies bilt more bitz on ta da place.
I kontinue ta pass meself off as da ummie kalled ‘Tom’, an’ dis allowed me ta pass unseen.
Dis place wuld be tuff ta take. Der’s loads ov soldiers and po-lice all round da gaff. I even ‘ad ta go thru sum sorta auspex scanna’ on day way in…. lucky me gunz r stelff gunz!
Wordz ta meself – I fownd out dat dis ‘enry ate won’t be a fret ta us. Turns owt ‘e is ‘iding unda da ground in da Chapel place…
Misshun day 7
23rd May 2024
Me skowtin’ misshun is windin’ down now, avin’ got loads ov gud Intel.
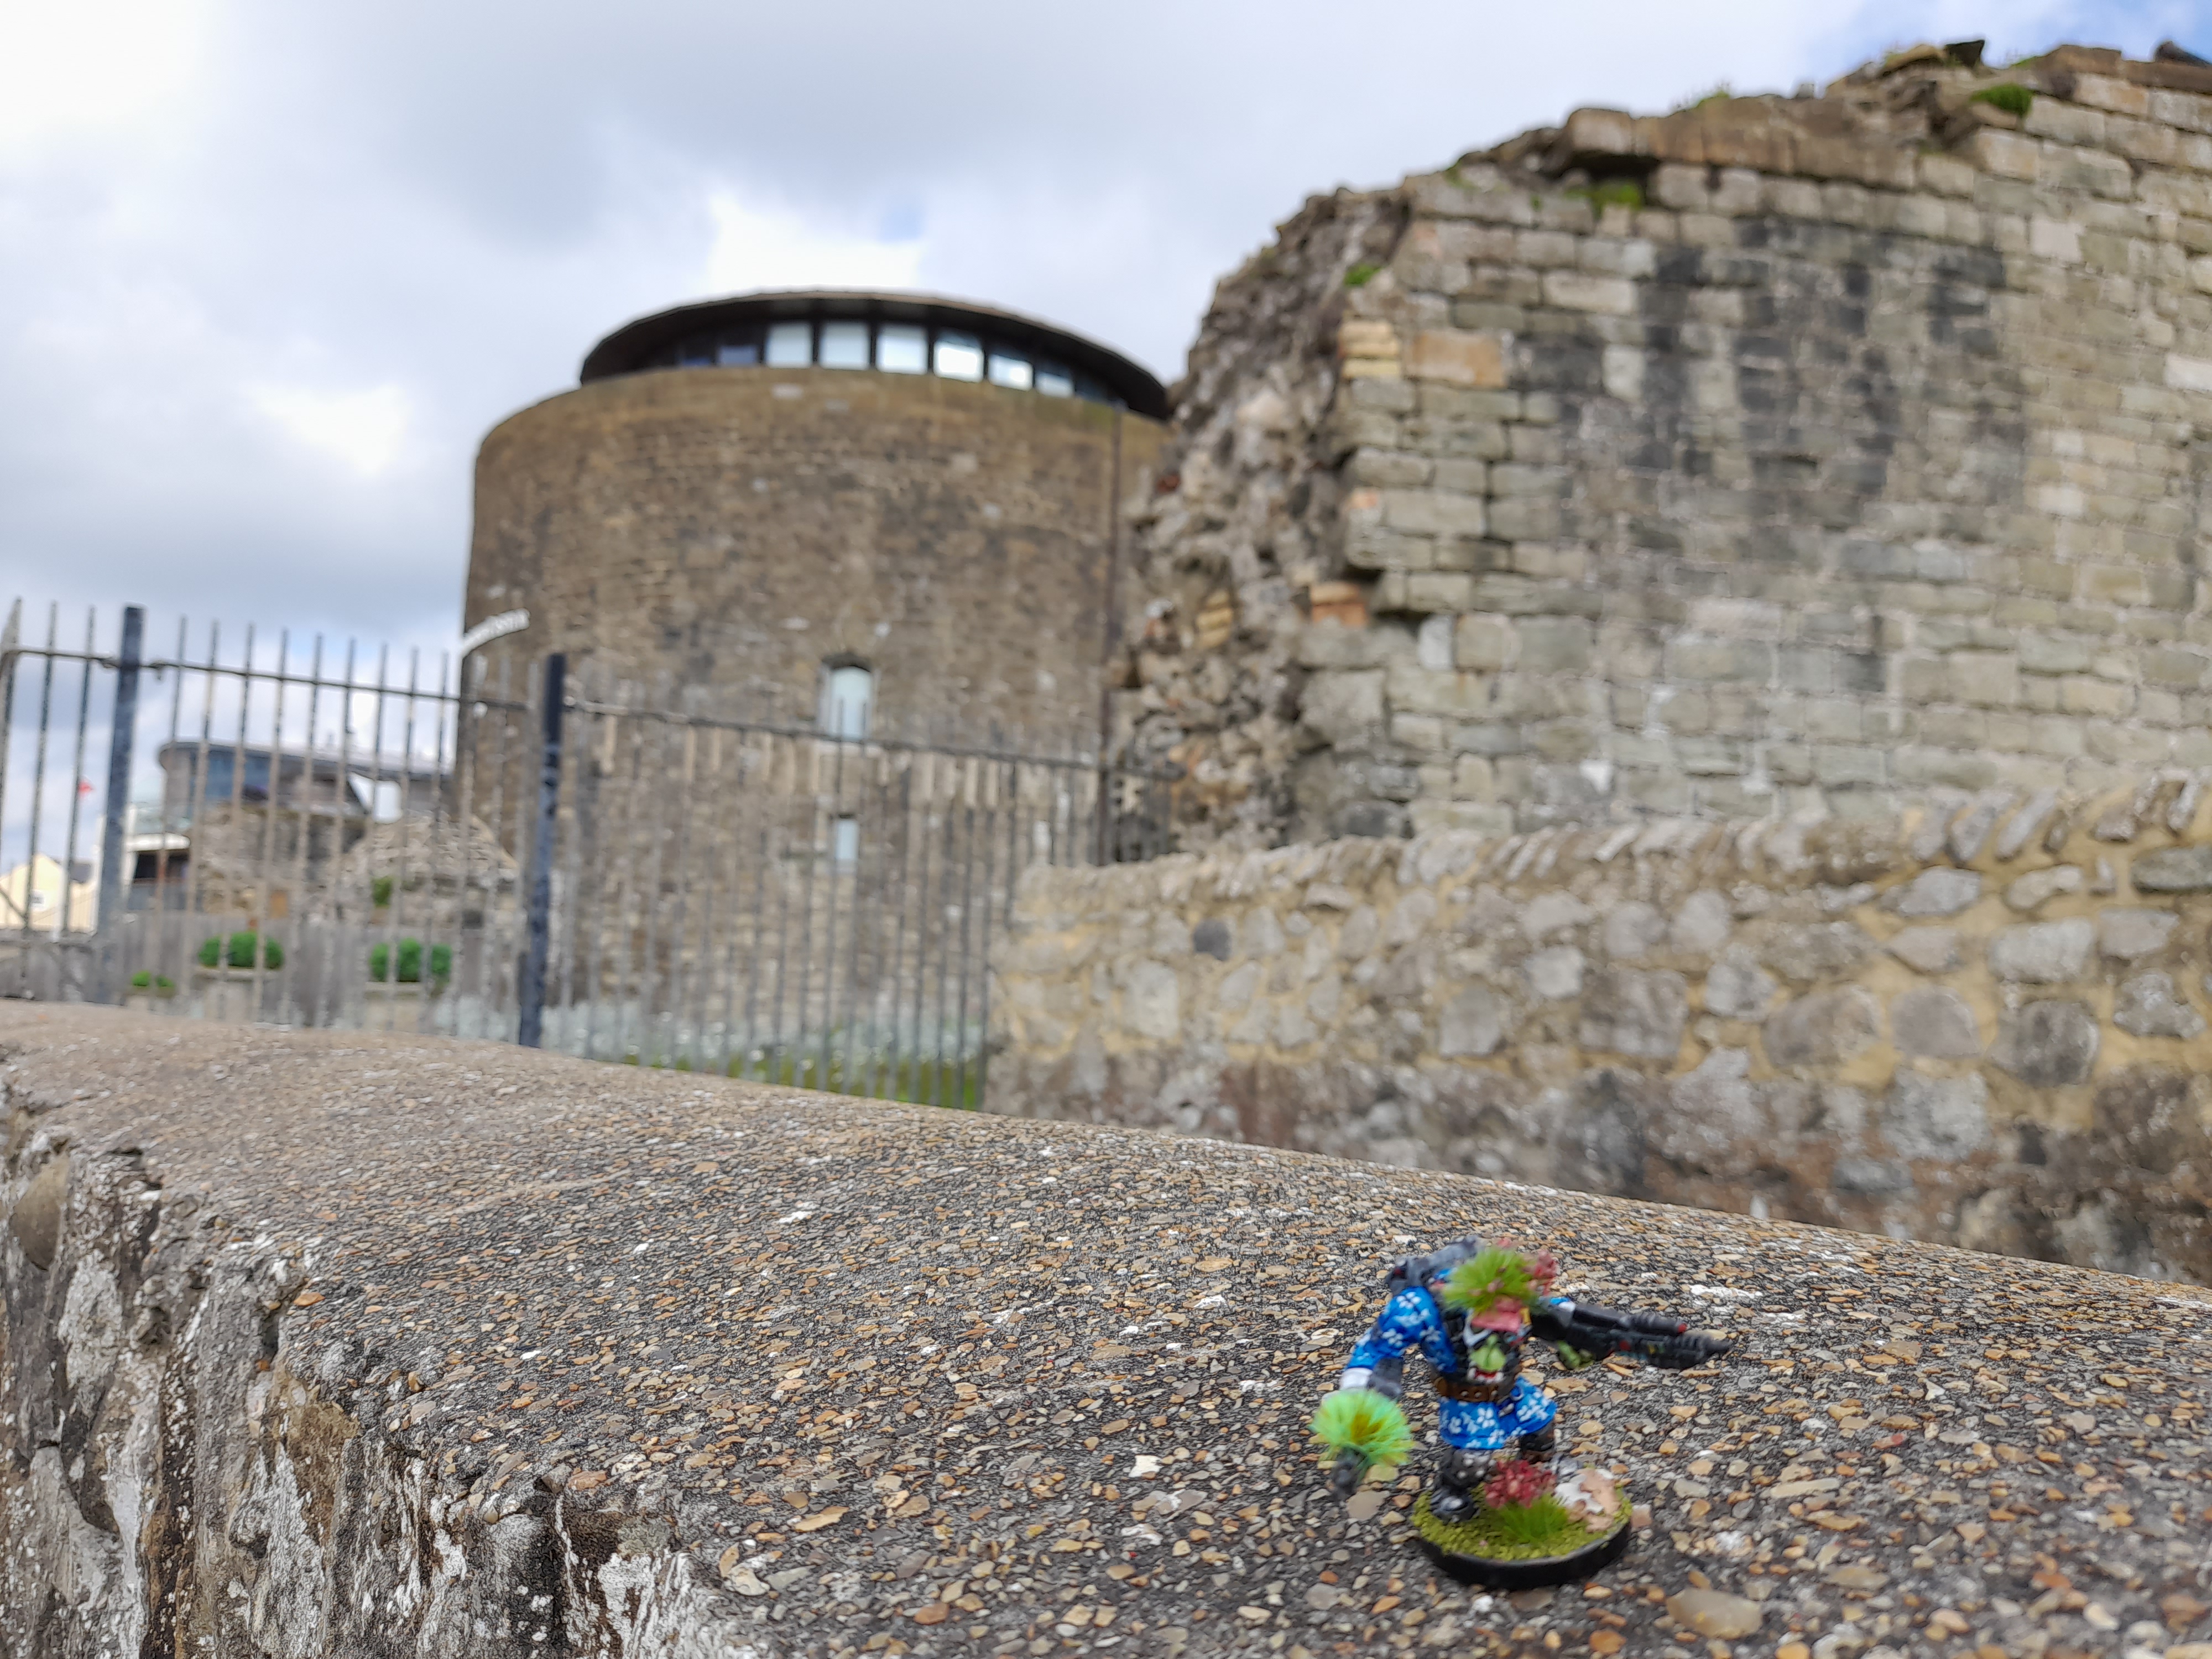
Checked owt annuver of ‘enry ate’s gaffs called Sandgate. Da defences r pretty much gone, but I kuldnt get in – sum ummies live der now, an’ I didn’t wun ta blow me dees-guys….
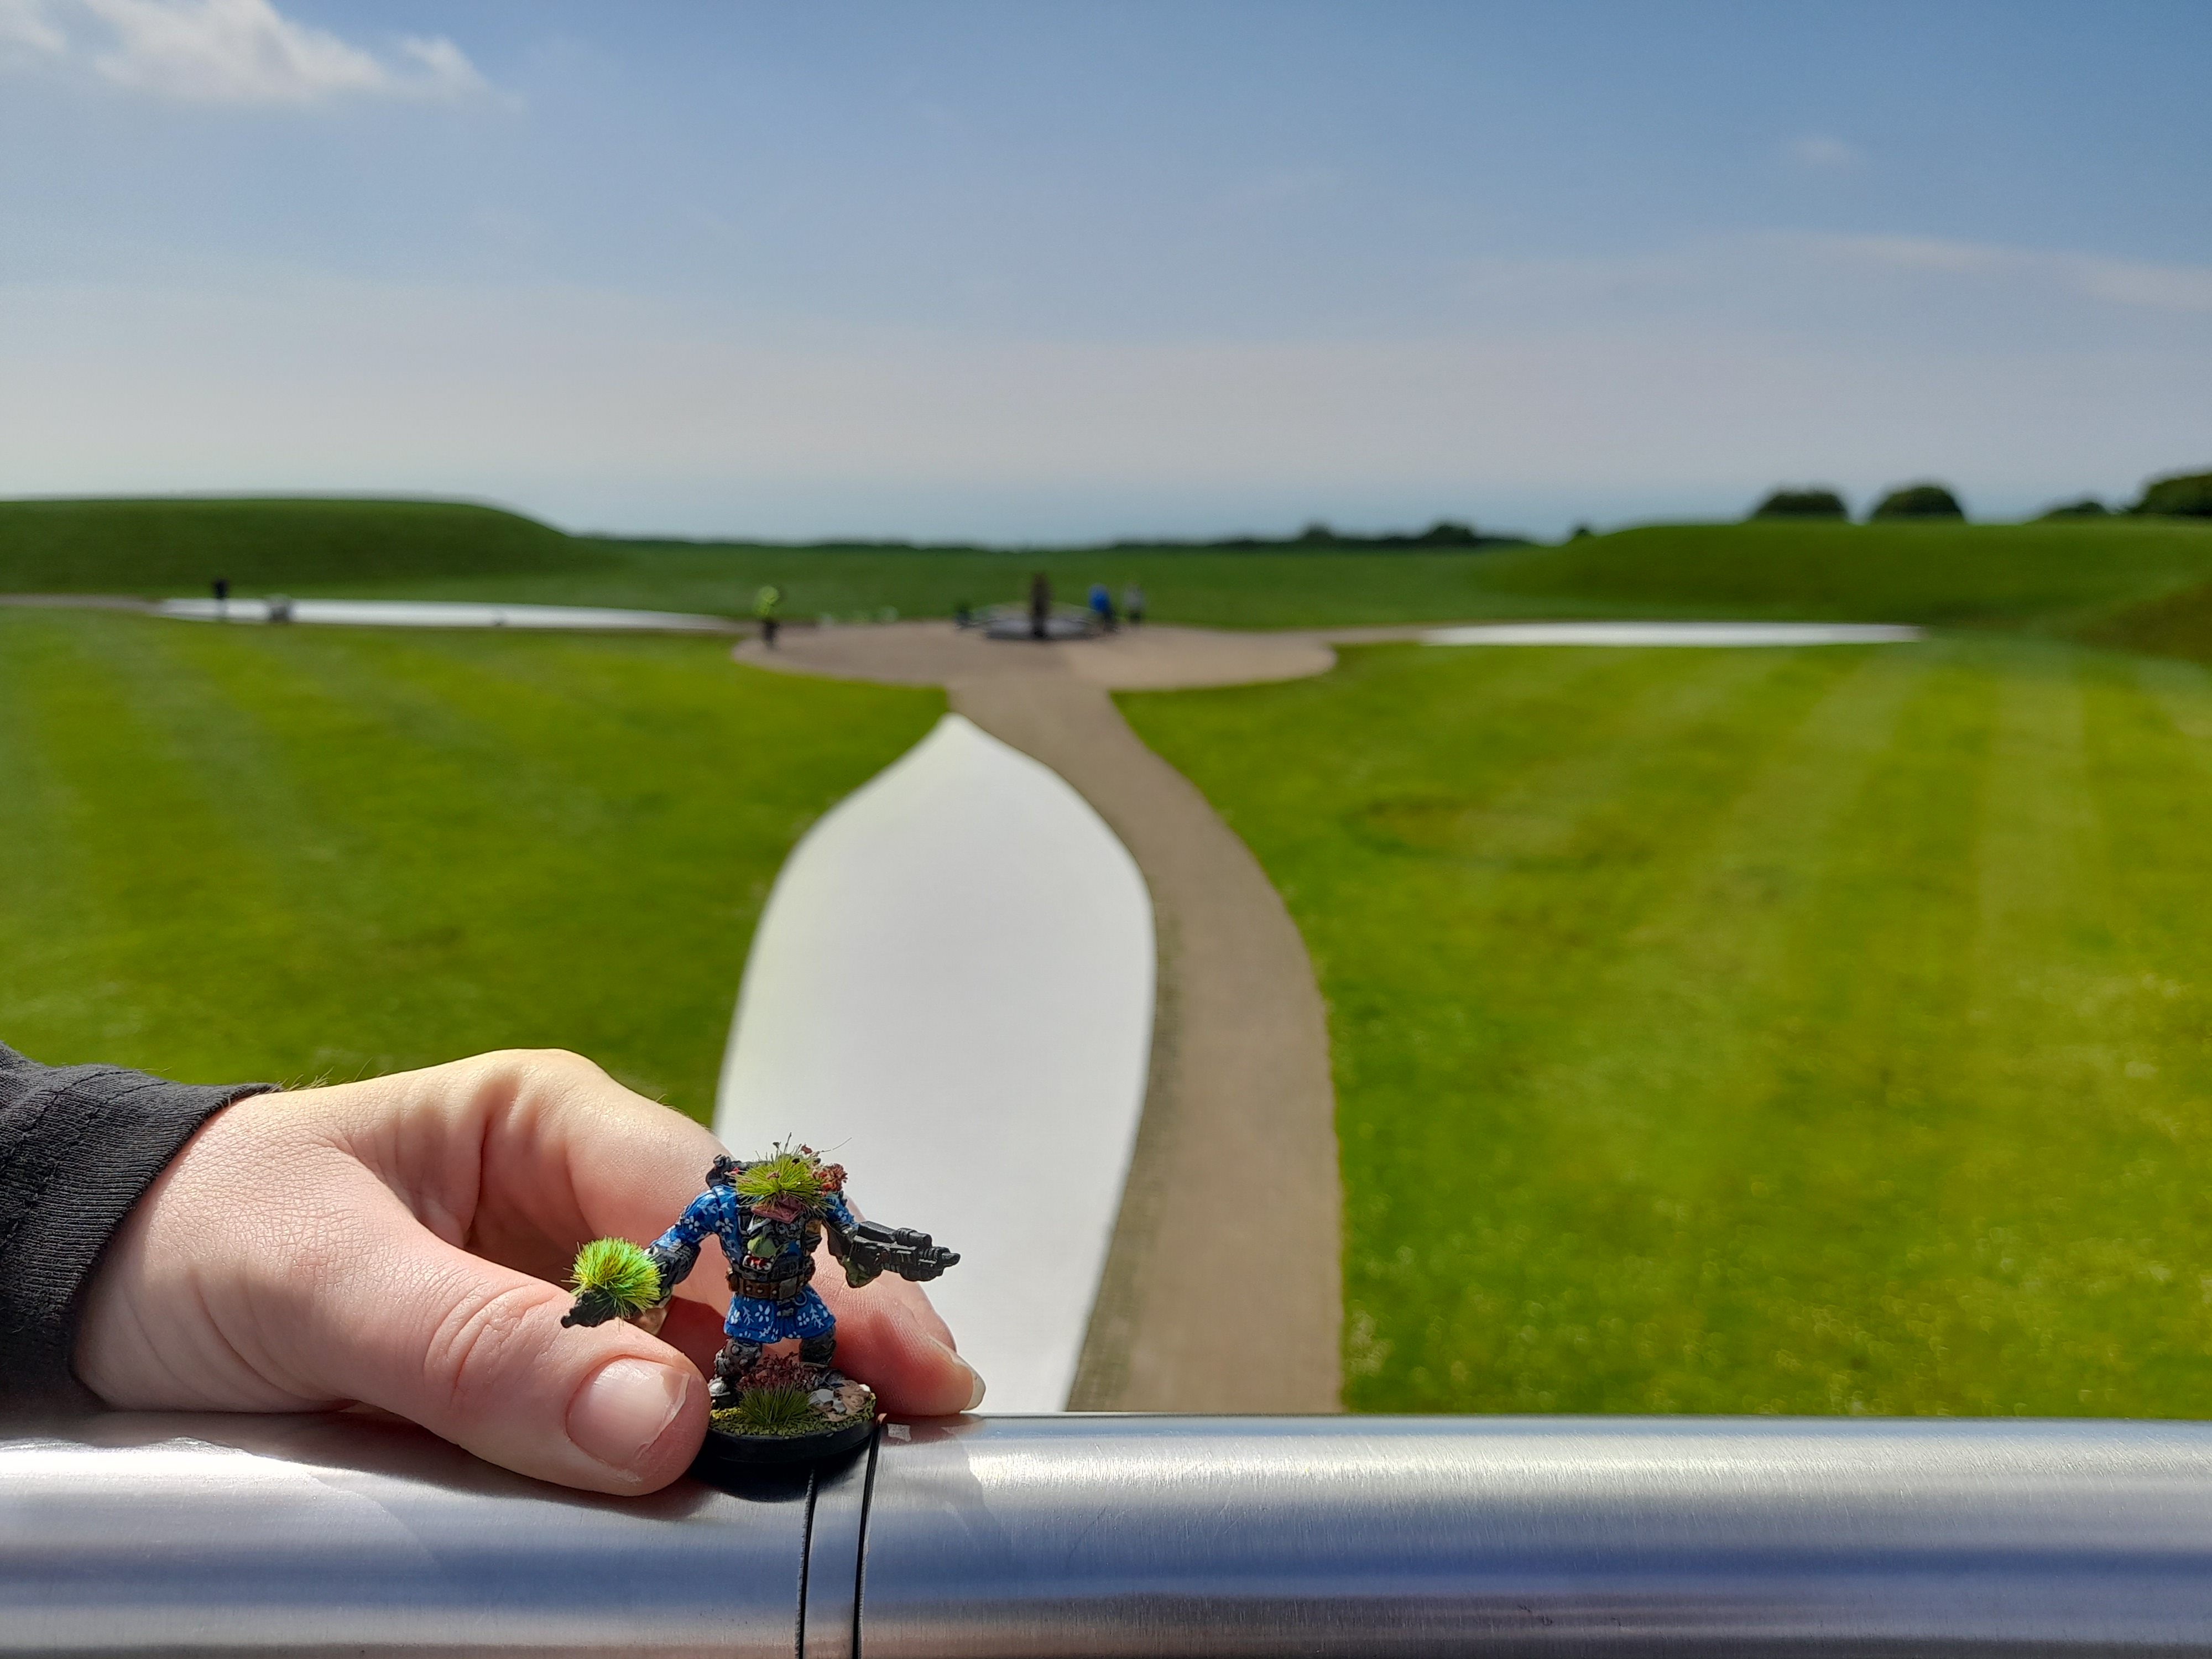
Den I hin-vesty-gated a memorial fer da battle ov Britain.
I fink itz gud dat da ummies pay respekt to dose dat av dun da fightin’.
Da ummies almost saw thru me dees-guys here, one grabbin’ me. But I uzed me kunnin’, and dees-tracted dem by buying dem tea an’ cake – dey got konfused den an’ forgot ’bout me
I ‘ad to tag along wiv da ummies fer da rest ov da day, ta keep me dees-guys up.
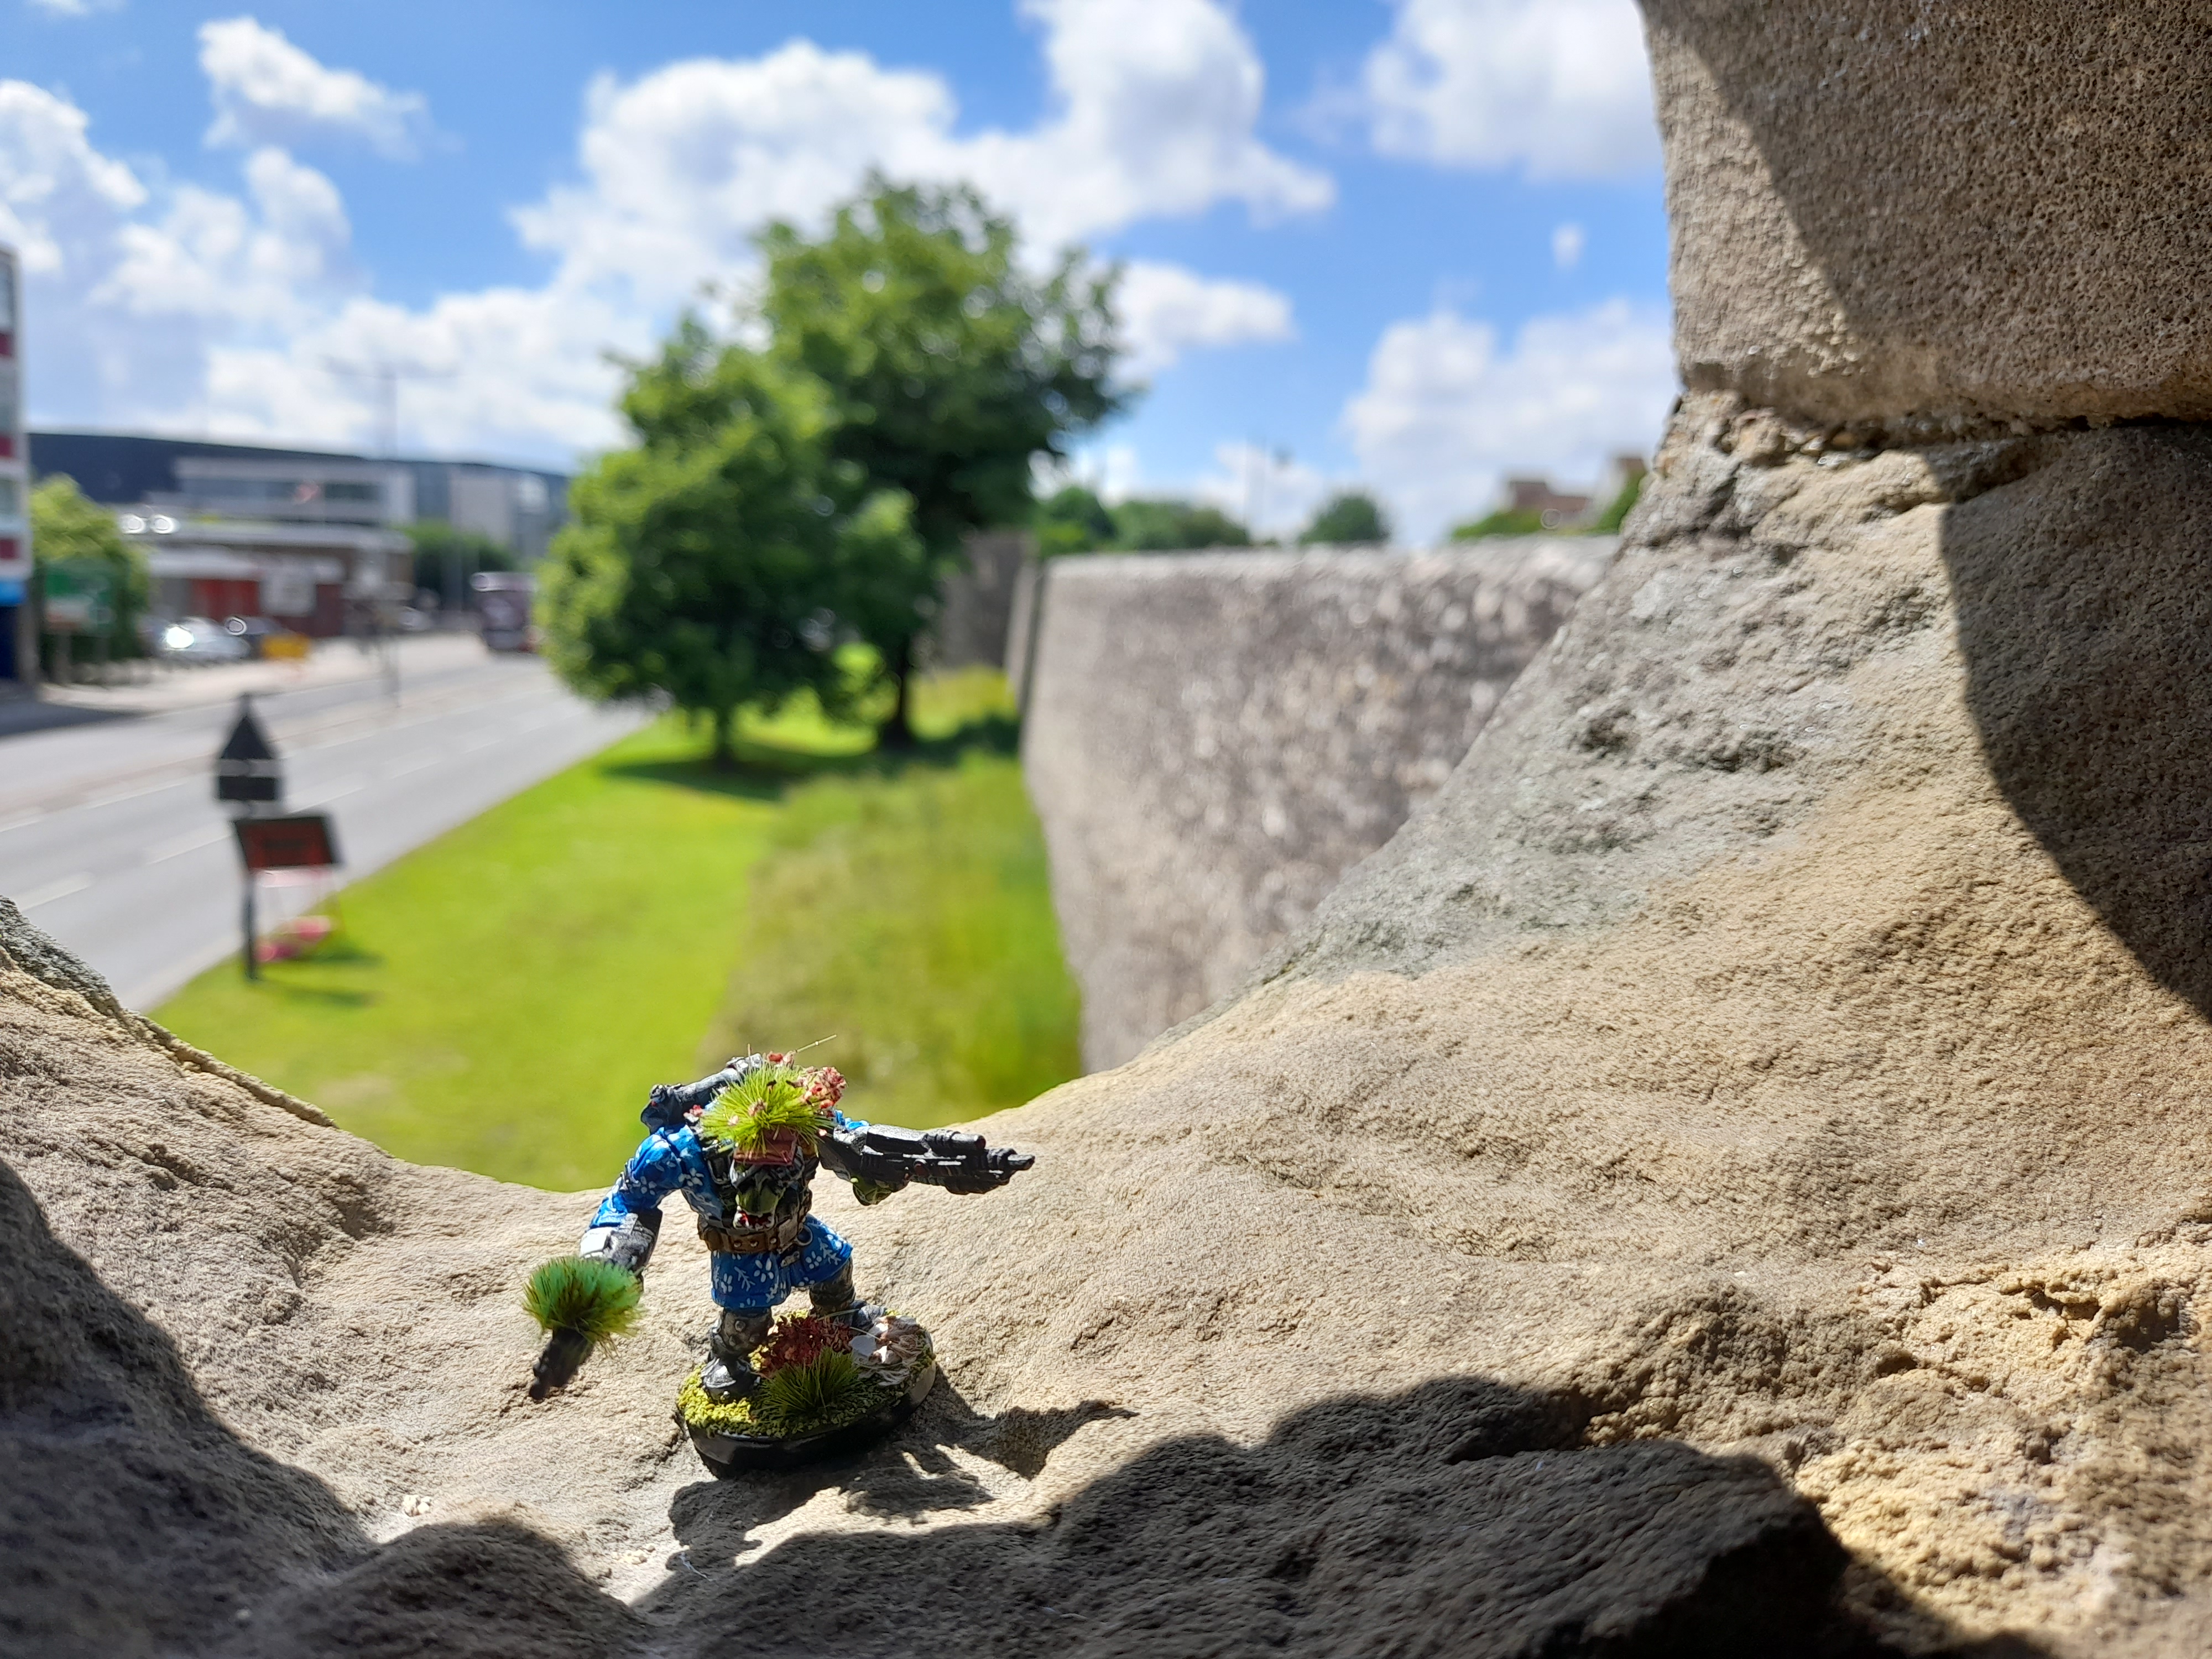
Dey went back to Kanter-bury, so I skowted owt da wallz.
Pretty strong, but dey fergot ta put dem all da way ’round, so ders loads ov gaps fer us!
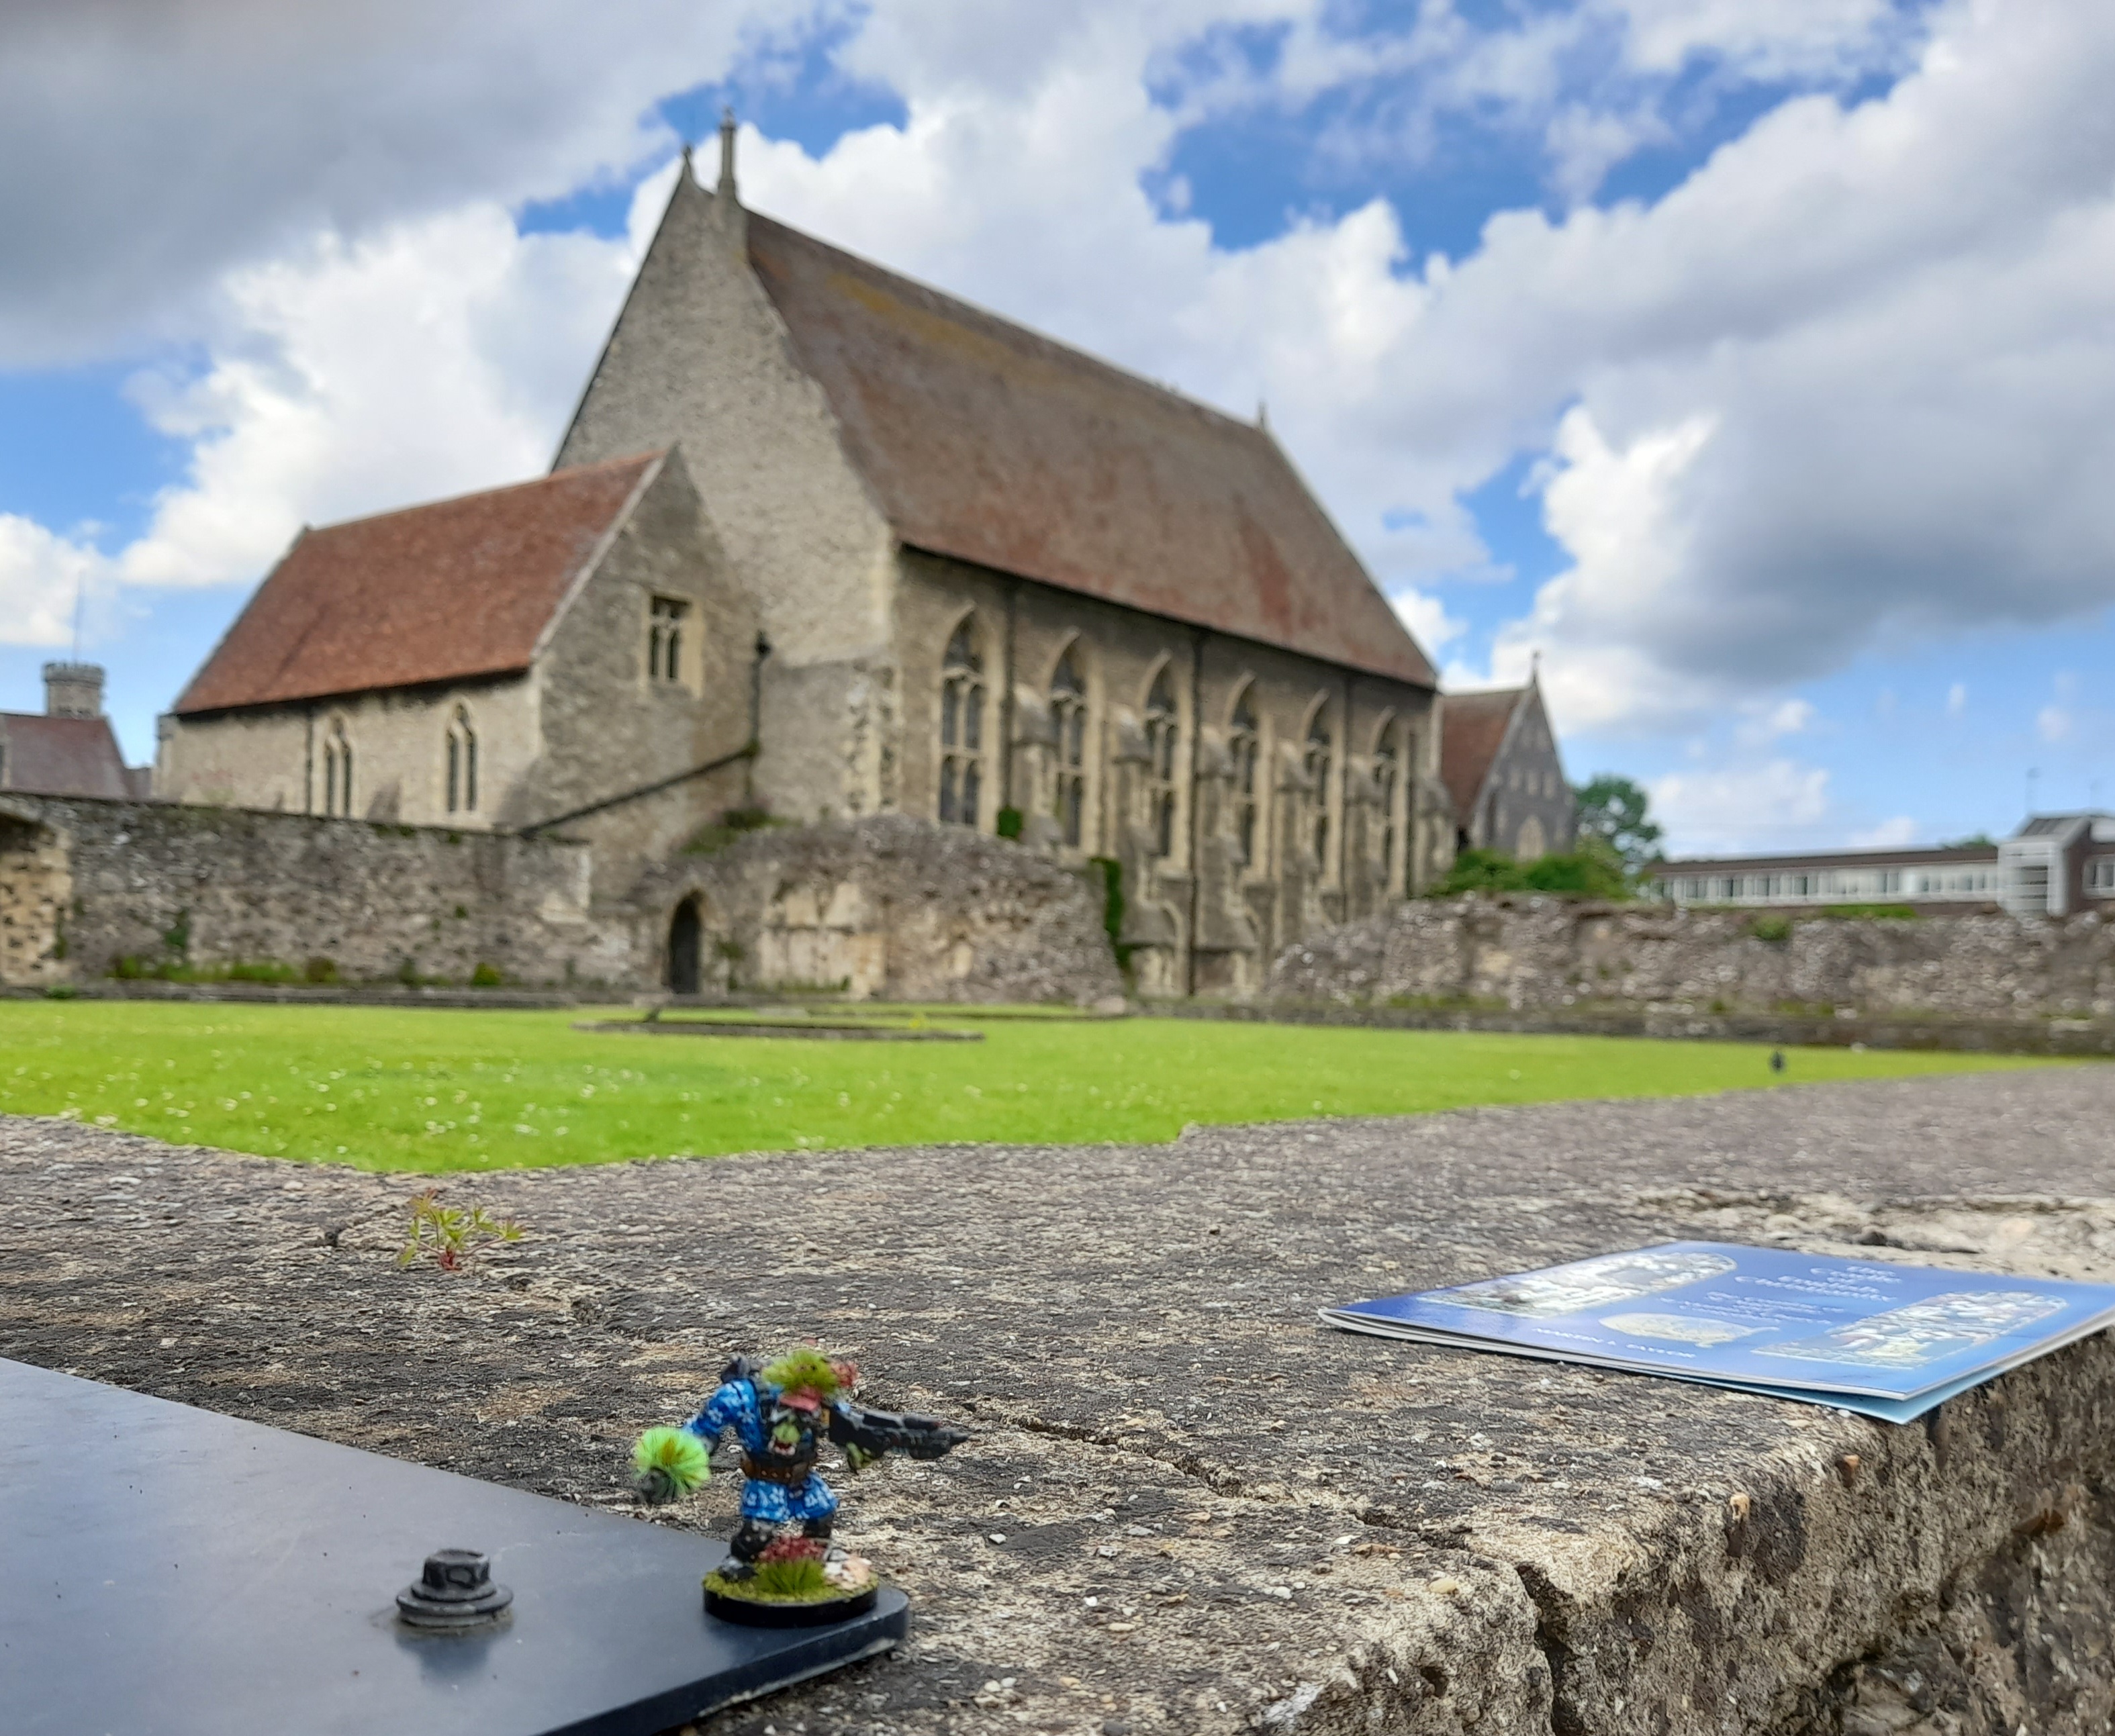
Fownd dis small place. ‘Parently Roman ‘ad a shack ‘ere, den dat STeve Augustine came ‘ere an’ ad a pray wiv da boss nob an’ is wife and tuk the gaff ova.
Den fer sum reson dey called it St Martins…. must be annuva Steve I gess.
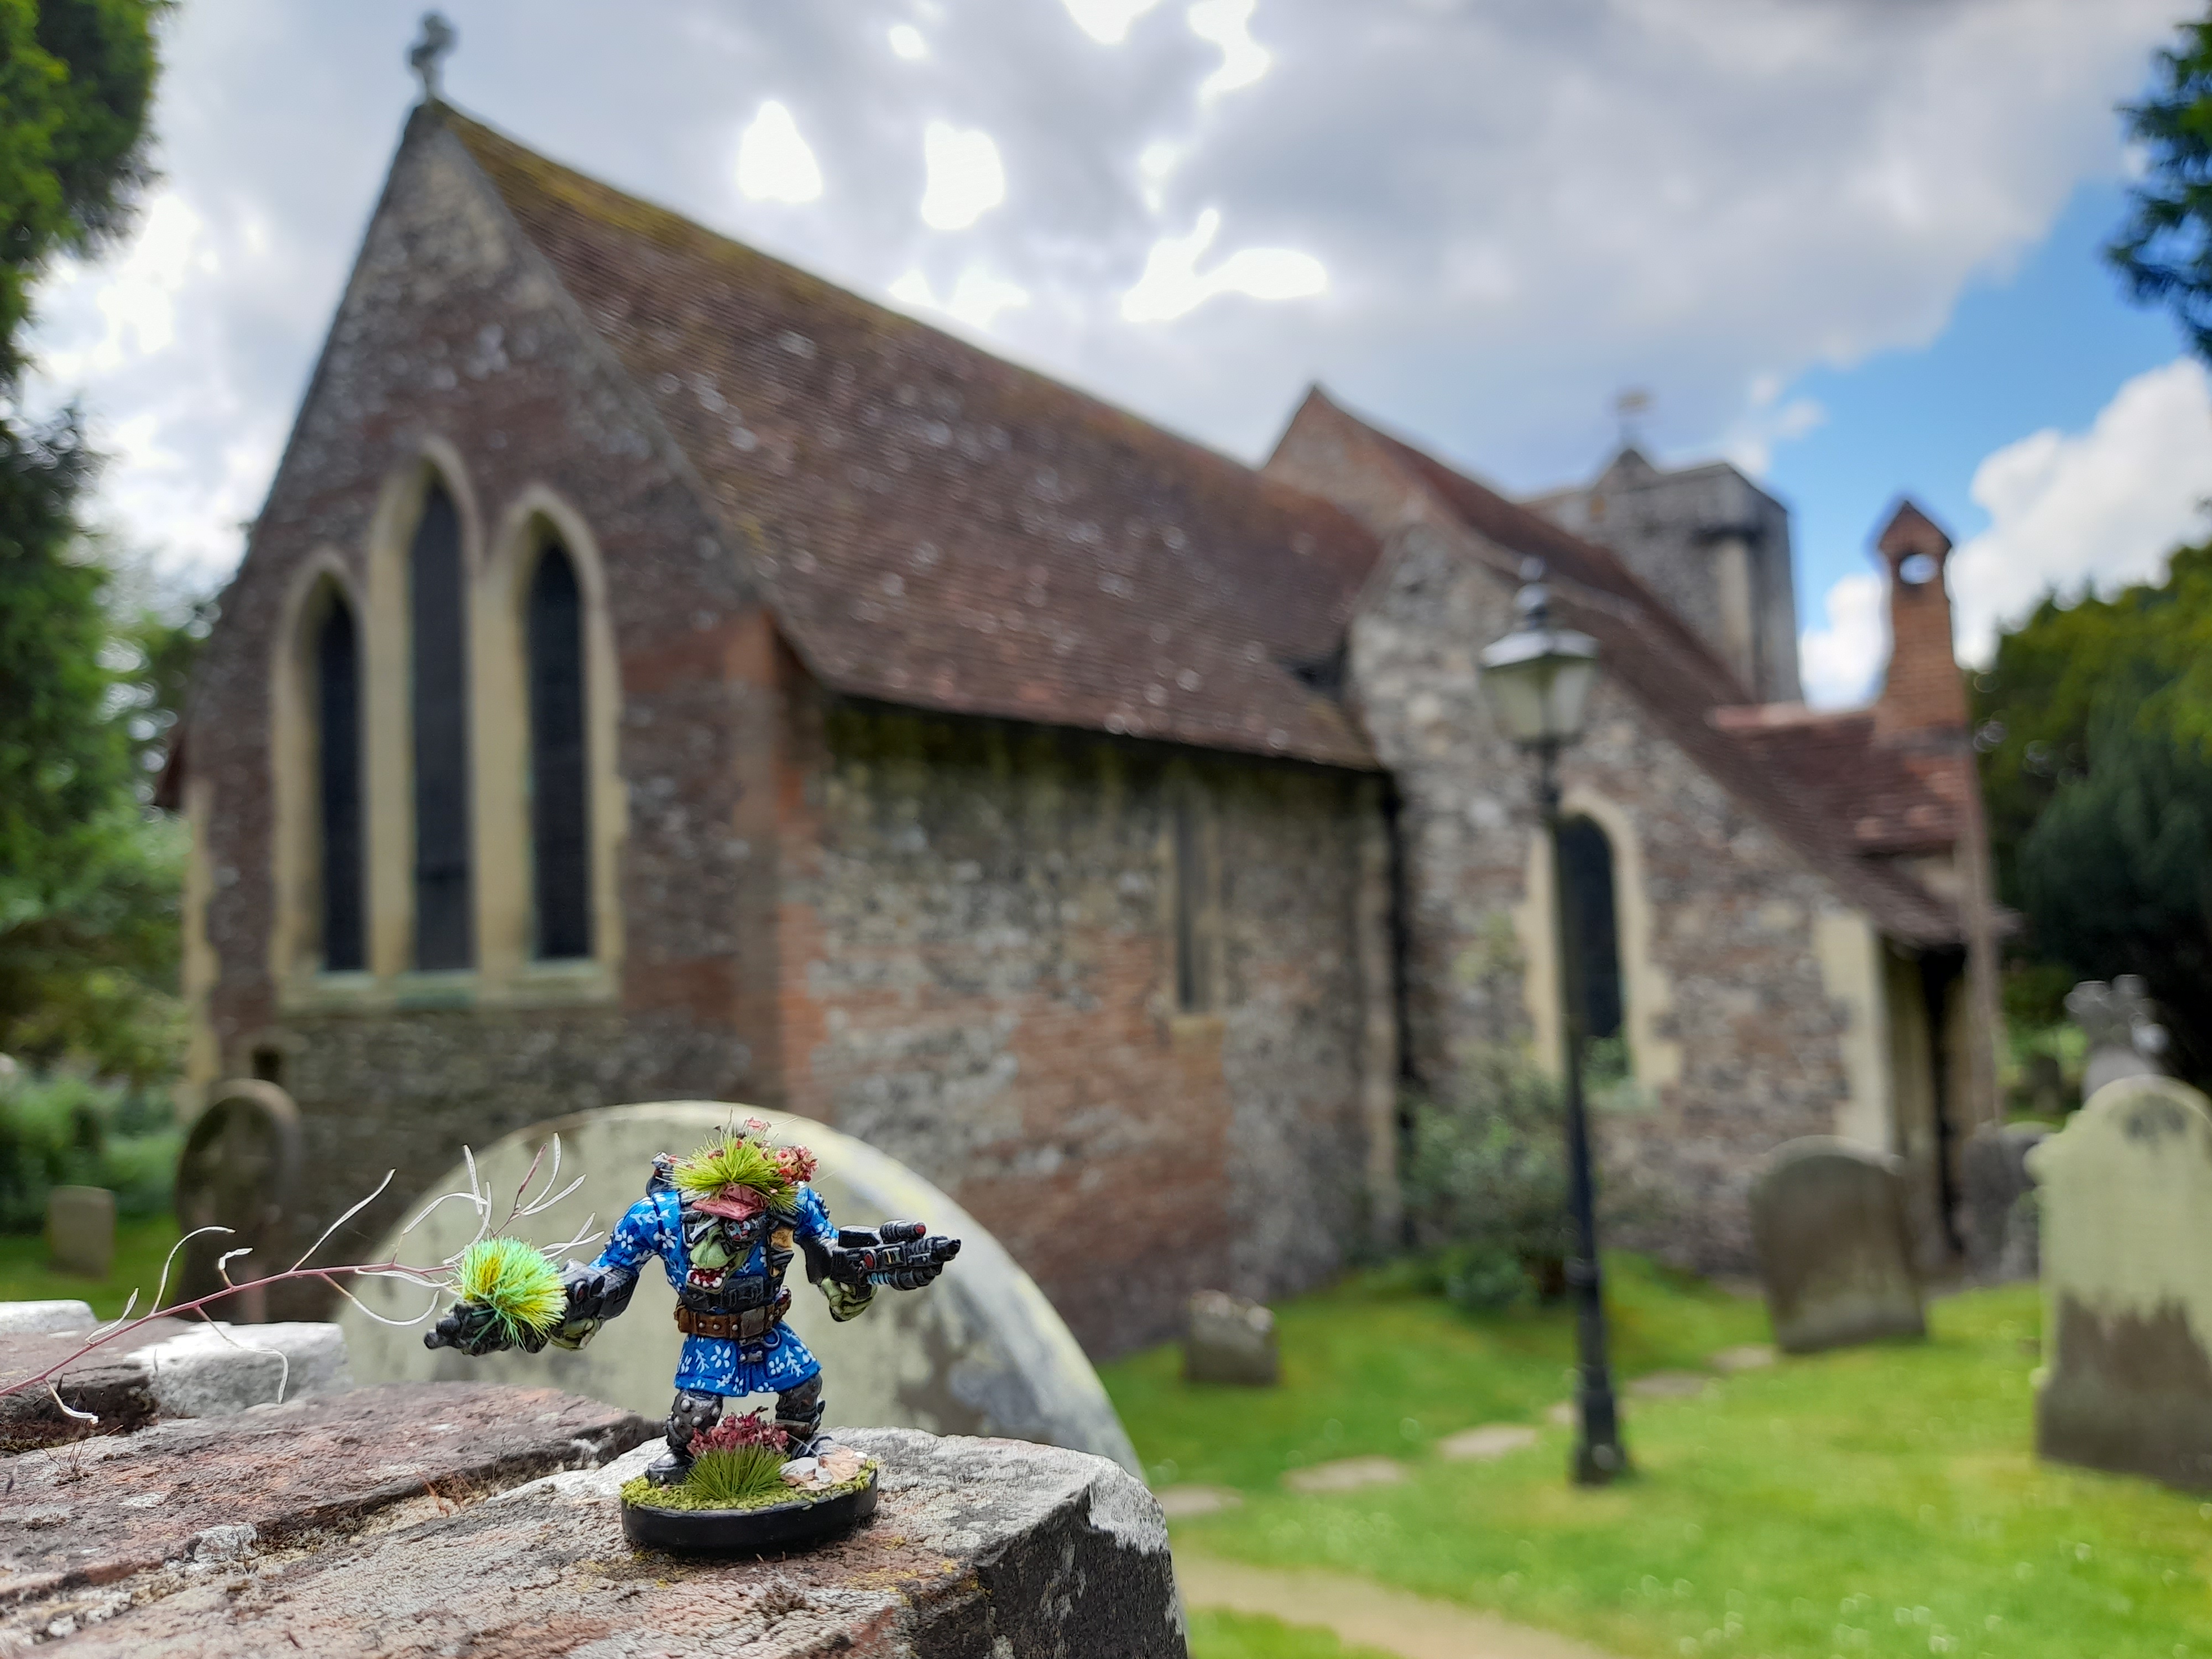
Chekked owt STeve Augustines ovva gaff agin, so I kuld skowt betta wivowt da rain. No defences ov any wurth still doh.
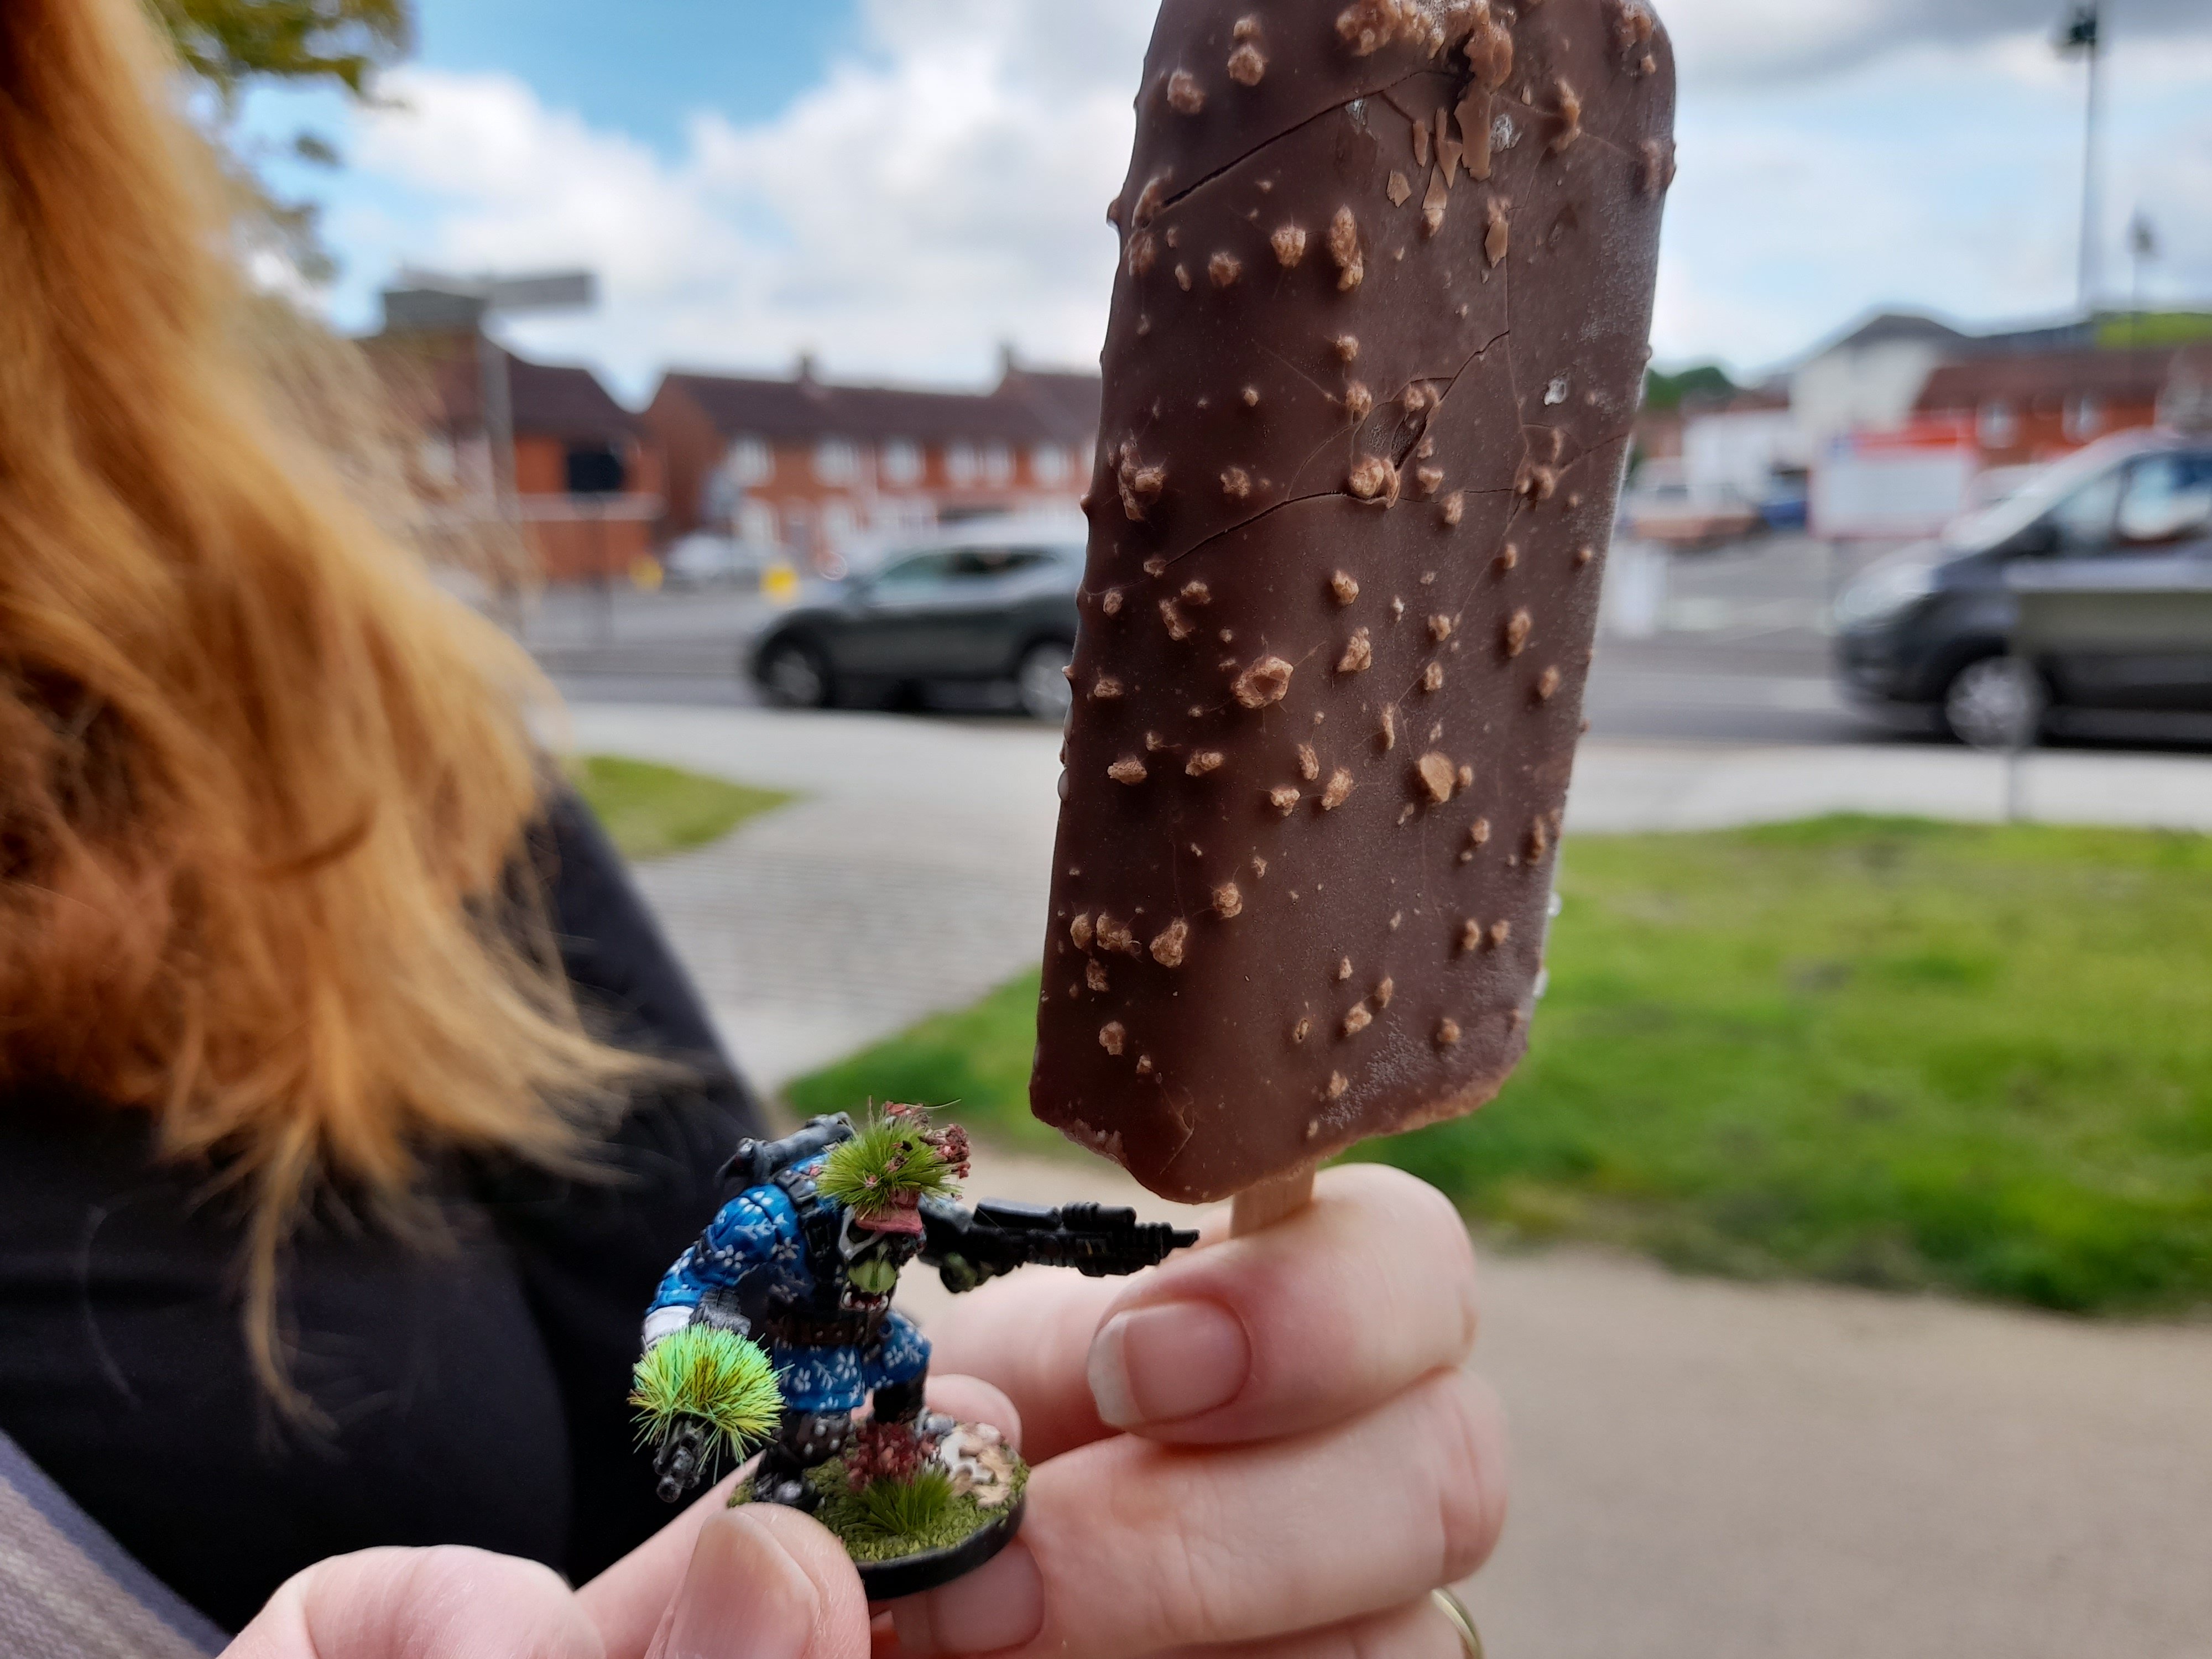
Da ummies gut a bit suss agin, so I ‘ad ta dees-tract dem agin…. dis time wiv sum stuff called eyes cream (even I wuldnt eat eyes, but ummies is weird)
Wordz ta meself – ummies get dees-tracted by sum foods, maybe we kan uze dat info. Fought I’d seen da last ov Roman, but fownd annuva place ‘eed bin.