


![How To Paint Moonstone’s Nanny | Goblin King Games [7 Days Early Access]](https://images.beastsofwar.com/2024/12/3CU-Gobin-King-Games-Moonstone-Shades-Nanny-coverimage-225-127.jpg)


Infinity Terrain


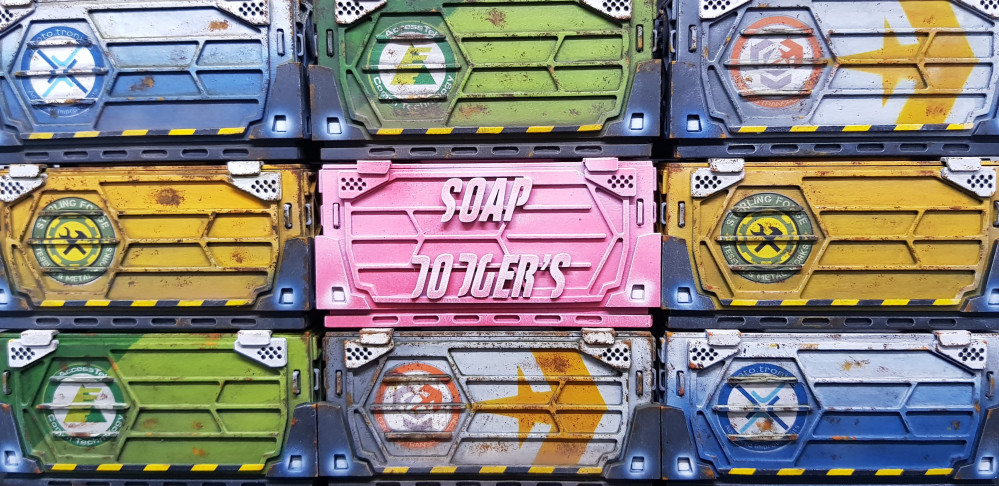
Changing up the service area
It’s been a long week I had some work stuff to do but still found time for hobby.
I have progressed the design a bit as you will see below was not happy with the original prototype. This felt as though I didn’t put any effort in.
I have also made the files for these available for people as I don’t think it can tread on anyone’s toes. I would ask that if you know someone that’s wants this, can you direct them here and not send them the link below.
Link to One drive with the Vending Machines and service area
If you decide to make any let me know on the forums or create your own project to see what you do with it! I have made them DXF for comparability and if you wish help on them I can offer limited support via the comments section on this thread. There is also a 3D vending machine in case anyone wants to edit this and create a 3d print.
Now all that nonsense is over with, here’s what I done and why.
 I clad the outside of the service area in 0.5mm card like I have laid out in the drawings. This worked but it could be damaged easily. I placed it on the model marked and then cut to length. I was not happy with how robust this was and it creased on one of the parts. This also got me thinking about a comment for neon lights, I liked this but had to figure out a way to do this. I also ended up not liking the size and scale of this. it would be pretty massive.
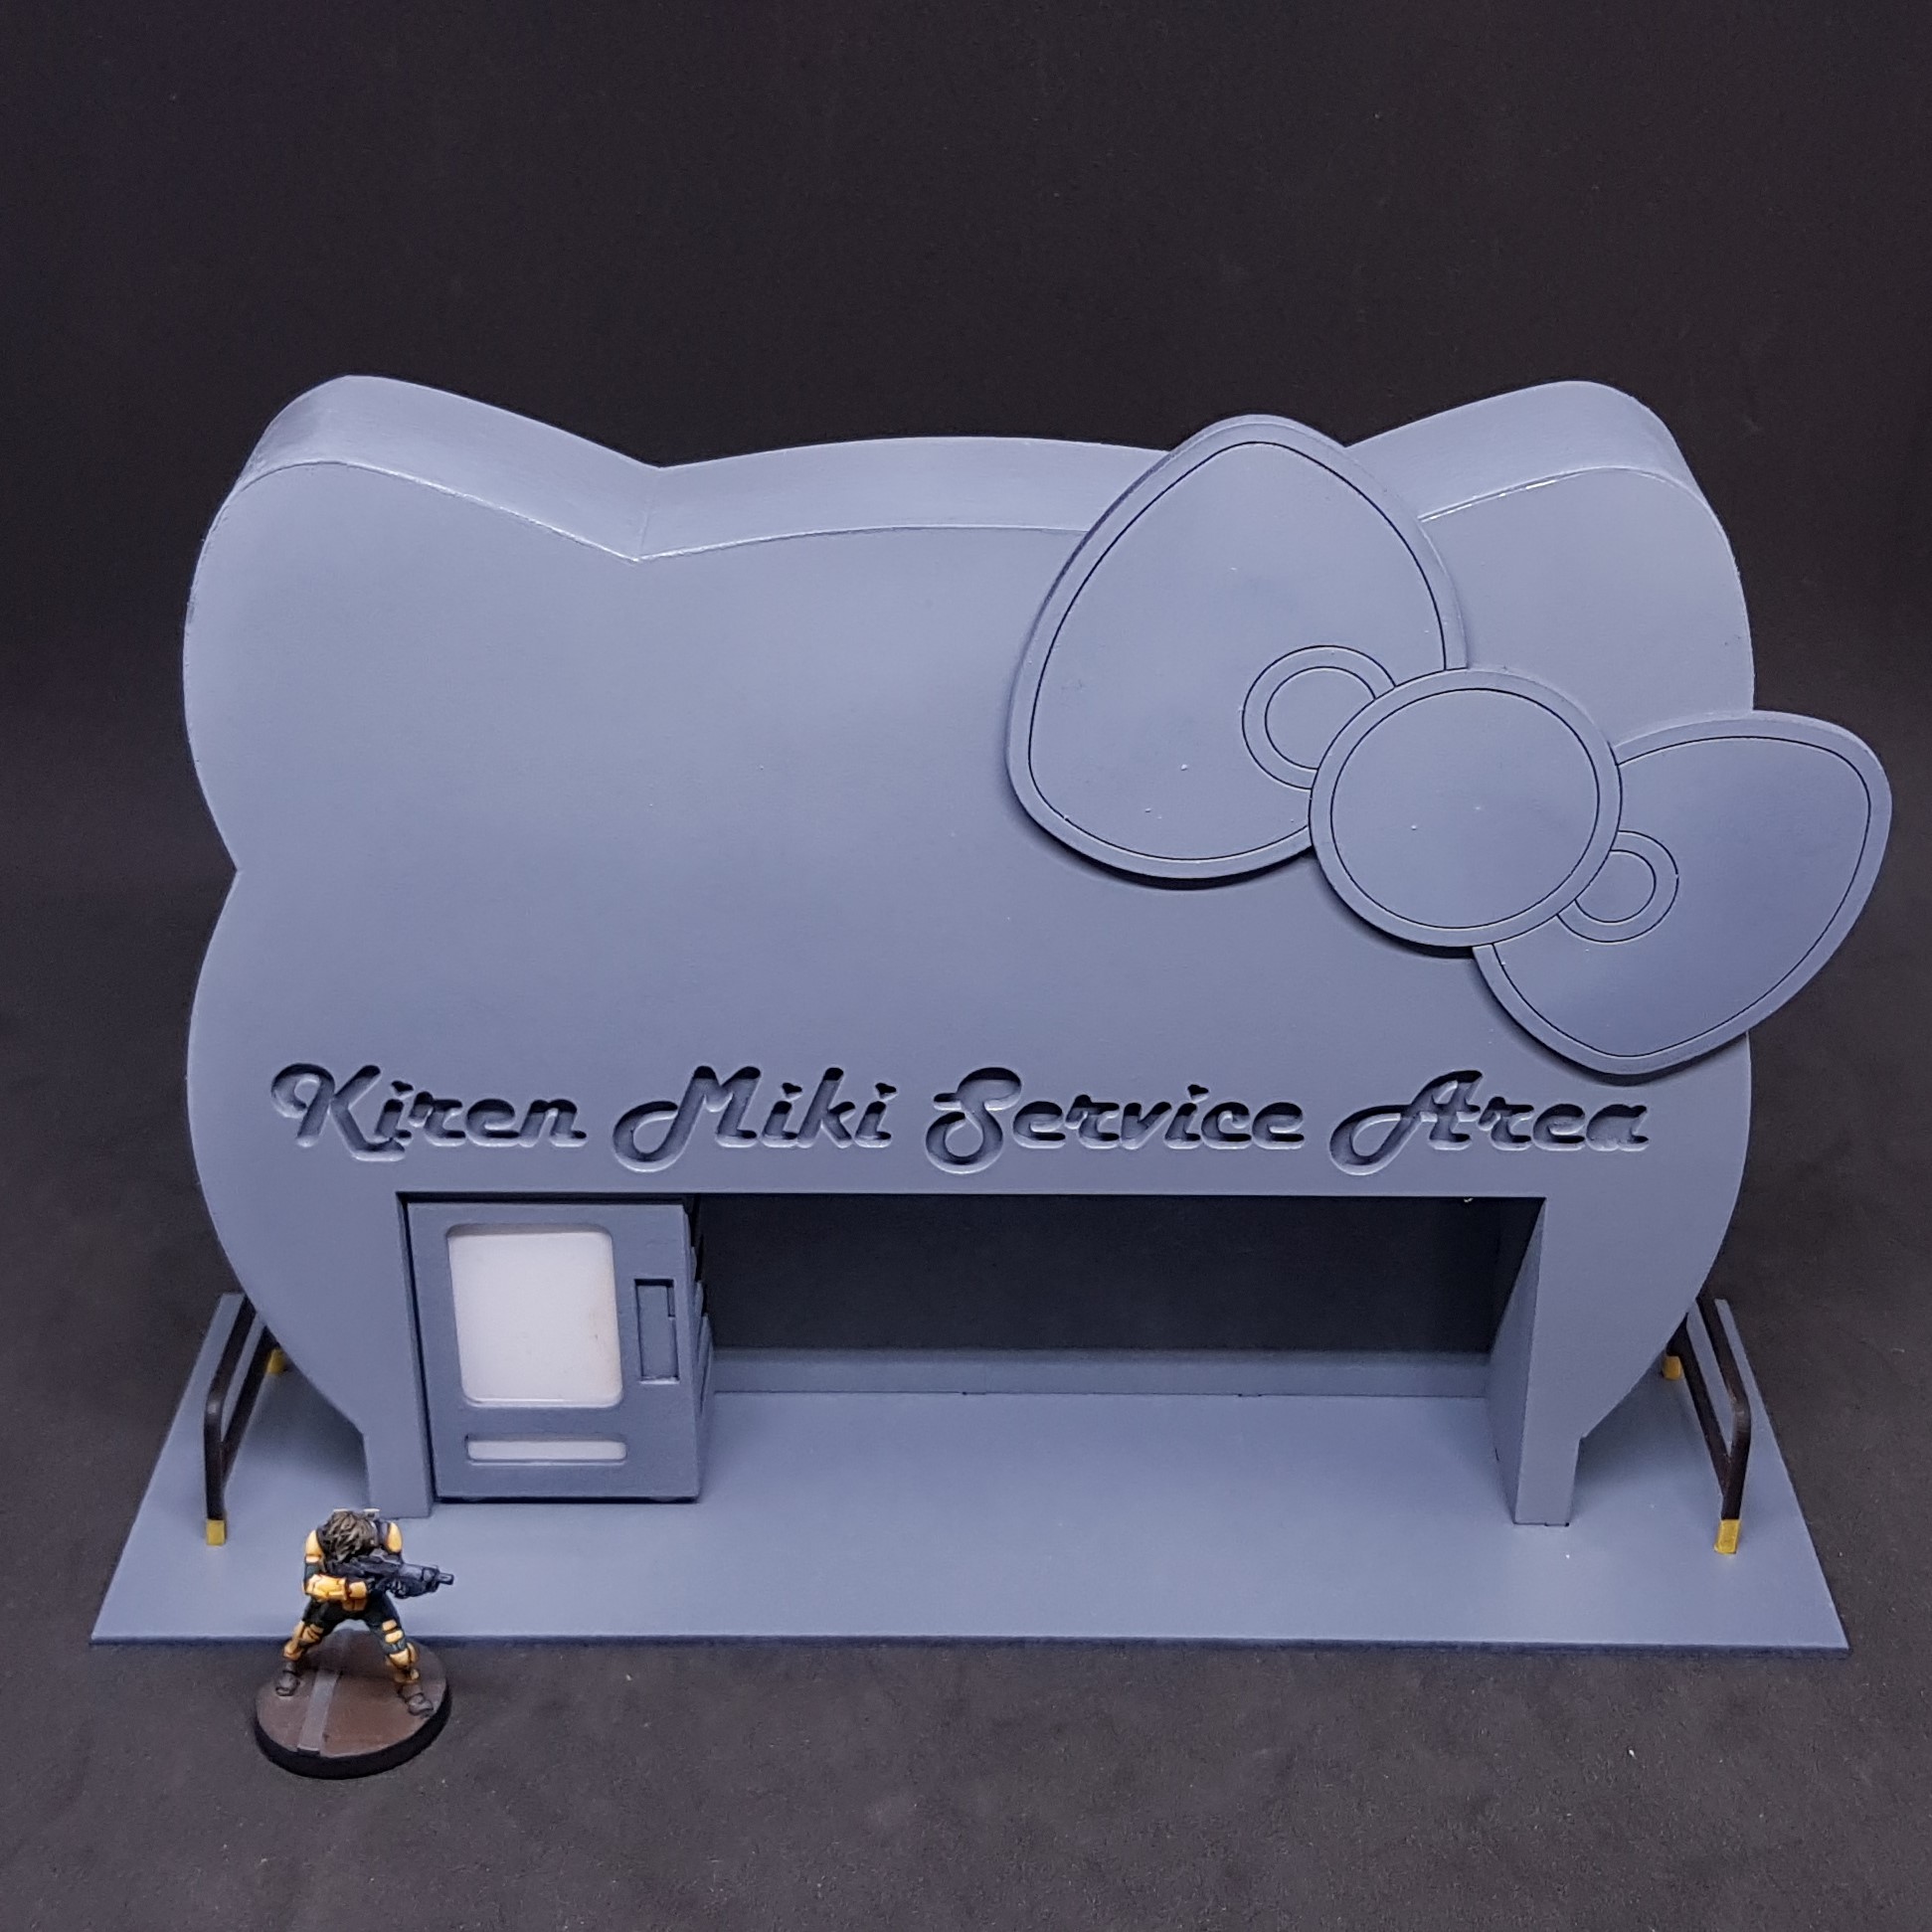
 The redesign. I made this smaller to fit 3 vending machines. I also changed the text from an innie to an outie and split this component in two for ease and detail (more on that next). I added a border to frame the building this also added detail to the back and I made the bow more 3D to add detail. It looked kind of flat. Not a lot of changes but I feel it has transformed this. I also Added a top section for support.
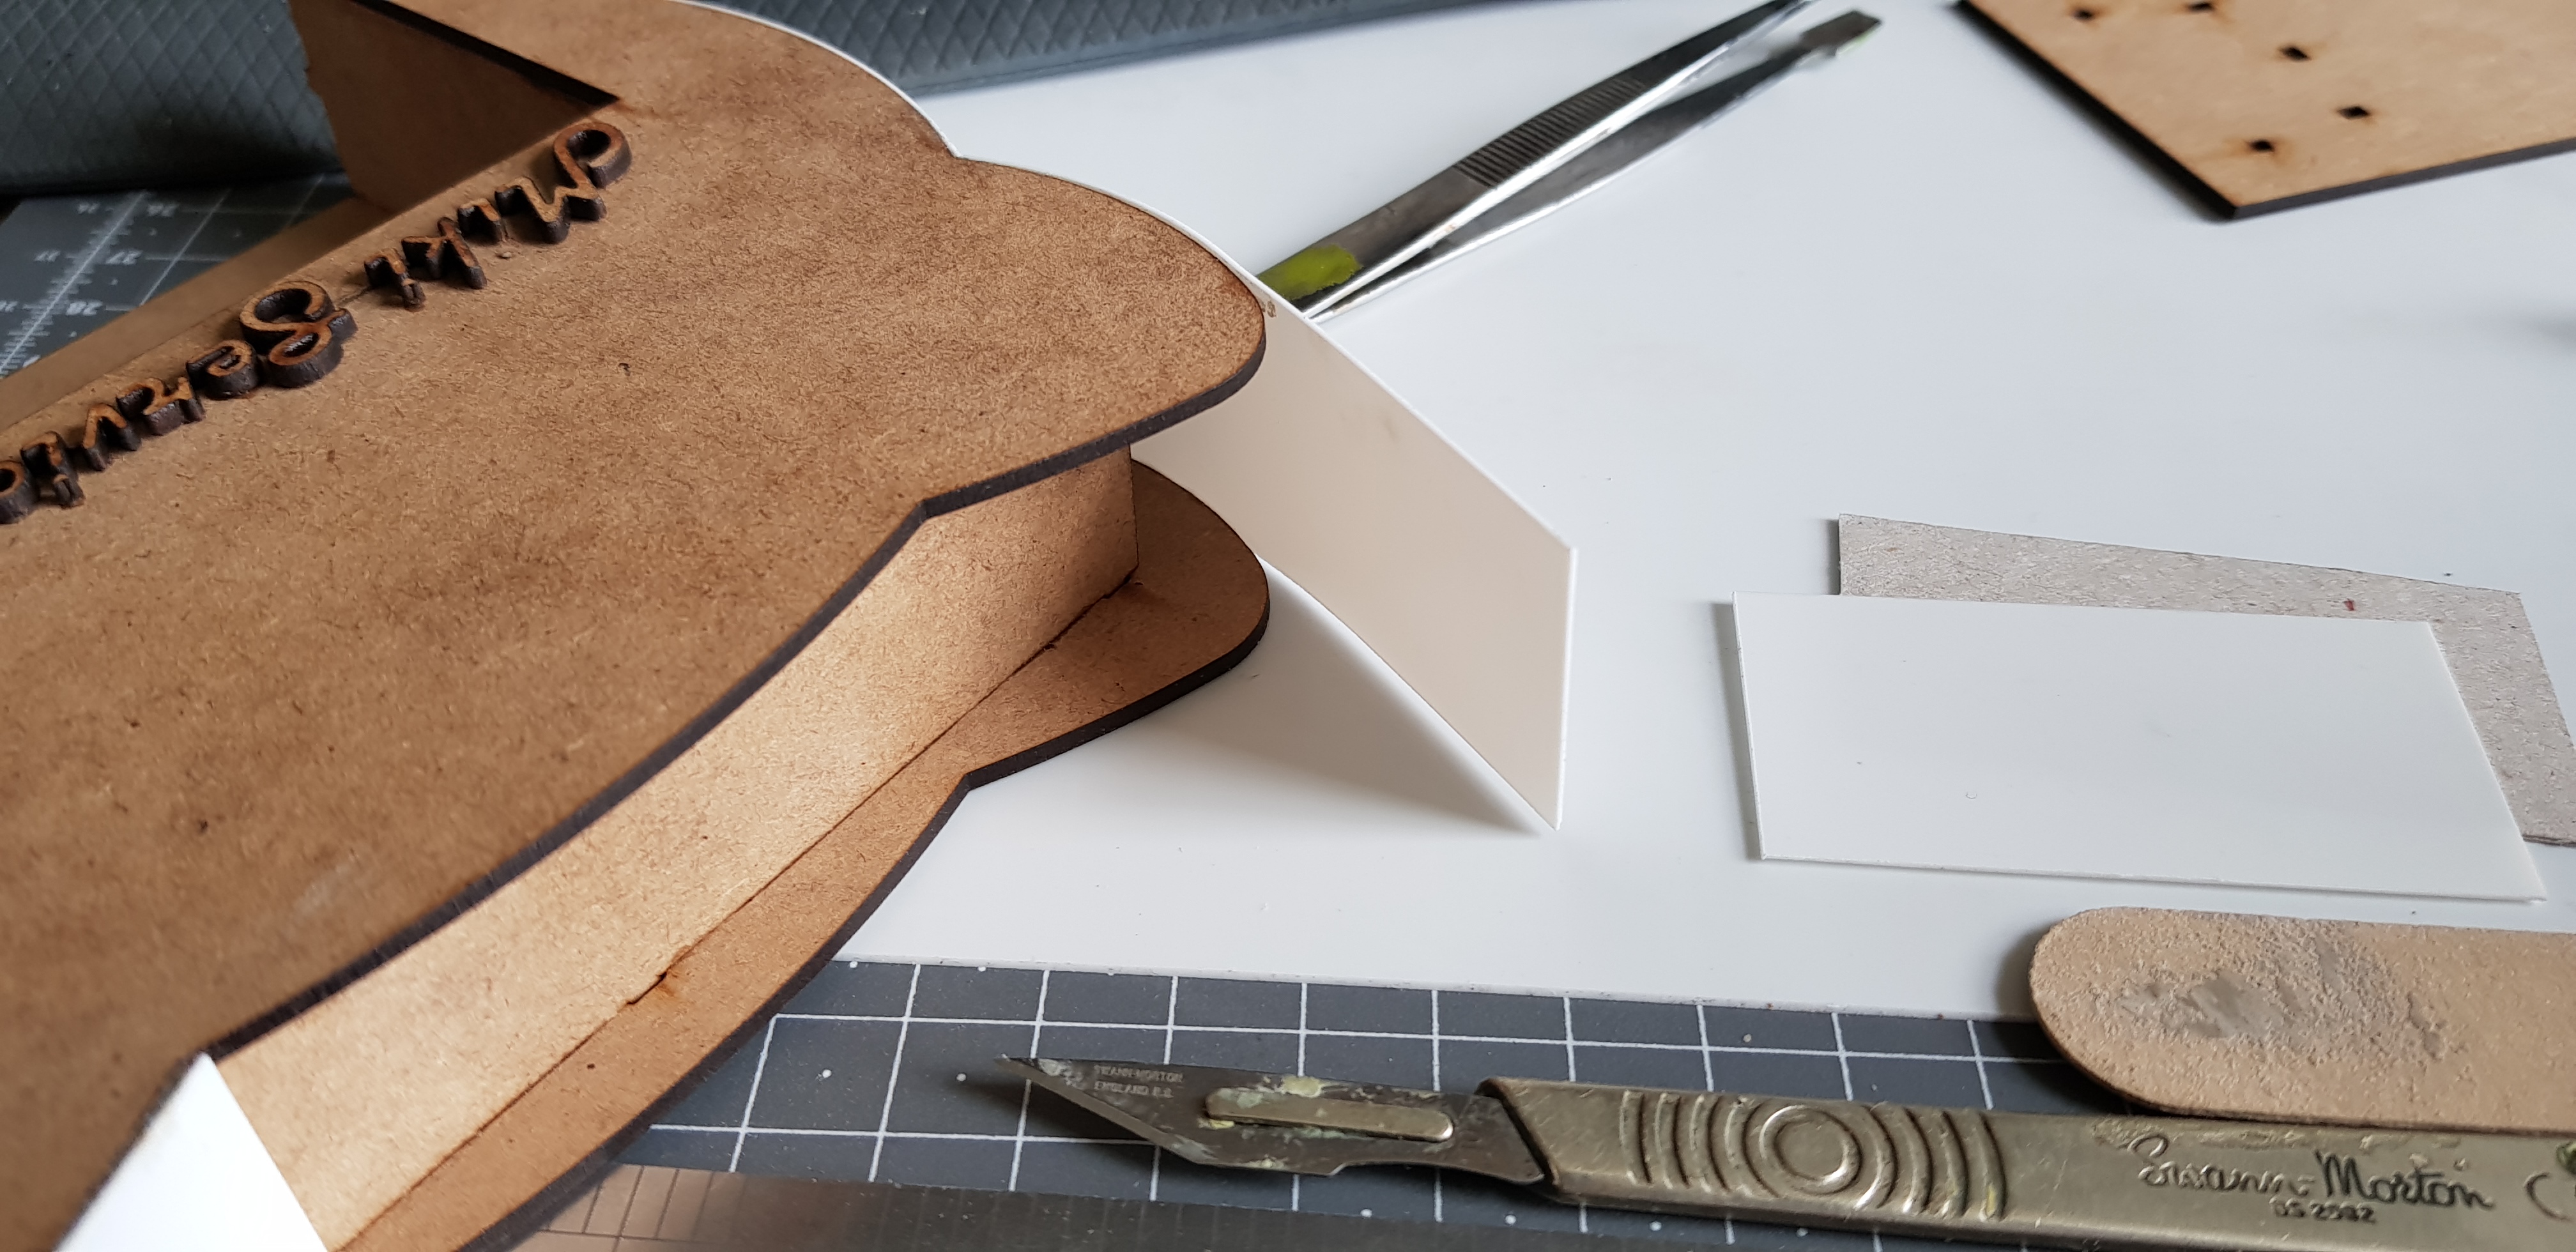
 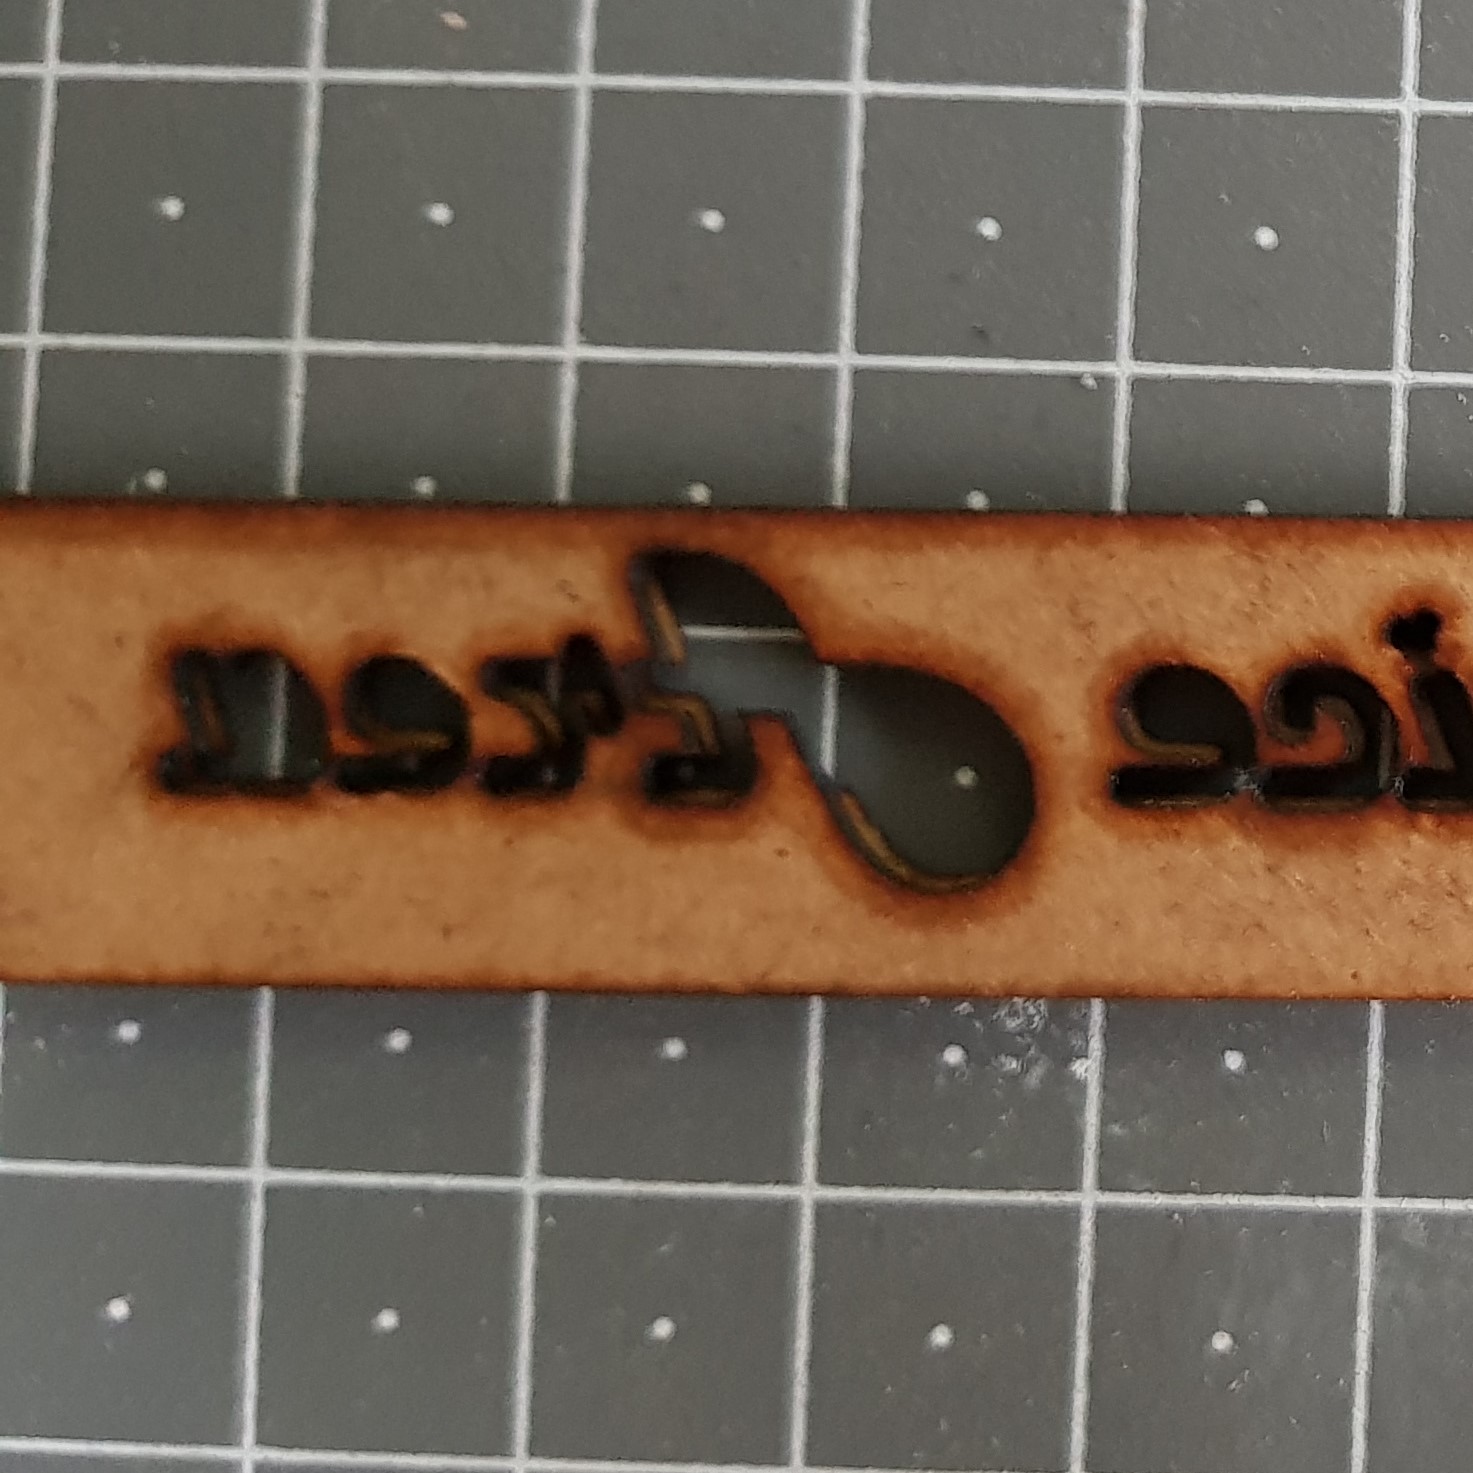 The changes to the text were a great idea. Glad I done this based on feedback. I need to explain this picture as it no doubt looks strange. I have 2mm MDF with an offset 0.5mm cut-out behind this. I couldn't photograph this any better to illustrate this. The 2mm text is cut out completely loose letters. and 0.5 is all attached via a line through it. After laser cutting i placed masking tape over all the letters. Turned this over. Glued only on the letter section leaving the line on the 0.5mm card and then stuck this down before removing the masking tape and removing the backing and the 2mm letters. This worked great and was much easier to glue. It also has the bonus of looking like everything's connected.
 I changed the way I don’t the cladding here. Not that it does not work on the card route I just wanted something more durable. A more even finish could be obtained from using he card.
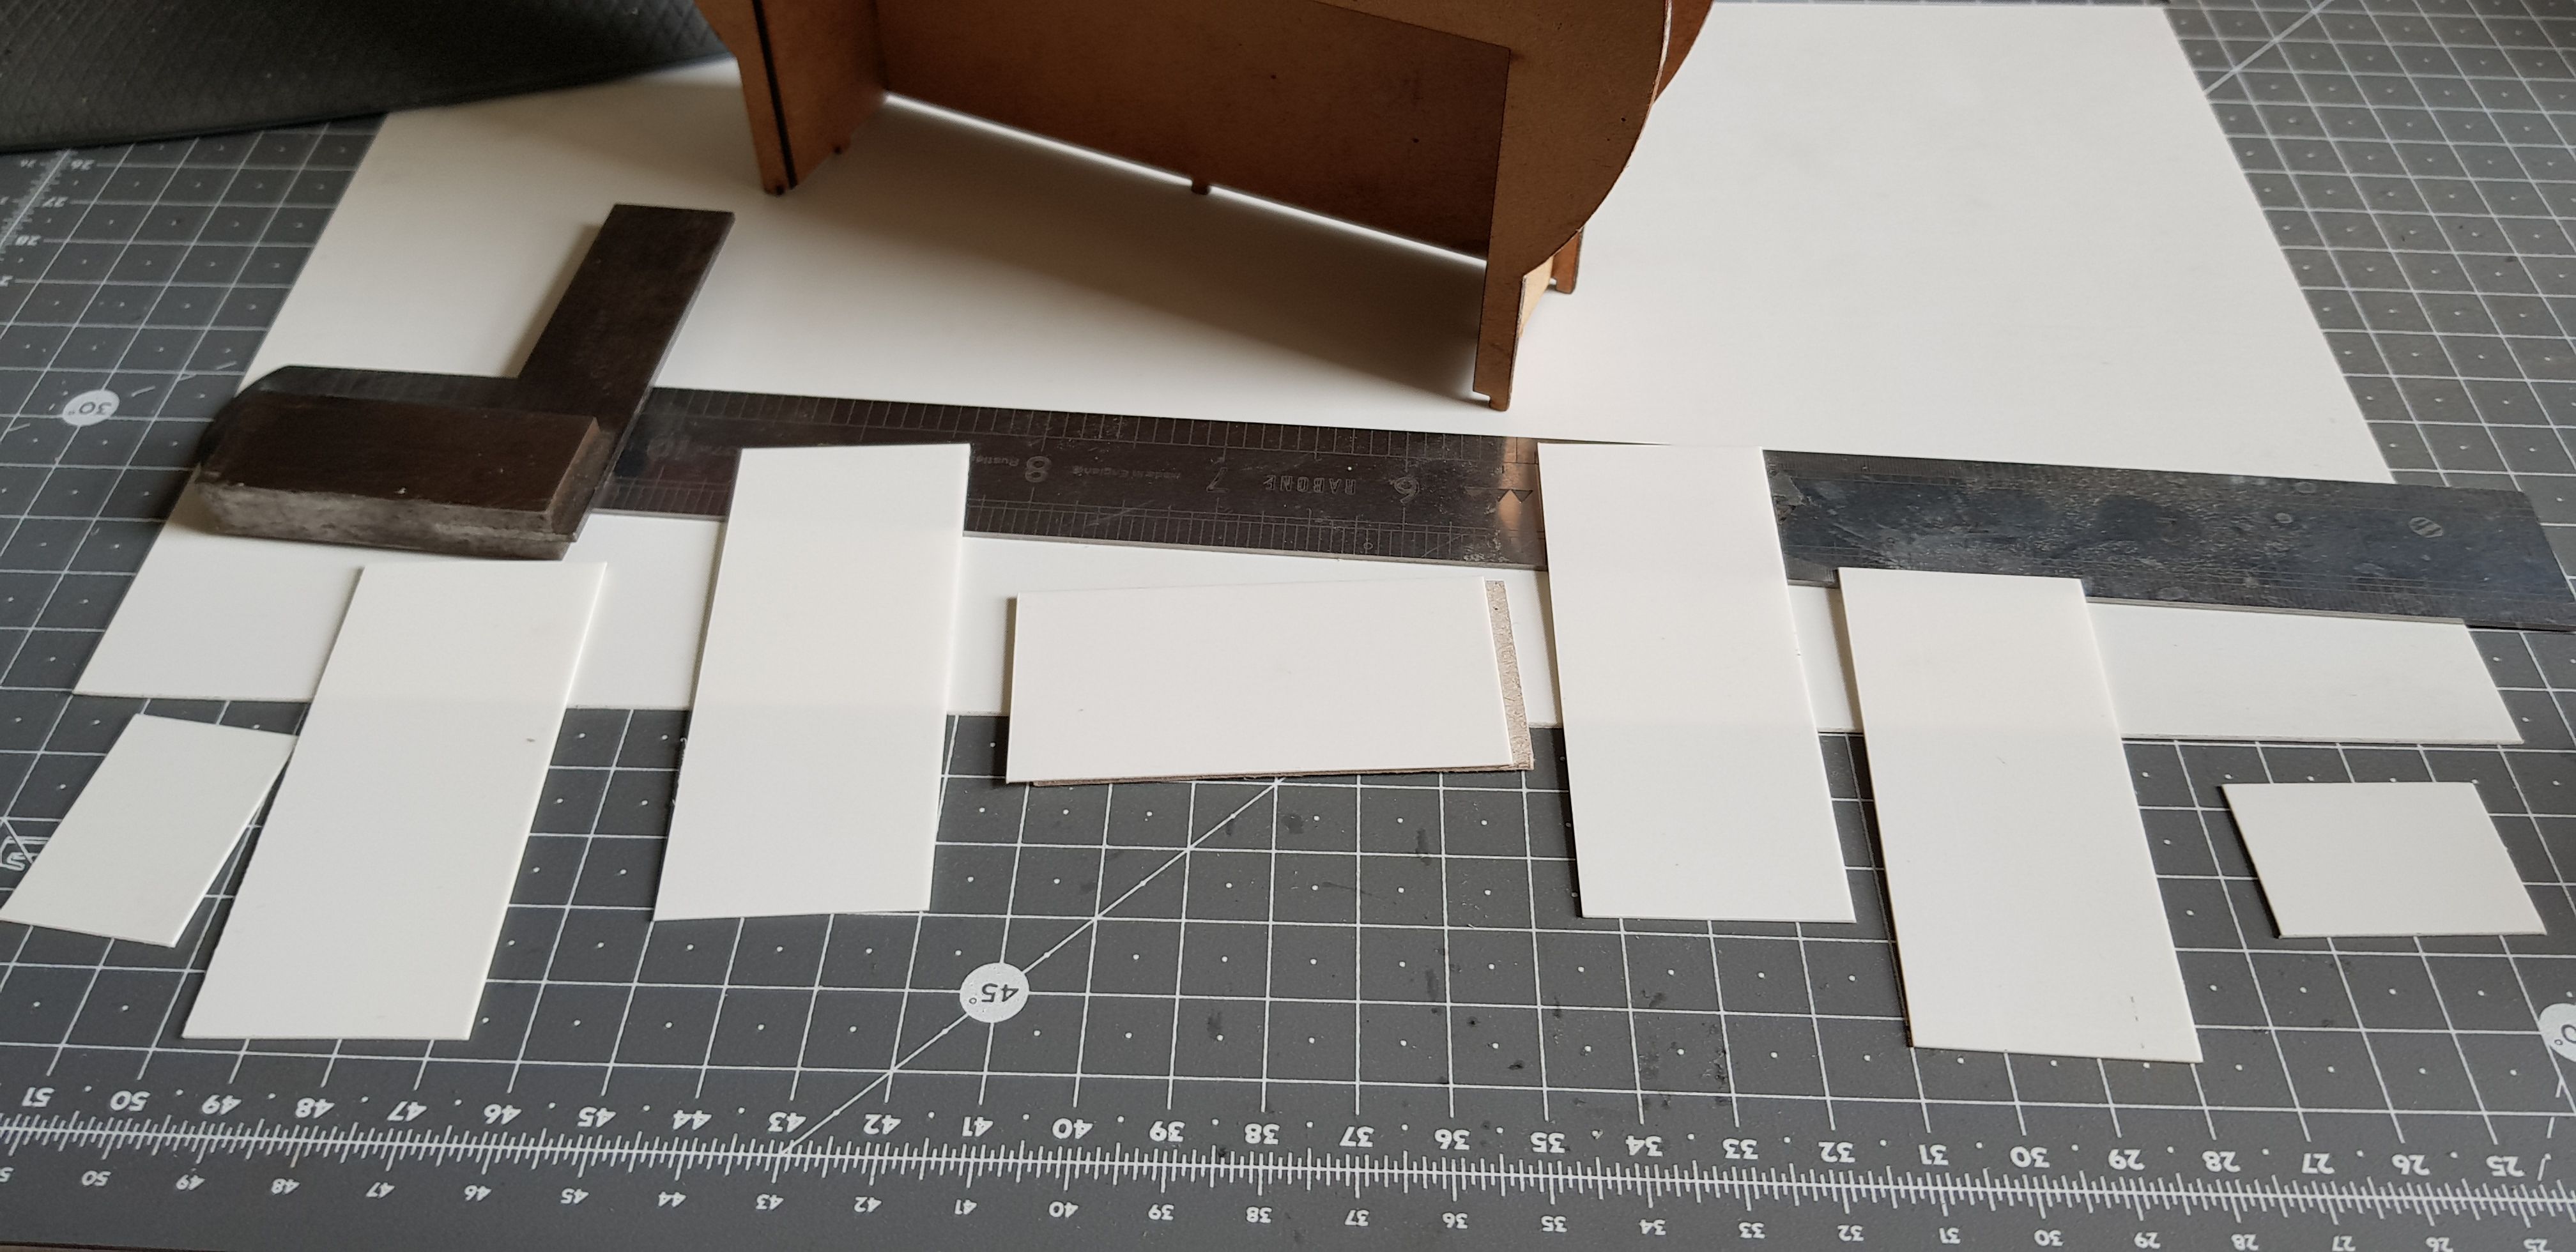
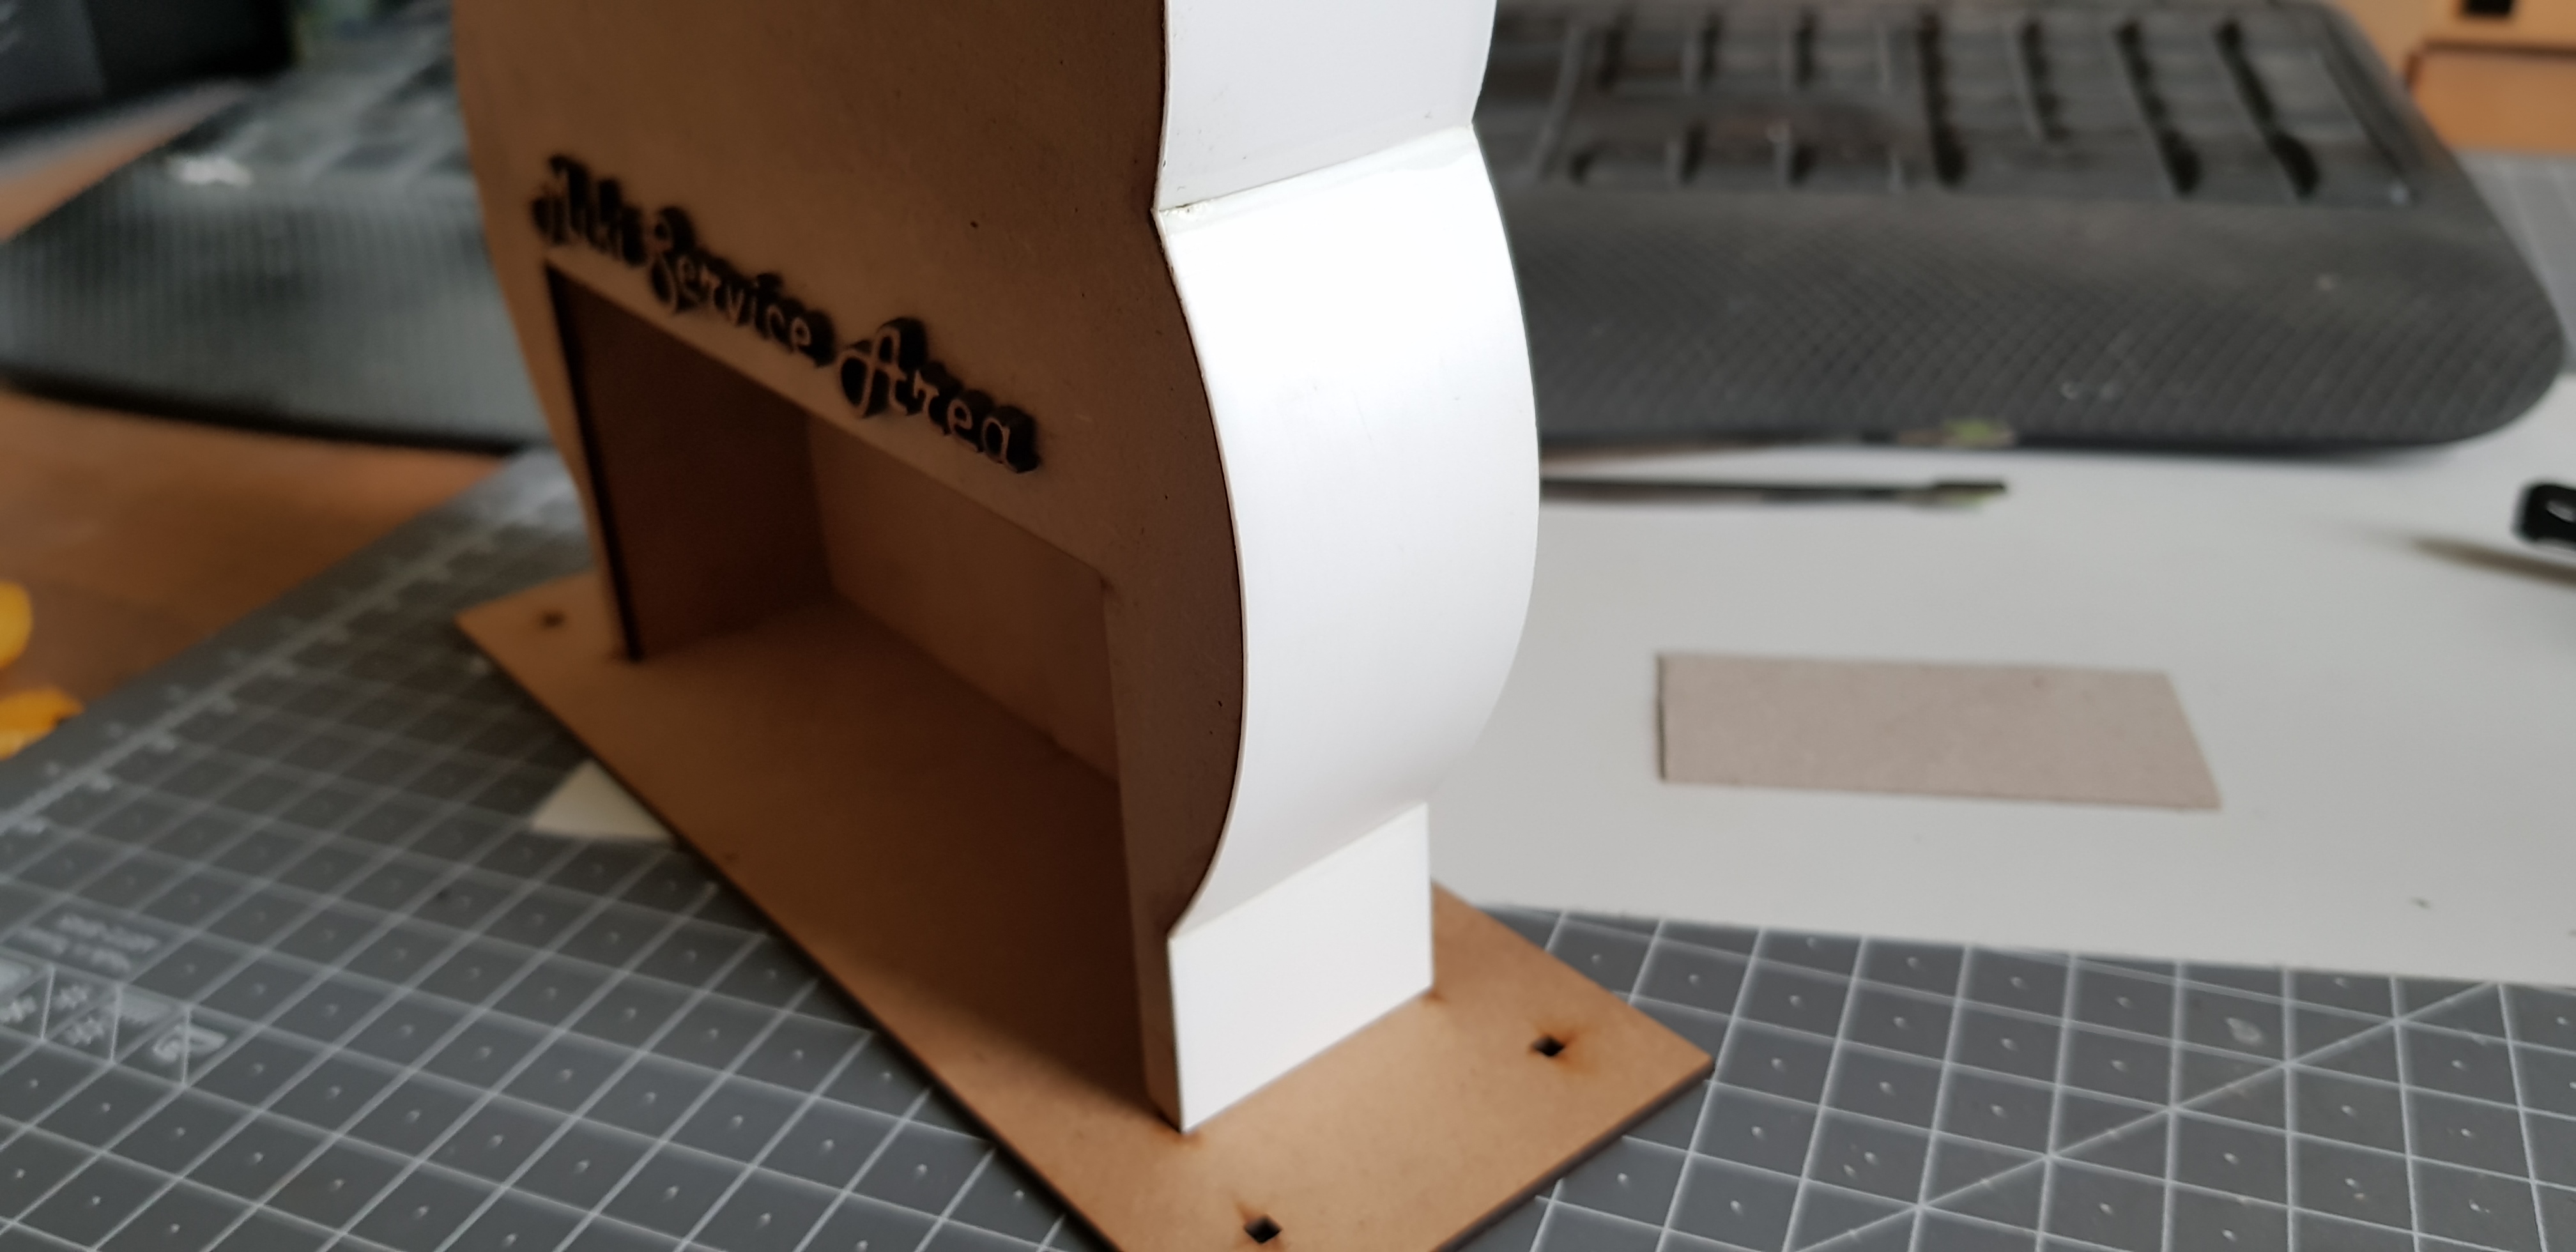
I cut out a strip of plasticard and used the card for a template to get the right size then cut to length. This was then stuck down with superglue. the tricky part was the curves and I just done these in sections.
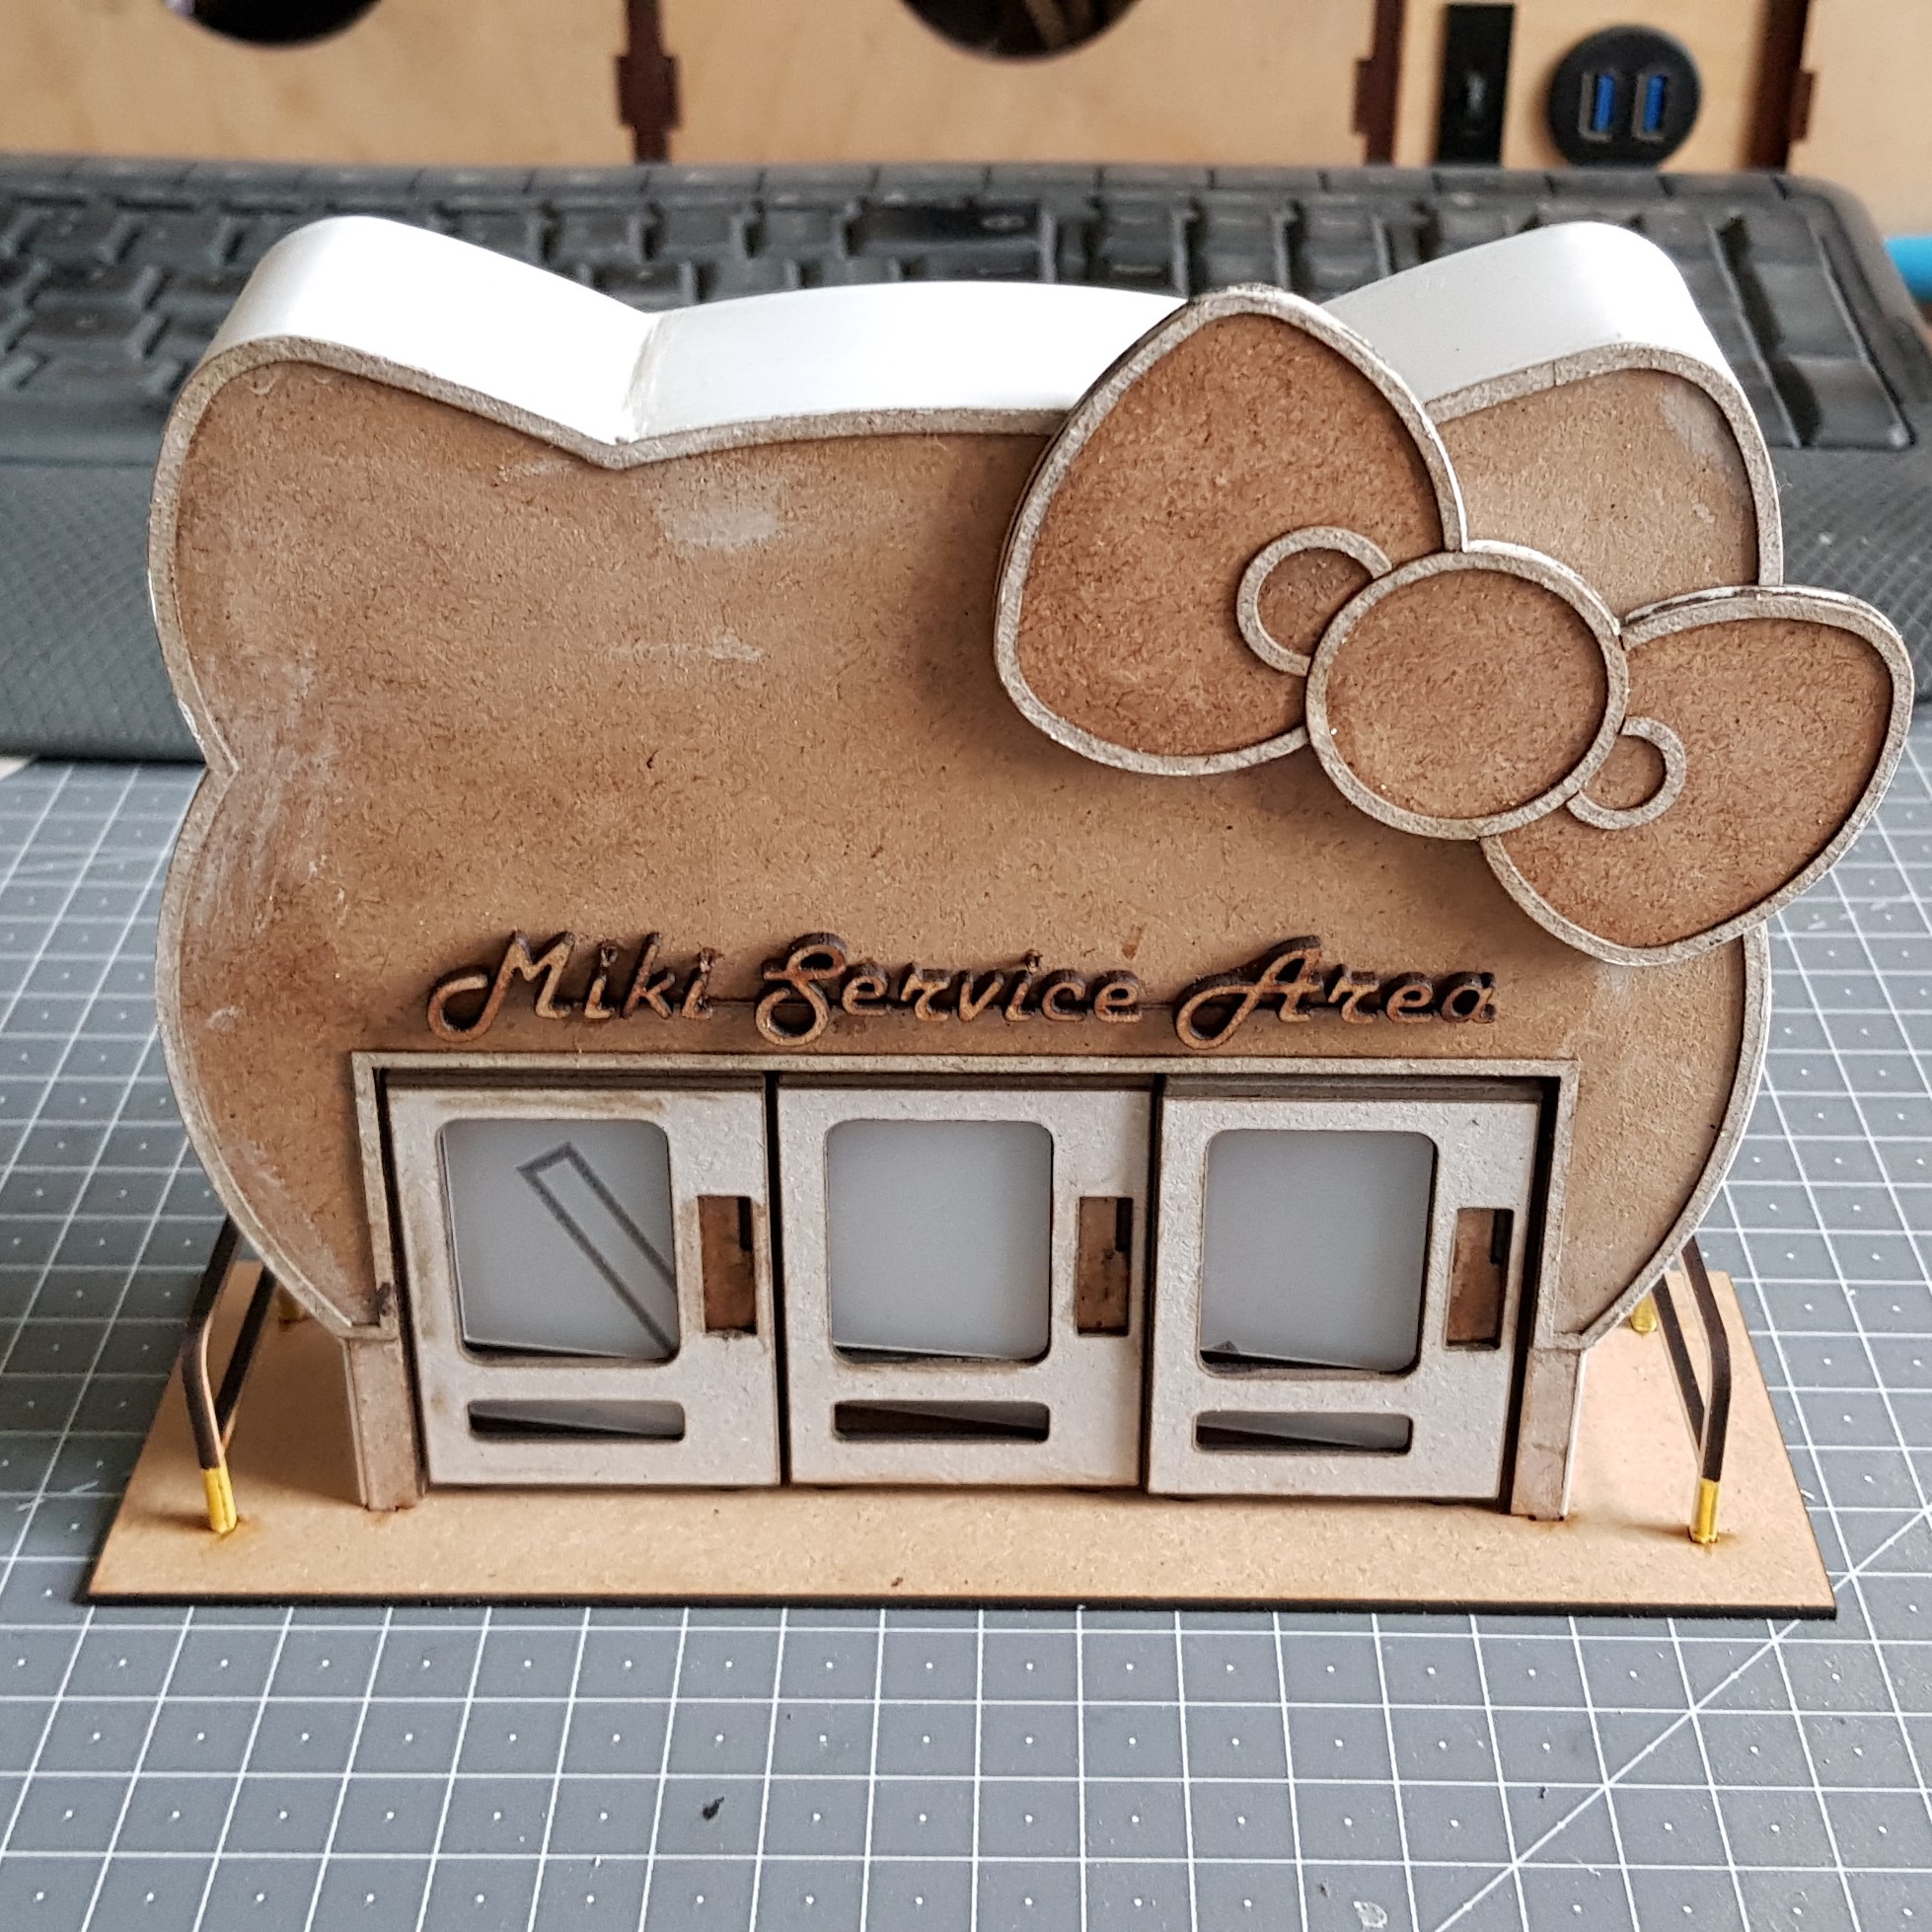 Here is the completed build together with the vending machines. To complete this I stuck down the front and back trim with PVA and filled the sides with Plastic Putty and sanded everything as best I could without touching the front of the card.
 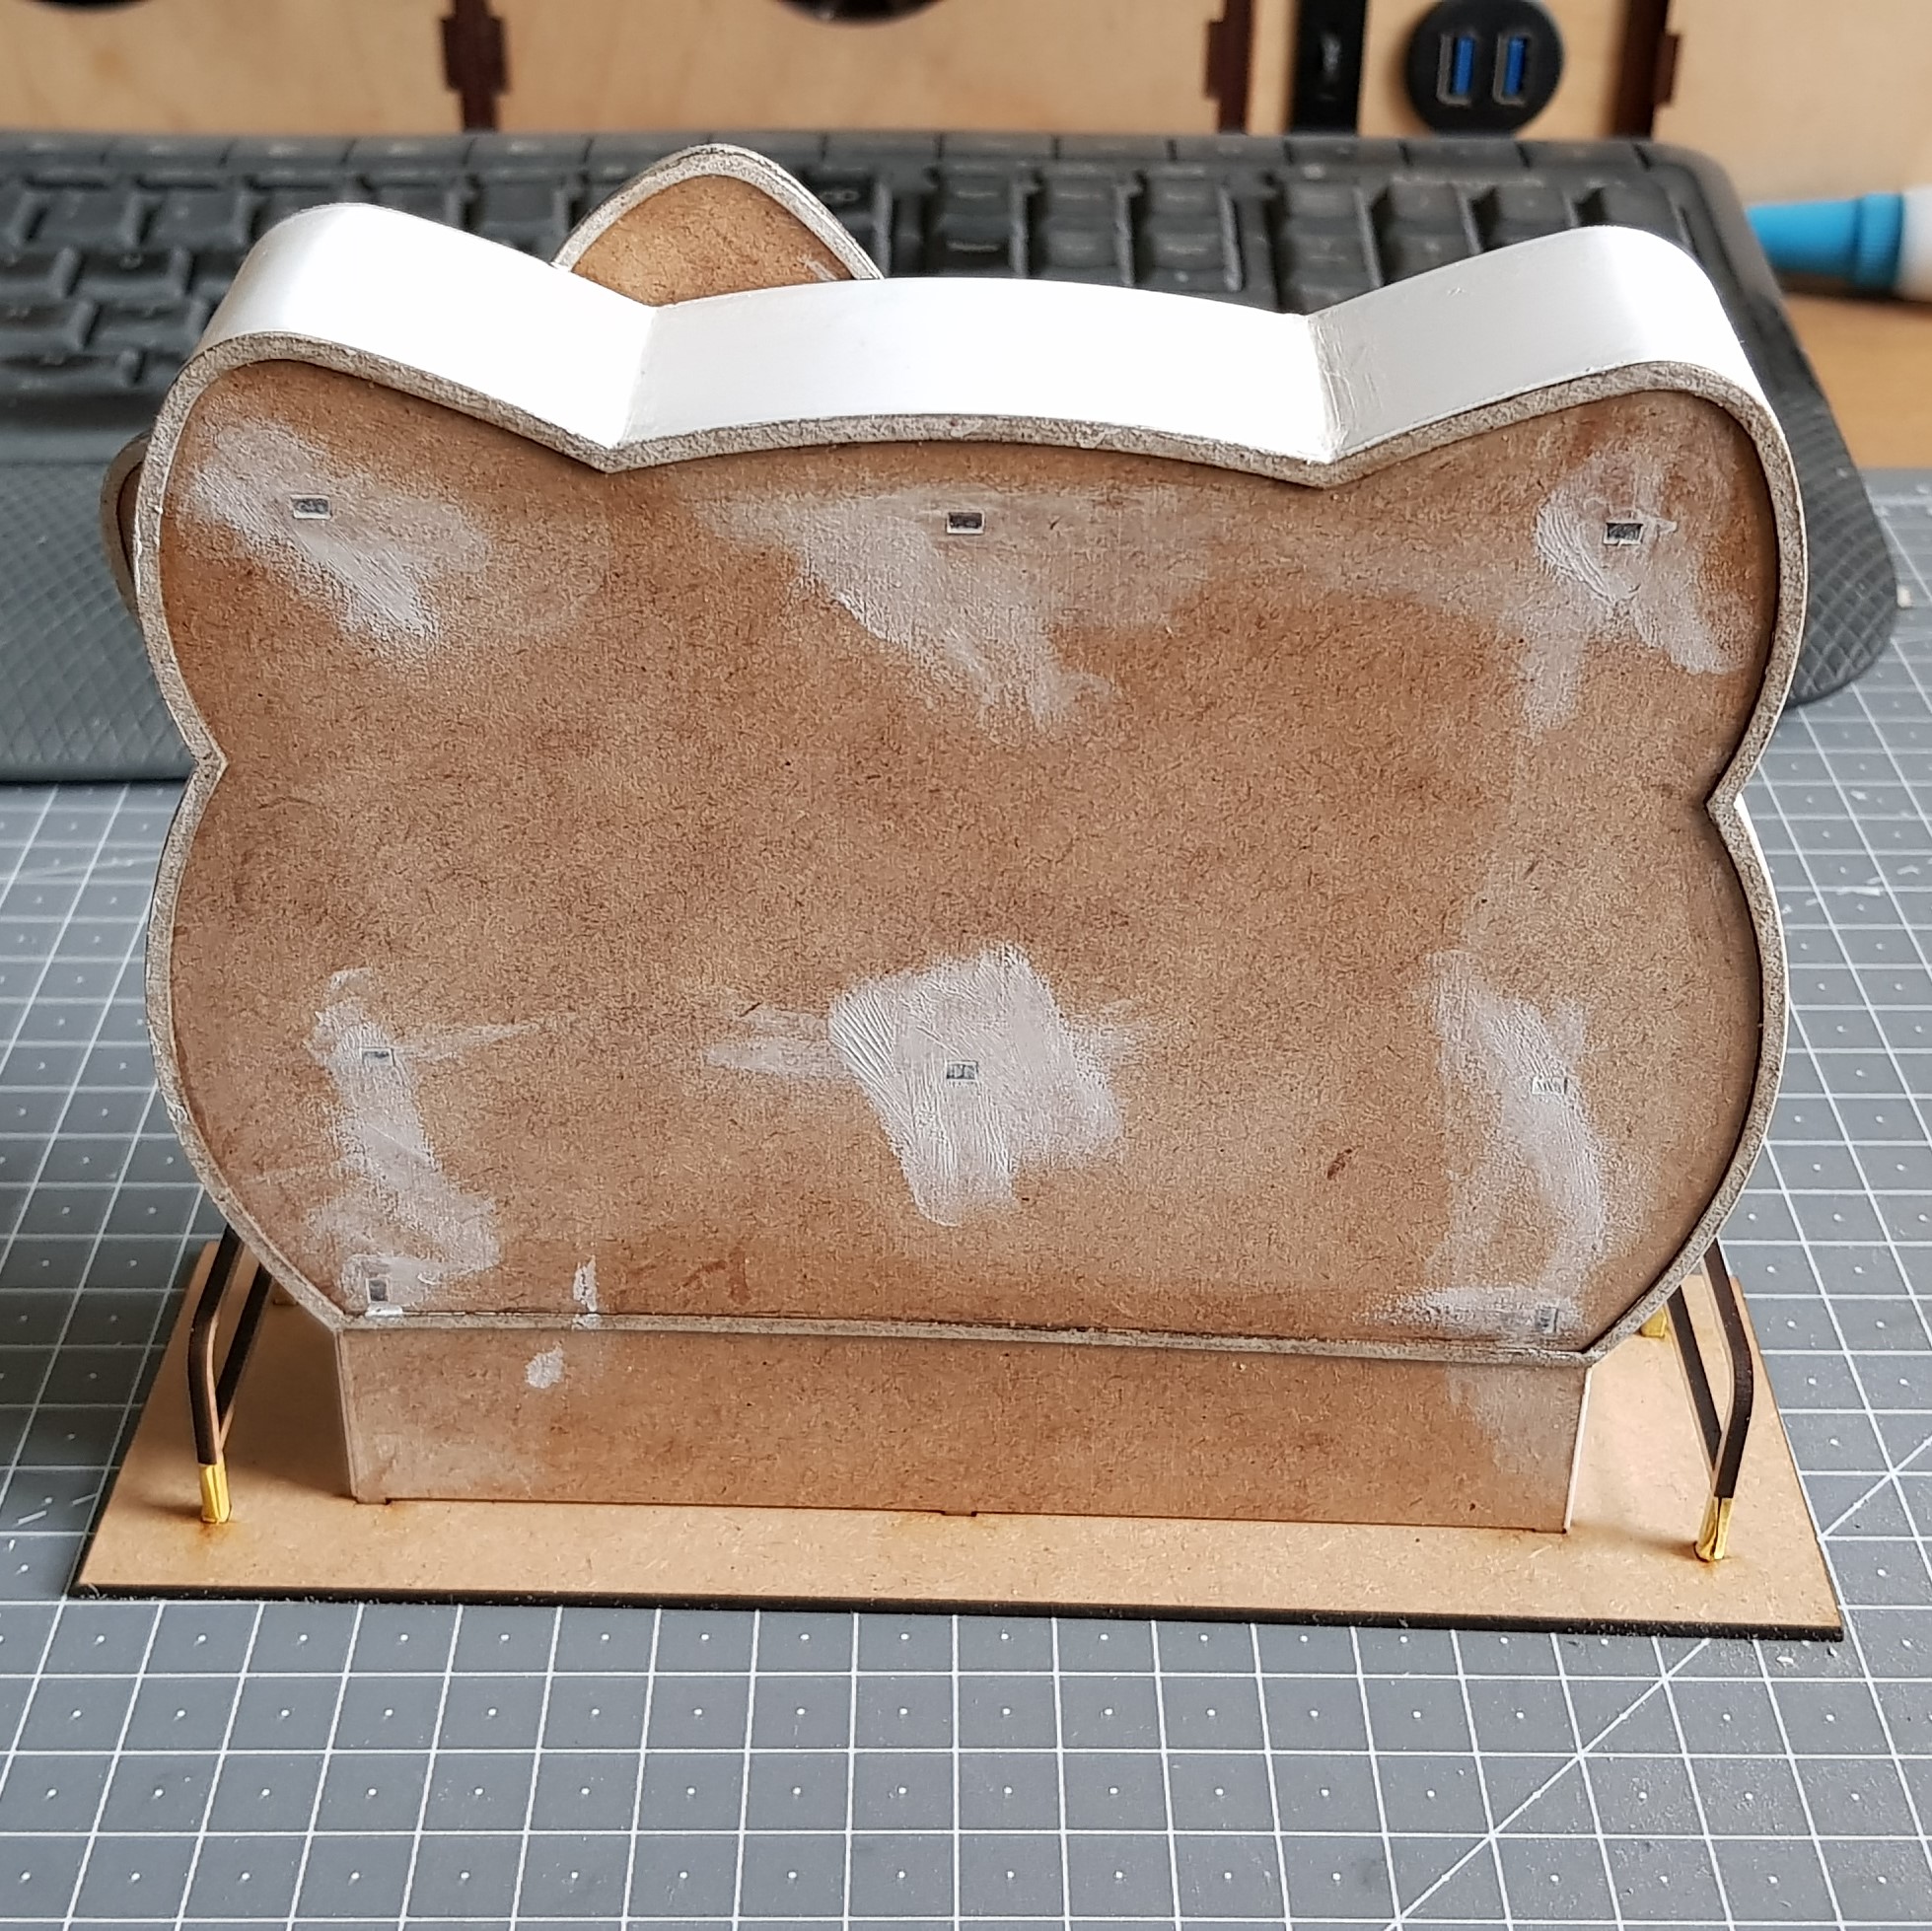 I filled in the construction holes on the back with plastic putty and again sanded this.
 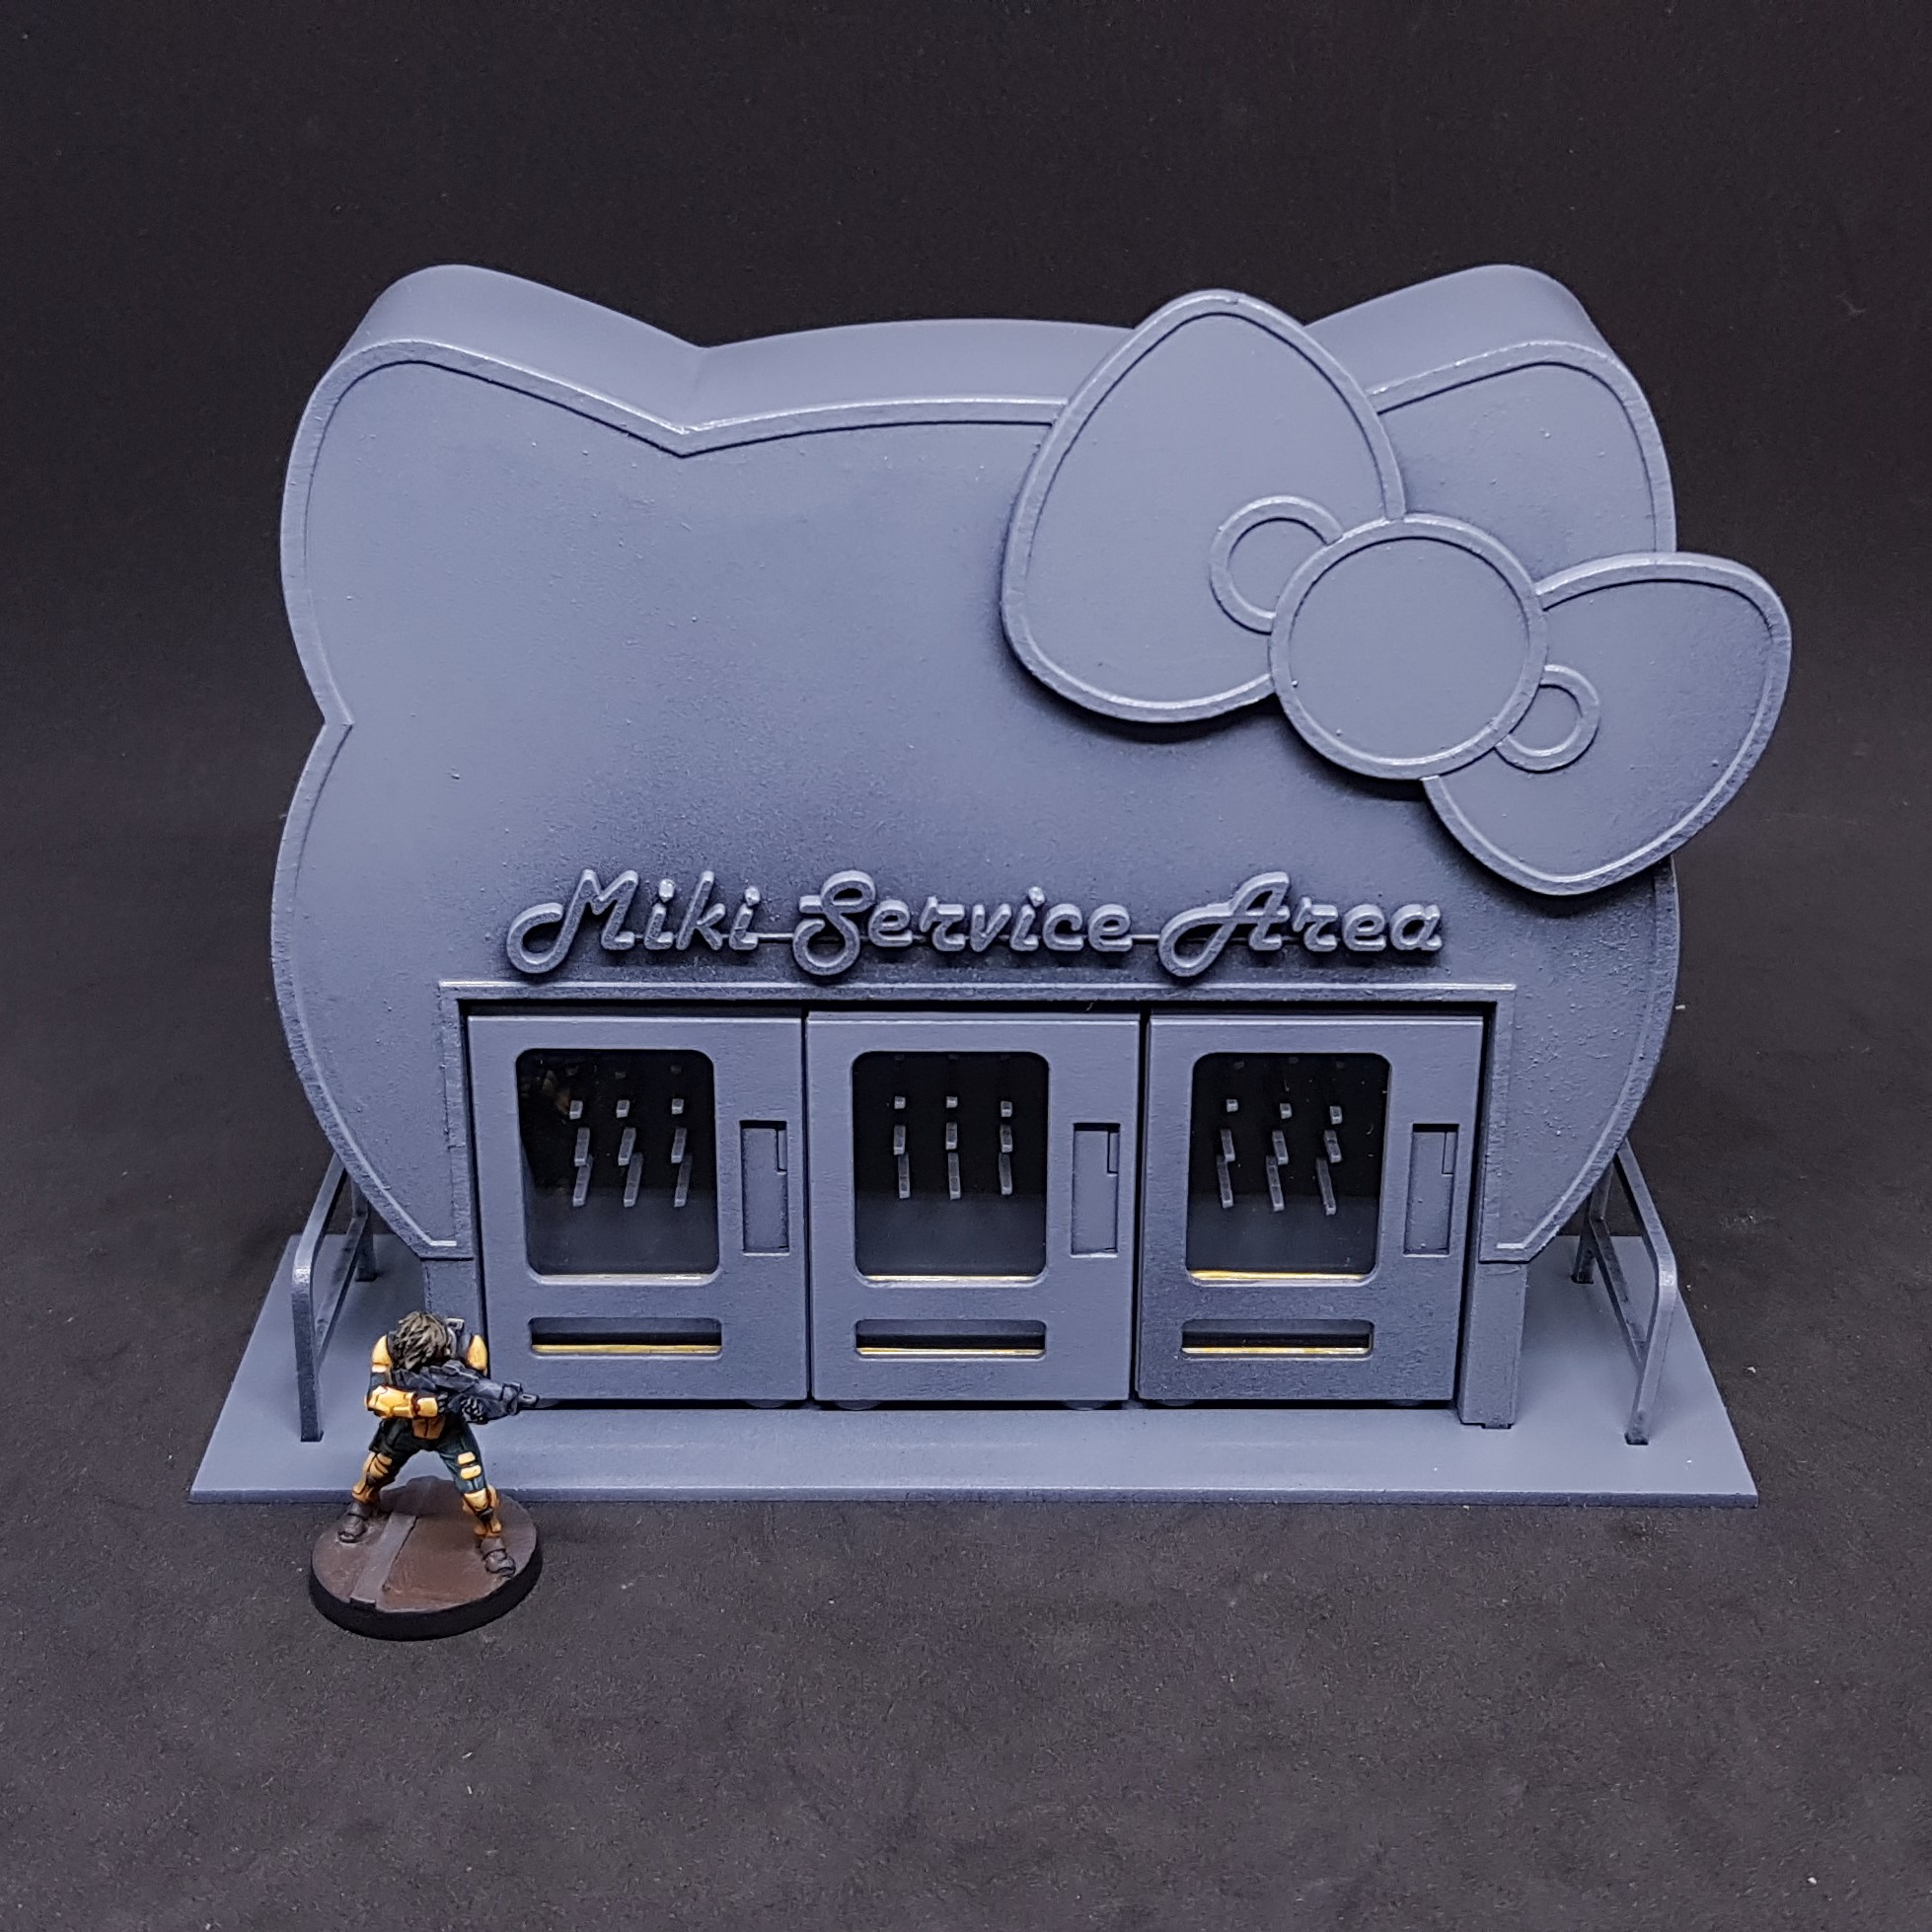 I primed this with matt black and hit it with grey from the top and 45 degrees. I couldn't help myself I unmasked the windows on the vending machines but the time when you want glare I didn't get any.
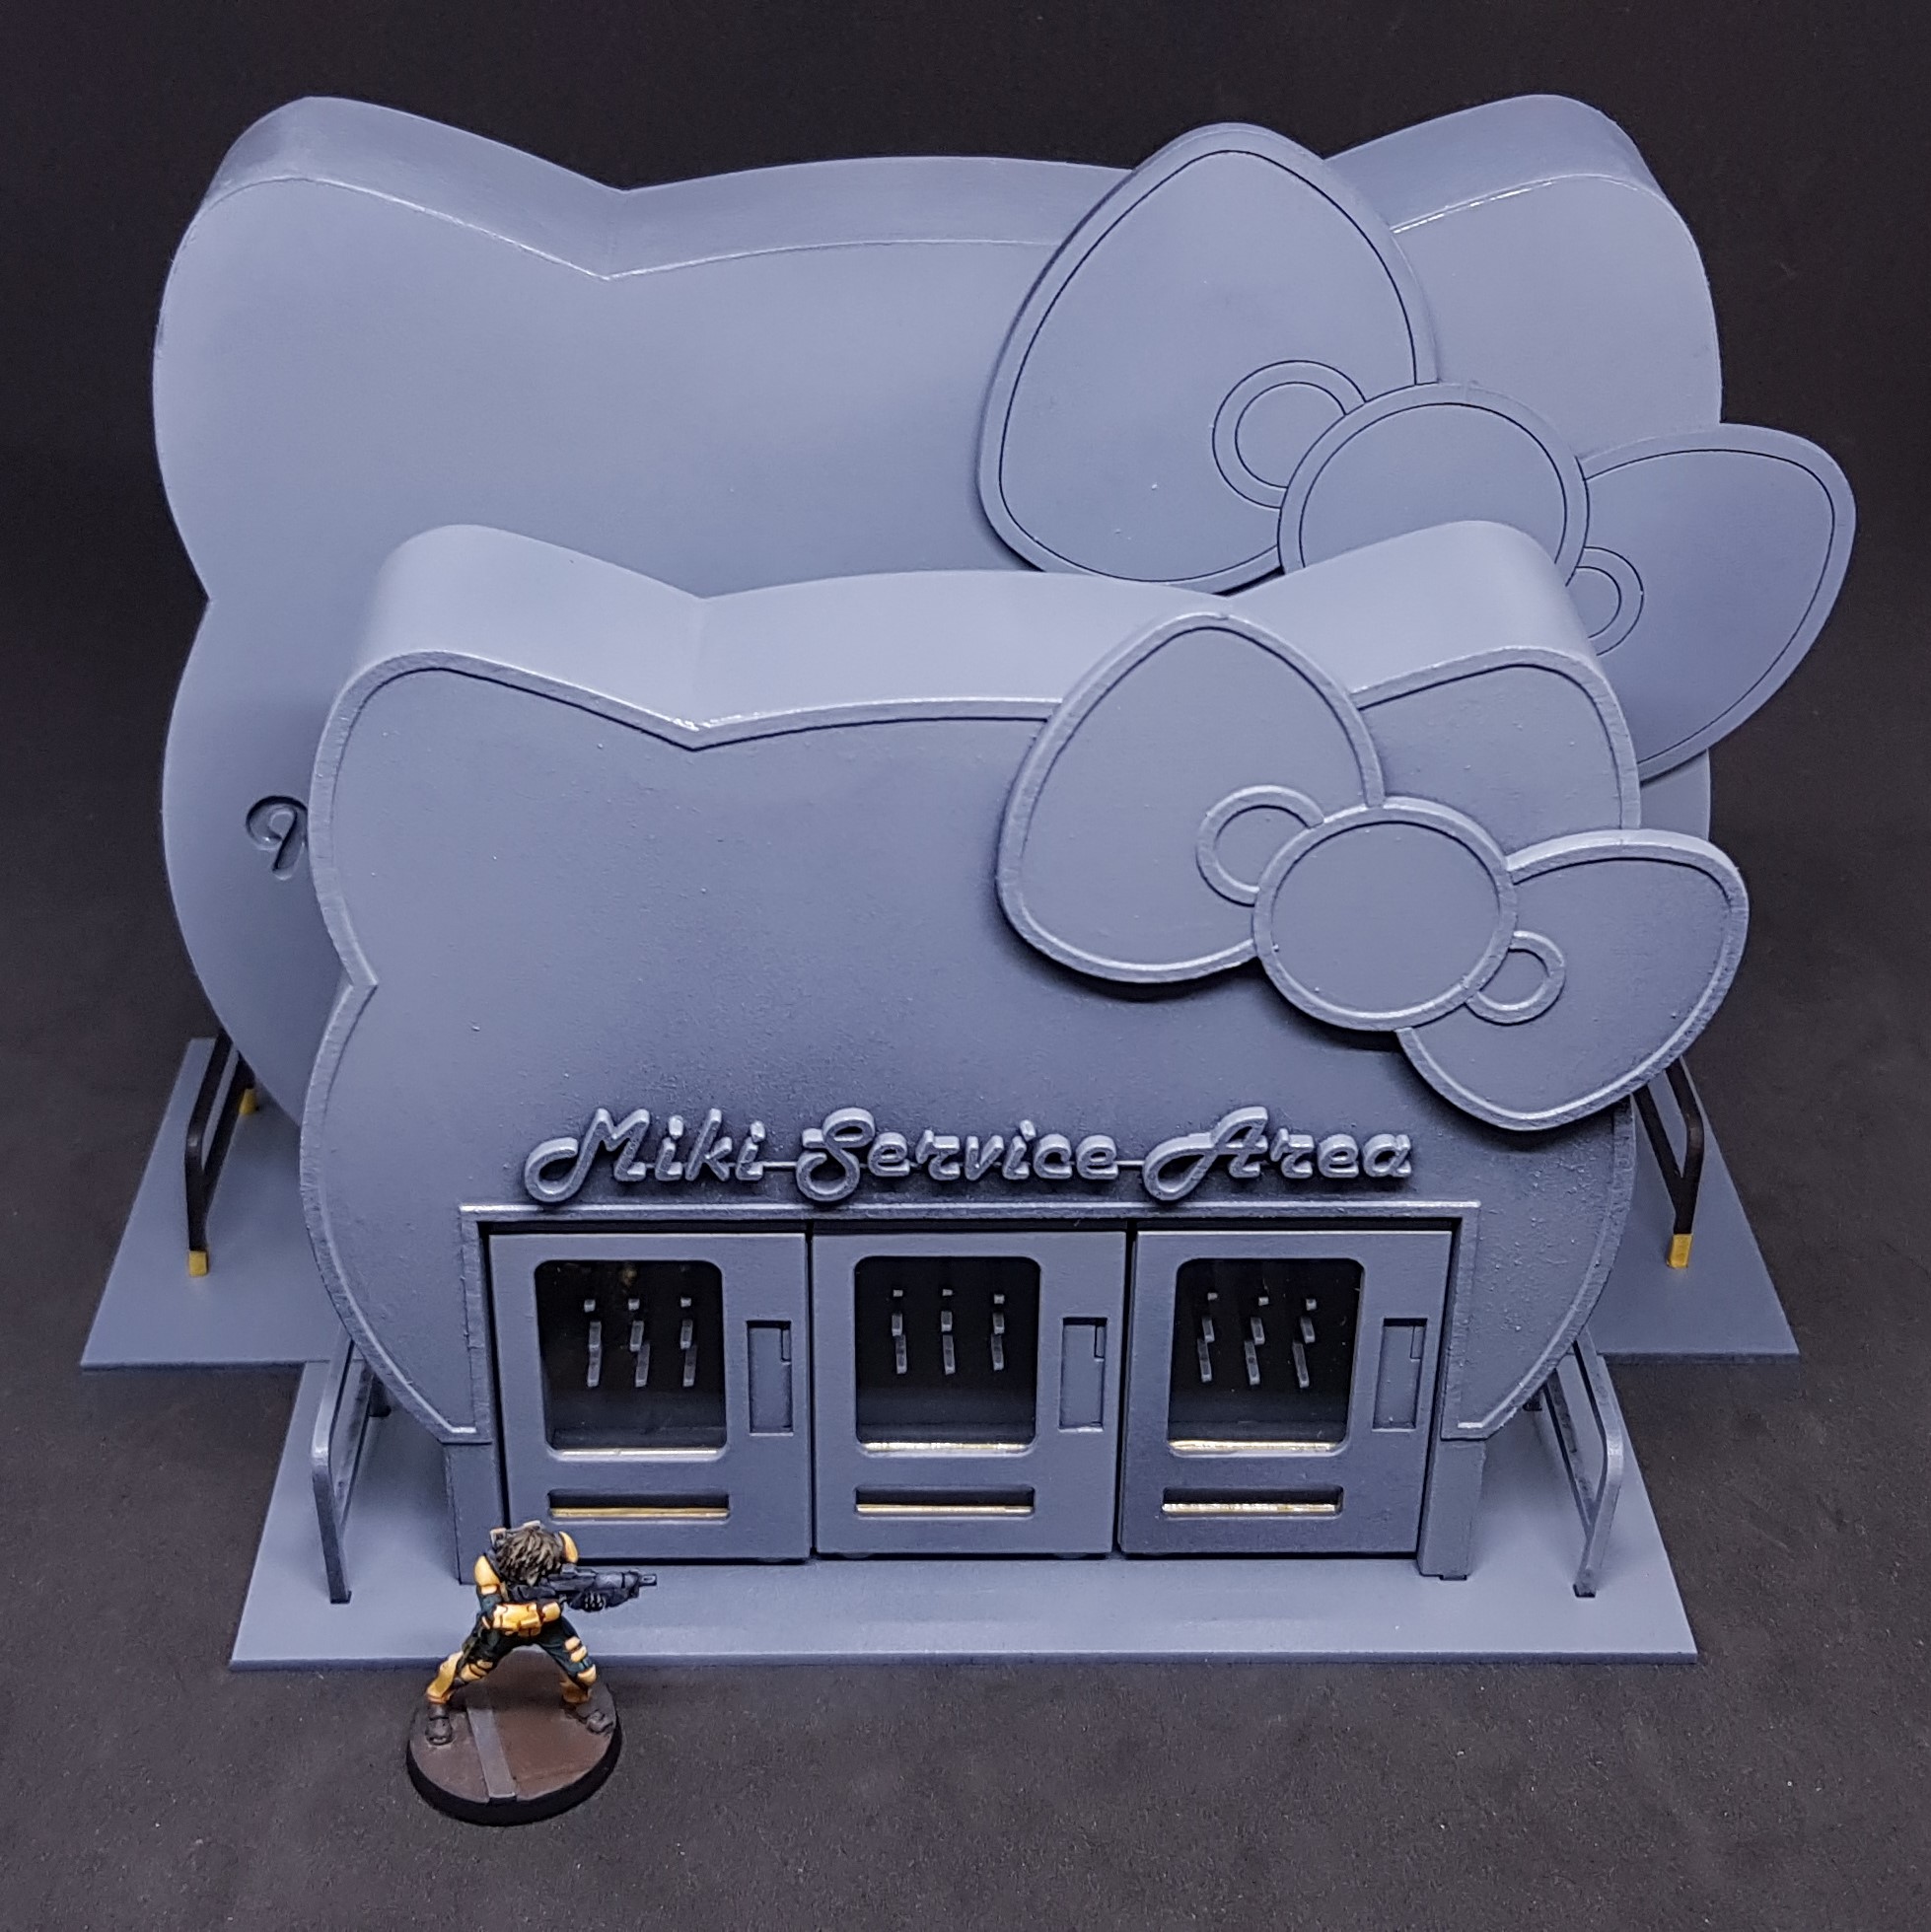 A comparison on new size vs old size., I am much happier with this design.
So, there you have it! All ready for painting. The only thing I have not done that was in the building stage was to put something in them to buy and design the display to go on the left side of the vending machines. This will come, and I will share a printable PDF that should be the correct size for this.
As always more to come… Anyone know how long a project must be to break the system?
Guess we will find out.


I need a 1000 of these right now! They’re super awesome!!! ?
You can! Just got to make friends with someone with a laser cutter and cut some yourself.
If you are brave enough you could also use the files to print out on A4 paper and cut it by hand.i would miss out the pegs but this is doable.
This really looks awesome, can’t wait to see it painted.